sheepers
-
Posts
8,770 -
Joined
-
Last visited
-
Days Won
45
Everything posted by sheepers
-
is thickness the issue or diameter?
-
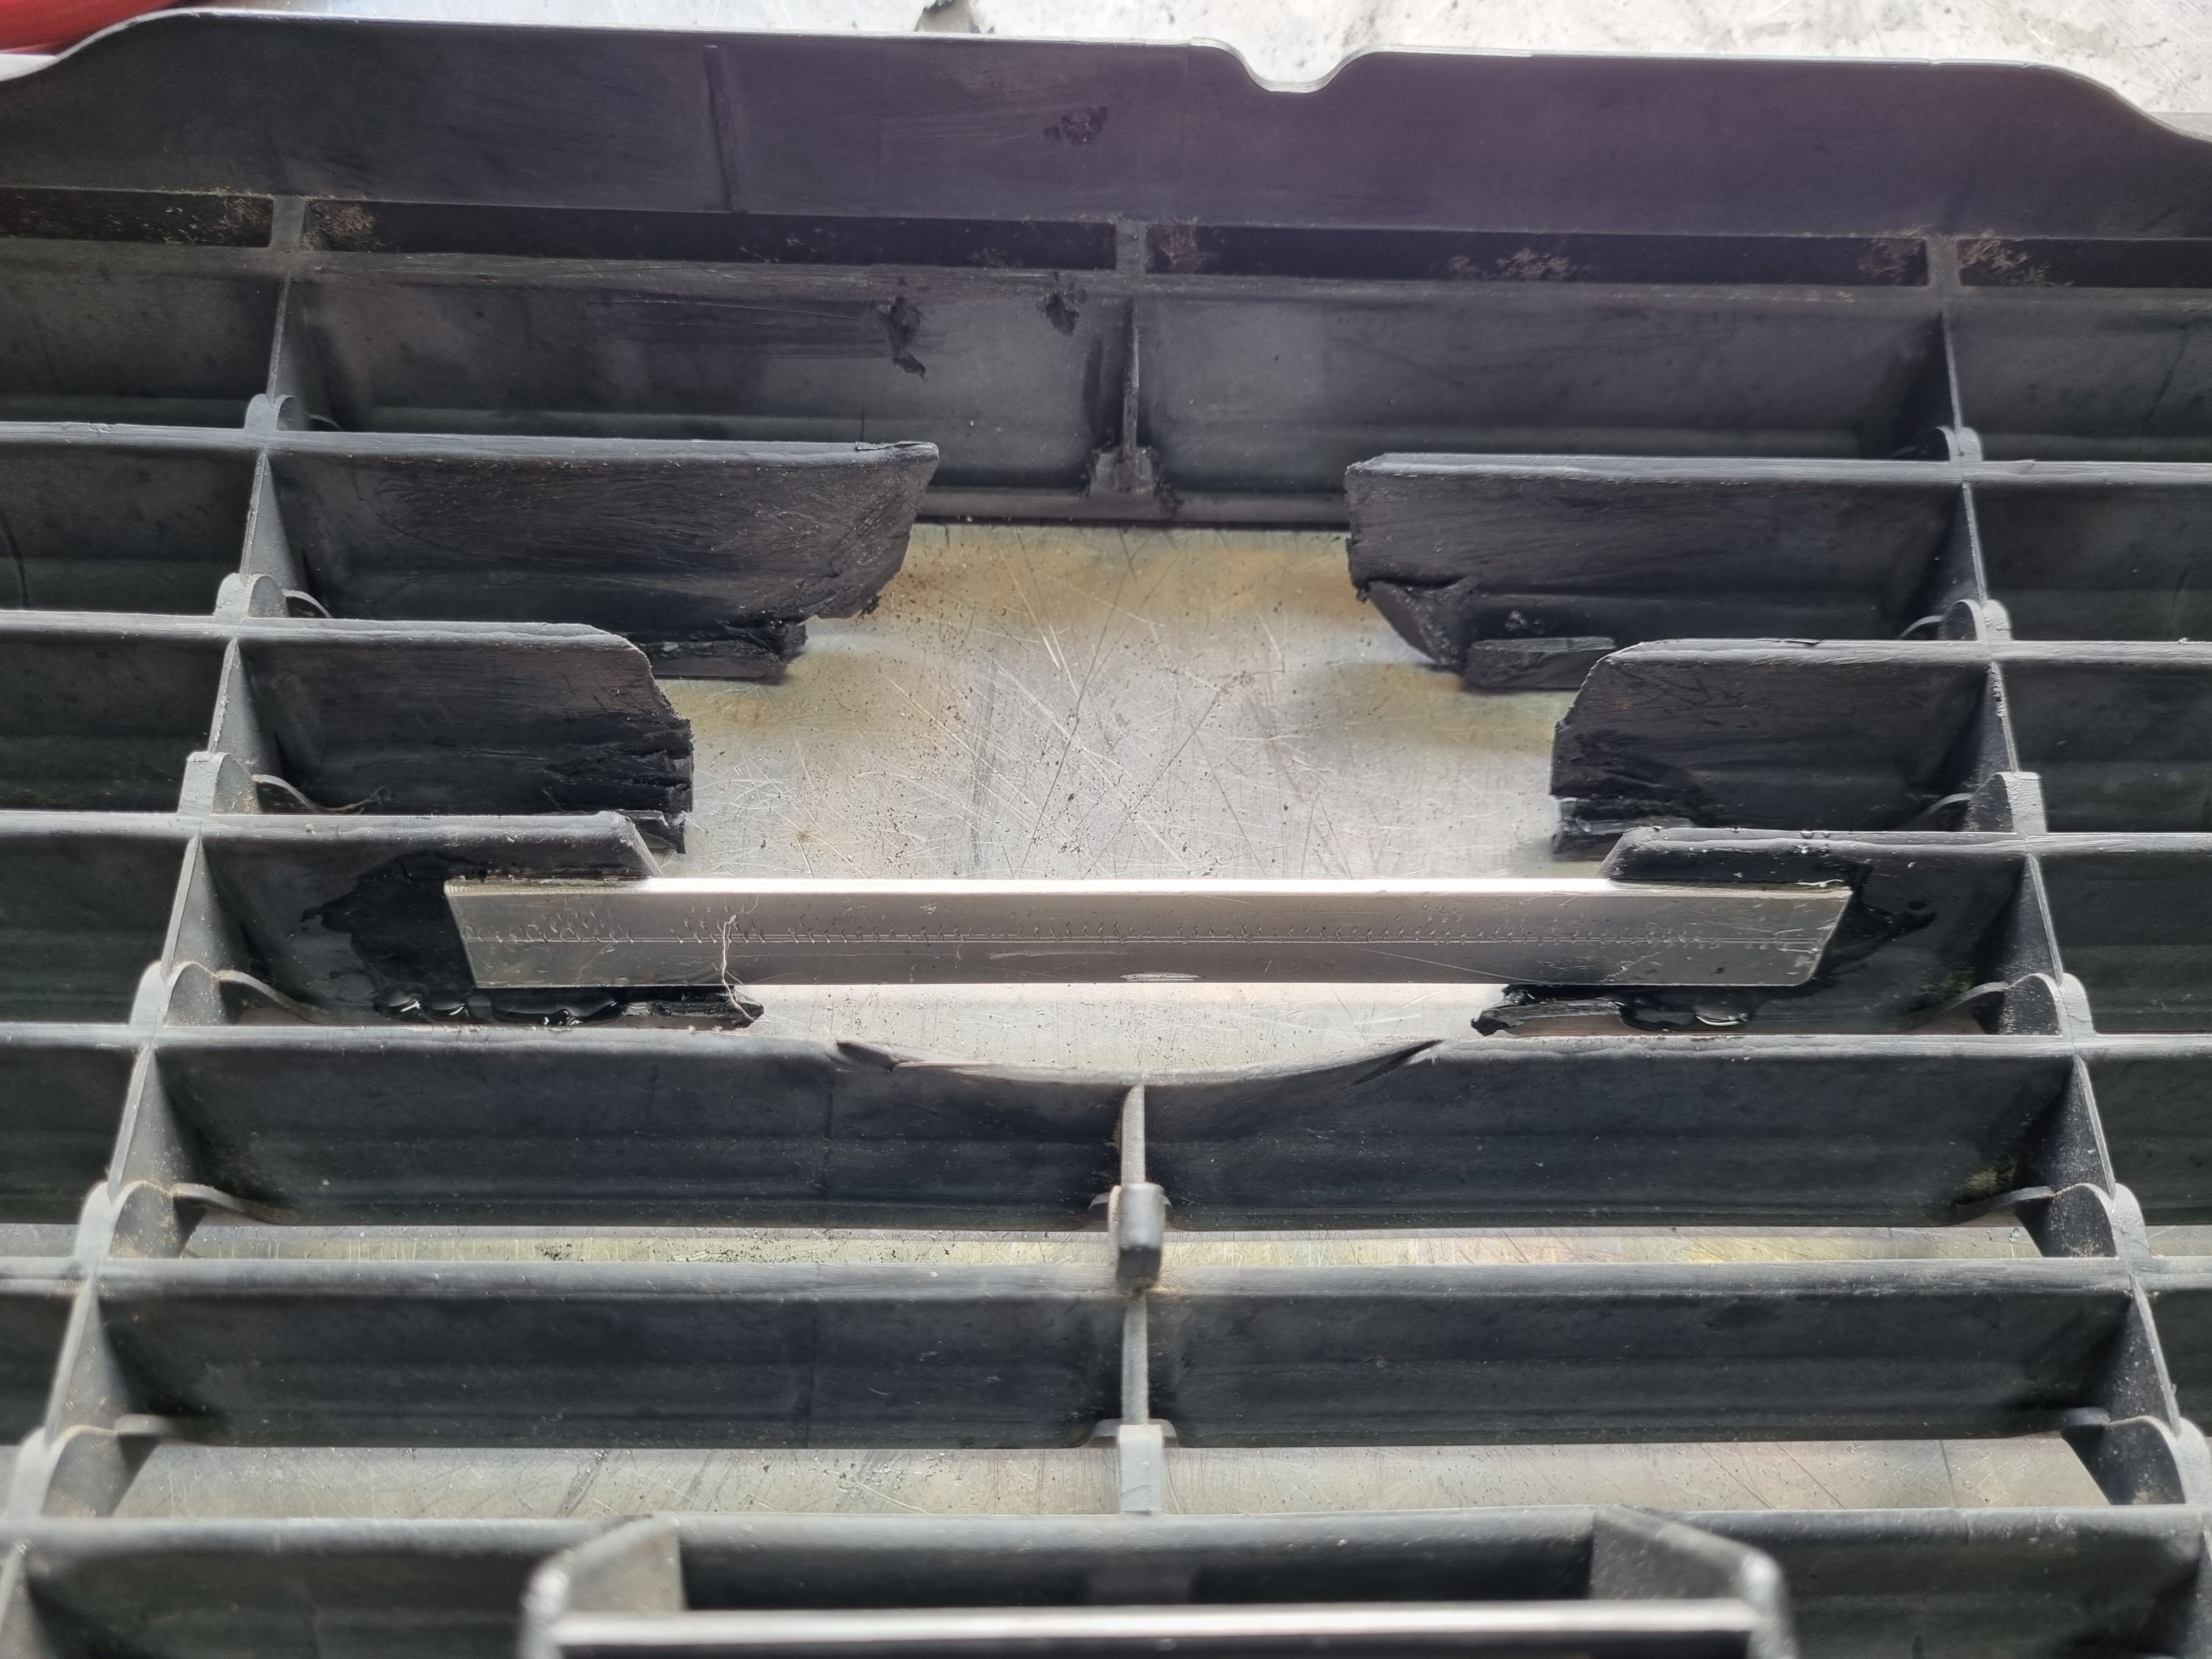
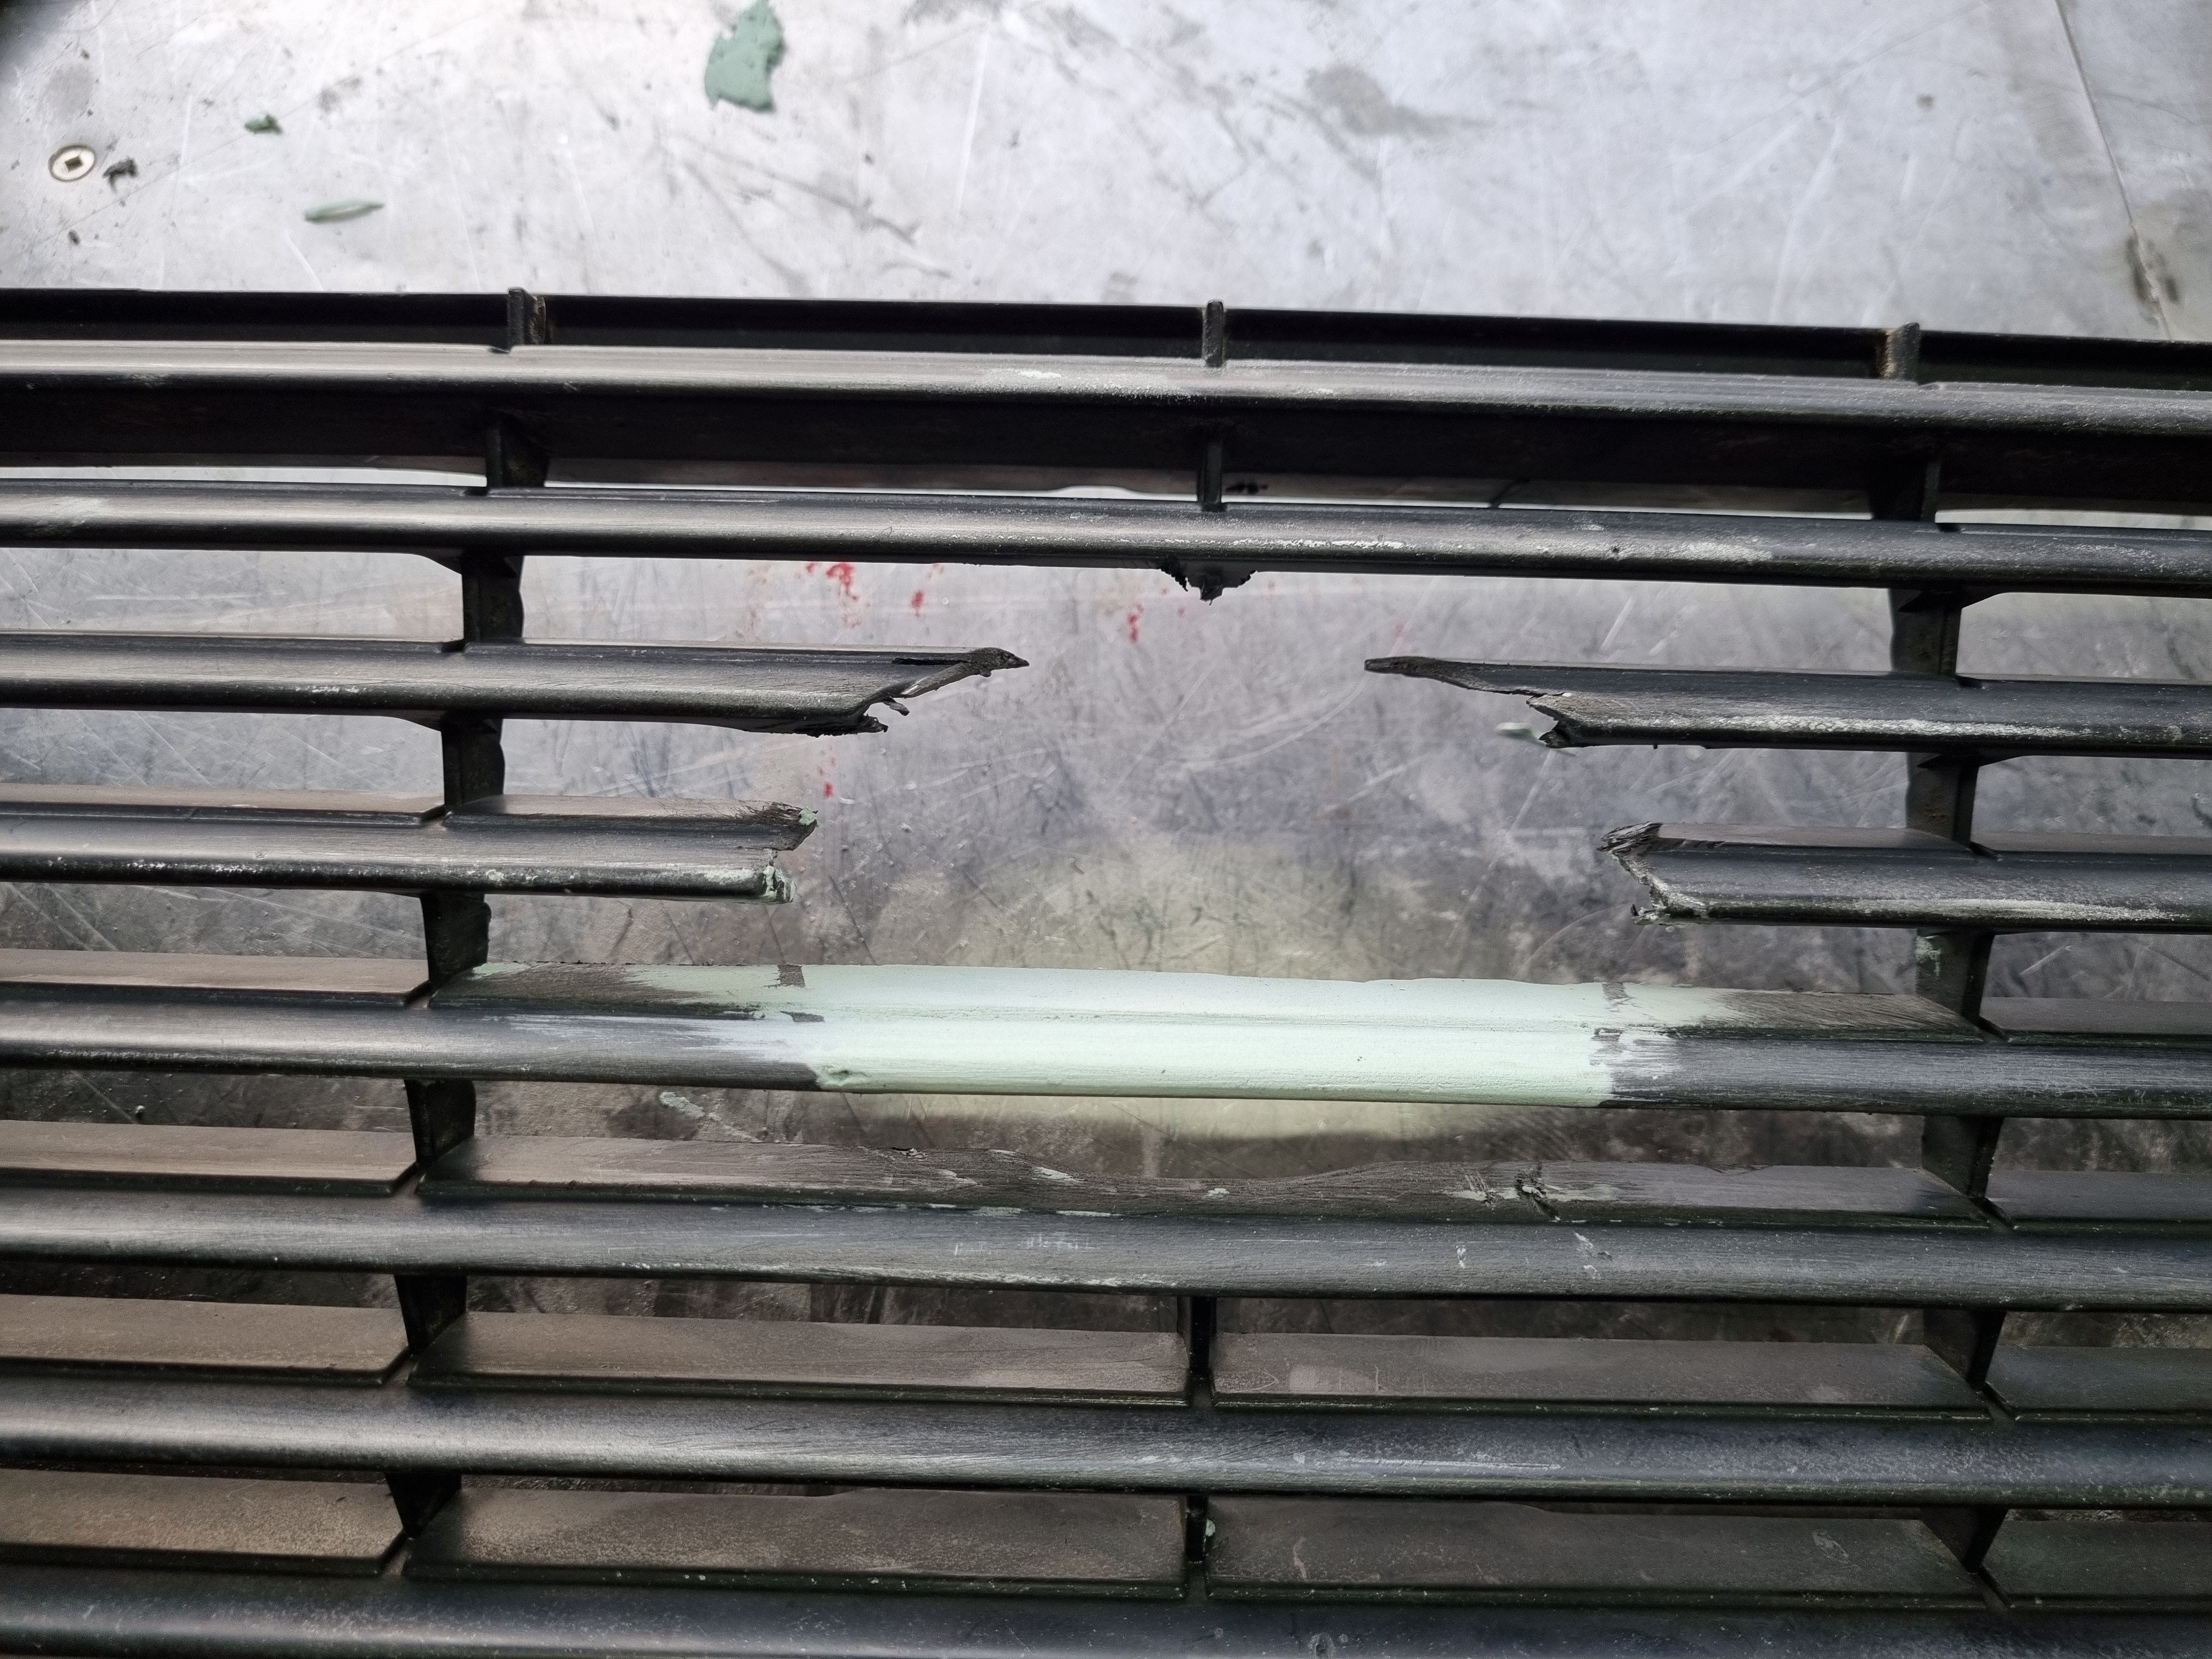
So getting coilovers for this is turning out to be a bit difficult in that everything had massive lead times in the region of 18 weeks. So I bought some yellow speed ones. I've got yellow speed brakes on my blue car, have had them on there for about 4 years or so, never has any issue with them and so I took a punt on their coilovers. In the meantime I thought I'd make a slightly custom grill for it. Because there was a cheap grill on trademe. I want to "delete" the badge, so they'd what I'm doing.

- 58 replies
-
- 17
-

-
 it did, i was there. right now things are all up the shit and we had to be sensible. that meant not buying that place. no matter, we'll find another.
 -
This was the house we were trying to buy, https://www.trademe.co.nz/a/property/residential/lifestyle-property/auckland/papakura/ardmore/listing/3601740942
-
We did not buy the new house. Not bummed, its a bad time to be selling a house in AK.
-
this house is for sale. buy it.
-
Can you get me a contact for the seller please? I can't access marketplace for reasons I haven't discovered yet.
-
Yea righto, I plan on dropping it 50mm or so. I don't see this as a massive amount? Will it auto destroy with a 50mm drop?
-
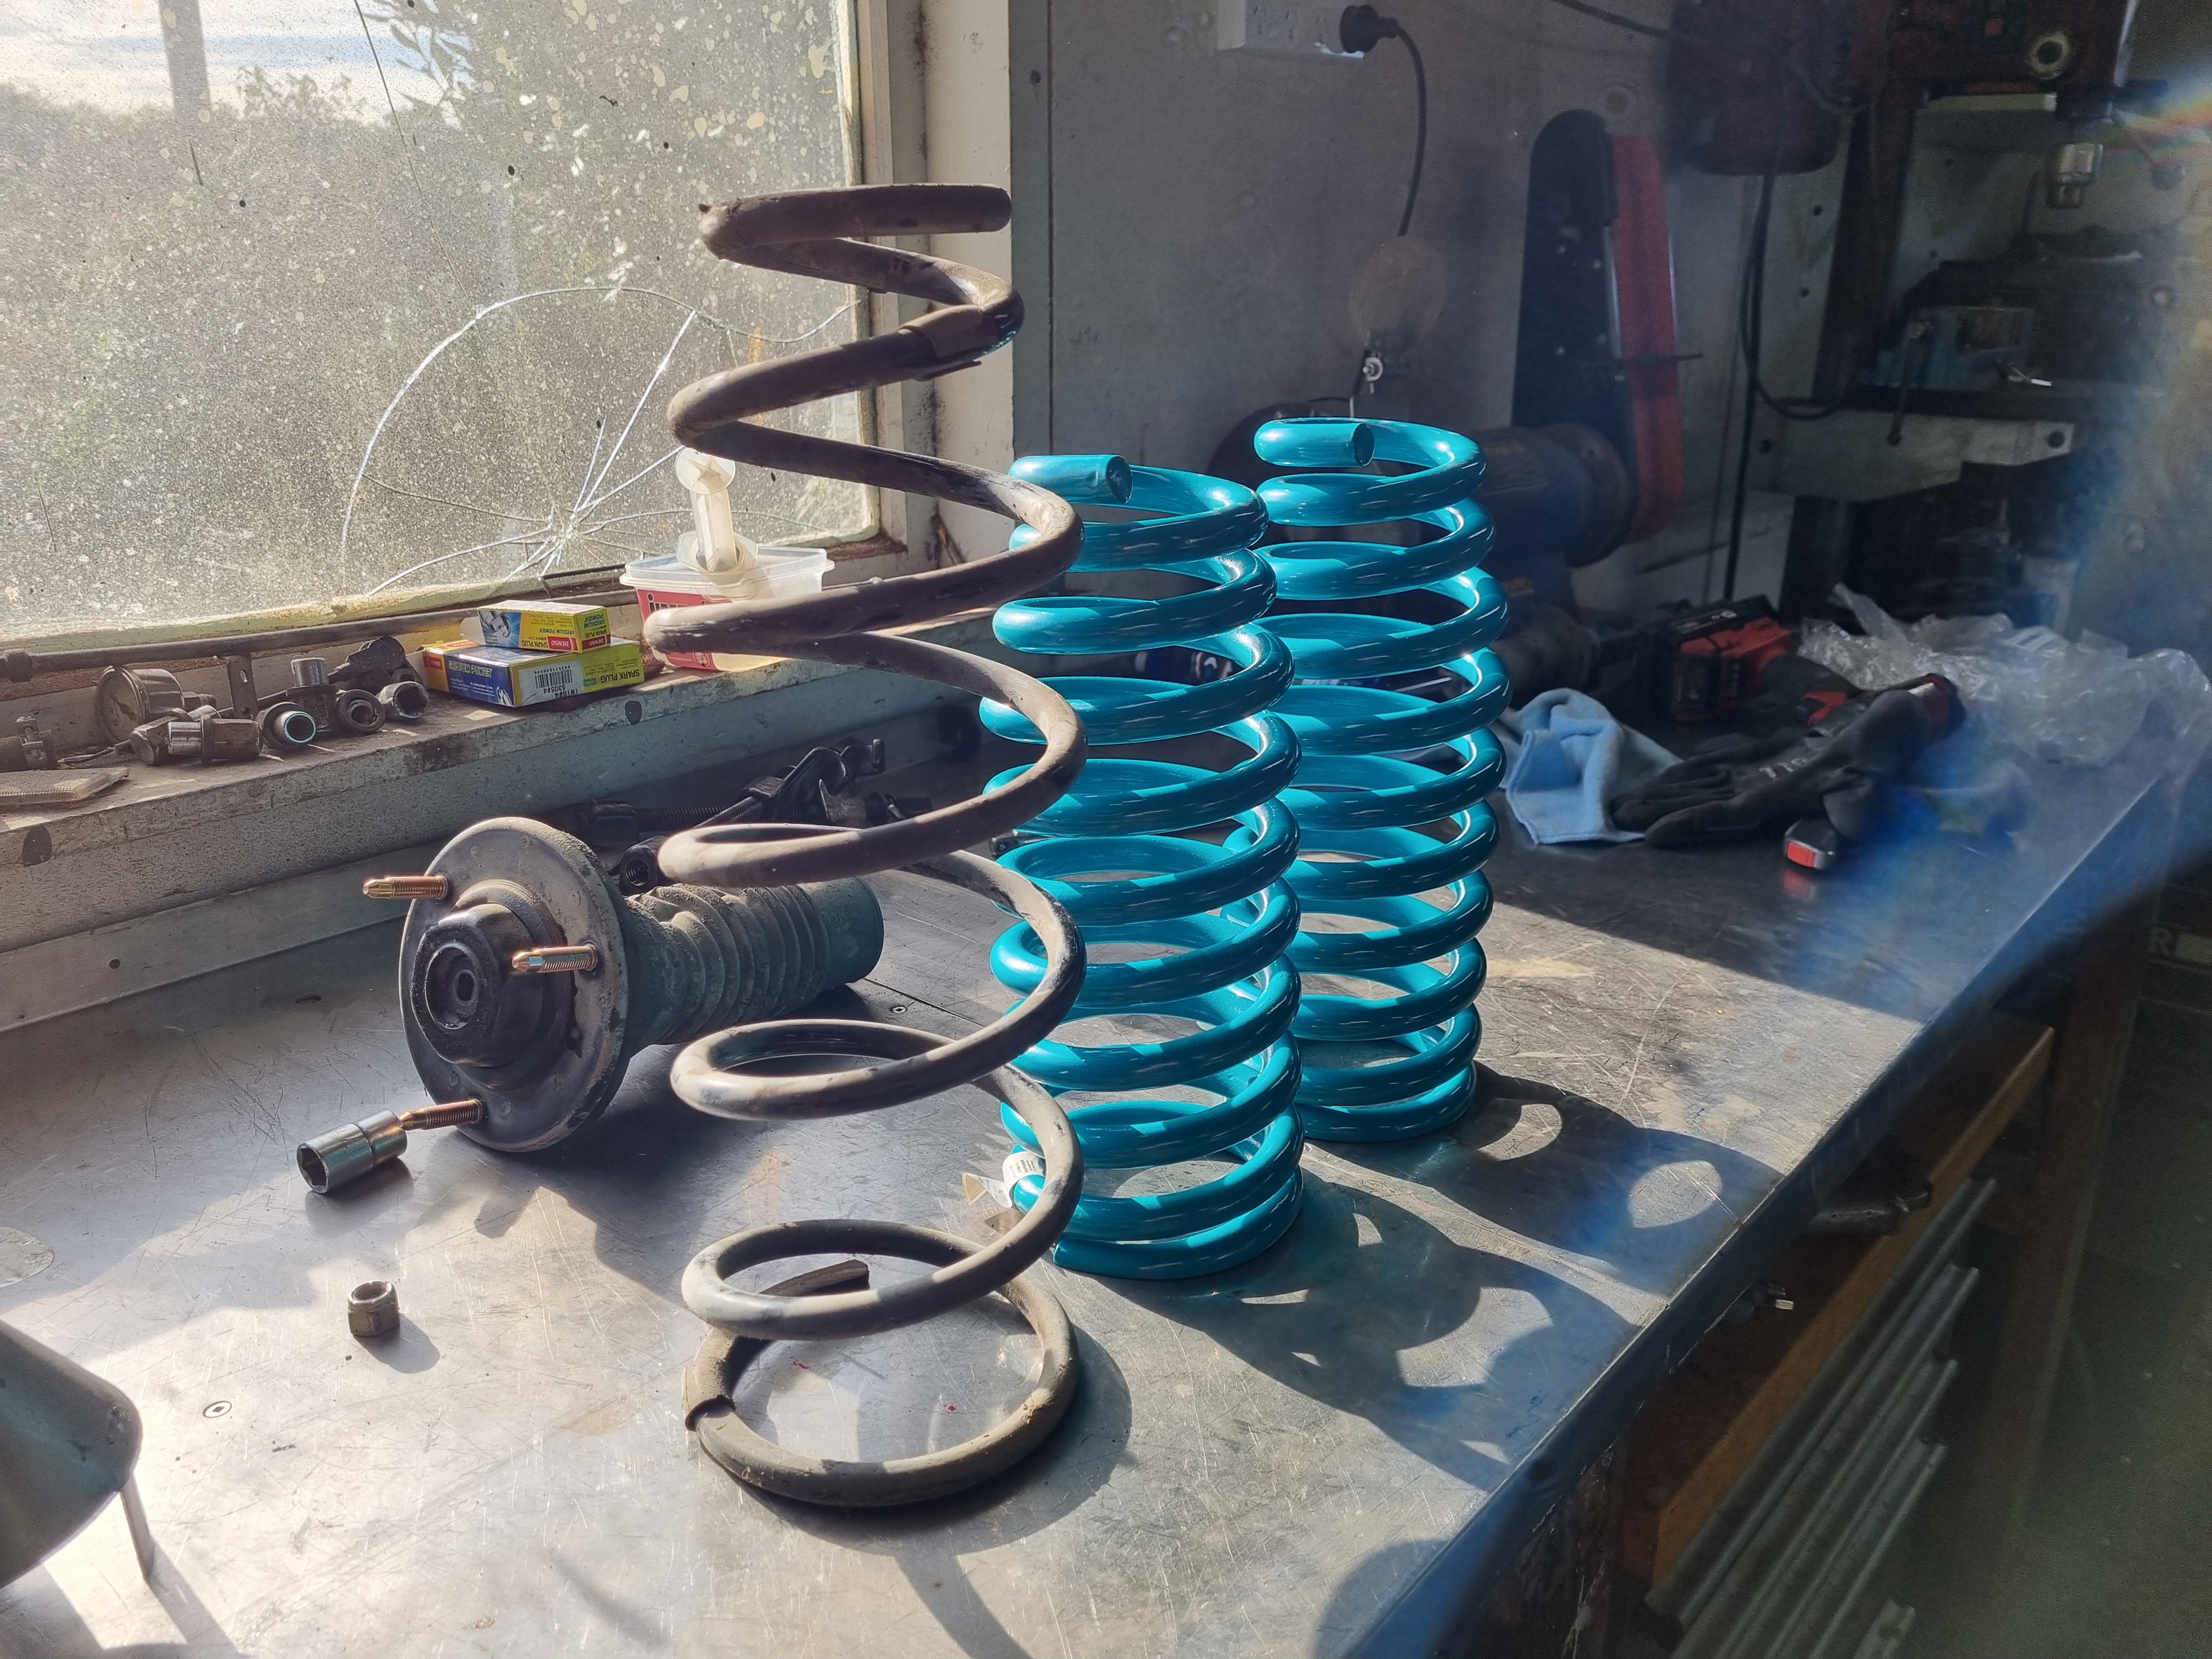
So I bight a set of lowering springs for this thing and went about installing them. Started with the back because why not. The replacement springs were quite a bit shorter but a much heavier wire diameter. I stuck them in and put it back on the ground. The new springs dropped the car appropriately zero mm but they made up for that by being not captive. Cool, so out they came and I returned them. Now I'm on the hunt for some coilovers for it.
- 58 replies
-
- 24
-
-

-

-

-
There's one in my blue car. 670hp and live axel.
-
na, as long as its not megga long it will be fine.
-
it works of an electric window switch. all it does is swap polarity or the 24V supply. easy.
-
Coils.
-
toyotas run super rich from factory, its just the way they are. there is many fuel savings to be had by taking out fuel from the map, and more speeds, but mostly fuel. example, my 1JZ was running a factory computer when i first built it, i pushed 15PSI through it - stock setting is 9, and put an Apexi neo into the system. we took out 16% from the whole fuel map to get the AFRs into the 12s.
- 58 replies
-
- 11
-
-
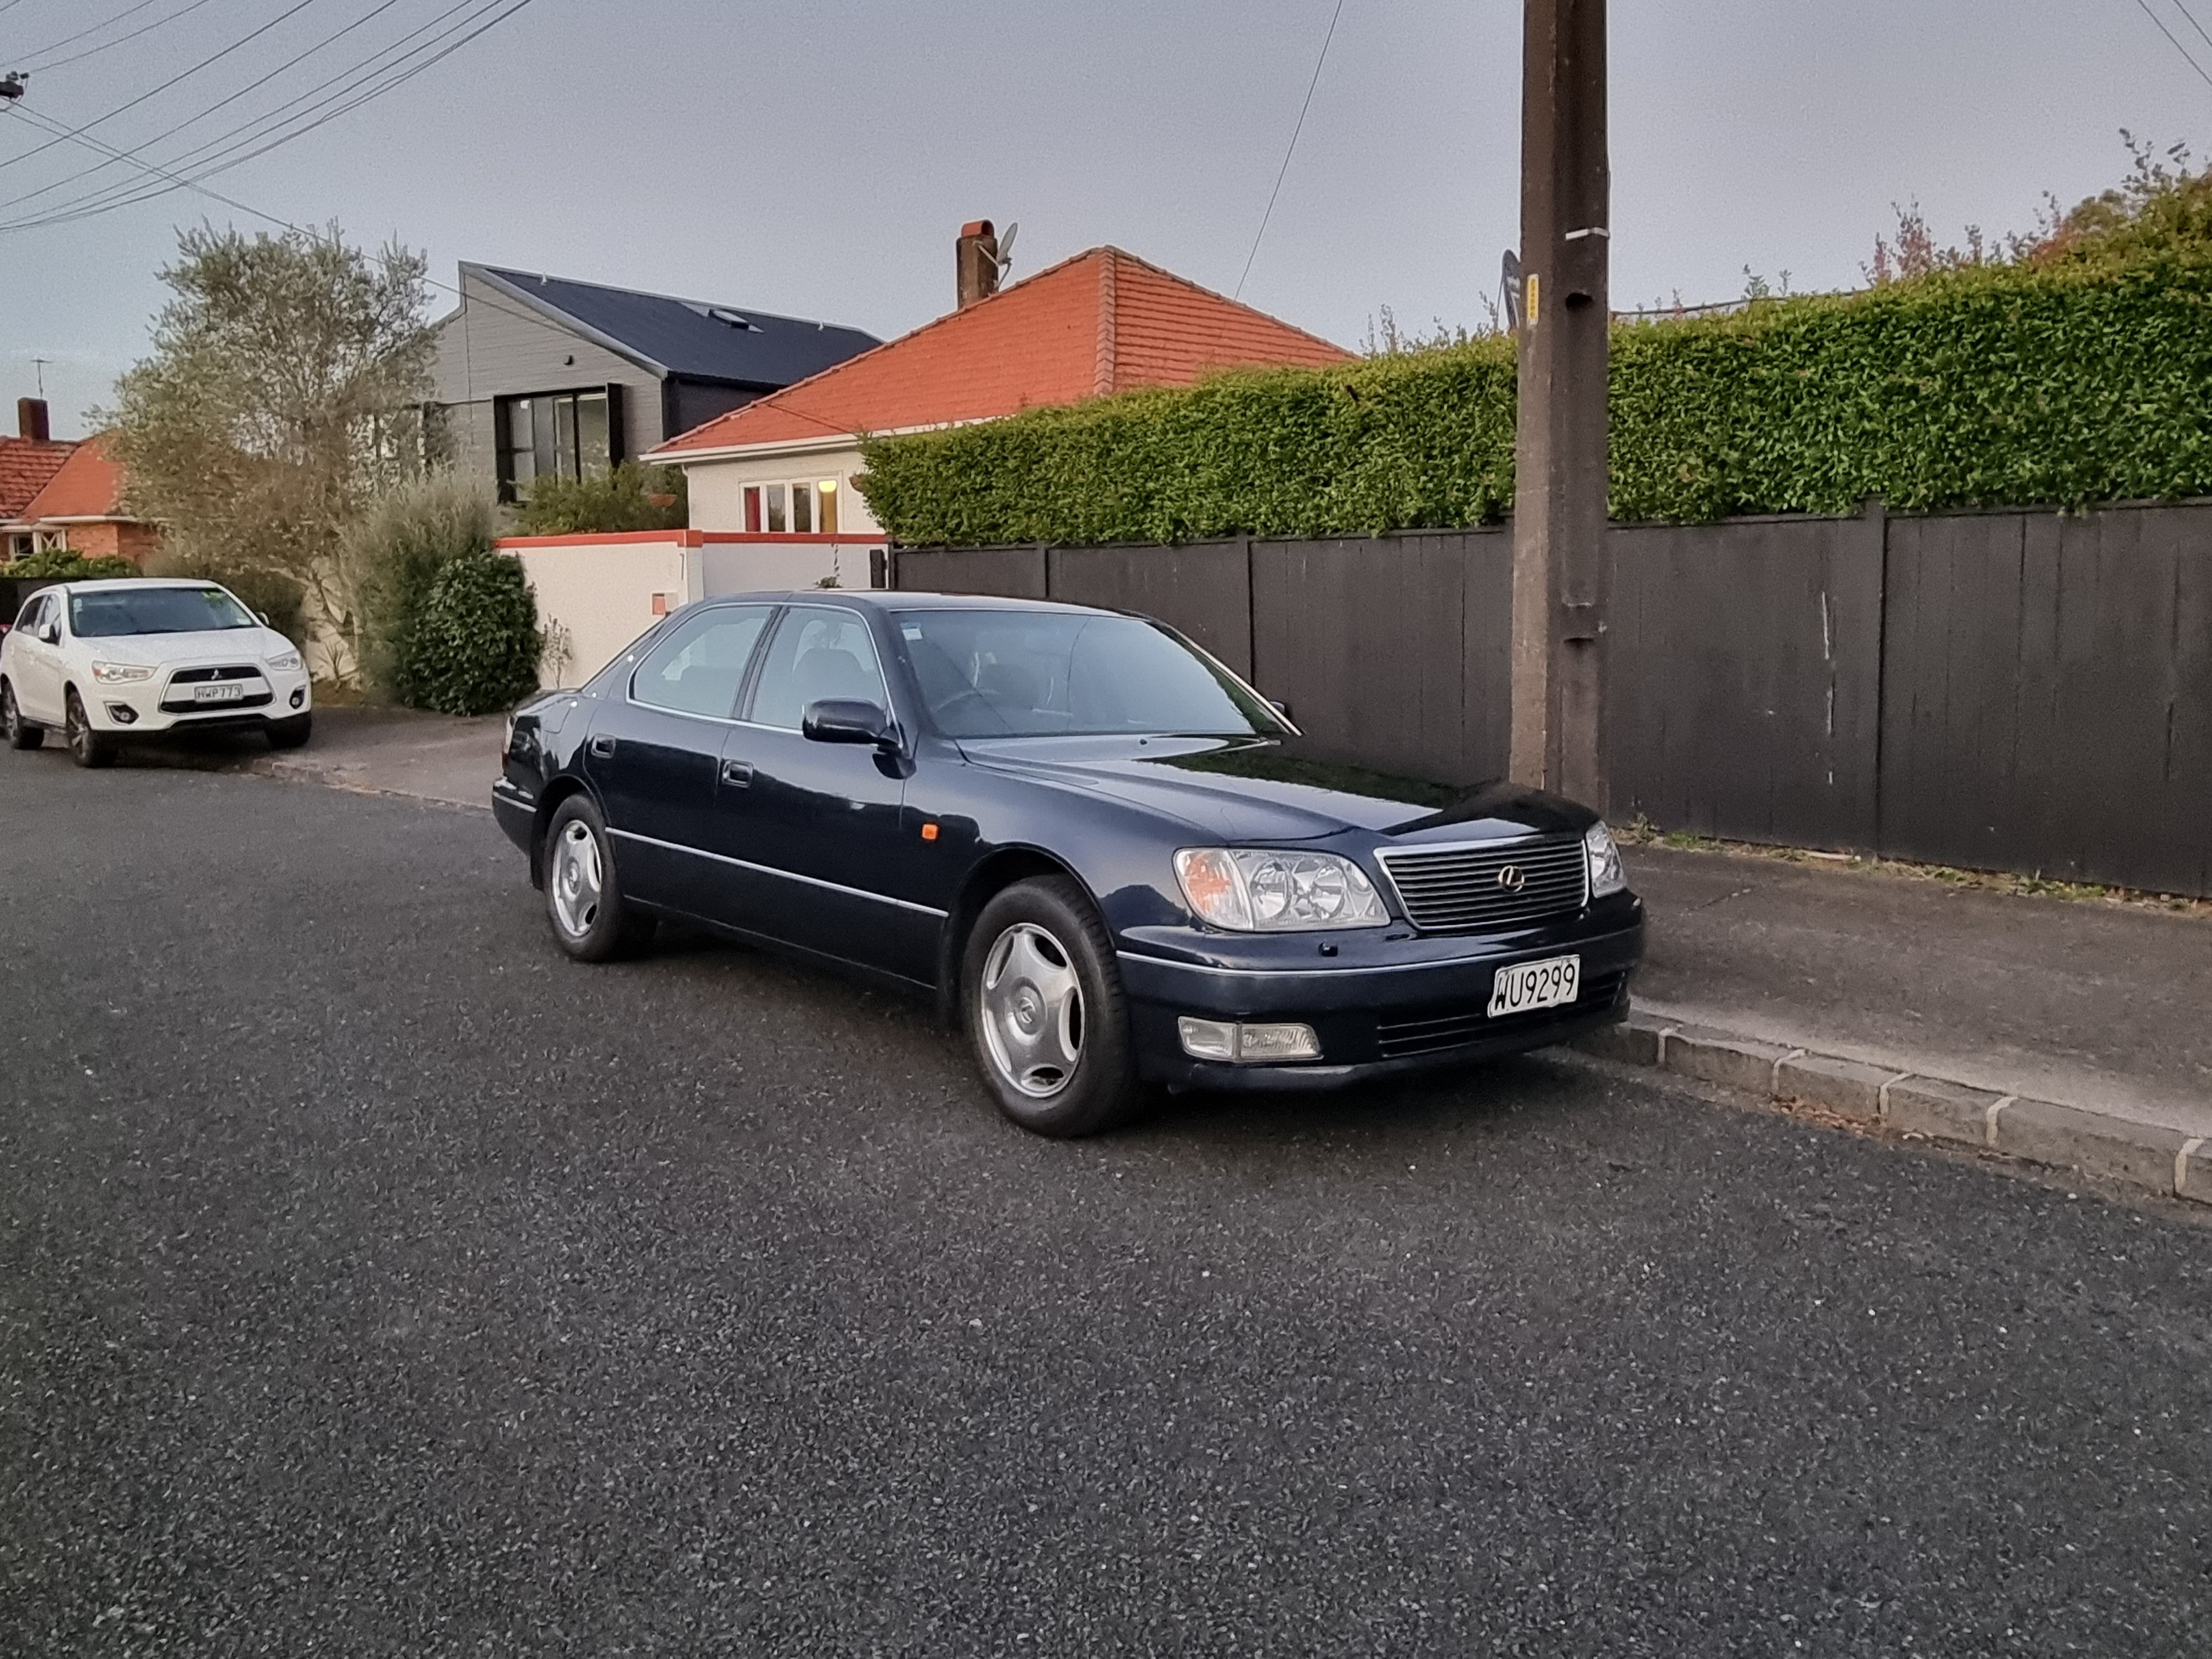
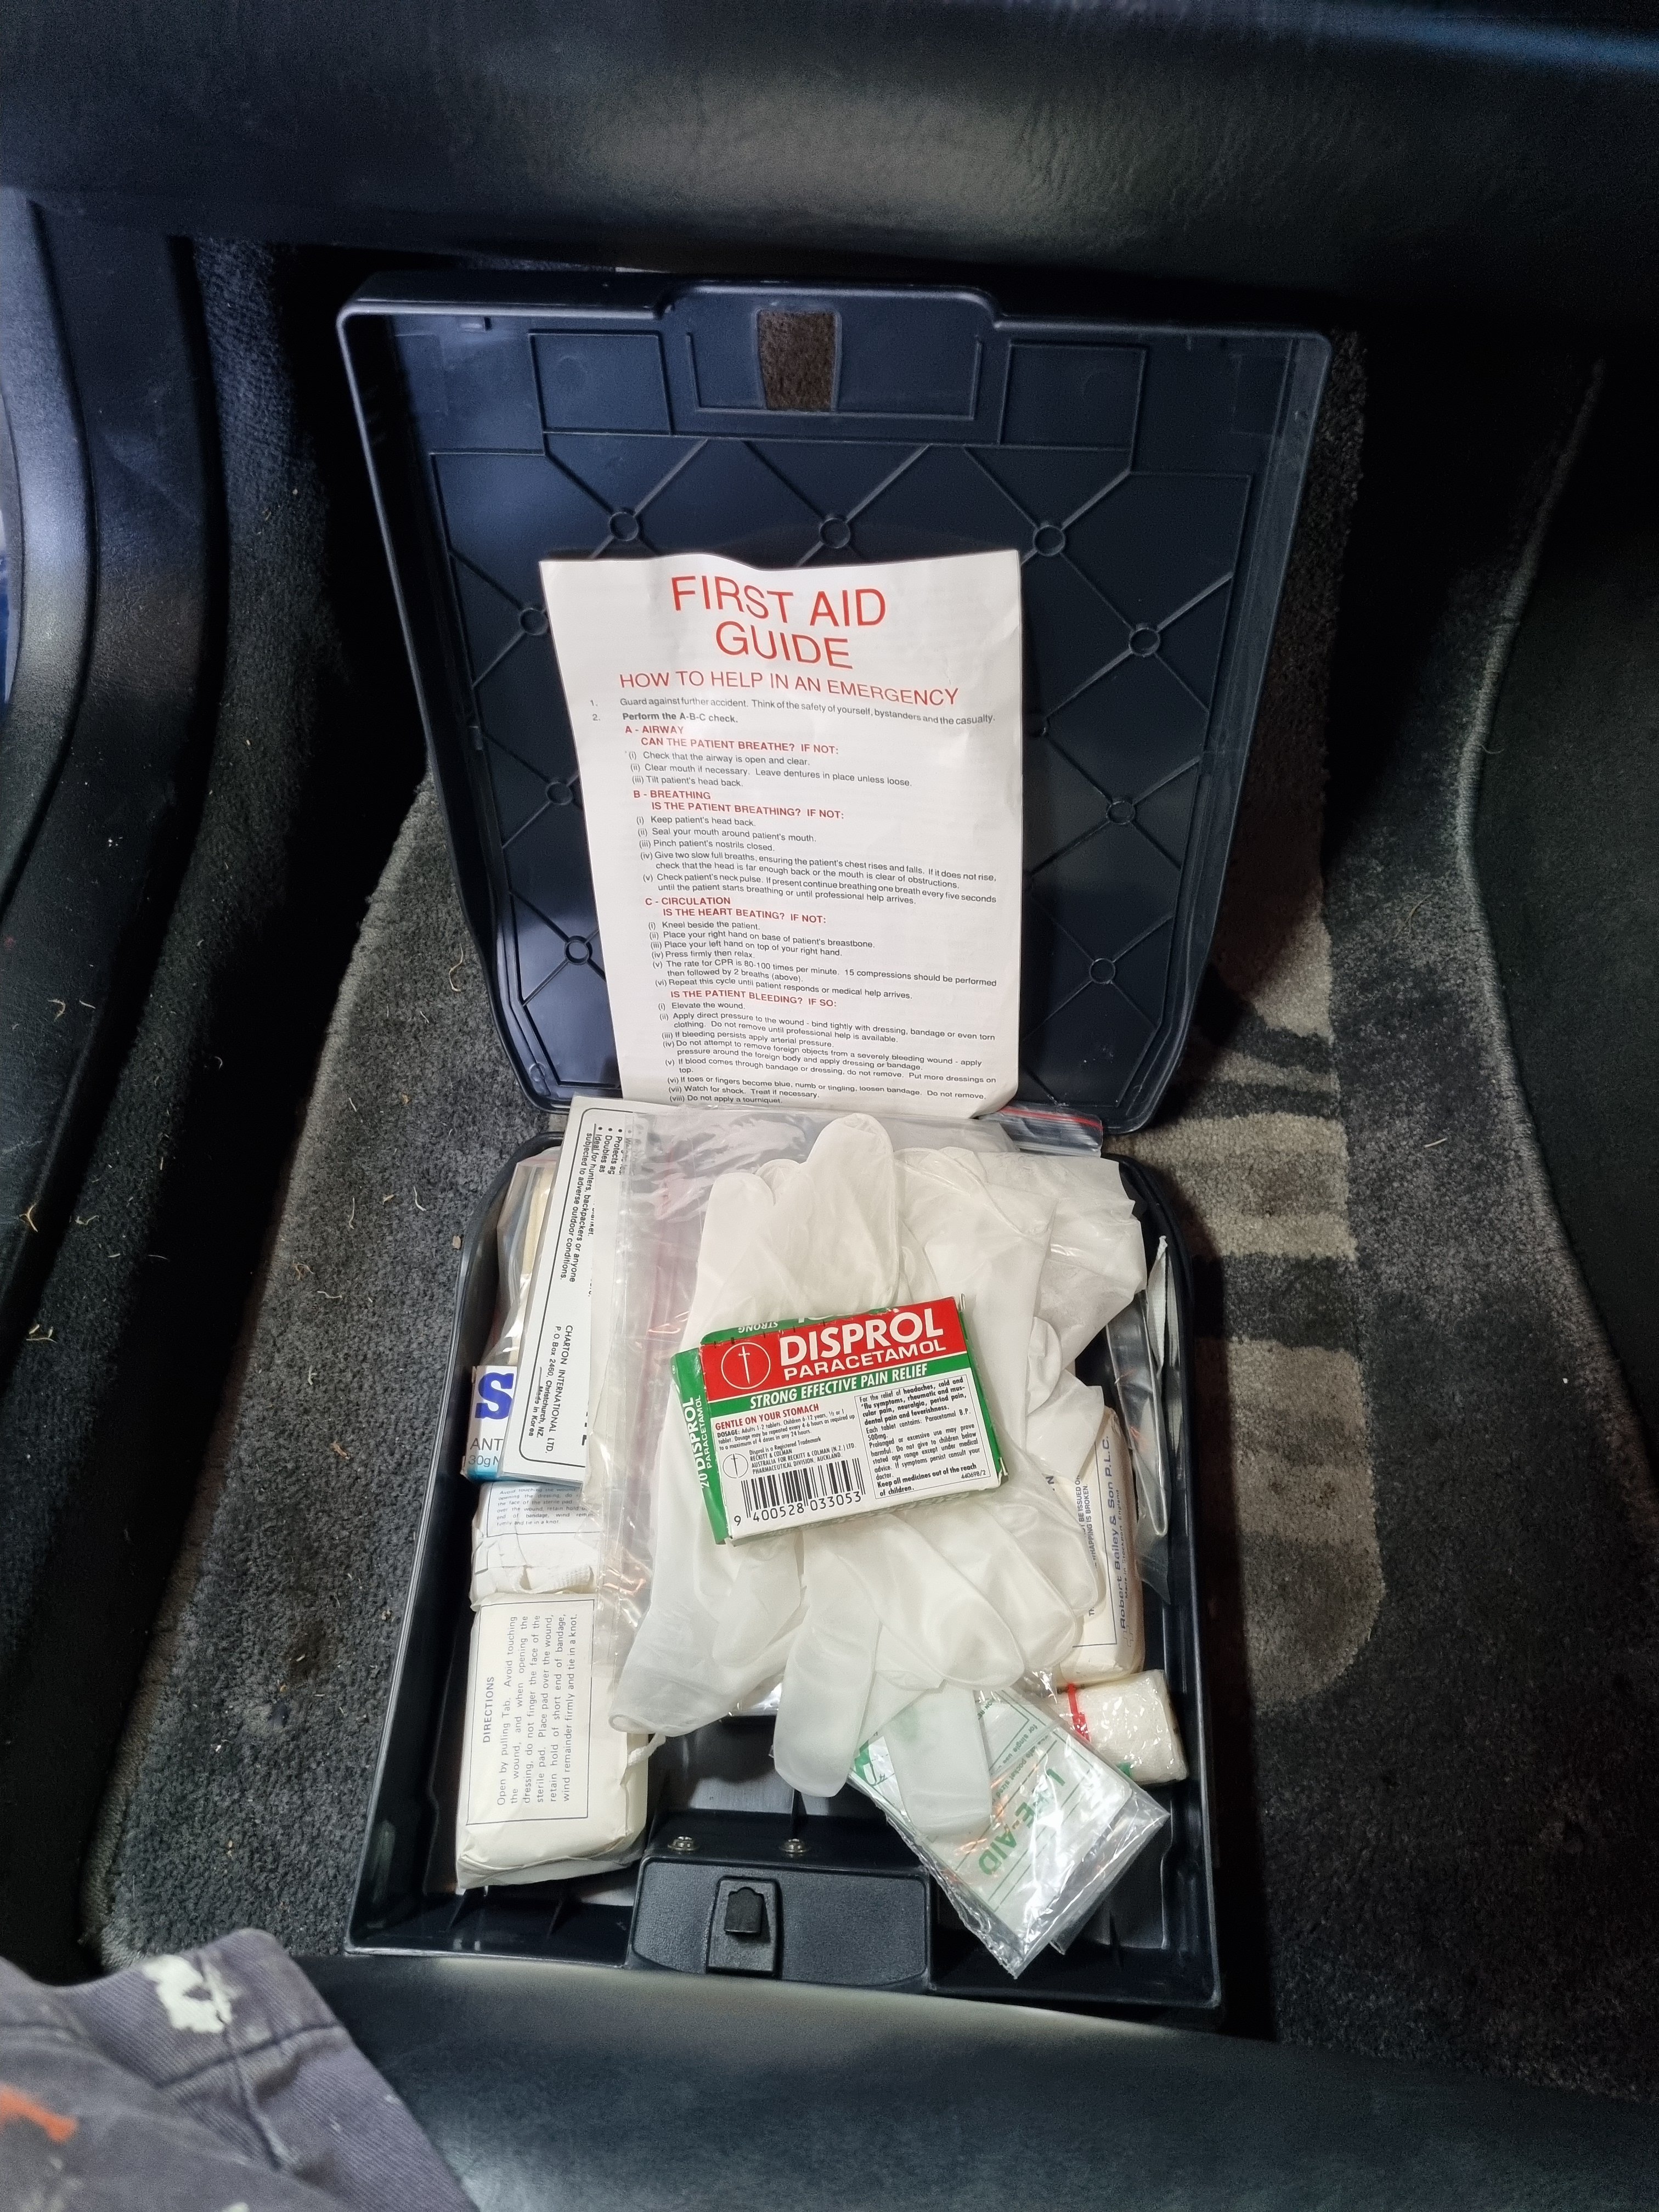
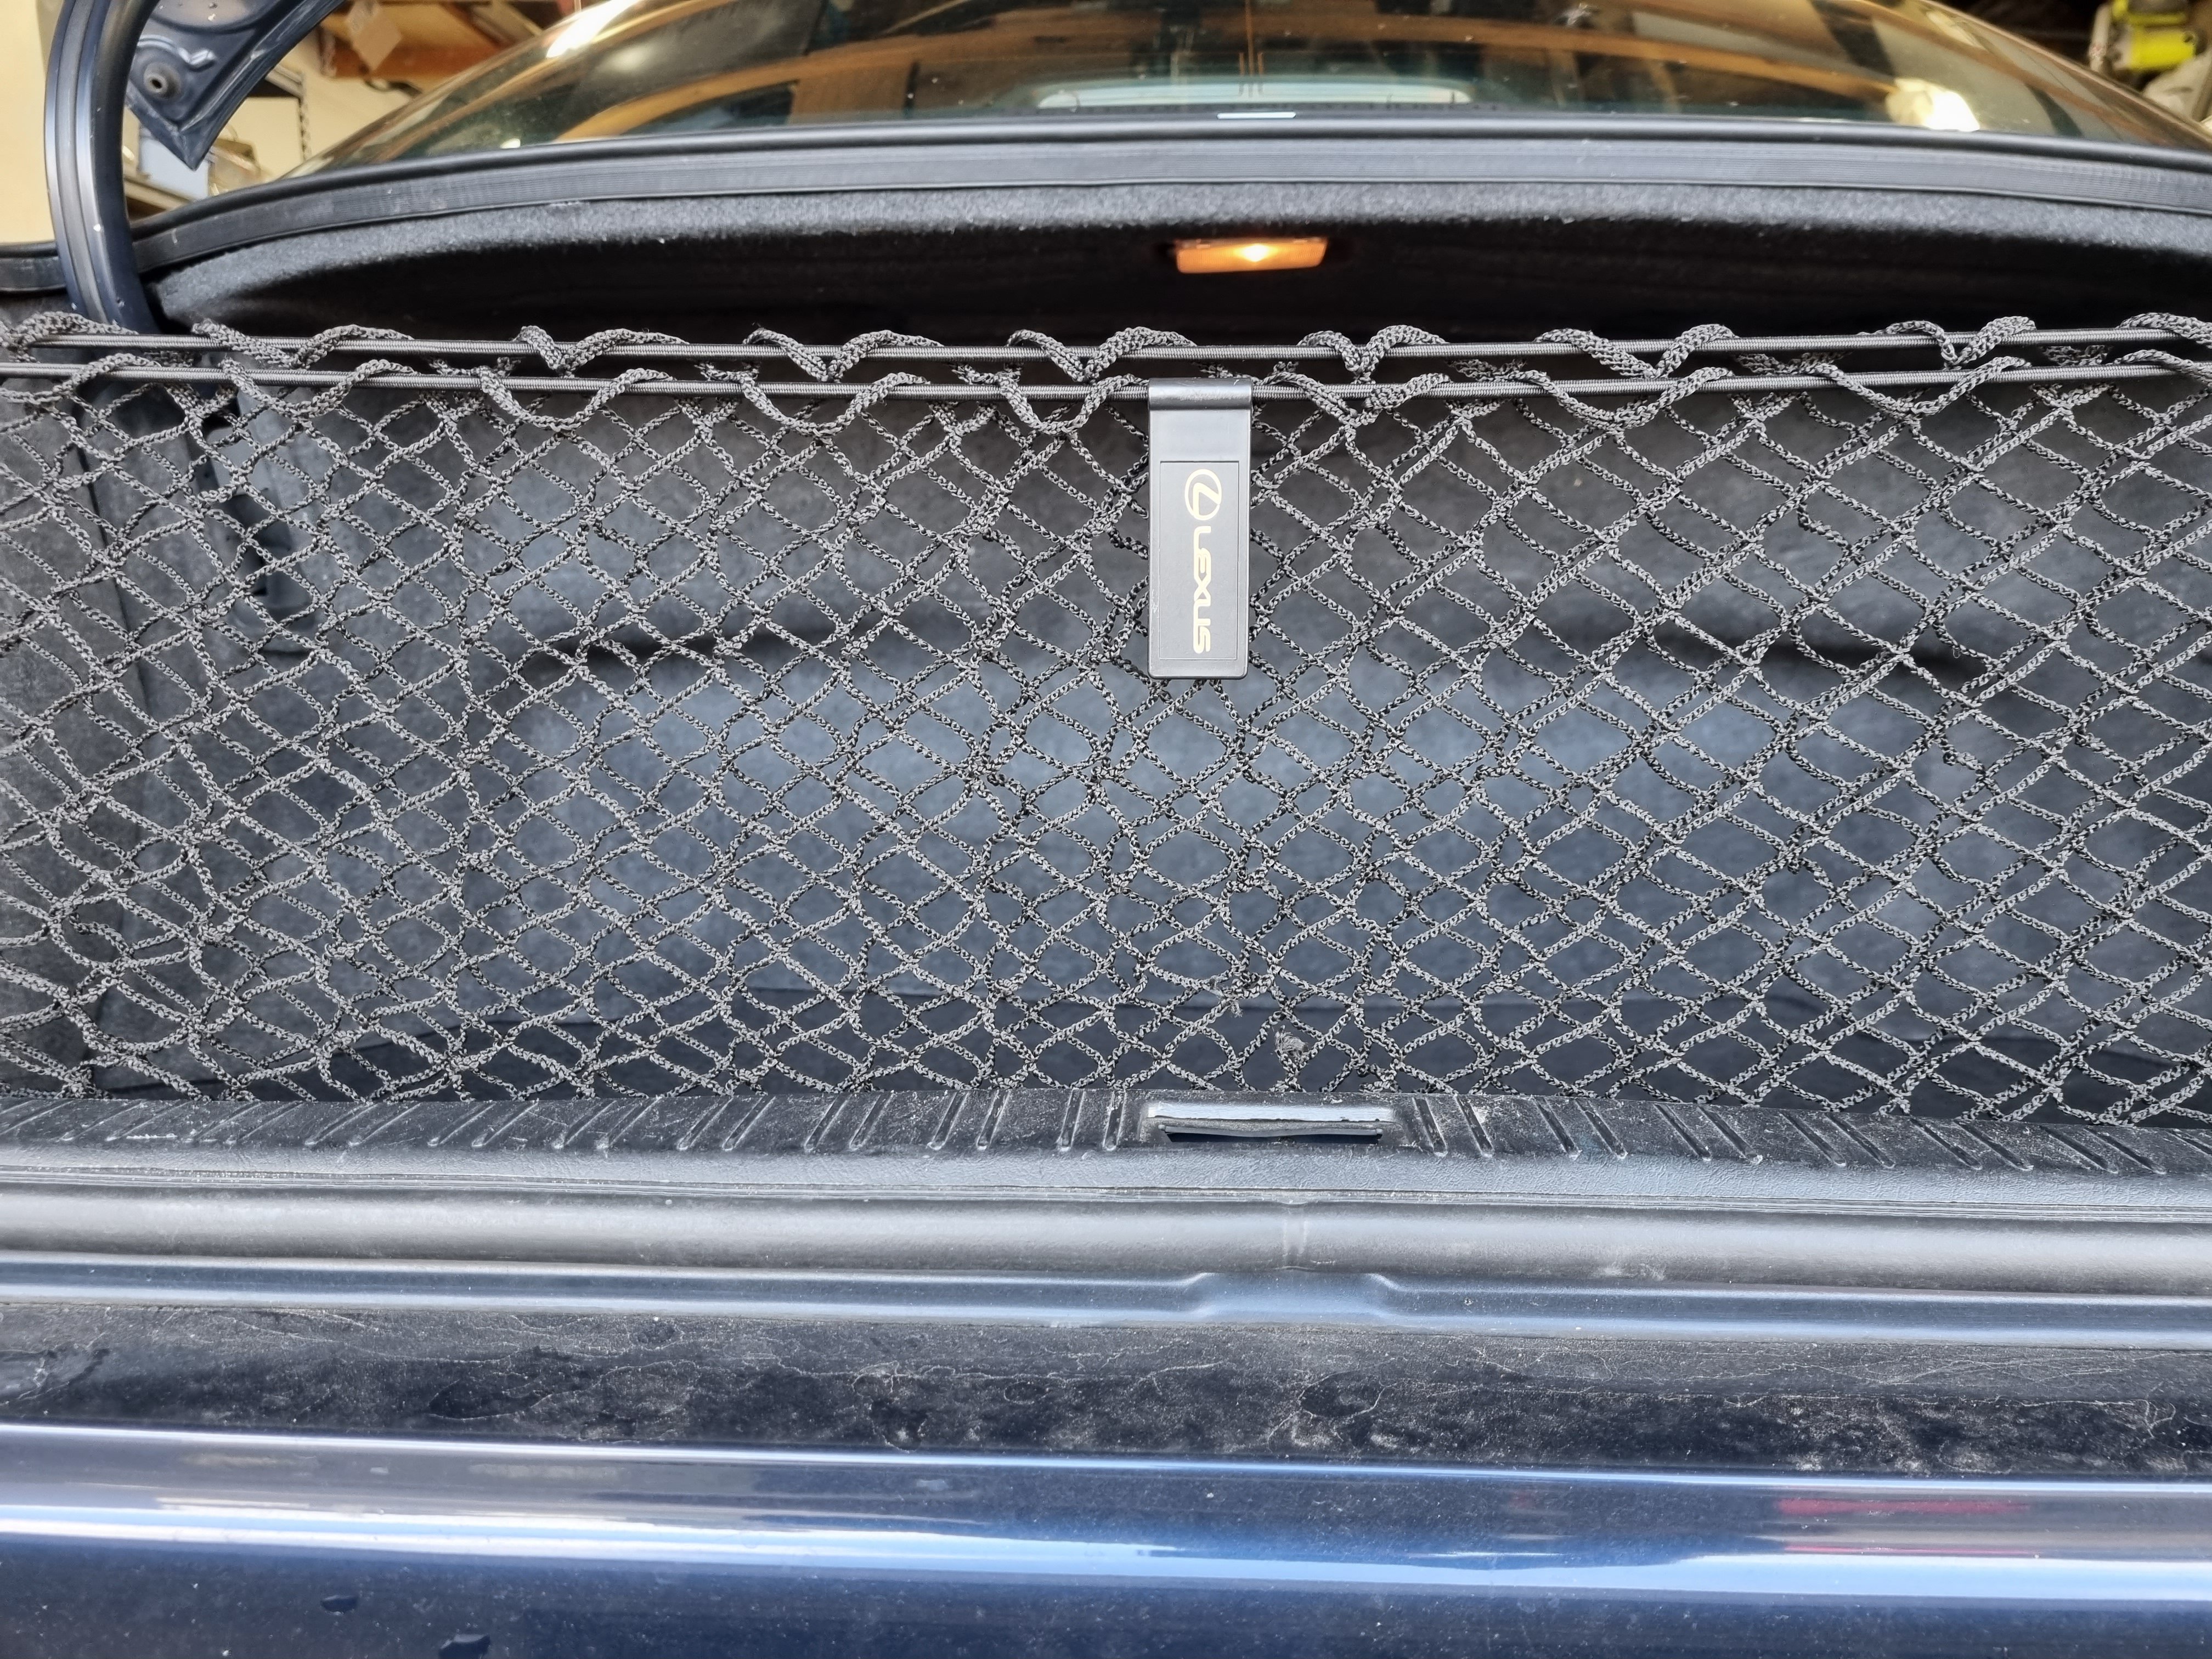
I had one of these a few years ago and it ruled. It was the wife's daily so I never did anything to it except maintenance. Now I've bought another one that is going to be my daily. I've done over a hundred thousand Ks in each of my celicas and quite frankly, it's fucked them. So now imma daily this. NZ new 98 LS400. Has the vvti engine. No sunroof, totally stock, fastidiously maintained 140 000ks. Dark blue with black interior. Every factory accessory is still there including the factory gloves, factory leather conditioner, luggage net and factory first aid kit. Plan is low, wheels, exhaust and an apexi neo fuel computer.
- 58 replies
-
- 36
-
-
-
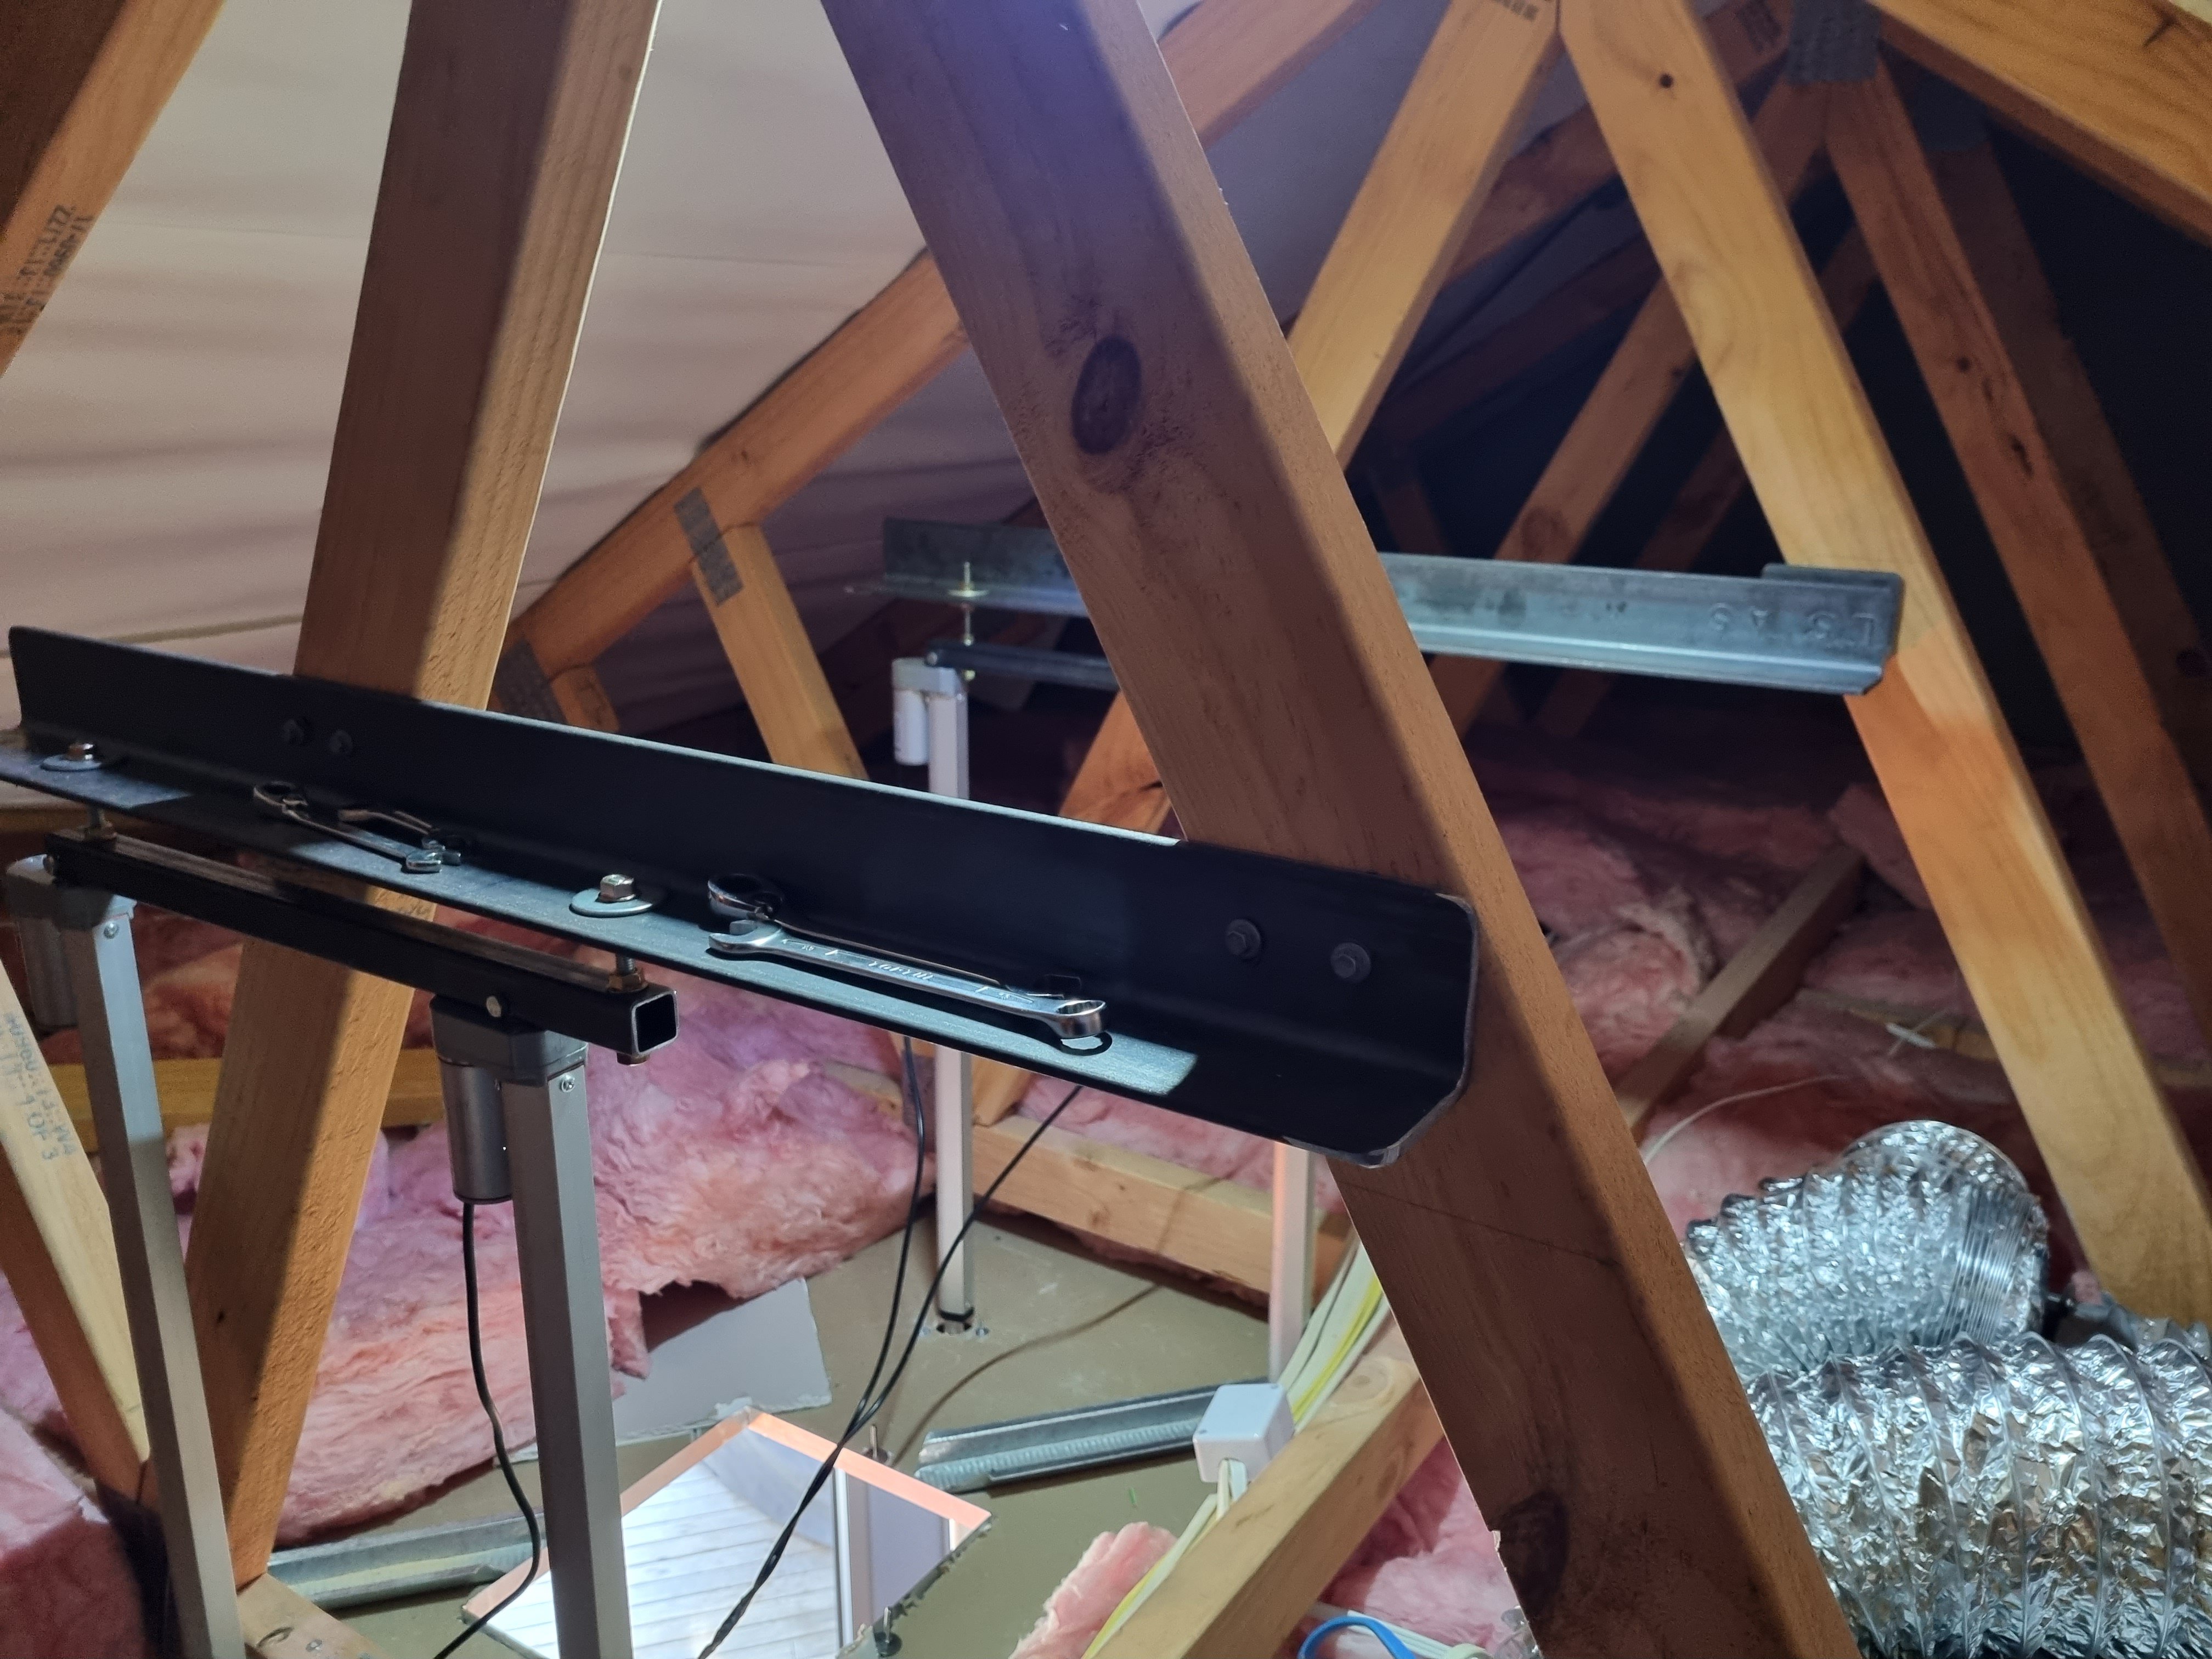
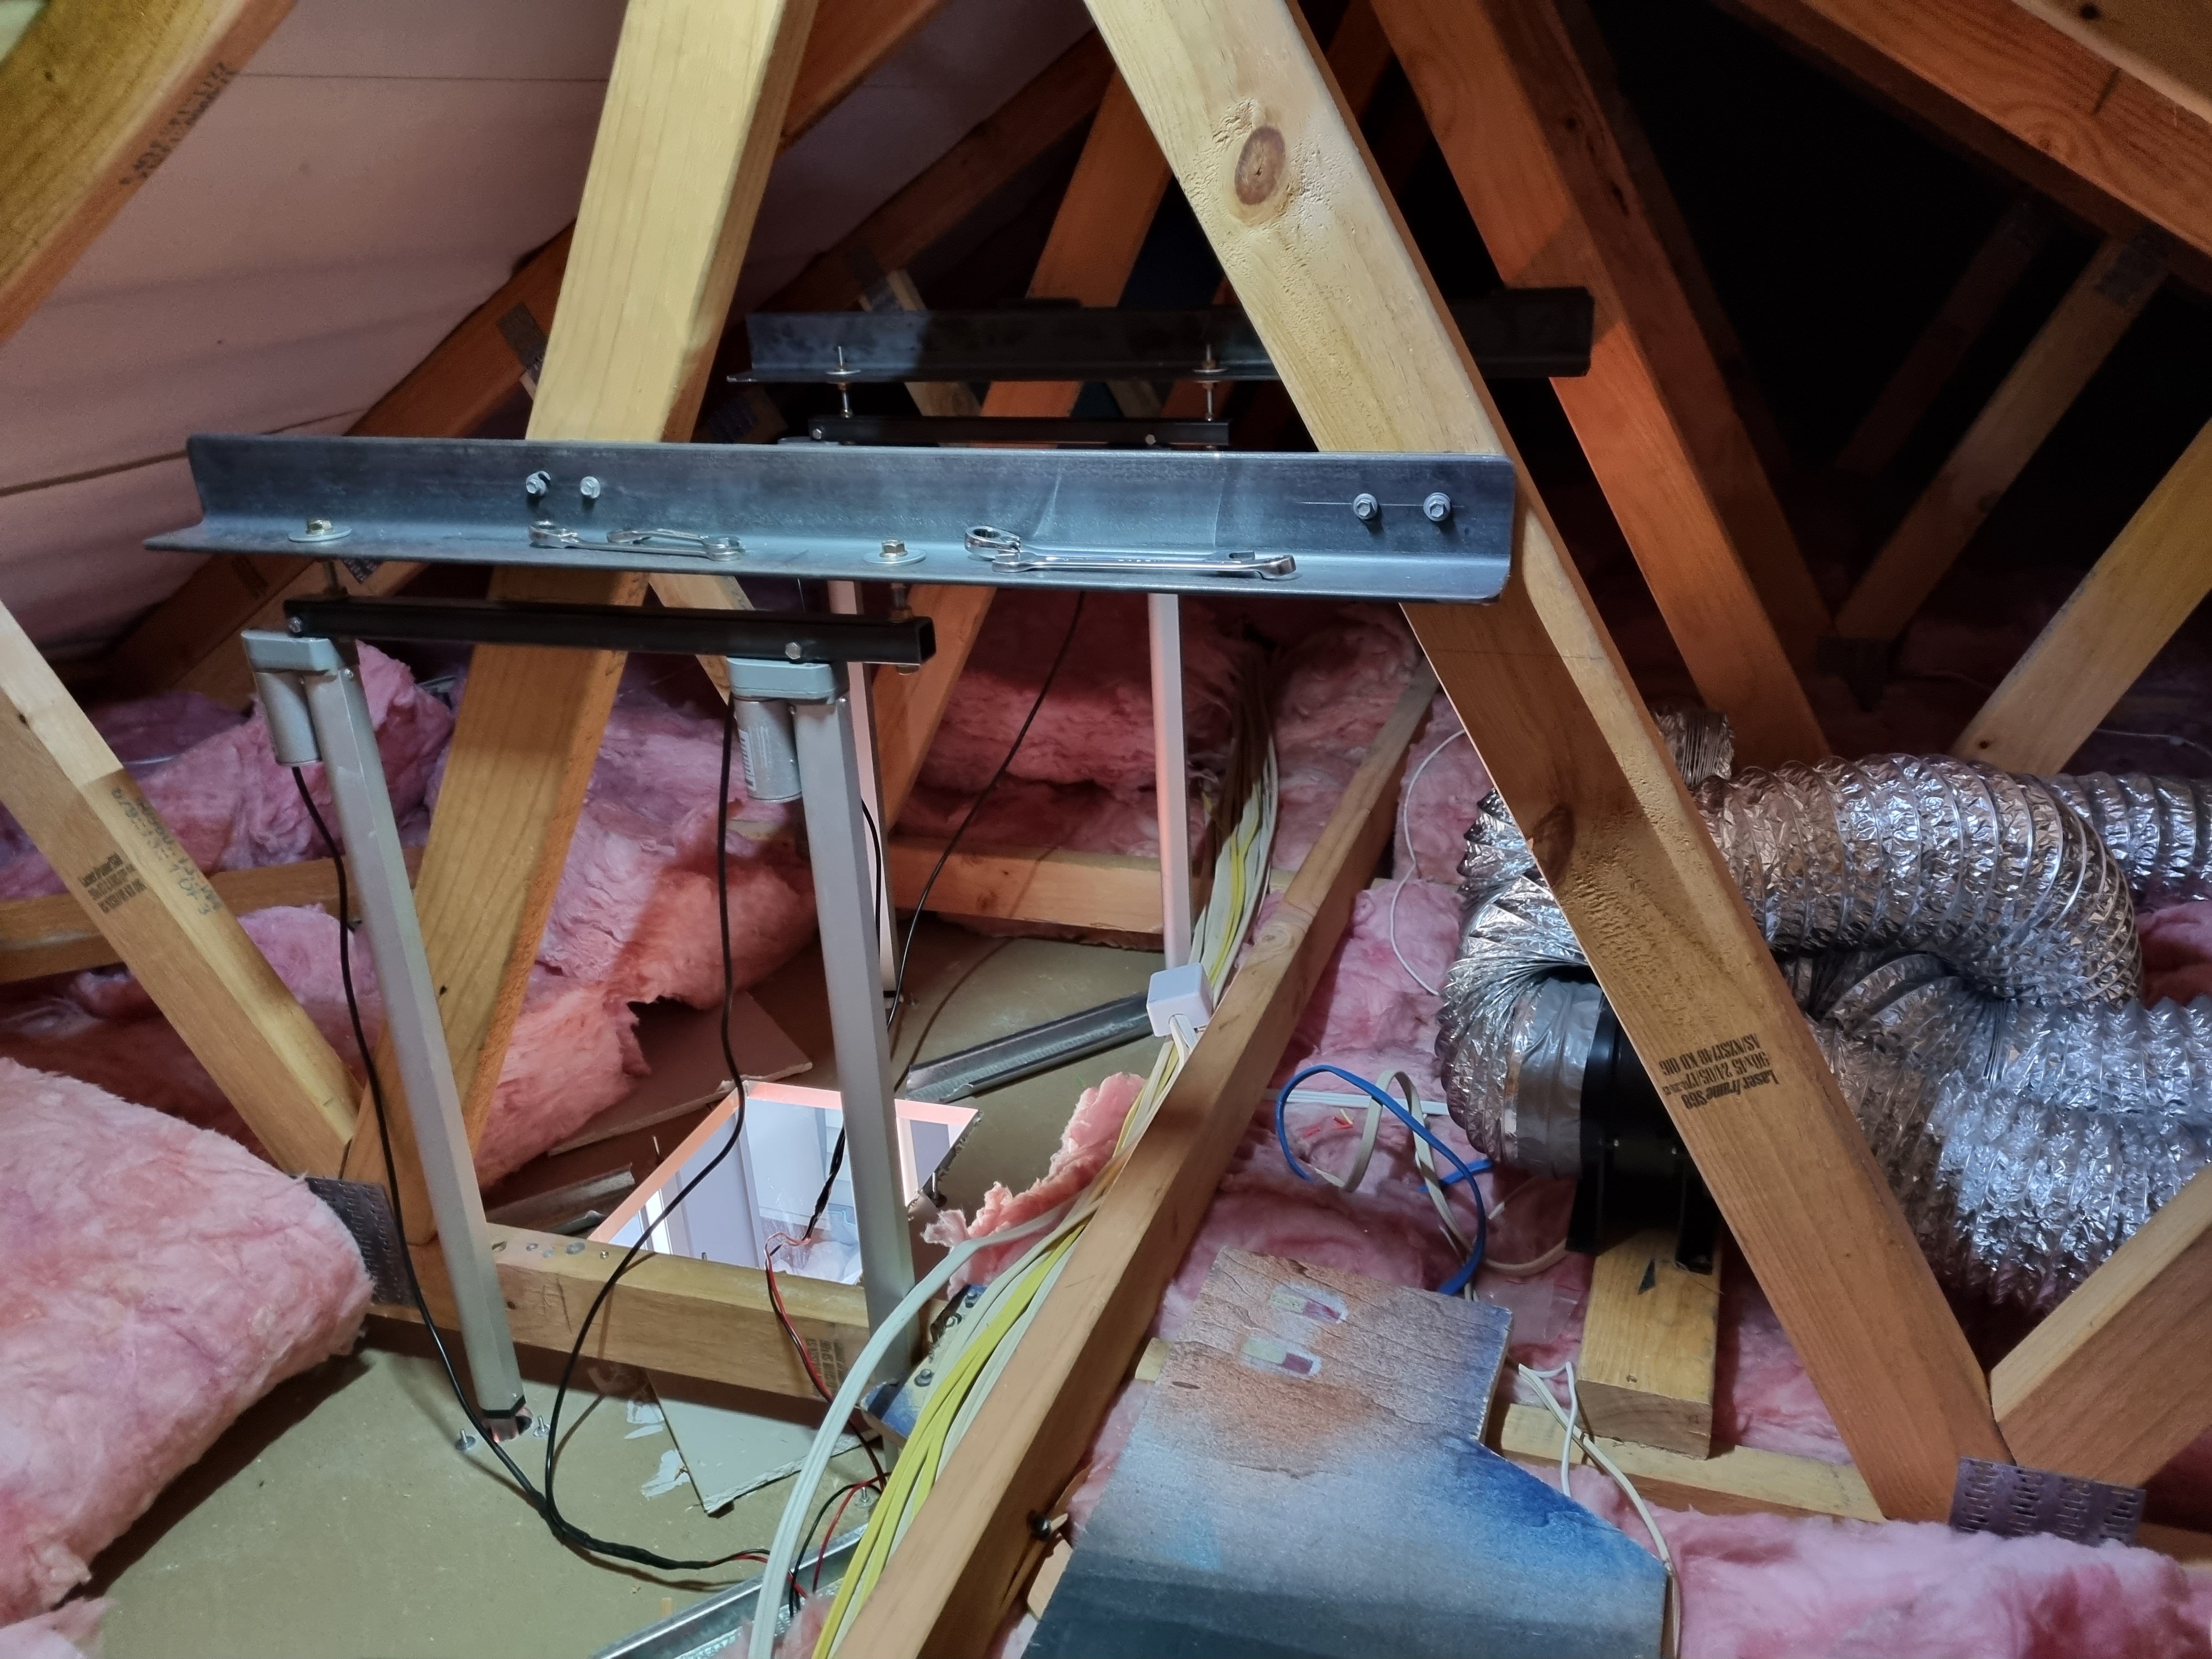
Just recently I made a new range hood for the kitchen. I made it by using the guts out of a stock range hood and I made the rest. Basically the bit with the lights in it and the filters are "off the shelf" the rest I made. There are 3 150mm fans in the roof which connect to the top of the square but via flexible hoses . The linear actuators are 24 volt. I had to make a bunch of frames to mount it all in the roof. Getting to where is mounted was not easy......
- 462 replies
-
- 26
-
-
-
only 40?
-
Ive been continuing to pick away at the 7M motor. @Roman dave made me some prototype pistons to try out some things. with my big cams and increased lift there is still a million rooms between the valves and the pistons. im never going to keep this a non interference engine if im aiming for 11 to 1 so i might as well re-think the whole piston dome situation. all those years building stupid two stroke engines might just pay off after all........ upshot is that i can run bigger valves without any clearance issues - only thing limiting this really is the 5M head's fondness for cracking between the valves and the spark plug hole. the other thing ive done is to sort out the cambelt/front pulley drive on the front of the crank. 5Ms have a stepped crank at the front and the cam pulley has a larger internal diameter than the crank pulley, 7Ms do not, the 7M crank pulley is larger internal bore than the 5M. so i machined the front of the crank and cut a new keyway in the crank so i can run the 5M pulleys on the 7M crank. i did spend 2 hours machining the crank only to find that it was bent and the middle journal was running out by half a millimeter. i had a spare crank so i just used that in the end. 2022-04-10_04-22-50 by sheepers, on Flickr 2022-04-10_04-23-10 by sheepers, on Flickr 2022-04-10_04-22-58 by sheepers, on Flickr 2022-04-10_04-22-44 by sheepers, on Flickr 2022-04-10_04-22-30 by sheepers, on Flickr 2022-04-10_04-22-37 by sheepers, on Flickr 2022-04-10_04-22-22 by sheepers, on Flickr 2022-04-10_04-22-14 by sheepers, on Flickr
-
fuck i LOLed
-
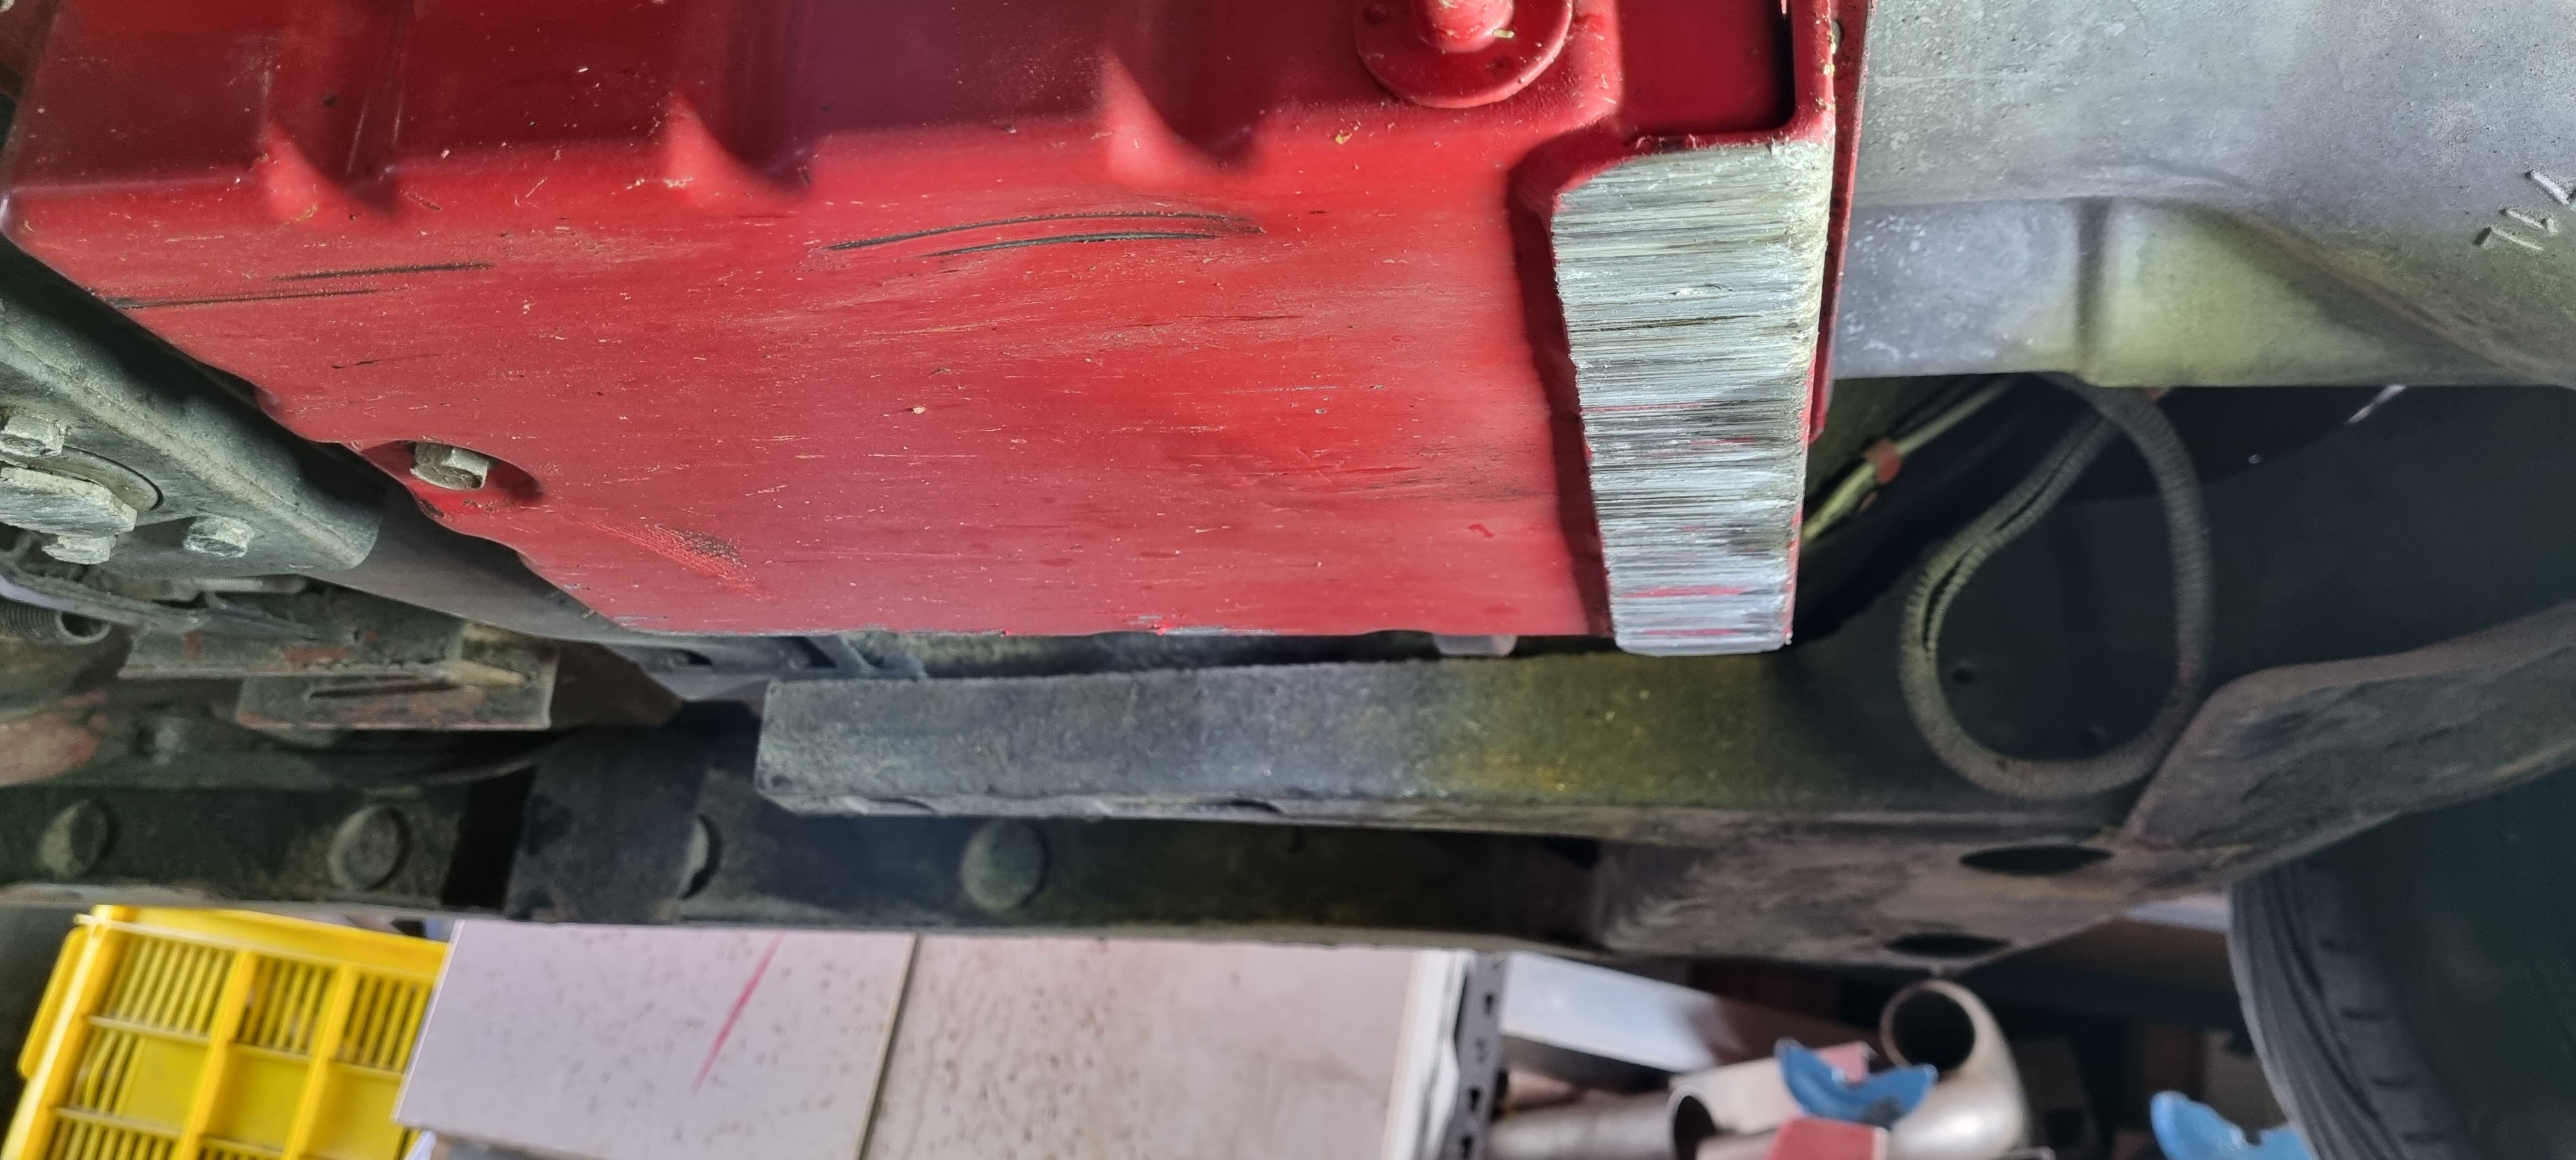
well then, now we're home again. total of 3750 Ks at 7.5 liters per hundy. never missed a beat. i fucking thrashed the shit out of the poor old thing too, like i revved the fucking balls off this thing and its fucking loving it. no rocker tick, no chain rattle, nothing, hasn't use a single drop of oil either. the only thing that happened is that the exhaust got smashed against the ground and its now touching part of the chassis so it makes a little rumble noise every now and again but it only does it when its cold. also im fucking glad i welded that piece of angle iron to the front of the trans sump because that fucker took some big hits. bit of exhaust muntage like i say but the big smashing was all gearbox. its hard to tell from the photo but this thing is bent up good.
-
Bonus footage
-
Waiting in line to get on the ferry back to the good island then keep heading north.
-
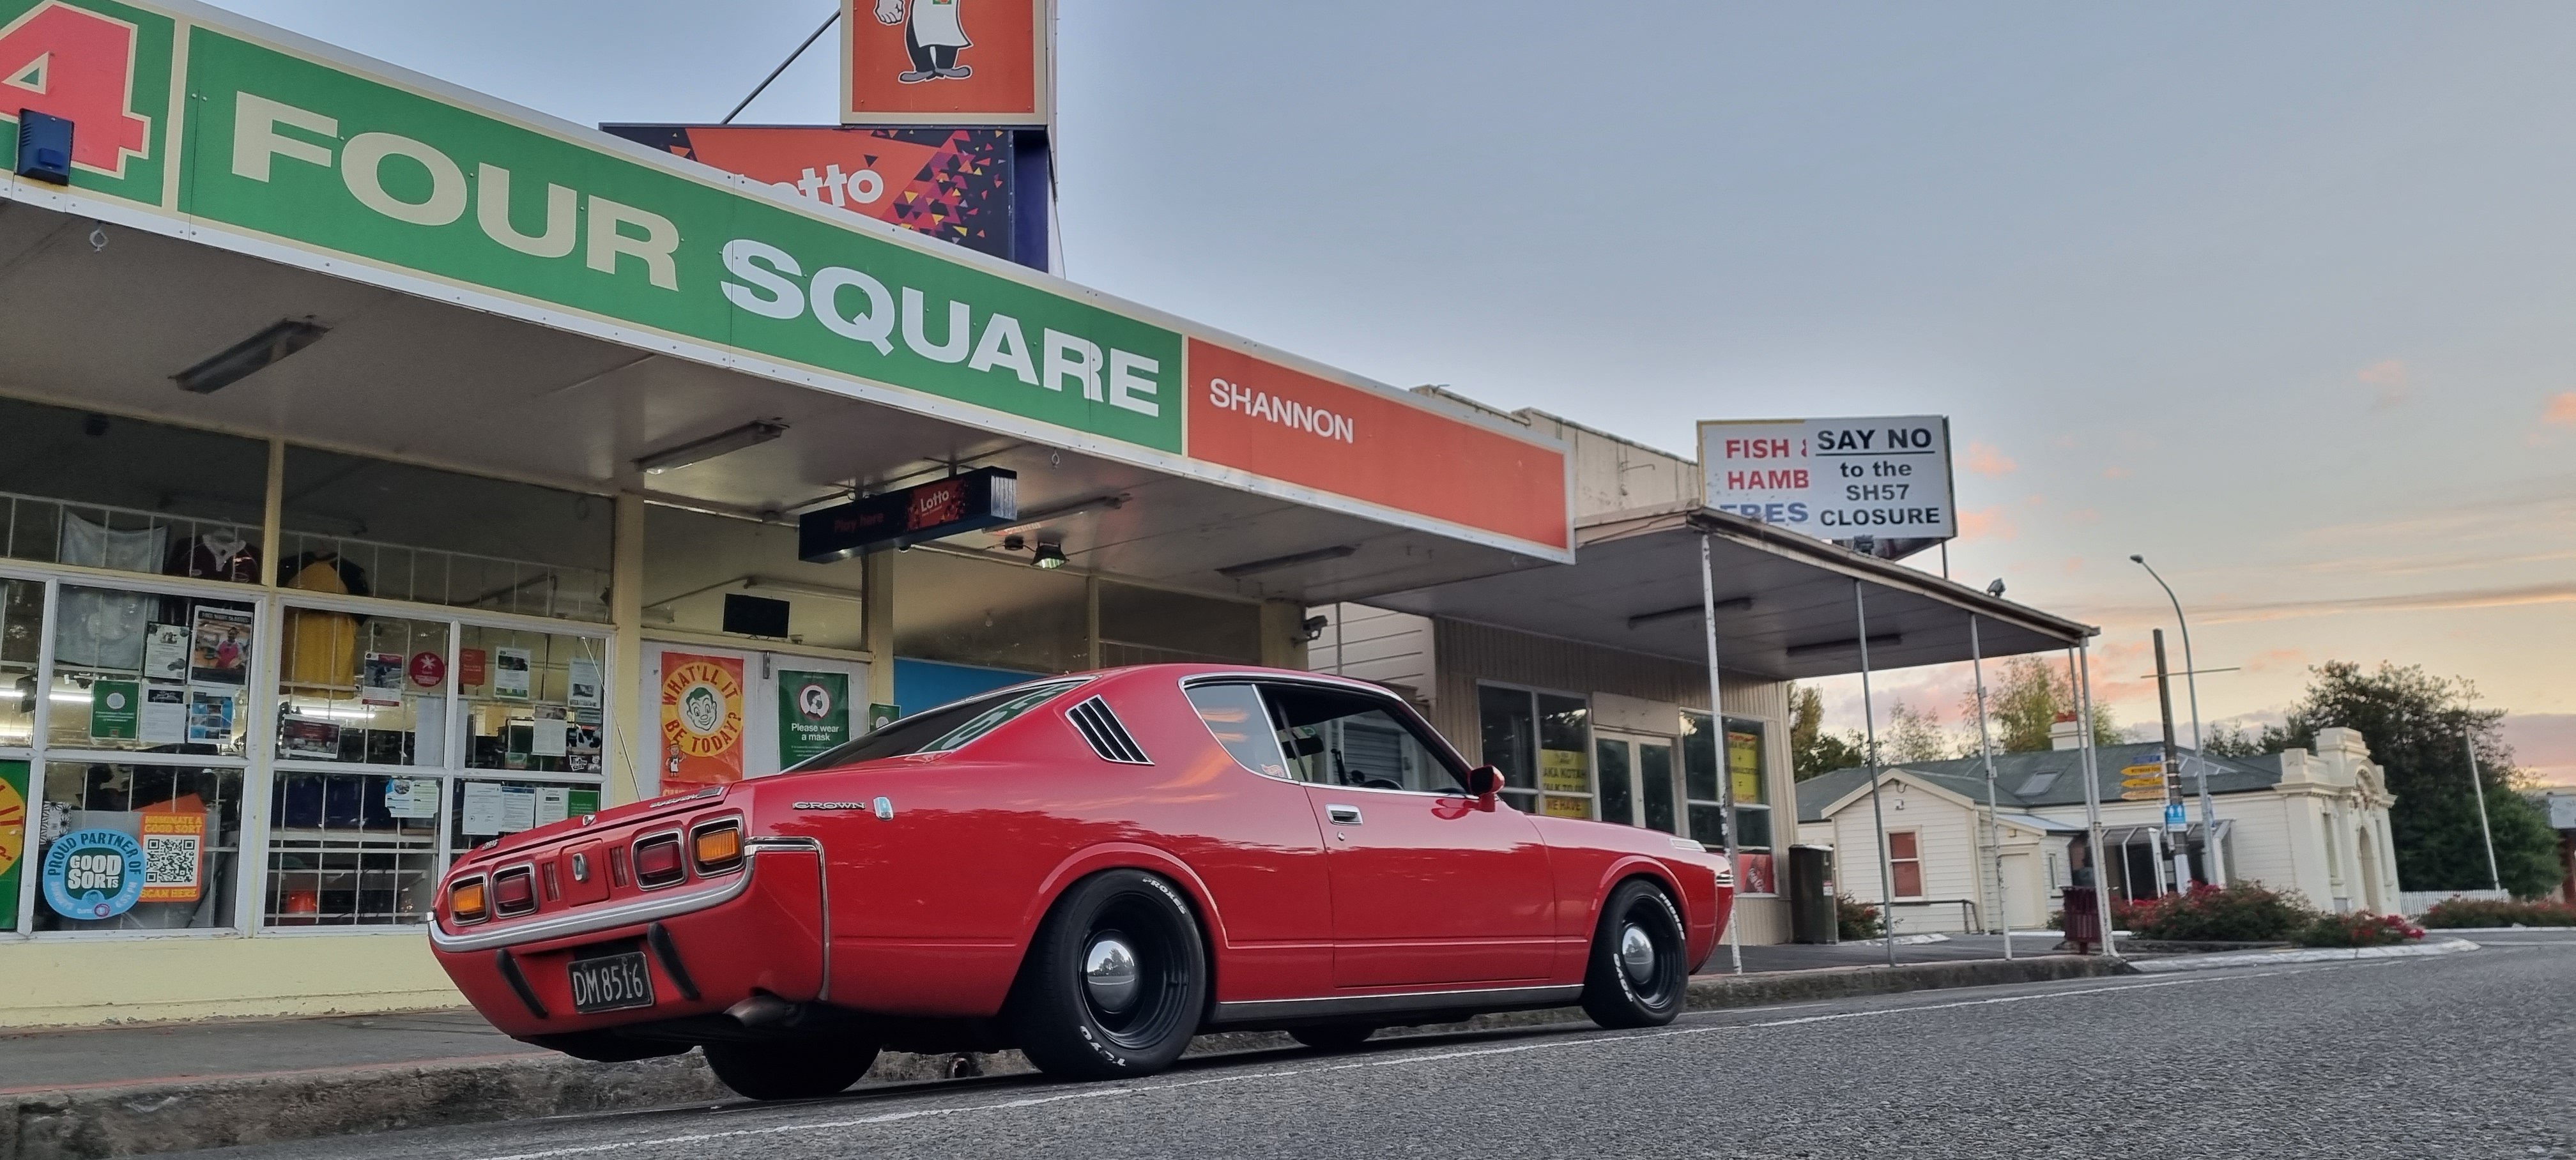
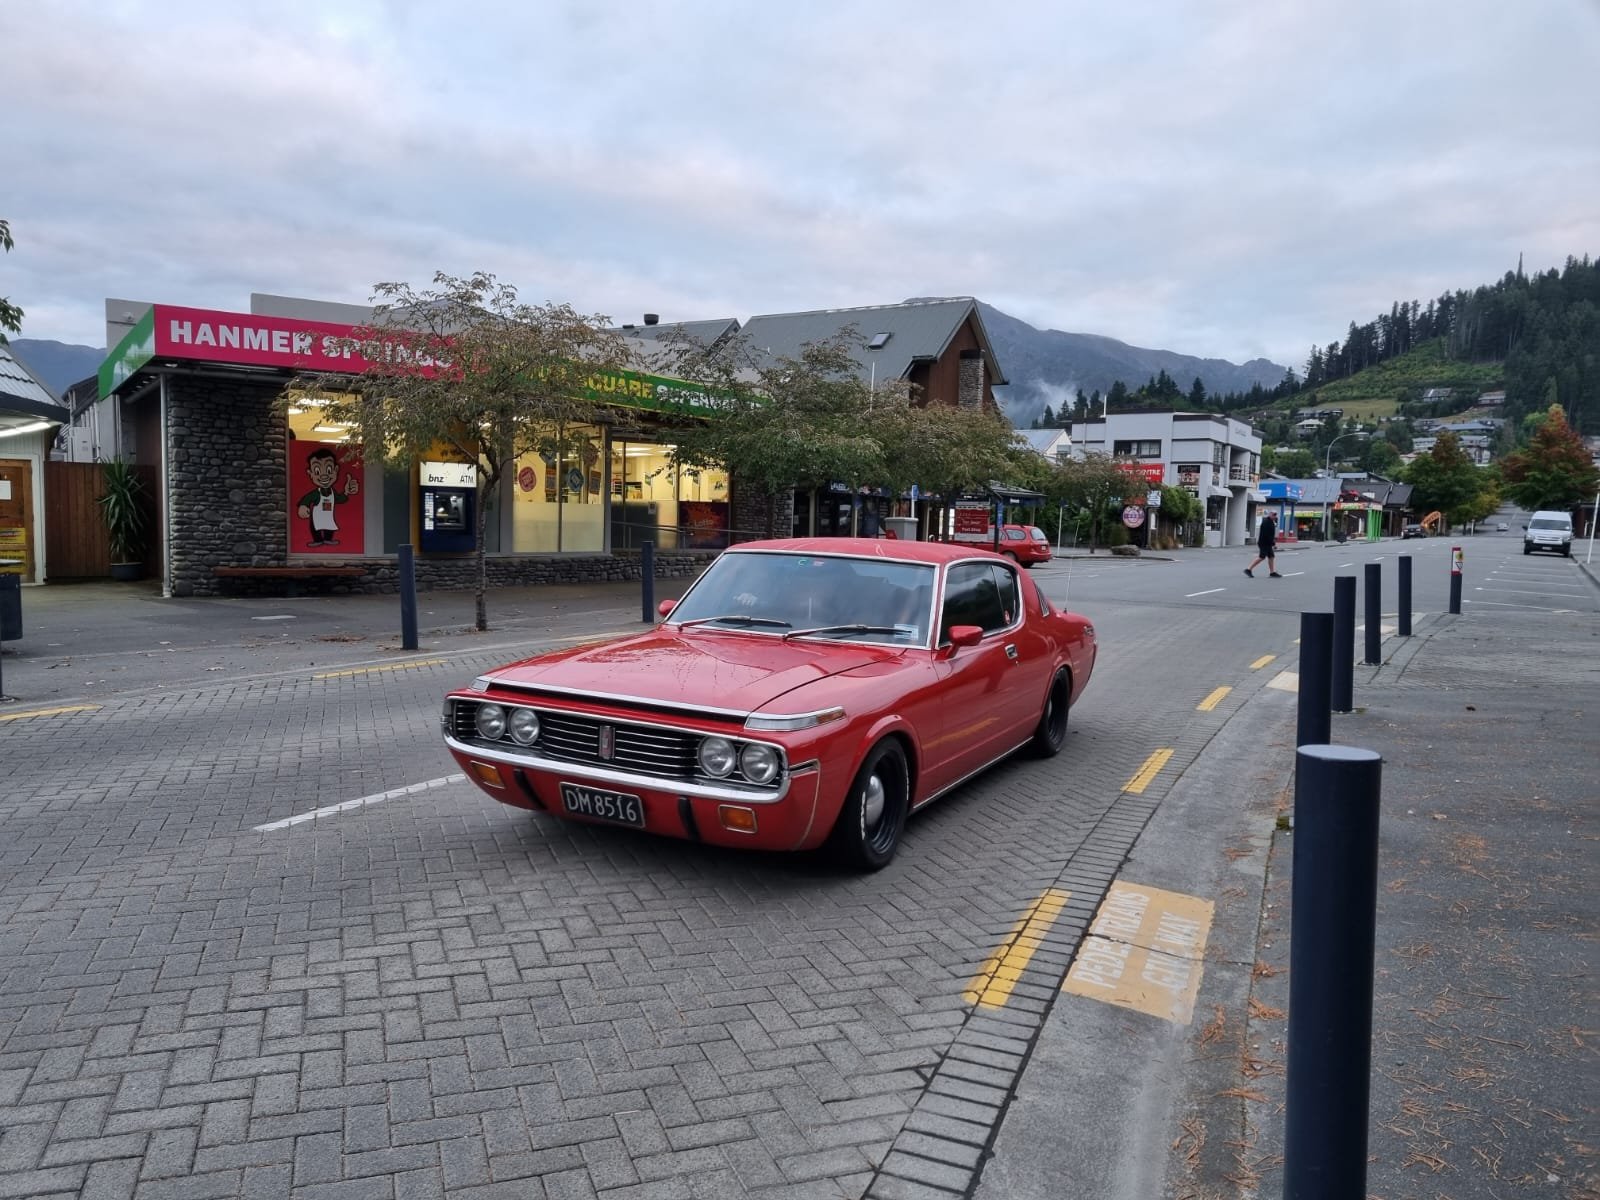
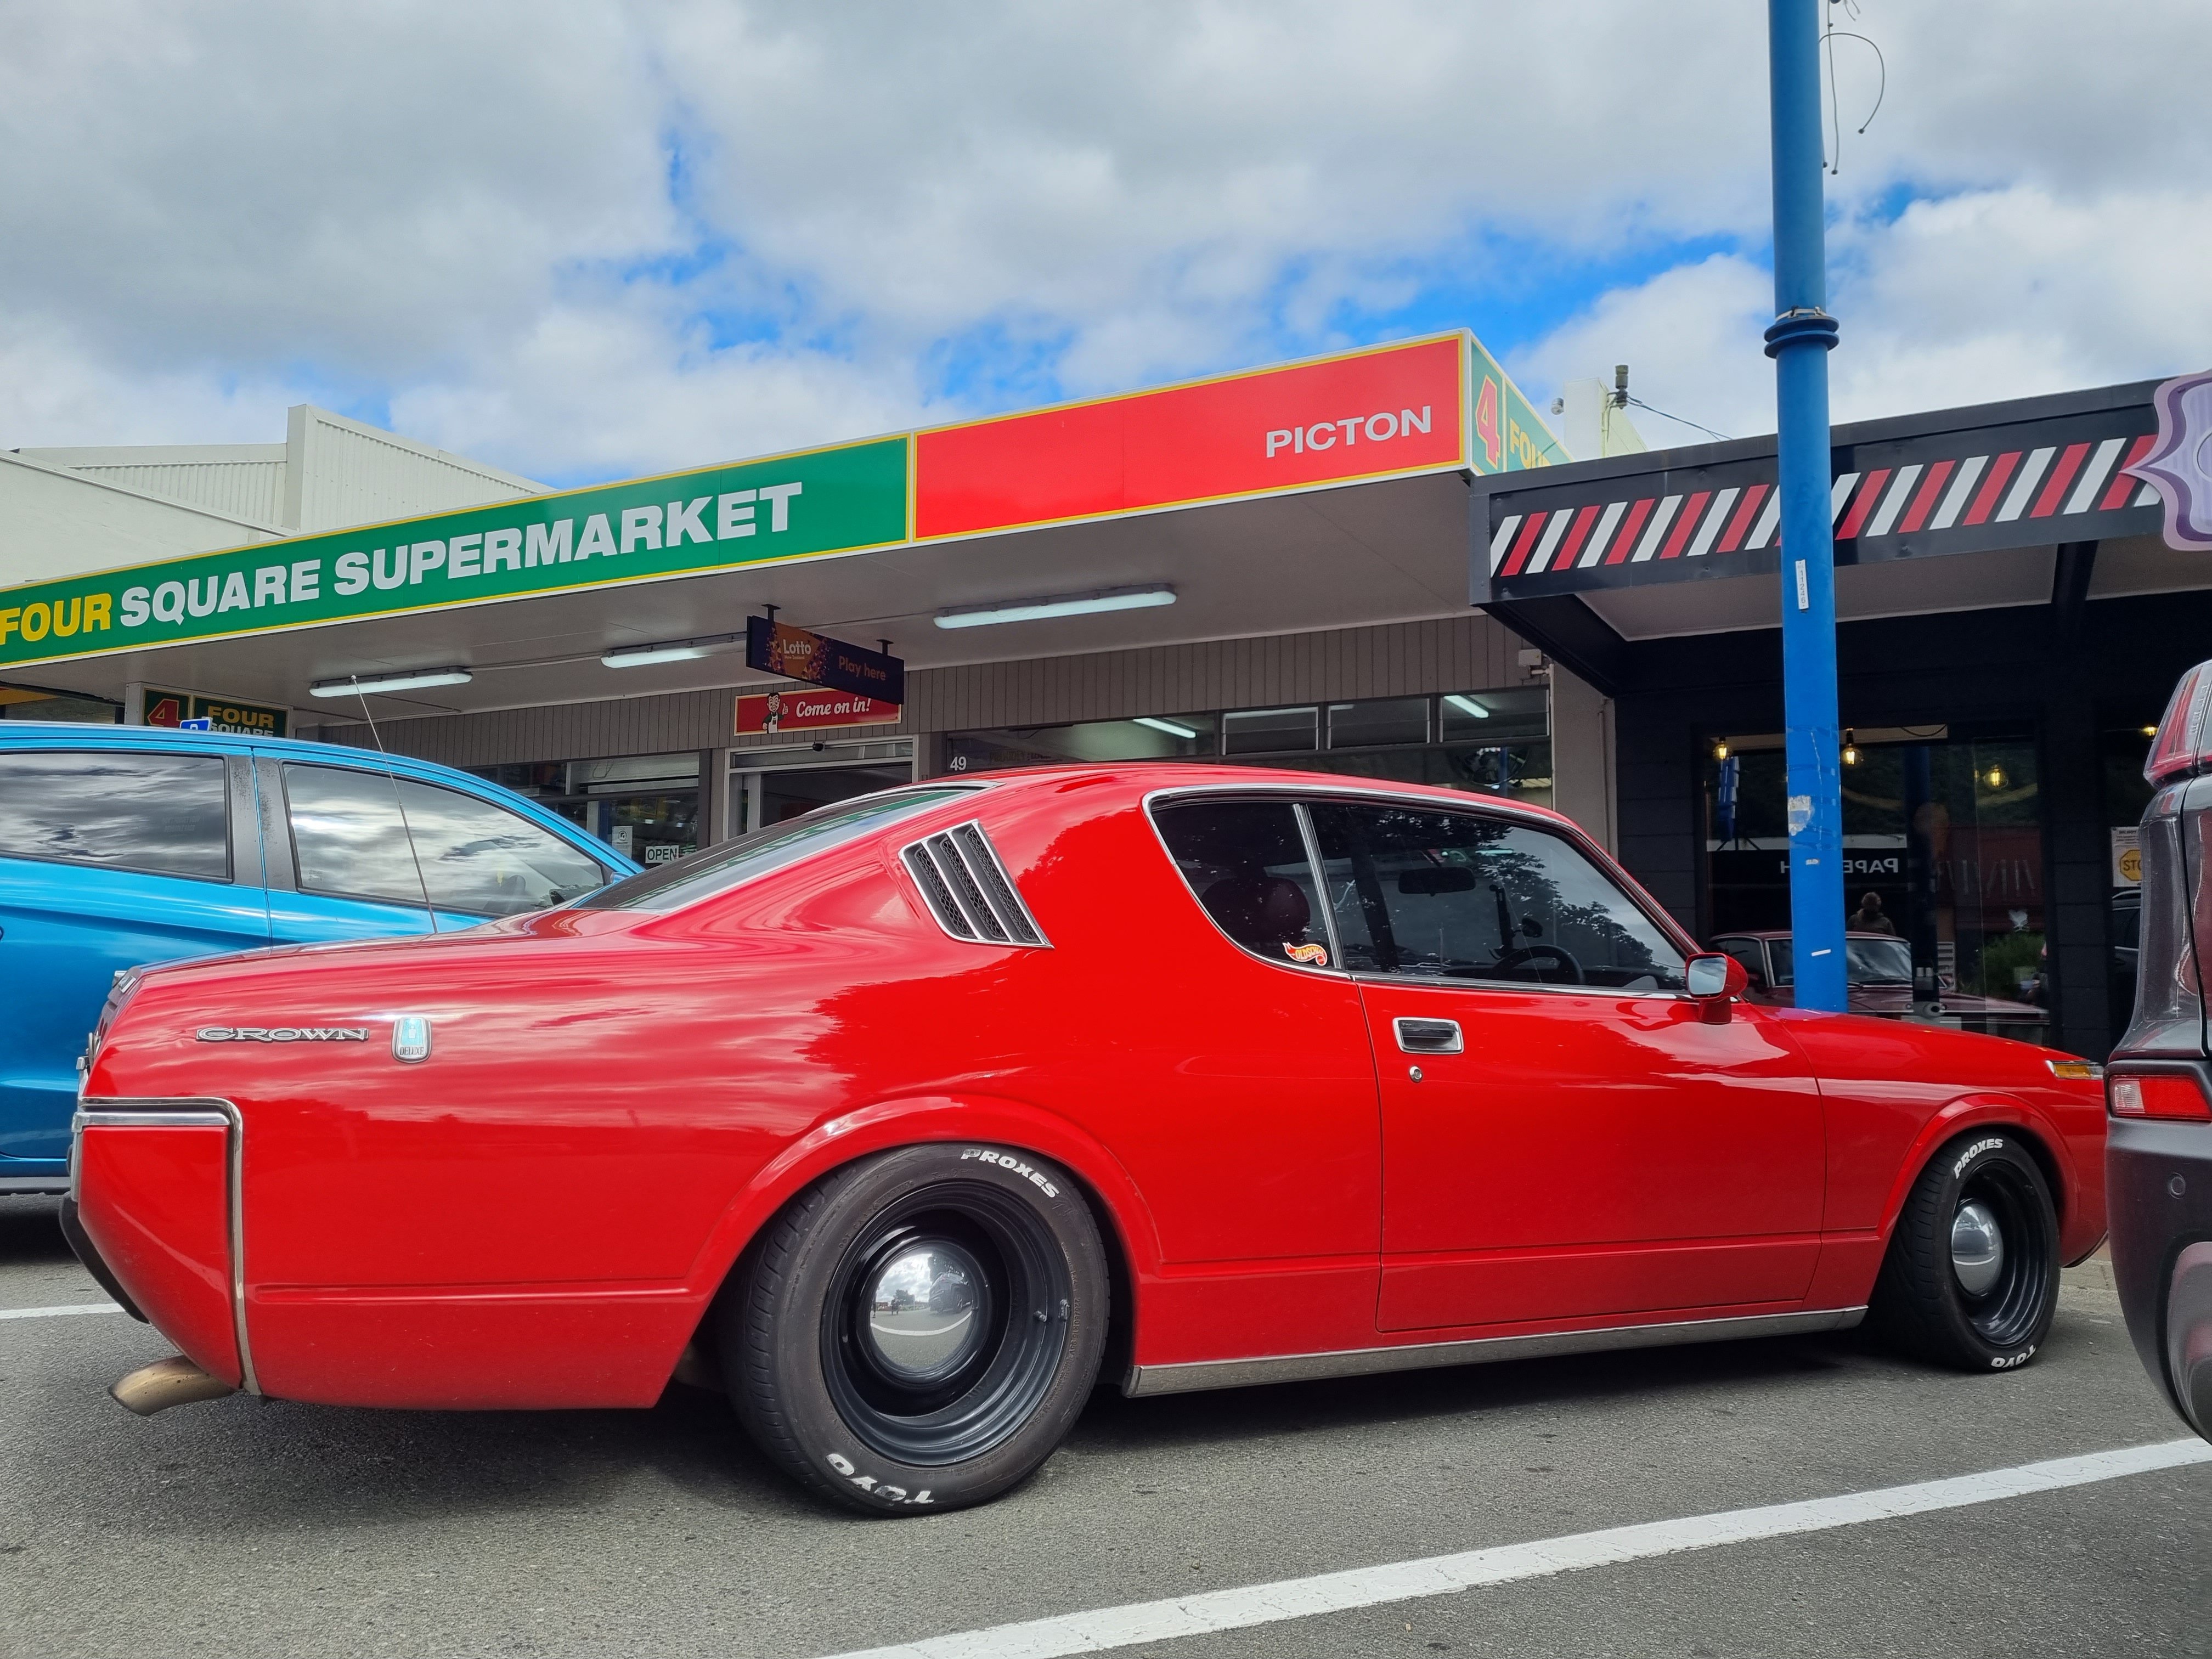
Bloody 4 Square has taken over the whole south island mayte, you can't drive 50 meters without going past one. They sell piss though
-