yoeddynz
-
Posts
19,520 -
Joined
-
Last visited
-
Days Won
159
Content Type
Forums
Downloads
Events
Gallery
Everything posted by yoeddynz
-

Discuss here about Yoeddynz's little Imp project...
yoeddynz replied to yoeddynz's topic in Project Discussion
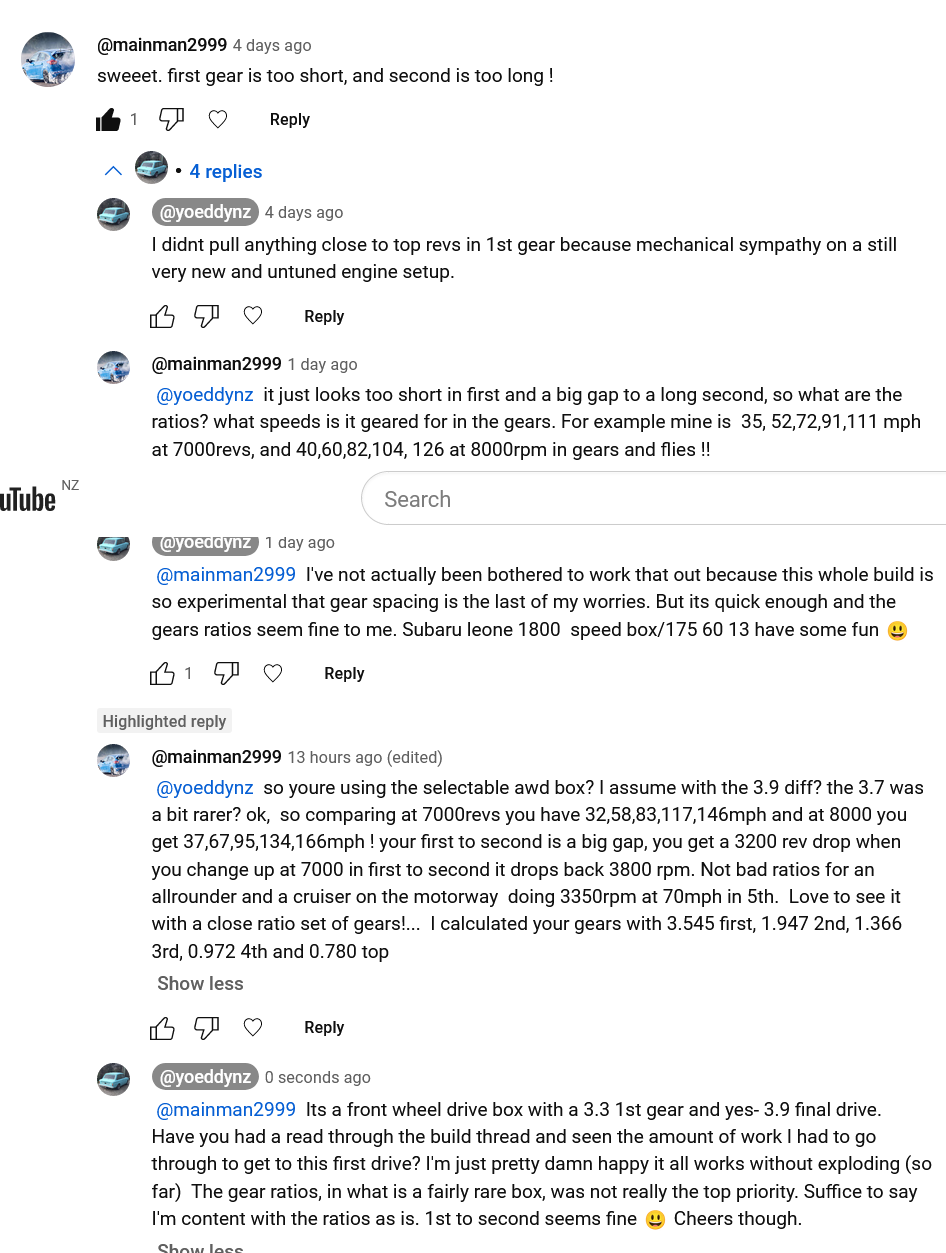
Gearbox Barry has also informed me of his opinions...
-
Discuss here about Yoeddynz's little Imp project...
yoeddynz replied to yoeddynz's topic in Project Discussion
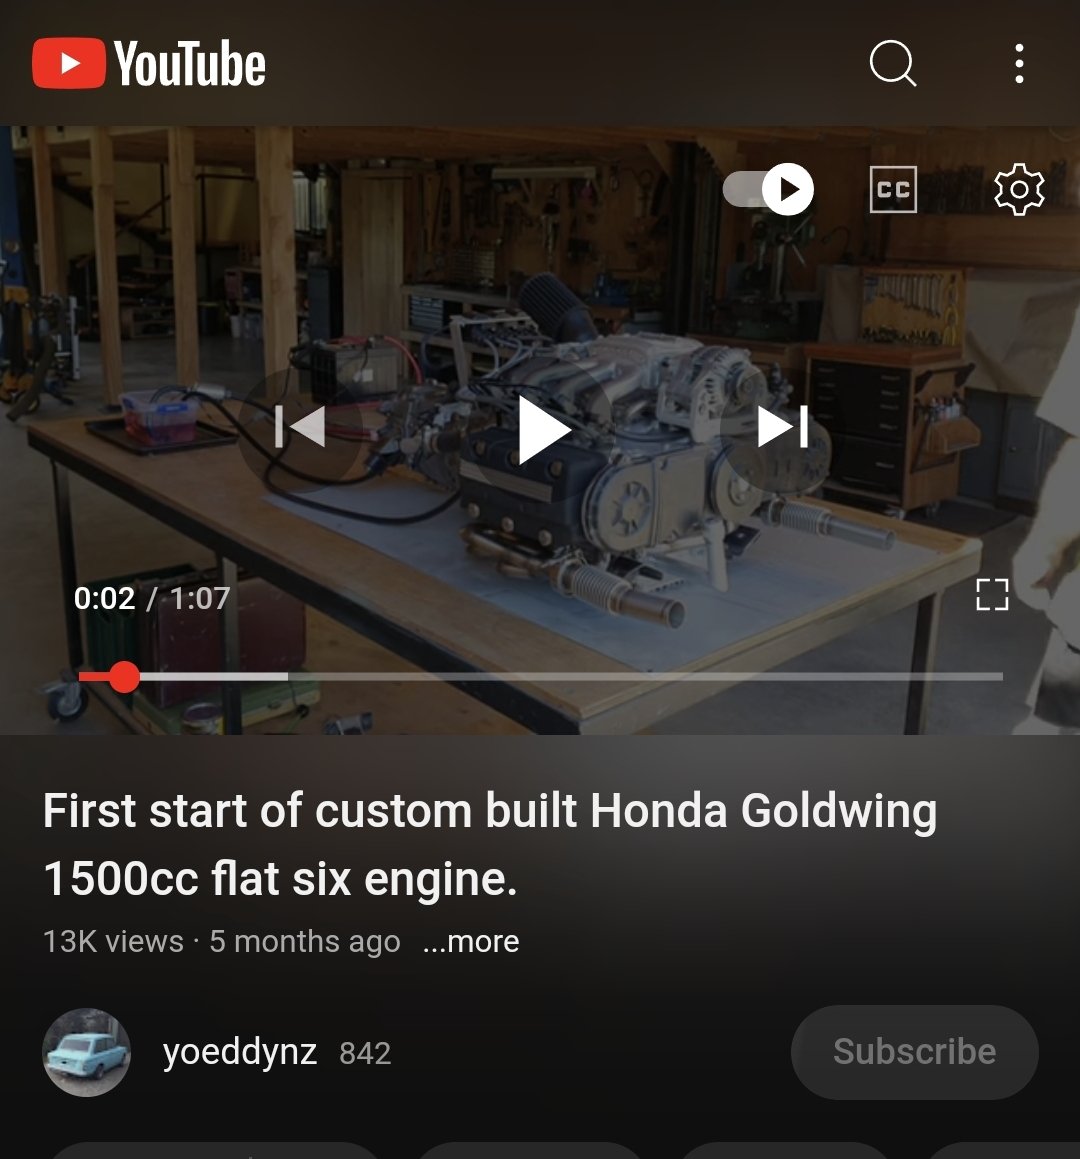
@NickJ Golden!!! I was just about to post and spotted your post first. Check out this. It's yet another really useful happy helpful comment on you tube...
-
Ditto that man ^ Your workmanship has come on in leaps and bounds and is properly good quality work. Wow! Plus- if you'd bought the repair parts then we'd not get to watch you create stuff which is far more interesting for us.
-
That young fella and his dad (neat cars, terrible video) are well into their imps. But neither of them developed it. The young fella, Dom Smith, has just really taken to the conversion early on, set up a facebook page for the conversion and helps others with info etc. Clark Dawson is the fella who constructed the first setup and went on to develop the adaptor parts with the help of a cnc shop (I think the parts are now made by another cnc place because the first one wasn't sorting their shit out)
-
Blowing my tiny little trumpet here.. I was the one who came up with the idea, investigated it further, had a friend with a k100 bike and bought a haynes manual etc etc. Posted it up on imp forum and then moved back to NZ. Fella in scotland continued on with the idea and he was the one who made the first conversions. The current kit is a neat bit of work. Adaptor plate and new revised uprated front half of the imp transaxle all machined from one huge lump of alloy. Great conversion for imps.
-
Have a look at the BMW k1200 4 cylinder bike engines. They have a separate gearbox and are easy to adapt. Strong reliable compact engines The 16v model has 120-130bhp stock?
-
Discuss here about Yoeddynz's little Imp project...
yoeddynz replied to yoeddynz's topic in Project Discussion
Amazing!!! I'm looking forward to our visit one day and we can view them. -
Discuss here about Yoeddynz's little Imp project...
yoeddynz replied to yoeddynz's topic in Project Discussion
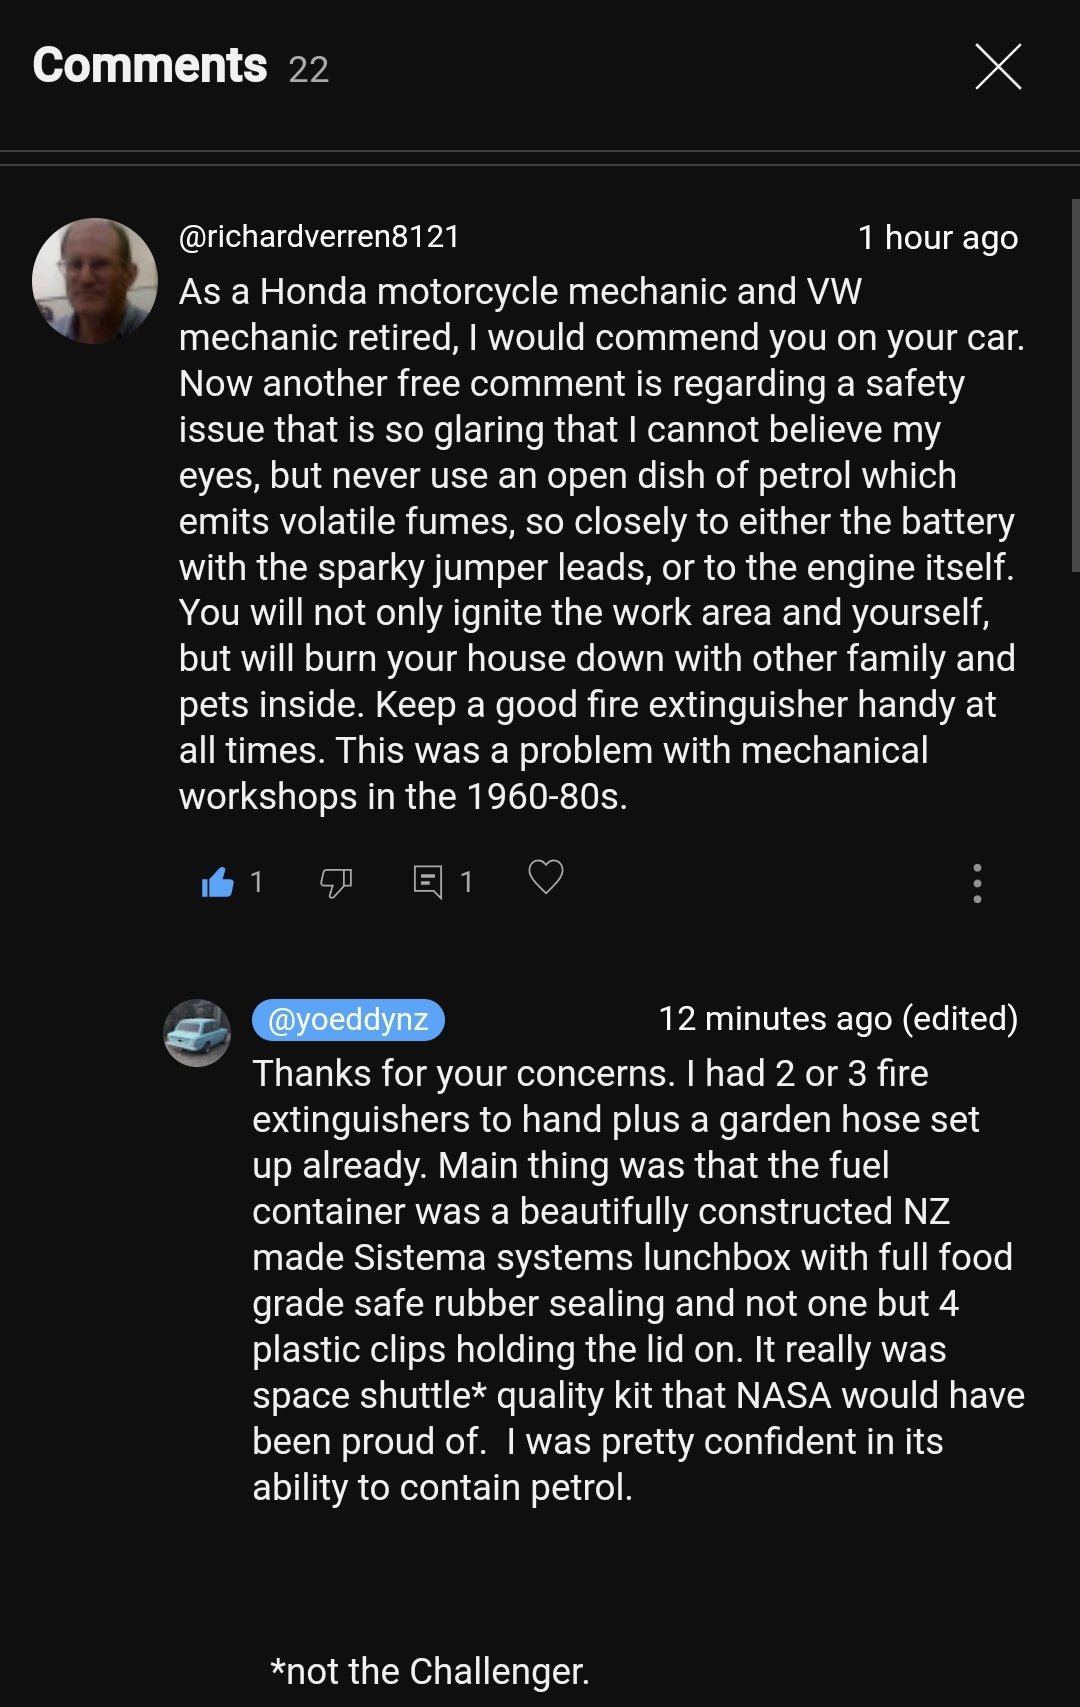
Did you make sure your other family and pets were inside the house for full effects, ready to be burnt down along with yourself when you ignited it? -
Gold. This whole thread. But Baarts bit especially.
-
Discuss here about Yoeddynz's little Imp project...
yoeddynz replied to yoeddynz's topic in Project Discussion
Did you just find that image or ask Uncle Ai to create it for ya? -
Discuss here about Yoeddynz's little Imp project...
yoeddynz replied to yoeddynz's topic in Project Discussion
-
Discuss here about Yoeddynz's little Imp project...
yoeddynz replied to yoeddynz's topic in Project Discussion
Yeah eh! First time i drove this imp after restoring it onto the road I forgot that imps run different pressures front/rear and put 30 or 32 psi in all round, just as I did in the viva. Fuck it was horrid. Skittery and the front wheels were so harsh on bumps. Let the fronts down to 20psi and a bit out of the back and it was a world of difference. -
Discuss here about Yoeddynz's little Imp project...
yoeddynz replied to yoeddynz's topic in Project Discussion
The switch on the top seems to let the tiniest amount of mist through. Well, at least it was damp/mucky after the last drive. Would be cool if I could somehow integrate a valve into the switch so when it's pushed down it releases the pressure. But I do like the idea of winding the Barries up even more too... -
Discuss here about Yoeddynz's little Imp project...
yoeddynz replied to yoeddynz's topic in Project Discussion
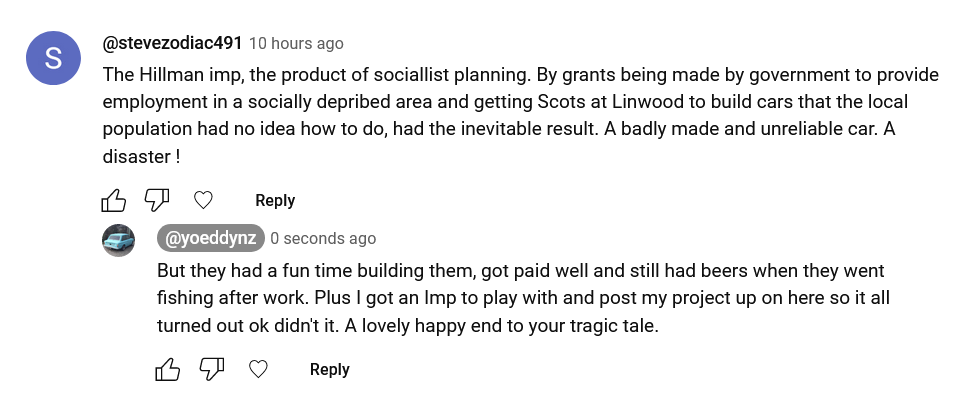
....and harping on about how they fixed it with bags of cement. -
-
@Flash I can't remember more if I managed to refit the plastic insulator / heat shield. I'll find out because it's due back for other work.
-
Discuss here about Yoeddynz's little Imp project...
yoeddynz replied to yoeddynz's topic in Project Discussion
"brake on the straight before its too late"
-
Discuss here about Yoeddynz's little Imp project...
yoeddynz replied to yoeddynz's topic in Project Discussion
Share away. That smiley face is on something. -
Discuss here about Yoeddynz's little Imp project...
yoeddynz replied to yoeddynz's topic in Project Discussion
I'll admit that I spun my 1990 SC aw11 often and one time it spun round 3 times before being stopped from going down a bank by a chain across a two posts. I also locked the front brakes up in the centre of blenheim, skidding forwards into the back of a mates Prelude. The spin outs were all caused by a few factors and not really the cars fault. My lack of skill and the short space of time between having talent and then running out of talent was most likely the main reason. Also fact that it was my second ever car and my first car was a triumph 2500. I'd drive one to the next and they were completely different cars to drive. I found the mr2 so sketchy to drive really fast on tight narrow roads that my mate would often keep up in his lesser powered levin. Fuck I did some stupid things in that car and look back wondering how I managed not to kill myself. But it was fun. -
Discuss here about Yoeddynz's little Imp project...
yoeddynz replied to yoeddynz's topic in Project Discussion
Fuck- I've lost count of the amount of imp barries lending me their sage advice on how to improve the handling of a rear engined car by filling the boot with bags of concrete or bricks etc. I'm going to locate and borrow some corner weight scales locally and see what the ratio is out of interest but fuck - I bet no one ever suggests same advice on beetle or 911 posts? -
Yep - the fella I fitted that carb to is having very similar issues, much like he'd been having with the original toyota carb which it replaced. I think the above suggestions for a electric pump plus a vent to pull the heat from the bay would be a great start.
-
Discuss here about Yoeddynz's little Imp project...
yoeddynz replied to yoeddynz's topic in Project Discussion
Pm sent -
Discuss here about Yoeddynz's little Imp project...
yoeddynz replied to yoeddynz's topic in Project Discussion
I'm not sure who Hannah has been speaking to but I think I'll have to have some words with her .... -
Discuss here about Yoeddynz's little Imp project...
yoeddynz replied to yoeddynz's topic in Project Discussion
Holyshit - seriously? You did that. Very cool and cheers!!!! I was trying to pick the badges because my car only has the hillman letters so far. Is this the badge you started with ?