yoeddynz
-
Posts
19,520 -
Joined
-
Last visited
-
Days Won
159
Content Type
Forums
Downloads
Events
Gallery
Everything posted by yoeddynz
-

Discuss here about Yoeddynz's little Imp project...
yoeddynz replied to yoeddynz's topic in Project Discussion
I seem to remember a thread about this subject yonks ago. Yep. It is probably one of those very tricky sort complex things to create for to the layman like me but a lammington eating rocket science level of electronics genius boffin would build in his smoko break.... -
Discuss here about Yoeddynz's little Imp project...
yoeddynz replied to yoeddynz's topic in Project Discussion
I have got io left but I was a very very silly boy and never thought to add any wires to the remaining spare pins on the db37 plugs (dear old megasquirt - db37.. chuckle..). The whole loom is wound up tight in several rolls of insulating tape and I really don't want to upset what works. Silly me. -
Discuss here about Yoeddynz's little Imp project...
yoeddynz replied to yoeddynz's topic in Project Discussion
I have actually made a little adaptor that screws onto the existing imp speedo cable to fit a spare toyota hall sensor so hopefully my new setup can run off that when I refit the datsun for wof time. However the imp speedo cable runs off the front wheel so it's spinning at wheel rpm. I have no idea yet what the actual speed is of the subaru output is. Most Japanese boxes spin at similar speeds from what I know. I'm hoping it'll be close to wheel rpm. If it's way out then I'll have to locate and fit a speedo corrector to alter the pulse frequency (Jaycar used to sell a kit years ago but I'm sure there's something cheap that could be built... @h4nd..... -
Discuss here about Yoeddynz's little Imp project...
yoeddynz replied to yoeddynz's topic in Project Discussion
I actually am !!! There is no hope. -
Discuss here about Yoeddynz's little Imp project...
yoeddynz replied to yoeddynz's topic in Project Discussion
Ahhh yes OK I see what you mean. It'll be fine. The original mitsi speedo read about 110~115 at 100 true. So only around 10% out. Some of that will be the seemingly typical over optimistic Japanese speedos? Once it's up and running again I'll see how the odo reads on a long trip compared to GPS (the original imp odometer is optimistic and I have to allow 5% in my calculations) -
Discuss here about Yoeddynz's little Imp project...
yoeddynz replied to yoeddynz's topic in Project Discussion
I could just leave it reading whatever it's at. No one will care on a classic. But normally on older speedo heads the number rollers can be clicked around to suit by using the rubber on the end of a pencil (remember those? ) More modern ones are shrouded in plastic leaving no room to get the rubber in. And we can ignore digital odos because they are the devils work and don't belong on classics Obviously from now on according to carjam etc my cars odo figures will increase faster because reading in kms instead of miles. I don't care. But I do keep a little book of records for economy and recording when things get swapped/oil changes/brake pads and other associated records that Barrys like to keep a note of so it'll be nice to set the new odo to match that. -
Yoeddynzs 1965 Hillman Imp. Dashing about with cowskin.
yoeddynz replied to yoeddynz's topic in Projects and Build Ups
As many on here will know Tasman district has had fair amount of rainy weather recently. Last weekend we had a big atmospheric river and got 320mm over 36 hours. Lots of local flooding and quite a few unlucky souls have lost quite a lot. For us it was just some of our driveway getting washed downhill and a few trees coming down so mustn't grumble. Anyway - it was a good excuse to stay indoors, crank the fireplace, music, espresso machine and tinker with the Imp. Ages ago I had picked up these Mitsubishi V6 pajaro instruments from the wreckers.. In previous posts I had stripped them down, chopped off all the excess bits not needed (trip meter etc) so they'd fit into some housings I machined out of thick walled alloy tube. I had found a Toyota speed sensor that I adapted to fit my Subaru transmission. Wired them up and checked it worked, which it did well but it was reading a good 10 ~ 15kph out. I then packed the lot away in a box and stashed it away. It was time to crack on and make something of them. First job was to work out an accurate speedo face to suit the setup. I cut a circle of paper, fit it in place and we went driving. Using a GPS speedo we marked out all the various speed points. Then I used a program online... https://www.blocklayer.com/gauge-templates ..however it didn't create what I wanted as most speedos have non linear markings, especially 0-20. I chatted to the fella who was running the website and he added some custom bins into the program to suit and it worked great. We printed off a new face that matched the hand drawn one and went for a drive to check it was good.. Then I spent some time having fun creating some gauge faces. I had a particular style in mind. My current design turned out pretty boring given how far one could go with the variety of fonts, colours, images, text but I wanted a 60s/70s look to suit the car and dash layout I have in mind. Fun thing is I can change it easily now I have a saved accurate template * Used the big printer we have that barely gets used. Cut them out to suit. Machined up some tiny wad punches to do the holes. Into the housings. The backside. Later on I'll need to add some led lights to shine through the white font.I'll also re-set the odometer to match the current reading even though it'll be in km from now on. The needles will then go back in place once I have finished all this. I removed the original Imp dash pads and instrument cluster. Its a heavy bit of kit. Comical wiring layout too. Sat in the car and eyed up how I'd like the gauges to sit. The idea is to build a pod that will work with the original MK1 Imp dash pads which I really do like the style of. I had part sheet of 1.2mm alloy which I cut, bent, rolled, twisted and tweaked to shape, welding all the bits together doing my very best to try not to create holes. Not the easiest thickness alloy to tig weld but managed ok. I also welded up a bolt on pod that sits below to take the original Imp indicator stalks. Checked it was ok. Covered the outside in medium density foam.. Bought some more cow that local canvas place still had a stash of.. Very carefully cut and glued it in place. Painted the other alloy parts in etch primer then satin black. Added some tiny warning lamps. Most important gauge, the oil pressure gauge, resides in the middle.. Really happy with the finish. There's a couple of blemishes (tiny knife nick) but overall considering the awkwardness of this build I'm stoked. And bolted in place. I can adjust the angles of the gauges quite easily too but its currently good for both of us. Ties in really nicely with the dash pads.. Next job is to sort out the wiring. I'd already made it far more user friendly compared to stock by having added several multi plugs. I'm going to re-do it though and use some smaller wire where I can along with Deutsch plugs. There will be a new dash face below the dash pads that will house 3 gauges, some rocker switches and a Triumph eyeball vent at each end. * Edit - here's an example..- 121 replies
-
- 50
-

-

-

-
And flat motors can benefit too as I have found out I figure its always going to be dependent on many other parts of the puzzle but if I was to muck about with another Mazda v6 I'd be doing two twins all the way to the back with an x pipe included into the sysytem. My Viva v6 merged just after the gearbox into a single all the way back and I now feel that cost it a lot of the nice V6 sound it could have had. Certainly muffled it down @Roman is there room for you to run two pipes back?
-
Or one of these but change the badge ever so slightly...

-
Iwanttobeamole's Mates Mk1 Cortina - 4AGZE - Forgotten Princess.
yoeddynz replied to anglia4's topic in Project Discussion
Bookmarked! I loved my little 4agze aw11 back in the 90s so looking forward to seeing more on this. Also - that little blue thing with the engine in the correct place. Tell us more please. -
As a reminder of not what to do?
-
I've saved you a load of work with some of my thorough design knowledge and it's rather good.. ..and those silly outboards can fuck right off because my design includes a robust little EA flat four, inboard mounted.
-
Late reply sorry. I've tried all sorts of things as wondering if it was some how locked. It's got me stumped. Ideally need to find a complete total computer programming nerd local to me and challenge them.
-
Yoeddynzs 1965 Hillman Imp. Dashing about with cowskin.
yoeddynz replied to yoeddynz's topic in Projects and Build Ups
Very small update. So whilst I have been making exhausts to create certain noises I have also been chasing other noises I don't want. First off though is a pic of exhaust version 3.0 with added 0.1 extensions... Pointing out at roughly 45 degrees and extended further these have so far seemed to have really improved the fumage issue. I'll have to do more driving with the window down to confirm. I still want to spend some time doing more tuning as well, smooth out the map and get rid of the really rich spikes sometimes seen. So the other noises I mentioned? Well for roughly the last couple of months I have noticed that after startup whilst in warming up and the idle is high there's a funny whirring sound coming from somewhere in the engine. It was hard to tell where when the car was sat on the ground. I'd look underneath and try my best to pinpoint it but it's tricky with all of the general mechanical sounds bouncing off the ground. I was thinking the only thing it might be was the chain drives for the oil pump having bedded creating a bit of slack on the free side and somehow whirring. The release bearing was also occasionally making a tinkling sound, or possibly its actually the 3 bearings I had fitted in my 'thrust bearing 2000' assembly that resides between the back plate and the flywheel. Oh and the new exhaust has a tiny rattle on one side. Only noticeable if I smack the box up on that side (a quick lesson was learned not to do this when its searing hot) and I suspect its actually the tube the runs through the flexi joint just touching. Hopefully I can rectify it by adjusting the bobbin height on that side. But this whirring sound? It goes away somewhat when the idle drops as the engine warms up and I cant hear over the exhaust from then on. So this morning I started the car up, moved it from its garage and out into the sunshine. I let it warm up. Then moved it inside and onto the hoist. Once up in the air I started the car (using my go go gadget arms) and listened from underneath. Being fairly warm the sound was barely audible until I reached up with my arm to the throttle body and gave the engine a rev. Bingo- there it is! Its in the cambelt cover! Its a flappy whirr. A rubbing flappy whirr. I let the engine cool down, went for a pushbike ride and then this evening it was off with the cover, which luckily is super easy to remove once the alternator pulley is removed from the crank. Zoom in.. That bottom belt run on the left was a bit loose. Not terribly but certainly a bit more than the specified 5-7mm Honda advise. When the engine is cold its free to move that amount. I presume as it warms up it gets a touch tighter (boxxer engines 'grow' a little in width as they warm) The manual states that if the belts are too loose they can flap against the cover. Too tight and they whine. I could see where its been rubbing on the cover.. I have now tightened both belts just a smidge. Its a bit tricky to exactly measure 5-7mm but they seem about right. Cover back on and I'll test it tomorrow. (I'm not keen on filling the workshop up with warm up fumes tonight when our bedroom door is about in line with the roof of the Imp) Also to note. This morning was an especially cold 'late summer' start to the day of only 2 degrees. After I started the car later in the morning and moved it out (around 12 degrees then) I opened the engine bay lid for a look while it was warming up. I soon spotted one of the injector rail hose clips at the front was leaking. I promptly tightened it up and leak be gone. I can only presume the rubber hoses had shrunk ever so slightly in the cold night and allowed the fuel at 40 psi to weep past. I checked all the other fuel line hose clips in the engine bay and one other was slightly loose. I must check the ones in the frunk too!- 121 replies
-
- 33
-
-
I'm going to have to send a strongly worded email to Billy G.
-
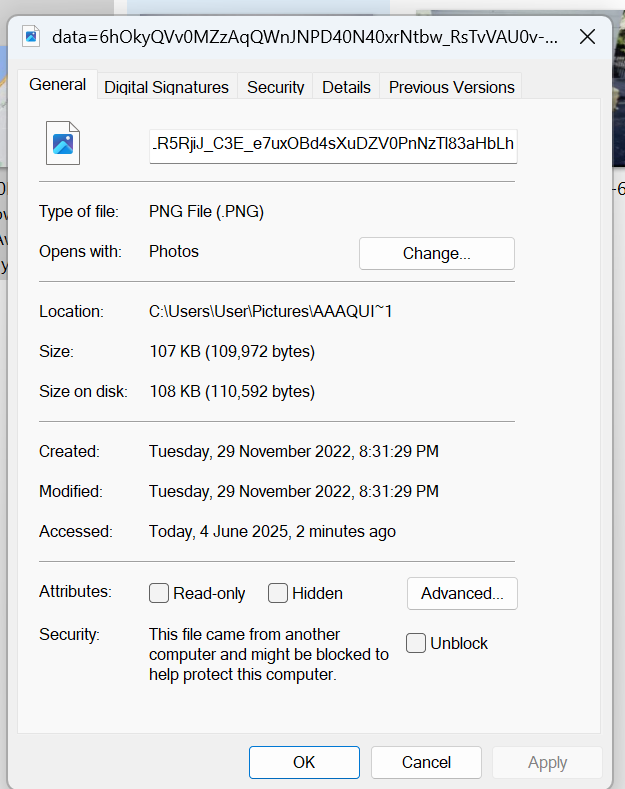
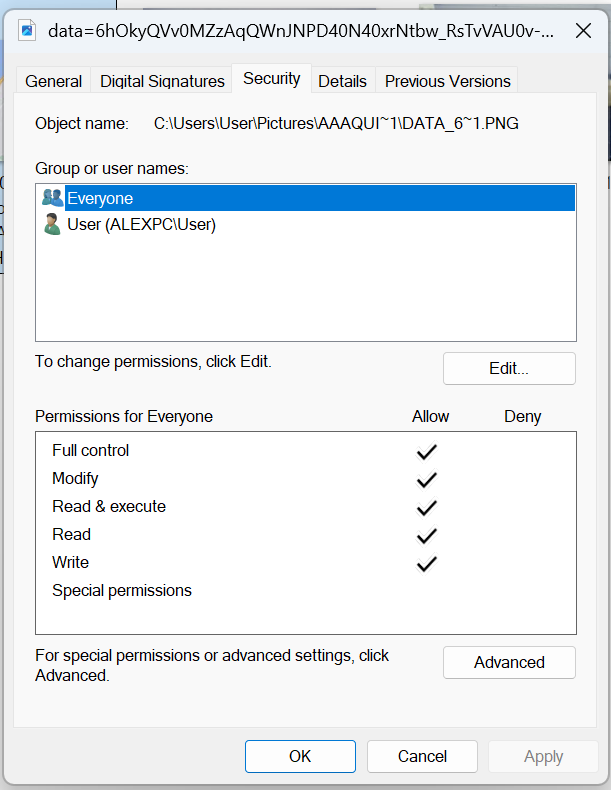
speaking of files. How the fuck do I remove this image/file/aliens from my laptop. Its just saved in one of my photo albums. Here's a screenshot of it.. Here's some screenshots of its properties.. Damned if I can erase it from the laptop? Its like its burned in.
-
200 kgs heavier than my Imp though! - yeah bigger car and engine etc but I don't think your car is that tinny. Just the way things were before they got huge and fat. I love to corner weight nine. Must ask the friend who had the same scales I had used to with my viva with the v6 (which was a simar weight to your car iirc)
-
Just for the record. I put the battery in the front of my Imp because it's about the weight of one standard bag of 'handling improver' concrete.
-
Is that a Mugen nest?
-
I'm loving that Revanced you put me onto - works a treat. For the laptop adblocker is still working fine too.
-
IIRC a decent length of rubber hose feeding the rails can be quite an effective damper.
-
A bit presumptive thinking that all herb growers are rotary fan bois. Some of them have probably matured to more exotic tastes 🧑🎓
-
Discuss here about Yoeddynz's little Imp project...
yoeddynz replied to yoeddynz's topic in Project Discussion
It's a very slippery hole you're heading into. -
Discuss here about Yoeddynz's little Imp project...
yoeddynz replied to yoeddynz's topic in Project Discussion
Would you two just please clam up. -
Discuss here about Yoeddynz's little Imp project...
yoeddynz replied to yoeddynz's topic in Project Discussion
Perfectly weighted and tuned to replicate the clatter of an aircooled engine.