fuel
-
Posts
6,672 -
Joined
-
Last visited
-
Days Won
3
Content Type
Forums
Downloads
Events
Gallery
Everything posted by fuel
-

King Country Crusade 17th 18th 19th November 2023
fuel replied to alfalfa's topic in Lower North Island Region
damn this seems like such a sweet trip, wish I would be around in Taumarunui to catch up. If anyone needs tools or a garage to work on shit while in Taumarunui let me know am sure I can arrange something. -
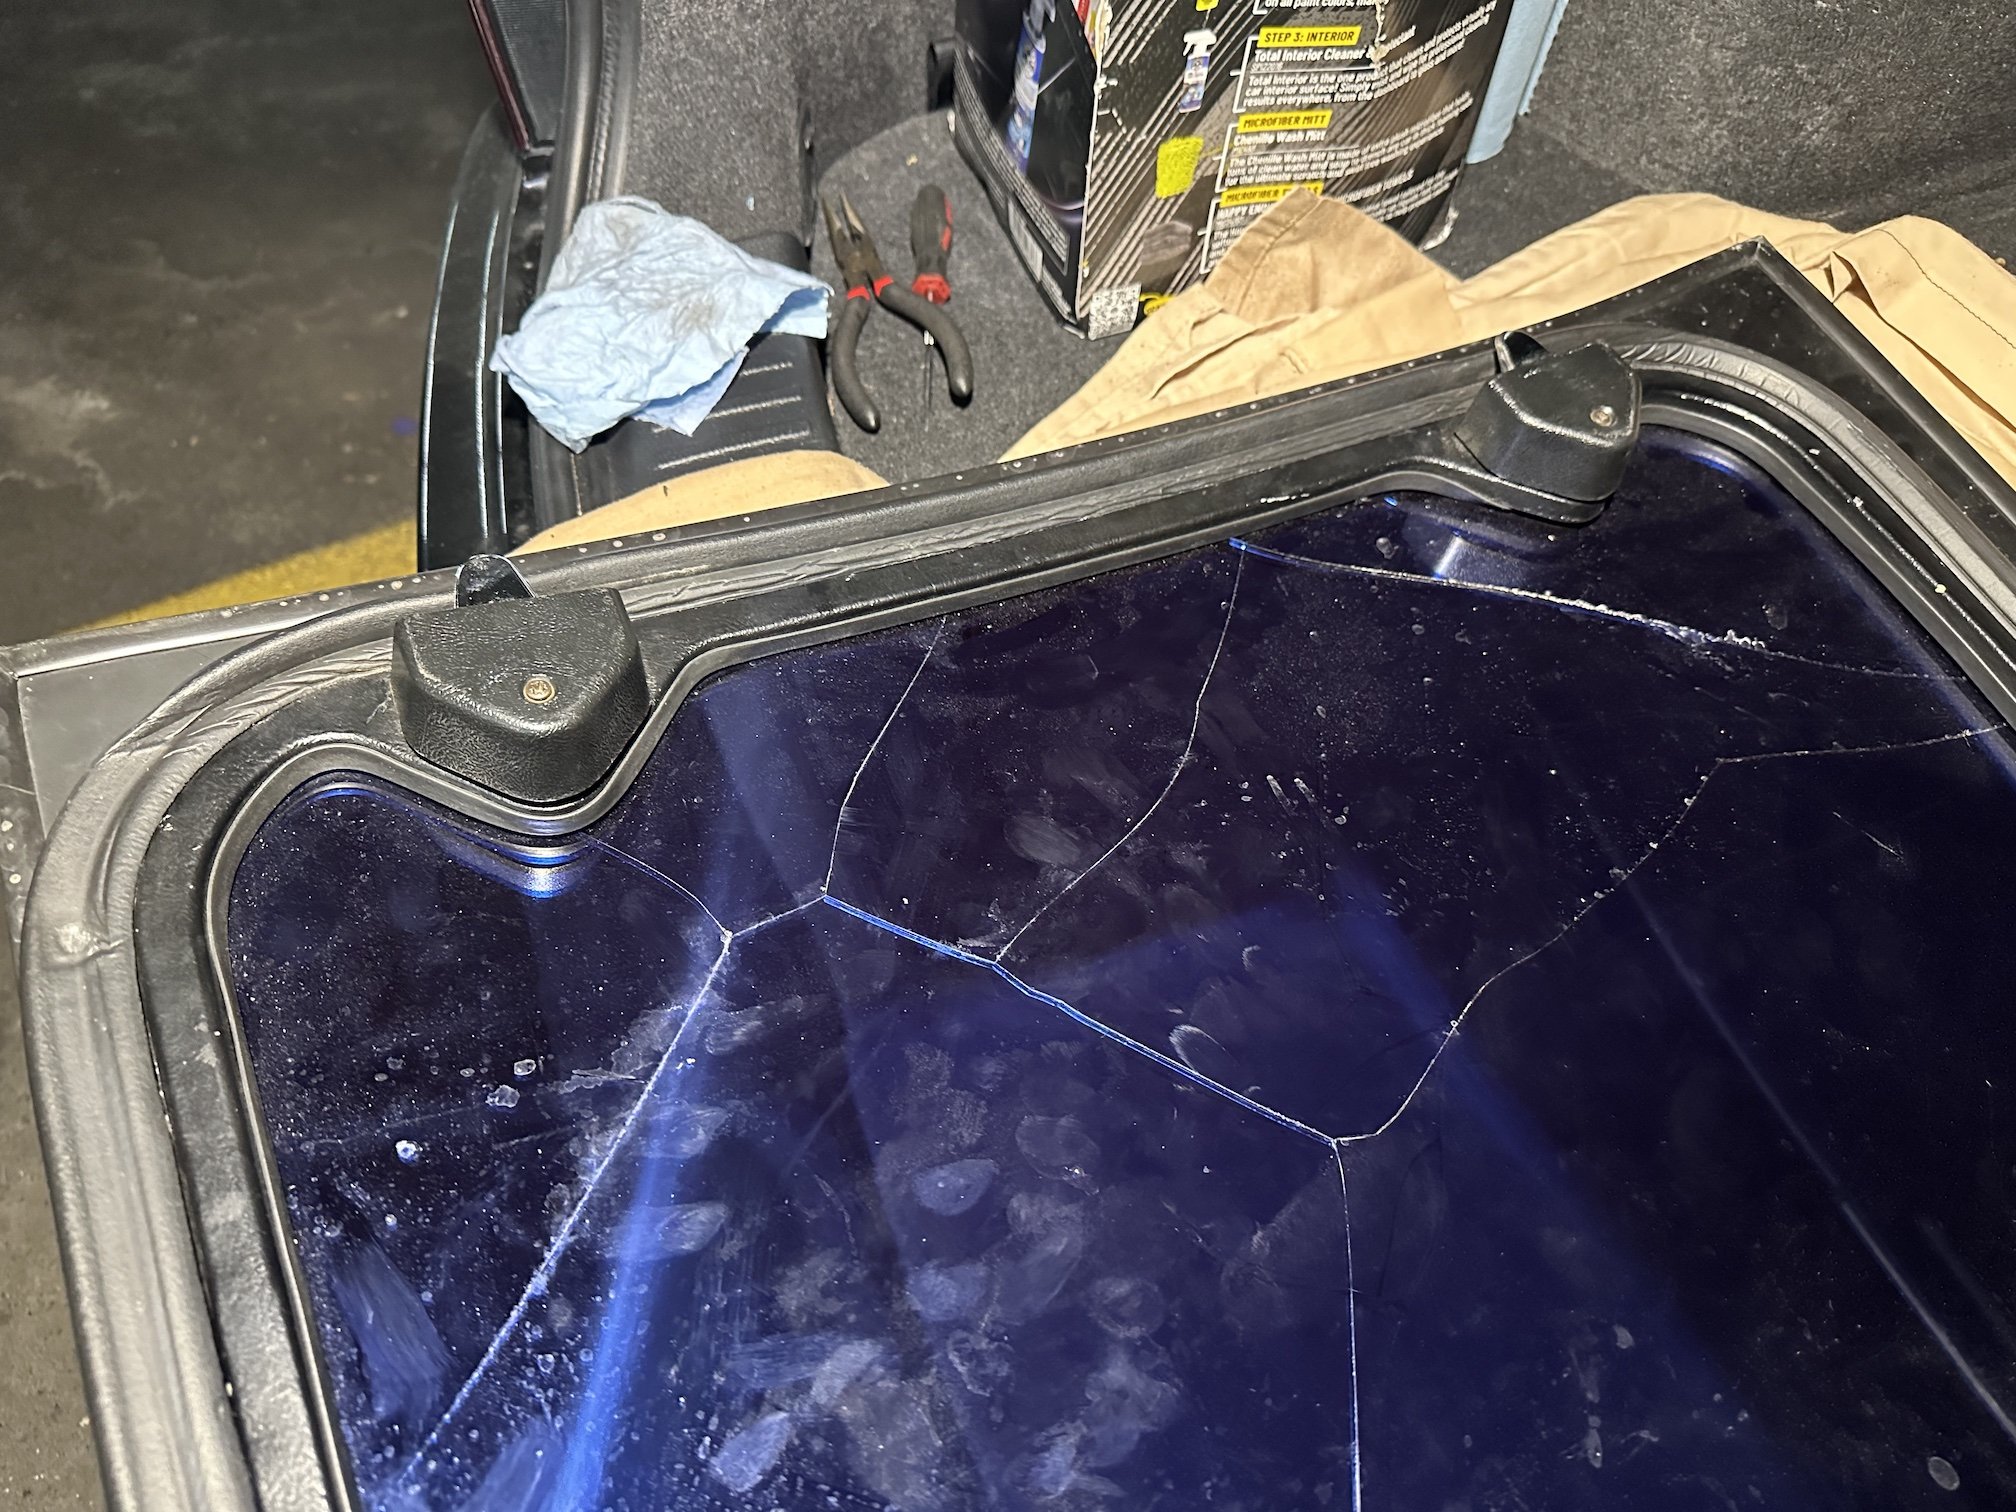
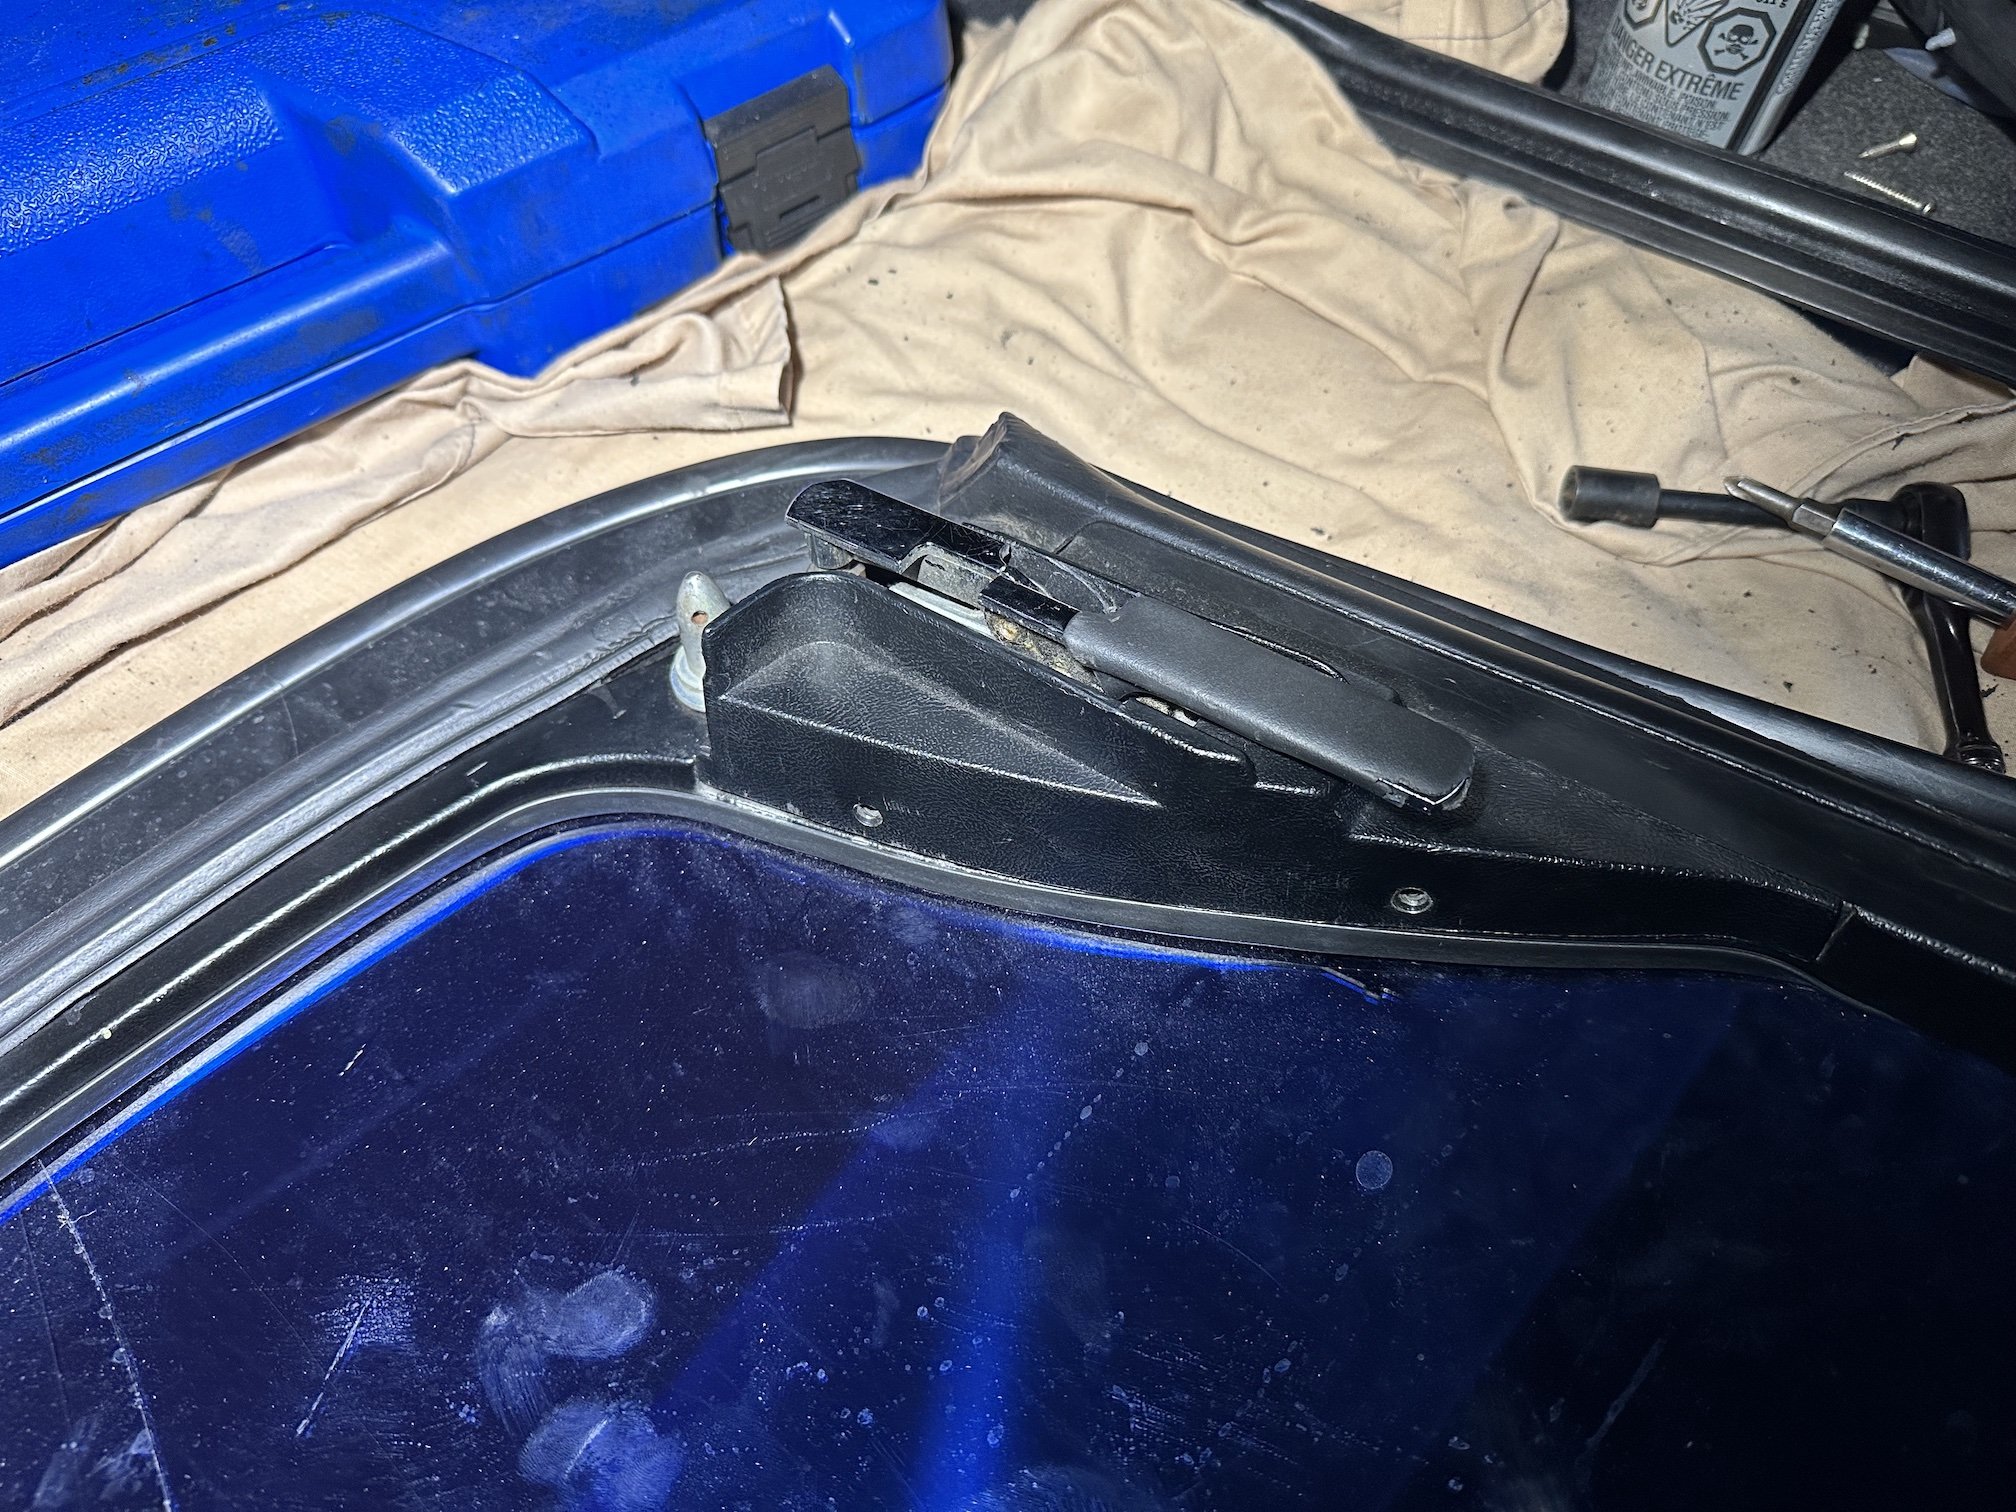
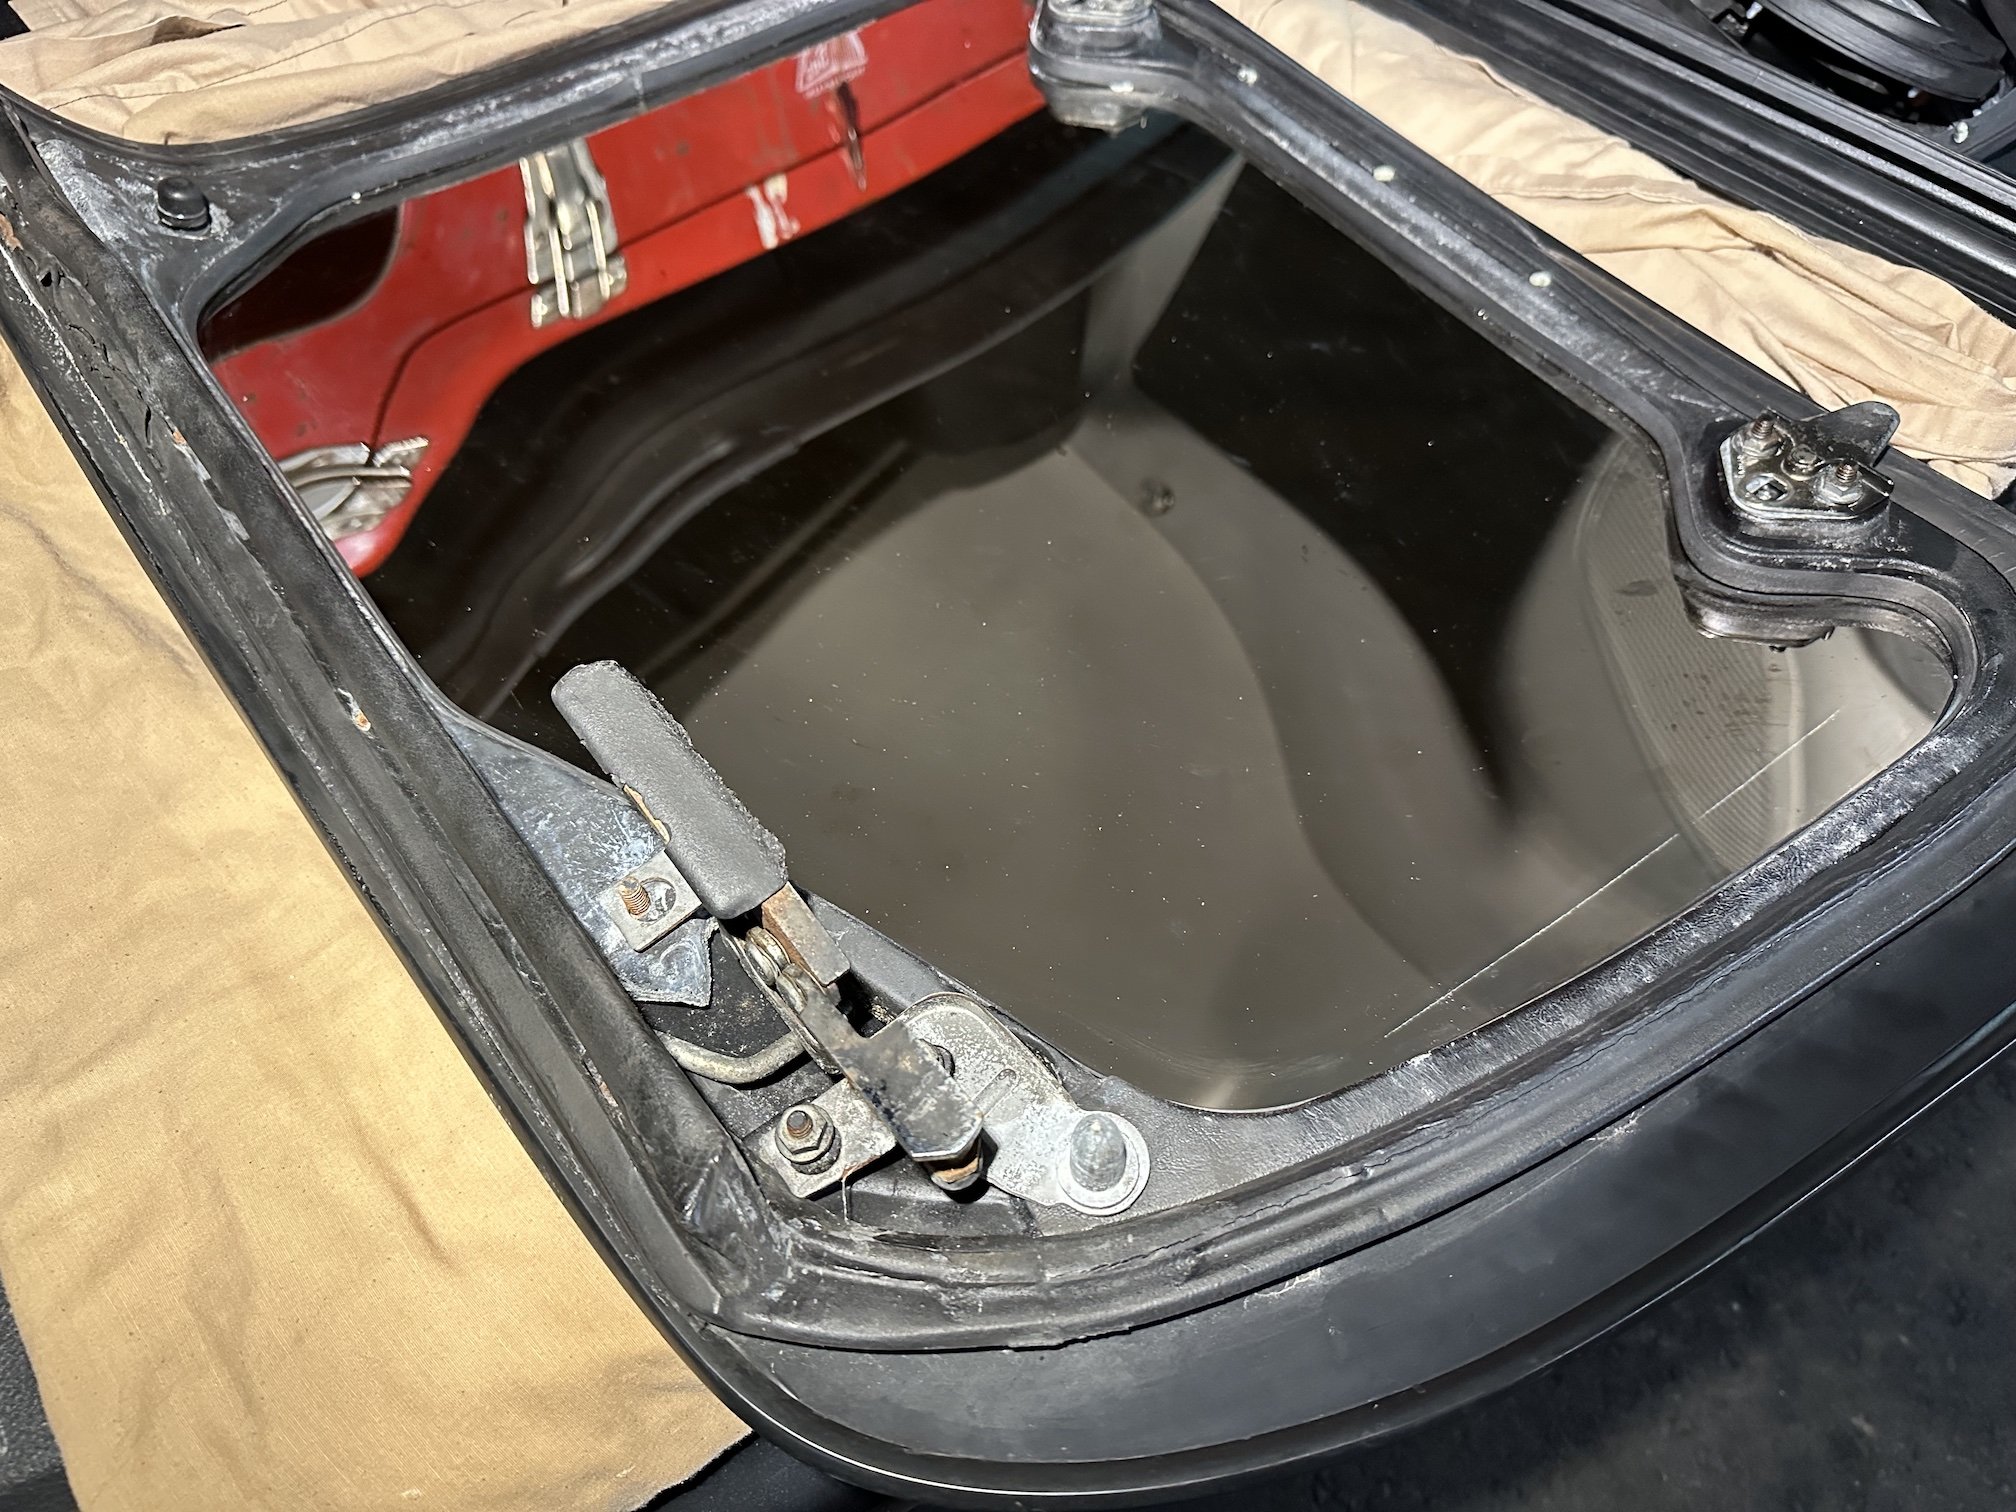
The seals aren't actually in bad condition on the cracked tops, maybe someone can reuse the frame/seals with new glass who knows I then placed the driver's side gold top on (without the new seals attached yet) to adjust up the clips and clasps to make sure it sits properly before continuing. It looks like these tops are actually going to sit a lot more flush than the originals which is nice as the way the original tops sat always bugged me. disco -

- 16 replies
-
- 21
-

-
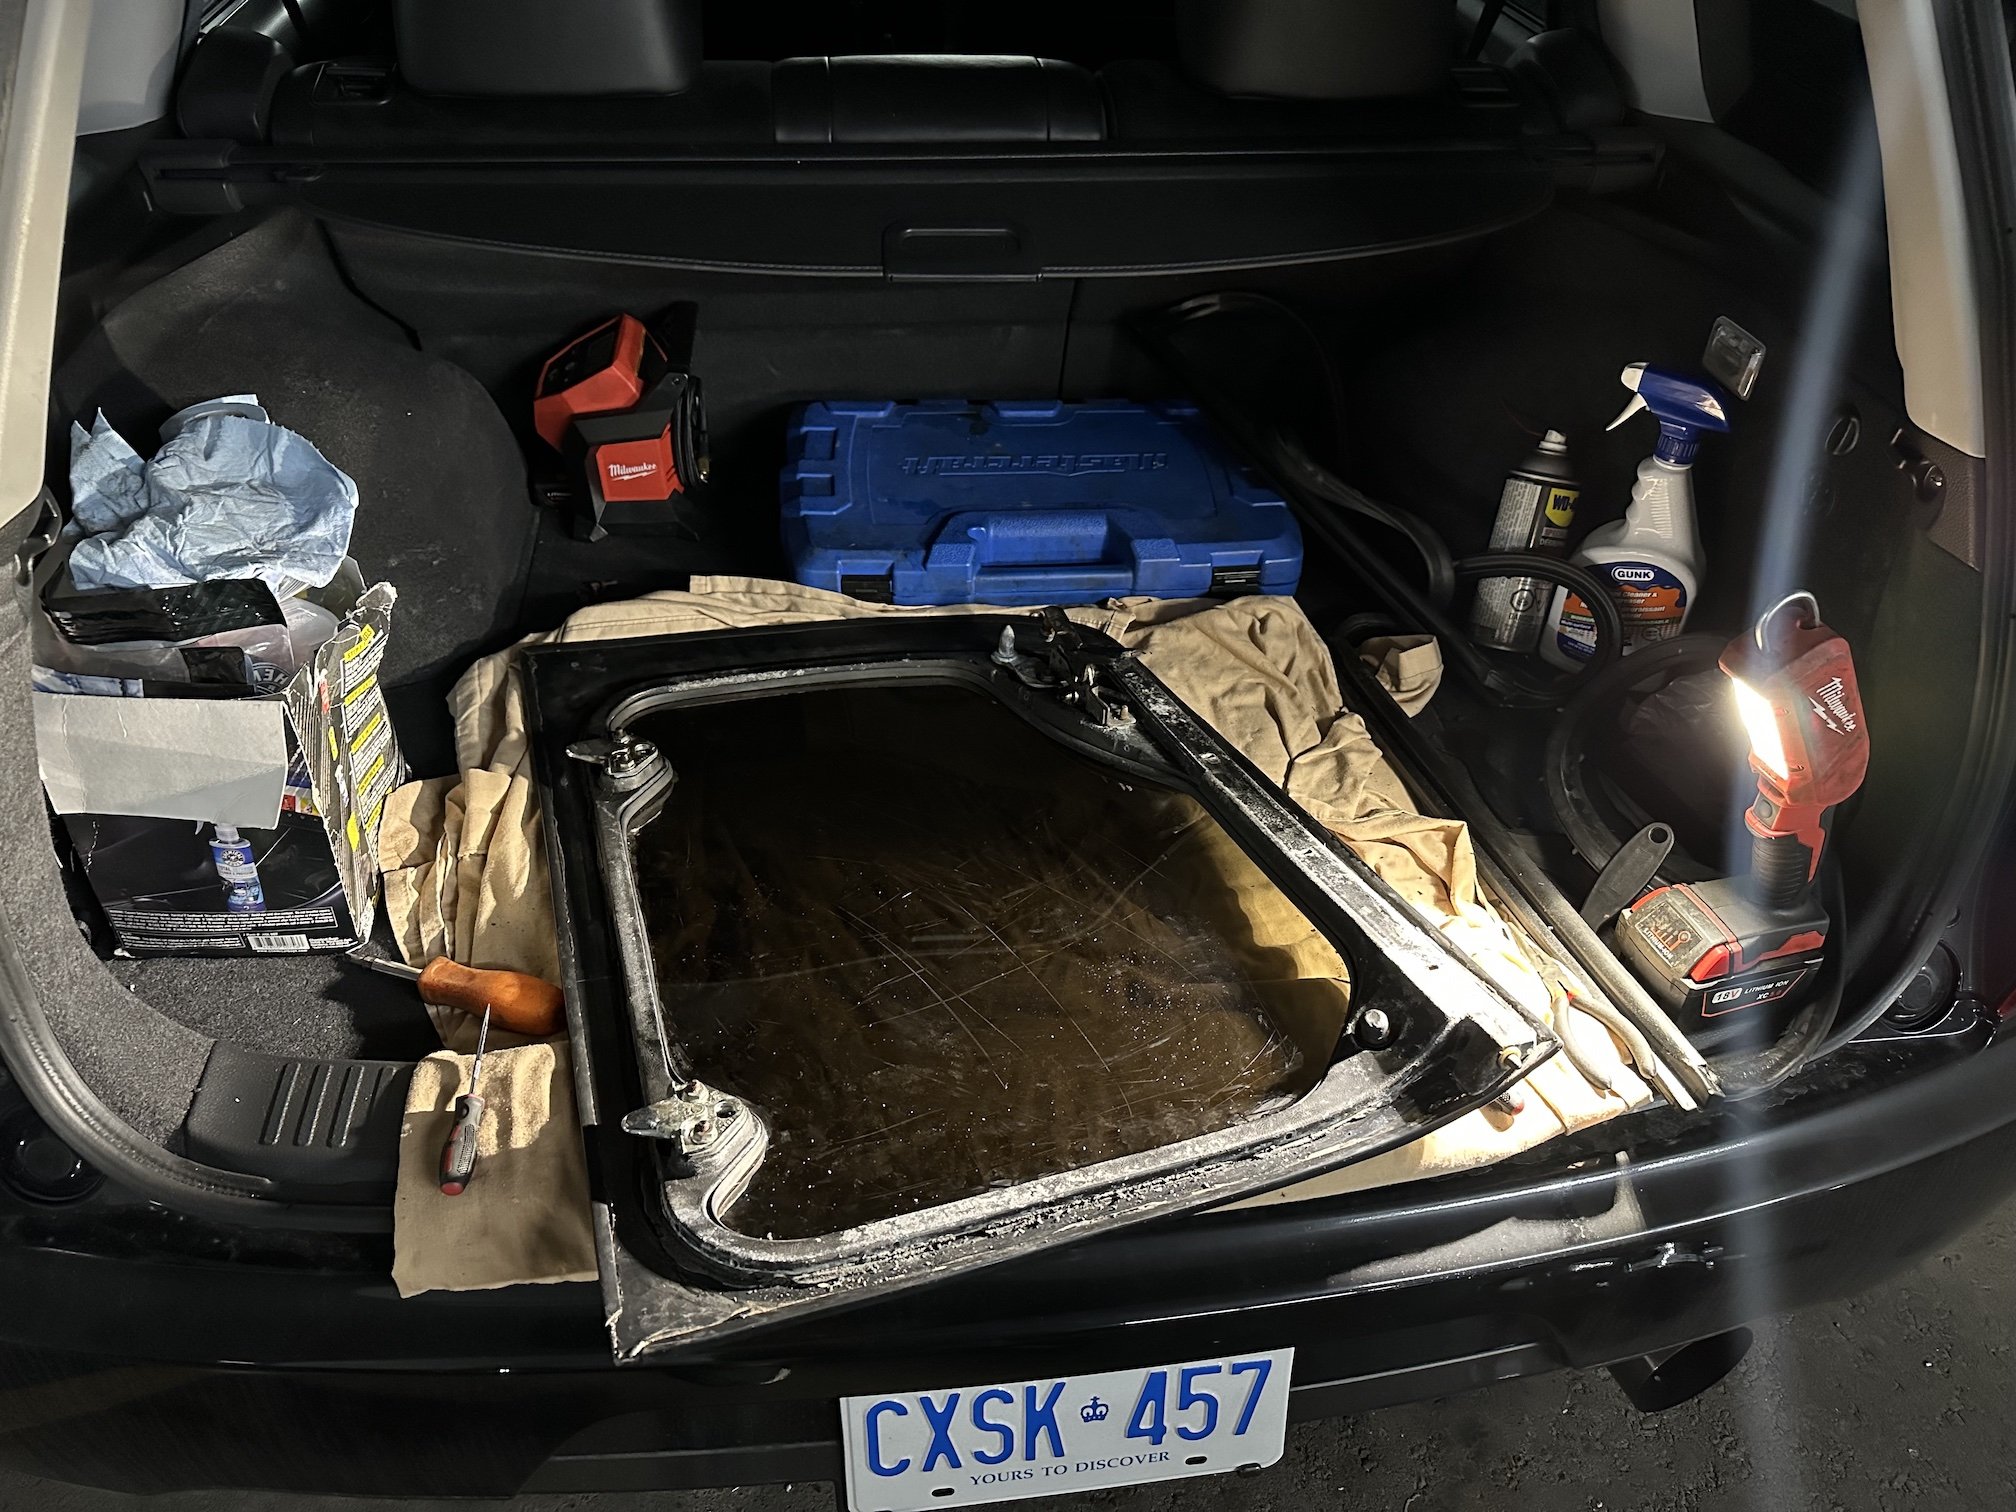
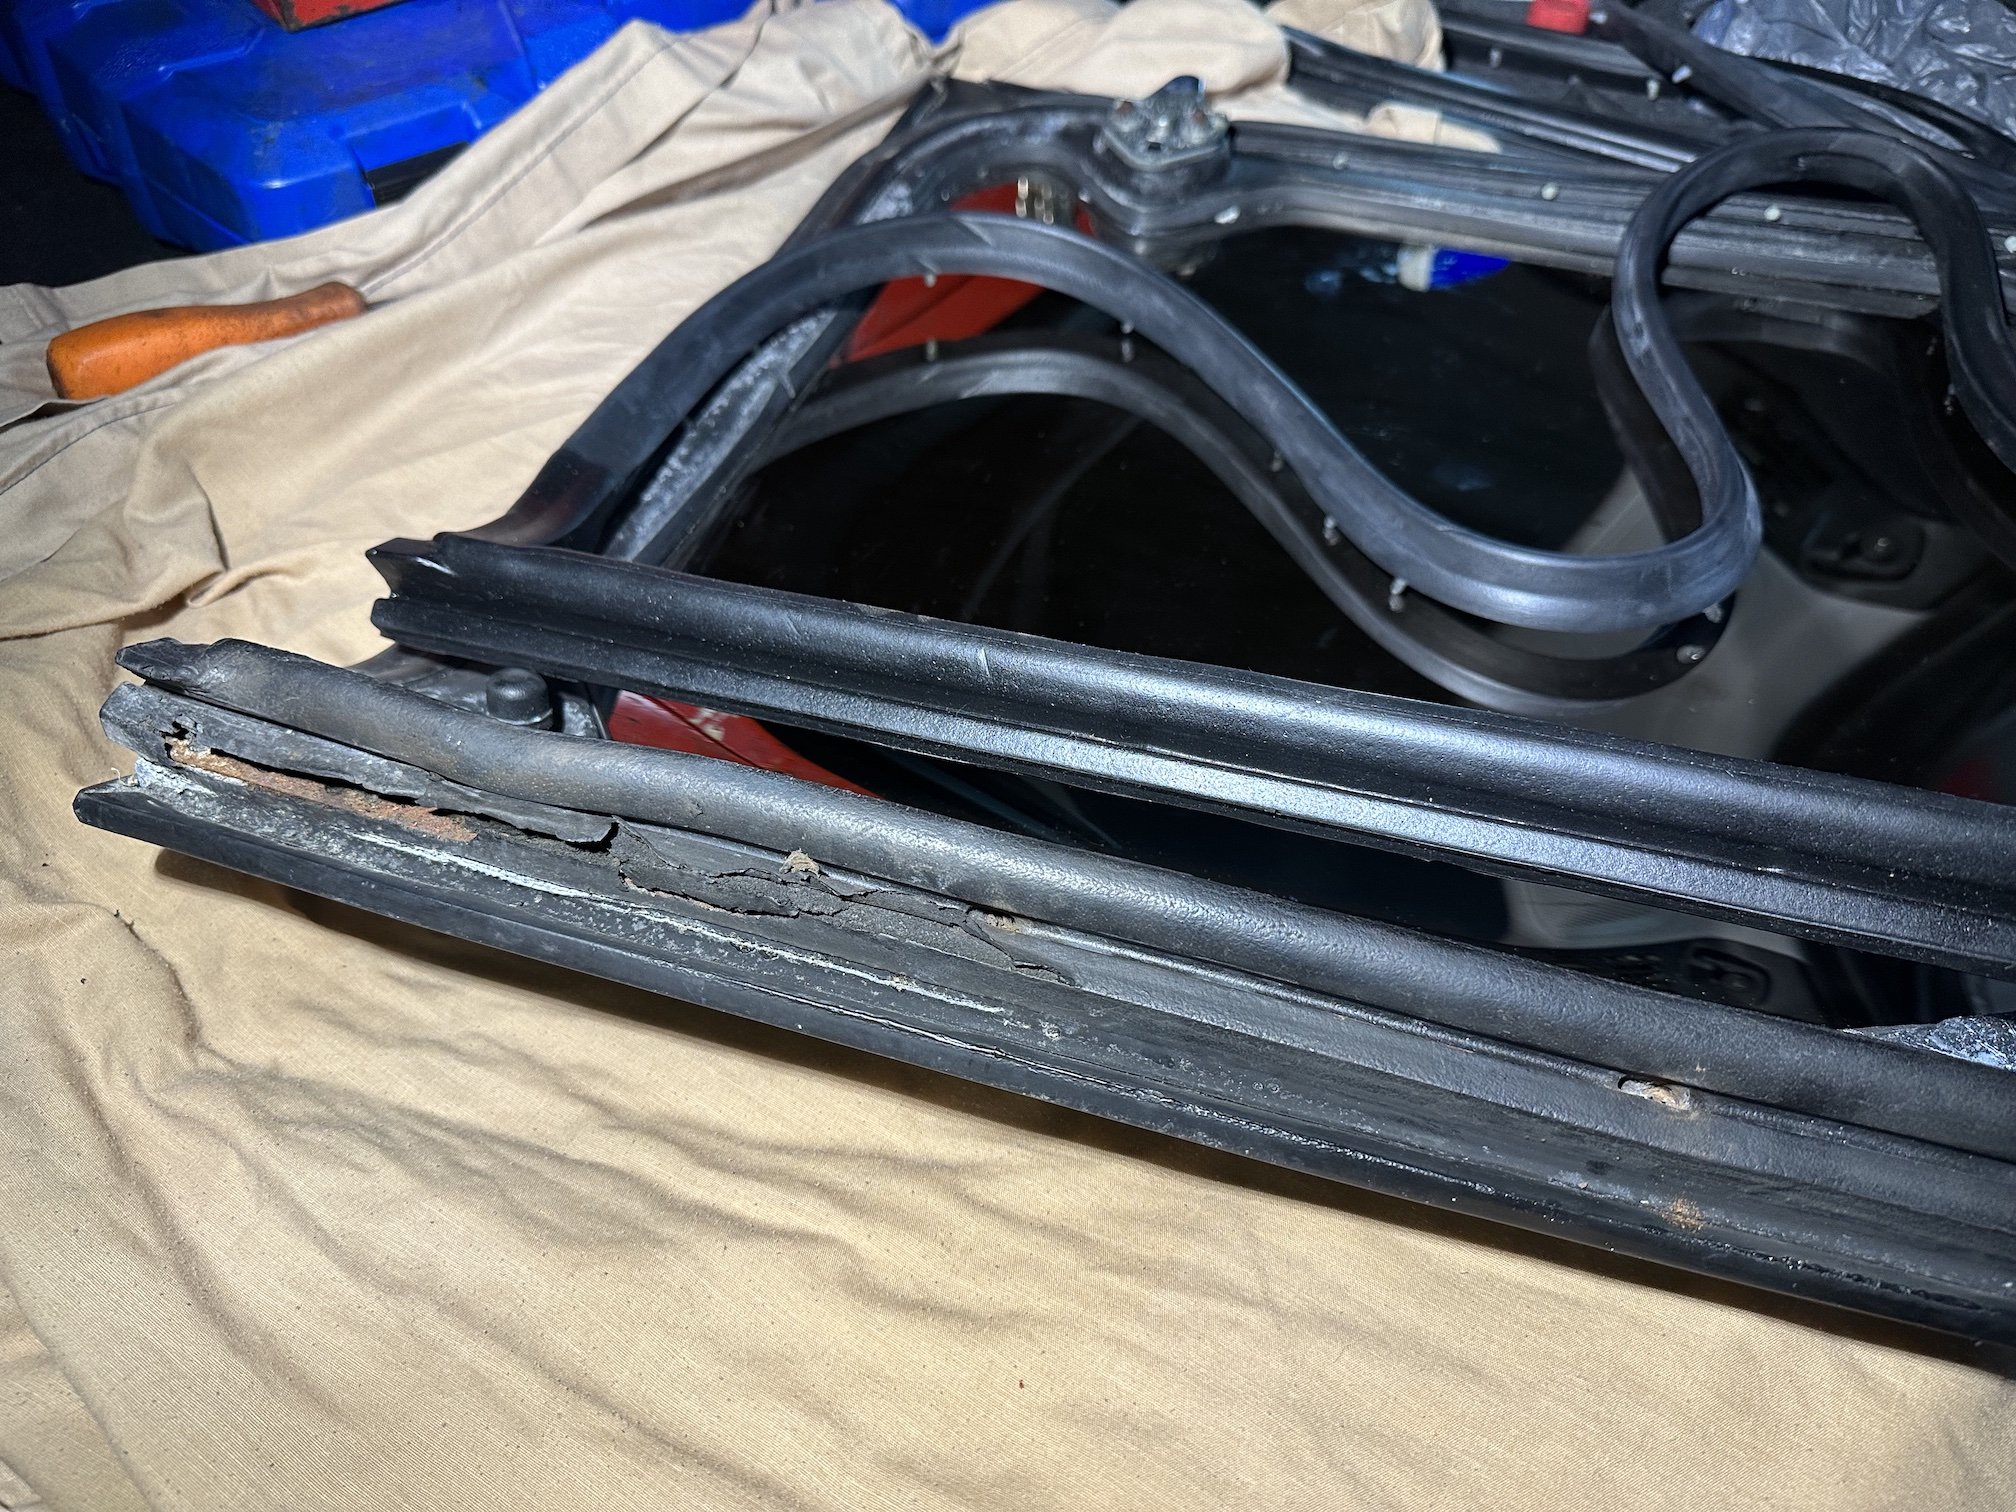
I got to work pulling the old seals off which left part of the old seals stuck to the adhesive behind, definitely a messy job scraping but being careful to not mark the blackened underside portion of the glass The wagon definitely comes in handy to use as an impromptu workbench The hardware on the original blue (cracked) t-tops is definitely in better condition so I am swapping them over
-
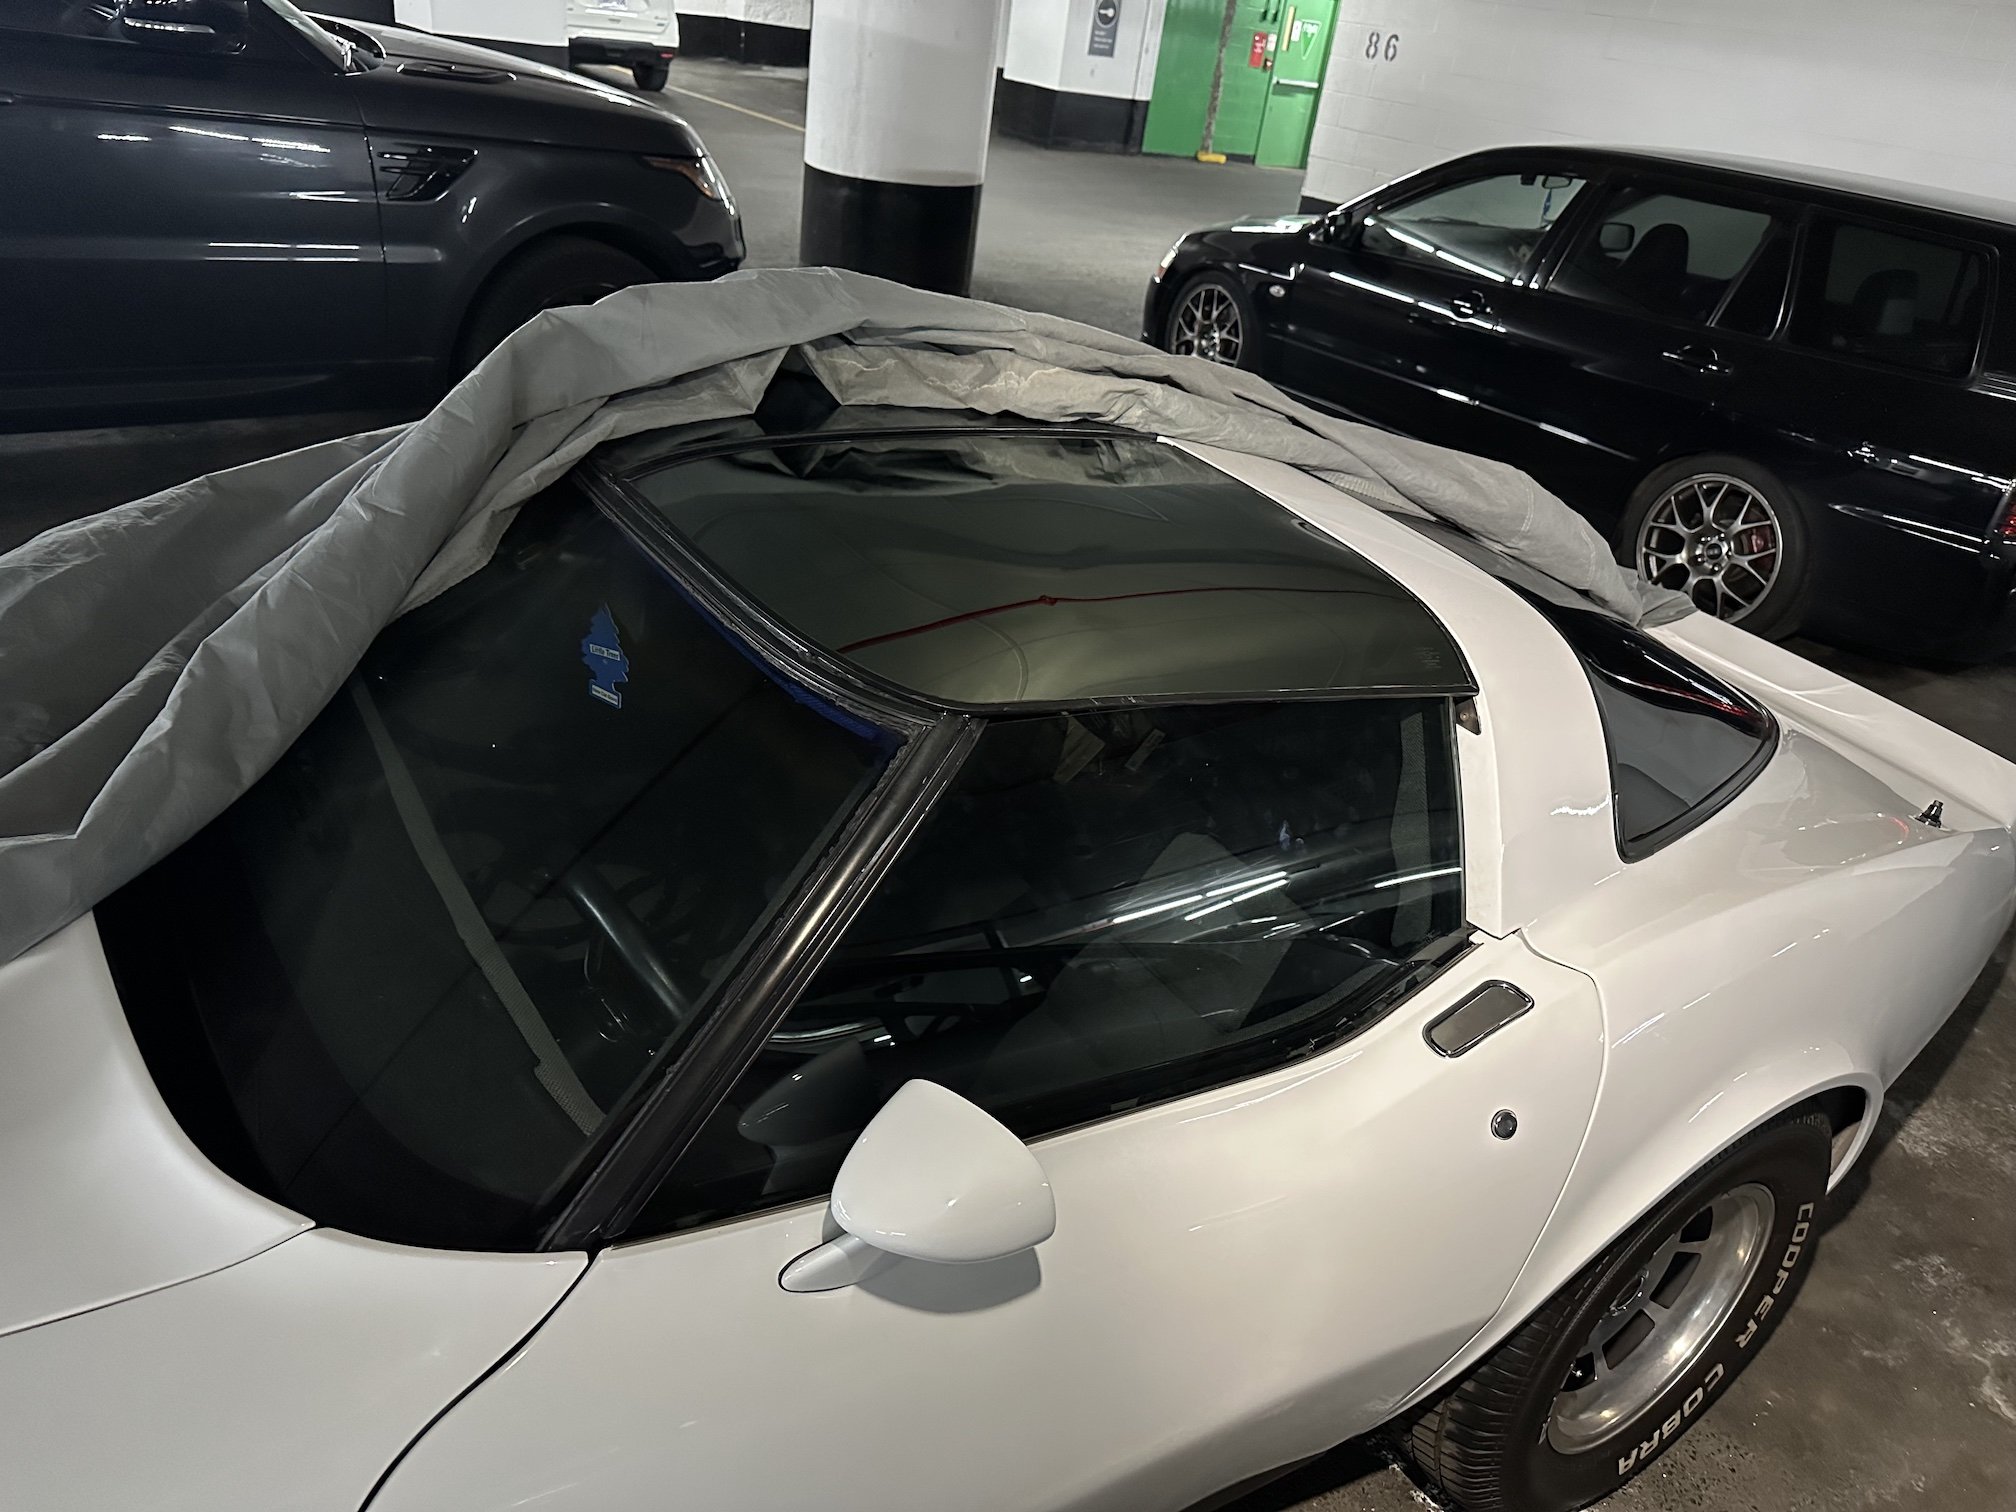
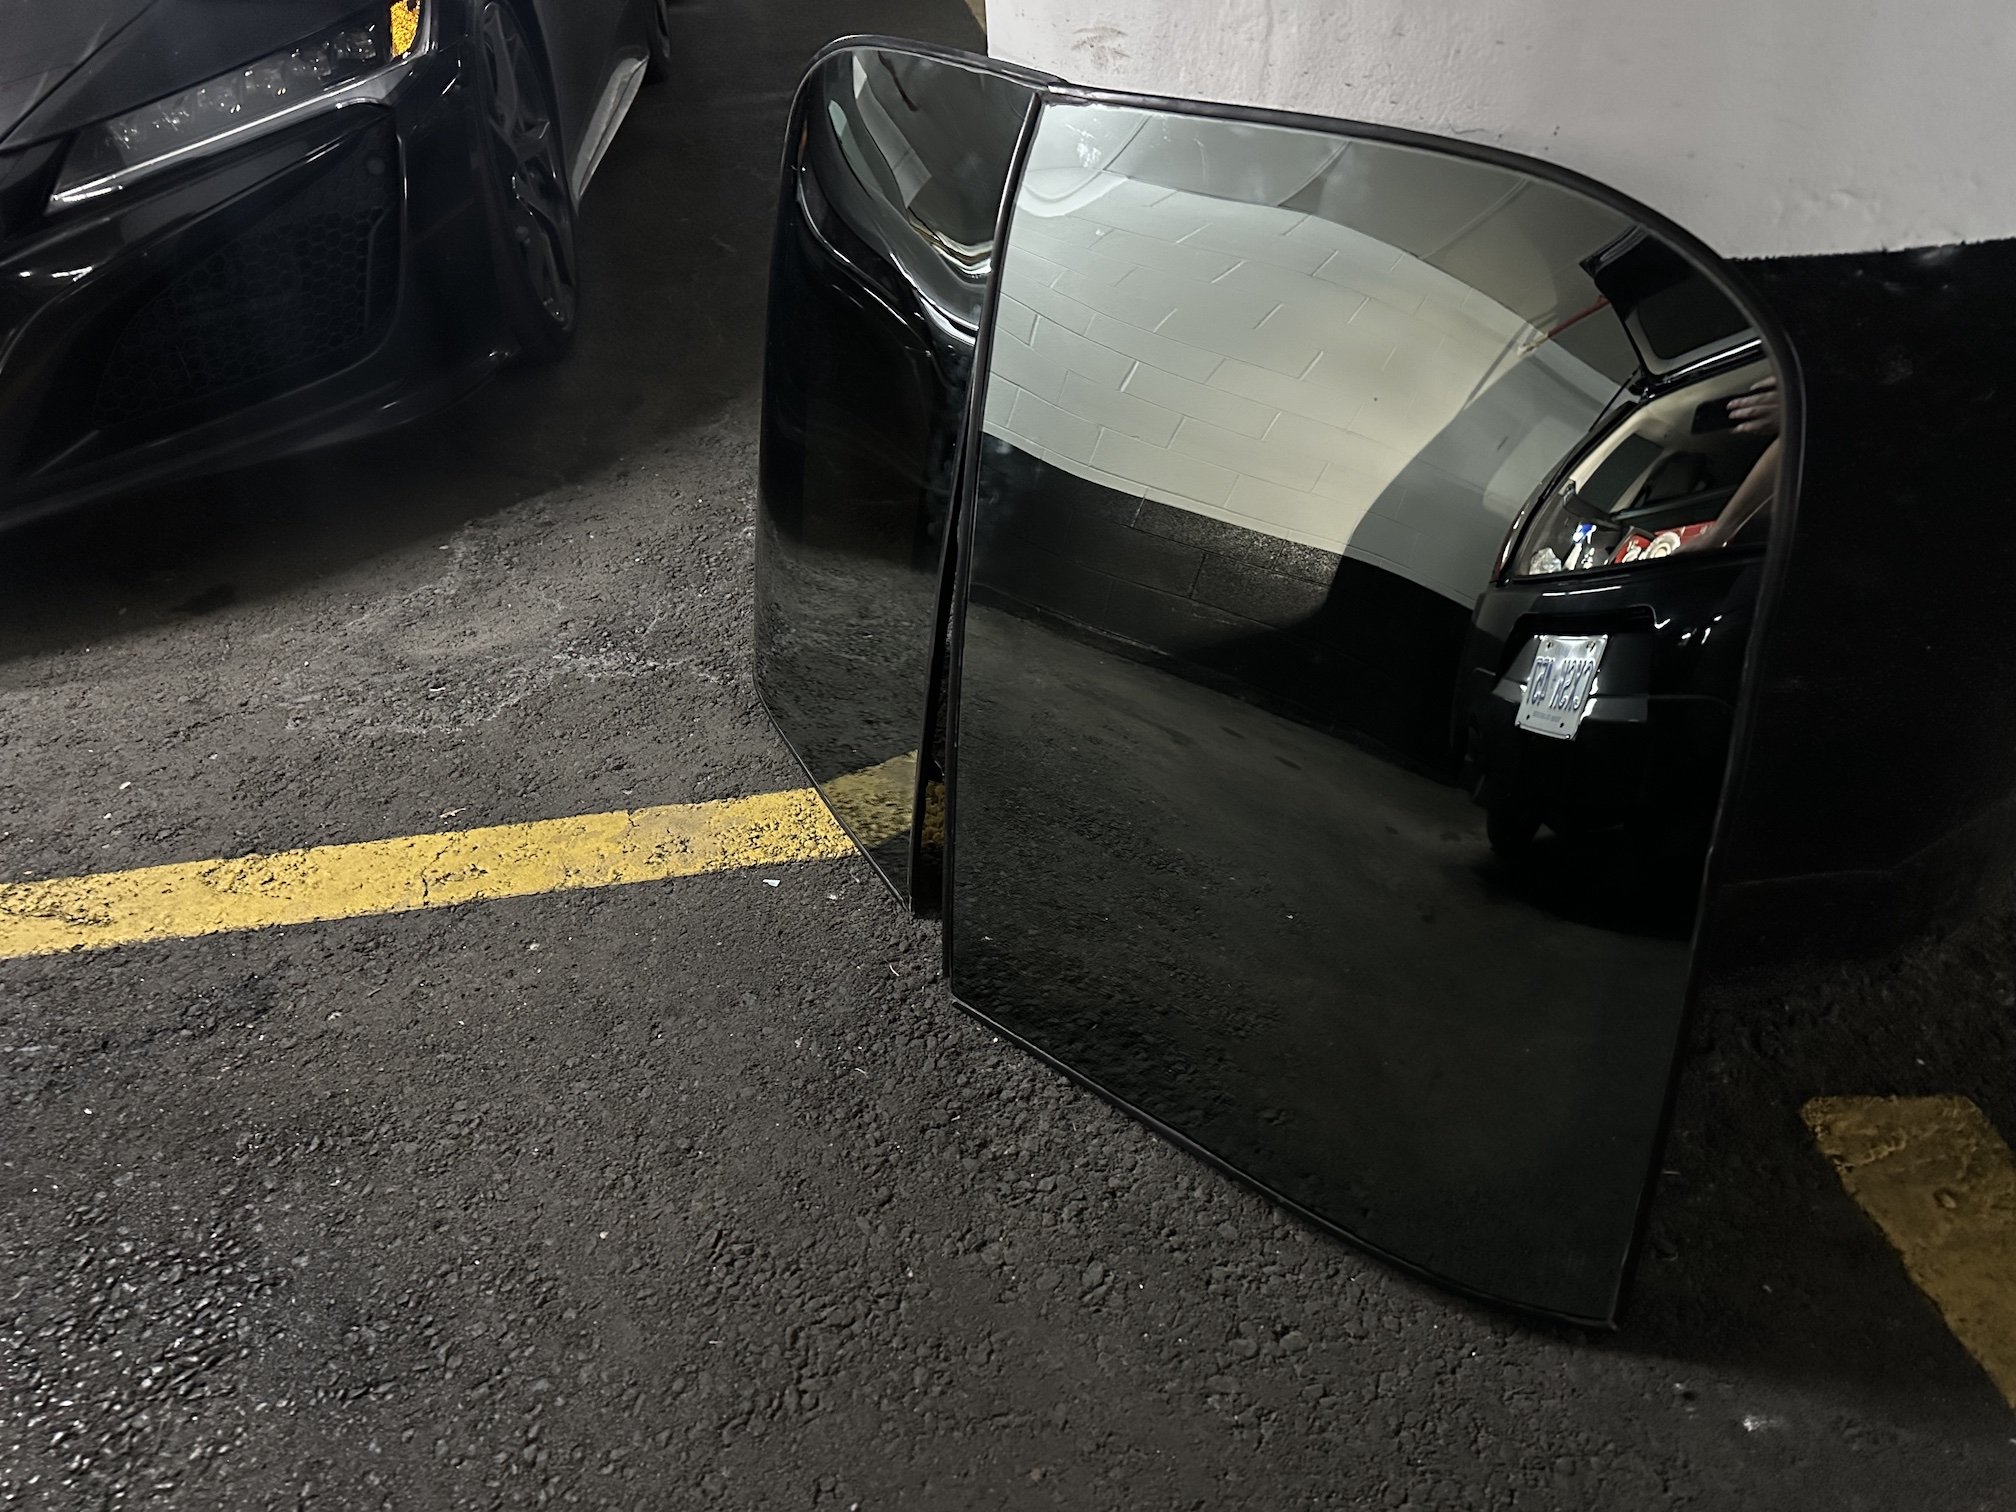
Small update, ended up selling the Astro top as I wasn't sold on how crude the mounting system was. I was in the US again last weekend and was able to pick up some fairly well used gold/bronze tint ones for a reasonable price - think these are off the '82 Collector's edition Corvette but I am not 100% sure of that. As I had some new t-top seals as part of the door/window rubber seal kit I purposely looked for a pair of t tops that needed the seals doing so these seals wouldn't go to waste. You can see the condition of these t-tops aren't the best and the mounting hardware is a bit manky also.
- 16 replies
-
- 11
-
-
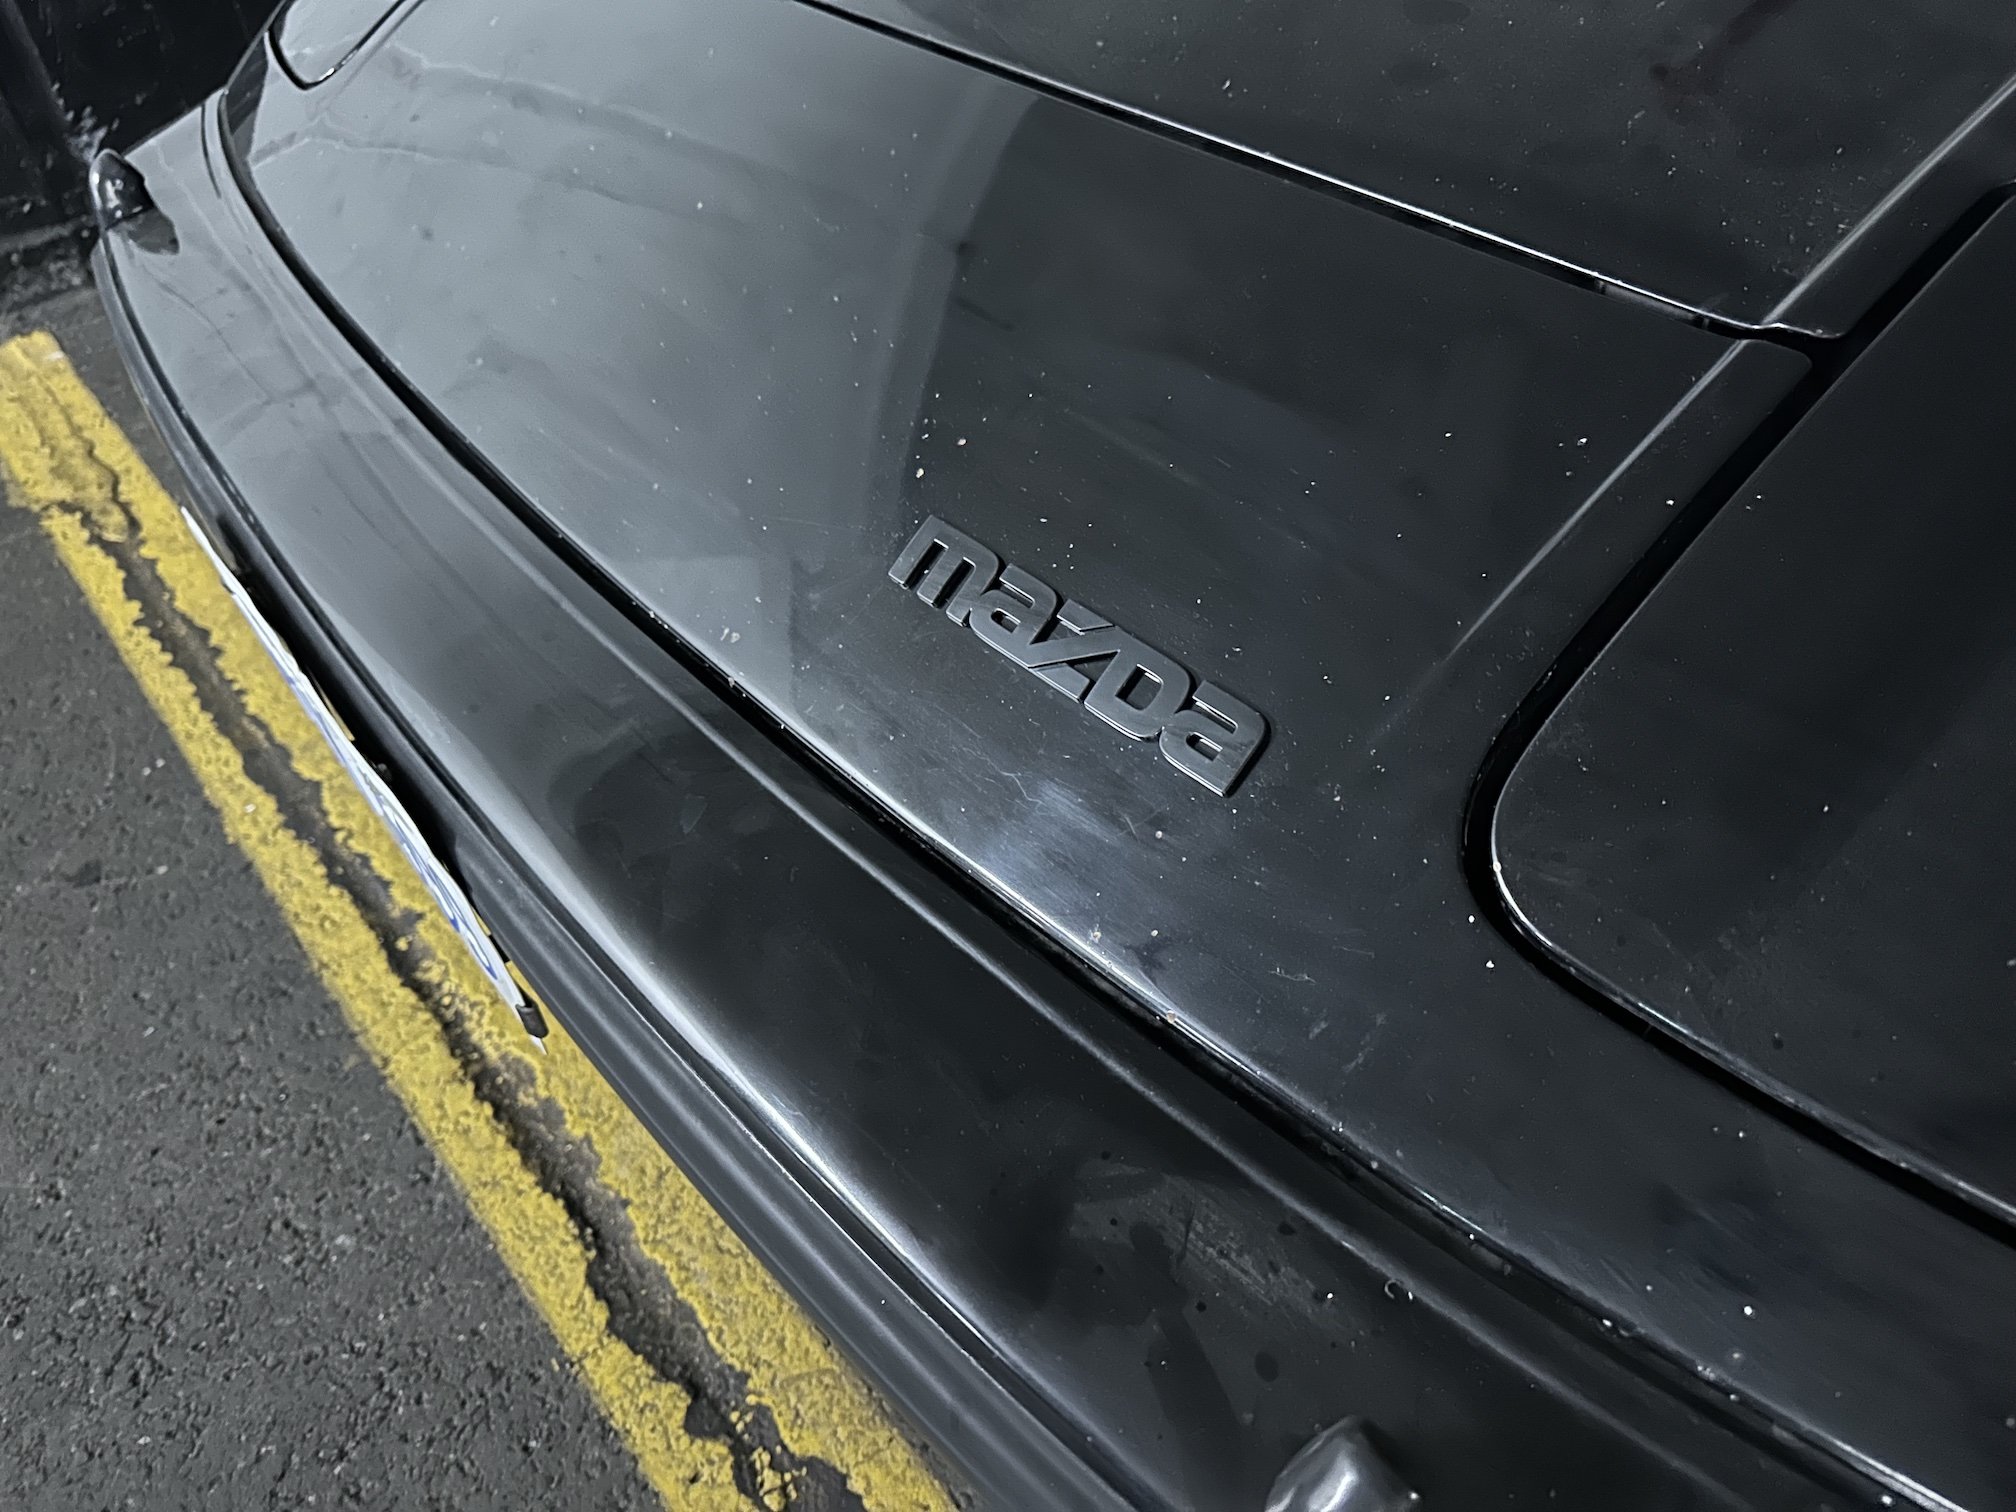
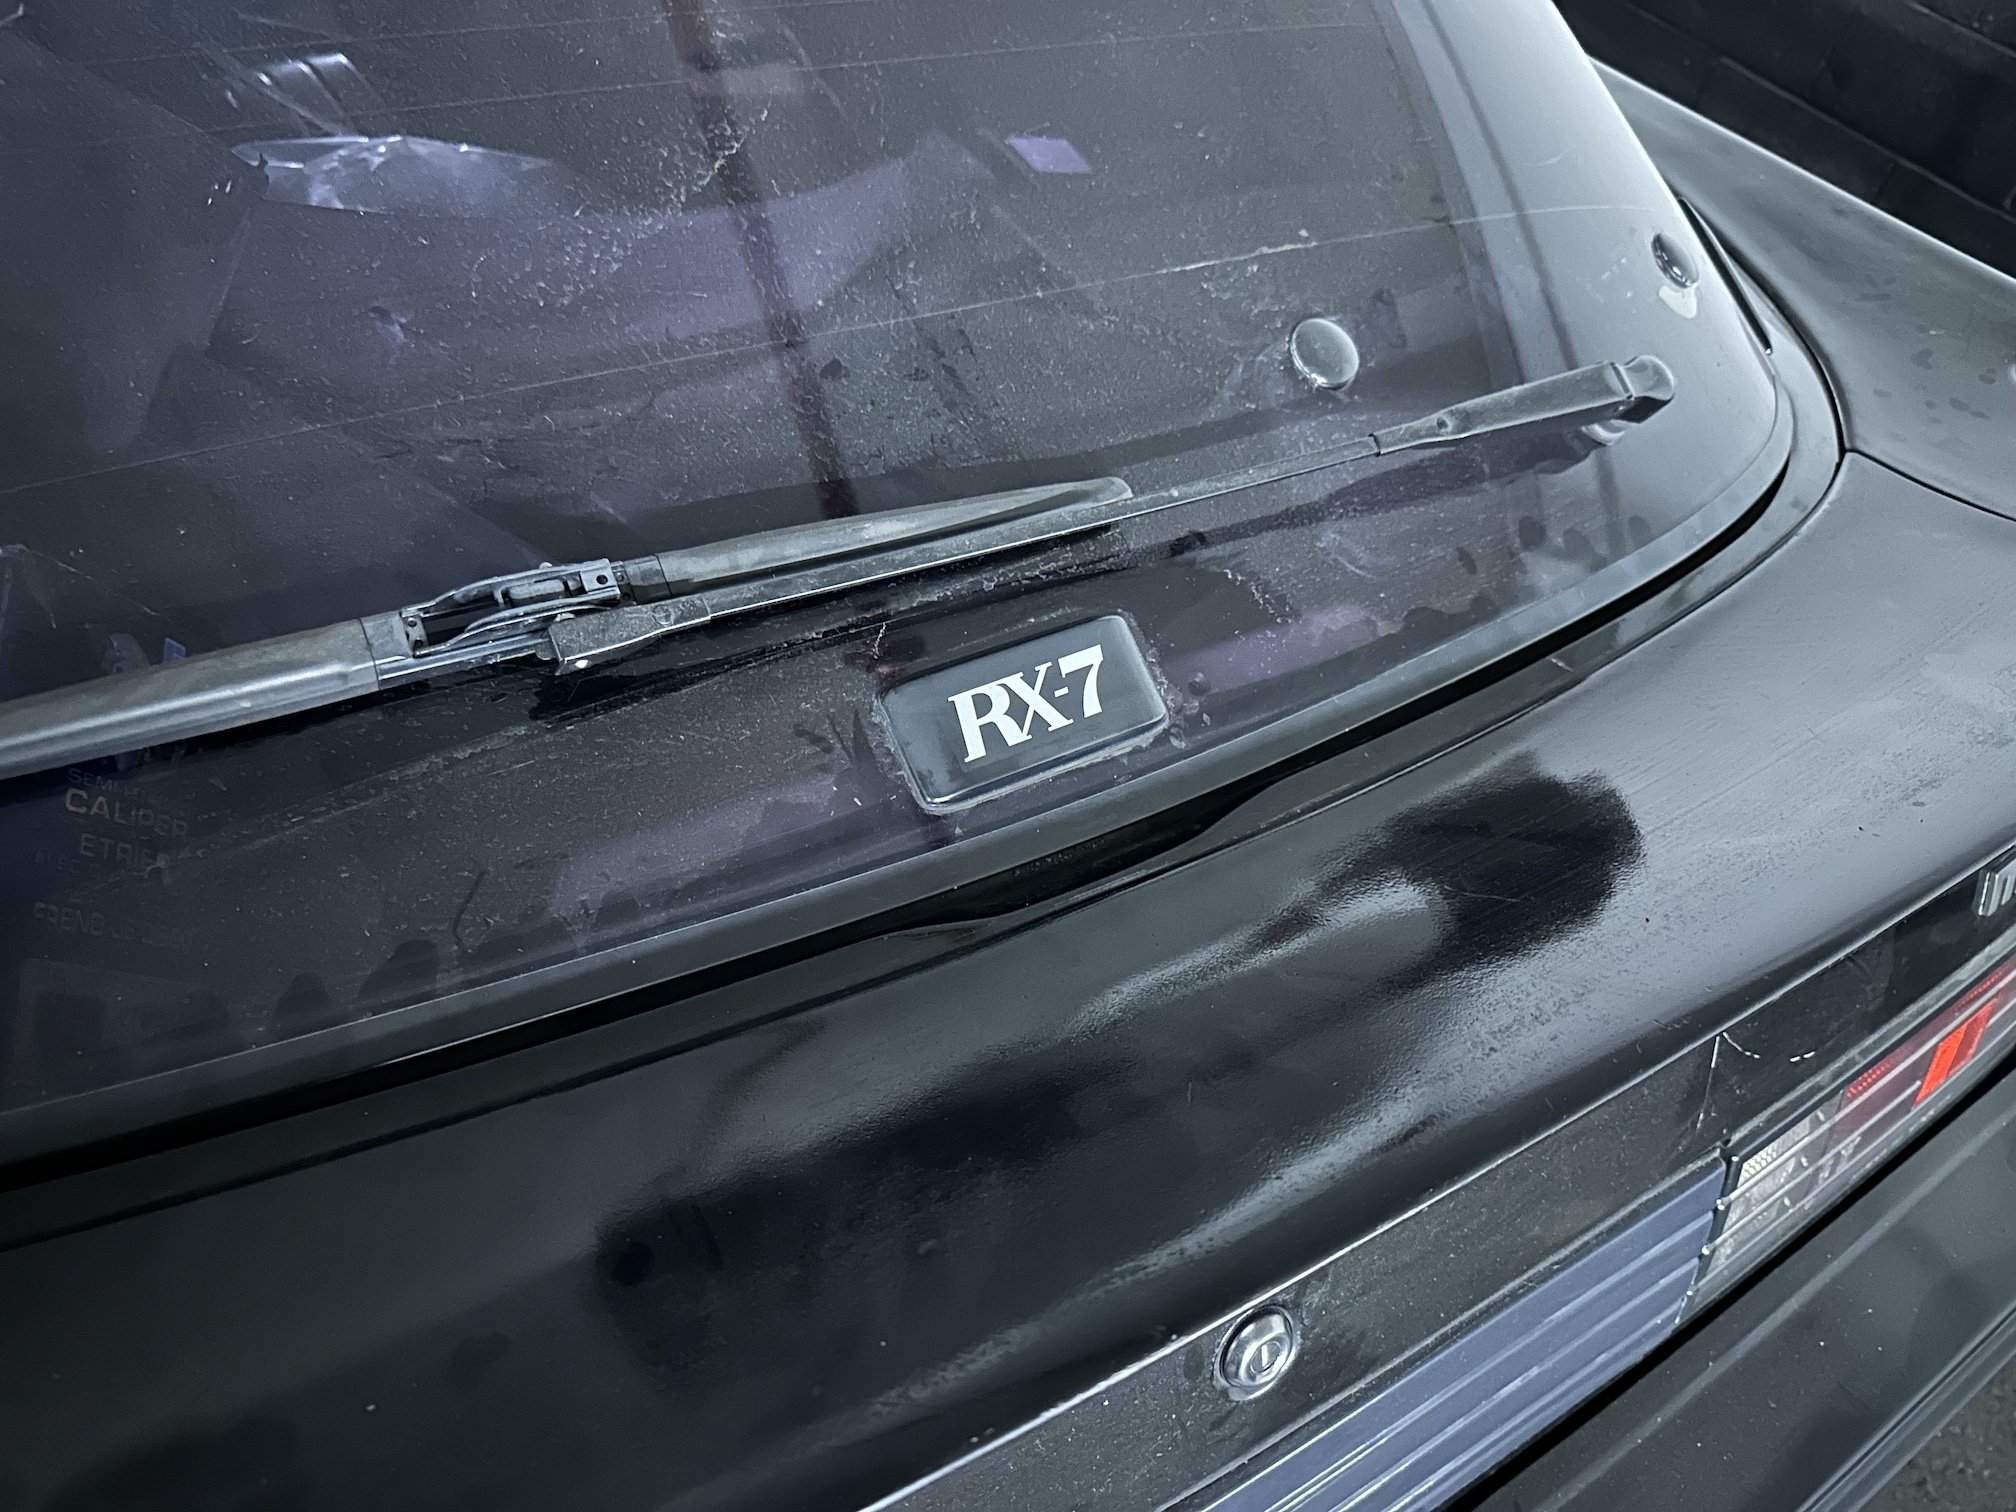
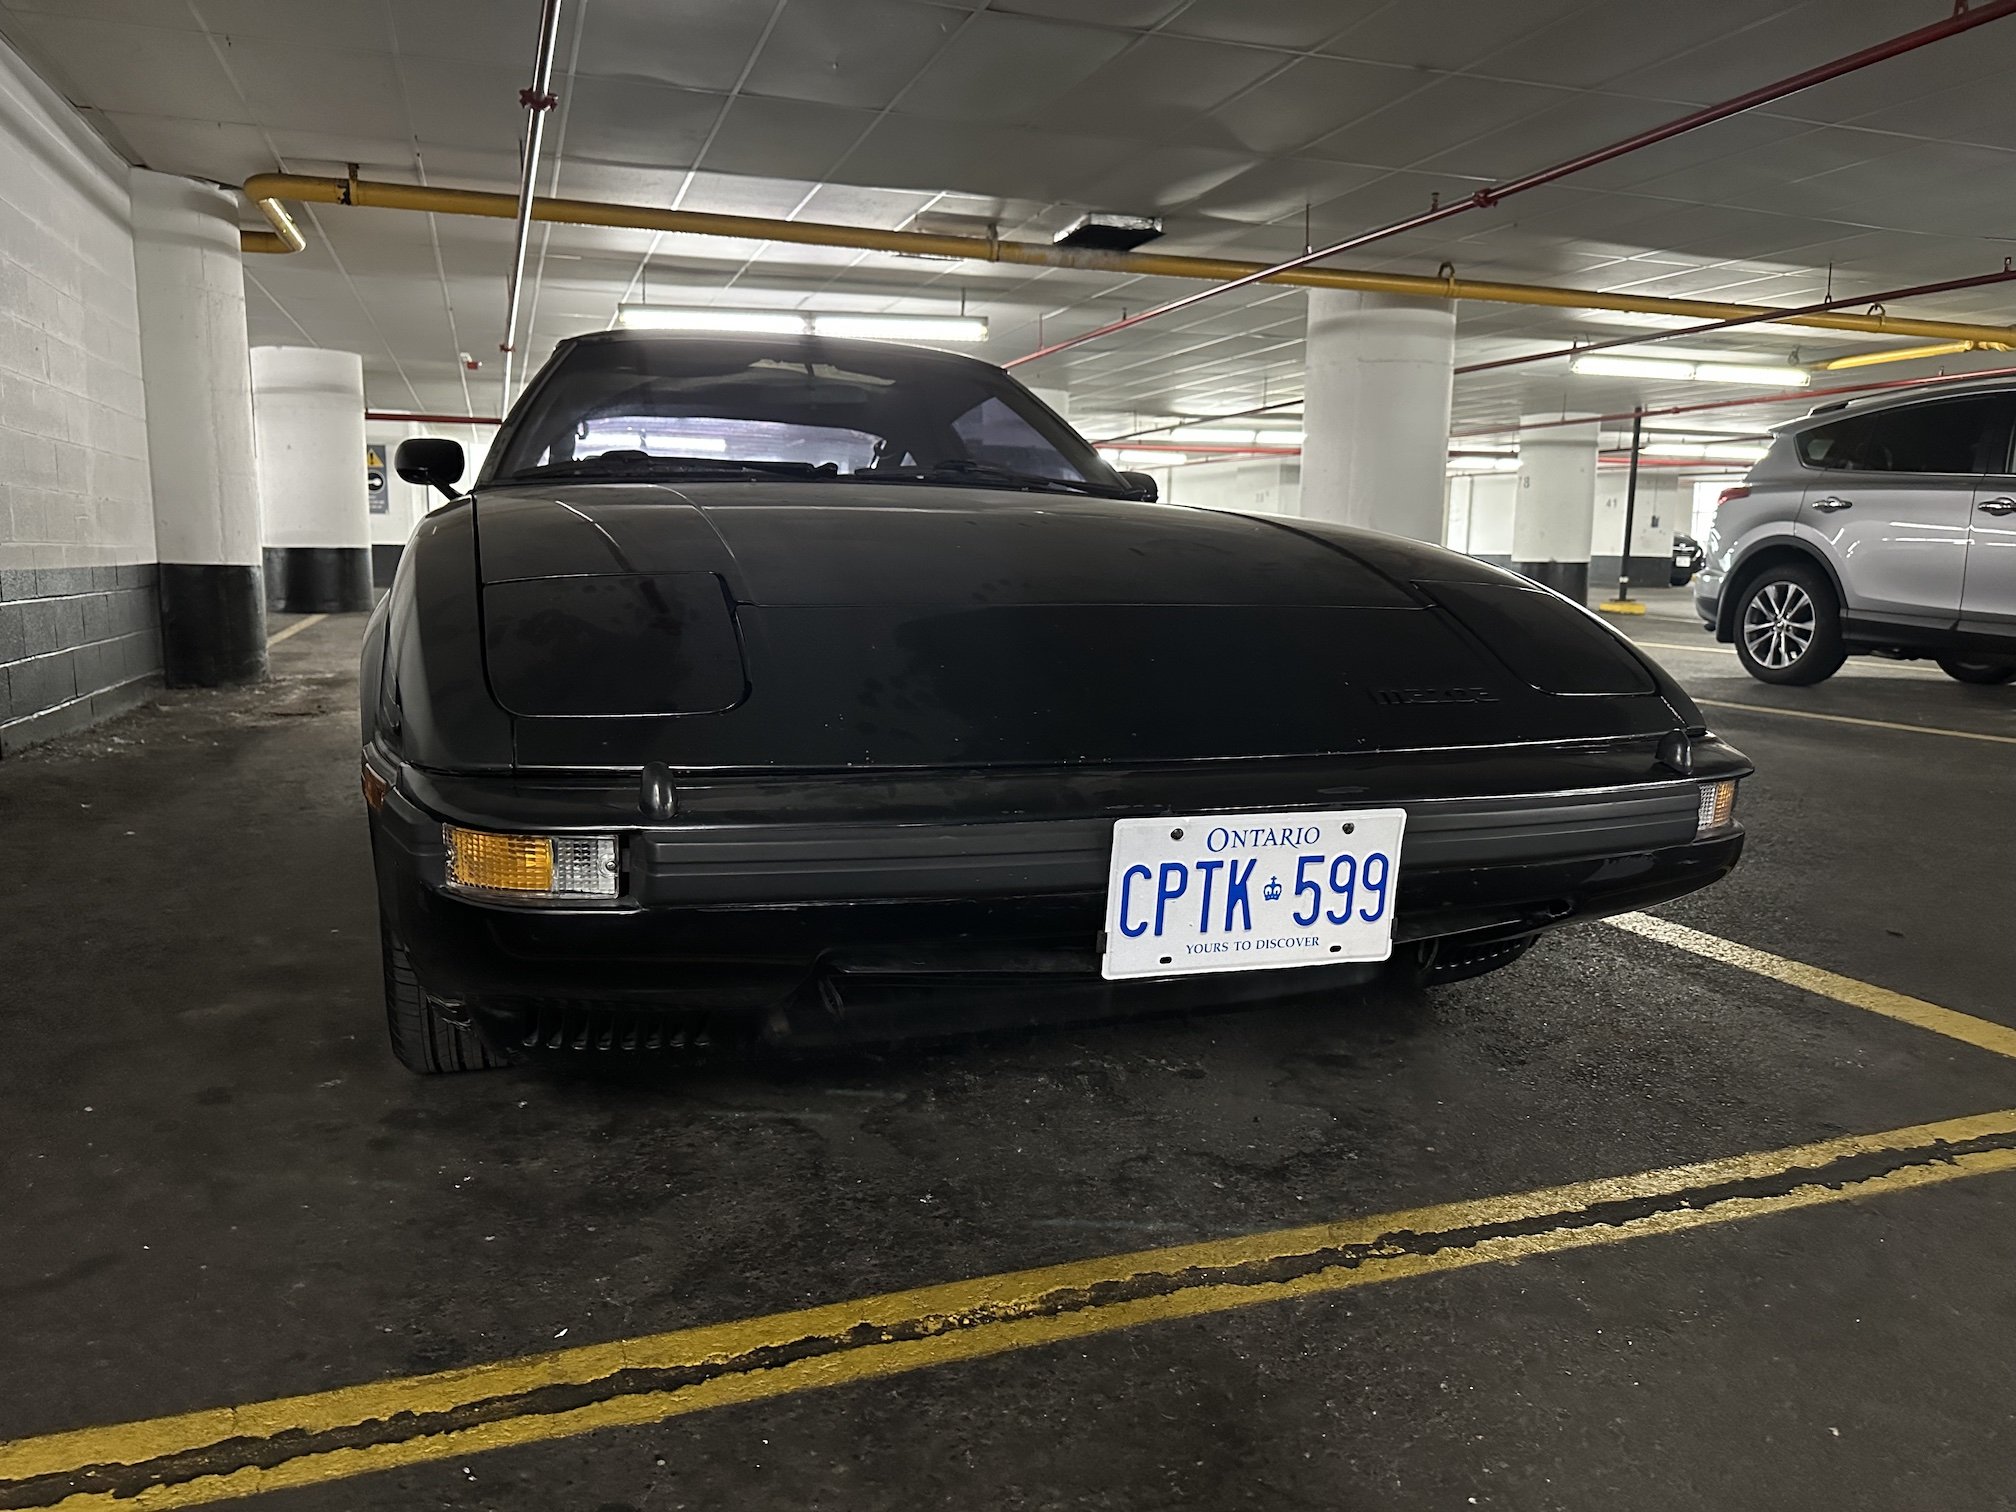
fuel's dorito spinner - 1985 RX-7 GSL-SE IMSA Targa edition
fuel replied to fuel's topic in Projects and Build Ups
I managed to break the front badge when I last washed the car so was able to order up a replacement from Japan And applied the hatch 'RX-7' sticker I had bought years ago that I had been meaning to slap on - I think I got it straight enough. I just applied it right over the original faded sticker and thankfully the replacement reproduction sticker was identical Also put some non-US front indicator lenses on - I will be converting the lighting so the park lamps aren't part of the turn signals as I really hate USDM lighting configuration. Will also be adding DRL's into the clear section that will turn off for when each side is indicating. Gotta do all you can do in order to remain visible here and don't fancy driving around with my headlamps on all the time. Disco fred -
- 24 replies
-
- 16
-
-
fuel's dorito spinner - 1985 RX-7 GSL-SE IMSA Targa edition
fuel replied to fuel's topic in Projects and Build Ups
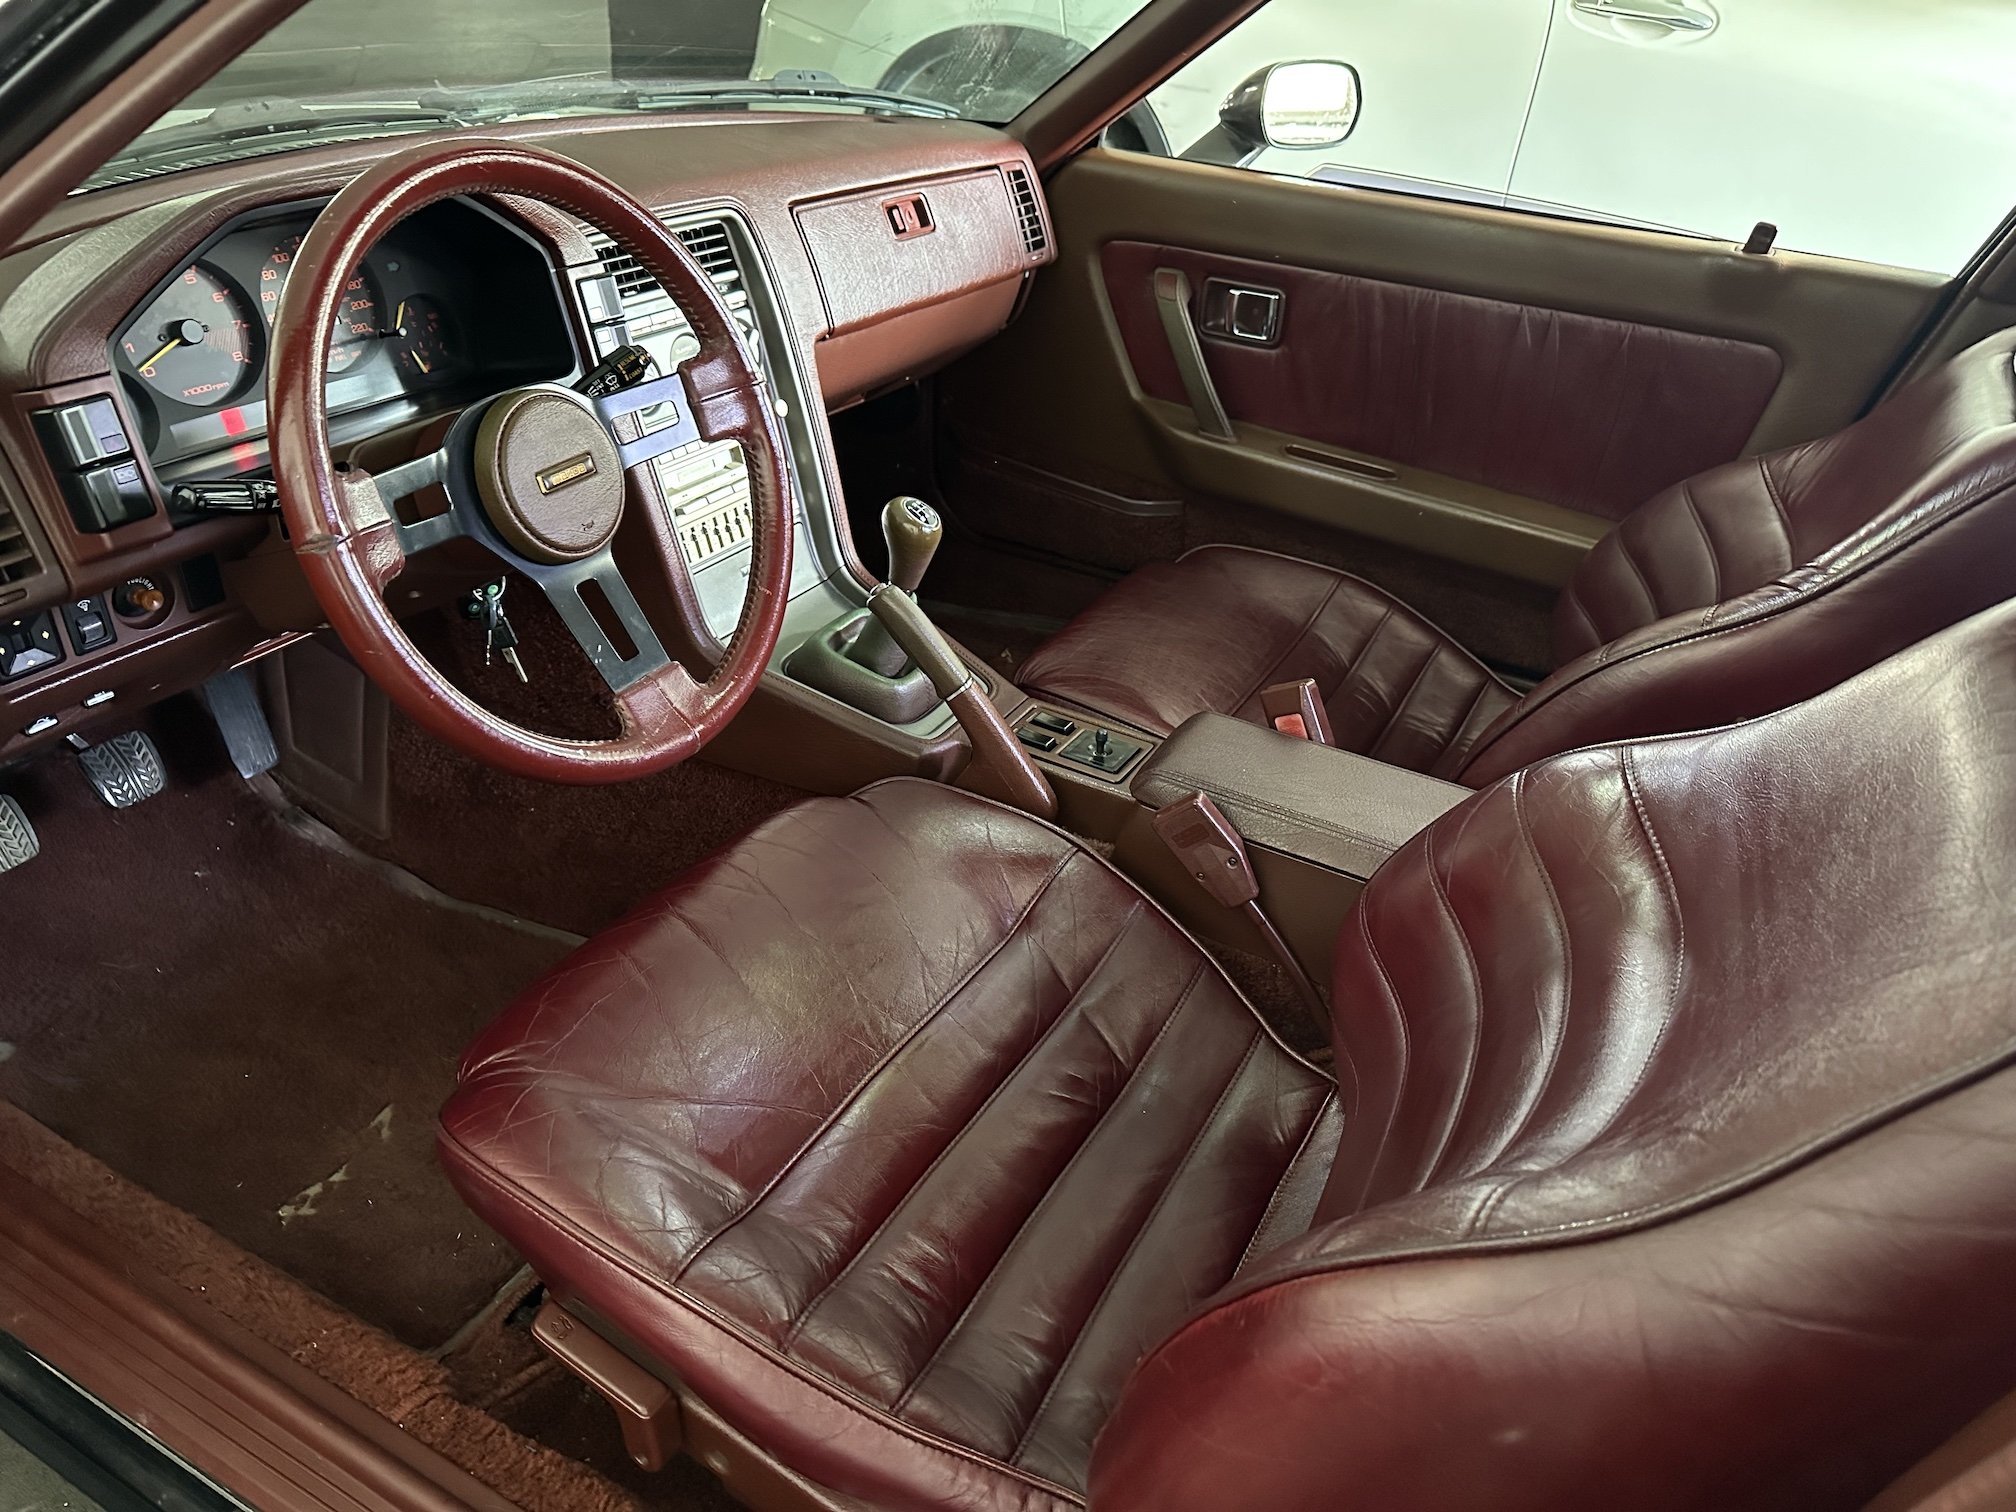
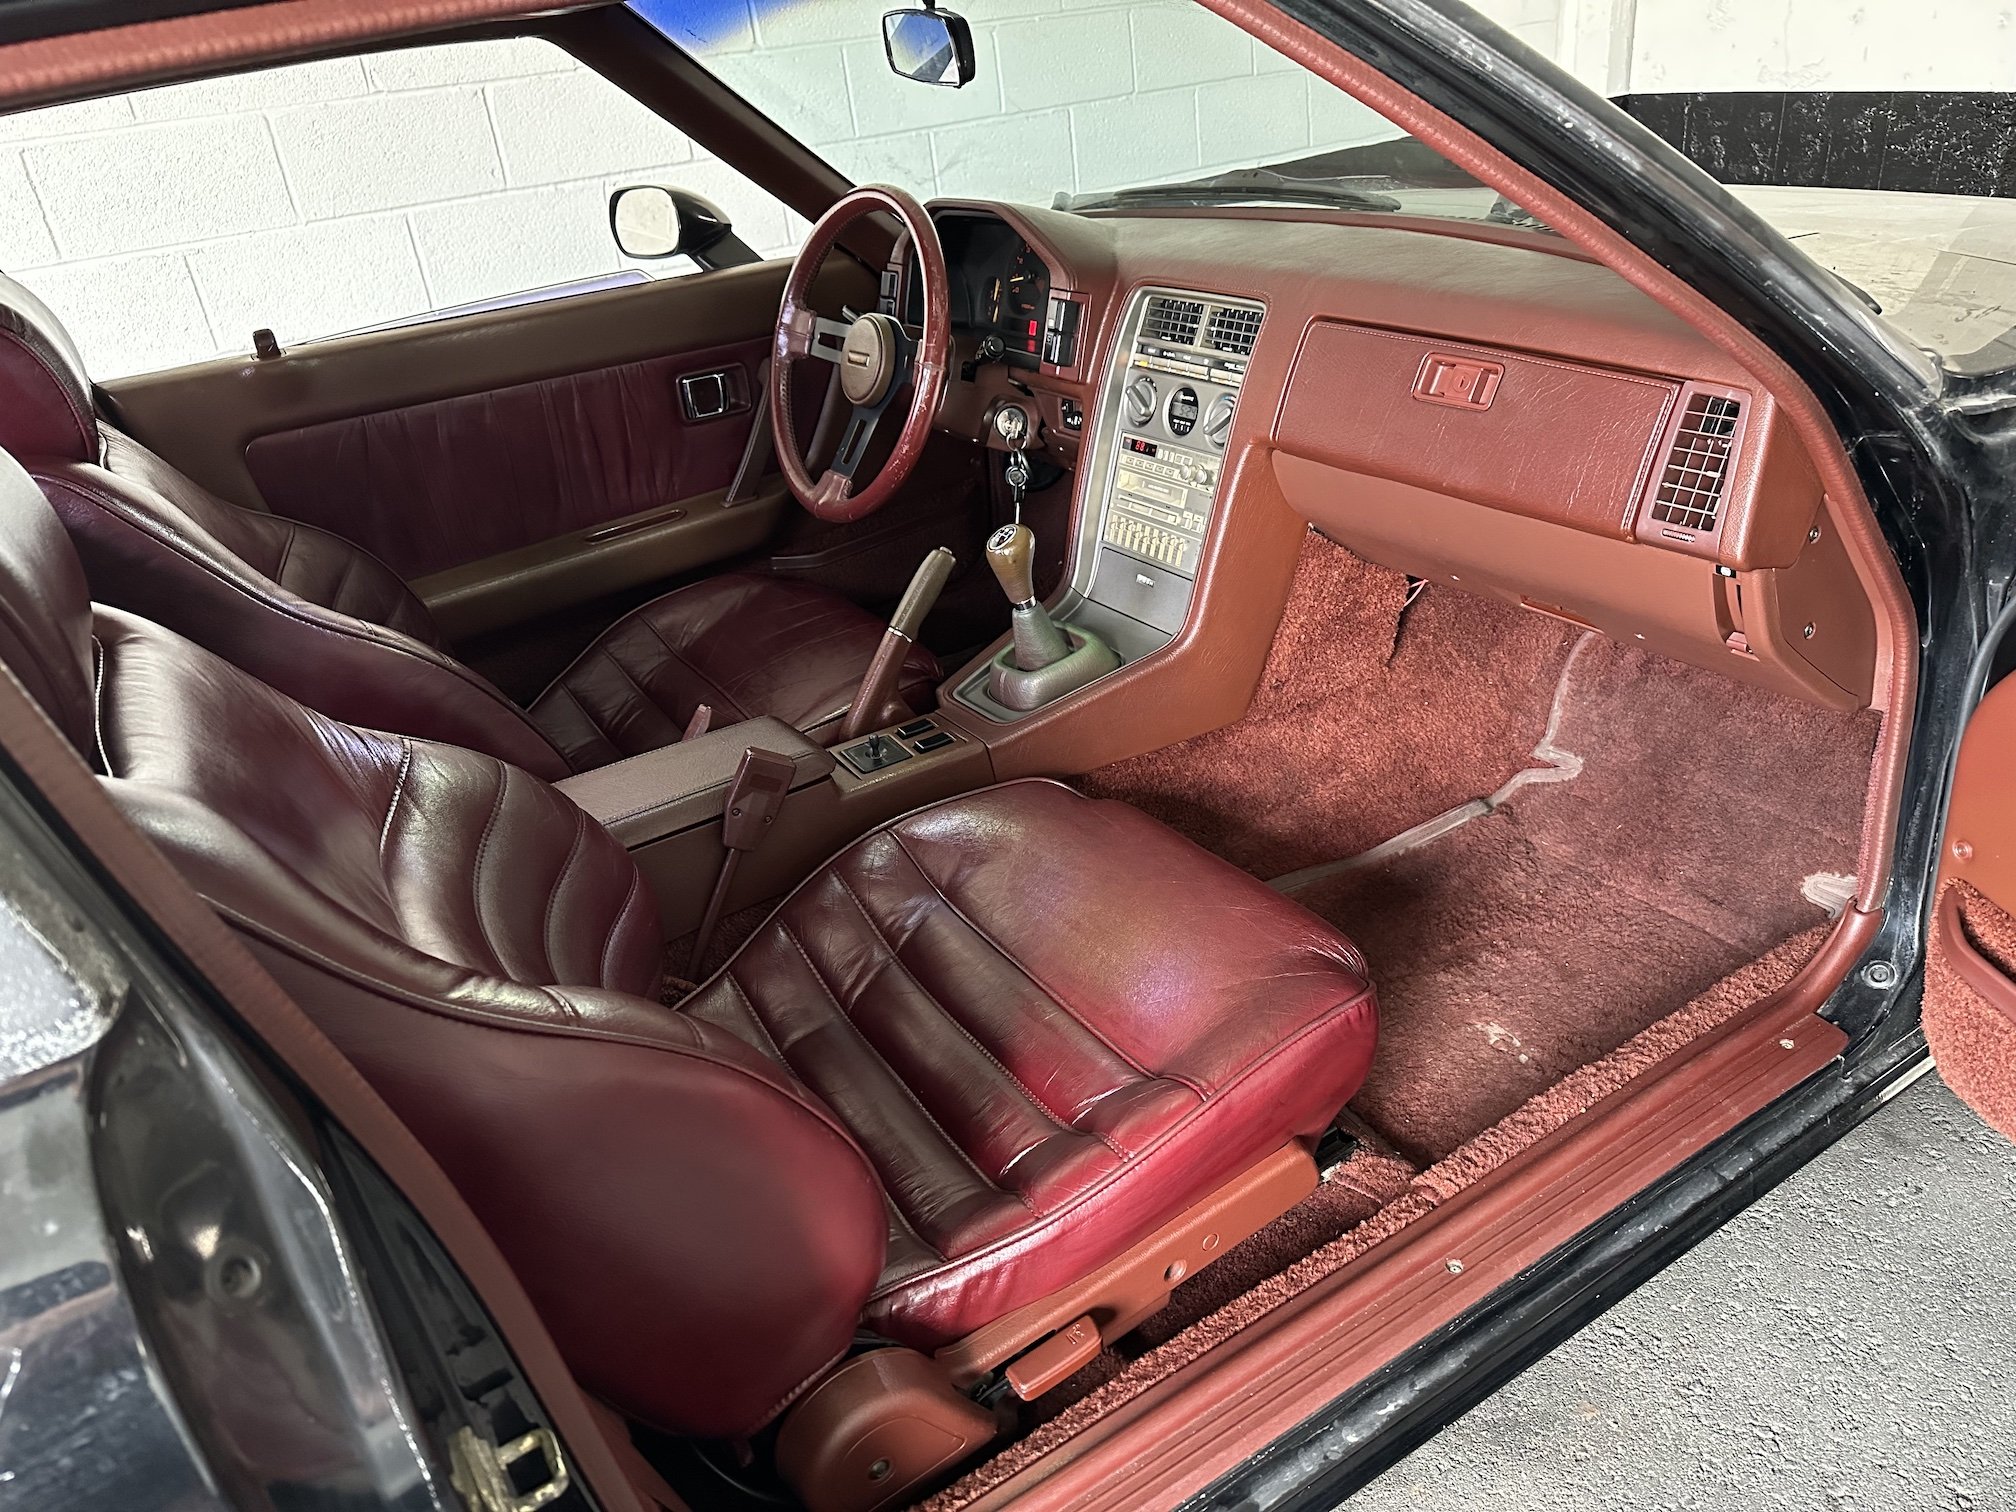
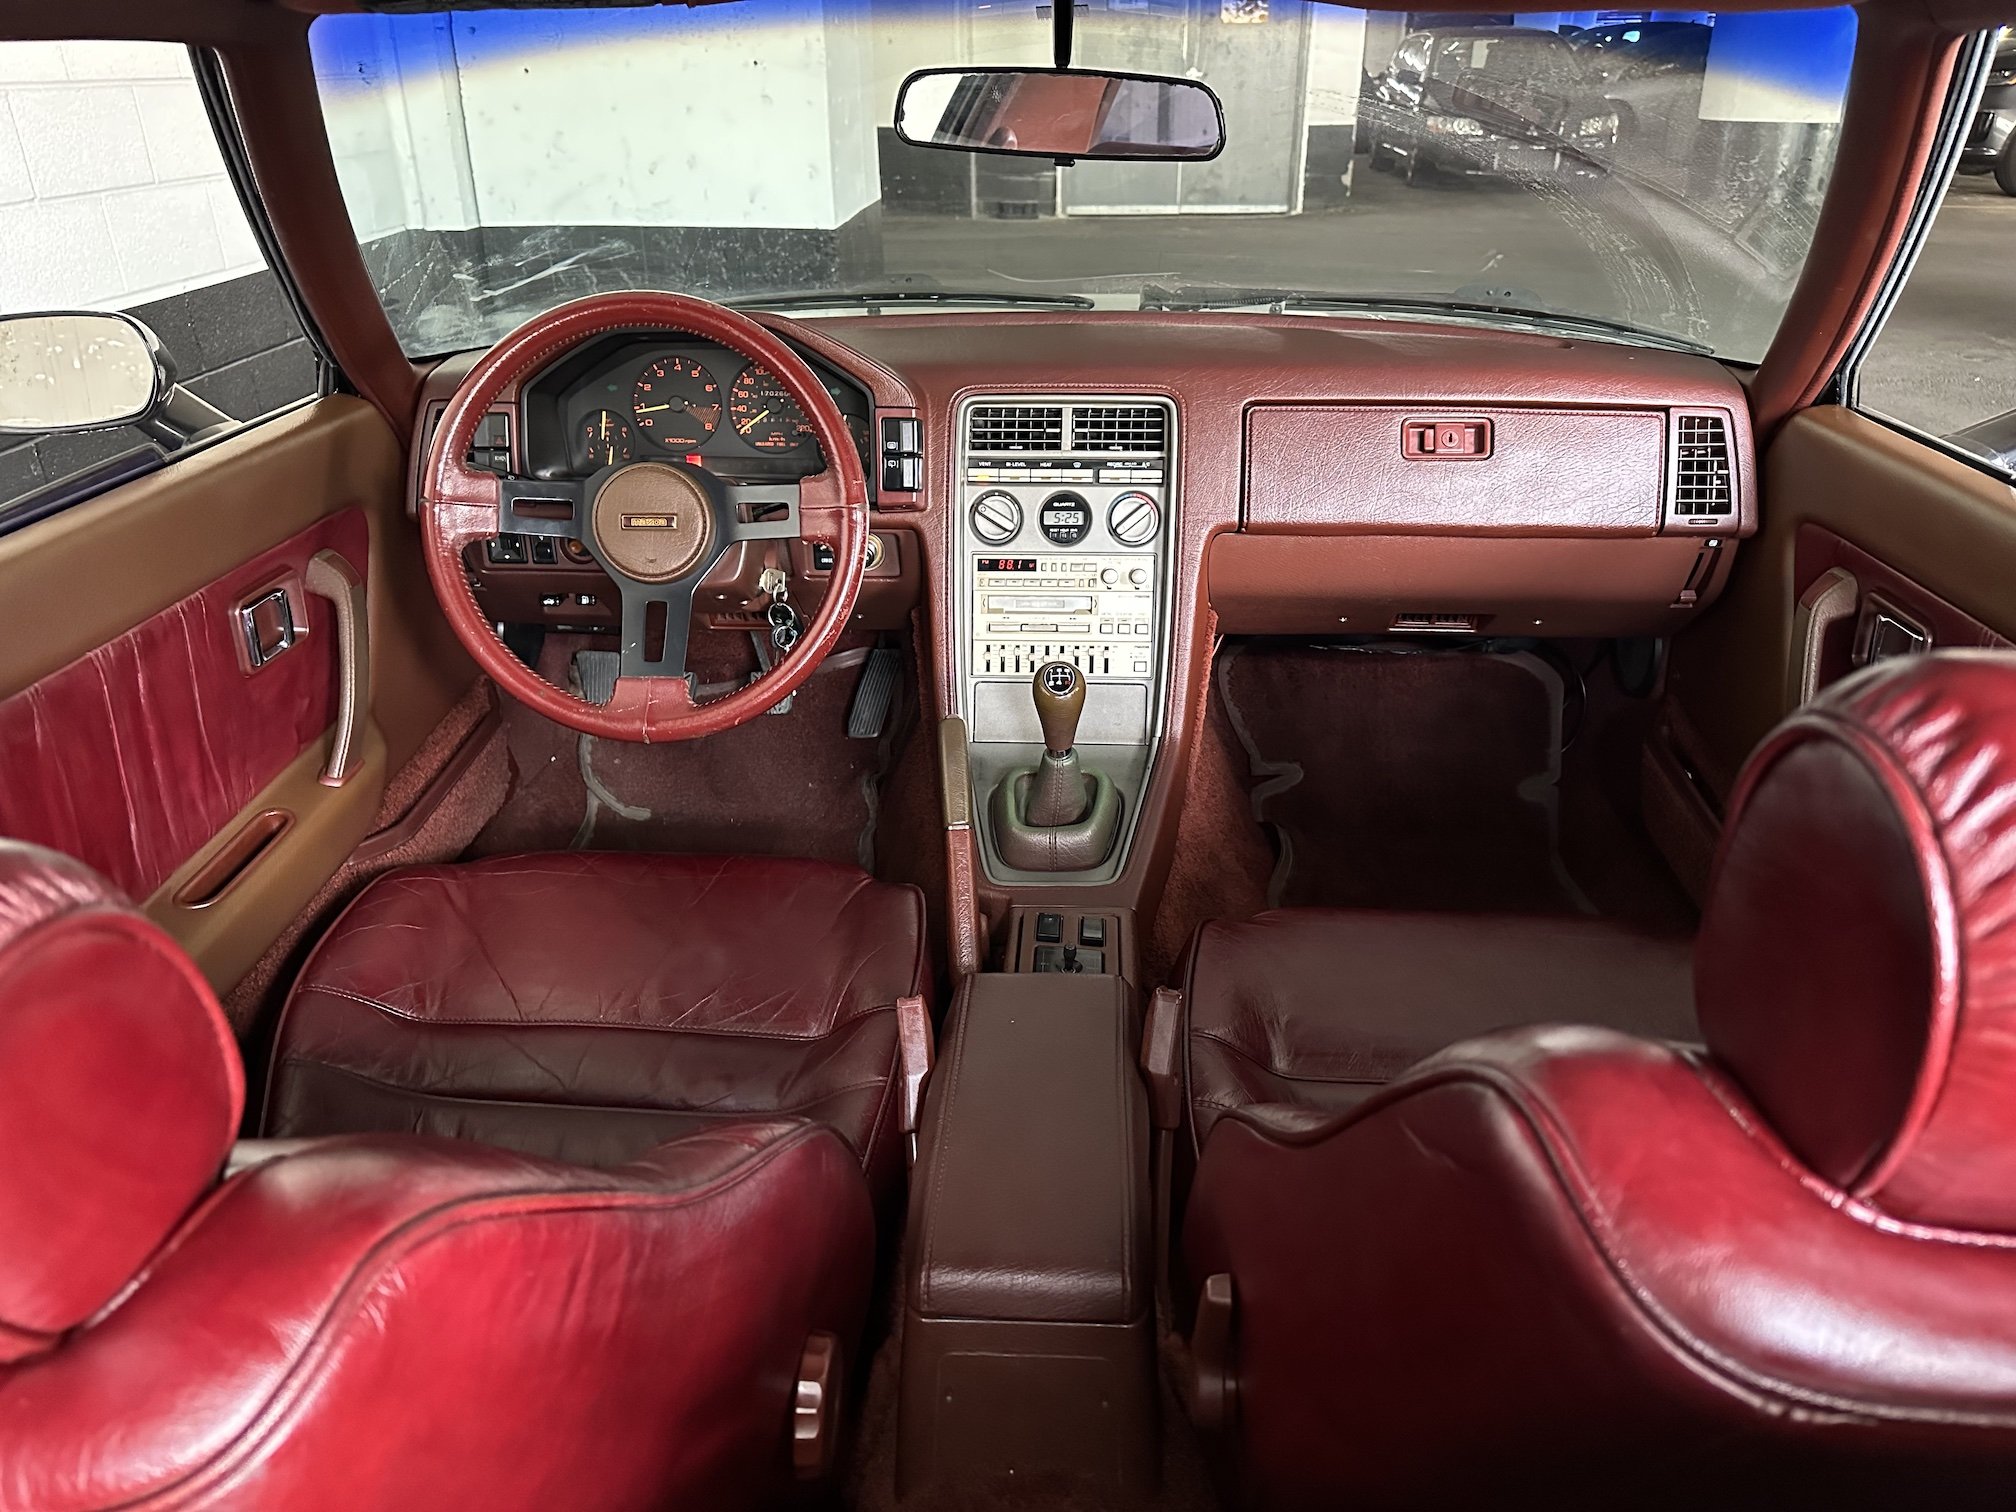
Some pics of interior after going over it with the Clydes remoisturising cream - it definitely makes the faded brown door cards, steering wheel horn pad & shift knob stick out a lot more
- 24 replies
-
- 10
-
-
100% saw a Z3 in a Melbourne pick a part with solid fronts, I even snapped a pic cause I thought it was odd it was DOHC 4cyl
-
I briefly had one of these that I traded (though it was the 2.8) and it had a ridiculous dumb p-plate something like ISONME (eyes on me) I dunno I only had it for all of 5 mins it feels like, but definitely enjoyed the drive from Auckland down to Hamilton in it. I think those base model 1.9's have solid disc brakes up front? I found that to be wacky.
-
could you maybe swap out your tail lamp and regular brake lamps for LED also? the on/off difference between the LEDs in the fog housing and the incandescent in the regular brake lamp housing is triggering my OCD haha
-
fuel's dorito spinner - 1985 RX-7 GSL-SE IMSA Targa edition
fuel replied to fuel's topic in Projects and Build Ups
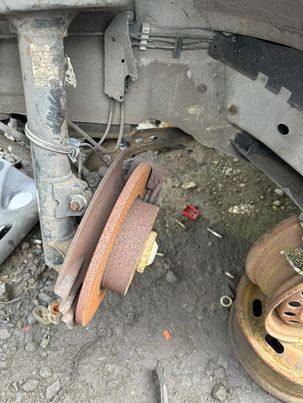
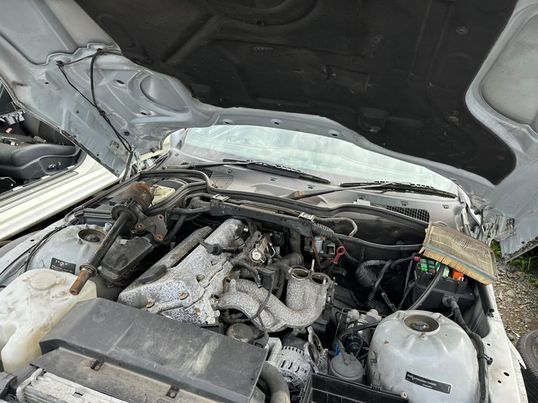
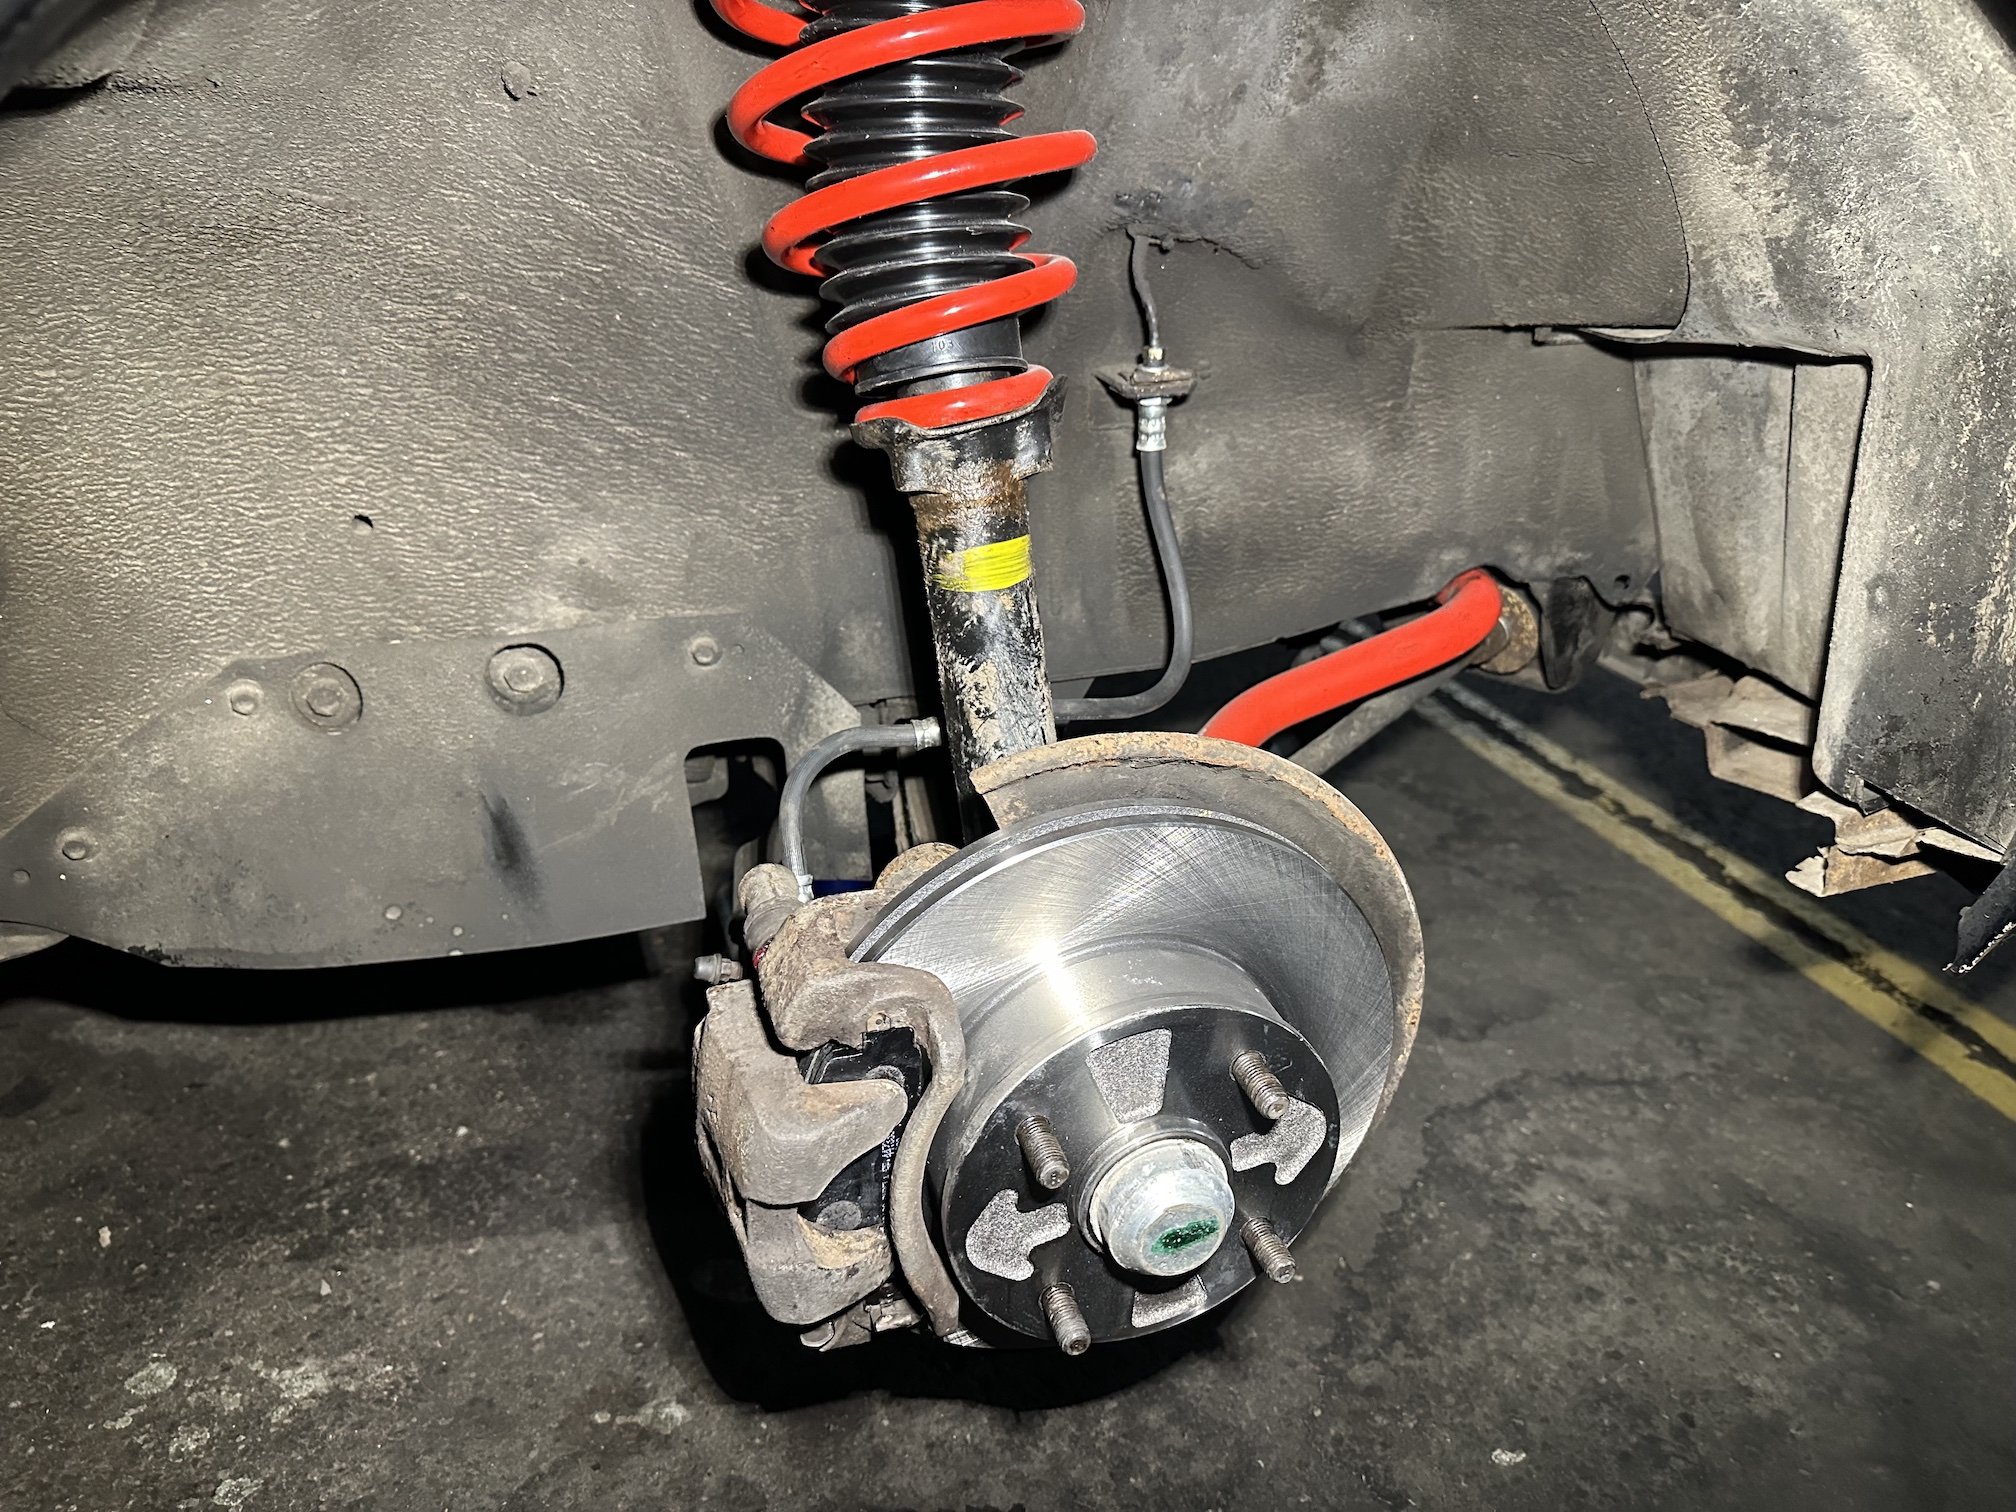
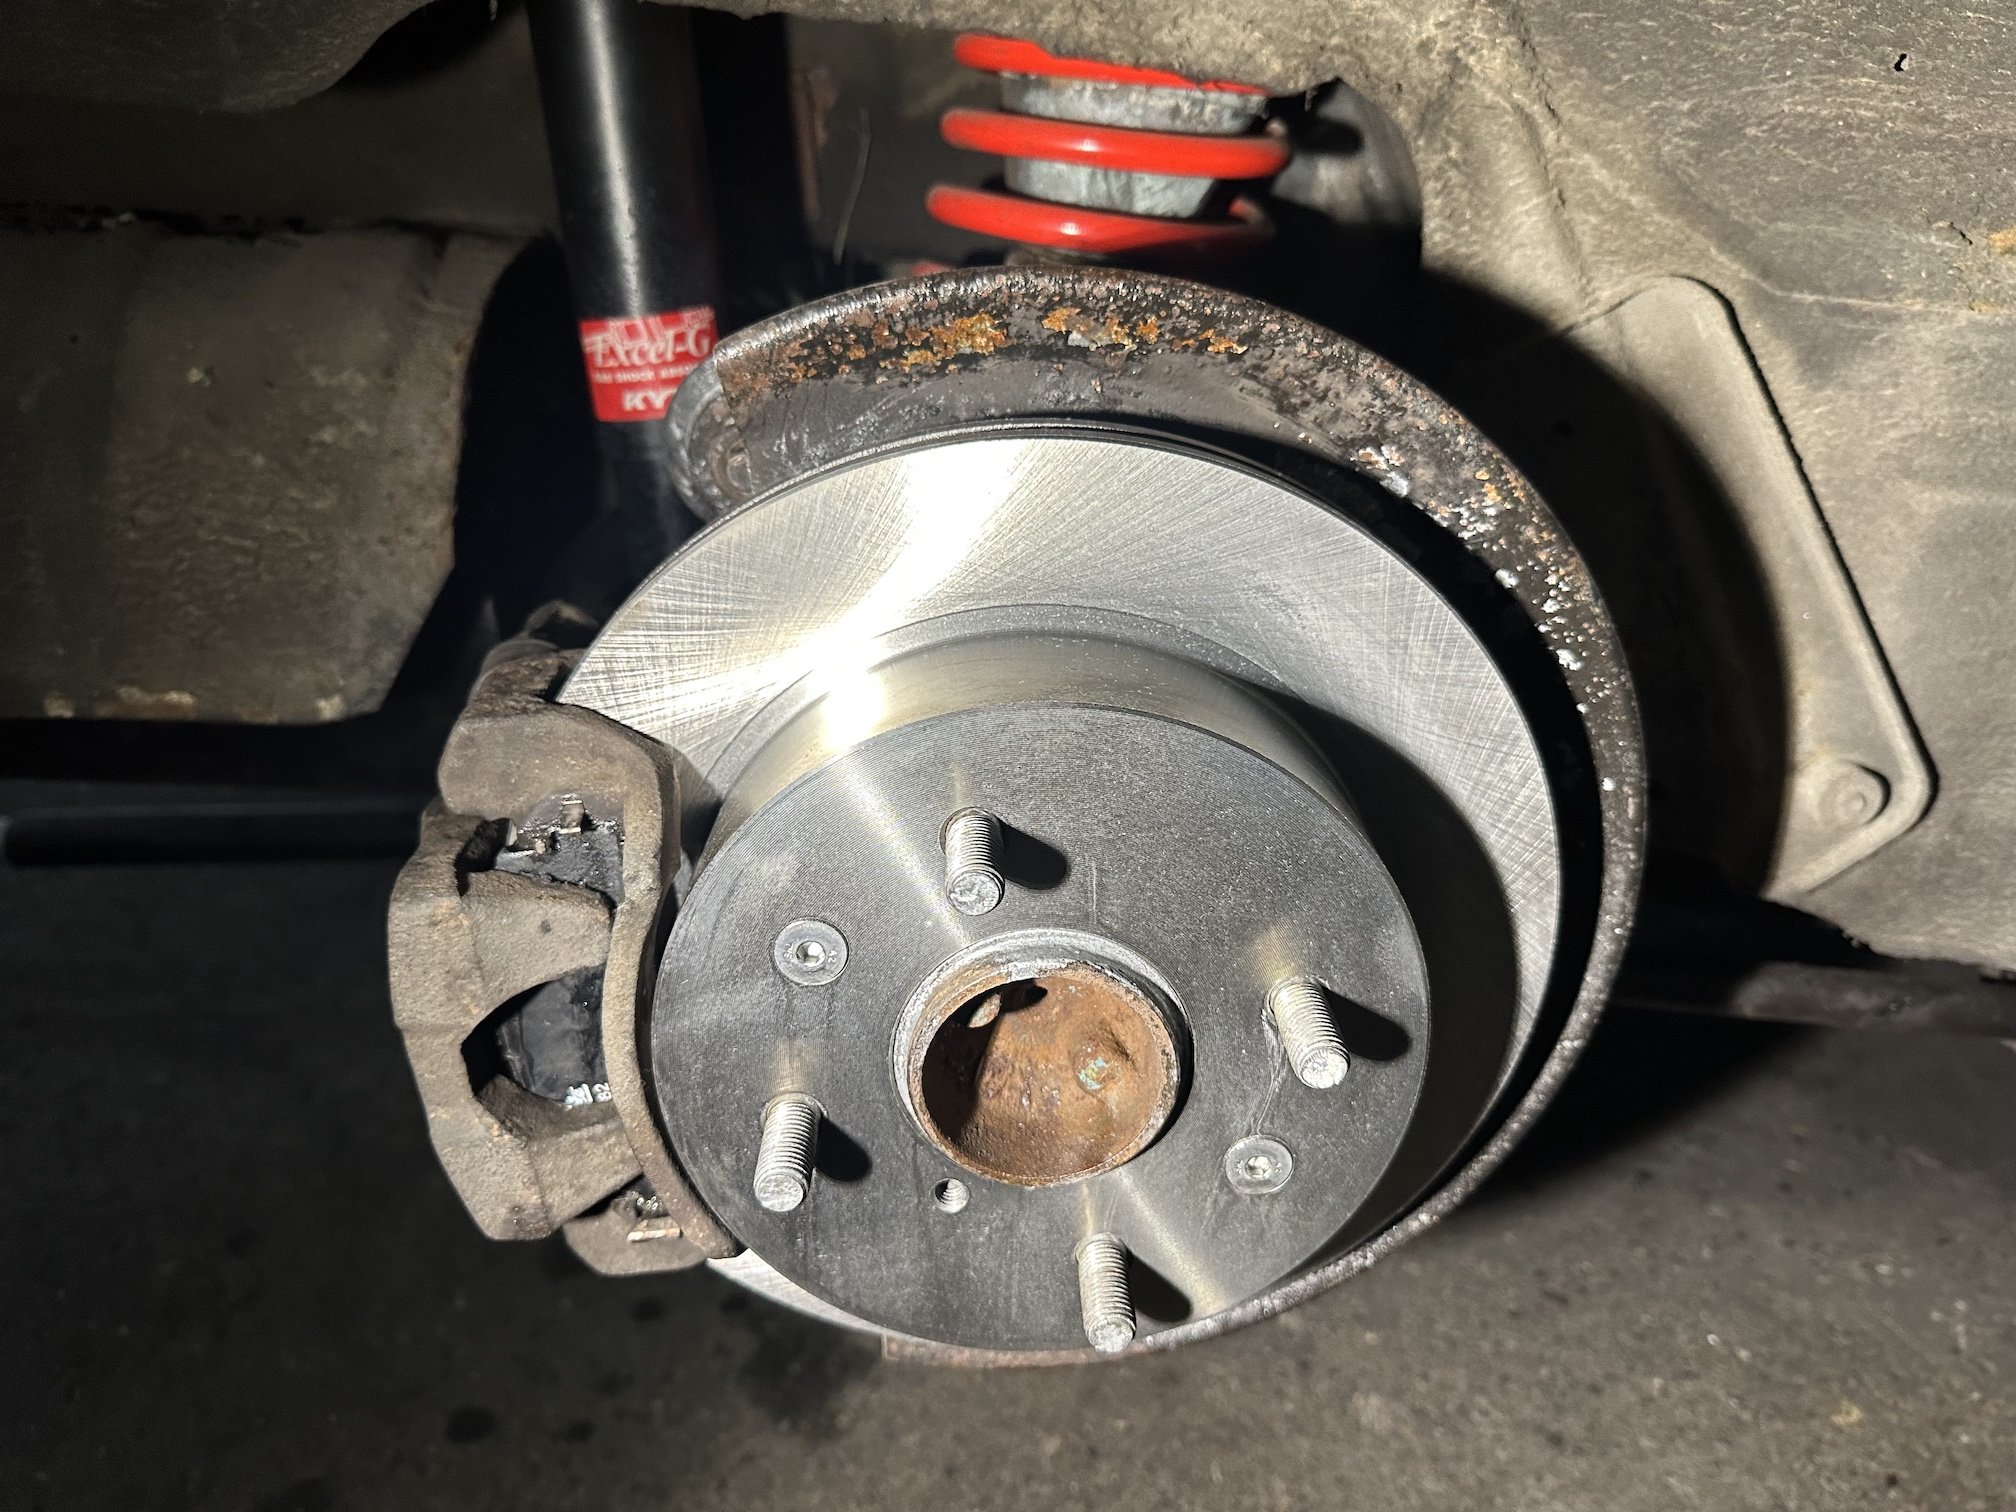
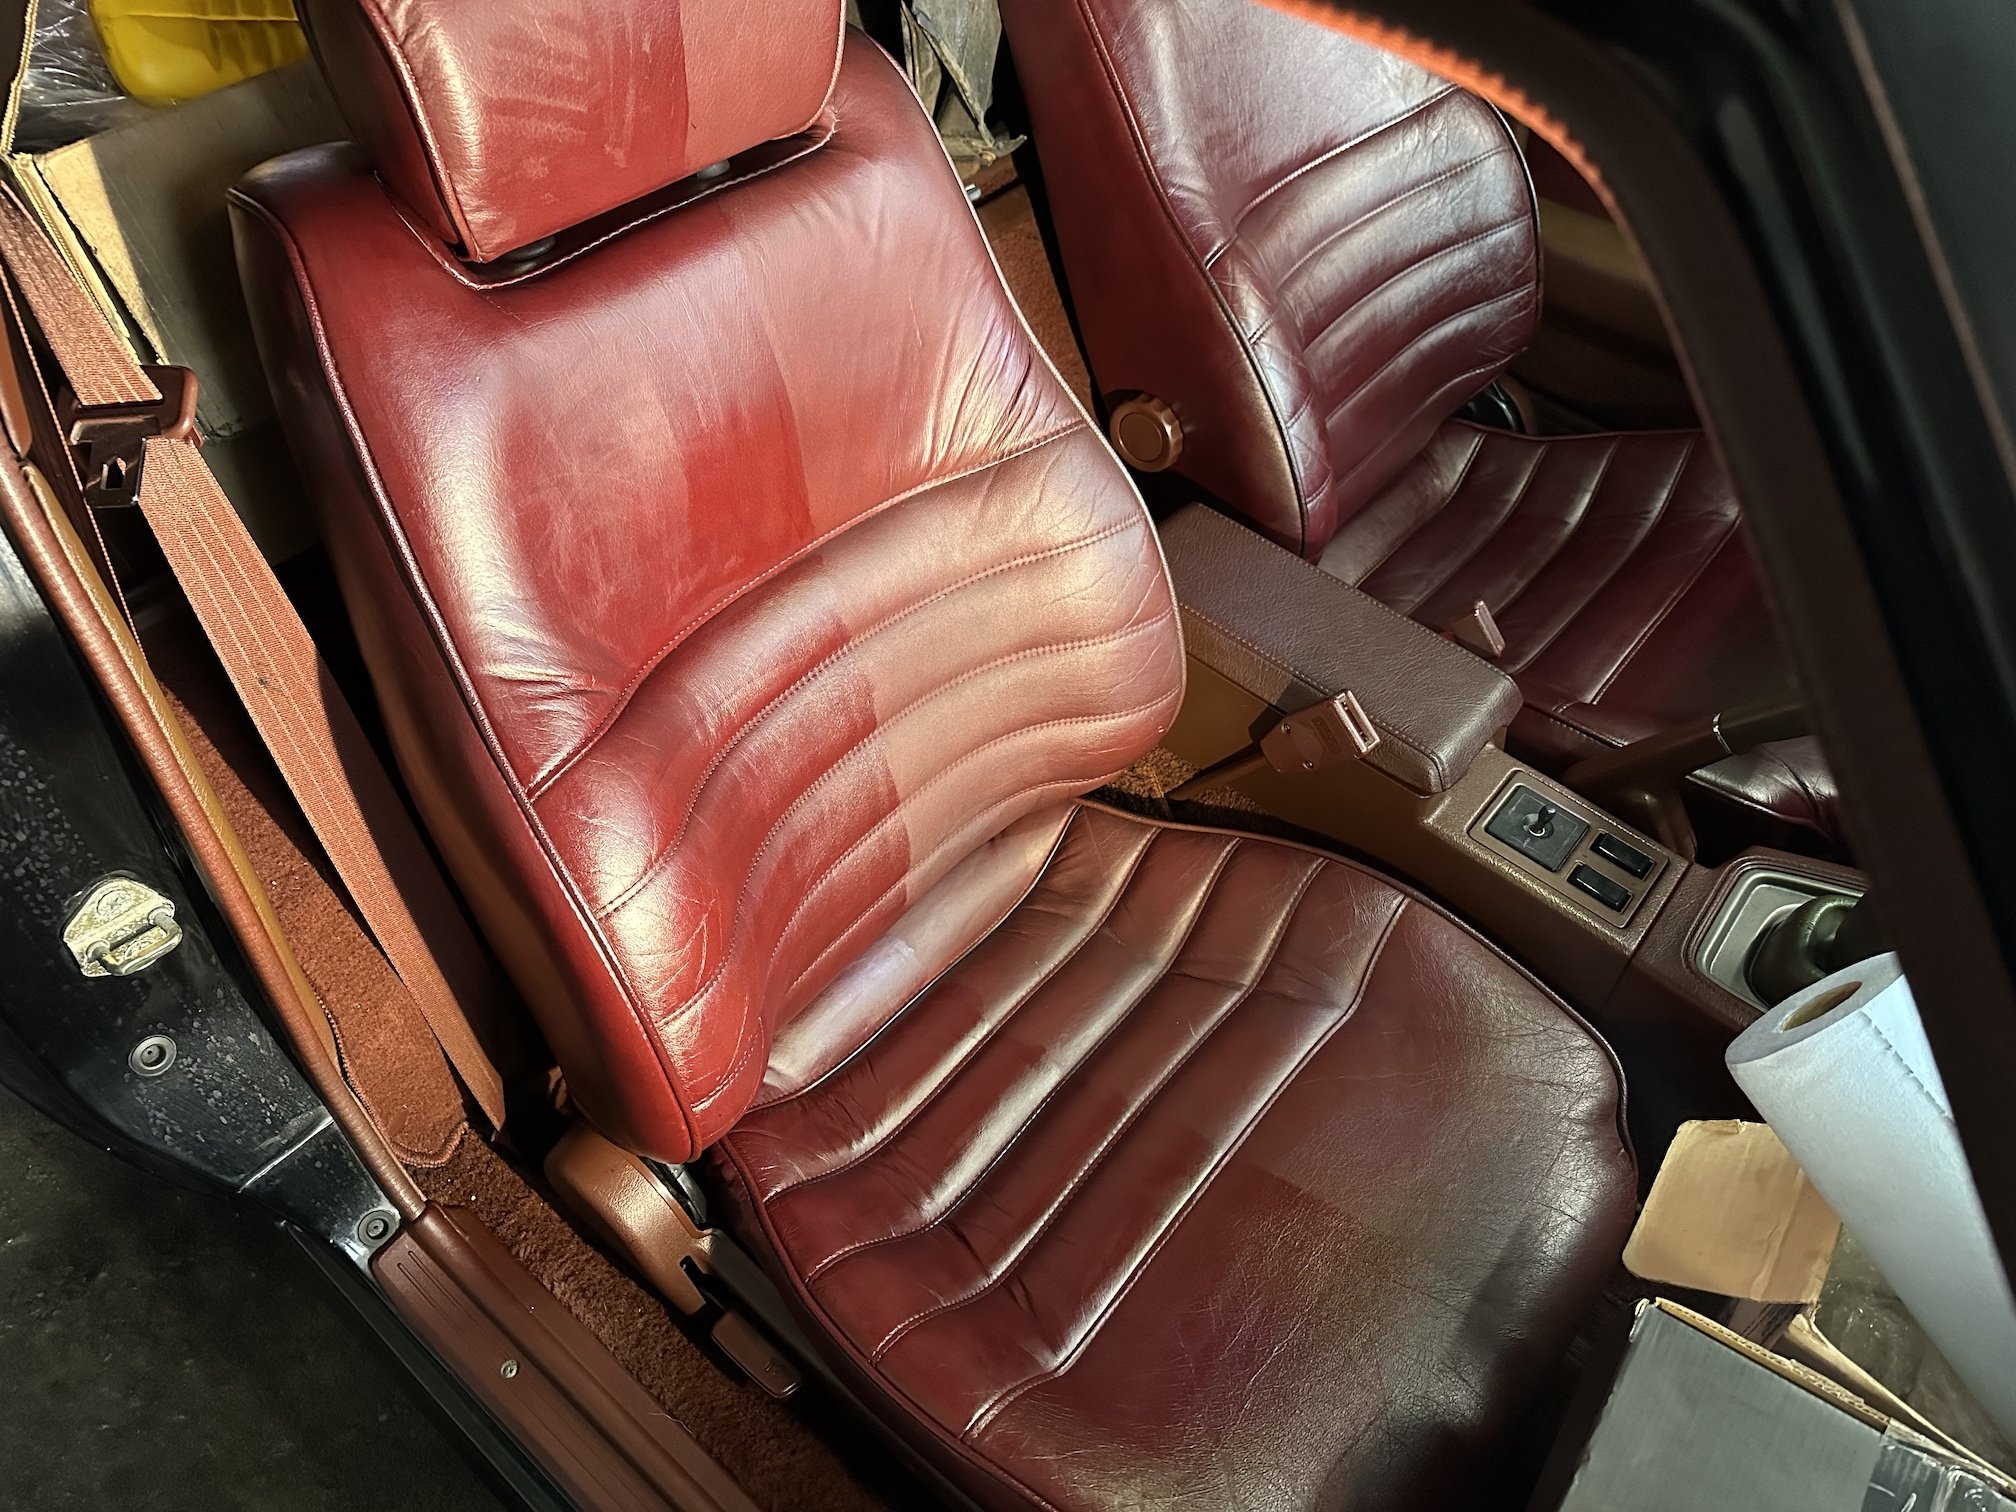
Small update... as it's been almost a year since the last update I decided I really want to get this thing back out on the road so I can enjoy it this summer. In addition to the rear suspension overhaul I finished off the front suspension, so new lower control arm bushes (had to cut the lower control arm bolt on both sides because it was rusted solid to the bushing sleeve and was a prick of a job to get out), inner and outer tie rod ends, front disc rotors, wheel bearing, wheel studs etc Rear brakes done too, well at least one side - the other side is partially seized and the handbrake cable bracket bolt has snapped off inside the caliper body so that needs to be rectified so I have an effective hand brake Also made a start on tidying up the interior, used the same Clydes leather colouring balm that I used on the Diamante here, obviously in the maroon colour. I did half an half on the passenger seat to see the contrast, the driver's seat had been done at this point: Once I've sorted out the rear caliper and get it a wheel alignment it should be good to get back out on the road. I dropped all the fluids and got some Redline into the box and diff too.
- 24 replies
-
- 20
-
-
Because I'm a ricer at heart, I applied some stickers I bought that just turned up today: I fucked up on the size of the 'spirit of competition' sticker thinking it was going to be much bigger, in order to cover the majority of the space on the right
-
I changed to LED bulbs because of the amount of times I had left the door open etc working on the car only to find it wouldn't crank after a few hours. Plus in most cases you get more light output. Hard to find ones that have the same warm glow as regular bulbs though.
-
Ralliart it is! Small wee problem that the carbon lip is in Auckland and the car is in Toronto.... so yeah that's going to be fun to get it half way around the world undamaged, and for something that wont break the bank. In other news - snapped some 'zaust pics while I had the car jacked up to refit the crossmember braces and some under body belly pan clips.
-
also have the option to get a Ralliart style CF lower lip or CF version of the stock MR lower lip, which one do y'all think looks best? Ralliart: CF version of stock MR lip
-
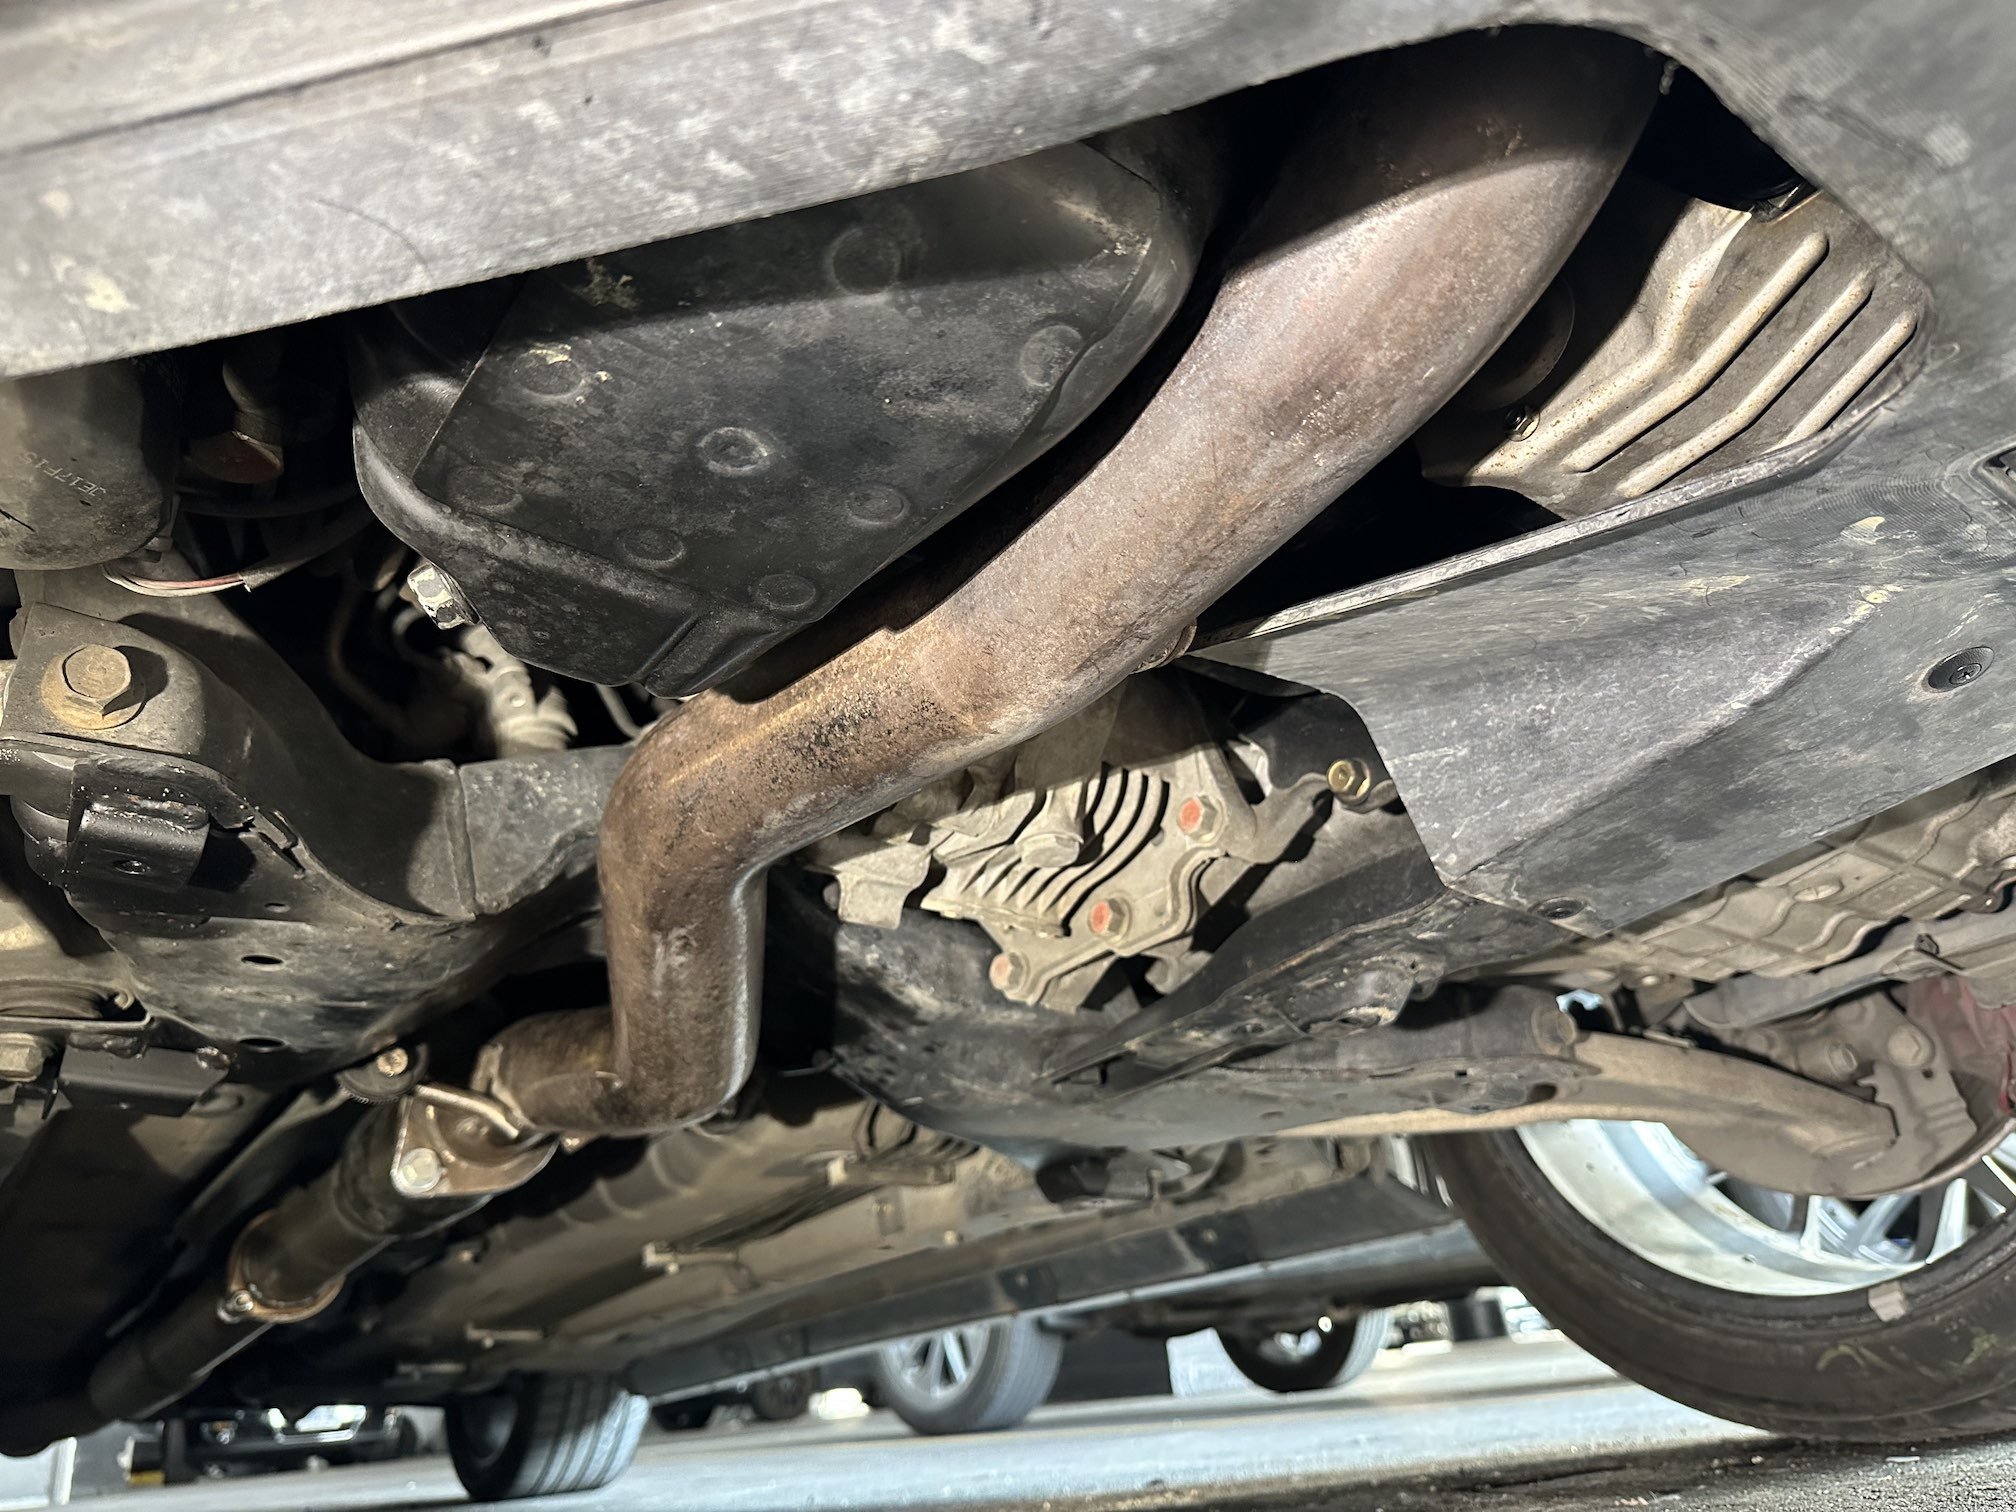
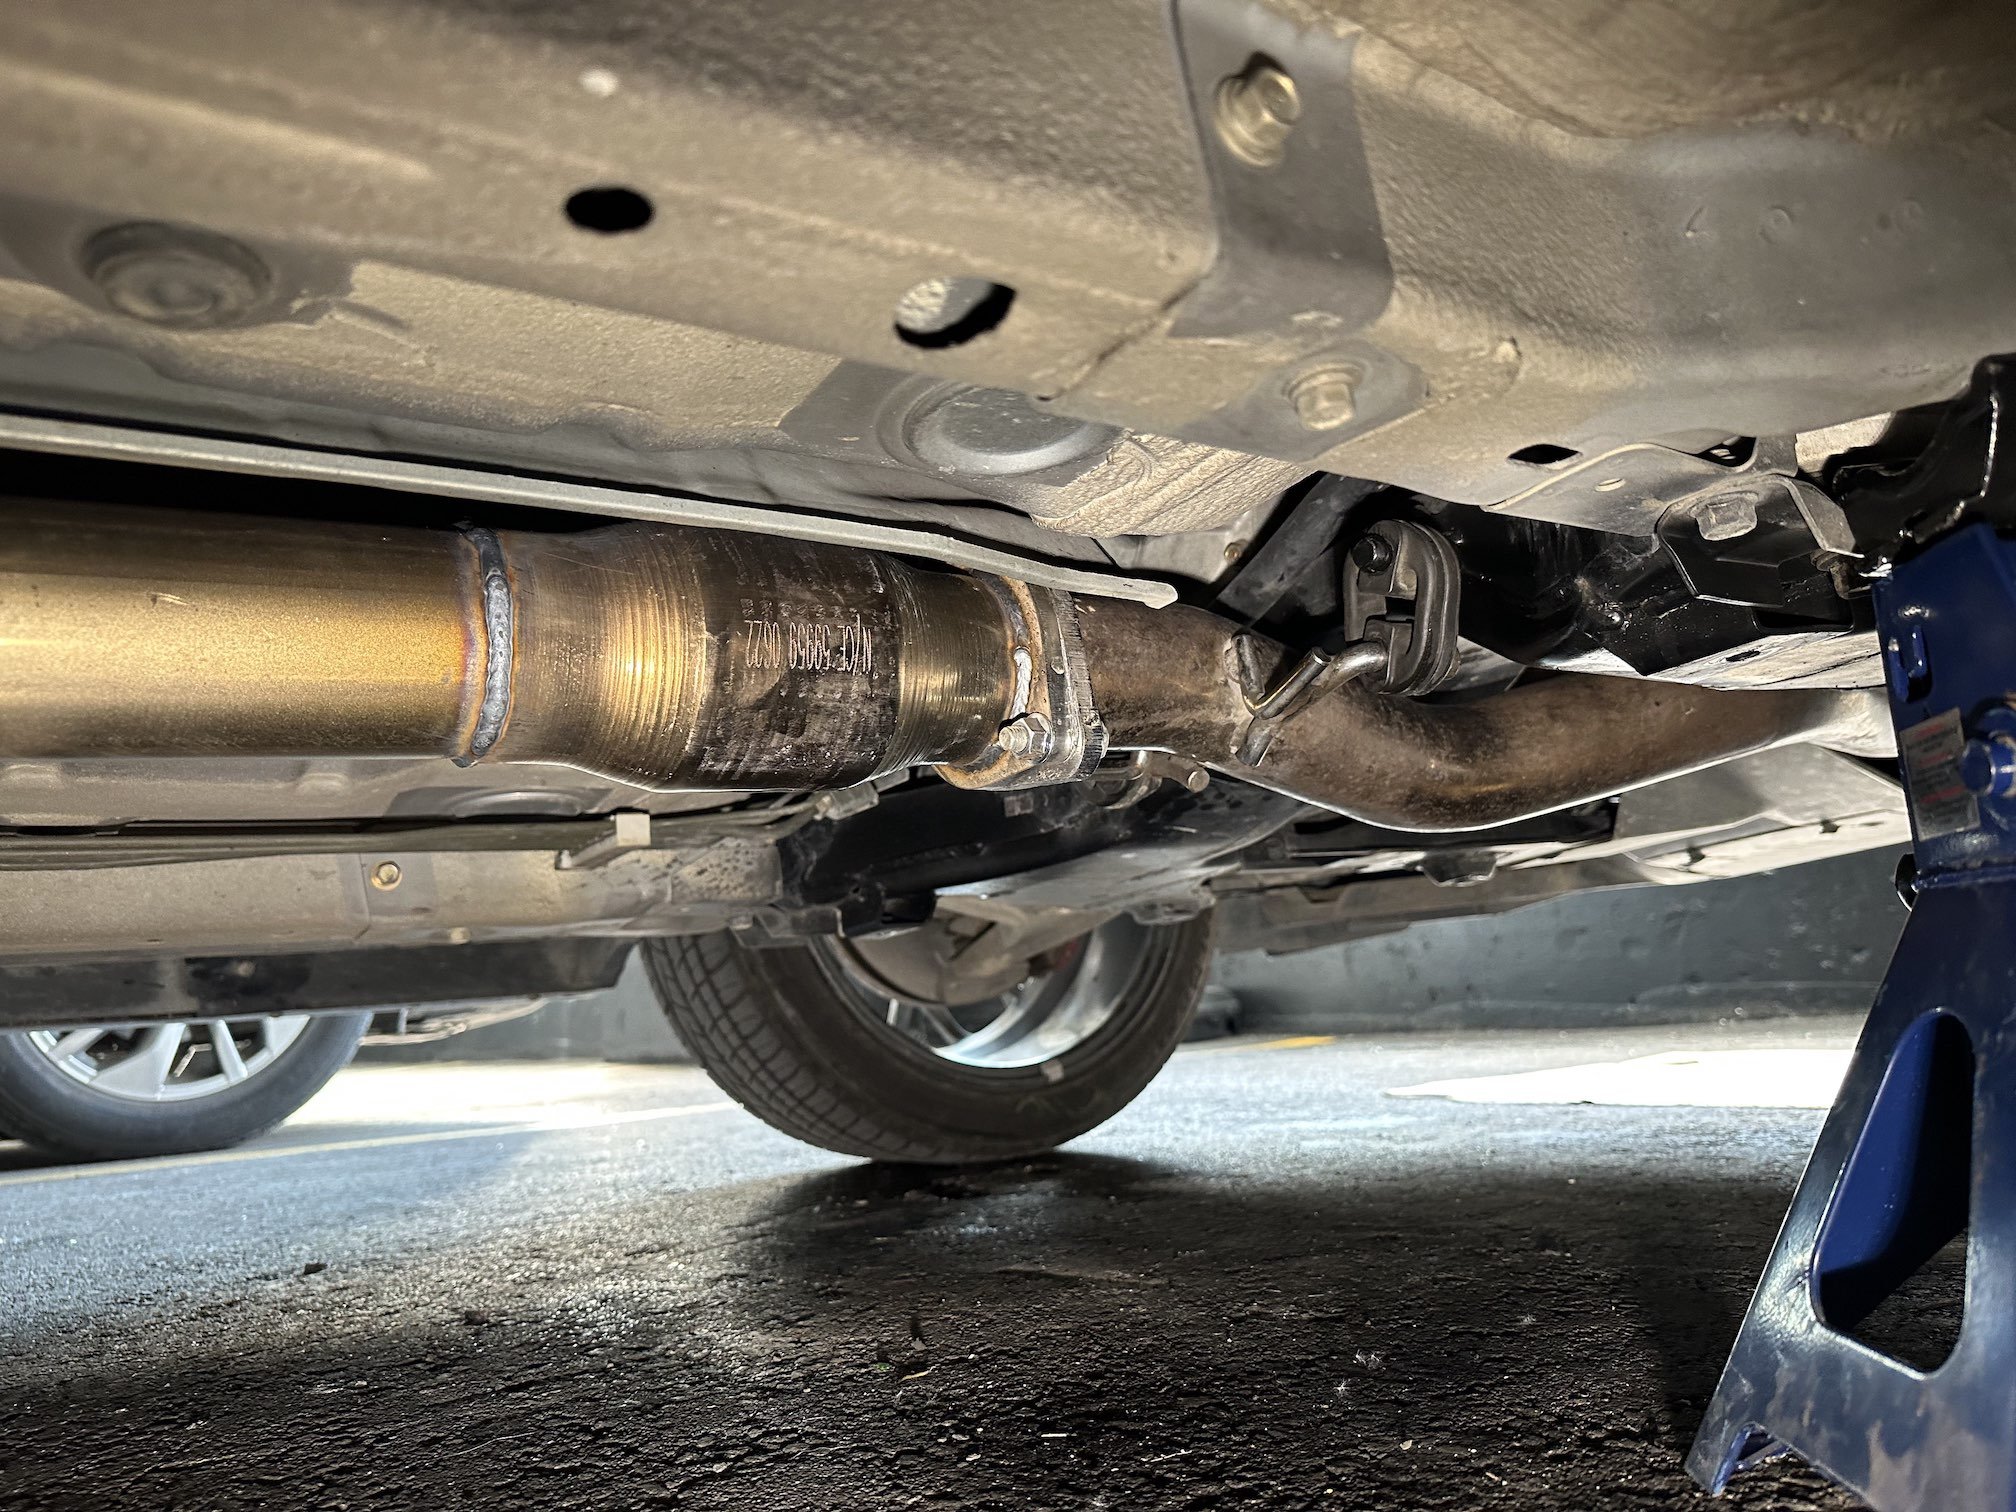
The downpipe now fitted along with a 3" high flow cat and ditched the 2.75" flange at the beginning of the kakimoto cat-back exhaust so it's a true 3" mandrel bent system right the way through. Don't have pics of it fitted but here it is compared to the original when I was faffing around with it last week:
-
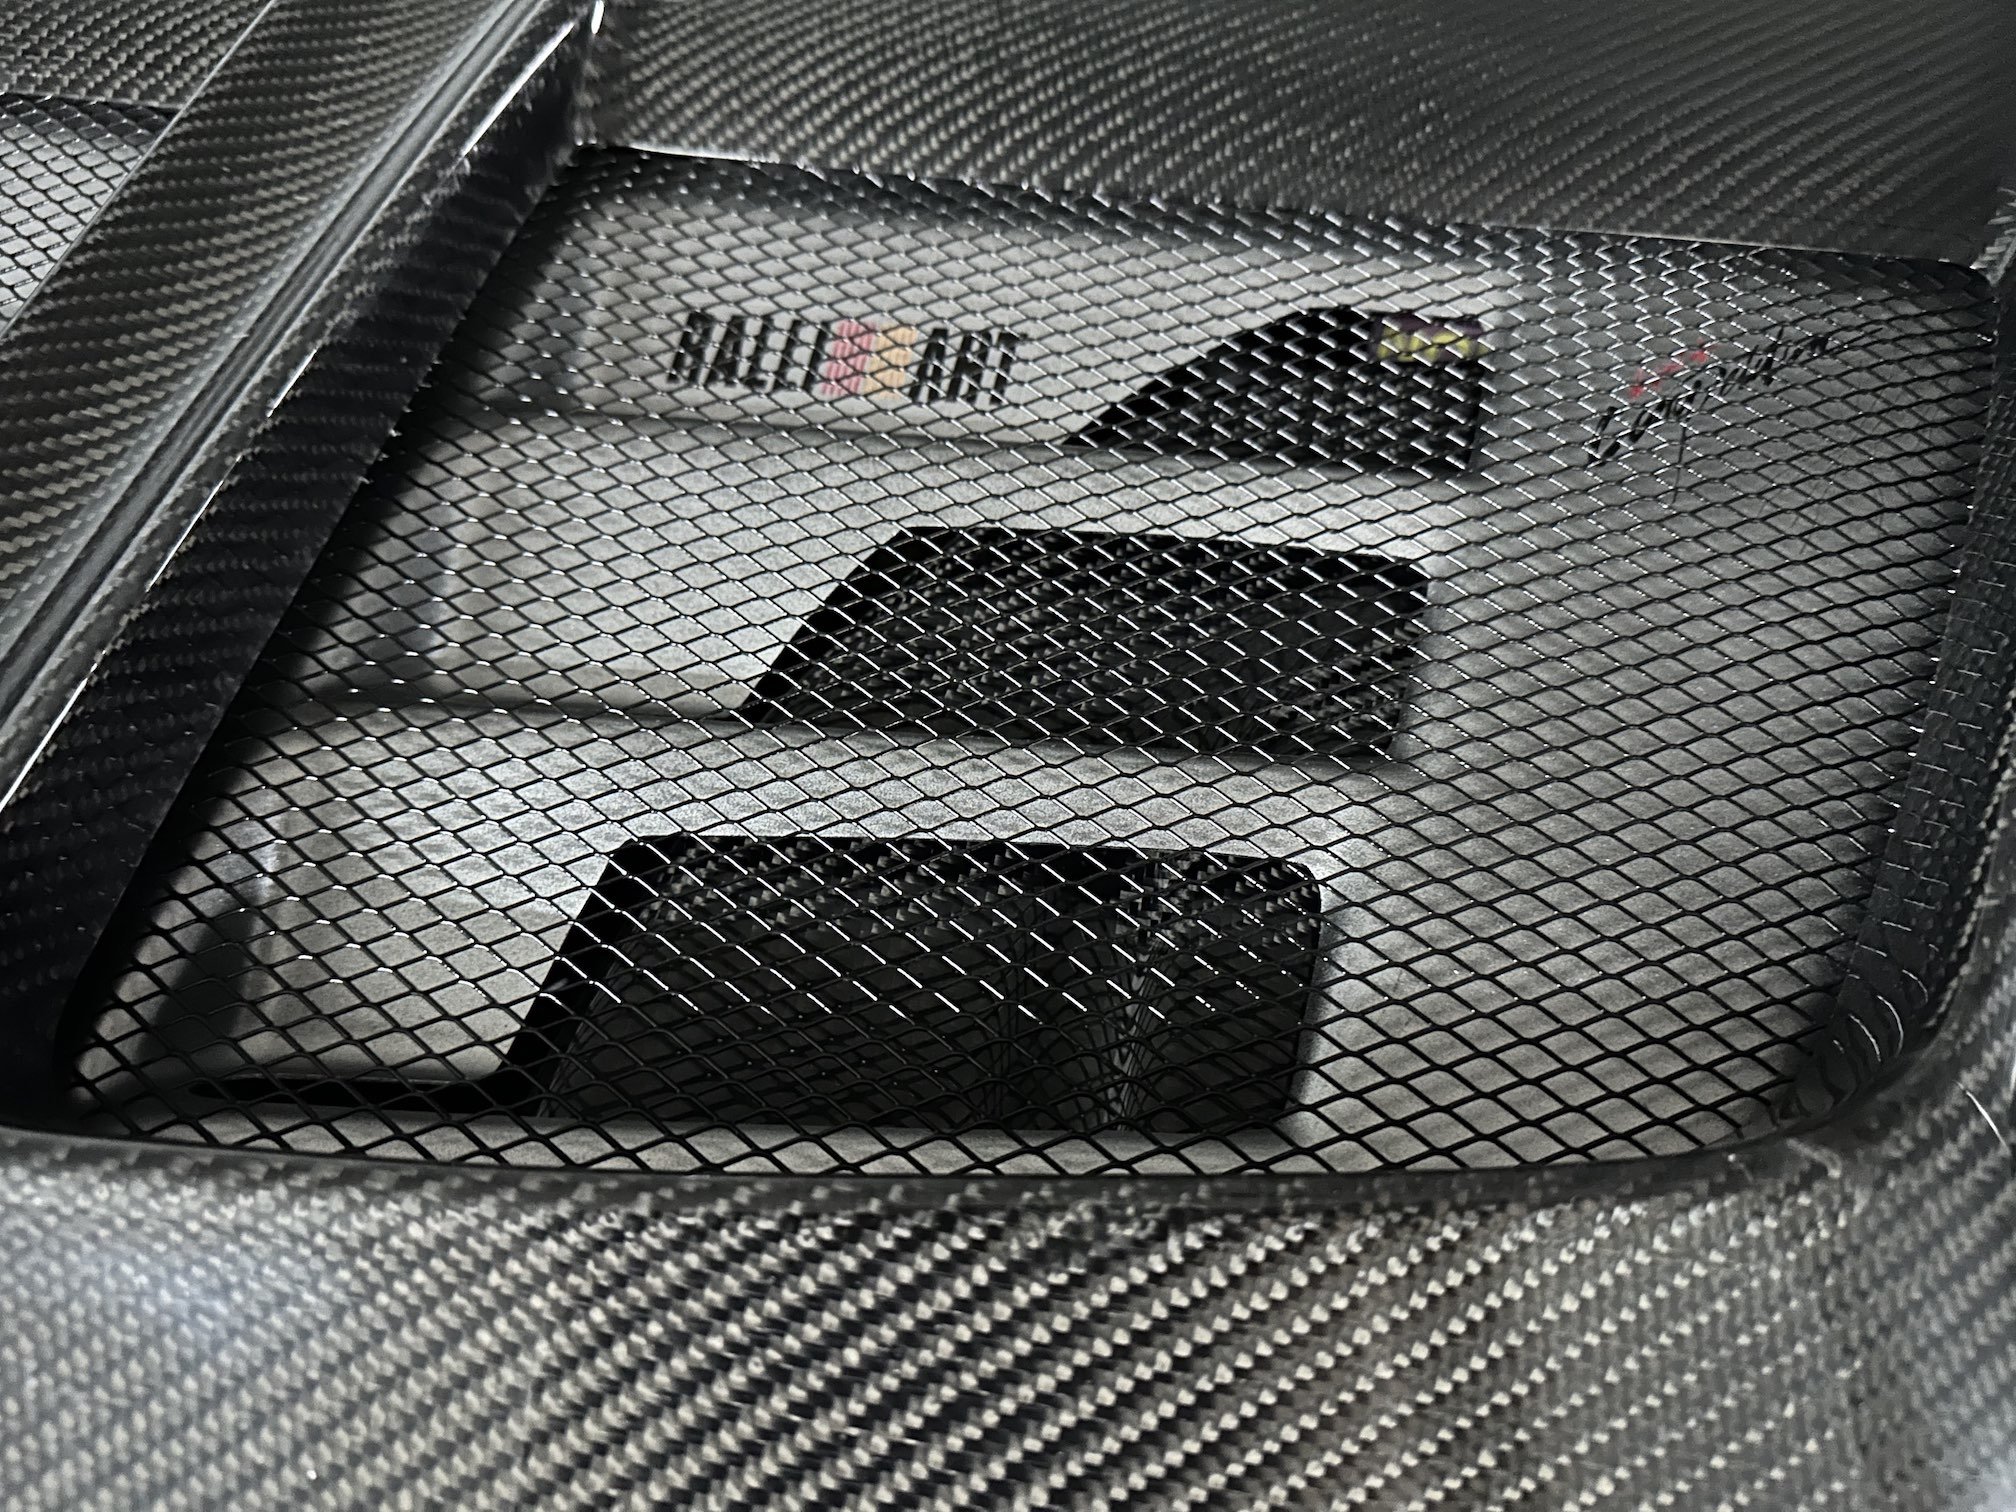
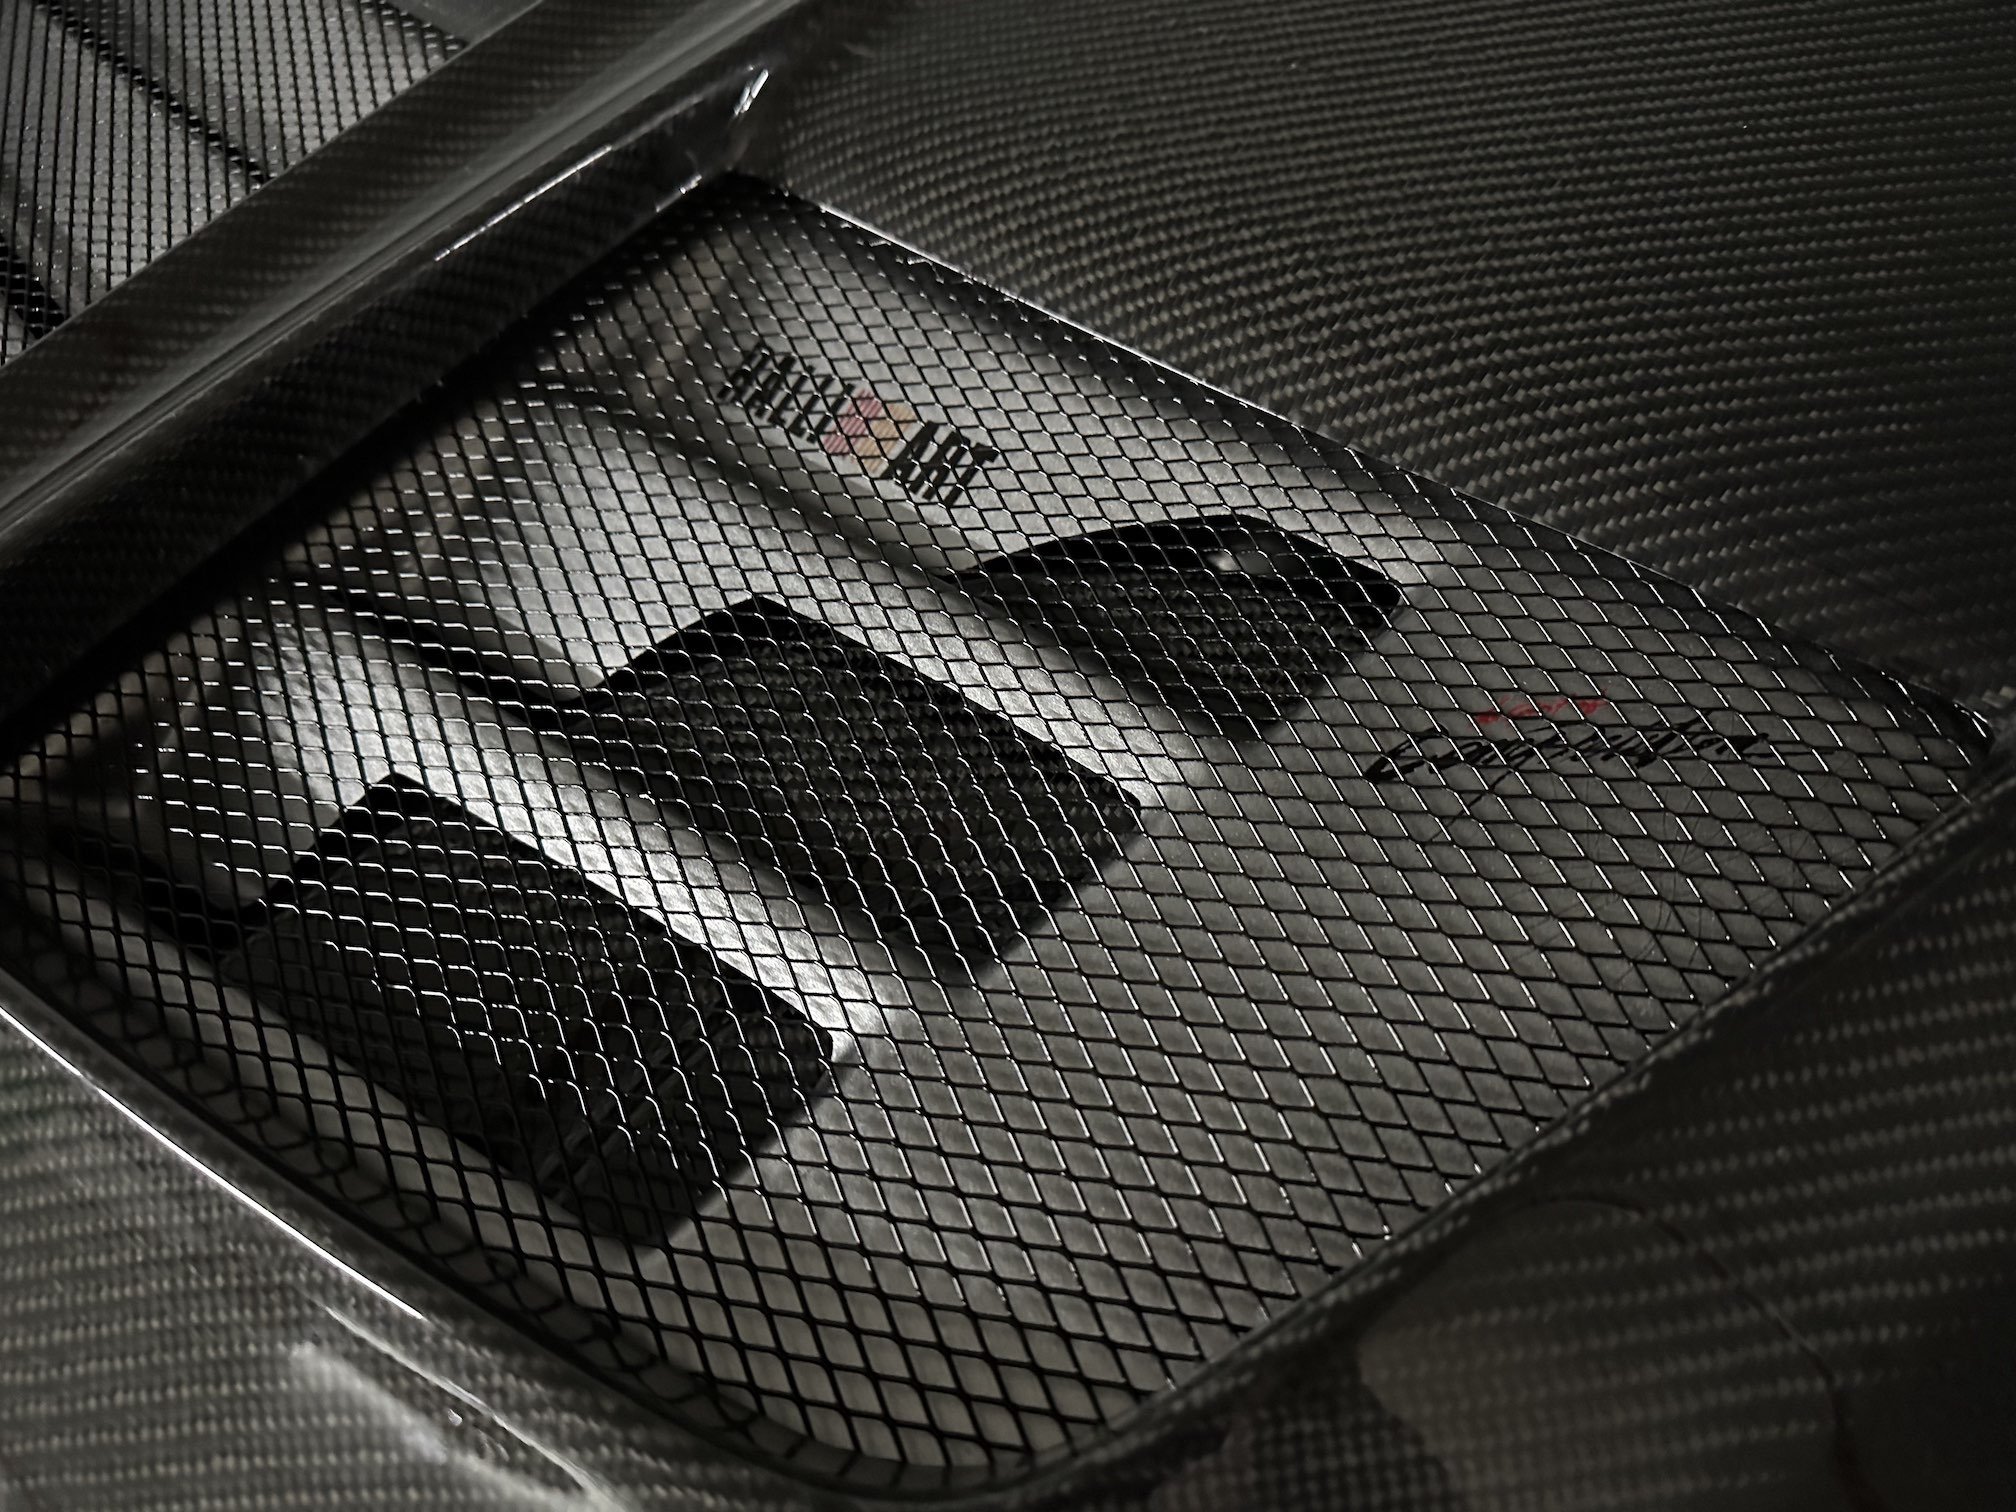
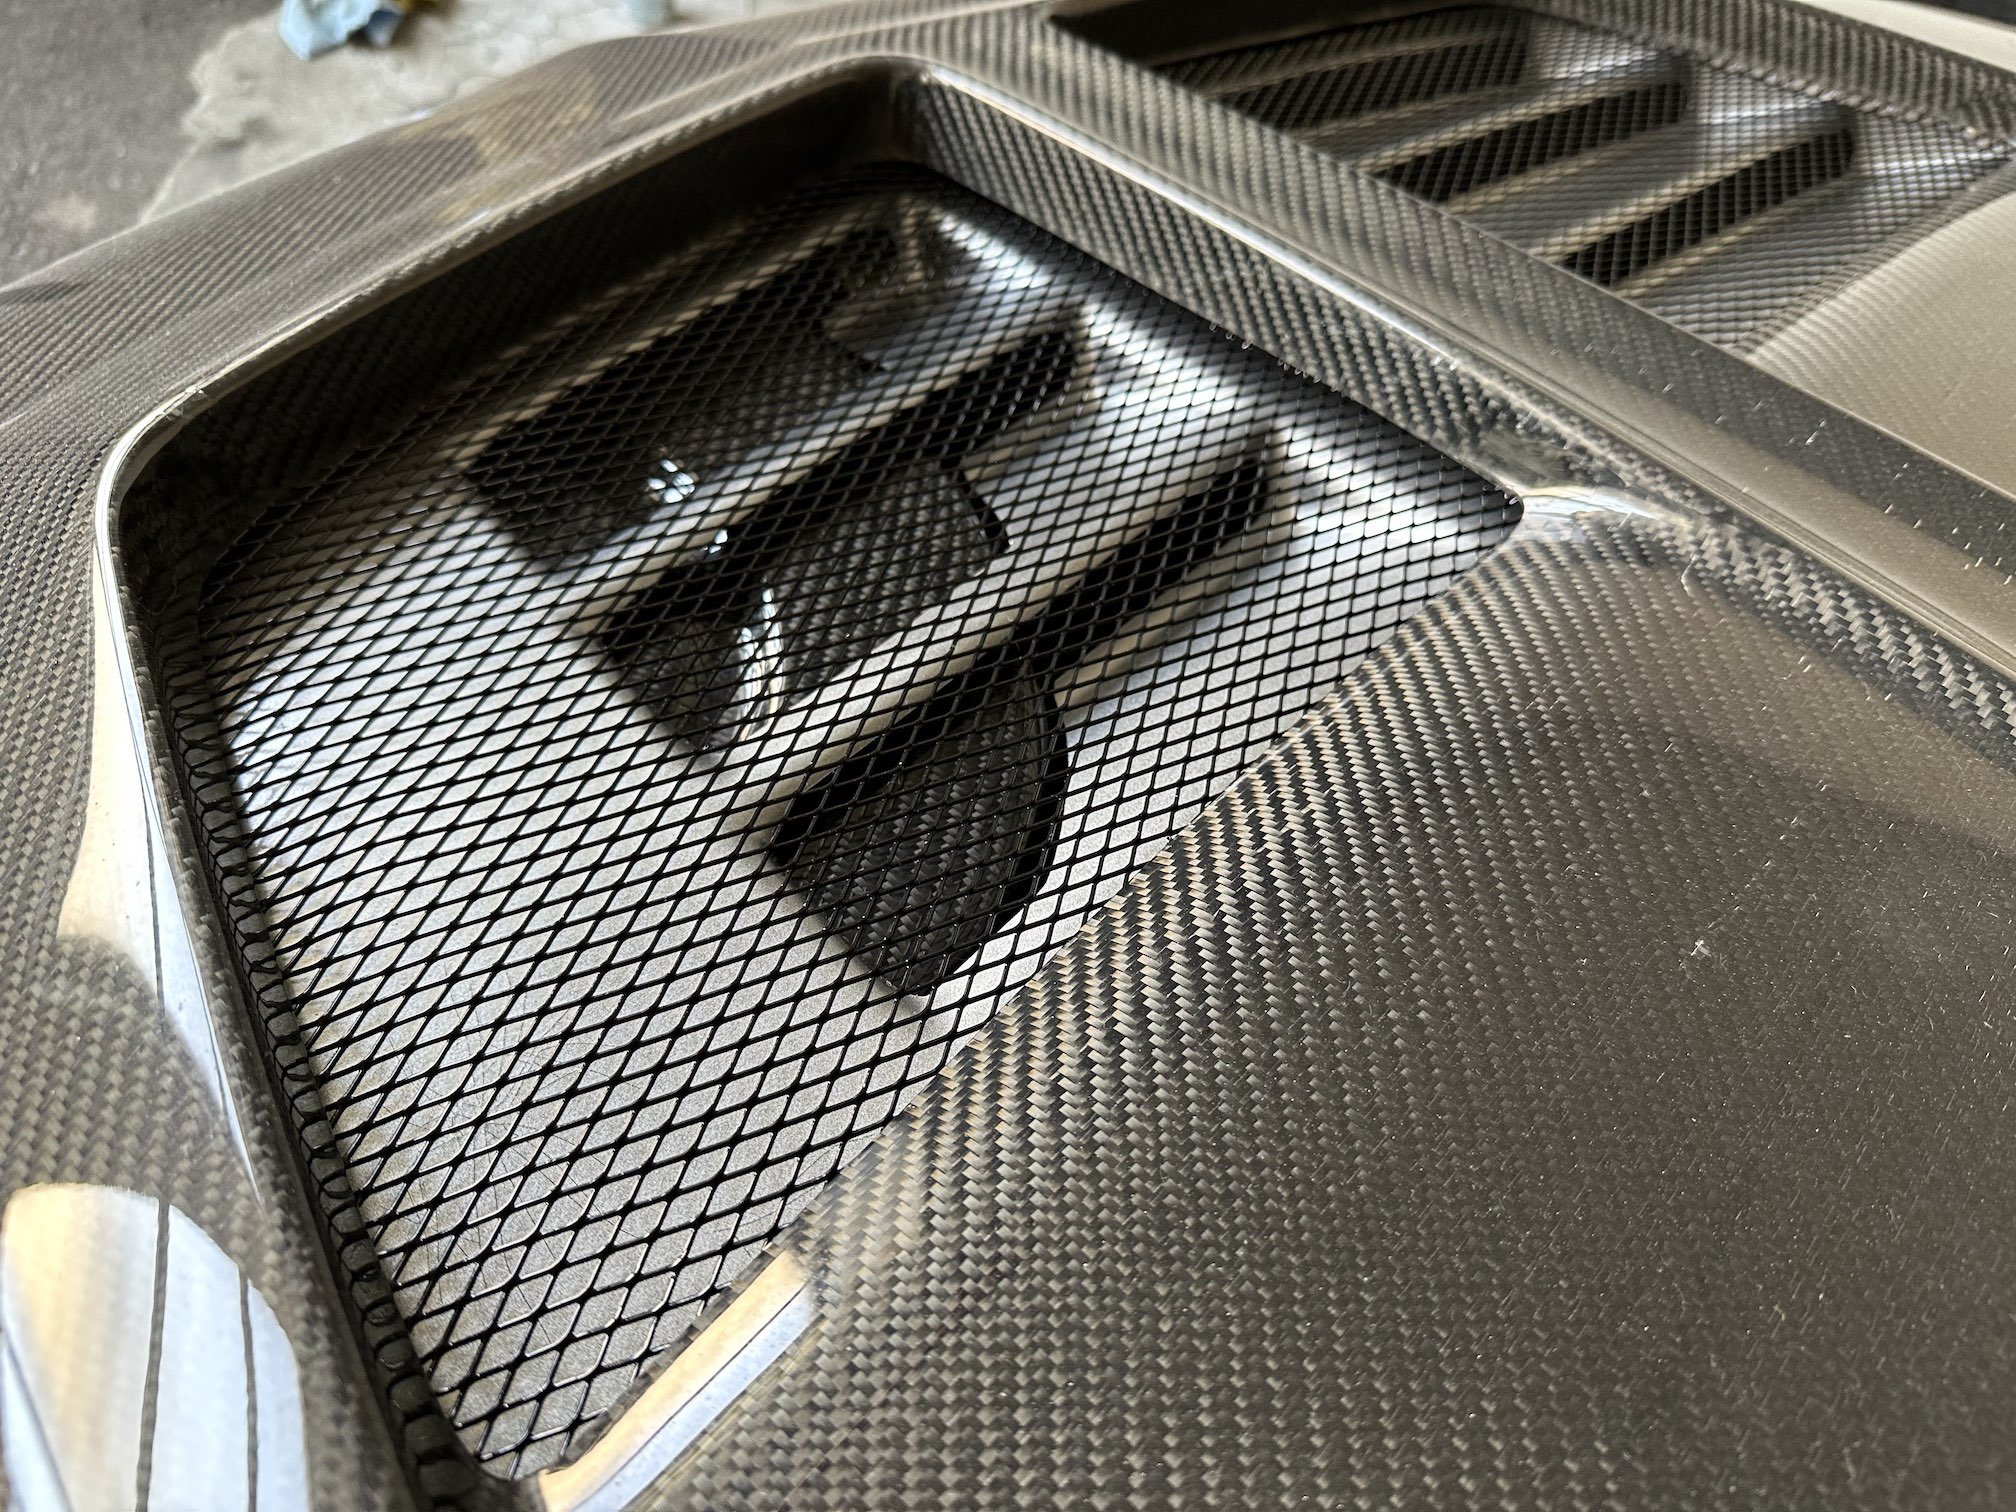
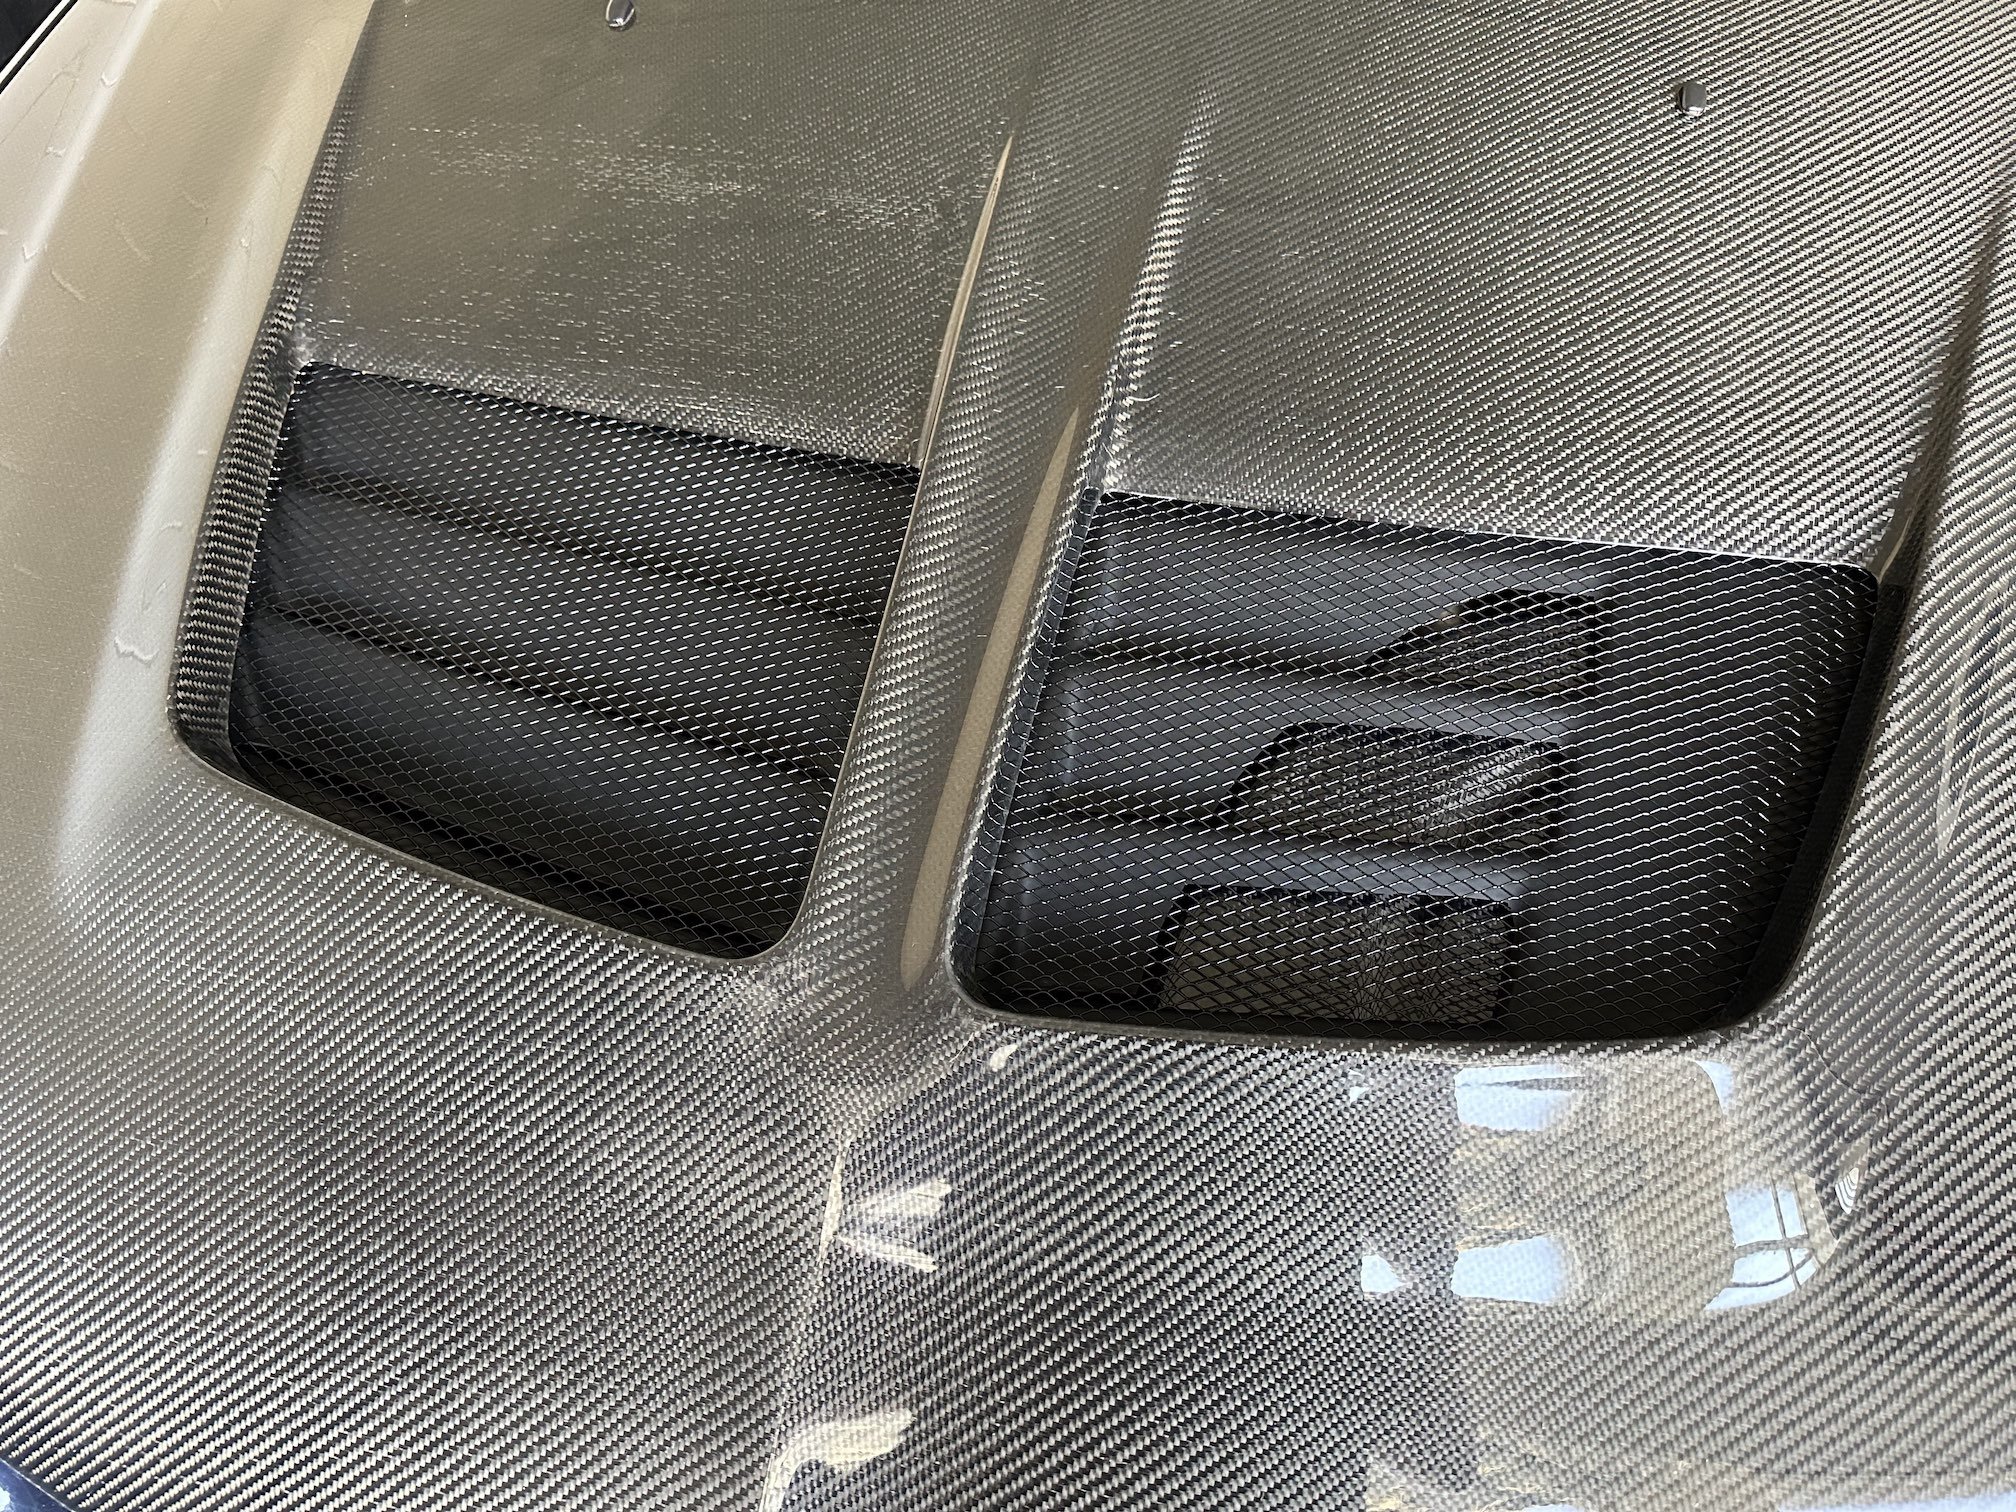
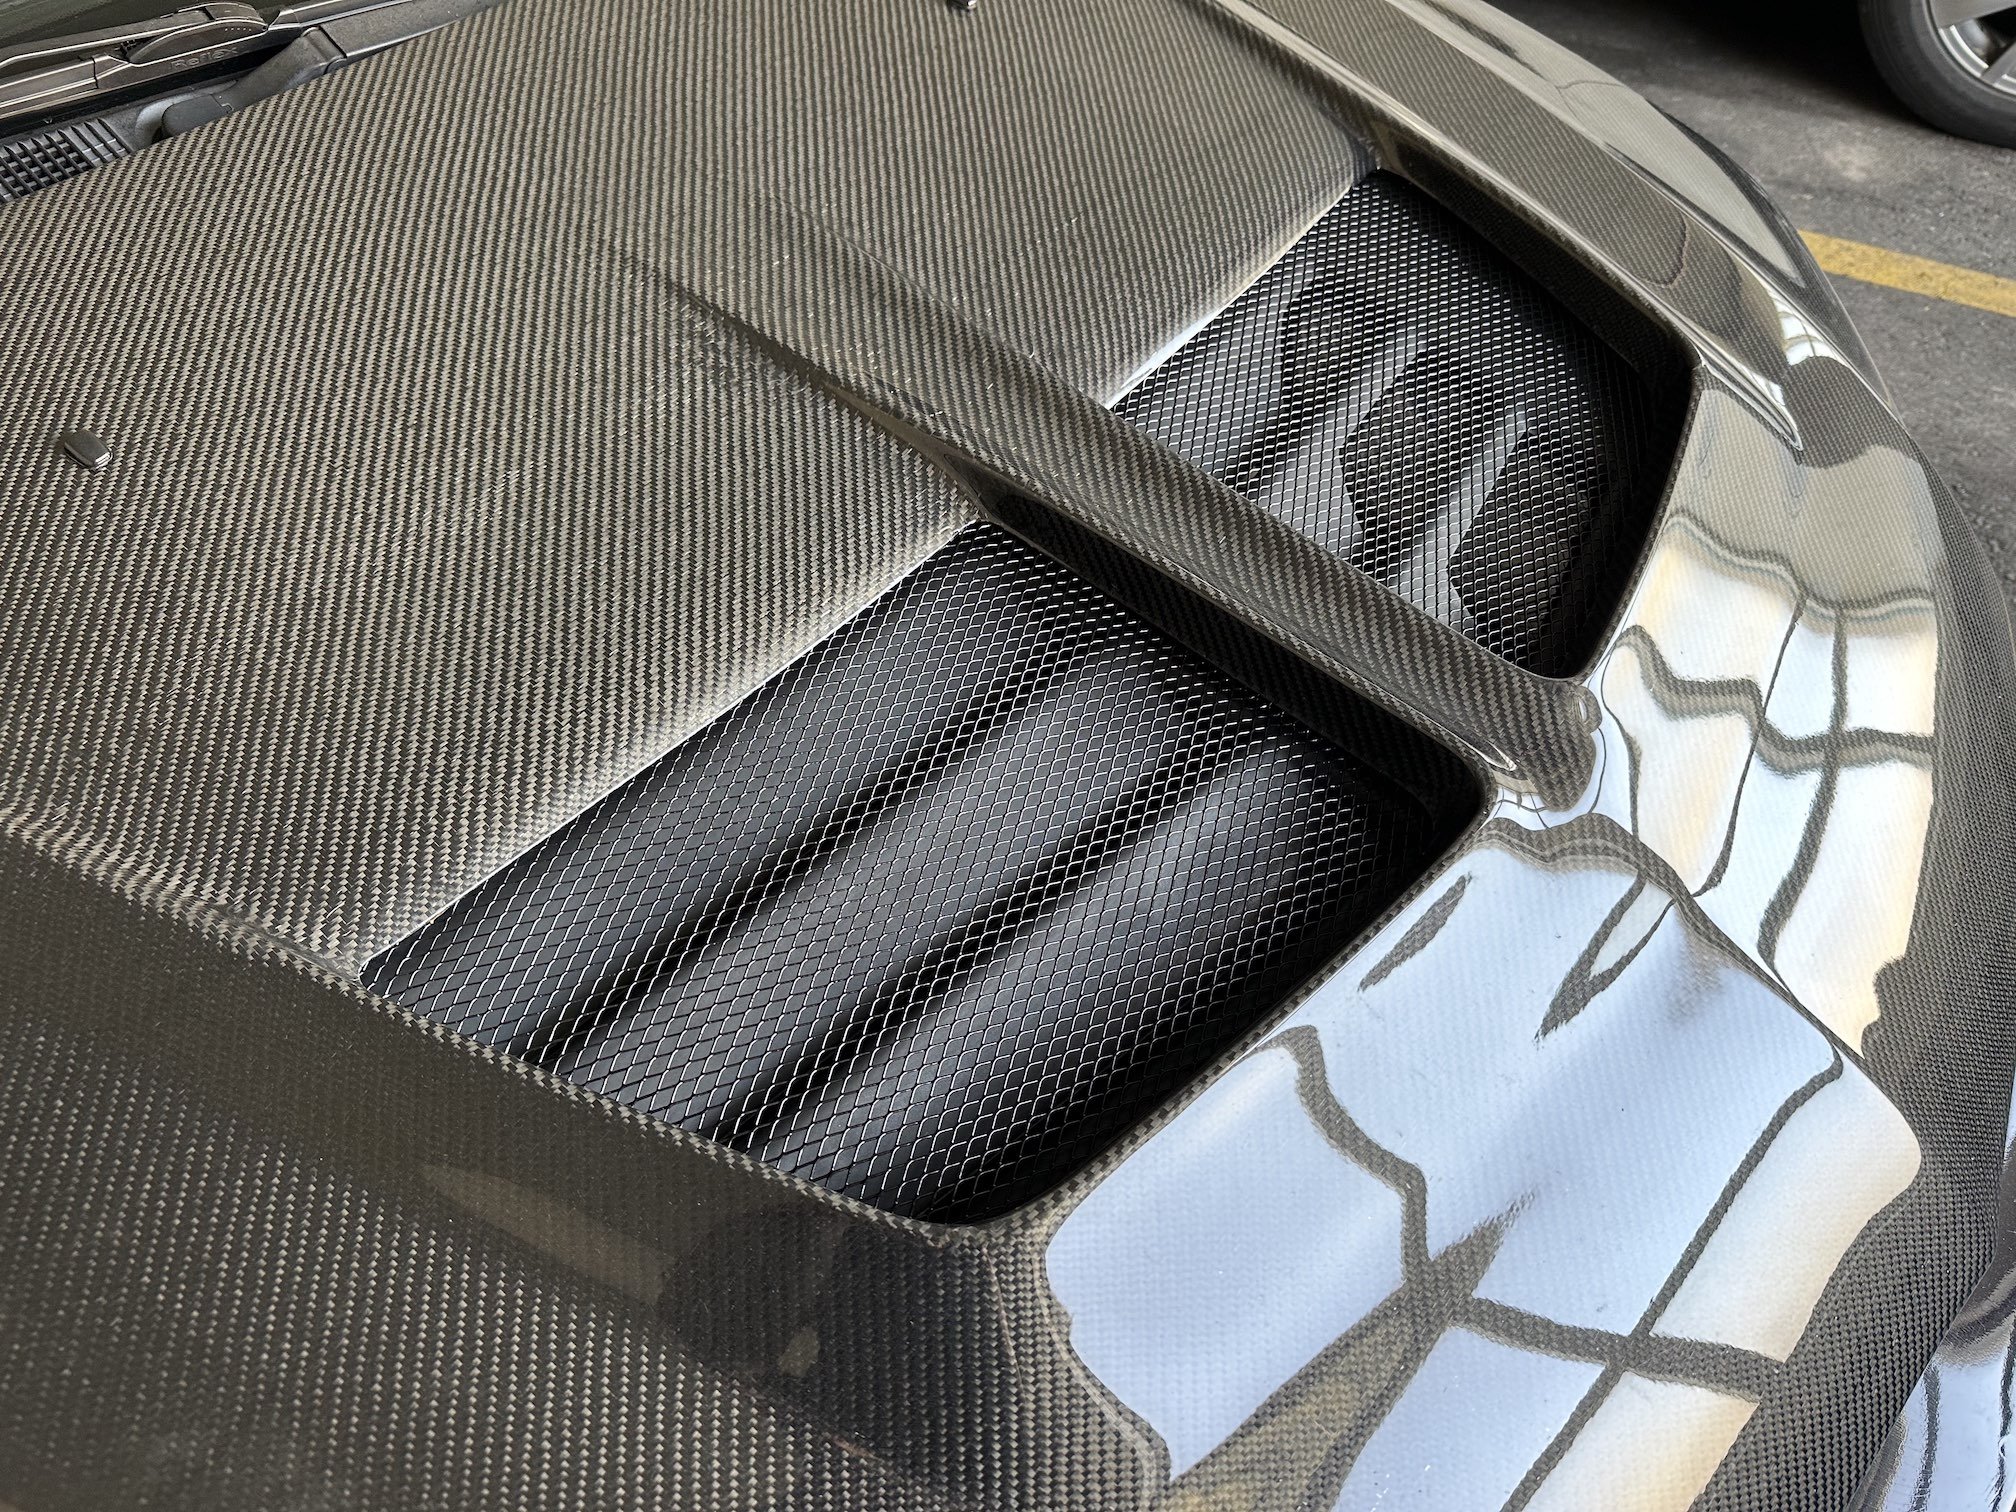
Some more angles of the silver vent plate
- 143 replies
-
- 15
-
-
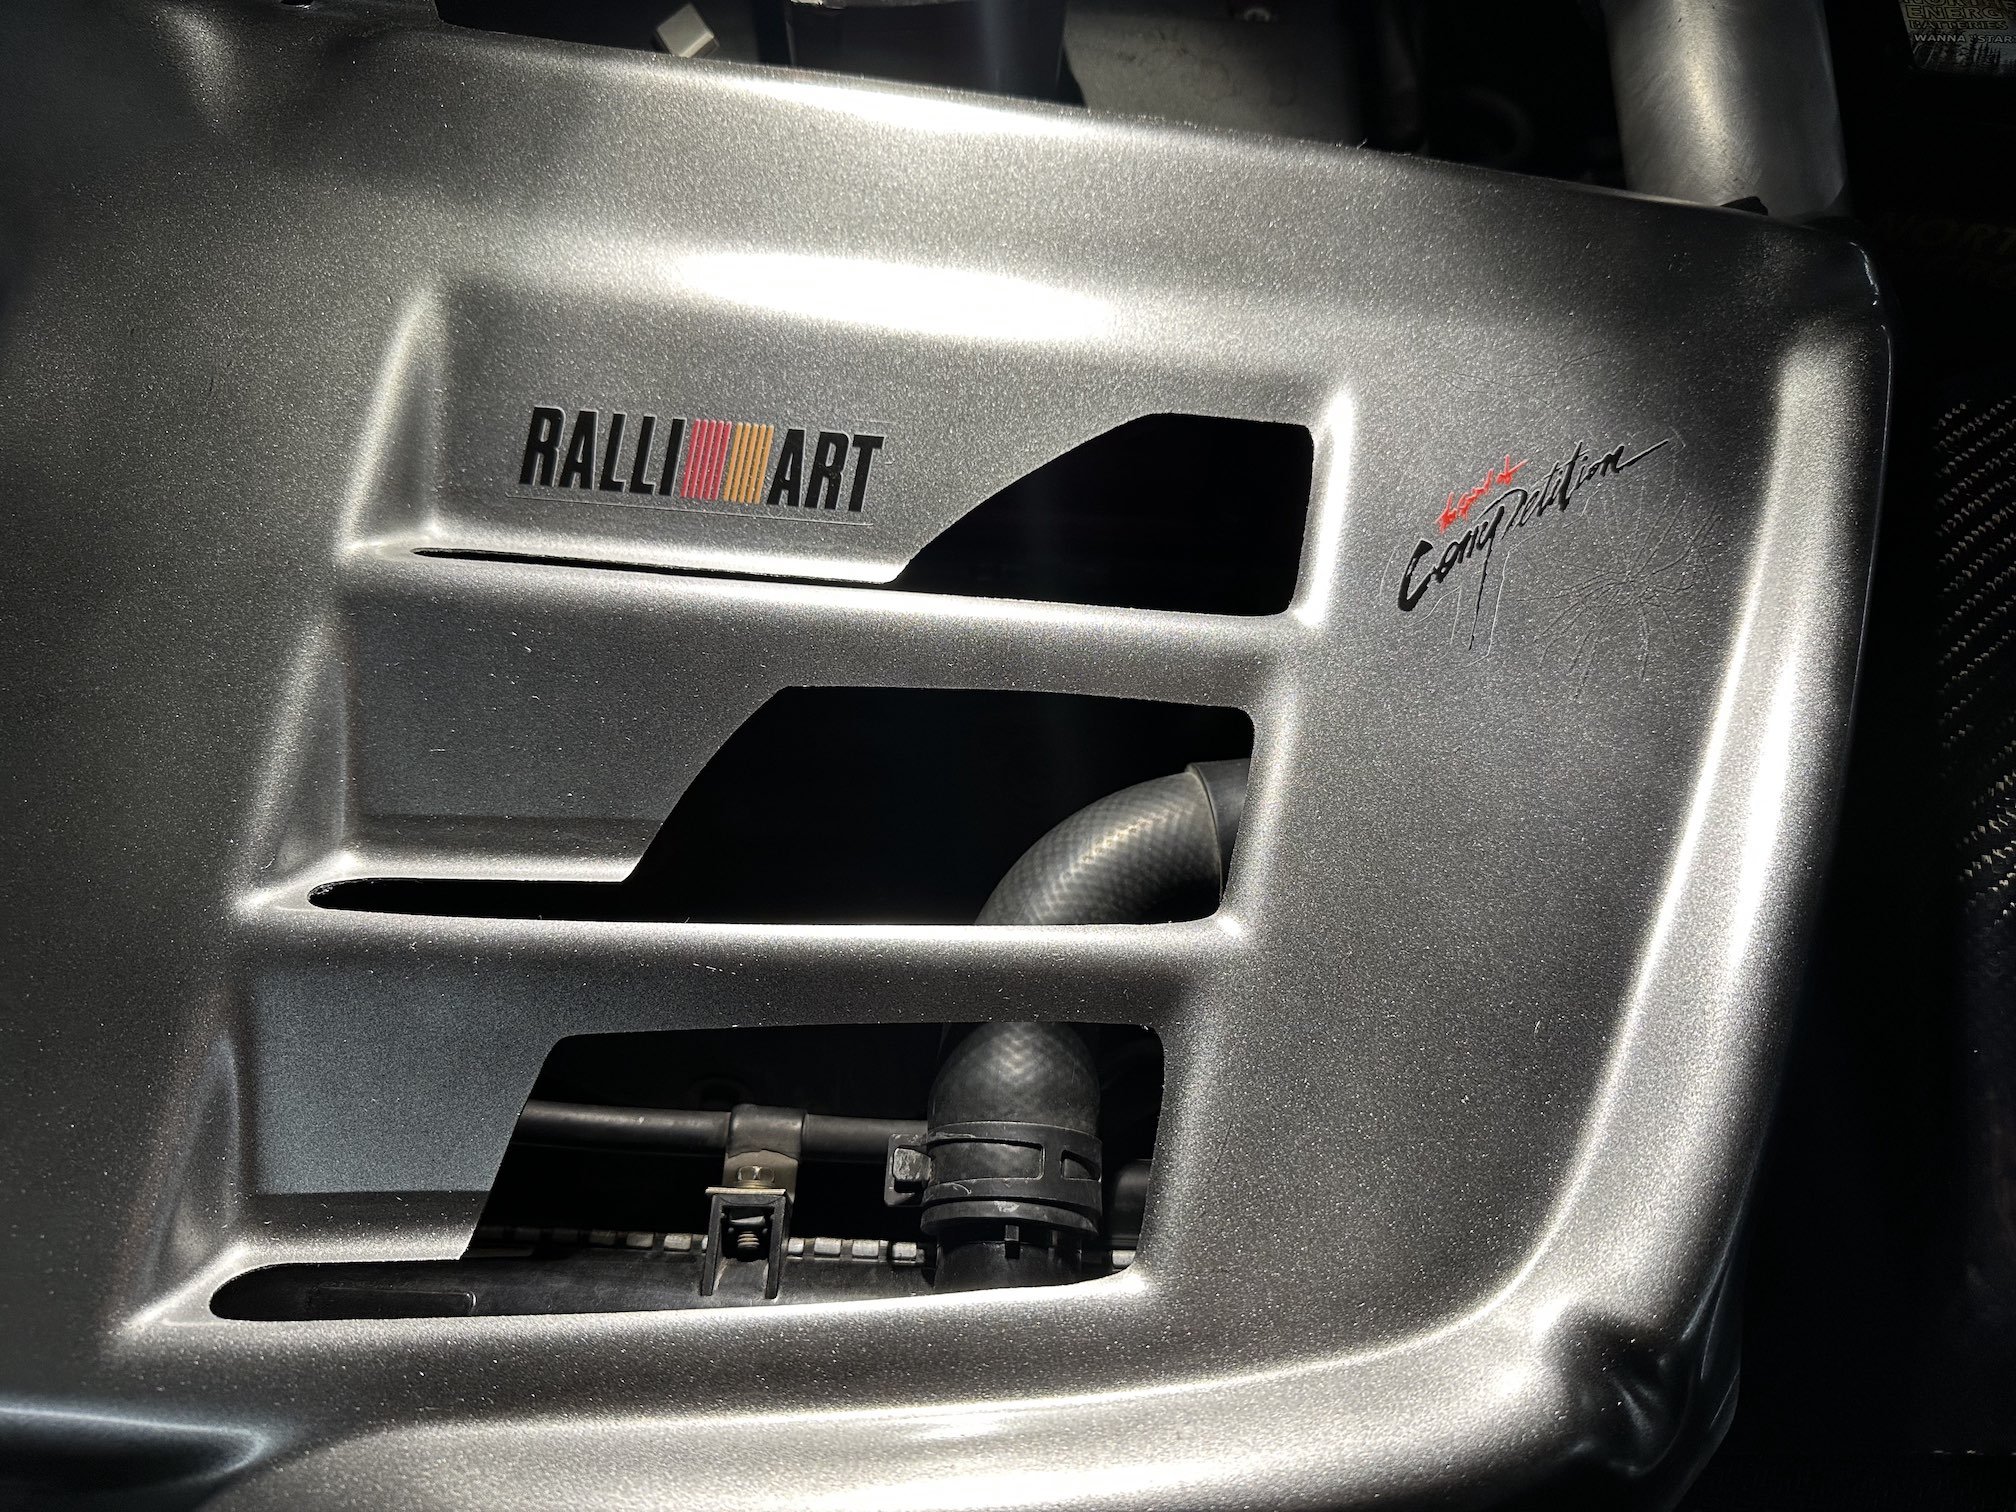
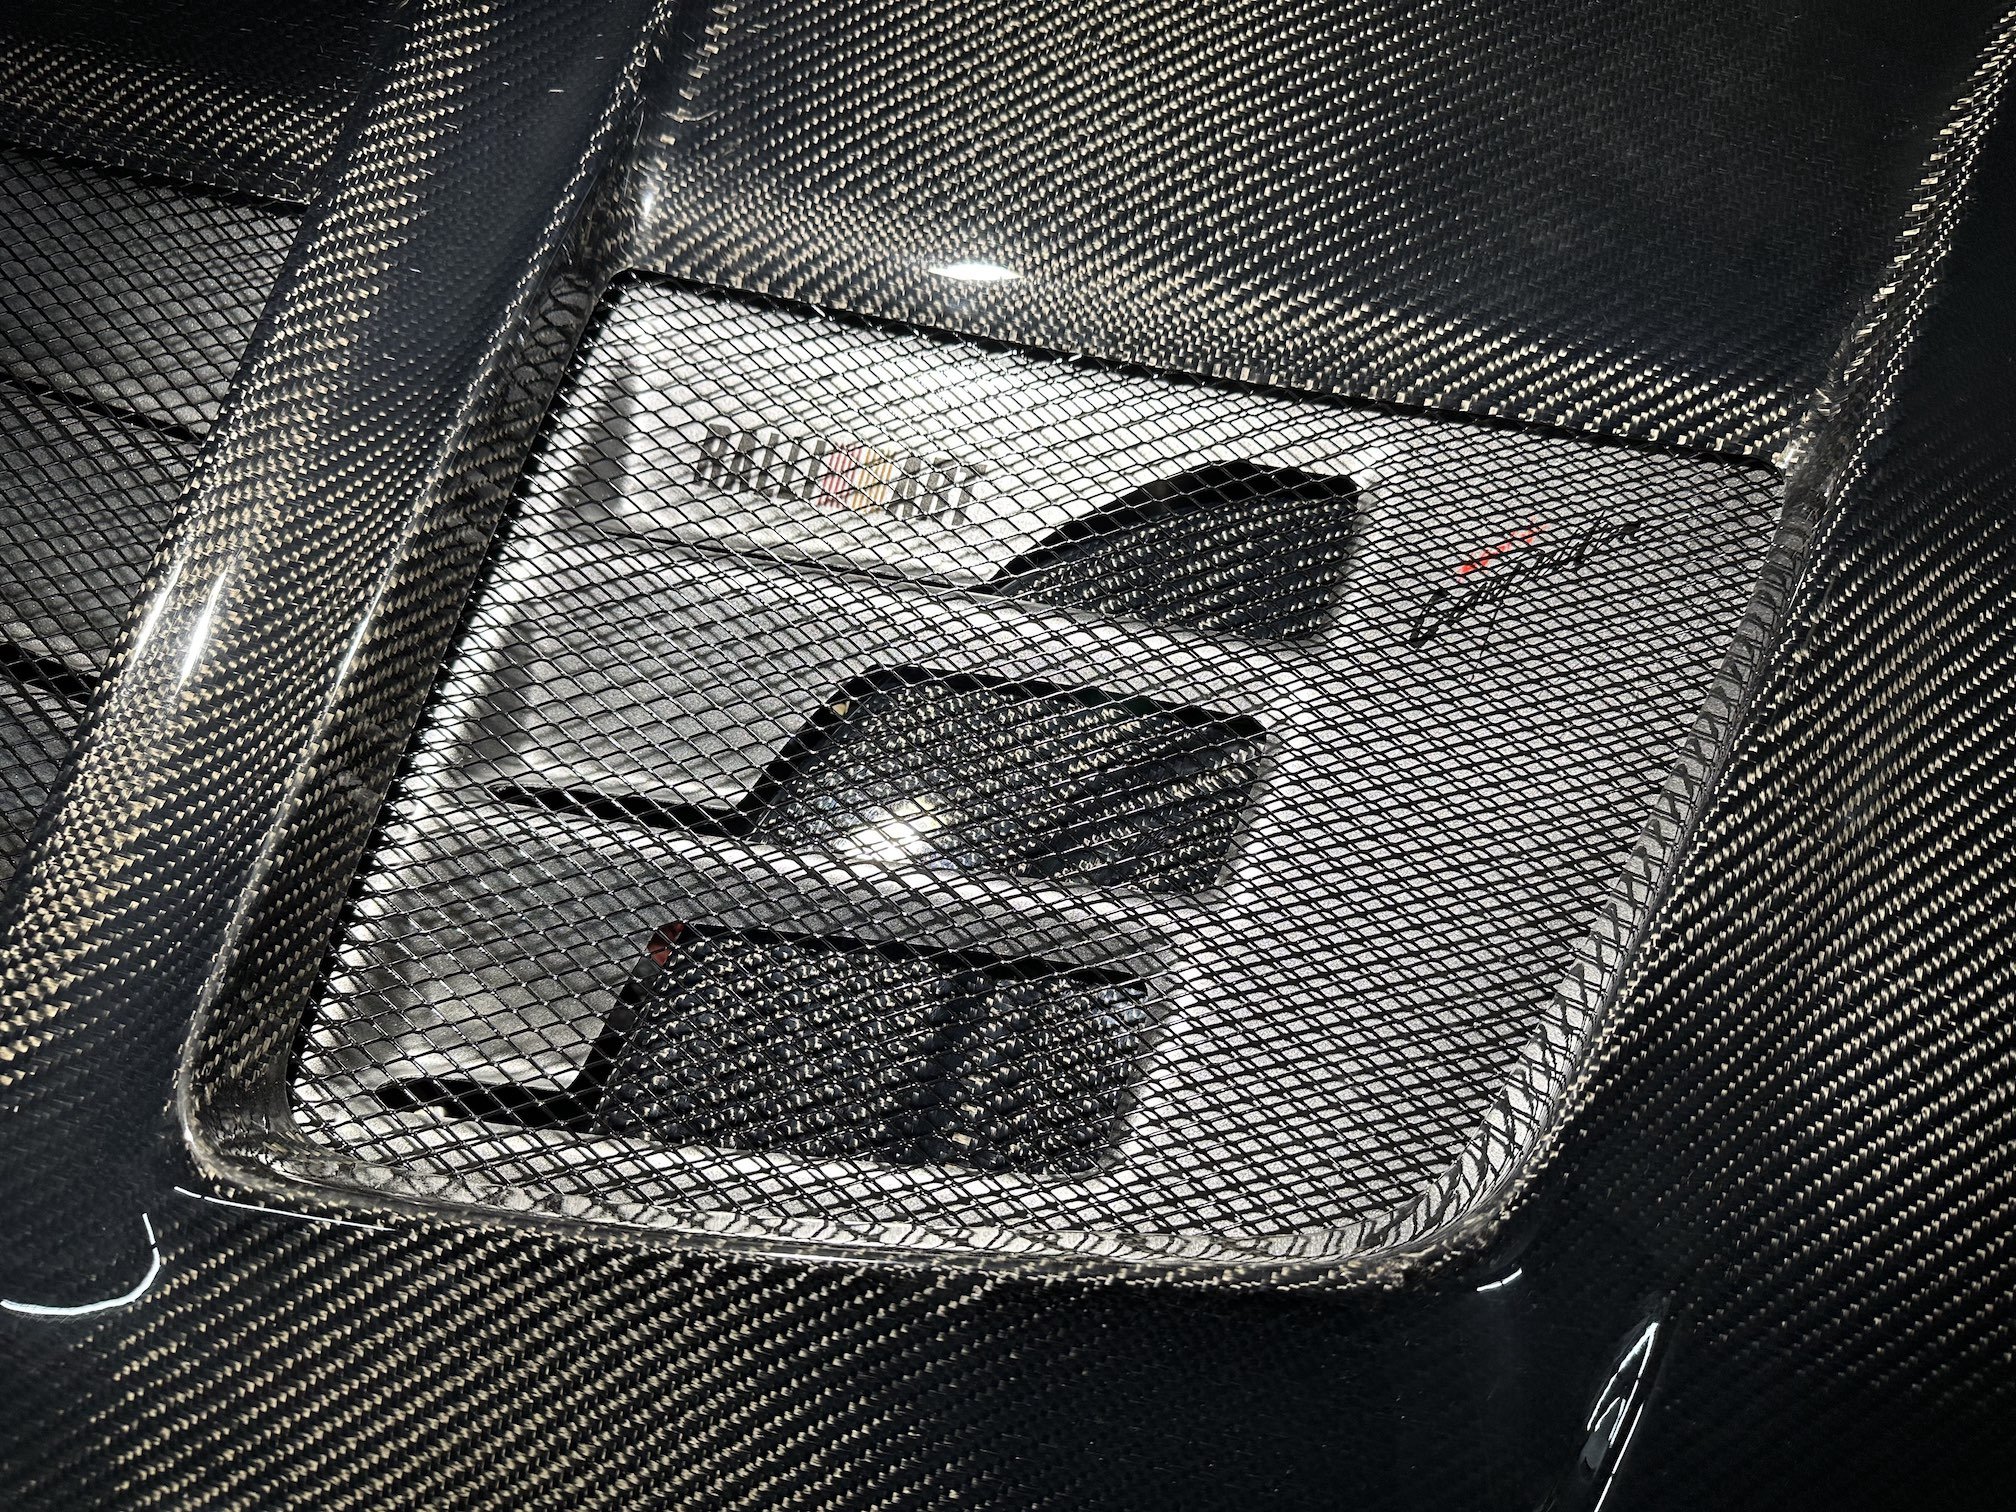
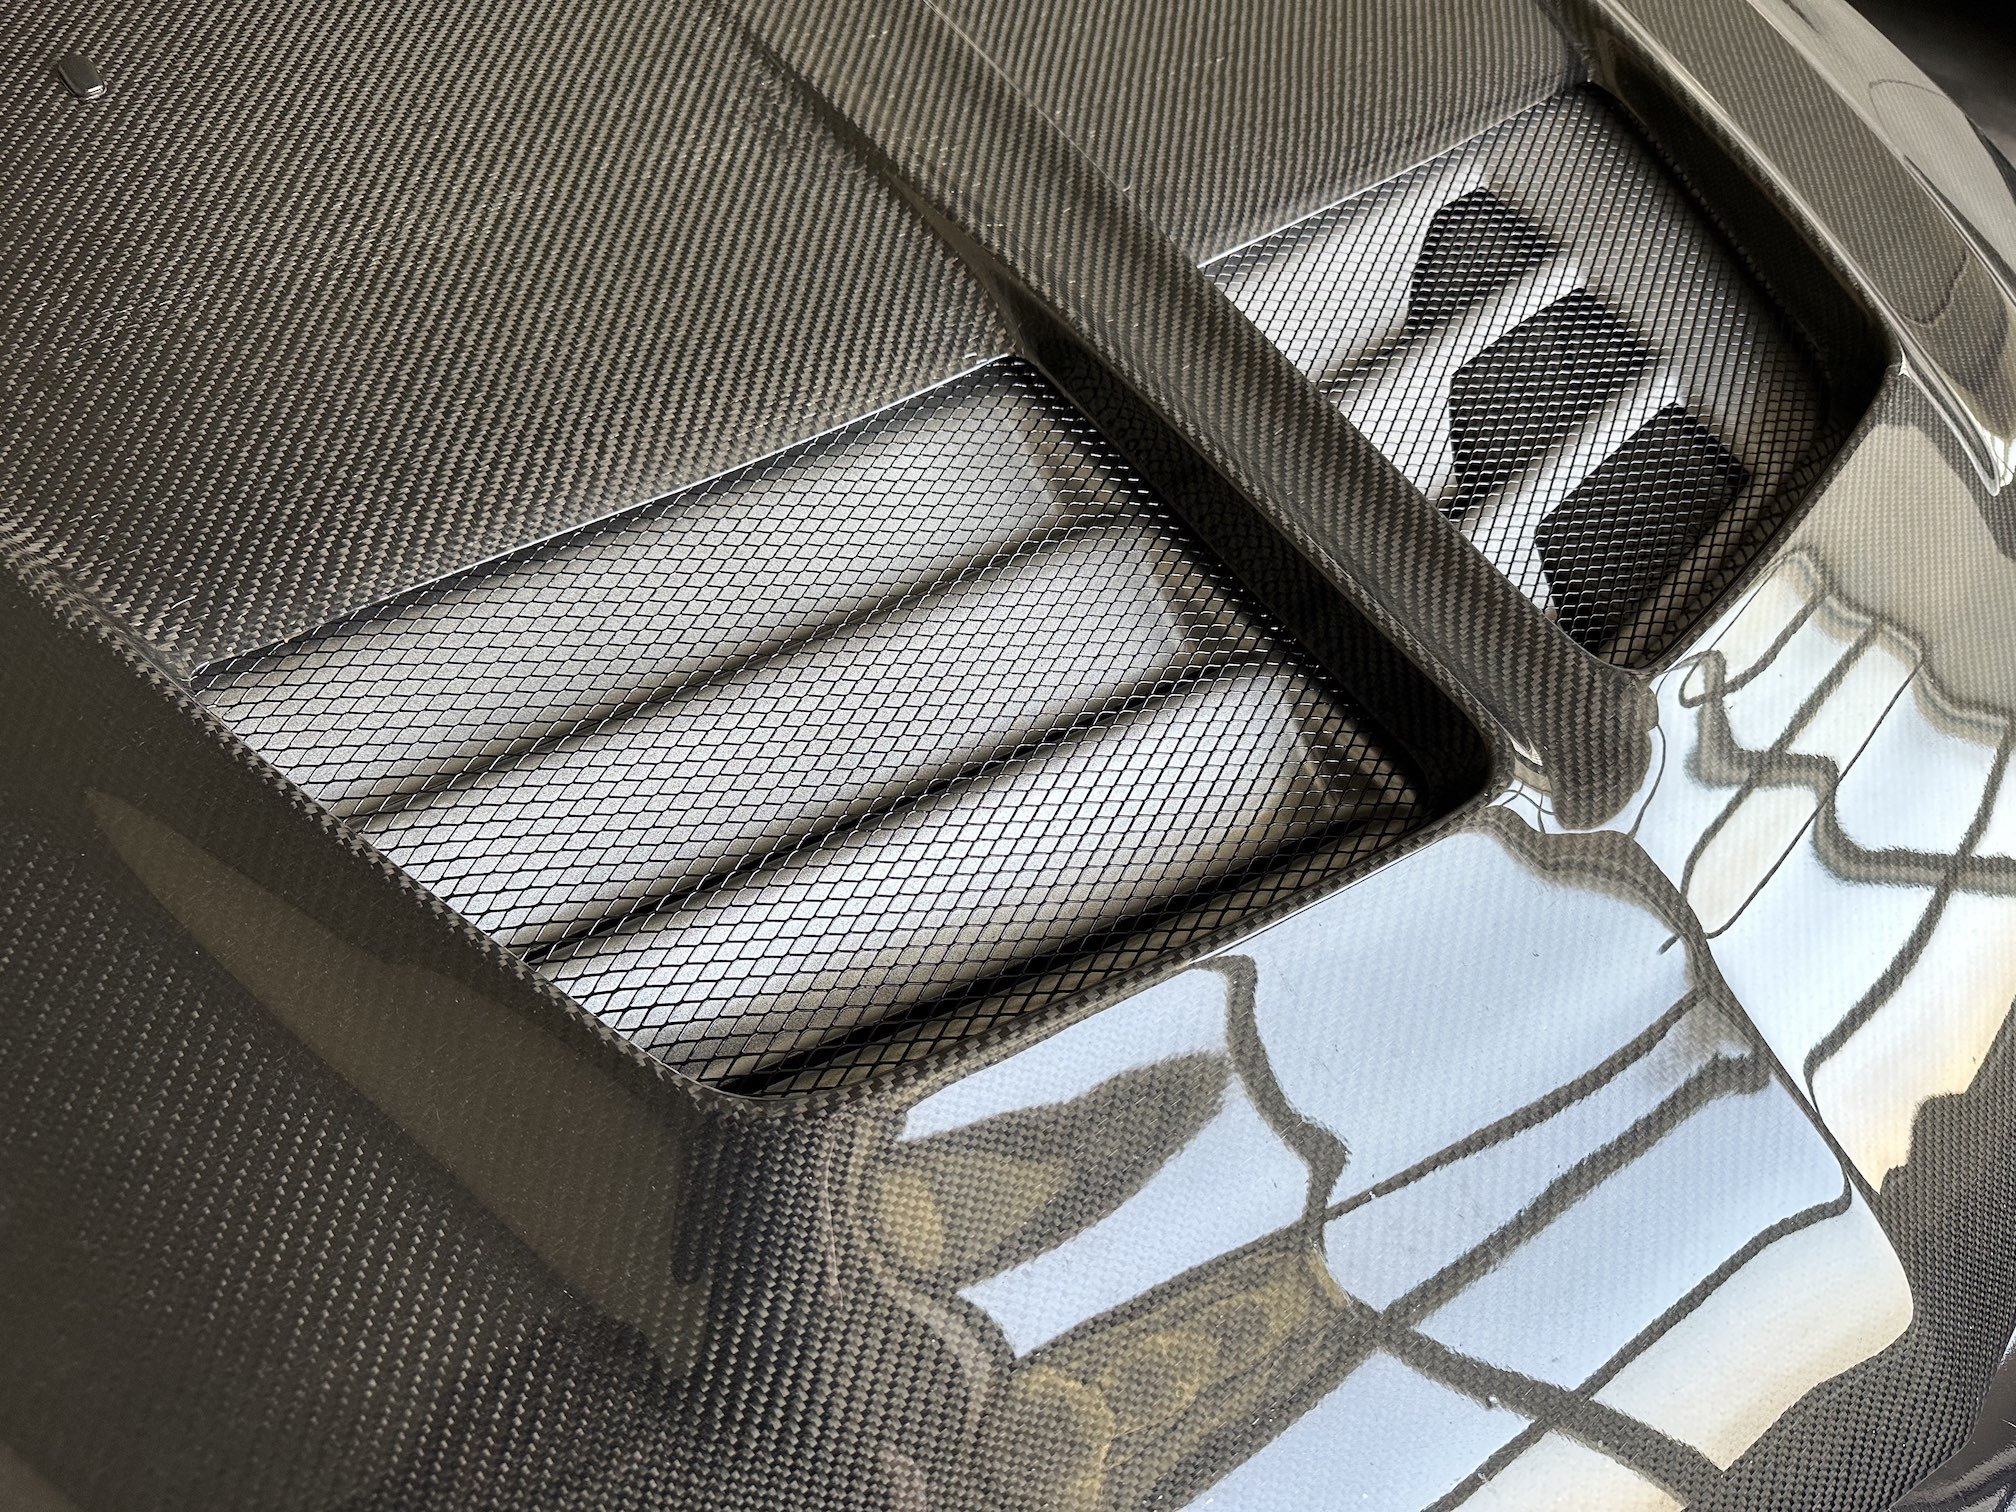
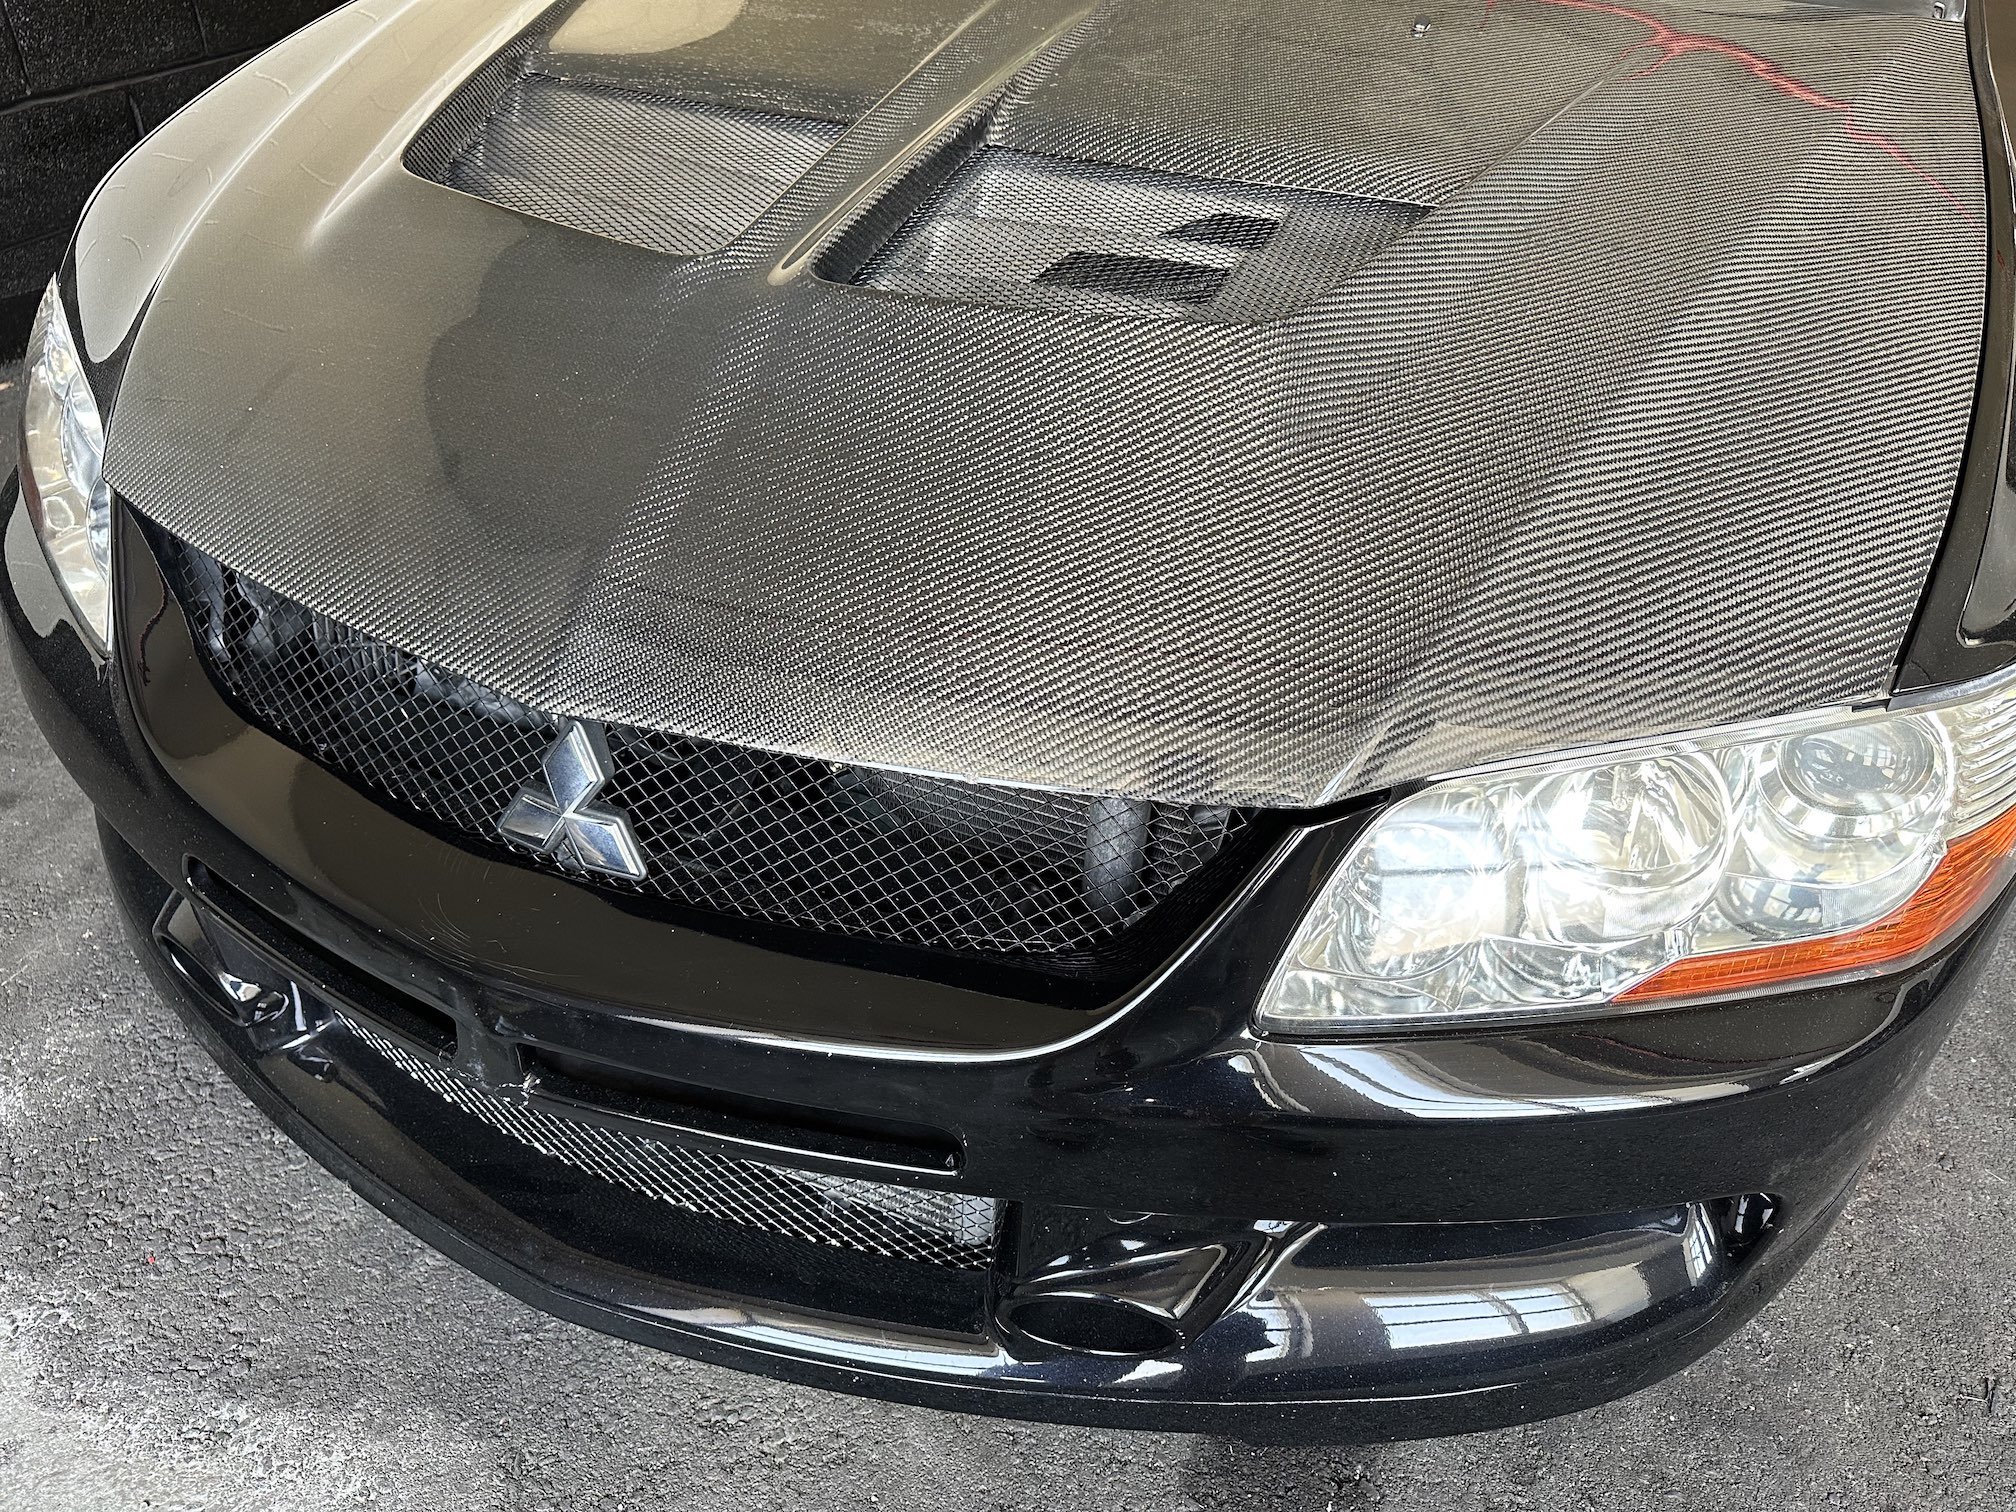
So turns out the downpipe I had picked up is trash, it seems like it's about 10-20mm too short in the middle, the rubber mounts don't fit on like factory and it pulls the rear section of the exhaust forward to the point that one of the exhaust mounts rubs on a rear suspension arm... so either I modify this downpipe (turning a cheap item into an expensive cheap item) or find another downpipe (also probably not cheap). I am also thinking of running a 3" high flow cat converter as the rest of the exhaust system is 3" apart from the stock cat converter which is 2.5". Anyway, until I figure out what to do with the exhaust I've turned my attention to trimming the Varis CF hood so the Ralliart carbon intake can fit, thankfully it's just a separate fibreglass plate that comes undone with 6 10mm bolts. I also repainted the mesh black because it had bits of chipped paint originally: Hopefully that looks nice and subtle and not overly obvious I've taken a dremel cut-off wheel to the vent plate haha. Now... cause I can't leave things be I decided to paint the vent plate silver to mimic the OEM vent colour as they have an aluminium vent plate, but I think the black mesh really hides a lot of the colour
-
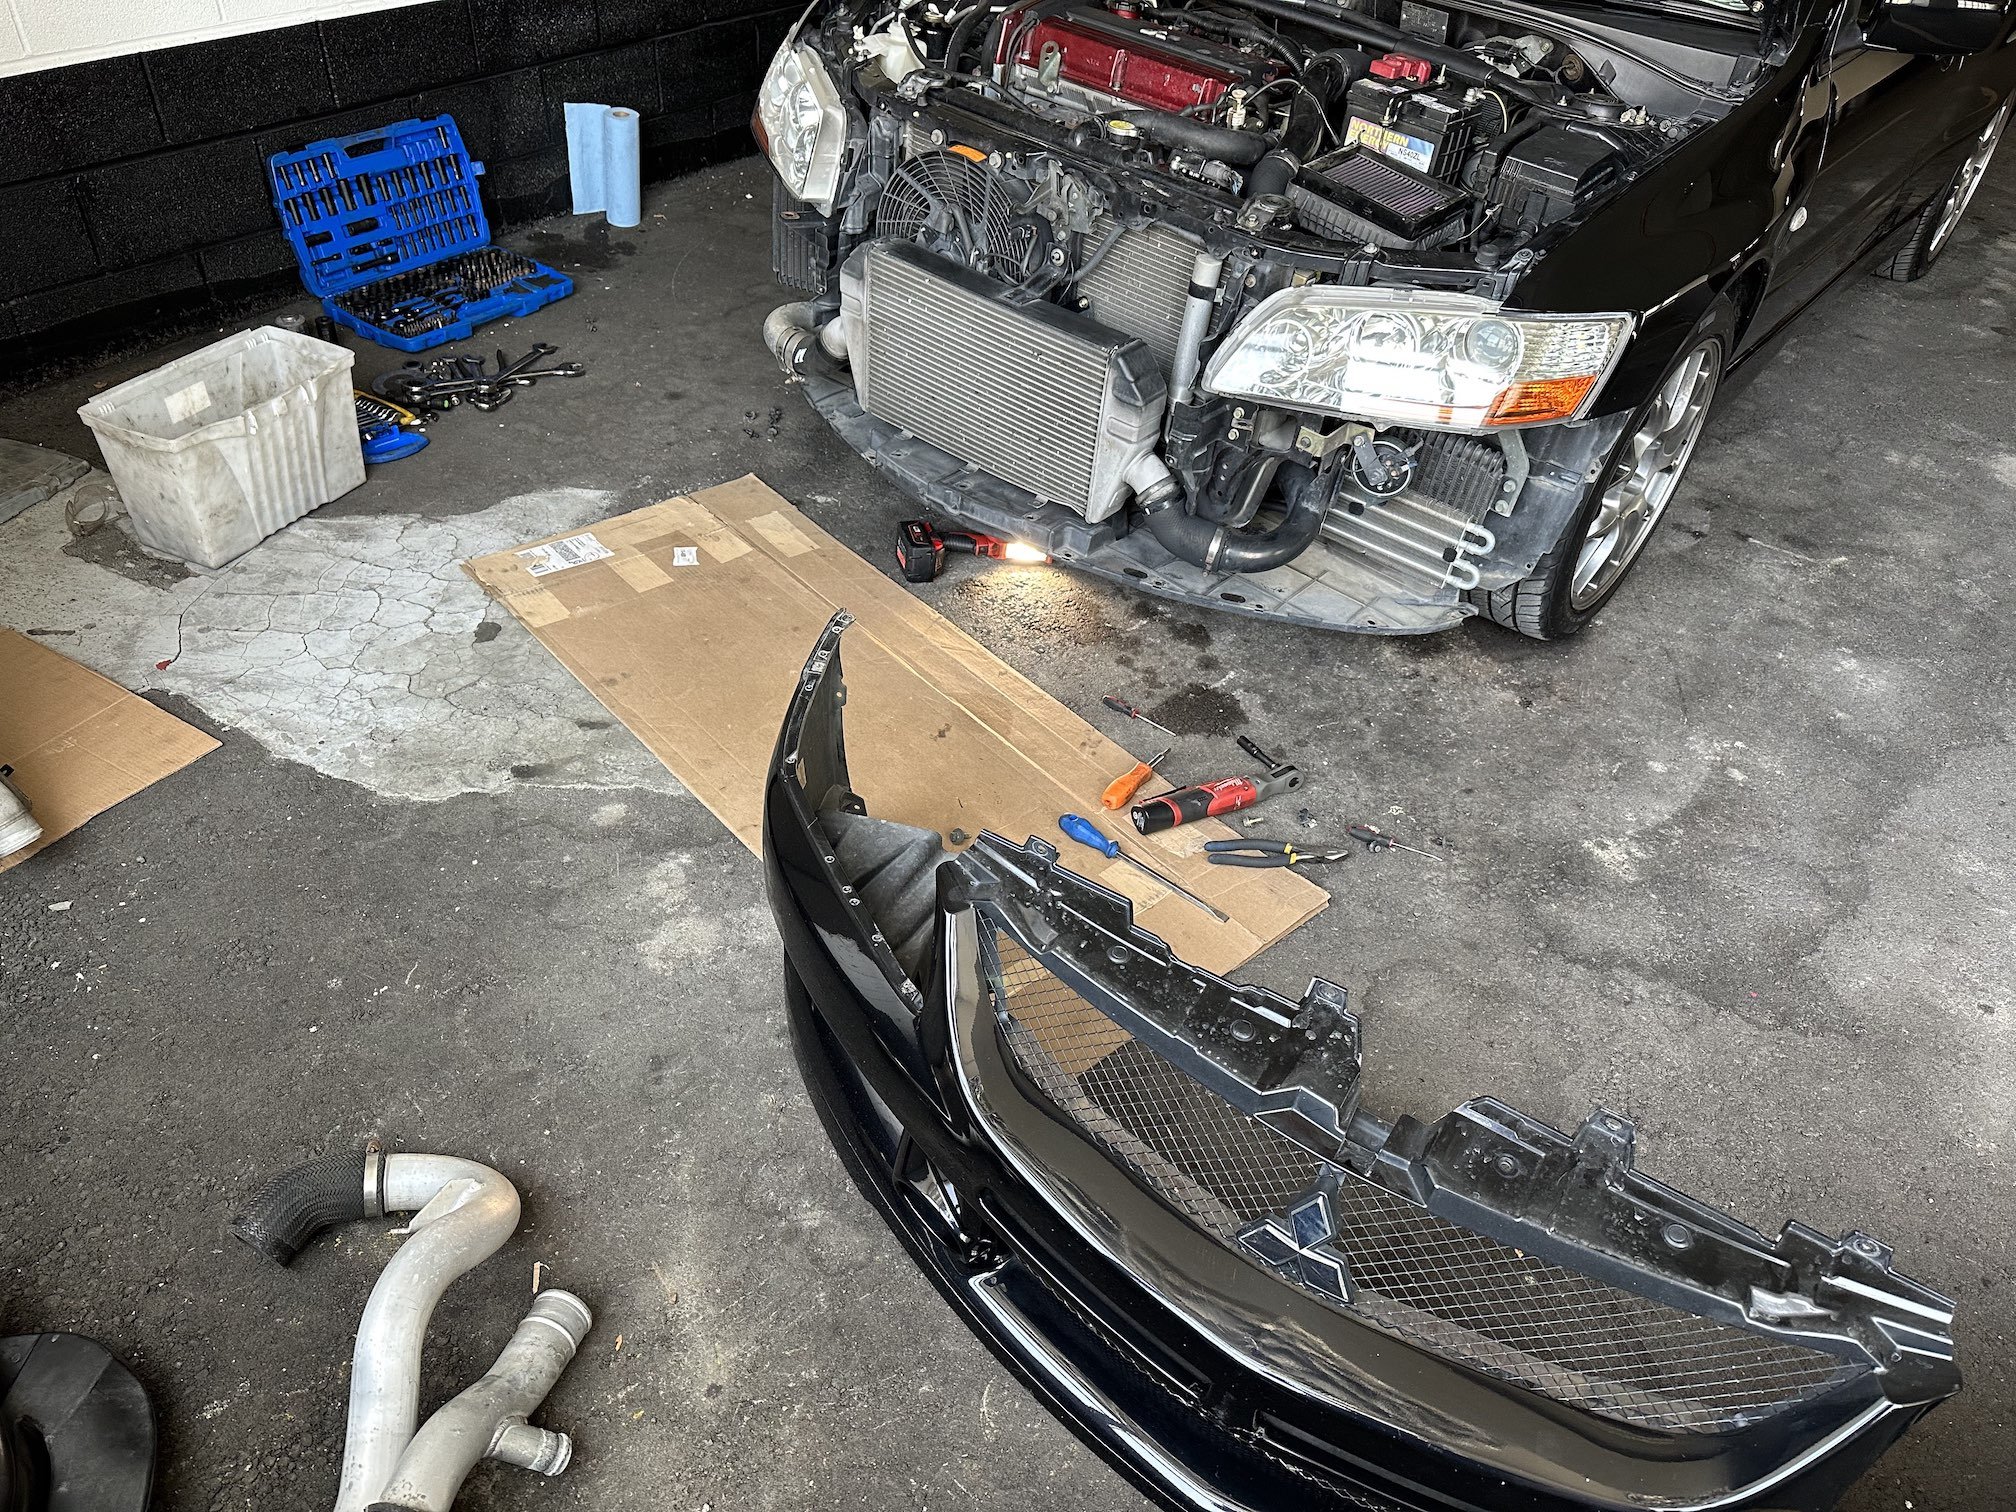
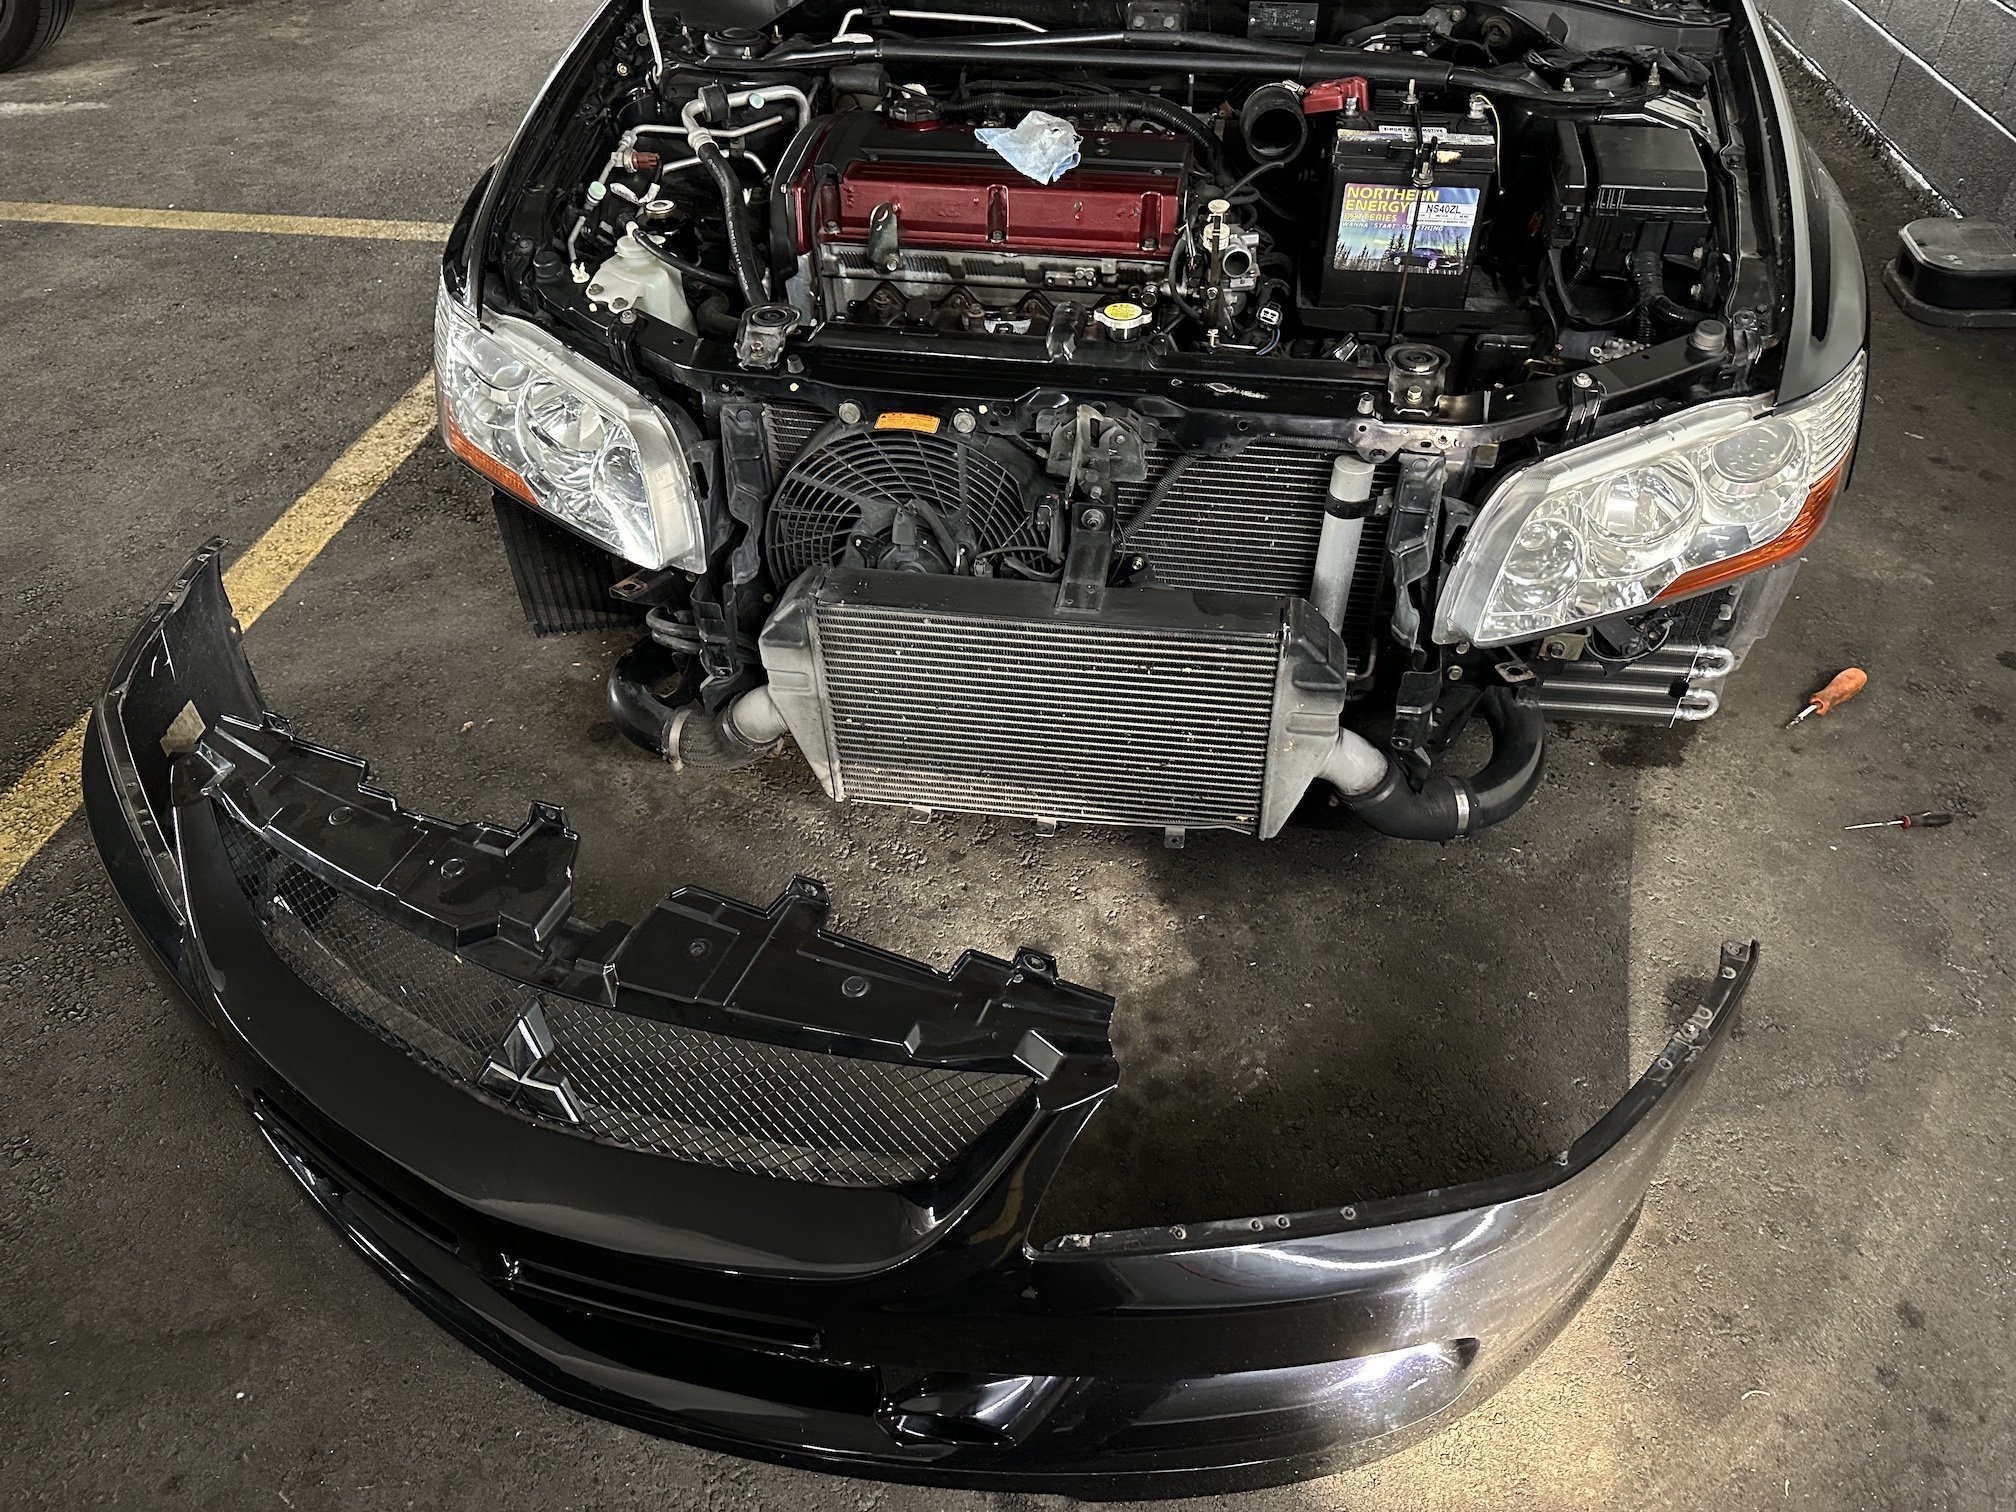
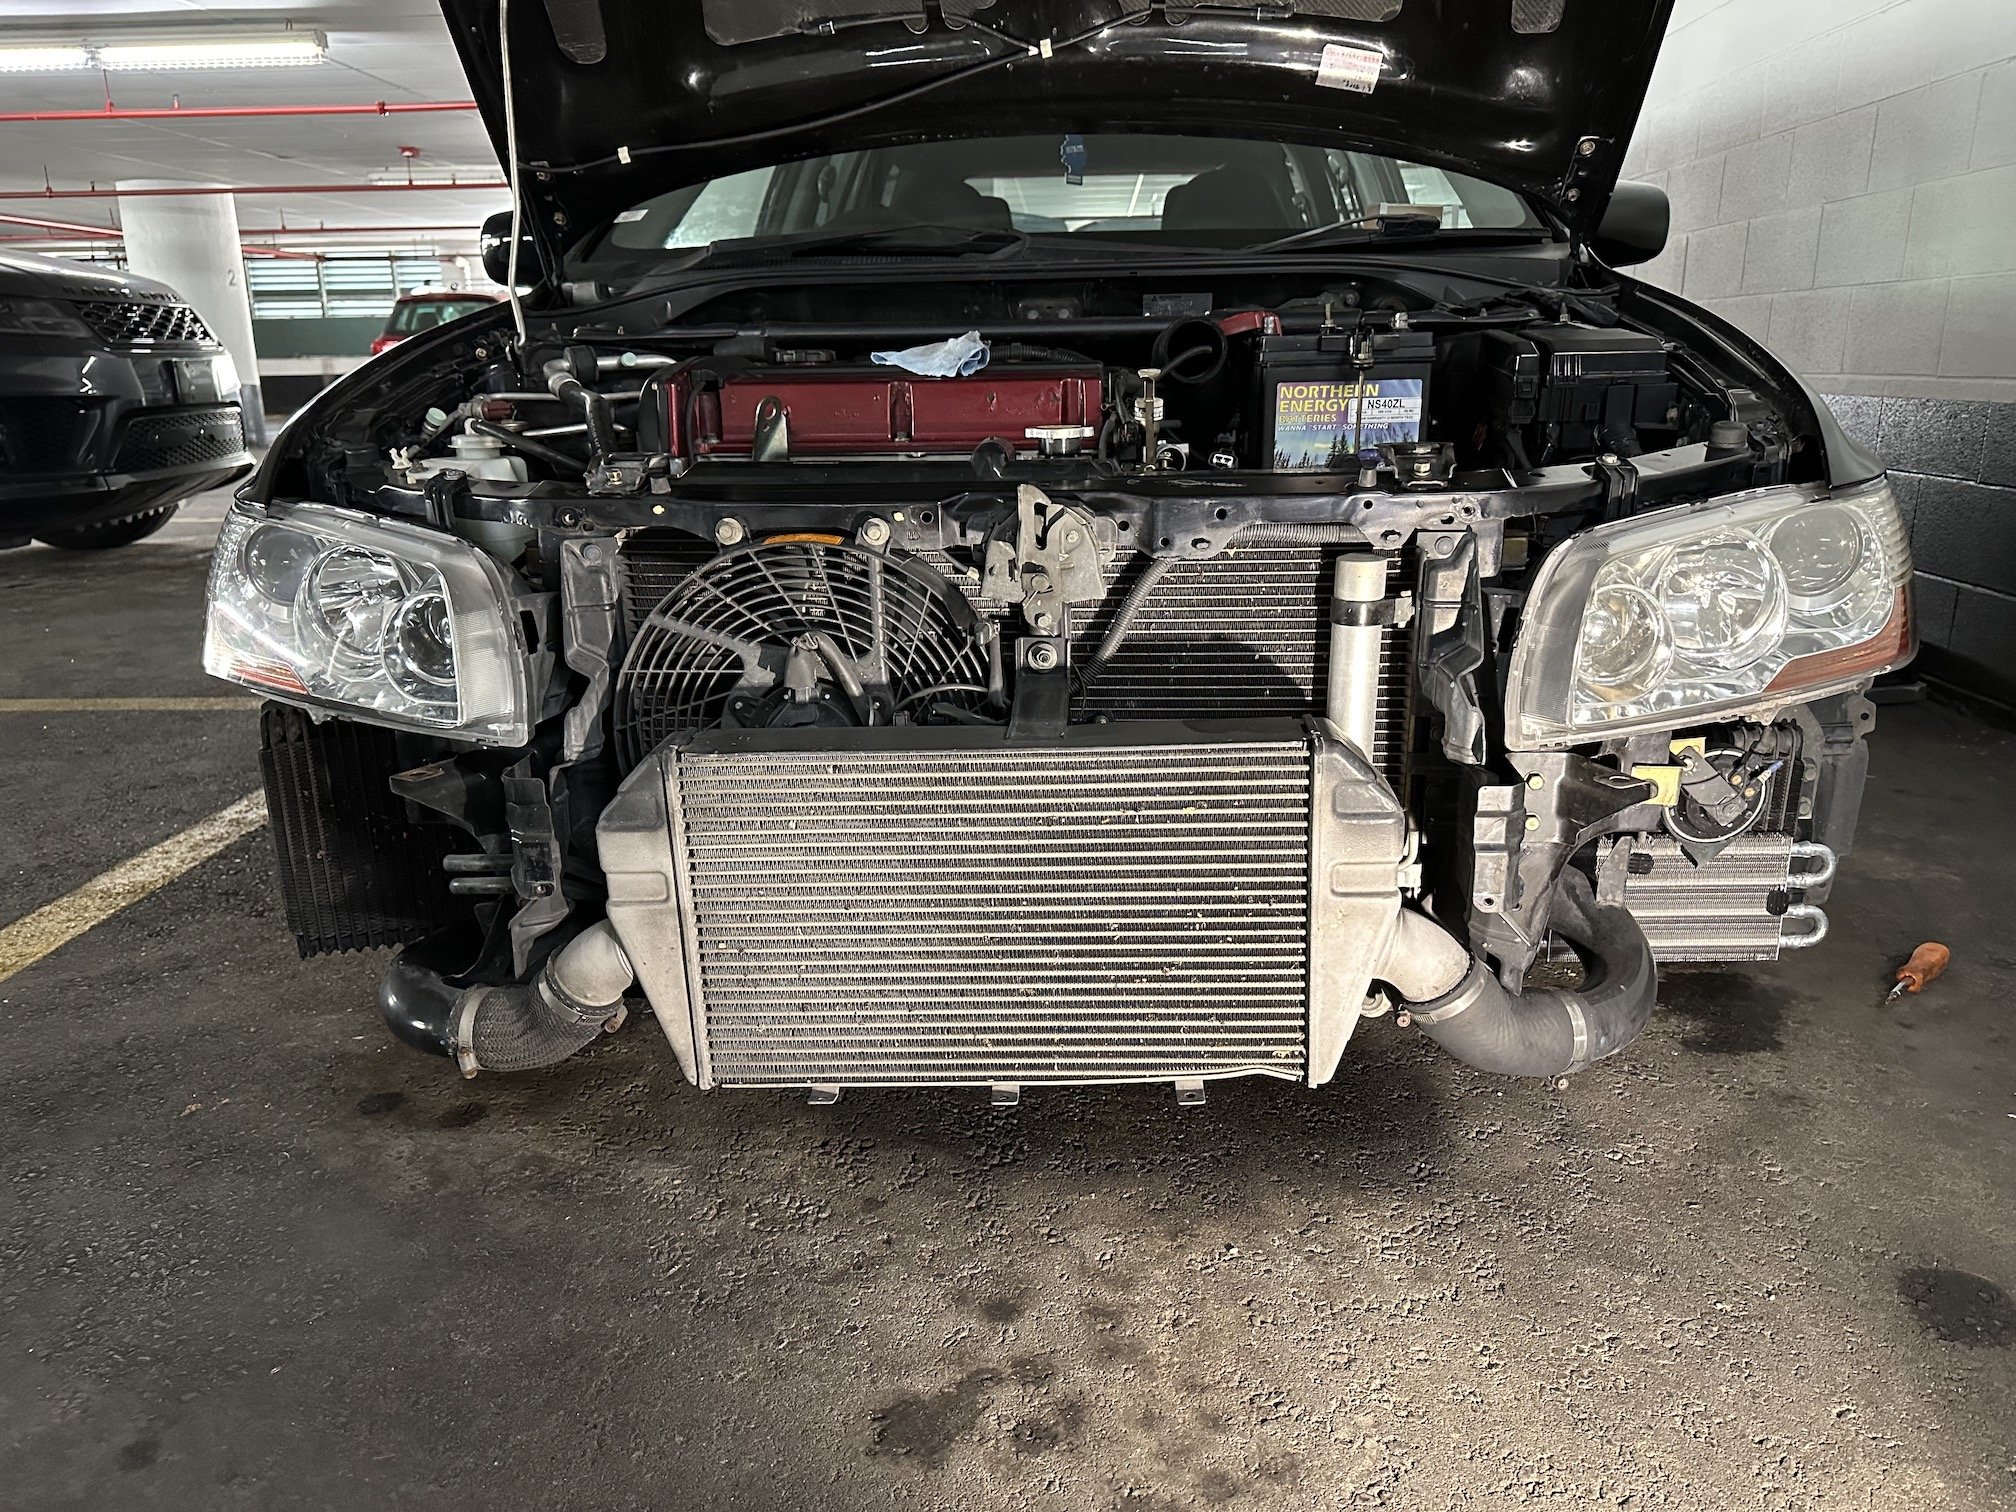
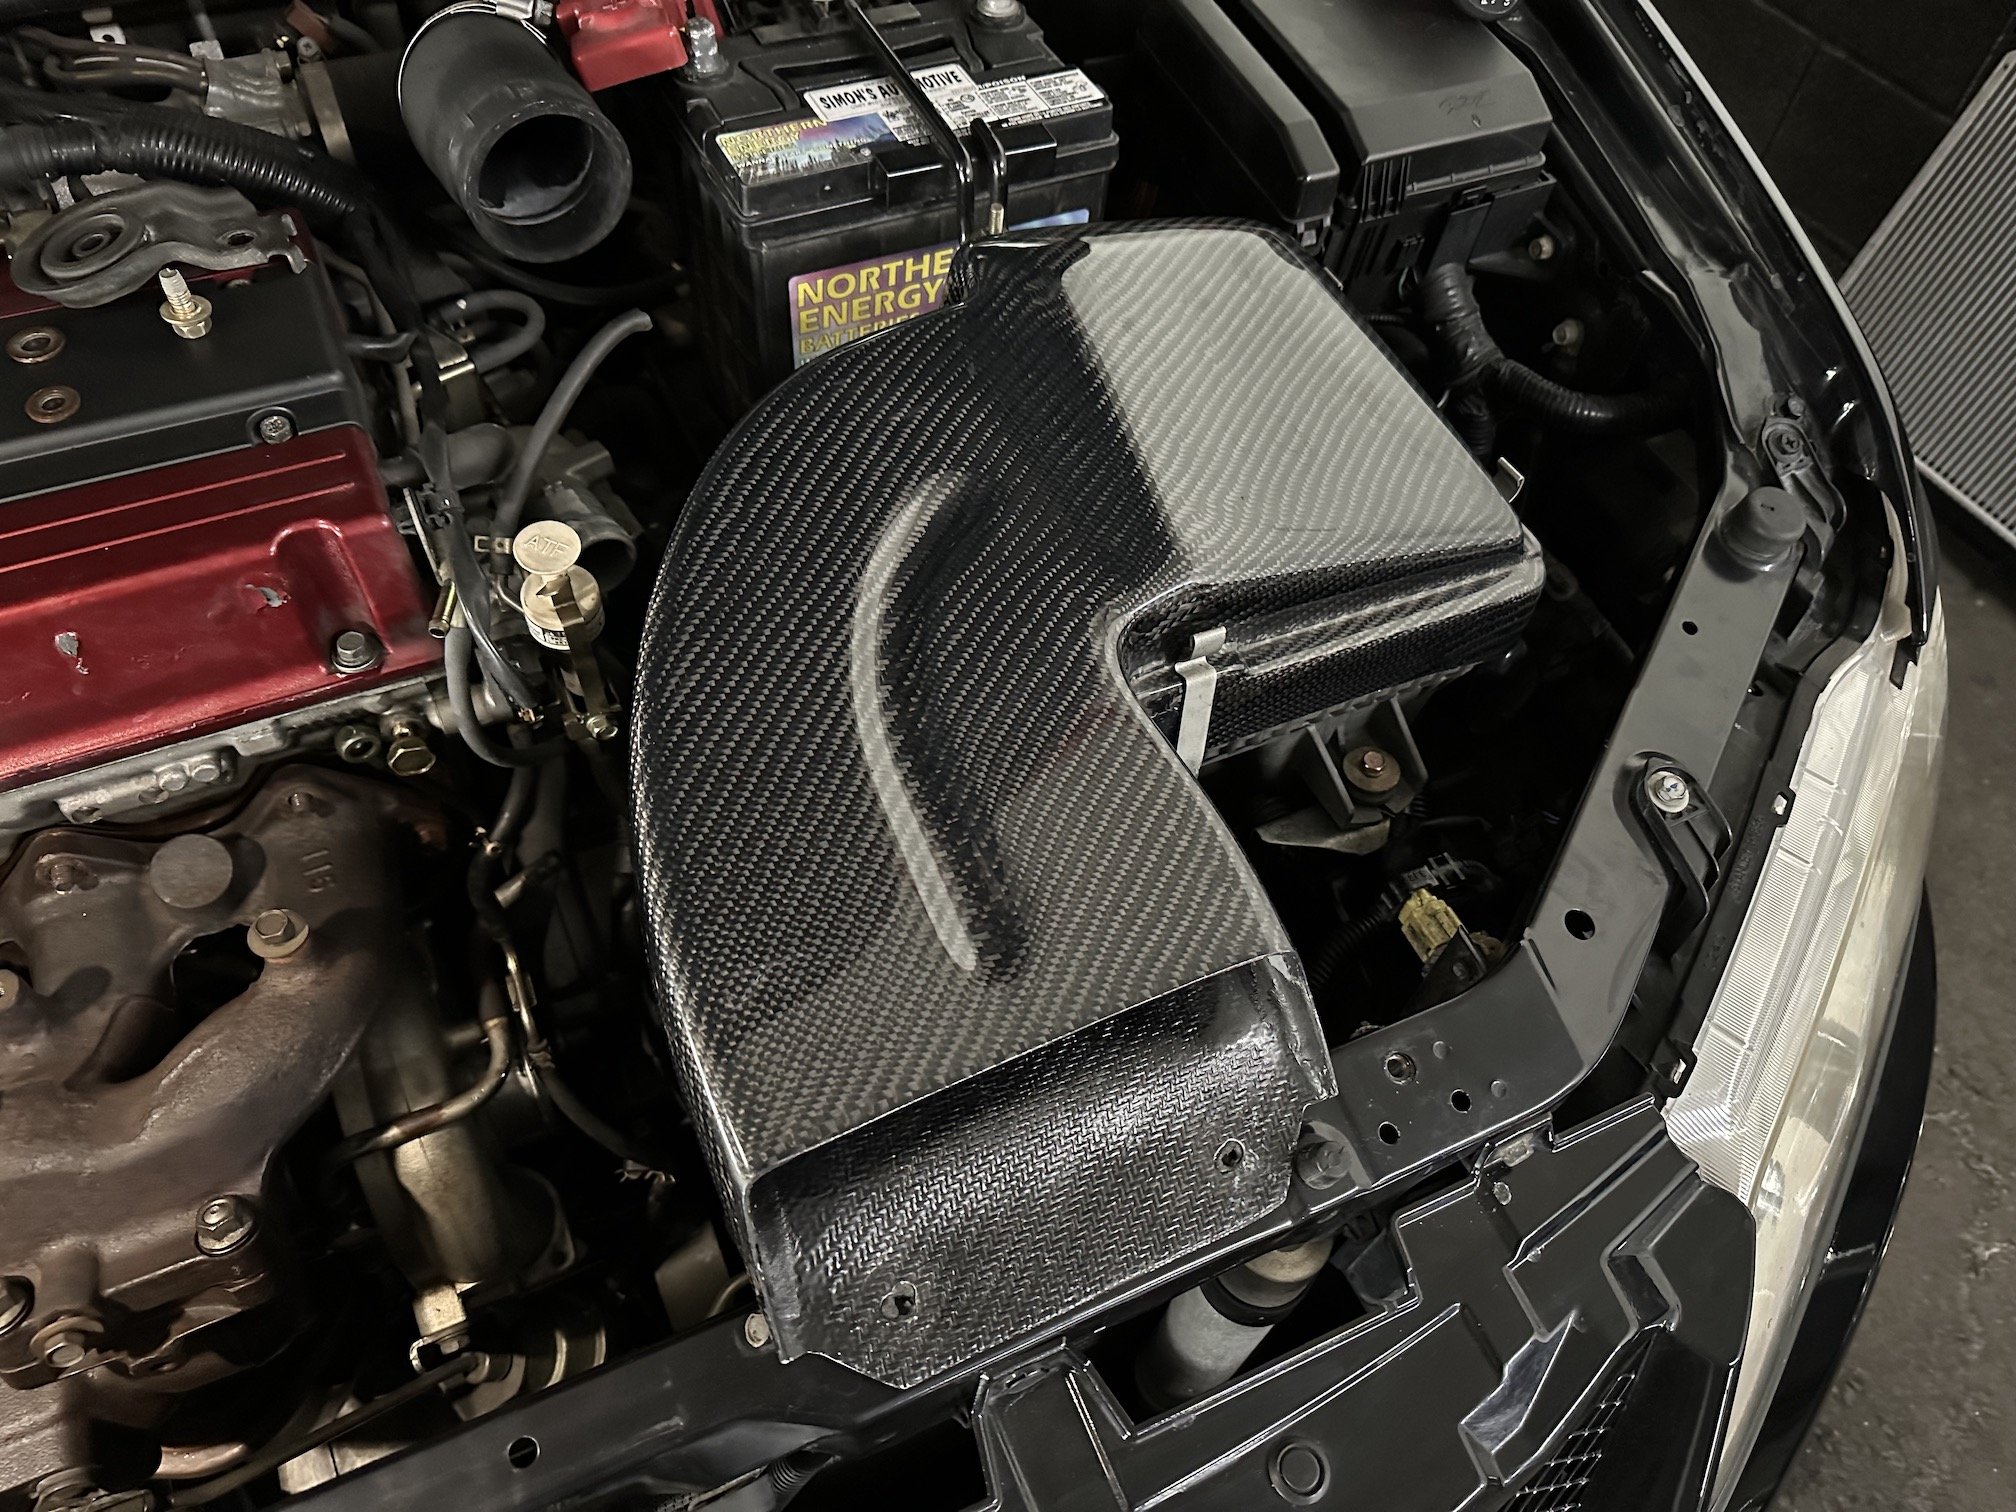
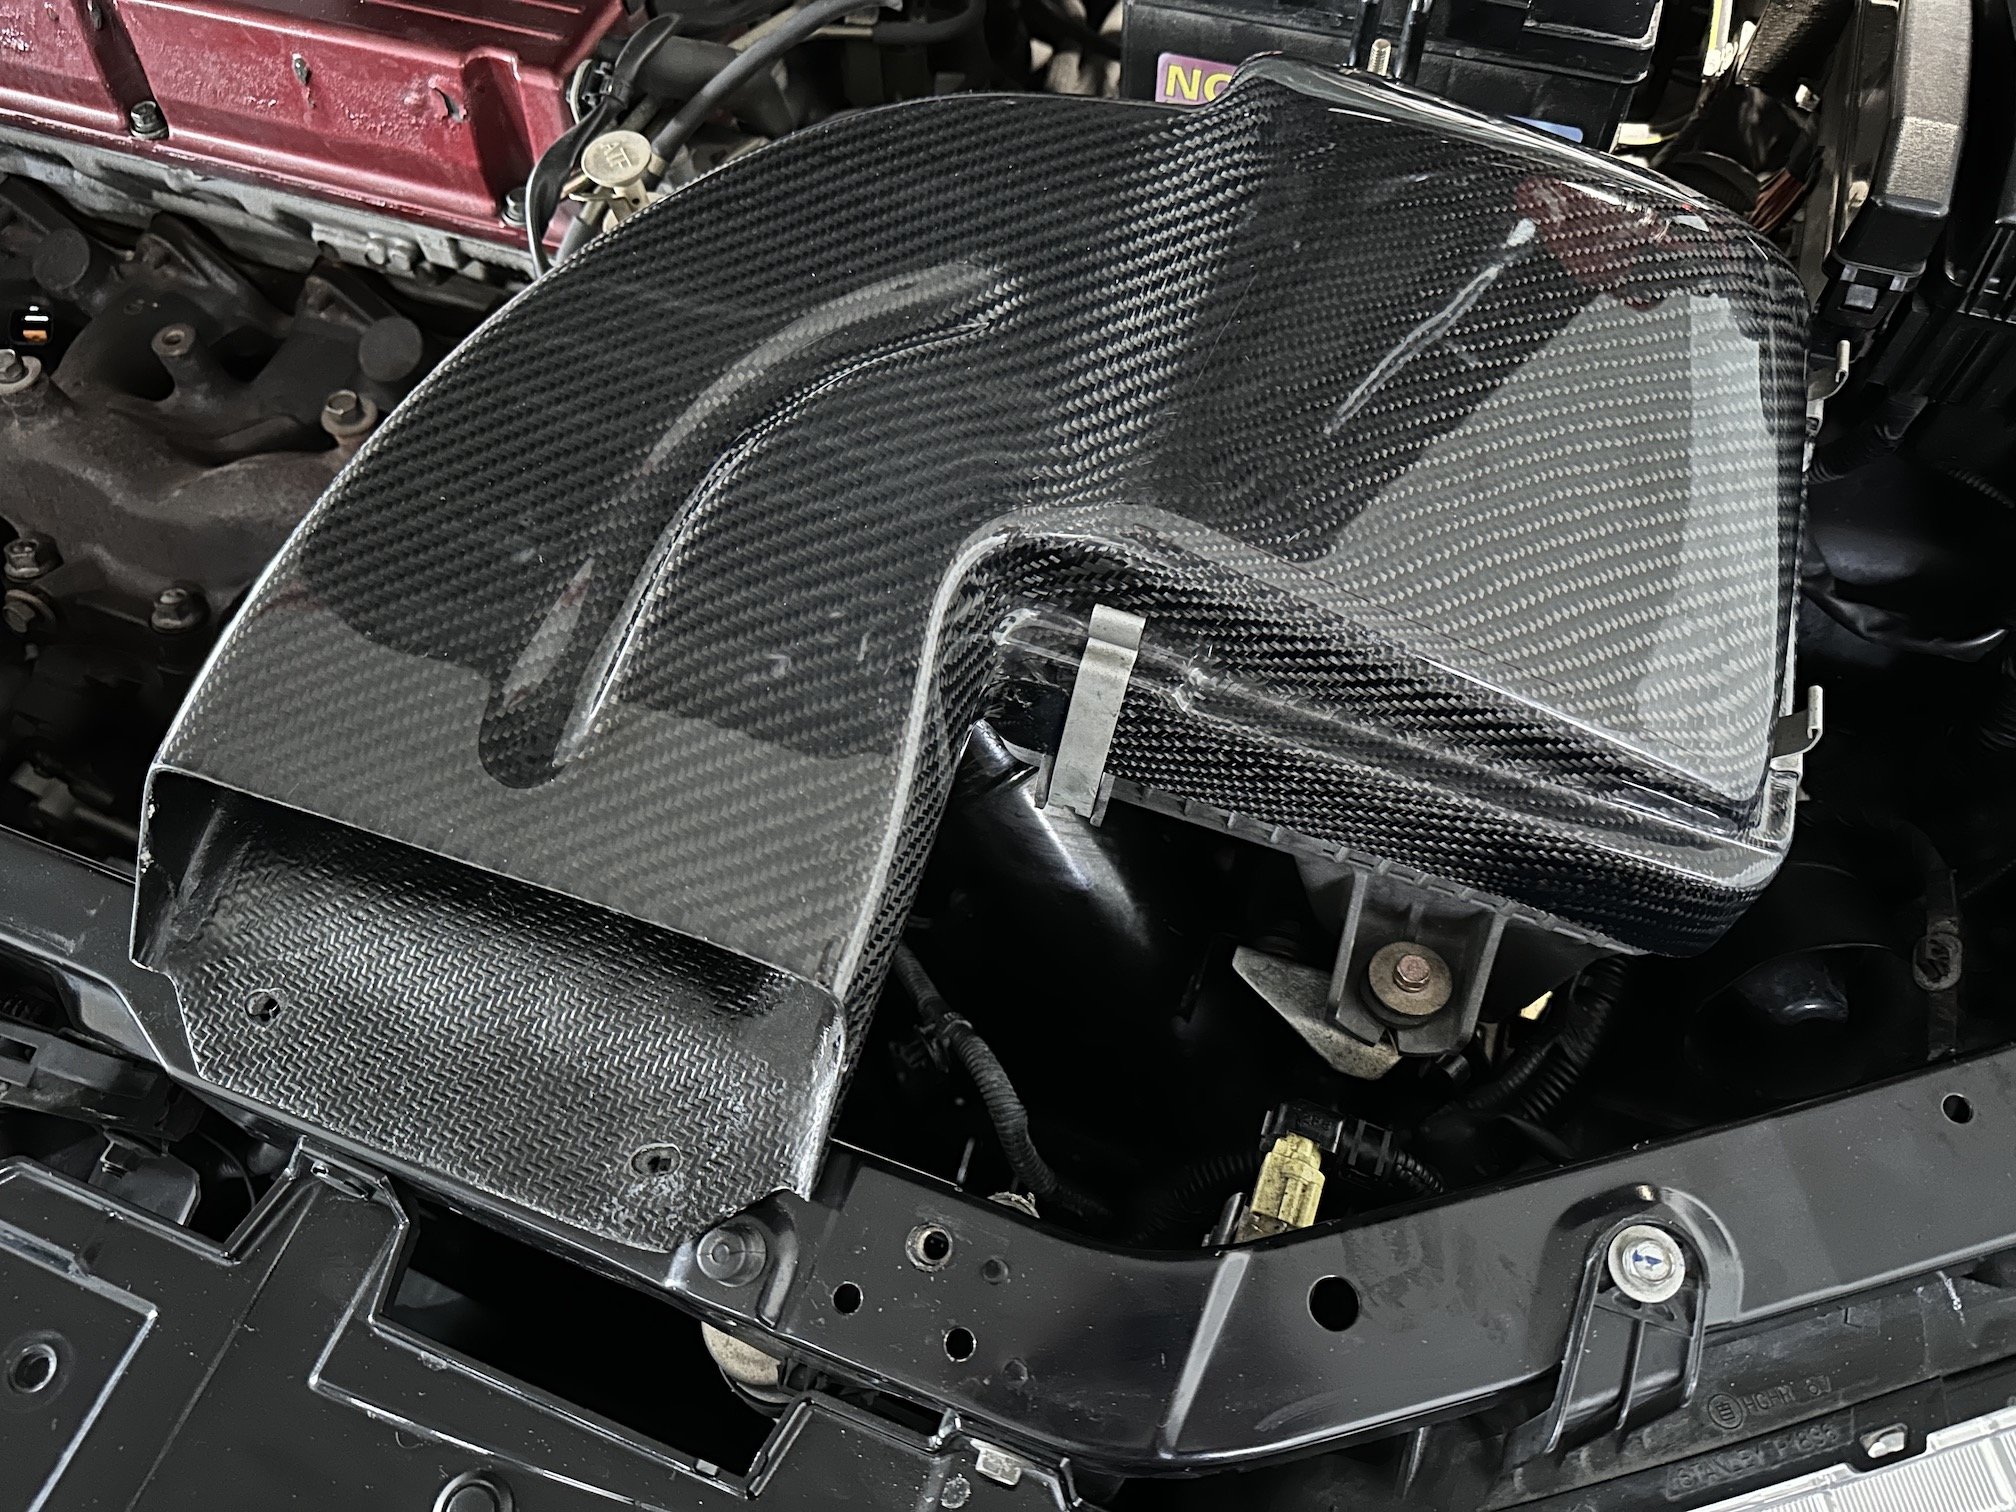
As mentioned above, I was able to pick up a mint intercooler & the M/T aluminium piping while in the US a couple weeks back. That means bumper off again: Replacement intercooler & piping on: These pics show the Ralliart CF air box lid/snorkel however I can't quite run this just yet as it actually fouls with the vents of the Varis CF bonnet - so either I run stock snorkel & air box or I remove the vents from the underside of the bonnet leaving just the mesh there. Not quite sure what to do just yet - I am wondering if I can get creative and cut away just a portion of the vents for the one third or so of the area that it does foul. Next up is swapping on a 3" downpipe I also picked up on the same trip.
- 143 replies
-
- 11
-
-
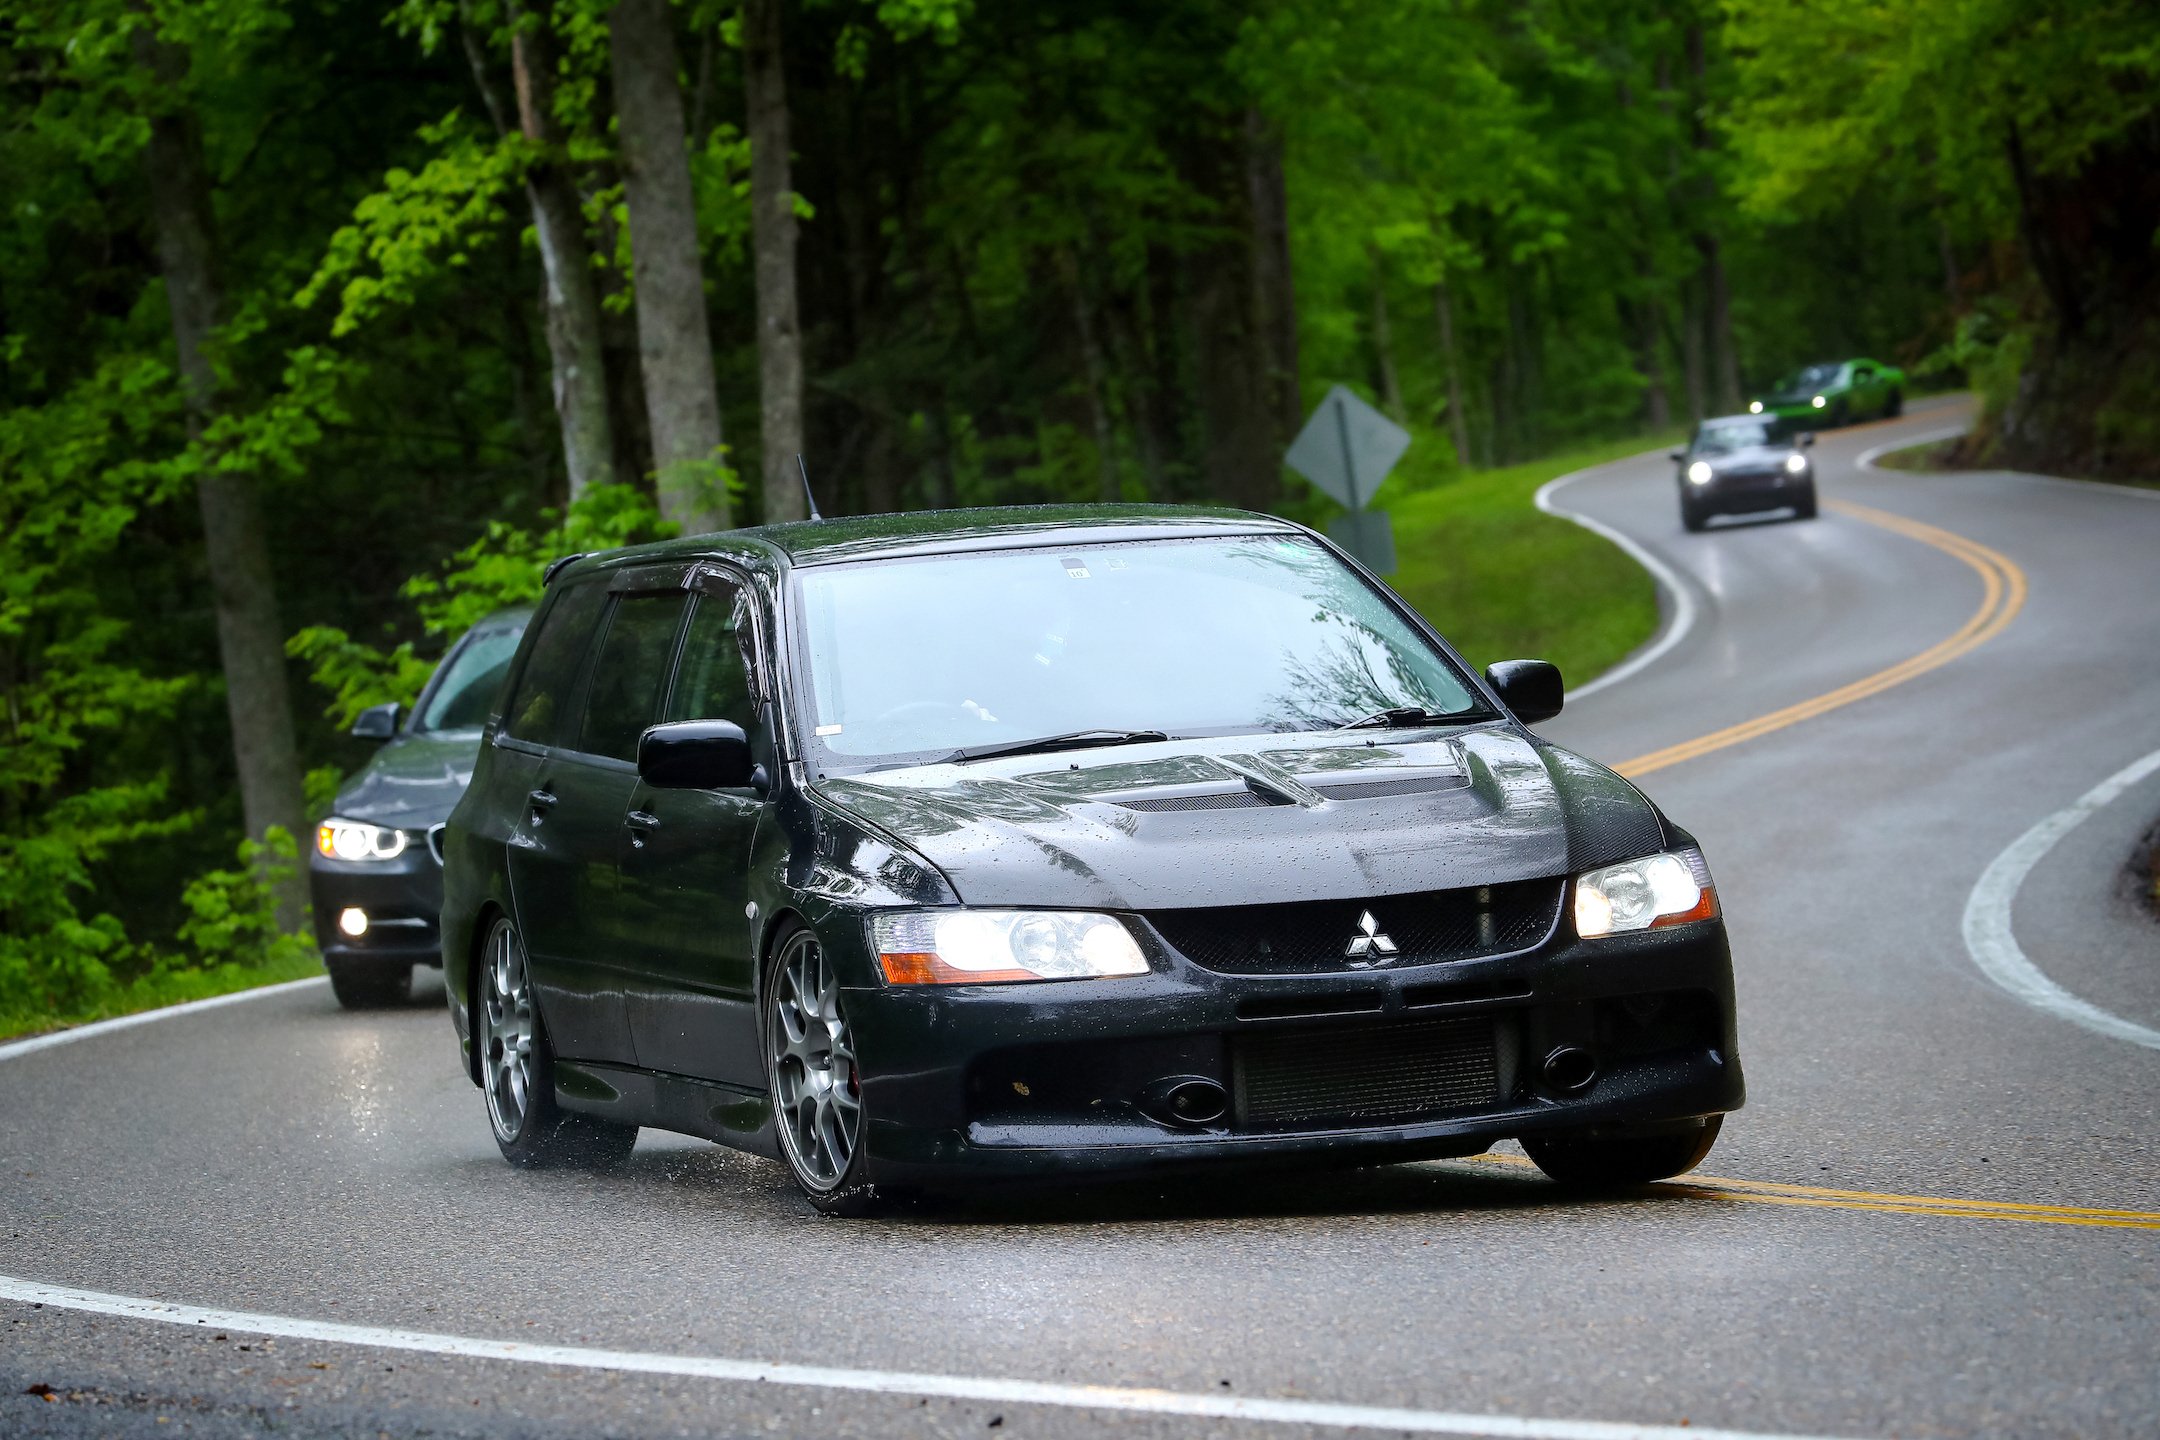
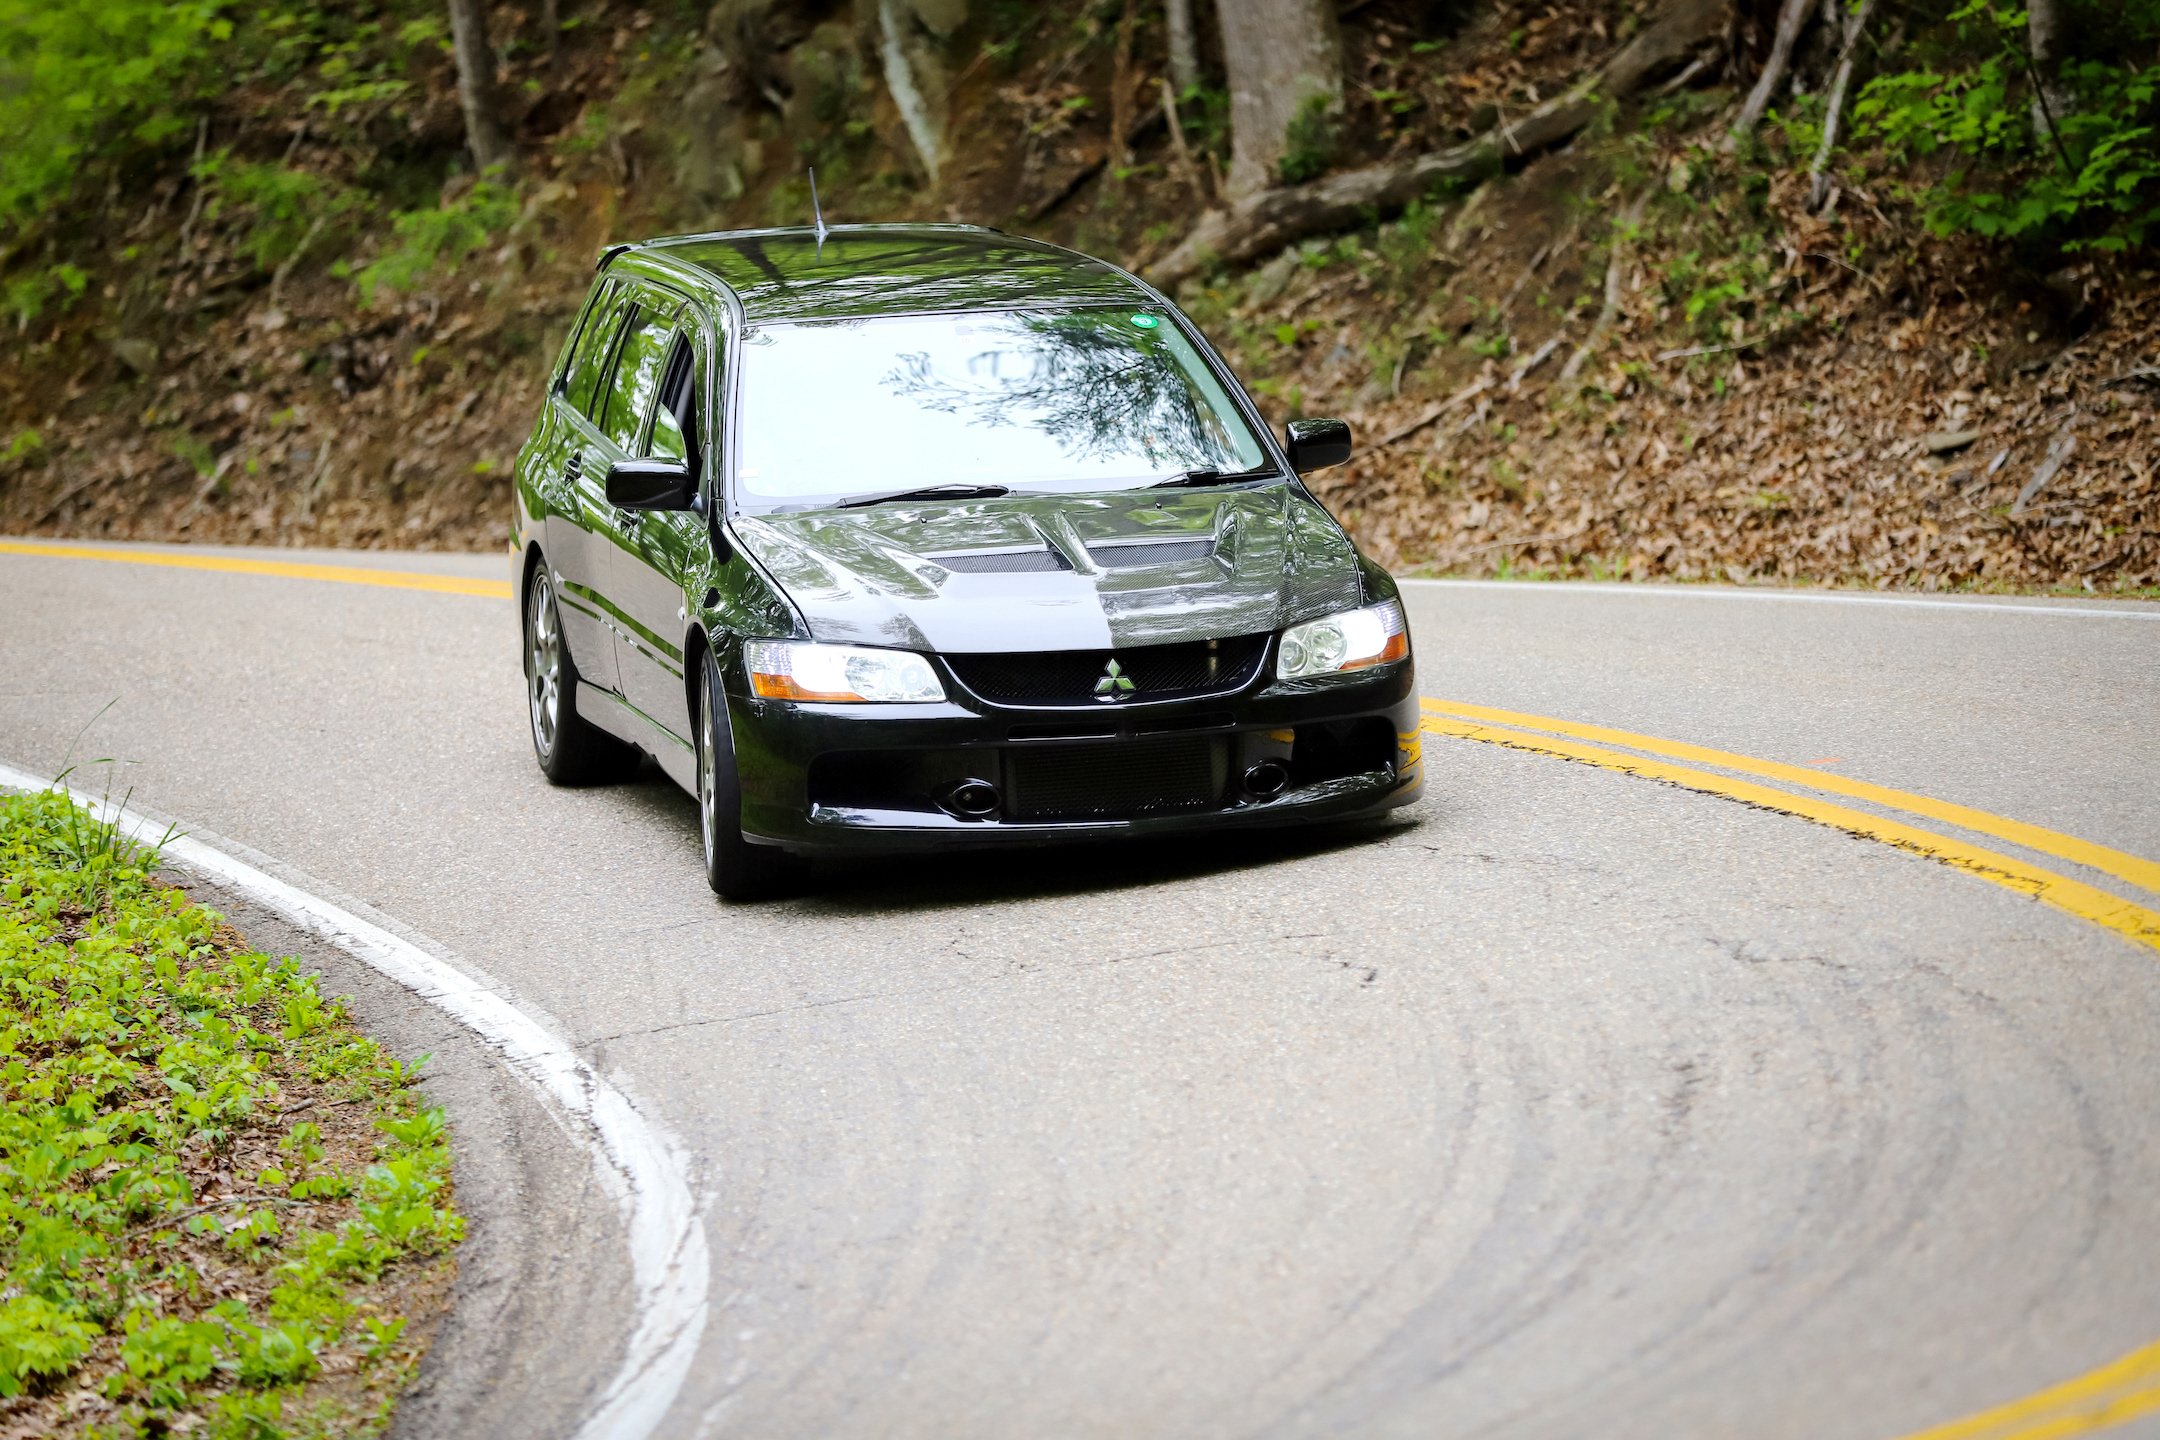
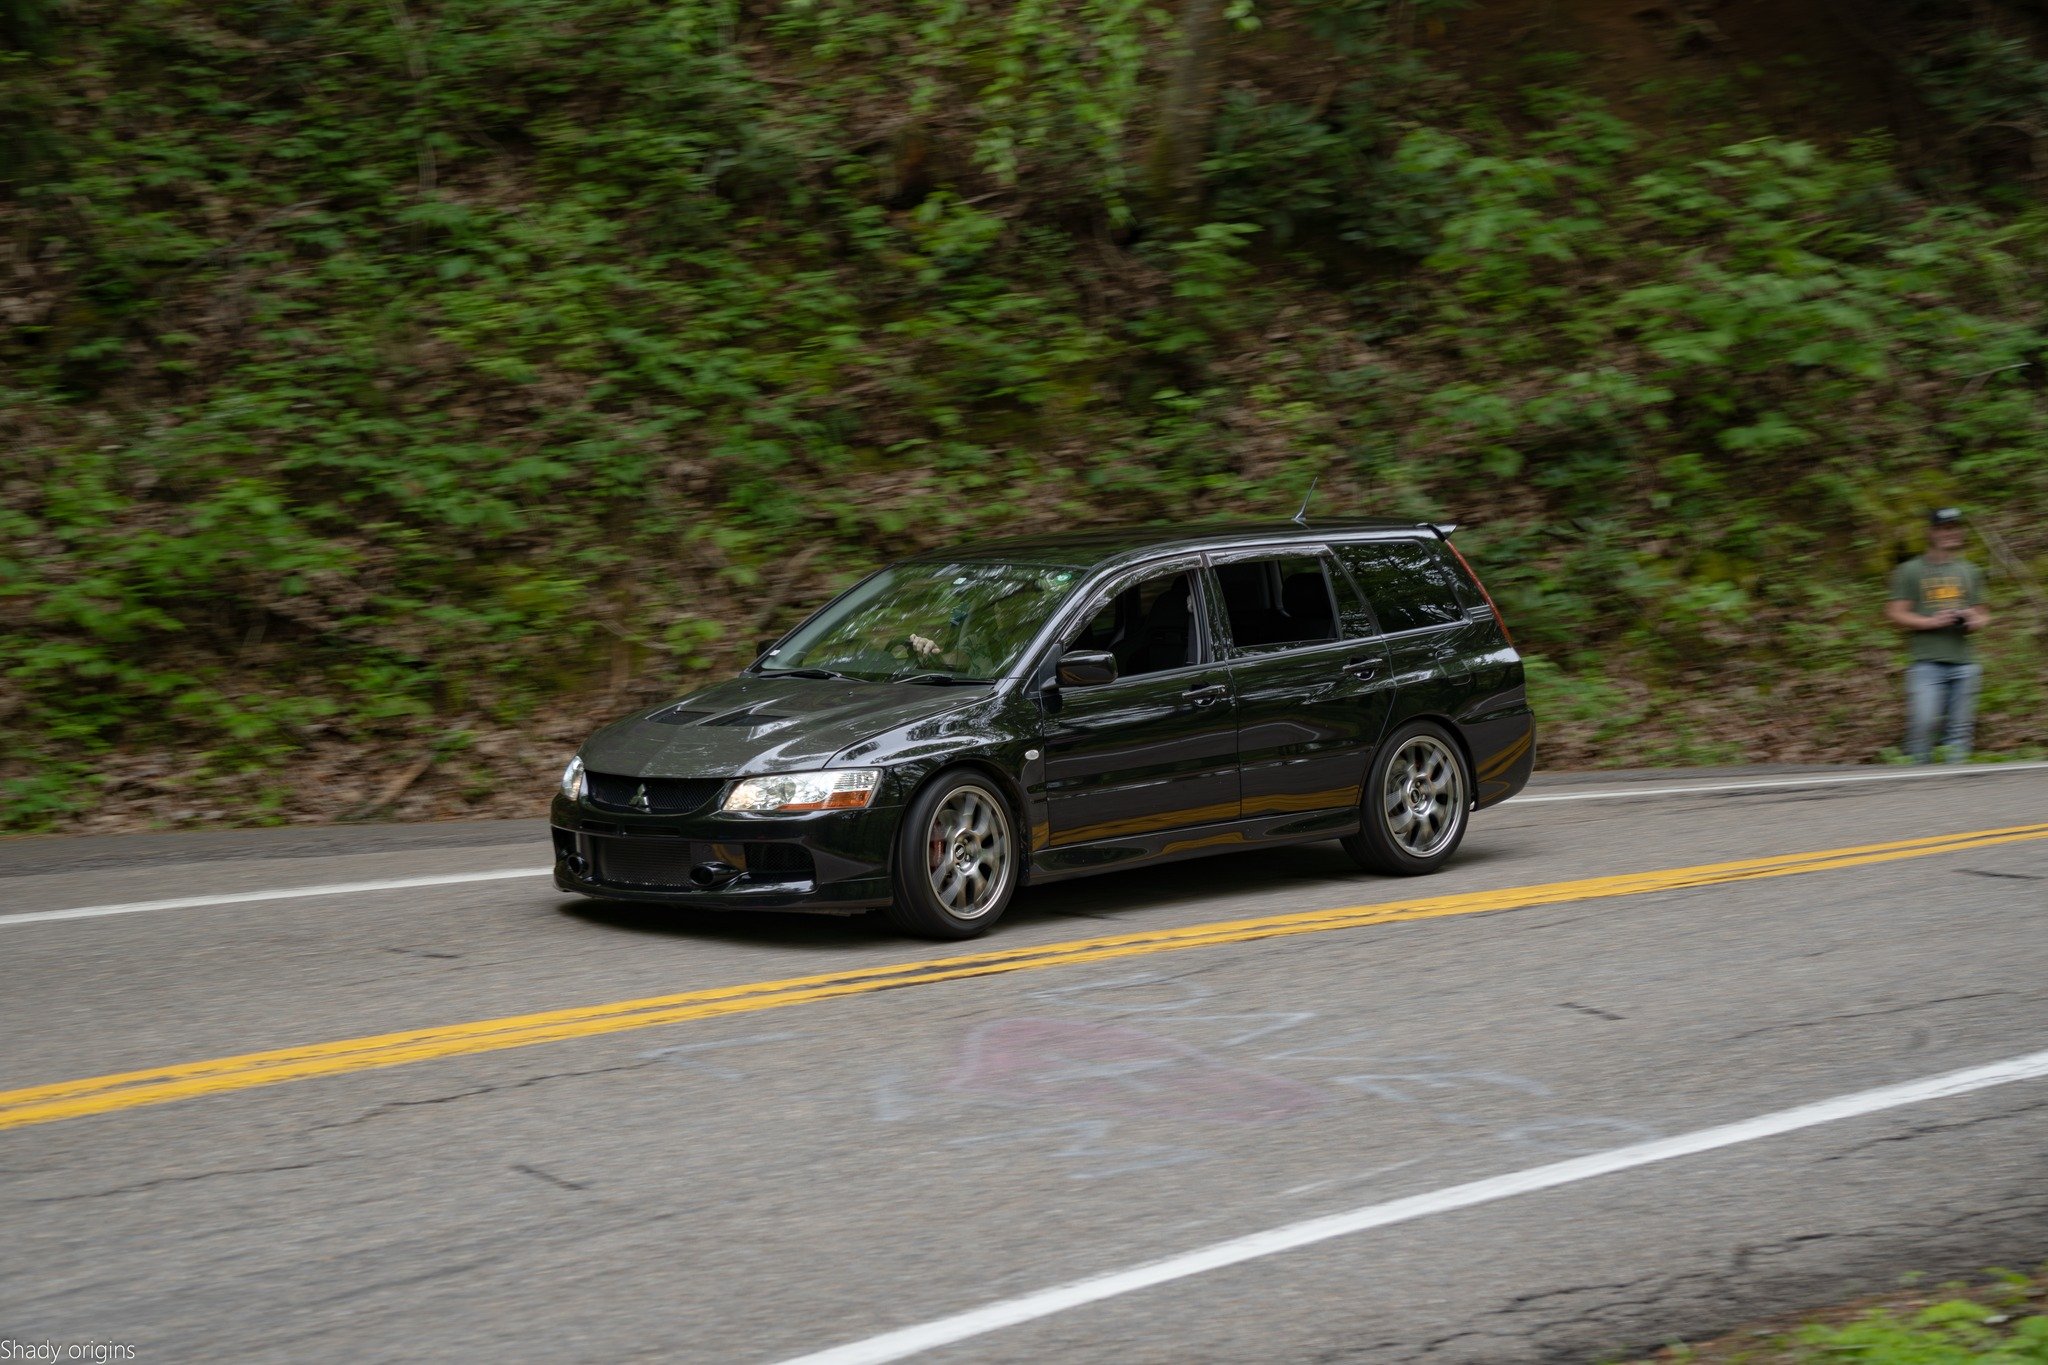
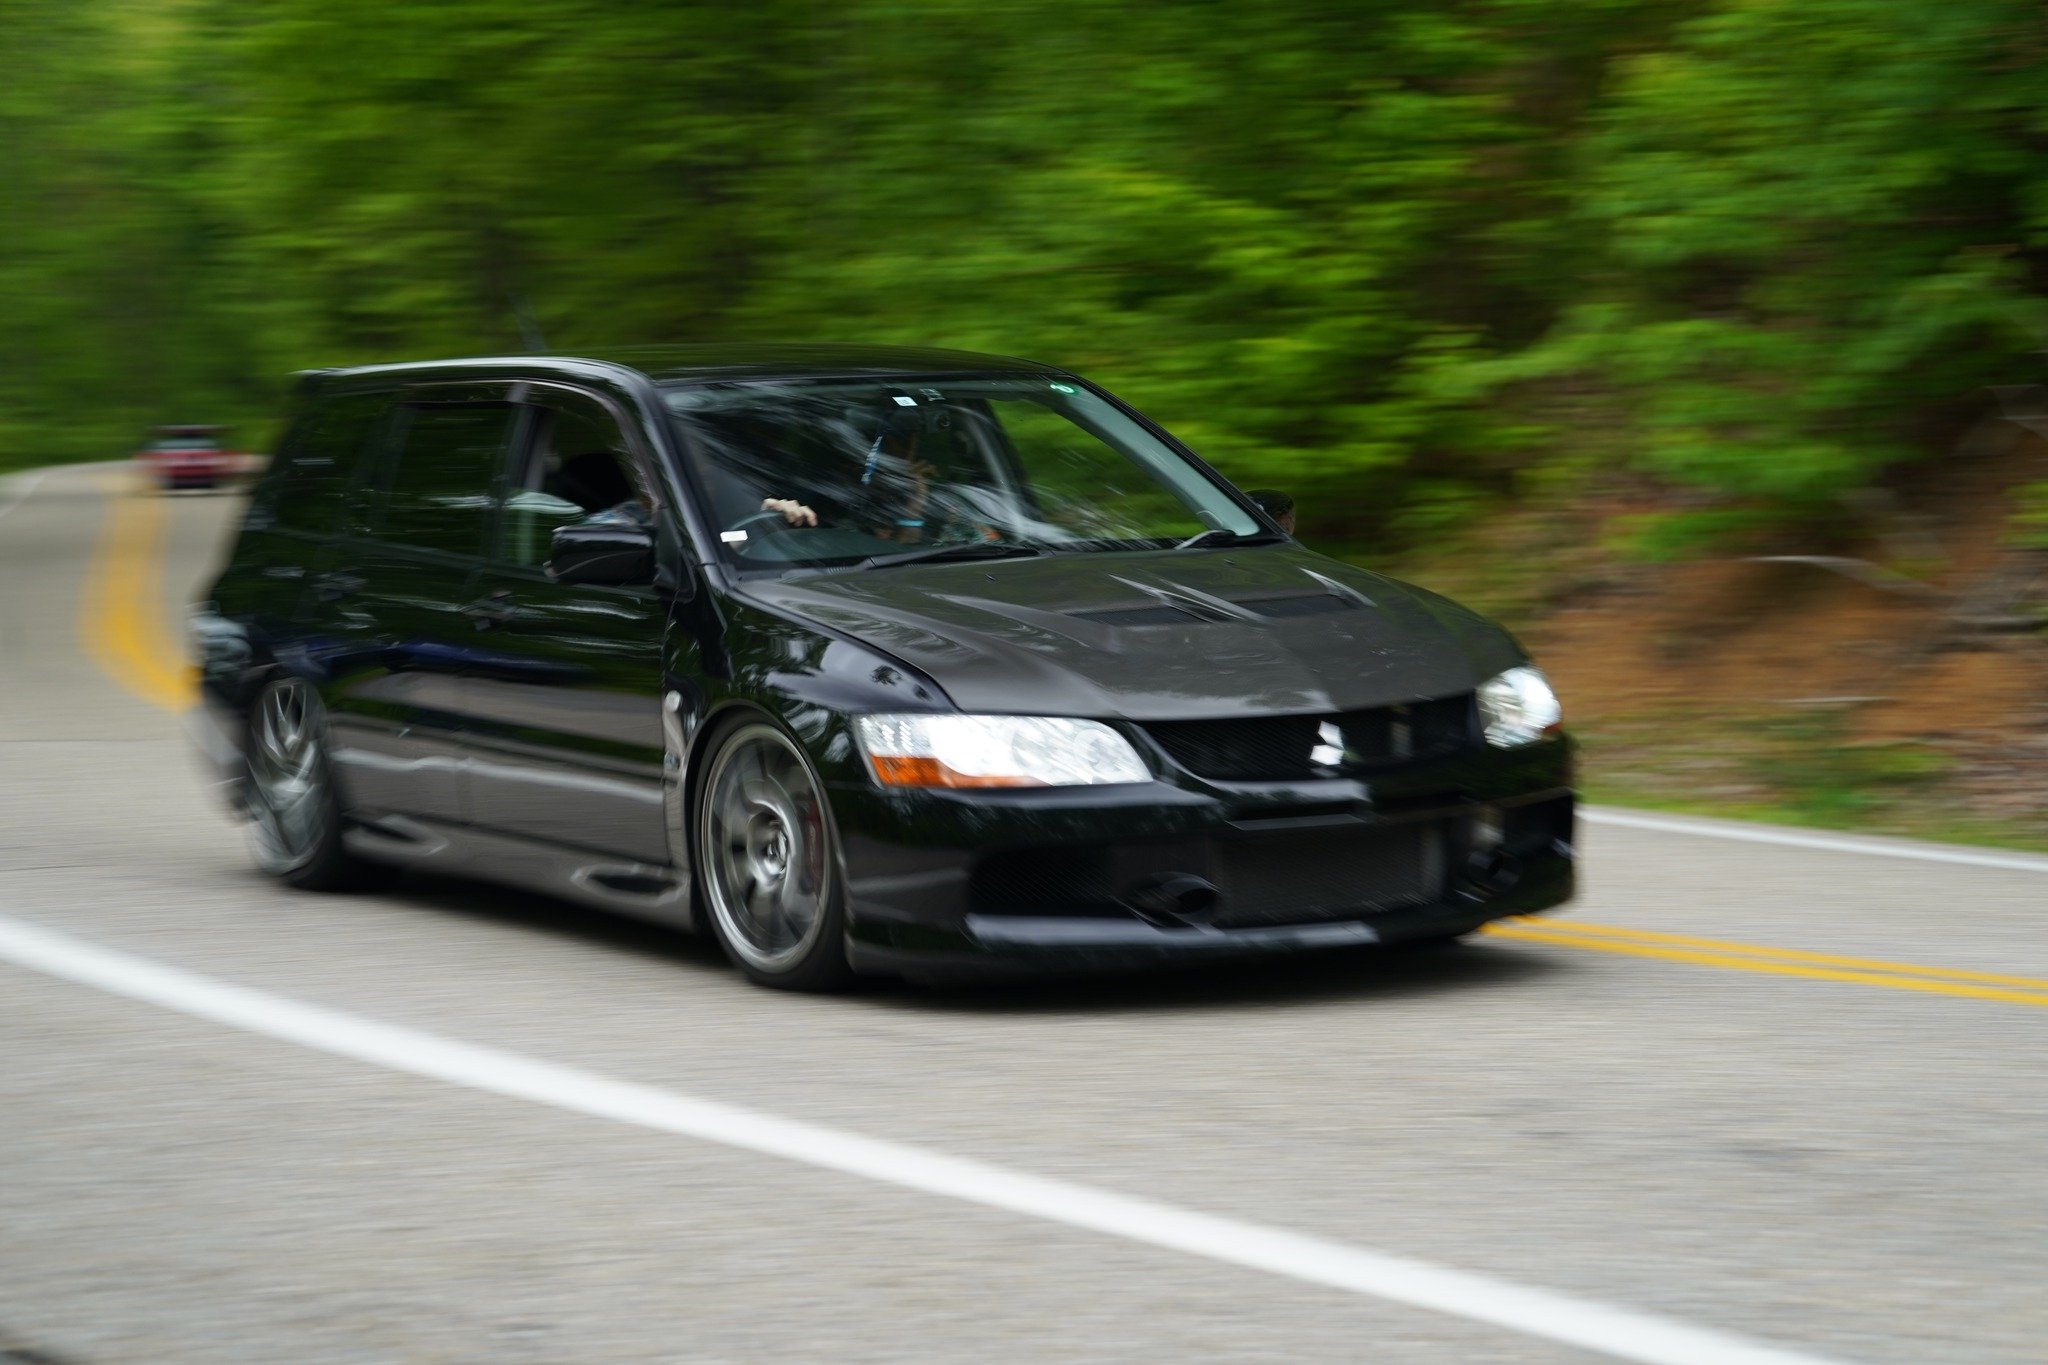
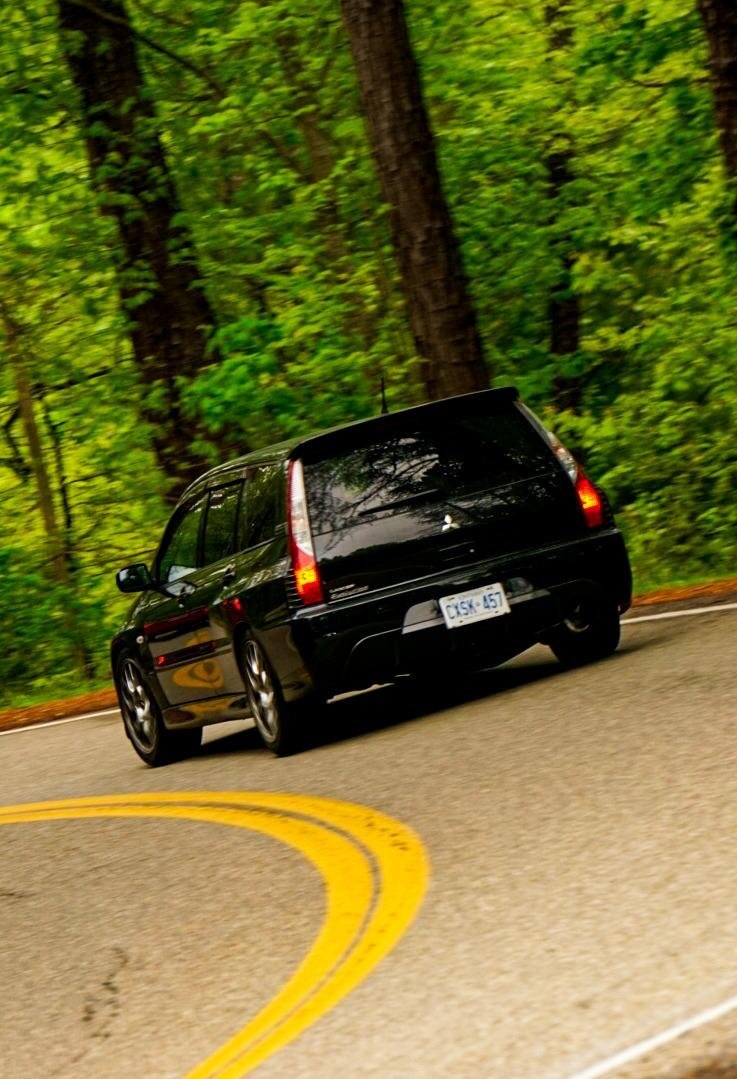
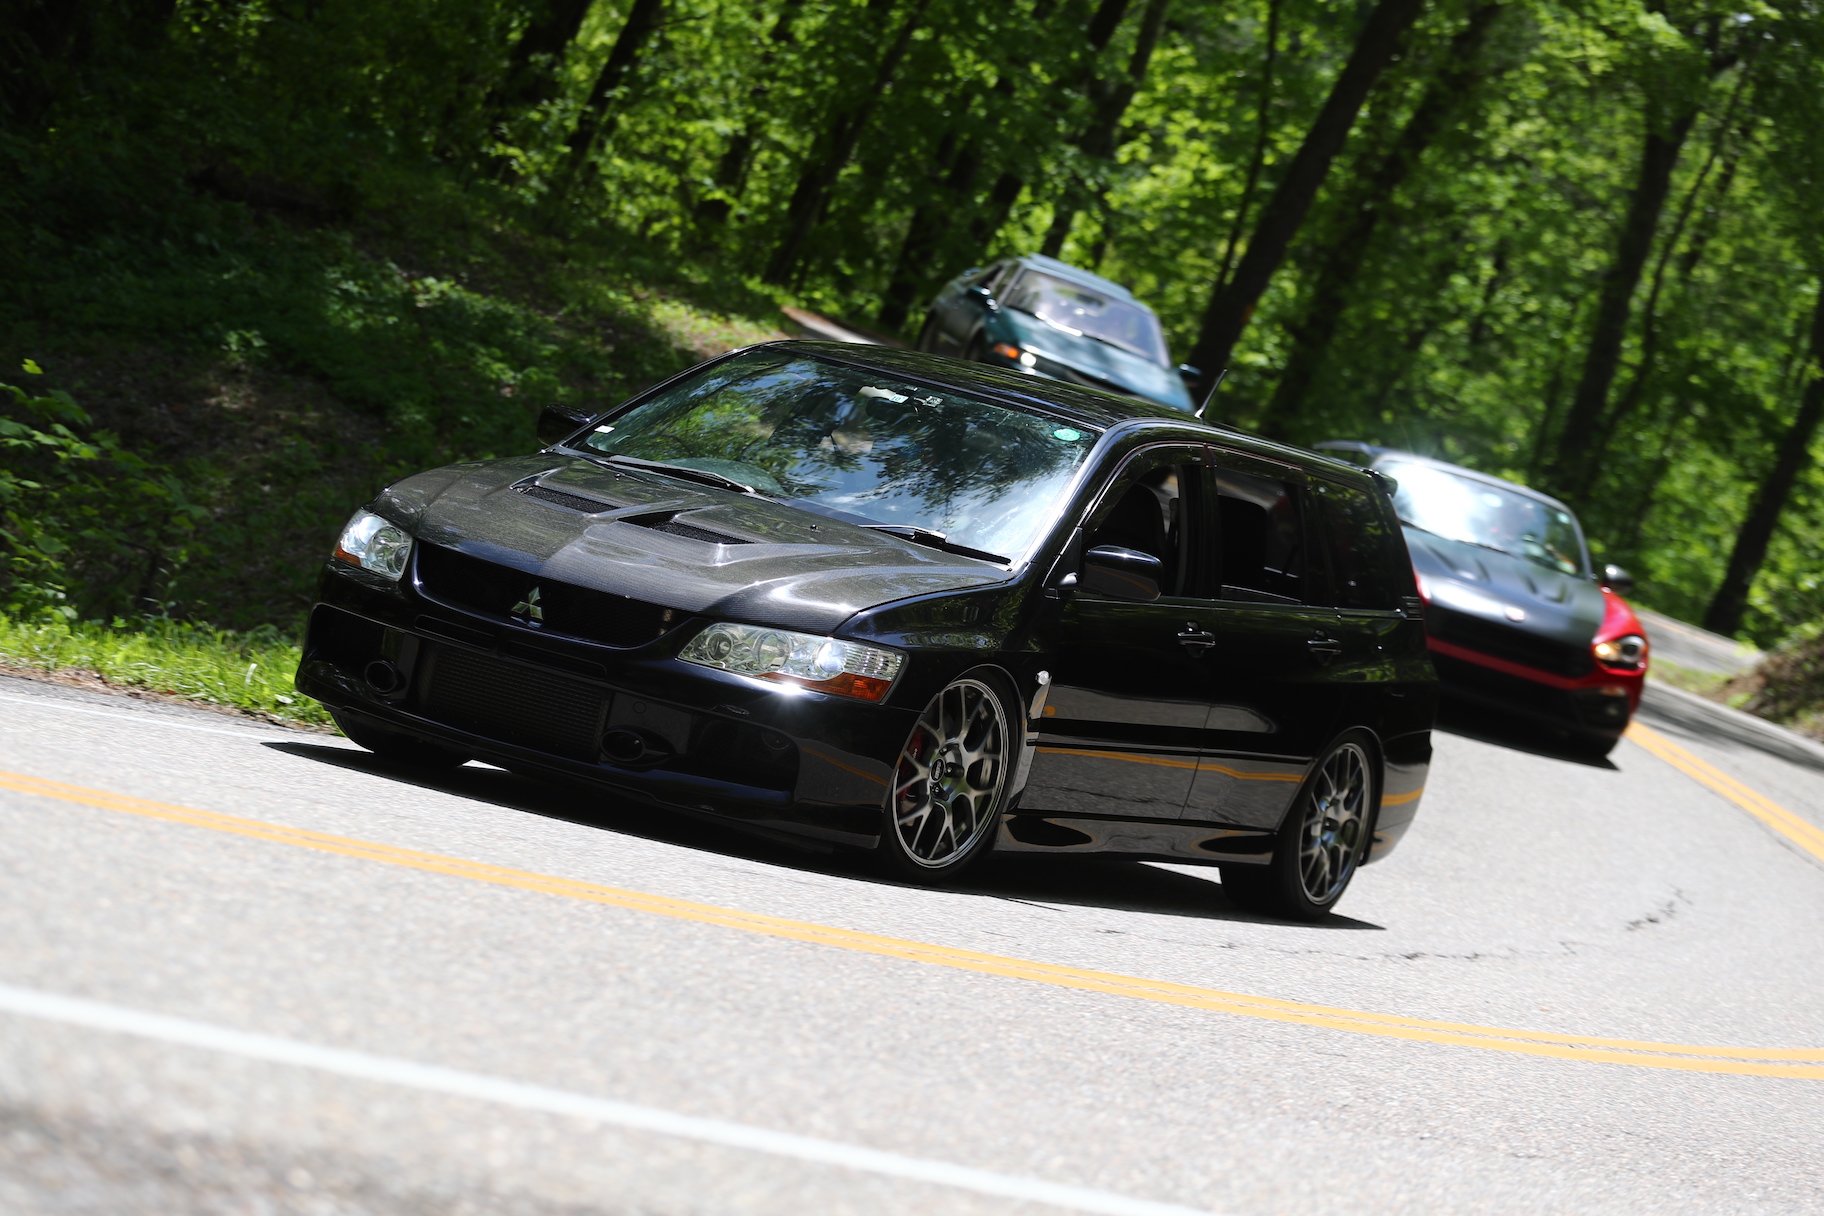
Last Tail of the Dragon spam I swear
- 143 replies
-
- 19
-
-

-
So once I threw it all together I drove it an almost 4000km round trip down to the Tennessee and North Carolina border for the Tail of the Dragon and had an absolute blast
- 143 replies
-
- 33
-
-
-
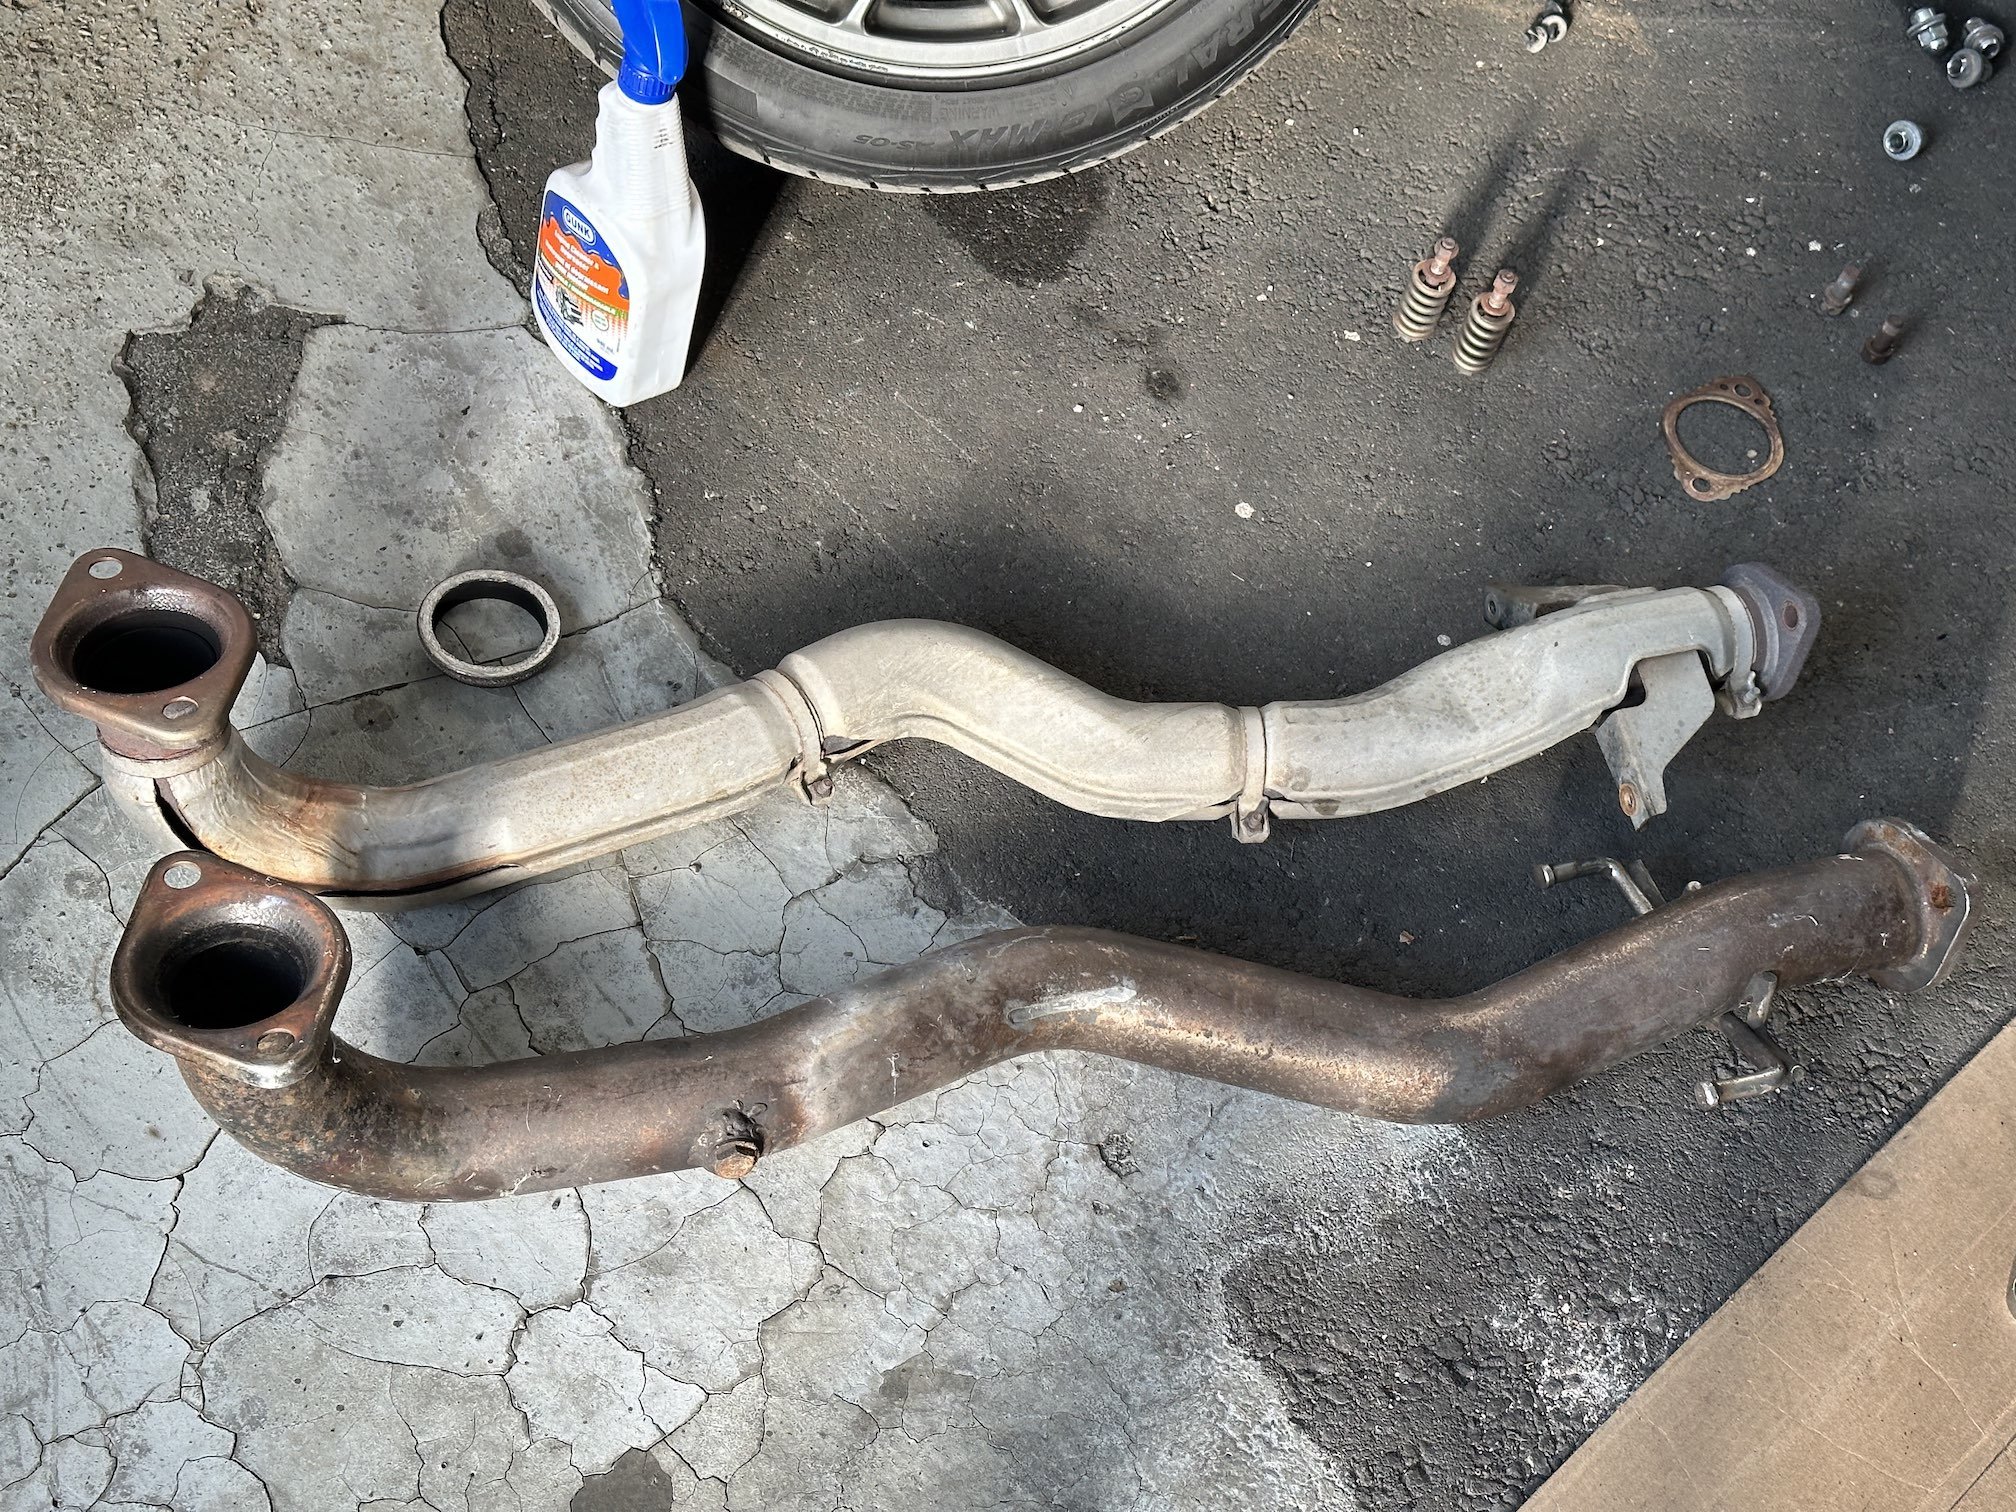
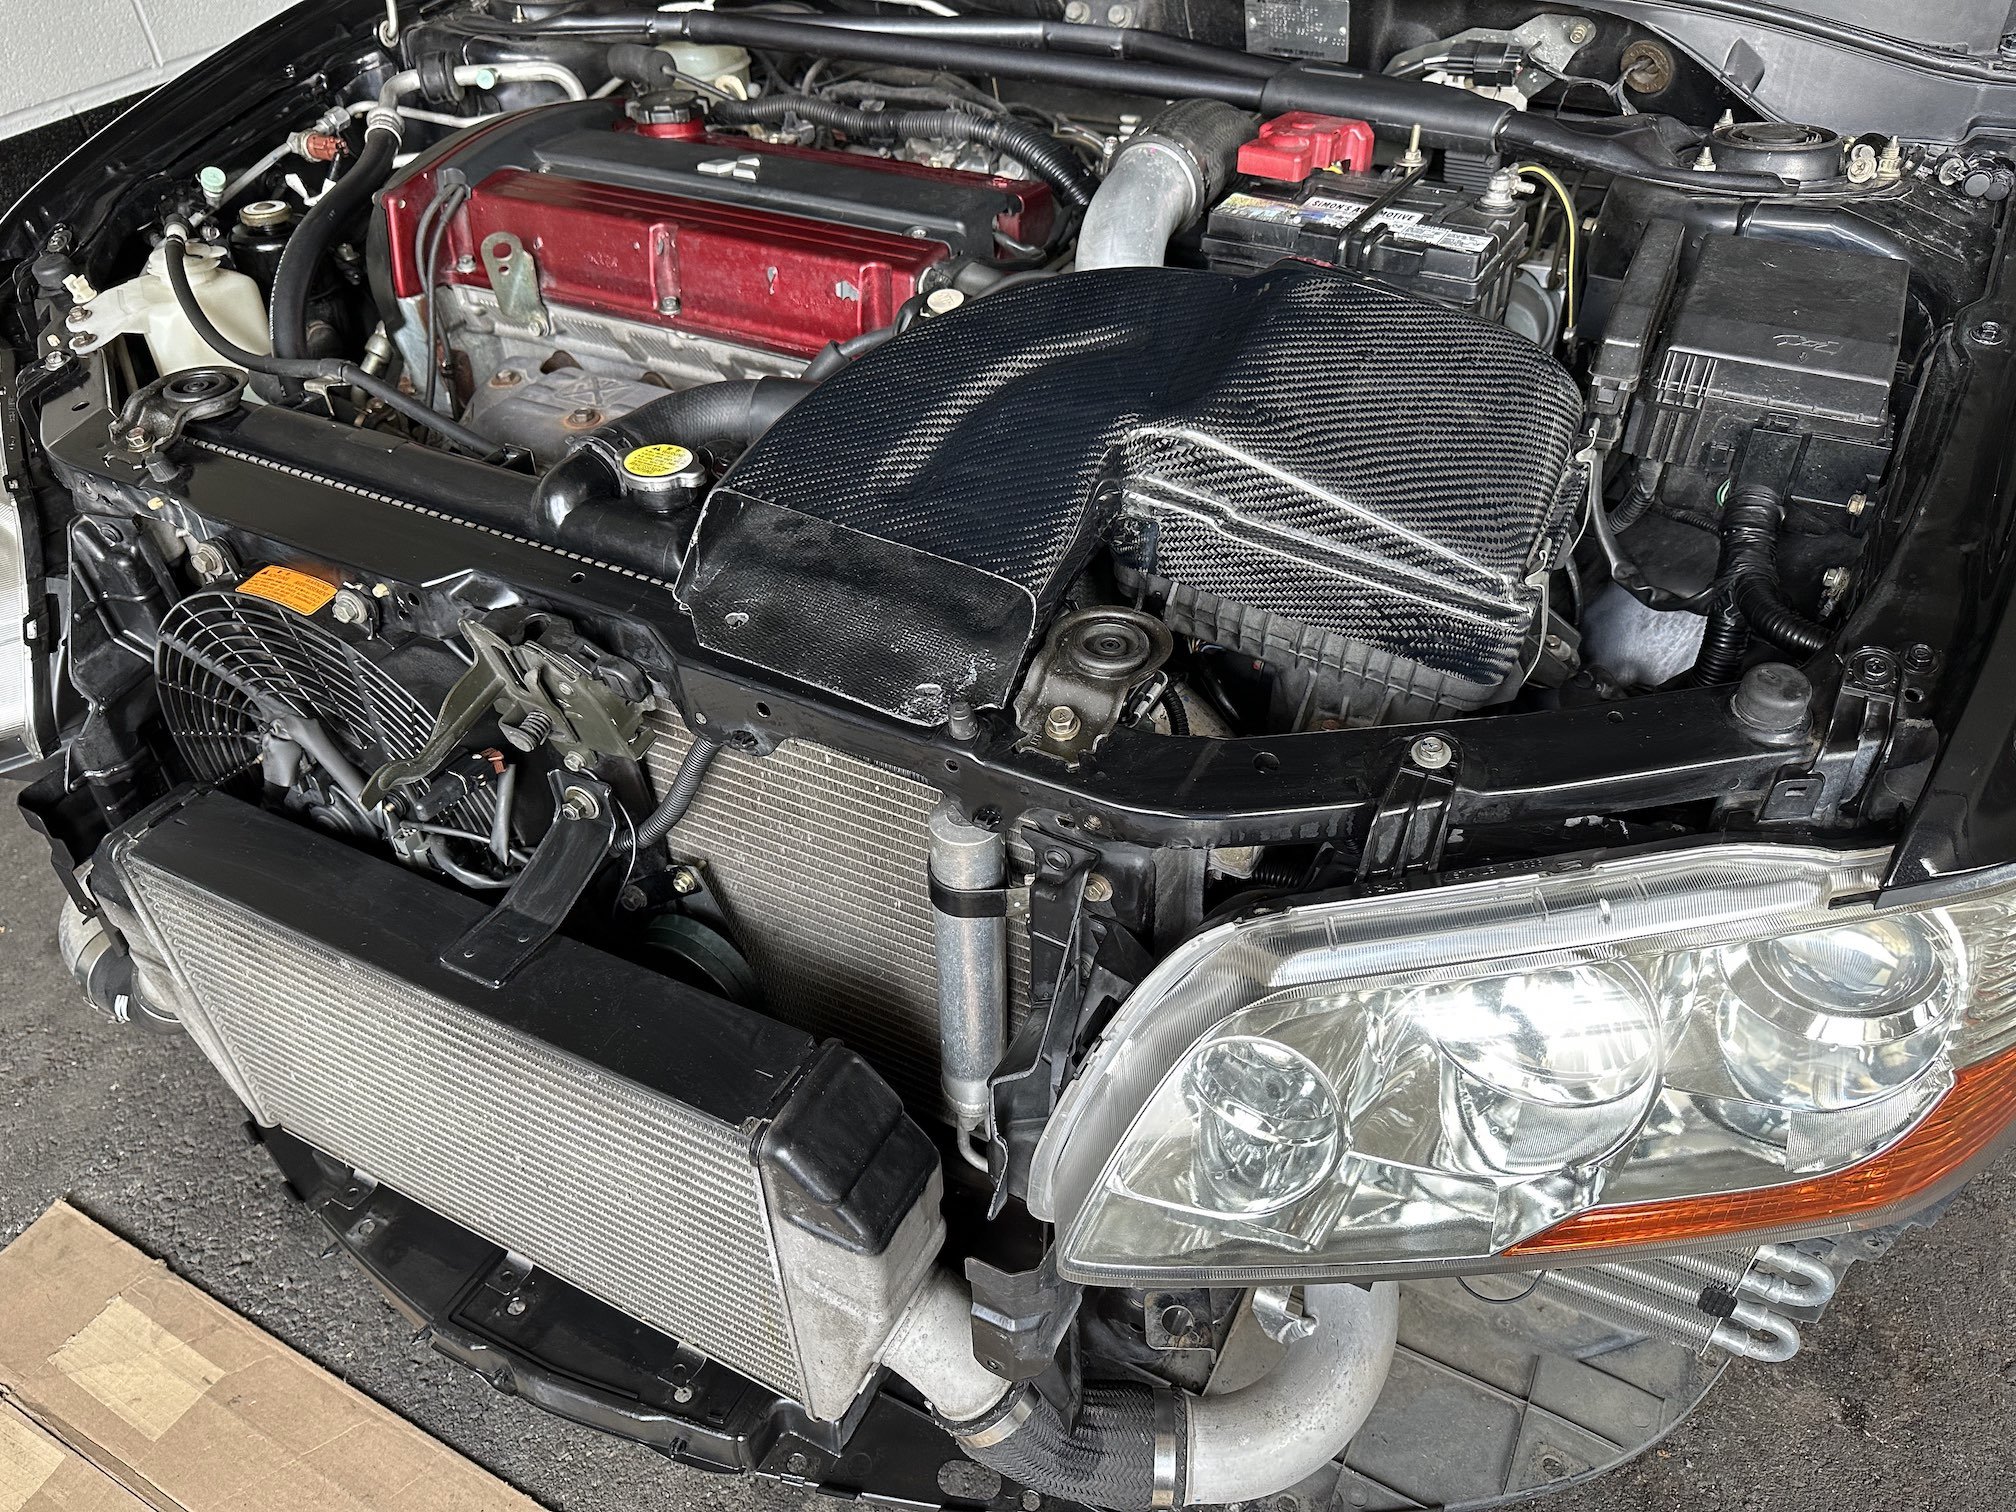
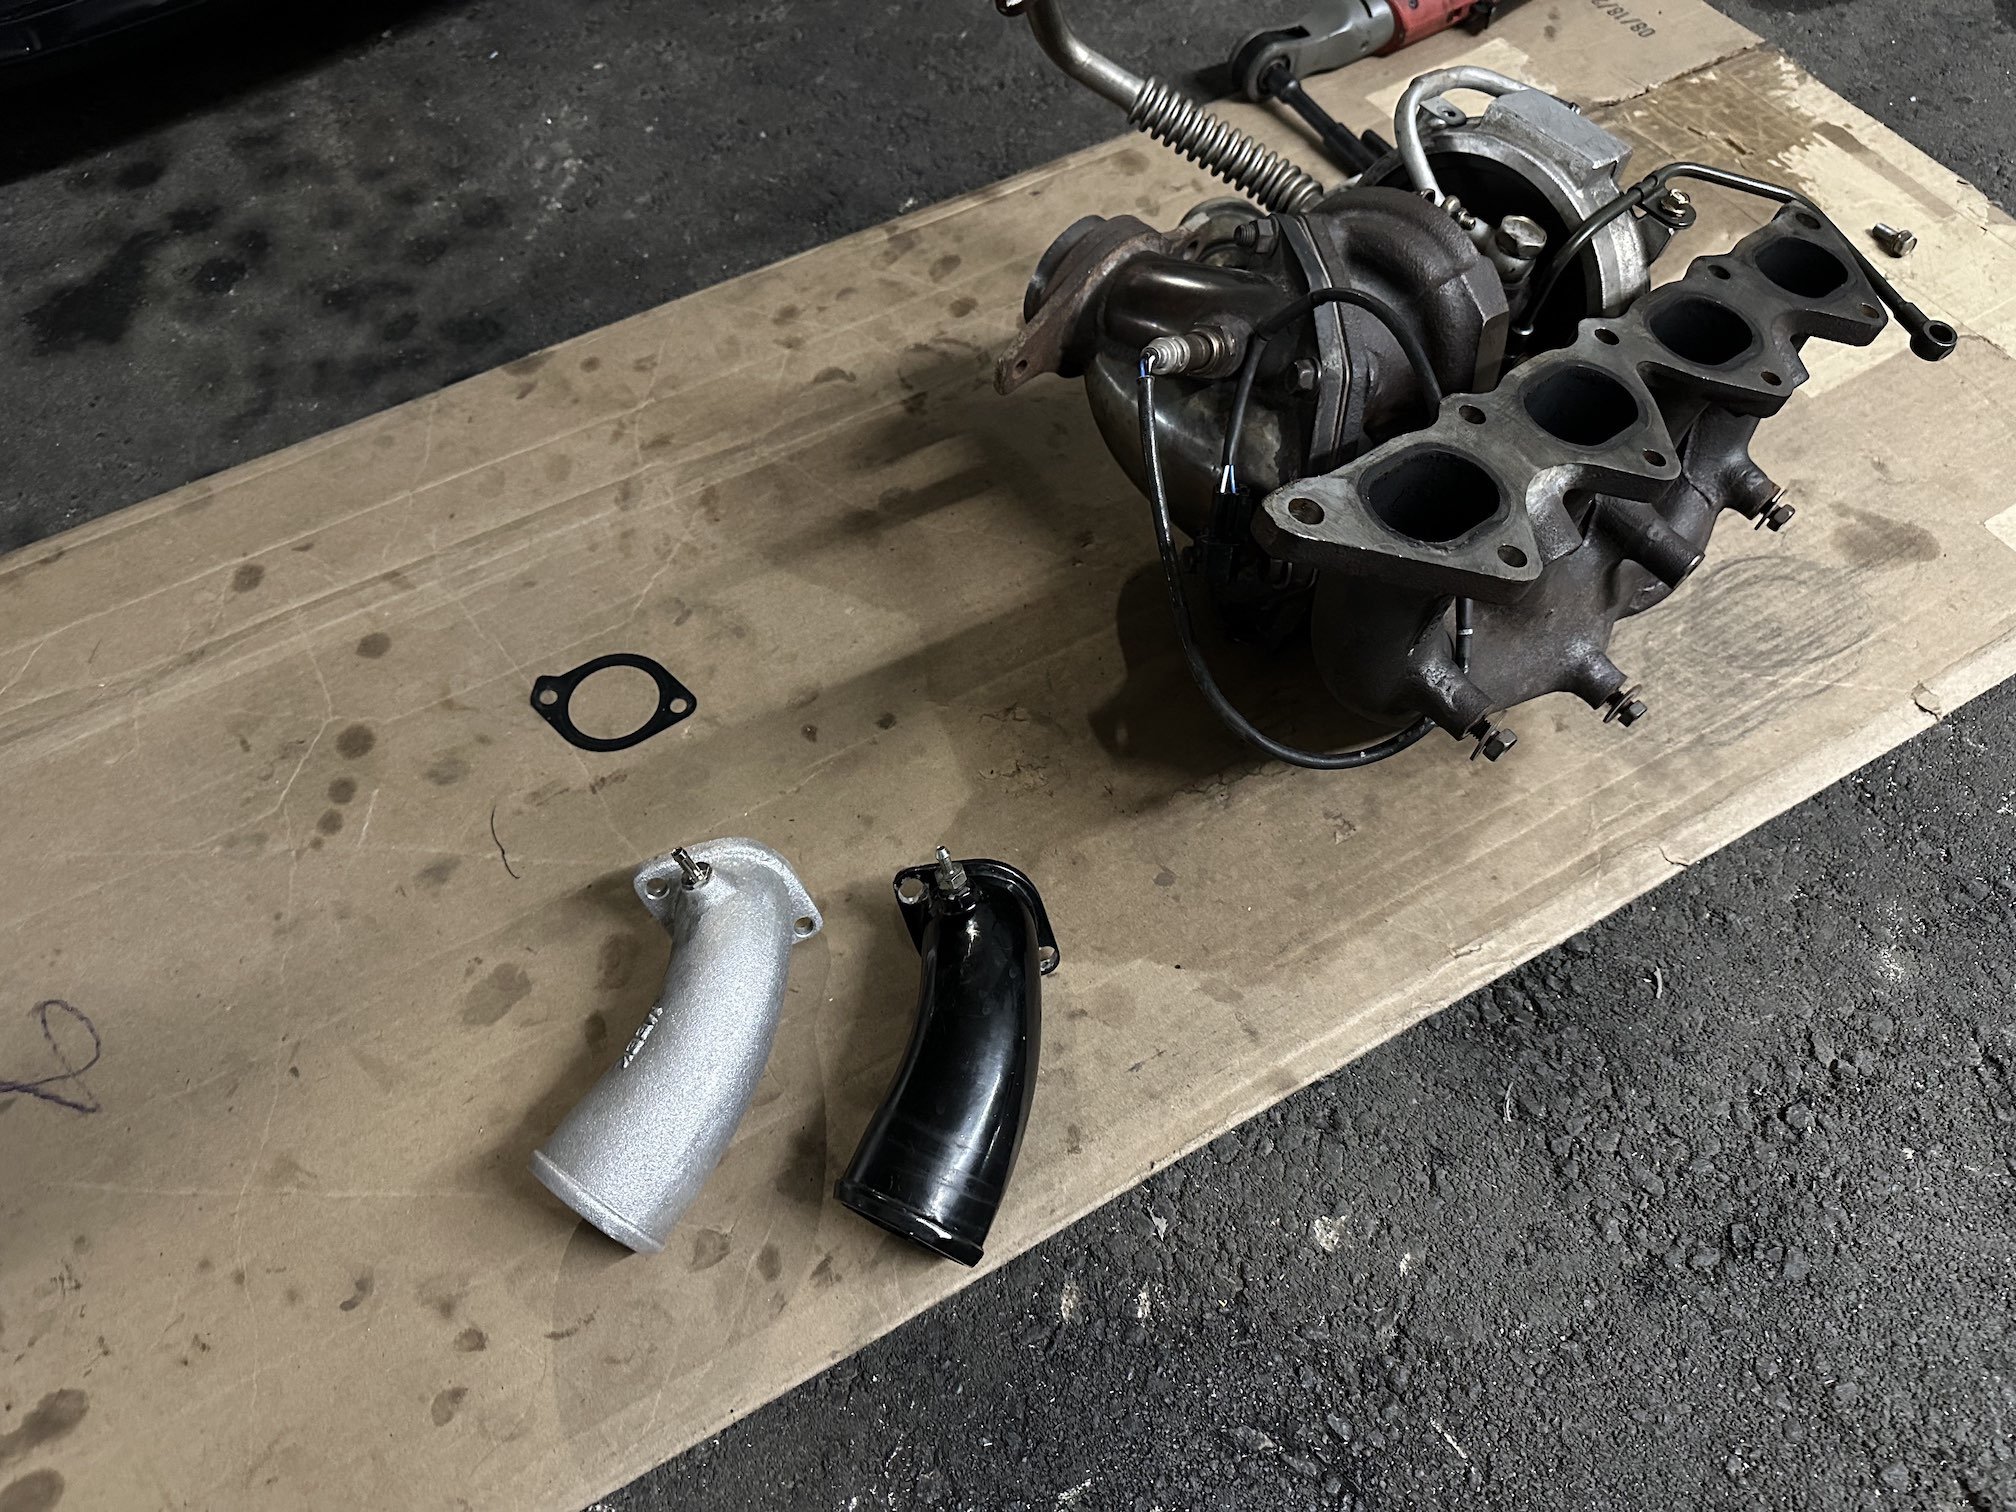
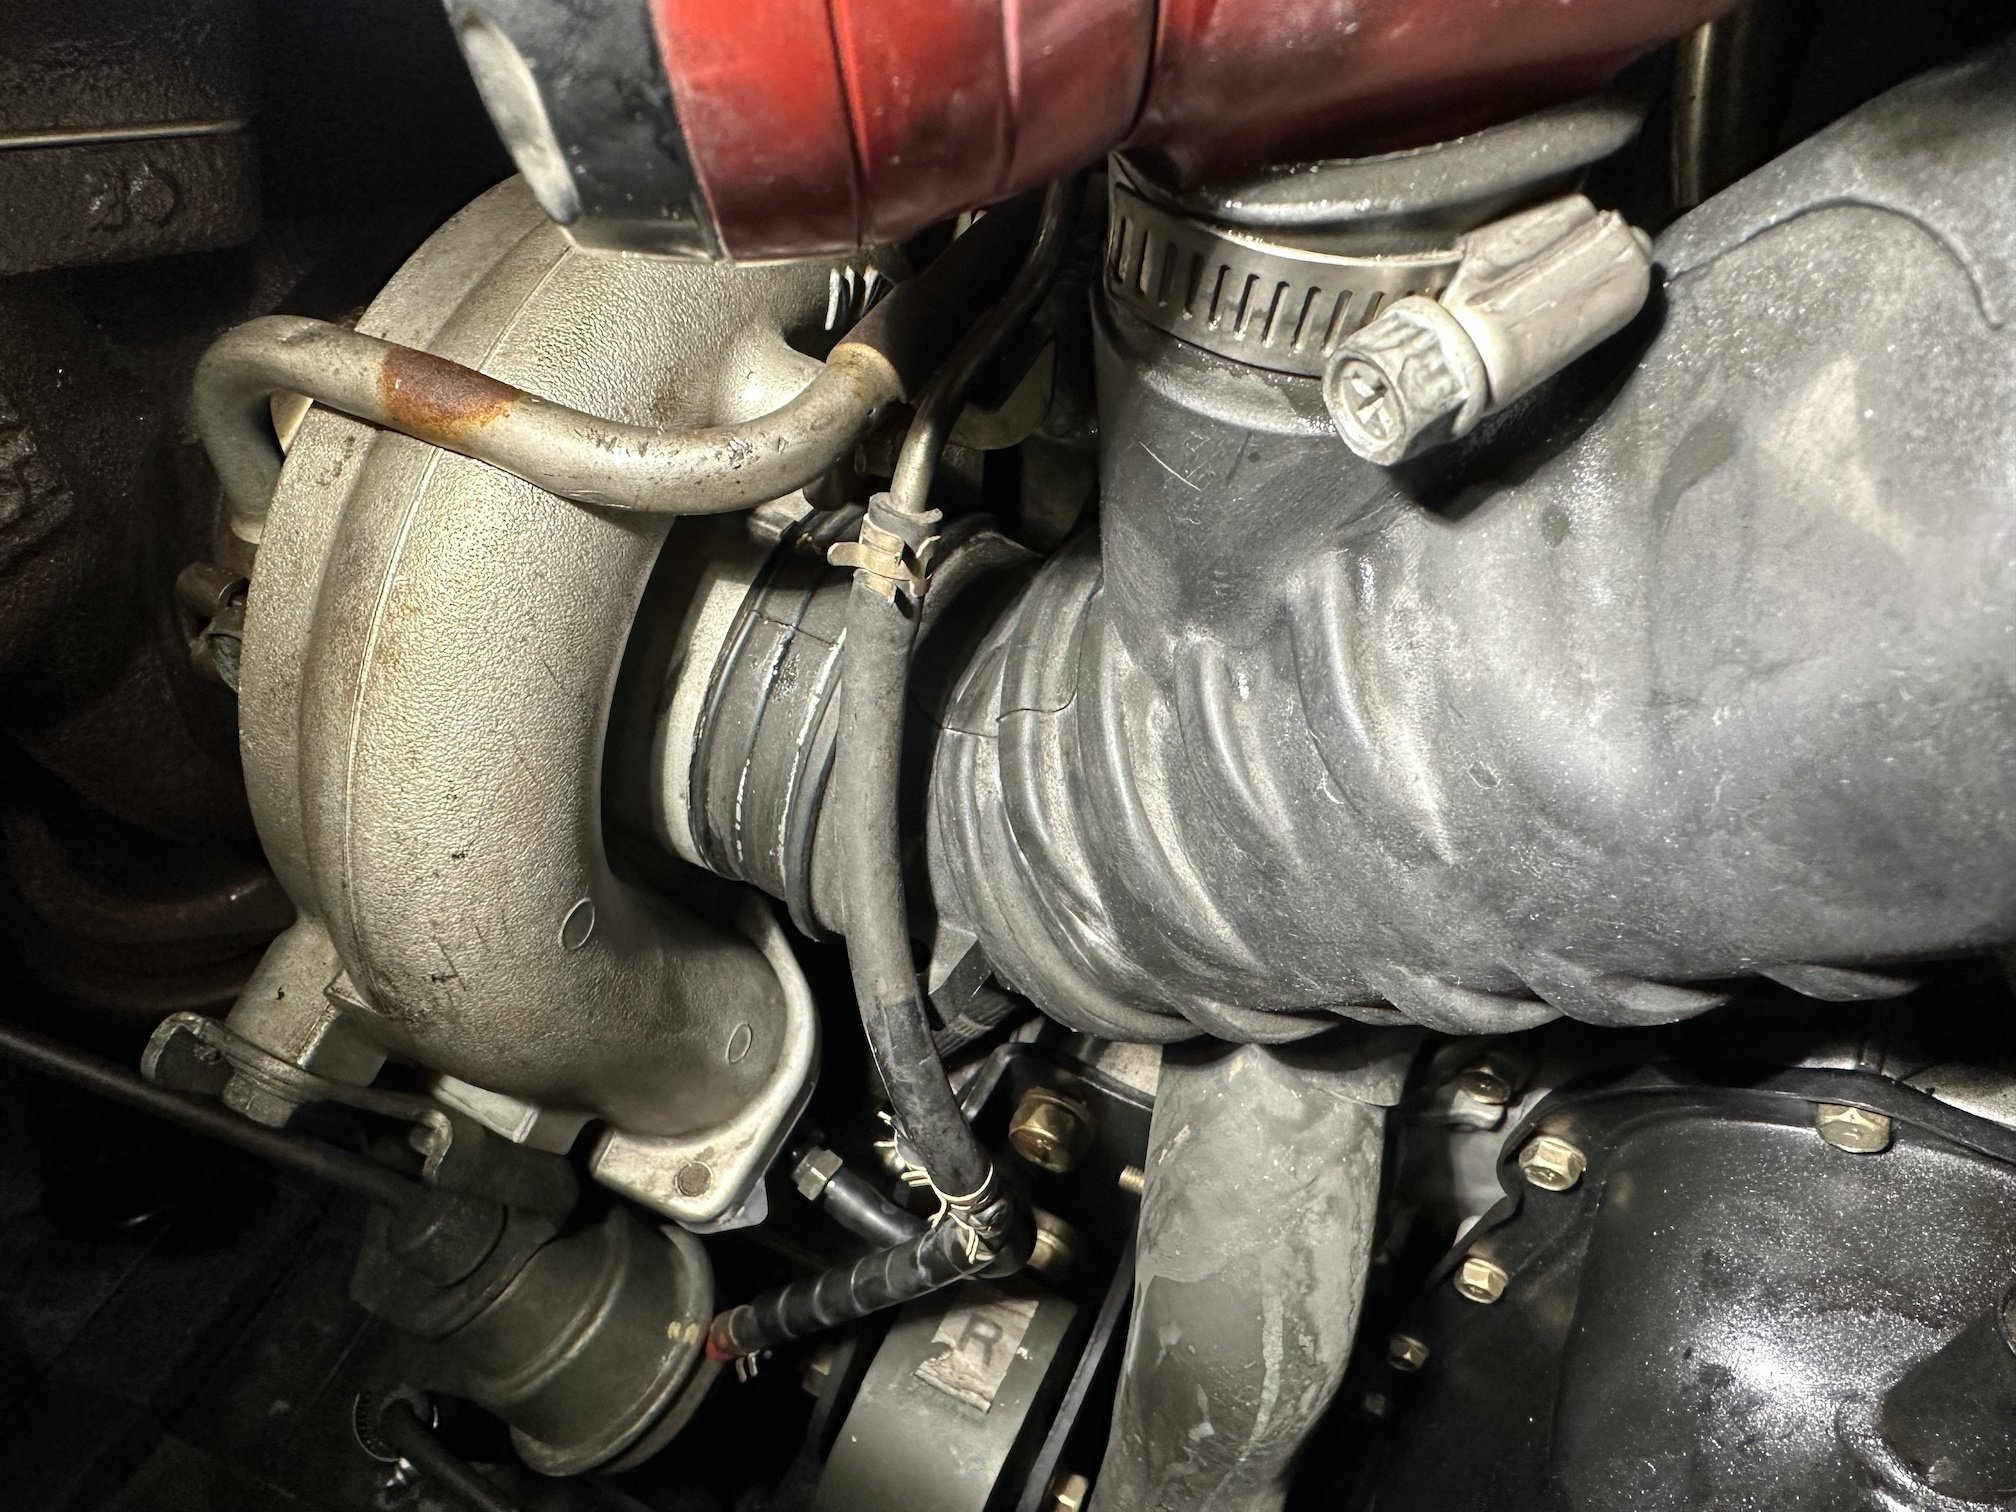
So in order to get this sorted I ended up buying a Meek Evo 9 J-pipe from Australia and also a stock Evo 9 J-pipe from across the border in Ohio and they were both shipped out on pretty much the same day. The Meek J-pipe arrived within 5 days whereas it took 12 days for the one to arrive from the US, and they both cost approx the same to send too - go figure. Turbo out once again - can compare the two J-pipes which are similar but different enough No longer hits starter solenoid! And lines up great with the Mishimoto lower intercooler hose
-
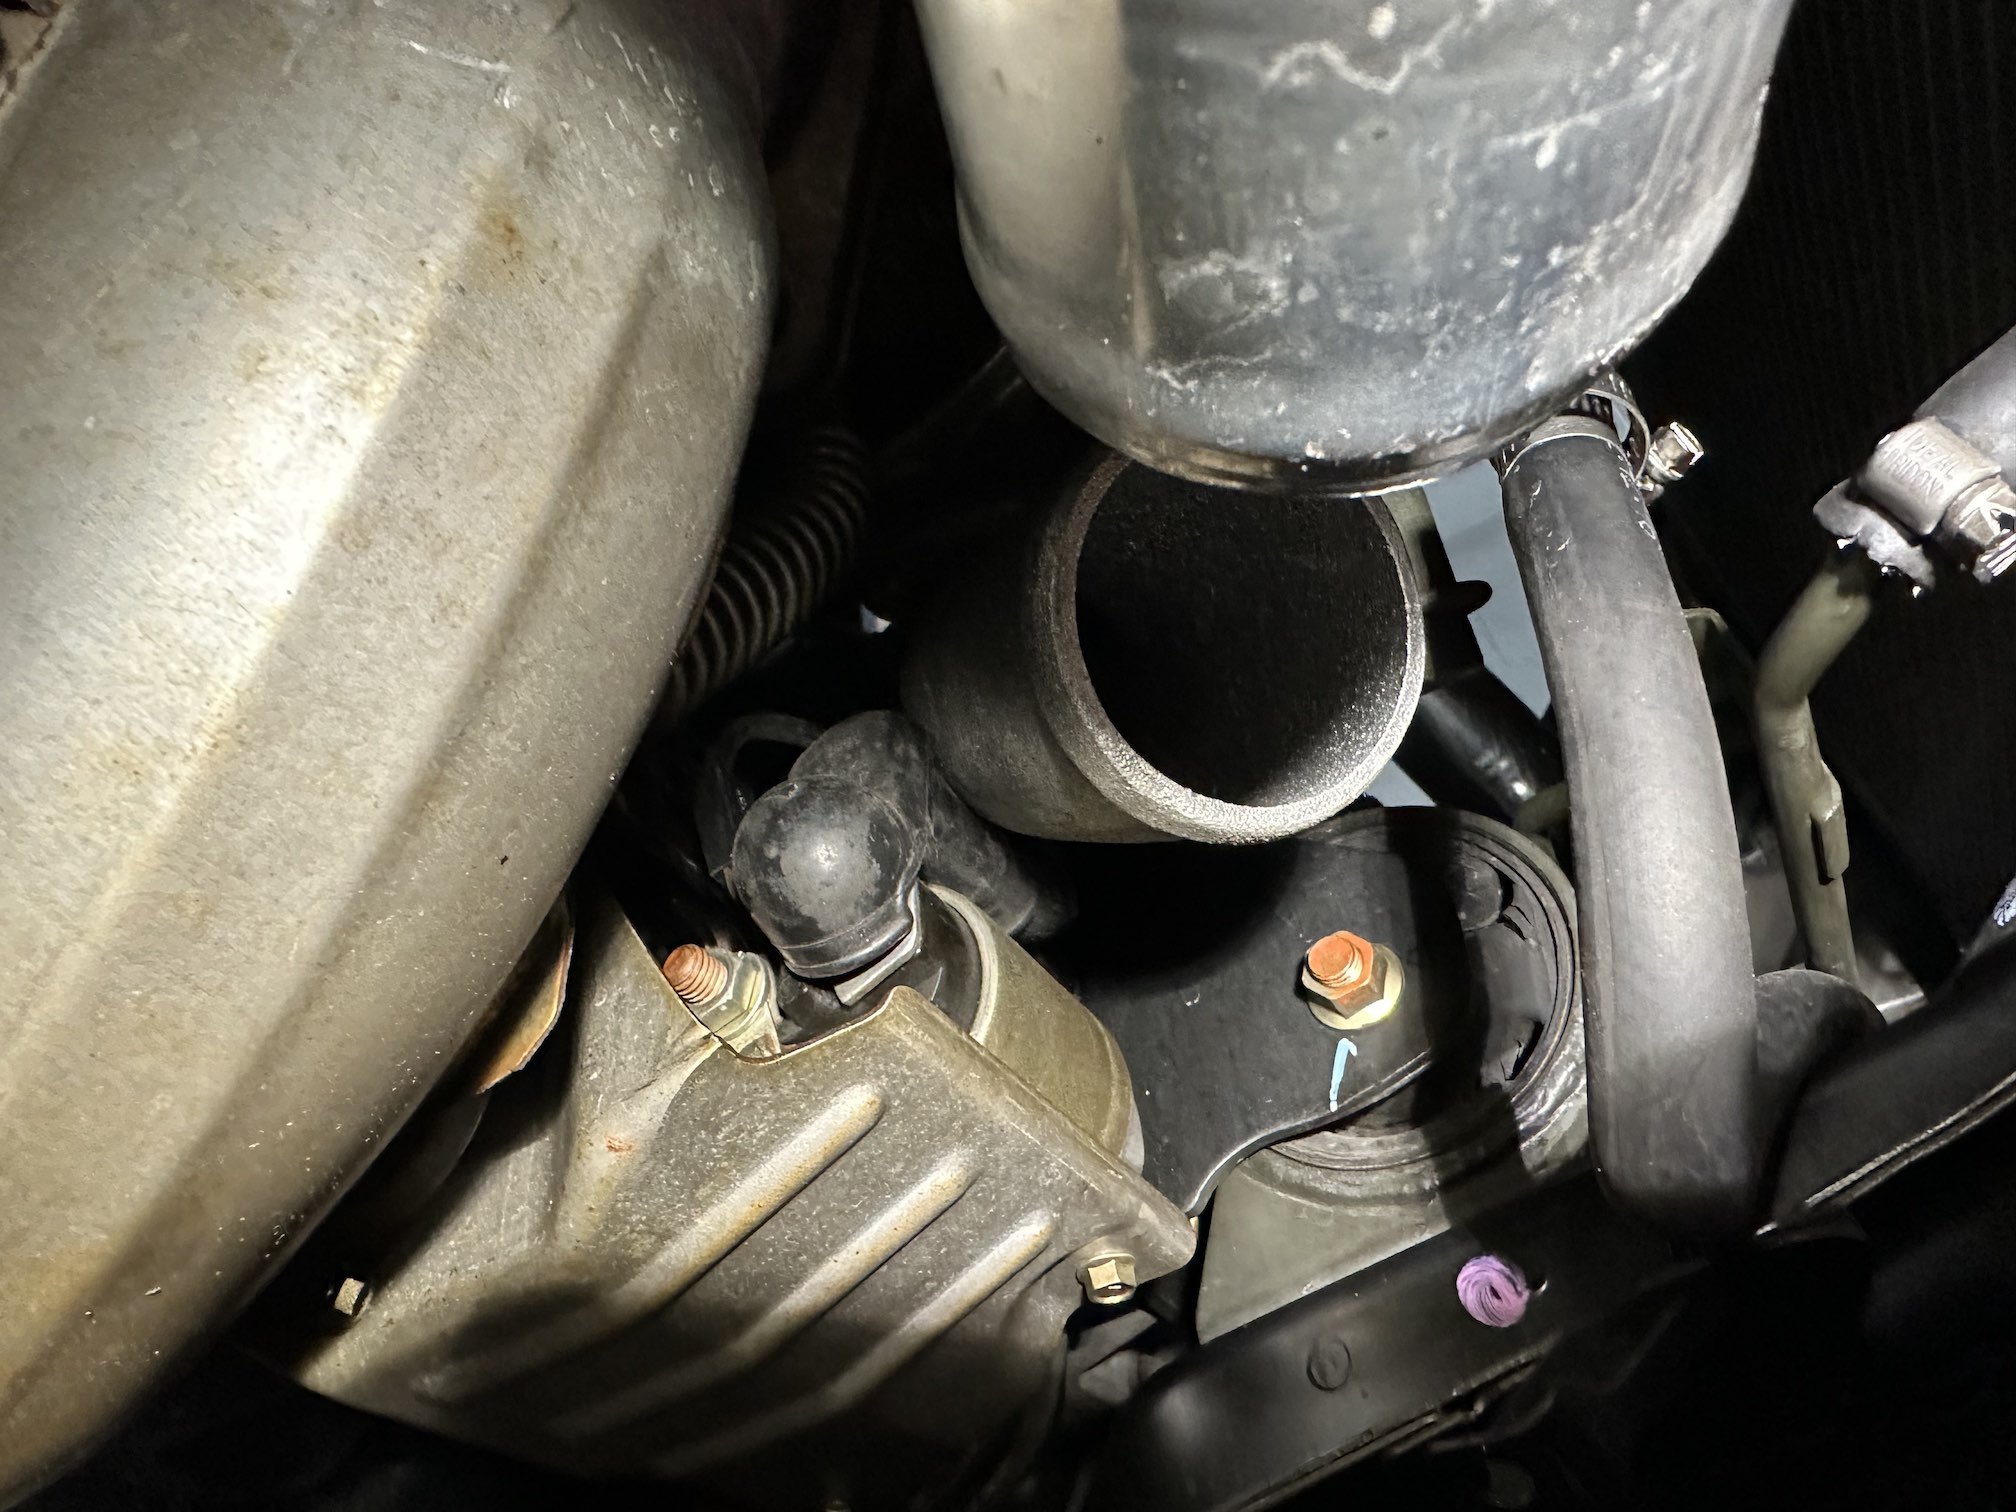
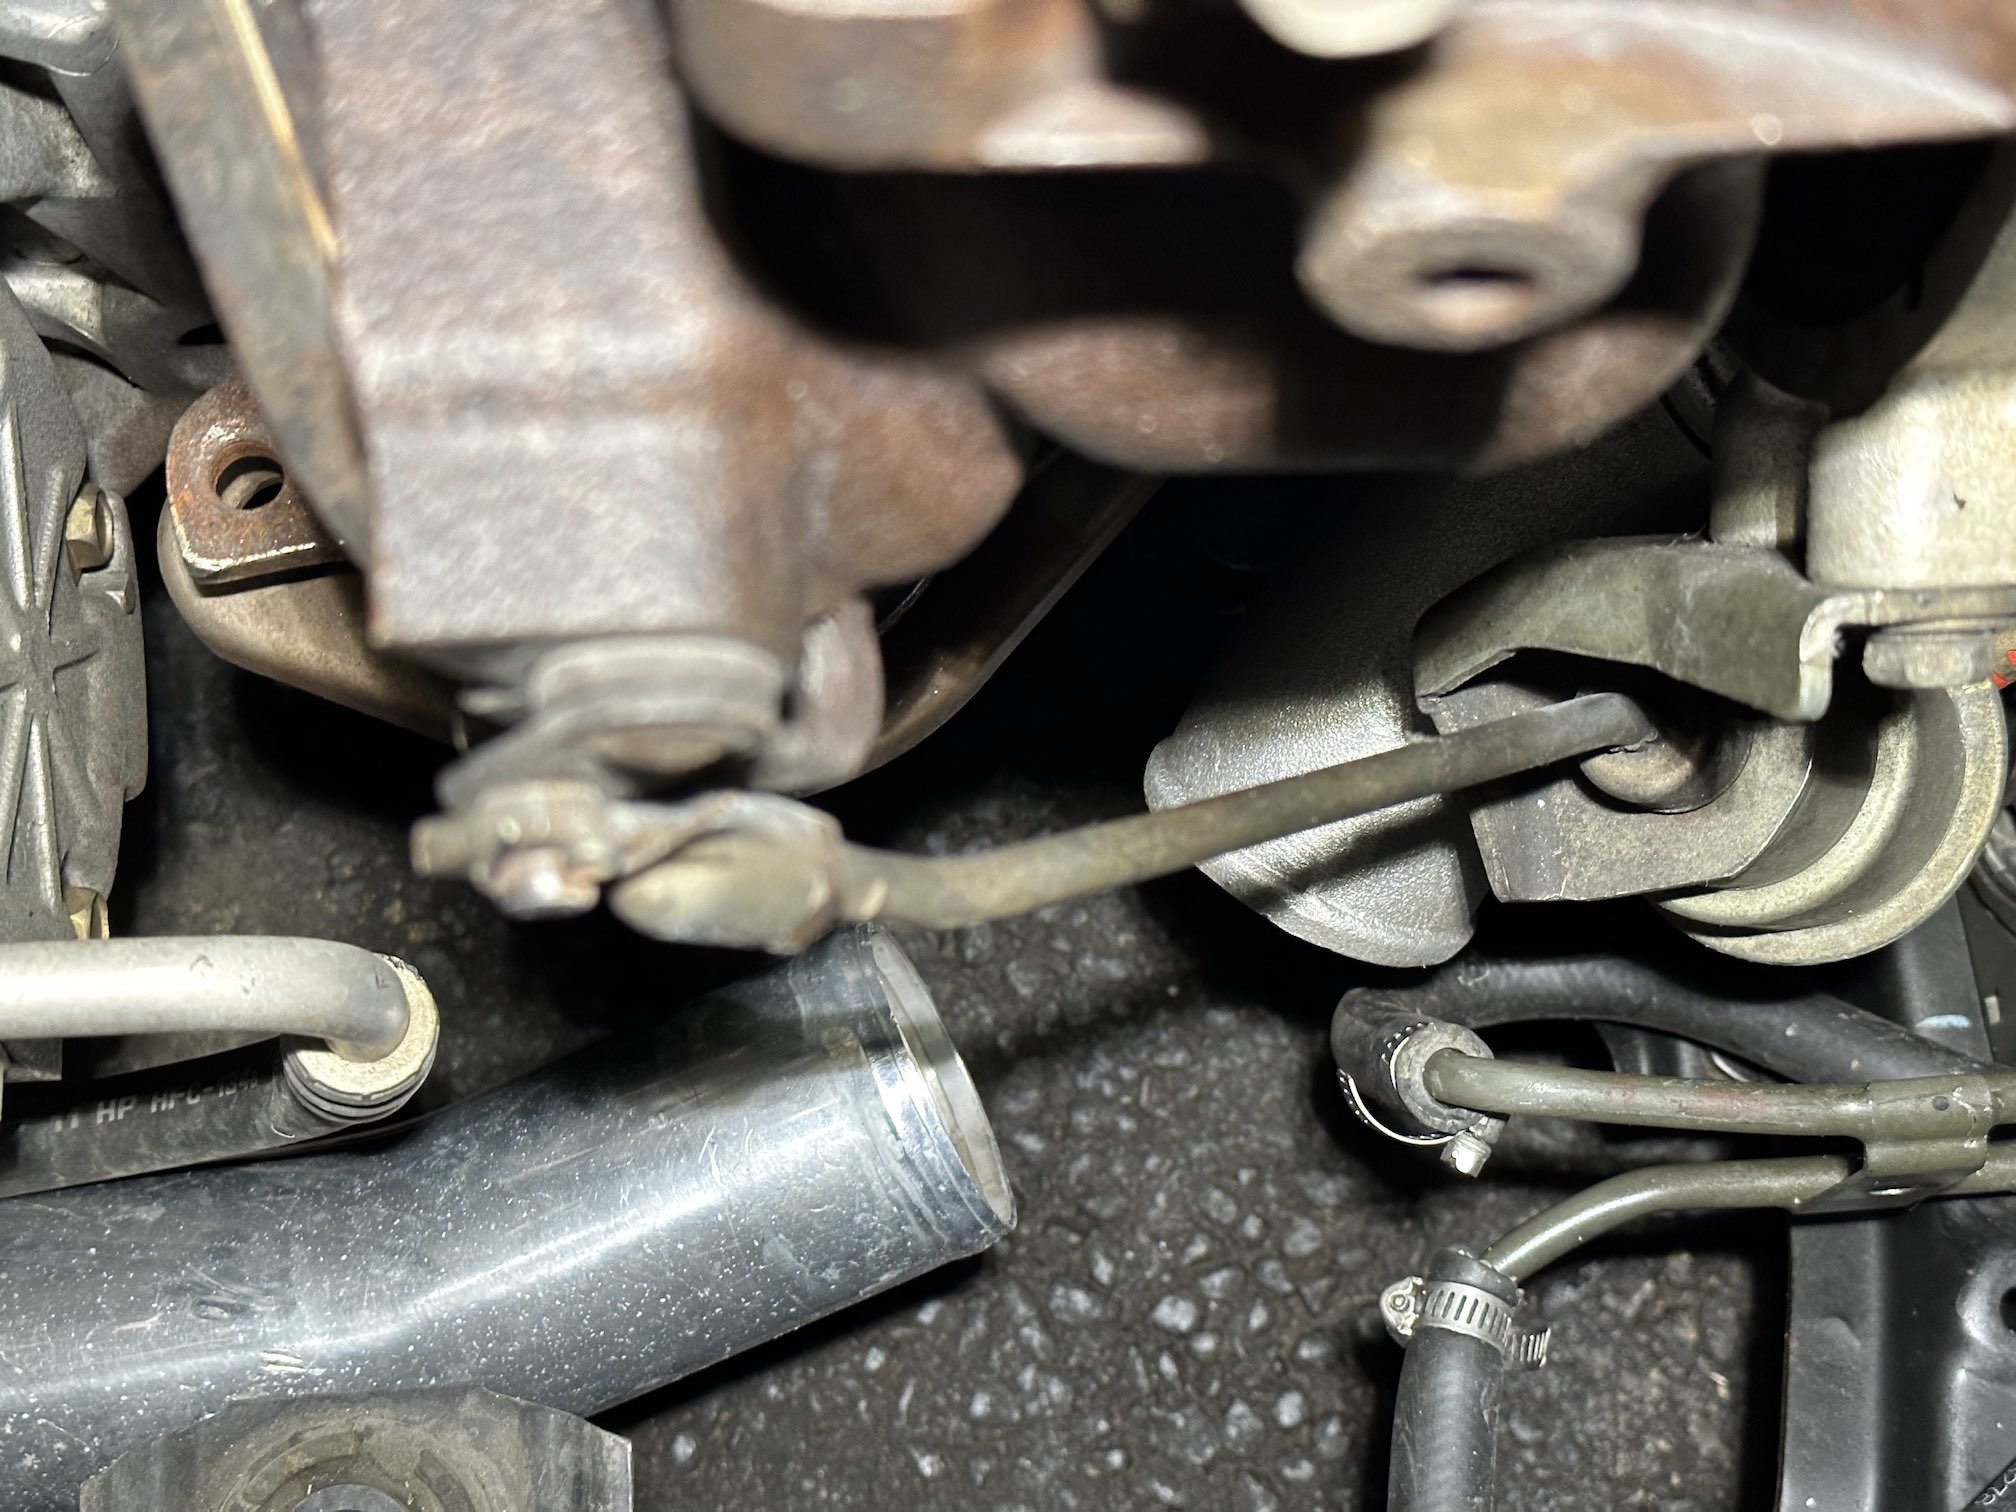
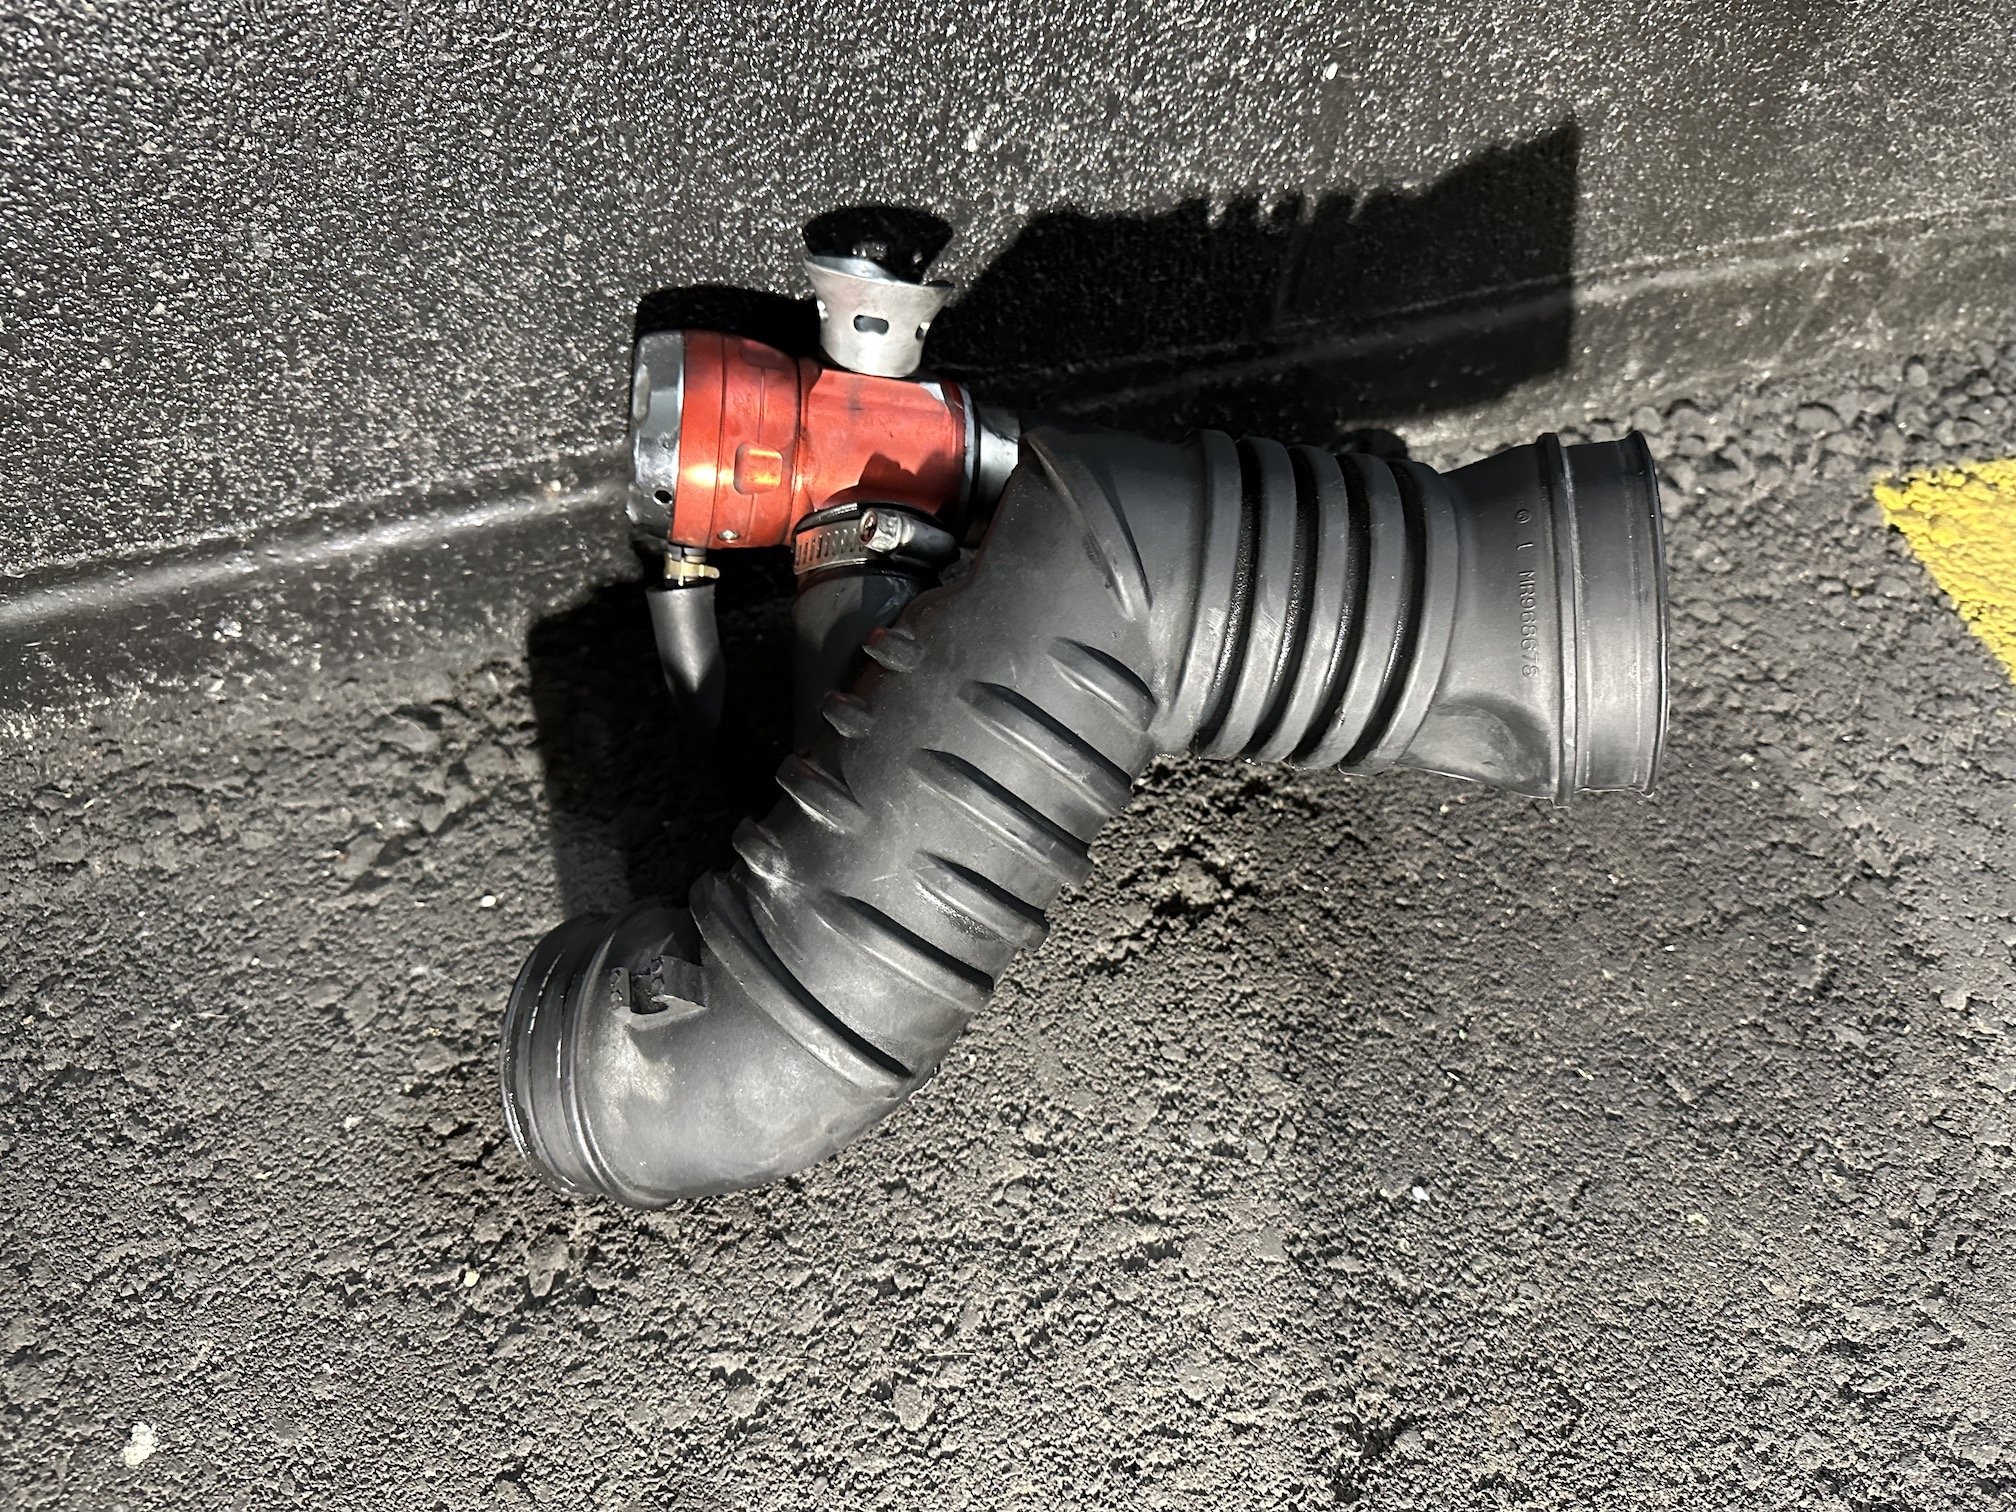
Small update - pulled the bumper off again (can get it down to a couple mins now provided the under tray isn't attached) to swap out the stock lower hot side intercooler pipe and was easier with the bumper off. bit of a difference here - the 40mm/1.8" section of the stock pipe is responsible for an easy 10-20hp bump in power when going to an aftermarket 2.5" pipe. Also wanted to check out more closely the small ding in the lower passenger side of the intercooler - it looks like perhaps someone has accidentally jacked it up from the edge of the intercooler as I couldn't find any corresponding damage to the bumper/lower lip or under tray which both look to be factory original. I have found a lead on a mint replacement low mile intercooler that I can pick up when I'll be in the states next, along with factory M/T cold side piping (the auto GT-A piping is heavier steel for supposed "noise reduction") and M/T turbo inlet pipe for when I do the M/T swap.
- 143 replies
-
- 12
-
-
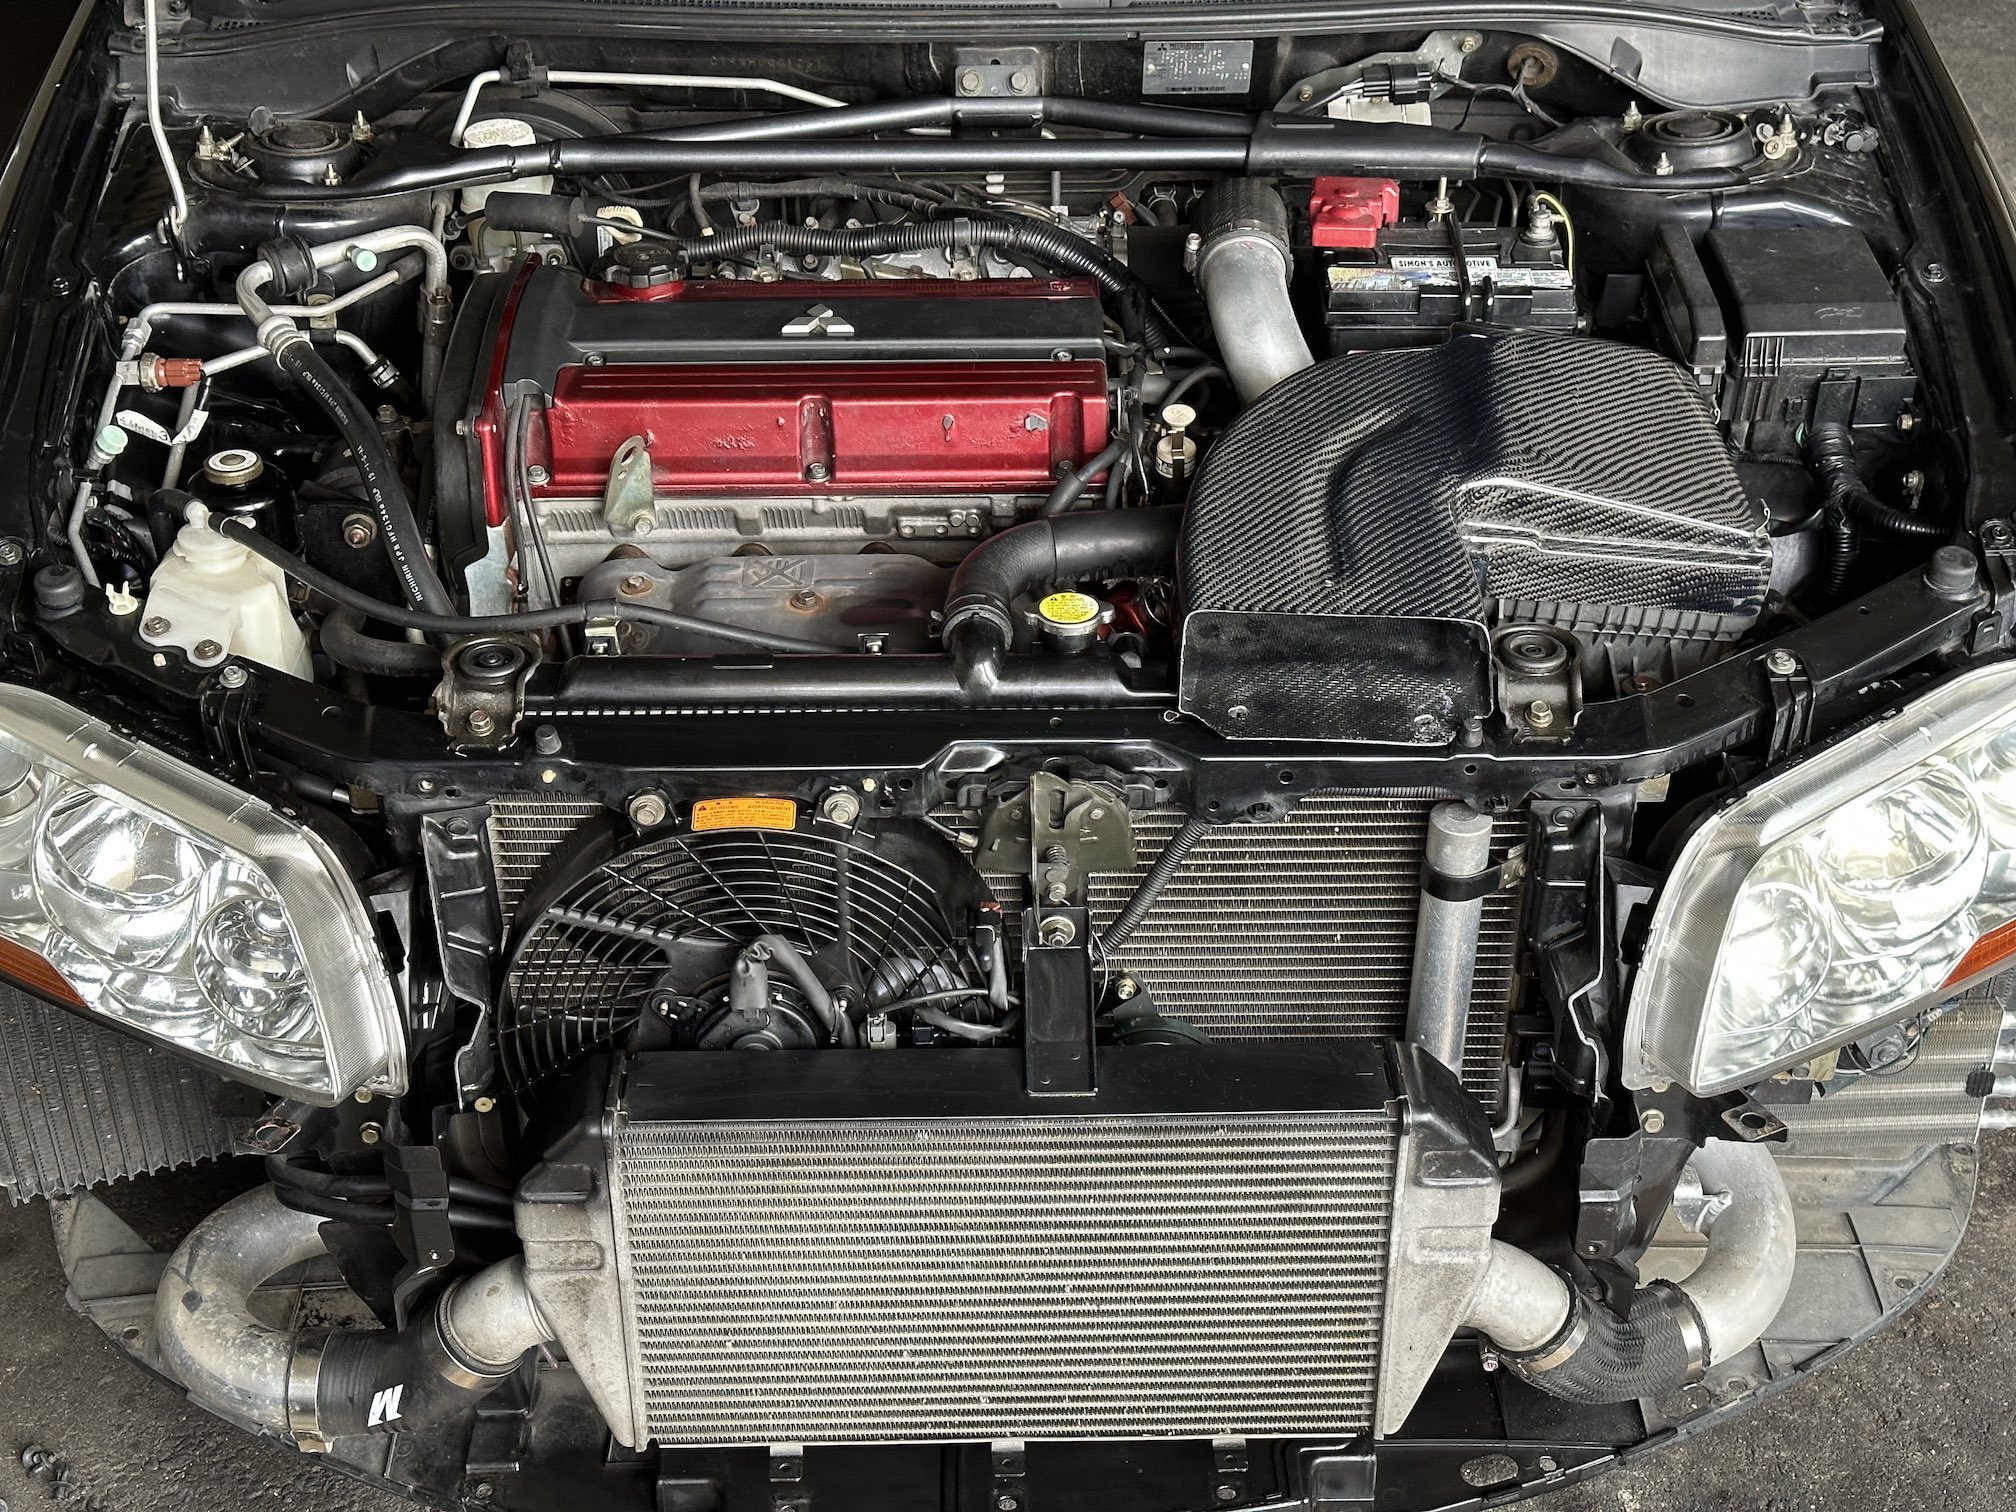
In its new home And test fit confirms with the M/T bracket the CF lid now works
-
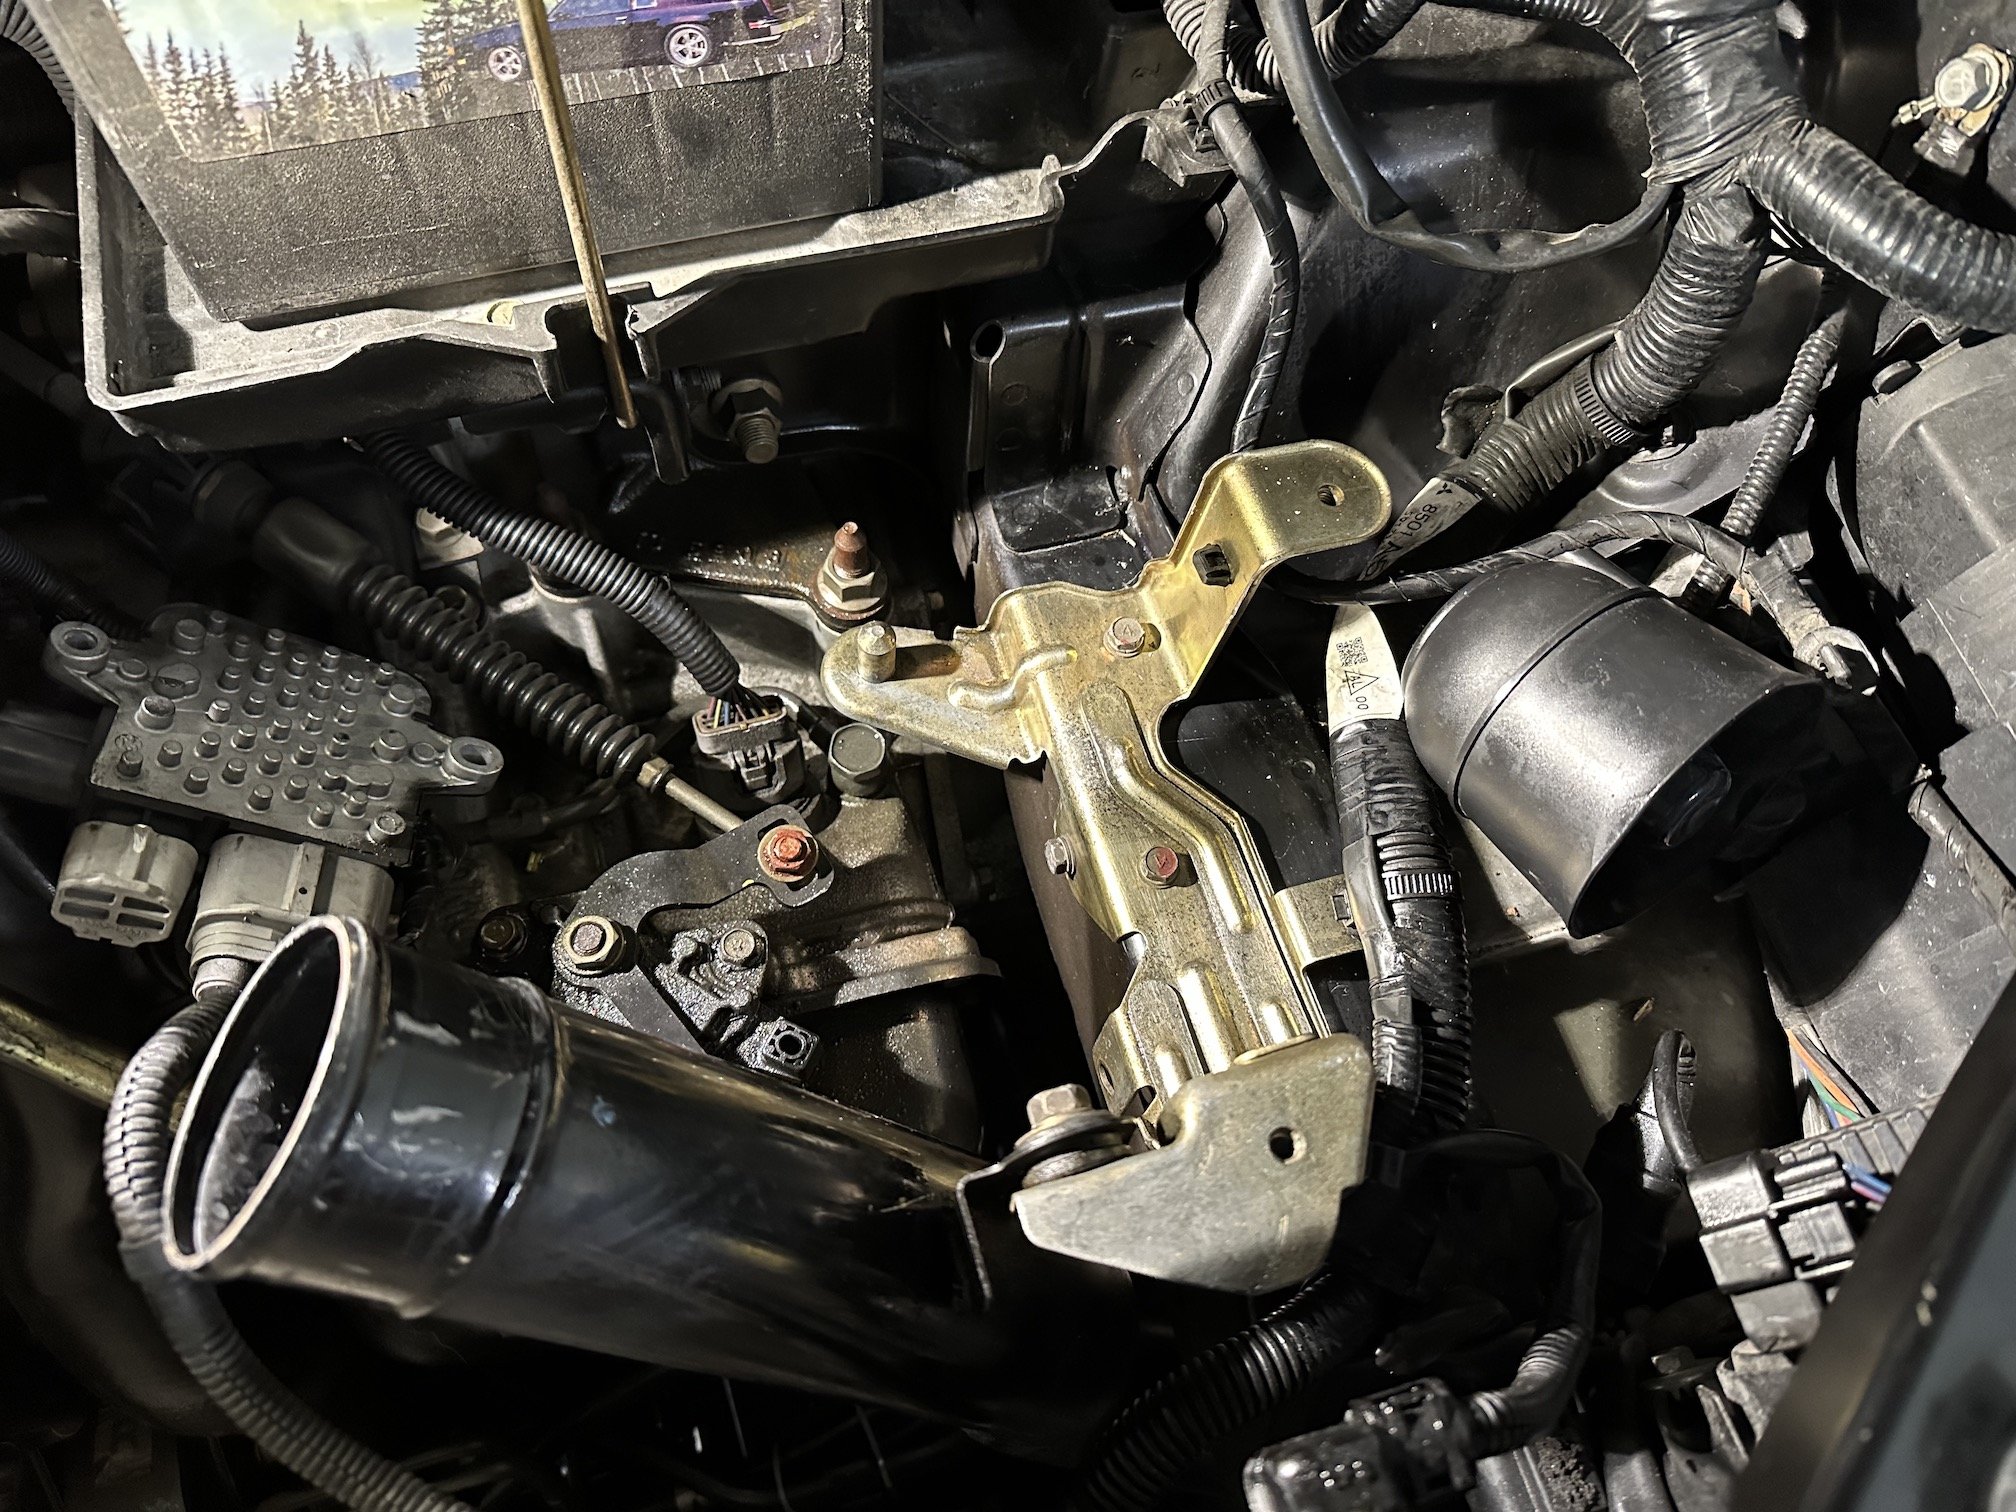
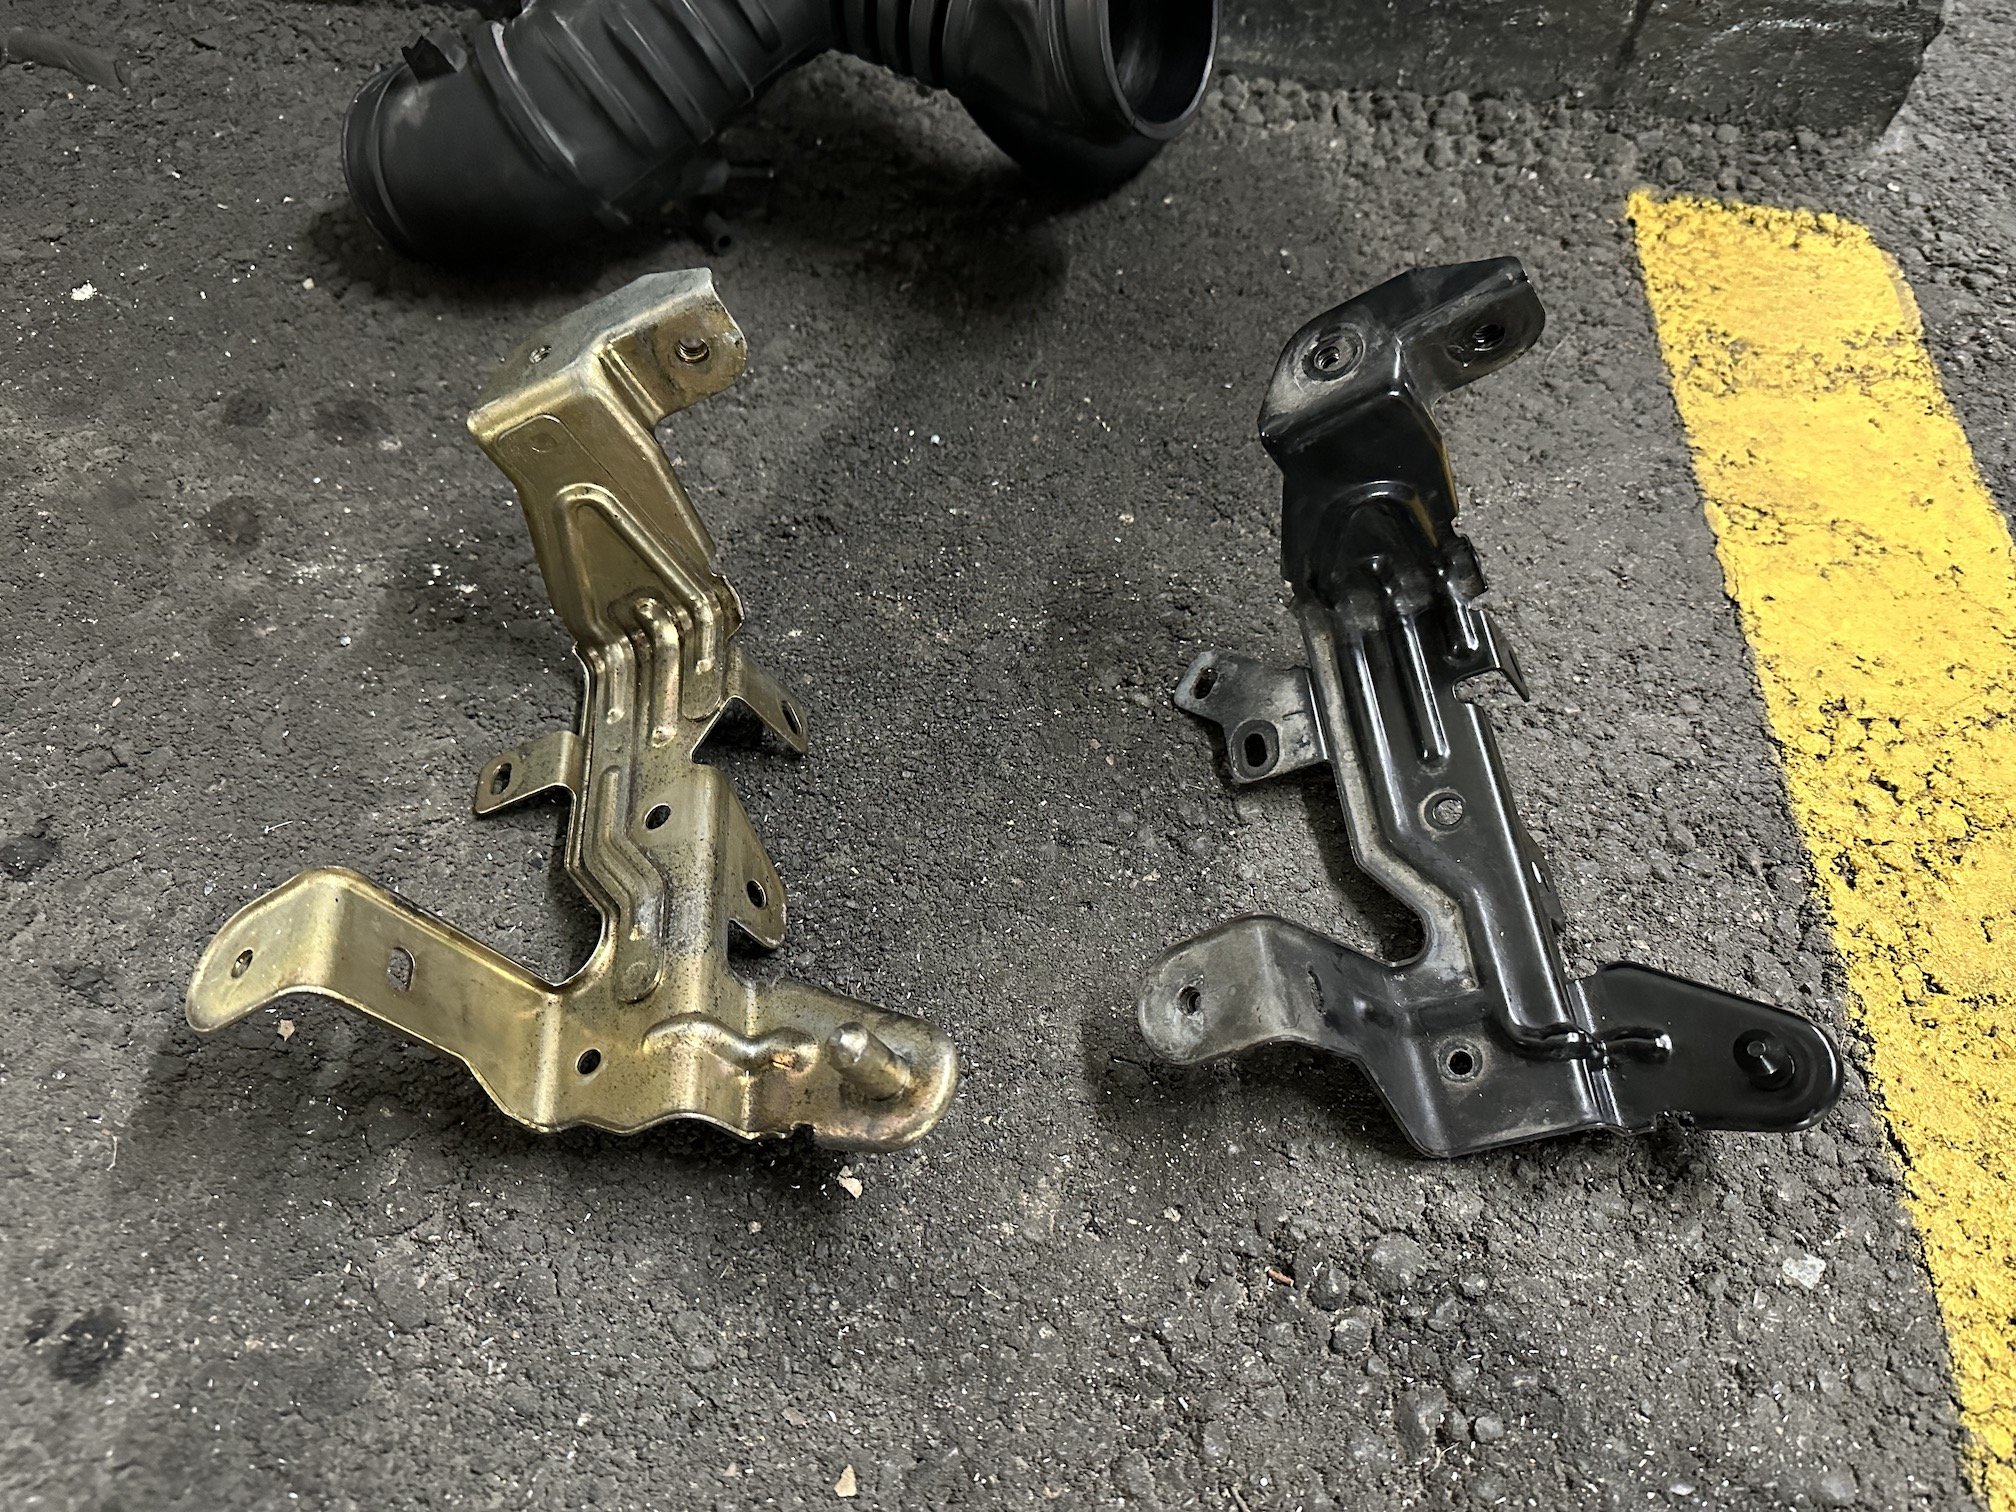
@mjrstar because I was worried my original pipe wouldn't fit the IX turbo I went and checked, and phew thank god it fits as if it's factory with no stretching. Maybe the inlet size difference is between Evo 4-6 & Evo 7-9 turbos? @ThePog if you ended up fitting the turbo to the DynaFari yet was there an inlet size difference between your old turbo and mine? The inlet pipe is definitely auto specific, it has more of a 60-75deg bend to clear the transmission and a little dimple right by the AFM to clear the inhibitor switch. As the M/T box pipe is more 45deg I was worried I would be left without a pipe that wouldn't work with both the IX M/T turbo and A/T box. Another thing that is auto specific is the air filter box bracket as it mounts the filter box at a slightly different angle (no idea why) and this necessitated a different air filter box lid and snorkel specific to the A/T models. The different air box angle prevented me from using the Ralliart one piece CF airbox lid and snorkel, so swapped on a M/T bracket I had picked up while in NZ. M/T on the left A/T on the right. In hindsight I may have got away with just bending the original bracket a little.