

.jpg.8dcd931a75c409b557a7b889ce5a587a.jpg)
mmmini
-
Posts
53 -
Joined
-
Last visited
Posts posted by mmmini
-
-
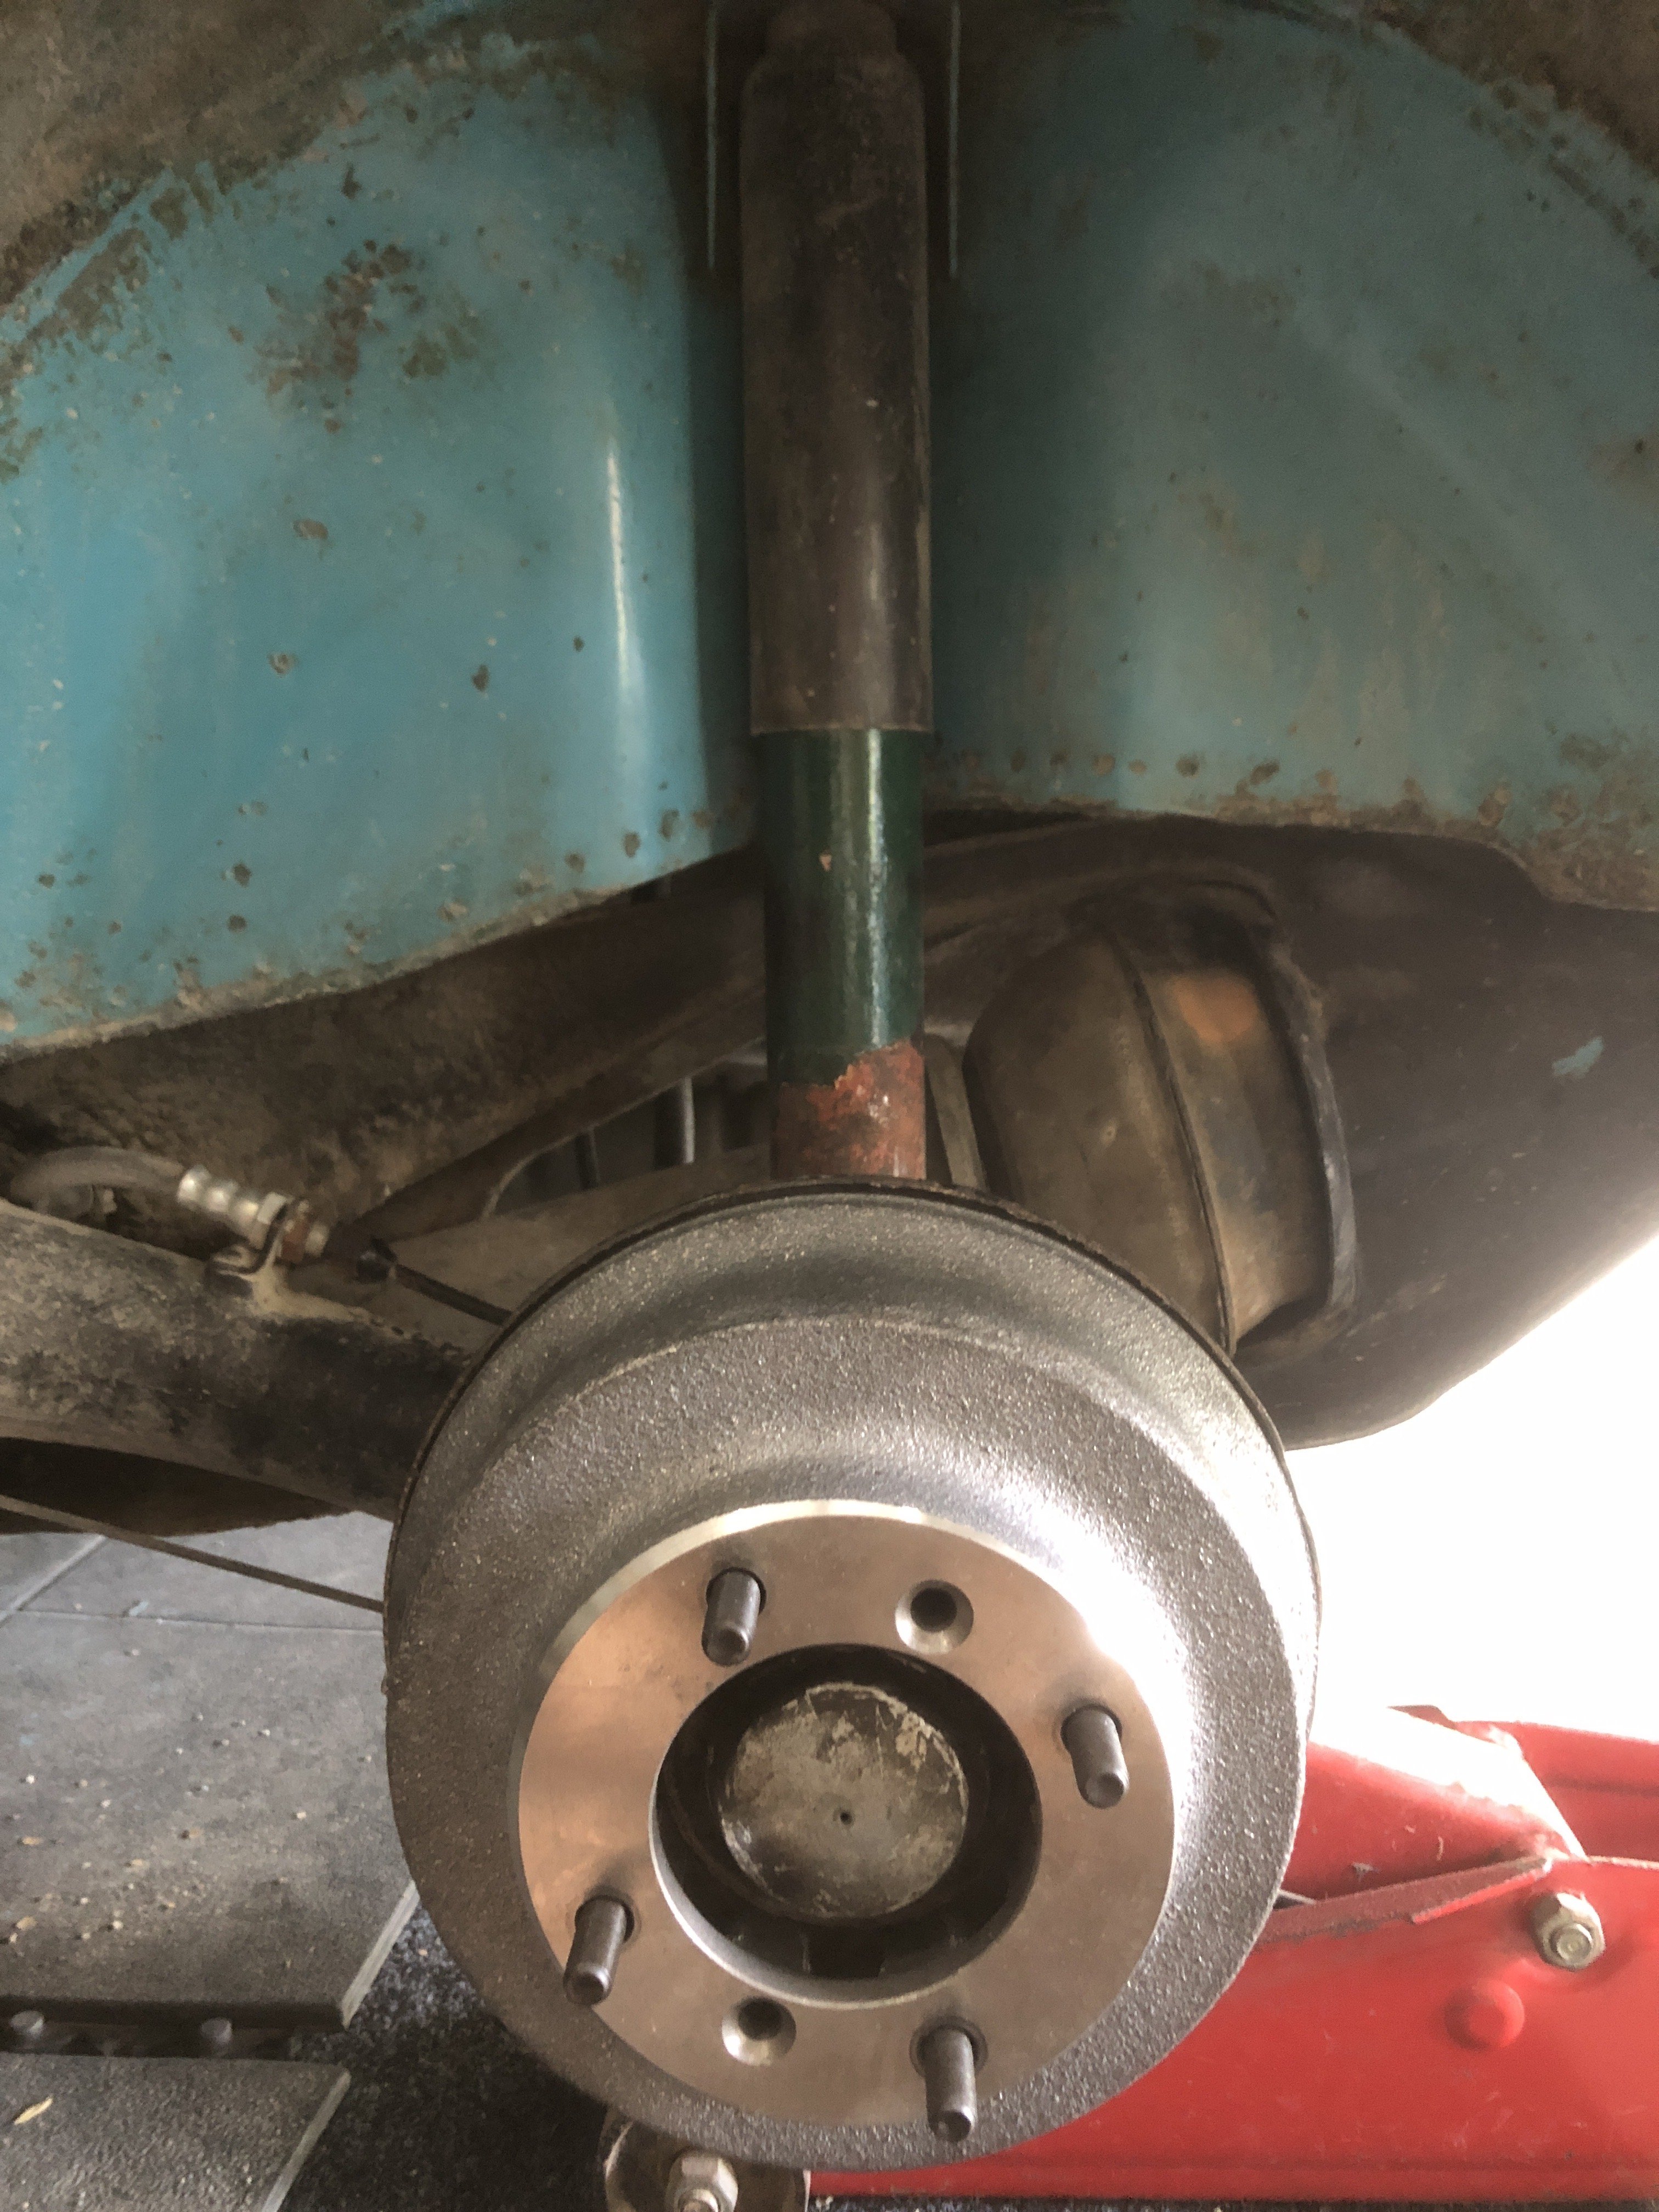
 this is one of the drum brakes. The tapered retaining screw holes show how the holes have a different amount of metal around them. You can also see a slight difference with the stud holes as well.
-
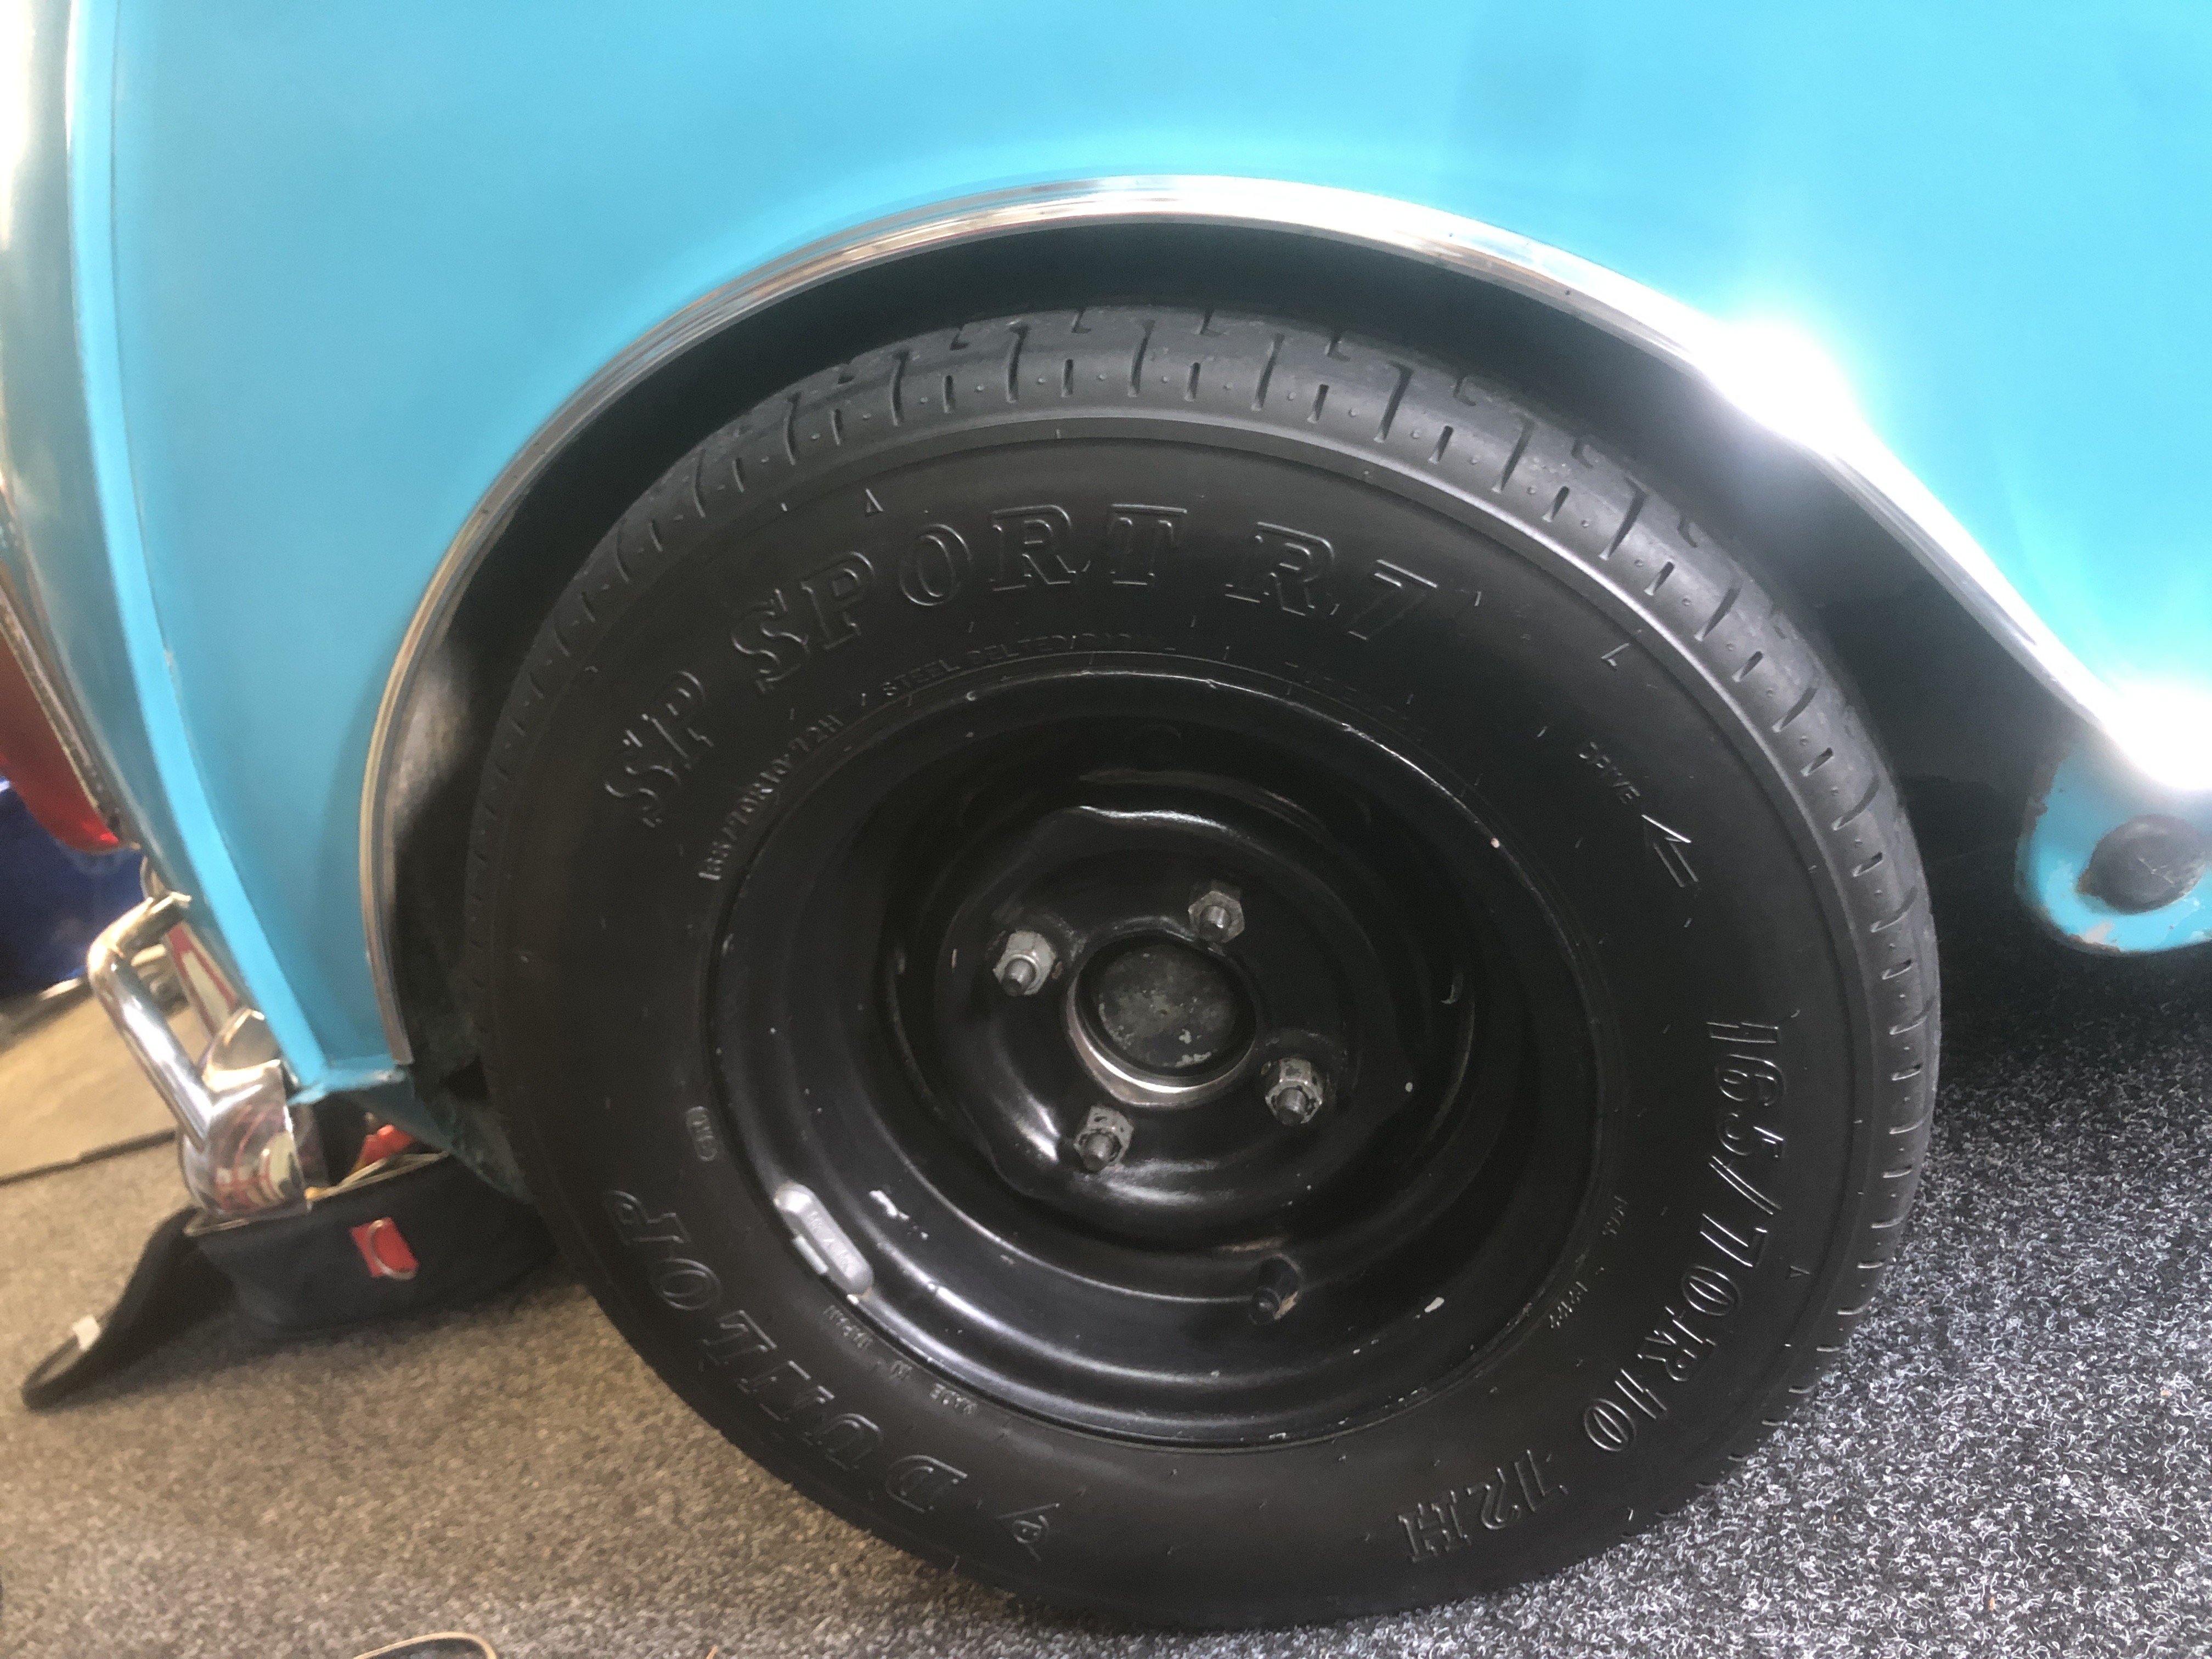
Only problem that I noticed when taking the photos was that the tyres are directional and I put them on the wrong sides -doh! Gives me something else to do I guess.

-
 1
1
-
-
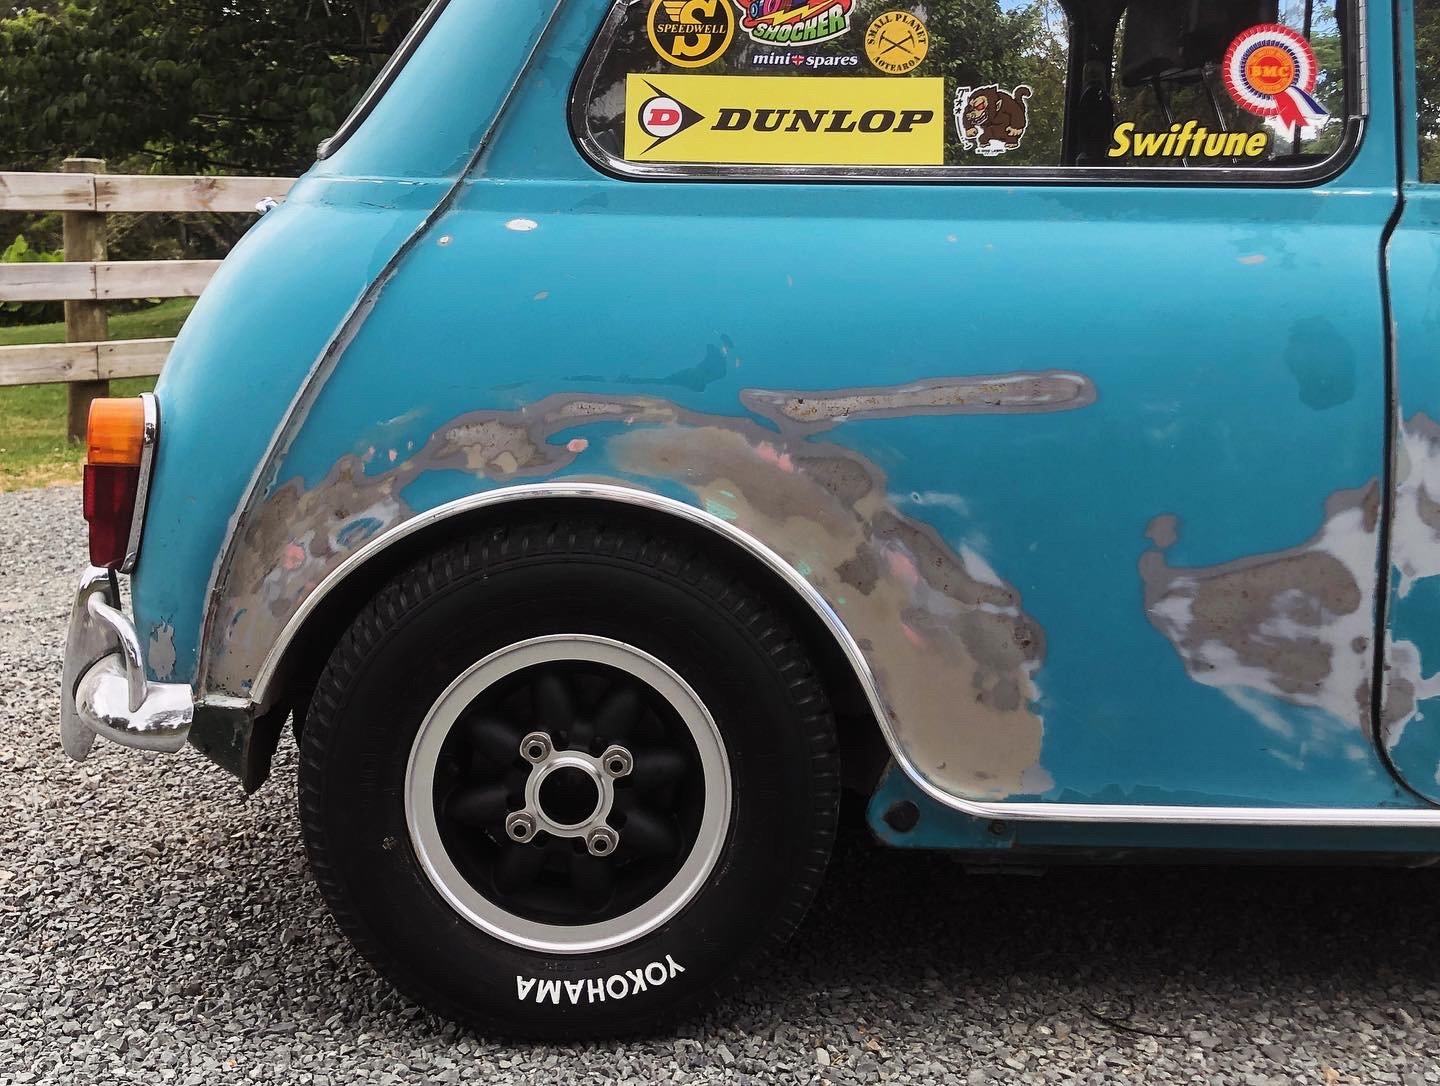
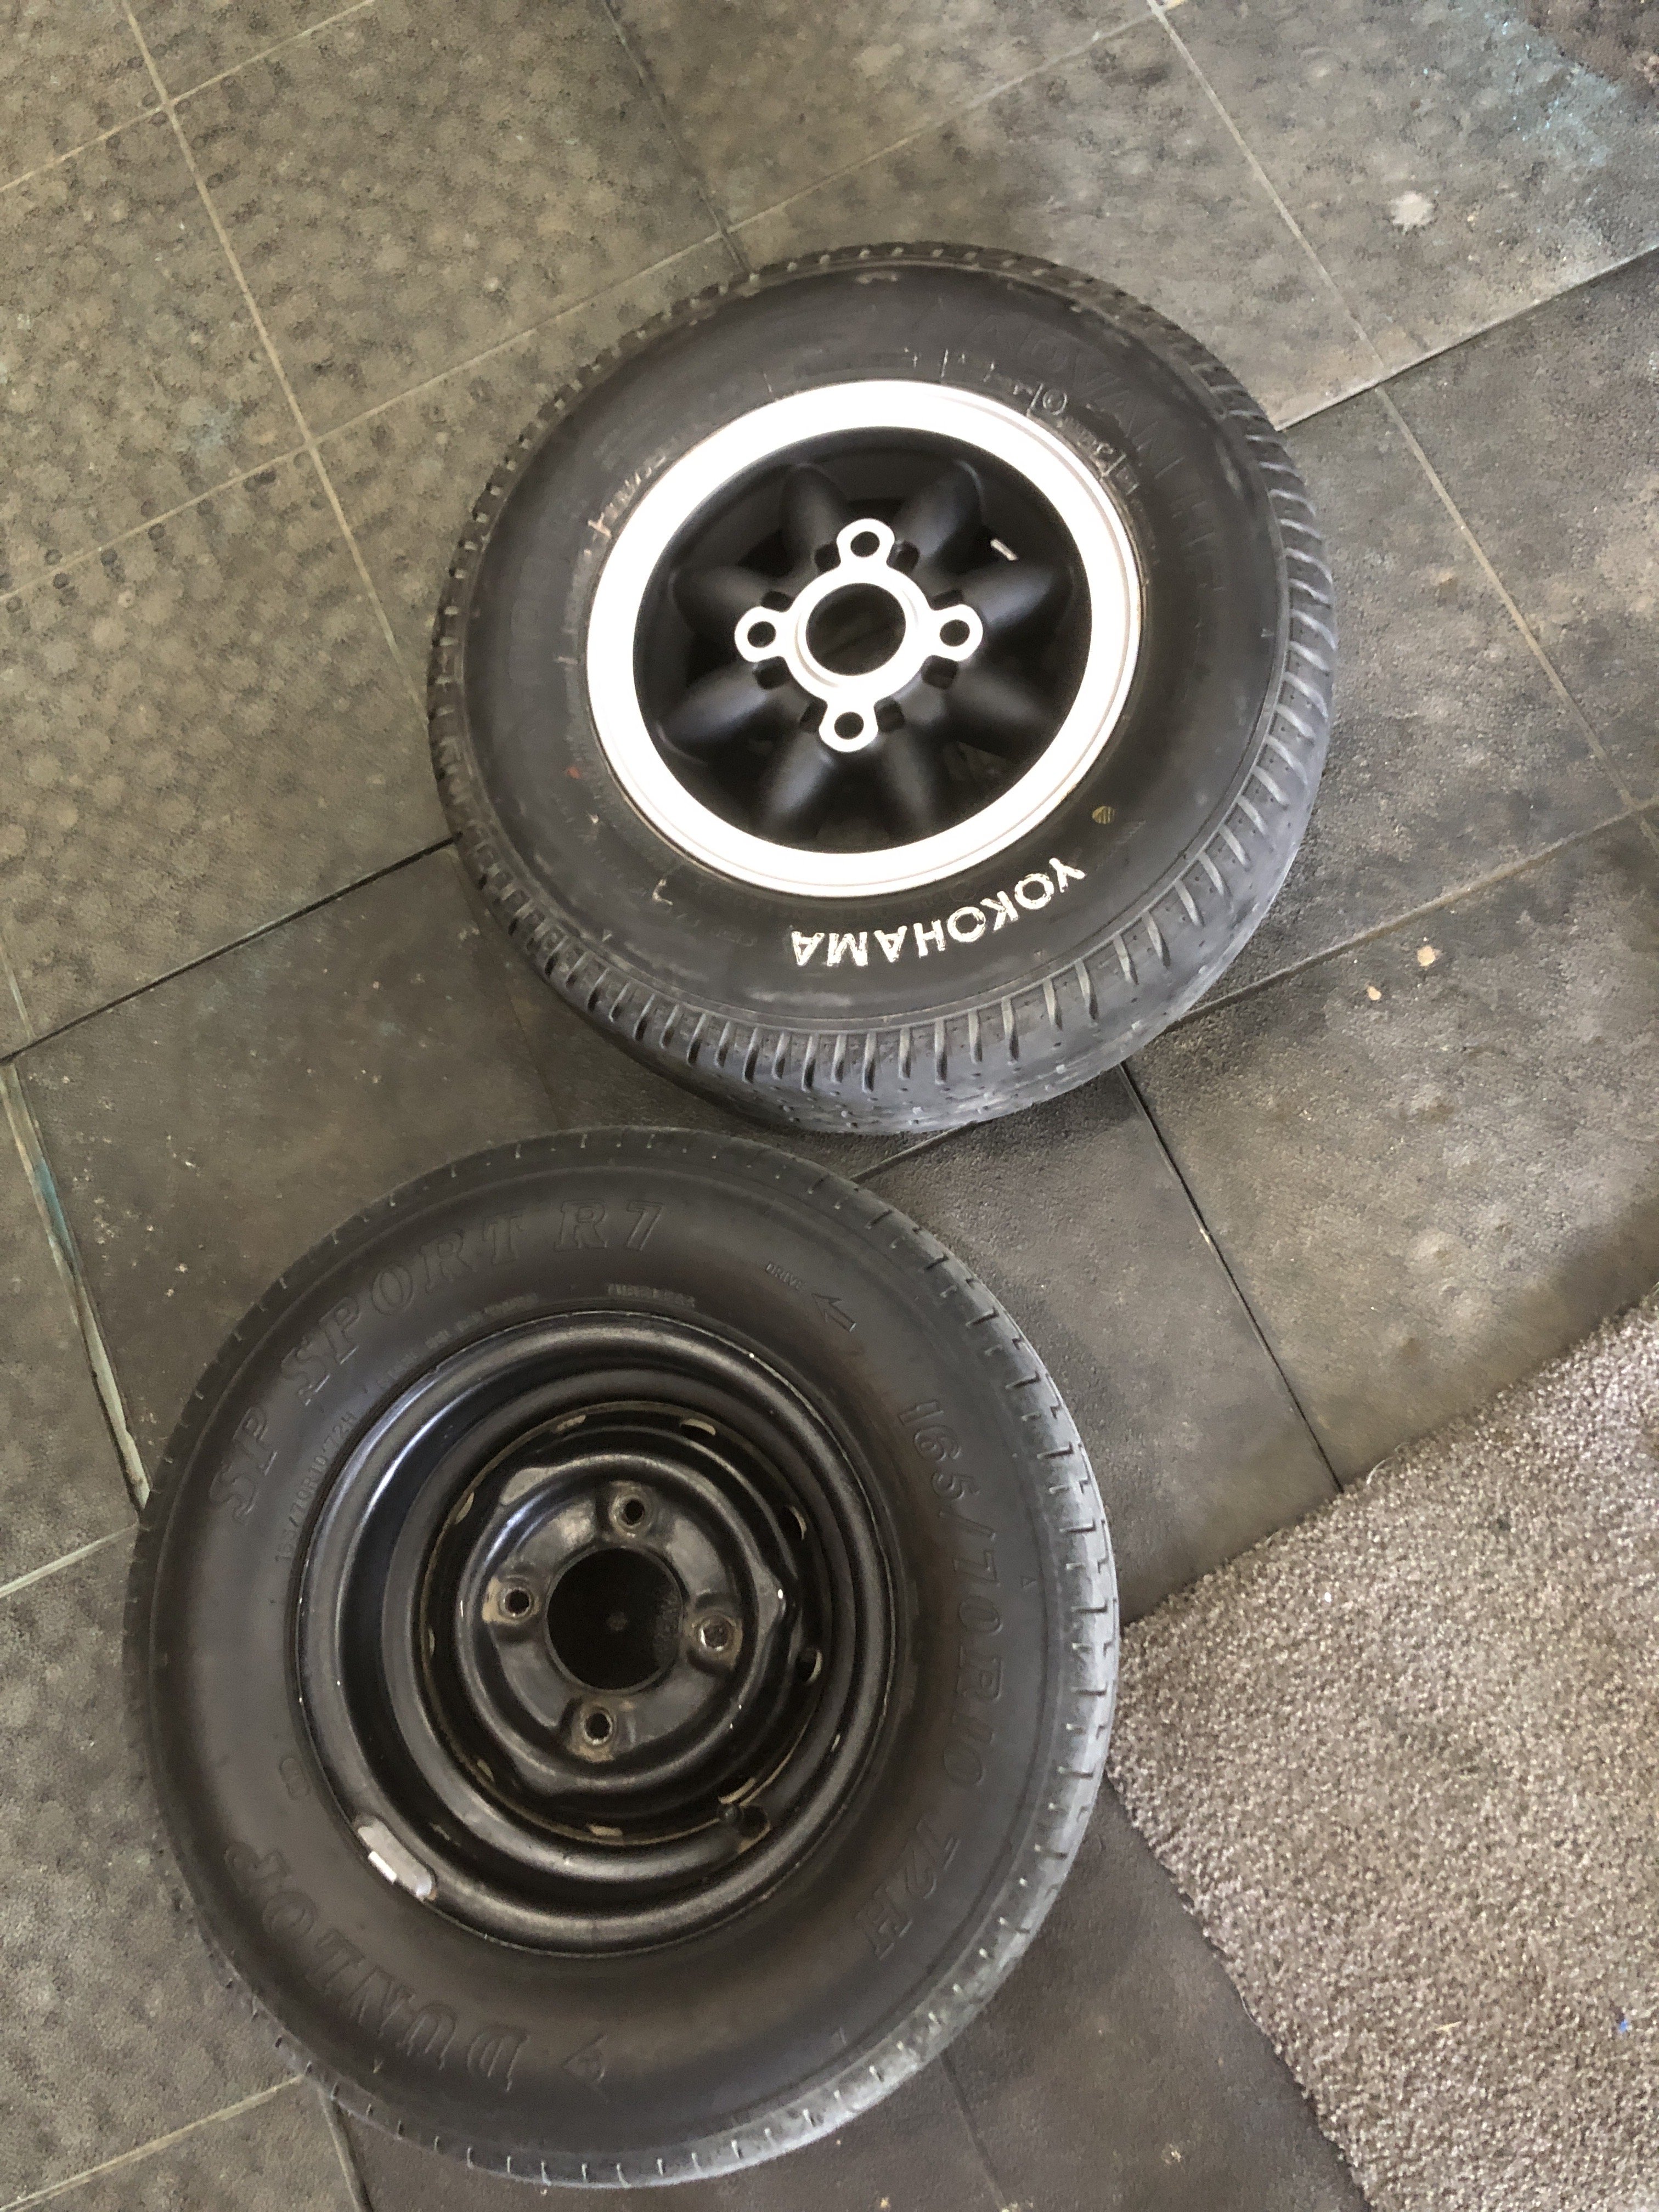
I’ve also had to temporarily refit the lp918 Steelers on the back. I bought 4 widened drums to fit the rosepetal wheels but two of the drums have a hell of a wobble in them. They look like the wheel stud holes have been drilled slightly offset and on an angle do when the wheel bolts up it’s spins in and out on an angle.
The rosepetals won’t fit without spacers but the Steelies have a much bigger offset so I’ve just bolted those on with the standard drums.-
2
-
-
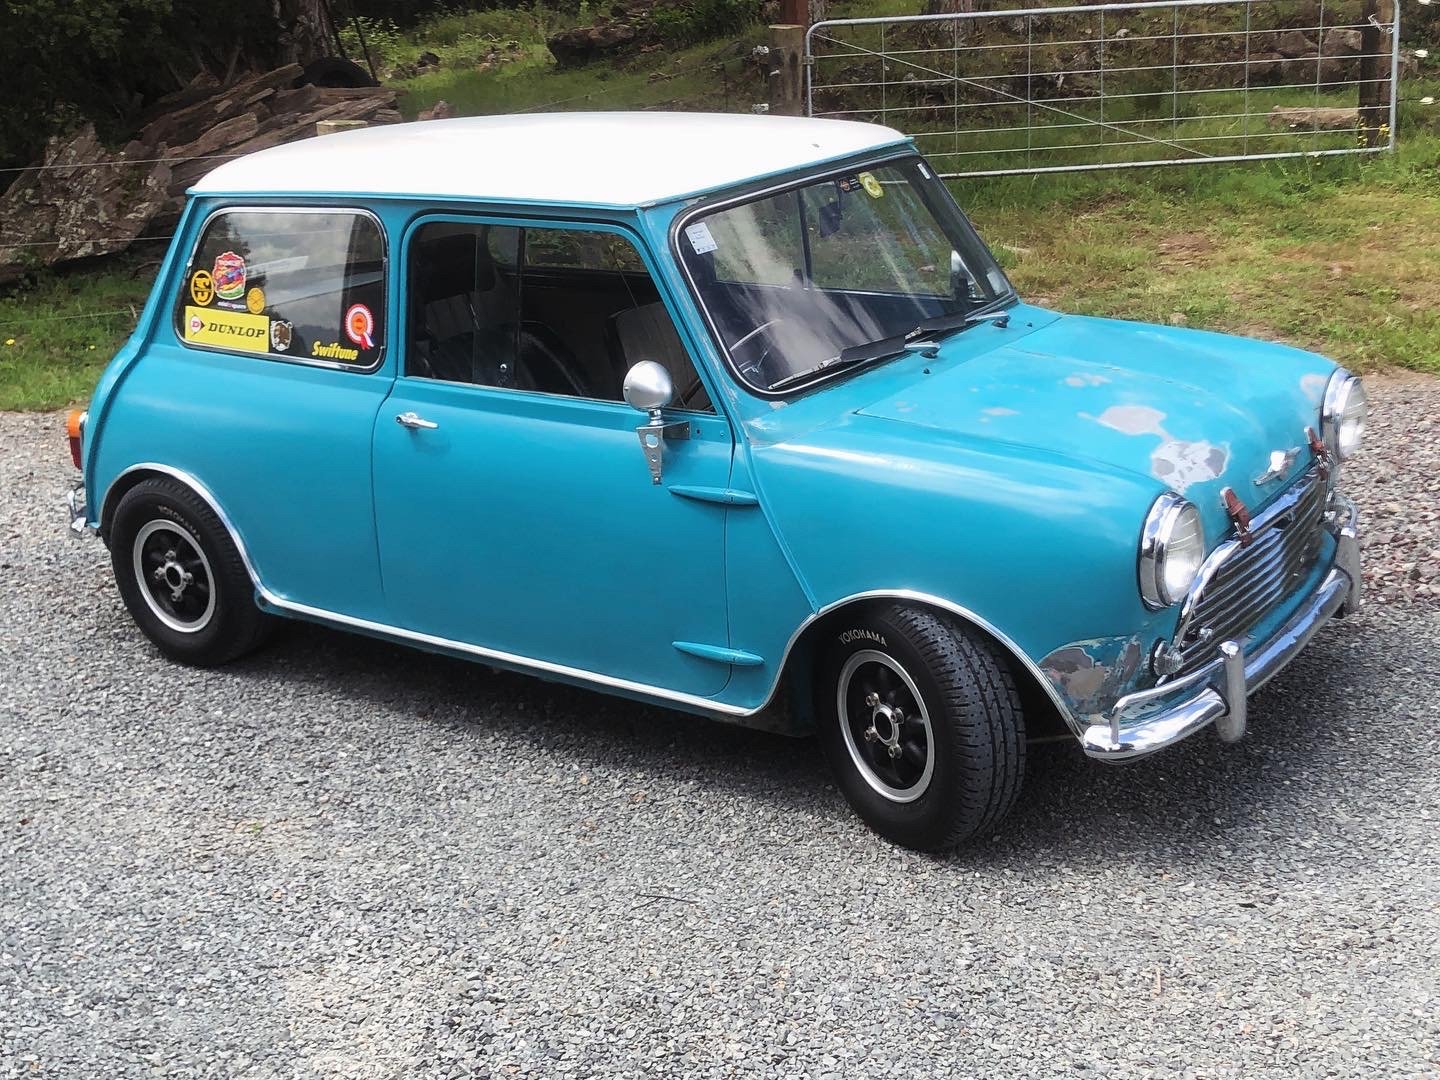
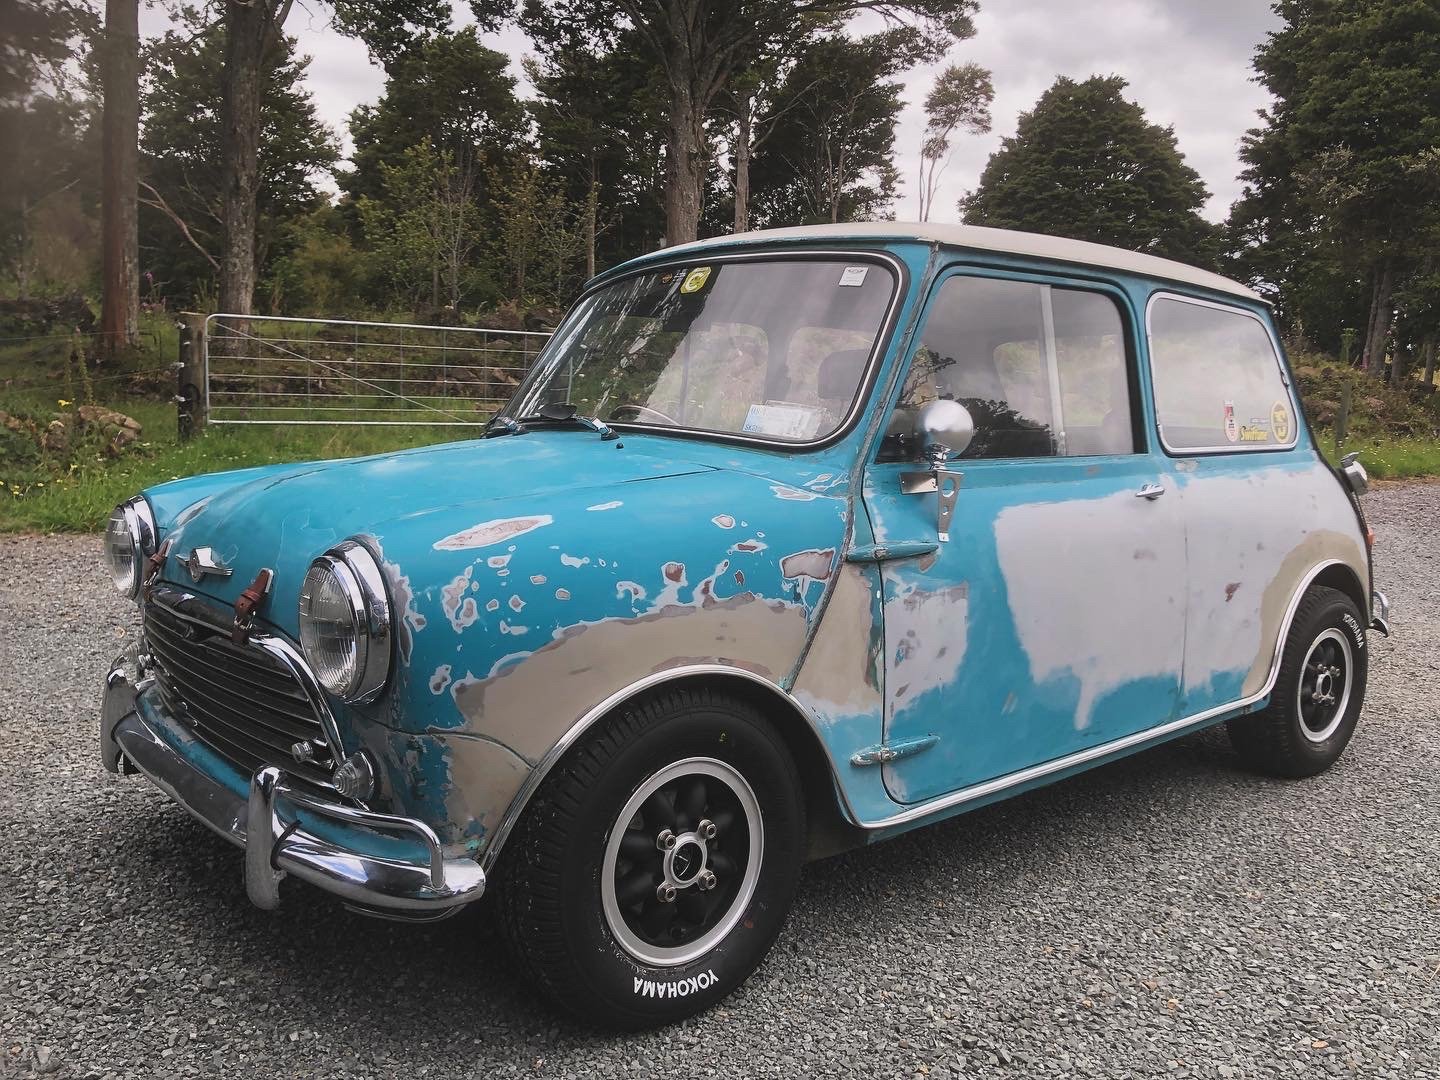
I had a bit of a reaction causing blistering on the offside front wing so had to redo that. It all looked good until the final coat of clear and then it wrinkled even worse than last time. I think maybe I rushed it a bit and there was a bit of moisture left in the primer after wet and dry sanding it. I sanded some of the wrinkles out but it’s pulled the primer up to the top so there are white lines in a few patches.
The bonnet also came up fricken horrible - it looked great in primer but finished up pretty bad. I’m going to put a speedwell stripe across the front and a bonnet roundel which should hopefully cover up most of the badness.-
2
-
 1
1
-
-
-
-
-
-
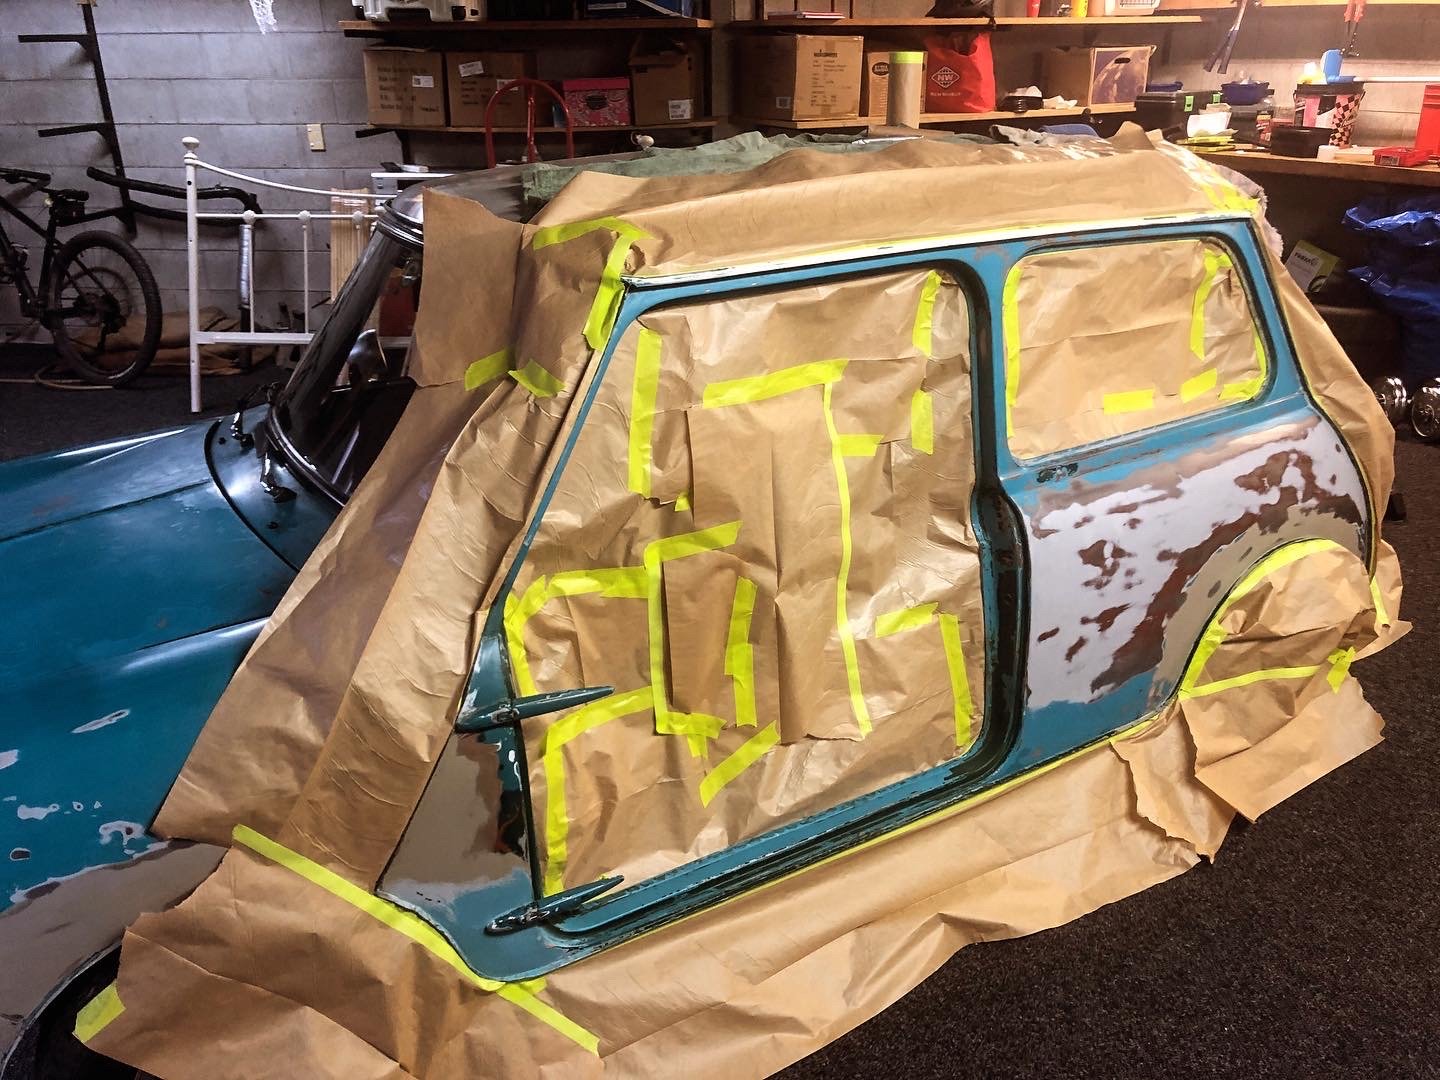
Had to do it in stages as time permitted which was definitely is isn’t the best way of doing it. Though I think my spraying technique hit better towards the end.
-
5
-
-
-
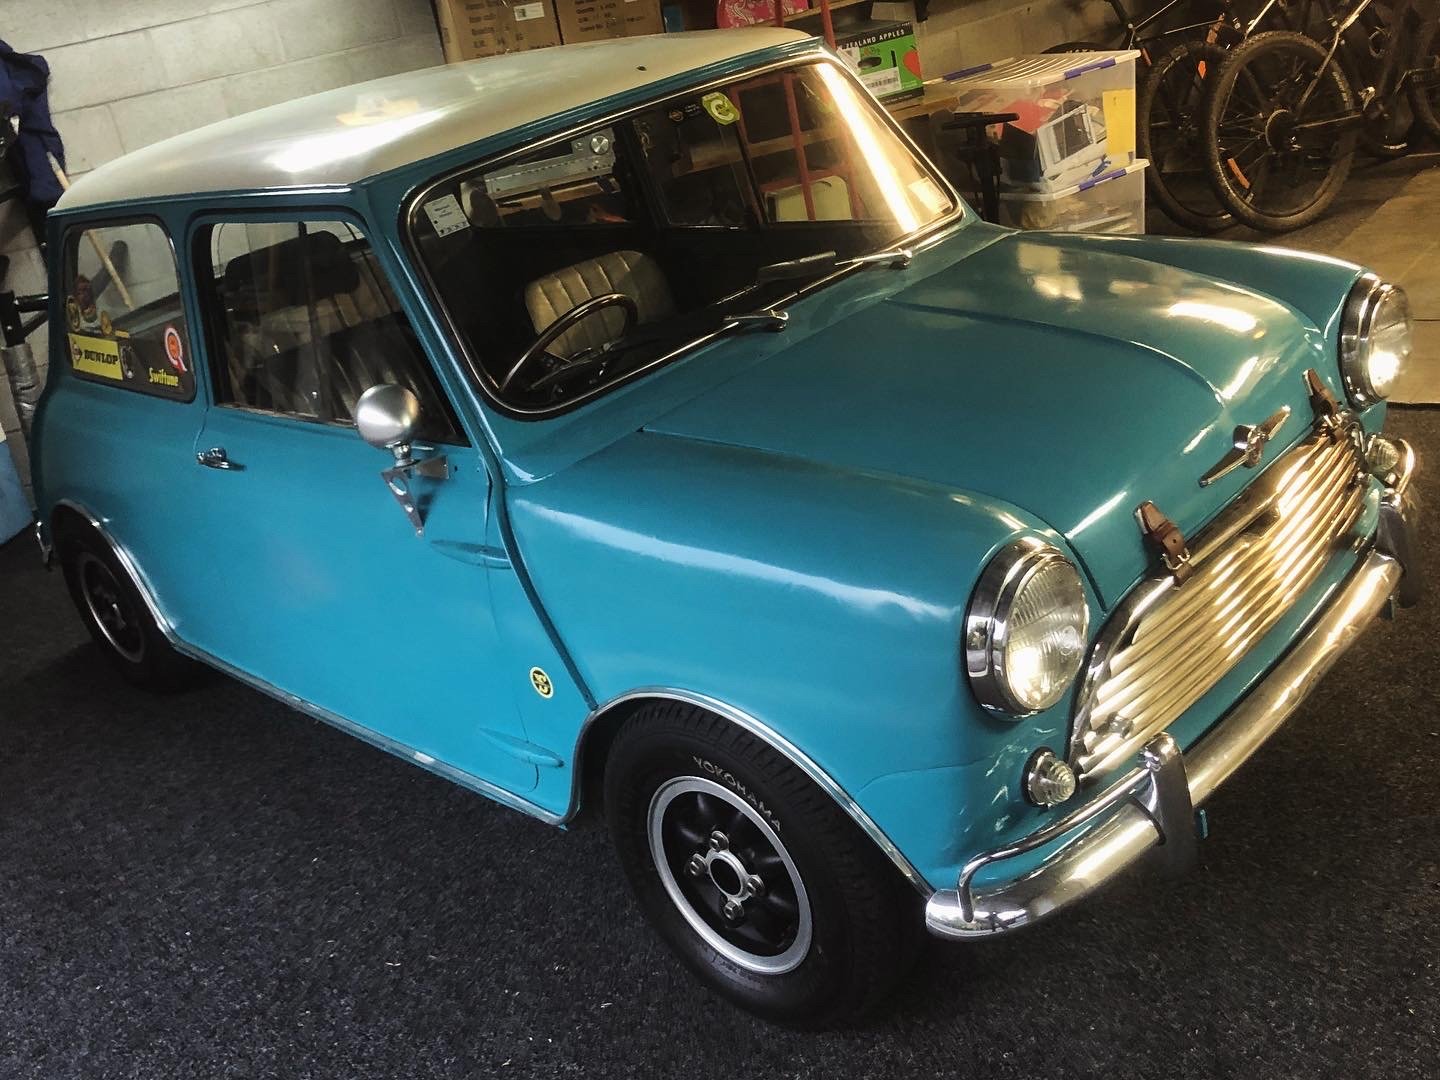
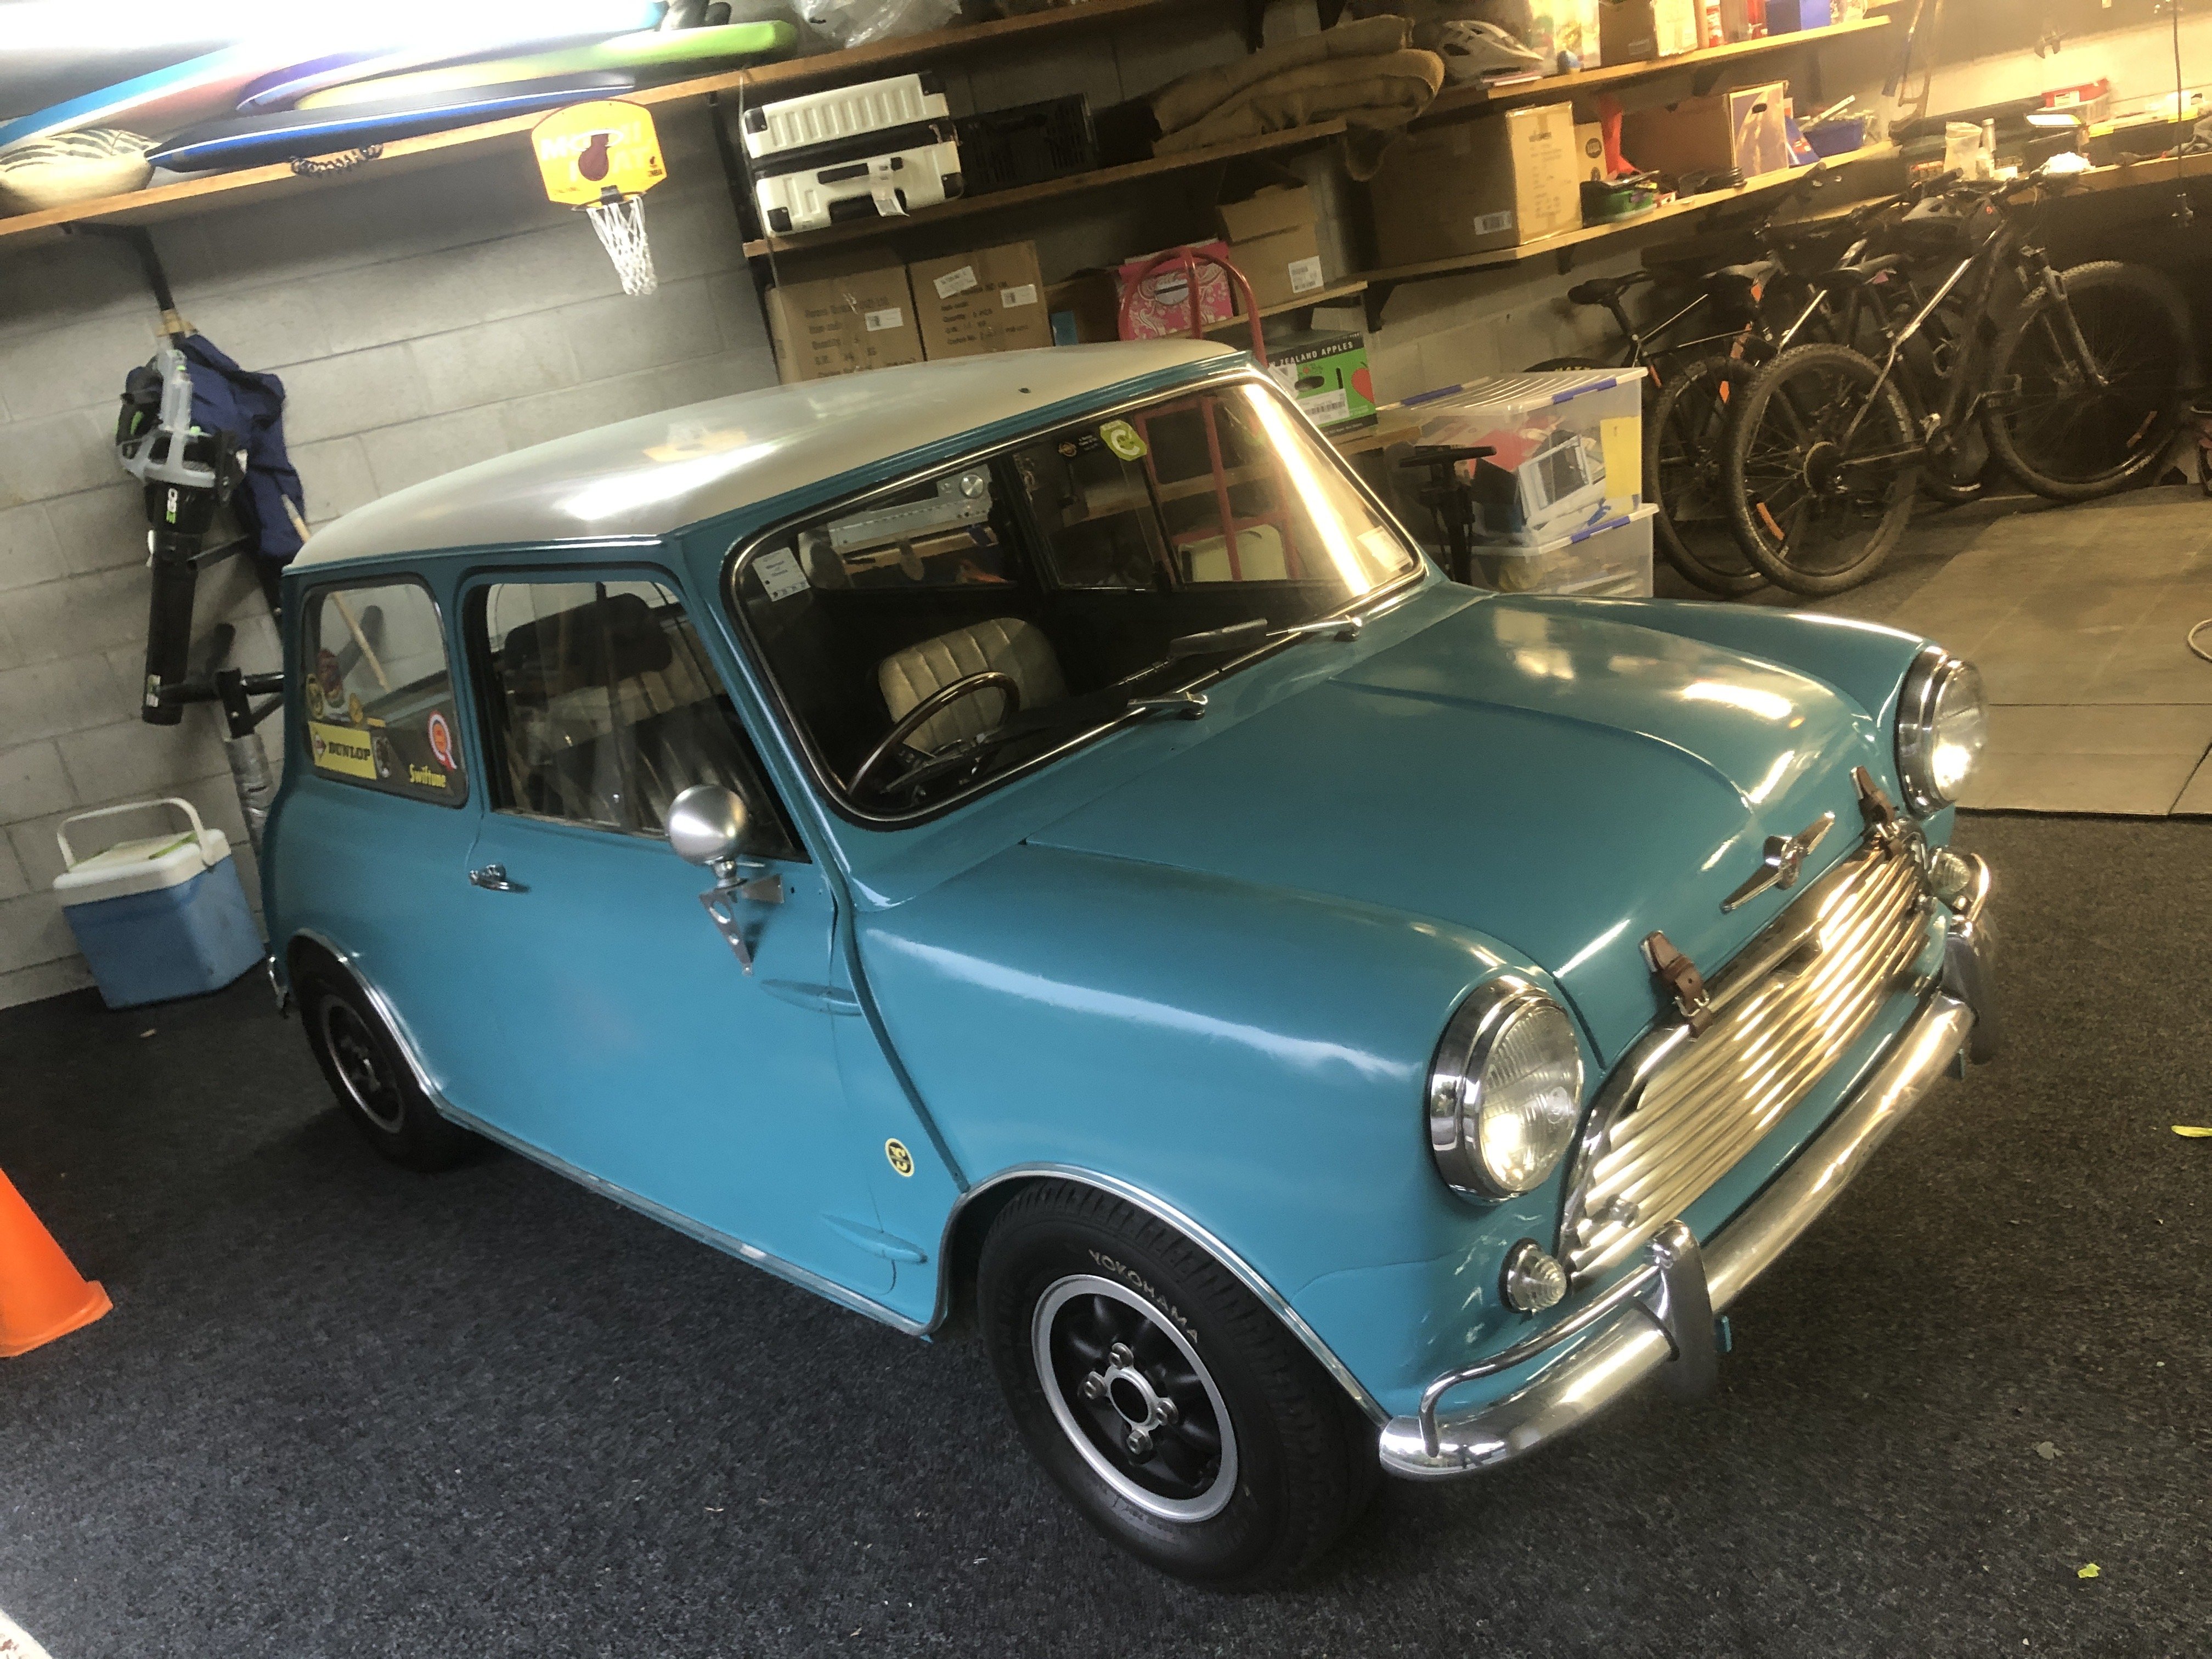
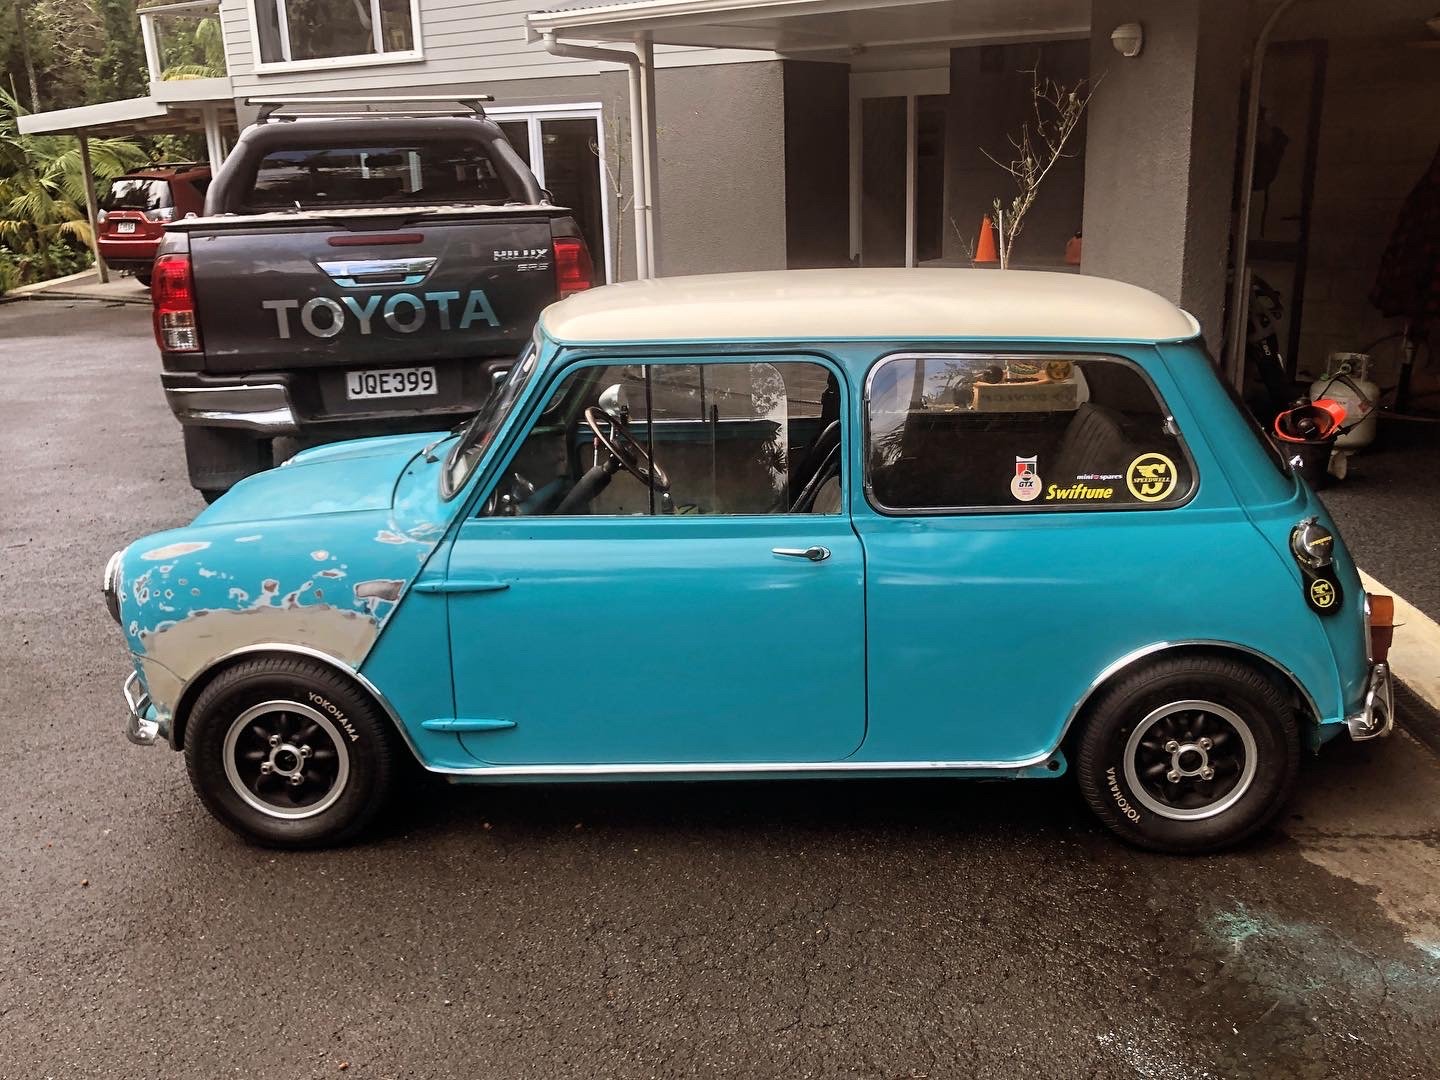
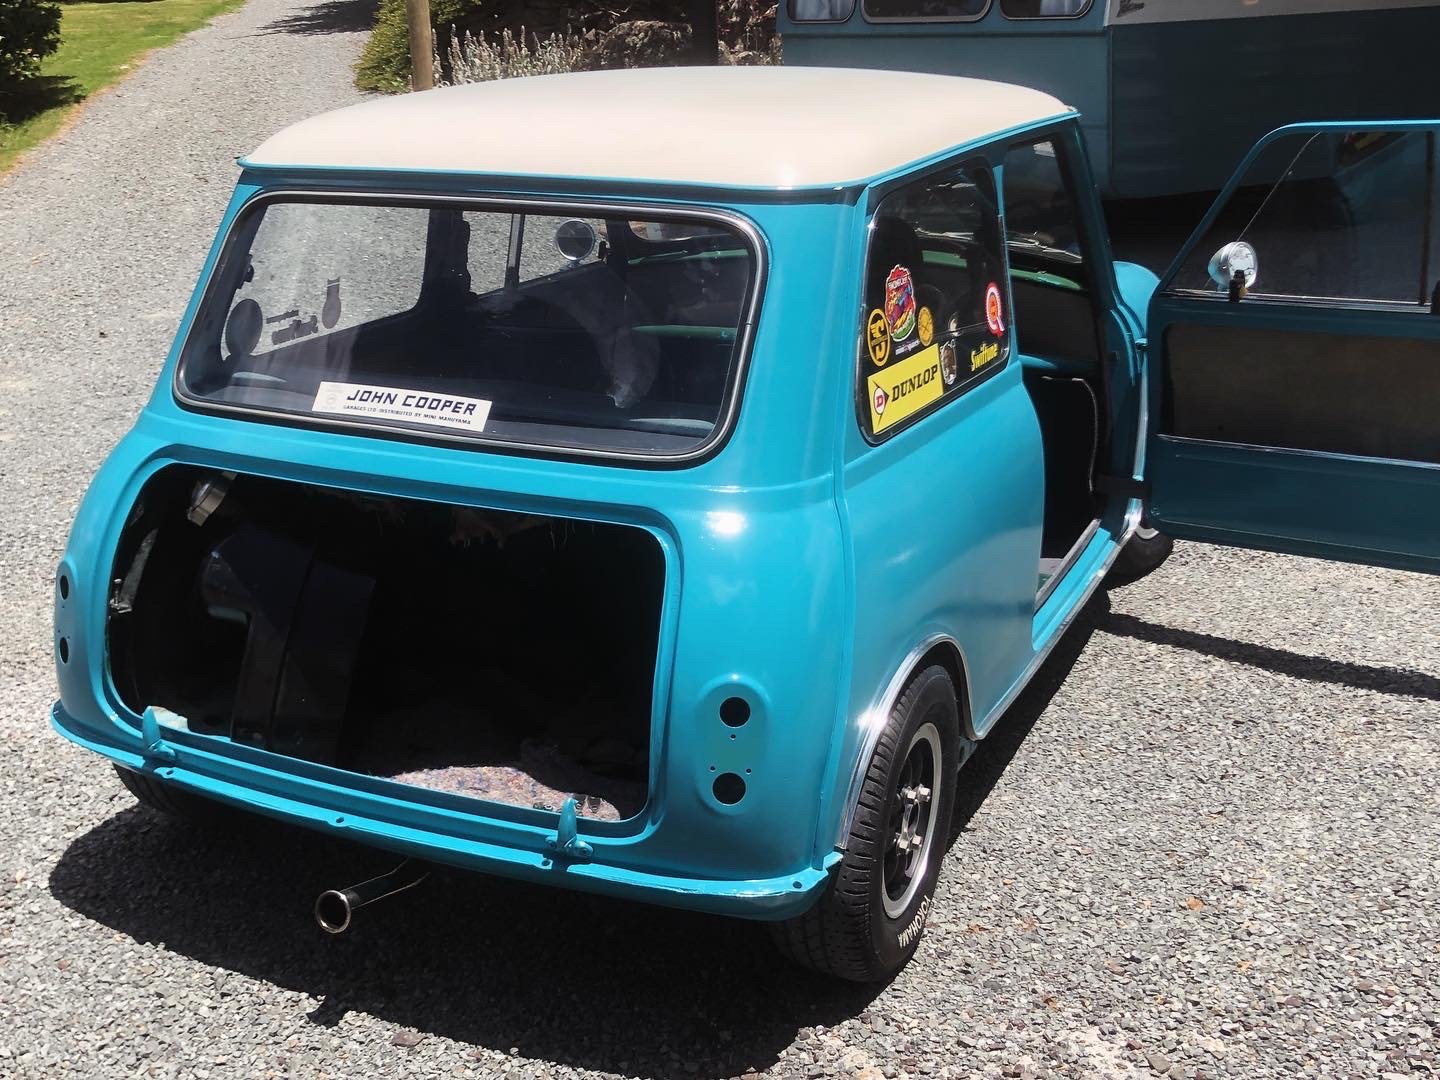
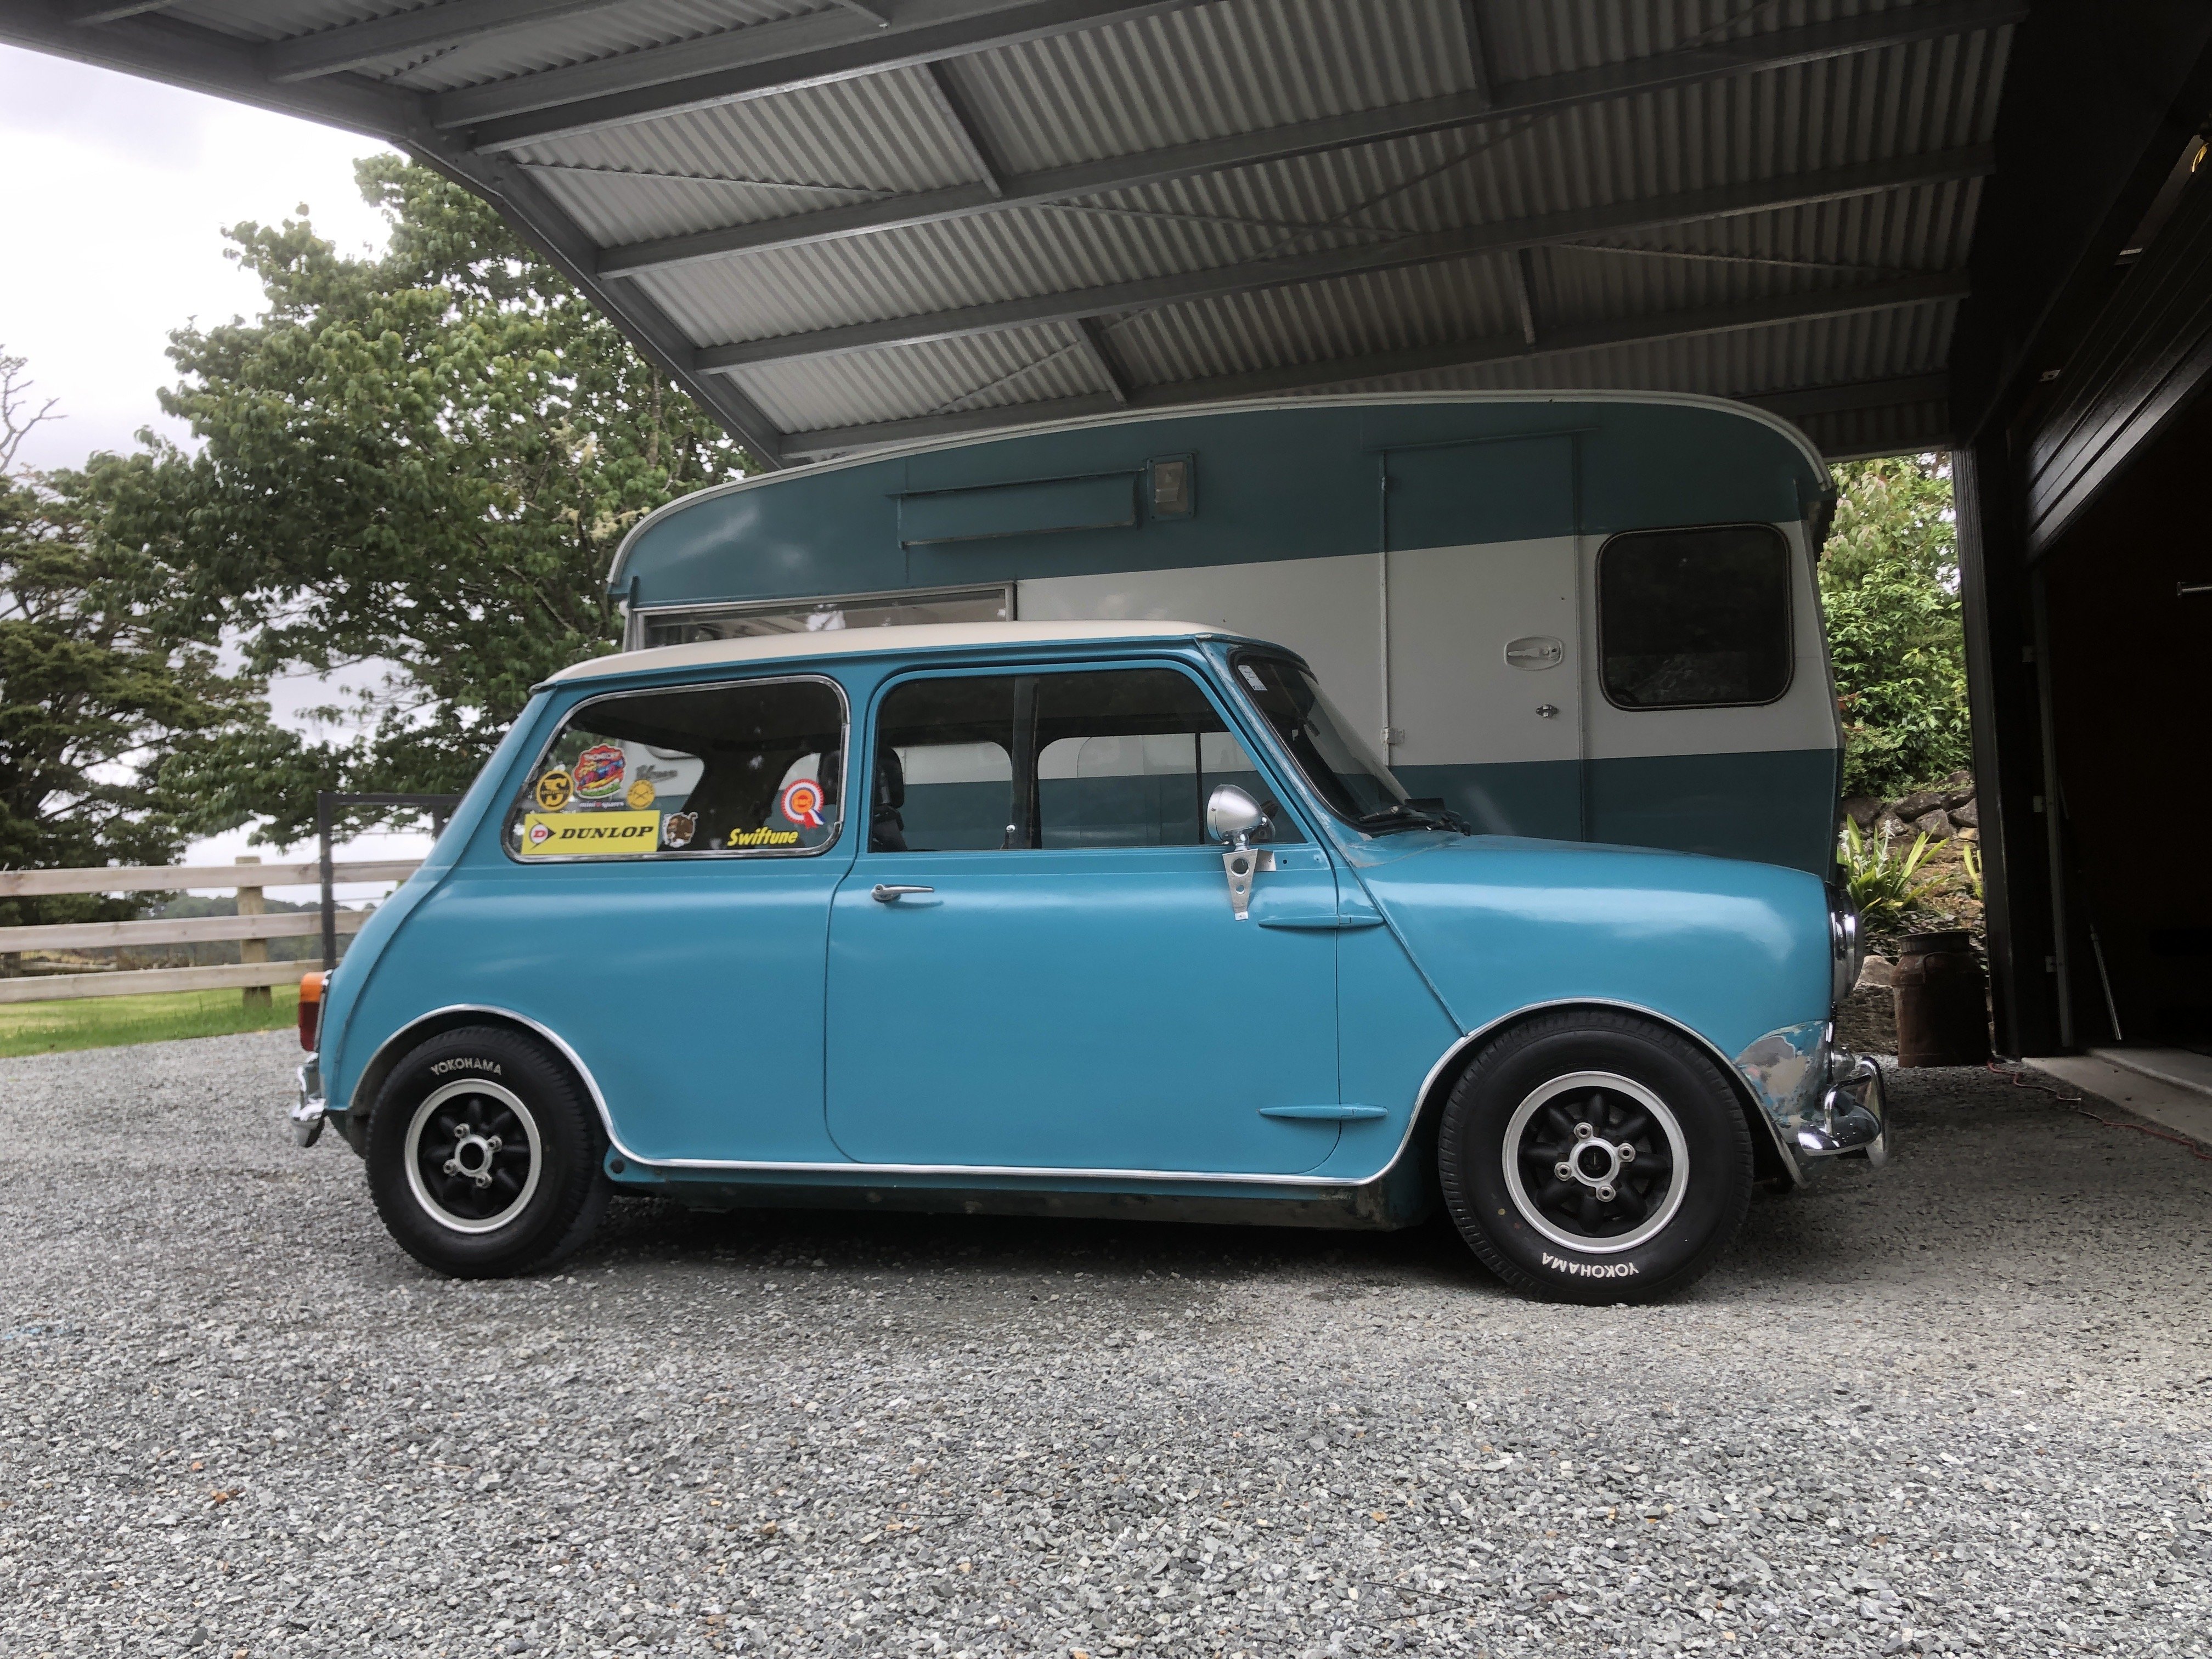
Well I’ve finally gotten around to finishing the exterior paint. Have also moved house so have a slightly different garage setup now that includes wall to wall carpet - very nic
")
-
5
-
-
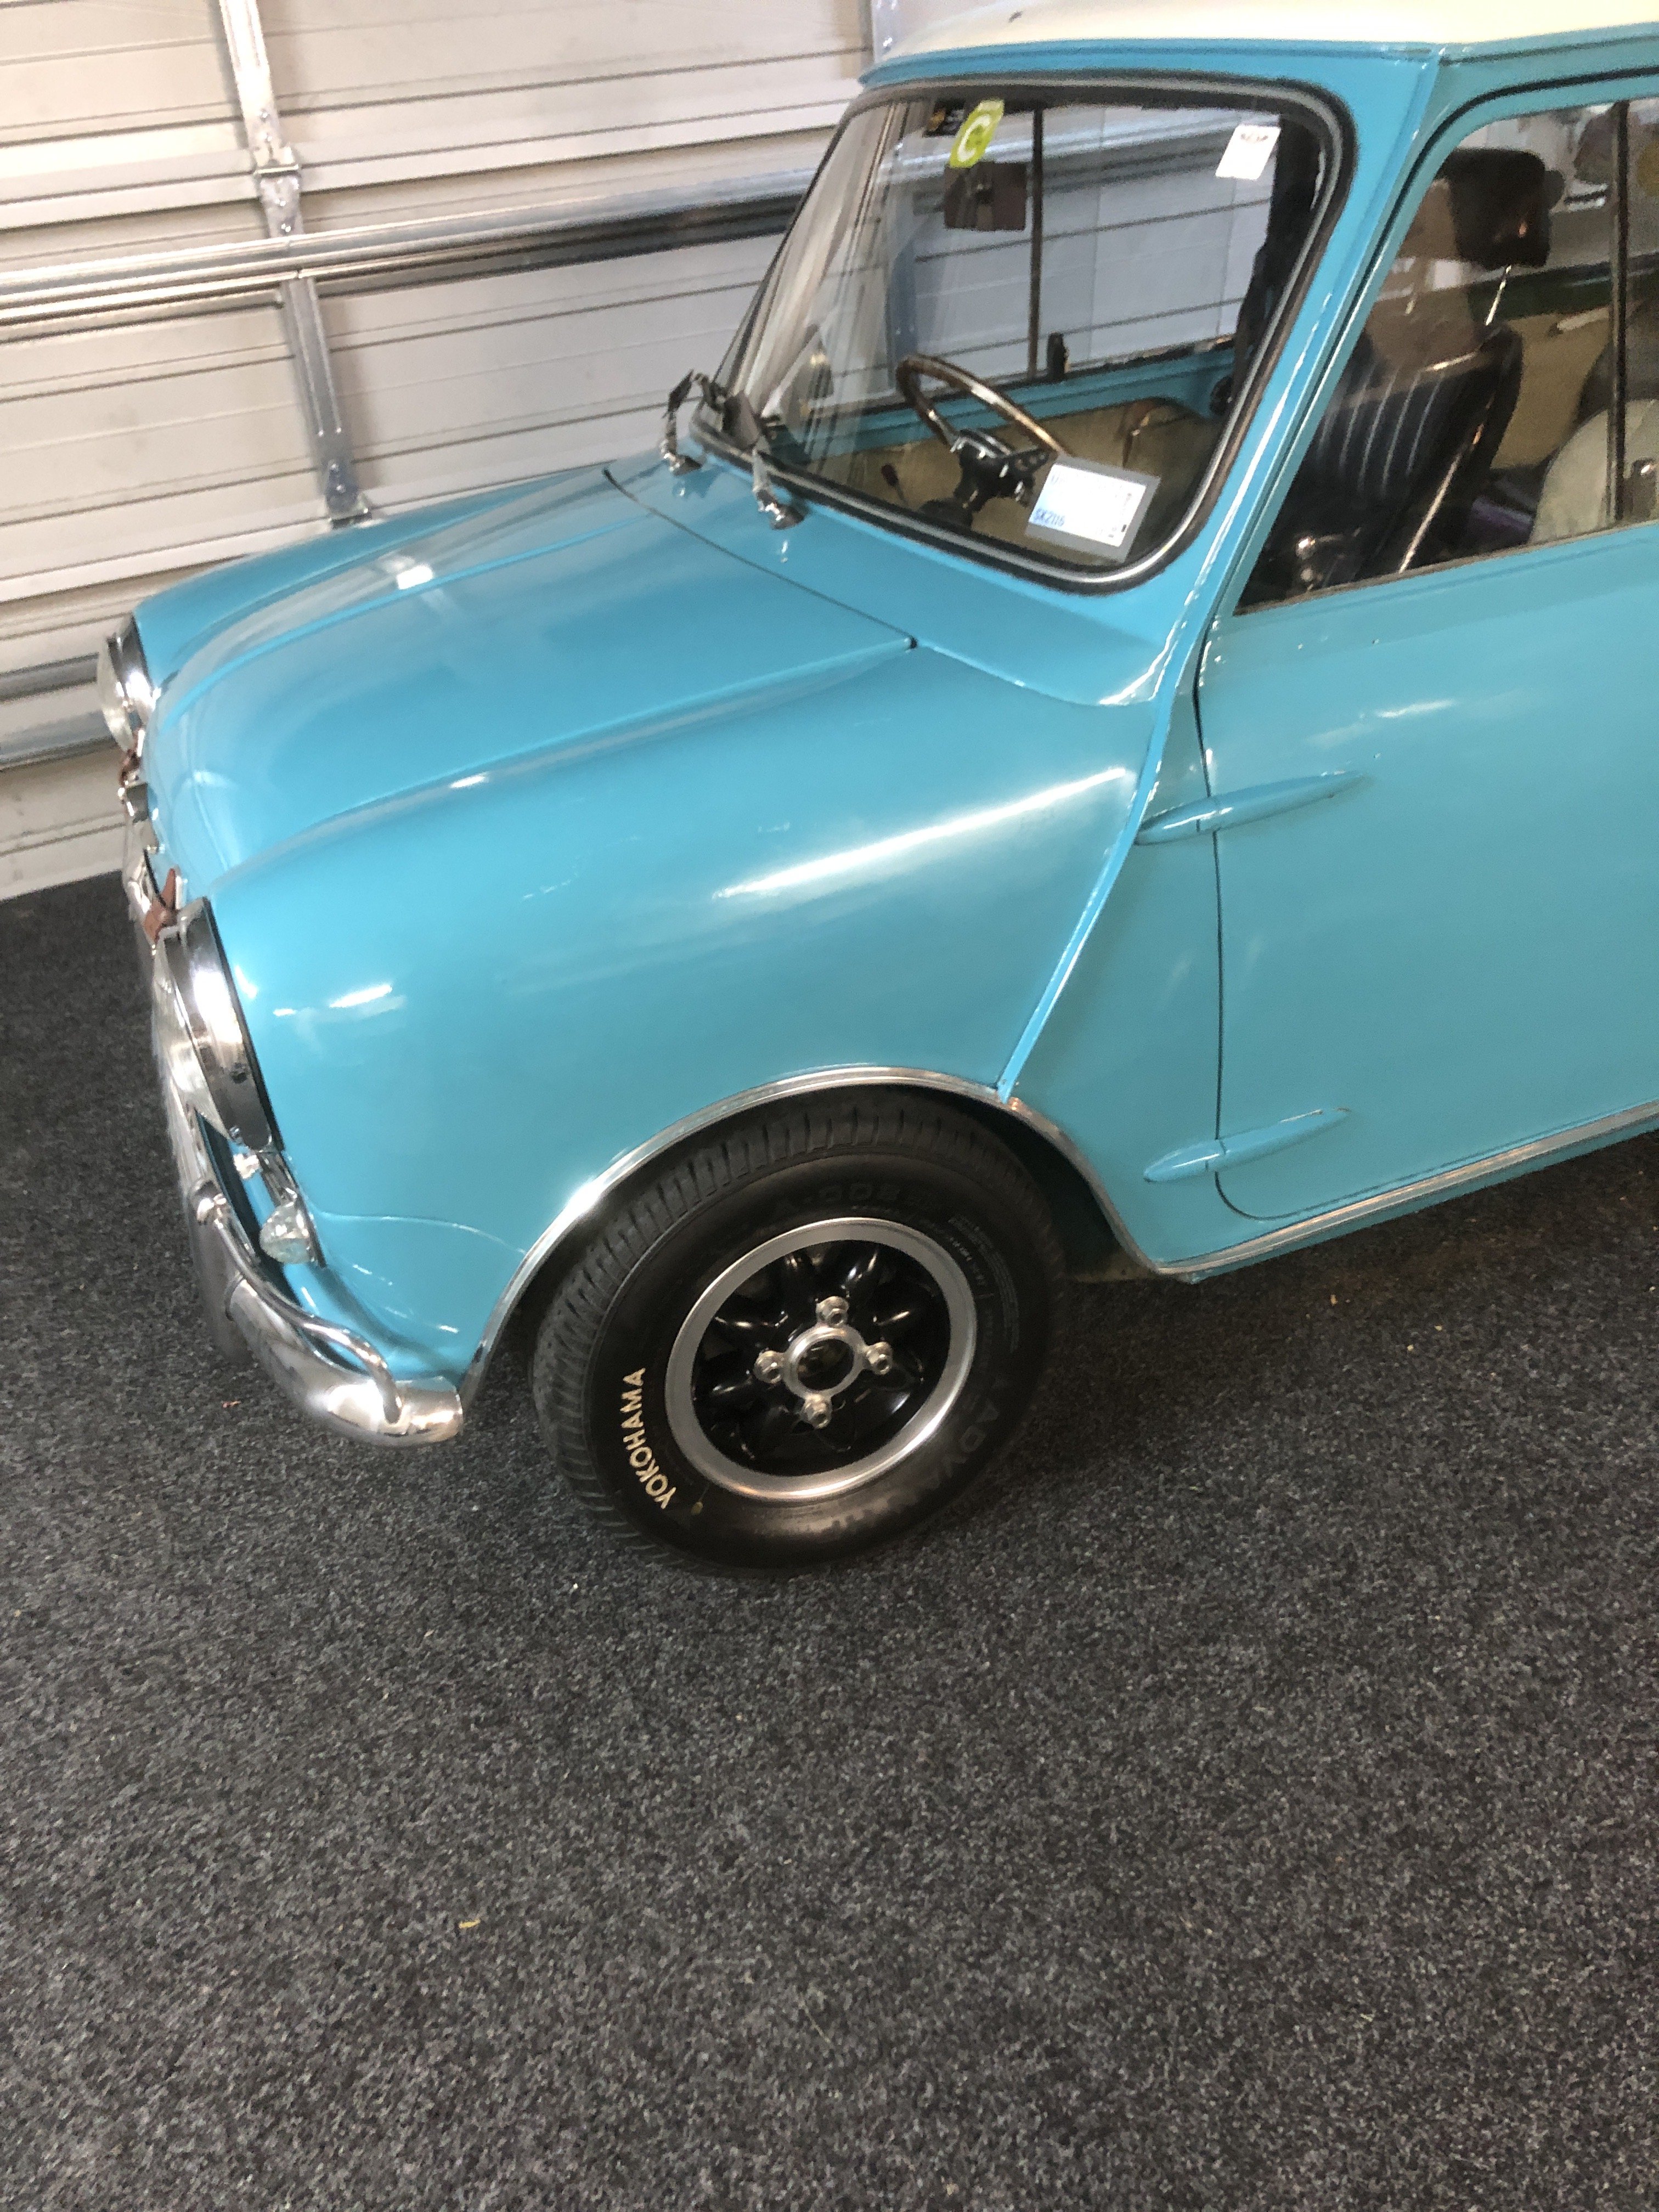
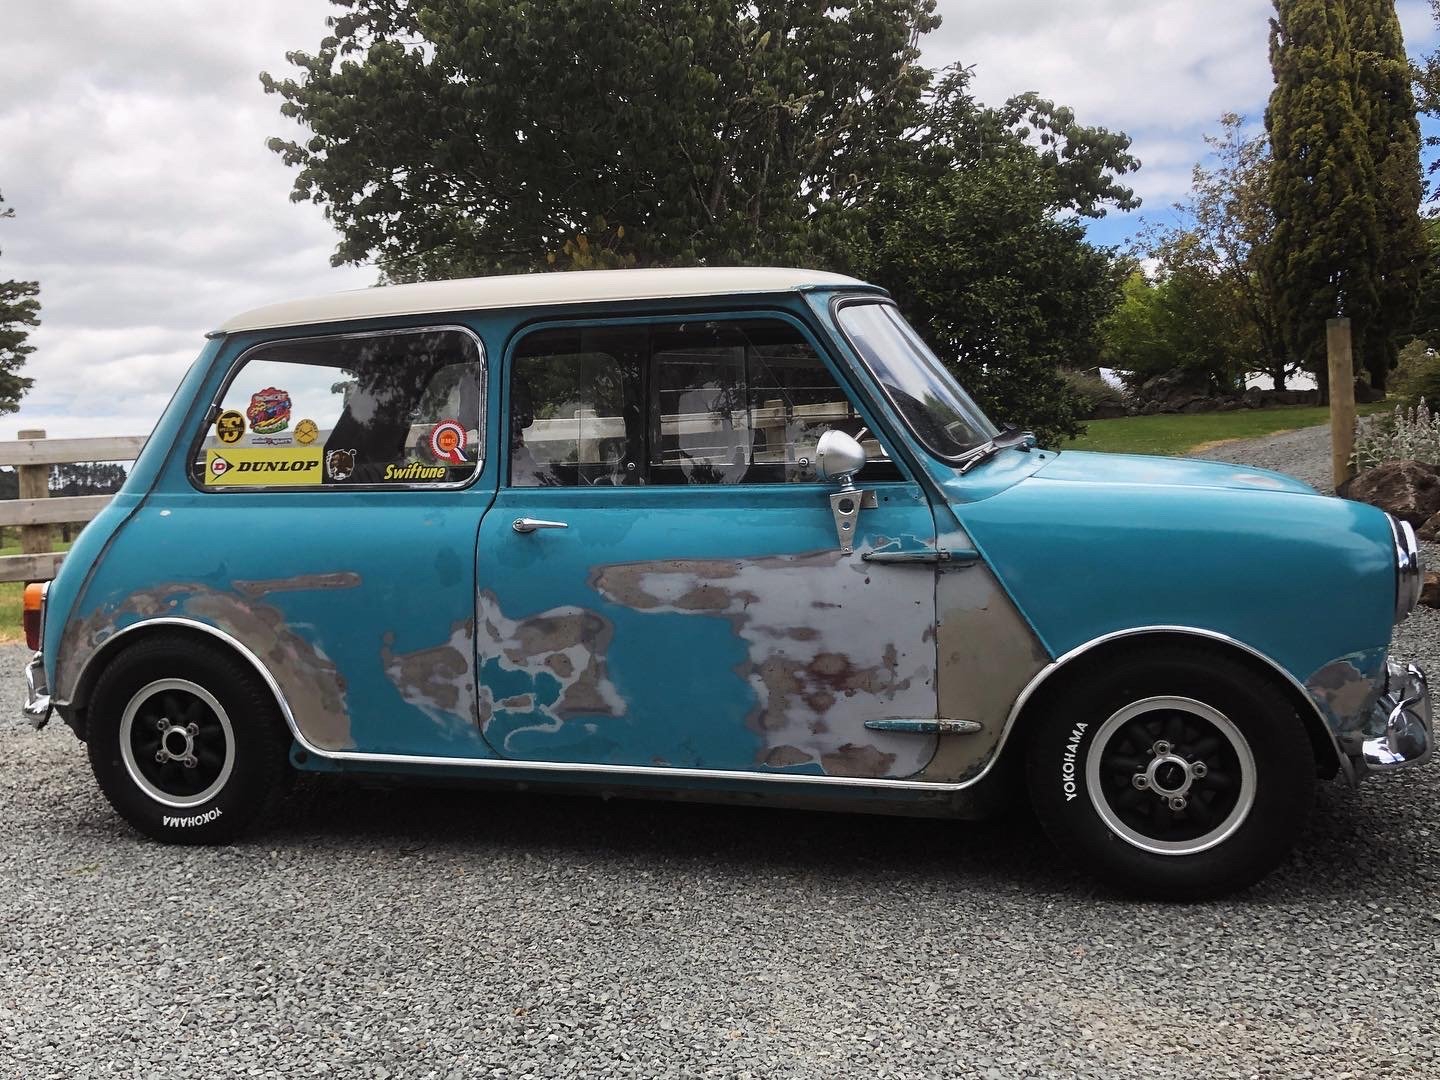
@Kelvin sorry just saw your post, yeah bought the wheels from minispares in the uk. Weren’t the cheapest wheels to buy but they look bloody nice.
-
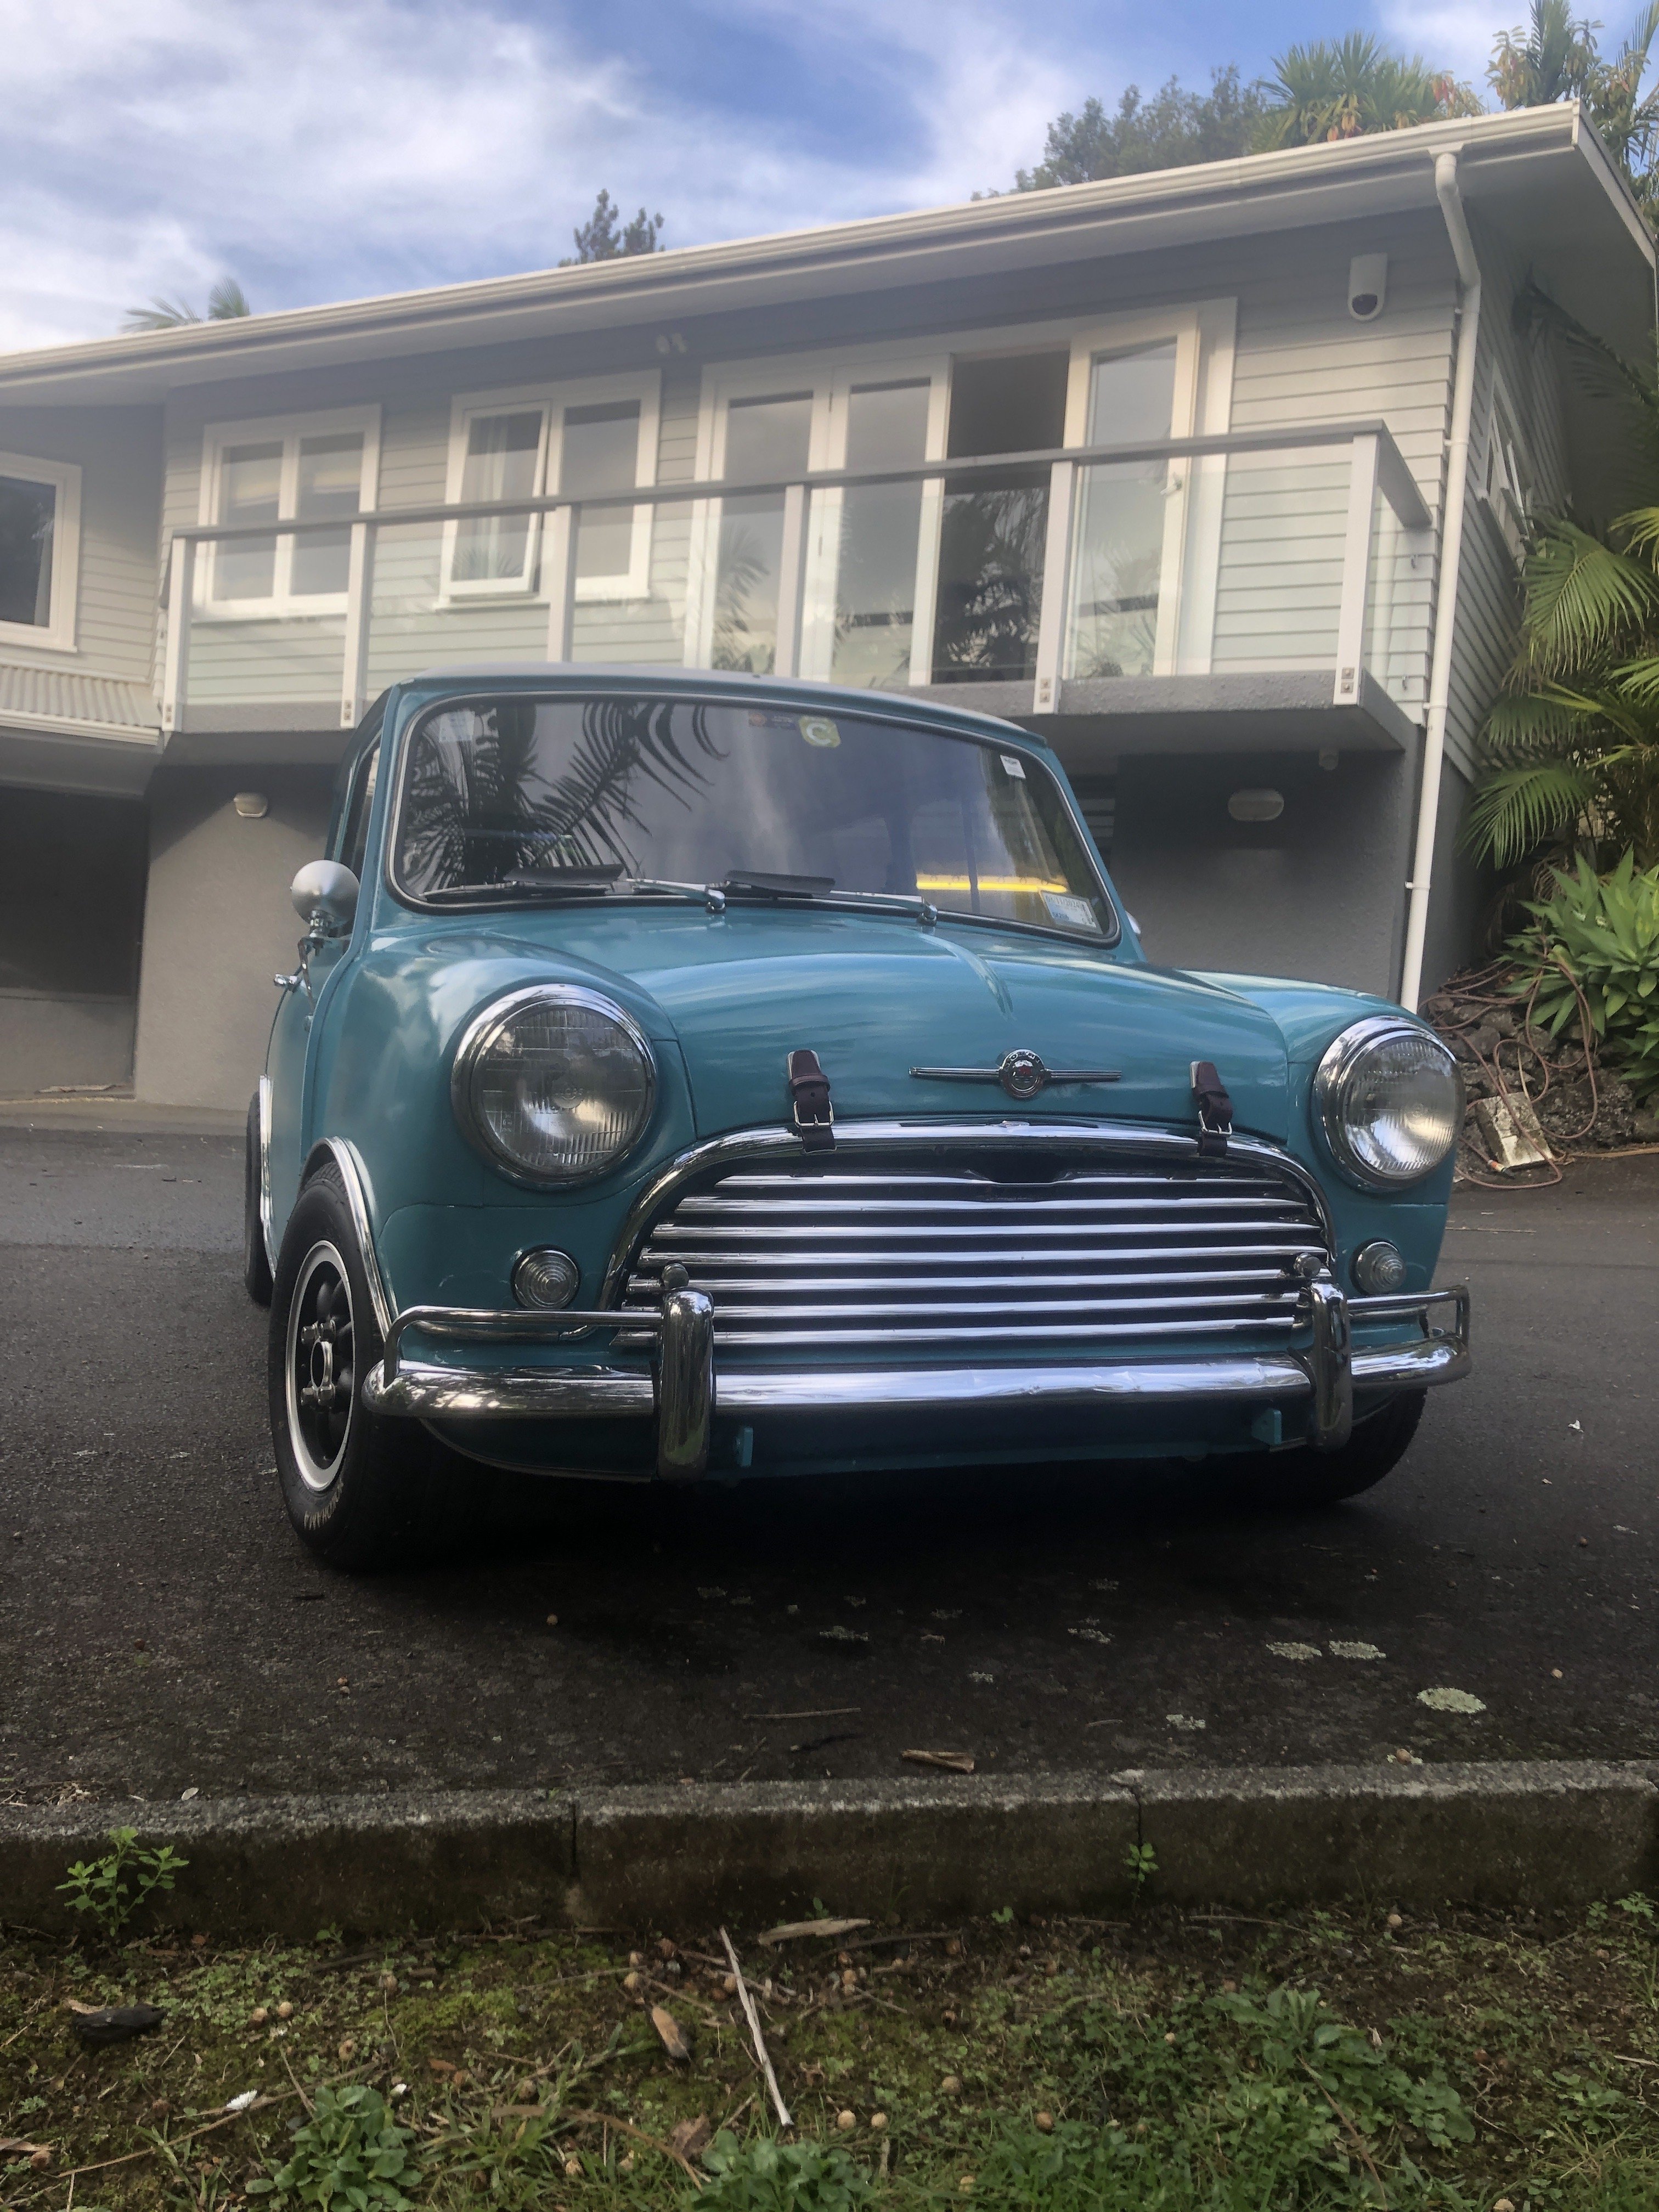
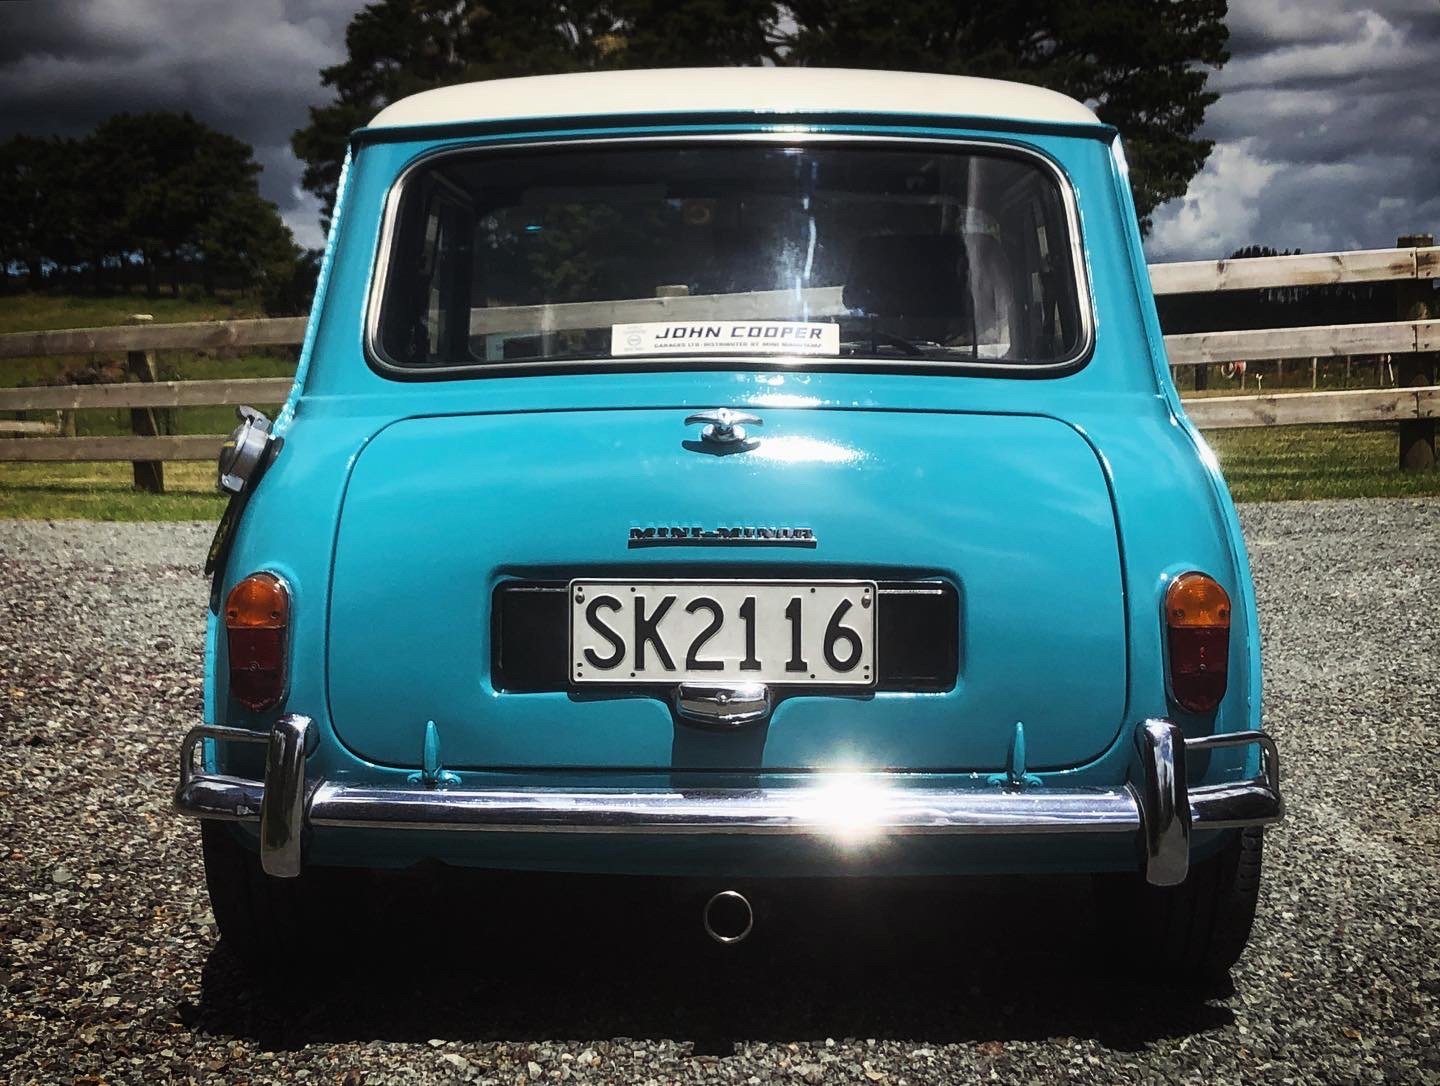
Hey @tortron nah I really wanna keep it the original colour “Surf blue”. The local paint shop were able to match it in their system using the original 1960’s paint code. The sills, floorpans inside the car, the boot, and all of the underside of the car is still in the original colour. The underside paint has been preserved pretty well by a couple of costs of British racing green but it peels off pretty easy so I’m going to strip all that back to original at some point. So hoping to just respray above the sill-line in new paint and keep the rest original.
-
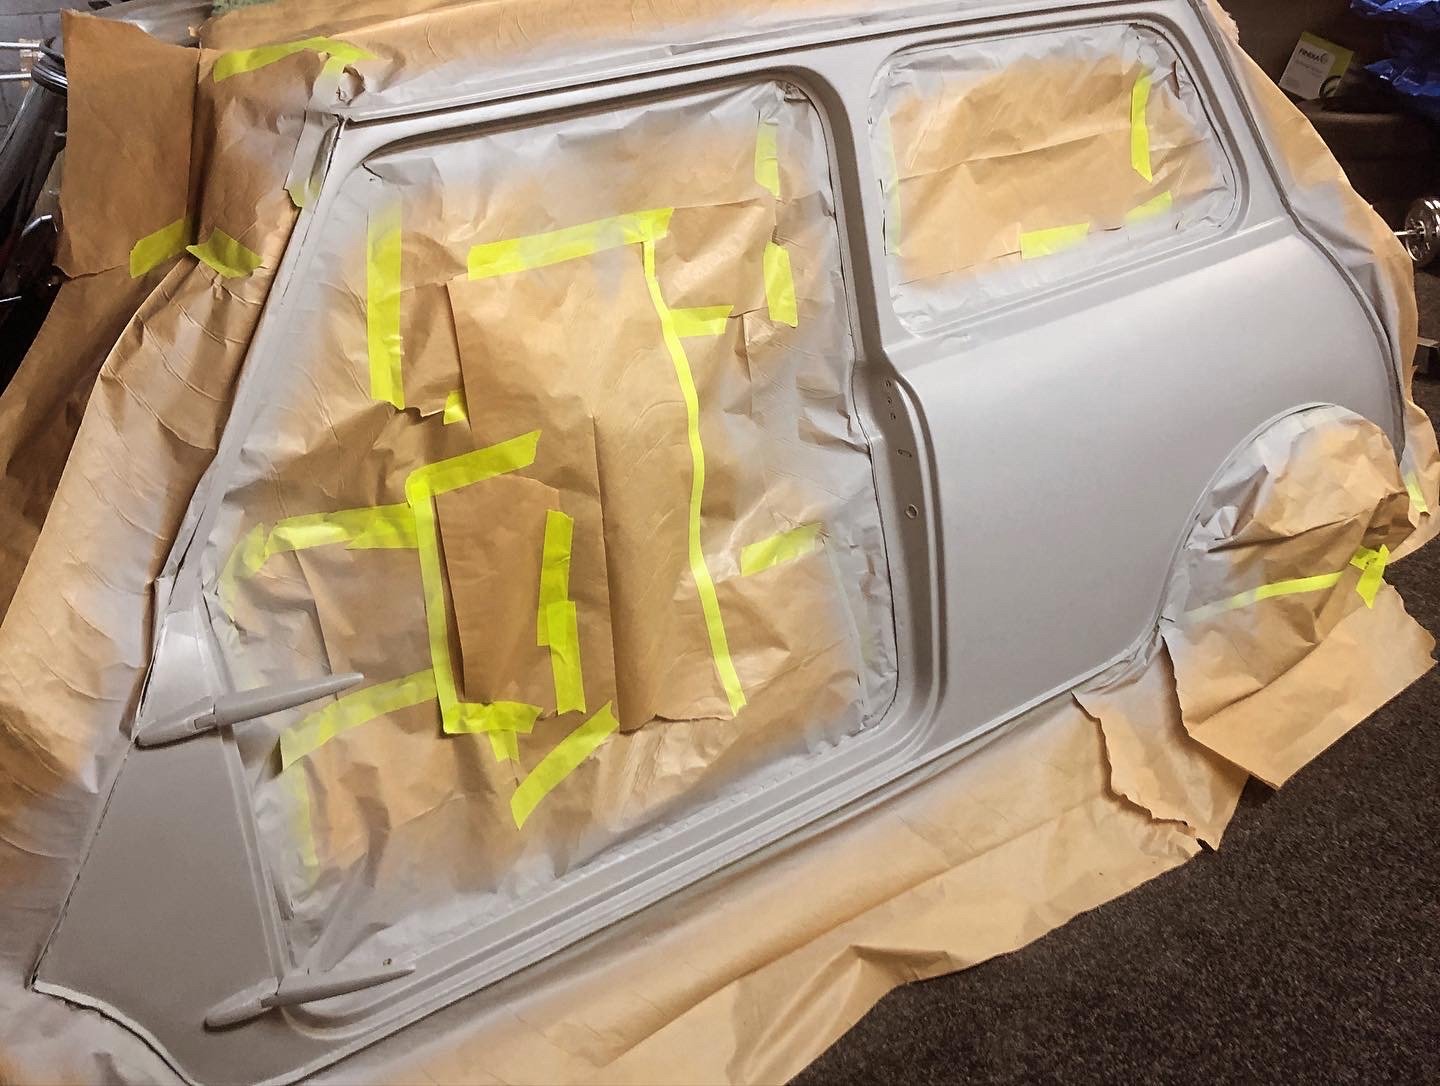
@kws it has actually been a fair few rattle cans so far so hasn’t worked out as cheap as I thought it would. I’ve used 6 cans of base and 3 clear and I’m only halfway through. Base coat cans are about $30 each and the clears are around $40each. I won’t be doing the roof at this stage so that at least cuts down on a fair bit of paint. It looked pretty bad with a bit of crazing going on, and wouldn’t cut and polish up very well. However i gave it a rub down with a couple of different grades of scotchbrite pads and has come up looking a lot better.
-
Cheers @Nominal yeah she looks good in the pics, but I could definitely do with getting the base a bit smoother. Hopefully it’s only temporary, or at the most a year or two, and I can find the time and money to do a proper job on it.
-
 1
1
-
-
- Popular Post
- Popular Post
-
22
-
1
-
-
-
Front wing resprayed here
-
8
-
1
-
-
They have a very small offset so I had to fit widened drums and longer wheel studs all round.
-
2
-
-
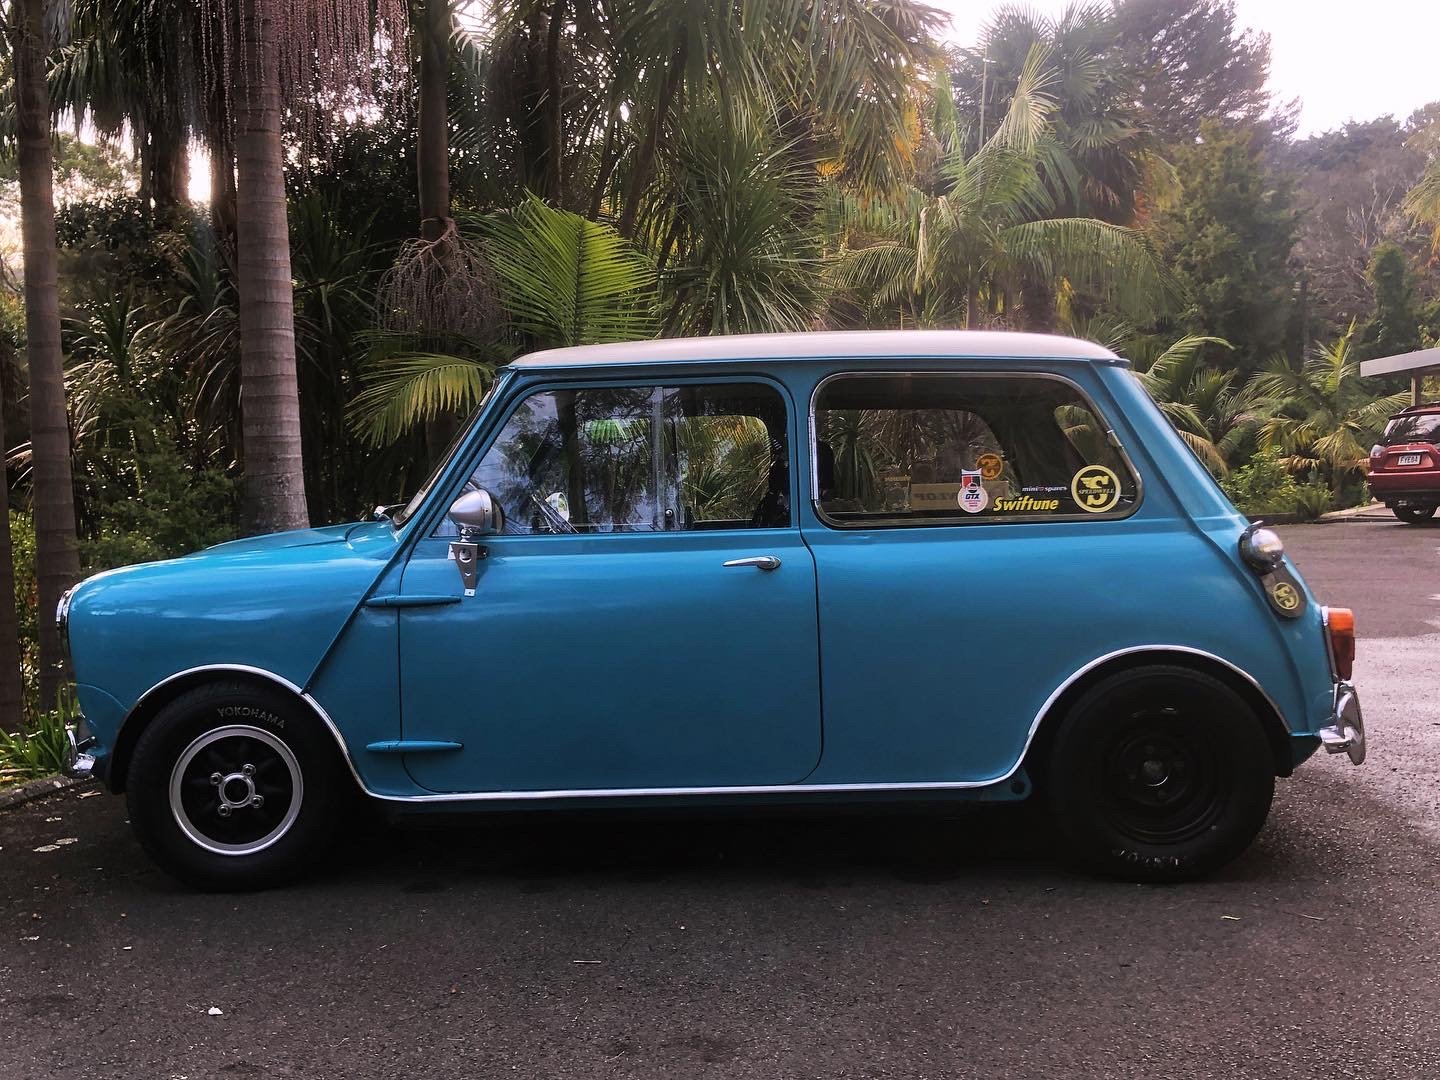
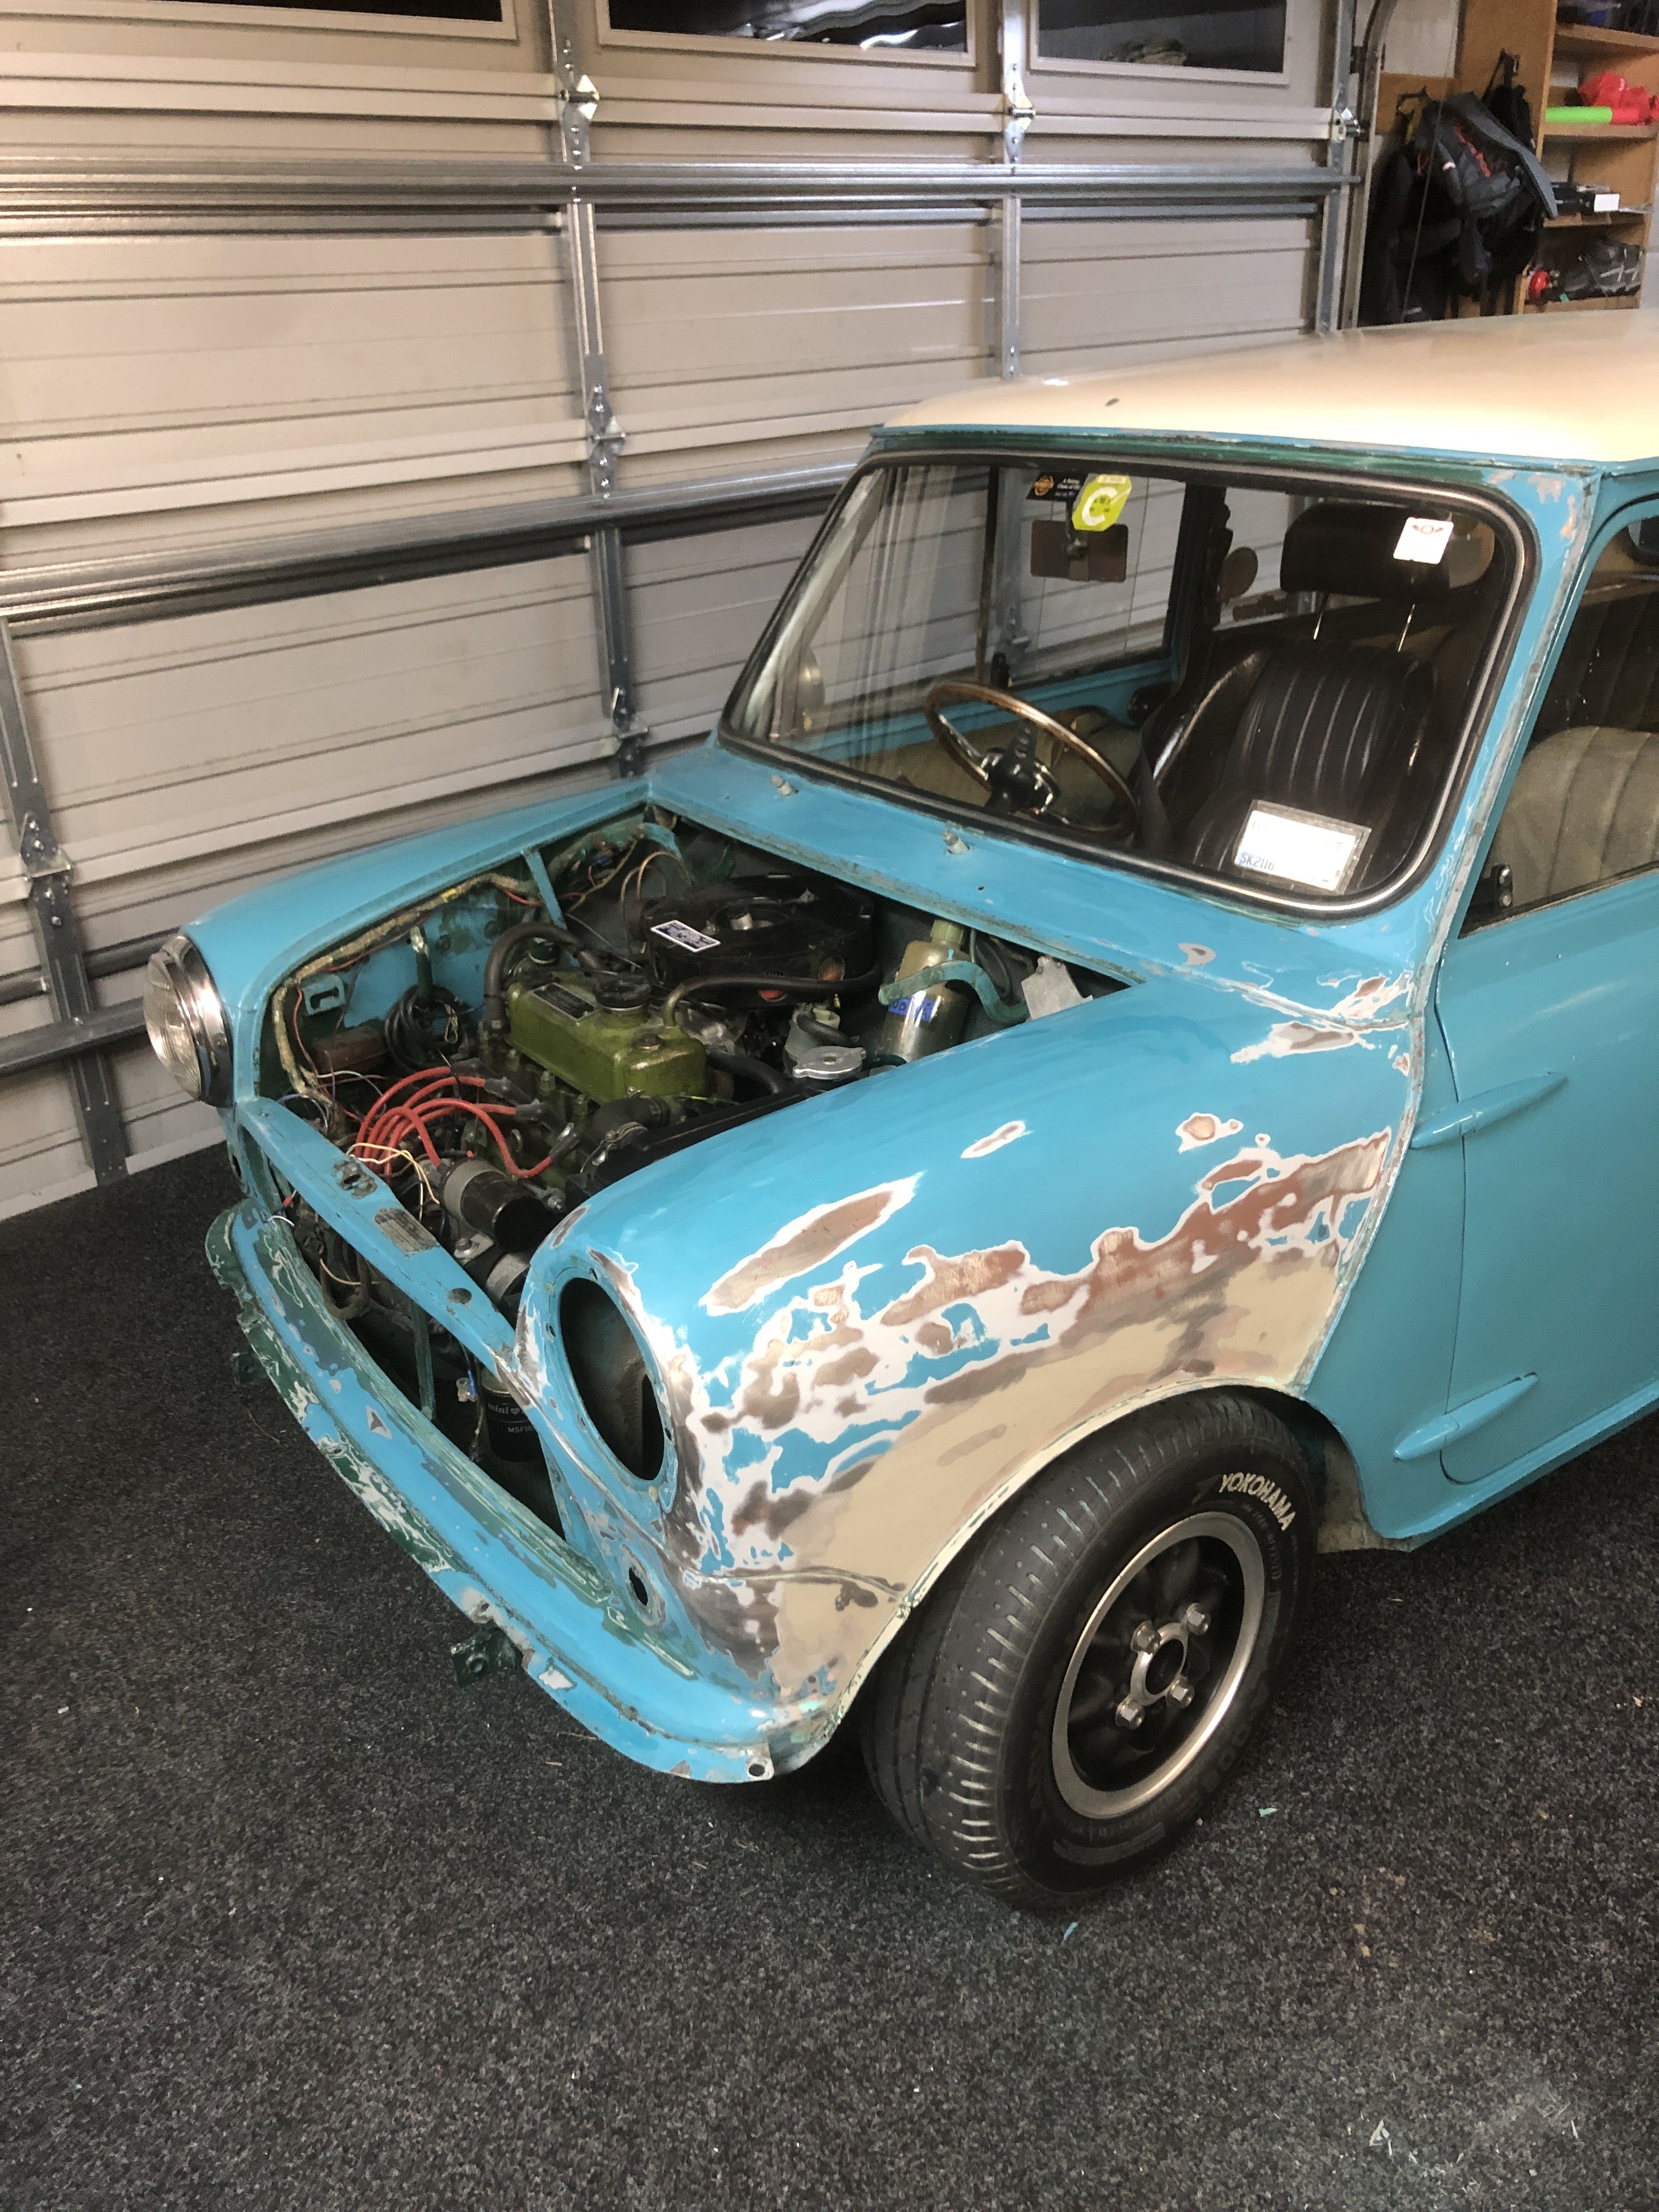
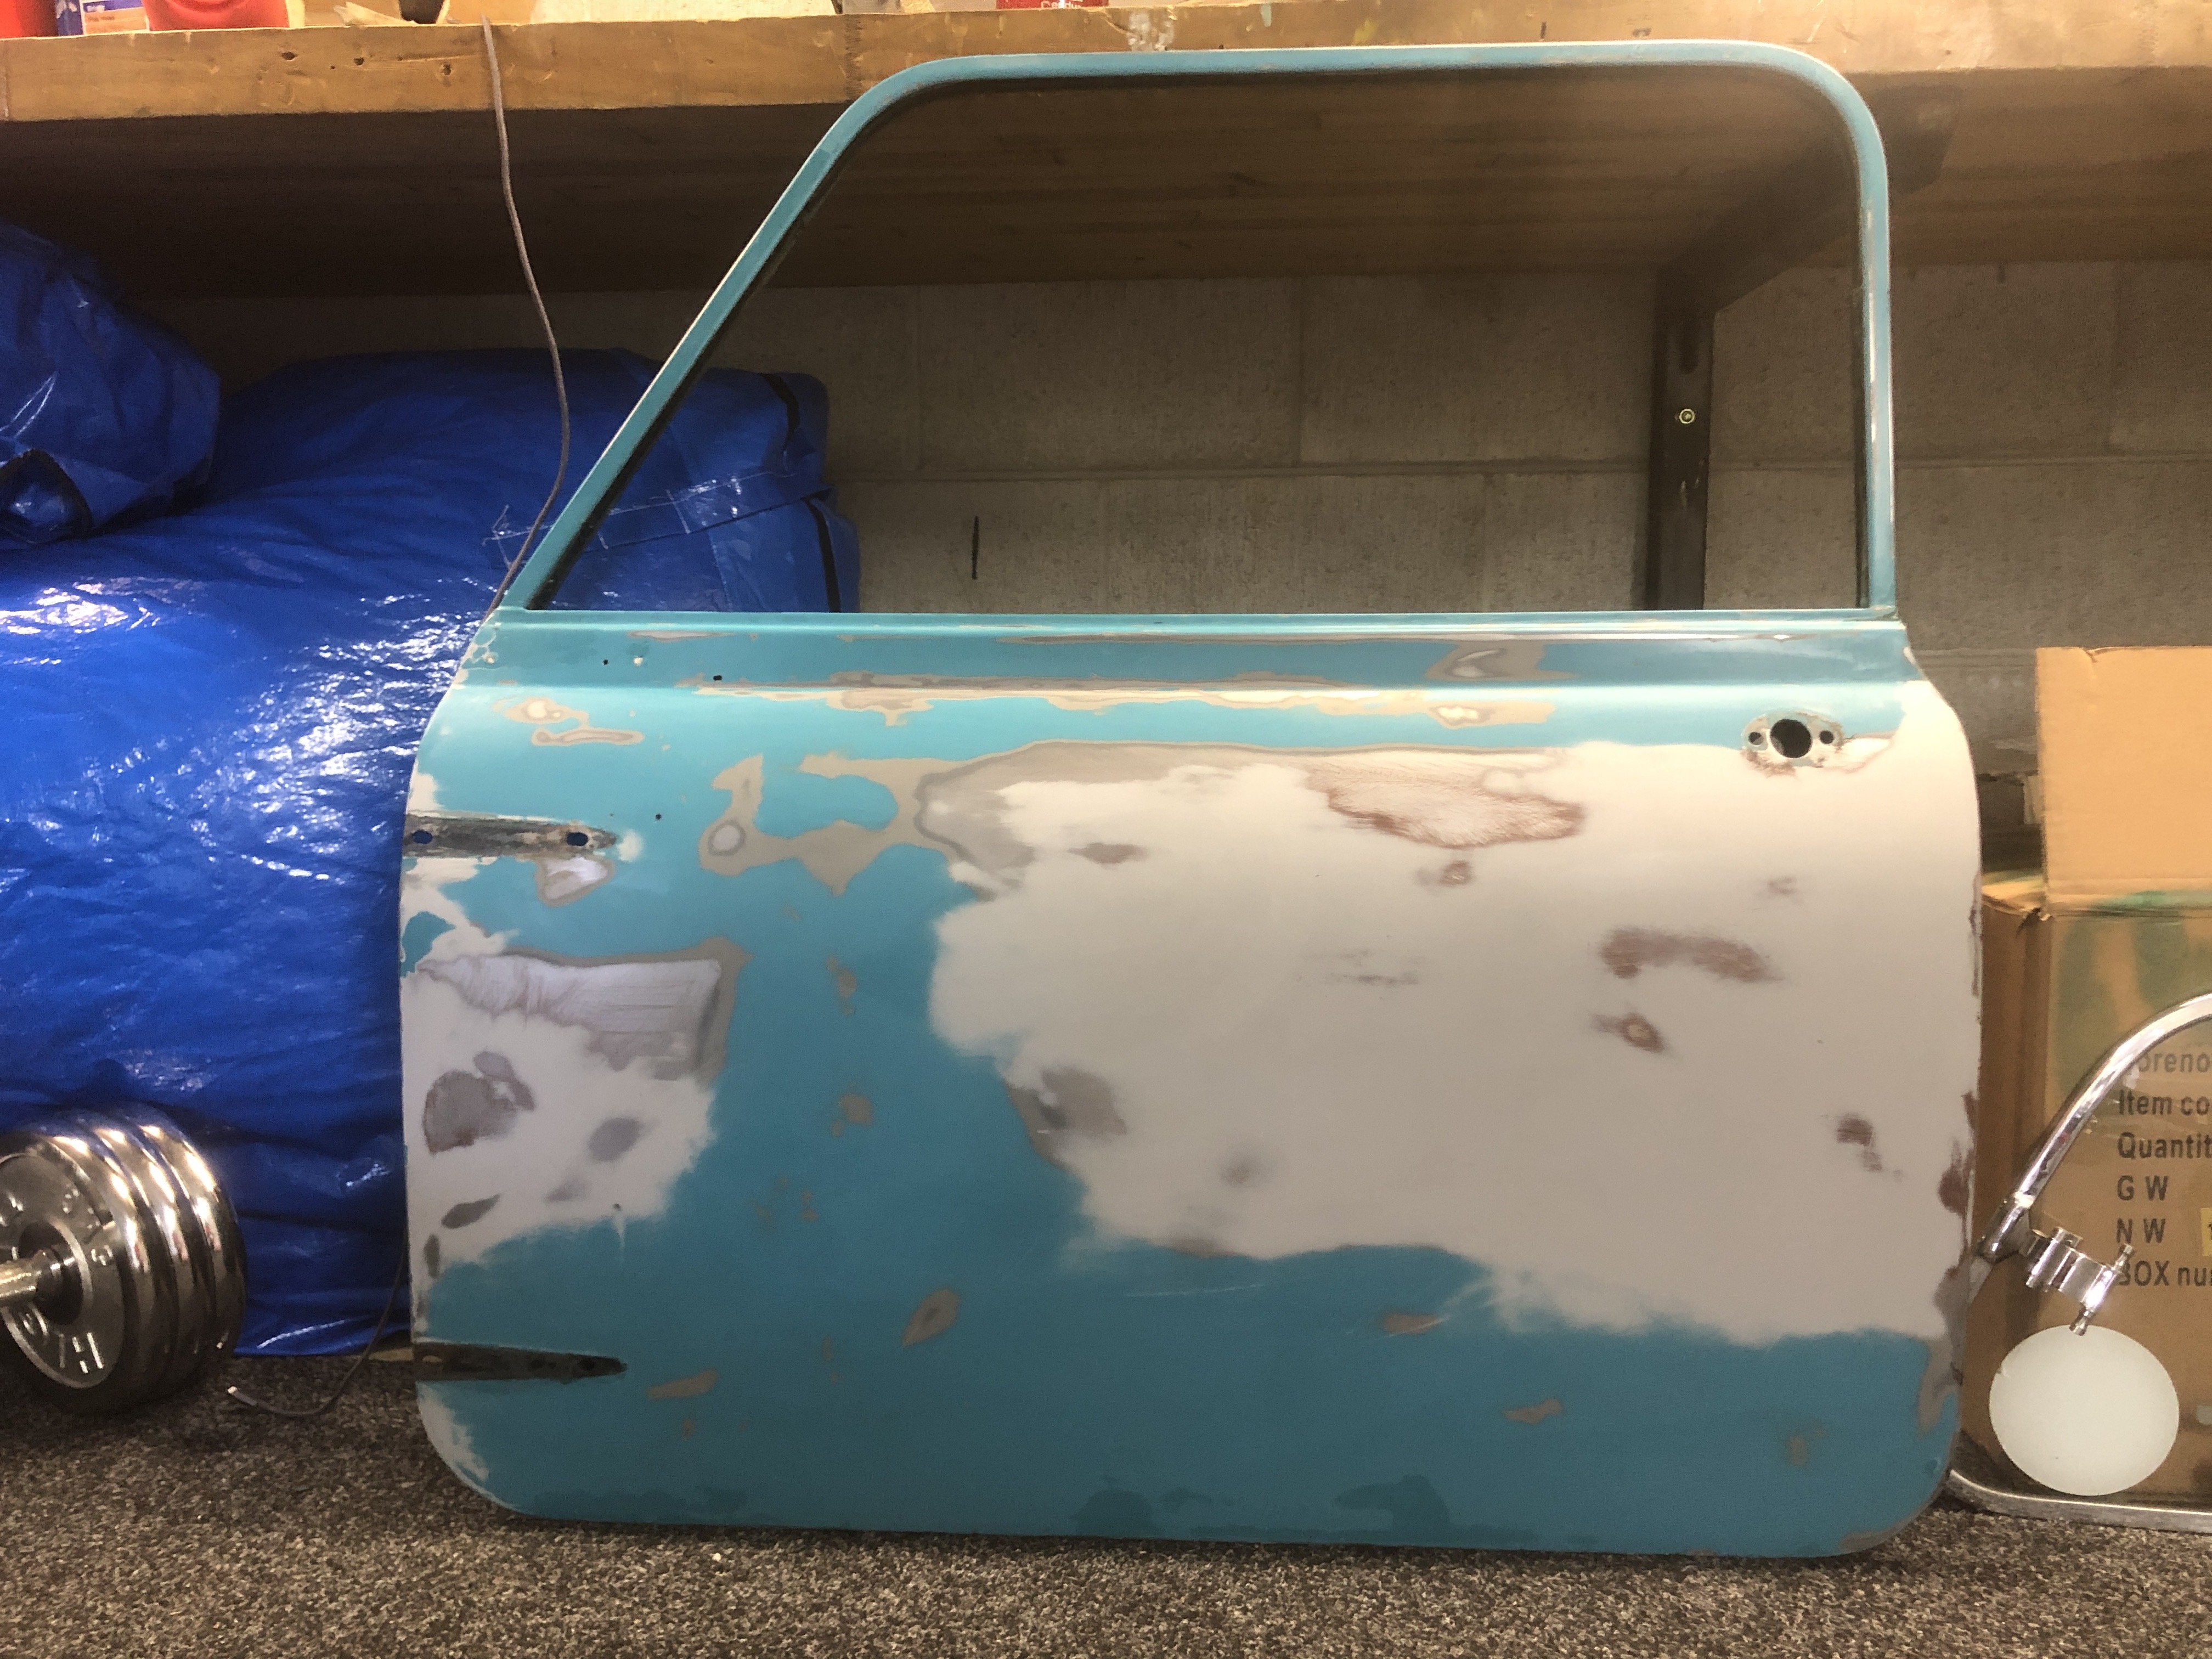
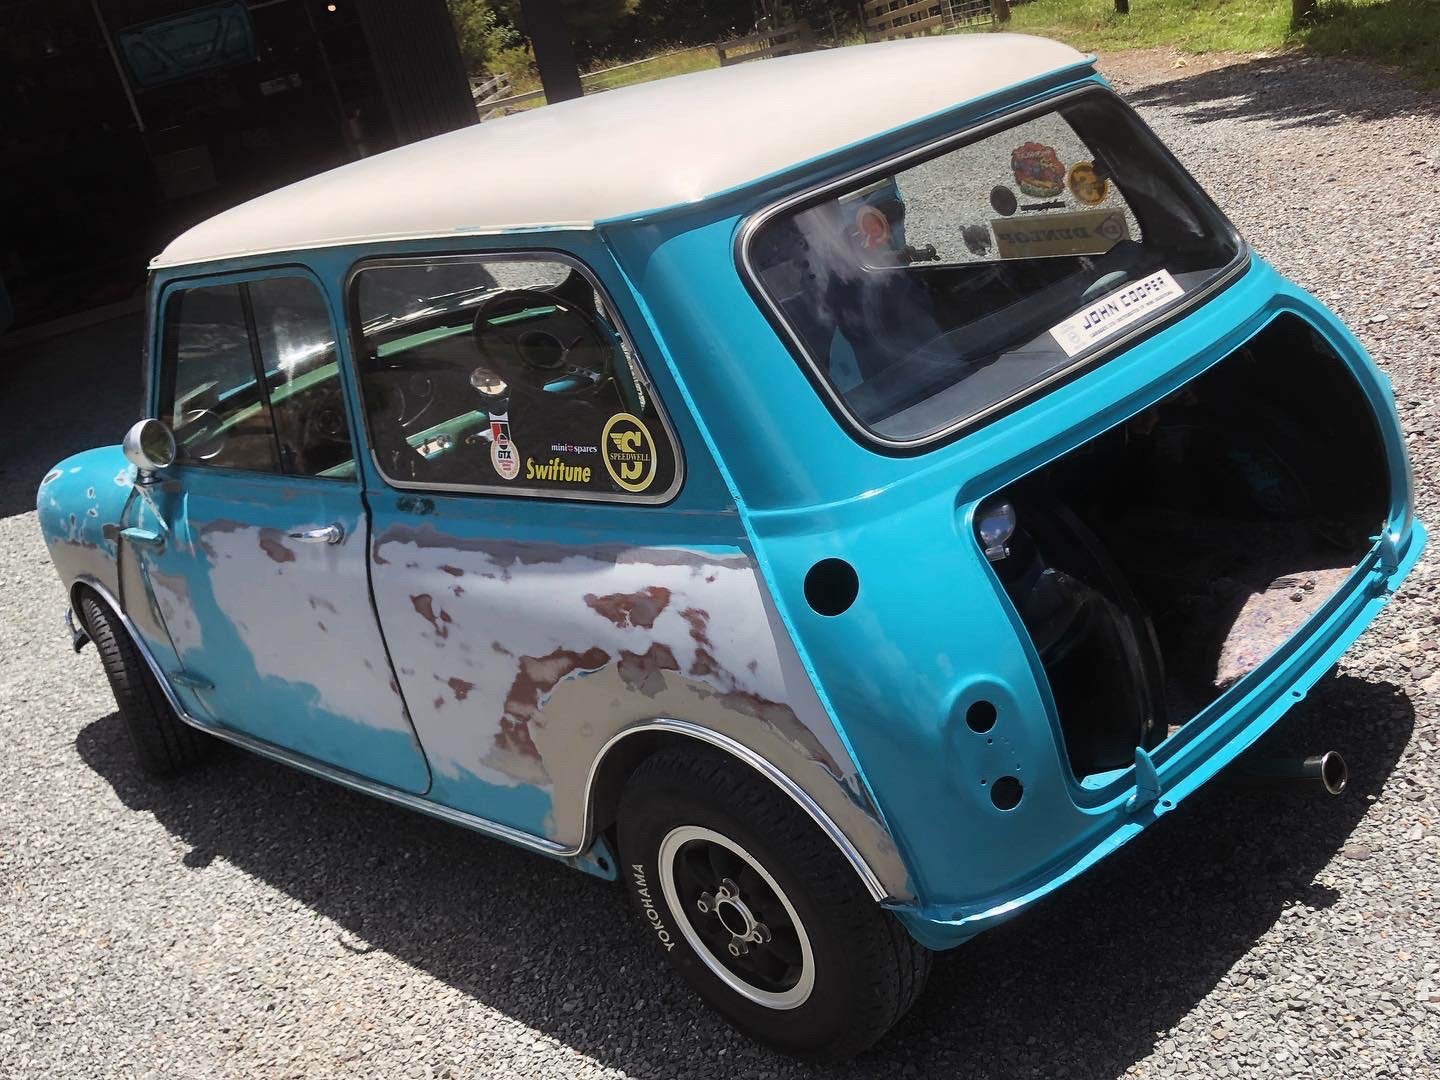
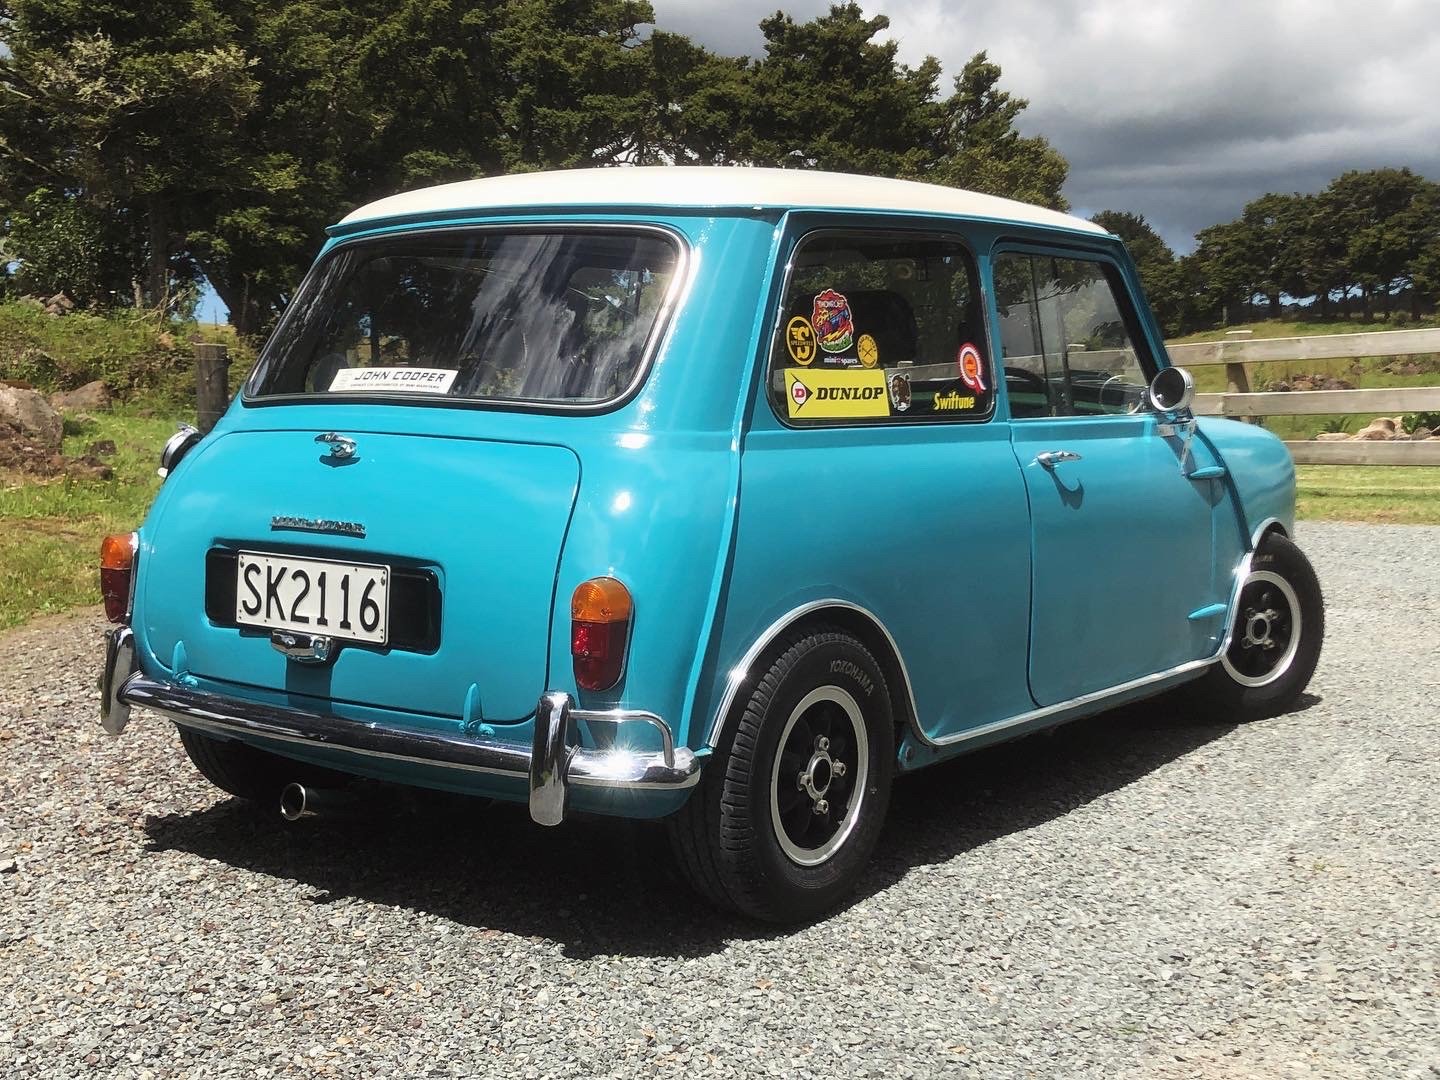
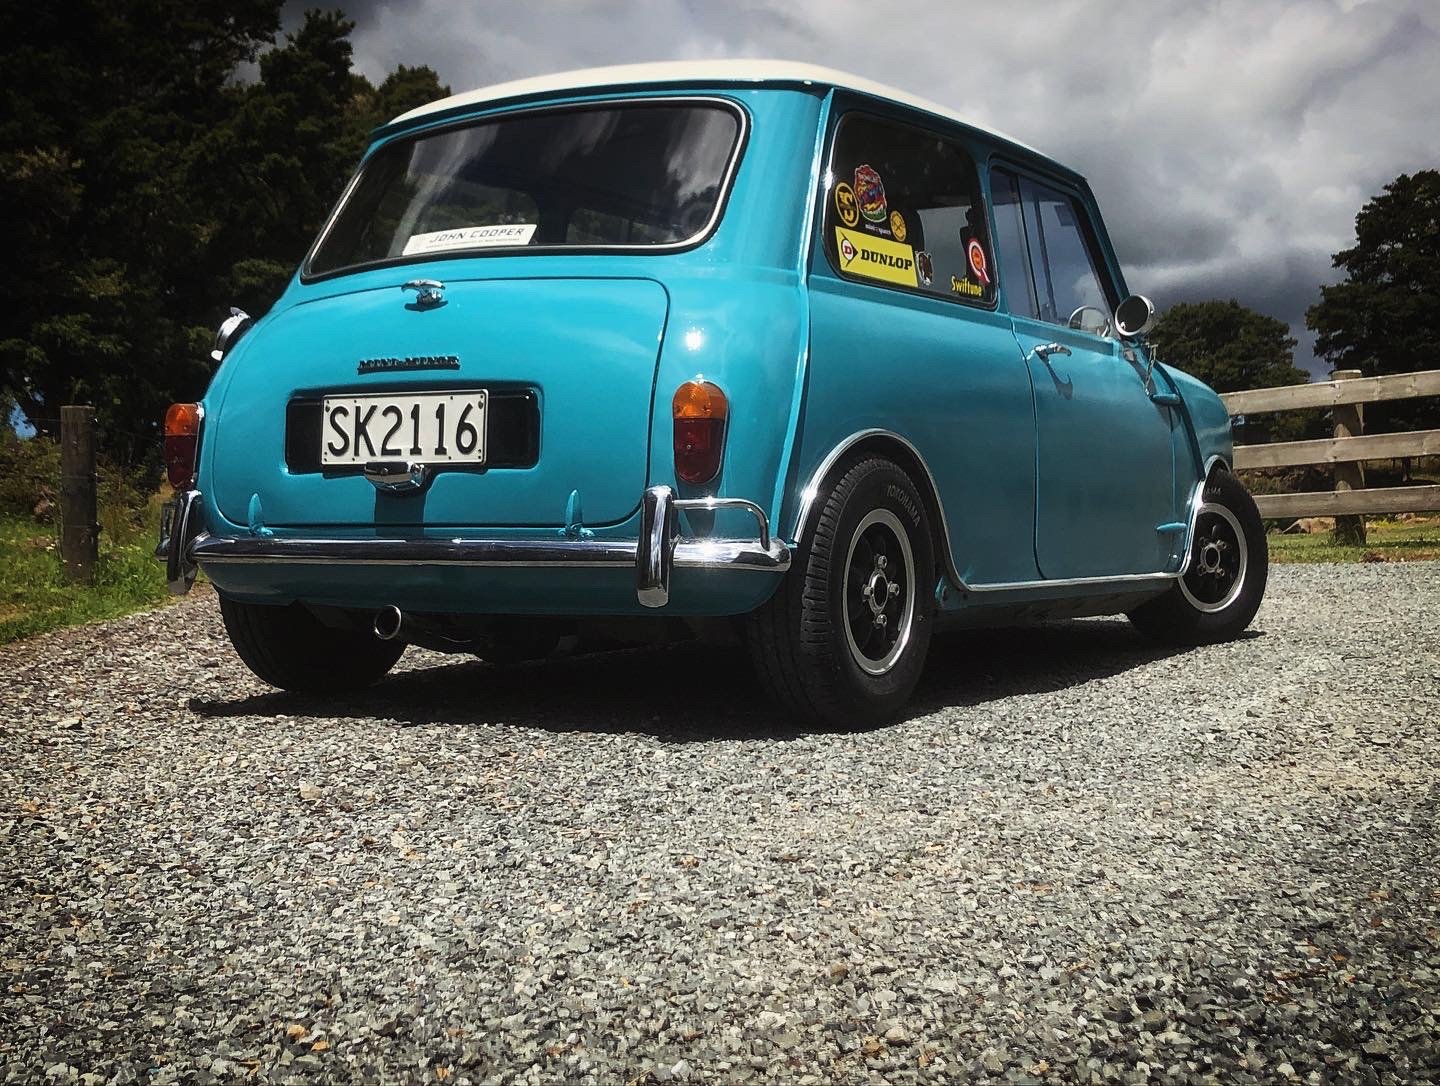
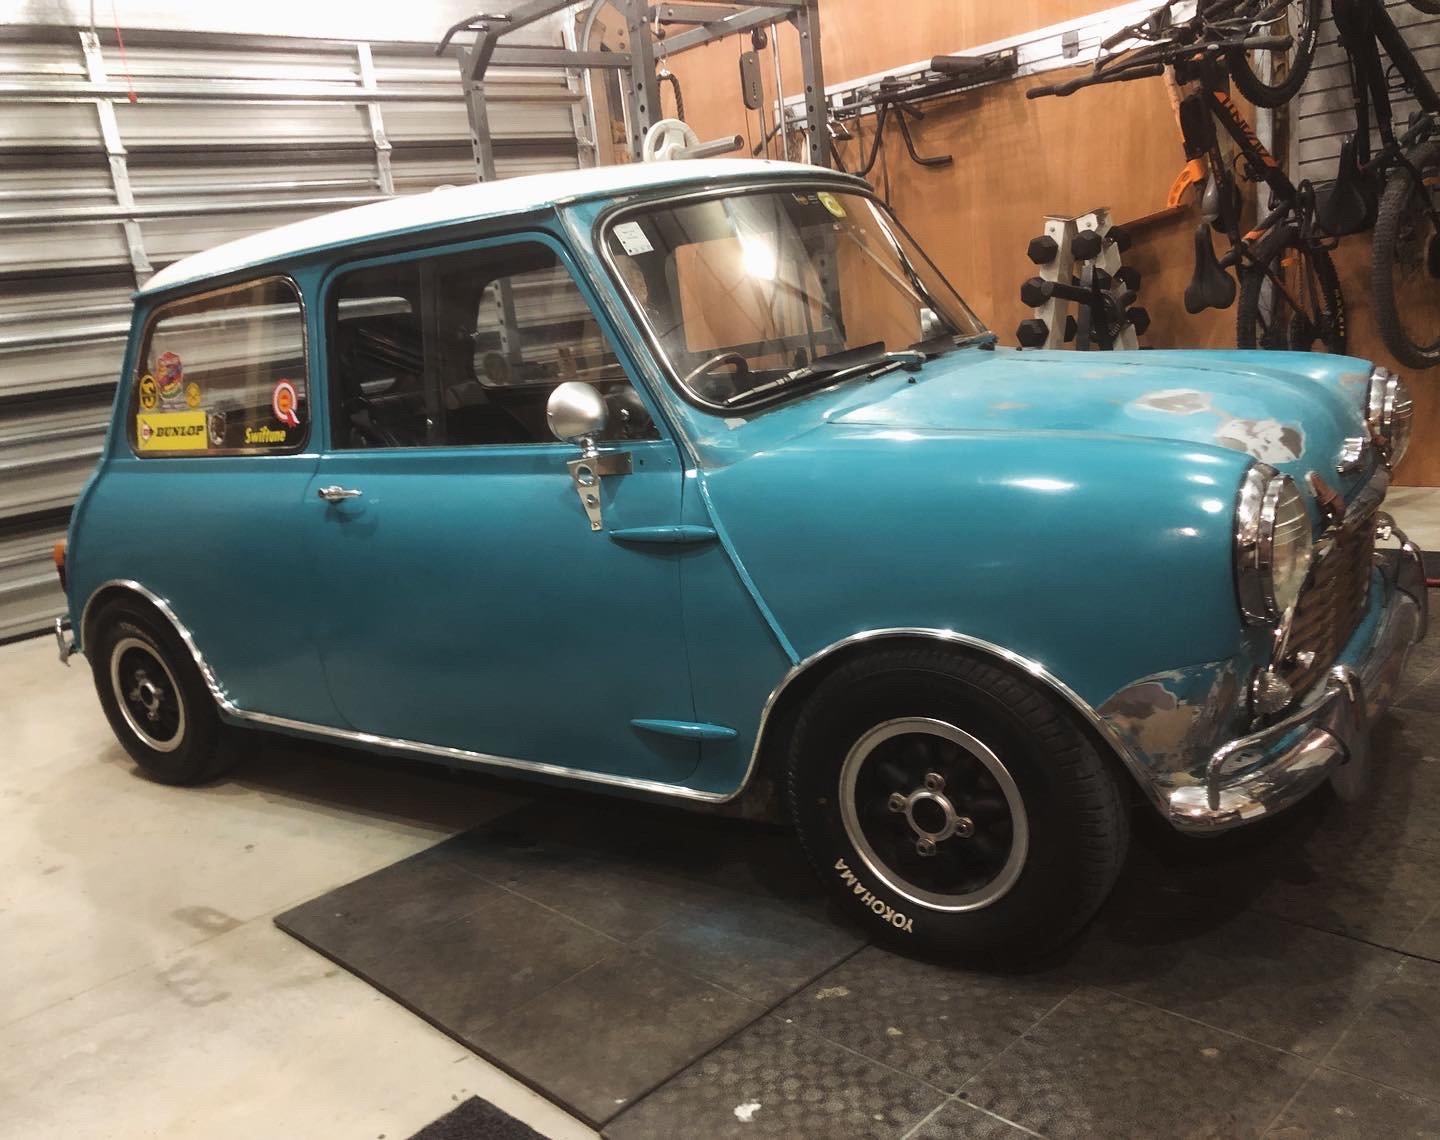
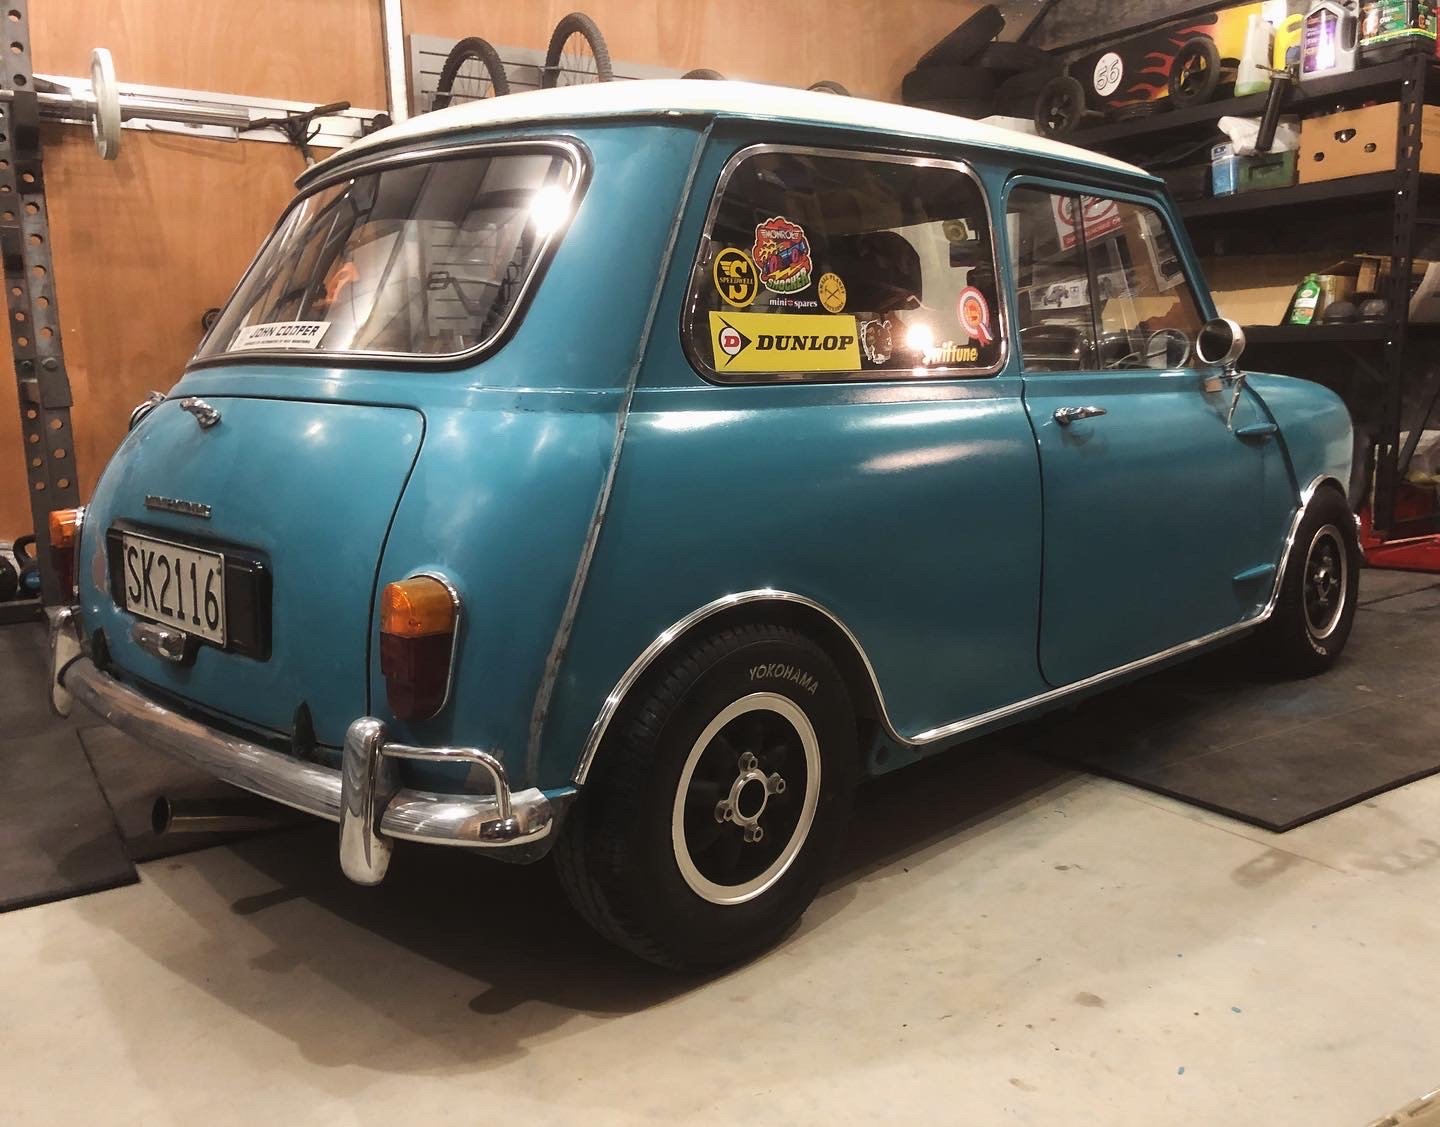
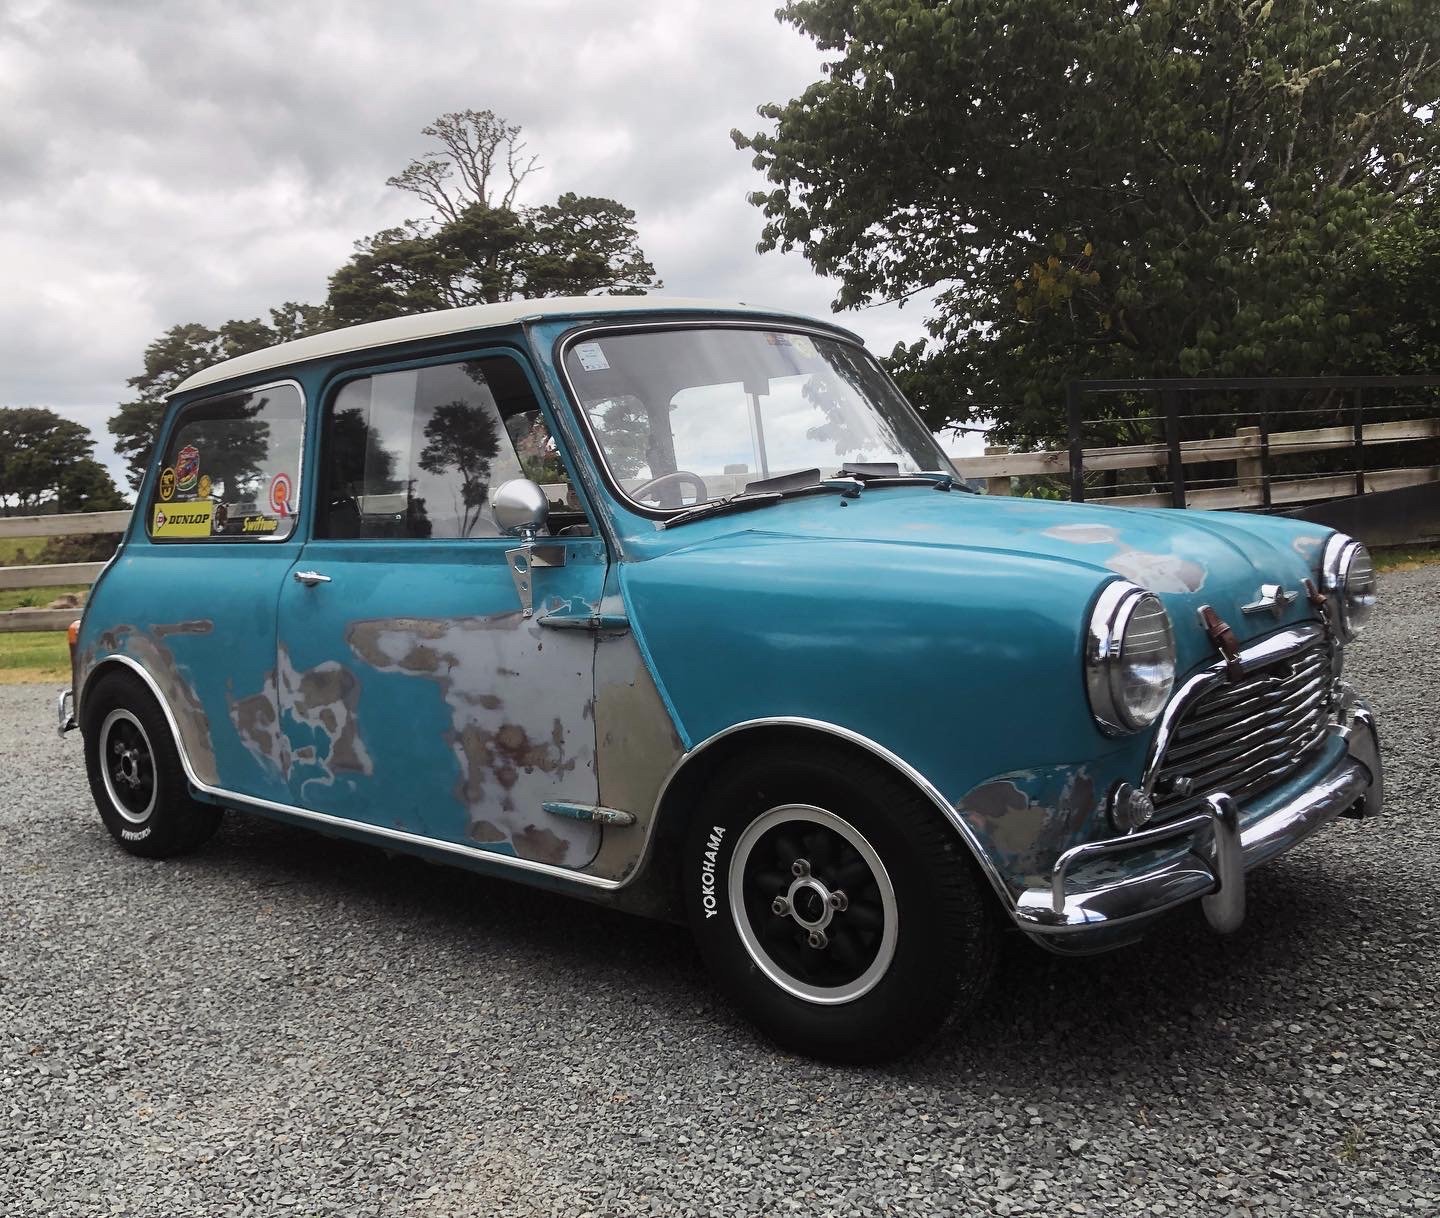
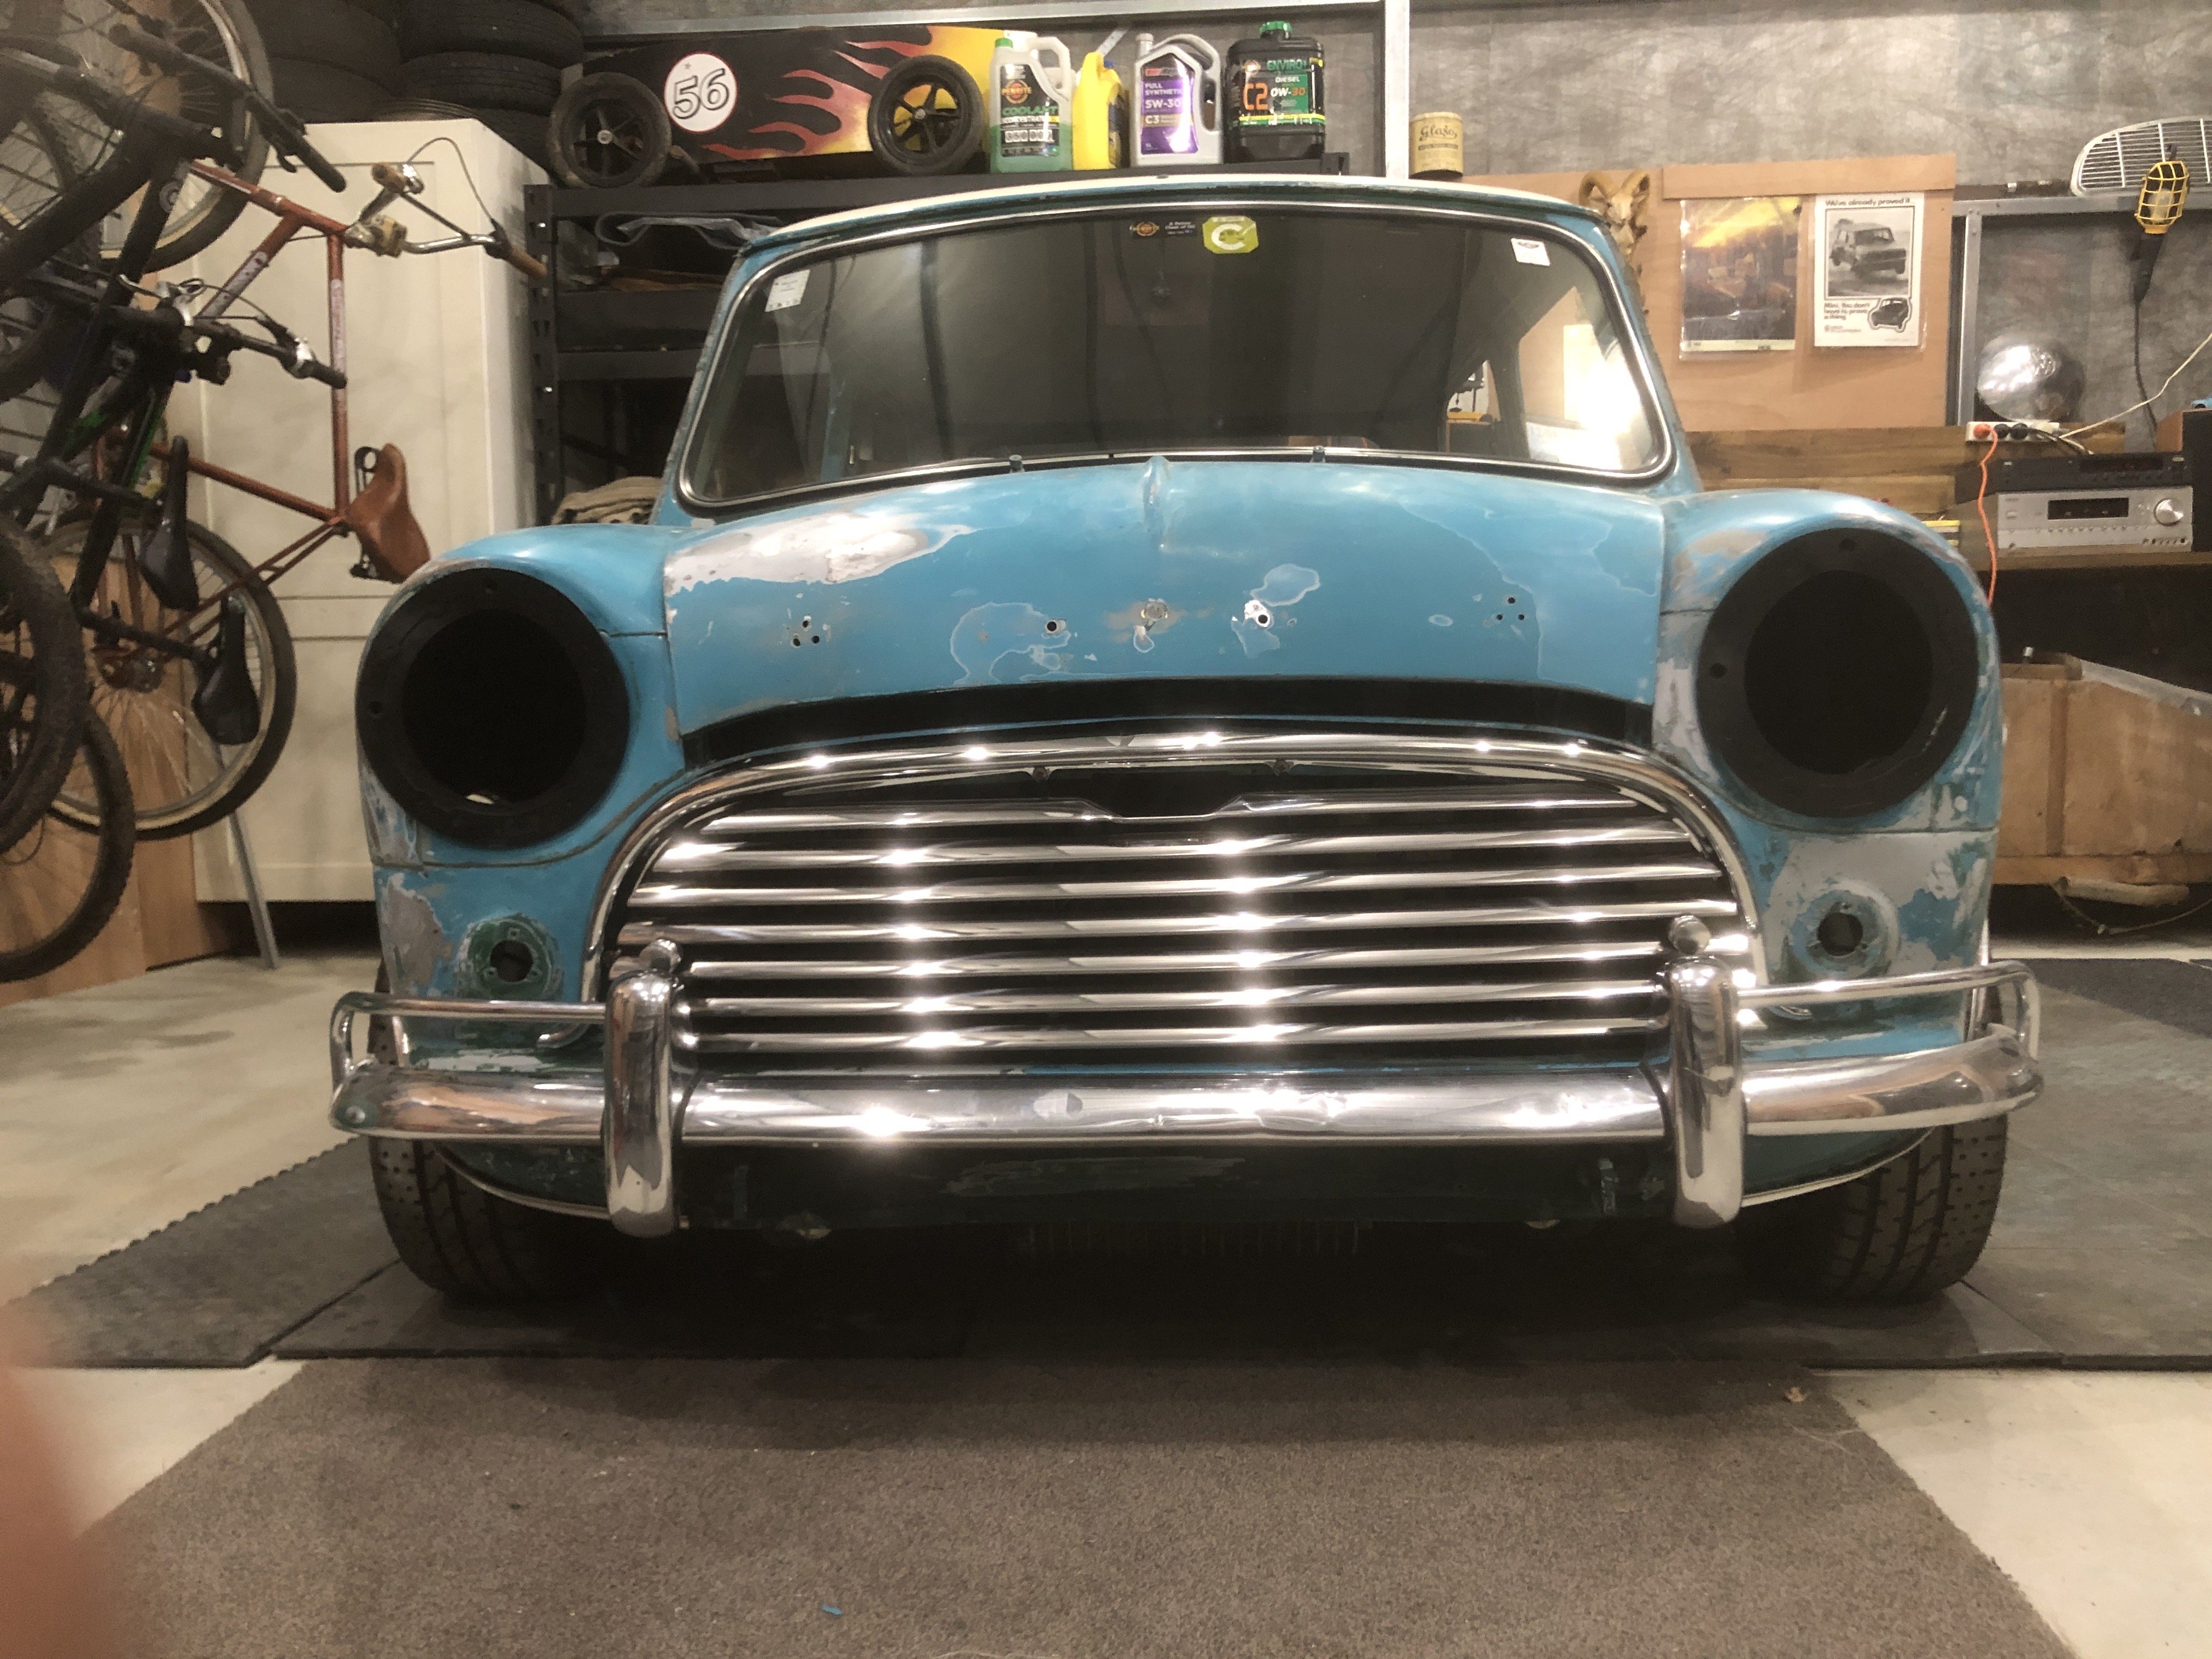
I’ve decided to respray her with rattlecans and drive her like that until I can afford a proper paint job. That will stop everyone from asking me when I’m going to paint her but also as I don’t want her to become a big pile of rust while I’m saving up some cash. Time is a precious resource at the moment so to fit it all in around everything else I’m spraying her in stages. So far I’ve managed to do the drivers side and rear end. I really wanted to do it in a single stage paint as I think that looks more of a 1960’s finish. My local paint shop could only colour match it into aerosols by doing it as base coat so I’m having to clear coat it. She looks pretty good from a distance but up close and personal she’s not so flash.
Oddly enough I shelled out a fair few dollars in some flash new wheels. I’d been pining after these for a few years and had never quite convinced myself I should buy them as they are a little bit on the pricey side. I bit the bullet a few months ago so she’s now fitted with a set of some rather lovely Minispares rose petals. They’re definitely my favourite style of wheel for classic Minis and IMO fits the “no arches” look the best.
-
4
-
1
-
-
-
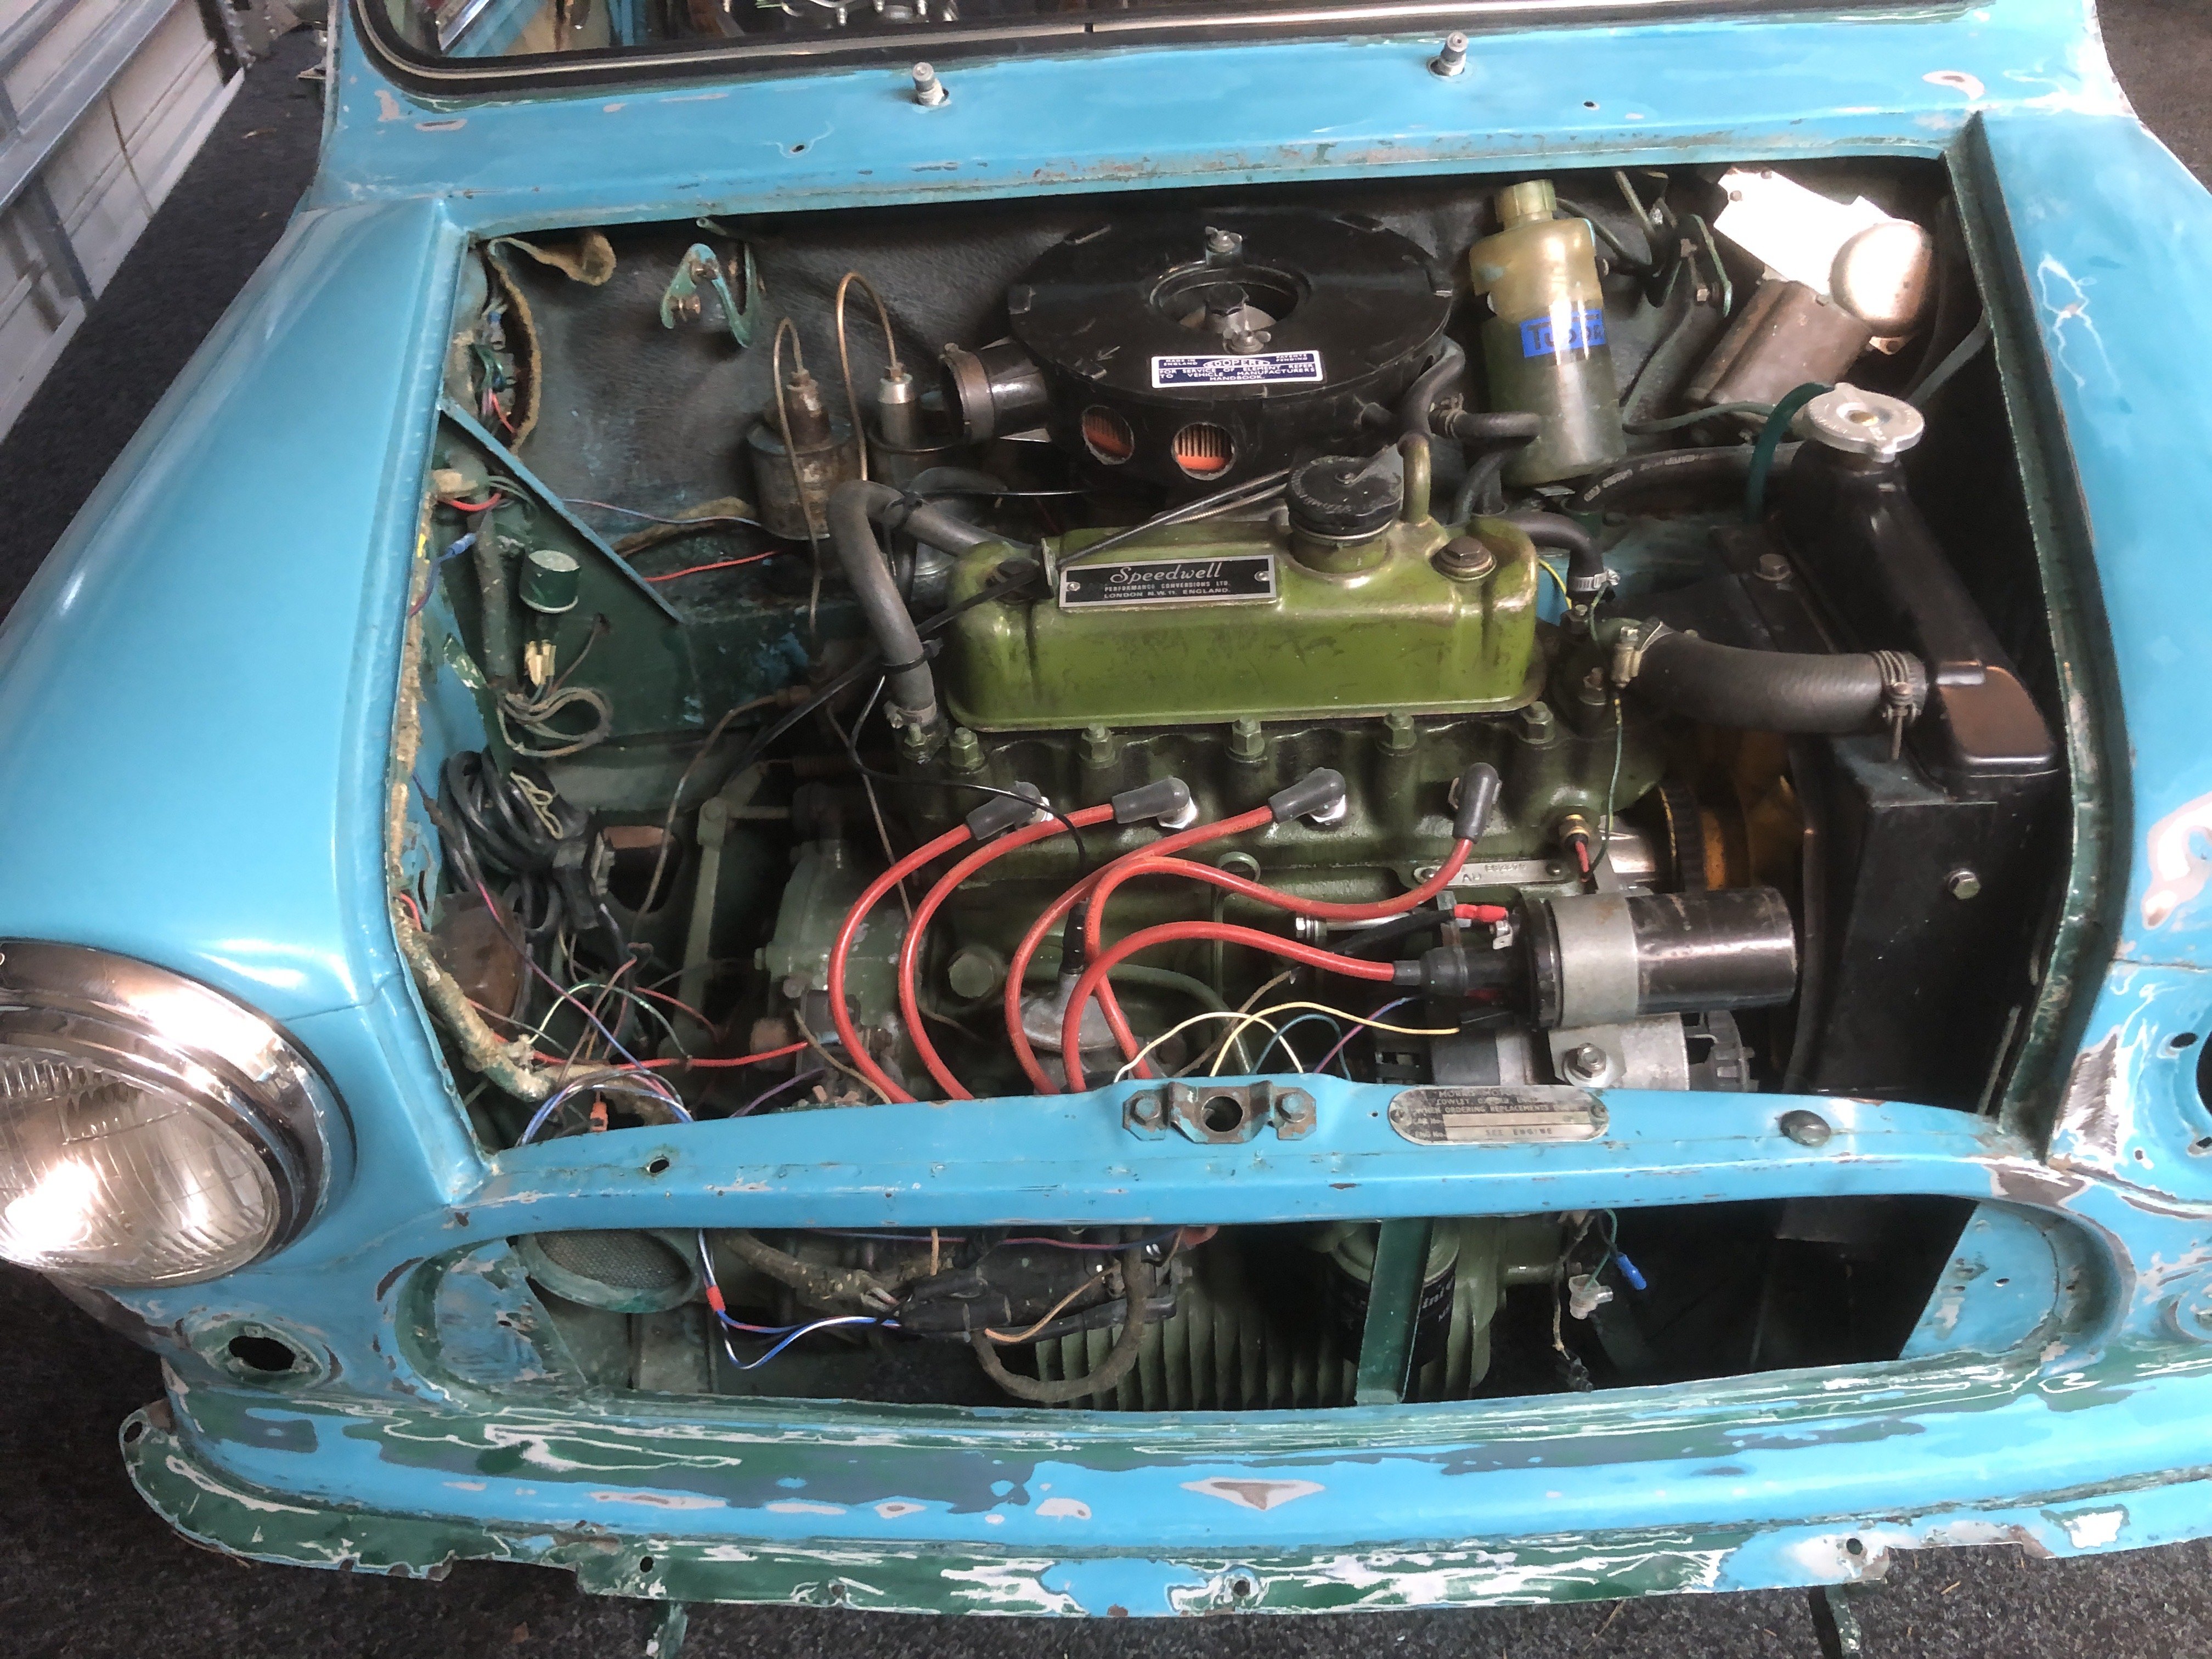
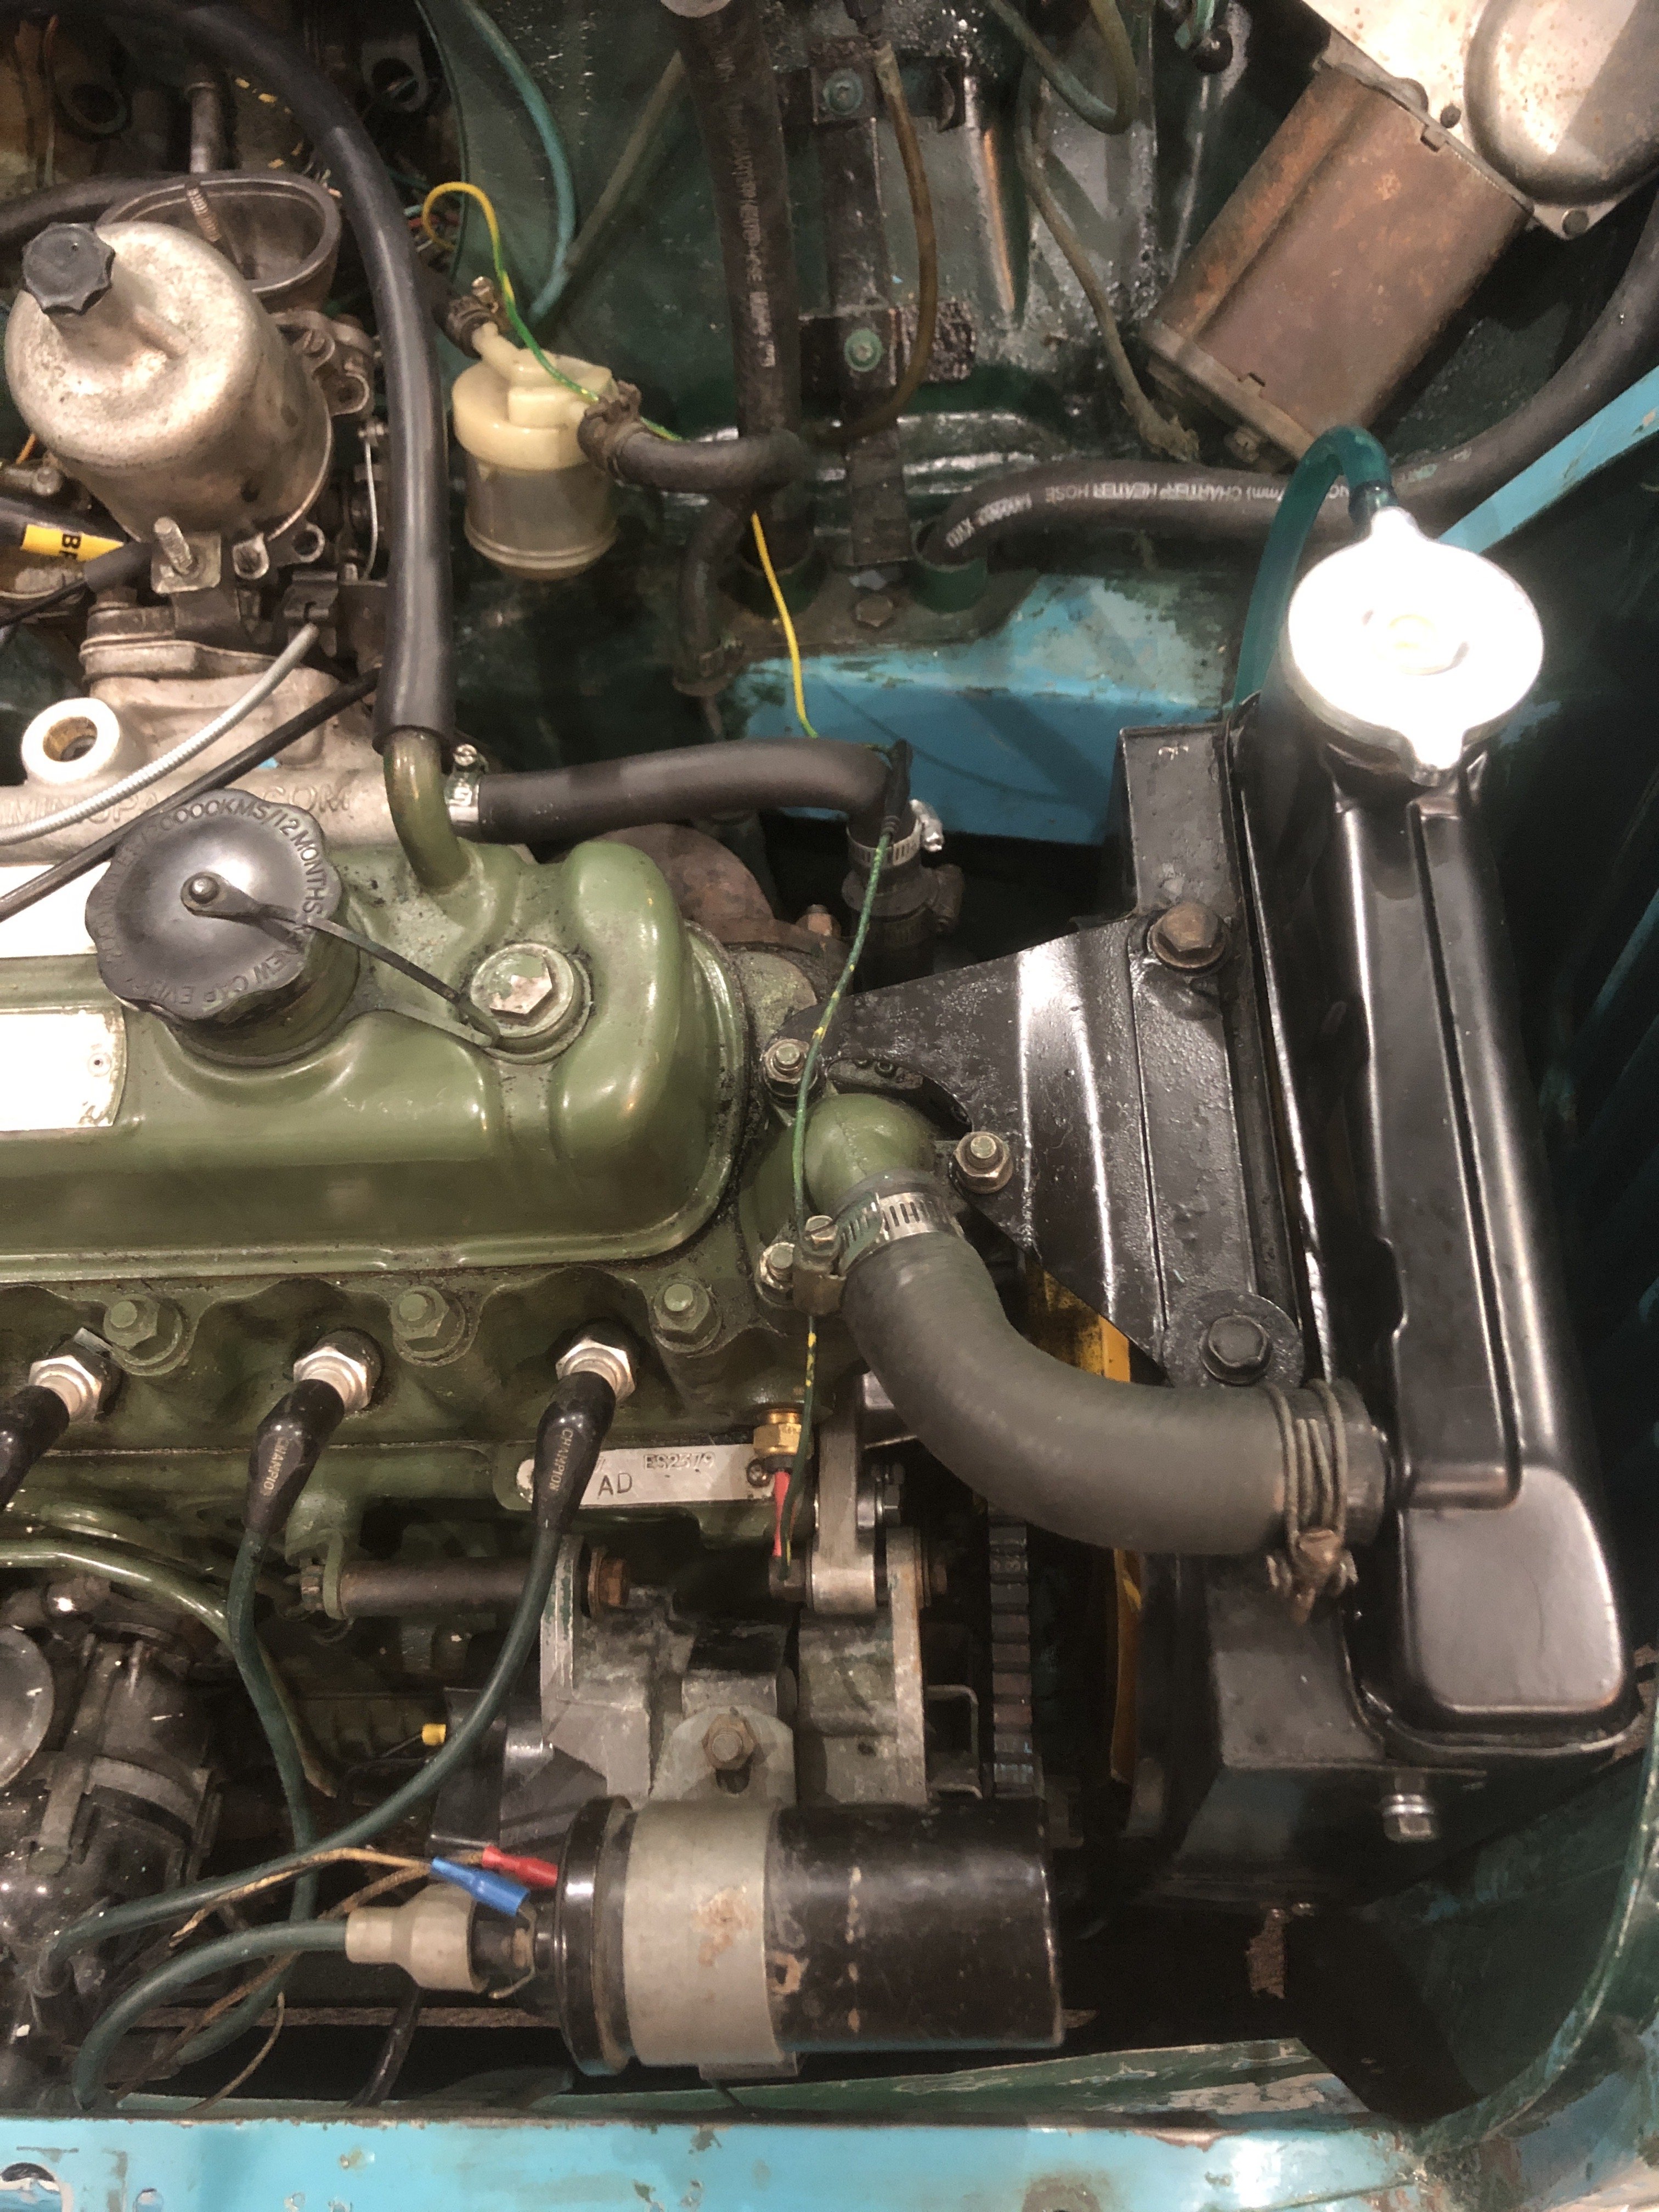
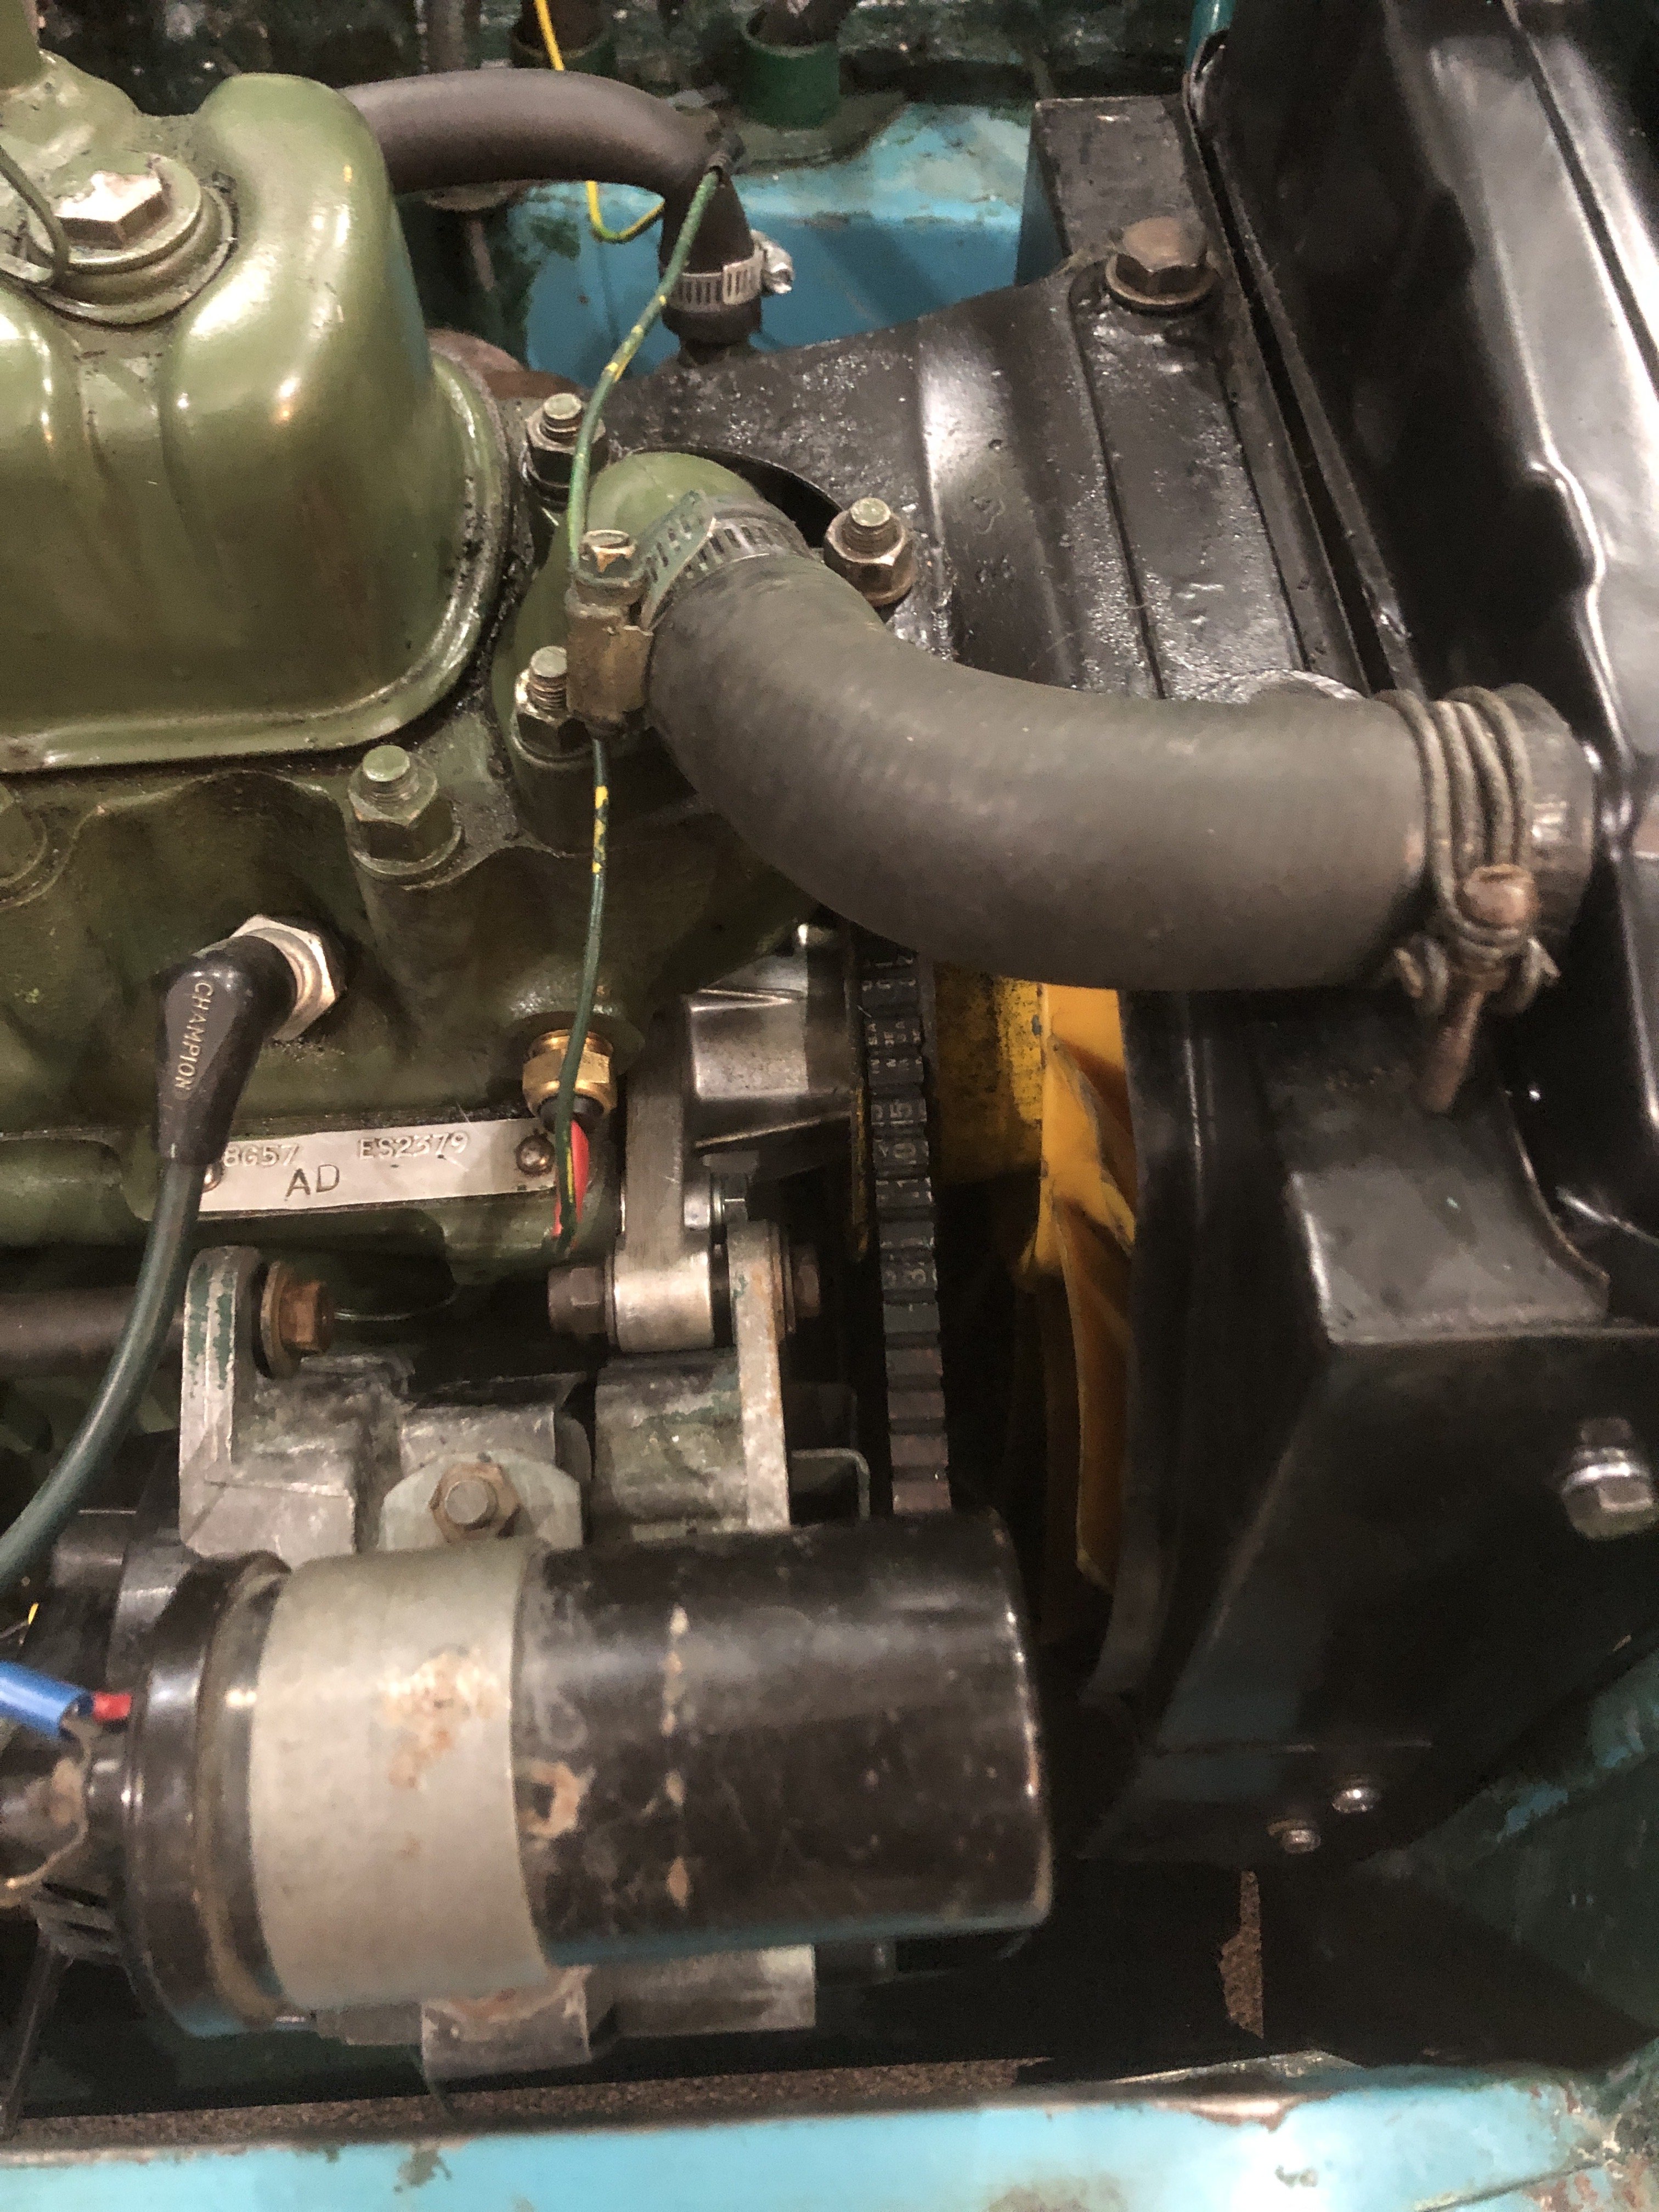
She still had her original radiator from 1964 which had developed a bit of a leak around the neck so I’ve fitted a new 3 core radiator and water pump. I’m going to keep the old radiator as the original radiators are a little bit rare now so best to keep it in case a future owner wants to take her back to original.
-
5
-
-
- Popular Post
- Popular Post
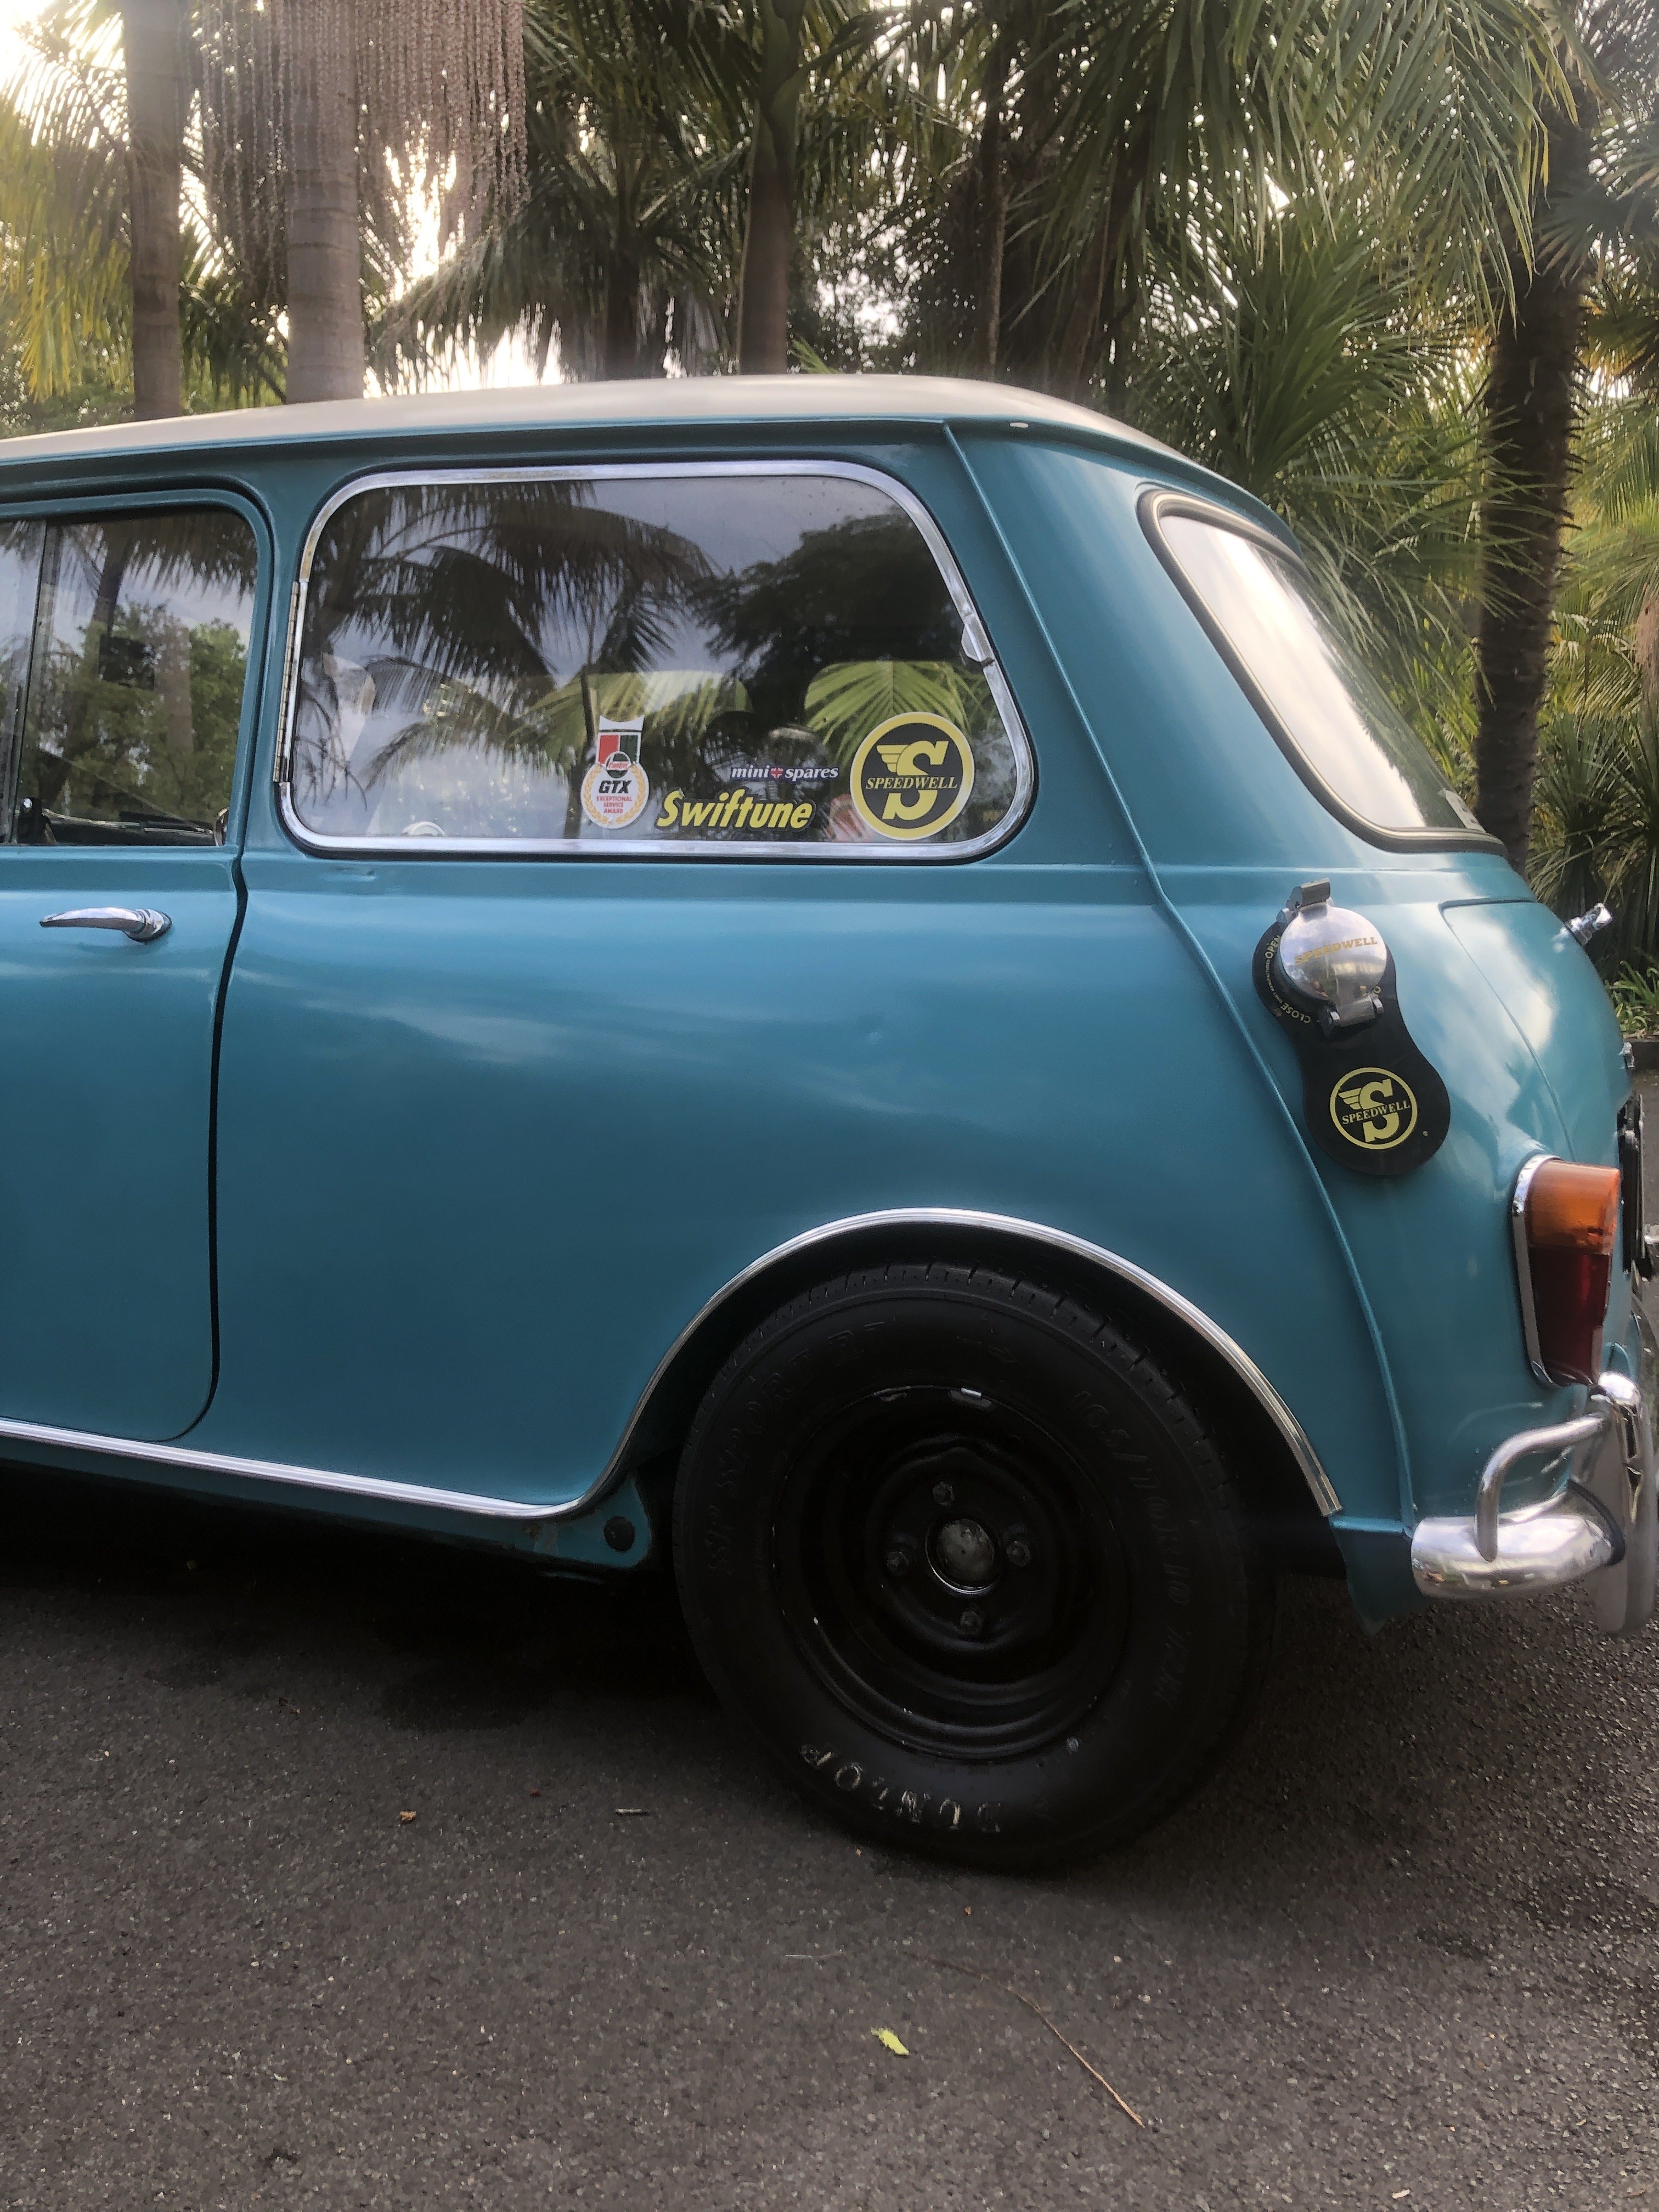
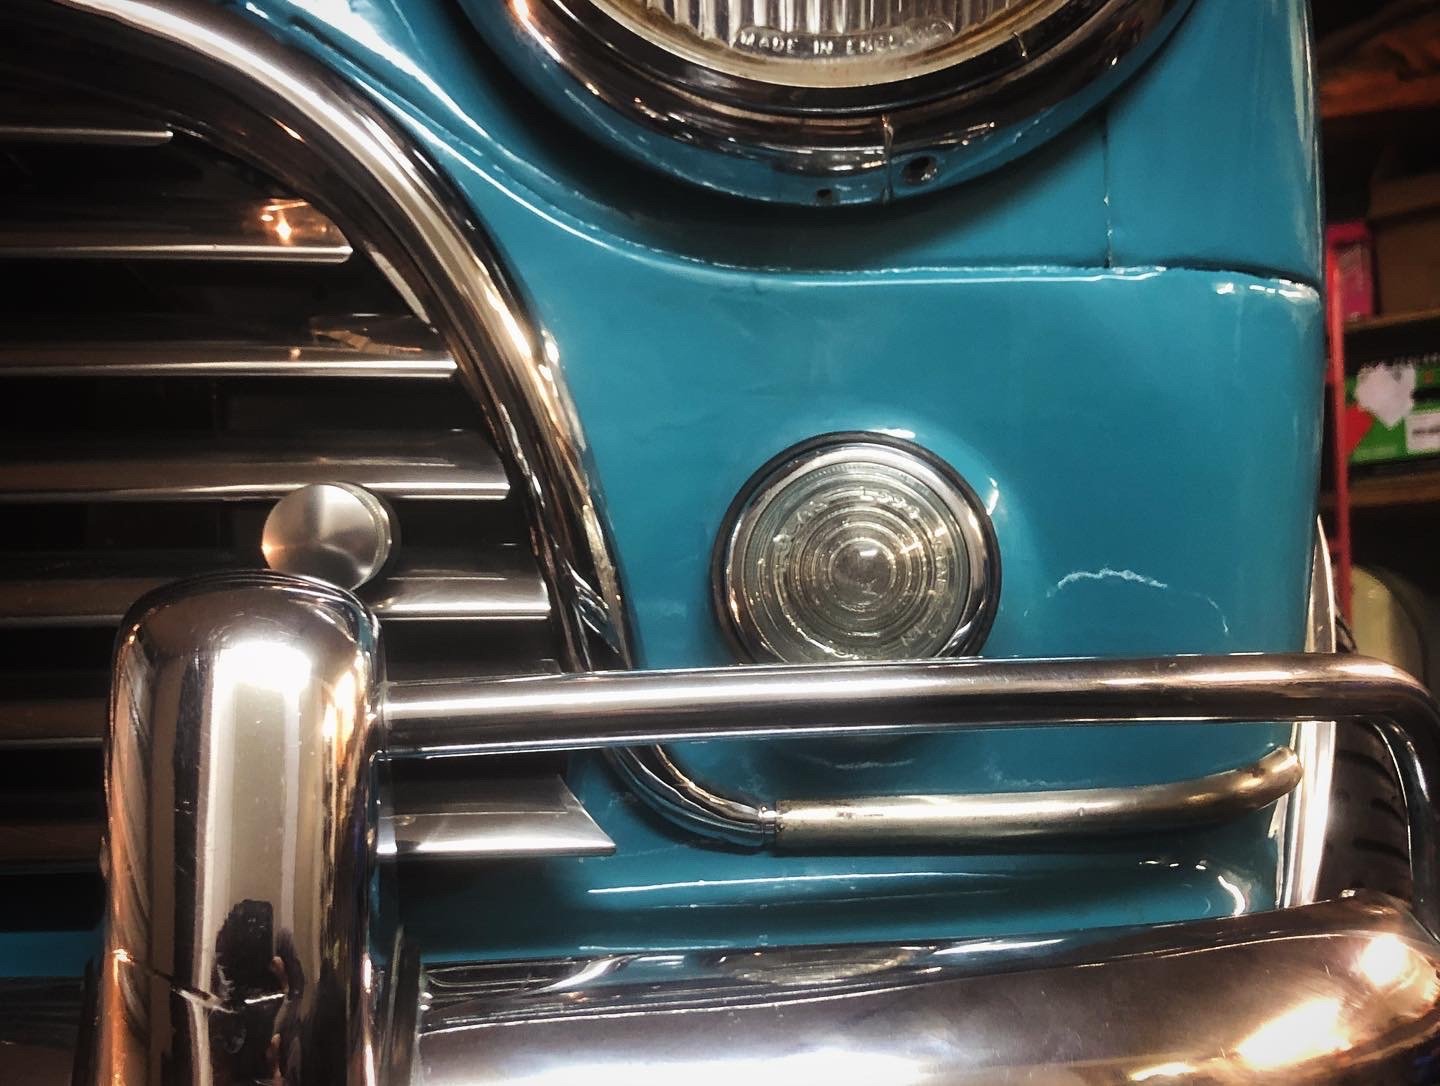
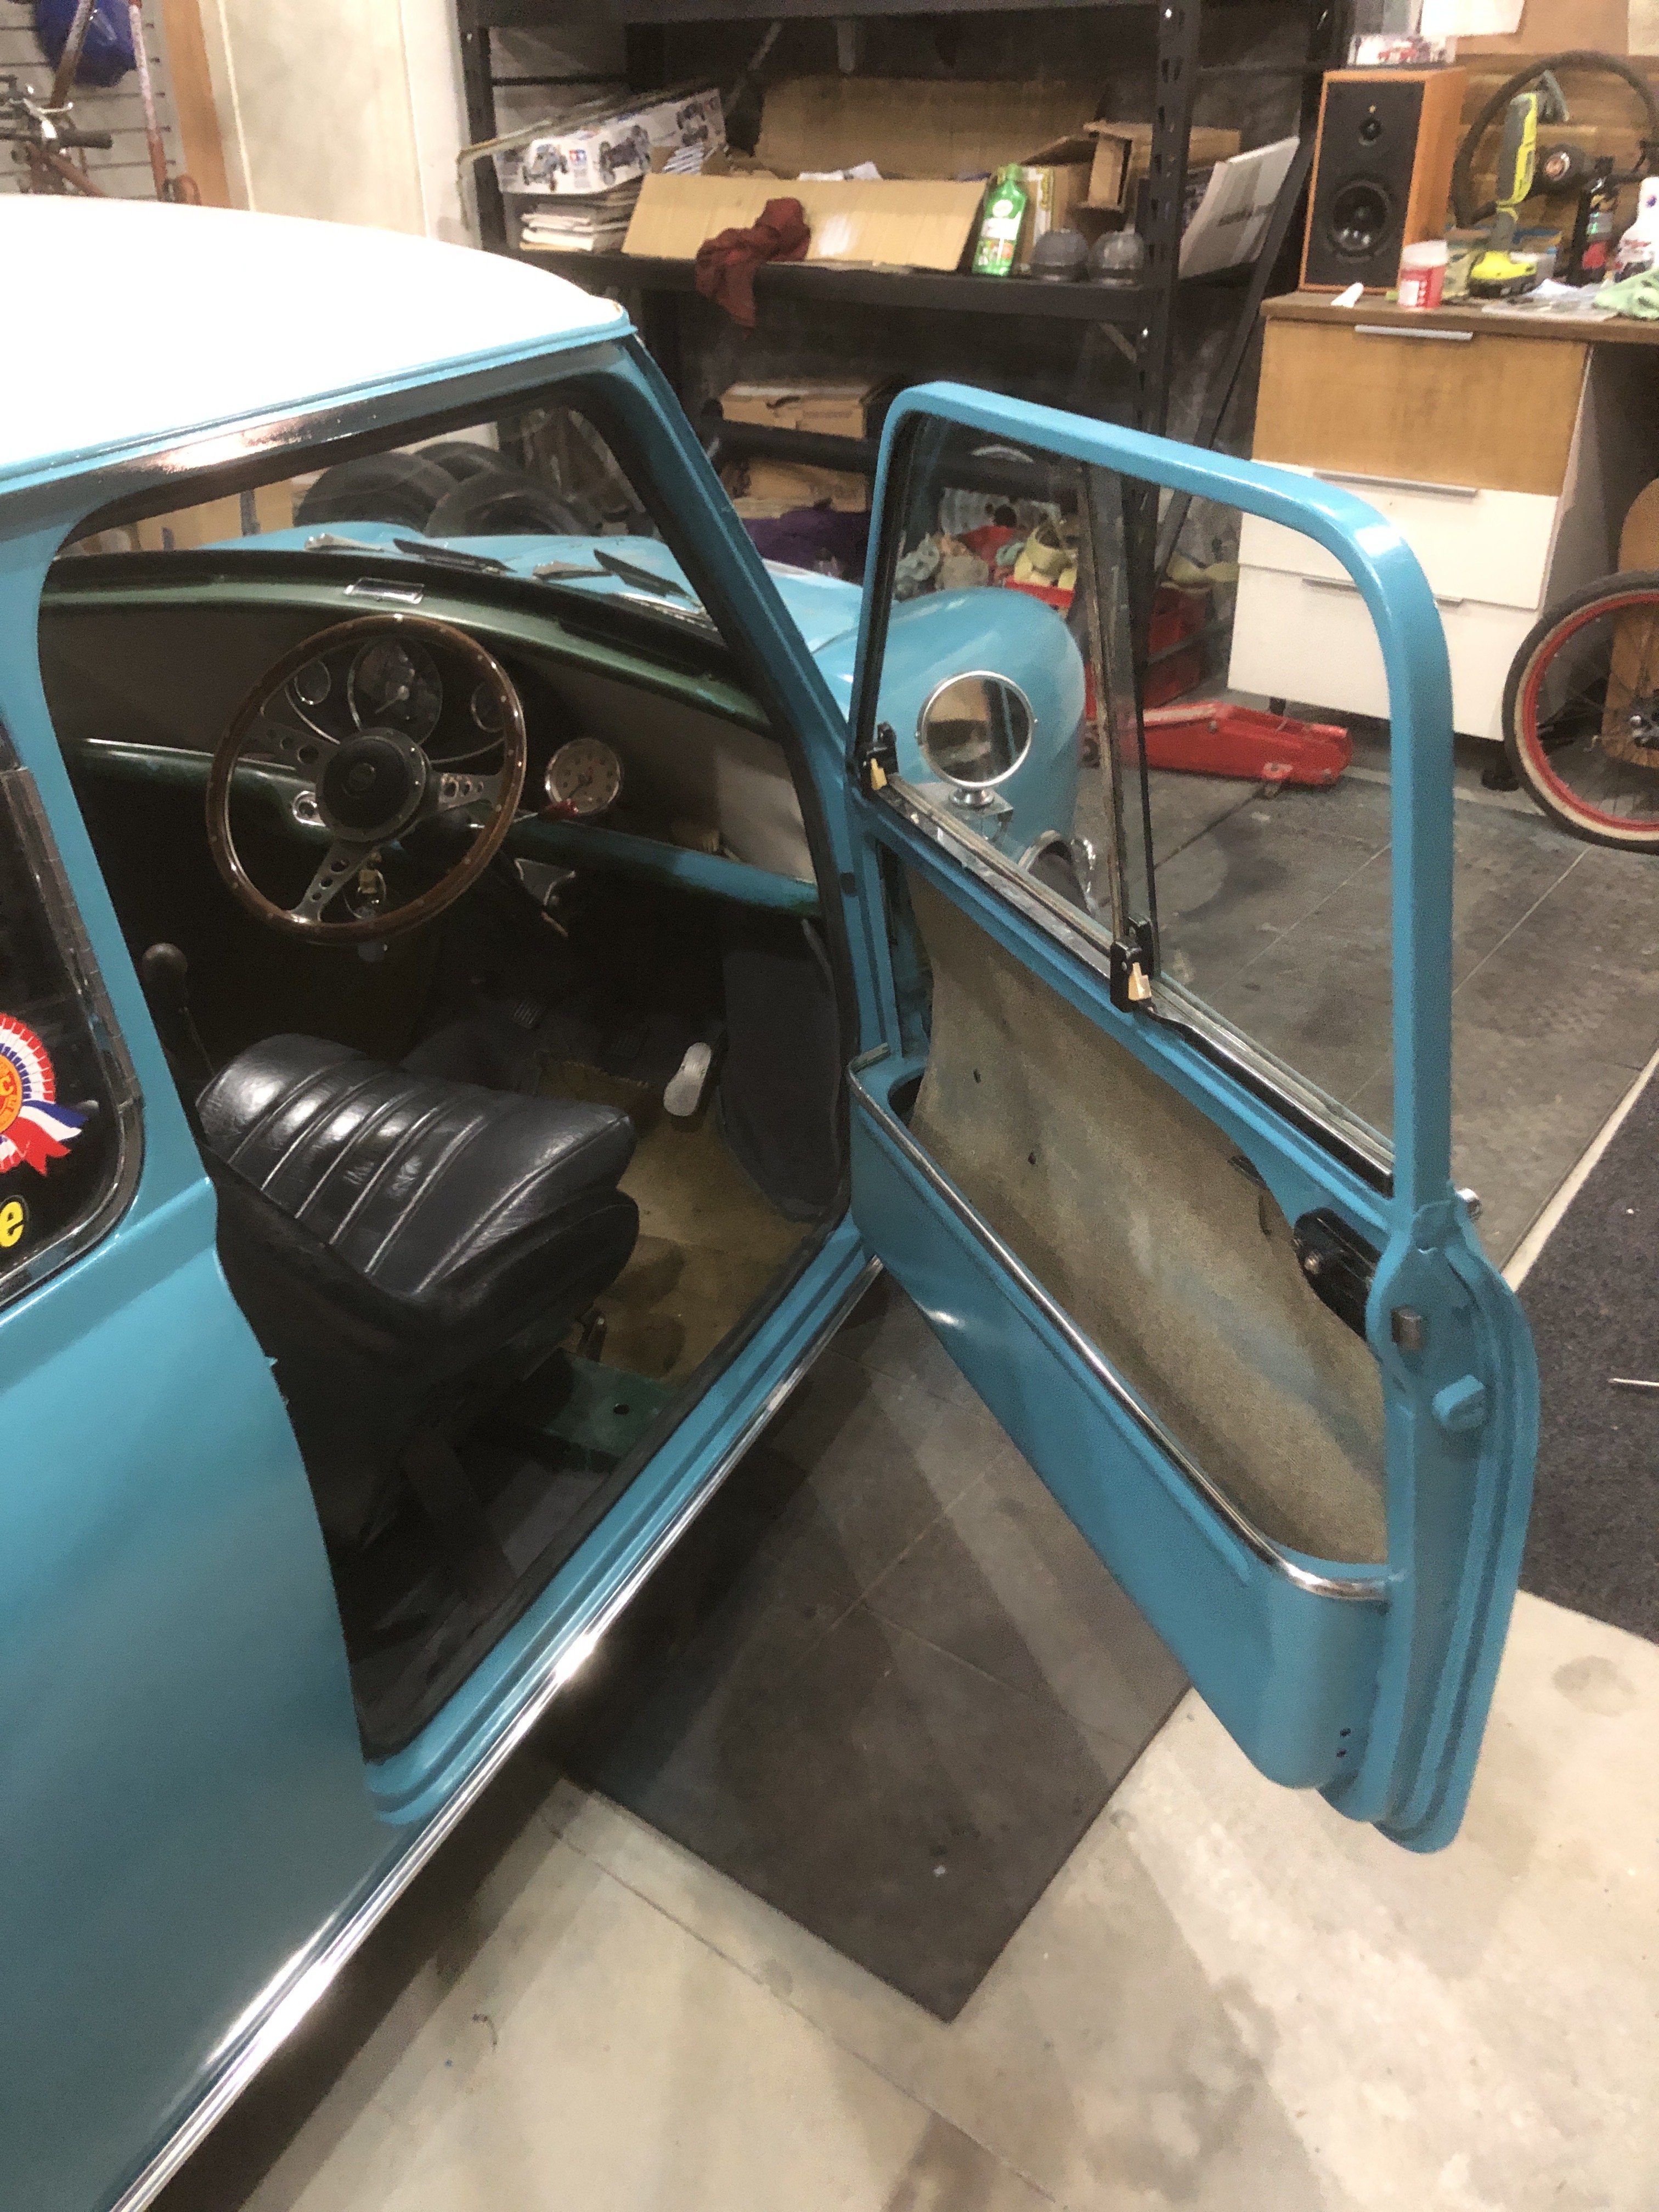
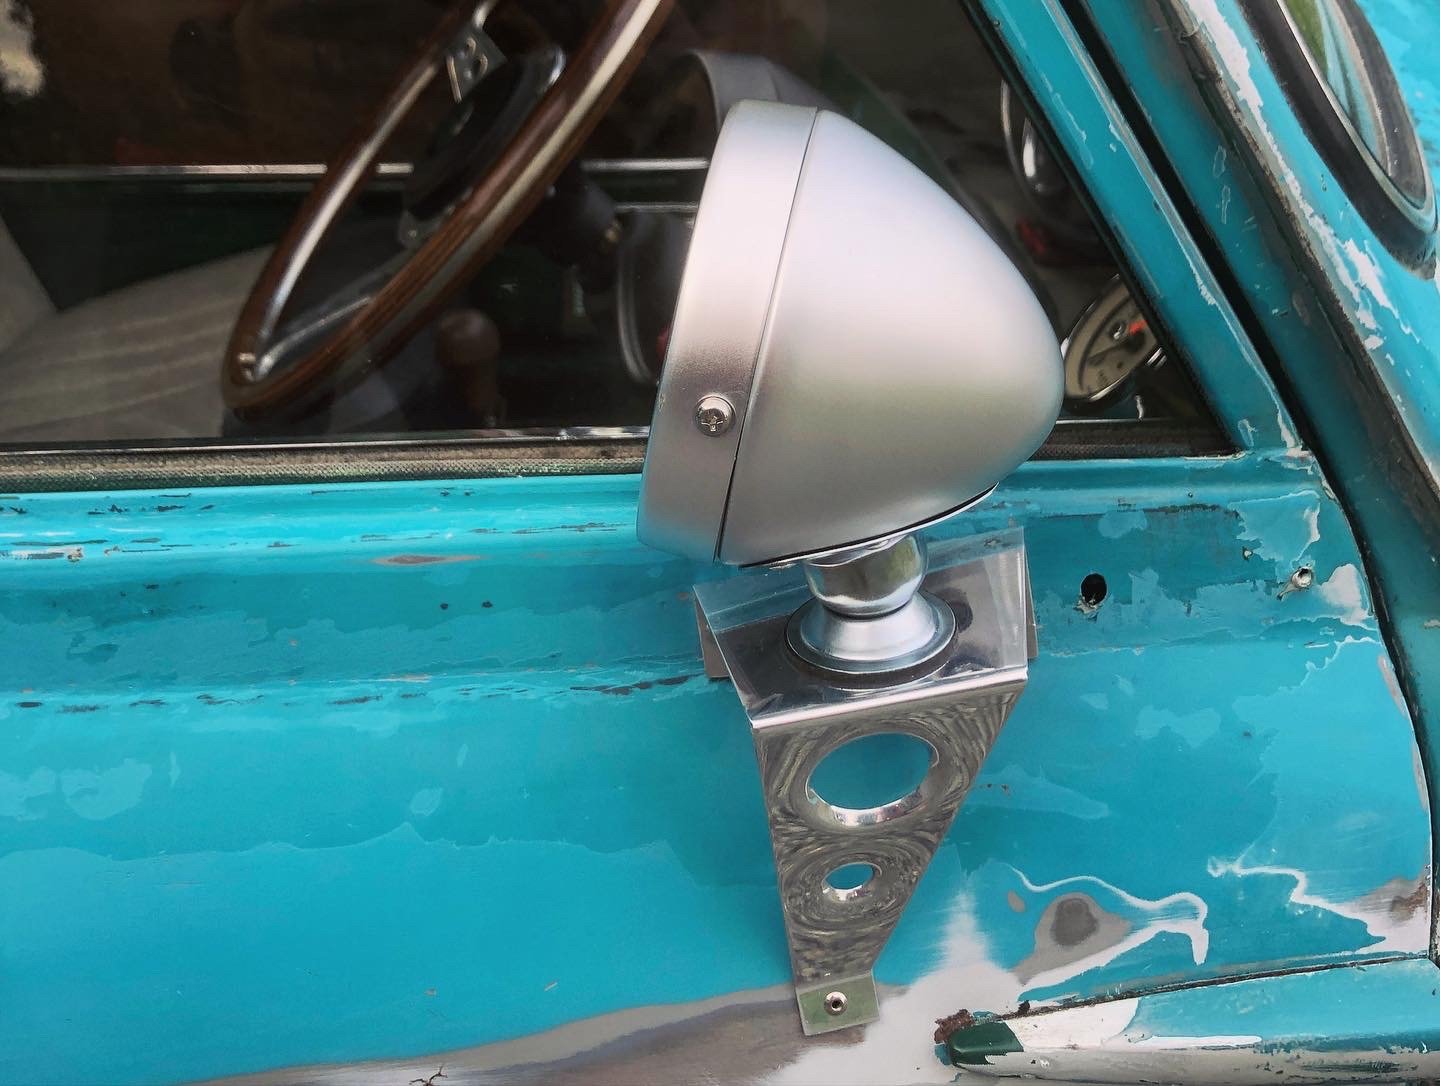
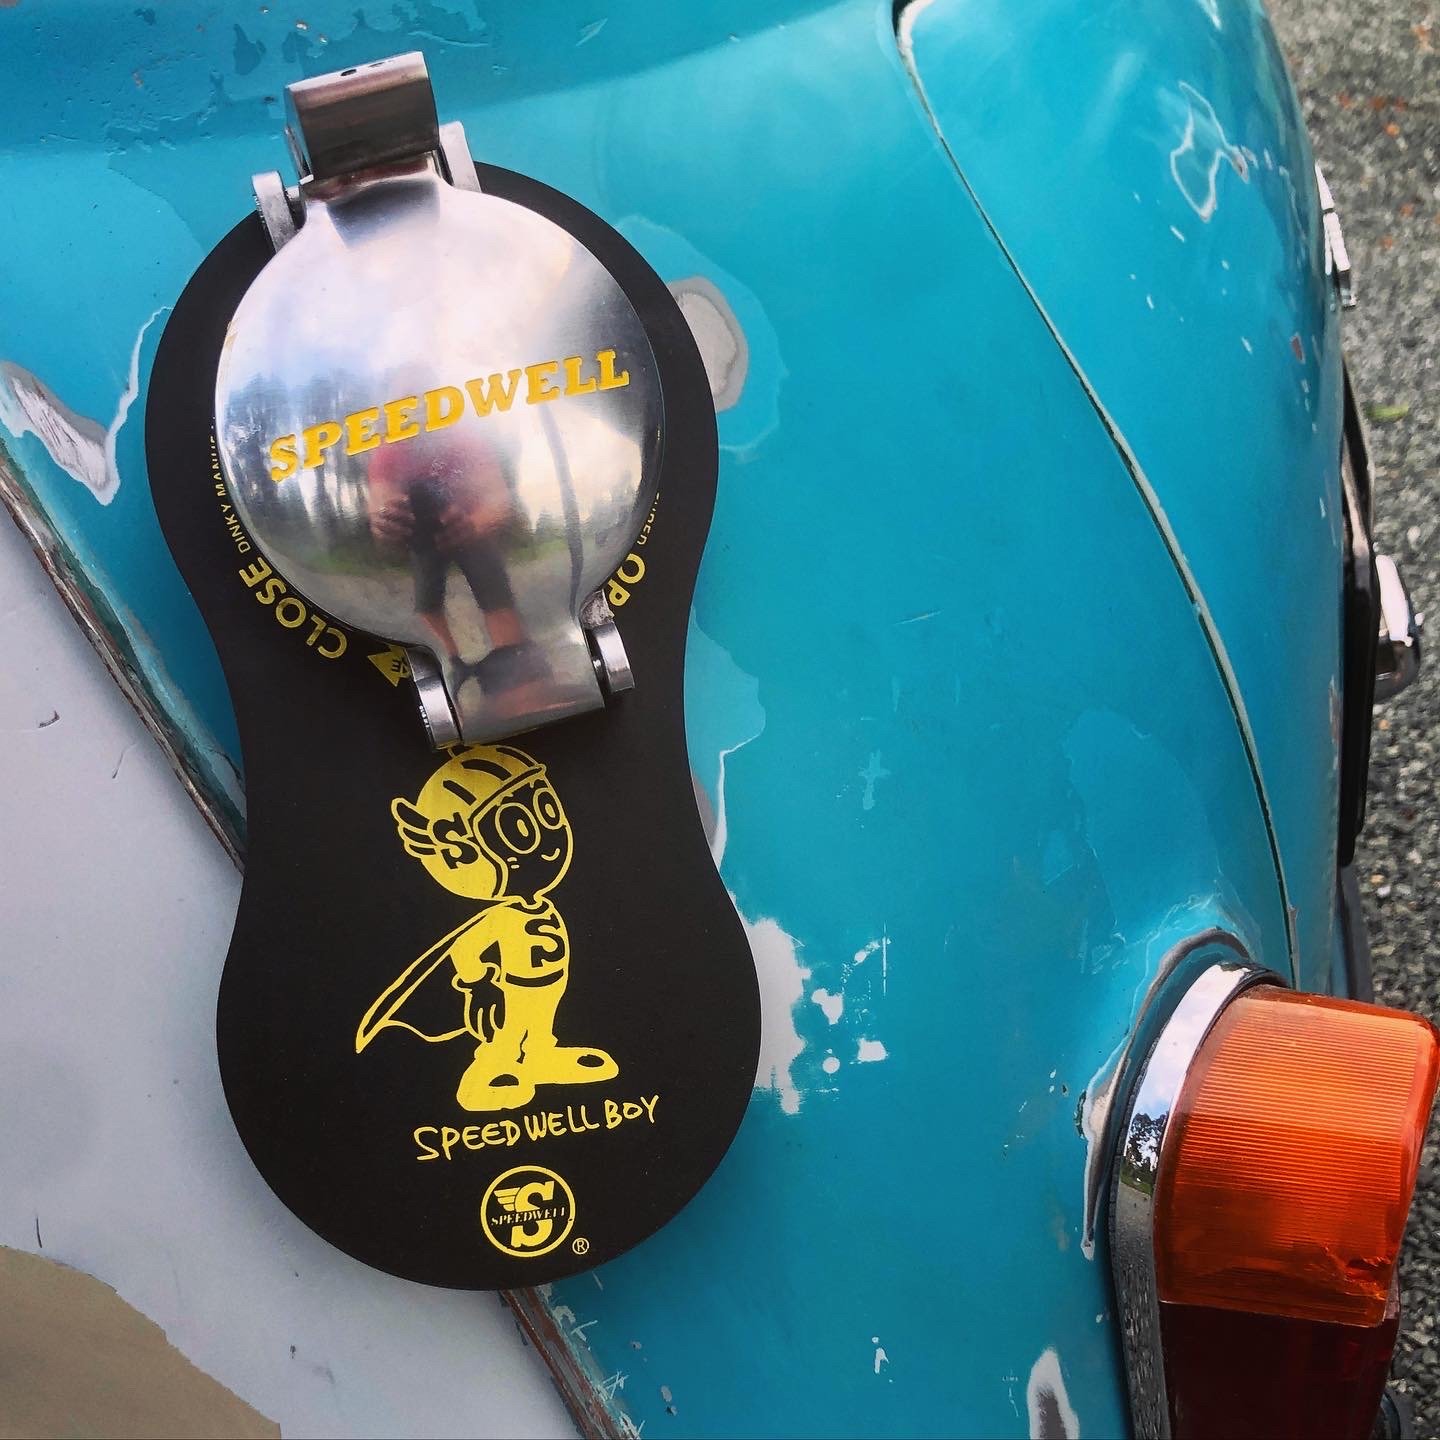
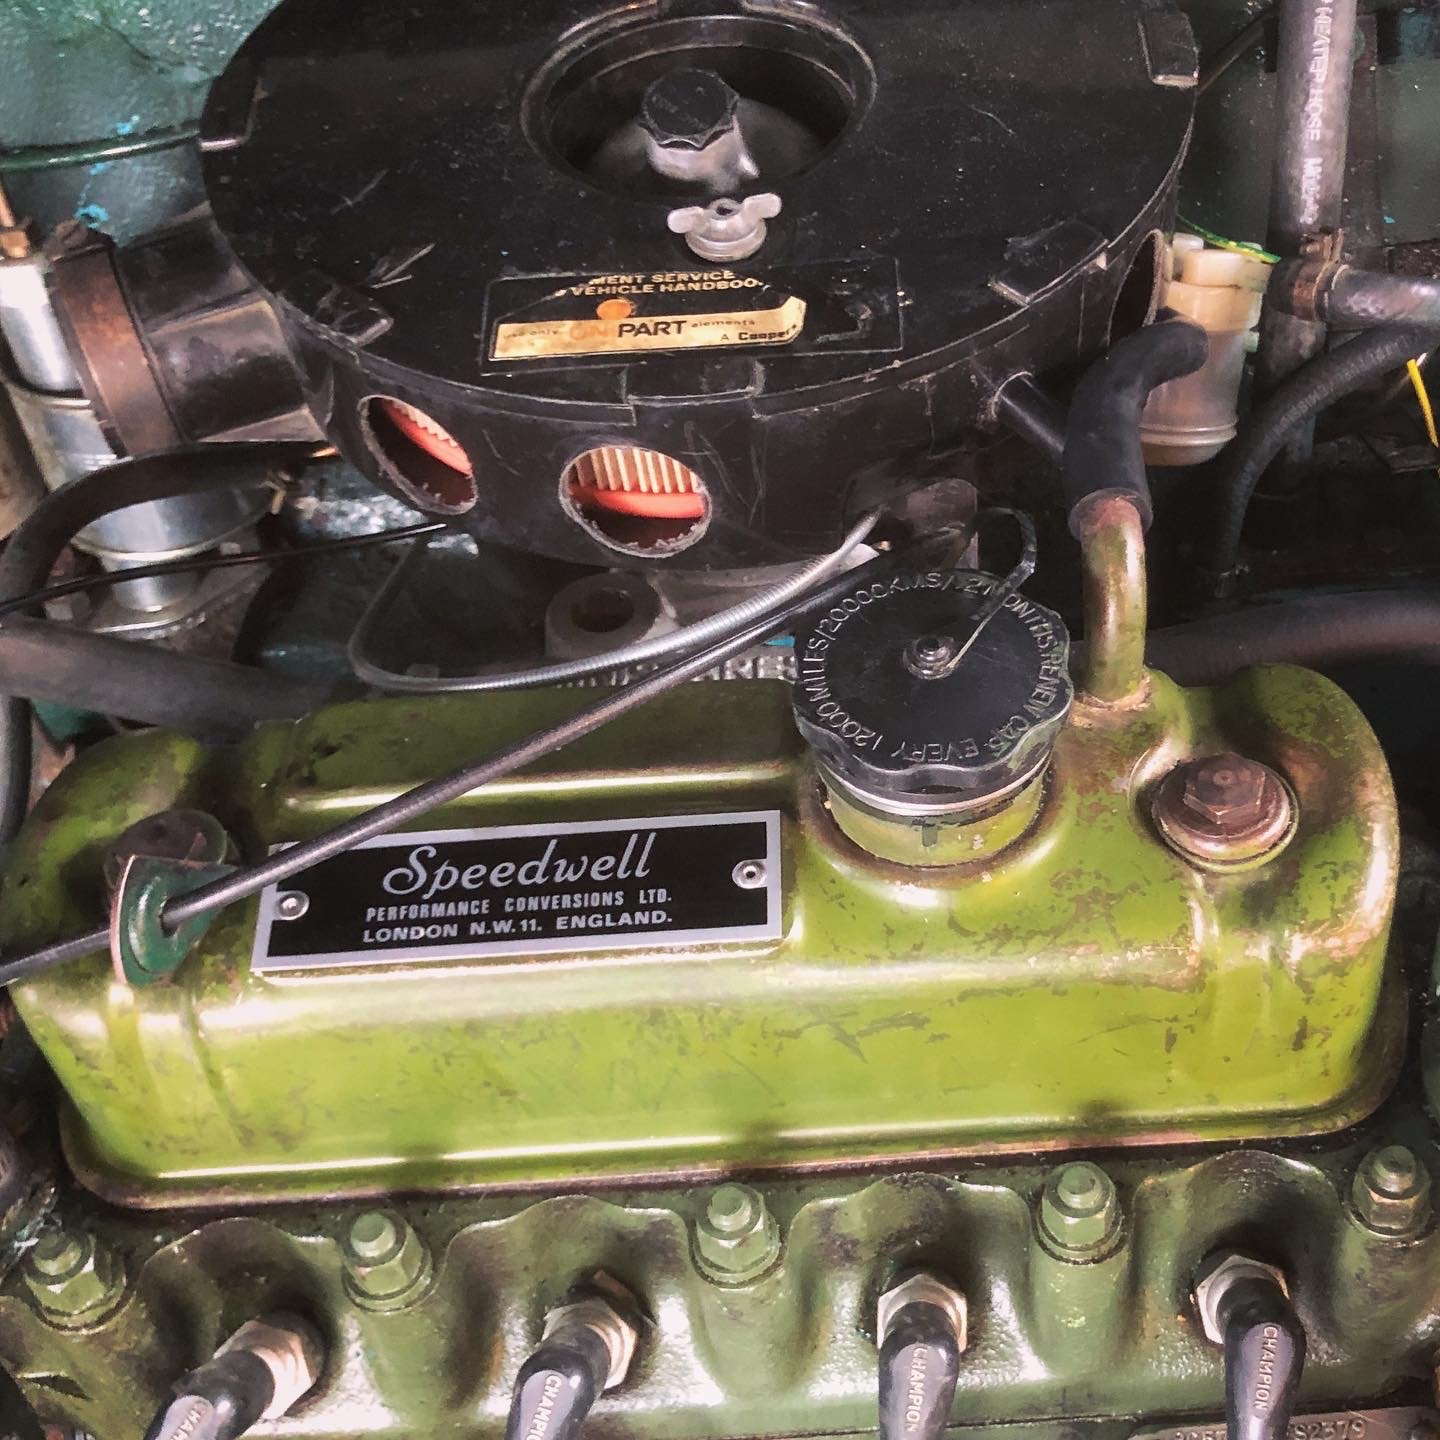
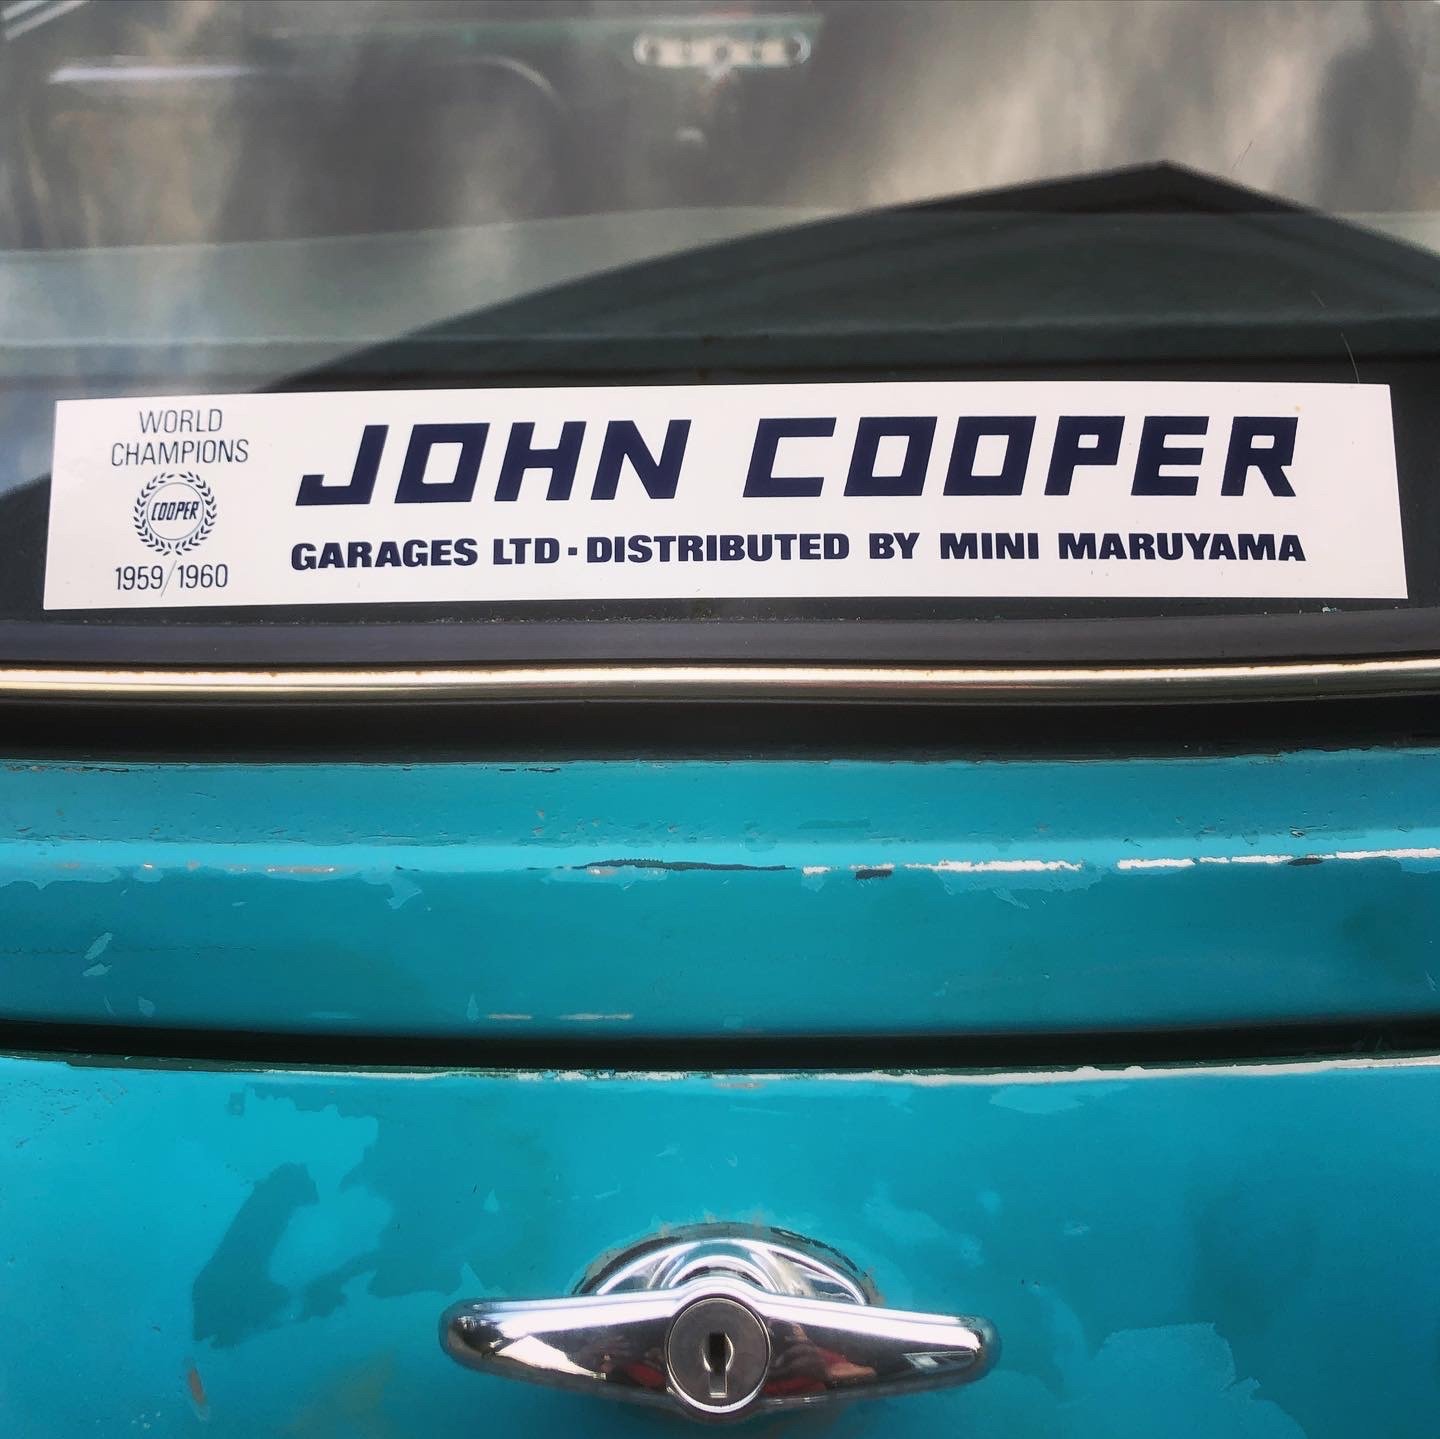
I’ve bought a few things that have been on my wish list for a while so have started fitting those. Bought a new cooper style grille and Moustache as the chrome work was looking a bit shabby (yes I understand the paint is shite but bling is still important), and fitted some Downton style wing mirrors on polished aluminium mounts from Swiftune. I also picked up a couple of Mini “souvenirs” when I was in Japan recently from a classic Mini specialist called Mini Maruyama - retro style flip petrol cap and fuel bib, as well as some cool stickers and a Speedwell engine plate - just need a speedwell tuned engine to go with it now.
-
11


Mmmini's new Mini Project 64 Morris Mini Minor
in Projects and Build Ups
Posted
I’ve made a bit more progress stripping back the interior paint back to the og surf blue. I’ve tried a few different methods - a blade is definitely the fastest and works quite well for most of it but has a tendency to gouge the paint and leave small putting marks which doesn’t so hot. I’ve resorted to wet sanding the green off which is a lot more slow going but has a smoother result.