Kimjon
-
Posts
2181 -
Joined
-
Last visited
-
Days Won
1
Everything posted by Kimjon
-
Be rude not to... More to come. Kj

-
Great result in all regards! Well done.
-
Haha...I kind of skipped all the safety features, so to ease my conscience I'm running 6mm lines and heavily choked exhaust side flow controllers to slow it right down. The cylinders do have air cushions so I can speed them up a bit more...I'll play around and find the sweet spot. Locking cylinders are a good idea, I have some that would work...I'll have to think about that one and test if I really need them? I have a spring open/air to close cylinder here...hmmmm that could be a nice fail safe solution????? I've got a 1/2" dump valve (solenoid 230v ac) that I'm going to hookup to the compressor tank on a timer. The compressor itself will also go on a timer too. This way I can automate the entire system i.e. - Compressor purges water from tank once a day, with timer set at say 10:00am for a 5 second burst. - Then the compressor timer allows recharging between say 10:01am to 7:00pm. Then it will turn itself off overnight so it won't wake me up during the night. As long as my system holds air, it will be sweet as to run like this. The tank has plenty of reserve to open/close the gates many times even when the compressor is turned off.
-
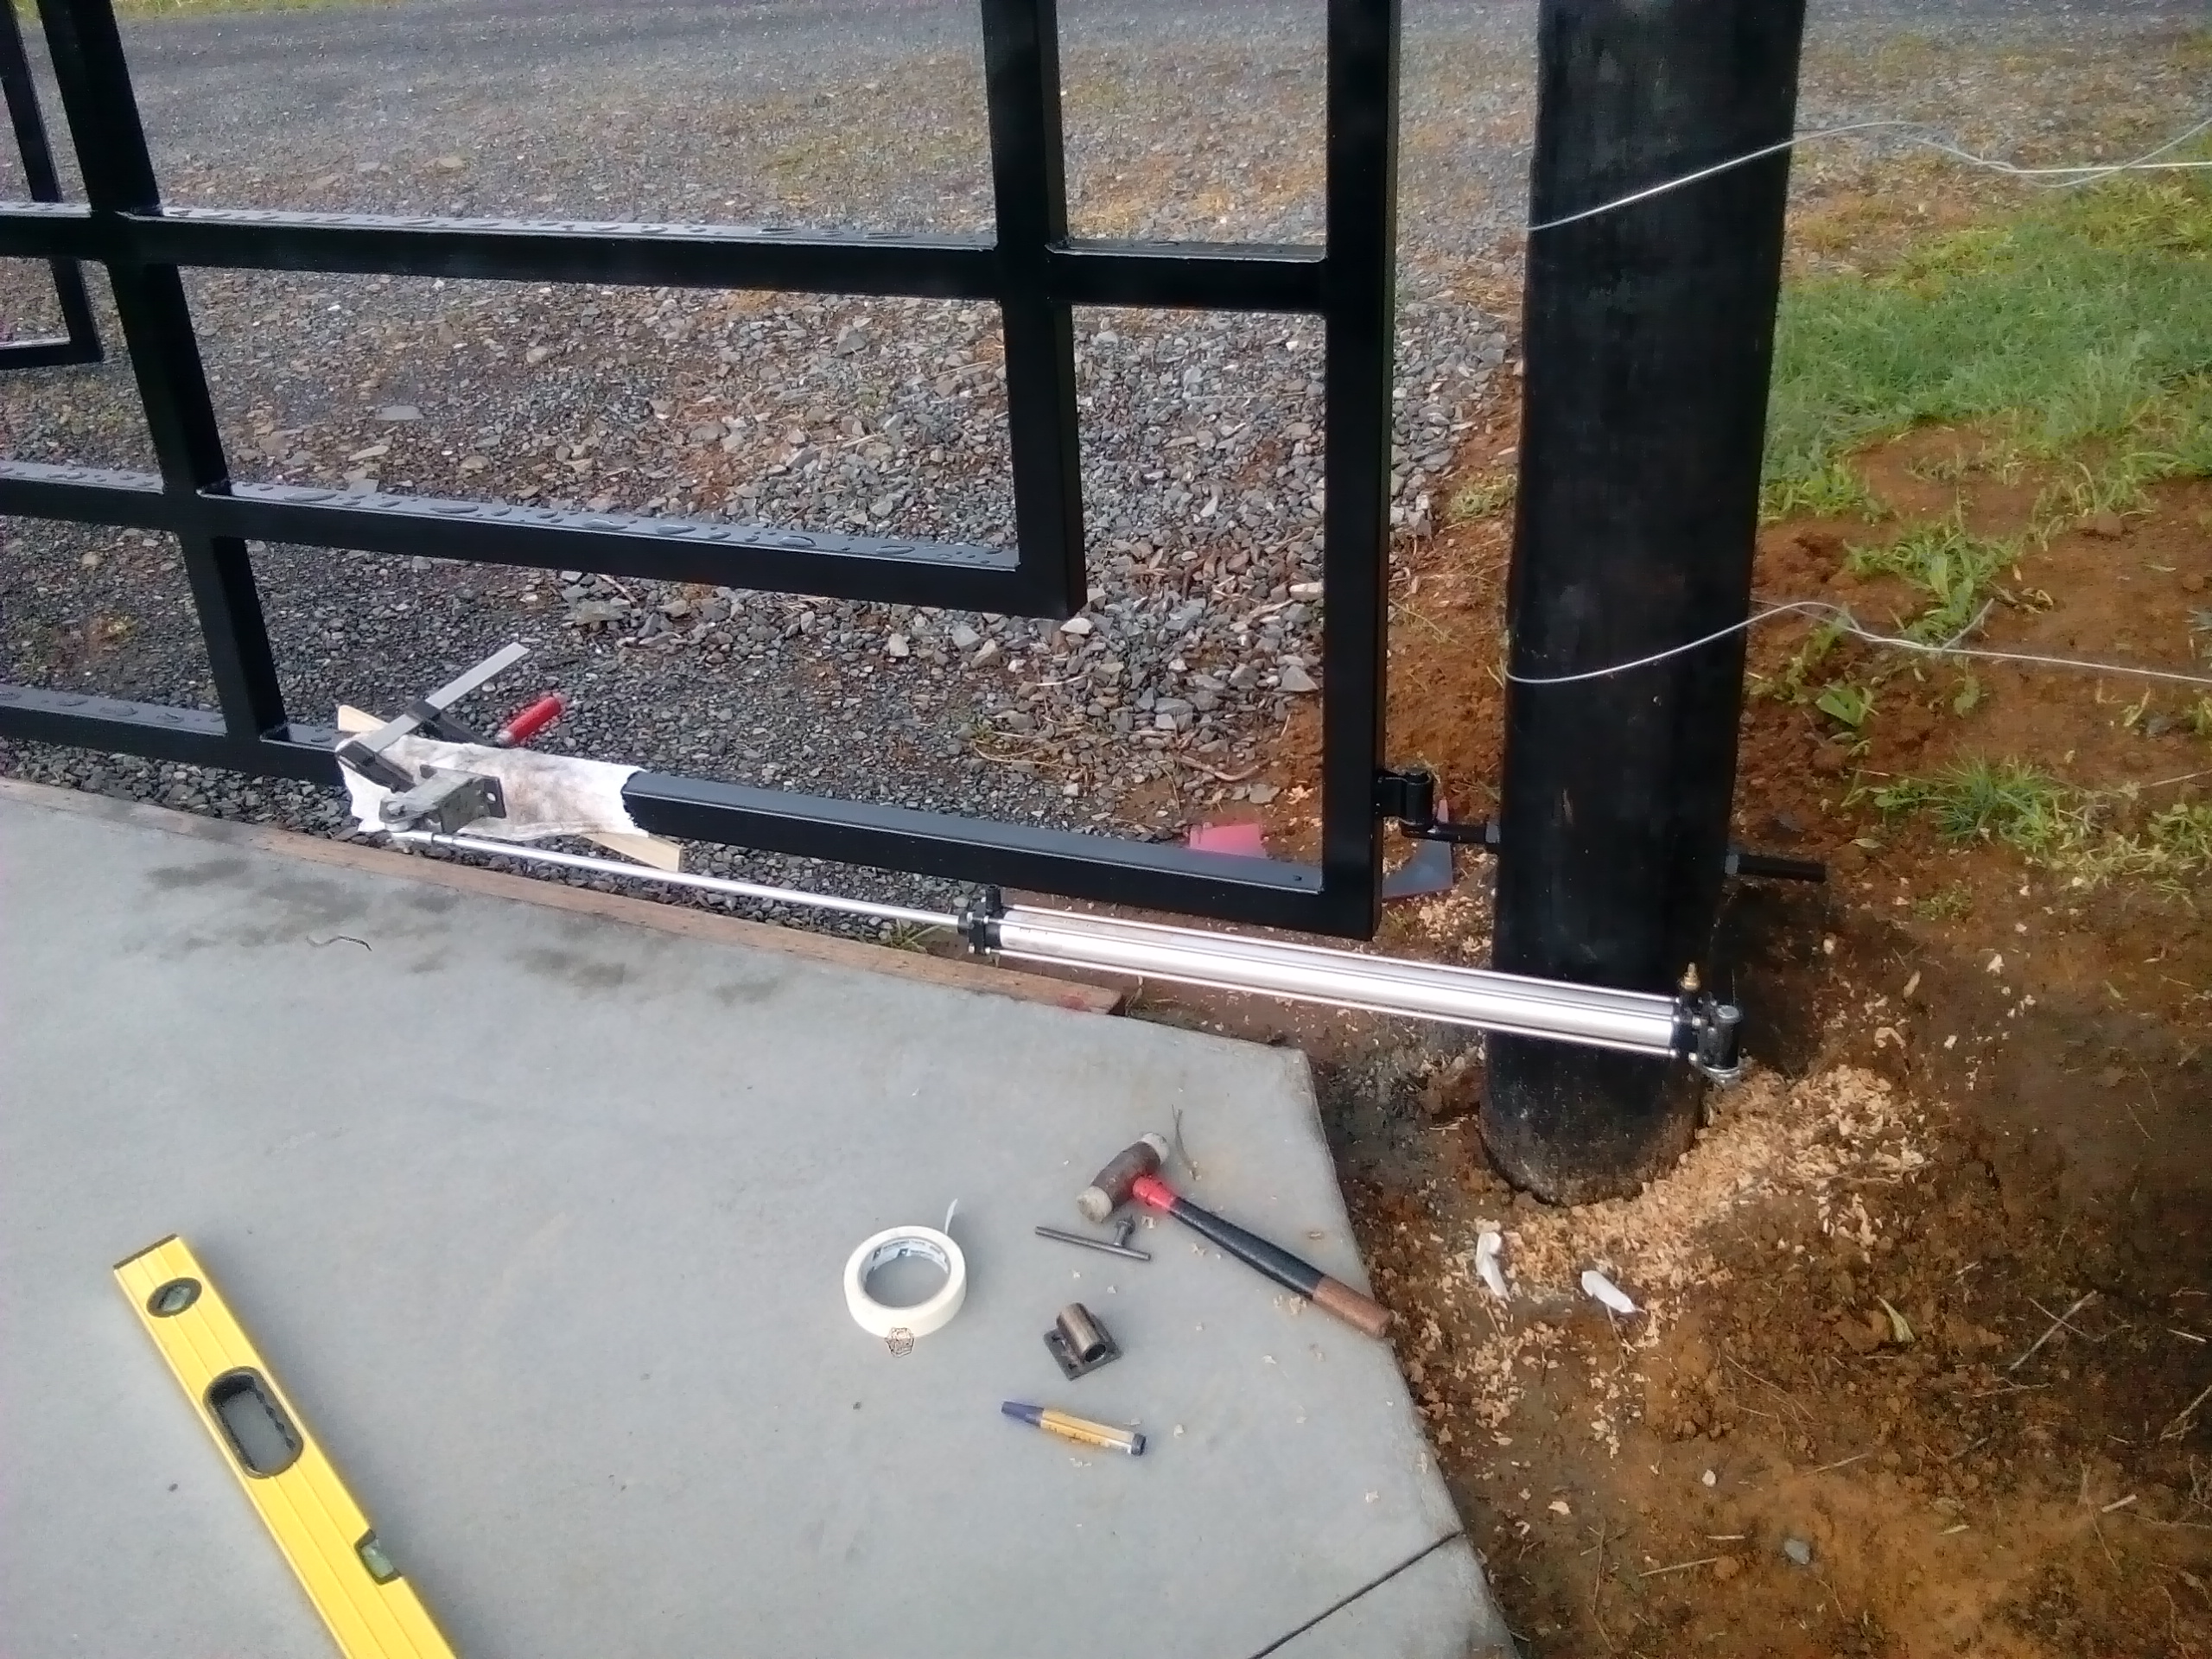
So here's the solution to a true first world problem. I need to play around with the flow controllers to set the speeds at which the gates open etc...to "time" them. Warning, you'll lose a minute of your life you'll never get back if you watch this!
-
Maybe. Hopefully just a run flat system that lasts about a year? Only one way to find out?
-
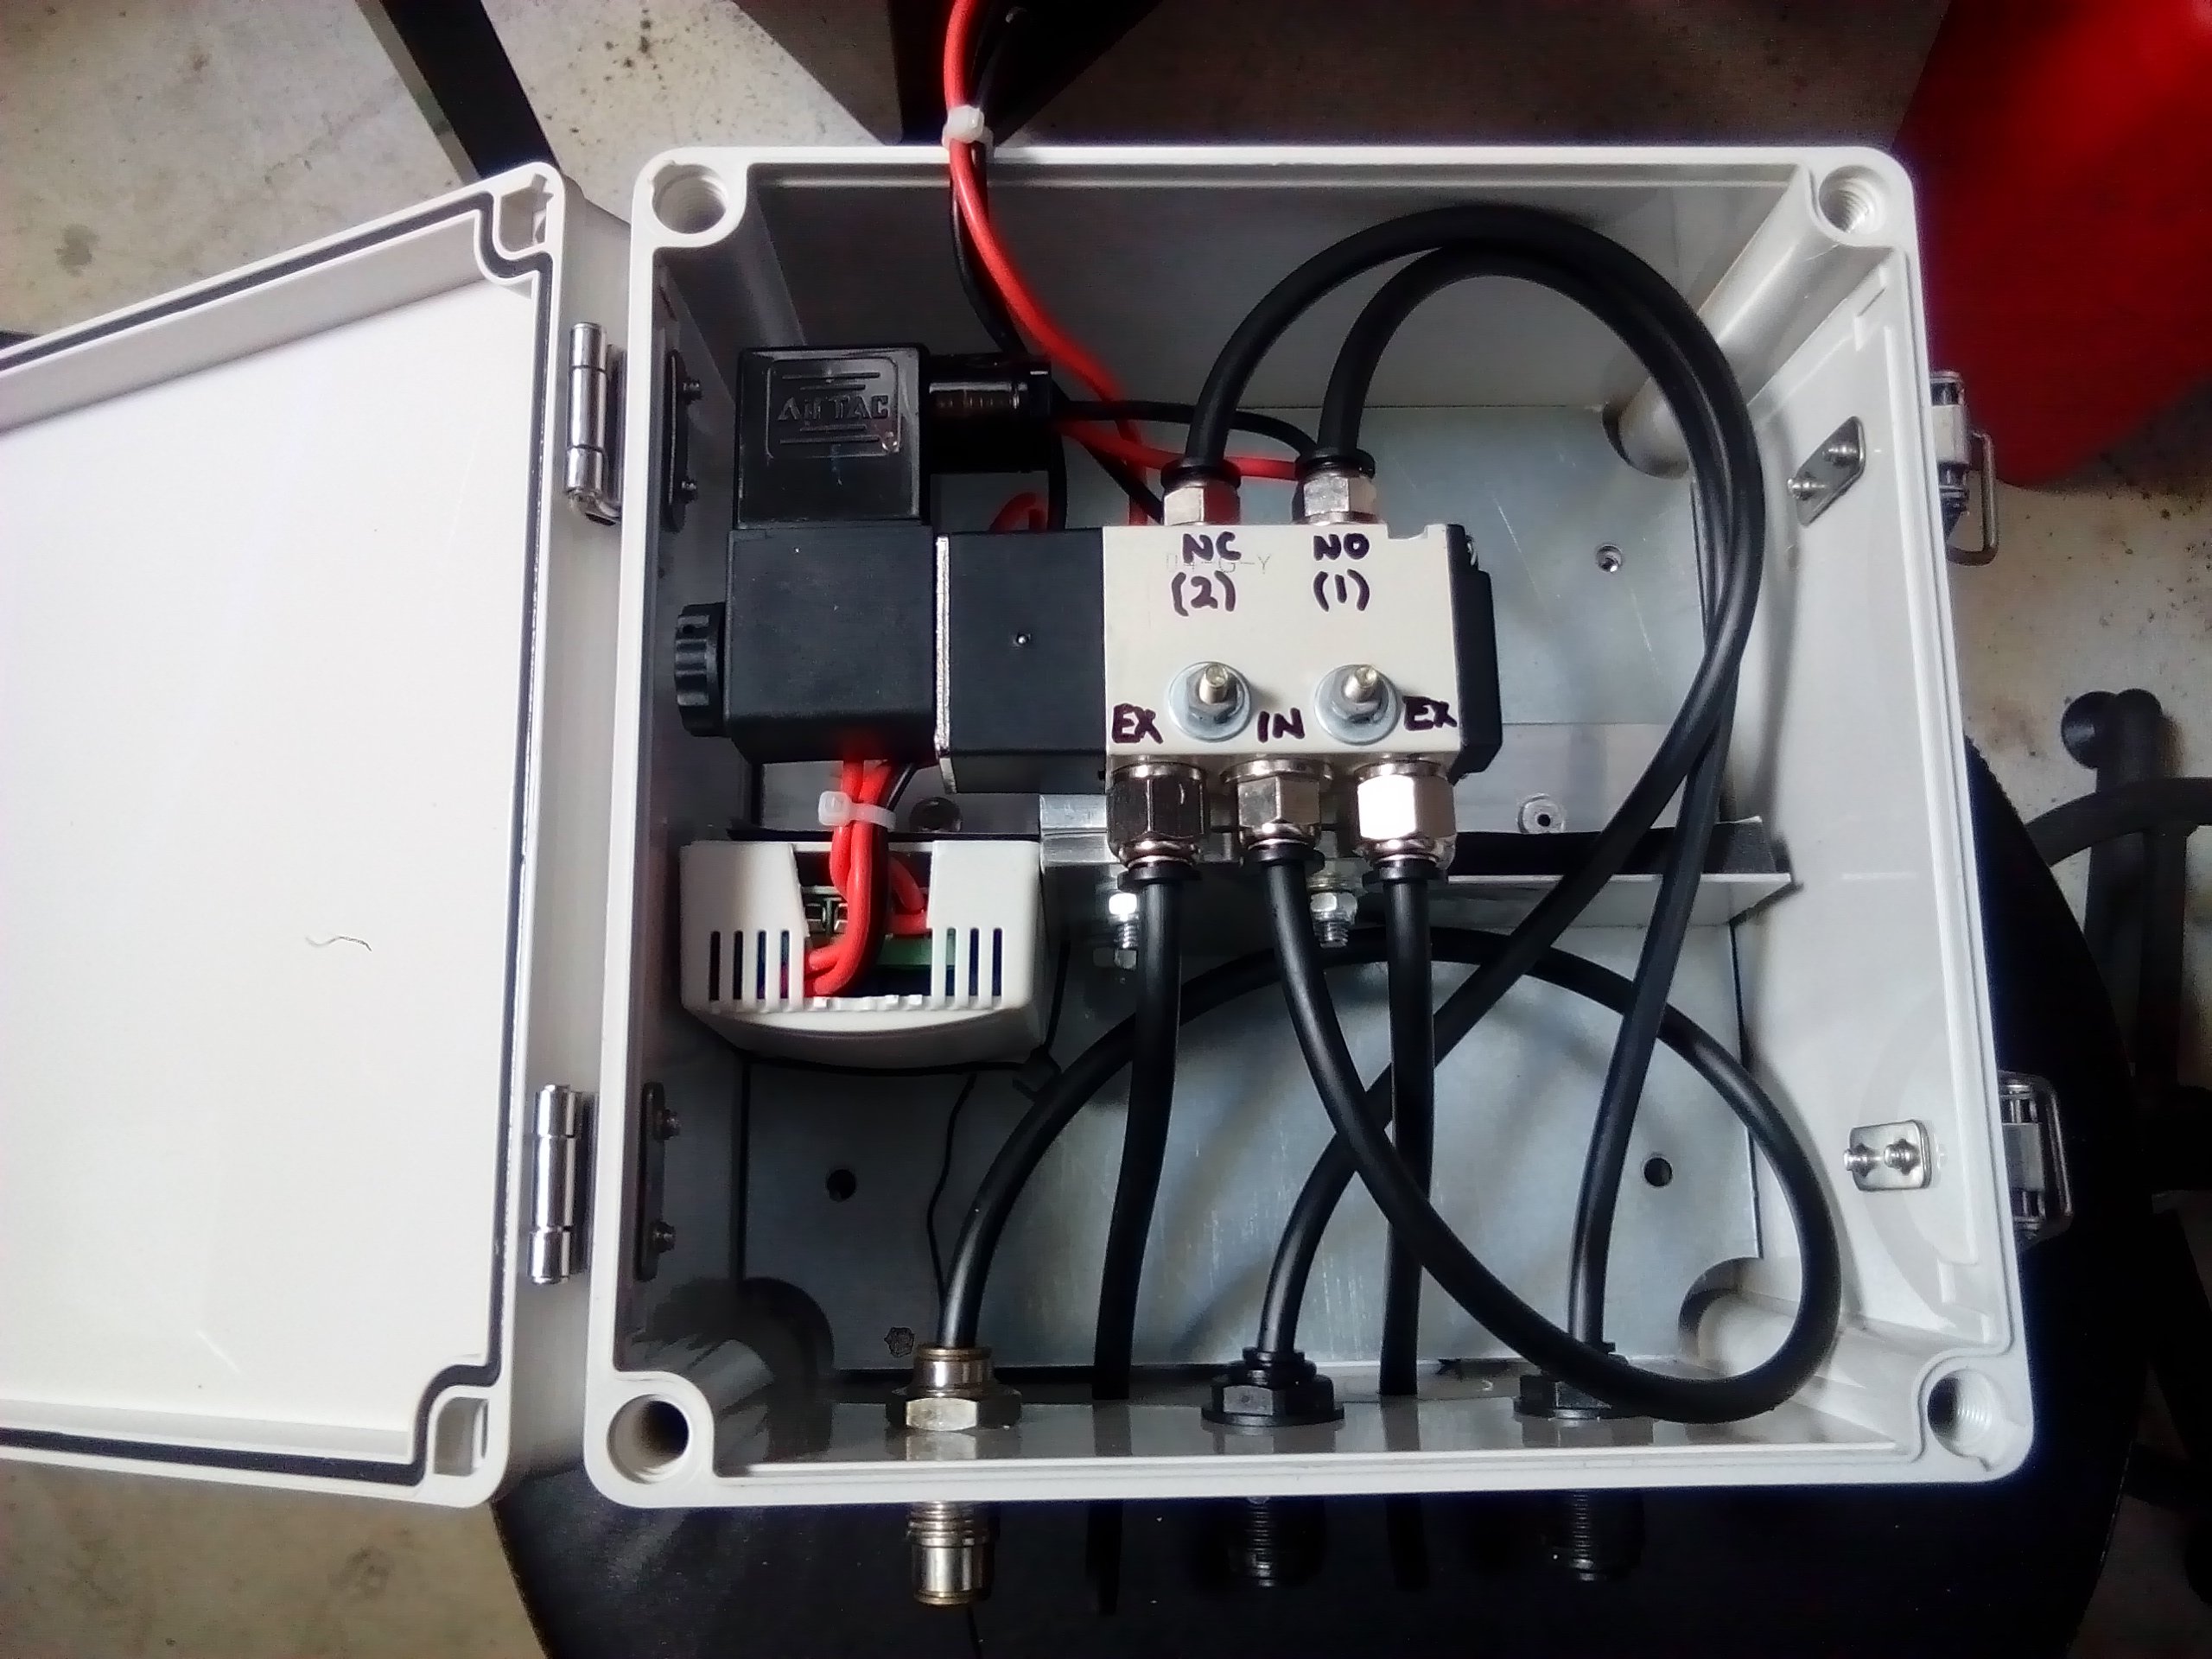
I made up this control cabinet. Battery (not pictured) slots into this cabinet behind the valve. The cabinet works great, however my cylinders had worn piston seals and were leaking a lot of air out the exhaust. Going to replace the leaking piston seals and then we'll be in action!
-
Trademe. I looked at eBay, but it wasn't any cheaper. I'll use it on other projects too, so I kind of justify its cost to myself that way...But I did feel the pain when paying for it.
-
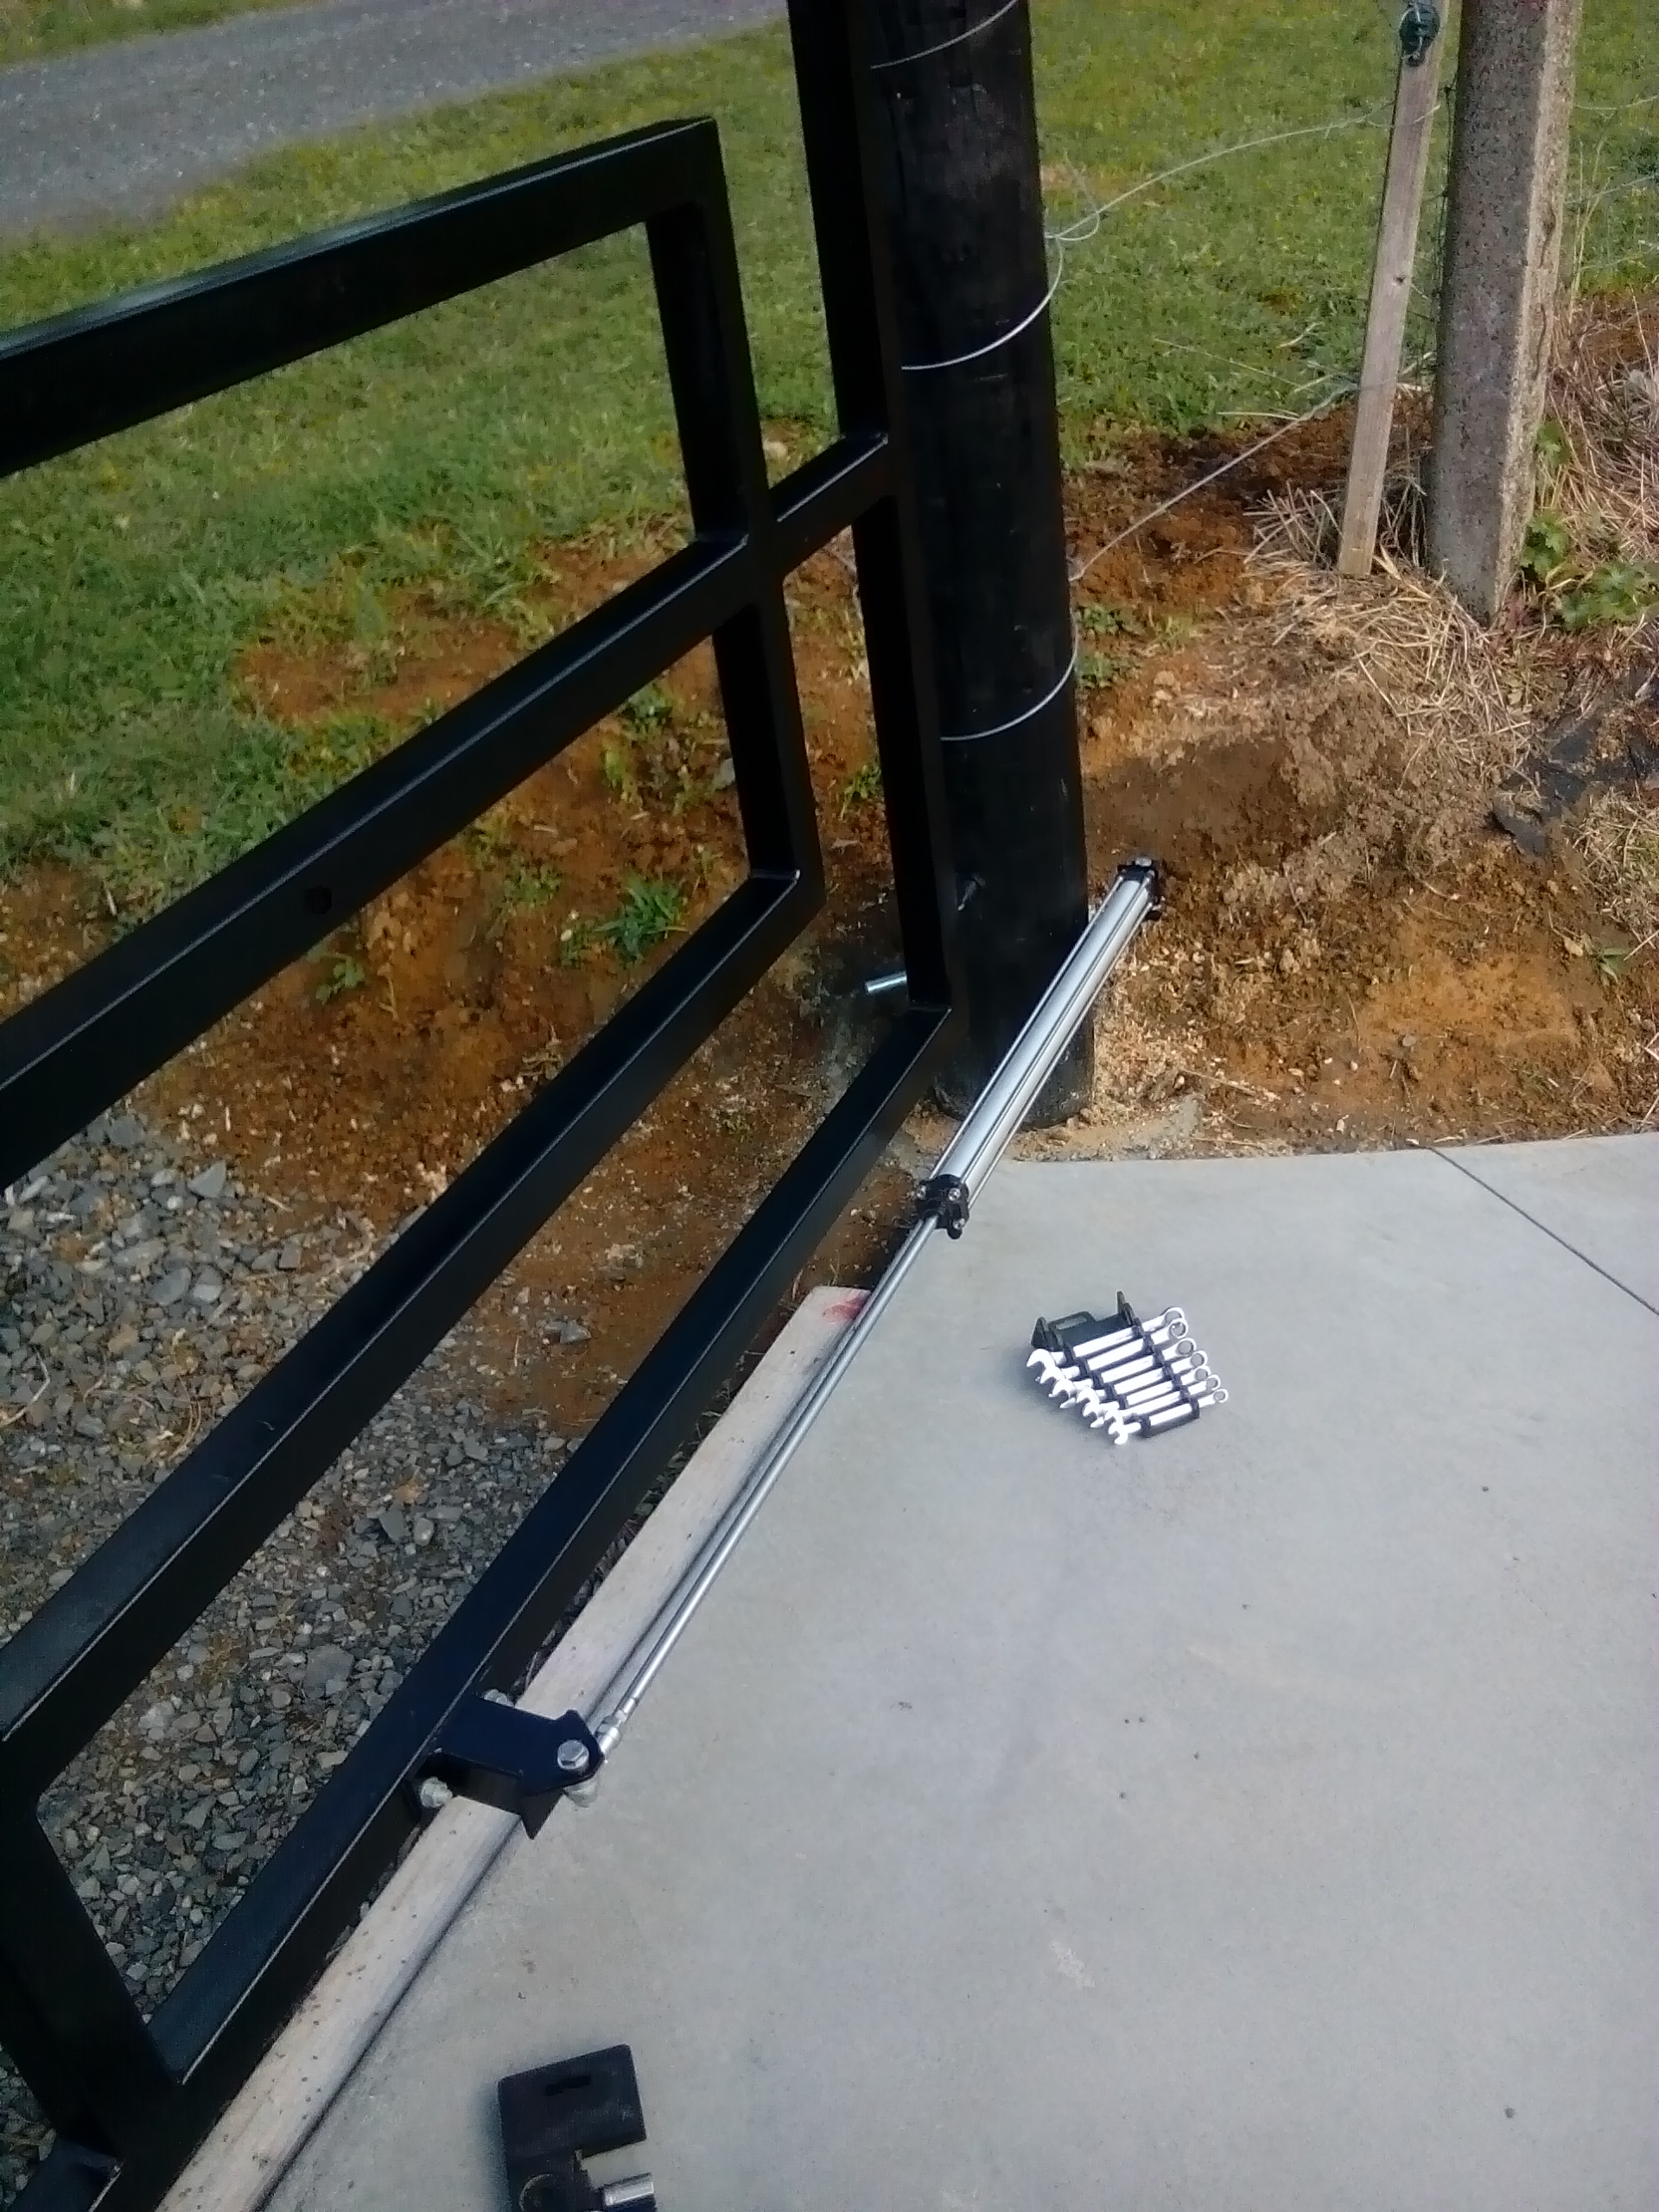
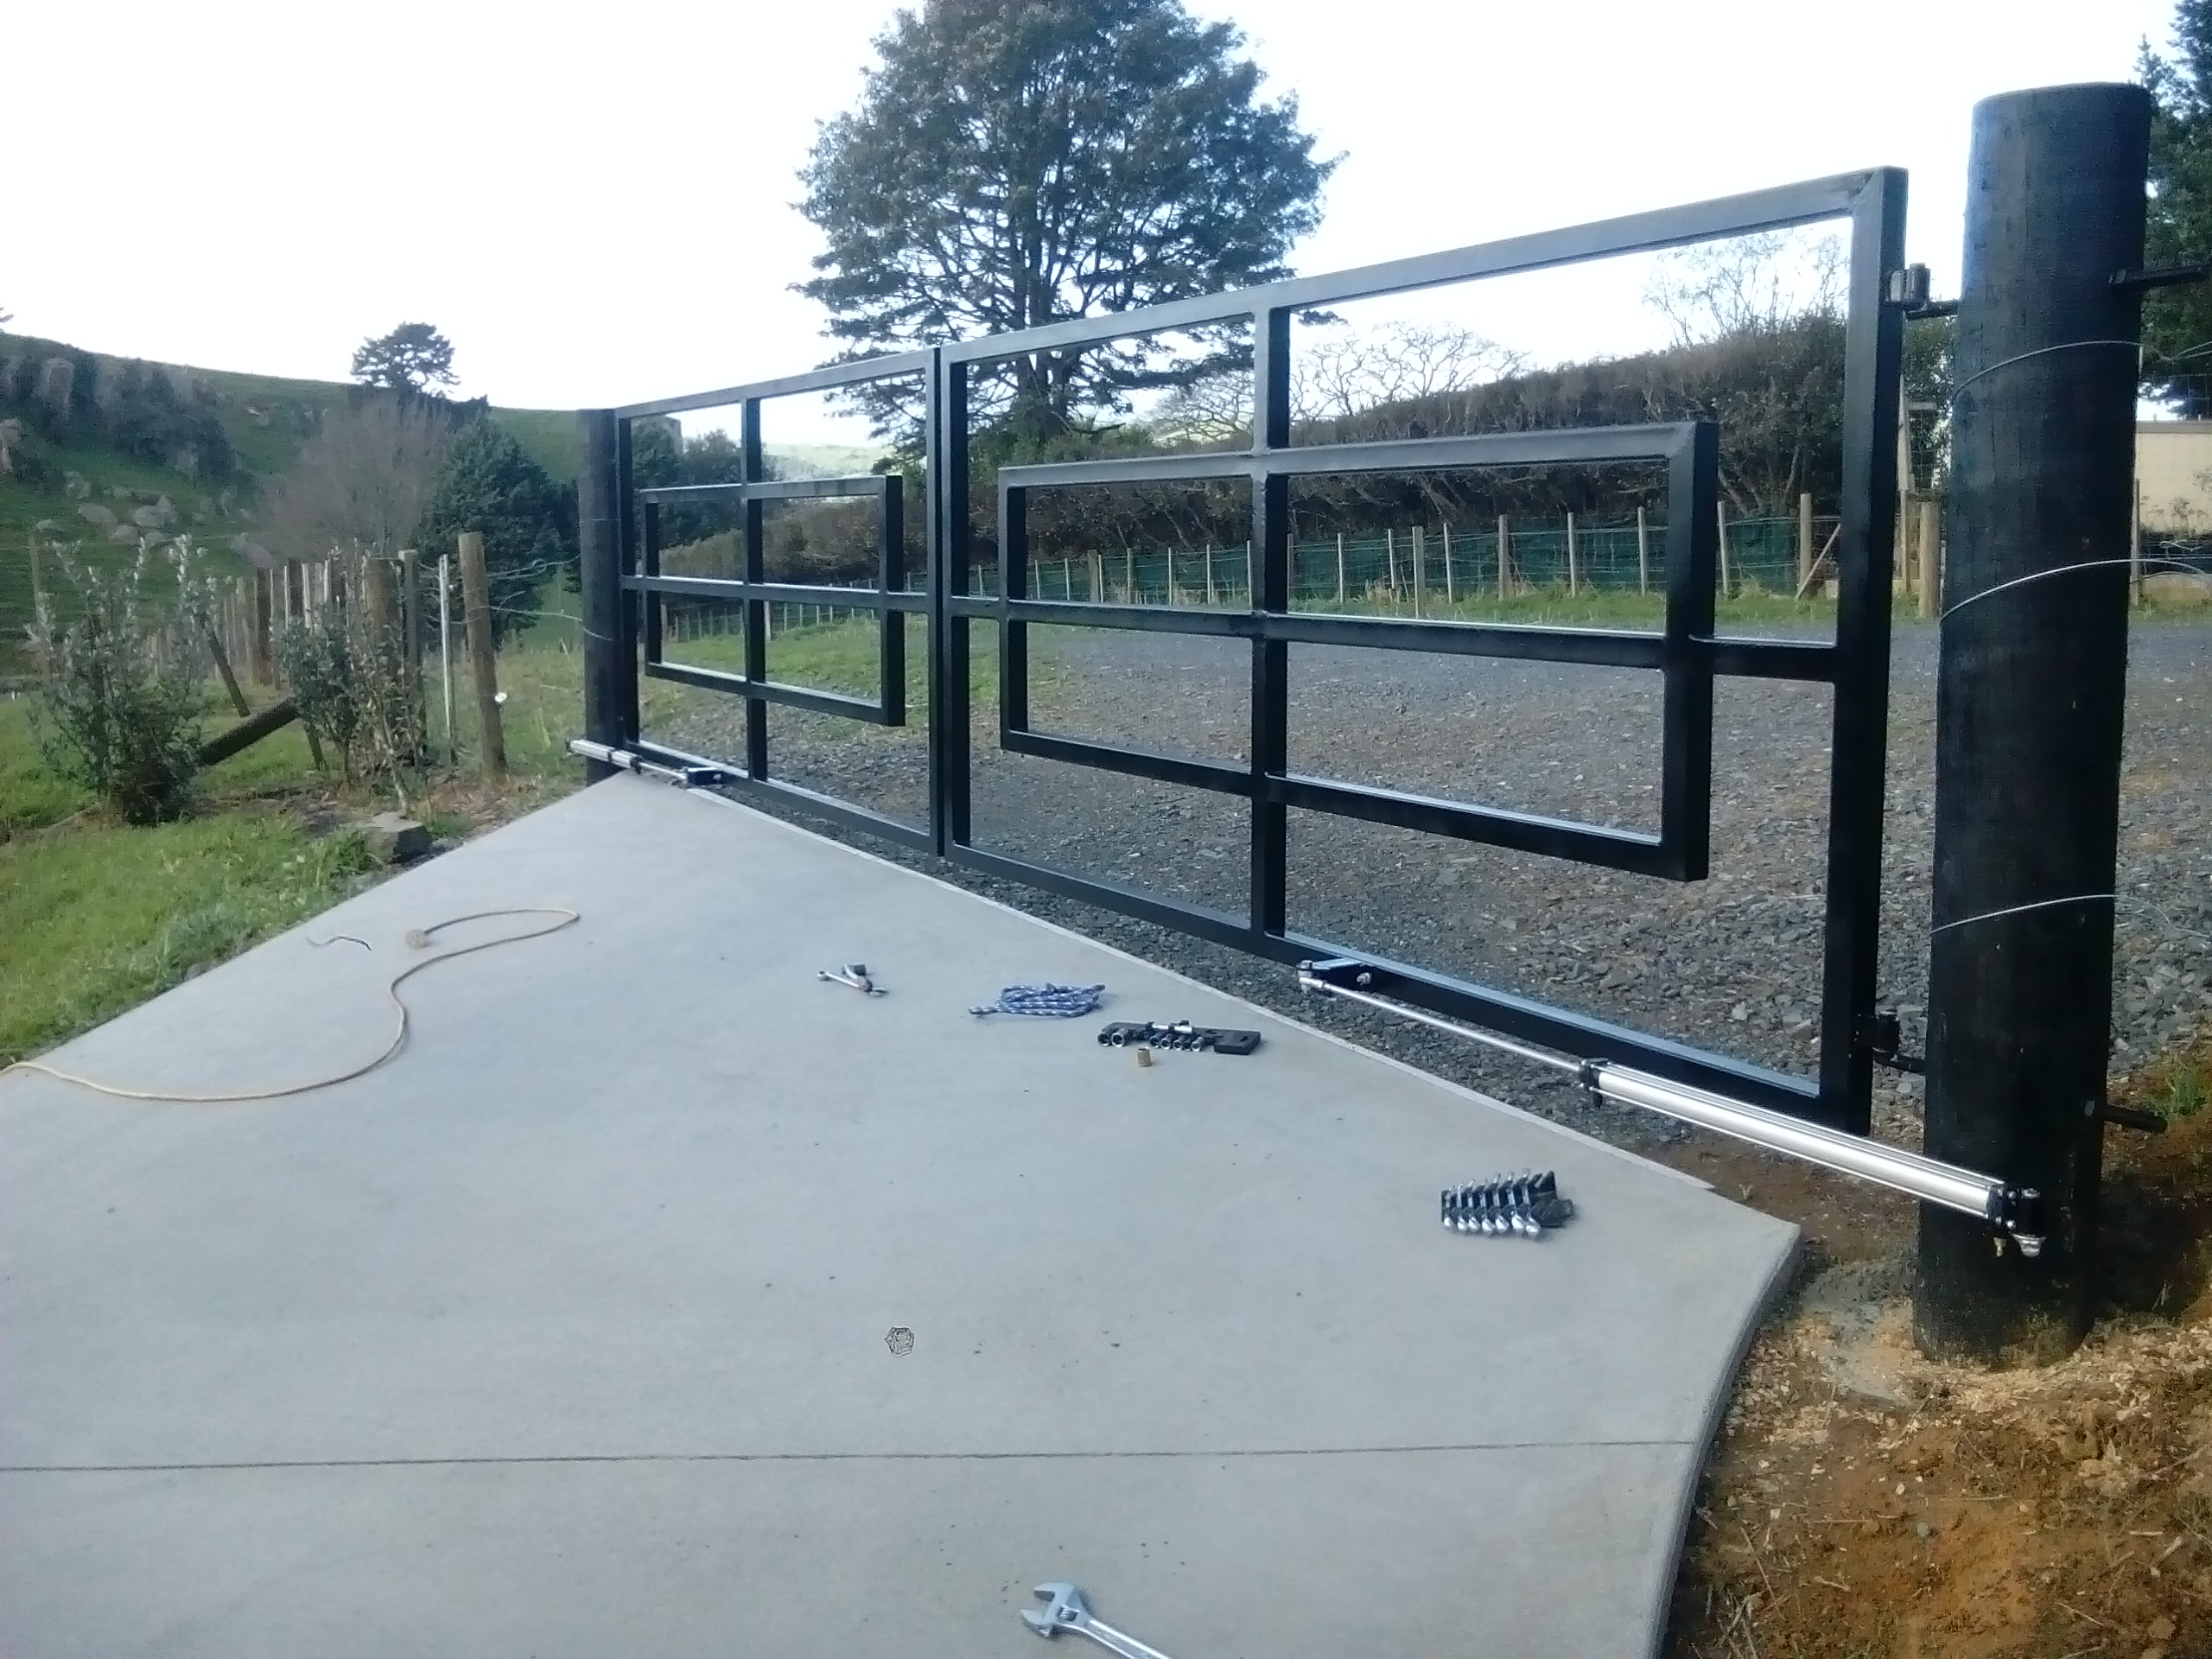
Pneumatic cylinders fitted up. The one on the left has a dummy barrel added to try balance the symmetry better, as it only had a 190mm stroke. They swing and stop perfectly, which was fantastic as all that maths paid off big time. Just got to get a few pneumatic fittings and some air line and it will be all go.
-
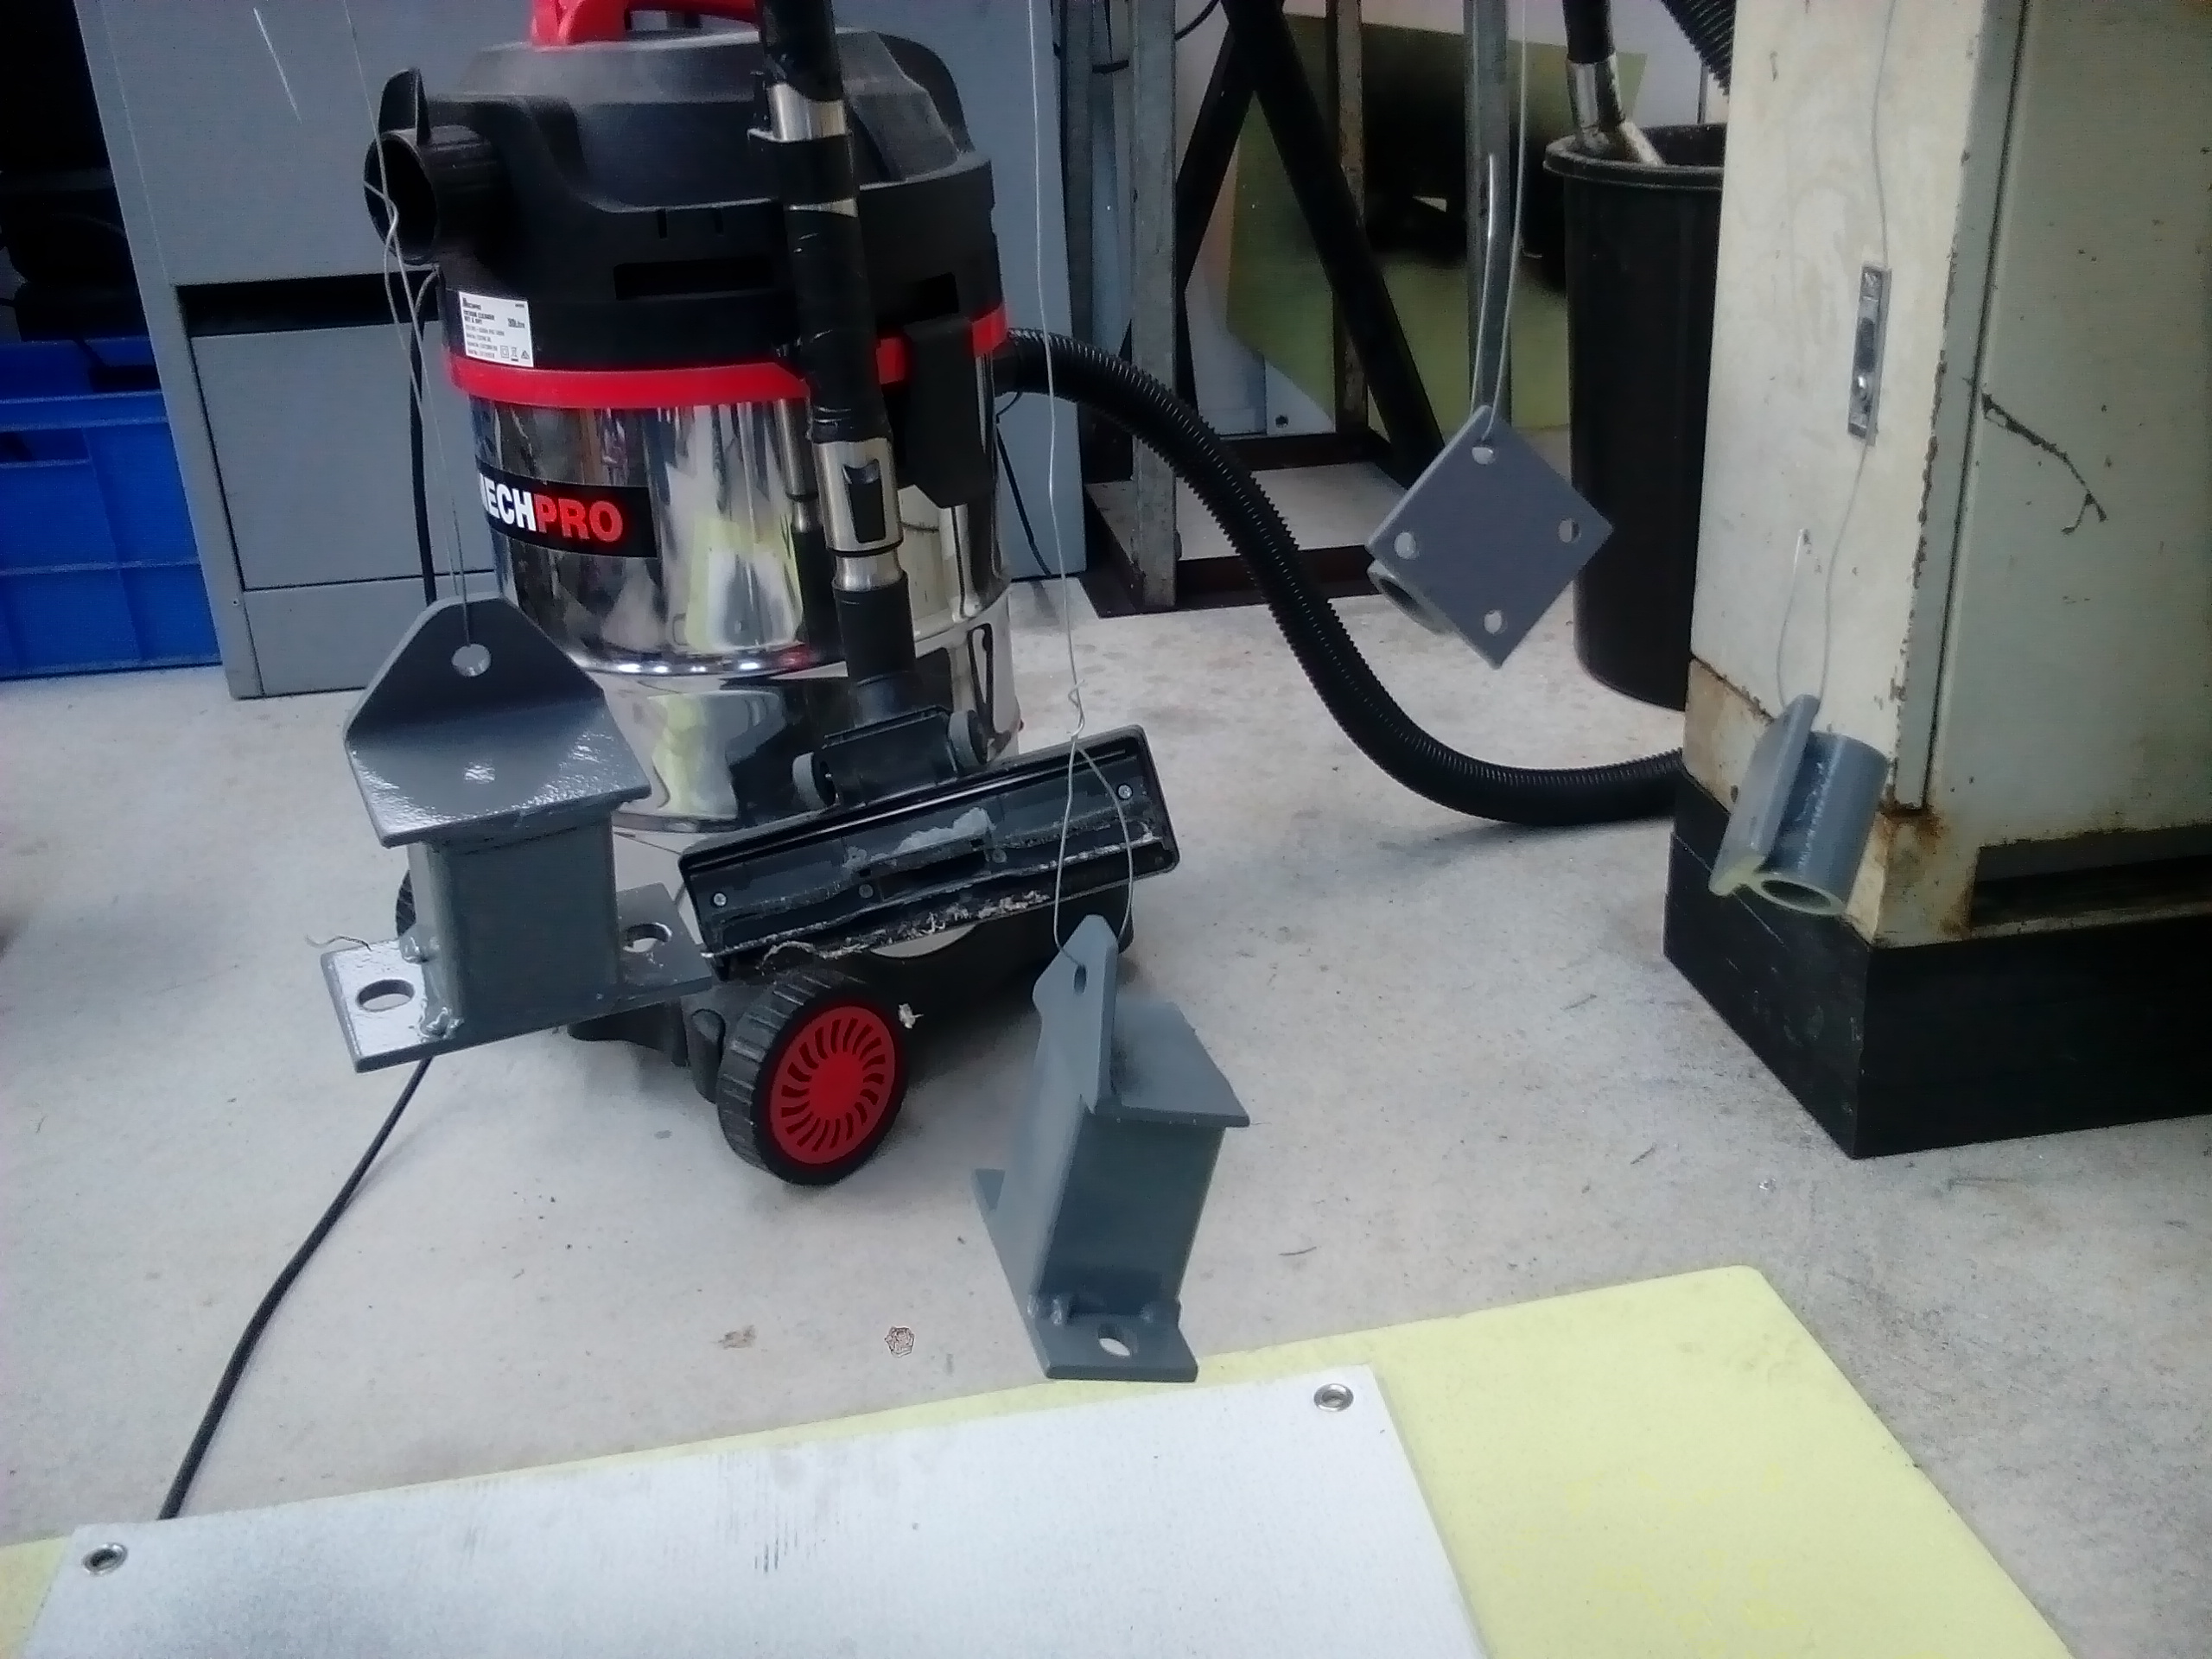
Got some black 2K paint onto the mounting brackets I welded up yesterday.They can dry over the day/night (its a bit cold today) and that should be one of many steps closer towards getting it finished. I tested the solenoid valve and that's all go too. This stuff is getting so cheap these days, $10 for a brand new solenoid valve! I brought myself a spare one just in case it fails at an inopportune time.
-
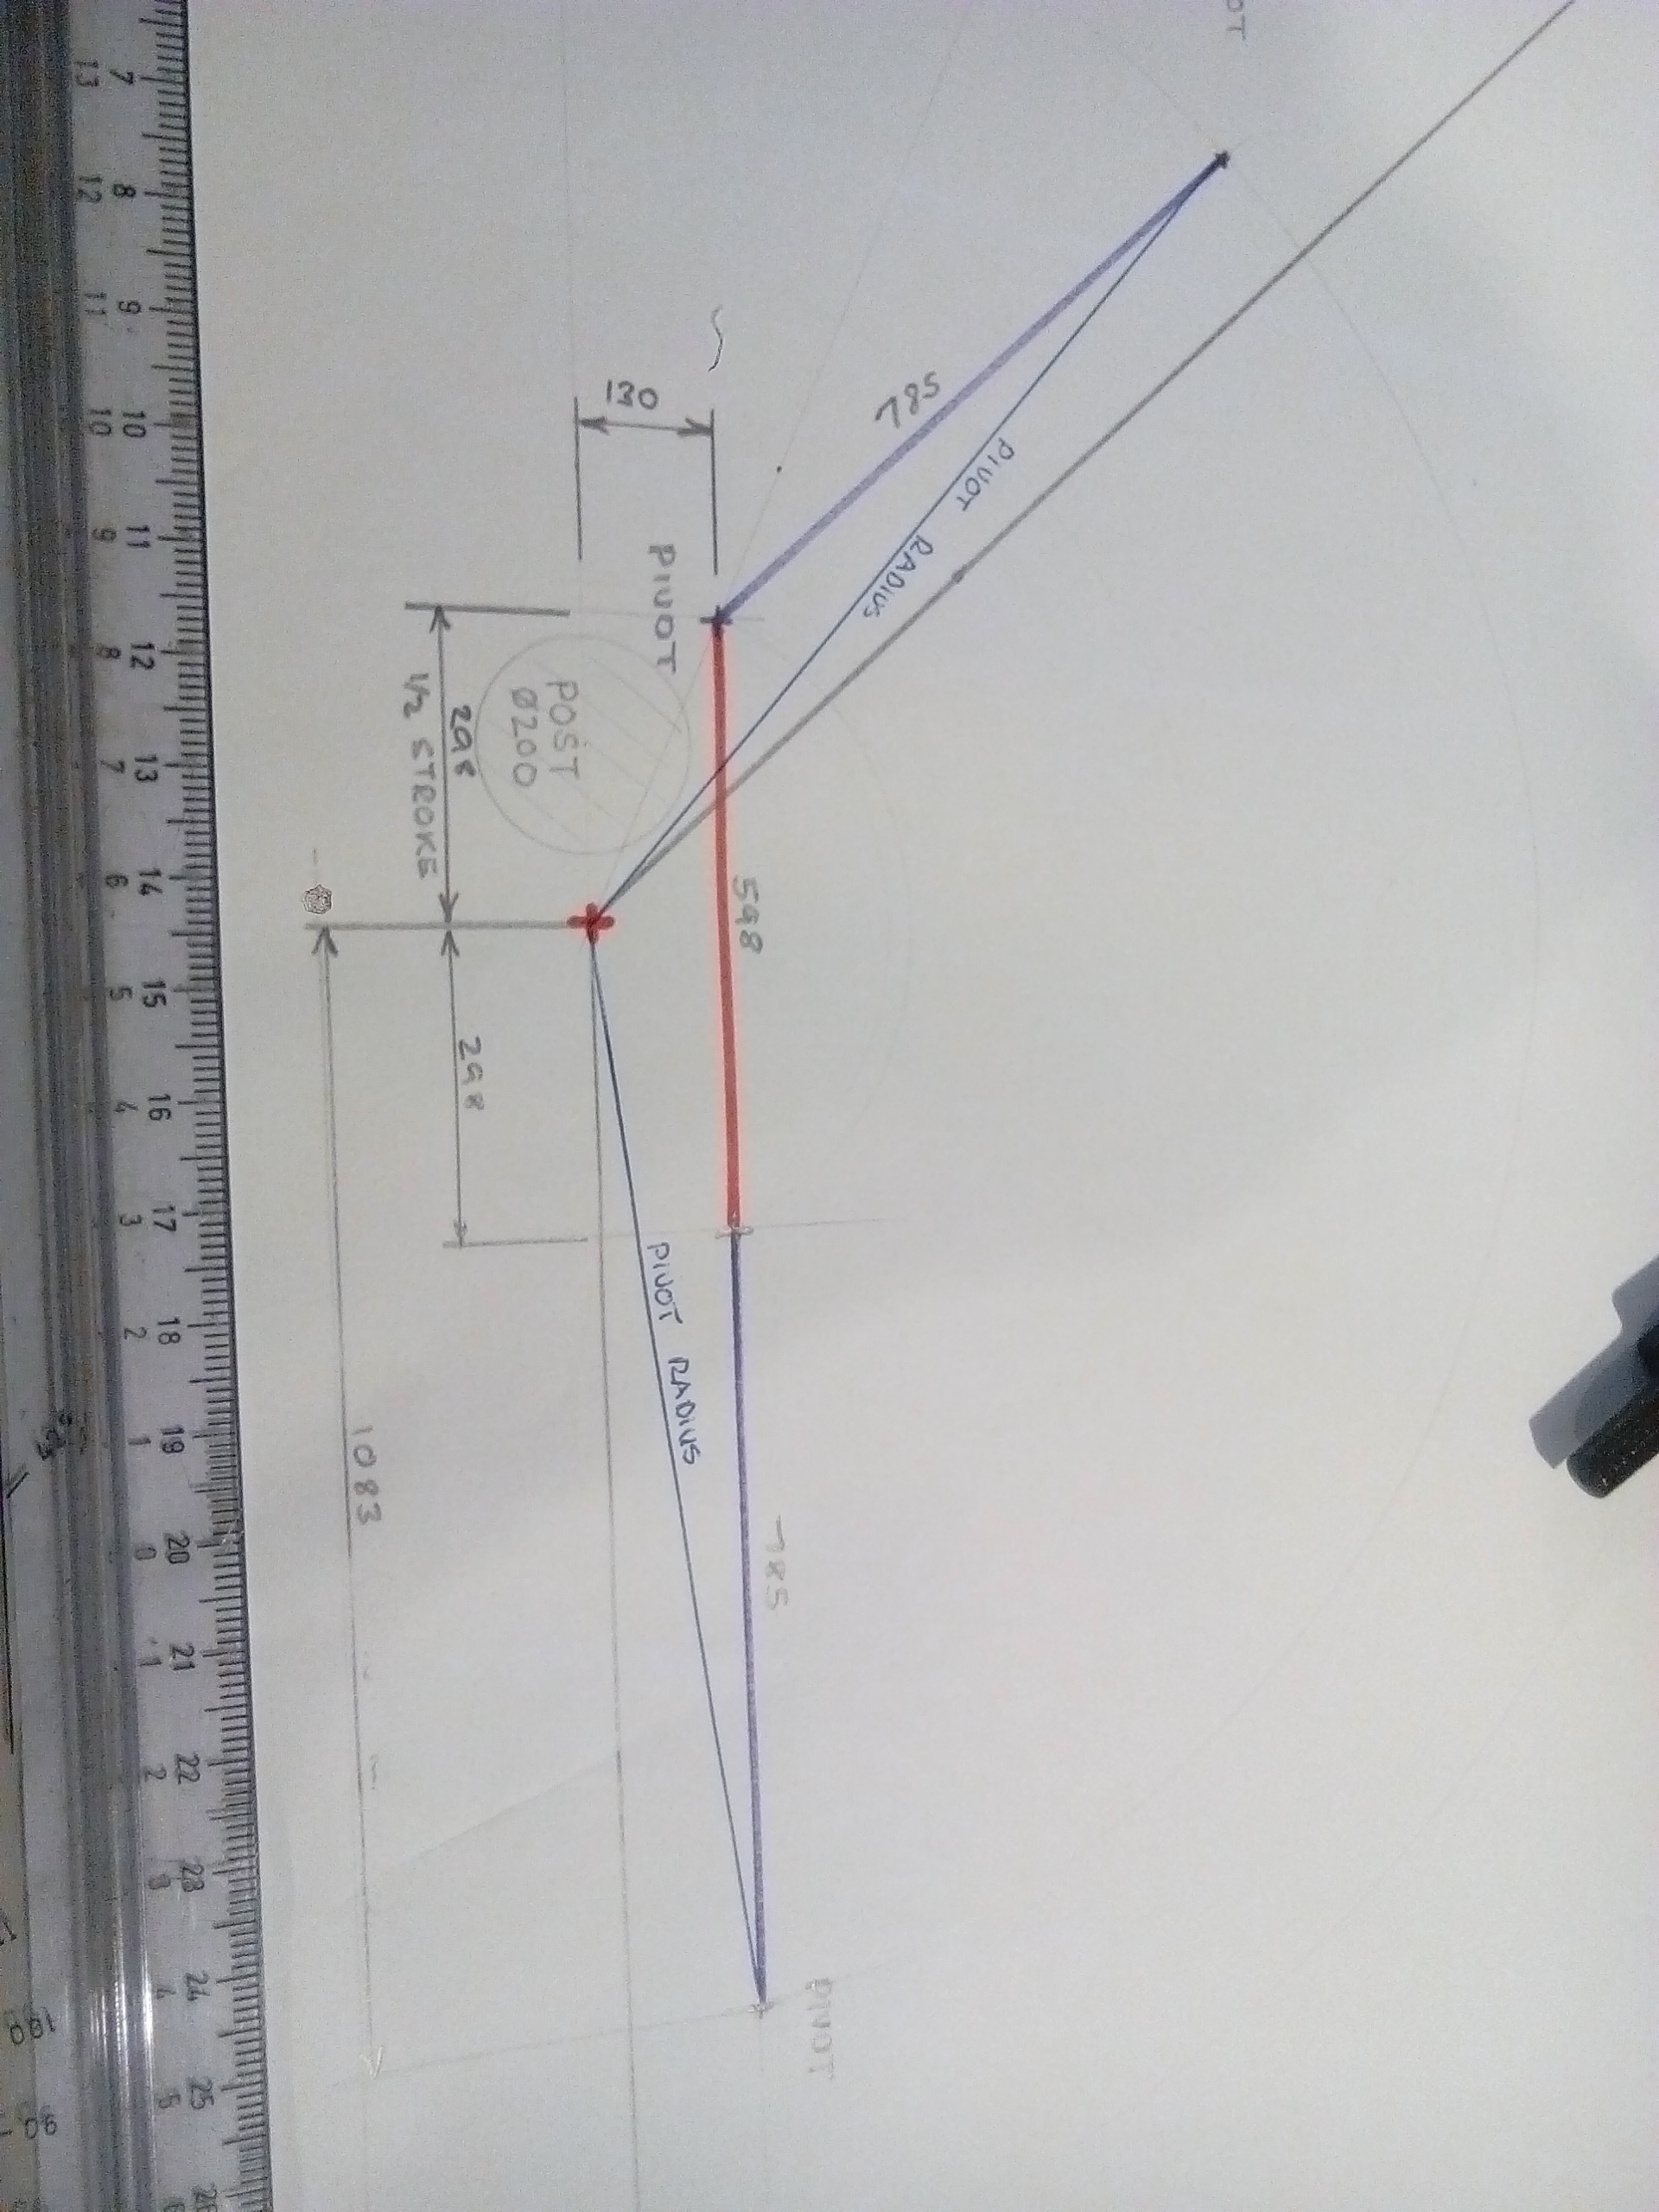
Funny thing is I can see an error on that diagram 298+298 = 598??? It's a "typo", but more reason to learn how to add
-
Fyi; here's the vector diagram for the pivot points. I did it on an old school tech drawing board first, then did it mathematically afterwards to get better numbers using trigonometry. I then made a 1:1 template which I used to guild my drill when drilling the anchor points. The brackets received a coat of etch primer and I'll hopefully paint and install it all tomorrow
-
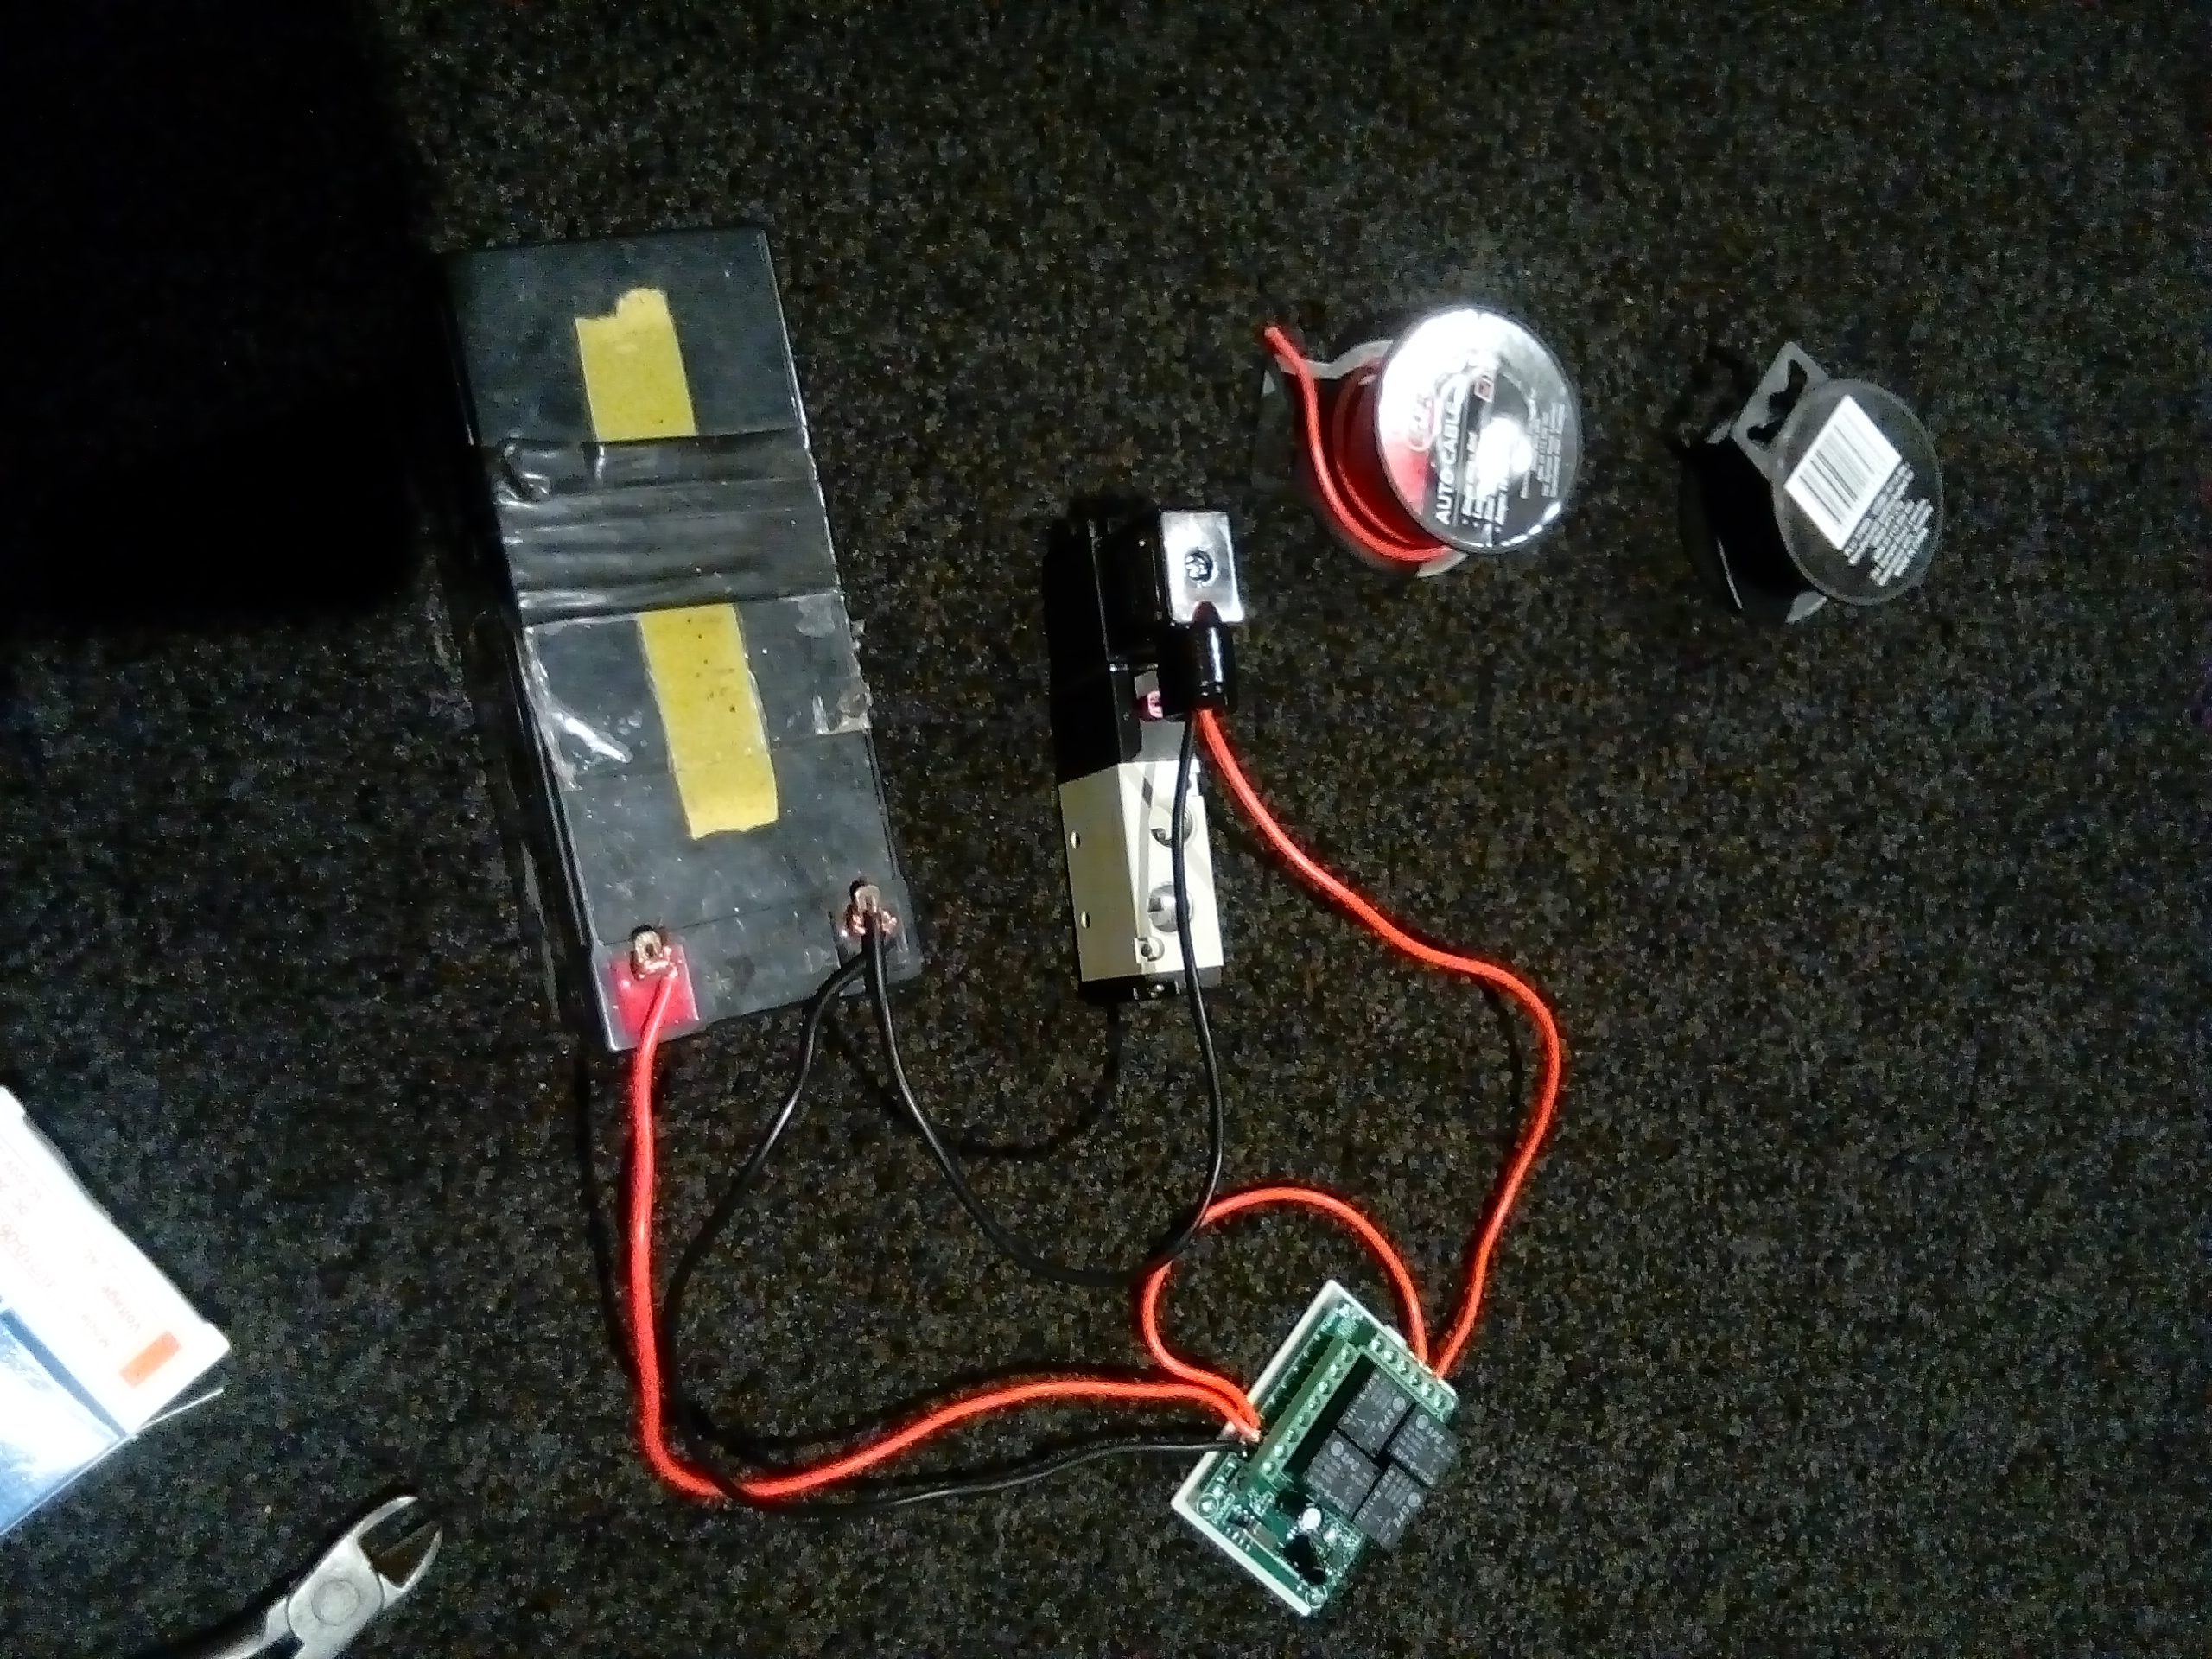
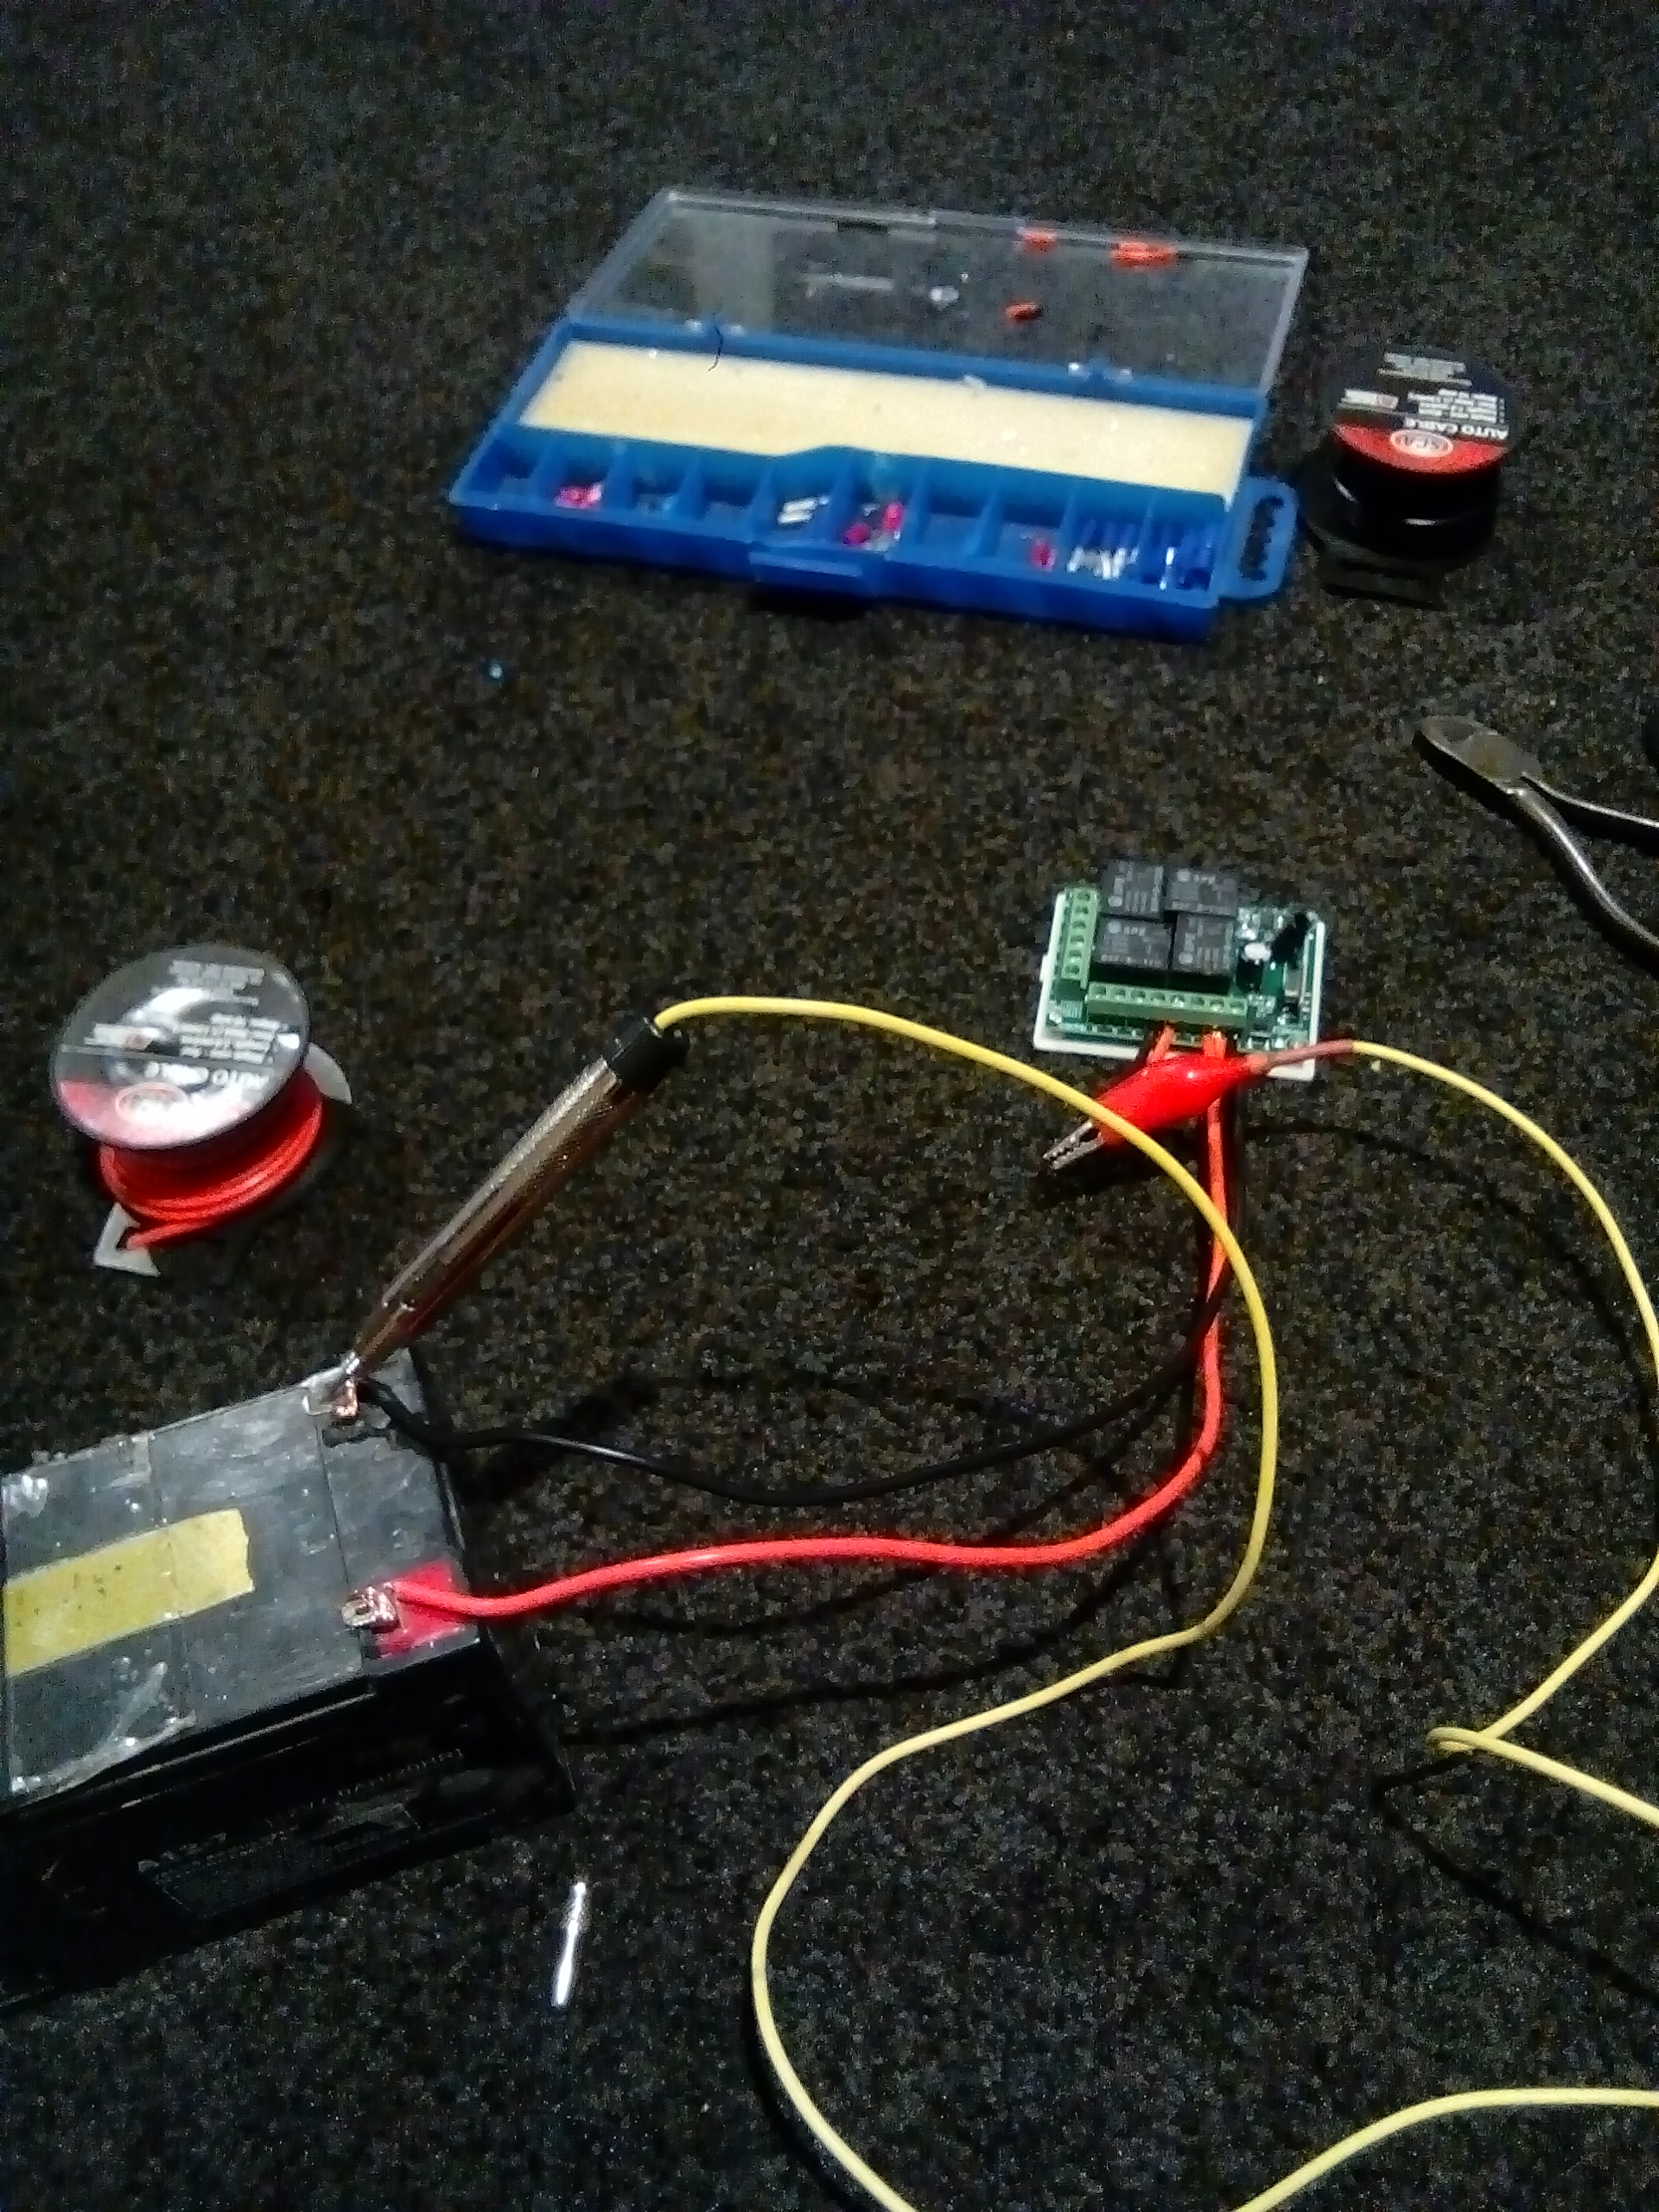
I ordered a cheap wireless remote, that controls some relays. Here it is boggied up to see if it works Which it did. I'll use it to control a 5/2 solenoid valve via a 12vdc battery as a power supply. I calculated that a 7Ahr battery would last about 420 days of use, so I'll just run with that. The solenoid will operate two pneumatic cylinders. I made this up this morning from a 1300mm stroke cylinder that i got for free, which I shortened to 598mm That's it test fitted. It took me all week to figure out the vectors, as it moves the gate 133° of arc. 90° is easy, but anything beyond that took a little figuring out. Although, now I understand the principal it would only take a minute to do next time
-

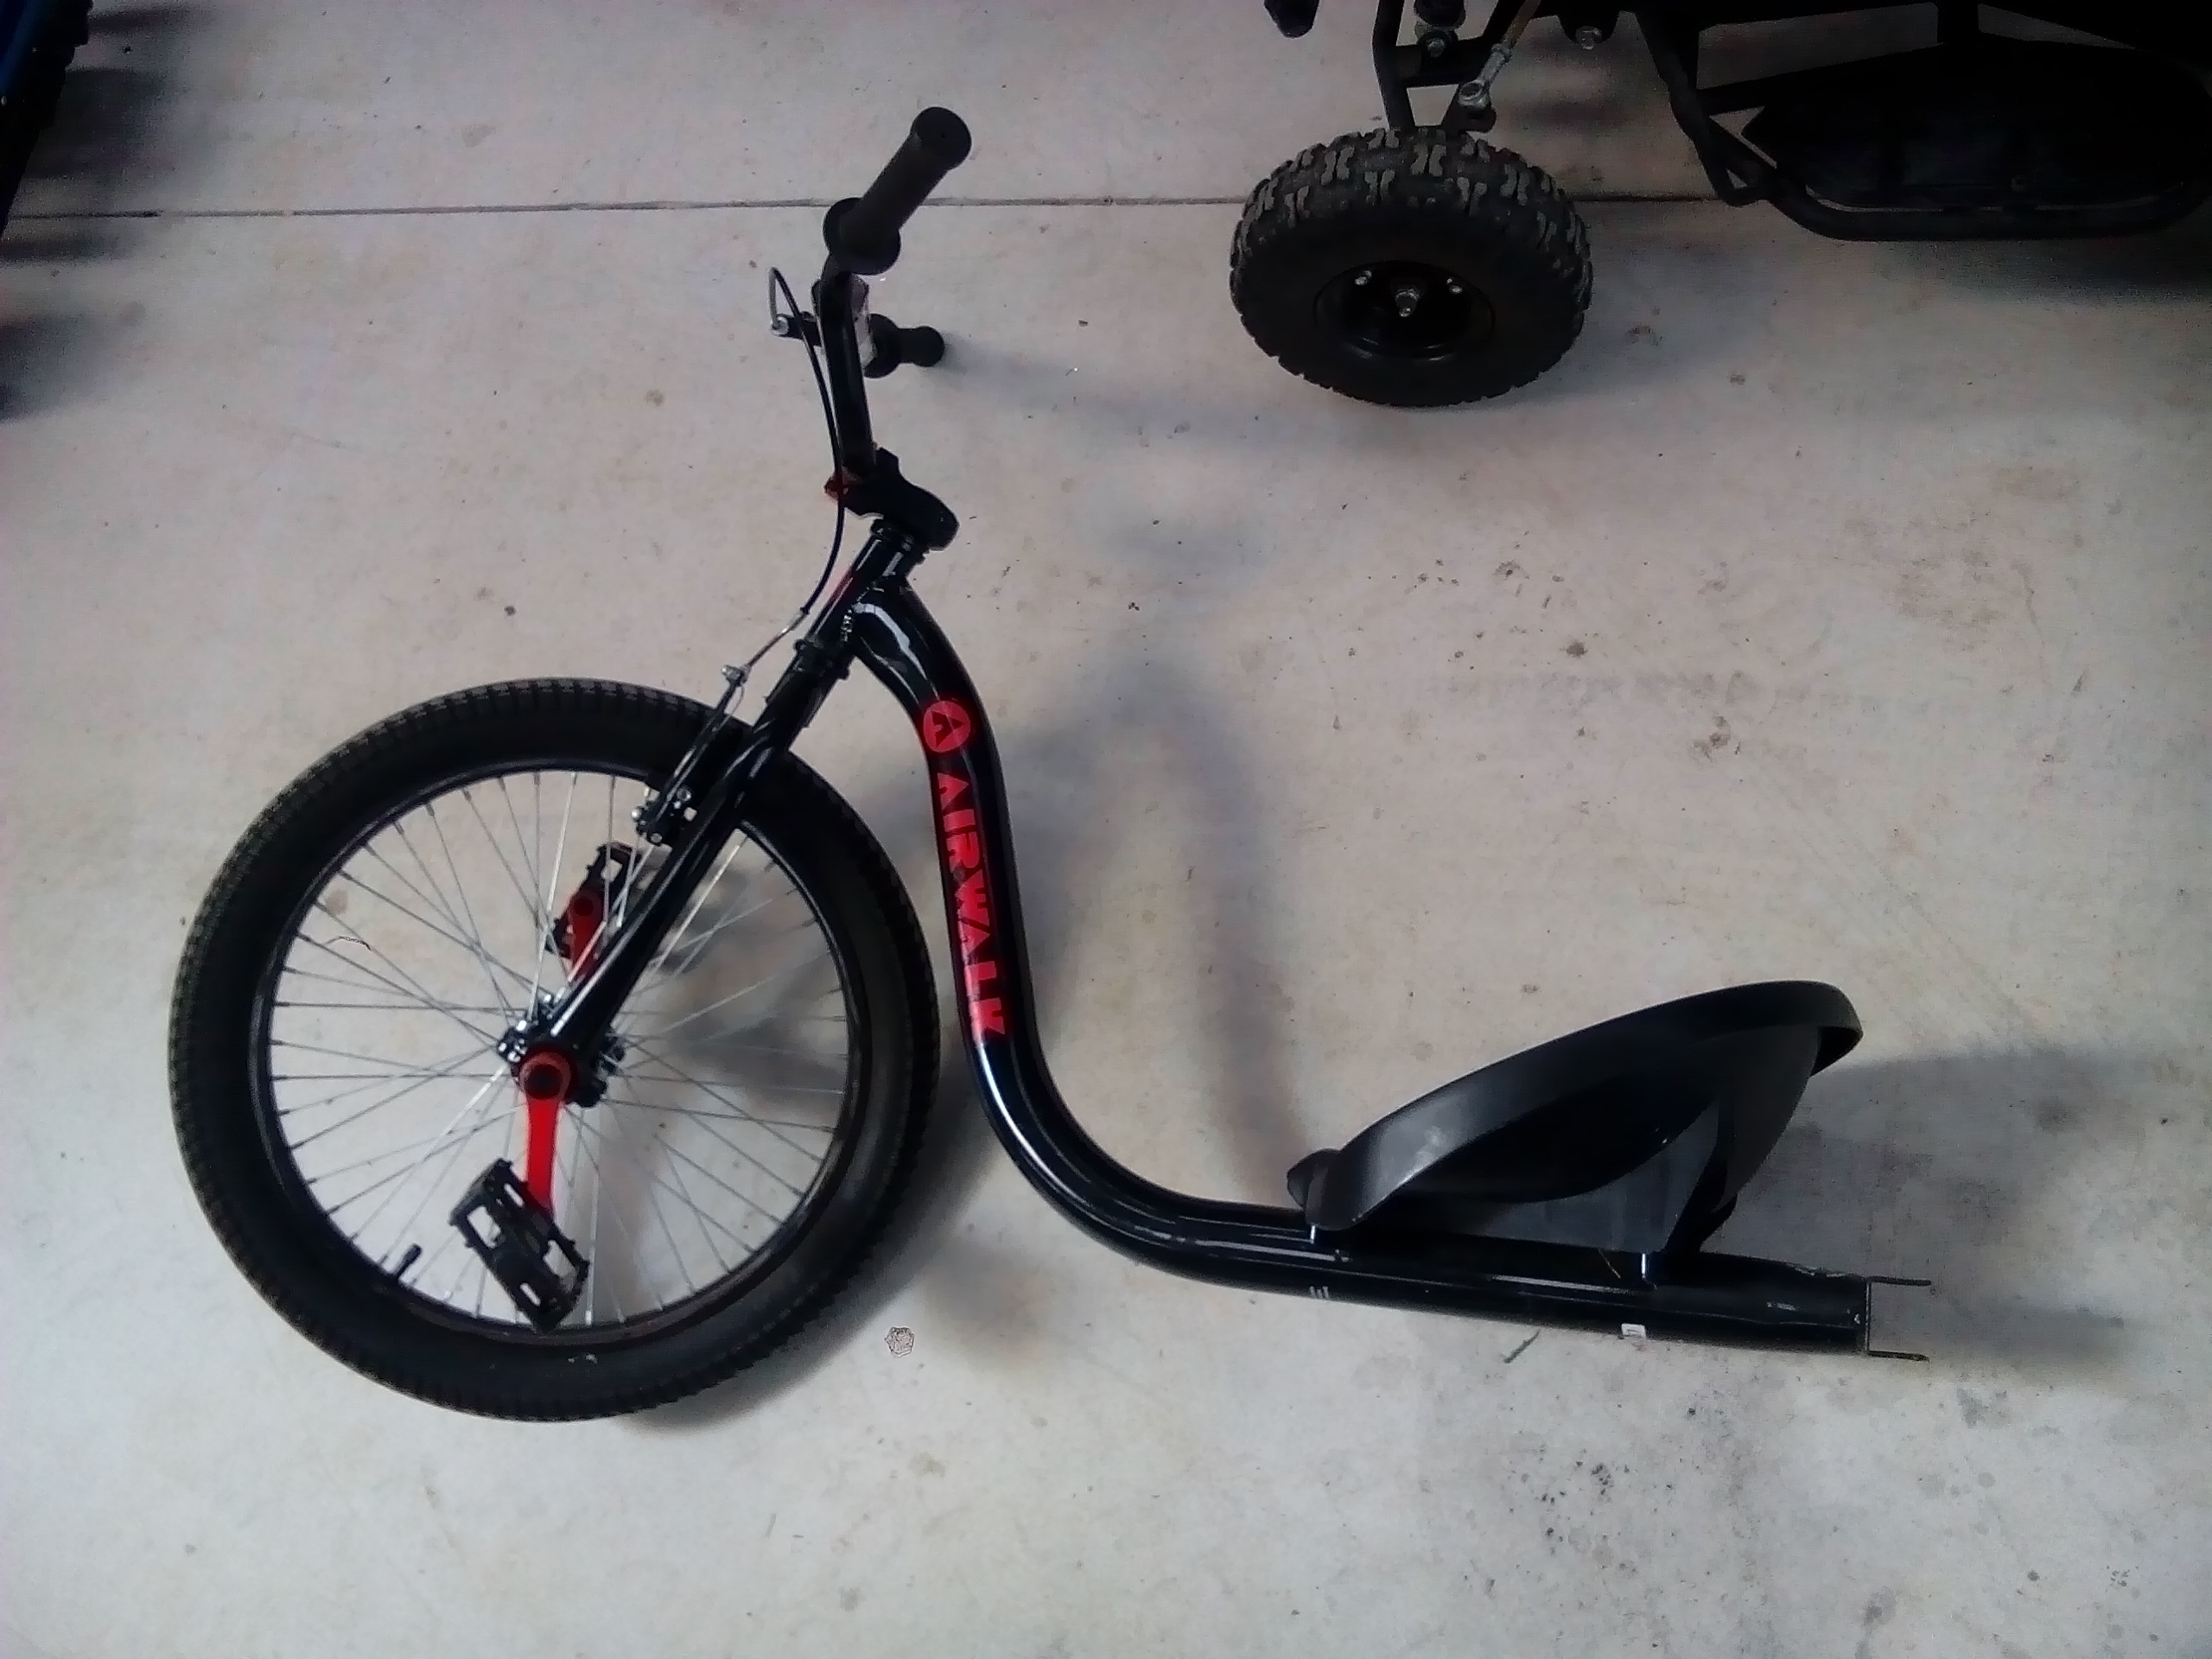
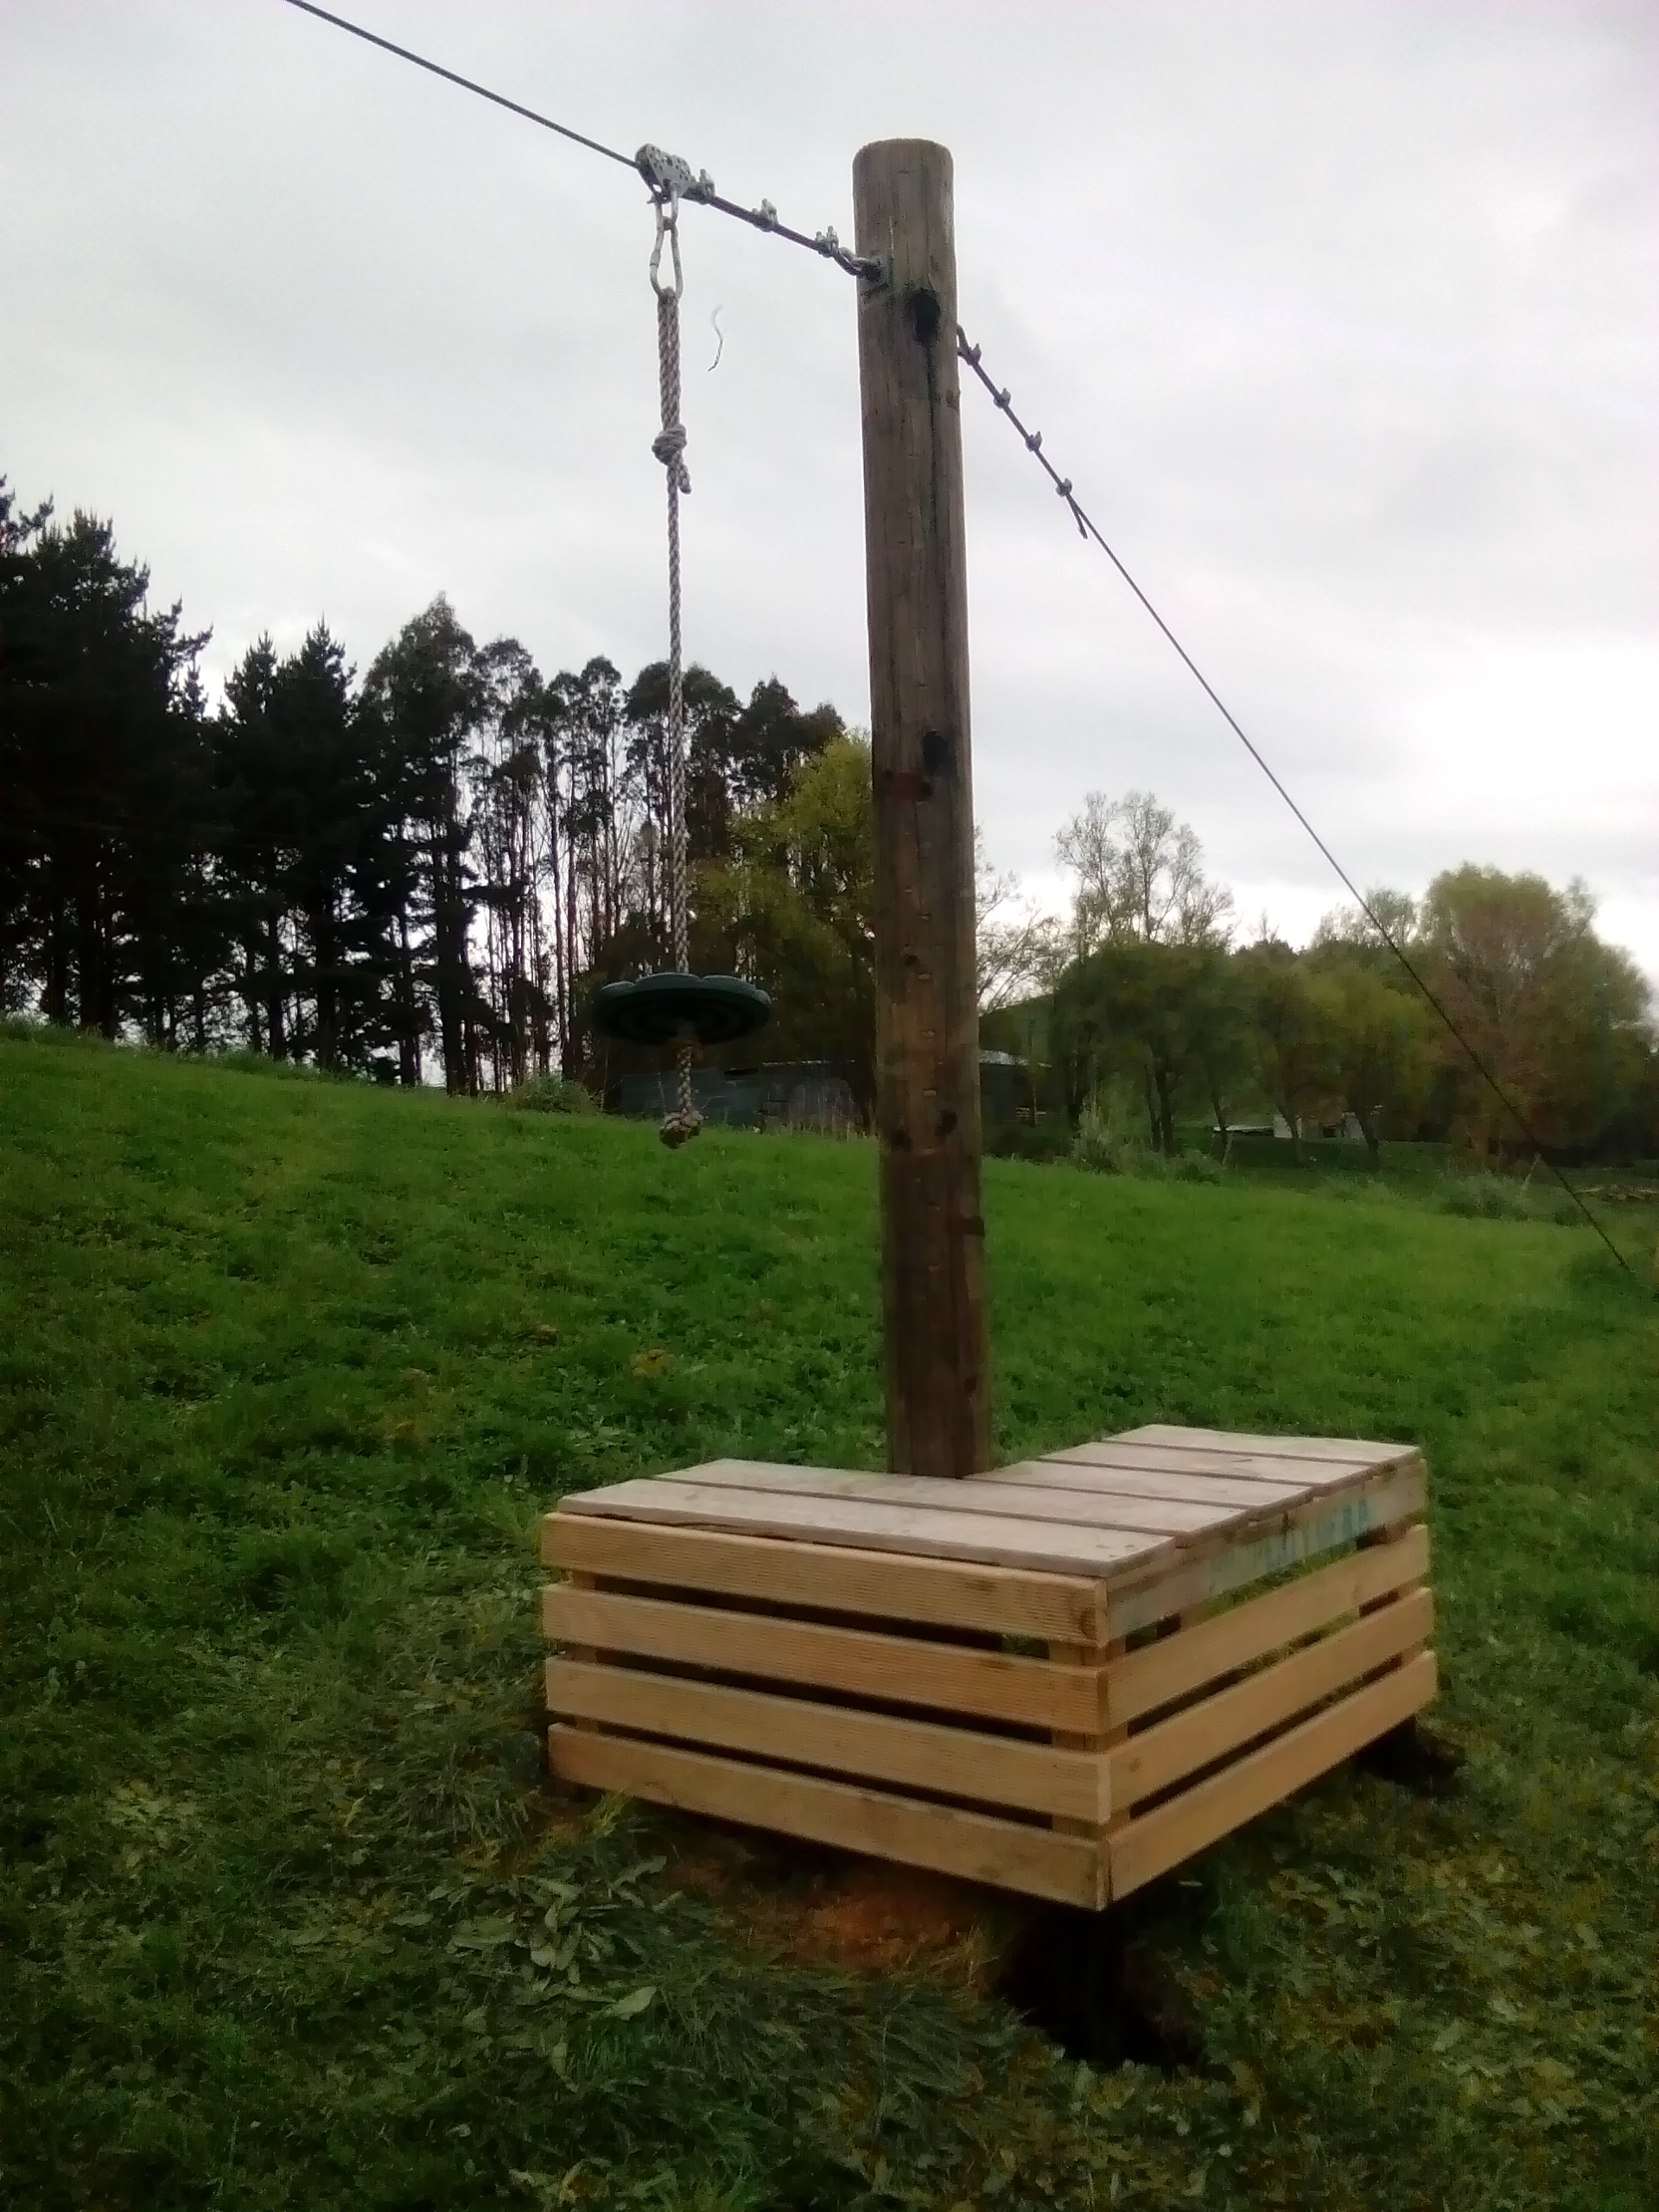
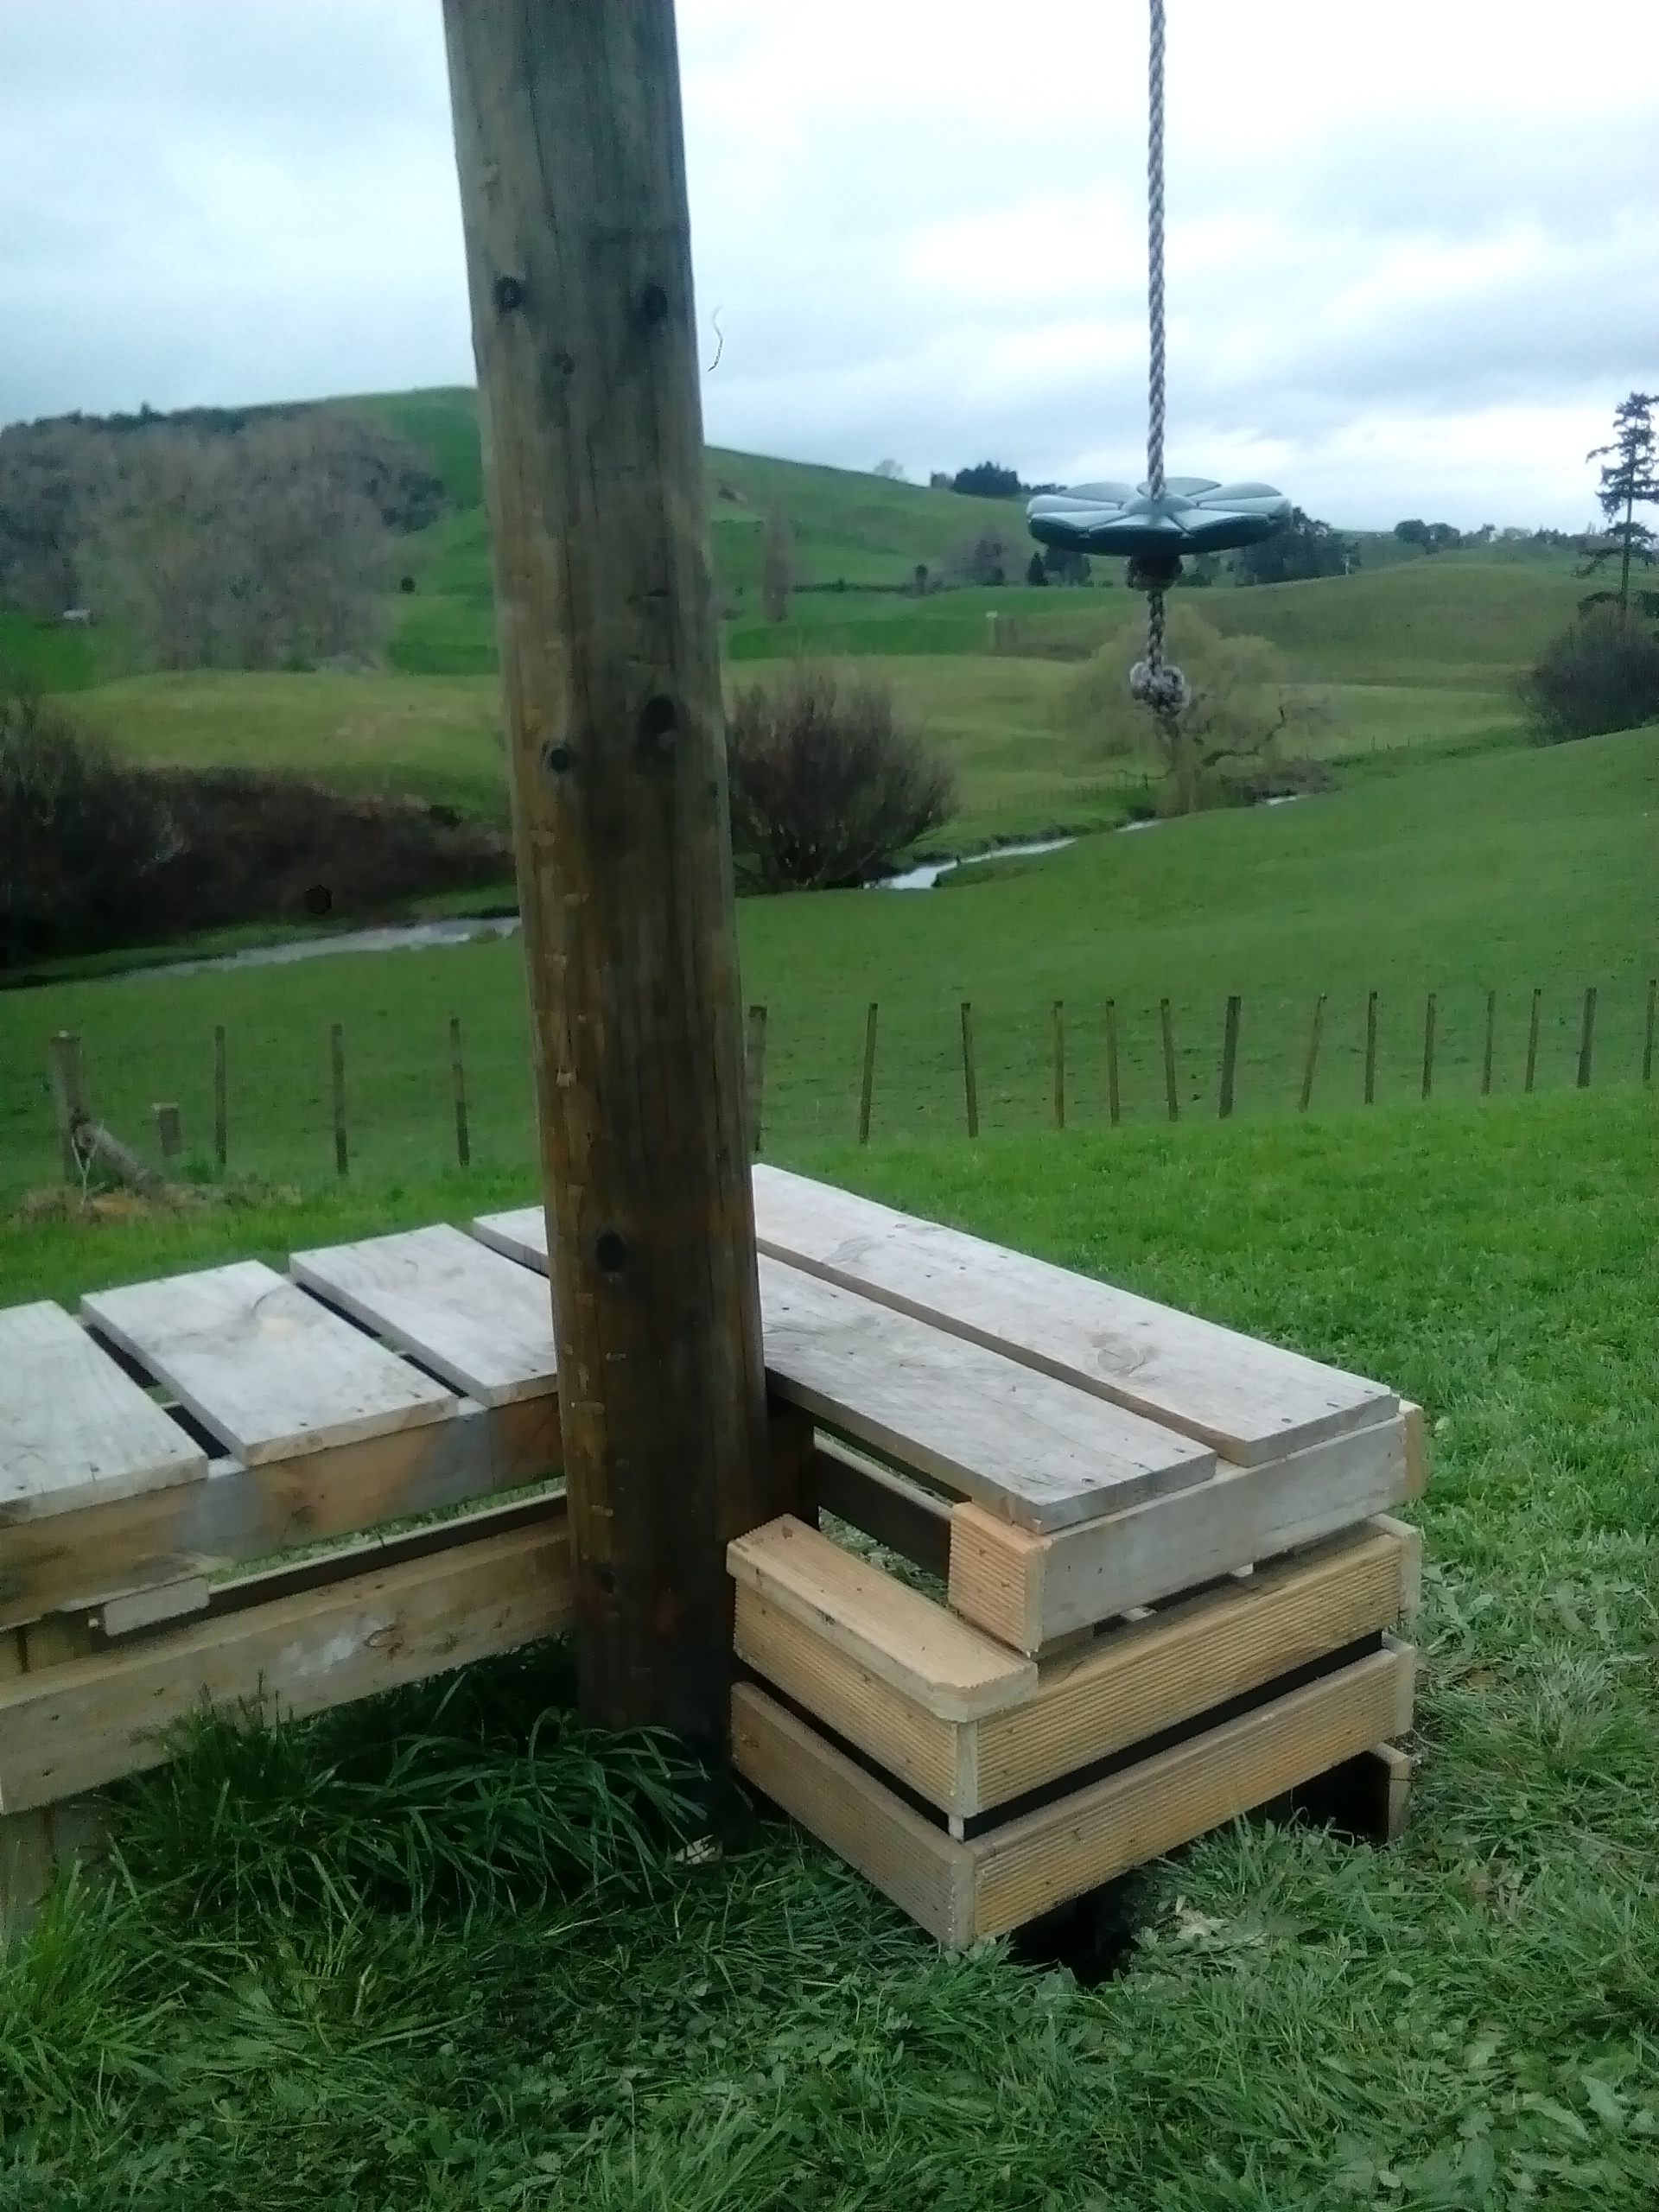
Kimjon builds a launching platform (not NASA approved!)
Kimjon replied to Kimjon's topic in Other Projects
Oi, don't tell the kids it's not. We were counting down and making rocket noises for hours yesterday. -
The flying fox had one of those temporary fixes that kind of gets normalised. See the kids were too short to get onto the seat, so I chucked a couple old hilux rims under it...9 months later... So, considering I didn't want to invest a fortune in building this, an old pallet, some decking offcuts, 4m of rough sawn timber and a couple bags of quickcrete were all it took (about $35 total cost). Much better than the doggy old wheels. Kj
-
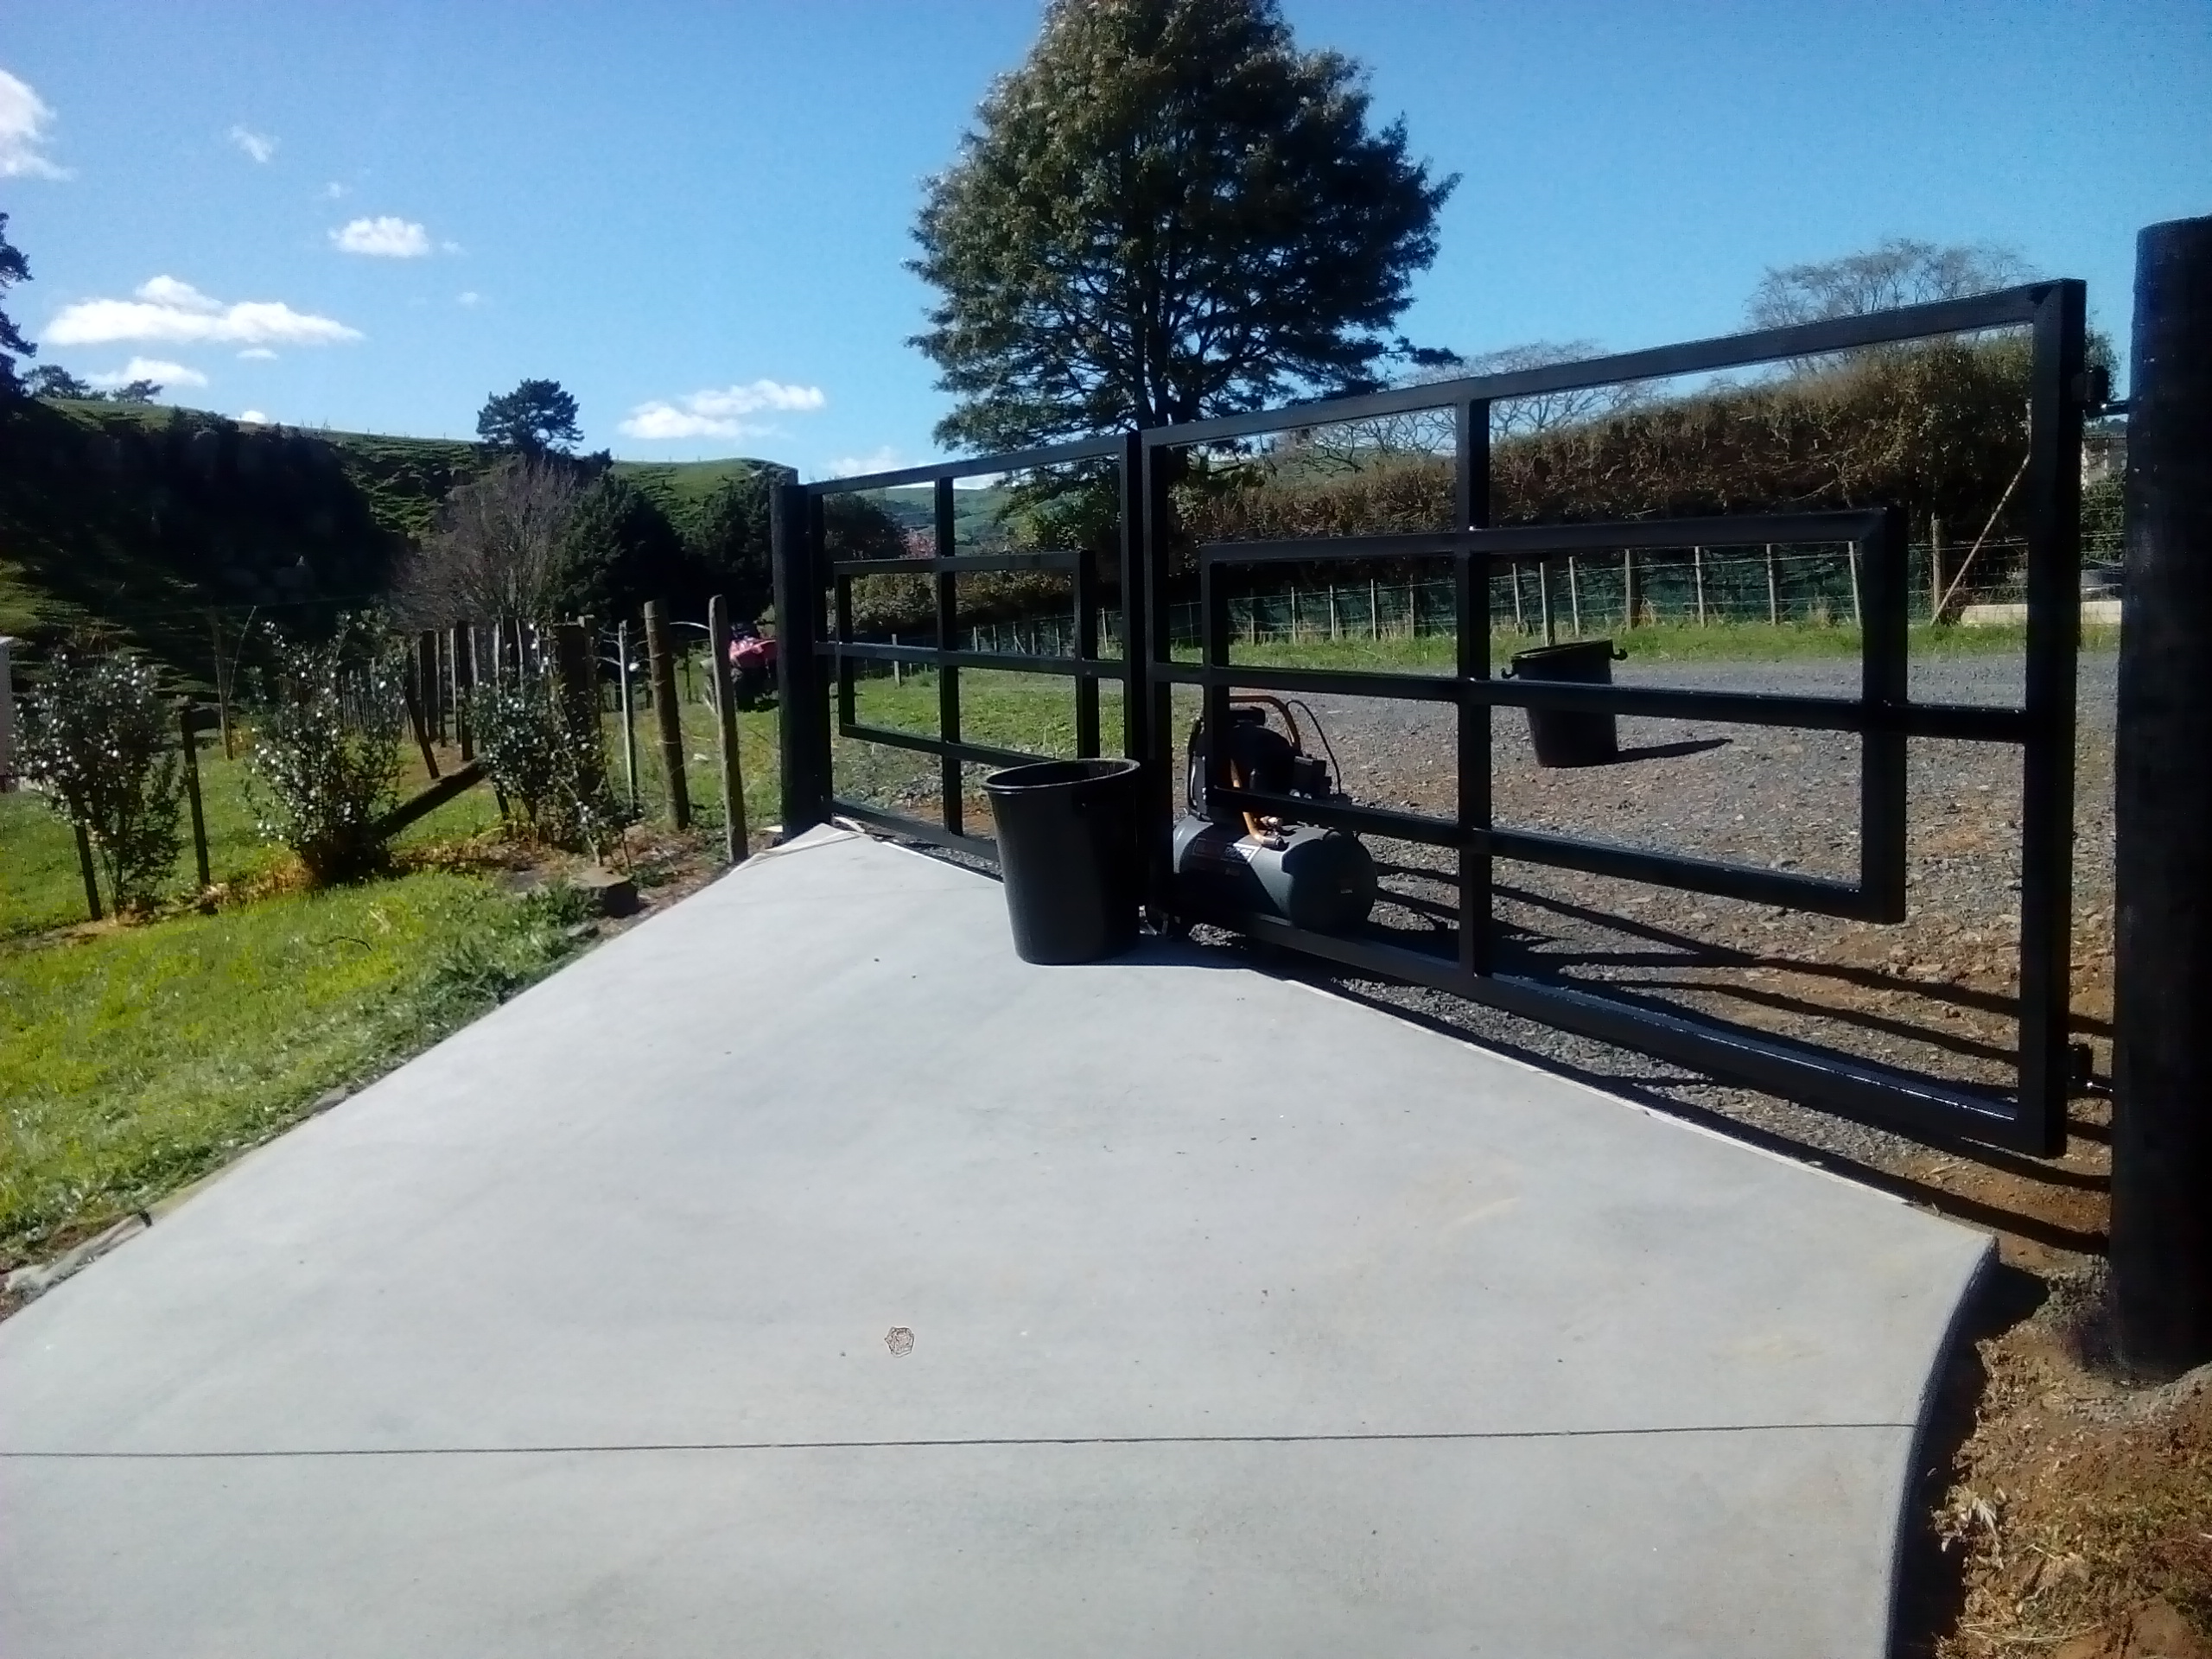
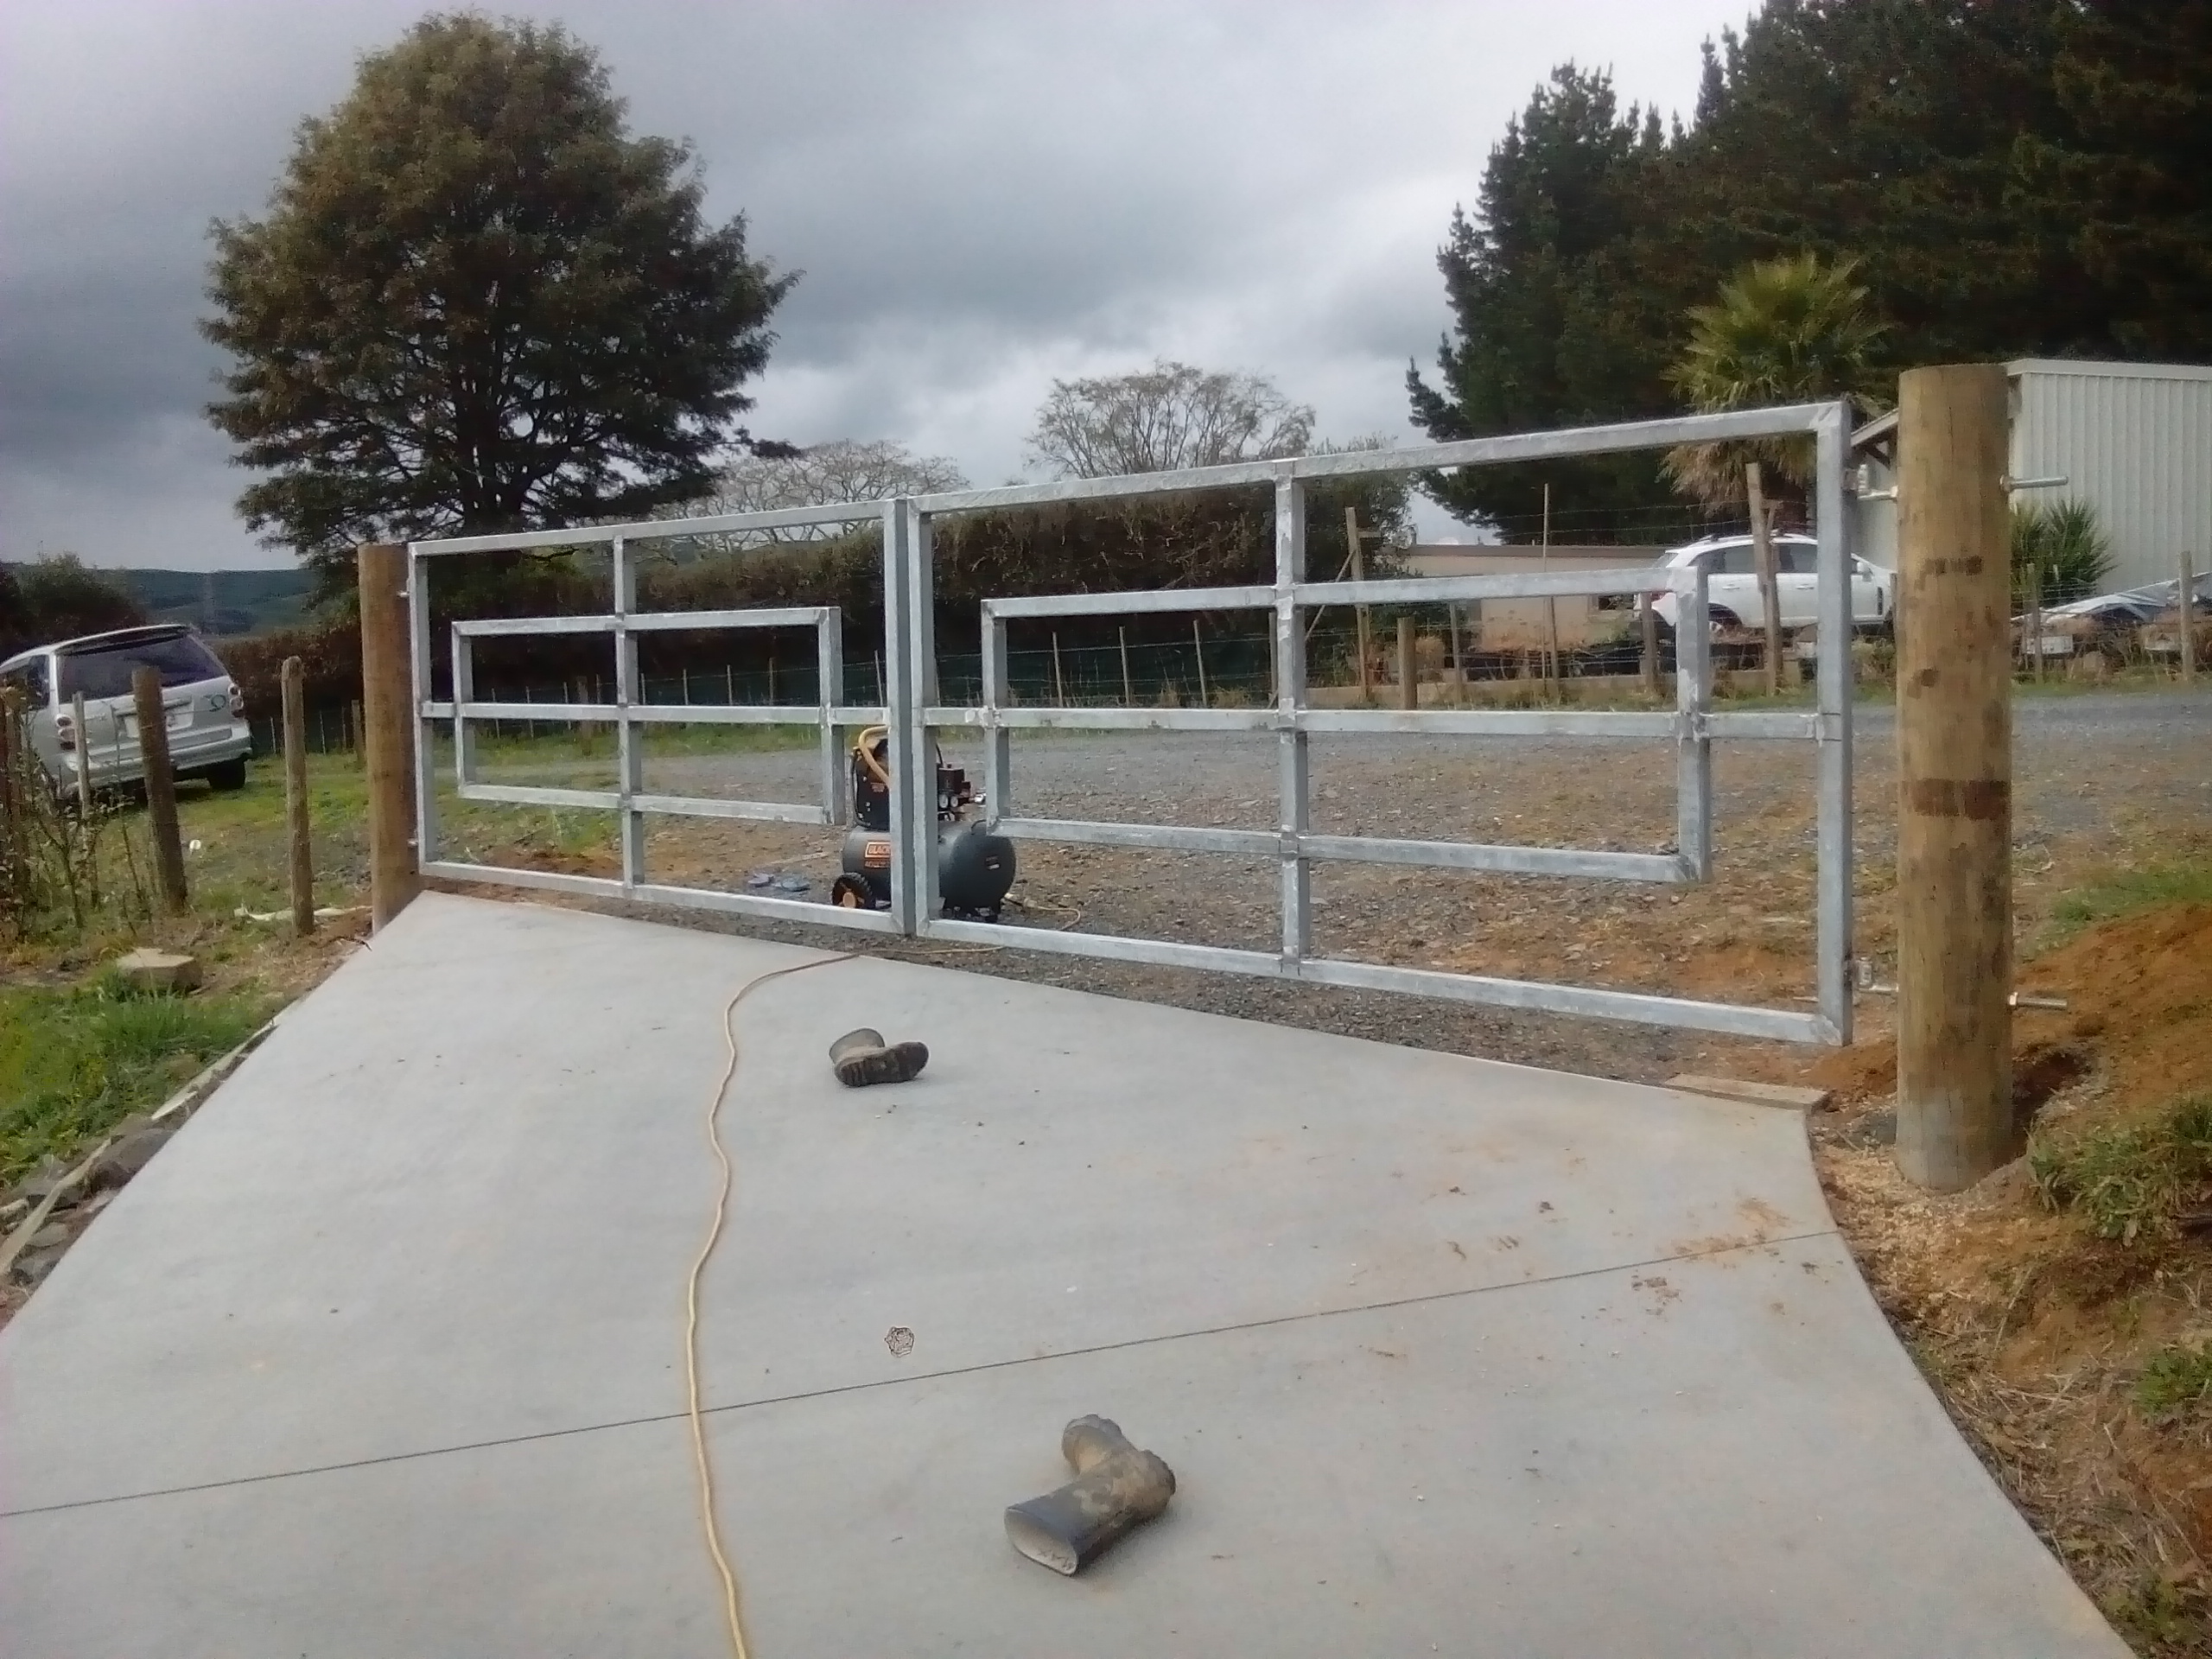
Got a fine day to paint and let the gates dry outside. The special primer I used to etch the galvanizing was weird stuff, similar to rust converter as it's watery and turns gold on reaction. I did get a few runs in the primer...but I just painted over them, as after all its just a set of gates made from scrap metal. Overall I'm happy. I'll automate them when I have some spare money to pay for it.
-
Chain roller, made out of a skateboard wheel.
-
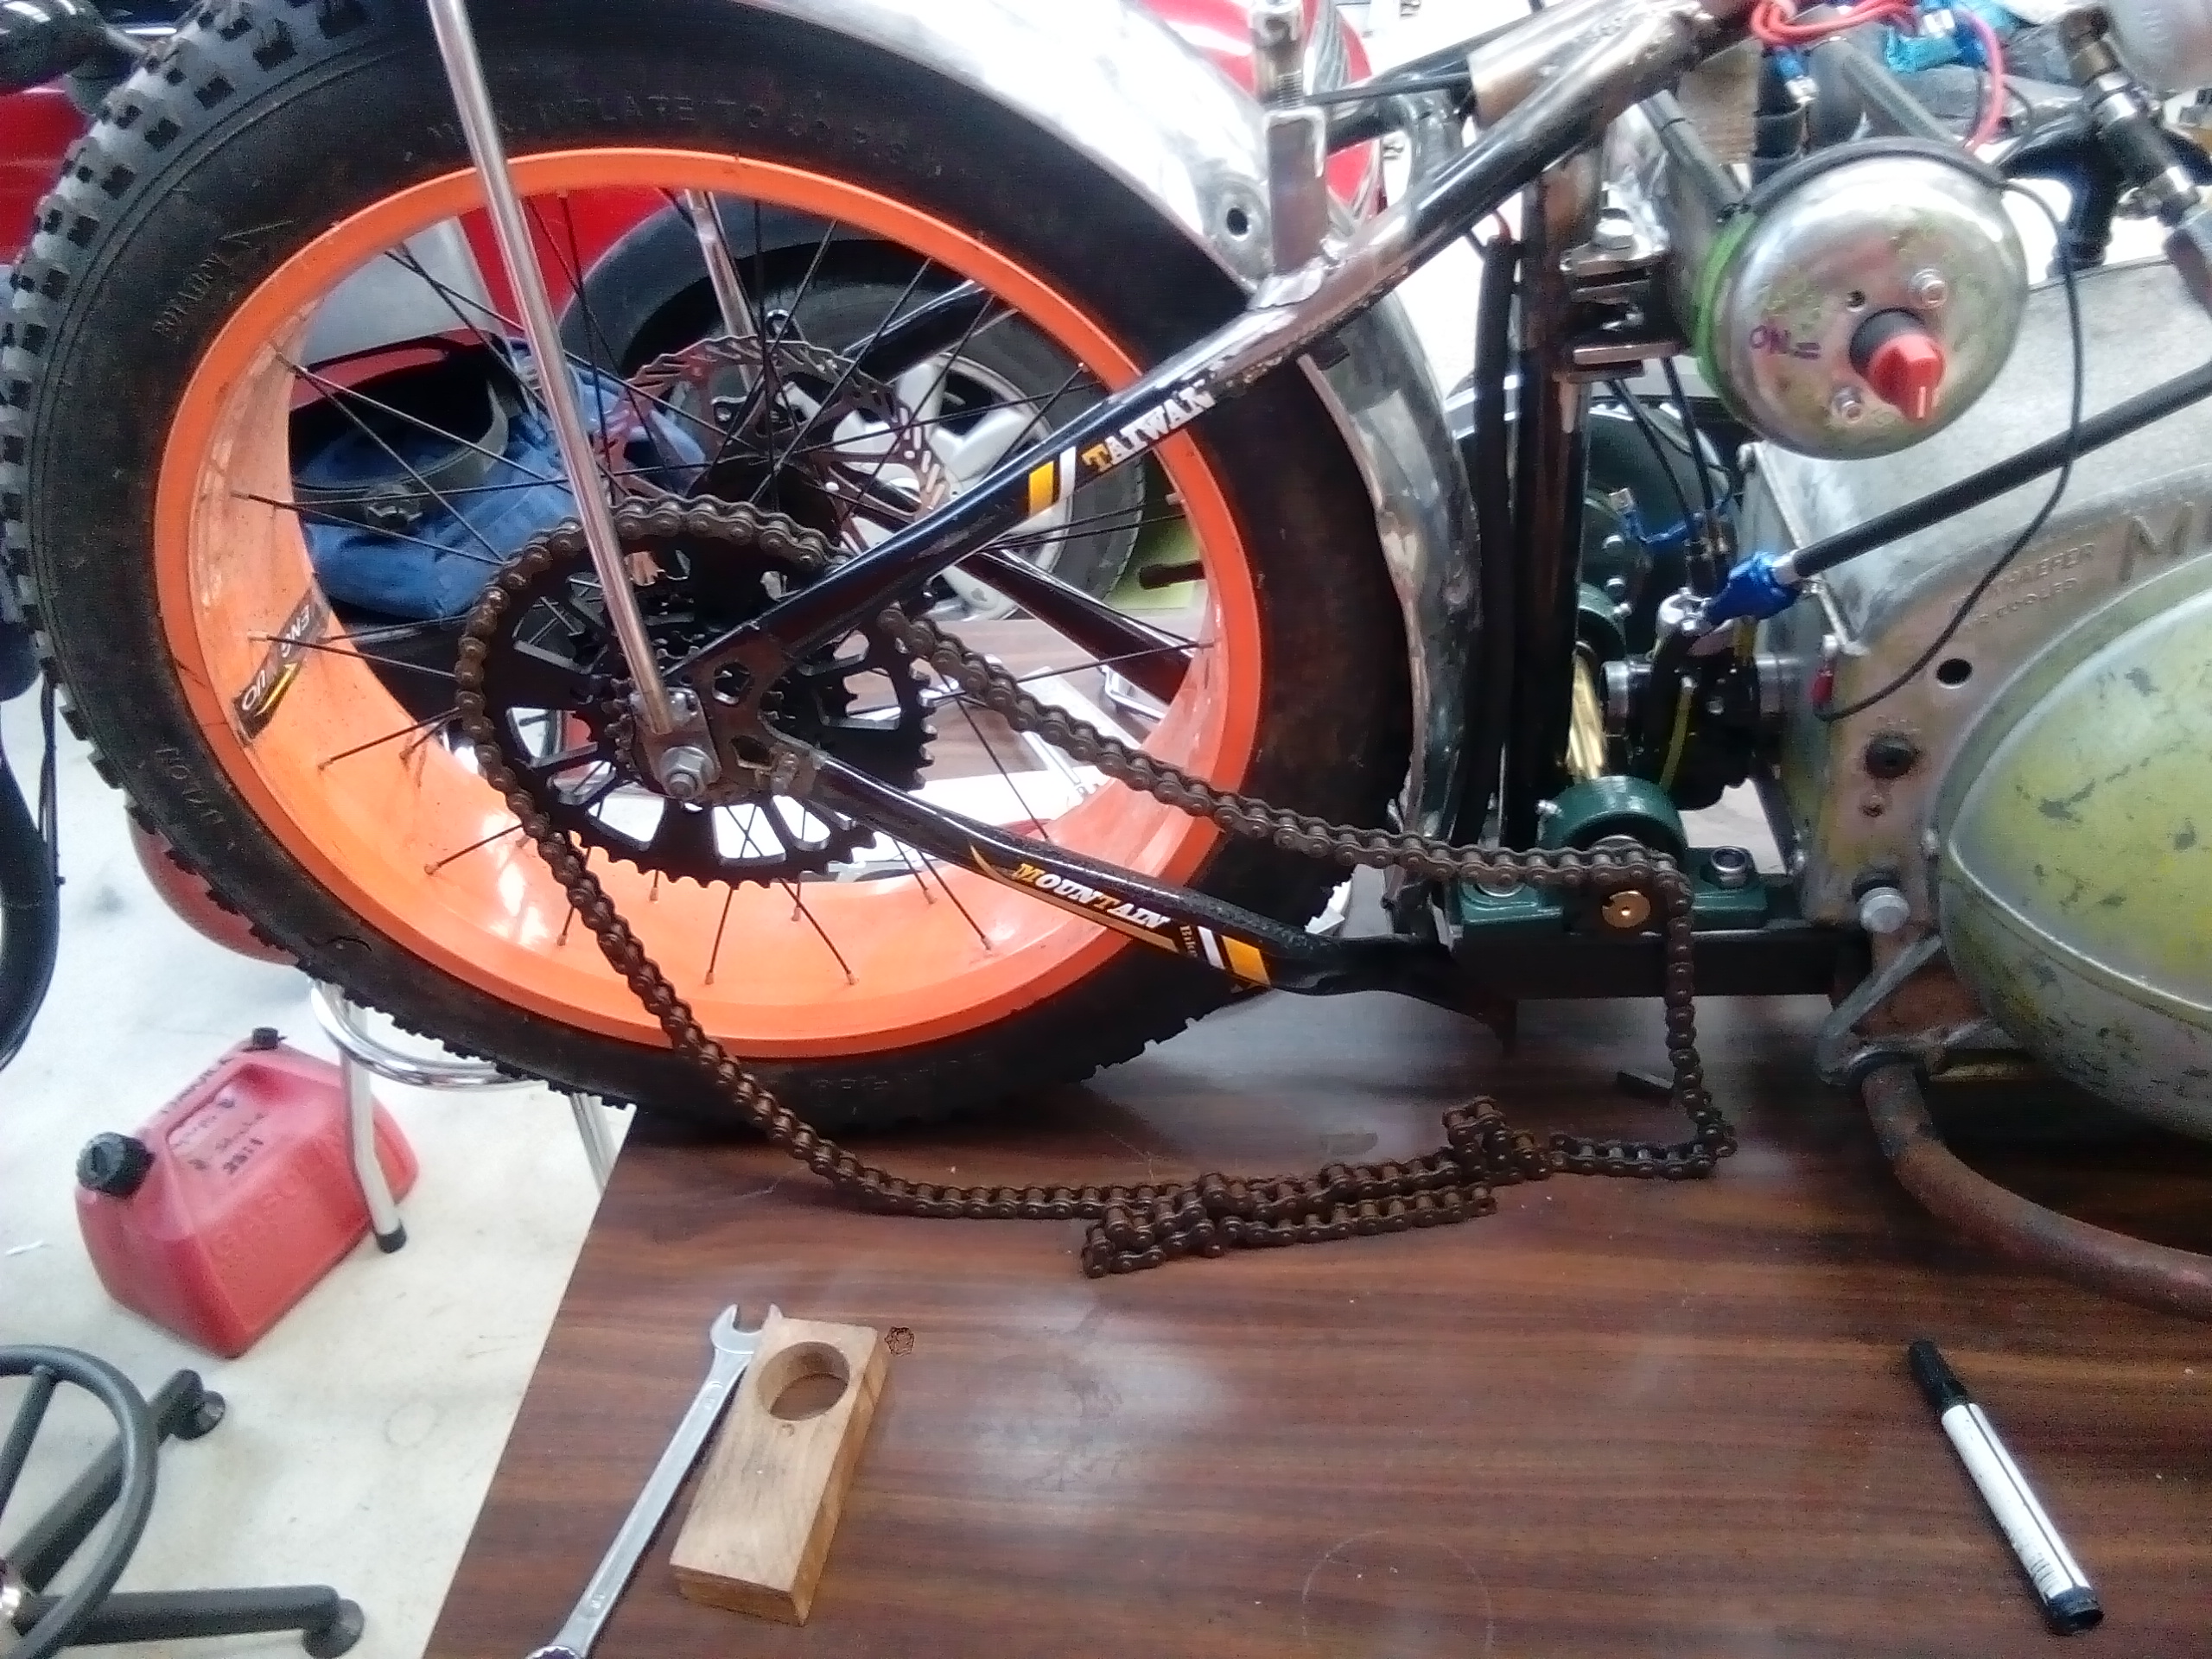
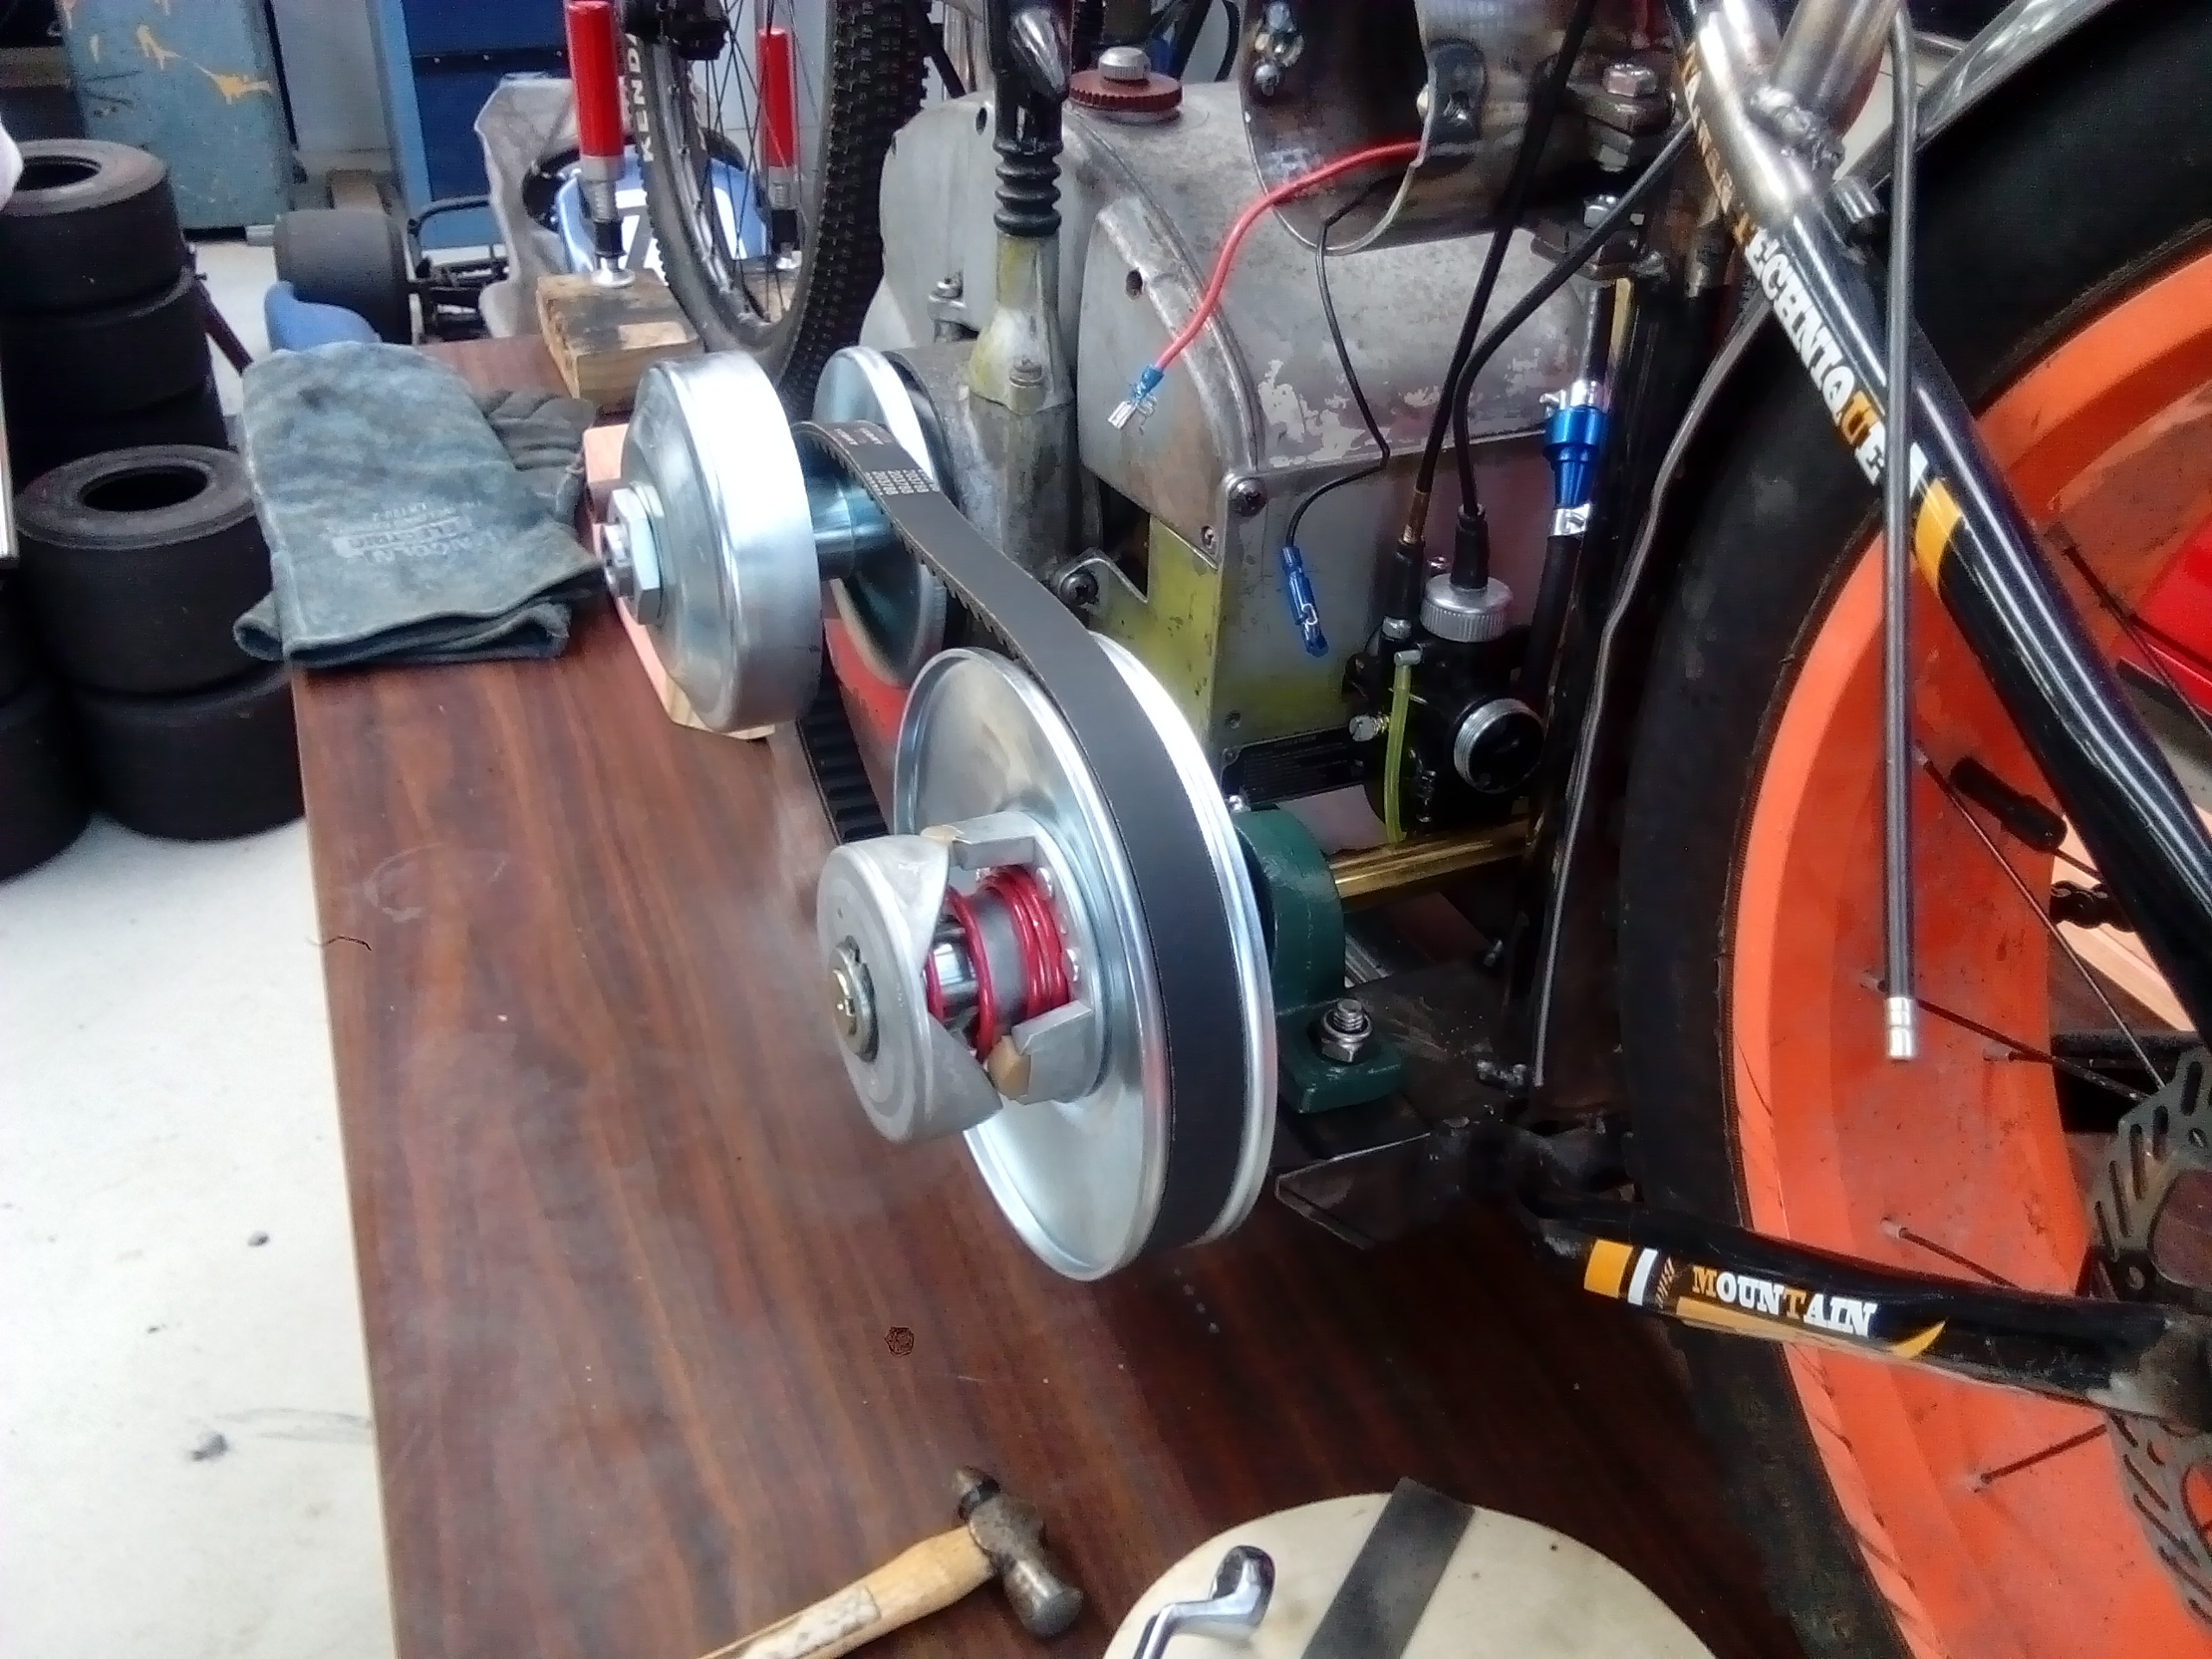
So, motor drive is on the left, bike tyre sprocket on the right...solution: use a jack shaft. it all looks about right. Will fine tune alignment and machine up some collars to limit any horizontal movement.
-
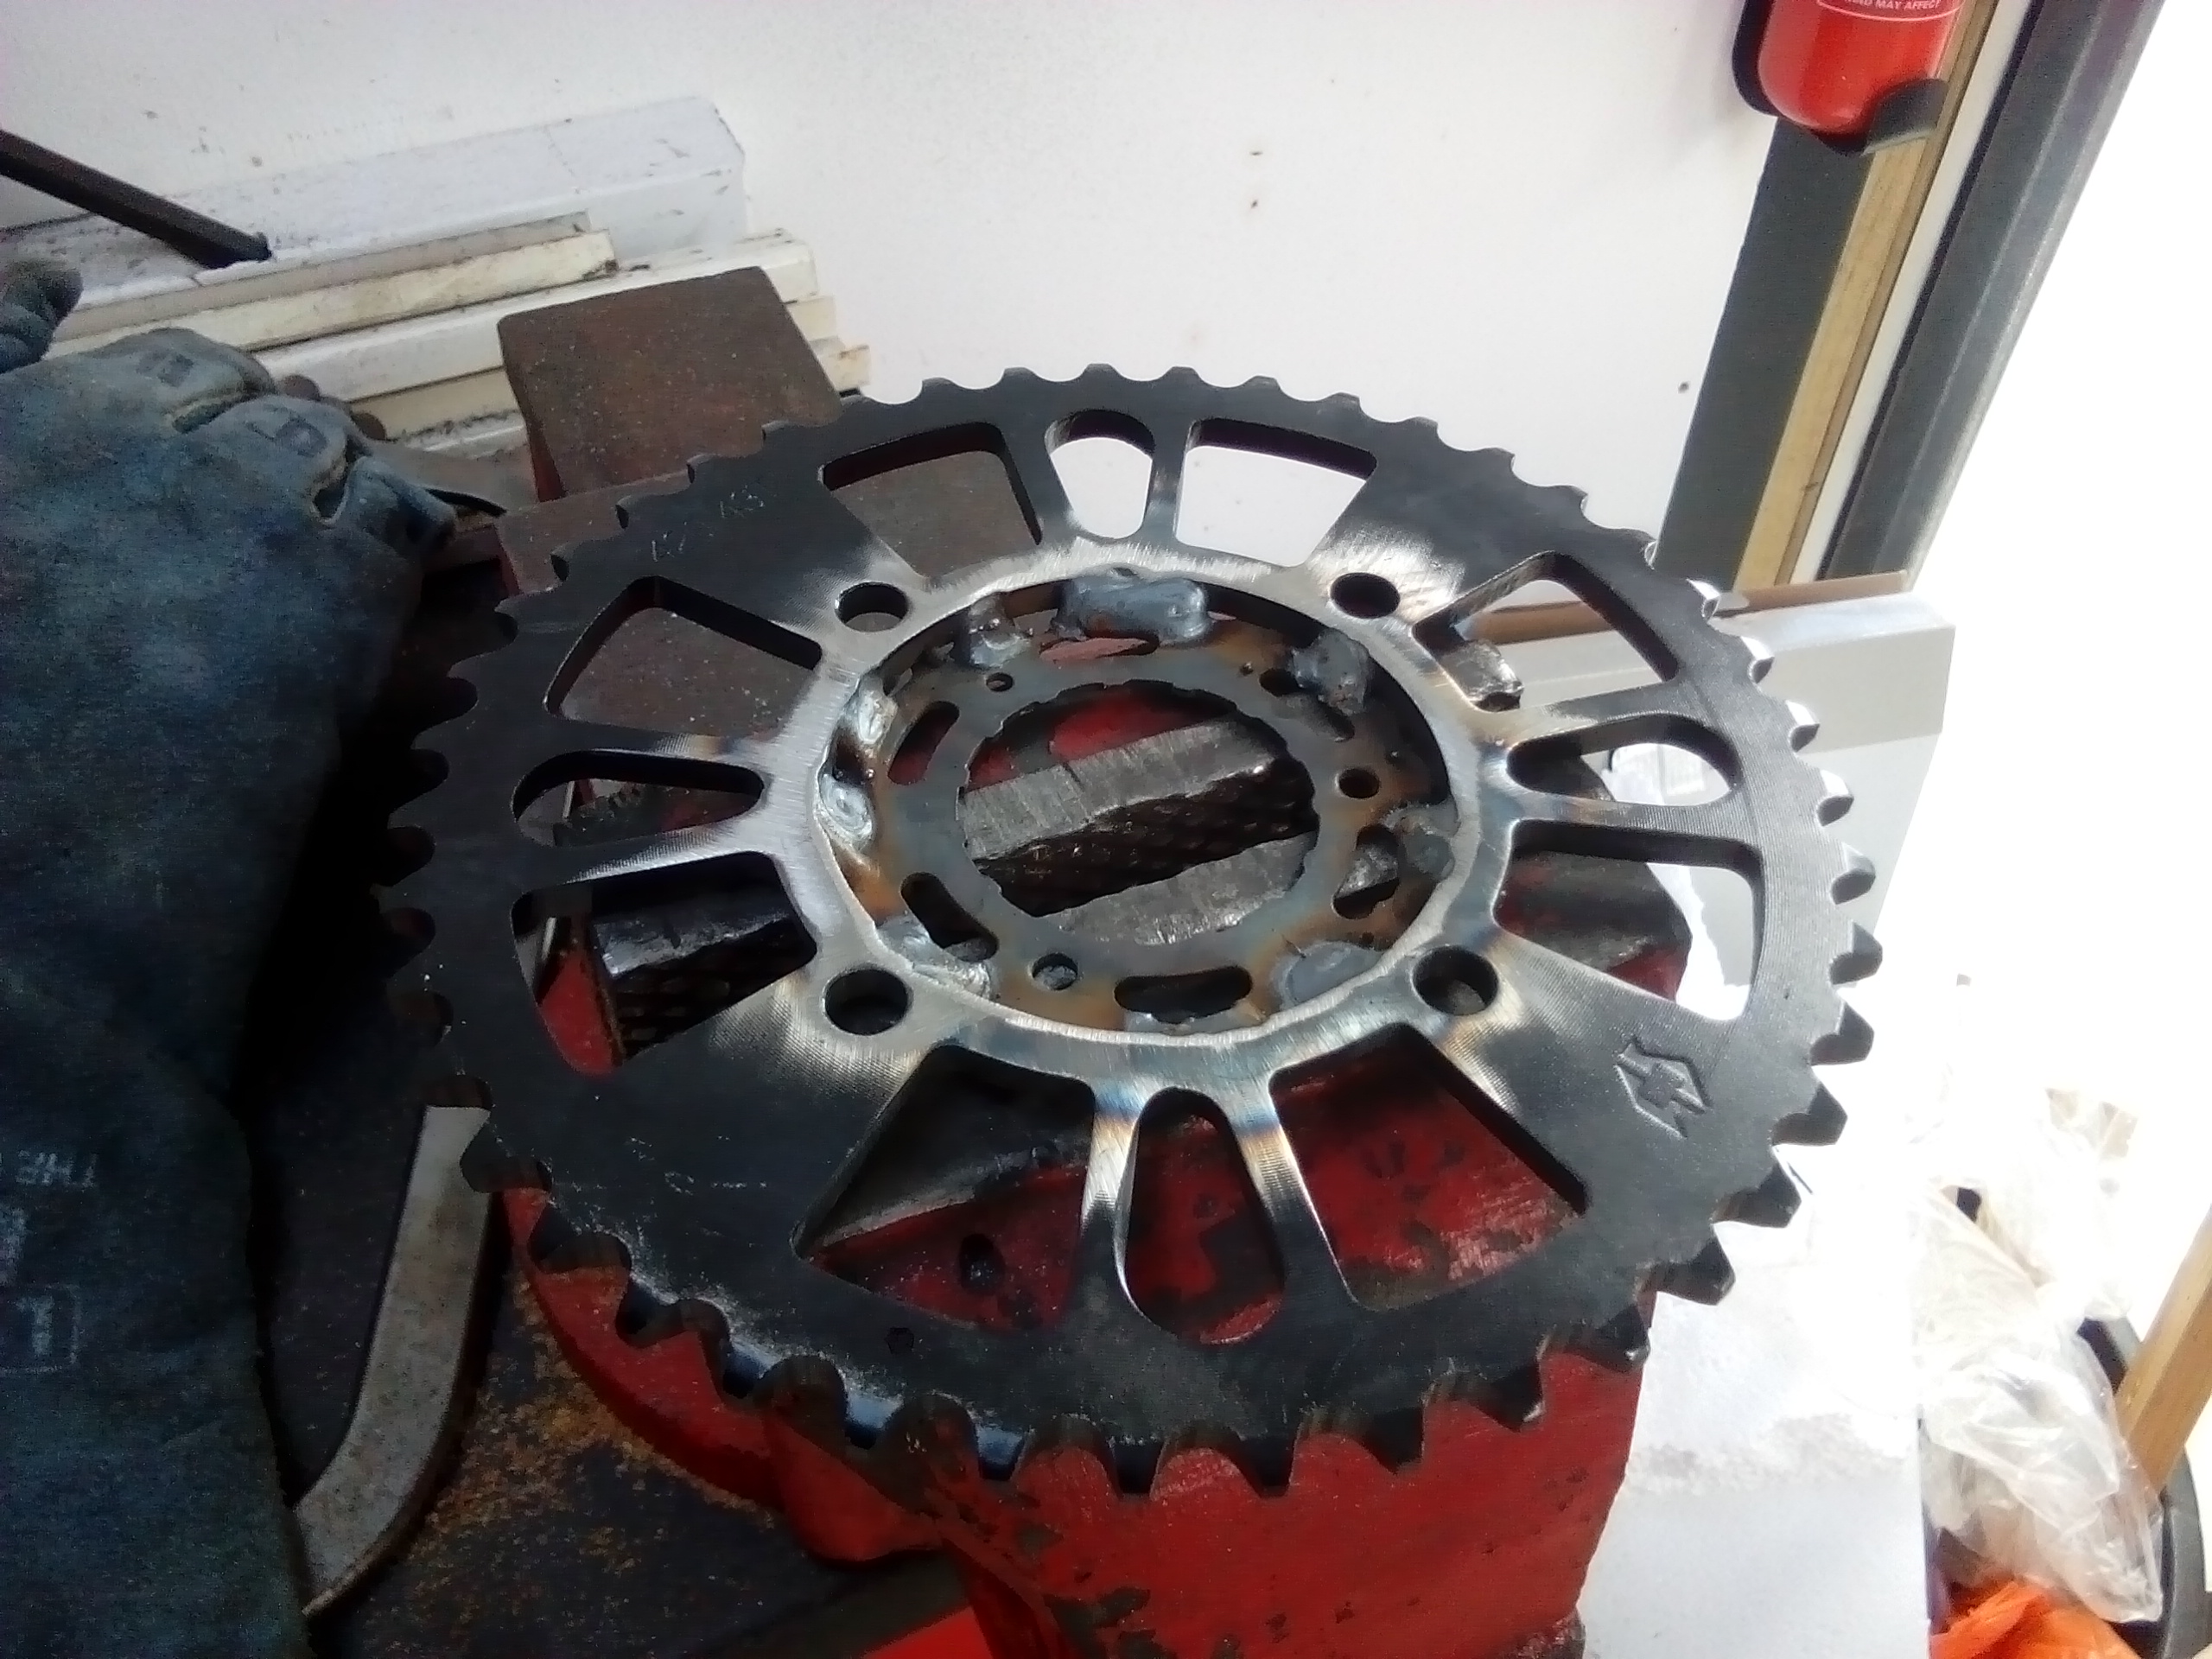
CVT time. First, weld oversized rear sprocket to existing bike sproket.
-
Posts in Holes drilled, hinges fitted...and gates well hung (okay, that joke got worn out a fair bit). Then it rained! So painting them black never happened, and the gates are now back in the shed. Waiting on a fine day to paint them outside, as I don't want to deal with over spray issues right now in my shed.
-
First start up today. Turns out the 2 hours trying to start it this morning may have gone better if I'd figured out the the ignition was out by 180° earlier...but hey...it goes!
-
Yes...yes...hell yes!!!! Boom!!!
- 98 replies
-
- 16
-

-
Those plastic storage bins fit nicely inside. But I just use them for all my bigger stuff, like power/air tools etc.
-
More...I want to see more!
-
I had to Google what that motor is. Looks like wheelie bars may be mandatory after fitting that bad boy!
-
Post some pics when you get underway, would be good seeing what you come up with.