Flash
-
Posts
1,719 -
Joined
-
Last visited
-
Days Won
2
Content Type
Forums
Downloads
Events
Gallery
Everything posted by Flash
-
Thanks for the suggestion. No relay click. Also tried the old trick of rocking the ute in gear thinking that it may be a starter related issue.
-
I've got an intermittent issue with my daily drive that has me stumped and I'm hoping that someone here in "oldschool land" can point me in the right direction. It's a 2005 VZ Storm manual ute that sometimes just decides its not going to start. I'll get to the ute, unlock it with the remote, climb in, put my foot on the clutch and turn the key, dash lights come on and then ........ nothing. Lights and fan and everything else works perfect but the starter motor just wont turn over. Thinking that the system is somehow confused I'll lock and unlock and try again but get the same results. If I disconnect the battery live terminal, leave it for around 5 minutes and then reconnect the battery she starts first time and runs as per normal. Did it to me twice today and it's getting pretty annoying. Anyone got any ideas on what the issue could be ? Thanks for reading.
-
Thanks for the extra info on the Nissan Vanette and the offer. I'm in Aus, so I'll probably need to source something locally. Just got to finish a house reno before I can crack into the van.
-
Epic ! Thanks for posting.
-
Thanks for the info Pog. PM sent
-
Yep, I've seen a few attempts at adapting selectors on standard gearboxes and getting one to shift reliably is way above my capabilities. The Toyota Hiace and Ford Econoline / Mazda Bongo vans did come out with a column shift 5 speed option which makes this option really attractive. I'm led to understand that the Ford / Mazda will mate to an FE motor and the Toyota box gives you a number of Toyota engine options.
-
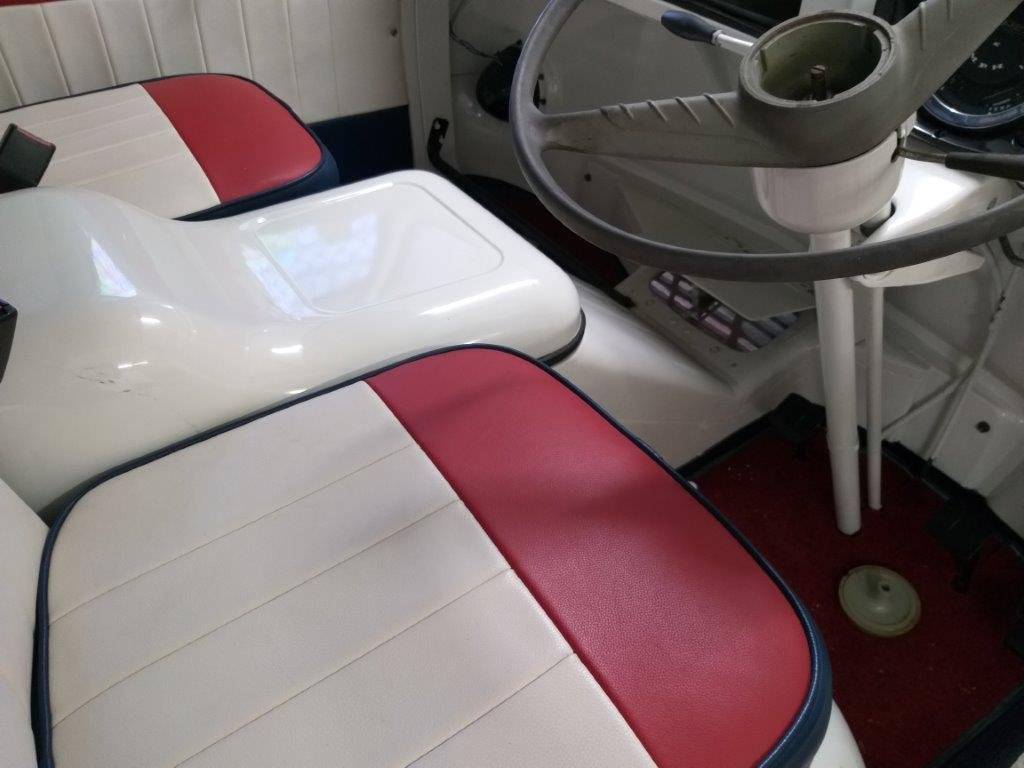
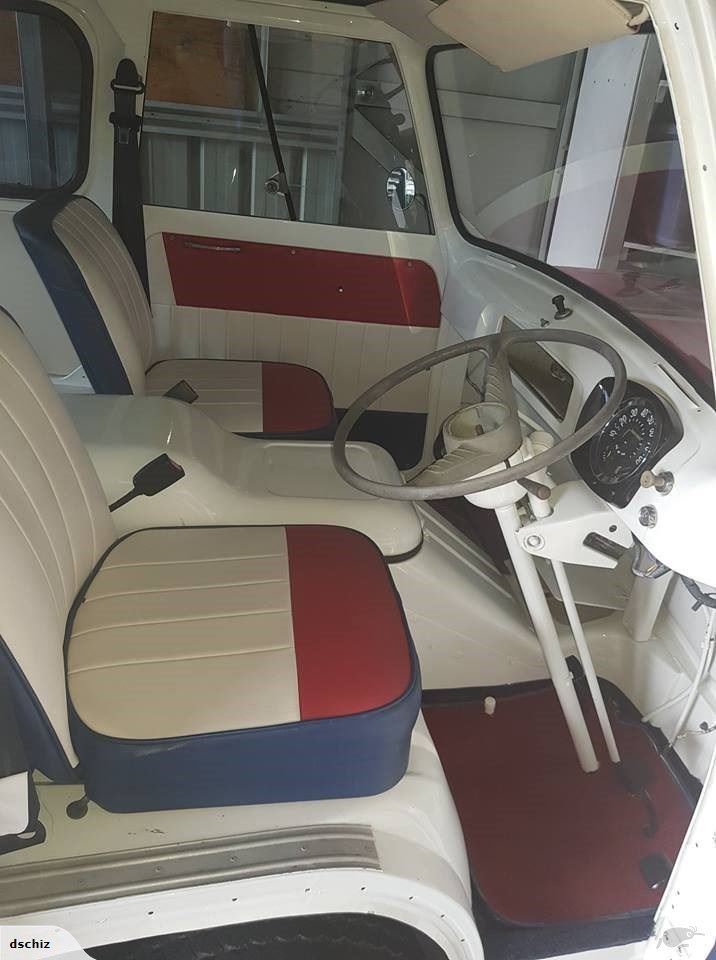
Third consideration is that I want to retain a manual gearbox with a column shift. Anything else would compromise the look that I am trying to retain. Current column shift selector looks like so.

-
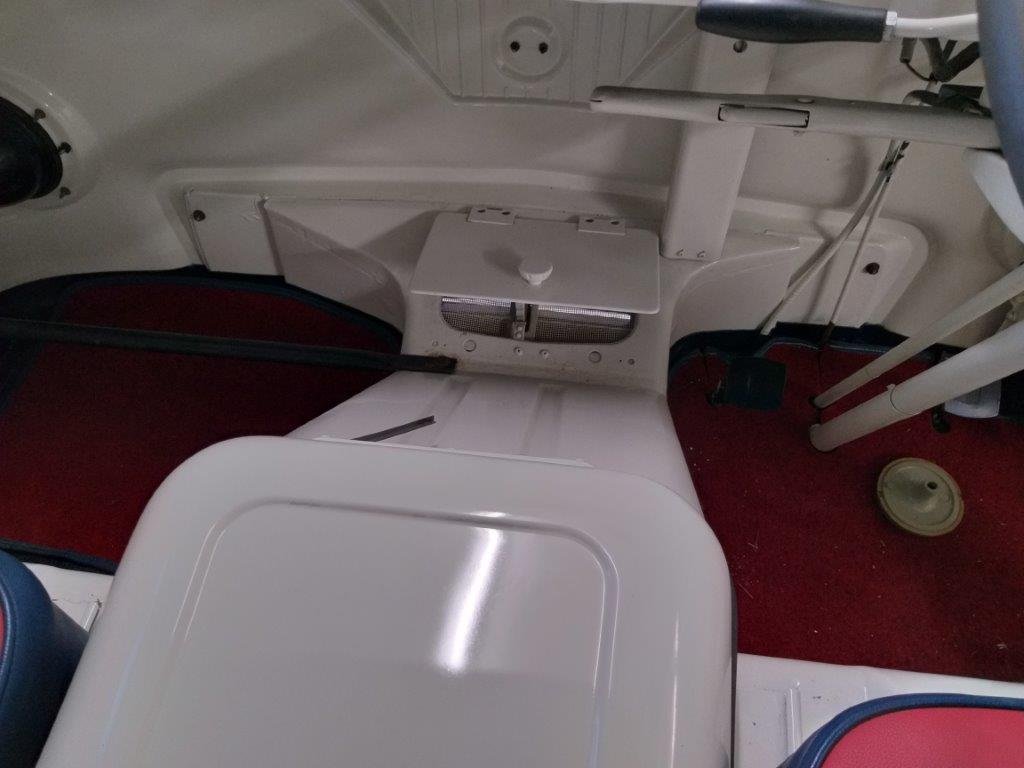
In my opinion trying to widen the box will compromise the current seating arrangements as these old vehicles aren't very wide. I also need to shoehorn the radiator into the same space or risk compromising the state of the art cabin ventilation system which consists of a hinged flap in the floor that picks up fresh air as it enters the chute leading to the radiator. It works surprisingly well.
-
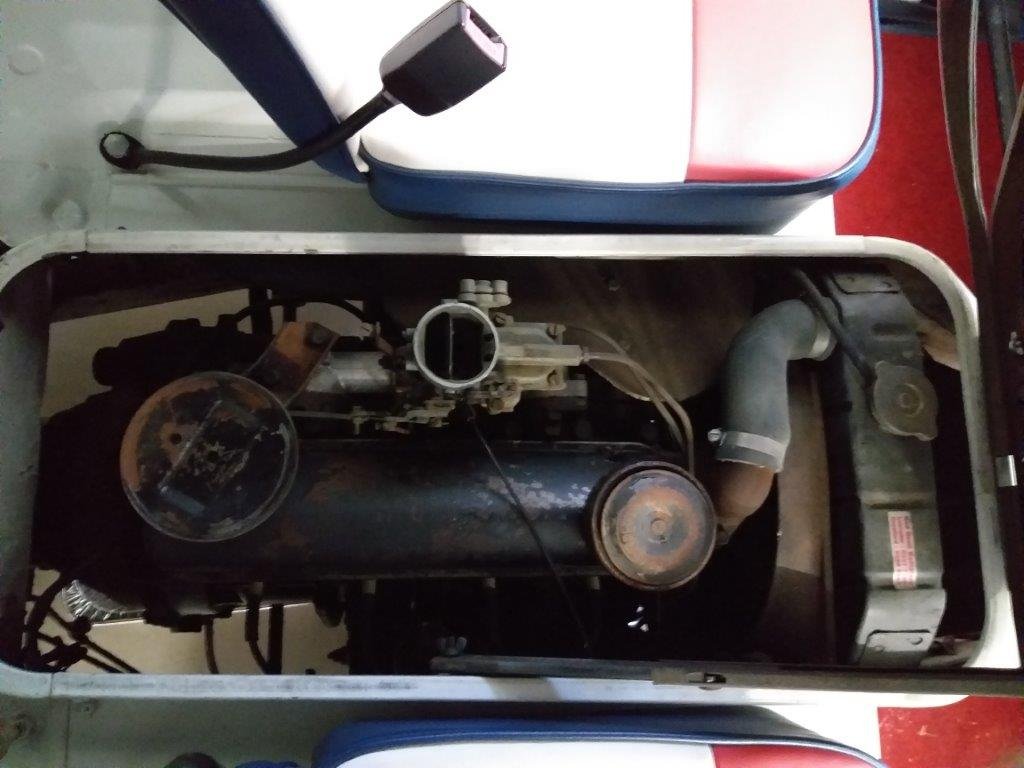
Thanks to everyone for the info provided thus far. So, in order to give everyone an idea of the limited space that I have available for the new motor I thought I would post a quick few snaps together with some basic measurements. First off a snap of the engine box which measures 320mm wide and 820mm long at the top lip. From top lip of engine box to top edge of chassis rail measures 500mm. Chassis rails are 550mm apart.
-
Sent you a PM Browndog.
-
Thanks for the additional suggestions everyone. Keep them coming. Cletus, a Thames is exactly what I am putting the motor into. The only difference is mine is the van rather than the ute, but it's the same chassis rail and engine box layout.
-
So I've got a limited width engine bay that can't be widened without major surgery to the two chassis rails which currently sit just below engine head height. Current engine is a pre cross flow Ford Consul unit of the style that came out standard in the Cortina MK1 and Anglia 105e. Have been thinking about other commonly found non cross-flow options and my list is pretty short thus far. Zephyr 6 Holden 186 Holden 202 Toyota 3Y Toyota 4Y Would really appreciate it if anyone out there knows of any other options that can be added to the list.
-
Hey Browndog, thanks for the feedback. I figured it might appeal to you as it is the predecessor to the Transit. I didn't really want to do another Bedford so this kinda appealed to me. Always been garaged so no rust which was an added bonus. Current paint is 7 years old and still looks pretty mint so nothing really to do body wise. It's mechanically unmolested right down to the oil bath air filter so I know I've got a really good starting point. Yep it was quite bizarre as I saw the van listed on TM, but I noticed it had Aus rego plates. Turns out it was sitting in Brisbane which suited me as we now live on this side of the ditch. PO was desperate to get it out of his shed, so he did a really good deal. I've got to finish our house reno first, but I'm looking forward to cracking into this later in the year.
-
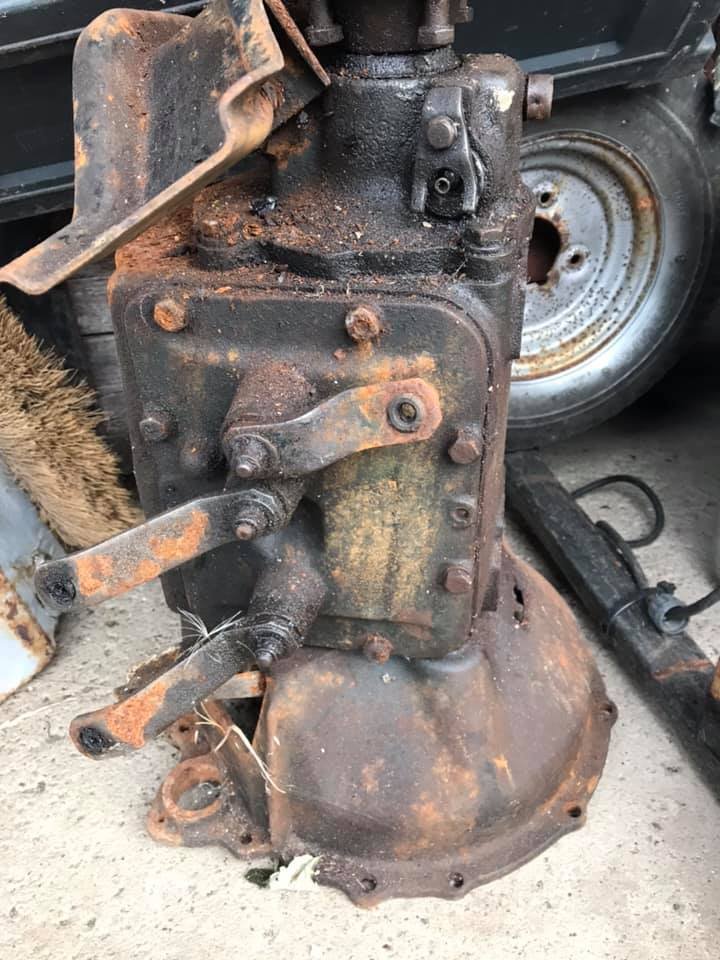
Thanks for the extra info Damo. I've got to come up with some kind of solution when I re-power my Thames. It's currently a 4 speed column shift with the shifting rods integrated into the steering box casing. The current gearbox has a set of three side selectors, but that will need to change too. I need to take a few pics of the steering box, but below is a pic of the gearbox selectors. Anyway, you have given me some more food for thought.
-
Thought I would share my experience of using one of these setups when I first started on my Bedford. I bought the same pot off TM and was running it on a Hindin Spitfire 12.5cfm compressor. Maintaining air pressure wasn't a problem but the nozzle and ball valve didn't last too long. The grit pretty much ate through the side of the ball valve. Went and got a new industrial quality nozzle and ball valve from a place out in West Auckland who also sell the garnet. I lined my shed walls and floor with blue tarps from Bunnings and bought some cheap plastic buckets. Bought red buckets for used garnet and green for fresh garnet and a small hand held seive like you get for the kitchen. Also got a really good quality 3M mask. Process was to blast until pot was empty, then sweep up the garnet into a red bucket which I took outside. Mrs Flash was on the seive and would seive the garnet into a green bucket which was then ready for blasting. This got rid of the paint and bog flakes that can also cause nozzle blockages. Summary of my impressions: The pot runs empty after a few minutes of blasting at full ball valve open. You've then got to drop the pressure in the pot to refill it. Sweeping up the garnet is also time consuming. Then you start all over again. The dust is horrendous and after about 15 minutes in a 6 x 6 shed you can hardly see what you are doing. It took 2 goes over each panel to get them clean. It comes up mint but it is seriously time consuming. I did a Bedford bonnet inner and outer and the metal grill inside and outside in about 4 hours. After 2 days I realised I was in for a long journey, especially doing a big van. I chickened out and gave the job to Autoblast. Was okay for doing a small area, but you would need a lot of time and patience to do a full car.
-
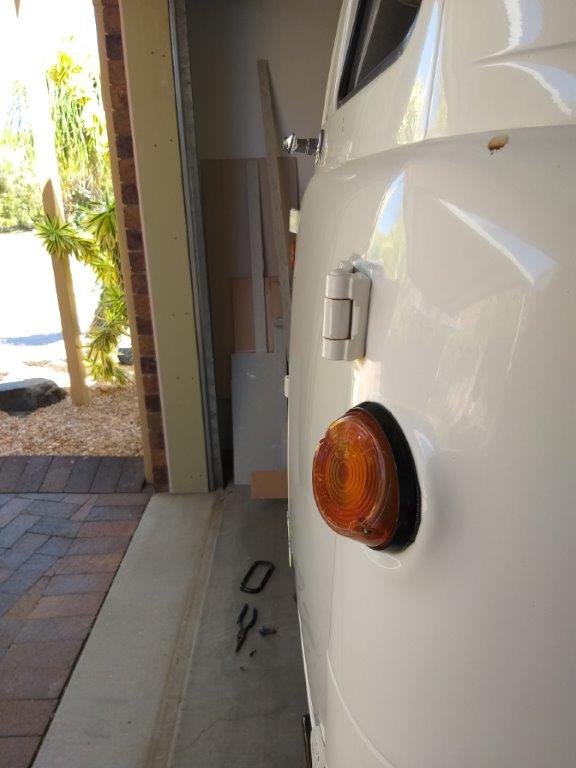
Got a few minutes in the shed yesterday arvo and spotted a few things that need doing. Looks like the rear indicator lights have been fitted incorrectly. The van looks cross eyed at the moment. Sun visors are flopping about and only have a single self tapper holding them in. I found the other self tappers in a clearly marked zip lock bag in the box of bits and pieces that came with the van. There must be a reason why these haven't been installed. Also in the box of spares are the original back bumperettes which I'm keen to fit. Will get on to these when I next get a gap. Many other things still to add to the list.
-
So short term plan is to tidy up a few small cosmetic bits and pieces. Longer term plan is to replace the ageing engine, gearbox and diff with something more modern and reliable. A disc brake conversion on the front is also on the cards. The engine box is pretty compact and the standard column gear shift is still in place.
- 740 replies
-
- 18
-

-

-
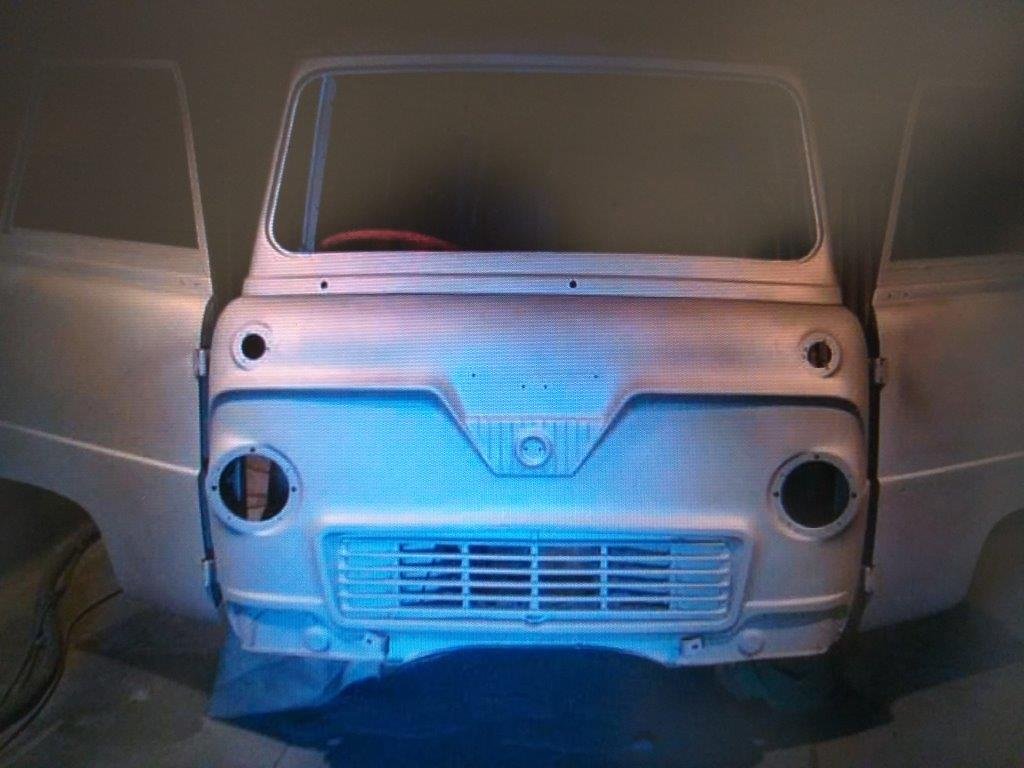
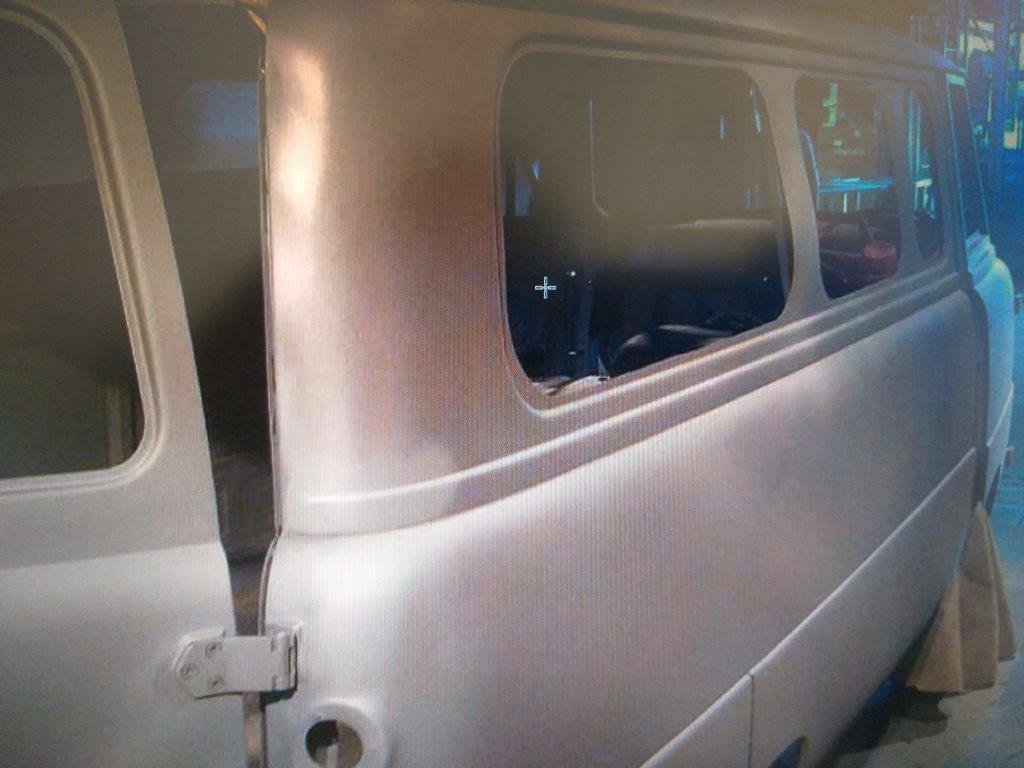
Previous owner provided me with a few snaps taken of the van after it had been blasted. Apologies for the grainy quality. The body was amazingly solid for an old British van. Zero rust holes and just a patch of bog in the back door from a previous repair. The bog was removed and the door was beaten back into shape.
- 740 replies
-
- 12
-
-
-
Thanks Azzurro I've given that a go.
-
Discuss my obsession with crappy old British van's here: https://oldschool.co.nz/index.php?/topic/60227-flashs-1965-ford-thames/
-
It's been so long since I put up a build thread that I can't remember how to link the build thread to the discussion thread and vice versa. Anyone able to help me out ?
-
Discuss Flash's obsession with crappy old British vans here. https://oldschool.co.nz/index.php?/topic/60227-flashs-1965-ford-thames
-
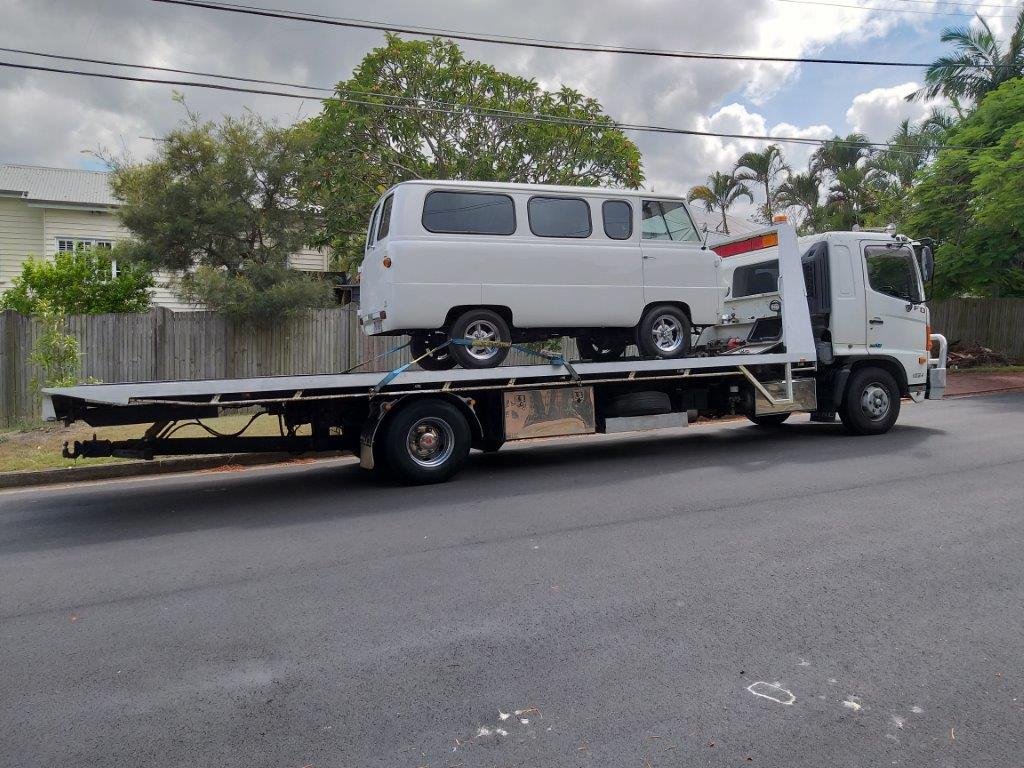
Having sold my Bedford van a few years back to fund an Australian Adventure, around the middle of last year the desire to own another crappy old British commercial vehicle returned with a vengeance. So the search began. Then one day last November whilst trolling the net I came across a listing for this. Hardly Ford's finest achievement, but quirky enough to pique my interest. In chatting to the owner I discovered that the van had already been through a bare metal restoration so the body is relatively mint with new rubbers fitted throughout. The upholstery has also been redone, the floor rhino lined and some tints chucked on the side windows. Mechanically it is still a virgin, running the original 1700 pre-crossflow motor that Ford borrowed from a late 50's Ford Consul. So basically a blank canvas and a really good starting point. After a bit of negotiation a deal was struck that culminated in a road trip yesterday to pick it up. Following an 11 hour road trip with a borrowed transporter and a short 15km drive under it's own steam it is now safely tucked up in my shed.
- 740 replies
-
- 27
-
-
-
Thanks to all for the input thus far. Although I started off thinking Toyota I'm more than happy to go down another road. Biggest considerations are reliability, fuel economy and availability of parts. I'd be happy to cruise around at 100. My previous Bedford was good for more than that but got pretty hairy above 140 even with suspension mods and it was pretty thirsty. I could get precious about it's originality and throw a bucket load of cash at the factory running gear, but life is too short for that.
-
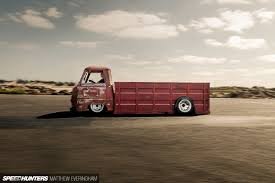
So, the issue is not so much the height of the engine as the width of the engine compartment that I have to work within. Current engine is pre crossflow so pretty narrow by modern standards. There are two ute versions running around. One in the UK has been fitted with a Ford Sierra 1.8 diesel and Type 9 5 speed that required minimal cutting to the sides of the engine compartment, but the gearbox is a floor shifter and it looks messy with the gearshifter sticking out of the top of the engine cover. The other is an Oz based slammed ute called The Little Red Truck that has been fitted with a 2jz, but that involved major surgery to the cabin floor to the point that the standard seats would no longer fit and is also running an auto box. There is a van somewhere that has been fitted with a straight six out of a Zephyr (pic of engine bay below). In this case the engine box was extended back into the loading bay. It's a neat looking conversion that would have retained the original 4 speed manual box, but I'm not keen to swap a piece of 60s technology for another piece of 60s technology. Keep the suggestions coming, I really appreciate the guidance.