Flash
-
Posts
1615 -
Joined
-
Last visited
-
Days Won
2
Everything posted by Flash
-
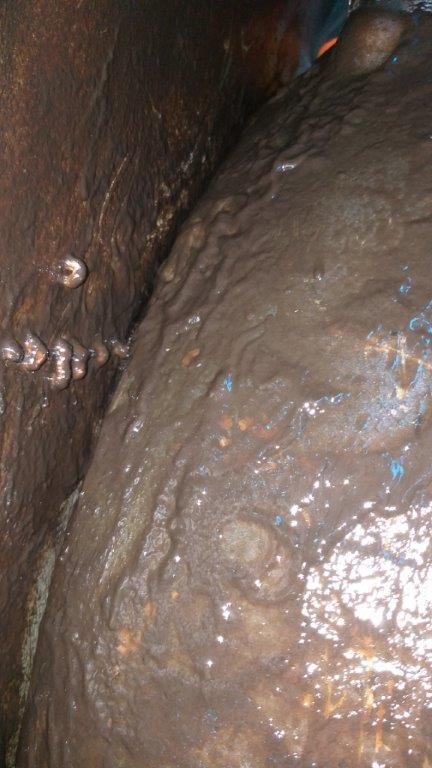
While I was in town picking up the new wheels yesterday I dropped by the paint shop and purchased a 4 litre tin of the rust proofing goo, so this morning I slapped a few liberal coats inside the passenger door. It's a real mucky task, but I'm feeling much happier now. Just the driver's side door and rear quarter cavity to go and then the assembly work can kick off in earnest.

-
Thanks for that mate. I really appreciate the feedback.
-
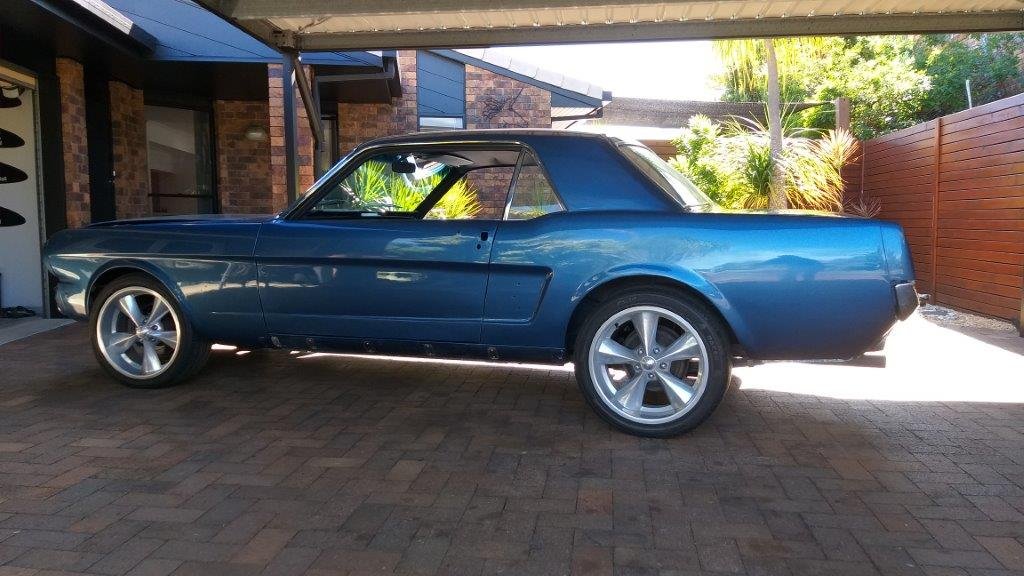
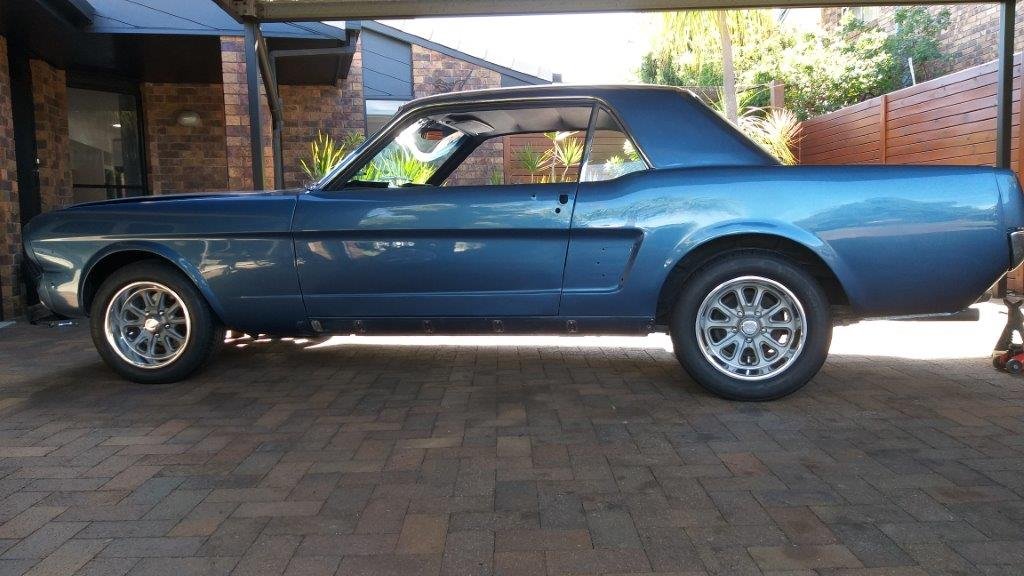
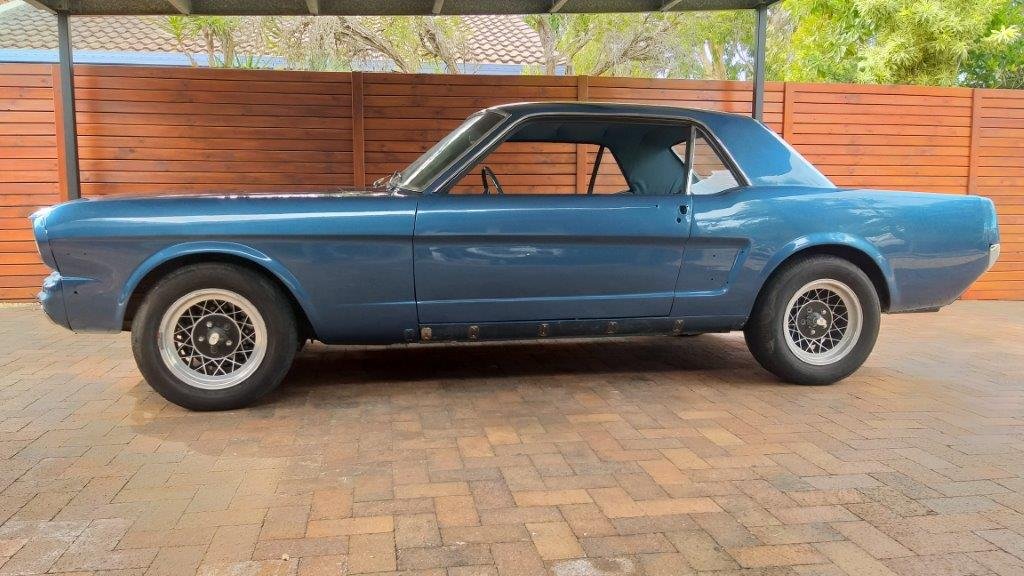
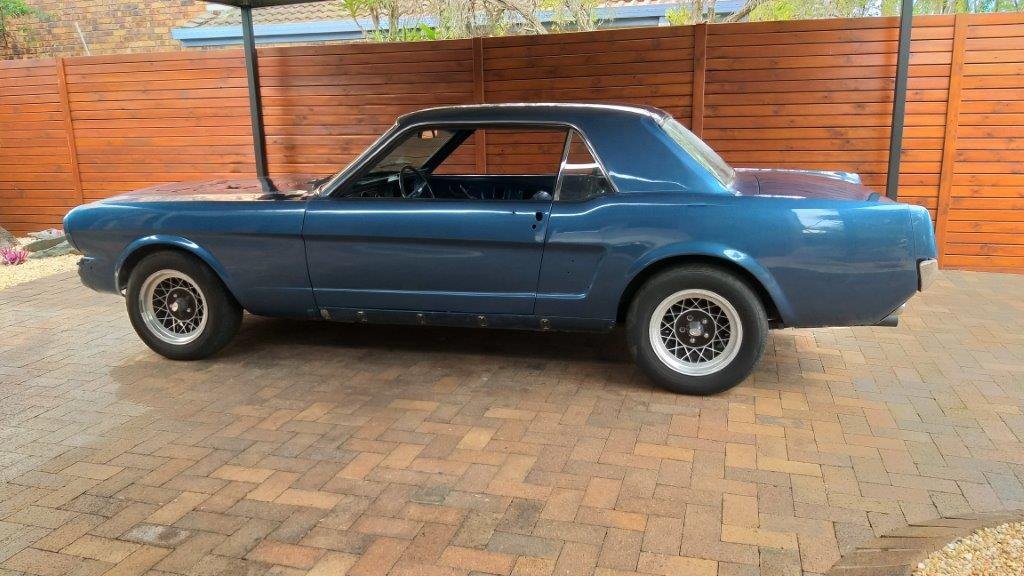
Mama got some new shoes today. Just waiting for the knock off spinners to arrive to complete the look. I've now got heaps of fender gap so I'll be able to dial in a bit of low which will make my heart sing. Before and after shots:
- 194 replies
-
- 19
-

-

-
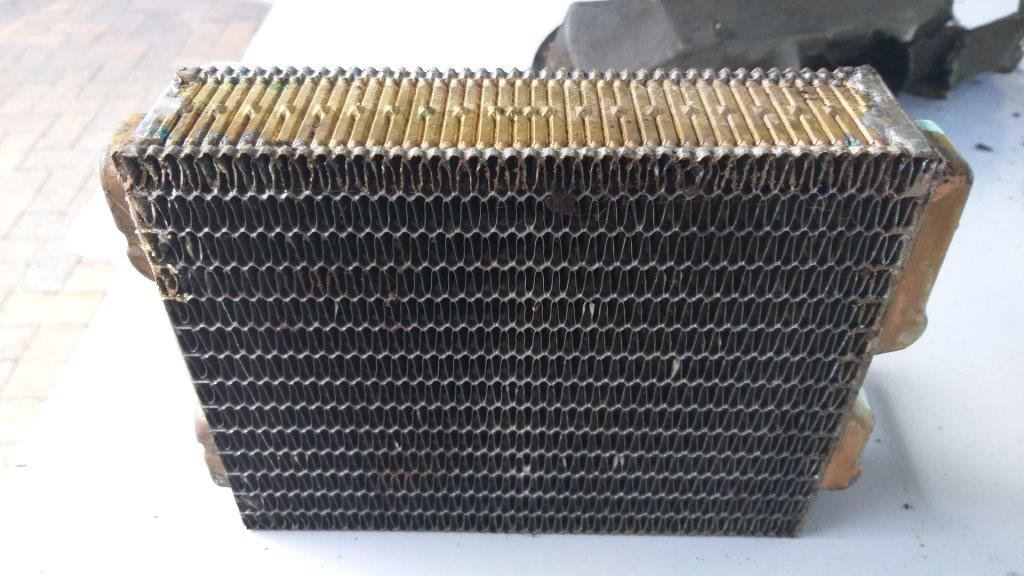
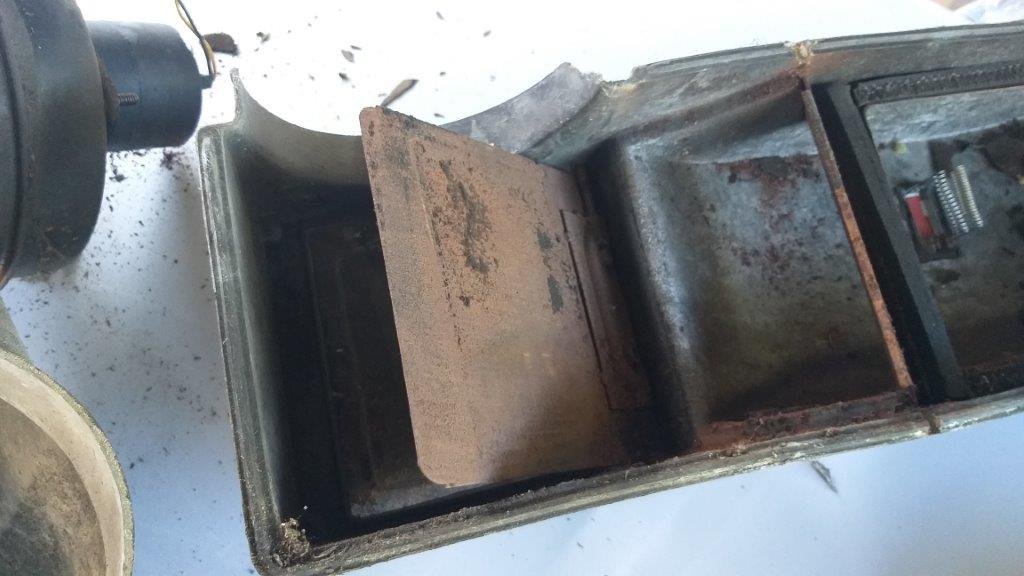
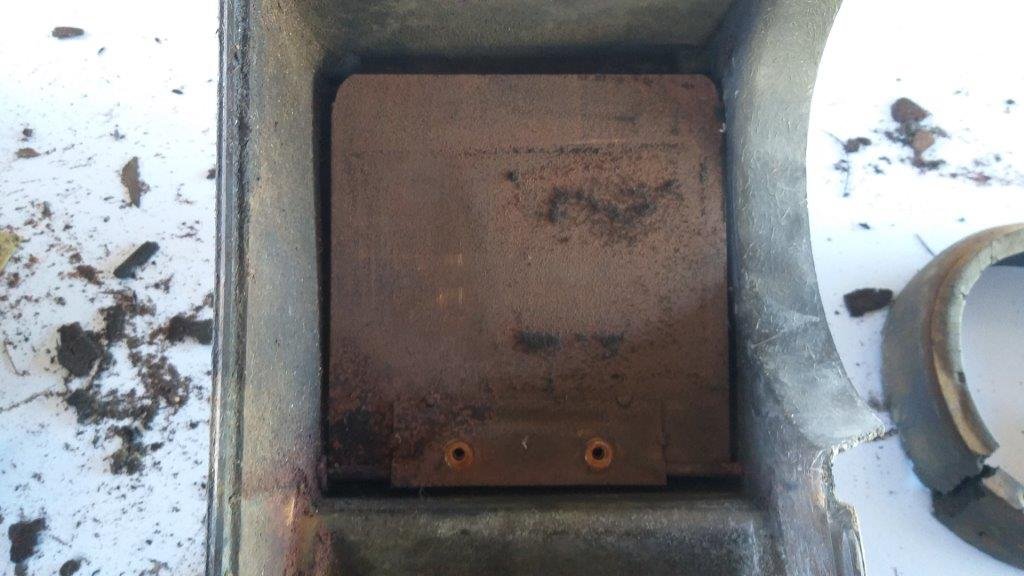
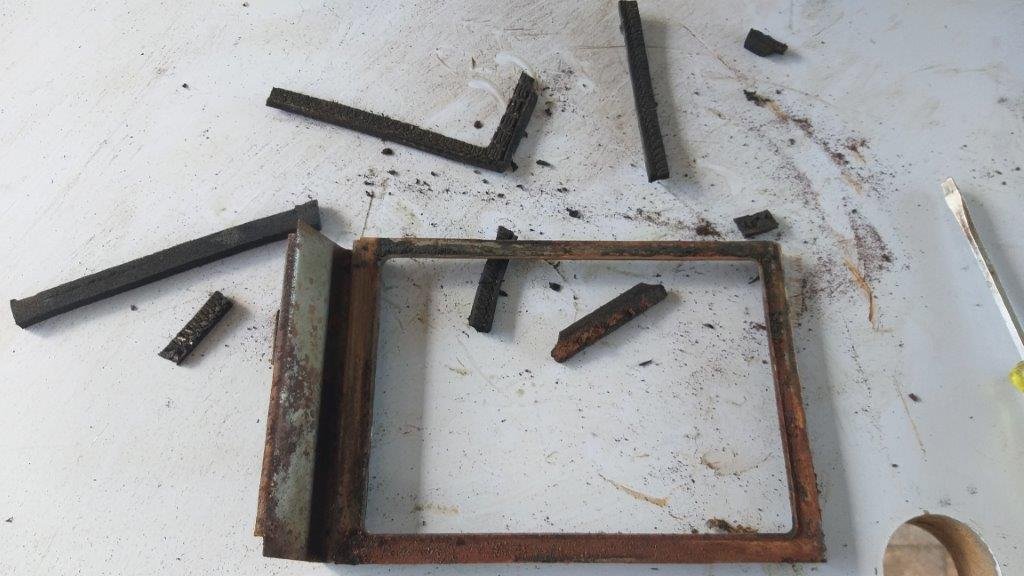
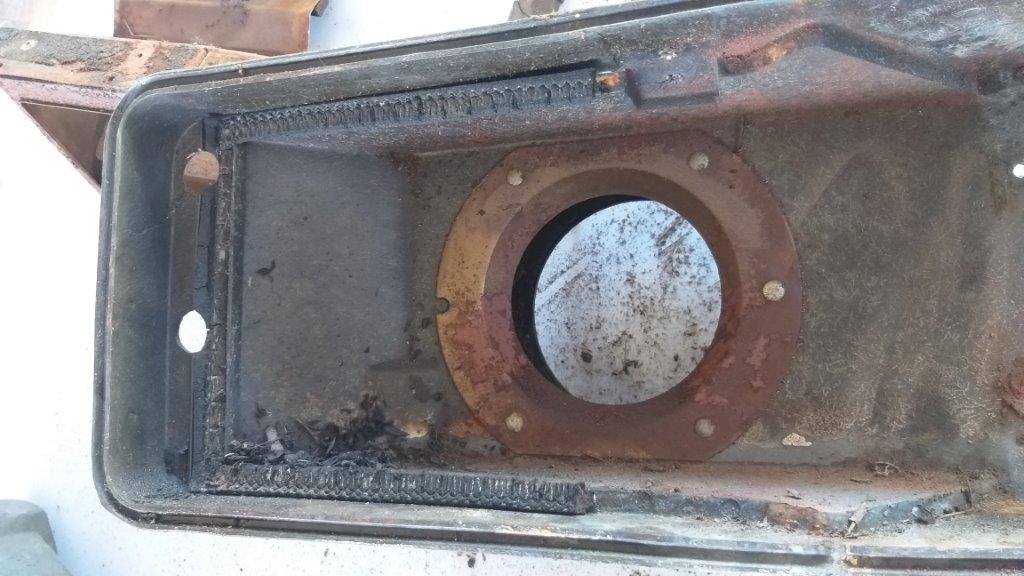
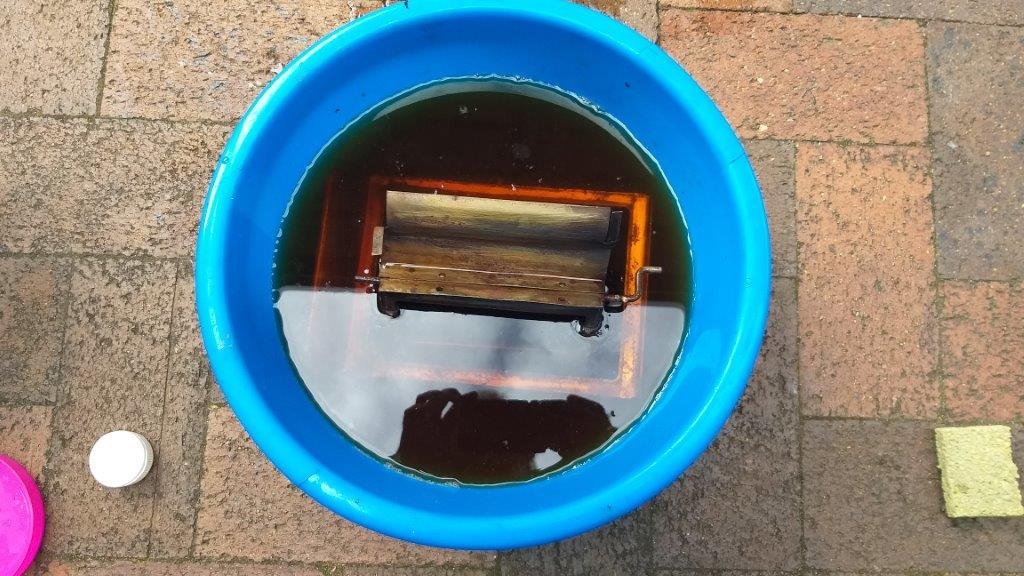
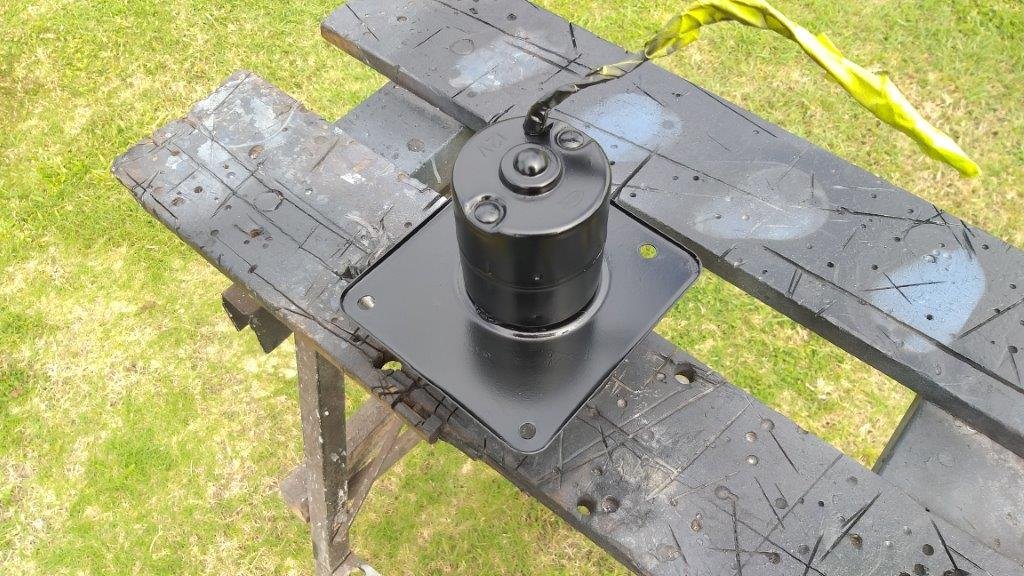
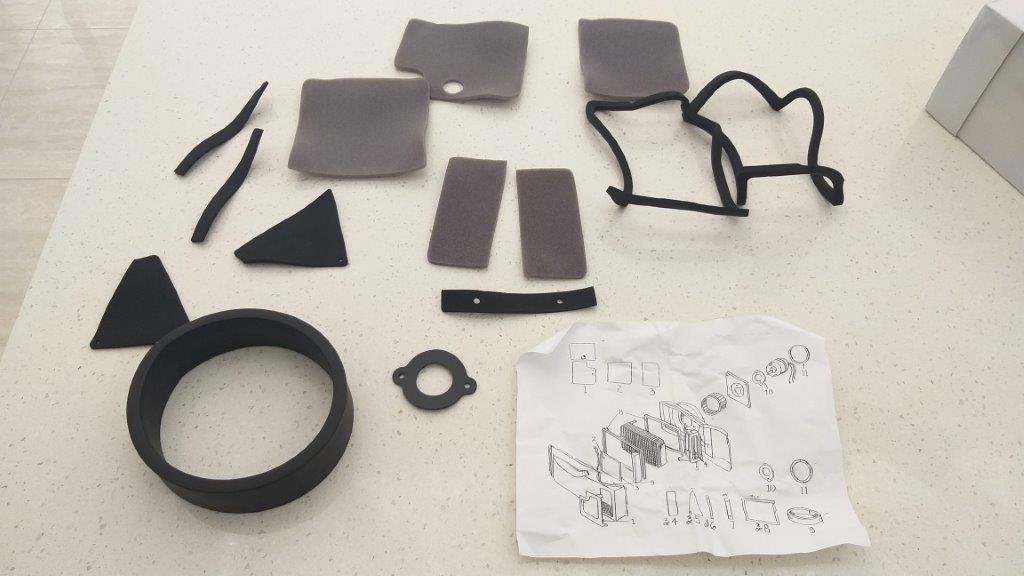
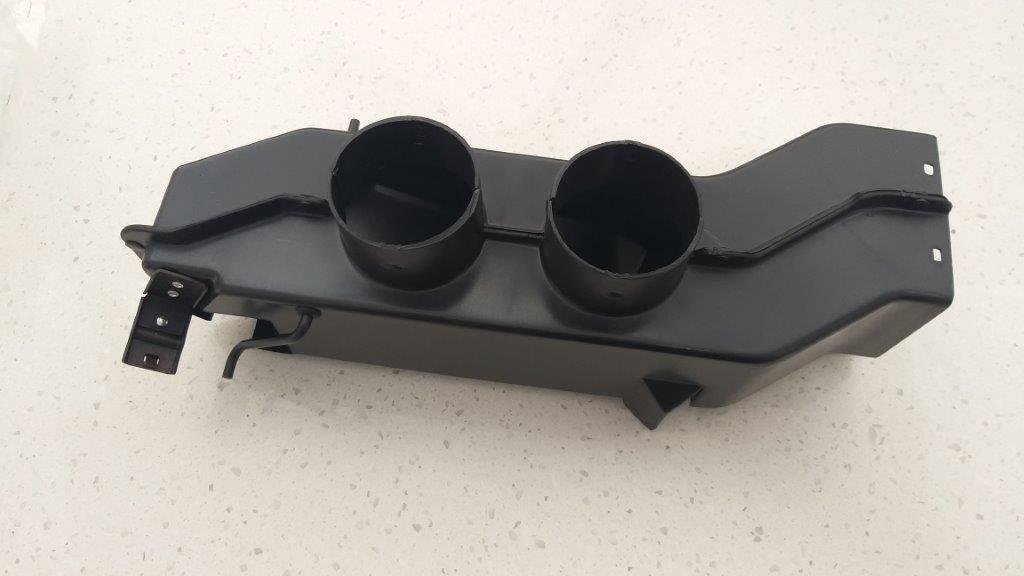
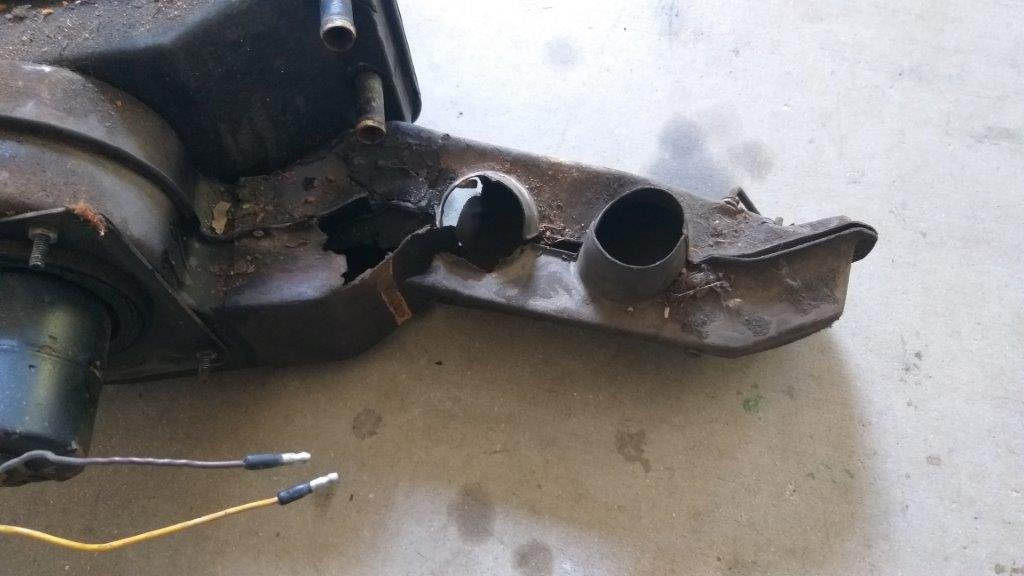
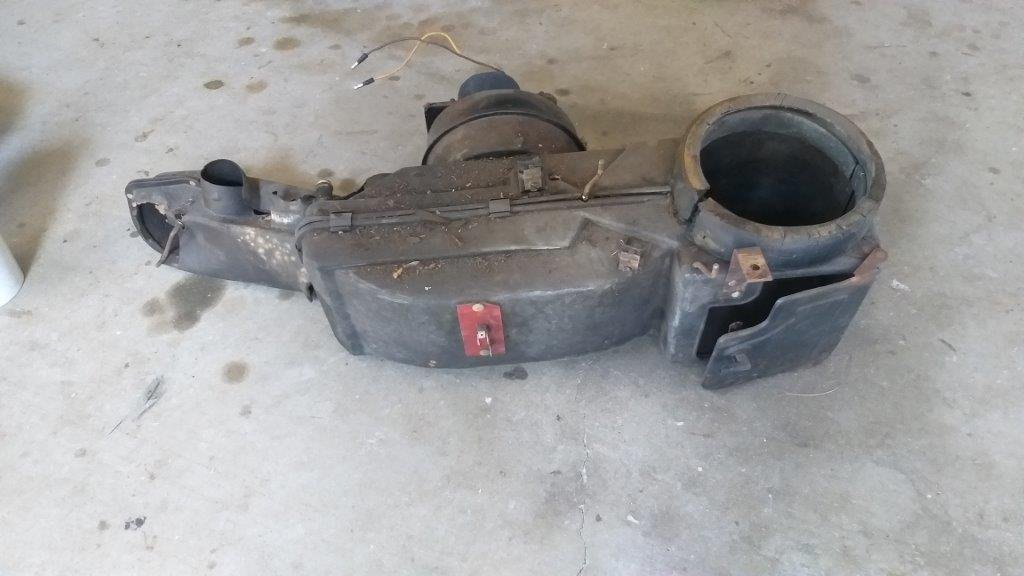
I need to take a run into town to get more of the rust proofing goo to do the other rear quarter and both doors, but I was waiting for some parcels to be delivered this morning, so I decided to crack into the heater box rebuild. Pulled it apart and it was surprisingly clean inside. I've seen Youtube clips of some Mericans pulling rat's nests out of their boxes, so counted myself lucky. As previously mentioned the little plenum extension is well shagged, the internal seals have all but disintegrated and a few of the little trap doors were seized solid. Slapped a bit of WD40 on the hinges and after a teeny bit of gentle persuasion they are now opening and closing smoothly. The main housing appears to be made of some type of fibre based material so I just gave it a quick tickle with the water blaster and left it in the sun to dry. The actual heater core looks mint and there is a little yellow sticker on one of the tanks, so I suspect it is a recent replacement. The main metal trap door and housing is busy languishing in a vinegar bath and I gave the blower motor a quick rattle can reco. I'll chuck some of that rust convertor / primer combo on the metal bits before I glue in the new seals and that should take care of that. Thanks for looking.
-
Well done Clint. Car looks bloody awesome mate.
-
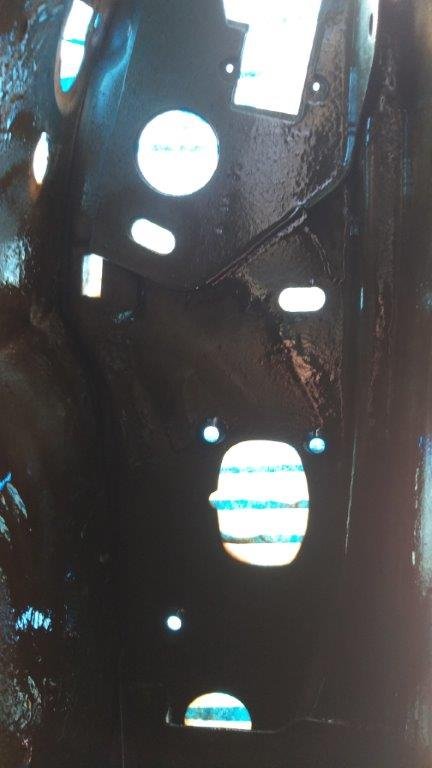
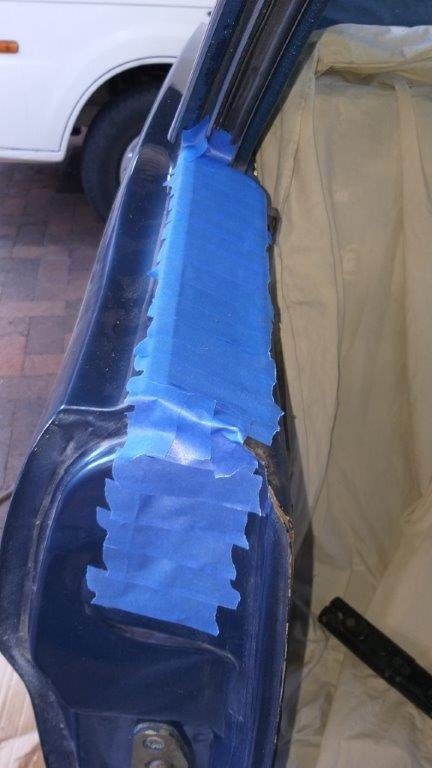
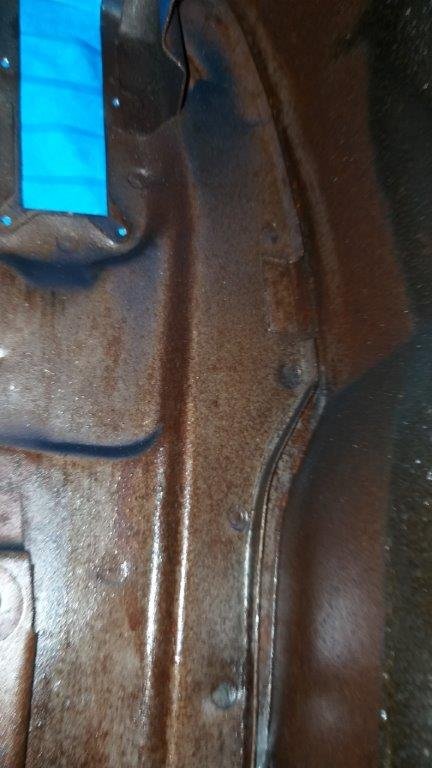
This morning's focus was the rust proofing of the passenger side rear quarter inners. After a good few rounds of compressed air followed by vacuuming I managed to get rid of all of the loose debris. In order to limit any mess on the new paintwork I masked up the window aperture and then used a mini spray gun to slap a bit of rust converter on the bare metal. While I waited for that to go off I cracked into the fun job of cleaning years of dirt and old grease off the window winder mechanism and related window guides. Next up was a liberal coat of rust proofing that I applied using an under seal gun that I sourced earlier in the week. Hopefully that should keep the old tin worm in check for a few more years.
- 194 replies
-
- 12
-
-

Discuss here about Yoeddynz's little Imp project...
Flash replied to yoeddynz's topic in Project Discussion
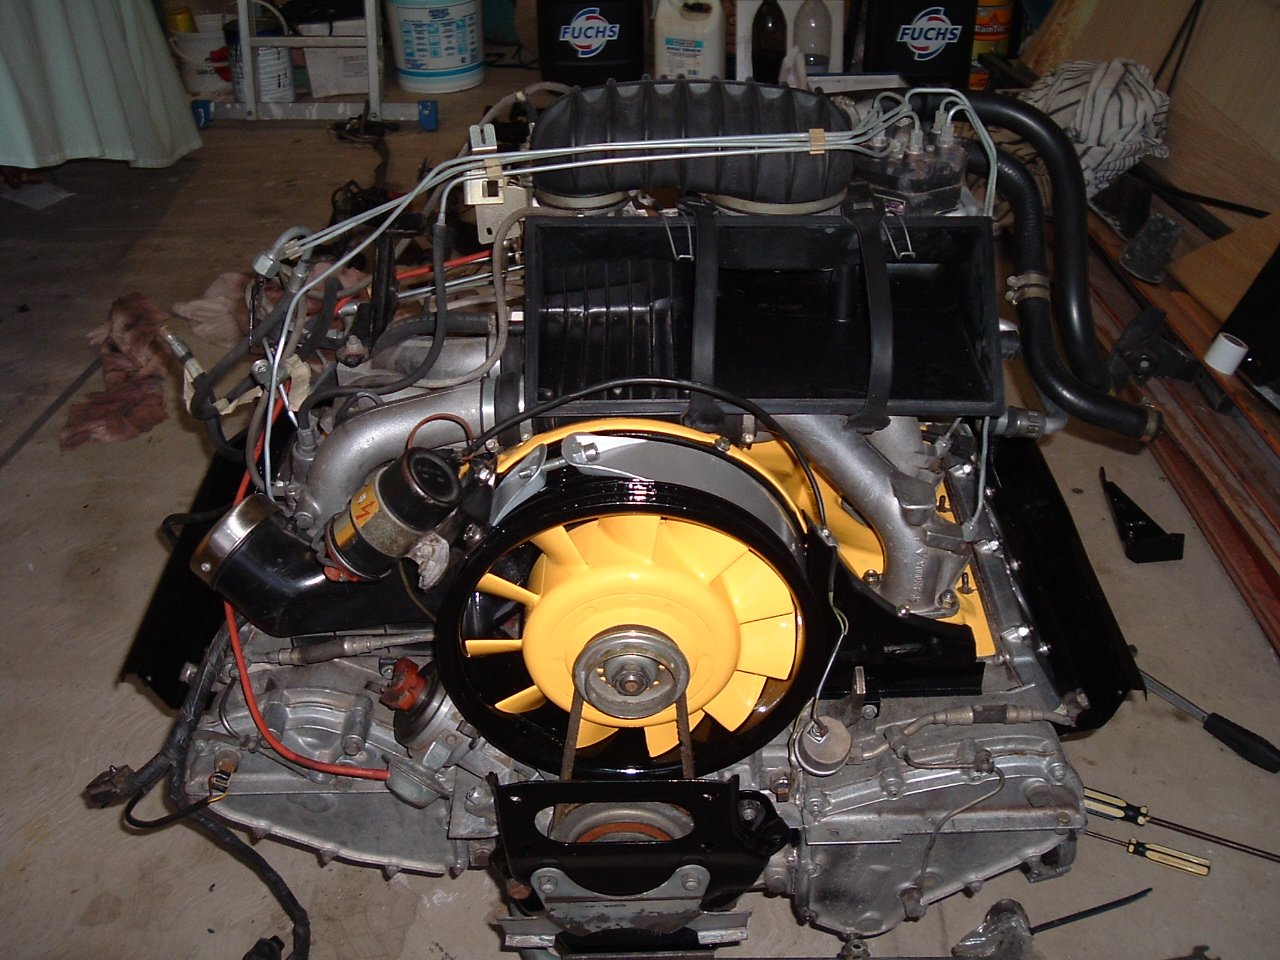
Alex, I am in absolute awe of your skills mate. You are an absolute legend. That alternator setup is the business. It's starting to look uncannily like a 911 engine too.
-
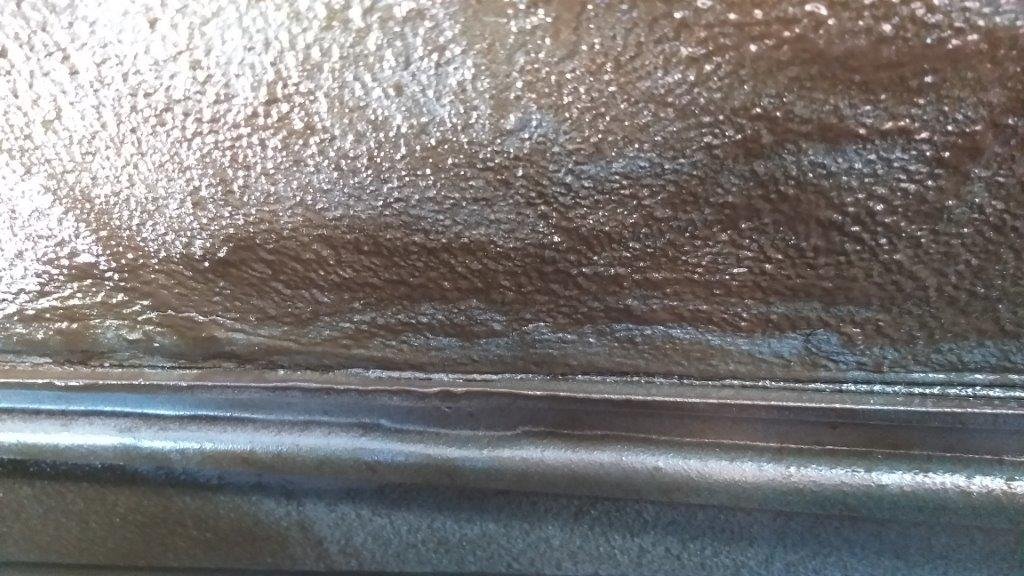
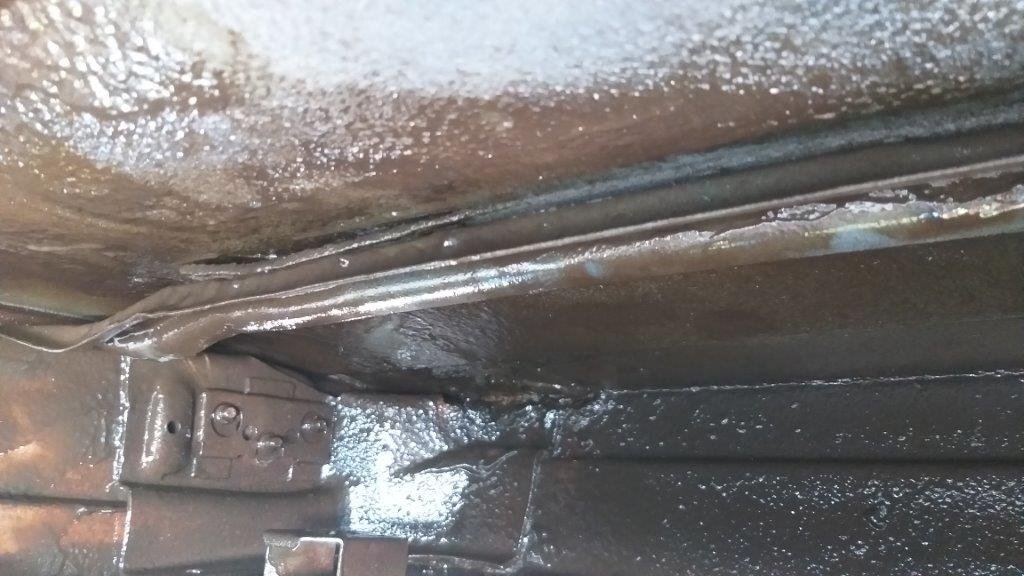
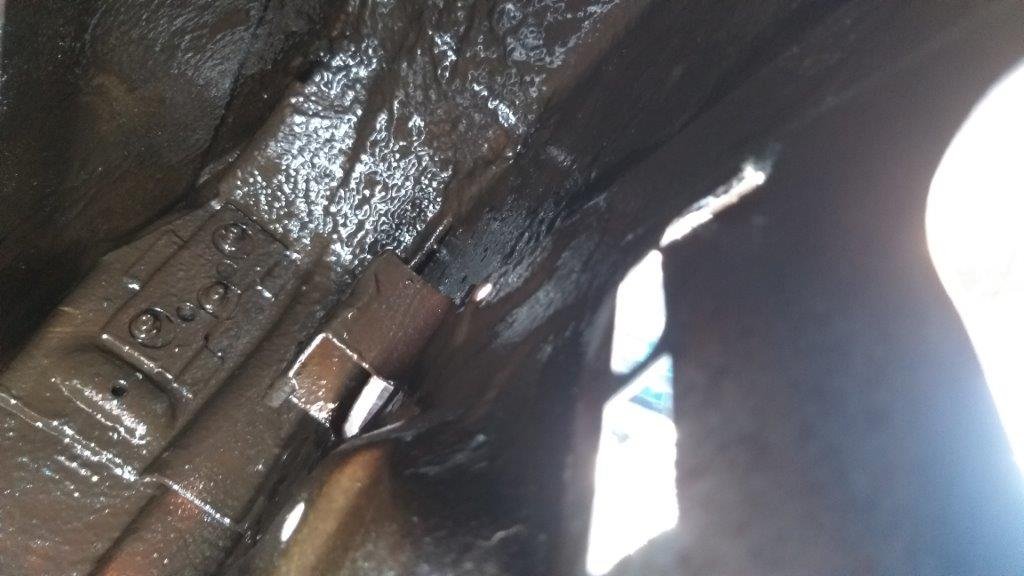
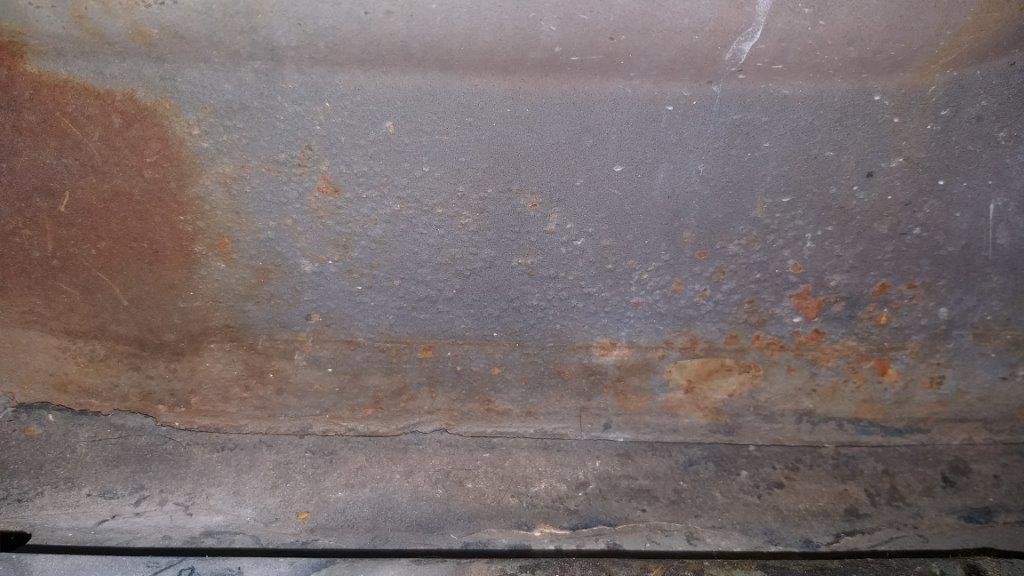
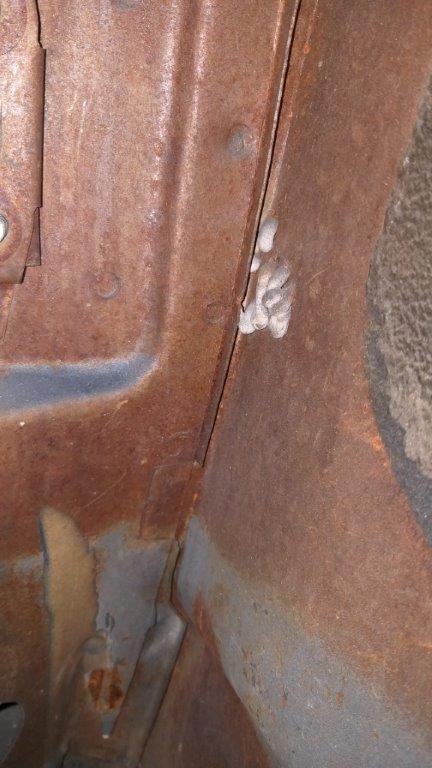
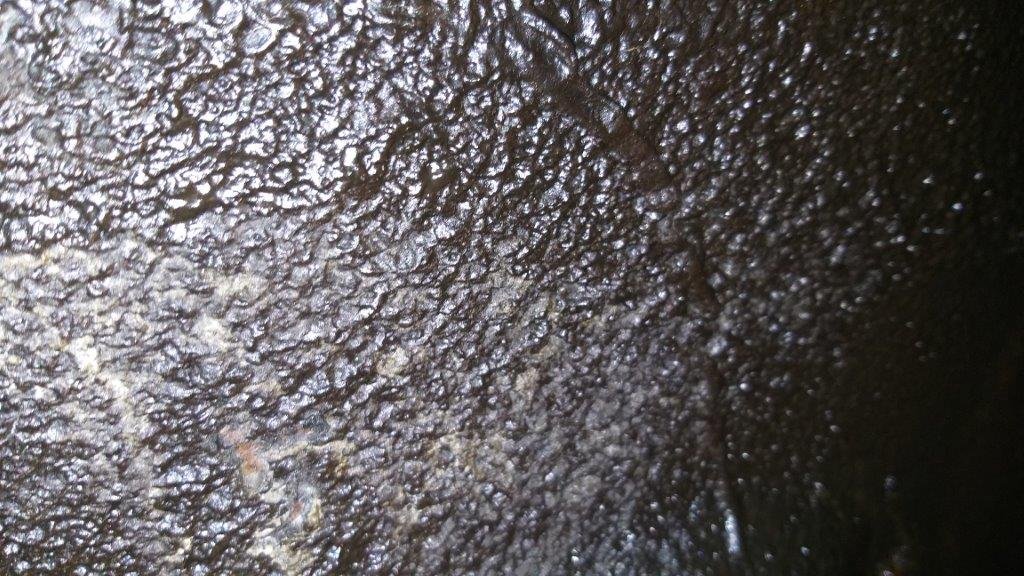
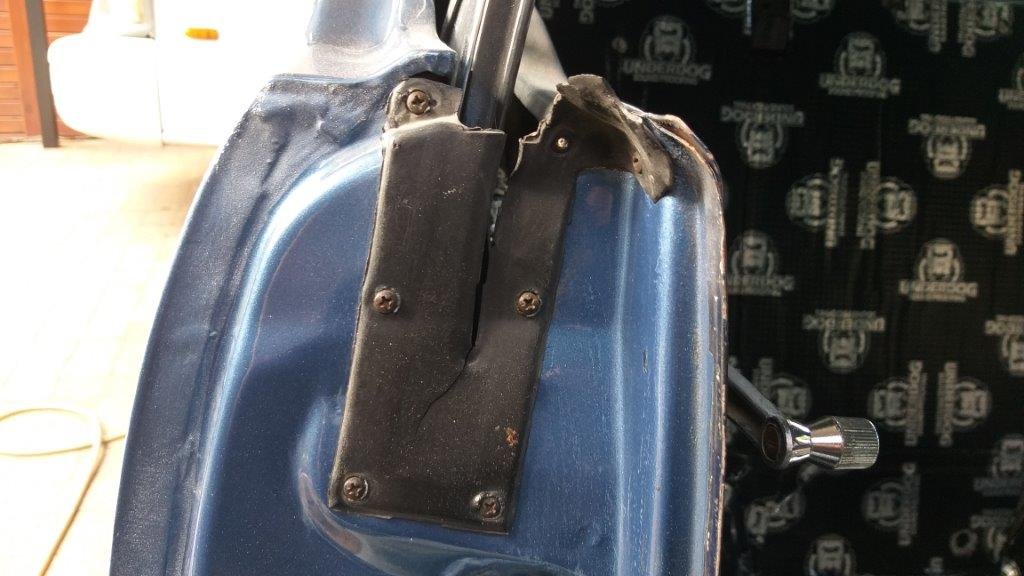
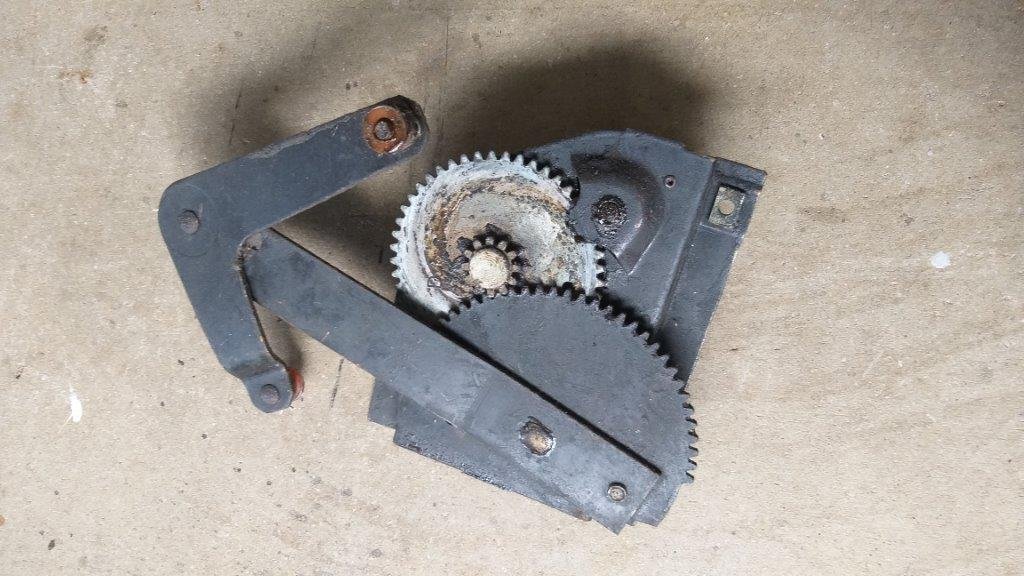
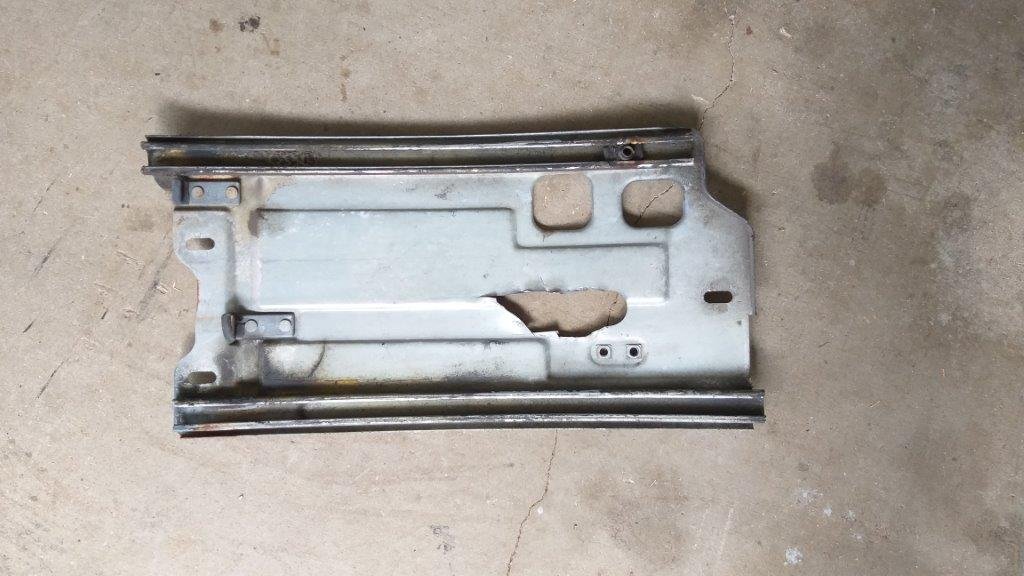
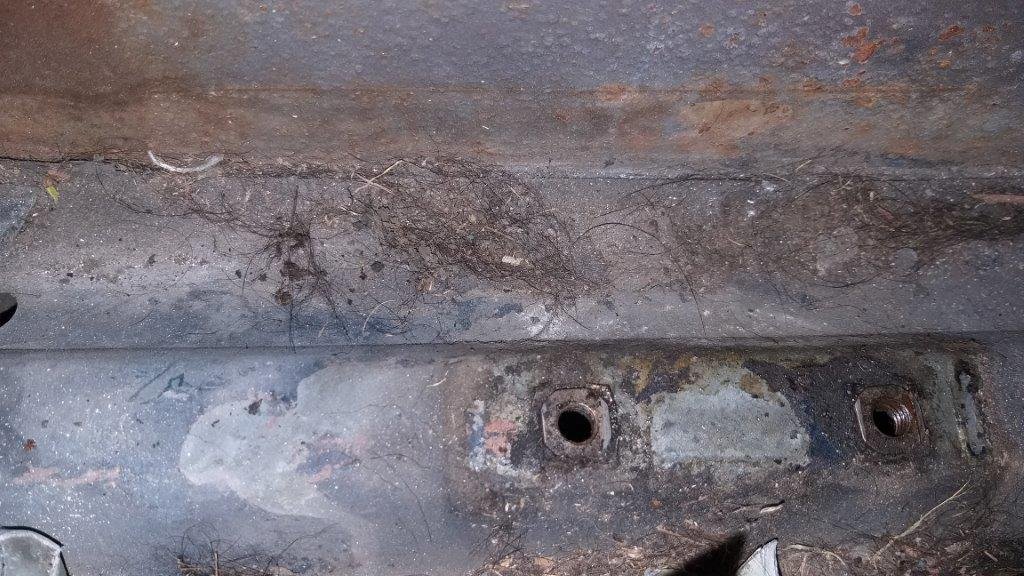
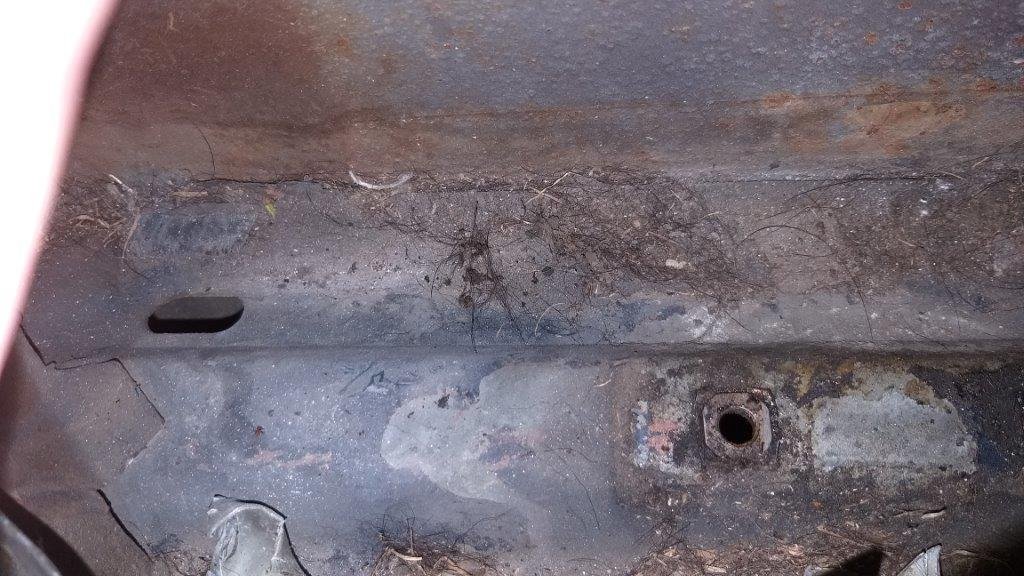
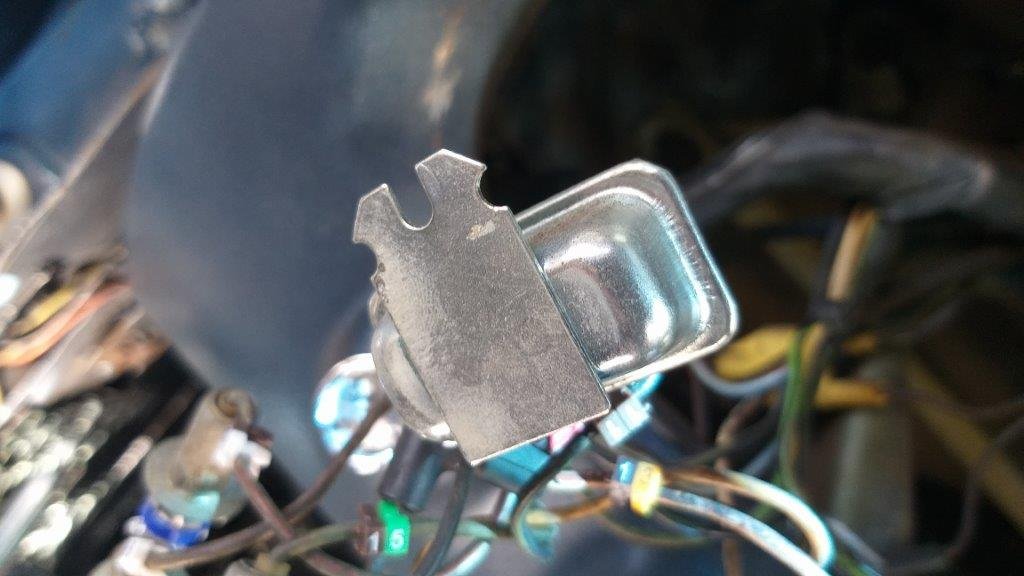
Now that the dash is painted, today marks the start of the interior rebuild. I thought I'd start at the rear of the cabin and work my way forward. So first up is the refurbishment of the rear quarter windows and I picked the passenger side one as the first lady for a shave. The window winds up and down pretty smoothly, but I want to rust proof the internal rear quarter panel anyway, so figured I'd gut the insides as part of the process. The little body seals are well knackered but I've got new ones in my latest batch of parts. Looking at the window regulator and rollers they look fairly decent. The rollers are cheap as chips so I've got a fresh set to install. Apart from that everything just needs a damn good clean and a bit of new grease. Someone has butchered the plate that holds the slides for some reason, but its only a cosmetic butcher. The metal is all jagged, so I'll tidy that up while I've got it out With the panel gutted I was able to inspect the metal. The bottom of the rear quarter looks nice and solid inside. Seems to be heaps of dog hair lying in there (at least I hope its dog hair) .... so I'll get rid of that before I start squirting fish oil about the place. A few "before" photos for your viewing pleasure. Thanks for looking.
-
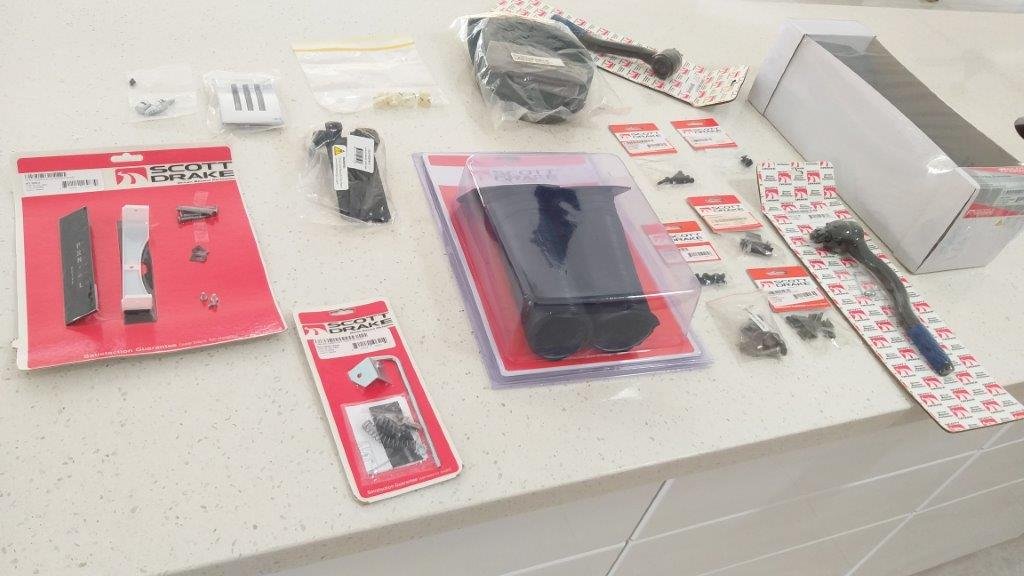
And in other news my favourite courier just pitched up with another batch of parts sourced from Rob at Sydney Mustang Parts. Enough little bits and pieces to largely complete the refurb of the interior as well as the heater box rebuild. Perfect timing.
-
And that's the dashboard and steering column looking heaps better.
- 194 replies
-
- 10
-
-
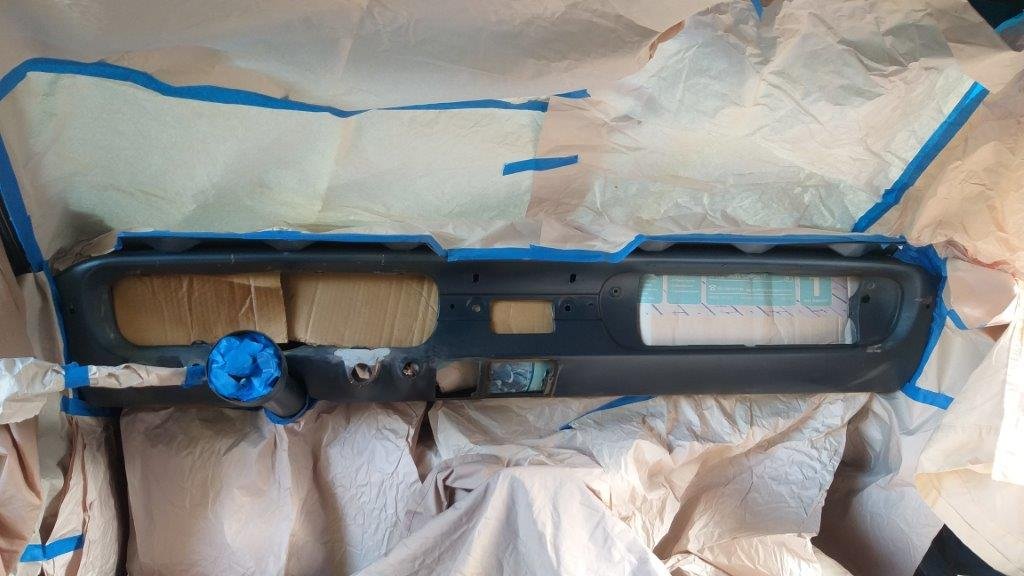
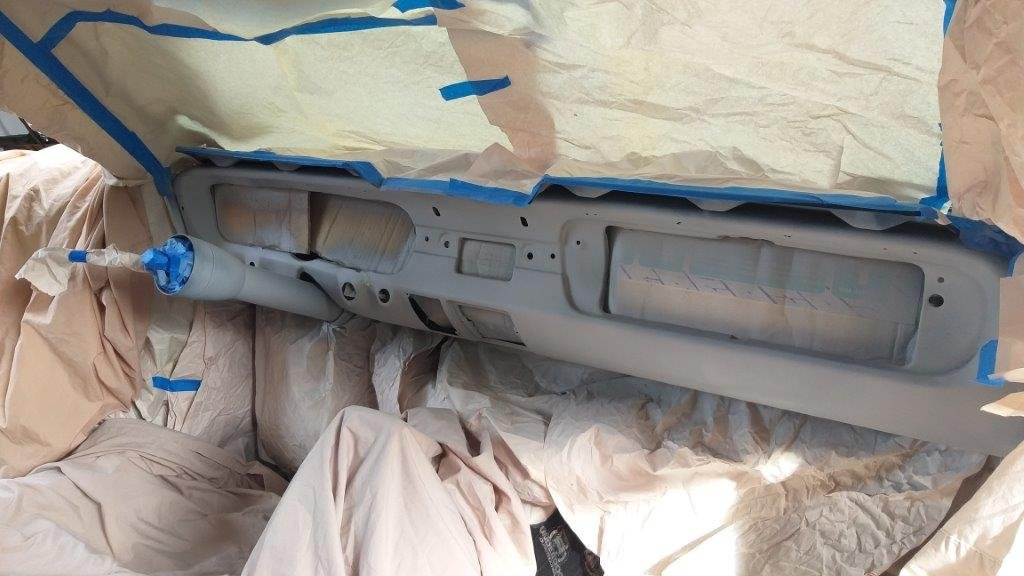
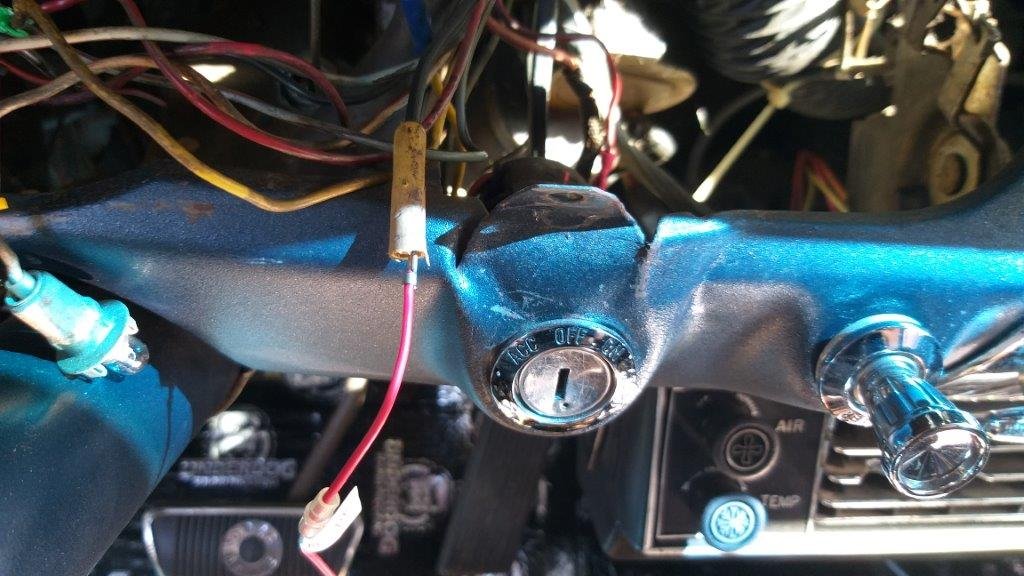
Work on the metal dash panel continues. Earlier in the week I massaged the metal around the ignition switch back into shape. It was a real bugger as there is a welded in dash support right in the way, so no chance of getting a dolly in behind. Did the best I could and then applied a light smear of bog to smooth out the remaining ripples. With everything else taped up I've chucked a bit of high build primer on it. There is one small low spot that I've re-bogged, so thought I would post an update while I'm waiting for that to go off. Thanks for looking.
- 194 replies
-
- 10
-
-
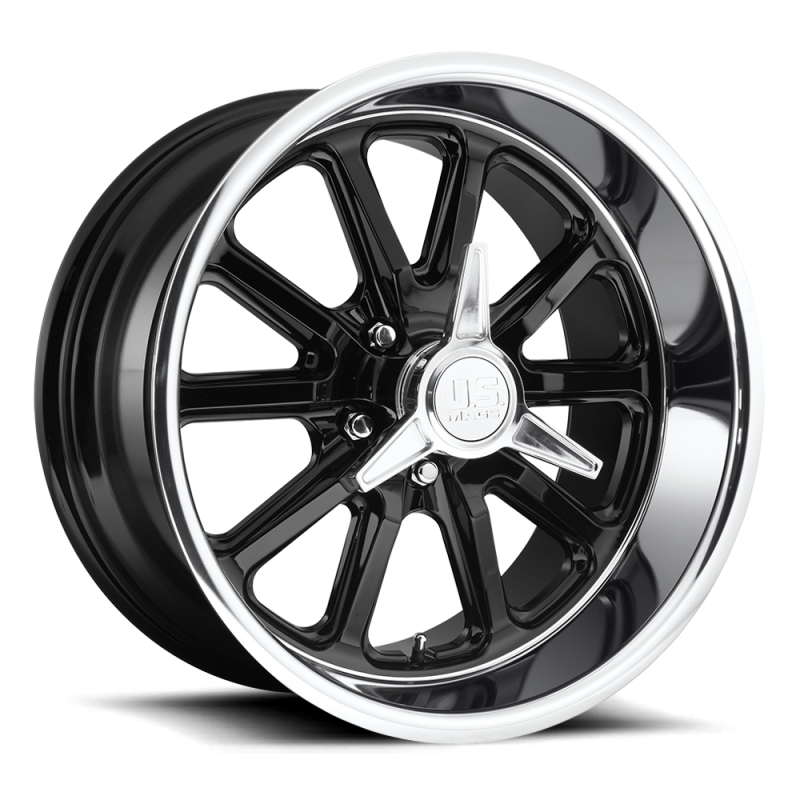
Thanks heaps for the positive feedback @1963 AP5 They are a vast improvement over the modern wheels. I must admit that I'm battling to come to terms with the narrow 205 front tyres on 7J rims as she currently runs a 235 on a 8J up front. I do get a bit of "tram lining" with the wider front wheels but I'm not sure it that is due to worn suspension components or the overly wide tyres. I'm going to try running a 225 up front just to see how it handles. In terms of final wheel choice I'm currently leaning towards these puppies also in a 15 inch diameter, but maybe with a charcoal or silver painted centre:
-
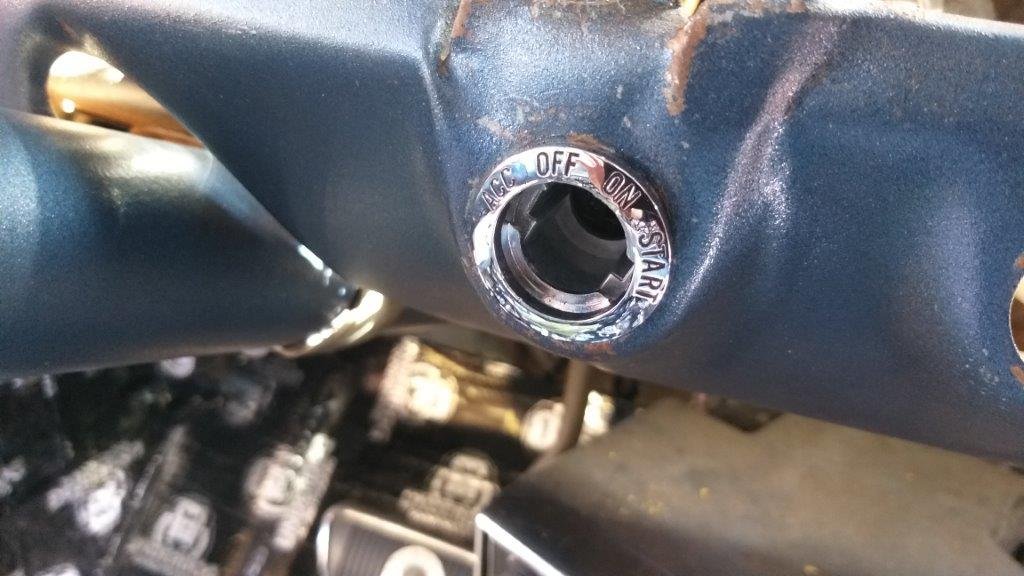
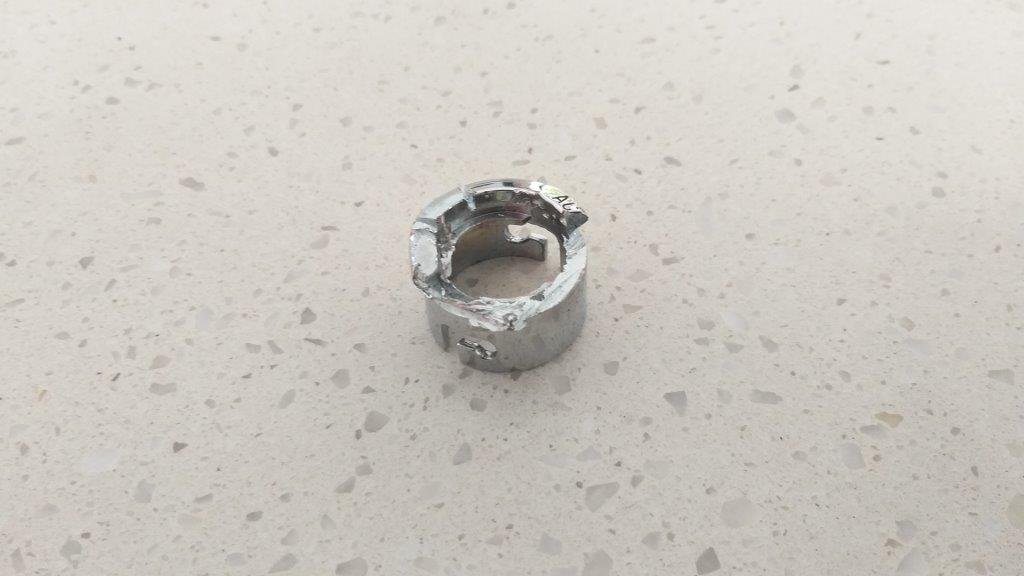
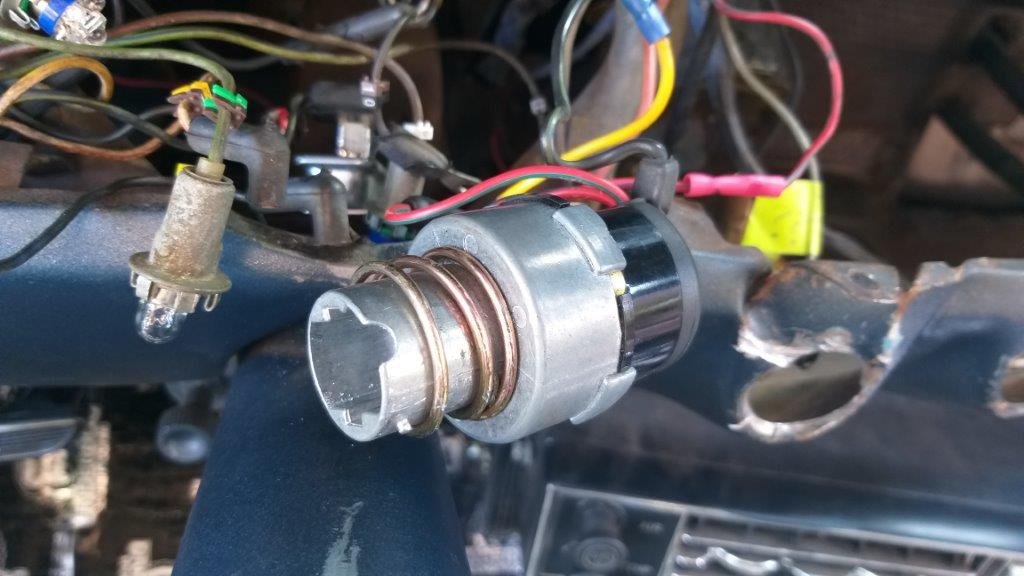
So back to the dashboard : I previously posted a photo of the damage done to metal around the ignition switch. The switch itself looks pretty new so I'm picking someone battled to get the old switch out and ended up doing some mischief. To get the switch out you need to remove the lock barrel . That part was easy. The bezel and switch have a bayonet fitting and there is a big spring around the neck of the switch that holds the tension. Pushing on the back of the switch is supposed to compress the spring to the point where you can twist the switch anti clockwise to disengage the bayonet. Oookaaay ..... tried that .... nup .... looks like the bent metal is preventing the spring from compressing enough ...... bugger. Fiddled about for about half an hour, but no go. Reached a point where I realised I was going to have to undertake some of my own butchery. Now at the time of the vehicle purchase included in the deal were a few small bits and pieces stashed away in the boot and as luck would have it one of the bits was a brand new ignition switch bezel still in its Scott Drake packaging dated 2012. So knowing I had a replacement on hand I figured butcher away .... and so I did. With the lock barrel out I packed the void in the switch full of tissue paper to protect the innards and armed with a pair of vice grips and the smallest blade on my demo saw I proceeded to soundly spank the bezel. I'm a bit ashamed that I needed to resort to using brute force and ignorance, but sometimes needs must. Thanks for looking.
- 194 replies
-
- 11
-
-
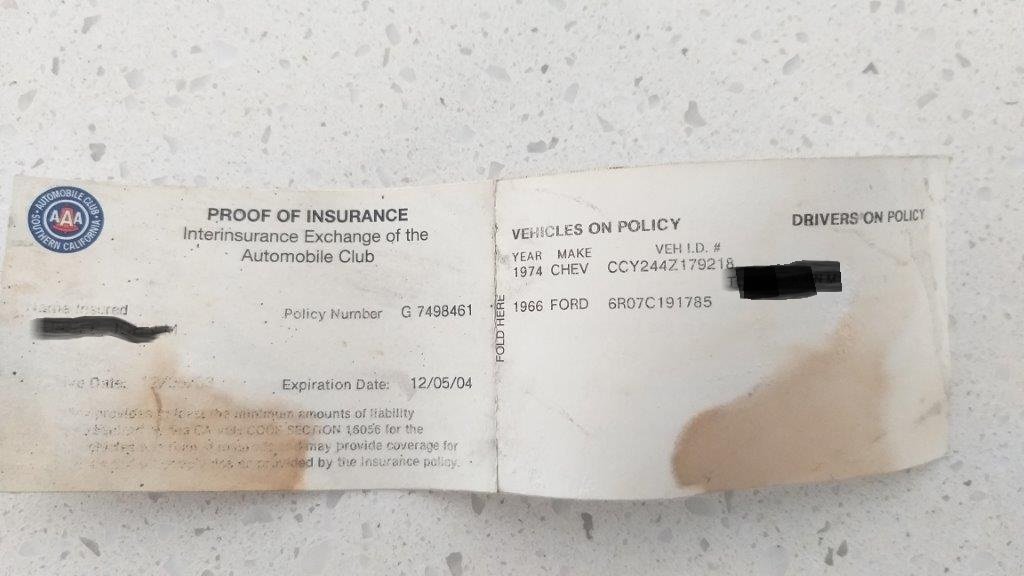
In other news, tucked behind the heater housing I found a little gold nugget .... well almost.... It's a "Proof of Insurance" card issued by the Automobile Club of Southern California back in 2004. Looks like he is a classic car type as the policy lists a 74 Chevy in addition to my 66 Muzzy. What a find .... I am absolutely foaming as I currently don't have any history of the car when it lived in the USA. It would be so cool if I can track down one of the previous owners. Anyhoo for privacy reasons for now I've blanked out the person's name on the photo of the card below, but I've already sent an email to a person in San Diego who shares the same name including the middle initial, so we shall see what transpires. I'll keep you posted on progress. Over and out from Straya's own Mike Hammer.
-
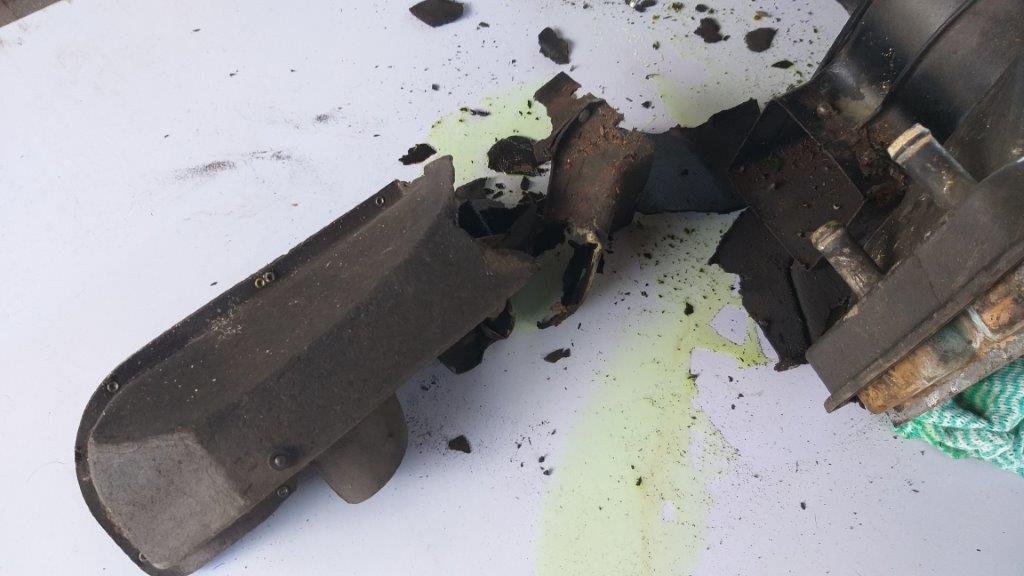
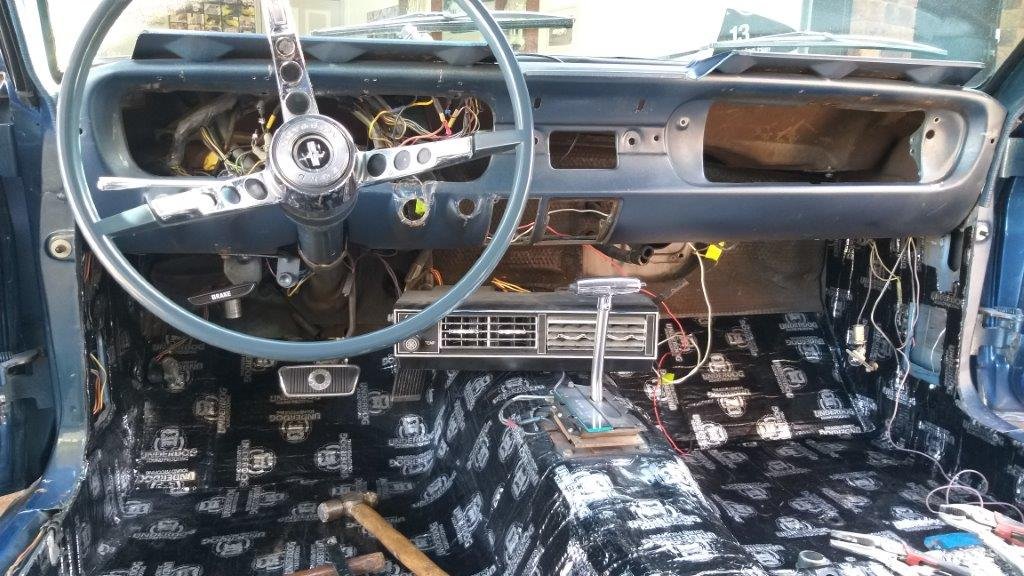
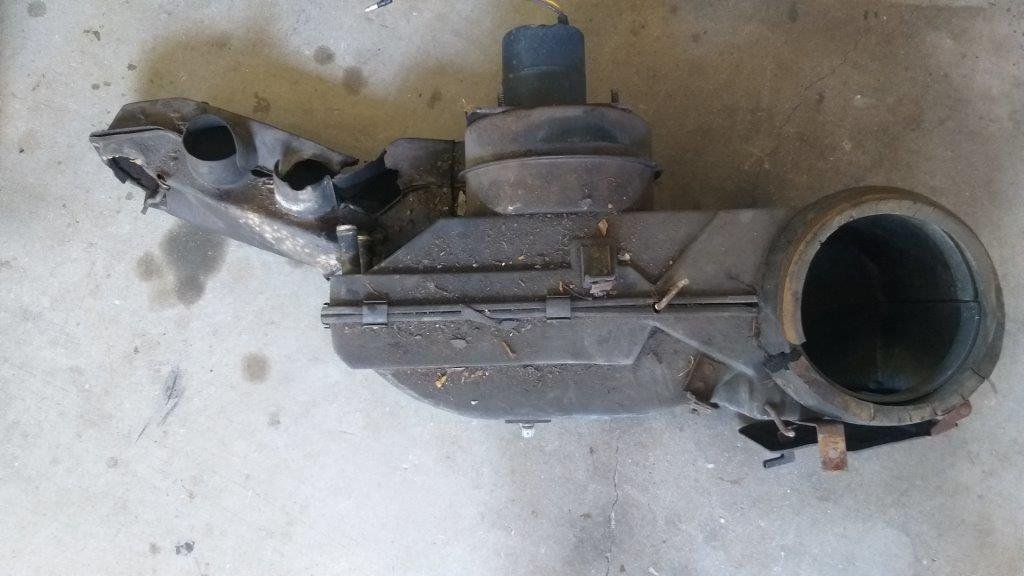
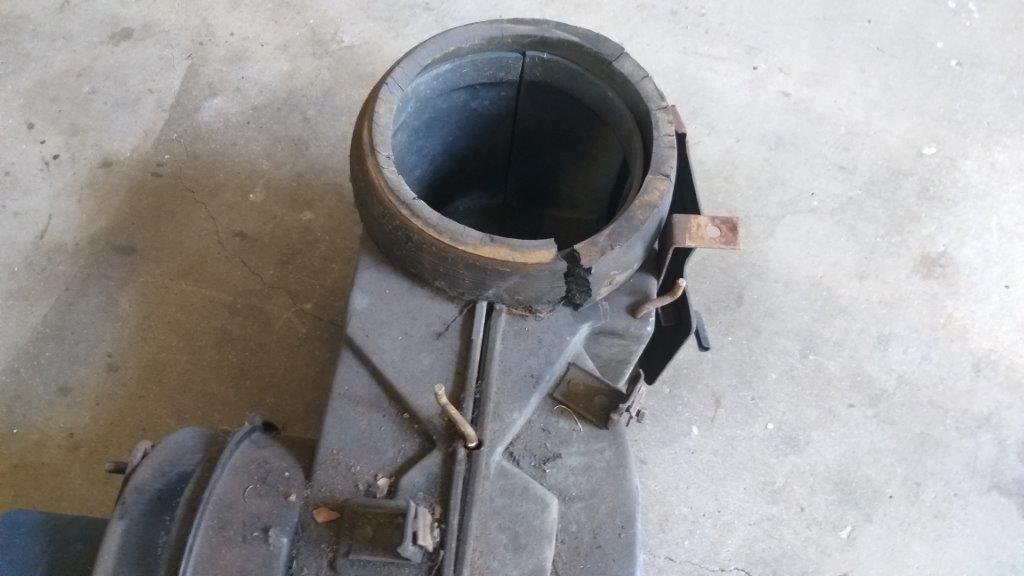
Next step is to renovate the metal portion of the dashboard before I can start reassembling the interior. As previously mentioned the dash paintwork is looking a bit shabby with lots of scuffs and scrapes. From factory the dash panel was painted a different shade of blue to the rest of the car and I'm keen to maintain that factory look. I've been able to track down the paint code and the plan is to get a bit of paint mixed to match. So this morning I once again pulled out the instrument cluster and then proceeded to remove the heater control panel, wiper and light switches. In order to remove the heater control panel I had to disconnect the 3 cables that control the in-cabin air flow and its at this point that things took a bit of a turn. Whilst removing the cables, I noticed that 2 of the 3 cables were completely seized. After disconnecting the cables it became apparent that the cables are fine, its the little doors inside the heater box that have seized up. So I put on my big boy pants and removed the whole heater box. Mucky job as even though I drained the radiator the heater core still holds a bit of coolant. Good thing the carpet and underlay are still out. As you can see from the photos below the heater plenum is well shagged with not only a seized control, but big gaping holes in the housing. So this is going to need some loving, but I'll put it to one side for the moment whilst I concentrate on the dash.
-
Thanks for the feedback Clint. I really appreciate it.
-
Thanks for the feedback on the wheels @igor. They are way better than the blings it's currently got on it. What's with Ozzies and their big bloody wheels ?
-
The paint finally cured enough to give it a machine buff yesterday and the Muzzy is now back home. Needs a bloody good bath and a final hand polish before I start the reassembly, but to say that I am chuffed with the outcome would be an understatement. In other news I borrowed two hotwires from Grant. They aren't my first choice of wheel for the Mustang, but at least they have given me a feel for what the car will look like back on classic 15 inch diameter wheels. The borrowed wheels are both 7J with a 205/60/15 on the front and a 225/60/15 on the back. I'm aiming for the same size tyres but will run a 8J on the back just to fill the arch a bit more. Thanks for looking.
- 194 replies
-
- 20
-
-
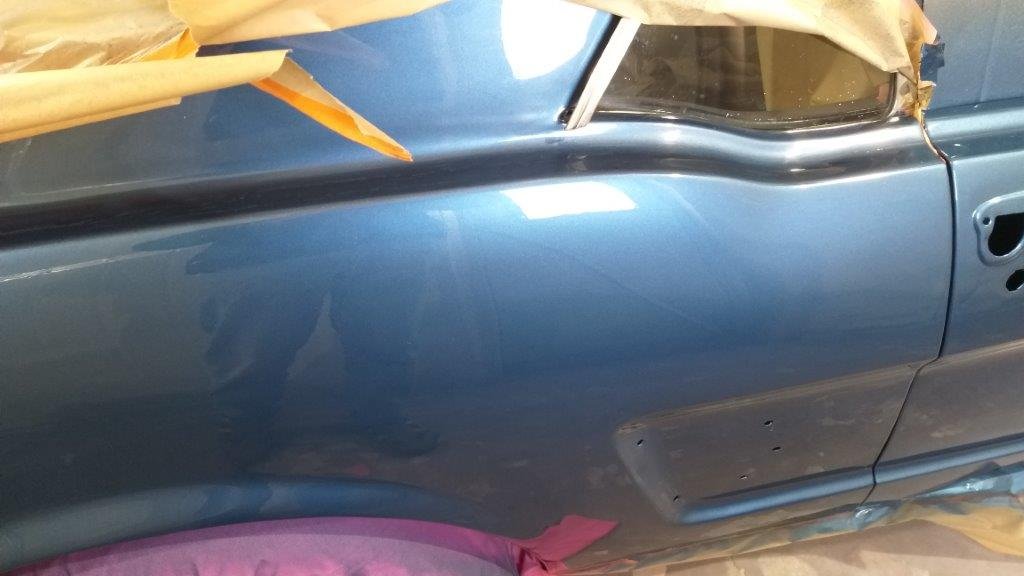
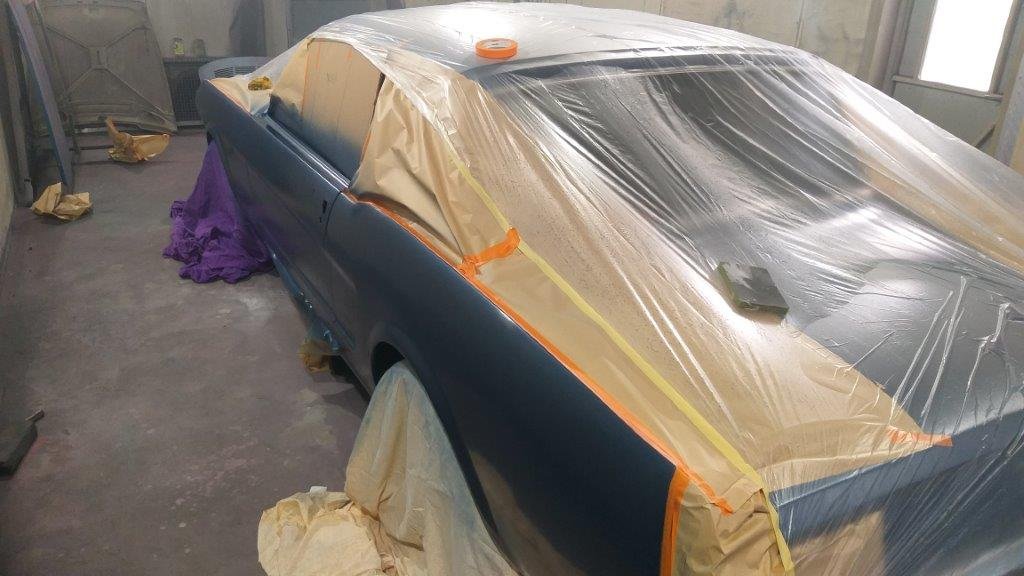
It's bloody cold across here in Queensland at the moment, so we decided to leave the Mustang languishing in the booth for another day. Can't wait to get it out into the sunlight. Not that easy to take decent pics in the booth, but here are a few to give you a taste of what is to come. Rear quarter vertical panel has the fresh paint and everything above including the small horizontal panel under the window is the old paintwork. Absolutely seamless transition. Grant is a bloody legend.
- 194 replies
-
- 16
-
-
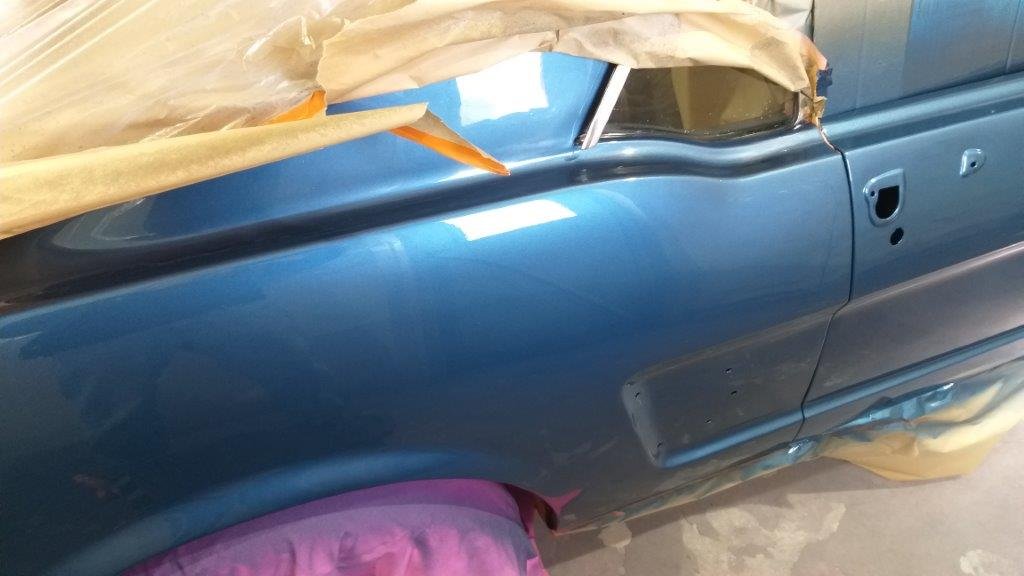
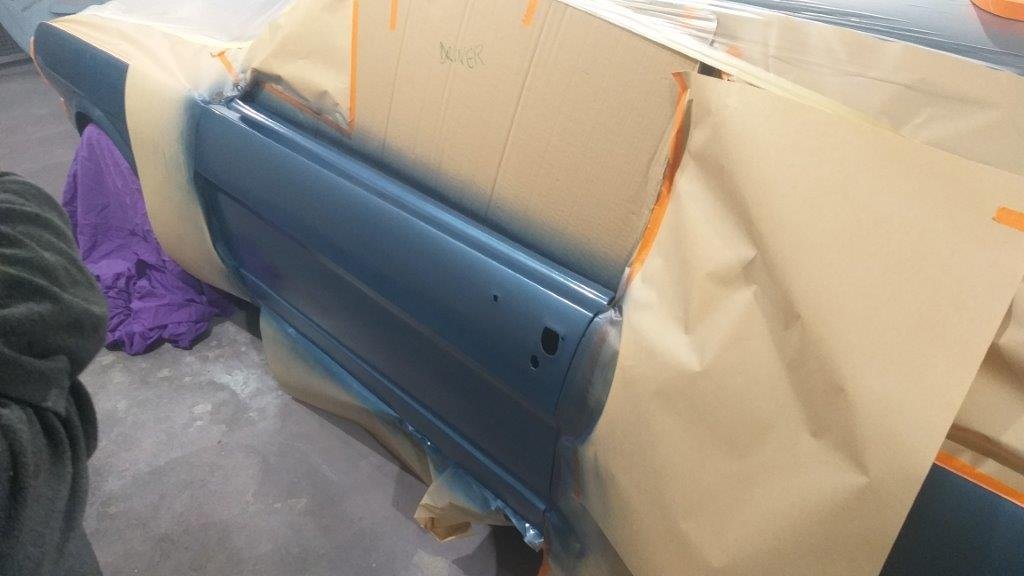
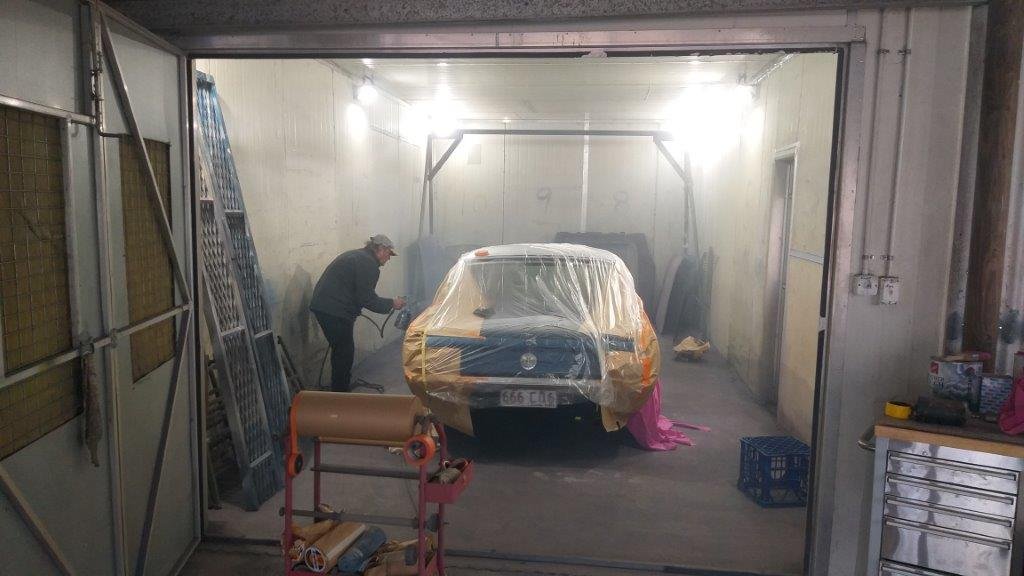
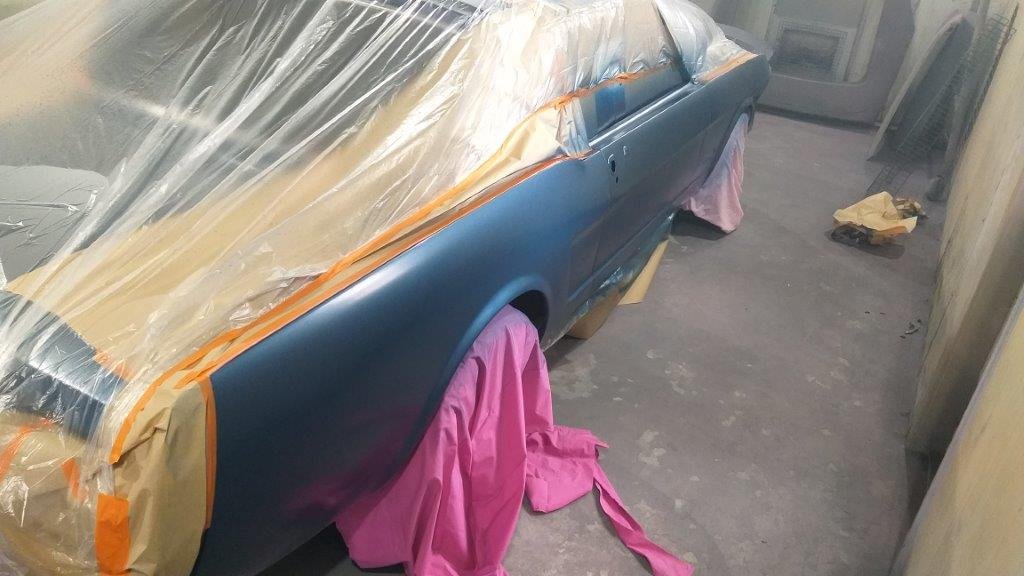
Well after weeks of particularly shitty weather, yesterday arvo the cloud cover lifted and the sun finally made an appearance. Swapped a few calls with Grant the painter last night and then shot through to his place just after morning smoko. It took Grant a couple of hours of trial and error before he declared that he was finally happy with the colour match. Pulled the car into his booth, chucked a bit of masking tape and brown paper about the place and after lunch he squirted a bit of colour onto the doors. After a few coats of base on the doors, we then unmasked both sides and Grant shot a few more coats of colour down both sides. It's looking really mint. Grant is an absolute wizard at colour matching. He has also laid down three coats of clear but I'd left my mask at home so didn't want to go into the booth to take any photos of the finish, so I'll do that tomorrow. Plan for tomorrow is to give it a good buff and it should be good to go. Some photos of the base coat.
- 194 replies
-
- 16
-
-
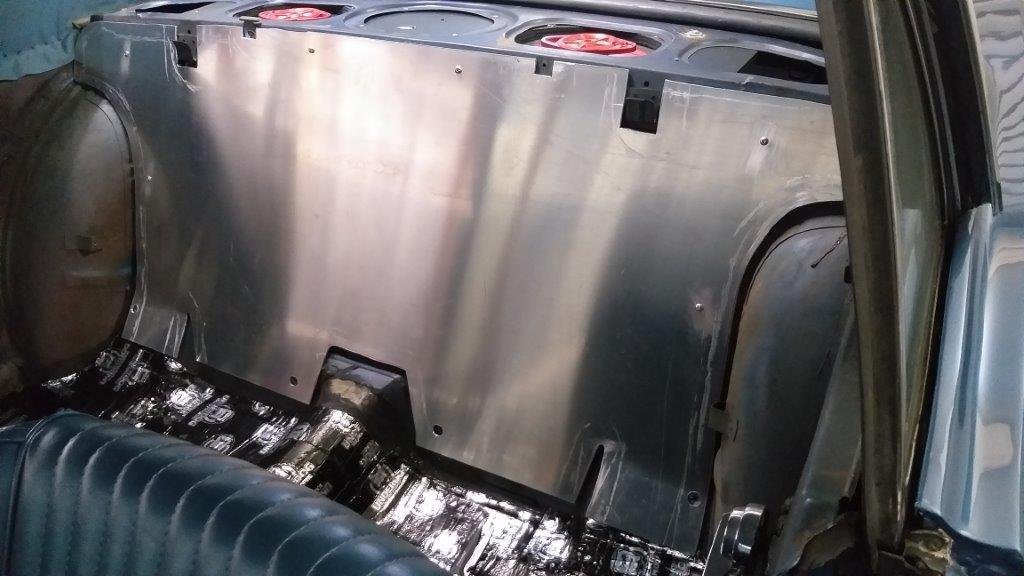
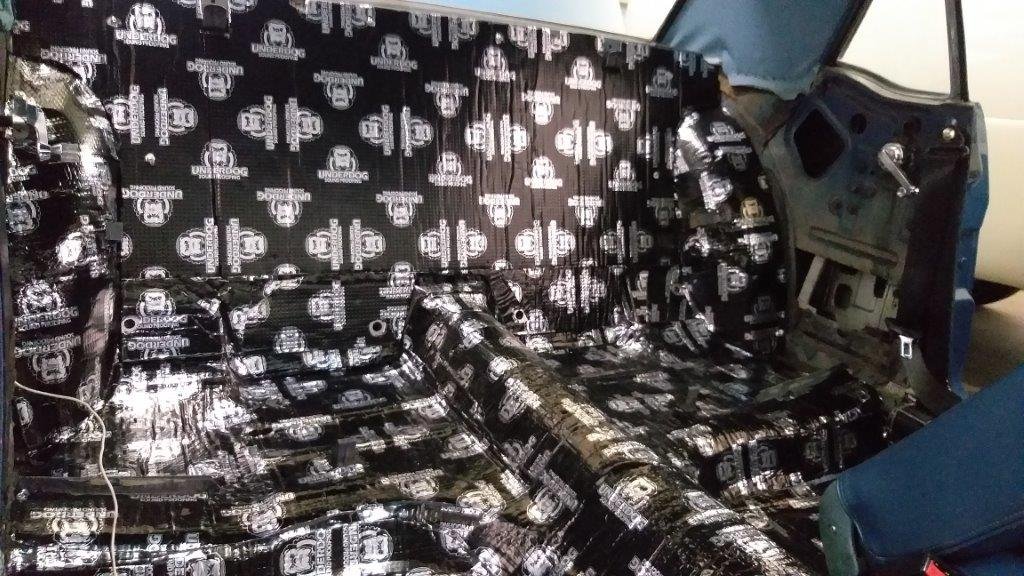
Yesterday arvo the courier pitched up with another roll of sound deadening, so this morning I pulled out my recently fabricated seat back panel to cover it. While I had the panel out I covered the rear wheel arch inners and the last portion of the transmission tunnel. Feels nice and solid. I've just got the rear quarters to do, but my plan there is to cover the backs of the shaped metal side panels rather than covering the body panels as that would entail leaving big openings to access the rear quarter window mechanisms for maintenance purposes. Thanks for looking.
-
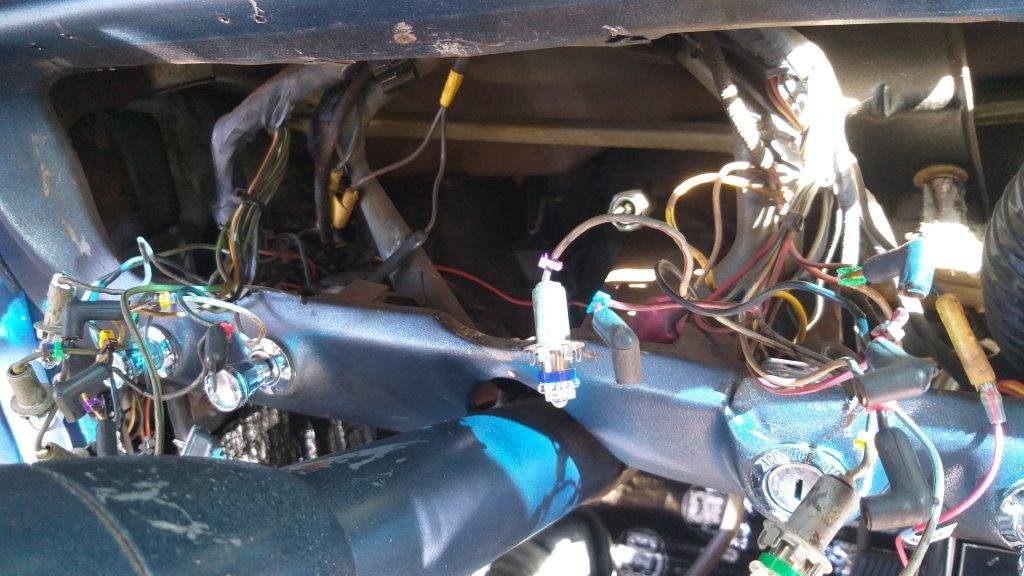
First step was to mark the instrument cluster wires before removing the cluster itself. I made a rough sketch of the setup and then added the cable numbers as I marked each cable. Initial observations: 1. Someone has been at the instrument wiring before as there are little hand written labels. Hopefully they just removed the cluster to replace the surround. 2. Instrument surround has been replaced at some stage with a reproduction part out of Taiwan. 3. As previously mentioned most of the globes have been replaced with LED items apart from the turn signal ones so I'll sort those while I am here. 4. Instrument cluster voltage regulator is relatively new. Bonus as bad ones usually result in erratic gauge behavior, so I'll take that as a win. 5. The main wiring harness appears pretty solid and relatively unmolested. Will need a clean and a bit of a tidy up, but apart from that just the previously mentioned items to sort. Photos of the spaghetti for your viewing pleasure:
-
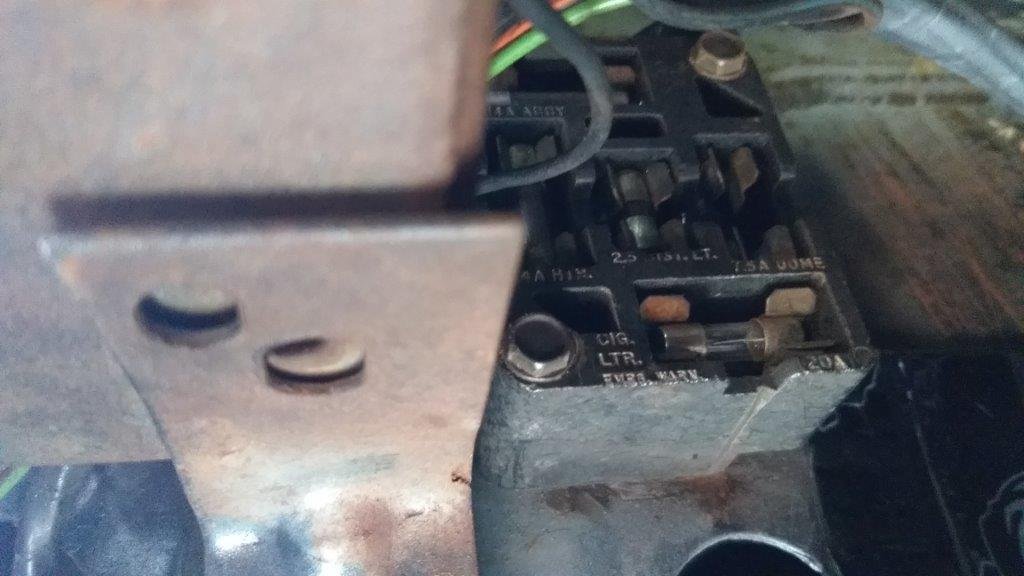
Some of you may be wondering why I am so hung up on augmenting the current fuse related setup, so here is a bit more detail. The factory fuse box is pretty poor by modern standards. In addition to being hard to access it only consists of 5 fuses which vary in physical size. I suppose the size differences make it easier to figure out what amperage fuse goes where, so that's a plus. But it still doesn't really cater for the addition of any modern creature comforts. I've included images of the fuse box schematic and a photo of the replacement fuses, just to show you what I am talking about. The last two photos are of my factory fuse box as it currently stands. The missing fuse labelled "dome" probably explains why my interior lights aren't working.
-
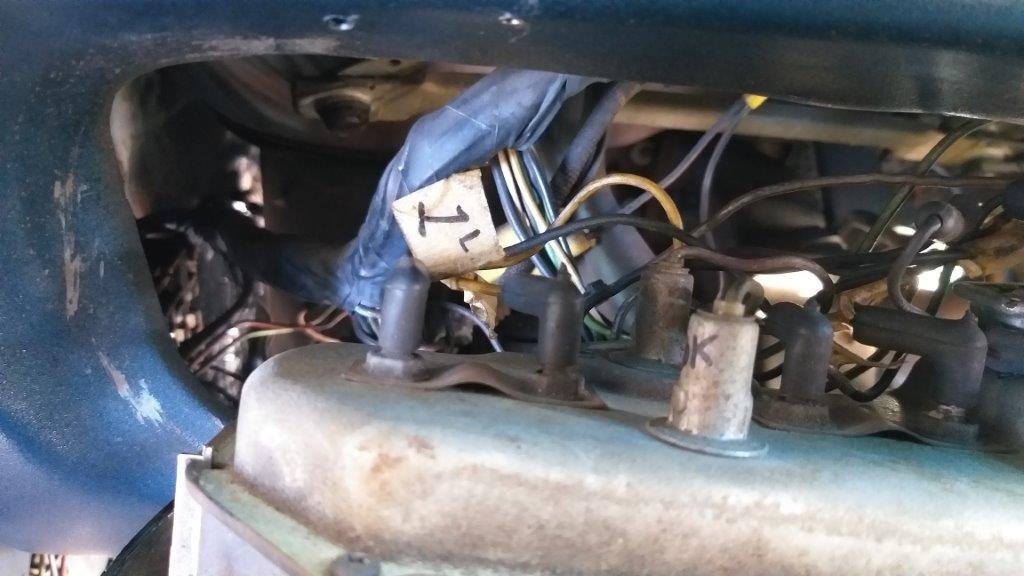
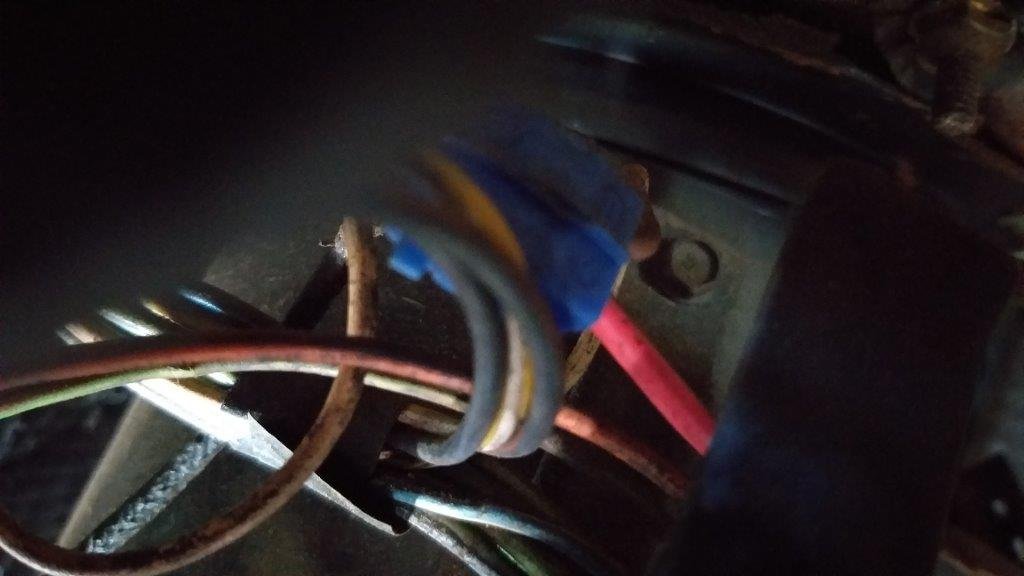
Yesterday my cable numbering rings pitched up, so this morning I thought I'd tackle a bit of under dash archaeology in order to assess the overall condition of the wiring harness and associated electrical components. As previously mentioned my fuel gauge and ammeter aren't currently working so they need some investigation. I've also spotted a few inline fuse holders that I'd like to remove as well as one of those blue plastic cable splicer thingies that usually indicate bodged wiring modifications. There is also an aftermarket toggle switch that thus far has some unknown purpose. The basic plan is to remove all of the wiring related bodges and reconnect all of the "non factory" items to the new fuse boxes.
-
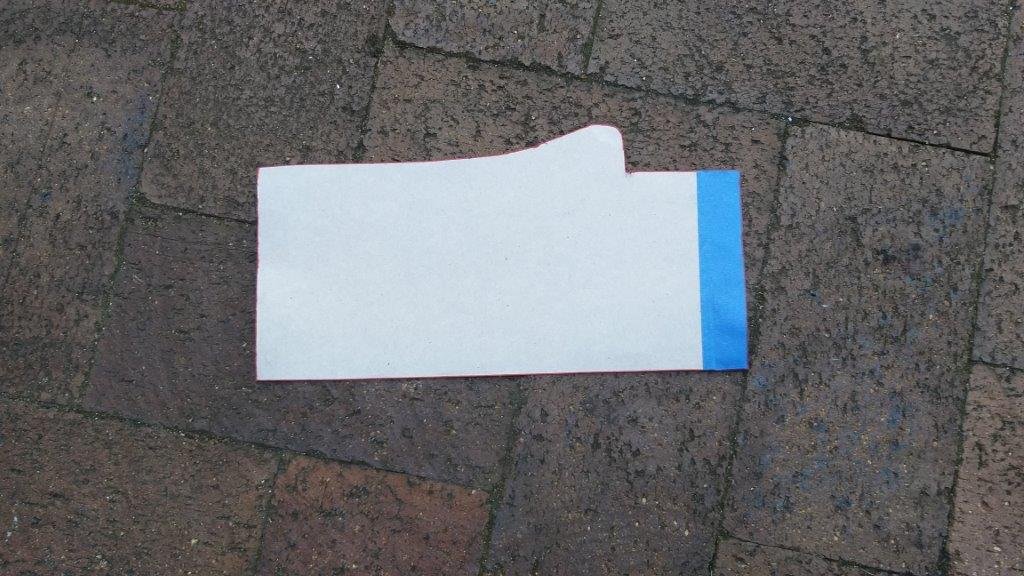
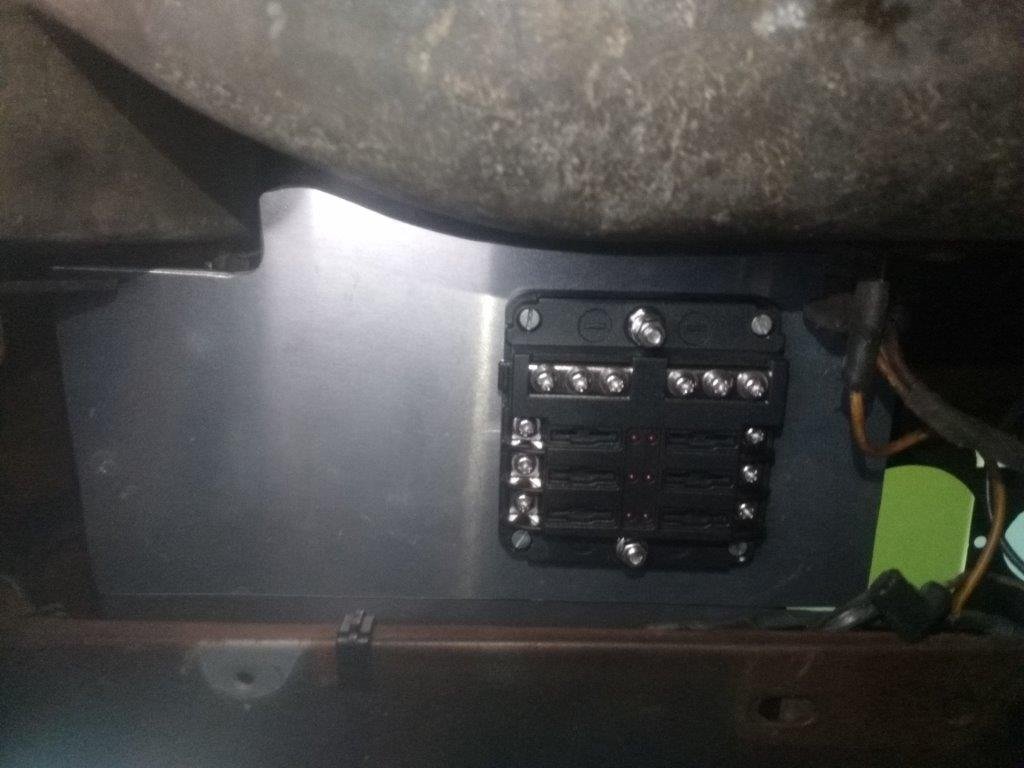
This morning I cracked into part two of the new fuse box panel. Two portions are required as there just isn't enough space to get a single piece panel in without removing the heater core housing and I didn't feel up for that right now. Yesterdays panel is the part that is fixed to the car and today's panel is the portion that the actual fuse boxes bolt on to. The two fuse box back mounting bolts perform double duty holding the fuse box in position and also fixing the two aluminium plates together. Sounds a bit complicated I know, but hopefully the photos make things a bit clearer. I've only installed the ignition fed fuse box for now as I'm still waiting for the battery fed fuse box to arrive. Fuse box two is a similar style, but because the mounting space narrows I've had to order a slightly smaller box without the earthing terminals. A small compromise as I should have more than enough earthing points on the first fuse box. Apologies for the quality of the under dash photo. It's pretty dark under there and the flash reflecting off the aluminium doesn't exactly help matters. Thanks for looking.
- 194 replies
-
- 10
-