-
Posts
760 -
Joined
-
Last visited
-
Days Won
1
Everything posted by sr2
-
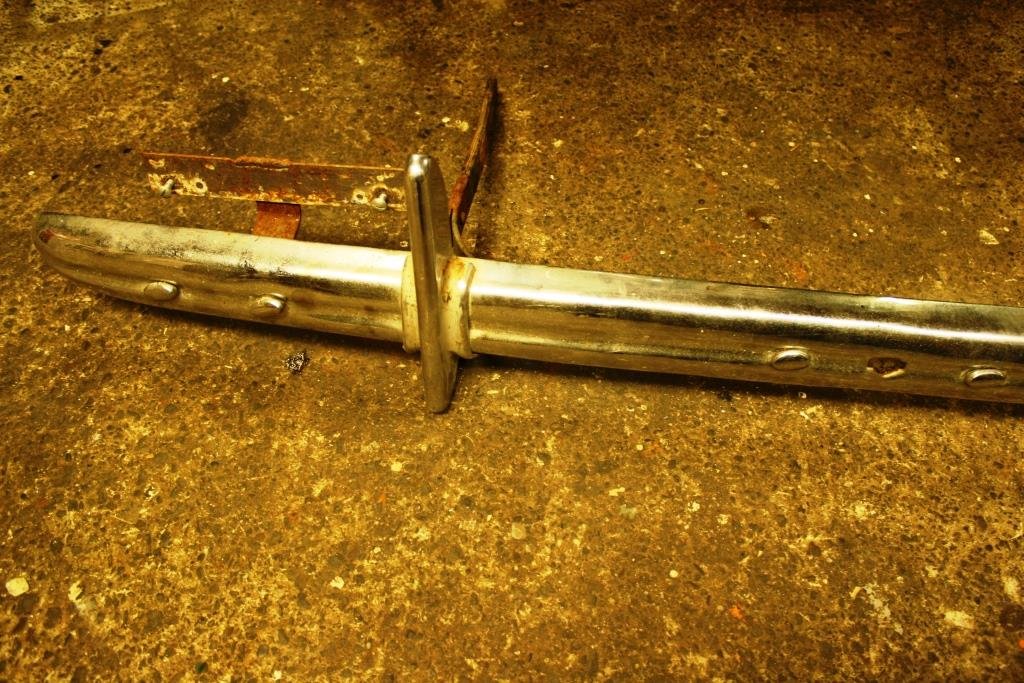
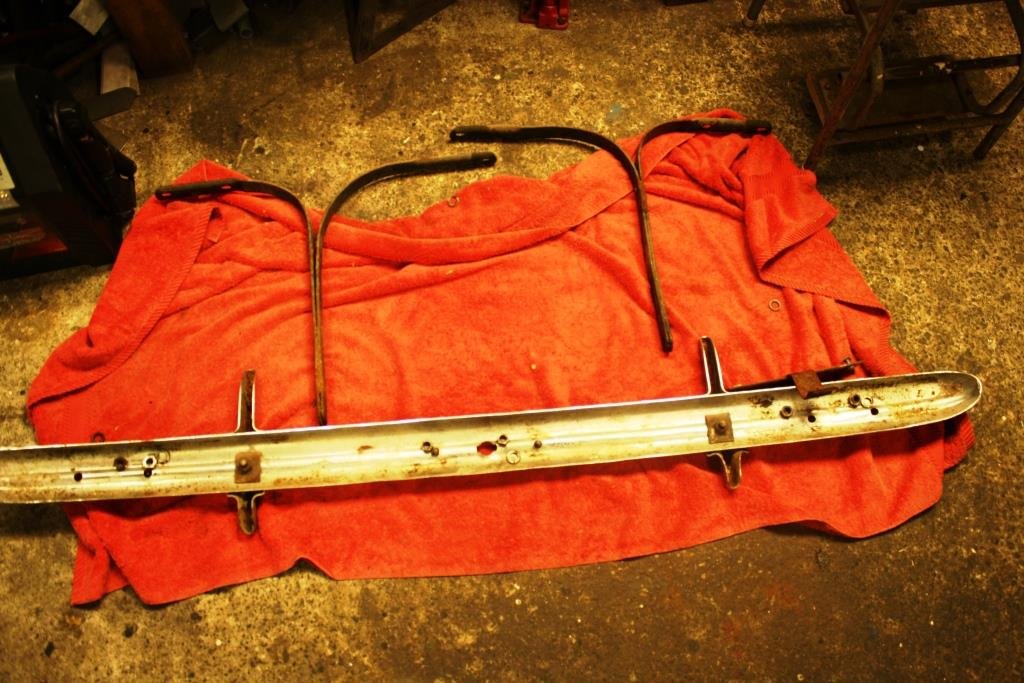
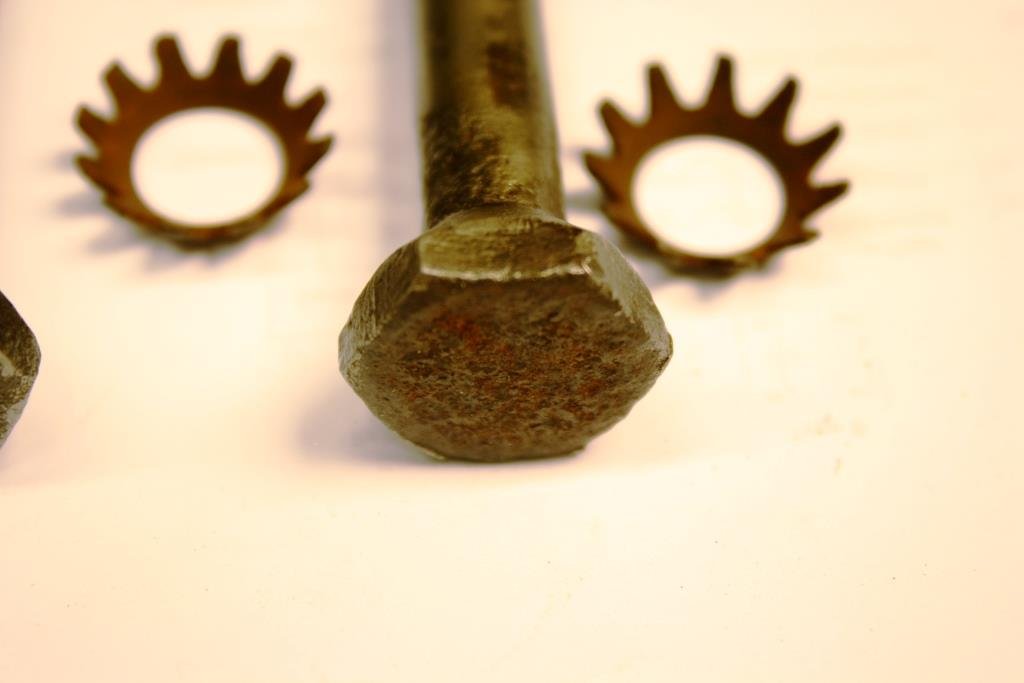
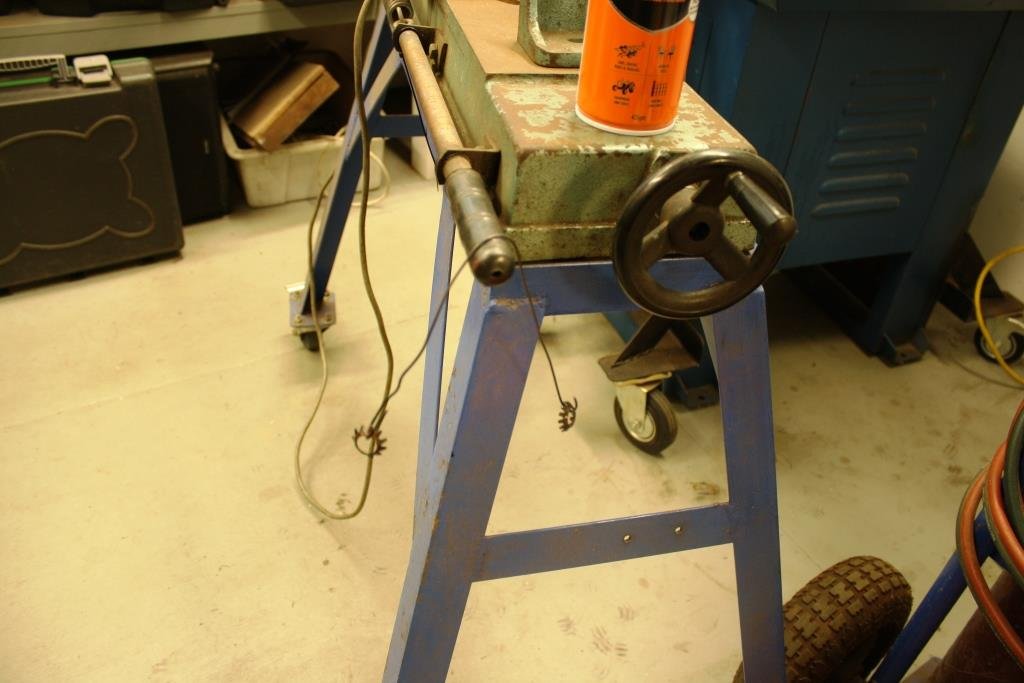
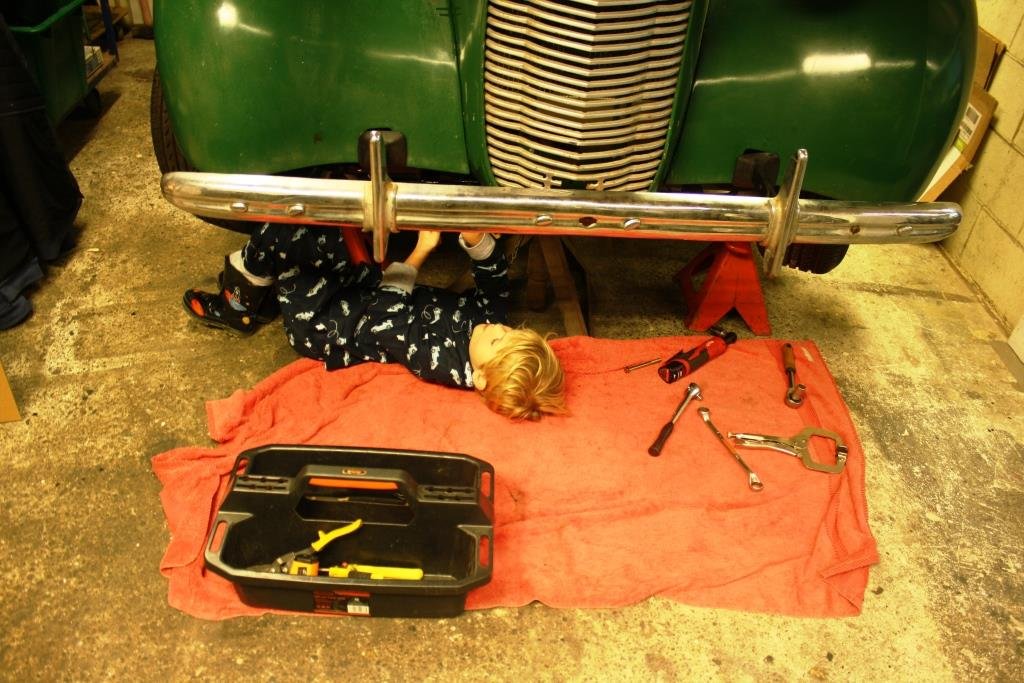
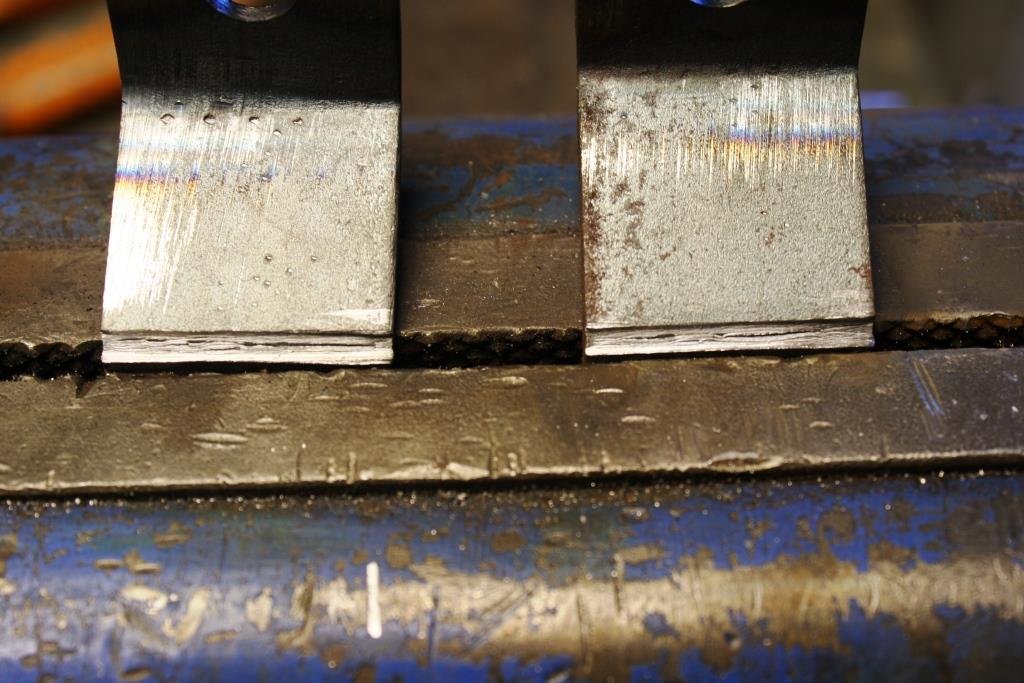
Time to pull the front bumper out of the shed… I’m not that keen on where the number plate was mounted, I think it’ll end up in the middle under the bumper. Stripped it all down…. It’s mounted on bumper irons made out of spring steel, looks like the port side was in the wars at some stage….. Spent an evening cleaning parts up on the wire buff… Love the old bolts and countersunk star washers….. Once again everywhere you look in the world acclaimed (in Milford) Sr2 Man cave there painted car parts hung out to dry….. I managed to score some new bumper rubbers from Basis, what a great source of old style rubber trims and fittings they’ve recently moved from Christchurch to Auckland. Our professional racing driver sneaked out after bedtime in his racing car jarmys and new gumboots to give “Gramps” a hand - you’ve got start them off young. Looks like’s he parked up his tools, Police helicopter, crash helmet, life jacket and a couple of trucks where the back seat needs to go! Made up some brackets using the cut, bend and weld method my Dad taught me when I was a kid. Front number plate now mounted nice and low in the middle.
- 184 replies
-
- 21
-

-
Looks crazy but I can vouch for it working. I ended up having to weld a piece of round to a drill to get the depth through the wood.
-
Is it a 2, 3 or 5 wire alternator?
-
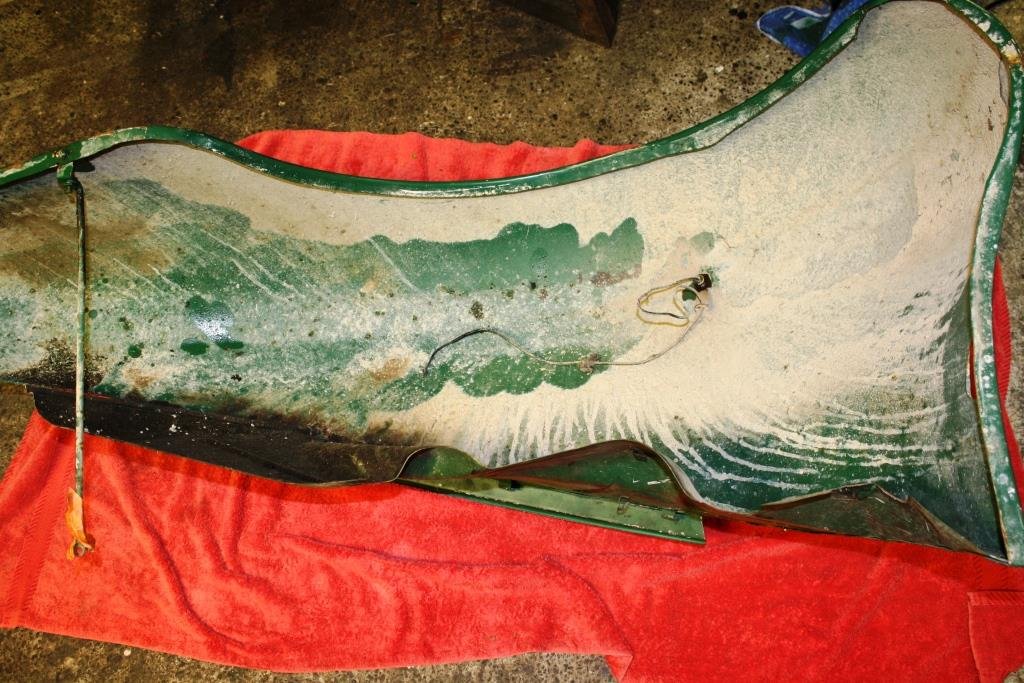
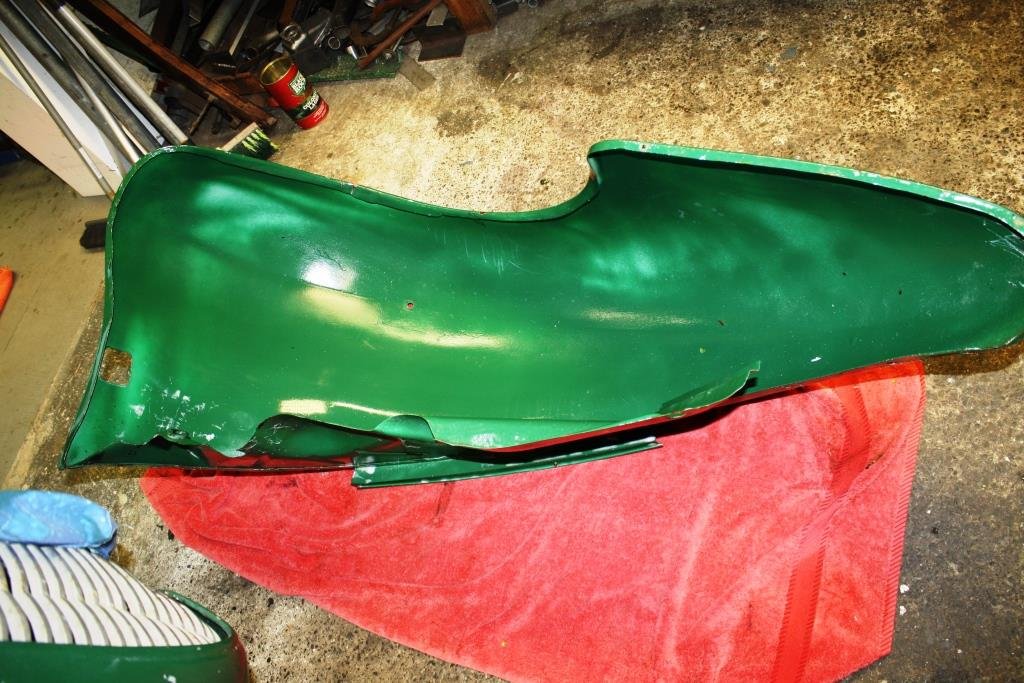
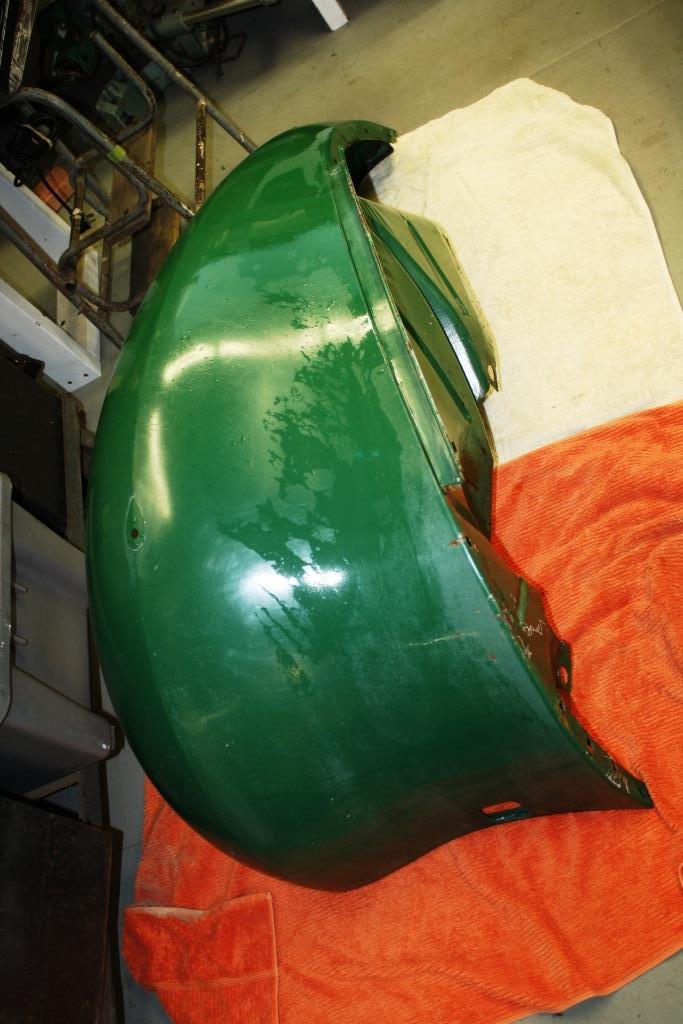
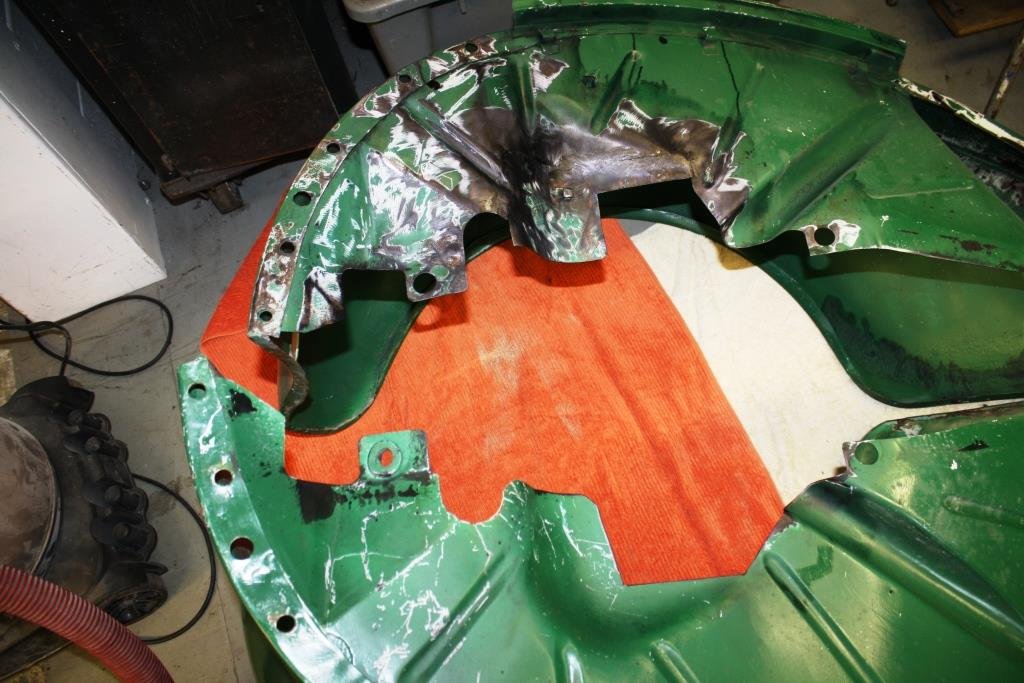
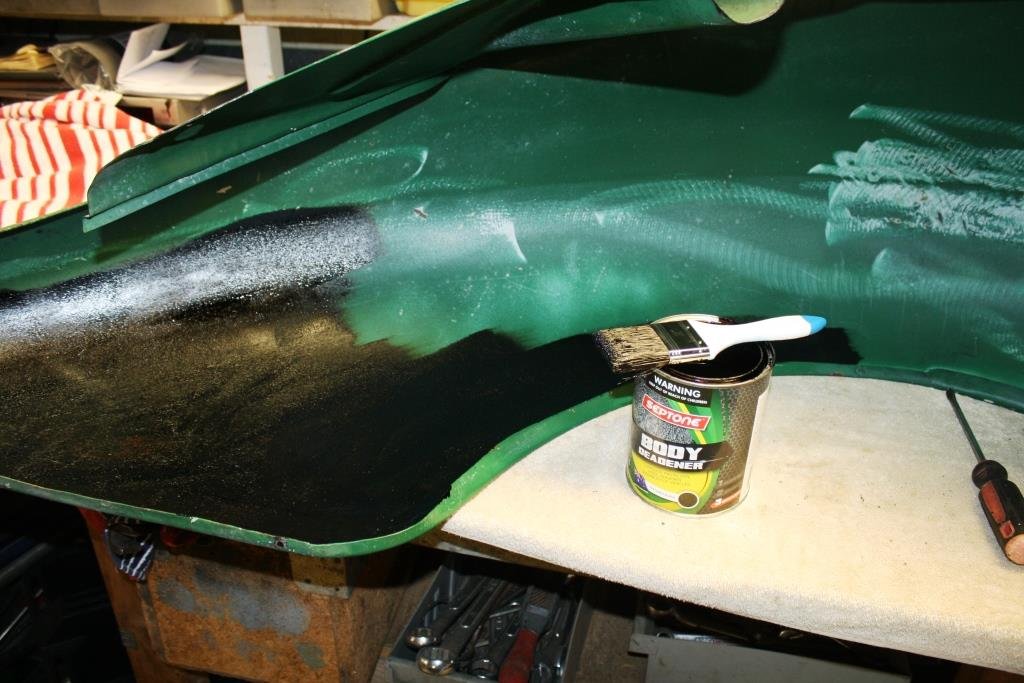
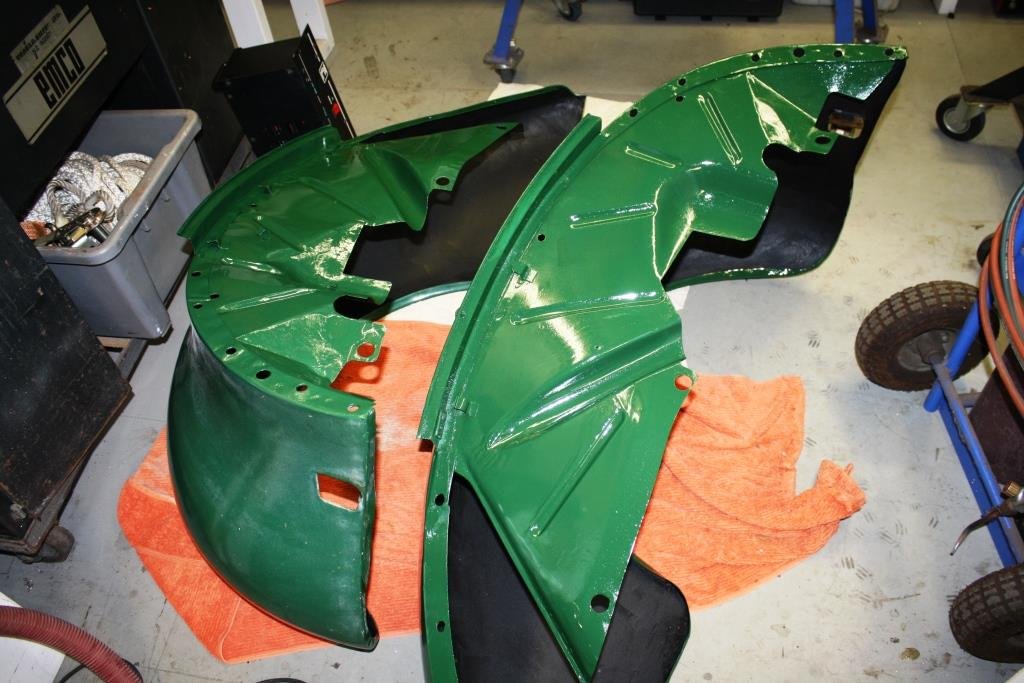
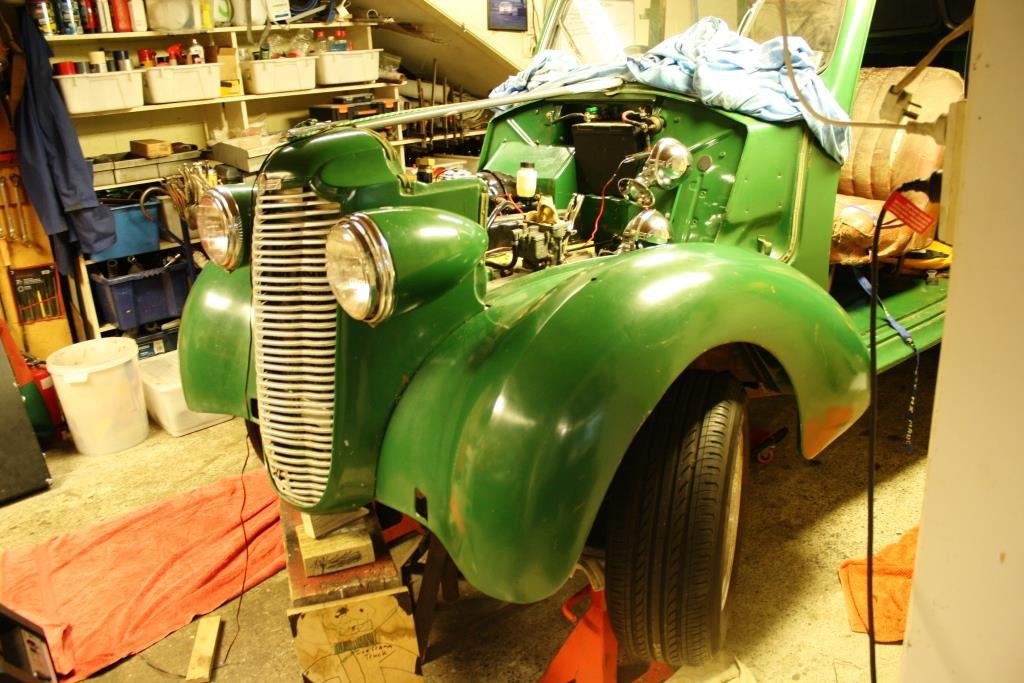
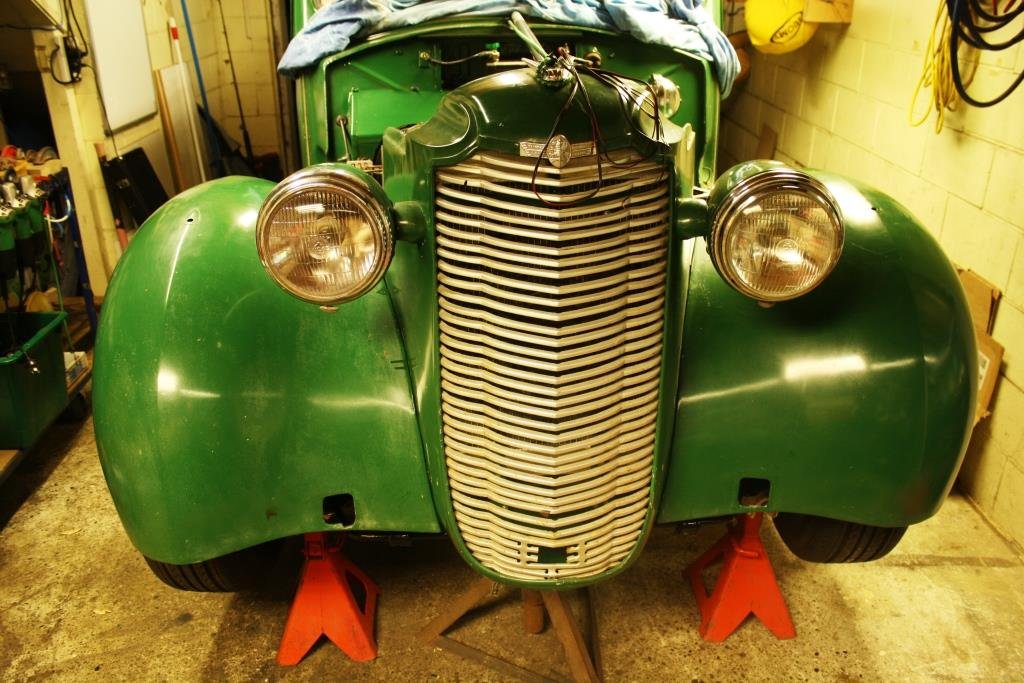
Thought it was about time I did something to Rigamortice’s outside for a change so I pulled the front guards out of the shed and started cleaning…….and cleaning……… After a lot of elbow grease I managed to remove god knows how many years of accumulated road muck and they didn’t come up too bad. I had to do a little cutting and welding on the inner fenders to clear the front end……… Managed to source some Septone underseal (from Supercheap - believe it or not) and slapped on a couple of coats Painted the inner guards…….. And spent an evening aligning all the panels and bolting the front guards on. Have to say I still love the 70’s Cheviot mags, glad I made the call not to refurbish and to keep them ‘oh naturale”. One more full-frontal auto porn pic!
- 184 replies
-
- 23
-

-
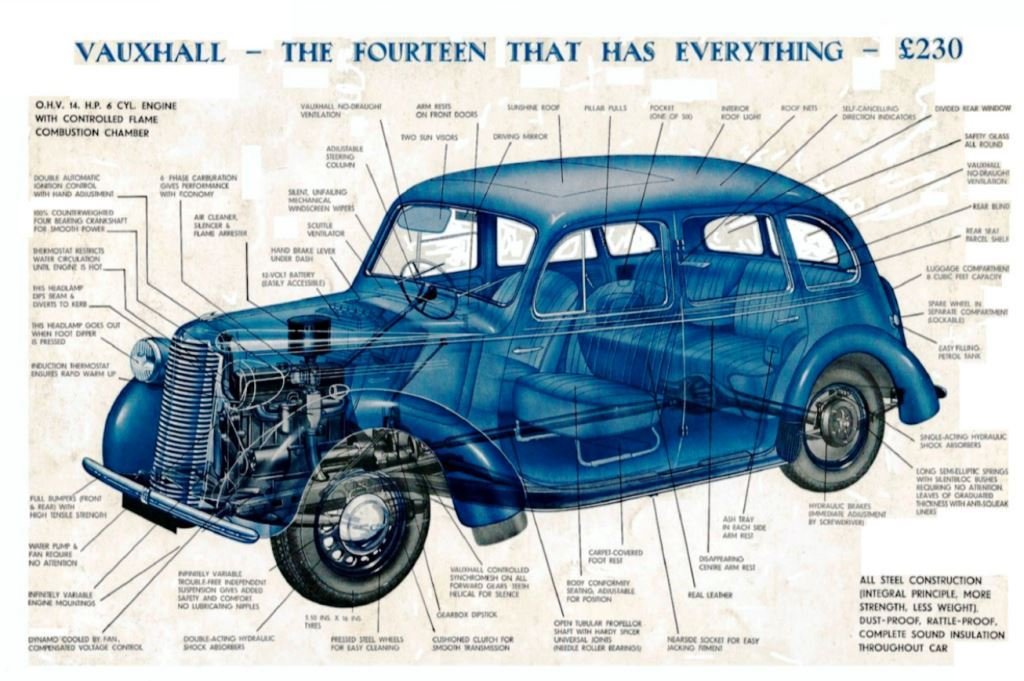
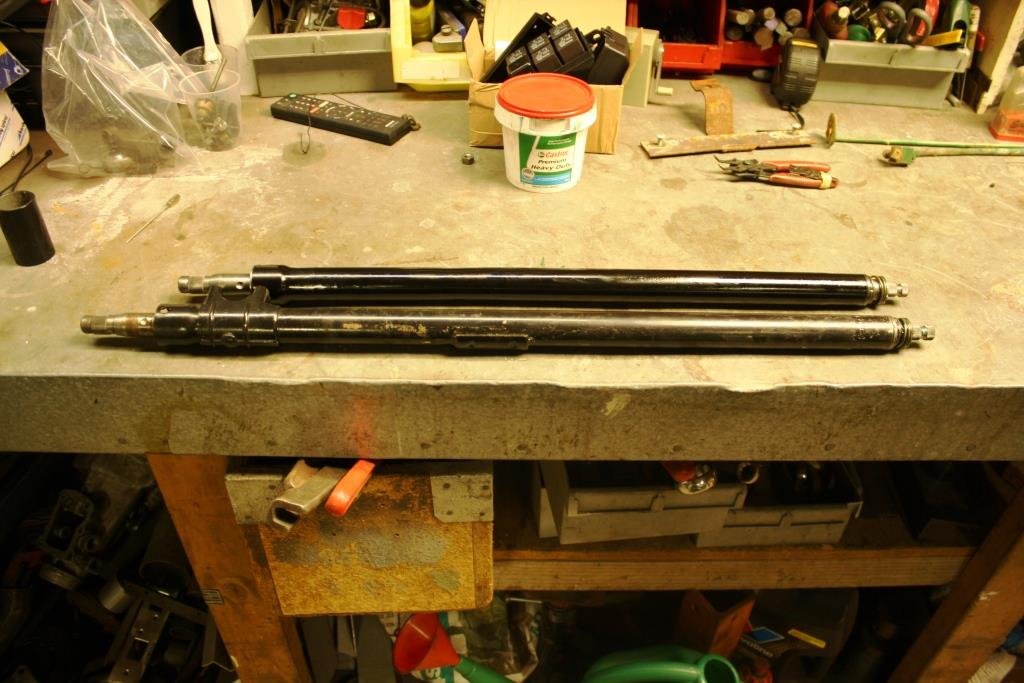
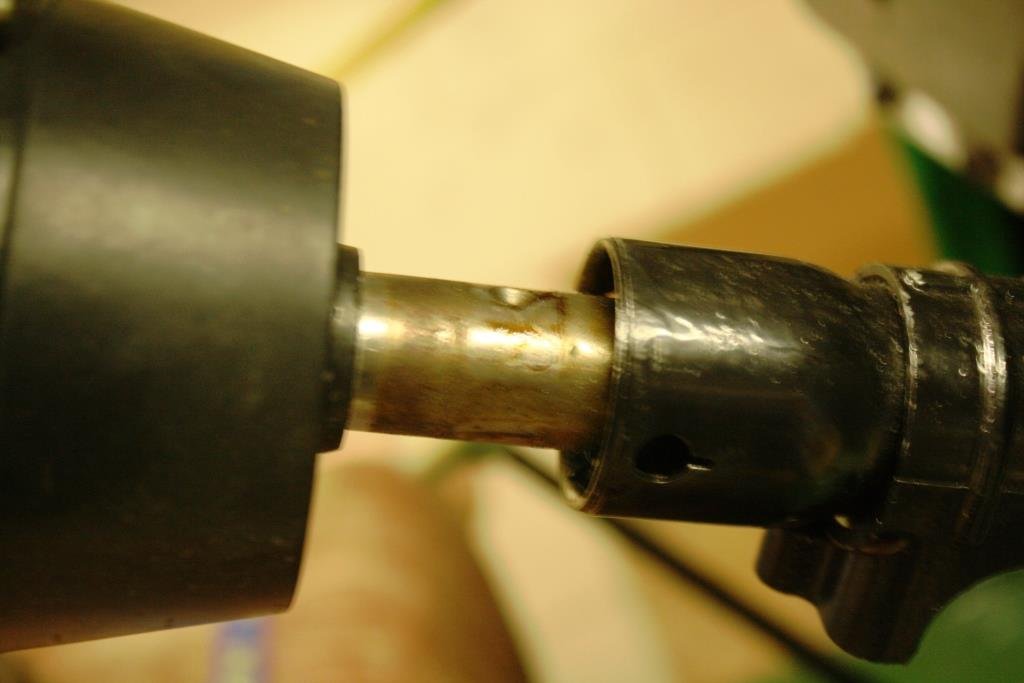
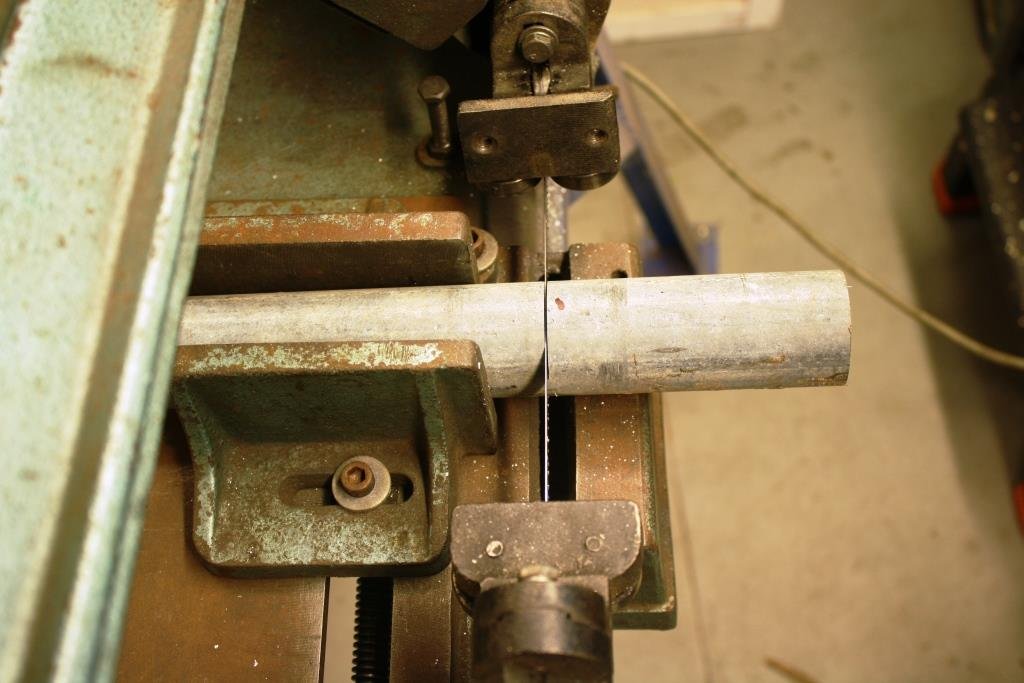
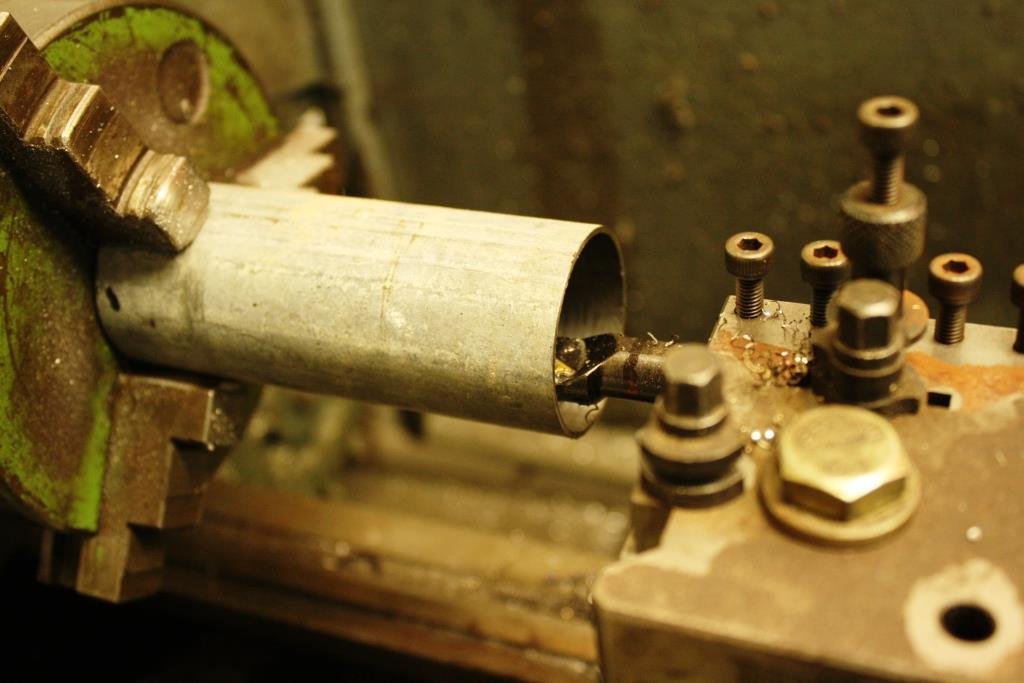
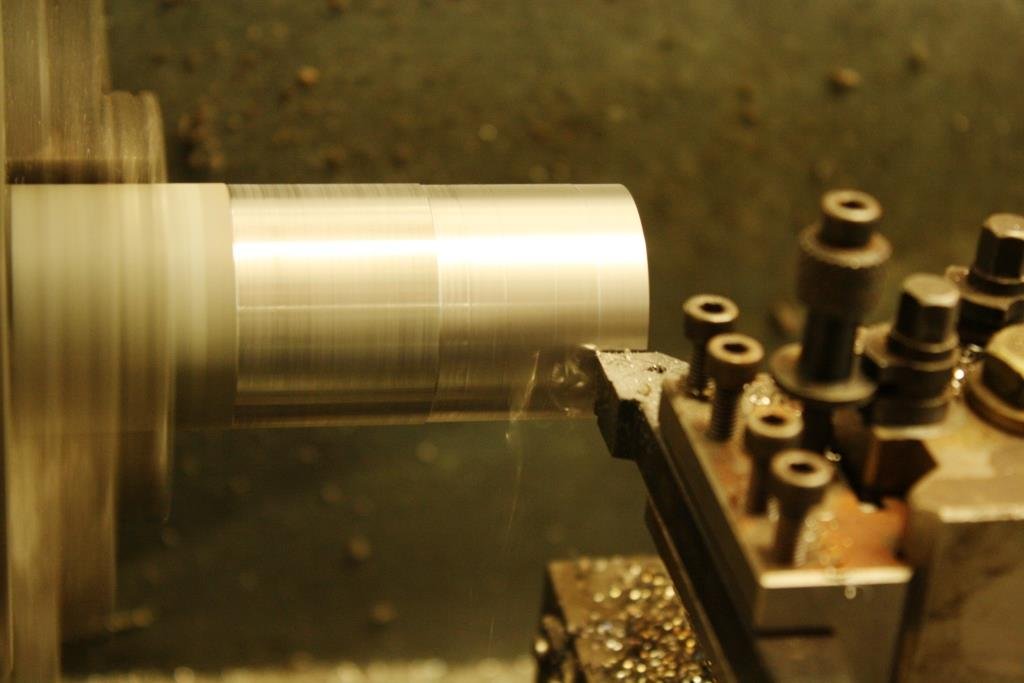
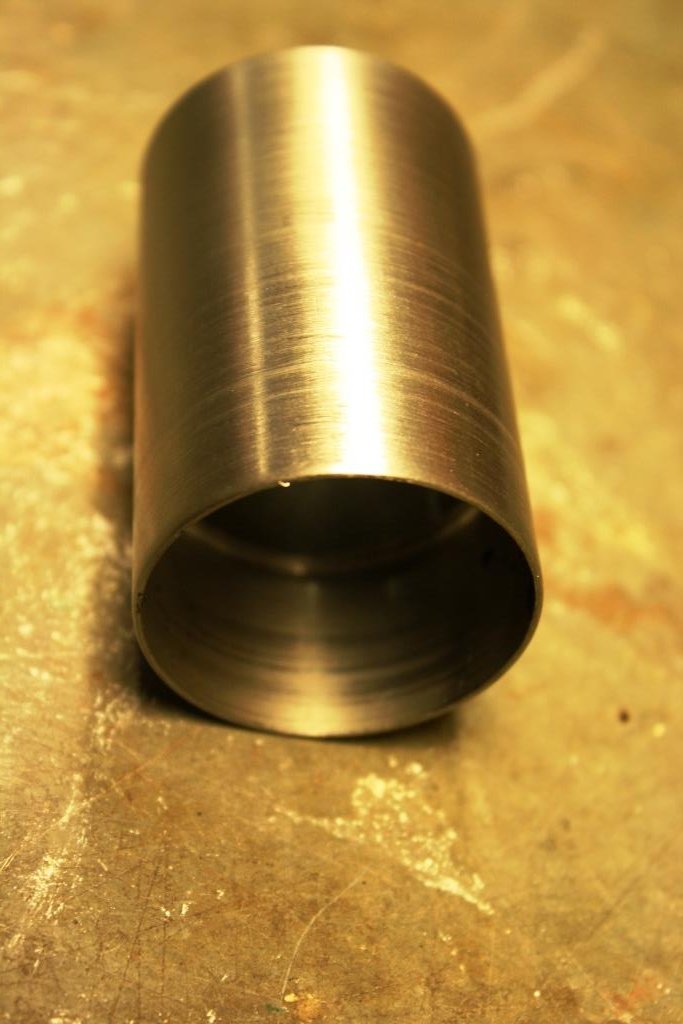
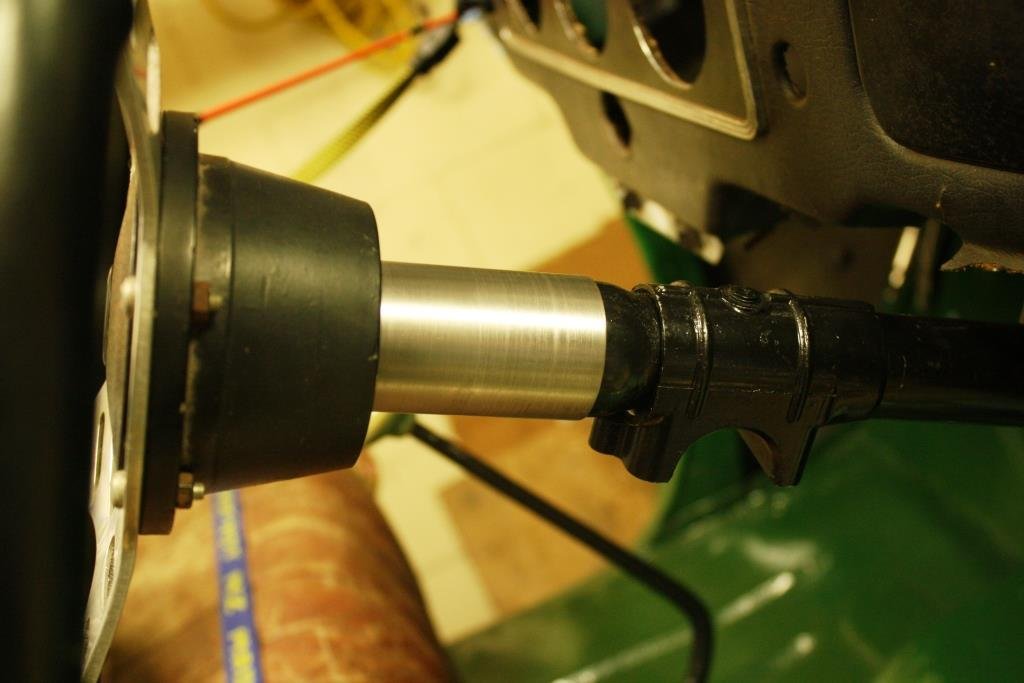
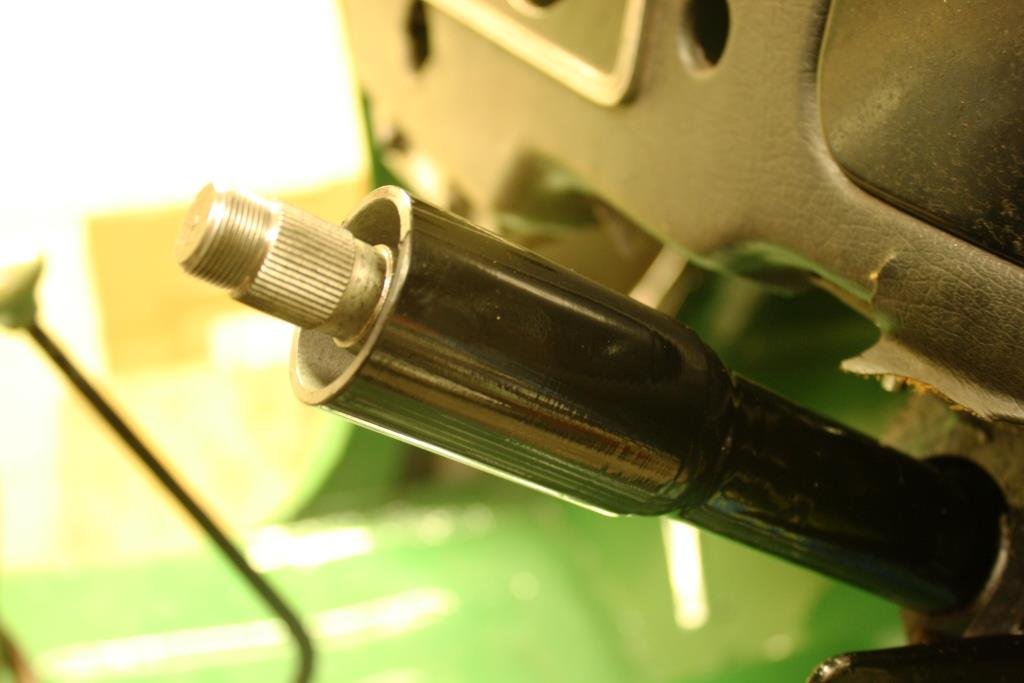
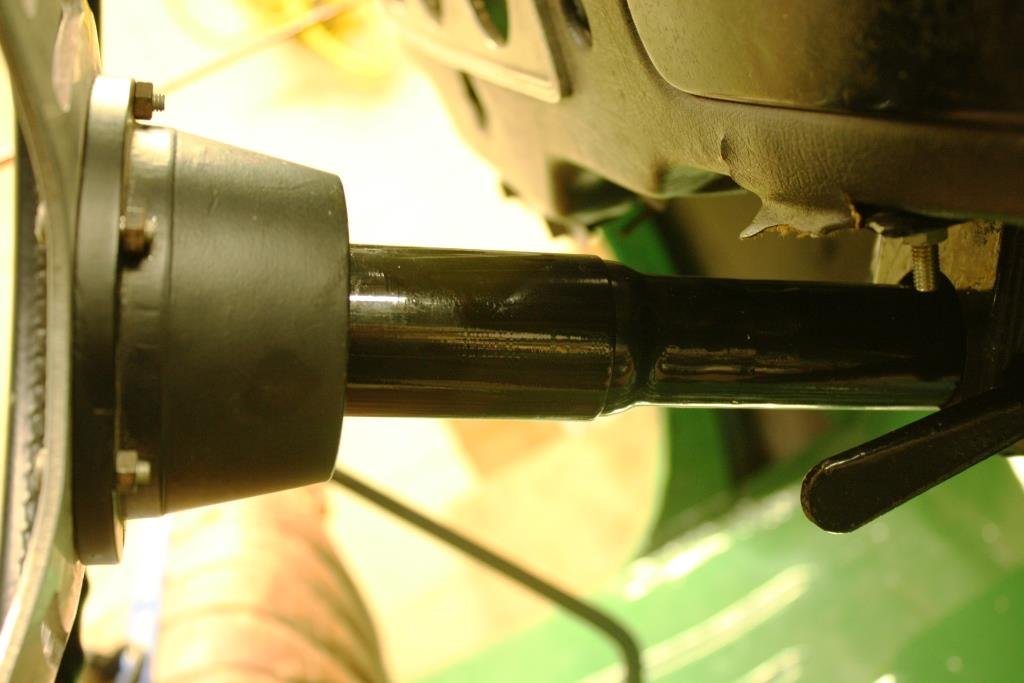
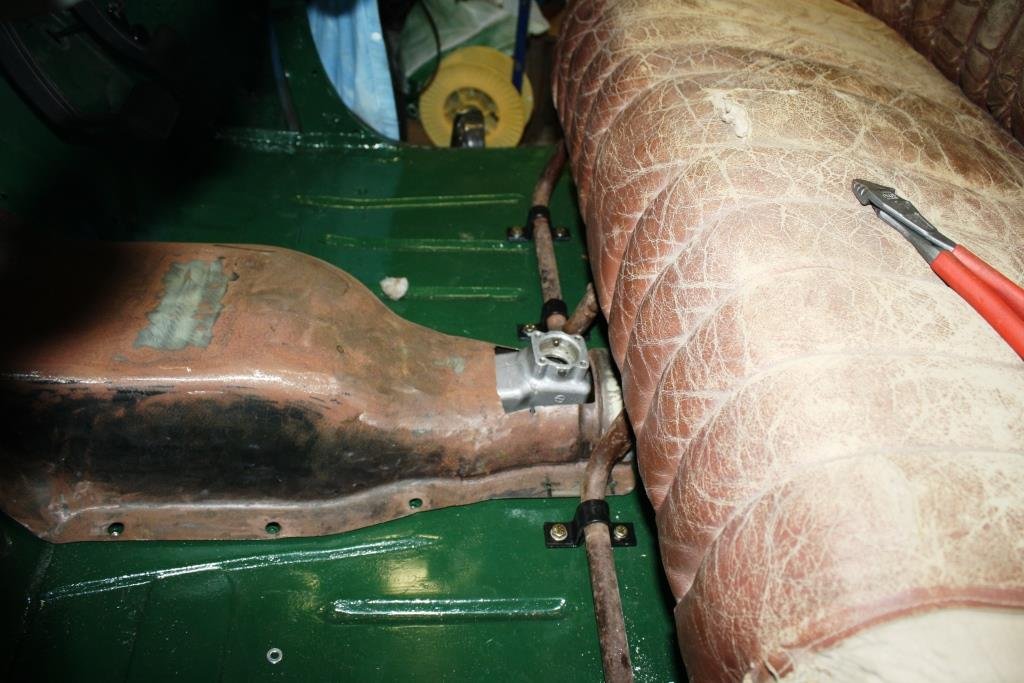
As I mentioned earlier the steering wheel needed to come closer to the dash. Originally the J14 Vauxhall had a solid steel steering shaft that went from the steering wheel to the steering box; essentially you were driving around with a steel lance that went from right up the front of the car to 6 inches away from your chest. The mind boggles at the thought of having an accident in such a setup with no collapsible column, no seatbelts and no crush zones! With the narrowed Austin steering rack mounted behind the HR Holden cross member Rigamortice’s steering column needs two universal joints to get past the engine. This addition of an intermediate shaft at an angle to the main steering column gives some collapsibility in an accident. Combined with seatbelts it’s a big improvement on 1947 safety standards. I’m never going to make Rigamortice as safe as a modern car but I’m still keen on staying alive for as long as possible and am looking forward to living long enough to become an obnoxious, cantankerous & grumpy, dirty old man! Luckily most of the old English mass produced cars used the same splines in their steering systems so it’s easy to mix and match. I managed to source a shorter Triumph steering shaft and I shortened an original tube to fit to give me the desired length. Original and shortened Triumph 2000 steering columns…….. Only problem was this ugly gap between column and steering wheel… Being a tight bastard (short arms & deep pockets) I started with a scrap piece of galv. water pipe. Stuck it in the lathe and poked a boring bar down it…….. Cleaned up the outside…. And ended up with this…. Checked that it was still a good interference fit….. Three coats of black epoxy enamel and it’s a good result.
- 184 replies
-
- 27
-

-
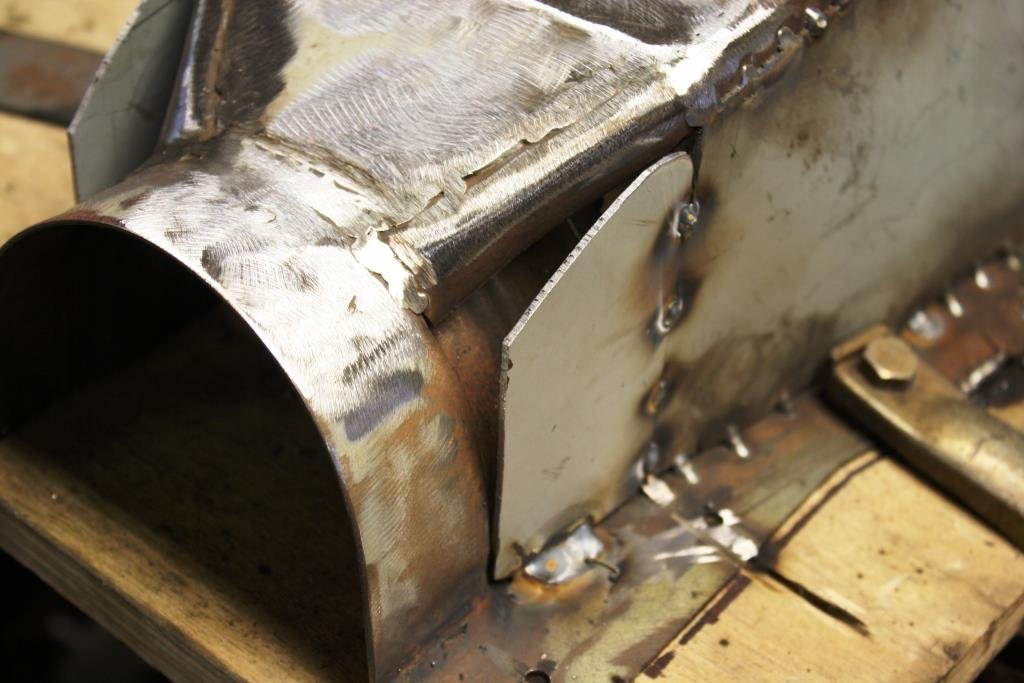
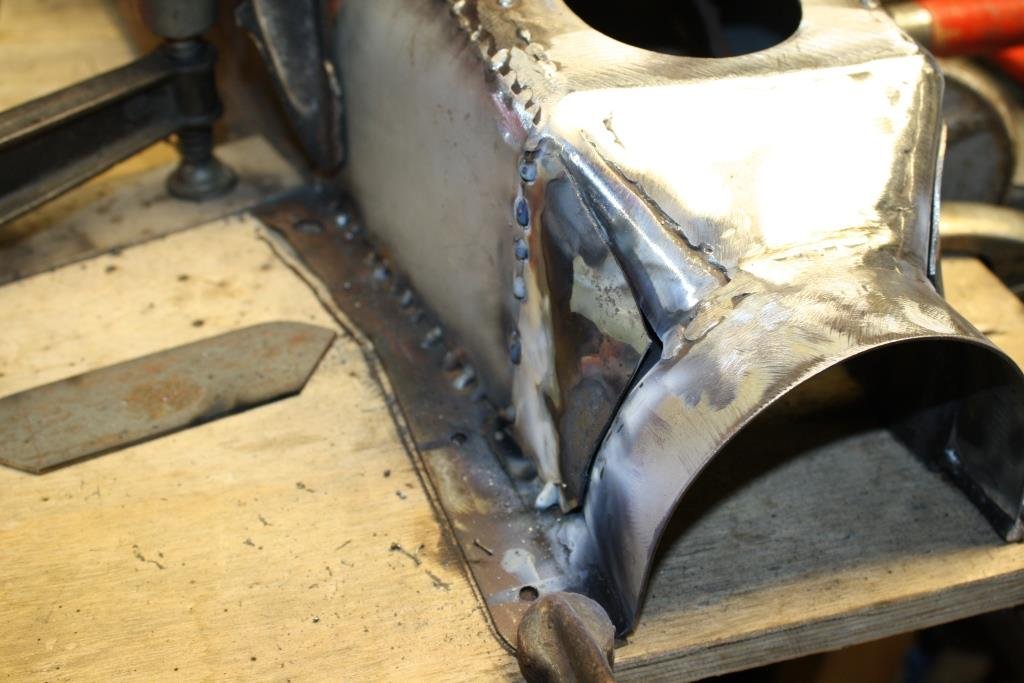
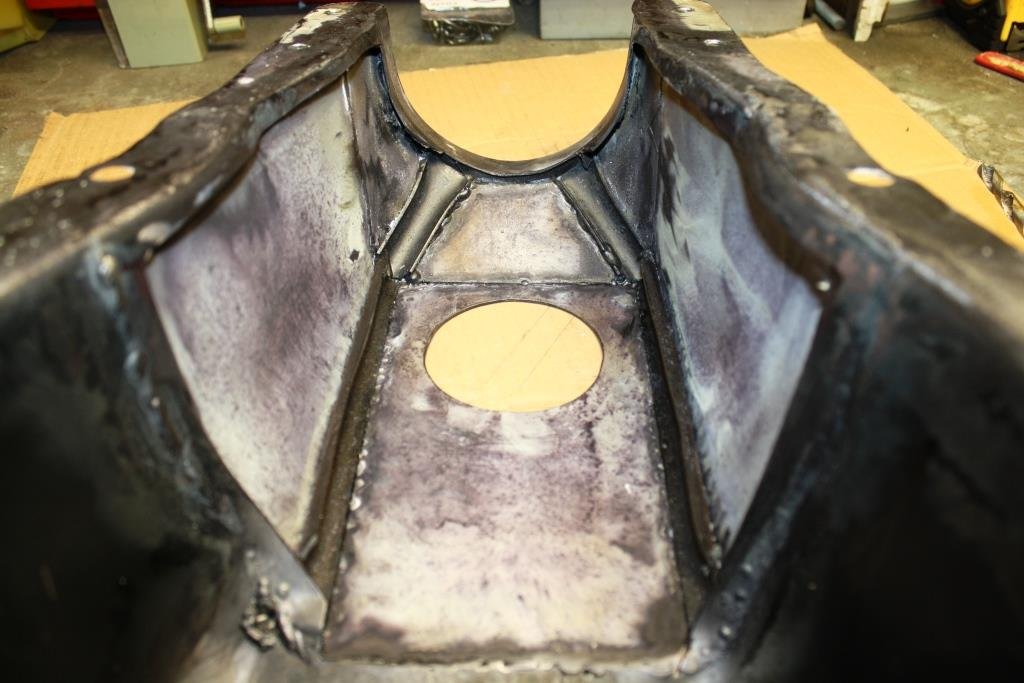
I managed to cut some fancy angles on the band saw without losing any fingers… Tacked the ‘fancy angle’ bits in place…. And plated the top. I often use damp rags to keep the heat under control, harking back to my days of welding sheet metal with gas. Have to say making all these little tack welds and grinding afterwards doesn’t sit well with me (I like big, grunty welds) but it does keep the distortion under control, it’s just not very elegant. Maybe I need a Tig? Tacked more metal on the sides… Gave it a tickle with the gas….. And started stitching it all up. With everything welded up and still nice and straight it’s time to cut the unused steel out. Before… After…… I left the ribs in there for extra strength, looks a bit clunky but only you guys will see it. Lots of grinding on the floor, on my knees. (No comments about Mecca being in the other bloody direction please!). Out with the old standby - CRC rust converter….. A quick test fit before paint… Regrettably, and much to Rigamortice’s disgust I stooped to using poo for the first time in this build. Just a little bit of Newtech to smooth things out (I didn’t want to grind the welds down too far). Some primer and two coats of ‘insipid green’…….. And it still fits….(phew)……!
- 184 replies
-
- 33
-

-

-
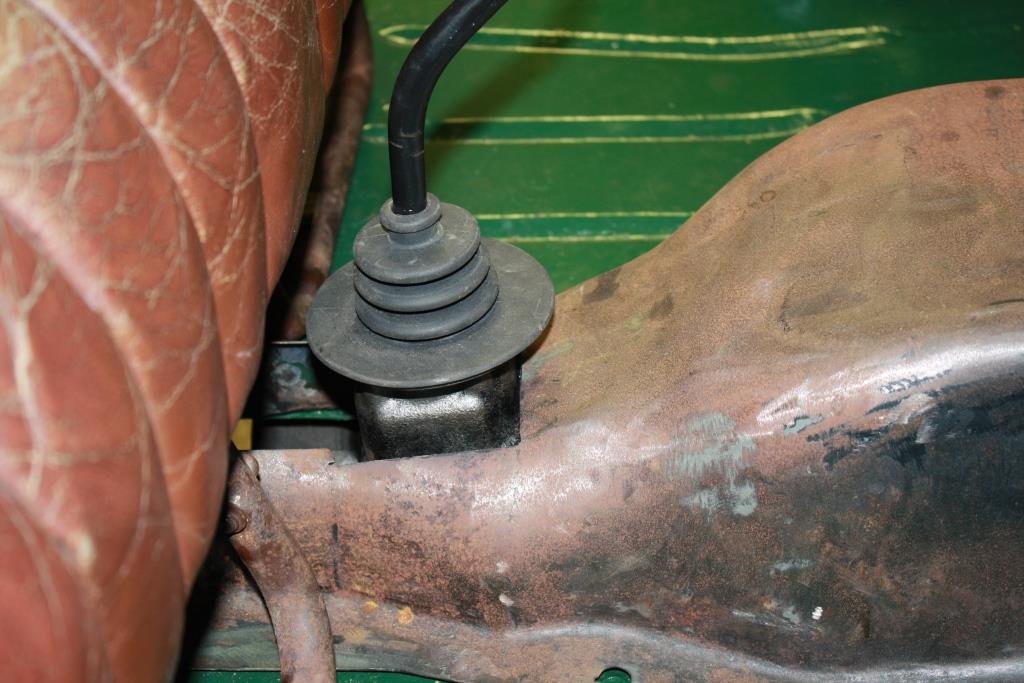
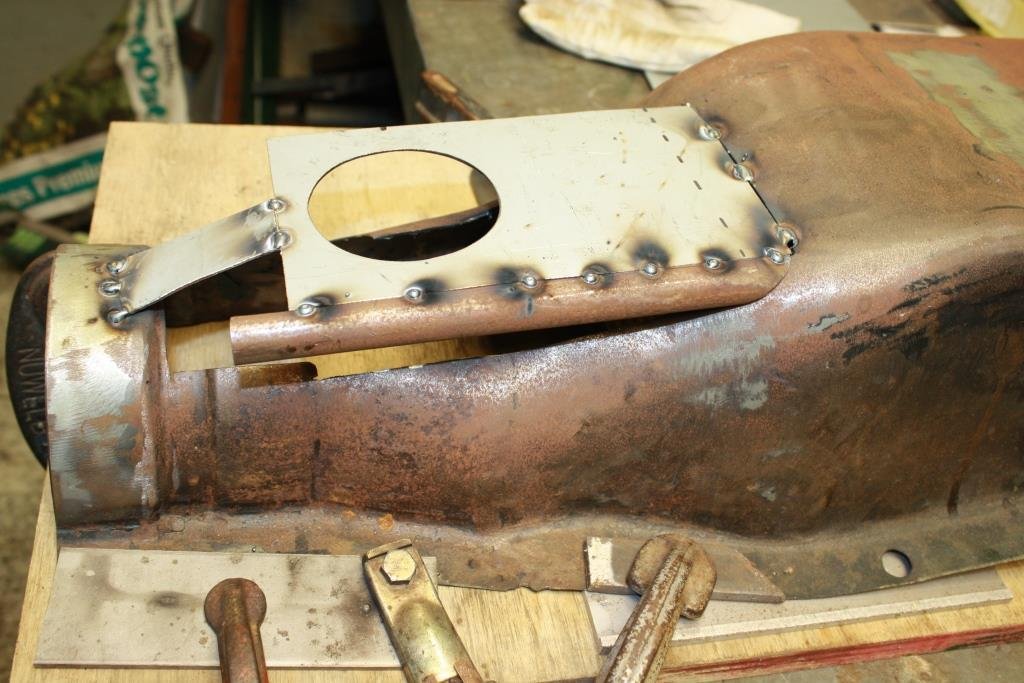
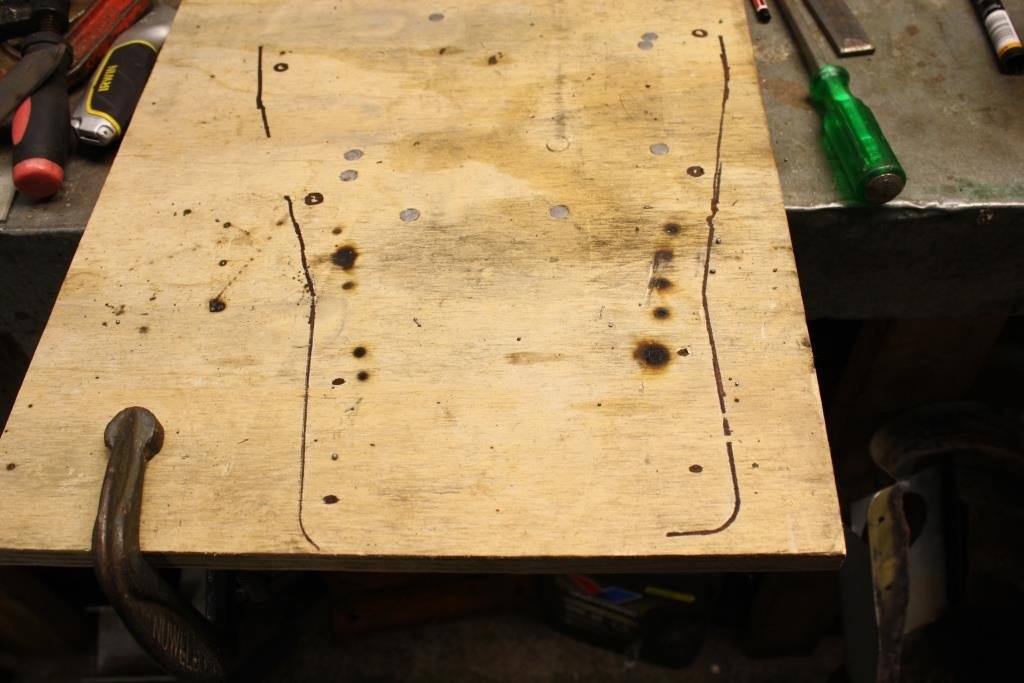
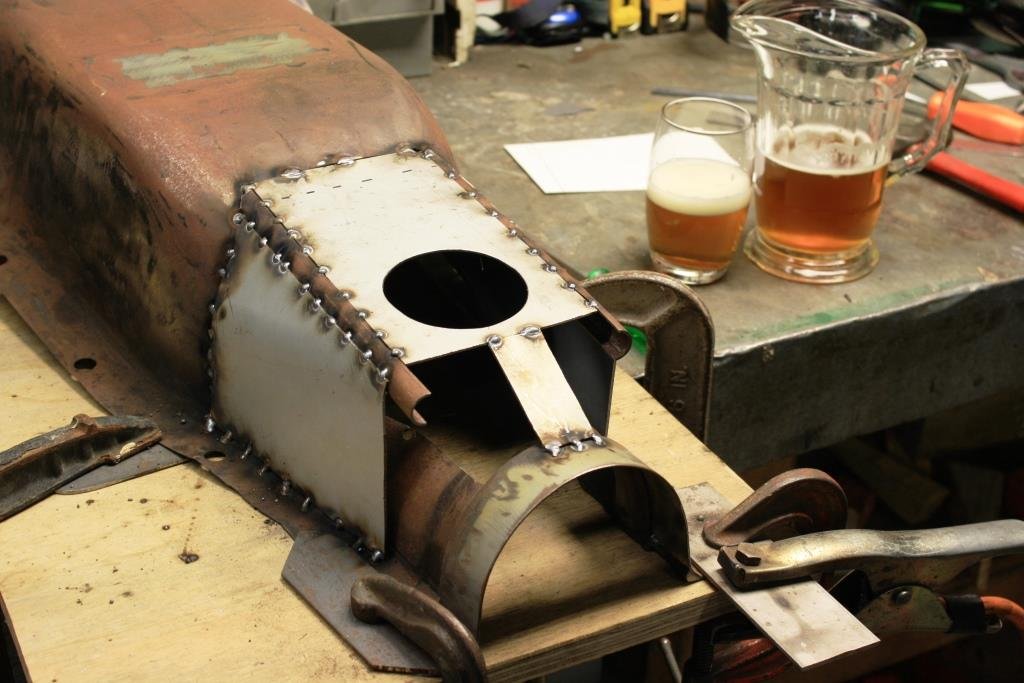
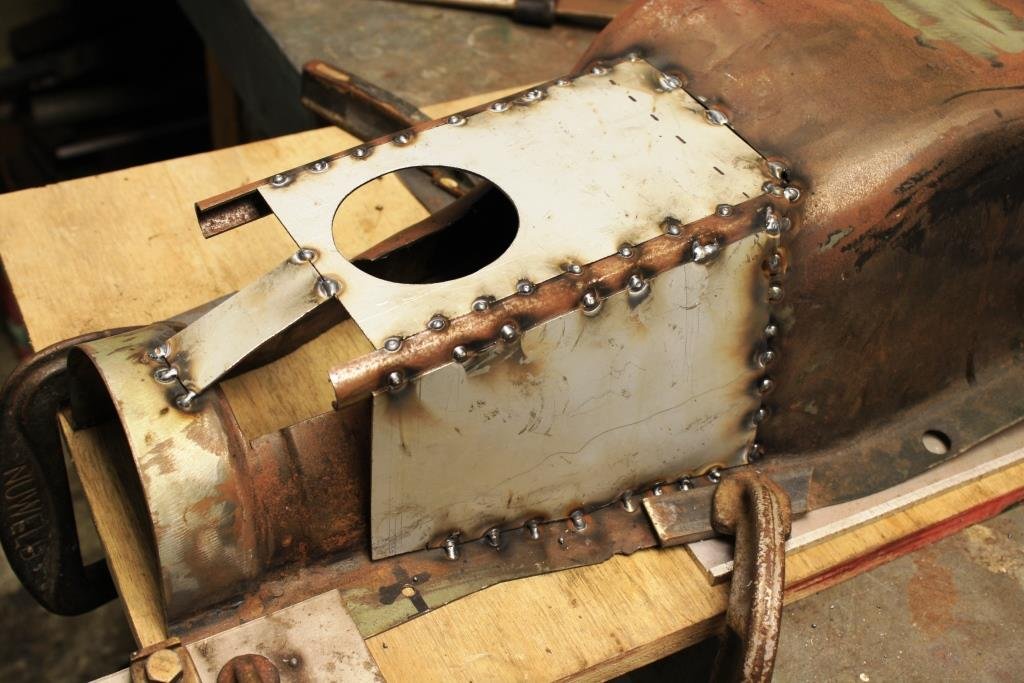
Time to get my butt into gear and finish the gearbox cover. I settled on using the MGB gear lever boot, it looks cool, English, and old-school. Made the call that the safest way to modify the "trans", (sorry, “non binary”) cover is to not remove any of the original metal until the new steel is welded in. I cut out a piece of plywood to act as a temporary spacer to give me clearance for the boot. I cut out a piece of 18 gauge Zintex with a hole in it to fit the boot. Bent it around an old piece of galv. water pipe….. ….and tacked it in place, lining it up with the plywood spacer. Clamped it all to a thick piece of ply and marked the outline to act at a reference point to keep things straight. With no sheet metal roller I decided to fabricate the curved corners I needed by slicing up some EWS tube. Tacked the corners on…….. And added some sheet metal. I did the same to the other side, followed by a quick check for clearance in the car……… With everything still straight and fitting well I clamped it back onto the ply in the pre-marked position. Time for “a cleansing ale”.
- 184 replies
-
- 21
-

-
That makes sense. I have a 10 year old Ultrashade helmet that I'm fond of, (i.e. I'm used to it). If I don't use it for a month or so it a little slow first time I strike an arc.
-
Interesting to see how they dragged up a historic dispute. Their article then made no reference to the overseas composite experts who submitted evidence? I suspect that if it had been a T-bucket, (beam axel, no rollover protection, horizontal steering wheel,.... etc.) there would not be an issue.
-
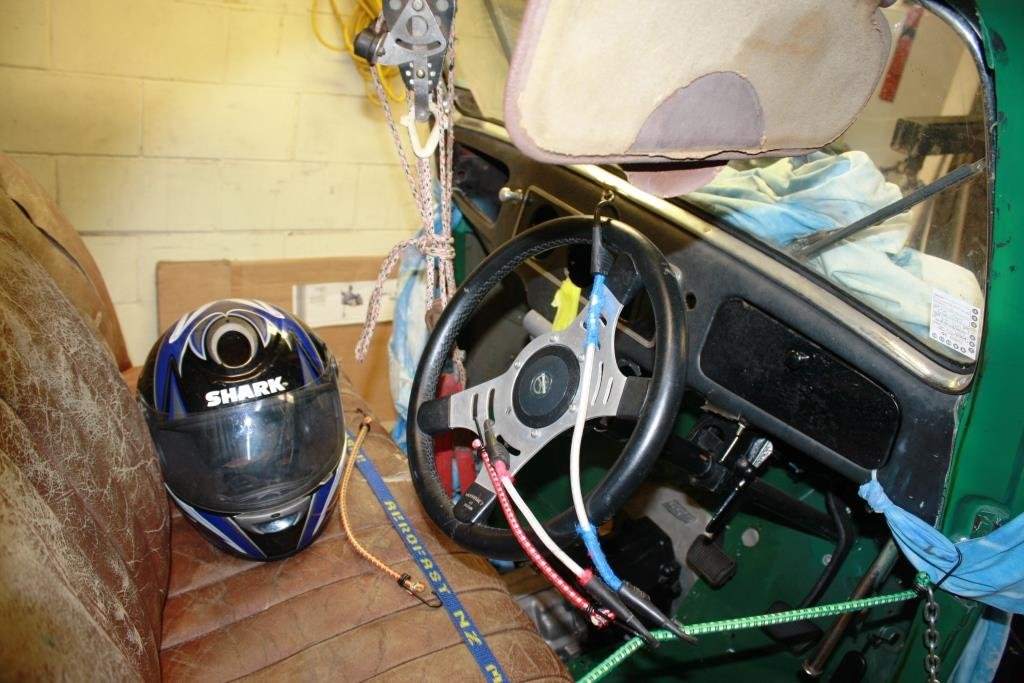
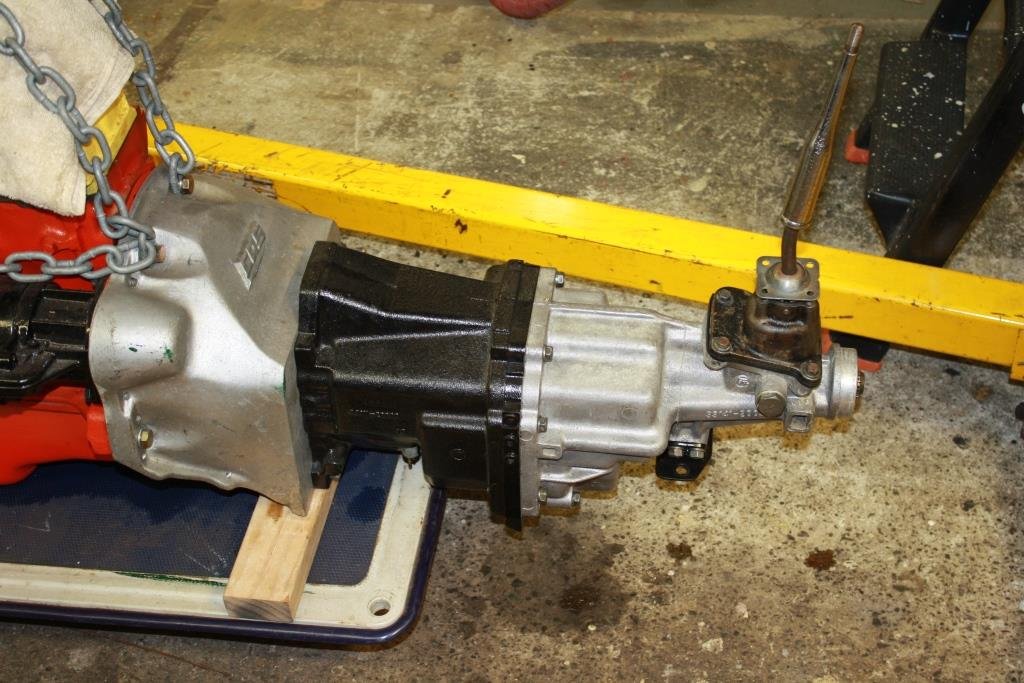
The following day I awoke filled with remorse and contriteness for my display of non-woke, non-PC vitriol the previous evening. (I.e. spitting the dummy). So for the umpteenth time it was radiator & front shell, off… Inlet and exhaust off… And engine & box out…….. (I enlisted the help of our professional racing driver - he lives next door to his “Gramps”). (He also helped out with some creative steering wheel mods…………). With the rear gearbox housing off it was a good chance to check 5th gear - all looked ok. Cut out a new gasket…. Re-assembled with the new parts….. Poked it all back in the hole it came out of and it looks like the gear lever is finally in the right place. Decided I didn’t want to use the Toyota gear lever so I cut the bottom off it….. I then cut the bottom off the 70 year old original lever…… And did a bit of welding, bending and painting. Although it took far too much of my spare time the gear lever is finally where I want it - I love the result.
- 184 replies
-
- 28
-

-

SR2’s 1947 Vauxhall “Rigamortice” Discussion thread.
sr2 replied to sr2's topic in Project Discussion
Once again, sorely tempted to do the same. I wasn't confident I could get the surfaces clean enough (i.e. oil everywhere) and I knew I was taking a chance trying to do the job with the box still in the car. -

SR2’s 1947 Vauxhall “Rigamortice” Discussion thread.
sr2 replied to sr2's topic in Project Discussion
Yes I was tempted to replace the gasket in situ but I could only find a full gasket kit, to make a gasket I need the rear housing removed. Motor and trans is now sitting on the floor, I'll update soon. I couldn't agree with you more in how far being polite and friendly can get a business ahead, just good old fashioned customer service. -
Why not source a full D40 clutch kit locally and drill the flywheel yourself?
-
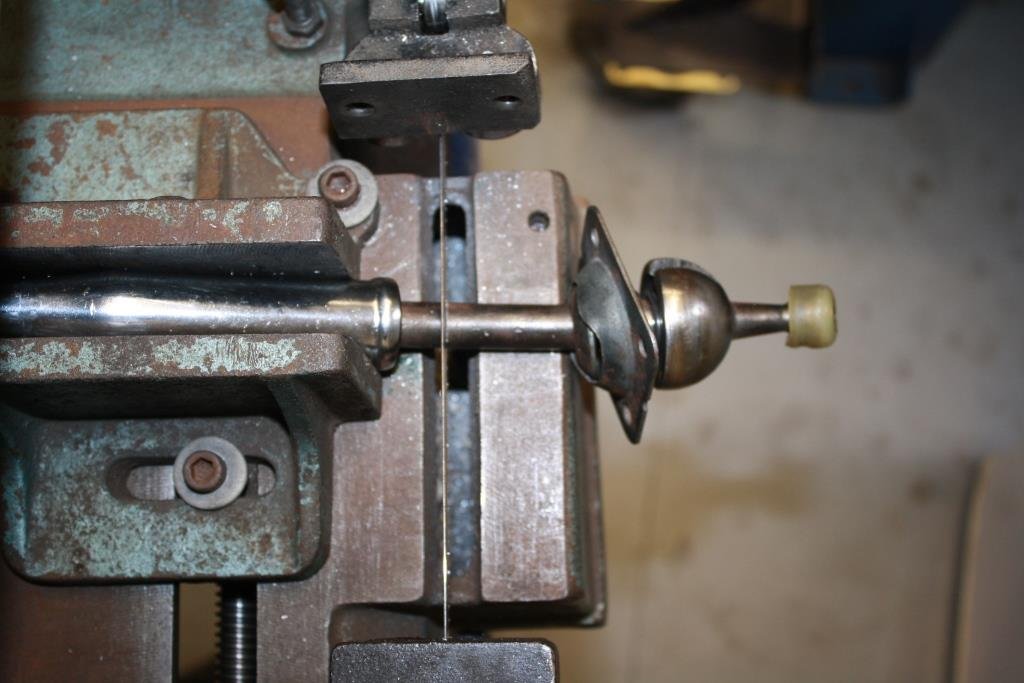
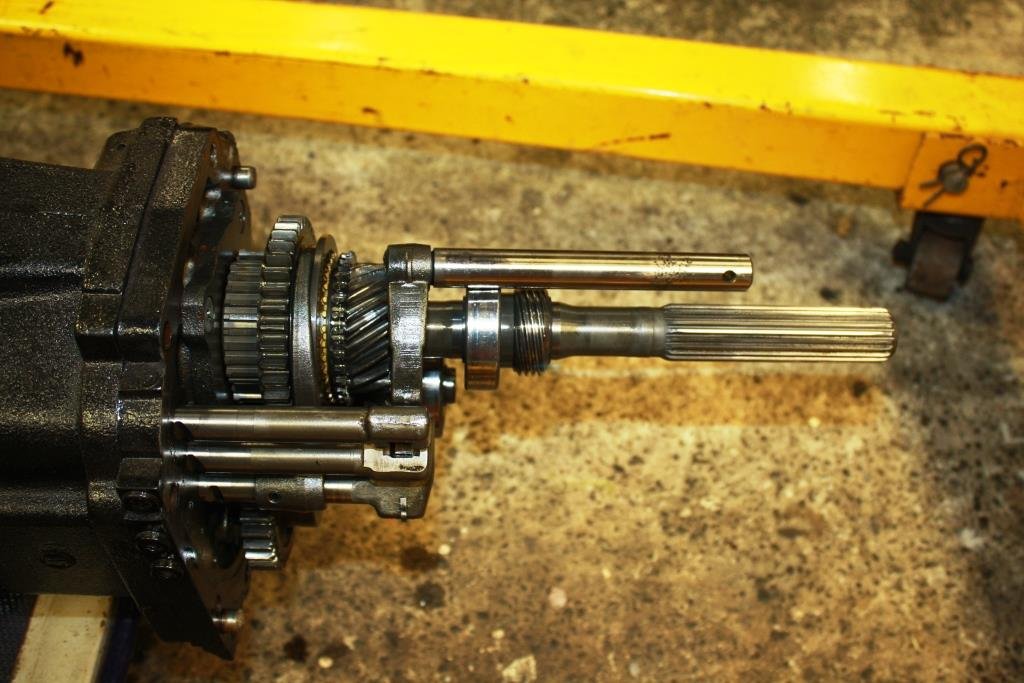
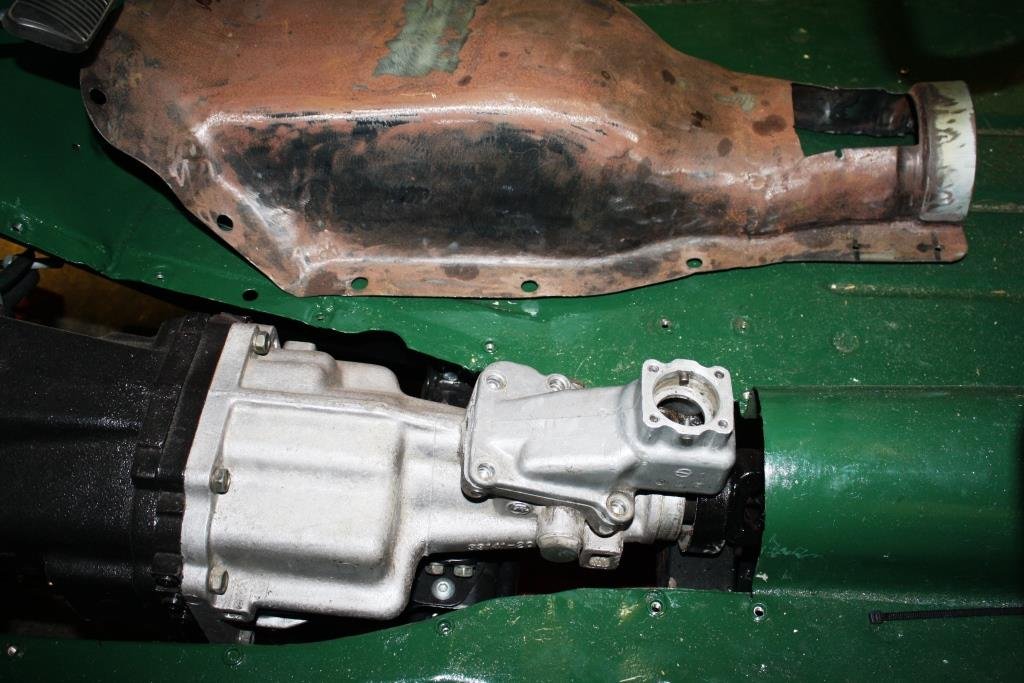
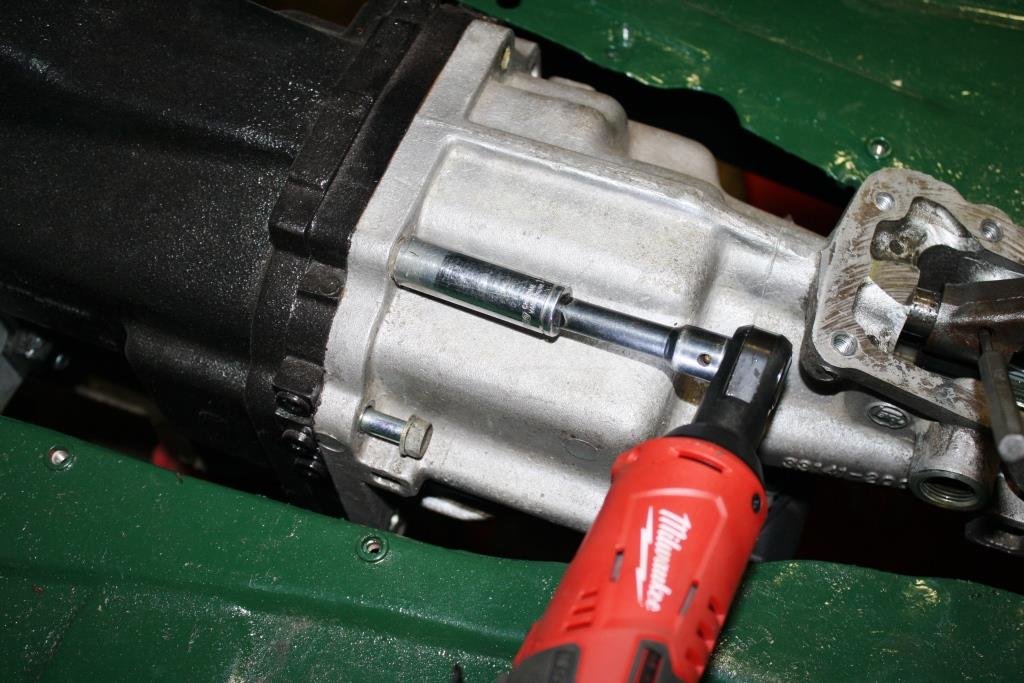
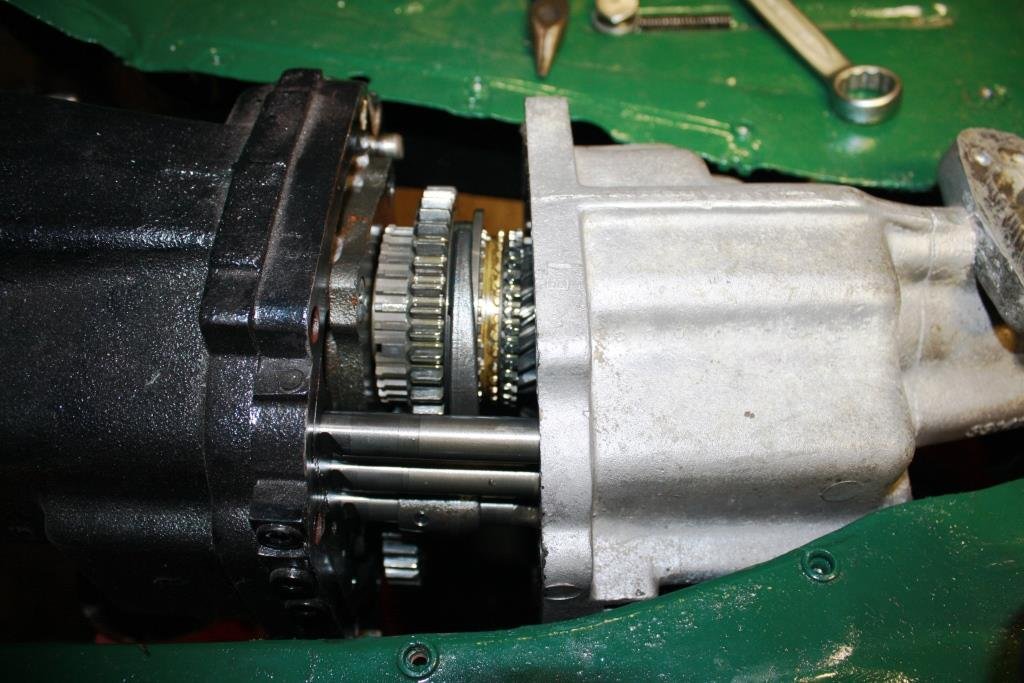
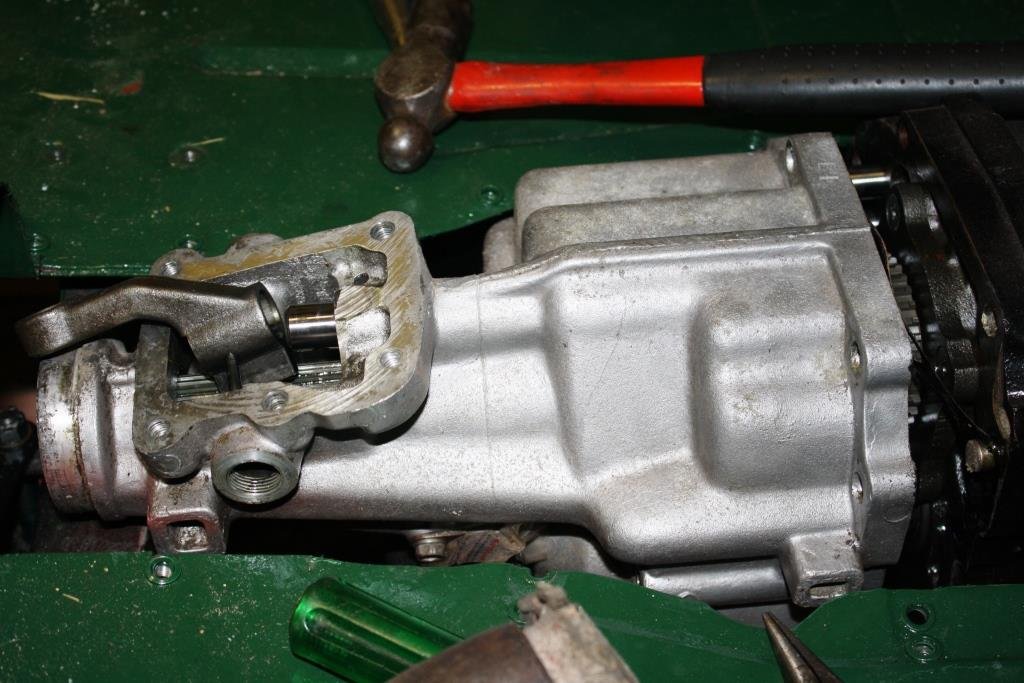
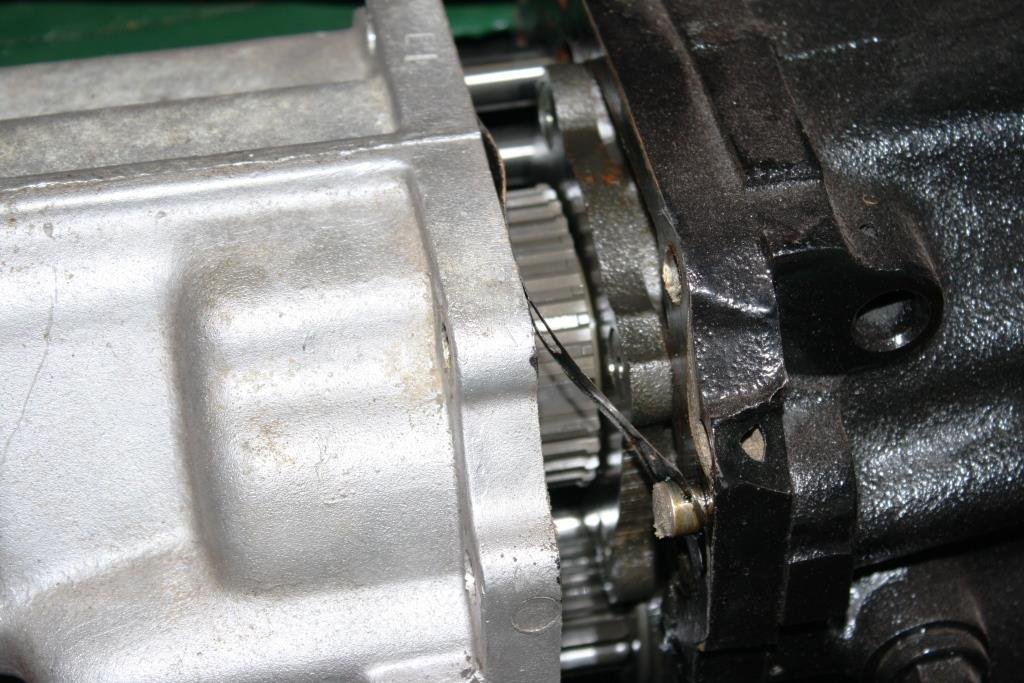
Soooo………. The theory is that if you unbolt the rear housing and slide it back you will have enough room to slide the old selector slider off the selector shaft and slide the new one on. After a little bit of measuring I decided this all could be done with the gearbox still in the car. What could possibly go wrong? First step, unbolt the cover. Remove the spring loaded plungers and the roll pin that holds the slider in place. Unbolt the rear housing. (Luv my new Milwaukee 3/8 ratchet). Remove the driveshaft & rear mount and support the gearbox with the trolley jack. (You’ll note Rigamortice as usual pissing oil on the man-cave floor). The rear housing separated with the application of the minimum brute force and ignorance. The old slider slipped out easily… And the new one slid in with no drama…. Bugger. At this stage I realised that the paper gasket between the two housings was toast and the engine and gearbox had to come out of the car to replace it. What can I say? Nasty horrible, obscene words were spoken. Tools were hurled around the esteemed sr2 man-cave while Rigamortice was lambasted with abusive & misogynistic insults!
- 184 replies
-
- 18
-

-

-

SR2’s 1947 Vauxhall “Rigamortice” Discussion thread.
sr2 replied to sr2's topic in Project Discussion
Cheers mate, will do. -
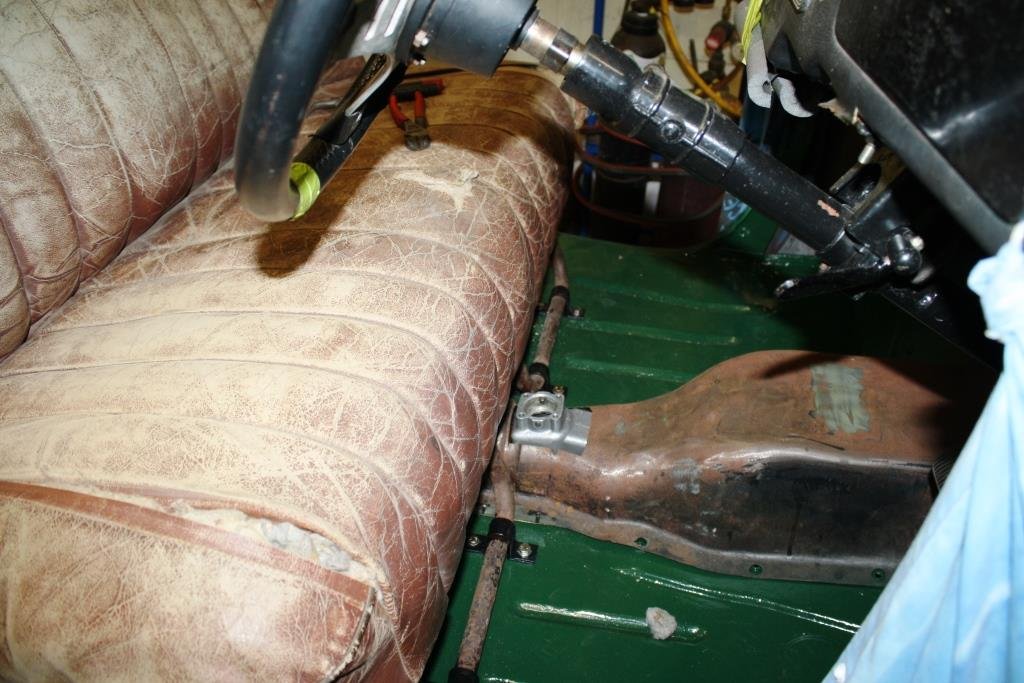
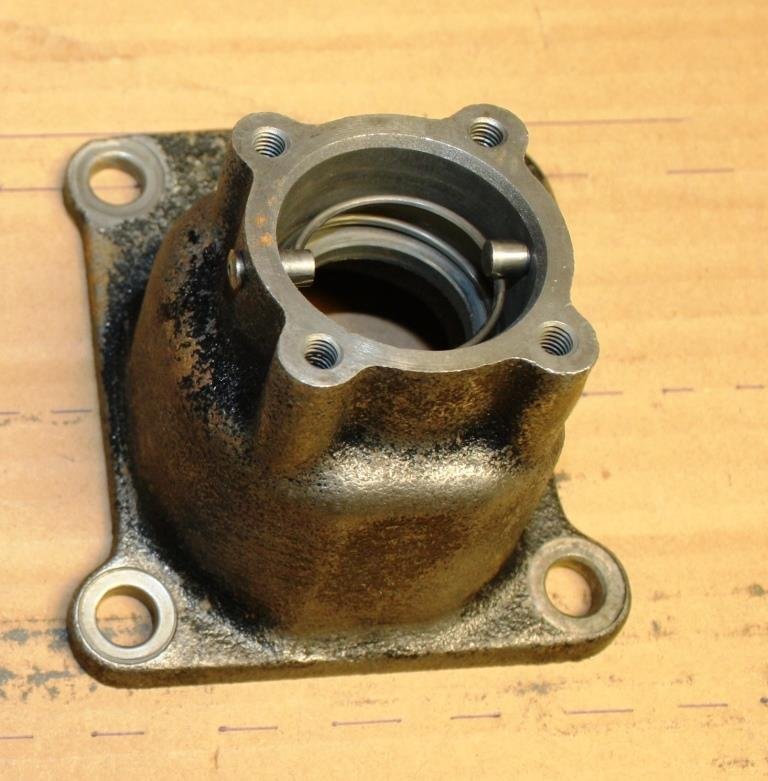
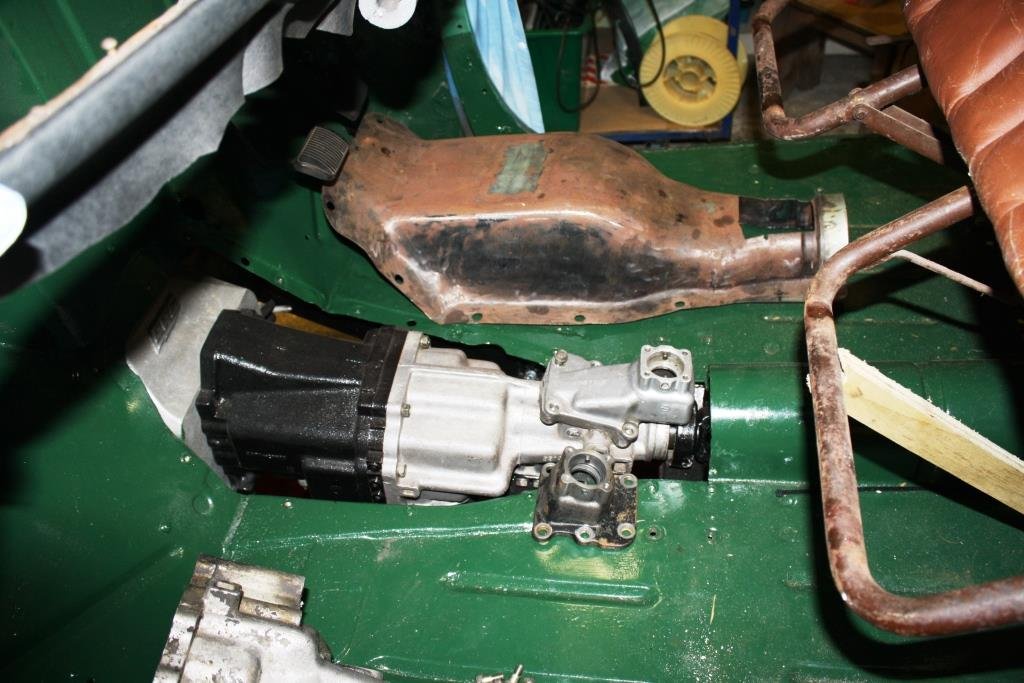
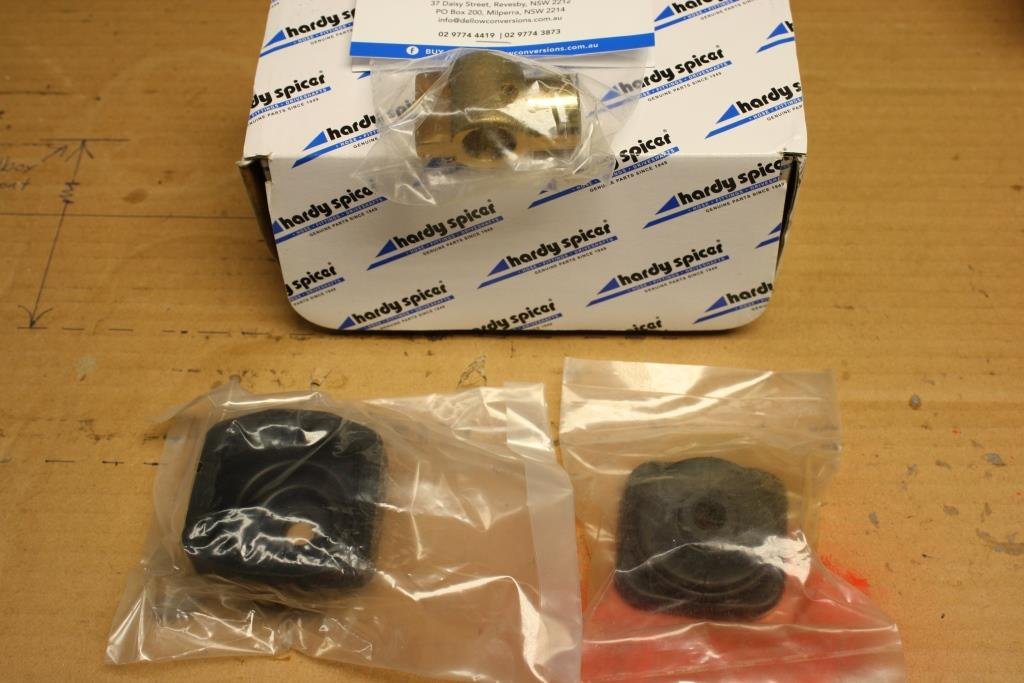
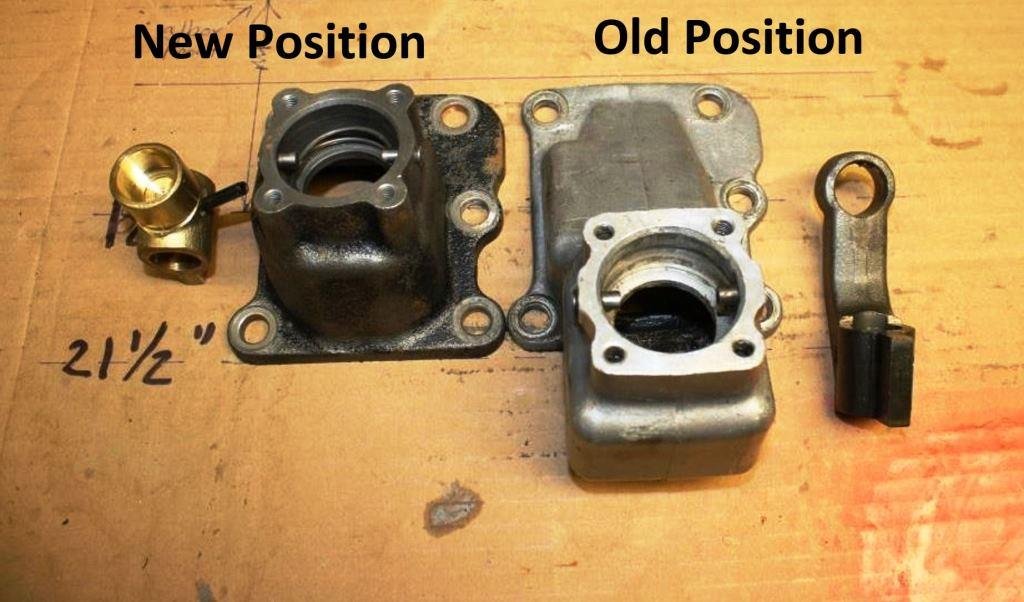
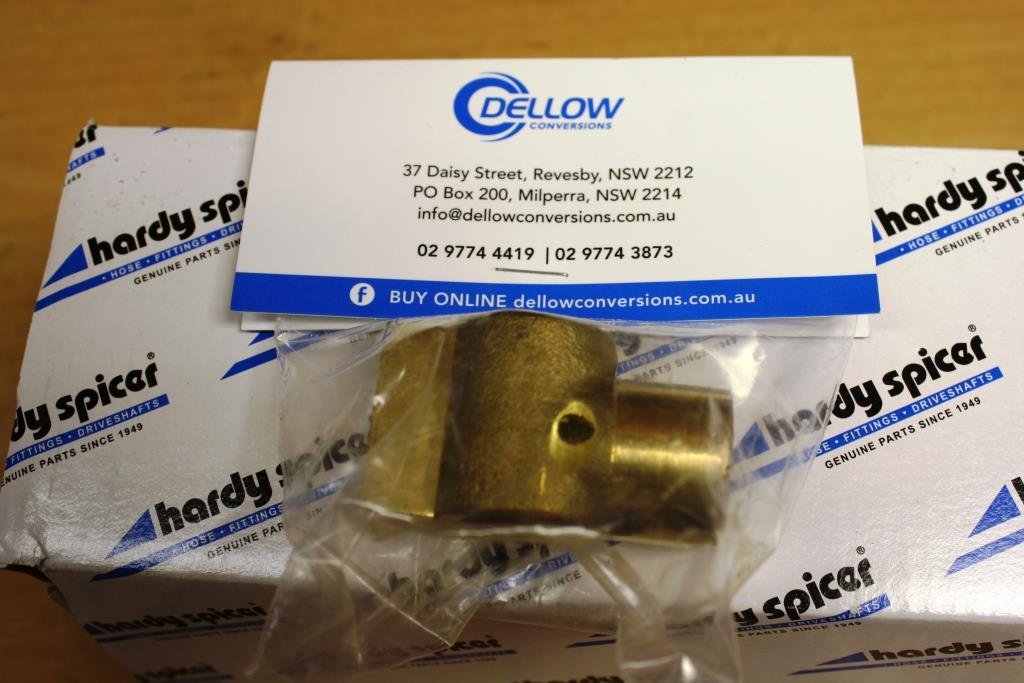
Time to sort out the gear lever position, it’s too close to the seat and needs to move forward. The W50 Toyota box was used in a number of different Toyotas with gearlevers in 3 different positions - with the front-mount position closest to the front of the car as rare as rocking horse do do’s. I lucked out completely and found the right shifter housing on Trademe. (Sometimes you just get lucky). Out of the car it’s easy to spot the difference….time for a celebratory brew. Lined it up in the car…..and it’s going to work. The elephant in the room became sourcing a suitable selector slider to suit the new gearlever position. After ringing what felt like every bloody so called “specialist” gearbox shop in Googles NZ playlist all I got was a pile of contradictory information and/or the “not interested” brush off. Not mentioning any names but I even got told by a company that claims to be the NZ expert on Toyota 5 speed conversions that they probably had the part I wanted but it would “take too long to find it” (Face-palm!) Finally swallowed my Kiwi pride and contacted Dellow Conversions across the ditch in NSW. (Yes I bloody know………). The part arrived in 4 days complete with 2 optional rubber boots. Great bunch of guys to deal with, great value for money, and their level of customer service put the NZ opposition to shame. Finally, finally, got the parts I need. Wild Turkey time.
- 184 replies
-
- 26
-

-

-
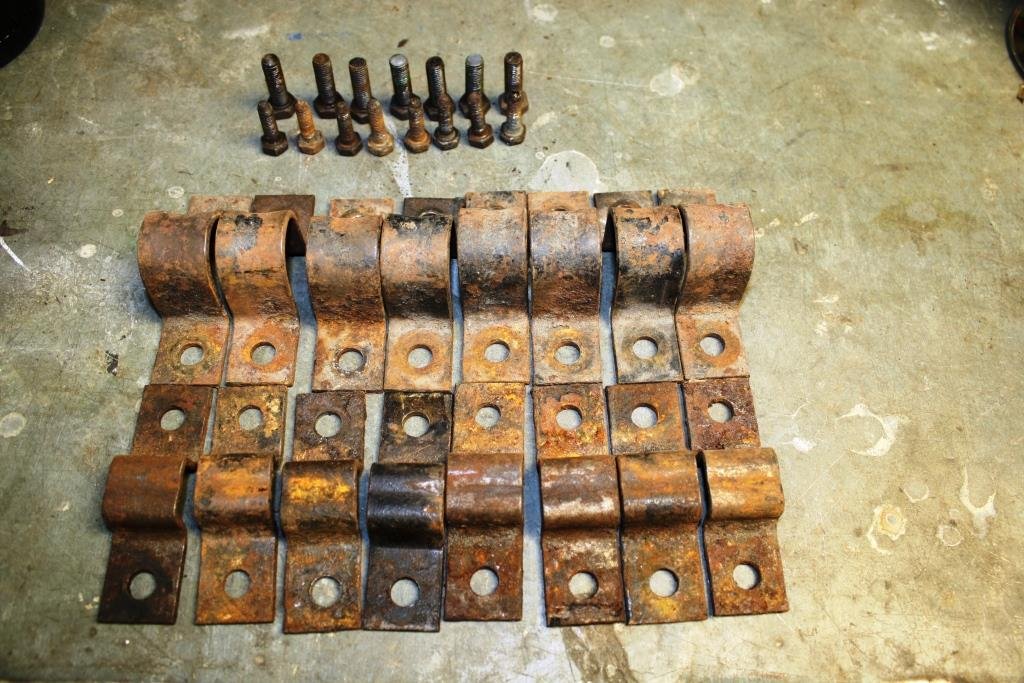
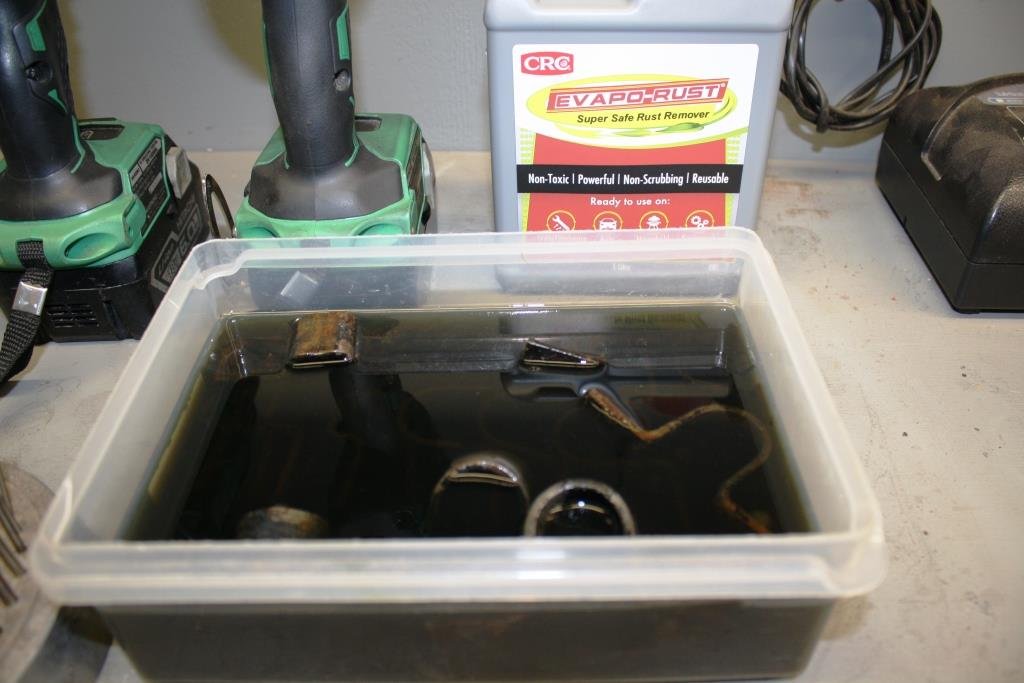
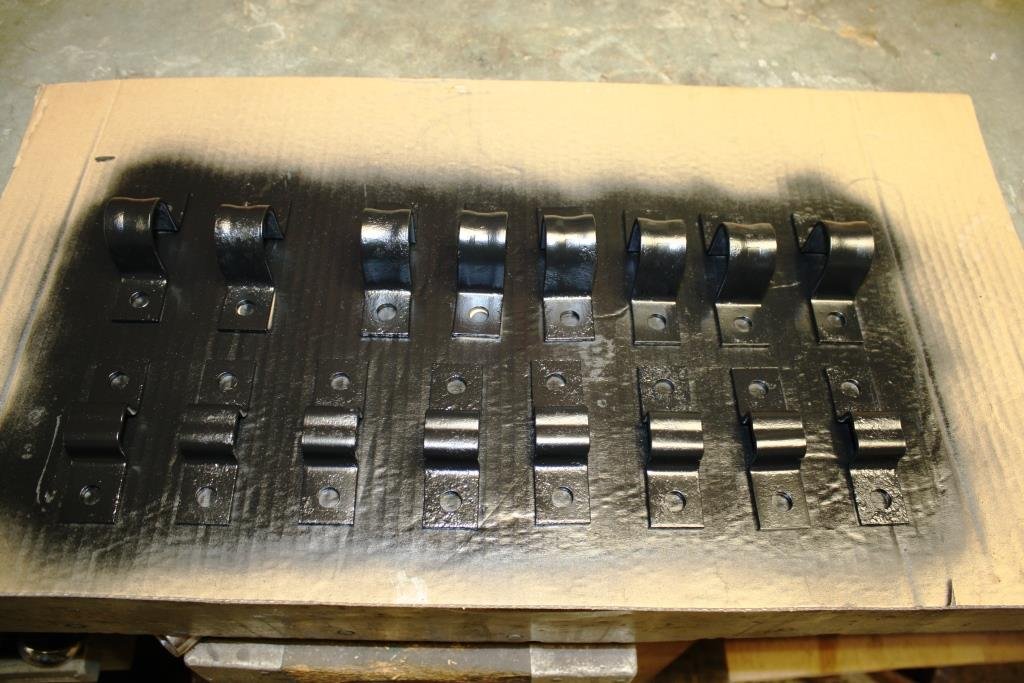
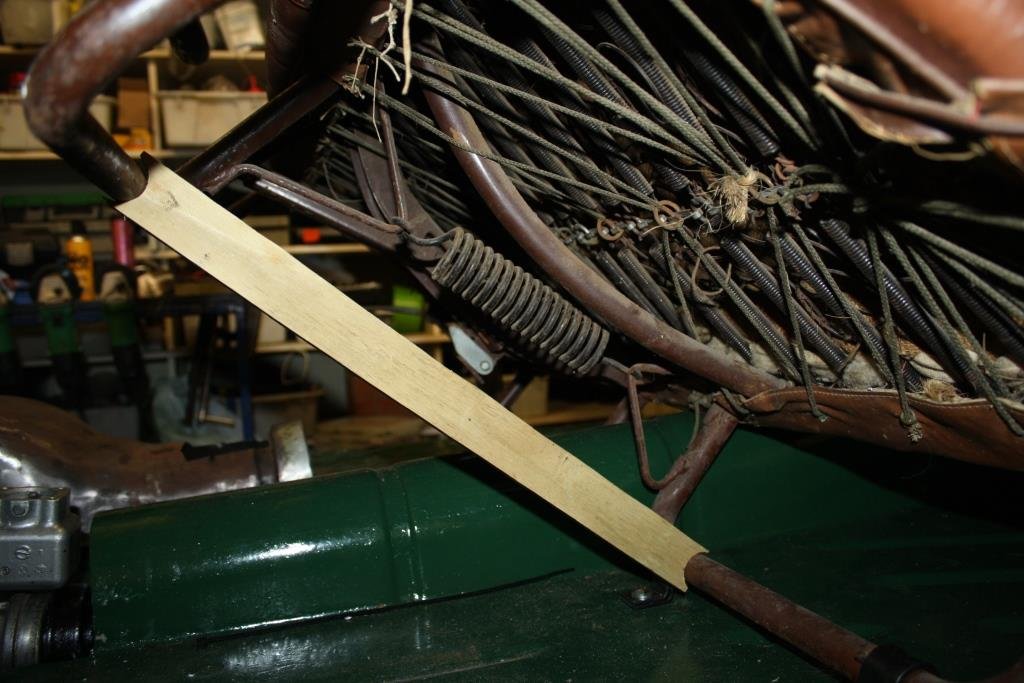
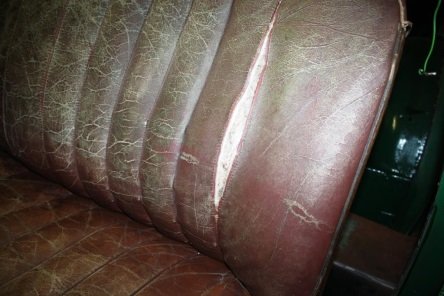
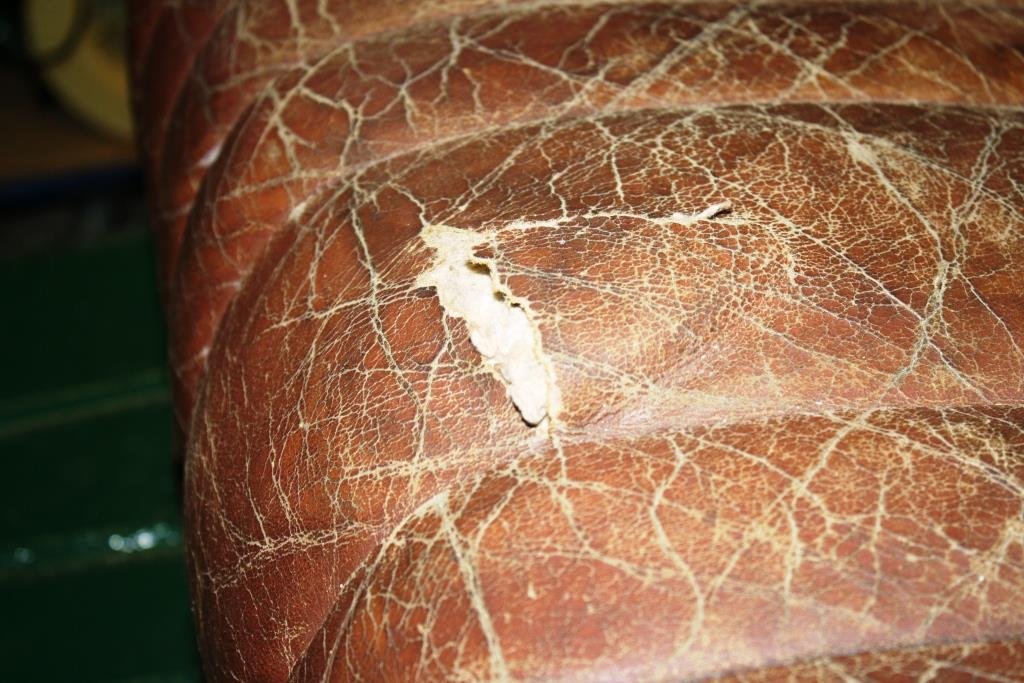
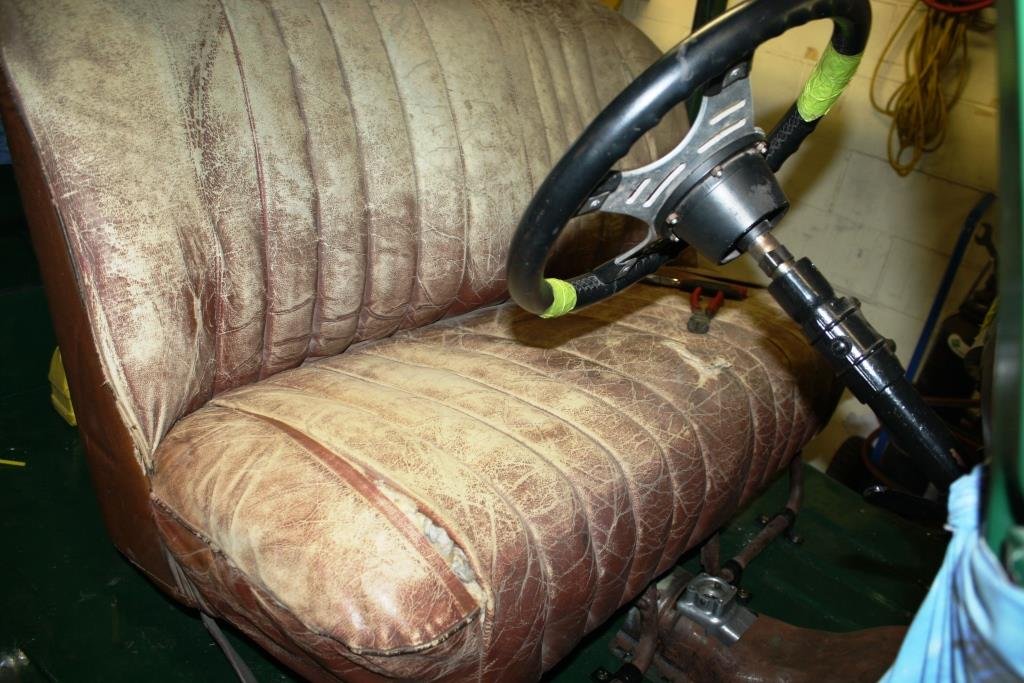
Time to pull the front seat out of storage and see how much clearance I have for the gear leaver. Assembled a very rusty collection of old mounts and fixing bolts. I didn’t have the energy to do my usual electrolysis with so many fiddly bits so being a CRC fan I thought I’d try their CRC Evapo-Rust The result was impressive after a quick wire buff. Threw some paint on. Picked up the seat from storage and bolted it down, quite a dangerous exercise compressing one hell of a big spring without losing any digits - I must be getting soft! Ended up using an old screw jack to force the mounts apart to stretch the spring and cut out a piece of wood to keep all in place. How could you not fall in love with the 76 year old leather? Looks like the gearshift position is a little too far back…….. ….and the steering wheel needs to be closer to the dash. (luckily I'm good at fixing shit). A young non-binary hairy arm-pitted horse riding relative (aren’t they all?) suggested Neatsfoot oil for the leather so I ordered a big bottle. I warmed it up a little and started painting it on. Made a huge difference to how soft and supple it felt…. Looks like I have to add some seat repairs to the to do list… ……some burst seams….. ….a few tears…. ….and a worn edge on the driver’s side…. I obviously want to keep the old, shabby patina but need to stop it getting any worse. Any suggestions, unsolicited advice, sarcasm, highly suggestive innuendos, etc., gratefully received. https://oldschool.co.nz/index.php?/topic/49843-sr2%E2%80%99s-1947-vauxhall-%E2%80%9Crigamortice%E2%80%9D-discussion-thread/
-
Quick word of warning. They are great value for money re the wires and hardware you get but if it's as below you'll need to rewire the relay (they got it wrong!).
-

SR2’s 1947 Vauxhall “Rigamortice” Discussion thread.
sr2 replied to sr2's topic in Project Discussion
Yes; looking forward very much to no wof, no rego, no seatbelts, no doors, "one wheeler peeler" trips around the block in Milford. I've always felt automotive anarchy is much underrated. -
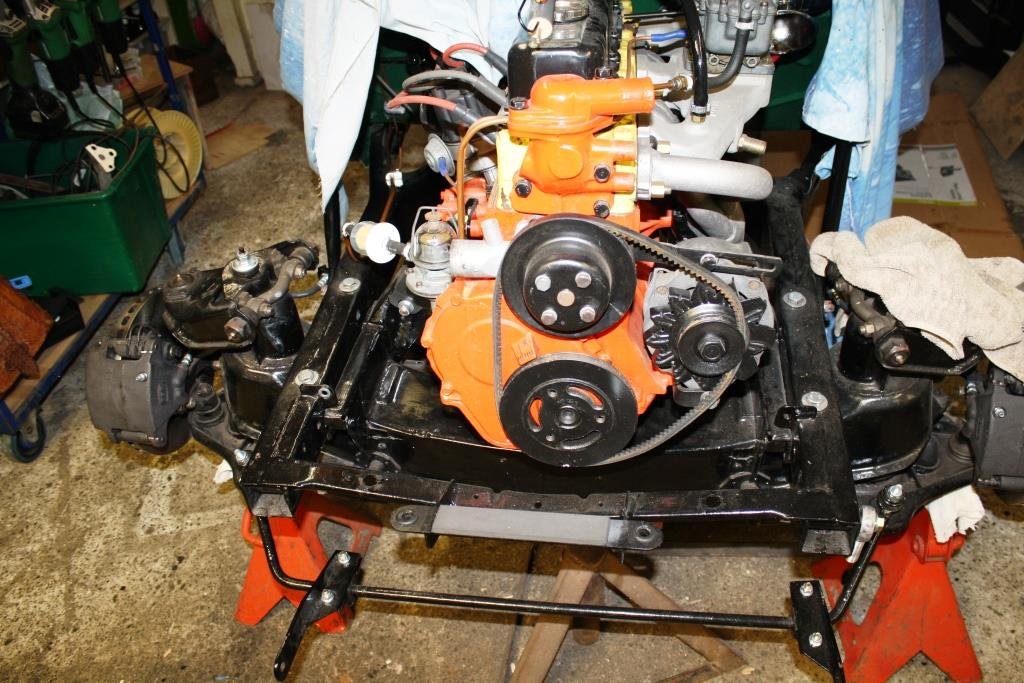
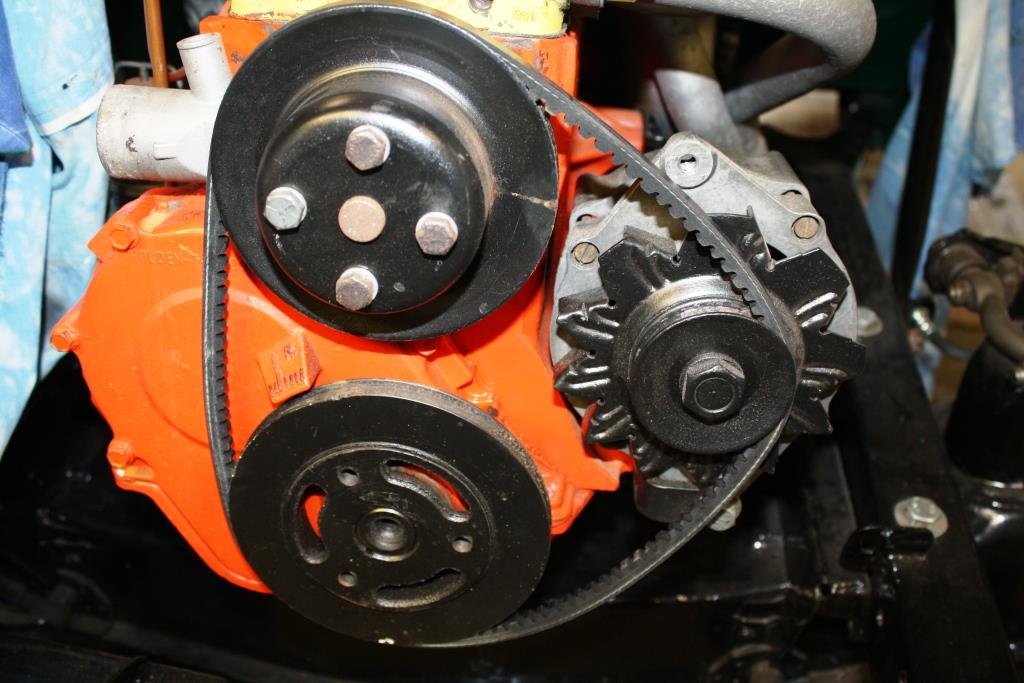
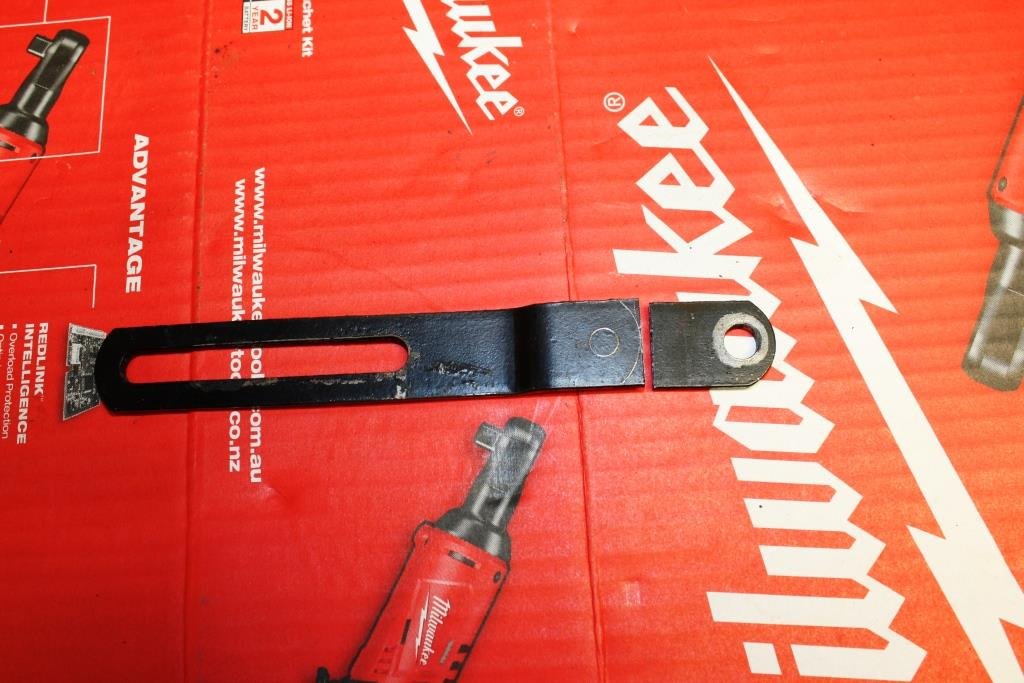
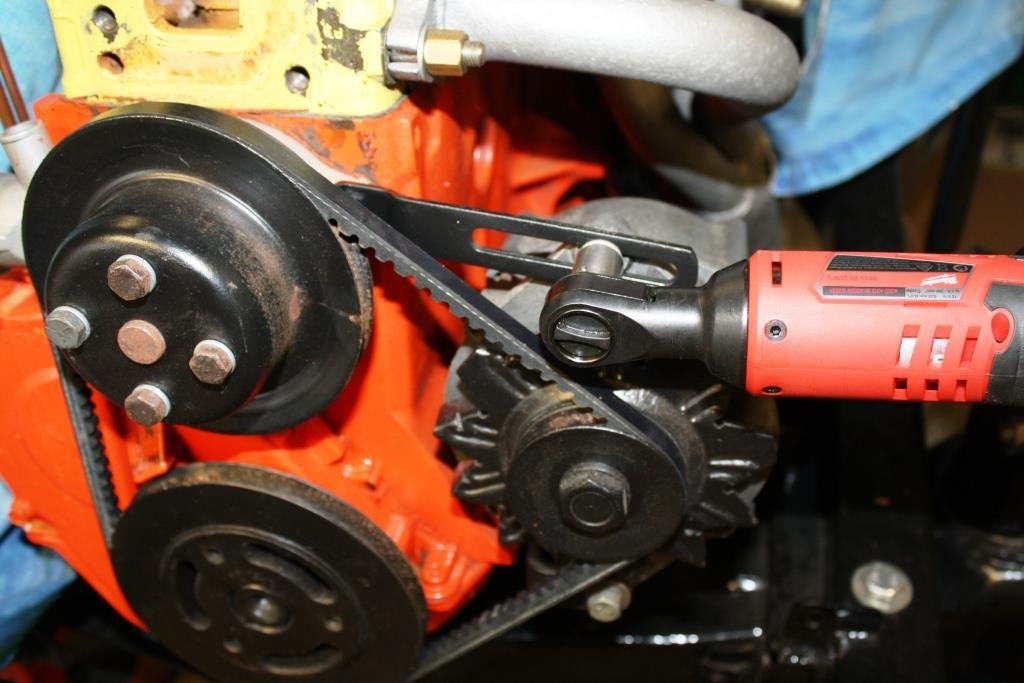
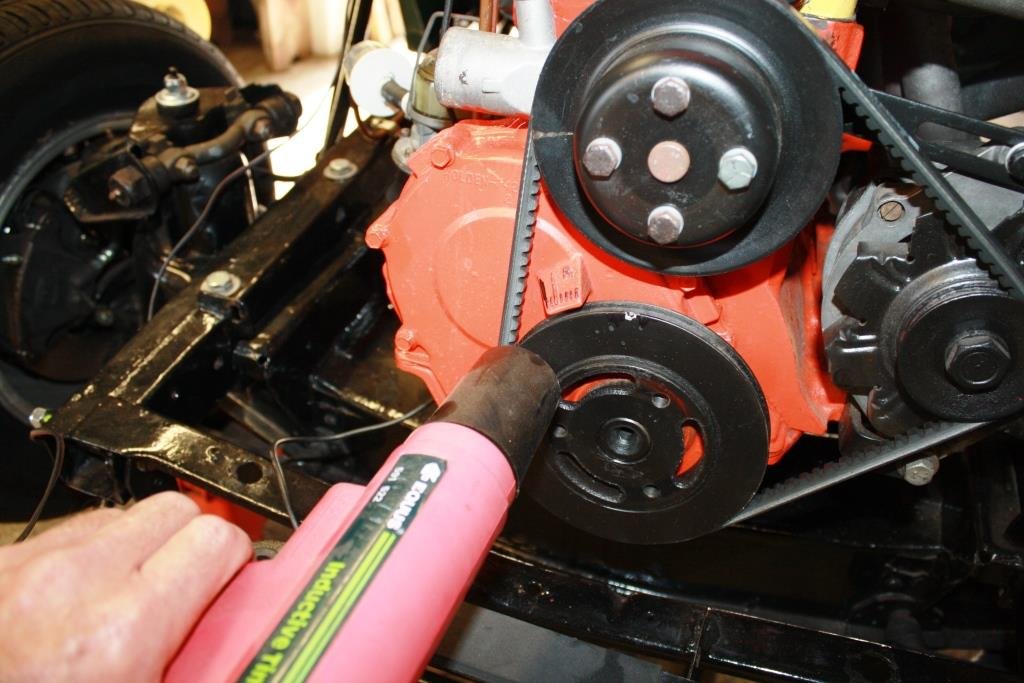
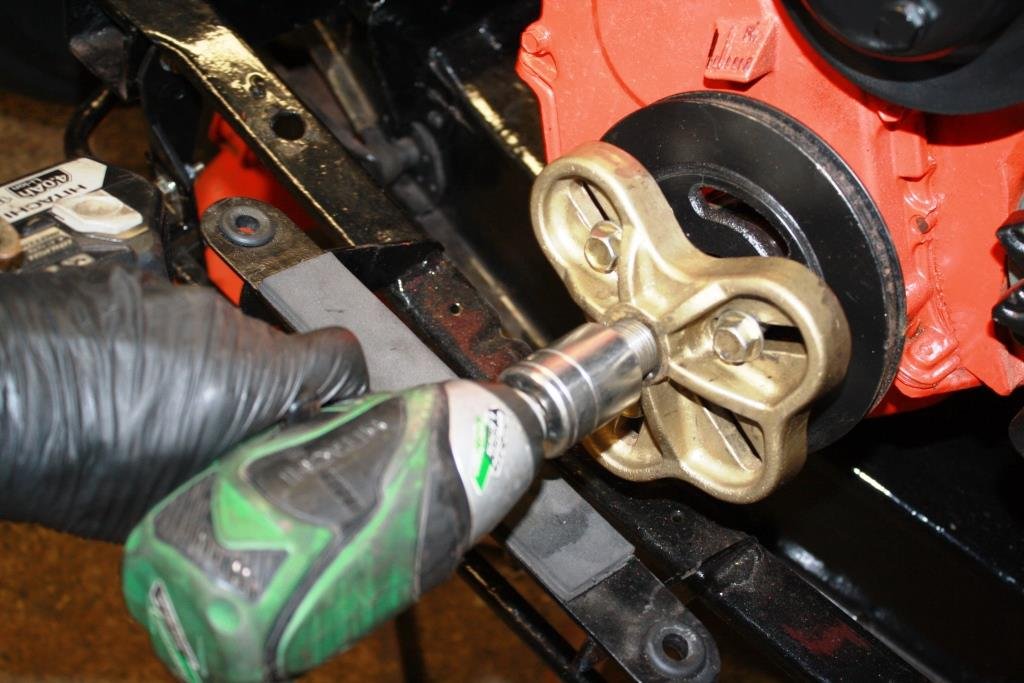
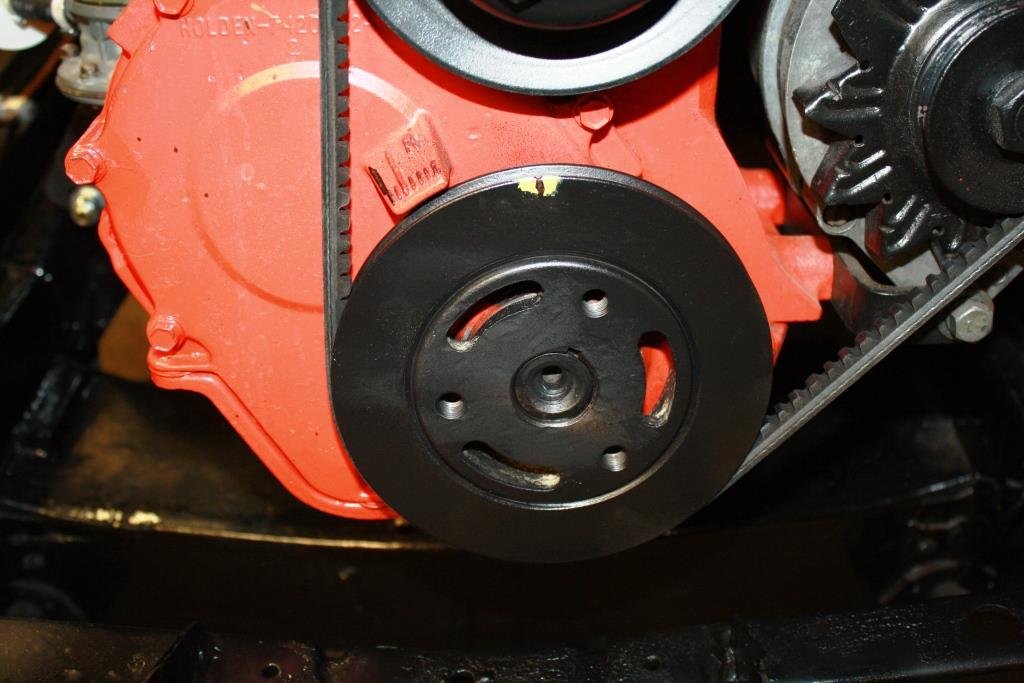
Please forgive me if I’m a little out of sequence here but just before I filled the old girl up with fluids I thought I’d pull the front off for the last time (famous last words…) and have a play with the alternator mount and check the ignition timing was spot on. I’m having difficulty seeing the front pulley timing marks as it’s getting tight as a Nun’s #### on Gala day down there! You can see with the alternator adjustment backed off there was still a way to go to get close to the block. With the adjustment arm removed you can see how much closer to the block we can get. A quick cut with the band saw….. ….and a little tickle on the linisher, (thirsty work)…… Because it was a Sunday rather than being at my usual bearing supplier I was stuck at Repco giving a pizza faced Gen-Z a lesson on how you identify V belts when you don’t have a Rego number. I wasn’t brave enough to explain how you can calculate belt length using pulley diameters, belt section and distance between centres. (Jeeze it’s great being a grumpy old prick! ). With it all bolted up and looking good with the right sized belt it was time to check the timing. Woops, just discovered the harmonic balancer had a serious wobble to it - I used to have a girlfriend like that and I ended up marrying her. (Guys, if the “ever lovely” Mrs sr2 reads this I’m bloody toast!). Luckily I had a spare non-counterbalance harmonic balancer so it was a quick job to change it. All timed up and running ok, I’ve dot punched the distributor for a future rough setting and with old Holden 6’s I usually road test and set the final timing by ear.
- 184 replies
-
- 21
-

-

SR2’s 1947 Vauxhall “Rigamortice” Discussion thread.
sr2 replied to sr2's topic in Project Discussion
Yes I could have put it higher, but the thought process was the system gets topped up from the brass cap on the port side and the position saved some tight bends on the feeder hose. Ideally the tank would be mounted higher and in the centre but with the bonnet opening from each side it would be hard to access. -

SR2’s 1947 Vauxhall “Rigamortice” Discussion thread.
sr2 replied to sr2's topic in Project Discussion
Well done guys, the "Oldschool brains trust " nails it again! Did some Googling and it appears the tanks were used on MG's and a number of BMC's. -
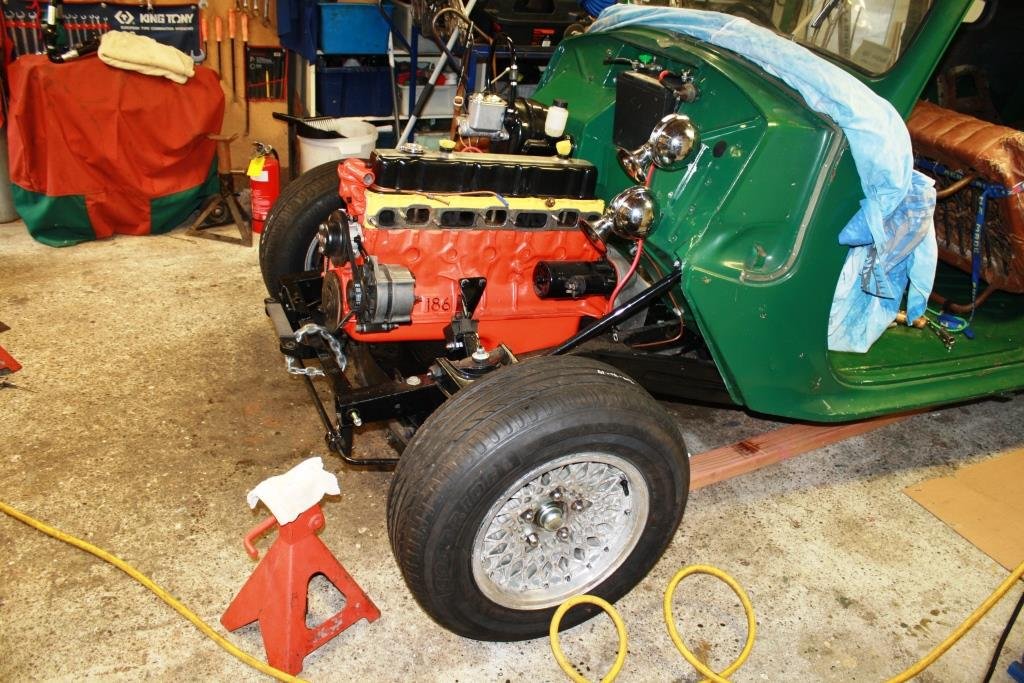
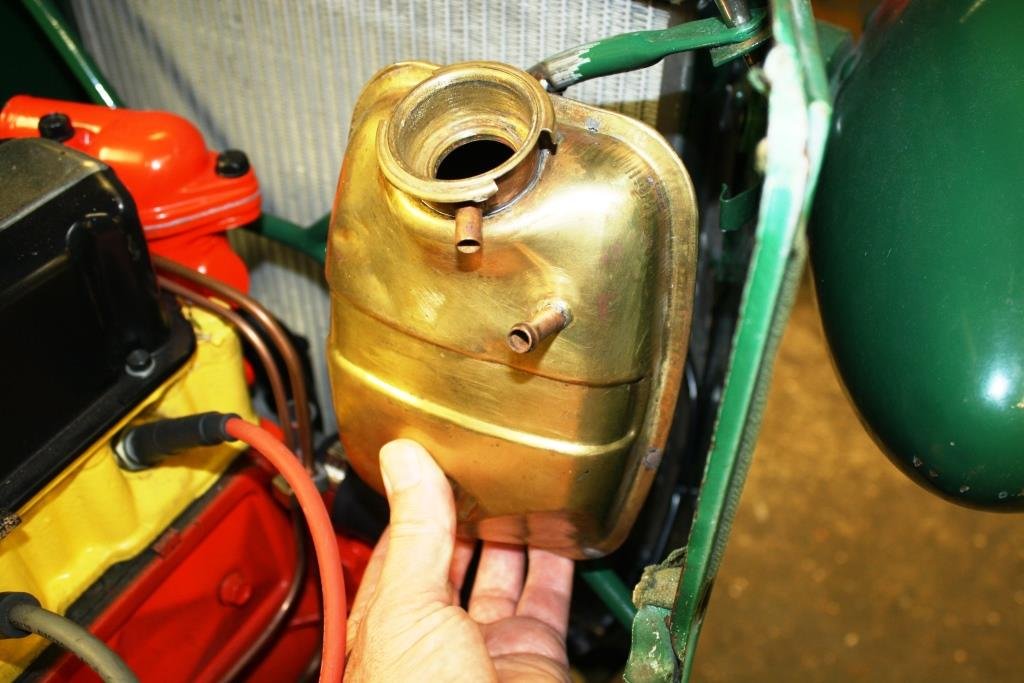
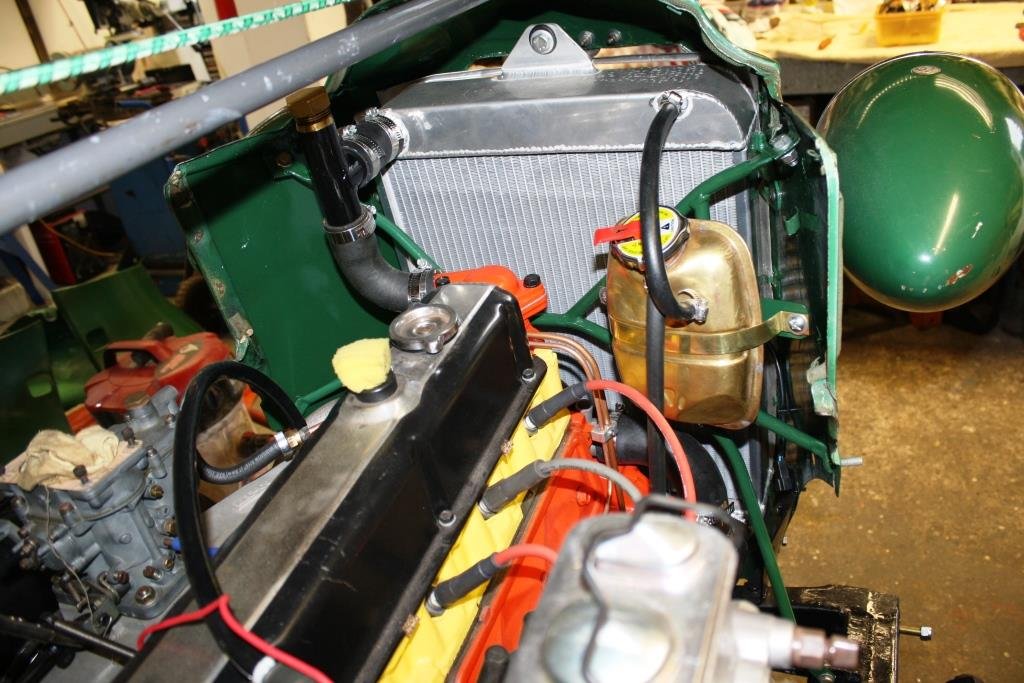
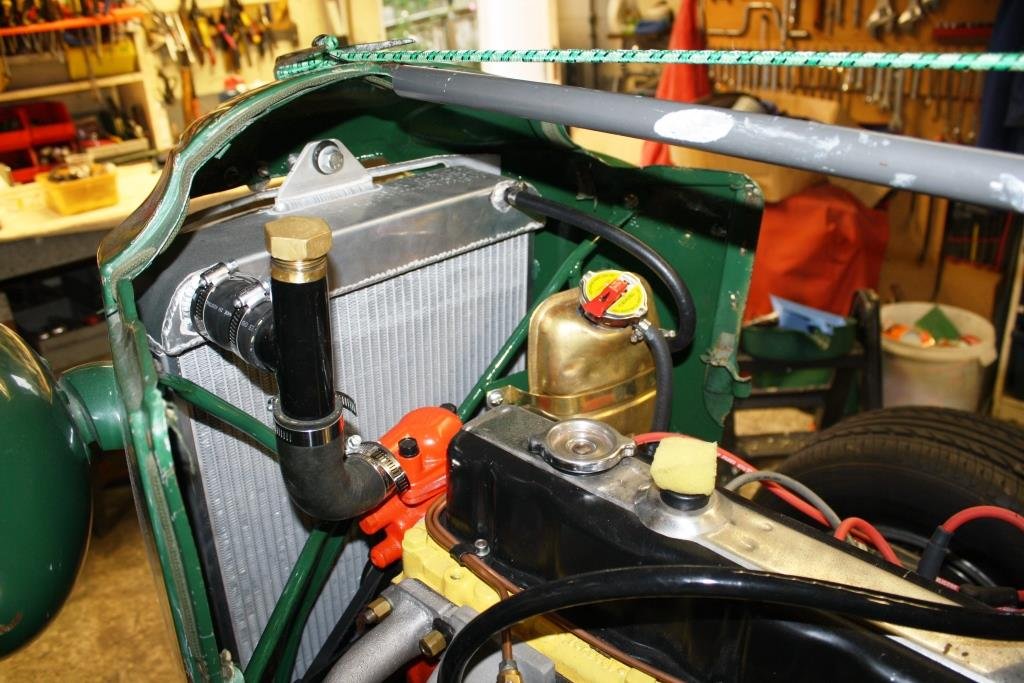
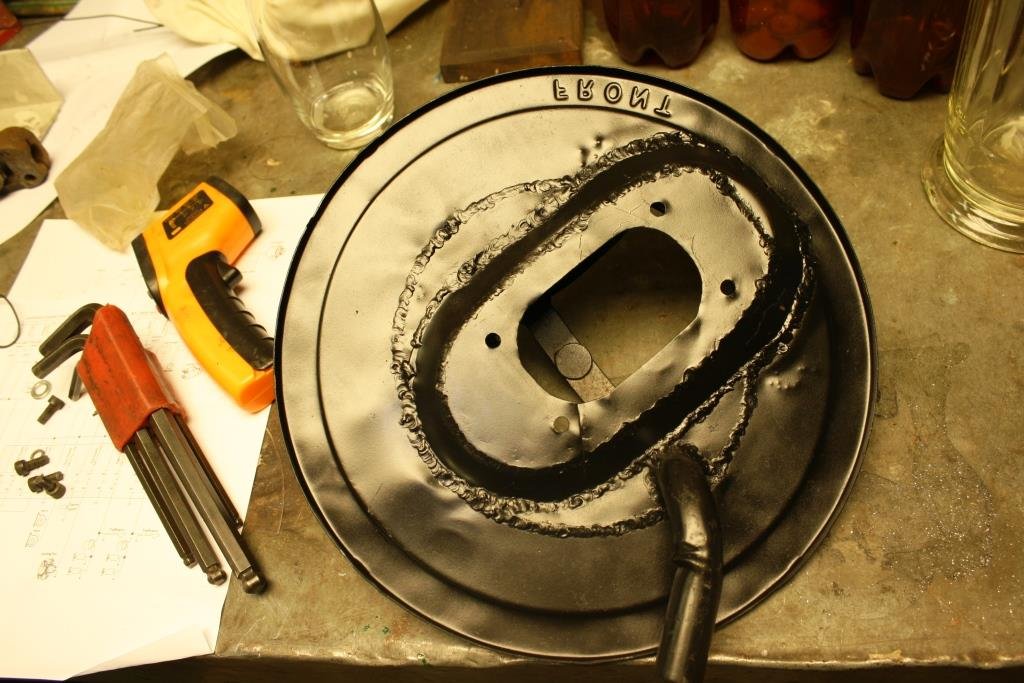
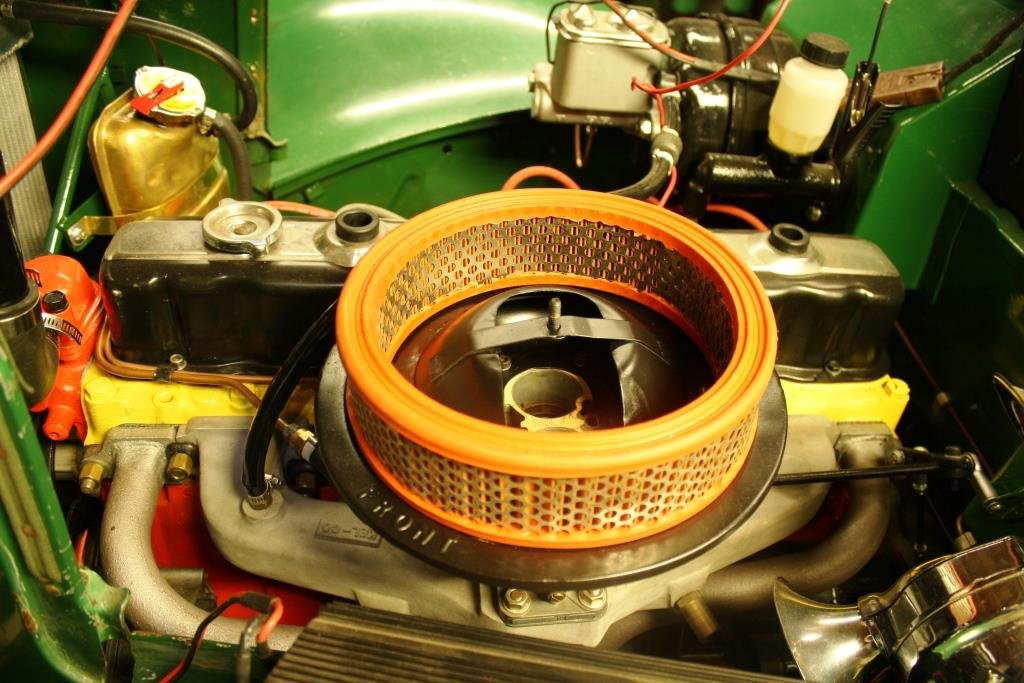
Time to mount my brass overflow bottle, I still haven’t a clue what it came from! Should fit in here nicely….. Tacked in some round EWS. Then a piece of flat with a couple of Rivnuts… Found some brass strip to keep things in character… Found a cap to fit, I’m a big fan of the type with a pressure release lever. All plumbed in and looking good. Finally filled and bled the coolant system. As always I added a big dose of glycol and a can of Bars Bugs. As much as they are my passion in life these old Holden 6’s are nothing short of a plumber’s nightmare with every 2nd head bolt ending up in the water jacket. I finally found the air filter base I’d made for Rigamortice some 40 plus years ago; I cleaned it up and added some paint. …..yes I’d gas welded it because no one had a mig in those days and none of us had even heard of fringing tig! Flipped it over, cut out a gasket; it all still fitted, so bolted it up. A Weber carb disguised with an HR Holden air-cleaner…looking good. Slapped on a filter… And fantasised about running with no bonnet and the intake poking out the side. Time to spark the X2 up. I kicked the old girl in the guts and ran her up to temperature at a fast idle for 30 minutes or so. Yes she could do with a more aggressive cam but what a gloriously responsive little 3 litre six; we’ll get all the legals in place before we finish building and fitting the 208 Motor. https://www.youtube.com/watch?v=L0A8eSZyu2A
- 184 replies
-
- 23
-

-

-
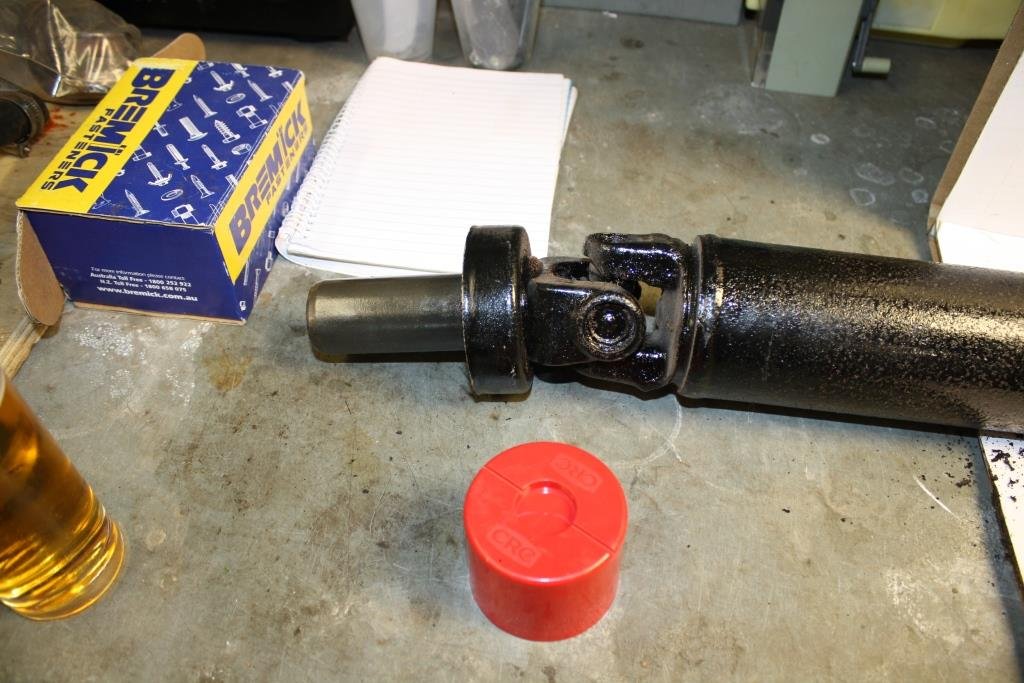
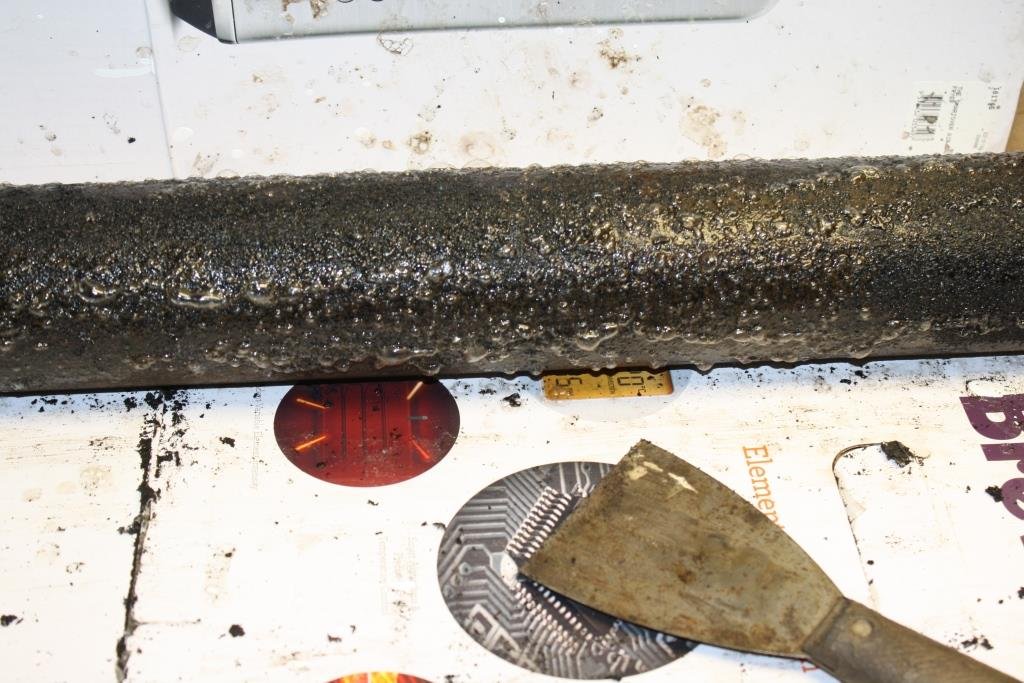
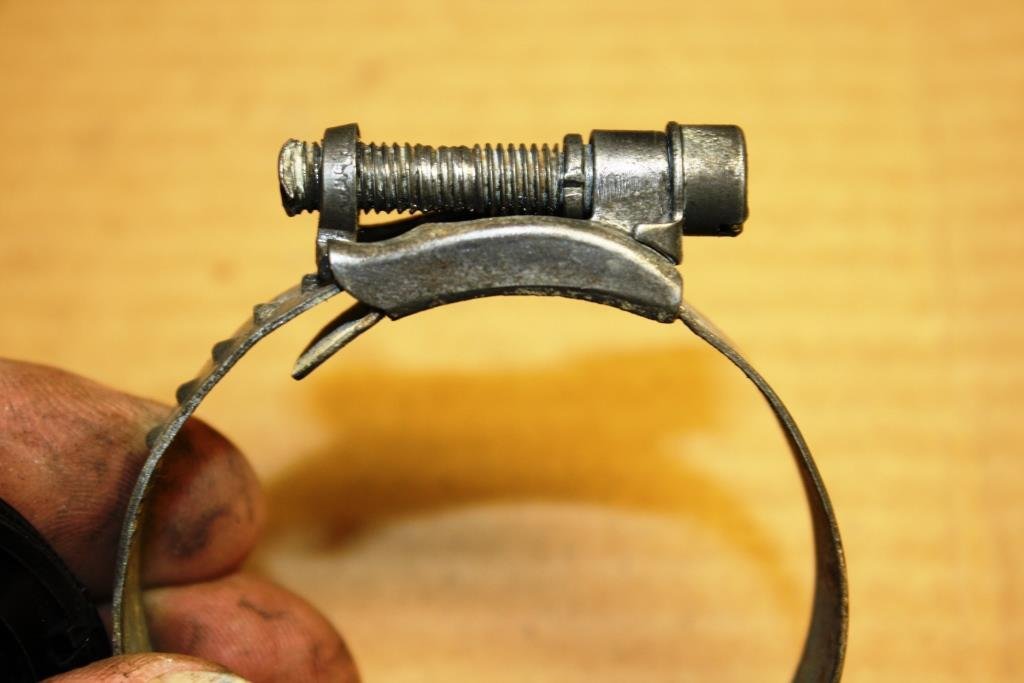
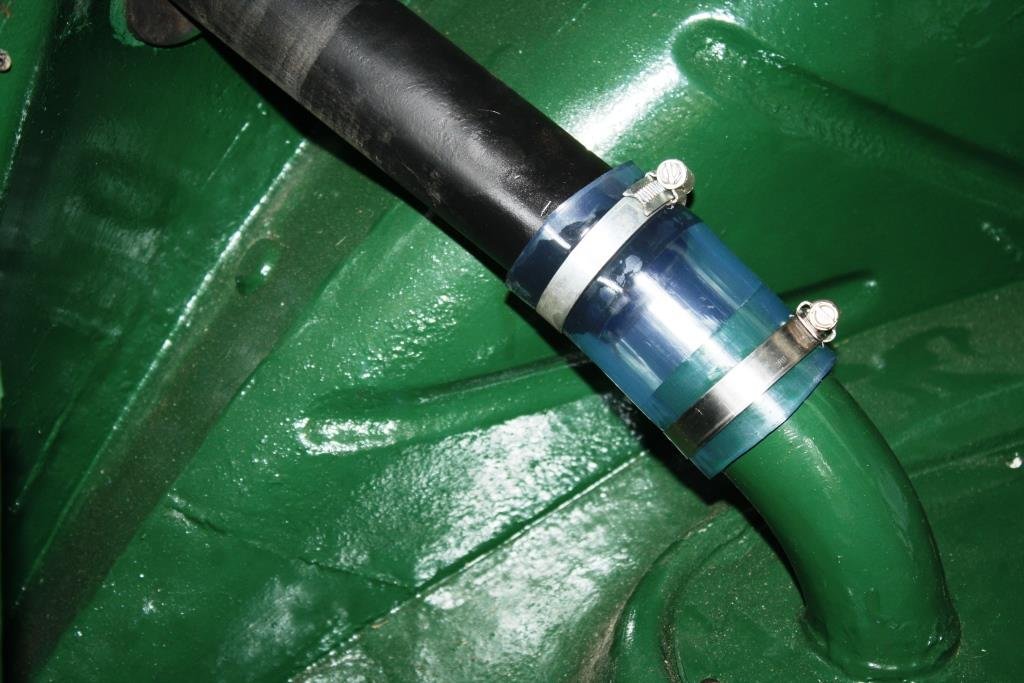
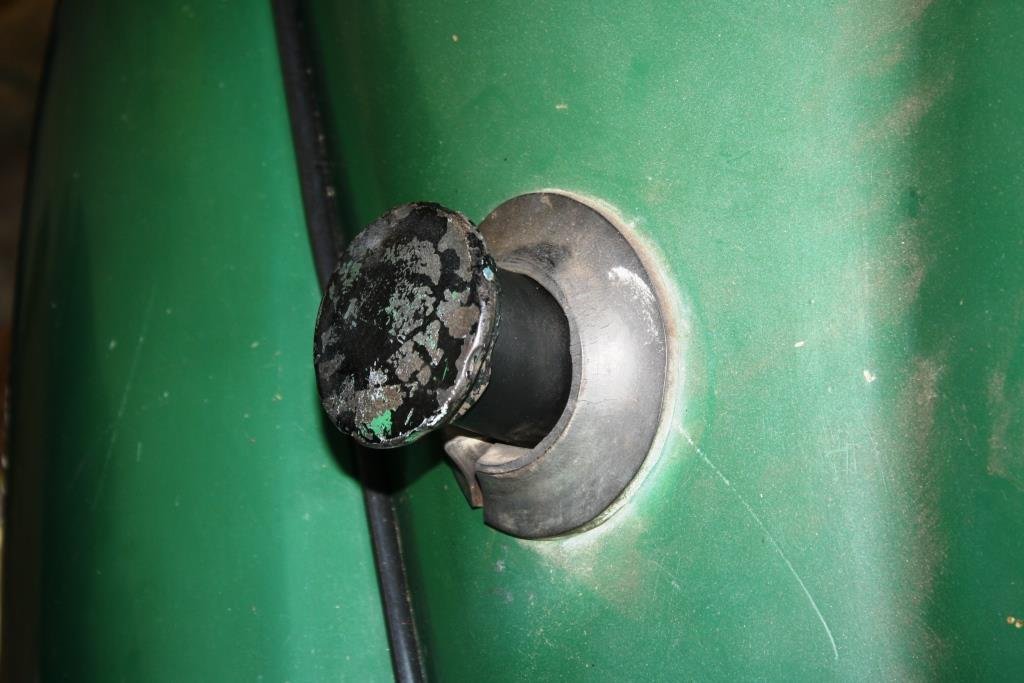
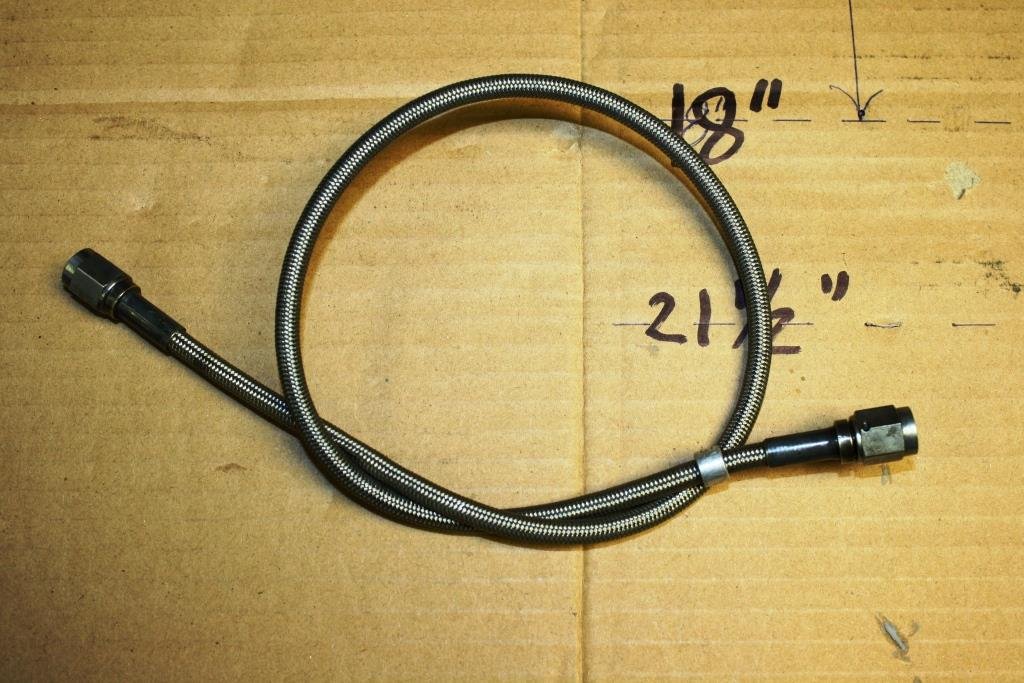
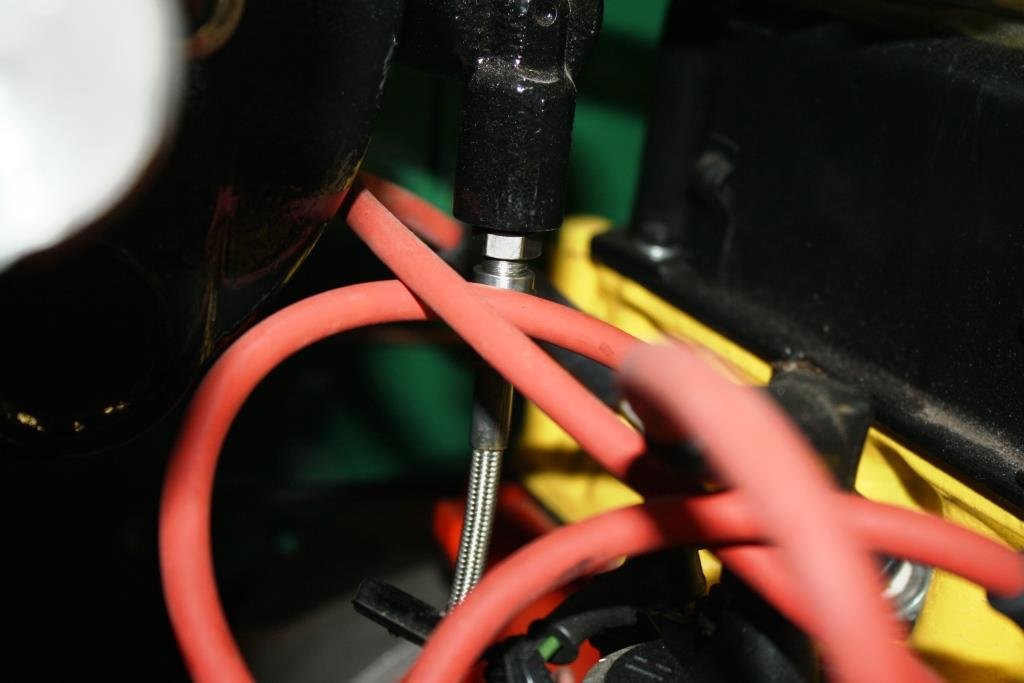
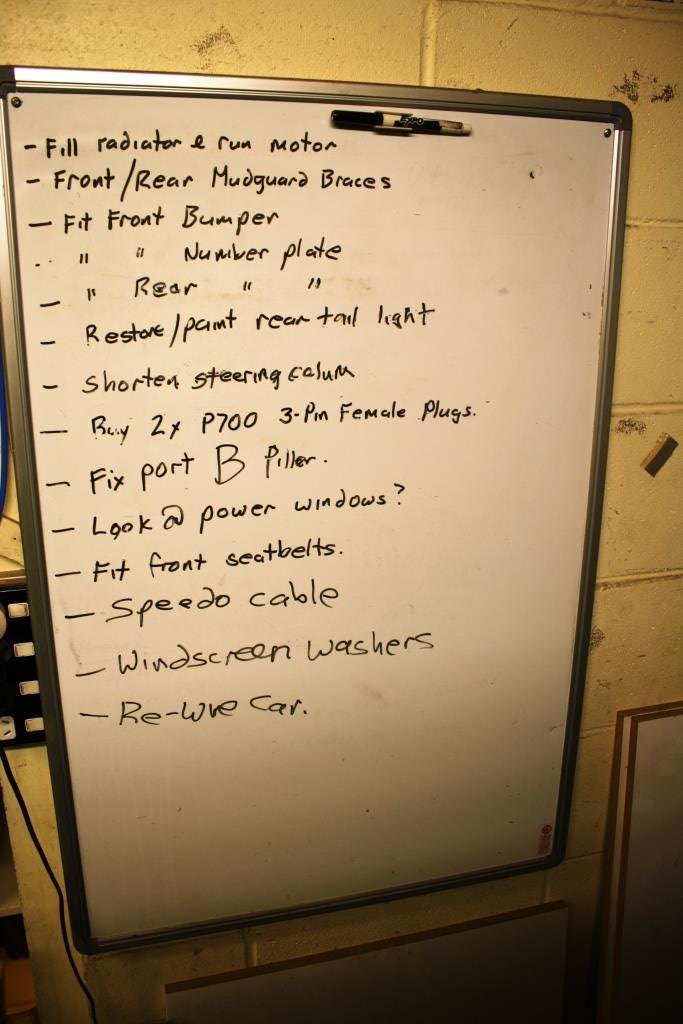
The ‘to do list’ appears to be getting longer not shorter. Time to knock off some smaller housekeeping jobs. (i.e. the boring shit). The drive shaft was looking a little manky but surprisingly enough the universals were in good condition. Hit it with some paint stripper…. And some black paint. Next on the list was the fuel filler. I couldn’t resist re-using the 70 year old hose clips……. All set for the next 70 years…. Decided to retain the ‘rustic look’ for the fuel cap…. Next on the list of “not exciting” jobs was to find a suitable hydraulic line for the clutch. I had a collection of braided brake hoses left over from some years back when the LVVTA in their infinite wisdom decided that despite having completed in some 20 plus gravel rallies our brake hoses presented a clear and present danger to the public and had to be replaces with crimped lines. - The mind boggles at what goes through these idiots heads! The triumph slave cylinder presented a challenge but I found an old brass fitting and turned one end down to suit. Fits OK sealed with a copper washer… The HR Holden master cylinder was an easy fit… Everything bleed up well and I’m more than happy with the pedal feel, well worth the effort of converting it from cable to hydraulic.
- 184 replies
-
- 18
-

-
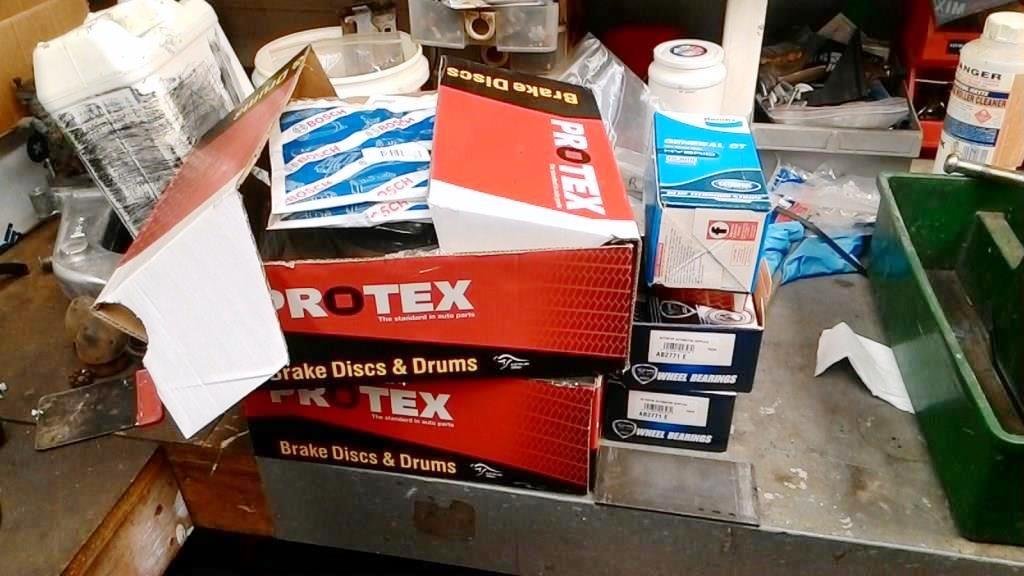
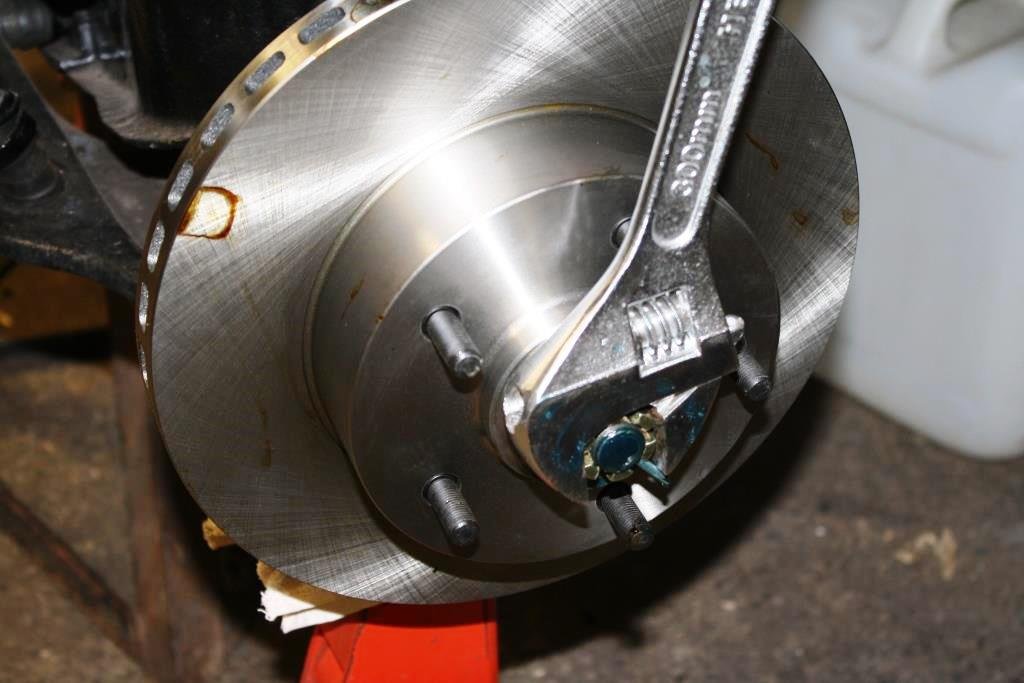
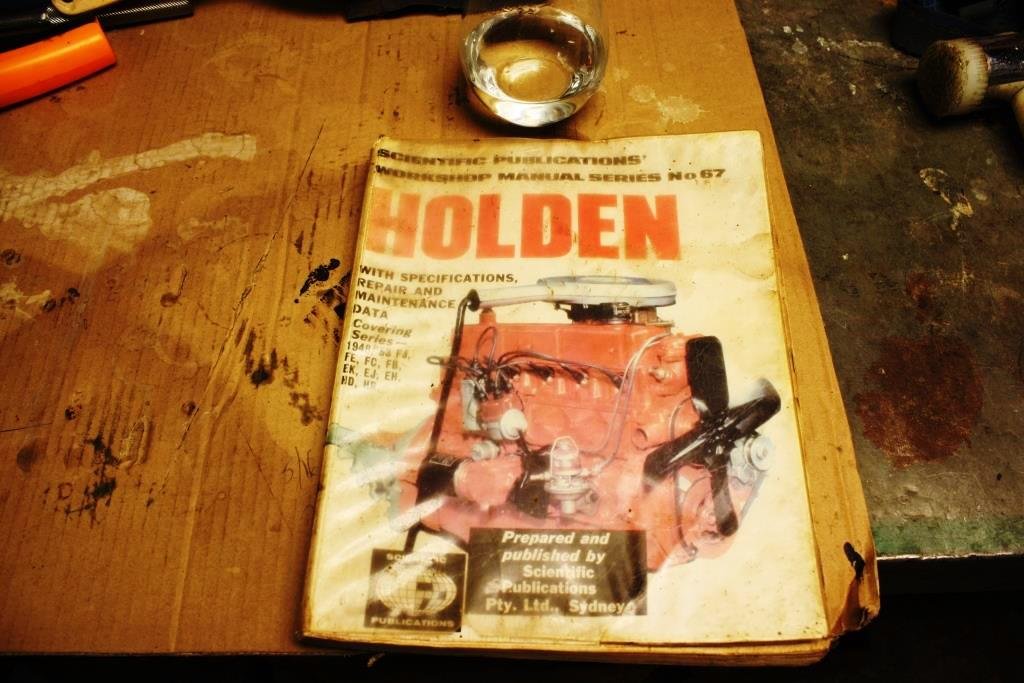
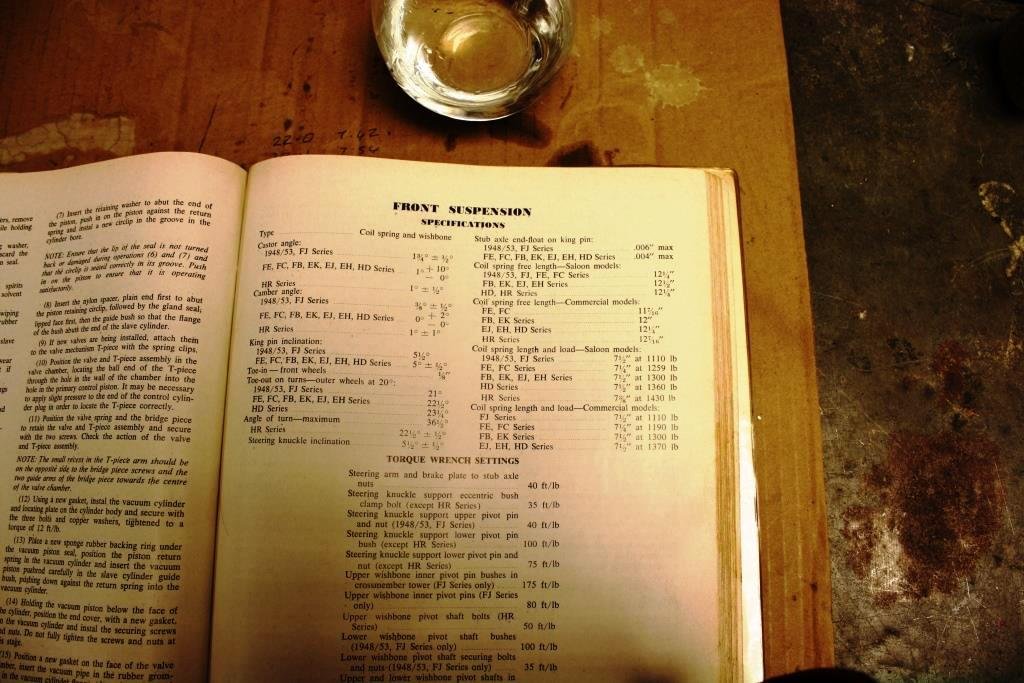
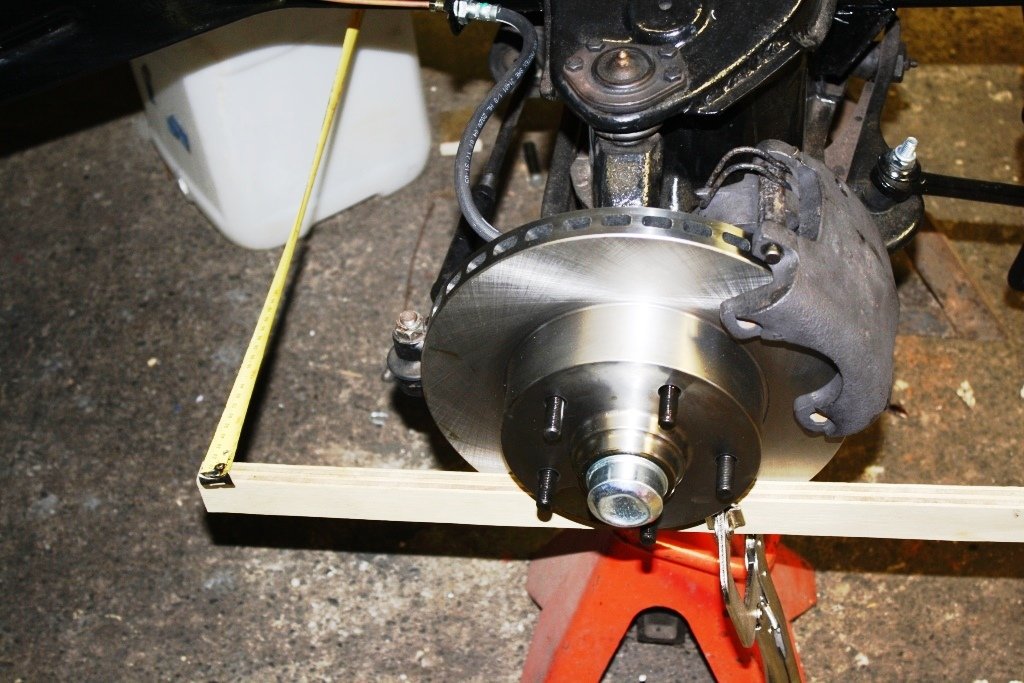
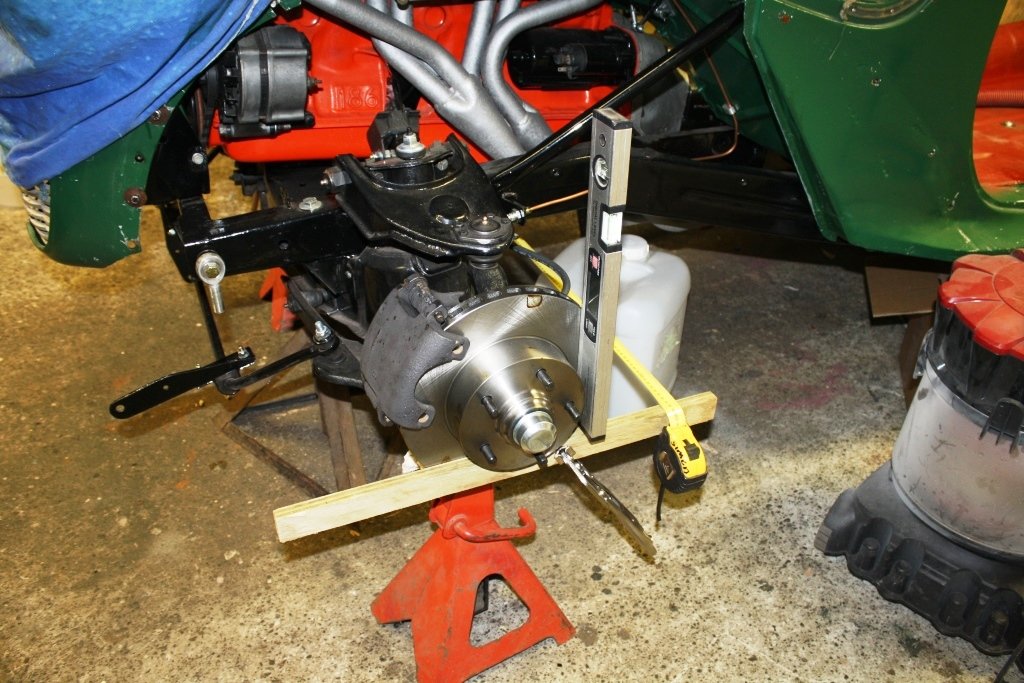
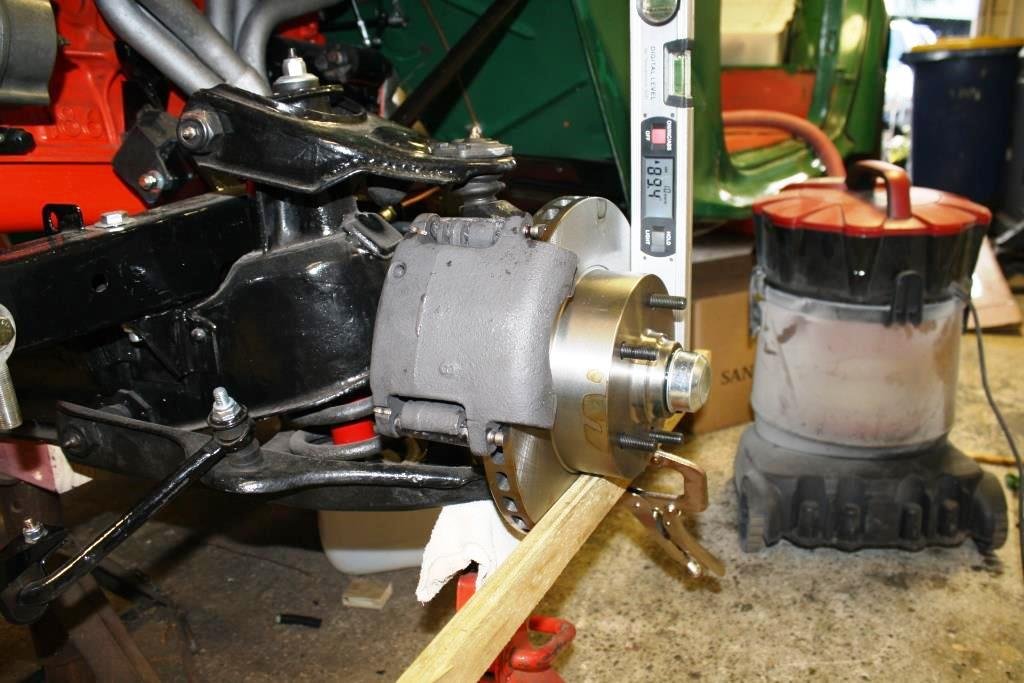
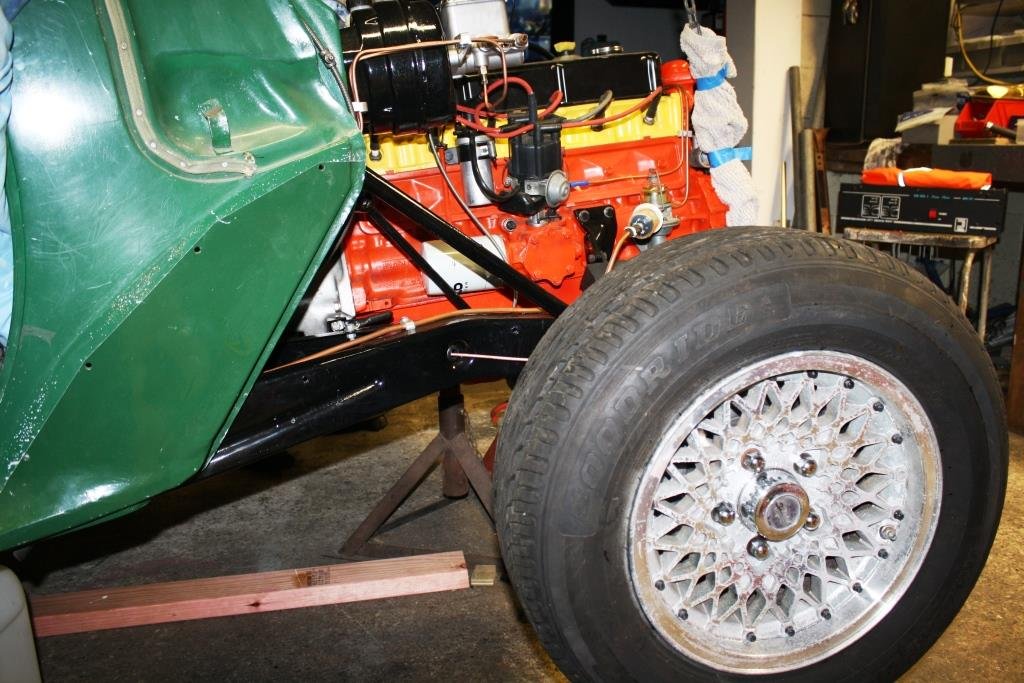
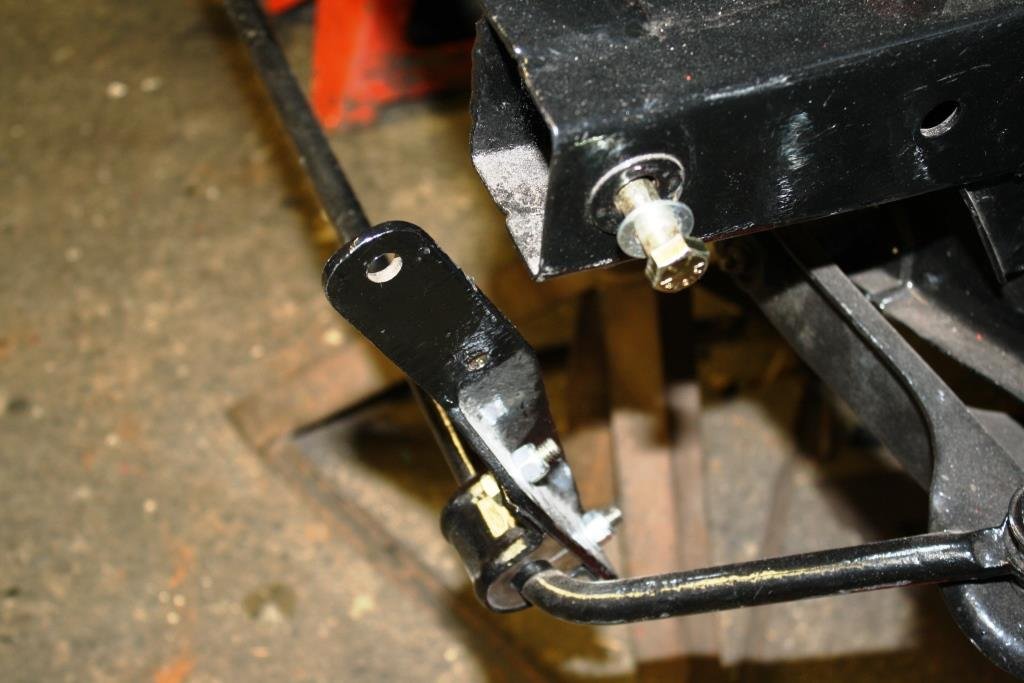
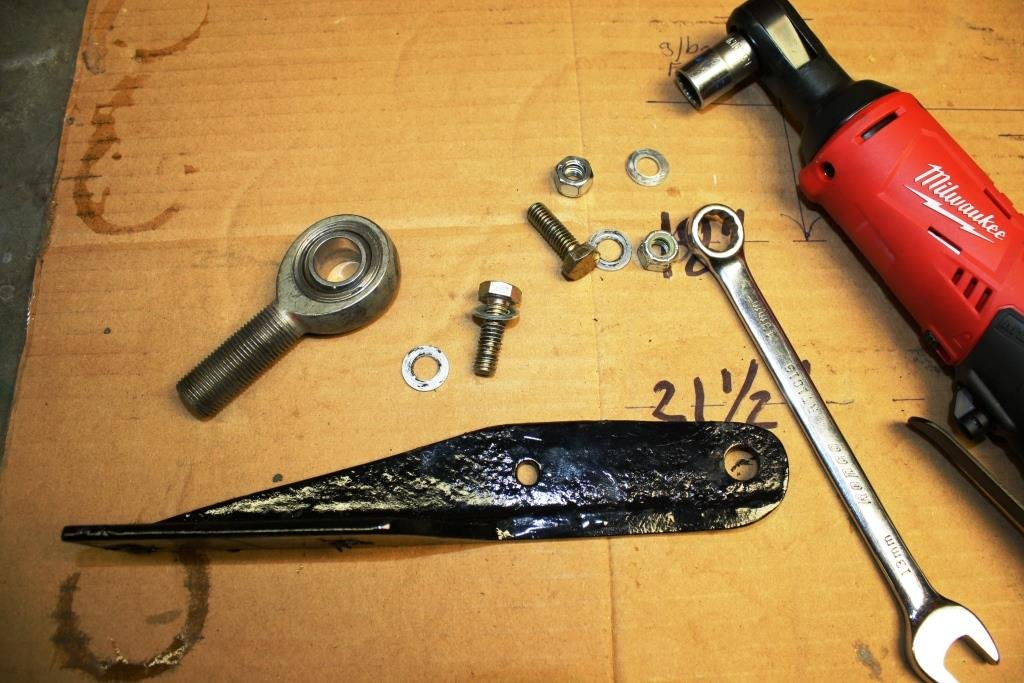
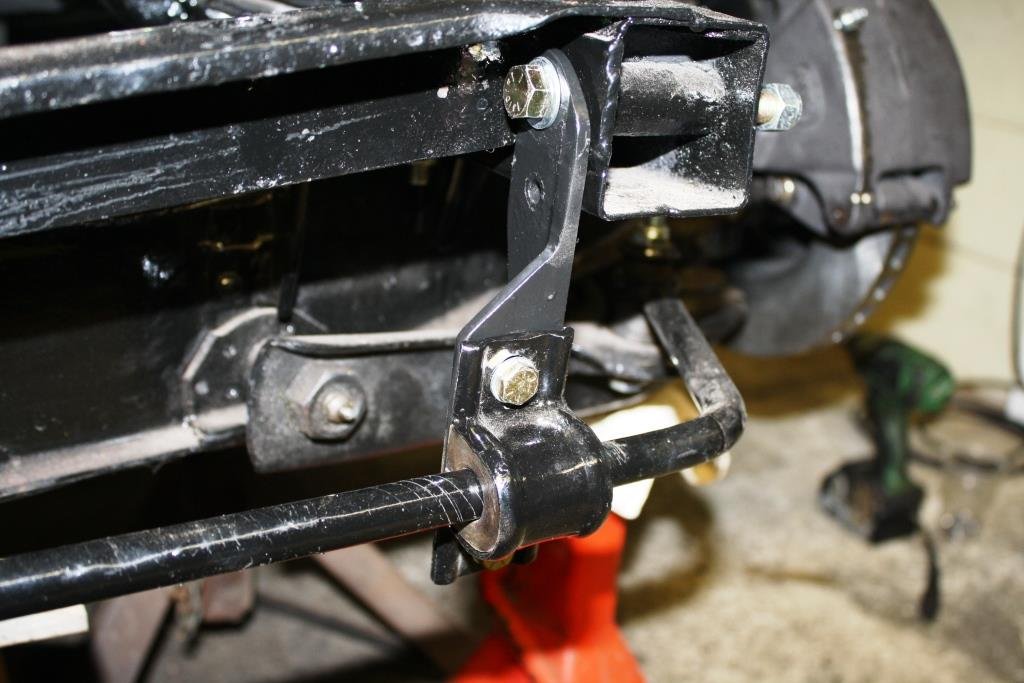
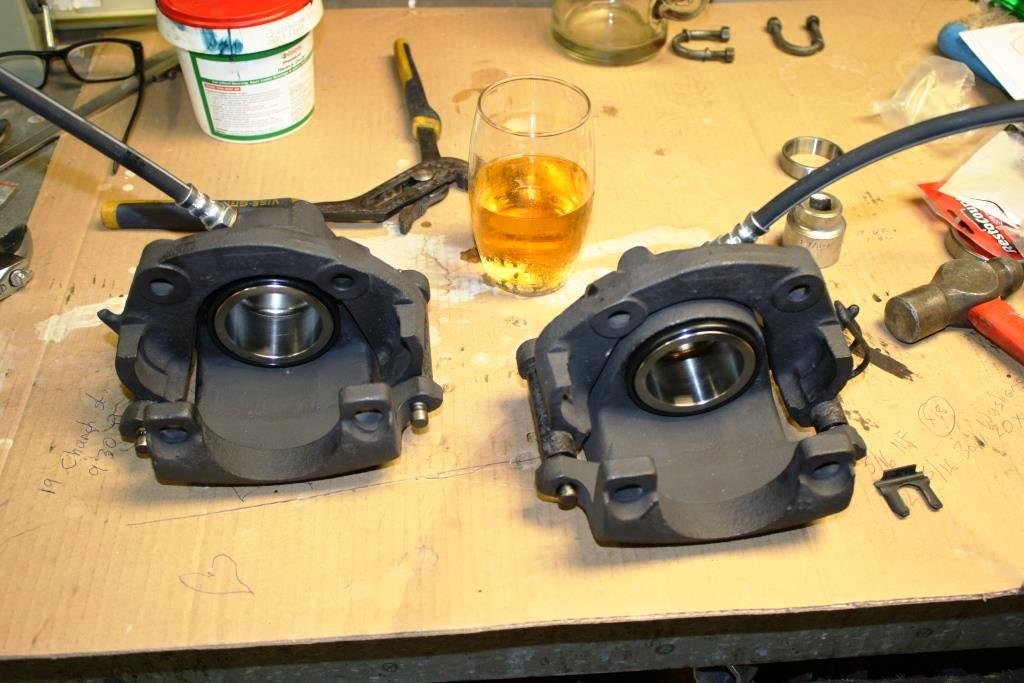
Decided it was time for the old girl to stand on her own 4 wheels so I dug out my accumulated collection of hubs, discs and bearings Ordered some new hub washers and nuts from Resto Country in Oz. I’m amazed at how their delivery time is often less than ordering locally in NZ. Just love assembling new parts, always feels like Xmas. I’d rebuilt the calipers a while back with new pistons and seals…. All set for brake pads and a rough wheel alignment. Dug out the trusty Holden workshop manual…. Thought I’d start with some basic HD/HR settings Loaded up the suspension with axel stands under the lower wish bones and set the toe in the old-school way with a couple of pieces of straight wood and a tape measure. Dialed up some camber with the digital level. There wasn’t much I could do to set up angle castor without the wheels on and the suspension settled so I took a guess at the required shims needed on the top wishbone. Happy with the result for a few skids around the block until I get it to my favorite alignment guy. Finally some front wheels…… Only just enough offset to clear the top arms……phew!..... Hard to tell if the ride height/stance works without the bodywork on but so far so good. I wasn’t happy with how the sway bar was sitting on the original mount after I’d dropped the chassis tails 2 inches into the front suspension cross member when I had the body off the chassis. Had a quick play with using a rose joint for the top mount…. Settled on just cutting down the existing….. Works for me.
- 184 replies
-
- 15
-


