mikey
-
Posts
552 -
Joined
-
Last visited
Everything posted by mikey
-
Yeah man, has been yonks! I've not had a garage for a long time so not been able to get into any car stuff for aaaages. Yep, space is definitely the issue. I like the sound of putting a proper muffler in the tunnel, I'll investigate what space I have there. There's not much space to fit a muffler on the opposite side from current as the fuel tank takes that side. So I think I'll be limited to just the two. Will arrange as much pipe as possible after the final muffler. Sounds like 2.5" should be plenty for a stock VQ35, I'm guessing the smaller diameter makes for a less boomy sound? Any suggestions for muffler suppliers in AK?
-
Hola guys. I'm keen to redo my exhaust to give more ground and tunnel clearance, plus make it a quieter. I know, uncool. The engine is a VQ35DE - Nissan V6, in a 240z. This is a pic of the exhaust when it was made. It's got some cheap XForce headers into two 2.5", into those resonators then goes to 3" and out an offset oval muffler of some sort. I can't find the deets on that; it was from Wolfe Mufflers. Those resonators knock against the tunnel and scrape along the ground. So I'm keen to ditch them, or replace with one I can tuck higher in the tunnel, depending on what effect it'll have on sound. Currently it sounds pretty good and has a good bark, but is just way too loud for cruising about. Also wondering if half the volume issue is caused by having a 3" pipe, seems excessive. Hoping some of you legends can give some pointers?
-
So, I'm doing a bunch of stuff to this to make it a nicer car to drive around in. It's pretty noisy, fumy, rattly, leaky & clunky. Nothing too major, just redoing some bits and pieces I should've done better first time round. Right now I'm replacing some diff seals and sorting out some exhaust knocks. This is a pic of the exhaust when it was made. It's got some cheap XForce headers into two 2.5", into those resonators then goes to 3" and out an offset oval muffler of some sort. I can't find the details on that, it was from Wolfe Mufflers. Those hotdogs knock against the tunnel which is annoying. But the exhaust is also too loud when not driving fast for me these days. So wondering if some exhaust guru can tell me what a better option is to cut down on noise. Ideally I'd go from 2.5" into 3" after that gearbox mount and then put one big resonator in the tunnel. That way I'd gain a lot more clearance. But if that's not an option and I keep the two resonators I'll probably notch the bottom of the tunnel to get better clearance. Once resonator would save a tonne of work thou. Thoughts?!
-
No way! Good luck. I took mine for a ride yesterday. Taupo is probably pretty good for a Prima so long as you avoid the hills; they sure are guttless.
-
It was as simple as glazed shoes I just hit them with a Scotch Brite pad and brake cleaner and now they feel great What a muppet. I figured glazed shoes would cause the opposite of grabbing, which is why it took me so long to work this out
-
Oh, those pads were replacements put on by Sterling Brake & Clutch about 9 years ago. The original ones are riveted, these are bonded.
-
So.... dem brakes. They look simple enough, but something ain't right. With a light touch on the brake lever they grab hard and the front springs bottom-out violently. This is all the tech info I have. I suck at drum brakes. I really really do. HALP!! There's no signs of anything weird from what I can see. All I can think of is that maybe the drum grabs the leading edge of the shoe and spreads the shoes so they grab harder?
-
So. Pulled the Dynastart field windings apart and found they were oil soaked & shorting to ground. Tidied up, replaced all wires & bushes & sorted out the rust. The points look a bit shit, but the contacts are basically new. I fixed up the auto-advance too, so will stick with points for now. I could feel a bit of "backlash" in the flywheel, turned out to be a shagged small end bush. Spare parts are hard to come by, but I had a spare engine so recycled the bush out of it which was still in spec. A bit agricultural, oh well. Bore is okay. Getting the engine in is fricken impossible, it weighs a tonne and she's a toight fit. After a lot of sweat and swearing I found doing it upside-down is more doable. Gear change bowden cables were bunged up, lucky I have a luberer Went for a blat round the block and pumped up the tires. The engine feels good. The front brakes are still terrifying. And I can't find third gear, that's always been a tricky one. Will make new cables, but I actually think the mechanism is from a different bike.
-
Oh, if anyone has some suggestions for some sort of electronic ignition for a single cylinder that has timing advance and just works off the battery i.e doesn't involve adding extra coils please let me know.
-
Because Lockdown, I've pulled this out from the pond under the house. It's been there for about 4 years making close friends with some rust and spiders and mold. Last time I was bumbling around with it it had a couple of issues. The biggest one was the Dynastart, which is a dynamo that you can also use as a starter motor. It worked once in a blue moon, so I'd have to crash start it. So that's top of the list. Other things to fix; the front brakes lock-up when the front suspension starts compressing, this is great lols. The timing advance seems beyond repair with rust, I'd like to move to electronic ignition. The wiring/switch gear is pretty ropey. Some dust: More dust: Some rust: YAY
-
<br \><br \><br \> <br \><br \><br \>https://www.thezstore.com/page/TZS/PROD/50-5010<br \>This was where I got it from. Shipping was damn pricy! But worth it in terms of amount of time fucking around making my own rubbish version. <br \>
-
Witchcraft! I just replaced the original fusebox with a new magical one from the future which isn't all hot and melty and gives me more than 9 volts at the headlights! Amaze. Represent. Another year of legality. And since all my thread images are poked, here's one so you and I don't forget what she looks like. <3
- 78 replies
-
- 66
-

-
So yeah. It was just manky old fuel. Lesson learnt there; drain you crabs and use fresh fuel if it's been sitting over winter. Also, testing for spark with dirty plugs can lead to false-positives. Thank for your help @aja540i

-
Yeah, I think it maybe as simple as this. I mixed some new fuel in with it, but this could be my fail. I'll get a new plug and check the spark. If I have spark put new fuel in it.
-
That's what the DVA is for - it will hold the peak voltage long enough to measure it on the meter. Yeah, that's what I was thinking. I've tested the test-plug on my car and get a yellow spark across it. I would've thought I should get a bright blue spark on my car - so maybe the test plug isn't so great... I should grab a new plug for testing. The plugs in the engine are around 4 years old and look a bit manky. Could also be they're all wet from trying to start with old fuel...
-
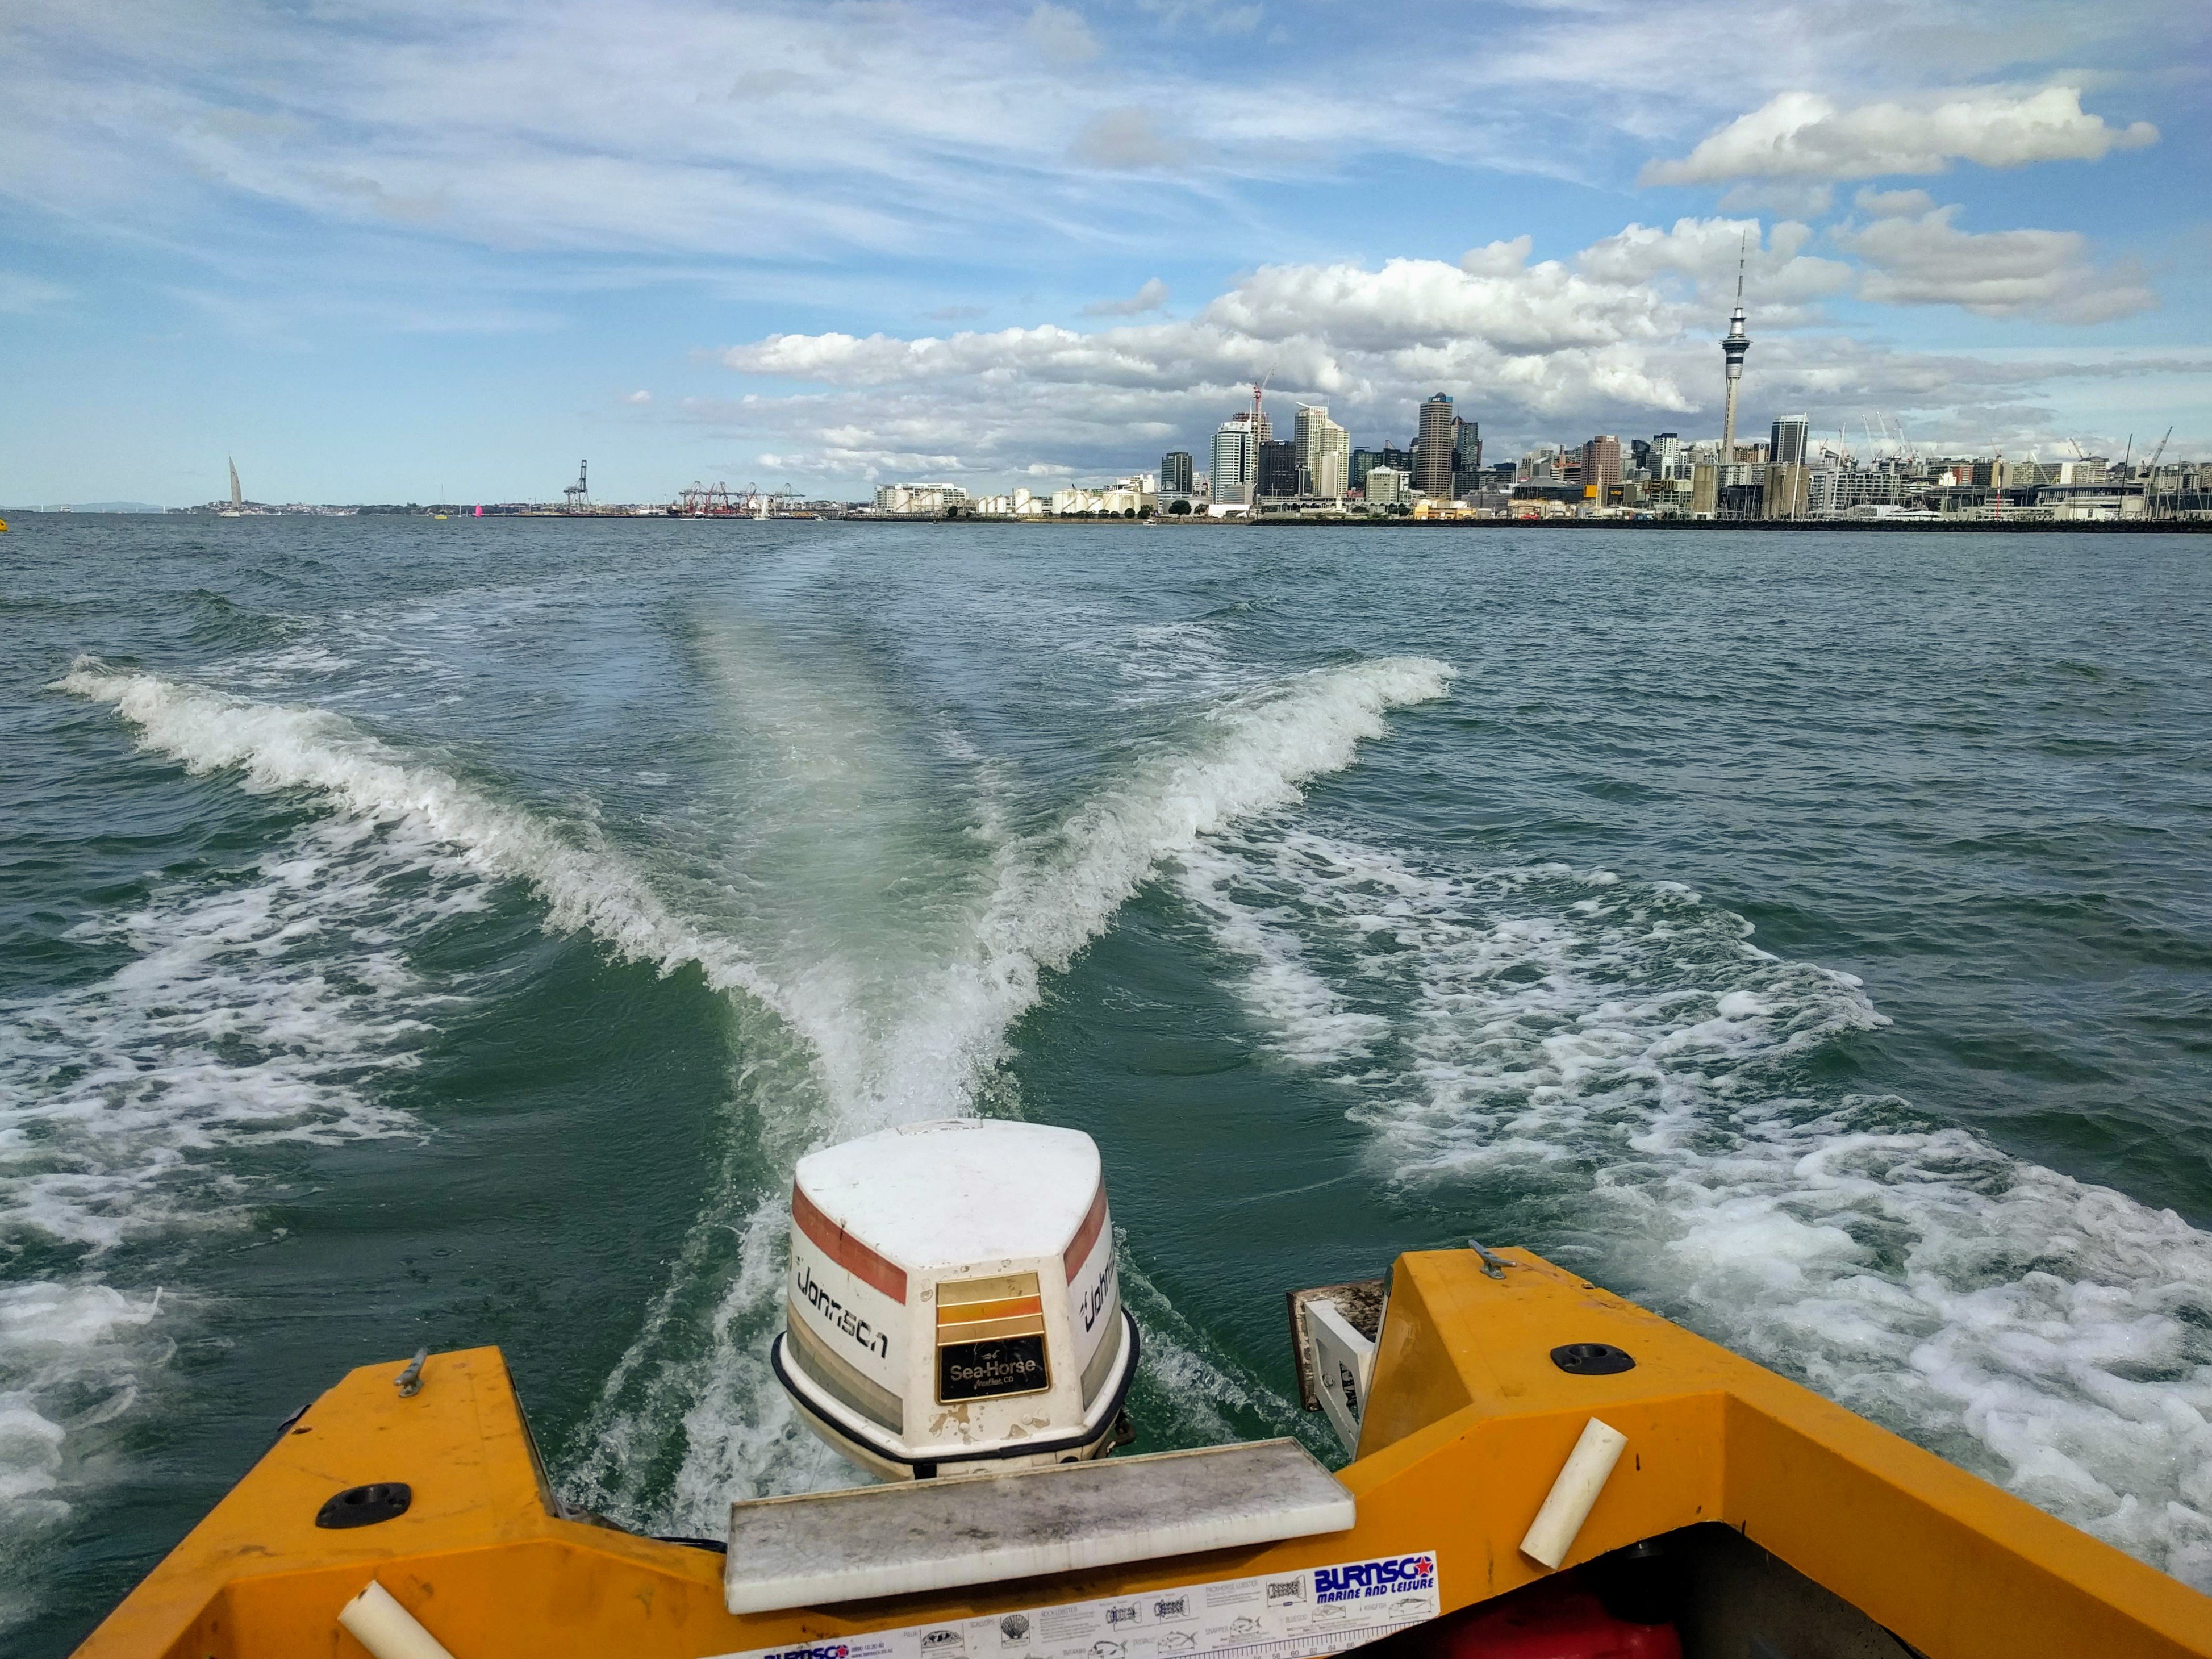
Not exactly car - but it is old school! I've got a 1984 Johnson V4 2-stroke outboard with no sparks anywhere. If I hook up a timing light it gets triggered okay. I've followed the tests in the manual and these all checked out: Jumpered the Powerpack connectors excluding the kill switch Sensor Coil Resistance Sensor Coil Short Charge Coil Resistance Charge Coil Short These next tests are supposed to be done by measuring peak voltage which my meter doesn't have so I measured AC instead. Charge Coil output should be 150V - I got 95VAC Sensor Coil output should be 3V - I got 0.1VAC Power Pack output should be 170V - I got 84VAC I'm assuming that if I could measure peak voltage these numbers would be roughly correct. I'm gonna build a DVA to test them properly today. Anyone else got any ideas? It could be that all four coils have died at the same time, but that sounds unlikely.
-
I've never loved the factory rear drum brakes; I could never adjust them properly so the handbrake would work, but not drag. So I decided to do something about and do it for basically nothing. I was given some EL Falcon single-piston callipers, rotors and backing plates years ago. The backing plates were drilled out to the 240z bolt pattern, but I still had the rotors to drill. I didn't want to drive all around the place looking for a friendly engineer so I cad'd up a template with the Ford and Datsun stud pattern, taped it to the rotor, centre punched and drilled. Came out radical. Started bolting everything up. The EL Falcon backing plate & rotor work perfectly with the backspacing from the 240z hub face, so the calliper simply bolts to the Falcon backing plate as normal. Then I pinched some longer flexible brake lines from Pick-a-part and made a bracket for the line. Neat! The handbrake bracket required some fiddle to bring it closer to the drum lever. Piece of piss.
- 78 replies
-
- 21
-
-
Such purdy weldings!
-
Dat bay. Oh my... Edit: accidental double post but yeah, tres bon innit
-
Dat bay. Oh my...
-
Heyo Fred, it is quite good fun scaring the bejezus out of people in the car. Glad you enjoyed it! I've not had any more thoughts re DIYEFI; life has been getting in the way of projects. And now we're moving house and I have no garage! Also you can get the relevant part of the 350z manual here: https://files.ignitiondigital.co.nz/owncloud/index.php/s/3sJVnH7GynHomRH The password is your OS username.
-
Well that worked out well! I've just been for the first ever hoon in this car with NO driveline vibration. 240z's are renowned for vibrations as the diff is set too far forward in the car so the axles have to bend in two axes; up-down and front-back. Datsun fixed this in the 260z by moving the diff farther back. So no amount of replacing UJs or making new diff mounts ever seemed to help. Until now! And I hate replacing UJs anyhow so it's great to get rid of them, and get a much stronger axle. There's a couple of little niggles; one of the old Commie CV's is leaking and a steel band popped off another. Also hard on the gas in tight left-handers I think something is interfering with the axle.
- 78 replies
-
- 18
-
-
I've been researching a new axle conversion, and have been collecting some parts. I've heard of people using these axles but not this combination before. This is where I'm at: On the right is the stock 240z axle with the twisted Wolf Creek R180 side axles. And on the left is the 4 cylinder D21 axle with factory inner CV and a VX Holden Commodore outer CV. The side axle is from an S14 I think and plugs straight into my R180 diff. If I measure the length from the side axle circlip groove to the outer face of the CV/UJ flange the stock axle is 489mm and the Terrano one is 458mm which means I have 31mm to play with without being any worse off. I had no binding issues in the past - i think, guys running R200 diffs might struggle thou. The Commodore CV is a knock off of a 108mm Porsche 930 CV, and they use it on the big heavy V8s so it must be solid. So now all I need to do is mate the Commodore CV to the 240z companion flange. There're two options: These adapters which are a measly $92USD Or these replacement companion flanges which are a whopping $700USD I'm trying to do this on the cheap so I'm going to order the adapters. I have the 240z 25-spline stub axles anyhow so the companion flange wont work, but if in future I upgrade to the 280z stub axles then it's an option. If this works out I've managed to convert to CVs for really cheaps: D21 Axles: $200 Commodore CVs: $60 Adapters: $200-ish YAY
-
After swapping in my new axle I was getting hella shakes around 70kph, so on Sunday I went in search of the cause and found I had two twisted side axles Butts. I'm not 100% sure if it's the cause but it can't be good and I'm not gonna piss about with it. So now I'm gonna convert to CVs and rear disc brakes while I'm at it. I have a plan for the discs but not so much for the CVs, I'm gonna track down some OEM side axles that're compatible with my diff and then some short axles and will have to make an adapter for my companion flanges. Here's a few radical photos MichaelJFox took from the drag day:
- 78 replies
-
- 24
-
-
So yeah, the Oldschool drag day today was dope! I didn't do great times; worse than last year. But the LSD was sweet and I did 2nd gear skidz up the strip which was awesome. I was having so much fun I monged out and snapped an axle during my staging skid trying to grab 2nd gear. But as luck would have it I had some similar Datsun axles in my shed and managed to cobble together a complete axle, so I'm back up and running, JEAH! The one in the middle is the one I made out of the broken one and one similar to the bottom one.
- 78 replies
-
- 19
-