Taistorm
-
Posts
2056 -
Joined
-
Last visited
-
Days Won
1
Everything posted by Taistorm
-
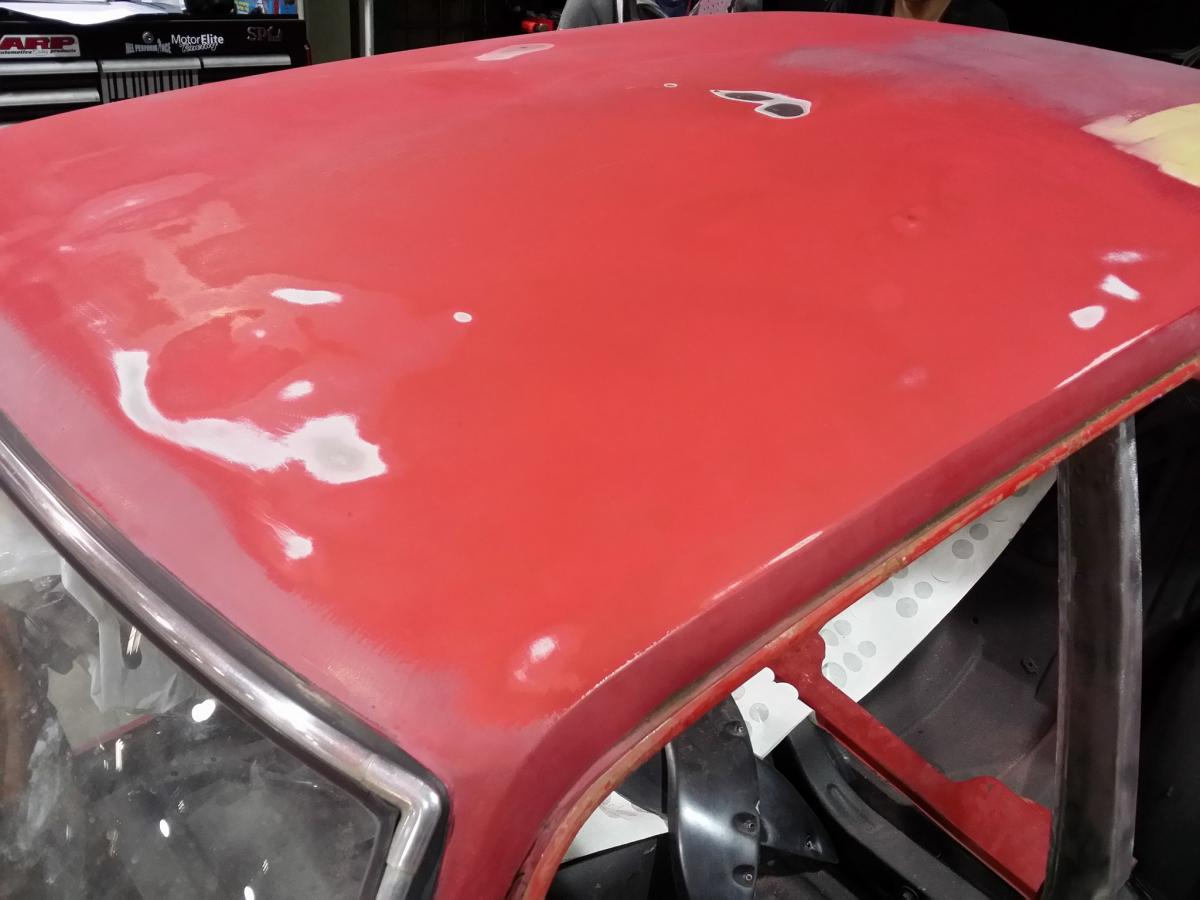
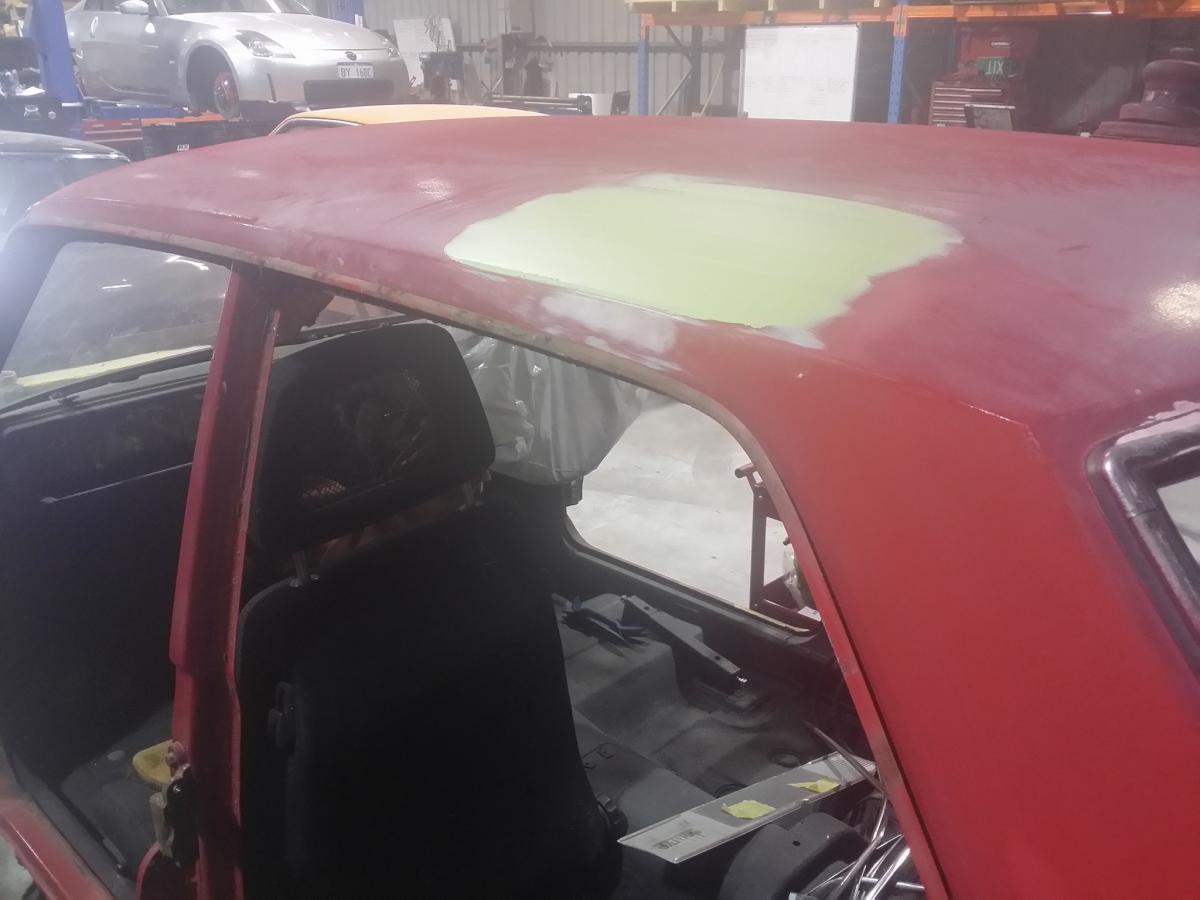
This was the only rust we could find on the drivers side (bar the sill rust as shown previously). I still need to strip back the top sections of the door jam though and I ran out of smaller wire wheels so couldnt get into some of the gaps with the mtx wheel. I also spend a bit of time on the roof. There is only a small amount of sanding left then some beating and skim of bog to get it ready.

-
-
And on the drivers side.
-
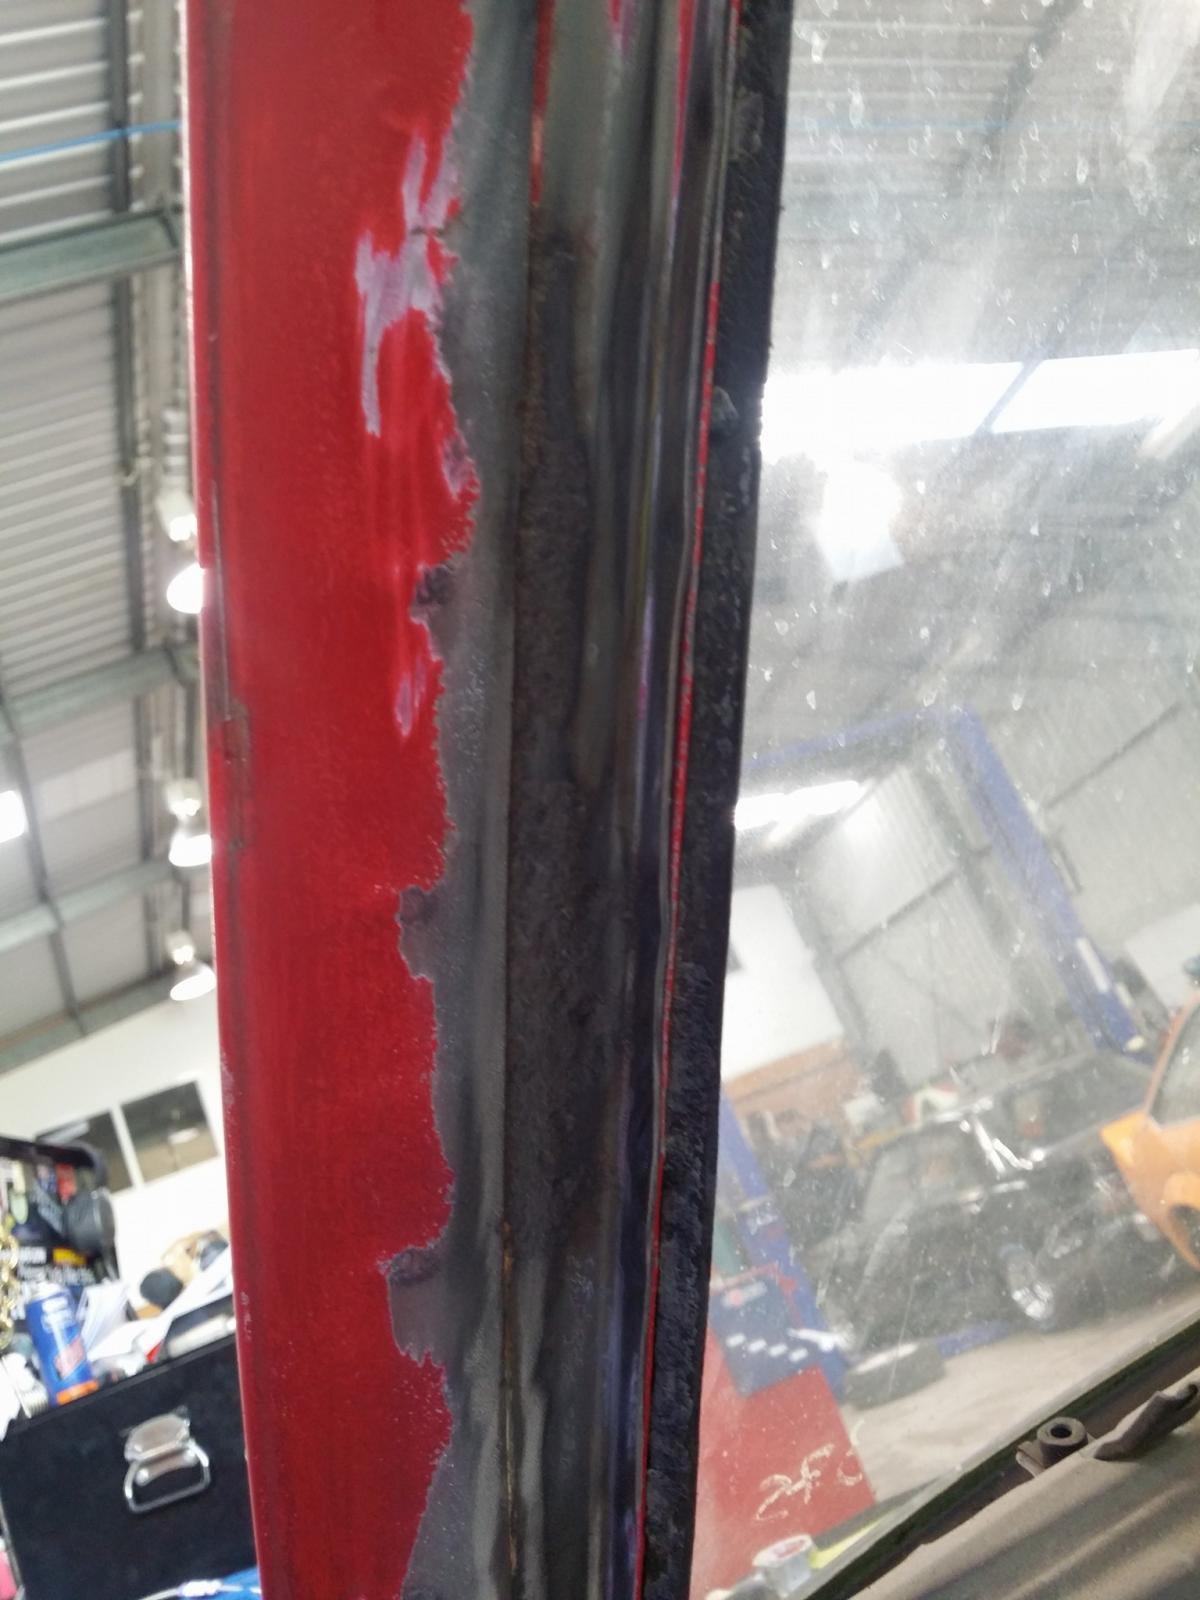
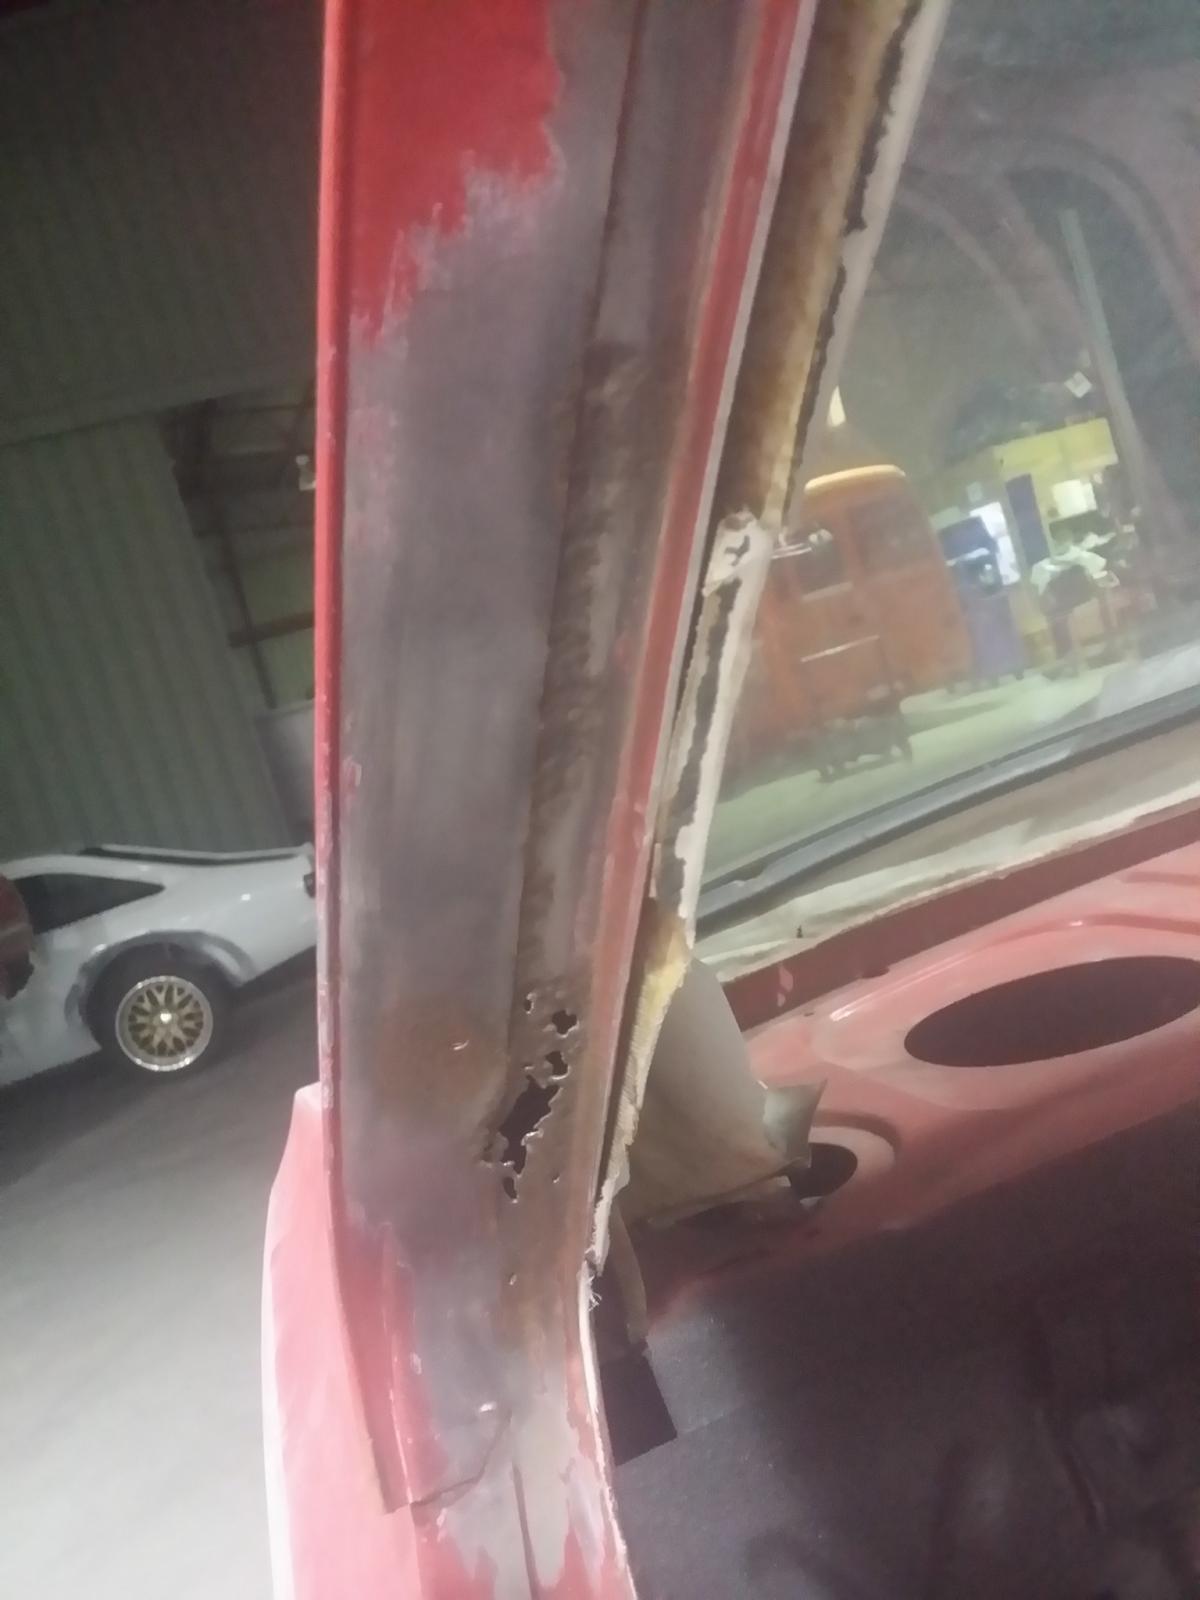
And a small amount of pitting towards the front of the bottom of the B pillar. Section around the front hinges was clean.
-
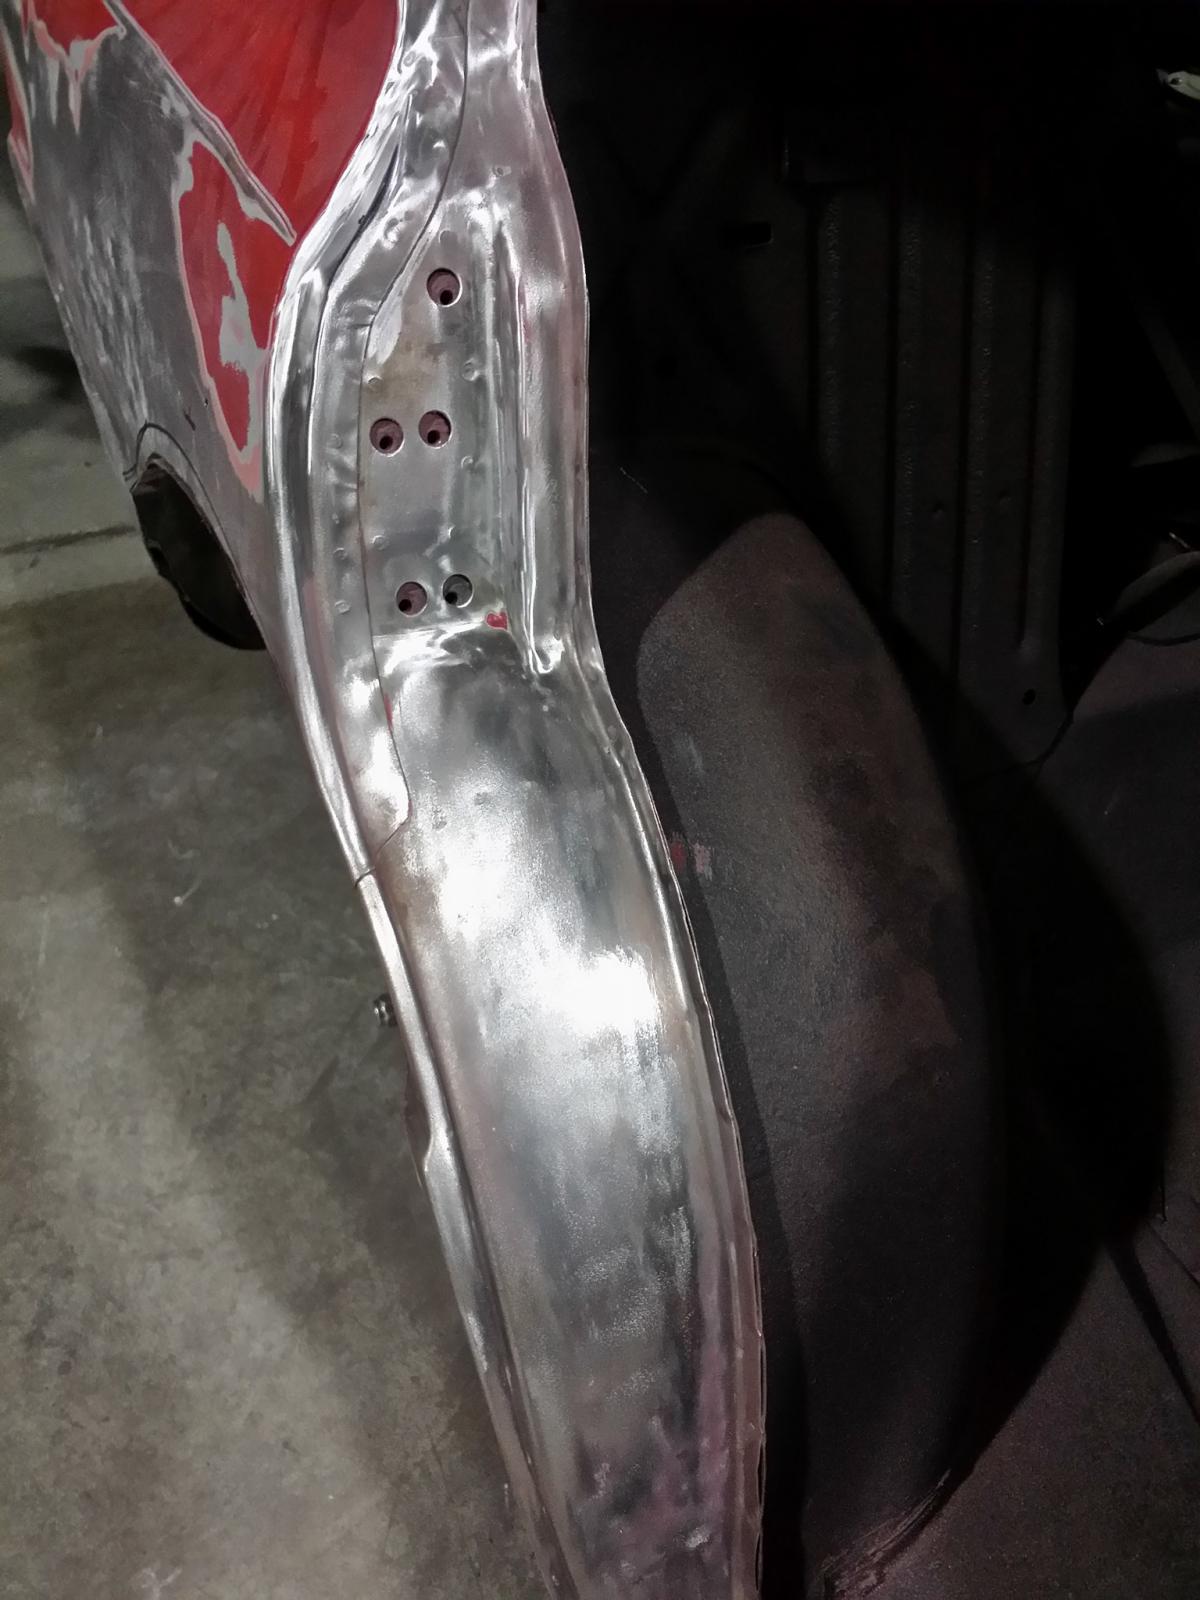
The only rust hole we could find, and pitting across the A Pillar - thought this would have been a lot worse so pretty happy.
-
Alright so I managed to get a few more evenings in on the wire and coarse wheels. I've removed the rear door hinges and door catches and started stripping back the door jam areas to see what we're dealing with. Starting with the passenger side.
-
Haha yeah it's a hard choice man but i'm definitely swaying towards the orange like such.. It just looks so good!
-
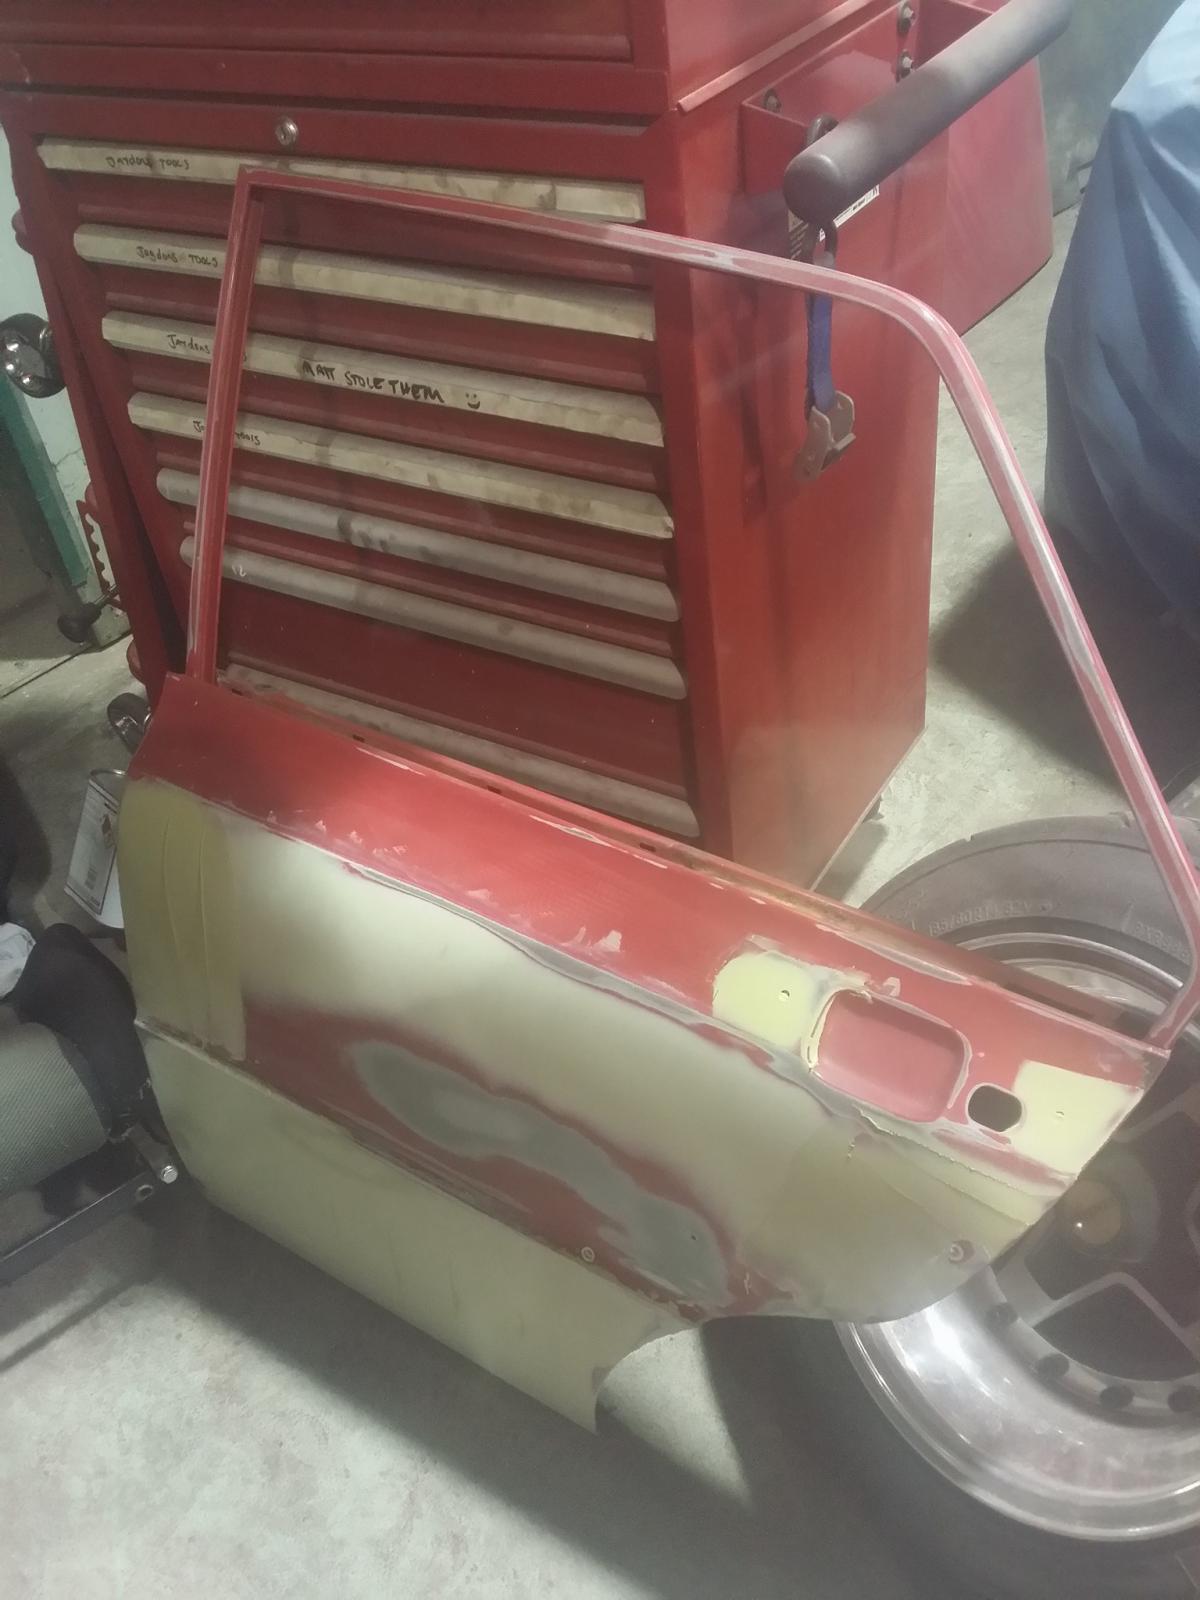
And a bit more work carried out on the doors. The outer sections are almost ready for their first coat of primer. Forgot to grab a pic of the 4th door though. I think the panel beater spent some more time on it last friday evening, I was initially going to spend all of Sunday hacking away at it but had some things come up. Will try and get another 15-20 hours in this week and hopefully the fabricators will be able to weld in the new patches then we'll be able to lay some primer and get it all in one colour. Legit. Cheers, Tai
-
And the lower sections. And the notch for the seat clearance has been welded in.
-
Attacked the rear beaver panel and lower corner sections with the wire wheel as some rust was showing. Ended up being much better than expected with just some pitting but it looked a lot more worse for wear.
-
Passenger rear quarter sanded back. Roof sanded back, beaten and a skim of bog.
-
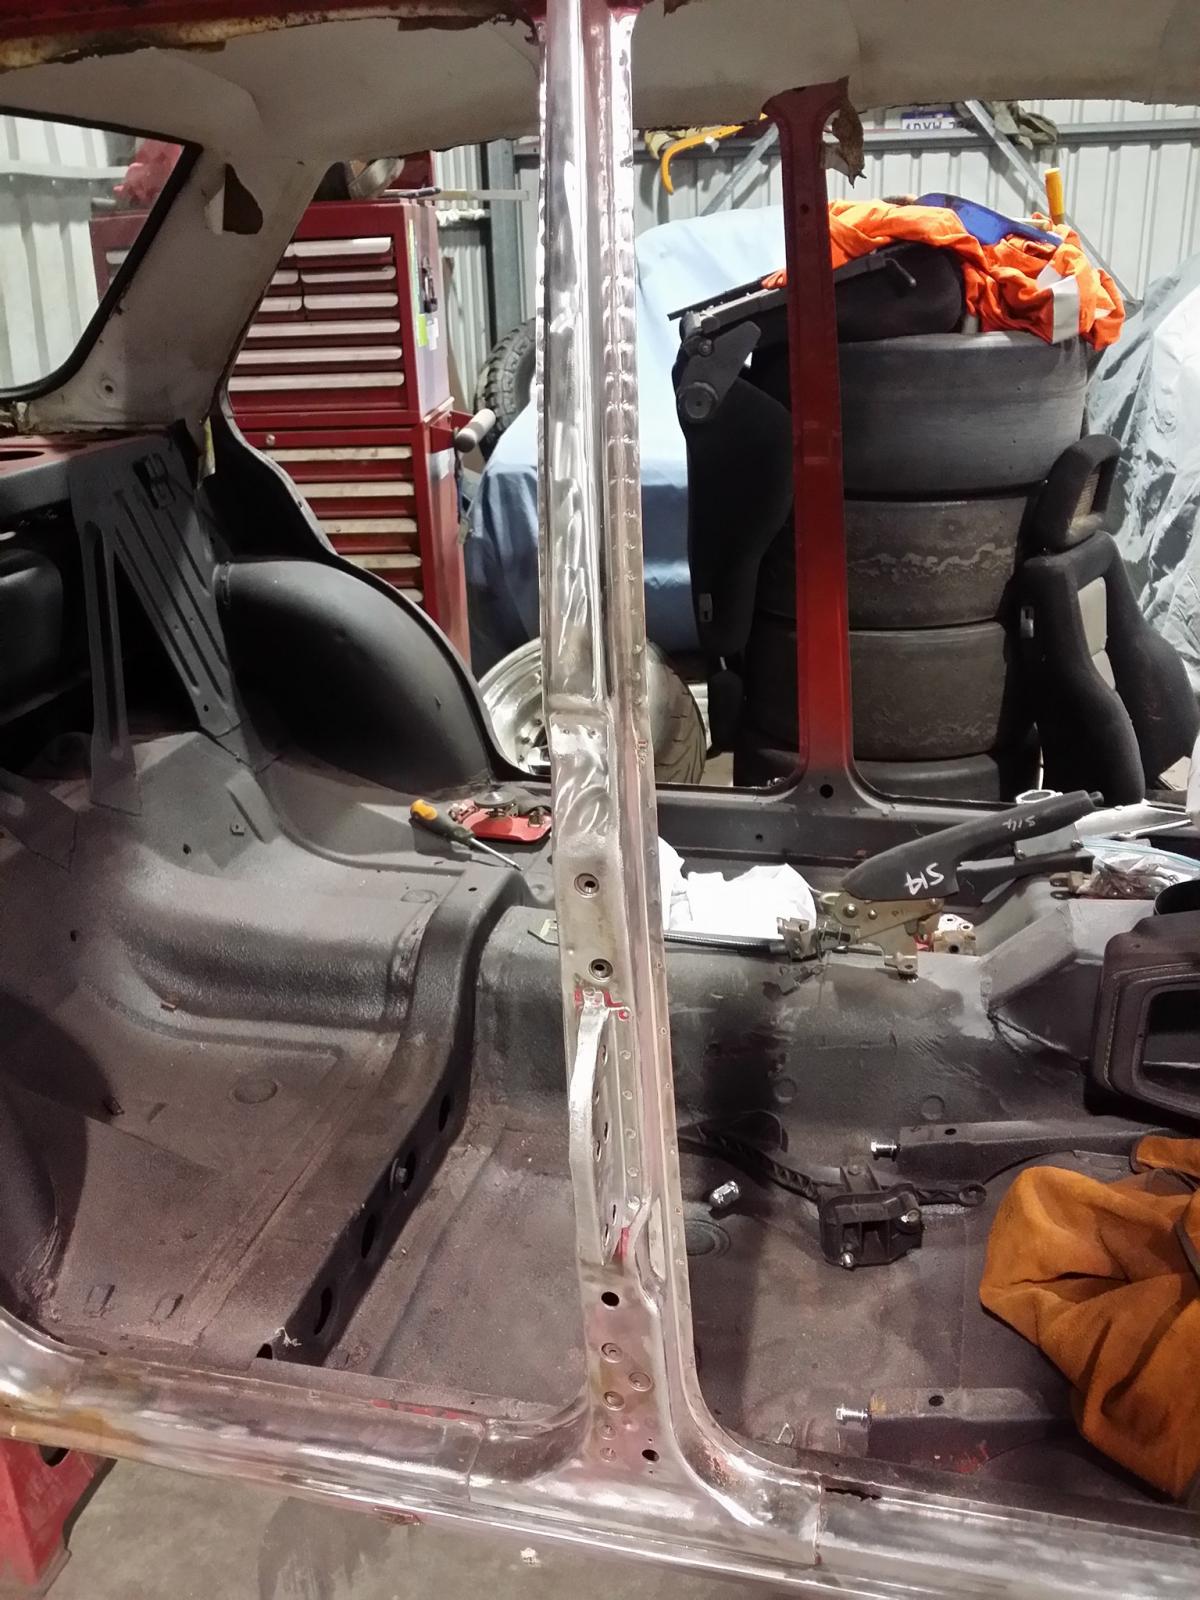
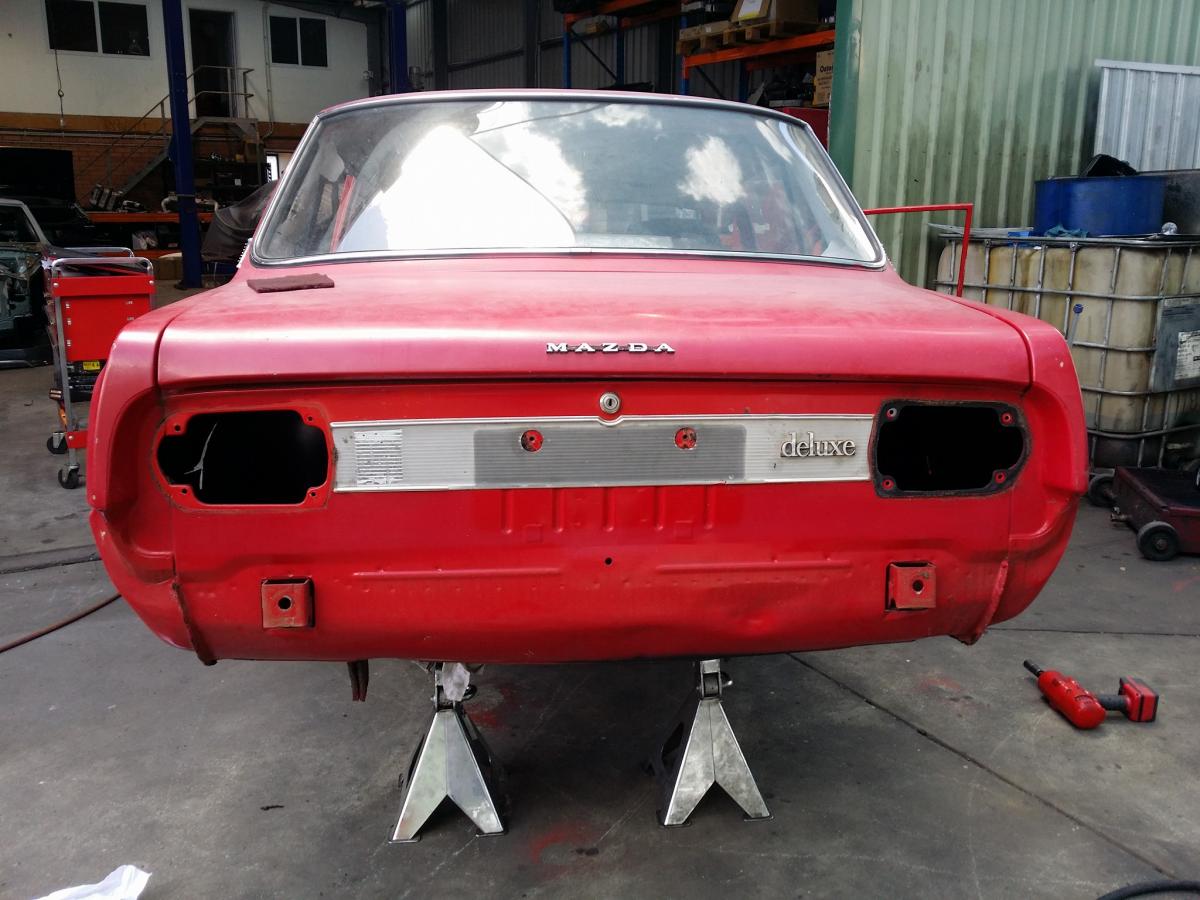
Spent Thursday night attacking some more rust and sanding down some panels alongside old mate Connor who was busy working away panelbeating panels and smoothing them out. Here are some boring pics of what we got up to, apologies for the shitty phone pics as it was about 10:30pm in a workshop with bright as lighting. Boot panel, had only a small amount of surface rust but a few dings. Driver side rear quarter sanded back, need to put a bit more work in around the c pillar where the vents bolt up and around the gutter channels (the chrome trims were a bitch to remove but got there in the end with minimal kinks) And here are pics of the vent and rust in the c pillar which will need to be cut out and plated up, not as bad as I thought it would be.
-
May have been my old Datsun 200b goon. Was a really patchy/faded blue, was sure I removed it before I sold it though. Was only that one and my old Soarer. Will be laying some on the Mazda in the near future though.
-
Which wagon? I used to have a 200b wagon that had an old school sticker but I didn't see it there that day. I only dropped in for like 30mins though as I had a really busy day
-
Snoozin's '79 Two Point Five S (It's for SPORTY)
Taistorm replied to Snoozin's topic in Project Discussion
Such a sweet triumph bro. Good to see you have finally put my old speakers to use, they used to go pretty well too.. -
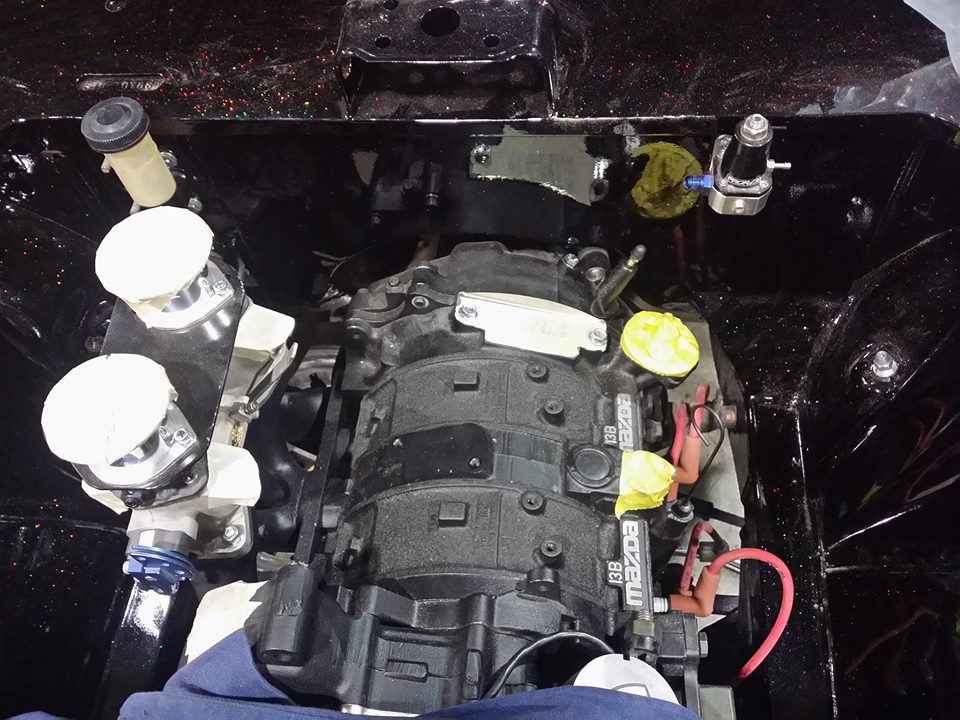
Oh yeah, also we now have the clutch slave cylinder mounted and FPR sitting in place. Engine bay is already so dusty from sitting in the shop. Will need a good clean once it's all sorted! Please excuse the potato pics. Peace
-
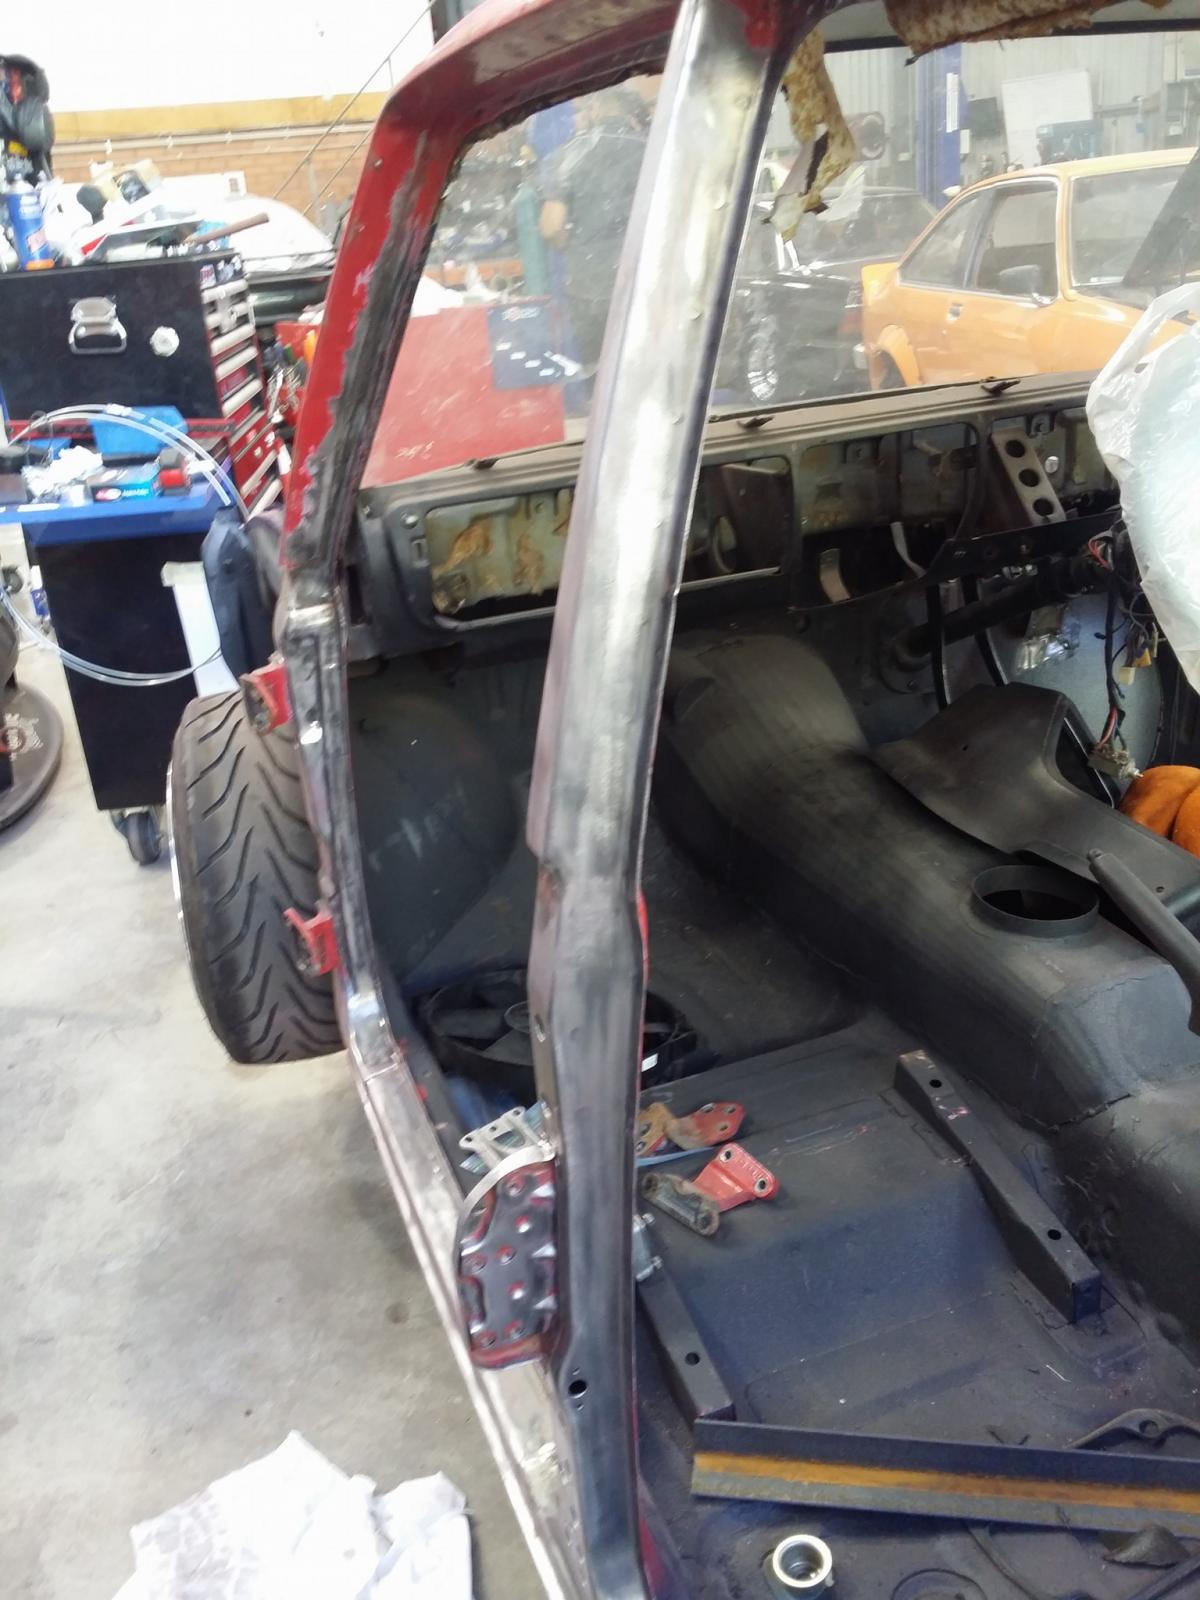
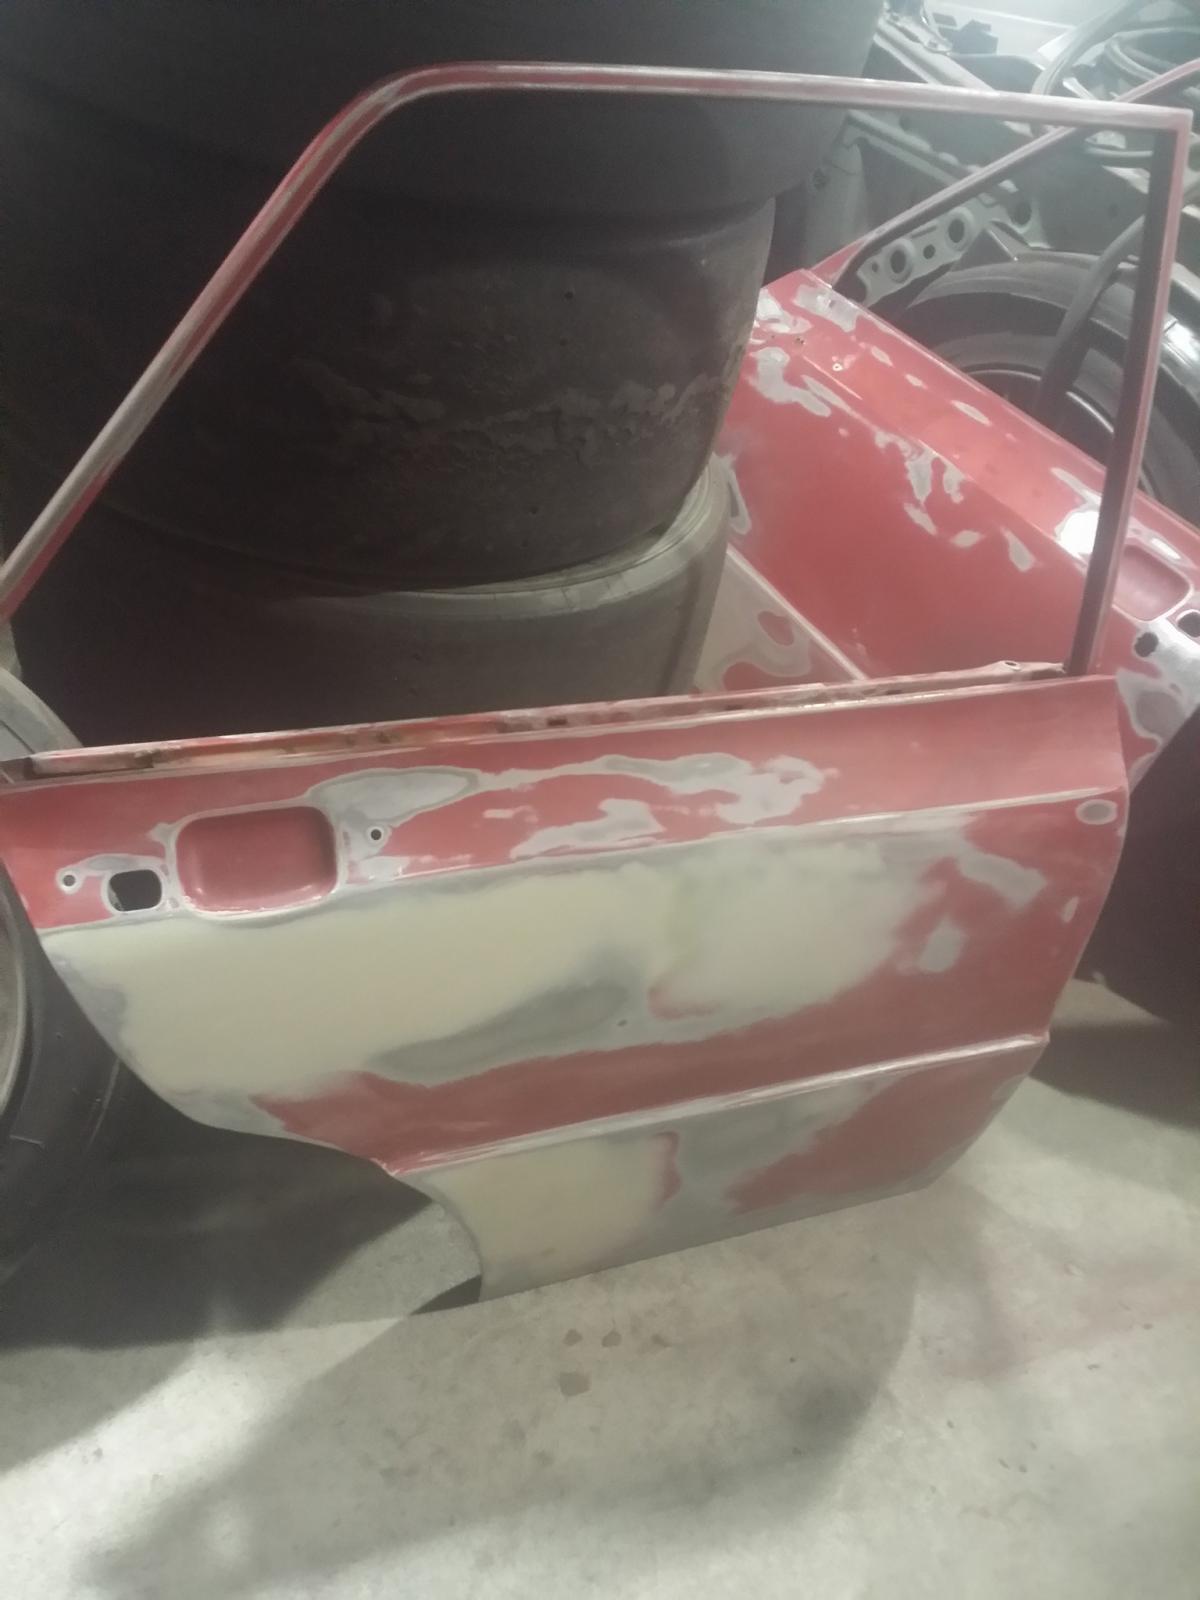
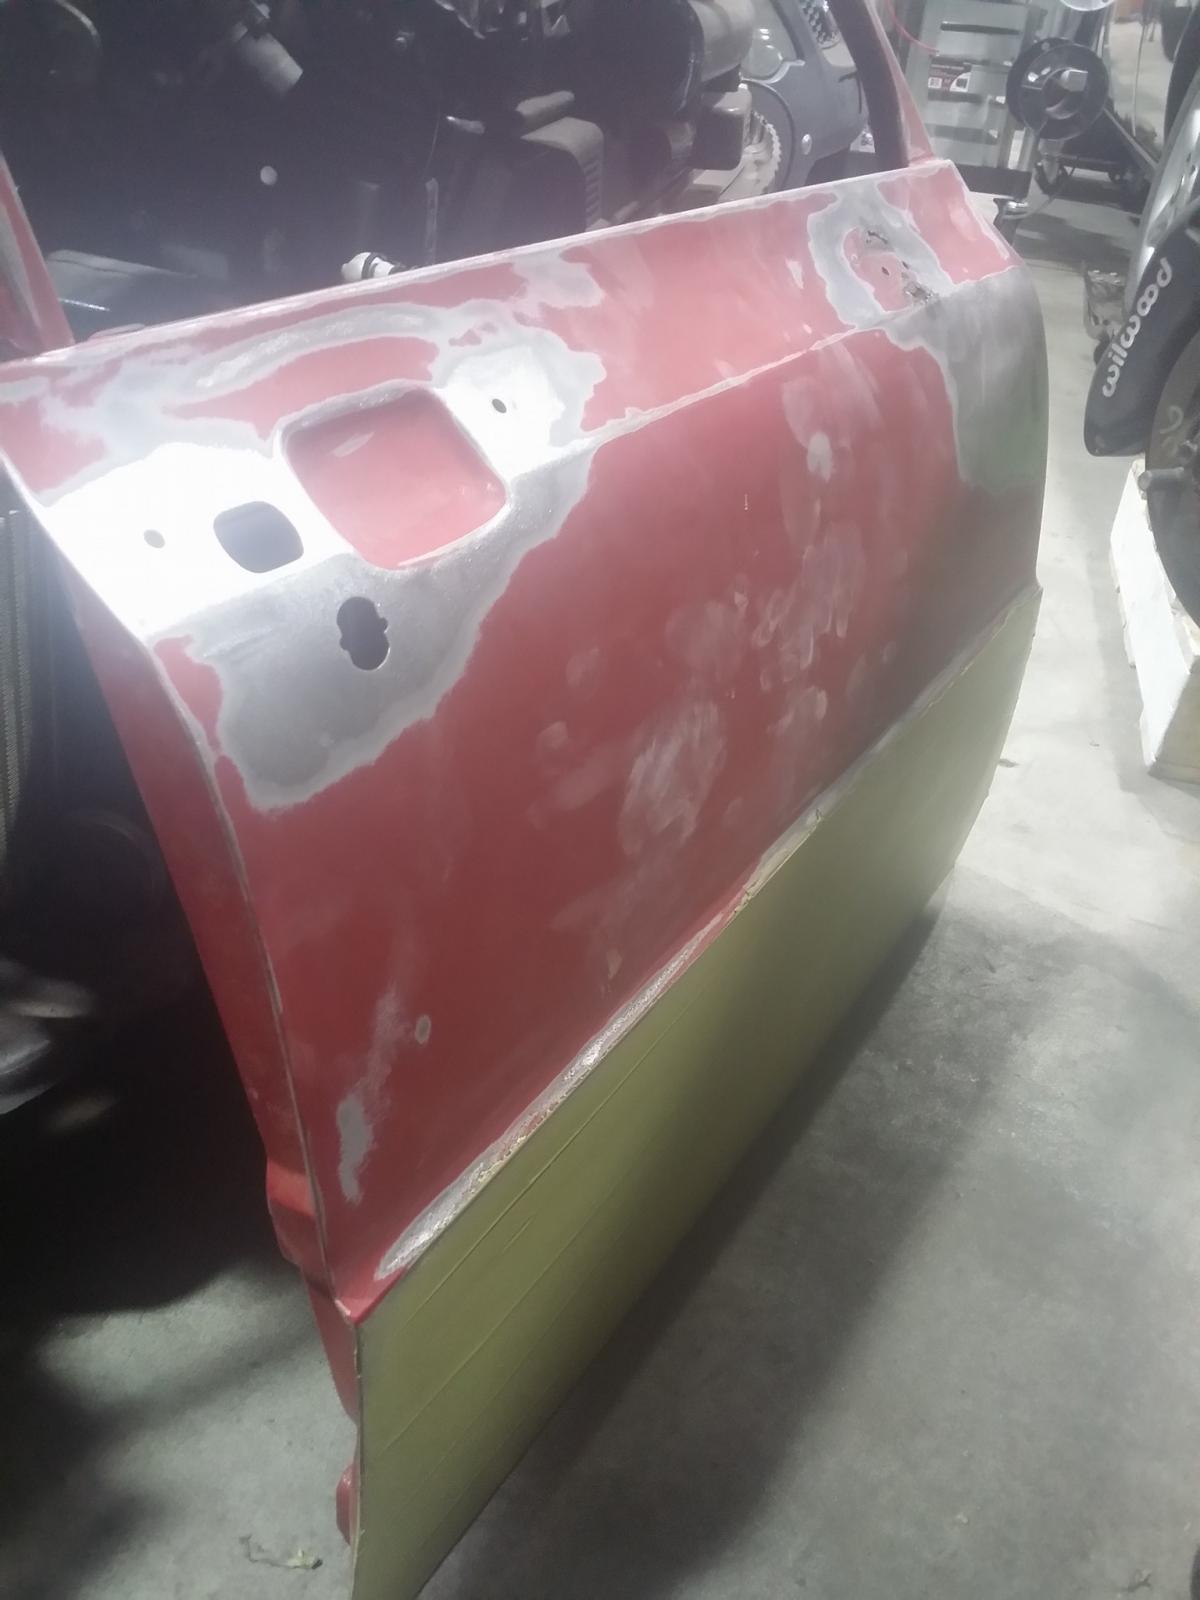
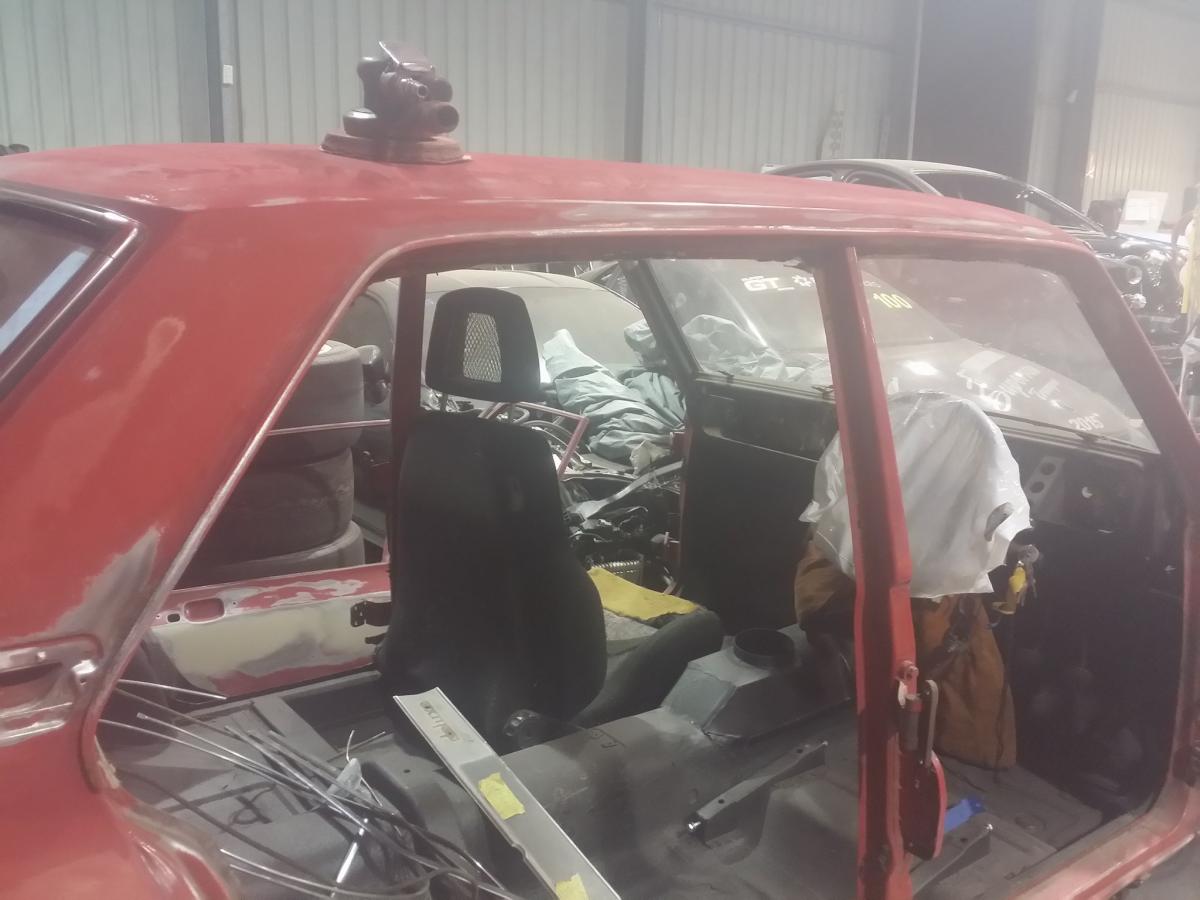
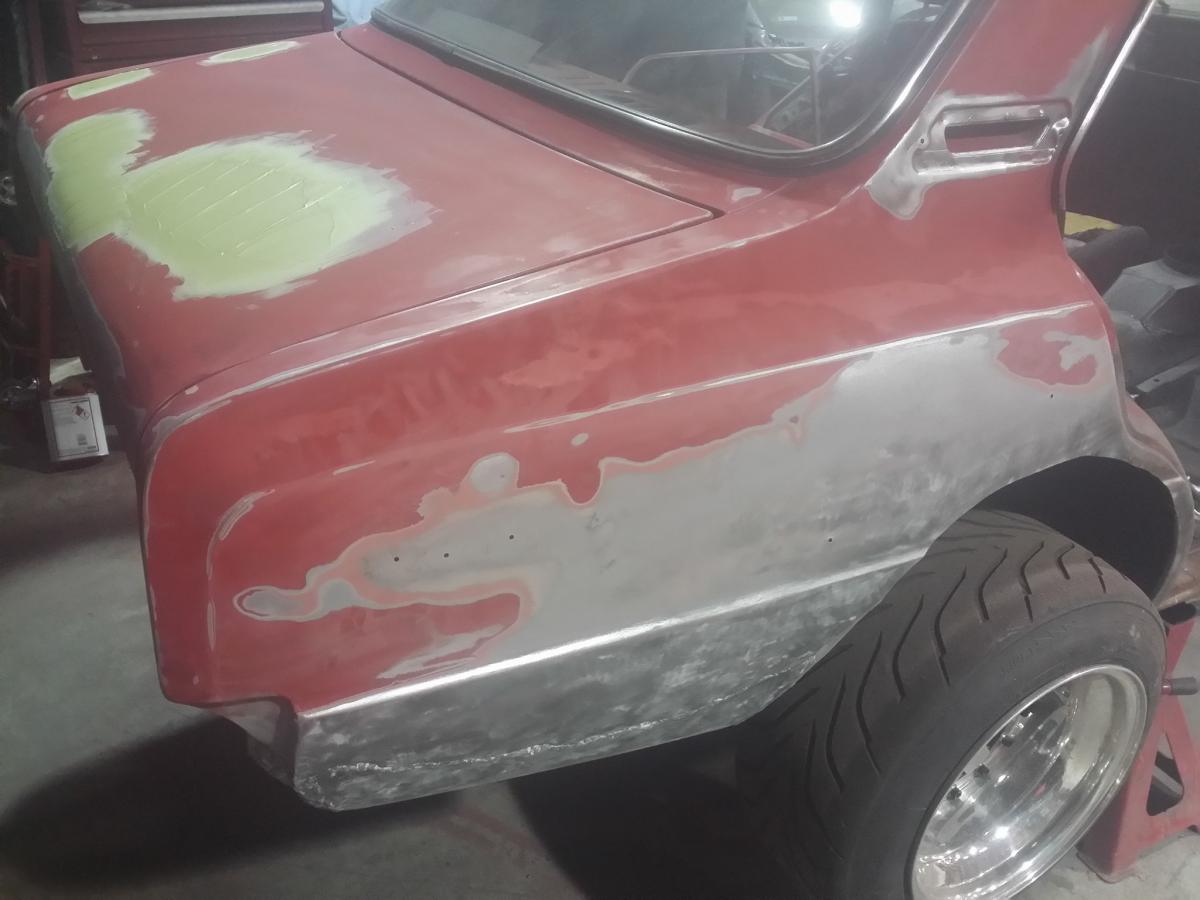
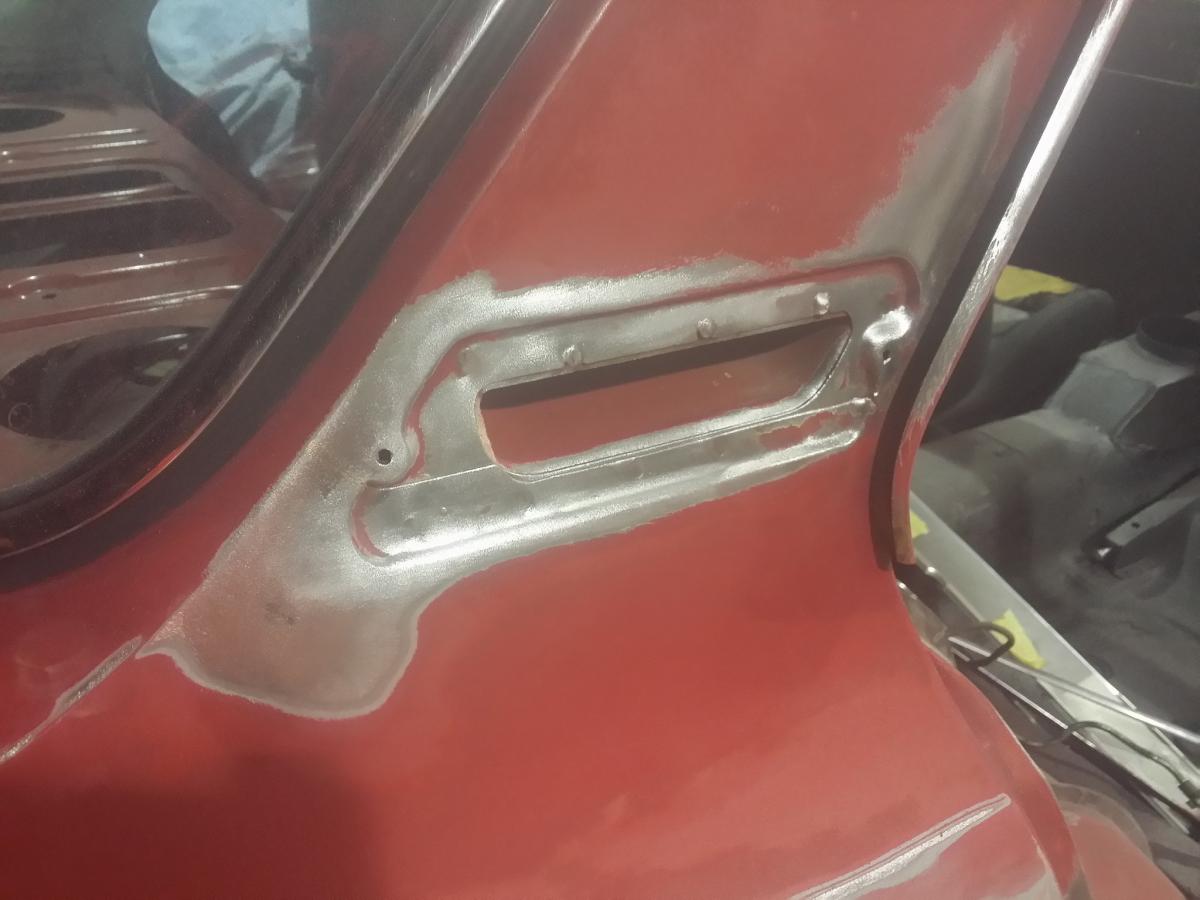
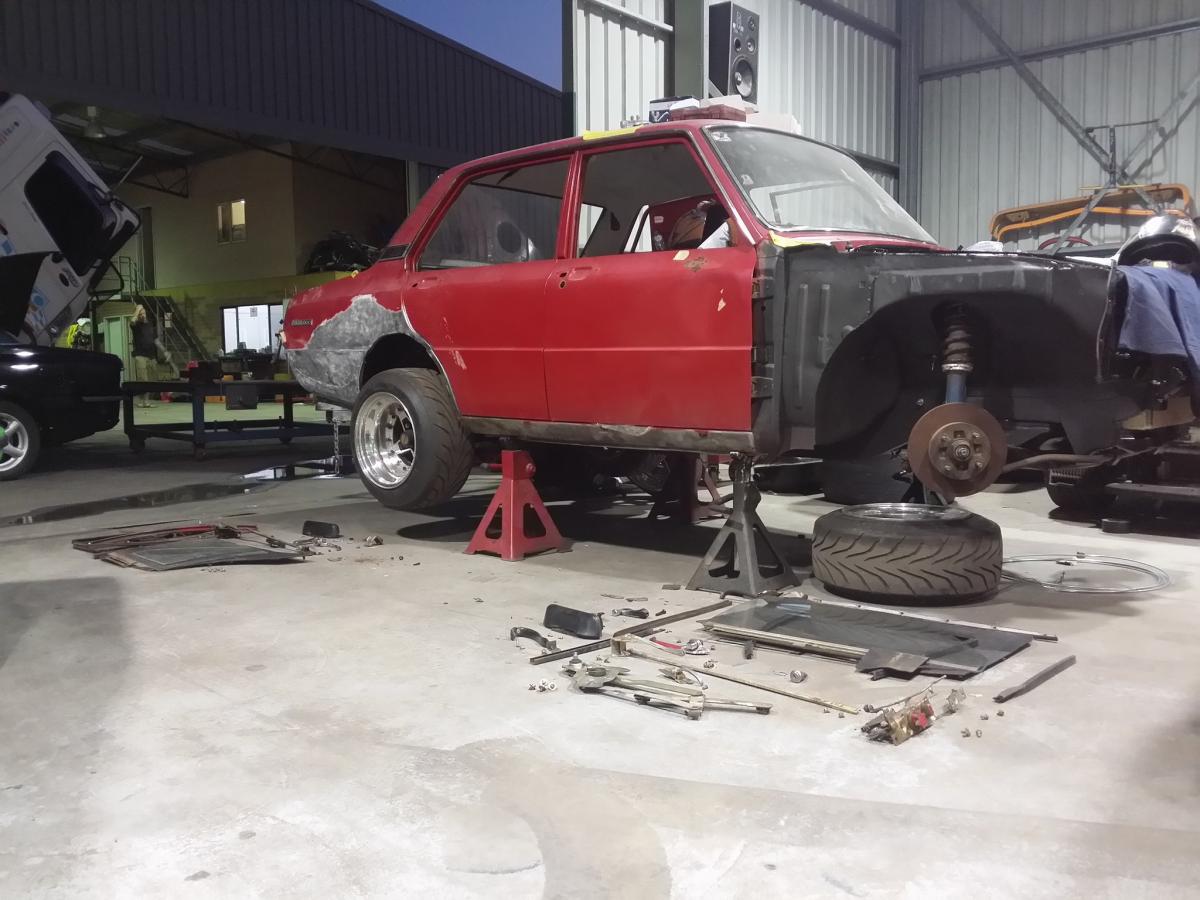
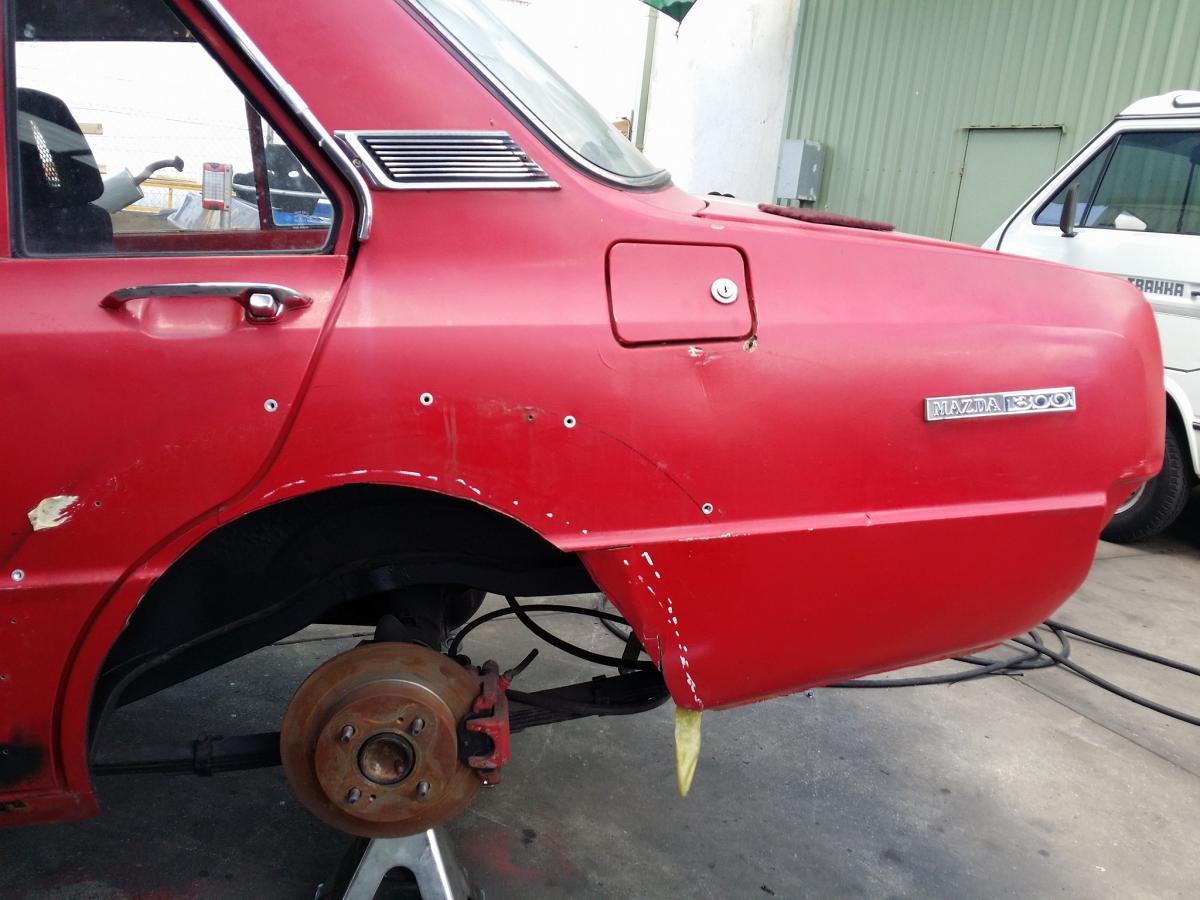
Spent the evening yesterday stripping the door cards, windows, etc from the doors yesterday and removed them in preparation for panel work and rust removal. Forgot to take a pic showing the doors removed but you get the point. Everything all organised - box full of bits ready to be sent off for replating and polishing The rubbers are pretty fucked being 40 odd years old and against the hot dry weather here in Perth. Suppose I should get a new rubber/seal kit but we will see if funds allow. It was a real cunt getting the windows out, especially the rear door window/quarter glass combo. Never had to remove windows before so good to know now. All in all I only stripped 1 screw head so i'm pretty happy with that strike rate. I also got started on the drivers door.. And here is where we ended up at. A few dents that need to be straightened out and the obvious rust where the side mirror was mounted - This will be plated up as they have been deleted to make way for fender mirrors. All doors have rust across the bottom on the inner skin so we will be getting these blasted. Also thinking about painting this rather than leaving it in primer as it will be much easier with it all stripped apart but we will see if funds allow. I'm not 100% on colour, I was initially going to repaint it the original Mazda sunrise red or go down a gloss black or battleship grey route but I've always had a soft spot for the Rx2 orange (does anyone have the specific paint code/name?) and the 240z Mustard, this along with satin black flares but unsure whether to black out the front lip or paint it body colour. What do you guys think? Cheers
-
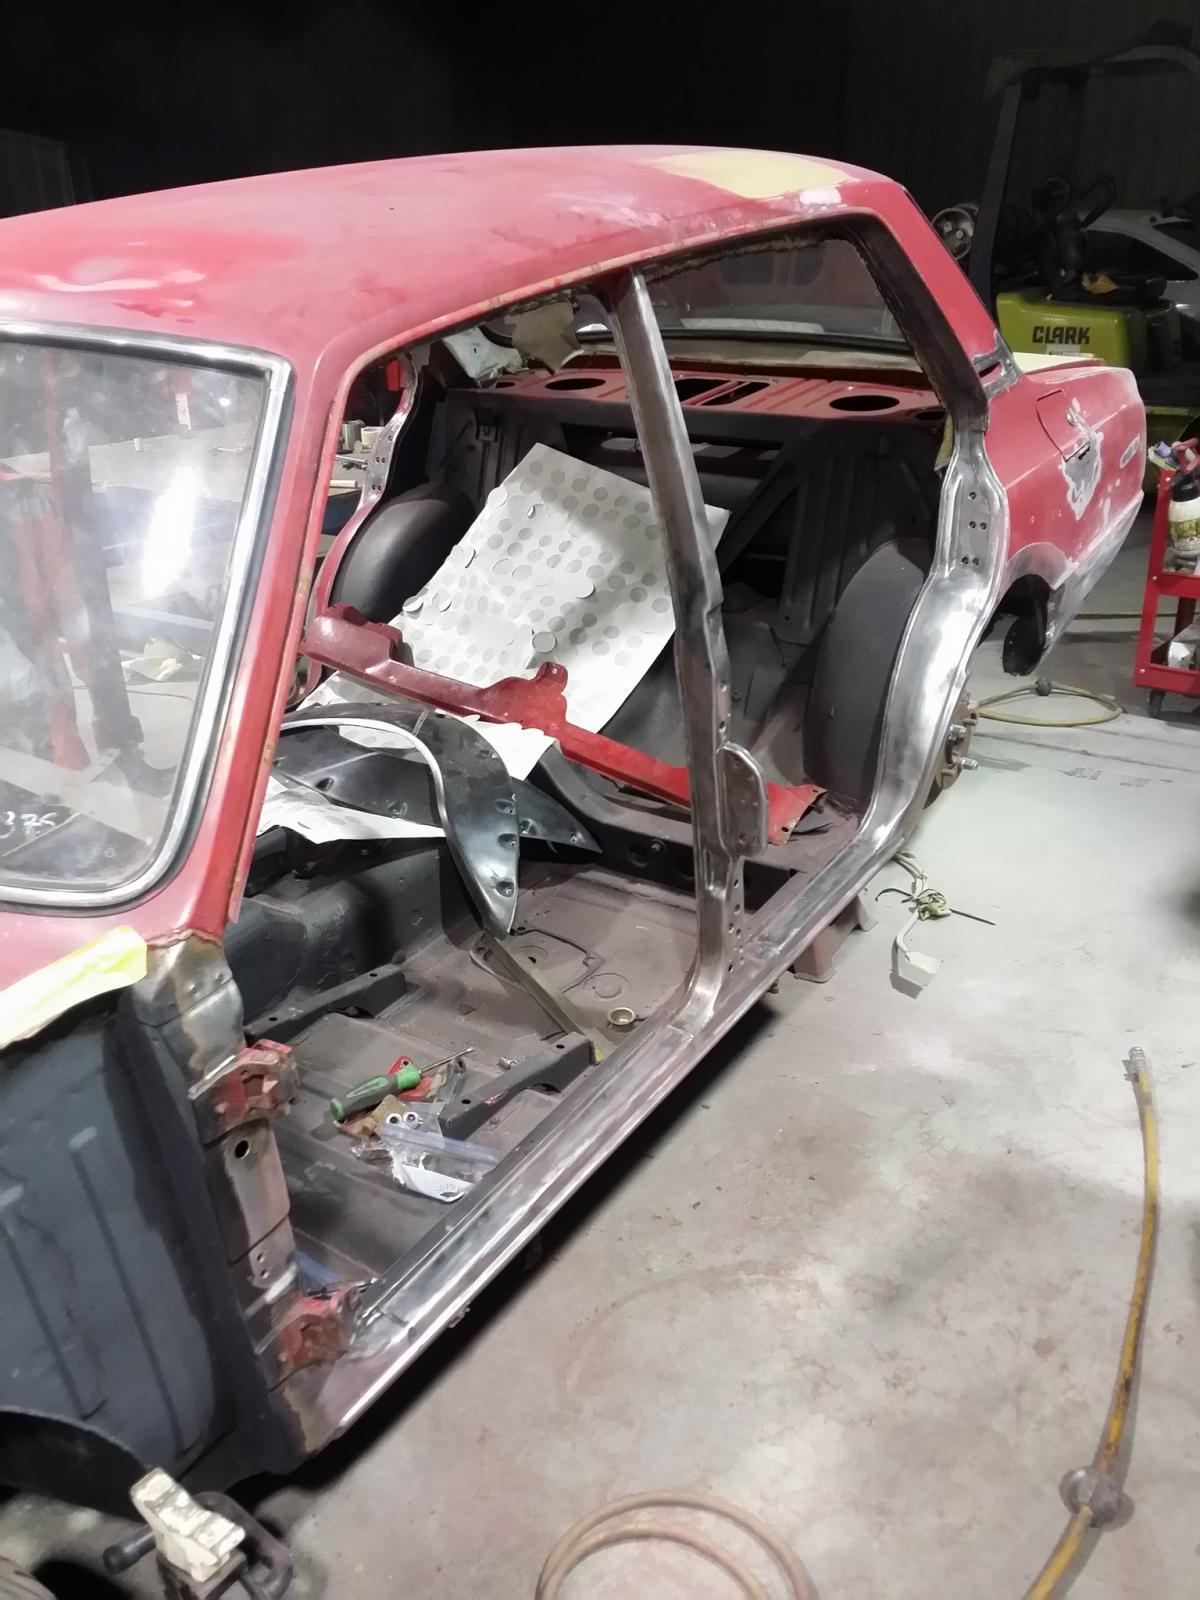
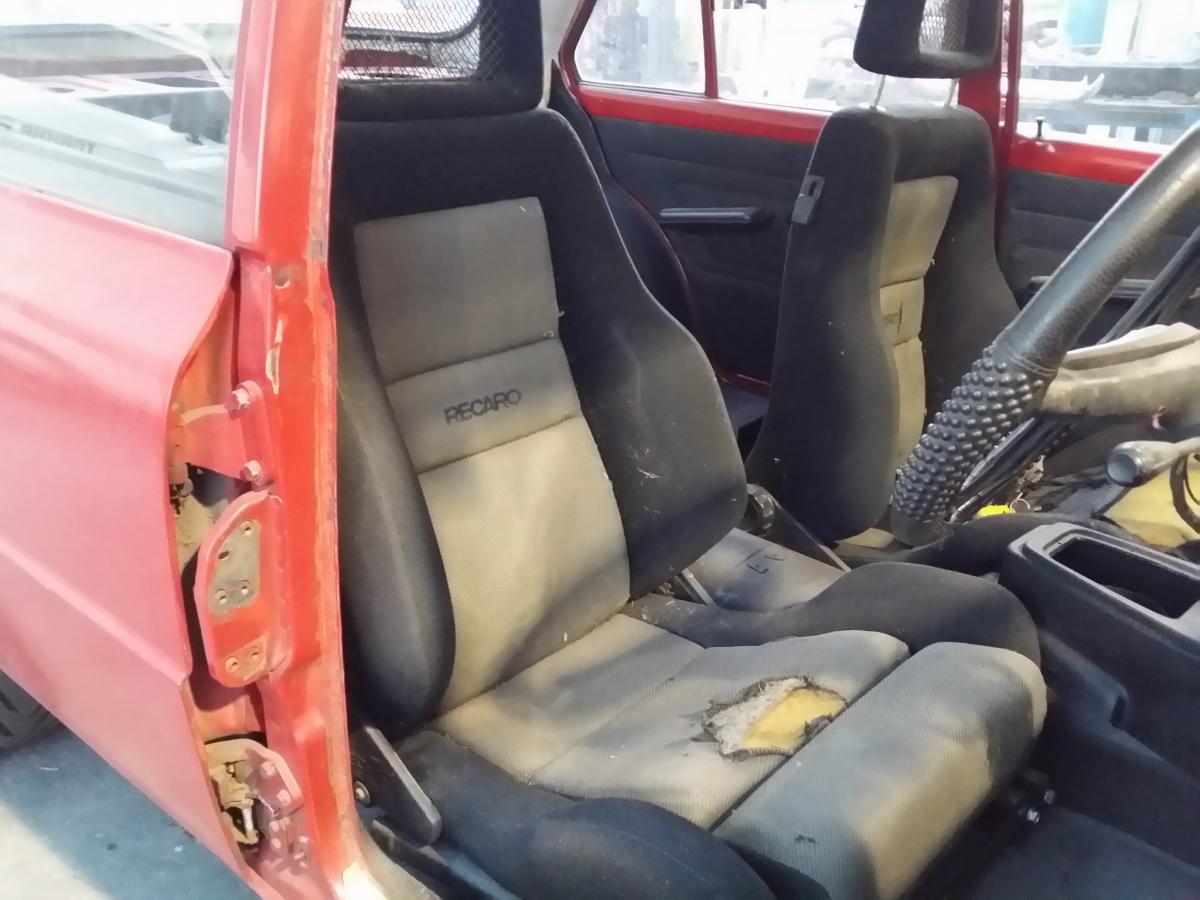
Yeah thought about that or perhaps mx5 seats (think they're a bit smaller) but I really like the Recaro seats and the fabricator is looking after me pretty well so it's not breaking the bank. Also we need to shifter the gearbox tunnel hole a bit further forward anyway.
-
Oh yeah and we also mocked up the seats. They only JUST fit (as in the width), however if I want to be able to be functional we need to scallop the trans tunnel for clearance. on top of this we are also going to shift the gear shifter hole forward to allow better fitment for the centre console. More fab happening soon!
-
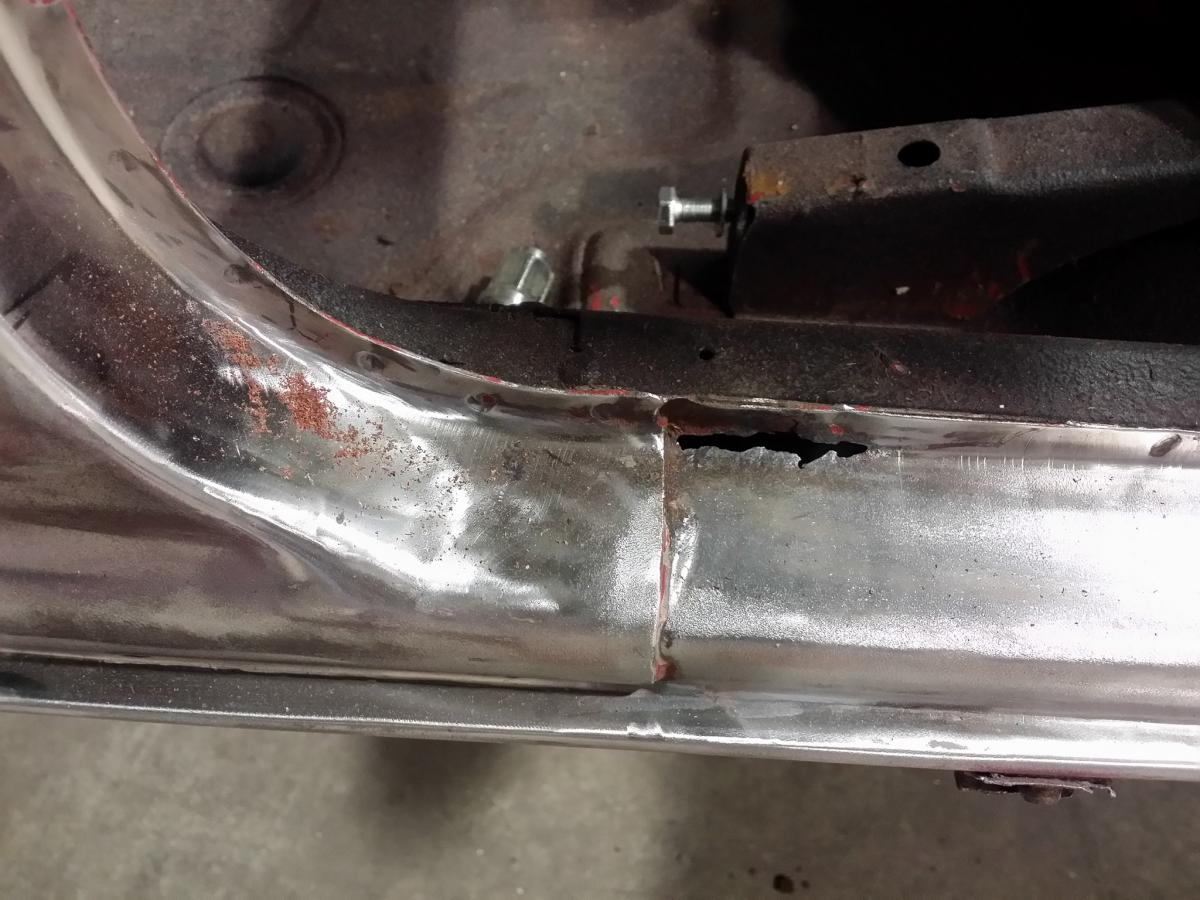
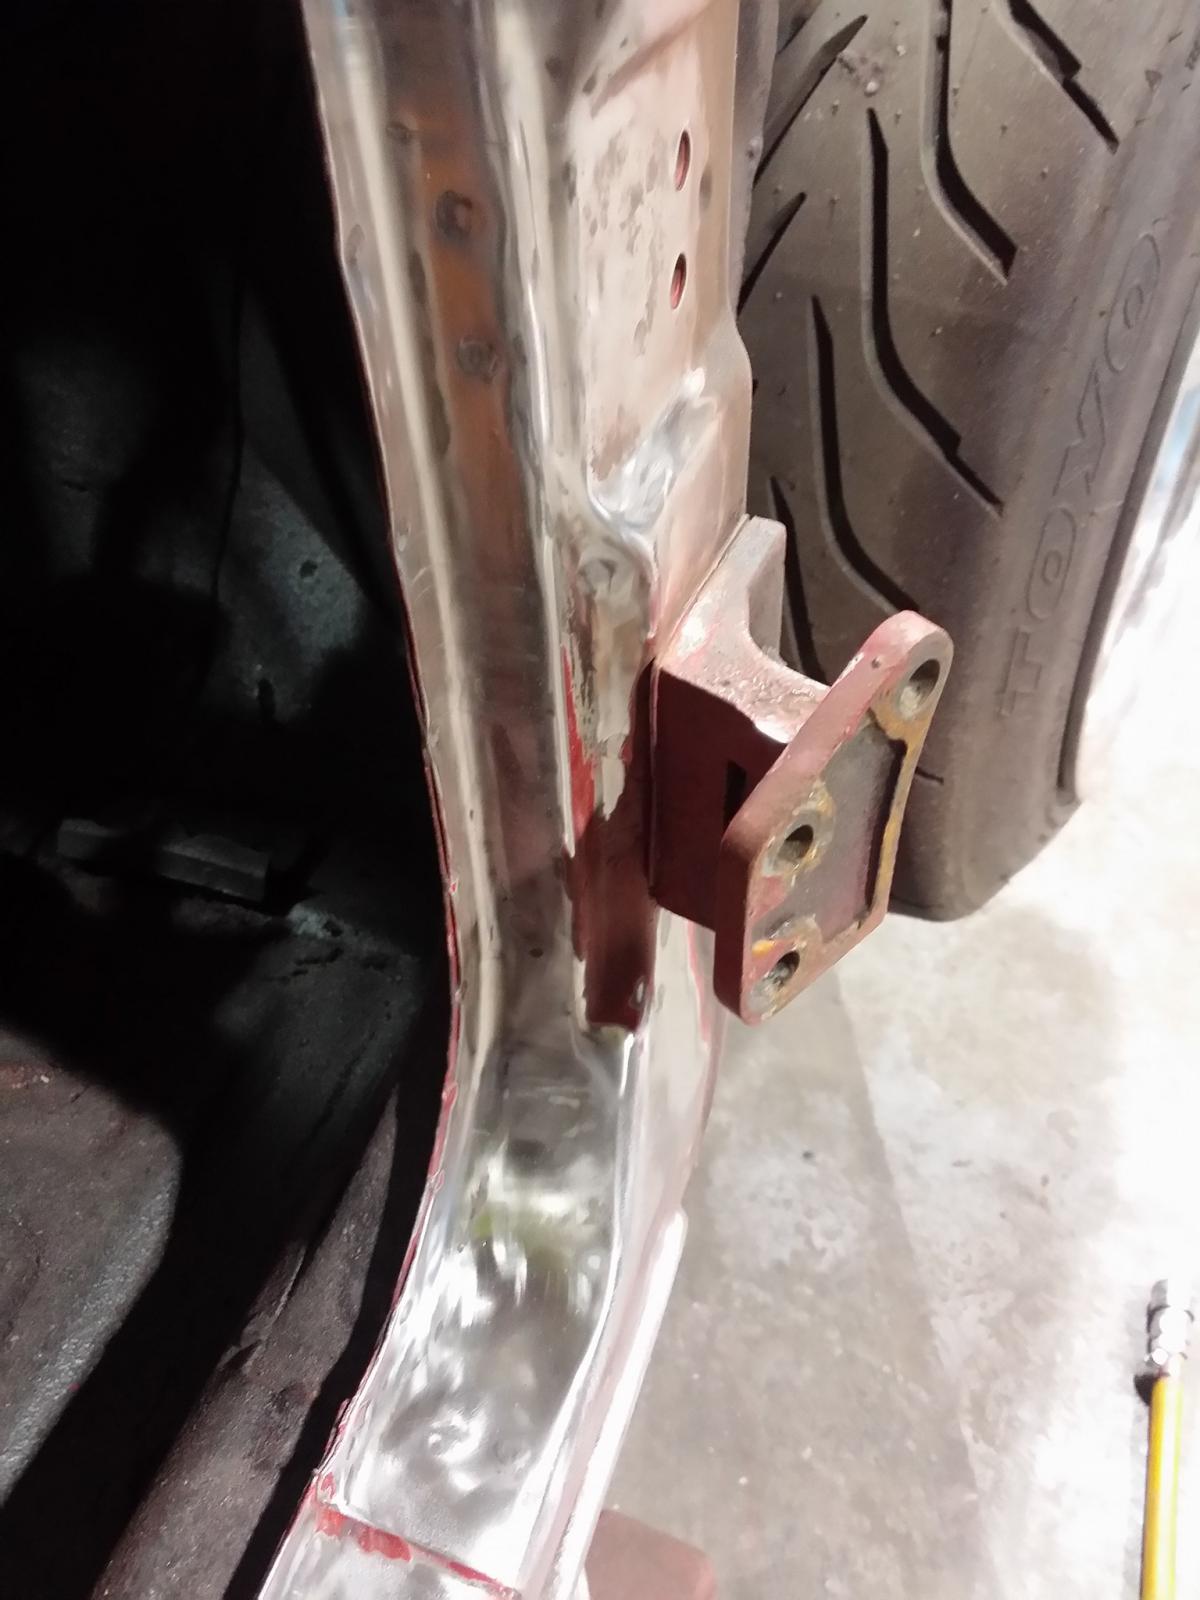
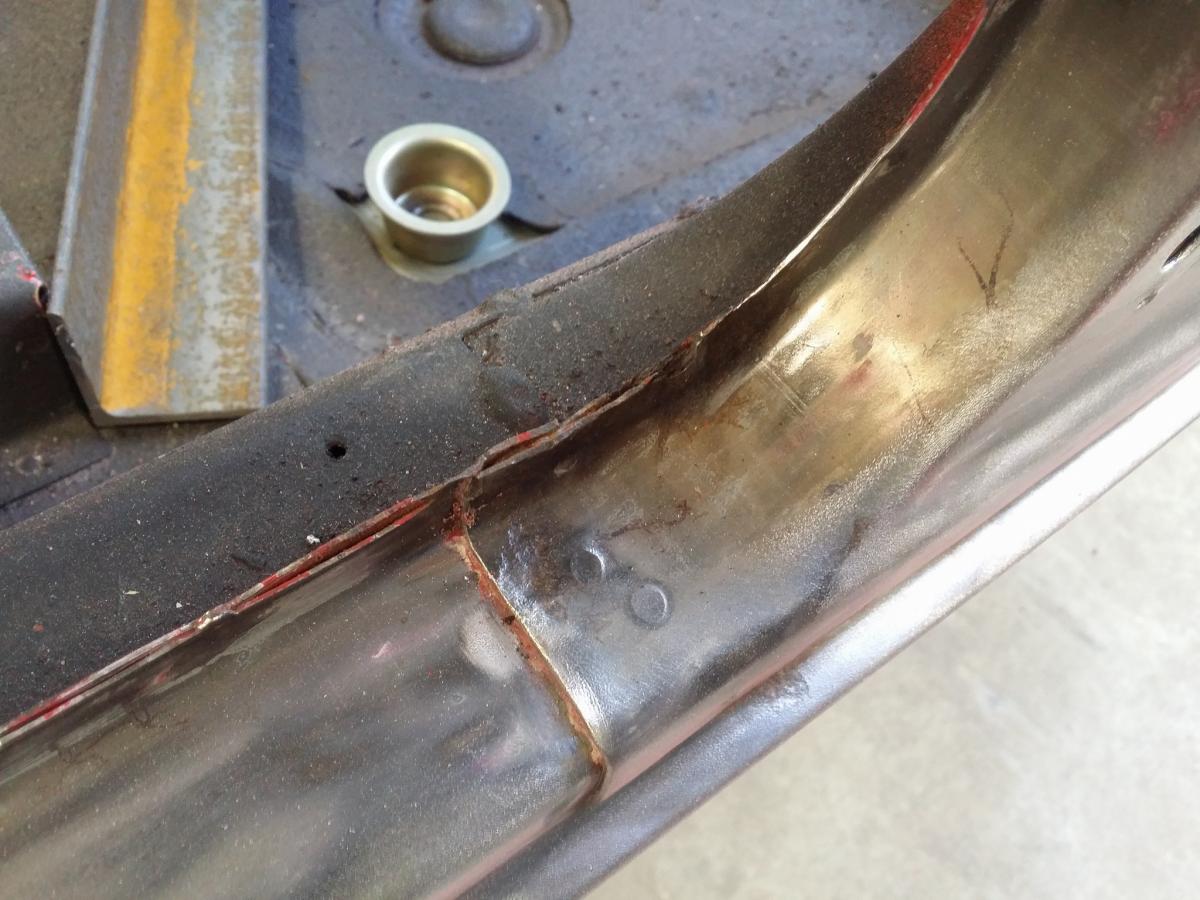
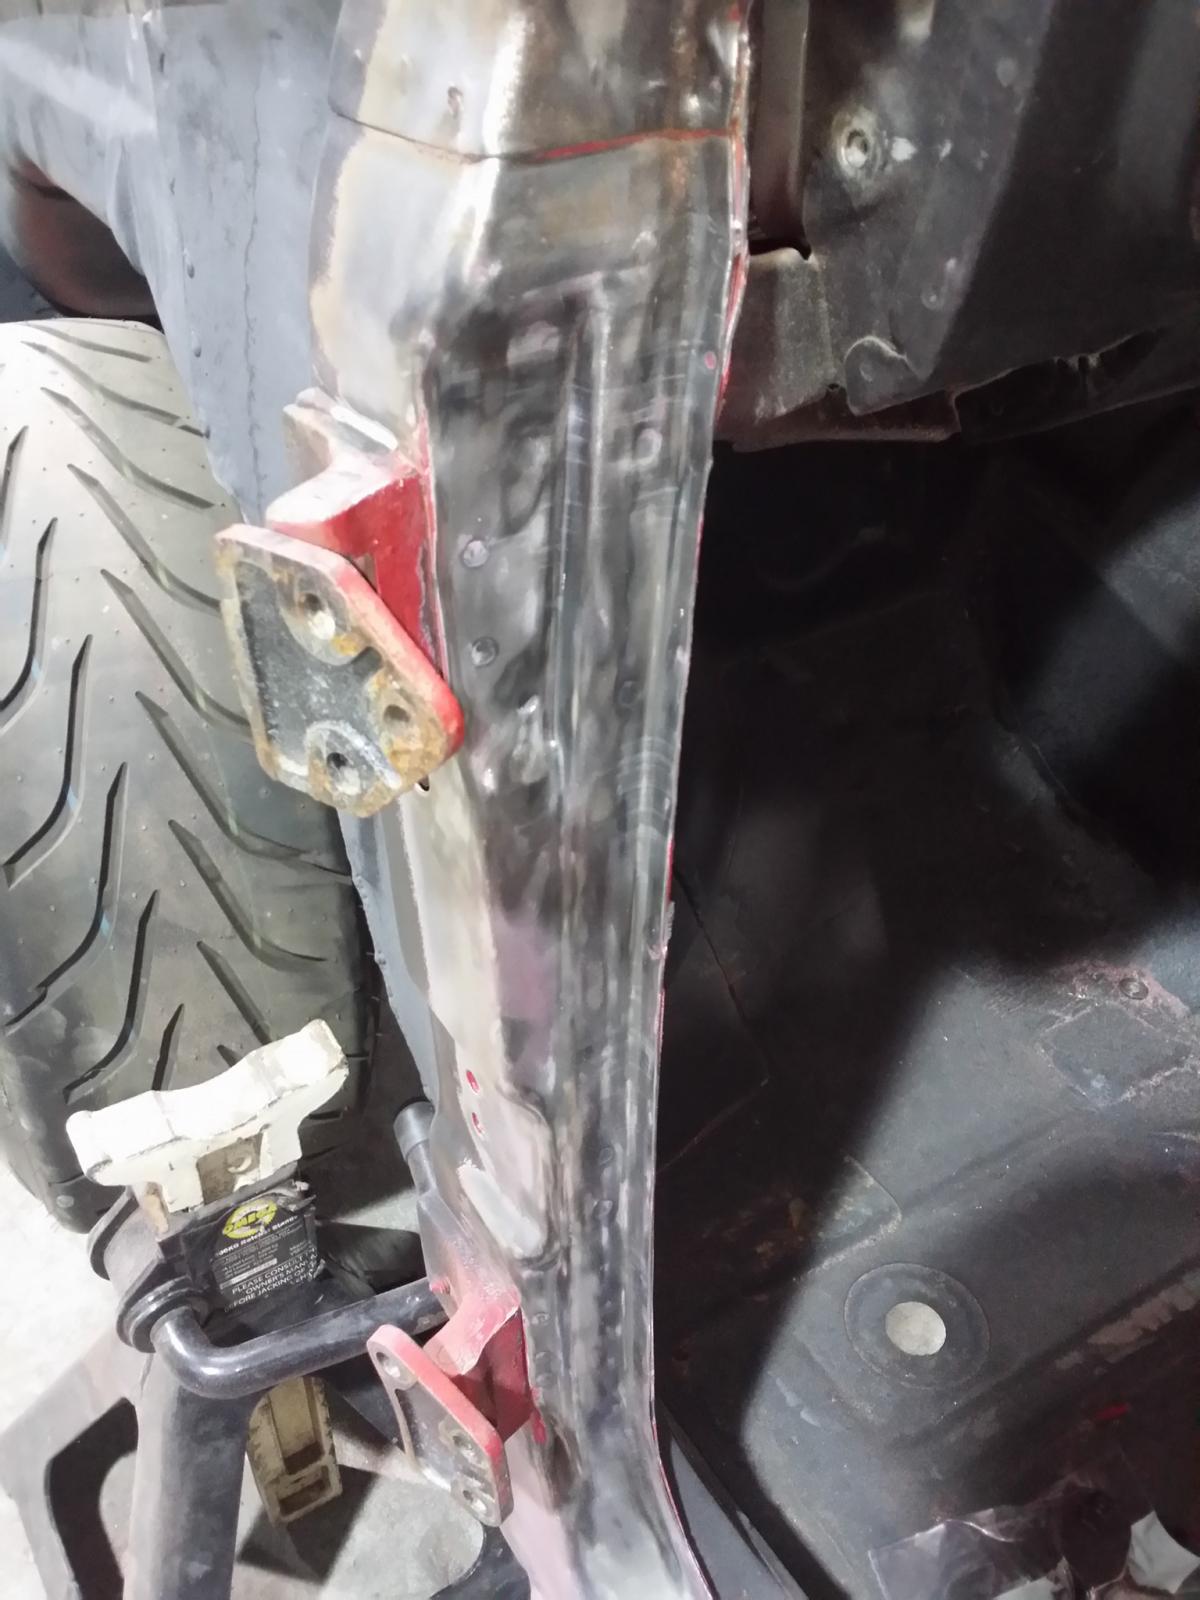
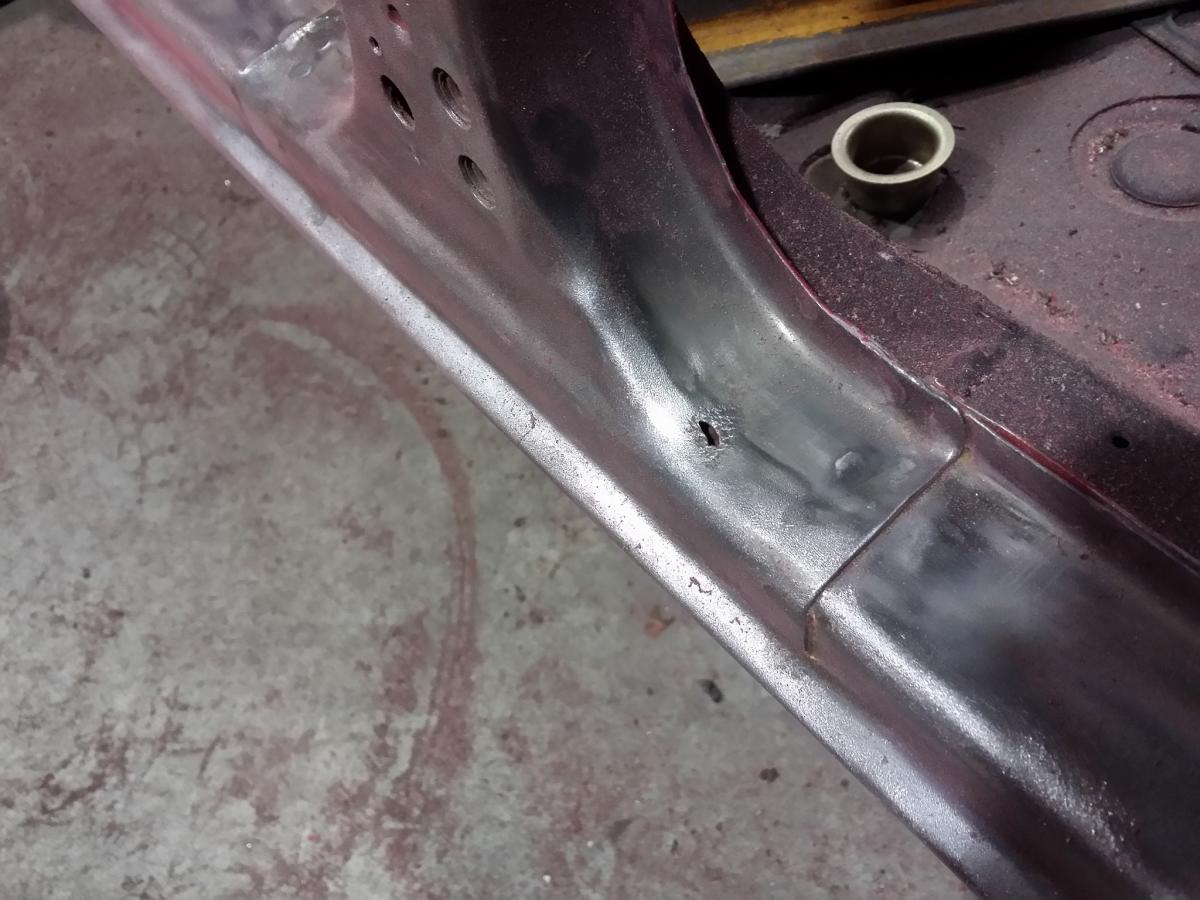
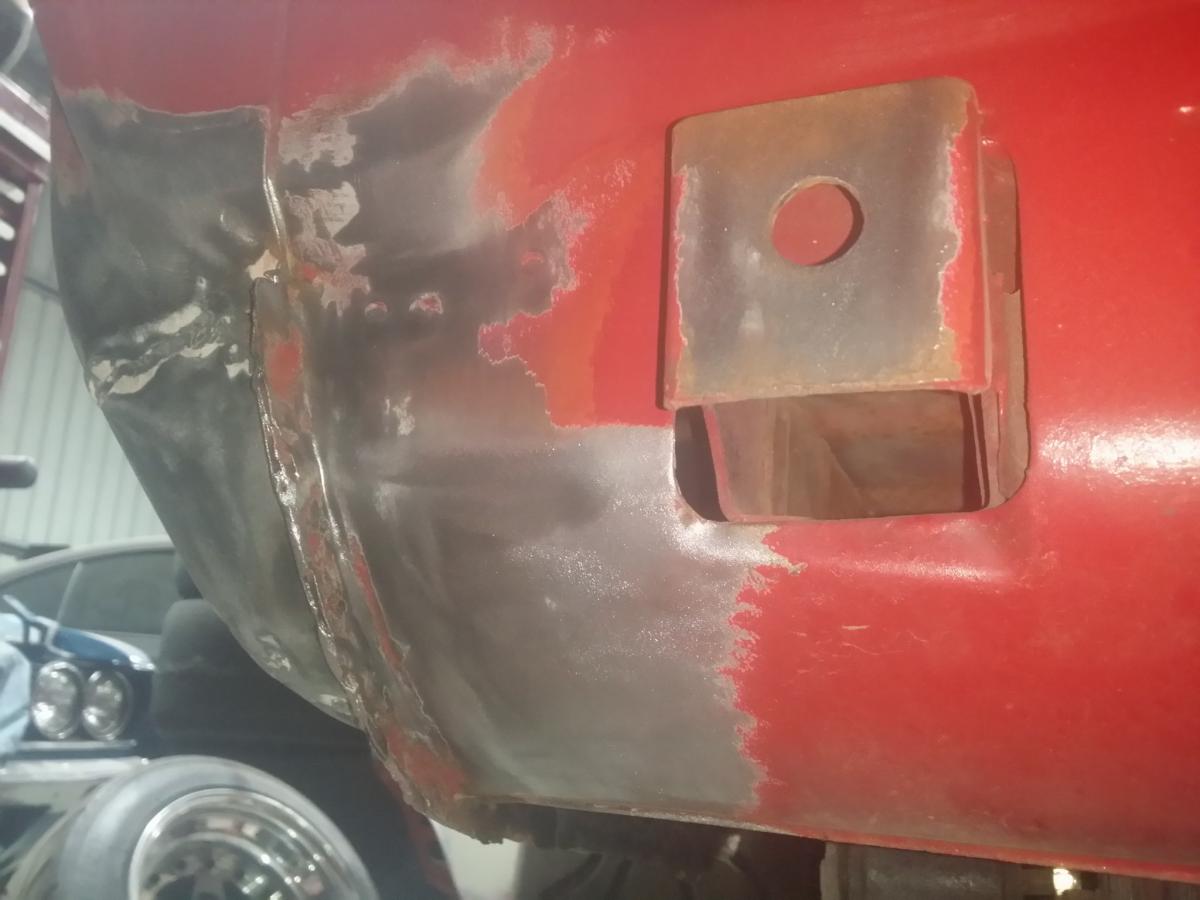
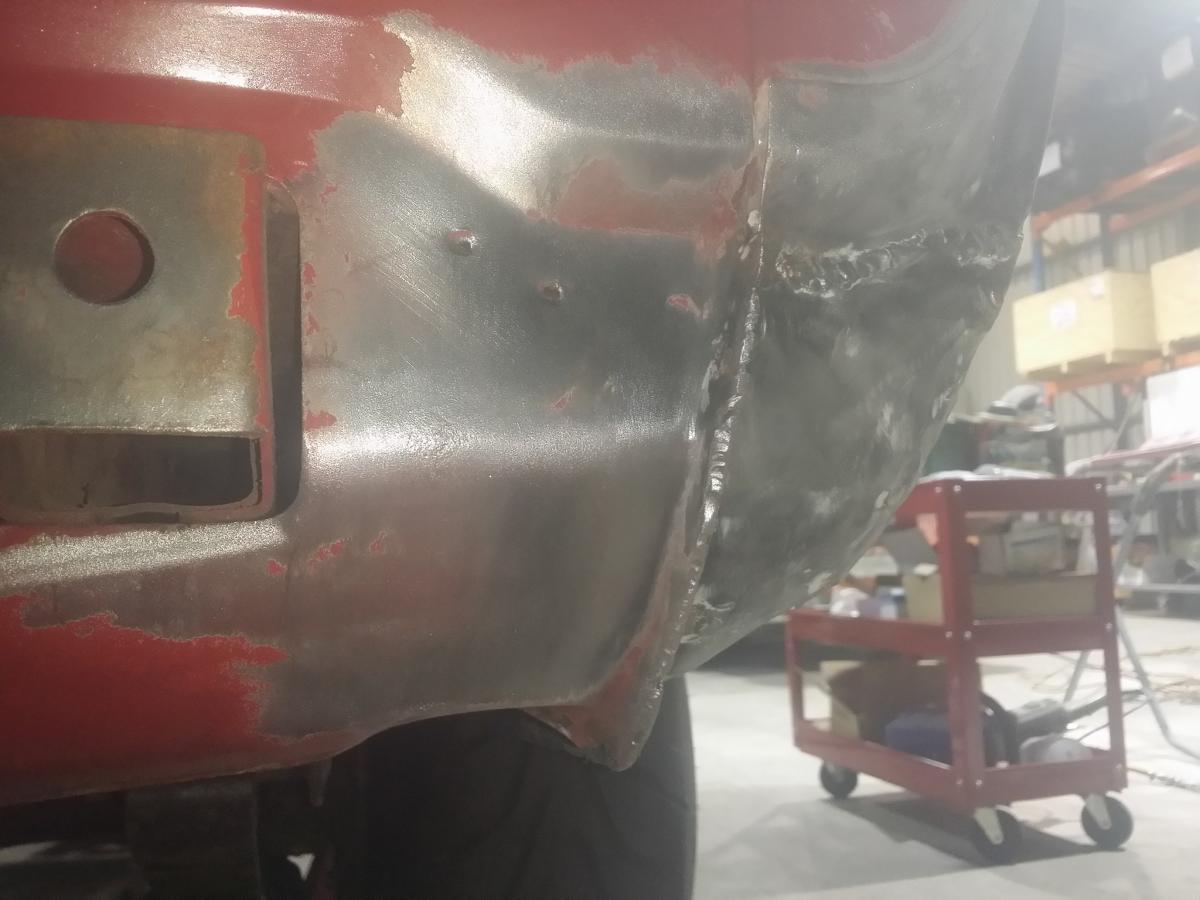
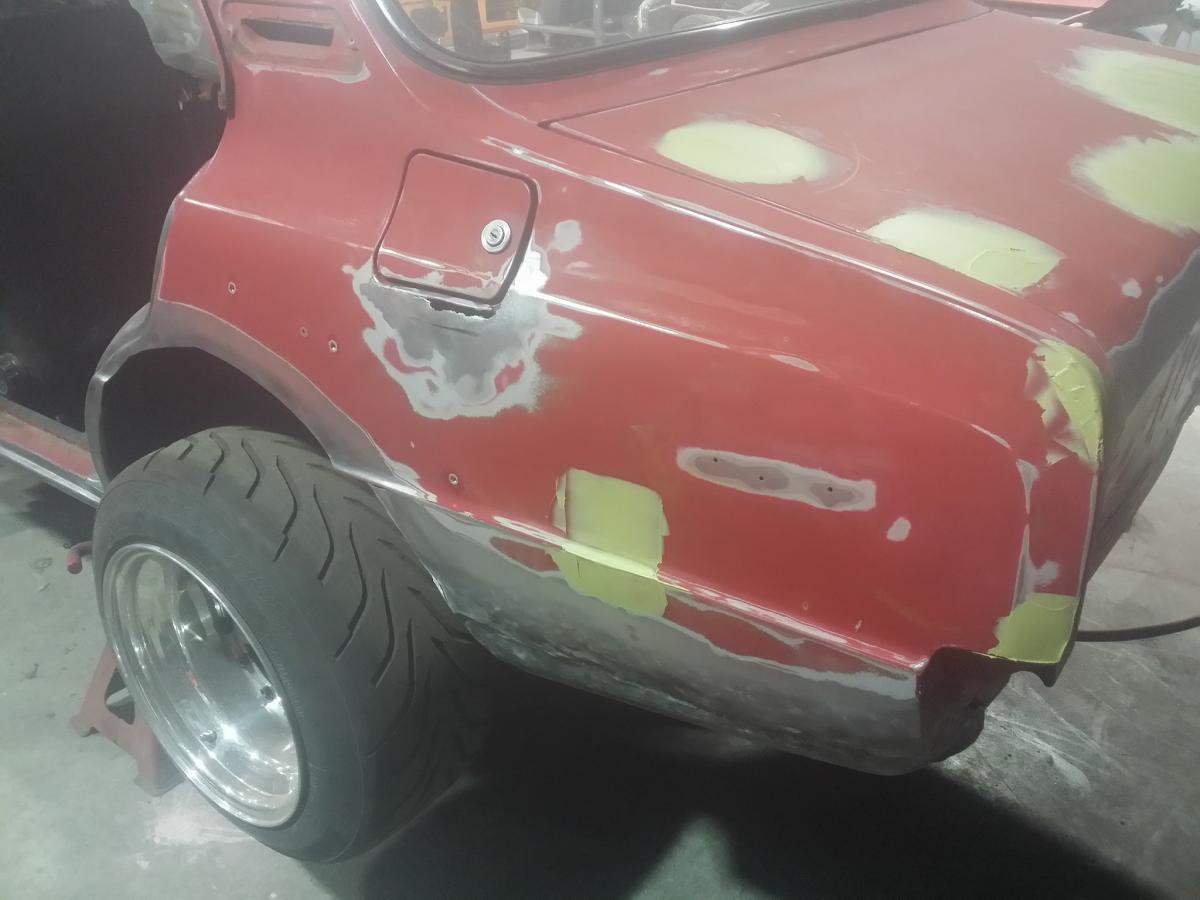
Mostly looking pretty good apart from some ugly welds from the past. We will be tidying up the quaters and finishing them properly. Some rust we found around the fuel flap: And around the sills: This is all we found on the passenger side so pretty happy with that. The drivers side had holes all through the bottom from the point that we repaired earlier. The guys will be bending up a panel to fix up this section. Besides this I will try get a few more days in this week stripping the rear beaver panel, A and C pillars, remove the doors then remove glass and trim then strip them back and assess. Once the rust is killed we will be fitting the R100 lights to the rear and sand the vehicle back for primer. Didnt plan on doing this til down the track but I'm pretty happy we're tackling it now. Boring post but some pretty important shit to get onto. Chur
-
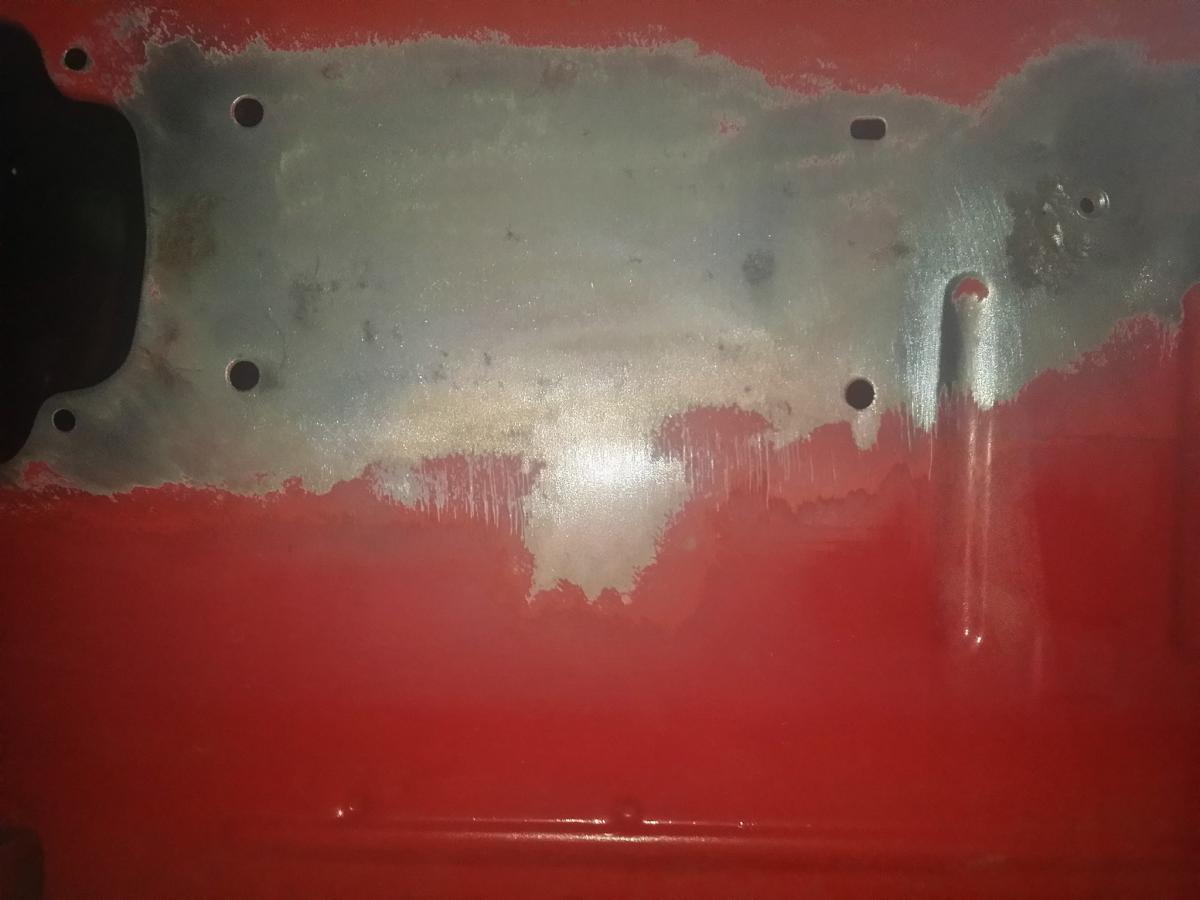
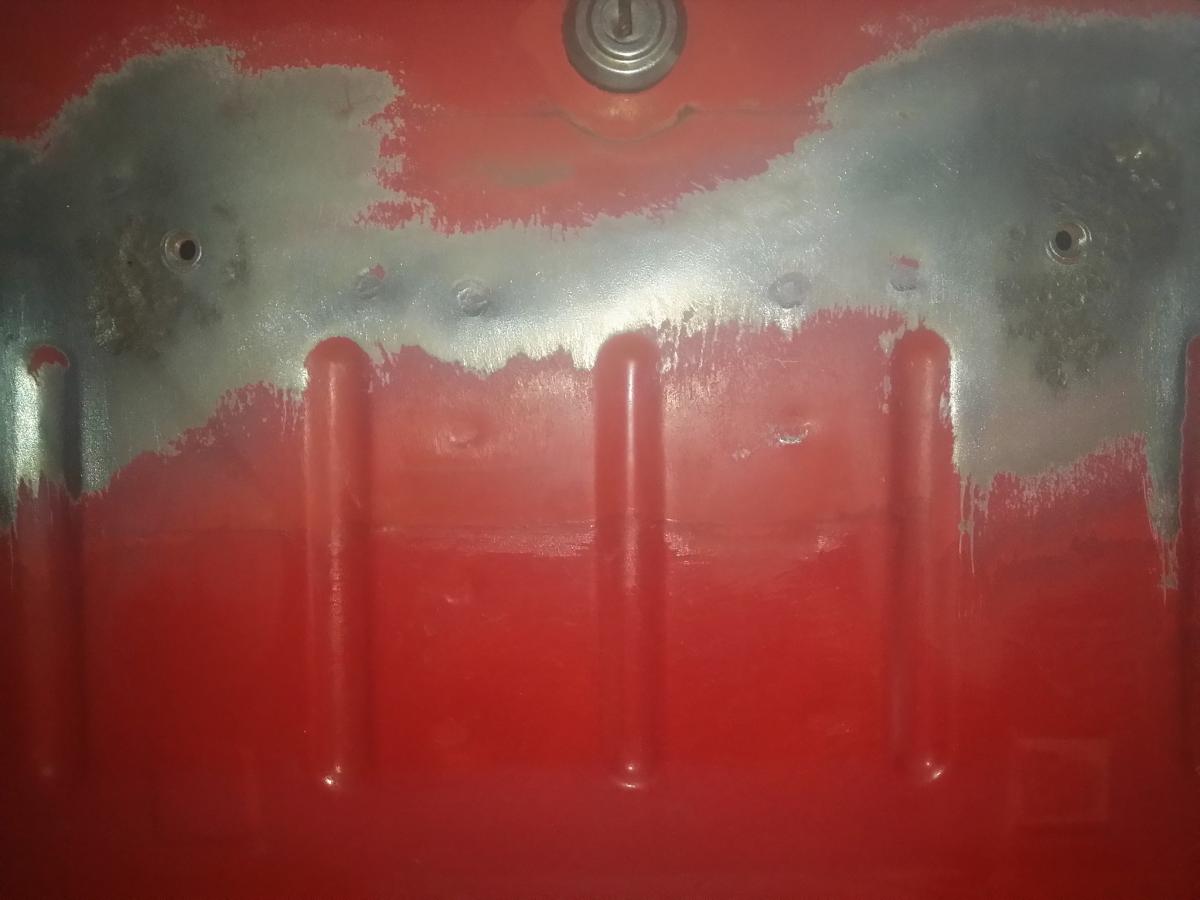
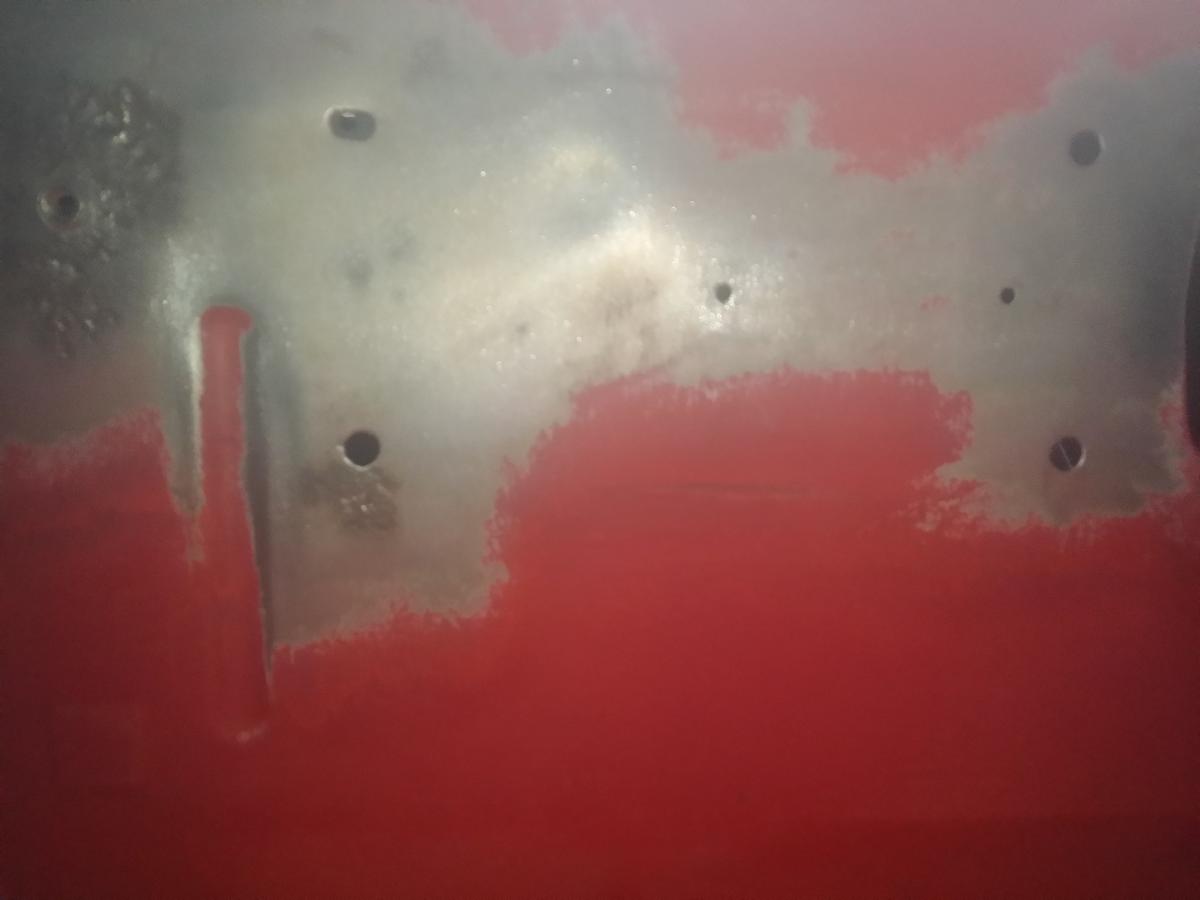
And down to the steel:
-
Getting through to the bog:
-
-
So kind of changed plans, well more so added to what we are doing. As this is being brought back to NZ shortly we decided we are going to address all the rust to make things smooth sailing through compliance. I spent most of Sunday with the wire stripper peeling back coats of paint and bog to see what we are dealing with. Starting of with the rear quarters and sill as there were signs of repairs here by the previous owners. Here's a photo dump of what I got up to.. Before:
-
And the engine looking right at home... The clutch and flywheel assembly is fitted now. So next we continue with the assembly, alternator sidemount needs to get fabricated to clear the chassis rail, attach the other ancillaries, remount the fuel system components etc. Looks like i'll be getting some custom MCA coilovers made up for the front as well. This way we can achieve more low as it is currently sitting on its bumpstops and there is no suspension travel so would bottom out everywhere as is. We will probably put off the interior retrim until i'm back in NZ now. Cheers, Tai