twisted
-
Posts
1413 -
Joined
-
Last visited
Everything posted by twisted
-
New Seals and bushes arrived. Have test fitted in one fork and they fit perfectly. Perhaps by posting this i might get the front end done tonight?
-
So disappointed with the forks, I occupied myself with some bodywork on Friday night. Had a go at filling the indicator holes on the front fairing. Started with these cutouts which i holesawed out of broken fairing: To fill these holes: Ground them down to the correct size and shape on the bench grinder: Took the paint off in prep for welding: Stitched it in to the hole: Let that cool over a beer and cig, then welded it in proper: Plastic was pretty thin here: Welded up the backside once that had cooled: Built up the backside where i blew that hole through with a couple of bits of old fairing, and its as solid as a rock now. Didnt take any pics of that but. Gave it a quick sand, and this is where we're at: The other side: will throw some filler at it and then it will be done.
-
Got the forks off tonight. Looks like I was sent the wrong upper bushings.... they're too tall which is why the seals won't seat correctly. Does anyone have a gòod source for fork rebuild kits? Got these from wemoto, who are extortionate with their shipping.

-
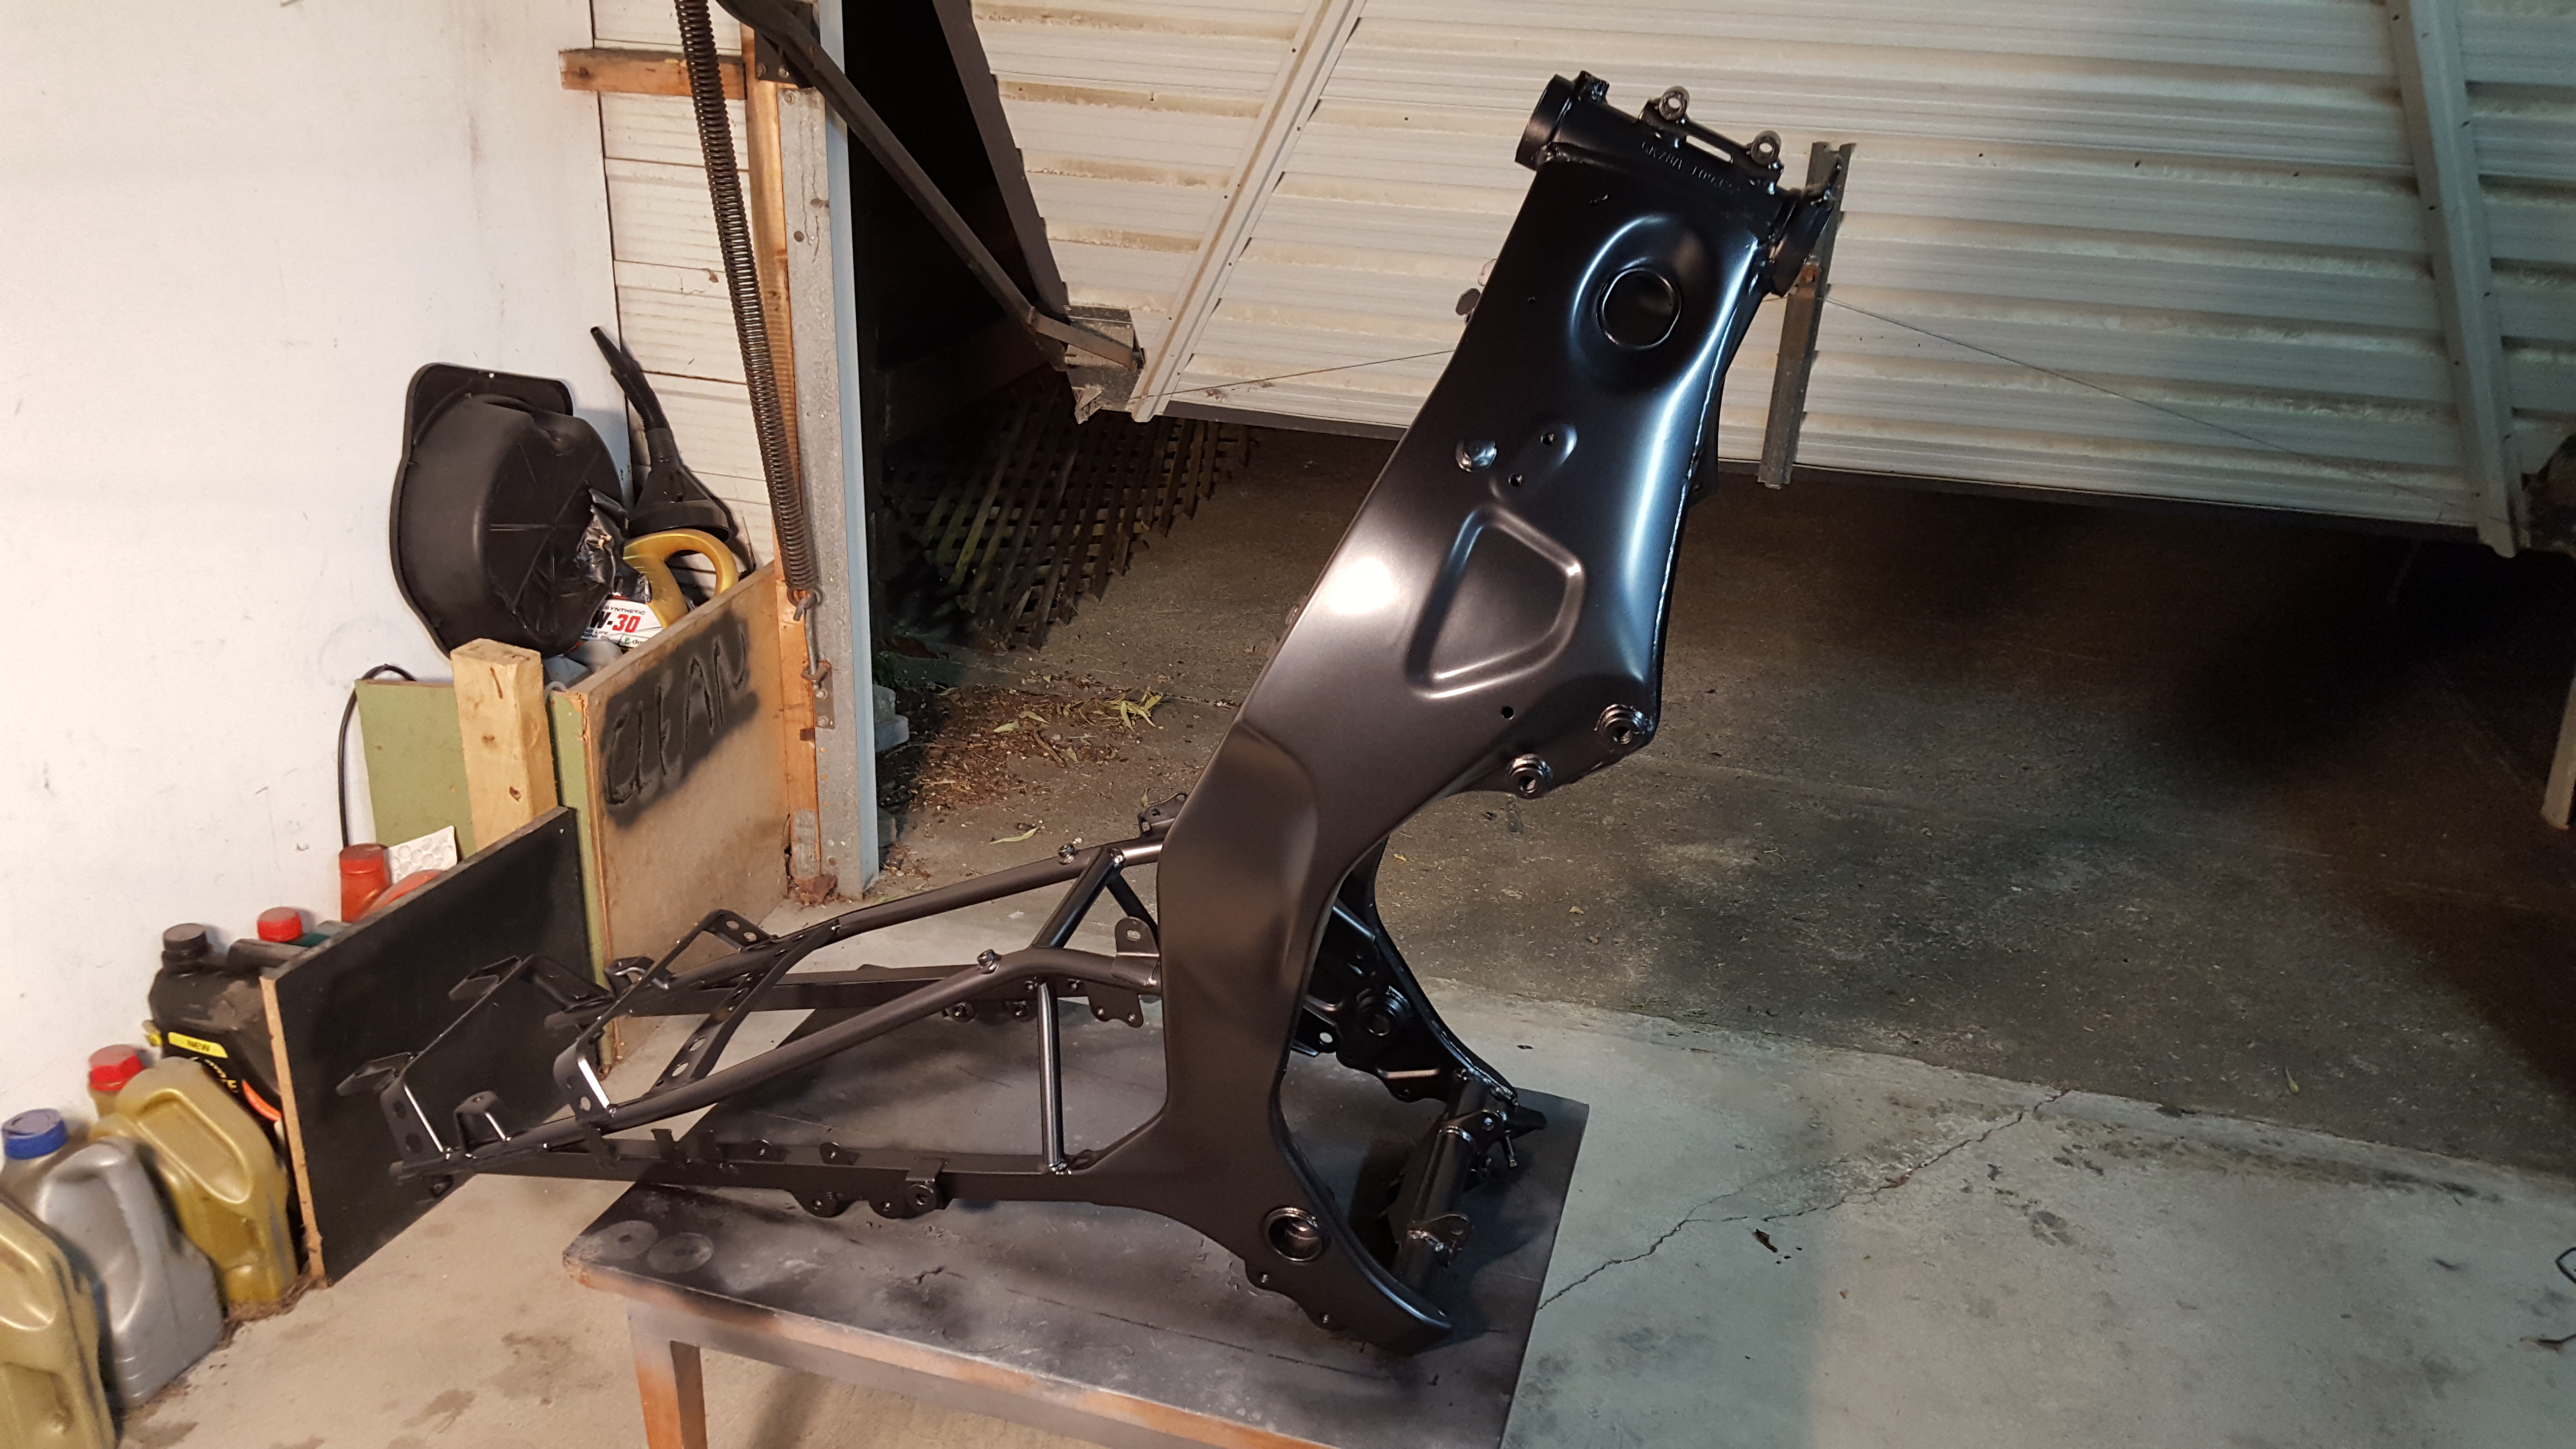
Man, i've been flat out at home and at work this month with general life mayhem. Haven't had much time in the shed at all. Did manage to get some paint on the swingarm though. so last night i thought i'd put the rear end back together - starting to look like a bike again! Hopefully sort the front end out this week sometime, then i can torque everything up and move on to the brakes and electrics.
-
Pictureless update. Was in a bit of a rush to get the front end together before we went away on holiday, and while i got it done, about half way through the trip i realised i did not put the retaining clips in on top of the fork seals. I'm not convinced i got the seals in correctly either, so will have to strip them again and have another go. Hopefully the current seals are salvageable, but i expect they wont be. Two steps forward, two steps back.
-
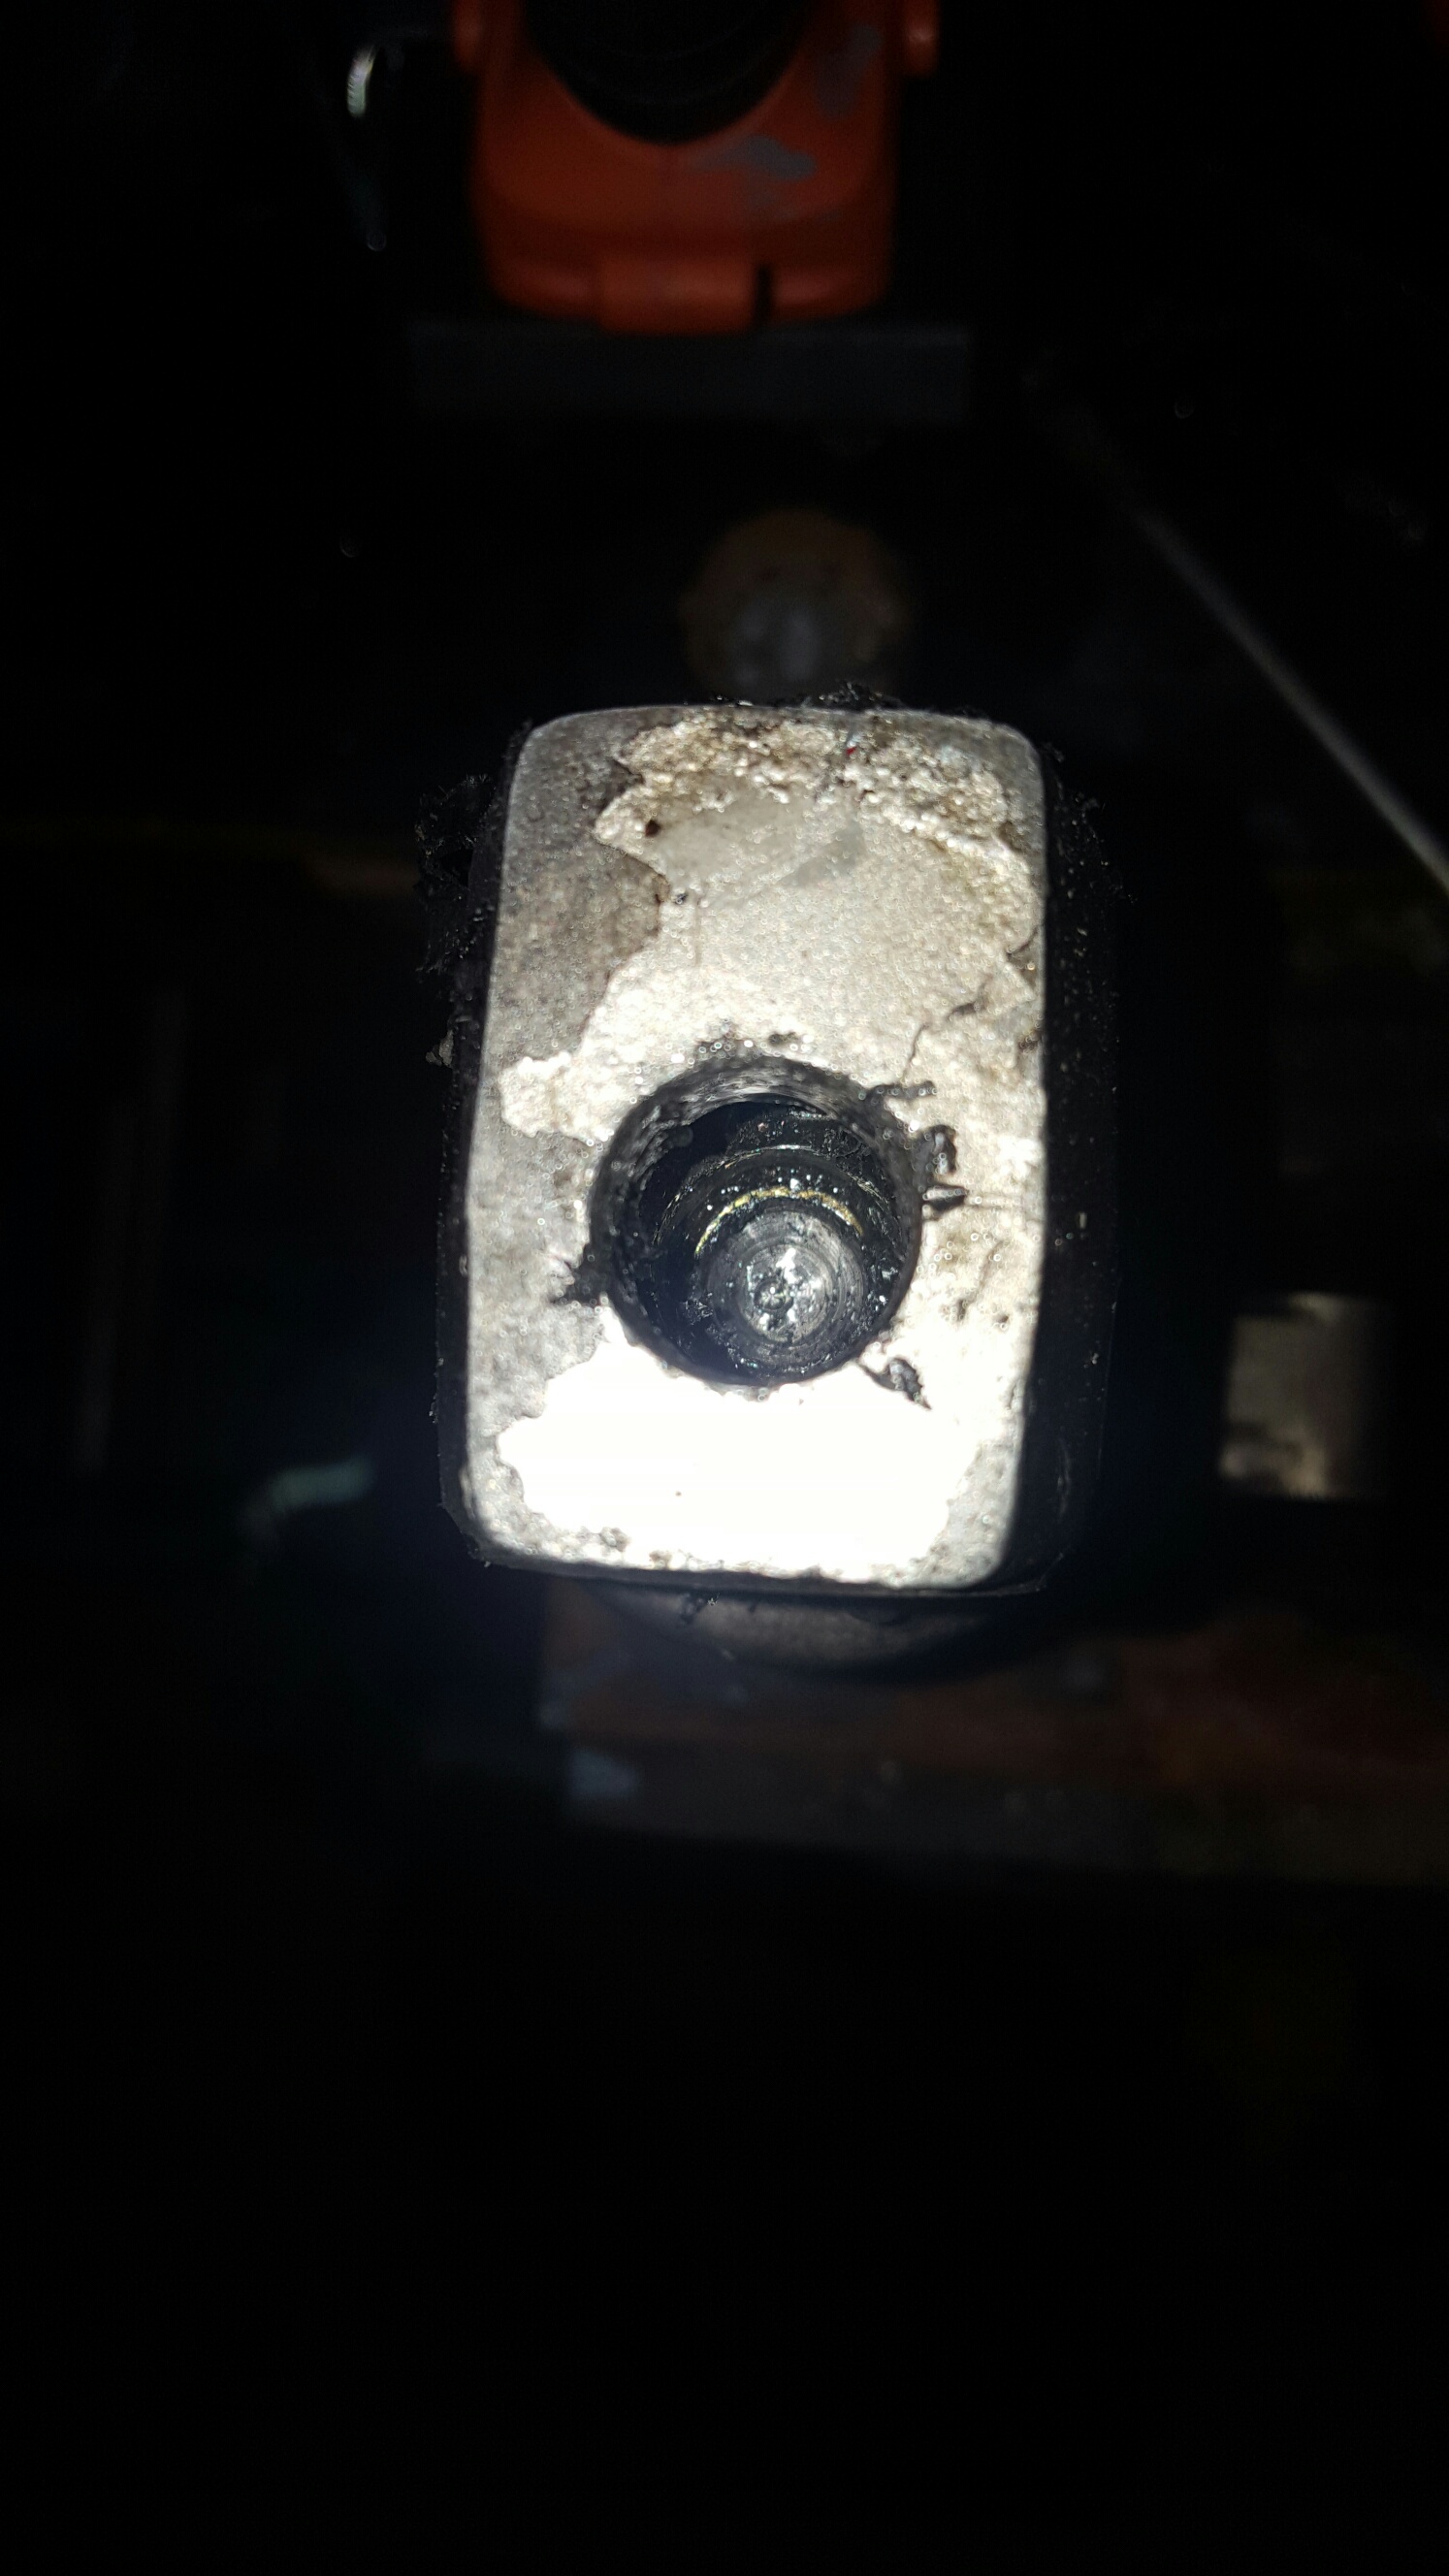
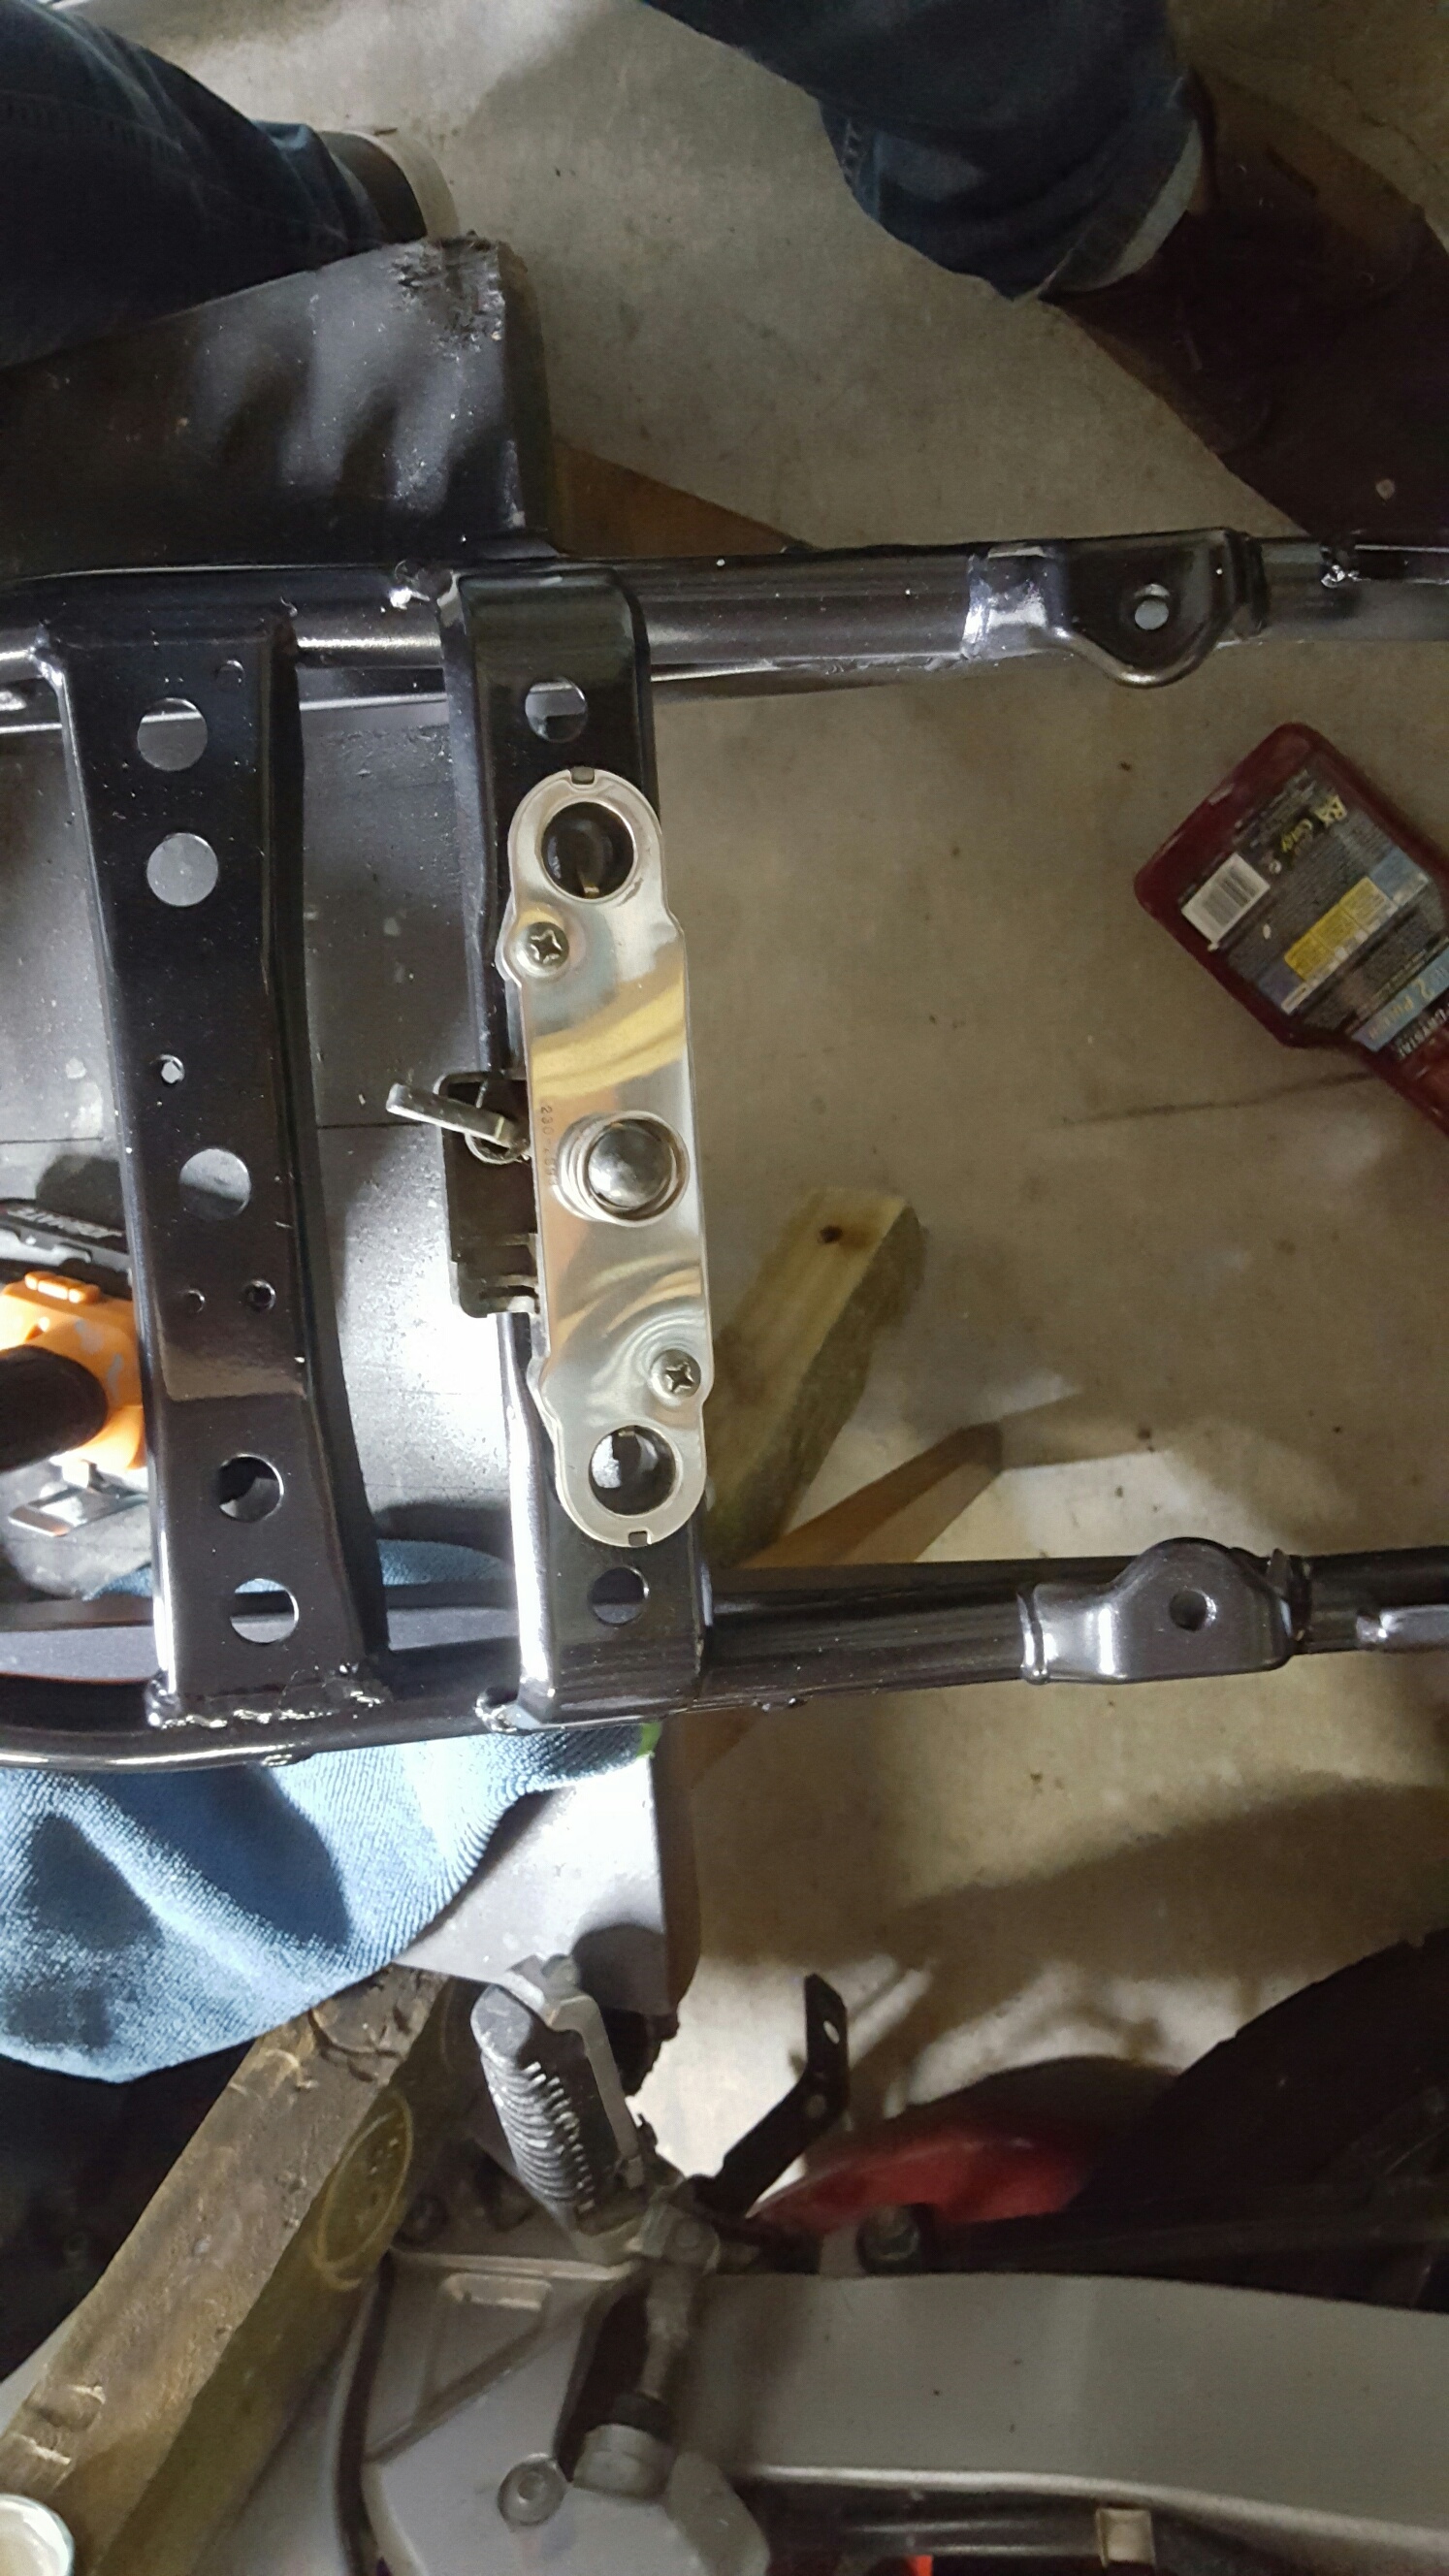
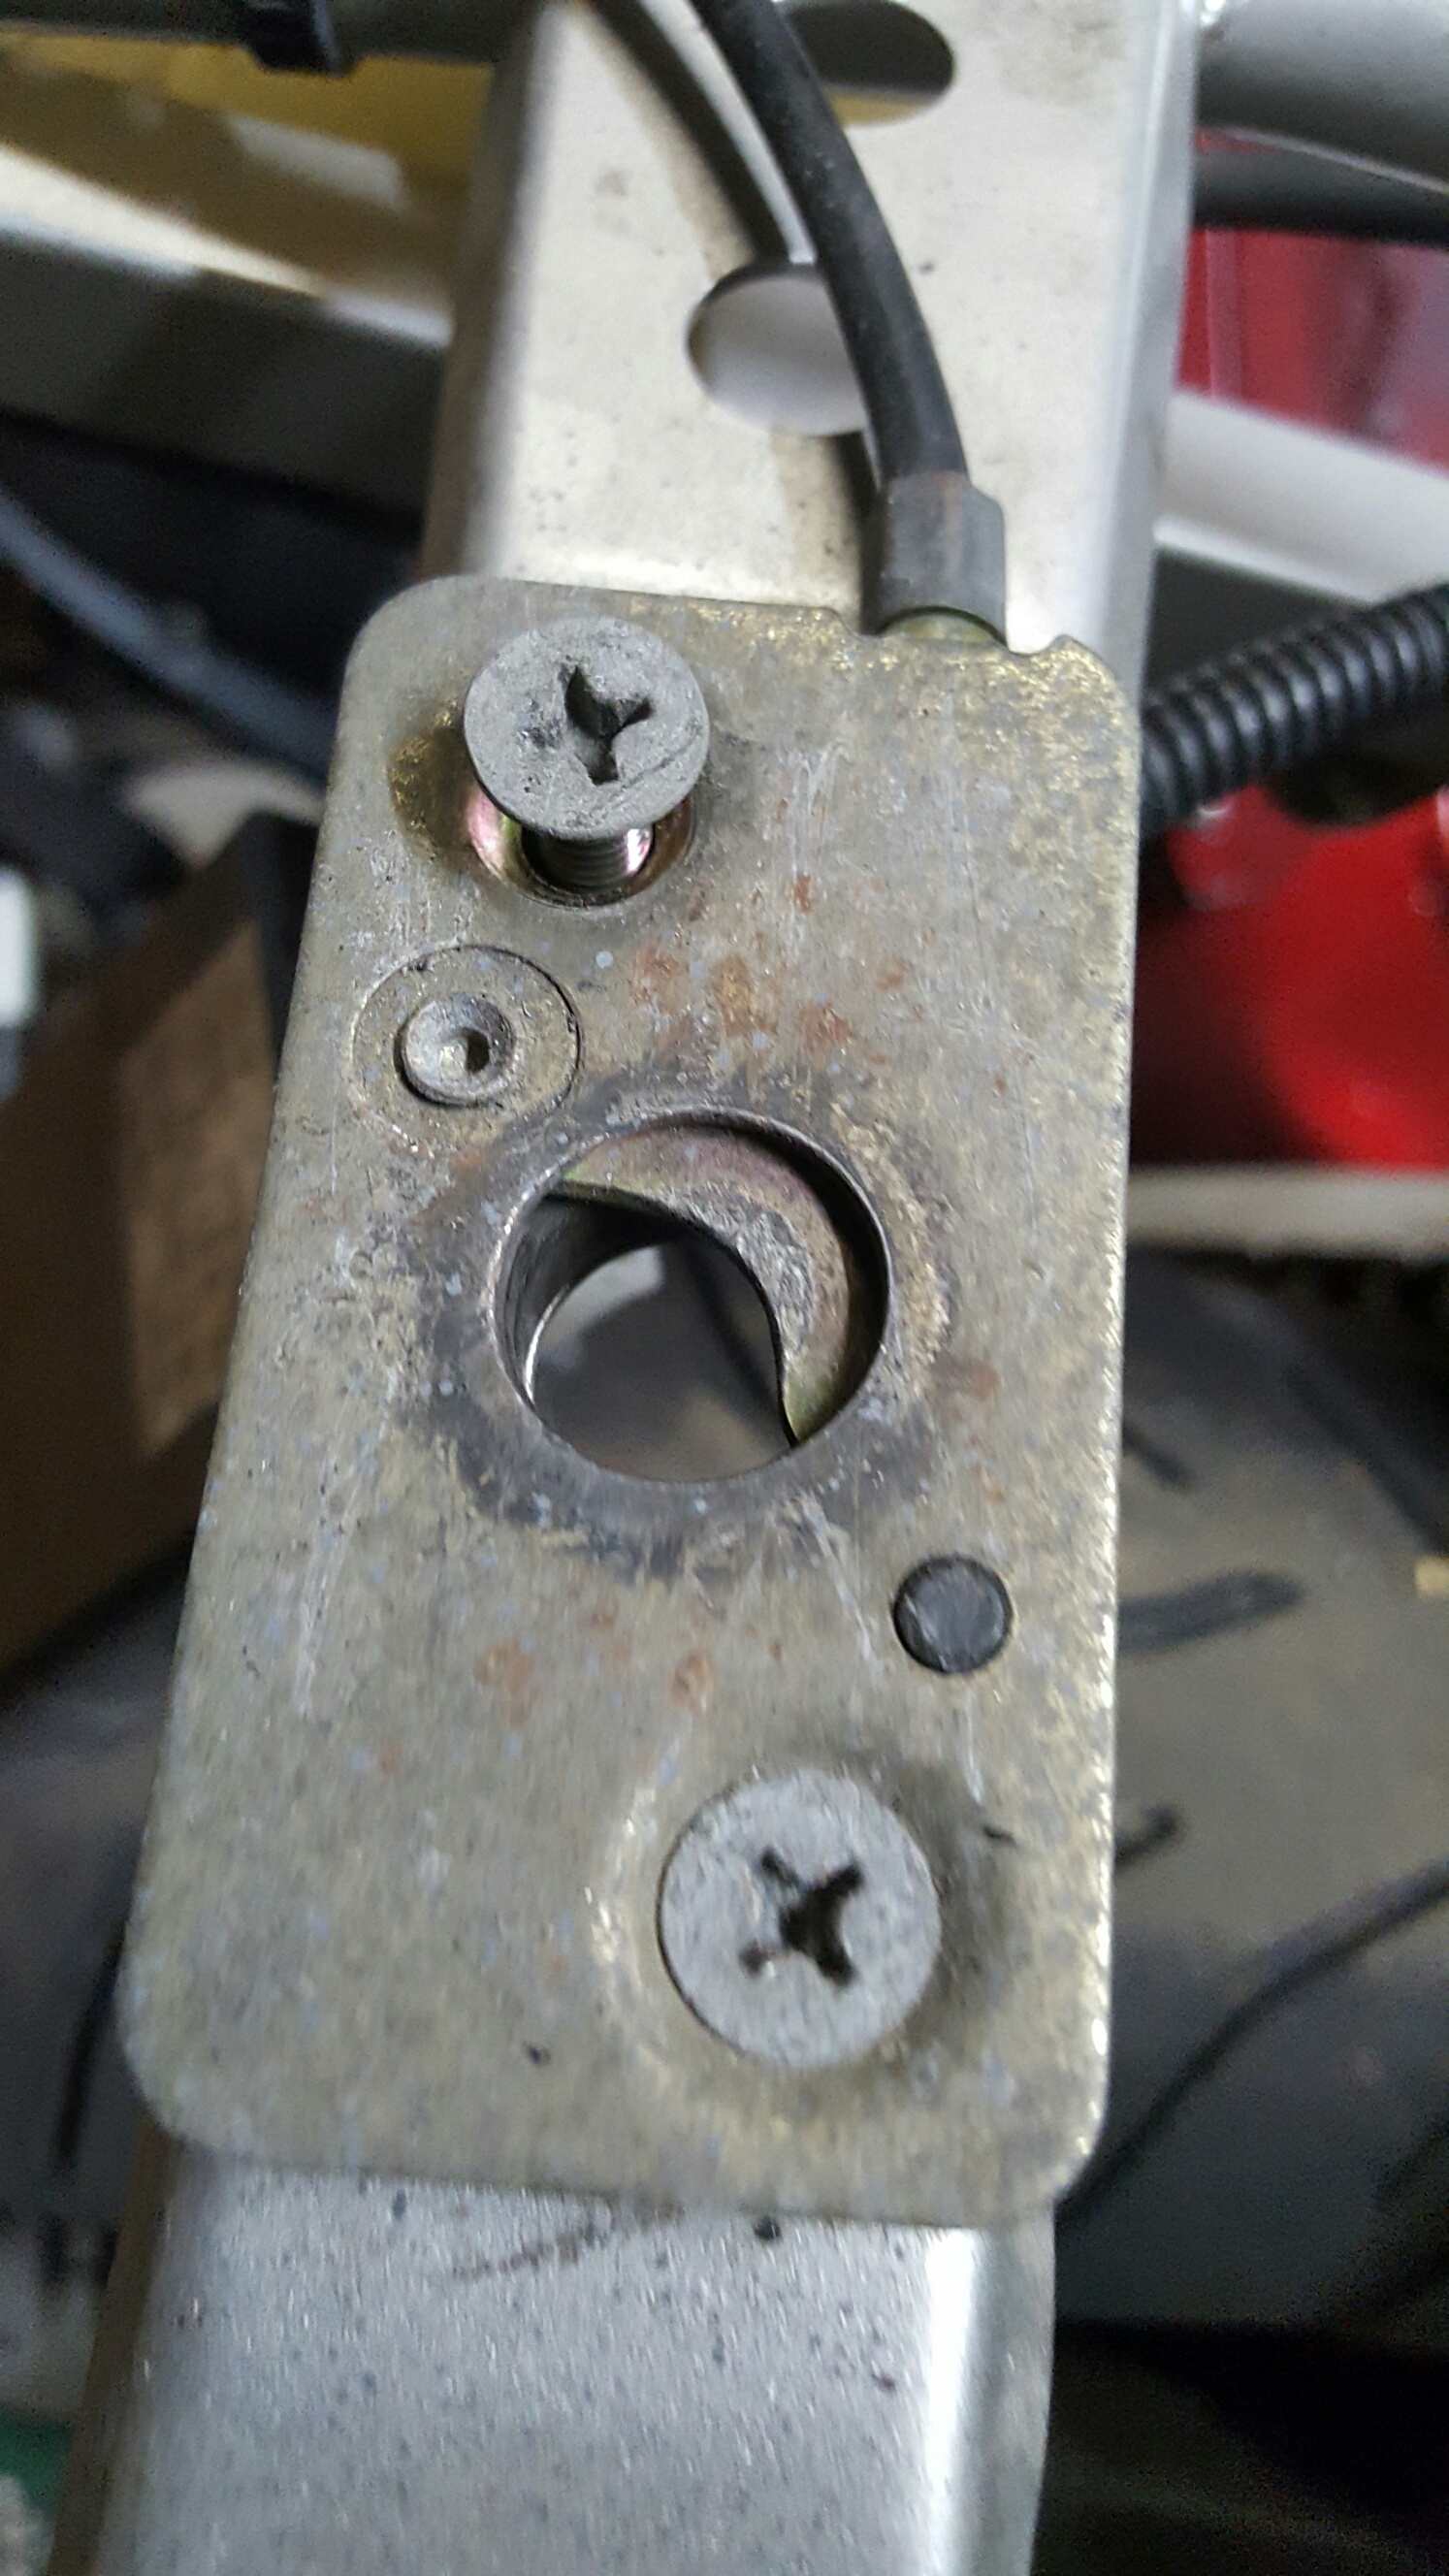
I've made a little progress on this. New steering bearings are in, upper and lower triple trees fitted. Had a wtf moment when installing the top yolk...couldn't for the life of me get it orientated correctly... it took abould half an hour of head scratching to realise that the key had to be in, and steering lock turned off in order to fit it correctly. Do'h! Also polished up the top nut. Got the Swing Arm and rear shock off: One of the cotton reels snapped off in the crash, had a go at drilling it out while the swingarm was still on the bike, but very nearly fucked it up as you can see. Will have another go with the 'arm off the bike, but this time from the backside, at least for the pilot hole: Rear shock has rebound adjustment which i doidnt realise, so thats a bonus! Also started on the fairings. Welded up a few cracks, and welded a broken mounting tab back on. No pics of that process, because i'm crap at taking pics, however plenty more to do and take pics of. There's still alot of finishing work to do here, but its pretty close. Not too long to go before i can get the front and rear ands on the new frame. Then i'll start swapping over brakes and electrics.
-
Need to get to coastal fastners to get a couple of 8x27mm allen bolts for the fork legs. Threw some paint on, but had issues with the gun so not happy with the job. will rub down and repaint this weekend. Also painted the top yolk last night. Will wait for it to cure a bit before polishing. Getting real close to reassembly of the front end. Then i can start on the rear end.
-
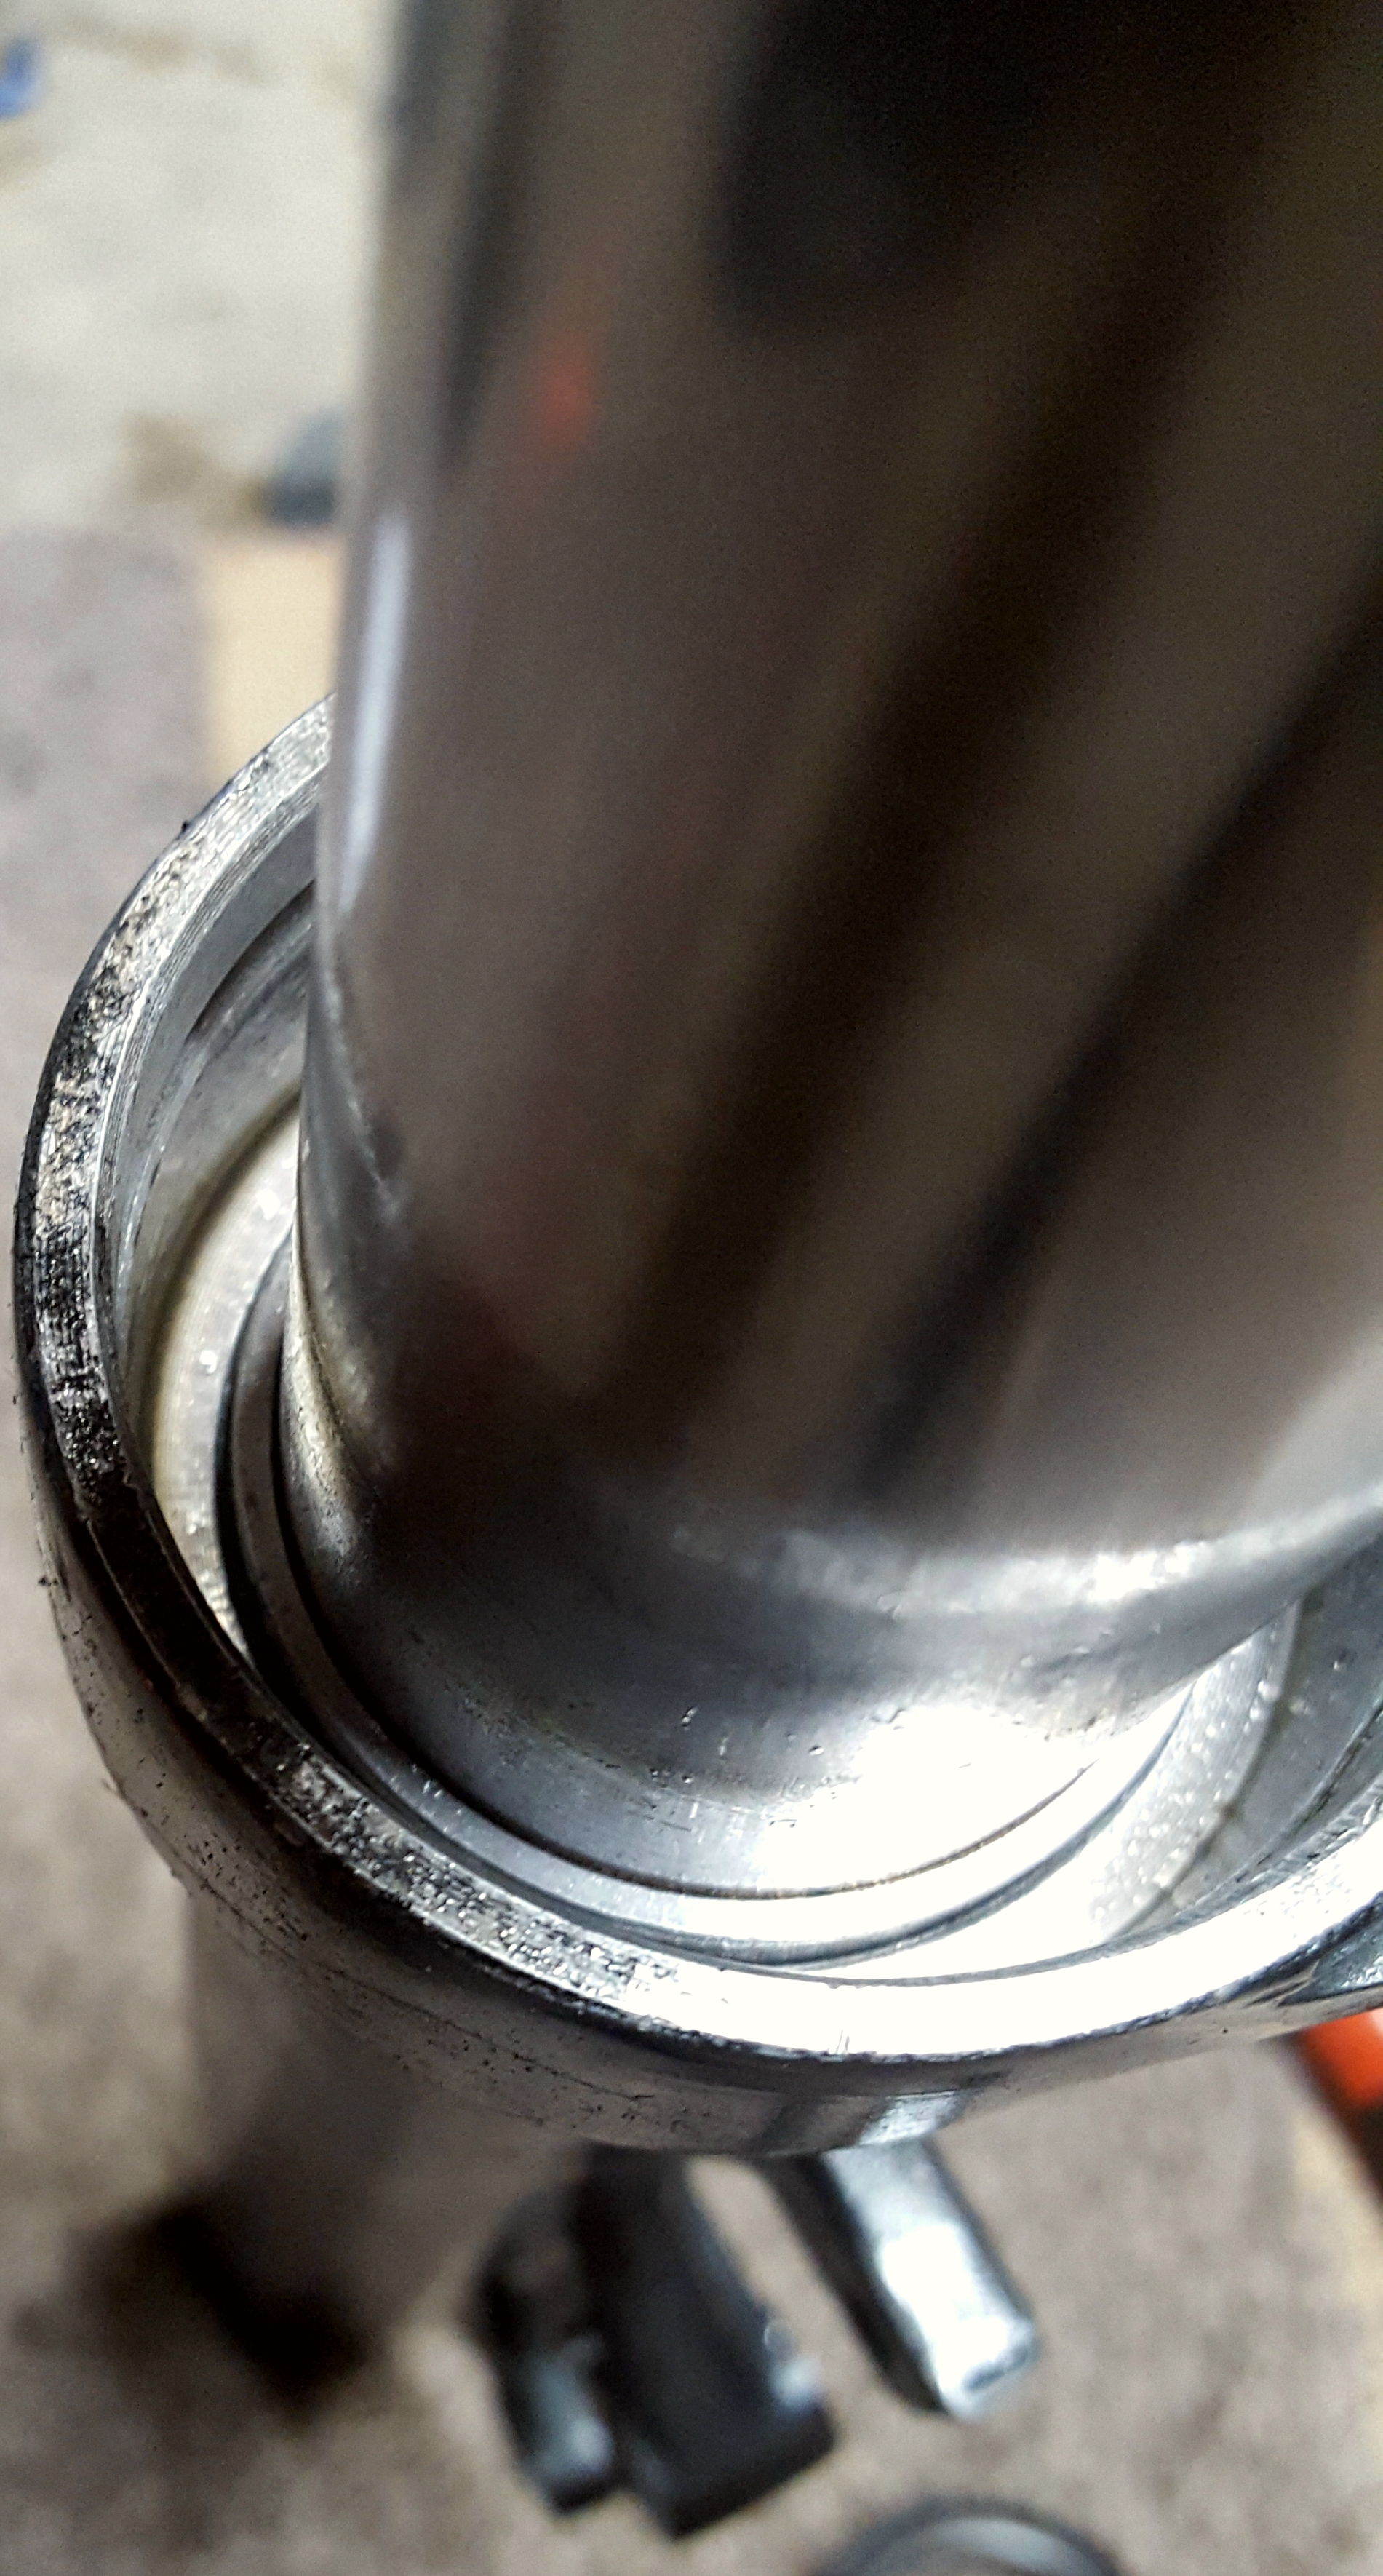
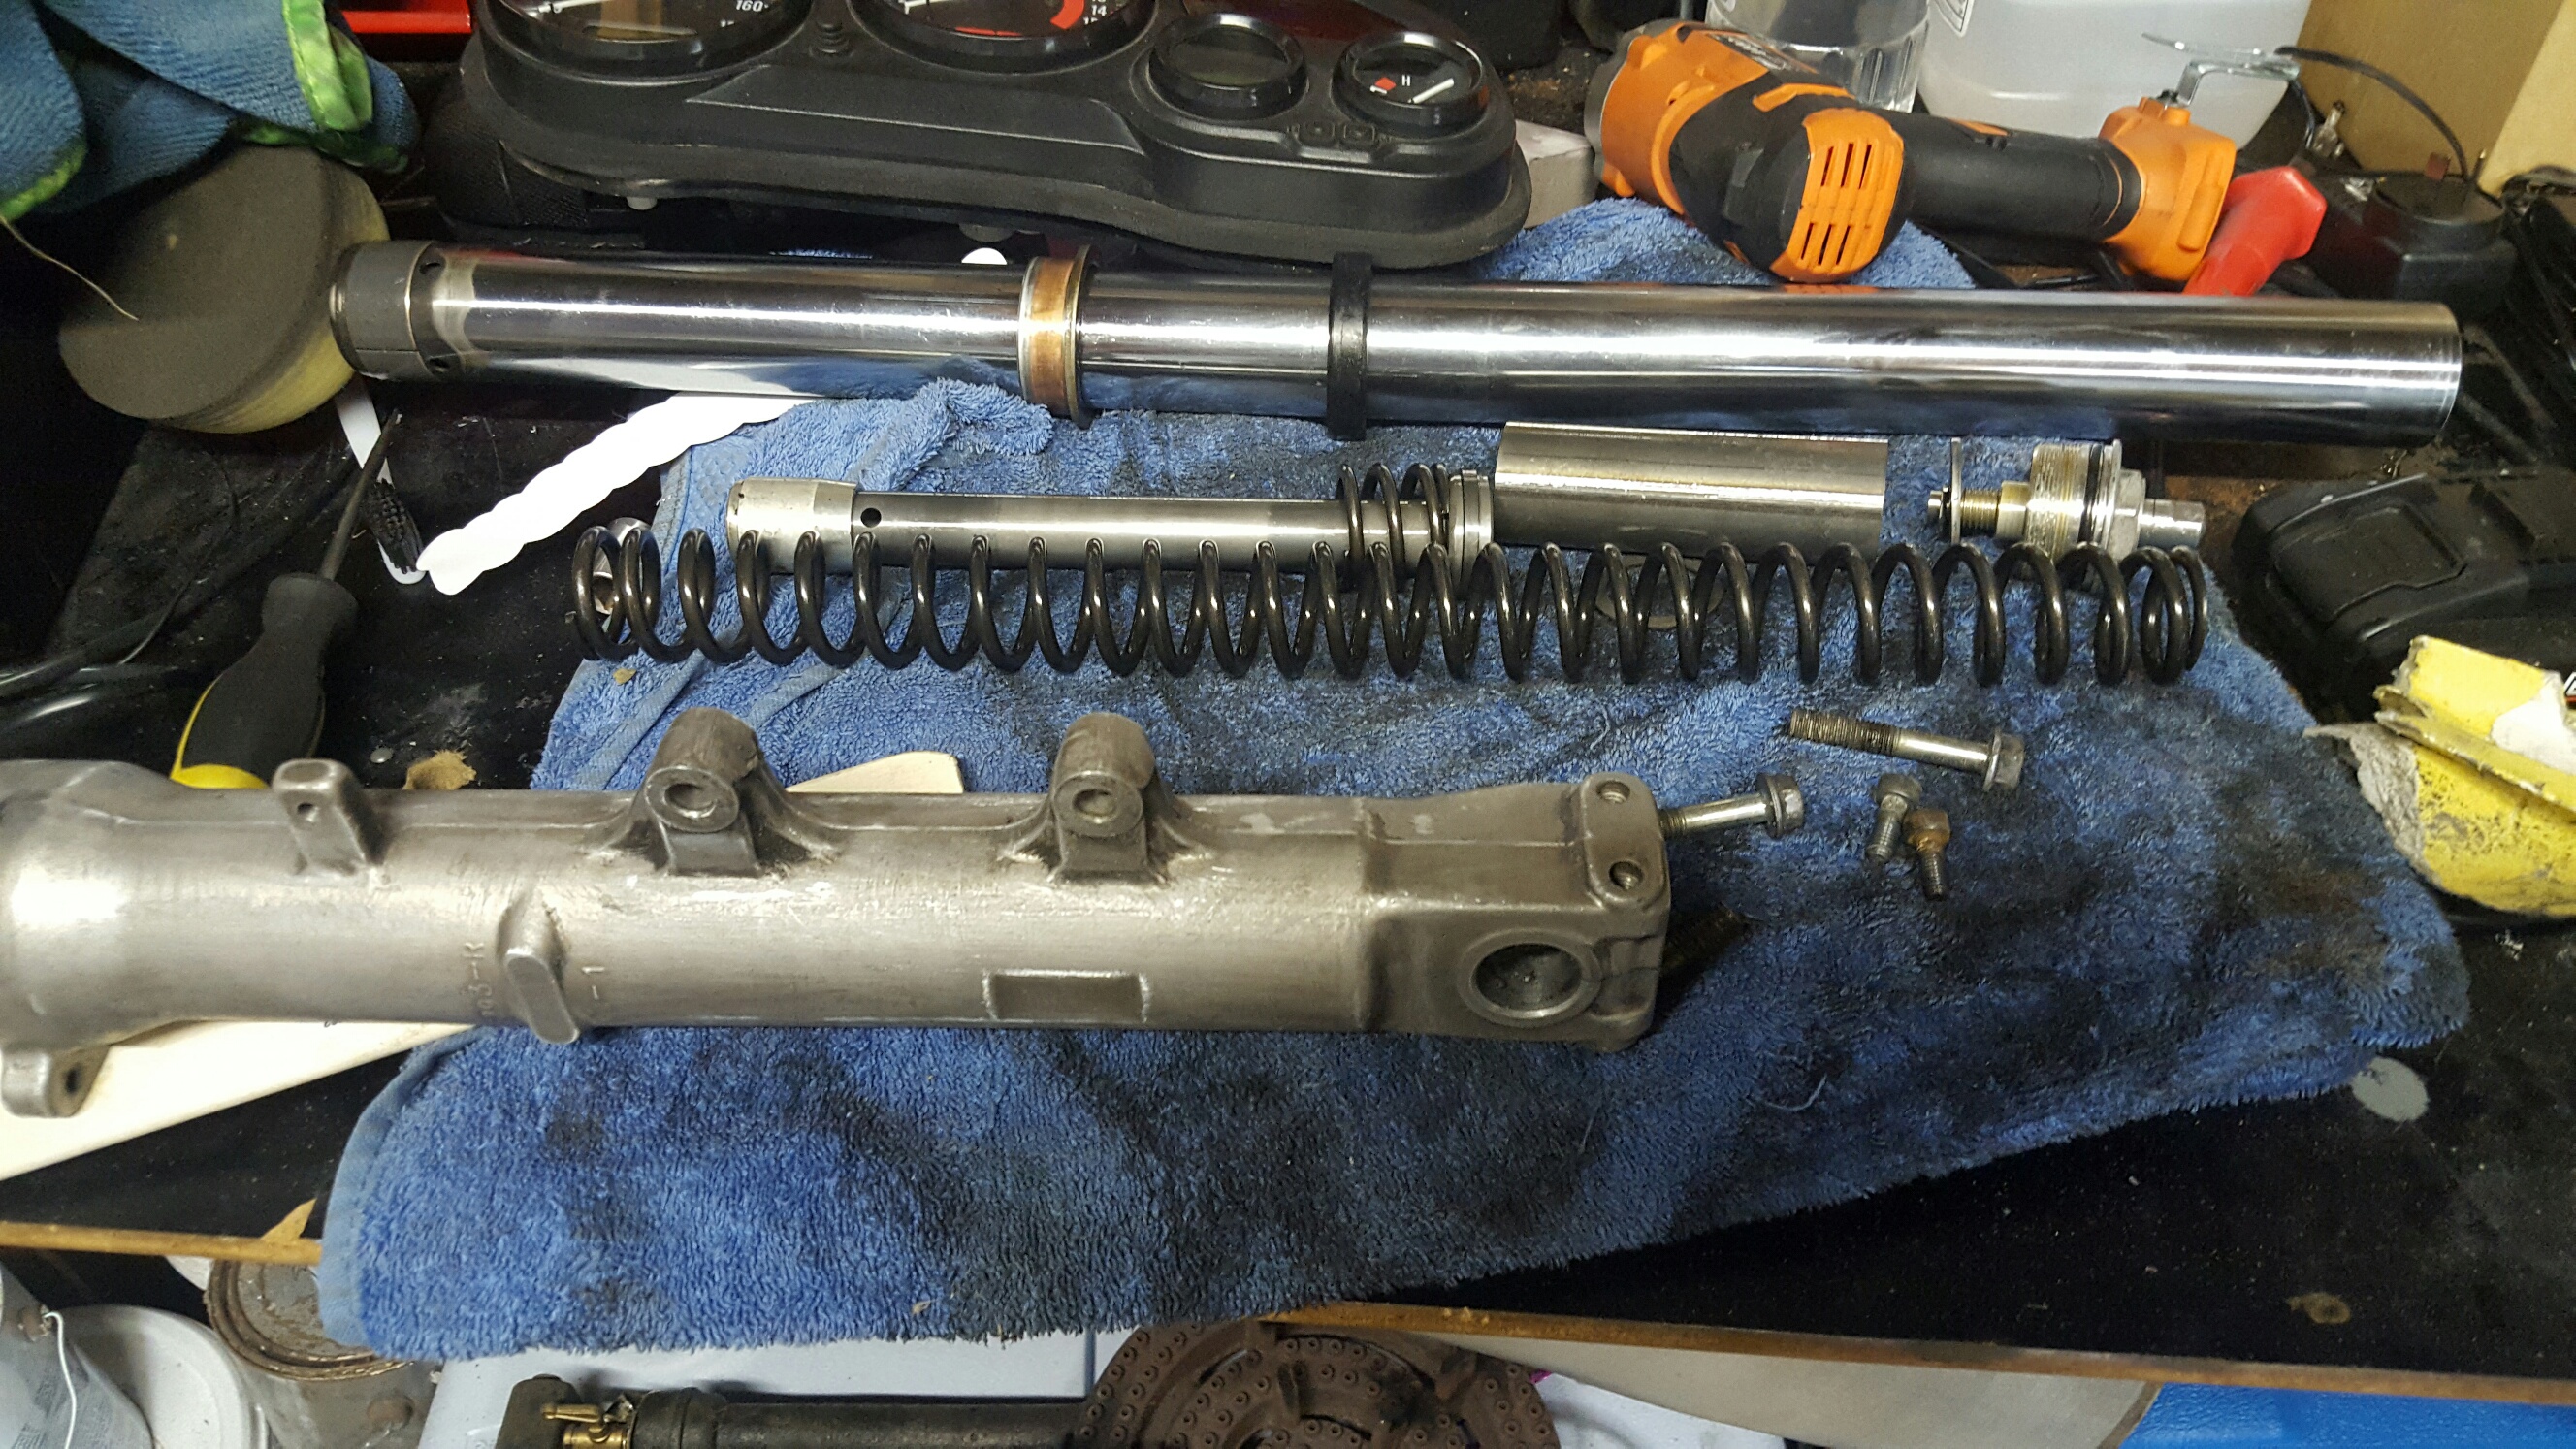
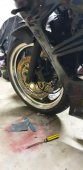
So haven't had much time on this lately, as both boys have been sick, and works been flat out. Have managed to make a start on the forks though. It seems that whoever had the forks apart last time over-torqued the allen bolts at the bottom of the fork leg that secure the damper. Net result was two stripped allen bolts. Fuck! My only move was to break out the drill. Hard to see here, but i managed to drill the head off the bolt without damaging anything else. Then took the cap off, emptied the oil and pulled it all apart: I tend to never be able to achieve a tidy work area! Also stripped the plastidip off the fork leg, and rubbed it own with 80 grit and a small flapper wheel on a drill for the bad bits. couple more rub downs and it should be ready for etch priming. Will get the other fork stripped maybe Thursday night, then hopefully prime and paint on the weekend. Though I'm still toying with powder for the fork legs and rearsets. will decide before the weekend! Edit: If i paint, they'll be getting baked in the BBQ. Apparently its a good idea to bake them a couple of times first too, to sweat out any residual fork oil absorbed by the alloy.
-
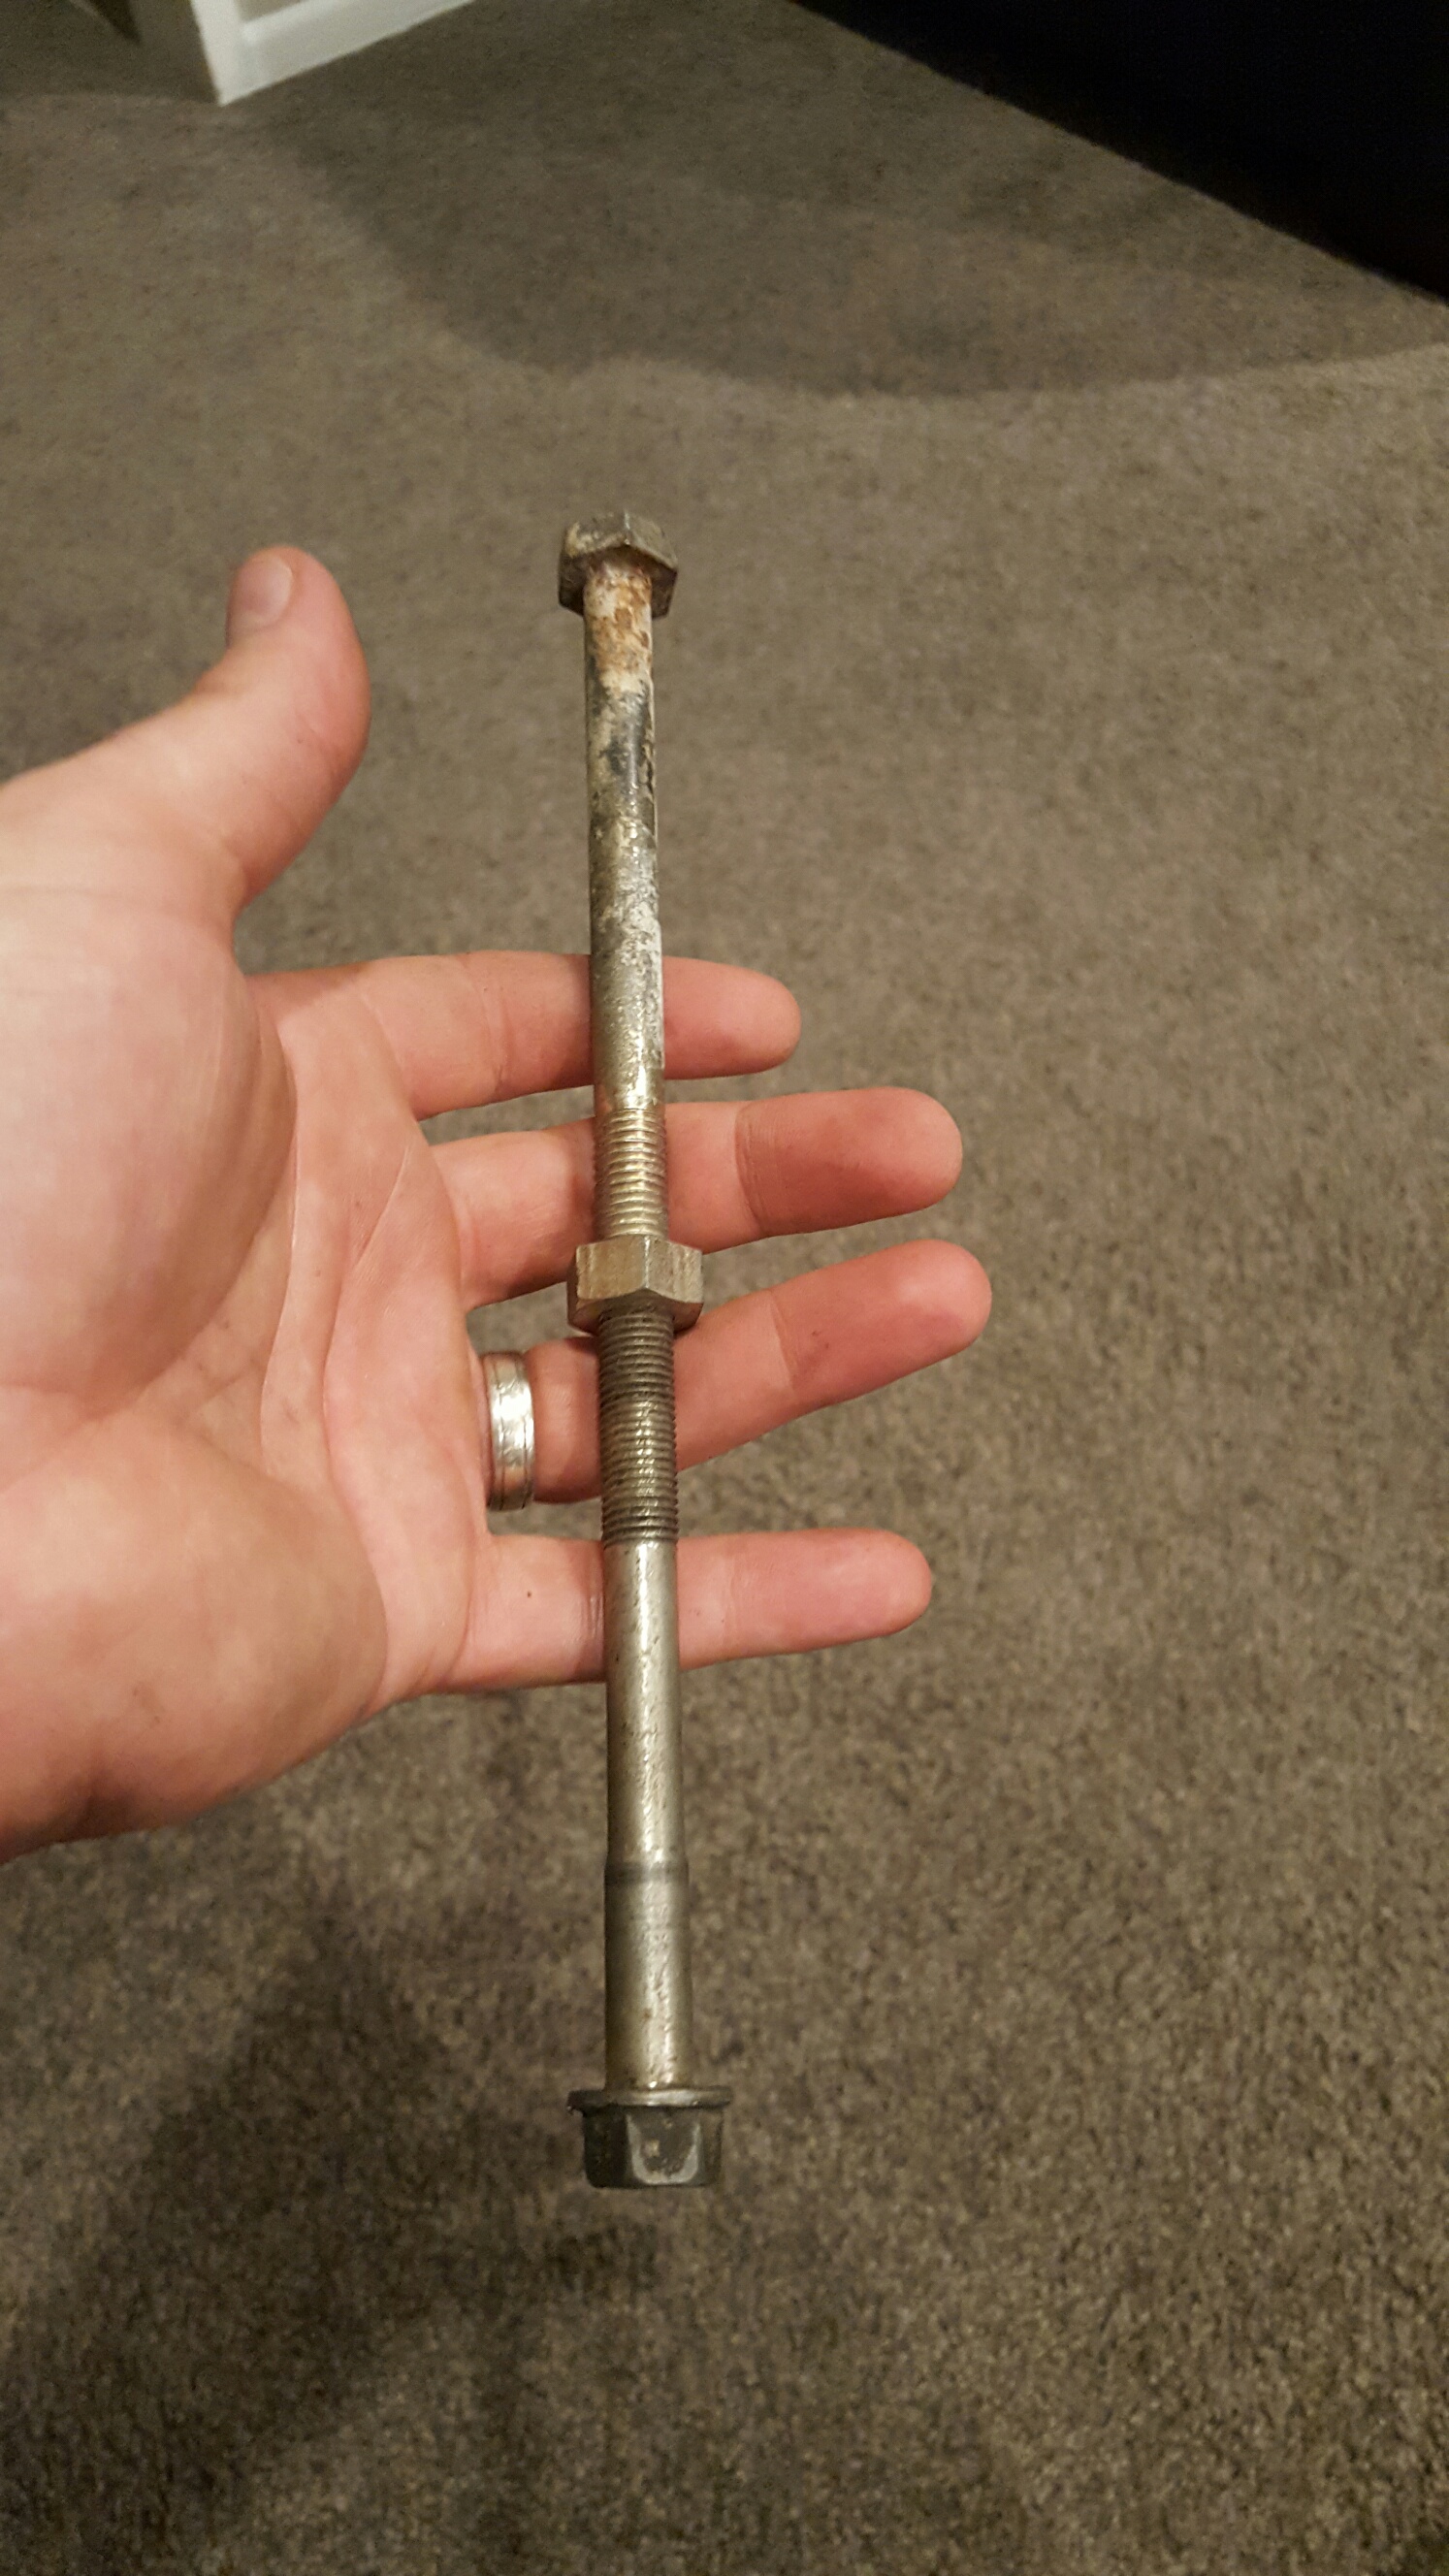
So did a bit more on this at the weekend. First up, removed the old steering stem bearing races from the frame. The upper race was easy as there's enough of a lip in the race to get a punch on with no dramas. The bottom Race however is recessed, and a normal punch wont make contact with the lip. So after a bit of head scratching i came up with this: The lip on the lower hex head seats perfectly against the lip on the lower race. Three smacks with a hammer and the race was out. Win. Then I had a slight diversion and decided to polish up my seat mounts. I don't have a before photo of the long one, however it looked much like this: After a wet rub down with 800 grit, 1500 grit then 2000 grit, then some autosol: Then i got the bike off the ground and dismantled the front end. No pics of that yet, but next up is a refresh of the top yolk, and a fork seal/oil replacement. I'll paint up the stanchions at the same time.
-
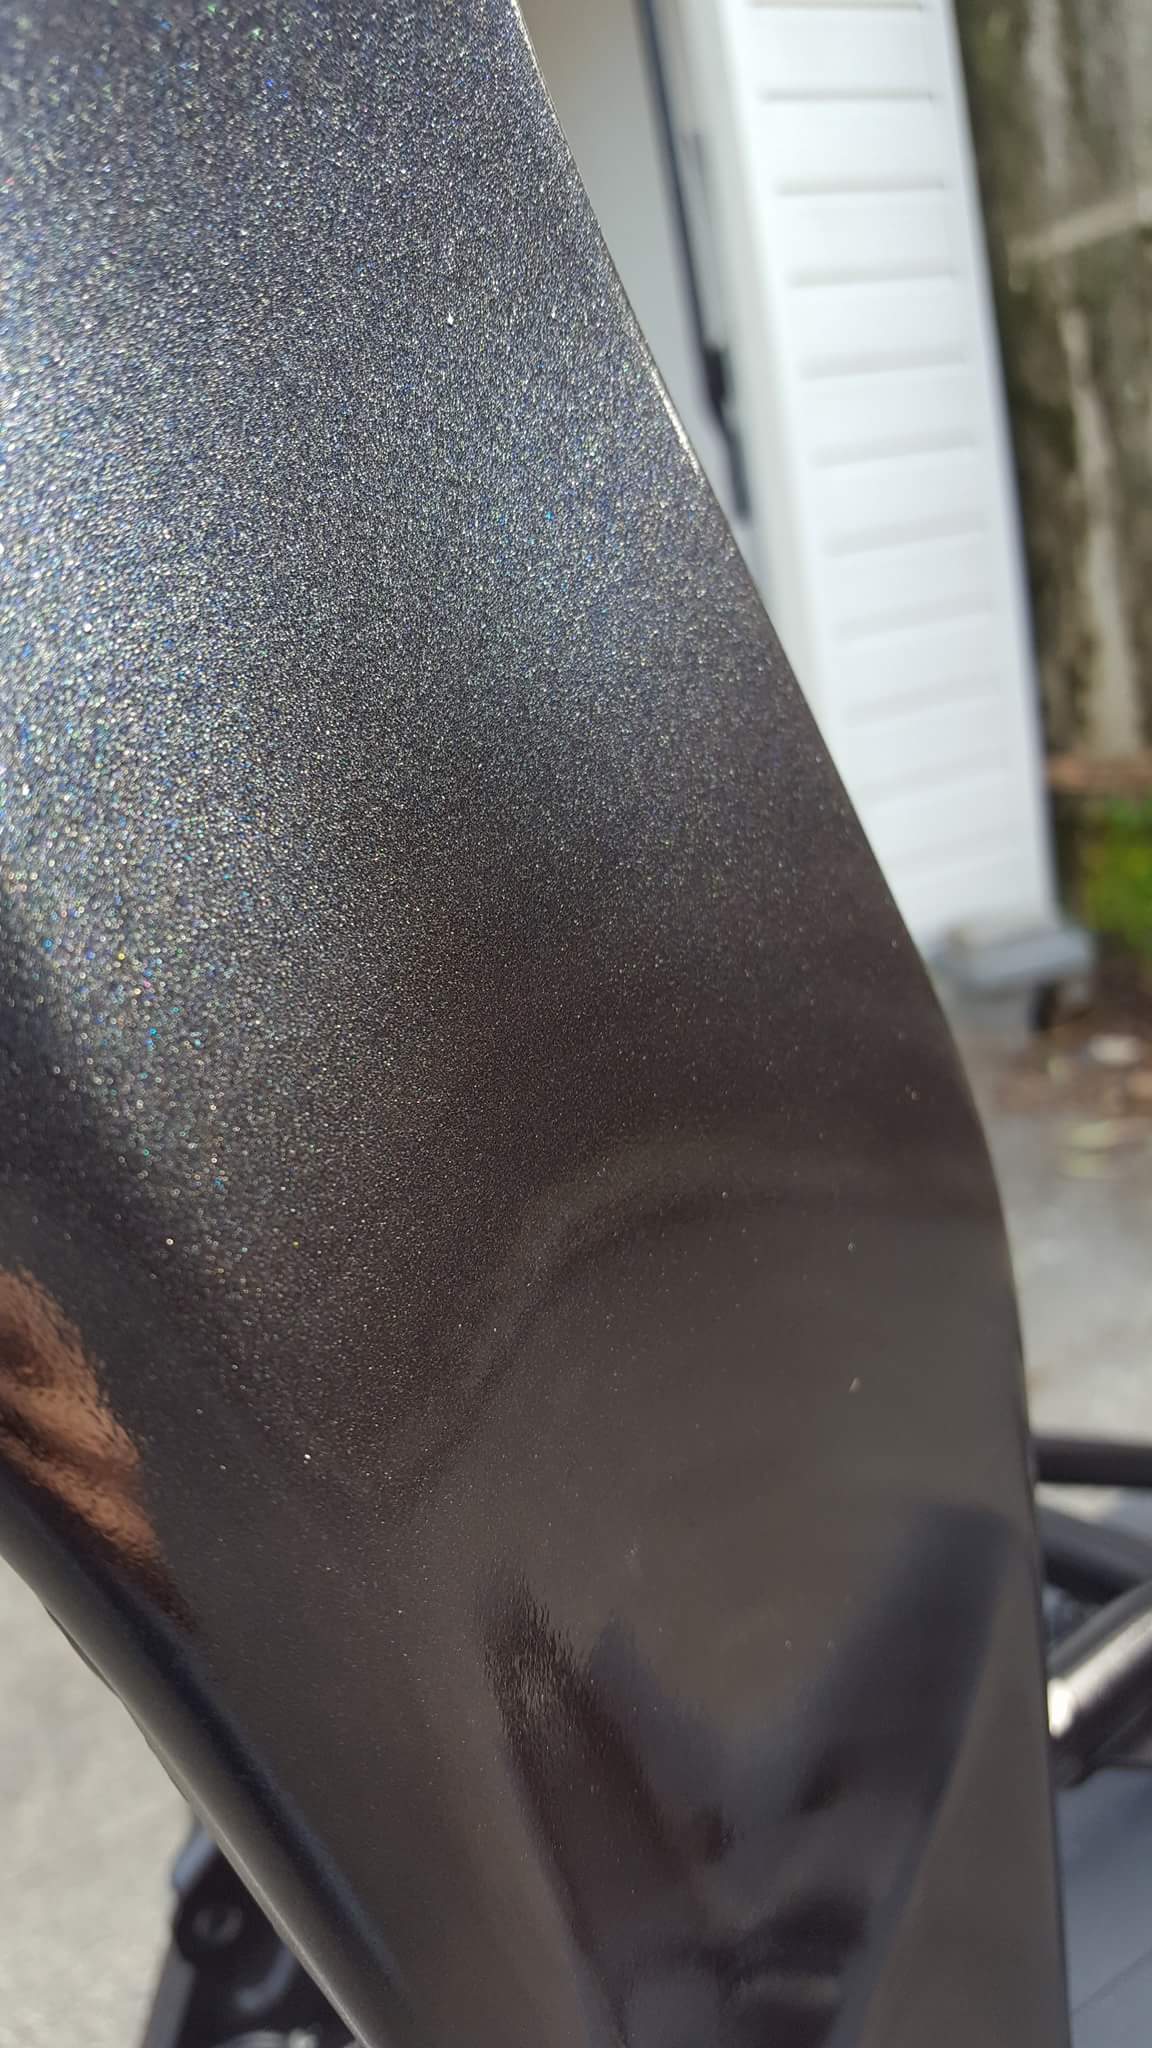
Threw some more clear on. Happier with this result:
-
Wet sanded this with 2000 grit, but i don't think i soaked the paper long enough and it won't cut out 100%. So i've rubbed the whole thing down and i am going to shoot another coat of clear over it. Before i do this, i'm going to finetune my gun. I'm just not sure what size tip is the best for clear? I have a gun with a 1.5 tip and one with a 1.8. both suction cup guns. I got some good results using the 1.8 on a test piece the other night, I just wonder if i could get better results with the 1.5 if it was set up correctly?
-
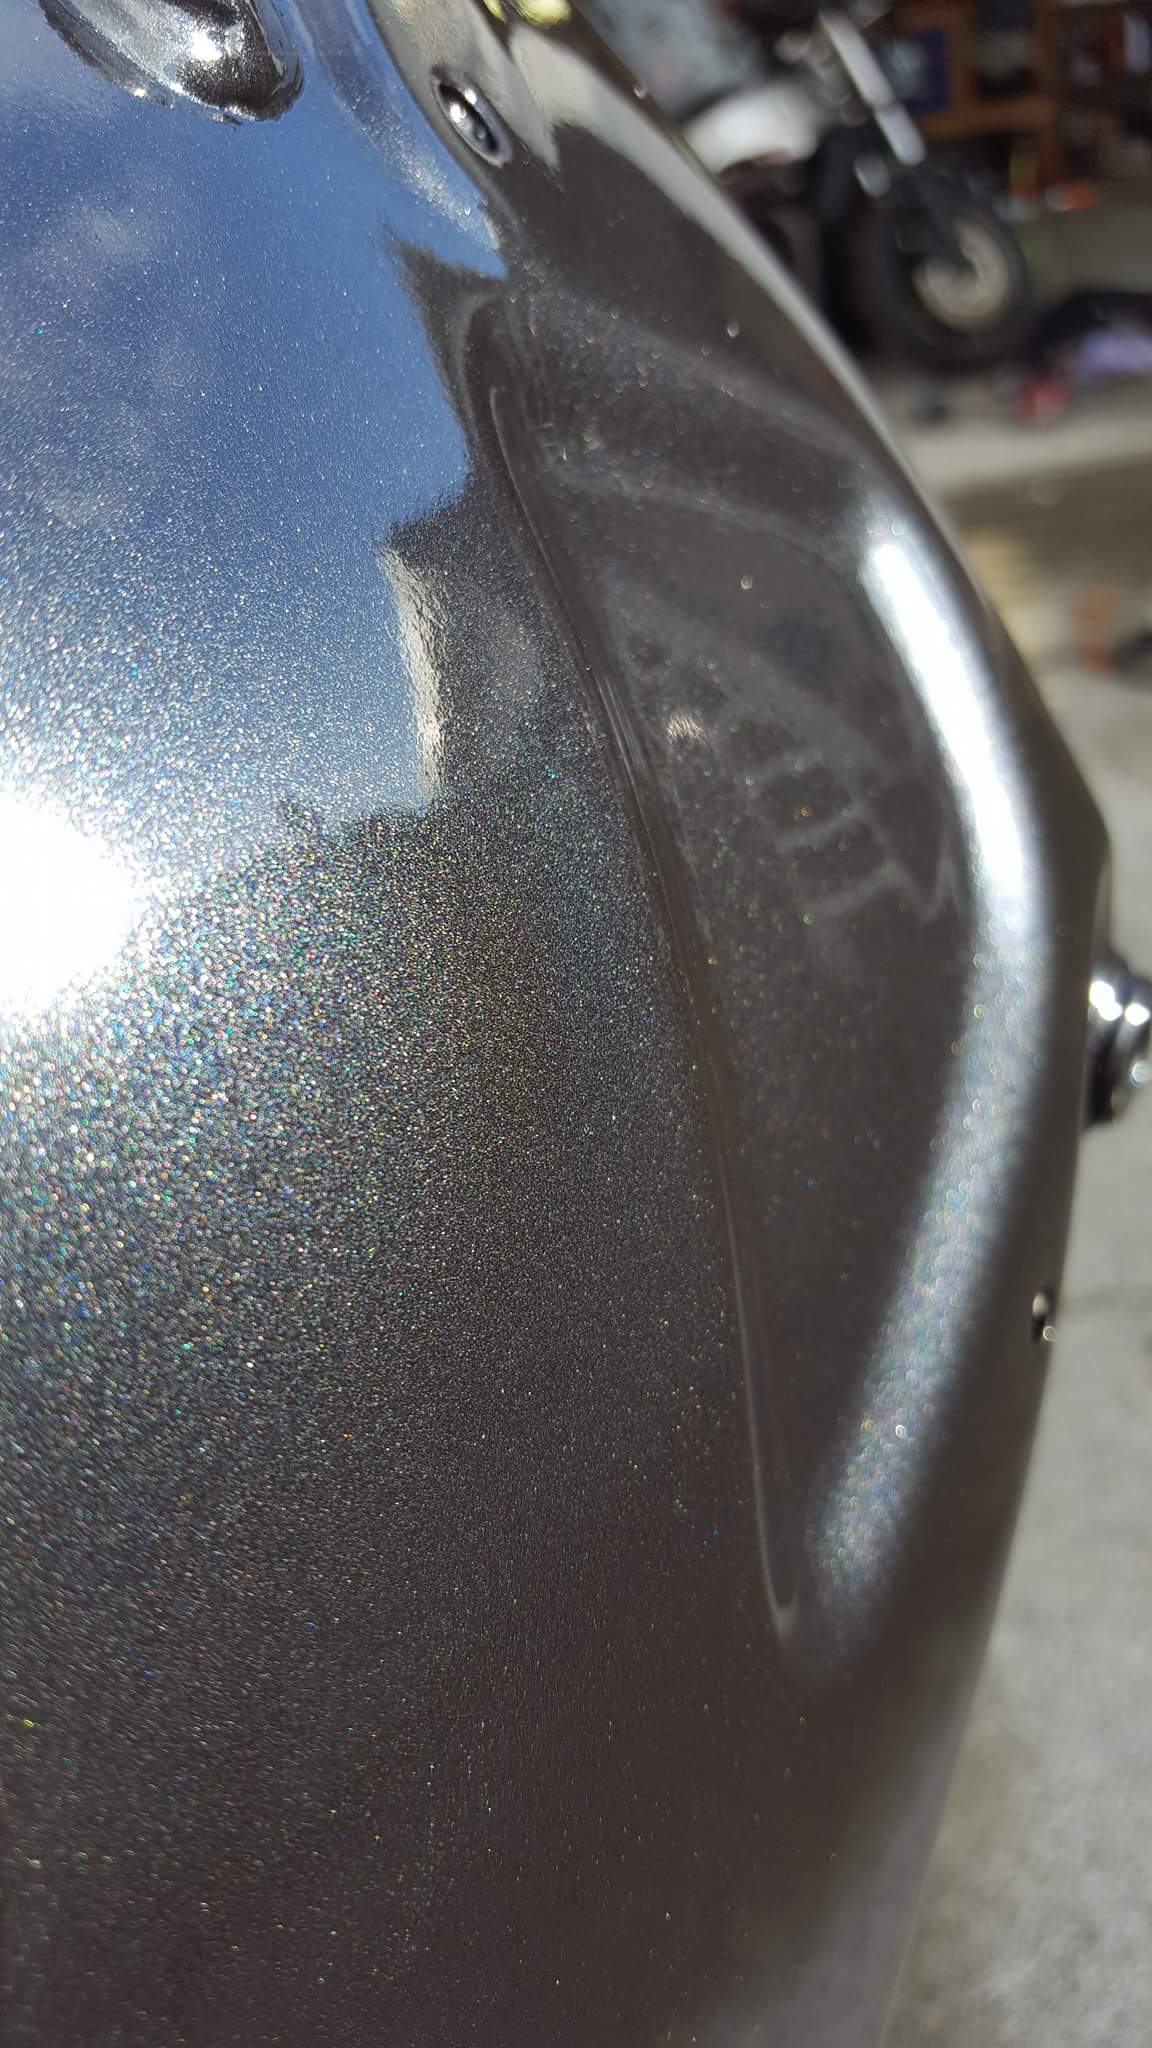
Got some clear on this afternoon. Not a perfect job but my first go painting with a gun, so I'm happy. Close up of the colour in faint sunlight:
-
So, finally got some basecoat down on this. Ran out of thinners though so clear will have to wait.
-
Yeah, Will keep that in mind. there's a bit to weld up, mostly around mounting points so i want to make sure its strong.
-
I was considering that colour, but i'm having difficulty visualising it on an RF. Though i do quite like the understated nature of black and grey. Don't think the cable ties will work, as im pretty sure the fairings ABS. Test piece i did last night came apart with a bit of force.
-
Thanks Man. Just had a 20 minute lesson from Delboy on how to plastic weld at home. Definately a better option than gluing!
-
thanks man. I've been told lego is a viable filler too. might cut up the old nosecone and have a crack with some of the other broken bits i have.
-
No major progress on this yet. Frame is all primed and rubbed down ready for paint. I think I've decided on a colour scheme. Basically black and gunmetal. Black will be a BMW colour (cosmosschwarz), but I'm yet to find the right gunmetal. Expoxied up a broken stud in the back of the cluster. The stuff I'm using sets solid as and seems to hold strong as. Yet to properly stress test it but I'm happy so far. Also made up some discs out of broken fairing to fill in the very large holes for the indicators, as I'm going to be running modern units with a small form factor. I will probably try reducing their size fractionally so they fit inside the holes, then i'll epoxy and glass them in. Not sure wtf iforce is doing with my photos, but they seem to orientate correctly when clicked.
-
I use Permatex plastic Epoxy where i have two plastic parts that need bonding. Works really well on ABS bike fairings. If you need to fill holes, fab up new tabs etc, i have had some success with melting lego bricks.
-

Thousand [2150?] Dollar Supercar's 1988 Alfa Romeo 33 1.7QV
twisted replied to V8Pete's topic in Project Discussion
how gutting. I had a 1200 Sud back in the day, and it was held together with bog and duct tape. But boy i loved that car. -
I've decided just to go with 1k for the frame. easy for me to touch up if and when required, plus i can do it all myself. Rubbed the frame down over the weekend. Etch primed it, then hit it with some filler primer. Going to order headstock bearings shortly. Might start gluing the fairings back together tonight. I'm using 'Permatex Plastic Weld' Epoxy. seems to have a good strong bond. I'll reinforce all glued bits with fibreglass for peace of mind. I'm going to need to get creative with the Side fairing though... i'll explain later with a picture.
-
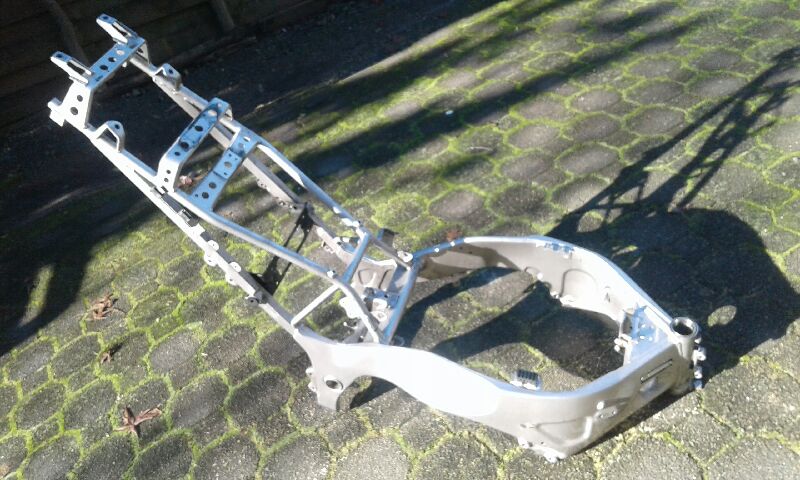
So these all arrived today: Pretty happy with everything. Cluster has only 37km, and an unexpected bonus the frame has a current wof through to october. Mulling over painting the frame 2k or not, doing so will mean paying someone to do it, or potentially making myself sick. Not that keen on powder coating, so still have to work through that. Will be ordering headstock bearings and stripping the forks hopefully this weekend
-
Seller has just confirmed that the frame is stripped and should be shipped on weds morning. Much excite.
-
Likewise! some people hate them (possibly because of their fat ass) but I've always liked them. They're nice to ride as well, and are quite commuter friendly. Yep gear saved my skin (mostly) though it melted through on the upper forearm, leaving a small burn about the size of a 50c piece. Next set i get will have a full zip at the wast too, as this one only had a half zip - net result was the jacket rode up where it wasn't zipped, and left me with a single spot of gravel rash, about the diameter of a coffee cup. All in all it did OK. BUT it wasn't exactly a high speed slide.
-
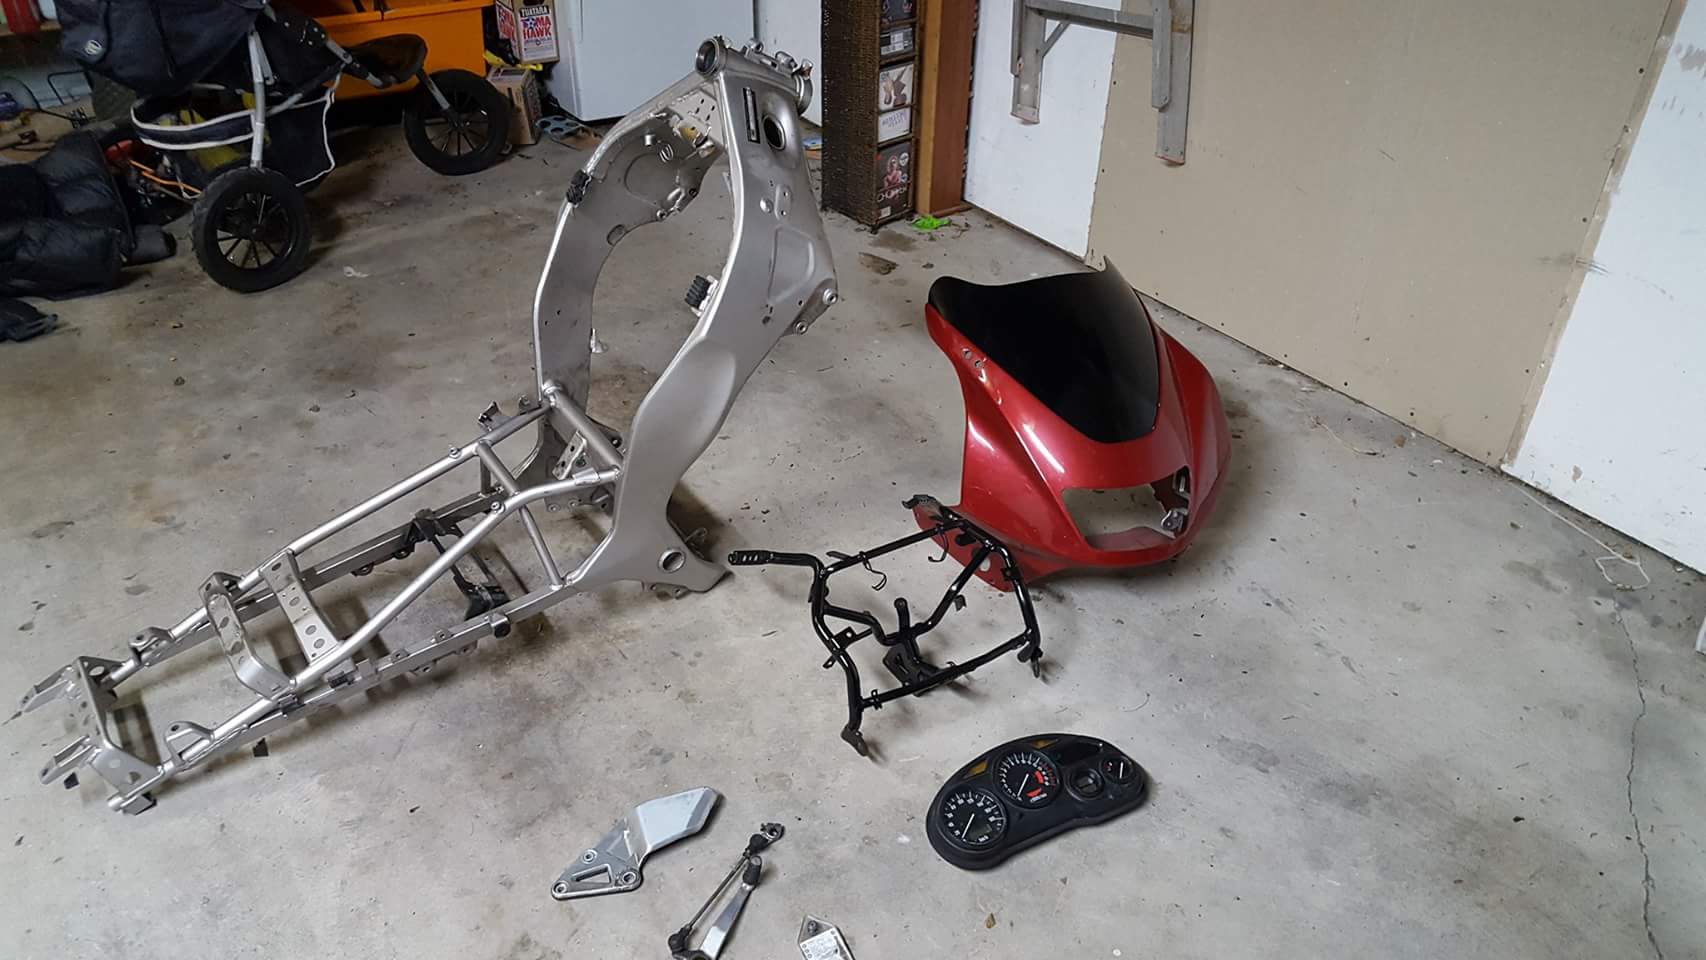
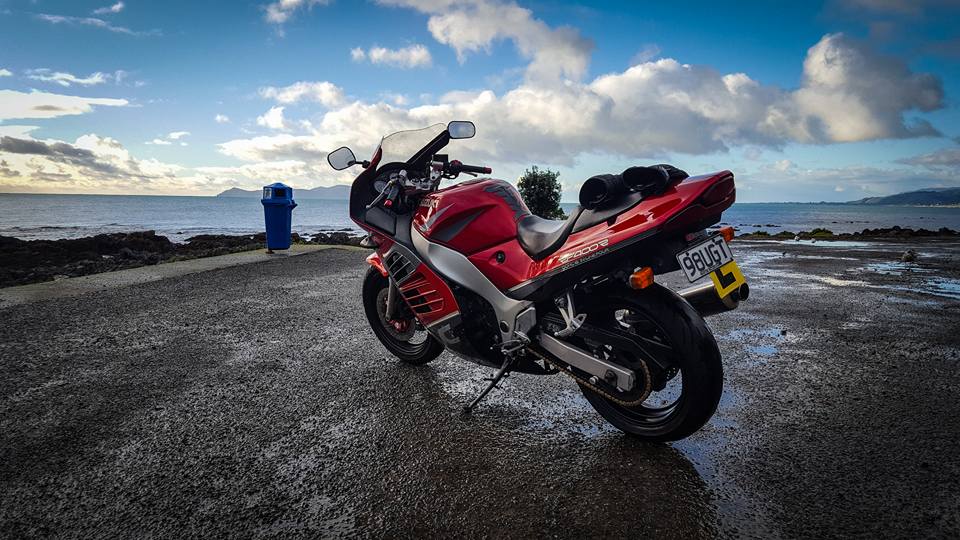
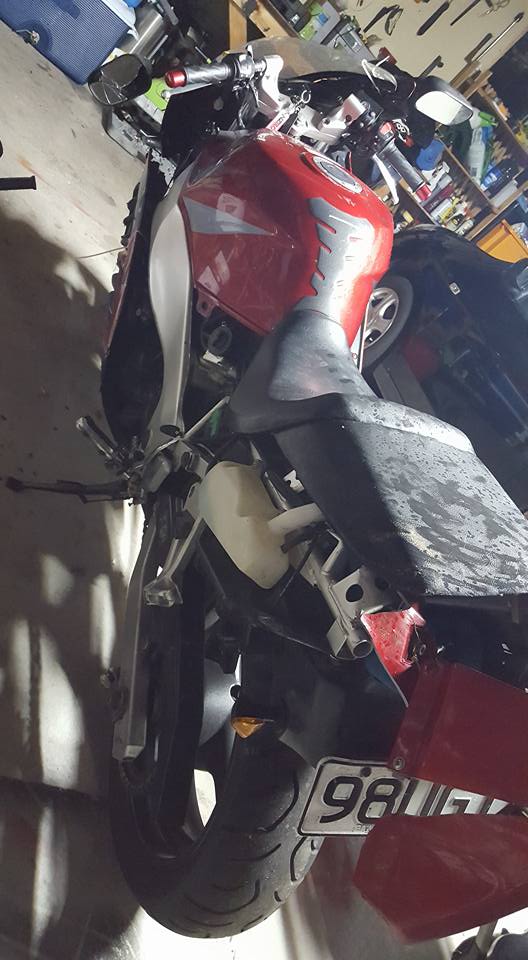
Hi All, So early last year i decided id by another bike and get my license this time round. after much searching and research i found this RF400RVV just one street over. It was pretty tidy, and rode well. With 53Hp and 195kg dry, it sits at the upper echelon of the LAMS Power to weight formula. Rode it day in, day out all through winter and did the following work: Front wheel bearing New pads all round New air filter (wasnt running one when i bought it) Brake fluid flush Bridgestone T30 tyres Valve Clearances checked and adjusted (Being a 'VC' engined model, this was a massive learning curve even for the mechanic, and was well beyond my skills and limited toolset) After all this work, the bike was running really well, and i was thoroughly enjoying it heading into summer. And then this happened: Hit a patch of oil on Paekakariki Hill road, and Lowsided at 70km/h. Would have been fine, except shortly after I hit the bank, the Bike did as well. Having over 200kg (wet) behind it, it had considerably more momentum than my 80kg frame, and as it hit the bank rear end first, it pirouetted and came down on my leg, and then carried on further down the road. A Local Good bastard was following, and he called an ambo and moved my bike to the side of the road, because at that point my legs were not working. The cops turned up, took one look at the oil covered road and declared that it wasnt my fault, and "we're really friggen happy you're alive". Good Bastard shot home, grabbed a trailer and took my bike back to his and stored it for me. After Most of the Day in A+E, it was declared that I had sprained the PCL Ligament in my left knee, and had nerve damage in my right Leg. I was OK and could go home. After about a month of physio i was walking normally again, with the ligament about 85% healed and the nerve damage 100% healed. So anyway, I got my bike back and stripped all the plastics off it to assess. At first i though it was OK, however closer inspection revealed that the frame took a couple of good hits, with a good crease up front, and the rear subframe well and truly fubared. Its sat like that for 4 months. I had a half assed attempt at straightening the rear subframe, but gave up when i realised it was too far gone, and even if i could straighten it it would have lost much of its structural integrity. As the rear subframe is welded to the main frame, I couldnt just find another and bolt it on like some bikes, also with the crease up front i decided that the frame was toast. Then as if by magic, a frame popped up on Trademe that had everything i needed: Main Frame L/H Rearset and Gear Lever Front Fairing Support Front Fairing and Screen Dash Cluster (Rare as rocking horse shit - the last two years of production used s different cluster, and only on the 400s) Came to a deal with the seller, and i'm getting the lot incl freight from Hamilton to Kapiti for $500. So i'm well stoked. Should arrive later in the week or early next week. So the plan? Paint frame 2k satin black Strip existing bike, inspect everything and replace rubbers/bearings and seals where necessary Strip forks, paint fork tubes, refresh fork oil Repair plastics - a lot of work is needed here and i have a fair few tricks up my sleeve. I don't think i need to replace anything other than the front fairing. time will tell though Fix Dents in Gas tank Paint Buy some Leathers (My textile gear melted during the slide. would not trade again) Pics: