~Slideways~
-
Posts
1,607 -
Joined
-
Last visited
Everything posted by ~Slideways~
-
Any updates on this?
-
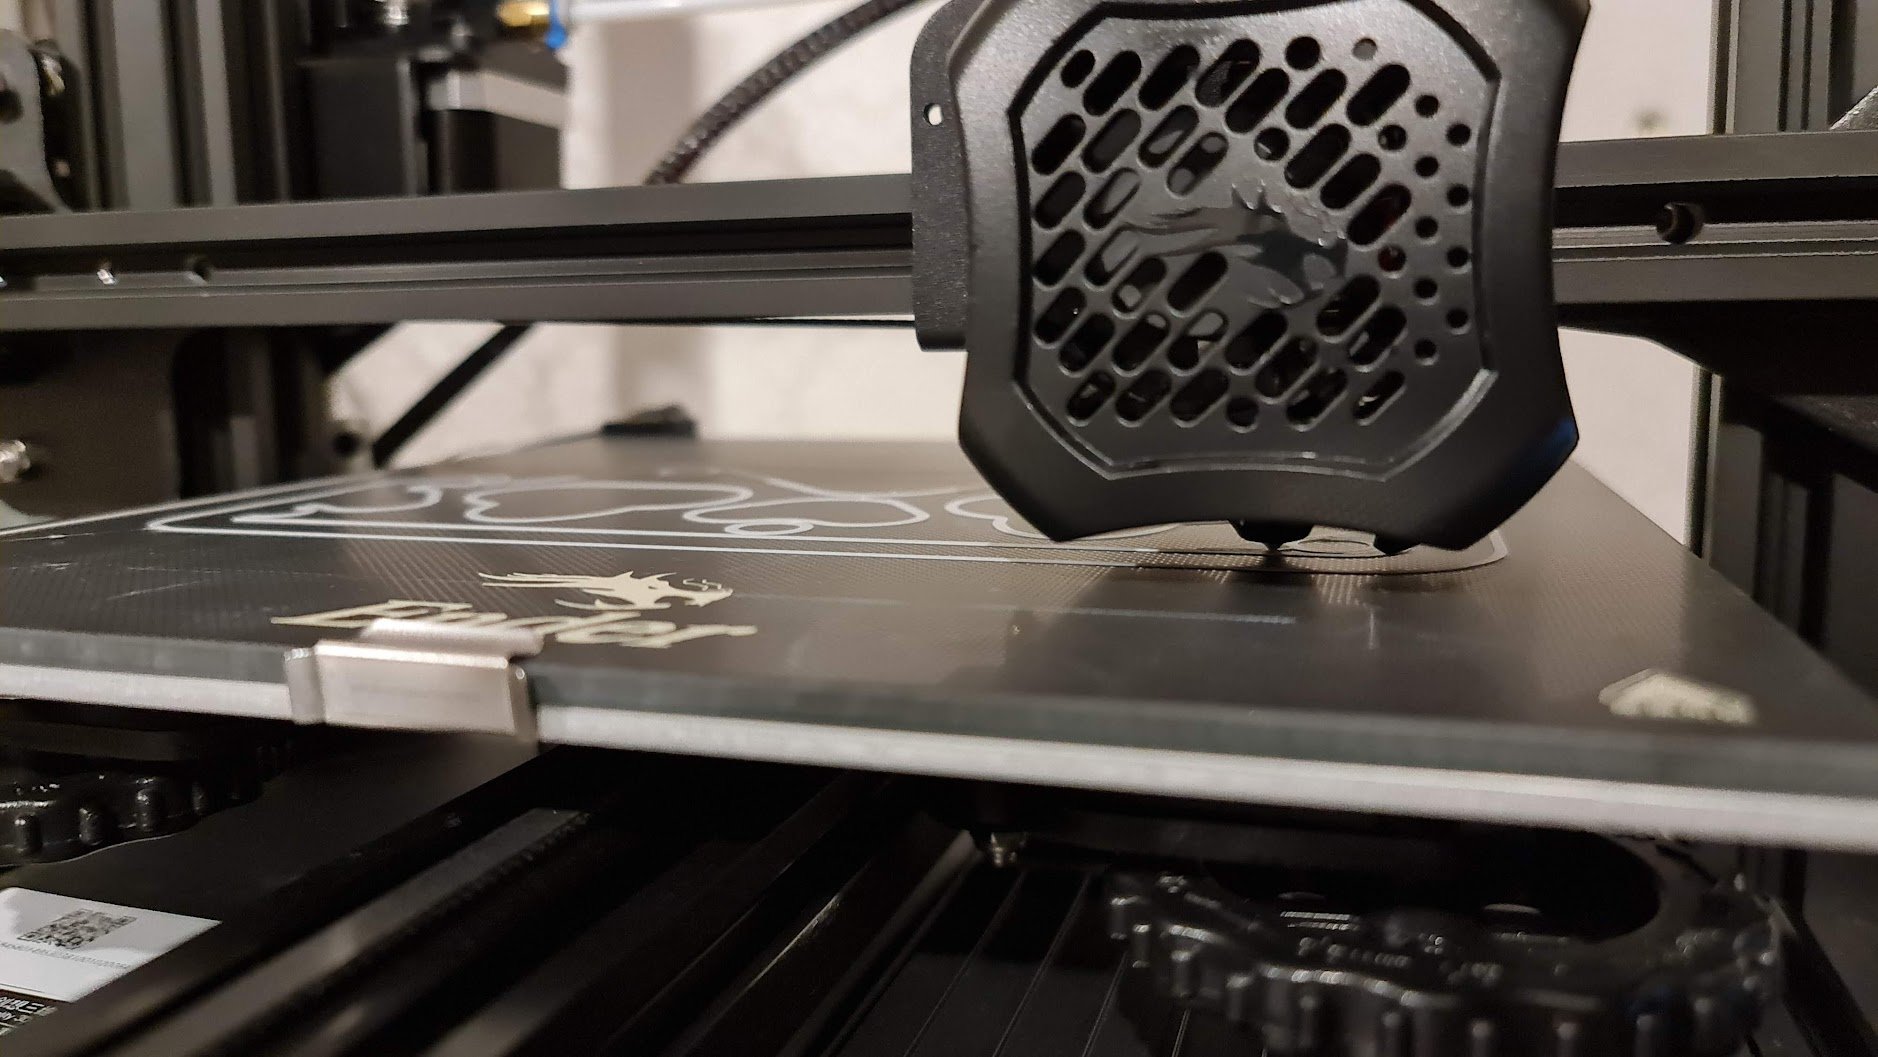
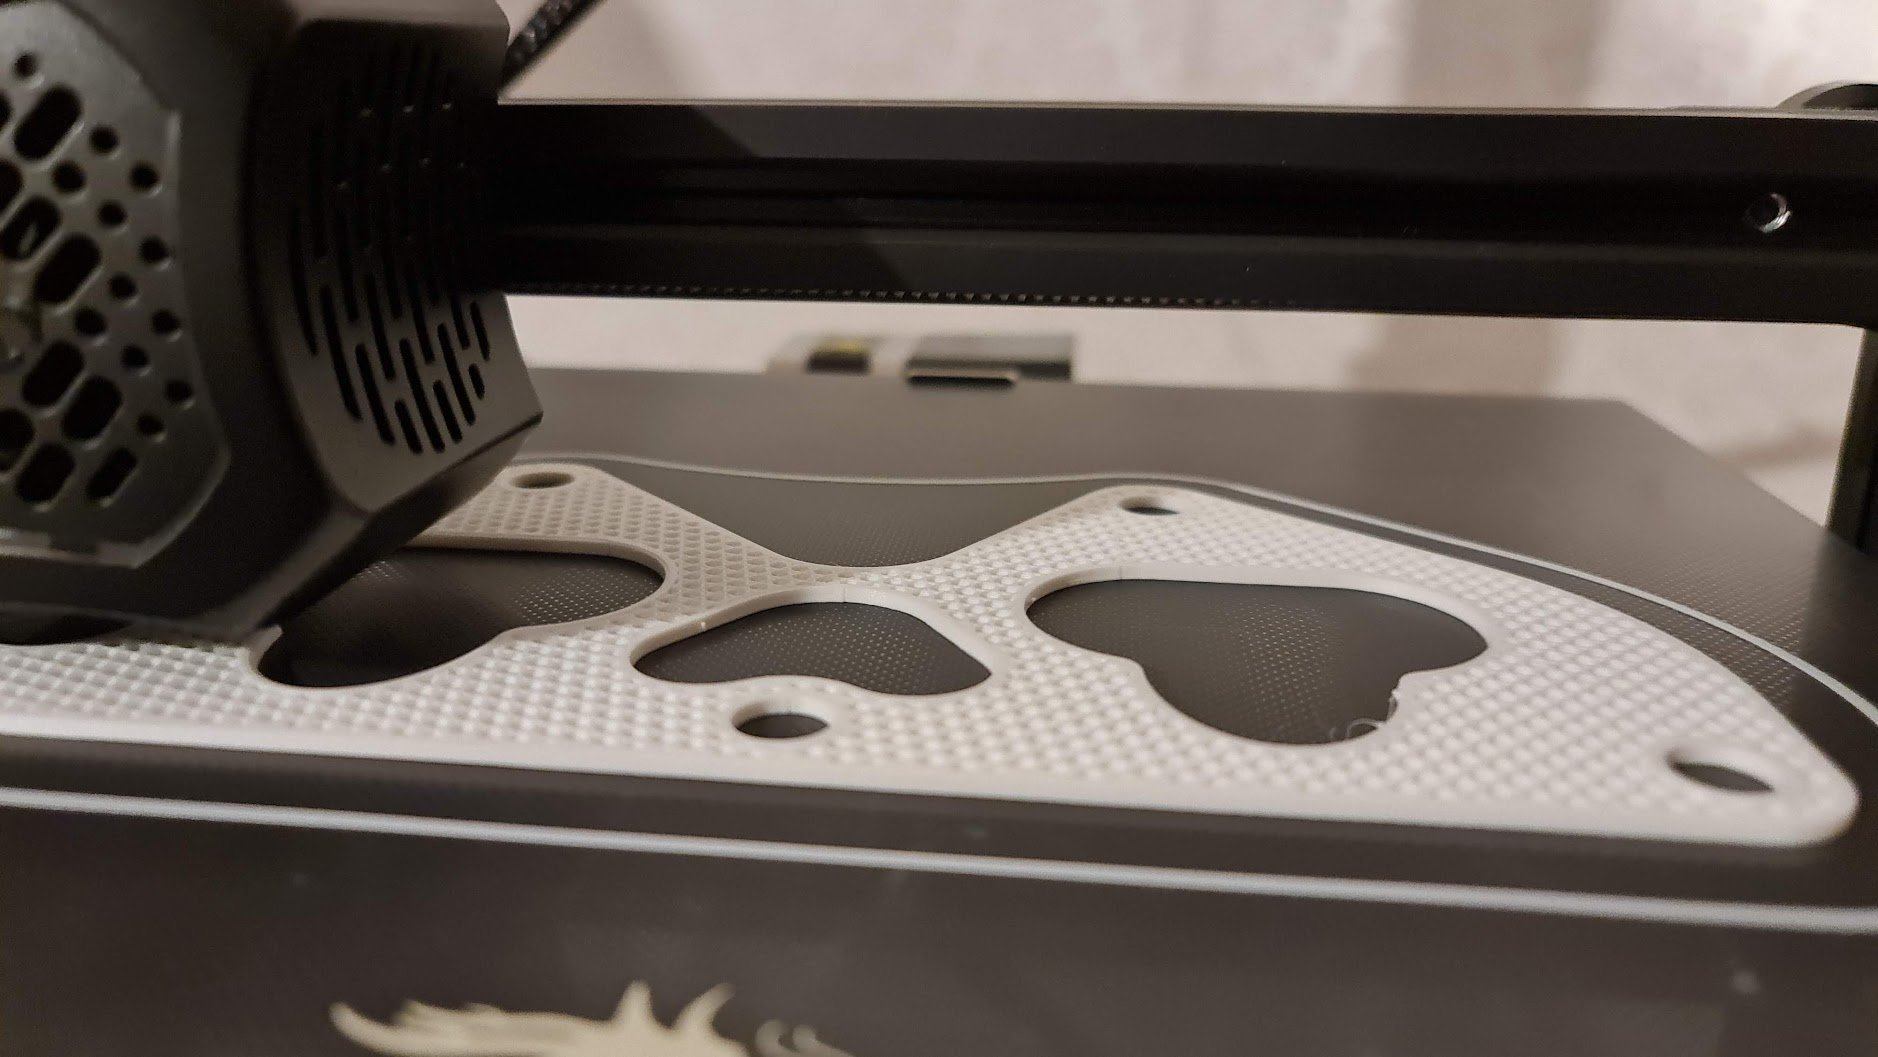
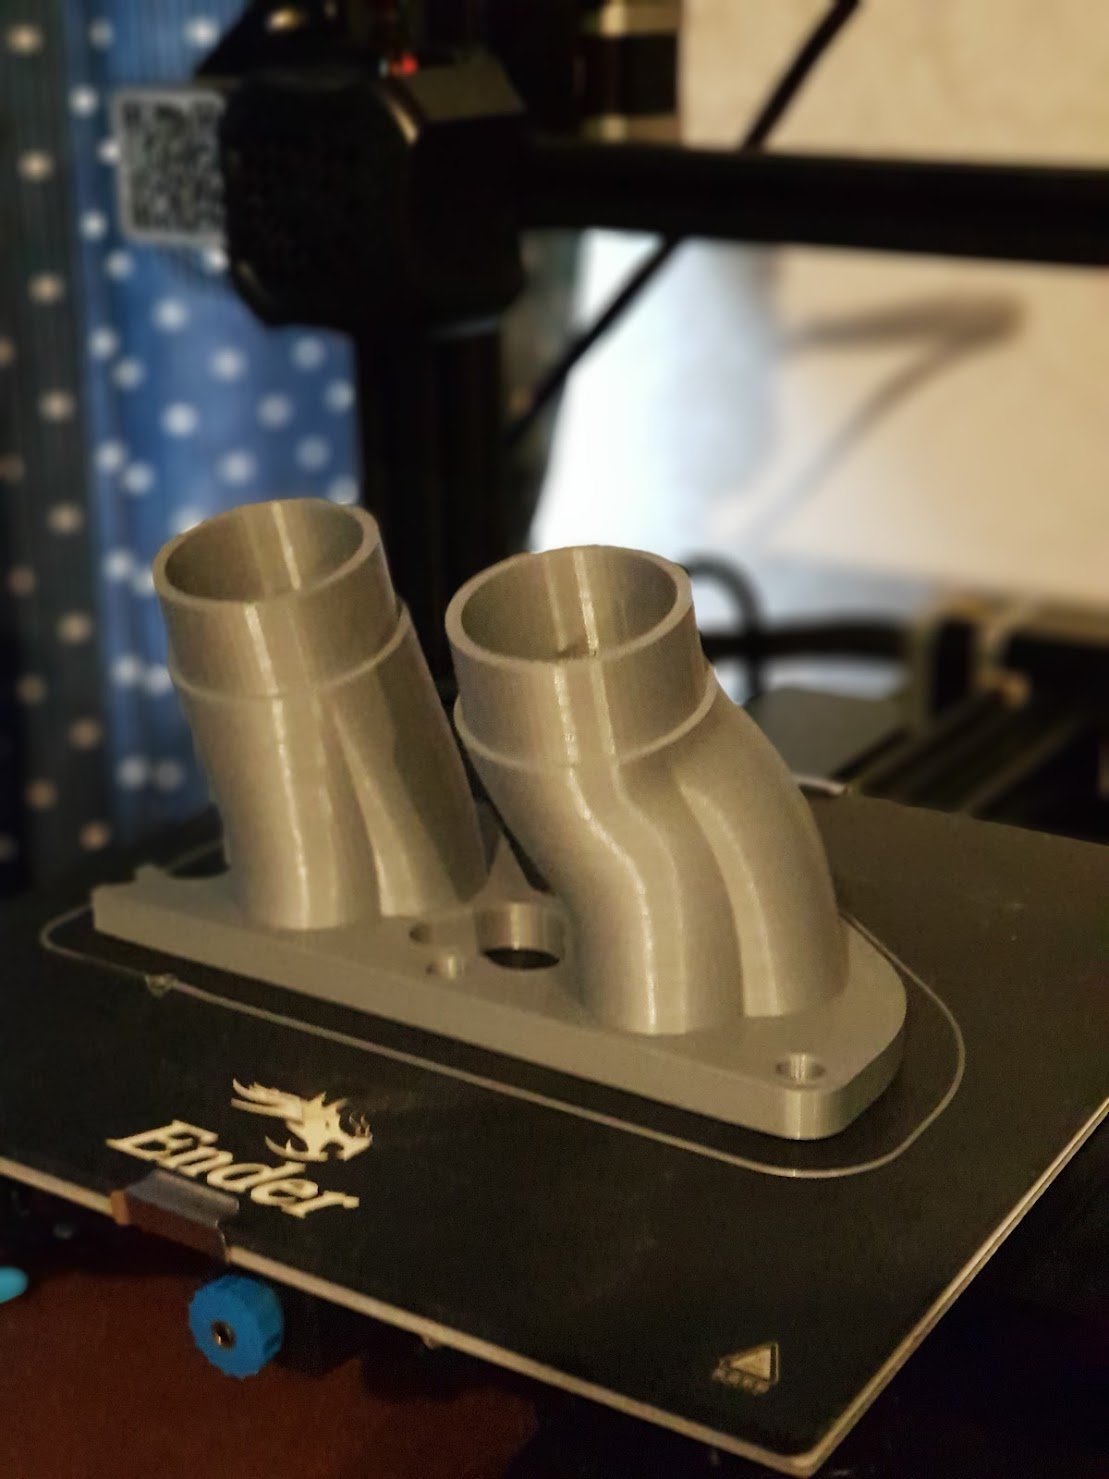
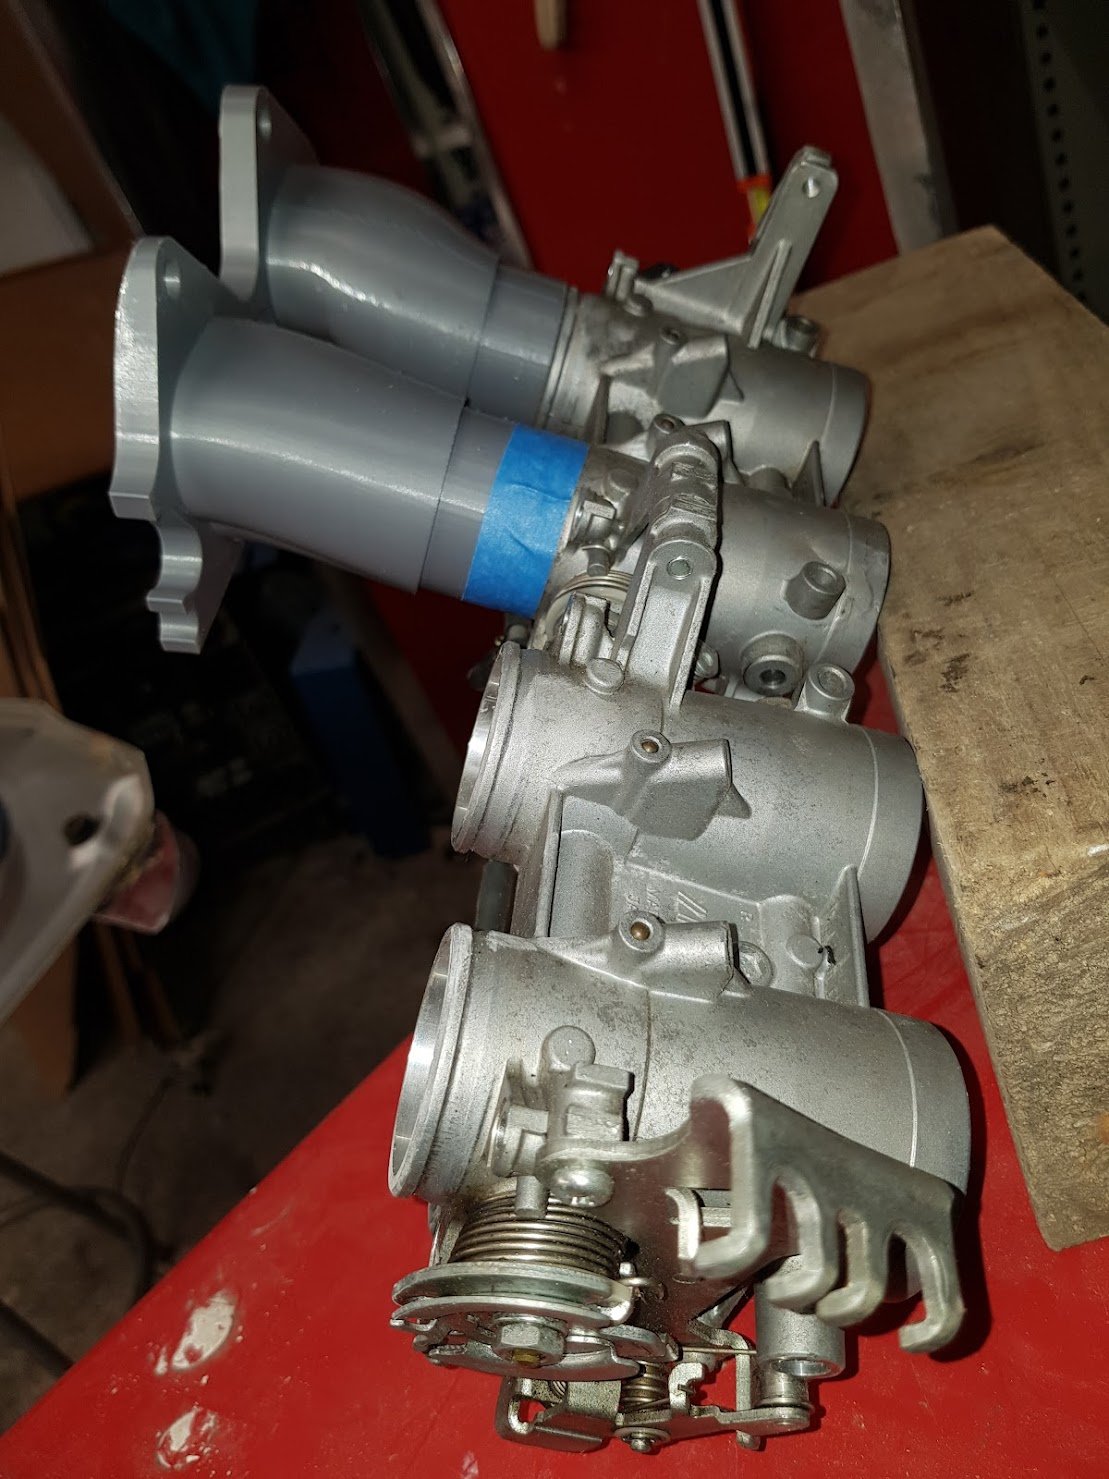
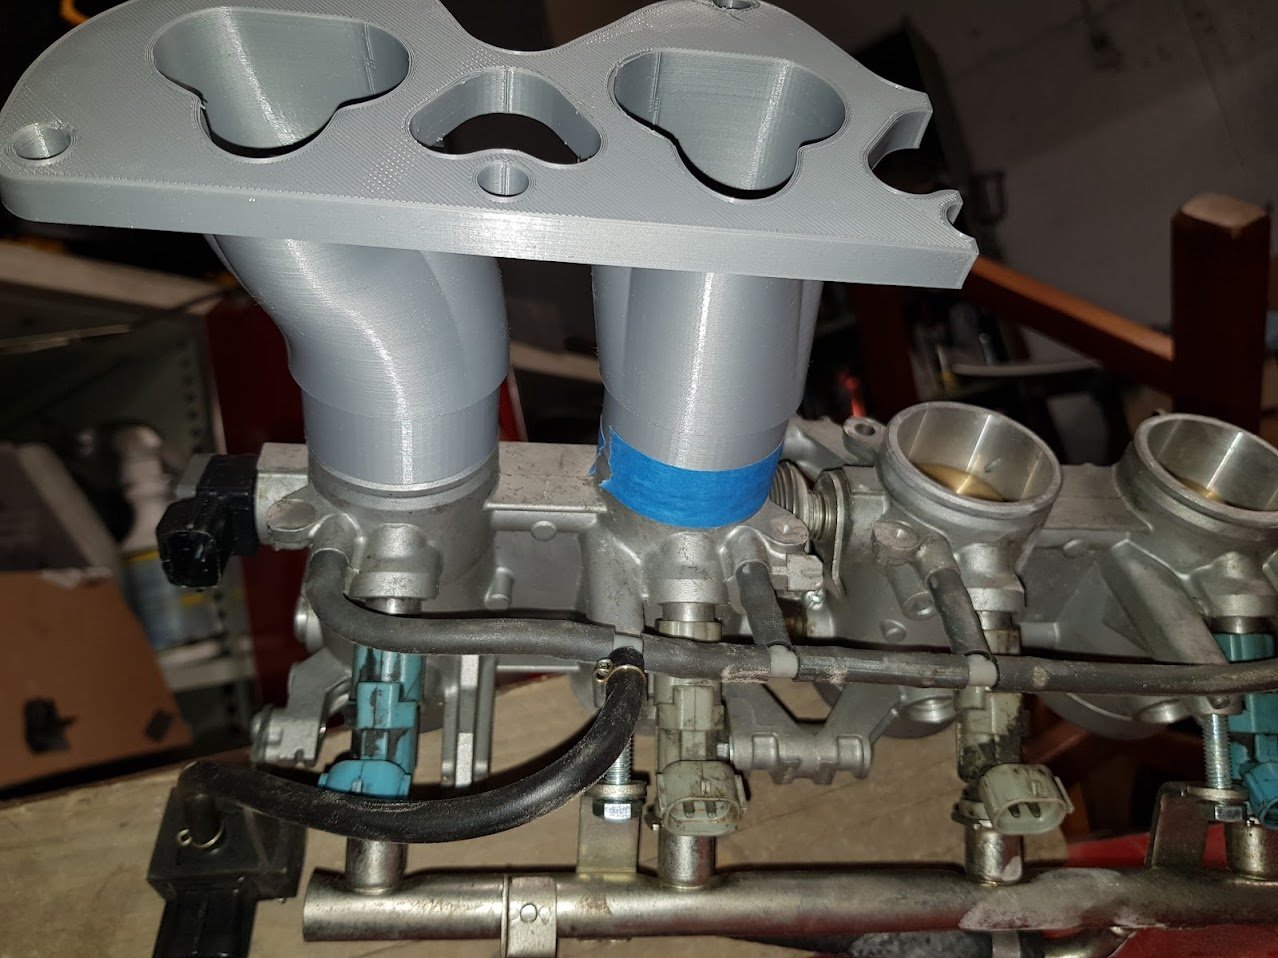
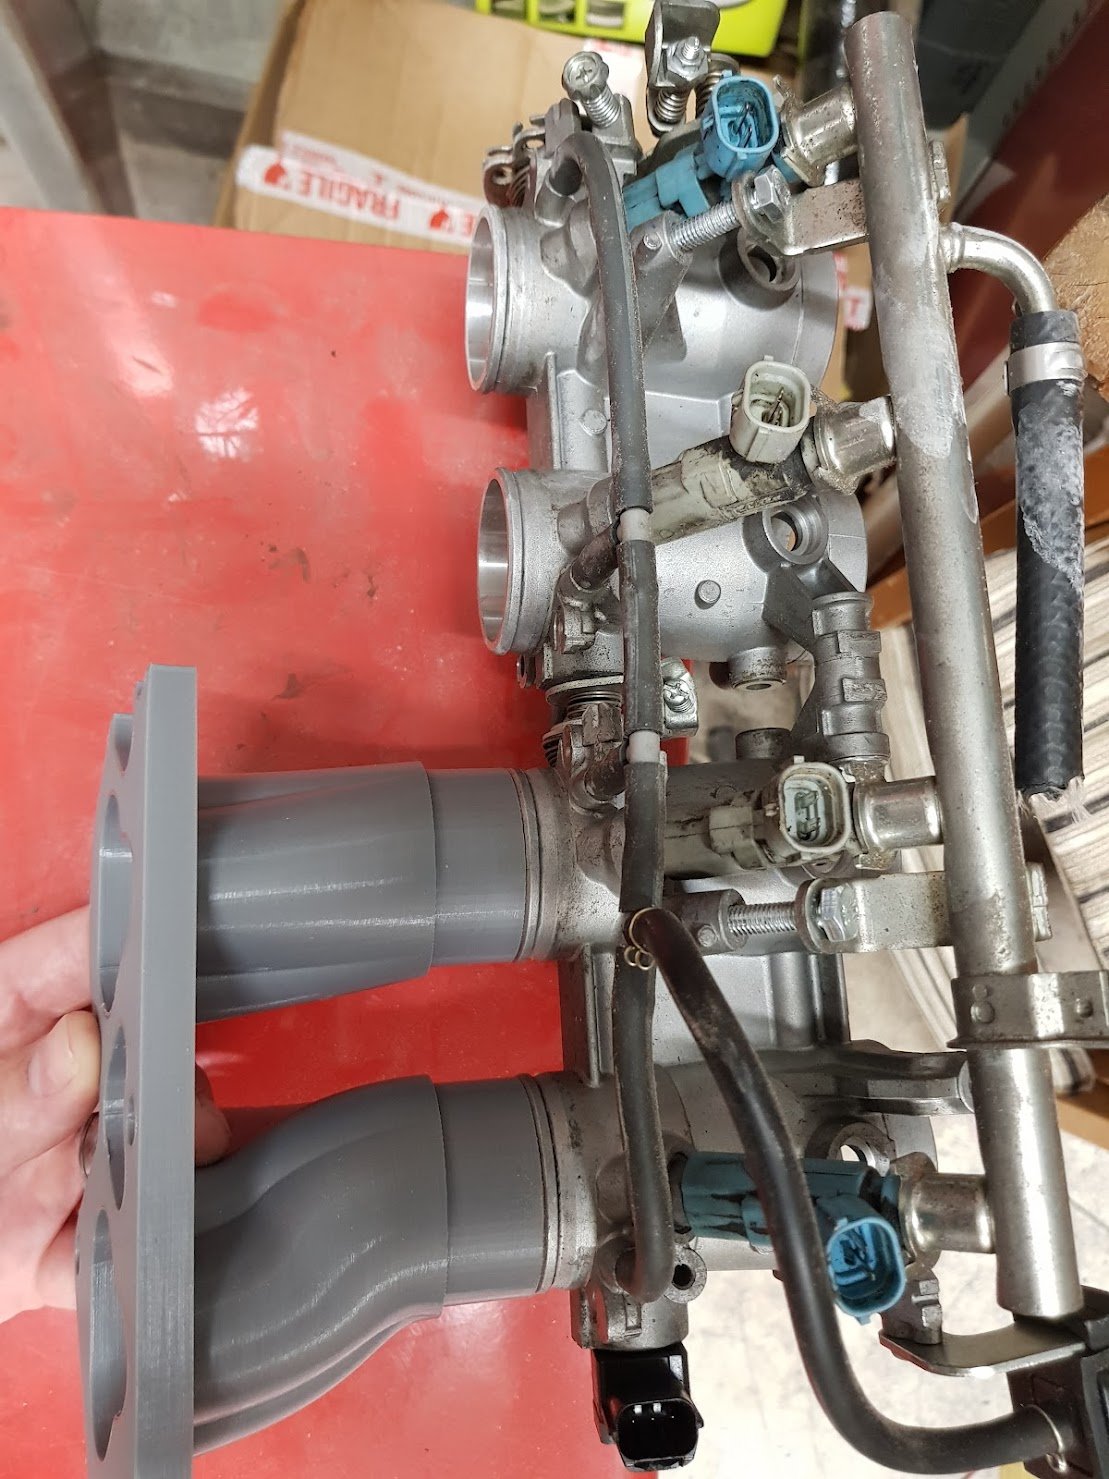
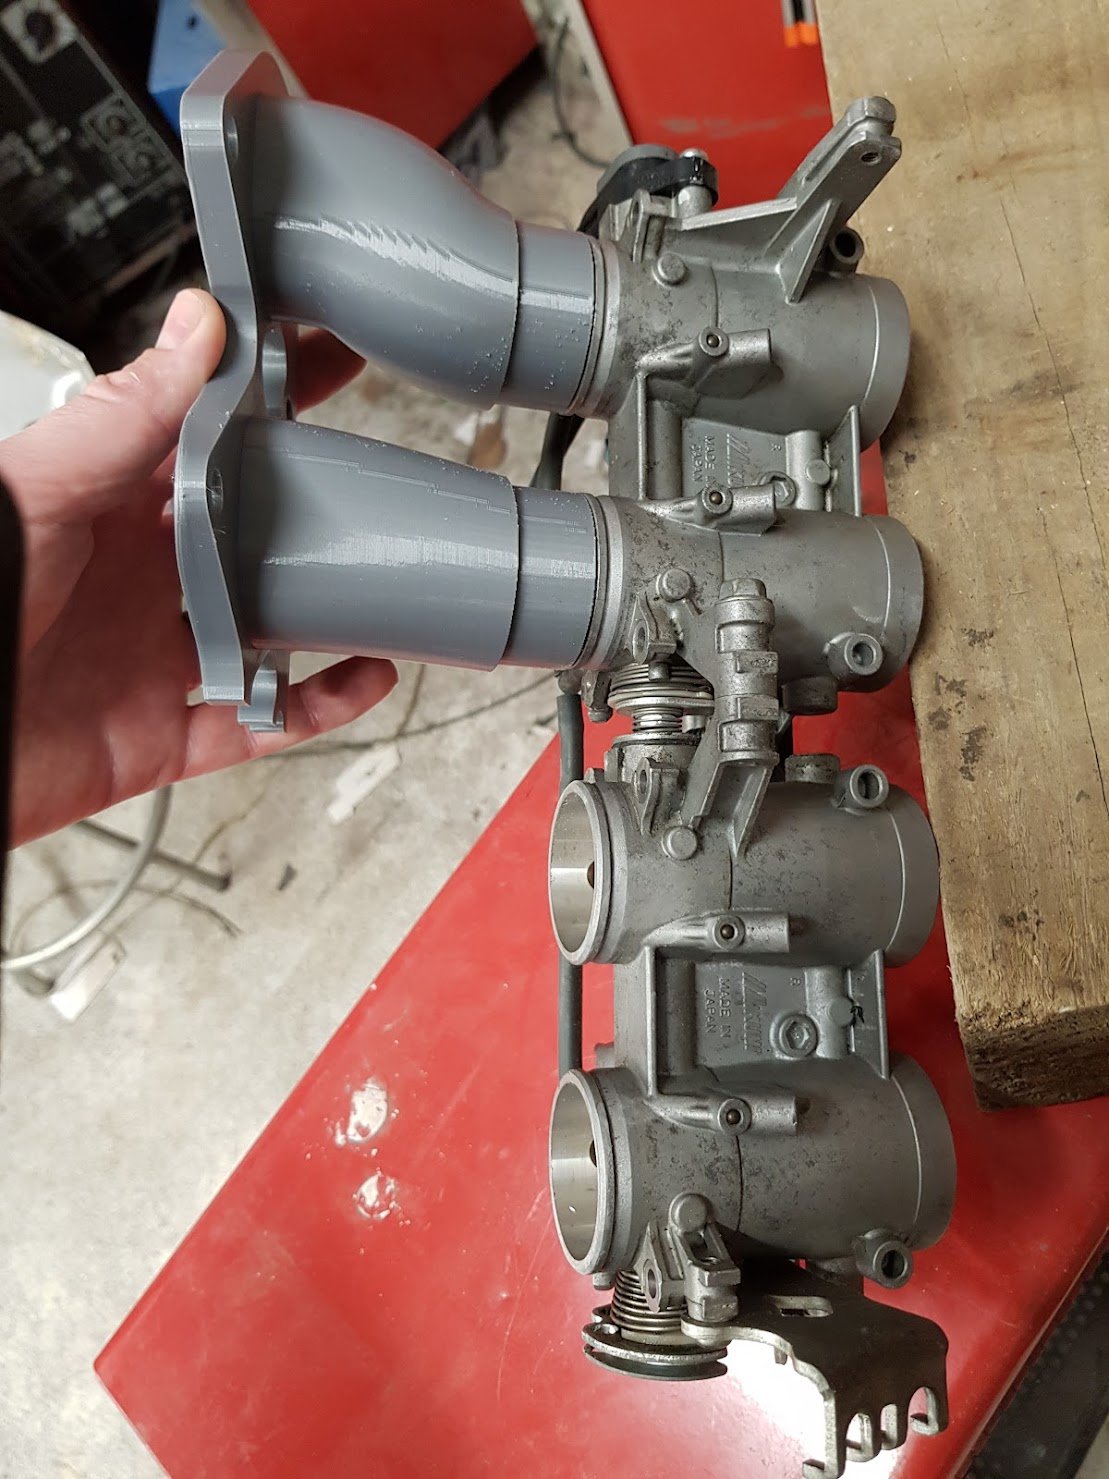
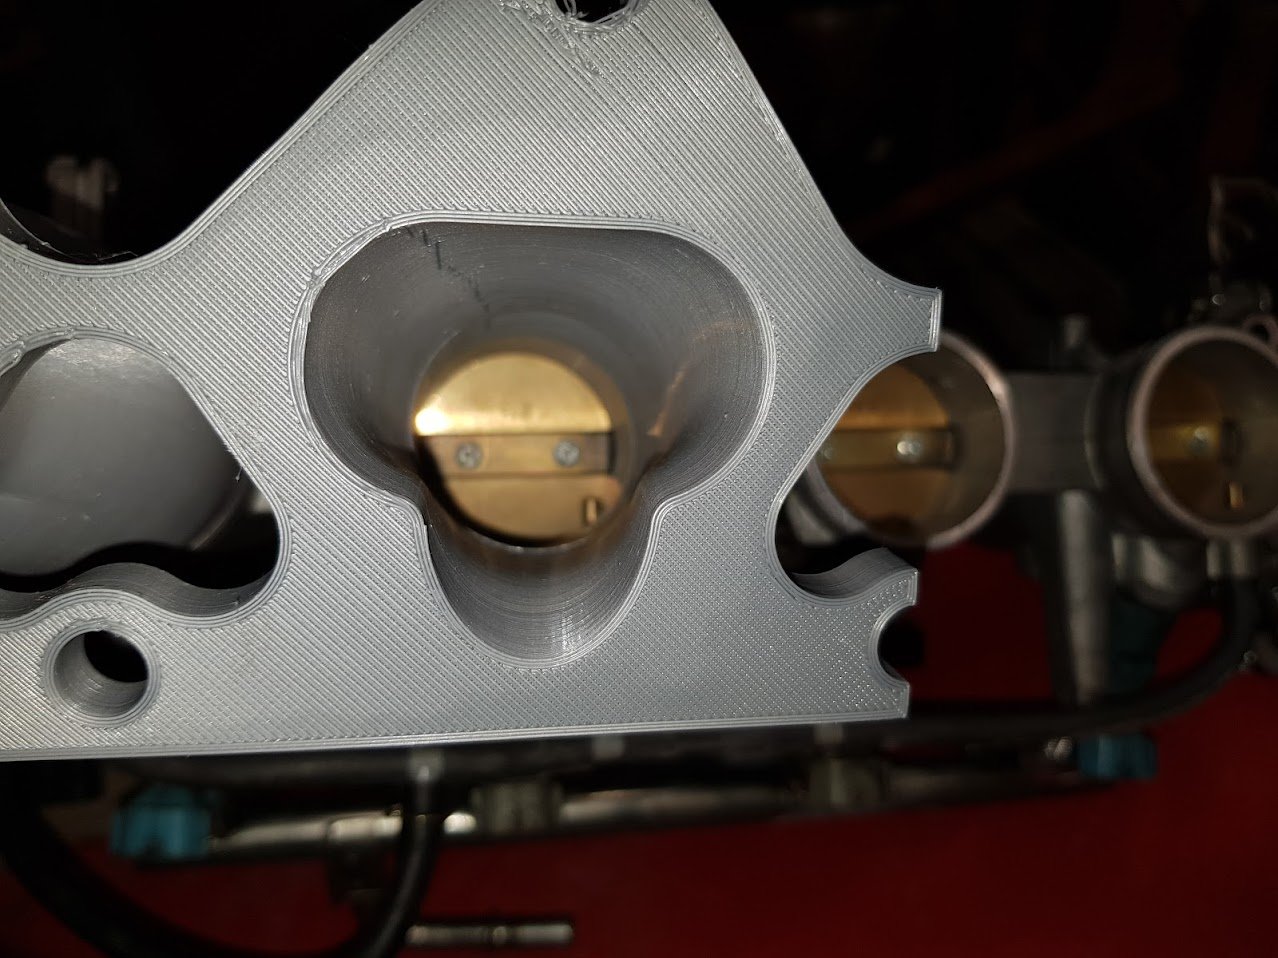
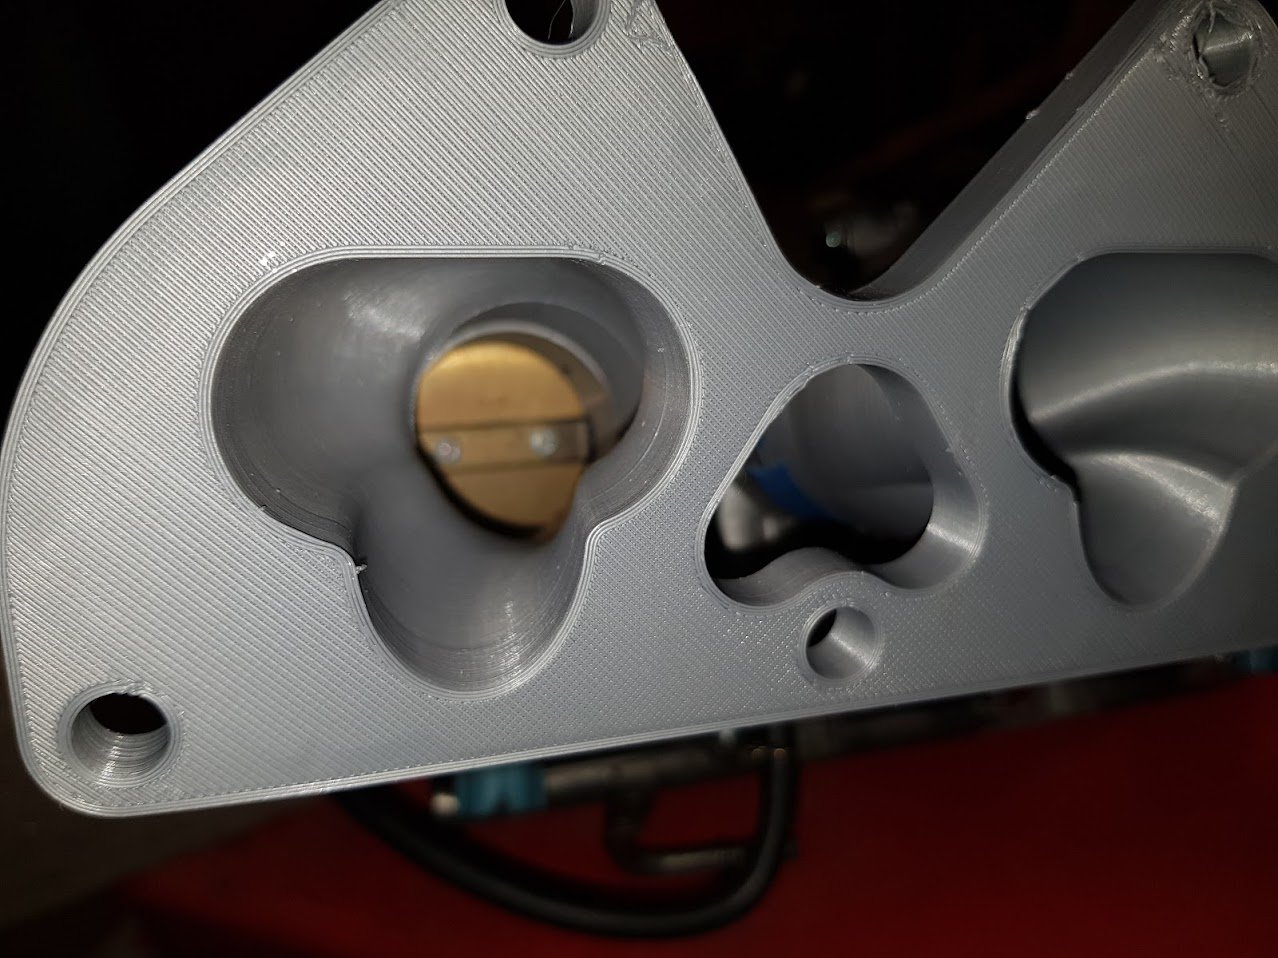
Tried again and got this about 12 hours later: Sweet! A couple of problems with the print quality and lifting but good enough for a test fit and to see it I need to change the angles etc. It lines up with the ITB ports perfectly! Fck yeah!

- 165 replies
-
- 32
-

-

-
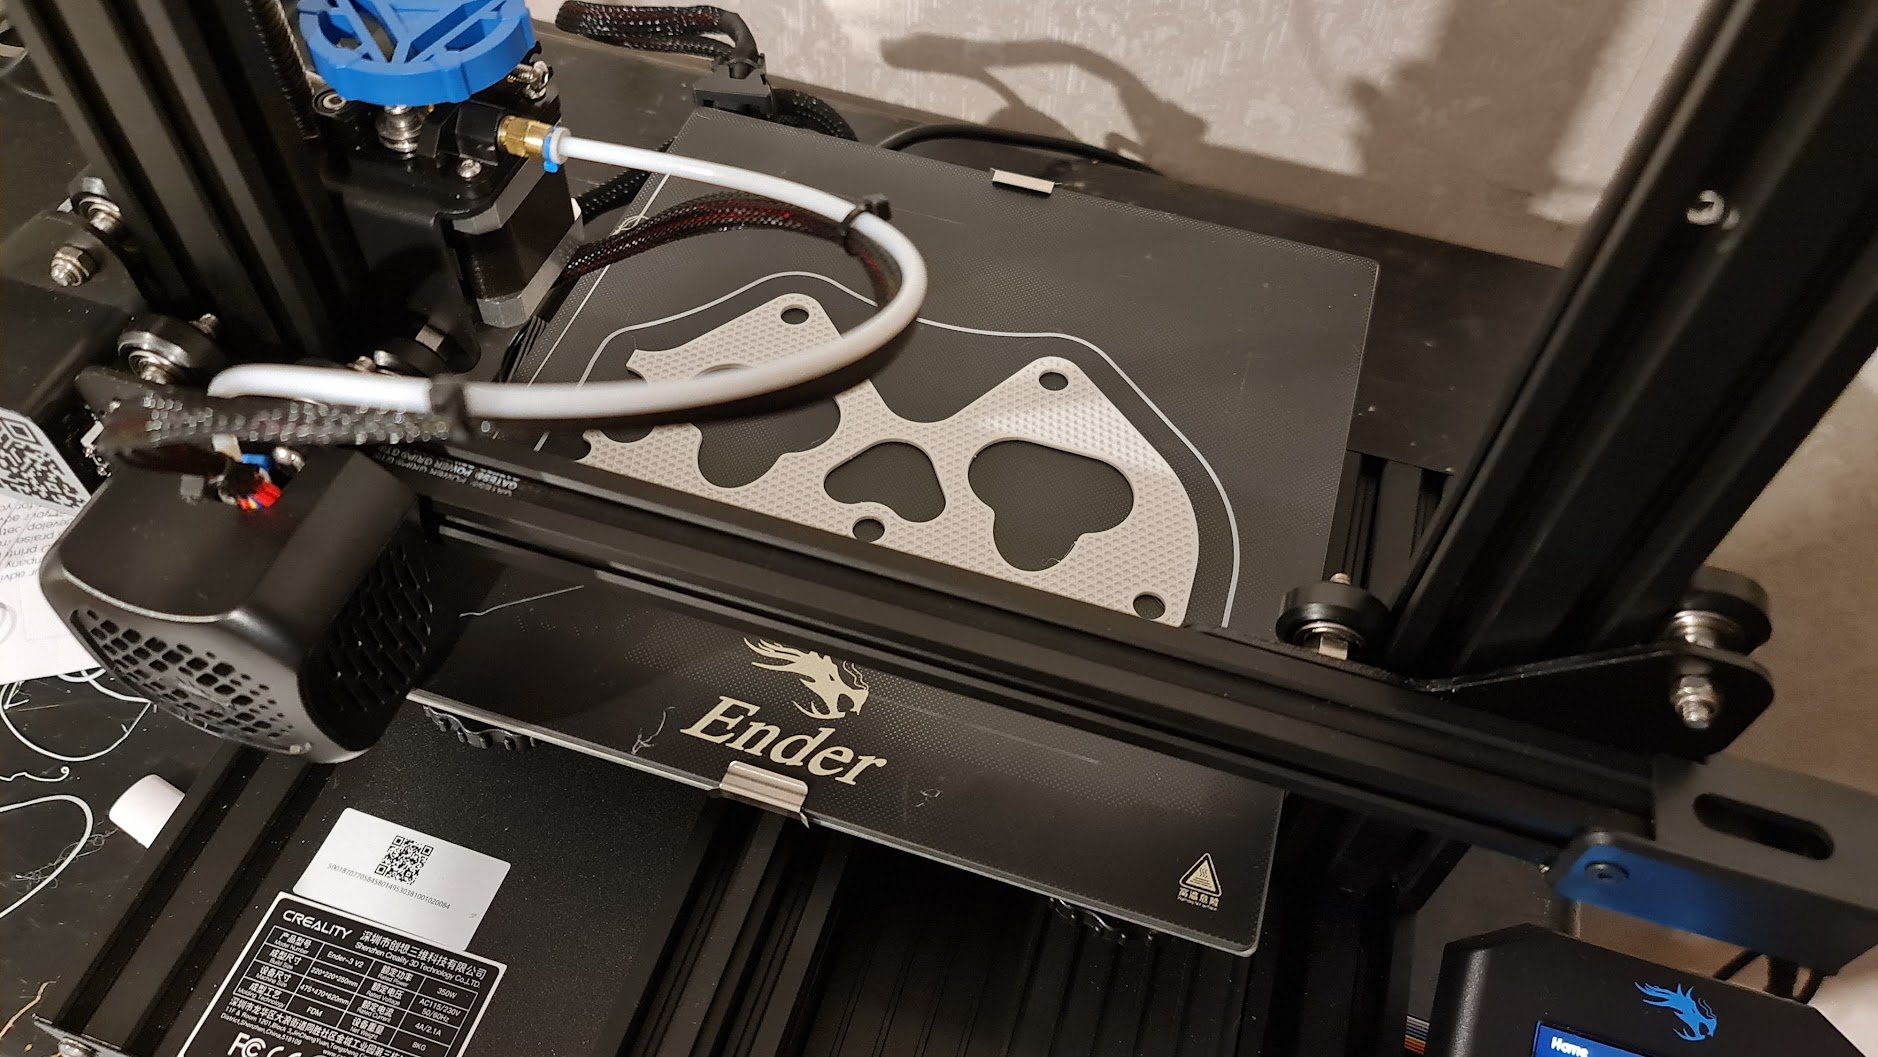
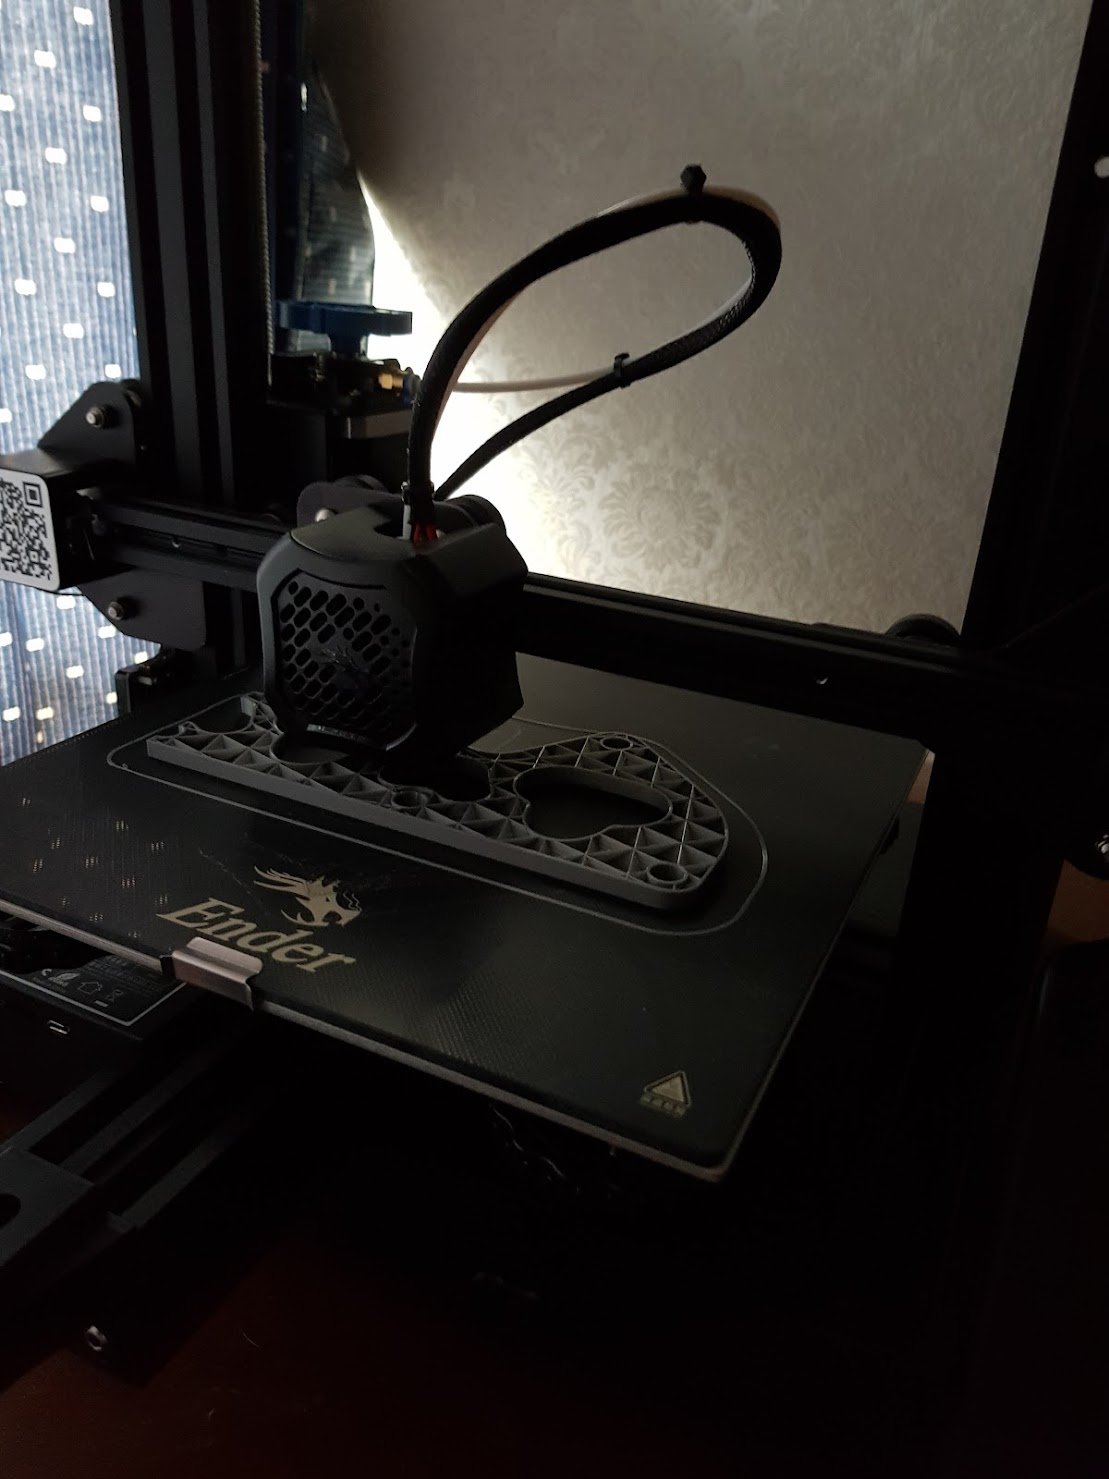
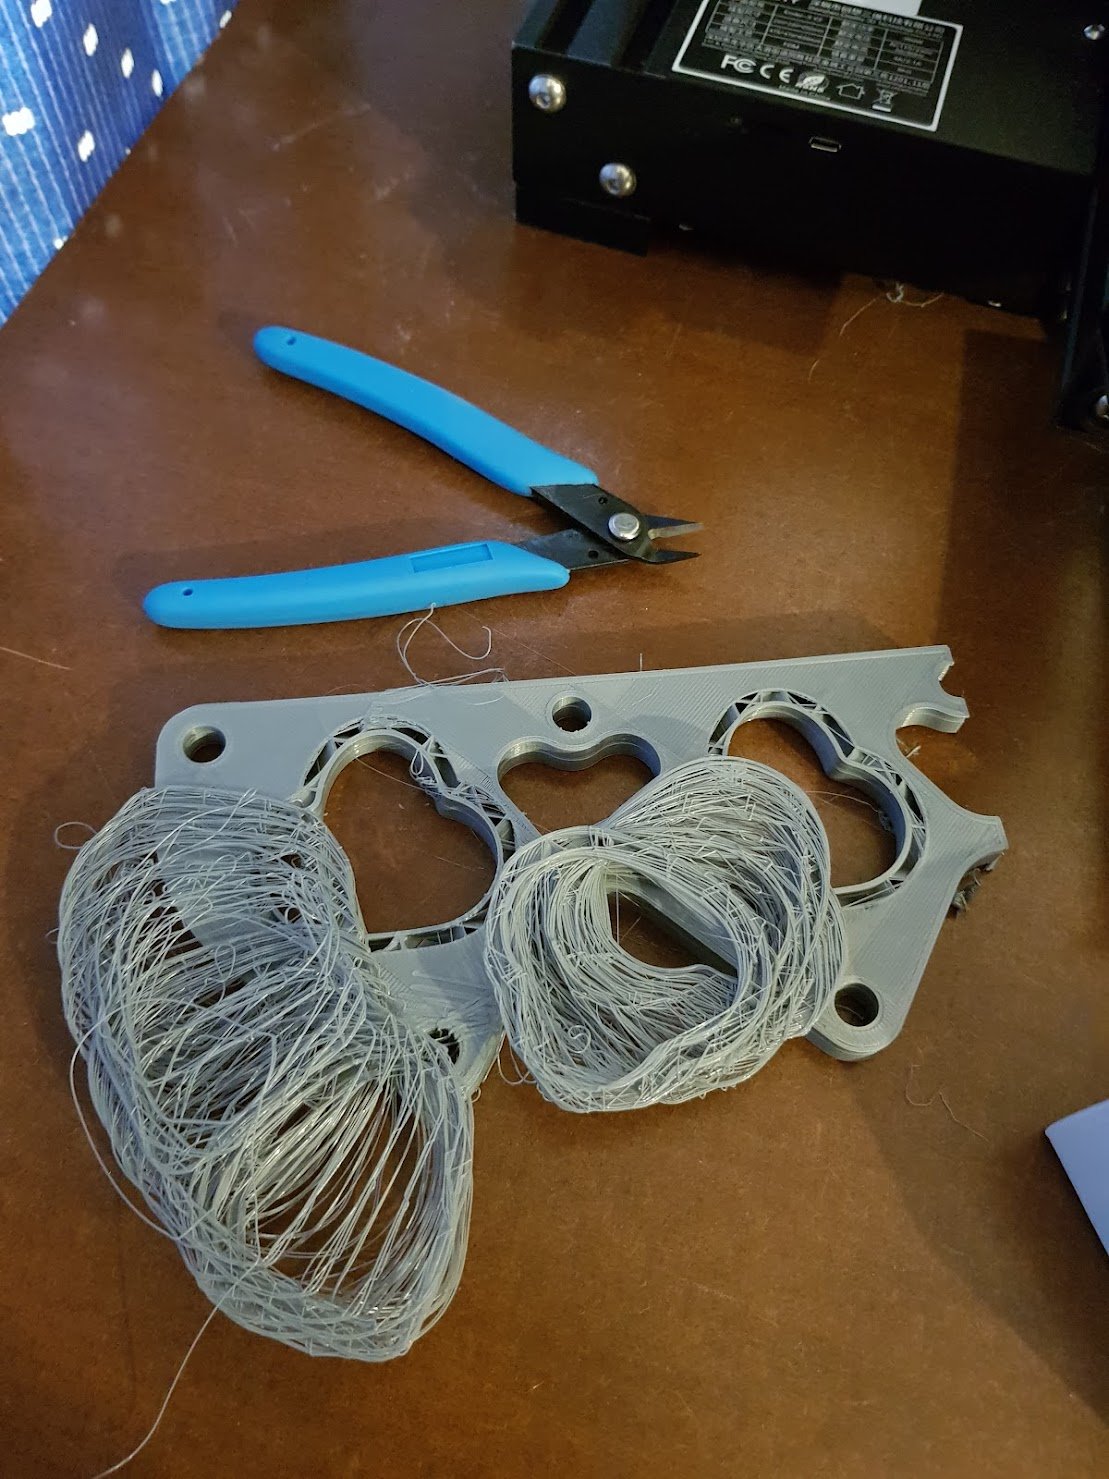
Back to 3d modelling, Fusion 360 is great but man I was pulling my hair out a bit with stuff just not doing what it was supposed to, it's totally the software and not me being a novice... I have some screenshots of the modelling but on the other computer. Here are some photo's of the finished test print (one half of the manifold). First test print a couple of hours in: Storm happens and takes out power to 3500 houses, so my print stopped. Just left it and when power came back on a few hours later it said it stopped unexpectedly and do I want to continue the job? I thought, why not give it a go its only a test print. The first problem was the head had melted a blob where is stopped so I snipped it off and then it moved to the outer edge and just started printing again! Came back a while later to this lol
-
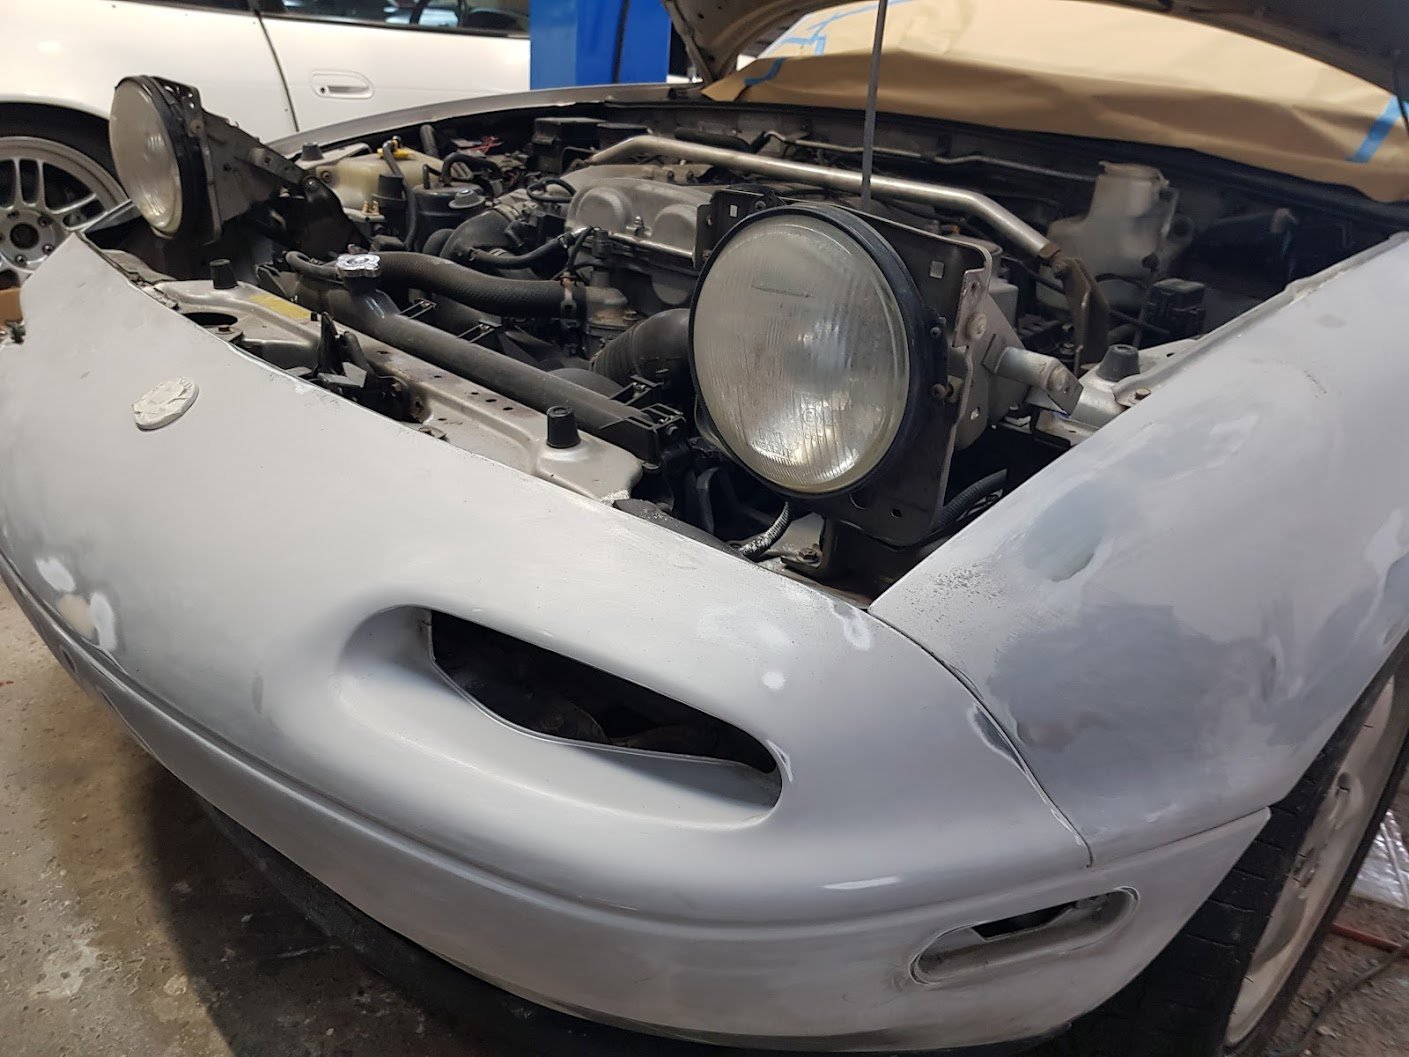
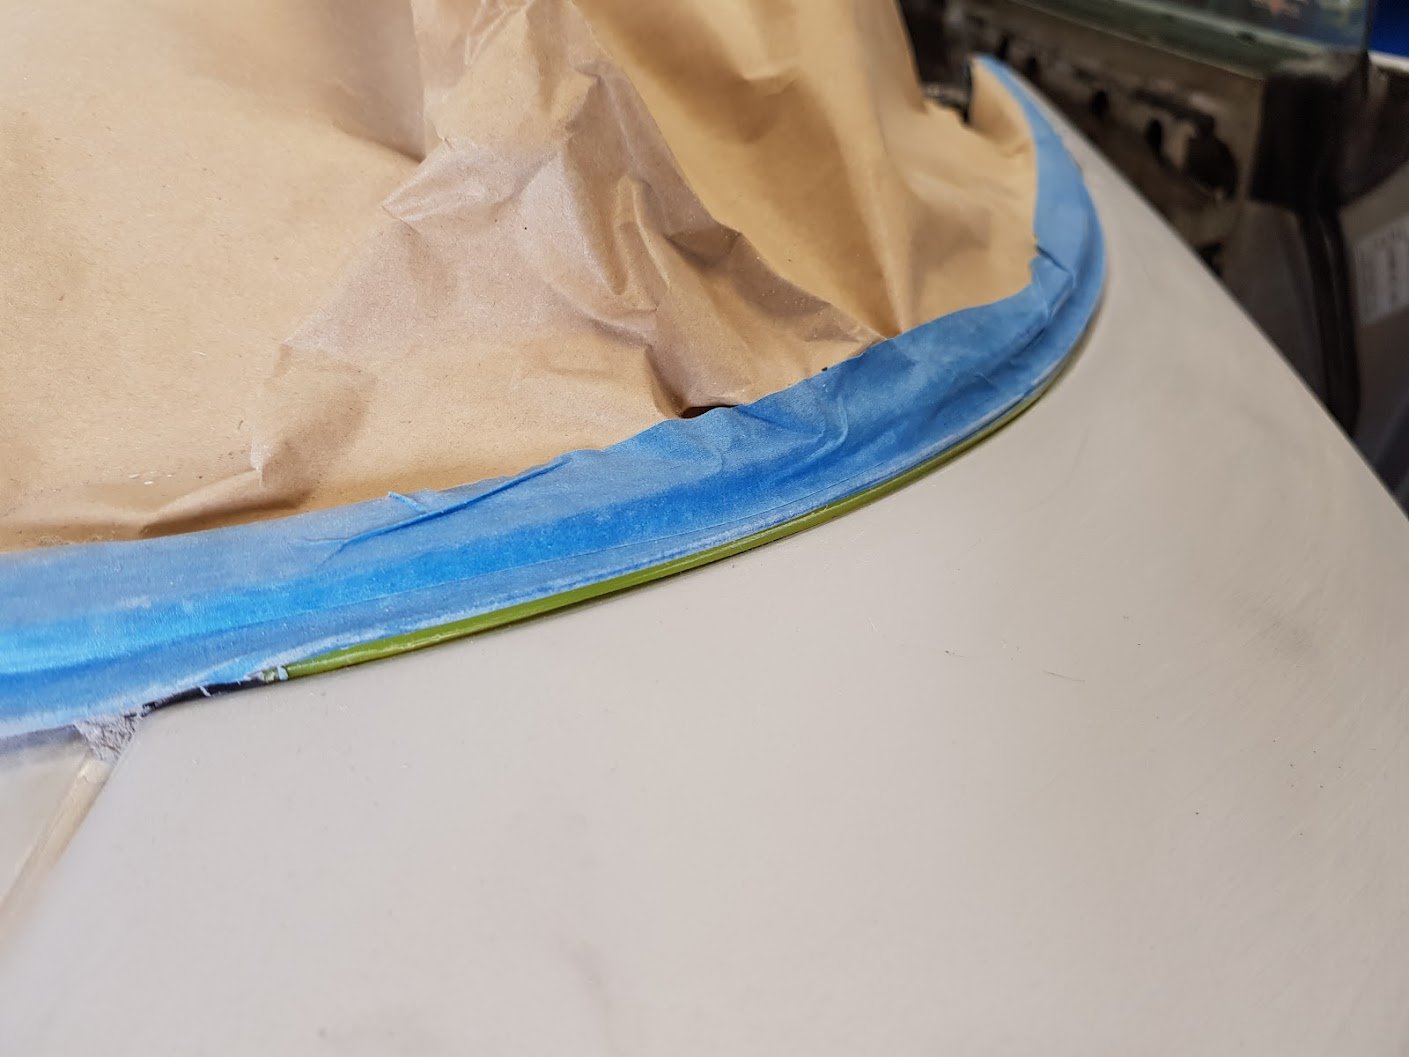
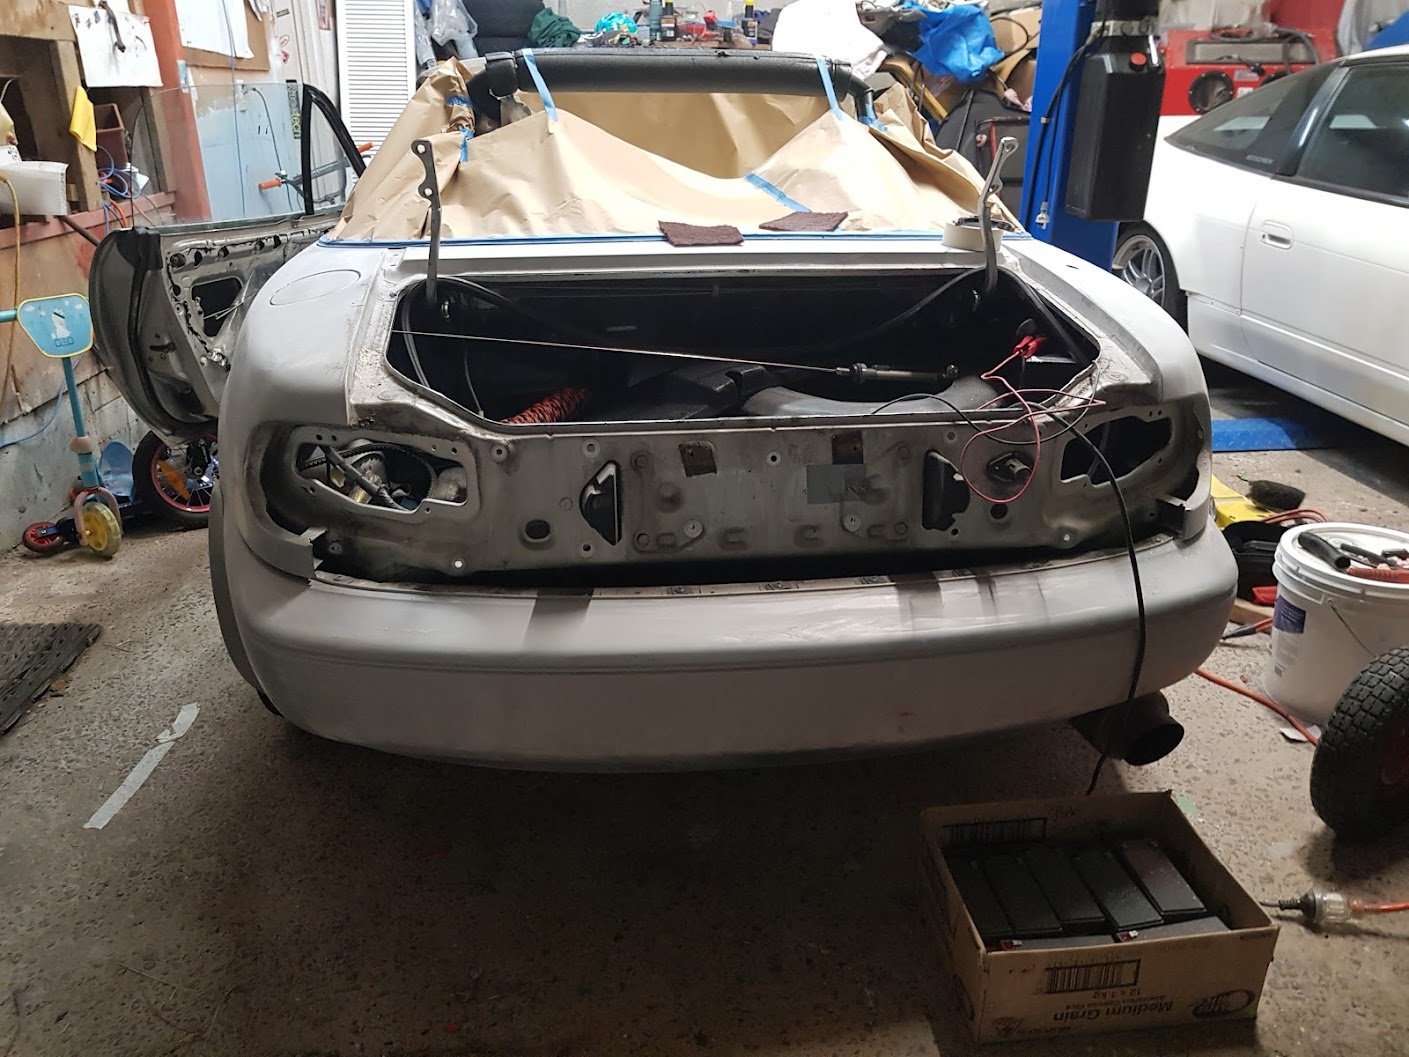
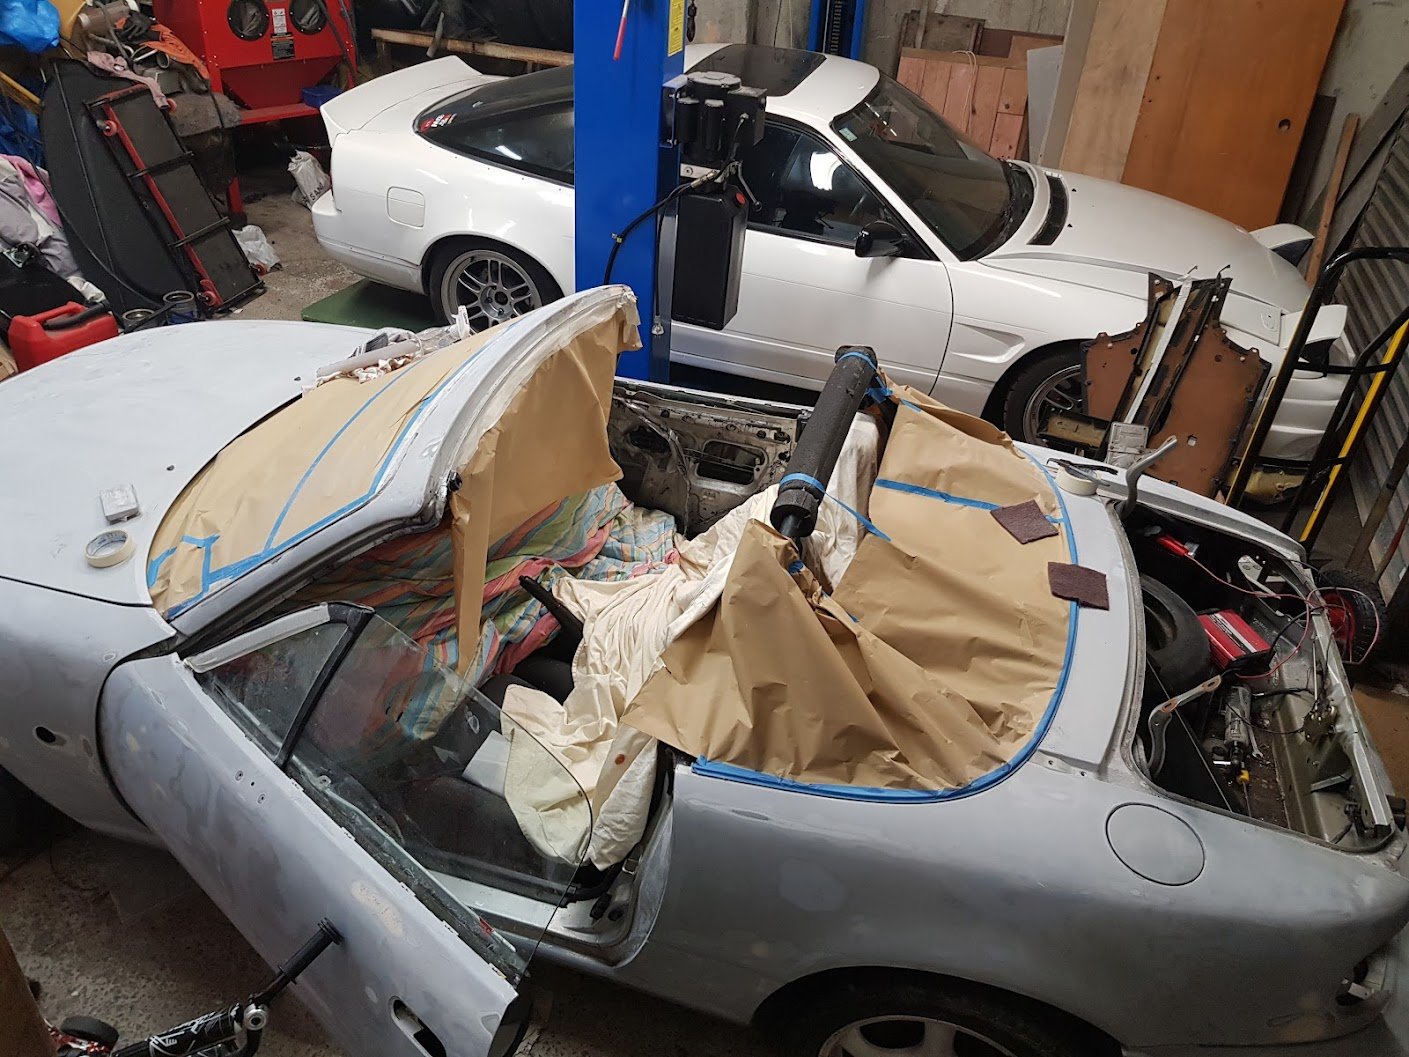
Pulling more bits off: It's all of the details that take so much time, the sanding just never ends. Lifted up this bit of trim with some weedeater line underneath to keep the gap.
-
Had some time to do more on this, removed trim and lights and more sanding/filling. Got my 7 year old to help with the tool kit he got for Xmas which was cool. Slowly getting there, thought I'd be here 3 months ago
-
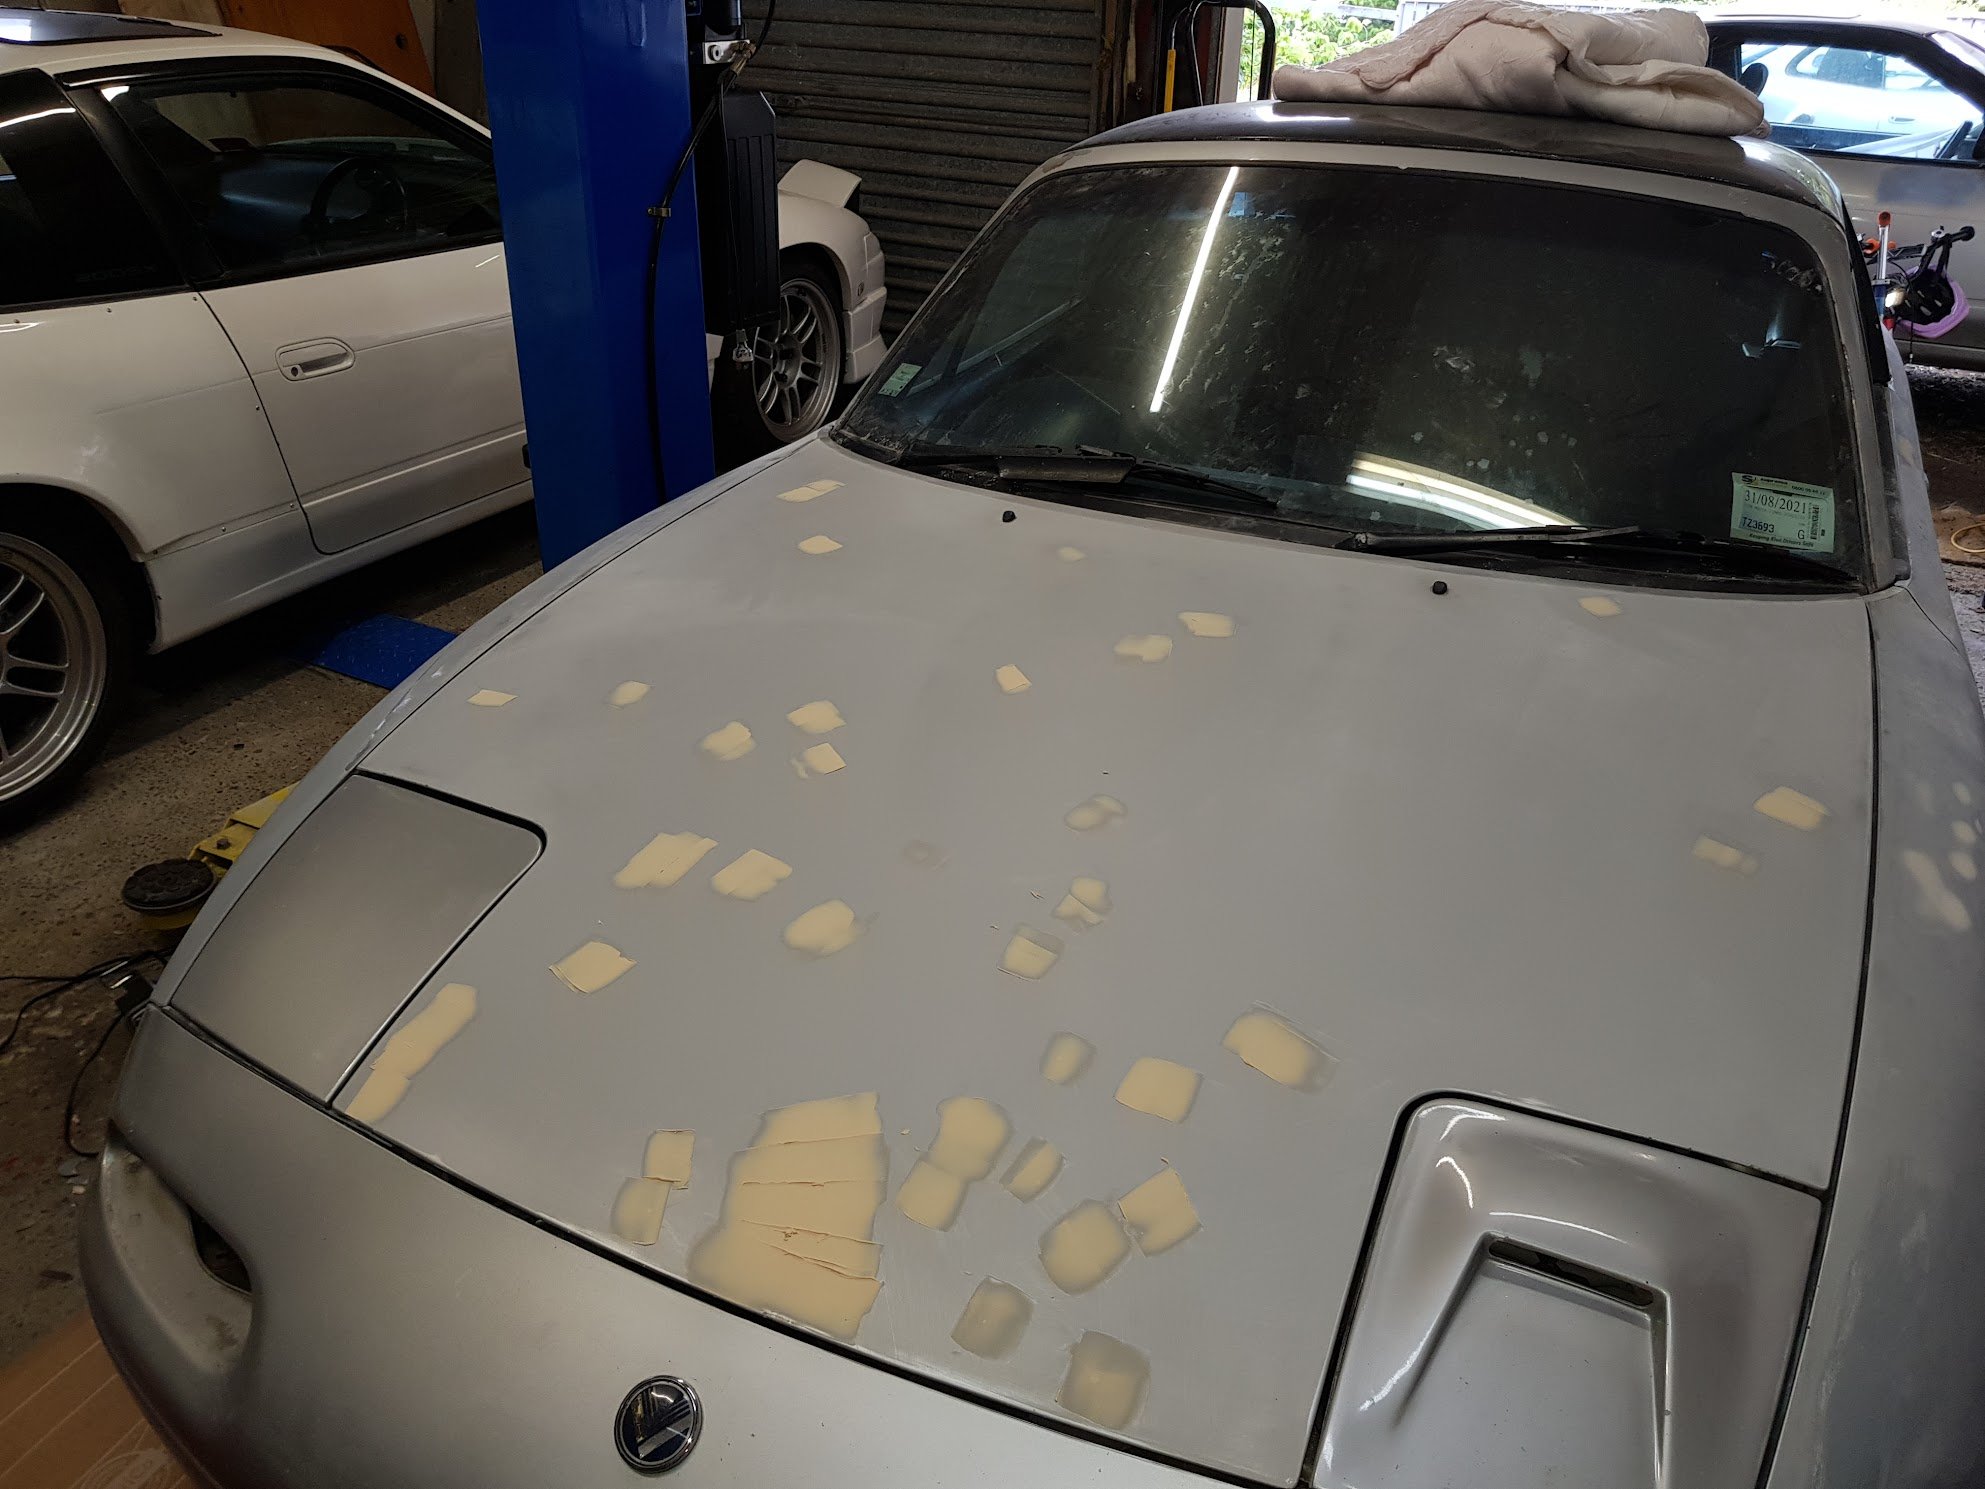
Thought the bonnet was straight
-
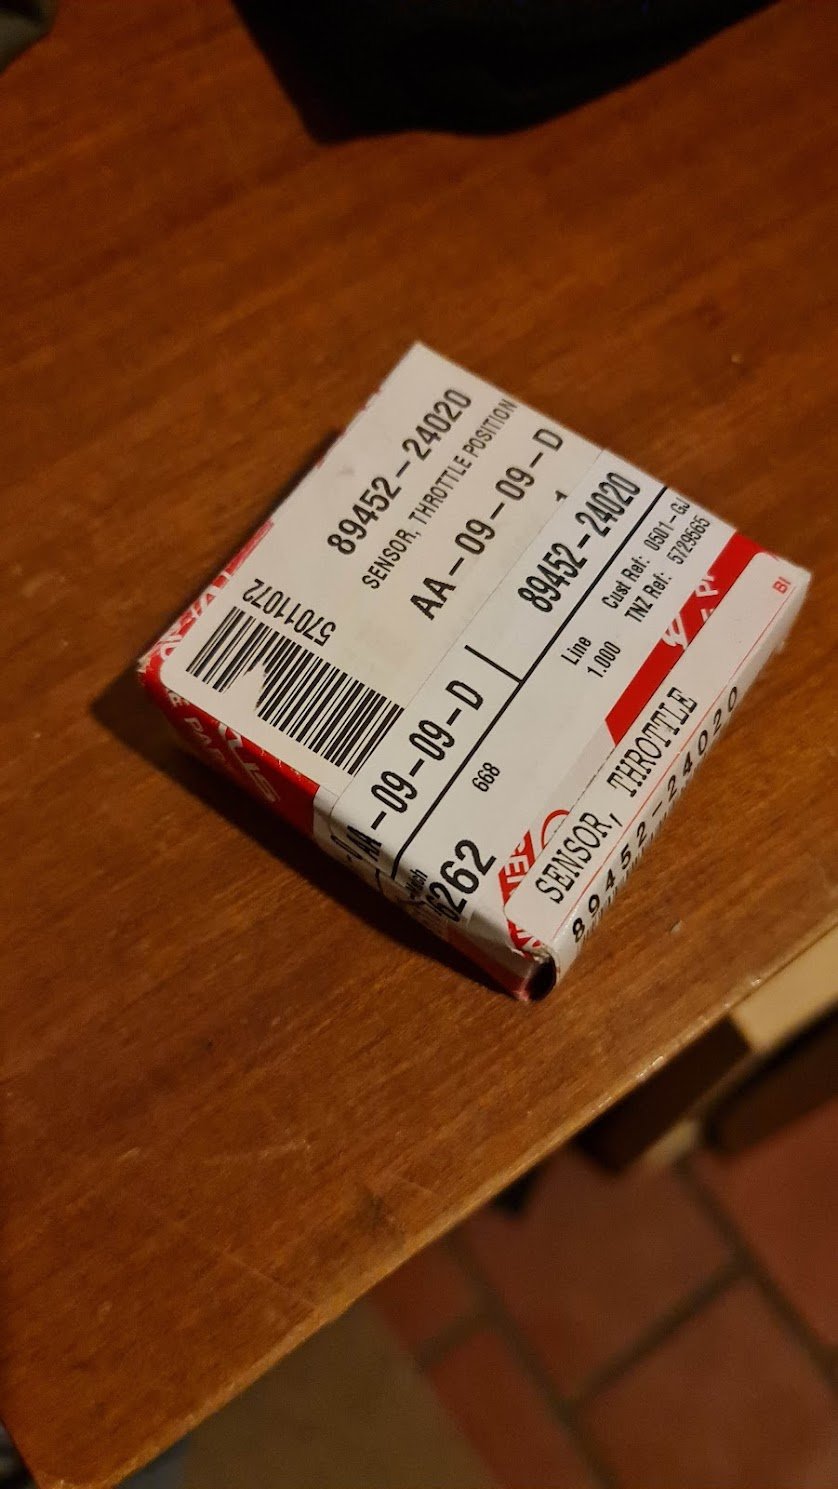
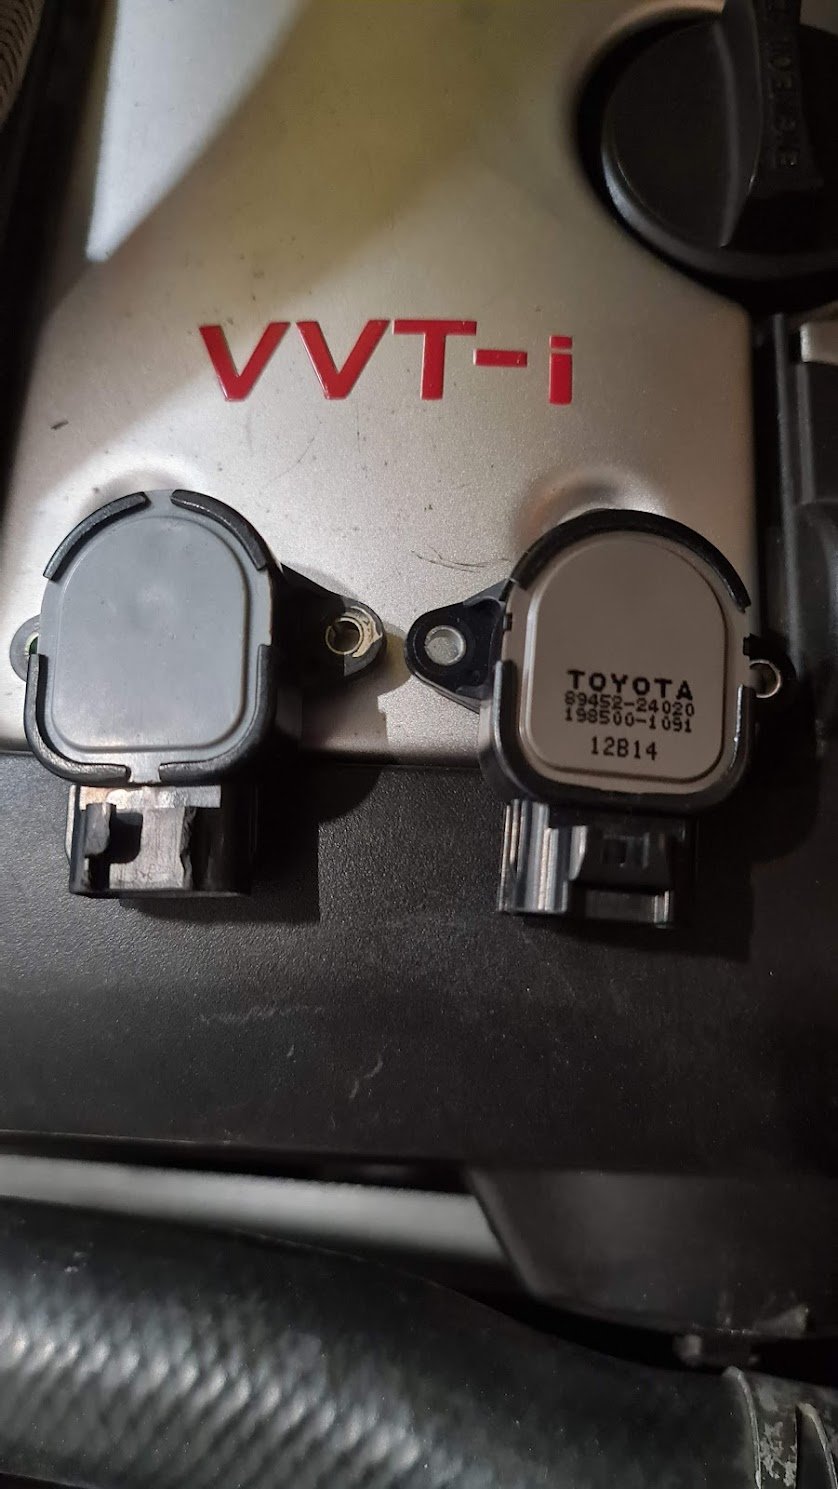
Bought new genuine Toyota TPS. The one that came off doesn't have any markings which is interesting. Old on left and new on the right: Put it on and drove it to work which is about 40min, trying to make it misfire, was perfect the whole drive. Thought it was solved. Drove it home and it misfired twice. Same behaviour. I guess I can cross it off the list though?
-
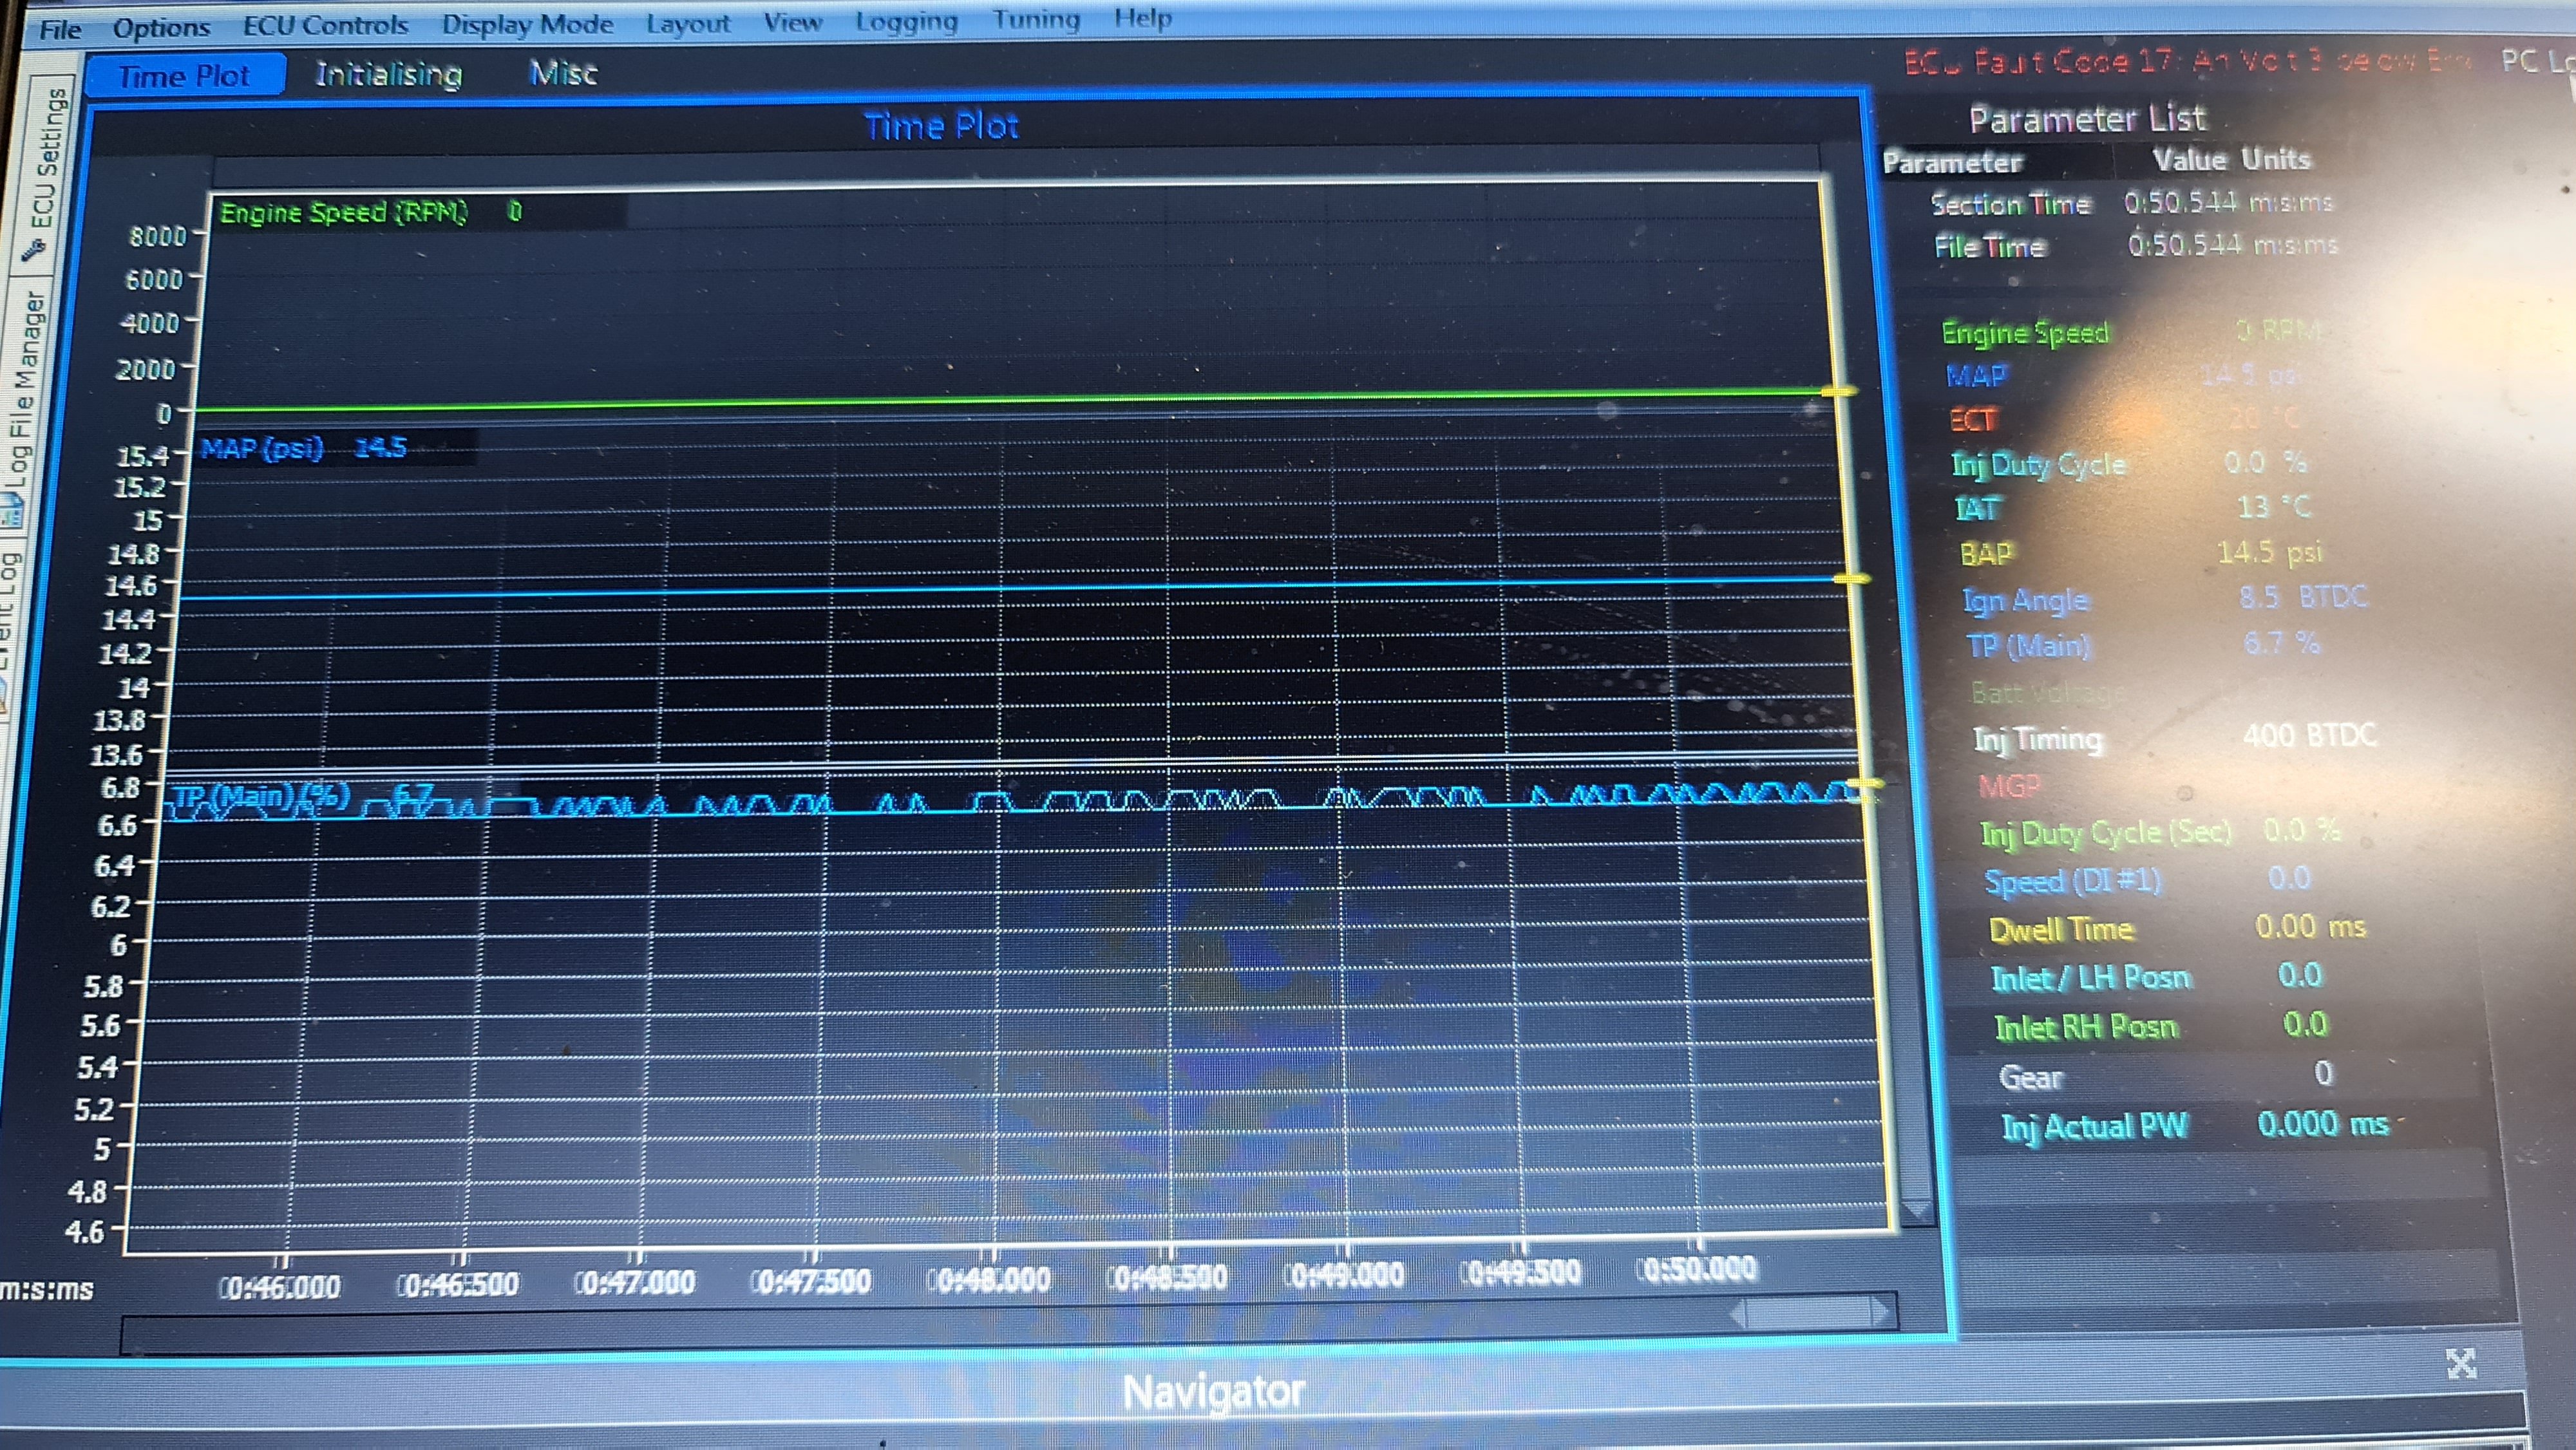
Here it is again around 6.7% Not sure it's enough to cause the misfiring but it does seem to be around where I've been experiencing the problem. Doesn't explain why when it's misfiring it still does it with more rpm and no load, but stops as soon as it drops to idle.
-
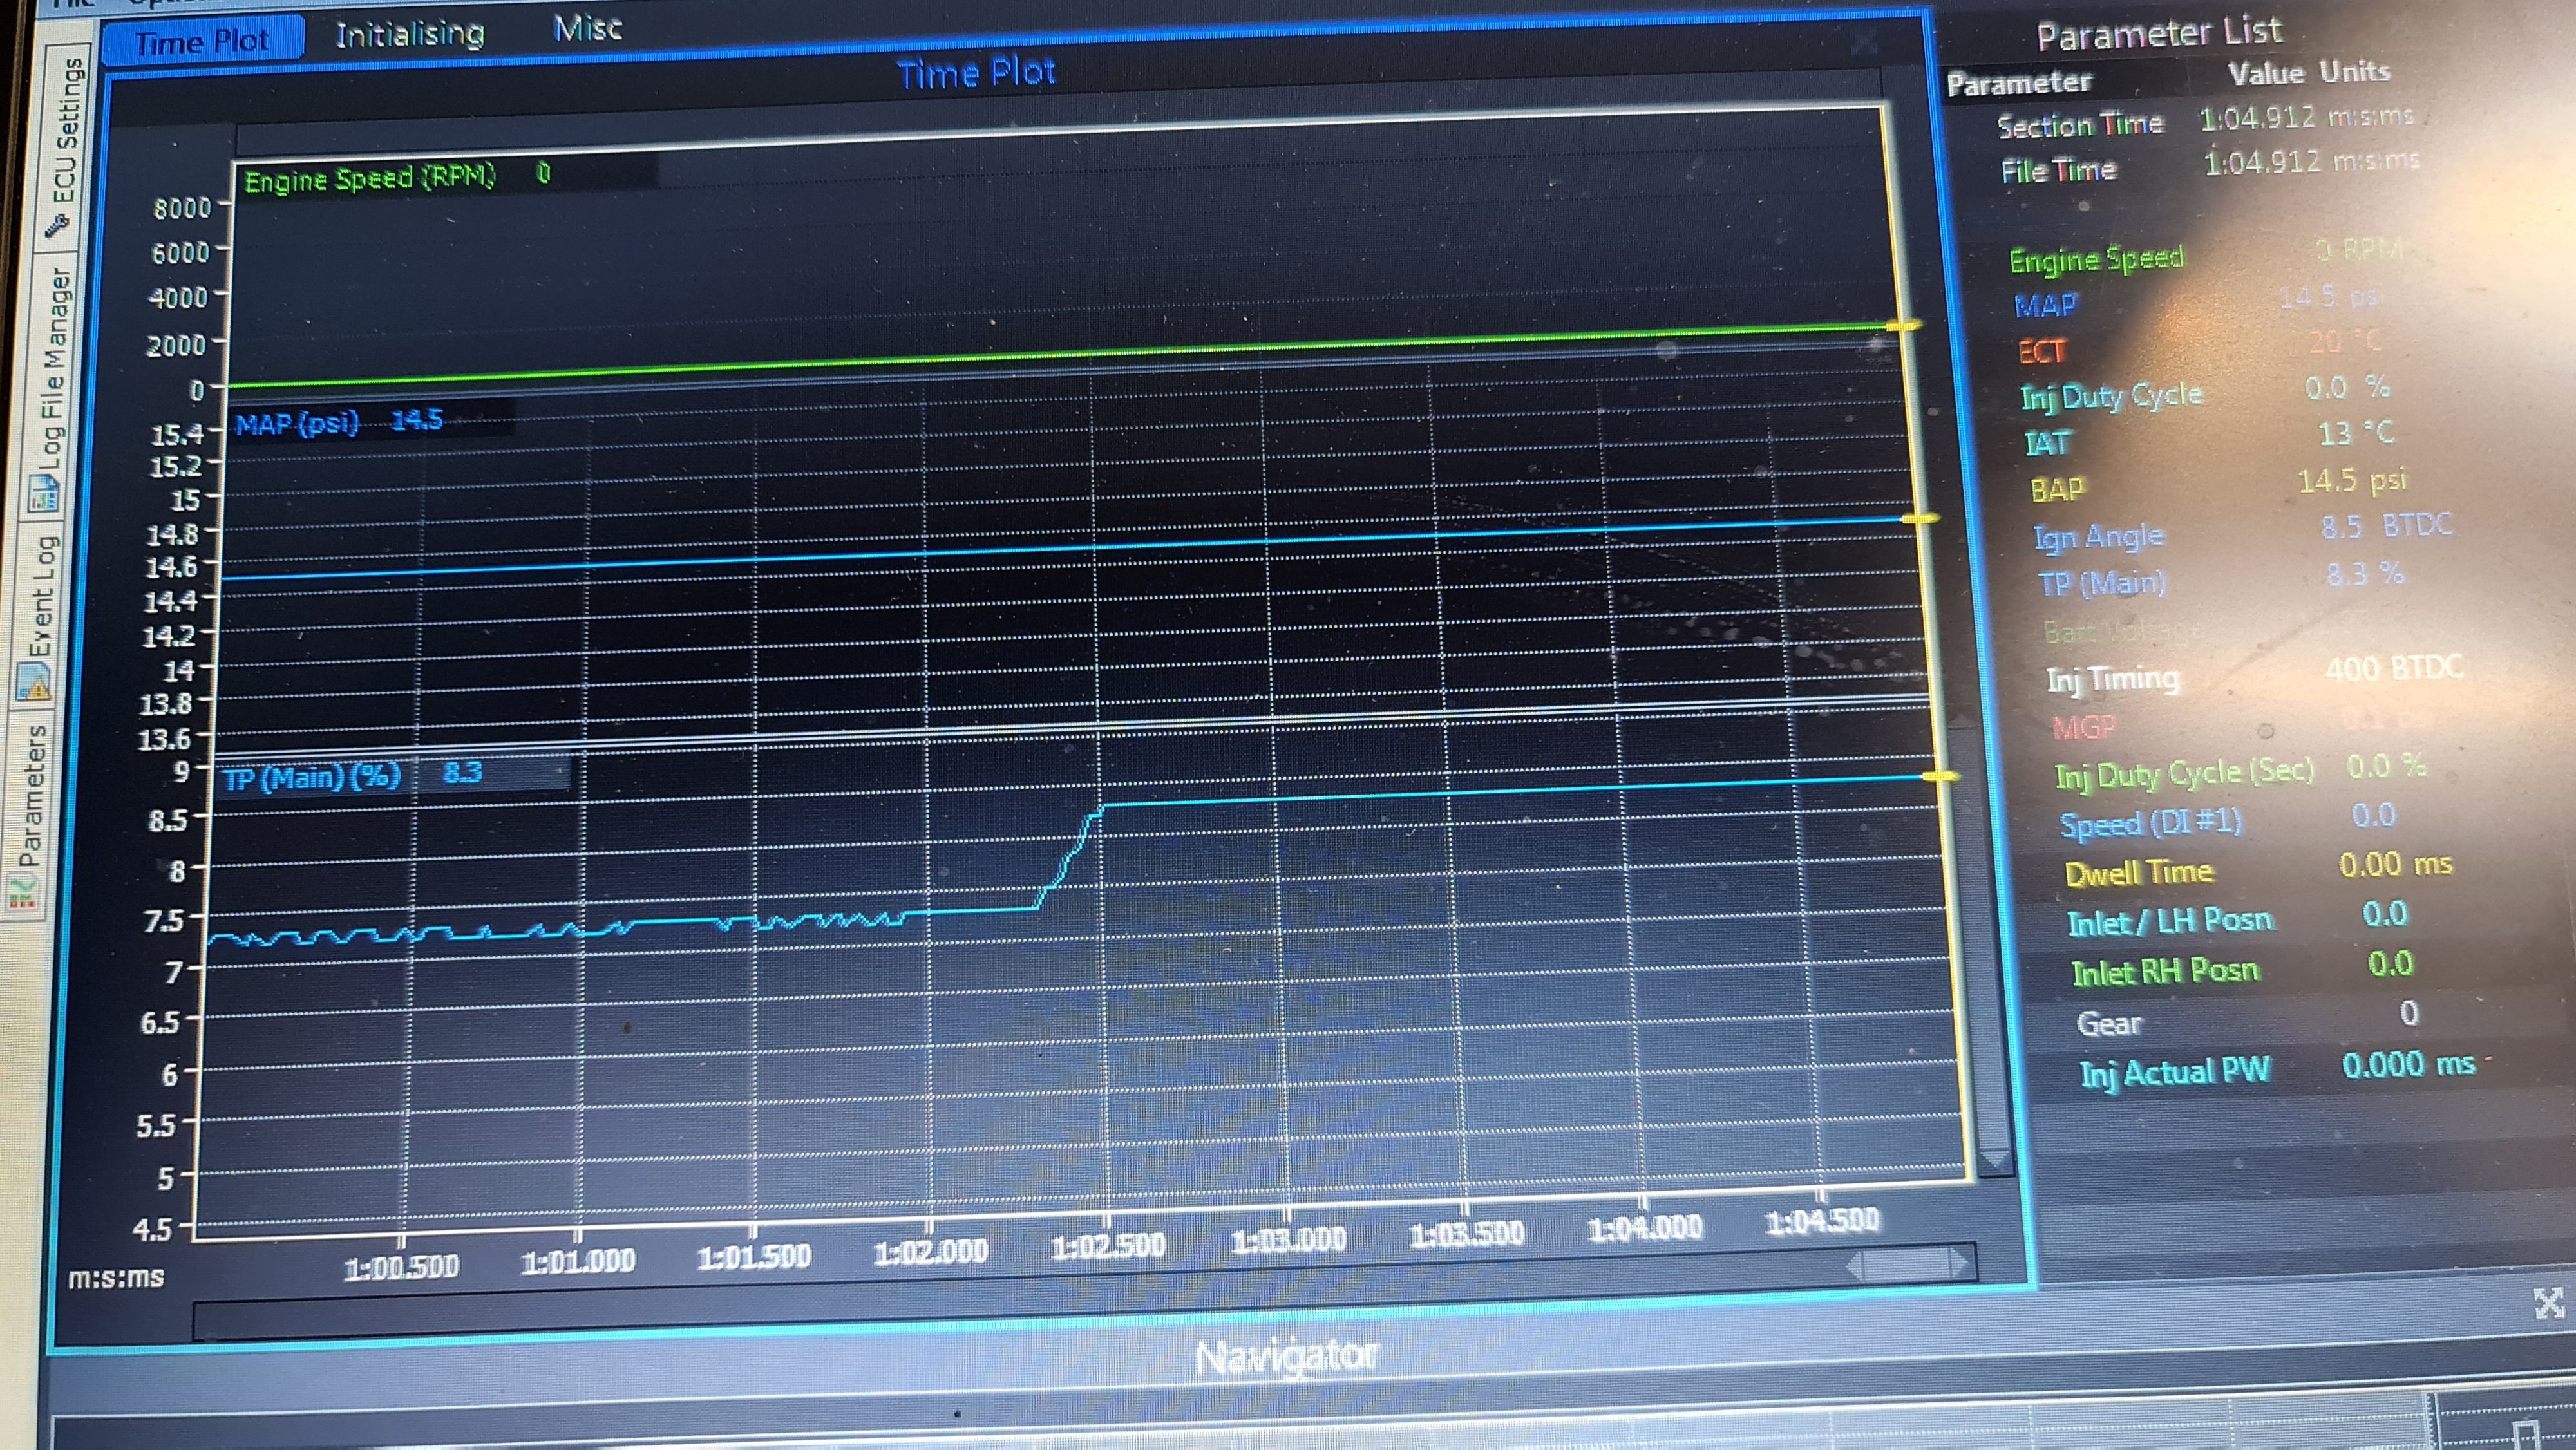
Hmm interesting, looking at the TPS log it sometimes does this around 7% throttle. But only sometimes. It seems to be around 7% throttle, which is probably around where it would be to maintain speed at 50kph. It's only a 0.2% fluctuation, but anywhere else it's rock solid. You can see I changed to just above 8% and it's a straight unfluctuating line. I tried a few times and sometimes it's accurate but when it fluctuates it stays like that. This is without the engine running. A new TPS is quite expensive because it's unique to this cable throttle vvti motor. Still available though.
-
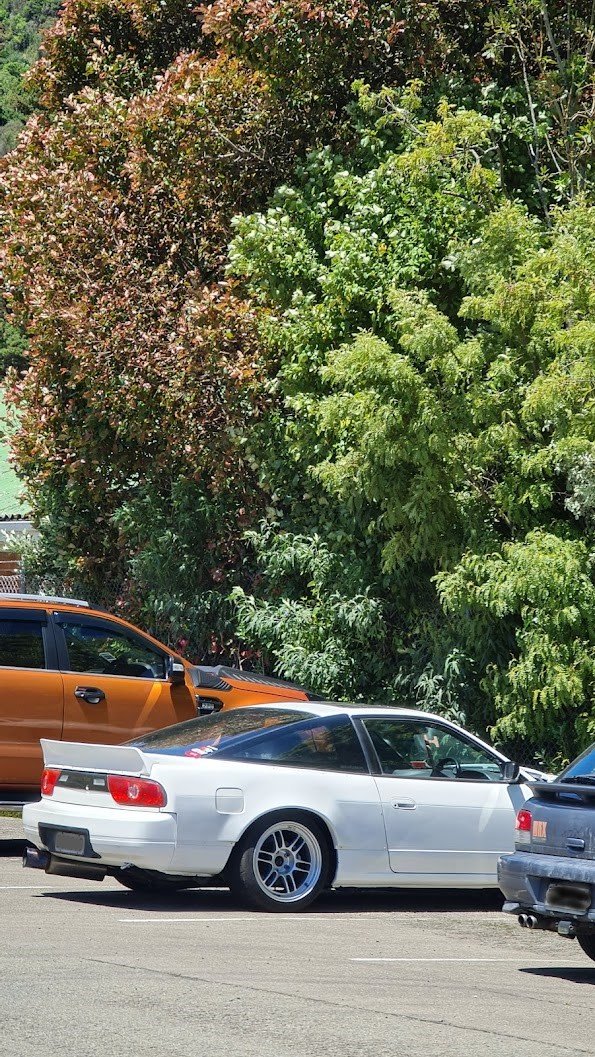
Love driving this thing, work commute: EDIT: photo taken from my desk so excuse the zoomed in blurriness
- 419 replies
-
- 12
-
-
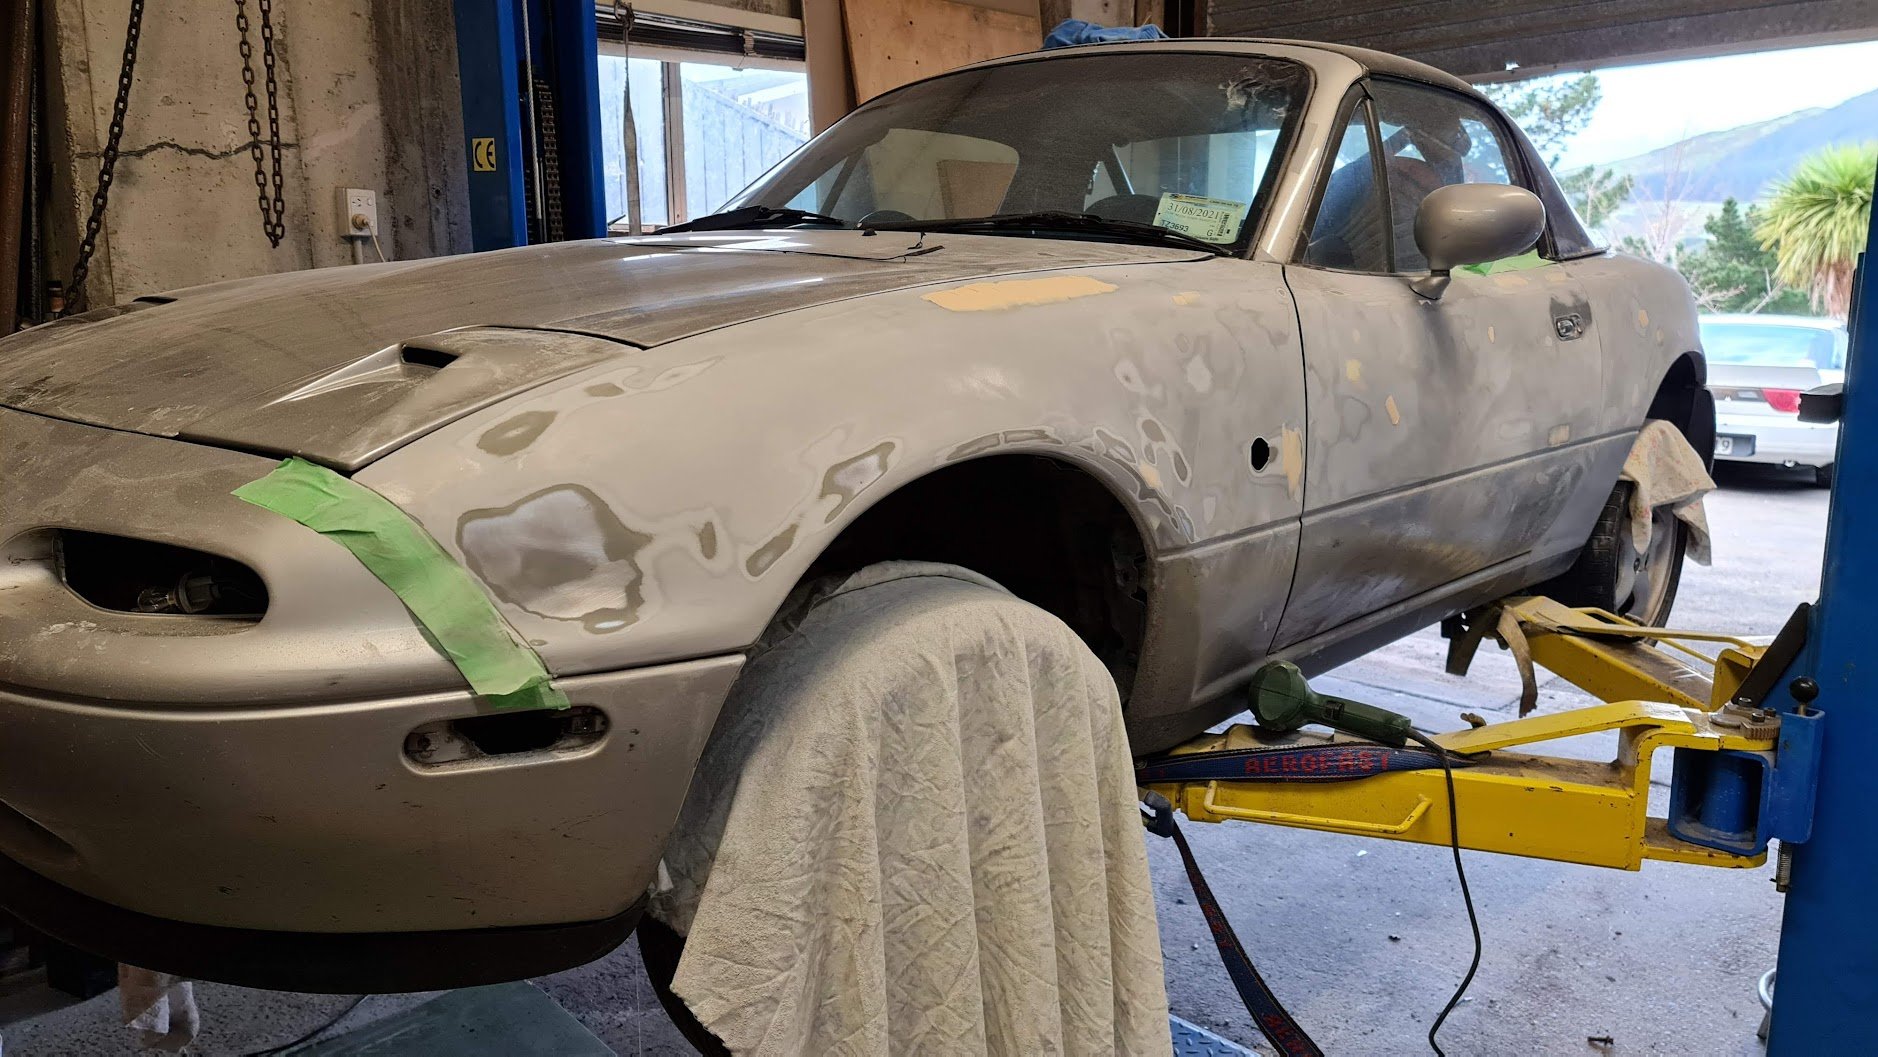
Came out pretty good, not perfect but much better than it was, difficult to paint on the hoist but it's wof'd again.
-
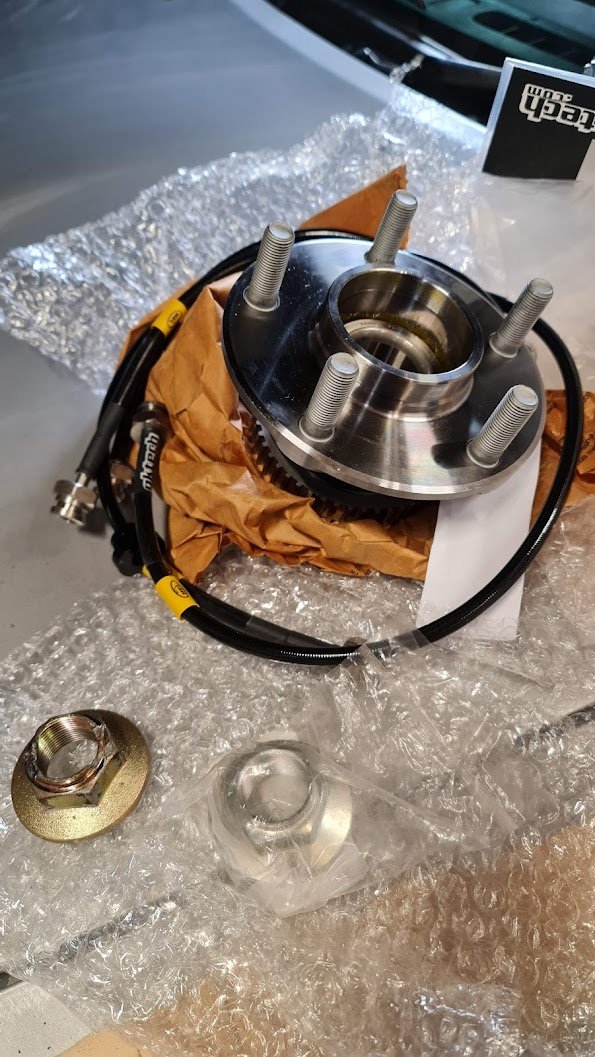
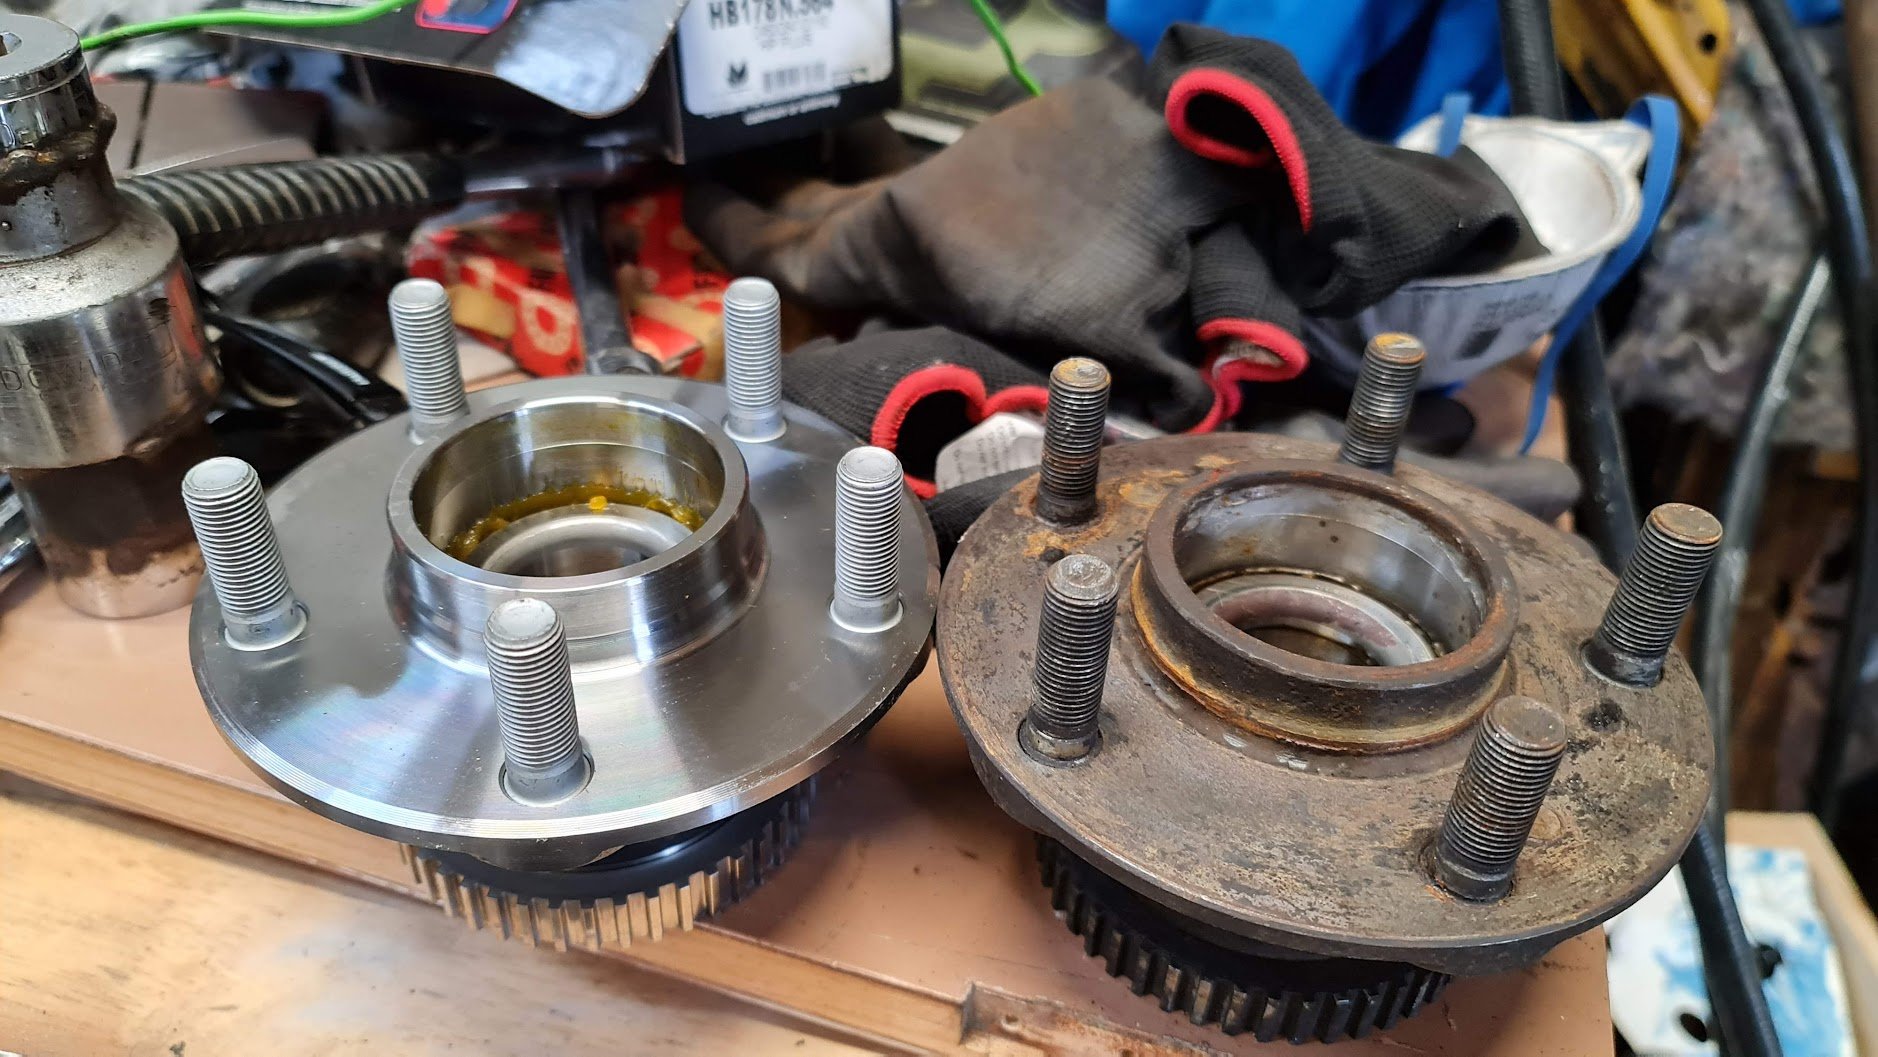
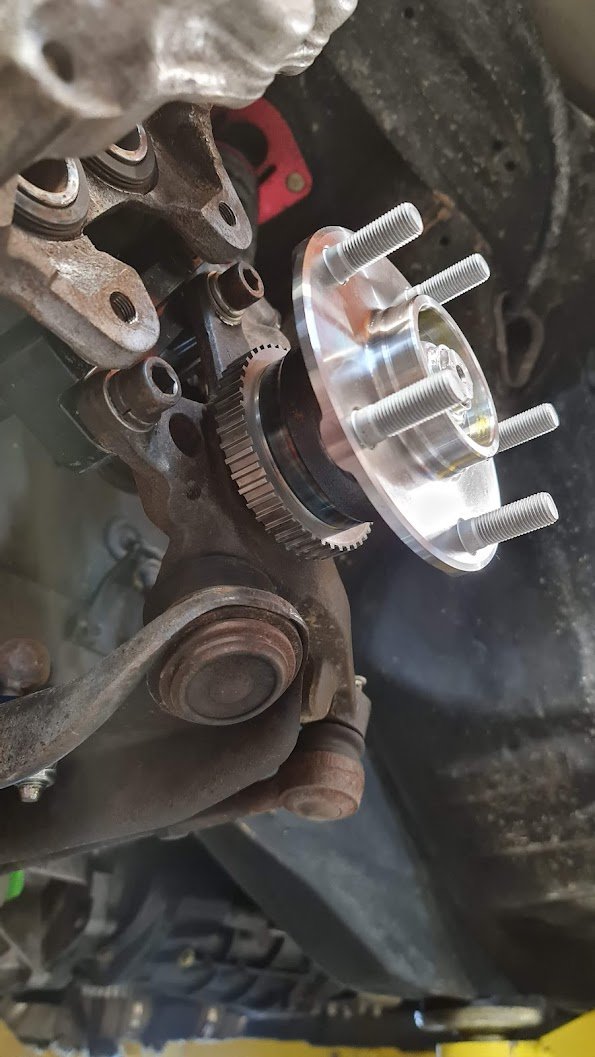
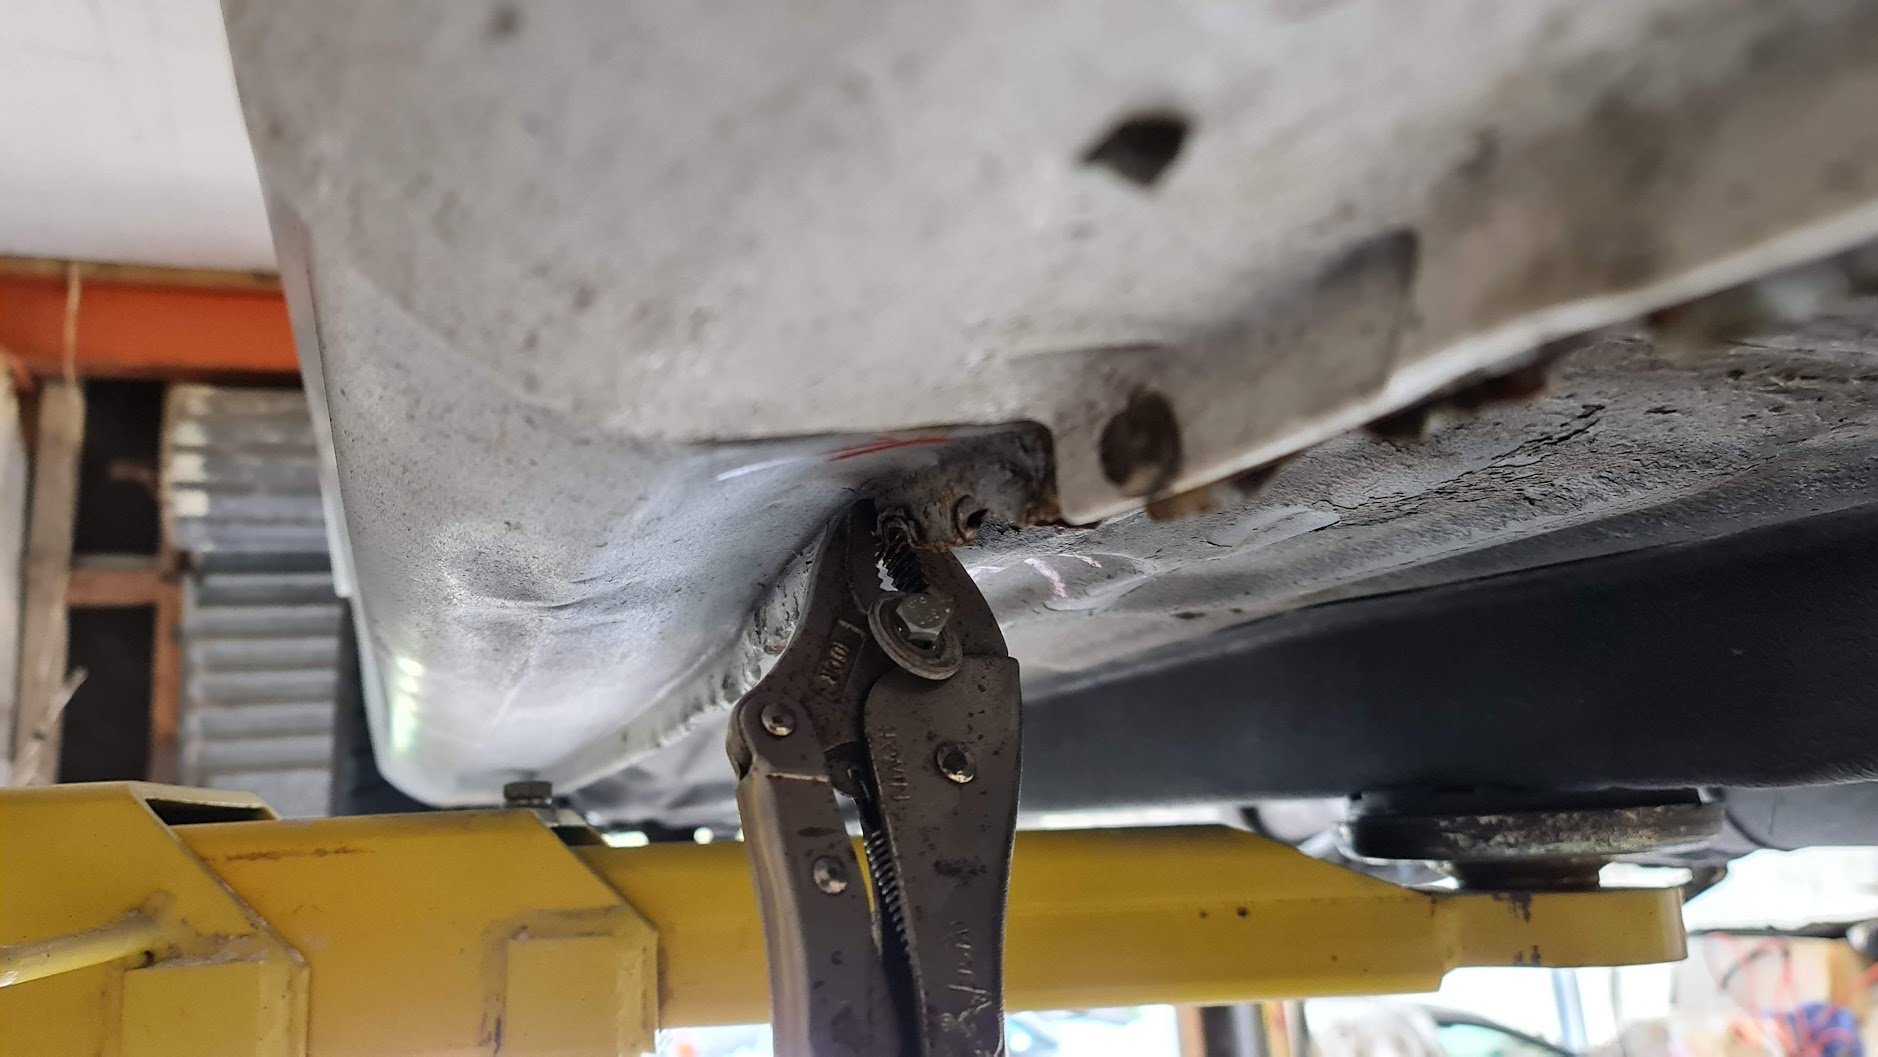
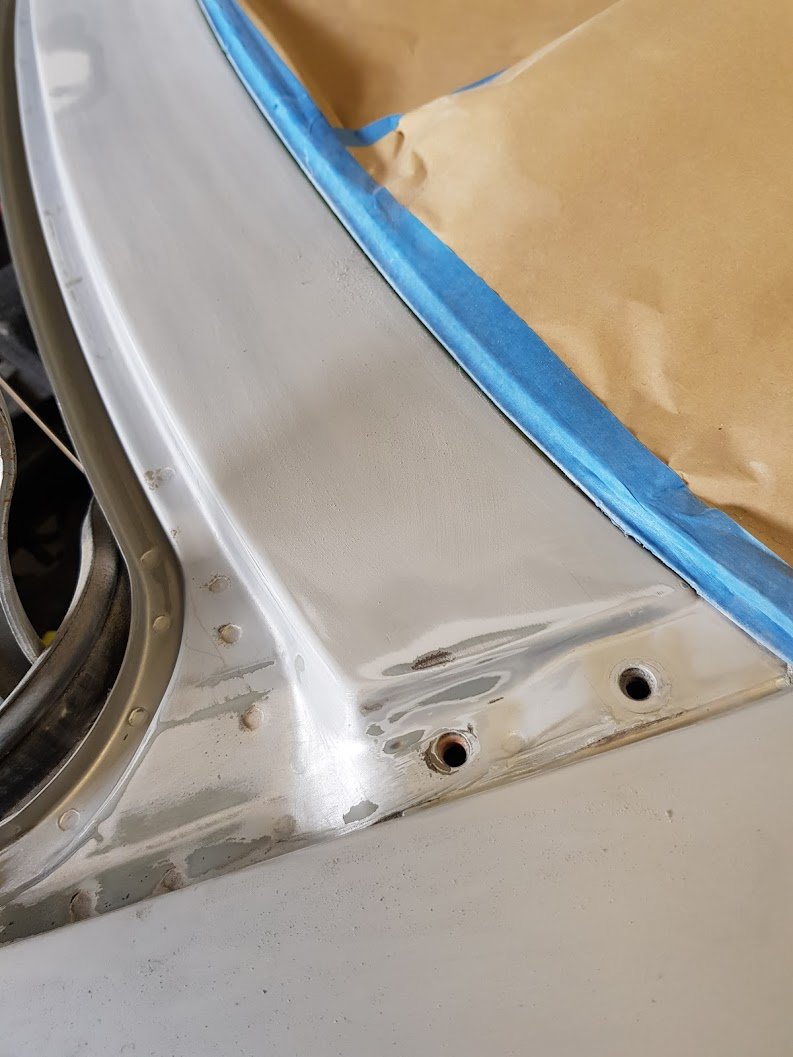
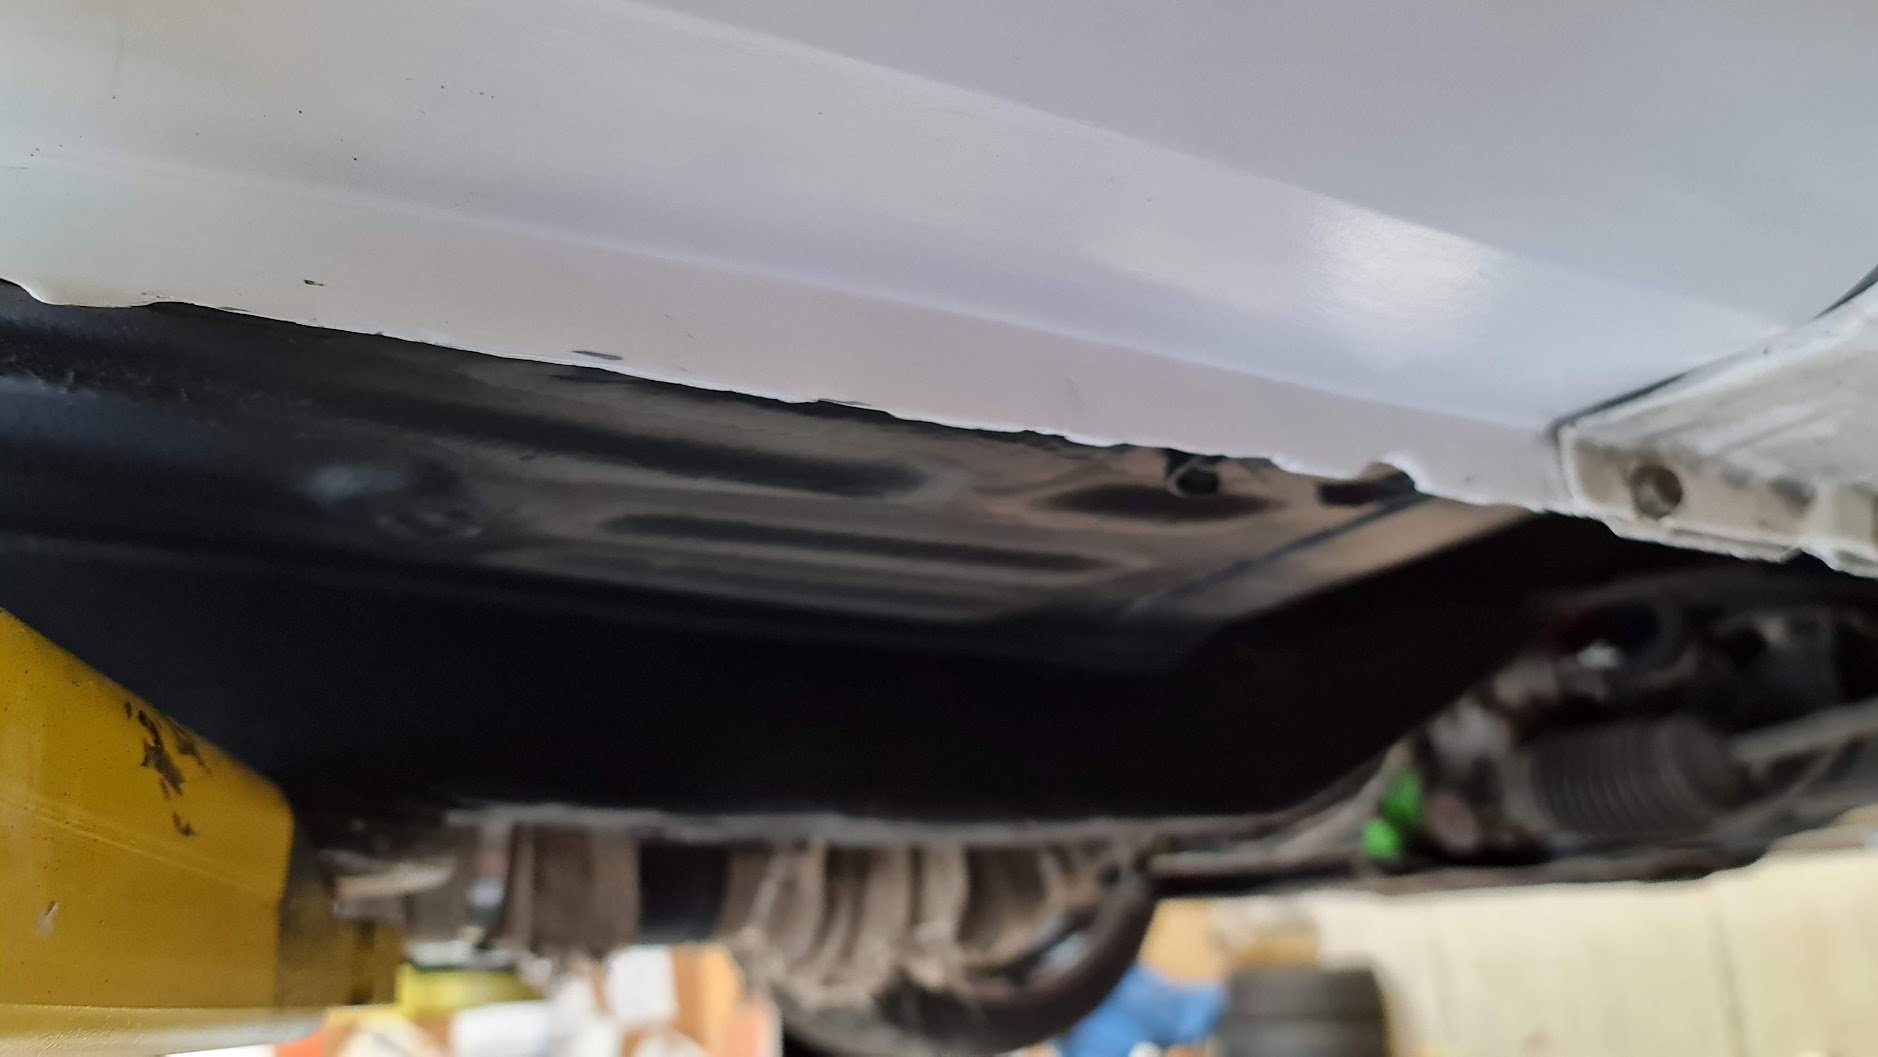
Man, so busy... wish I had more time to work on my cars. Anyway, recently failed wof on bad FL wheel bearing, rub mark on FR brake hose and the sill is push up on the jacking point. Weirdly I cannot see how the hose could have rubbed at all, I get the feeling it's been like that the whole time. It's on the inside/chassis side, even pushing it by hand I can't get it to touch...weird. Here's a blurry photo, the red part there. And the wheel bearing was definitely stuffed, I had noticed a noise recently when turning right so that explains it. They are S14 hubs with the bigger spindle, which also means the bearings are not replaceable like S13 ones. You probably could figure something out but I just bought a genuine Nissan hub. Mmmmm genuine shiny oily paper wrapped hub.... Also got some GKtech braided brake lines, have installed the fronts. Yet to bleed as its up on the hoist while I work on pulling the sill back again. Will be interesting to see if I can feel any pedal difference going from normal soft lines. Ugly sill, to be honest I am pretty certain it has been like this for a long time: I have got it back to really good condition again, haven't got any photo's. I need to primer and paint it too.
- 419 replies
-
- 11
-
-
Good advice, maybe I can weld on some strengthening bits.
-
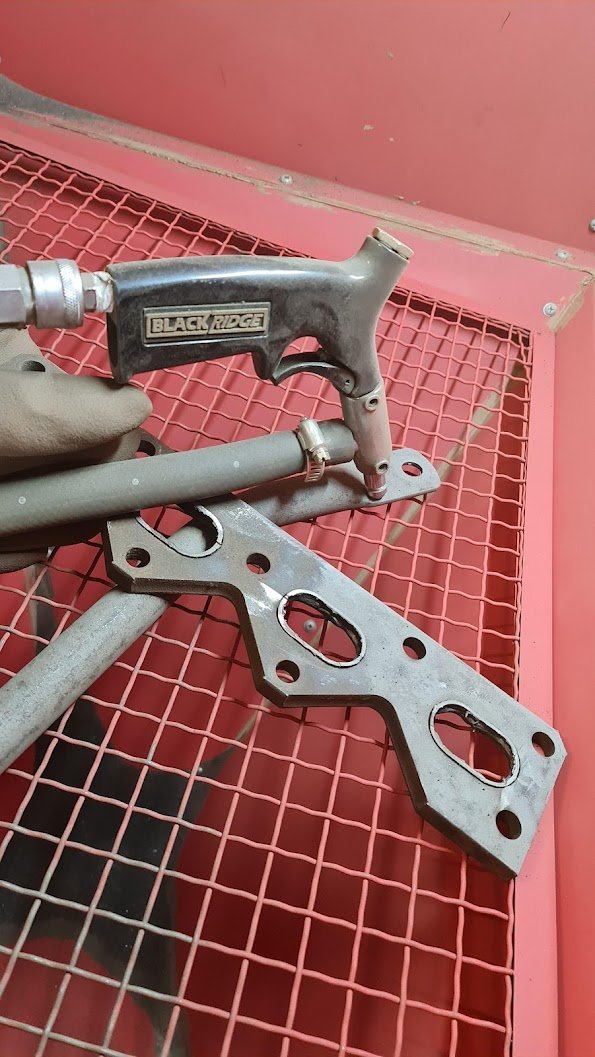
Oh hey 2-months-ago-me. Buy one of these from Supercheap Auto, pretty good bang for buck without having to change anything else: https://www.supercheapauto.co.nz/p/blackridge-blackridge-air-sand-blast-gun-kit/340382.html#q=sandblasting&lang=en_NZ
-
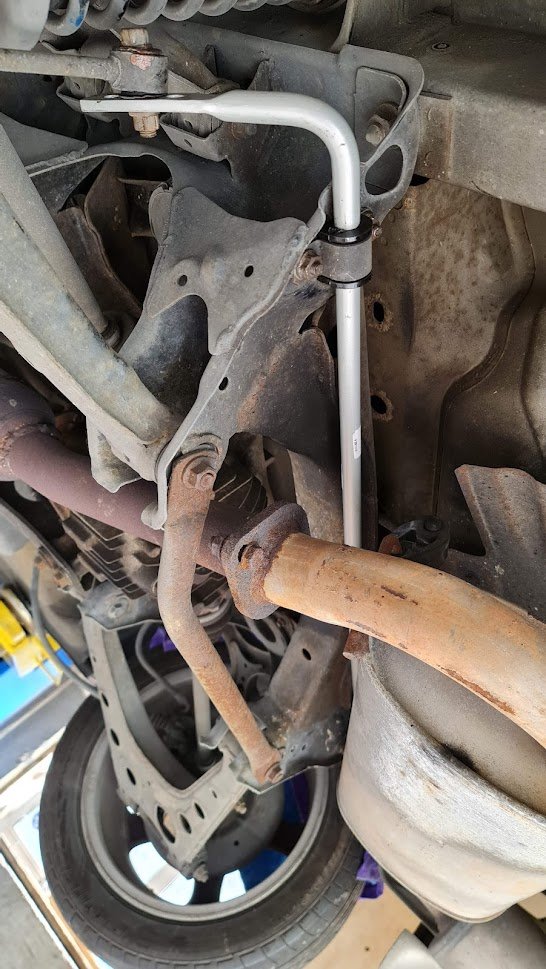
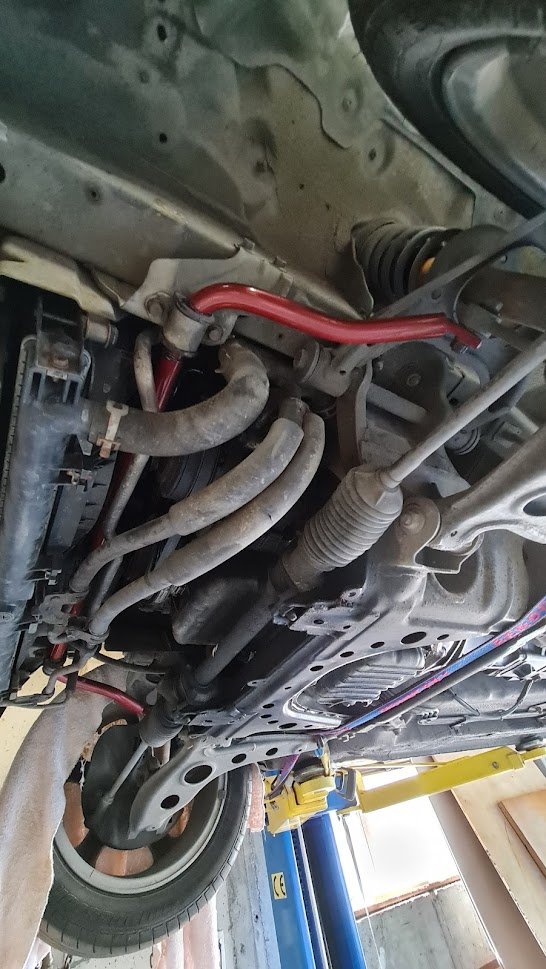
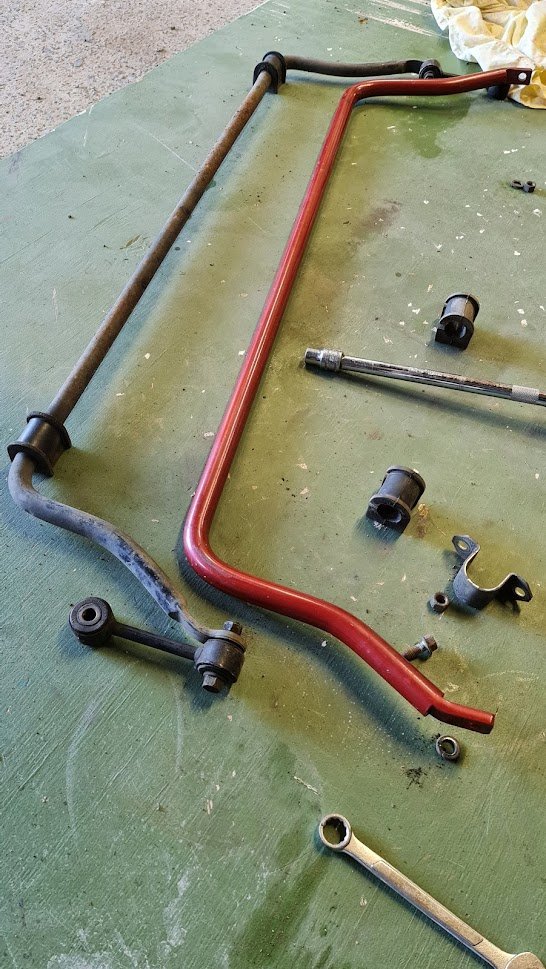
Again I should be sanding but I put some bigger sway bars on front and back instead. Whiteline rear, need to change the links because they don't quite line up right as you can see in the photo. Should be a big upgrade from the pencil thin factory sway bar: I've removed that rusty lower brace to sandblast and paint. Bought a new sand blasting gun, its just a SCA 'Black ridge' jobby but the reviews were good and the design looked better. I definitely rate this highly for the money! Waaaay better than the Machinery Warehouse gun that came with my cabinet. And the front is something or other brand, much heavier and thicker: Should do some sanding now but my kids want to play with water pistols so I'll do that. EDIT: meant to say how easy it was to install on both ends, easiest I've ever done. Nothing gets the in the way at all. I remember doing the rear sway bar on my old ae92 Trueno and it was a bastard of a time.
-
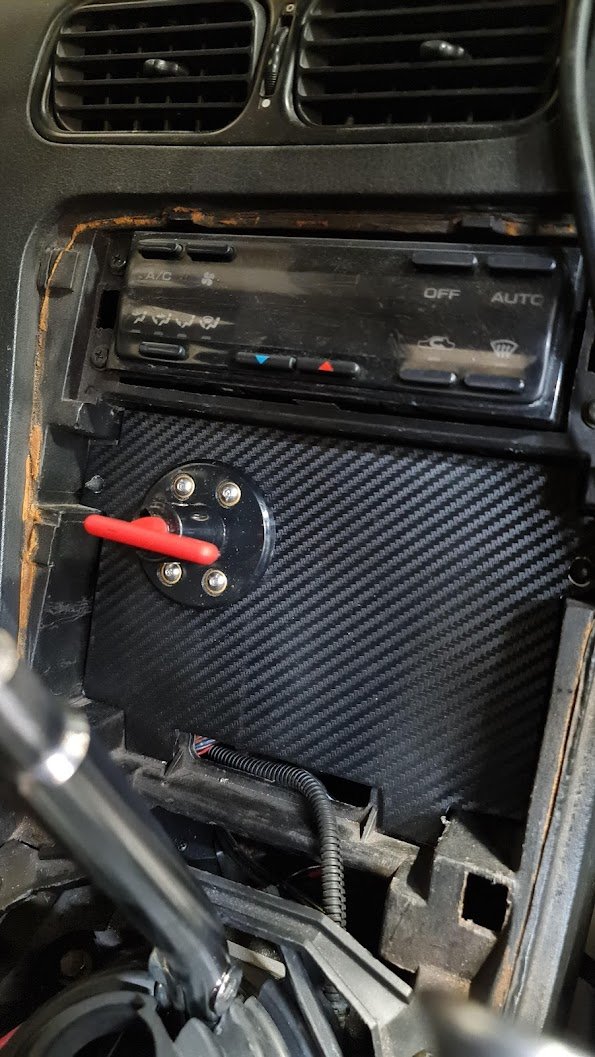
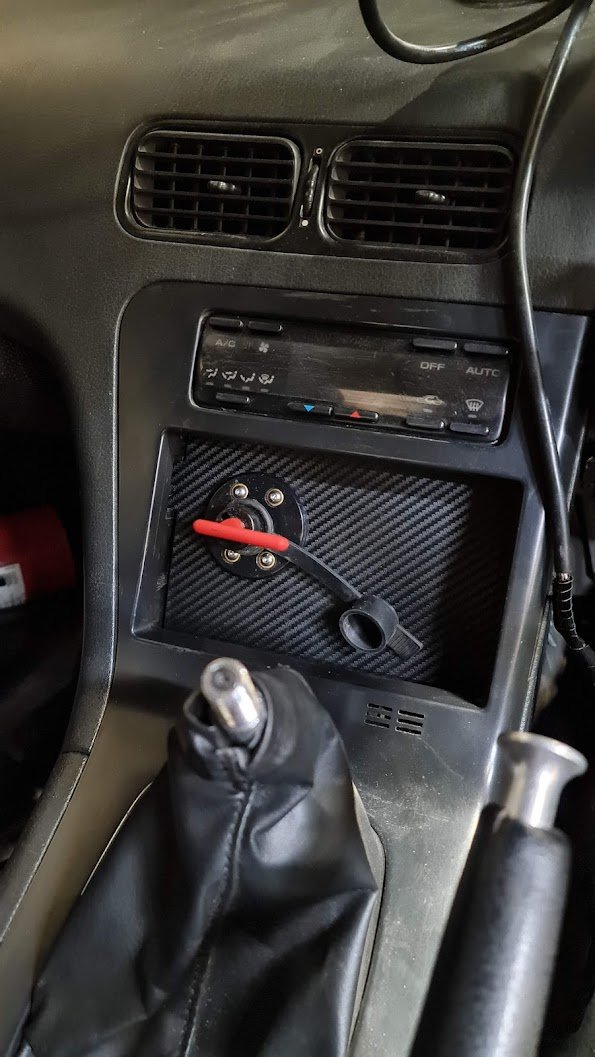
I've changed the power feed wires to the coils to a much bigger gauge all the way from the relay to coil plug pins. Thought maybe there could be resistance that got worse with heat? Made no difference at all. Still bloody fun to drive though... Maybe its something to do with the earthing? I have a huge list of things I've tried so far, one day I'll crack the bastard. ---------------- Bought a battery cut off switch thing ages ago so since I desperately need to be doing sanding on the mx5, I made this: I cut the power cable which goes to the battery behind the passenger seat and crimped on some lugs so it joins here. Made a basic plate out of aluminium and covered it in fake carbon wrap because it looks fast. Decided to have it set back a bit so there is plenty of room for gearshifts. It isn't actually finished, I was planning to drive it to work today but it was late and freezing. Just need to drill mounting holes then connect the cables and insulate etc.
-
My gun shat itself, its the one that came with the Machinery Warehouse unit. The threaded cap that holds the ceramic tip on the gun had gotten jammed on, and refused to come off. Applied a bit too much force to it trying to get it loose and it split down the side. I guess some garnet got stuck in the thread or it got cross threaded. Who knows. So now I need to figure out what kind of gun to get to replace and upgrade it. It was never great, I realised that I could feel air leaking from the trigger too. I've seen the same gun design on Ebay for $20 or so, so its probably a mass produced crappy tolerance thing. I had a look at the BNP copy that Mr Vapour suggested above and not sure it would suit my setup. It needs a pedal and tips so would be close to $200 all up. Do I need to spend that much for home use? I have a decent 2.5hp Ingersoll Rand twin piston belt drive jobby with a big tank. But I get the feeling it won't be enough for a gun like that BNP one? Any suggestions?
-
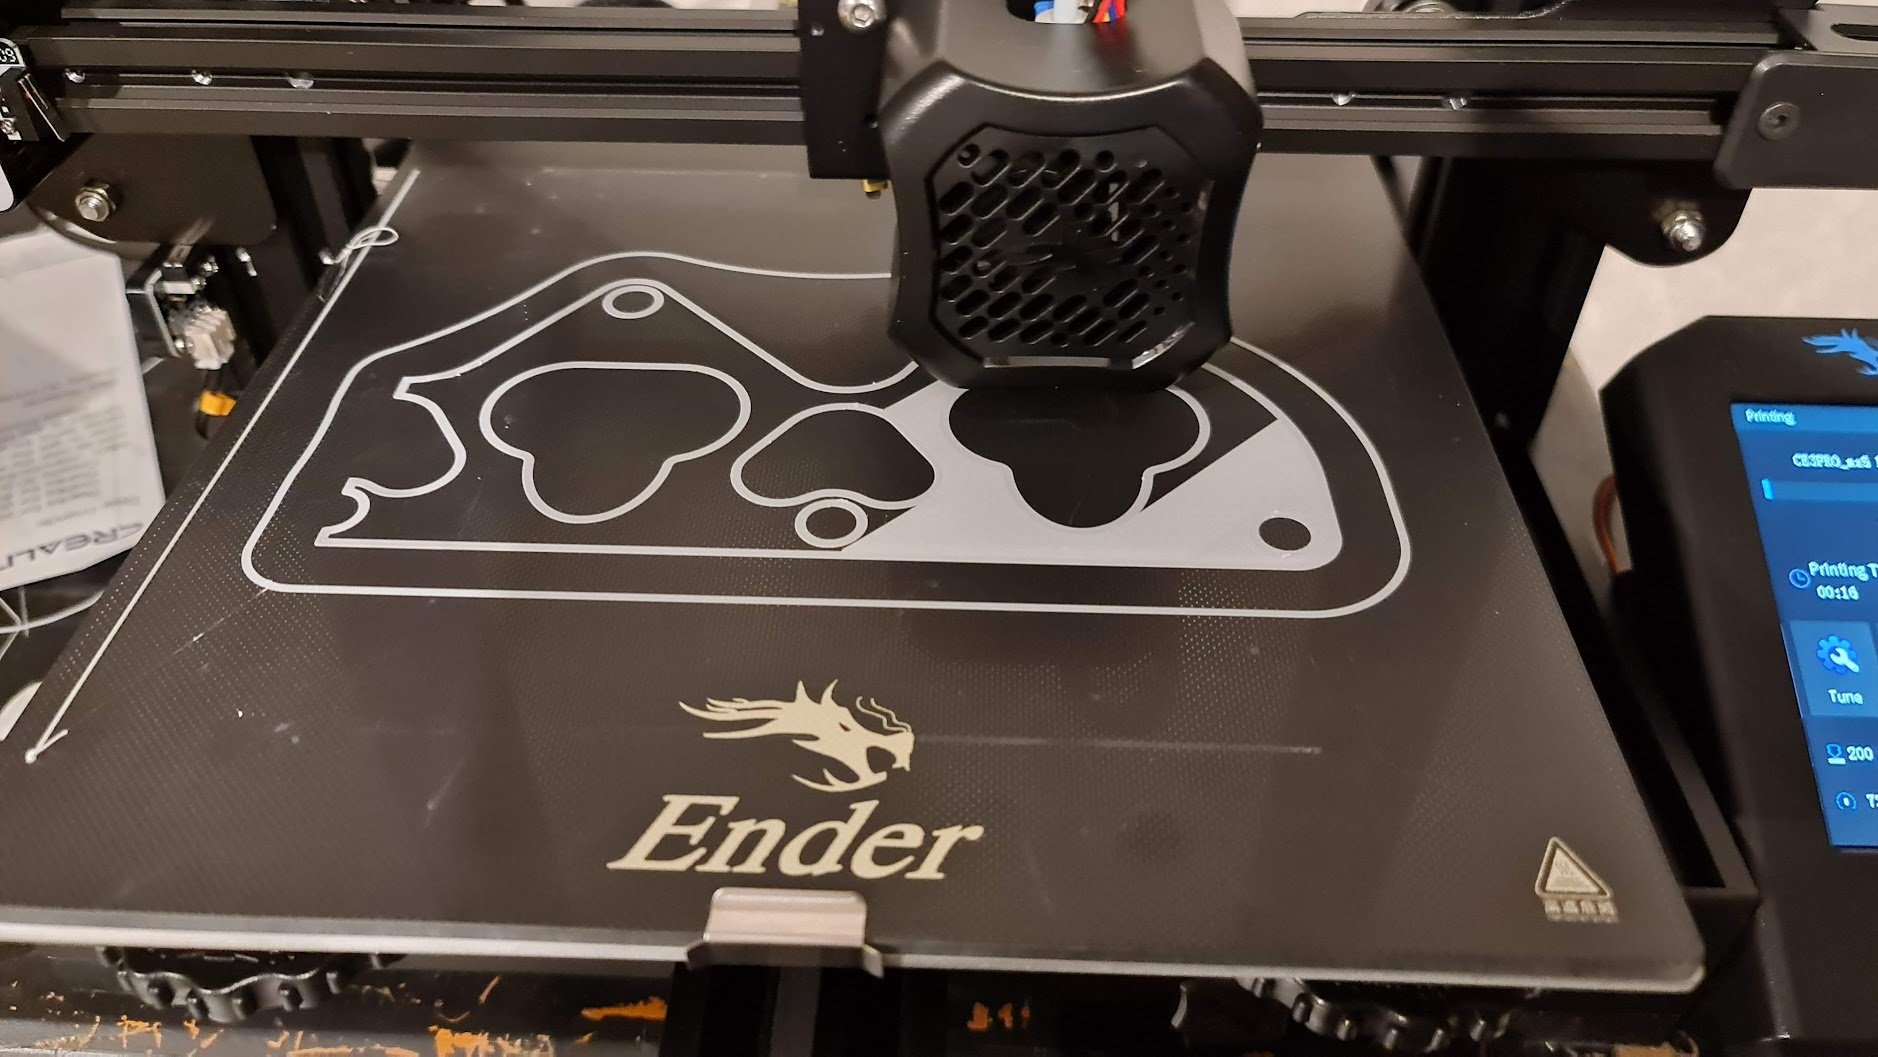
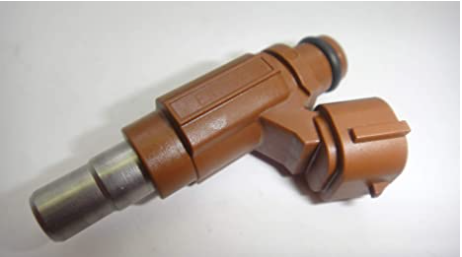
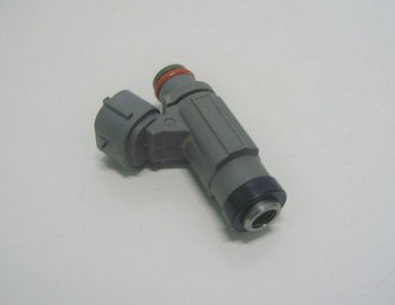
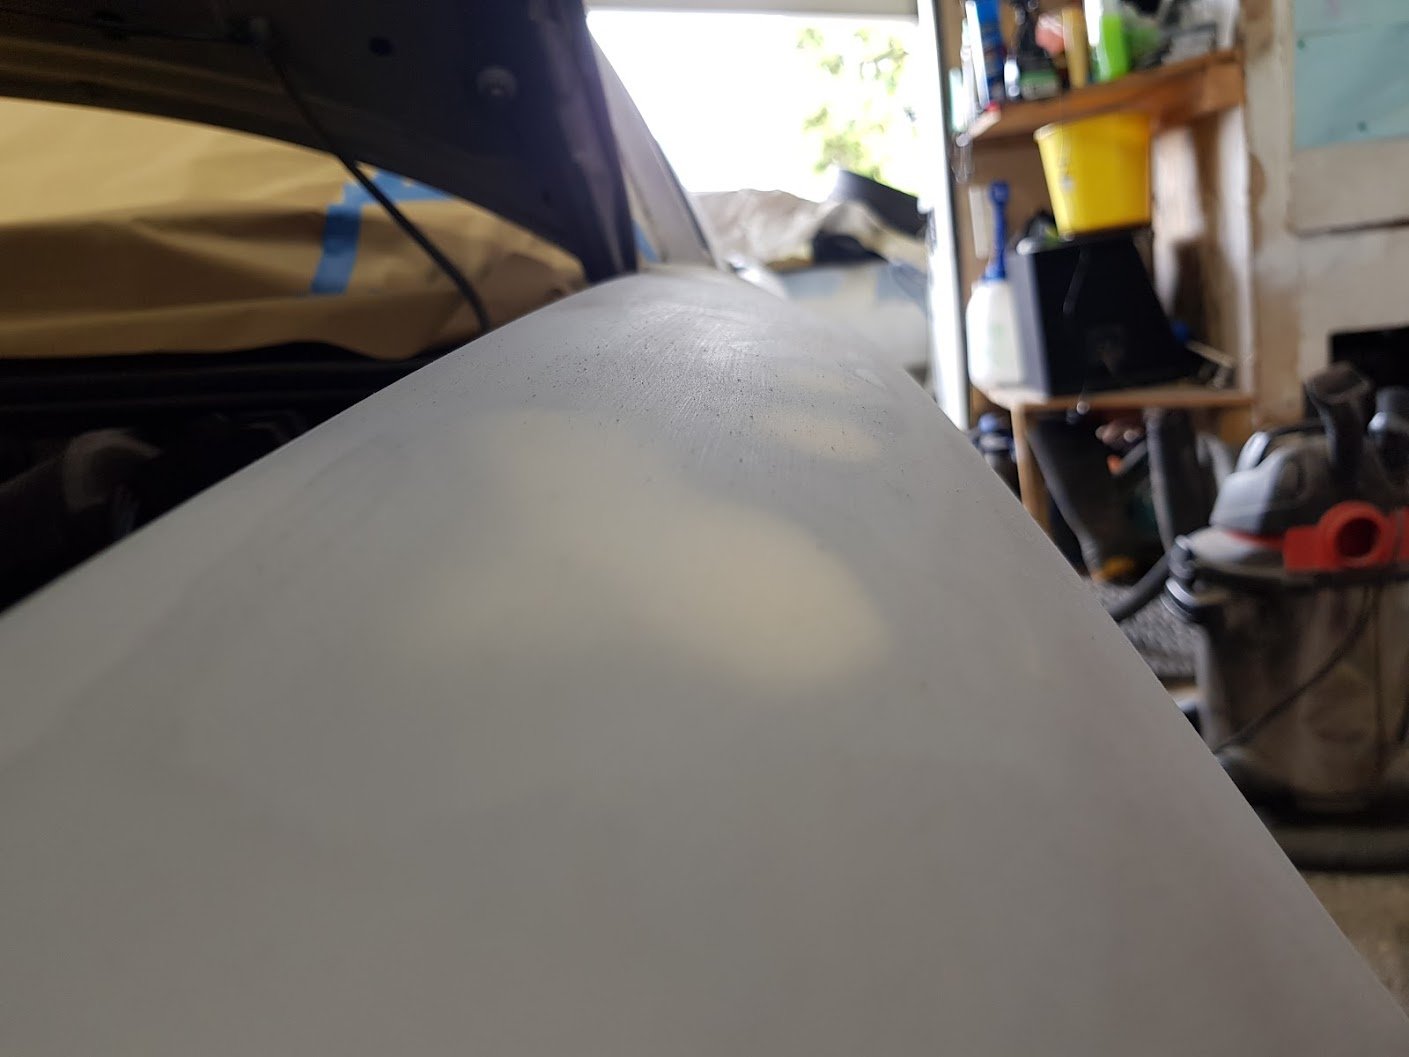
That's a possibility, I'm not set on the injector type yet but its good to know these can work. Ideally if I can find something with a longer tip that'd be best rather than making it more complicated than it needs to be. From what I can find, the factory b6 injector is 230cc. The 07 GSXR 600 has two sets: Primaries which have the longer tip and flow 225cc Secondary's which have a stubby tip and flow 460cc So in theory I'd be fine with the primaries if I can find a set. Alternatively I could use the ones I have which are from a 1jzgte VVTi which are around 370cc but may not work due to being a short tip and a wide spray pattern. Also did some more sanding, finding lots of imperfections and dings etc. It's a pain also because in its previous life it had lots of big stickers from events etc but when it was stolen they were apparently torn off with no regard for the paint underneath. So lots of clear coat ripped off which is a pain to have to sand back through all of the layers. After this I'll high fill prime it and do it all again. Then I figured out how to cut the flange model in half in Fusion 360 so I could print out a test (just the first few layers) to see if it was modelled correctly and lines up with the head. Man I'm impressed with this 3d printer! This isn't even at the highest quality, such a good printer for the money.
- 165 replies
-
- 11
-
-
Measured the jzx100/1jz injectors and they are about 10mm longer than those Honda ones. So not much in it, the stock bike ones must be super short. But it'll be easy enough to make up some spacers for the mounts or to lengthen the mounts. Also, turns out that the fuel rails are a mirror image of each other so if I turn the 'back' rail around, the mounts line up fine with the 'front/main' fuel rail position, giving me an inlet and an outlet. So all I need is an inline regulator. You can see here that the mounts at the back in different positions, but its just a reversed/flipped rail. Bonus! The squirty end does sit a little far back though, will have to test and see if its a problem. These Toyota injectors should give a wide spray pattern, rather than a straight one. Just sitting on the engine doing some measuring. Looks cool though:
-
Bugger, still does it.
-
You should be sorry, now I'm getting scope creep...
-
Just the fact that the 1.5L makes more power and more torque (earlier) is a good sign. Will the head change the compression ratio? Awesome thanks for that, I'll hopefully be able to do some measuring tonight.
-
Fuck yeah! I wonder how much effect the VVT will have?
-
Awesome! The head looks so narrow in the engine bay! Really interested to see what sort of performance gain you get when its tuned. I'll persevere with the B6 head for now, funny though because the ZL and ZM heads could basically be like a majorly ported B6. I've seen the gasket comparisons of port size and its huge! EDIT: you should make a build thread about your car?
-
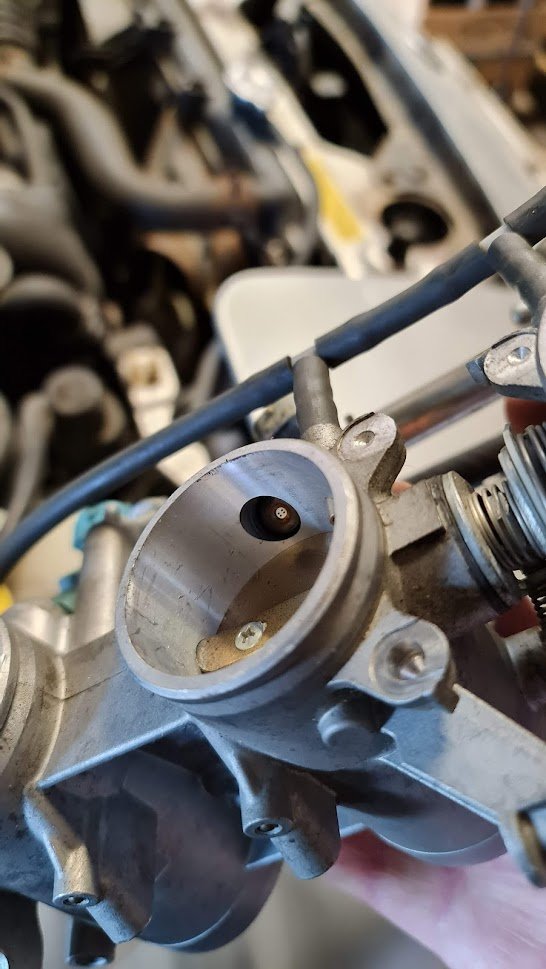
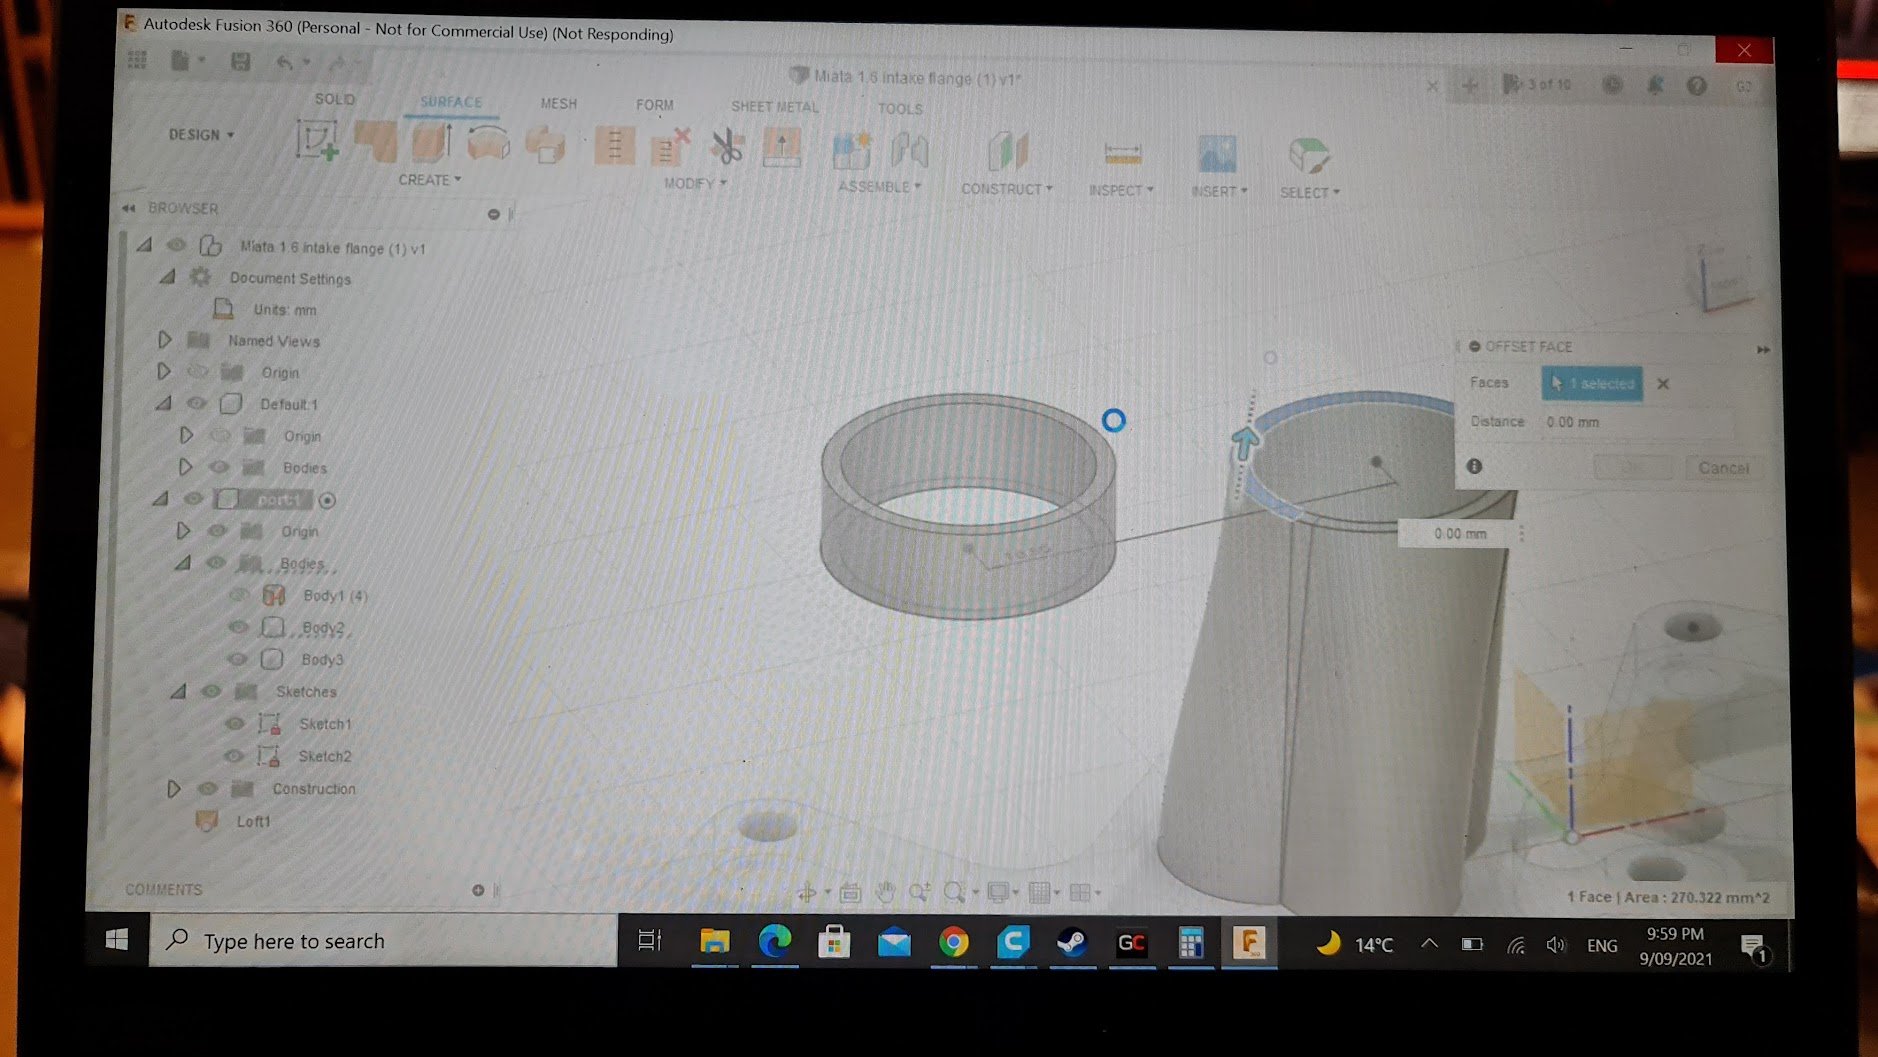
Thanks guys, definitely an option having a reg/pump setup. Also brazing an outlet onto the bike fuel rail. Alternatively once I am decent at Fusion 360 I could try make the factory injector port into the 3d printed manifold/adapter. On that, amazingly I found a someone has uploaded a GrabCAD model of the intake manifold for the 1.6 'Miata'. This saves heaps of time. The format was a SLDPRT which the free version of Fusion 360 cannot import, so I used the desktop version of GrabCAD workbench to save it as a few different formats. A STEP file format worked and I had something usable in Fusion 360. I was playing around with Fusion 360, what an awesome tool! Spent about 1.5hrs playing around with it and had something resembling an adapter to fit the bike ITB's. Then the laptop/fusion crashed lol... This is what it looked like when it froze and didn't come back. oh well... good practice.


.jpg.7a0ba1a70eb01aabb337eec9a7d314fc.jpg)