
- Popular Post


doullama
-
Posts
679 -
Joined
-
Last visited
-
Days Won
1
Posts posted by doullama
-
-
@Raizer a wild austin appears! +4 to "don't come a-knockin", -2 to "electrical reliability"
-
 1
1
-
-
Its very time-consuming & dirty work, my panelbeater charges $30p/h plus materials, which is a godsend as I can pretty much exchange my labour of kicking rocks and reading clickbait for his of rebuilding a rusty but cool van, does great work and takes heaps of photos, invoices everything etc, just works out of his shed. So far its cost me $5500 and will probably end up around 10k, a shop would most likely be more like 30k. Will put up his details once he's finished my van, don't want him distracted haha
-
4
-
-
Great estate!
-
1
-
-
- Popular Post
- Popular Post
Actually swooned, and that’s not my finger

-
10
-
 1
1
-
 4
4
-
Should just do natural progression and start with 15 cans of matty-b in the repco carpark like everyone else haha. Its a pretty easy process if the body is ok to start with, especially on a van/panelvan as theres less stuff to mask/remove generally. Its just a lot of mind-numbing dirty work before the fun spraying part. Im no expert but have done plenty of c+ to b- paintjobs, my advice would be to make sure to sand & clean absolutely everything that'll be painted, nothing worse than peeling paint in stupid little areas. Even one of those green scrubbing pads will do to take the shine off. Blocking back is nice but honestly not that important if the thing is straight. Mask or remove everything that wont be painted, as overspray looks rough as guts no matter how nice the paint comes out. I had no real idea what i was doing when I first painted my van with "real" paint in high-school, ambitiously in gloss black, complete with cheapo compressor/gun (do use a water-trap) backyard full of bugs etc, straight over warehouse matty-b and red slayer stencils. Came out sweet as (I reckon) and you can always buff out orange peel etc if you have time for that (aint no-one got time for that) oh and wear a mask to avoid brain damage, I didn't and now have leyland syndrome
-
6
-
-
Say hello to your new friend. Can get fancier ones too. Makes a far flatter surface than your hand will. Anyone else a massive fan of wetsanding over dry? Ill only use dry on the real rough stuff
-
1
-
-
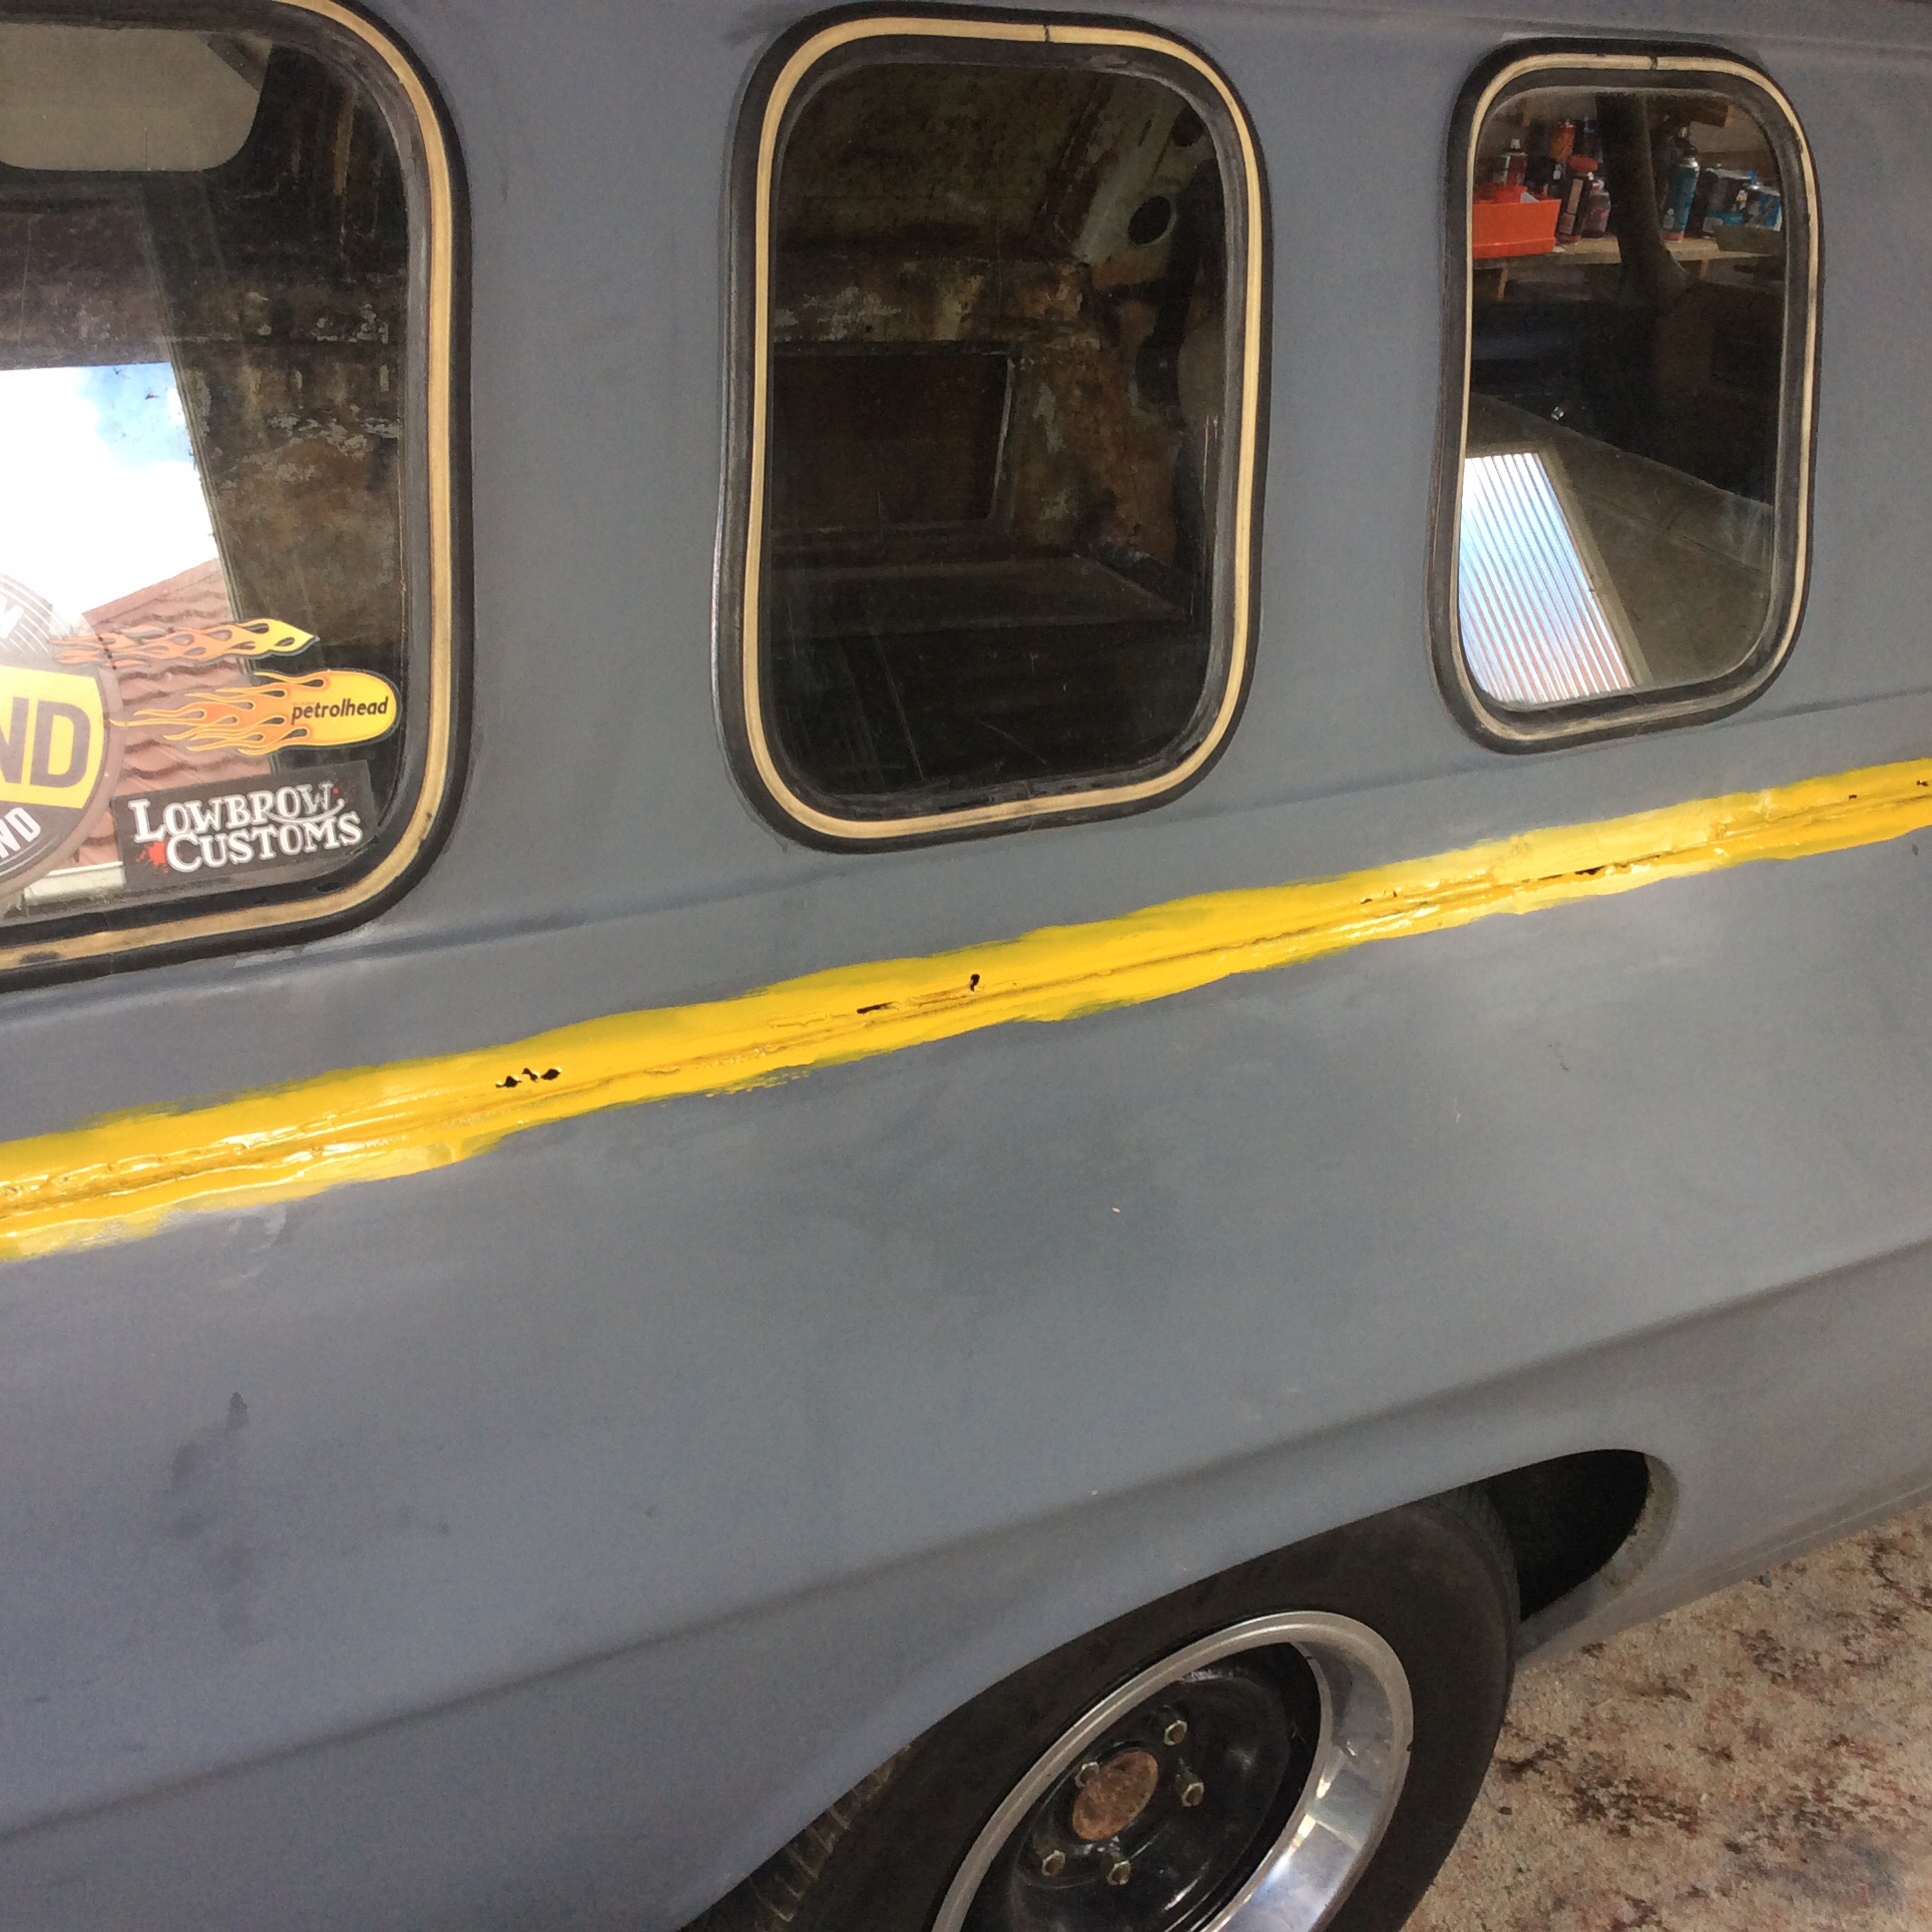
It should be noted that the rear 1/4's are being done only because beater needed something to weld the arch lip to that wasn't a shopping bag full of rust flakes and filler haha, watch as this chain reaction leads to a 30% new van
-
3
-
-
26 minutes ago, tortron said:
I'm guessing some blokes got laid off at Todd motors Mitsubishi line and went to the Holden department?
And started on a Friday no doubt. At least a van has reasonably simple lines and good access to everything, I imagine a rusty Car equivalent would be far more nightmarish
-
Panelbeater is still plugging away, both sideswages done, turned out the left side was just as bad as the right, just bogged better
now into the rear 1/4's and arches, After that it'll be the Lh sill and the bit above it, bottom of Lh guard has some random unwelded patches too, which I suspect aren't welded fully because you can't weld to bog. Still need to figure out why the a-pillars are filling with water in the rain, @Shakotom are the a-pillars ok under the chrome screen-trim? Could even be a bad seal I suppose but seems odd that the water is only pouring in to the pillar-posts. This van is reminding me just how lucky I've been with Gm cars in the past haha, getting there though
-
3
-
-
2k clear looks great, great masking job on the livery too too! Stripes are good fun, did you mask then spray a bit of the base black over the tape-line before the red? or does the vinyl alone make it that clean? Shit pic of some stripes I did on one of my old bedfords (never did get that frazetta work on the rear bit
) just used test pots of 2k, cost s.f.a
-
3
-
-
17 hours ago, Alfashark said:
The Te Awamutu shoebox?
If so, I have the misfortune of driving past it every day on the way to work...
Thats the one, belongs to a workmate (and all around gc), I drove it around putaruru, it is very, very slow haha, has a 4cyl isuzu n/a diesel of some sort. Pretty nice inside!
-
So tough spending that amount on something so delicate as paint, exposed to the great uncaring & unwashed! I'd totally recommend the diy approach, its good fun once past the bleeding fingertips stage, there's only one way to learn, and you can always sand it back if need be, buff out orange-peel etc. Used to paint all my cars rather nicely (by my redneck standards) in 2k until I learned you shouldn't actually be scraping isocyanate paint residue from your nostrils a week later haha, i'm quite a fan of the rough n ready paint job these days, im more interested in what a car is/the era & aesthetic than how shiny it is, and being able to shrug off trolley strikes/zipper attacks etc is good for the soul haha. the molotow belton nitro-alkyd graffiti paint on putaruru's finest/only marina cost $56, its tougher than regular enamel but not as tough as 2k, wont fade or crack, sticks to anything, covers amazingly and is easily overpaintable/solvent proof. did I mention $56? Have tried plain alkyd enamel in the past too but it chalks/fades eventually (good for patina haha) and takes forever to dry. Contrary to popular opinion though it can be overcoated- in about 5 years once its REALLY dry
-
3
-
-
I just love beaten-up 'survivor cars' like that haha, needs more lichen
J3 based "rasta rocket" for thread
-
2
-
-
If its not an ld28 powered series 1 au falcon forte', I suggest you return it
-
6
-
1
-
-
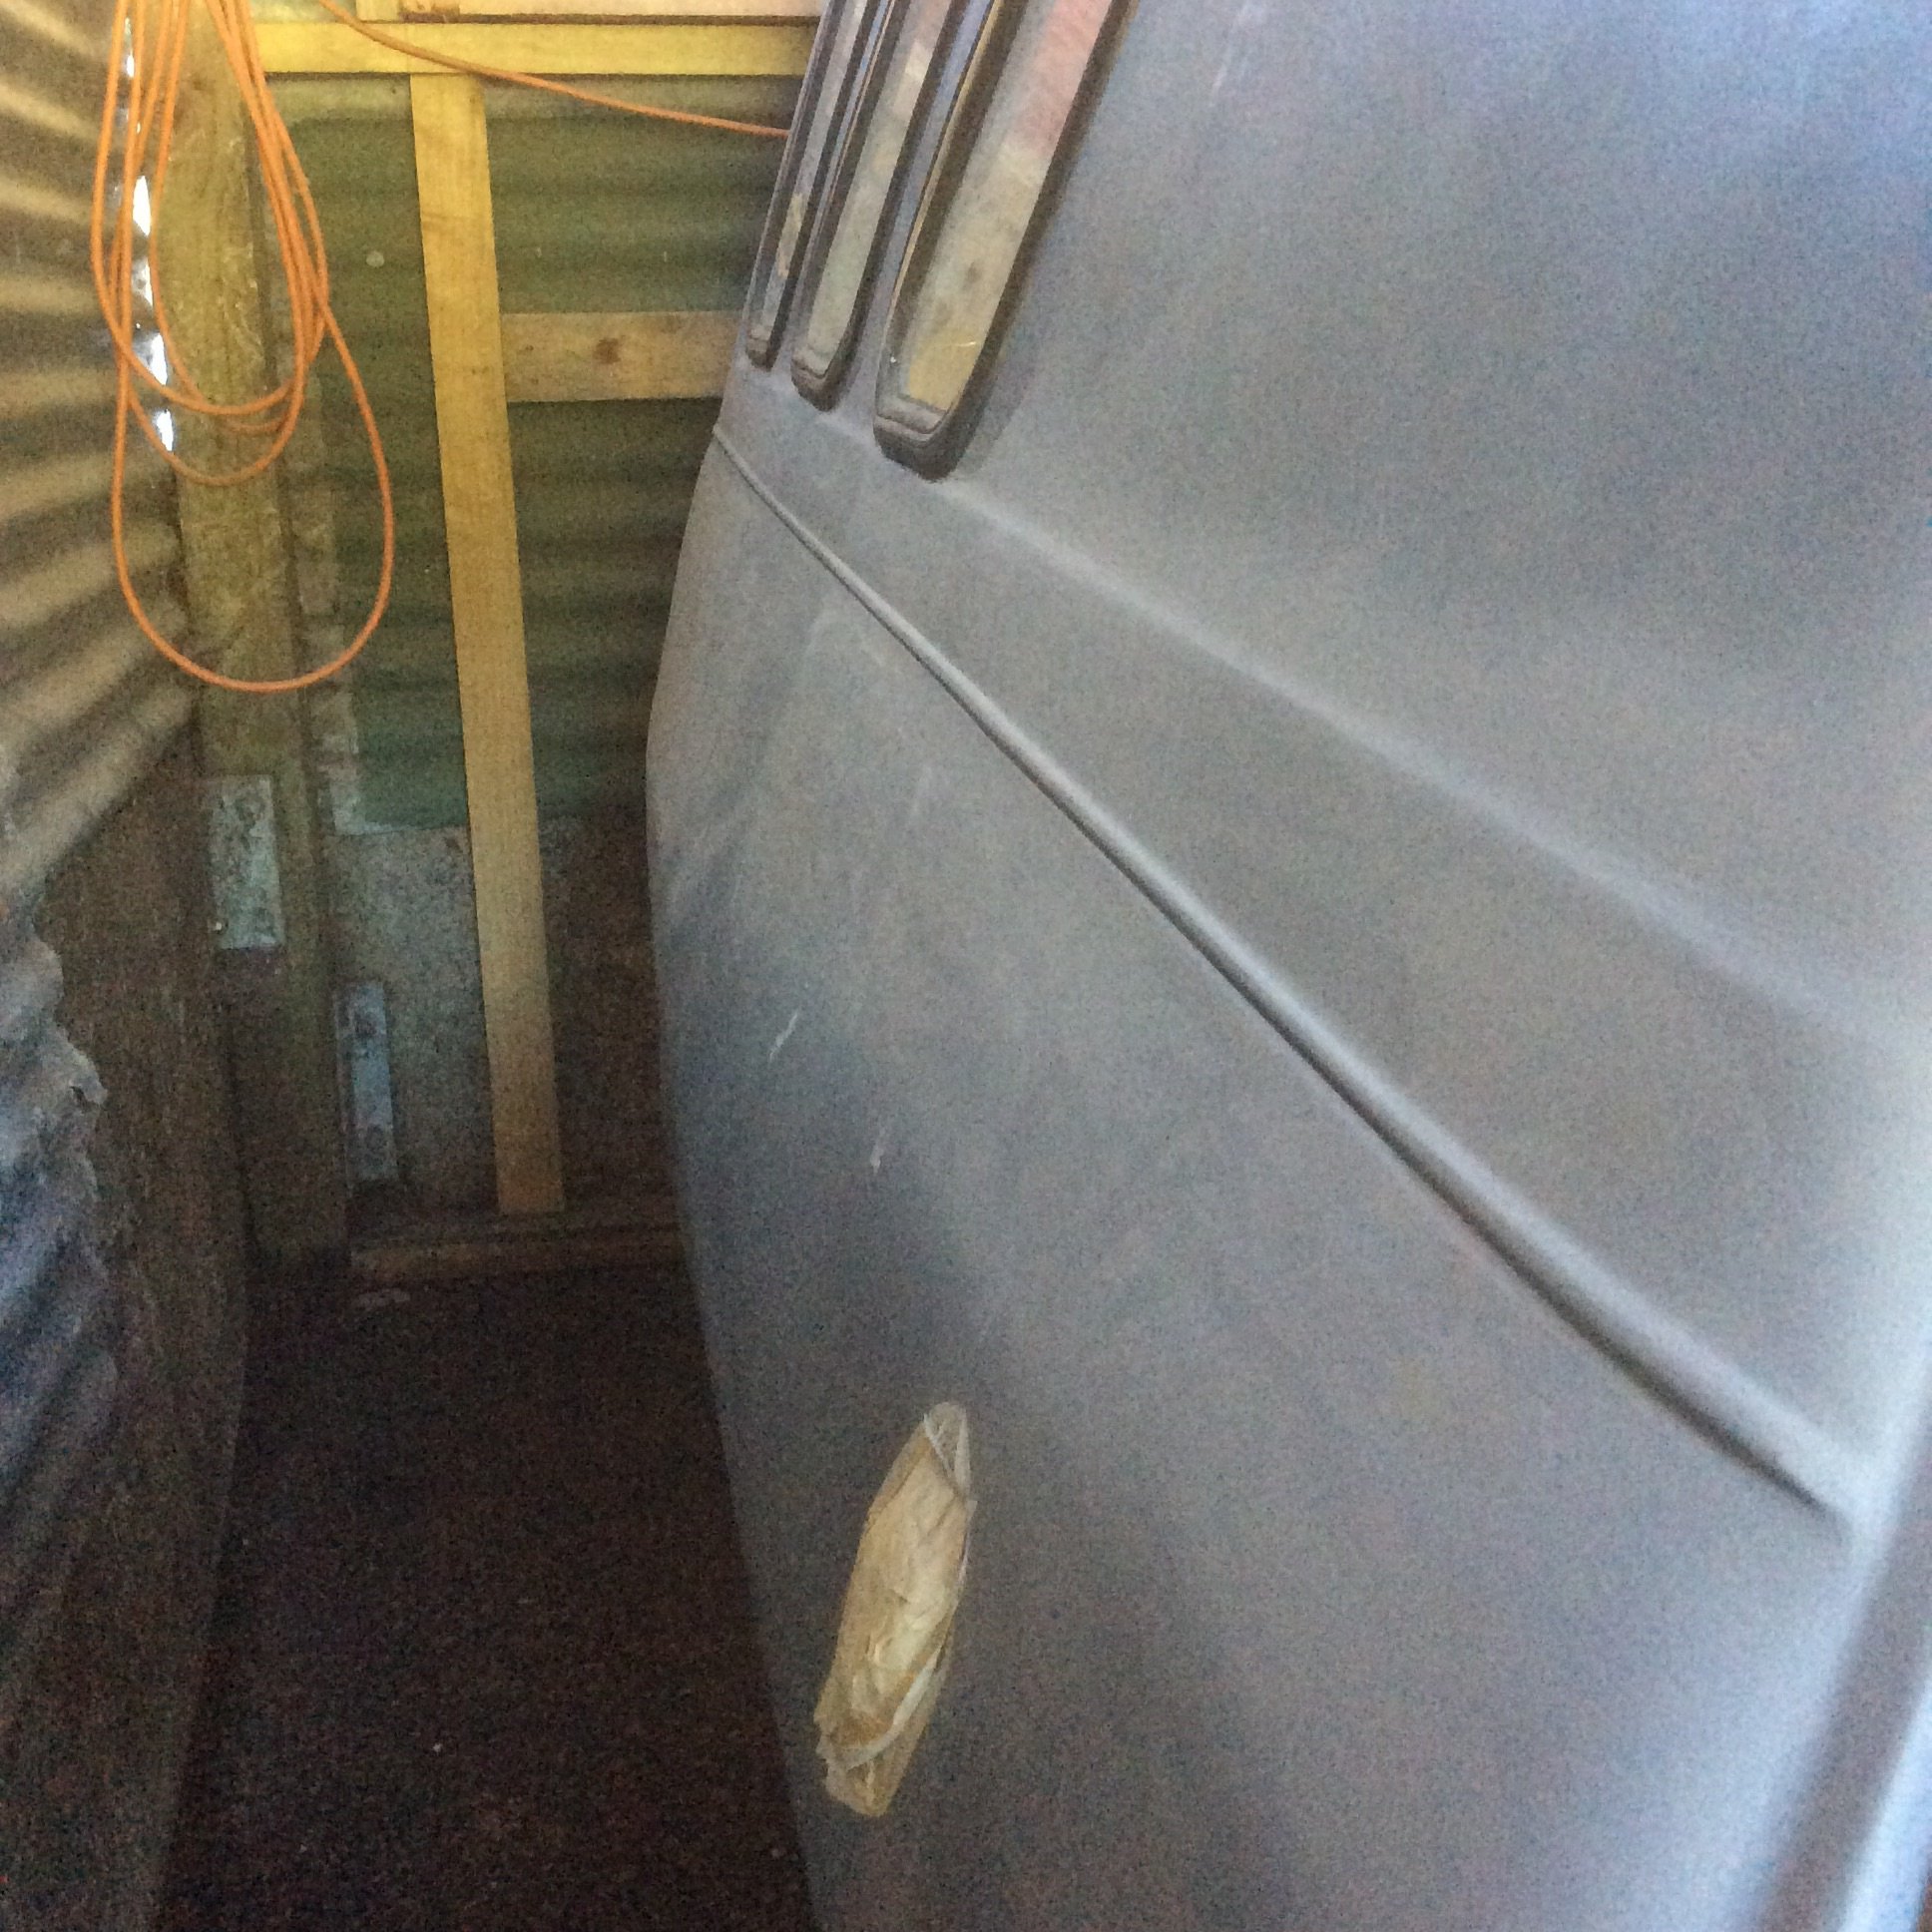
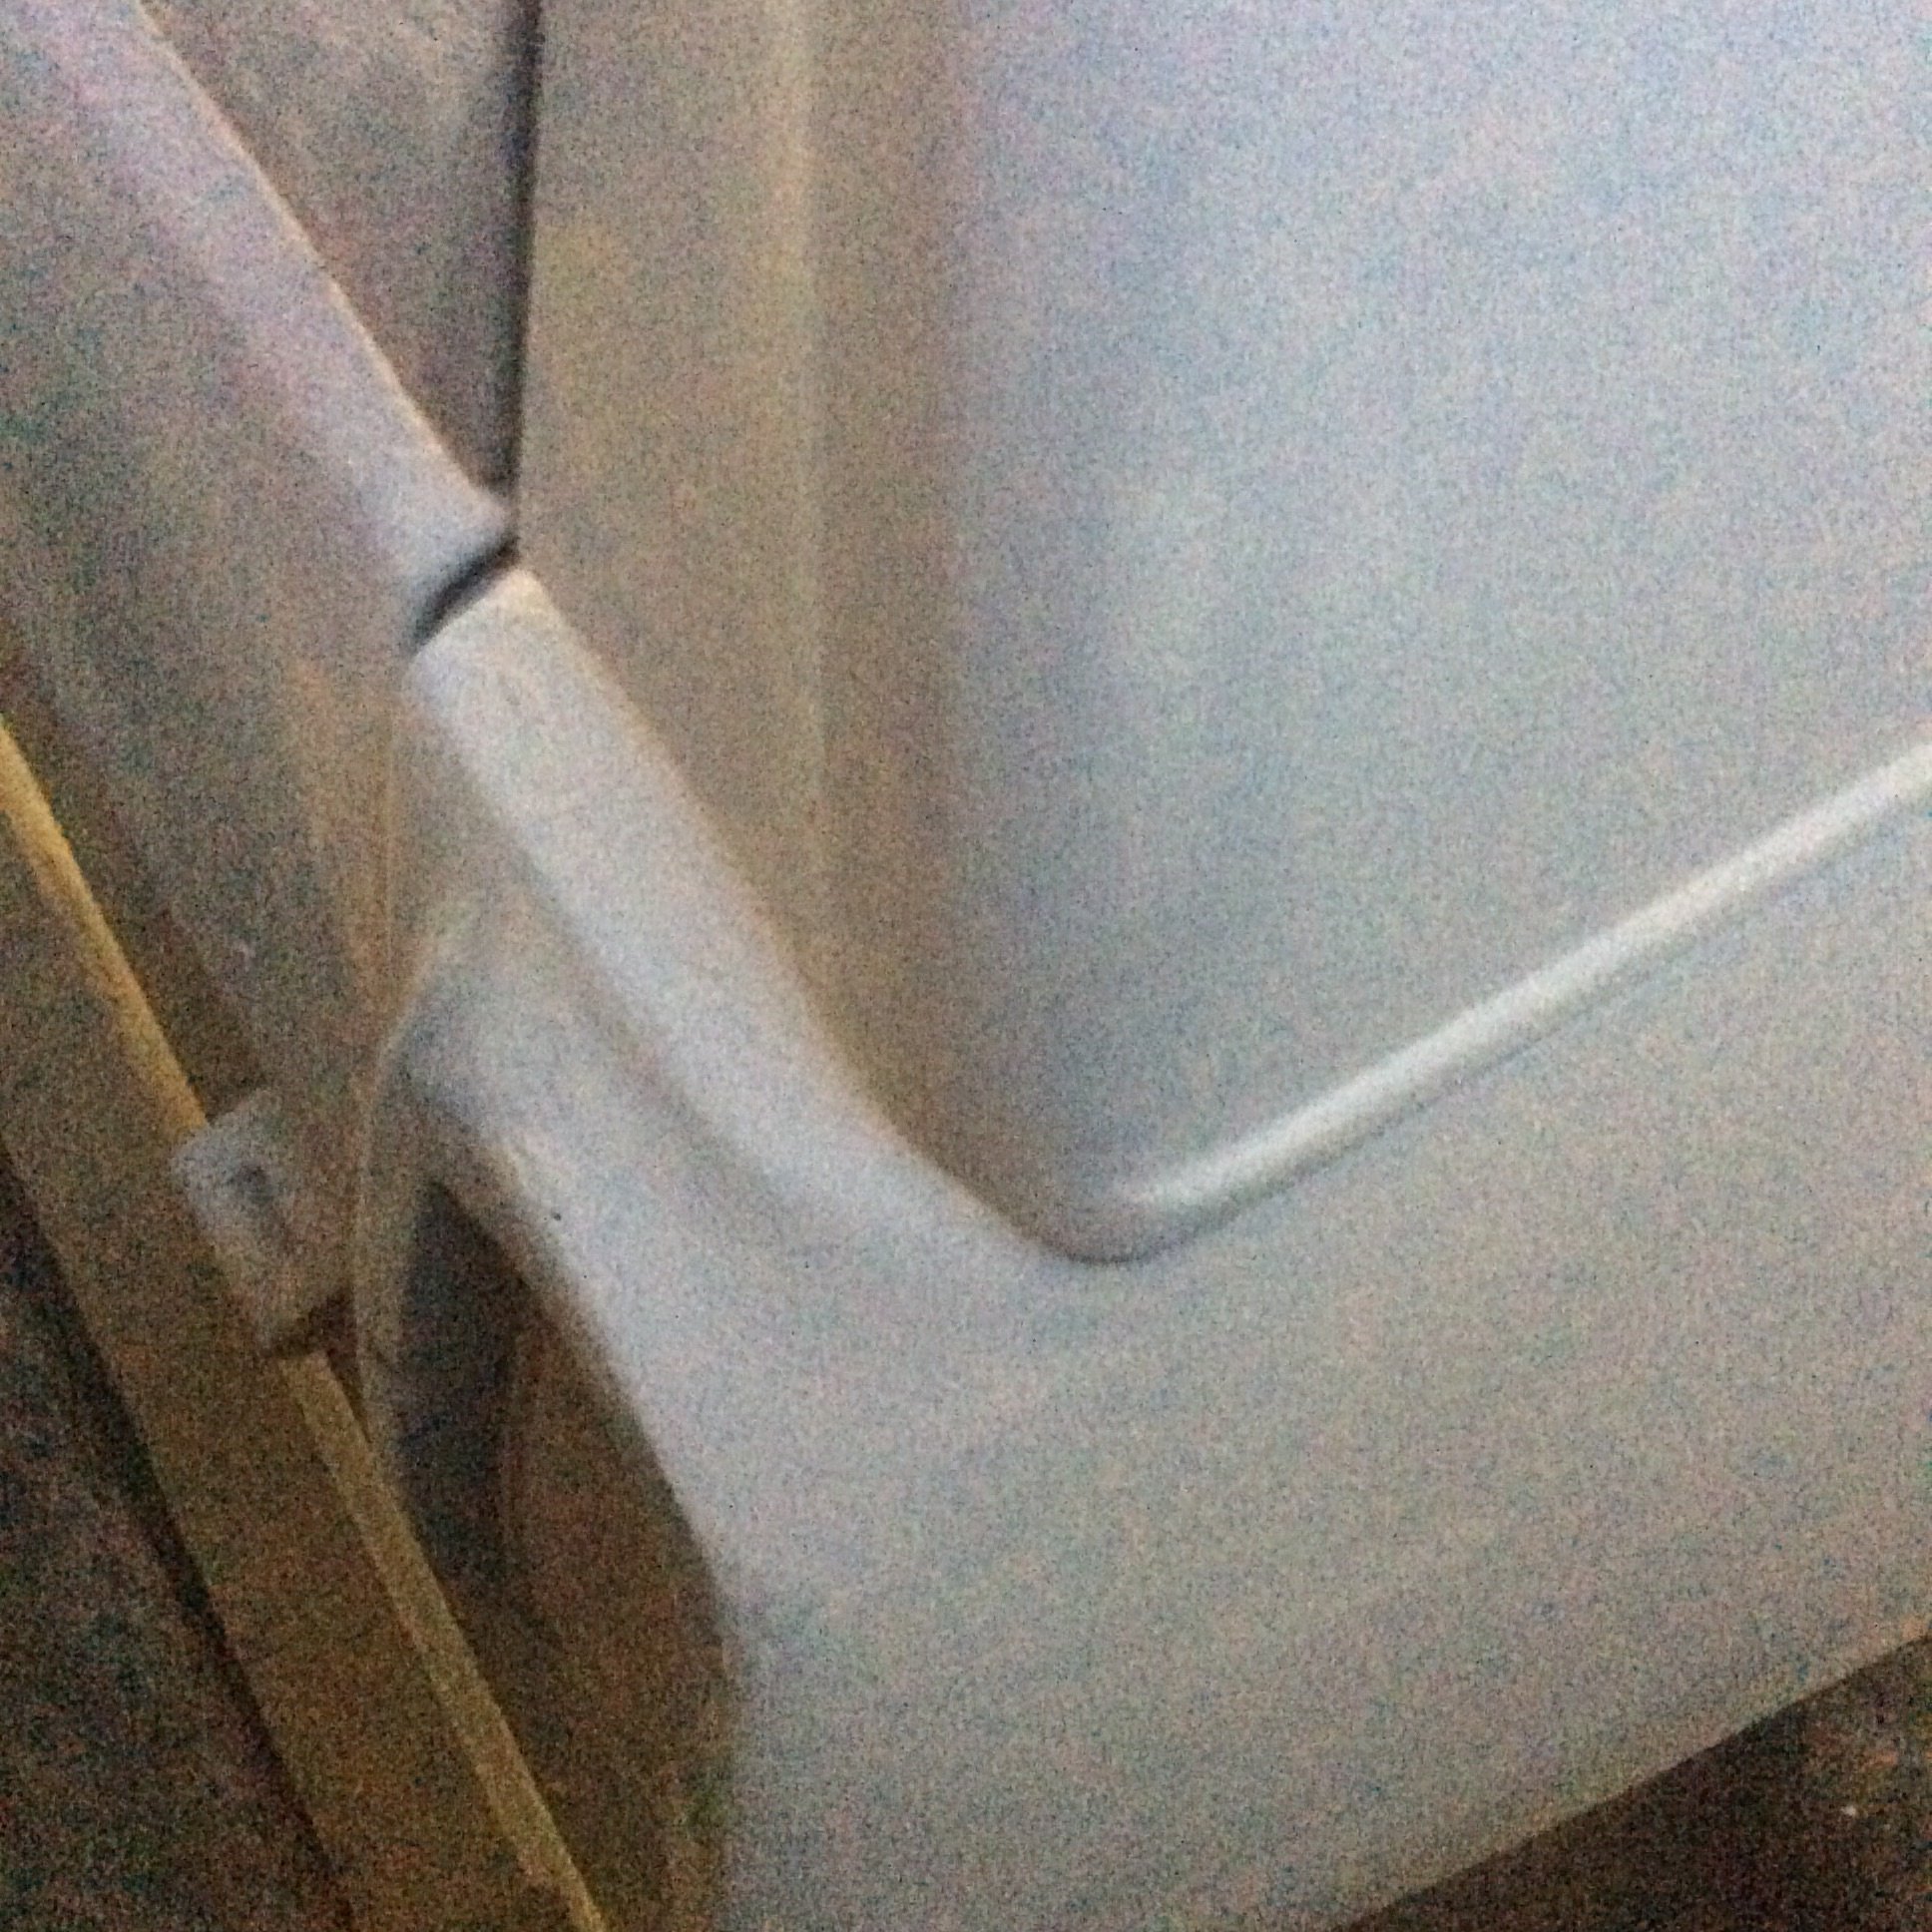
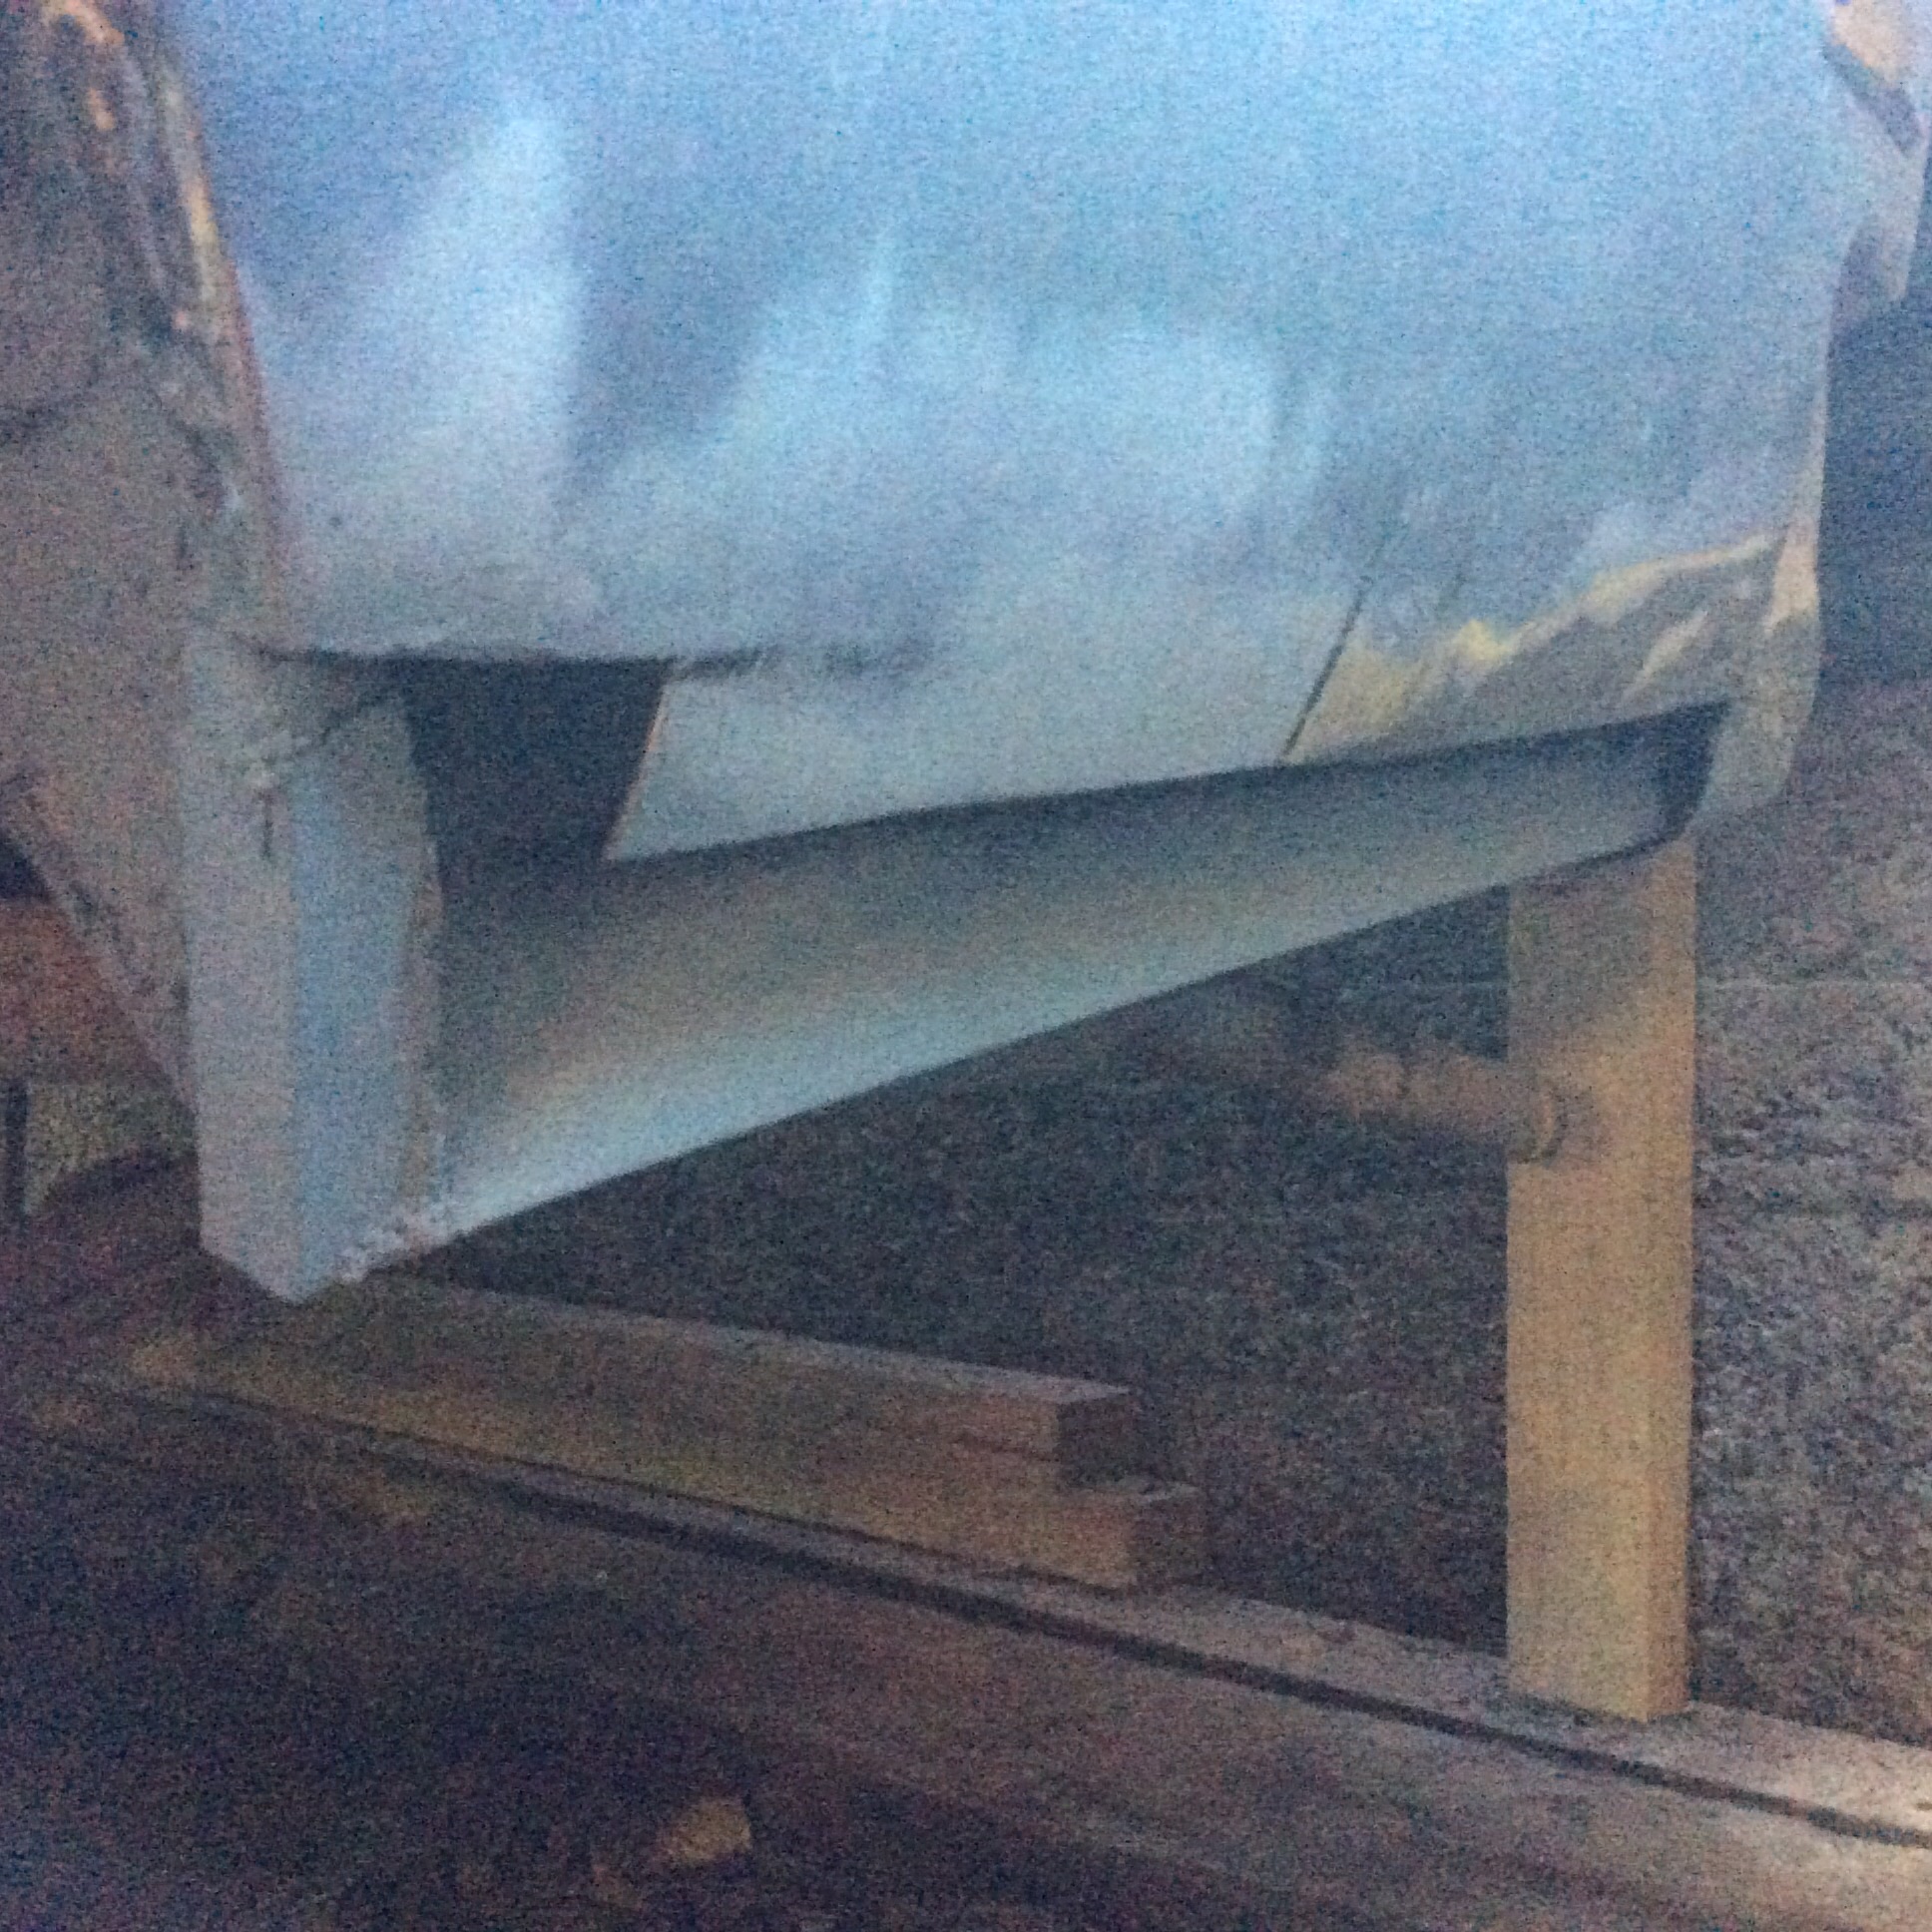
In breaking van-news, popped in to see the panelbeater today and oh wow what a great job hes done, cut out a strip about an inch either side of the RH swage from front door to rear hatch, plated/replaced more than half of the horizontal inner skin and formed a new outer skin + swage by hand, welded that in and it looks (expletive deleted) amazing. Im no fan of wallet-based jalopy repairs but this is one job i'm glad I farmed out, was getting a bit down on it due to that particular rust patch being so extensive/complex/structural. He reckoned the hardest part was bracing the van body while this was going on to stop that side collapsing haha! even had existing bogged over fatigue cracks in the side from flexing/flopping about in the past. The stuff thats been cut out is an absolute puttied/bogged/godknows mess. Am feeling much better about the project with that complete, have thrown more money at him to do the other side, which should only need minor patching in comparison. Pics to come!
-
7
-
-
Tis quite a bit aye, bit stronger (prior to rust-out) than some early car-based commercials for sure. Just a pity rust-repair panels arent really available for anything van-specific. Tom had the plenum replaced but still needs a bit of weather-tightening, after waterblasting I had to literally bail out the interior haha! lots of water getting into & pooling in the bottom of both A-pillars, which then overflows onto floor. unsure how/why thus far, tbh that's quite a way down the list
-
3
-
-
Hz is at the beaters to have both swages under the rear windows replaced, too ratty to (re)-fill and beyond my skill to replicate. depending on the bill from that may get the Lh sill, outer wheel arch and the panel above said sill replaced too. Bloody Australian cars, rust way worse than British ones! Austin is legendary, holding up to daily duties well.
-
8
-
-
40 p/w not too bad really, shed looks brand spankin
-
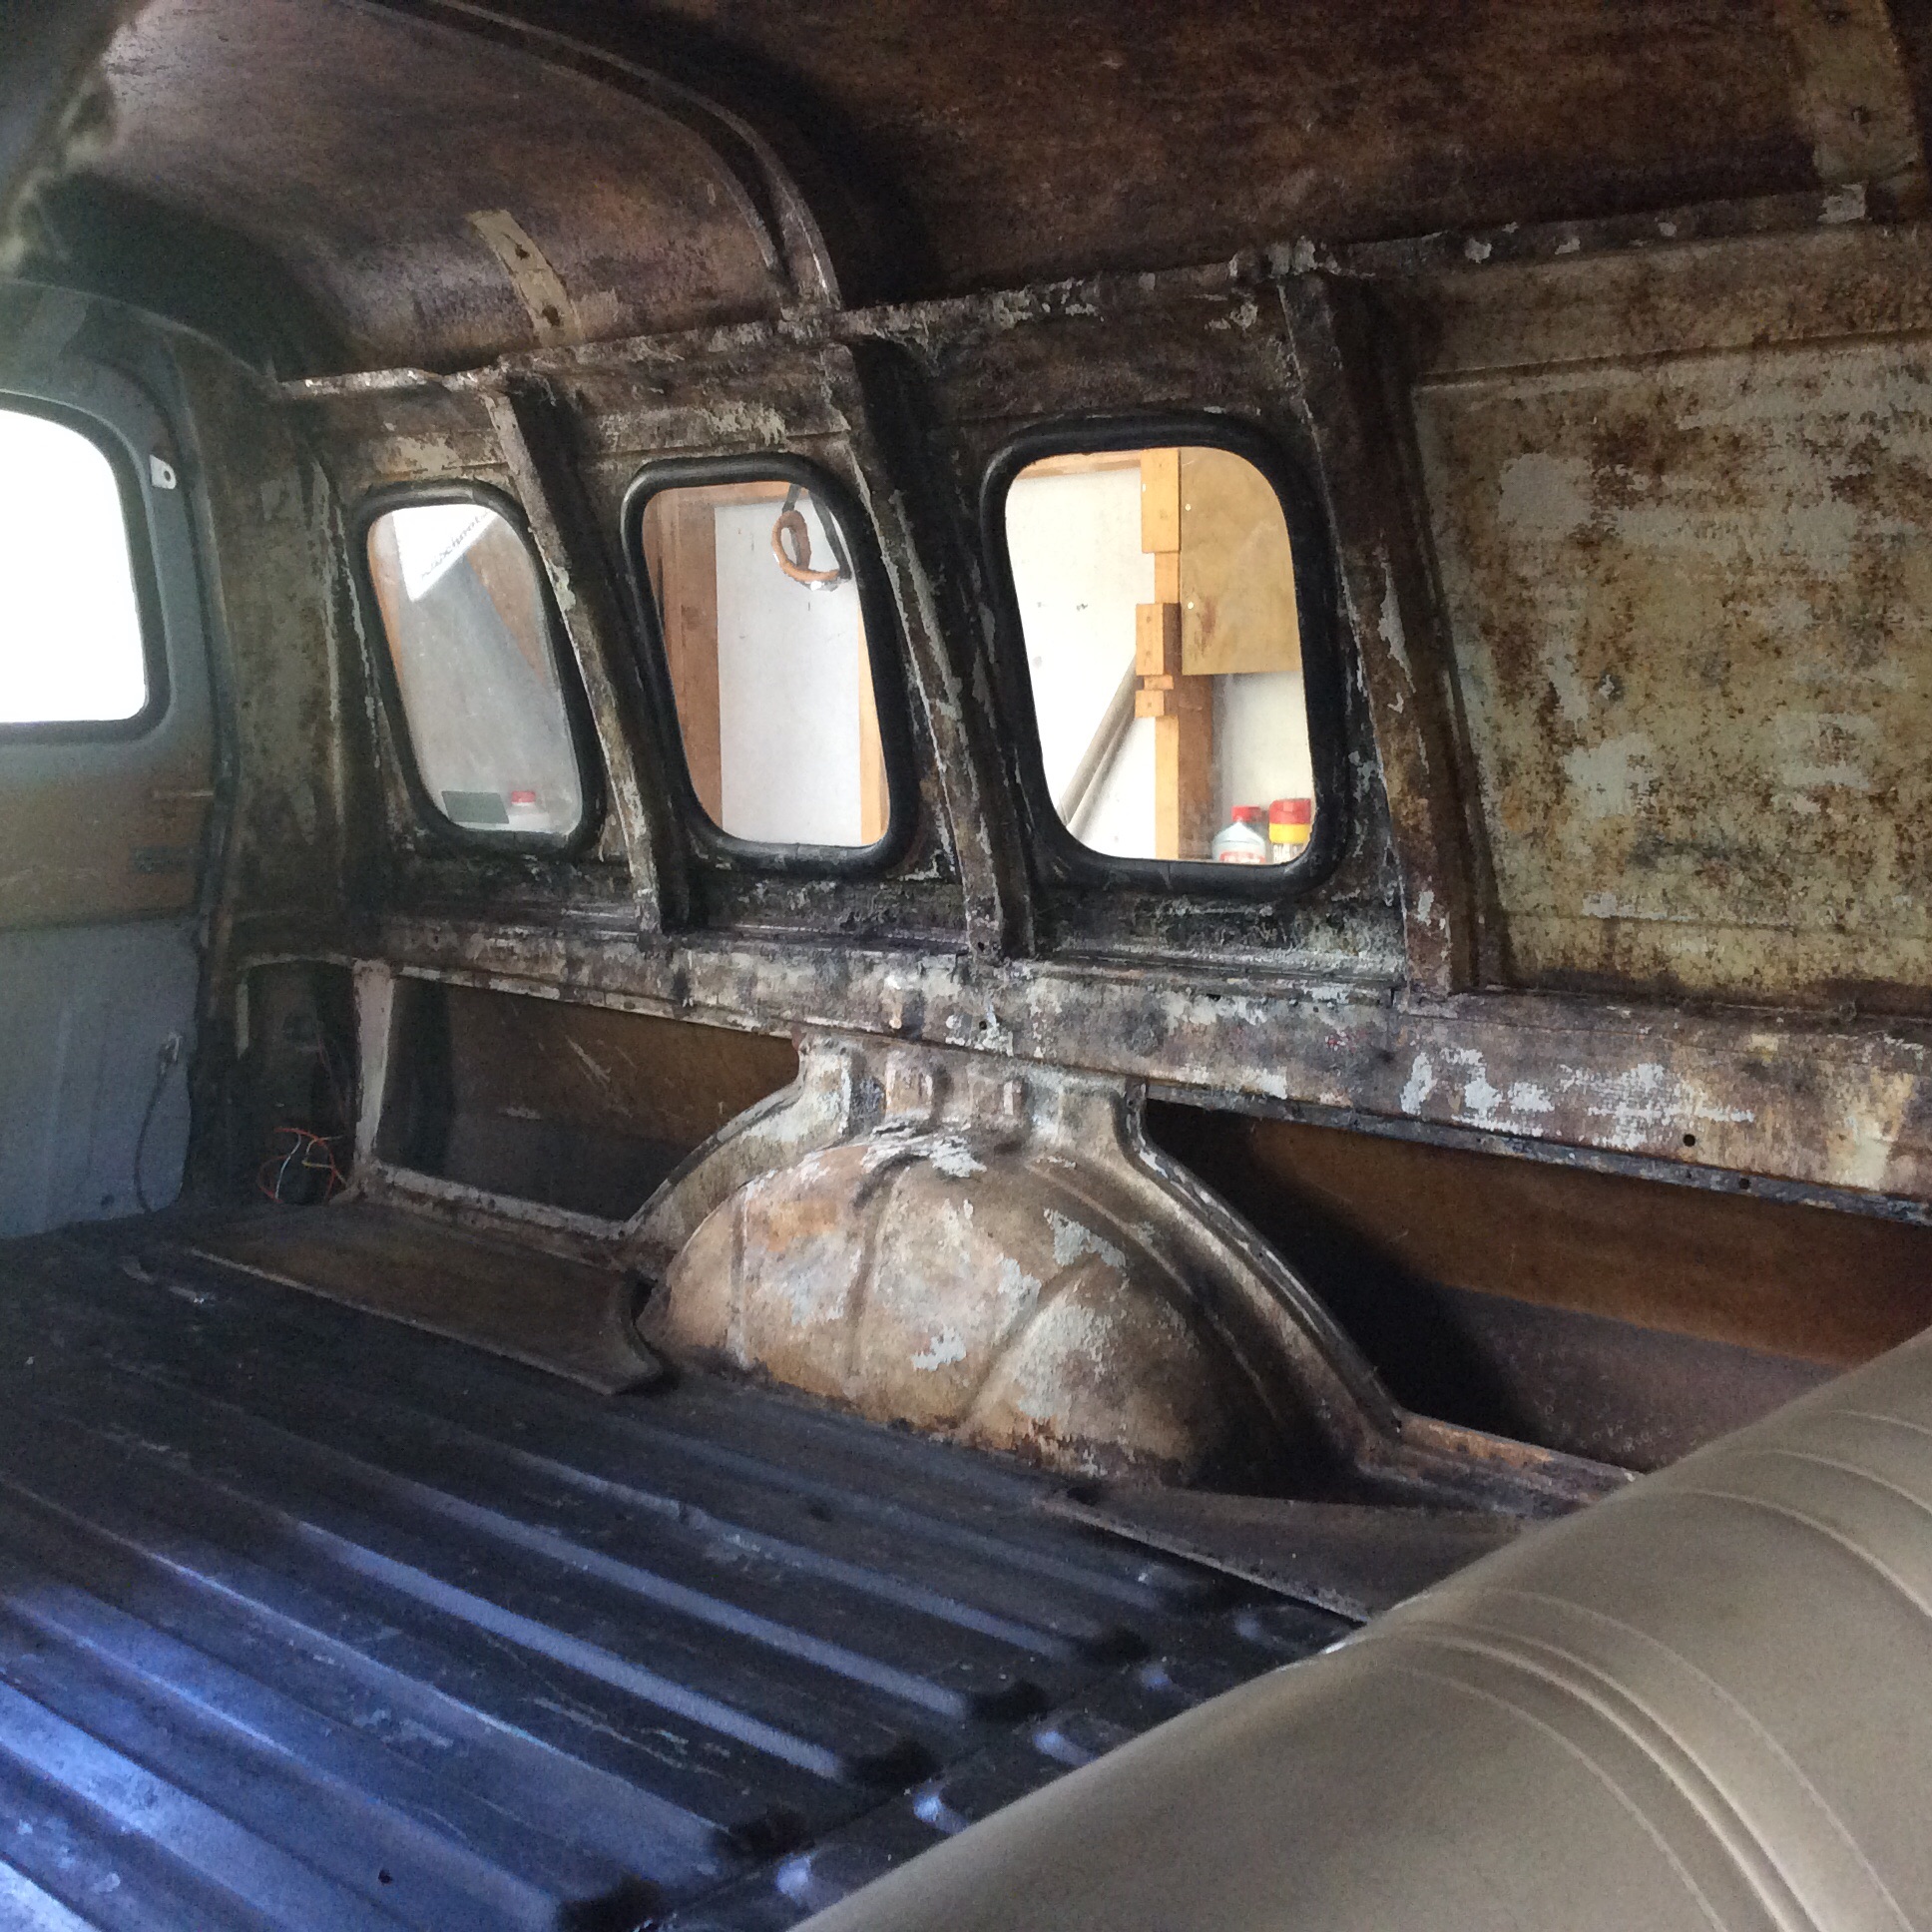
Been mucking around a bit with Hz, rot-hunting mostly. Water blasted off heaps of primer and filler, no more than expected really. Worst of it (so far) is probably the belt line where the turret mounts onto the "ute" bit at the back, pulled the carpet off inside & looks like the windows have leaked over the decades & rotted out the junction of upper, lower & inner skin, in fact someone's added an overlay inner skin to brace the sides (glued on even) , but the 6 inner pillars are more or less floating. Some welding has been done here but some has been subject to a space-age solution. (Panel steel glued on & filled) Will probably have to remove the inner bracing & extra inner skin to patch the original. Would dare say this will warp the sides a bit but they're already pretty warped! Bit hard to see in the pics as the inside looks awful with various paint/glue/fluff/80s pubes etc. should have just fixed the lil bog-blowouts & called it good haha. Unfortunately most filler is over bare metal so will be an ongoing thing unless the body is blasted/dear god no
-
2
-
-
13 hours ago, Alfashark said:
Saw a green Marina van in Matamata the other day, pretty tidy condition - Complete with NZ Motor Company sticker on one of the rear windows.
My arch-nemesis
-
2
-
1
-
-
- Popular Post
- Popular Post
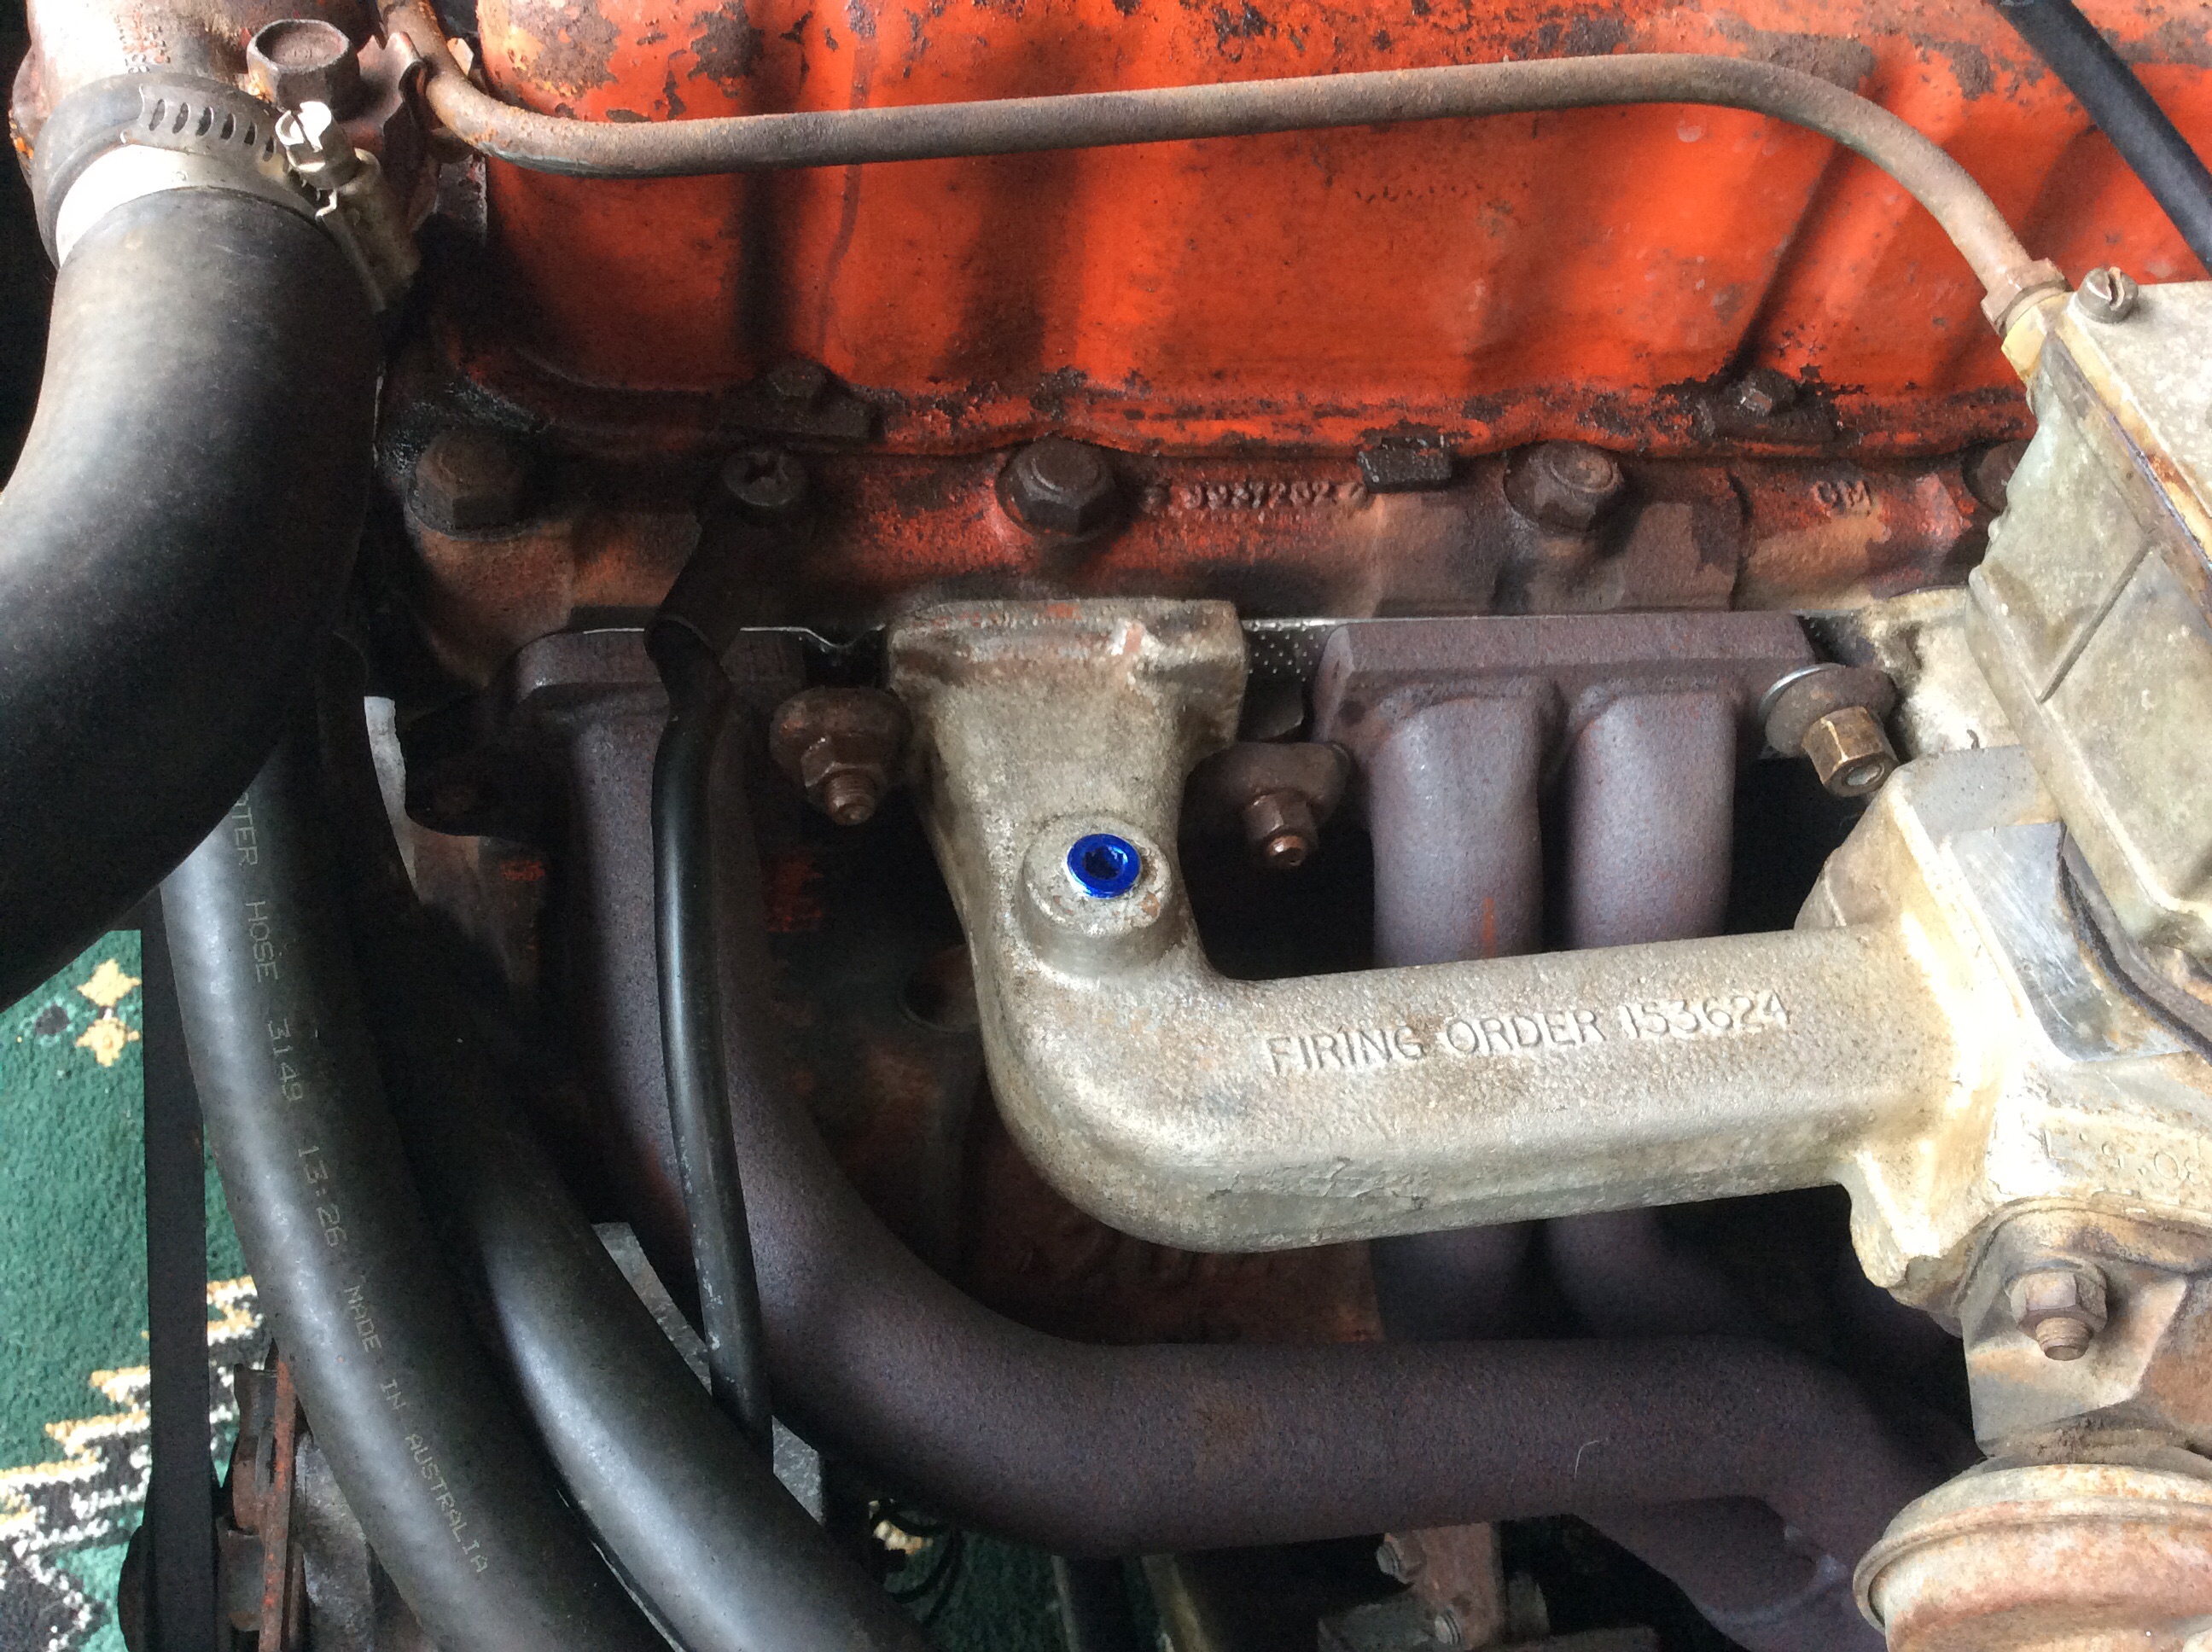
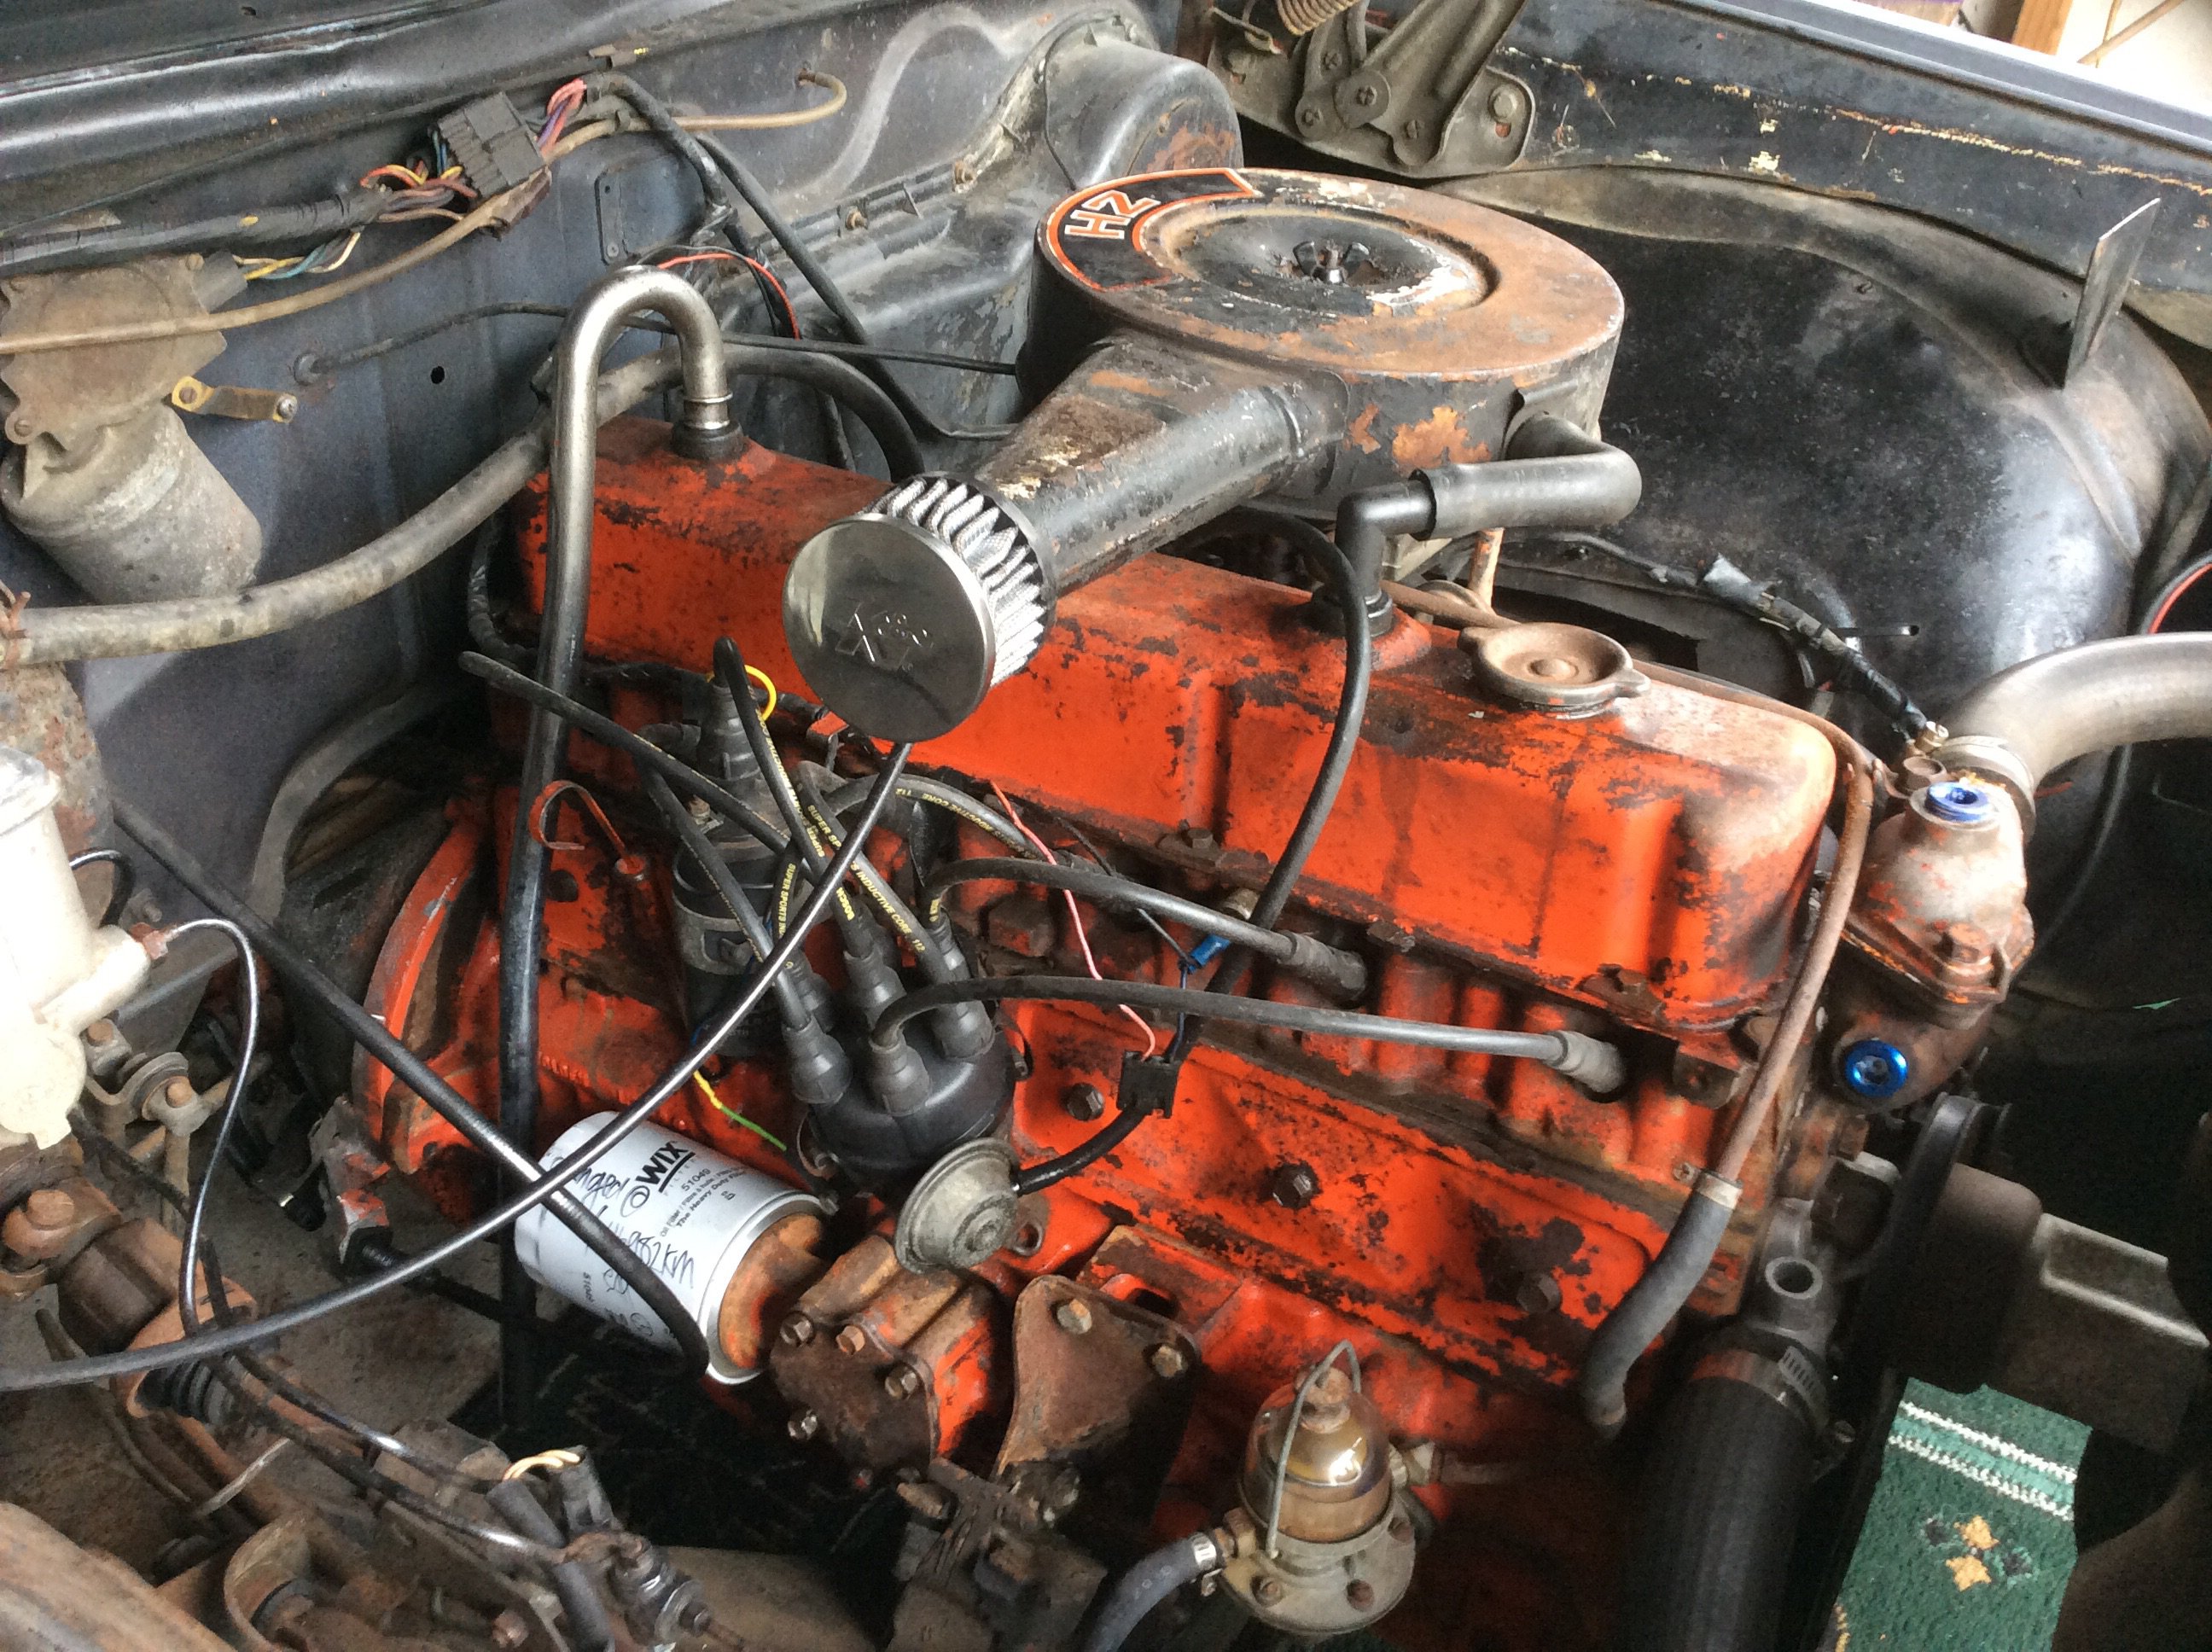
Had a tutu with new van today, had a pretty bad manifold leak tick so checked the nuts, no1 was finger tight, tightened it but no joy. Luckily there was a spare if equally crap (hate the thin perforated stuff) mani gasket in box of spares, chucked it on and found this van was suffering from the same issue as the austins k-motor, mismatched inlet & exhaust flange thickness. Had burnt out the old gasket in 6-odd places. Cut up some more 'shims' and no more ticky-touring
whipped the aircleaner off during this, good thing as there was no filter inside! Will order another but in the meantime: improvise, adapt, overcome. Next thing temp & oil pressure gauges, suspect it might be getting a bit warm but no way to really tell. Already have a gauge/sender for temp so just need an appropriate adaptor thing for whatever the 202's sender hole thread/size is vs whatever the sender I have is haha
-
10
-
10 hours ago, chasinthemirage said:
Pleased this has stayed in the OS family! Pined hard but sadly no money or space for it. Shagpile carpet and a disco ball plz
Thy will be done!
-
1
-
-
Cheers Tom, good to meet you too. Will do, i'm sure you'll see it again
Hopefully with extra "buxom vixen riding a polar bear into battle on the martian plain, armed only with a whip" murals haha
-
3
-
-
- Popular Post
- Popular Post
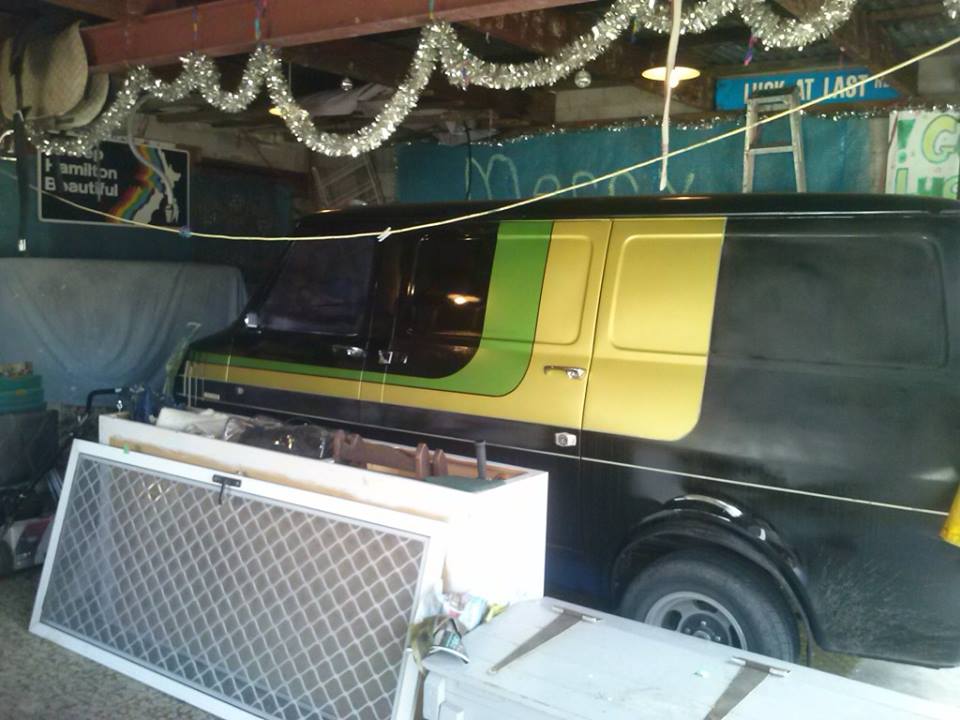
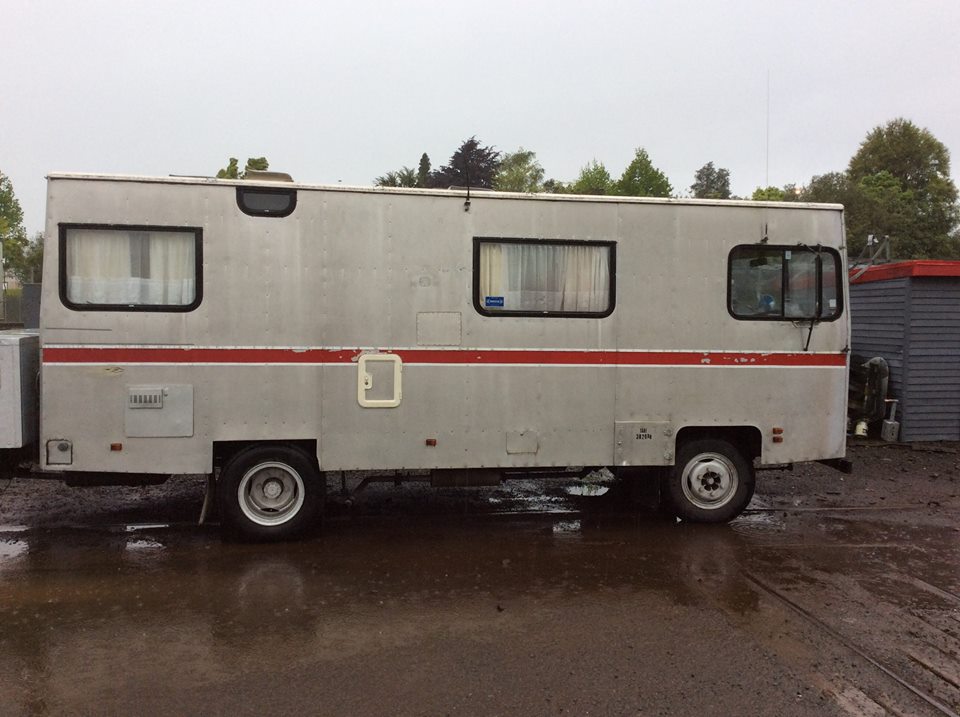
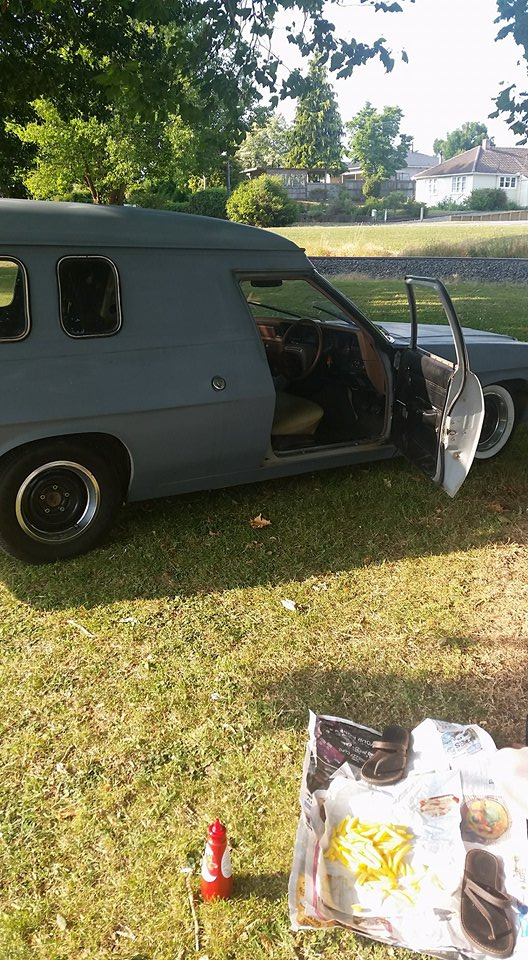
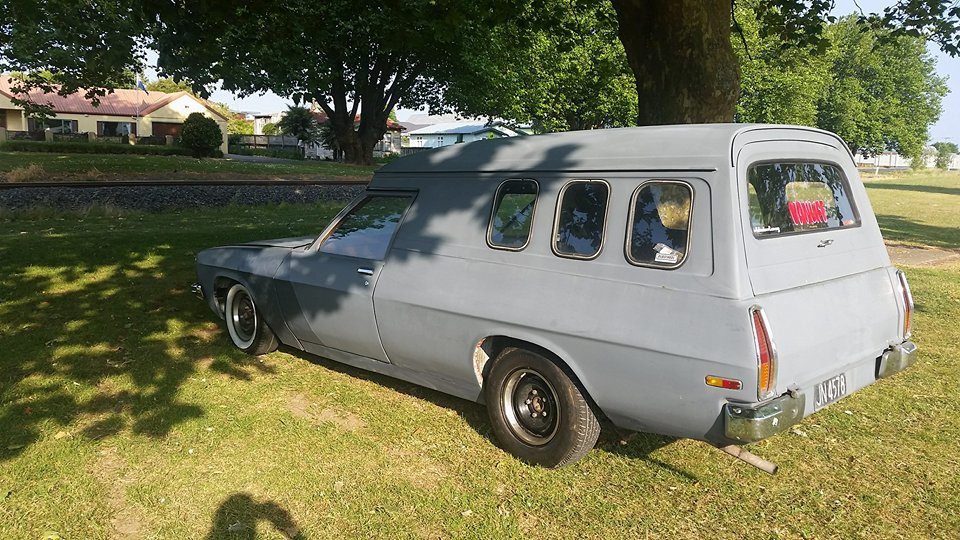
Another van = a collection! Picked up @Shakotom 's Hz van today, had wanted one for years, and as time goes by they're certainly not getting any easier to find intact, or cheaper for that matter. Nice solid base for a panel & paint, and the 202/ three on tree combo is perfect. First H series holden, and i'm quite impressed, remind me of a GM B-body car without the pitch/yaw & bordello spec interior. Was a comfortable, relaxing drive home. Gets a better ratio of thumbs up to confused looks than the marina!
The list:
exhaust leak to fix
sand, bog, sand, bog etc
paint top & bottom
rustproofing
re-sprang for offroad stz
oem hubcapscheviot turbosnew weatherstripping
soundz
330ml can ejection port
chloroform, duct tape etc
profit
-
22
-
1
-
 3
3


Doullama's 1977 Marina van
in Projects and Build Ups
Posted
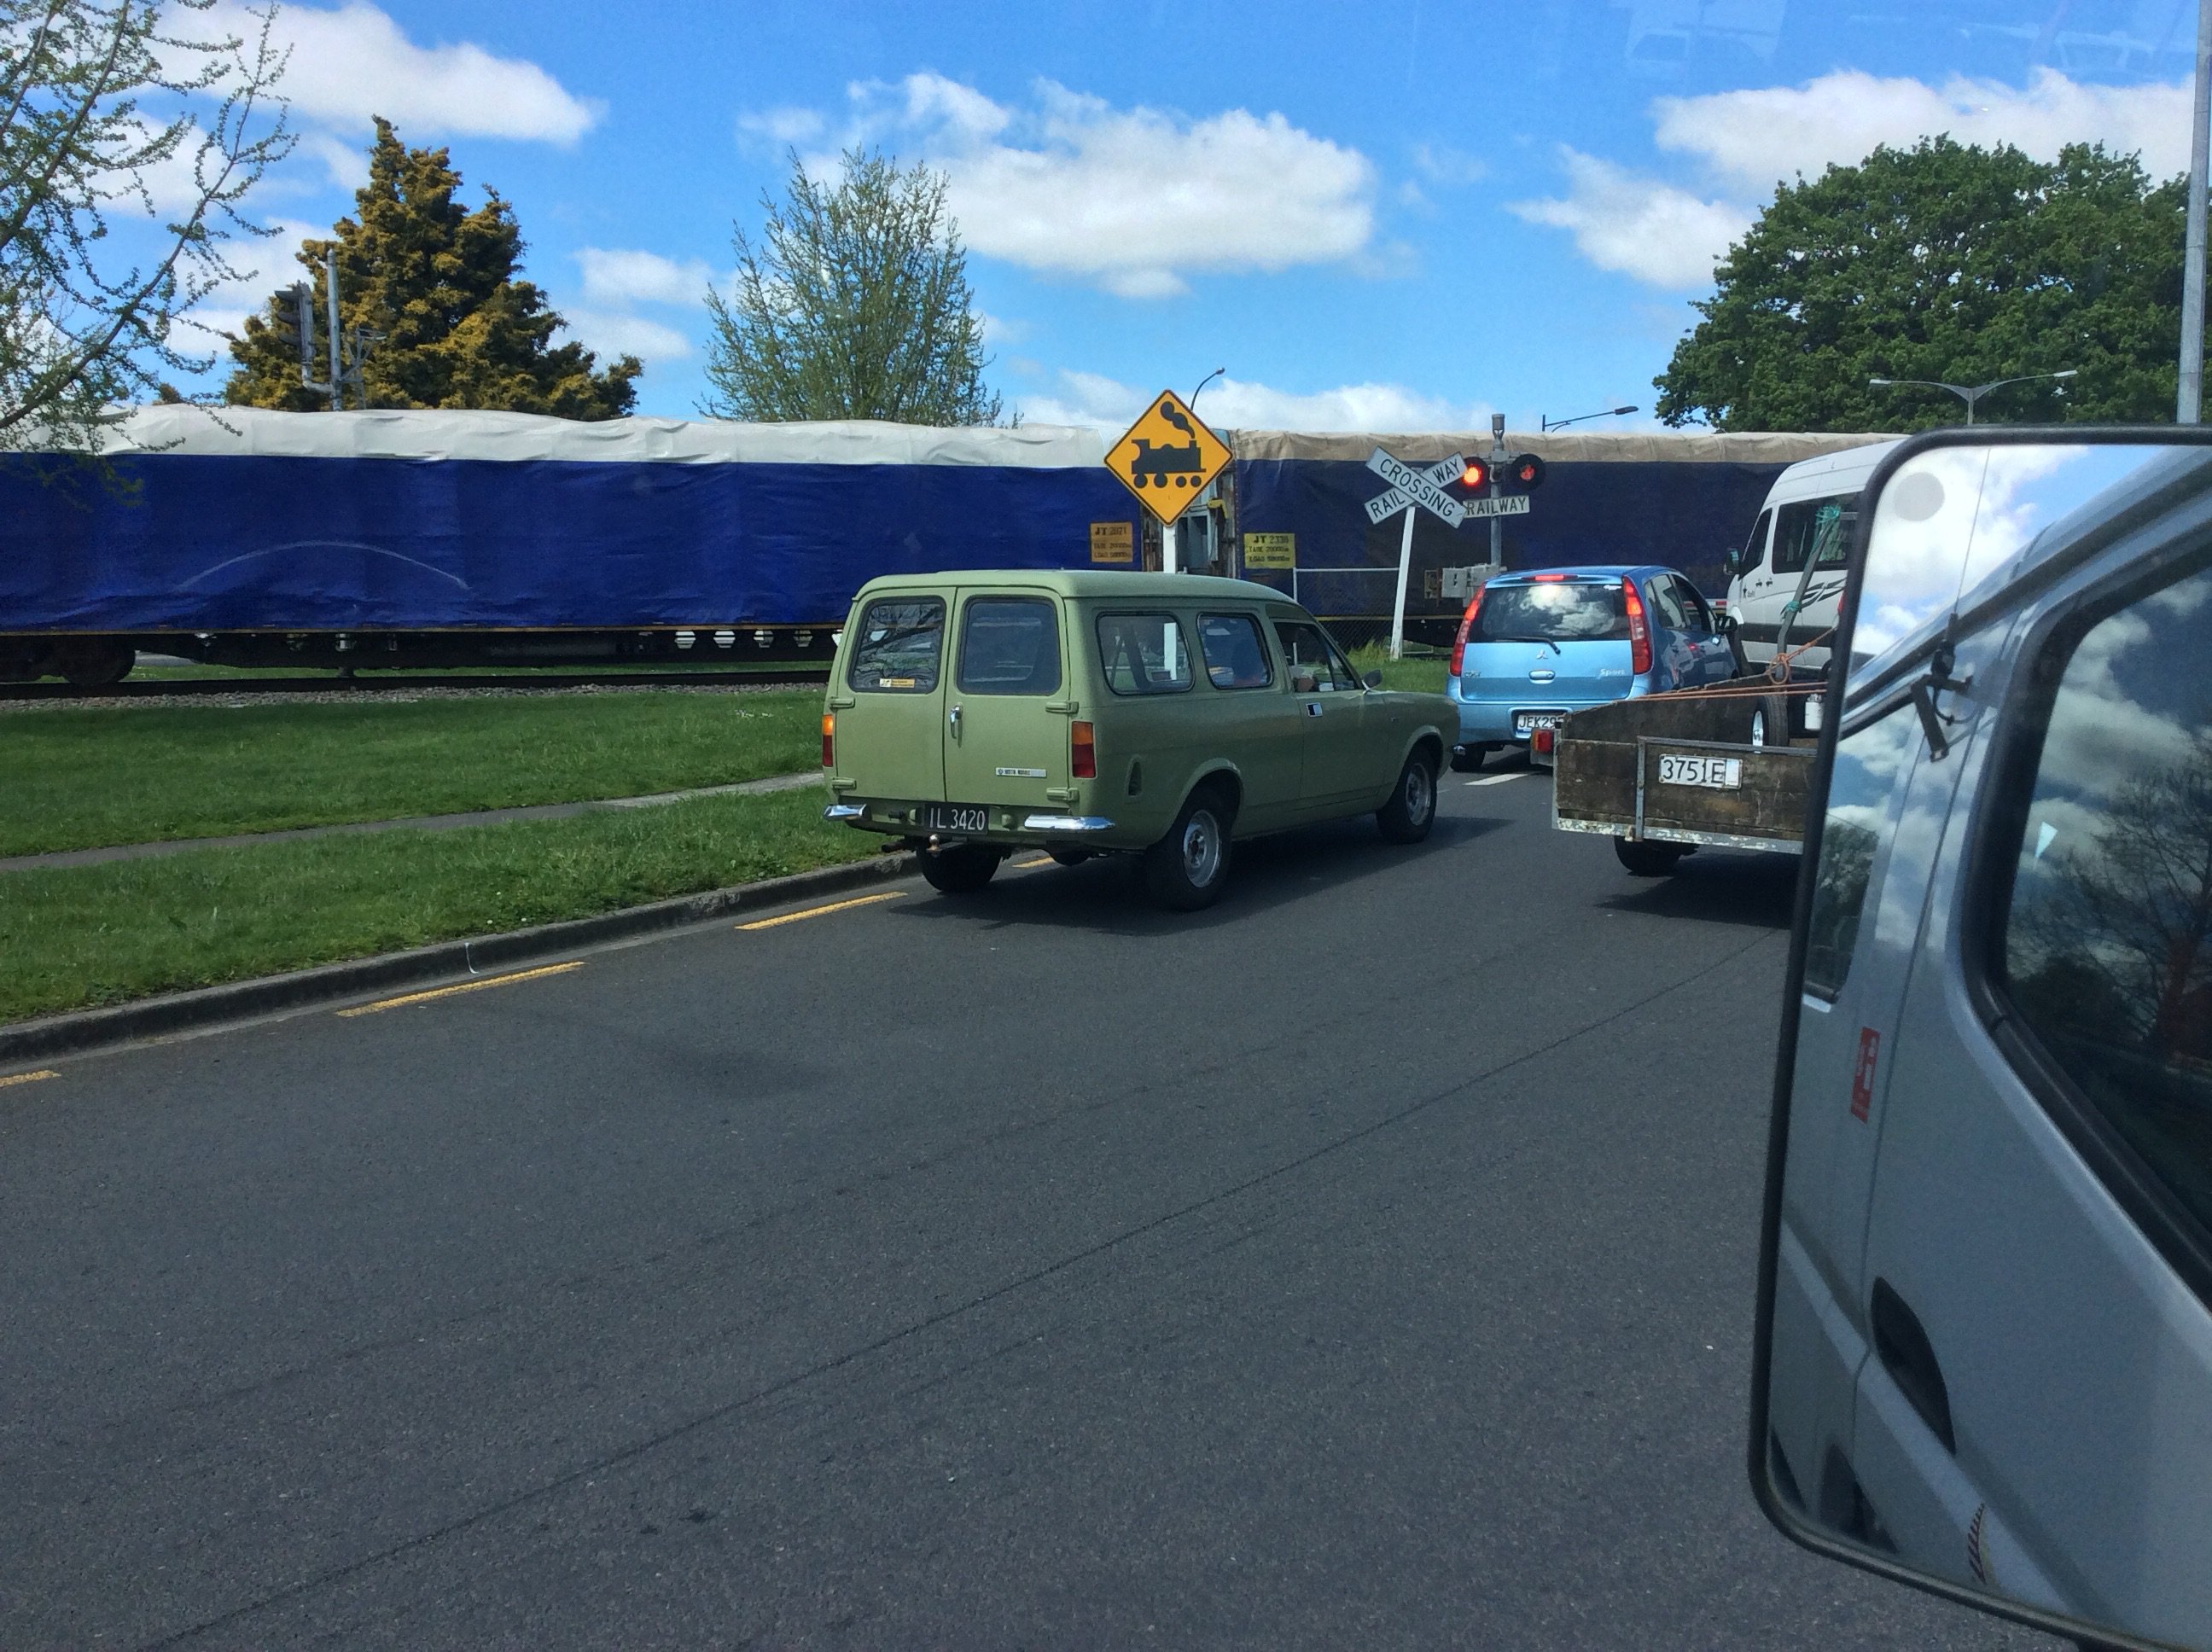
Holden came back friday, had just about forgotten about it! Got some sweet rostyles plus some brown door cards and an 80's shaft-radio off @Threeonthetree, nice to meet you Neal! unbelievably (and probably in a fit of jealousy) my marina failed to proceed after coming back from auckland, sputtered and died in my driveway! Not too sure whats up with it, poor spark. Anyhow here's some pics from the beater, am hoping to have this thing complete in 2019, much work awaits