dmulally
-
Posts
1010 -
Joined
-
Last visited
-
Days Won
3
Everything posted by dmulally
-
Ta. I have plenty of space to tap into it so it should be sweet. Cheers.
-
Hi All, Does anybody know if I can take t piece and stick it in the hose line for vacuum advance to the dizzy in order to plumb in a smiths vacuum gauge?
-
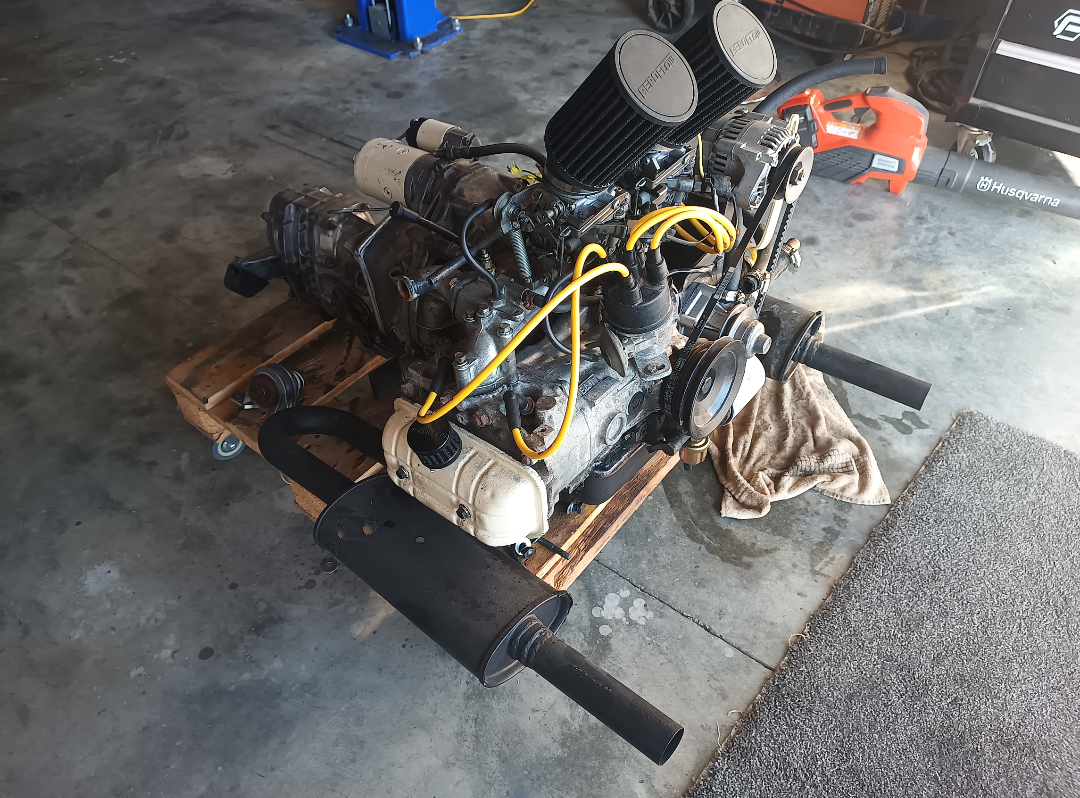
Engine out. Now to refit the VW box so I can sort the shifter and measure up the half shafts. Which might be tricky with no engine in there so that may have to wait.

-
I have a 4BE1 ready to go into it when I knock a couple of projects off the list first. I'm reluctant to make a finished project an unfinished project.
-
I think the first thing I need to try and rule out is electrical back feed. I have twin spal fans, a gearbox cooler fan, and a really cool Kenwood amp and I really can't recall how I installed any of it and if they even have relays or not. I'll be putting the same amp in the Imp. What it does is do away with the head unit. It is bluetooth from my phone and is hidden tucked away under the dash. I thought about getting those retro looking head units but couldn't decide which one. This way I get to listen to sweet tunes without having a crap neon flashing abomination blinding me at night with the wrong time. It's the size of your hand.
-
Blimey. The dieseling is worse. Might have to put my thinking cap on with this one.
-
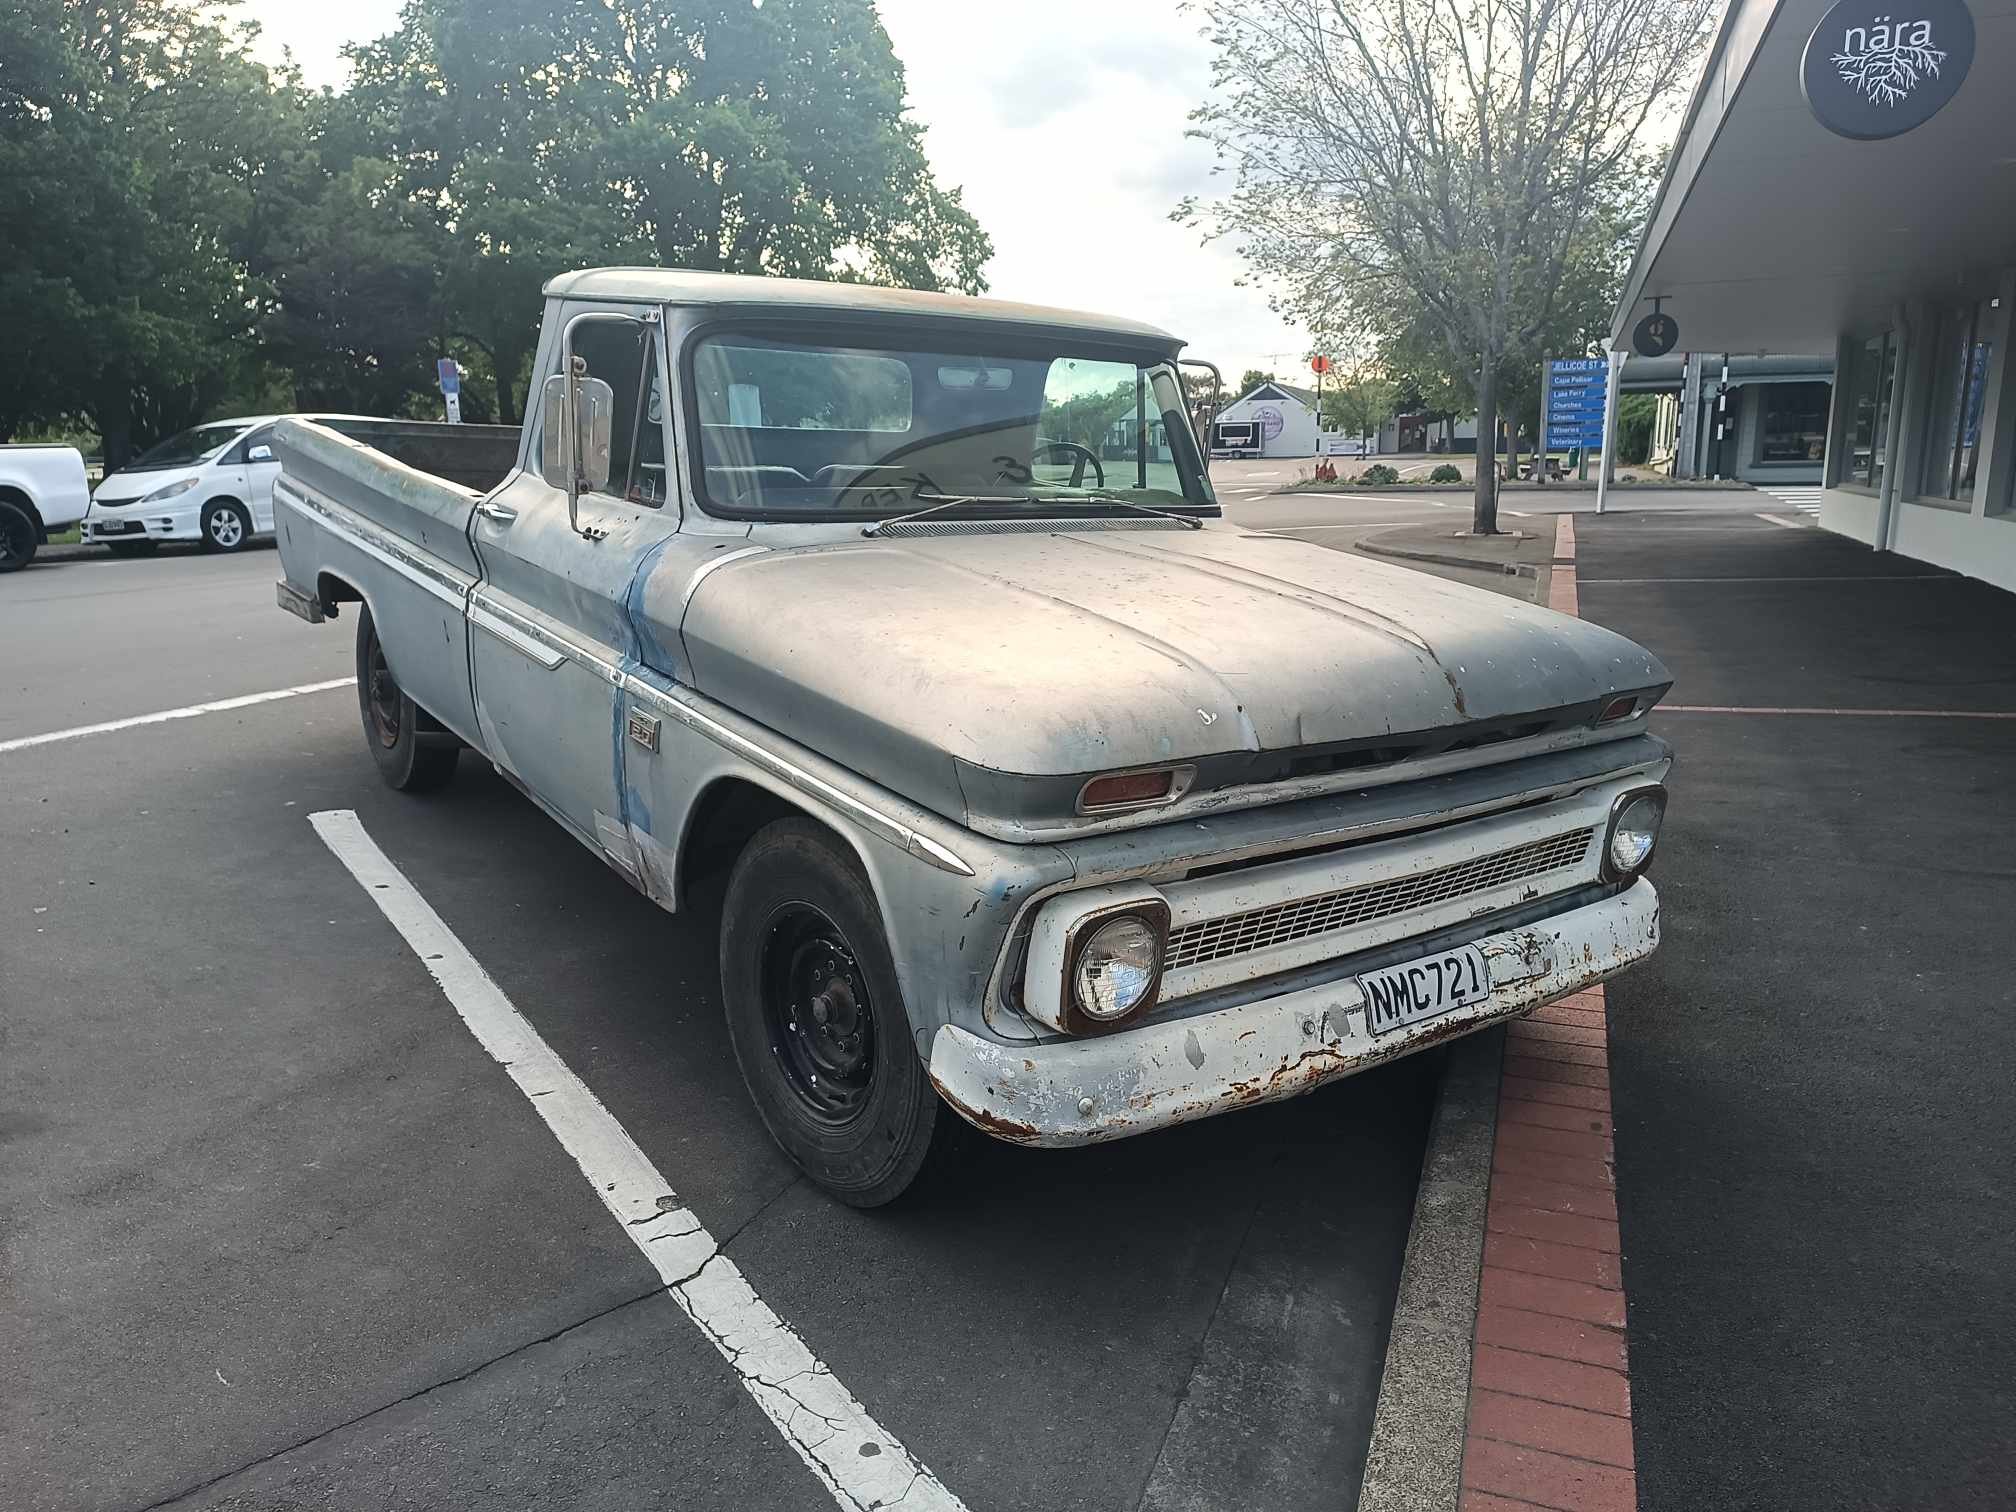
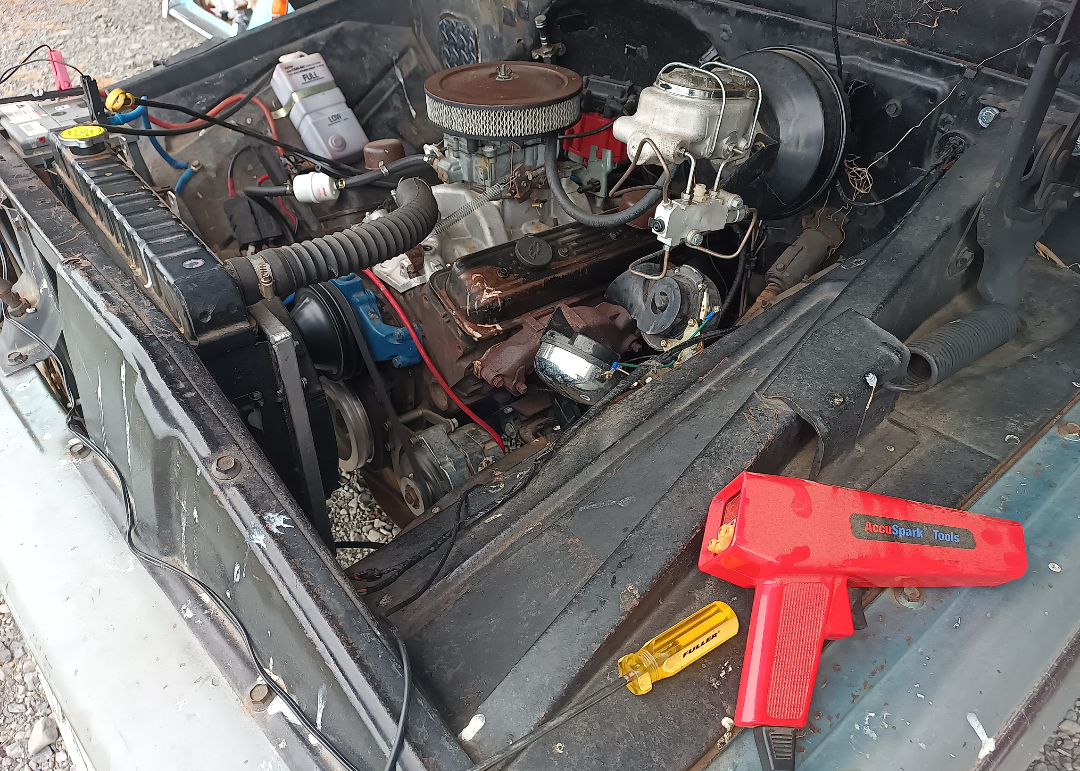
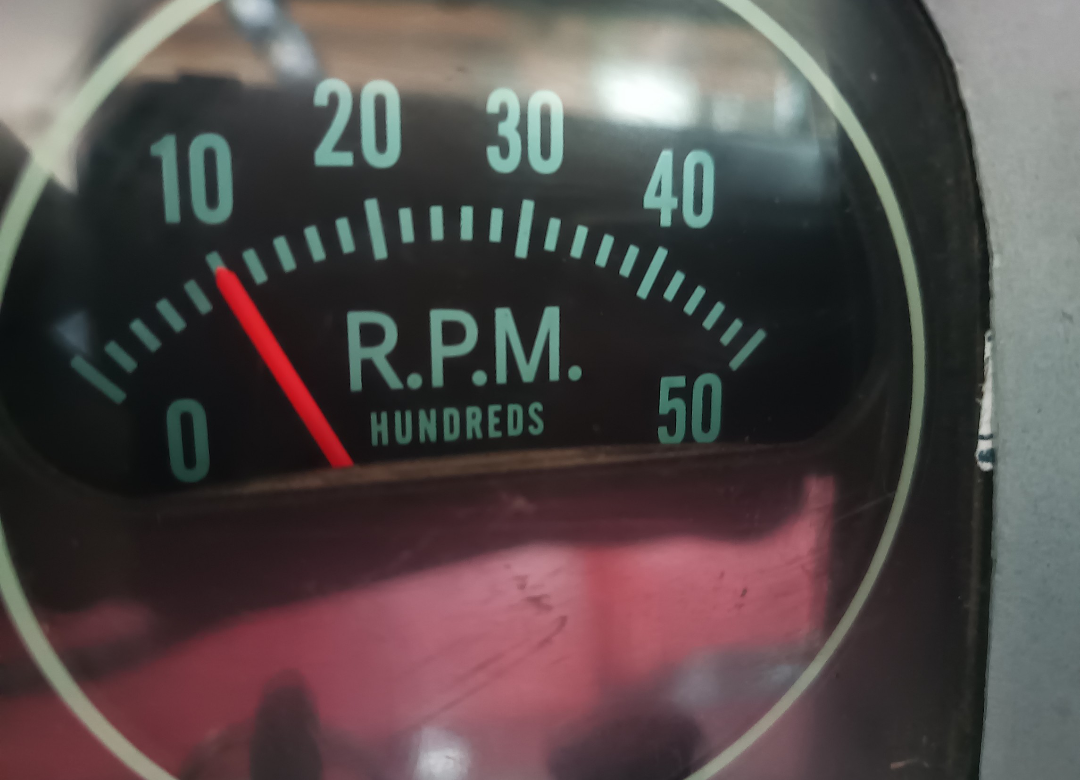
Took a bit of a break from the Imp whilst waiting for parts and more of a care factor to work on some other stuff. My daily driver chev has had some dieseling on shutdown so I figured the timing was out. It was waaaaay out. Ill test drive it into town tomorrow to see how it shuts down but it is running much smoother. Sounds more boring but hopefully will get better fuel economy. For those who enjoy a high tech heads up display pic. The other win I had this evening has had me stumped for months. Embarrassingly though. On my 340s I haven't been able to get it to fire off at all. New dizzy, plugs, and even rebuilt the carbs...twice. Turns out it was stale fuel. It was 18-24 months old but it will need to be dumped. Both tanks full too. Bugger. But chuffed it finally started.
-
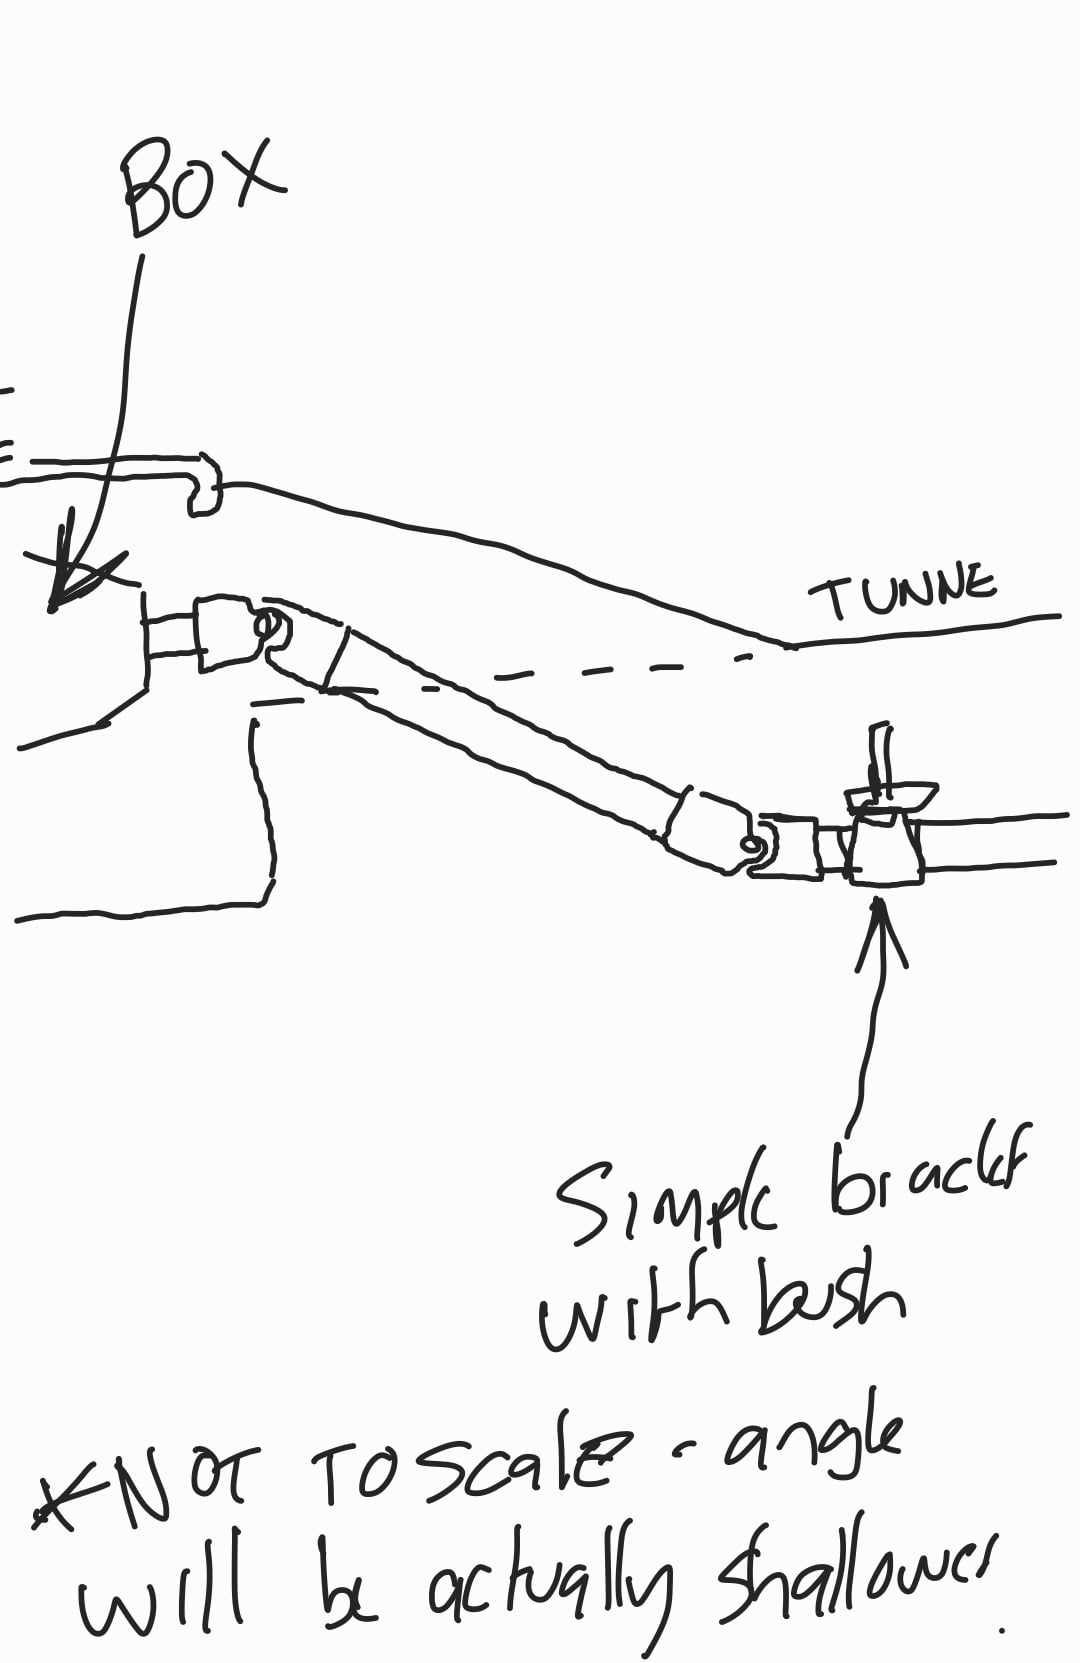
So I'm not happy with the imp gearbox/gearing and out it comes in favour of the VW box. Here is a professional engineering drawing of what needs to be done. It was either this or move the handbrake assembly. I'm not sure which one would be more painful. I've probably added three months and maybe an extra $2k to the build but it will be a lot more reliable and the engine will live a lot longer at 700rpms less at 60mph.
- 90 replies
-
- 10
-

-
Some notes for myself: Tacho wire snapped off Rear rad needs a fan Pops out of gear on deceleration No reverse Leaking from input shaft Needs heavier return springs on carbs 3500rpms at 60mph Lovely that it's going hard but I think the engine is too much for the little box. Shame the ea71 that is in it doesnt share the same bellhousing pattern as the ea81 to vw adapter I have.
- 90 replies
-
- 16
-
-

-
What you can't see off camera is with these thermo fans on I'm doing a Marilyn Monroe over a subway grate impersonation.
- 90 replies
-
- 14
-
-

-
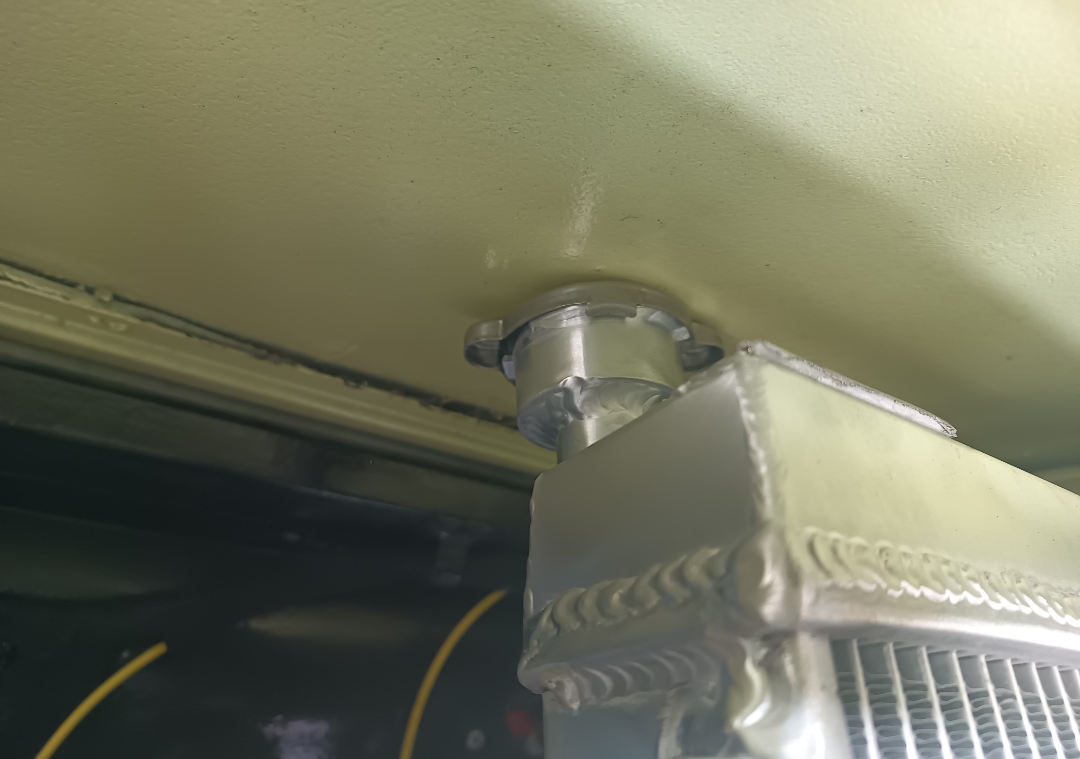
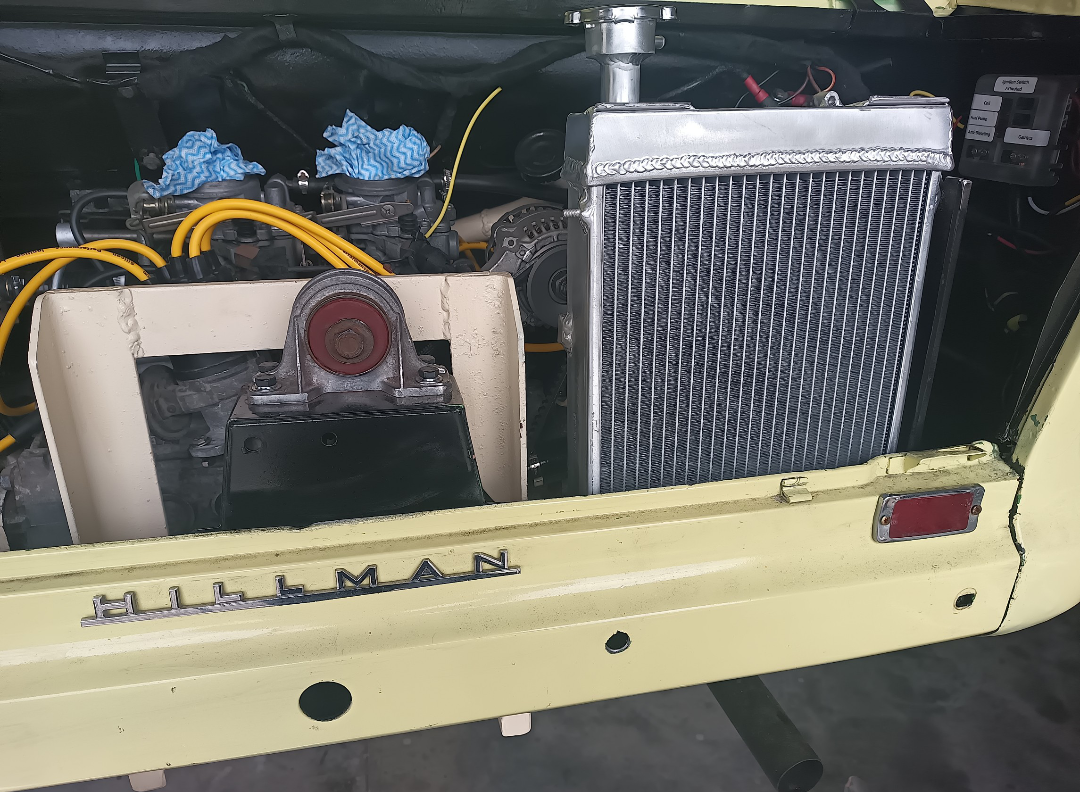
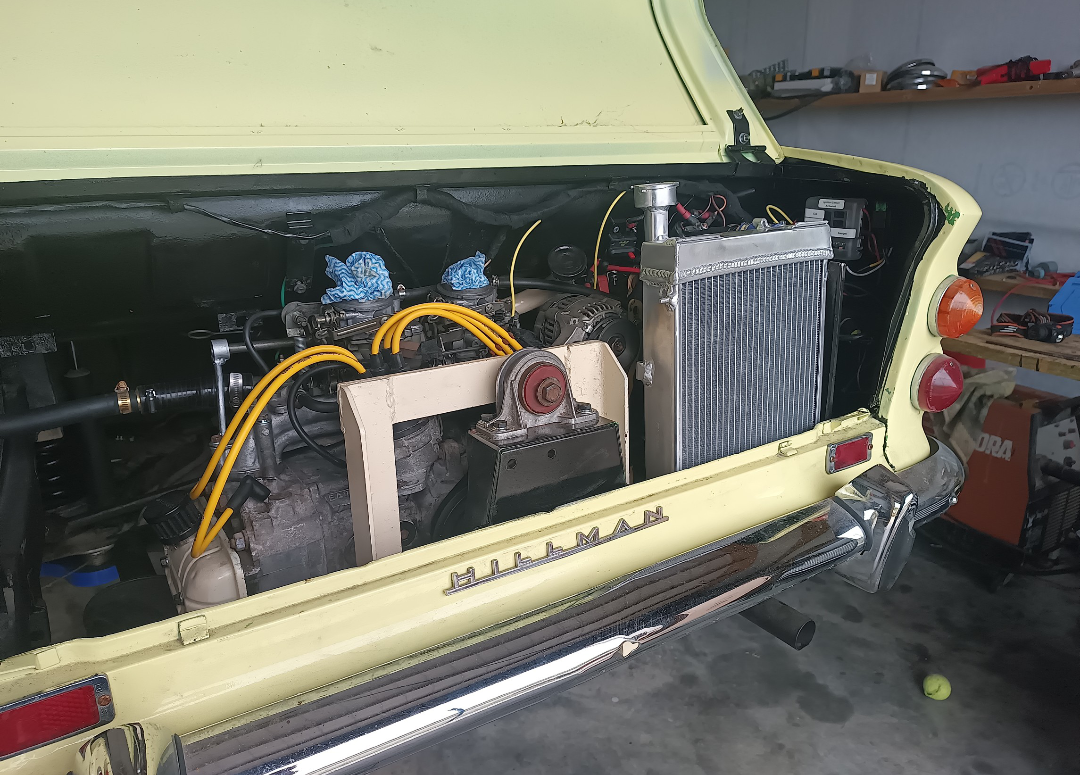
Another decent milestone today in that the rear Goldwing radiator is installed. Can't say Im entirely happy with it but it should do for now. I might weld on some proper brackets to the radiator when I get a chance. I was too accurate with my measuring of how high to have the radiator and the engine lid was too close for my liking. So after a little more drilling and grinding I dropped it down maybe half an inch which was much more comfortable. I did have to cut an access hole to thread the nut on the captured bolt on the rad. It feels stable enough. You can see the access hole here but it's hidden behind the bumper anyway. I'll put a bung in it just in case of water pooling inside it. Filling was a bit of a pain and I havent even plumbed in the heater yet. I want to flush it a few more times as the water is a little orange still. Probably because I have been letting a mix of water and white vinegar sit in the engine passageways off and on and it has stirred up some muck. I havent put the heater core in the loop yet but I might do it when I flush next because getting the air pockets out has been quite time consuming. I used the hoist to lift the rear to help work some of the bubbles out. I have got to the point where I can see the water in the filler neck rise no matter where I push on the hose so Im feeling better. I drilled a small hole in the thermostat so it takes time to fill it up I guess. The electric booster at the front didnt really do much when bleeding so I just took a hose off at the front and sucked it through. Next on the list is to install the thermo fans in the front then sort the air filter.
- 90 replies
-
- 16
-
-
Really interested to see what you do AC wise if it is a bunch of bits or a kit. Having a bulkhead would make it easier. Where the condenser will go should be fun. Semi related but I was having overheating problems in my 66 chev so I moved the gearbox cooler from in front of the radiator to under the passenger floor horizontally with a derale oil cooler kit with a fan. Seems to work ok so far so could be an idea.
-
95 at both high and low speed seems interesting in itself. I think that's a fine temp though. Especially for where you are!
-
@Flash I'm sure you're all over it but have you put in an airscoop to the radiator in the front? All the commer van's I have ever had have required it when lowered or they overheat at highway speeds.
-
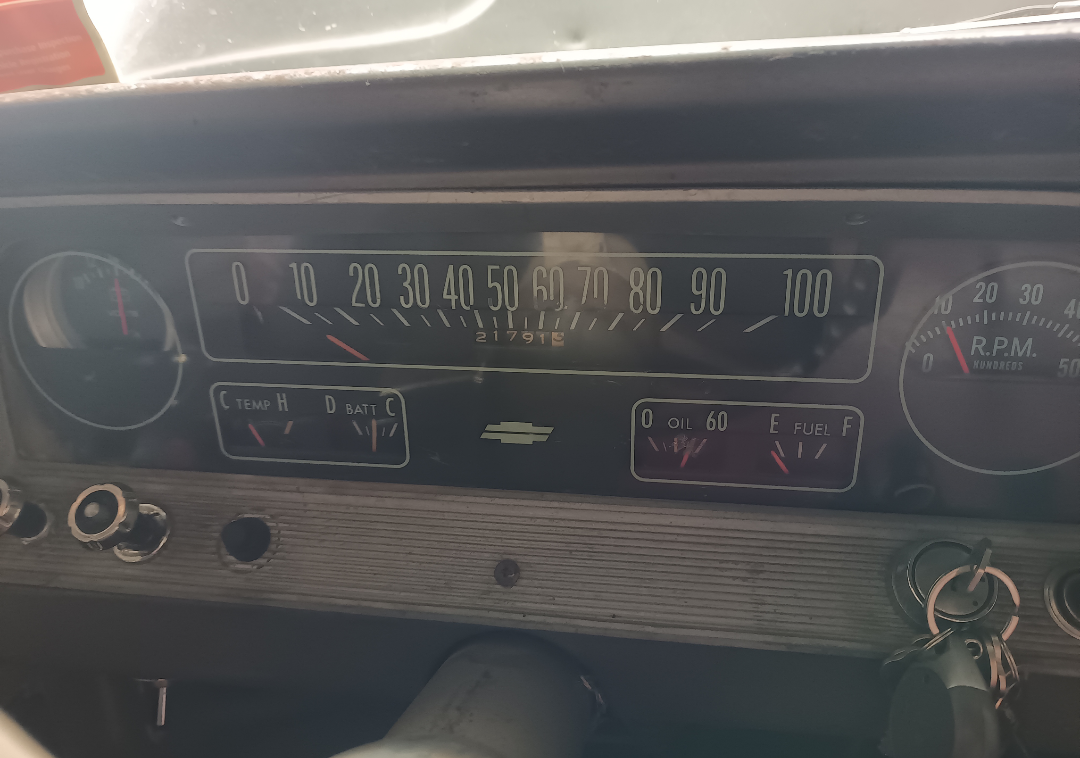
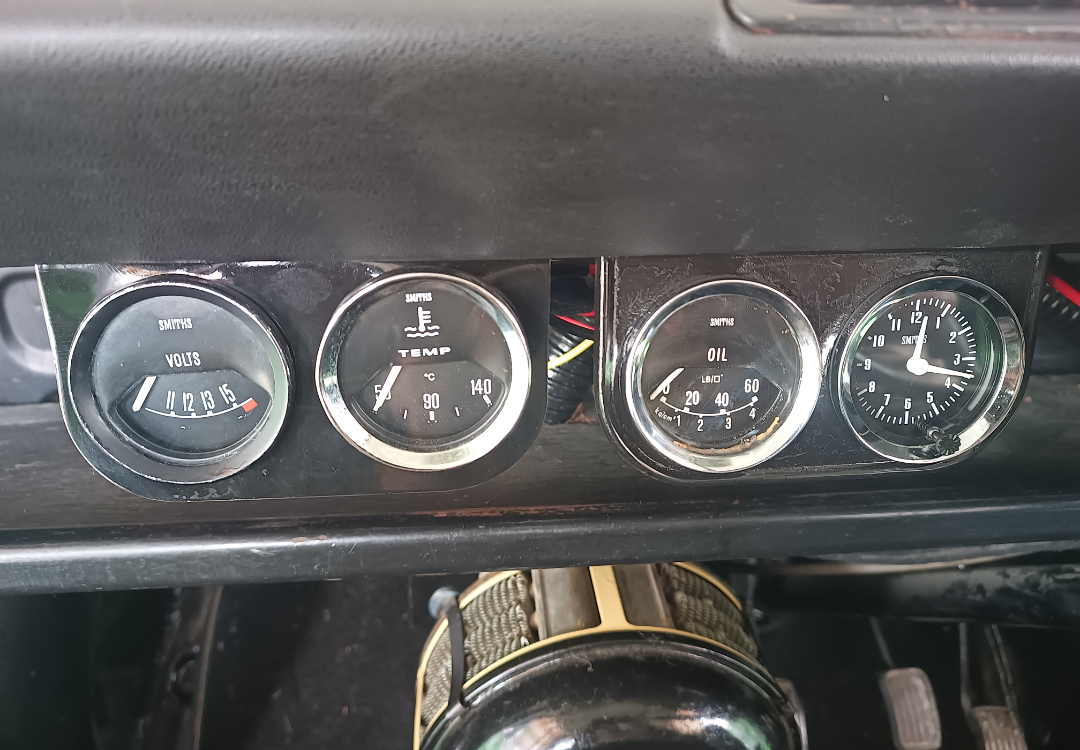
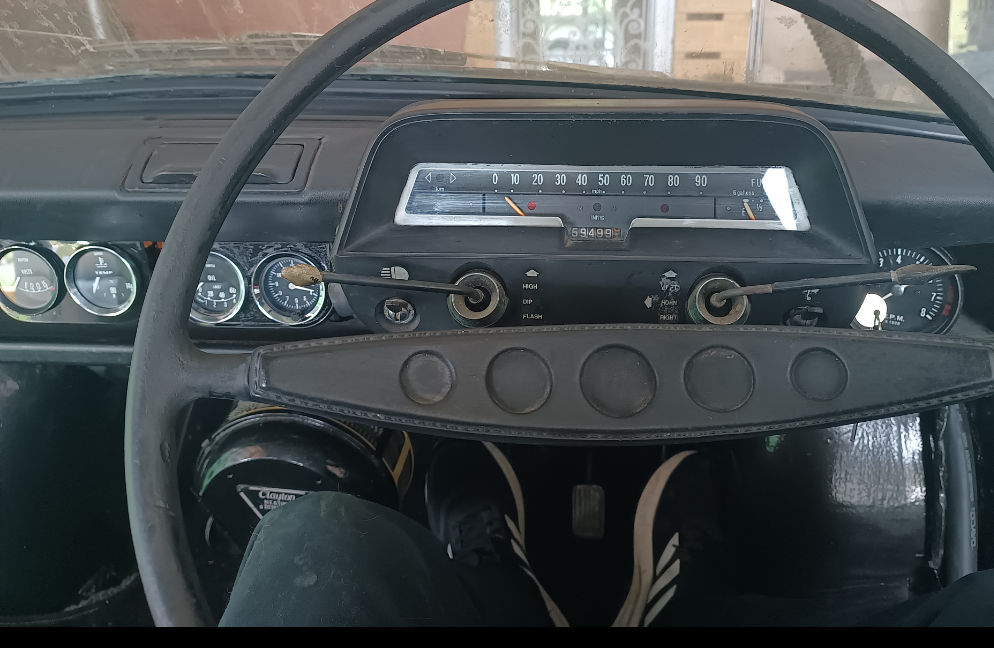
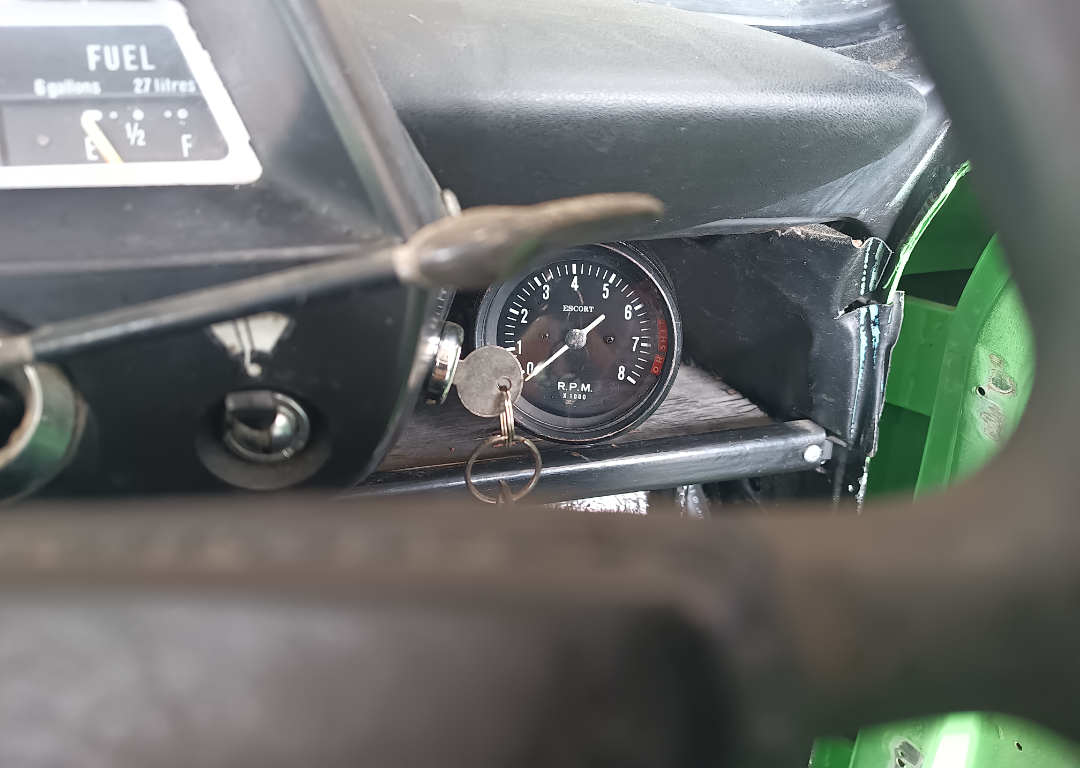
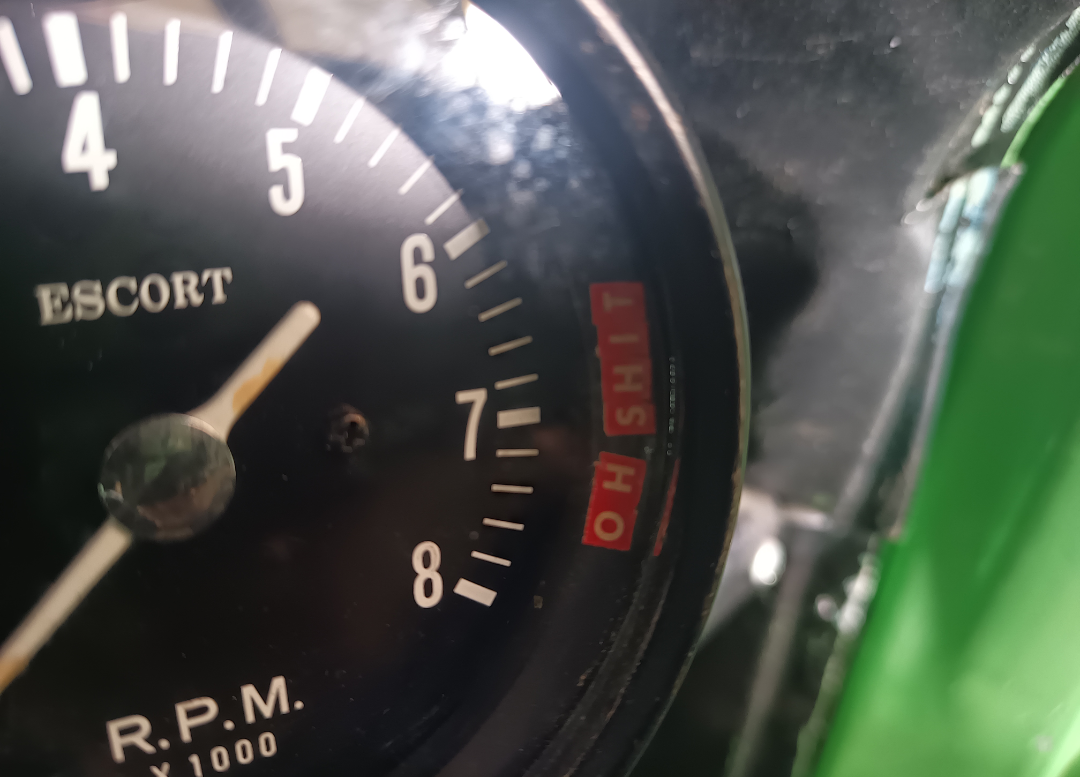
Got the gauges in with the problem child being the electric oil pressure gauge. I have tried switching the terminals and putting it through the 10v stabiliser but no joy. Maybe it is seized from lack of use who knows. Ill sort it out eventually however. Rest of the gauges seem fine so far.
- 90 replies
-
- 23
-
-
-
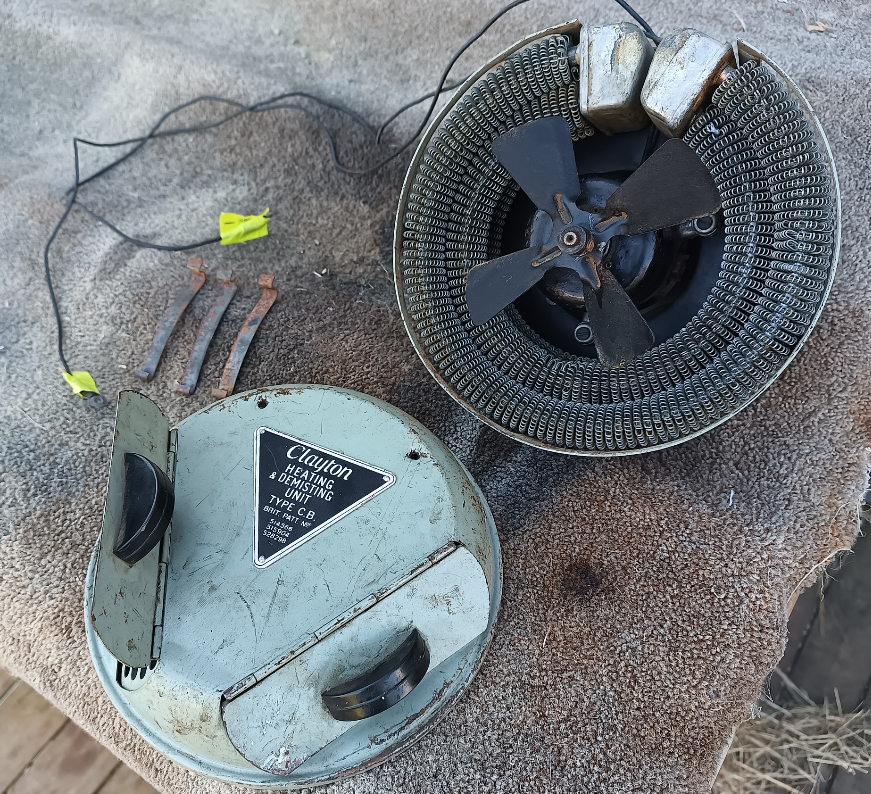
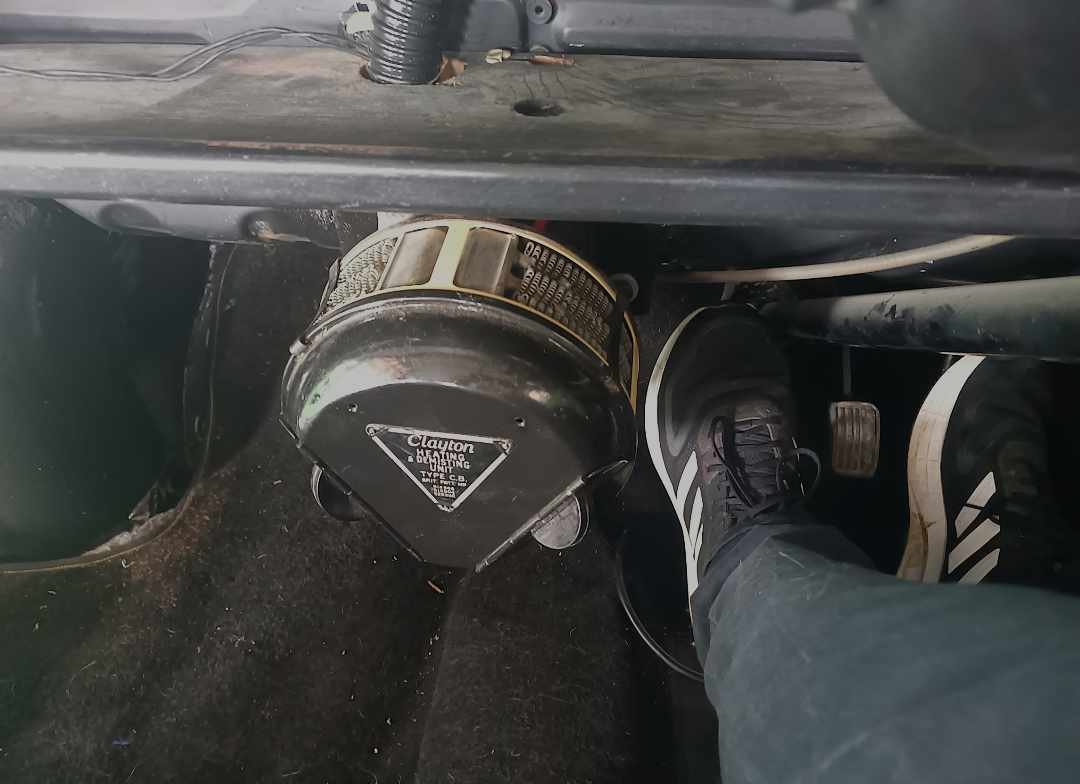
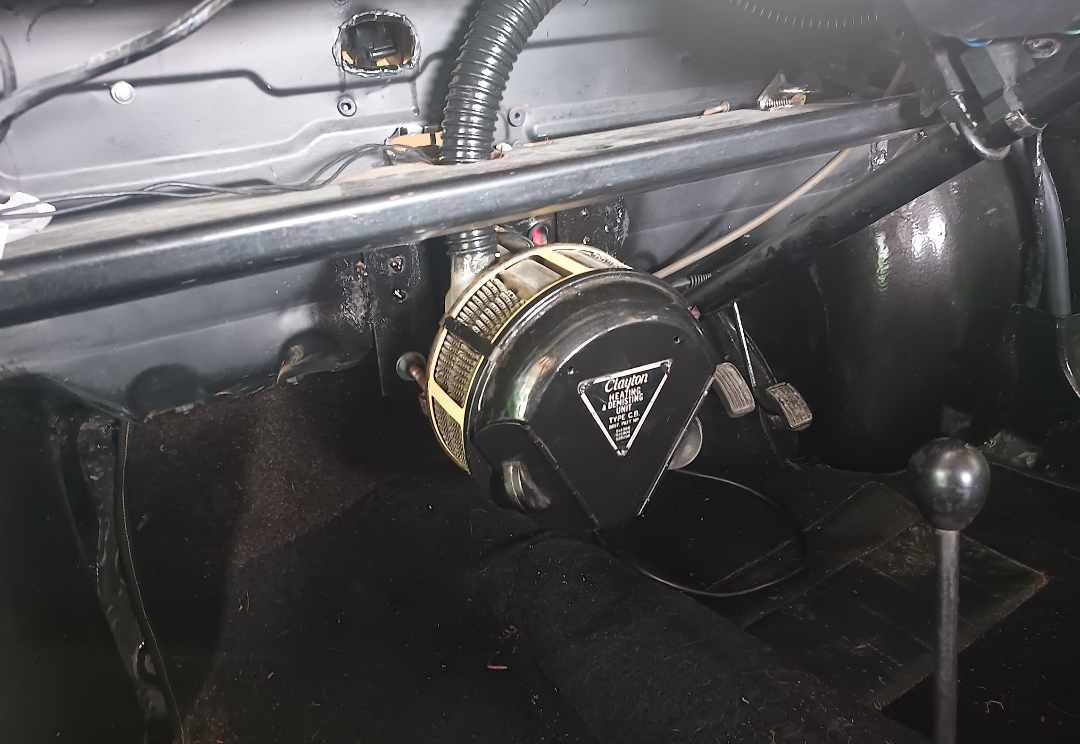
Finally got the heater mounted. I managed to get it so that the pipes are outside of the cabin and it isn't in the way of legs or the gearstick. The hot air tube to the windscreen needs something at the screen end but I don't have to worry about that for a while. Should warm the trotters up nicely in winter. I might bypass it all together in summer. See how I feel. It is powered by a voltage step down converter to 6 volts.
- 90 replies
-
- 15
-
-
Right so the second red wire will go to the switches. With both connected to the battery the blue wires are off. Ill tape those off so they dont get into mischief. Few more things to test but I dont mind wiring.
-
Im just about to test the red wires now. I hooked them both up to the beefy red wire from the engine bay but I still need power to the other side of the switches on the dash. So either that number 1 relay will provide it if it's always hot or one of the red wires will have to come off. Stand by.
-
They sure do. $266 per single tank. Now to figure out when the hell I'll be floating over by Porirua some time.
-
Yep perfect sense. Thanks. No idea what that relay 1 does. Has a wire less and is a little different to the others.
-
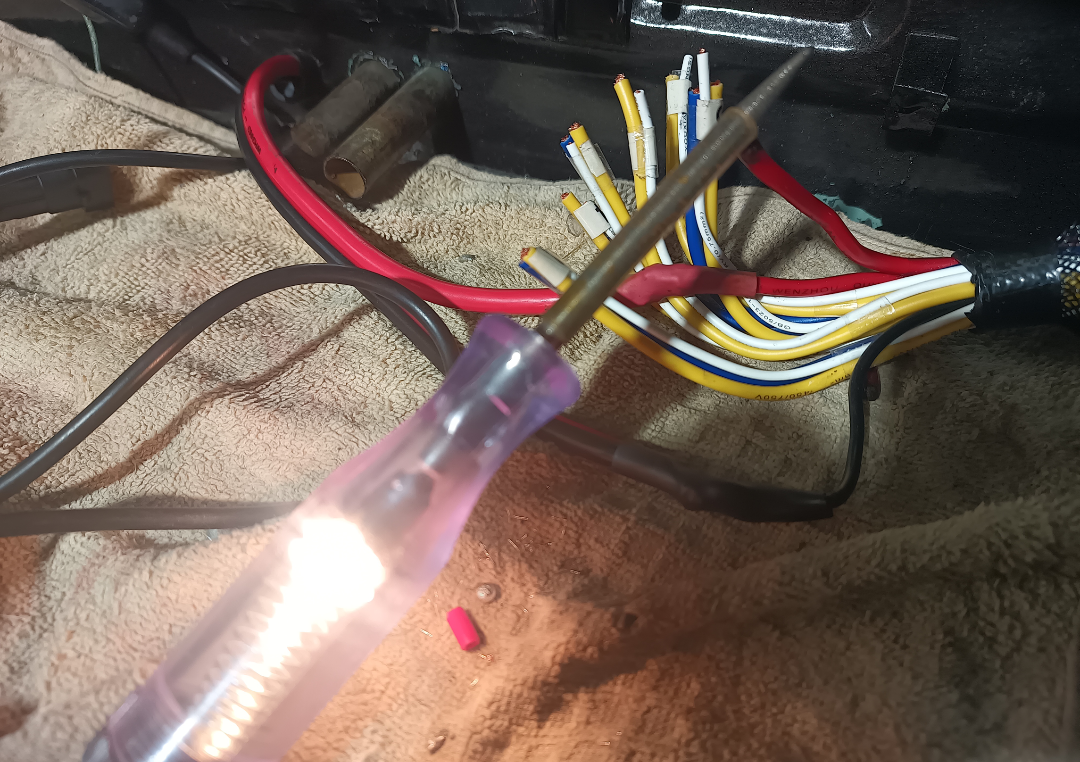
So I bought a fuse/relay box off Amazon. Looking at the instructions I'm a little lost. It happens. Can anybody smarter than me (that's all of you) please let me know which of the yellow and blue wires go to the fan/pump/whatever?
-
I tried that and the one they gave me shut down in covid lockdowns sadly. I'll try the place @Nominal suggested and hopefully they can steer me in the right direction. This 25l/100 chev at around $3 is killing me.
-
Replying to this to prove I have at least tried to search. Does anybody know where you can get your LPG tanks recertified? I'm looking around Wellington. I rang a couple of gas places in Masterton but they either didn't care or my aussie accent is too strong for them to know what I'm banging on about.
-
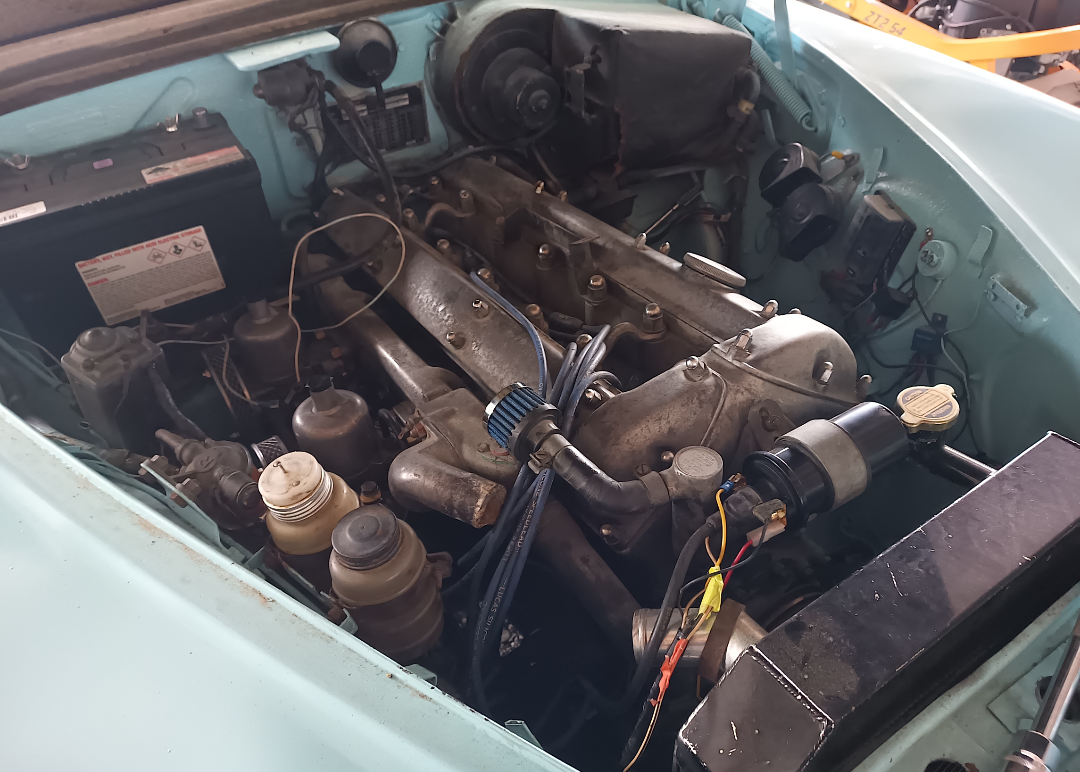
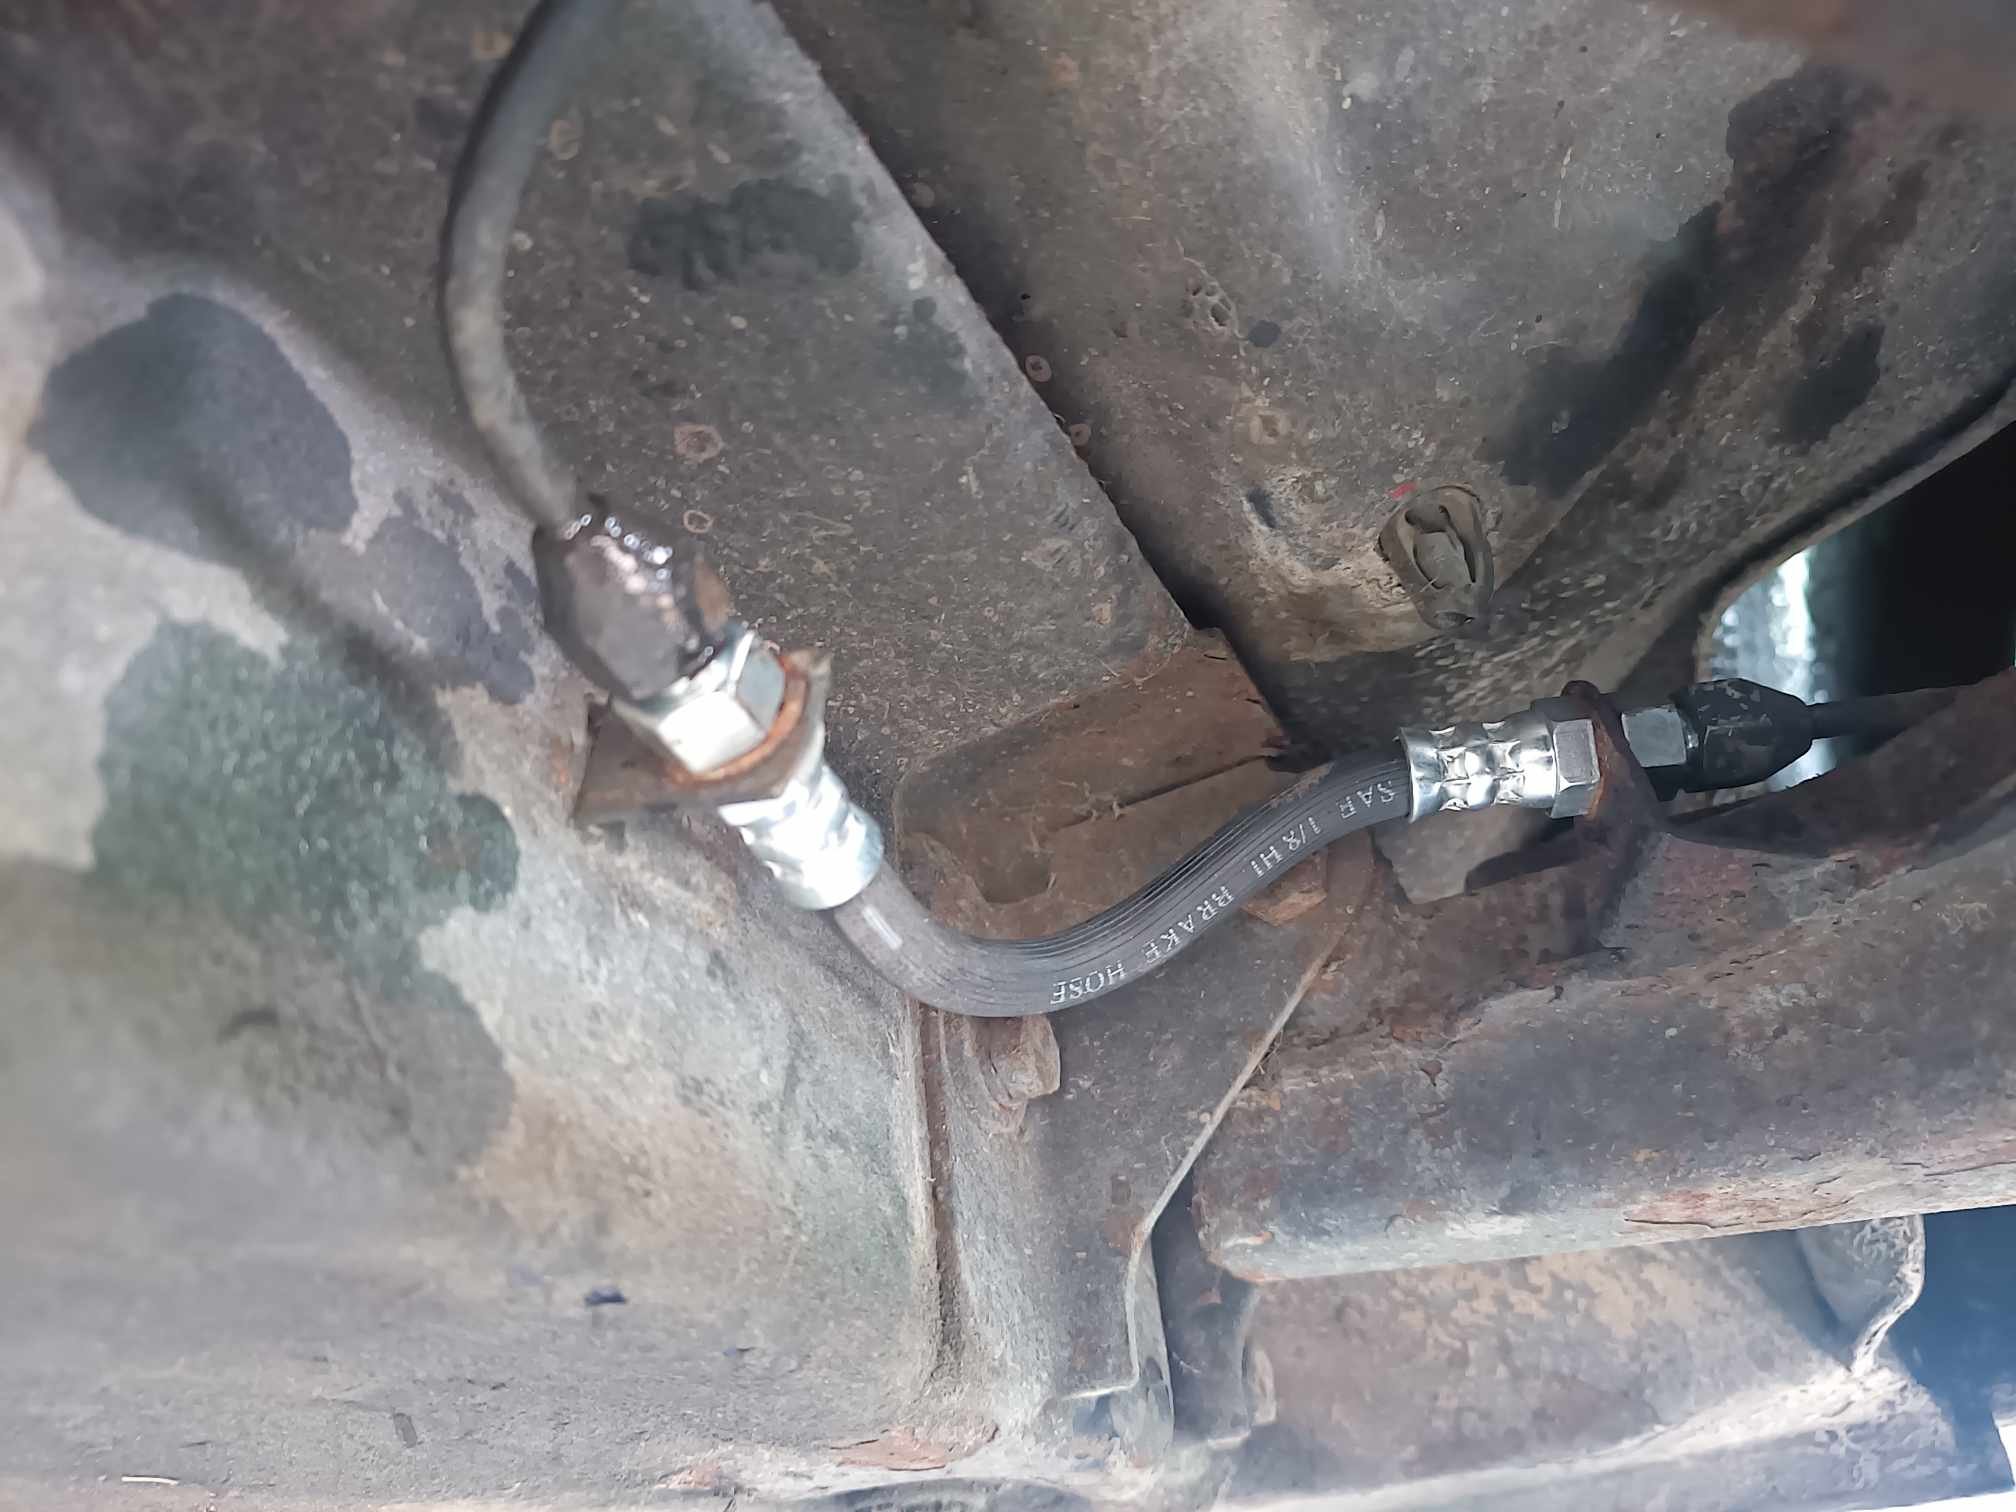
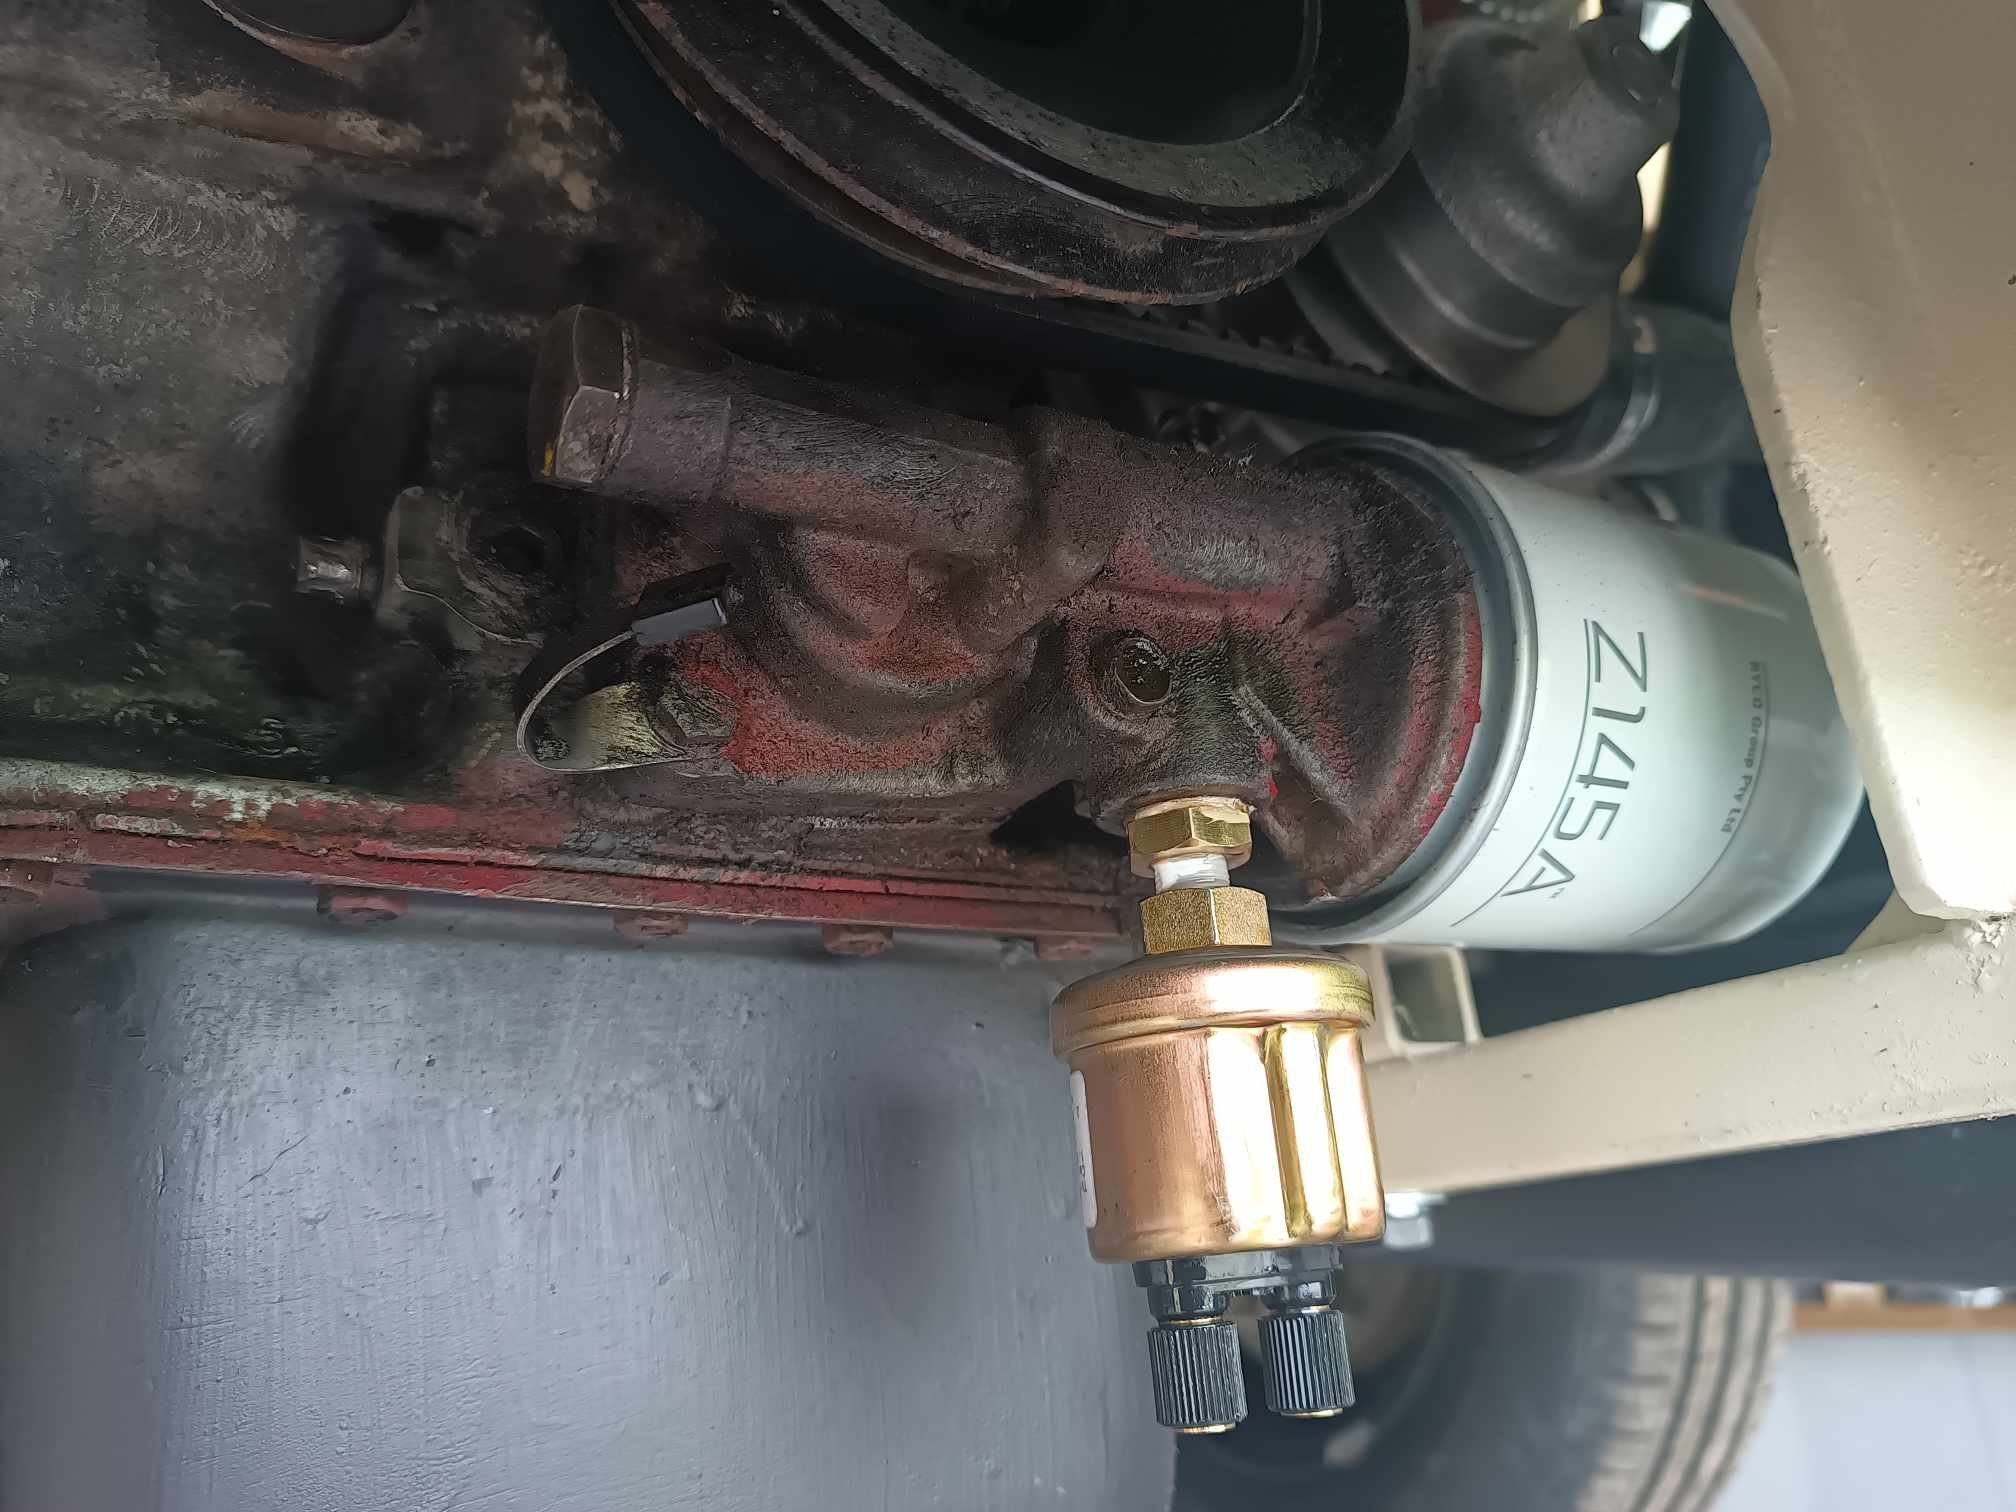
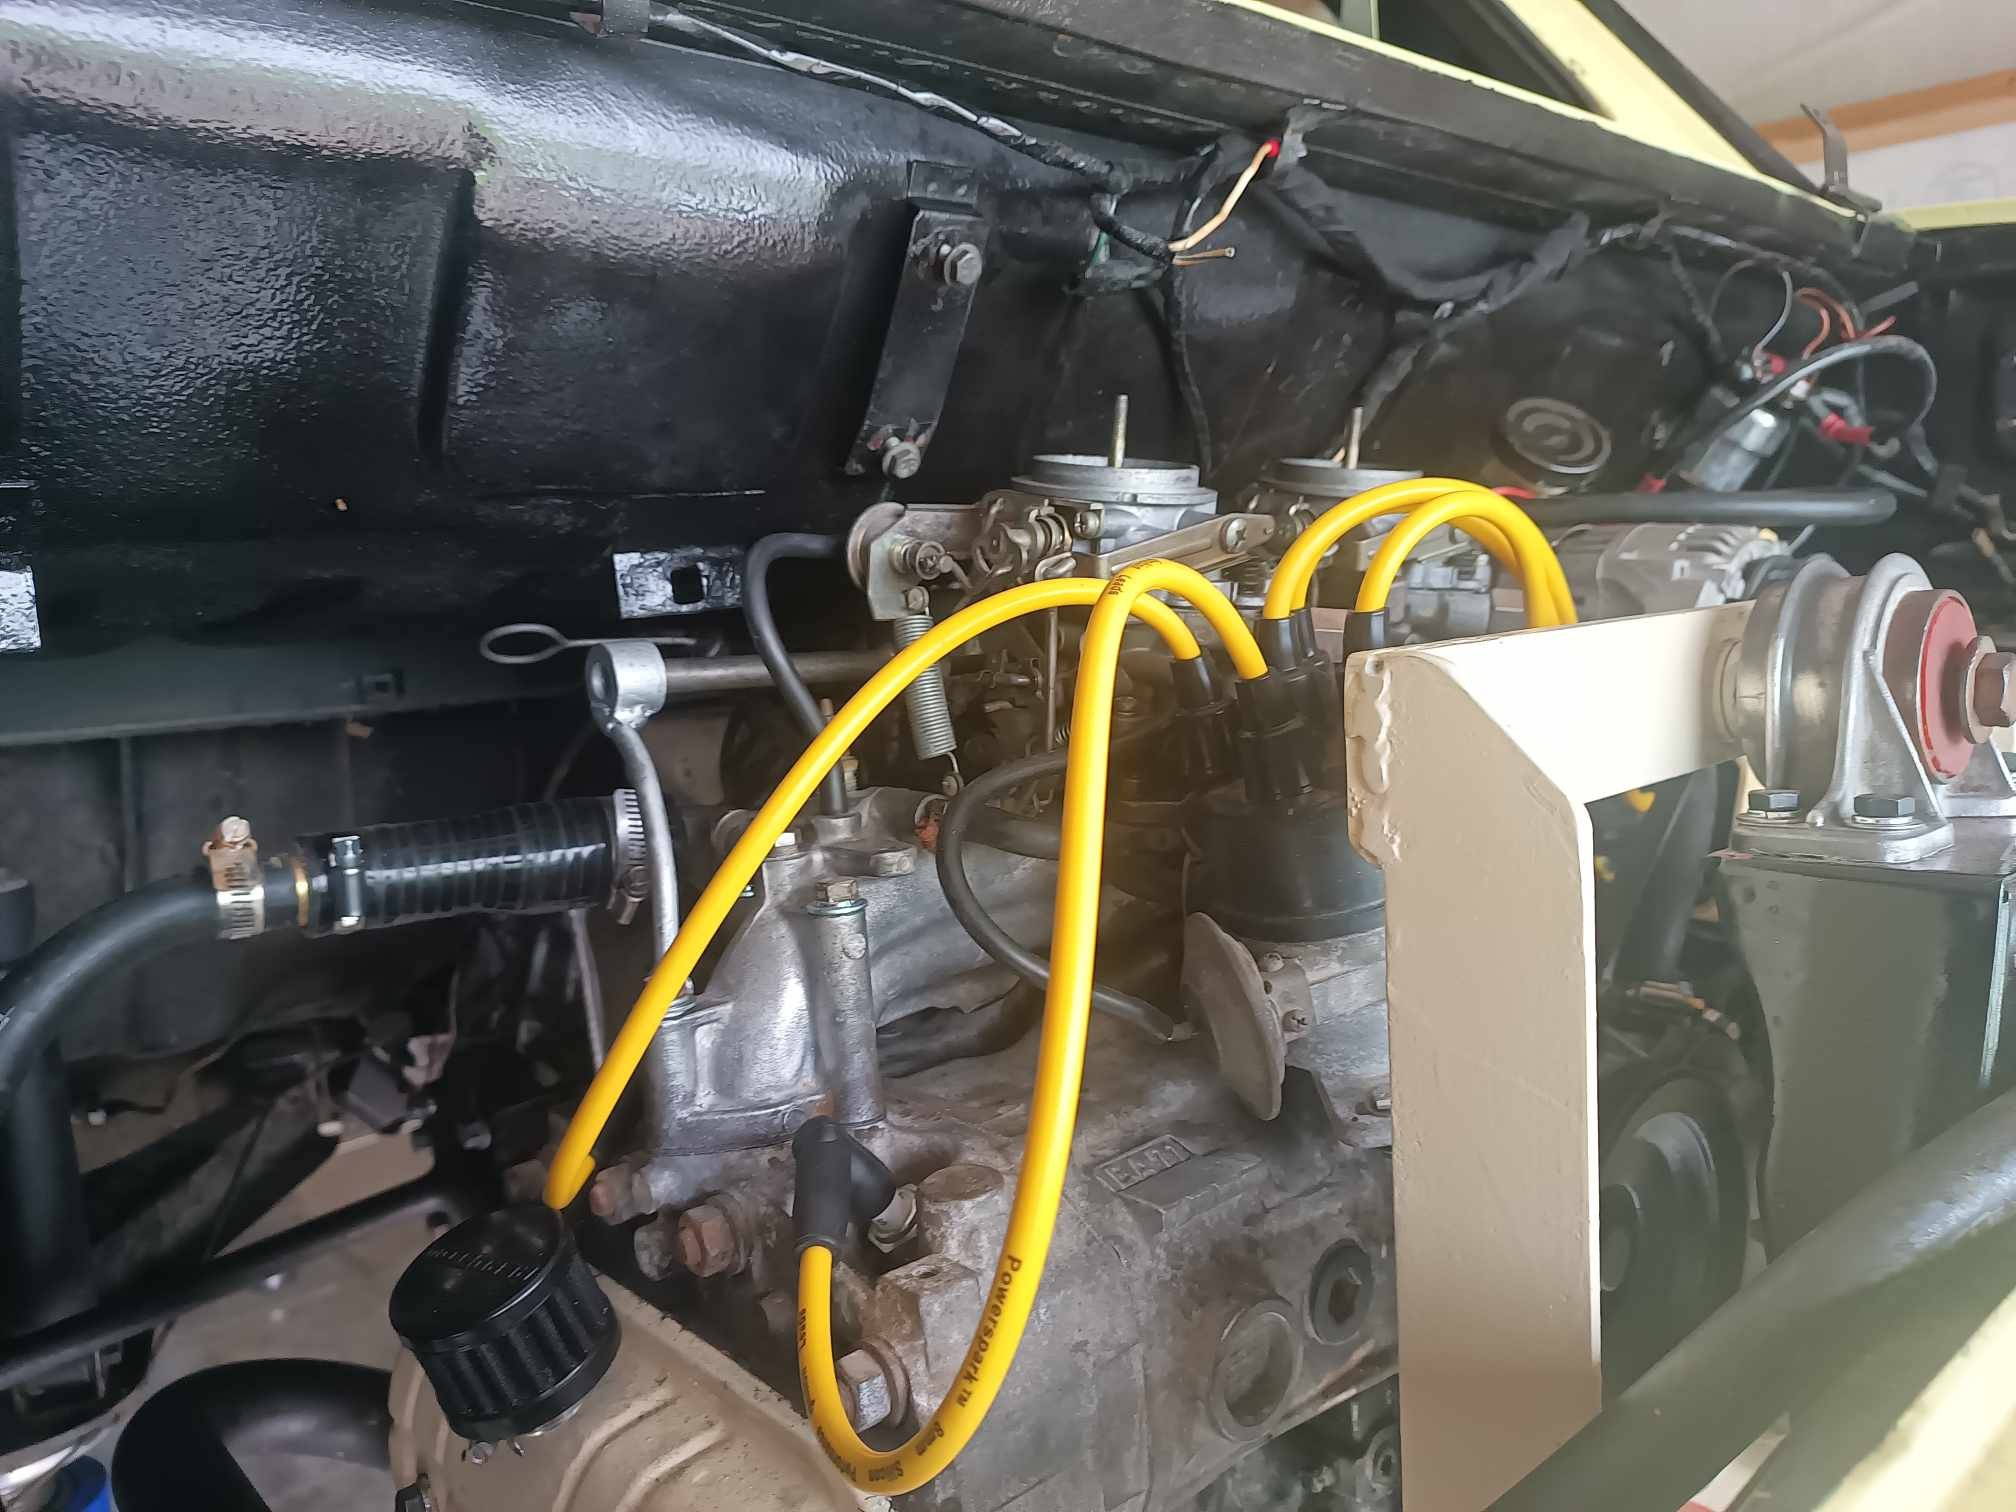
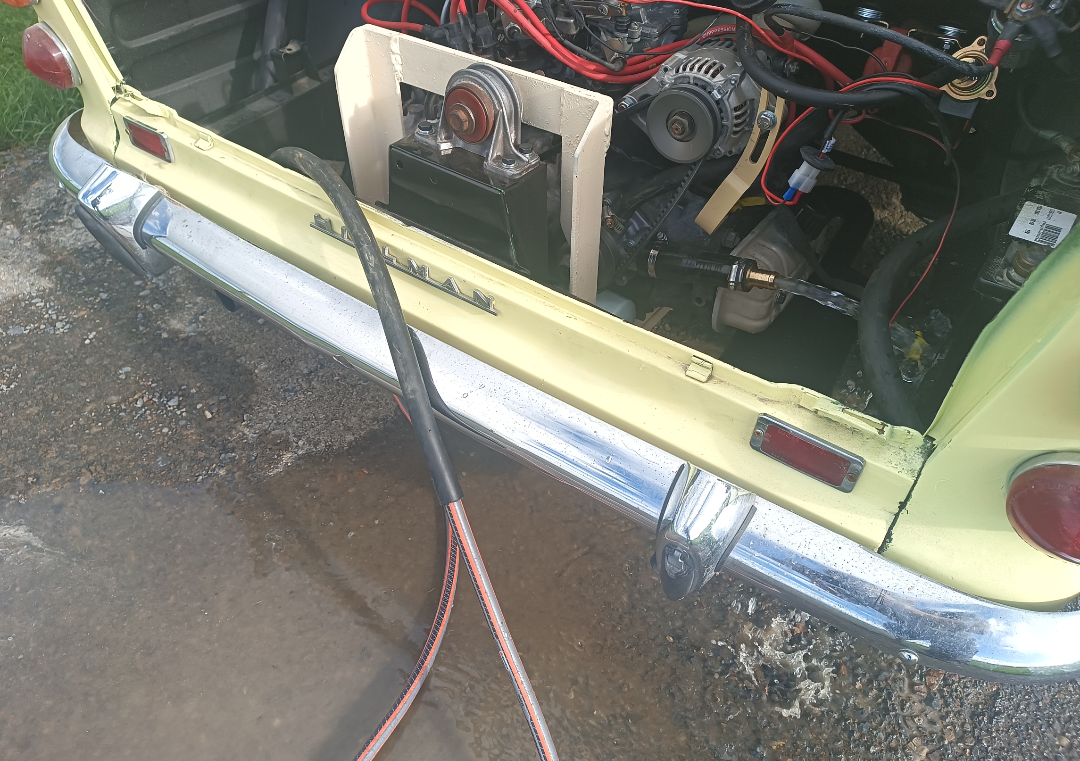
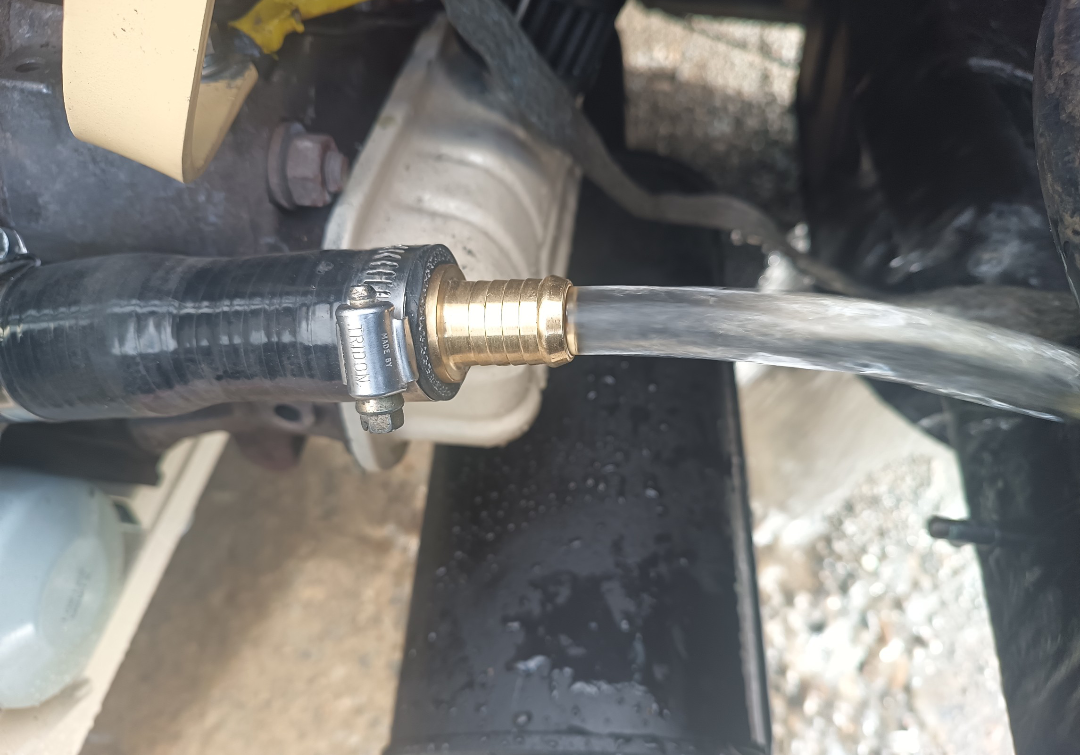
Onto the rats and mice now the car is a runner so I'm trying to tackle at least one small job every day in the morning. Here are some pics of what I've ticked off this week. Nothing exciting but the wiring parts turned up today so I can start putting some fuses in (the car previously didn't have a single fuse) as well as the gauges. I'm a bit of a sucker for gauges so have spent a while finding what I think are the basics that I'll require. One of the pics below is for the oil pressure sender in fact. The other is new flexi brake lines to show the cert man I made an effort and also a pic of colour matched spark plug leads which I had to cut and shut as they were far too long stock.
- 90 replies
-
- 24
-
-
Great news. Clutch adjusted and no slippage. I should have taken photos but the clutch when I chiselled it off was rusted something shocking. I would have replaced it on the spot but owing it was a custom jobbie I cbf'd. I couldnt get reverse initially but four forward gears werent a drama. Took it for a spin and holy shit what a weapon. I thought the clutch was slipping in second until I saw that I had churned up the driveway with both wheels. The torque of the scooby brings shame and dishonour on the 875cc Imp engine. I filled it with water and looped the hoses back on each other to get some flow and heat. Then with the engine off I stuffed the hose into it reverse flow and gave it a blast. Then went the normal way. Took a good couple of minutes both ways until the water coming out was crystal clear. Thankfully reverse then decided to work (maybe it needed waking up after 30 years or so off the road). Then again probably all of it does. When I dragged it out the engine and starter were both locked solid. Still so much to do but I'm enjoying it. Gives me a bit of a boost knowing it actually works and works well.
- 90 replies
-
- 33
-
-