Gozza
-
Posts
124 -
Joined
-
Last visited
Everything posted by Gozza
-
All the bushings are superflex ones from Witors, and I can’t remember the name of the dynamite pack I got but I needed two of them and have some leftover if that helps narrow it down
-
It’s about time we went out for a couple of hydraulic sandwiches isn’t it?
-
And keen for Sunday all going well
-
I’m super keen now the trumpy can get a good thrashing!
-
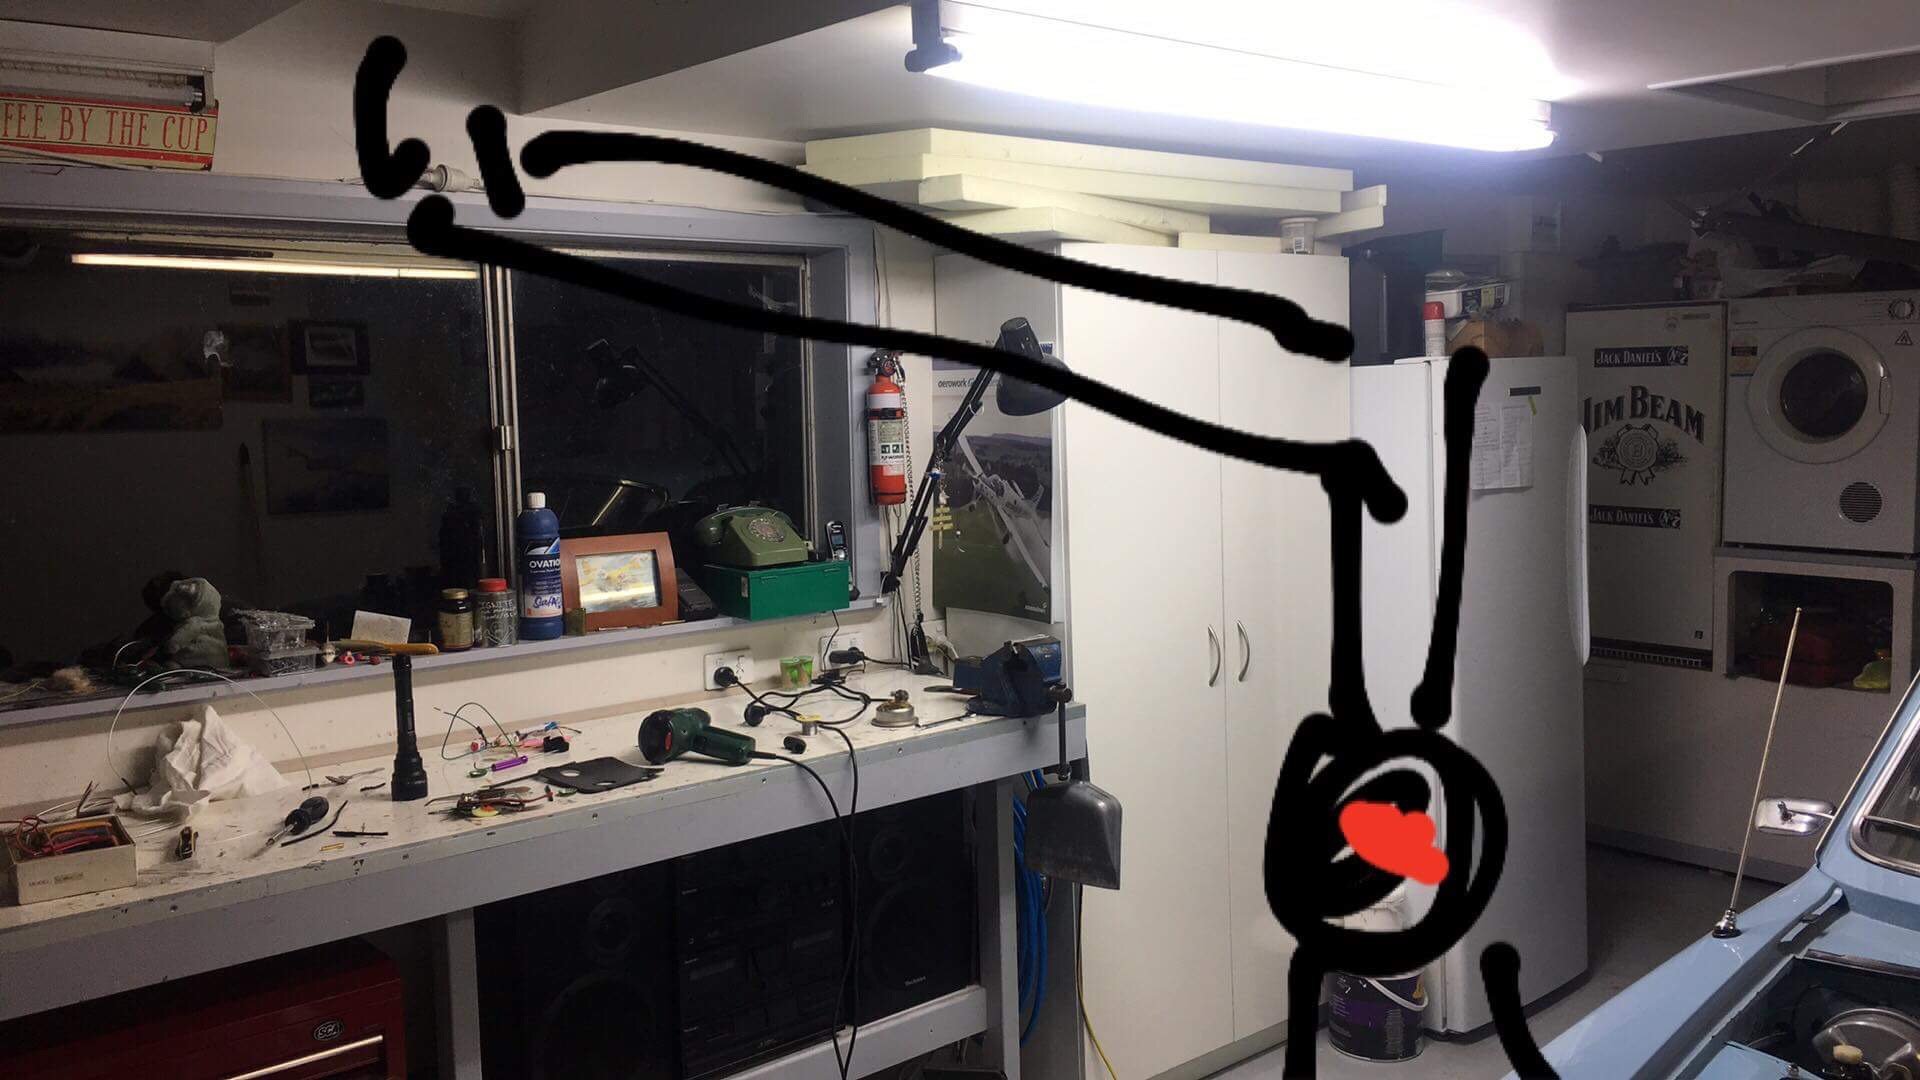
You were supposed to be working on the ignition table not taking pictures of my ugly mug! Thanks so much for taking the time to answer all my stupid questions Alex, and for a reasonable amount of the inspiration to give it a crack after watching the viva build... I’m pretty stoked with how it goes so early on and really looking forward to getting it spot on. Cheers for the pics..
-
Al, I did it all the hard way with paint stripper, acid wash for the rust... never again... It took fucking ages and did my head in. If I ever do it again everything will go to the sandblasters. For paint I used Resene Industrial 440 etch primer and Acrathane 805 topcoat. Totally recommend this for anything... painted an engine with it too and it still looks mint after 5000 miles. Top stuff
-
Azzurro, I have salami fingers that shake like an out of balance helicopter so you’d probably be able to far exceed my standard by a reasonably healthy margin! You can probably do what I’ve done quite cheaply if you scavenge the parts and do all the machining yourself. I bought all the sensors, pump etc brand new and farmed out the machining to a good shop. All in I’ve dropped about 3k on the EFI which is a hell of a lot all things considered but I know it’s all new good quality stuff... I figured that I didn’t want to be questioning whether or not any of my inevitable problems were caused by my work or shit sensors/plugs etc. the bonus was that I’ve been collecting all the bits slowly over two years so I’ve hardly noticed it...
-
Hi Alex, yep caught up with Stuart and agree he’s a GC... Had my list of questions all written down and he clarified all quite well and steered me in the right direction. Will probably have to get a little more advise as I start getting closer to starting the thing but so far it’s all good. That bag of bits was pretty daunting but once the basics are understood it actually starts to make sense... kind of!
-
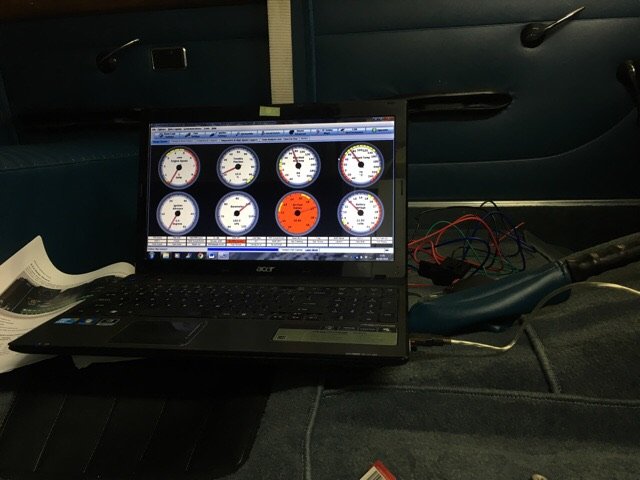
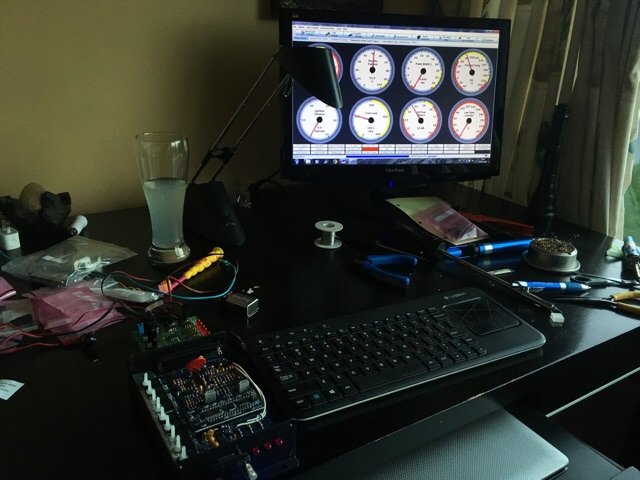
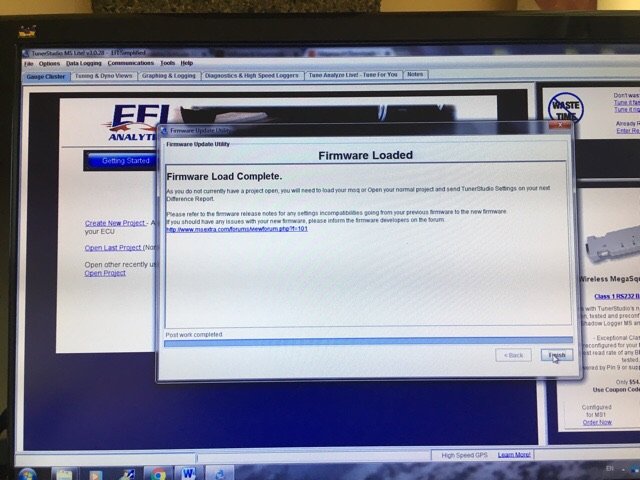
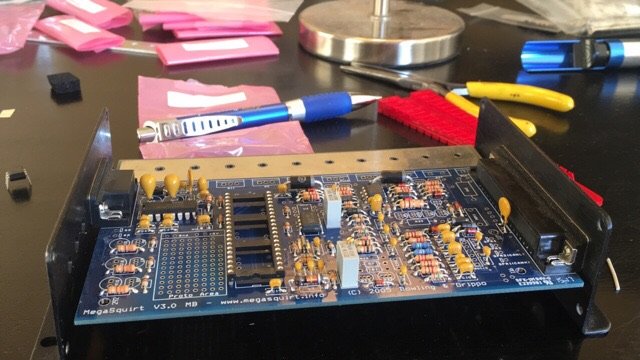
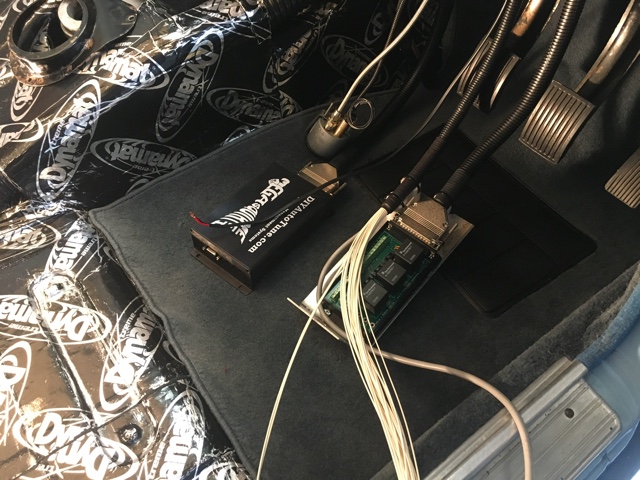
Then it was onto the computer... Dont know how many times I read the manual whilst getting myself more and more confused, but finally I just thought fuck it, and ripped into it. I’d learned enough to ask for a bit of help a couple of times to clarify some pretty simple shit that I just wasn’t understanding for some reason and once I’d got my head around the basics it was a simple matter of pouring myself a stiff drink and making a start... One bottle of whiskey later.... Moment of truth... Cant fucking believe it... I just made a computer and so far all the smoke is still inside it somewhere! Off out to the garage I went with my new toy, plugged it in, hooked up the laptop, opened another bottle of whiskey, took a swig, turned the key and... No smoke and everything seems to work, TPS, MAP, MAT, Coolant Temp, fuel pump started up and ran for a few seconds like it’s supposed to, etc... Early days yet but so far so good!

-
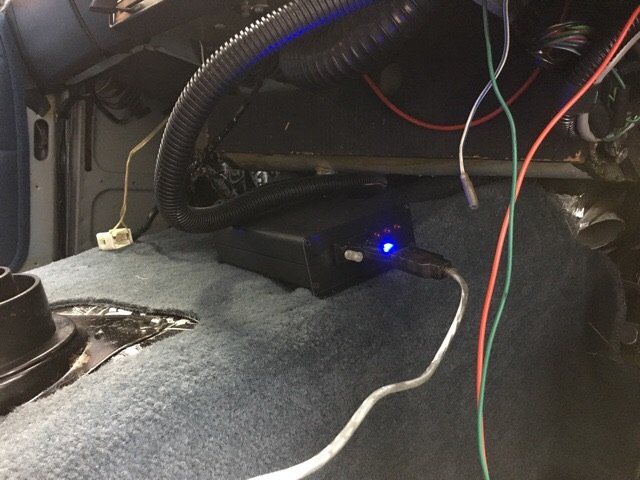
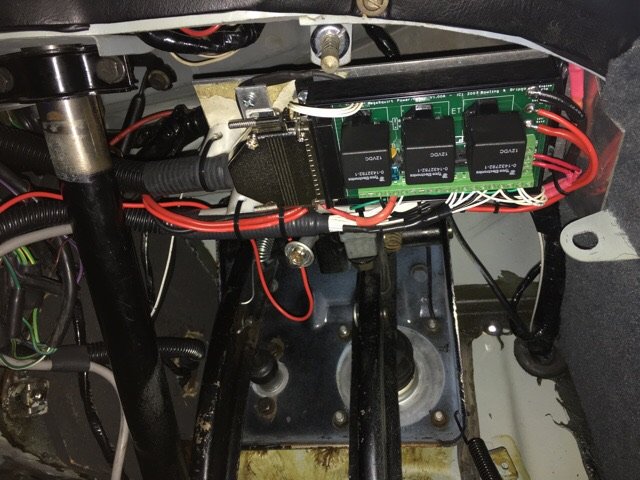
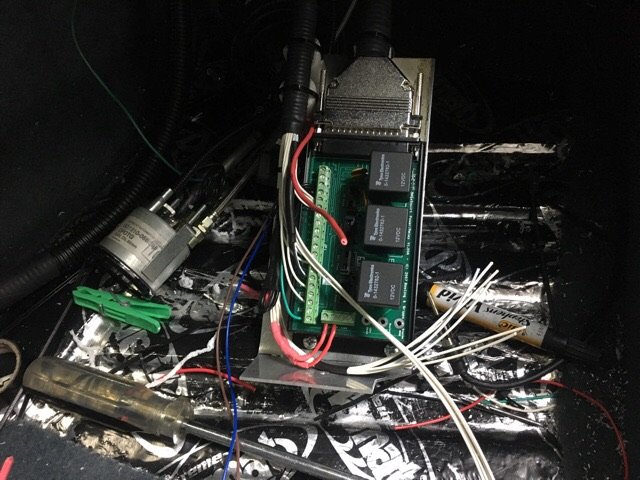
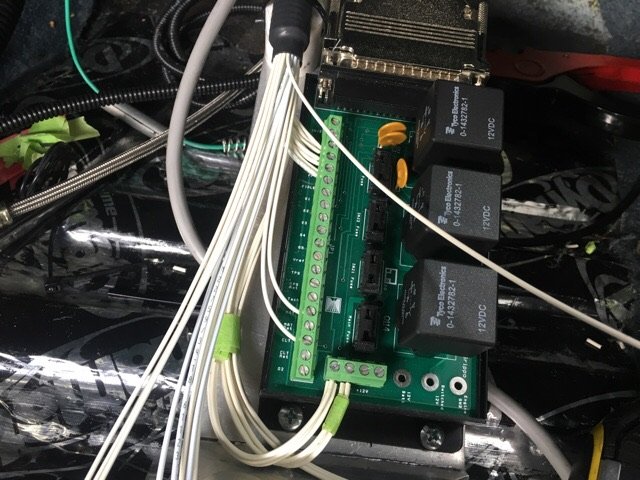
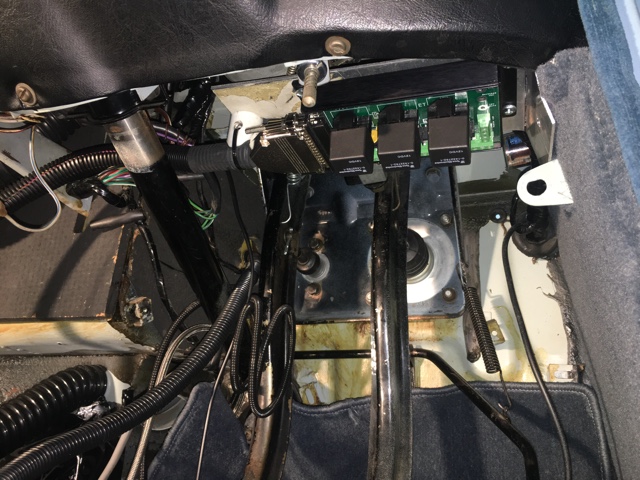
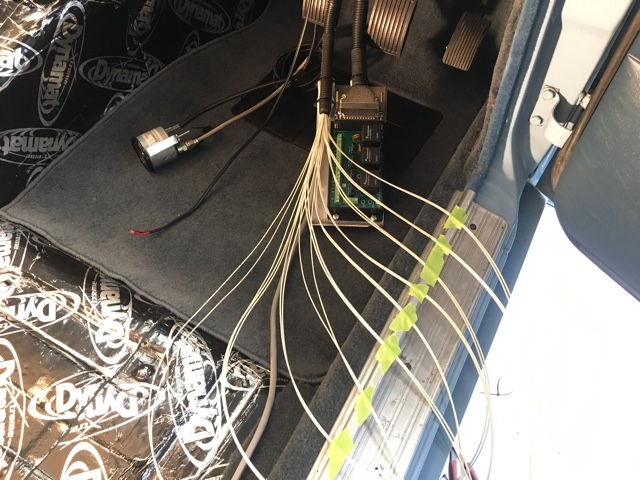
Starting the big job of figuring out where all the wires needed to go. I chose to use the relay board that DIYautotune sell as it seemed like a good idea... not really a fan of the screw terminals but time will tell I suppose... making progress And all finished and tucked away up under the dash...
-
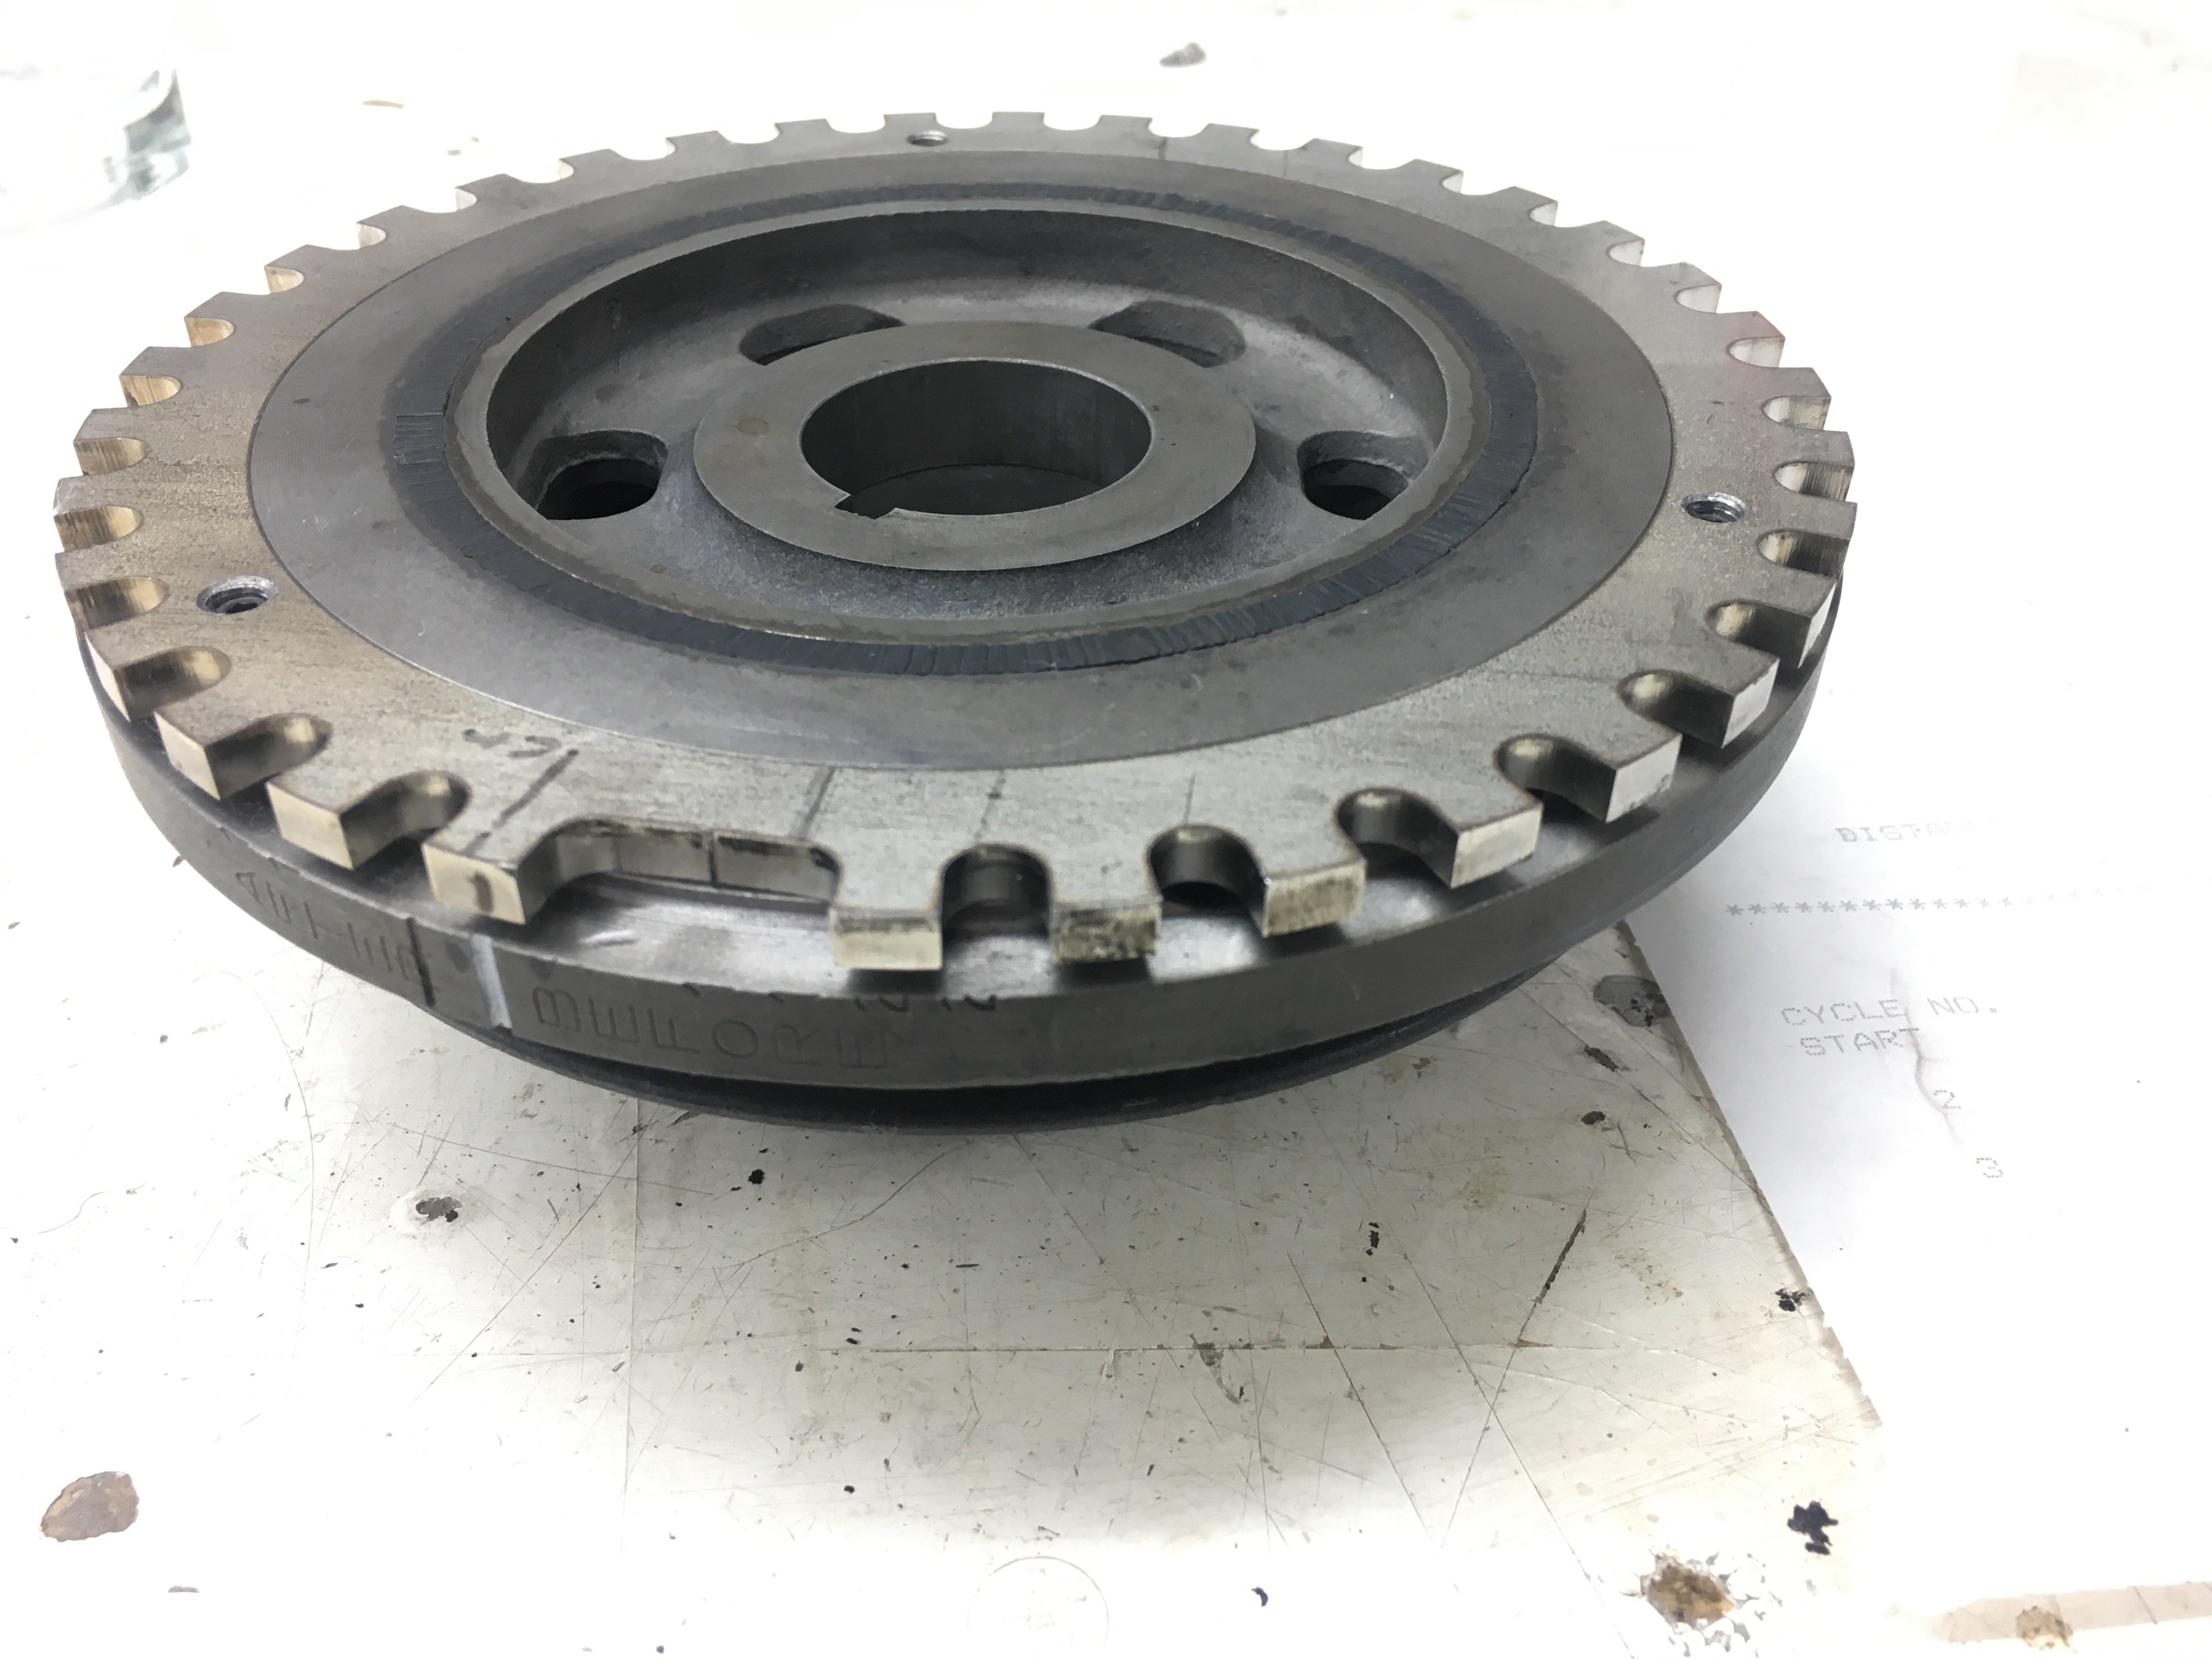
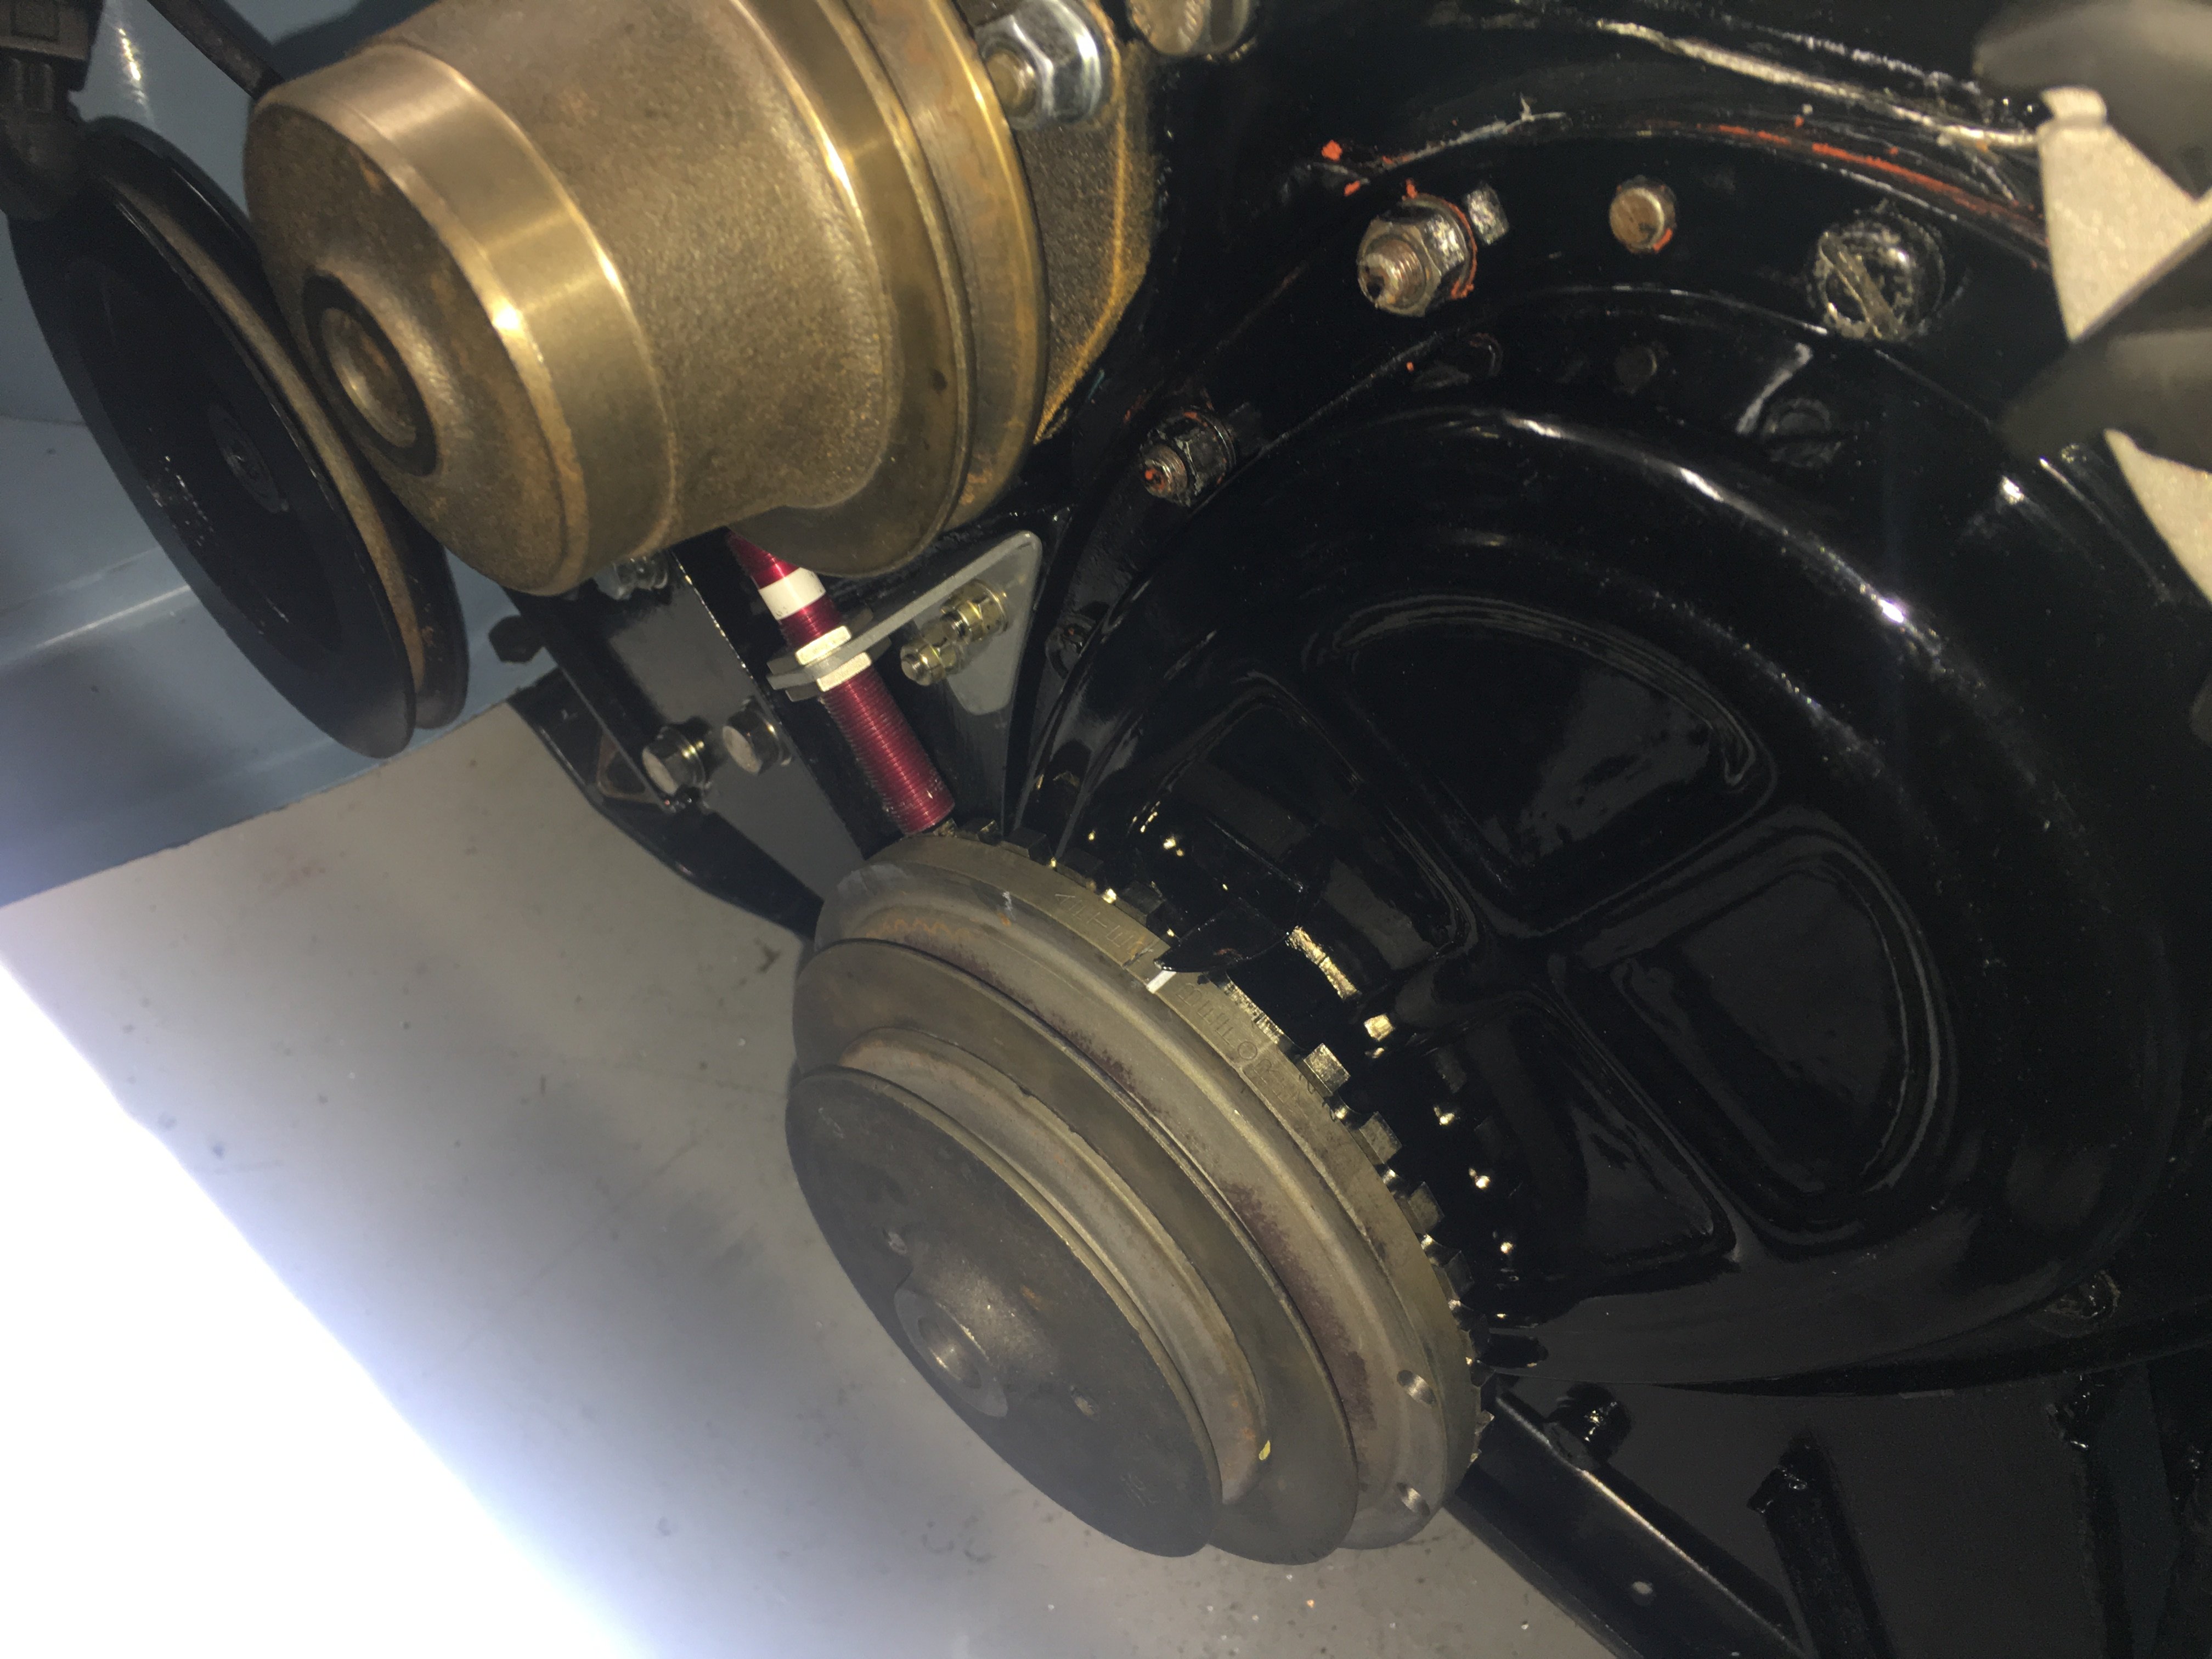
So some of the tasks I still needed to do were to fit a trigger wheel to the front pulley, terminate all the wires from the engine sensors at the relay board, build the computer, and a hundred other small jobs including a few redos... I sent my pulley down to Grant Parker at GP Engineering, he’s done all the machining I’ve been unable to do and he does an absolutely primo job... I decided to mount the trigger wheel onto the damper despite knowing that it’ll fuck up my timing if the bonded rubber fails... I had a good look at the thing and it seems to be pretty mint so not too worried. Only reason I went this way was to make it look a bit neater... After fitting the trigger wheel I took the damper down to the guys who did the machining on the block to get it balanced. Feels good knowing you’ve done all you can to get a top quality job...
-
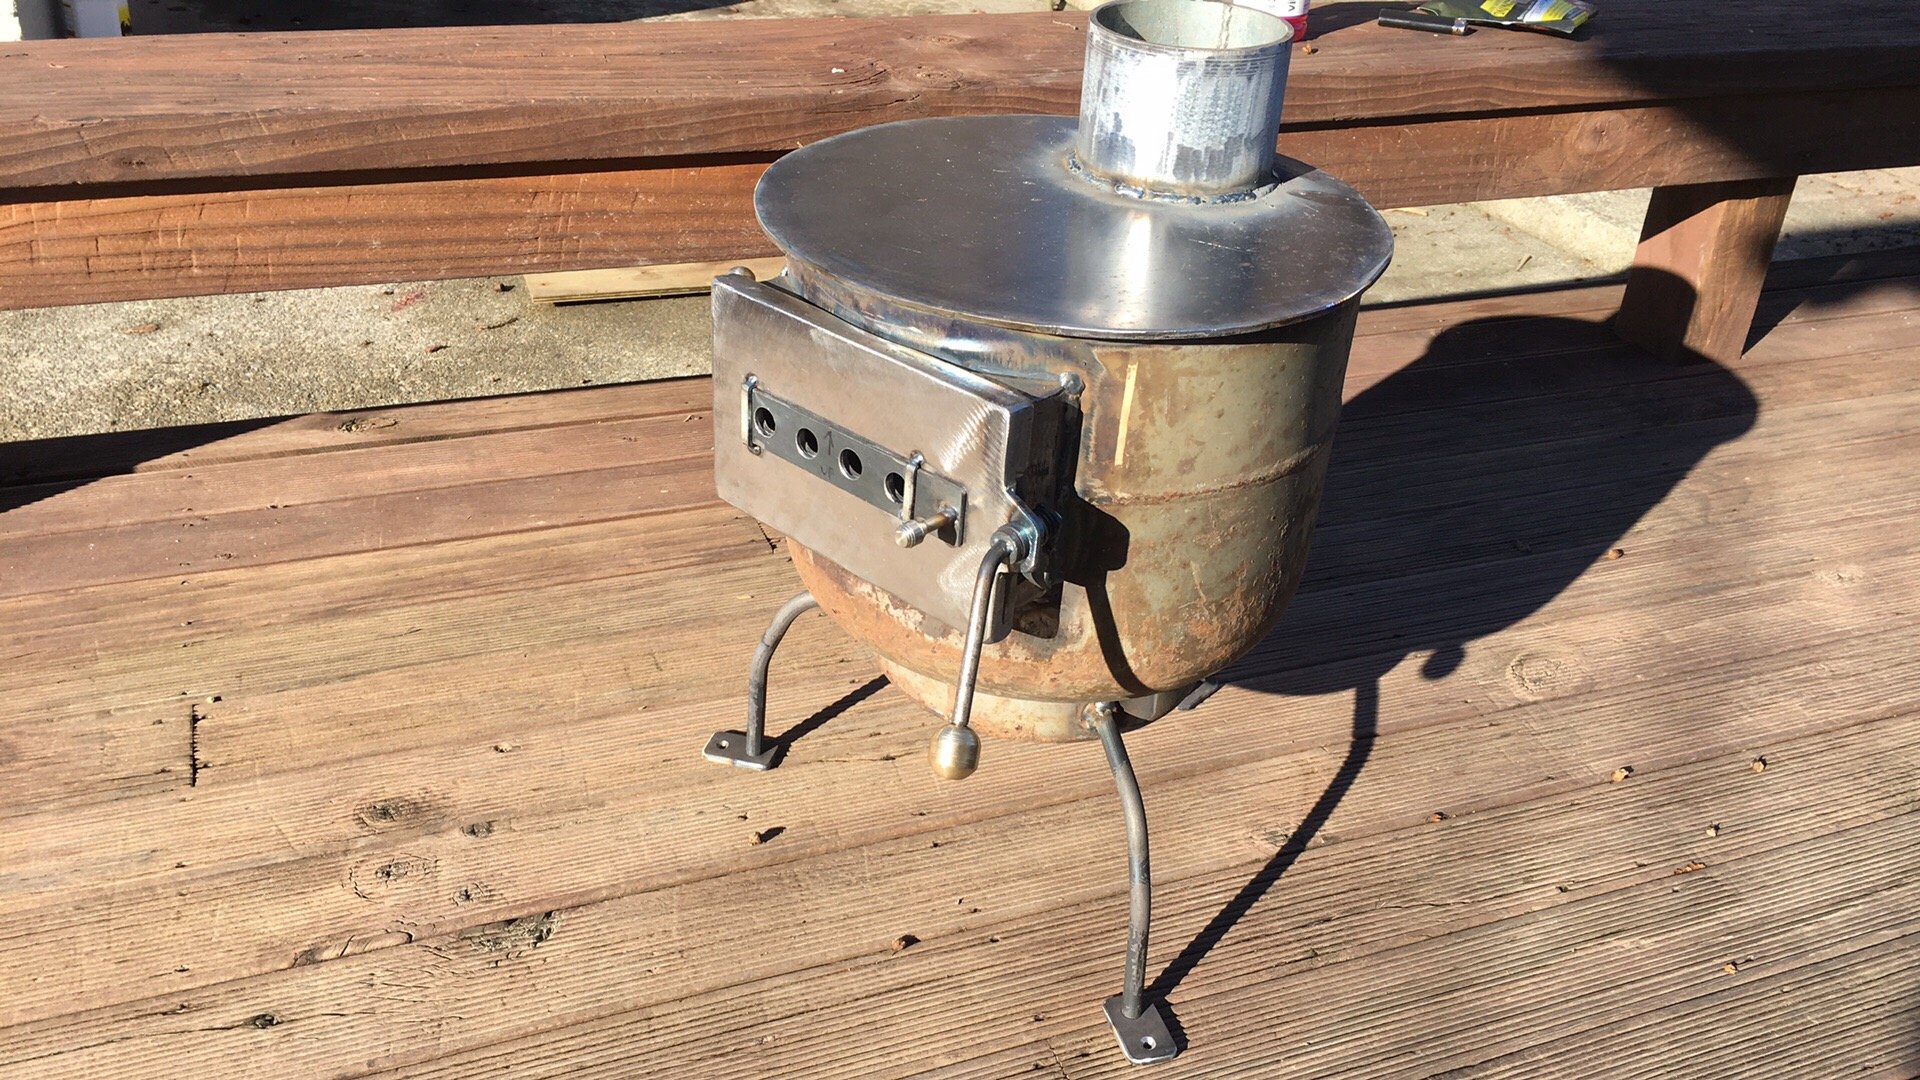
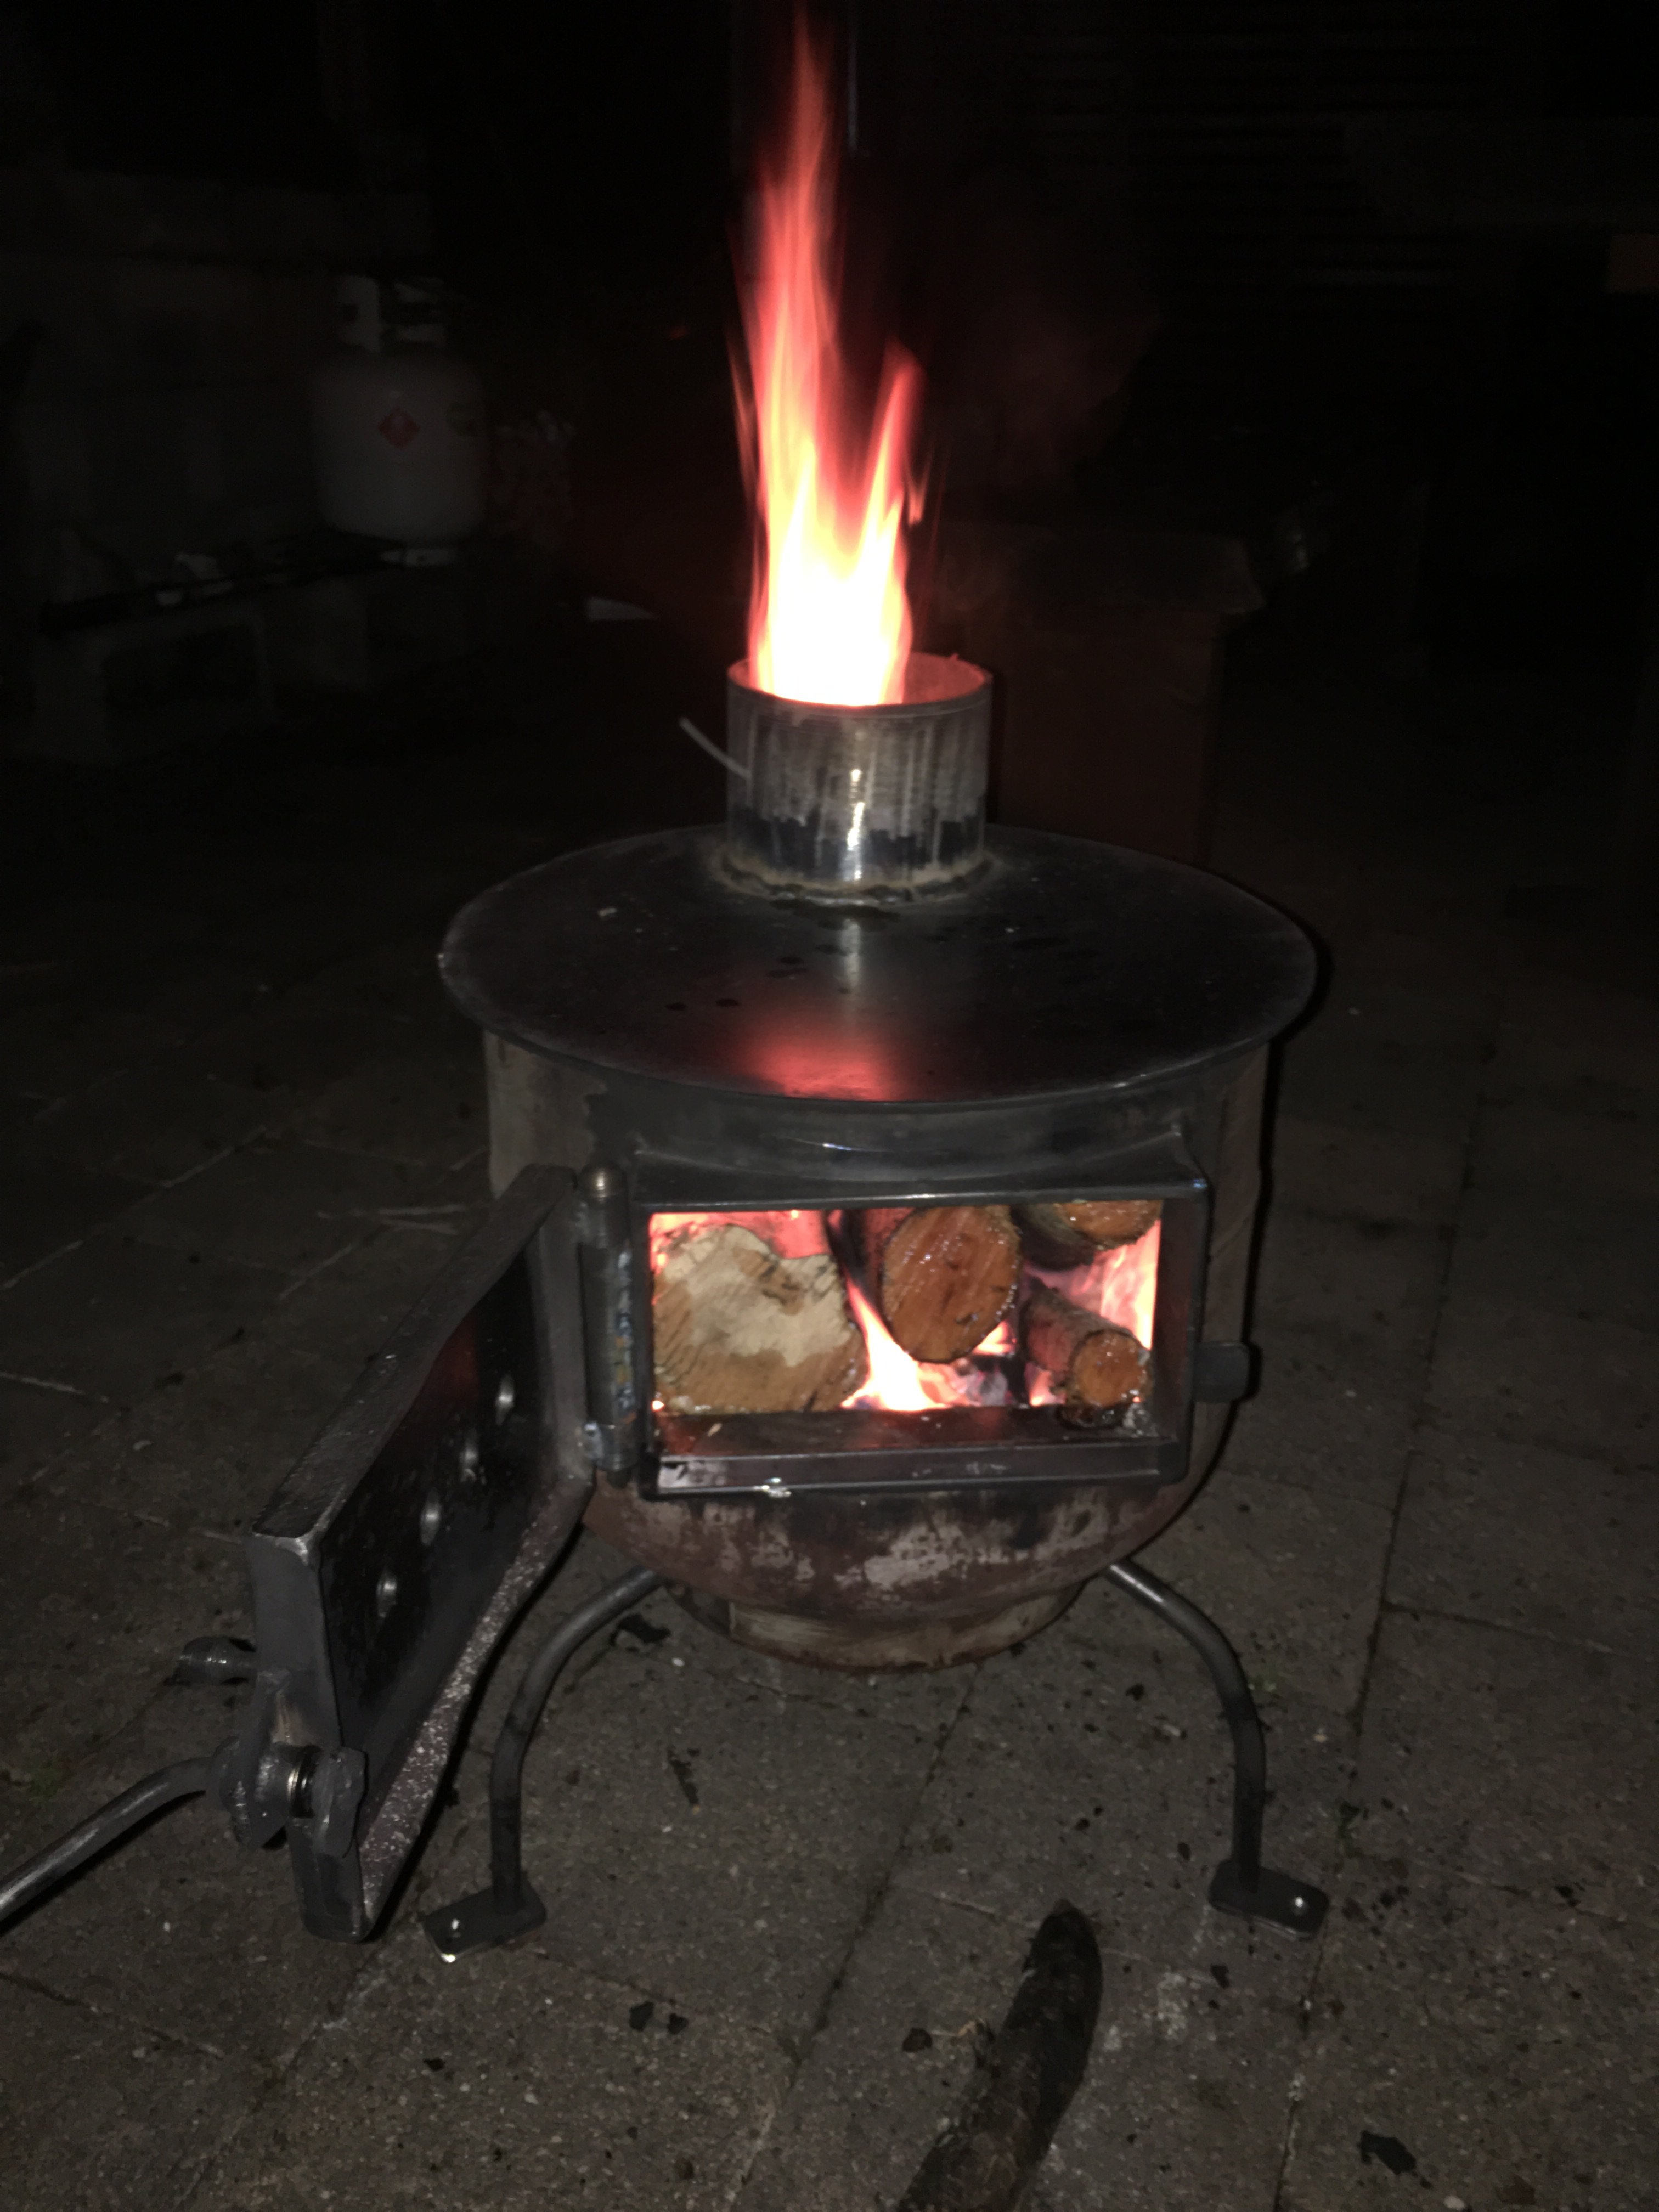
Fuck I’ve been useless at working on this thing most of winter... so much work related compliance bullshit that’s needed attending to plus all of life’s other tasks that I’ve not had much time left over... Time for a catch up. First off, cheers to Alex for the super 9kg gas bottle stove he and Hanna built me For the garage. If I had gotten round to fitting it in the garage already I might have made some more progress on the car through the long winter nights... But alas, not yet
-
Actually disregard that... just realised that's a no go
-
That's what I'm aiming to do Alex except that I plan to send the signal wire through the DB37 plug. This requires that I solder into SPR1,2,&3 on the board and I want to find out if the little traces on the board between those inputs and the plug itself are up to the job...
-
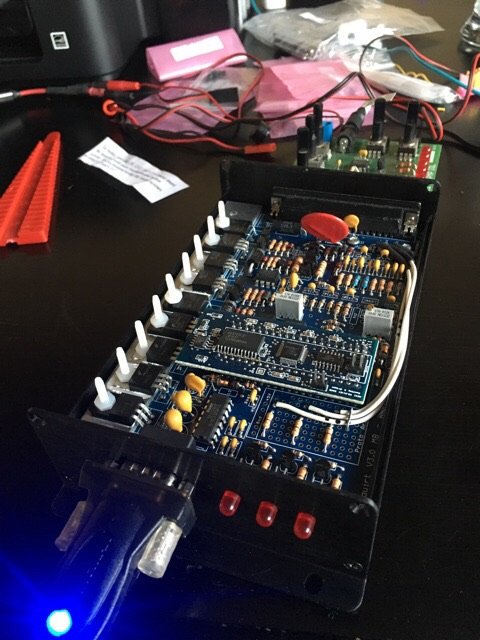
I'll try.... so, wasted spark, 6cyl, 3coils, each with two outputs. obviously need 3 BIP373 driver things. I was thinking of mounting the drivers remotely outside the megasquirt case and am using the relay board that came with the megasquirt and was going to mount the drivers on that, it just seemed cleaner. This way I can keep the high current switching out of the case and away from the brains... question basically is the re the signal wires that need to go to the BIP373 for spark A, B, and C that come off the top of the little resistors R26,R29,R27, I was going to jumper them into SPR 1,2,3. Is the little pcb trace between spr123 and the DB37 plug up to the task or do I need to strengthen it? sorry if it makes no sense, I'm a bit out of my depth at the moment... plentry more questions no doubt...
-
Hi all, wondering if there’s anyone in the Nelson area who knows a bit about megasquirt stuff and that wants to come round to my place for a few beers whilst chewing over a couple of questions I’ve got re ignition. I’ve built the computer except for the ignition components and just need a little advice. Should be pretty simple for someone who’s been there before... @yoeddynzmaybe when you get home...
-
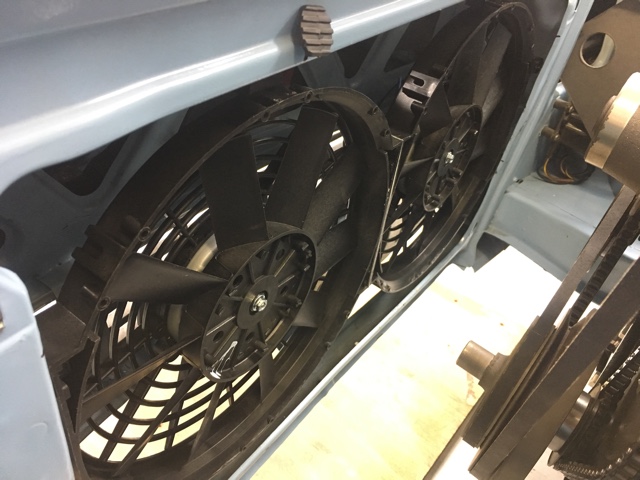
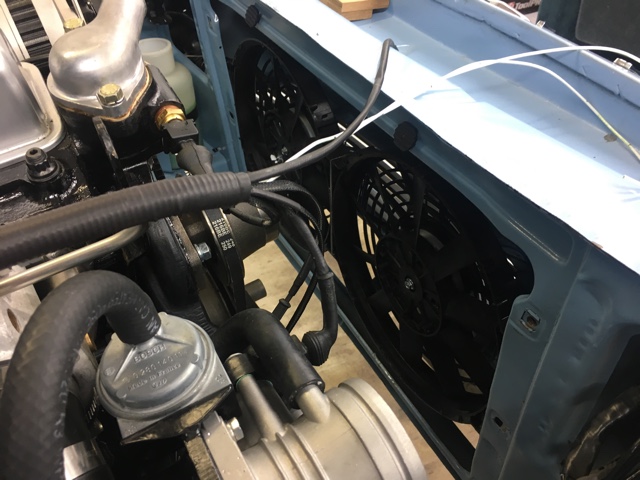
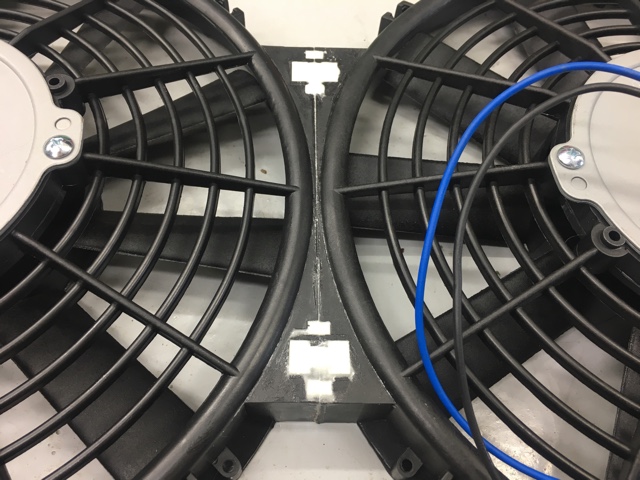
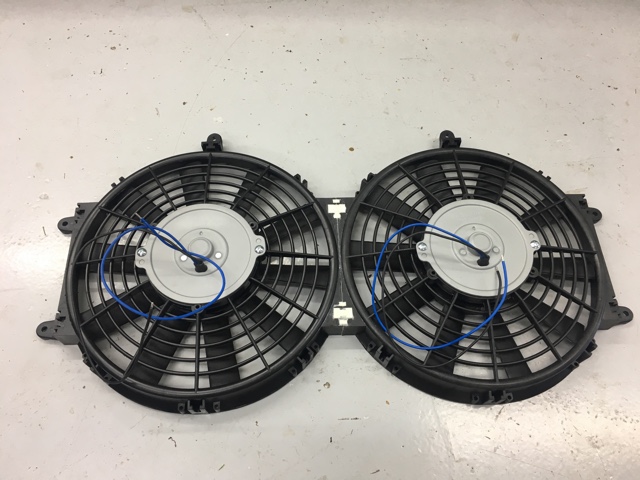
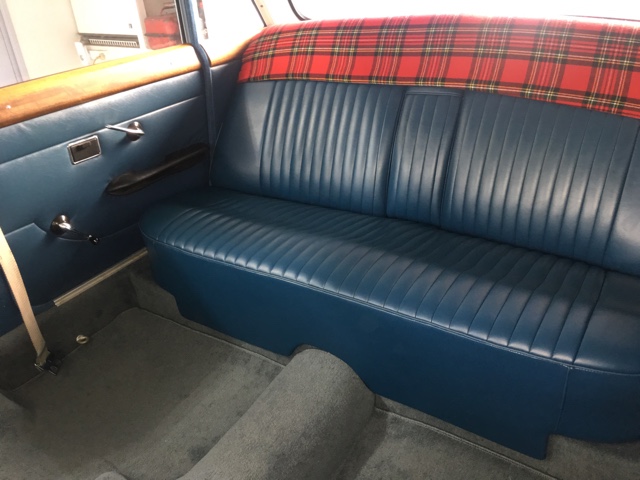
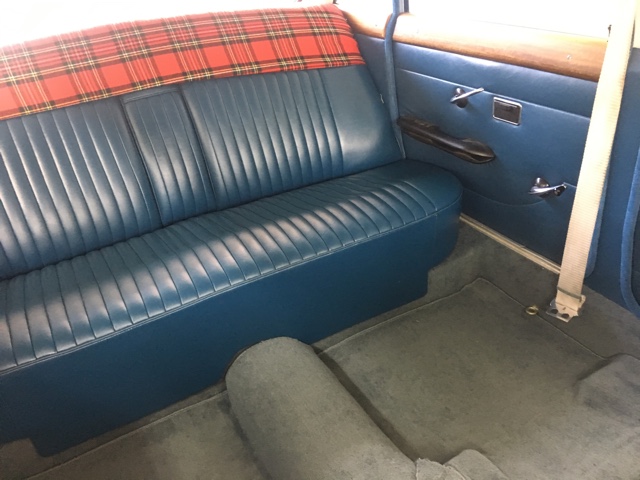
Made a bit more progress the last few days. Swore and cursed at the carpet kit I bought until the flat carpet had conformed to the shape of the floor. Instructions said to allow 4 hours lol. Got it pretty good in the end and any of the bits I'm not 100% happy with are hidden anyway so it'll look fine when the seats etc are back in. Then spent hours with some leather cleaner and a nail brush sorting out the rear bench. It was so grimy. Couple of hours on that and a couple of coats of conditioner on the thing and it looks like new again. Result Still need to do the front mats but will do that once I've finished all the computer stuff so I don't end up burning holes in it with the soldering iron. Had a bit of a luck in at supercheap today as well. I've been procrastinating over fitting an electric fan and saw a couple that looked like they'd fit the bill. Couple of trips back and forward measuring and I settled on two of the smallest ones they had. Little bit of fiddling around joining the two together and I had the perfect fit. They will stay attached to the car even if the radiator needs to be removed. result = beer o'clock
-
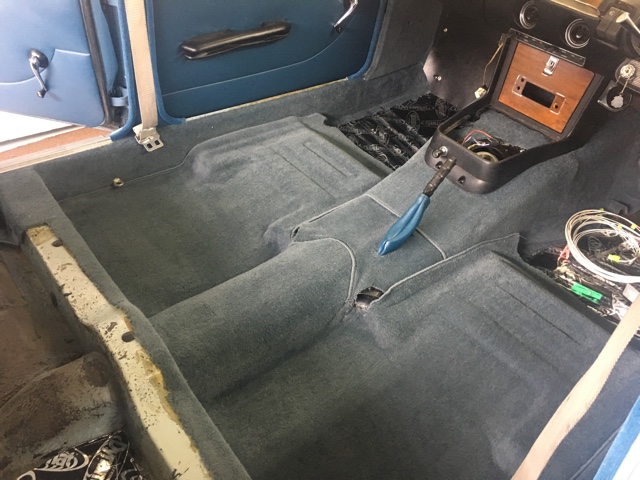
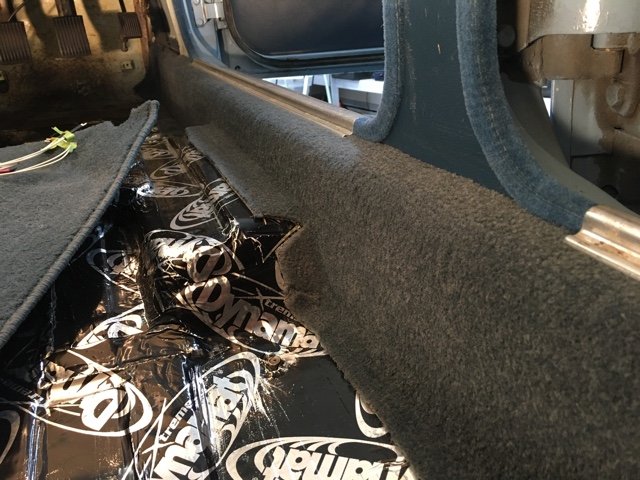
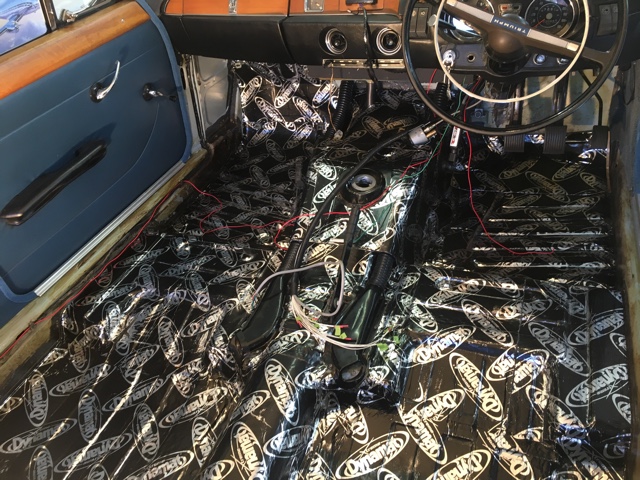
Dynamatted the floor last week and got a set of carpets from autodeck up in Auckland. Kinda ran out of the dynamat so have ordered another box of that to finish up before I put the floor carpets in but did do the side pieces which turned out pretty ok. Settled on a place for the relay board up under the dash and have started on version one of the bracket to mount it. Also figured how to best run the loom so that there is enough slack to easily remove the board while still connected for the inevitable trouble shooting...Still need to run a few more wires from the engine back to the board before I go connecting everything up but getting it all plotted out now so making some solid progress
-
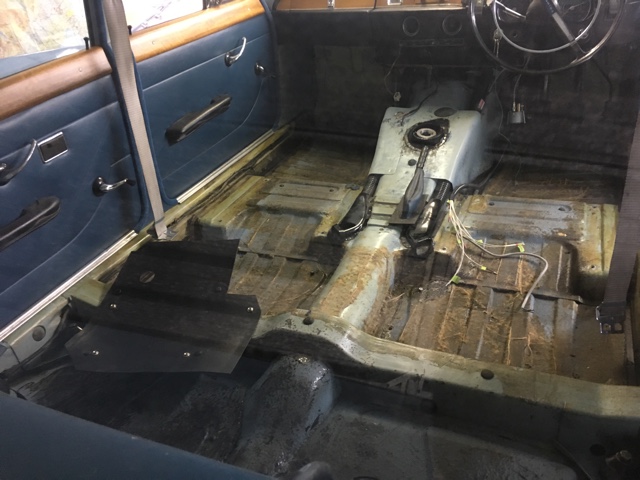
Been making slow progress the last month or so but progress none the less. There are so many little fidley bits that I keep putting off and some big shit too that I've been scared to start. But it all needs to be done. I ordered a bunch of fittings and pipe and stuff from Fluid Power to plumb up the fuel system. Some of it arrived real quick and some still hasn't turned up which is annoying. I have managed to run stainless supply and return lines, fit a lift pump, plumb most of the surge pot and HP pump, plus the feed to the rail and the regulator so some solid progress there. Also, due to an annoying stink of fuel whenever I fill the tank, and the need to add a fitting to send the fuel return back to I bit the bullet and pulled out the tank. I'm just going to tee the return pipe into the vent pipe at the top of the tank which I could have done with the tank in, but as I needed to seal up the big rubber pipe on the filler neck as well it was easier to take the whole thing out. Then, mostly because I was bored waiting for the last of the fittings I ordered, I decided to pull out the seats and carpets. Thinking I might dynamat the floor and put some new carpet in as the old stuff is pretty ratty. Pulled the parcel shelf out too to try and figure where the computer and relay board is going to go... Not sure if I should go with this or get a 2.6EI one made?
-
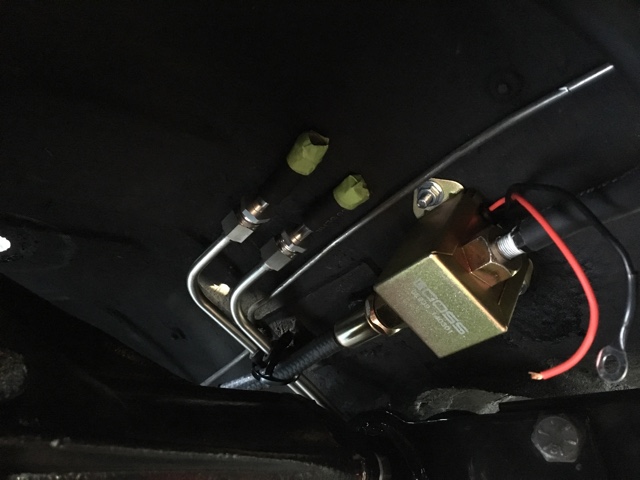
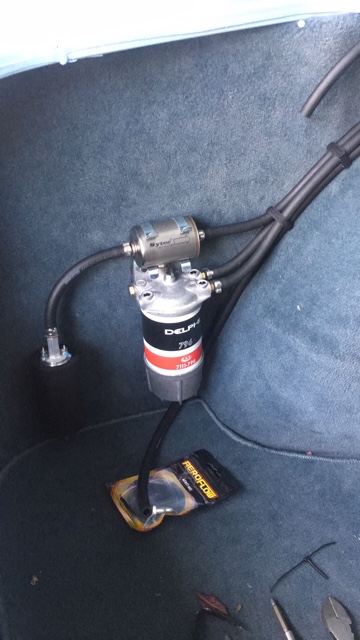
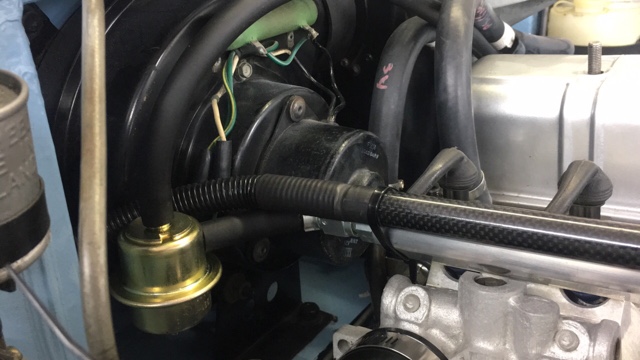
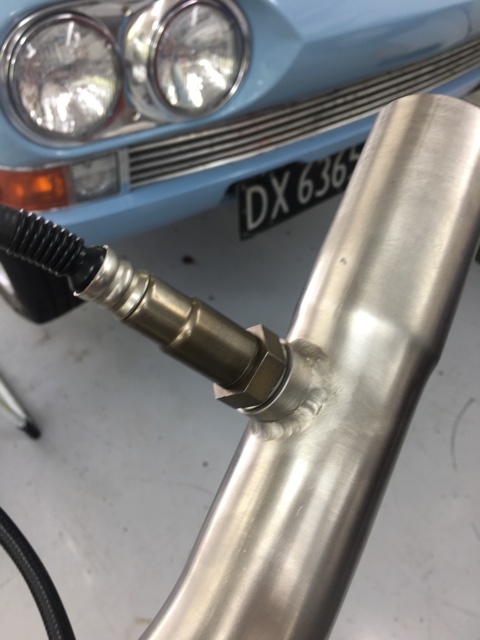
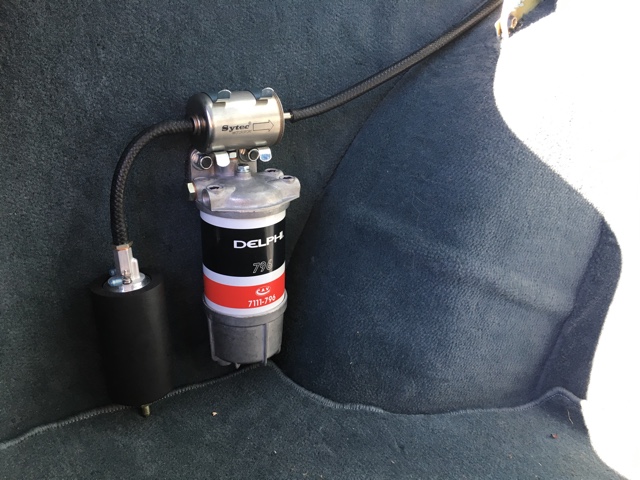
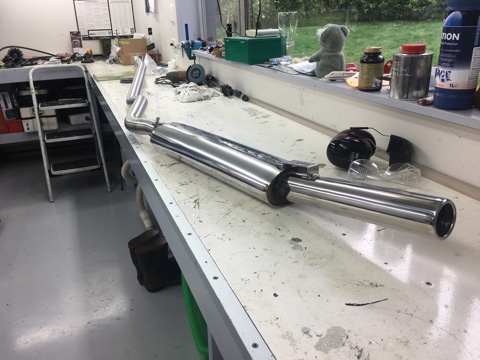
Managed a little more on the Triumph over the last few days. Been tinkering on the exhaust getting it all to fit properly, the system runs pretty close to shit and been doing my best to get it fitted up with no tension. What should be easy seems to be not so... Also been plotting out the fuel plumbing and have settled on where everything needs to go and how to mount it all up. Spent an hour in Fluid Power today trolling catalogues for all the little fittings and pipes I'll need, they had some and have ordered the rest. I've chosen to not make it too flashy in that department, just the minimum to get the job done. I reckon it'll look clean enough without any blingy shit. some pics for proof Surge pot/filter and high pressure pump tacked into the boot O2 sensor boss got mounted into the little piece of pipe directly aft of the extractors Fuel pressure regulator and return line on the back of the rail Bodged packer I need to make and add under the right hand engine mount to gain a little clearance.... Slowly slowly heaps to go
-
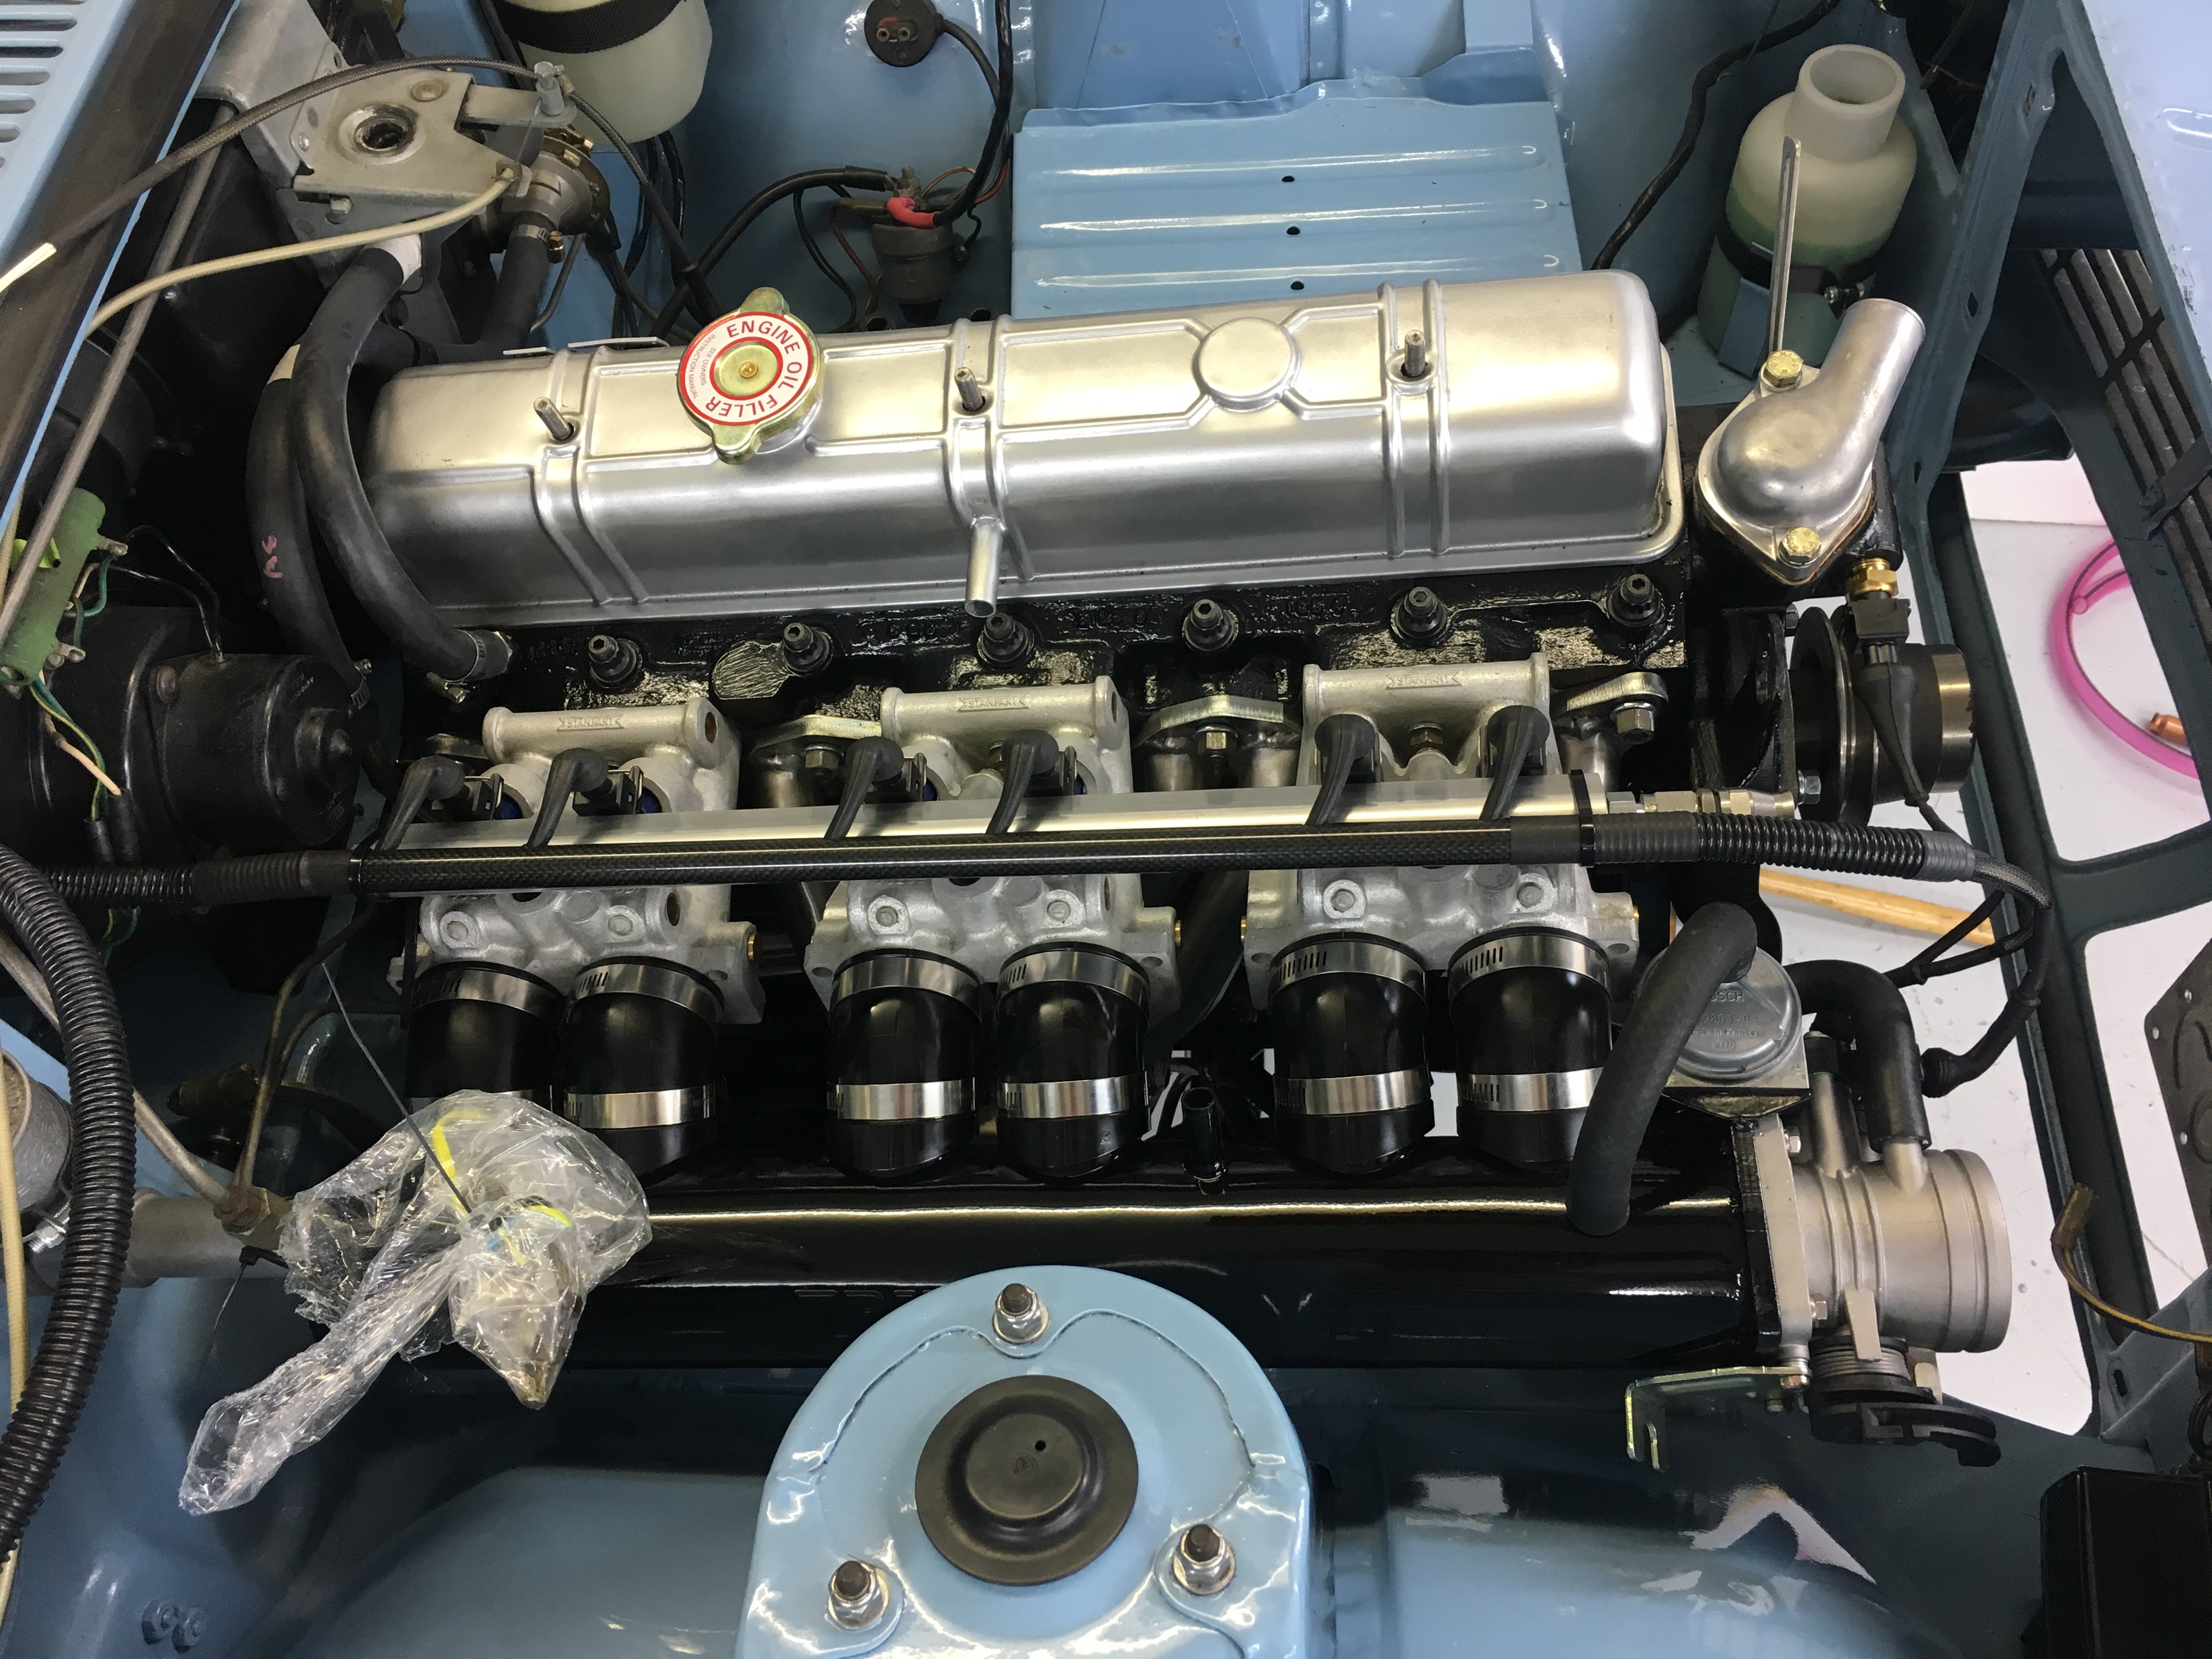
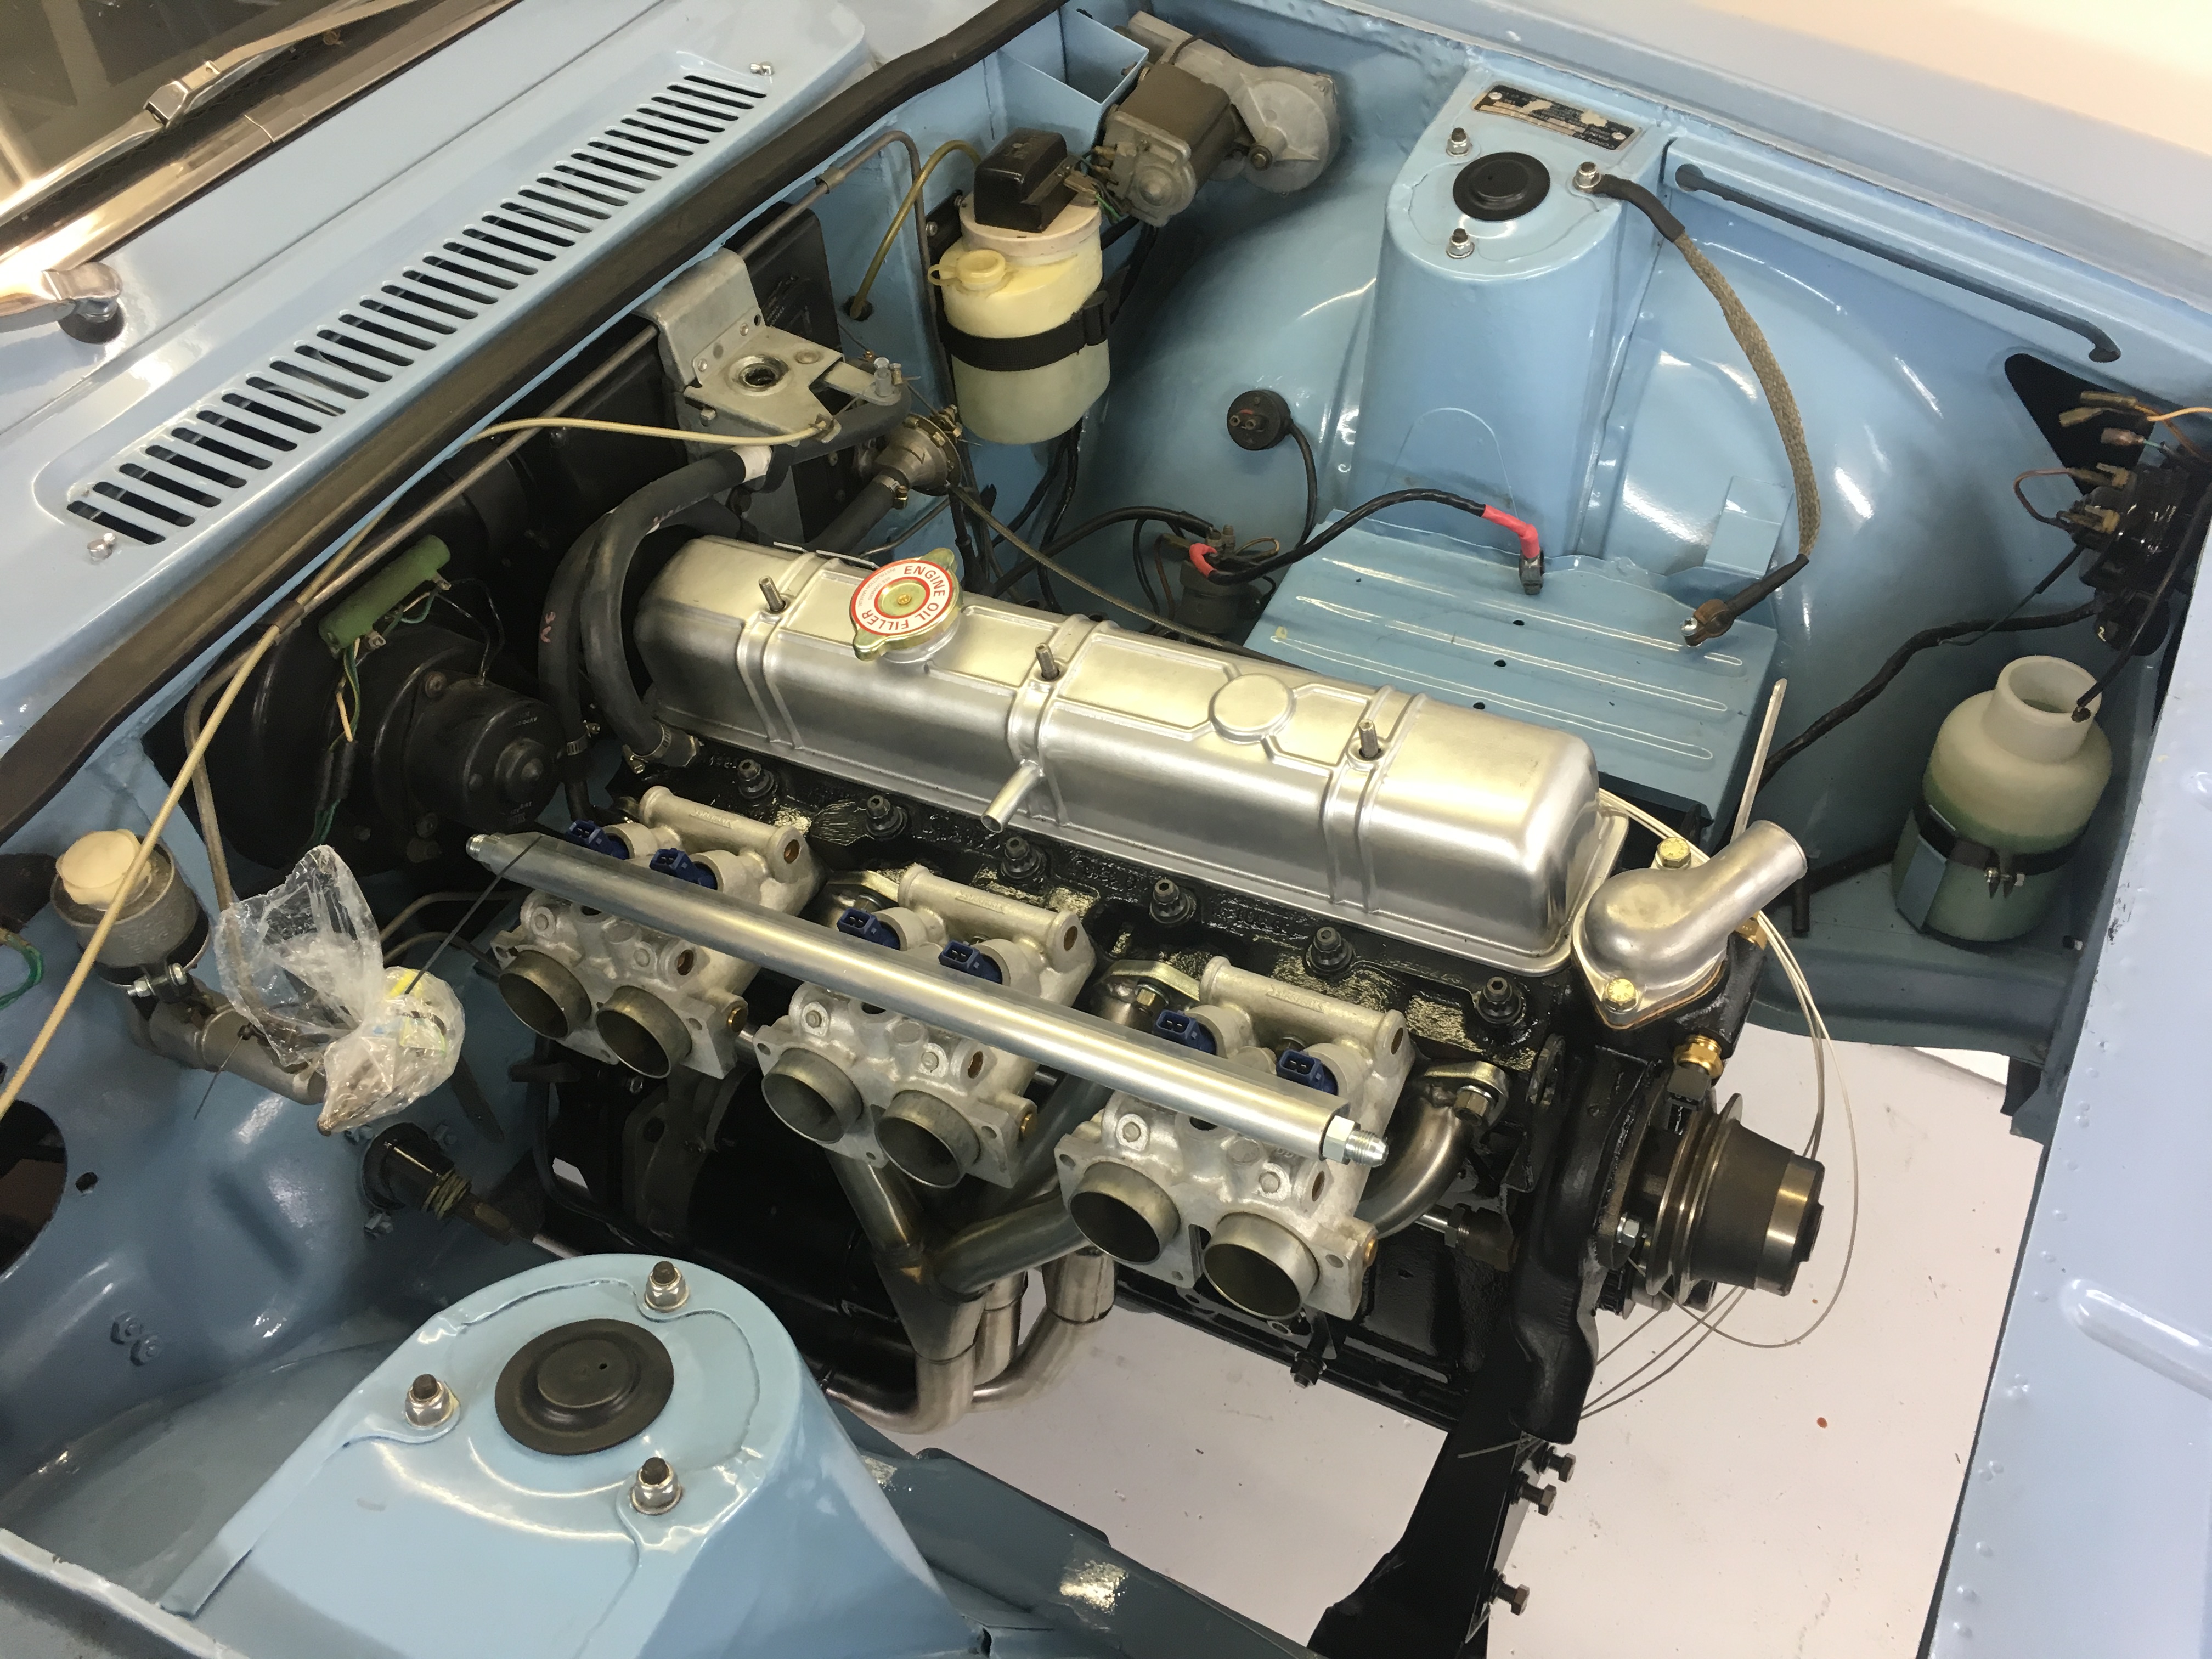
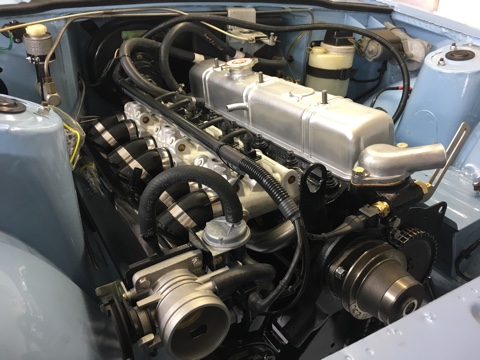
Got a little bit more done today. Chucked the crossmember and rack back in and pretty pleased with how it all fitted into the little notch. fitted up the pump and put the plenum back on to make it look better also... fuel pump and plumbing next....
-
This time with feeling
-
Stole a couple of hours this morning and blew some left over paint over the wee mod. Reckon when it's all back together it'll look almost factory. Might try and lift the engine back in this arvo
-
Oh, and this turned up too. Should fuck the neighbours off if used correctly
-
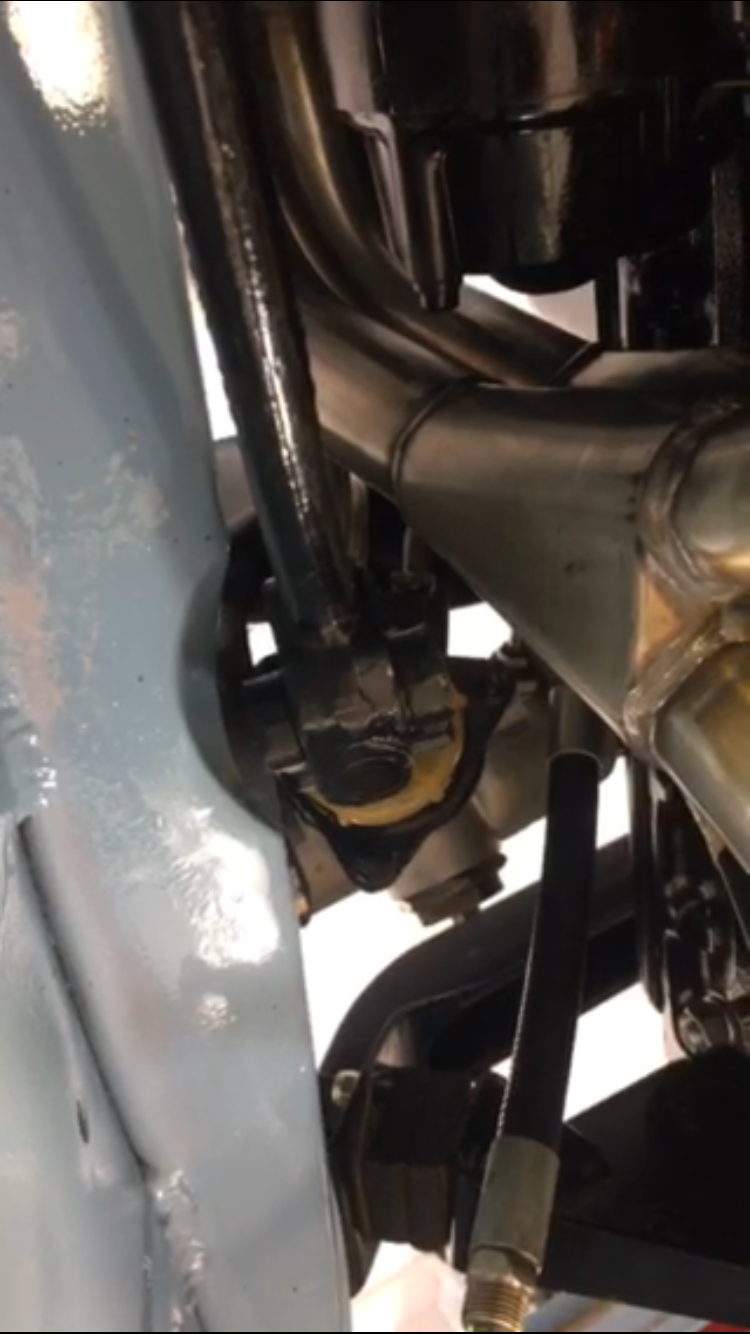
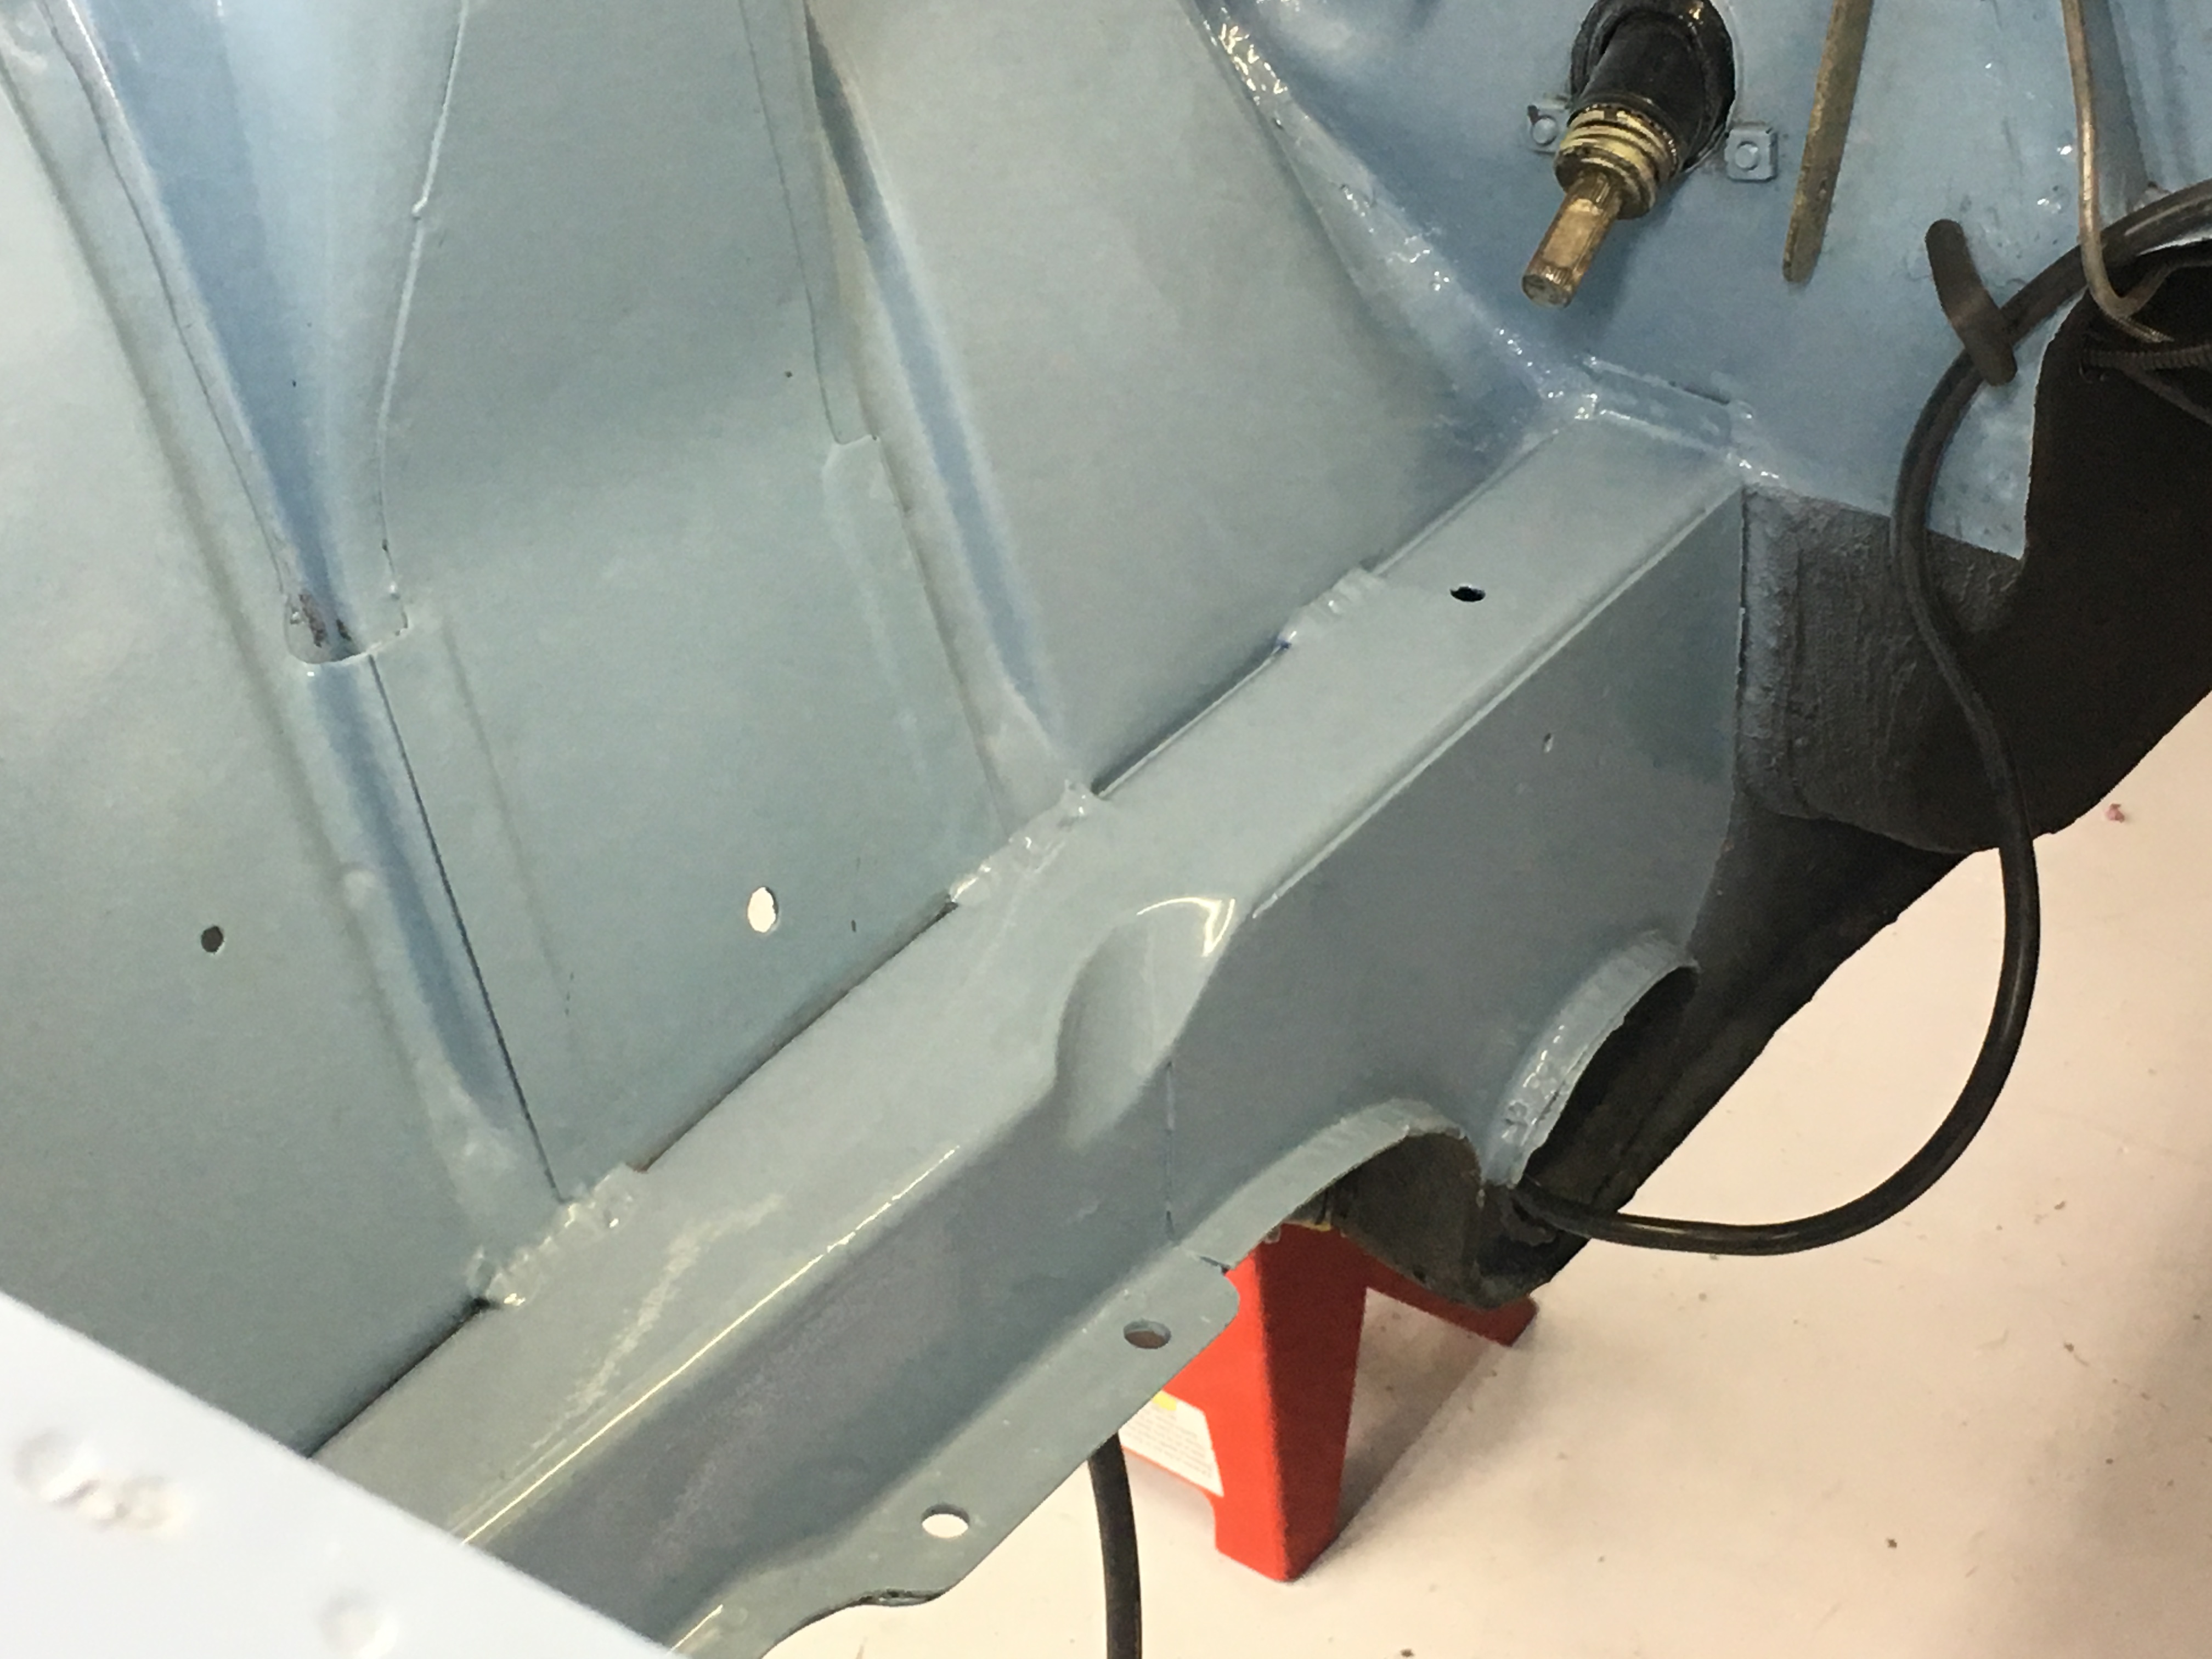
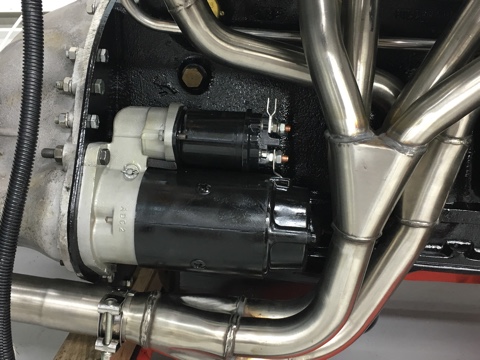
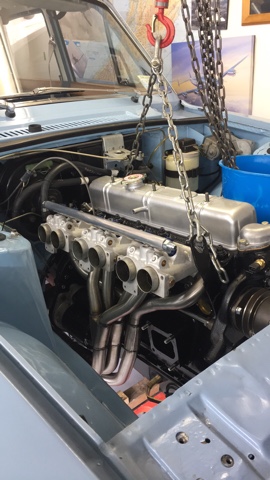
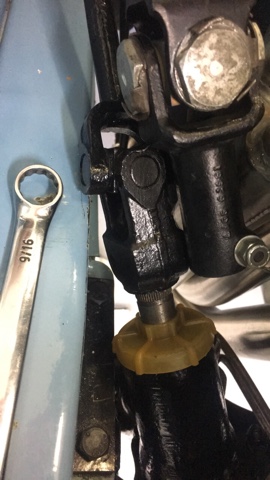
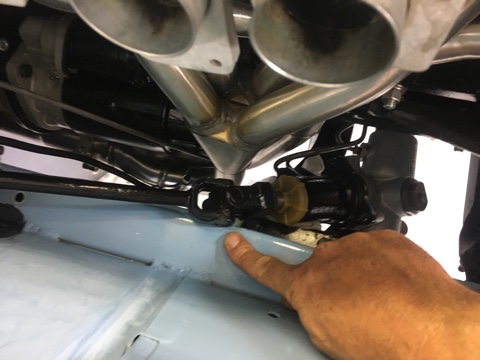
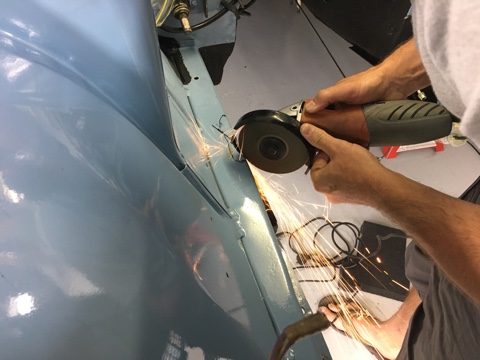
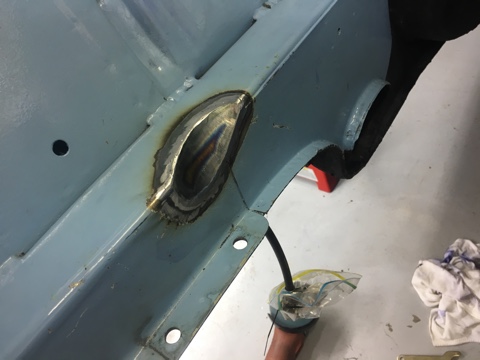
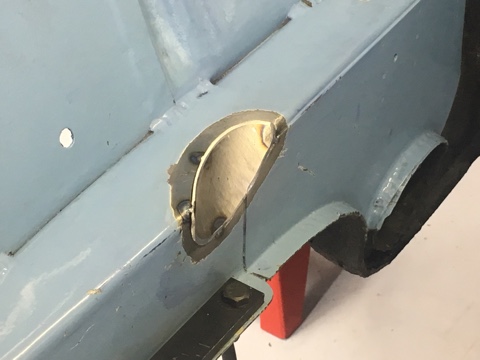
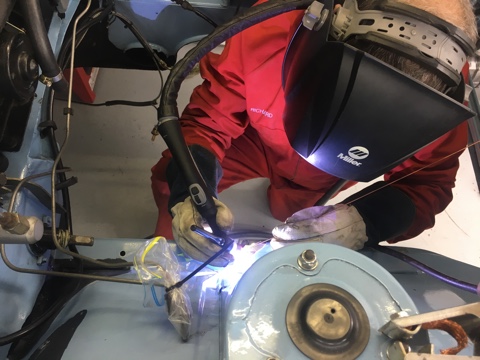
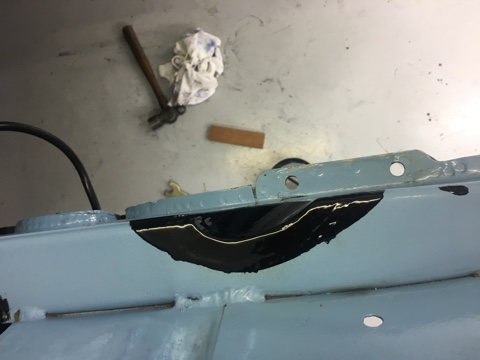
Well the busy season at work has been keeping me away from the garage and making much progress on the engine swap but there have been some developments. More of a one step forward two steps back kinda thing though. A bit of thought went into a starter motor due to the fact a standard starter can't be removed without first taking off the exhaust manifold. There are options for smaller high torque replacements, the quality ones (expensive) or the Chinese ones (cheap) were considered but in the end I went with having a standard one rebuilt. Time will tell if that was wise but I don't expect it to give me any shit... Then, with that all bolted up and the manifold on I got all enthusiastic and hoisted the new motor up into the car which took only 40 minutes including the two beers I seemed to need. All looked great.... ...until I put the front crossmember in. I am adding power steering to the car using MK2 parts, months ago I had asked around and was assured it was all a bolt in affair. Off I went and found all the bits I needed and set about rebuilding the pump, rack, etc and reprinting everything. When I bolted it up it became obvious that the earlier MK1 was going to protest. Turns out that the later cars have a notch in the chassis rail to clear the steering UJ which is now in a different place to the manual rack. Fuck it So out with the grinder... Tig in a piece of 75mm pipe... and prime it up... had a real good look up inside the rail and it was mint with no rust. Took the time to blow a thick coat of Brunox all up in there to help keep it that way. long and short of it is, apart from respraying the rail I'm back to where I was a couple of weeks ago.