Ashkellybarr
-
Posts
512 -
Joined
-
Last visited
Content Type
Forums
Downloads
Events
Gallery
Everything posted by Ashkellybarr
-
Ash's 82 AA60 rina of rustic glory
Ashkellybarr replied to Ashkellybarr's topic in Projects and Build Ups
Progress. doors and hatch to do, then start laying paint
-
Ash’s 85 Toyonda crumpy “Barry’s revenge”
Ashkellybarr replied to Ashkellybarr's topic in Projects and Build Ups
Whoops
- 61 replies
-
- 6
-

-

-
- toyota hilux ute
- k24
- (and 2 more)
-
Ash’s 85 Toyonda crumpy “Barry’s revenge”
Ashkellybarr replied to Ashkellybarr's topic in Projects and Build Ups
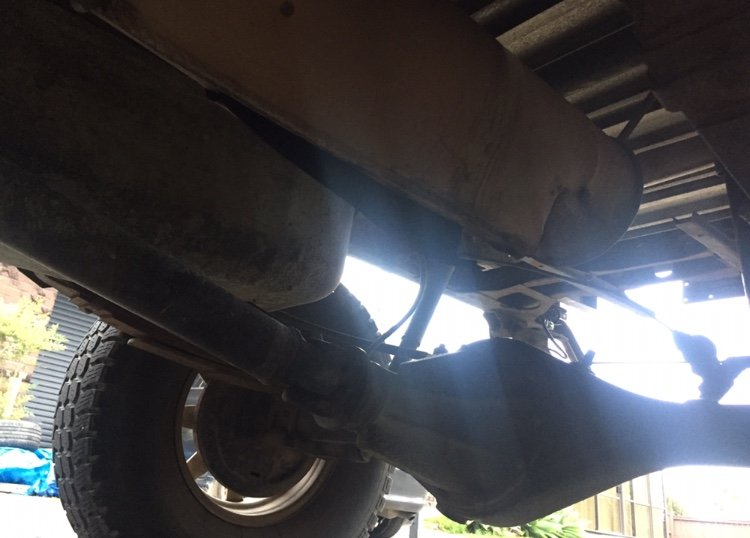
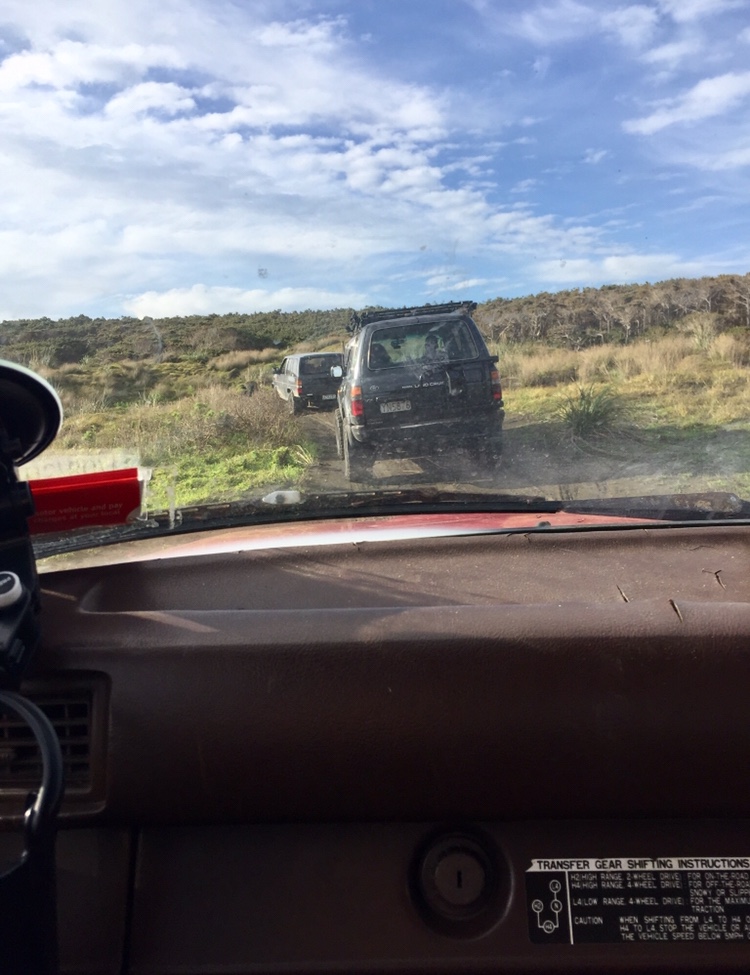
Went out again today for a bit of a play. Headed up to the ship wreck, came across a bloke in his 2wd company vehicle bogged a couple km’s away from the exit. Super smart cookie after snatching him out we were a couple hours from full tide. Decided to head for it and made a dash for Wilson’s. Getting around the trees we had to wait for the waves to pull out and plant it around before the next wave. Made for some excitement, but turns out ye ol crumpy doesn’t like drinking salt water. made some horrible noises and with the dizzy being wet it ran mostly on 2-3 cyl for some time. This meant for unburnt cyl where its basically key banged its way down the beach for a couple km’s. so much so, my muffler literately exploded like a dive bottle in a fireplace, then continued driving thowing massive exploding flames out the mangled metal. pulled up on the dunes and cranked out the gas cooker for some dinner then headed home. And of course what do you do when your muffler explodes? Go through a tunnel https://youtu.be/o63FcbIIBvc https://youtu.be/eD4YRBY7ulk- 61 replies
-
- 2
-
-
- toyota hilux ute
- k24
- (and 2 more)
-
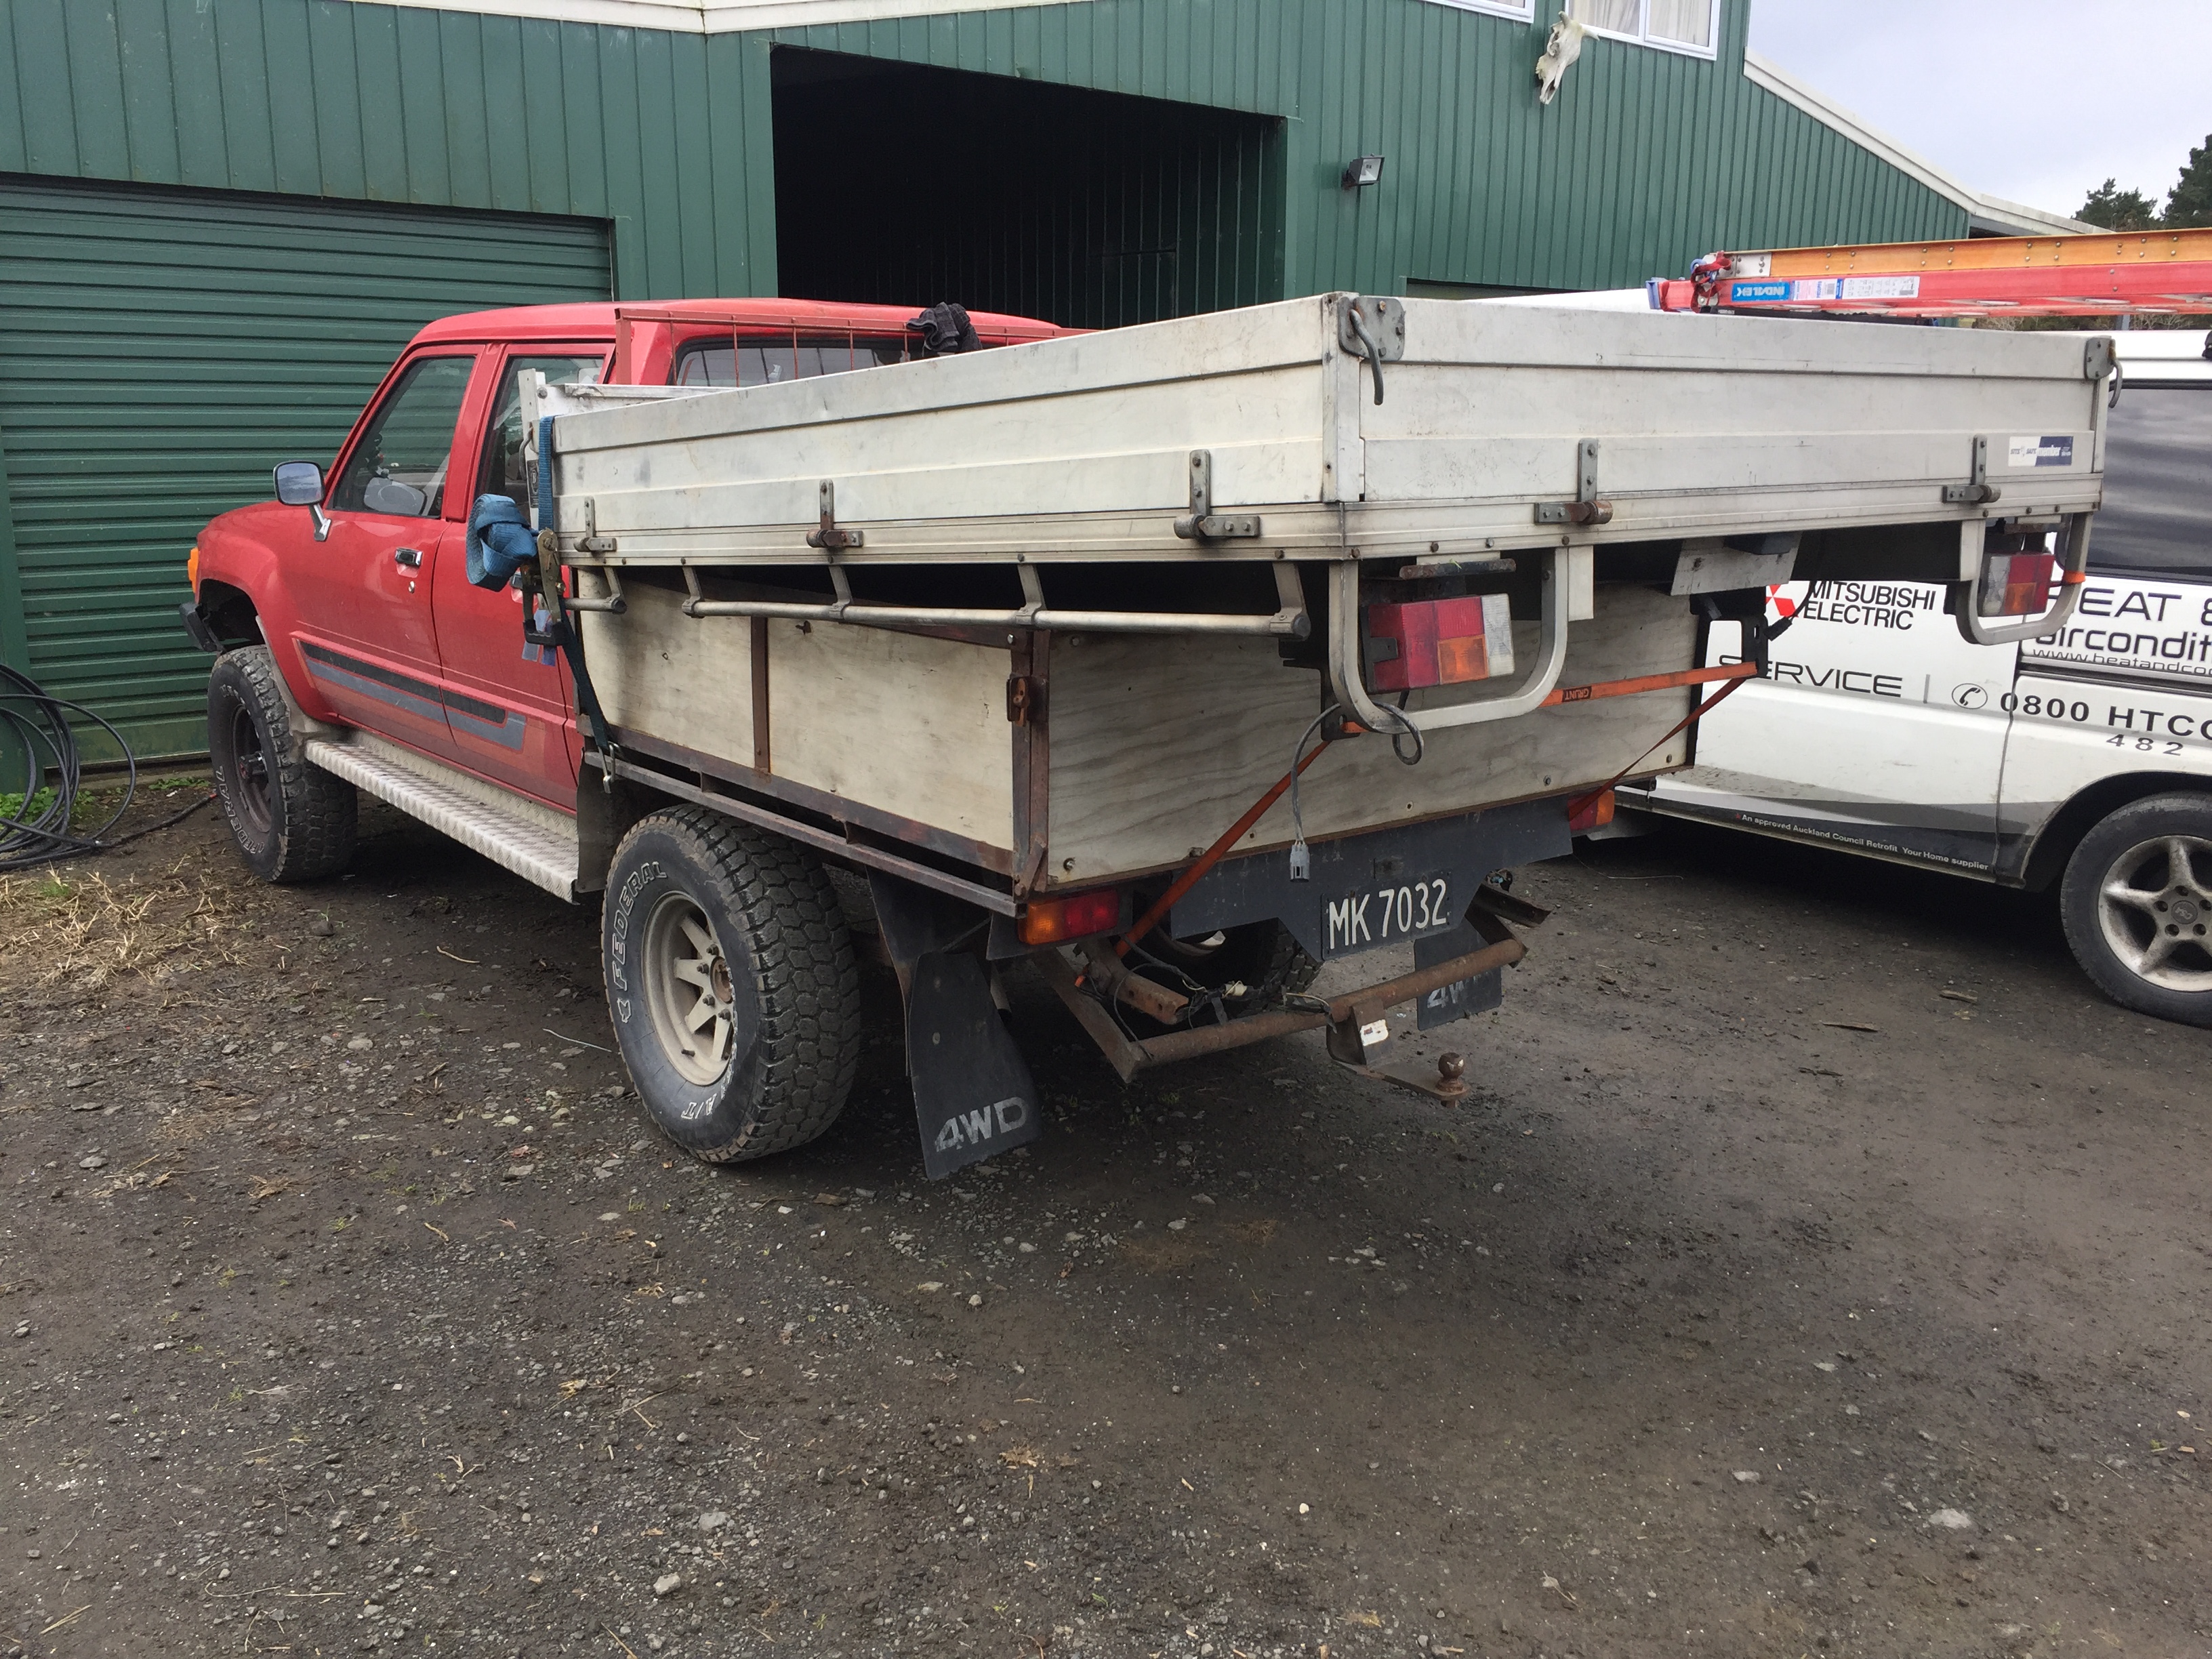
Ash’s 85 Toyonda crumpy “Barry’s revenge”
Ashkellybarr replied to Ashkellybarr's topic in Projects and Build Ups
Hit the beach on Friday night, definitely a big difference with the alloy tray. Lack of traction in the rear is very noticeable but can make it up more dunes now so long as I get my gear selection right and carry momentum. went to the scrappy on Saturday and put it on the scales. Dropped 110kg with the new tray so happy with that! maybe replace the front bump with an alloy one will help shift the weight back onto the rear.
- 61 replies
-
- 1
-
-
- toyota hilux ute
- k24
- (and 2 more)
-
Ash’s 85 Toyonda crumpy “Barry’s revenge”
Ashkellybarr replied to Ashkellybarr's topic in Projects and Build Ups
Made a spigot bush from phosphor bronze. just need to order a fork, release bearing and slave and this chapter will be done
- 61 replies
-
- 5
-
-
- toyota hilux ute
- k24
- (and 2 more)
-
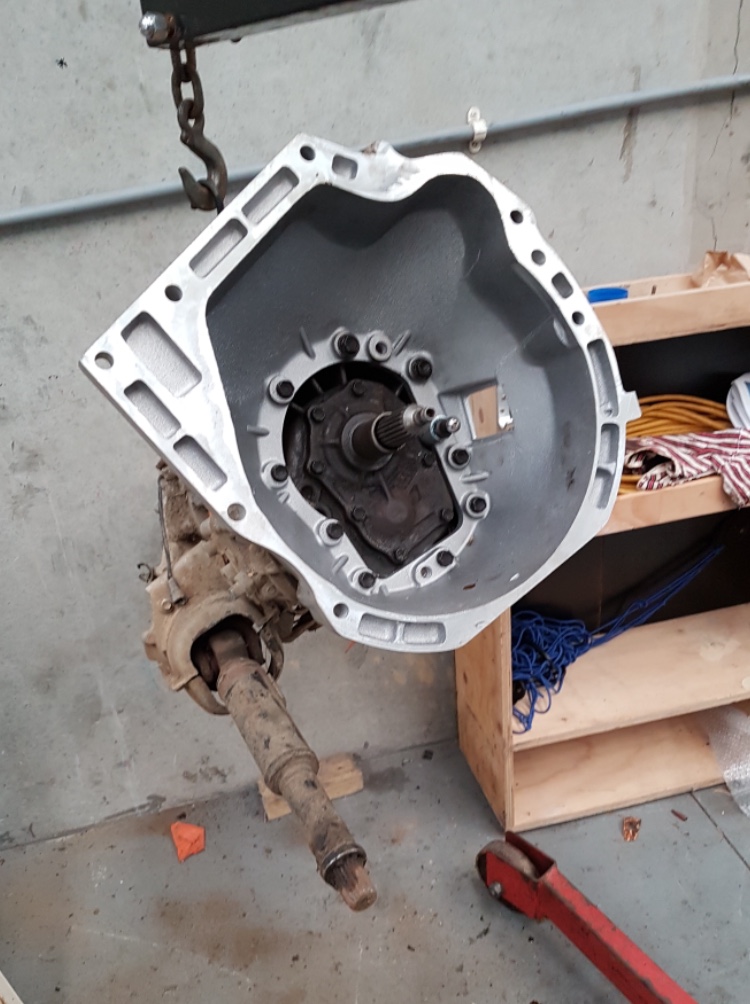
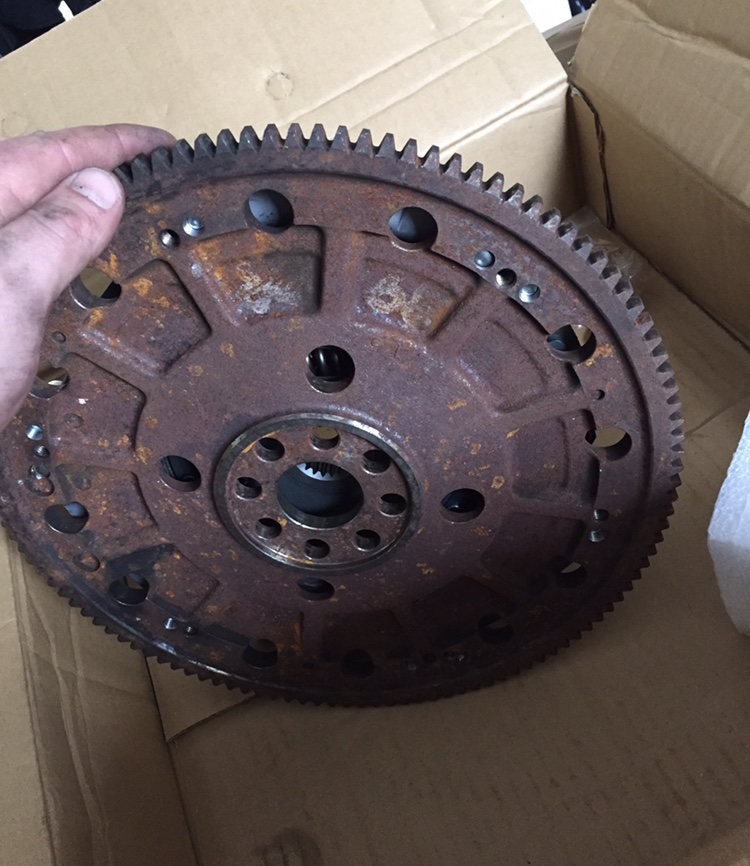
Ash’s 85 Toyonda crumpy “Barry’s revenge”
Ashkellybarr replied to Ashkellybarr's topic in Projects and Build Ups
Flywheel and clutch is bolted up, bellhousing done. just waiting on some bronze to make a spigot bush and need to sauce a release bearing carrier then be good to bolt it up.
- 61 replies
-
- 4
-
-
- toyota hilux ute
- k24
- (and 2 more)
-
Ian's 1969 alfa spider (1750 GT veloce)
Ashkellybarr replied to Ash Kelly barr's topic in Projects and Build Ups
On the road! Hopefully get it to some events soon
-
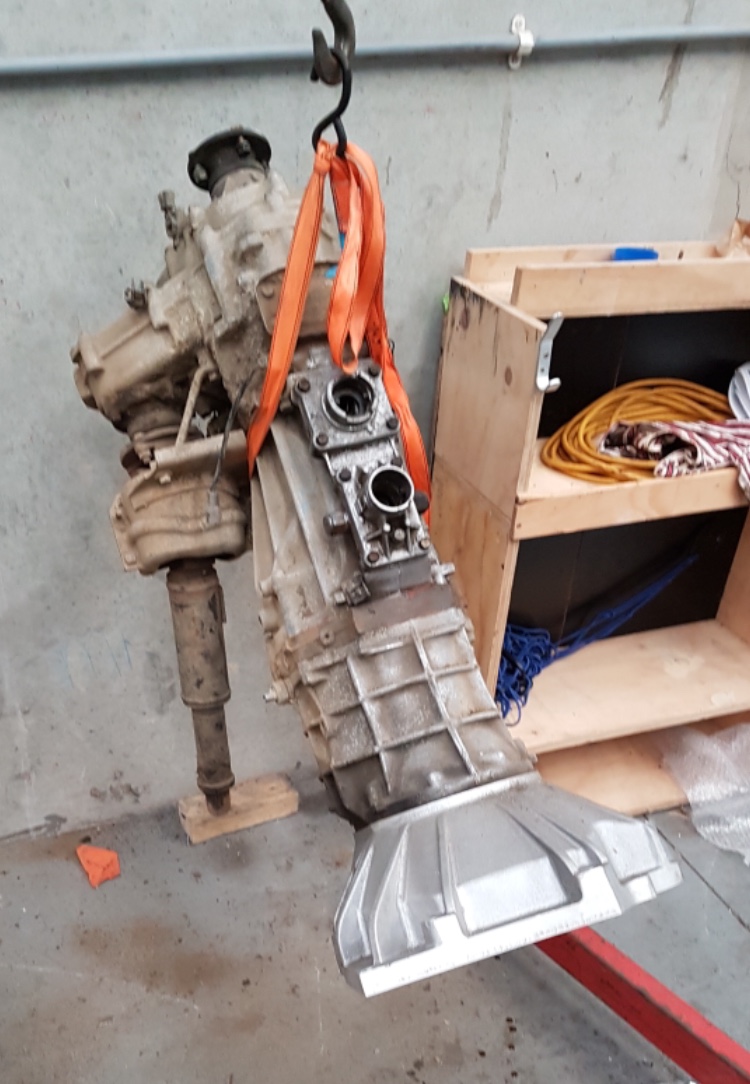
Ash’s 85 Toyonda crumpy “Barry’s revenge”
Ashkellybarr replied to Ashkellybarr's topic in Projects and Build Ups
Clutch is sorted. I’ll pick up a release bearing and slave so I can start booting the spare box to it to test it. still needs skimming and balancing so if anyone has recommendations for that it would be much appreciated made more progress on the tray. One of our fab guys is going to weld in the supports for me. Need to make new tail light hoops to suit the slimmed down tray
-
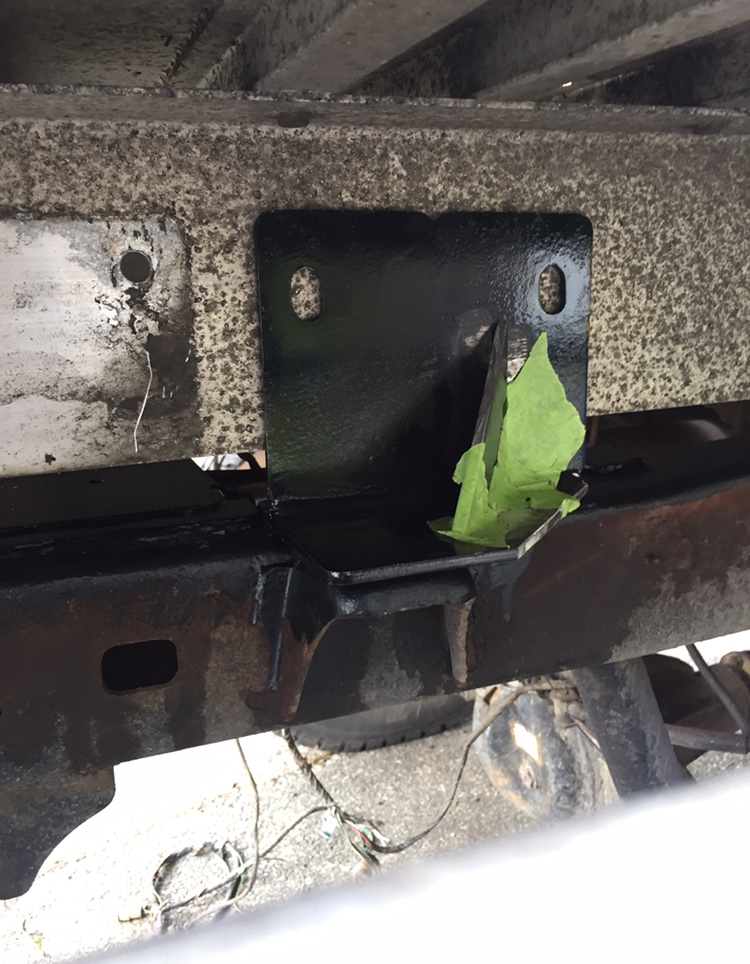
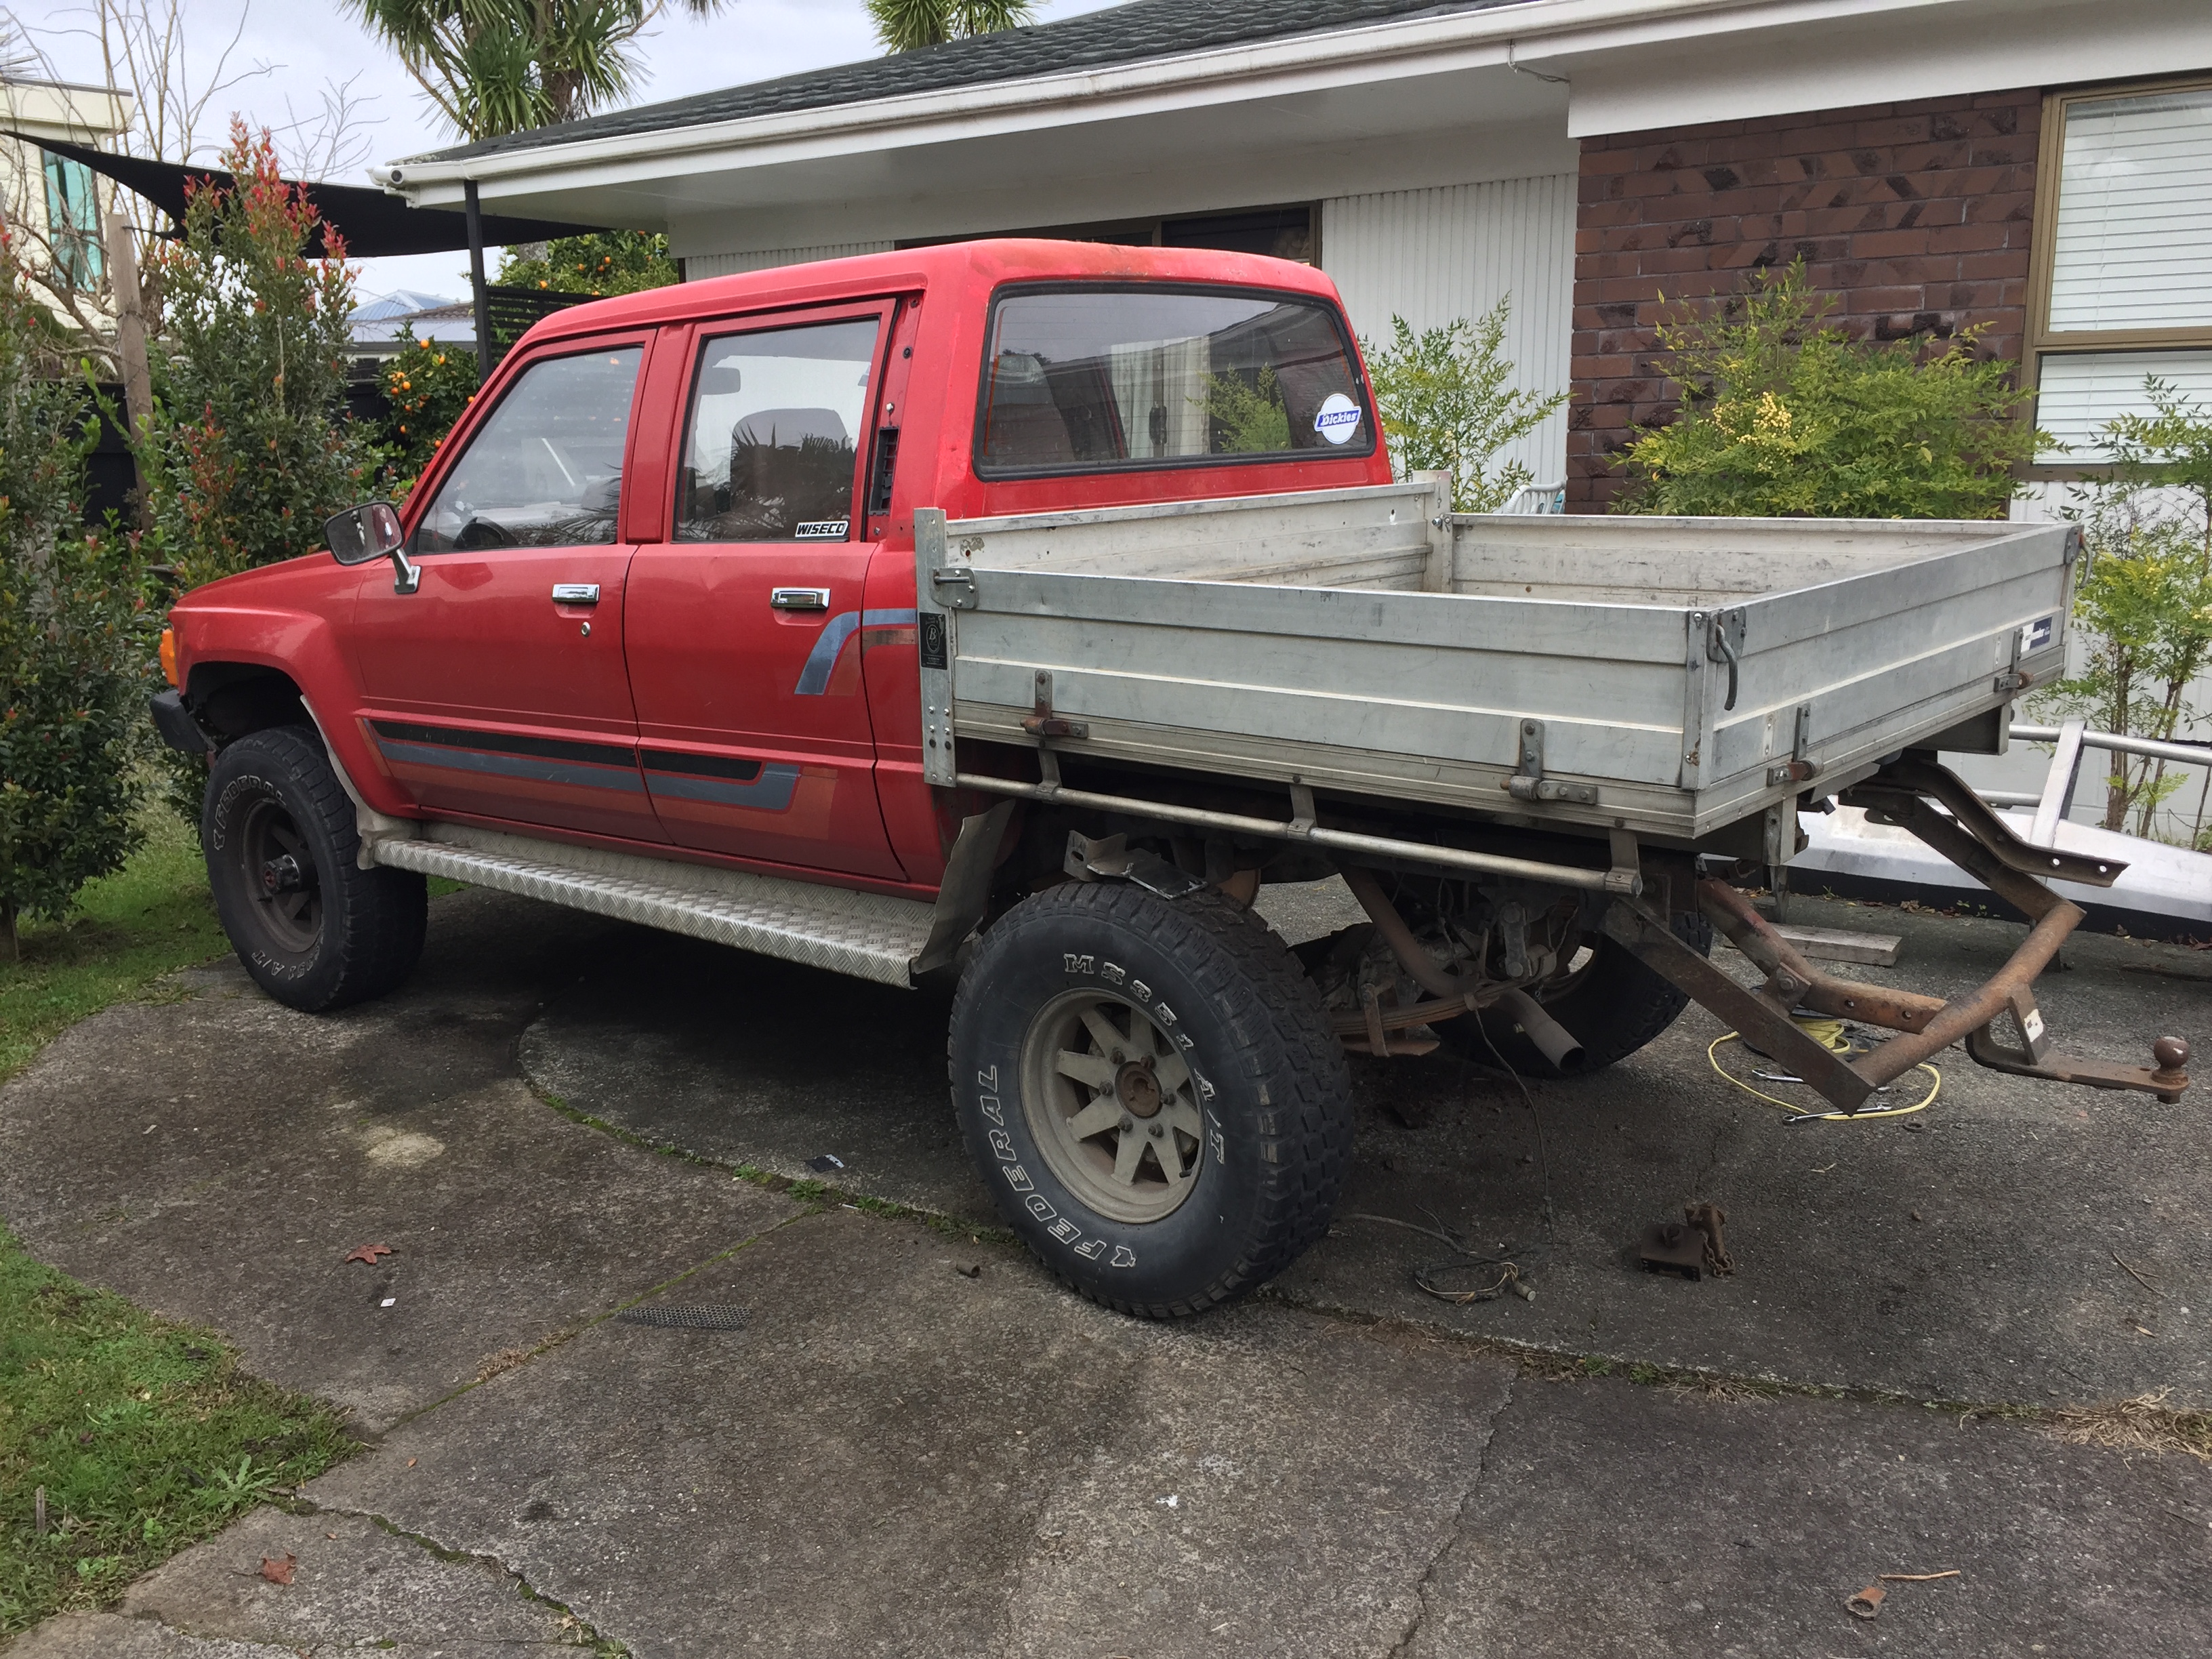
Ash’s 85 Toyonda crumpy “Barry’s revenge”
Ashkellybarr replied to Ashkellybarr's topic in Projects and Build Ups
Just sitting on there atm witch is why it doesn’t look level. Can probably refab to falcon mounts. fit and wire lights and we’re go! tail gate and sides are so light I can easily wave them around with one hand. Sits a bit high but the deck rails are sitting on the chassis rails. I’ll mount it up, maybe keep and eye out for some scrap alloy lengths of C channel that’s not as tall now I just need to get a proper tow bar setup and it won’t look so half ass farm truck haha maybe proper step too
- 61 replies
-
- 2
-
-
- toyota hilux ute
- k24
- (and 2 more)
-
Ash’s 85 Toyonda crumpy “Barry’s revenge”
Ashkellybarr replied to Ashkellybarr's topic in Projects and Build Ups
Progress. Picked up all new stainless fastnings for anything it unbolting/replacing, unfortunitly some are to short so I’ll haft to wait till I get some more but happy with how it’s going. measuring up and doing mounts to the rails will be more of a mission it’s looking. see how we go. Maybe make spacers and cut and tack plate?? Open to options or ideas on how to do it
- 61 replies
-
- 1
-
-
- toyota hilux ute
- k24
- (and 2 more)
-
Yeah pretty much hahaha misso wasn’t impressed
-
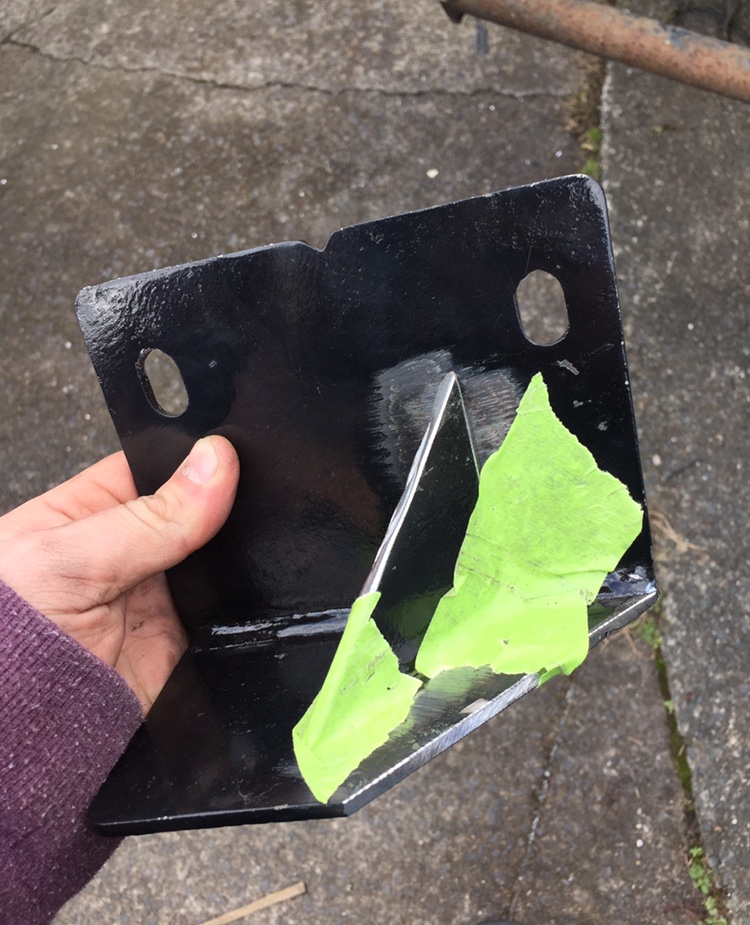
Ash’s 85 Toyonda crumpy “Barry’s revenge”
Ashkellybarr replied to Ashkellybarr's topic in Projects and Build Ups
Spot the fuck up
- 61 replies
-
- 1
-
-
- toyota hilux ute
- k24
- (and 2 more)
-
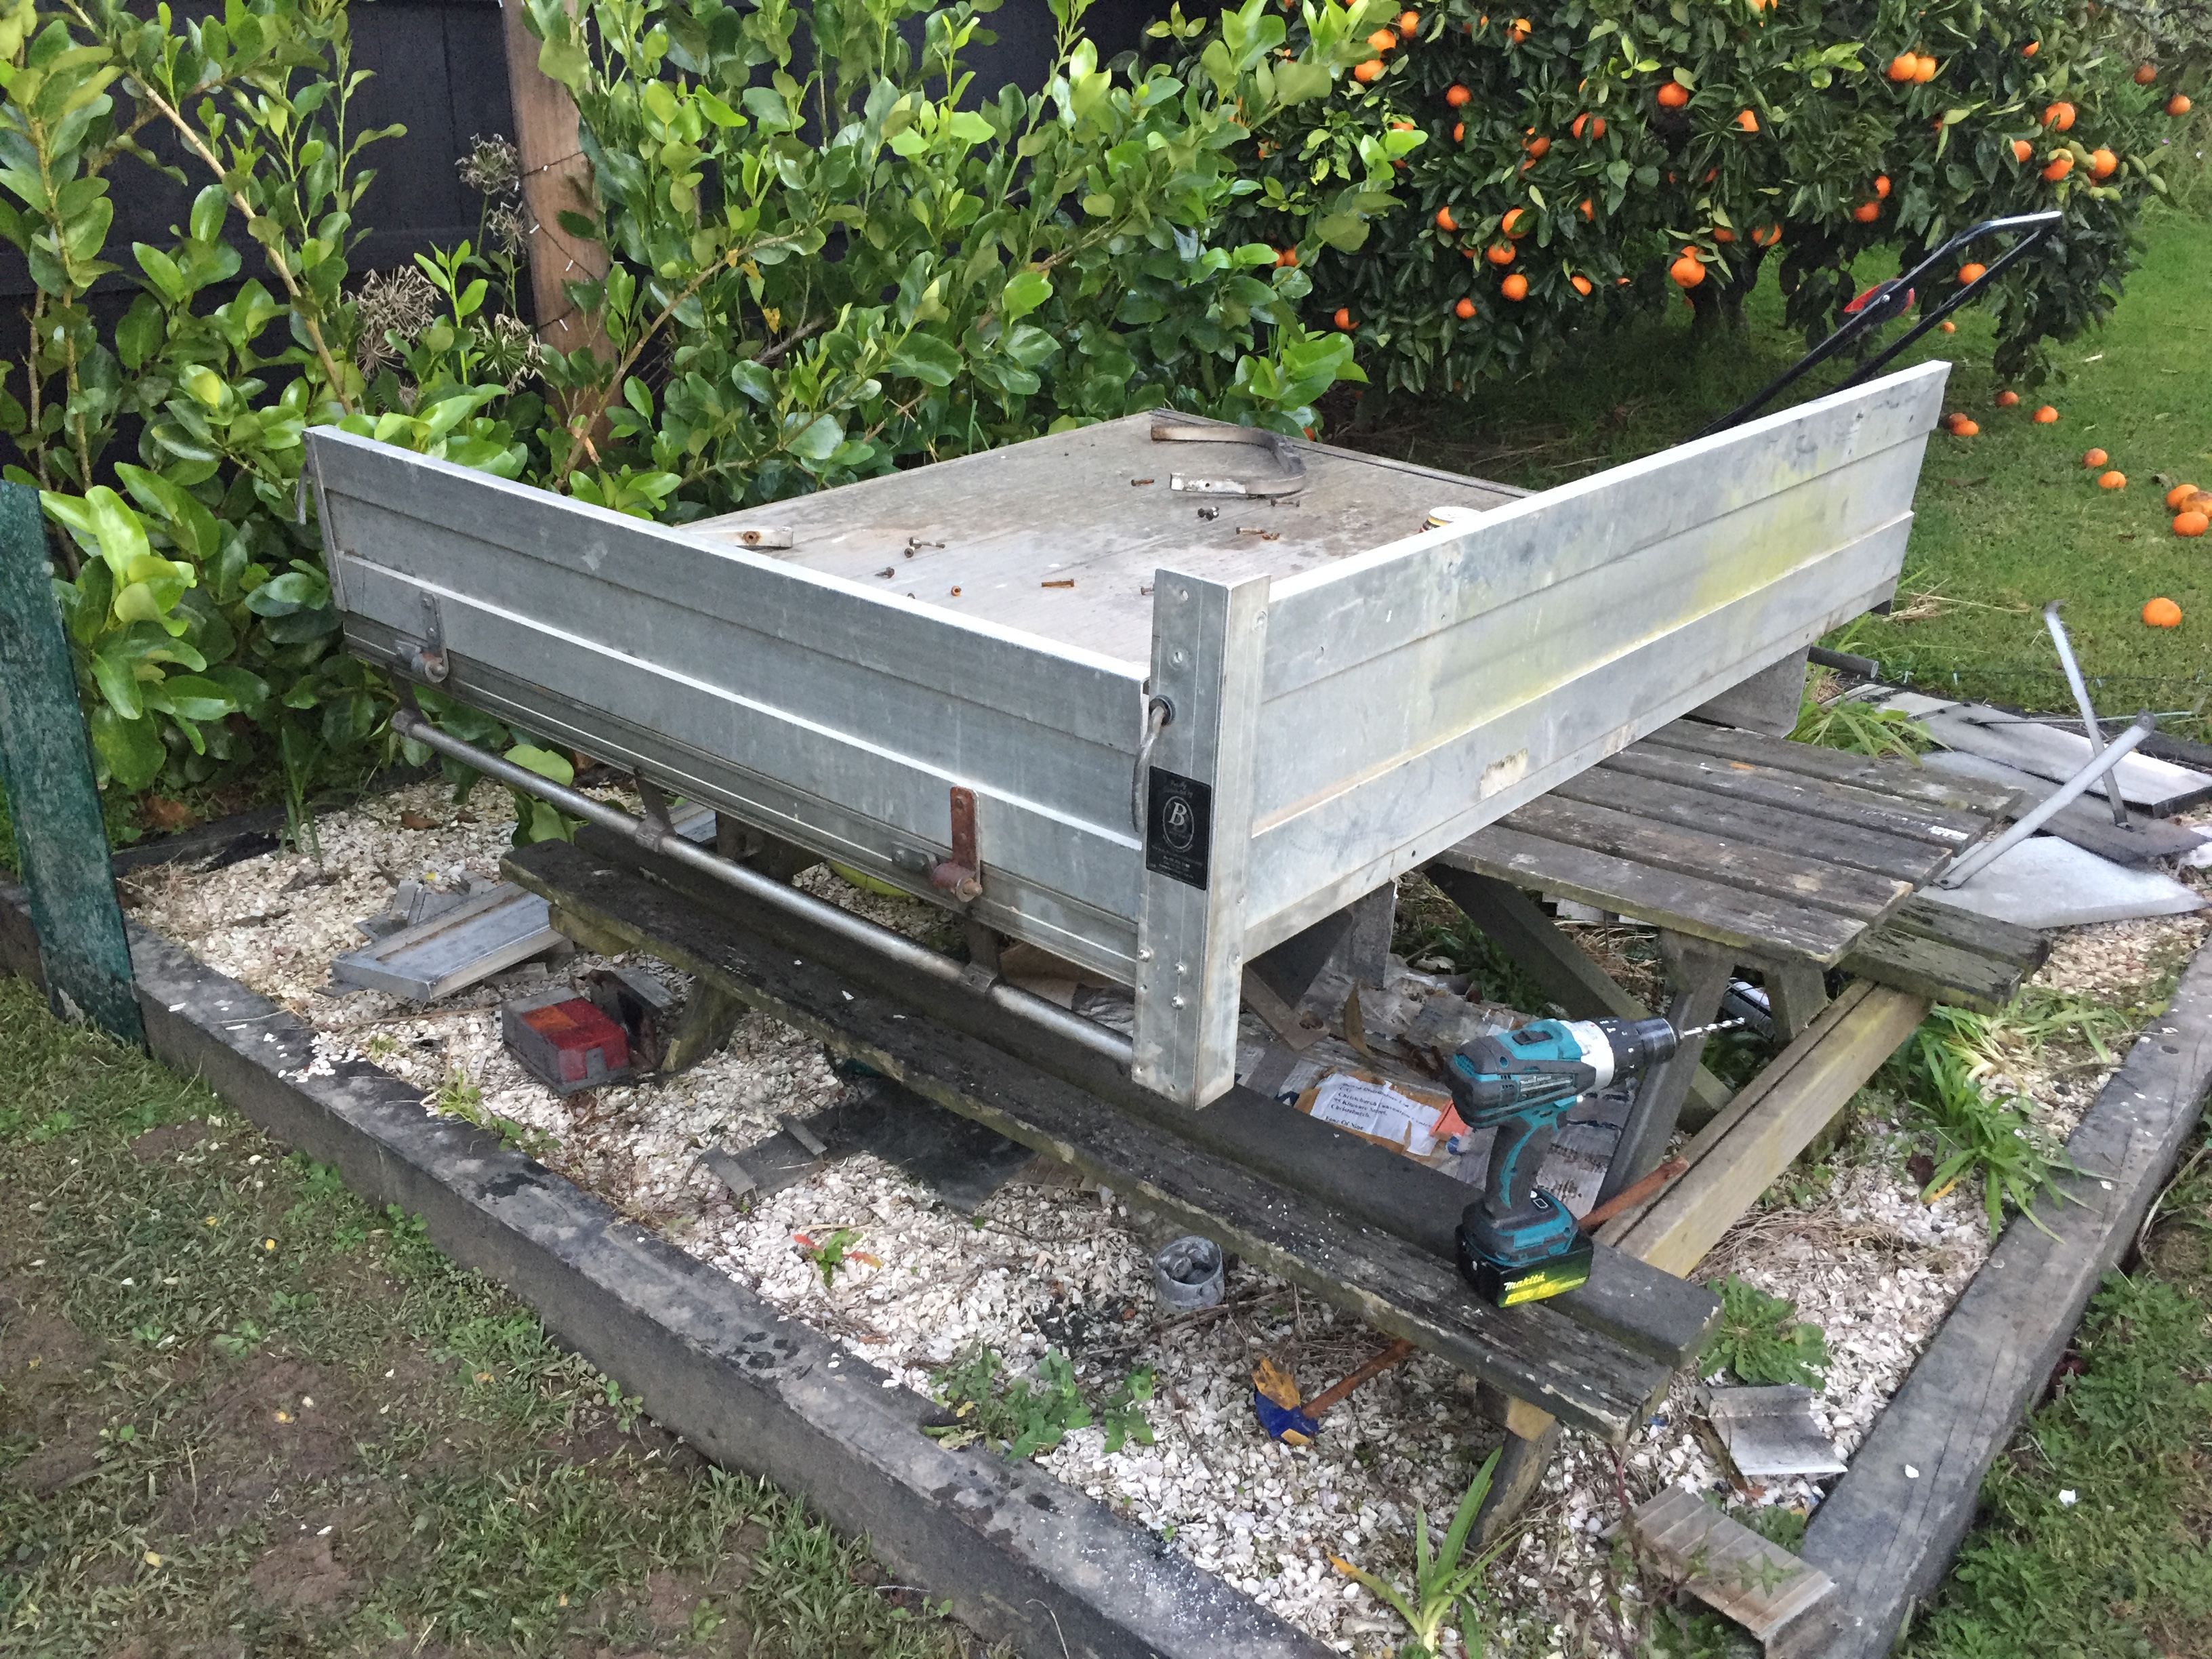
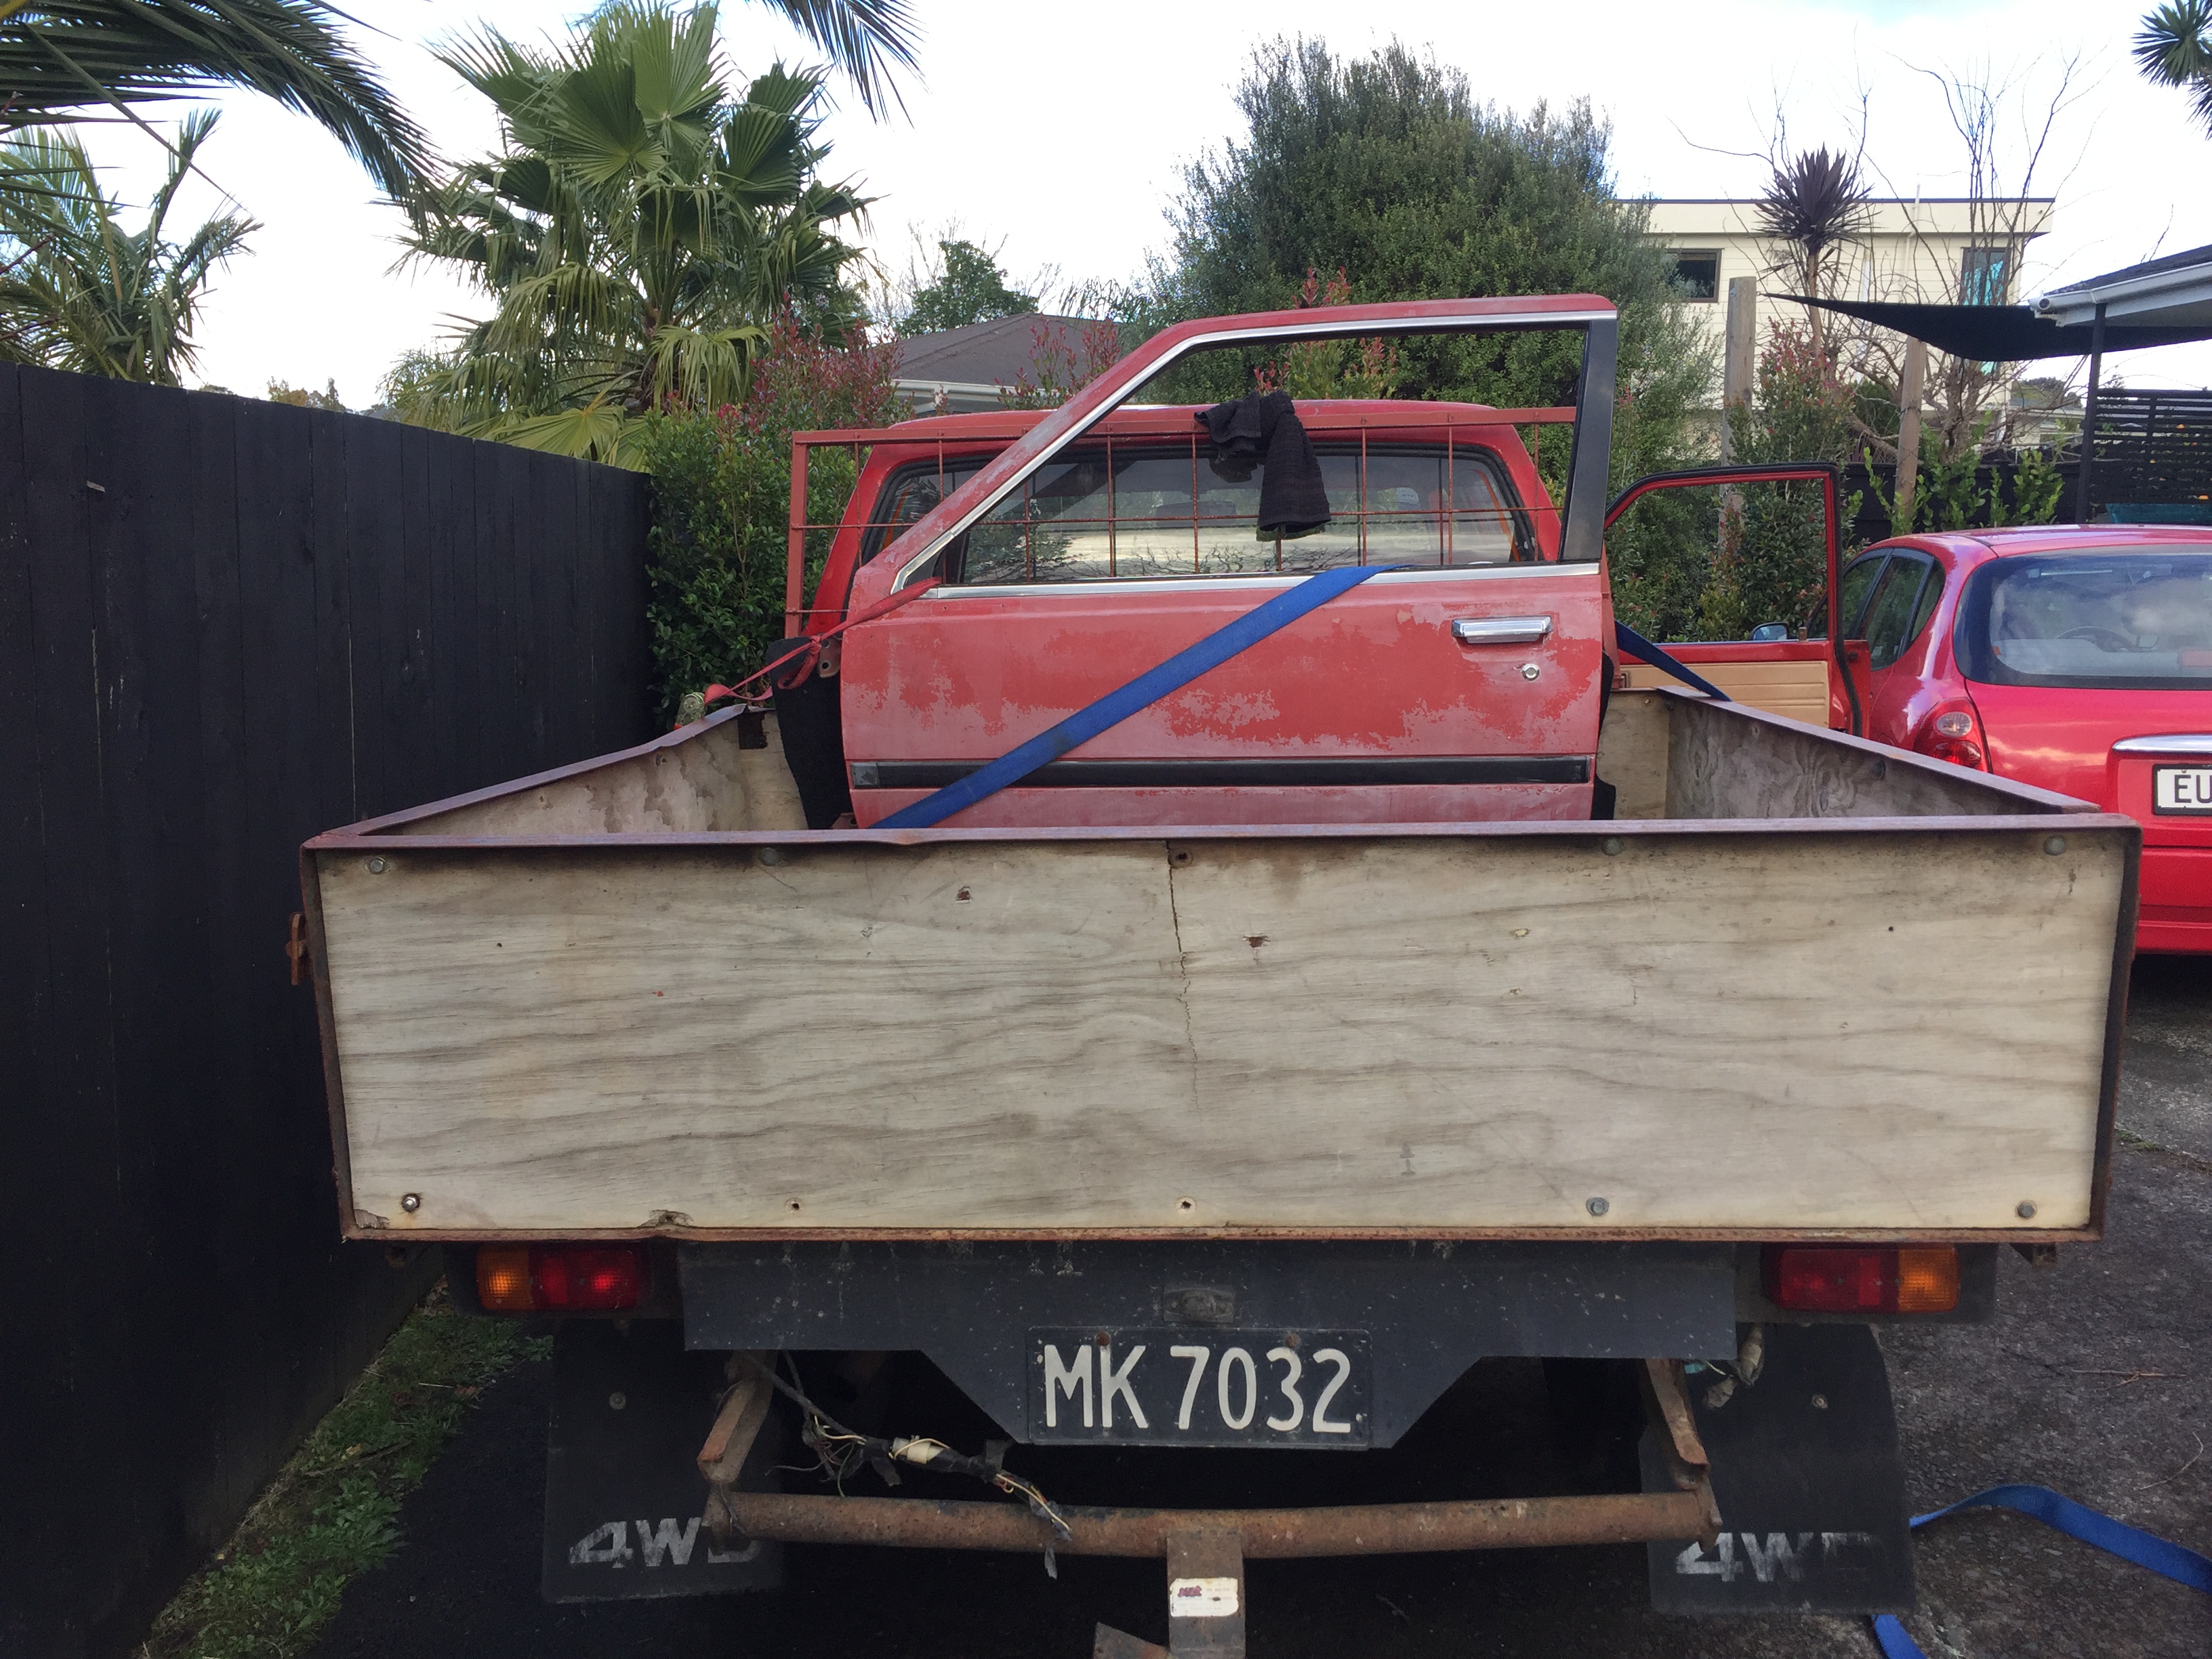
Ash’s 85 Toyonda crumpy “Barry’s revenge”
Ashkellybarr replied to Ashkellybarr's topic in Projects and Build Ups
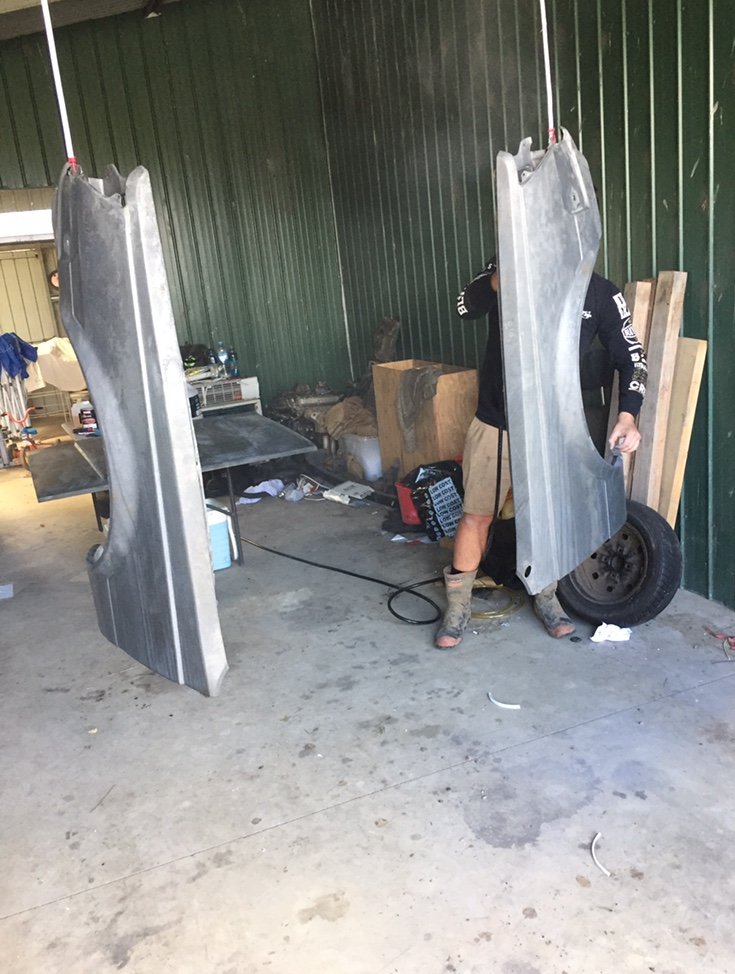
Stocked! Found an alloy tray for a good deal. She’s far to big, being off a 05 single cab falcon it’s far to long and hangs over a fair bit each side. fortunitly, it’s all bolts a riveted together so should be a piece of piss to get to mod. The entire thing aside from the chassis mounts is alloy, me and mate could lift it easily. So cutting 800 or so off the front and 150 off each side i should be able to lift it by my self without the tail gate and sides on. finally get rid of that water logged angle iron mess on the back! And being lighter save on gas too
- 61 replies
-
- 6
-
-
-
- toyota hilux ute
- k24
- (and 2 more)
-
Making room for another cyl head. hopefully finish fab over the next week and can start looking st painting
-
Ash's 82 AA60 rina of rustic glory
Ashkellybarr replied to Ashkellybarr's topic in Projects and Build Ups
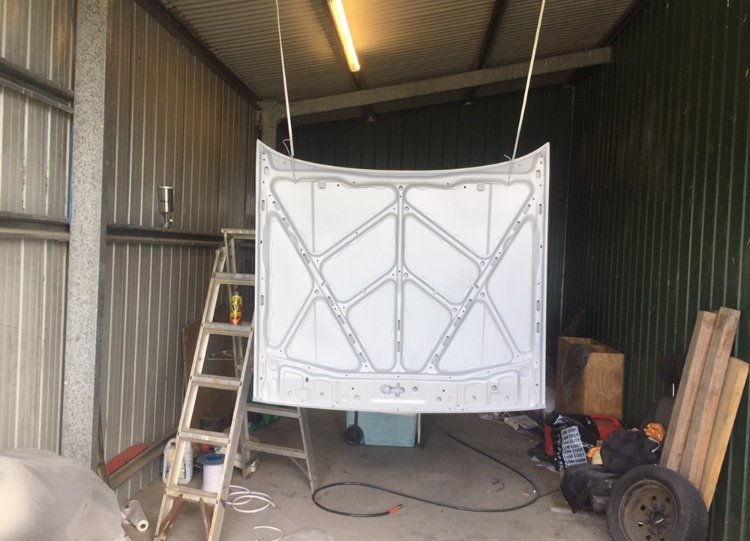
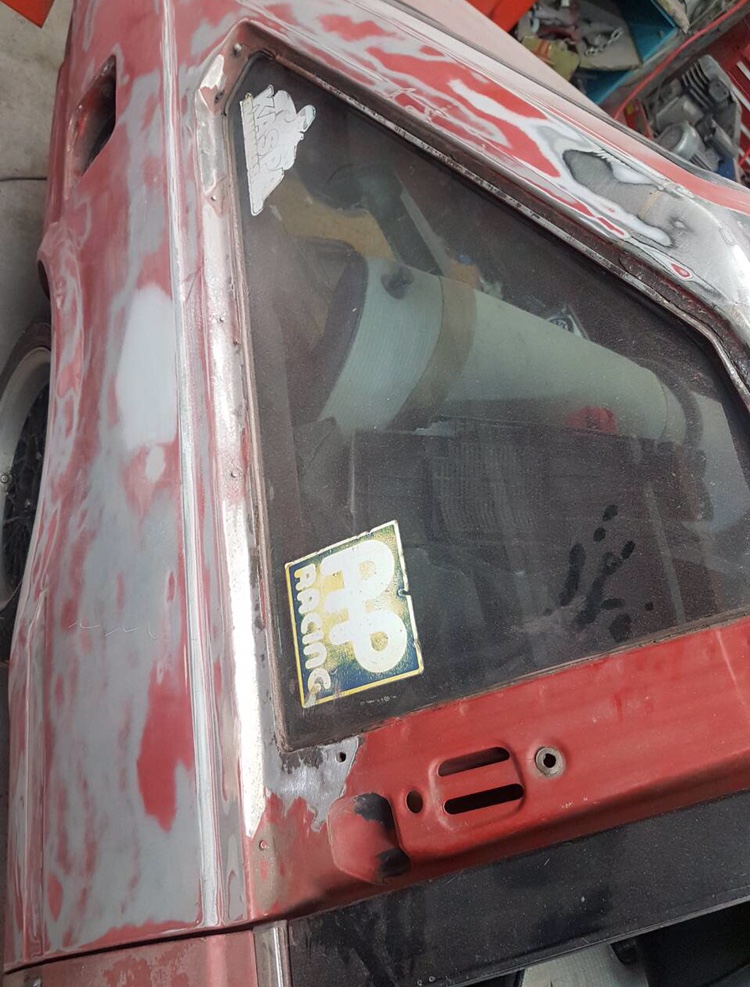
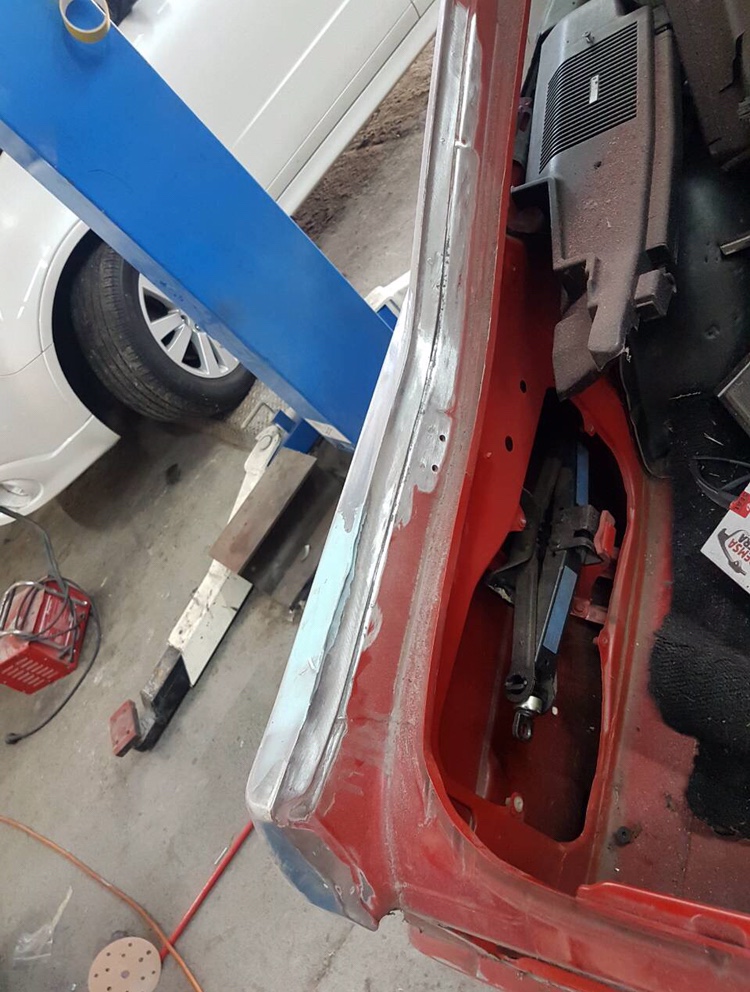
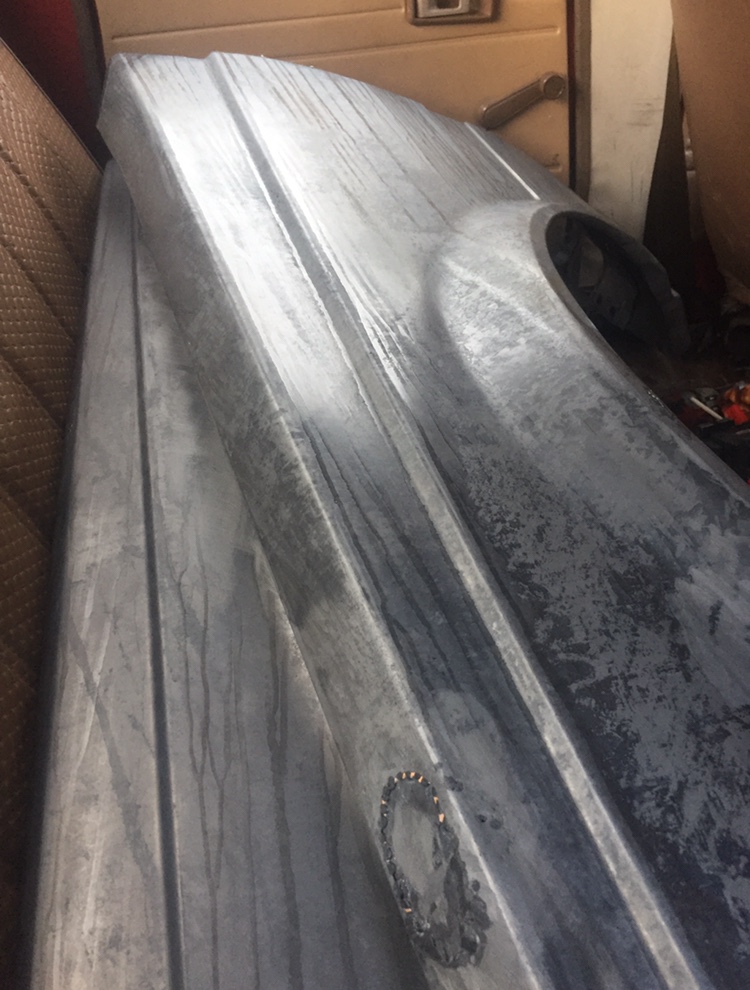
Drove out to the storage unit today in the tractor and pulled to doors off. Hopefully get these and the rear hatch acid dipped over the next week and start getting into epoxi primer. once that’s done, it’s painting the door jams and hatch jams in 2k black. Bolting panels on and taking it back to the panel beaters for panel and respray exciting!
-
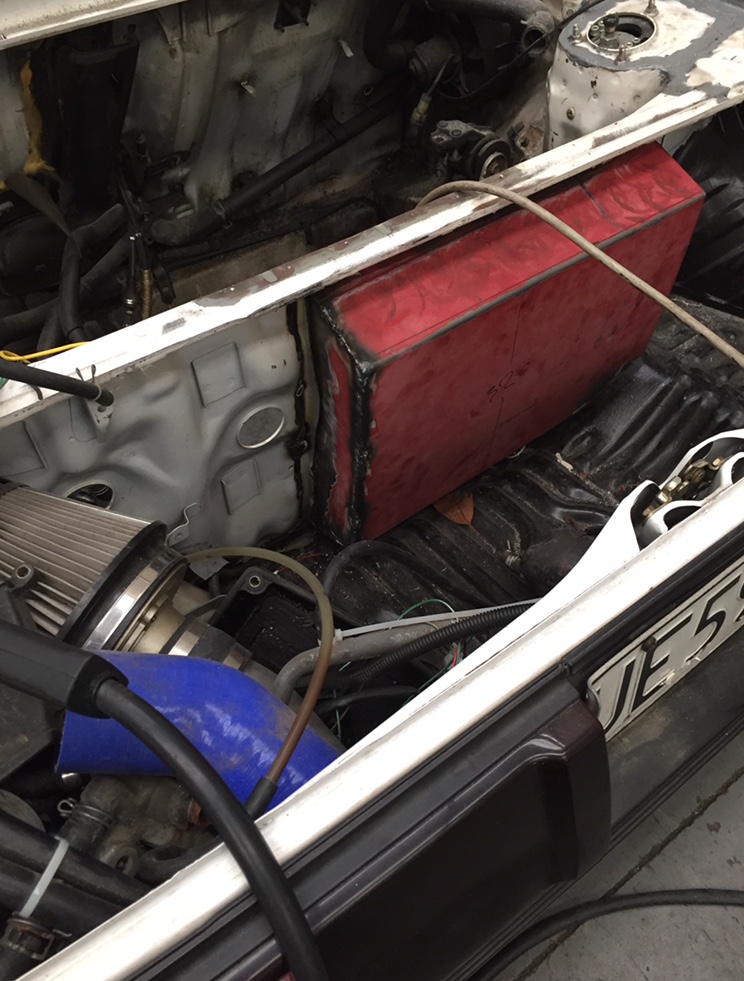
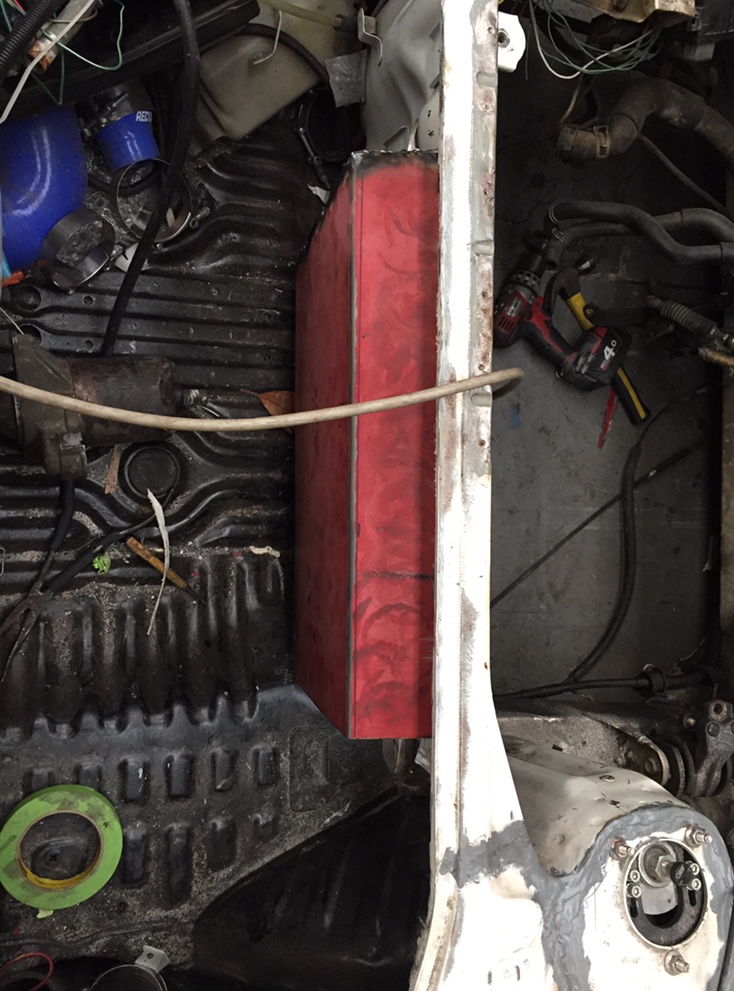
Ash’s 85 Toyonda crumpy “Barry’s revenge”
Ashkellybarr replied to Ashkellybarr's topic in Projects and Build Ups
Picked up a vx landy fuel tank. It’s all completely wrong tor fit up on the hilux but the pump holder and baffle plates could still be of use. Cheap and just down the road I don’t feel bad about it not fitting up. maybe look at modding the standard fuel tank to hold the baffles and plastic tub the pump sits in. got some fuel foam from cardwells too so I’ll see what I can come up with. on another side quest to the current side quest I’ve brought back a side quest from another incomplete quest in the form of an intake manifold. honda intakes all have the throttle at the back of the motor, so being put into RWD puts them against the fire wall. ive got a mould for a carbon intake plenum from an idea a while back. Decided not to let it go to waste. Desided I’ll make the whole intake manifold from carbon fibre. Nick t 3D printed a mould for some runners and I’ve finished a couple already. Plenums ready to be pulled from the mould. im just doing wet lay so it won’t look super flash, but will be very light and strong witch is kinda my goal for the whole hilux runner diameter is the same as factory, but runner length may be longer
- 61 replies
-
- 7
-
-

-
- toyota hilux ute
- k24
- (and 2 more)
-
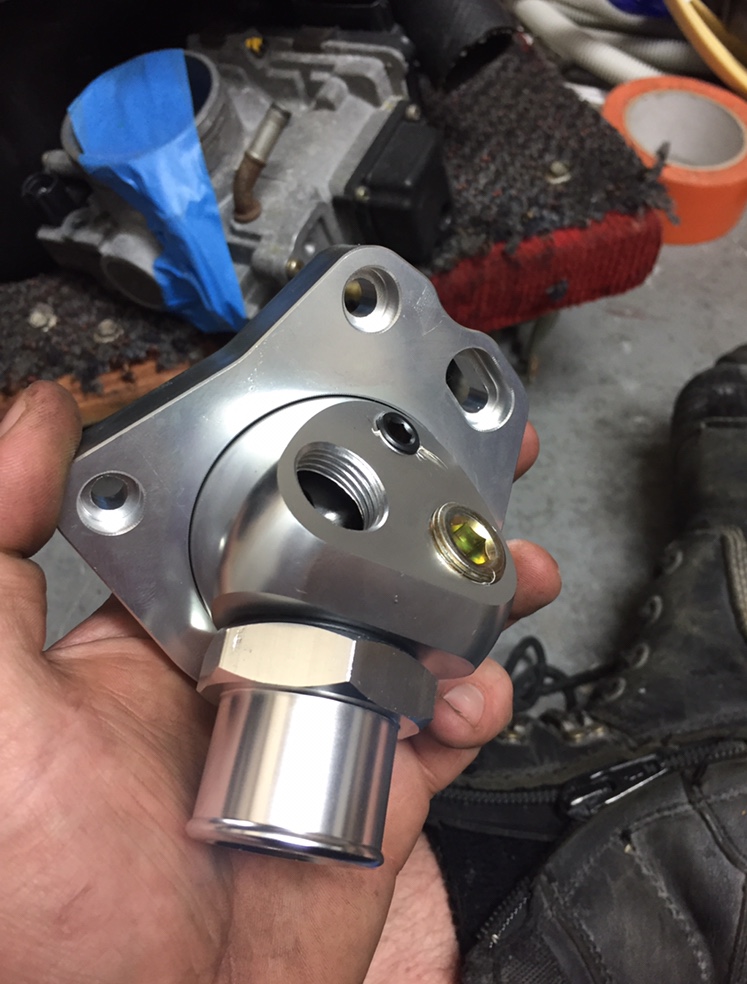
Ash’s 85 Toyonda crumpy “Barry’s revenge”
Ashkellybarr replied to Ashkellybarr's topic in Projects and Build Ups
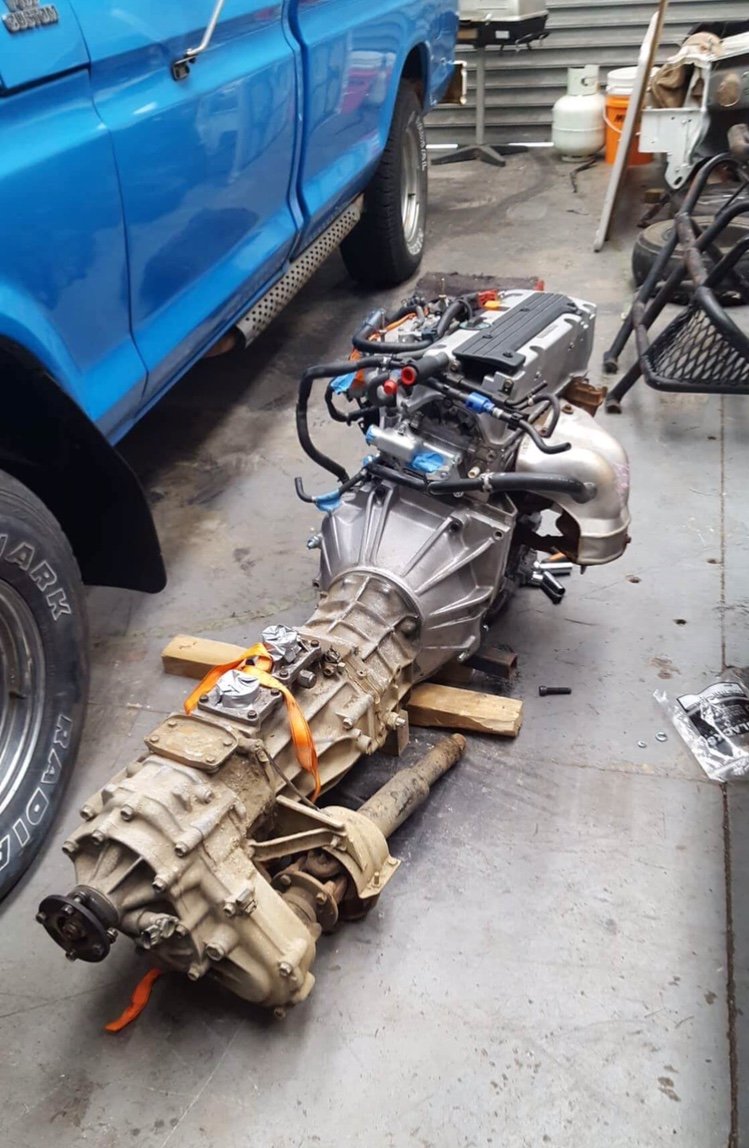
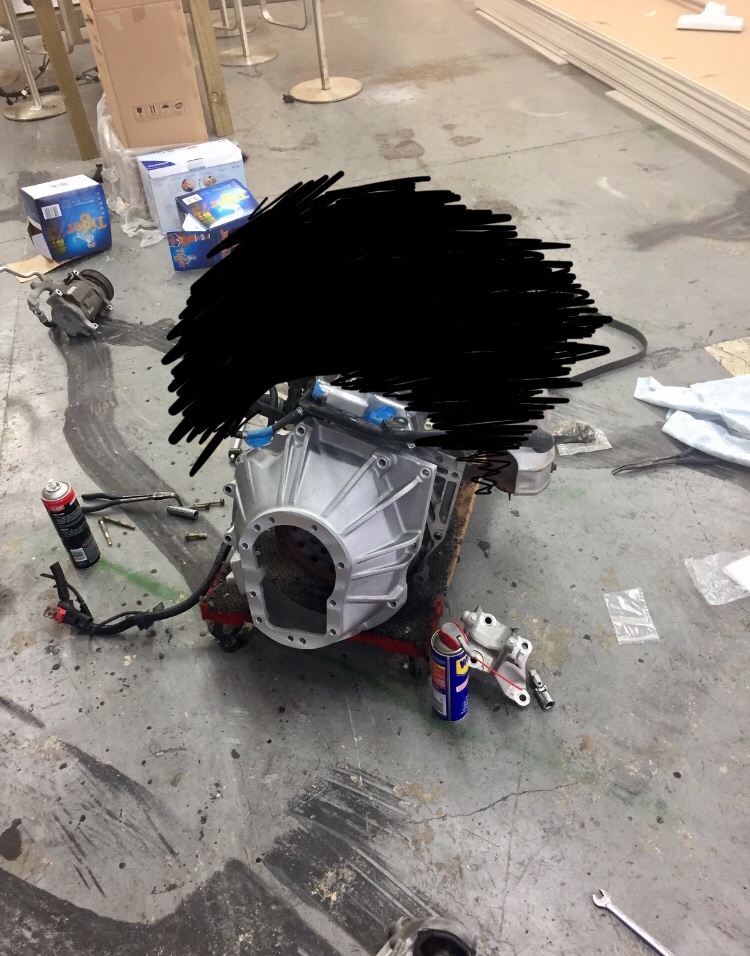
So I guess the cats out of the bag. Before I get into it, this is a “side quest” of sorts. Mostly in the name of fuel economy. Or at least that how I’m trying to justify it the miss’. honda k24a2 : $1600 mc Gregor Motorsport bellhousing $750 02 civic type R flywheel $100 redrill flywheel for clutch $80 custom mrp clutch $500 k tuned Chinese replica parts $120 k20 starter $110 fuel line and fittings $200 fuel pump $120 now keep in mind the motor came with loom, ecu, transponder barrel & key, alt, coil packs, and basically a full repower package with everything I need. will take it from the.. standard: 2L 85hp 150nm to the Honda: 2.4L 205hp 232nm so around double the power. not huge power, however it’ll have more then enough power to have some fun. And most of all, use half as much gas! am waiting on the clutch plate to turn up then I’ll be able to bolt it up to the 5sp box. Mate has a class 2 buggy I’ll hook the slave upto to test the clutch setup before I try put it in. other then that it’s just fuel system, fuse box, rad and coolant lines. need to sort a v6 tank, possibly mounts for it. motor swap will be slow going and something I pick away at
- 61 replies
-
- 8
-
-
- toyota hilux ute
- k24
- (and 2 more)
-
Ash’s 85 Toyonda crumpy “Barry’s revenge”
Ashkellybarr replied to Ashkellybarr's topic in Projects and Build Ups
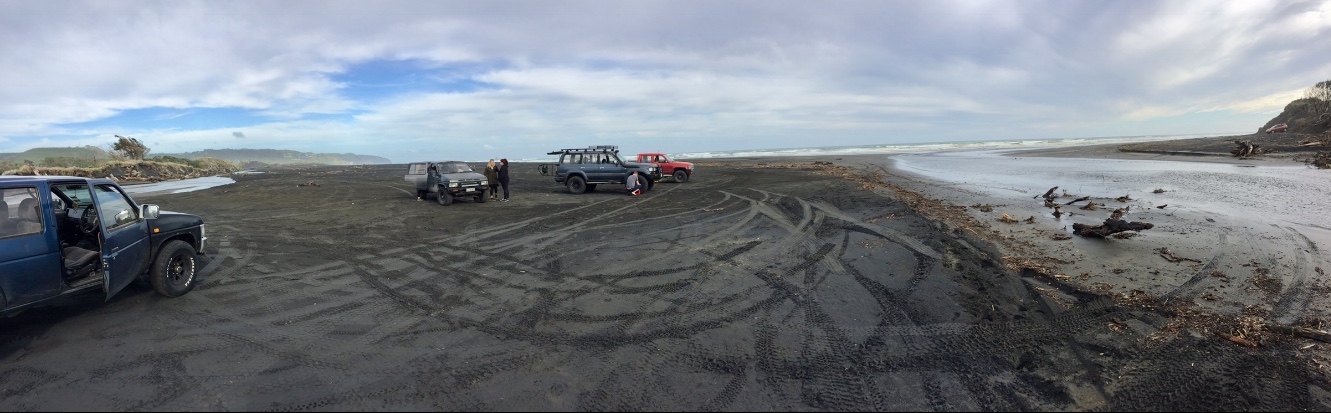
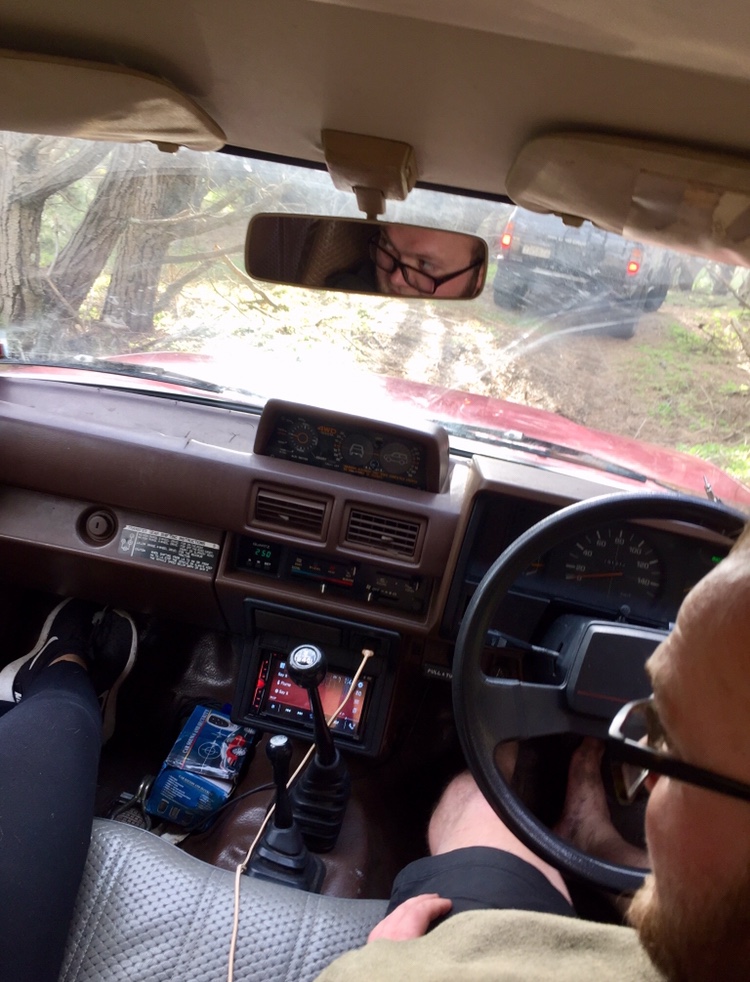
Found time to tidy up the tractor today. Replaced some worn out interior pieces with some slightly less worn out pieces.. made it out to the beach also witch turned into a full day with friends. Managed to get a bit airborne, but not all 4’s unfortunately. getting used to ratios too. Trying to get speed in 4L by shifting into 3rd before hitting a dune, but shifting halfway up a climb it bogs. Staying in 2nd means I’m not coming off the power to shift down half way up so I can make it up. Just means ringing the tits off the old 3Y haha kept up well with the bigger guys, just sucks in super soft sand, even at 10psi in the rear Smiles all round
- 61 replies
-
- 1
-
-
- toyota hilux ute
- k24
- (and 2 more)
-
Ash's 82 AA60 rina of rustic glory
Ashkellybarr replied to Ashkellybarr's topic in Projects and Build Ups
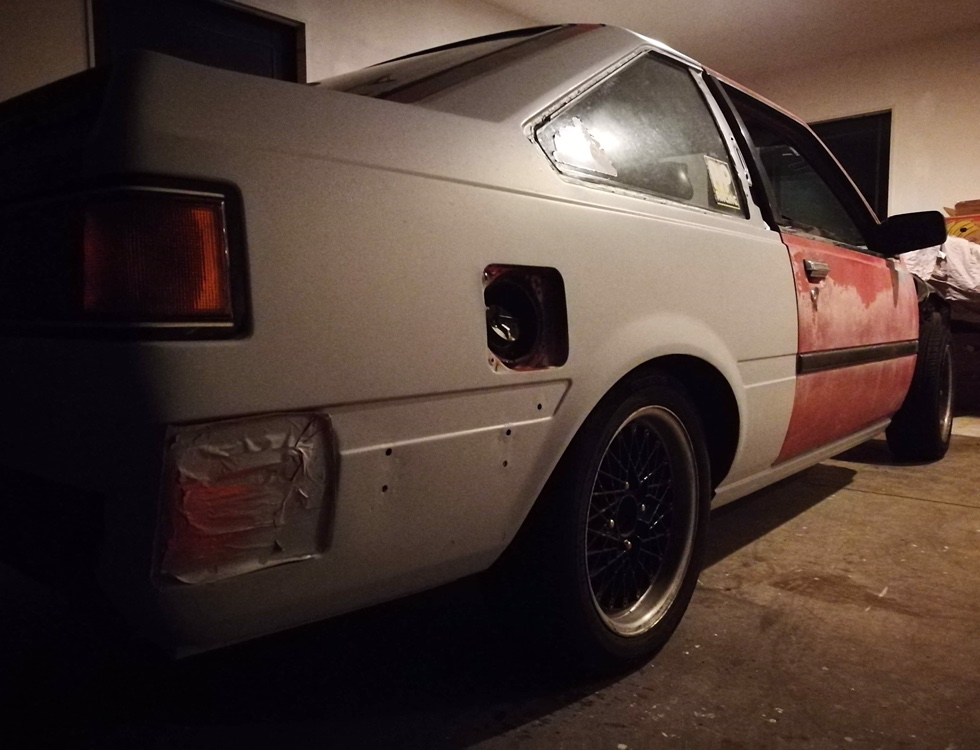
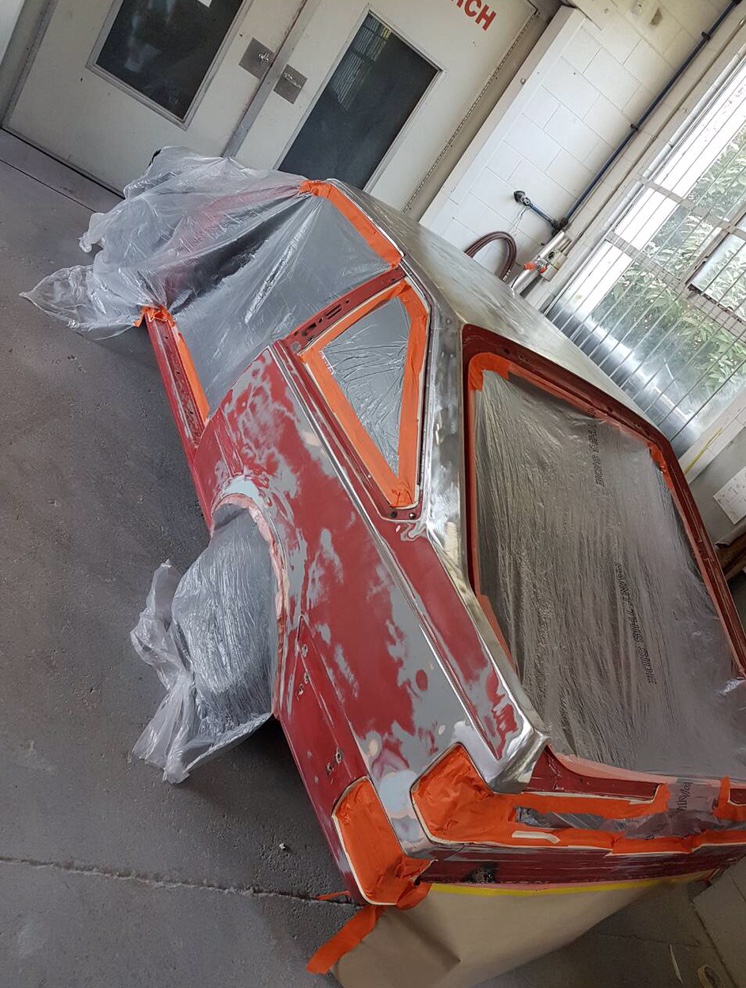
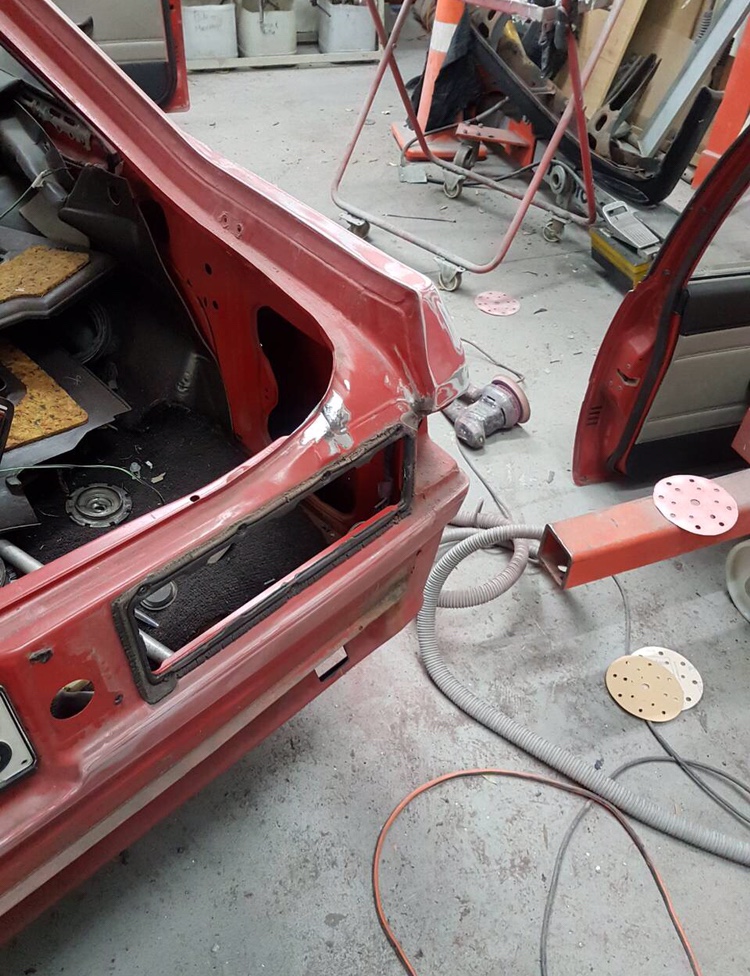
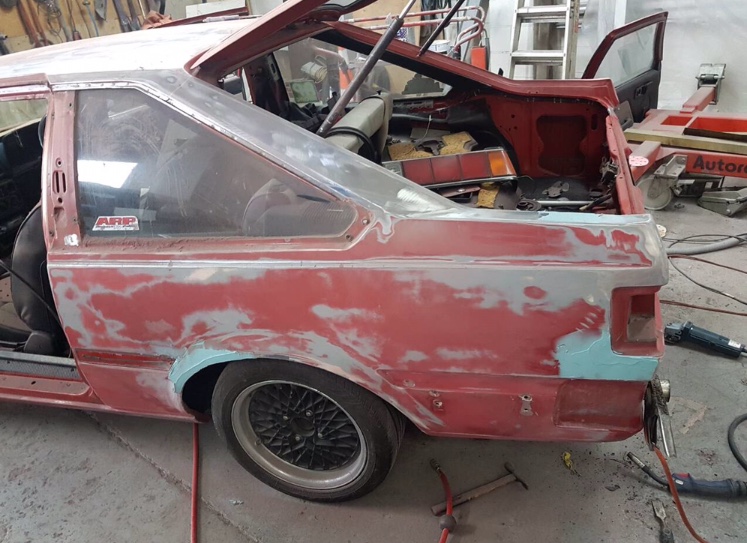
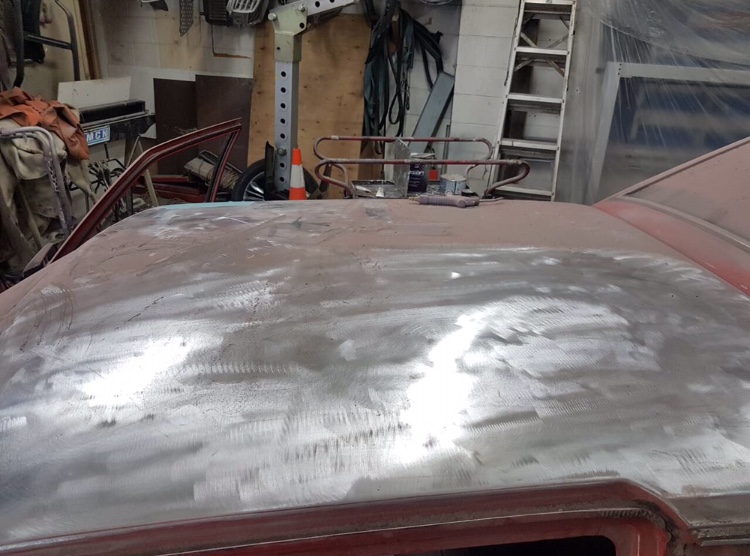
So some months ago now I had the unfortunate luck of having an accident in the carina. Pulling out from from work across a gap, at the same time someone was pulling across from the opposite side behind the car I was waiting to pass. Damage wasn’t that bad, front left corner, bend fender, bonnet and bumper iron. Most unfortunate bit was the left hand indicator and plastic surround was smashed to bits. I’ve got full cover so lodged it with insurence for repair. After trying to source parts, negotiation etc etc we got the ball rolling. Thankfully, I’ve found a really good panel beater. Not cheap but super easy going and happy to cater to what ever situation. Body’s mostly been sanded back to bare metal. Then sprayed in an epoxi primer. All bolt on panels will be acid dipped. Bonnet and gaurds have been dipped already. When I get time from work I’ll pull the doors off and do the rear hatch too. Not so rustic now
-
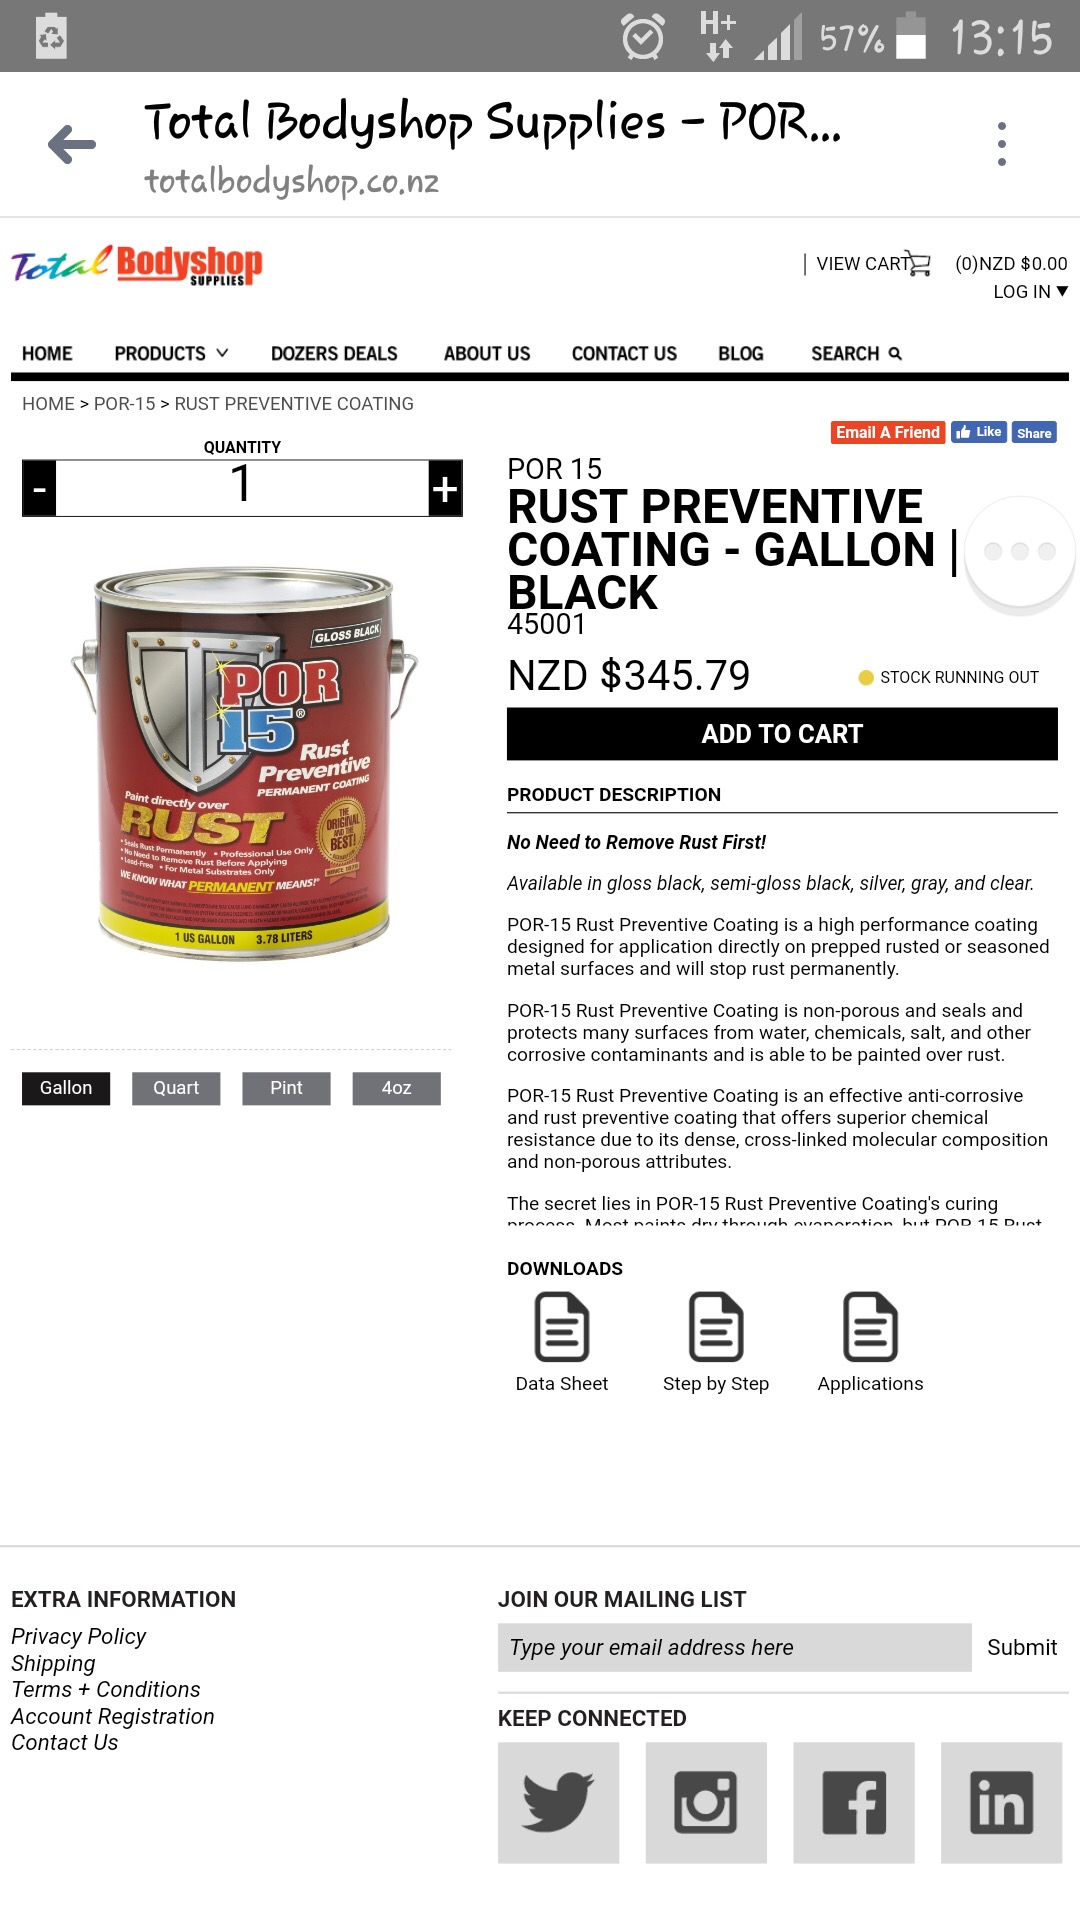
What two part product would you recommend?
-
Looking at doing under body atm would anyone have recommendations or hooks ups on this product before I dump money into it?
-
Said to a couple people from different groups I’ve got stuff from there and everyone gives her a mention haha
-
Maybe, maybe I’m just trolling
-
Ash’s 85 Toyonda crumpy “Barry’s revenge”
Ashkellybarr replied to Ashkellybarr's topic in Projects and Build Ups
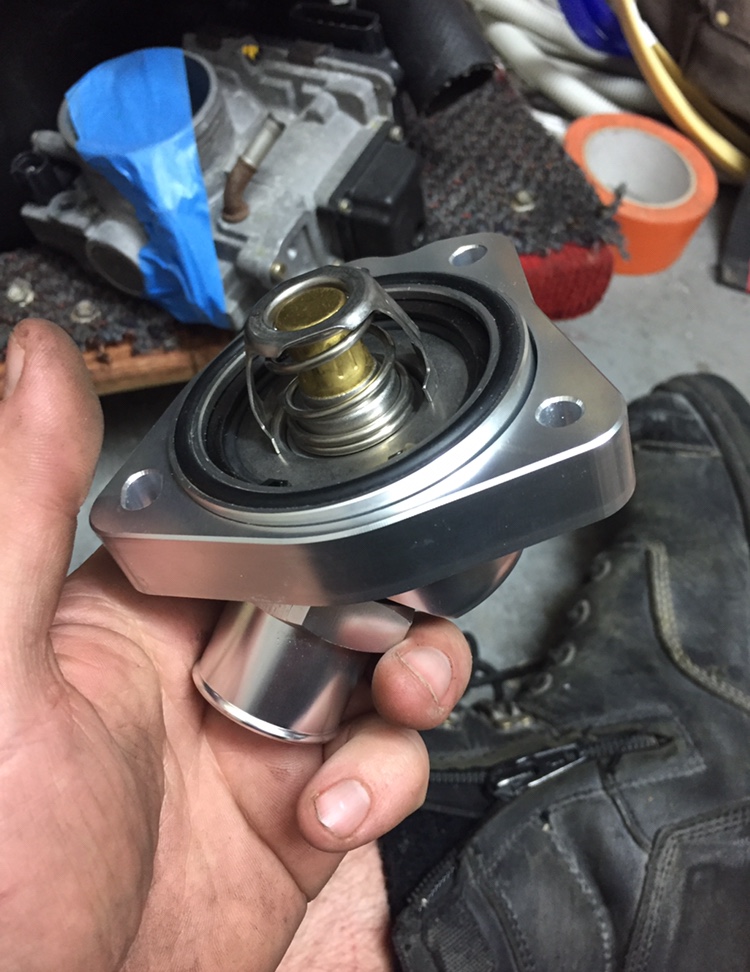
Went to the beach, did well for a simple old Ute. had an attempt at a big sand dune climb, made all the way up until the top where I bogged getting over the peak. I’ll blame that on it being dug out by the land tank safari’s Early jap nutter was a G and sorted me with some nessary parts to replace the leaky header core and damaged heater switch assembly. Hopefully find some time over the next couple weeks to get all these little tidy up things done. trying to find part numbers for the 5sp g52 box as well so I can replace the seals before I swap it in
-
Plus one ^