Ashkellybarr
-
Posts
512 -
Joined
-
Last visited
Everything posted by Ashkellybarr
-
Yeah I'd love to be able to data log. I'll look into that! With the link I don't think just leaving a laptop plugged in while zooming around actually logs everything. Think they made it so you haft to buy the display
-
http://forums.linkecu.com/index.php?/topic/1451-diy-vipec-display/
-
So I've been looking into getting a tablet to be able to cycle through my gauges to see what my motors upto. Mainly cause I don't want a bucket load of guages and have my car looking like its out of 2fast2furious. So I've been looking into an independent system using said screen.... http://www.mindkits.co.nz/store/p/7149-Serial-Graphic-LCD-128x64.aspx How ever, this would require me.. 1 buying and installing more sensors, trying to get graphs for these sensors to then do the coding for the read outs. 2 Doing coding 3 Another loom So I've now been looking into a read out through the link G3. The best option I've seen is to leave a laptop plugged in. A small tablet with windows and USB could do this easy. Now for the next hurdle, I need it read what it needs to run plus more. This being... Oil pressure Oil temp Water temp Water temp for the intercooler I feel as though I won't have enough input on the ECU to do this though?? Any input/thoughts/info would be much appreciated
-
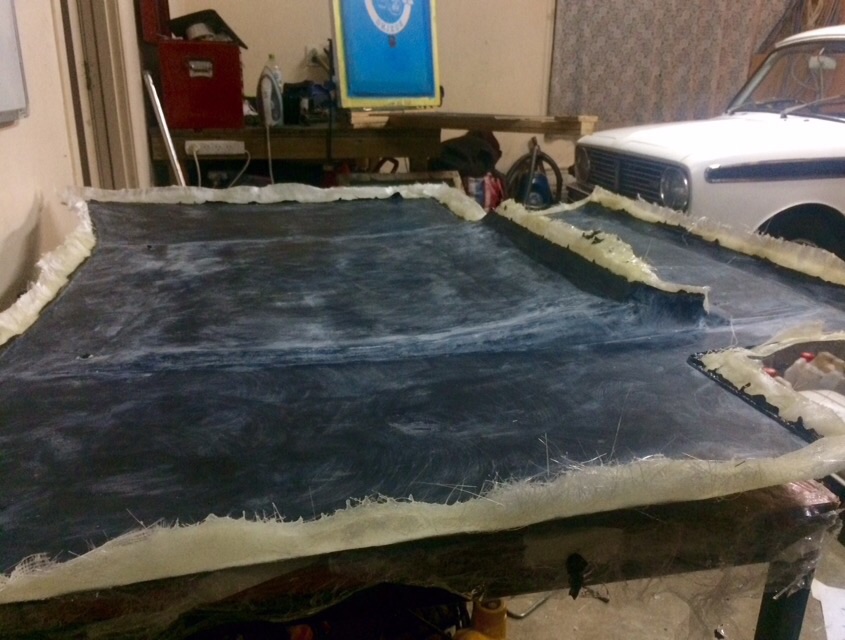
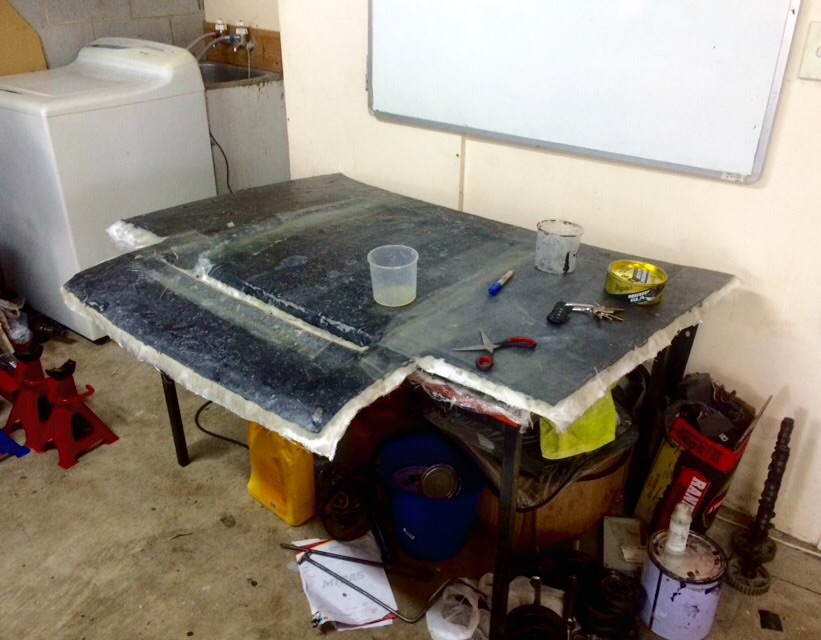
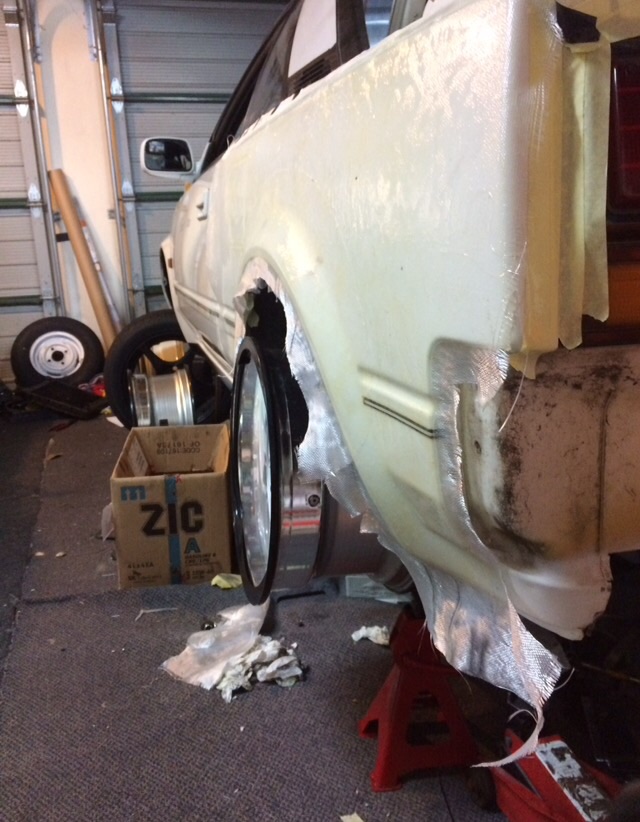
Pulled and done. Gotta build up the sides now. Reason I didn't tape cardboard onto the bonnet before making the mild is I've done that before and it lecked under, then when I tried to pull it there was to much of a lip and it cracked the mold. I've started masking it up and I'll go around the build up the edges. Being such a flat panel it's got quite a bit of flex so I'll flip it over and sit it back on the plug and fix some tiber to the back of it. For that ive picked up some 10mmx60mm stuff you use for the finishing of the bottom of walls

-
Final chop is done on the bonnet so it'll be ready to flip tomorrow Before I pull the plug I'm gonna give the hang over a good smooth coat of gel coat so I if I choose the do a vacuumed form carbon one I have something to seal to. There molds better then I thought. Will be picking up the other on off face some time this week to get started on that
-
Project Alan Mann (escort74's 1974 Ford Escort Mk1)
Ashkellybarr replied to escort74's topic in Project Discussion
have been keeping an eye on this. Awesome work man! Can't wait to see it in paint -
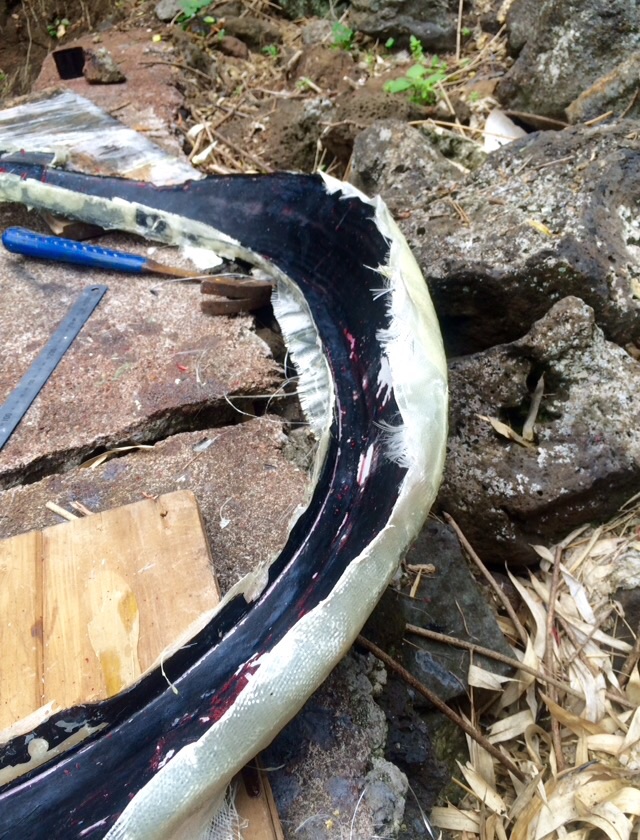
More progress on the carbon and fibre glass panels too. Mold for the MA61 front guards turn out to be more of a mosh then I thought, having to brake away the over hang off on purpose to crack the seal between them. I'll try build up the sides again and touch up the gell coat but it's a lot more rough then I would like. That and the already flaky paint on the panel has come off.. Bugger
-
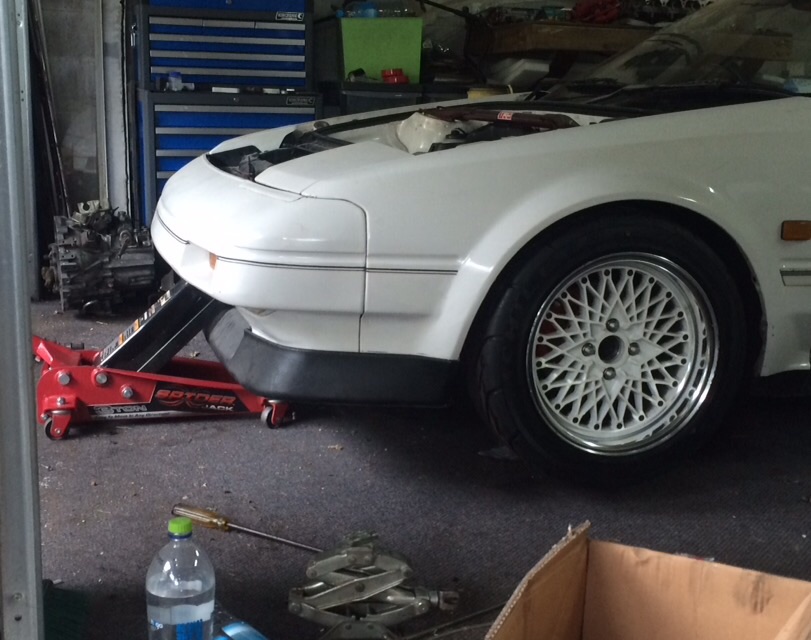
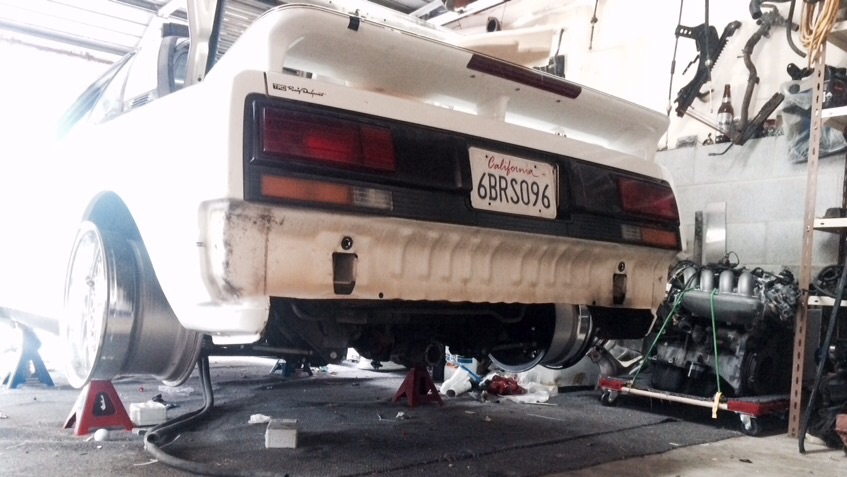
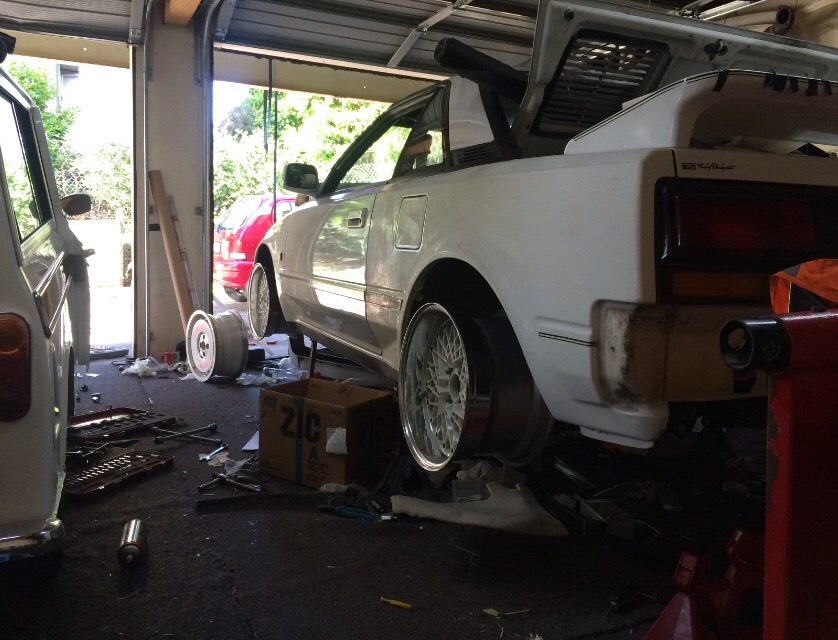
Gonna need a flat jack. And to do something about them pesky rear guards
-
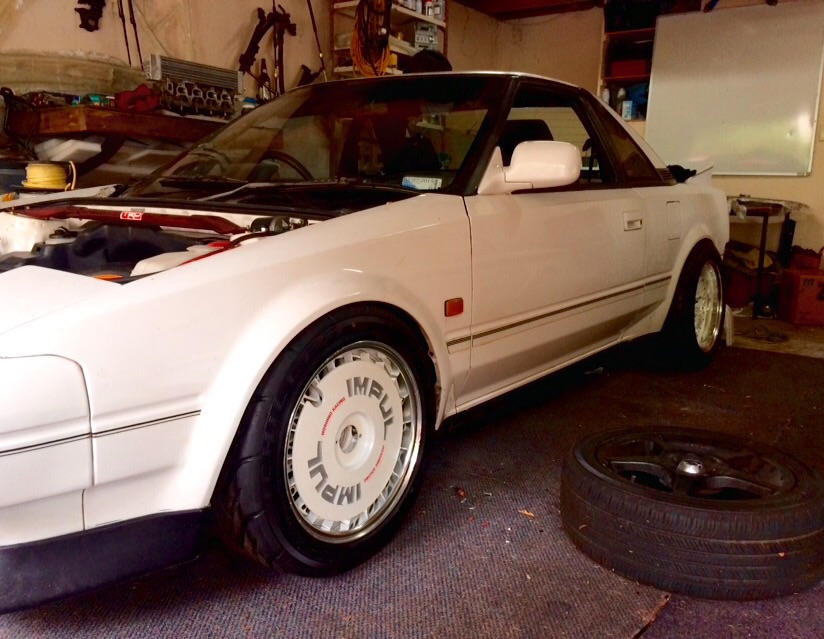
Achilles 123S 195/45/R15 front Toyo T1R 235/50/R15 rear Would have liked 205/45 on the front but I got the Achilles for 125 so I couldn't say no. Might actually get this bad boy back on the ground. Have the next 11 days off do I'll be able to get some good hours into it and finish up all the little side quests
-
Saw you at round two. That was freken awesome man!!
-
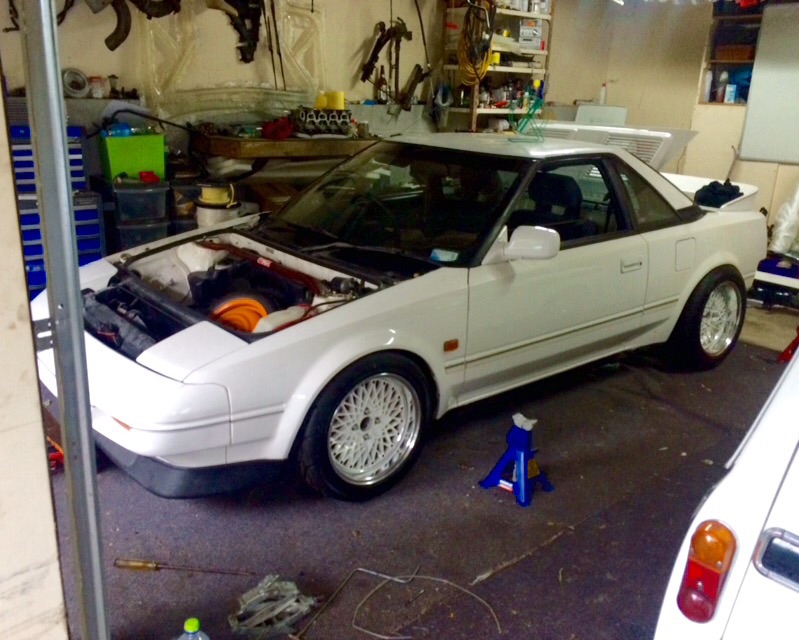
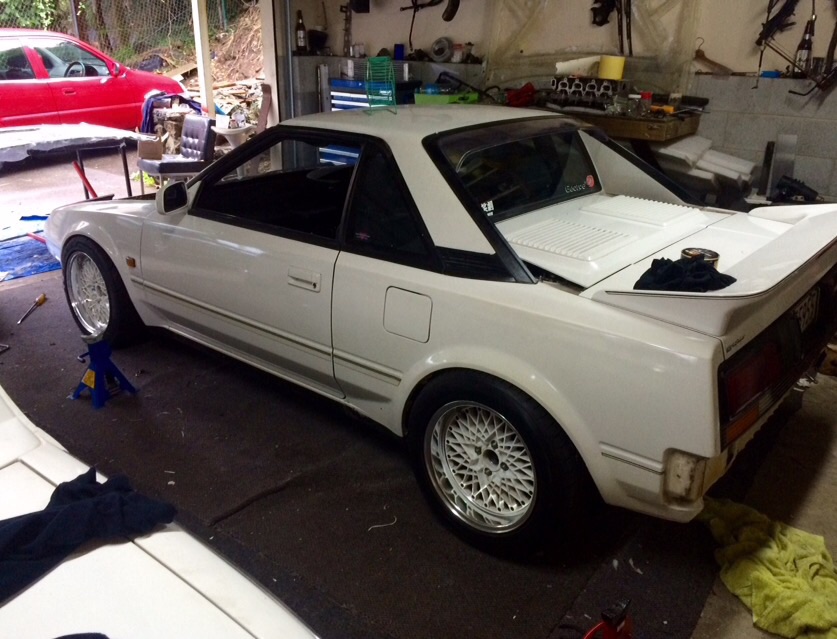
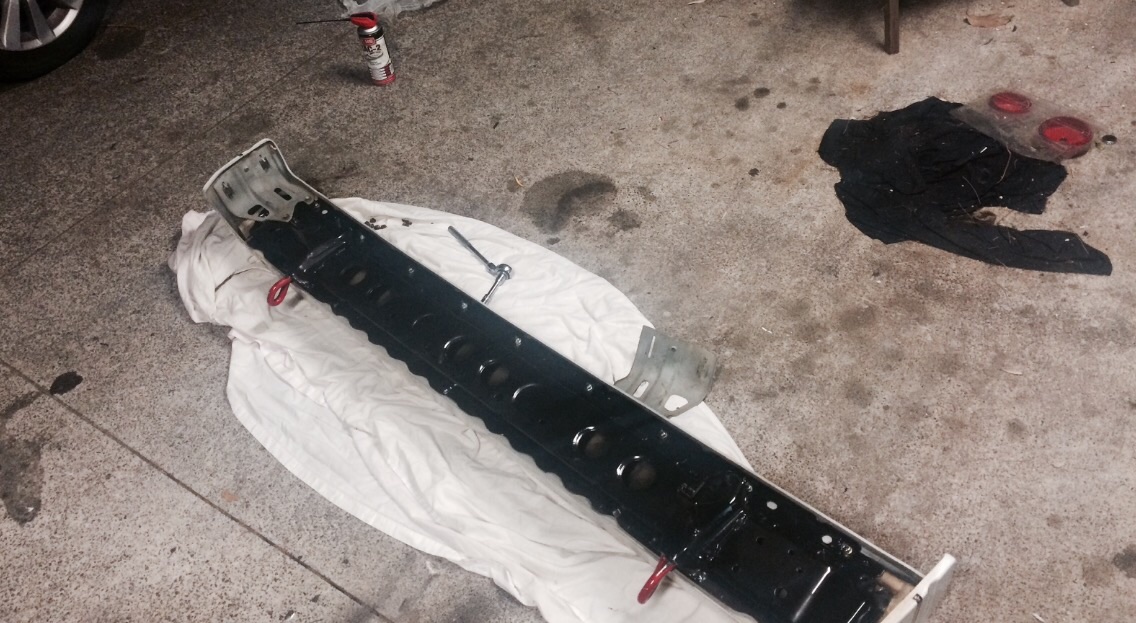
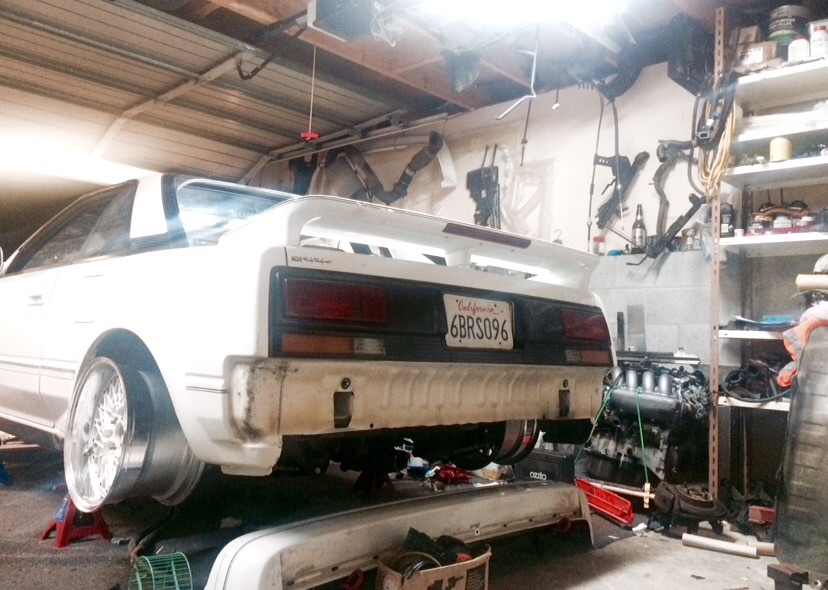
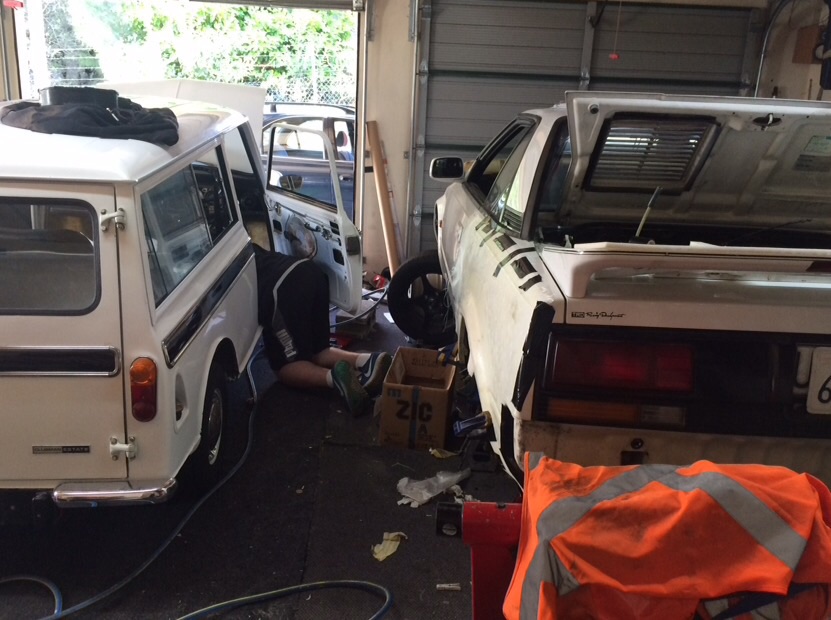
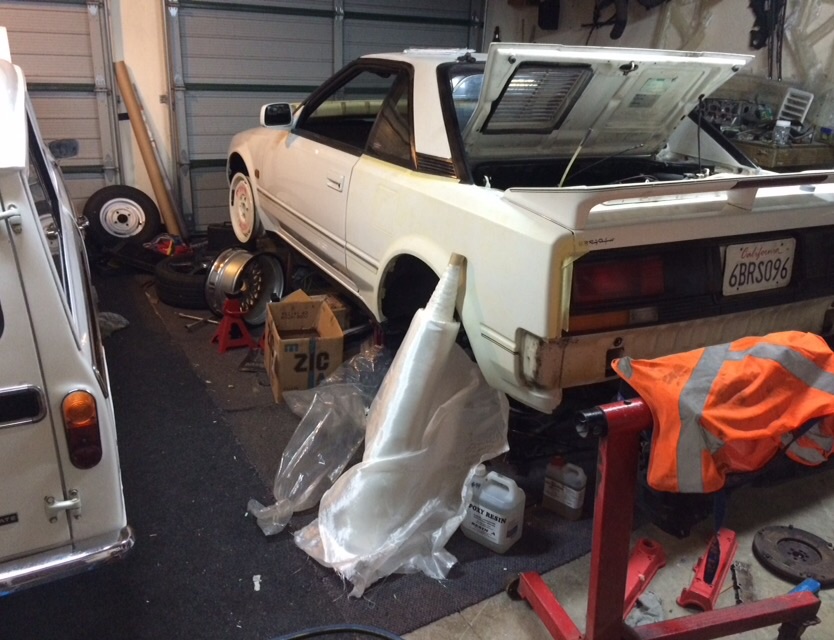
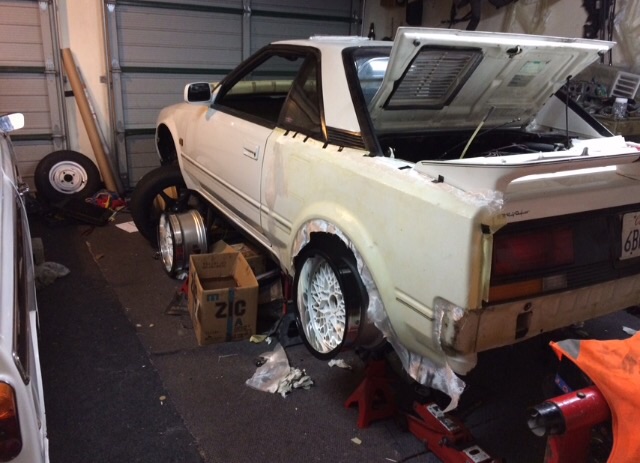
Mold for the ma61 flares are done so I can start pumping out guards witch is good Had some trouble with my rear struts. They had ceased between the main thread and the strut base that mounts to the hub so I couldn't adjust ride height. Had to pull them out, managed to get them to move with some brute force witch was very lucky!! Took everything completely off the thread (lock rings and base) and cleaned it up then hit the whole thing with this stuff called TAC-2. Comes in a CNC spray can I used it on my rear tie rods when I did them (even though their stainless they still cease) Pretty good stuff, chain lube but it's water resistant so is good for adjustable arms etc that see weather. Finished refurbishing the rear bumper iron from rust and its threads, clips, nuts. So that's ready to go back on Managed to have a good clean out of the garage and car so it's looking pretty good to start get it road going again. Sorry for low qul photos, off my phone in crapy light Also picked up a new motor for the next project You can see it next to my shelving
-
Mild for the ma61 flares are done so I can start pumping out guards witch is good Had some trouble with my rear struts. They had ceased between the main thread and the strut base that mounts to the hub so I couldn't adjust ride height. Had to pull them out, managed to get them to move with some brute force witch was very lucky!! Took everything completely off the thread (lock rings and base) and cleared it up then hit the whole thing with this stuff call TAC-2. I used it on my rear tie rods when I did them (even though their stainless they still cease) Pretty good stuff, chain lube but it's water resistant so is good for adjustable arm etc they see weather. Finished refurbishing the rear bumper iron and threads, clips, nuts on it so that's ready to go back on. Managed to have a good clean out of the garage and car so it's looking pretty good to start get it road going again. Sorry for low qul photos, off my phone in crapy light
-
'80S KID Part II: Ed's AW11 SC chit-chat
Ashkellybarr replied to 0R10N's topic in Project Discussion
Had a gander at caffeine and classics. Wheels look sharp man! Hung around for a yarn but couldn't see ya -
I know! I'm gutted i missed out on that forum and club. That and all the juicy pages are missing! Yeah I've got 3 e58's sitting here. One of witch I picked up for $80 So I'll pull them apart, add a new 2nd and 3rd synchro and bearings and leave it at that. Barry Manon said I'll shread them running huge power so if that happens I'll rebuild the 51 with a kazz
-
Picked up a set of sw20 E series axels pretty cheap from a bloke in Cambridge that was building a 3sgte corona Reason being that with the e58 I'll need a ae101 left and a sw20 right side. The axels aren't from an LSD model though so they might need a bit modding The LSD axels have a slightly longer spline going into the gear box on the drivers side. This I'm told is to hold into a plate inside the diff, and if I used a non LSD axel in an LSD box it wouldn't be held by the plate so no LSD function gets used. How ever, I'm told by very reliable bloke, and this surprised me, he just uses an angle grinder to cut the spline longer anouther 5mm and puts it ons lathe to take the seal seat back 5mm and it's good to go. I'm told it's cold forged so wouldn't be easy on a lathe but if it's like the selector shaft once I grind threw 2-3mm it should be soft as butter and could tidy up the seal surface on a later then Now, why don't I just buy some LSD axels??? Because you can't. No one wants to sell them and guys that are selling them in the states are selling them for +$850 Custom billit ones are 1100 I picked these up complete with CV's and stubs for 150 Winning
-
Moulds taking shape. Had quite a bit of interest of fibreglass p-type copy's to. Got a couple air bubbles between the glass and gel coat so I'll haft to sort that out before I add chop. This is because it I don't get a good bond Bowen the gel coat and glass what I pull the negative off the gel coal might stick to the guard and not the glass causing holes in the mold. Bit of a hold up as I was hoping to get it all done this weekend but will make sure I get it good so I can pull loads of copy's
-
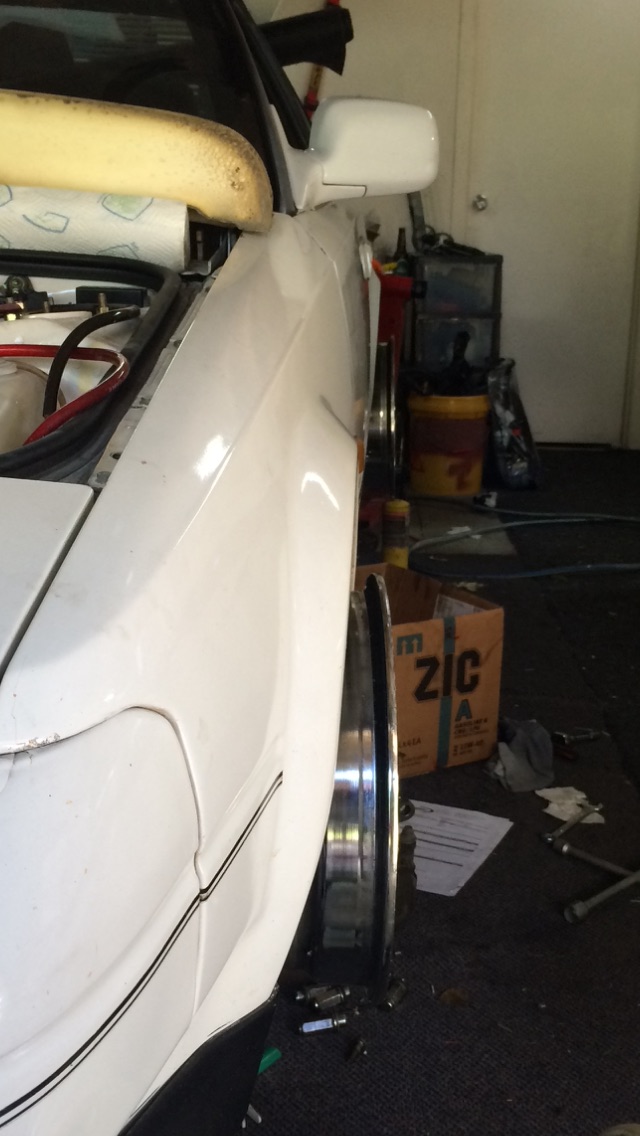
Clearance might be sorted curtesy of _david_
-
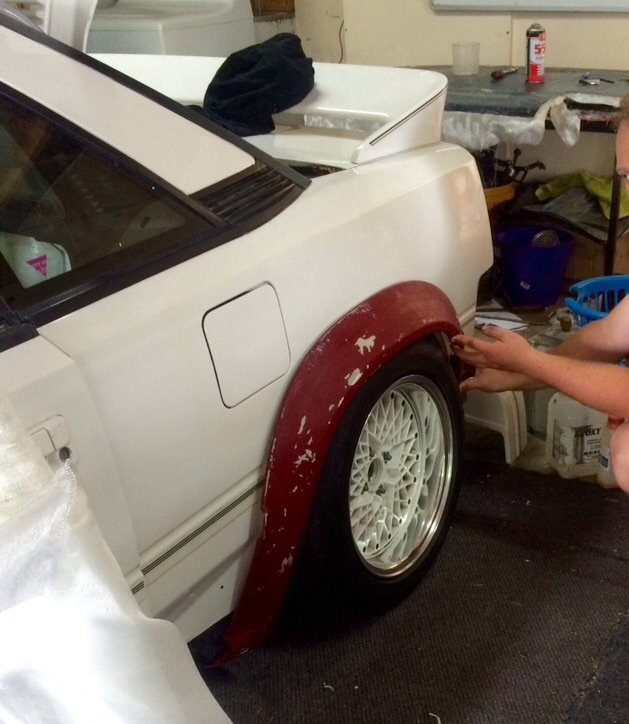
Not sure if my oem plus rears will fit. Trying to hunt down ma61 wide body front guards Or someone that will let me make copy's Tires, ssr wheel nuts, done
-
Haha nah all good. So you started an AW wide body?! Any photo's? You weren't on the old clubAW were you?? I really wanted to copy Audi rs4 2014 rear guards, their kind of a cross between a box guard and a flare. Un-believably I couldn't find anyone willing to let me smother their new Audi in epoxi. thoroughly disappointed! Maybe next time...
-
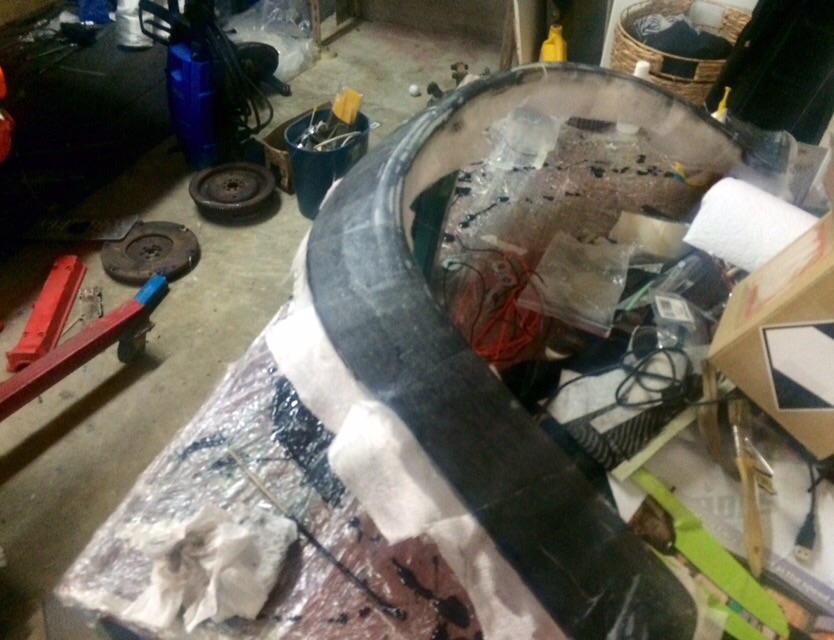
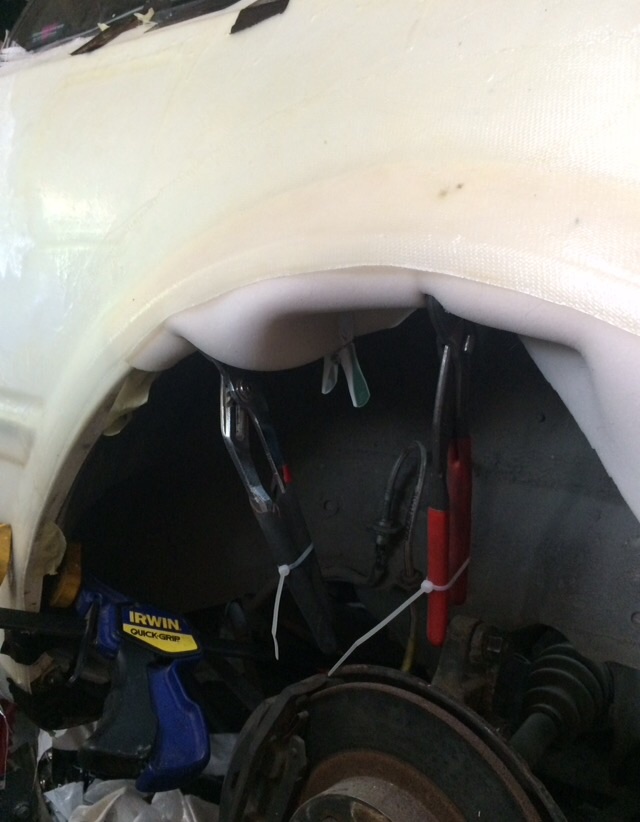
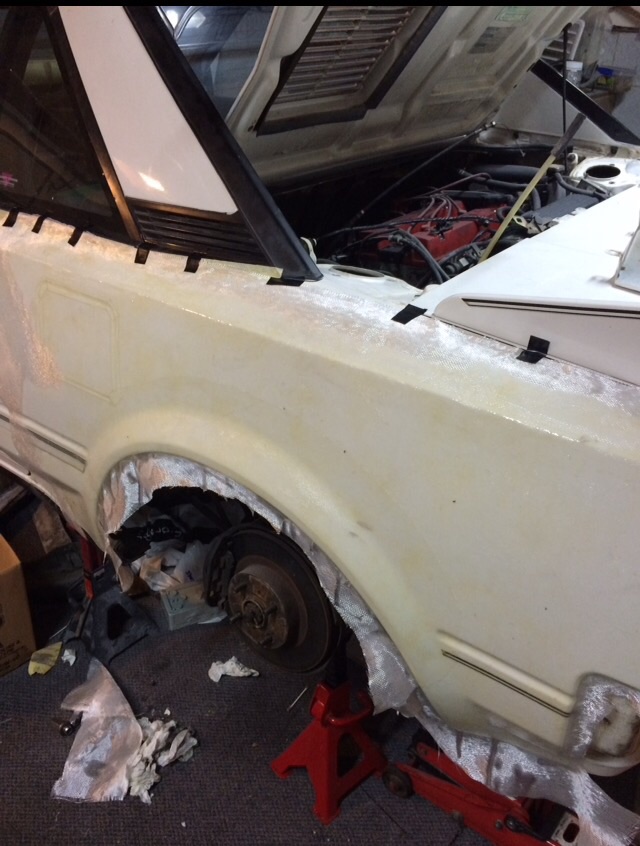
Getting there. Foam to pad it out to get some pull before adding more glass to thicken it up. Nearly an inch of pull Works good, shapes coming together Couldn't find my small quick grips (suspected flat mate) but multi grips and cable ties saved the day
-
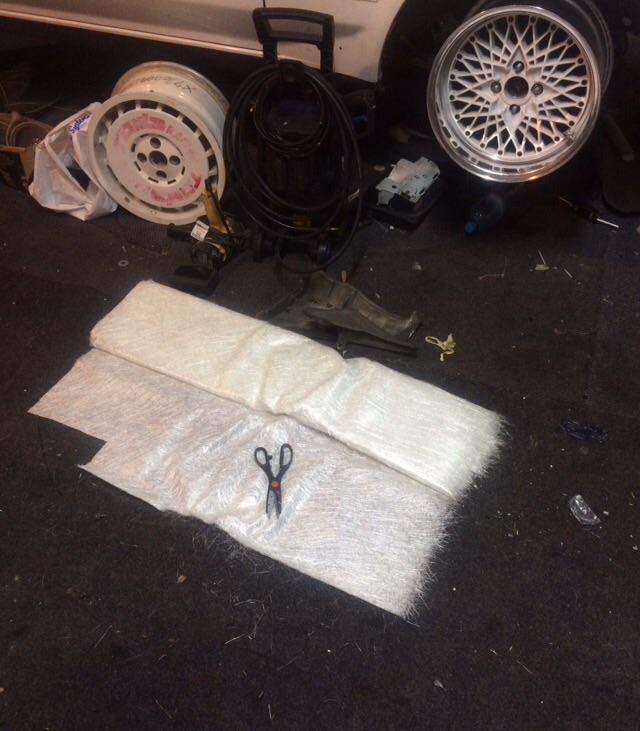
Nah I gave up on rollers, had to use to much thinners to clean them properly and then they still get stuck and haft to throw them out.I bulk buy paint brushes at less then 50cents each so I just throw them away after every use. Takes bit longer then the rollers but you don't get that pull in the weave when some straind gets cought in the roller then pulls all the weave haha I don't miss that. The Mylar's a good idea! Have used glad wrap before haha Made an intake for a friend by getting lots of 1.5L nz pure water bottles and cut the ends off, joins them together and bent where I needed around an engine bay and wrapped tightly in glad wrap. Was pretty crude haha but after some heavy sanding and another two ply of glass it came up nice, super light and the perfect shape And yeah they will be I final. Only did two ply so I can space it out and reshape whole guard then add strength. I want to make the guards a bit bigger then factory so using the positive and building on the outside will help, it's a bit of a backwards way to do it I know but time and material wise it work out pretty good. Will just mean lots of sanding before its ready to prep for paint
-
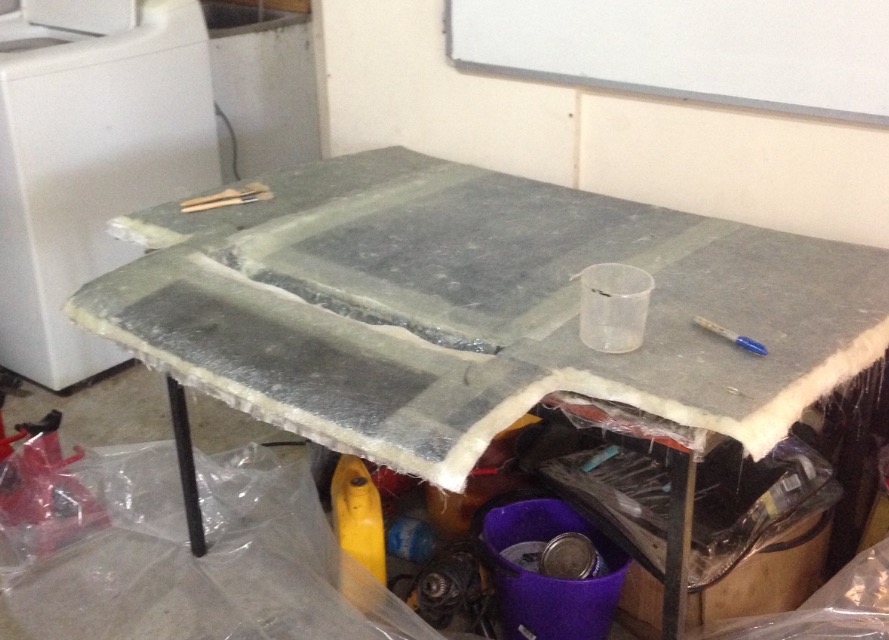
Nah not yet! I'd like to but don't have a pump and it seems like a lot more work. I've just been sanding with 600 then giving it another light coat of laminate epoxi to get that wet look After pulling the over fender skins off the rear and seeing how smooth and strong it came out I don't think I'll bother vac bagging for the bonnet or boot. Paint brushes and stippling the air out seems to work, and net a good result when taking time with a summer resin to work it all through. After doing the rear guard molds and having a good result has made me a lot more eager to do the bonnet and boot. Maybe a replica of my factory fibre glass engine lid so I can mod that instead of cutting the factory one witch I don't want to do since their so sort after
-
'80S KID Part II: Ed's AW11 SC chit-chat
Ashkellybarr replied to 0R10N's topic in Project Discussion
Yeah I saw how much you got them for on the expired page listings, good score! And their pretty different too. Kind of the same era look I'm trying to achieve with my TOM's racing wheels You can have them for free. The only thing is my spare ZE ones have been painted wrinkle red with black lettering. If you wanted to strip and re-paint them to factory it wouldn't be hard. I've got the paint code for 16v cover colour some where in my data stores And for lettering I actually use nail polish as it's cheap, hard wearing and comes in loads of colours making it easy to get it bang on factory colour -
'80S KID Part II: Ed's AW11 SC chit-chat
Ashkellybarr replied to 0R10N's topic in Project Discussion
Their pretty much all different, I've got server always copy's of of 4 variations all with different height spark plug seal plates. Let me know if your still looking as I need to get rid of some haha. Sweet wheels man! Those are too cool! -
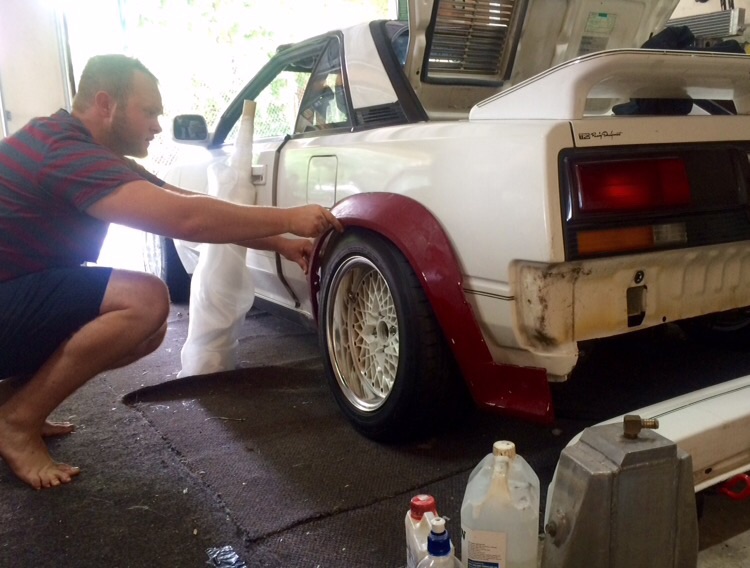
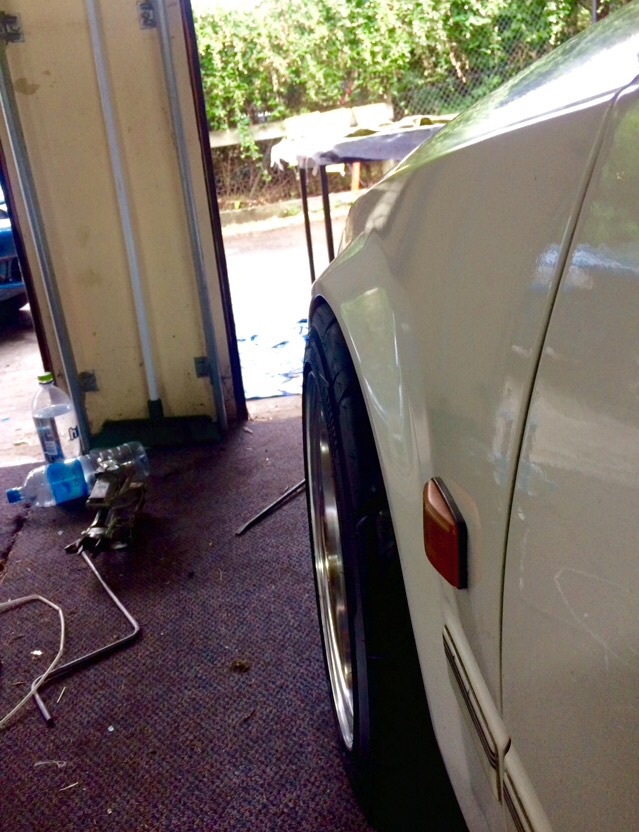
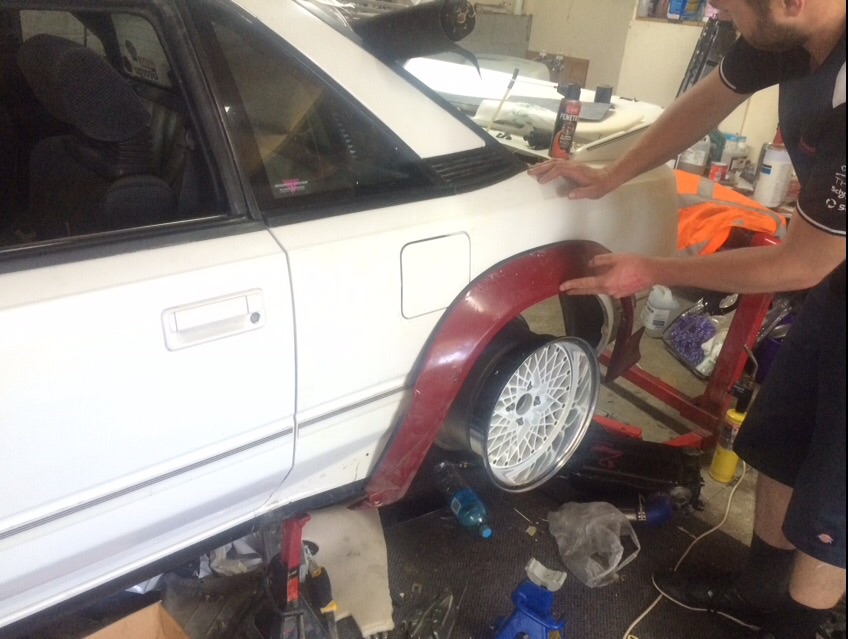
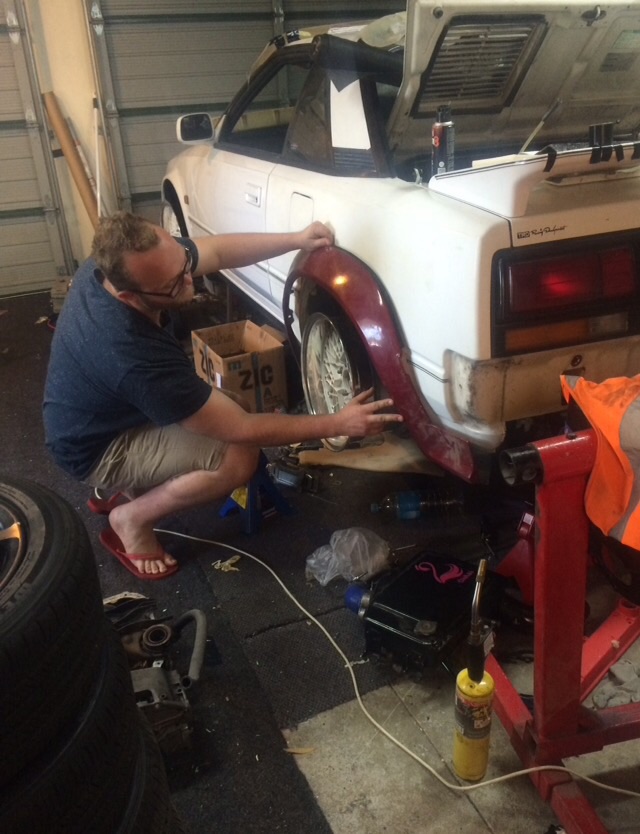
Did a rough measure with the spacers on and dam there's a lot of poke. About an inch maybe. Soooo Whole front guards will get pulled to suit, no biggie here Rears will get cut right back and welded so there will be no arch what so ever After much debate about rear guards and looking into e30 m3 replica rear box guards I decided something a bit more Subtle would net a better out come, so I've made some mold of the rear quarters out of glass, witch will have a bit of a pull and bigger arch to allow for the wider wheels AW's don't seem to have much allowance for 8.5-9" wide wheels, especially with some track rubber with a bit of wall Gotta find something to remove the realise wax off the positive, tried PPG's wax and grease remover and it did sweet FA. It had been sitting for years however, think it's from when denim painted that red crown wagon black. Using meguiars mirror glaze so will see what the bloke at nz fibre glass says