AALAWS
-
Posts
342 -
Joined
-
Last visited
Content Type
Forums
Downloads
Events
Gallery
Everything posted by AALAWS
-
I got my KEYPHOS from car colours on the north shore.
-
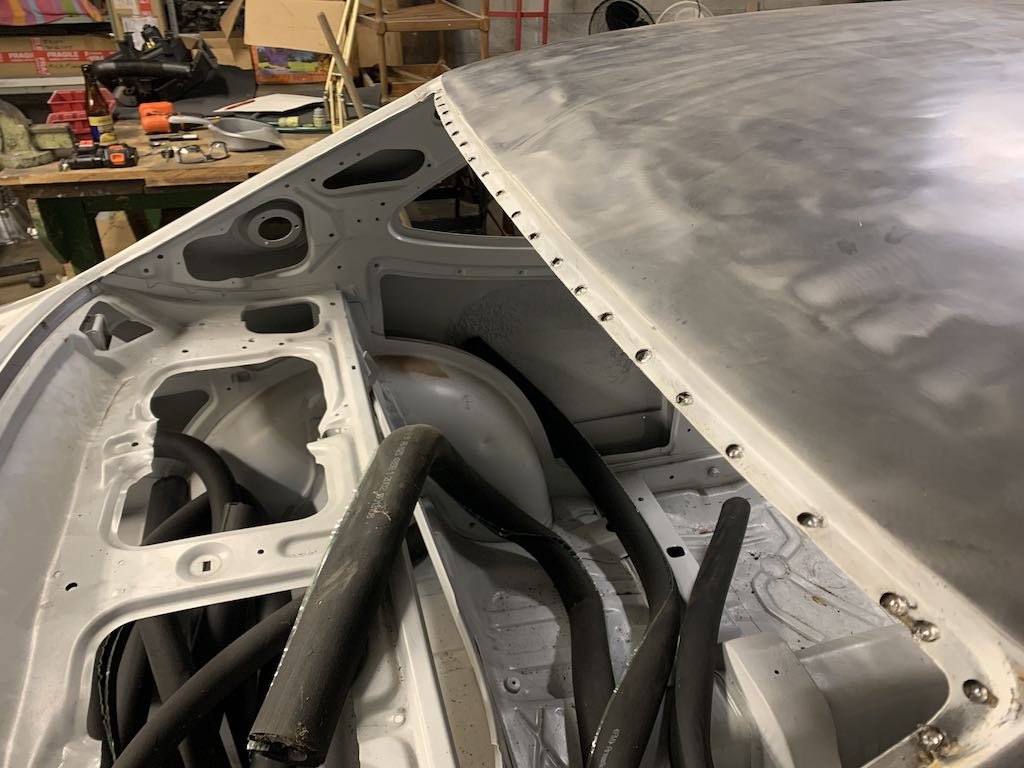
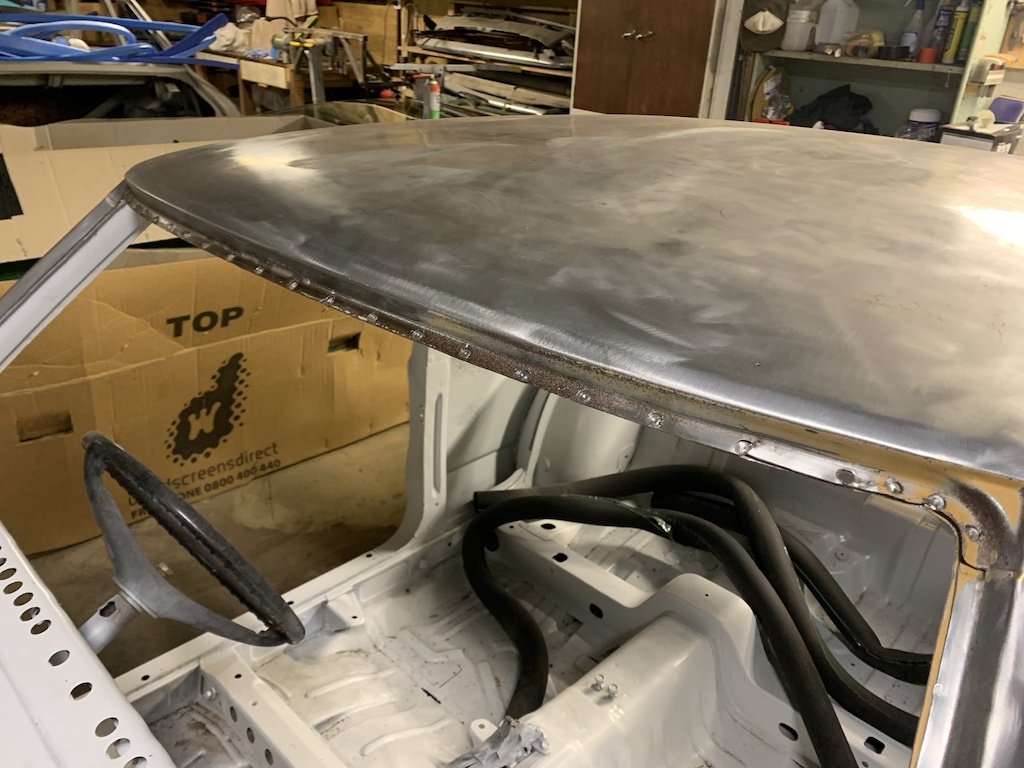
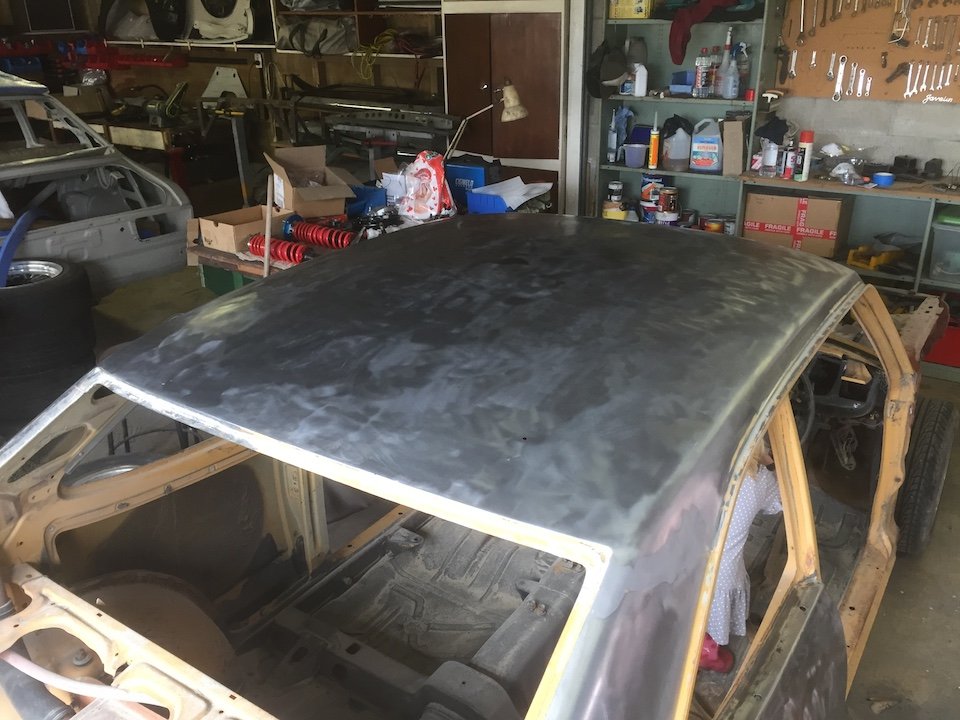
Saw my panelbeater mate the other day......he hasn't done much at all. F@#K's sake!!! Oh well, i'll probably look at getting it in a panel shop sooner after all...... I drilled out all the spot welds at the front and back of the roof (I'm swapping them over between the shells) I went right through on 2/3 of them but I'll leave that to the pro's. I'll get onto the drip rails tomorrow if the wife lets me escape for another few hours. I'm going to get started on other bits like getting the fuel tank cleaned up and the plastics all painted so at least something is getting done while I wait for the panelbeating stars to align for me......

-
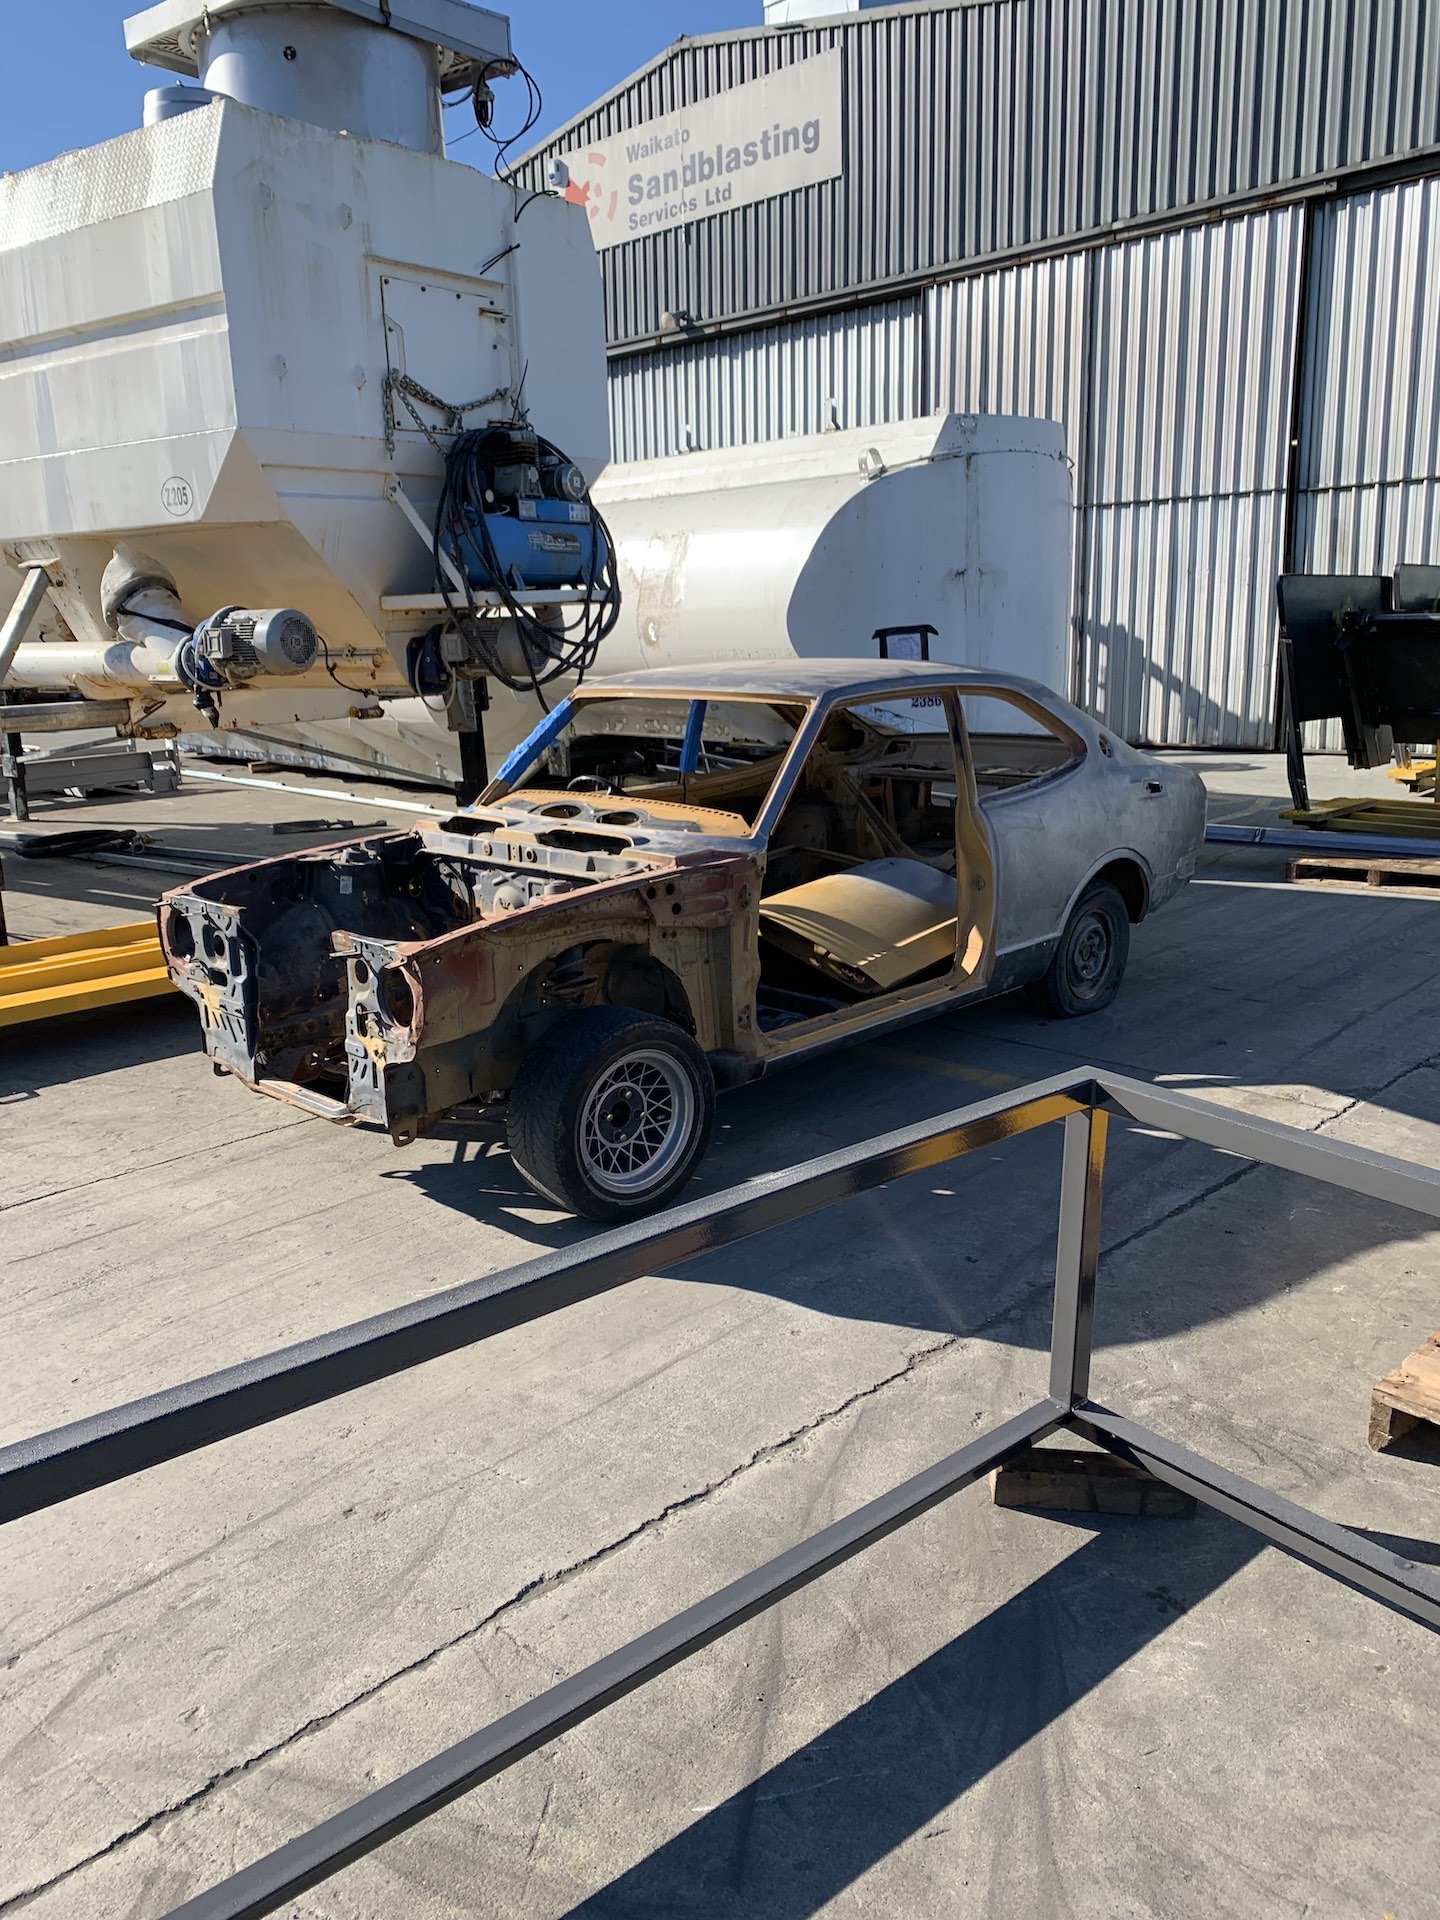
I stripped all the large flat panels, and a few other bits, with the 3m strip disks (great for chewing out bog) and then cleaned up the panels and wiped on some Keyphos - simple as. My first shell has been left like that for years with no issue - I've occasionally touched up the odd spot. I had the rest of the shell blasted by waikato sandblasting in Hamilton with ok results.
-
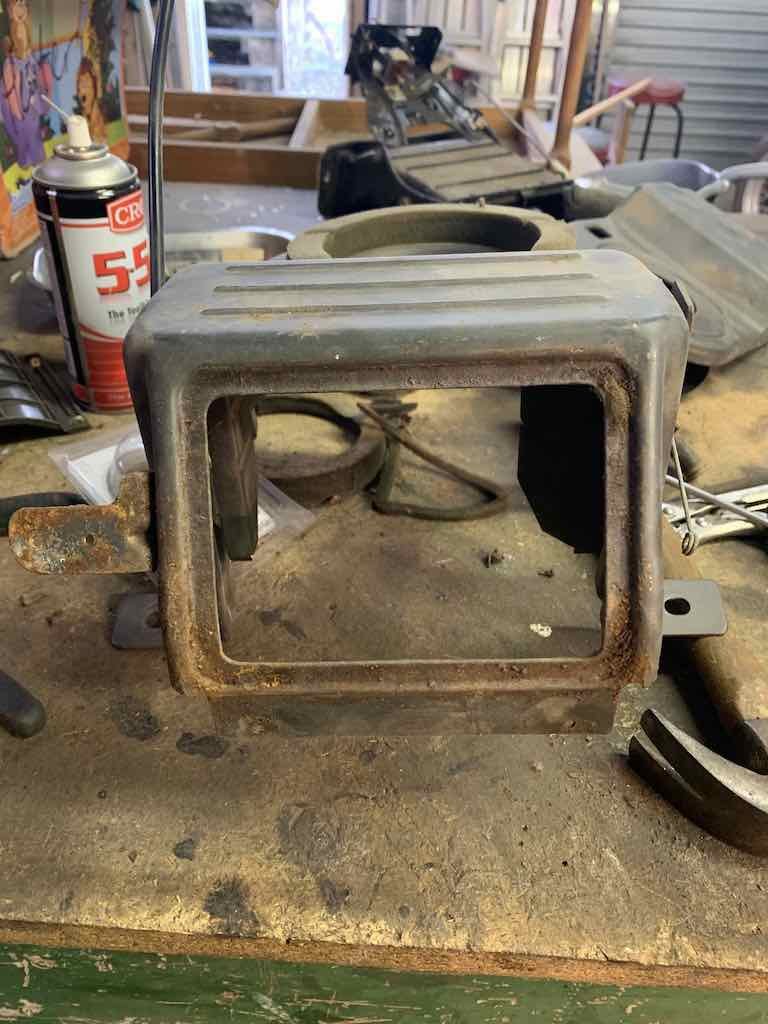
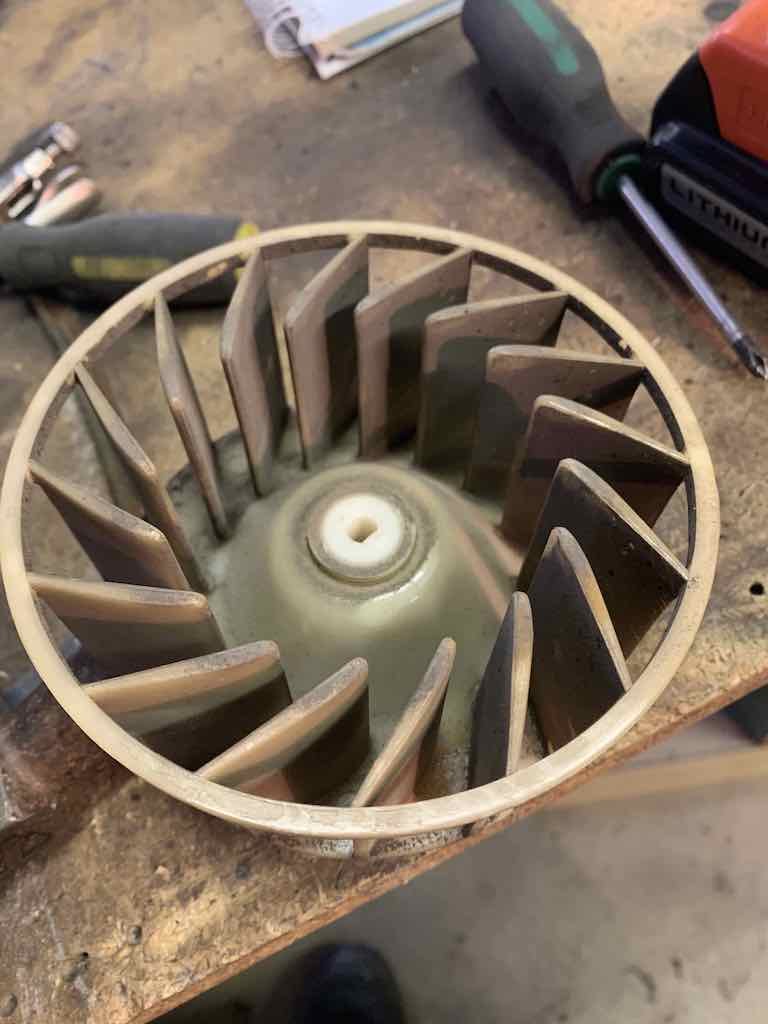
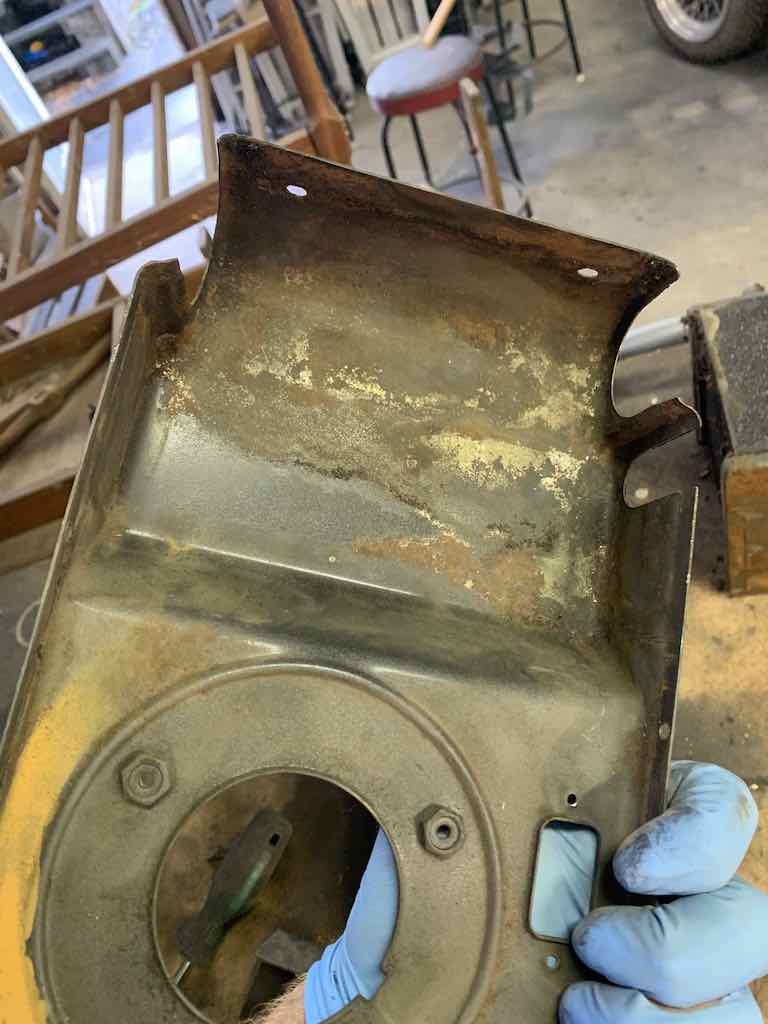
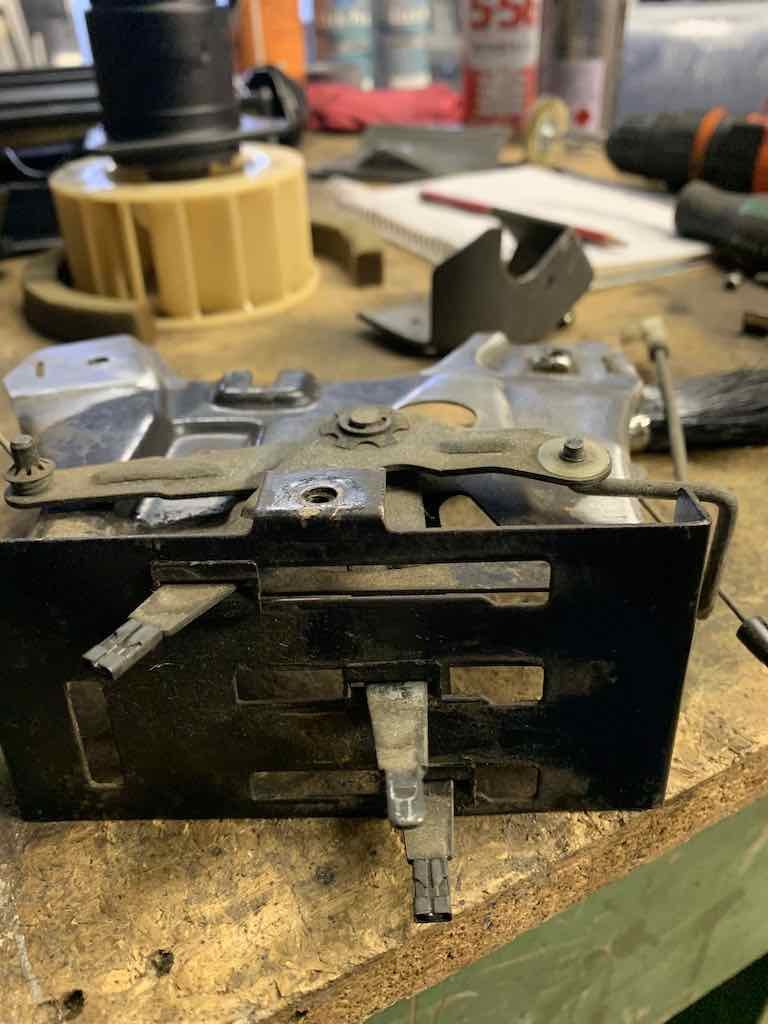
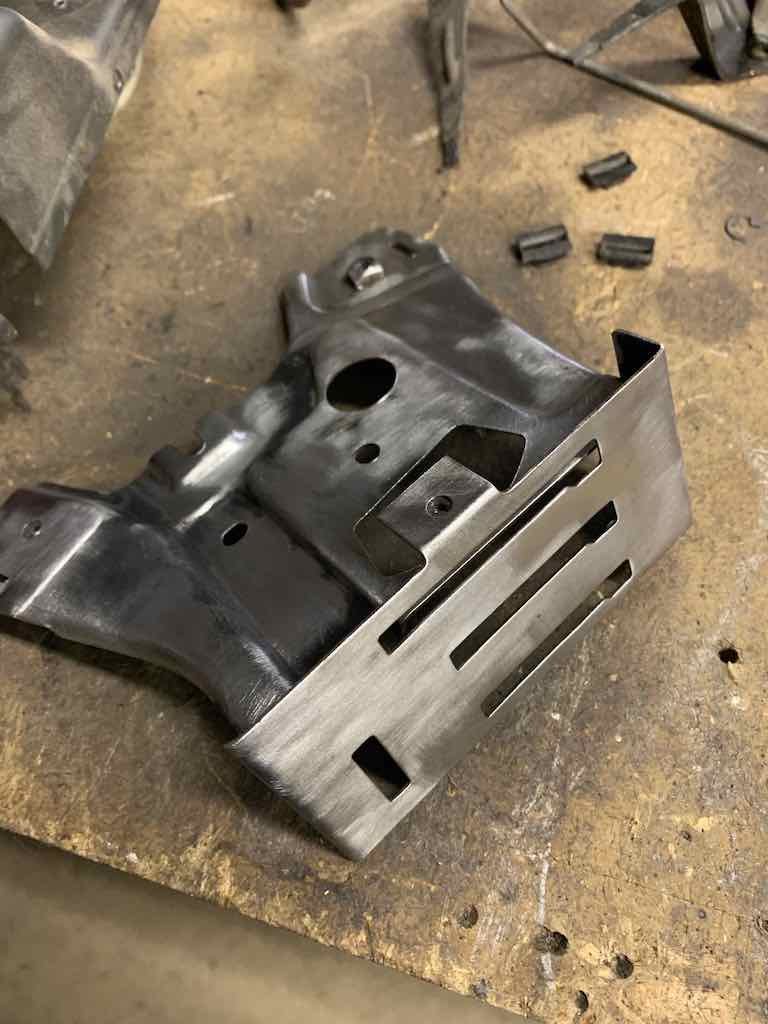
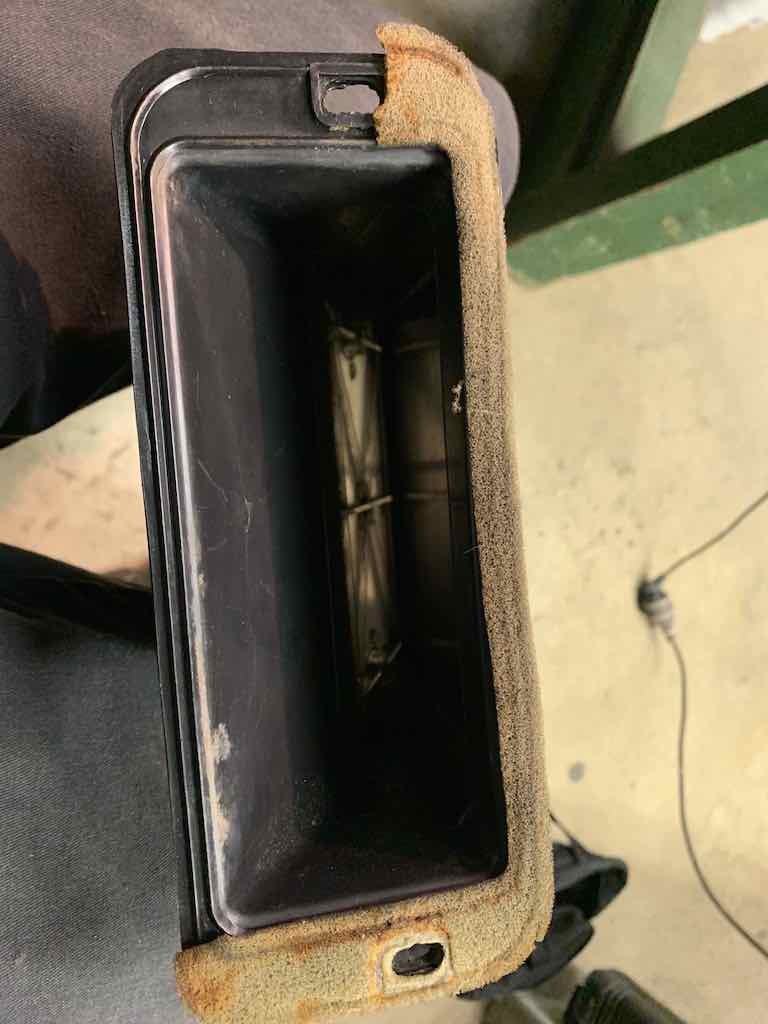
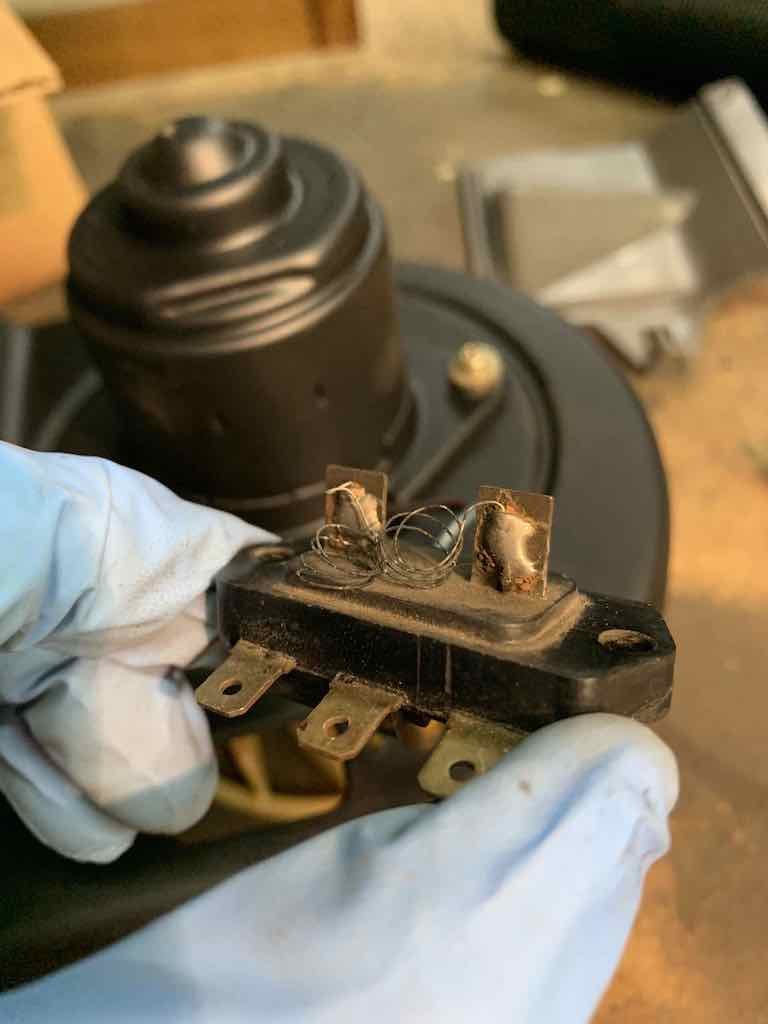
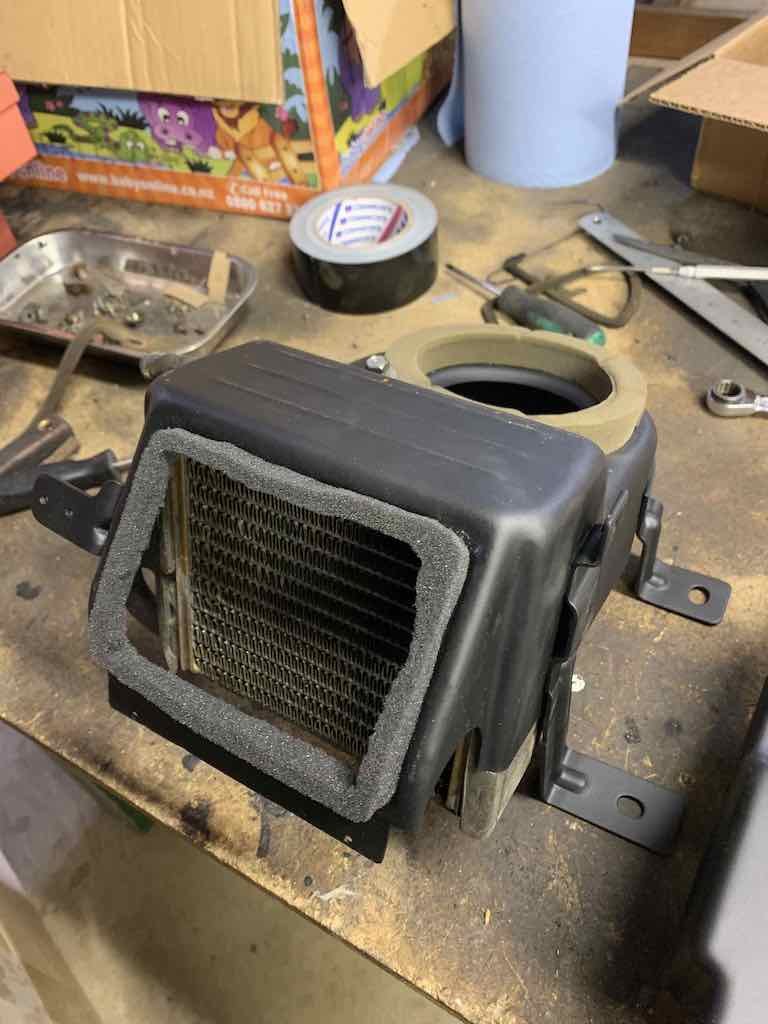
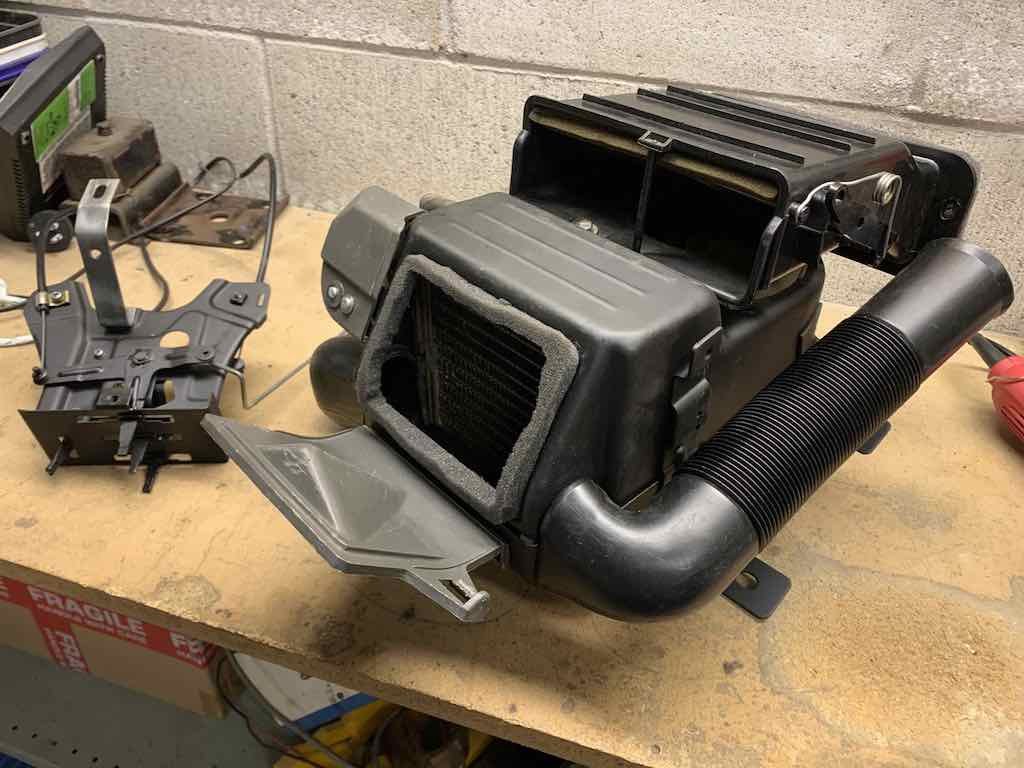
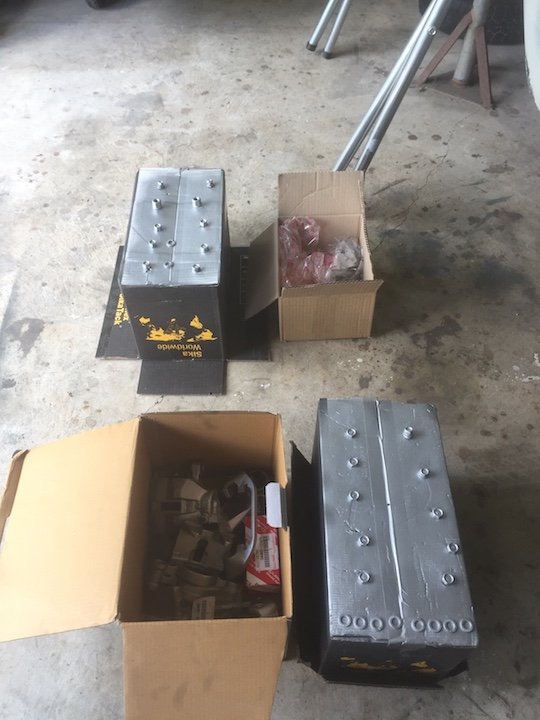
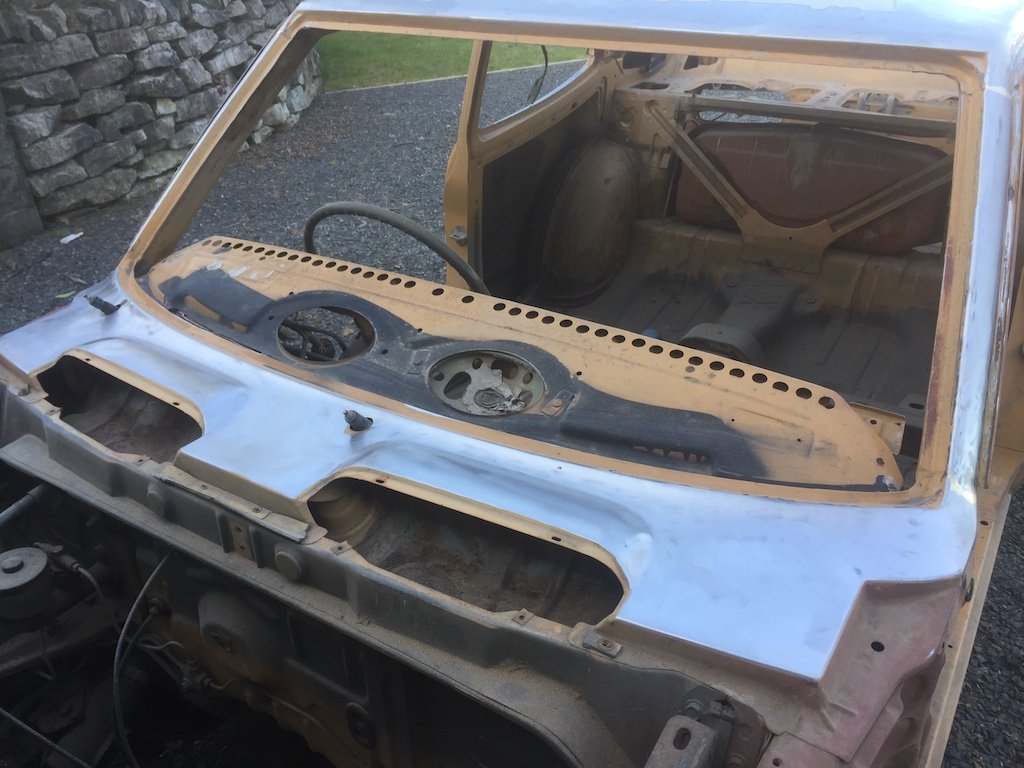
The bonnet had blown open and bent the back corners and mounts, and had a few small dents. The skin was removed from the frame and it's all getting straightened out. In the mean time I started cleaning up the heater box so I had something productive to do.... Rust, filth, munted foam gaskets, blown fuse/thermostat? (will check with sparky)......and core cleaned and tested for leaks. Stripped, painted, new foam courtesy of packing foam from computer box and all ready for eventual fitment
- 72 replies
-
- 19
-

-
Just before Lockdown I had another old boy (family friend who had been away from work for a long time due to some hip injuries etc) turn up and say he was back and keen as a bean to get some work so I let him take away a few boot lids, the bonnet and some doors. Both the boot lids had big rust holes, but in different areas so cutting patch panels out of each and melding them into one is the plan. He's going to peel back the whole edge of the skin to clean up all that surface rust under the edge too. Note the mobility scooter/work bench
-
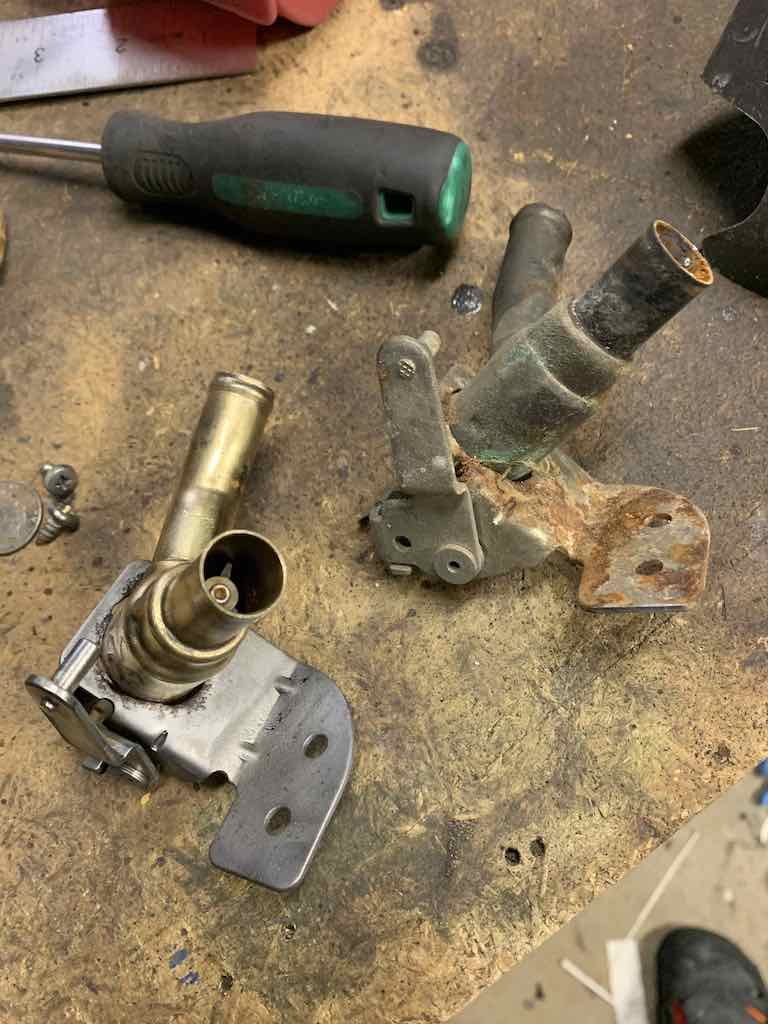
as above - love the quality and attention to detail. I'm currently reconditioning my corolla's heater unit and should probably go down the 'patient' plating path on a few bits! How do you find the threads/bolts for fitment after plating?
-
Shit Yeah!
- 72 replies
-
- 19
-
-
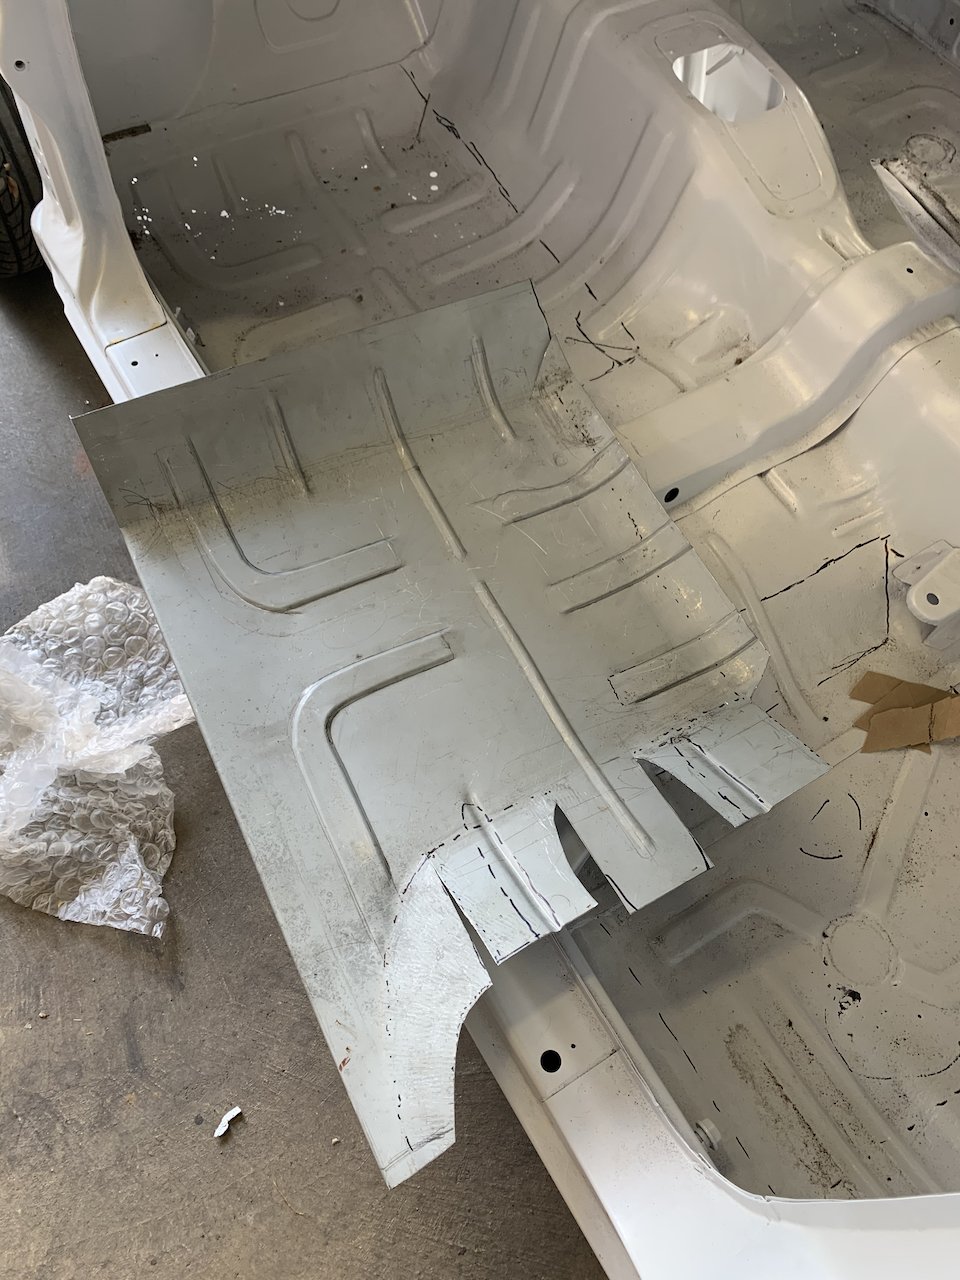
Progress!! No pictures but the local metal magician came round and made up some patterns for the floors. It's not much but it's a start for sure. Excited to see things underway. I have also got a booking for early next year at Bad Penny in Hamilton so they should be able to sort out all the rest for me if the old boy can't finish it off.
-
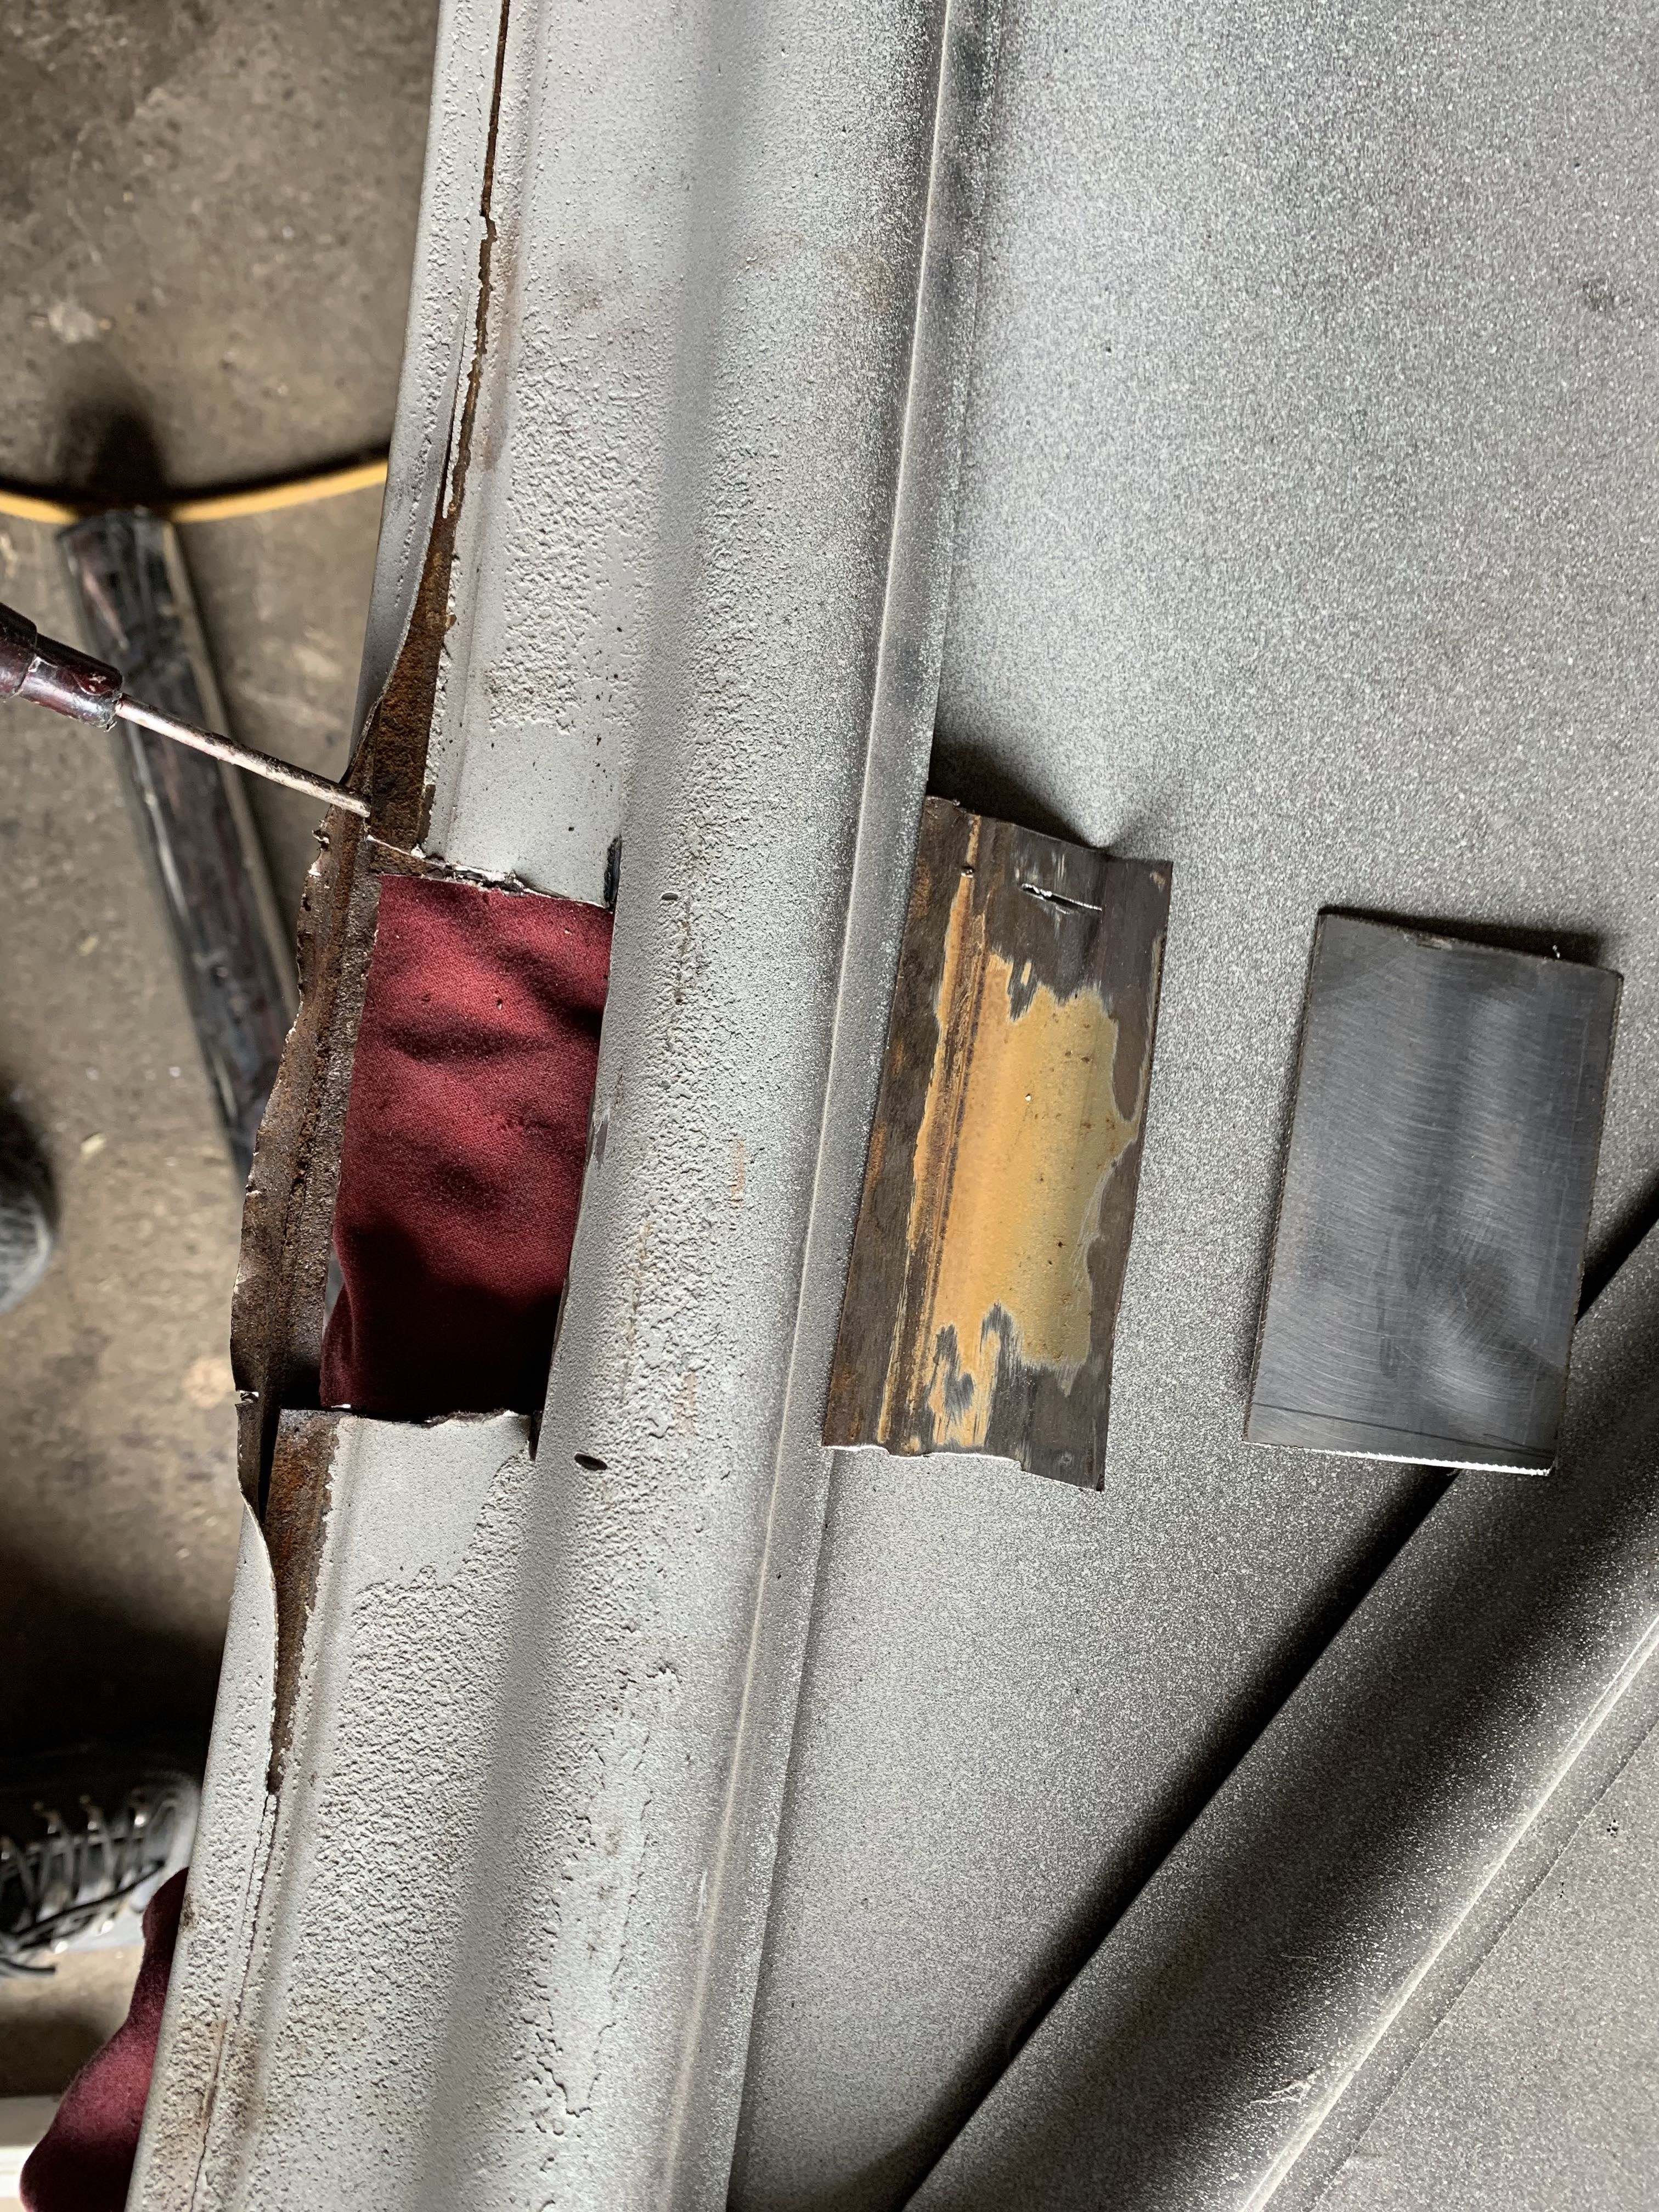
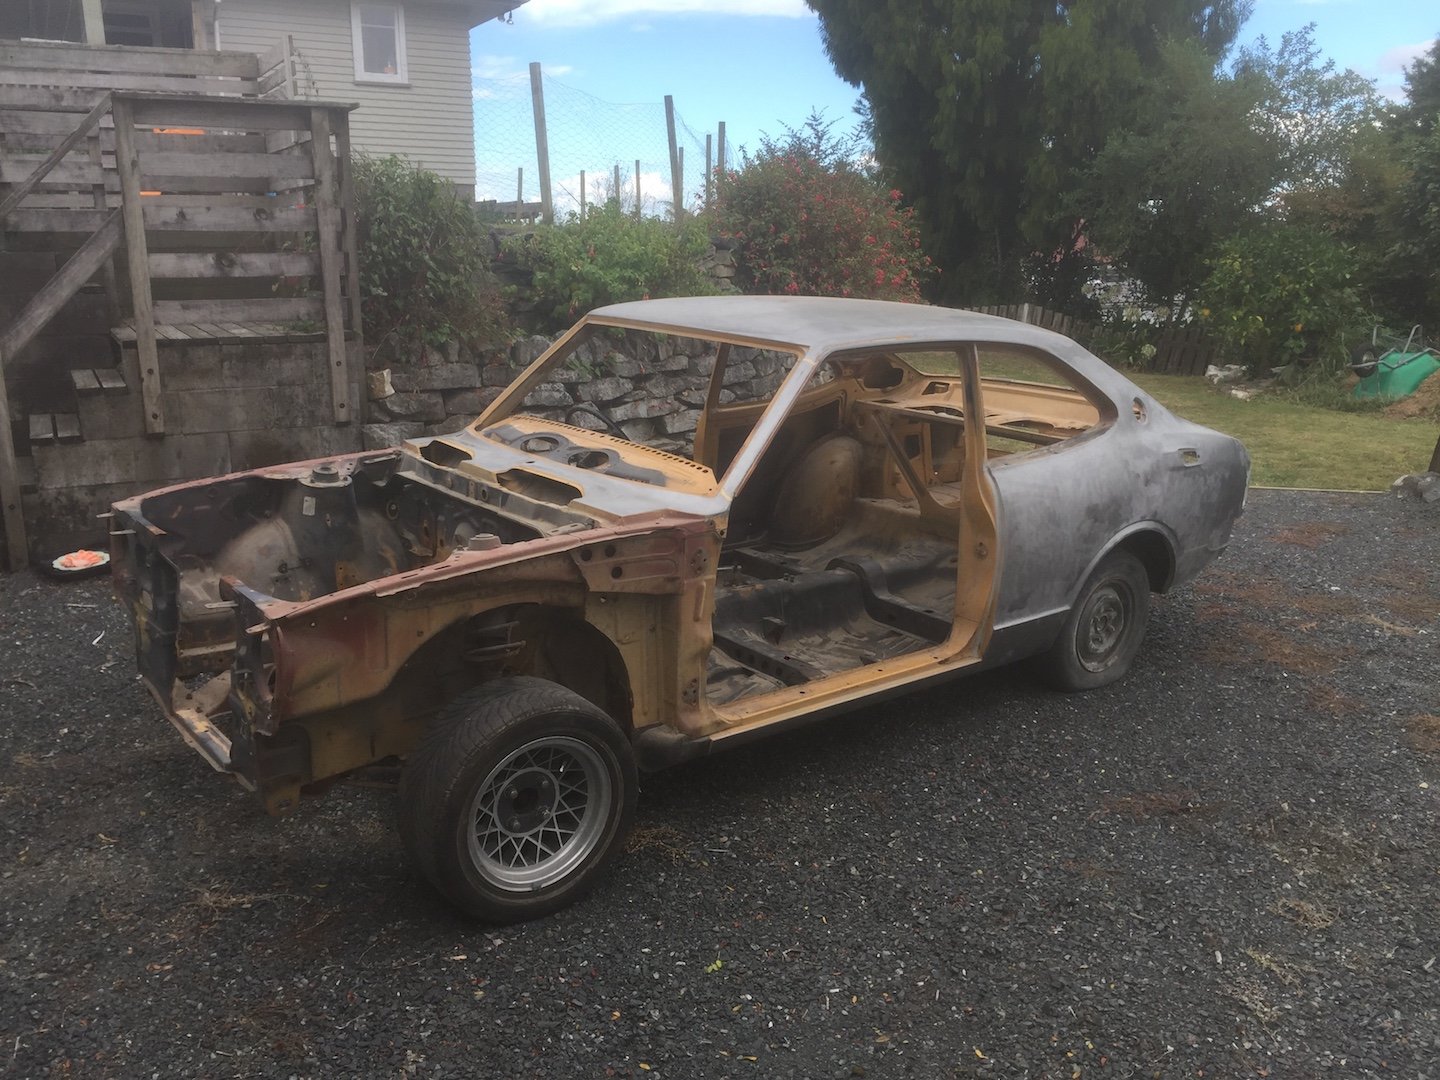
One good days weather in two weeks - so finally got the chance to pick up the car from the blasters. It had a little water in it and they forgot a few areas but not too bad. It's got a few areas of pin holes in the floor but no new major discoveries/disasters! These little holes were the ONLY spots of rust in the doors! (lying on top of each other) Now to clean out the sand and touch up a few spots and keyphos it again while I wait for an opening at the panel beaters!
- 72 replies
-
- 11
-
-
Met a GC who works there and says he has a few spares lying around I could look at from his KE20 sedan.....score Then I got a phone call from another GC who found my wallet after it fell out of my pocket outside the bakery......right when I was looking for it in a panic......PHEW!
-
Off to the sandblaster with the 2nd shell tomorrow - finally have some down time and good weather in one go. My plan is to drop it straight off to the Panelbeater but I don’t have the budget to get it fully panel beated and painted in one go so I’m trying to figure out the best plan. What’s everyone’s thoughts on breaking it down into the best steps? If I get all the rust repaired and all the body work straightened out, prime it and underseal then take it home while the engine is built, it will be sitting in a primer state - I’ve heard it isn’t good to leave it sitting in primer for a while? I’d be keen to hear some advice on the best process/steps from here without too much back and forth between workshops etc Cheers y’all
-
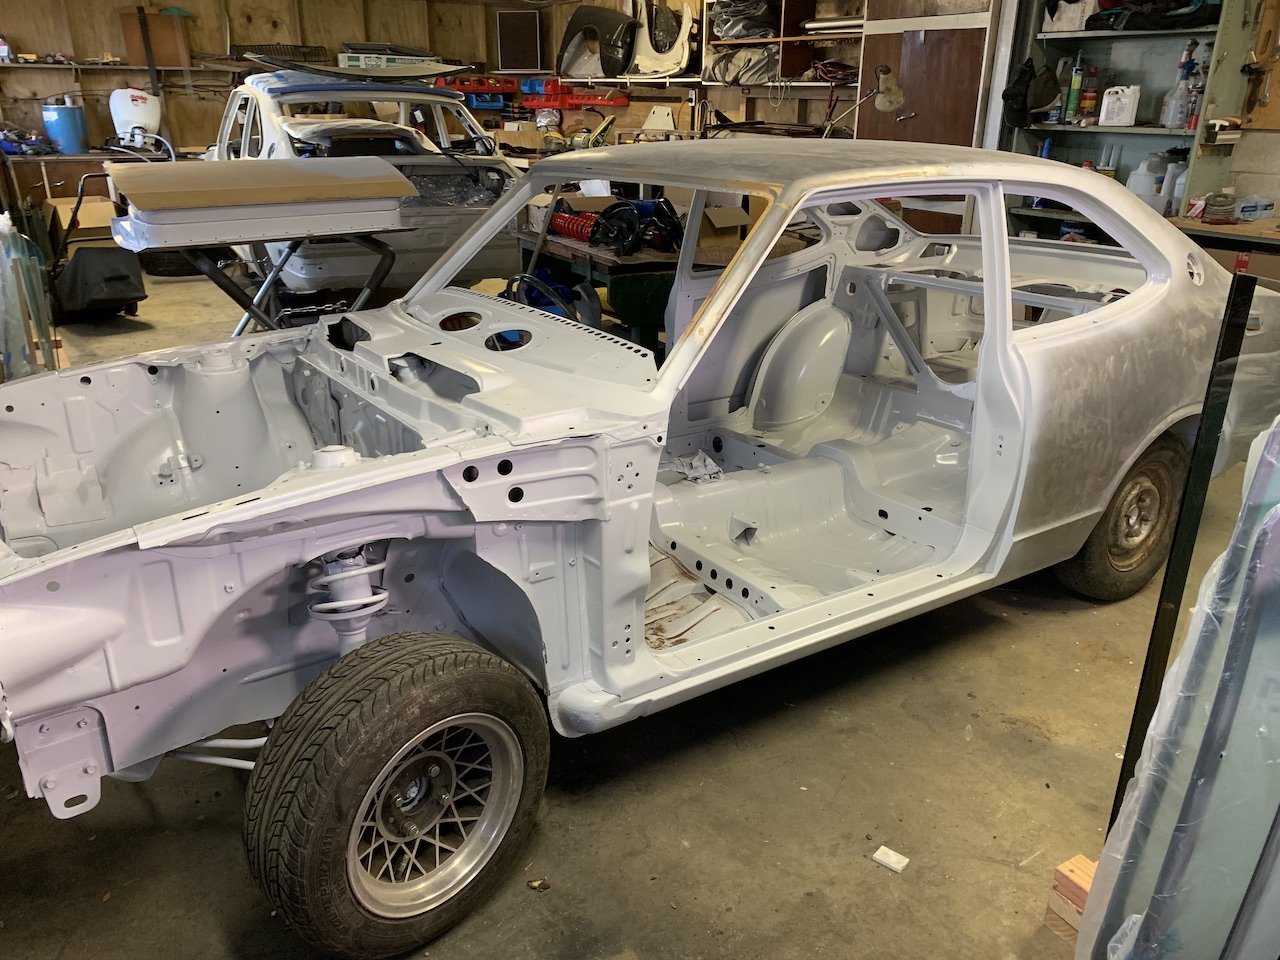
So I got half a day in the shed.......boom! empty shell all ready to get blasted. And a T50 turned up. It is supposedly of known good condition, and it has a new clutch fork and release bearing....plus already shiny! If I get a few quiet days I can suss out getting it off to the blaster and then panel shop.
-
turns out I need more than half a day...... Everything is off the shell (apart from wheels etc) except fuel and brake lines and a few odd's and ends, so I'm almost happy....... Hopefully should get it done this weekend. I've set myself the goal of having the car fully painted by the end of the year.
-
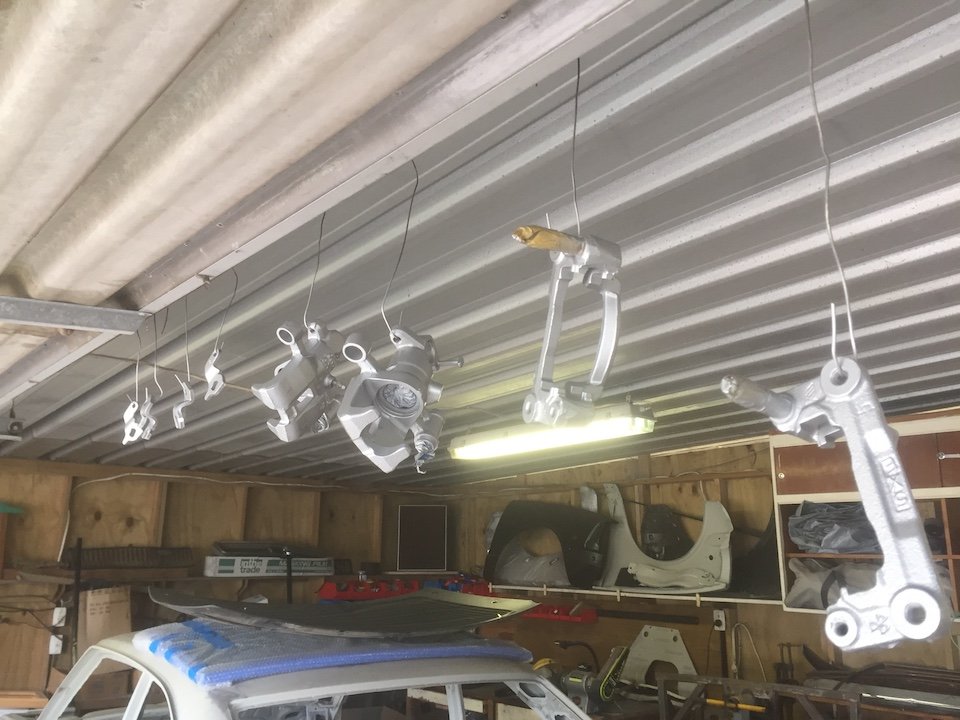
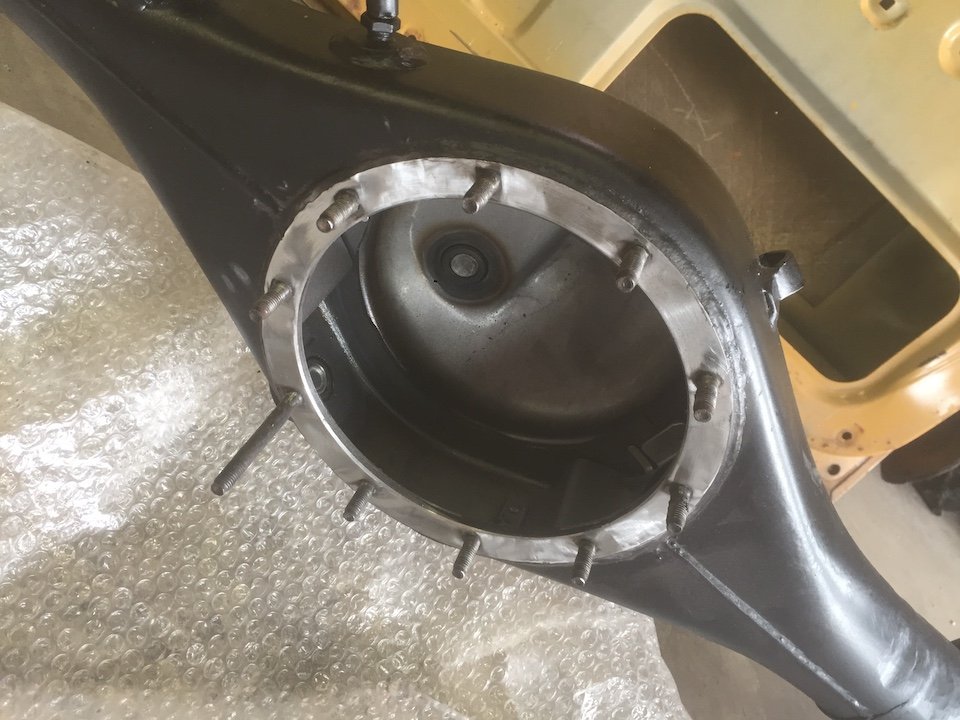
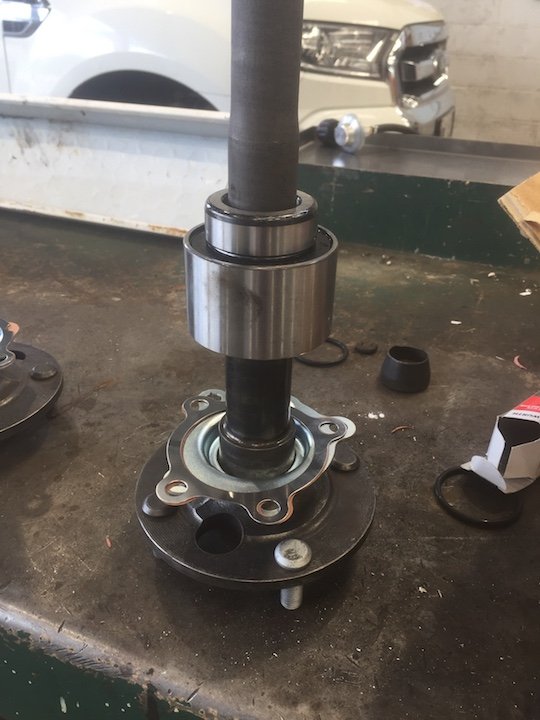
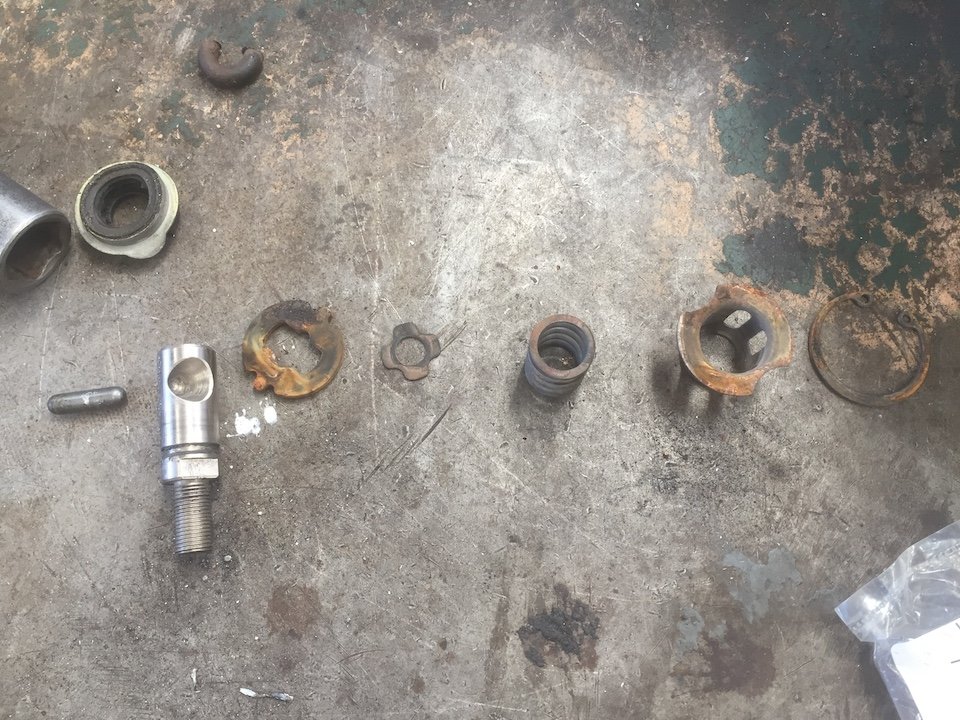
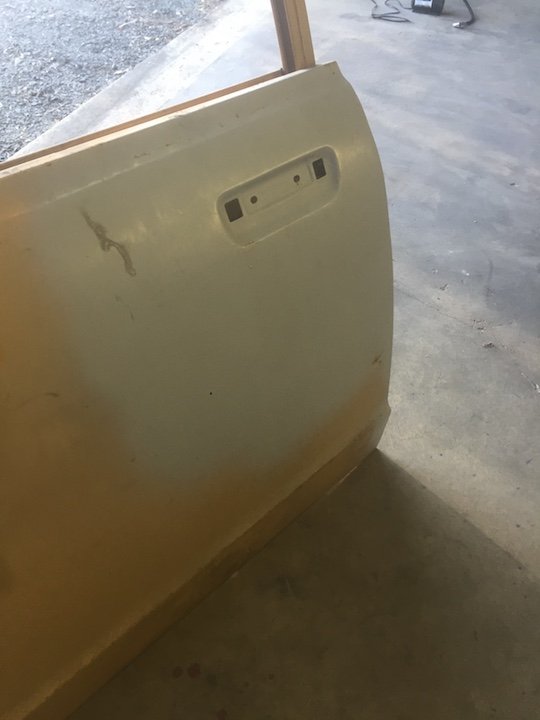
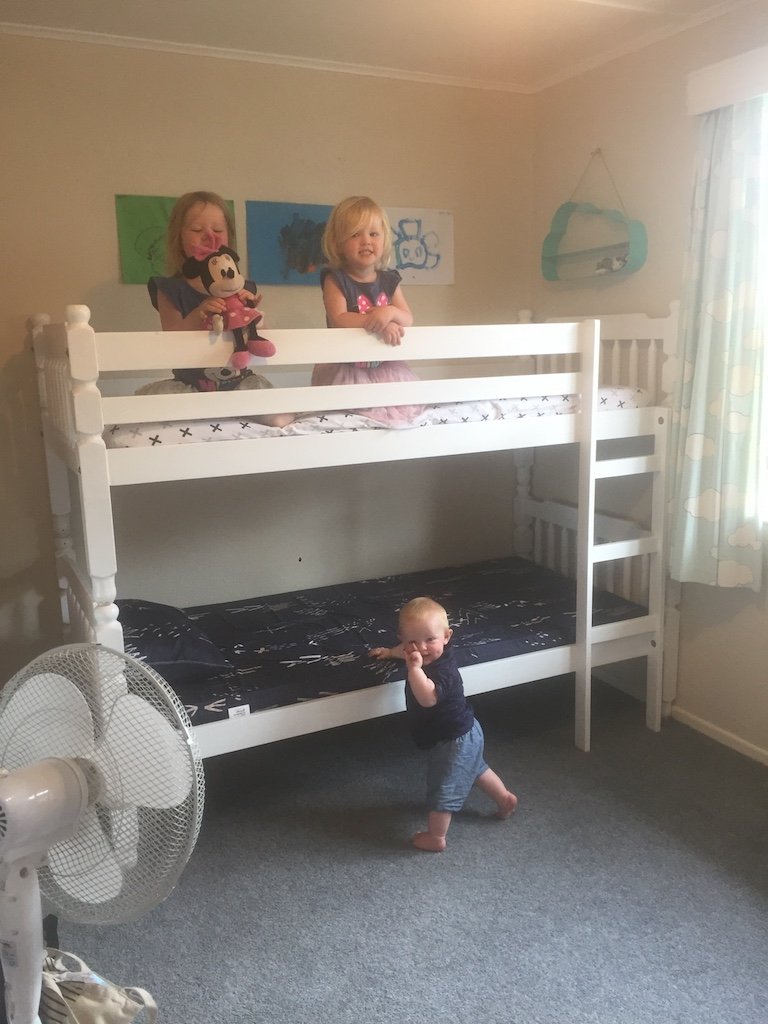
Ok, so it took 4 months, but I finally got some time in the shed again over the last week. Between three kids and business being really busy.......and a stupid set of bunks I refurbished instead of buying new ones (such a time suck!) .....I finally got there and stripped out the doors and only found the slightest rust and the lock holes smoothed over. Will take these back to metal soon. A mate is a diesel mechanic and was doing some odd jobs at the workshop and helped me out with a few things. Rear bearings pressed Front hubs bearings replaced and new discs fitted Rear callipers completely pulled apart (and then painted along with a few other bits) Diff housing seals fitted and cleaned up ready to be assembled So now all 4 callipers are ready to be fully assembled (again - minus shit paint), along with the diff and the entire front subframe - all ready to go in the car once the shell is at the panel shop. I just need a half day to pull the last few things out of the shell to get it blasted and then it's off to the panel beater for some major progress.
-
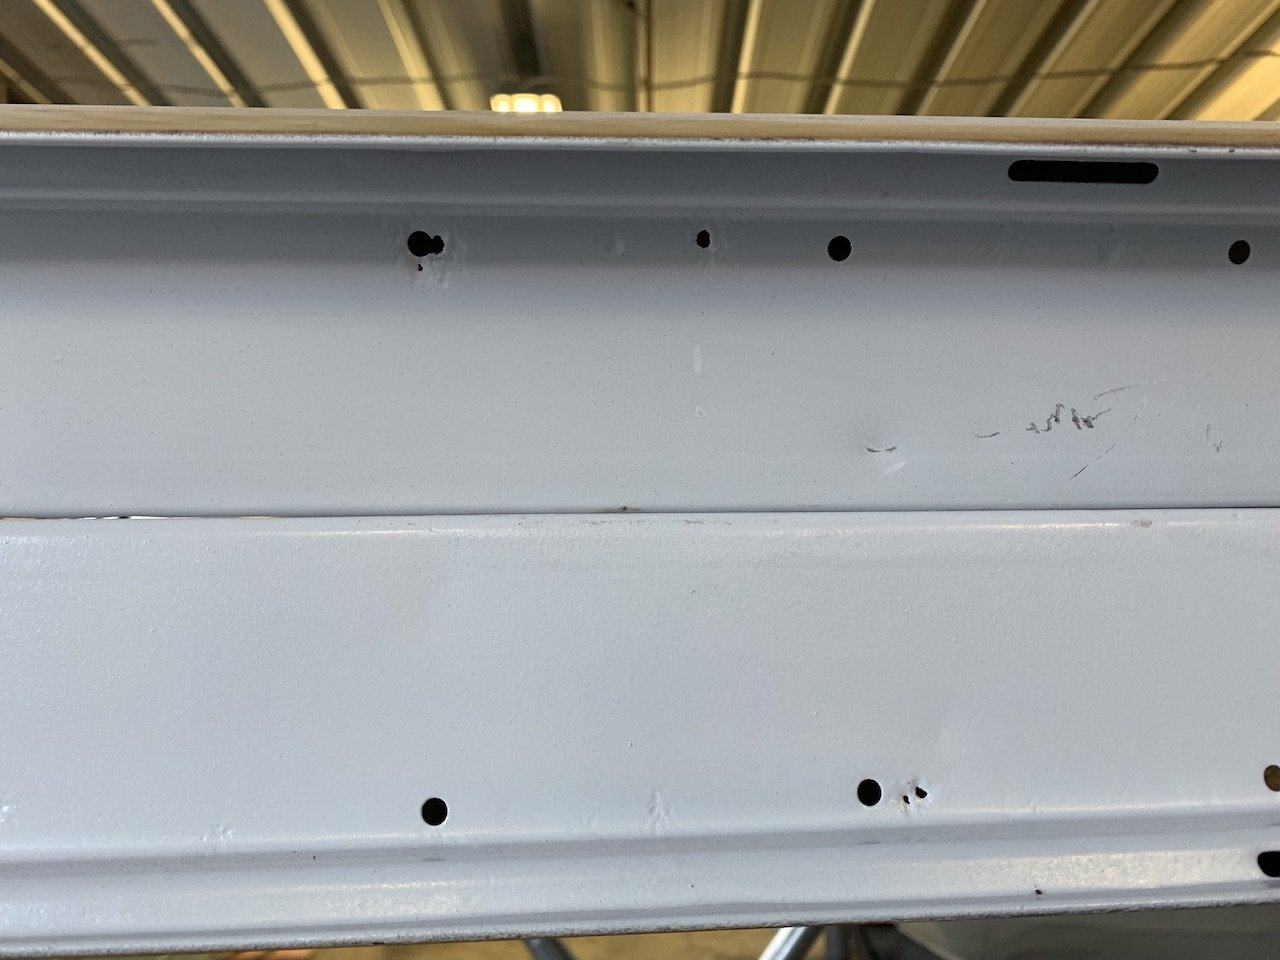
Another good day. Finished stripping the larger flat areas, just need to remove a few bits and bobs and get the rest blasted. A few dents and the odd pinhole but pretty dang tidy! Stripped the boot lid.......like my other one, two big holes, but in different places so between the two I should have a good one.
- 72 replies
-
- 12
-
-
Sorry Max - keep forgetting, mostly because I haven't been down the shed for a few months but I'll sort it tonight. Any chance you could message me the details of the guy you got the shell from? Just trying to put as many of the pieces into the ownership puzzle as I can.
-
Toyota themselves didn't have anything on file, but my friend used used their name and accreditation to get some info for me so I have a good starting point with previous rego history
-
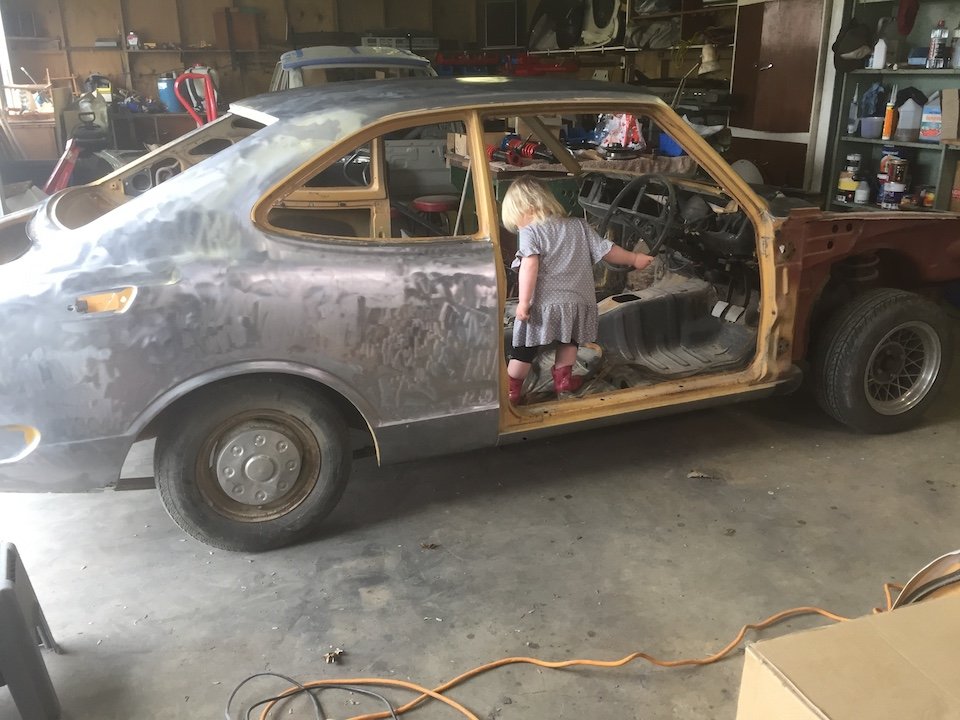
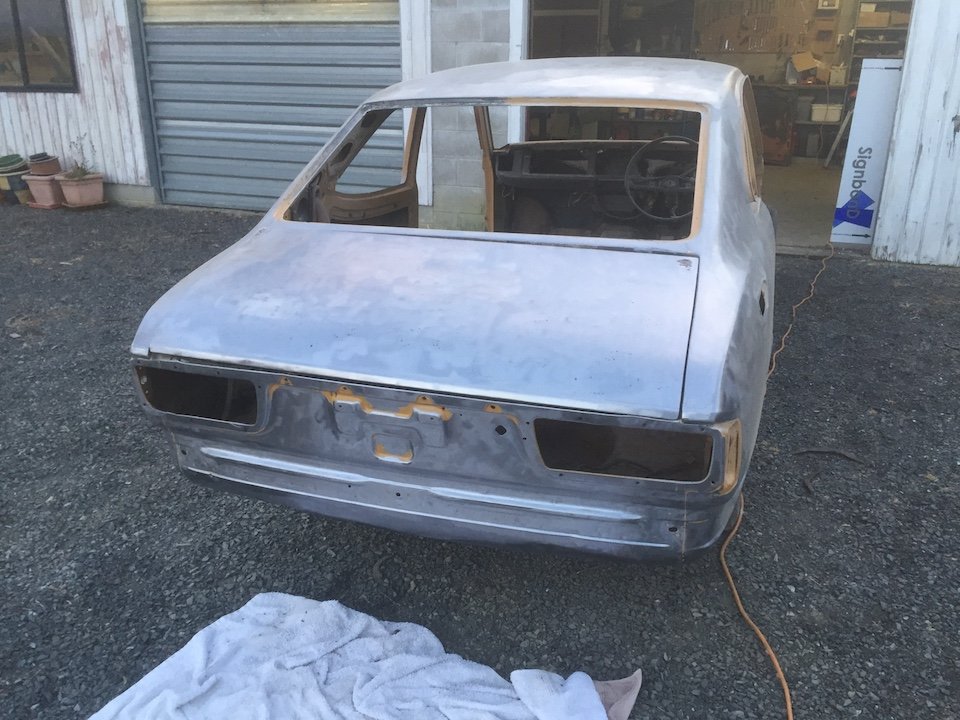
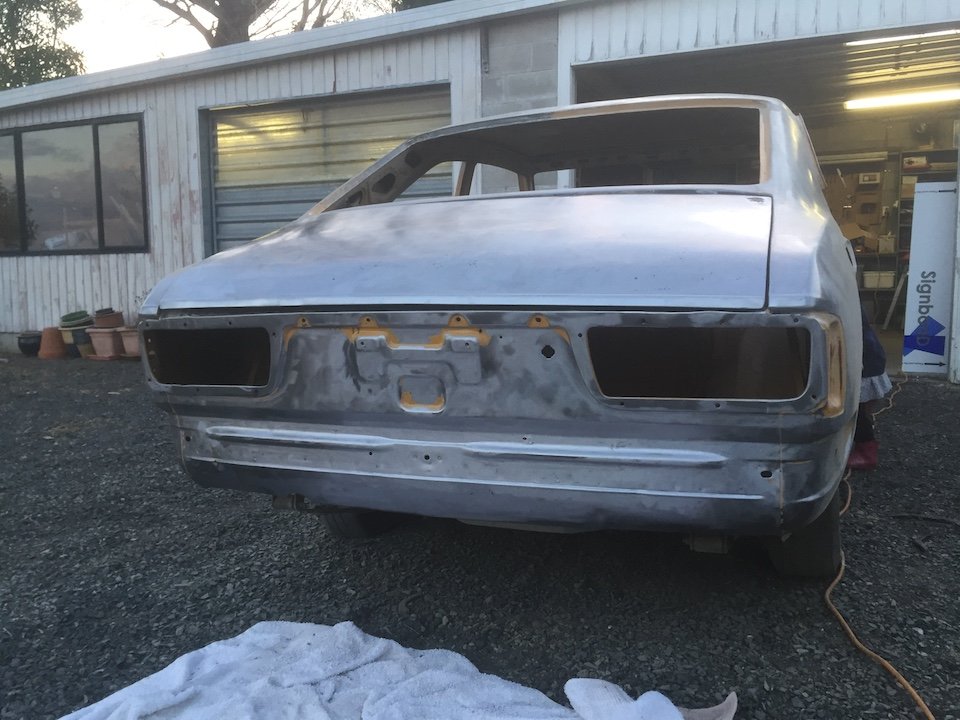
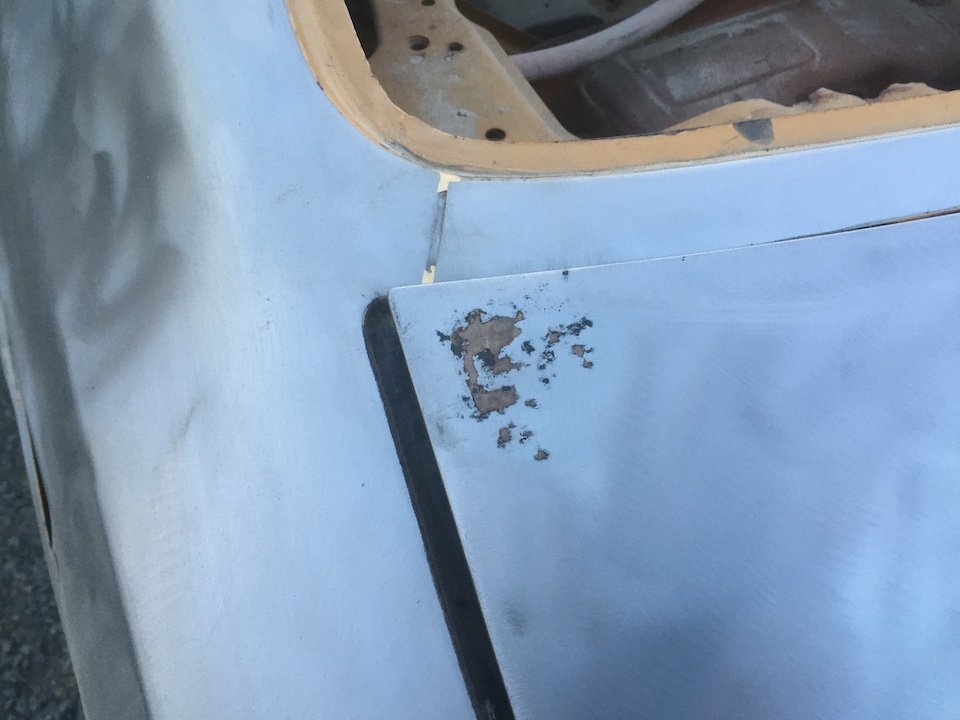
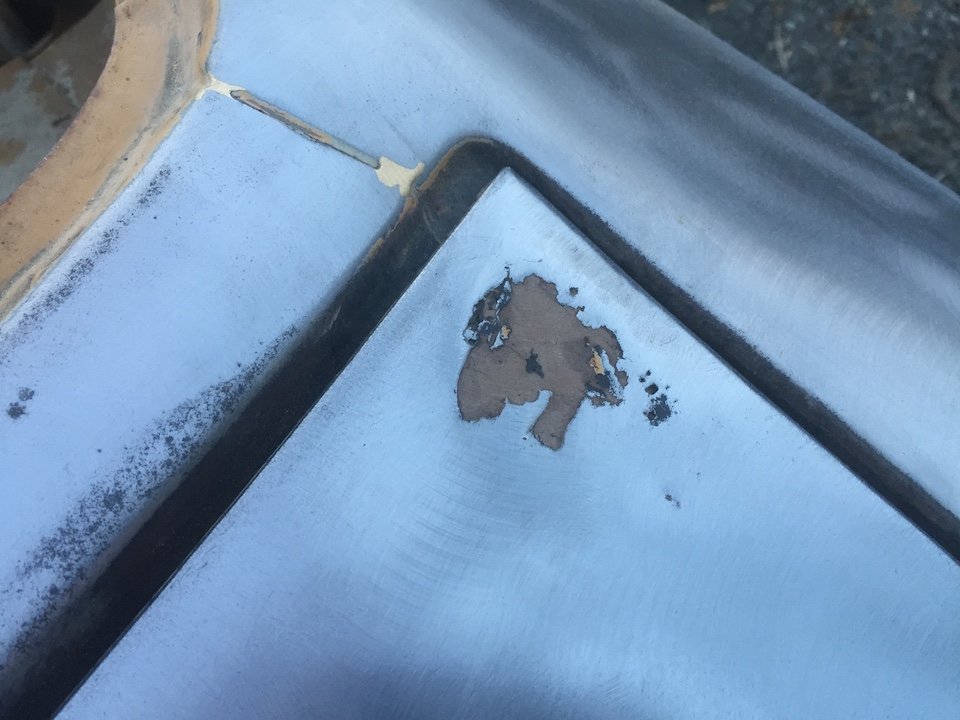
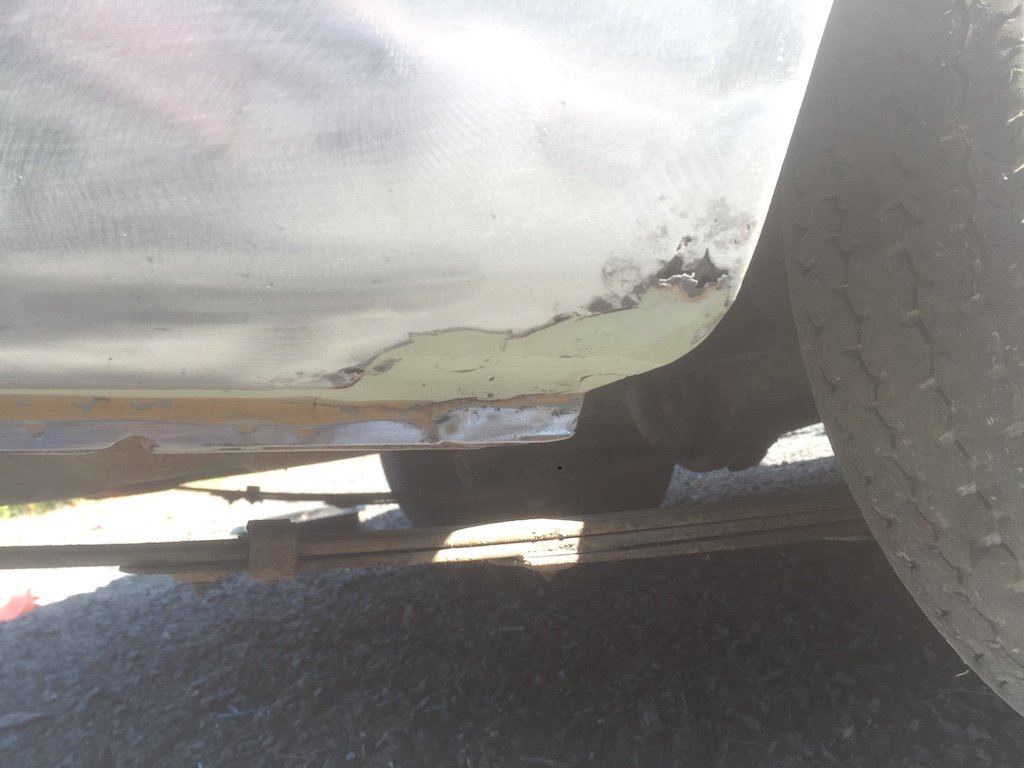
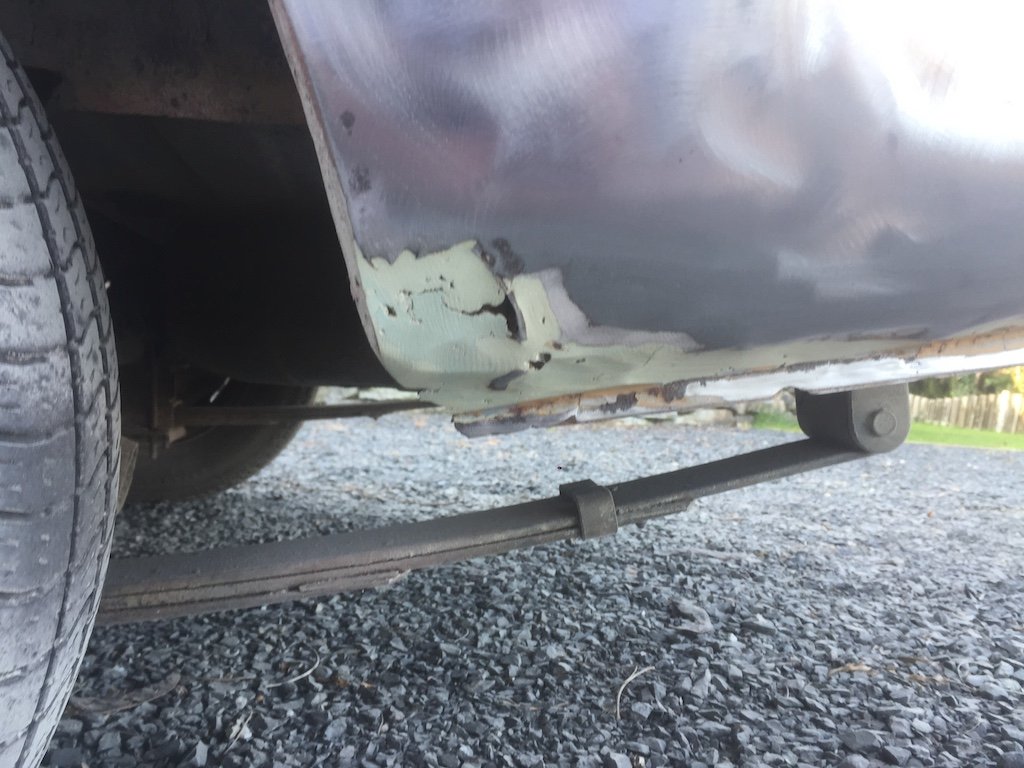
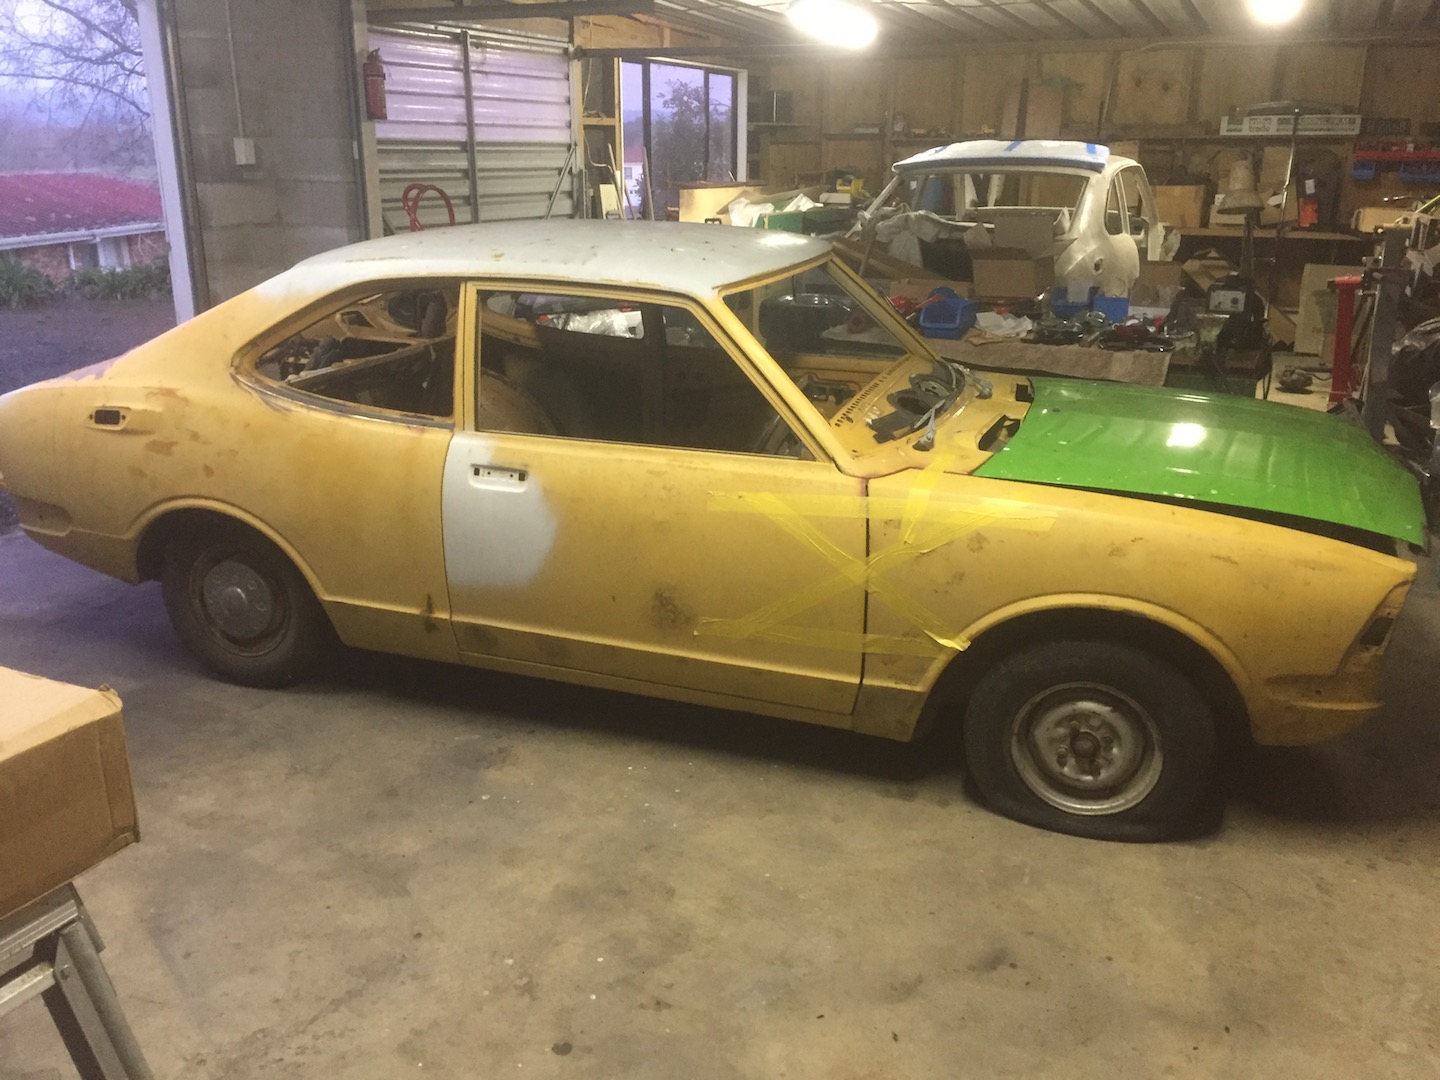
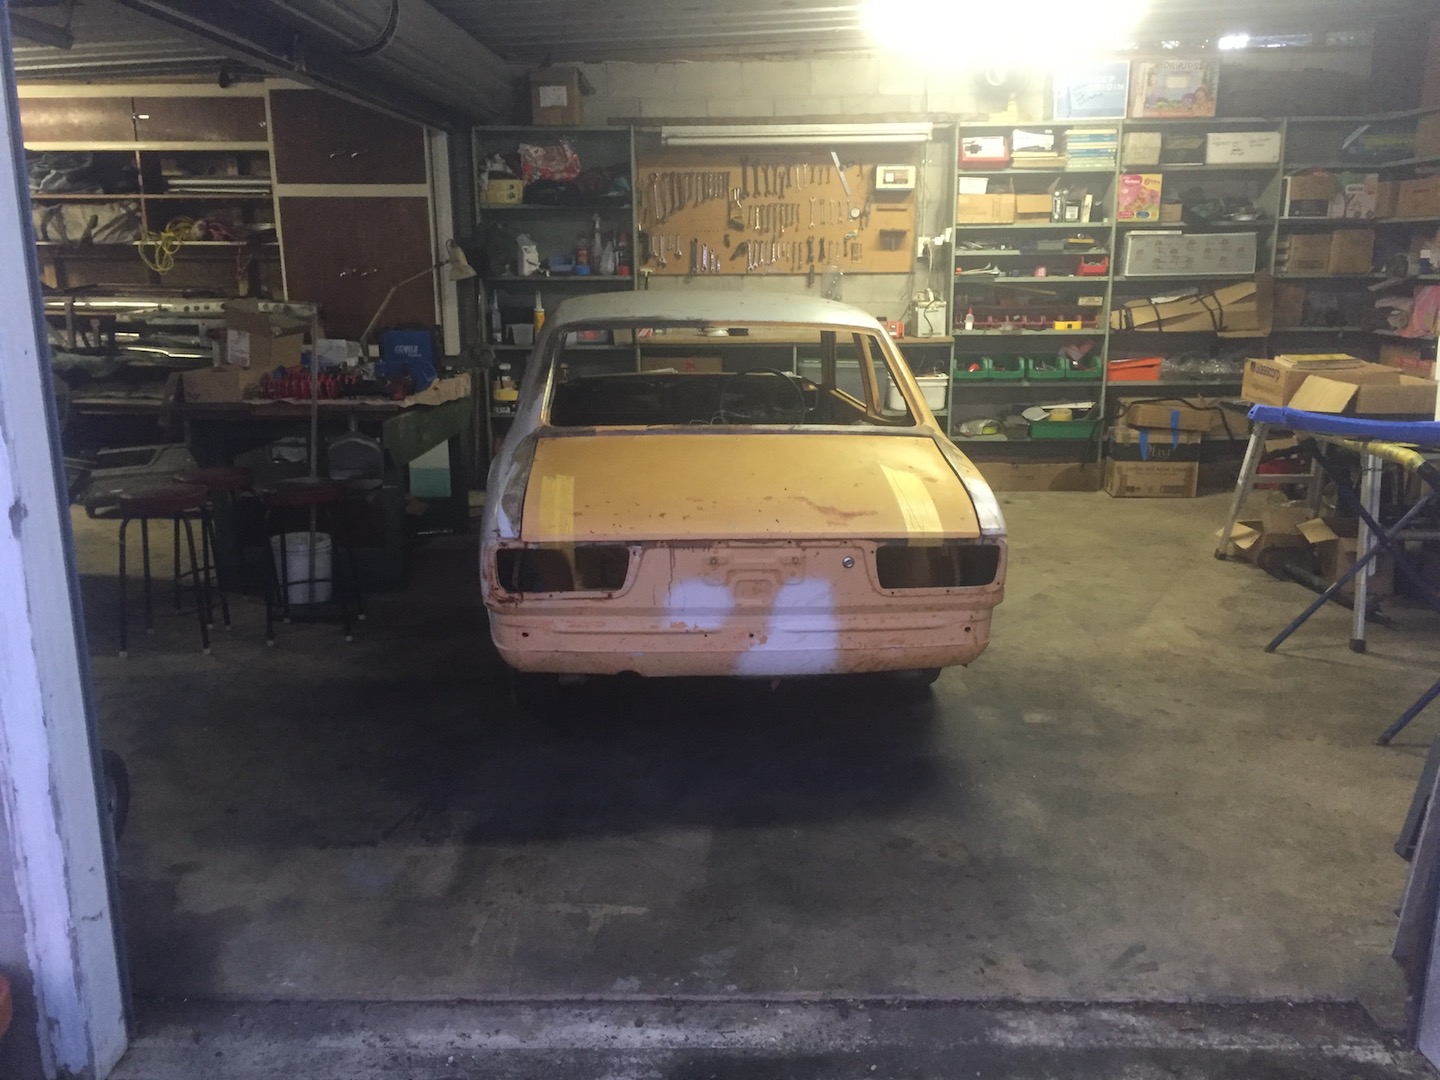
Football season is over and the sun is out.......it's paint stripping time! Shiny straight steel and only two spots of rust that'll need cut out behind both rear wheels. So far so good. In other news, I managed to get some old rego history down at my local Toyota and managed to track down a previous owner via Facebook. He was a bit of a rascal back in the day and had quite a big tab with LTNZ shall we say. Here's what it used to look like..... He warned me not to bare metal it as he had put a bit of bog into the roof, but I figured I have a spare if it's real bad and I'd rather get any old bog out incase it's on the bare metal. Should hopefully finish off the big panels tomorrow and line up a sandblaster during the week.
- 72 replies
-
- 10
-
-
Nah the shell was stripped, good call with Toyota though. I'll hit up the compliance place tomorrow and see what I really need to have.
-
yeah it just says it's invalid as it only has access to limited chassis numbers - i'll pm you the Chassis Number
-
Didn't come up on carjam unfortunately I just don't want to do all the work and then not be able to register it because of silly paperwork/proof of ownership yadda yadda........so you saying I don't need anything like that?
-
Hey Guys. My new ke25 shell has no paperwork history, but a quick call to LTNZ ( via the chassis number) and they told me it was last registered in August 2006, however they wouldn't give me any of that in writing for some strange reason. I need some sort of proof etc to get it re registered so they suggested I fill out a CA03 Alternative Documents Form and pay them $184 (their hourly rate btw) for the pleasure.......any words of wisdom before go further with this?
-
I swear by Sikaflex urethane, but you need to use the complimentary clear primer/activator to prepare the glass and aperture to avoid any bonding issues. (3min flash off time) If you've got fresh paint on the aperture, then give the bonding area a quick scuff with scotch pad and use the ska black primer (10min cure time). If you have a yarn to a local Smith and Smith they might let you buy a tube and have a nearly empty activator and primer for cheap/free.
-
Barn find quality! Can't wait until we get some good weather so I can get stuck in
-
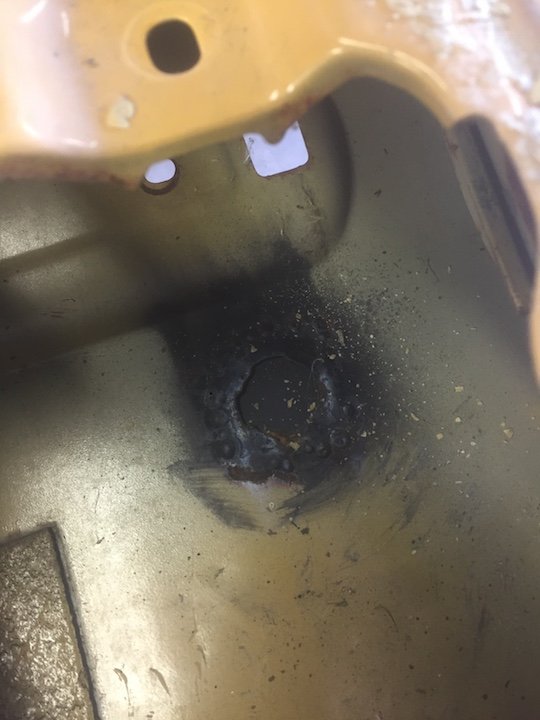
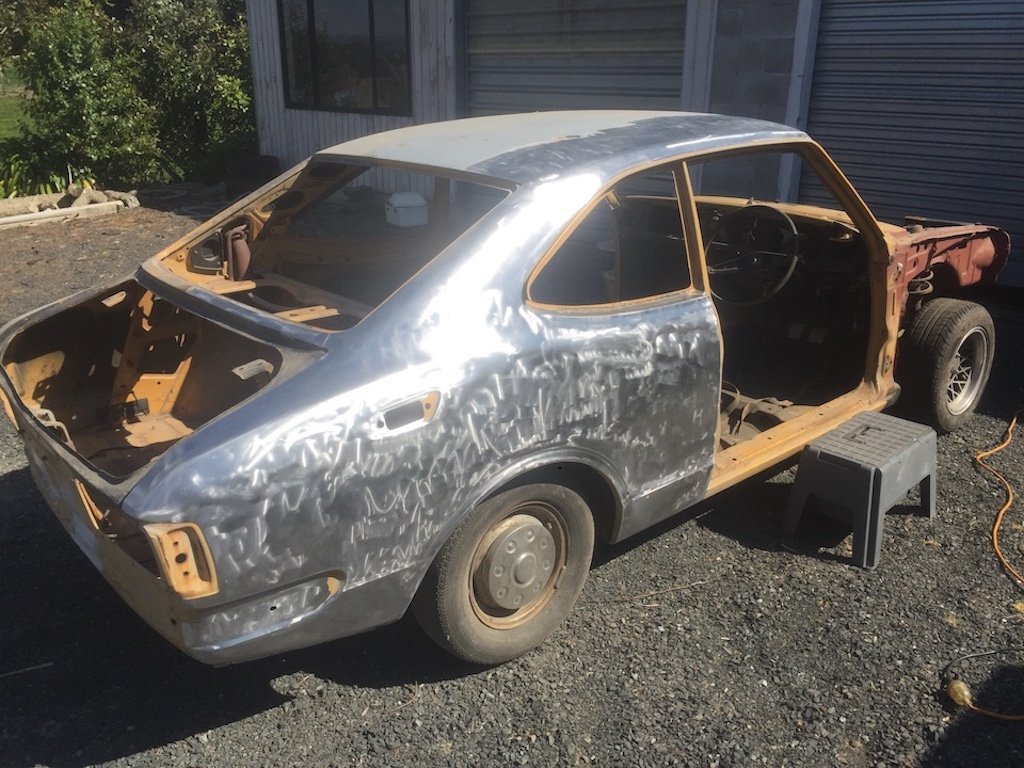
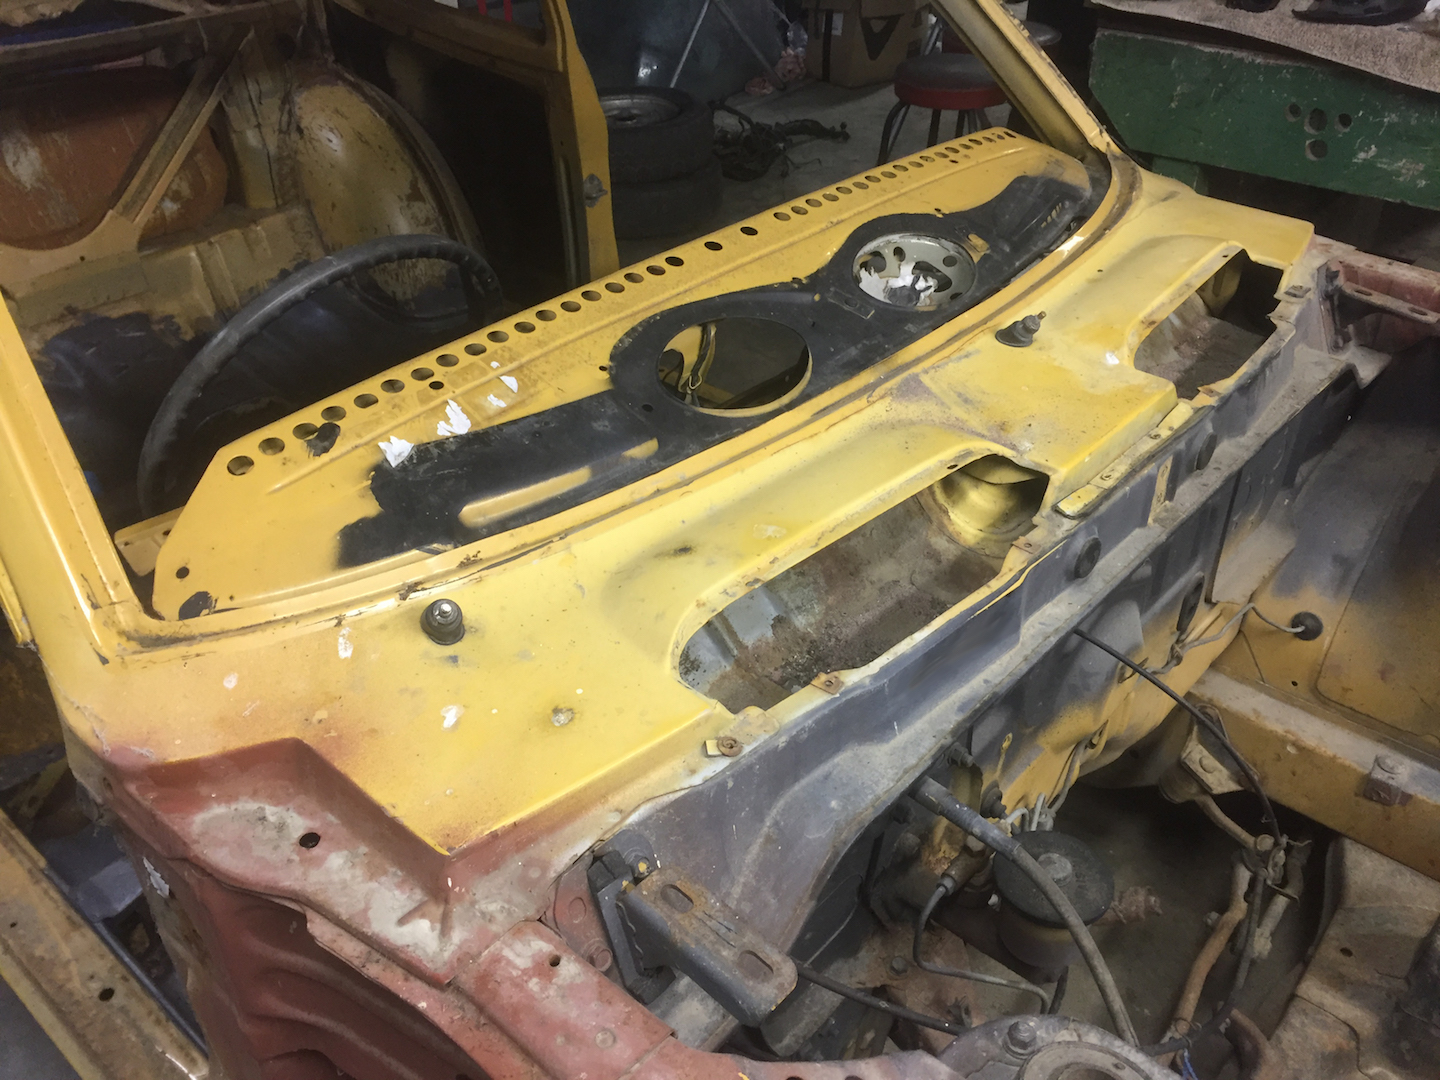
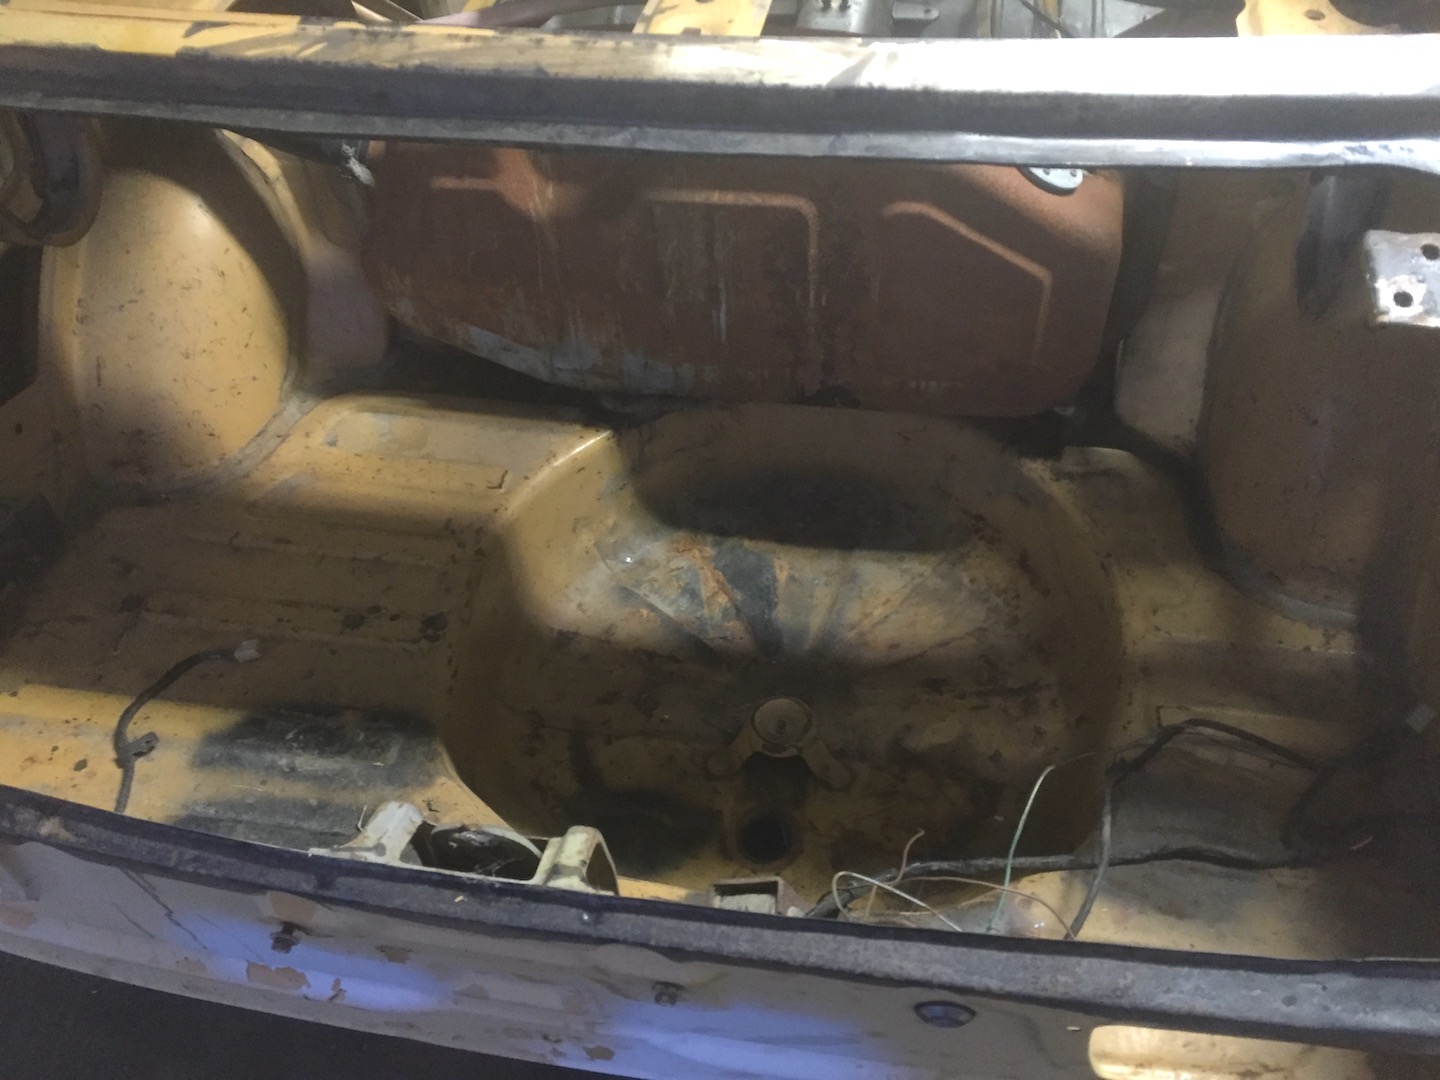
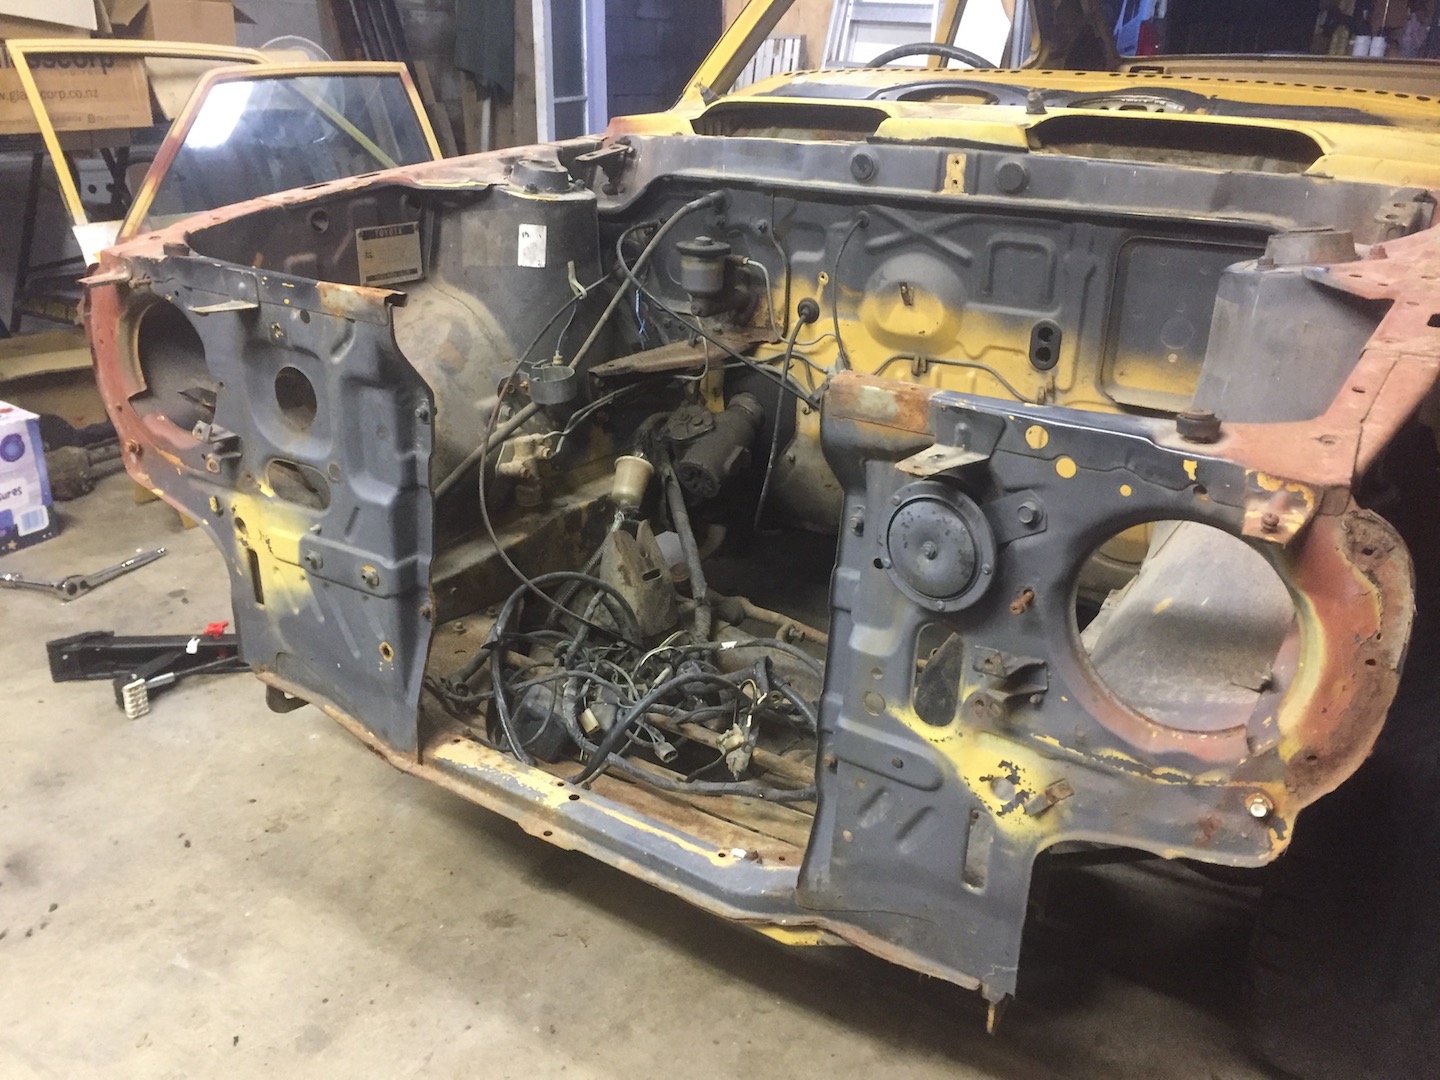
SO....this shell is WAY better than mine. It has virtually no rust in the spots that are an issue on my first shell, and the front end/panels are totally straight. There's no rust under the cowel where the heater box mounts up, the spare wheel well is all complete, I now have a set of rust free doors. The boot and bonnet will need to be stripped to reveal their true state as it looks like theres a few gremlins under the surface, but the shell at first look, looks 95% rust free! So the plan is now to strip this and send it off to the panel beater with minimal fabrication work needed. I won't count my chickens, but this could speed up the whole rebuild a lot. Happy Man!
- 72 replies
-
- 16
-
-