-
Posts
10052 -
Joined
-
Last visited
-
Days Won
1
Everything posted by Mof
-
Quite right, my mistake
-
Pretty much right. Centre bearing flange should be around 3° off gearbox flange like you say to make the ujs work. This can be up or down btw (you drew down). Diff angle should be the same angle as centre bearing flange, but some say to angle it slightly up to counter suspension twist when accelerating. Personally I think yes for a race car, most of the info I've found on the internet comes from Americans setting up drag cars. I'd be pretty much bang on for a road car.
-
Remember though, it shows normal temp when driving.
-
So maybe not an airlock problem, it should've worked it's way out to the cap or reservoir by now if it was do you think
-
Has the coolant level dropped at all?
-
-
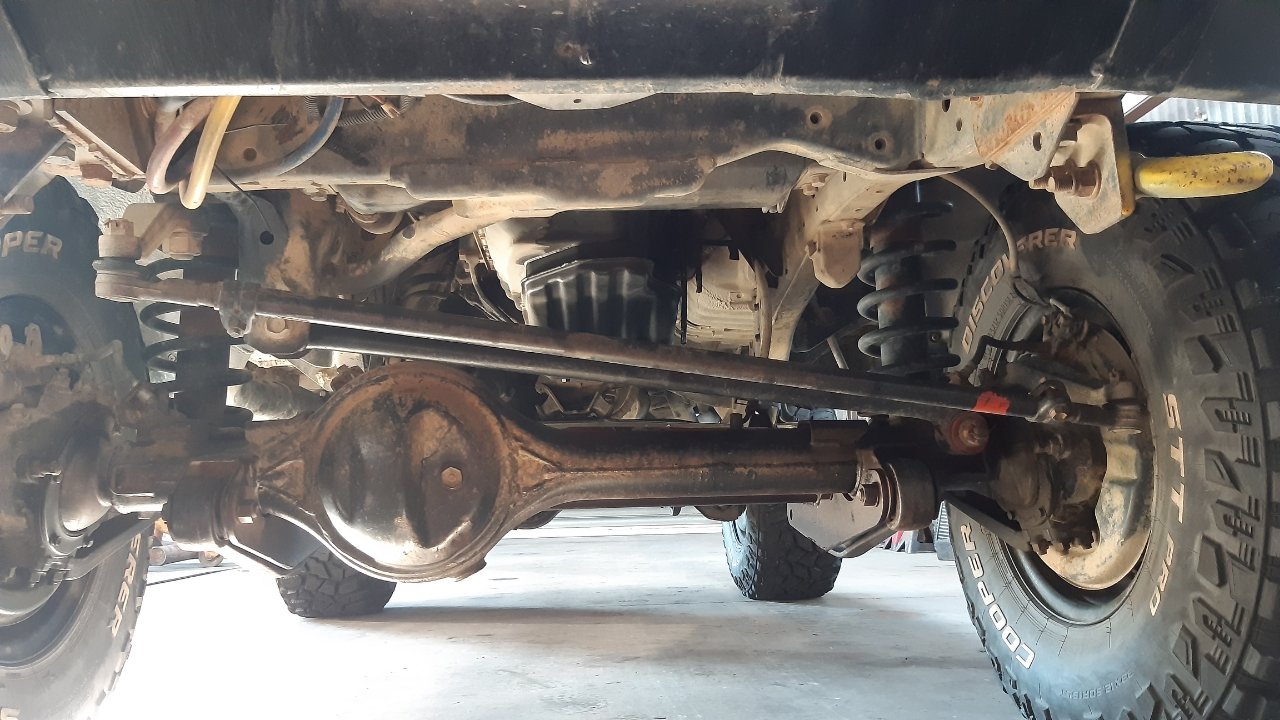
^yeah that there I understand. If it had OEM arms still in it then they would bind and stop the suspension from operating. And that guy has made his own arms which would then have to be certified (obviously that example ^ is way beyond comprehension). But if none of the other components of the suspension has been modified or changed... . I'm trying very hard to not come across as an argument, but a conversation if you will. So in order to have lift springs in my vehicle I have to produce a catalogue of the springs every time I go for a wof? How, now or after say 3 years do I prove that the springs fitted are the ones in the catalogue? What do I do if the springs were fitted before I bought the vehicle? You might at this point say that I should just get it certified, which is a valid point. But, do I need to produce a catalogue for the certifier to check them against?
-
@KKtrips do you have a copy of the previous sheet?
-
But my lifted springs and longer shocks bolt straight in without modification, but I can't get a wof because the tester deemed them to not be direct replacement because they are lifted.
-
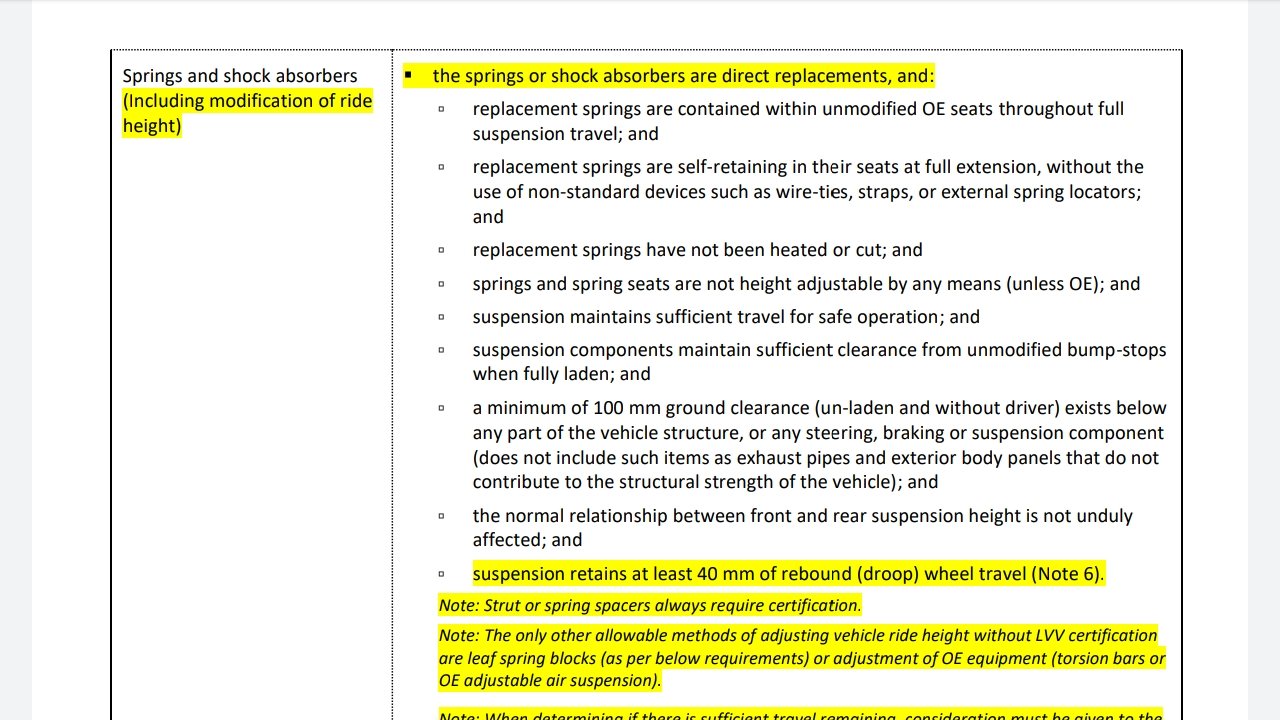
Yes now that I re read it it doesn't seem vague, in fact it could be interpreted as being incredibly specific. What constitutes direct replacement? Aftermarket shocks? Aftermarket shocks that are "OEM replacement"? How do you prove that they are? OEM shocks? I mean if you really get specific then only the actual shocks that are removed from the vehicle are direct replacement for those shocks. I feel that you can clarify all you like, but this is the threshold sheet, it's not up to you. It's up to the wof testers, and they interpret these things in an incredibly broad spectrum.
-

Te Urewera Undertaking, 2020 Nov 27th, 28th, 29th.
Mof replied to johnnyfive's topic in Upper North Island Region
/this thread //ling -
Depends who you get at the place too. Used to fail, show them old lvv Threshold sheet, pass. Last guy I had would not let it go, eventually had to resort to "oh I'll give it to you this time, but next time...."
-
Lift springs are direct replacement? A bit vague https://www.lvvta.org.nz/documents/suplementary_information/LVVTA_LVV_Cert_Threshold.pdf
-
Woah, sorry seems they've just changed the wording. Damn now I guess I'm up for cert
-
Spring lift doesn't require cert. Unless wof guy thinks he's above the rules
-
Before we put any new linings on we had to pull out all the old staples and get all the glue off. Found a strip disk on the grinder is best.
-
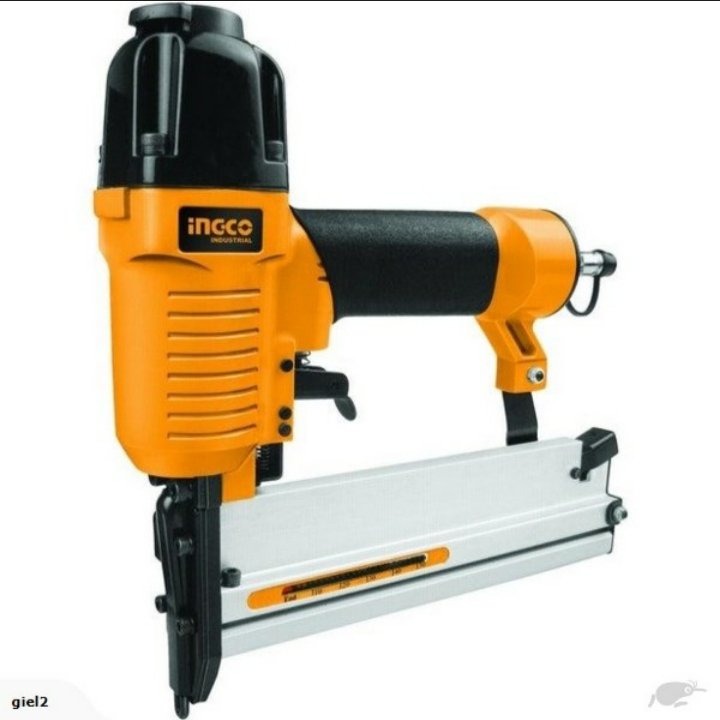
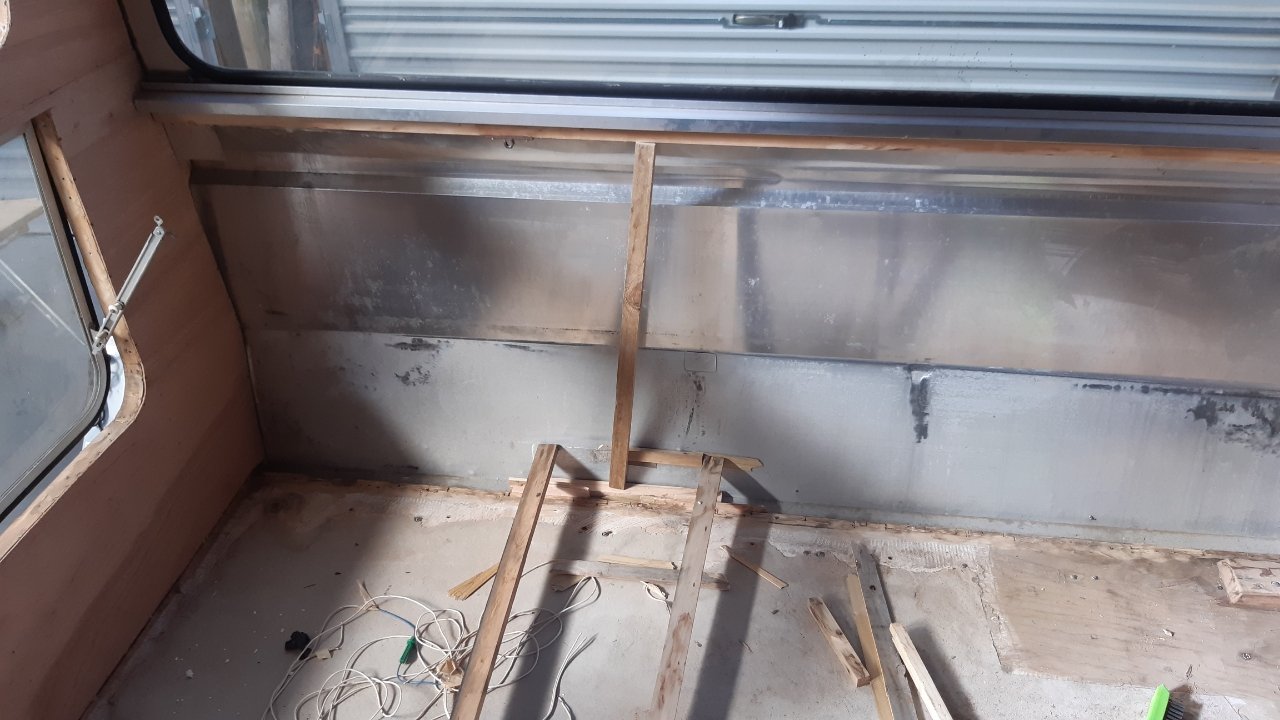
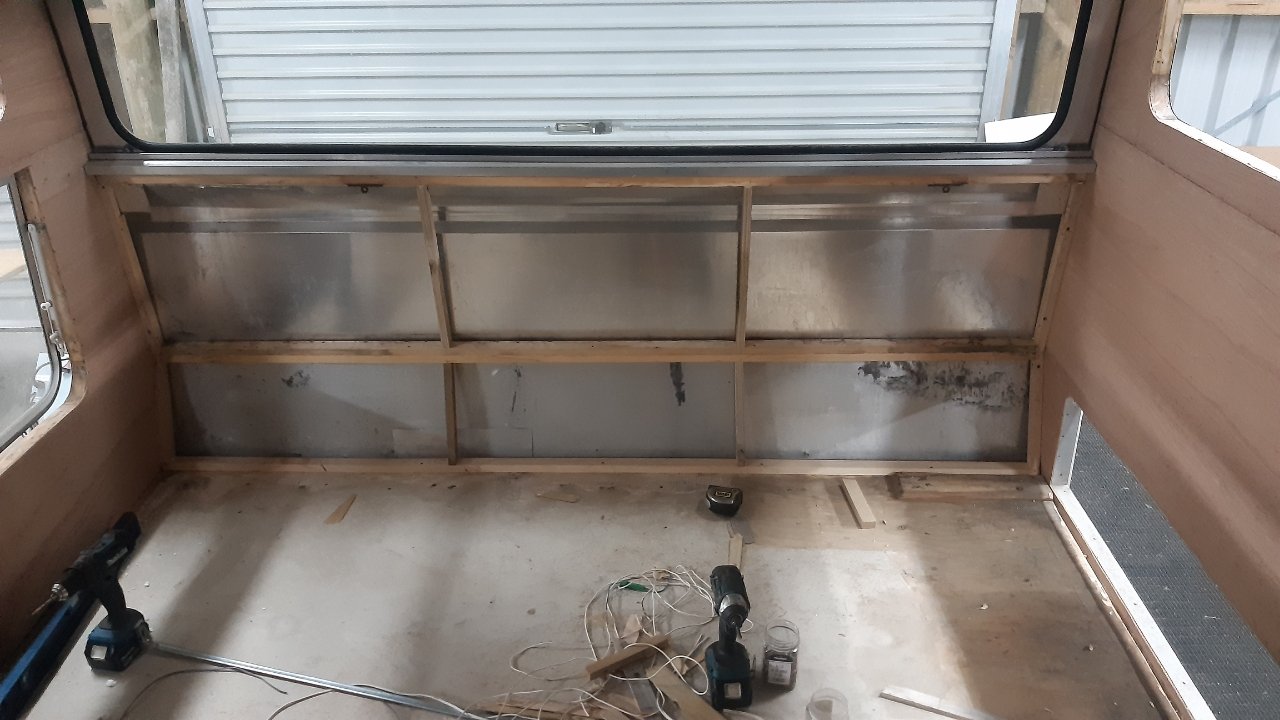
I got one of these from trademe https://www.trademe.co.nz/2609106237 the alloy is only fixed to the framing around the edges, I used the 16mm staples (the same as when they built it) and I squeezed some marine silicone into any bit I've lifted. I plan to take off the alloy trim strips that cover all the joints and redo the sealant before painting the outside. I also used the 32 or 40mm staples or 8g wood screws and gorilla glue for the framing. Same 16mm staples and gorilla glue. I didn't know that one. I've salvaged as much of the old framing as I could and cut it to the size I needed. I got a couple of short lengths of house framing timber of like 180x32 from itm and ripped it down to pieces I needed. I also had some 40x18 clear lengths from bunnings and had to rip them to 35x18 as the wall frame is 35mm. I wouldn't get them again because way more expensive than the house framing timber.
-
It's always been motivated, time's running out. Every spare weekend has been out there, it's just too far to go do a bit after work. House was supposed to change hands start of April, that's on hold. Build was supposed to start mid April, but that's having issues with the consent. Back at work now, and I need building supplies anyway. I think I'll have to wait until after level 3 to get stuff, bunnings/m10 is just too useless to buy online.
-
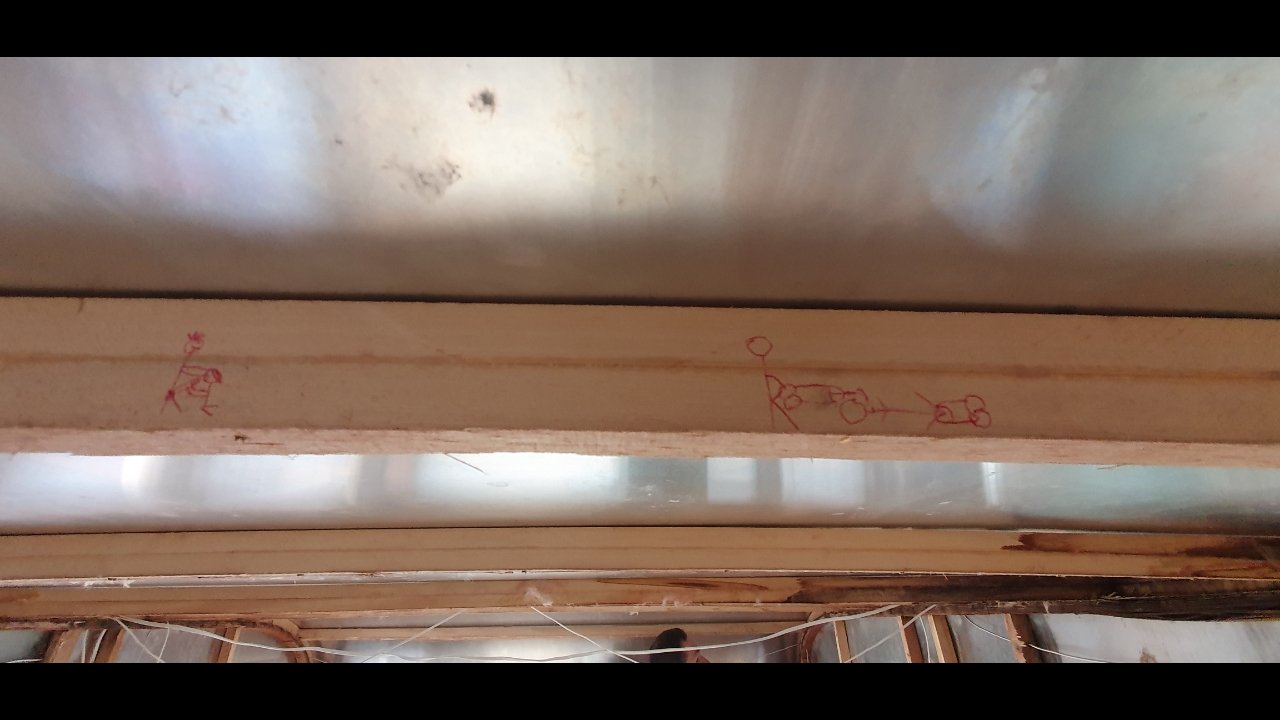
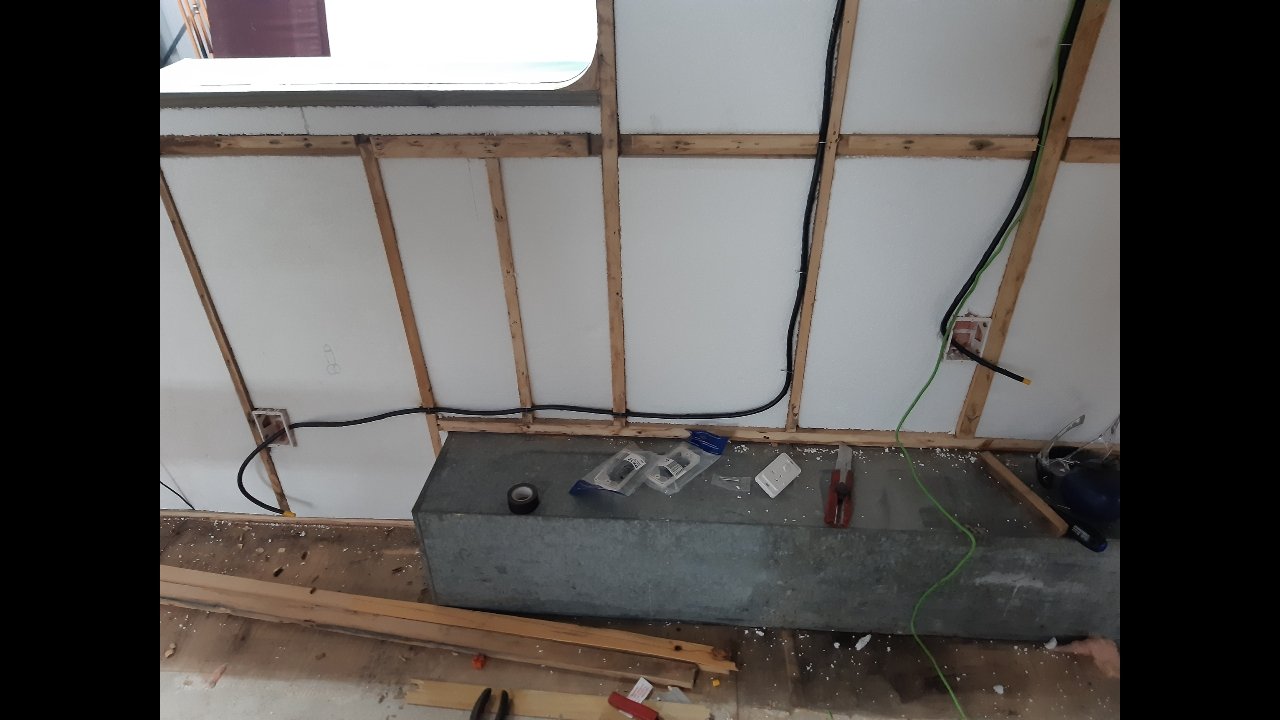
Almost forgot Wife did some artwork on the roof bows Eagle eyed might spot another on the poly in the wall by the wiring in a previous post
-
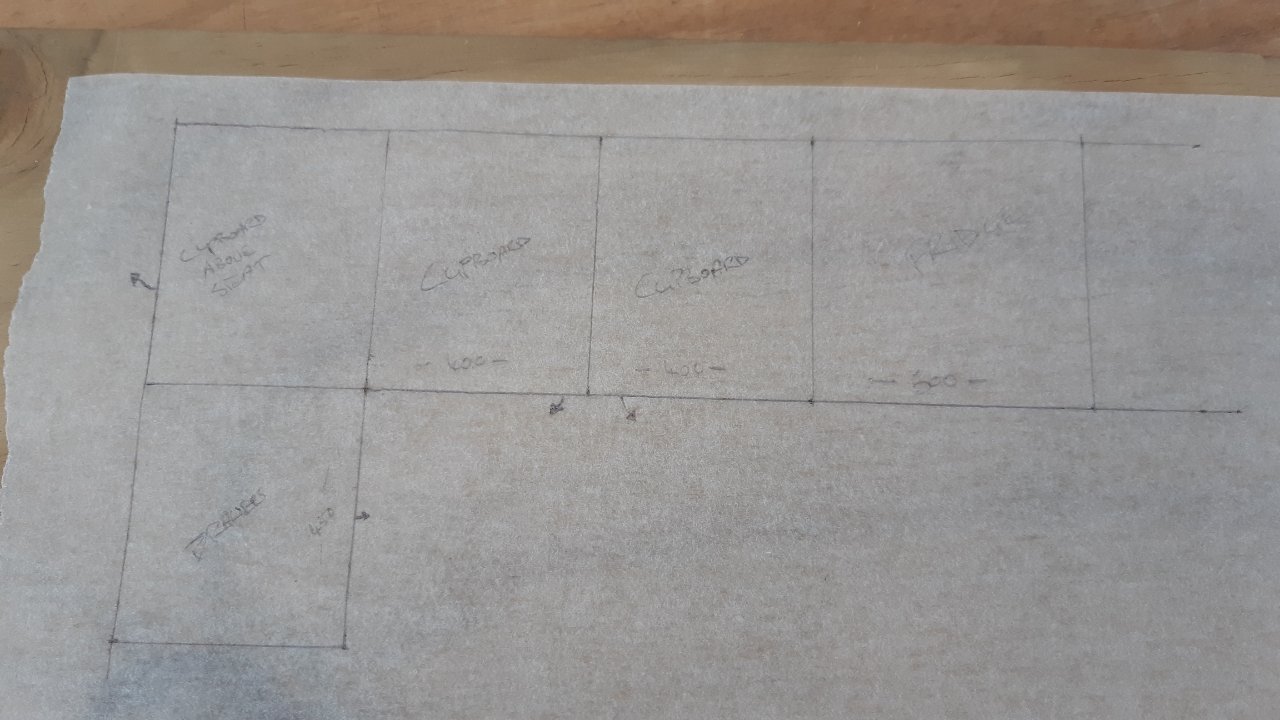
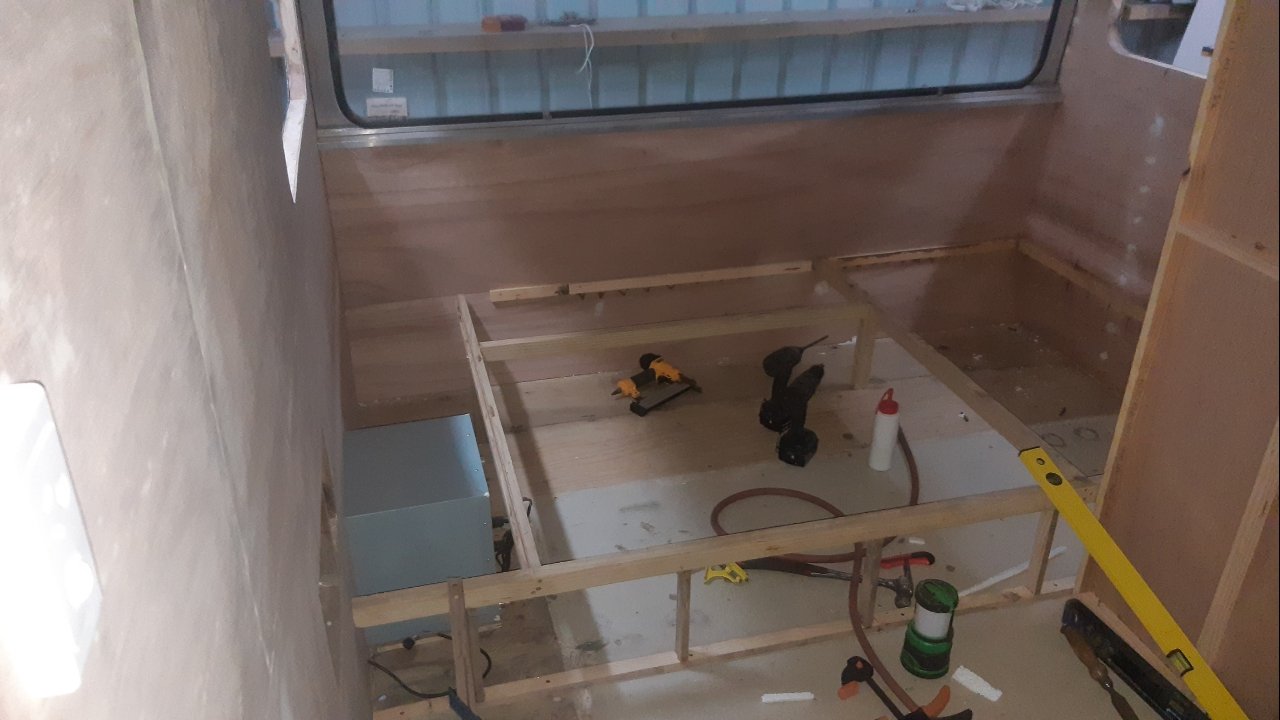
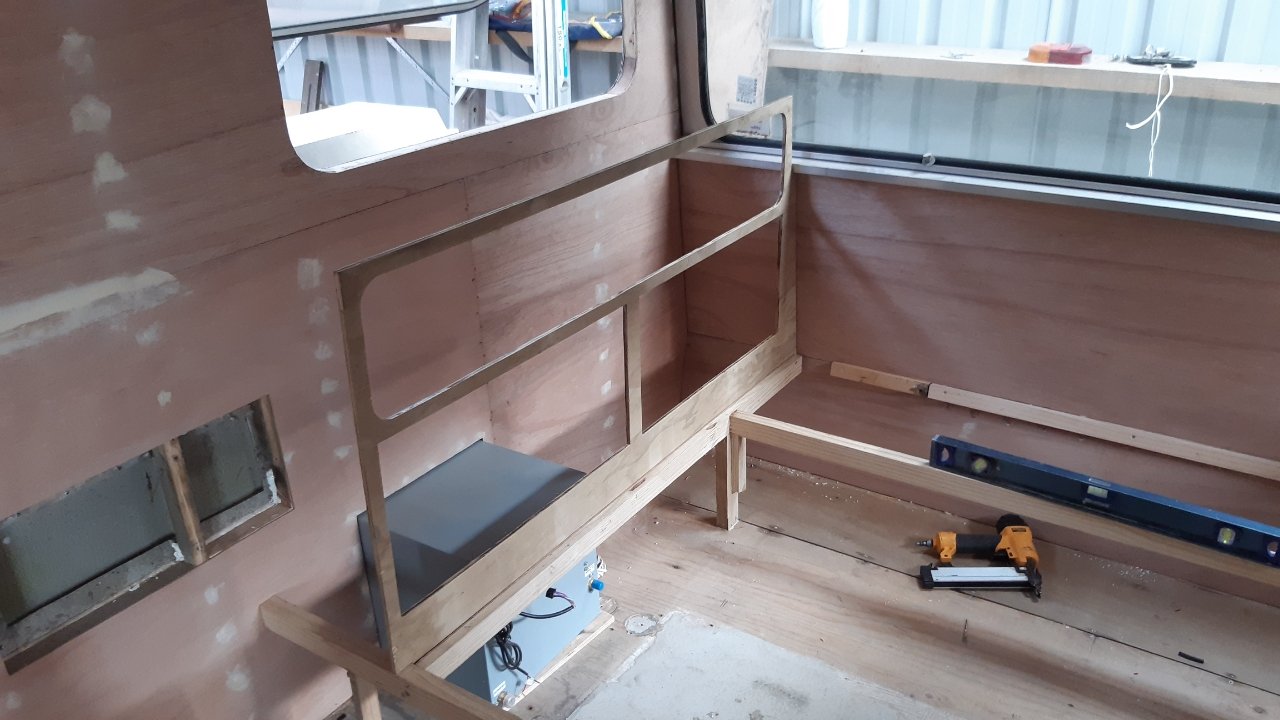
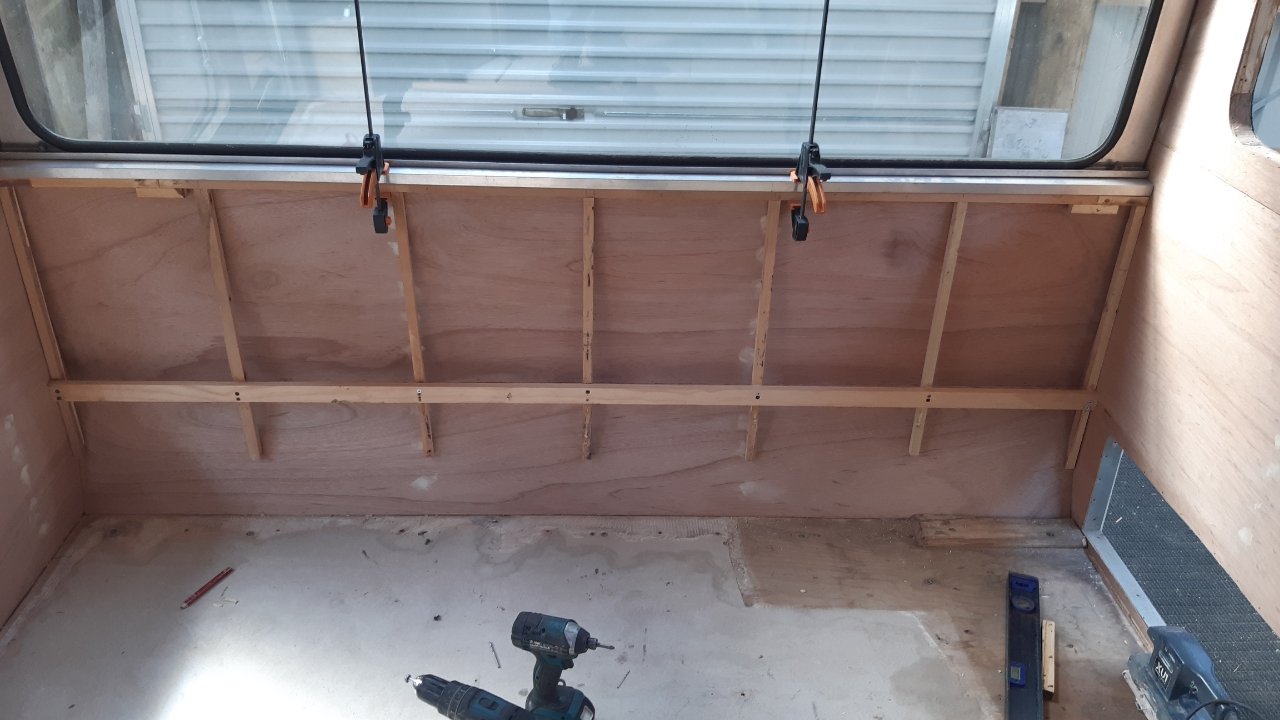
Planning out the kitchen. Didn't have any paper, but I did manage to find some baking paper. Making the bed base in the back Headboard and storage. The bottom holes are going to be cupboards And this is where we're up to. Hey, thanks
-
See I fixed the wall, at the expense of 2/3 sheet of ply. Onto the seats at the front. I spent maybe two days just researching and measuring and mocking up how to lay out the seats, table etc. And they have to be able to become beds, the more the better. The main problem was this exterior storage hatch that is to access space under the seats that don't exist yet And this damn window opposite Eventually I came up with a plan Making the backrest to square up the wall Seat base carcass Batteries and fuses etc will go in the compartment on the right. Single squab on the right, and another across the front. The front will pull out to a double too. I don't have timber or ply for this so it has to wait. 10mm too short
-
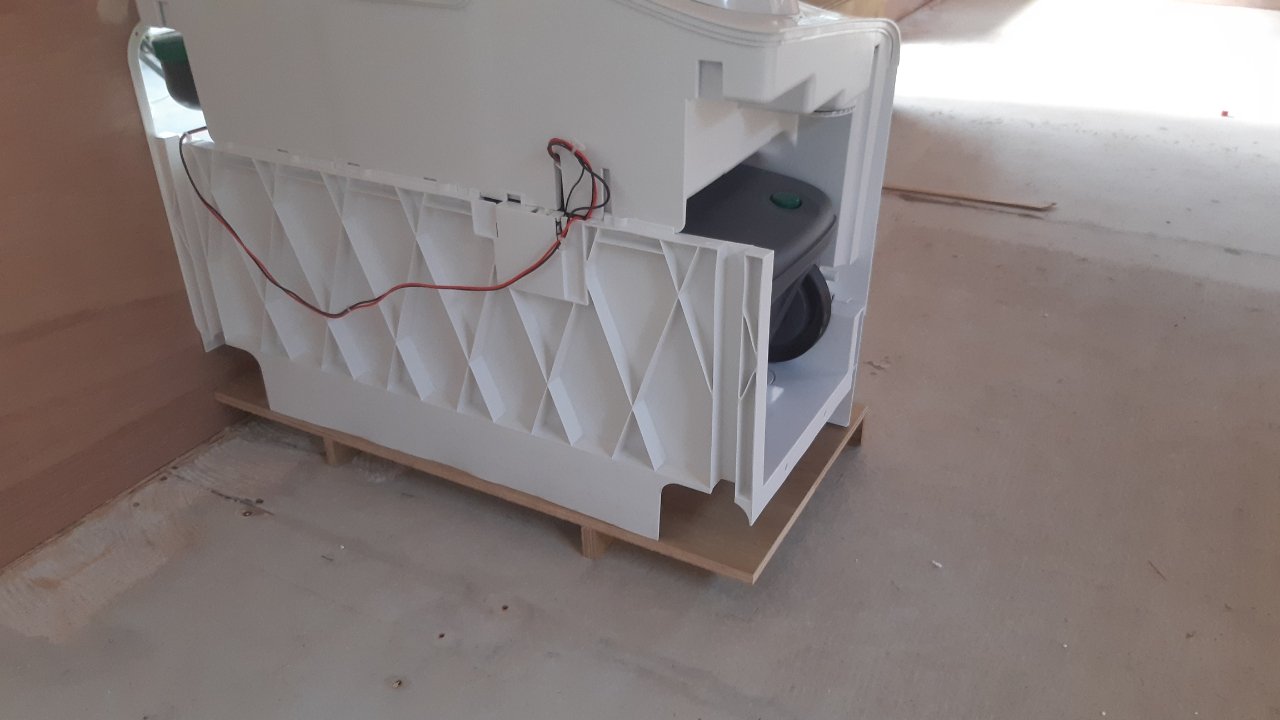
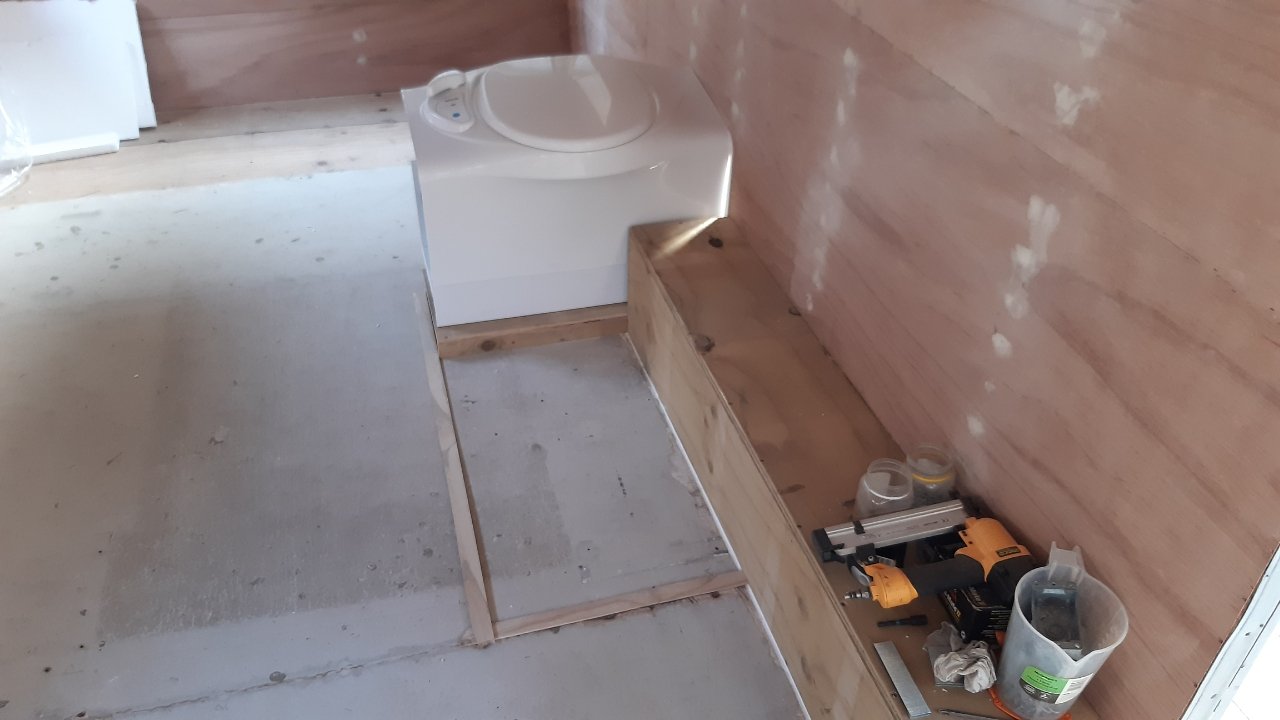
Test fitting the OG cupboard, one of three I could reuse Made a platform for the toilet to sit on, to try get it closer to the wheel arch and separate it from the shower floor. Testing out the size of the room I could get away with Making walls I fucked this one up because the ply should have gone on the inside first so I can run pipes through the wall
-
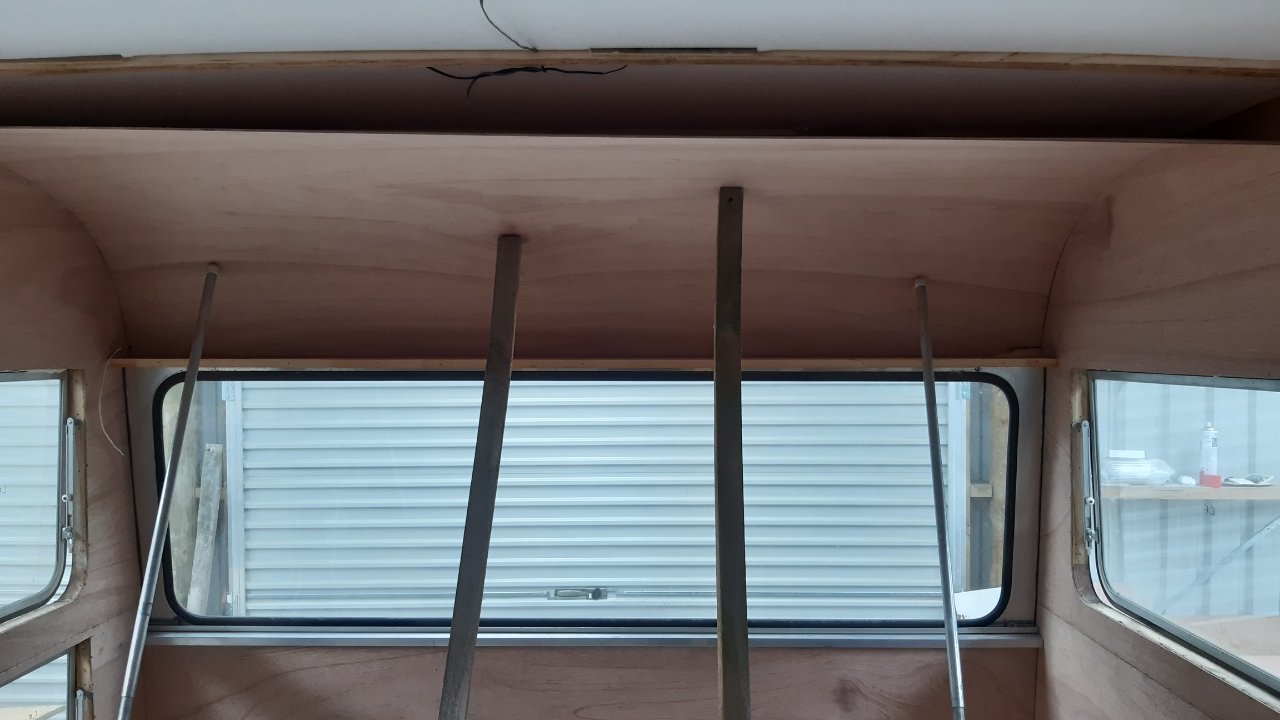
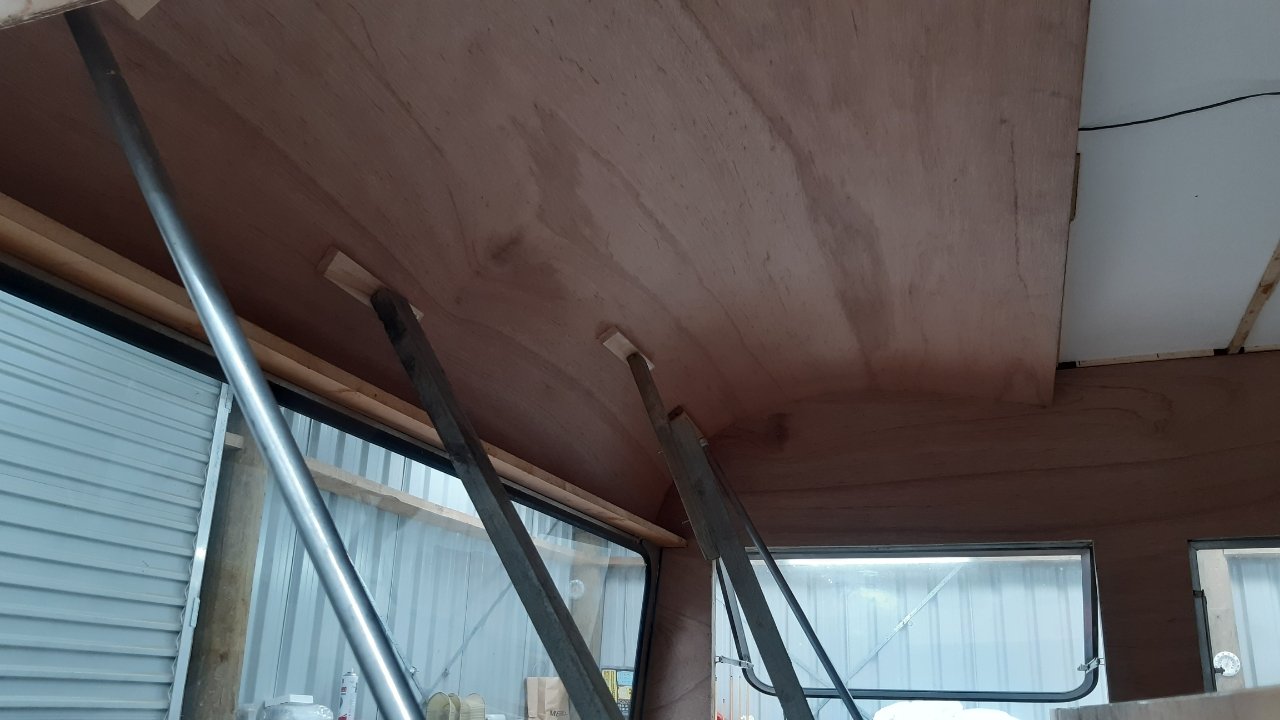
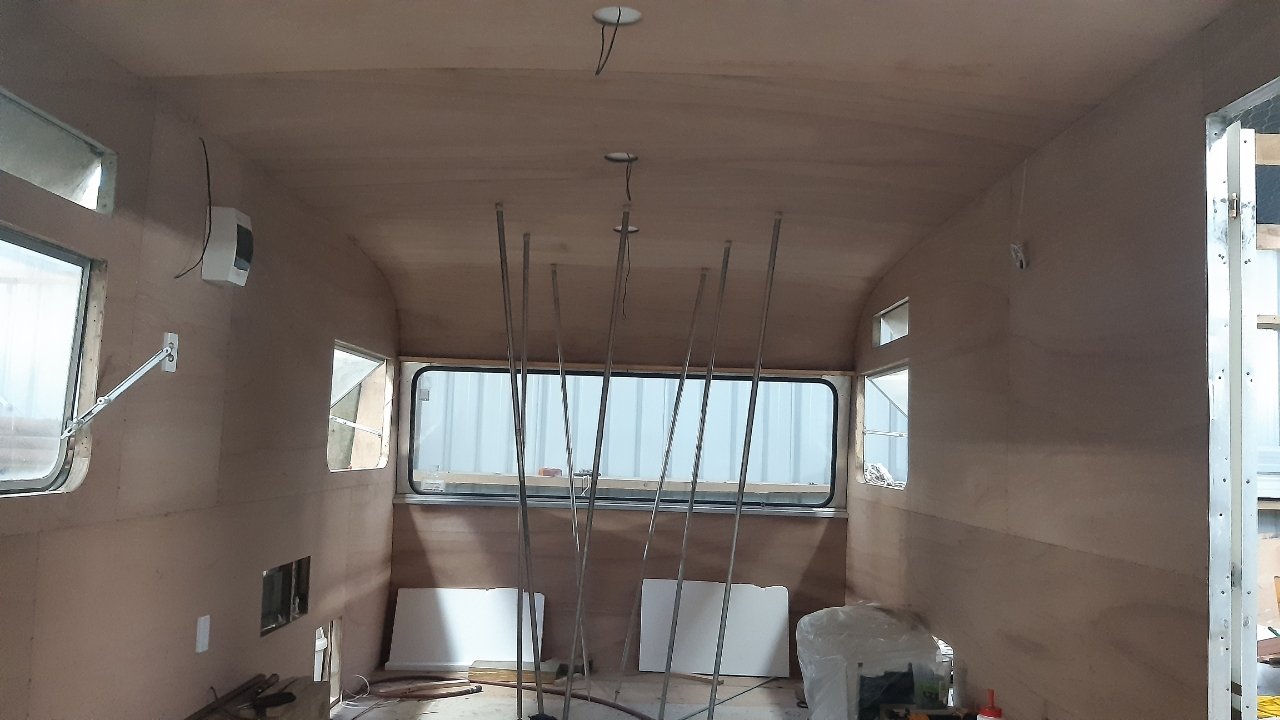
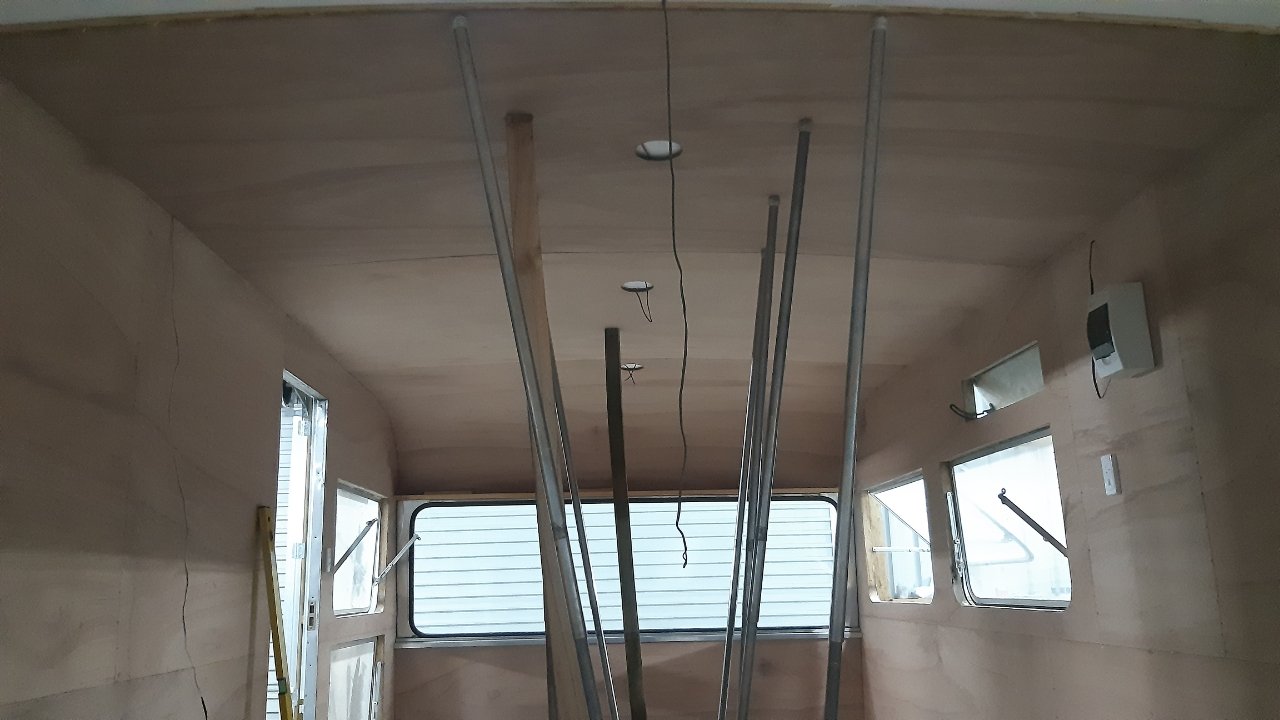
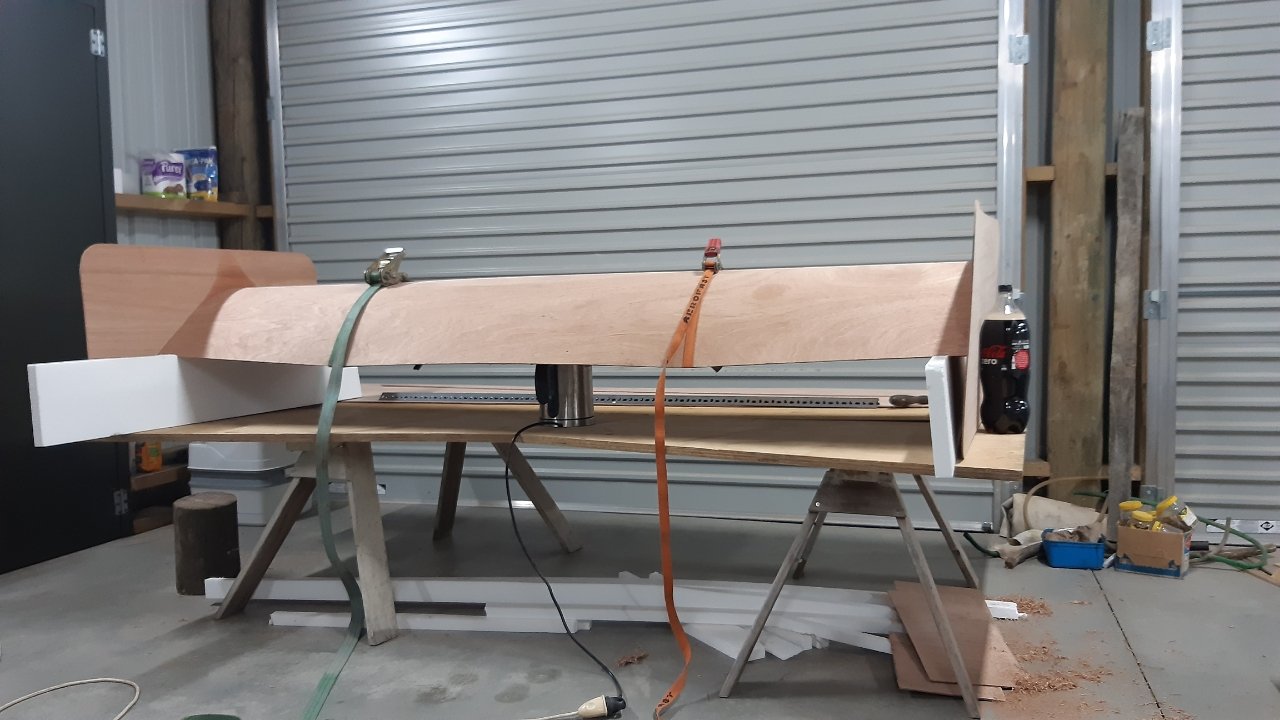
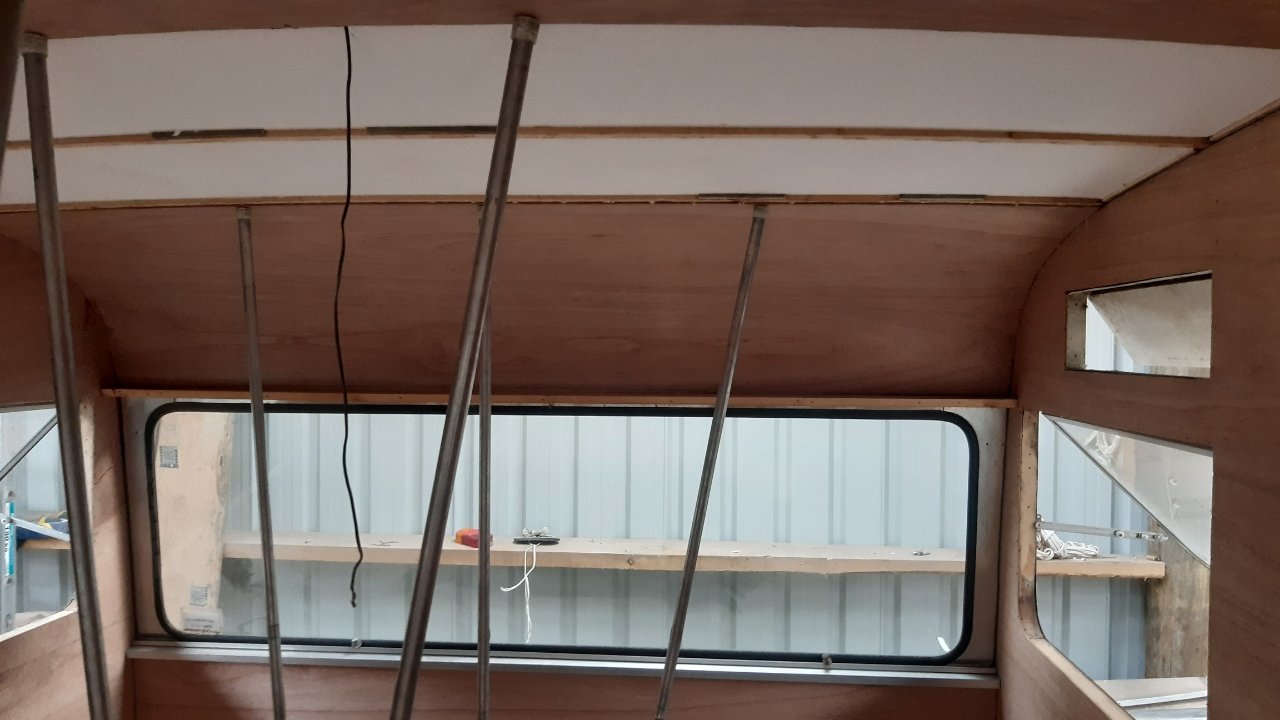
On to the roof. Around 3 weeks before I had bent two sheets of ply under the edge of the pool table I had stored in the shed to try get them to curve. It did help, but it was still a fight to get it into the end. Not to mention it curves in both directions which sure makes it hard to cut the sheet to fit. Many times of holding it up, marking bits to trim, taking it out, plane the bits, repeat. Lifting a whole sheet like that into the space that's a perfect fit by yourself sure is tricky. One of these times I fucking dropped it and smashed off the corner. Thankfully it was a back corner that'll be hidden by the cupboard. You might just be able to see it. Shit sure gets serious when the glue goes on. The rest of the roof wasn't so bad The poles are in there to try help keep the curve while the glue goes off. The back end I just could not get to go up into the curve. So I had a go at steaming it. I had reservations about this because I really didn't want to put the ply in wet, but I tried anything else I could think of and it just wasn't happening. Yes, that's a kettle under there. Let it dry off a bit and it sure helped but it still put up a fight And that's the roof done Cut the holes for the lights before the sheets went up
-
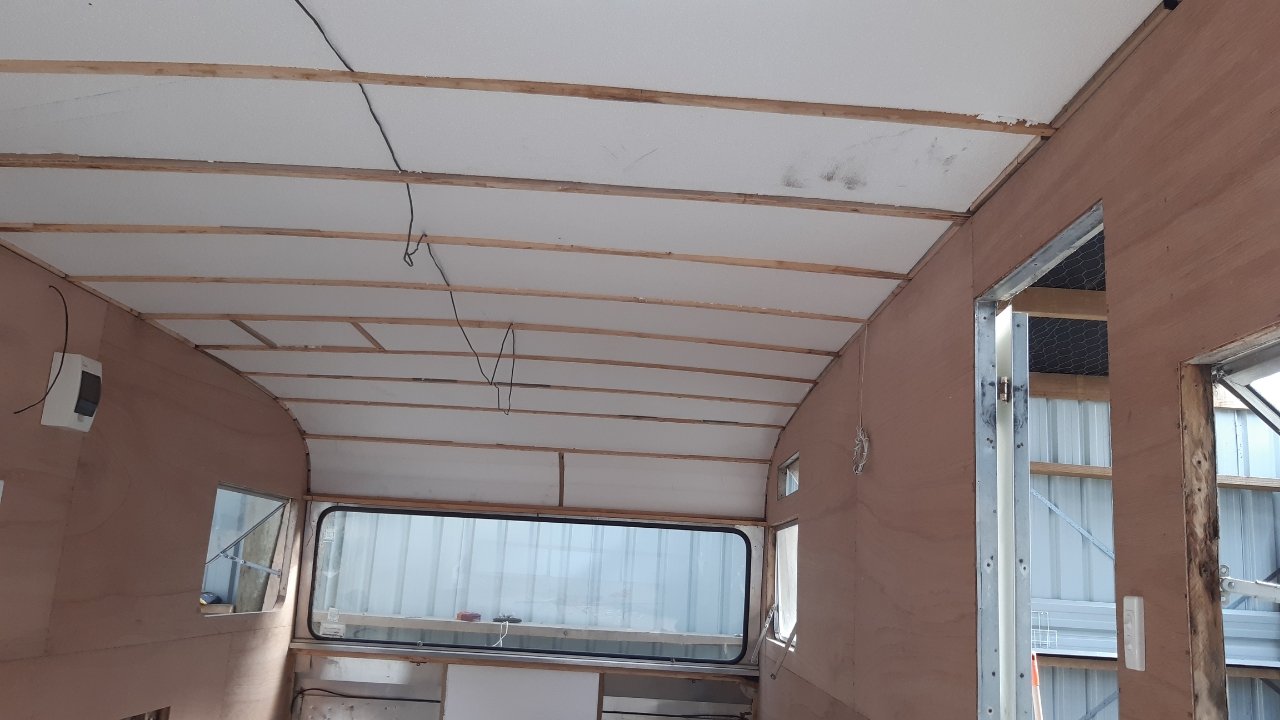
It was about this point we went into lockdown, so I ran the gauntlet and shot out to the shed with enough supplies to last me a couple of weeks. Never left the car between home and the shed. Patched a hole in the front skin where when the chassis had sagged and the framing was rotted the skin had been smashing into the drawbar. (nowhere near it now) Framed up front and rear walls Polystyrene And skinned Poly'd the roof (during oldschool e-nats) That's it for tonight, I'm not allowed to upload any more pictures.
-
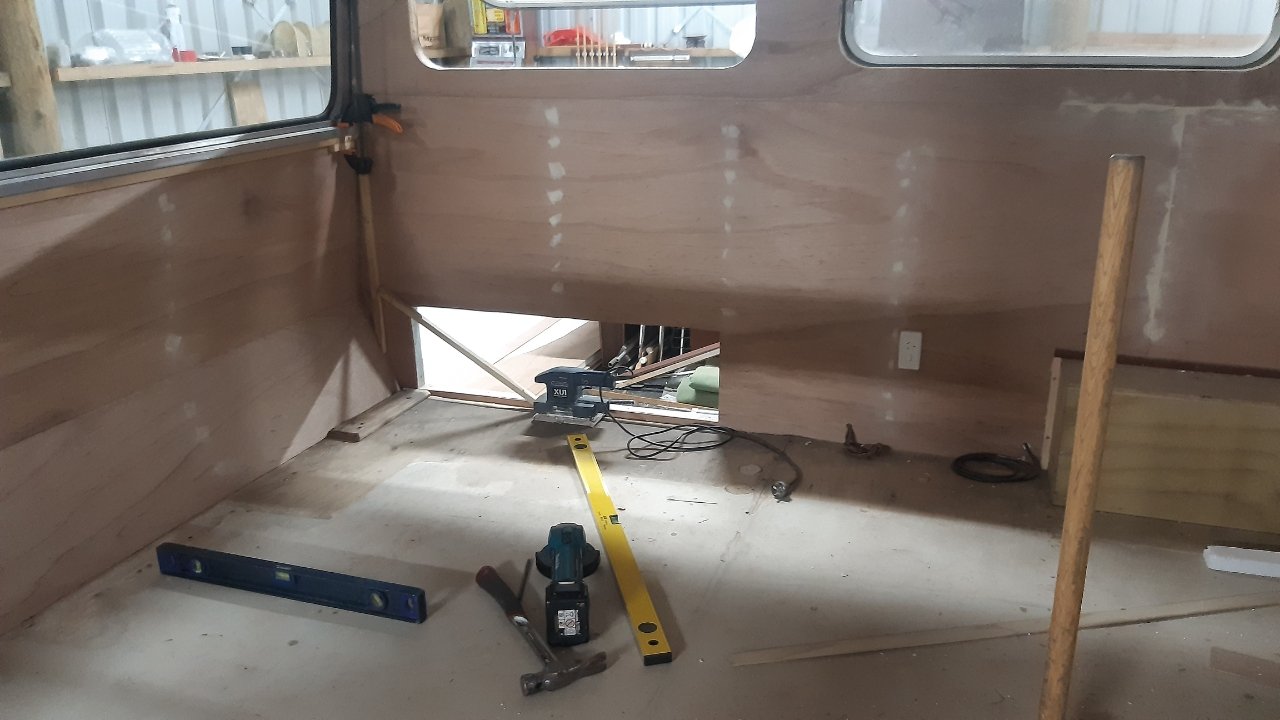
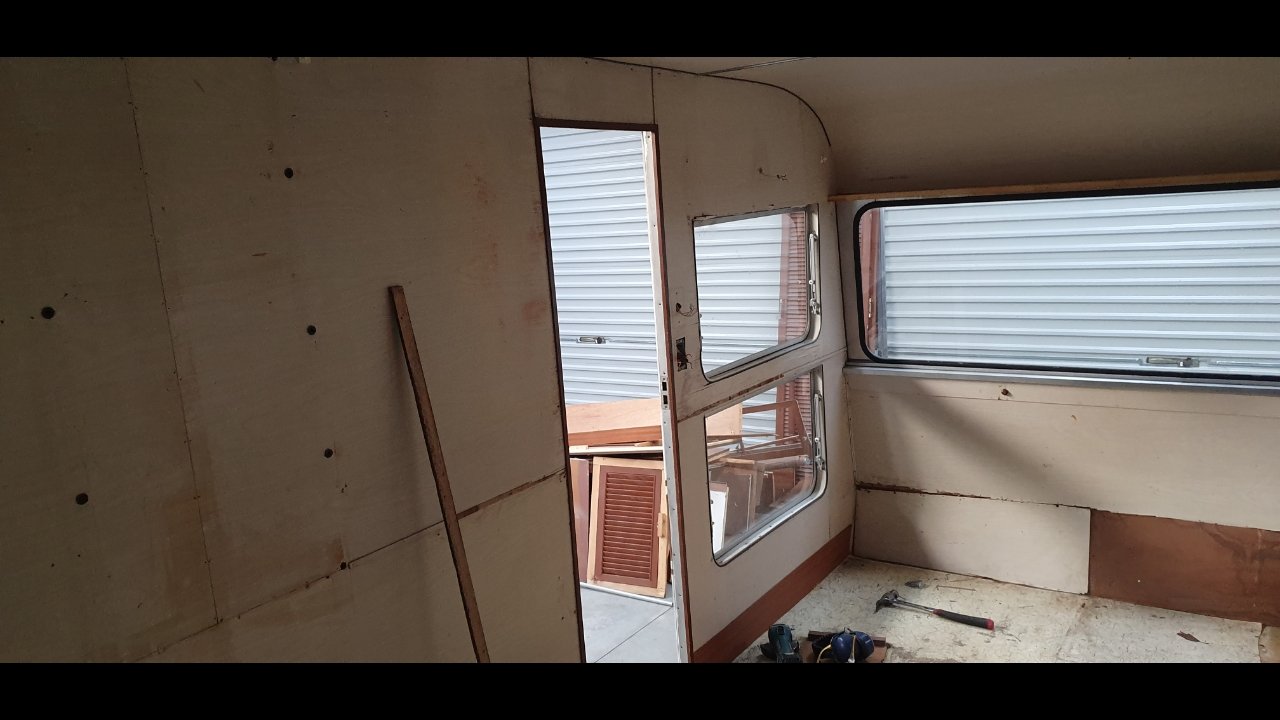
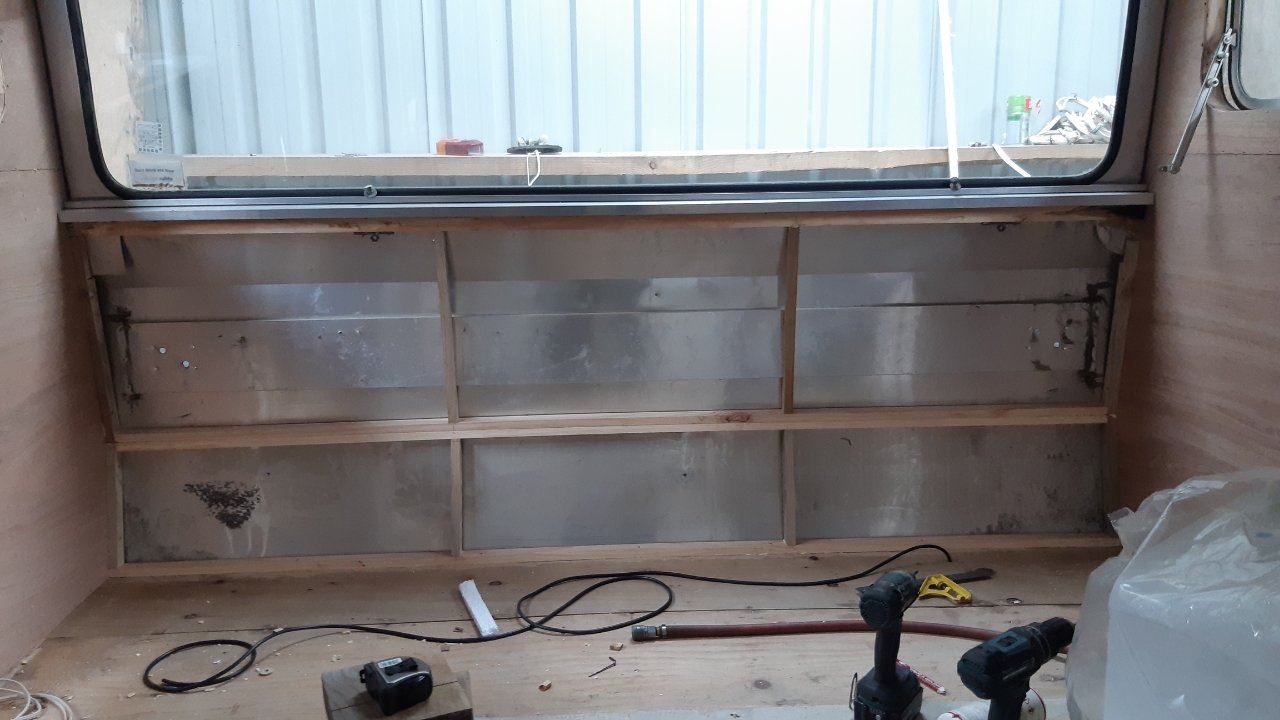
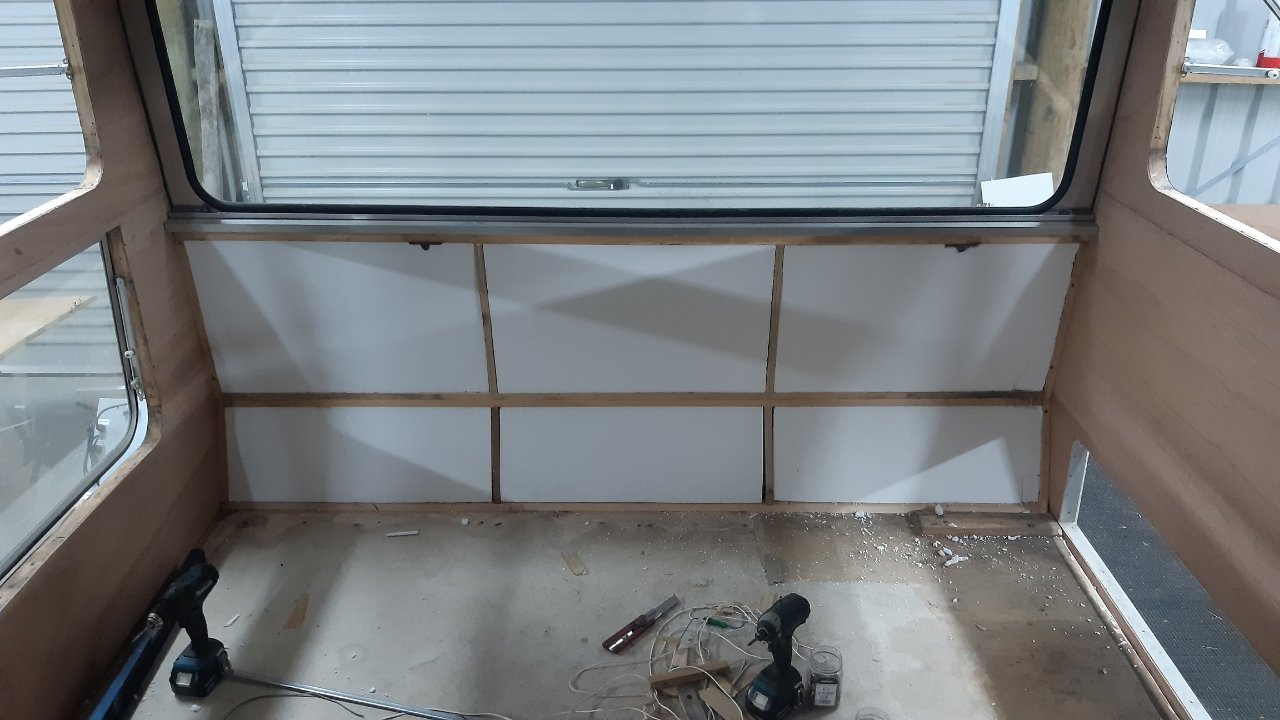
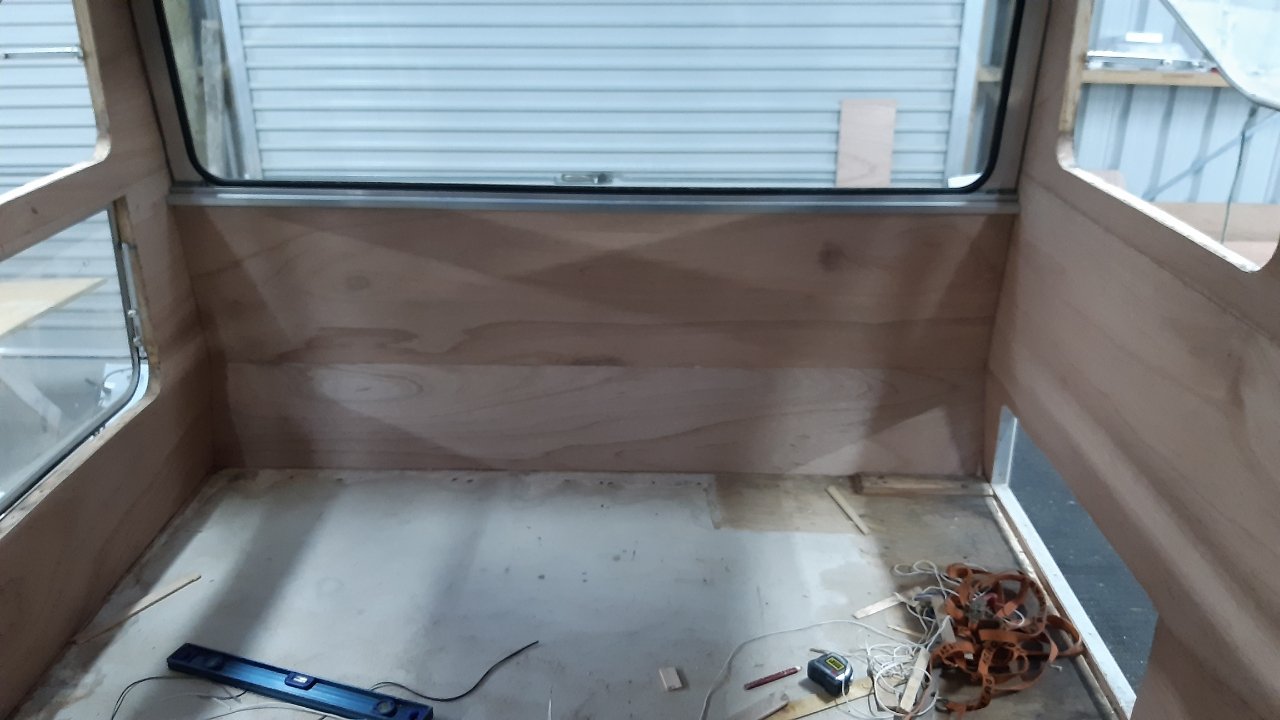
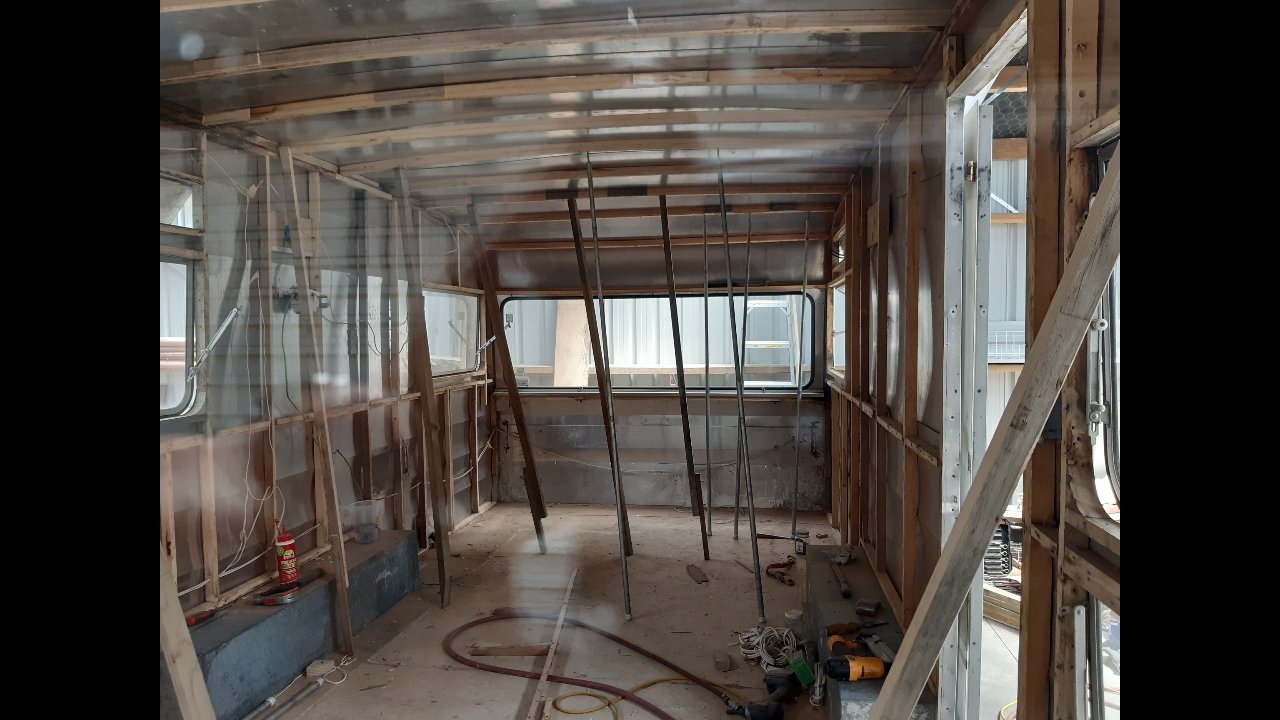
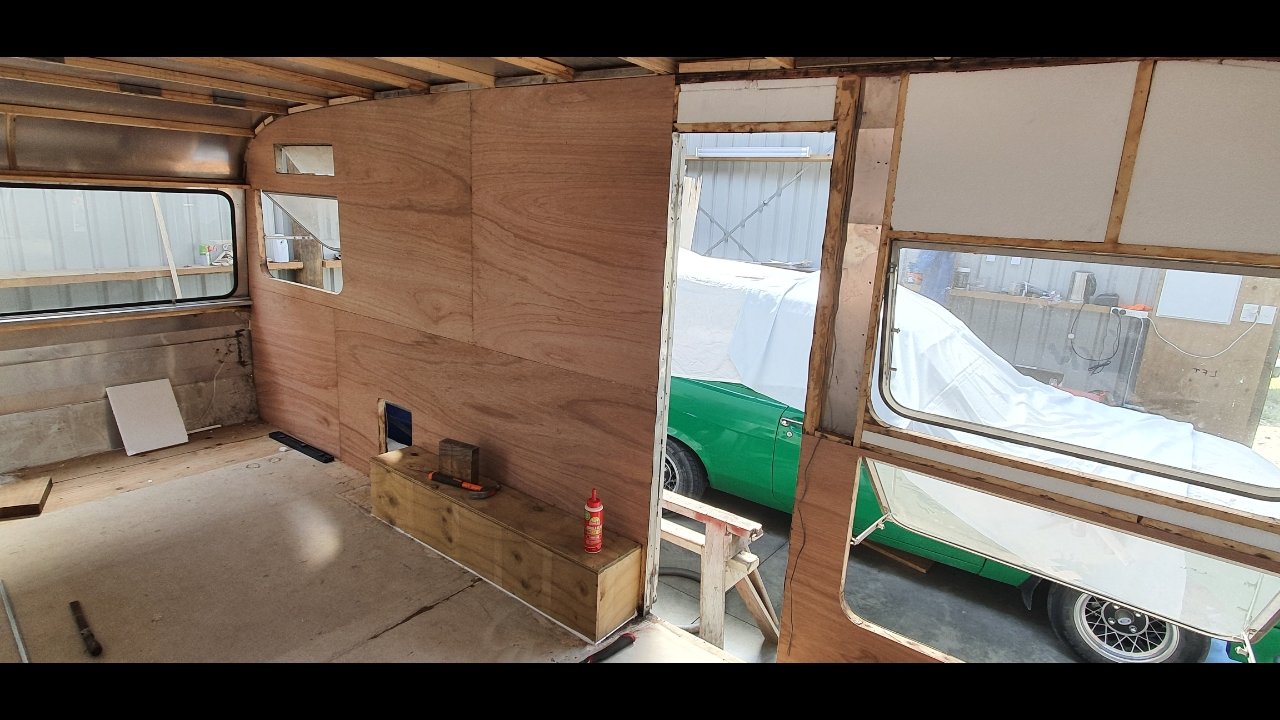
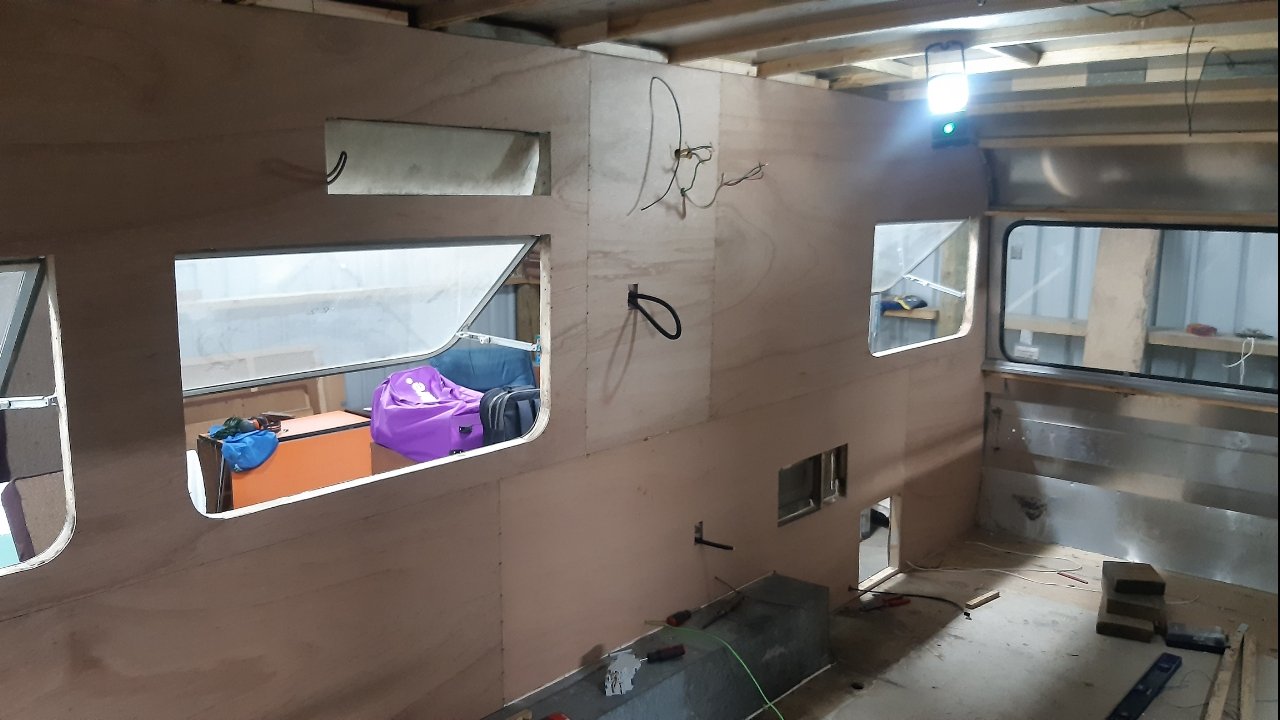
I used 65mm hex head screws down through the wall bottom plate, floor and into the skirts, as these also hold the walls on. Fixed up the saggy roof bows. Found the low spots, cut up into the bow about 3/4, squirt some glue into the cut, pushed the bow up back into a curve, whacked on some braces across the cuts. Stripped out all the old wiring, polystyrene'd the walls and put in new wiring. The 230v only feeds 3 plug sockets, one for the 3 way fridge, one for battery charger, and one for a bench plug because apparently I should. The rest is in 12v. Started lining the walls with a 3.5mm hardwood ply that I can't remember the name of. Made a box to cover the wheel arches to carry the weight of standing on it. You can see the hole I've cut in the wall for the toilet. Was a bit nervous about cutting that in the wrong place. And then the other side. Hole for the gas water heater. And OG vent for the fridge, which is the wrong height according to nowadays regulations. I'm not keen on patching and cutting more holes, plus there's more hoops to jump through so I won't be running the fridge on gas.


