XSVWGN
-
Posts
212 -
Joined
-
Last visited
Everything posted by XSVWGN
-
Not sure. Some things I’ve read have talked about taking the pulley and fan off the alternator and have a look that way. Others have talked about the amount of teeth on the flywheel, others have given specs on commonly branded alternators. It’s quite confusing Matt
-
Hey team, A while ago I bought a Veethree rev gauge to wire into my hilux and I’ve just sat on it for ages and decided i would look look at it now whilst I have some time off. It’s an alternator driven unit that works off pulses per engine revolution. The paperwork it comes with says you need to work out the number of poles on your alternator and then work out the pulley ratio and then add some magic and you are ready to go. i can’t find any info on the poles etc and it’s quite confusing for a simpleton like myself. is anyone able to shed some lite in things for me? https://veethree.co.nz/product/tachometer-diesel-black-dial-black-bezel/

-
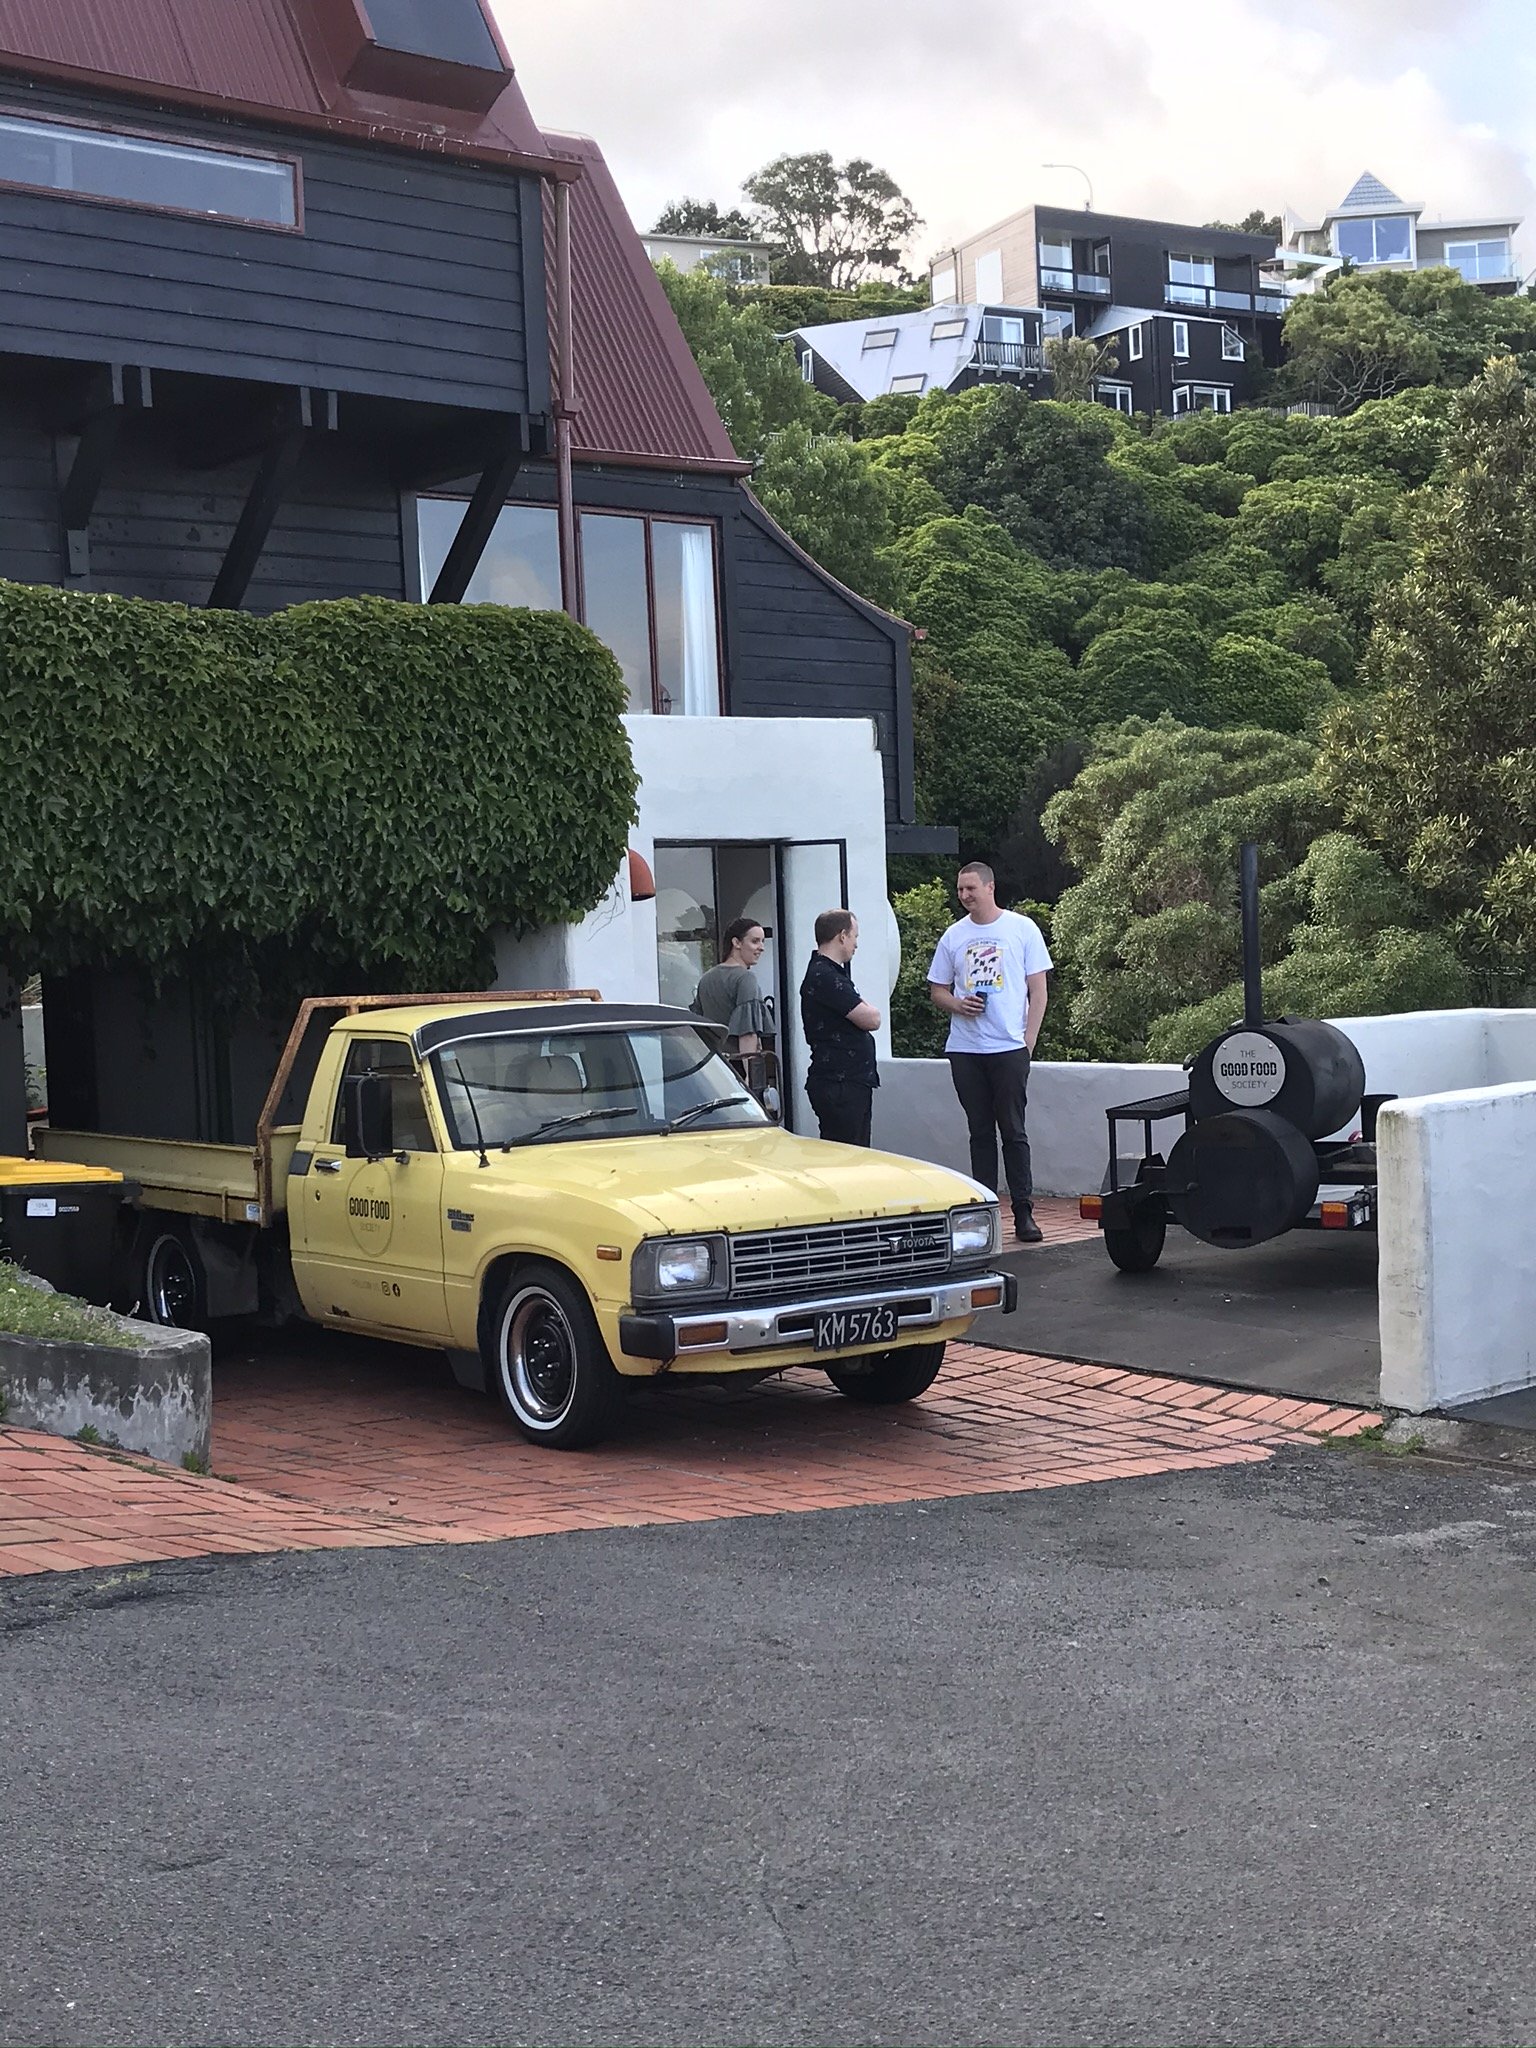
And the Ute and trailer are both legal Tegal! No issues, no dramas at all. I did put new tyres on the rear and raised the height of the Ute so that it would pass.
- 10 replies
-
- 14
-

-
Been quite busy working on this at the moment. Dropped it off to Pitstop Kapiti to get the exhaust sorted as it had a pretty nice split in th exhaust plus I had the rear section replaced and also extended Then it went to Kapiti Signs to get rebranded with my company details on it which is subtle and has come up really well! All the original decking timber had been removed ages ago and with the new Vitex we cleaned it all up, trimmed the two outside pieces down by 10mm per side and we were away! We oiled the wood first and man it came up well! 144 holes drilled, counter sunk, and fittings later... very tired hands. Also did some work on my BBQ trailer while I was at it. I had a sheet of Acacia left over from out showroom shelves from my day to day job so I cut that up, oiled it and added it to the trailer. Wouldn’t expect it to last long but time will tell. Looks nice and tidy and will look good behind the Ute as I tow it to functions. It’s a converted JetSki trailer. Ute is attempting to get a WOF today. I’m hopeful though as I’ve done heaps of work on this recently and it’s current WOF only expired last weekend. Matt
- 10 replies
-
- 18
-
-
Bit more rust work done... never exciting really. But, I decided to sort my mirrors out whilst the rust work was being done. The mirrors were from @WLDRX2 and with a bit of cutting and welding. Originally from a 80s L200 I believe. Matt
- 10 replies
-
- 13
-
-
Stripped the Ute down for round 2 or rust work last weekend. Had to drop the steering column and pedal box to clear everything so that the rust in the rain gutter could be sorted properly. A couple before and after...rain gutter and also the drivers side wheel well frame (unsure of correct name) Whilst a mate was doing the welding I started to play around with the new Vitex timber for the decking. Quite happy with this. Will be oiling it and securing it this coming weekend. Need to cut down two lengths by 8mm each and we will be away.
- 10 replies
-
- 19
-
-
Put the tray frame back on after work today with the help of a mate which was easy as. Used some stainless bolts with nyloc nuts and she looks tidy as! and here is a bit of a before and after... Next on the agenda is tidy up the wiring and find some suitable decking timber and get that on there. Then a full day of rust work is coming up soon so sort the rain gutter situation! Matt
- 10 replies
-
- 14
-
-
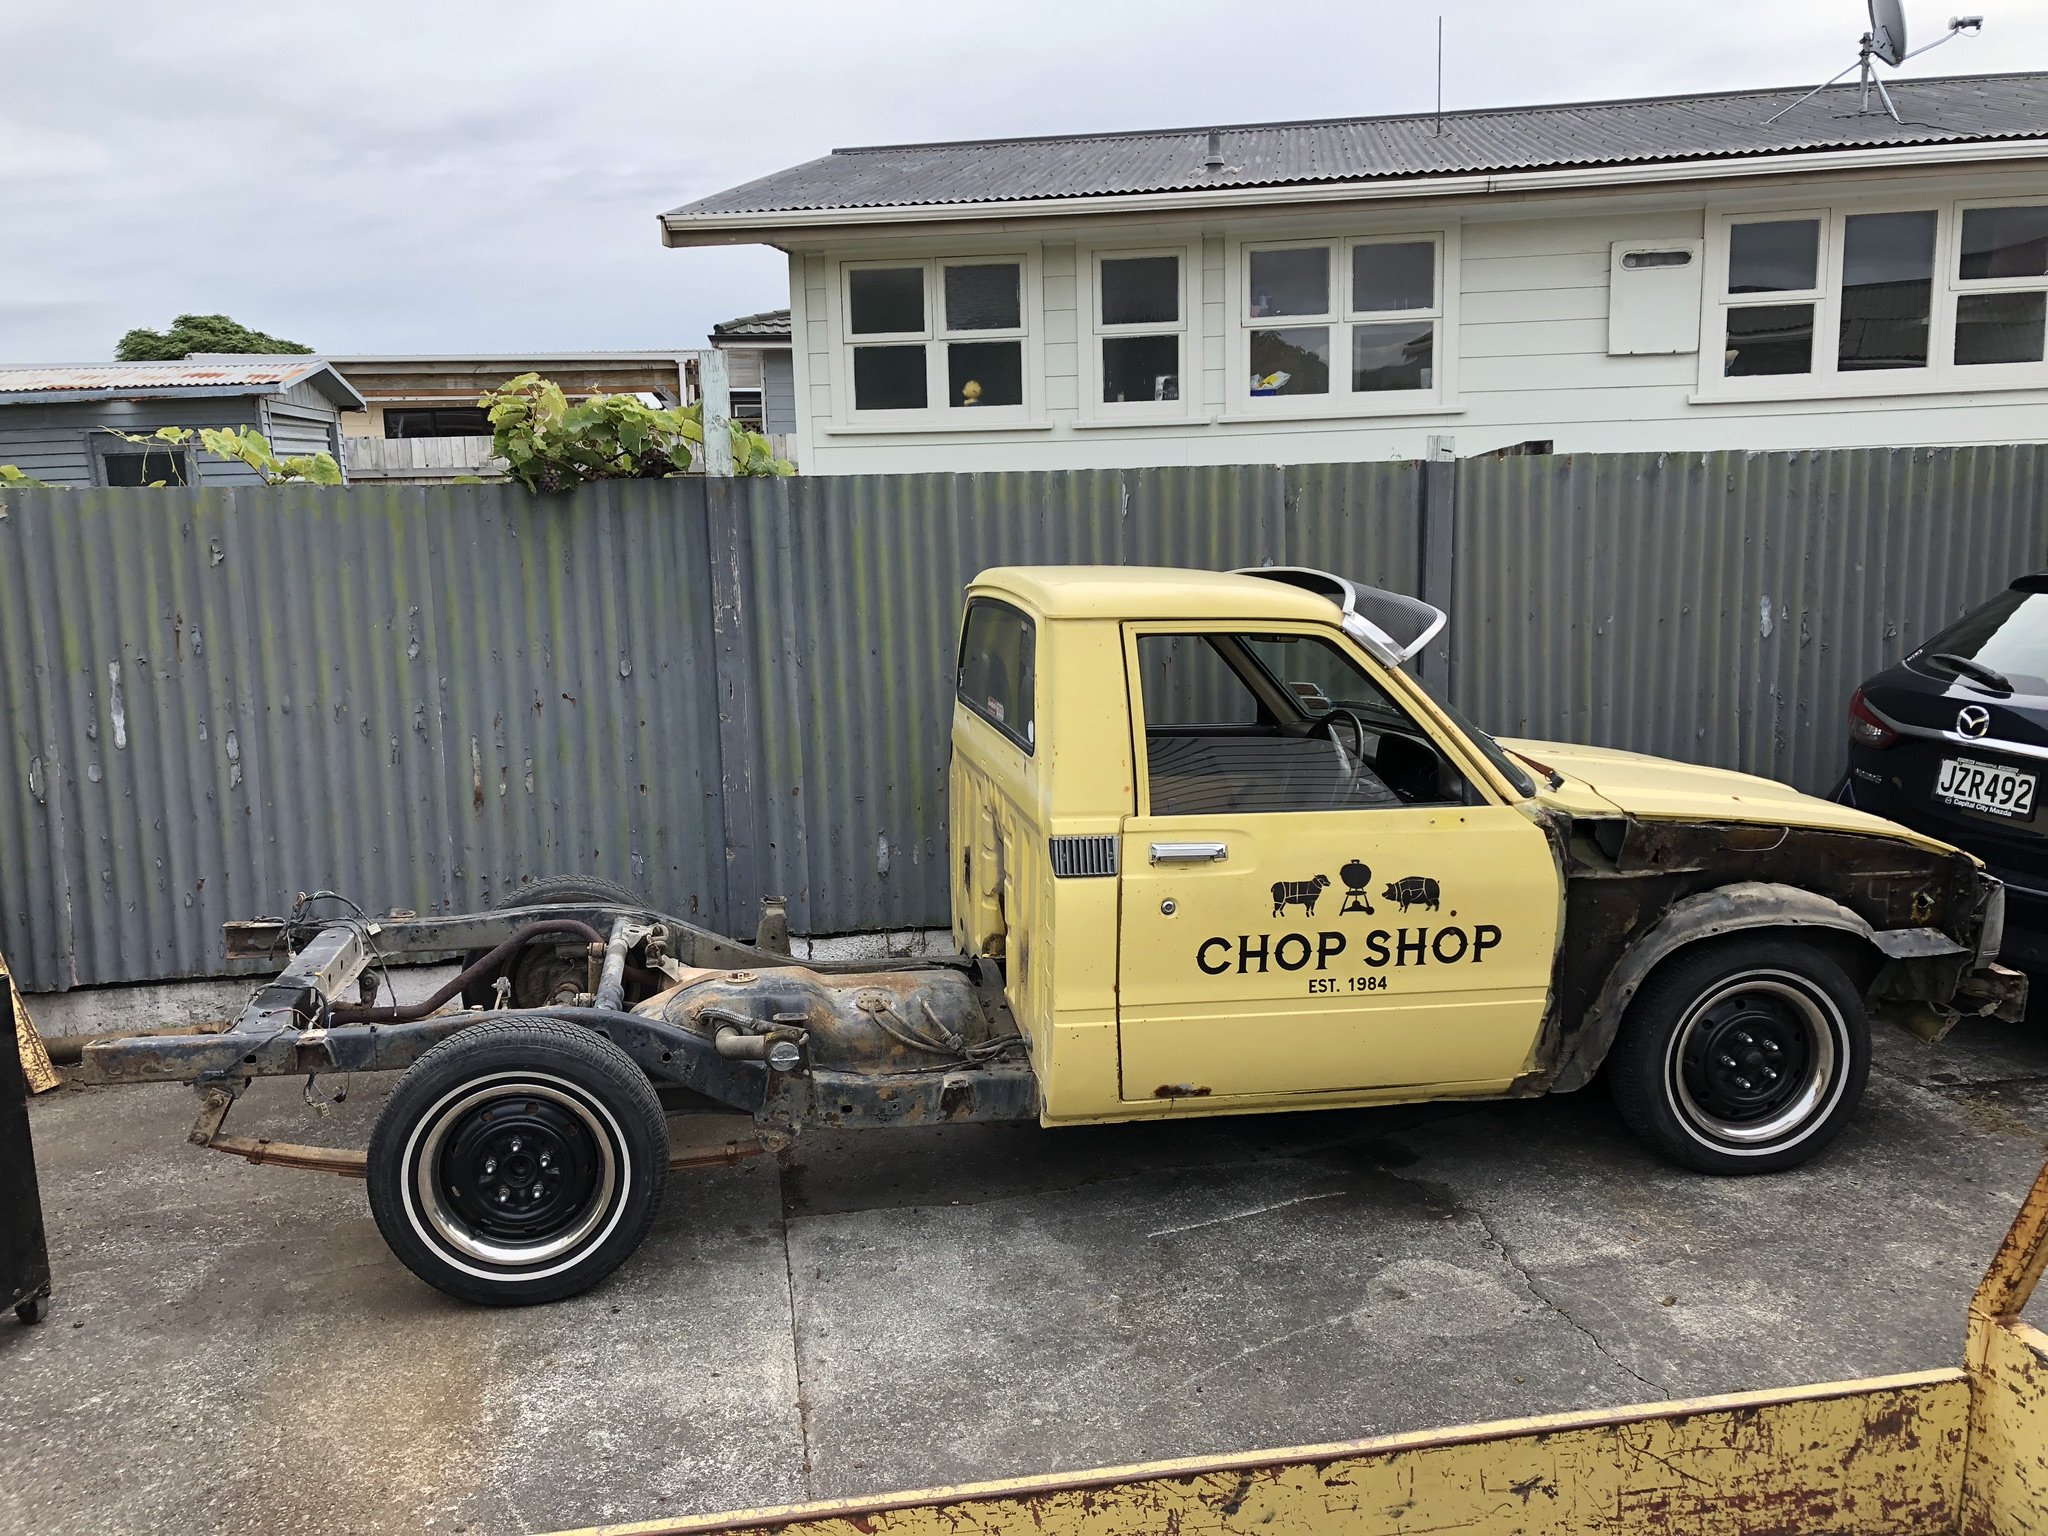
Weather was good today so I cleaned down the tray frame and the started with the underseal and man it looks so much better. Ran out of underseal so the mission will continue tomorrow. Then took the passenger guard off and knew there was rust underneath as it had come through the skin into the engine bay. And swapped some parts between the other utes I have too. Swapped the one inch blocks out of the Chop Shop Ute and put two inch blocks in from another Hilux I got from Seedy haha. Bought this (left one in the photo) with the intention to strip it but it’s too complete so it’s up for sale Matt
-
Pillars have been touched up at some stage in the past so we are all good on that front ... for now. And yah my mate doing the welding etc is a fabricator by trade so safety is paramount for him which is great to see Matt
-
Hey team... Post comments and advice / criticism here! Matt
-
Landed some mirrors from a fellow Oldschool member @WLDRX2 and was told they were off an L200. Need to workout how to mount them properly but I like the look of them so far! Ute only had a drivers mirror that flapped around in the wind a bit so as of no use at all really. Matt
-
I changed the decals on the door after I got the Ute as I didn’t want to be driving anything with Seedys name on it haha. I do some low and slow bbqing and some catering events here and there as I am a chef by trade so I sprayed a lamb, a pig and a Weber BBQ on the door.
- 10 replies
-
- 14
-
-
After a big recent downpour I noticed a fair amount of water in the drivers foot well so I went investigating. I took the guard off and found some rust holes. Then we took the inspection plate off near the wiper panel and noticed a bunch of really wet leaves piled on a bracket so then made the decision to make a bigger inspection hole and found that the rain gutter had rusted through and water was going through to the cabin right above the pedal box. Next thing to remove is the steering column and pedal box so we can sort the rust. Matt
-
replaced the rear 75x 40 and 40x40 as there was that much rust that it had bowed the 75x40 so the rear tray panel didn’t fit well. EDIT> Whilst the tray was off we cut the mounts for the tail lights off as that sat 120mm inside the frame and I found I was nearly rear ended a few times as people couldn’t see my lights well. We then rewelded the mounts 70mm towards the back of the tray so they were more visible.
-
Hey team, was originally just going to use this for business purposes but I couldn’t help myself plus it needed some work. I picked this up from Seedy Al in December and she’s been a great little Ute in that time. Seedy had mentioned that a couple of the wooden boards were loose but it never phased him so I stripped the timber off and found some rust so that has been cut out
-
Haven't updated this for a while. Car is on the rotisserie at home in the garage and nothing new has really happened. I did receive my individual throttle manifold from @evil_si (Simon at Max Fabrication) and to say I'm happy is an understatement. Looks awesome on the engine! Need to get it in the engine bay to see how much room I have for trumpets. This manifold uses the standard 2jzge intake runners. They have been cut down and a 10mm plate was CNC'd. All throttles needed no modifying at all. Quite effective and didn't cost me the moon.
-
Where did you end up sourcing you clutch fork? I will need to get the same for the Corona
-
Wagon is on its way home today. Really happy to have it all done and dusted and then it will head off to the Cert guy in a few weeks. Towers are a bit bigger then i had expected given the suspension isnt too big
-
Went down and checked out the progress last week and was happy with how everything is going. Have spoken to Andy Smith the cert guy and he is happy with the current progress. Car will head up to Levin in the coming weeks to get his approval. Top of the strut towers were to be made out of 5mm steel and the rest was made of 3mm thick steel as per the request of the Certifier. a tad over kill possibly but better to be safe. The adjustables come really close to top suspension arm but i will replace them with aftermarket adjustable arms Back of the strut towers were made flat and clear the rear seat which is good
- 14 replies
-
- 11
-
-
Well when i got my 2jz it didnt have a water pump pulley and i had wanted to get the silver ones through driftmotion but the freight was going to be about $88 on their own so i got these ones from Aliexpress And here is an update of the S13 rear subframe conversion. Chassis rails got the cut to be able to build the strut towers Front mounts made and tacked in Welded in and chassis rail notched Rear Mounts folded up and in place Discuss here
-
Wow i havent done anything on this car in so long. In the last 18months i have had reconstructive hip surgery, reconstructive ankle surgery and next Friday im having reconstructive shoulder surgery. Im 31 and falling apart! Anyway back to the car... so i sold my 2jz and the adjustables etc as my surgeries have been through the public system as ACC are a pain in the ass so ive had to sell parts to pay bills etc during my recovery. I have managed to get yet another 2jz and the plan was originally to go 2jzge+t but now i am staying NA and have a manifold being built at the moment to run individual blacktop 4age throttle bodies. Manifold is being built by Simon at Max Fabrication. He does awesome work!!! My wagon is currently at Spire Fabrication in Paraparaumu upside down on a Rotisserie. The S13 Silvia subframe is being mounted as we liaise with Andy Smith of Smith Autos in Levin who will be doing the cert
- 14 replies
-
- 10
-
-
Hey what grease did you use for the door mechanisms? The doors in my 79 Corona are really jammy and i think i need to sort that
-
Yeah there are efi 3ts and I do know of one being wrecked at the moment actually but it's a sedan and I have a wagon so I will have to see if there is a difference between the two
-
I swear I have seen a thread in the tech section but can't seem to find the info. What I'm wanting to work through is a carby to EFI fuel tank mod. I have a tt132 Toyota corona that originally came with a 3t carby and a 2jzge with individual throttles is about to sit in its place so I'm wanting to mod my fuel tank so I can run an Intank fuel pump. From memory you use the fuel pump cradle etc from an EFI tank but has someone got the "how to" info on it? I watched a 40 minute YouTube video last night of a guy doing it in his cosmo but I don't need to go that hard out. Thank you ahead of time for any one and everyone that can help a brother out. Matt
-