kws
-
Posts
4,183 -
Joined
-
Last visited
-
Days Won
5
Content Type
Forums
Downloads
Events
Gallery
Everything posted by kws
-
There aint much of an exhaust on this, so wouldnt think there is an issue there. I have been told to check the oil filler to see if there is suction, indicating a leaky intake manifold gasket or not. The dizzy looked okay but seemed quite easy to move the mechanical advance when you twist the rotor by hand, but not sure if it should move that easily or if its normal. No obvious play in the shaft (heh).
-
Tank is vented to atmo normally (its not exactly cutting edge stuff this car) but will test with a cap open, and the cologne has cam gears. Ignition timing appeared to be spot on when i checked it with the light earlier. I have a scope, but dont really know how to use it. Care to point me in the direction of how to check spark with it? The cologne has about 2 vacuum hoses. I replaced the one to the vacuum advance, and the other one is for the brake booster.
-
Coil was replaced by previous owner (i need to confirm its ballast or not), and I believe the tacho still reads normally when it cuts
-
No vacuum or intake leaks
-
No, its hard to thanks to all the bloody hard lines and banjo fittings.
-
Hi all Having some issues with my TVR Tasmin, running the factory 2.8l Ford Cologne engine. It uses K-jetronic MFI with an electronic distributor. I dont know if its an ignition issue, or a fuelling issue, so dont even know where to start. The car starts easily and settles into a reasonable idle. Its a bit high RPM, and if you lower the idle it runs lumpy. Thats not really the issue though. The issue is that the car will fall flat on its face at about 4000rpm under load. Sometimes it will happen lower in the rev range, but almost without fail it dies at 4k. Revving when stationary, without load, it will happily spin out to 6k rpm. Its not like a progressive misfire, its like the throttle is snapped shut, and the revs start dropping off. If you try and give it throttle during this, there is NOTHING. It does come back, and if youre still on the throttle it takes off with a surge, until it cuts out again. Sometimes just as it cuts it can pop and backfire. Im feeling its possibly ignition related? Its almost like it hits a rev limiter, but i have checked and the rotor is a normal one, not a rev limiting one. If it were fuel, i feel like it wouldnt be a hard cut? I have drained the tanks, fed it some fresh high octane fuel with injector cleaner in it, fitted a new fuel filter, swapped in new plugs and a new air filter. Previous owner replaced the cap, rotor and coil. I dont know how long this issue has been present, as i purchased the car not running, and its been off the road for about 3 years. I would really appreciate any help in pointing me in the right direction, as im getting a bit frustrated.
-
Does this add horsepower?

- 62 replies
-
- 16
-

-

-

-
Internet says its good for E85, or even methanol. I can't imagine the previous owner running anything with an ethanol content though.
-
Aeroflow is the big bucks flash stuff, but that hose is scary as hell. There isn't a mm of that hose that doesn't have cracks in it. I expect it from cheap Chinese (or expensive knock off) hose, but not name brand stuff.
-
Some goodies arrived during the week, so it was time to get under the Tasmin and rip out some hose. Since working under cars on stands sucks, I had another go at getting the car up on the Quickjacks. This time I was much more successful. I had to use the jacks sideways (an approved method, and the same as I used on Snicket) The reason I wasn't so keen on this initially was that the exhaust hangs so low I wasn't sure it would clear the frames. It did. Just. With the Tasmin in the air, it was much easier to roll around under it on my creeper. I started to rip the old fuel hose from the tanks out. No photos of this process because it was messy.... First I disconnected the feed to the pump. This is from both of the tanks, so I had a 10L fuel can ready. I managed to spill a fair bit, but got it into the can in the end. I filled up with 10L the other day, and about 9L or so came out. Some of that difference would be on the ground (and my arms), but it confirms that the tanks were bone dry when I got the car. The hose came out easy enough. It was worse than I thought though, every section of hose was seriously perished, with cracking all over it. The hose also smelt like fuel on the outside. There were some nasty splits in the ends of the hoses from each tank too Bend the hose, and it isn't pretty The new hose is Continental J30R7 5/8" fuel hose. This is a low-pressure suction feed, so didn't need to be a high-pressure hose, it just needed to be high quality. The hose walls are thicker than the old Aeroflow 400 series hose. The old Tee piece is made from a bunch of Aeroflow bits. In the interests of simplicity, I replaced it with a 5/8" solid brass Tee Old mate wasn't too hot on cutting ends straight, so a couple of clamps were hanging over the edge. Not best practice. The new Tee section And installed into the car. The two tank outlets are very easy to access And the Tee hangs above the drive shaft (and there is evidence that the old setup had been in contact with the driveshaft at some point!). The zip tie is there to hold it up and clear of the shaft. The hose was routed slightly differently to simplify the route, and then cut to length and connected to the pump. The hose was zip-tied to the chassis in a couple of places to secure it, making sure not to pinch the hose as it had been With the tanks connected I want to replace the fuel filter and inspect the accumulator. The whole lot (pump, filter and accumulator) are mounted on a plate above the chassis, in front of the LH side rear wheel. On the later 280i the filter is mounted in the engine bay. The black one is the accumulator, and the silver one is the filter. The pump is out of shot to the left (with hose removed). This is the other side. Let me illustrate the fuel setup with some coloured arrows. Fuel comes into the pump from the tanks (orange), out of the pump and into the accumulator (blue), out of the accumulator and into the filter (yellow) and finally, once filtered, out of the filter and along hard lines to the fuel distributor in the engine bay (green). These hoses weren't too bad visually, but no point in leaving them there. One quick check for seeing if your accumulator is stuffed or not is to disconnect the vent hose from the back of it, and see if fuel comes out. Mine was full of fuel. This vent hose should be dry, because it's only to help equalise the air inside the accumulator, and shouldn't have any fuel contact. The fuel is (usually) separated from that side of the accumulator by a diaphragm. If the diaphragm splits, it lets fuel through and back into the tank instead of holding pressure. My accumulator is stuffed. Thankfully I had planned to remove it completely and will be using new fuel hose to bypass it and route the pump straight into the filter. The fuel filter has banjo fittings on it. The inlet converts to rubber hose, whilst the outlet is to a hard line. Some of the hose clamps on the fuel hoses had been installed by a scumbag and weren't accessible from the underside. I'm not too sure how they were even done up, unless it was off as a complete assembly and clamped whilst on the bench before fitting. Since I wasn't using the hose again I chopped it off, unbolted the accumulator and pump and removed the lot. The accumulator looks very old and probably original to the car. The filter had been replaced, but it had a date of 2005 on it. The receipts say that the "recently replaced" filter was leaking back in 2011, so either it wasn't that recent, or it was old stock when fitted. I ordered a filter online based on the original filter numbers I had, and even with triple checking, it's wrong. Yeah, that's not gonna fit. It's possibly the correct filter for a later car with the filter in the engine bay. Working off the number on the filter, I need a Ryco Z399 instead. One has been ordered, along with a Z71 oil filter. Unfortunately that leaves me at a standstill now. Hopefully the new filter will be here this week and I can fit it after work one day. In the meantime I had ordered a new air filter, so went about fitting that. I had previously checked the filter and noted it was dirty, and the wrong filter. The old filter had rounded corners, so left an unfiltered gap at each corner. The correct one for the early airbox is a Ryco A1345. No gaps Parts bin special I'll probably lose some +6hp gains from closing up those gaps, but at least I know its right, and won't be sucking in unfiltered air anymore. Sigh. Sometimes I just wish some people wouldn't touch cars. A little knowledge is dangerous.
- 62 replies
-
- 22
-
-
-
If you knew what the original seal profile looked like, there are heaps of options on ebay
-
Or a big high amp chocolate block connector?
-
I don't know how big the motor is, but the Dean's connectors used by RC cars can do 50a continuous
-
It also depends which Barry went out and bought that days wiper arms
-
Yeah, got that a while back. I love that they started the manual, got about half way through and then kinda just gave up on part listings, and even some diagrams. No one needs that half of the manual lol. Not that it matters, it's all tvr part numbers anyway, which doesn't correspond to the donor makes part numbers and there isn't really an official crossover guide. I do have a spreadsheet that someone created with a lot of crossover parts, which I'm adding to as I go, but otherwise Google is my friend. The wedge (especially the Billy basic looking Tasmin) is a very marmite car. You either love it, or hate it. I happen to love the weird boxy and wedge shaped cars of the 70s and 80s, so that's a win.
-
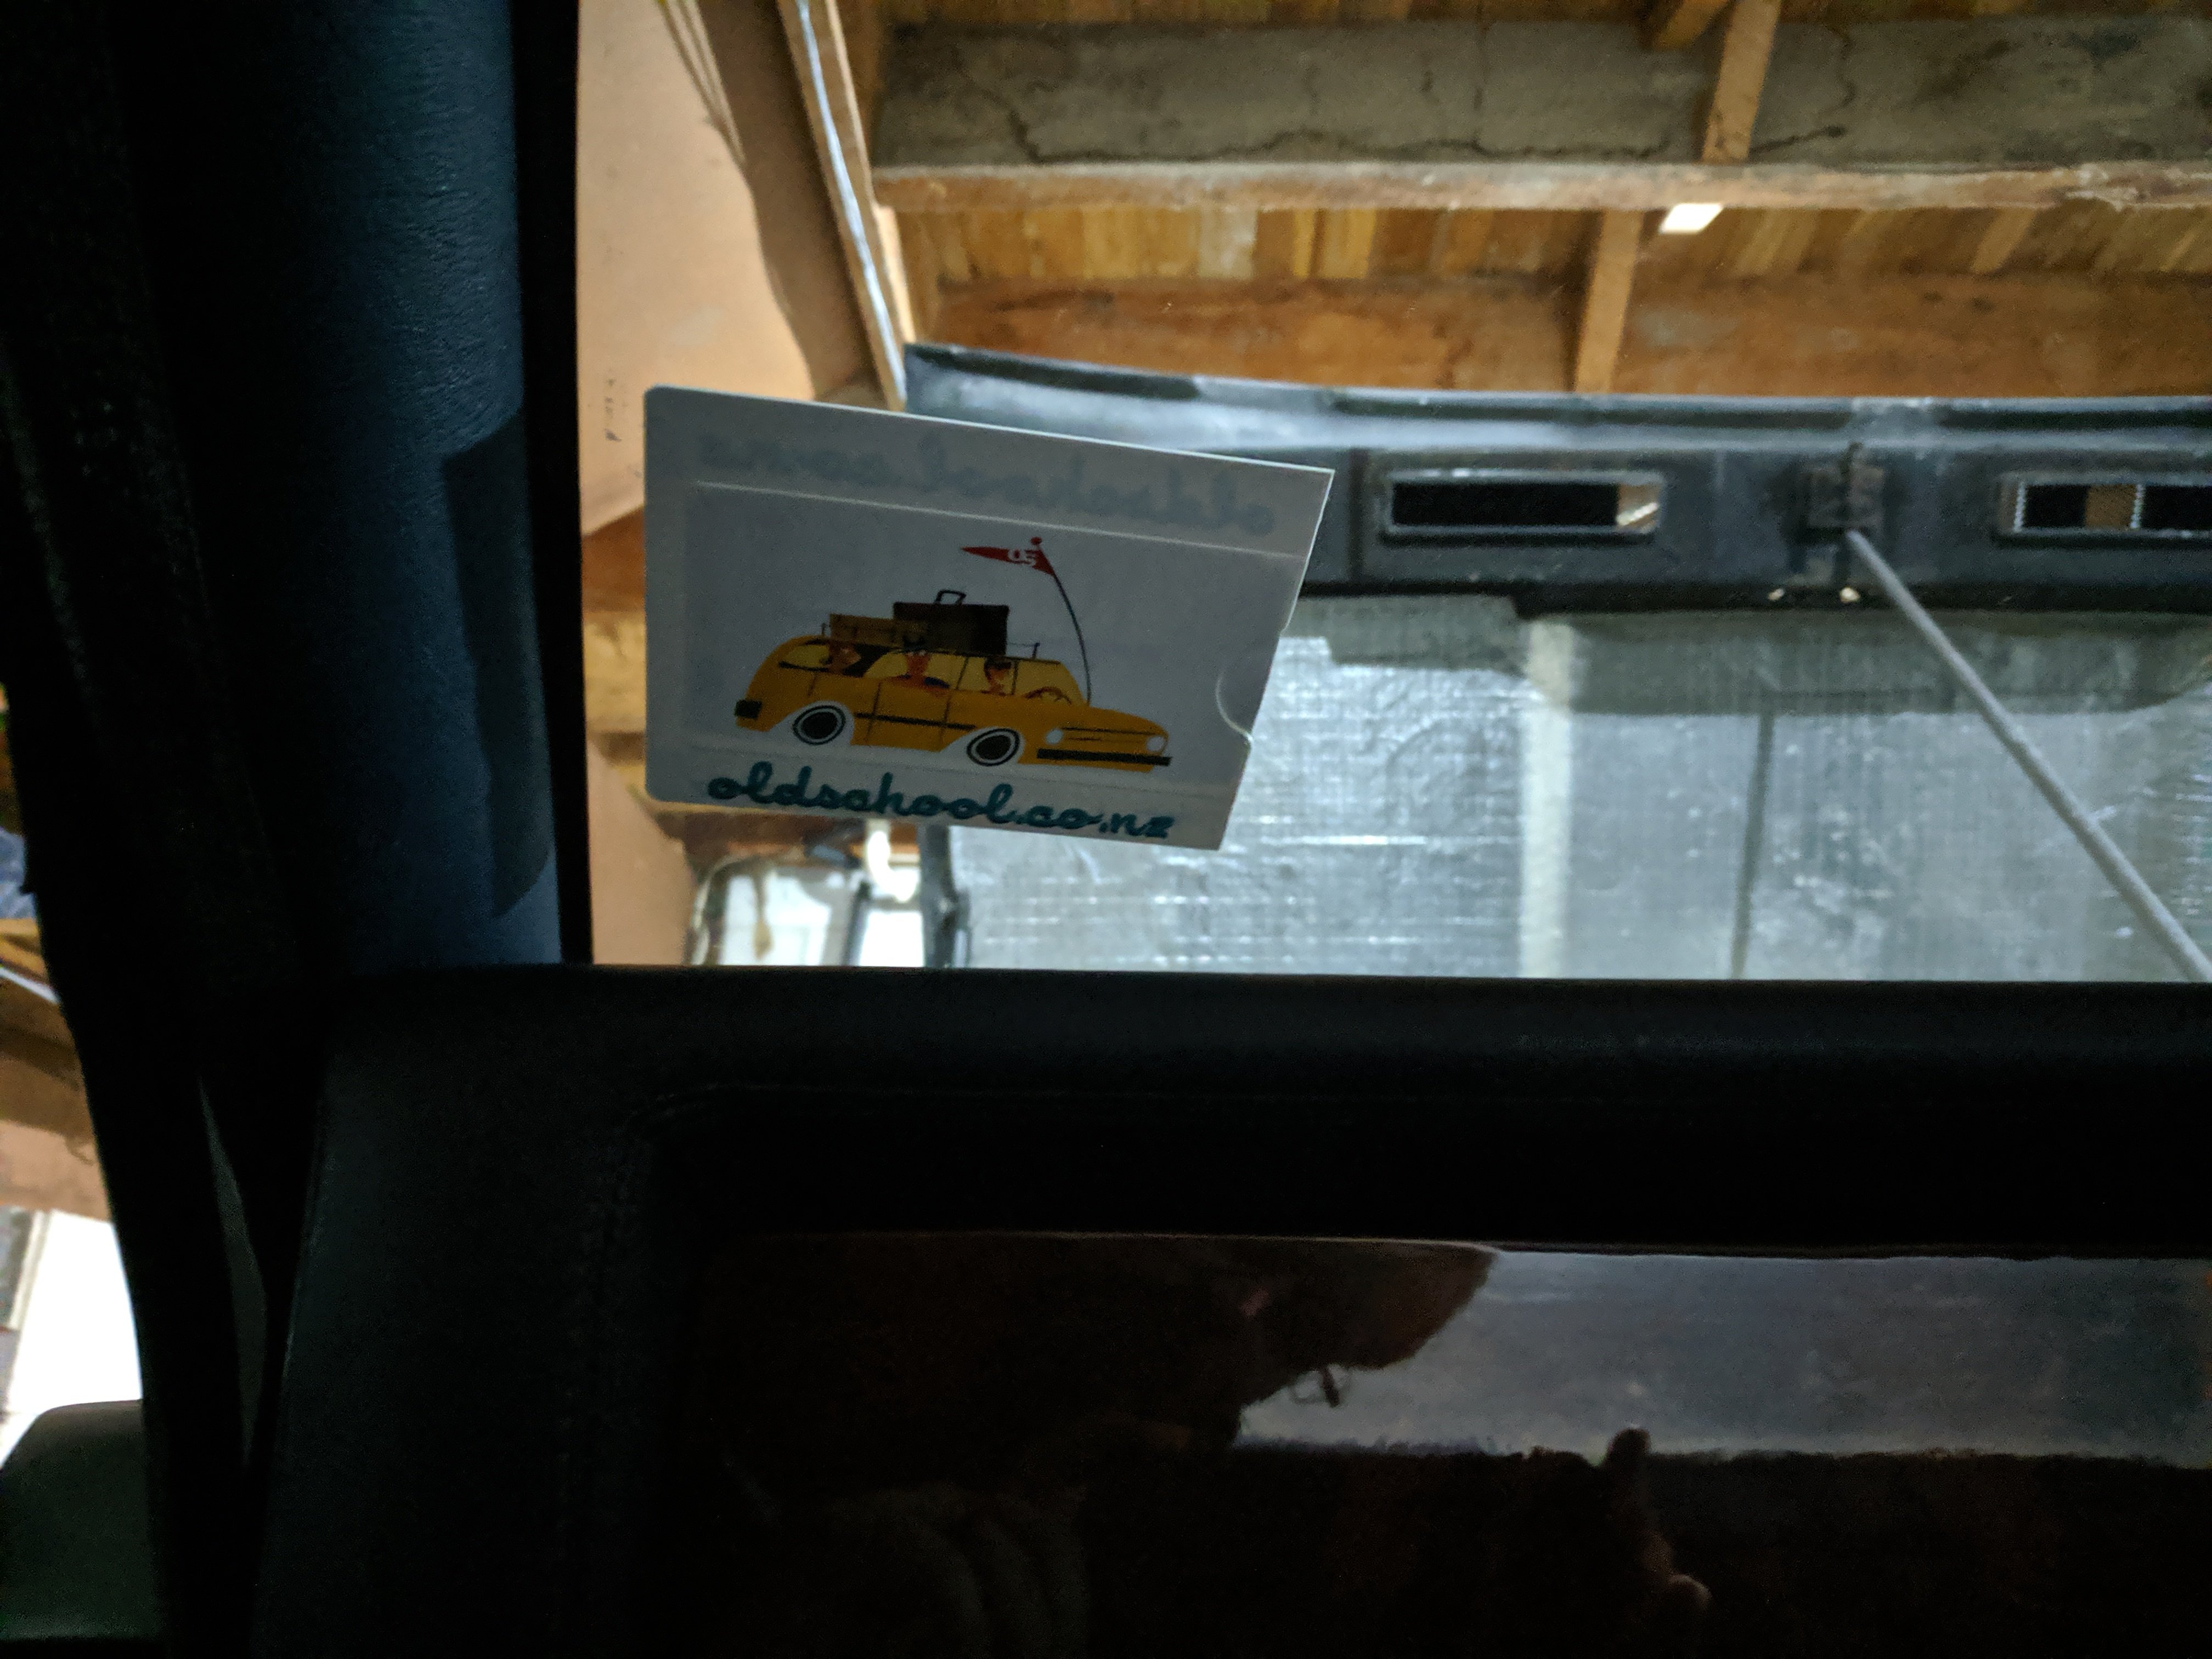
It seems like I'm stuck in a never-ending loop of dodgy fuel hoses. The TVR is no different. After I paid for the TVR and whilst waiting for the transporter to collect it, I was let in on a little... issue... the car had. This is what I was told, as a little "oh btw" side note "And last but not least – I never cured a petrol smell from the tank and guess he hasn’t either … I couldn’t leave the car in the internal access garage cos it stank the house out." Well, that could be interesting, since my only garaging is internal access, under the bedrooms, and my driveway is too steep to park a classic car on (not to mention uncovered). When the car arrived, there was no obvious smell. I suspect that was to do with the fact the tanks were empty. Once I added fuel, a noticeable smell was present at the rear of the car. It wasn't enough to stink the house out, or even the garage, but with only 10L in the tanks I can only imagine it gets worse the more full they are. I have receipts for one of the tanks being removed and repaired in 2011, along with all the fuel hoses as the "recently replaced" filter was leaking. This dashed my hopes that it might just be a simple case of dodgy old fuel hoses causing the issue, as they had been replaced (we'll see). Today I jacked the car up and had a look. Unfortunately I found that due to differences in early and late chassis, despite seeing this car up on QuickJacks, I cannot line mine up with the chassis tubes to safely lift it. The later cars have body mount plates on the chassis, where mine doesn't. Oh well, the old jack and stands come out to play again You can spot the silver fuel pump in the top left of the above photo, behind the exhaust. The tanks are more or less above the pump, on each side. A quick look around and I suspect I found at least one of the causes of the fuel smell. The main feed hose from the tanks to the pump has horrifically perished The way the hose has been run also causes issues too, with the hose being squished flat in at least two places as it goes over chassis tubes (top and bottom photos are good examples). It's not cheap hose either, being Aeroflow. The Tee piece between the tanks has been replaced with Aeroflow parts. The small hoses from the pump are showing signs of perishing too. All in 8 years, and minimal use. So surprise surprise, despite being done before, it's all dodgy looking and buggered. I have my suspicions about the filler and balance tube couplers, but I'll deal with them if replacing the under car hoses doesn't help. They looked ok from what I could see under the car. I have ordered new 5/8" fuel hose for everything to the pump, a new brass Tee piece (to replace the Aeroflow one), a new fuel filter, and I still have stock of good 8mm hose for the other hoses. Once it all arrives I'll drain the tanks, rip it all out and start again. Hopefully that sorts the fuel smell, and may even help the system run better if the hose isn't being crushed. One last little thing; I gave the other side of the rear window a polish today too. Now you can see through both sides. It's far from perfect, but much better. Interestingly, from the inside, I'm pretty sure the clearer spot on the left was my test patch. I'm going to buy a foam polishing cone and try polishing at a higher speed and see what happens, especially with that pitted yellowing. Just need to take care with the surface heat, not to cause more damage.
- 62 replies
-
- 18
-
-
-
Well, it certainly makes proper British sports car noises and smells....
-
When was the last time you saw one in NZ though? I can get them new from TVRParts for 25 quid plus shipping, whilst the mondog one cost $7. The PN on that thread is 6175585, which isnt dead straight like the original TVR ones, so cant be that one (although may be one that works also)
-
More progress was made on the old TVR today. Just small, but important things, again. I had a weird thought last night as I was falling asleep. What if the alignment is OK, but the wheel isn't on straight?! I previously mentioned that the steering wheel is way on the piss, and I thought it was the alignment, but hey, with everything else wrong with this car, could it just be the steering wheel wasn't positioned correctly at some point after being removed? This is a reasonably easy thing to check. First I marked the center top point of the steering wheel, with the wheels straight. Yeah, that doesn't look right! Next, I turned from center to either lock and counted the turns. Both sides had the same amount of turns to each lock from center, so that indicates that the steering rack is centered. Hmm. Also note in the above photo that the steering wheel bolt pattern lines up perfectly. I decided to take the wheel off and see if refitting it correctly would help, so I grabbed a hex key and started to remove the FINGER TIGHT screws from the wheel. Yes, finger tight. The leather wheel is a genuine Momo from '86. Not original to the car then, but still period correct. It's in very good condition really. Plot twist. I changed to the Momo Futura from Effie. I love this wheel, its so nice in the hand, and looks great. This is a much newer wheel, at '96, but still works. It looks sublime Moving right along, before I spend way too much time admiring my wheel, I changed the spark plugs. I whipped one out earlier to check and it was both black as anything, and the wrong heat range. Just a quick note on heat ranges. The number in the spark plug model is the heat range. The ones in the car were a BP6ES and I replaced them with BPR5ES (the R is for Resistor, to reduce electrical interference). Going to a lower number means the plug is "hotter". A hotter plug transfers heat from the plug into the head slower, meaning the plug runs hotter. A hotter plug is better for lower performance engines that rev lower and don't have forced induction. The higher heat in the plug helps to clear carbon and keep the plugs from fouling. There is a science to it all, but that's the basic premise. Love the ease of access. The old plugs came out with no issues. Very black The other bank wasn't much better, and plugs 4 and 6 were wet with fuel I had to remove the intake tubing and air filter to get to the plugs, so went the next step and also checked and cleaned the metering plate (silver bowl looking thing) The intake piping has been split before, but sealed up and had no other obvious splits, so that's good. The metering plate was nice and clean, but the throttle body was oily. I gapped all the new plugs down to the correct 0.6mm and fitted I haven't run the car yet, so it will be interesting to see if the new plugs make a difference to how it starts and runs. I have my fingers crossed. The next thing I attacked was the windscreen wiper. The original wiper arm was removed from the car before I got it, and I suspect someone had intentions to convert the arm from a pin fitting to J-hook (who knows how), as they had butchered the fitting on the end so it couldn't be used. I had to find a replacement. I knew I had a couple of arms from an SD1 in my piles of spares, so dug one out and had a look. The length was bang on, but it had a pretty solid kink in it, unlike the original one which is dead straight (come to think of it, the tailgate wiper is straight, I wonder if I have a spare still. I suspect its way too long though). Hmm, not ideal. Sure, it wipes and works, but its pretty well in the middle of the driver's vision when parked. Apparently, the original arm is a rear wiper arm from some ancient version of the Ford Festiva or similar. I could probably order one online, but I wanted a more local and readily available solution. I went to Pick-A-Part with one goal in mind; Come home with a new wiper arm. And look what I found A rear wiper arm from a MK3 (00-07) Ford Mondeo liftback. It's not perfect; if it sits as low as the above photo the wiper will hit the bonnet. This is due to the arm being slightly bigger at the spindle, and if it sits lower, it doesn't clear the cutout in the bonnet when its shut. I found this the hard way by taking some paint off the bonnet >_< Raising the arm up on the screen slightly means it clears the bonnet, but puts it at the bottom of the driver's vision Even at that height though, it's barely intrusive in the driver's vision. I'll see if I can live with it, otherwise, I'll have to visit Pick-A-Part again. Its an option though, which is more than I had. The last thing I had a go at today was the rear window. It's cloudy as heck and almost impossible to see through. I had seen on YouTube that you can sometimes polish the plastic clear using elbow grease and some Plast-X. I tried elbow grease a while back and got nowhere. Today I tried a couple of different methods. First, as a proof of concept, I used a small buffing pad on my drill to polish a small section with Plast-X. It's hard to see, but there is a slight difference. The arrow points to the line where the "before" is on the right and "after" on the left So the concept works. Now to scale it up. I was meant to sell my spare buffer ages ago, as it just wasn't as powerful as my bigger one for dealing with paint, but as it turns out, it was perfect for this work. I started on the driver's side, with Plast-X on the pad and this was the result Still pretty cloudy, but now you can see through it. You can just make out the steering wheel, but if I move over slightly, no sign of the steering wheel I worked it some more, but moved up to using Ultimate Compound. It's more abrasive than Plast-X, but seemed to take a bit more oxidation off. Polishing both sides made a big difference, clearly it was oxidised on both sides of the plastic Unfortunately as far as i can tell, the yellow sections cant be removed. It's pitted into the plastic, and nothing seems to touch it. I'll just be happy if it's clear enough to see a car behind me, as previously it wasn't. It was like having a white sheet instead of a window. And just because I can, here is a photo of one of the few times the bonnet has been down since the car rolled into the garage
- 62 replies
-
- 27
-
-
-
Clear codes, drive car for a bit, see if they return. Not sure on the first code, but yeah the second looks like it'd be the battery.
-
Not much has happened due to me having the flu, but the weather was too good not to take the TVR for a quick blat around the block Anyone who has had Man-Flu knows how hard it is to survive a normal day, let alone a day playing with old British cars, so my freight train of progress is halted at the station for a bit, as the garage is just too cold for me to be working in (its the middle of winter, and its been horrible weather recently). Due to said horrible weather, the tiny little "first drive" mentioned in the previous post did only consist of popping down to the end of the street and back, a return trip of about 100m. Today was the first day we saw some sun, and because I heard getting some fresh air and sun is good for you when you're sick, I took this as a sign that the TVR should go for a quick run around the block. I didn't go far, only a total distance of 1km according to Google Maps, but further than the car has been driven in probably 3 years. The car was already warm in this video as technically I had already taken it around the block twice before I thought I should grab a video. It started easily from dead cold, and as you can see warm starting is pretty good for an 80s K-Jet too. I had the targa panel off but the rear section up to reduce wind noise, and even then, what a sound that Cologne makes! It surrounds you. What a silly little car to drive, but such fun. It's not all happy days. The steering wheel is way on the piss (as you can see), the brakes pulsate badly, and it seems to misfire under load at about 4500rpm. There is still work to do, but its good to know that the car is actually driveable. The new spark plugs arrived today, so I'll probably throw them in this weekend, and I'll check over the rest of the ignition system at the same time. It could also do with some more fuel as I must be burning dinosaurs at a rapid rate of knots, and there wasn't a lot in there to start with.
- 62 replies
-
- 20
-
-
-
Not one to let a nasty cold get in the way of progress, I did some more work on the TVR today. The first course of action for the day was to see how the car starts. After a couple of splutters and a bit of cranking (much less than yesterday), it fired into life. Not perfect, but better. I couldn't help myself and had to take it for a quick run down the road and back. This uncovered a couple of things. One, the steering wheel is WAY off centre (which I didn't know whilst trying to back up my driveway), and the brakes pulsate a lot. Hopefully, an alignment will sort the steering issue, and some hard braking might clear the brakes as I suspect they are covered in rust/dirt. On the plus side, it did go down the road in one piece. I didn't get out of first gear (very short road), but the clutch seems to work well. Its too wet outside to go further, with no wiper, and a very un-weatherproof roof. When I returned from my maiden voyage I wanted to have a look at the plugs. I only removed one, but that was enough for me. They don't look that old, but very black. Not wet which is good. According to my records, they are the wrong heat range and should be BPR5ES I'll grab some new plugs and swap them out. Hopefully, that sorts some of the niggles when starting and running. Not to be deterred, I pushed on with some other little jobs. First was to upgrade the radio to work with my phone, and crank some Spotify. It was a quick and easy upgrade. Aww yeah, A cassette adaptor I had kicking around for years (see, hoarding works!). Actually works surprisingly well and doesn't sound terrible. All speakers work, and the flash EQ works a treat This can stay for a bit. Does what I need it to do, although I need to work out how to get the antenna up so I can get FM stations too. It's not like I really need music though, the engine is music enough. With that success, I moved onto the next thing on my list. The dodgy headlight switch. Two things bothered me about it. First, the wiring was dodgy enough to need wiggling to work, and second, the switch was upside down. The icon was on the bottom, and the switch was up for off and down for on. The switch pulls out the front once the connector is removed, but there is also a white plastic sleeve that pushes off. The sleeve is to illuminate the icon via fibre optic cable, but mine isn't currently working. The reason for the wiring being a bit dodgy was that the connector has obviously suffered some high resistance and the plug housing is damaged, allowing the terminal to float freely I pushed it firmly into the connector on refitting, but I may need to close the terminal a bit to make it a tighter fit. I also need to look into using some relays to re-wire the headlights directly and take the load off the switch. The switch its self had some minor corrosion on the terminals, but nothing a quick scrape with the screwdriver couldn't sort And refitted the correct way around. Down for off, up for pop-ups UP. The next thing that bugged me was the interior light switch... which seemed to be missing everything but the surround. The interior lights didn't work. I removed the surround and found the guts of the exploded switch had been pushed down into the center console. I carefully fished the switch block and connector out. The rest of the springs etc are stuck down there and can stay there until the console has to be removed You can see a good example of the black wiring in this car. Each wire is black, but does have a coloured collar at each end to identify it. Its not actually that bad to work with, but coloured wires are still preferred. Using the handy diagram I checked which terminals did what on the switch Obviously the two bottom ones are a joint +12, and the two other terminals are either "door open" or "on" settings (grounds to turn light on). I tried bridging them with wire and got nothing from the lights. I popped one of the lights out to check the bulb (there was one, it's removed in photo) The bulb looked good, so out comes the multimeter. No power at the light when the switch terminals are bridged. No power at the switch +12 terminals. Hmmm. Ok, what's upstream of the switch? The fuse. I had checked the fuses visually yesterday and they all look good, but something was obviously up. Interestingly I note that fuse 6, which powers the interior lights, also powers the hazard lights, which also are not working. Interesting. This is the fuse and relay box. Lovely. Fuse 6 is the red one about halfway down. It wasn't blown, and the multimeter said I had power on each side of the fuse. The power comes into the fuse on the RH side of the photo and out on the LH side, through the fuse. I disconnected the wiring, removed the fuse, and cleaned everything up. There was some corrosion in the terminal, and everything is very dirty. The result was this Hazard lights! A handy thing to have on a British car. Which also means, I now have power to the interior light switch. I popped an LED bulb into the holder, and bridged the terminal Ooooooh, light. Only one was working, so I jumped onto the passengers' side, popped the light out, and found that the wire hanging under the dash was from that light. I popped another LED bulb in that one, reconnected it and BAM, let there be light! Because the switch was buggered, and there was no point in finding another. It only operates these two "knee" lights, so when am I ever going to need to set them to "on", and they are LED so no point in turning them "off" when they turn off when the doors are shut anyway. I decided to bridge the terminals and leave it. I made up a jumper, using a pair of specially modified (squished in a vice until they fit) bullet terminals and some wire. To make it pretty, durable, and safe, I wrapped the lot in tape and then stuffed it into the center console TVR-Parts still sell the switch blanks, so I'll grab one of those and replace the interior light hole with one of those Unfortunately it wasn't all quite straight forward. The door switches weren't quite playing ball. The passengers side wasn't hitting the pad on the door correctly so wouldn't trigger the lights to turn off when shut, and it turns out the drivers side one had been unplugged. I swapped that over, so the passengers side is unplugged, and the drivers is now plugged in and working correctly. So, I now have sweet interior lights, and working hazard lights. Isn't it inviting? Love the warm white LEDs. Much better than the usual cold white, or incandescent bulbs. Also puts a lot less strain on the wiring and battery. Its small things, but in the world of British cars, it's a big victory to have things working.
- 62 replies
-
- 25
-
-
-
Yeah, a lot of people struggle to understand how the K-Jet works, but over all the whole setup is pretty simple and the same as used in other cars of the era, so lots of experience and knowledge out there. The base engine its self, as you say, is as simple as a v6 can get.
-
Thankfully not, was done down in CHCH. The specialist is actually good as far as I know, but I suspect he gave up on this car when the owner just dumped it on him and forgot about it. Well, that's the only reason I can come up with, anyway.
-
It does, and if i have the covers off ill check them, but it had a full top end rebuild in about 2011, which i'd say is bugger all KM ago.