
- Popular Post


azzurro
-
Posts
2,878 -
Joined
-
Last visited
-
Days Won
4
Content Type
Forums
Downloads
Events
Gallery
Posts posted by azzurro
-
-
Dingleball might take the rust off, but if its not deep so will a light sand.
You can see the piston rings have wiped the rest of the piston clean too, the rings dont go all the way up, the rust is unfortunate but probalby not doing any harm sitting there.
The HGF from the oil pressure thing and the coolant looks like either the gasket hole was too small or the restrictor too large for the hole (or both) or an unfortunate assembly failure (pinched or folded the skinny bit?) - im no Mazda guy, but just looking at it id assume thats a fairly common spot for oil/coolant mixing failures, and im sure there will be an equally common fix (a bit of schmoo maybe, or wallowing out the gasket or restrictor seat or something?) Maybe the 'good' head gaskets have an extra seal layer (that blue stuff) on those areas? Can always make your own with a thin smear of rtv that is left to set before installation - a diy plastic scraper with a shallow notch will help make it tidy, uniform and hopefully more likley to work just like the gaskets maker put it there (sloppy work can make the head not seal)
Personally id get another HG, make sure that area is super clean/flat, the restrictor and gasket hole are perfect matches, and implement any recommended fix/band aid to help out that tiny but important bit of gasket and send it.
-
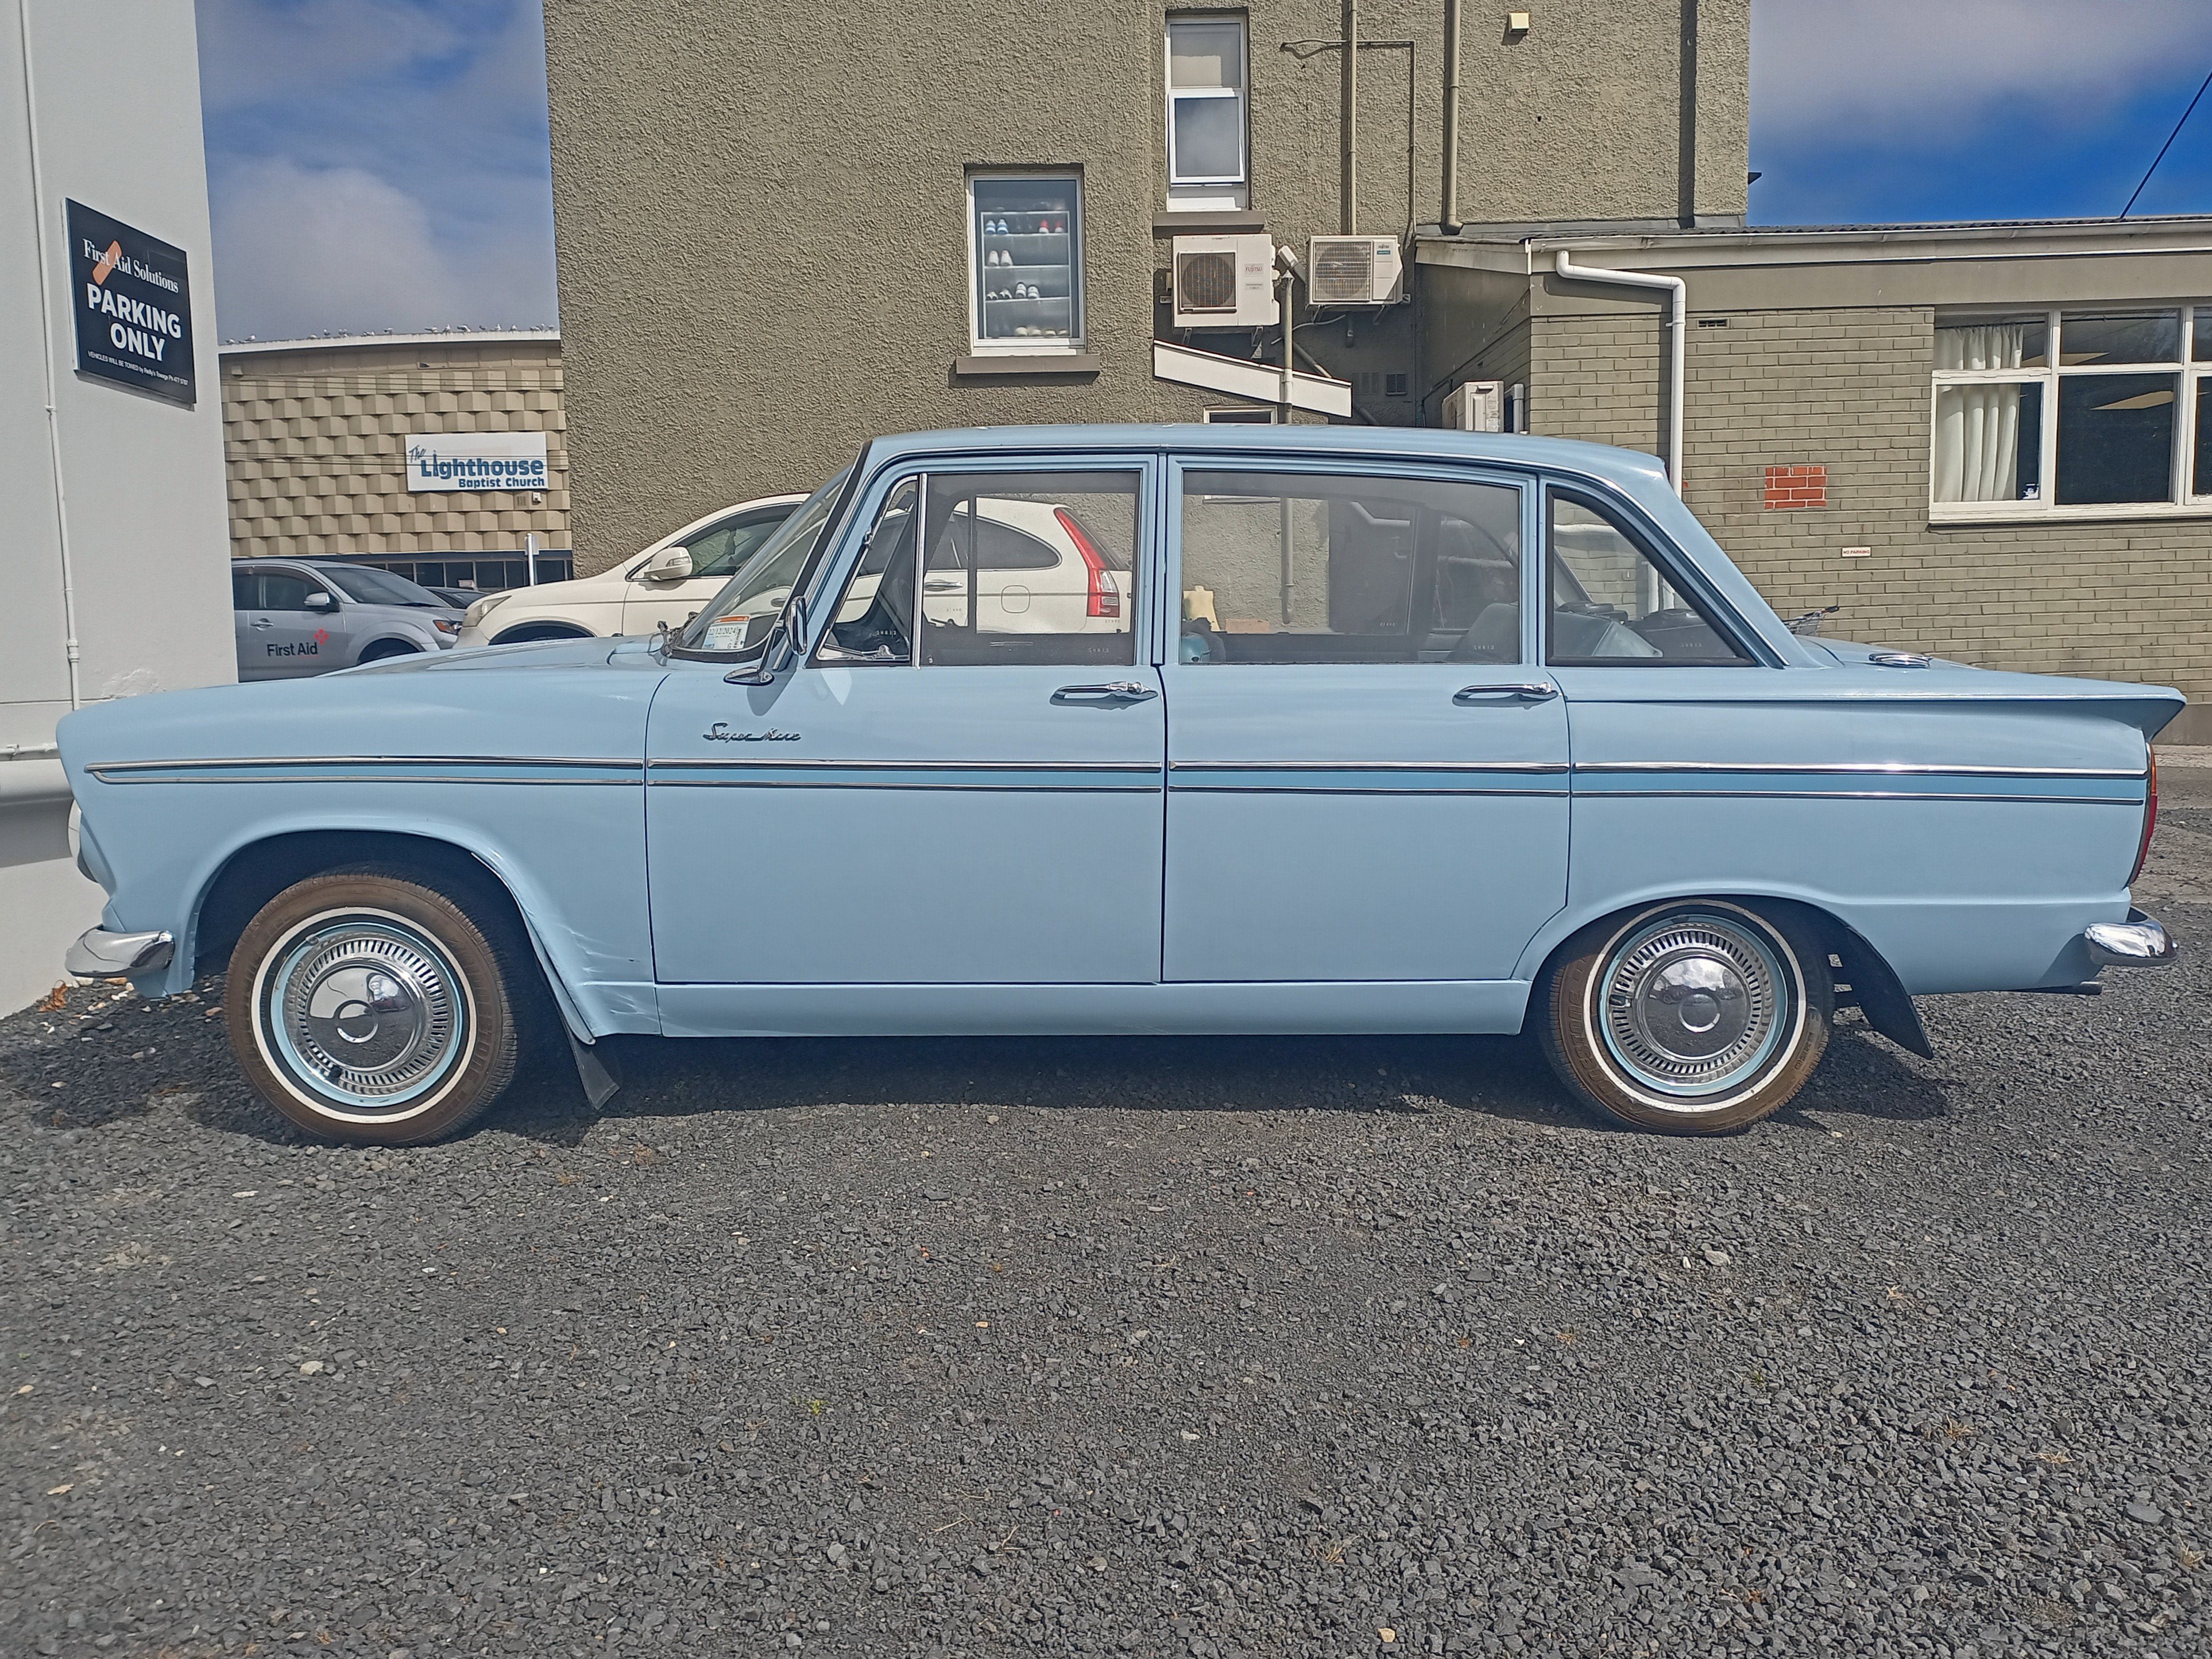
Mean!
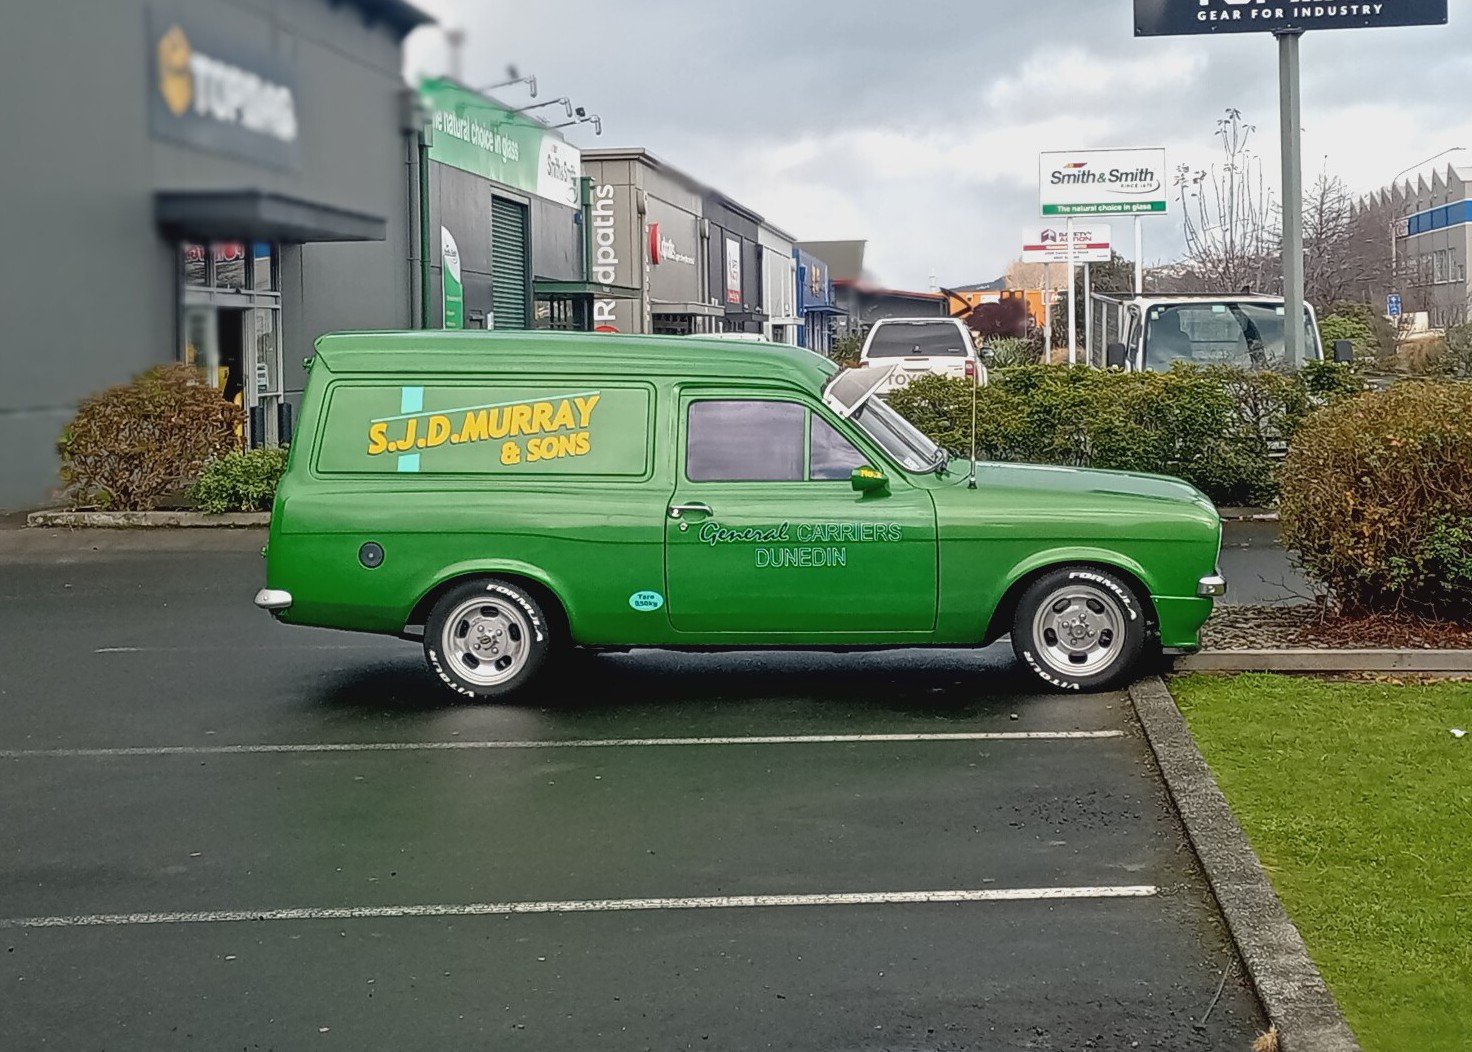
Be keen for some pics. Was a cool we thing but I bet that green paint was hiding some horrors.
-
More & betterer pics?
-
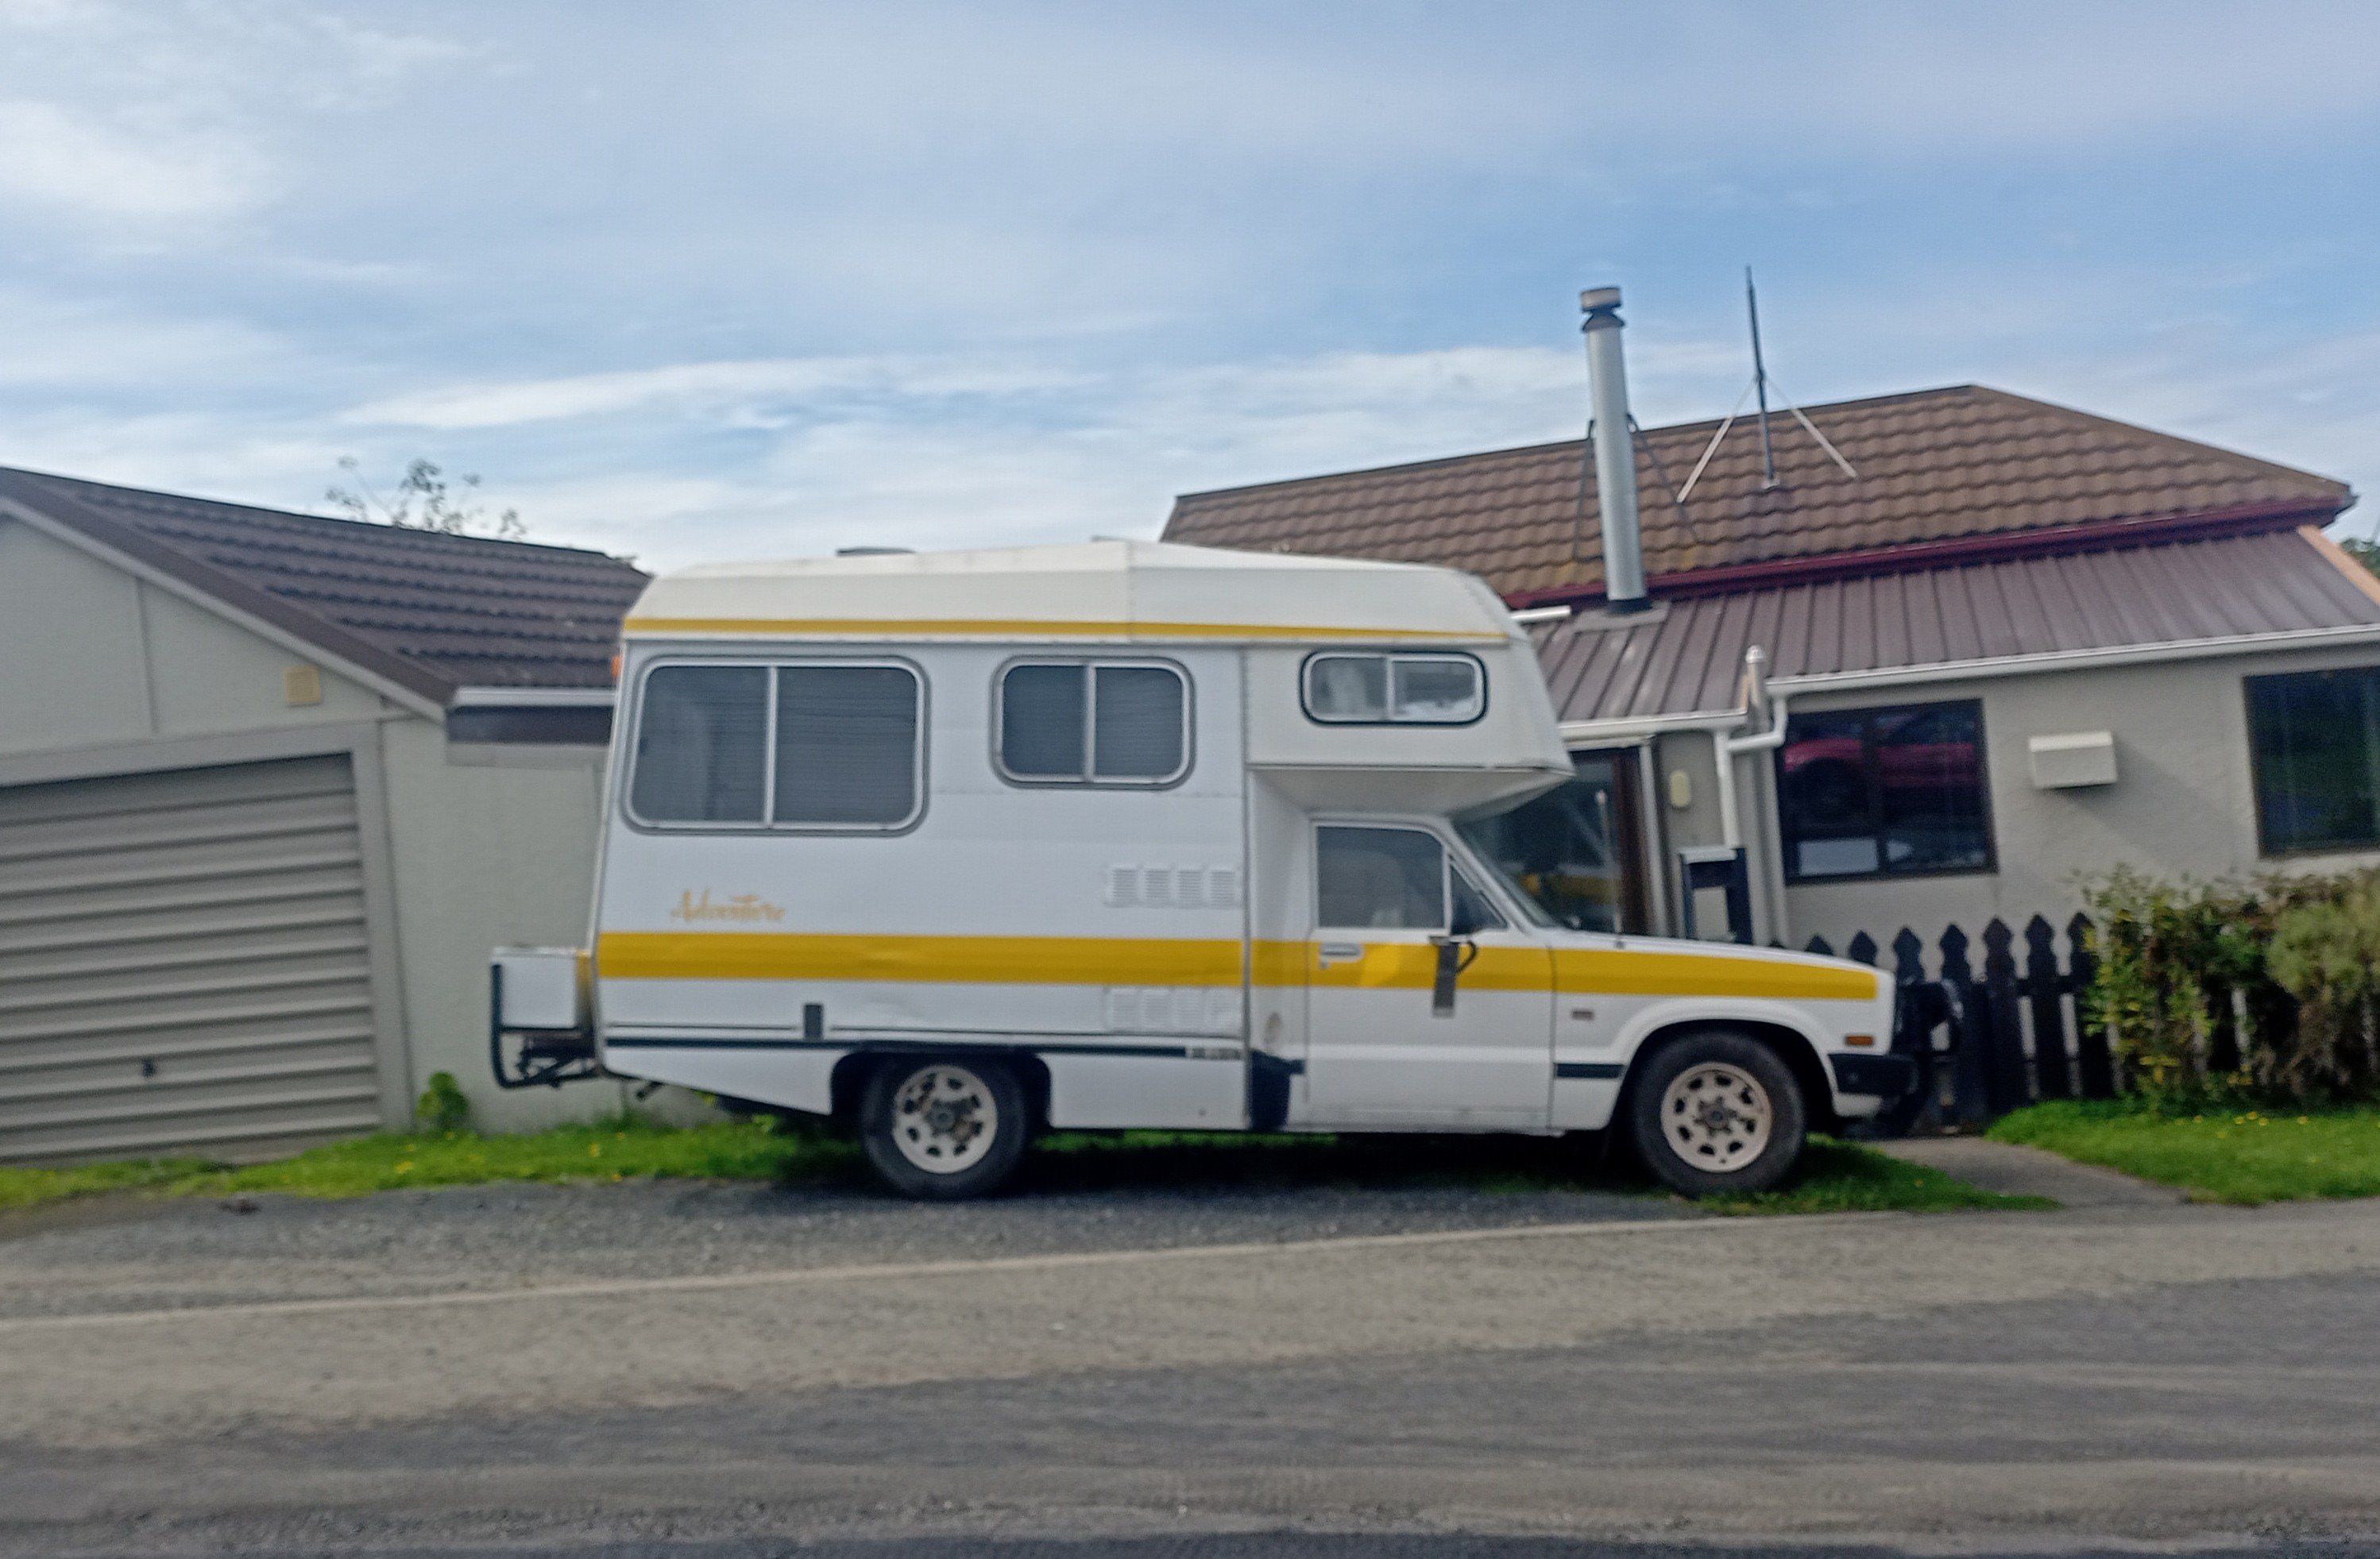
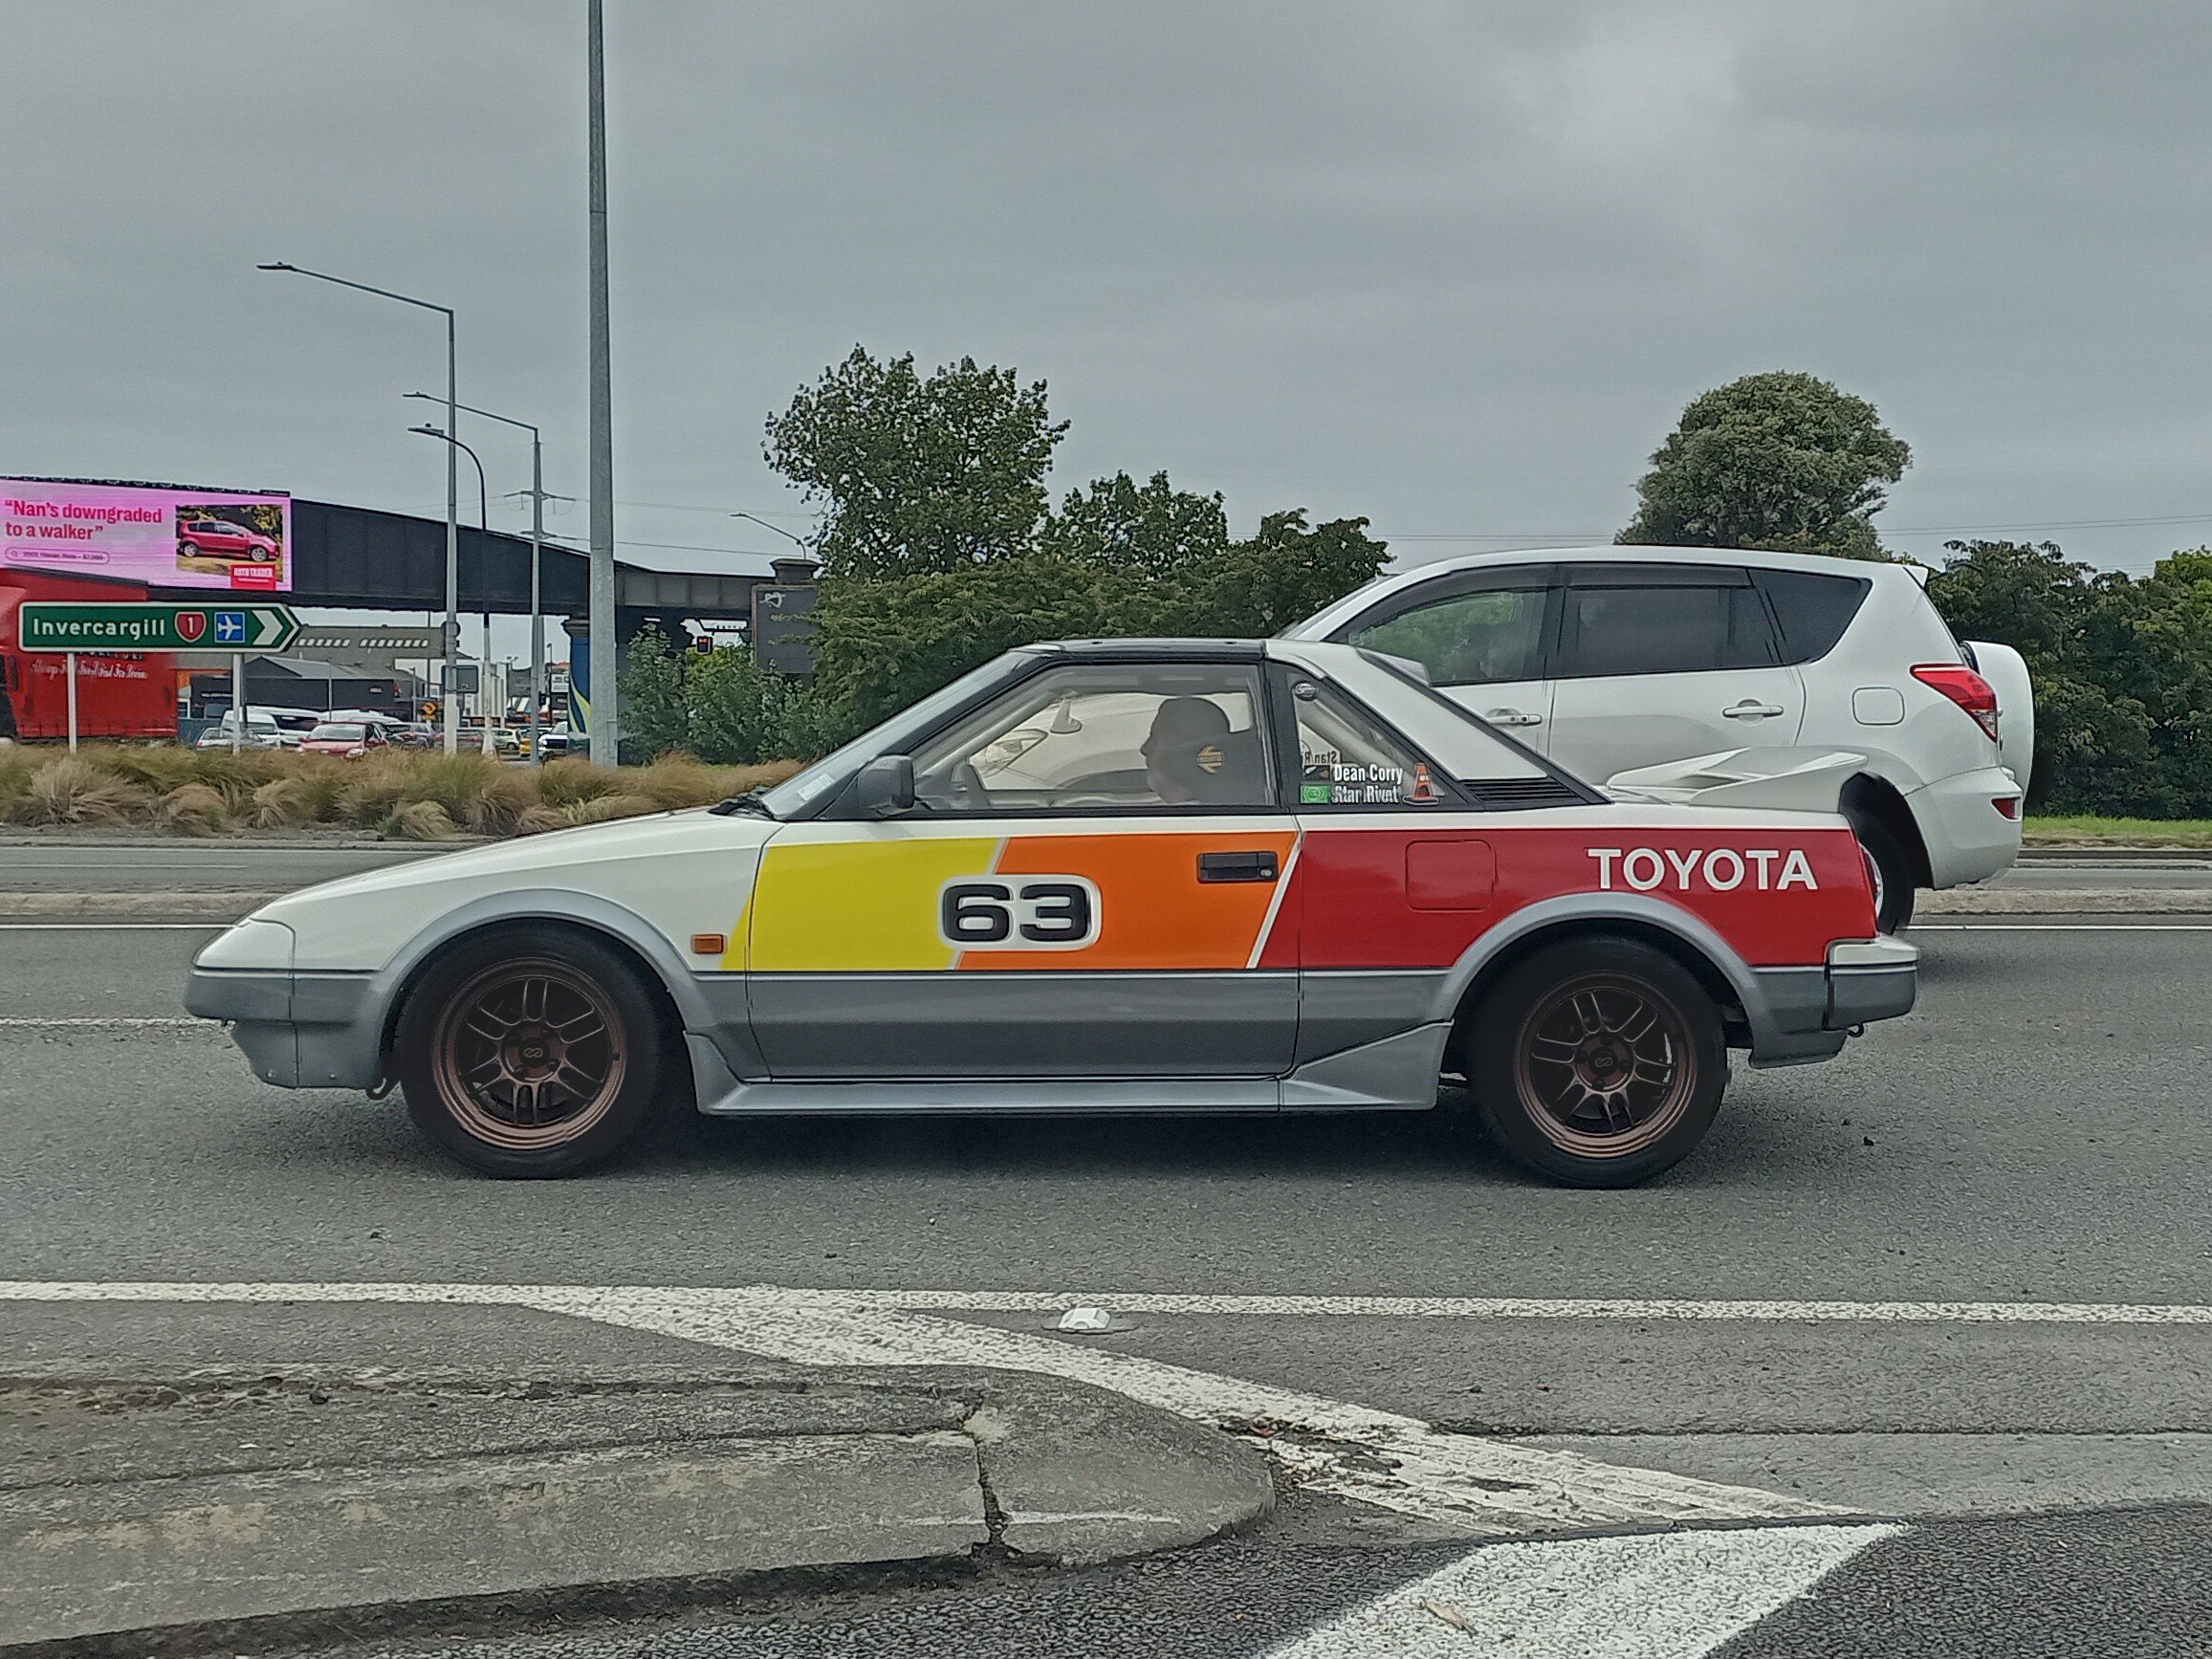
Lol, that's my son's flat in the background.
Edit: showed the boy the pic, Word on the car is its a flatmates mates, has a cool digi dash but needs work for rego
-
 1
1
-
-
He lives round the corner from me, I see him tinkering, but first time I've seen it about. he's got a Mexico as well I think
-
7
-
-
- Popular Post
- Popular Post

-
22
-
Old man had one of these brand new, metallic blue.
Only had it for a year or so then traded it in for a V8 Grand Cherokee that he reckoned was better on gas, lol
-
1
-
 3
3
-
-
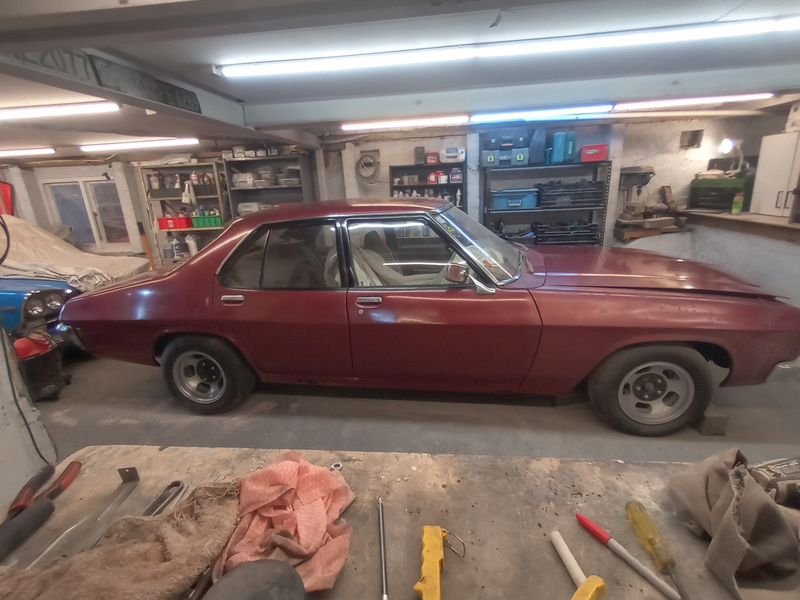
What a big honker.
Looks like a similar bittersweet situation to my Kirstys HQ.
Was gonna say any mix of ATF, diesel and or acetone you are able to concoct in the shed for soaking stuck engines. But literally anything is better than nothing, and it's the nothing that makes them stick.
But happily I'm too late!
Fingers crossed it fires up
-
1
-
-
-
- Popular Post
- Popular Post
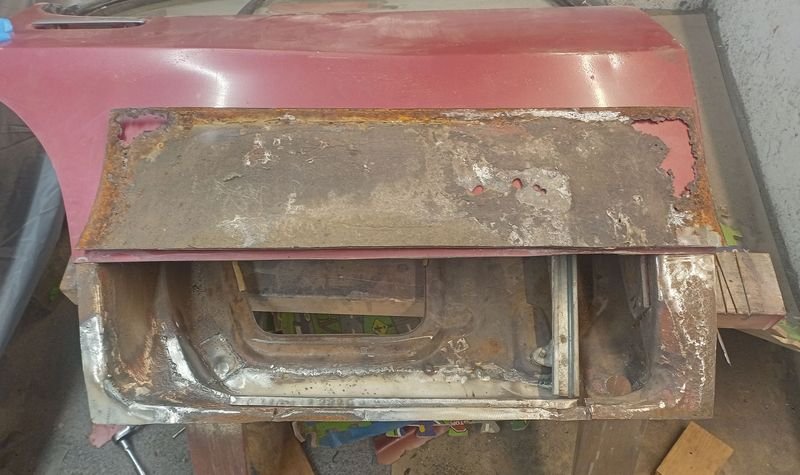
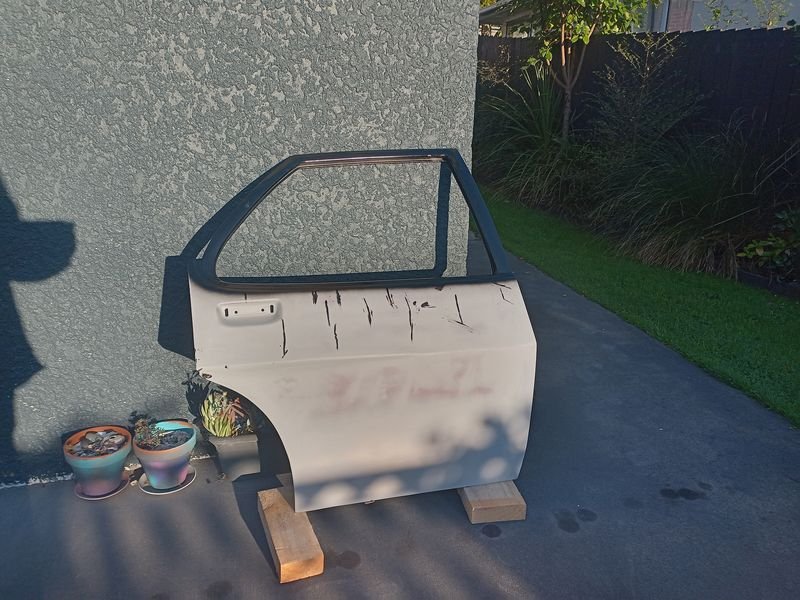
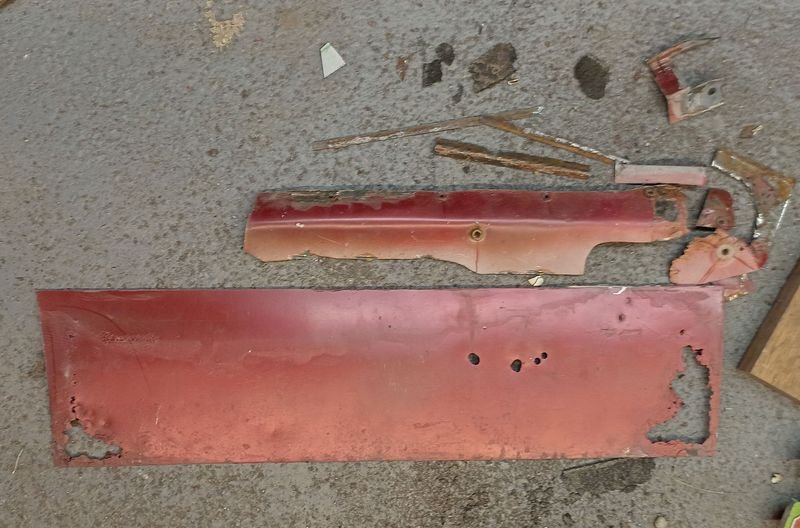
Step 1: Right Rear Door
This door was the most obviously chooched of the 4 on the car, and was pondering if it was worth bothering to fix it and instead replace it with another second hand door.
But, after checking out a few 'mint' facebook examples that needed pretty much the same amount of work, for far far too much $$ i decided to buy a full sheet of 1mm electrogalv for less than a 1/4 of the usual asking price of a door and hack into the one we've already got
There is a visible hole in the inner leading edge. It's a bit hard to tell (i couldnt untill i started hacking) but the whole lower inner is a previous repair
Weird that the lowest section where any water would presumably sit wasnt really rusty, but im not a GM/Holden Engineer so what do i know
Back to sound metal andstarted with replacing (again) the long lower section.
Then fill the gap, incl a recess for the door panel clips (made with two sockets and the press)
Then the leading edge/corner which was a tricky shape to make, again with a panel clip recess
Turned out good enough tho
Some grindy grindy then flipped it over. Rust in the corners make sense, but how has it rusted out in the middle of the panel? Even my FIATs dot do that!
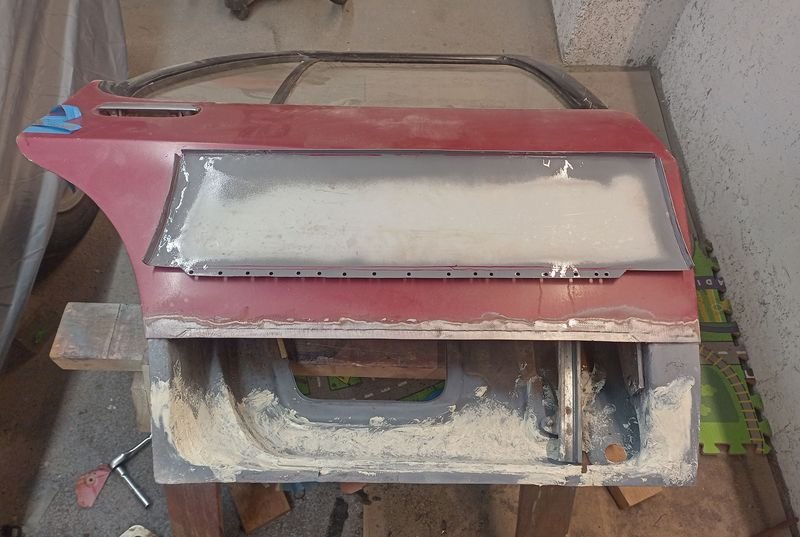
Was able to tidy up the inside of my repairs too, and fix a few more frilly bits on the edges
Made a new lower skin, used my new shrinker/stretcher and pipe anvil to put a bit of curve in it and joddler/hole punch to lap weld to try minimise warping from a long mig weld
kinda worked in that it warped from welding less but I locked it in without checking properly and so it's turned out a bit lower than I wanted. It was lots faster to set up and weld and clean up than a long butt and it was always going to need filler anyways
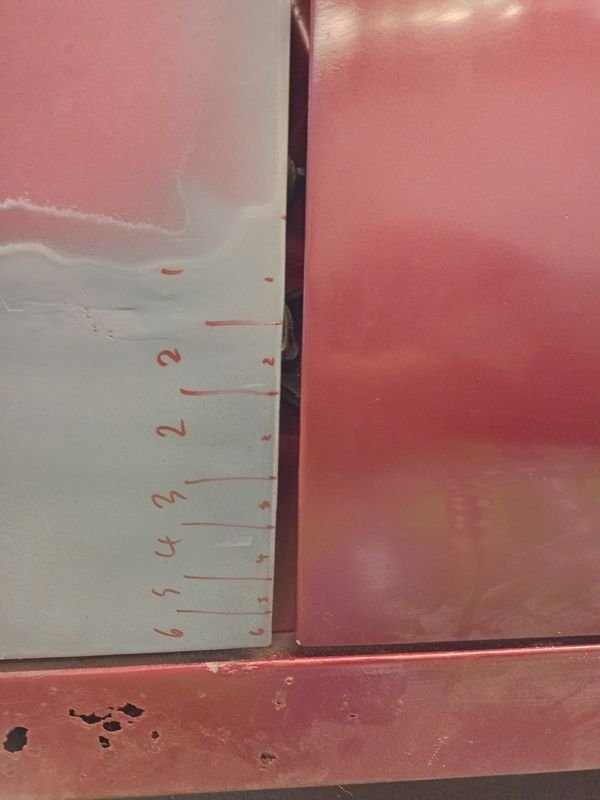
Then back on to check for fit and gaps...
Woops!
numbers show mm needed on the front edge. The rear of the front door is also a bit off, should be straighter I think, but since it's already painted ill ad it all on the rear door
")
No chance of finding any decent lengths of 3mm steel rod on a Sunday afternoon, but i did have a handy bag of short ones
Better(?)
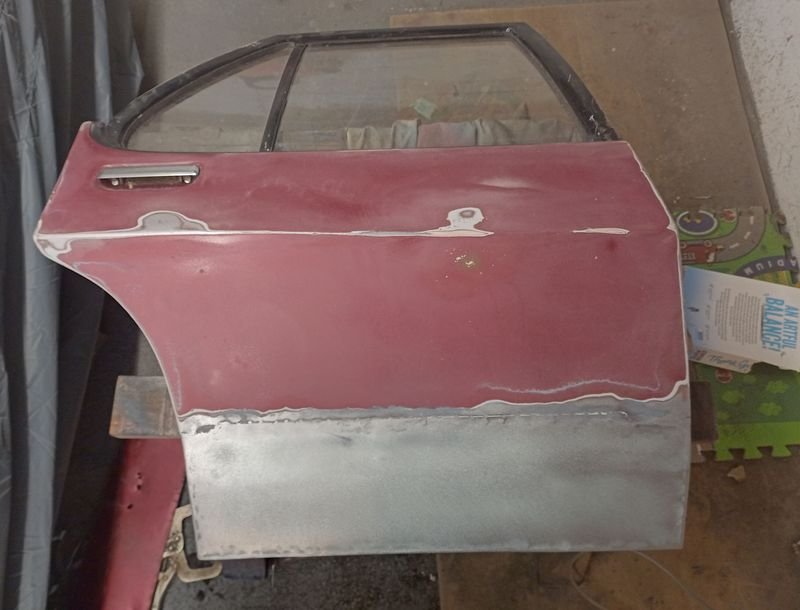
Then final filler and prime, and blacked the frame and hinges etc (flippin cheapy gun leaked all over everything - however on clean up i found it was operator error)
Sanded out and final prime
Base then clear then polished, all the door innards cleaned and greased and reassembled etcAnd riveted the gutter trim back on the C pillar, noice!
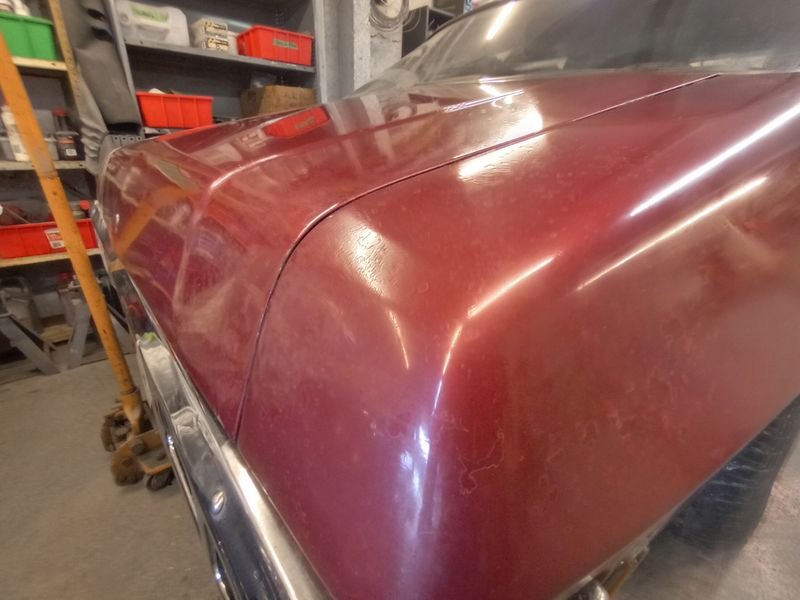
However, the 1k paint has been reacting pretty much randomly to the new primer and the old paint etc, however i think its mostly due to the (lacquer) thinners i was provided so ive got some proper Mipa BC stuff that matches the paint for the next panel or recoat
Im not entirely annoyed as it helps the new bits blend into the old paint which is even worse - this is the boot
And even ran the polisher over this corner to shiny it up, but you can see the whole car really needs stripping back top bare metal and resprayed, but as that will never happen preservation is the aim here
So yeah, thats all the doors done. Only all the other rust to go...
Still a ways to go, but slowly slowly catchy monkey
-
34
-
 1
1
-
Yes. but, they are actually quite different sizes
BMX rims are noticeably smaller diameter, wider and have different axles.
The smaller rim makes it lower so can tap the pedals on the ground which can be annoying riding in jandals
-
3
-
-
depends on the hub,
some are single speed
some are two speed/back pedal brakes, shifted by back pedalling but not braking, but also braking changes gears - makes it tough to look cool if you come in hot and rip a mean skid but need to roll out again but you are struggling to move off in high gear now and need to do a little pedal glitch to get moving.
The 3 speed ones are cable shifted (twist shift or t shifter on the dragsters) and have a wee nubbin sticking out of the hollow axle, fiddly to set up and keep within adjustment IME with a default to getting stuck in high
-
1
-
1
-
-
- Popular Post
- Popular Post
What a good boy
-
17
-
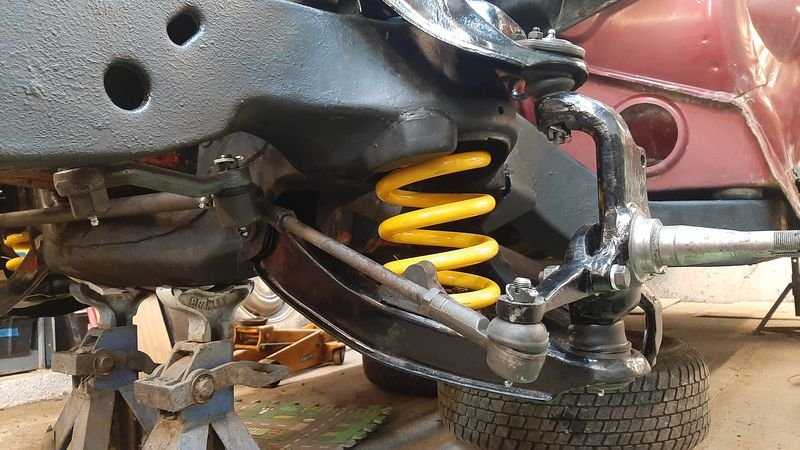
Agree, there is no way that should be happening absent major issues in the front hubs/ball joints/spindles/steering and you are perhaps moments away from complete loss of steering due to catastrophic failure.
the spindles or steering arms have stops that hit the control arms preventing them from steering angle pivoting that far that the discs can even get close
something in the front end has had its retaining fasteners come loose, or is worn out/broken, or a combo of all three
Be interesting to know what the issue ends up being when you find it!
My guess is worn ball joints.
Pic from my recent front end rebuild might help visualizing whats going on behind the backing plate
-
2
-
-
- Popular Post
- Popular Post
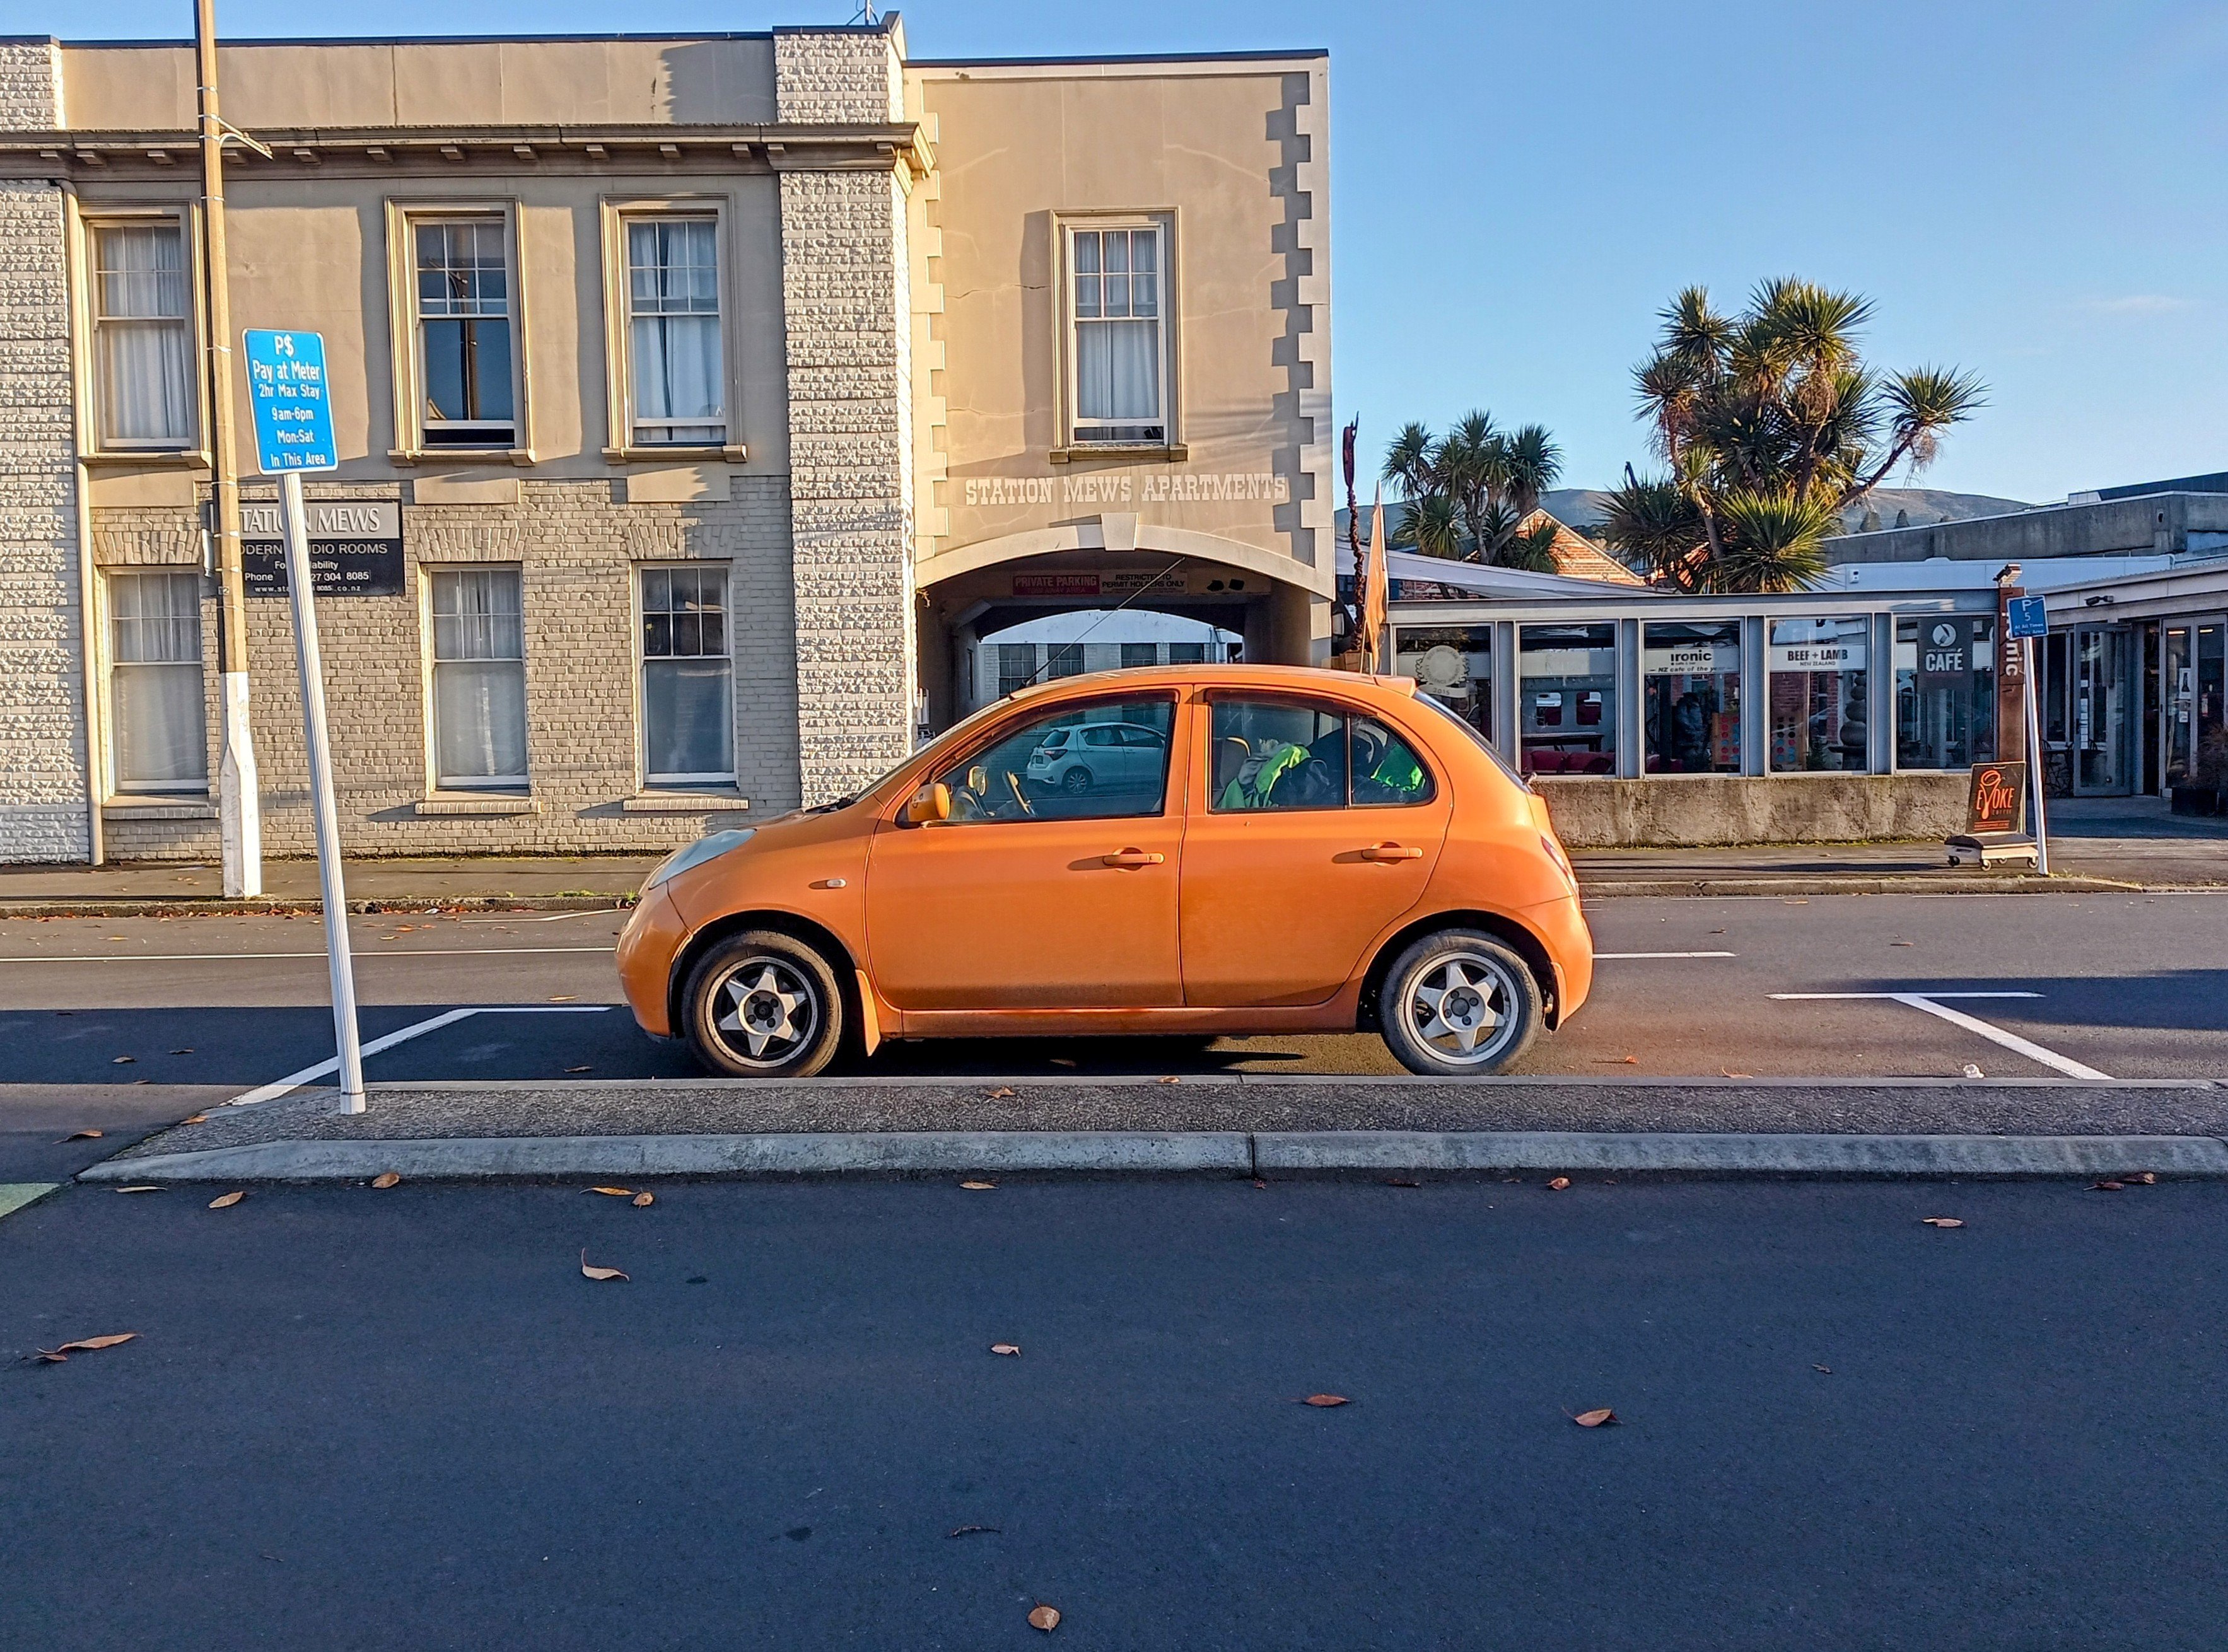
Spotted from my couch.
Both perfectly accessorized, the Morrie with a roof rack and the CRX with a fartcan
-
15
-
1
-
Wow, good save!
I have some foam filters on sideys (too tight for anything else) in my 125 and an extinguisher, but that's making me think maybe mesh is enough filtering.
Glad you caught it and managed to stop it in time!
-
3
-
1
-
-
- Popular Post
- Popular Post
-
15
-
- Popular Post
- Popular Post
-
15
-
- Popular Post
- Popular Post
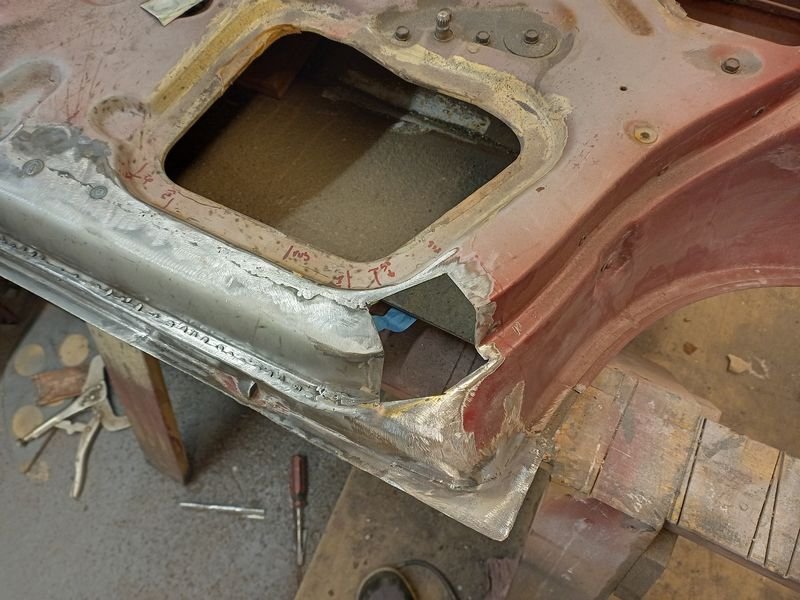
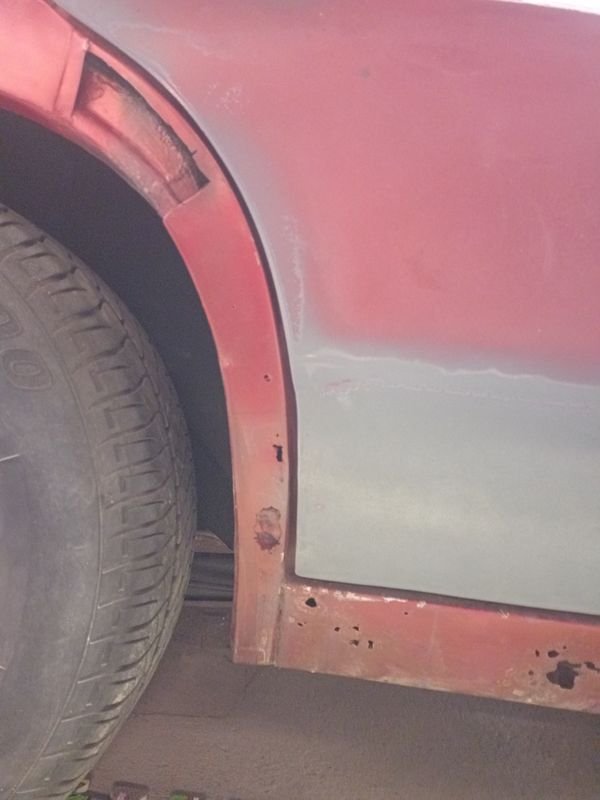
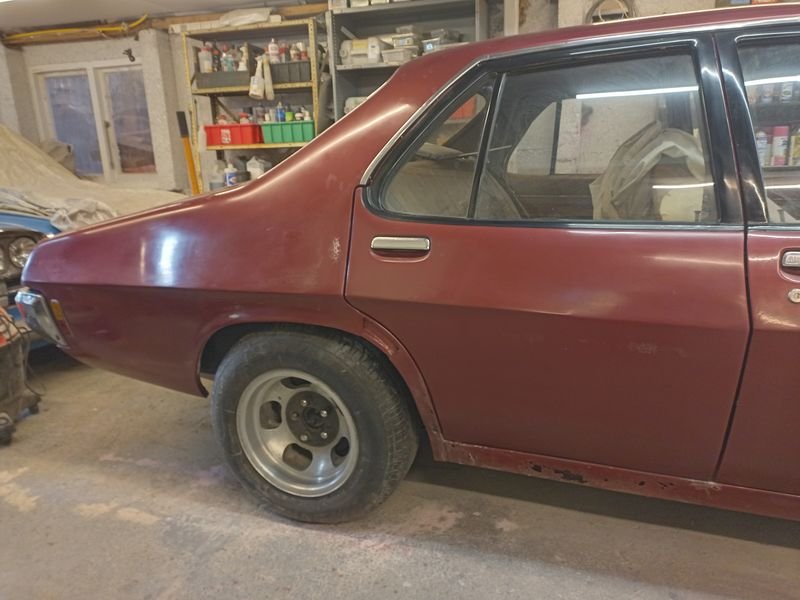
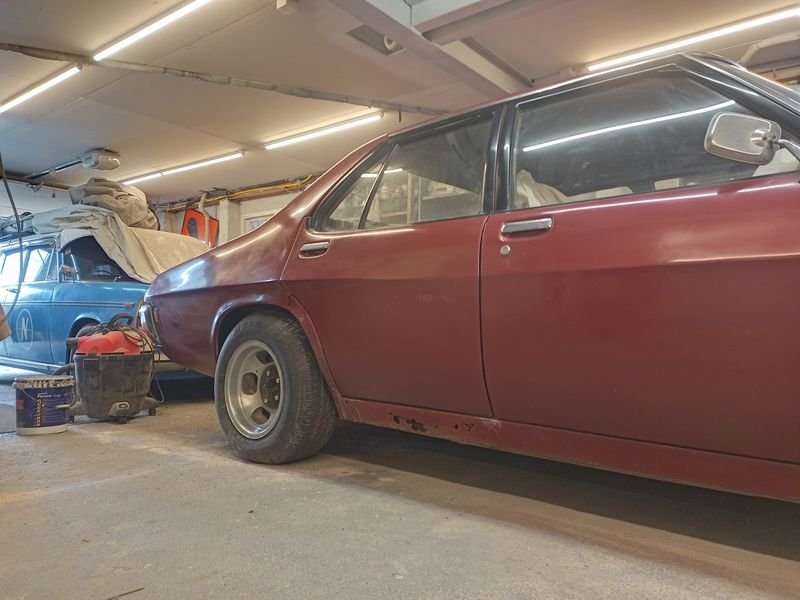
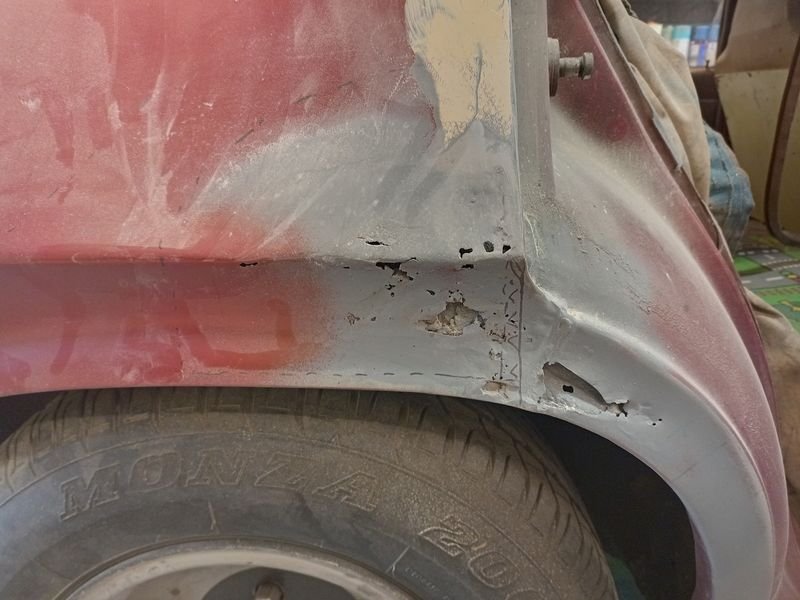
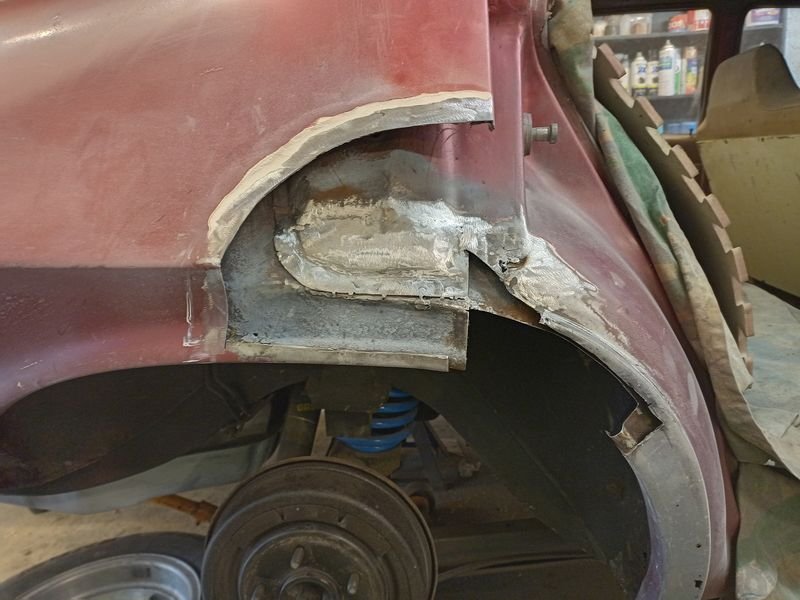
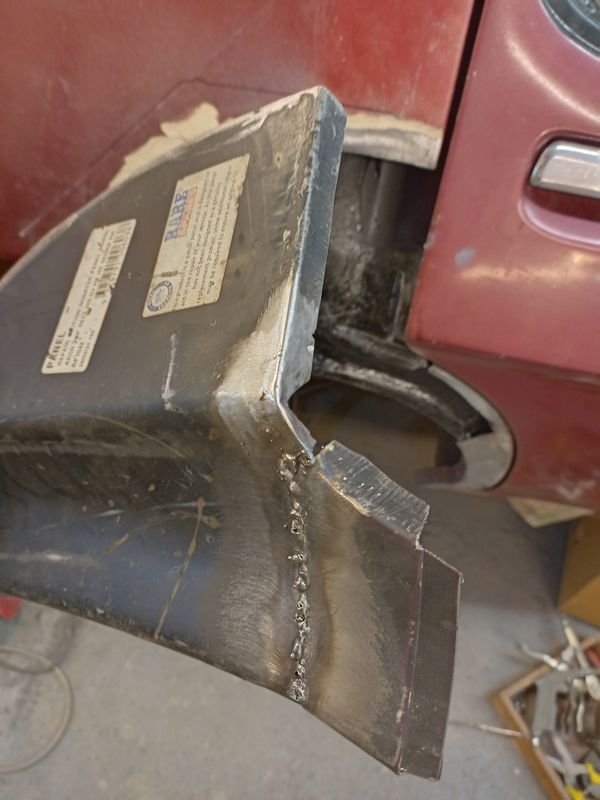
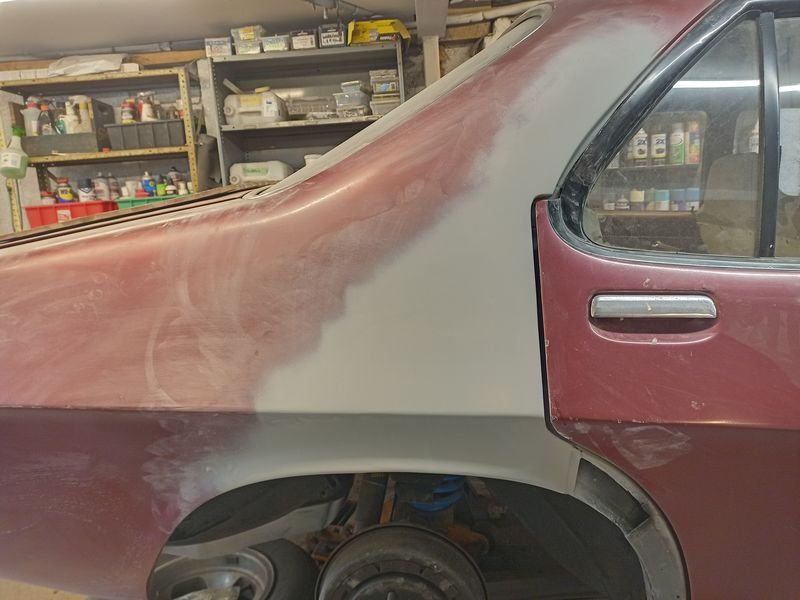
Next bit, the wheel arch/quarter panel
This is a super common area for these to rot
as evidenced by the low cost and wide availability of repair panels for this very spot
But why do they rust there?
Well...let me count the ways...
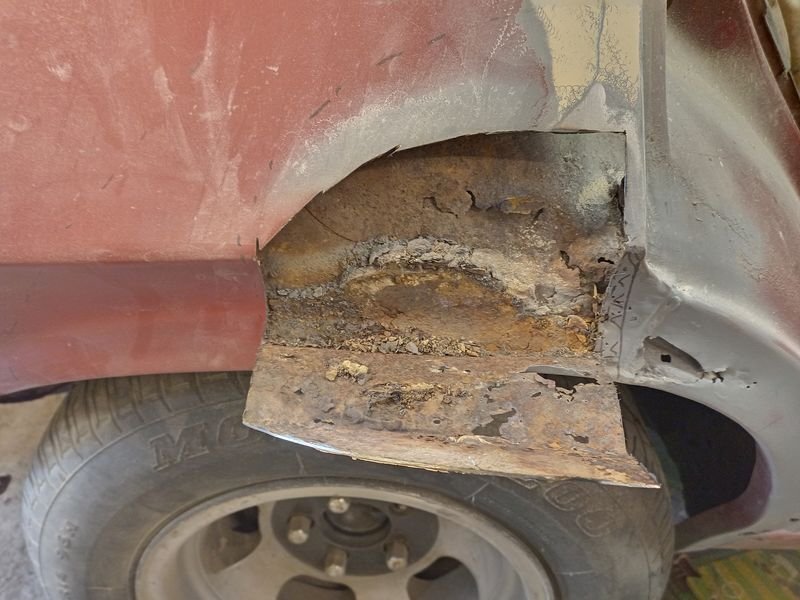
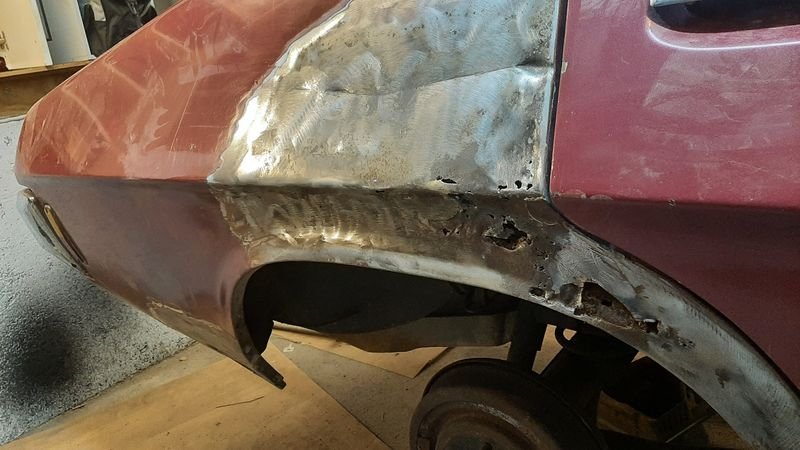
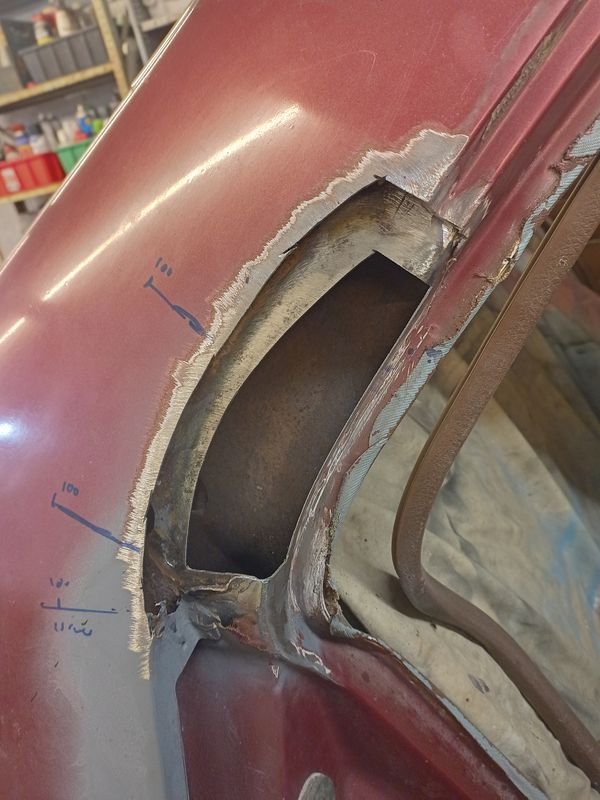
Bit more cleaning and careful chopping trying to figure out how best to deal with this efficiently.
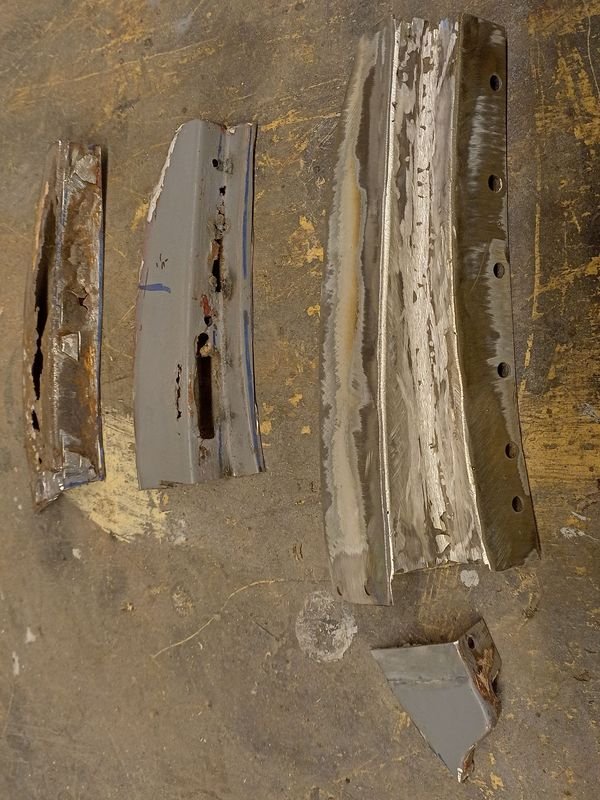
Like the sail panel repaired in the previous post, which this is just the lower section of, this area is also triple skinned: 1 the inner arch, 2 the sail panel and lower outerwheel arch and then 3 rear outer quarter panel over that, all loosely spot welded together and then lovingly coated with lashings of lead to cover it all up at the factory.
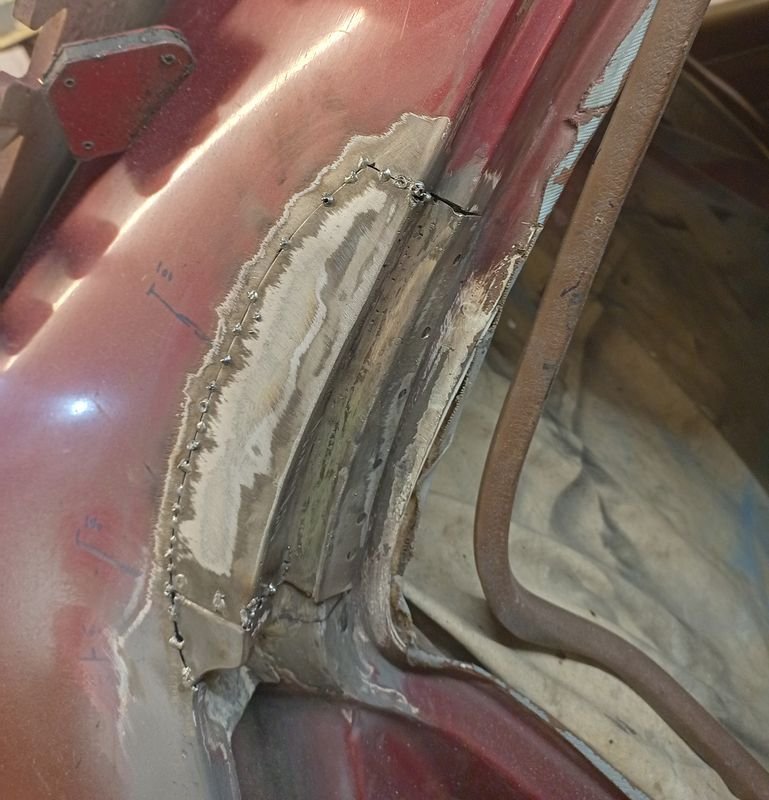
Chopping done, now to start adding nu metal
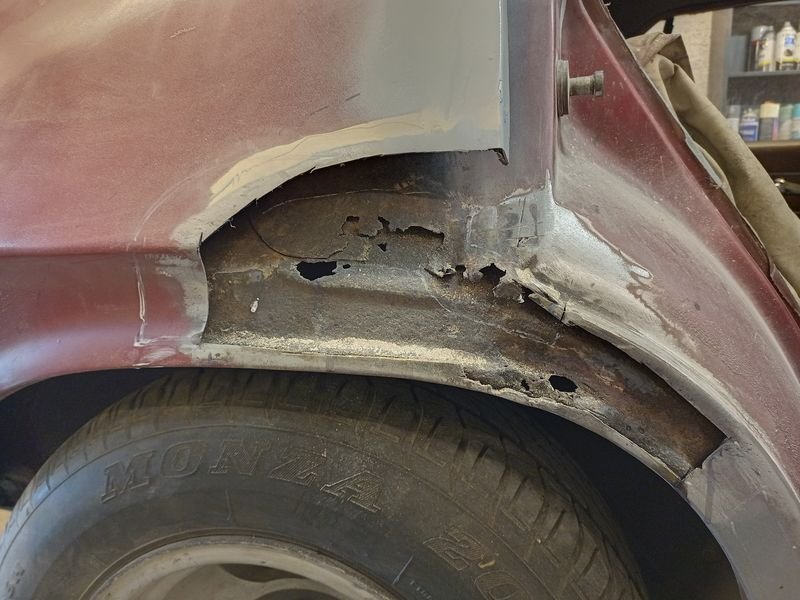
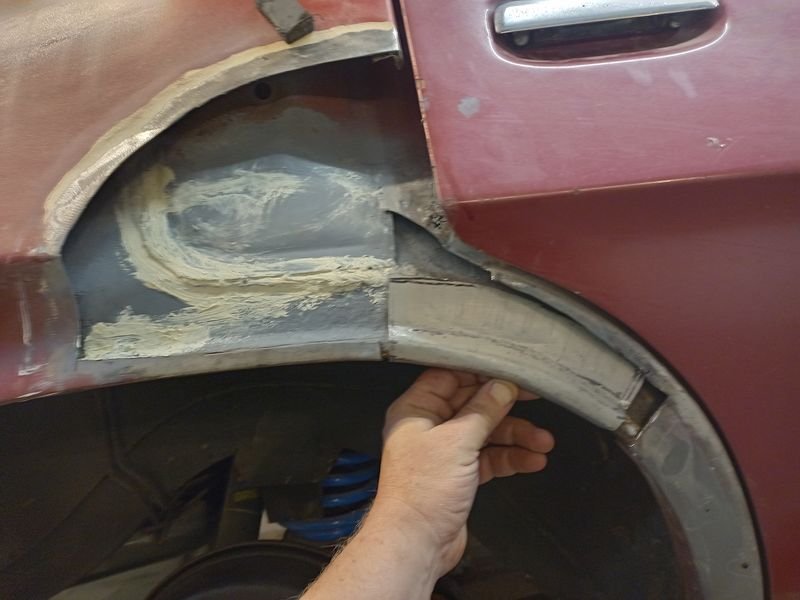
Patched the inner arch, then remade the lower and rearward bit of the sail panel
the front part had to wait as there was more of the inner arch to patch first -(as i tend to work on this in fits and starts every few days, sometimes I throw paint and seam sealer on as i go)
And inner done. From what i could gather from what was left, the factory panel more or less floats behind the covering panels, so i welded it up to the inner arch to make it a wee bit stronger and also reduce the chance for dirt to get up there again from the door vent or boot, but its still open (towards the front) to drain any condensation or whatever that does come down from further up in the car (inner roof etc).
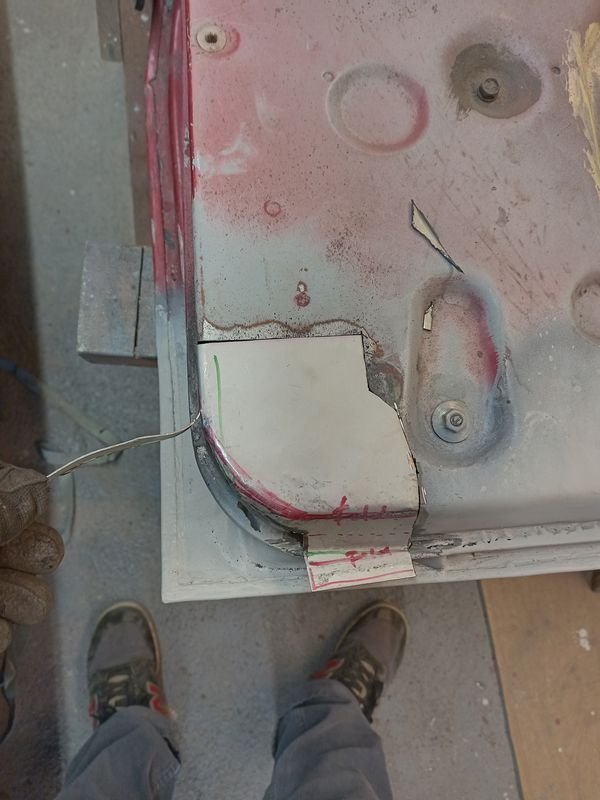
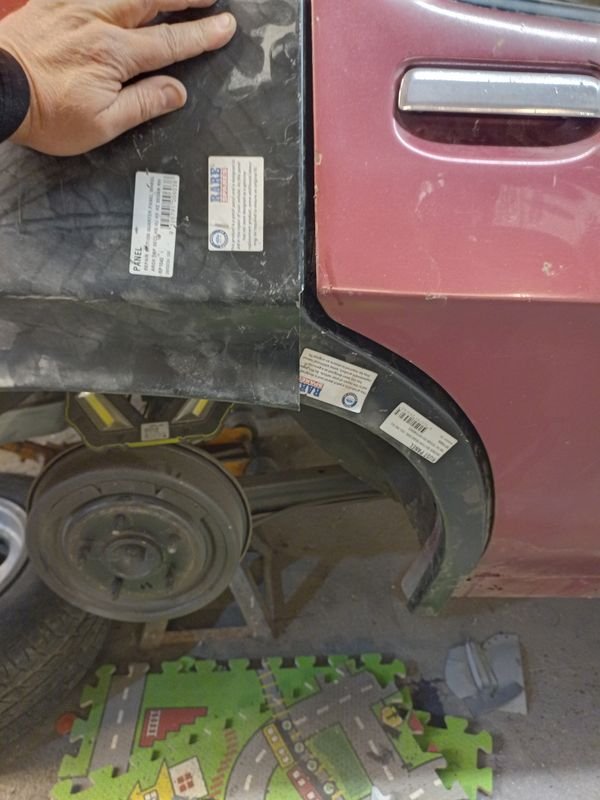
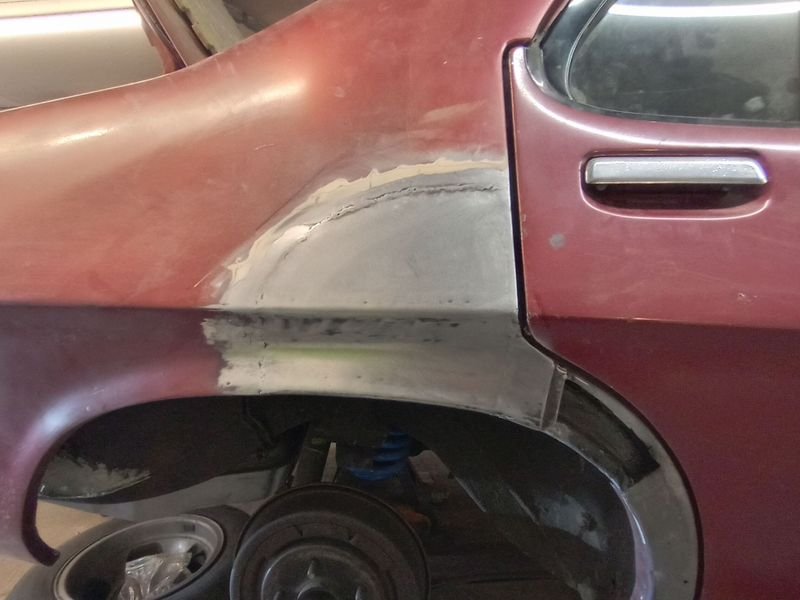
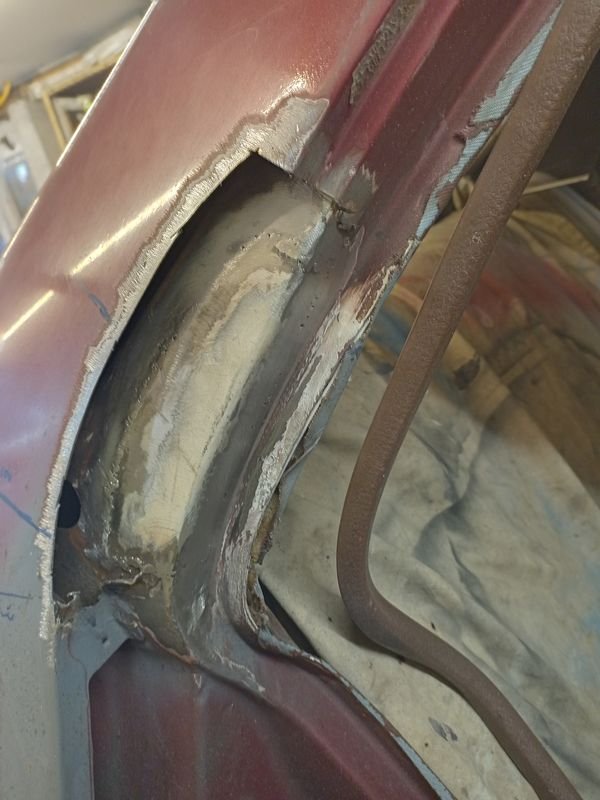
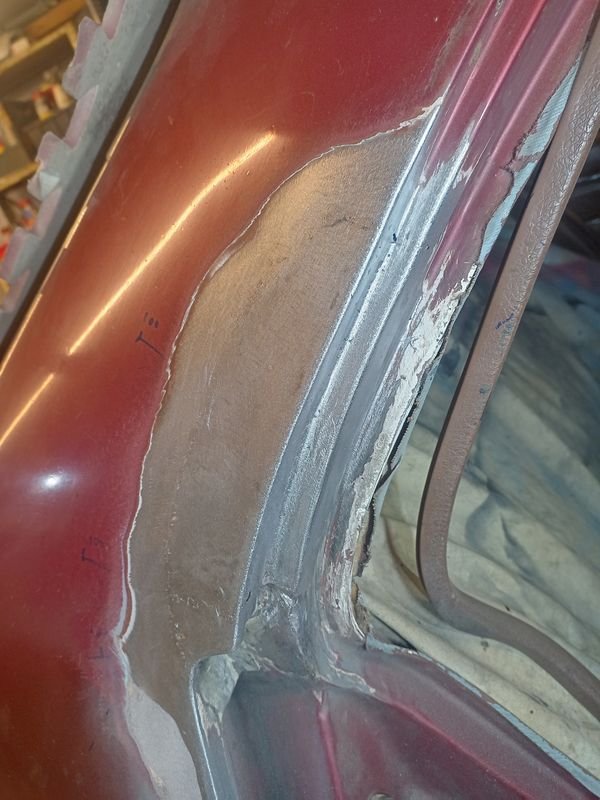
Now there is something for the quarter panel to stick to, trimmed the repair panel back to fit the hole
The rarespares panels are a big help but still need to copy and make a lot of the smaller details.
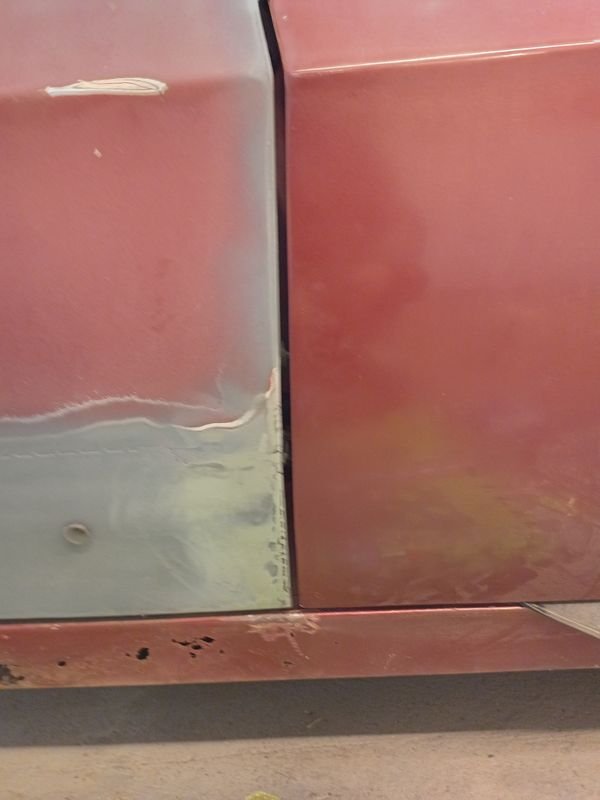
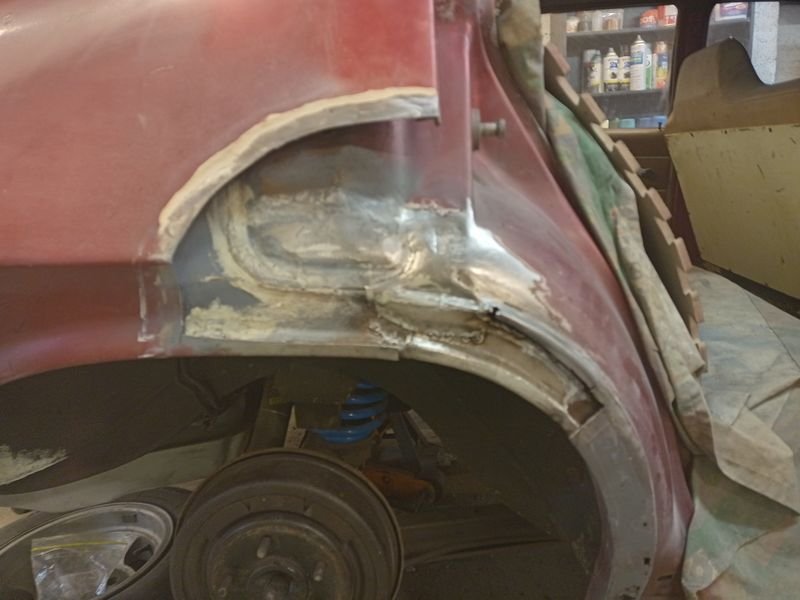
Forward of the vertical fold needed making following the shape of the door and recreating the factory return
Remaking the factory seam for the dogleg was not necessary given its leaded and invisible from factory but it will make it a bit easier when its time to redo the front dog leg, and does finish of the tricky bit under the corner of the door
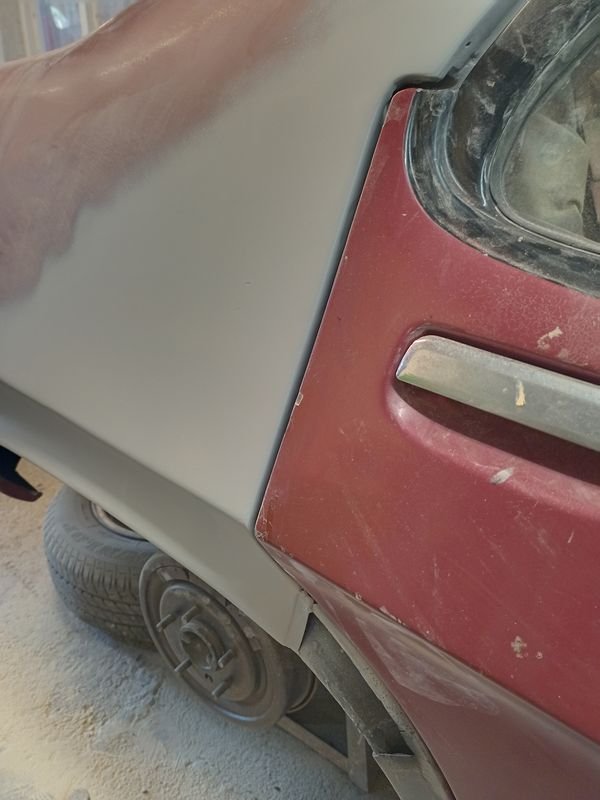
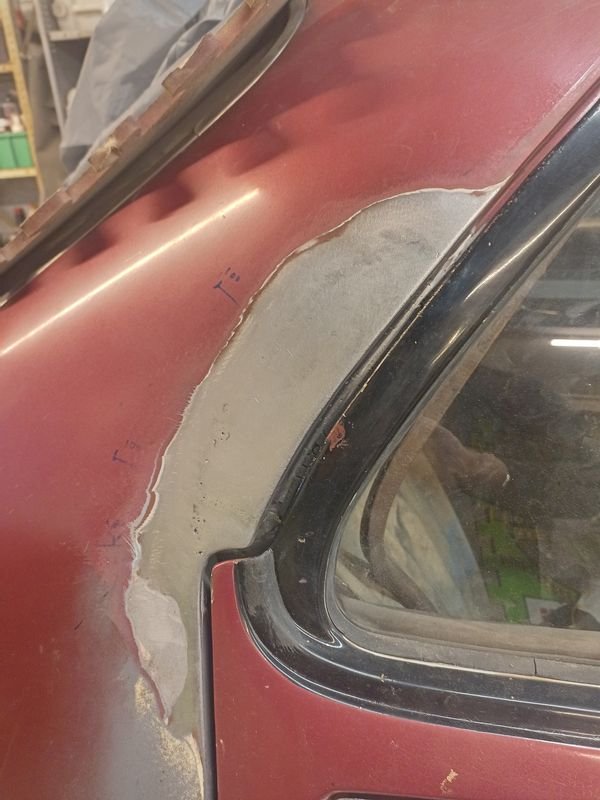
Overall pretty happy with how this turned out.
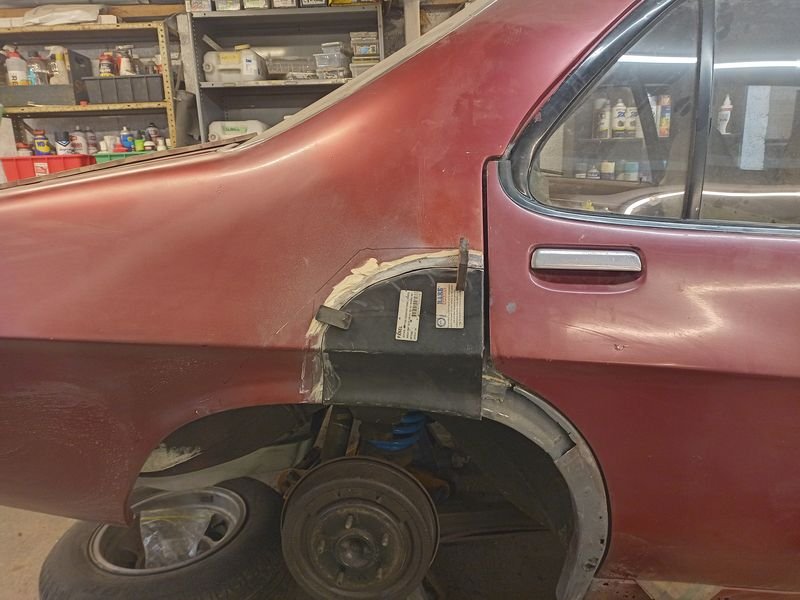
Door gaps and body lines all came out minty
And only a skim of filler to hide the weld and blend it in to the rest of the car, which as you can see wasn't perfect before and i didn't cut out all of the big crease either
-
40
-
2
-
- Popular Post
- Popular Post
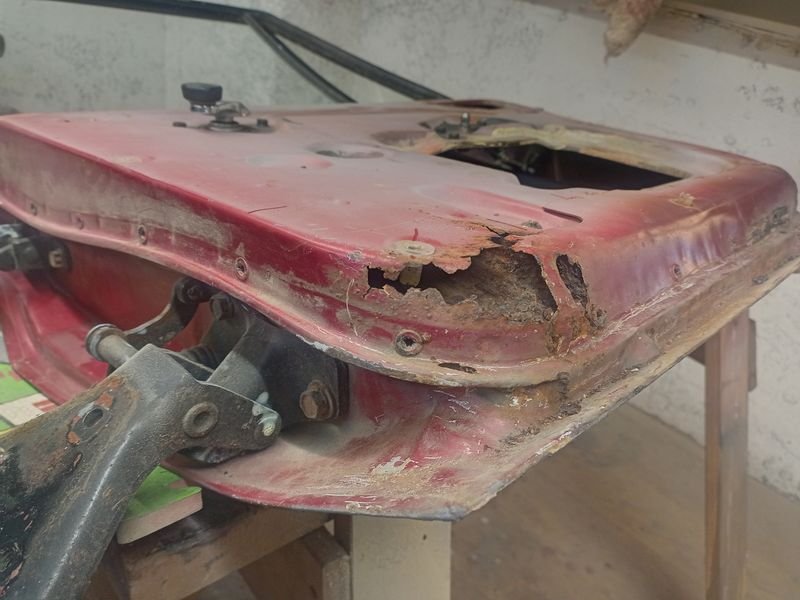
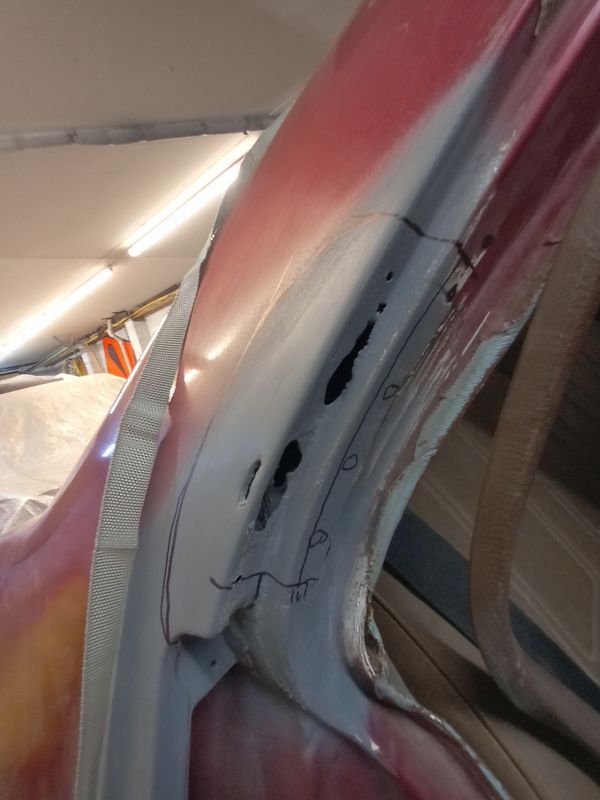
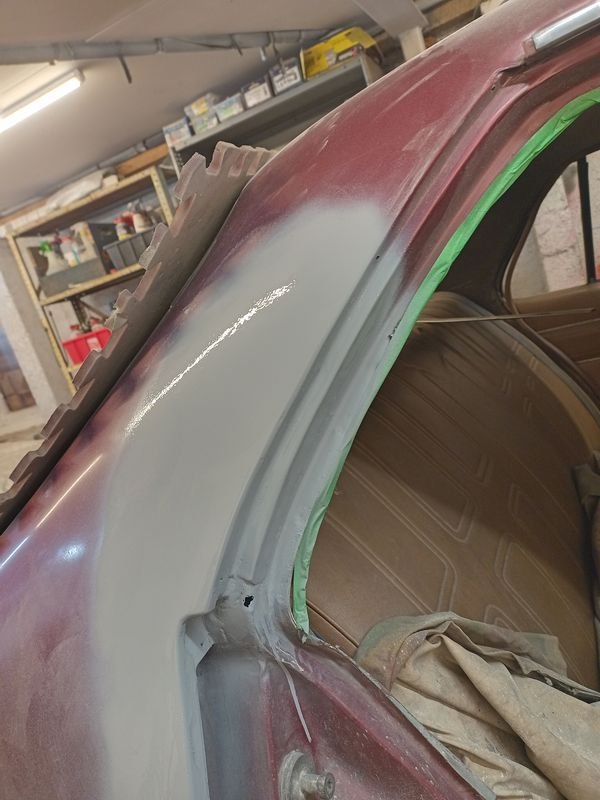
In this exciting update, more rust!
This time its the rear sail panel on the drivers side. The passenger side has the same rust spot (to do) so i assume its a "they all do that sir" type scenario, and im guessing its water and muck flicked up by the rear wheel, finds its way up there and doesn't come out. For this to happen the rear wheel arches need to have holes too, and well... (spoiler alert for the next exiting update).
This is mostly hidden by the trim that is an extension of the drip rails.
Just trying to figure out where and how to cut it for good access, while also retaining enough datums to be able to put it back on.
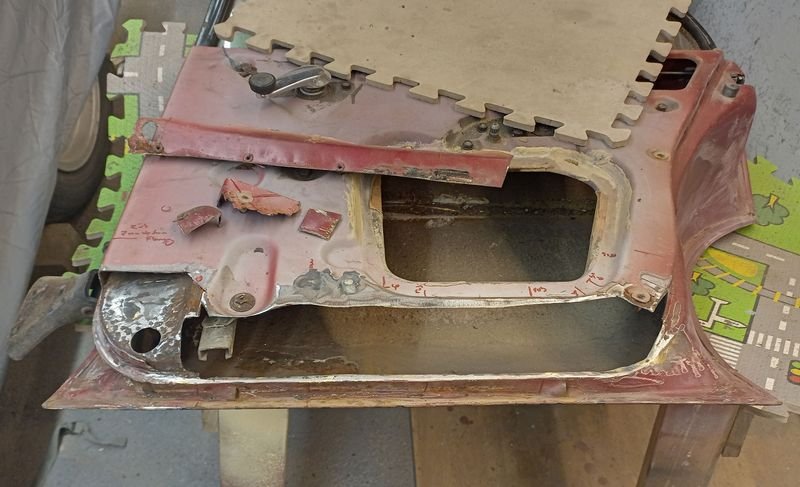
Cause I needed to chop out the middle layer too (there is another layer that the headliner sticks to on the inside as well, thats fine
Chopped out and cleaned up
Inner mostly done.
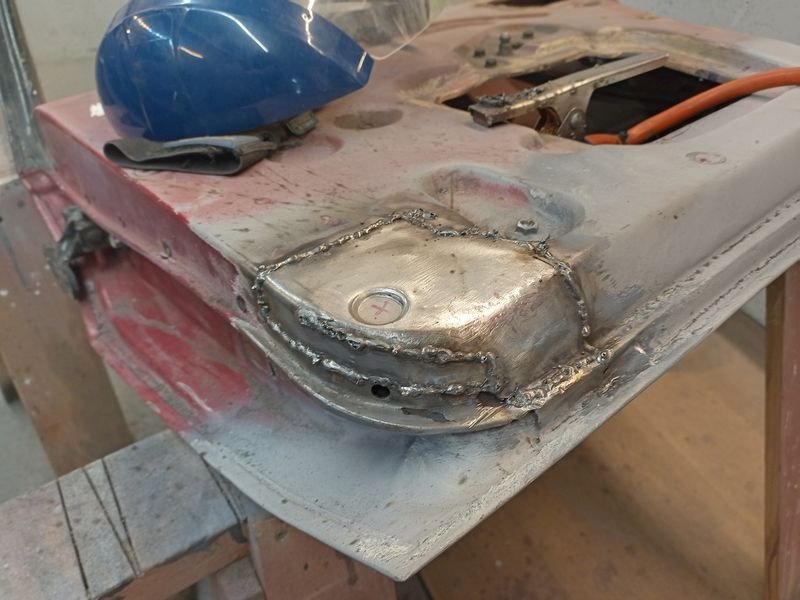
Mocking up the outer layer, which was pretty tricky as each 'face' has a compound curve but also gets wider as it goes, so well beyond my ability to make as one bit
Can see it coming together here, managed to reuse the little cutout for the rear face of the door detail
Weldyweldy
Grindy grindy
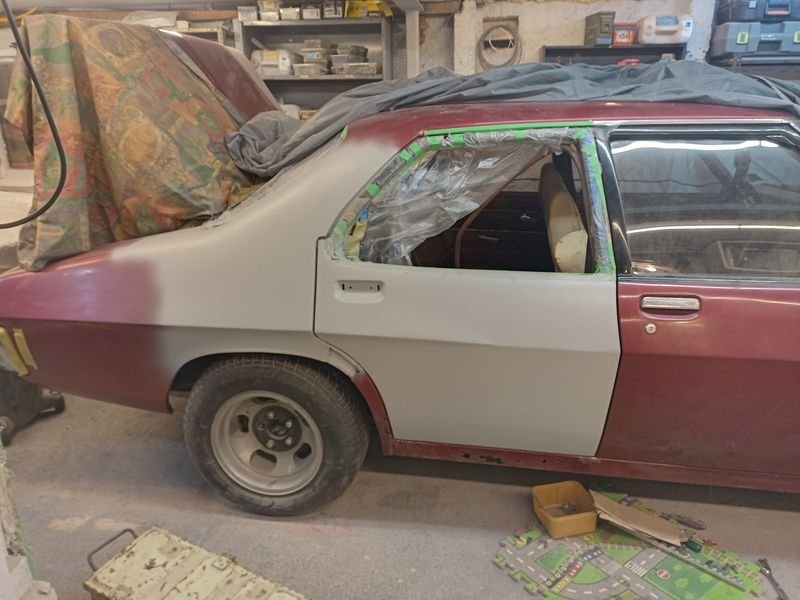
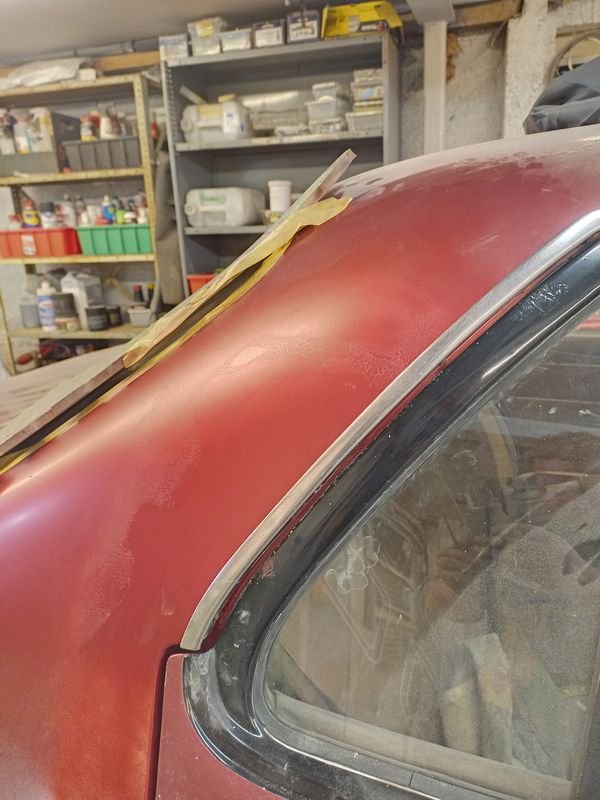
Pretty much ready for paint minus some pinholes (several more steps of weldy and grindy)
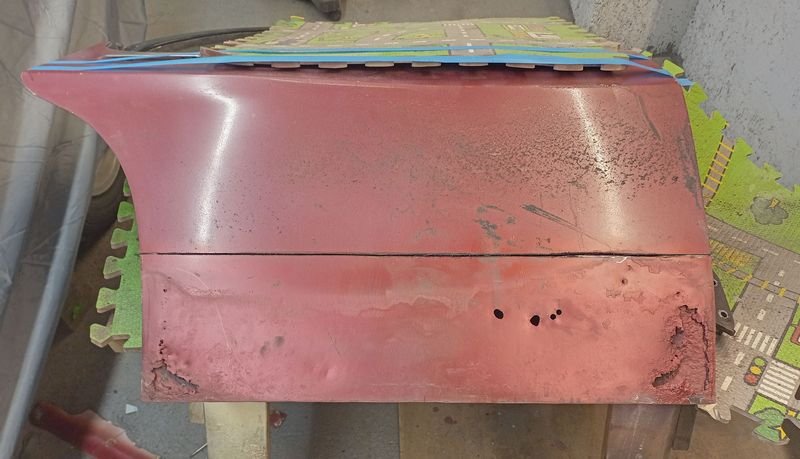
Blasted some primer, have a hole to fix where the grinder caught the edge a few times, but im out of welding gas
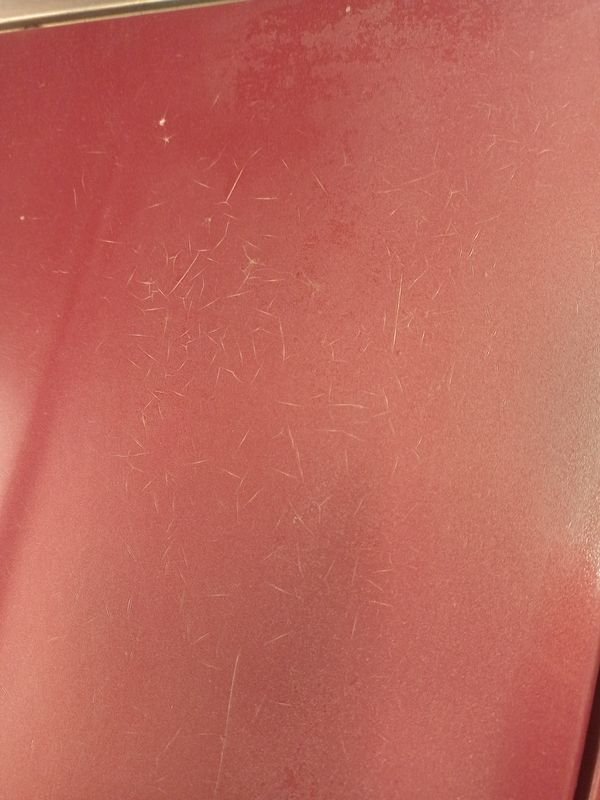
Then a few rounds of filler and then some metallic red (colour match for my Forester) just to finish it off (for now).
Of course it reacted with the cheap spray can primer i used!
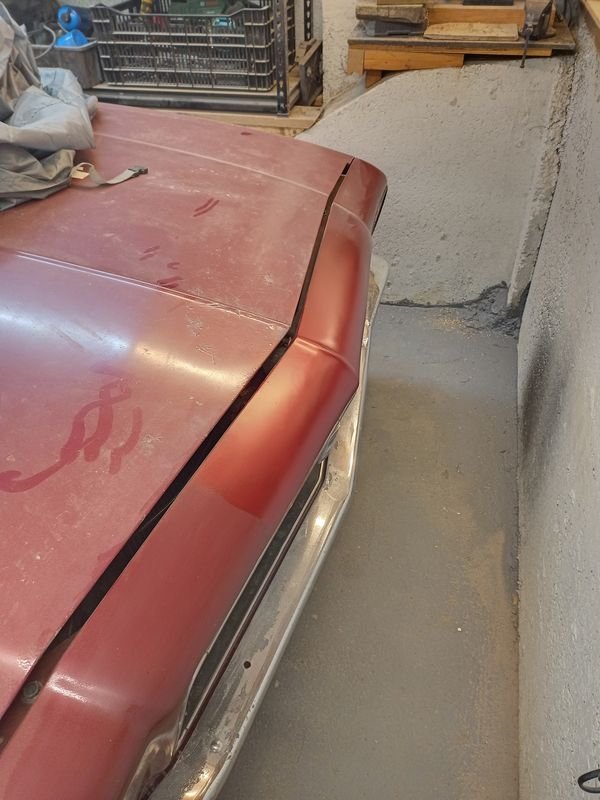
While i had the filler out i also fixed up the nose cone and bumper.
Progress is slow but its progress
-
36
-
I'm sure you've tried it but tension the belt a bit more than spec?
The factory setups with lower output alternator would create less drag than the big boi
More juice? less loose.
-
3
-
-
-
- Popular Post
- Popular Post
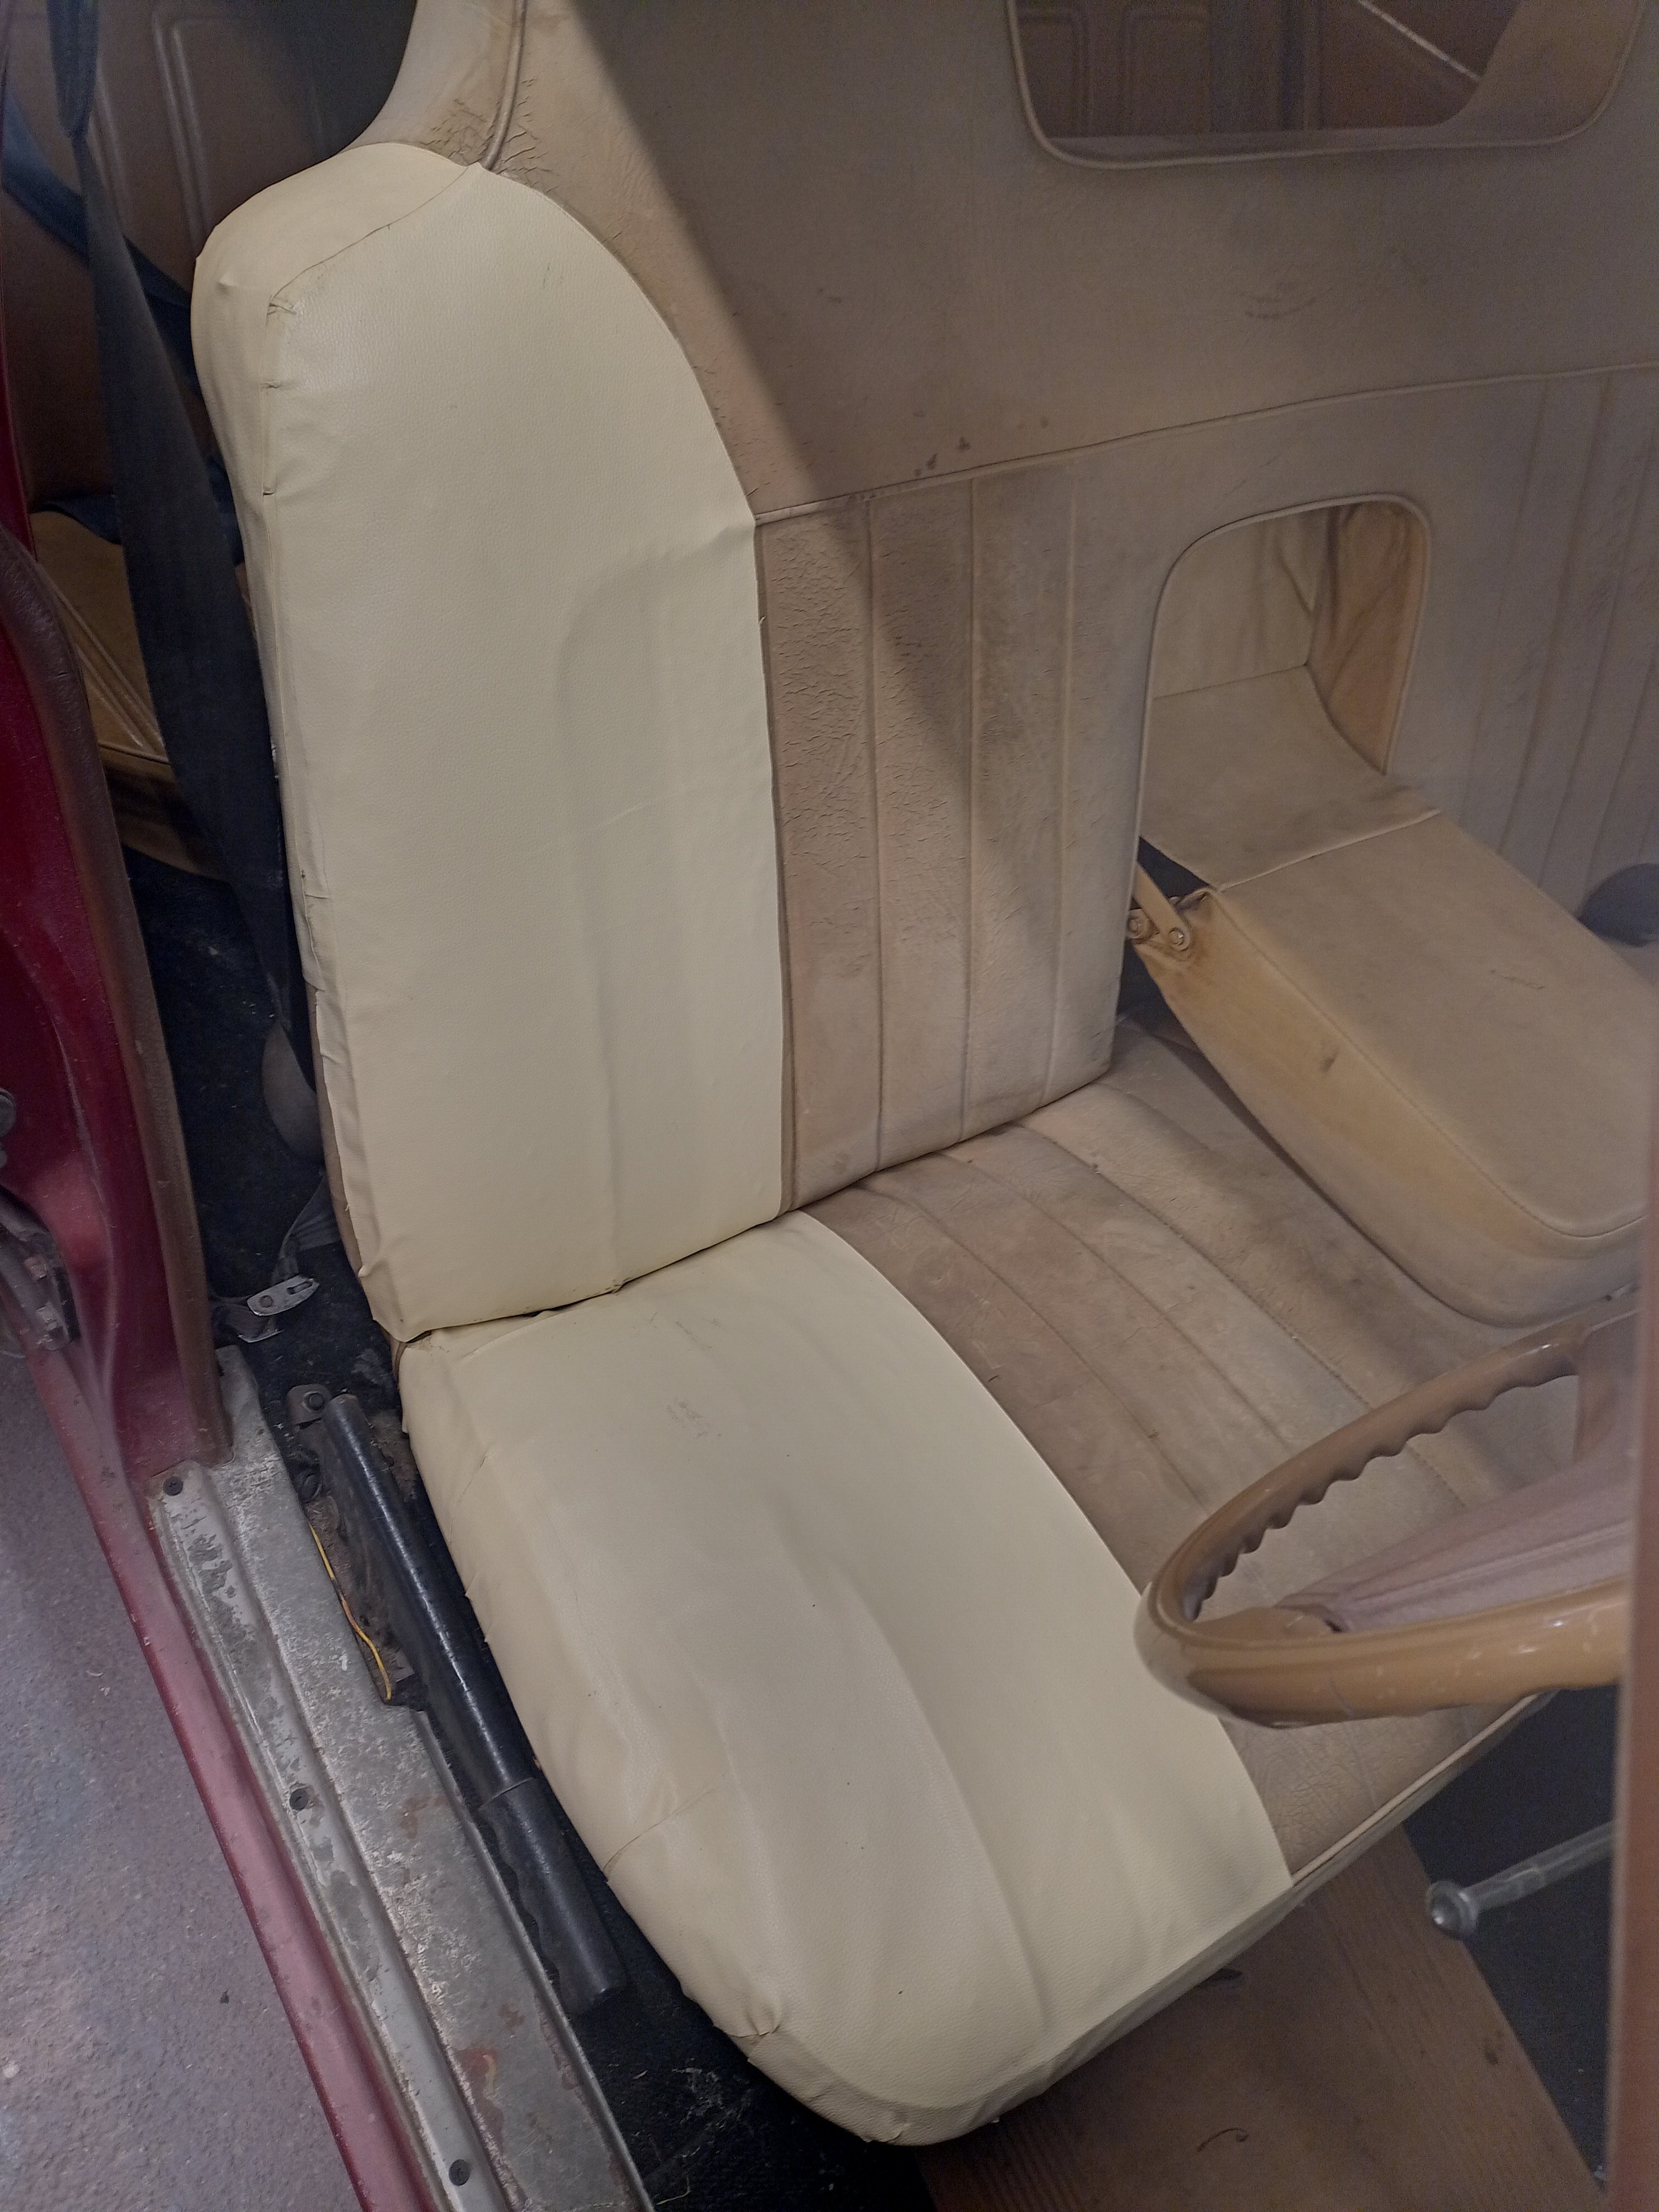
Ehh. Its better than it was.
If that doesn't peel off immediately well get some of that dye spray paint and do the whole seat darker to match the door cards and rear seat
-
11
-
 1
1
-
- Popular Post
- Popular Post
-
15


OS projects are TOUGH
in General Car Chat
Posted
Great thread,
my personal approach is
- clean the car and organize all the bits that came with the vehicle so you have an idea of what's there and what isnt
- assemble any bits that make it look like a wreck - visual motivation is a big thing for me. grilles and lights, and clean glass make a big difference.
- tidy wheels/tyres, and lows or at least doing a mock up to get a sense of the finished result that i will be working towards
- get it 'drivable' - not necessarily legal! - being able to move itself around turns it from a just heavy lump of scrap metal into a functional transportation device - self propulsion is the magic trick that needs to work!
- everything else in bite size chunks - OS projects are like eating an elephant - one bite at a time
- bites that have a fixed end point and a reasonable scale, so you can make 'micro progress' by completing mini projects as part of the bigger project - instead of blowing the whole car to bits, and getting overwhelmed, i like to do components or groups like - remove the diff, and tidy it up, put it back in - thats an item off the list and the car is always only ever one component down from being complete, even if its not 'done', if that makes sense
- im with @ThePog, i dont mind rust repair (enjoy it TBH) but paint prep suuuuuux so i always half ass it and im more than ok with 'better than it was' over something i will never use because im worried about ruining the finish - defeats the point IMO