gibbon
-
Posts
2,721 -
Joined
-
Last visited
-
Days Won
6
Everything posted by gibbon
-
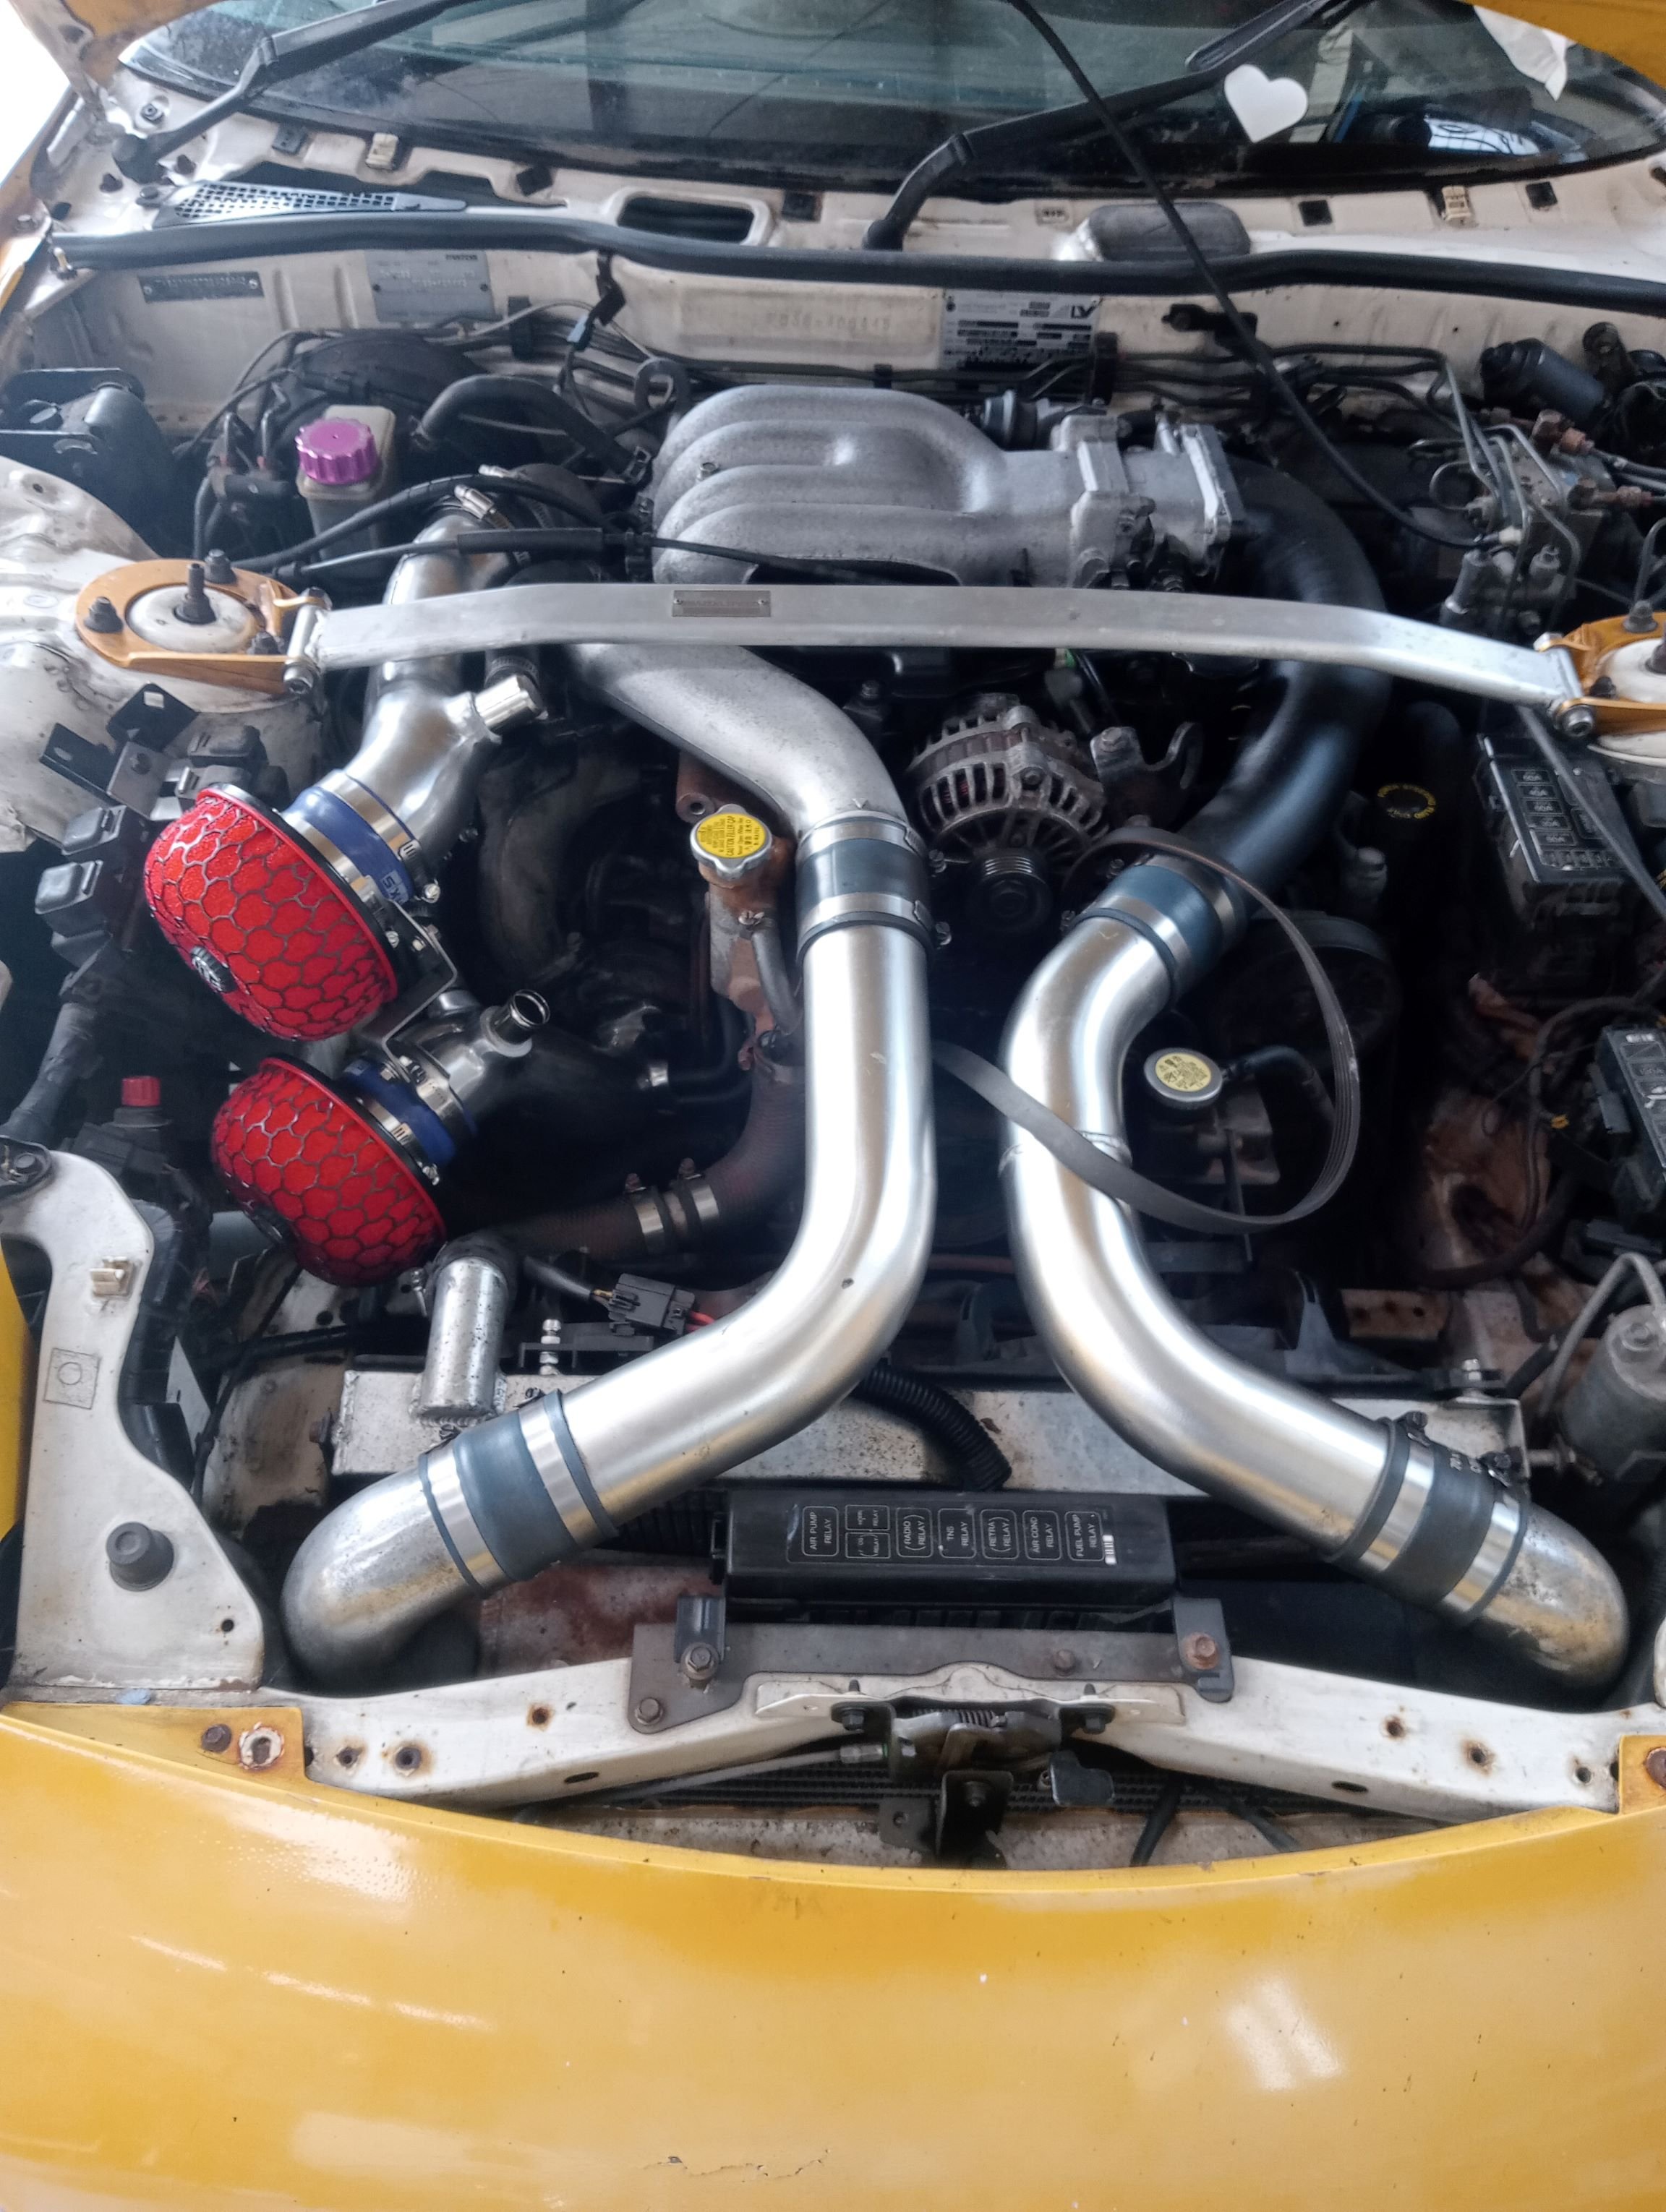
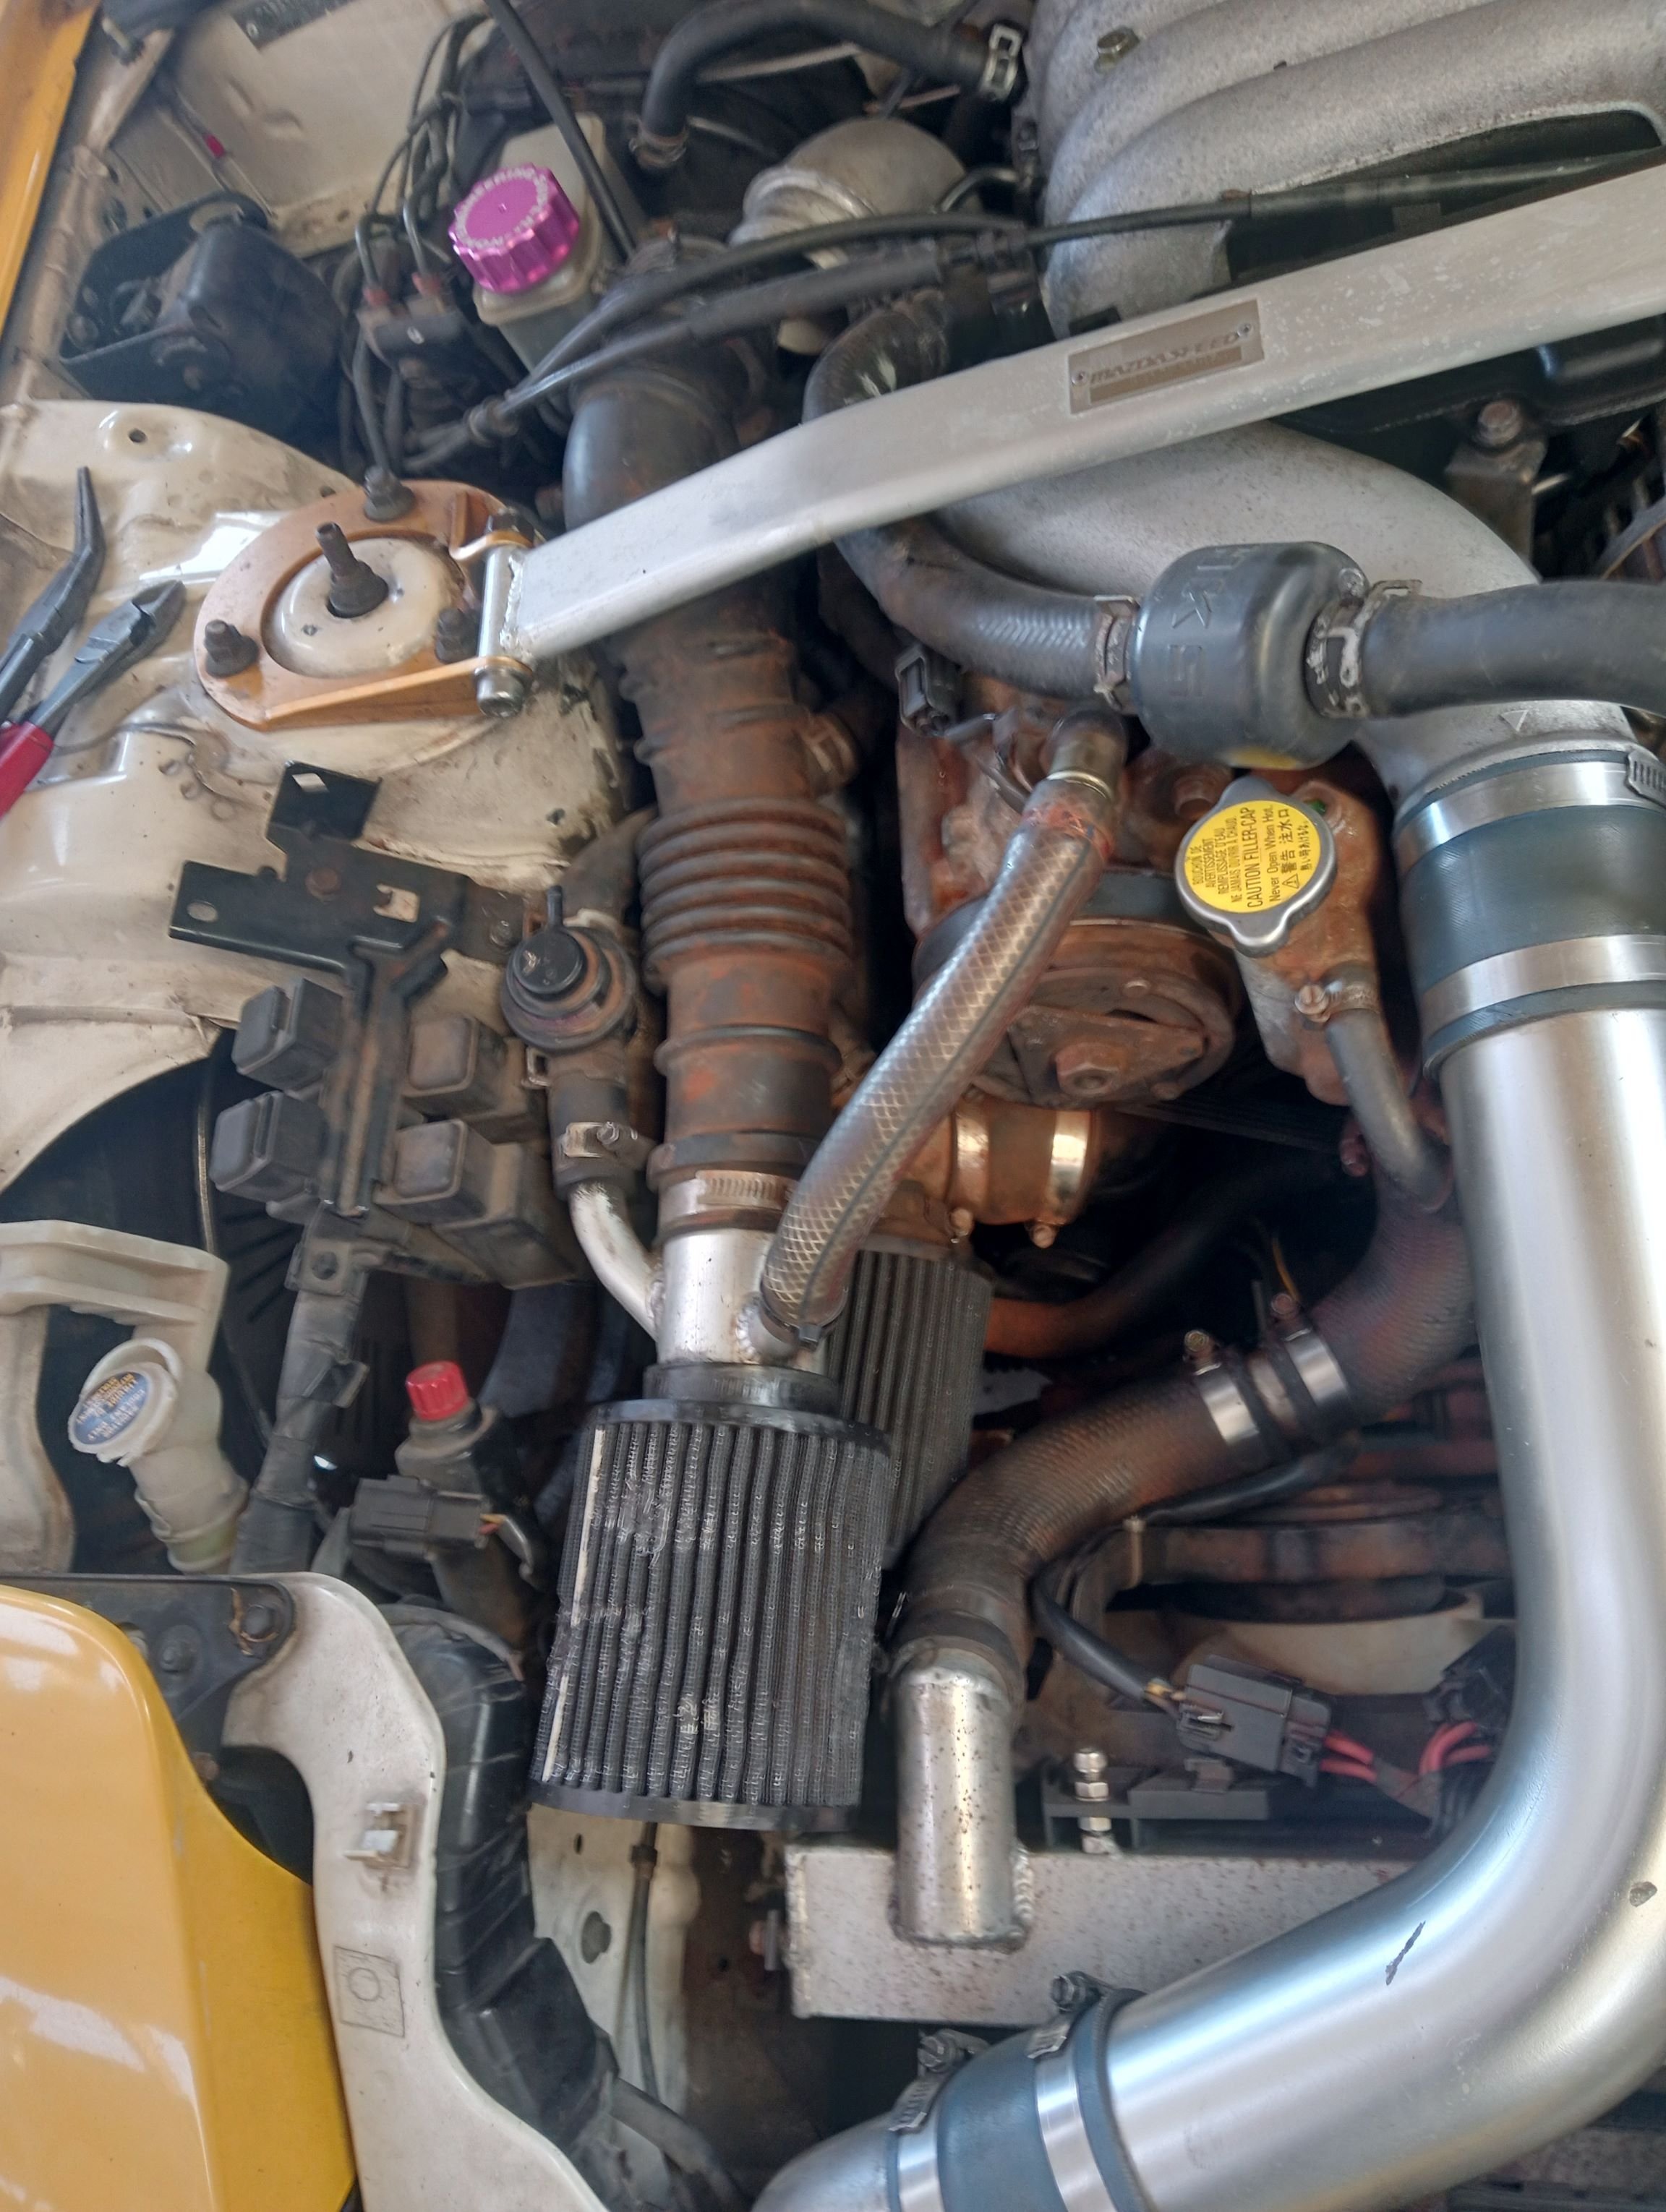
So the car is from the other end of the country, I did zero due diligence other than a quick carjam to make sure it actually existed, asked a few questions, got a few replies, pulled the trigger so first impressions; the exterior has definitely seen better days, the kit is cracked in multiple places, the paint is faded / blistered especially around the engine bay, the spoiler is gone (by request of the previous owner who wanted to keep it, no argument from me) leaving mount stubs all over the boot, the wheels are just there to get it rolling, the offset is totally wrong, they rub everywhere and have been kerbed with incredible thoroughness Comparatively, the interior (which wasn't mentioned at all in the ad and I only got a few grainy photos of) is much nicer than I expected. It has a half cage which I originally planned to ditch on day one but honestly the back seats are completely worthless. The seats are factory, it's got a few extra bits and pieces inside and some carpet missing which I'll hunt around the internet for The engine bay is a bit sad. First up: wedding night surprise, she's not a natural yellow. bit of a bummer but oh well. Still on the factory turbos which is a nice indicator that perhaps it hasn't had too much of an ass-kicking in it's life. Rusty water everywhere which set a few alarm bells ringing. airbox is gone and all that's left is ugly stock induction pipes flapping in the breeze and some chafed through pod filters So I cleaned everything off and spent a few dollars on things shiny and frivolous The stock air pump was sitting there but was unplugged, not sure if the ECU had been tuned for it or not, the previous owner had done some work recently (more on that in a minute), maybe he had left it unplugged by mistake? I got rid of it anyway as I really just wanted to get in and tidy everything up. Pic 75% complete as I had to block up the air pump inlets on the induction and fit a new alternator/water pump pulley and belt with the air pump gone. Tightest alternator pulley nut ever, holy shit

- 82 replies
-
- 21
-

-
(accidentally posted up the first post so now I'm scrambling to add actual content, bear with me!)
-
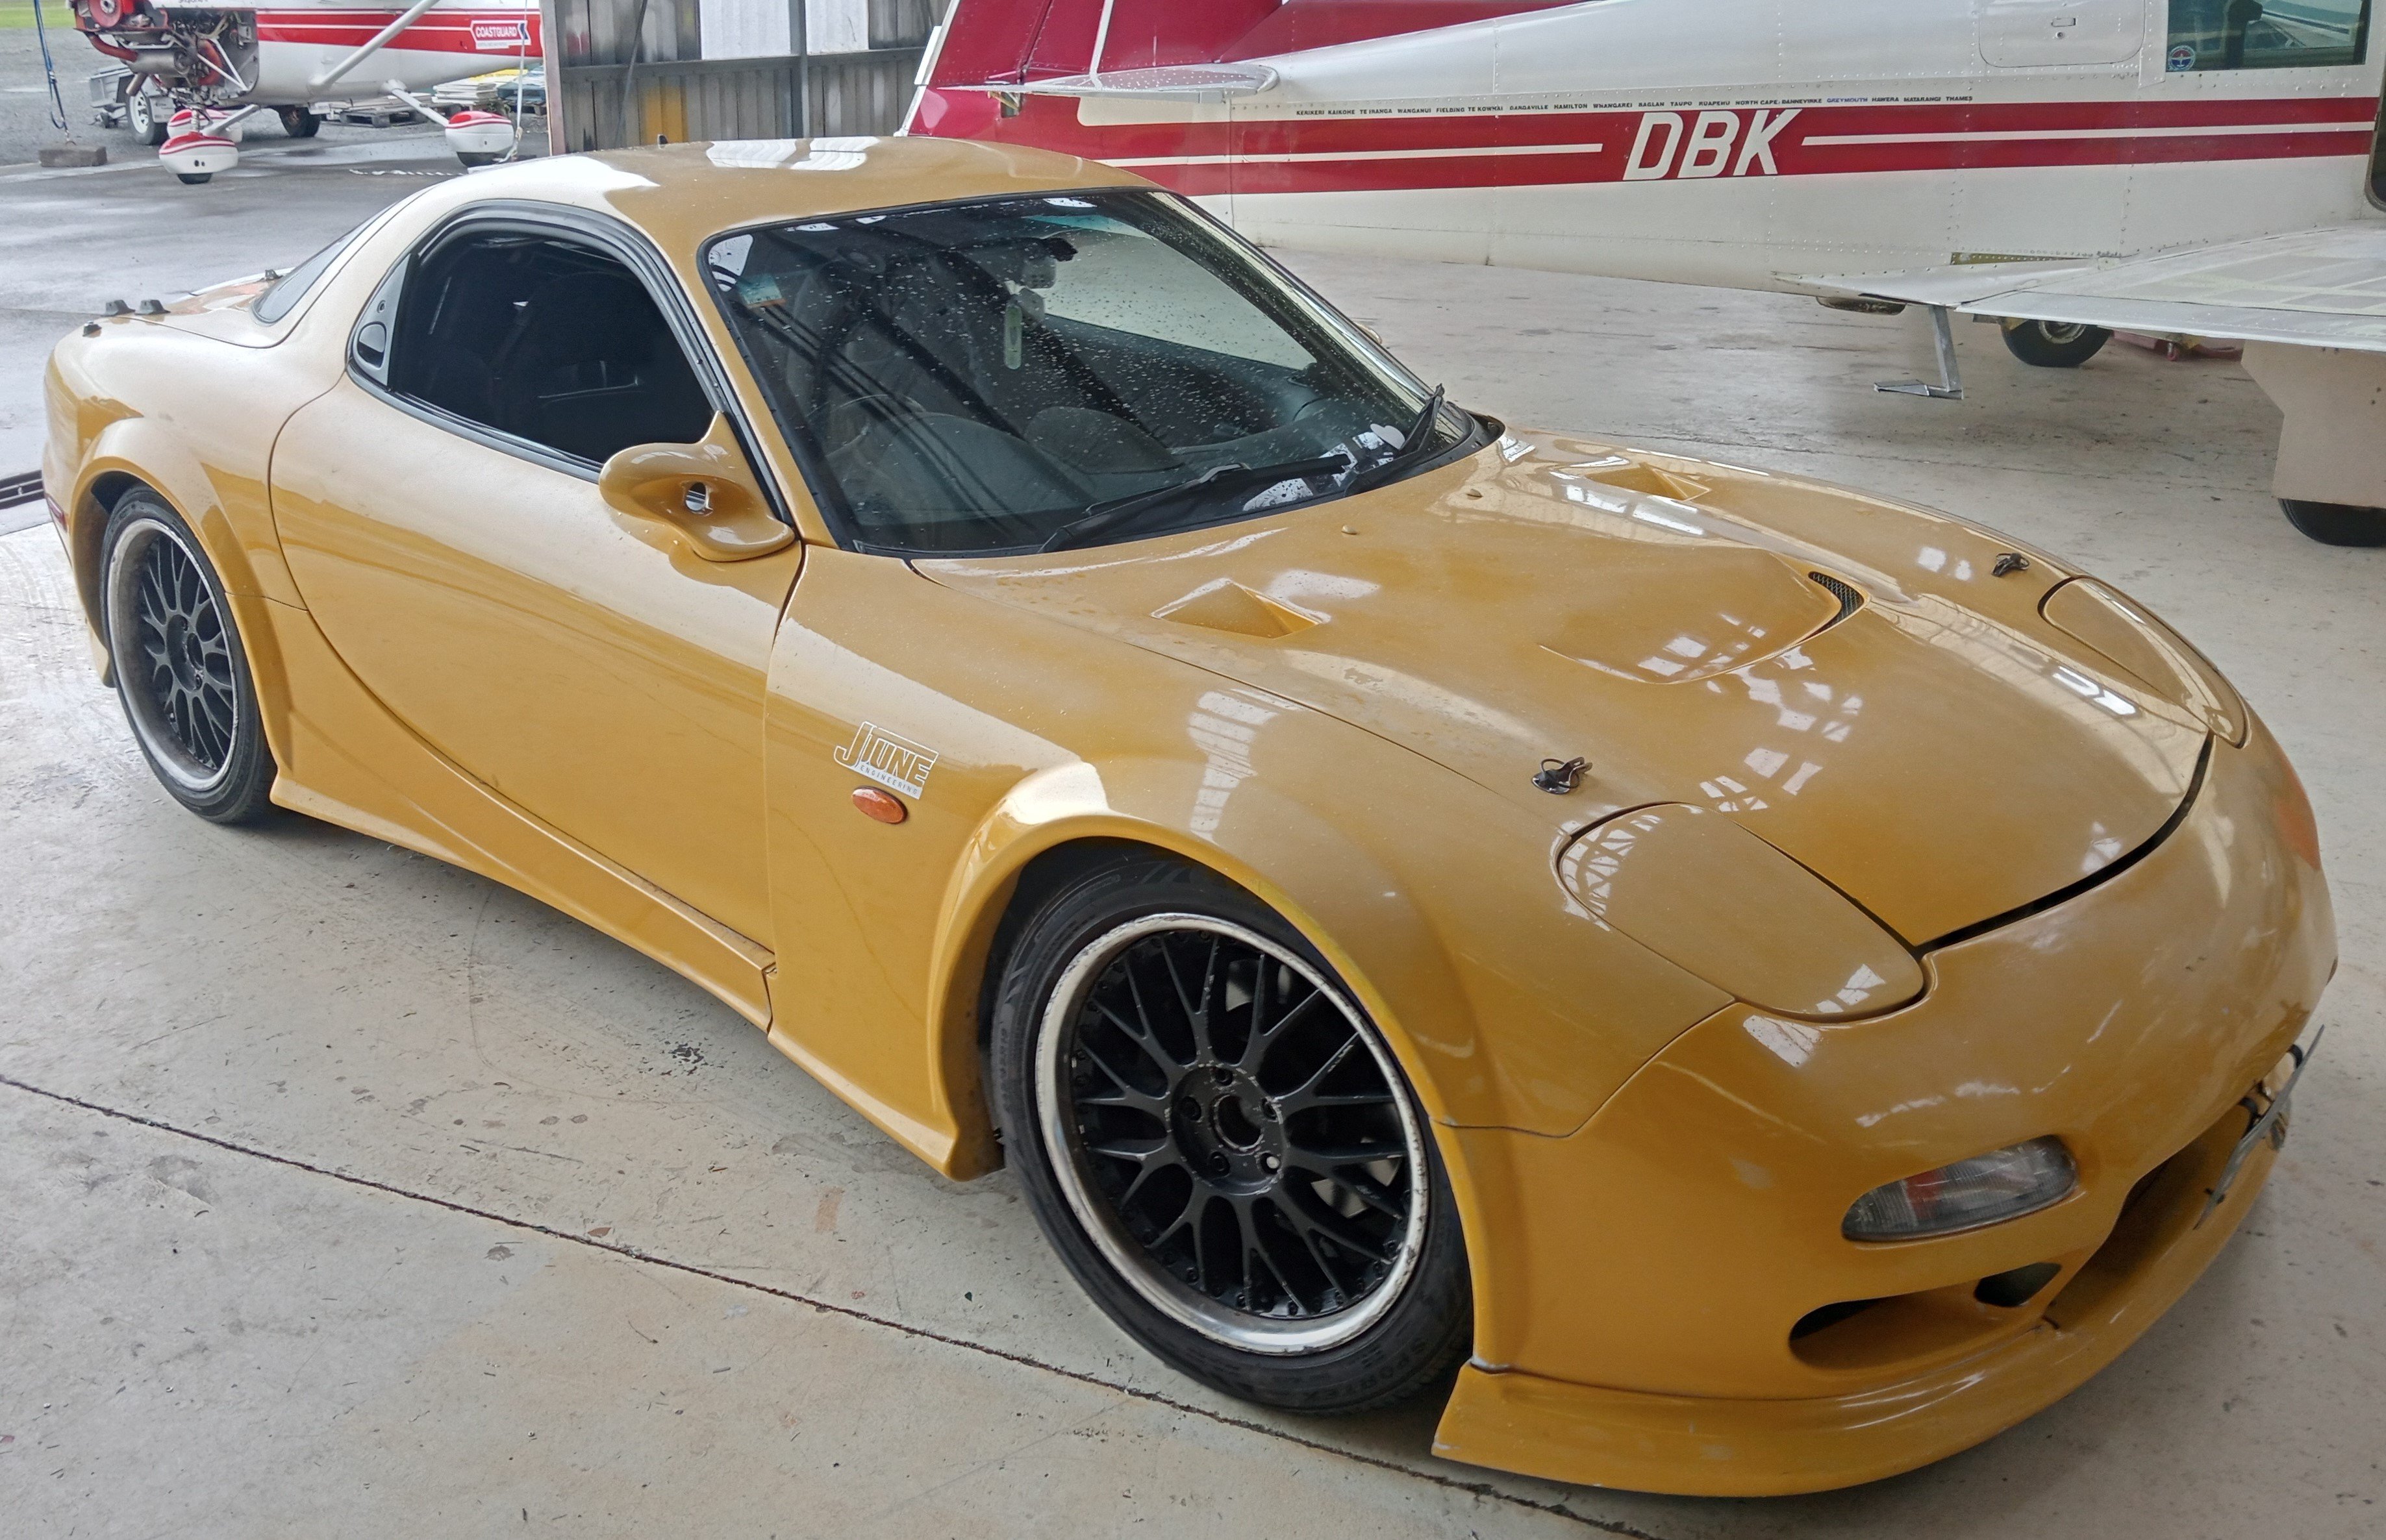
I can't quite remember the exact moment that I suddenly became aware that I needed an FD RX7, but it became a full blown itch over the next few weeks, checking trademe and FB marketplace pretty much daily - but also noting that the price of these cars was starting to tick down, and a lot of stuff wasn't selling. So the third time the price dropped on this one particular machine that was already in the cheaper category happened to coincide with half a dozen beers in my gut and before I knew it, I was the proud owner of a 1997 FD3S so it arrived on the back of a truck, which I am told is how these vehicles generally prefer to travel from A to B It was a quiet day so I anticipated this wonderful opportunity to dig around the thing and see where and how I'd been hoodwinked, but instead the towie turned up at exactly closing time so all I could do was roll it into the shop and bugger off for the weekend.
- 82 replies
-
- 38
-
-

-

-
@cletus while I have you on the line, I need to get the car re-certed anyway due to removing the race seat so I don't mind the fact that I've got to get it ticked off, but my car currently has aftermarket guards which the wheels protrude from (around 1/4" at the 12 o clock position) which I think falls into the "requires certification" category - but what criteria will the cert guy actually look for with widened track and wheel protusion? I'd like to tidy anything up that I can before he sees it, to save a second trip etc On that note, whereabouts is wheel protrusion measured? as mentioned my wheels stick out 1/4" at the 12 o clock position, but as you move around to 3 / 9 that grows to around 3/4"
-
there's a higher offset version of the same wheel, it'd be interesting to compare and see if the boss has just been built up more
-
is it legal to machine the mounting face of a wheel? My new wheels stick out a fraction too much, I'd love to take a few mm off them
-
oh sorry I thought you said the generator needed an input, re-read it now and gotcha. Can you give a link to a suitable regulator? thanks
-
hmm not sure about that, this thing is a true PMG, it has no input capacity whatsoever. just spinning magnets
-
Got a little engine here, battery isn't charging It's got some funky brushless generator in it where the permanent magnets are mounted in a casing and spin around a fixed coil. Output is good but is in AC. the output wiring is very light, I doubt it produces more than 15A There's no part numbers or anything on it or anything. I'm after a single unit that will both act as a rectifier, and as a "down stream" regulator, ie dropping output down to 14 volts without having access to a field input. wondered if this is quite a normal little generator in certain circles and if anyone is familiar with the regulators for them?
-
OK - so in a more roundabout way, having an LVVTA cert for a modification doesn't necessarily mean that the modification was done here in NZ?
-
if you import a modified car does it have to go through LVVTA certing for whatever's been done to it? Or is there a japanese version of certs that we accept over here?
-
can't say I checked for that, I guess I just blank off the booster vac line?
-
ok well it sounds like I know what needs to be done doesn't mean it's gonna actually get done, but still...
-
how fast can I swap a head out. do I have the mojo. do I want to buy another head gasket. oh god I'd have to make another inlet gasket because they don't exist anymore..... etc etc
-
Haven't tried a compression check but starting to think I'd be best served by swapping my old head back on, be it stem seals or cracked head.
-
could be this, just to add some more info this is what else I tried: I blanked the oil feed to the turbo, pulled the inlet pipe off, disconnected the airflow meter so it was in limp mode, then held the compressor with my fingers to stop it fucking the bearings by spinning with no oil. And what I found was it only smoked after I snapped the throttle shut, ie at high vacuum. I put it down to not having the pcv functioning as the inlet was disconnected, maybe it's sucking through the stem seals... this is a head I hadn't used prior. Is there a way to really isolate a stem seal issue?
-
it definitely is, but isnt it weird how it doesn't smoke at all until the car warms up. and when it does, it's instantaneous. the revs abruptly drop, the smoke abruptly starts
-
is that the symptom of a dying turbo? This one is definitely blowing oil out the compressor but it spins happily enough at idle, I don't think it's seizing or anything
-
some is extremely old. some is new. some is avgas
-
So I'm still halfheartedly trying to fix the starion even as it disappears out the door. The thing fires up first crank and appears to run perfectly for a few minutes, then suddenly like a flip of a switch the revs drop them start rising and falling every couple of seconds like the idle motor is chasing itself, and it starts smoking out the exhaust. Given the timeframe I suspect it's as it's coming off it's auto choke configuration or going into closed loop, but not too sure why it would cause the smoking? I always assumed it was blue smoke but s guy today reckons it looked white to him. Thoughts? Next steps to diagnose?
-
got the wideband working, just a dicky plug in the back of the gauge, herp derp
-
no, fuck it, this motherfucker is going up for sale
-
aftermarket adjustable suspension, do the threads and adjuster nuts need to be steel to be road legal or is aluminium ok?
-
fuck I'm so filthy about this AEM wideband. It has literally less than five minutes of runtime on it and it's fucking dead. how? why? I just want to sort out the oil burning issue first. originally it was just smoking all the time but I blanked the oil feed to the turbo and held the compressor with my finger while the car idled, and there was no smoke until I revved up and backed off, then there was a big puff of blue smoke. obviously the turbo inlet was off while I was doing that so there was no PCV function, hopefully that's all that's causing it. not too pleased about having to pull the turbo and wondering AGAIN if I should just yoink the engine out at that point and pop the spare one in also the windscreen wipers occasionally twitch randomly. only seen this once before on an E100 corolla, and a few days later it spontaneously combusted
-
I pulled the lower control arms on the Mazda as the rear bushings were torn. Pressed the old bushings out without paying attention to the fact that the inner bores are a slotted shape rather than concentric. Is there a standard orientation for the slots?