Mr.Mk1
-
Posts
3458 -
Joined
-
Last visited
-
Days Won
4
Everything posted by Mr.Mk1
-

-
The photo hoster is being a cock so I’ll do it awkwardly for now
-
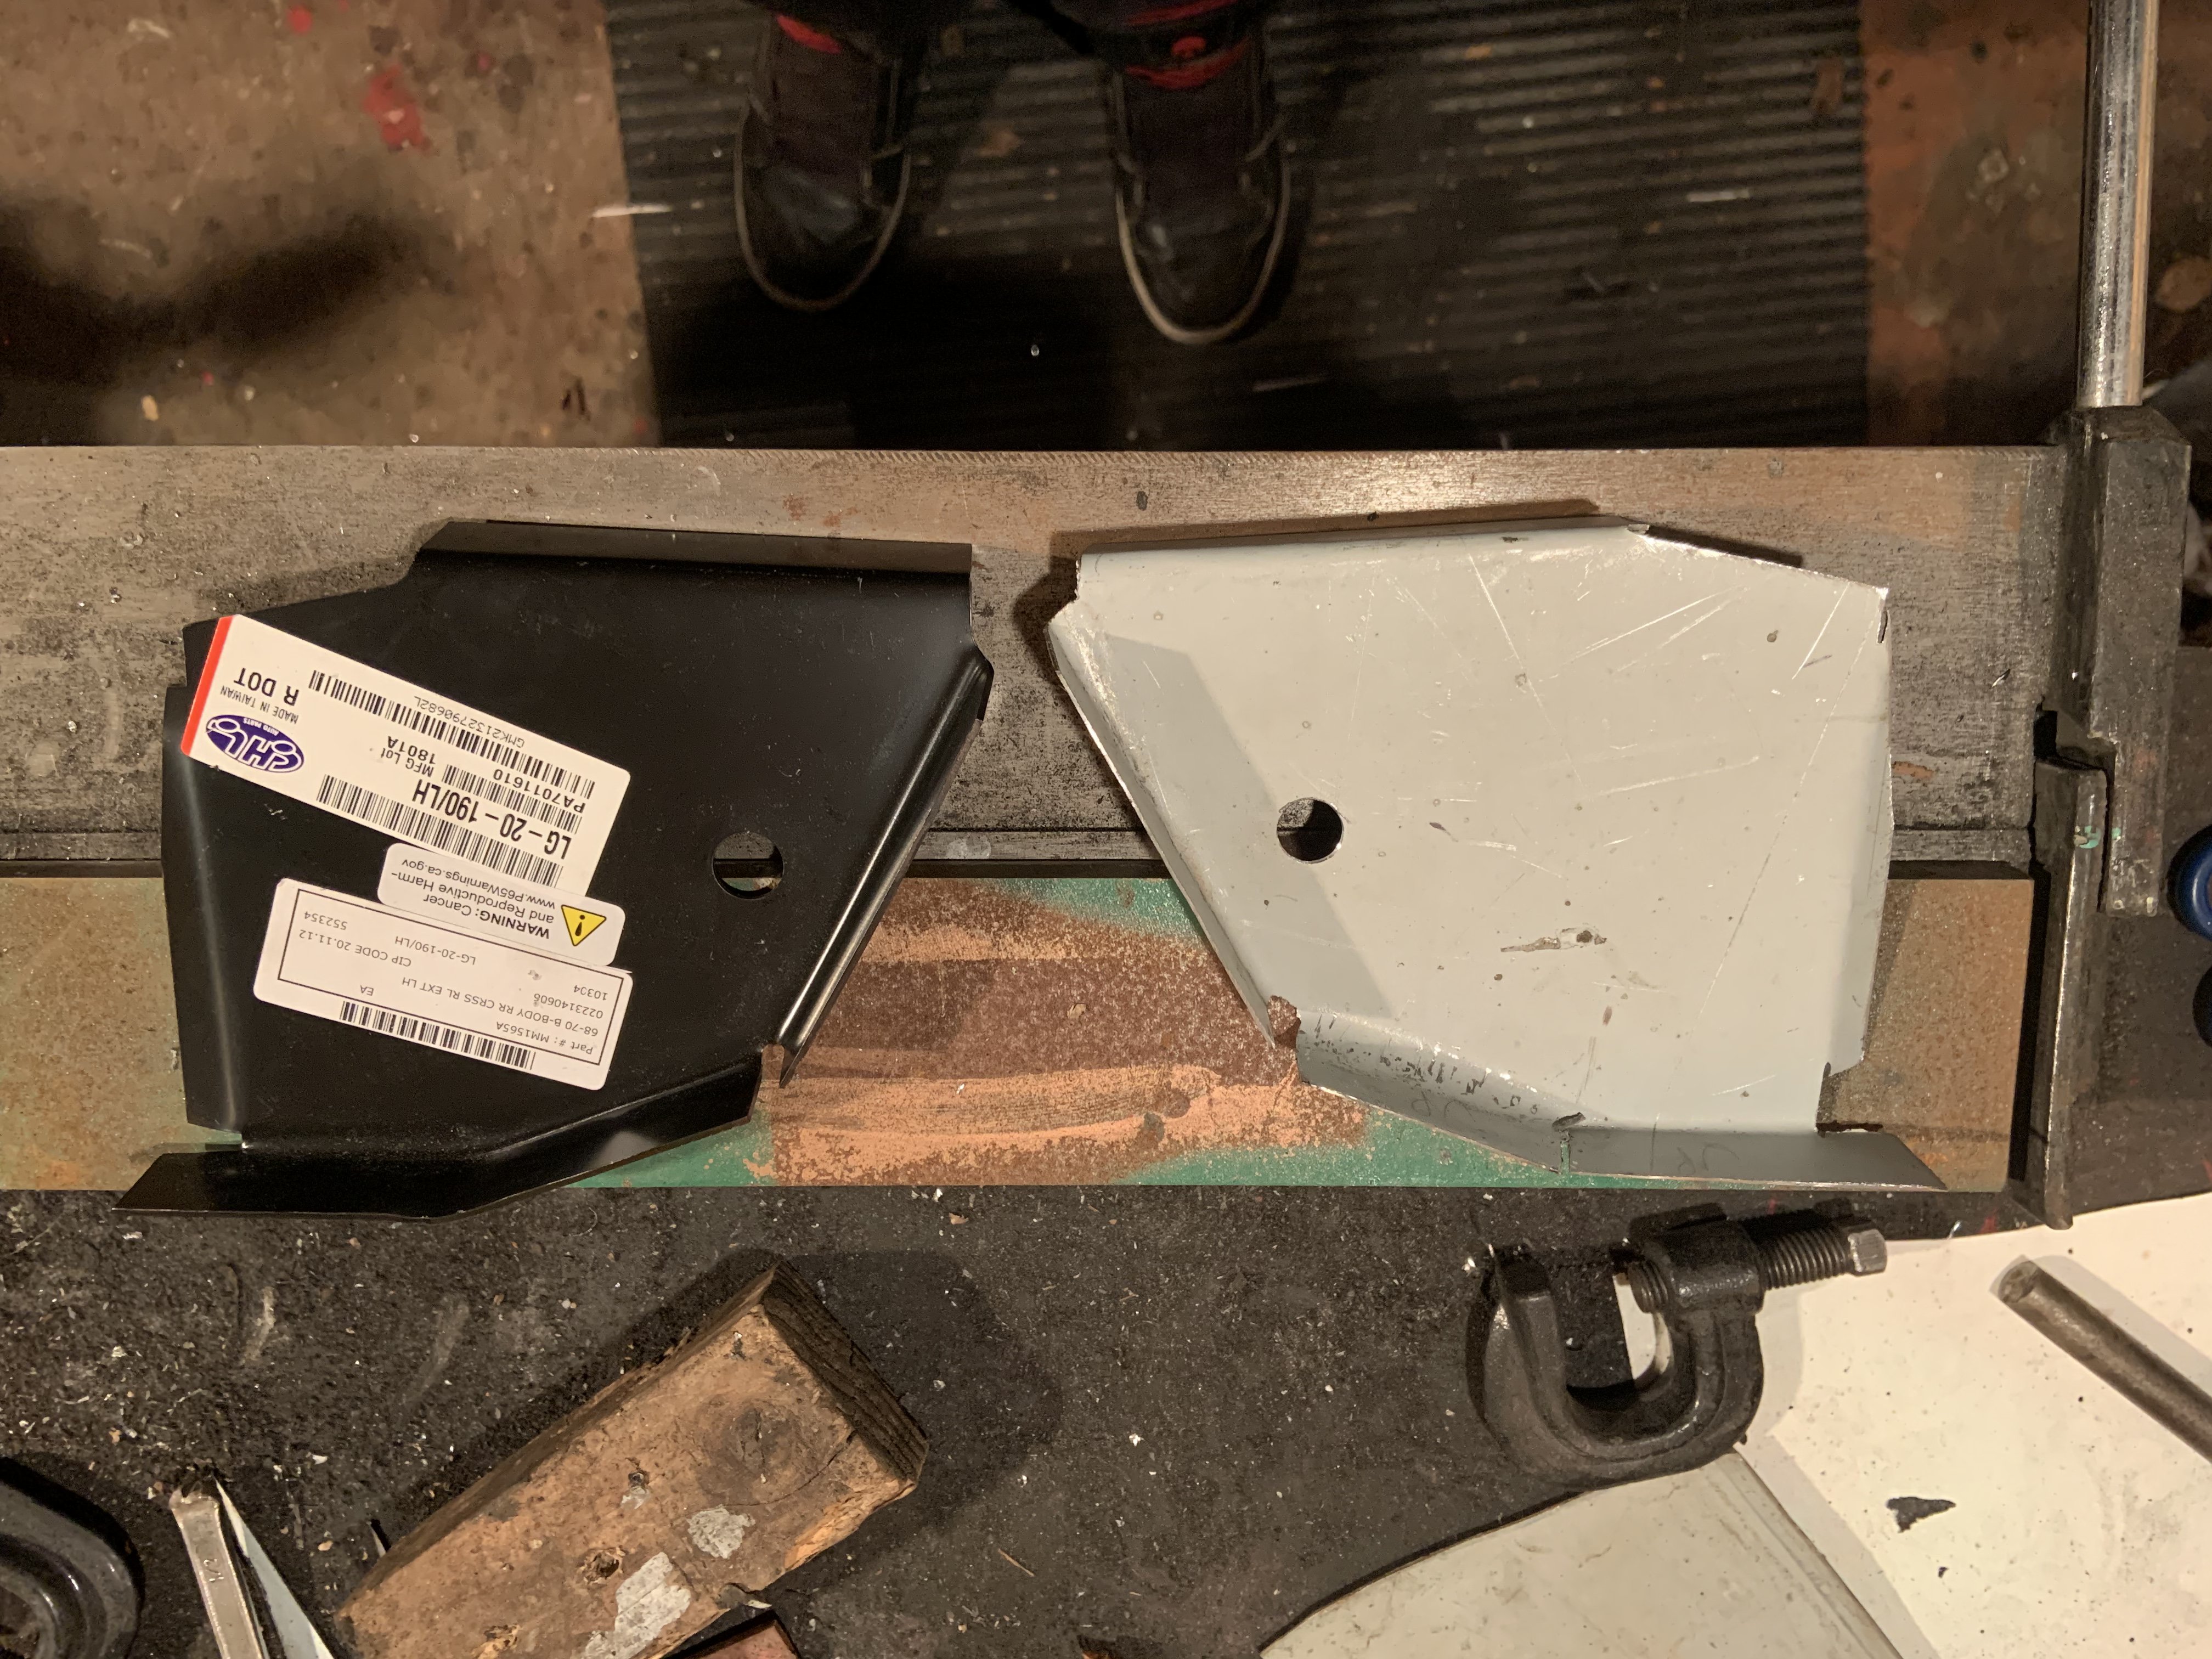
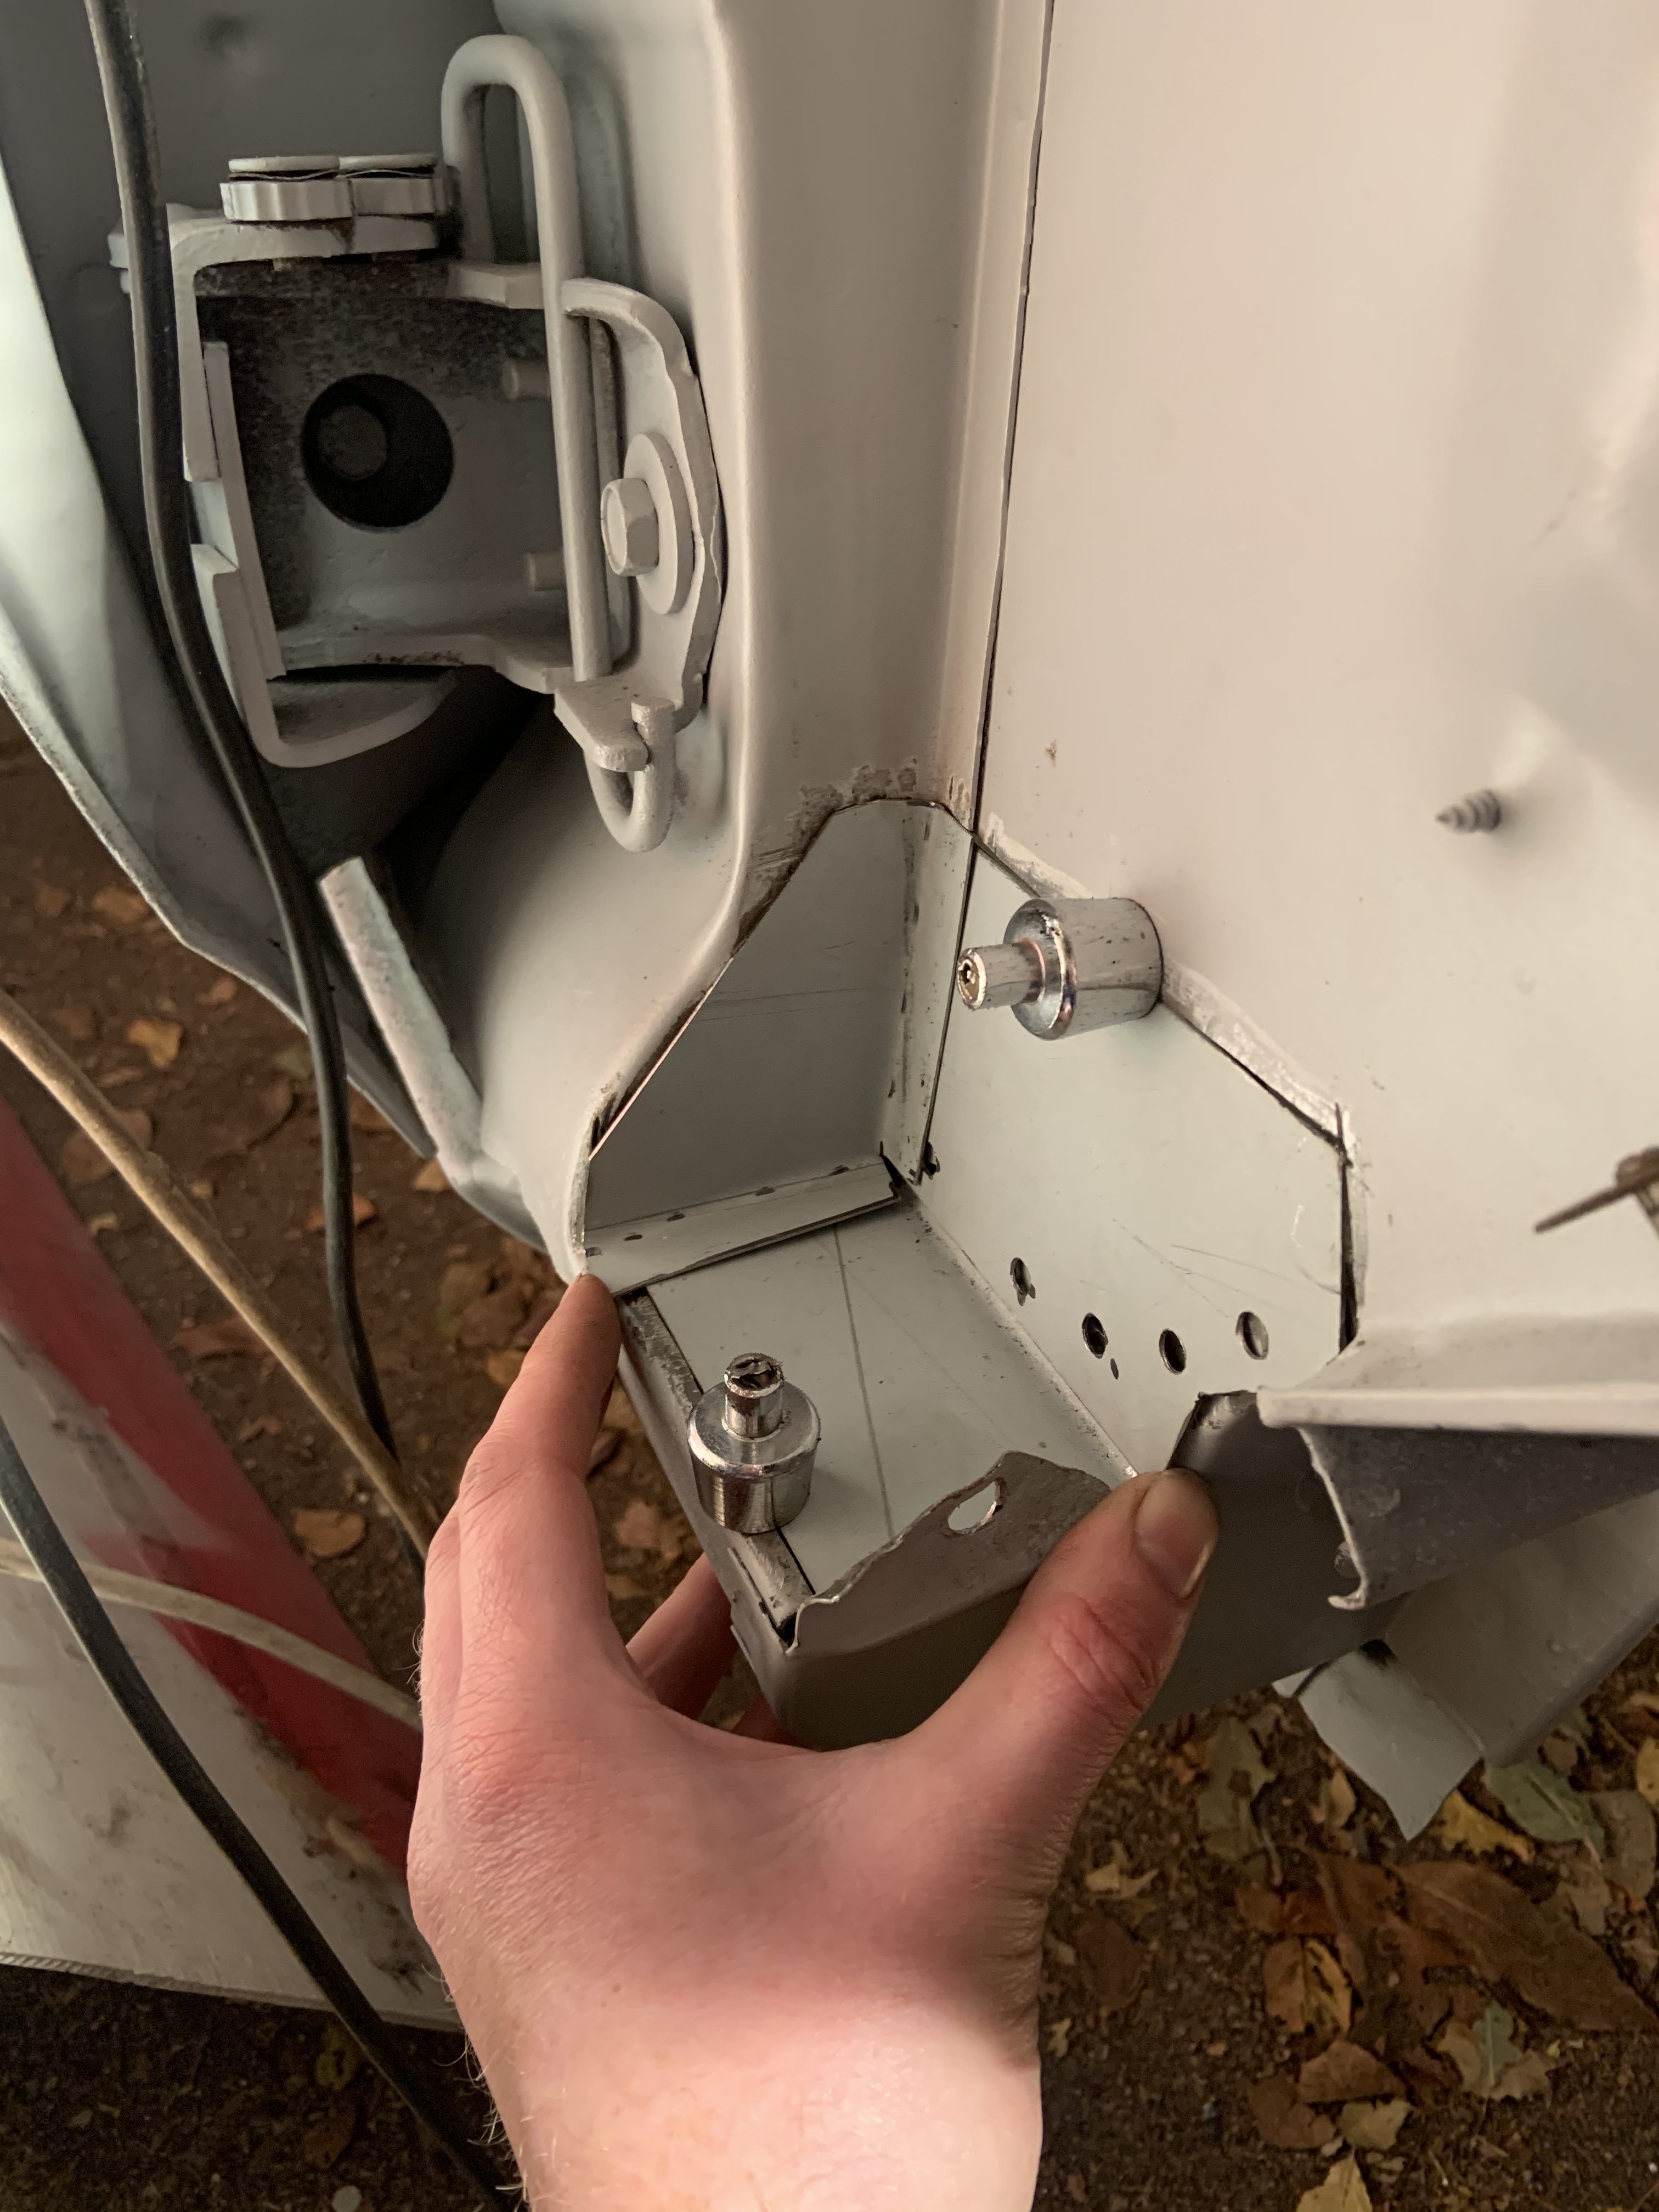
In between bouts of paint stripping some mags, I whipped this filler piece up. It gets buried up amongst the rear bumper mounts and spring brackets. It was cheap but they only had one side available so I traced it and flipped it.
- 187 replies
-
- 25
-

-
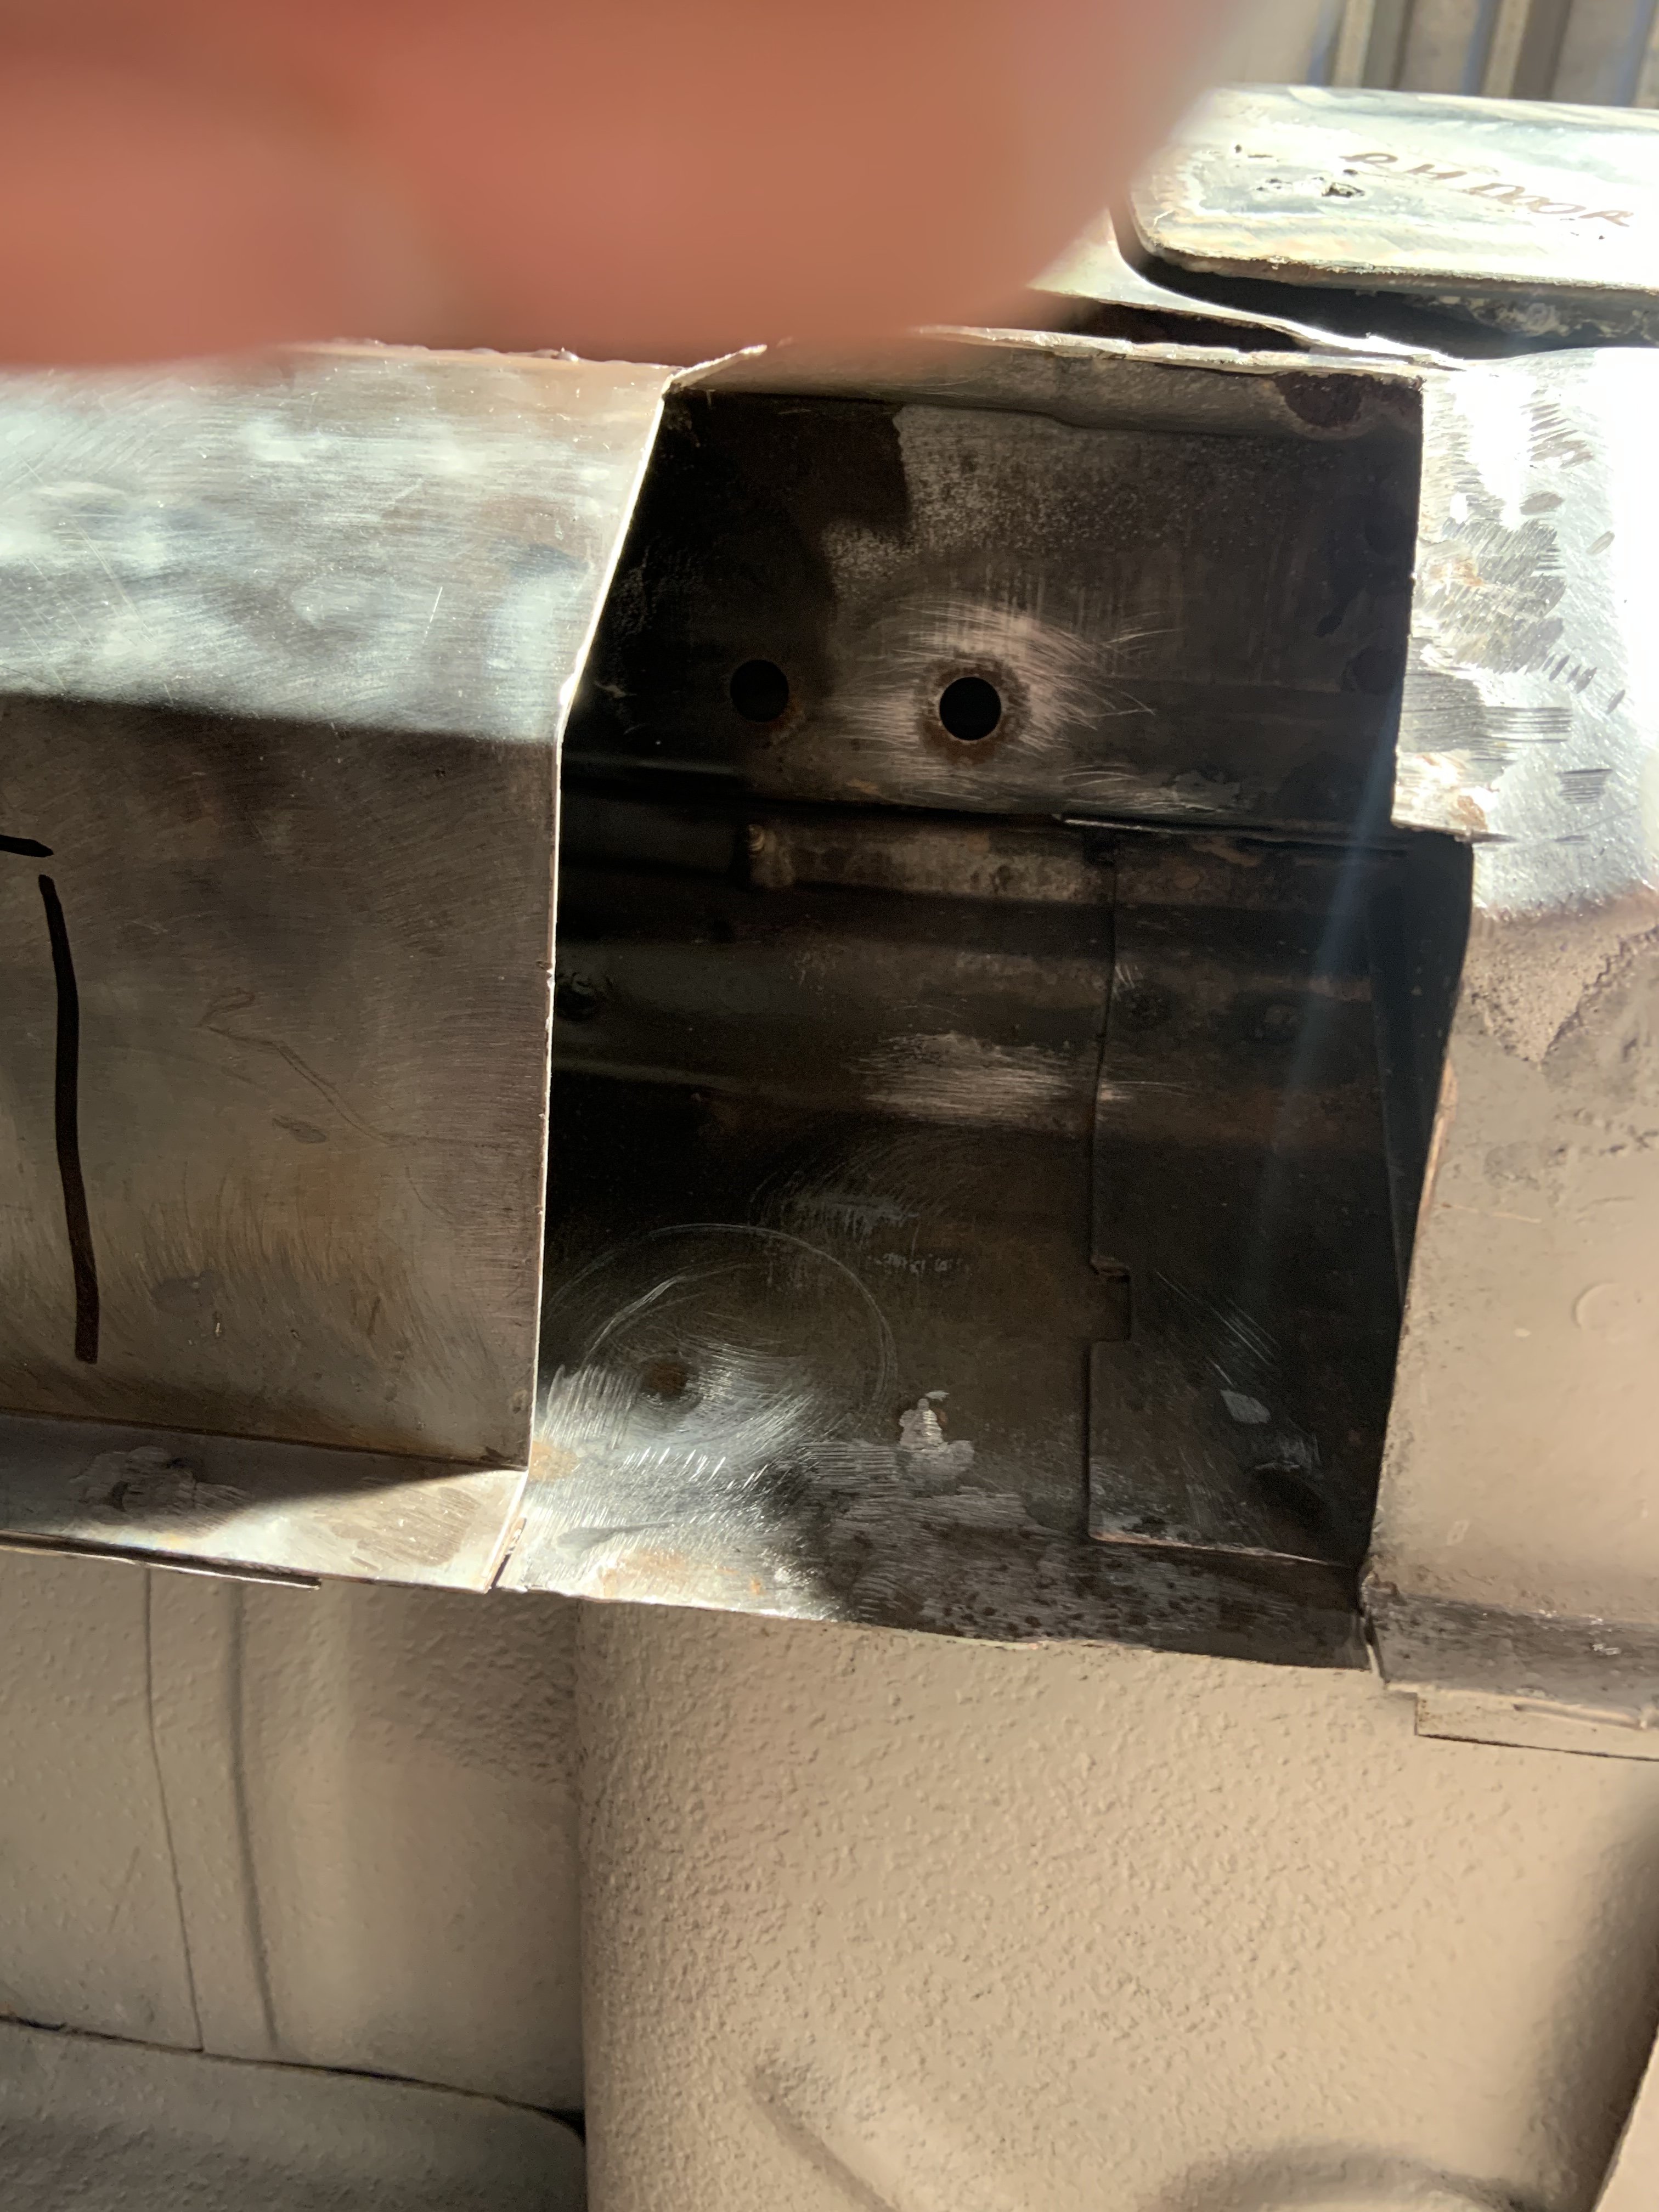
Back into the guts and gore then. Passengers side rear 1/4, rear of door. I thought this side was better but it’s all soft despite being present. Have noticed a few things I’ll have to tweak on the side I’ve already done after seeing the complete area
- 187 replies
-
- 29
-
-
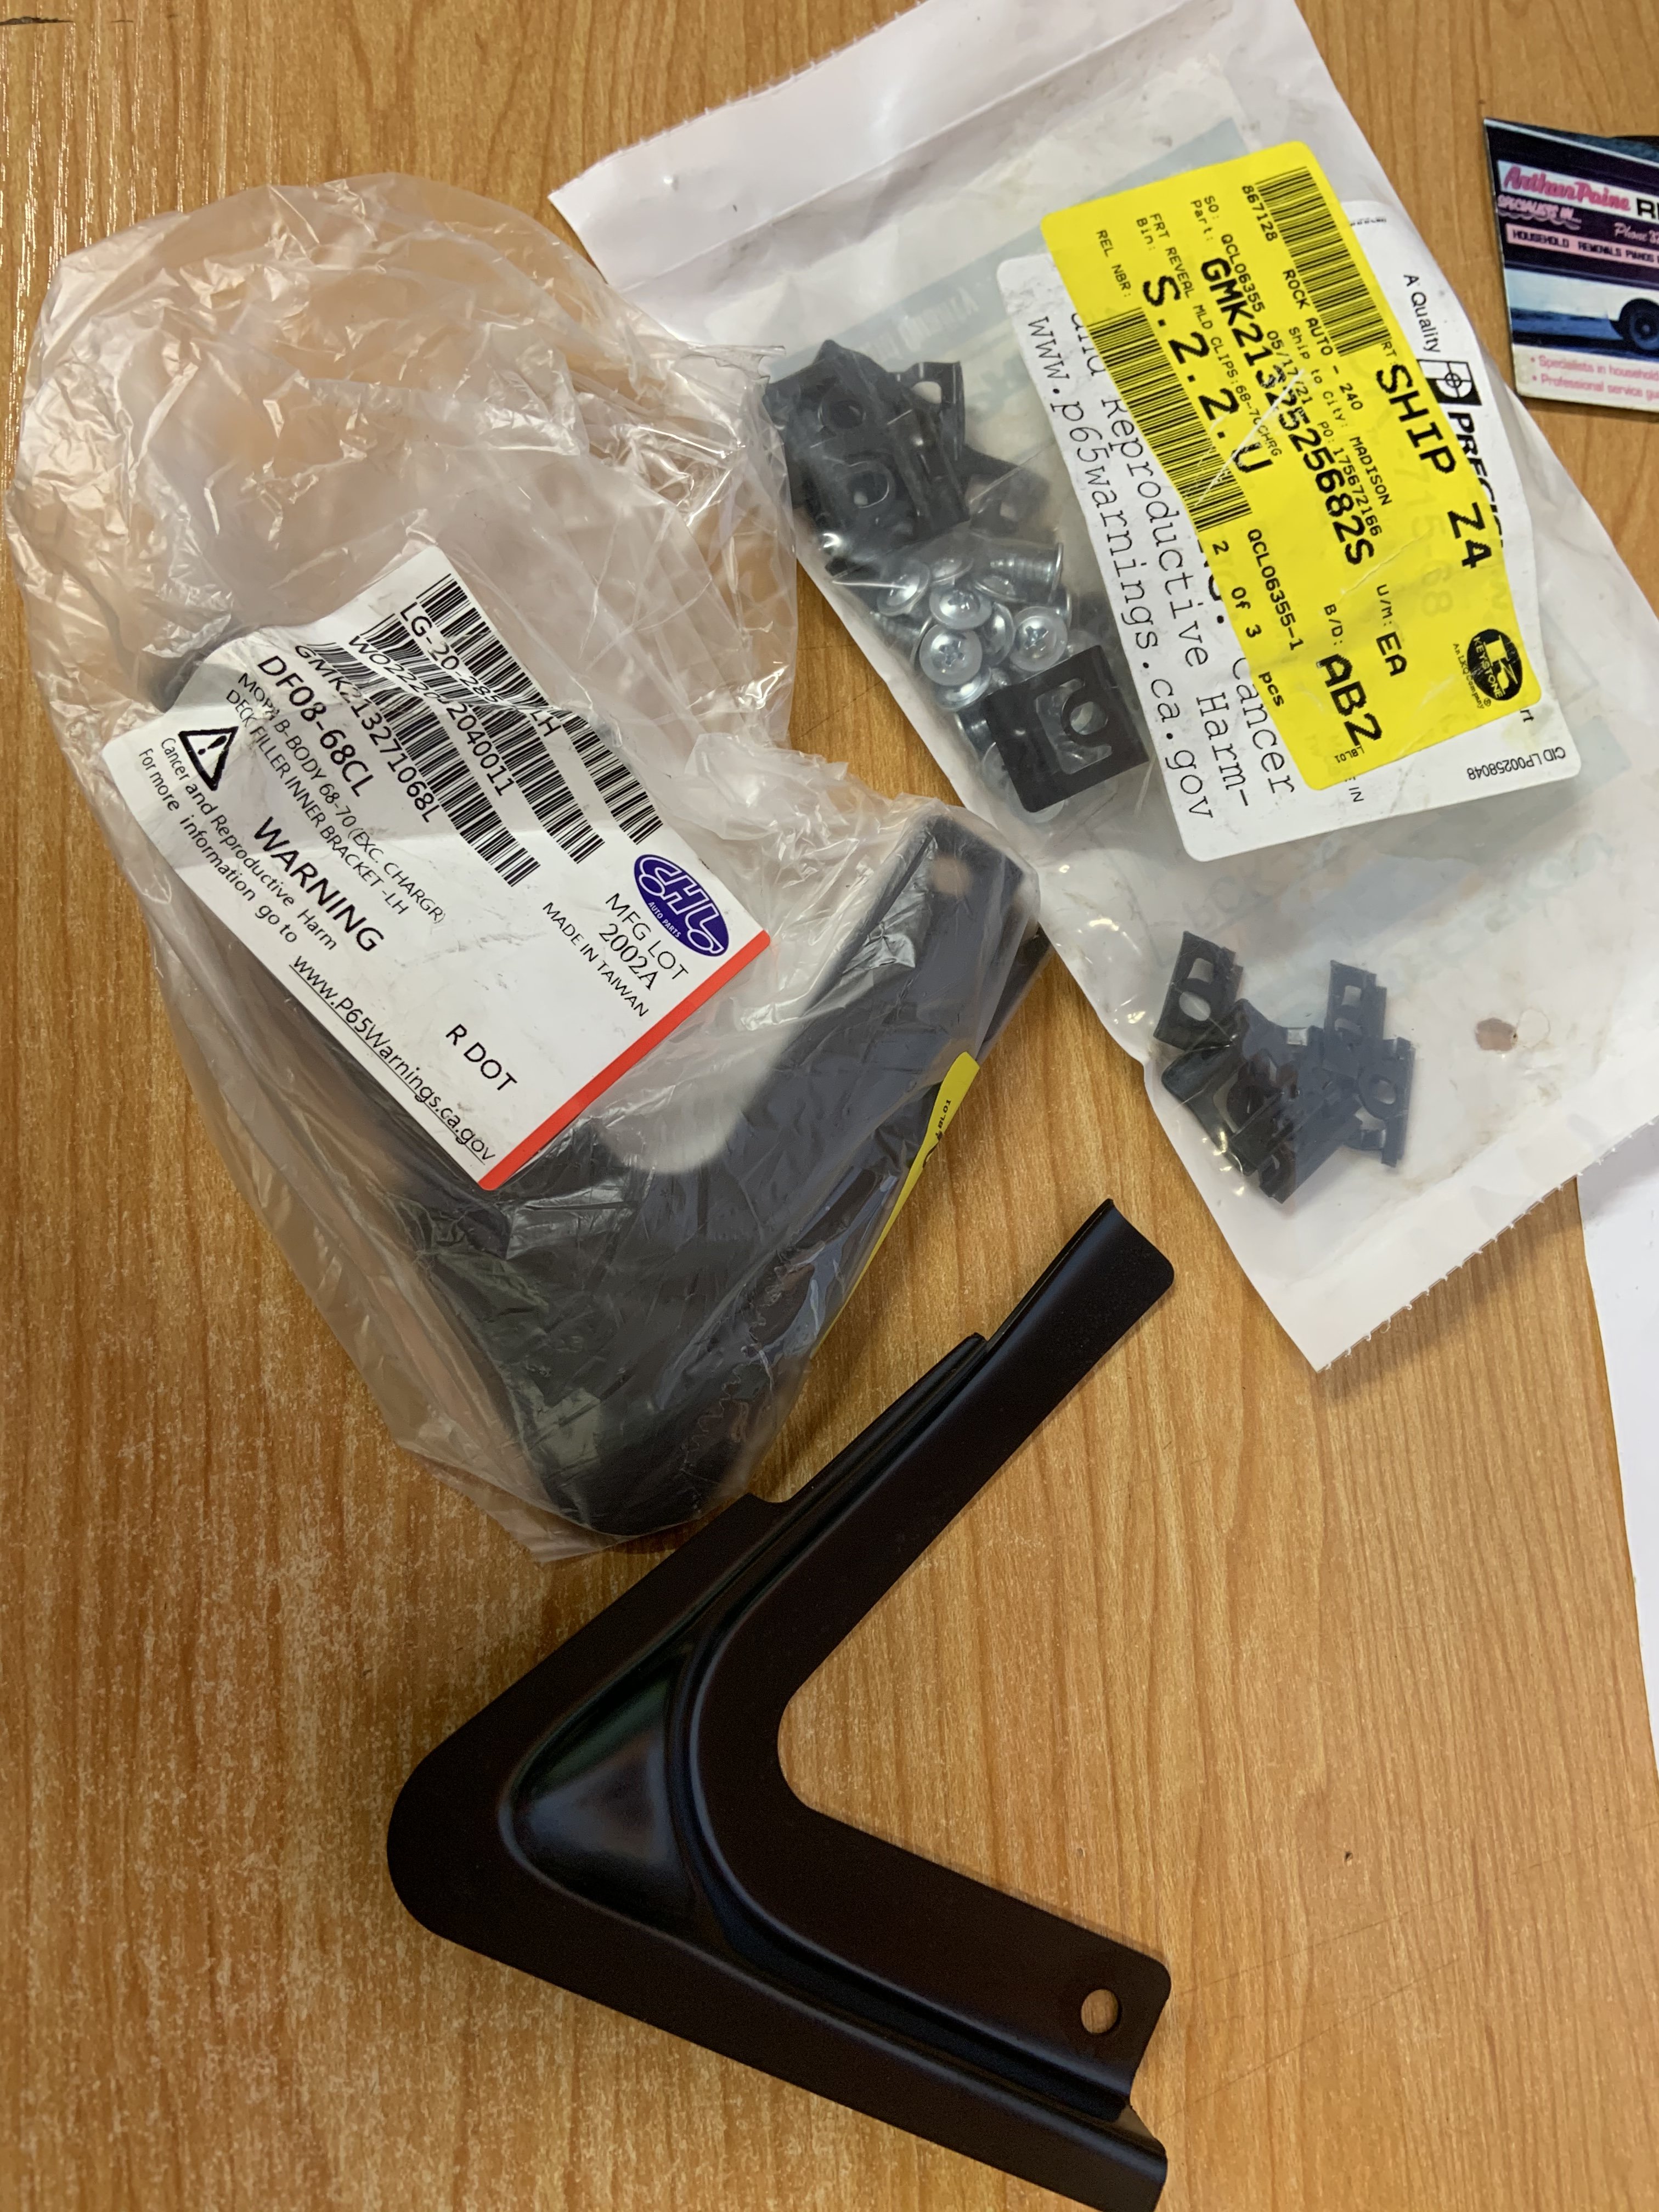
Electro-deposit primer is pretty sweet but everything gets painted again anyway. They have holographic ‘mopar authentic restoration’ stickers on all but the grey panel!
-
Woohoo! we somehow failed on a boot floor though, oops. Packaged really well, 9 boxes with a holy shitload of newsprint and plenty of bubble wrap. They threw in a catalogue of their Impala range, very thoughtful hahaha
- 187 replies
-
- 24
-
-
My parts! My mothafuckin parts are in! Mrs is taking wagon in to work tomorrow to collect for me, then expect more photos when I pull it all out and pine
- 187 replies
-
- 38
-
-
We have a screen rubber! And if you zoom in, cancer it seems. knocked out these two wee bits in the bottom of the front window channel. i friggin lost the other piece I cut out, but at least I know it’s not inside the scuttle
- 187 replies
-
- 17
-
-
Well, I’d call this side done until repair panels arrive for the wheel tubs and boot drop-downs. Obviously the rear quarter to go on as well but that will be the last step. More critter lodgings and some of my seat stuffing jammed behind this sill bracket! Doesn't look like much but this piece soaked up a lot of time. It’s 1.2mm thick so it really sucked to manipulate. The wheel-arch end also has a 90deg folded flange on each face to mate to the wheel tub. In the end I was a couple of mm out in the bottom flanged edge and knew it would never straighten and re-fold so had to cut it off and weld it back on. looking back it was more trouble than it was worth to keep that transition piece between the repairs but I just needed it to be the same shape so the quarter fits again and it was too hard with that thick steel. And I can’t really rip the quarter off to check cause the cunt will fold in half I didn’t replicate all the holes in the panel, these cars are FULL of useless holes that let the water right on in.. probably for lining up/jigging while assembling the car but asking for trouble now. im gonna get a blanking grommet assortment when it’s done and plug up all the friggin holes in the chassis rails and such. Drowned in cavity wax and plugged up it should have a fighting chance at surviving another 50 years
- 187 replies
-
- 24
-
-
Carrying on with some updates from after work and today. Bit uncomfortable on wet carpet, heh! drivers front chassis: excuse the dirt and stains, had to chop into my thick steel I use on my bench top. finished the sill rest of the day was spent around the rear wheel arch/end of sill. Chipping underseal off where the spot welds are and melting out lead. Not so picture worthy yet Cheers
- 187 replies
-
- 25
-
-
The project shed is mad questionable in the dry,and leaks like fuck above the powerpoints in the rain.. we’re having a big ole storm so I can’t do much today without getting fried. Vacuumed more sand, battery drill out n drilled some spots in anticipation for the new chassis rail, gave the mig torch a wee going over etc. and here’s repairs Ive done during the week.
- 187 replies
-
- 26
-
-
Few more hours this afternoon wonder if they spot welded through this sealant or injected it in after? im lucky in that it’s not a full/dusty corrosion, just around the rust holes! wasn’t too bad inside the drivers sill. this is inside the sill again. I didn’t weld it up today as I wanted the Brunox to cure. patch pile growing
- 187 replies
-
- 29
-
-
My lovely lady surprised me with some more bits.. bottom rear screen corners and screen chrome clips + Screws!
- 187 replies
-
- 20
-
-
- 187 replies
-
- 34
-
-

-
nice inside the RH sill, other side isn’t. Have to stop for the day but was making good progress
- 187 replies
-
- 28
-
-
Look at all this crap I found in the good rail! must have been a critters nest as there’s quite a bit of pillow filling, and blasting sand. ive made most of the engine-bay patches and hope to weld them tomorrow
- 187 replies
-
- 19
-
-
another cool find VF - 12 -1 ? these are probably the least thrilling bits to see in full. I’ll order some corners for the bottom of the rear window aperture because they are like $30 each and that will give me a good reference to start on. Will have to deconstruct the rear deck and have a tidy up. at least the rear panel is fairly flat /basic?
- 187 replies
-
- 26
-

-
-
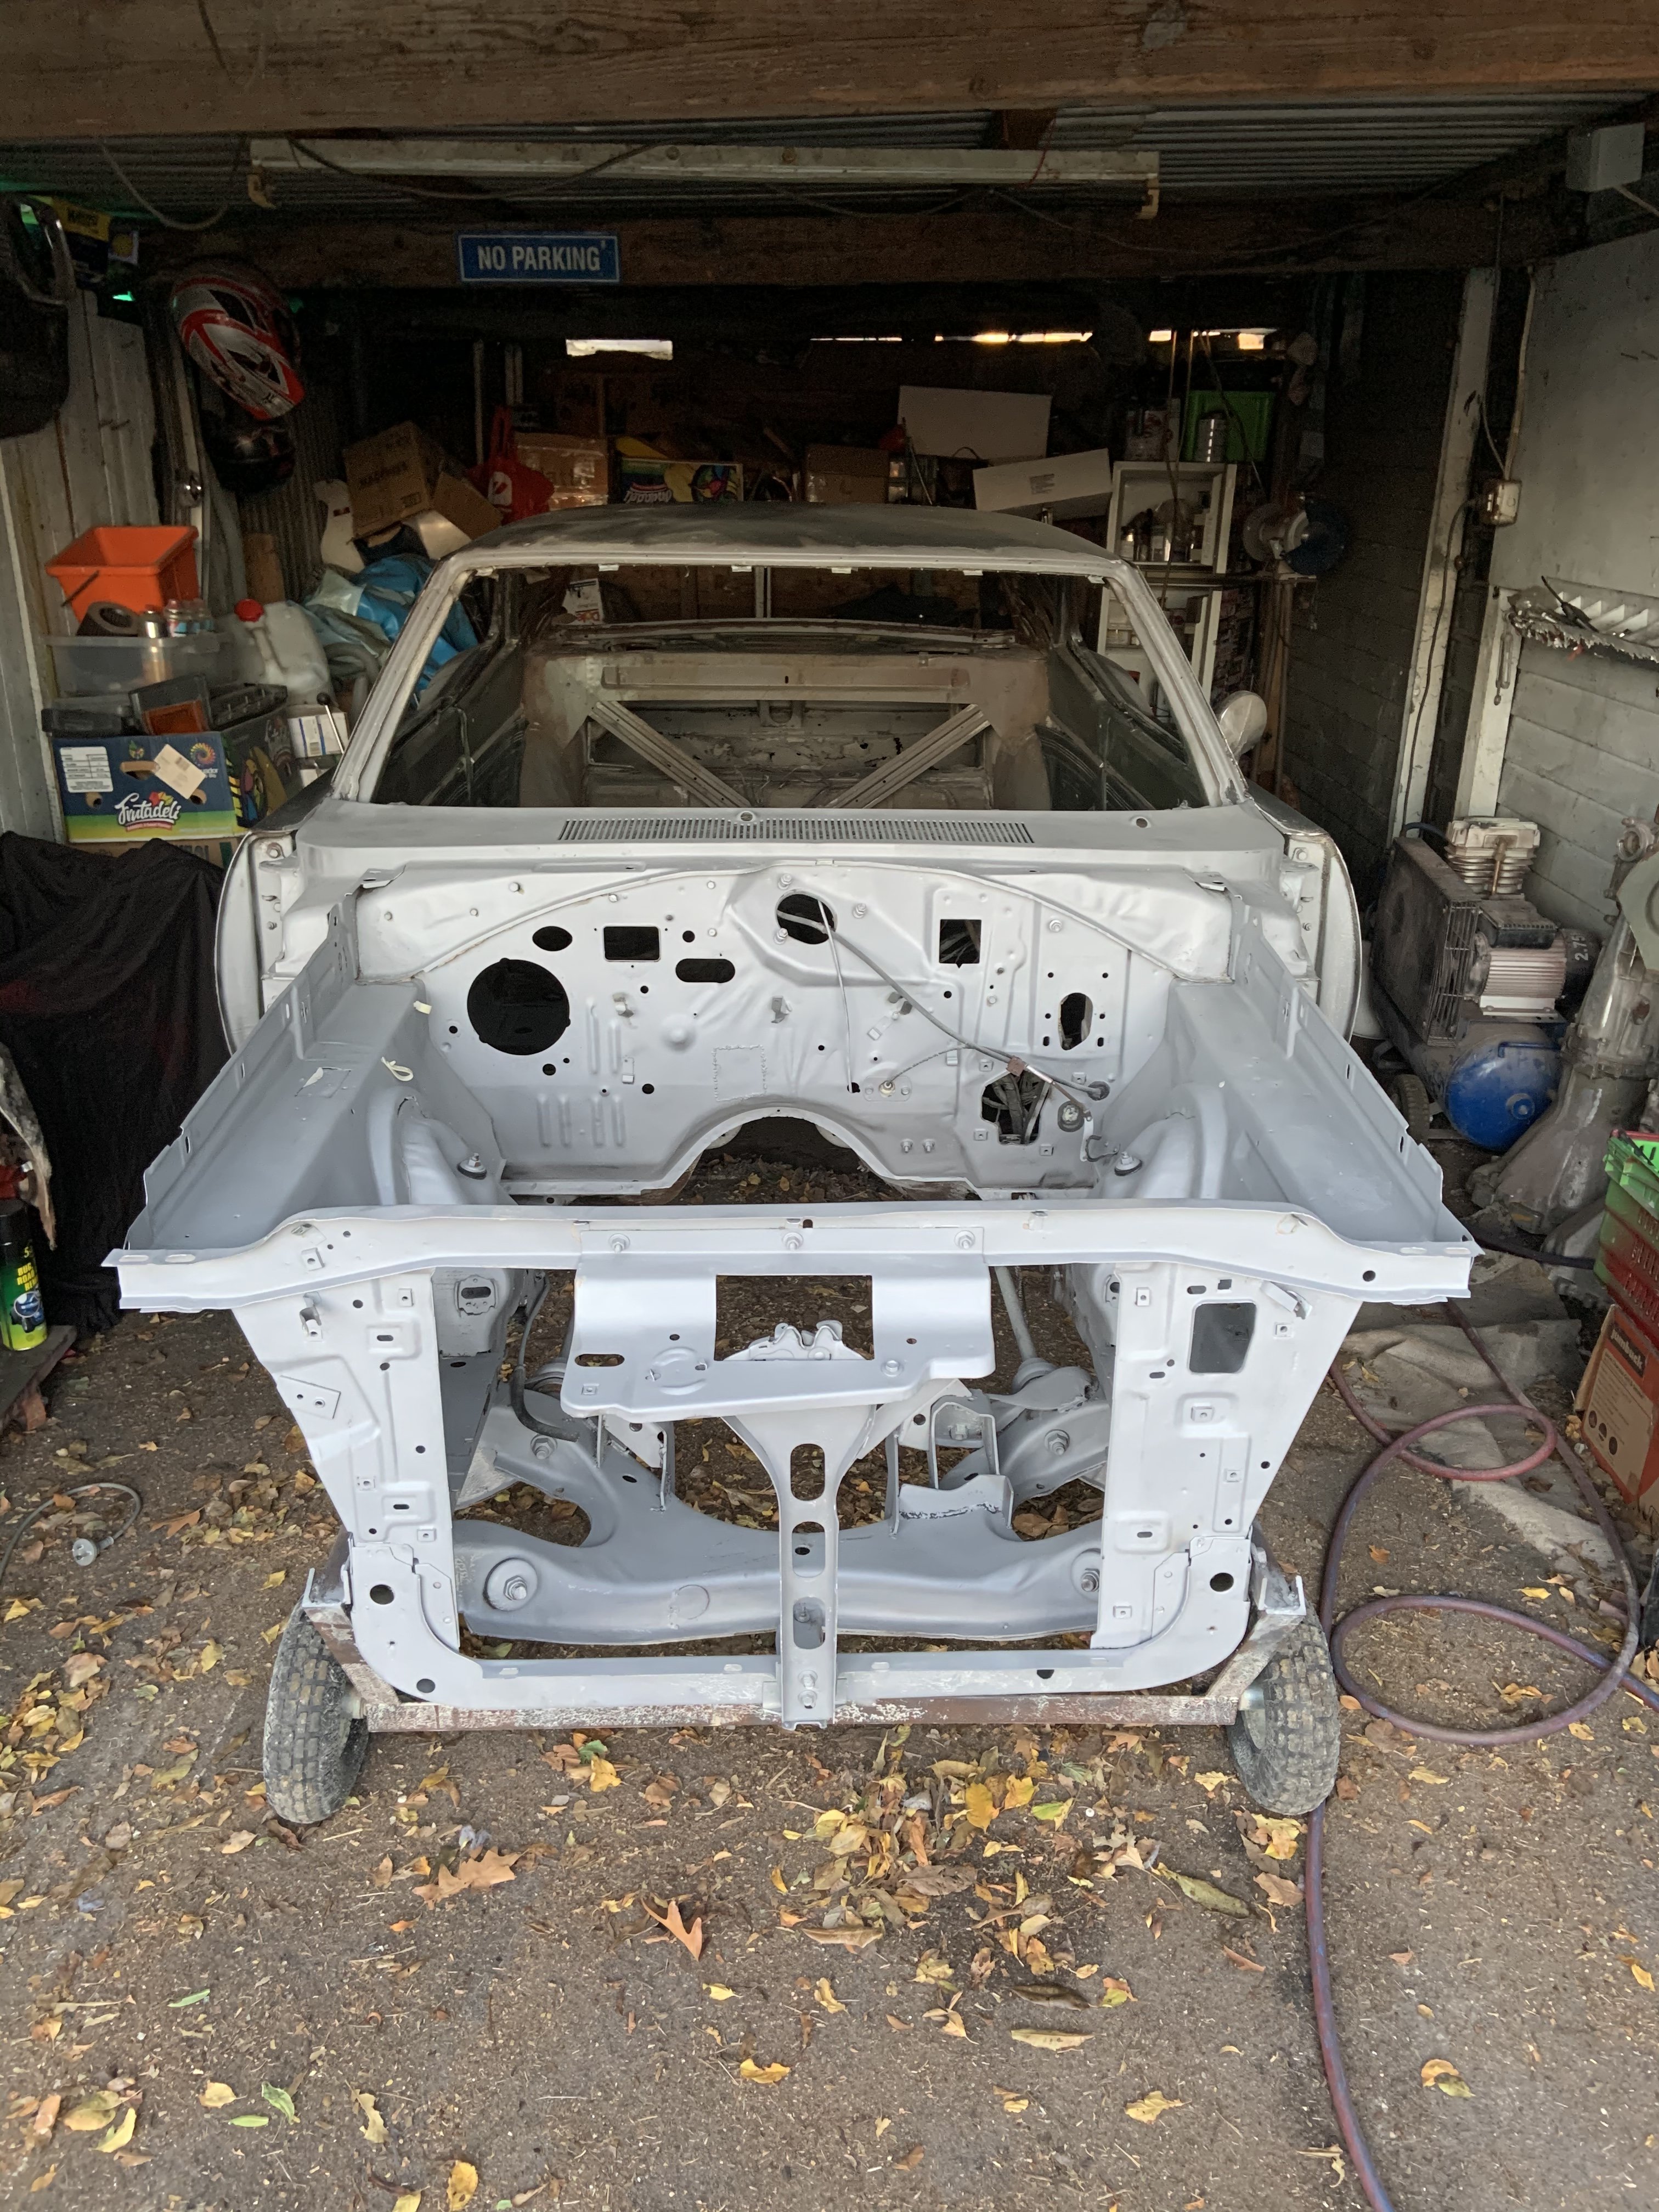
What a whore of a job. A comedy of non-stop misgivings and survivalism has it etch primed where it was bare. it looks just the same cause the epoxy is grey
-
6 of these so far!
- 187 replies
-
- 25
-
-
Nekkid! more tomorrow
- 187 replies
-
- 27
-
-
-
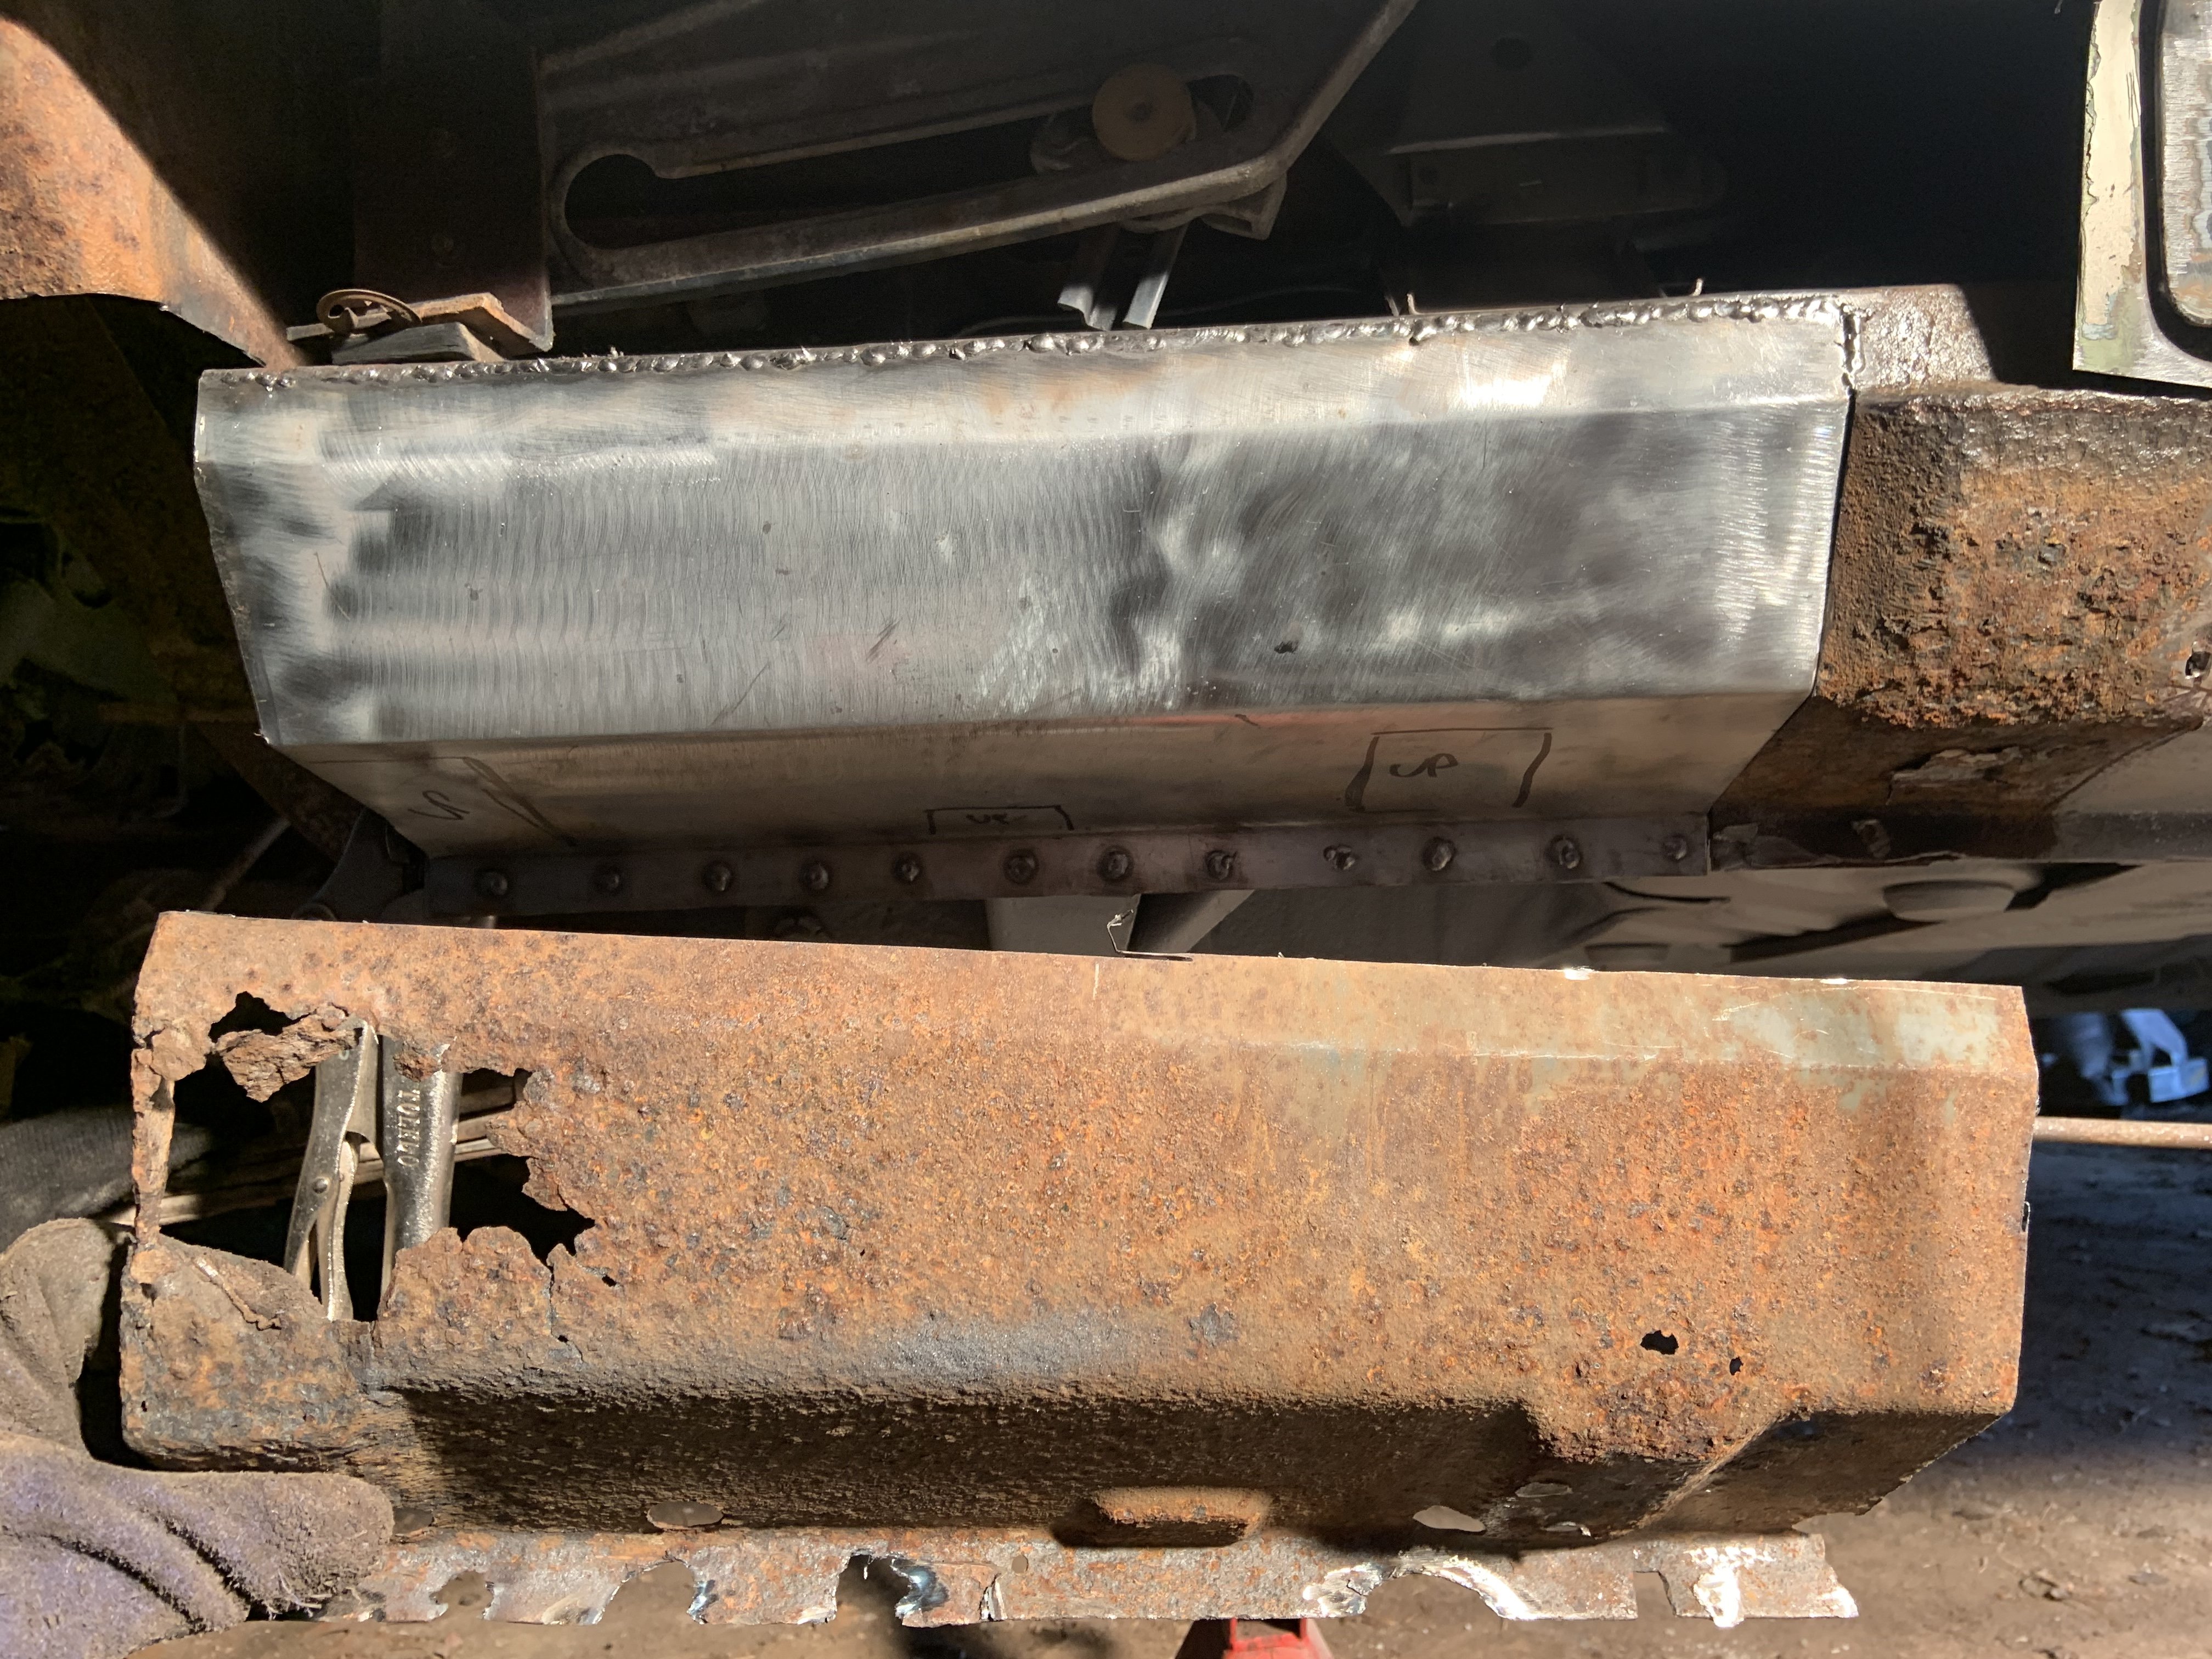
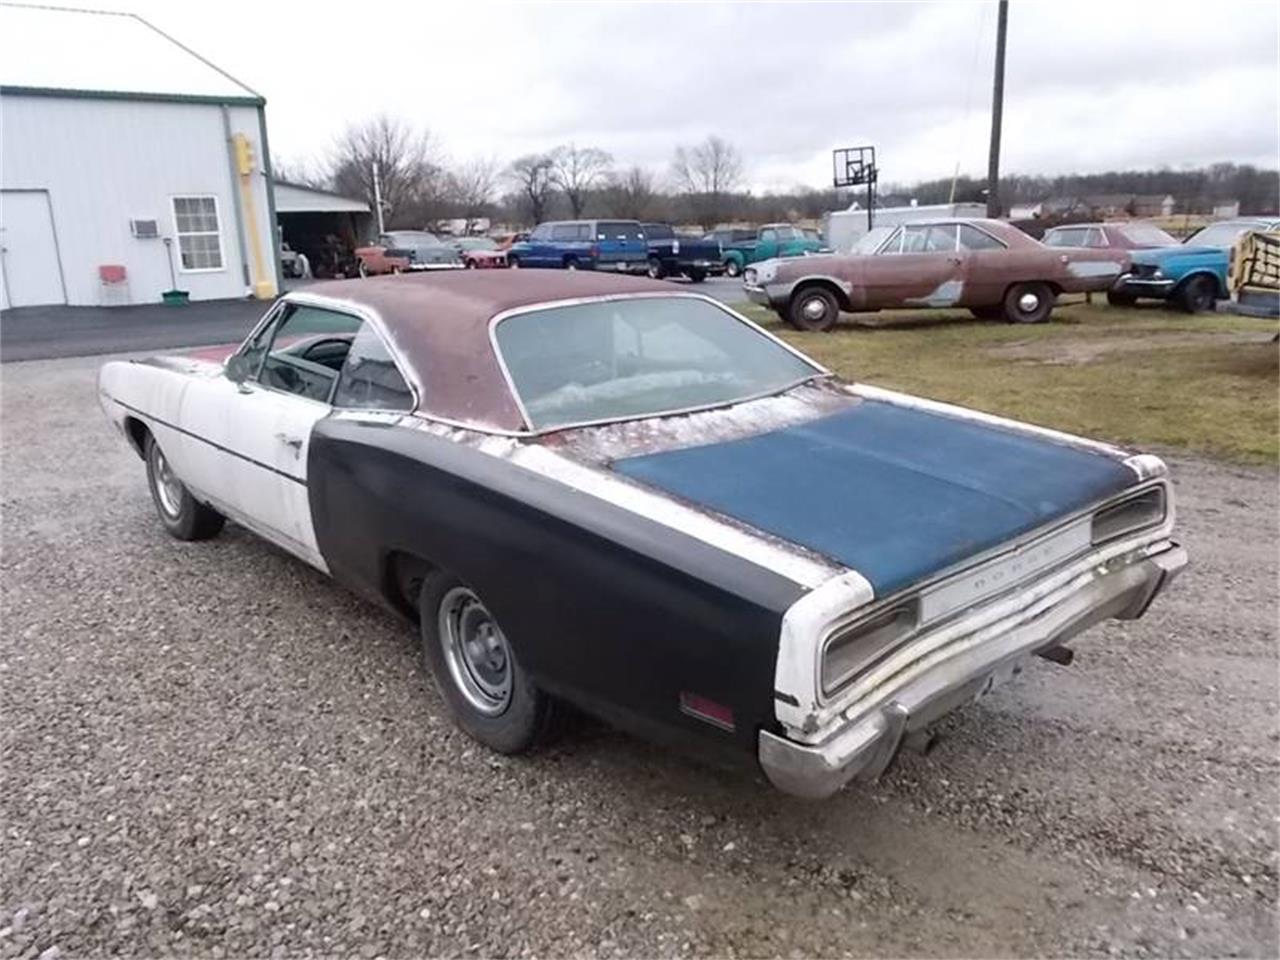
Yep absolutely! “She’s a 20 footer, and don’t slam the door!” When sourcing parts I kept coming up with ‘repair caps’ that you just zing over your chassis rails. impending doom!
-
I always had the mindset that yank cars were thick as shit and and jappers were disposable but I guess when your competing against the other guys and trying to pump out a new design each year then preservation measures slip and then boom, your shit starts falling apart! Verts are always more susceptible once parked though aye. But, I’ll bet it’s just another hurdle you had to jump looking back, cause that thing is gorgeous now and safe for well over your lifetime
-
Fucking LOL!!
-
It came from the states with new quarters screwed onto/over the existing ones. Great idea instead of trying to jam them inside then have them chaff through your interior etc/ slide into the glass but it sure did a great job of masking the despair aye
-
Yeah man, can’t really get bolt-on panels but everything else seems to be available if you can fund it! Taste the freedom