
- Popular Post

Mr.Mk1
-
Posts
3461 -
Joined
-
Last visited
-
Days Won
4
Posts posted by Mr.Mk1
-
-
- Popular Post
- Popular Post
I got Elite wheels to move the centres 30mm outward, bringing the tyre in and away from the wheel arch.
We now have clearance and a much better stance! Always a shame to lose max dish, but still plenty there.
I’ll risk tangling with the guard if I put lowering blocks in..will let everything settle and re-assess the situation.

Have not achieved much else to be fair, the electrical shit has me beaten.
I did get some rubber to go between the guards and engine bay (it was dum-dum paste originally but it would stick like buggery and cause damage if I need to take it apart in the future)
I haven’t been lazy though, I built a lean-to for the Escort and then tore the Falcon down to finally do a quick panel & more importantly, paint!
-
 26
26
-
 2
2
-
It looks like the pistons are closing the gap up? If the plugs are as-per the book, is the gasket too compressed or something? Wrong pistons?
-
1
-
-
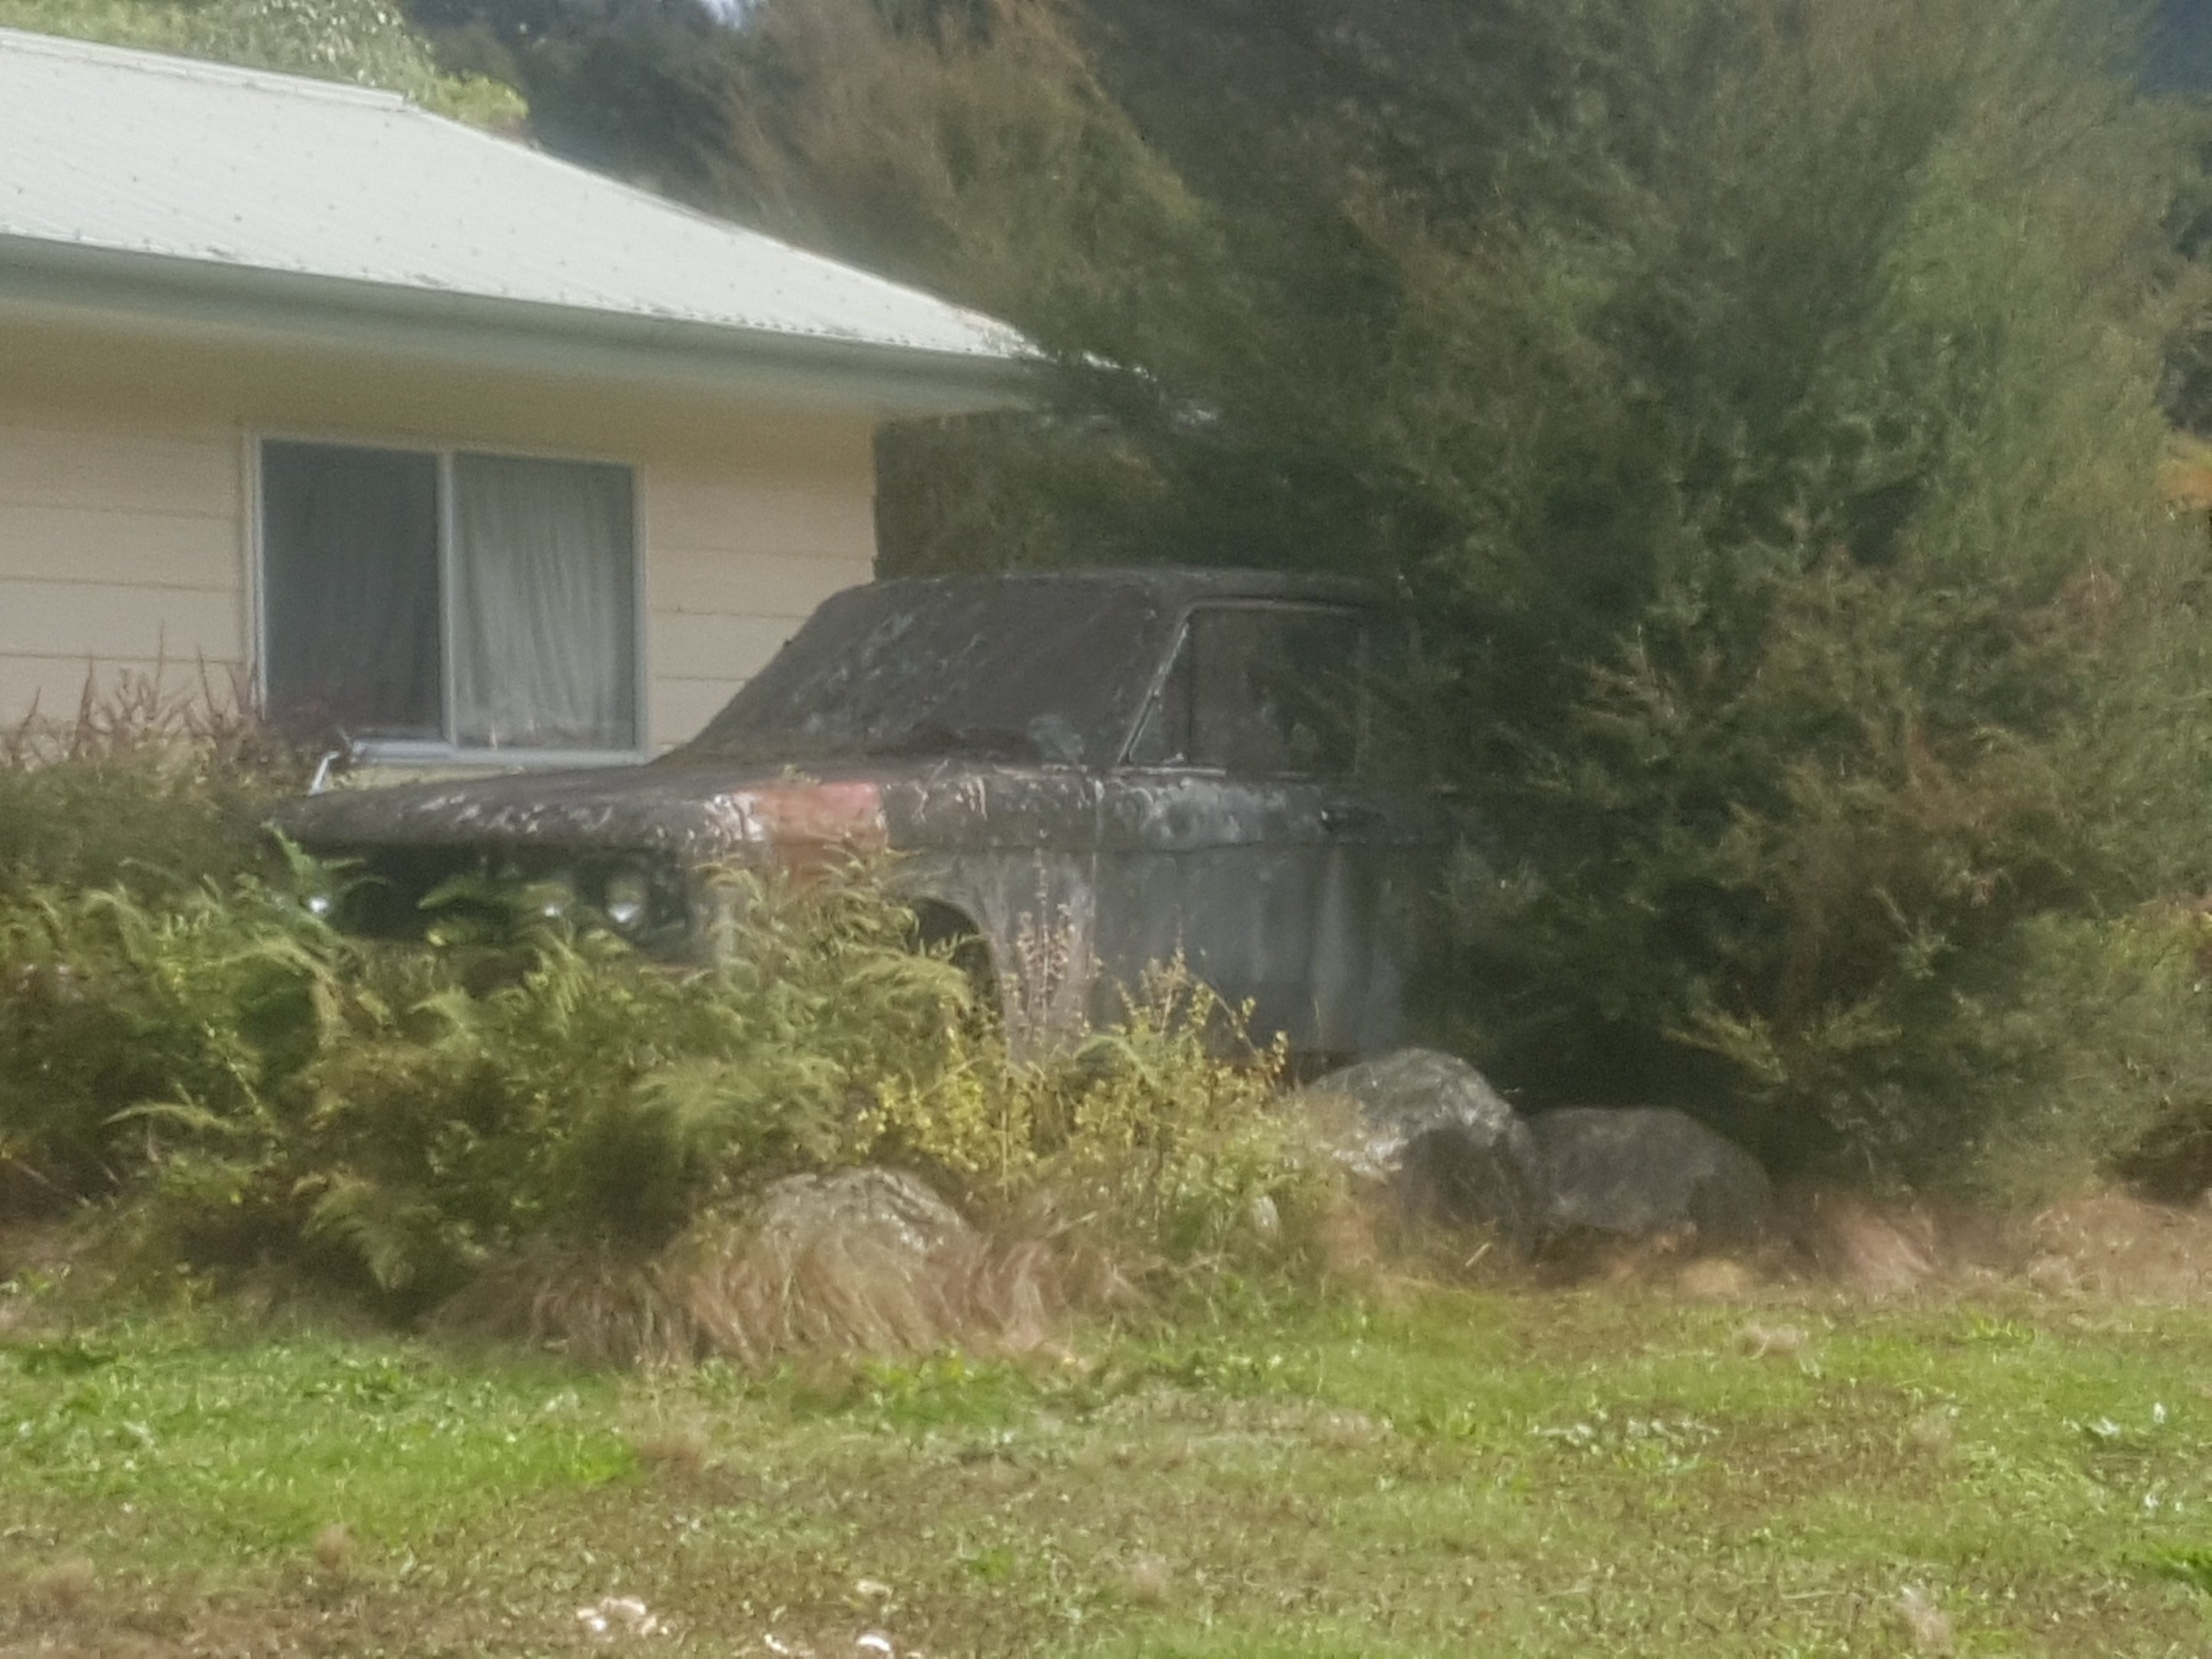
On 14/03/2023 at 17:54, RUNAMUCK said:
Some old mazda(?) Ute. Looks like it's been there for quite a while......
I’m getting Chevy LUV vibes
*edit, 77 KB20 Isuzu with dead reg
-
2
-
-
- Popular Post
- Popular Post
I’m still here, still chipping away!
Deep into the electrical gremlins now.
Not much worked when I first got it other than headlights, amp gauge and interior lights.. now I’ve coaxed out of it: reverse lights, charging, heater blower, wipers, brake warning light functions with e-brake, horn, all lights go but not properly or reliably when it comes to hazards and indicators.
Ive got no dash lights and that means a broken circuit so that’s the main killer.. I dare say things will start to improve when they come back on.
Still need dash dimmer,temp,clock,gas and the rest of the back-lighting eg radio and ash tray.
I also hooked up all the vac and PCV stuff roughly so I could give it more of a time up and set an idle

-
40
-
Love watching this evolve, good shit!
-
1
-
-
Did you get yourself sorted?
-
Yeeeeeah hell yeeeeeah, coming along nicely! How good is it having the proper tools at hand
-
1
-
-
- Popular Post
- Popular Post
Better fill in a gap I didn’t have spare time to post earlier..
The package from USA with the vinyl top arrived on Wednesday! Bit hilarious the day after doing screens but just no time to slap it on nicely. That package had the glovebox liner and rear C pillar trims too.
Now the billboard bit.
These are not standard in any way. It’s my home-brew concoction with inspiration from Plymouth cuda. I’ve never attempted anything that permanent and with bugger all time left it was too high risk to get it looking perfect and paint in 2K.
I decided to rip down to the warehouse and get a few rolls of 2000x45 black duraseal.
unfortunately the space needed was like 2600x47 so a join and a compromise was in the pipelines.
Baking paper taped to the car and a marker pen roughed out using a finger as an anchor point running down the swages.
Slap some cellotape around the perimeter for added stiffness and cut it out.
I then laid it backwards into the backing of the duraseal and traced around it carefully, then cut that out too.
Happy with the fit, and after sliding cardboard down behind it to trace and cut the bee circle, I started taking backing paper off in sections and smooshing it down in an arch motion to get rid of bubbles. It went to tits when I got to the side scoop as it wouldn’t heat and conform so I made some wee slits and pushed it down.
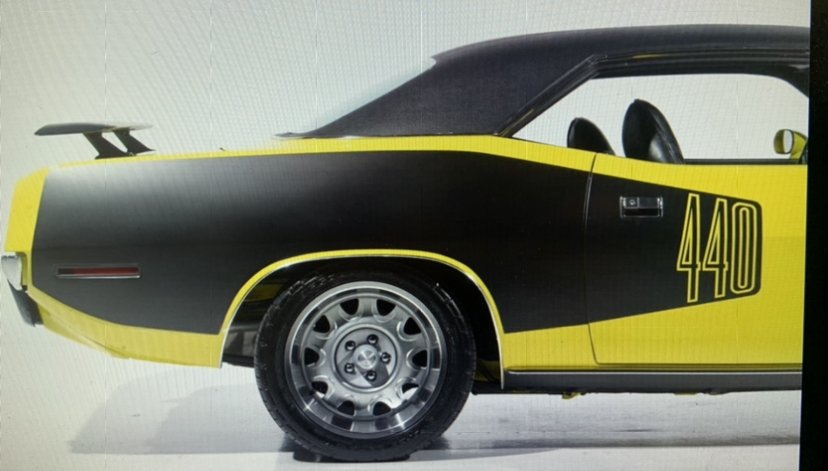
Then it was onto the 440 call-outs.
I faffed around on the work computer printing and editing them in block style In the different sizes and cut tapers into the top and bottom edges to accentuate the angle and sorta match the door part.
I considered using the templates to mask it up and paint pink, or getting pink duraseal and hoping it stuck onto the wrinkly area already durasealed.. so both those weren’t going to look good.
I went the danger route and traced it all out and cut the film with a razorblade. End of the day any wee scratches I can puff clear over them again and polish out, it I get this sign-written properly, their design will cover the scratches too.
They came up mint, bare in mind it was a bold number, had to measure 14mm in and outboard of all lines and slice those too, to give the outline/doubled effect.
For the wrinkled portion in the crease of the scoop, I managed to cut much of the wrinkle out, or replaced the whole part so it worked out well.
onto the other side, flip the template and do it all again.
polisher finished up so I could dig into the front paint now + hood.
Once that paint hardened I attempted the screen. High stress! These are pretty whack and it was a first doing this style + short stock and mad expense if it cracked. Took it slow with plastic trim removal tools + aerosol glass cleaner for lube and it bloody went in! I didn’t seal it as it was a trial and it has to come out again for the vinyl roof application.
The rear screen sits on a sausage strip of non-setting butyl so I cleaned everything up, stuck it to the screen the dropped the screen into the car.. was pretty straight forward and it sealed all the way around. Picture a 10mm bead of the sticky shit that holds the plastic sheet to the inside of your door panel
-
42
-
1
-
- Popular Post
- Popular Post
Well, I made the fucking deadline!
I didn’t have time to tune it properly, the rear tyres rub and the brakes need bedded in but those arefuture problems
-
76
-
14
-
- Popular Post
- Popular Post
The clear came right the other day so wet sanded it in 1200 and the polisher started on Sunday!
Dash in and all hooked up.
Found the interior light base! <3
Strapped the seat covers on and slapped the rear seat in.
Ive given it a very partial one-man brake bleed and only one fitting weeped/could have dripped fluid from above too as it was right under the master..I’ll keep a tab on that.GC Damon at Let’s get graphic made me some new super bee decals.. had to use my sample then flip for the opposite side so the bee flys forward on both sides. Look awesome and very very reasonable price!
since I need the body colour to show through the decal, I had to come up with a way to mask it.
I had a stroke of genius instead of just a stroke like usual
lay out 2 layers of masking tape onto clean glass. Put it on the revolving wheelie piece from the microwave.
Find a plate the right diameter and run around it with a new razor while spinning on the wheelie doofer then pick off the edges and peel the disc.
Worked awesome!
Also printed this period Dodge decal, traced it to some cheap satin black vinyl/duraseal type shit I had and cut out. Loosely planning on placing them on the front guards or something like nascar, but will see how it looks once the blackouts are done.
I was going to start masking the side panel tonight but I need a roll of 16mm tape to make my life easier for a pretty daunting task.I’d been trying to get the bastard to start for a week. So many factors against me such as it’s been apart for 2 years, everything’s been painted so earths could be shit, bent dizzy, timing, sad battery. Was getting a bit paranoid I’d run a bearing as it wasn’t getting a chance to oil properly before I had to give up and swap/ charge batteries.. it seemed to be getting tighter.
Well whatever combination I tried tonight fucking worked and it fired into a reasonable fast idle!!!
Huge relief, the car show I’m trying to get it complete for is 10 days away. I was kinda keen to bail if I had to push it in but now I’ve got a second wind!
-
47
-
4
-
- Popular Post
- Popular Post
Ideal it was not.
Yes it sprayed out much nicer but still a bit of peel, then I ran out of paint so the shell only had one coat and the rest two.. putting me back in the position of not enough meat to flat and buff any of it safely.
I walked away for a few hours while it cooked and went over several scenarios.
The upholstery guy rang and said the dash was ready so I swung down and grabbed that, looks fucking ACE!
Have fitted it, raptBack to thinking..
About the only way of not losing any ground was either not buff it & deal with it looking back-yard for ever, or to go get some clear coat and just bury the cunt then flat and buff the clear which makes peel and dry-spray magically disappear, with the added bonus of giving the paint some ‘depth’.
Didnt want to, but spent a couple hundred and went to it.
The wind had kicked up fierce since this morning and all manner of new shit entered the chat from somewhere but I don’t care. Will only notice 10% once it’s finished. Also that wind coming past the door seals almost laid the plastic drop sheet onto the rear of the car several times which would have been a major.
So yeah, dream result - literally never, but a result nonetheless! Will give it a few days and see how it sits then whizz over it with 1200 or 1500 and hope the polisher man is still on for the weekend!
-
38
-
1
-
- Popular Post
- Popular Post
In typical Josh fashion, I’m doing it all again..
I was 10 minutes into wet-sand and chill when I spotted something I haven’t encountered before. It would seem there was a slight colour variance between the last two pots of paint I mixed up, because I rubbed through on some decent peel and found this
motherfucker!
The amount of peel and the specs of crap in it meant there was no way around it so I tore the car apart and started again.. pretty close to the end of my rope but have pushed through and I’ll spray again tomorrow with thin paint, small tip and higher pressure.. paying much attention to panel distance and being a robot!
Prior to all this I was ahead of schedule so thought I’d have a crack and install headliner myself. Came out well, took ages but they are supposed to. Don’t chirp me for the wrinkles, I haven’t gone back to tighten the sides yet!
the only part I’ve lost in this whole journey is the interior lamp base, pissoff cause it would look great in the middle there right now!
gave all the tyres a scrub and got the manky old blue off.
test fit all the window surrounds and clips with reasonable success.
Spray day again tomorrow. The ideal situation is it lays out beautifully and I don’t have to have it buffed on Saturday by a mate I arranged last year
-
28
-
1
-
 6
6
-
On 30/12/2022 at 23:08, RUNAMUCK said:
Are you looking at buying a 340????
I have a set of forgies for a 340. They're .030 over, which makes them 4.070/too big for anything but a 340. Pretty sure @johnny.race has (or had) a 340 block.
No no no no nooo
looks not performance, hopping up v8s is just a never ending money pit, then it costs more to run!
-
1
-
 2
2
-
1
-
-
On 29/12/2022 at 22:23, CUL8R said:
Nice work Josh, will be even more ace with the black outs, did you buy that 340 yet?!
Satin Black Bonnet too or just the scoops? - Out of interest did you work out how rare that bonnet is - doesn't seem that common?
These two seem more prevalent?
There will be a strip on the very outer of the guard that’s left pink but the rest all black. Picture a 69 GTX
the twin scoop hood and the power bulge were options aside from a standard flat one. The scoop type could be a vacuum grabber N96 package as well, but bulge just has removable blank-offs.
nah, no money left for extravagances like future engines! This one’s Probably a ripper!
-
1
-
-
5 hours ago, d.p.n.s said:
hay man... I am also wanting to do some bits in satin black...
what product are you going to use..
also it looks fucking beautiful man
The shit I have is Mipa Rallye black, mates panel shop swears by it. Got it from RJP
-
1
-
-
- Popular Post
- Popular Post
Mwa ha ha ha!
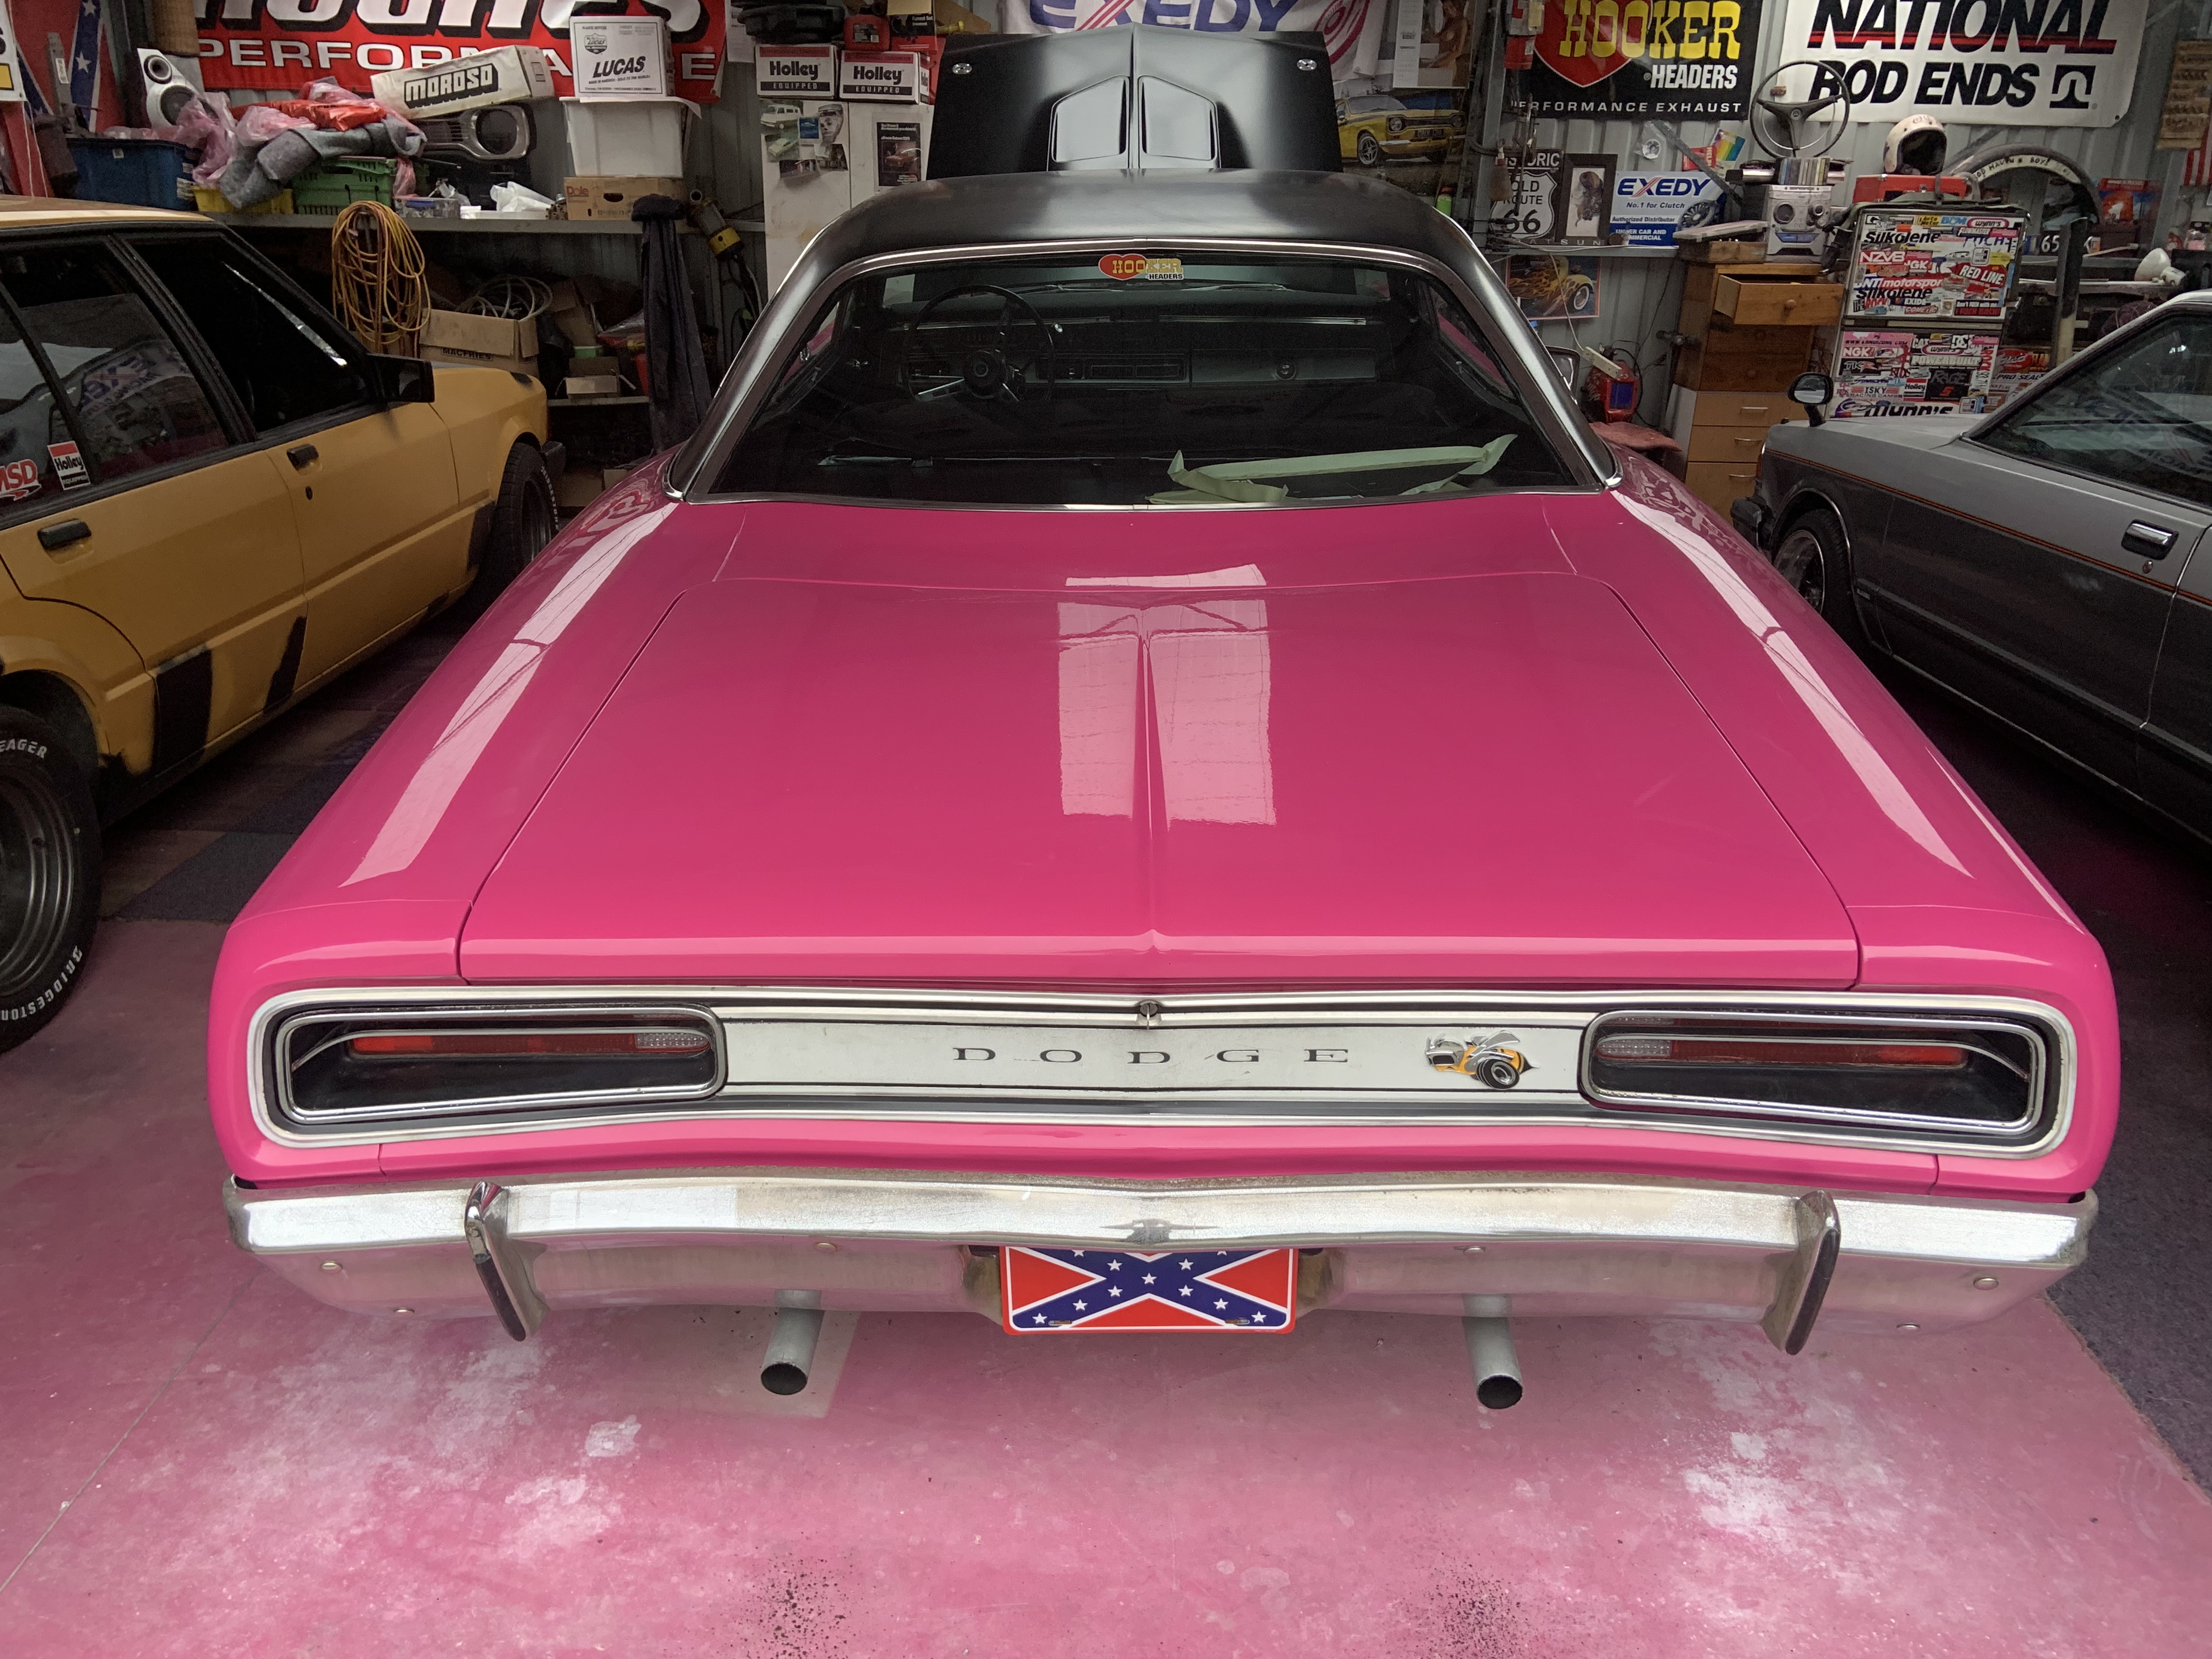
it was the first year this colour was available from factory in their ‘high impact’ colour range. Panther pink if it’s a dodge, moulin rouge if it’s a Plymouth. As you would expect it was a rare option, most of them got resprayed.
it was honestly a massive balls-on-the-line move for me but it looks fucking savage when paired with satin black. There’s not many acceptable pink cars..Cadillac, XU1 torana, valiant charger and American mopar?
Im going to mask out black ‘cuda style ‘billboard’ blackouts on the rear quarters that stretch onto the doors, incorporate a stripe over the trunk, the hood is black already but I’ll black out the scuttle panel and half of the top of the guards (run a line from the cowl forward).
It was my vision from the start, I have to see it through. I’ve left the shuts and engine bay in a neutral colour for when I get over it..then I’m thinking blue or butterscotch .. but that happens to be the colour I have for the falcon as well..
-
12
-
1
-
- Popular Post
- Popular Post
Another few hours in the garage today, doors are assembled and hung properly.
Almost forgot to spray underbody deadener in the guards!
Smashed some more cavity wax in the doors and guard structure and my face.
The guts of the fittings for the tail lights and rear panel are a bit flogged out so I’ll have to get a kit, half of them holding for now.
-
70
-
6
-
- Popular Post
- Popular Post
Phew, that colour has a big range!
Can’t wait to whack satin black on top.
All in all it went well, got lots of crap in some parts and a water drip on last coat of last door..you always hope it comes out perfect but there’s a flat and buff in the future!
-
50
-
6
-
- Popular Post
- Popular Post
All set to Wipe everything down and apply paint! Front valence, rear endcaps and boot lid will go on the other side giving plenty of room to move.
-
35
-
1
-
- Popular Post
- Popular Post
Rubbed a big one out today
The Pacer 4:1 primer was cheap as, and it sands fucking beautifully!
Everything but the boot and rear panel is flatted to 400gritYesterday I sprayed the roof, not perfect, not bad, but not doing it again! It’s just a visual stop-gap until the vinyl shows up and a good excuse to use up some end-of-life 2K that clogs the paper up. Also sprayed the parcel tray panel and boot/cabin dividers I made from cover sheet yonks ago
Spotted another numpty trying to scam people using old photos of my car as a ‘part-out’.The 26/27th looked like the hottest day in the near future so I’m going to top coat it then!
-
20
-
2
-
Hell yeah, put on a red suit n grab the bull by the horns!
Awesome work, looking forward to your progress updates
-
1
-
-
- Popular Post
- Popular Post
-
32
-
- Popular Post
- Popular Post
The fake chrome flaked off the door panel strips yonks ago so I masked them and flicked some bro chrome and clear on to break them up a bit.
This-morning I spread everything out and cleaned up, hammered some final primer coats on everything!
Then closed it up and left it to bake, it’s hot as balls in there so will be awesome for it.
I’ll try my best to leave it cure for as long as I can before wet sanding, there’s no shortage of stuff to do in the mean time right?
Bad news this week, I emailed YearOne for tracking details on my vinyl roof and bits seeing as the headliner arrived separately a few weeks ago..
..he said it was accidentally shipped direct to me from their supplier and not back to them for collation, the rest of the order isn’t ready yet despite no ‘back order’ prompts..
Fucker.
Ill sand the roof back a bit and spray it black in the mean time, only a month until I’m aiming to have it back together with glass in and not holding any hope the vinyl will appear in that time.
-
21
-
- Popular Post
- Popular Post
Sorry it seems to look the same each update but it’s certainly changing! It’s been brutal hot in the shed so that’s impacted progress a bit.
Everything is blocked and rubbed back ready for a final prime, door shuts and doors in top-coat satin black, along with the rear interior hip panels.
-
31


Mr.Mk1's 1980 XD Coonwag
in Projects and Build Ups
Posted
Just taking the last of the exterior rust out of this old slag and giving it a quick spruce up. The bottom foot has been shabby since we got it so it will be a big improvement when it’s all one shade of the same bloody colour!
Can put in the new tail lights we found on marketplace, and source some door-to-glass rubbers since they have turned hard as plastic about 20 years ago. Also toying with the idea of using a mk4 cortina rear rubber bumper insert as a lip along the bottom of the front bumper ala XE and ESPs.. they look way way better but are hens teeth nowadays because of that.
Shes lived outside a lot of the time we’ve had it, hasn’t done it any favours but I always knew it was getting a birthday and that parts that deteriorated were still available. It’s been in the flash new garage all summer so it’s bones are dry and ready for a new coat!