sleeektoy
-
Posts
829 -
Joined
-
Last visited
-
Days Won
2
Content Type
Forums
Downloads
Events
Gallery
Everything posted by sleeektoy
-

Sleeektoy's 1965 Daihatsu Compagno. Discussion
sleeektoy replied to sleeektoy's topic in Project Discussion
WOW thanks @Nominal this is awesome -
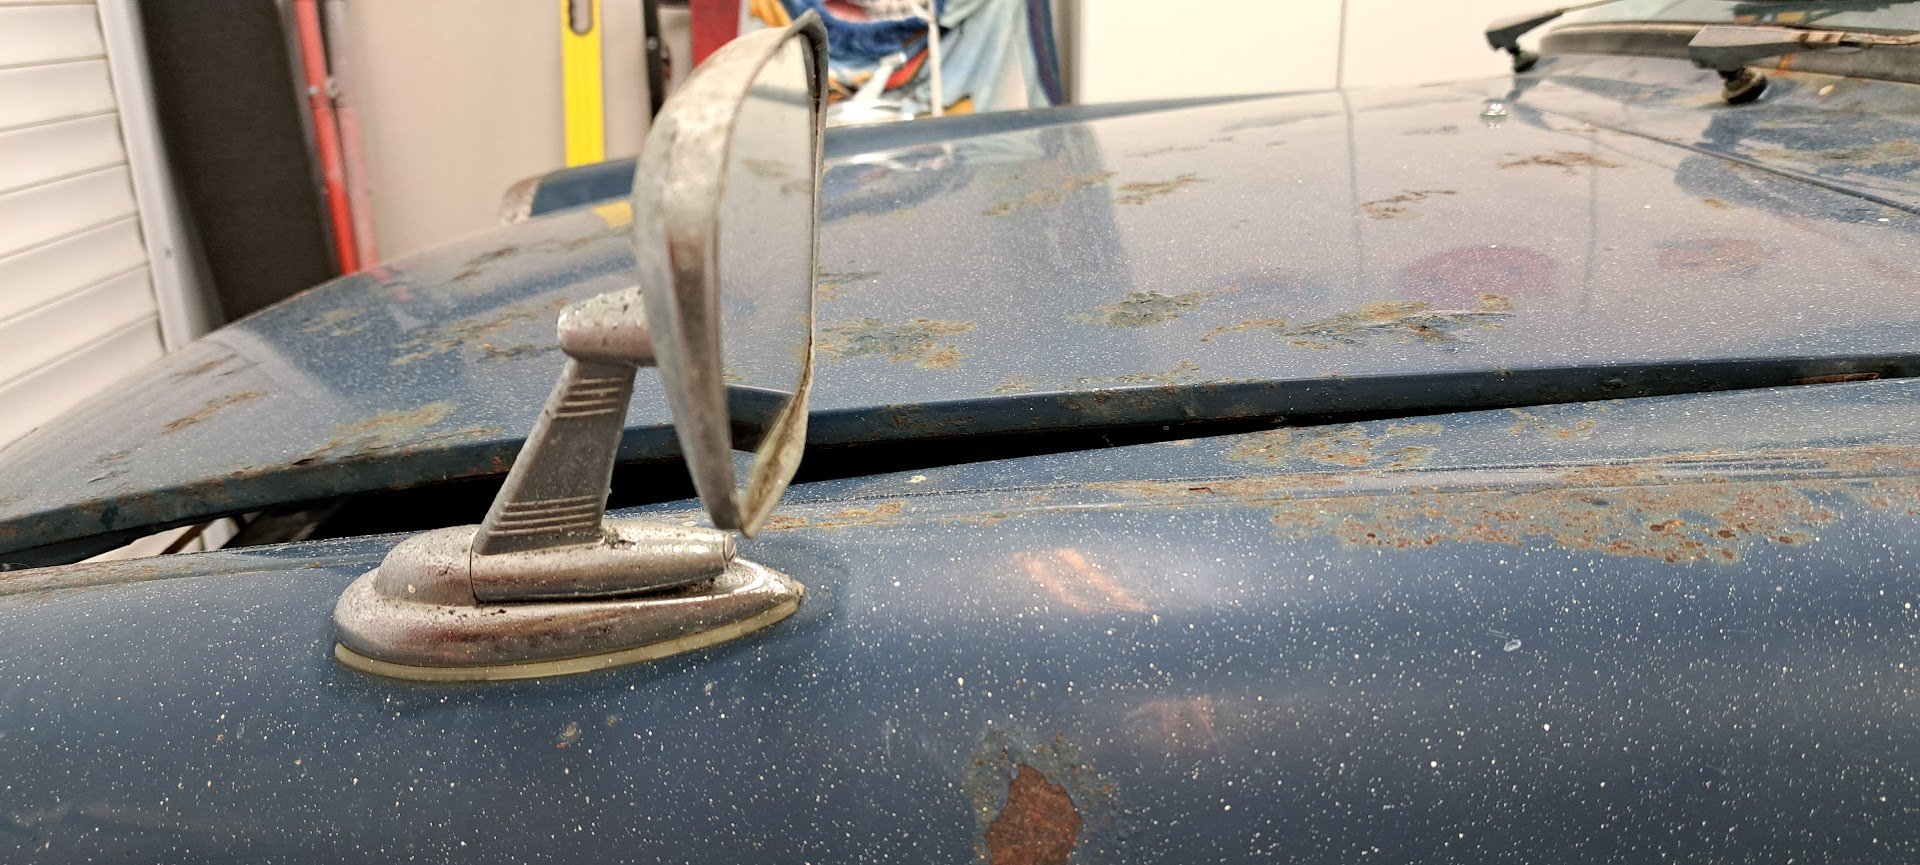
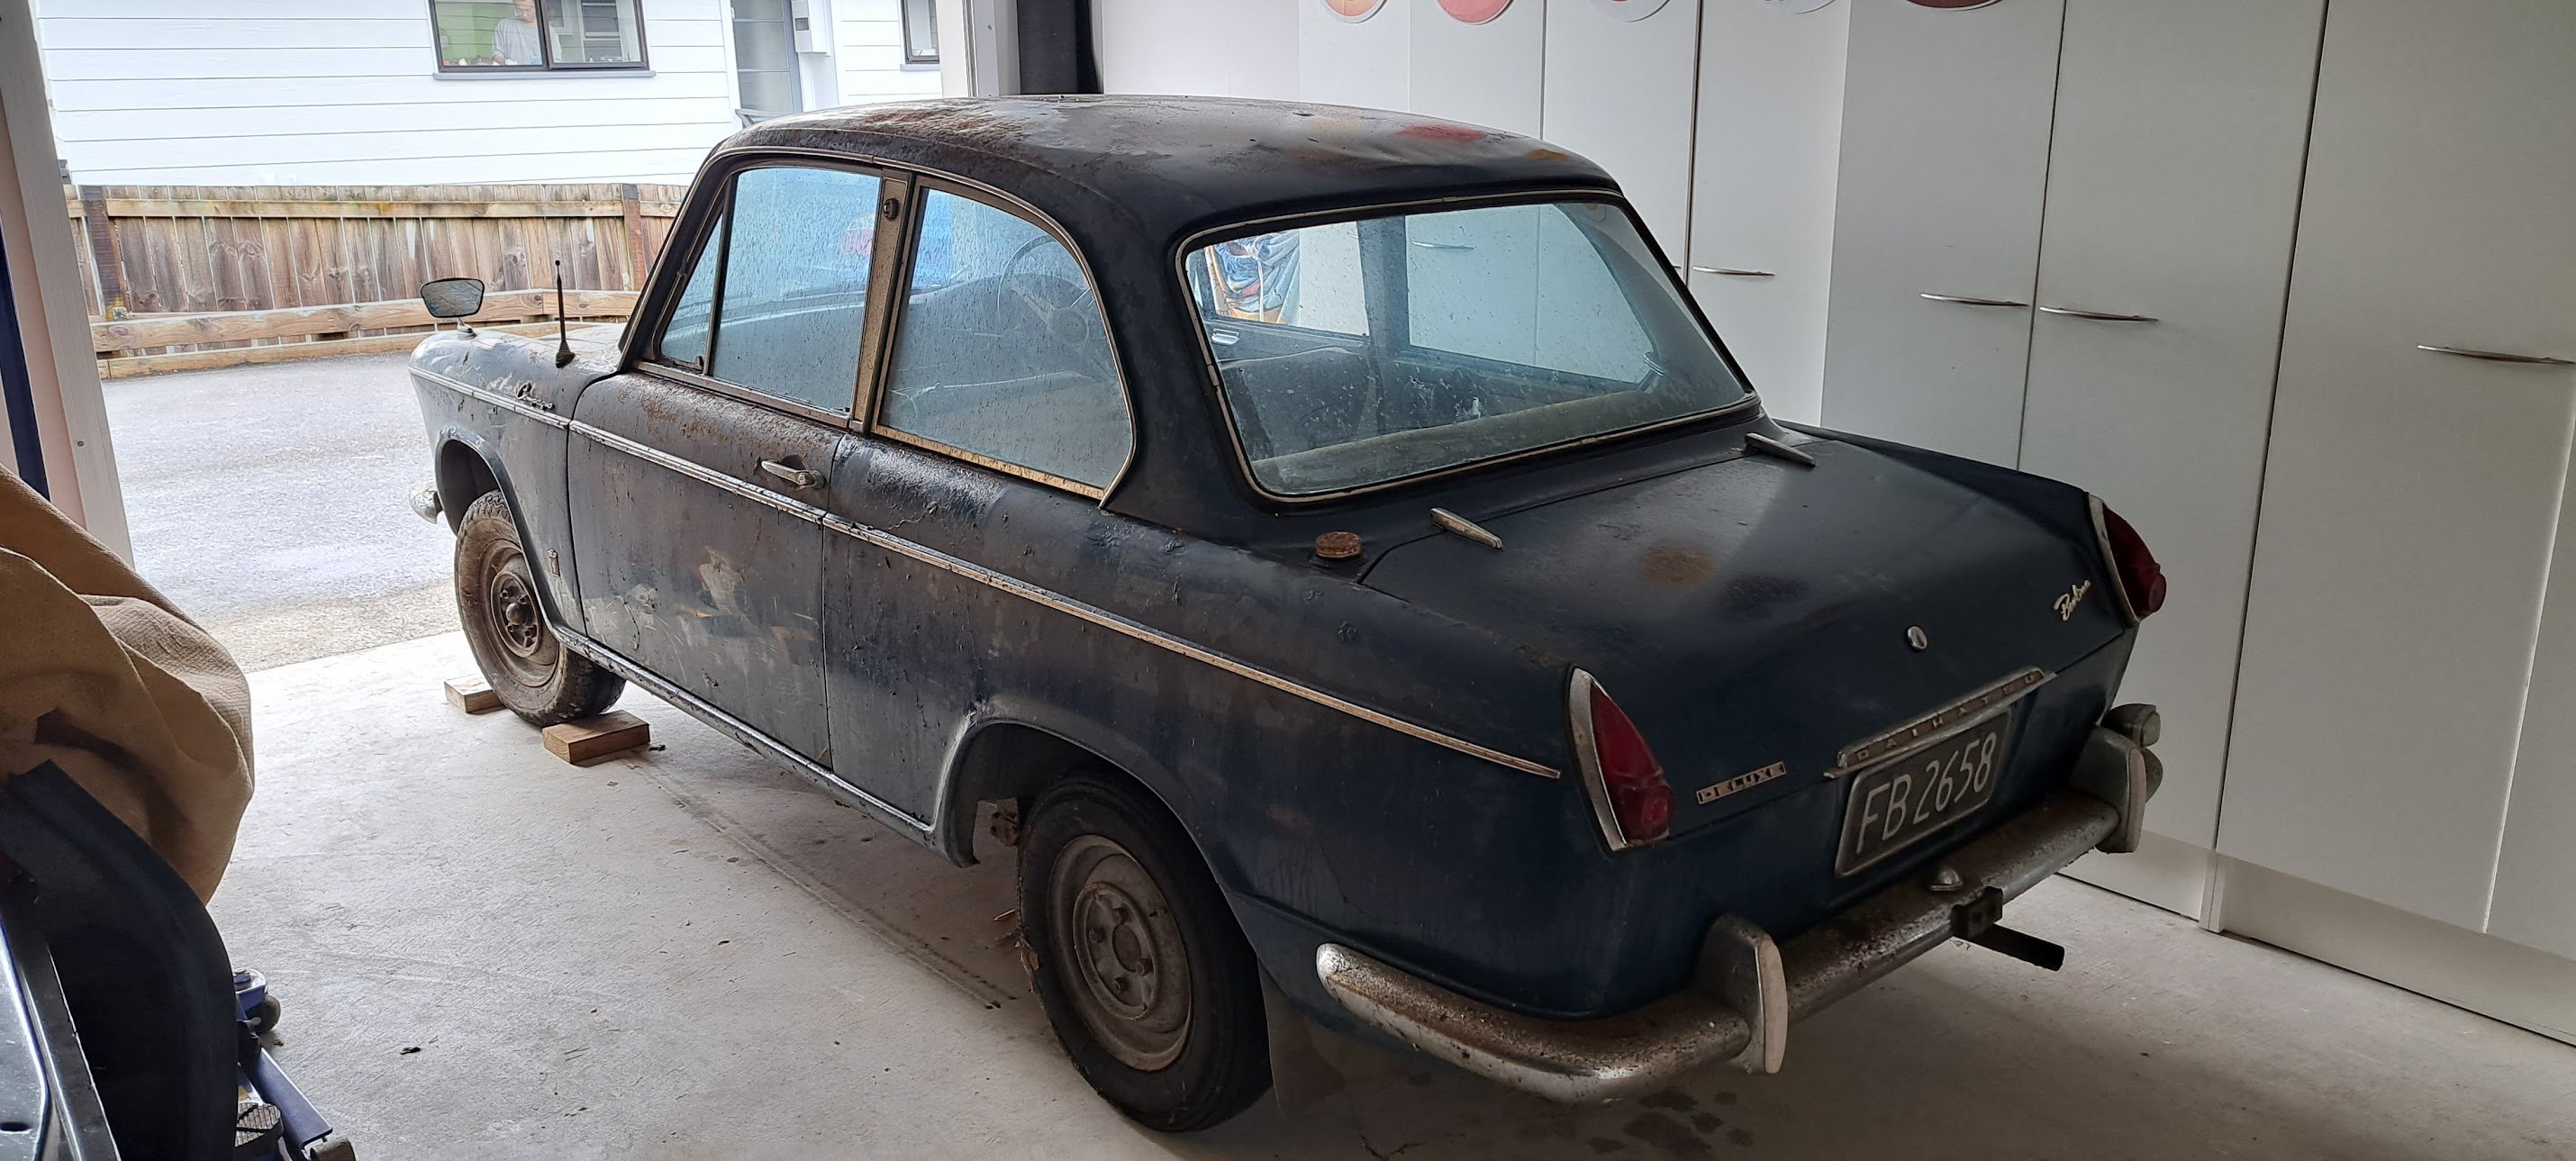
It has some fantastic patina this car too - tempted to run it as-is

- 32 replies
-
- 31
-

-

-
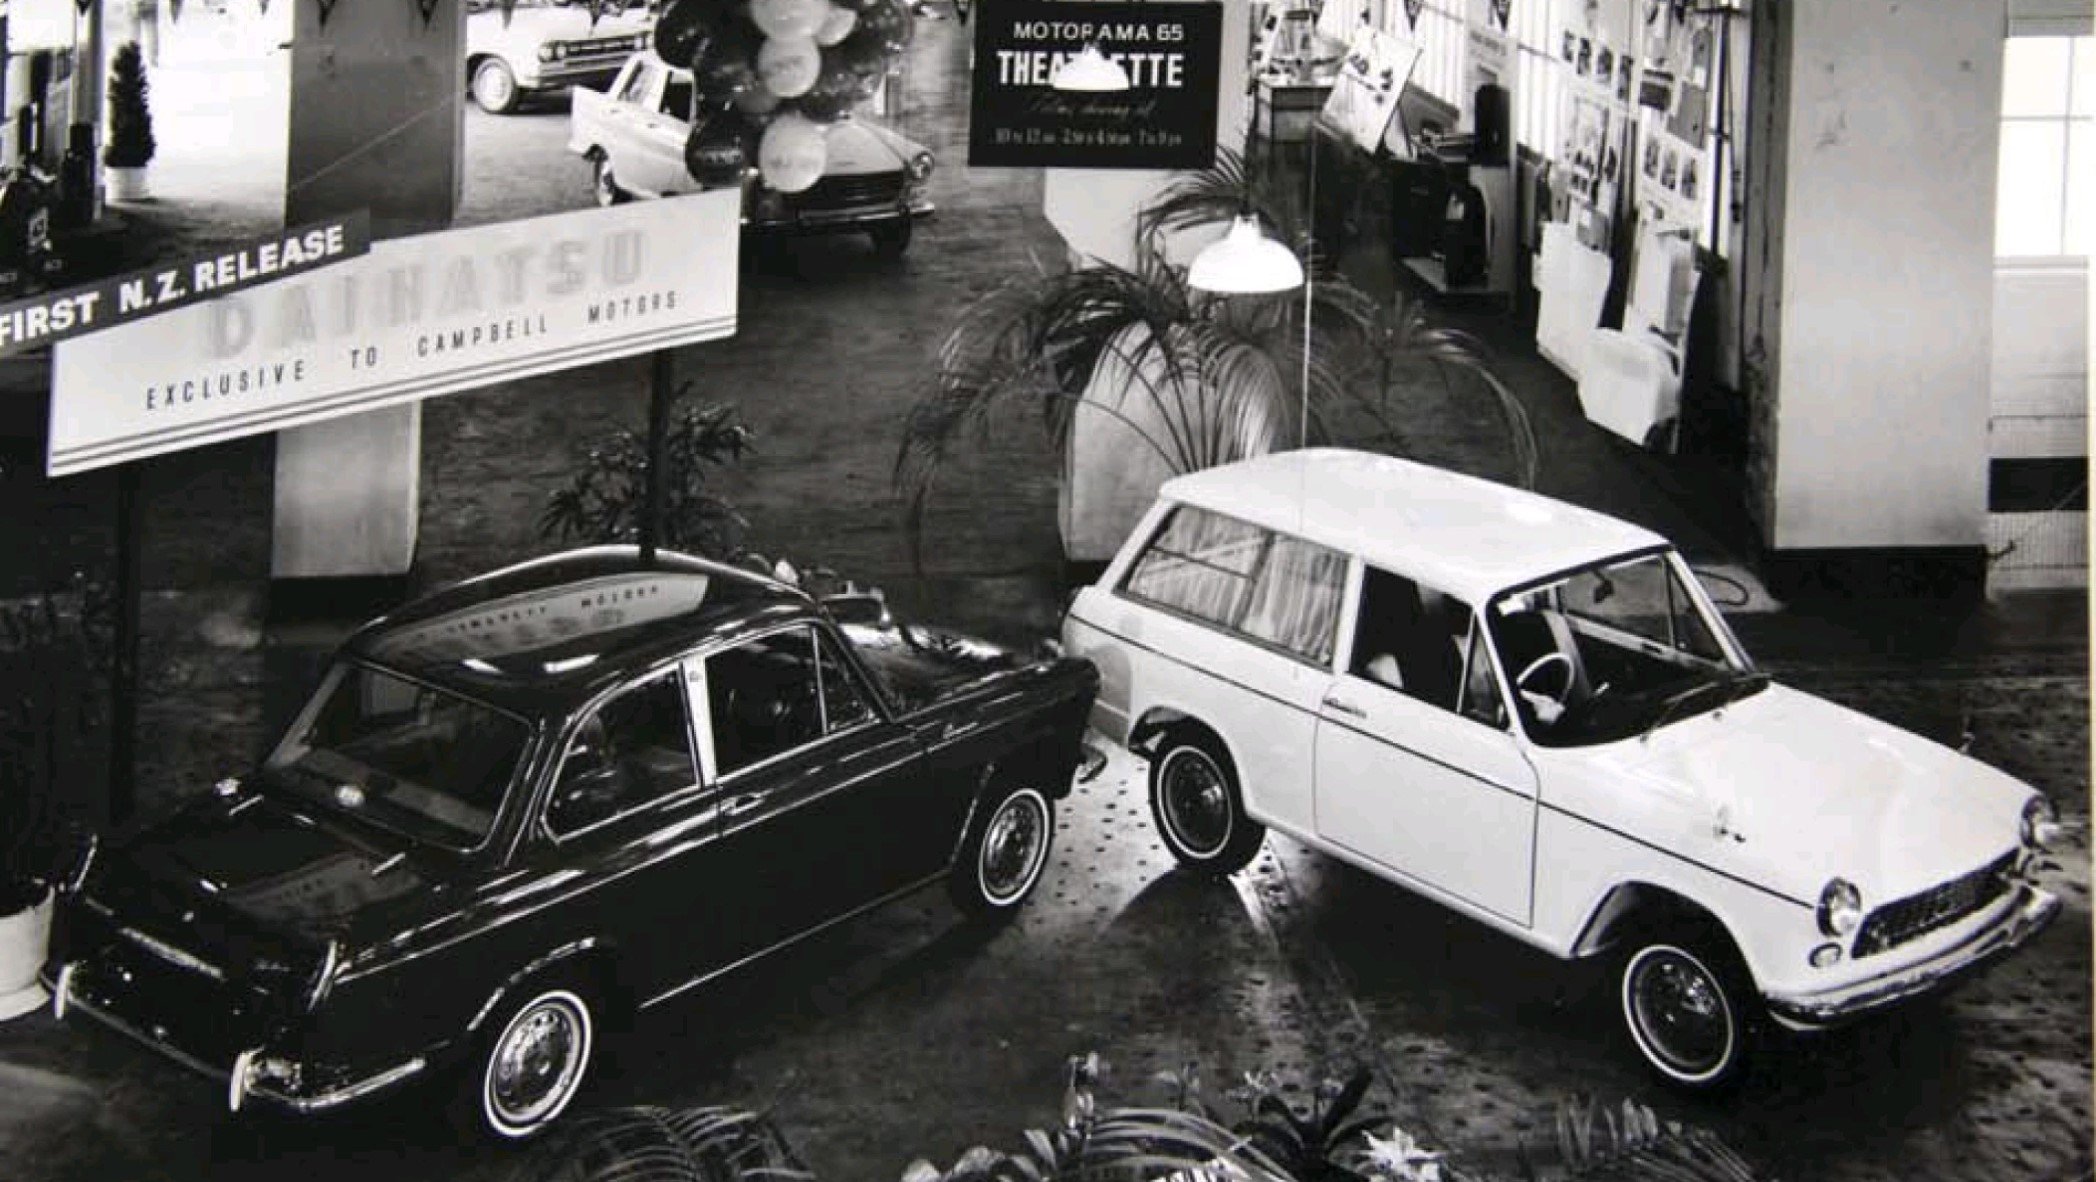
This is the actual car on the Campbells stand at the 1965 Motorama - the wagon was last seen in the 80's by the old owner of mine. Possibly these two were the only ones sold here.
- 32 replies
-
- 37
-
-
-
What have I done! https://oldschool.co.nz/index.php?/topic/86616-sleeektoys-1965-daihatsu-compagno/
-
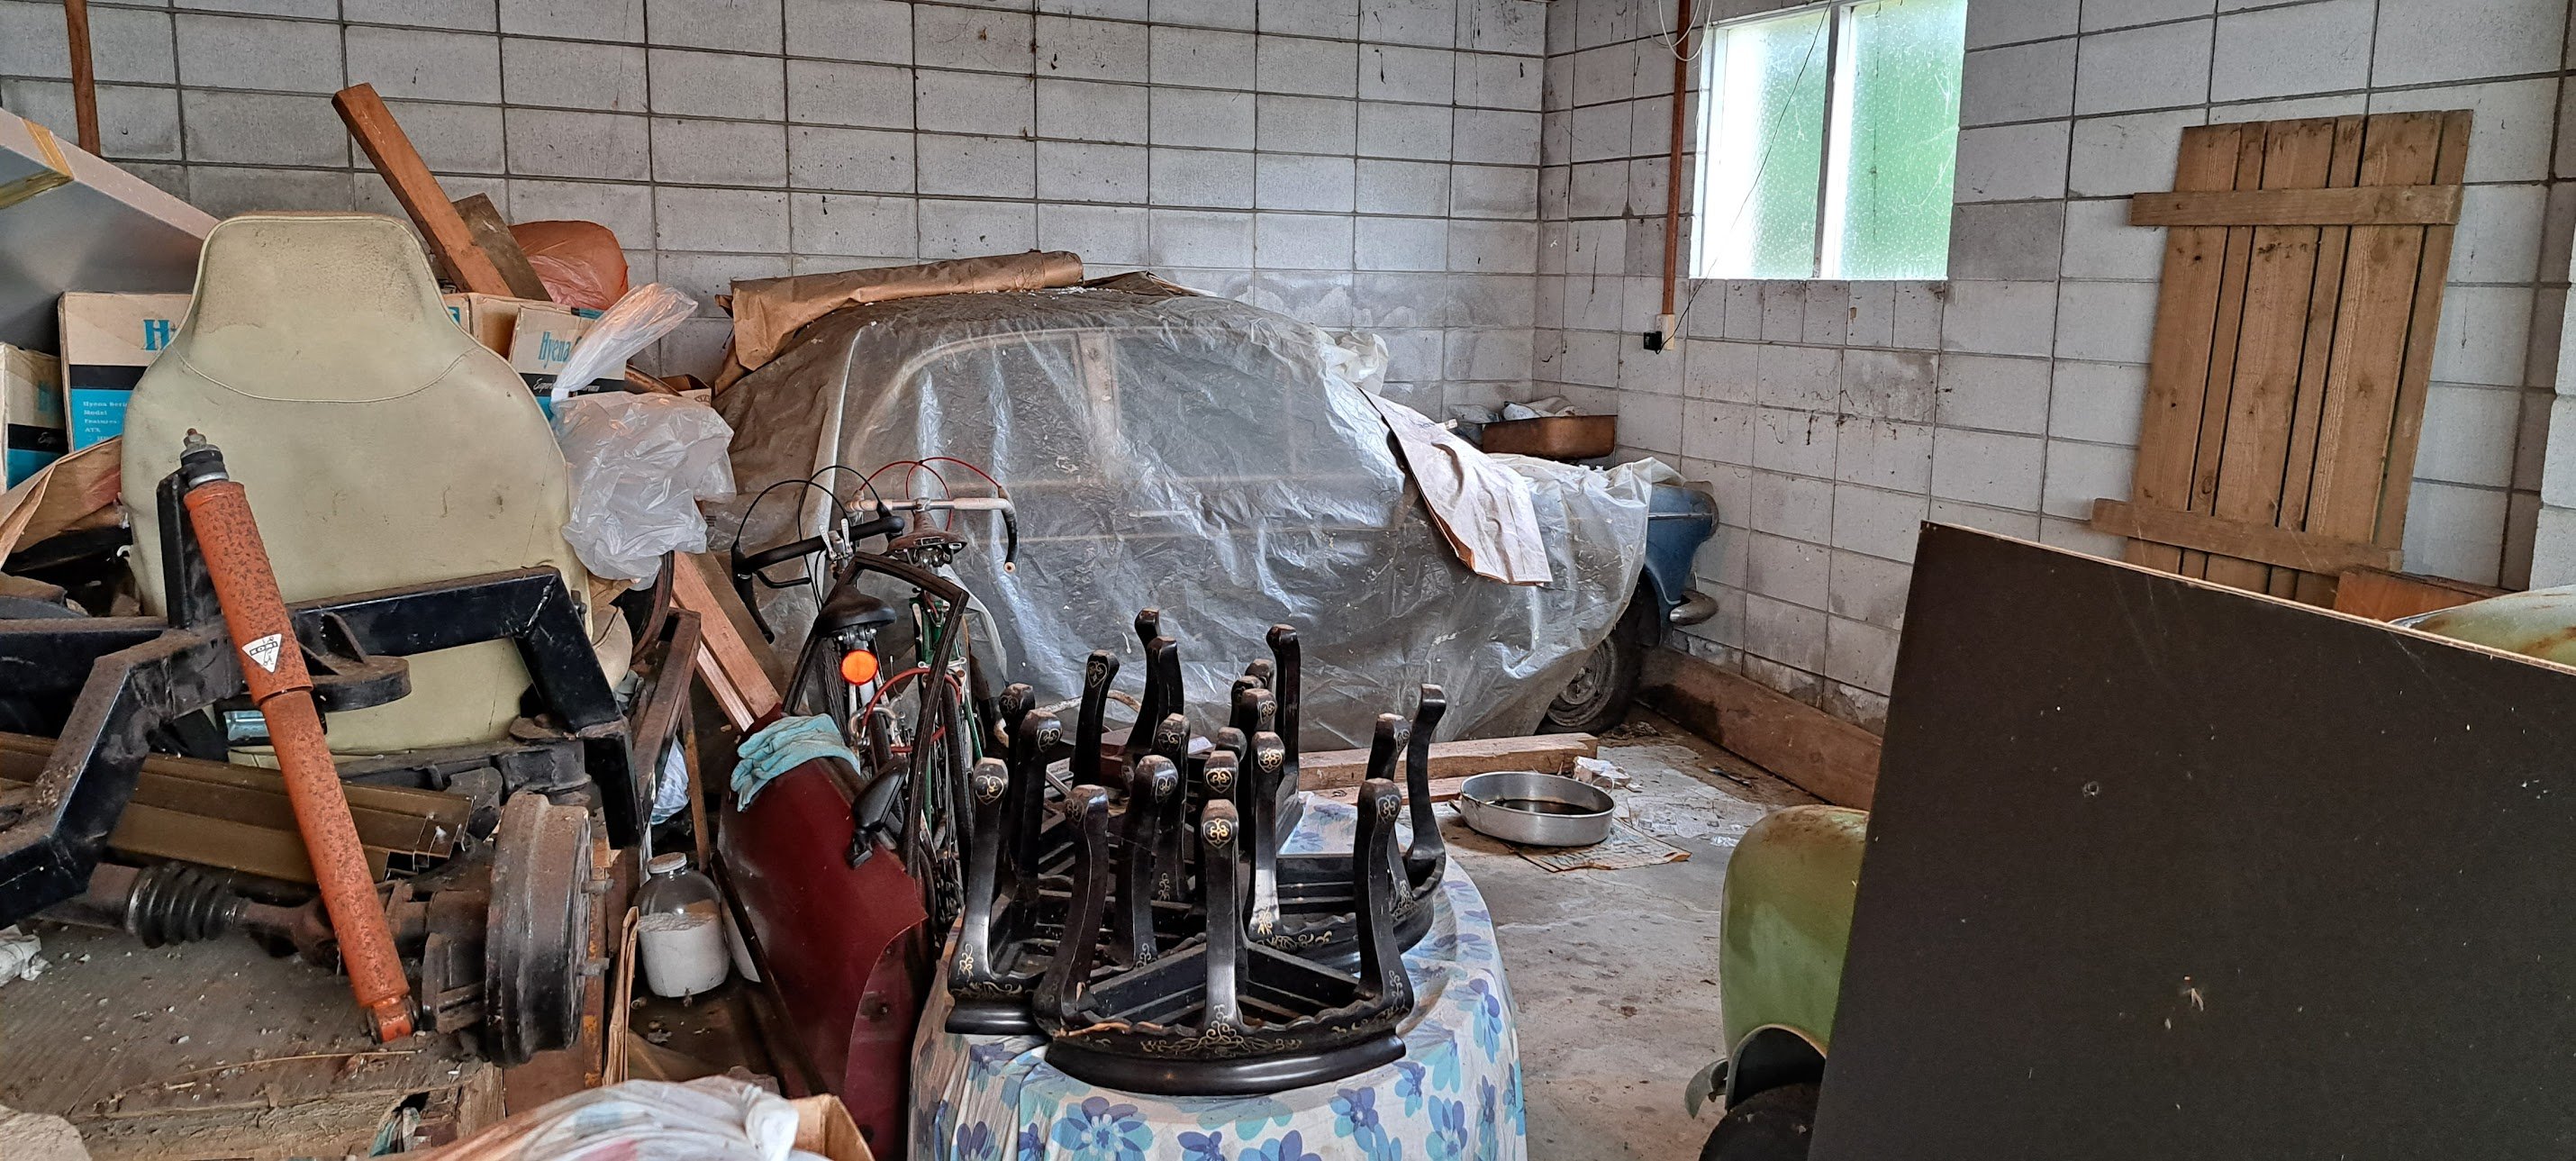
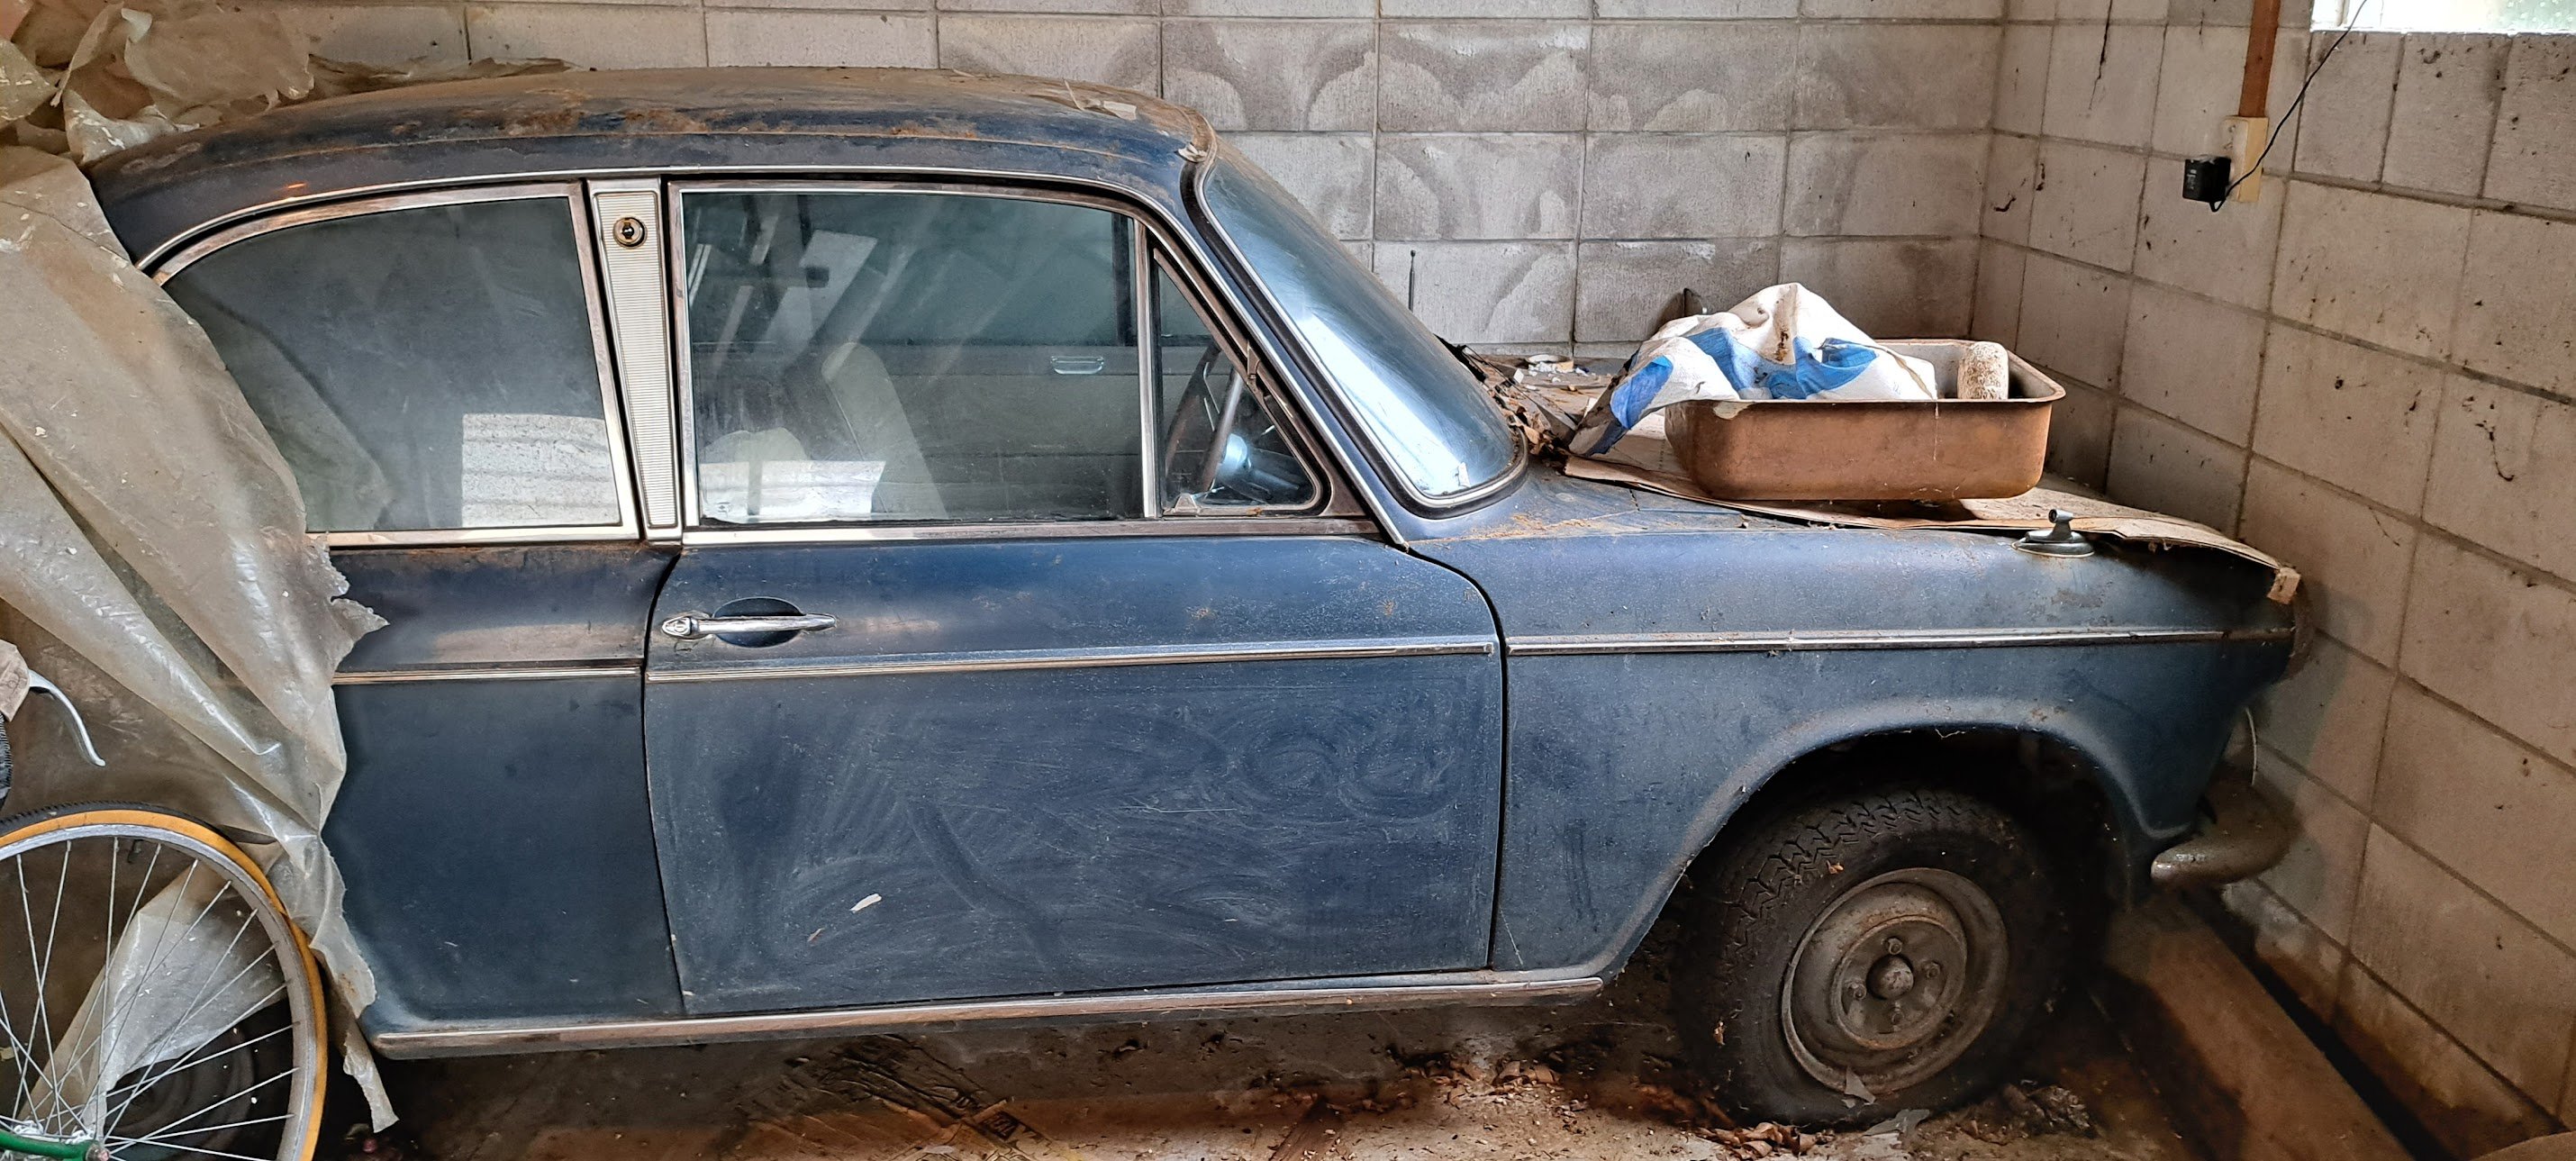
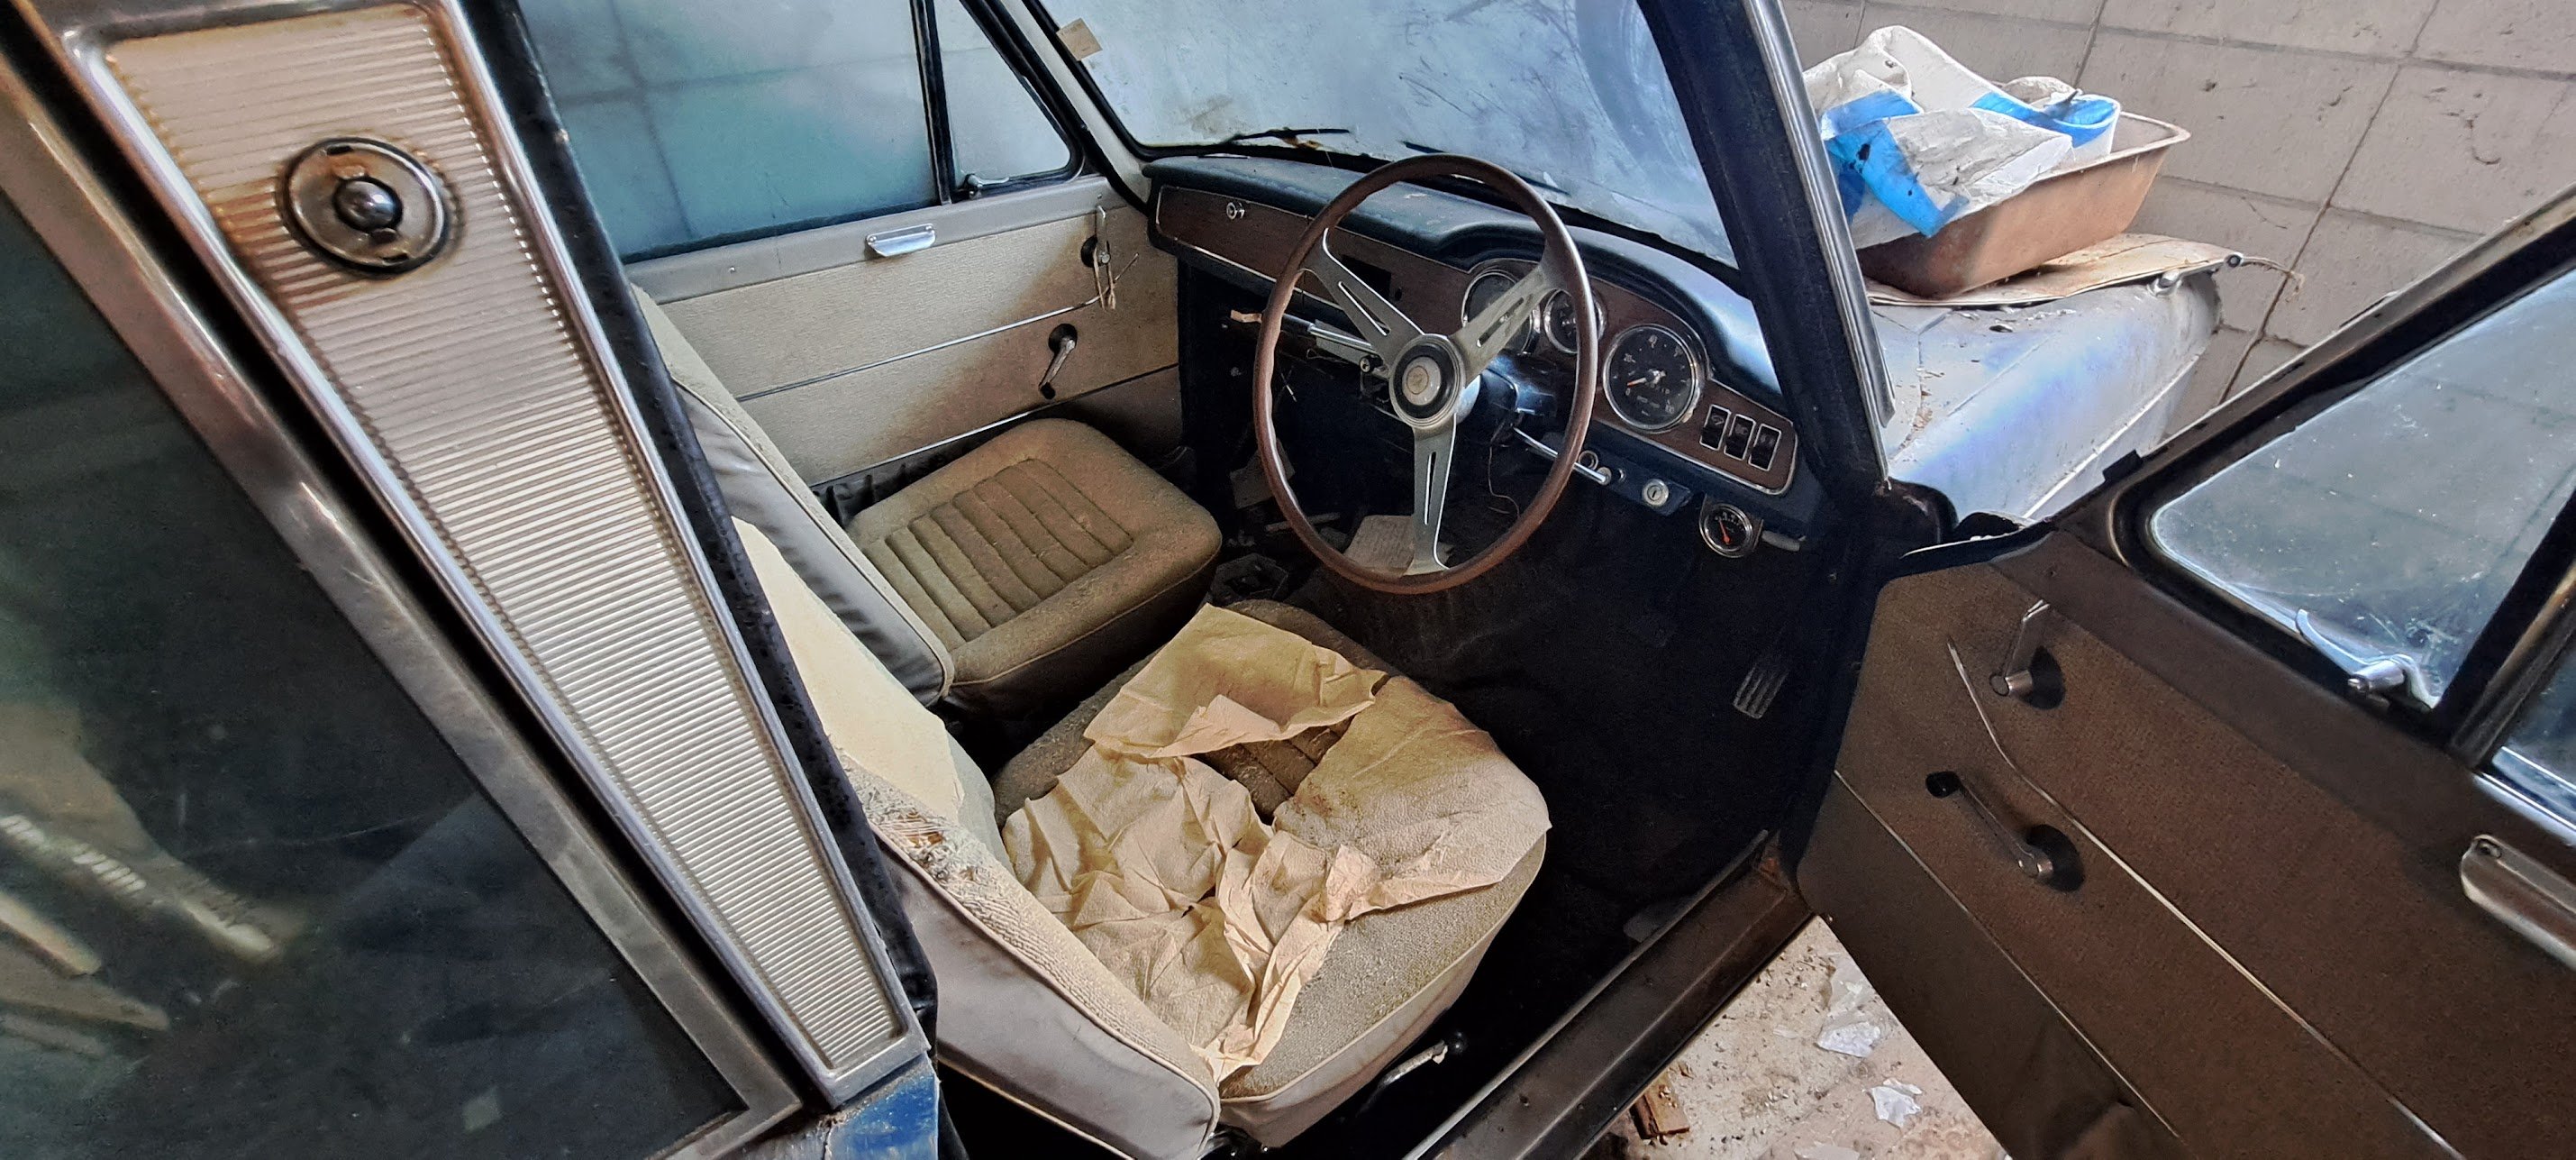
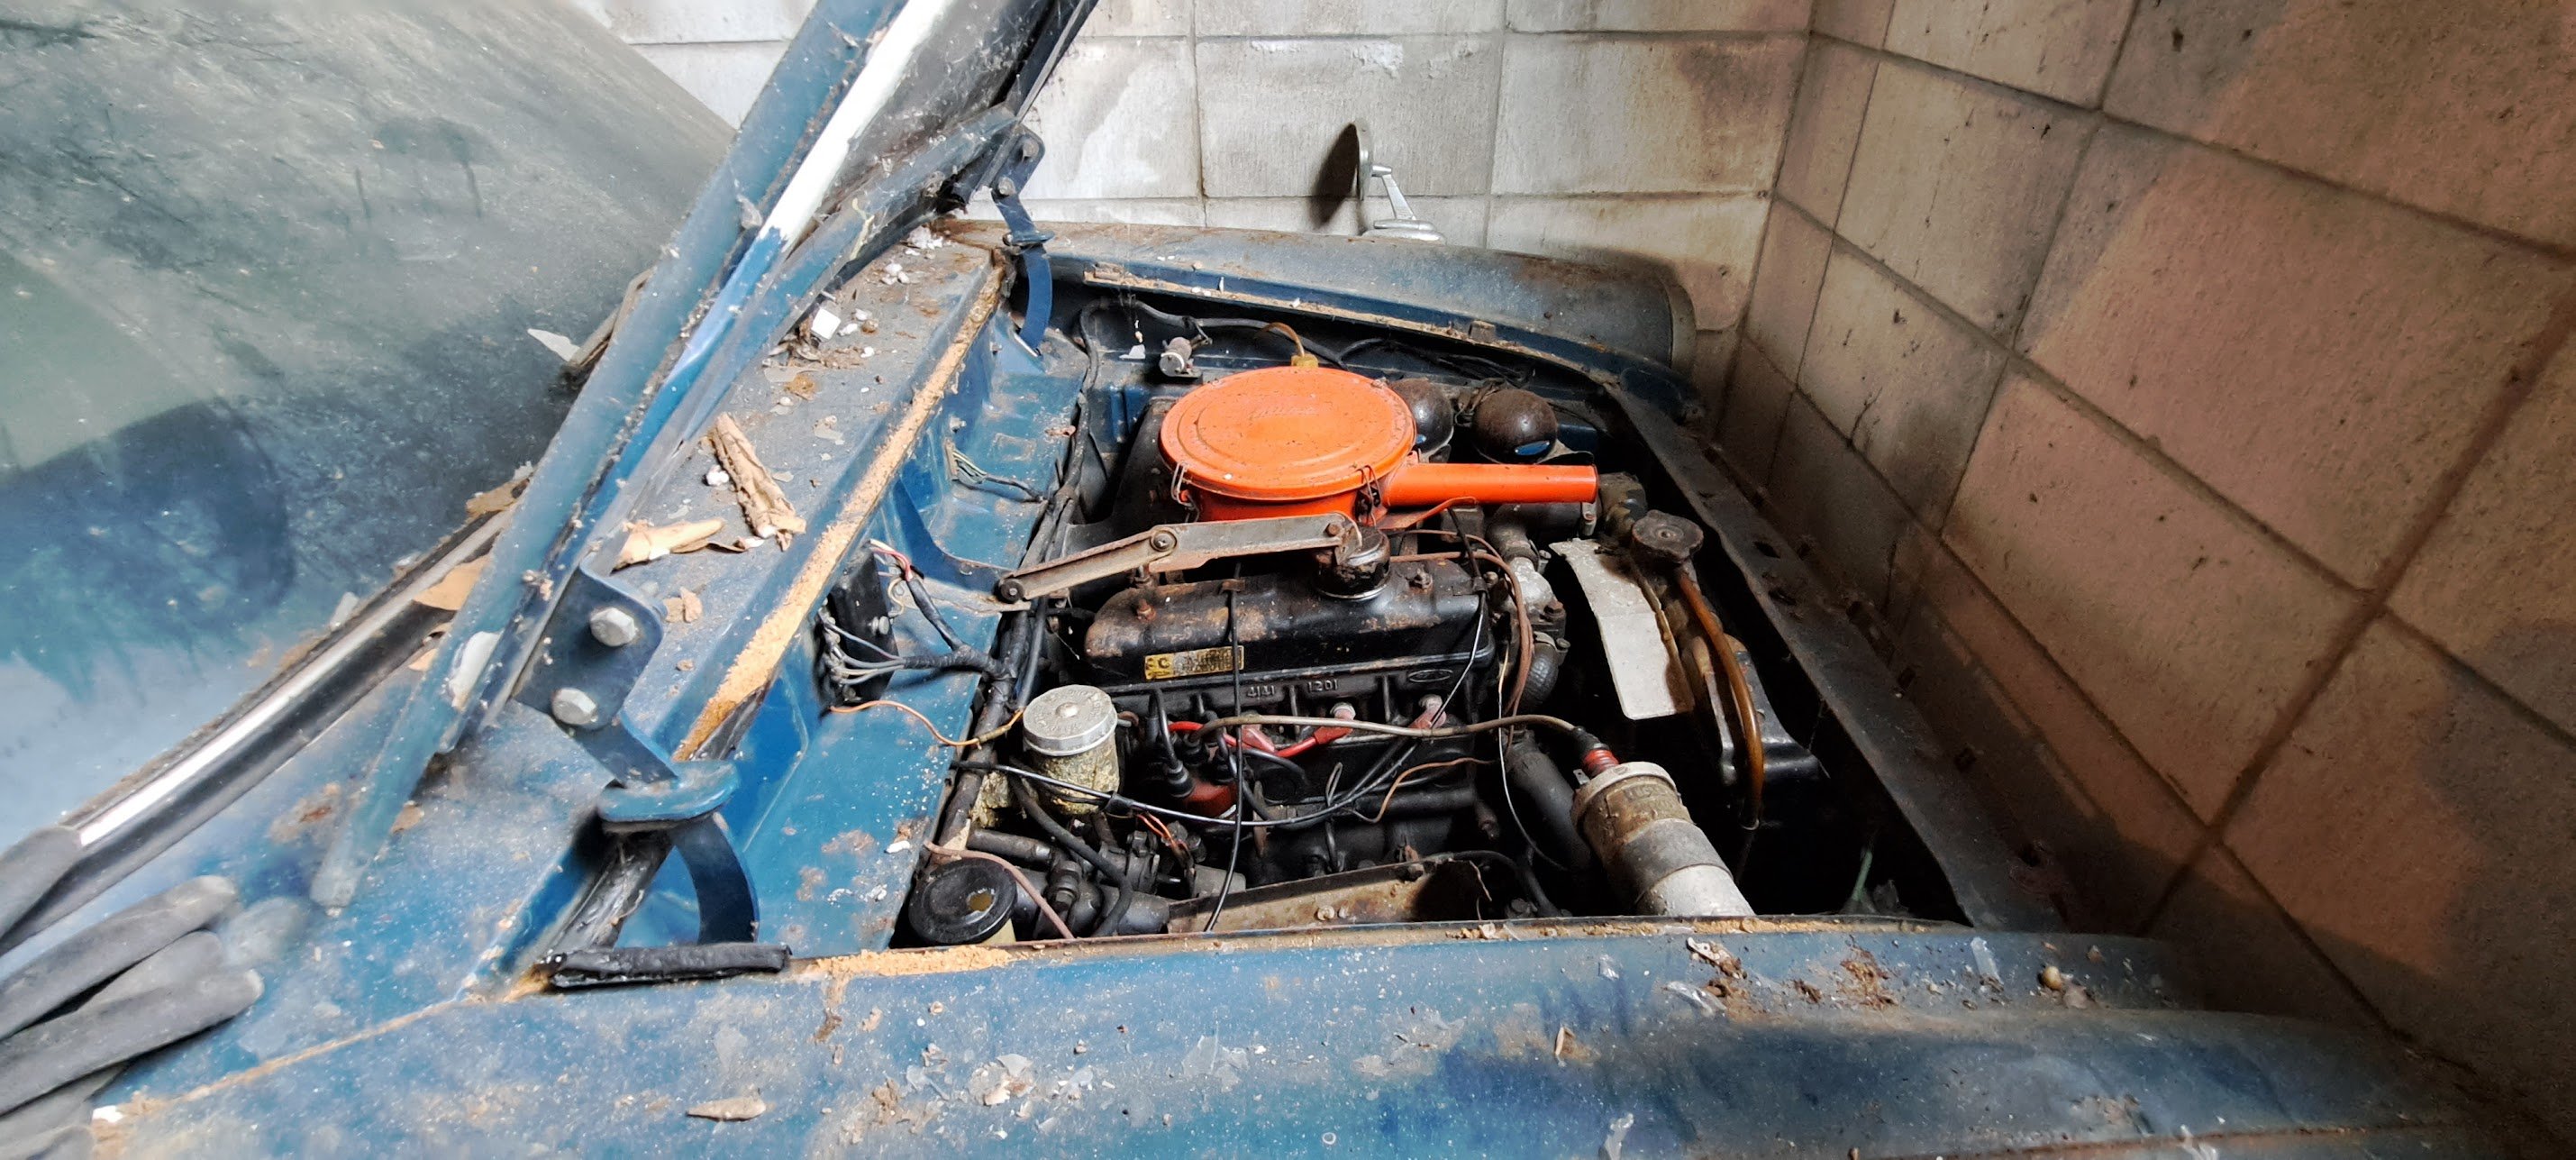
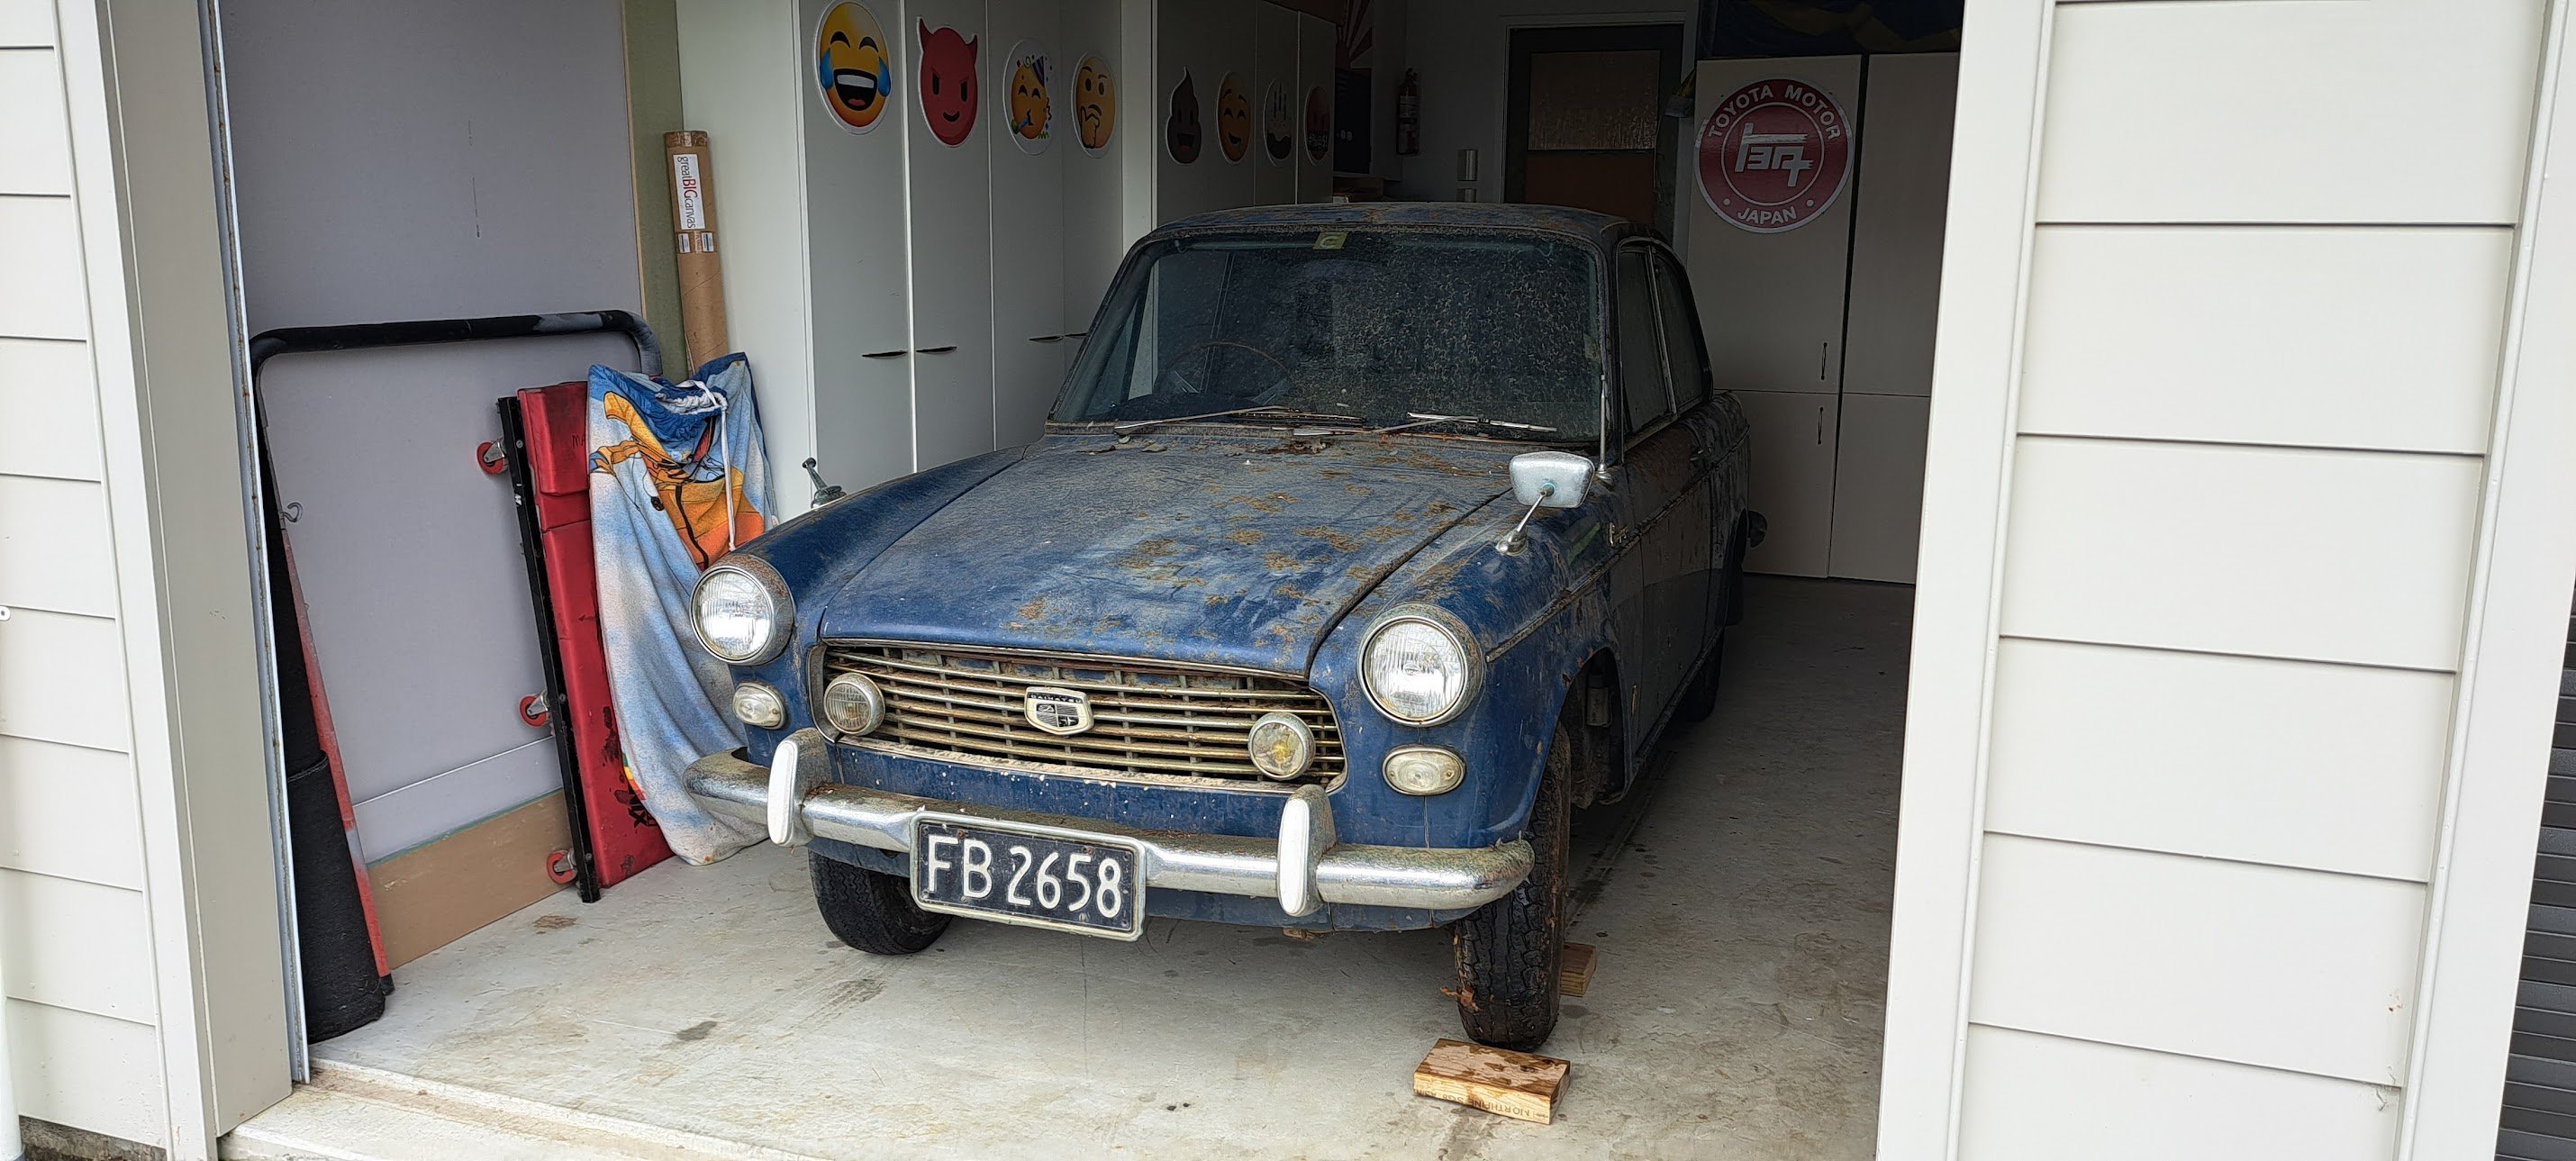
Around 25 years ago i worked with someone who mentioned they had an unusual Daihatsu in their shed. Owned since the early 70's. I'd kept in touch and occasionally asked about it but not much happened. A few months ago i ran into him at a car show and mentioned the car was now available. A "barn find" viewing and unearthing from 45 years sitting in one spot. And I was the proud new owner of this rare little beastie. The details: 1965 Daihatsu Compagno Berlina Deluxe 2 door 2 other owners from being sold new in NZ in 1965 by Campbell motors 53000Miles. Stored since 1977 due to front brake failure and dead alternator. 800cc "FC" motor IF ANYONE KNOWS ANYTHING ABOUT THIS CAR OR THESE COMPAGNO'S OR PARTS PLEASE PM ME For now it will be assessed, and things like brakes and clutch hydraulics will be rebuilt. Motor is locked so freeing this up will be tried. I have the original ownership papers and other details so it should be able to go back on the road relatively easy once mechanically sound.
- 32 replies
-
- 54
-
-
-
Sleeektoy's 1977 Racer Celica RA28 (WTF another one!!)
sleeektoy replied to sleeektoy's topic in Projects and Build Ups
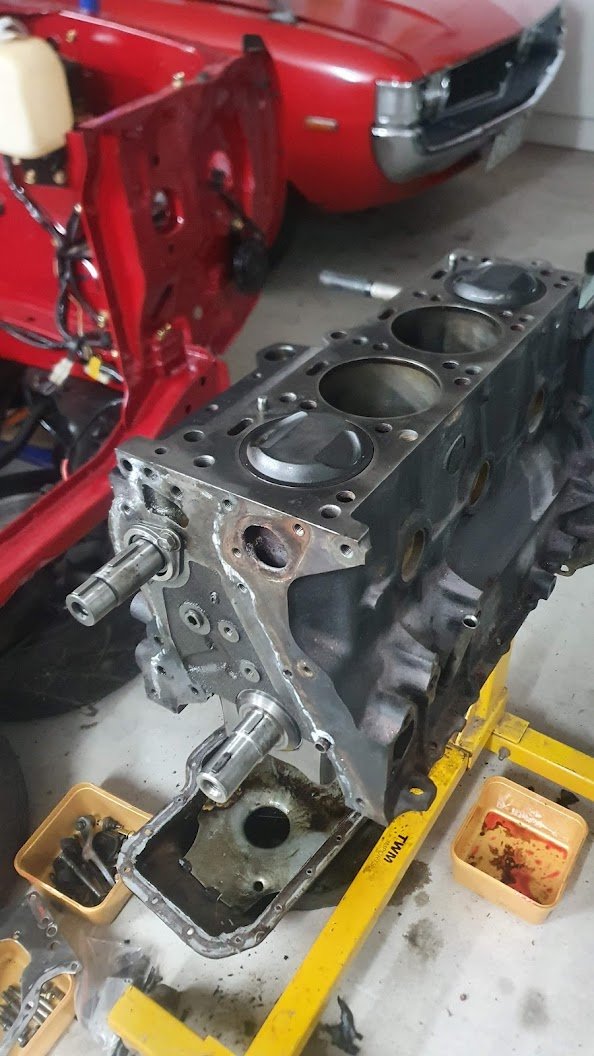
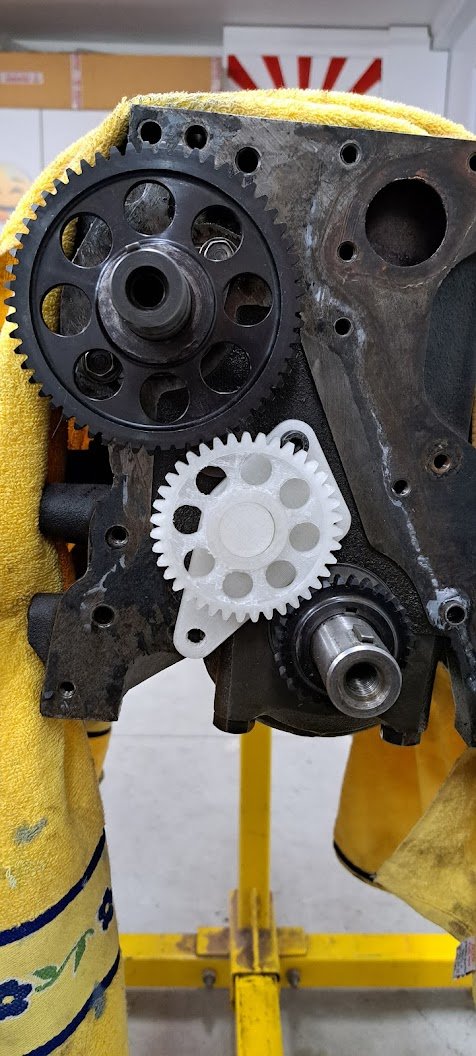
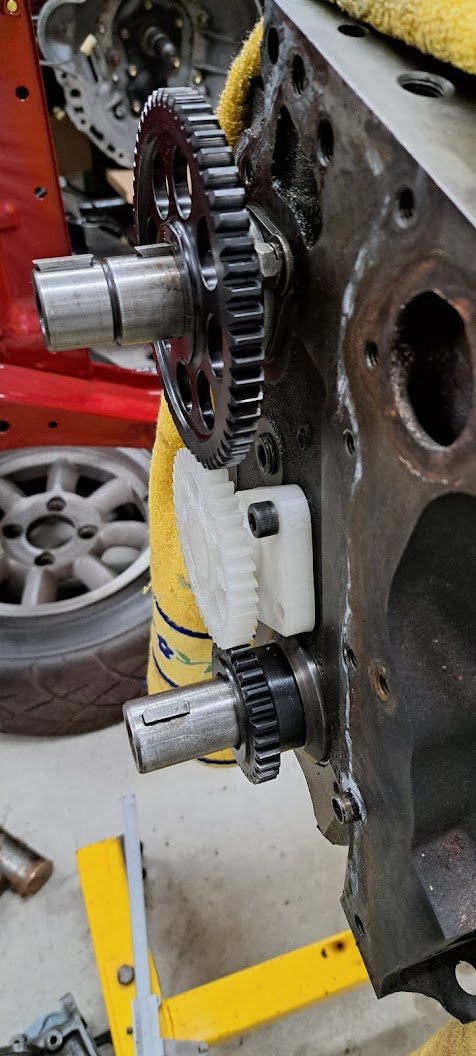
Long time update: Gearbox fitted, and engine dismantled for some tricks and refresh Testing a 3D print timing gear drive for bottom end
- 51 replies
-
- 16
-
-
Sleeektoy's 1977 Racer Celica RA28 (WTF another one!!)
sleeektoy replied to sleeektoy's topic in Projects and Build Ups
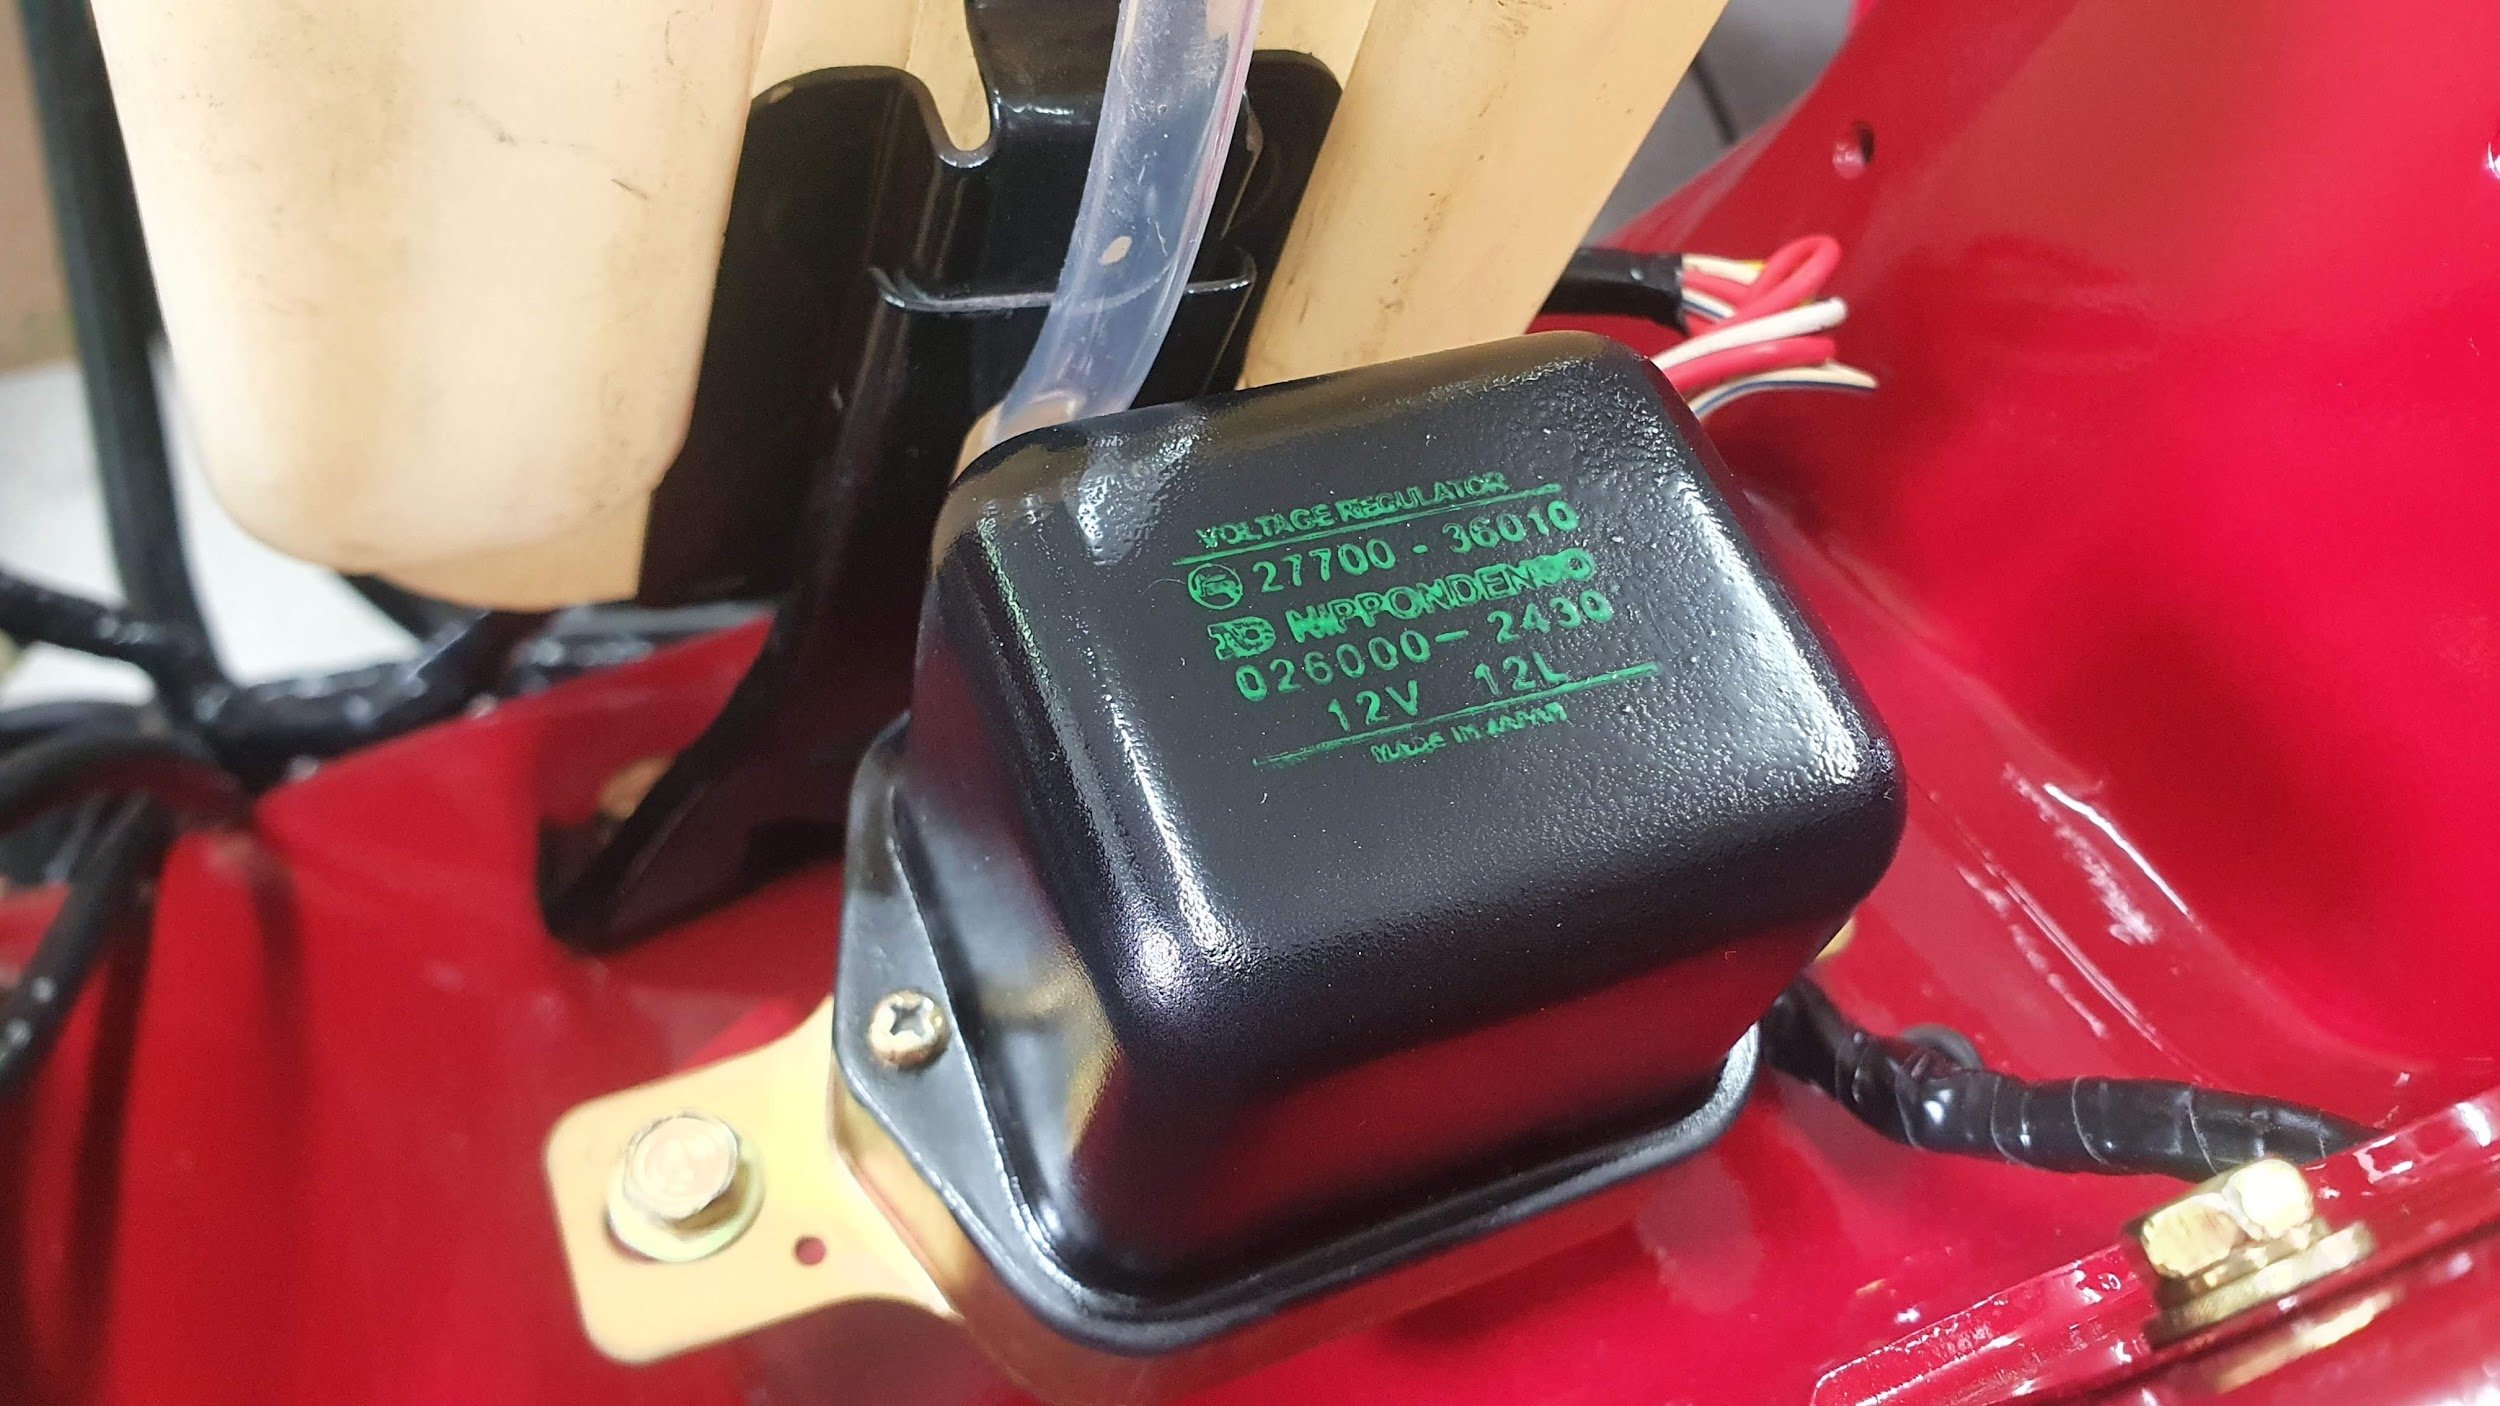
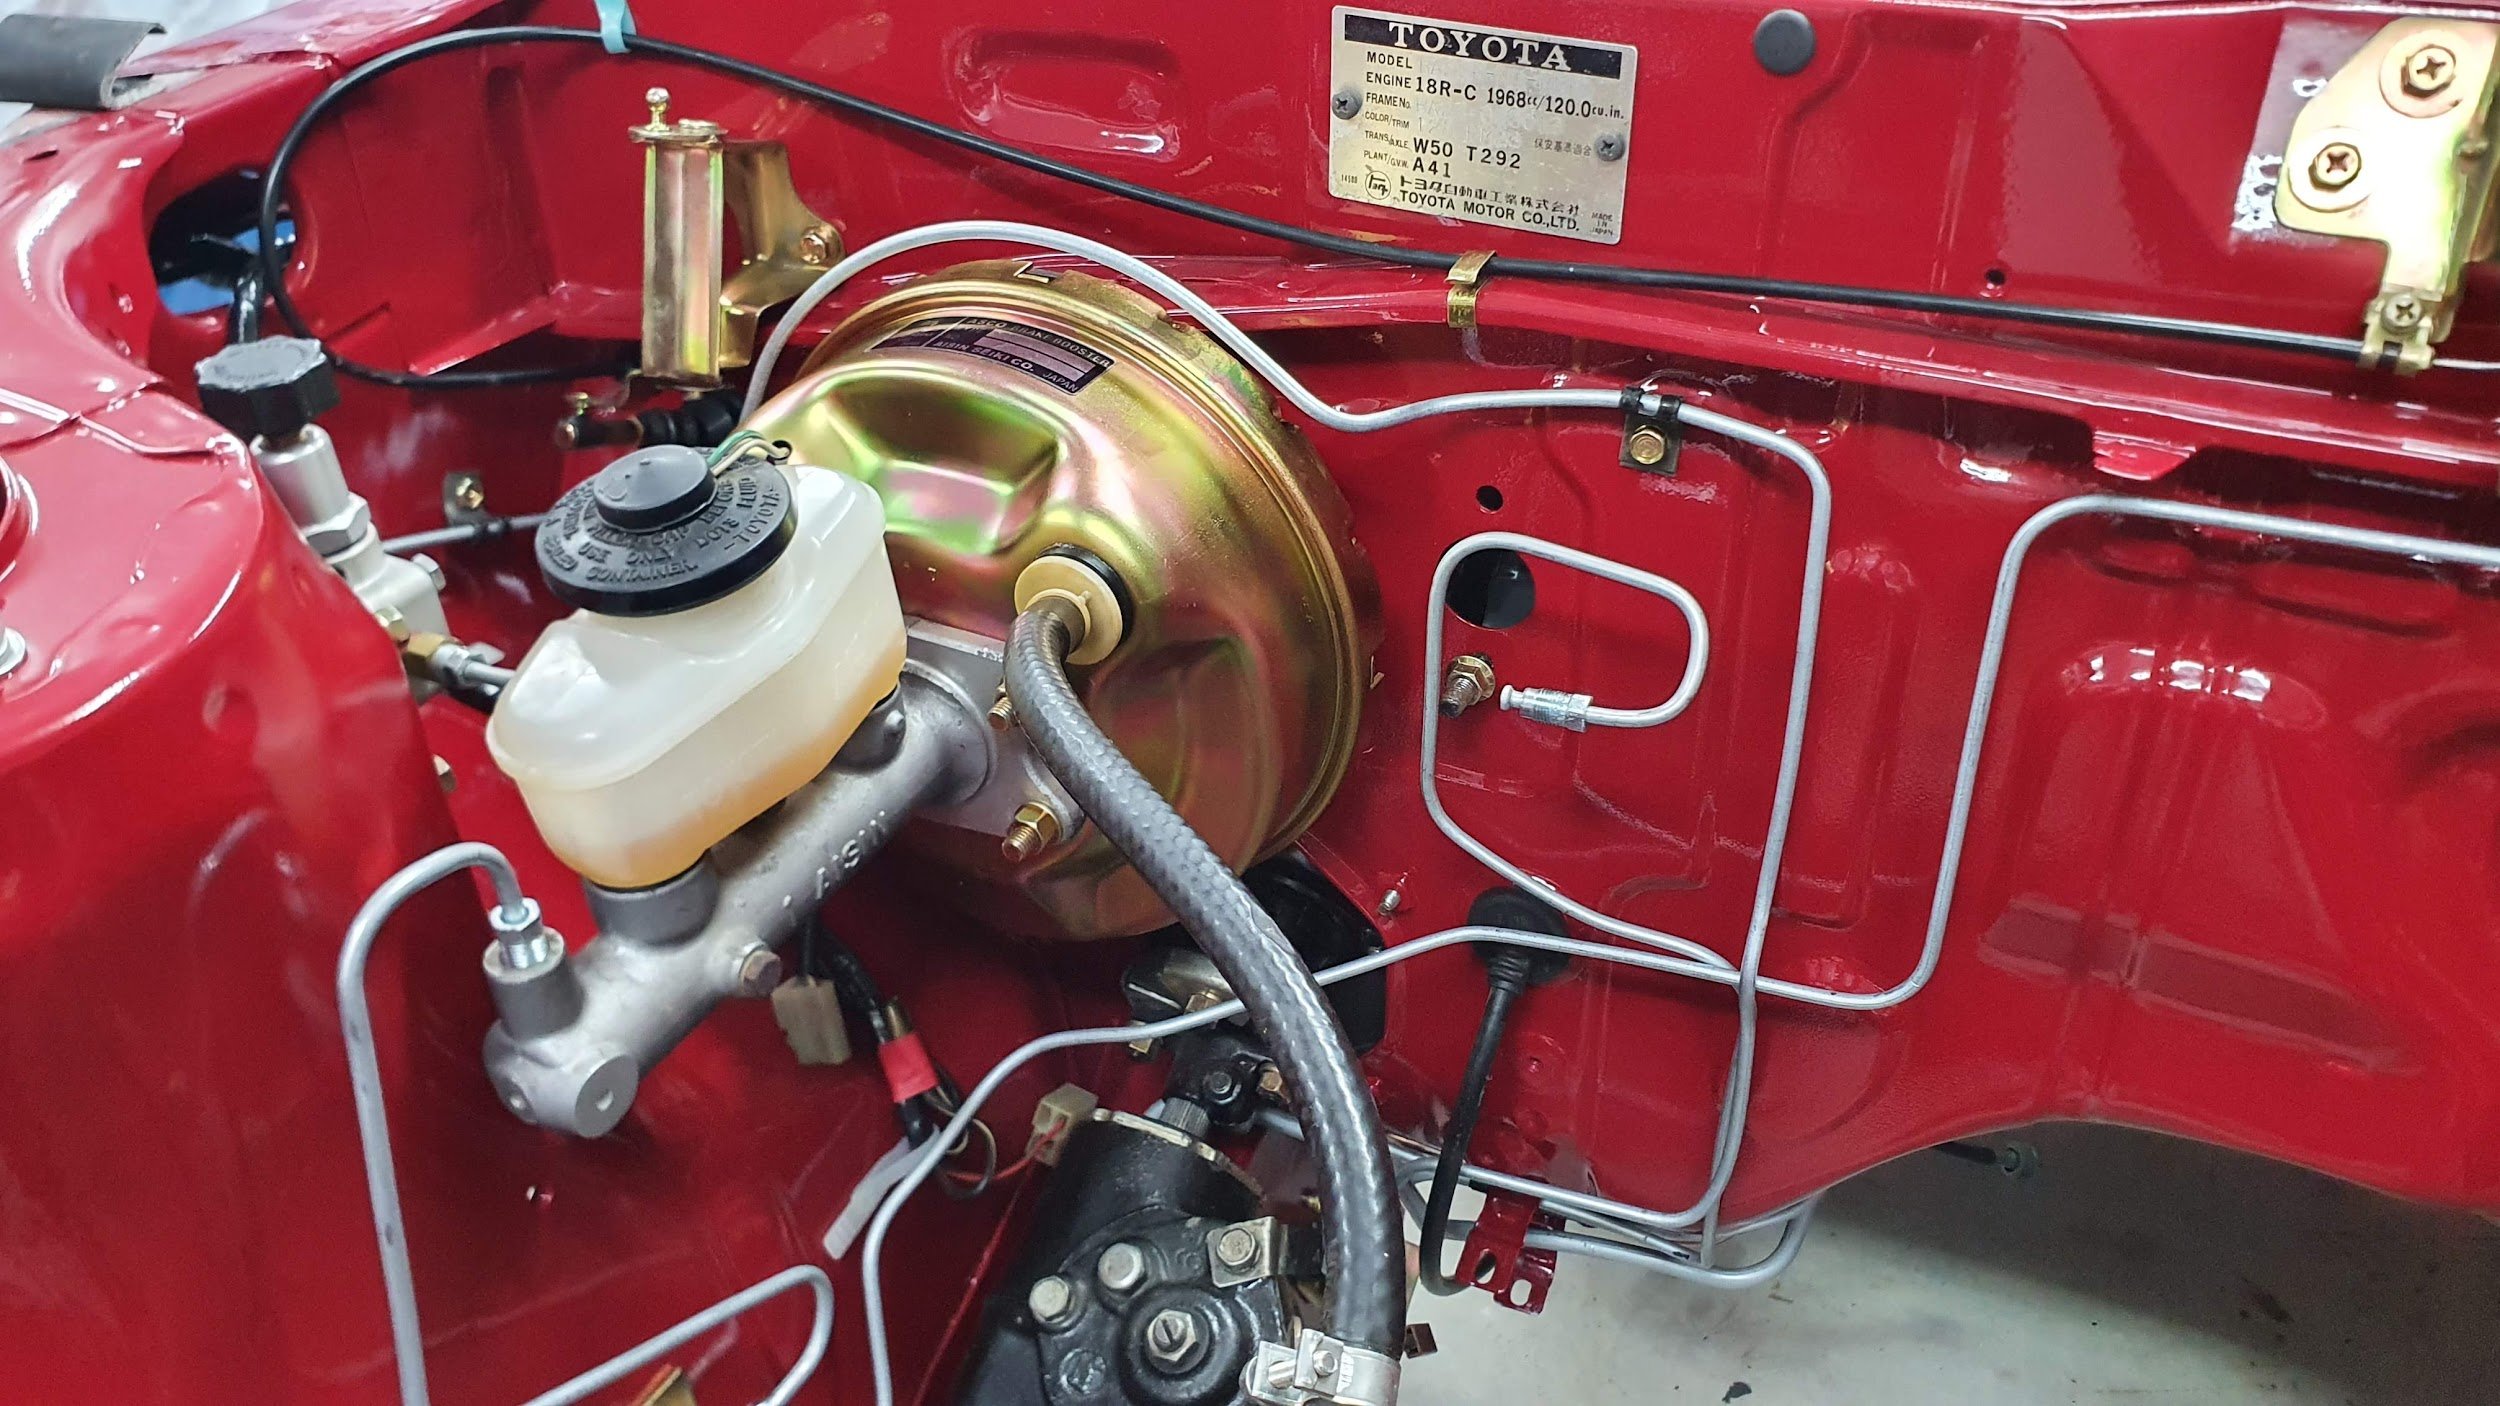
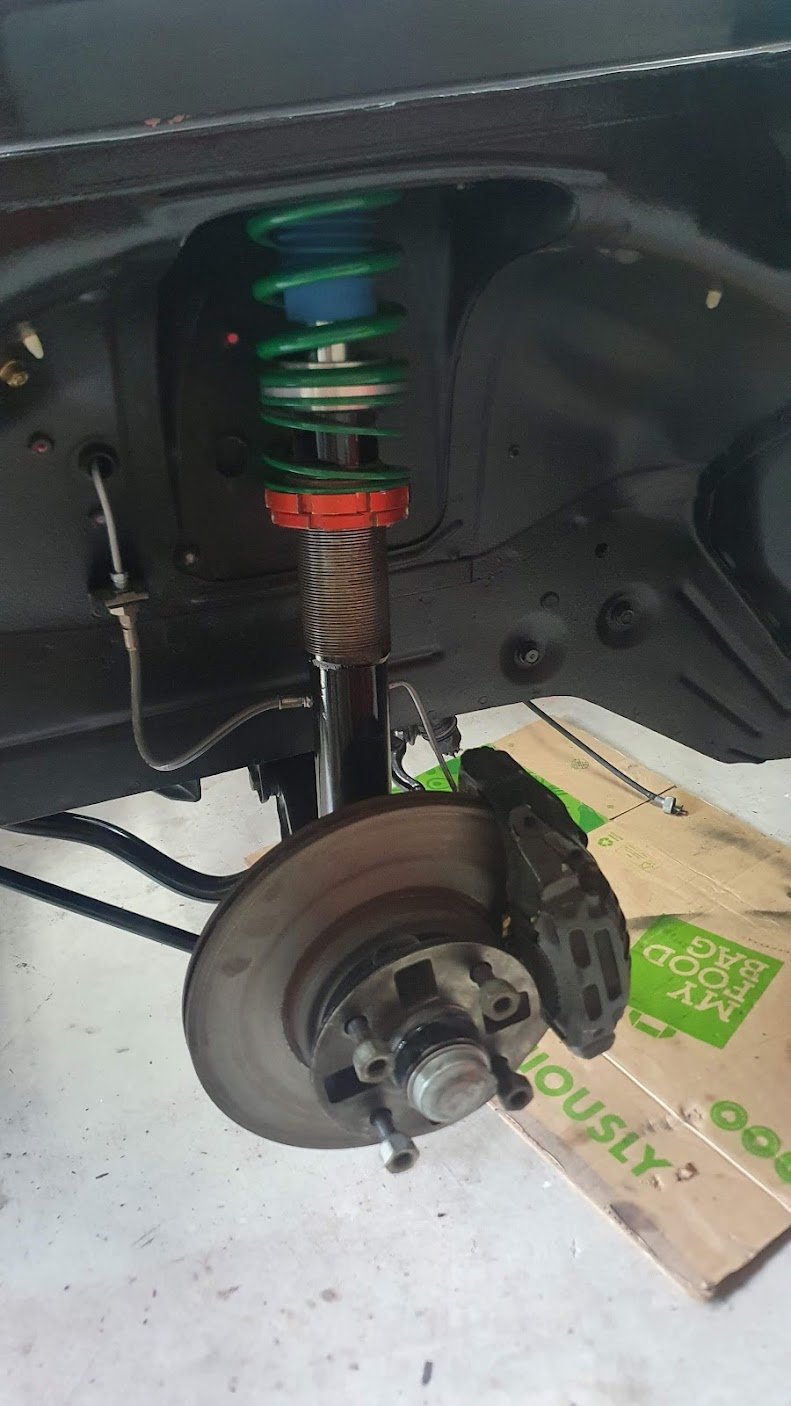
Booster and brake plumbing all done - I previously deleted the bias valve and replaced it with a wilwood adjustable, and upgraded the master to a bigger MA70 one Brakes all round means the front steering and suspension is all in too I previously disliked the wiring and relay/fuse for the electric fan As the alternator is internally regulated now - I figured up-cycle the old regulator housing to sneak the fan gubbins in... Next mission is to test fit the bigger W55 gearbox and apply clearance to any parts, and run a return fuel line that also clears it. Then onto checking the engine and see what needs freshening on it.
- 51 replies
-
- 18
-
-
Sleeektoy's 1977 Racer Celica RA28 (WTF another one!!)
sleeektoy replied to sleeektoy's topic in Projects and Build Ups
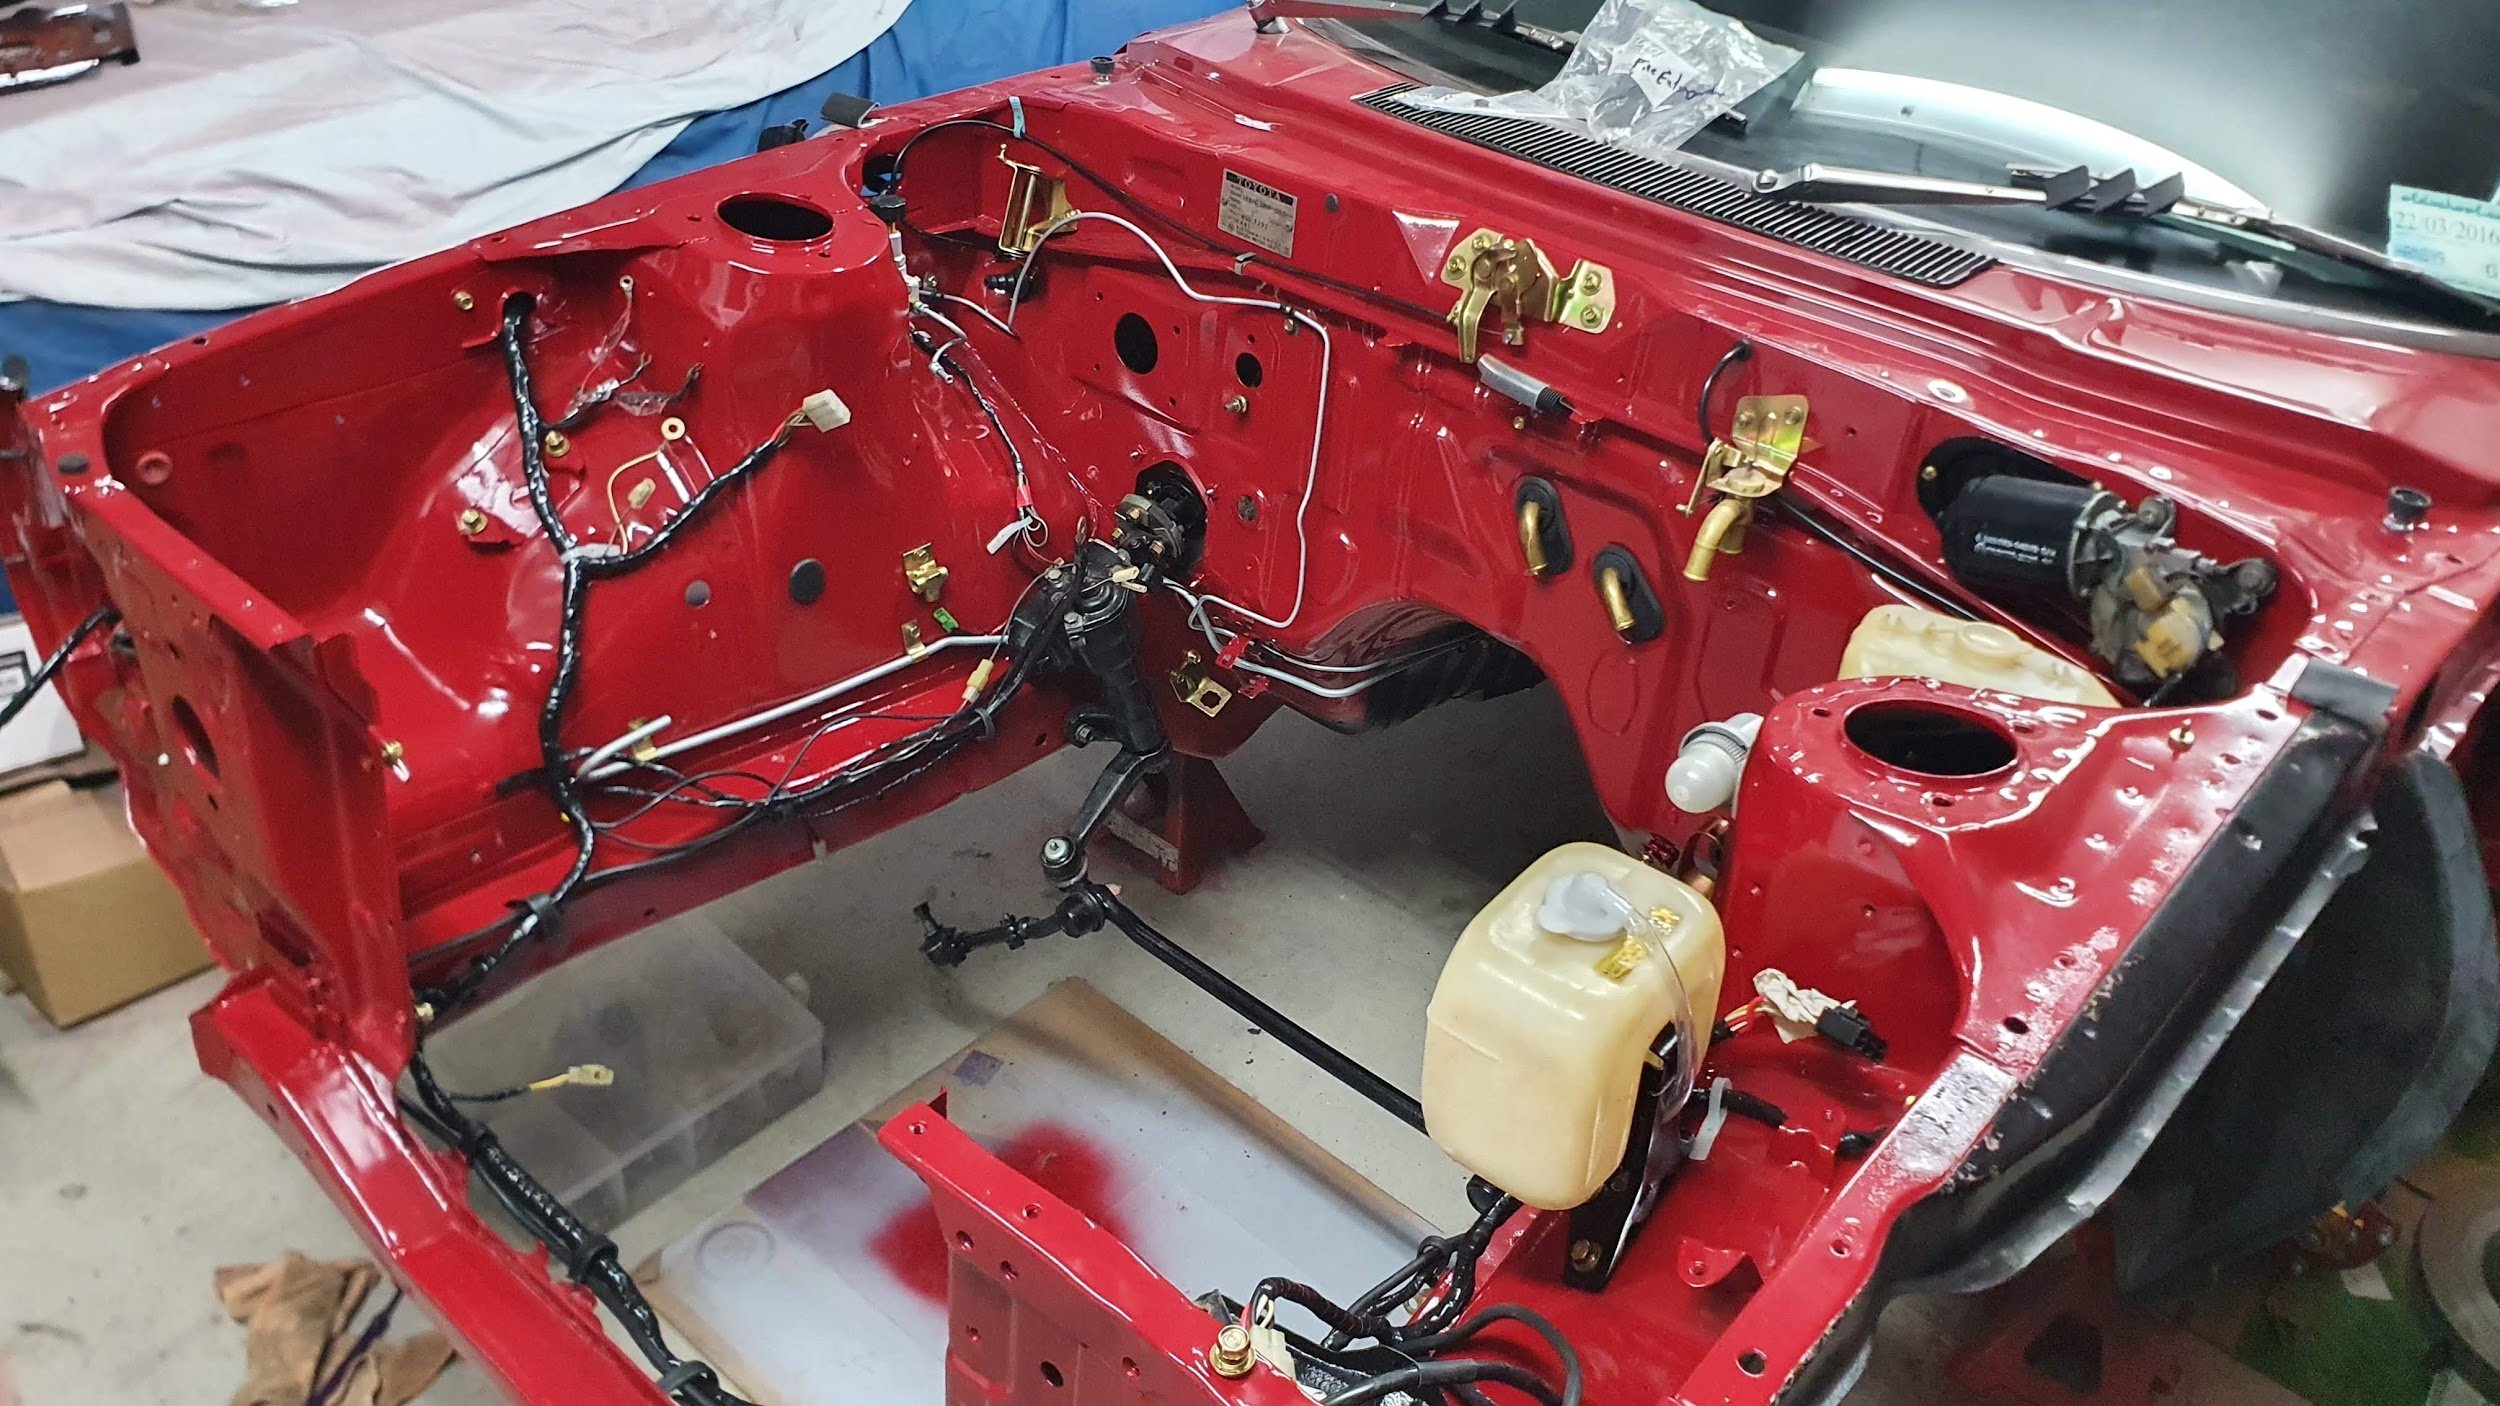
Throwing it all back in as much as i can. Awaiting some brake parts (fittings/booster) and some more plating and then it will be progressed more.
- 51 replies
-
- 19
-
-
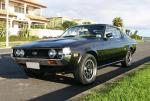
Saw this - inspiration!
-
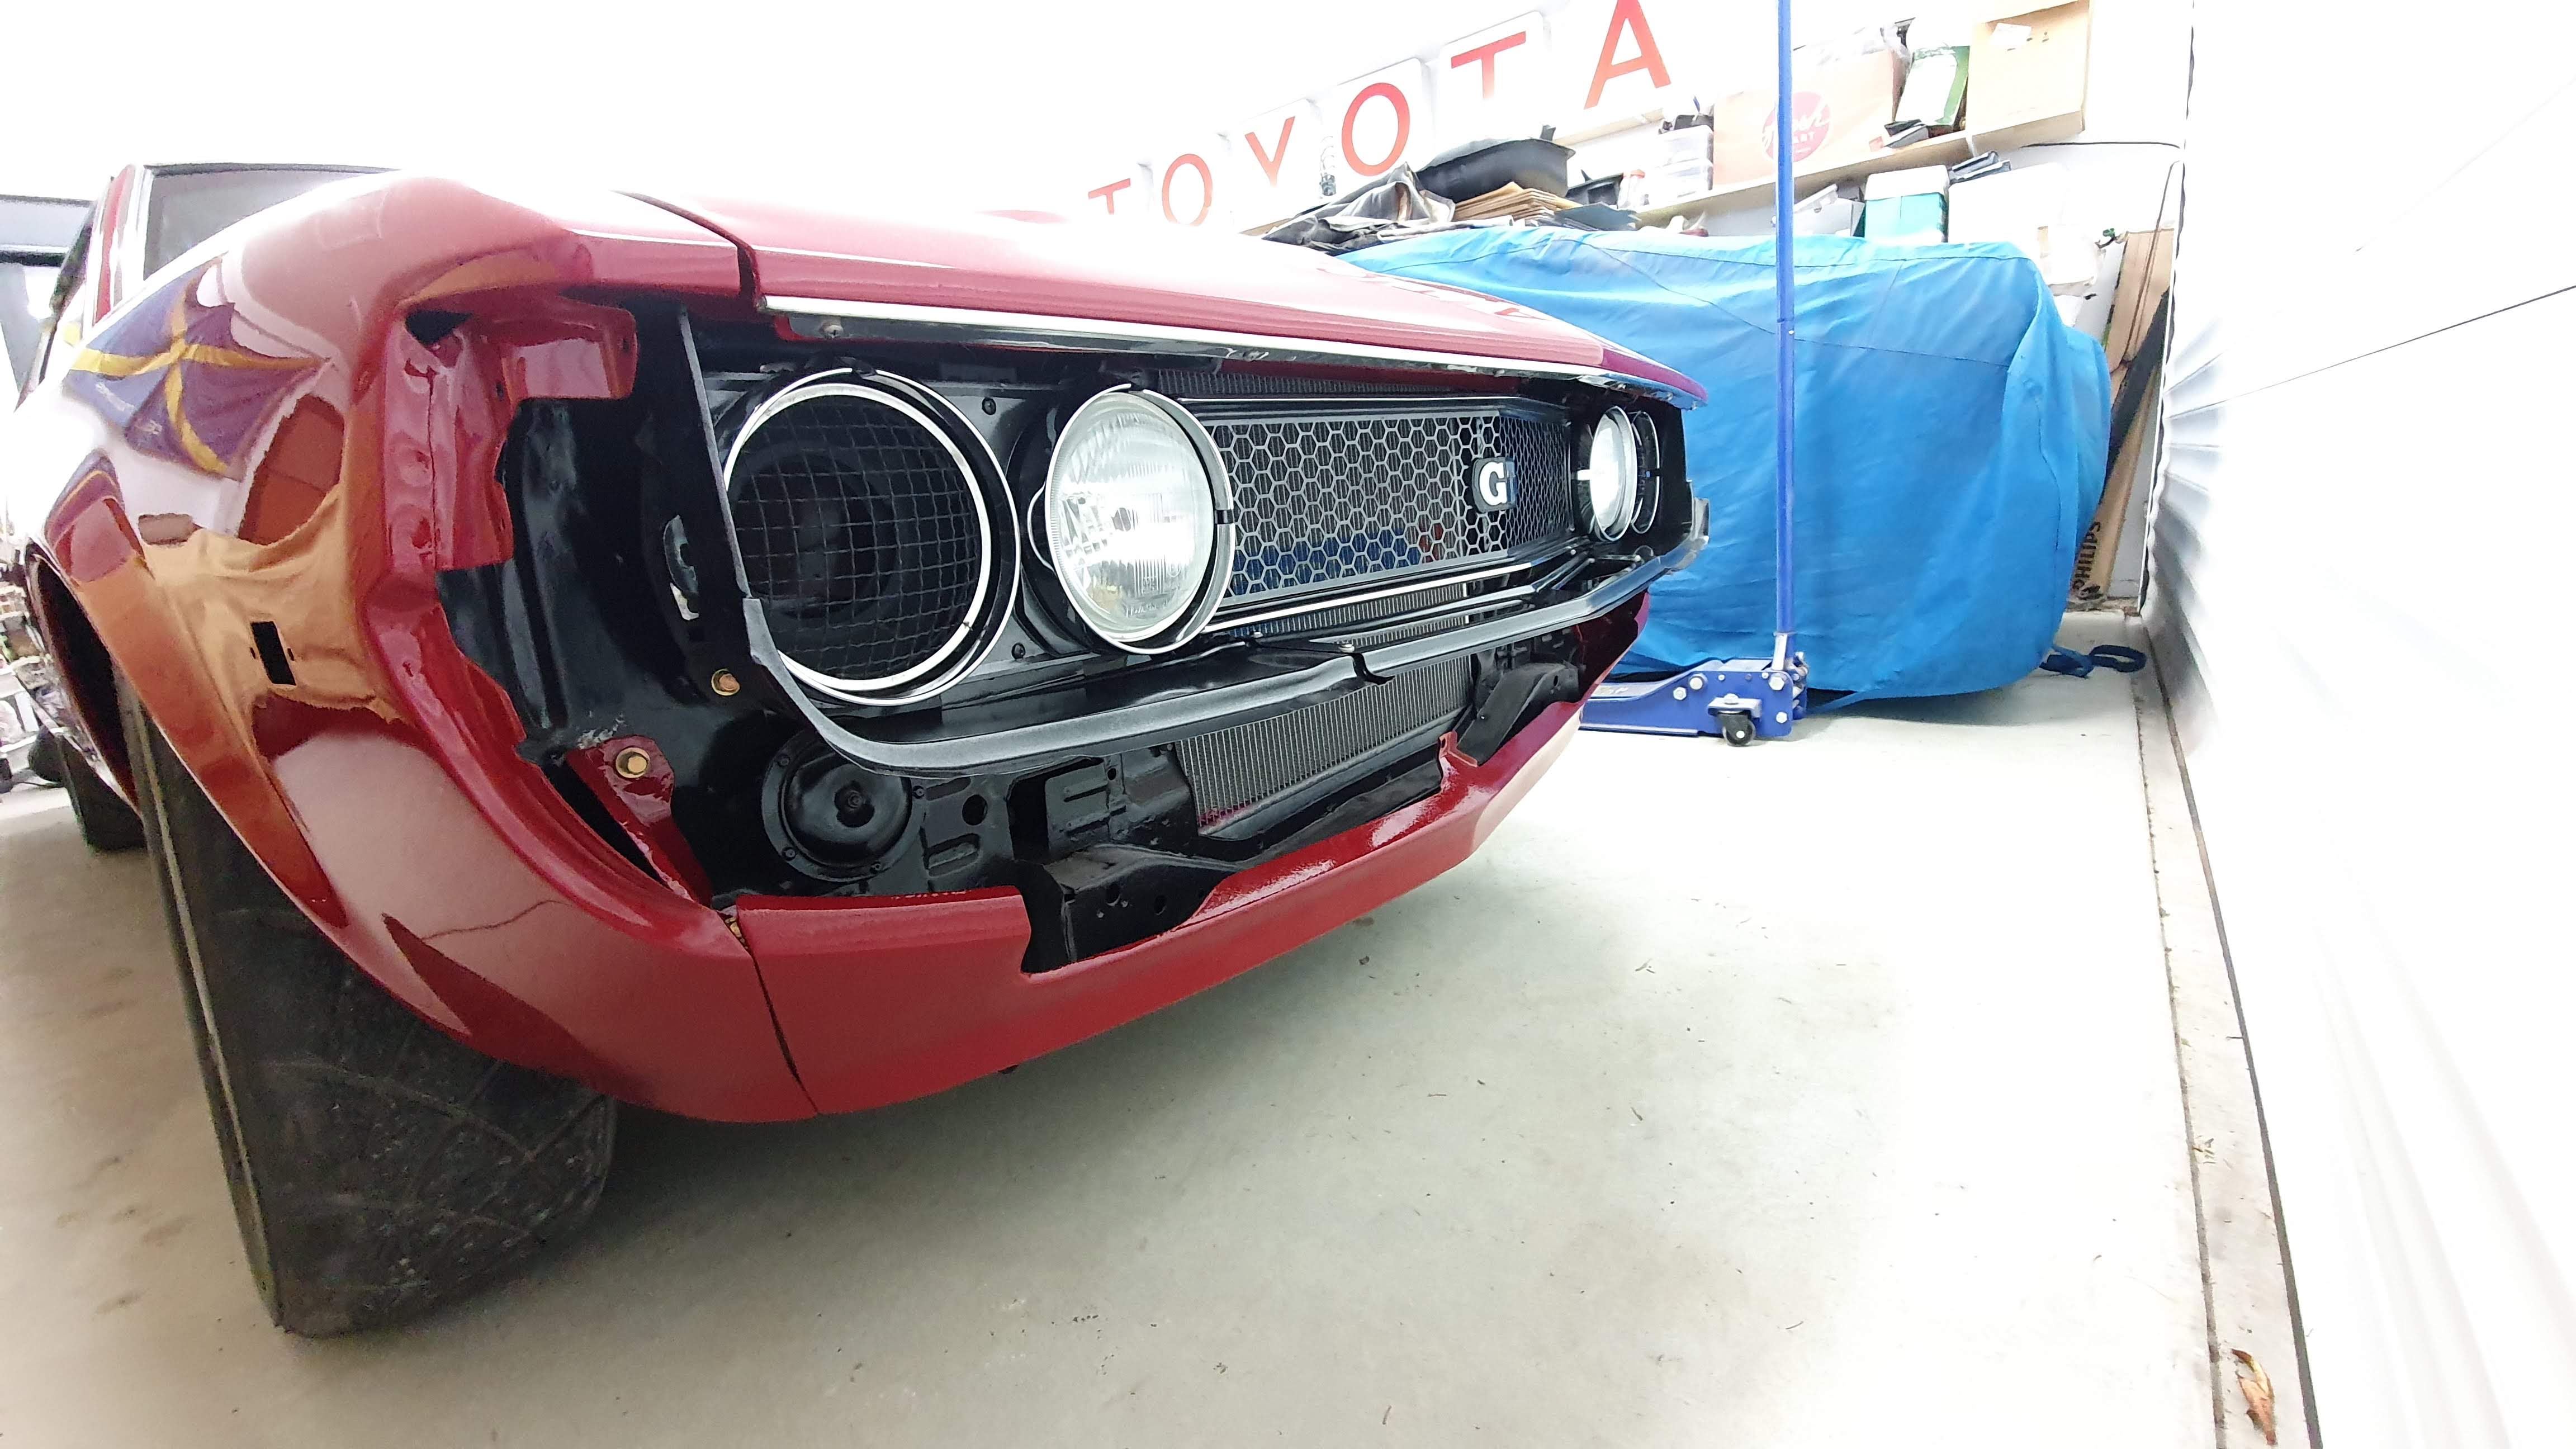
Sleeektoy's 1977 Racer Celica RA28 (WTF another one!!)
sleeektoy replied to sleeektoy's topic in Projects and Build Ups
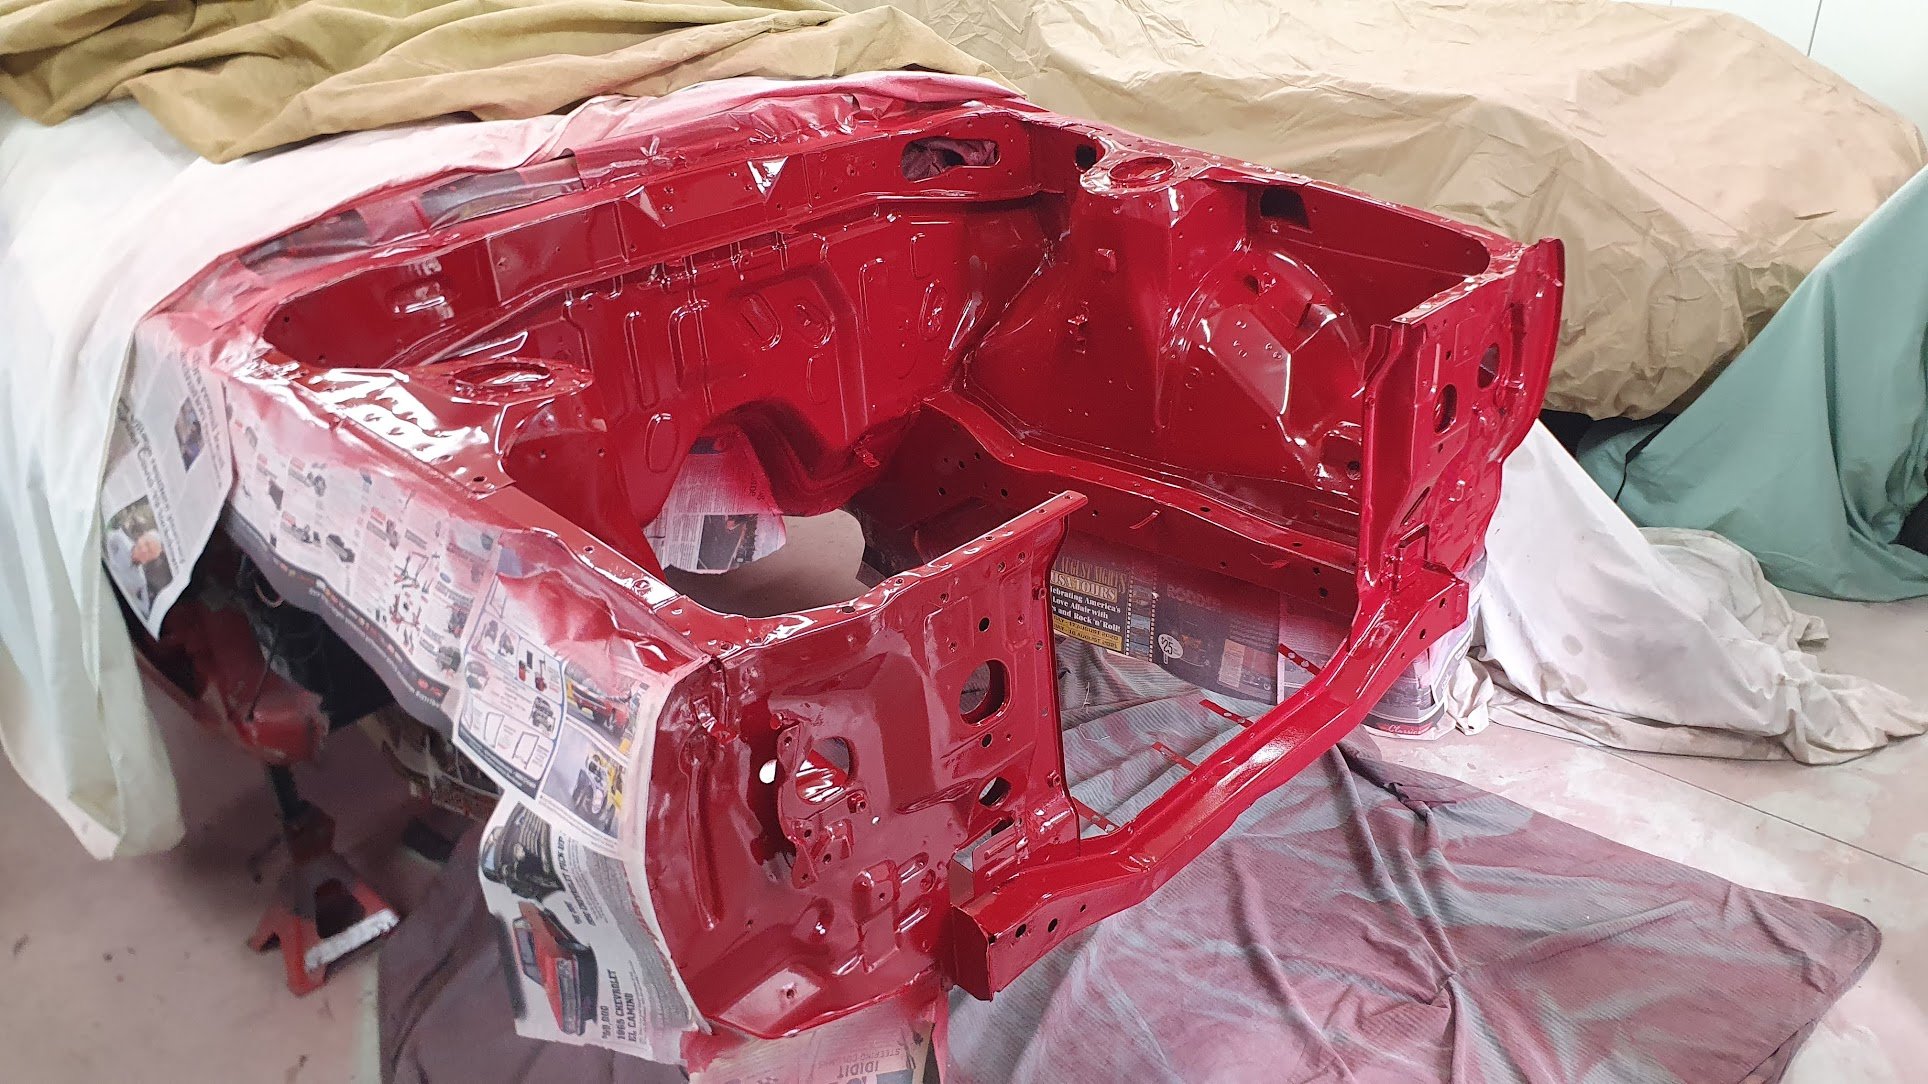
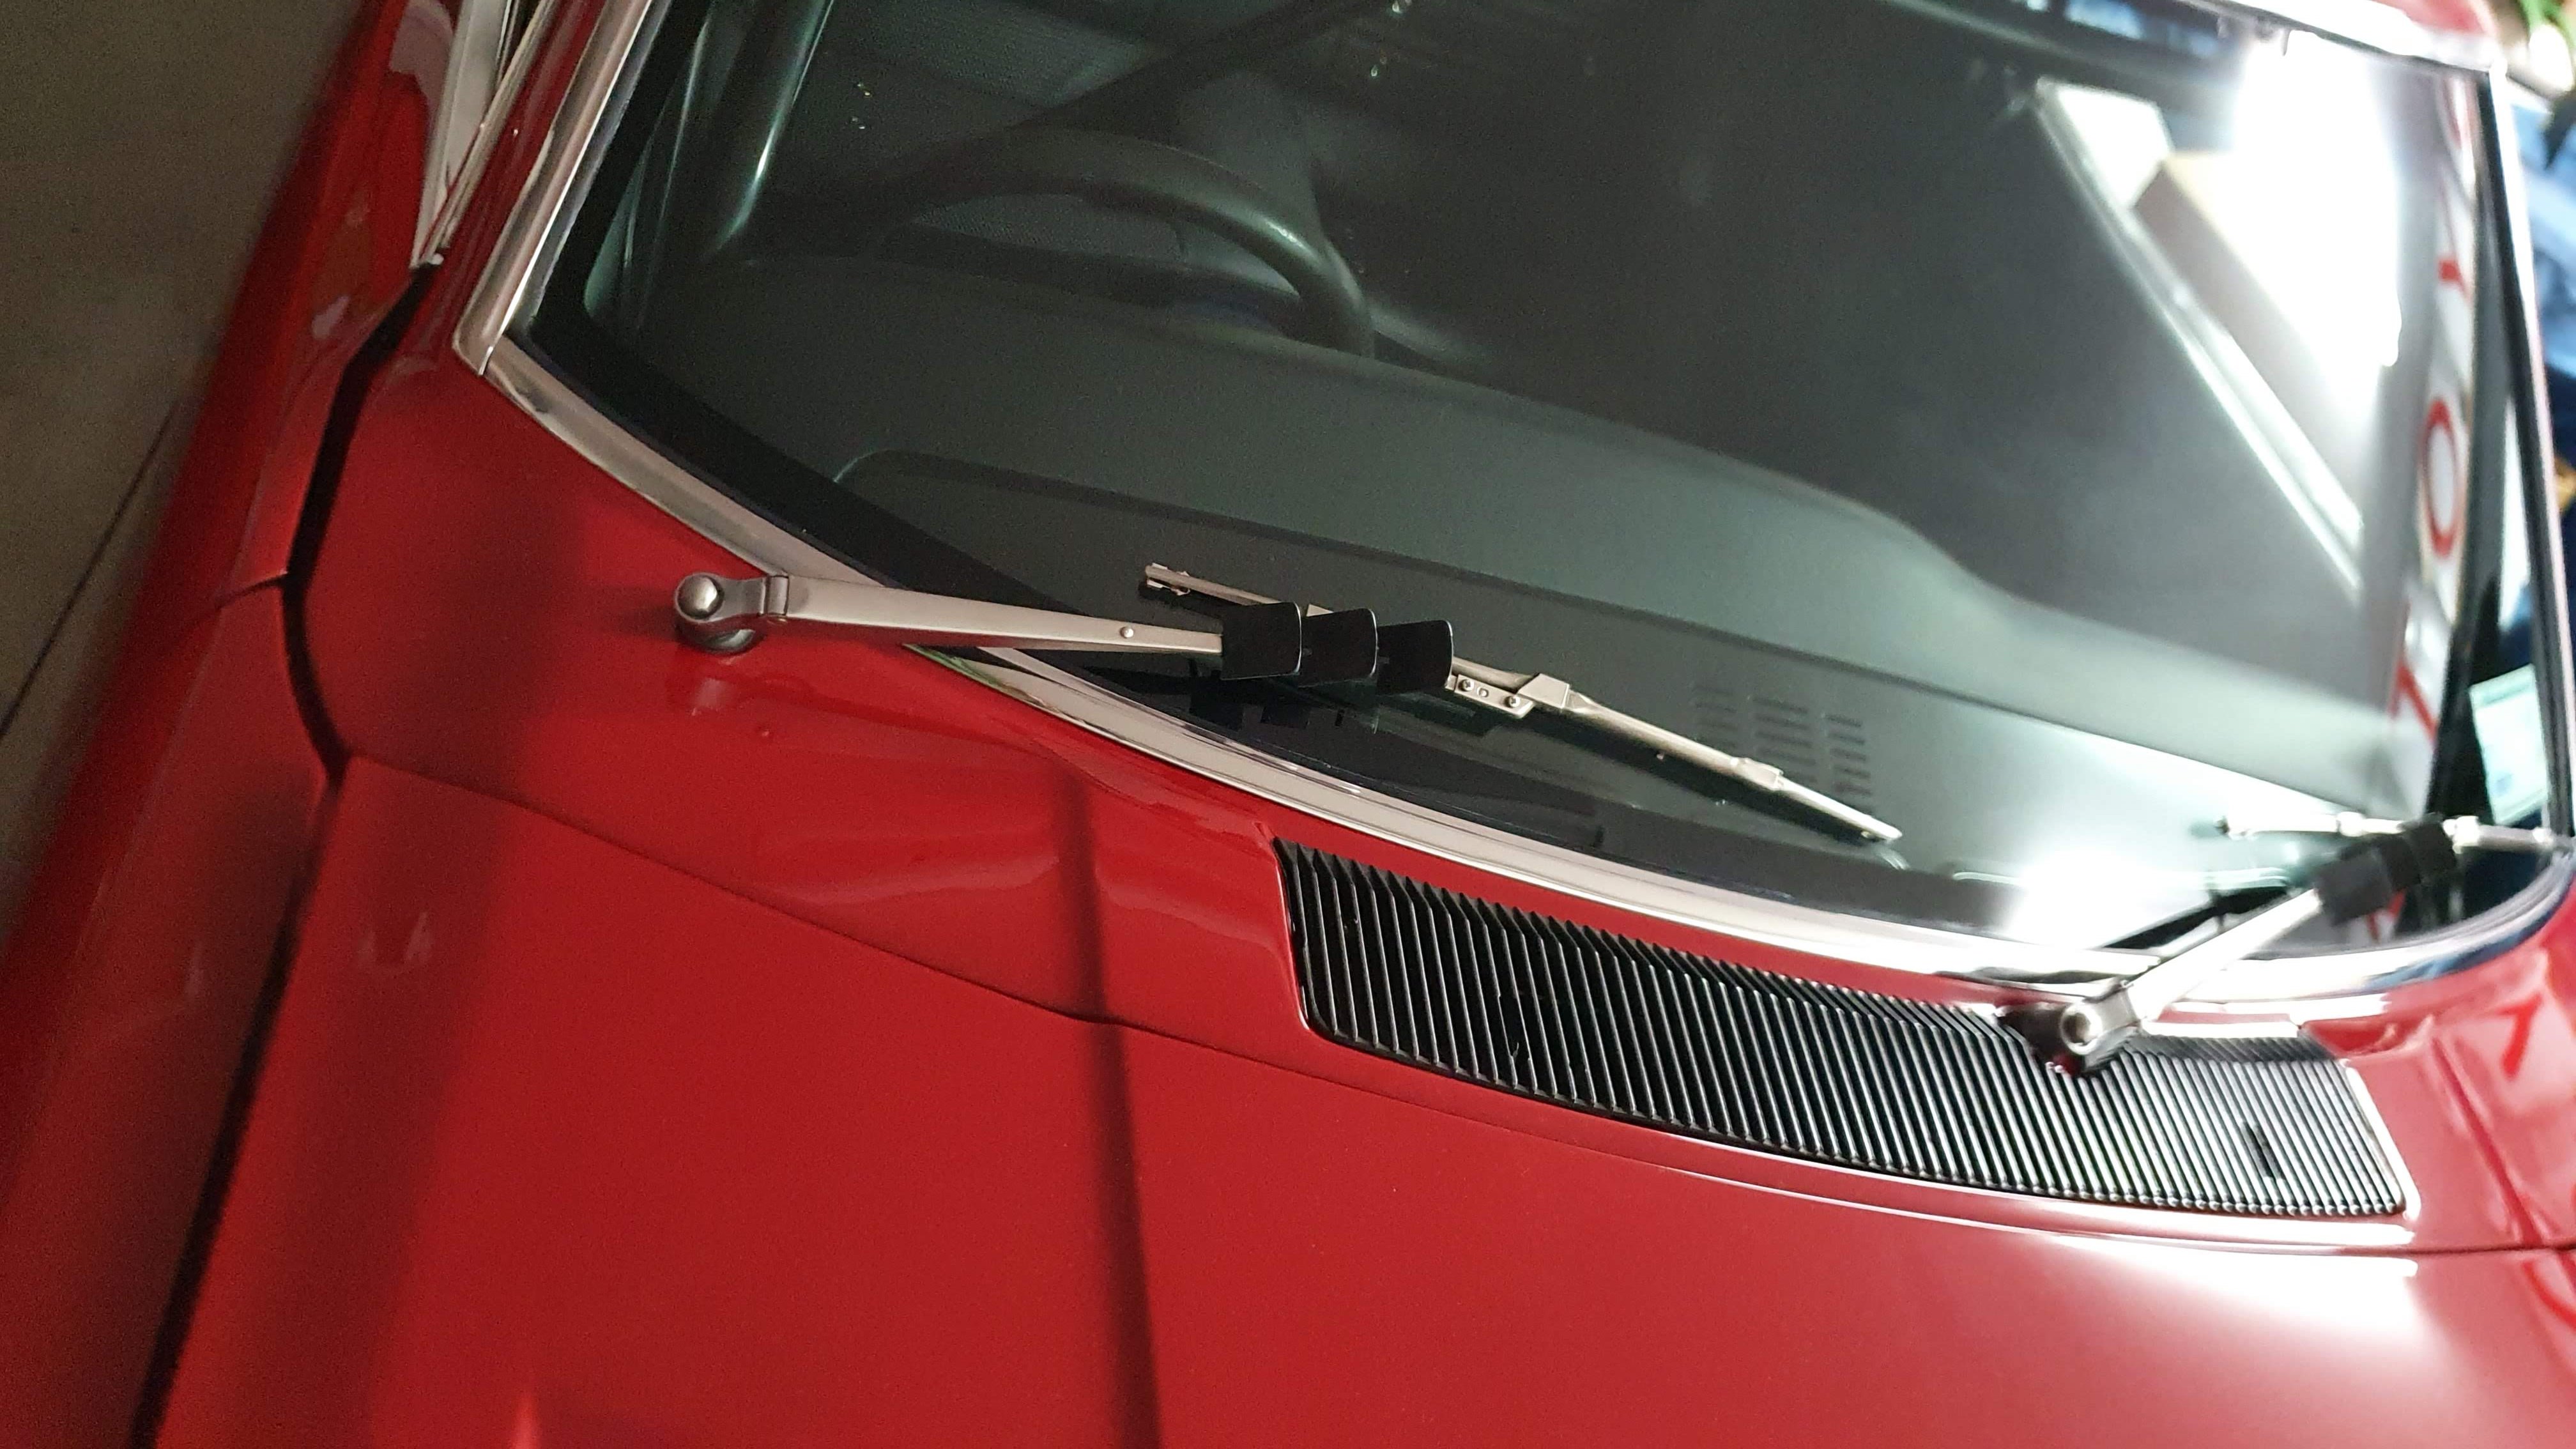
Finally got the red onto the engine bay
- 51 replies
-
- 19
-
-
Sleeektoy's 1977 Racer Celica RA28 (WTF another one!!)
sleeektoy replied to sleeektoy's topic in Projects and Build Ups
Bay primer done
- 51 replies
-
- 16
-
-
Sleeektoy's 1977 Racer Celica RA28 (WTF another one!!)
sleeektoy replied to sleeektoy's topic in Projects and Build Ups
Loud pedal floor repair - now i can really mash it without fear of pushing it through the floor Cleaned all the remaining crap off the floor and blinged it up a little And sand, sand, sand all the engine bay paint
- 51 replies
-
- 15
-
-
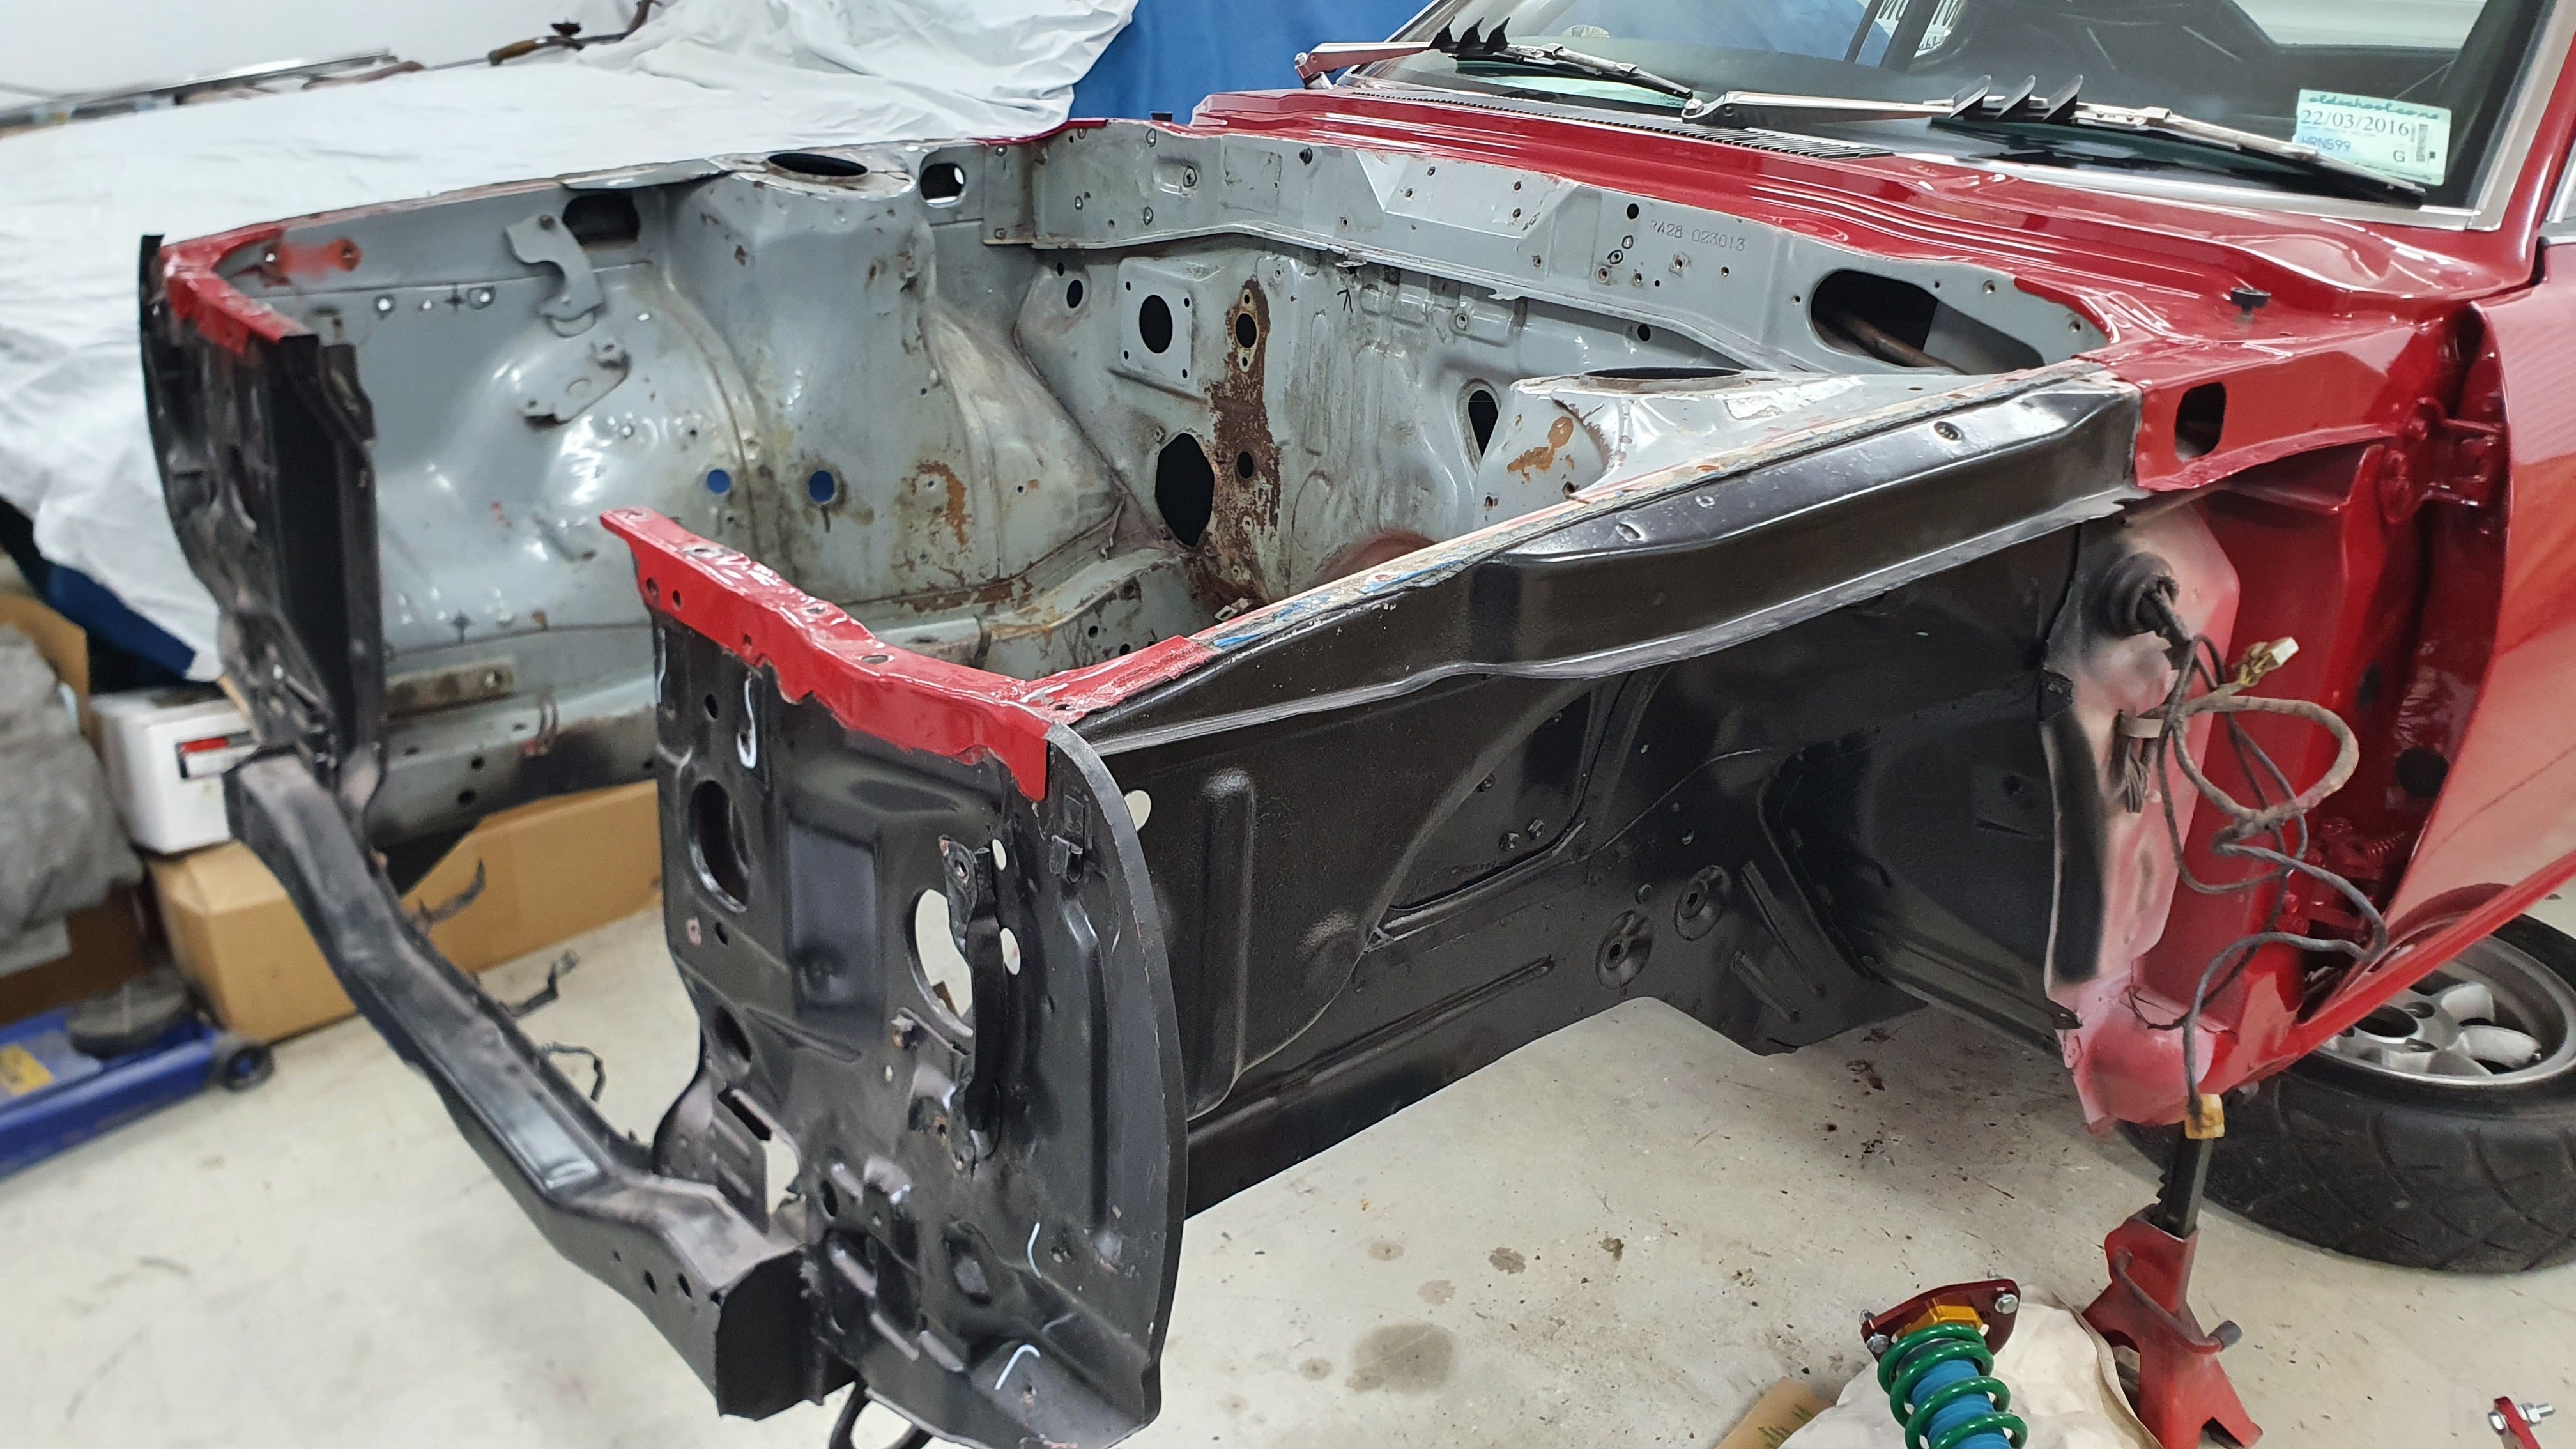
Sleeektoy's 1977 Racer Celica RA28 (WTF another one!!)
sleeektoy replied to sleeektoy's topic in Projects and Build Ups
I decided the engine bay looked crud against the new paint, soo... engine out, strip the front suspension and steering etc.
- 51 replies
-
- 15
-
-
Sleeektoy's 1977 Racer Celica RA28 (WTF another one!!)
sleeektoy replied to sleeektoy's topic in Projects and Build Ups
More reassembly progress
- 51 replies
-
- 24
-
-
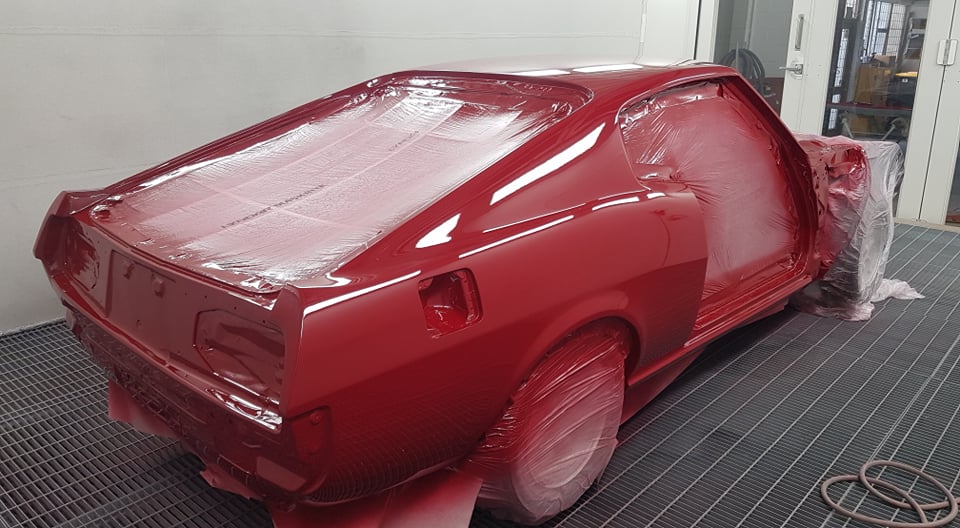
-
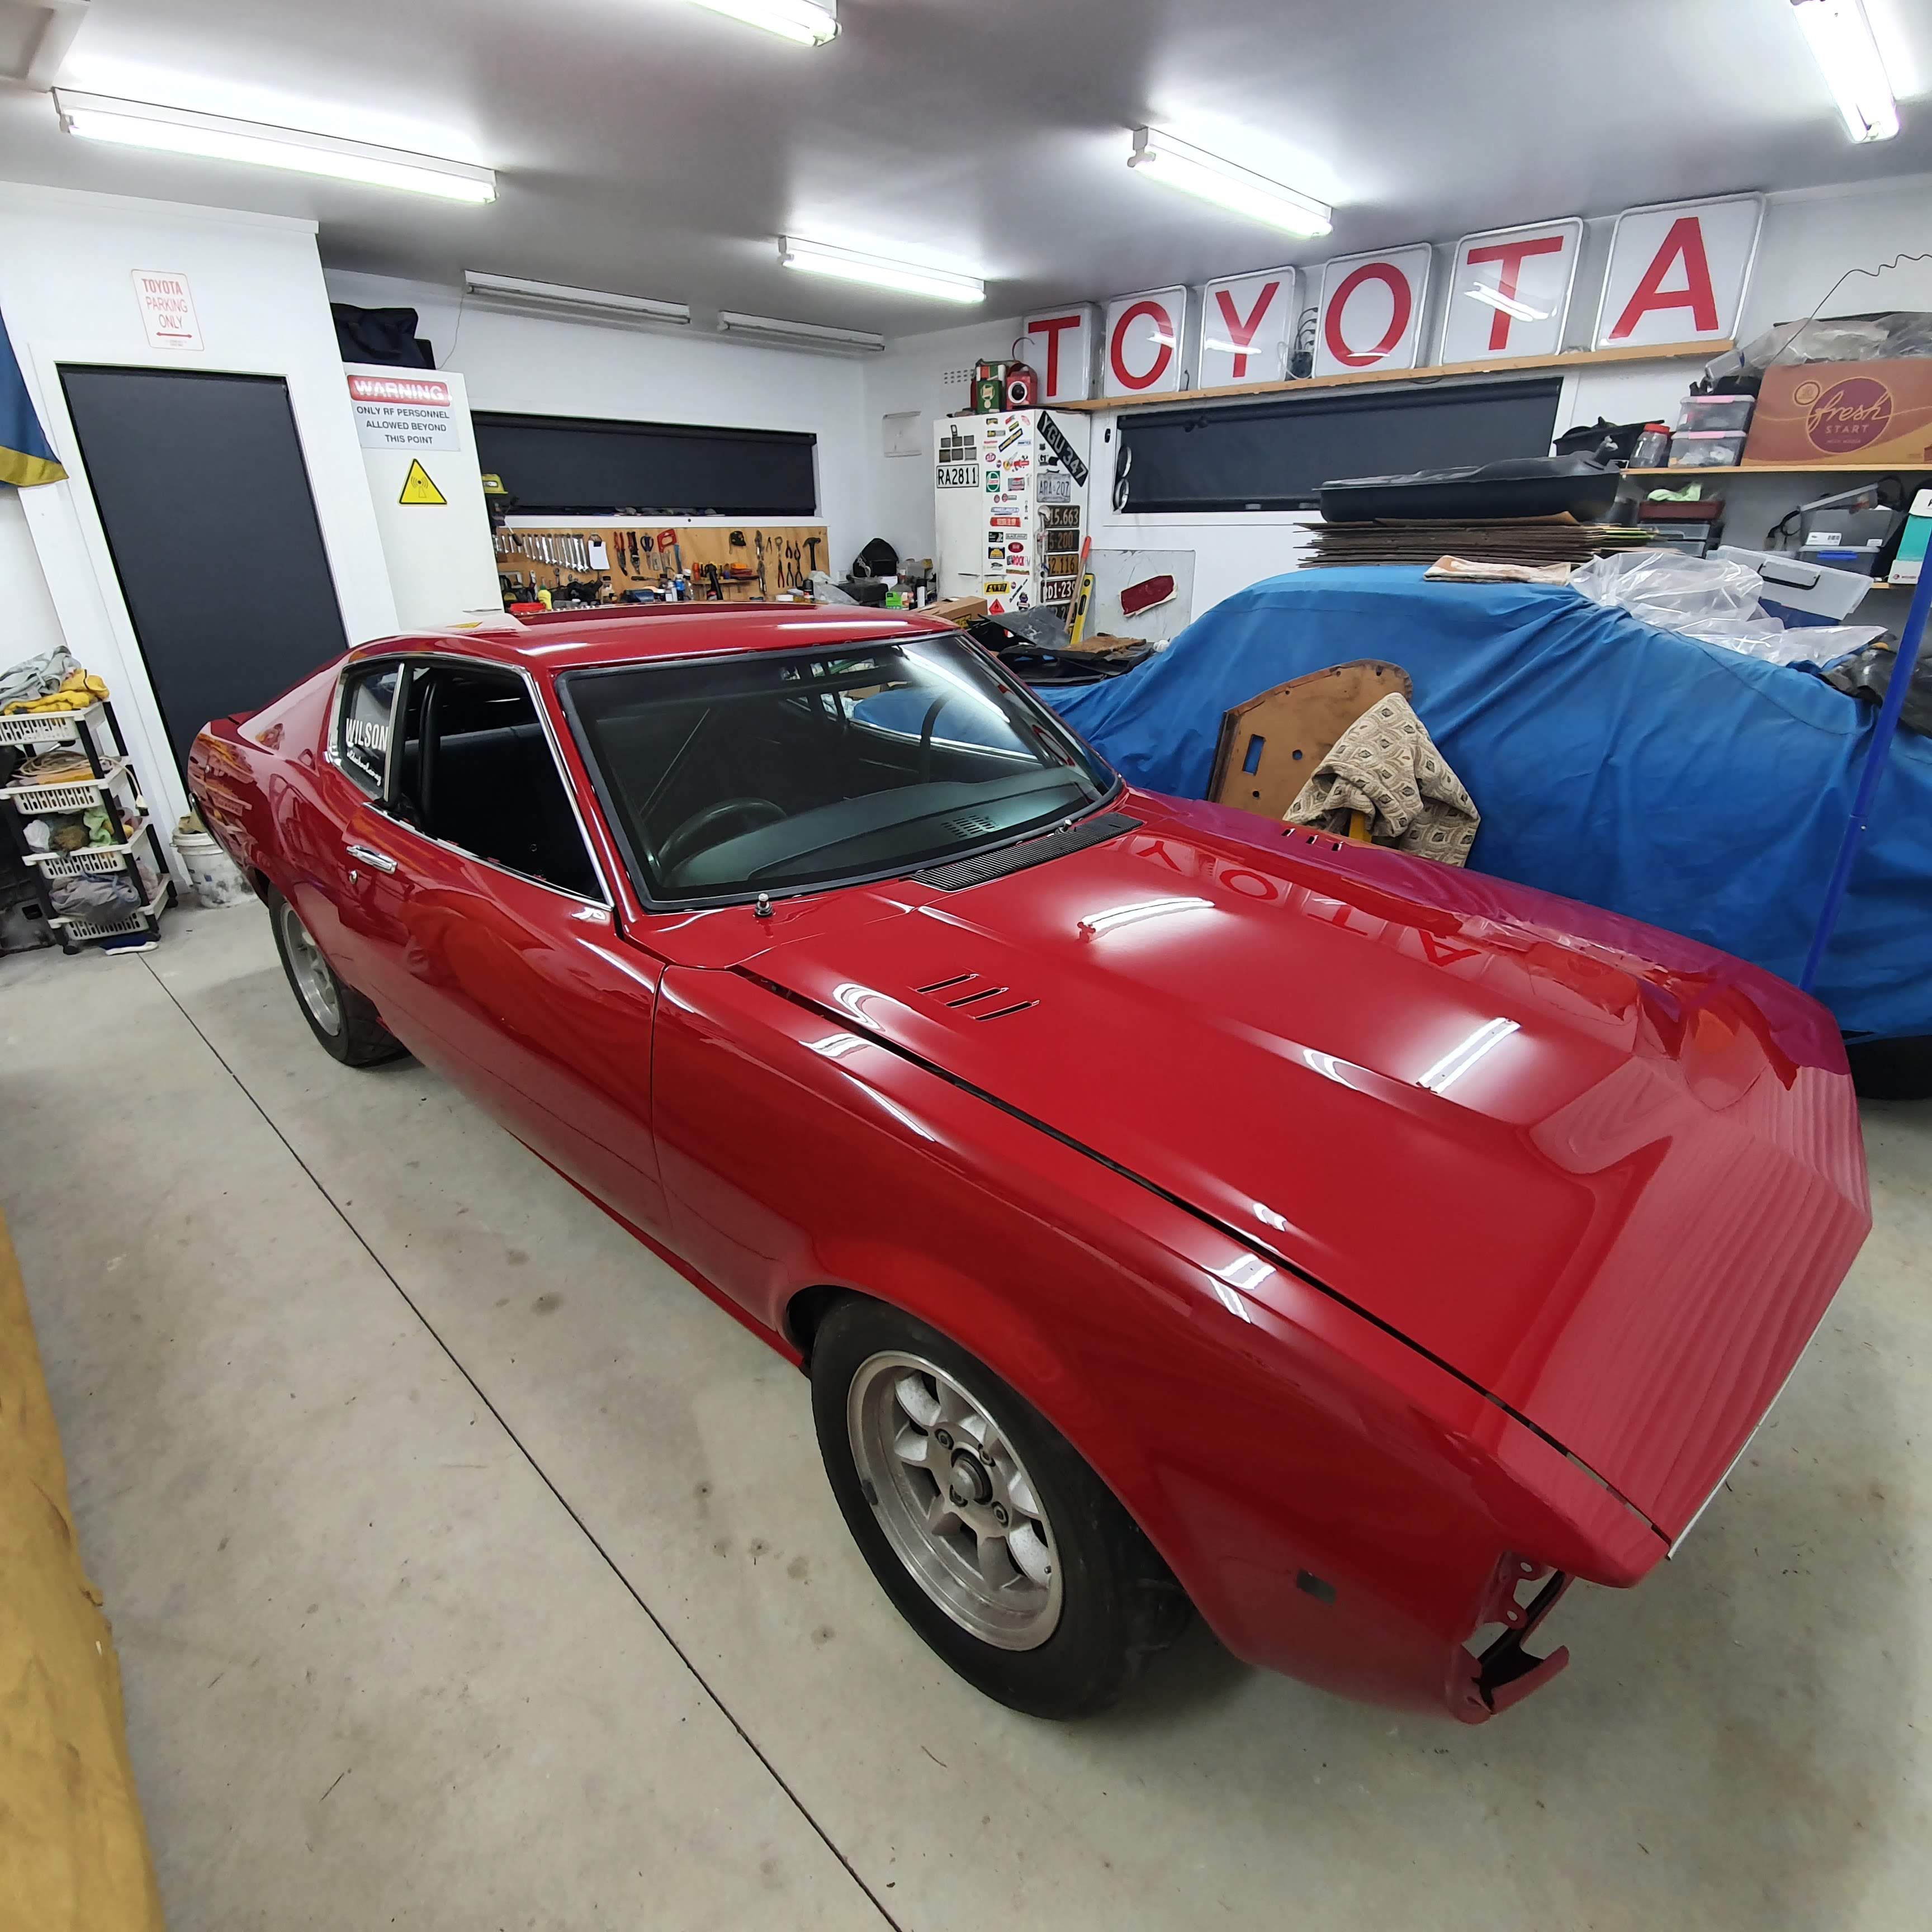
Sleeektoy's 1977 Racer Celica RA28 (WTF another one!!)
sleeektoy replied to sleeektoy's topic in Projects and Build Ups
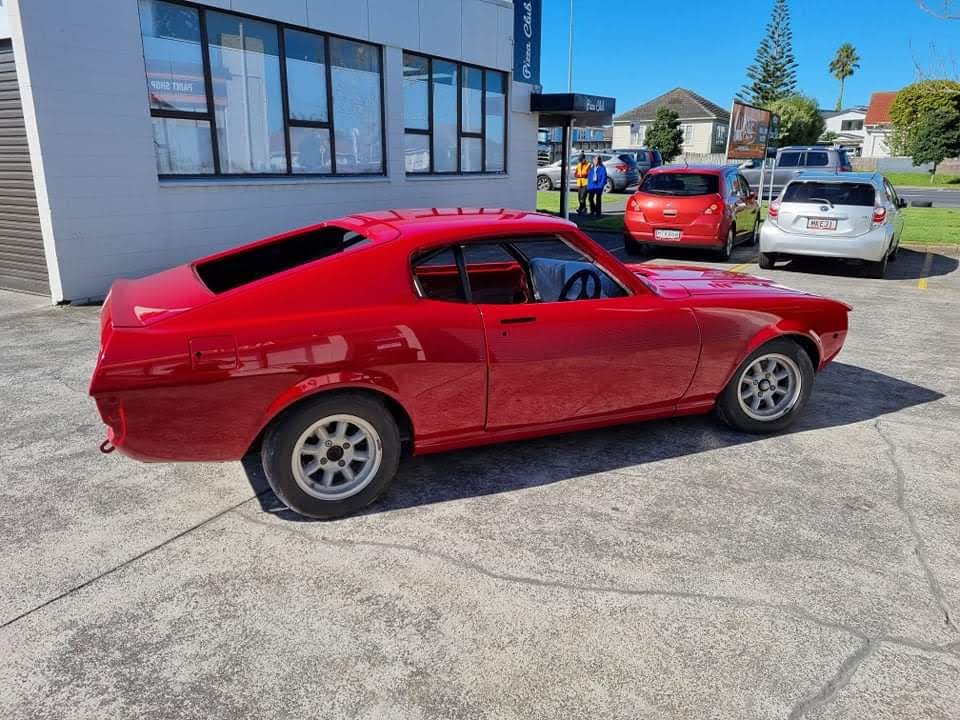
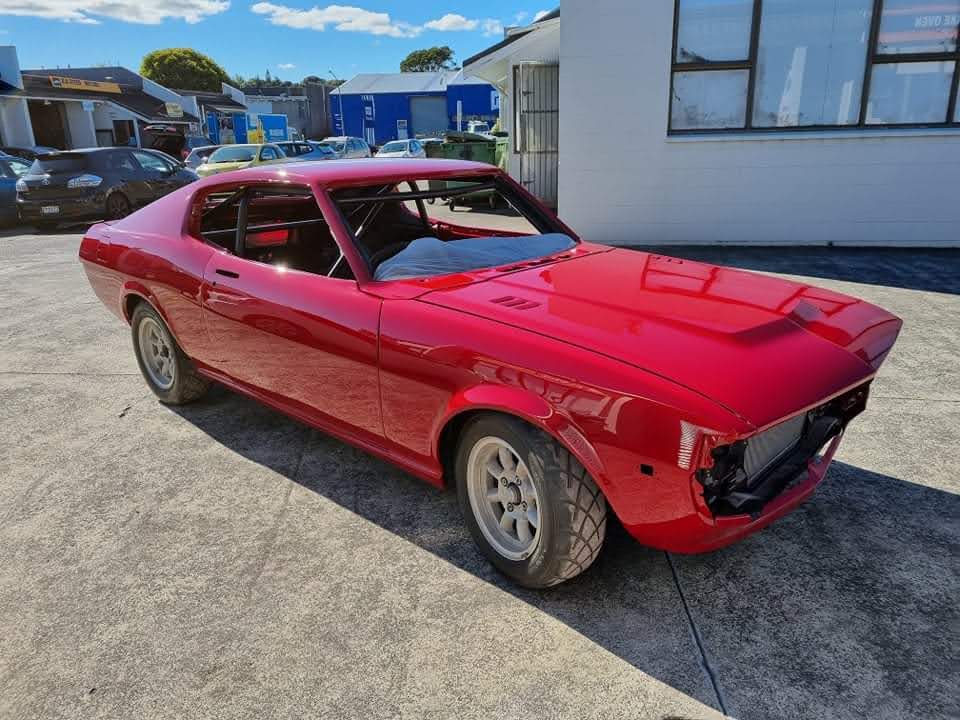
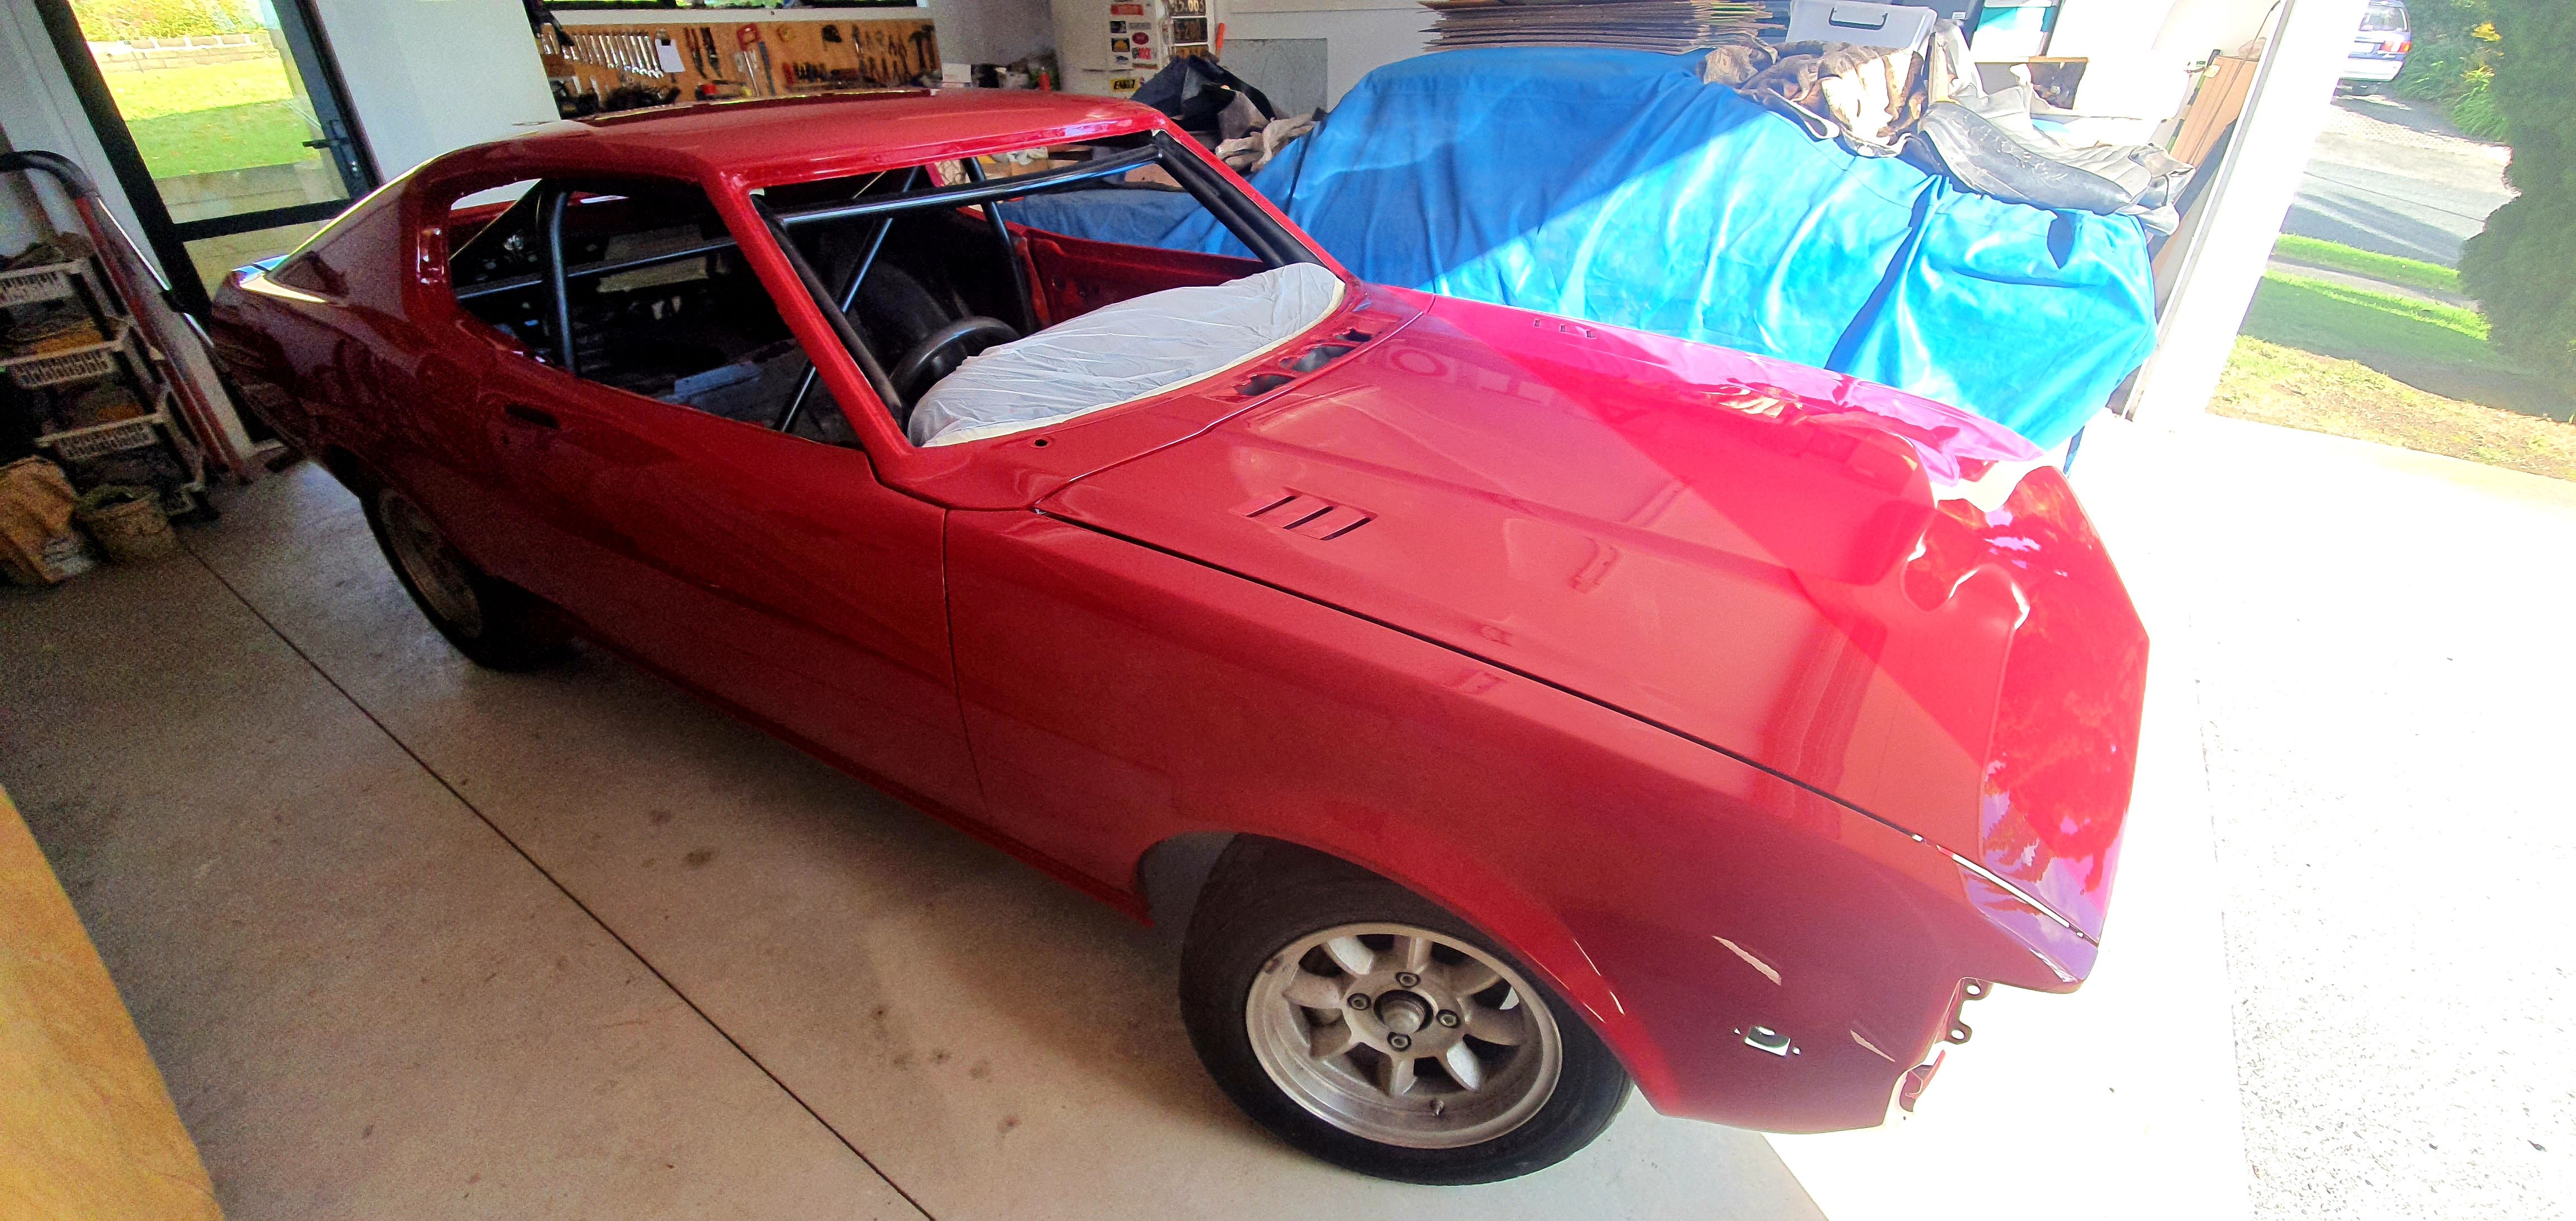
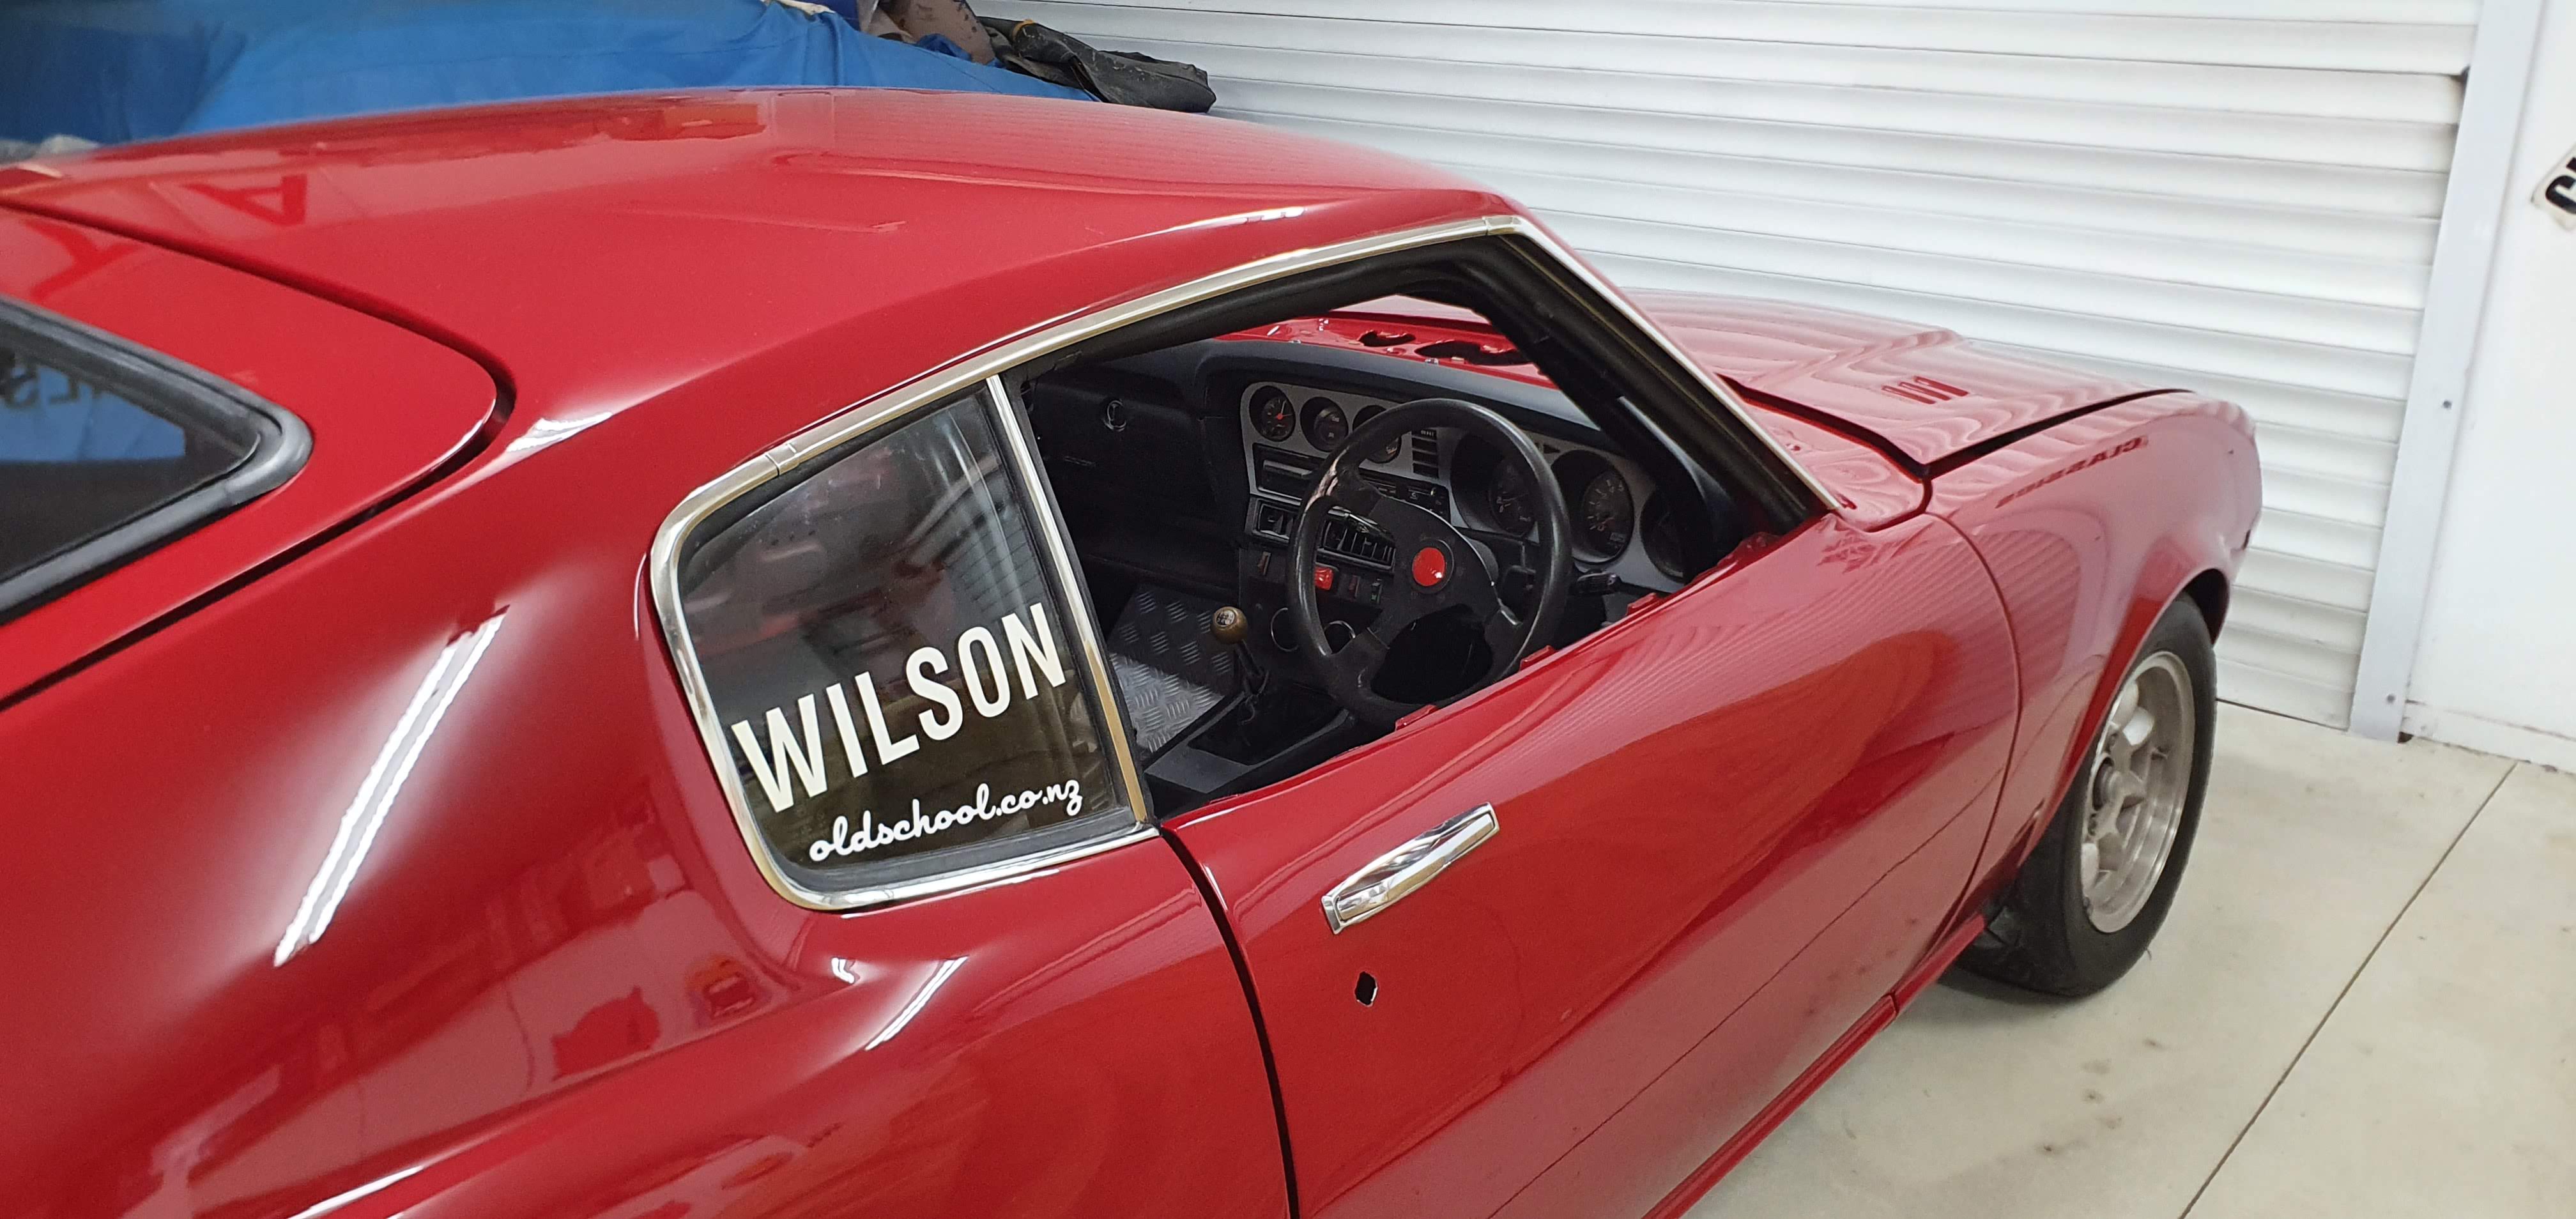
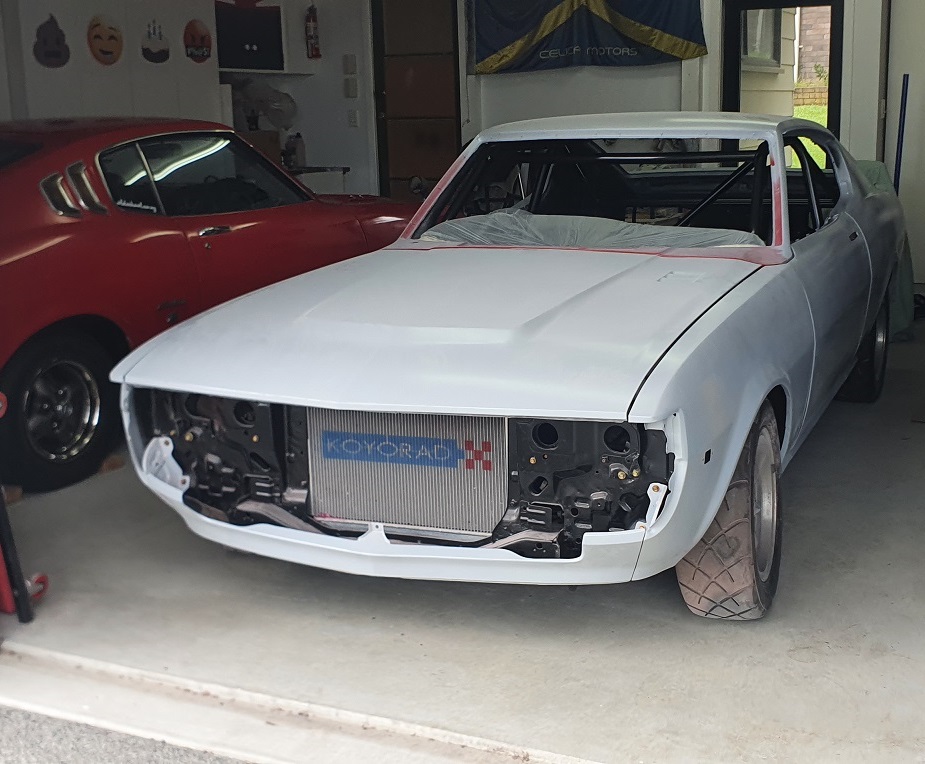
10 days ago it emerged into the sunlight .. very bright and shiny Delivered to the shed and straight into reassembly
- 51 replies
-
- 48
-
-
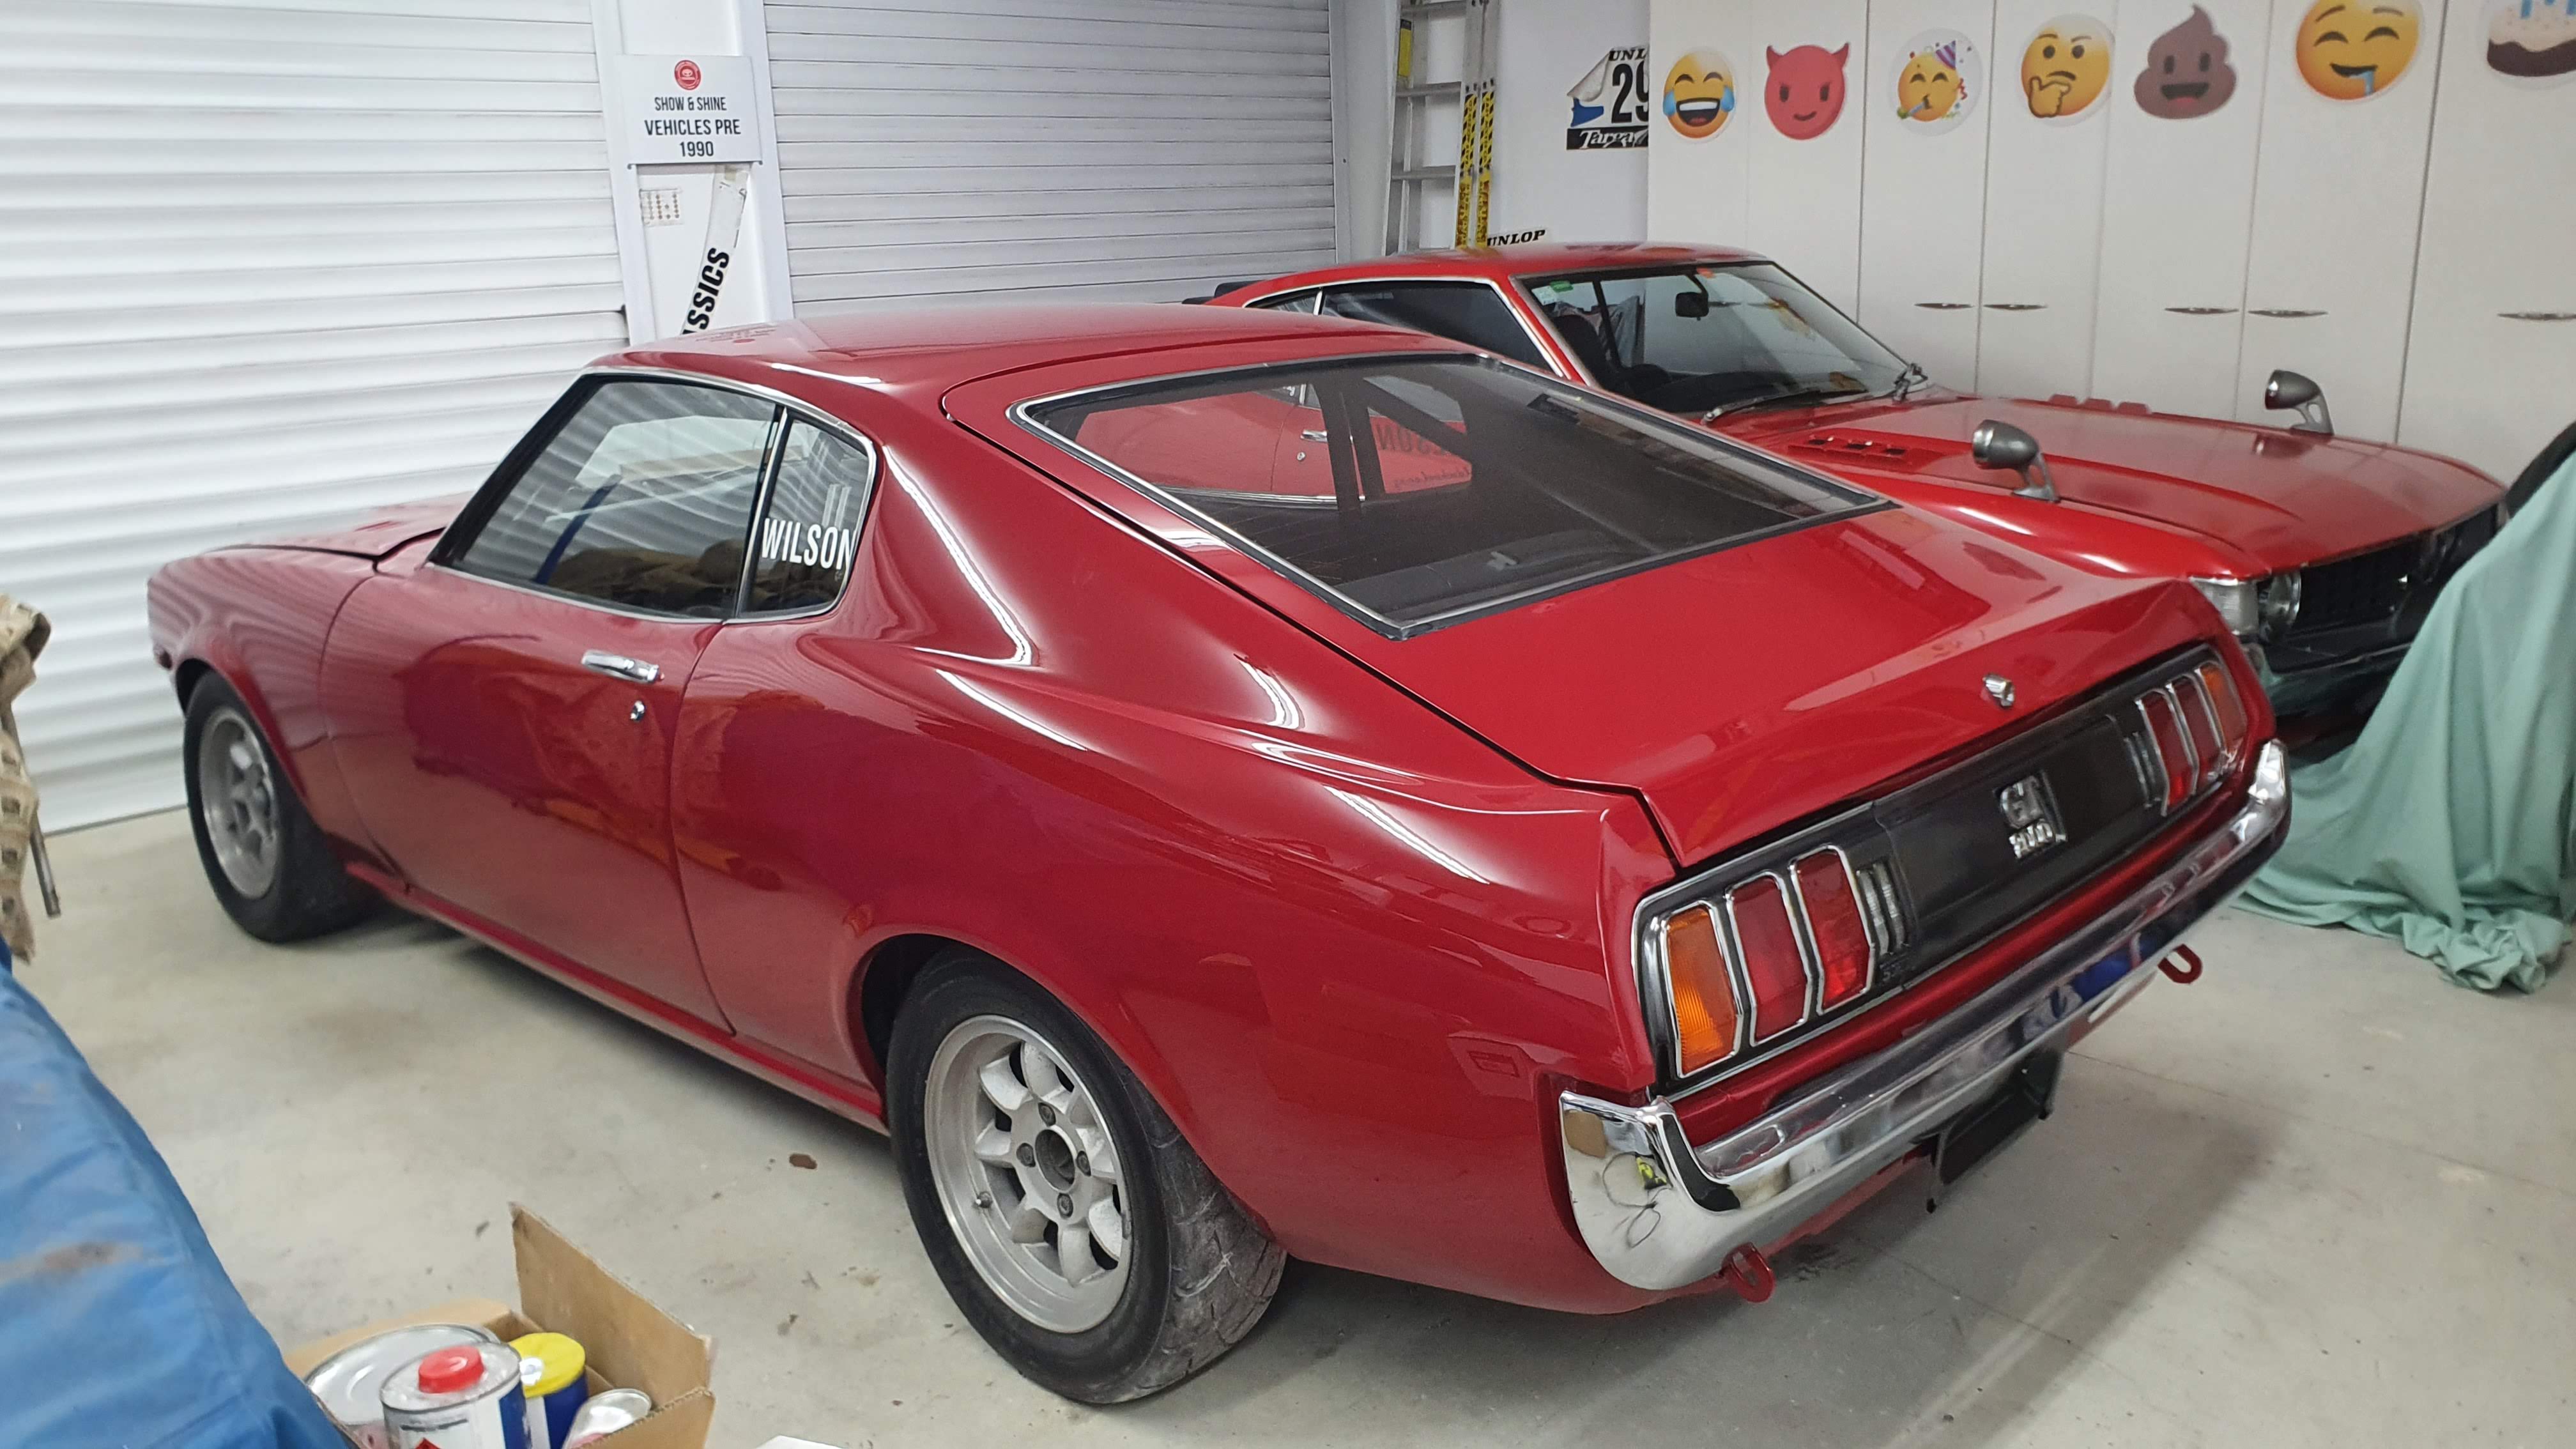
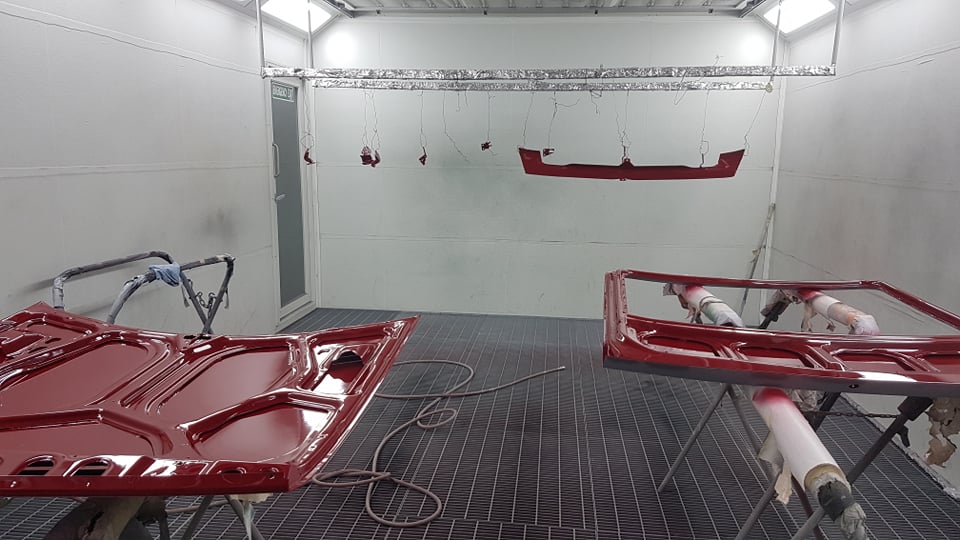
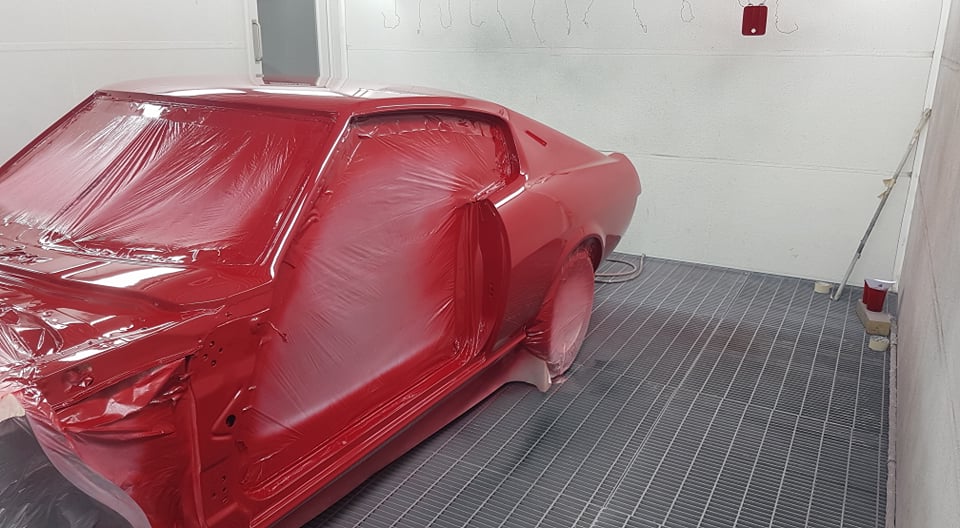
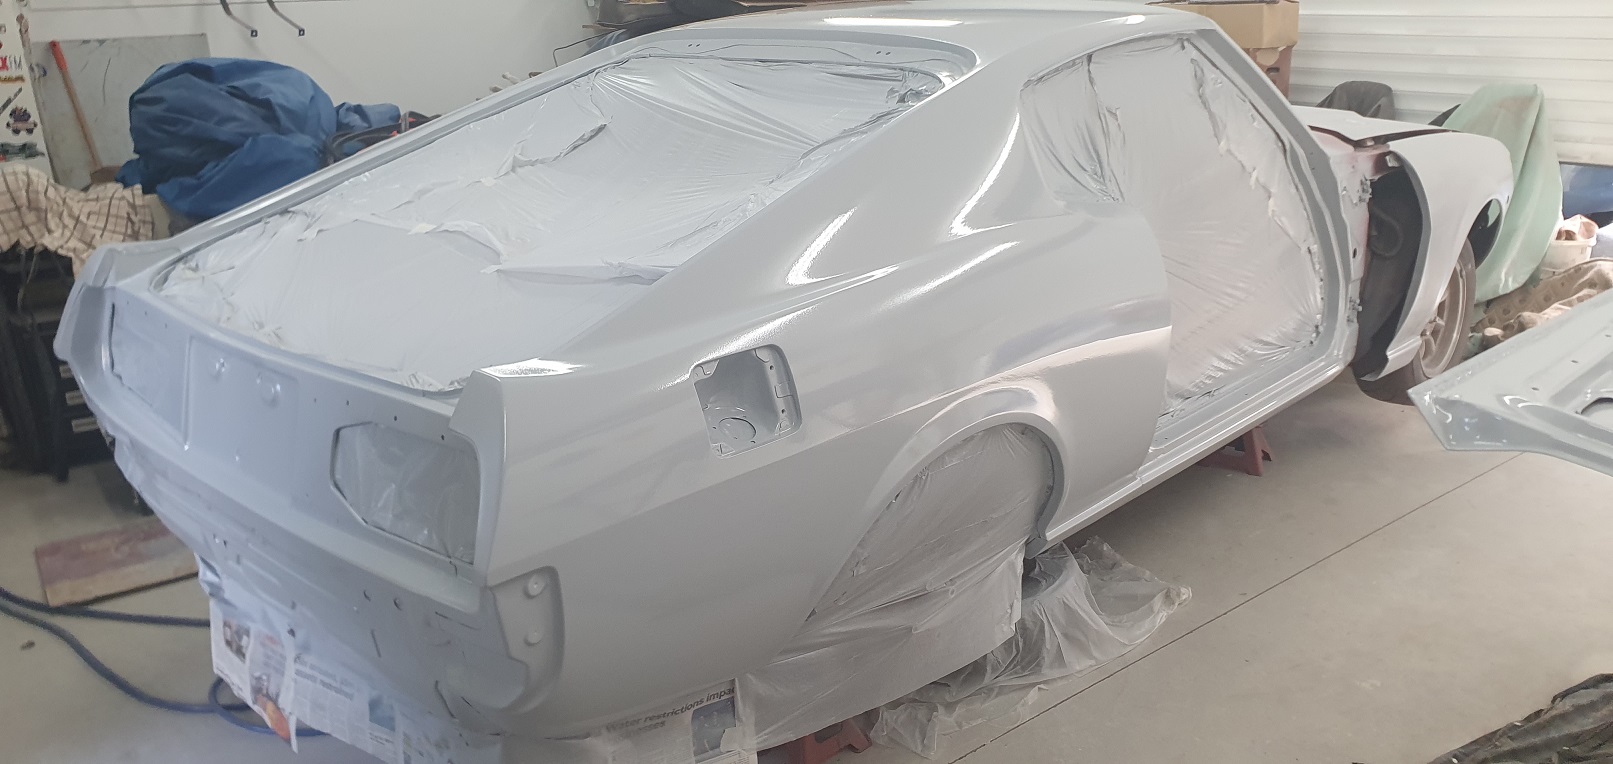
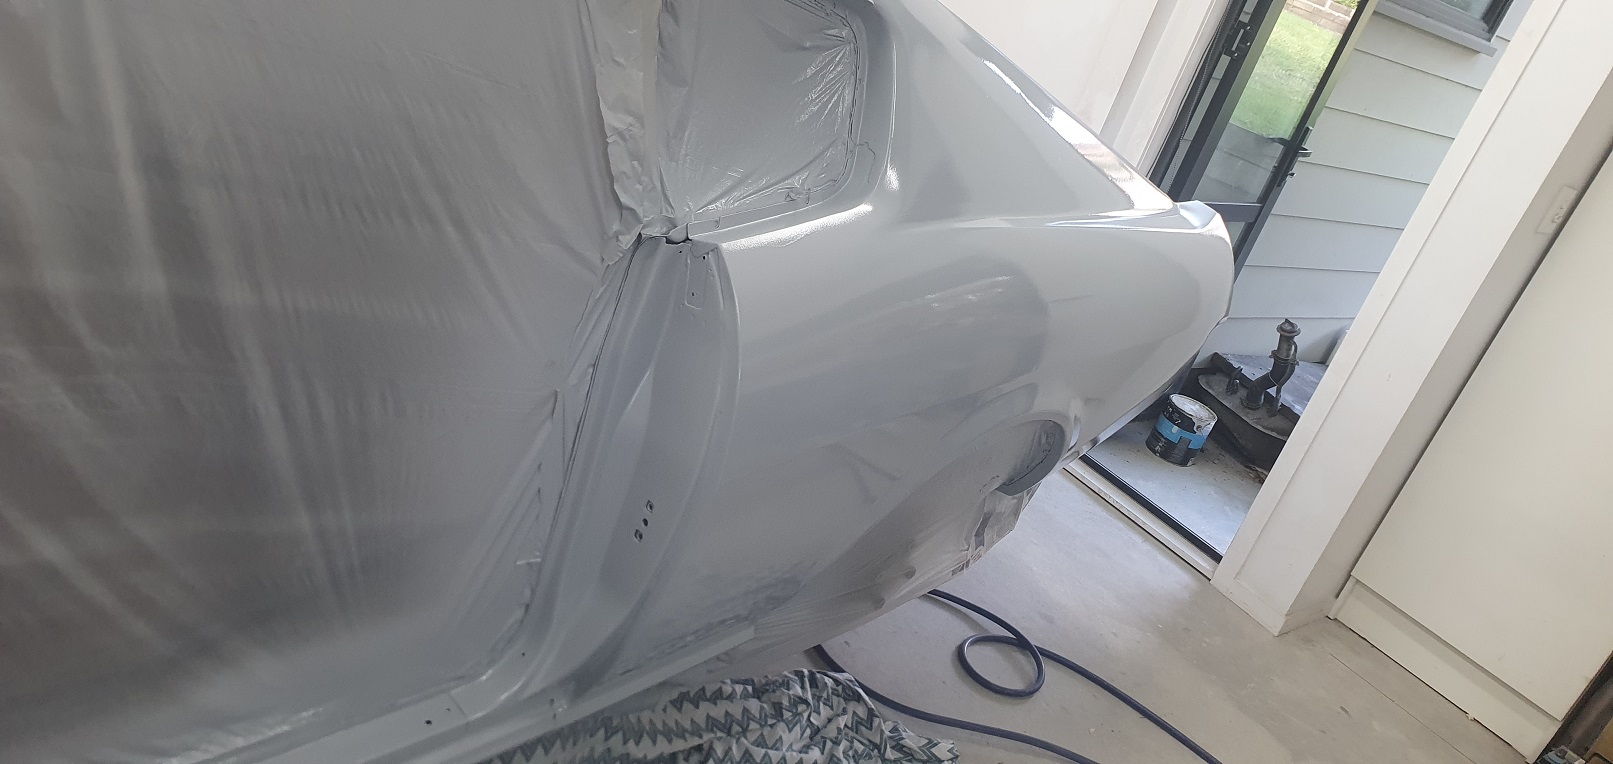
Sleeektoy's 1977 Racer Celica RA28 (WTF another one!!)
sleeektoy replied to sleeektoy's topic in Projects and Build Ups
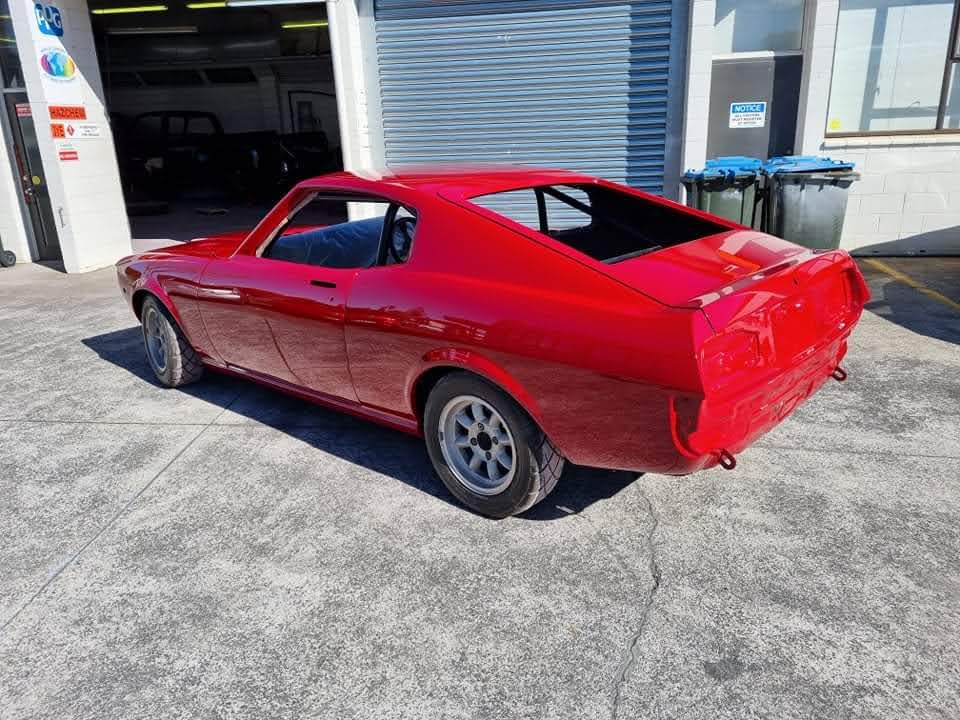
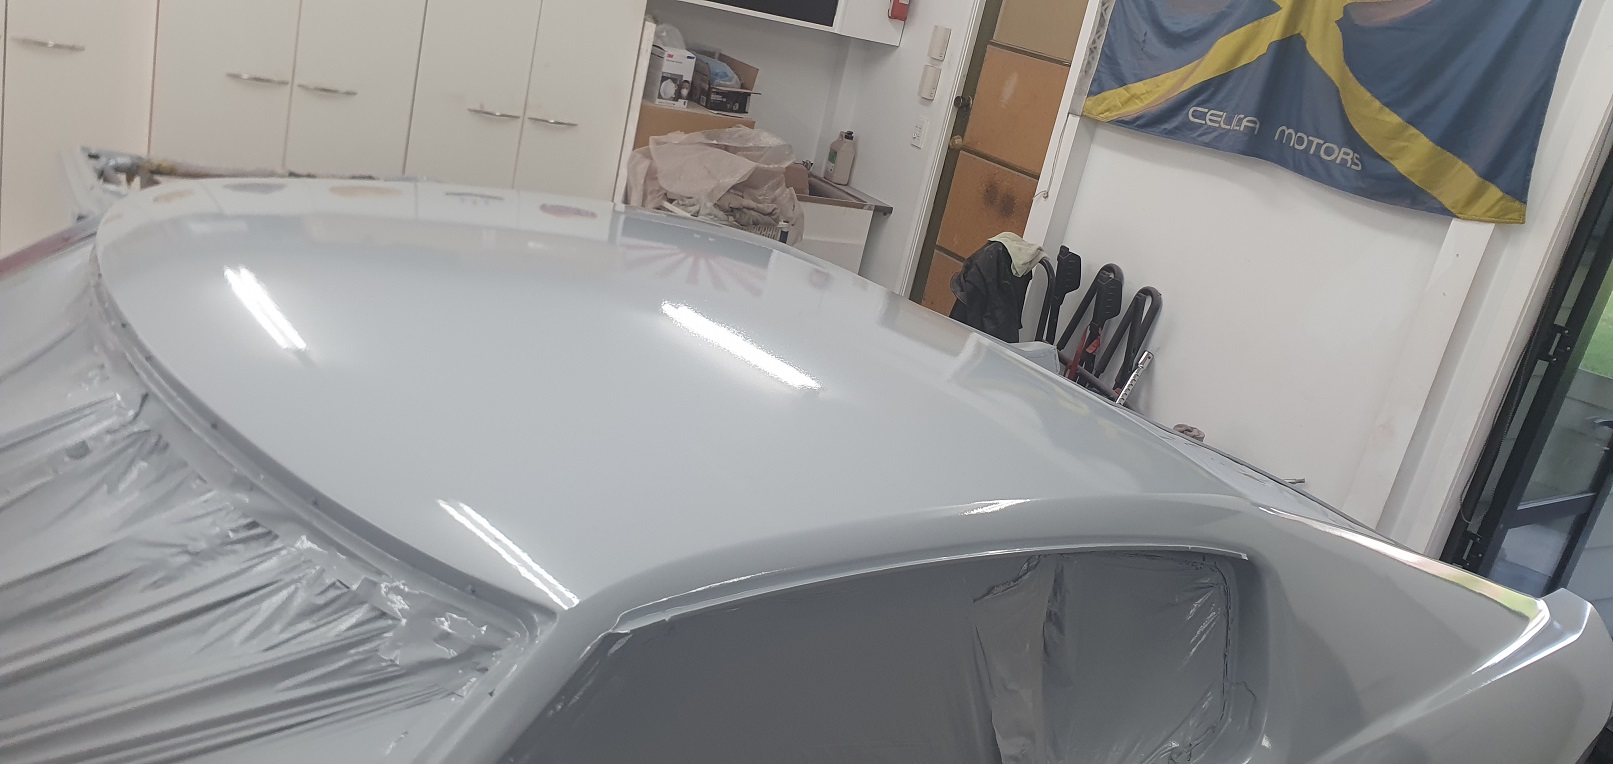
so... the painter told me he had a bit of an incident with my car. . . . . . . . . then he said he spilt a few litres of paint on it. . . . . super duper pleased with the result. .
- 51 replies
-
- 33
-
-
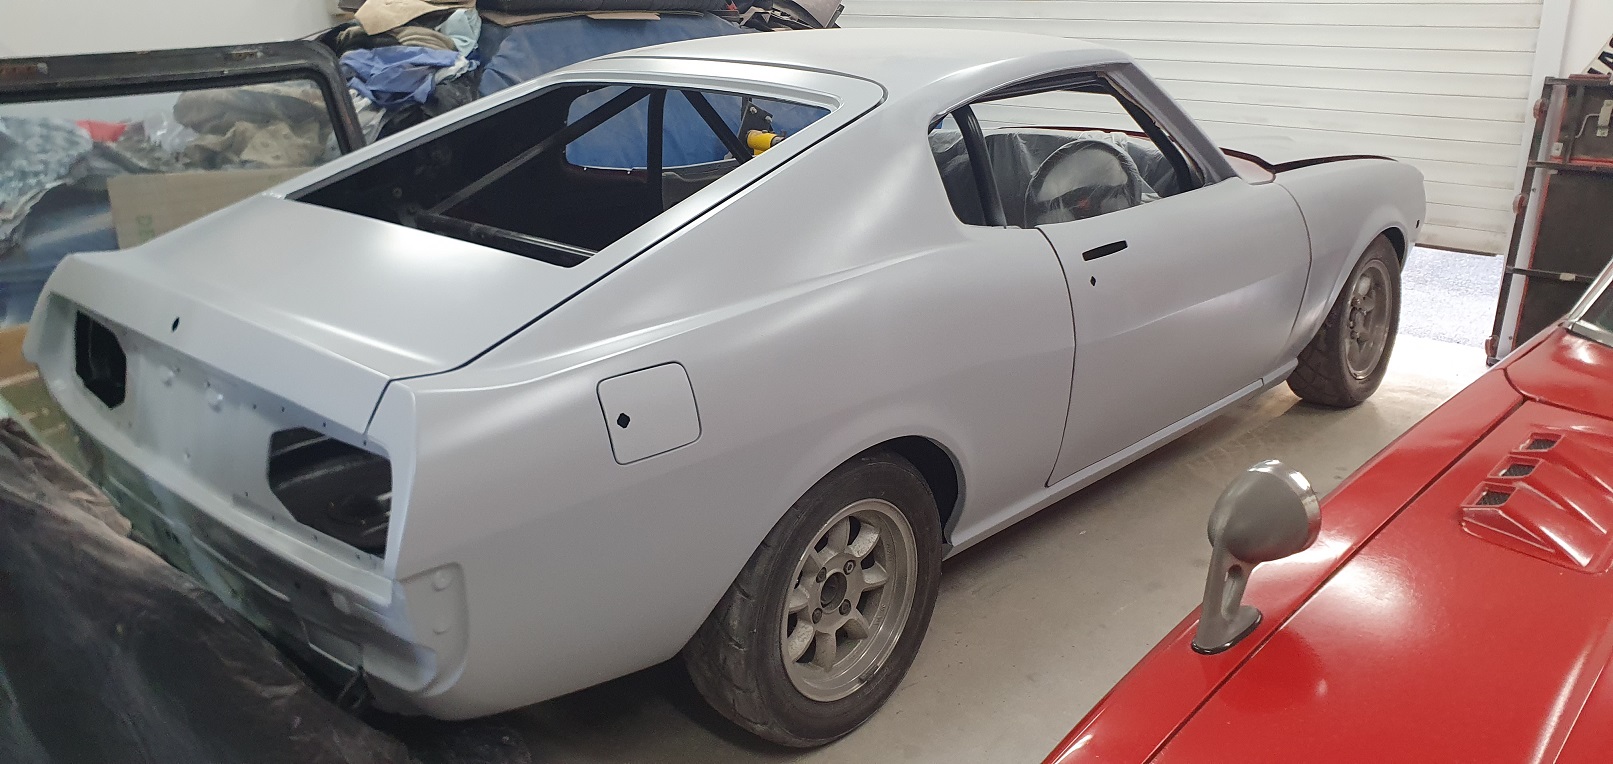
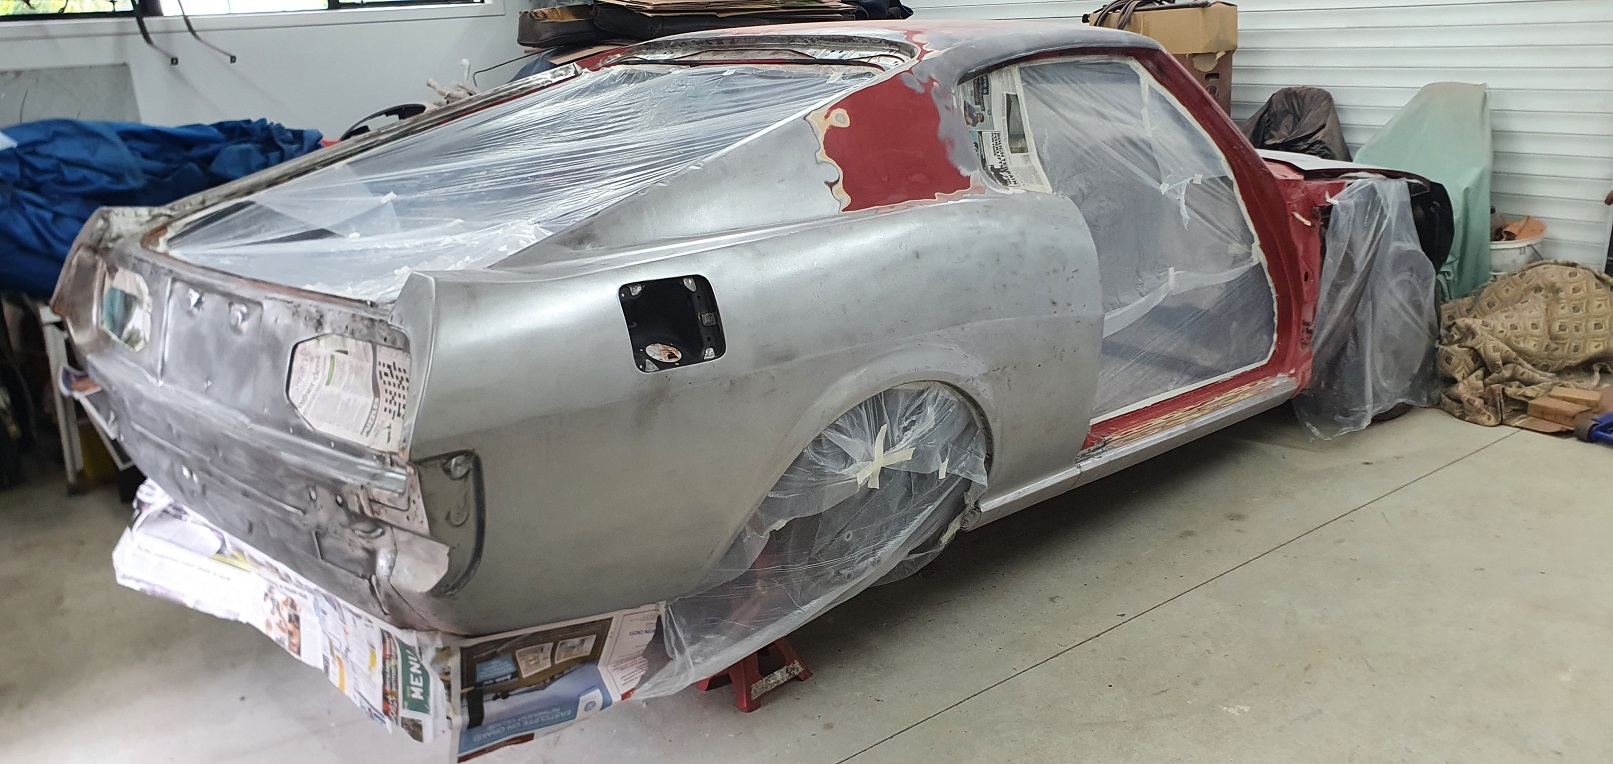
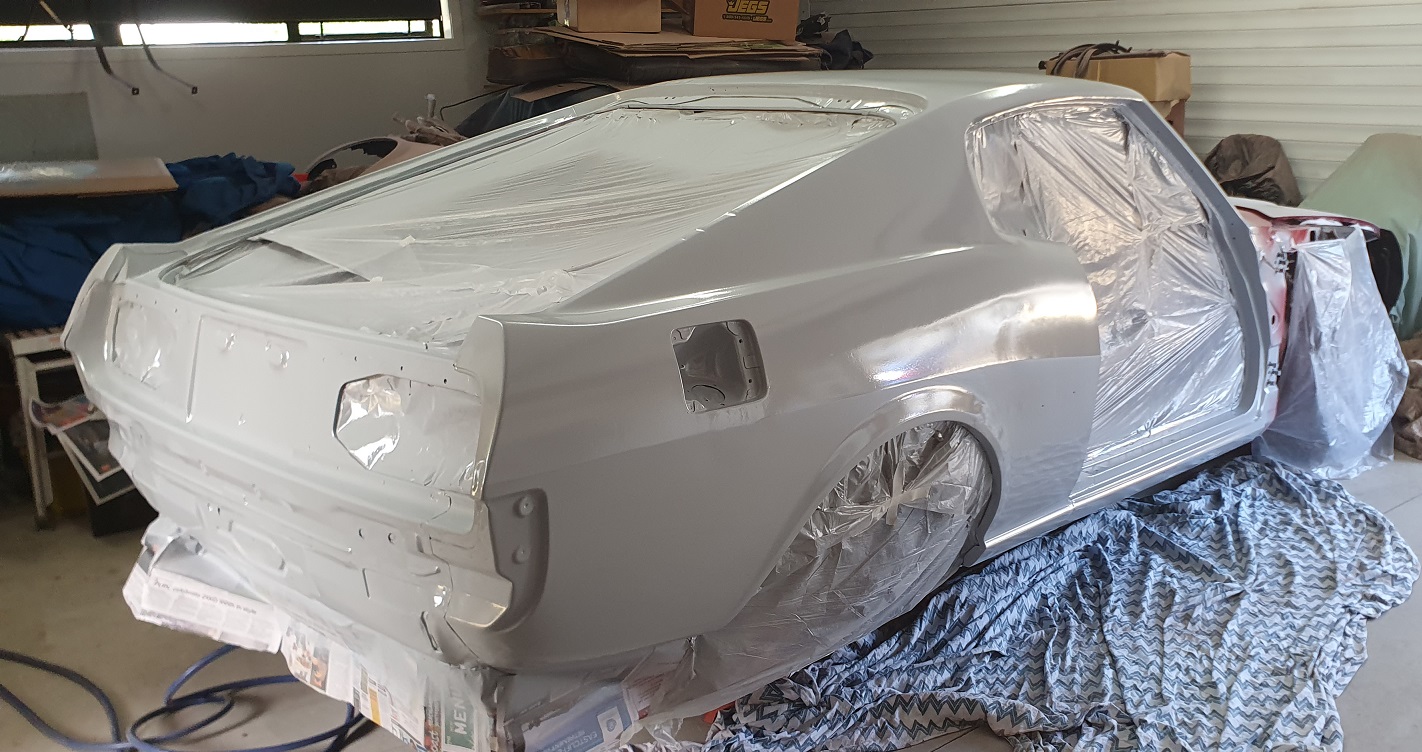
Sleeektoy's 1977 Racer Celica RA28 (WTF another one!!)
sleeektoy replied to sleeektoy's topic in Projects and Build Ups
Reassembled and ... off to the paint shop just over 3 years in the shed!!!
- 51 replies
-
- 26
-
-
Sleeektoy's 1977 Racer Celica RA28 (WTF another one!!)
sleeektoy replied to sleeektoy's topic in Projects and Build Ups
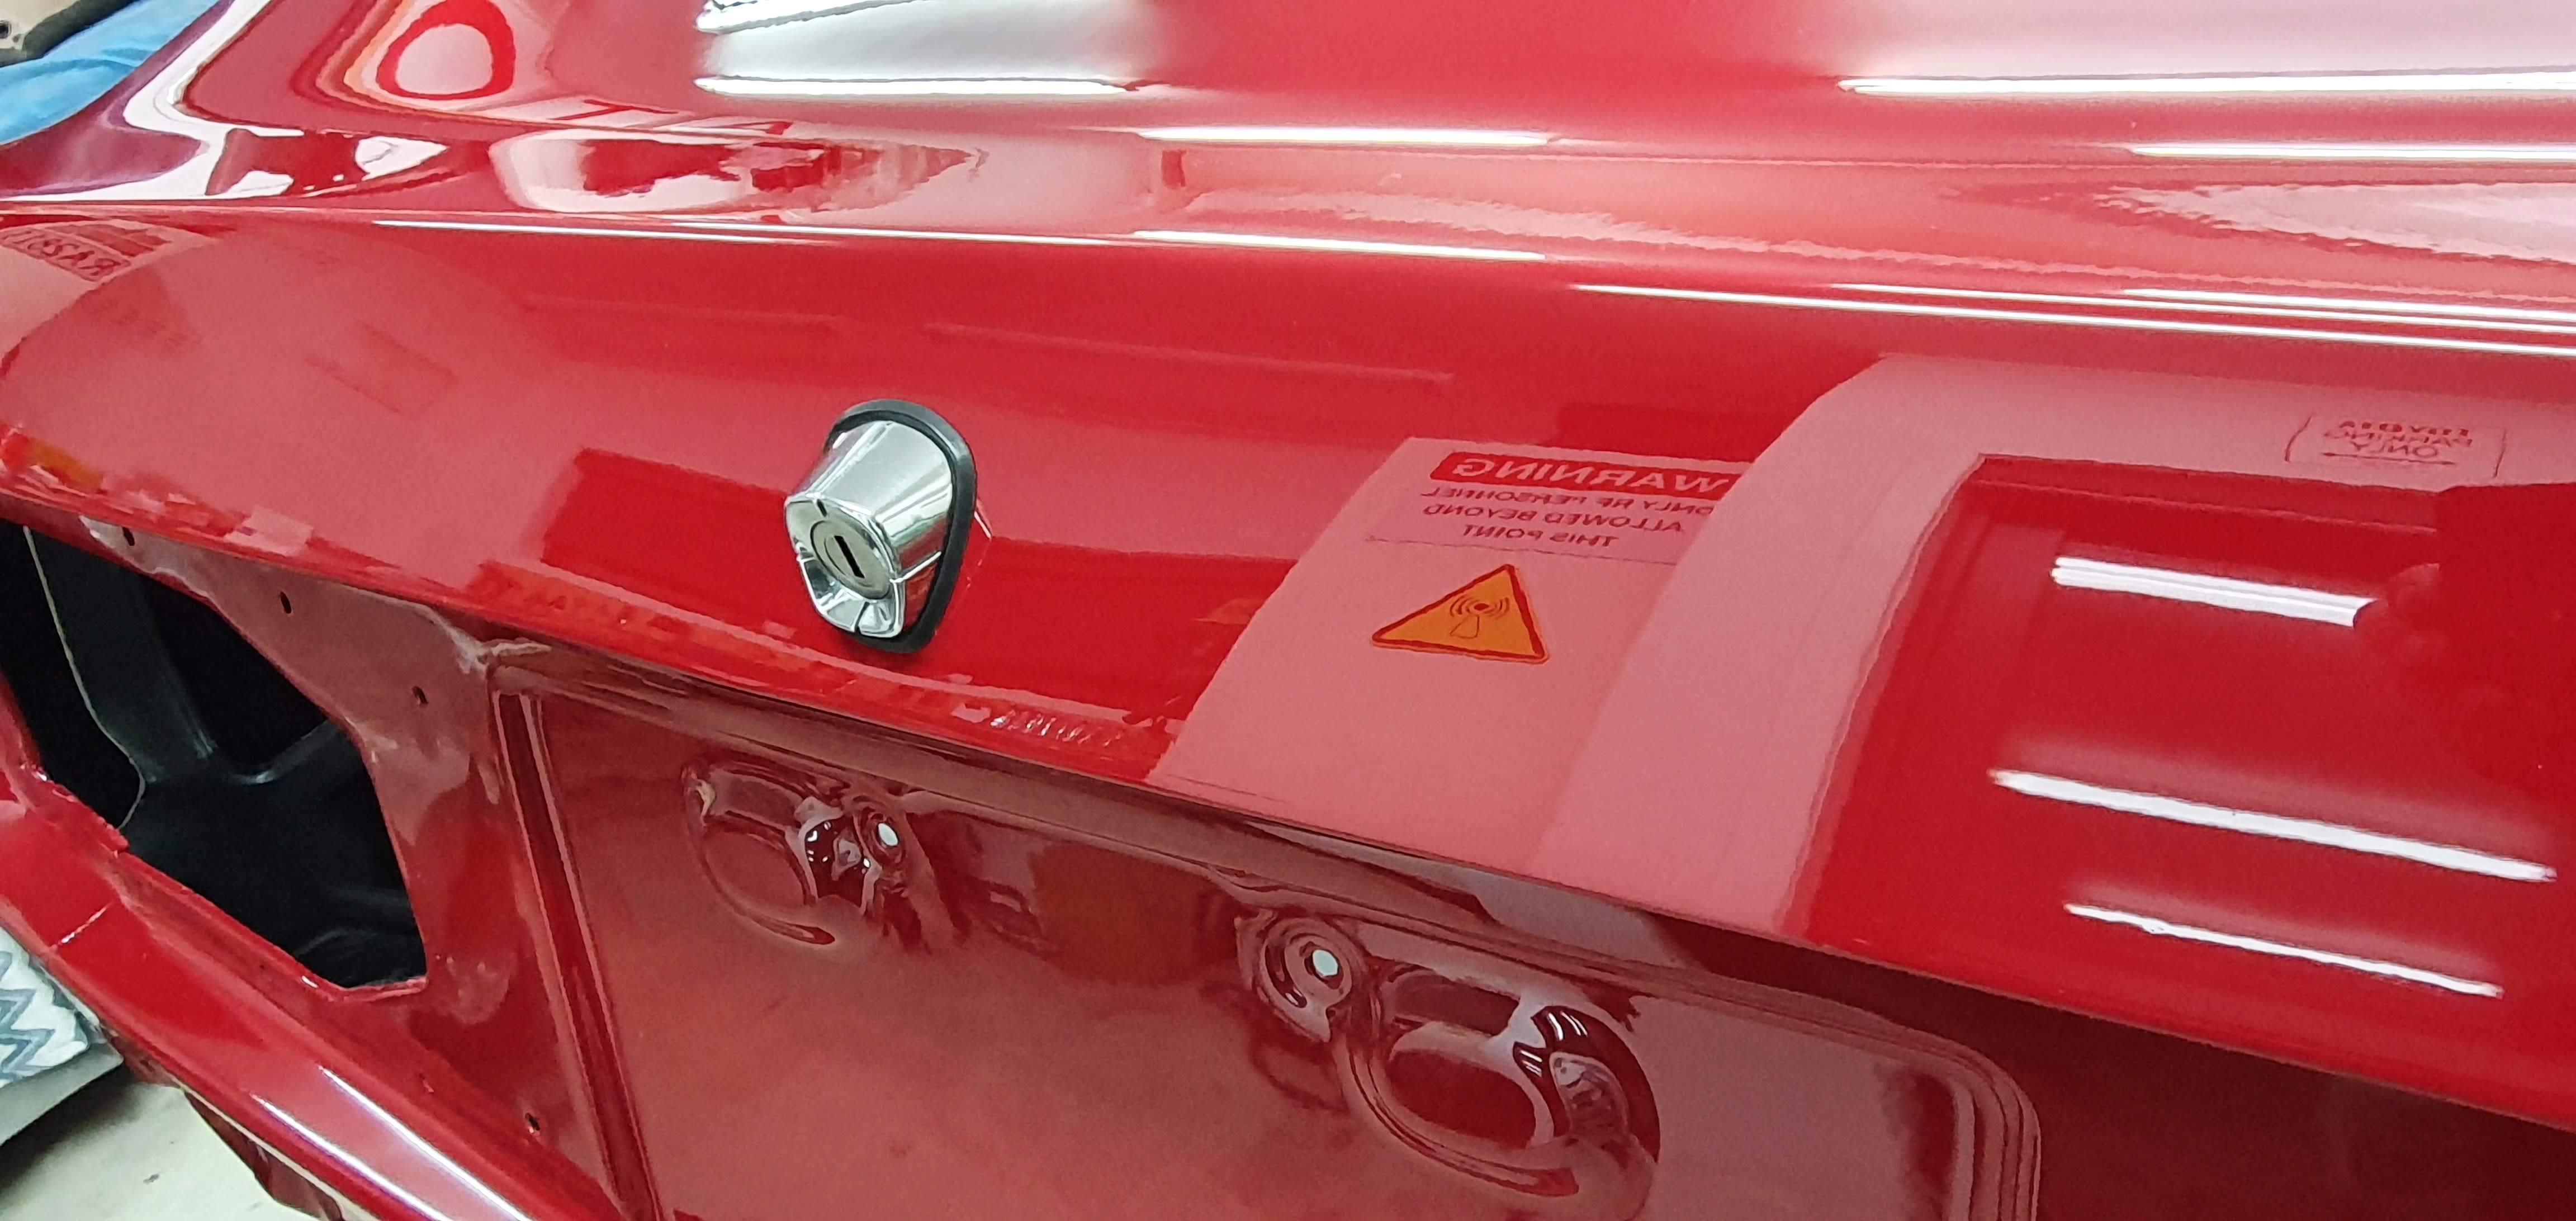
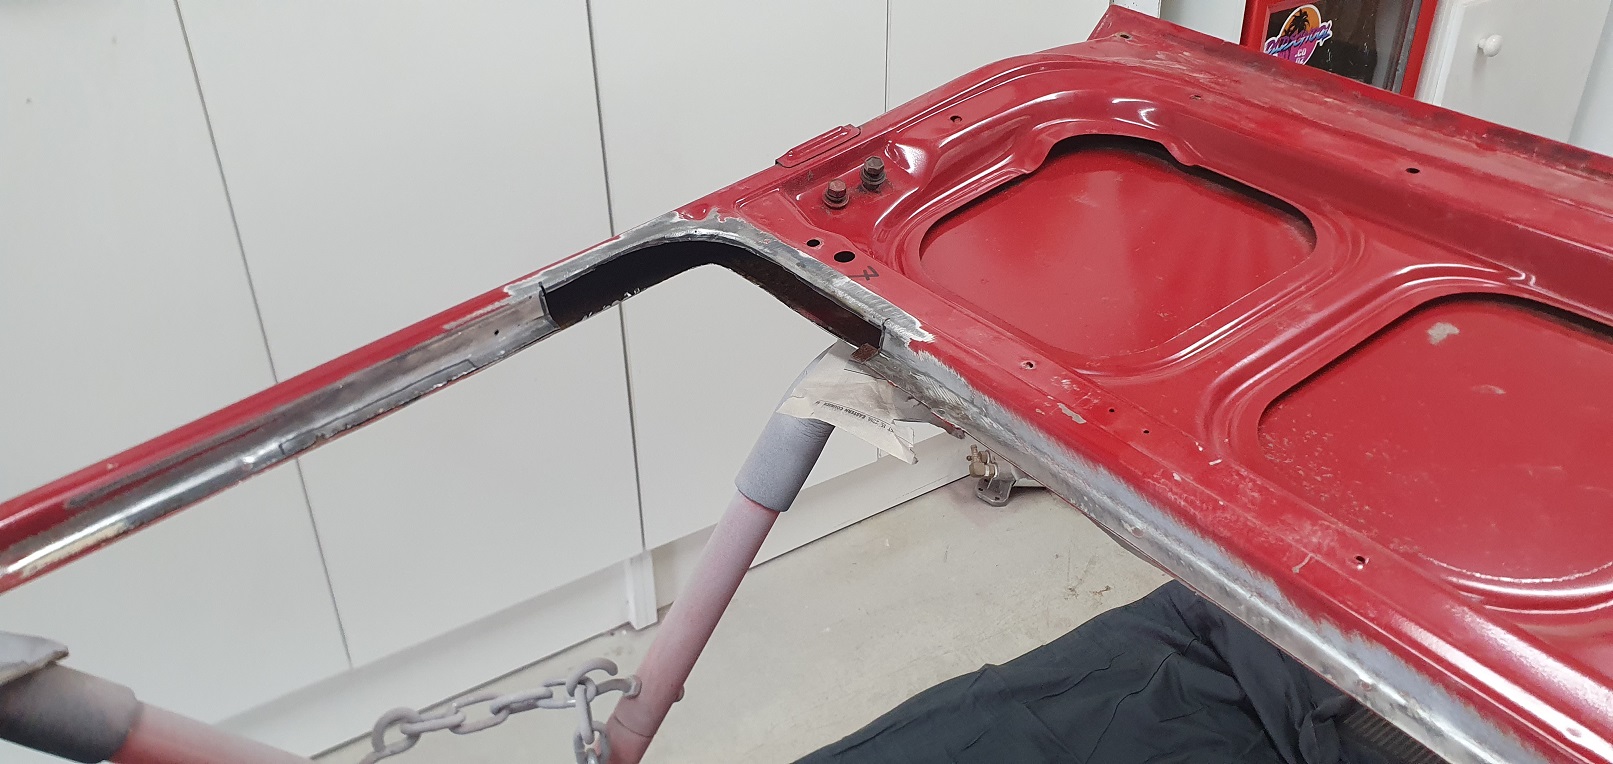
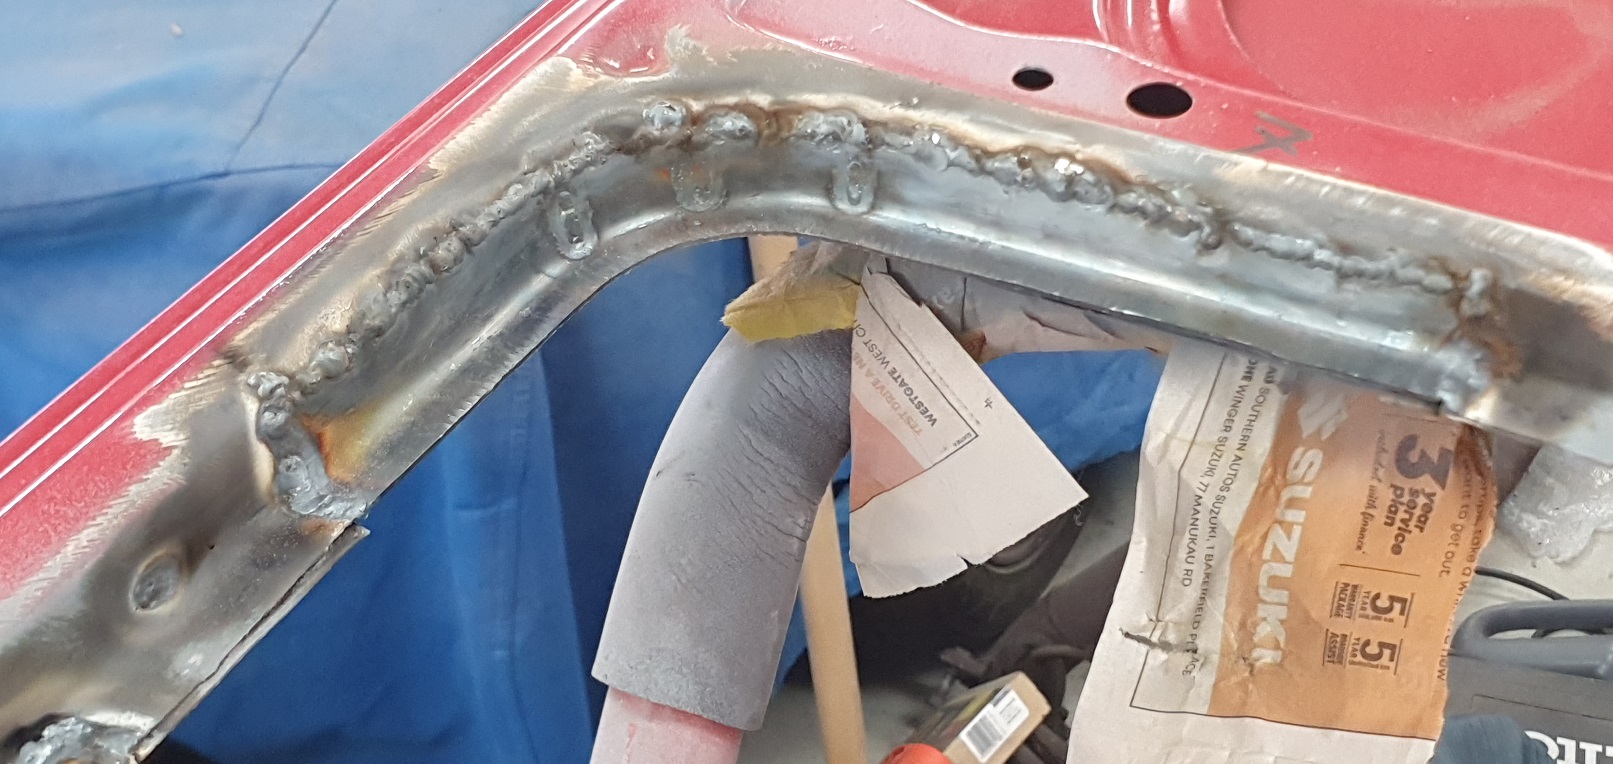
Hatch repairs and some fill and final prime
- 51 replies
-
- 15
-
-
Sleeektoy's 1977 Racer Celica RA28 (WTF another one!!)
sleeektoy replied to sleeektoy's topic in Projects and Build Ups
and filled the garage with a lot of dust and some other stuff too
- 51 replies
-
- 11
-
-
Sleeektoy's 1977 Racer Celica RA28 (WTF another one!!)
sleeektoy replied to sleeektoy's topic in Projects and Build Ups
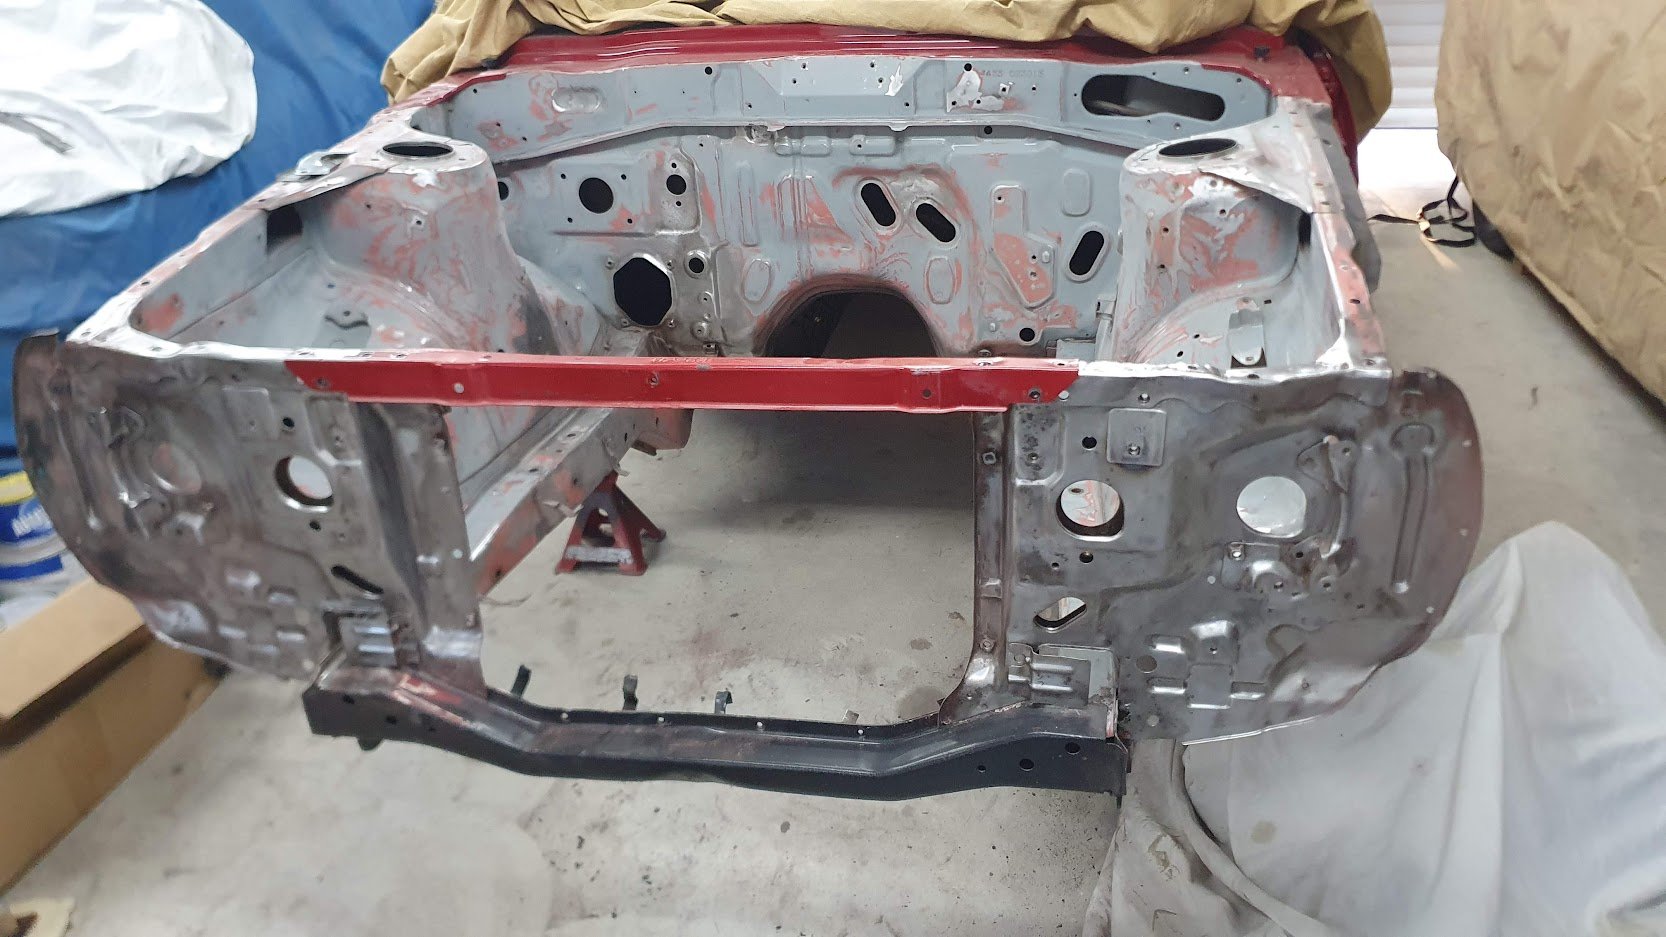
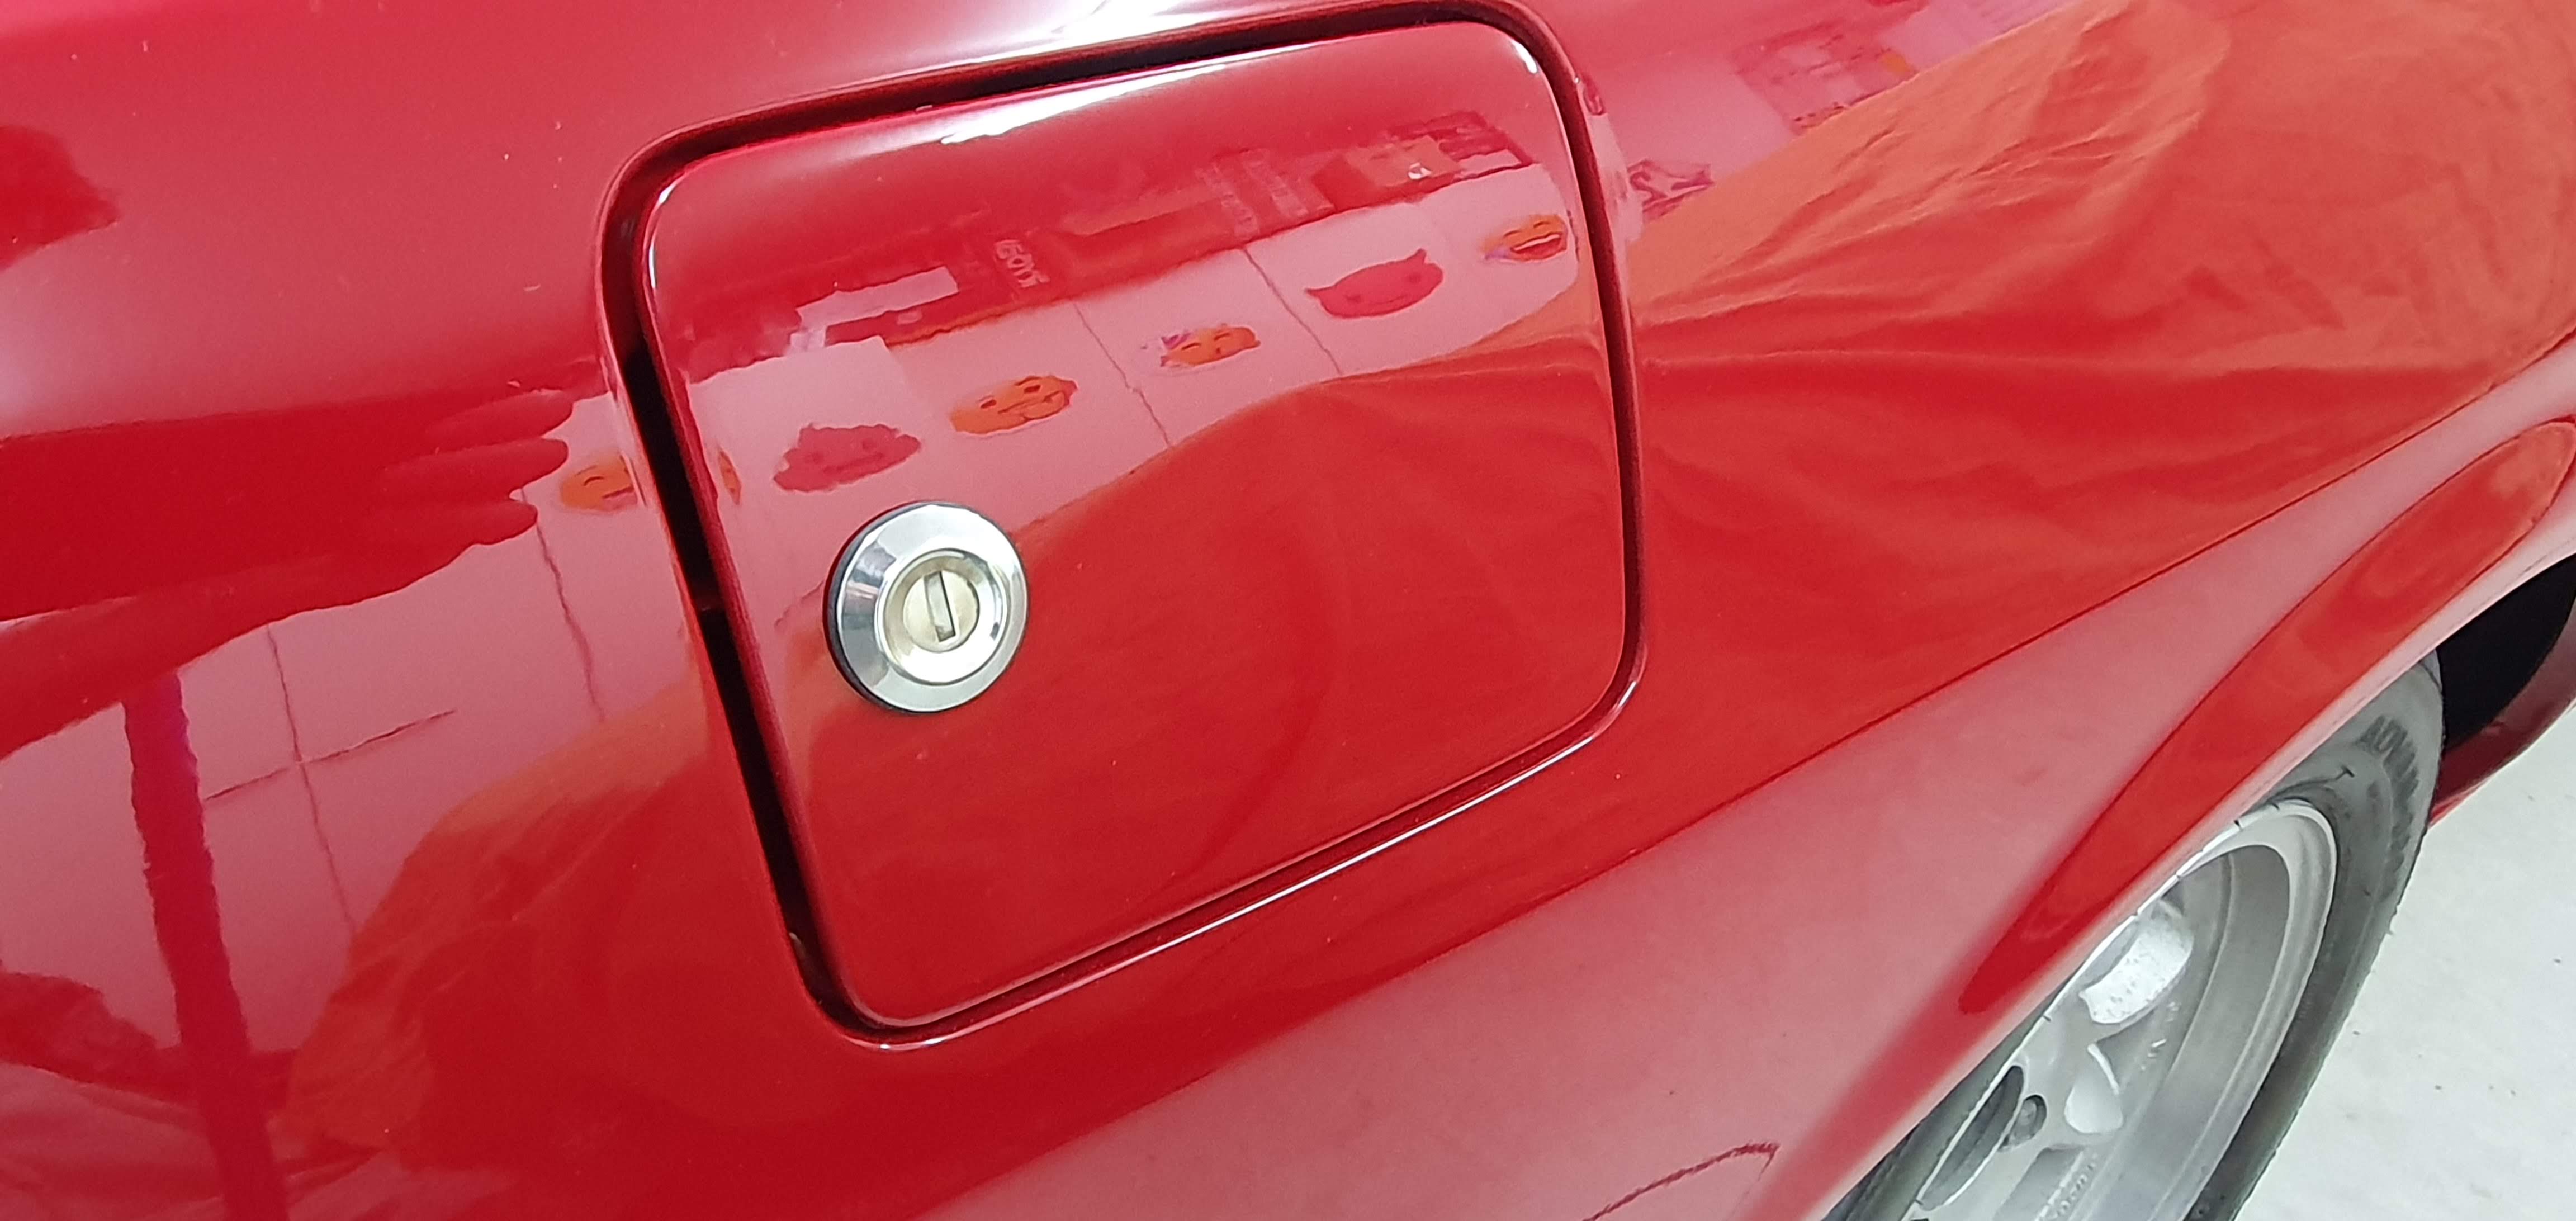
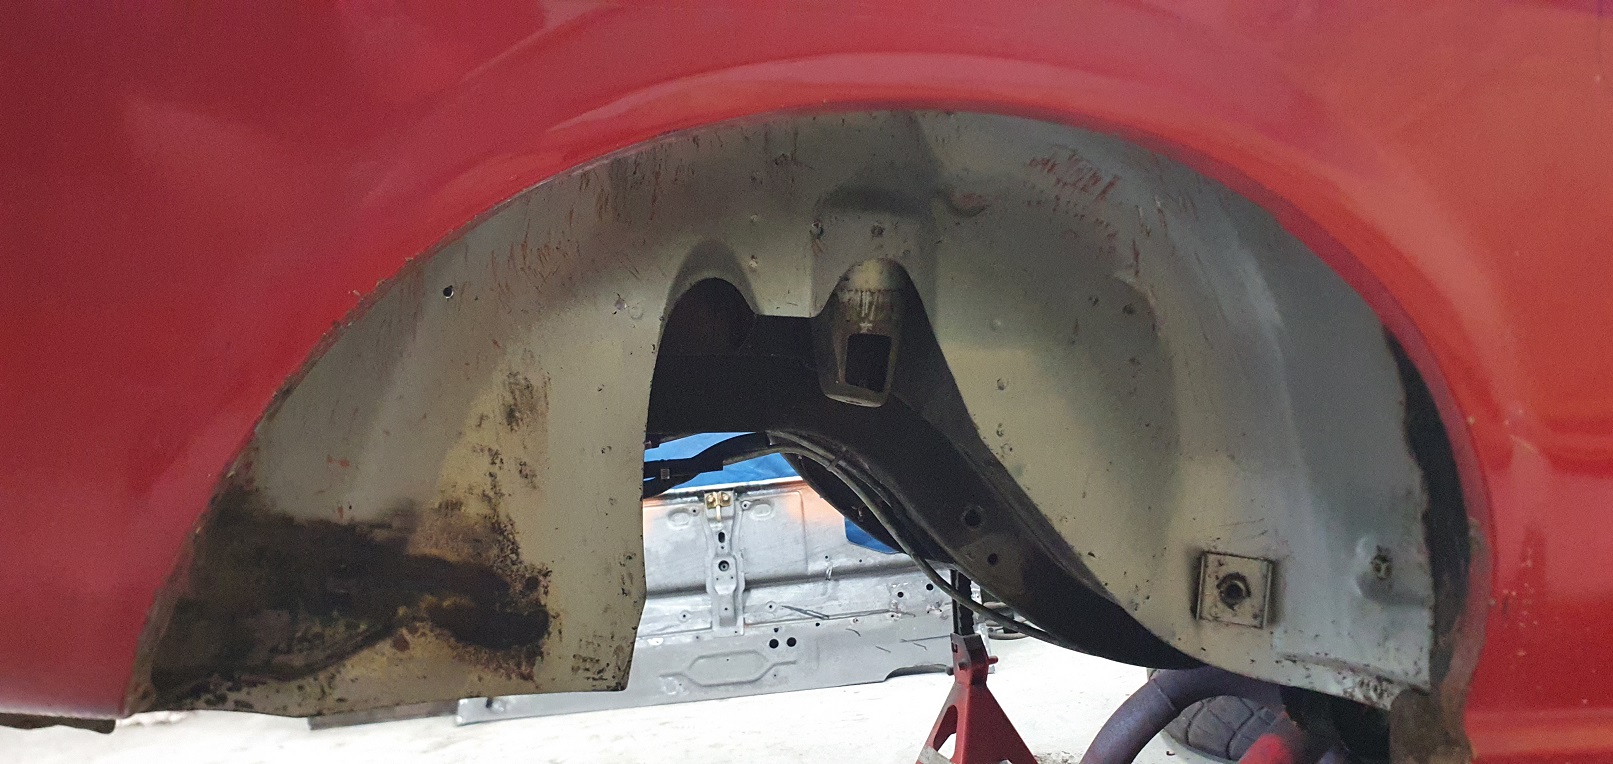
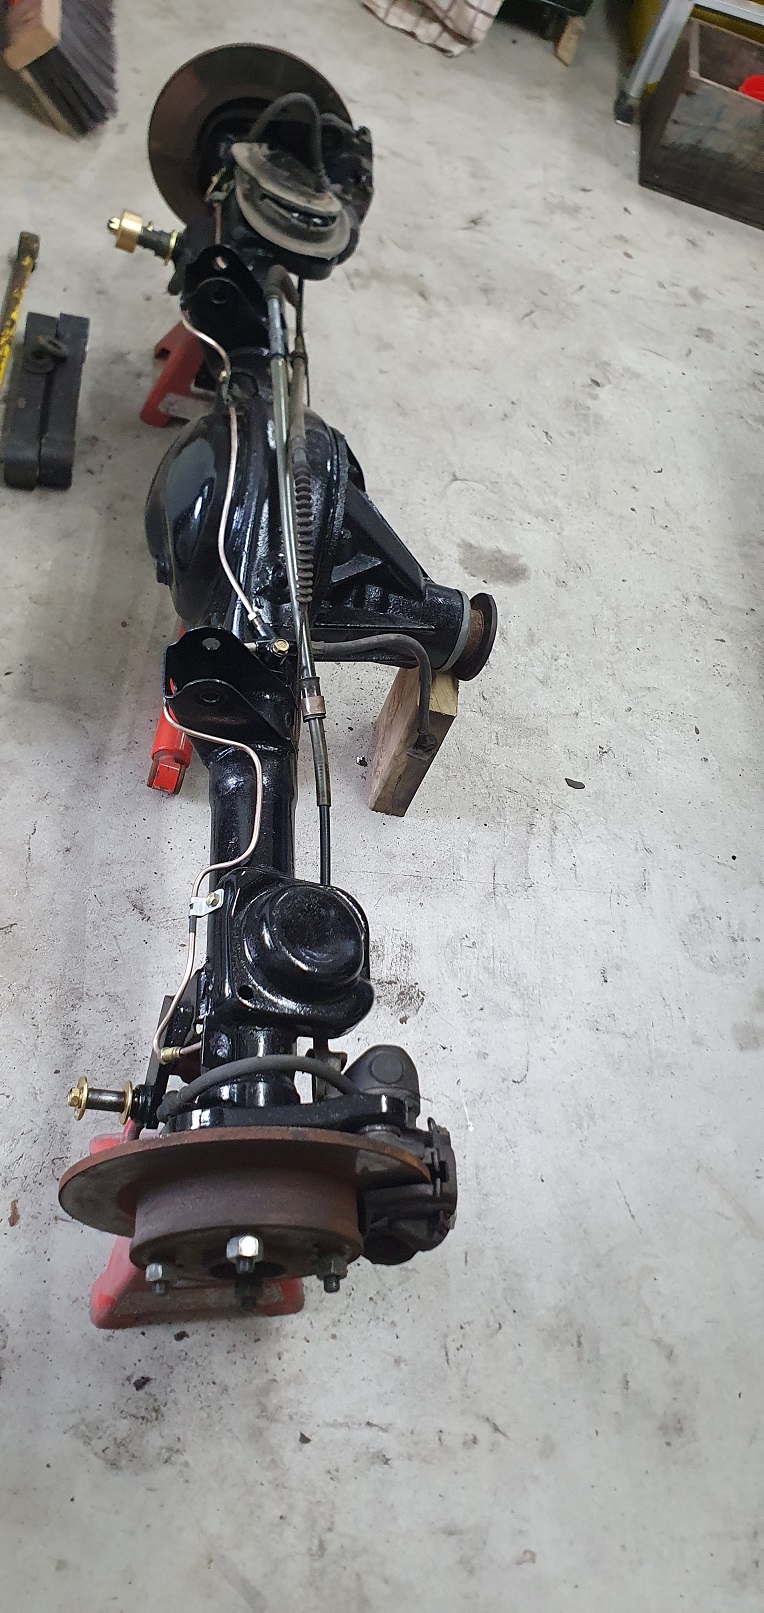
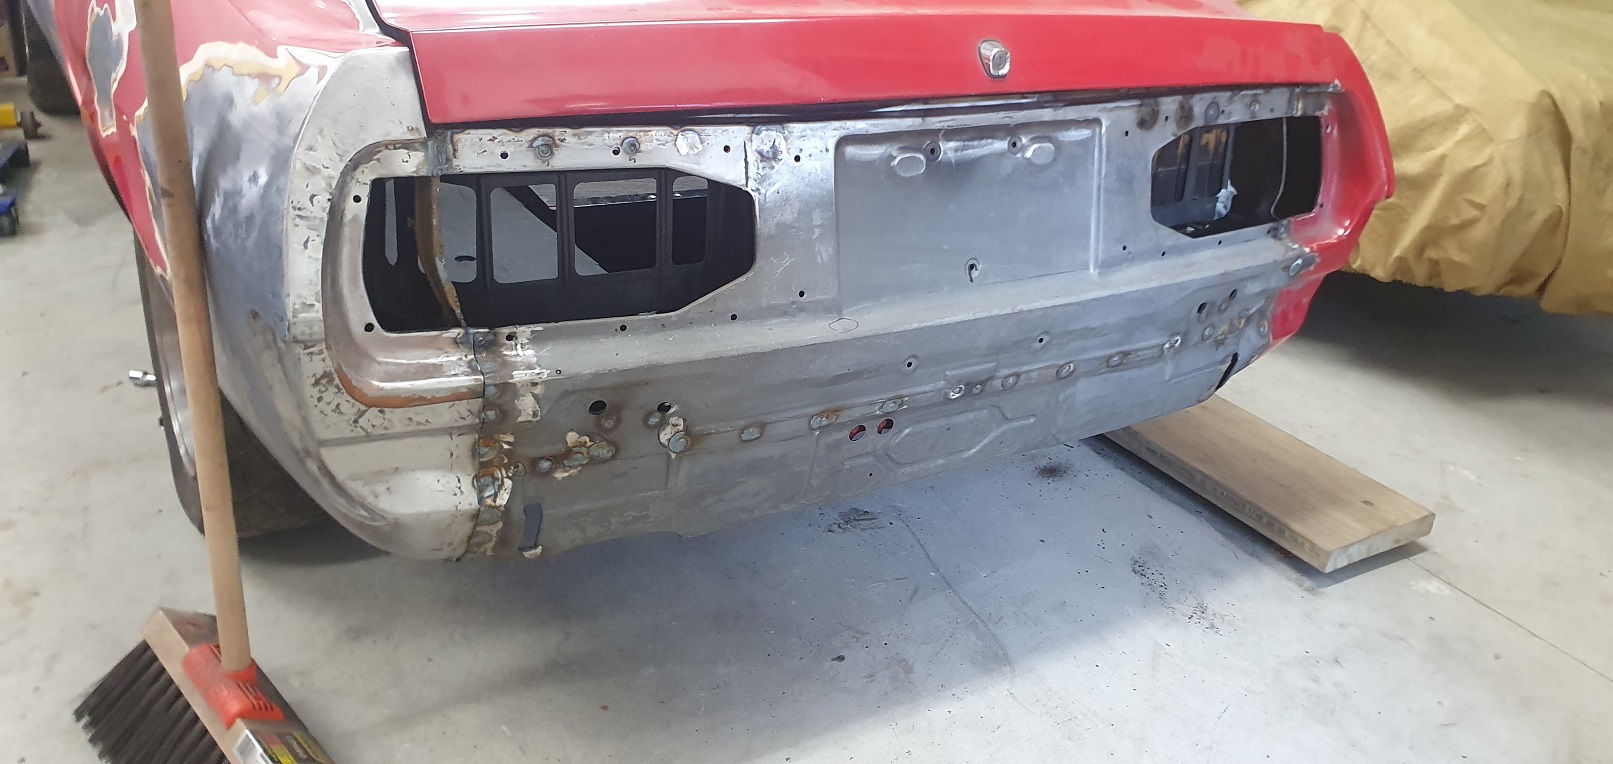
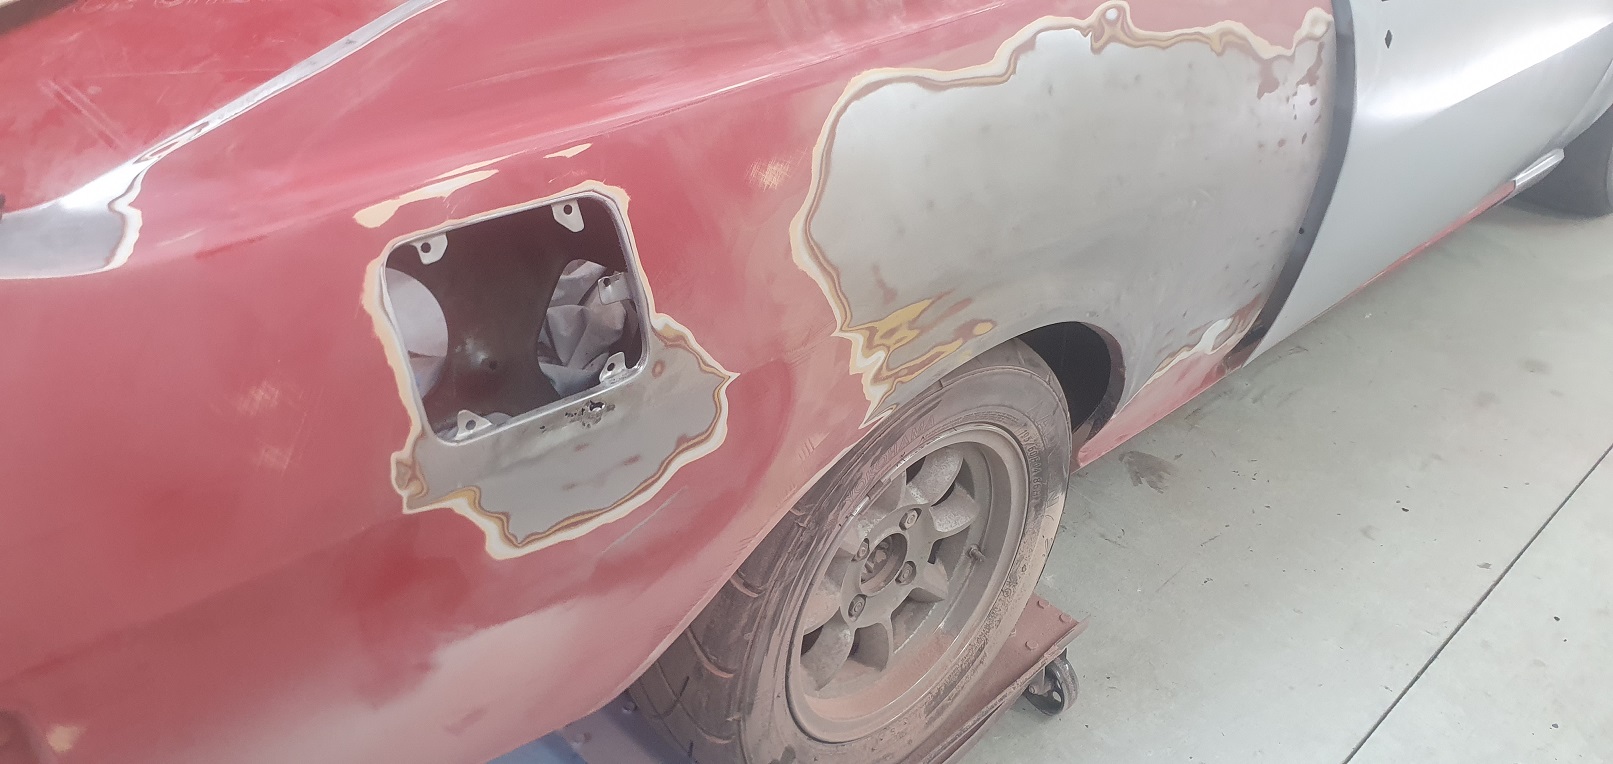
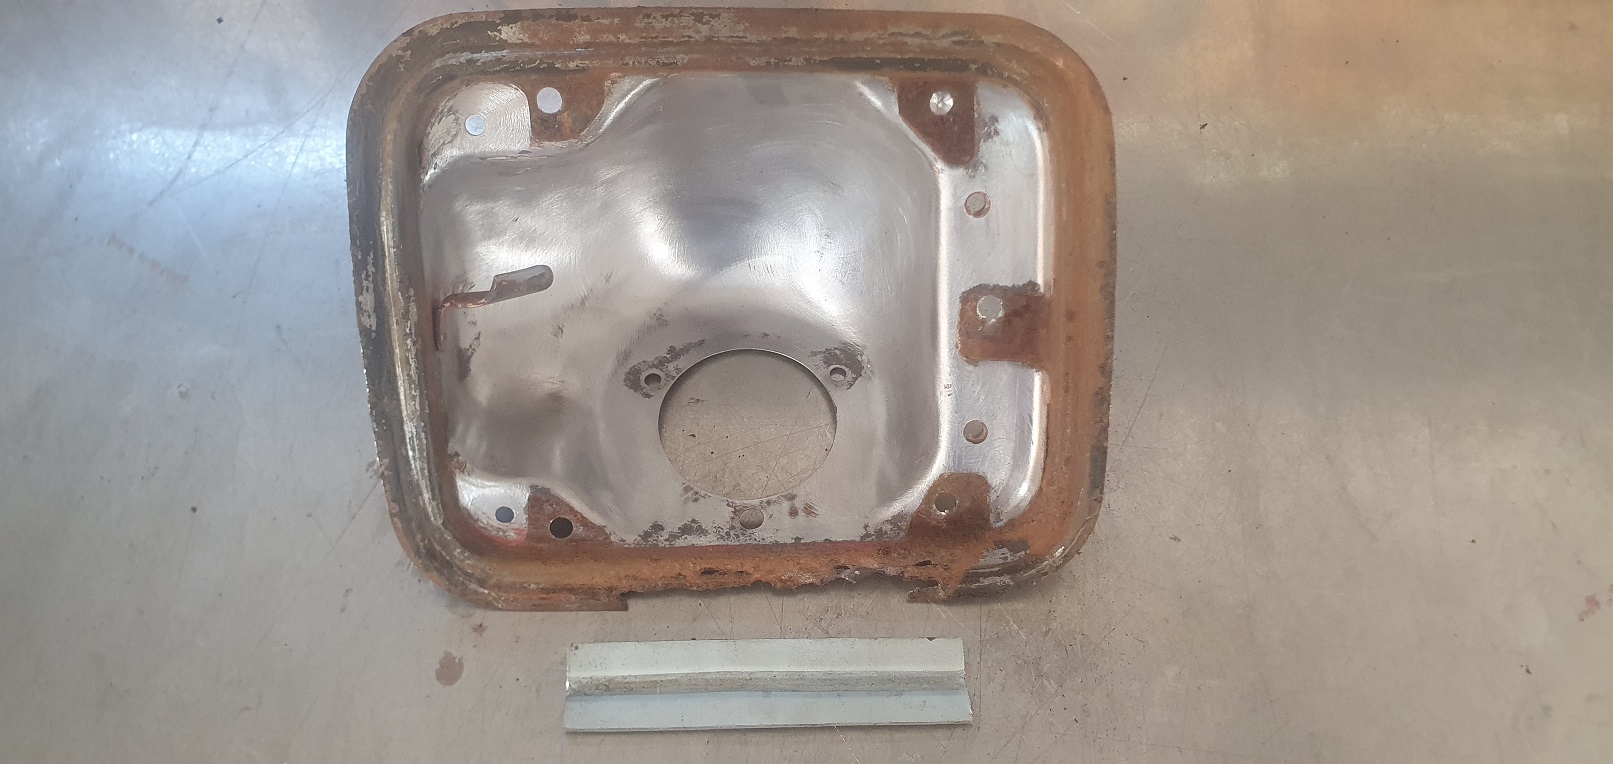
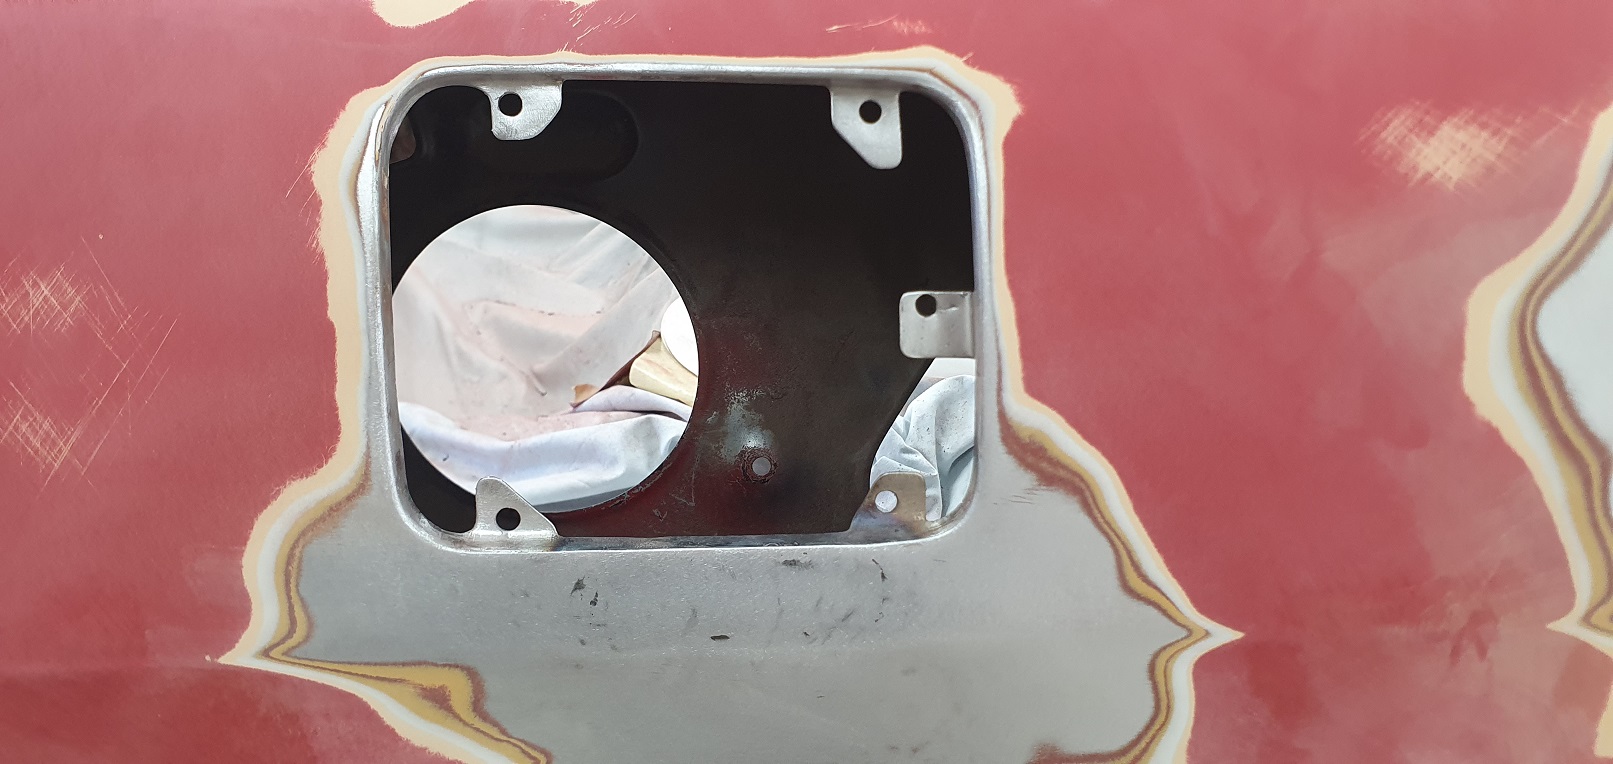
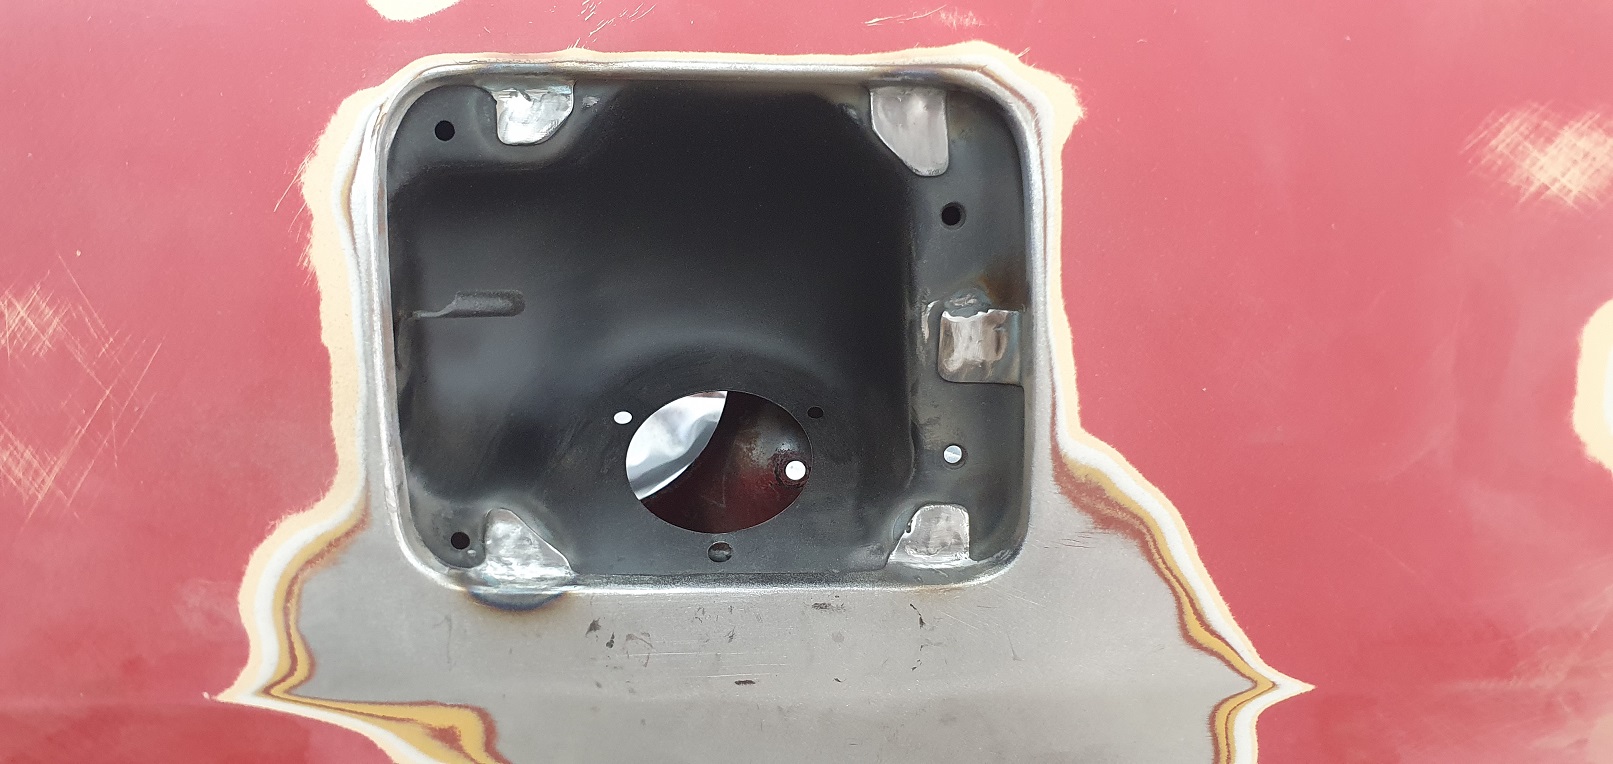
Update on the actual progress.. been a while coming as i had a PC meltdown and lost a lot of data Spare Wheel Finished Whipped the diff out for new bushes and a birthday - and sorting the underside Finally welded in the rear valance/panel Started on the other guard and only found a couple of minor issues common fuel filler rust
-
Sleeektoy's 1977 Racer Celica RA28 (WTF another one!!)
sleeektoy replied to sleeektoy's topic in Projects and Build Ups
Some videos- 51 replies
-
- 10
-
-
Sleeektoy's 1977 Racer Celica RA28 (WTF another one!!)
sleeektoy replied to sleeektoy's topic in Projects and Build Ups
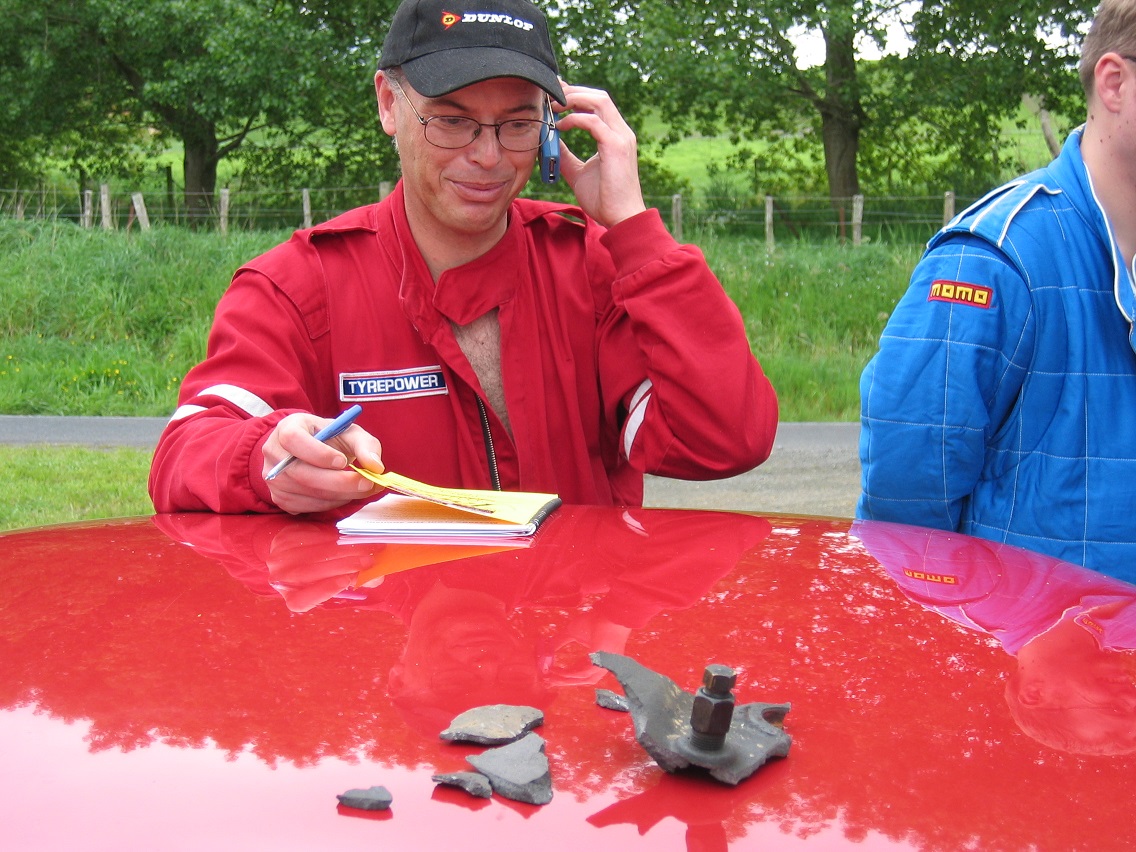
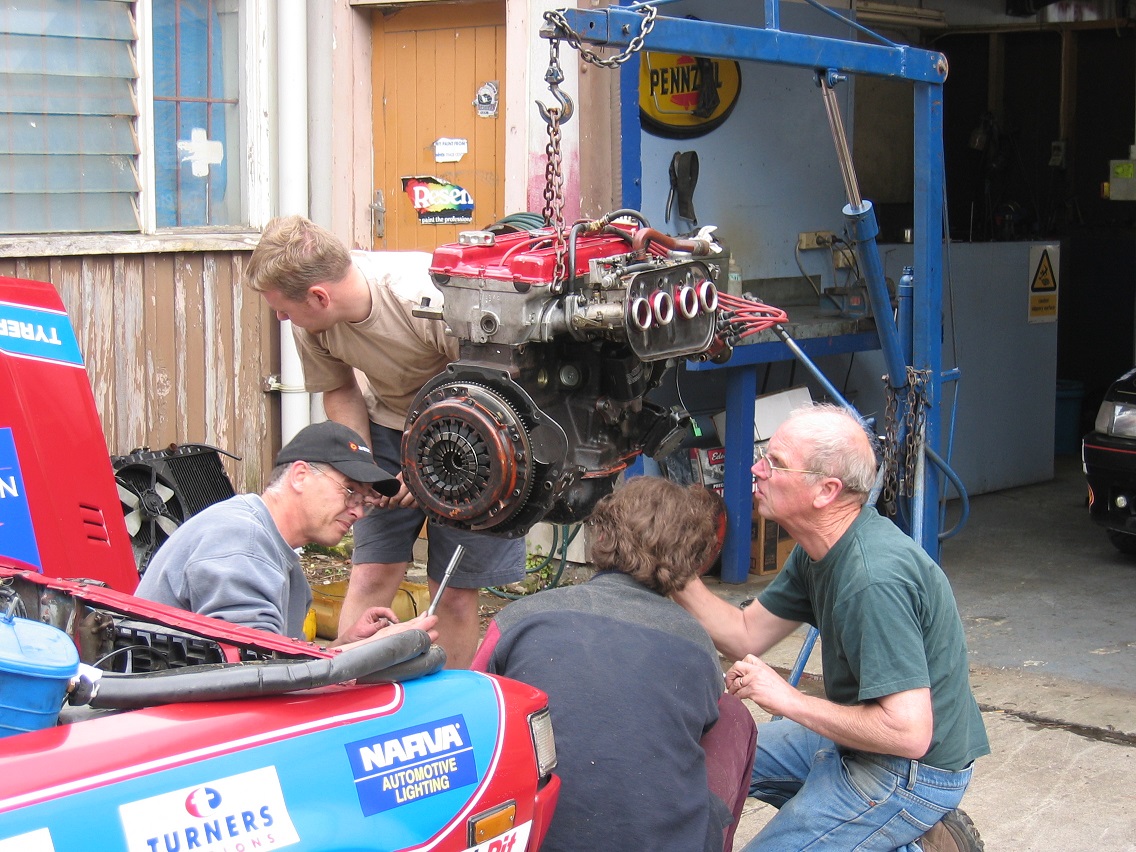
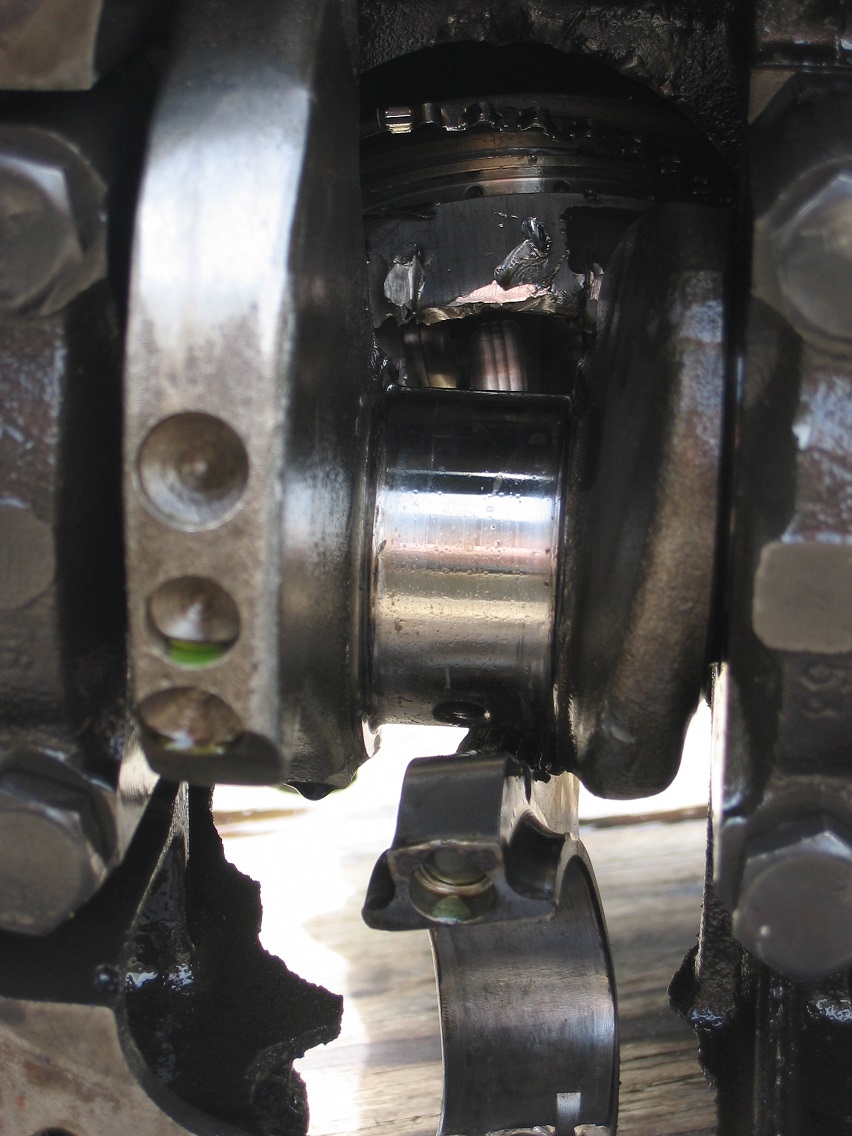
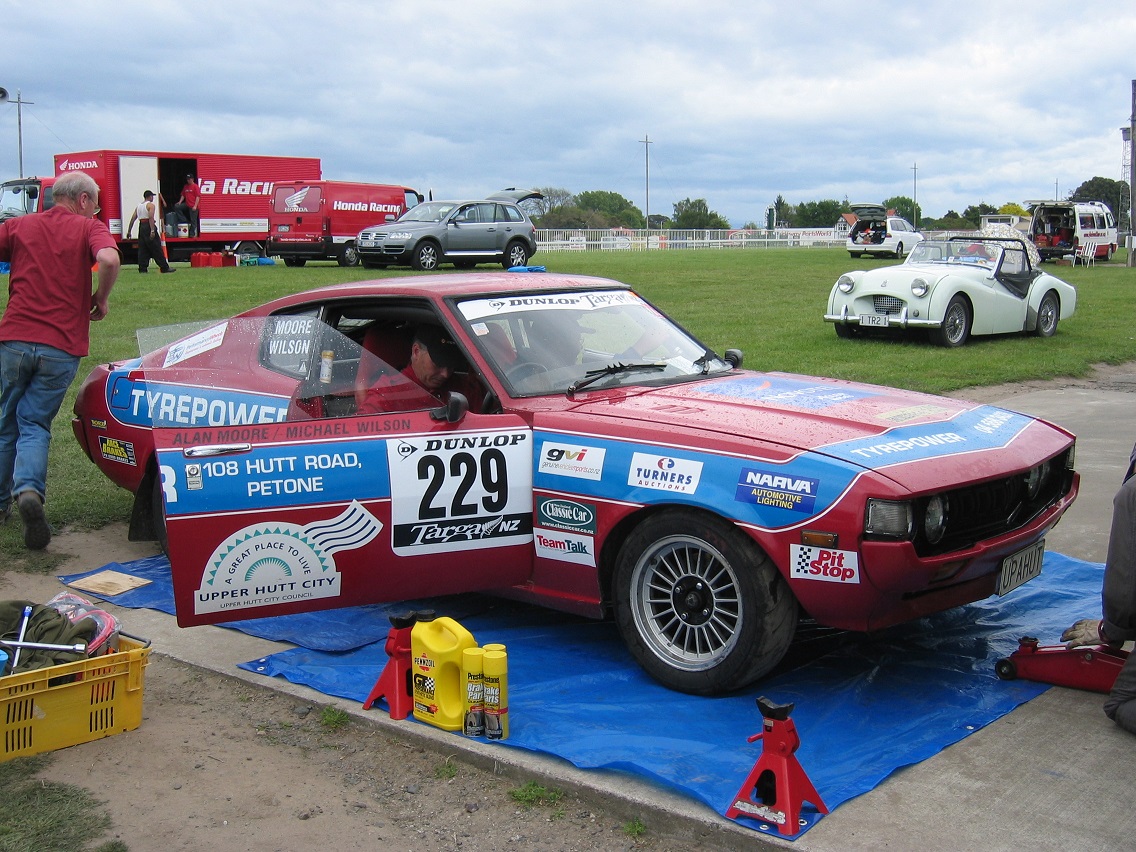
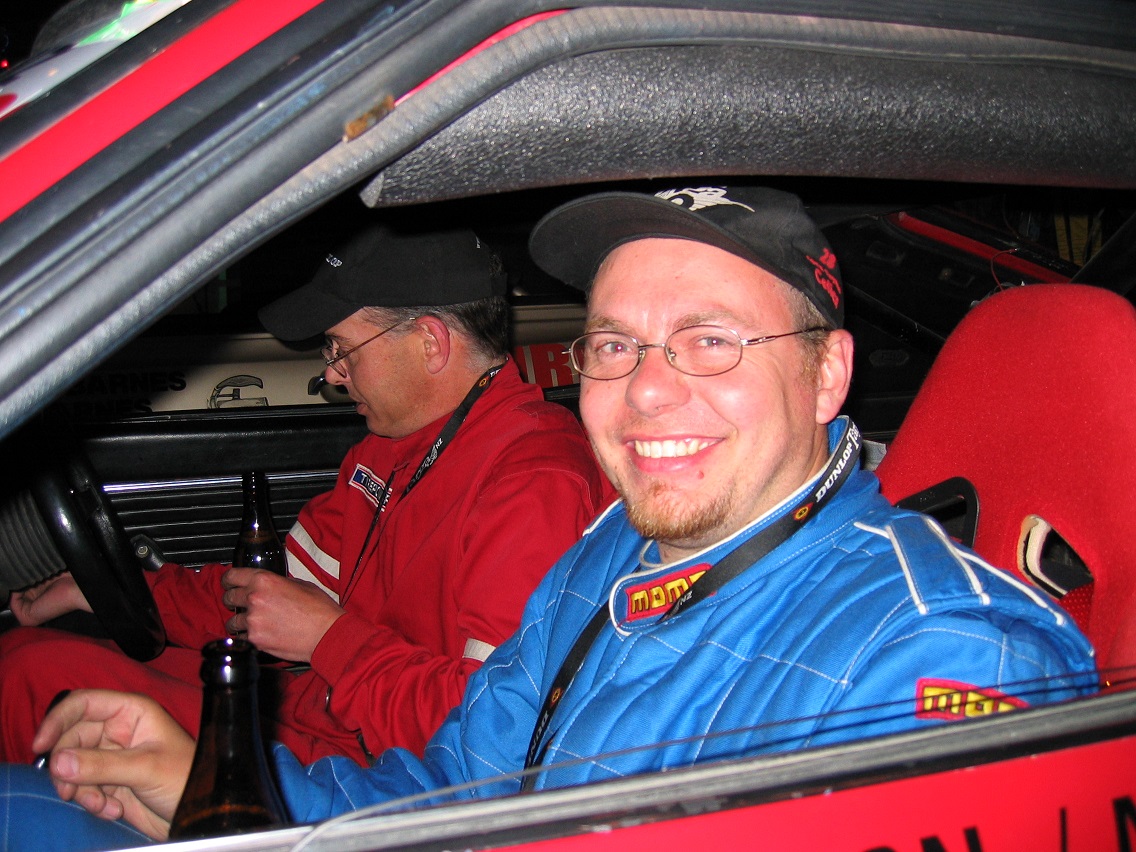
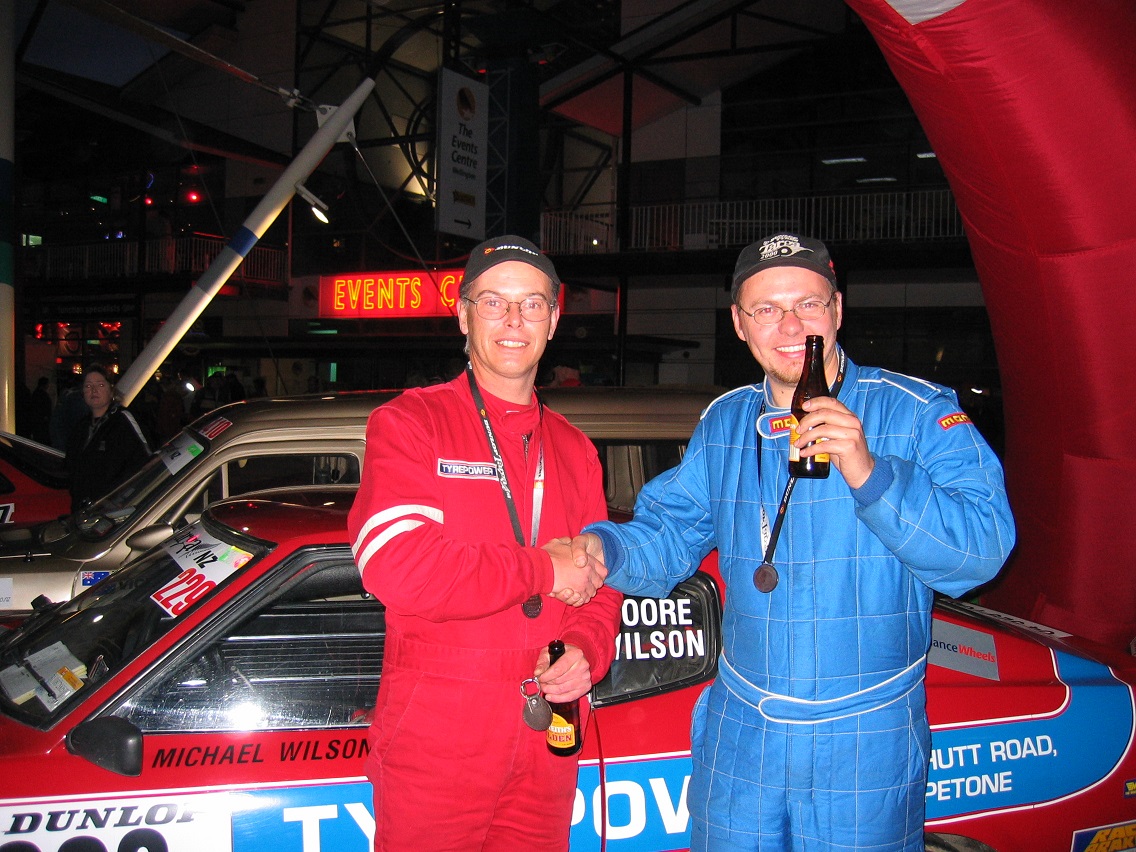
so... Some old photos have surfaced of the 2004 Targa when I co-drove in this car The show at Turners at the start The 1st day got off to a shocking start by exploding the engine after about 4-5 stages. mid-stage with a long straight- 9000RPM and almost max speed in 5th then a loud bang, clattering and a film of oil/coolant spewed up the windscreen and steam all inside the cabin. We coasted to a stop on a driveway and unbelieveably realised the engine was still barely running. I meandered back up the road with the OK sign and picked up some pieces Closer inspection of the engine showed it was toast - rod cap failure spat the rod out both sides of the engine. So we trailered it to the overnight stop in New Plymouth - another more mild engine was brought up from Wellington to be installed overnight The piston couldn't be removed from the block.. Replacement engine in at 1am and we started it up to some extreme clattering - turned out the big end caps were loosened for checking and not torqued up! Engine out again and new bearings installed - and back in again and we were all good to go by mid-morning the next day. A lot slower and also losing a lot of oil out a small sump hole we didnt pick up after we swapped it over. They let us continue running but were relegated to last car running due to the oil slick we were producing. We made it to the finish late at night and got our finishers medal + a well earned beer
- 51 replies
-
- 17
-
-
https://youtu.be/fPtGlTdG1iI
-
http://youtu.be/UexiOL8I_3Y
-
Sleeektoy's 1977 Racer Celica RA28 (WTF another one!!)
sleeektoy replied to sleeektoy's topic in Projects and Build Ups
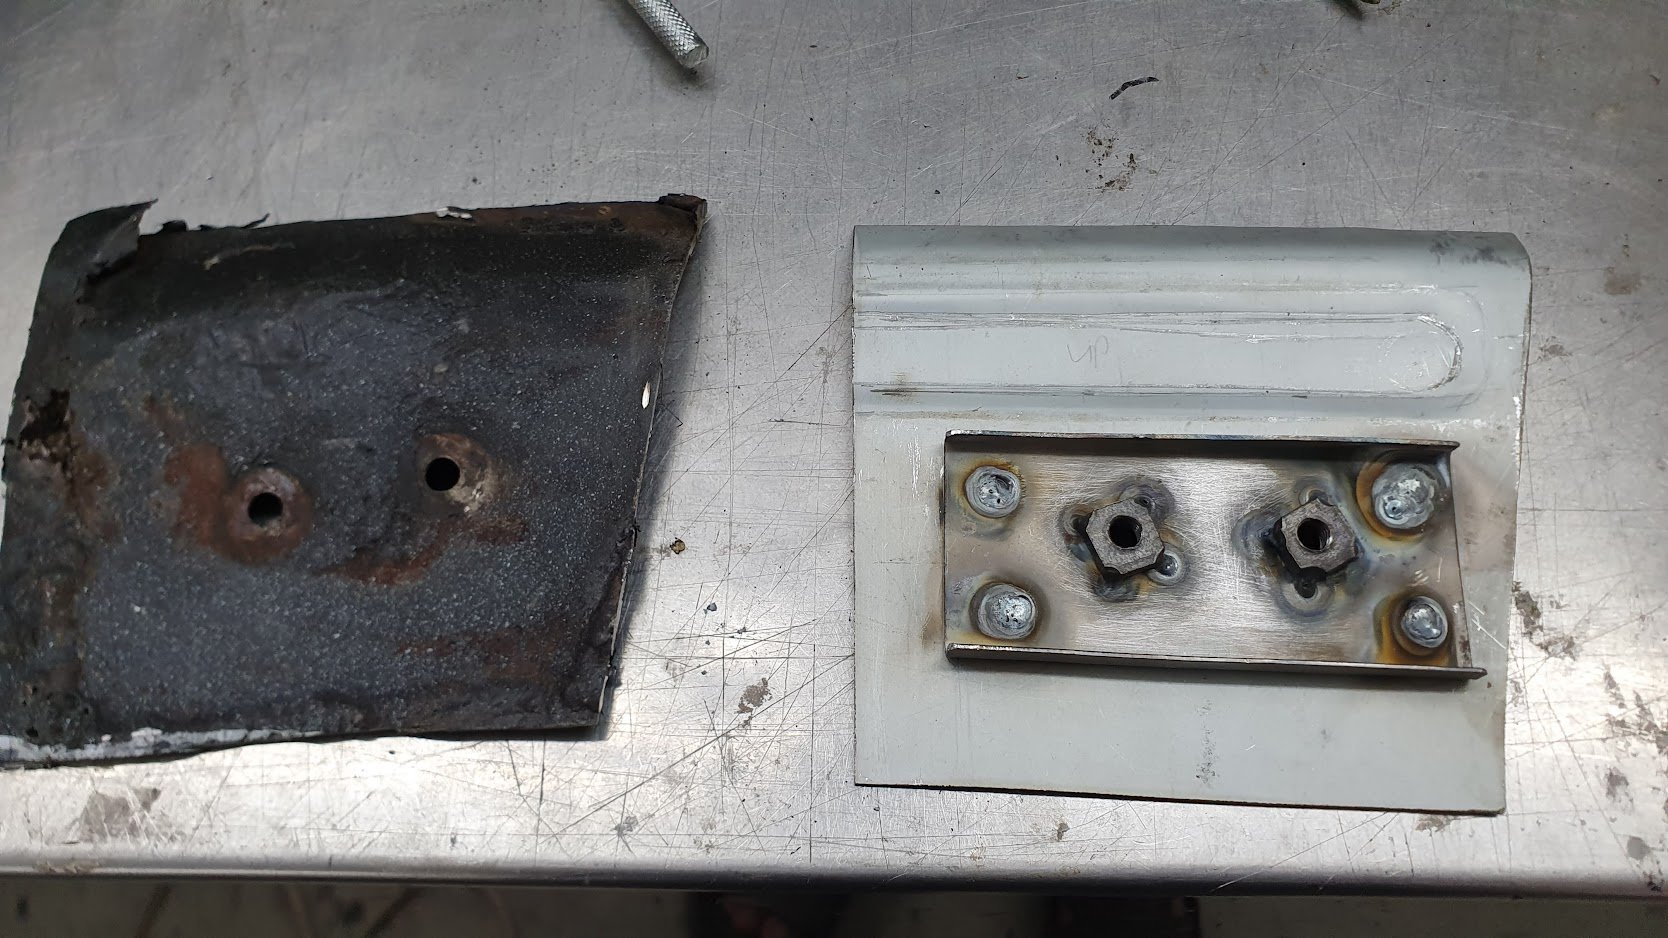
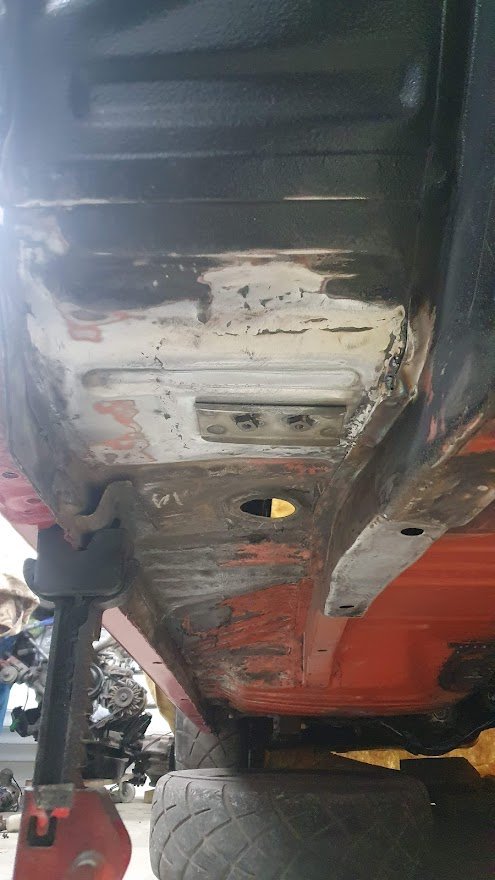
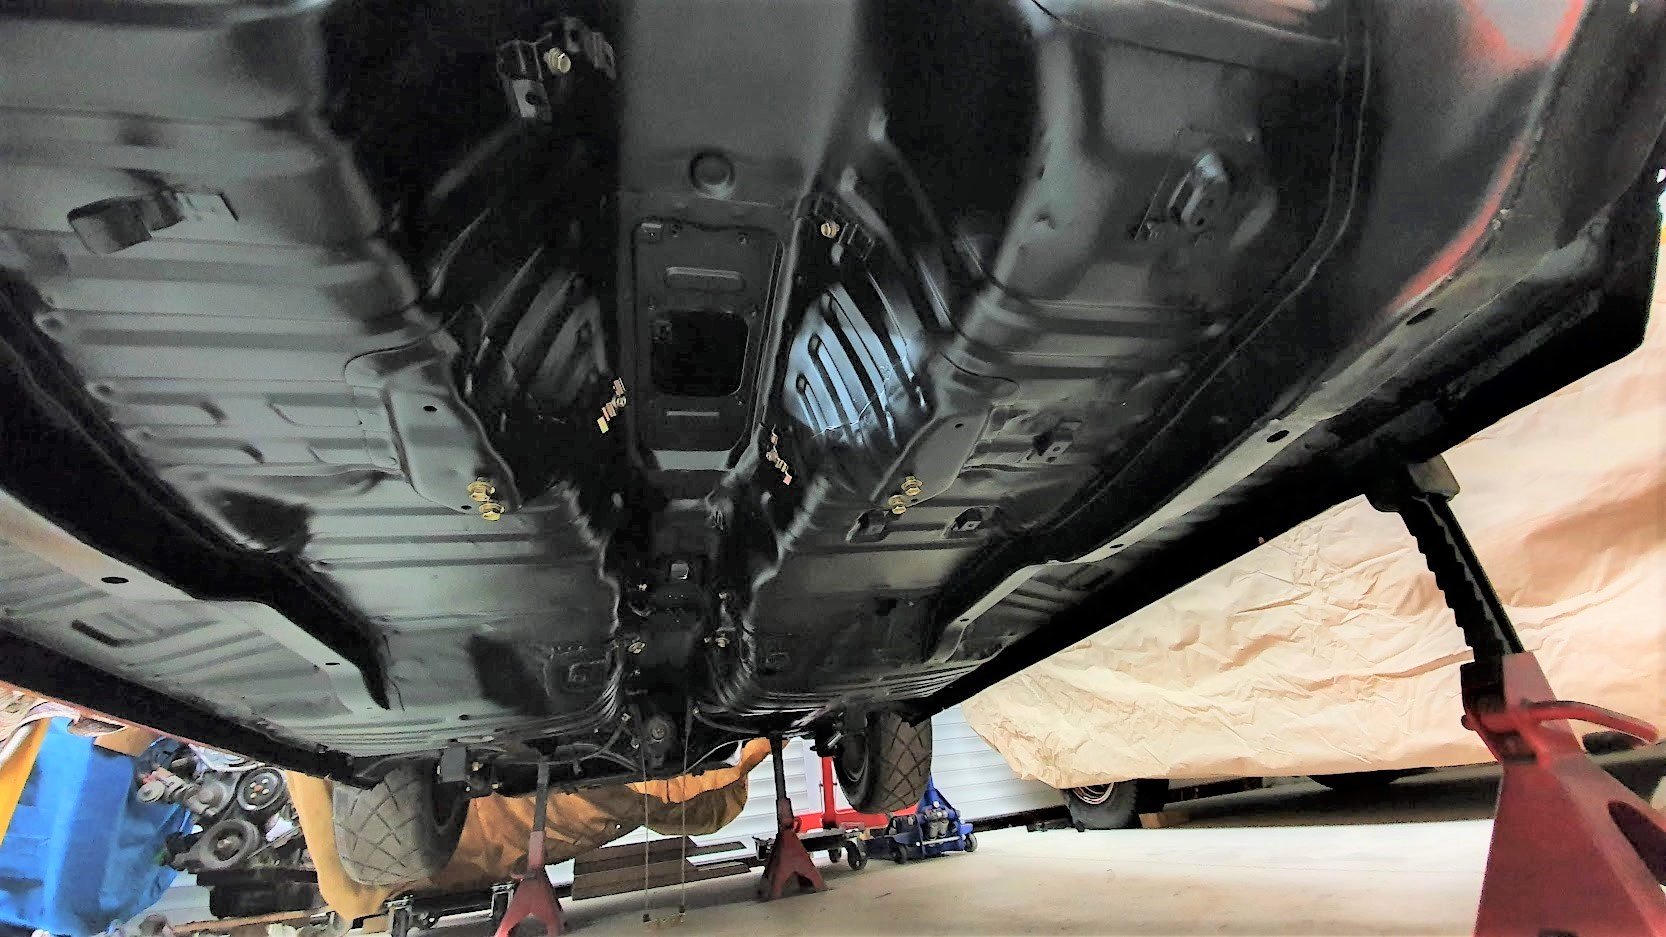
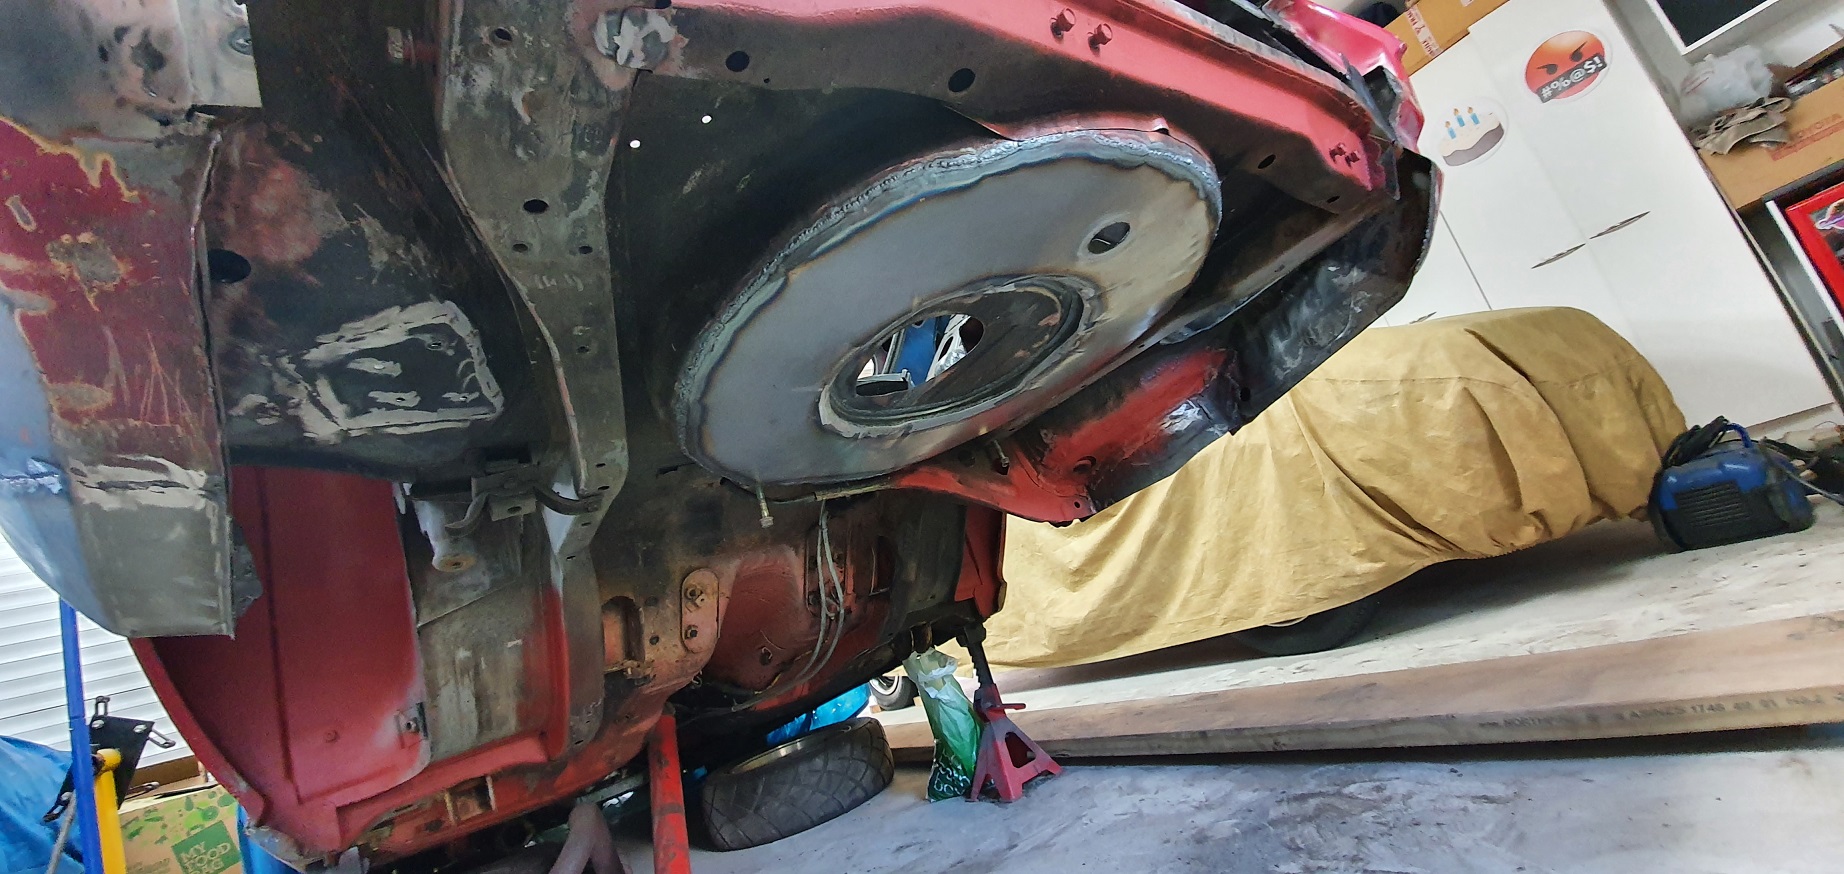
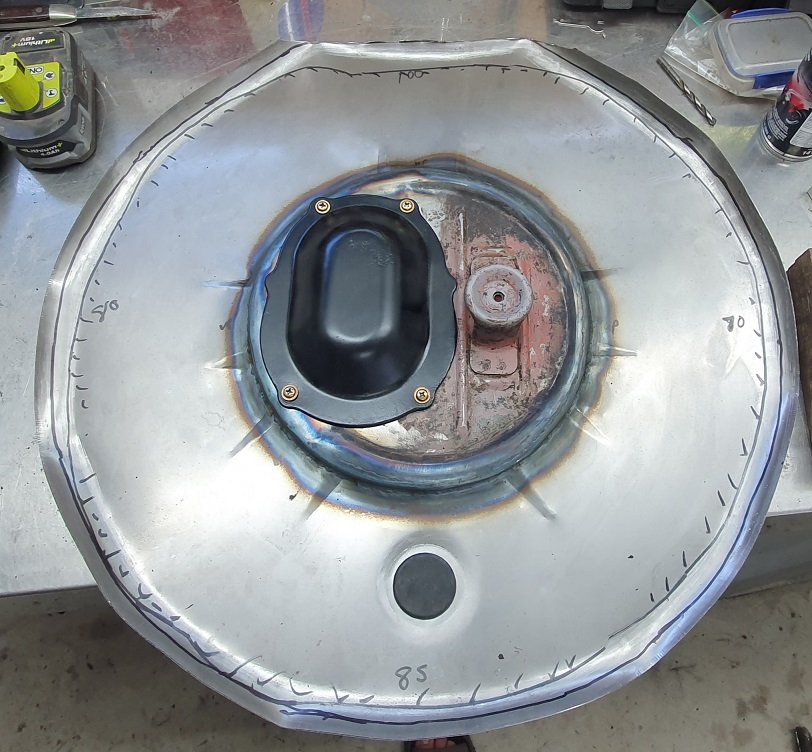
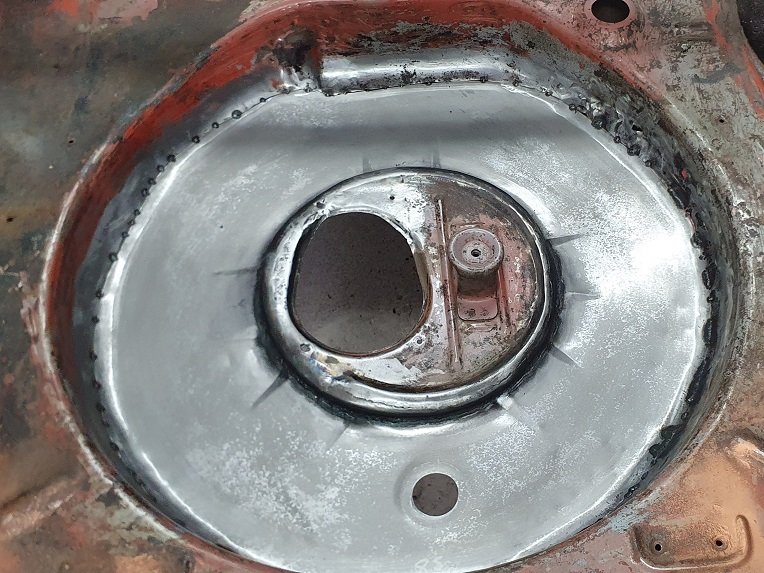
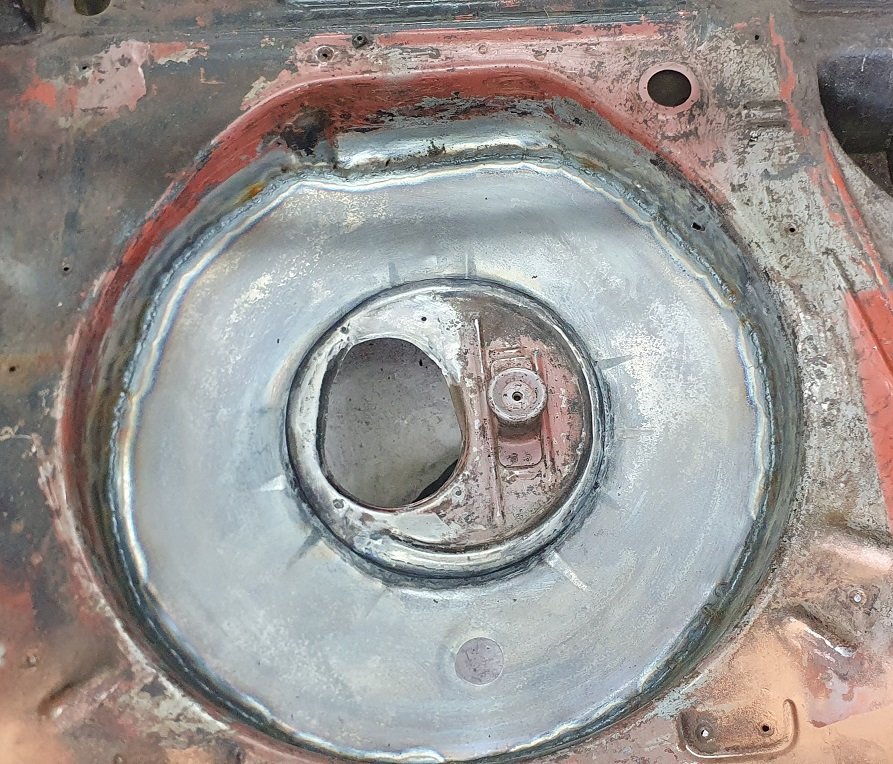
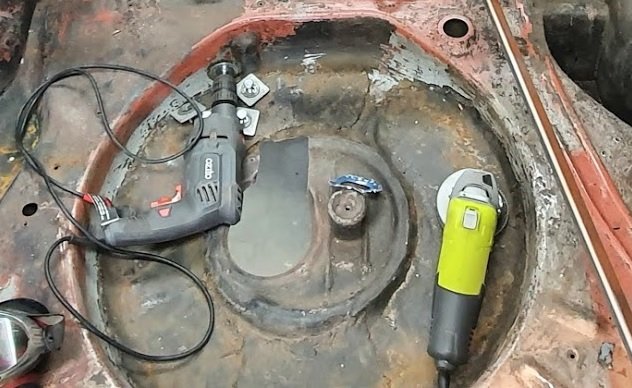
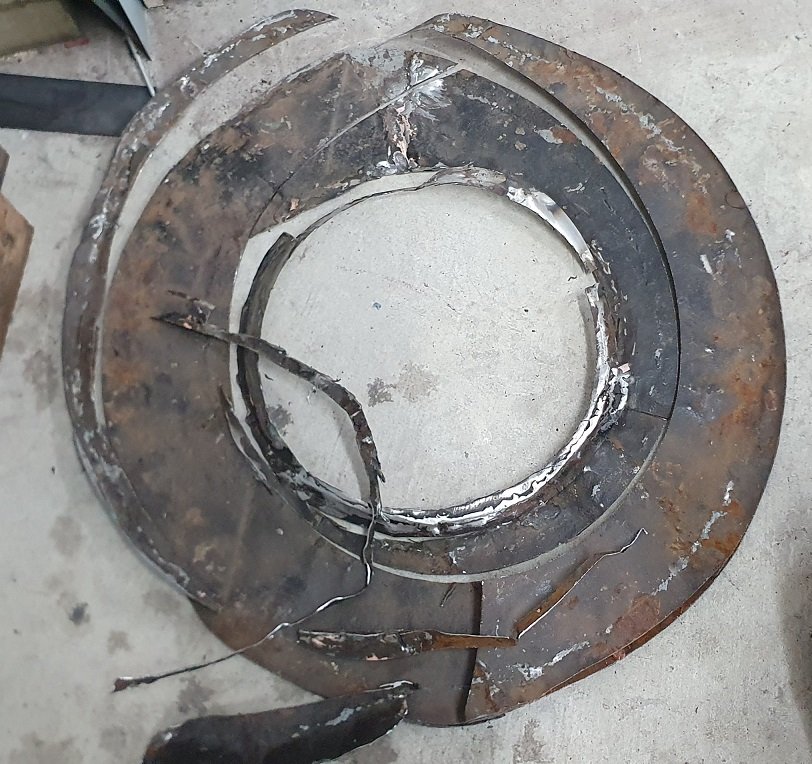
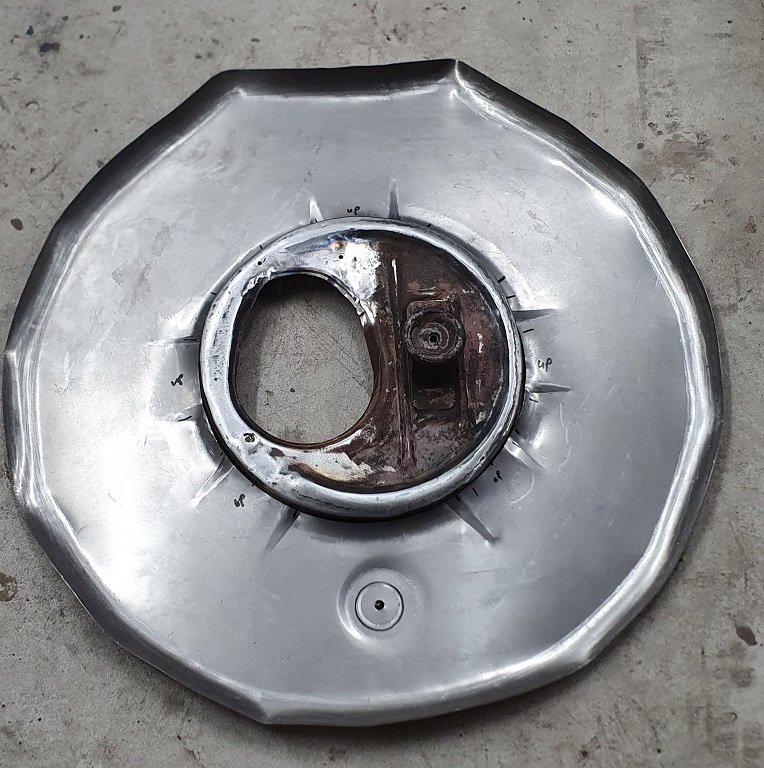
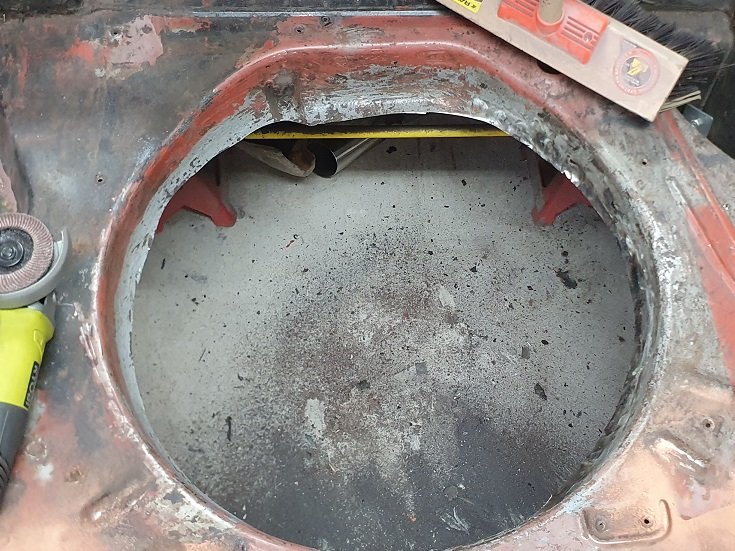
Spare wheel well! been a while in the making. It was looking like a sara lee danish dessert in there - layer upon layer upon layer upon layer... and bits chopped out etc etc. so choppy choppy Fixed up the middle part to look somewhat right and cut/pressed the stiffening and drain into a new bit. rolled the edges too welded the centre in and tested the cover Tacked in. welded and sanded Pretty happy with the result - way better than before.
- 51 replies
-
- 30
-