
Gee
-
Posts
115 -
Joined
-
Last visited
-
Days Won
1
Everything posted by Gee
-
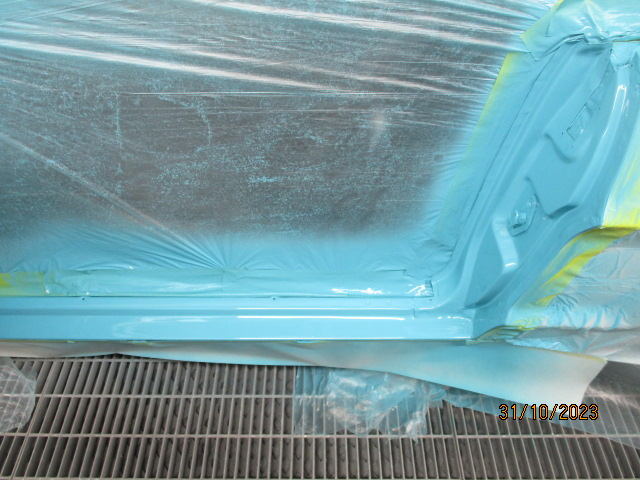
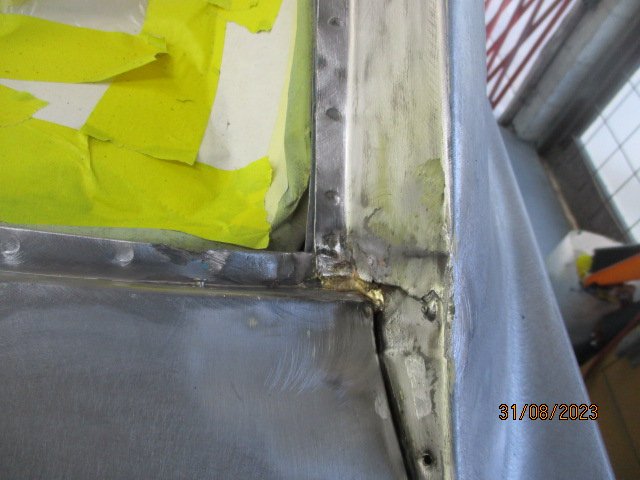
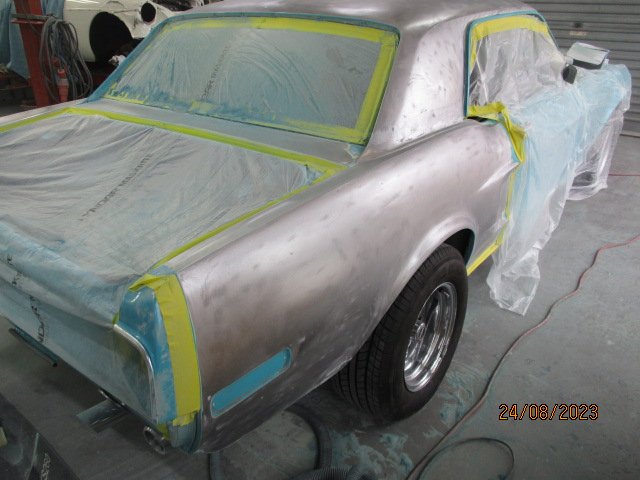
Got some more photos from the Panel beater. Final prime for the main body: Colour in the jams: More areas painted than I thought. The boot gutter and rear valance along with the boot lid are being done. there were a few cracks in the door jams as well that I was ignoring but now they are sorted.

-
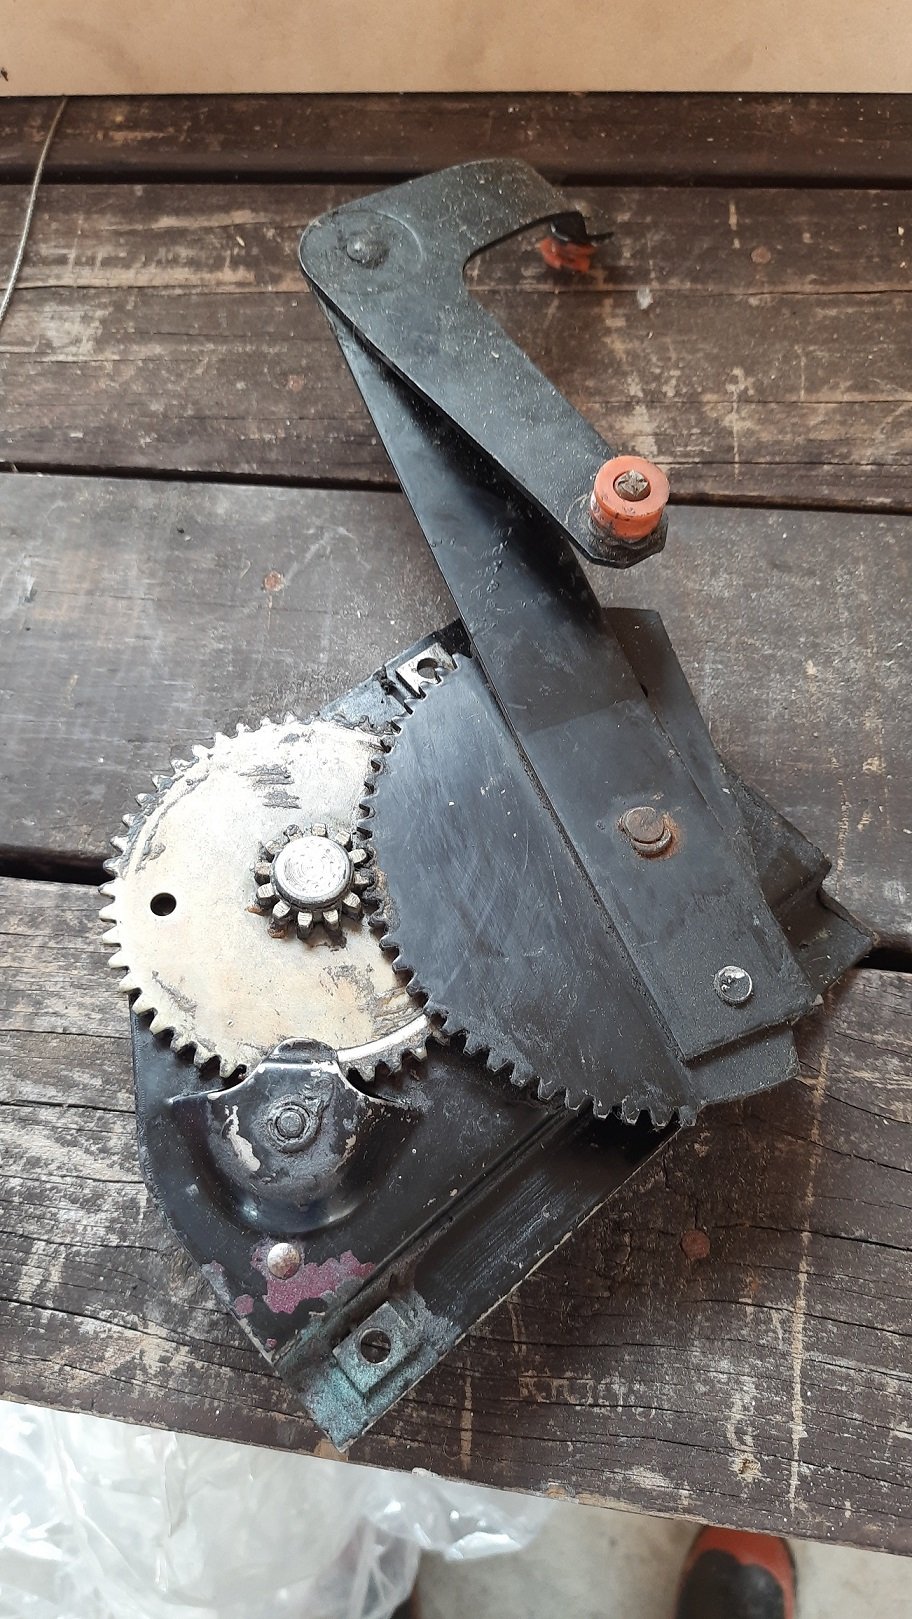
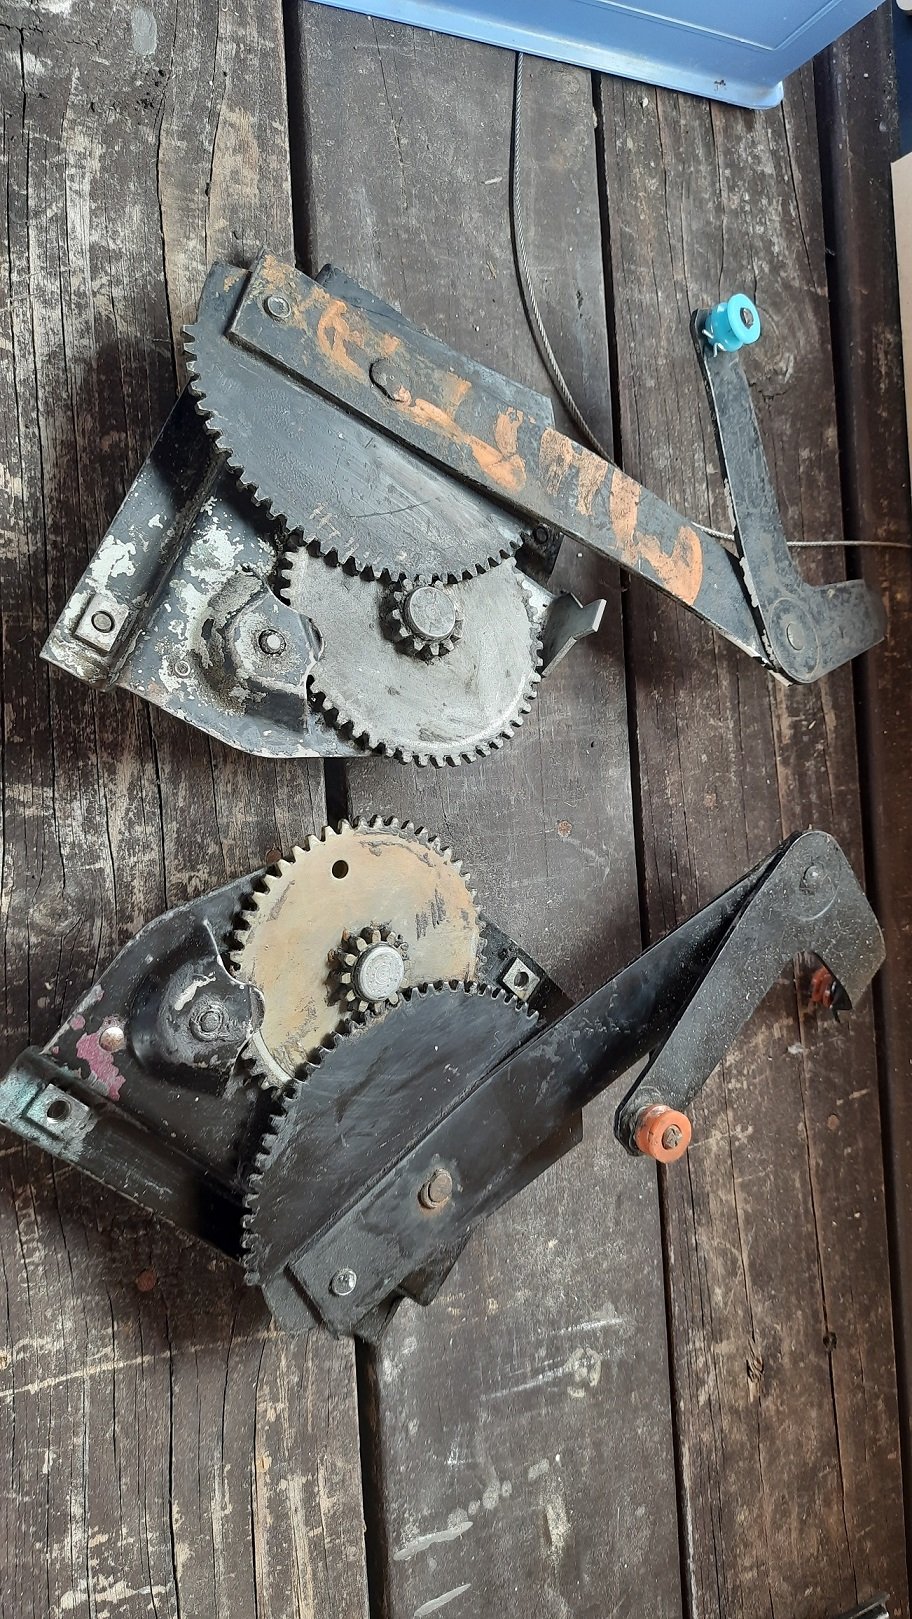
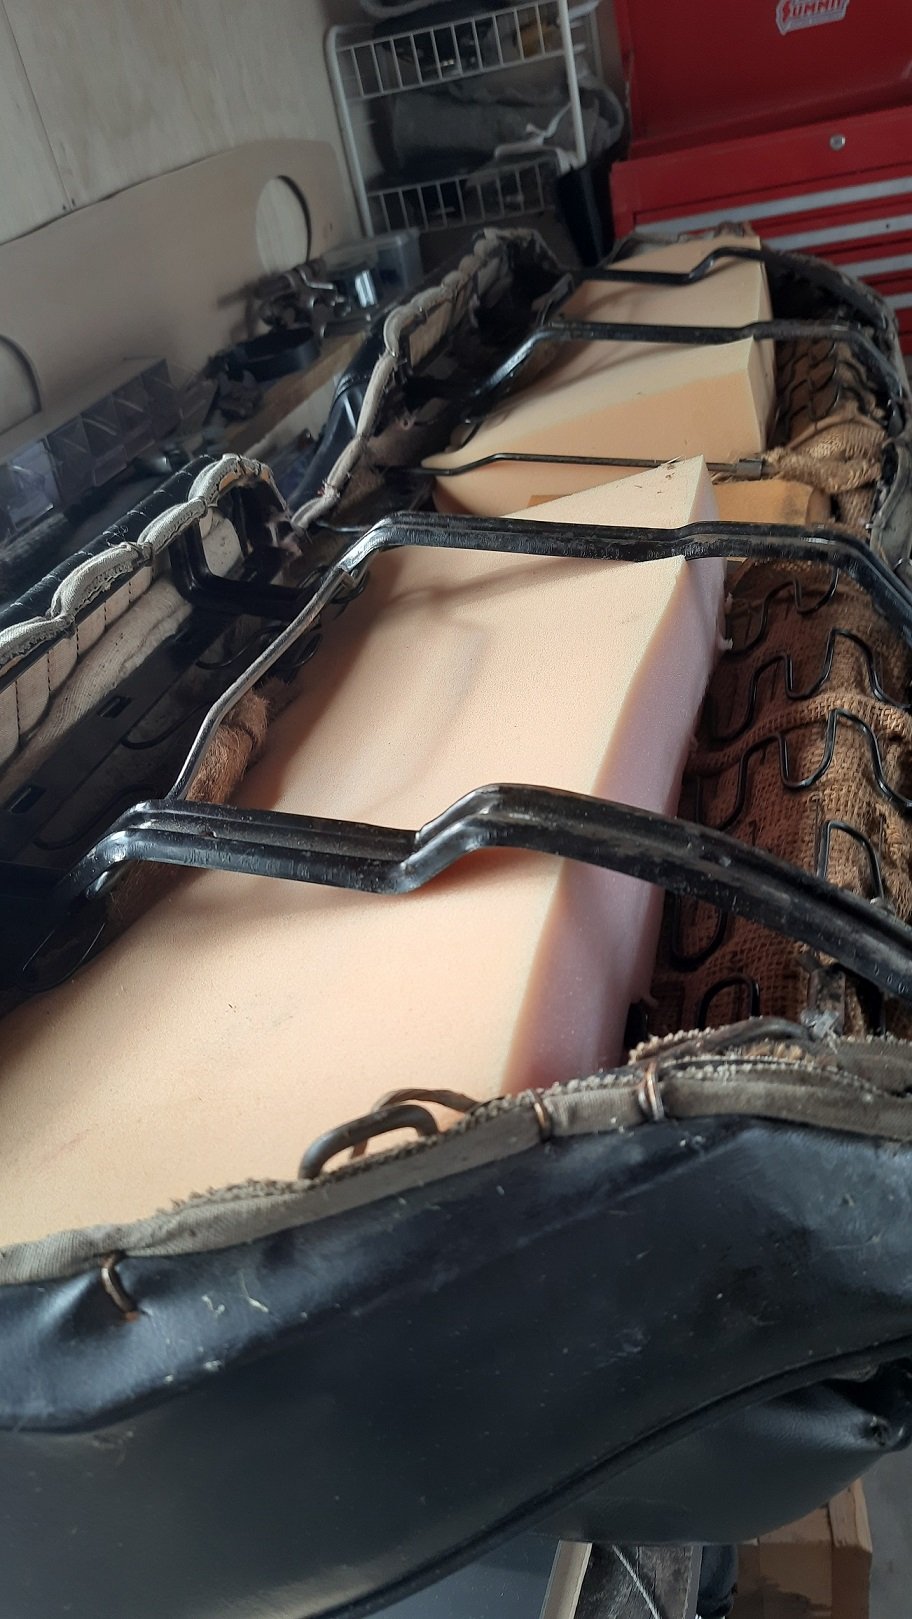
Still waiting on the panel beater but had a bit of a play with some other bits. Gave the rear window regulators a clean and replaced a couple of rollers. There was a ton of gunk to clean off. 55 years of grease and dust. I'll still have to ensure there is room for the inertial reels but otherwise they work nicely. Also removed the pink batts from the rear seat base and inserted some packing foam instead. Still a bit agricultural but actually works to firm up the seat. I'll probably have dynamat under the seat and an MDF cargo divider with underlay behind it so should cut a small amount of noise from the back of the car. I'll see how this turns out in the car once I get it back. Best give the panel guy a call and see how he's getting on.
-
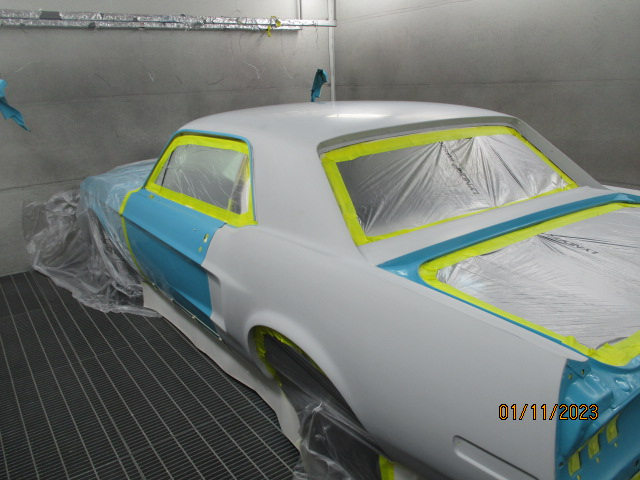
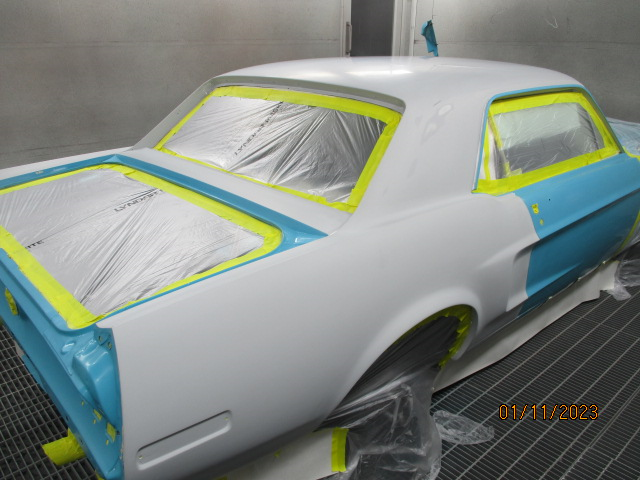
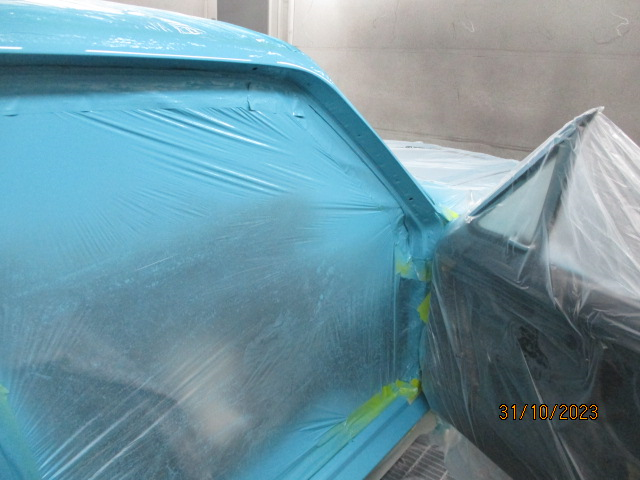
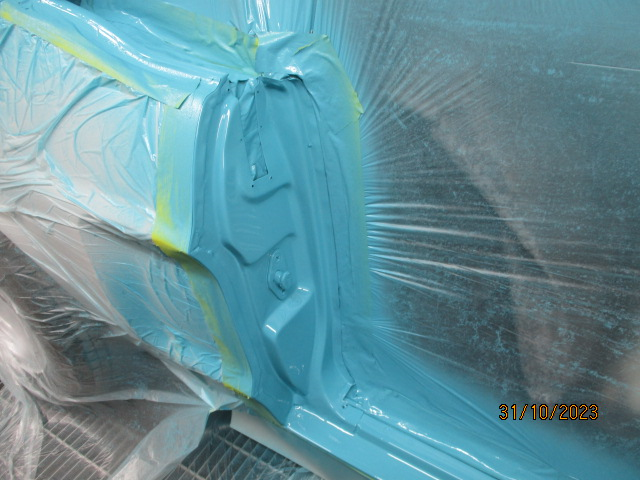
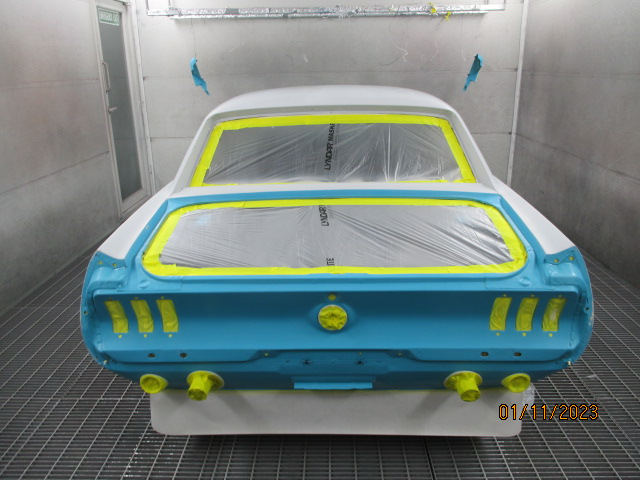
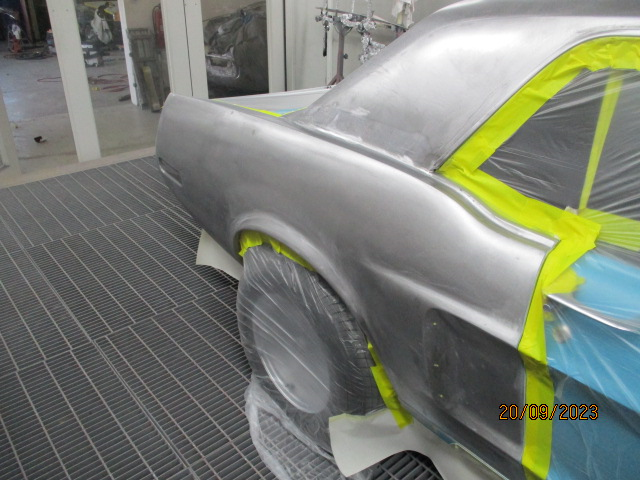
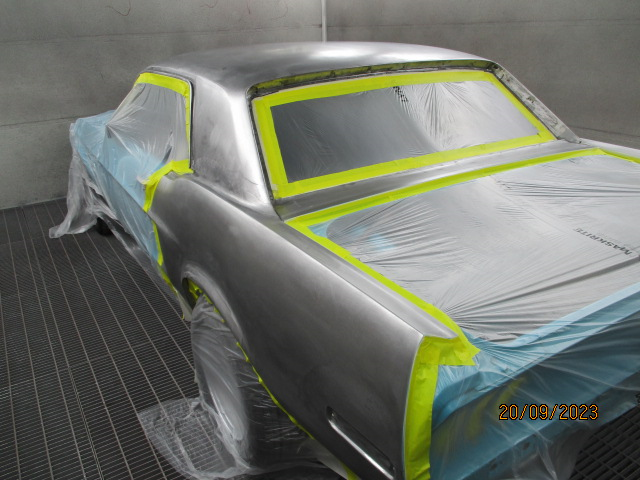
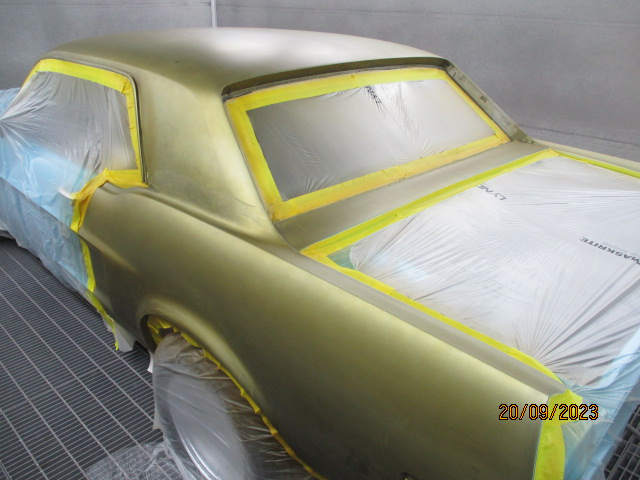
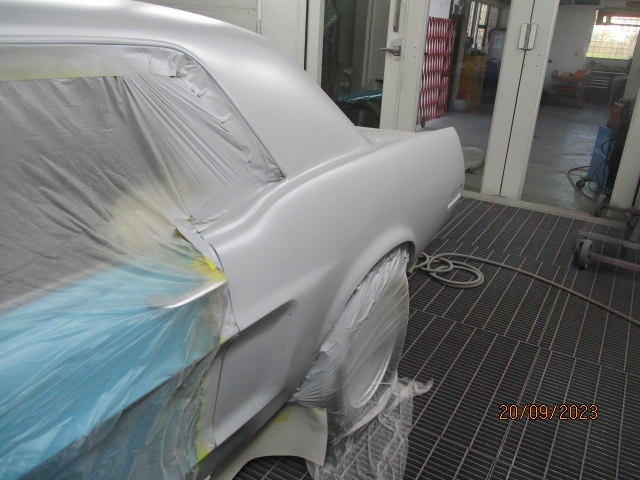
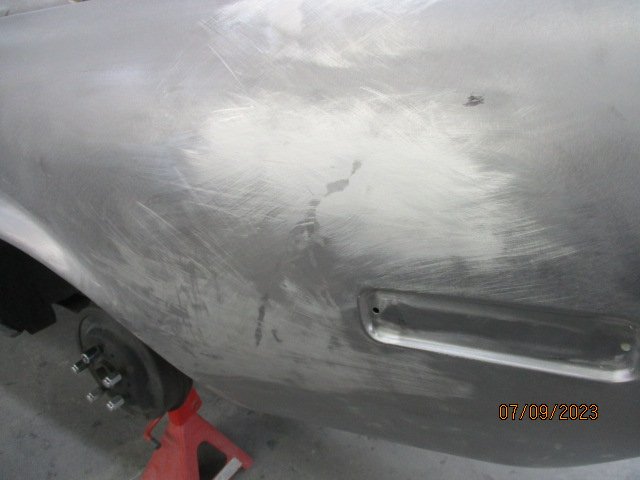
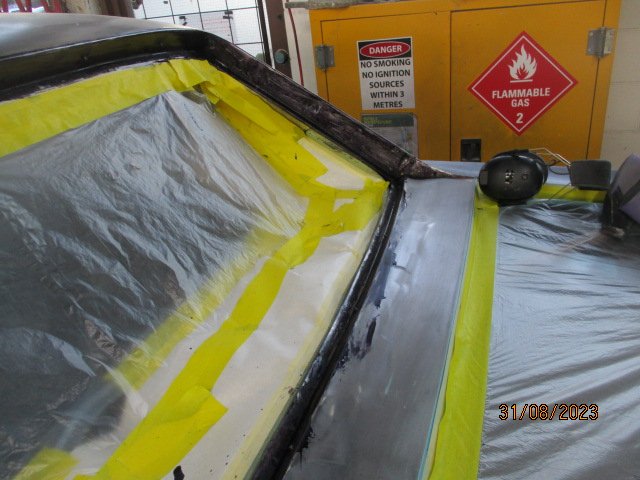
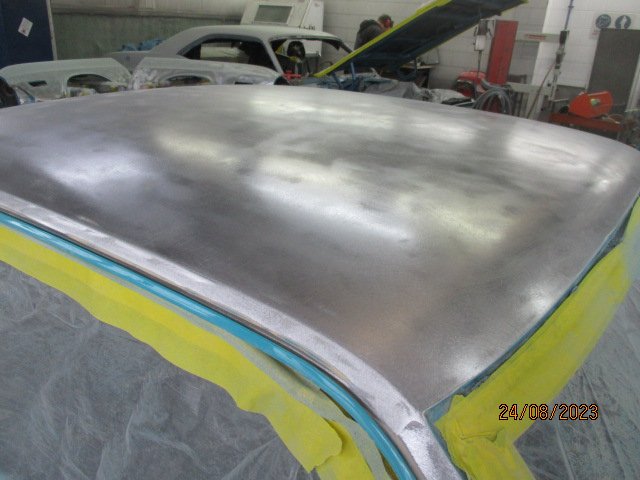
Car is now in the paint booth. the main problem with the car in the first place was poor prep before using filler or paint on lead. It doesn't look like he's used any filler yet but has done some really nice steel repairs. Etch primer? Gold member. and epoxy primer Hopefully some nice blue paint next. I asked for a factory finish not show quality so hopefully he doesn't spend a bunch of time getting every imperfection out otherwise she'll have a really nice bum butter face... The colour apparently came out closest to a volvo blue. Not sure which and I think it needed more white to match the car so is likely some odd concoction they mixed up last time it was painted.
-
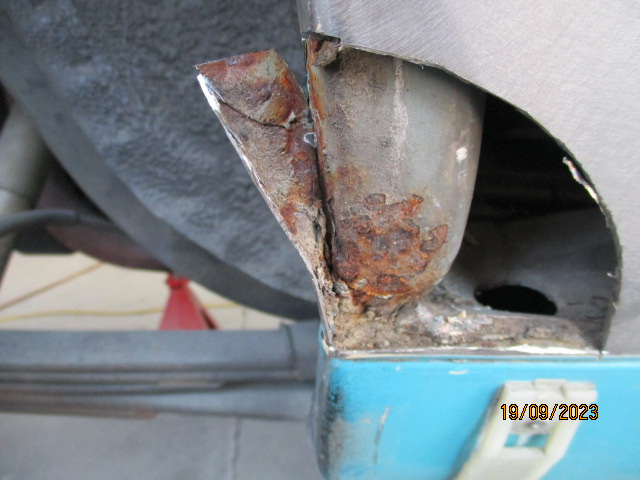
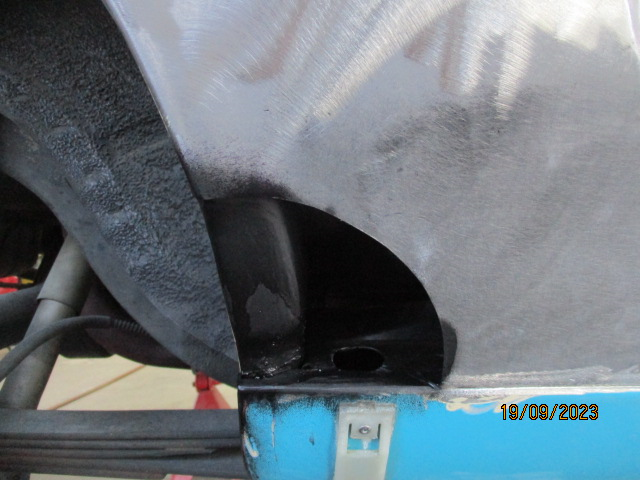
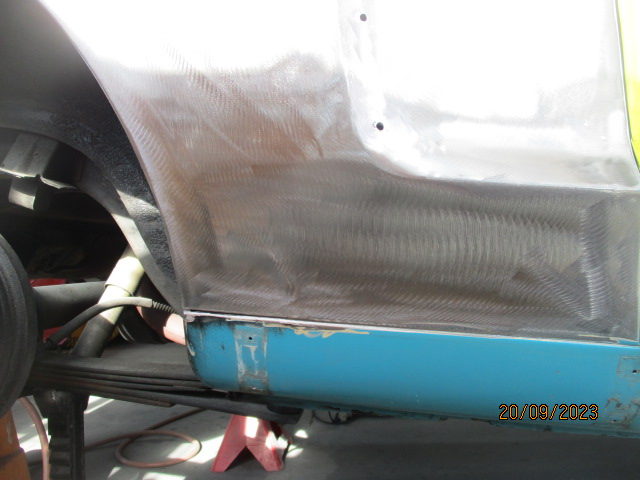
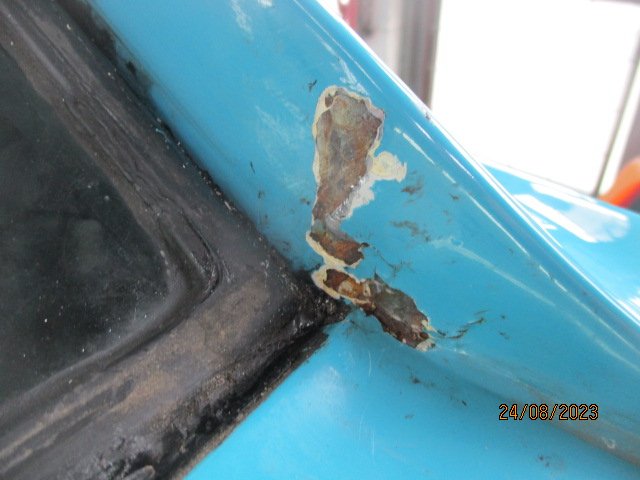
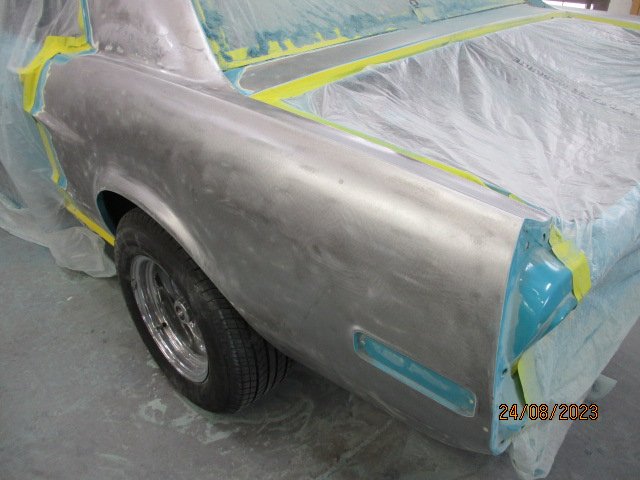
Front of right rear wheel arch
-
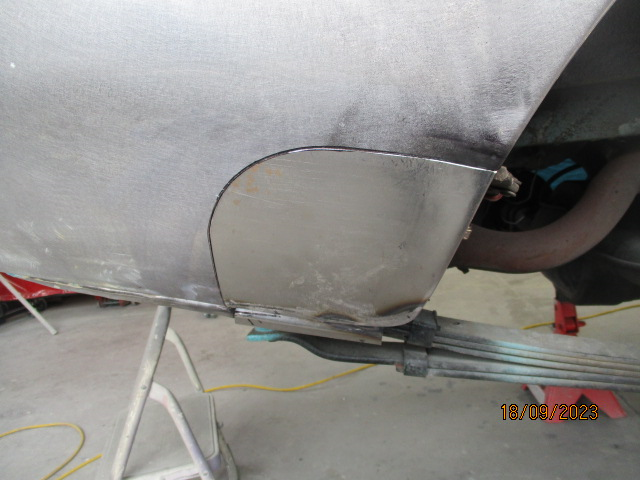
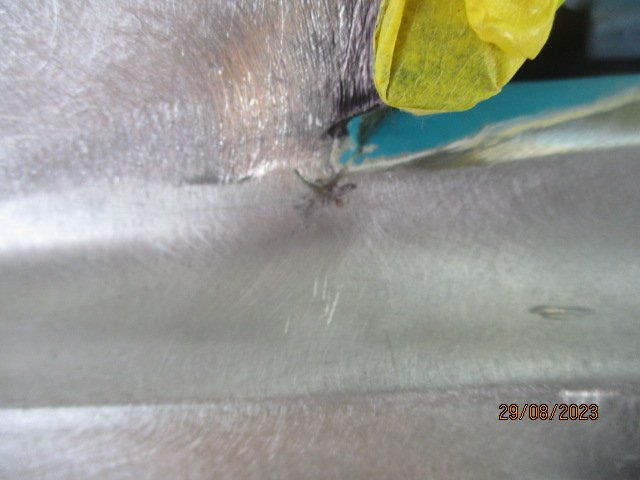
Some more photos of skin repairs: Rear of back right wheel arch
-
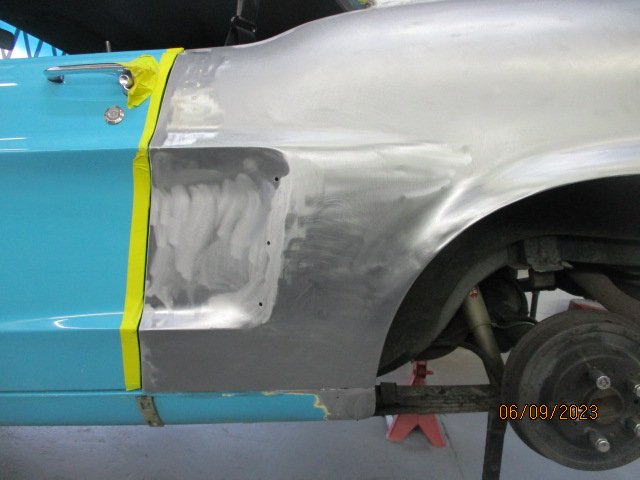
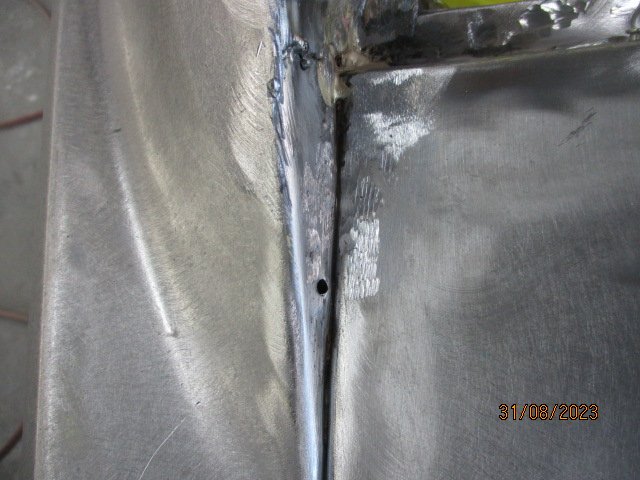
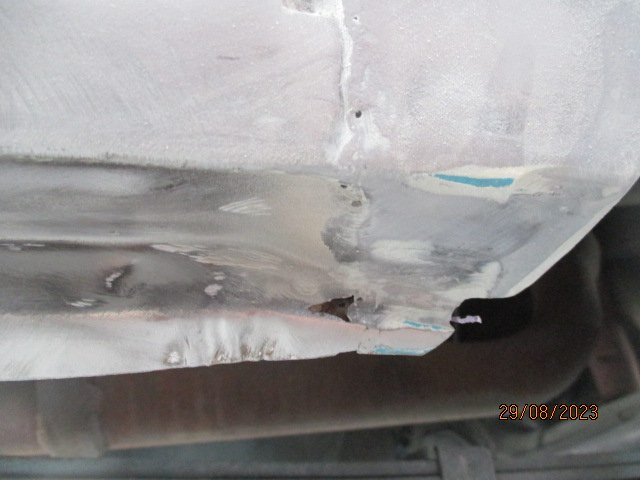
More repair photos from the tin basher No more crud or 'bullet holes in the side panel. Welded up the extra trim mounting holes as well. Same at the back Rear window crud removed And treated I'm guessing it will be ready sometime next week, then I'll have to pay the bill.
-
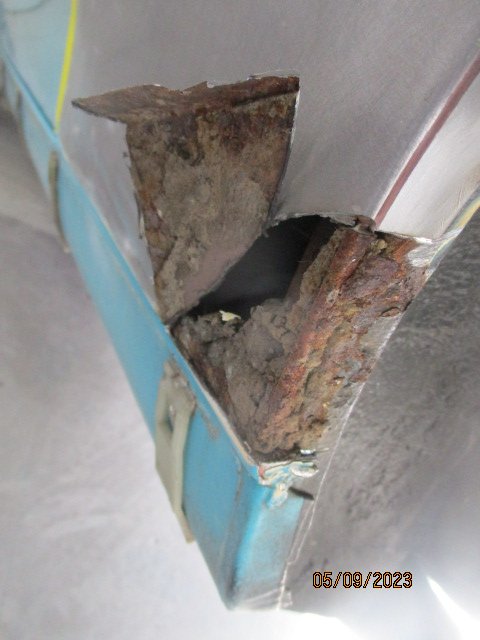
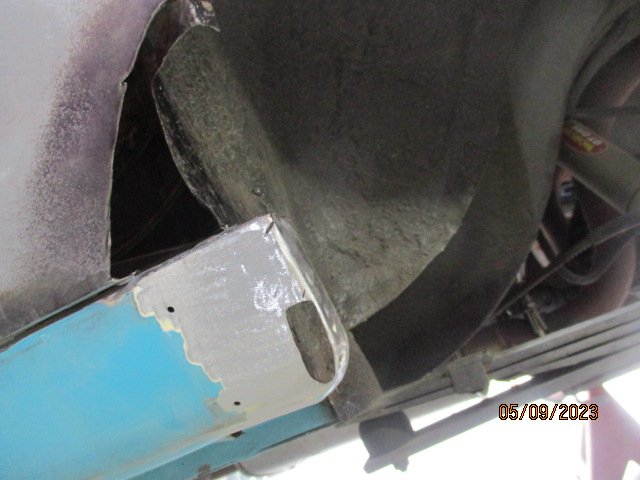
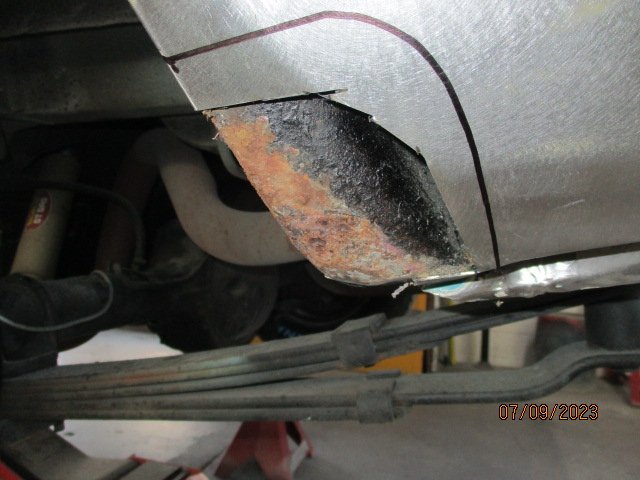
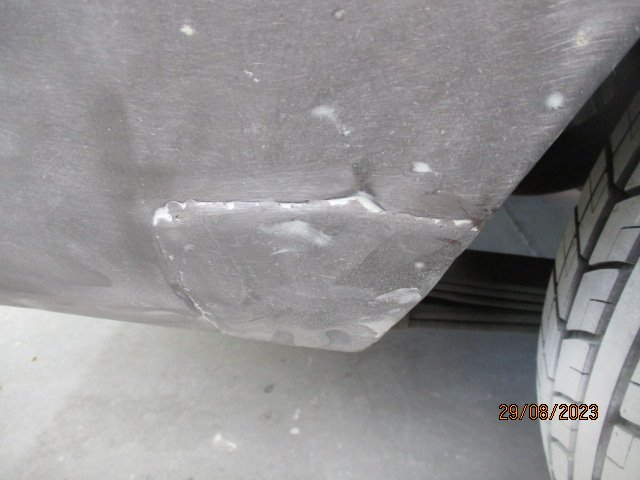
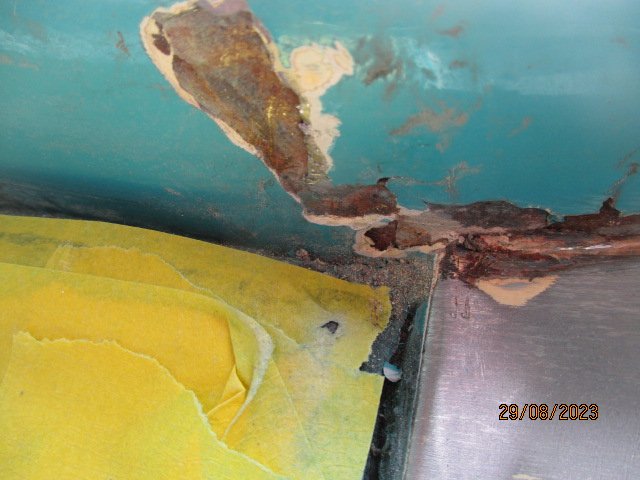
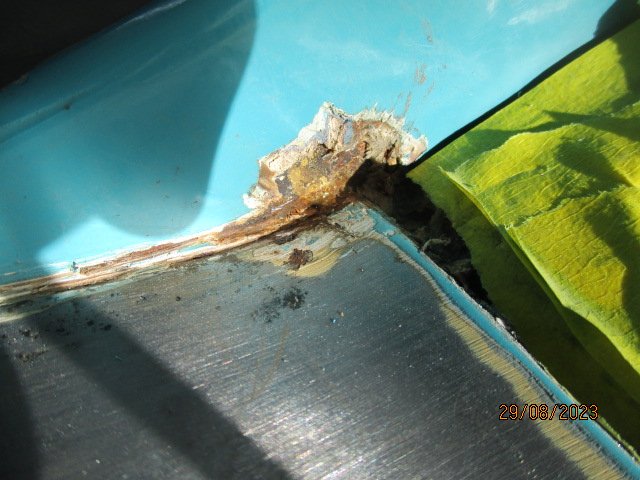
Got the report and pictures from the panel beaters: Most of the paint cracking is loose filler over lead joins on front A’ pillars and rear quarter sail panel areas. - Roof is good only some small dents with filler repairs. - Gutters have heavy rust surface rust, which we have removed all old seam sealer and rust treated. - LR quarter panel- Old panel pull holes were just filler filled, need dressing up and welding - Lower front wheel arch needs rust repair - Wheel arch needs a little hammer up to true up edge before re filler work. - Rear lower panel area was heavily filled needs a hammer up before refinishing - Quarter window corner needs weld up, stress crack area. Will need to remove window seal and channel out. - Right Rear quarter- Front area need a hammer up before re filler work - Rust repair lower front wheel arch area - Old patch repair I recommend removing old patch in this area and replacing. - Rear window area- Needs rear window removed due to rust in lower rear corners and seam area SUMMARY: Apart from some findings that need attention, overall body is great for its age. The car has been stripped to bare metal at some stage, with just filler work over bare metal letting it down in areas. Should be an easy fix and proceeding nicely. Going to hit the bank balance a bit more than I planned as the insurance is only paying for a blend not a respray but they will at least save me about $2k.
-
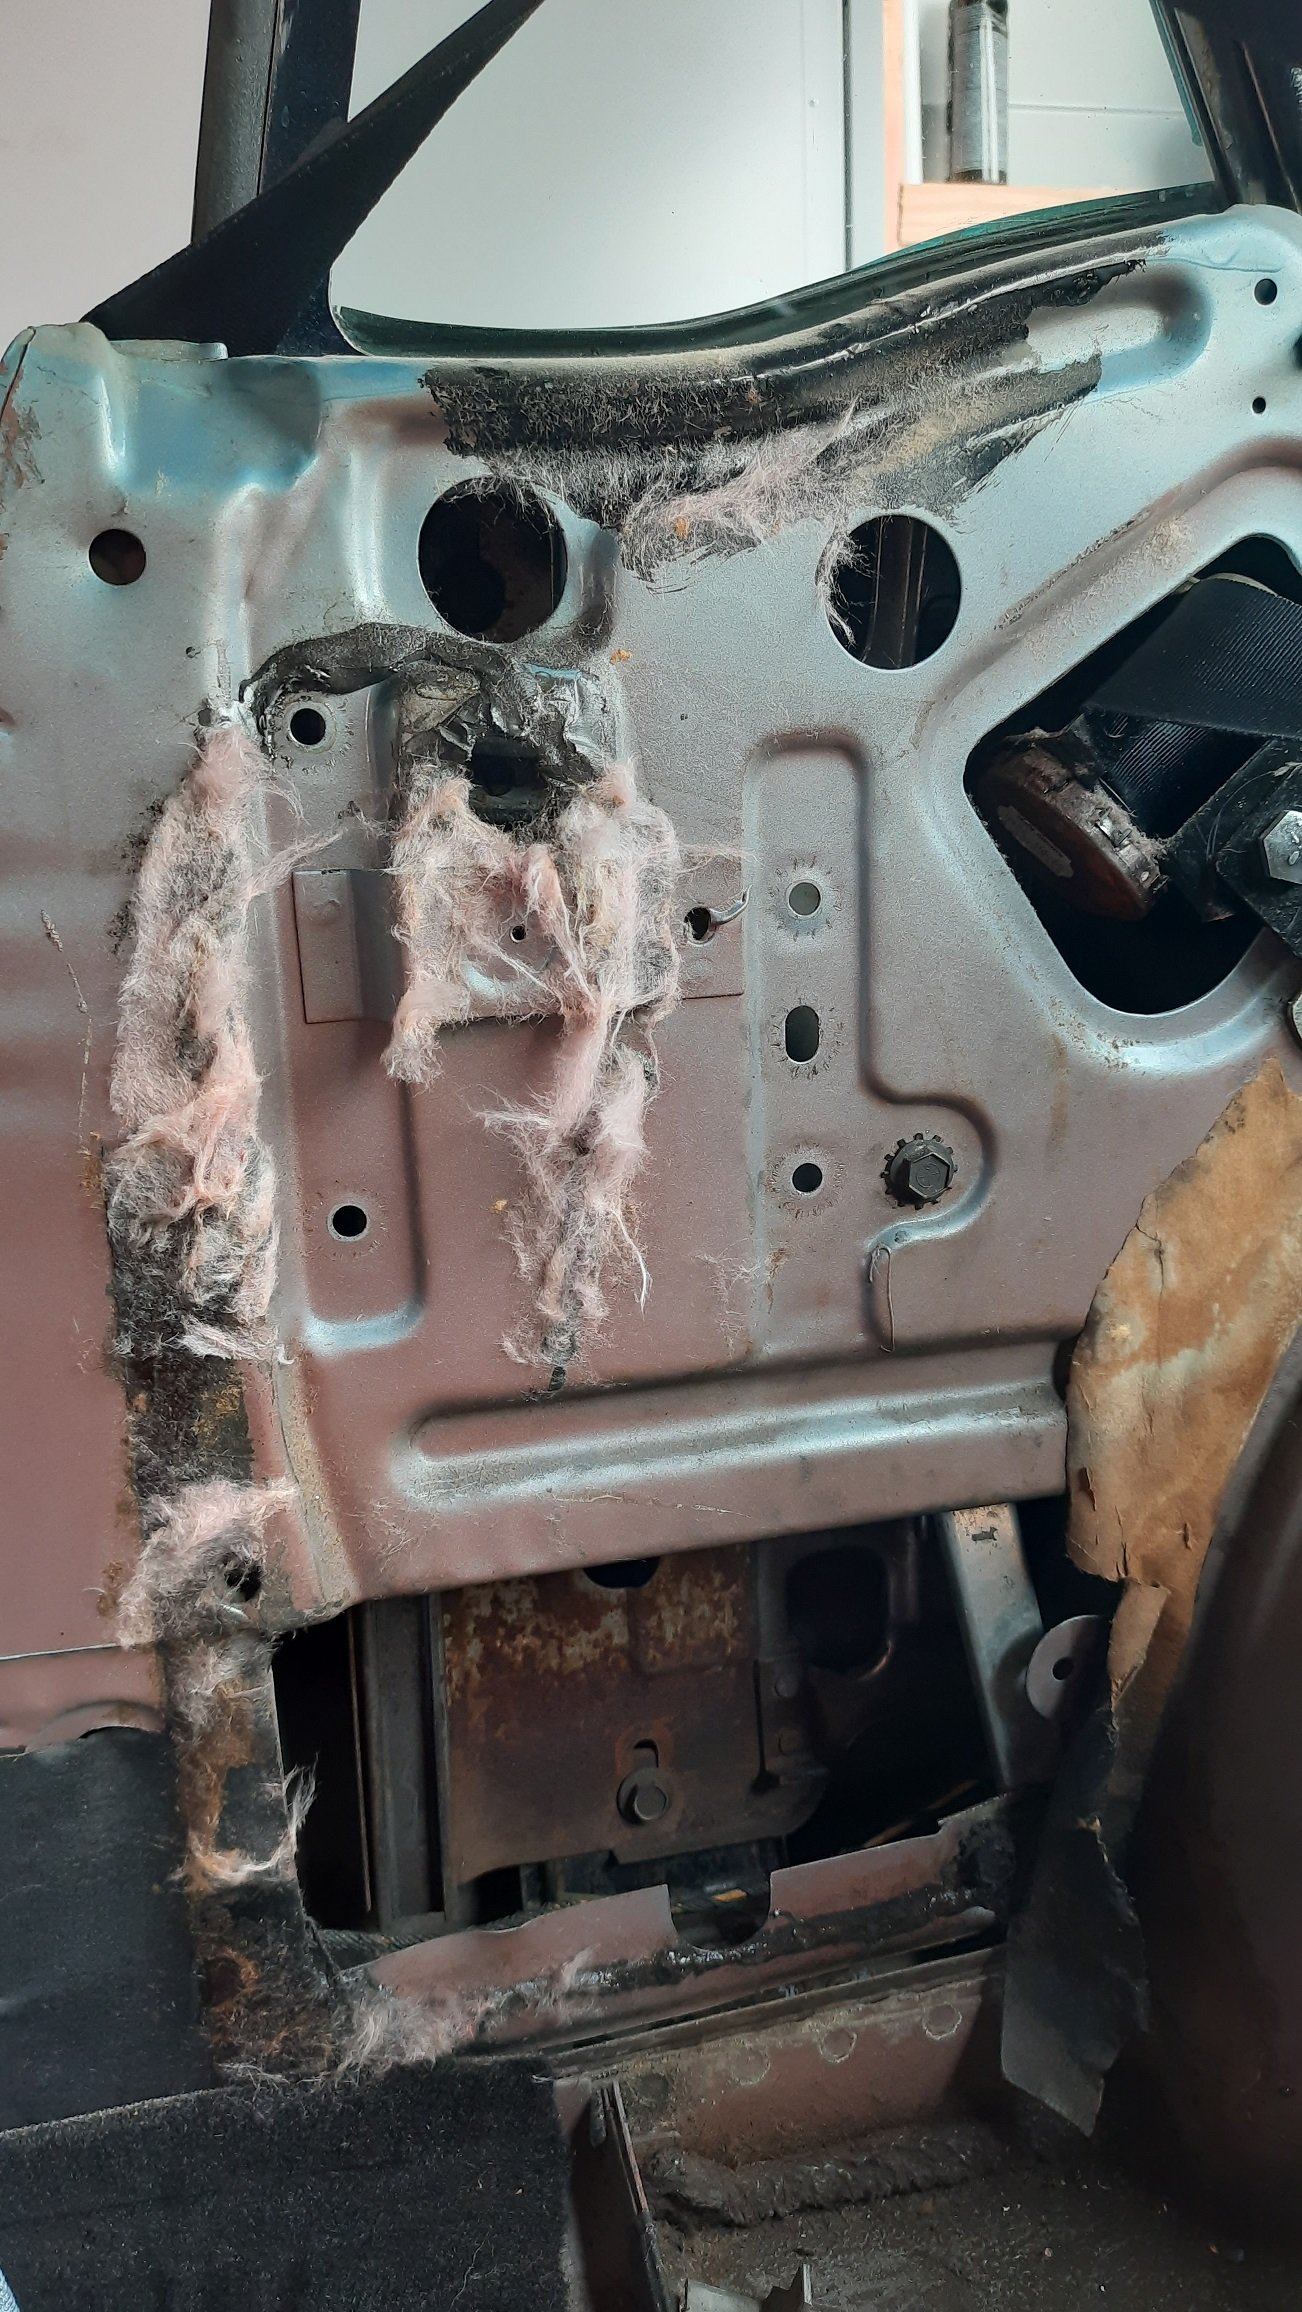
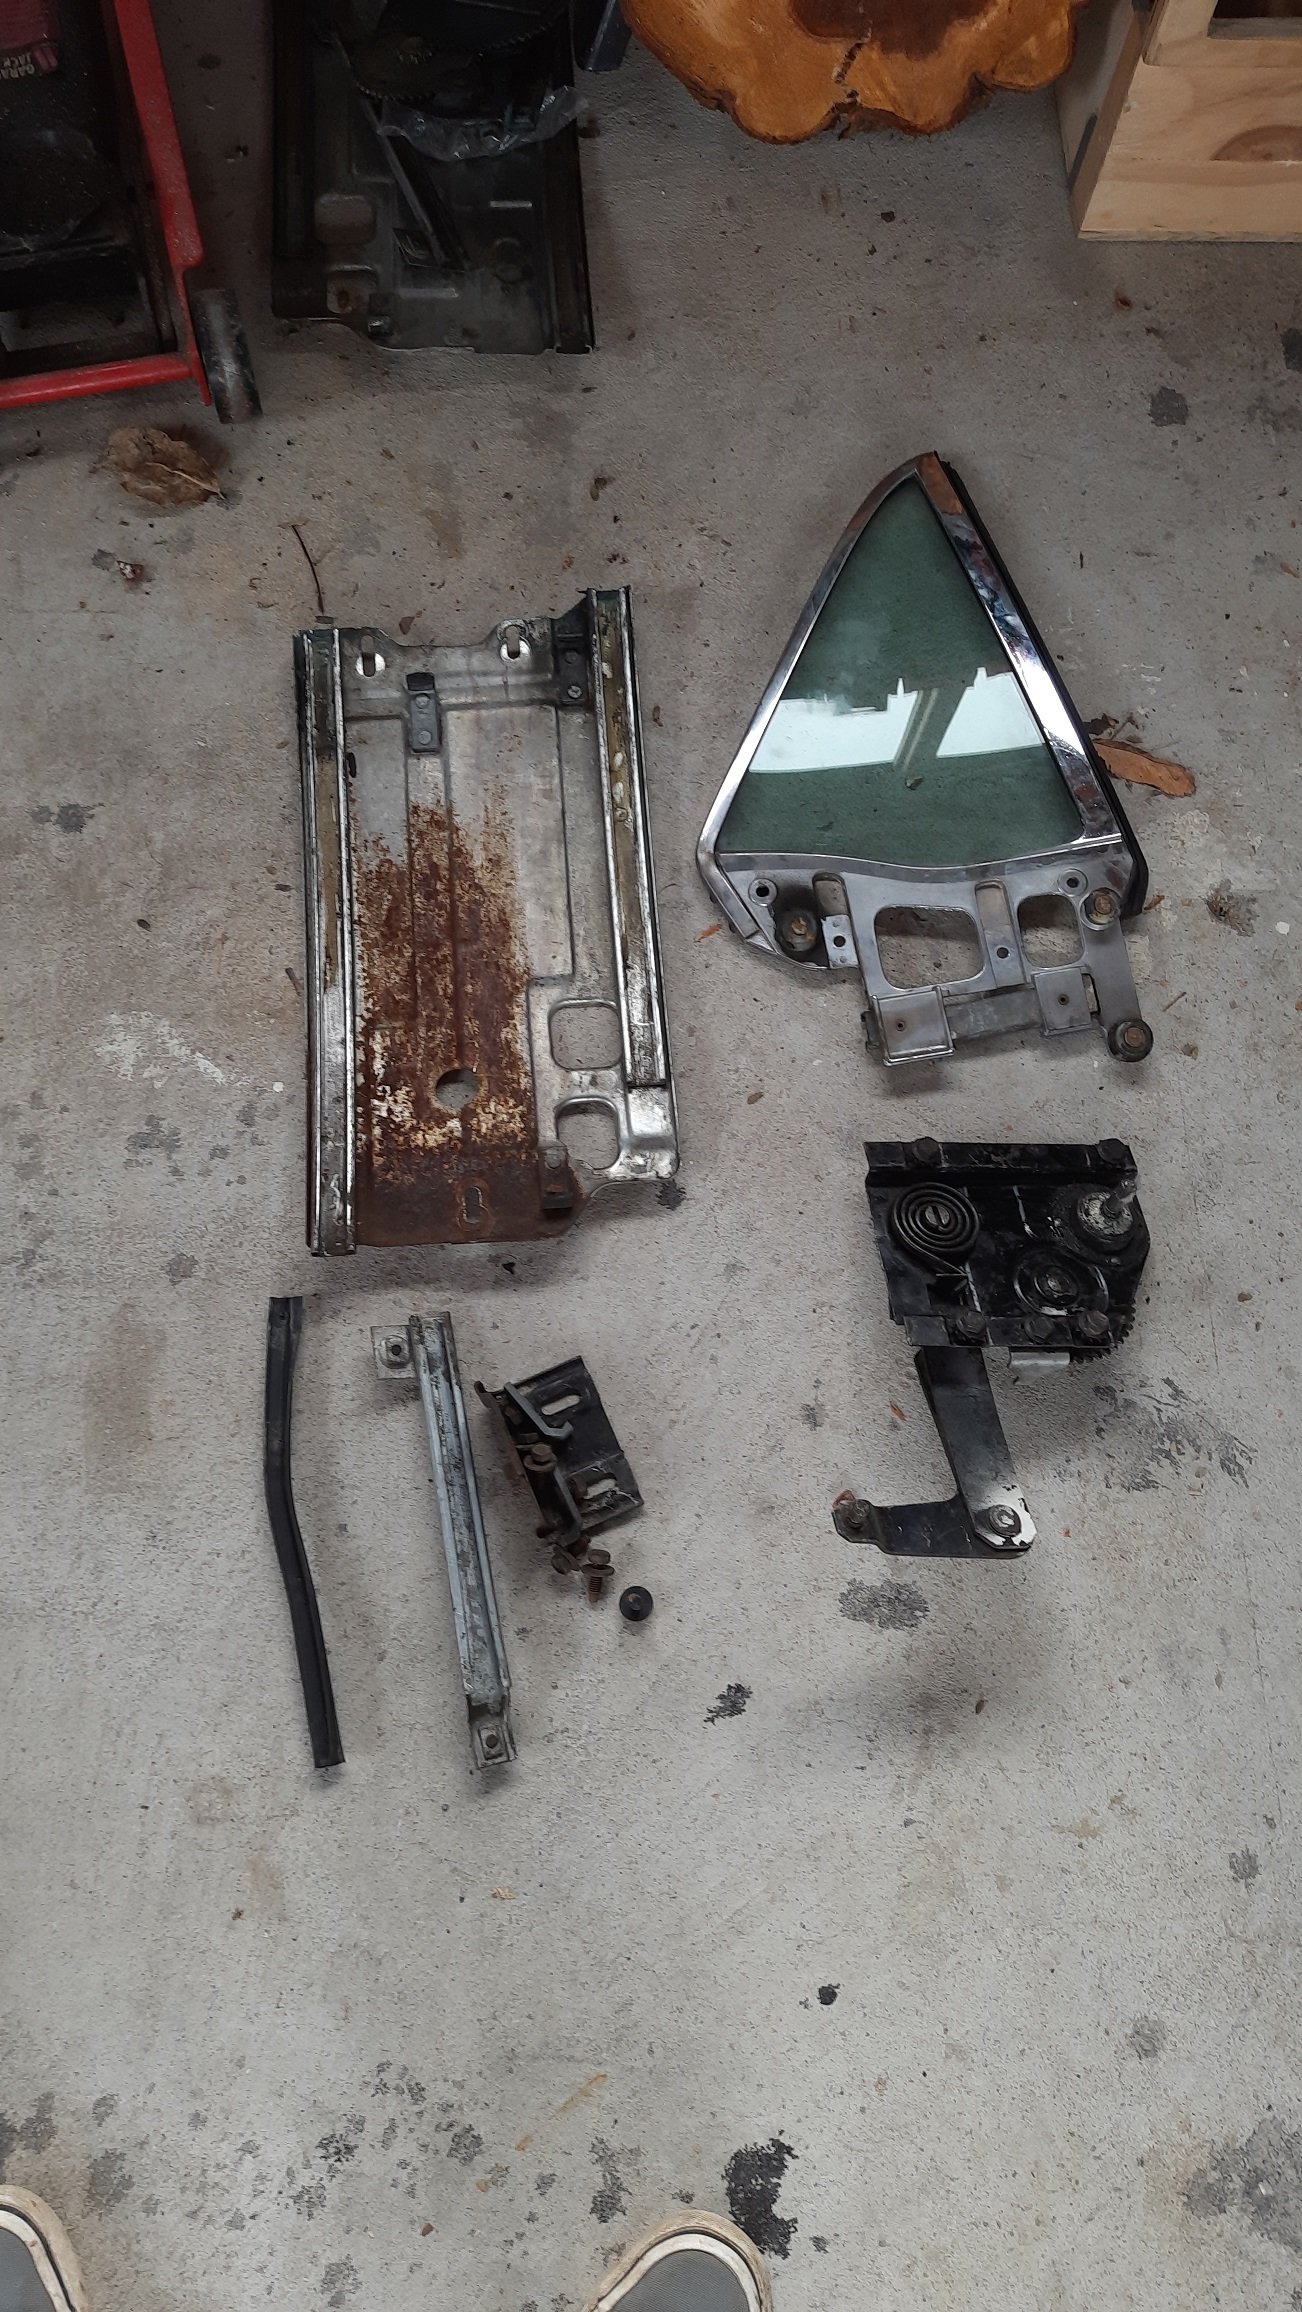
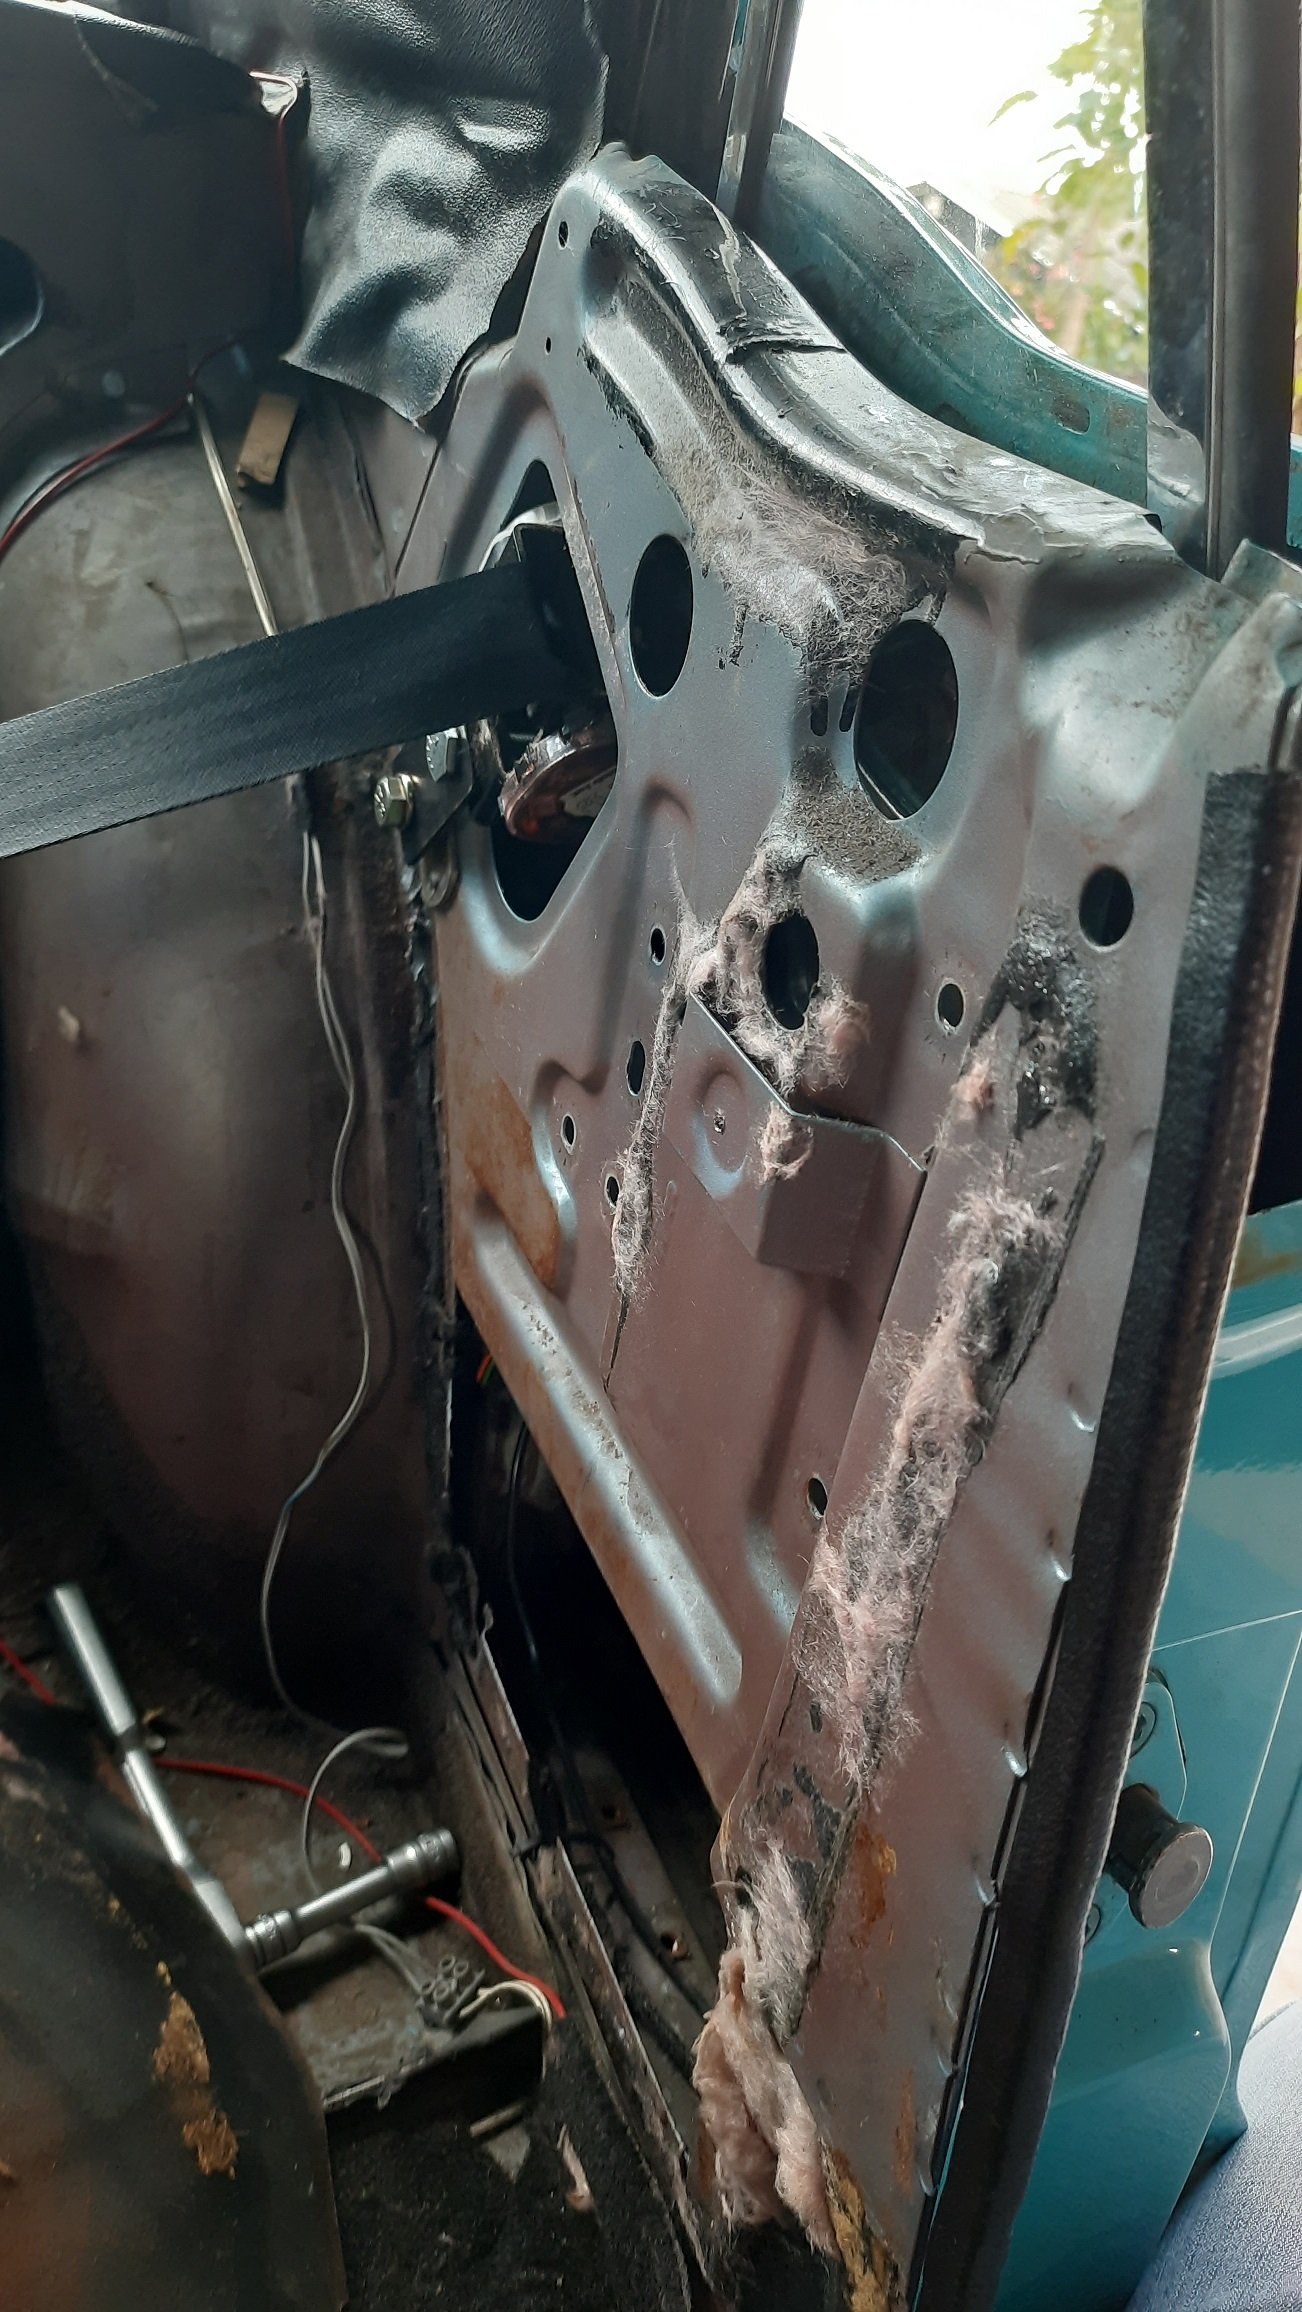
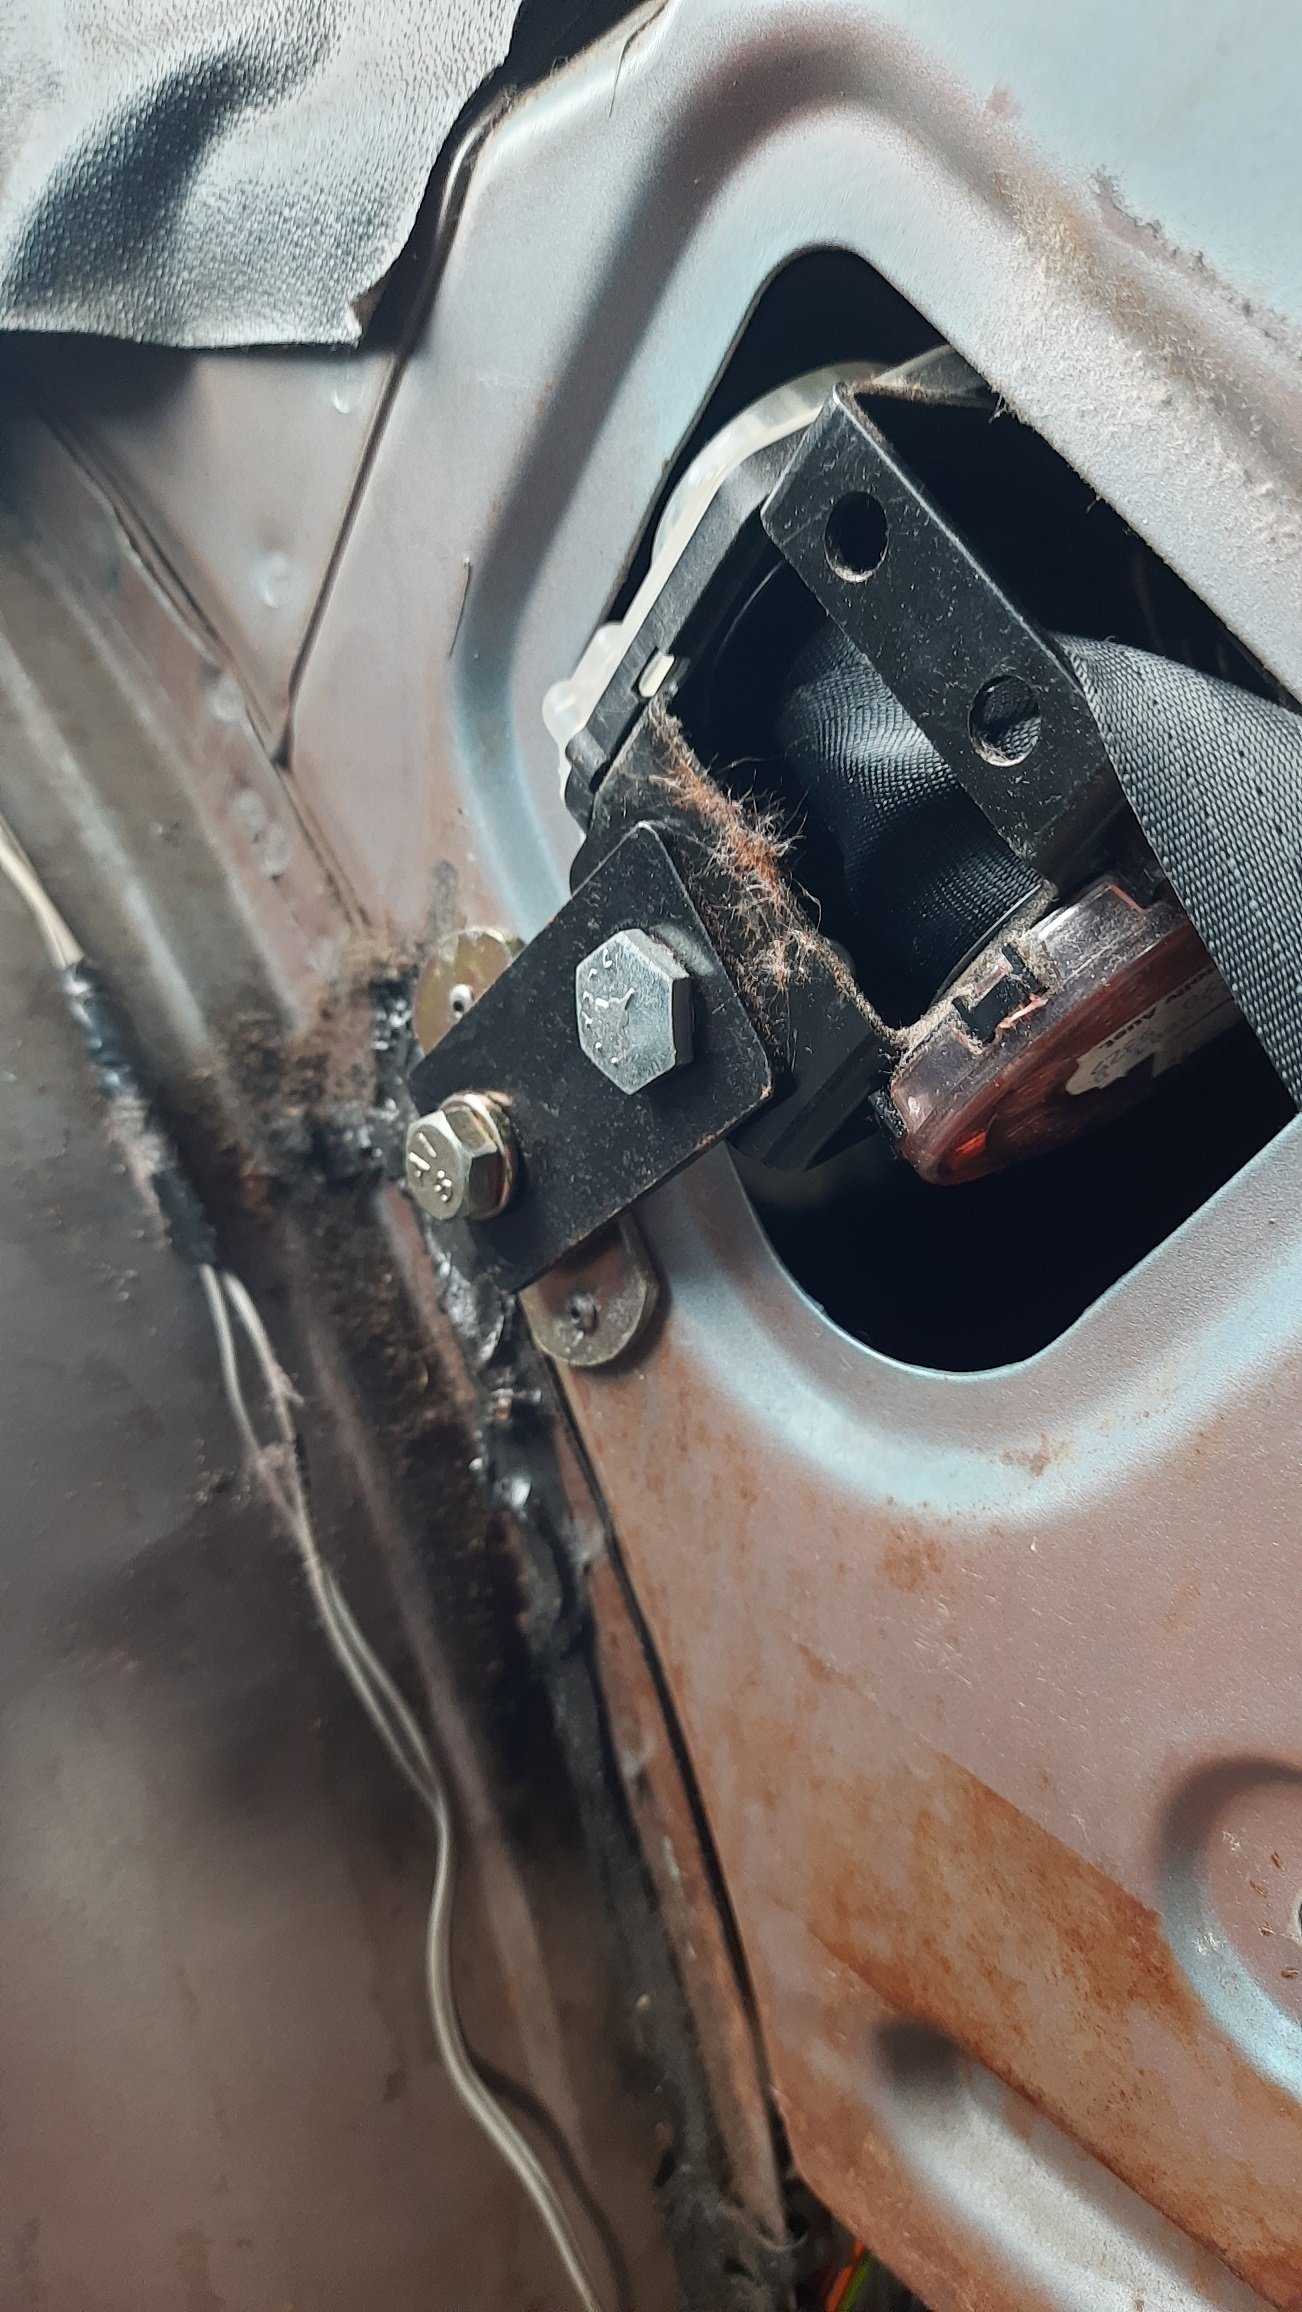
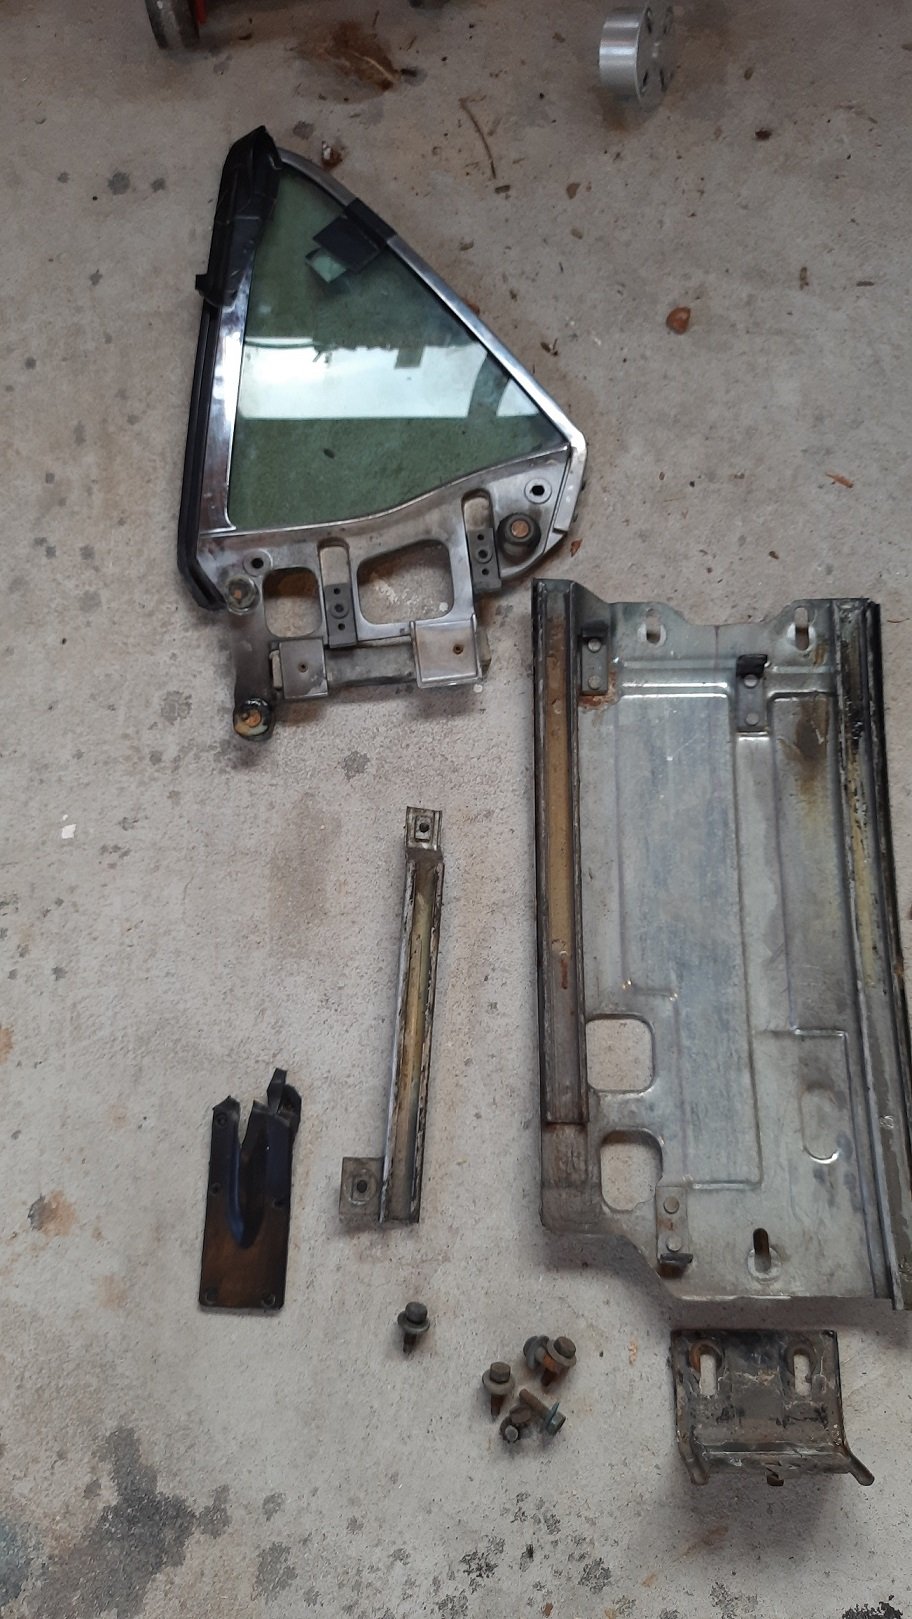
Took out the other side quarter window as well. They are a bit of a prick to get out and I'll have a fun time figuring out how they go back in. The right hand side window regulator didn't have any bushes so was never going to work. The inertia reel was also getting in the way so I tried spacing it out a bit but there is not much room before it hits the trim panel. The lock wouldn't reset either so I had a prick of a time getting the belt to come back out so it could be usable again. There was a bit of sediment between the inner wheel arch and outer panel which is probably causing the bubbles I can see in the paint but otherwise it is pretty clean in here. The car is now at the panel beaters getting the scratch in the rear and the issues with the pillars and rear wheel arches sorted. It will take a few weeks and then I'll have to put all this back in.
-
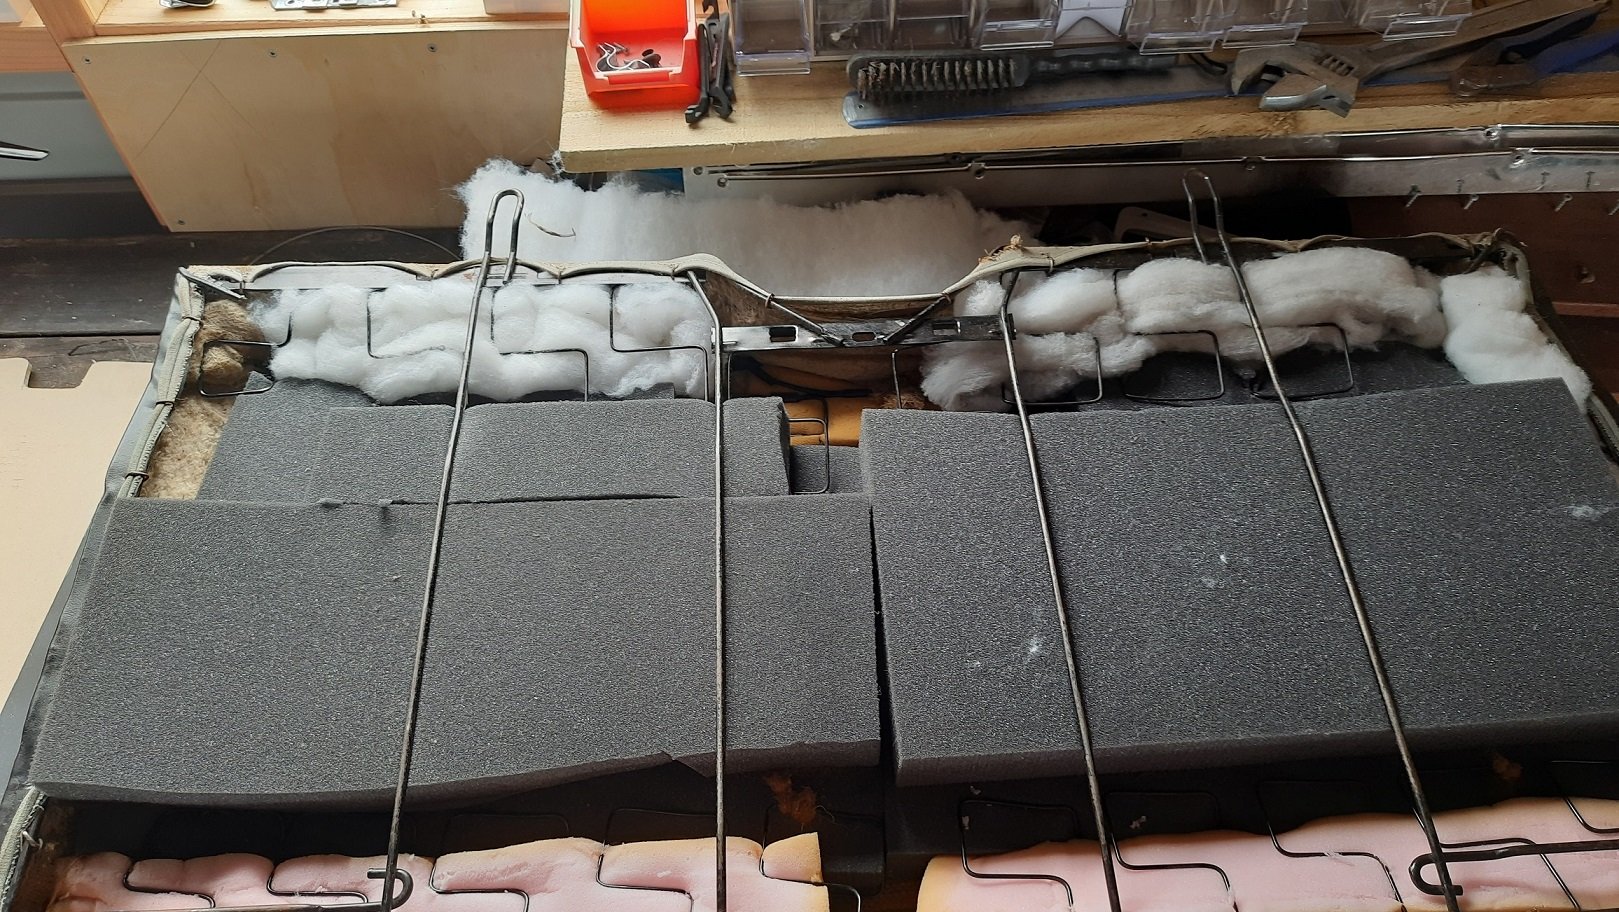
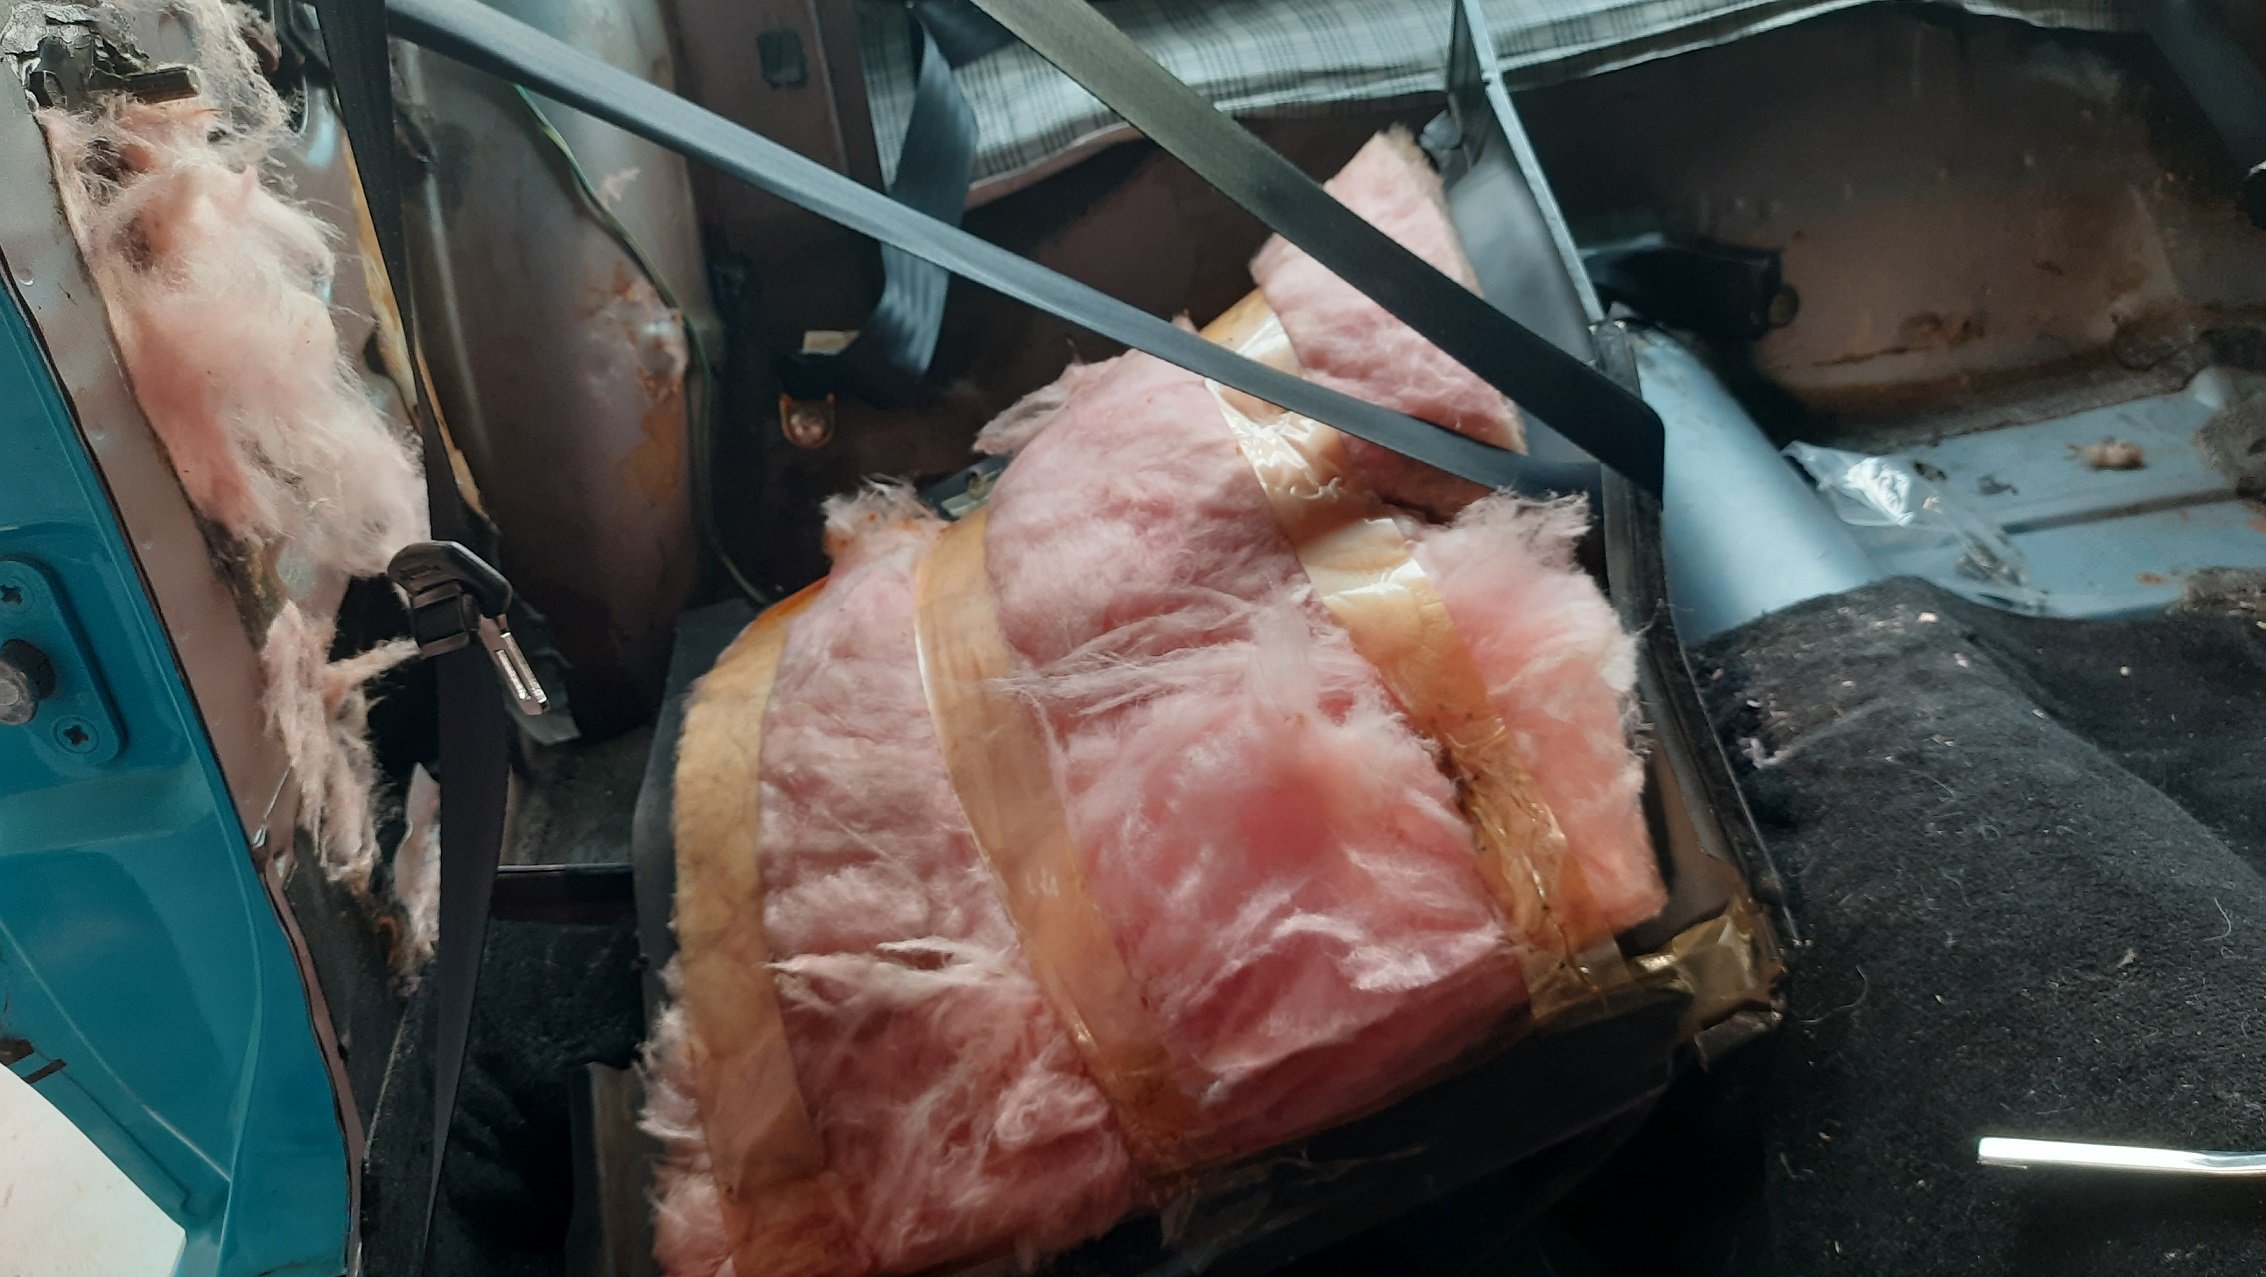
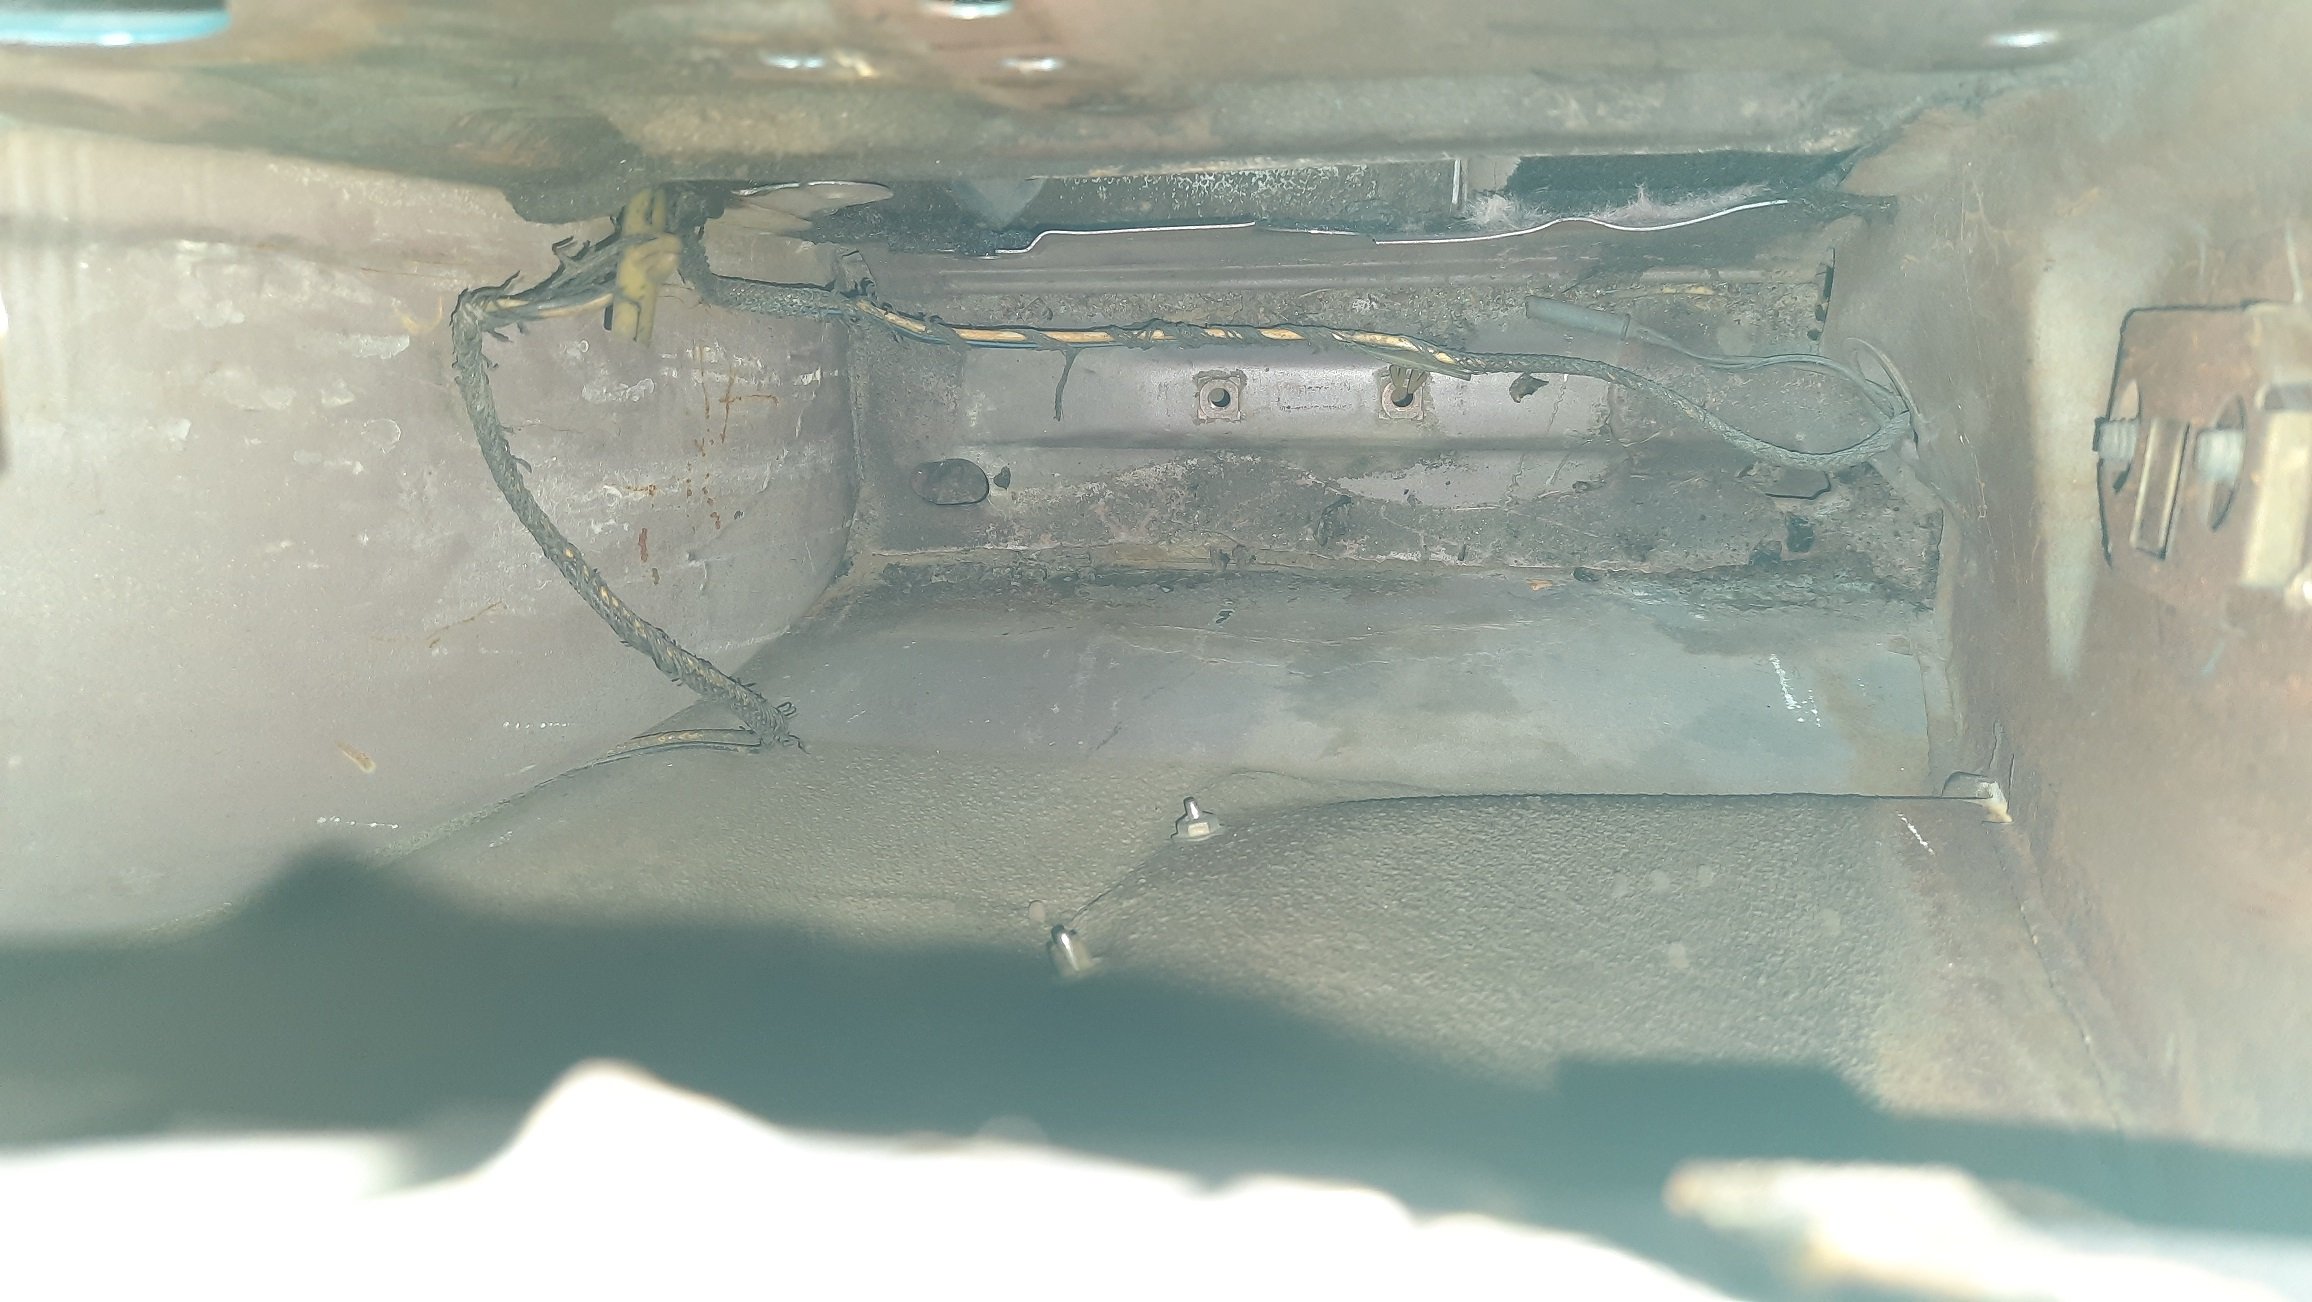
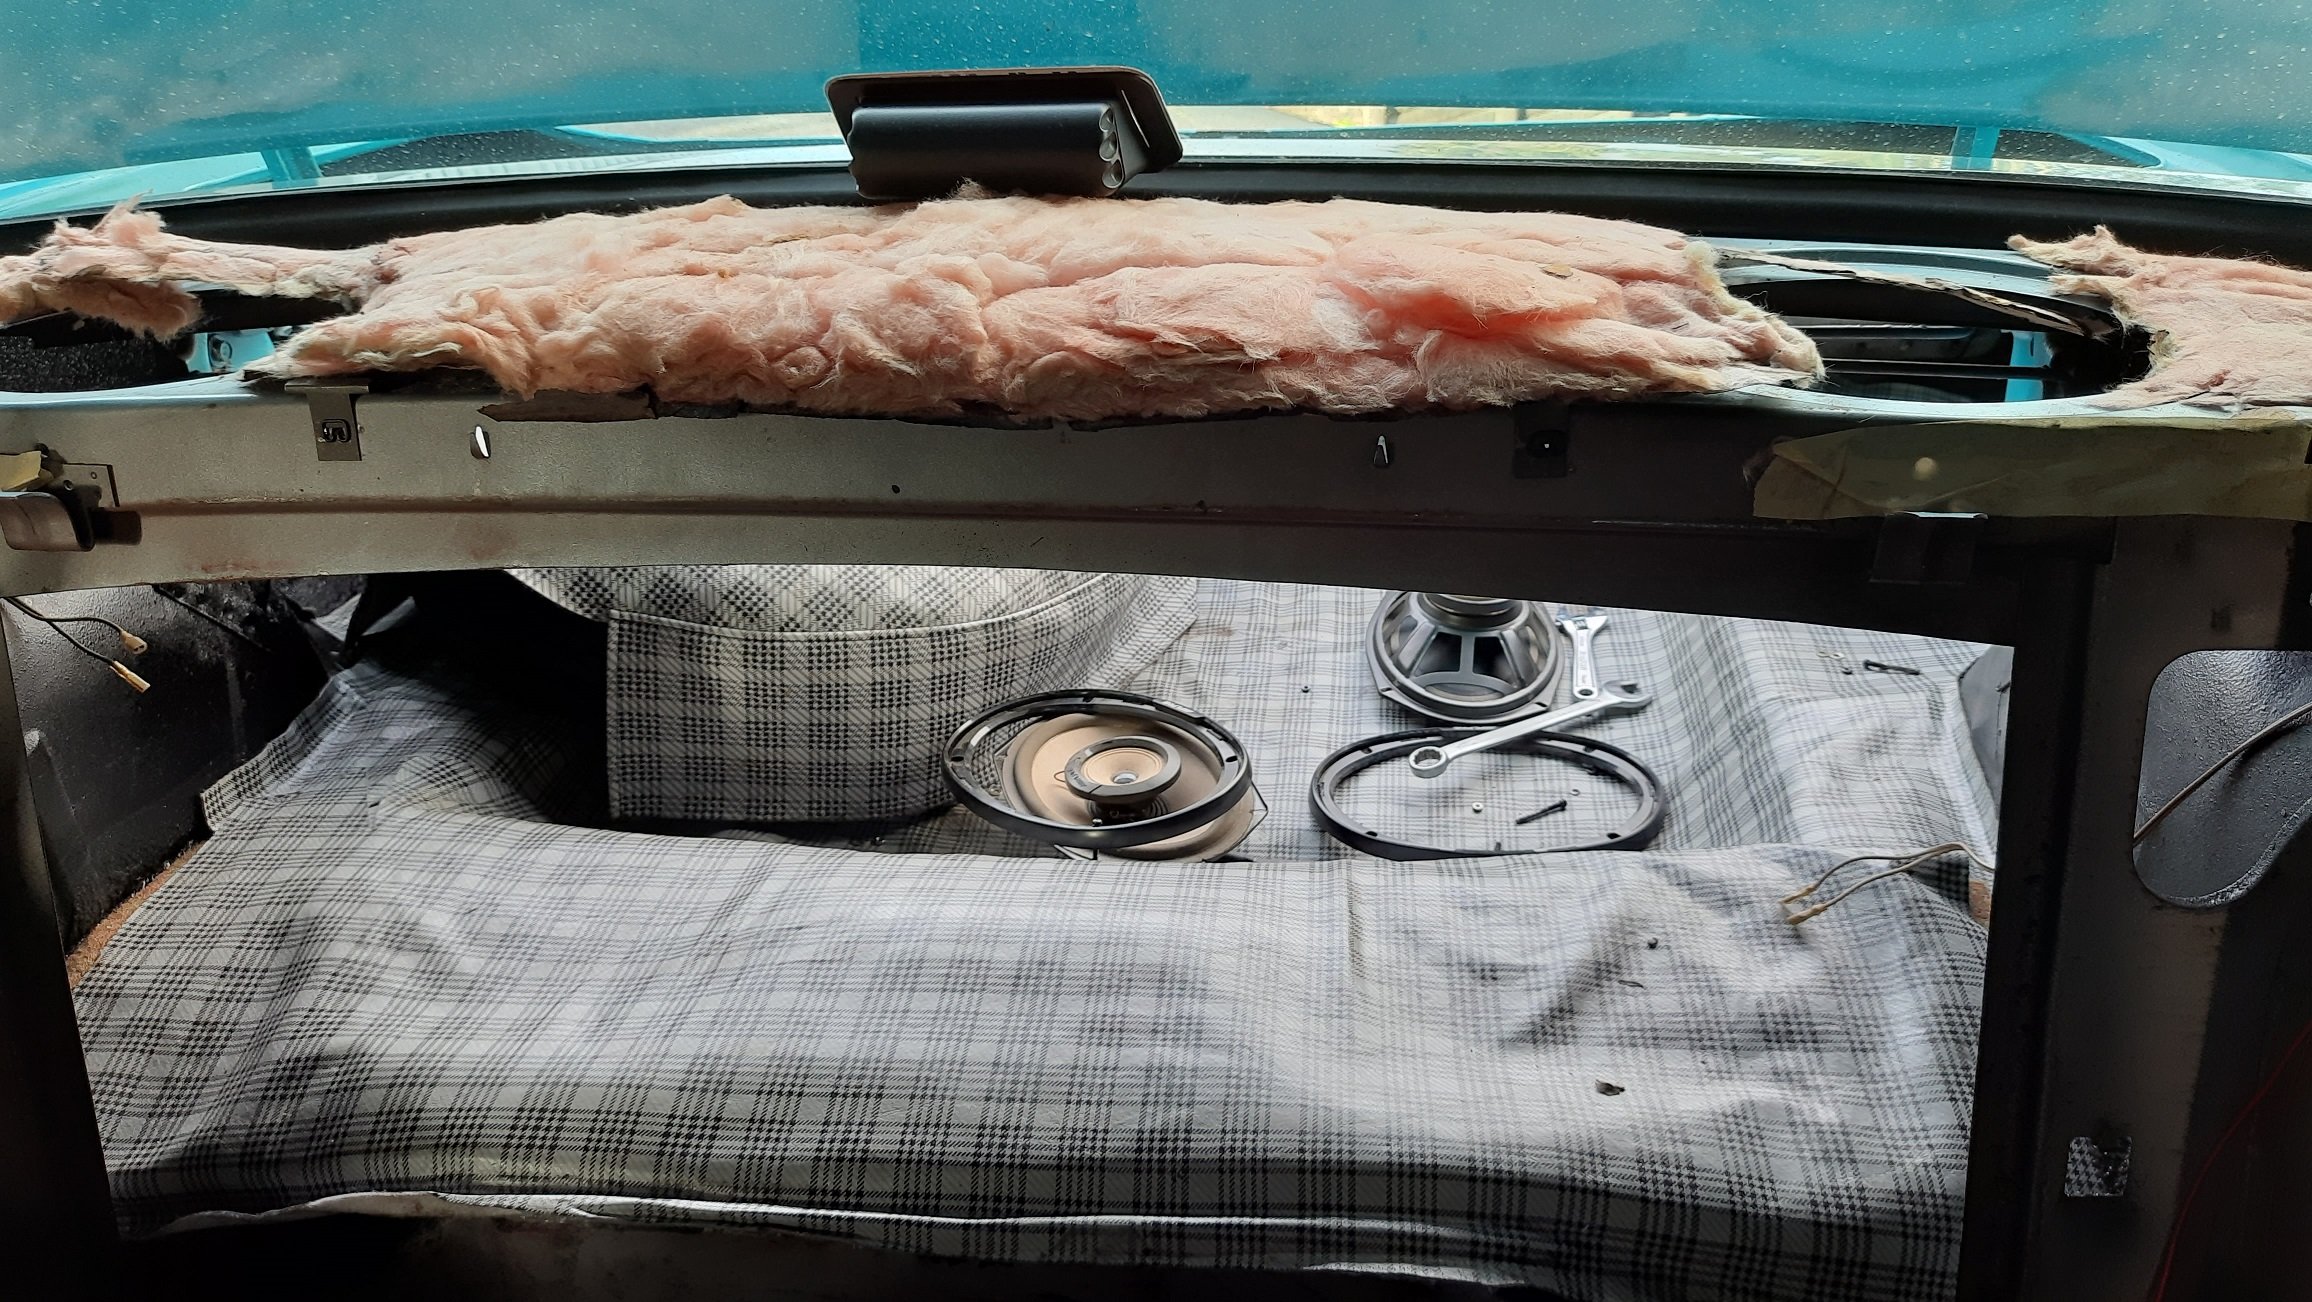
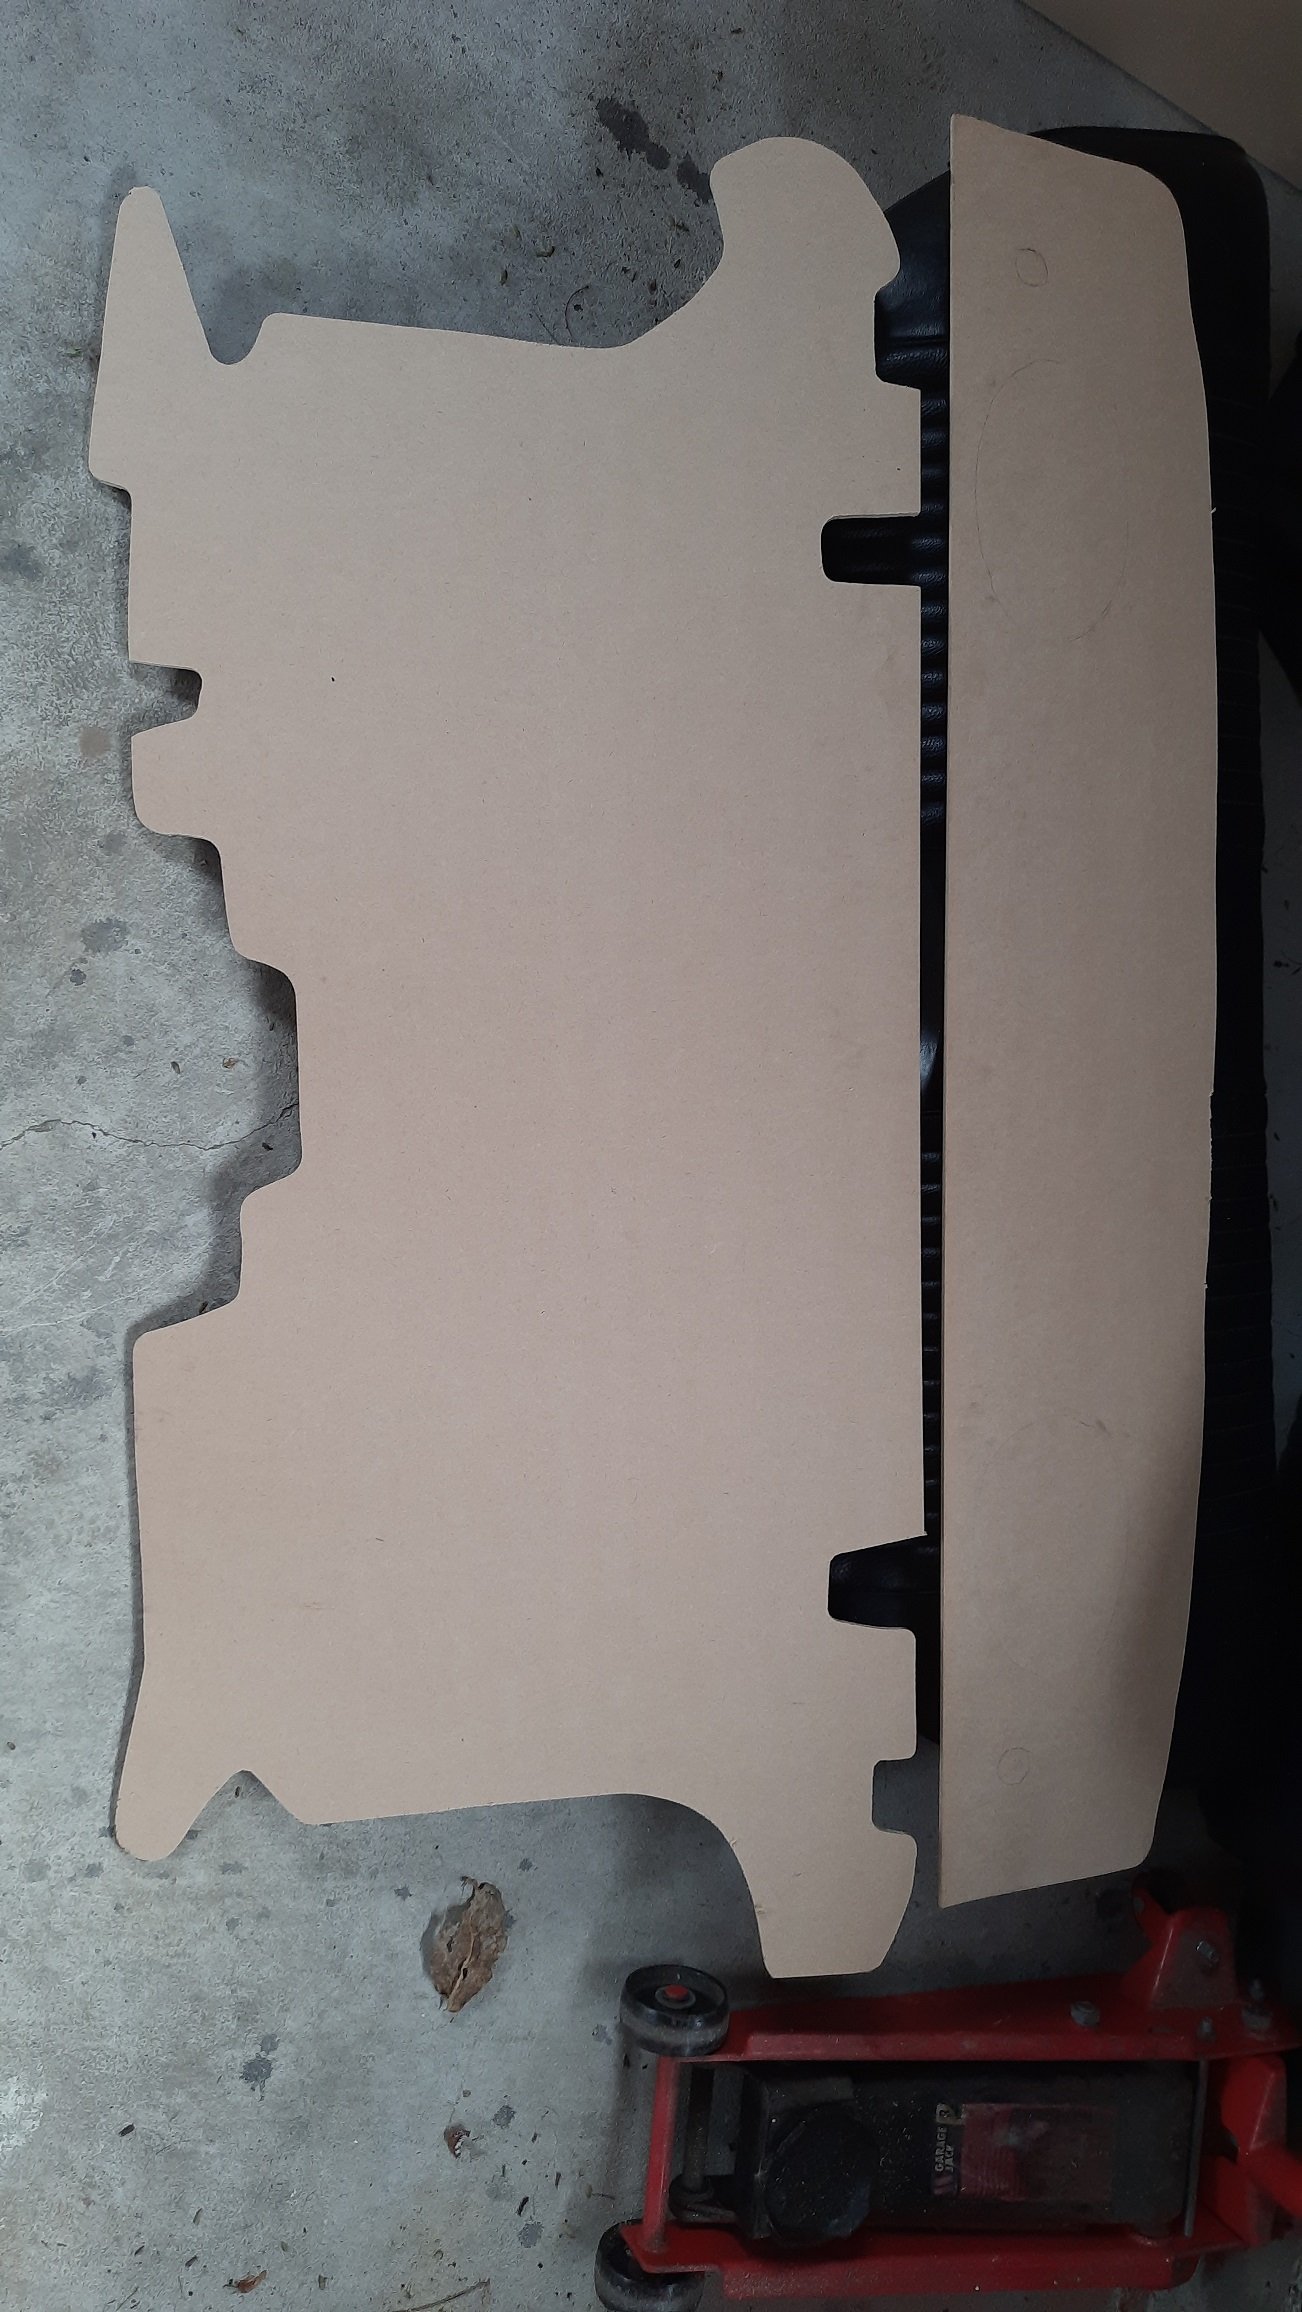
Started pulling a few things out prior to taking it to the tin basher for the panel and paint repairs. I took out the rear seat, parcel tray, and trunk divider as both were just cardboard and shit. A previous owner loved his pink batts, not sure if they were doing much but it's in the bin now. I kept the parcel tray for now just in case my new one is too thick but hopefully I'll ditch it. Also took out the speakers but I may just end up putting them back minus the grills. I made new panels from 9mm MDF. The parcel tray will get covered in black vinyl that I have left over from doing the same on my Fairmont. I may put some speaker mesh on the tray itself rather than the ugly grills although I will lose a bit of the 90's 6x9's bro look. I'll get some proper underlay for both I think. Next I took out the sail panels, more pink stuff here too. I don't know the sound isolation properties of Pink Batts but since there is a lot of tin resonating I doubt it did much. Got a good look at the seat belts. I'm not sure if the car came with lap sash belts but I'm pretty sure the inertial reel is after market. Bit sneaky it hasn't been certed but looks pretty legit. Only problem is it blocks the window mech so will need tweaking so the window goes down. Took the window out so I can service it and get it working. It is actually really smooth so should work ok if not contacting the belt reel. Not sure how I'm going to get it all back in though, it is a bit fiddly. Will give the cavity a good clean out, already got some crap body sealer and sand out. I can see why I have a bit of crud under the paint on the outside as there was a bunch of sediment between the inner guard and the outer sail panel. I may wait till the paint is done to finish the inside just in case he cuts anything out. Looks pretty clean otherwise. Will give it some spray in sound deadener and fish oil once the paint is done.
-
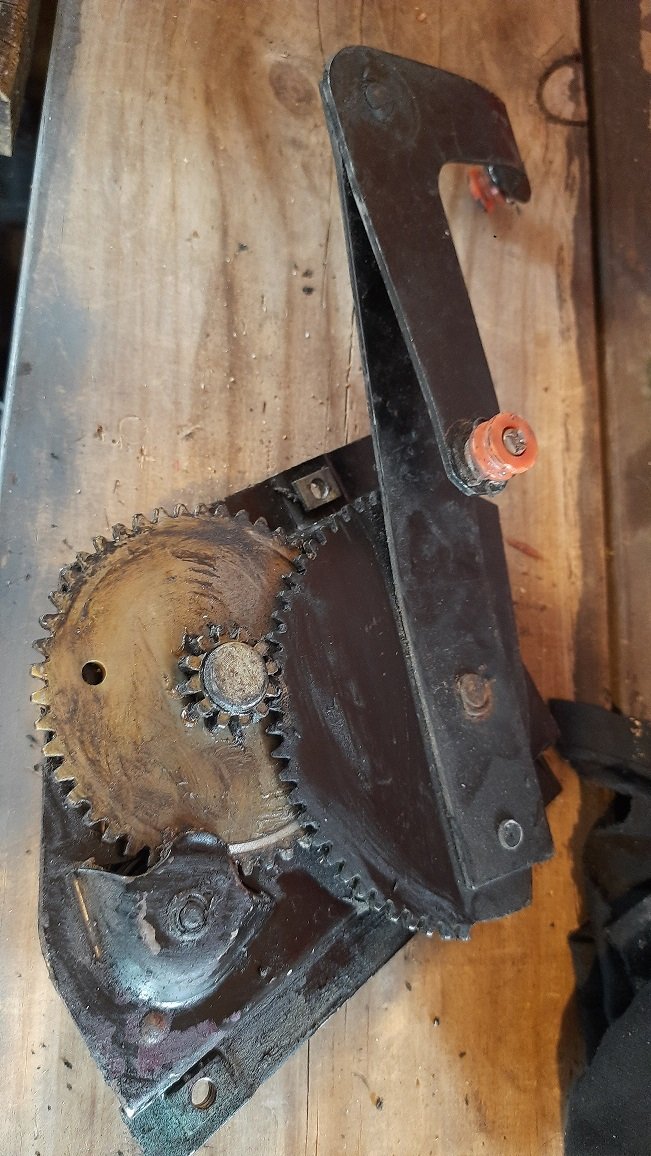
The remote boot release stopped working... The cable not being connected might be why. Terrible photo but the cable broke off the latch. Might need a new latch to fix as i can't get inside the latch to rig something up. In other news, the trans shifter shaft was the cause of the massive puddle of fluid under the car. It is worn so the new seal worked worse than the one that was replaced. Western Auto Electrical got a new (tighter) seal from the Gearbox Factory guys and that has hopefully fixed the problem for now. Eventually I'd like an overdrive and talking to the GB Factory they suggested a TH700. going to be spendy though and the C4 works fine for now so I'll be waiting till I need to pull the trans.
-
Incredibly it got a warrant, just a warning for slight play in the left front hub. Still pissing the bed though... Slight seep from the power steering lines still and big leak from the shifter housing on the trans. Both of these were supposed to be fixed but I'll have to try again.
-
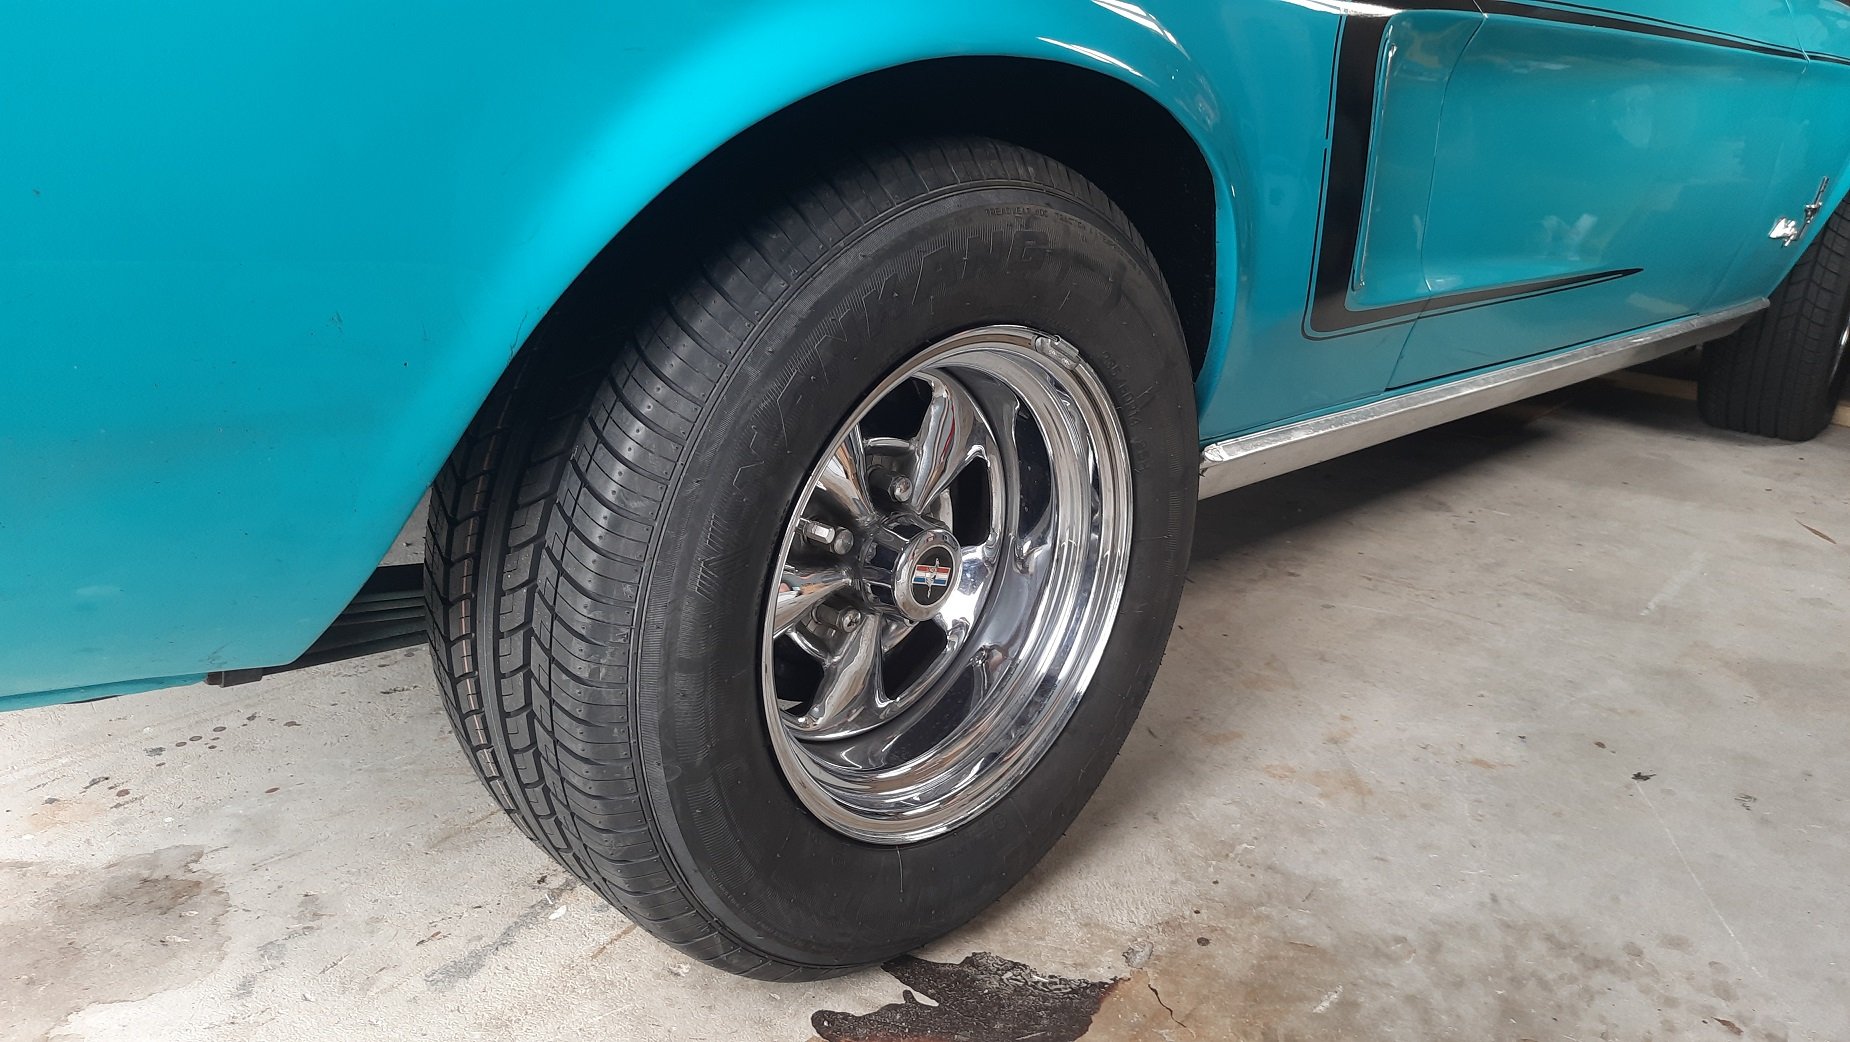
Got some new tyres to match replace the old cracked and damaged Firestones. Got Nankang 235/60R14's, down one size from the old tyres and matching the front. These ones should pass a warrant. Hope the warrant guy doesn't check too hard, I think the power steering lines are still leaking and there might still be a header leak. See how I go.
-
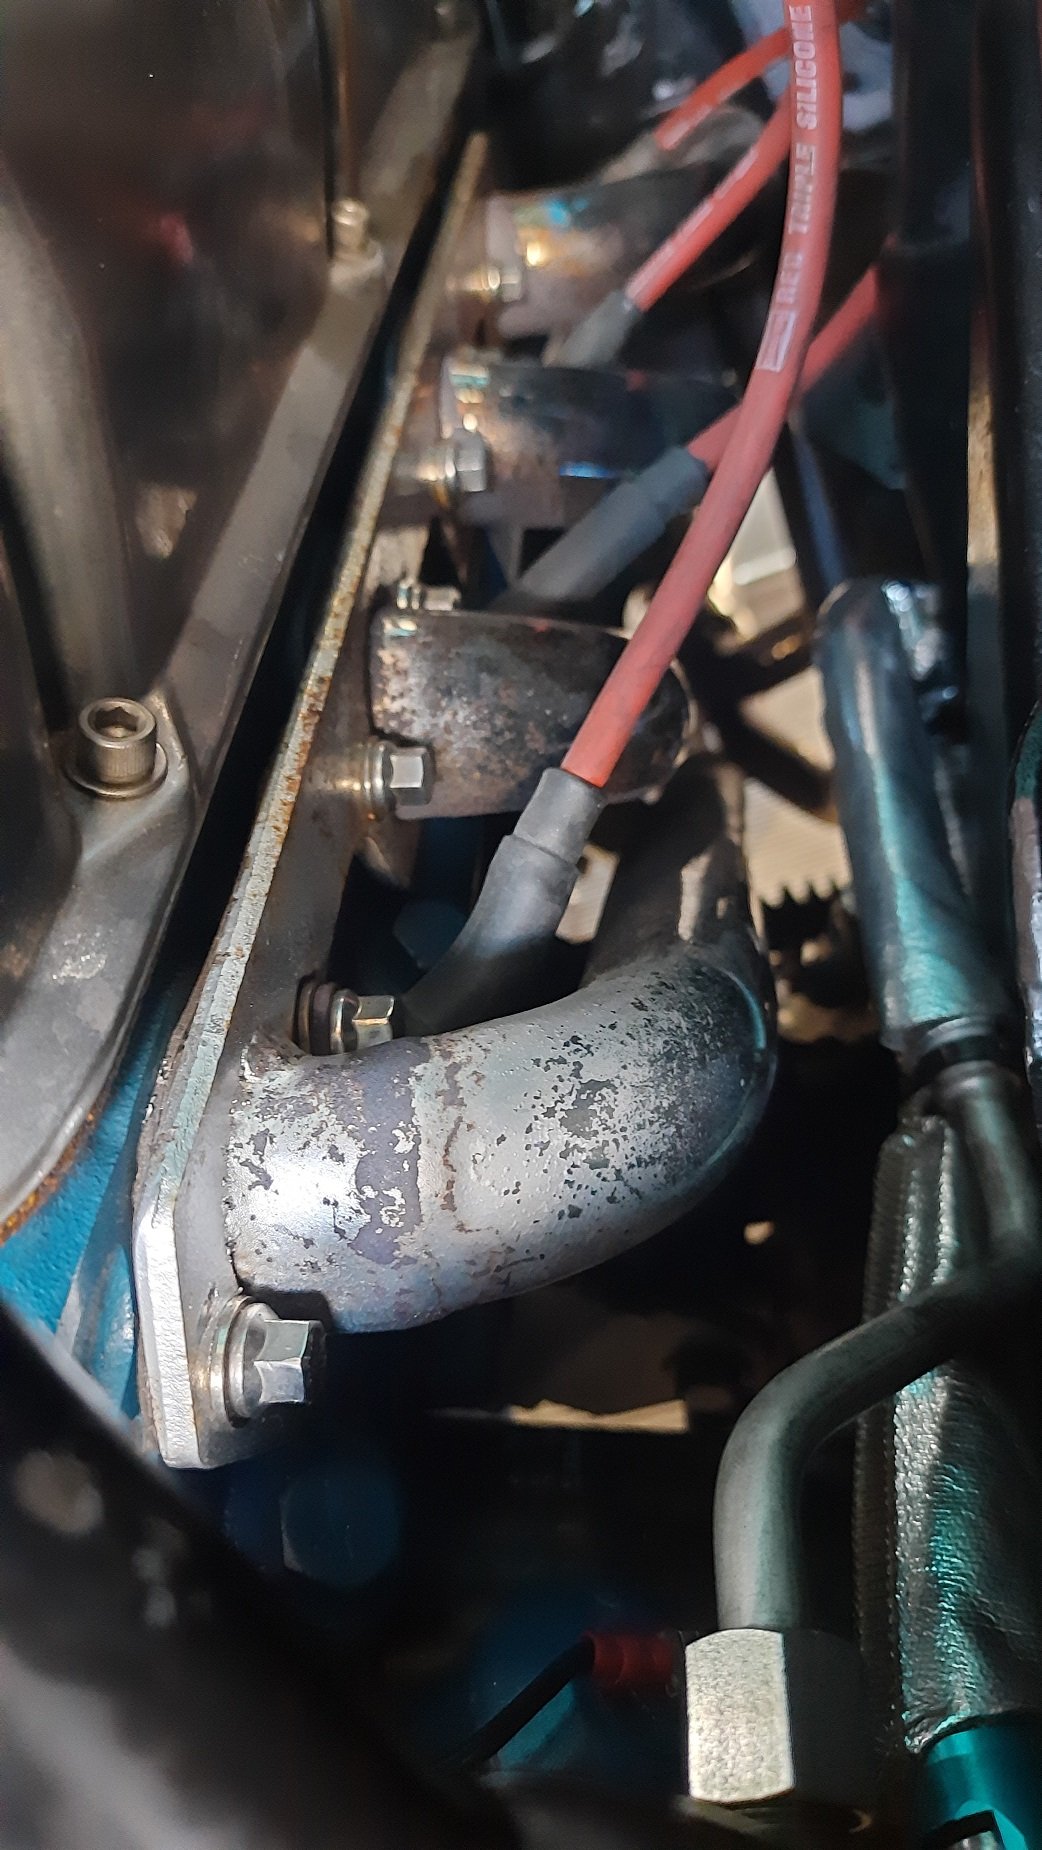
Took the Mustang to Alpine Panelbeaters to assess the scratch on the rear quarter. Can't vouch for their work yet but seem like good people. Had a nice Challenger fully stripped and a couple of other interesting cars. Will have to re raise my claim with AA Classic. Sounds like they will have to repain the whole back half of the car so am getting a quote for repairing all the other issues first. Hope I can swing that with the insurance. Had a brief look at the headers too. Easy to see how they could leak, the flange is almost like a collar holding the pipes in rather than a flat flange. Will also be interesting to see if I could even get them off with the whole system being rigid.
-
Long tube headers are not necessarily the issue in my opinion. I had header leaks on my cleveland when I first fitted them, you could see the carbon on the gasket. A bit of goo sorted that right up and no problems for 20 years. The Fairmont had a much simpler power steering system though and Flash has even less space than our 68's. I'm only guessing with the flex as my Fairmont didn't have any and it had a single system so it was all joined. I now have a dual system with a balance pipe but all of that is hanging off the header flange and rubber mounts with a thin steel flange rather than a machined cast manifold. @Flash if you wanted more space but not cast manifolds you could try some shorties. I know my 289 is not really using the long tube headers anyway as it probably has a very mild cam.
-
New lines fitted, seems dry now. Need a wheel alignment now. Need new rear tyres anyway so will get that done at the same time. They also said I had an exhaust leak from the left header gasket, sound familiar anyone? Might need to have that off and replace the gasket and fire on some gasket goo. I'm tempted to fit some flex joints behind the headers as well since they are solid welded all the way back. No flanges anywhere.
-
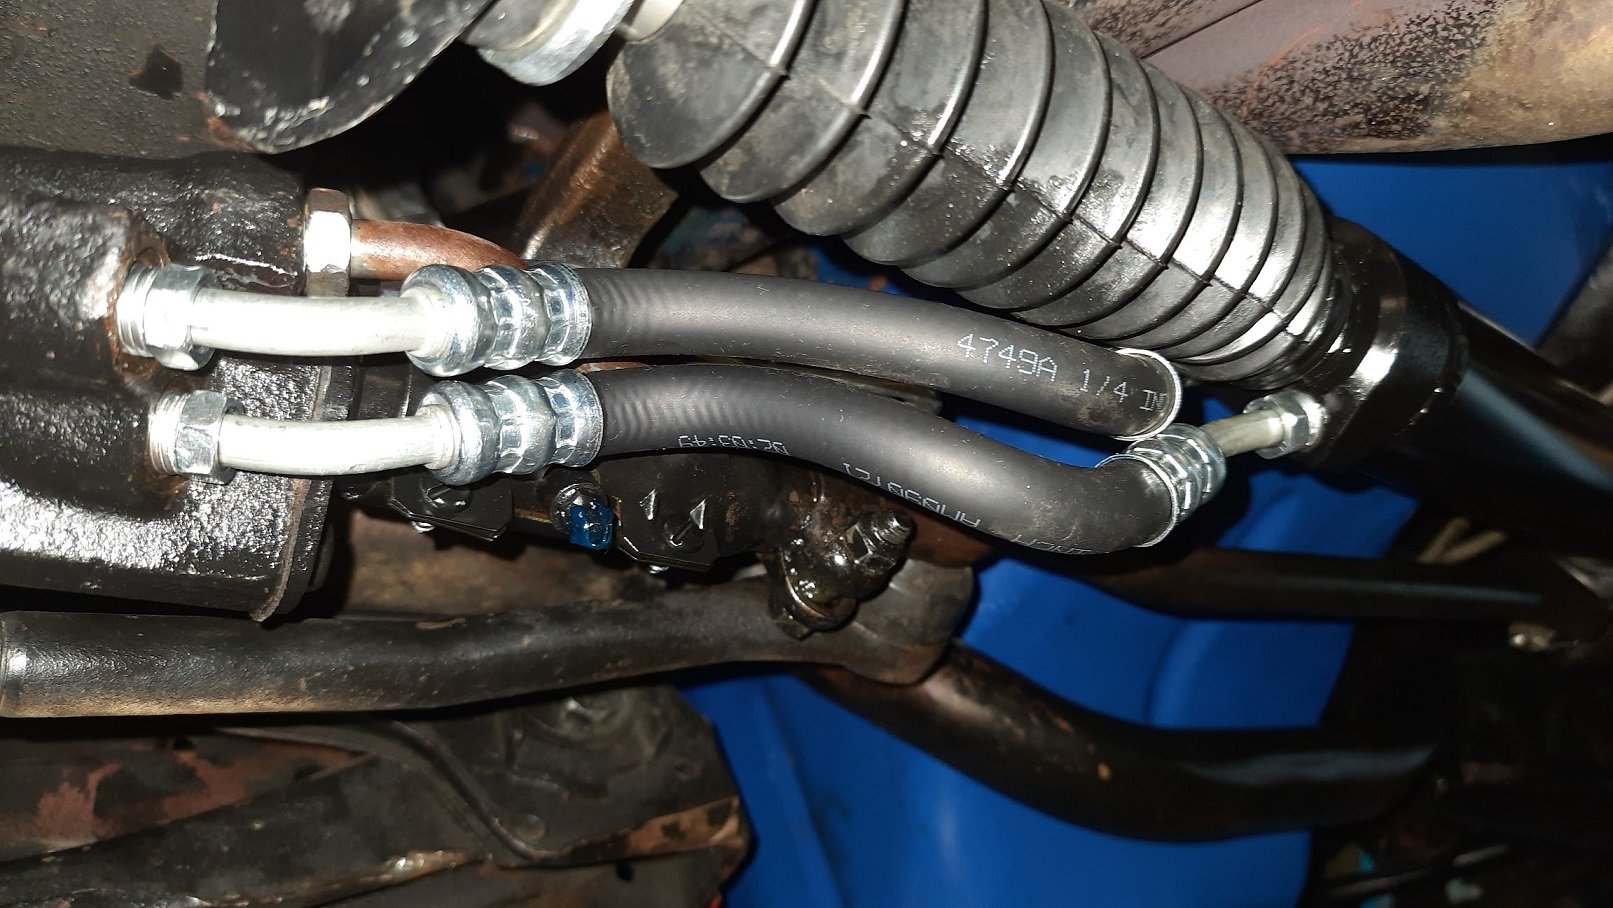
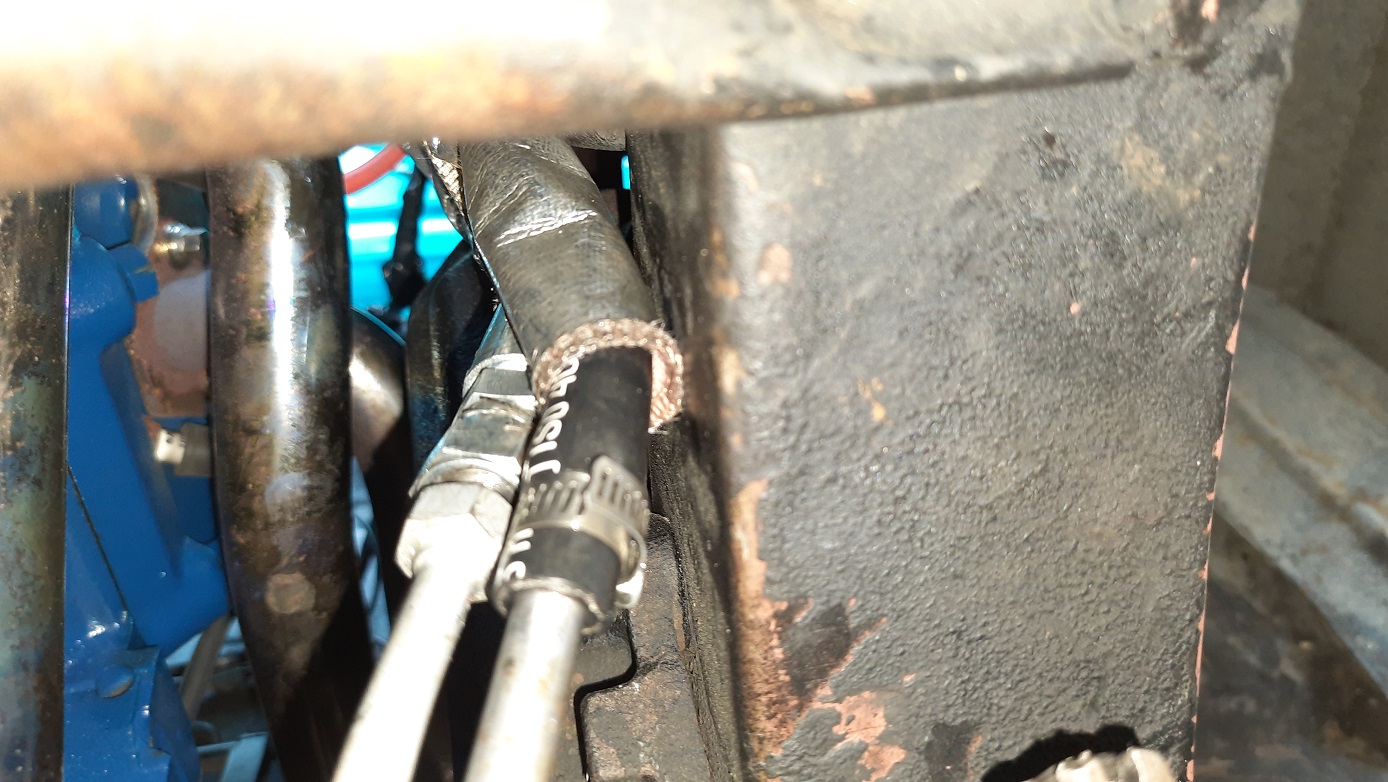
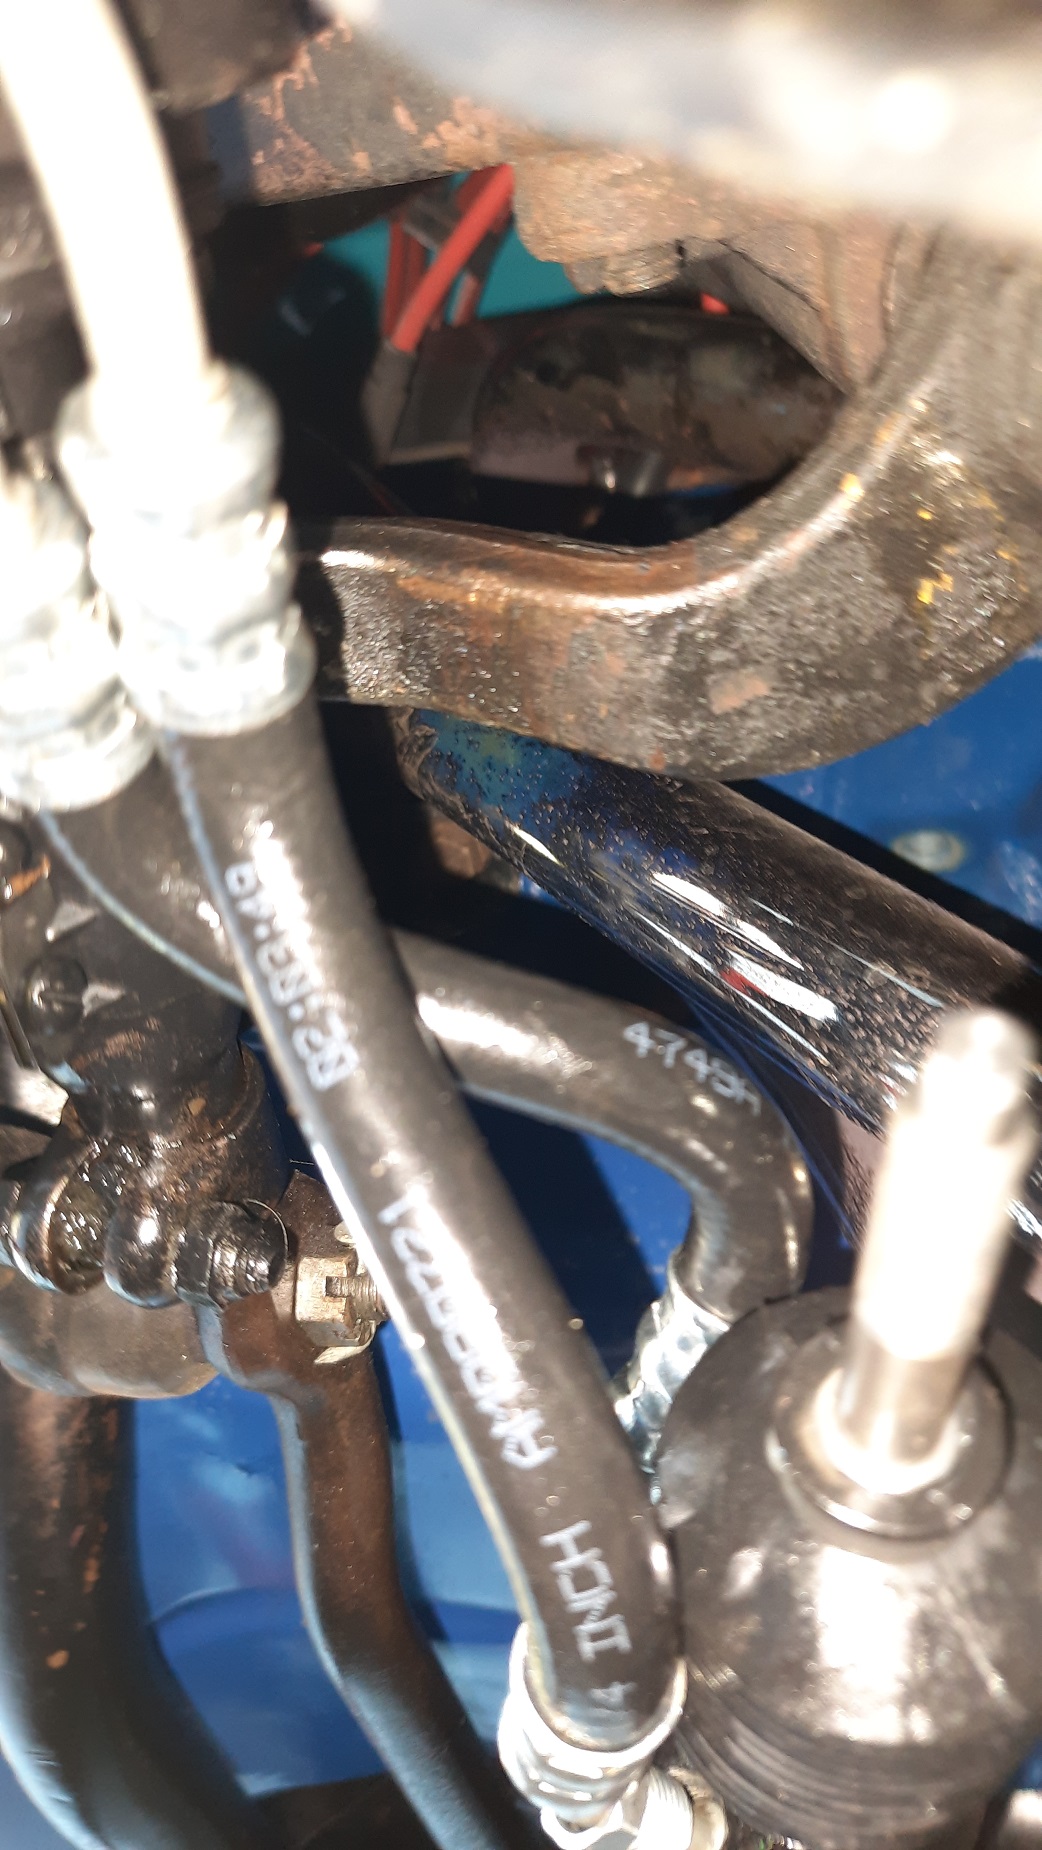
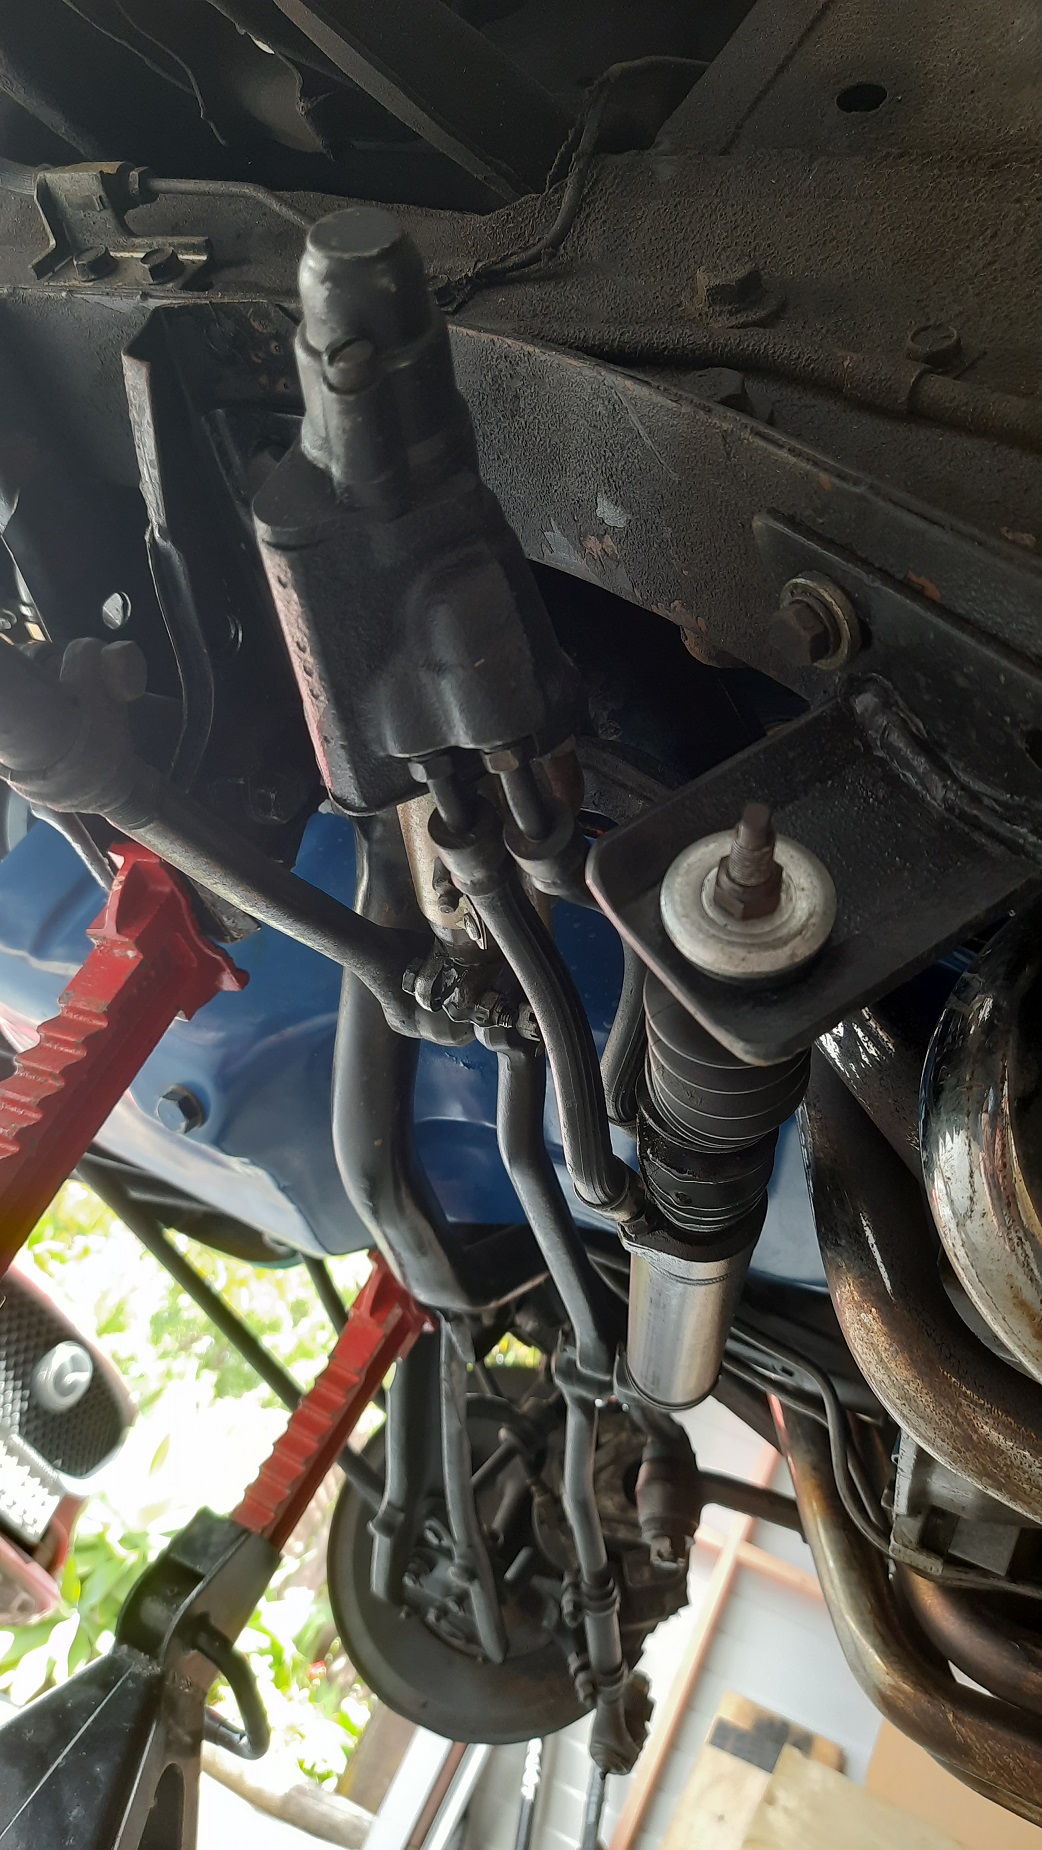
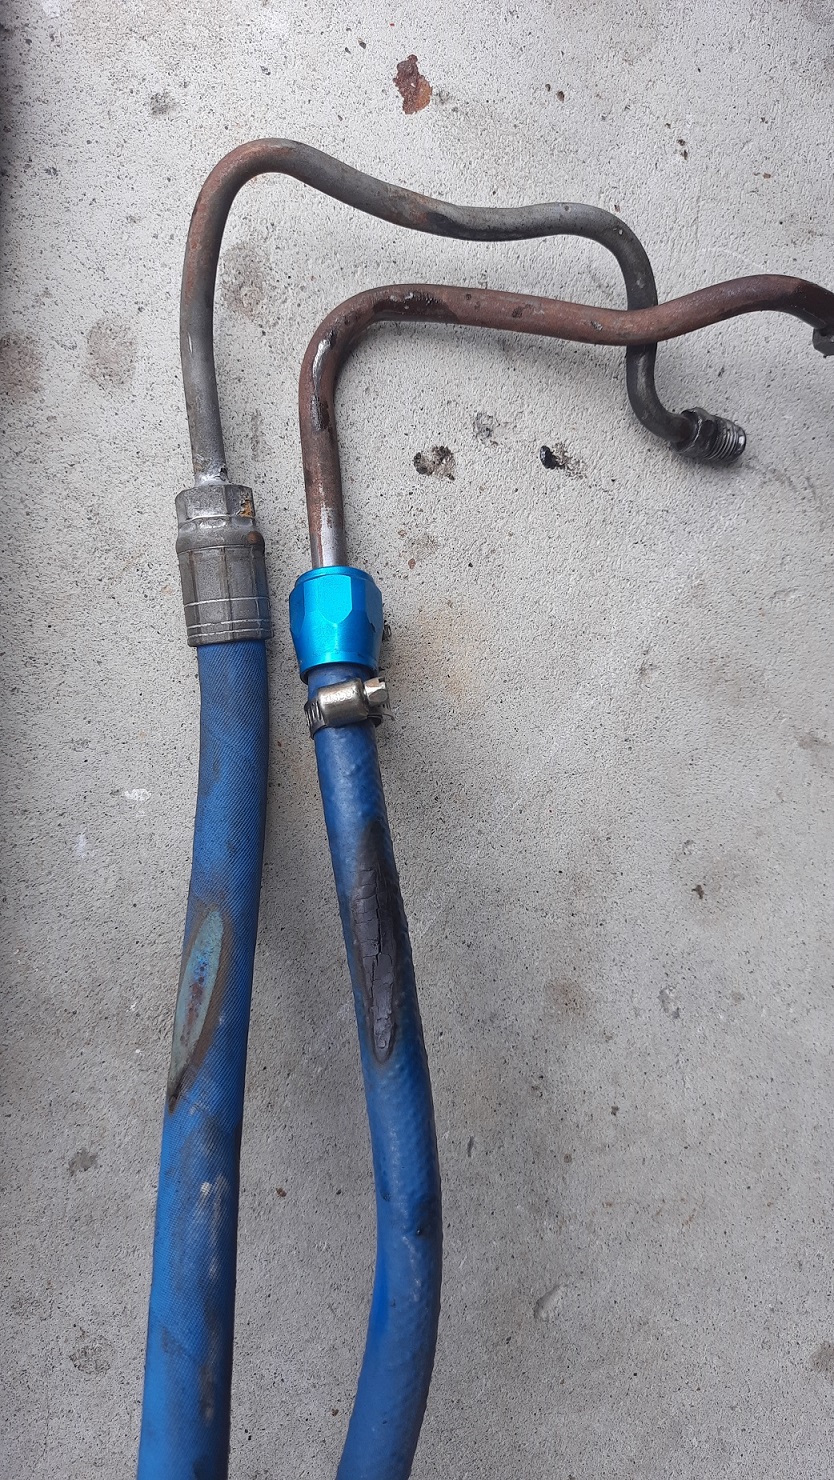
So I think I had the valve to ram lines backwards, see pictures below. when I went to remove them again I found one line quite loose as it is hard to tighten up. Found my leak. Original Wrong! Once this was fixed I filled it back up and ran it back and forth on the stands to bleed it. Not sure if I've done a good job there but it will get me in to the shop. I still have a slow leak from the valve. Hopefully it is just my shit old lines or a cracked flare and not the housing. These are such a prick to do up it is possible to damage the housing by over tightening or cross threading. The feed and return lines still hit the headers and frame but only minor. Again it will get me to the shop. Will require a lot of dicking around to fix and from some googling it seems to be a common problem once you fit long tube headers. A set of shorties would probably fix the problem and not really cost me much on this engine but that is more cash I don't want to spend yet. hopefully I can get the lines sorted and get back to rolling.
-
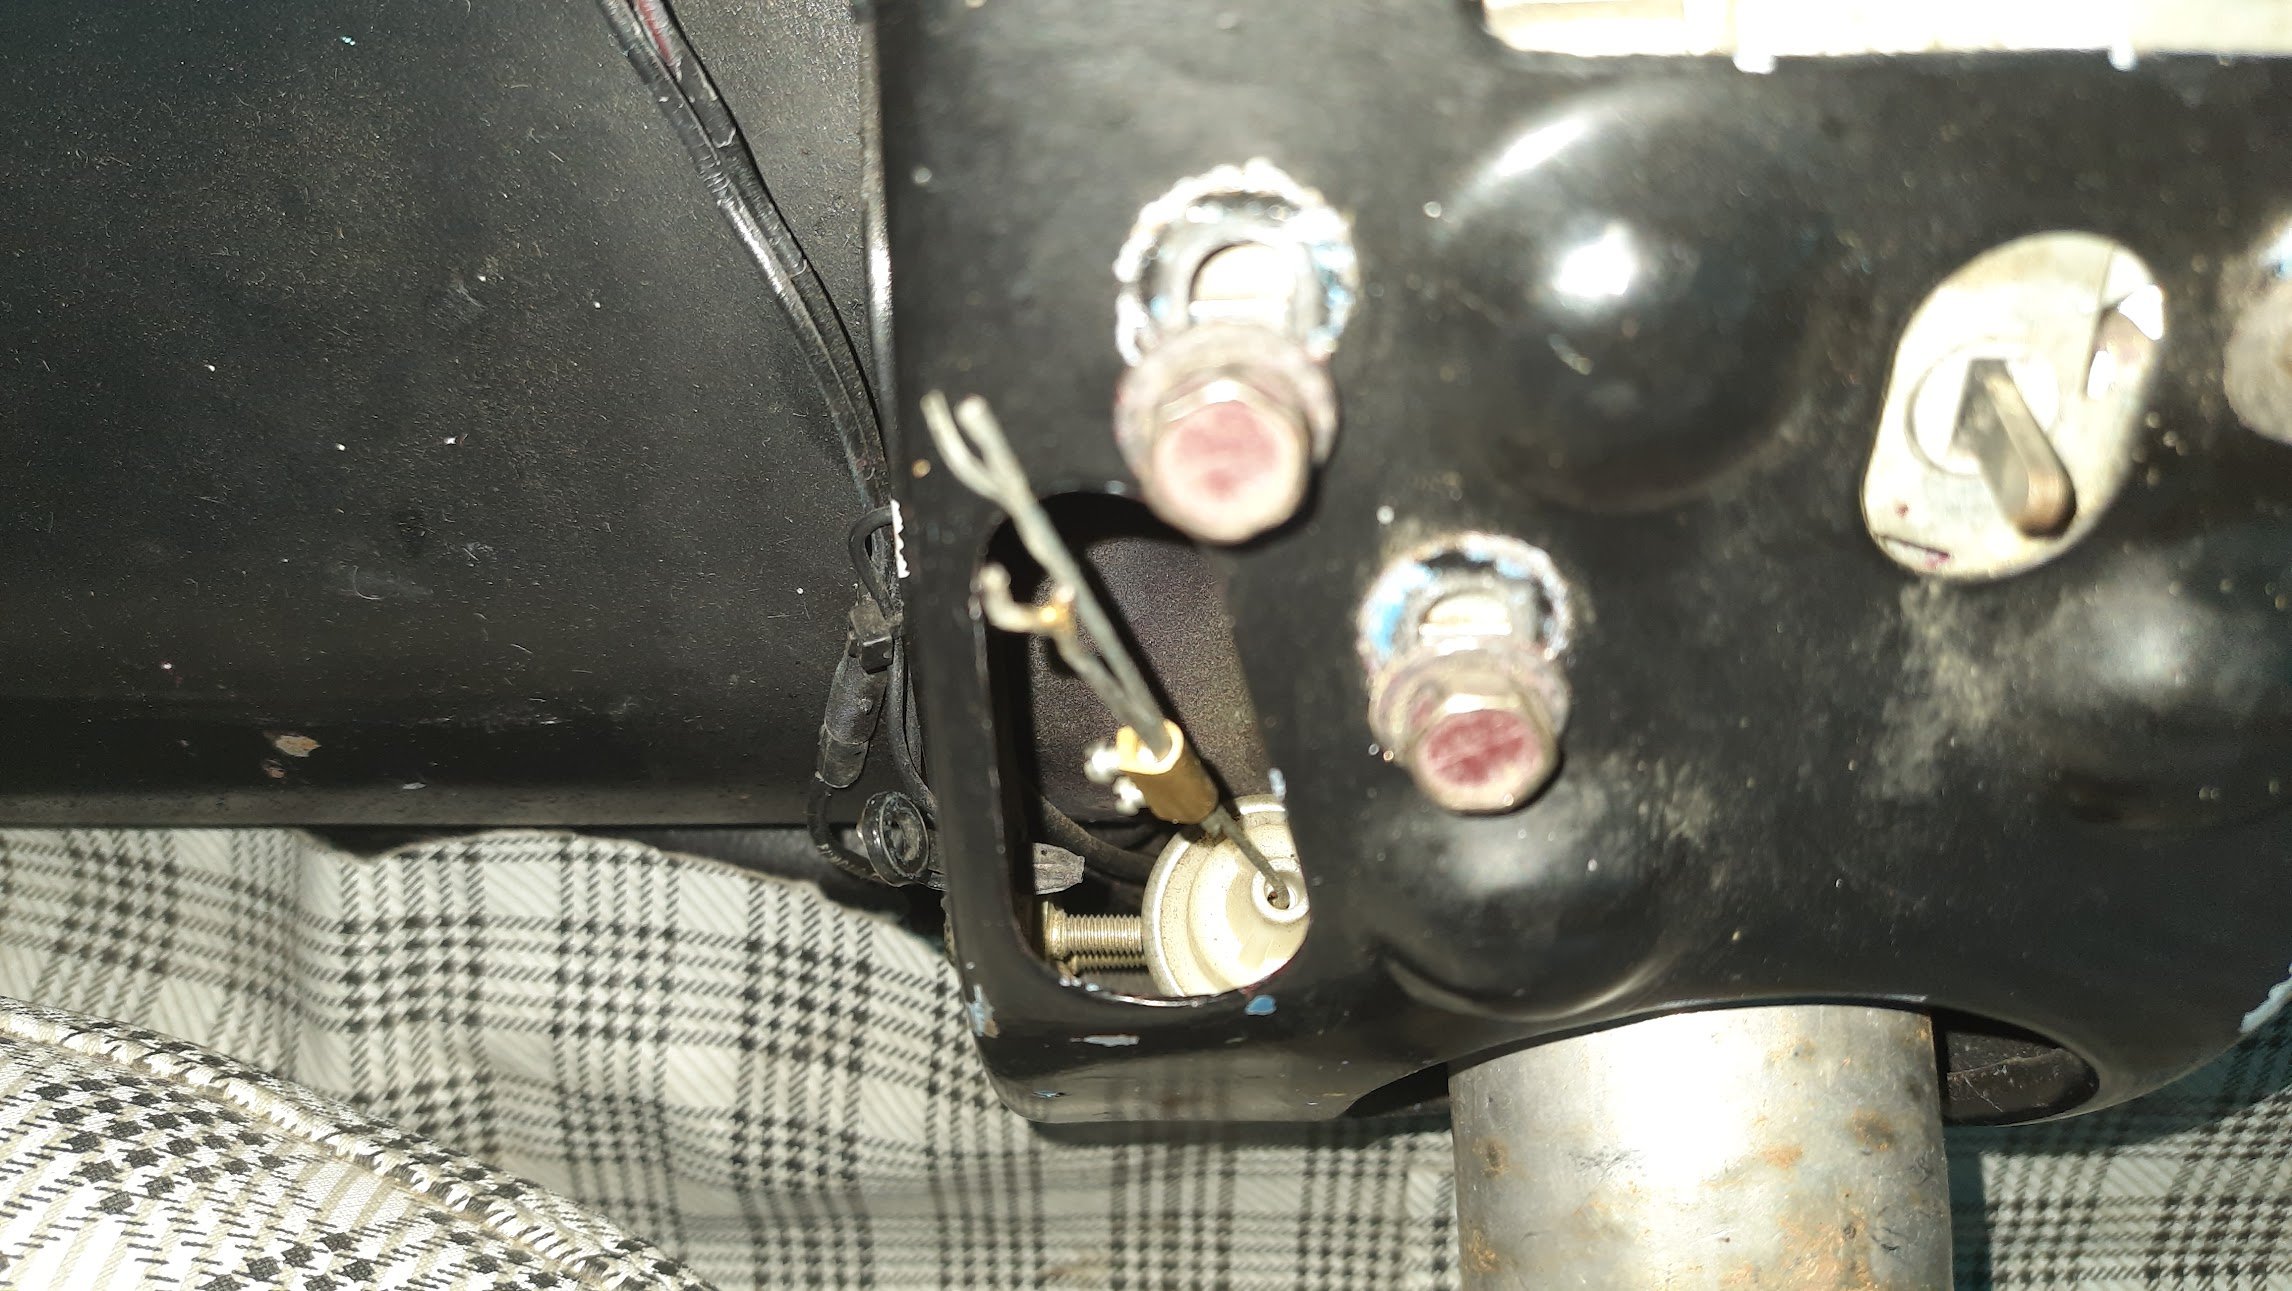
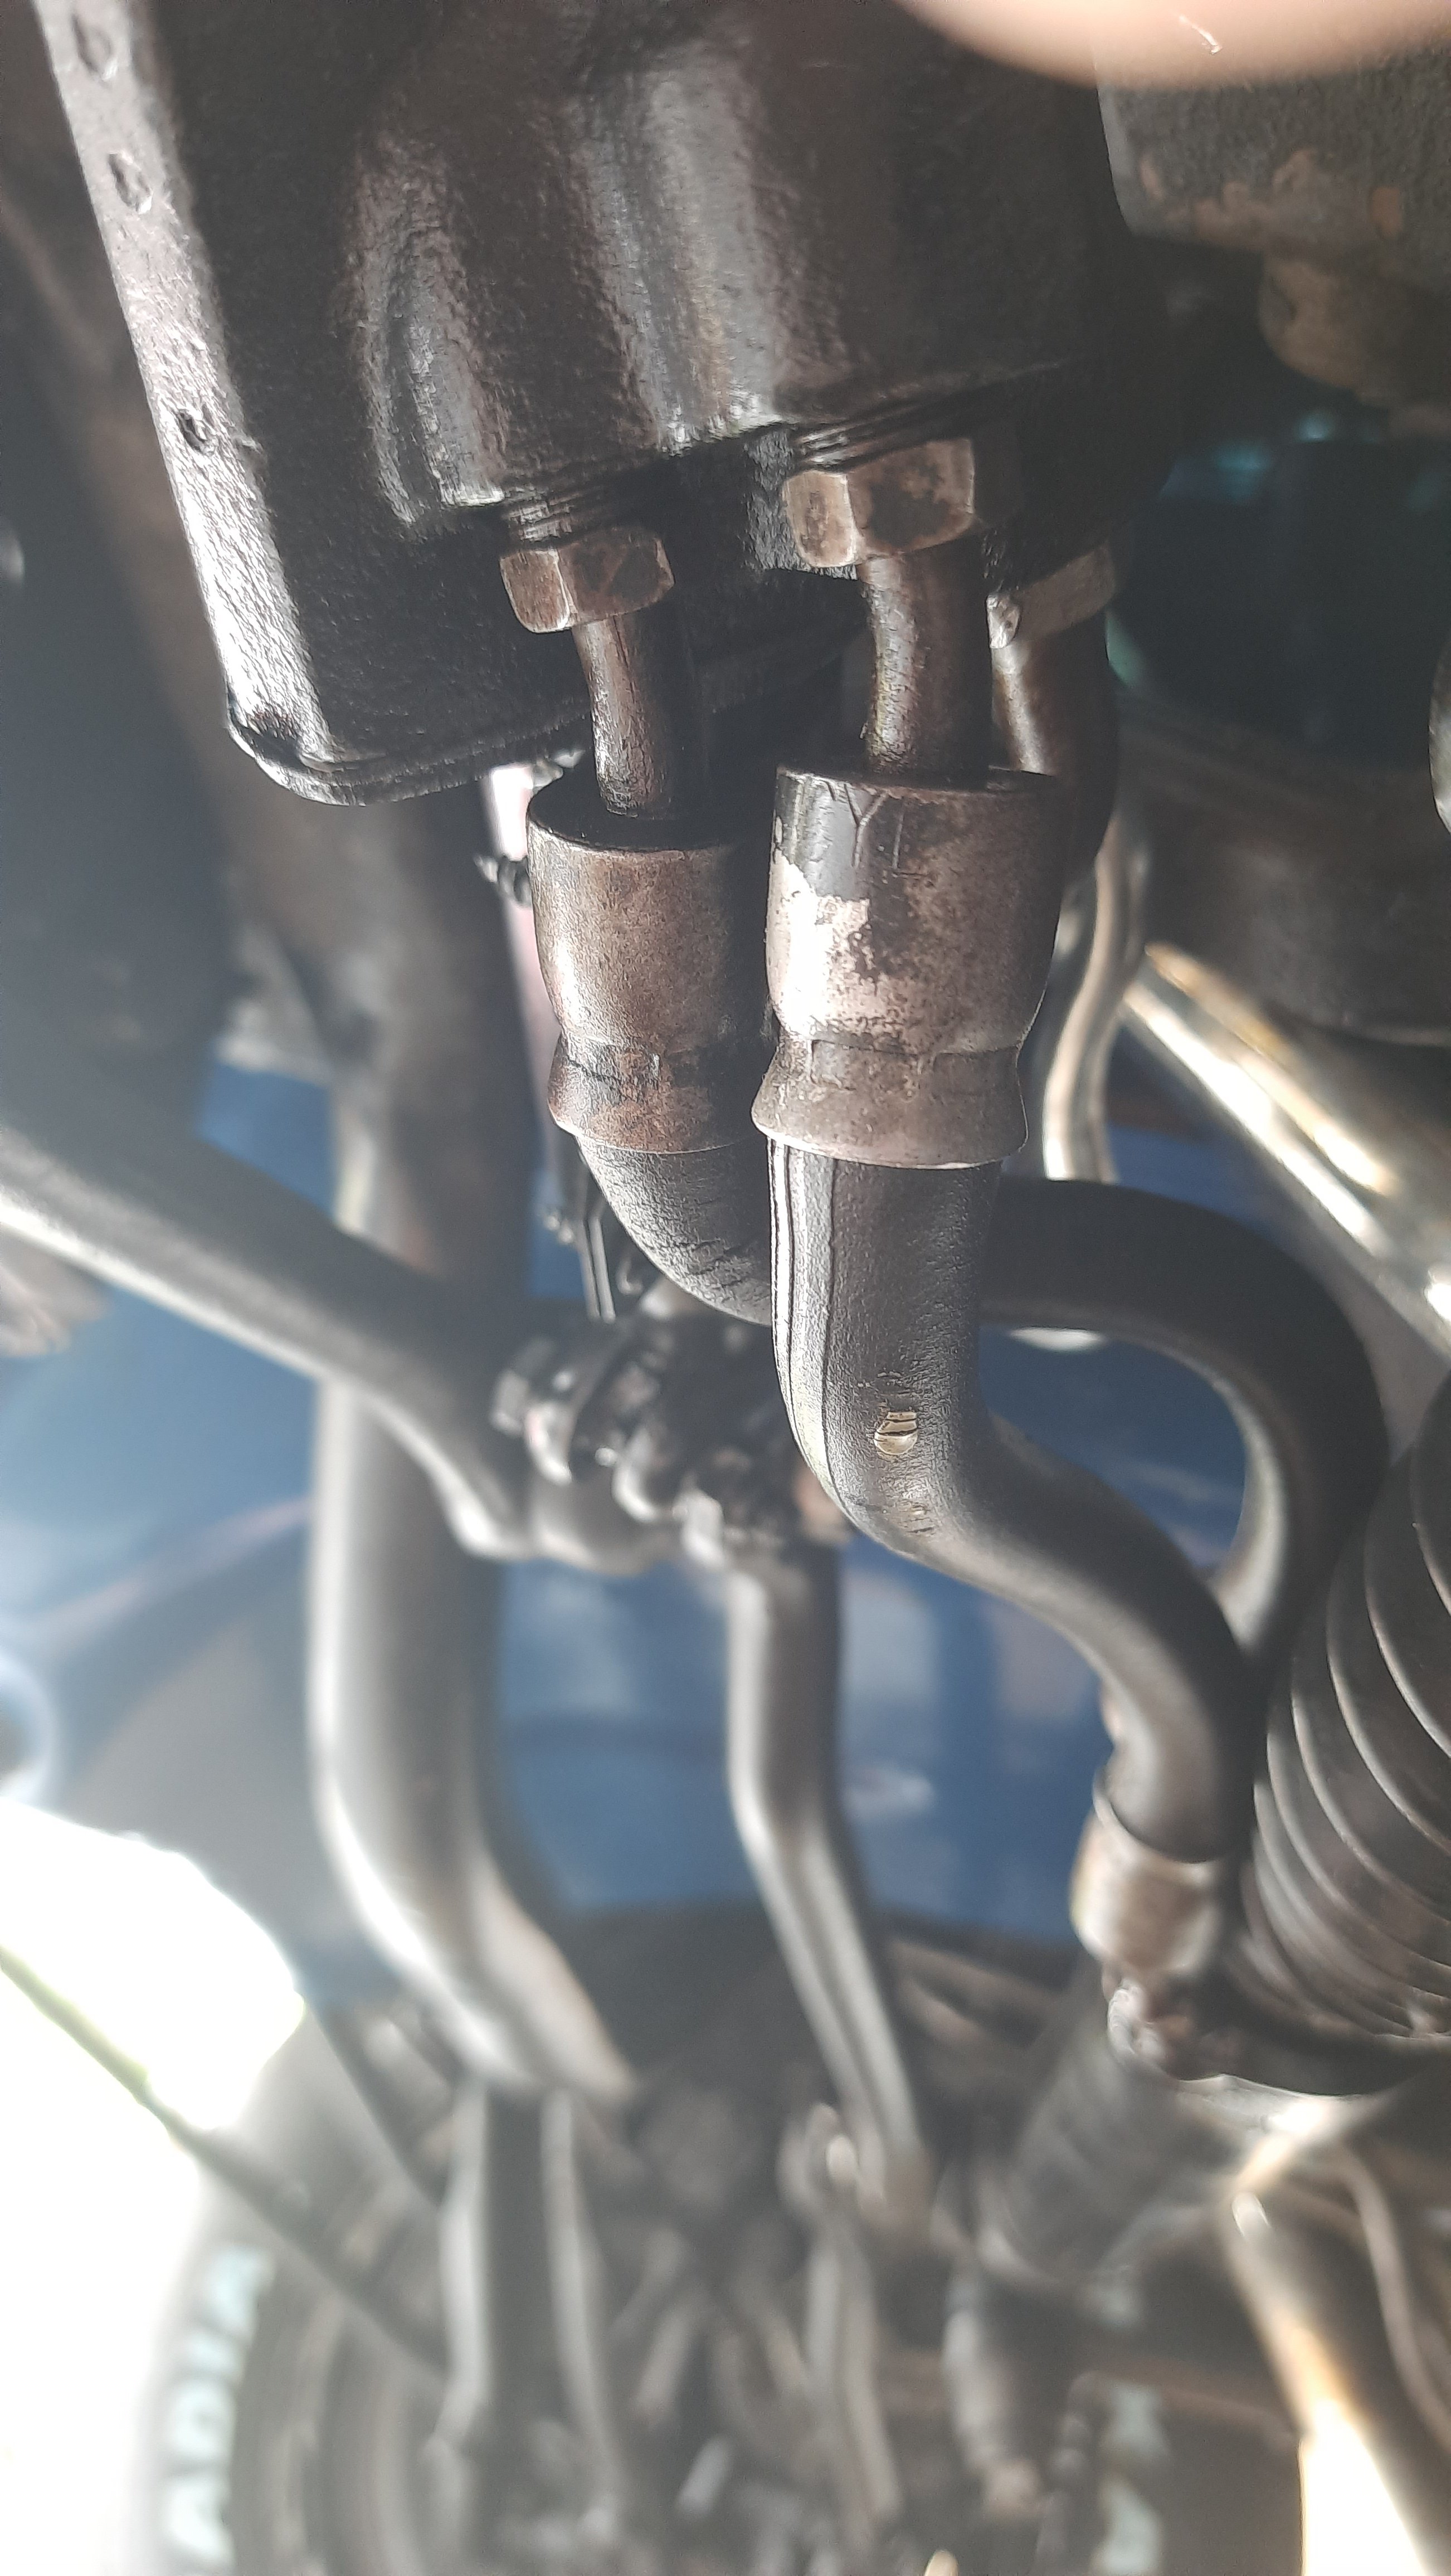
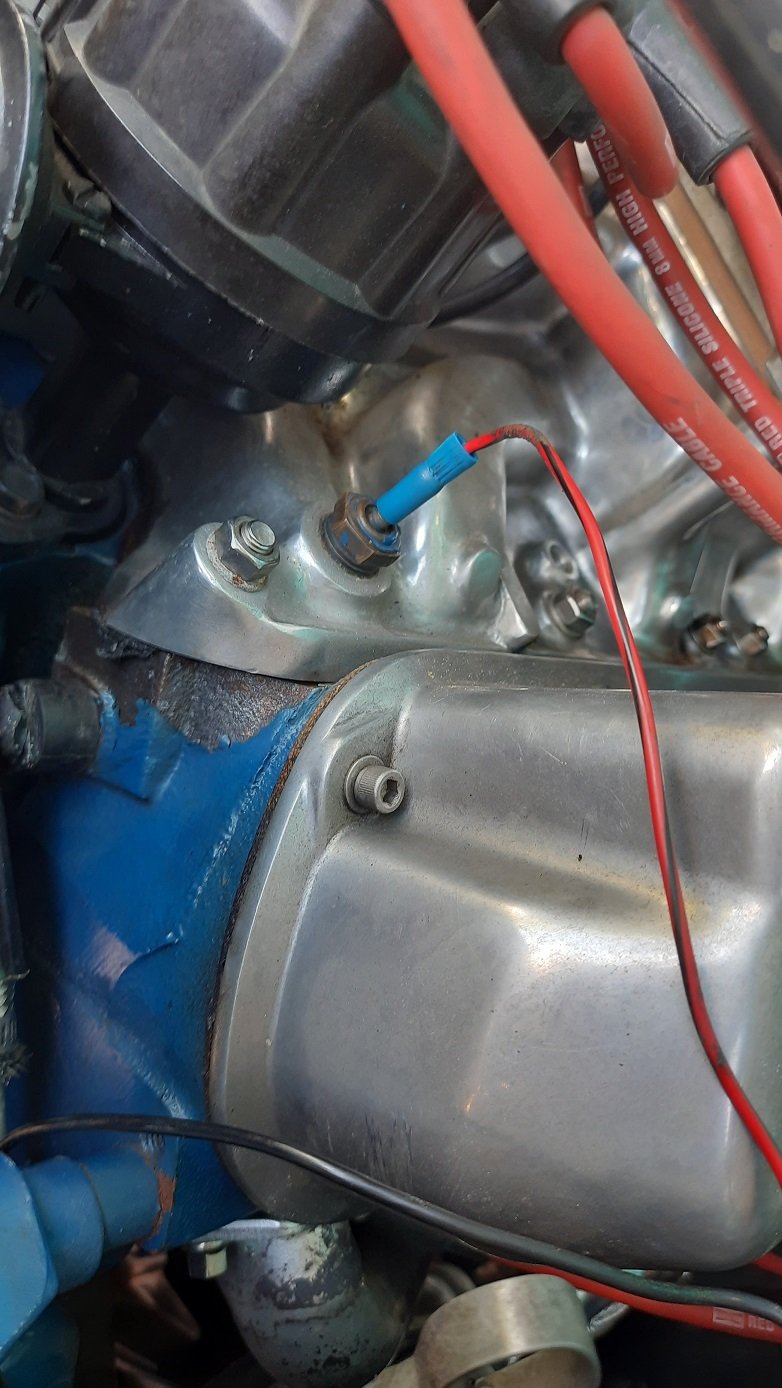
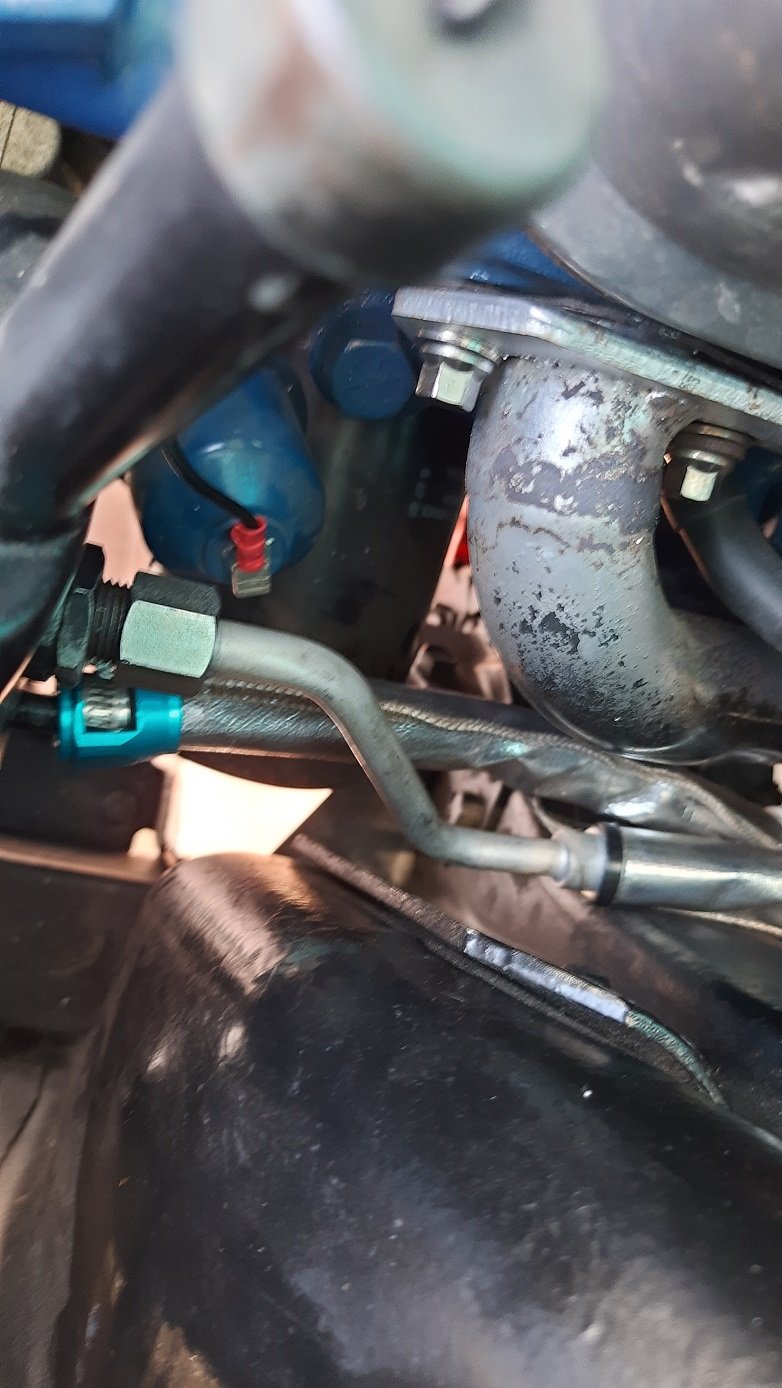
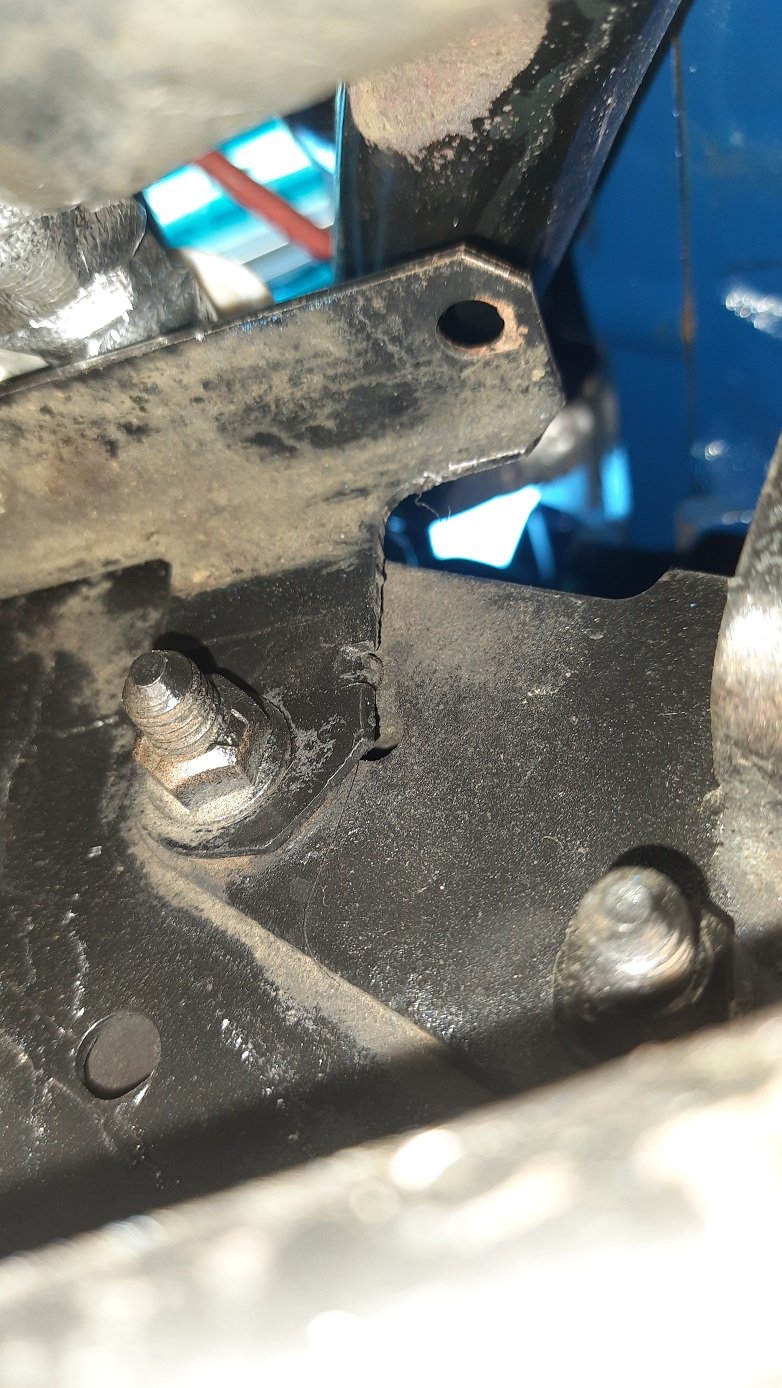
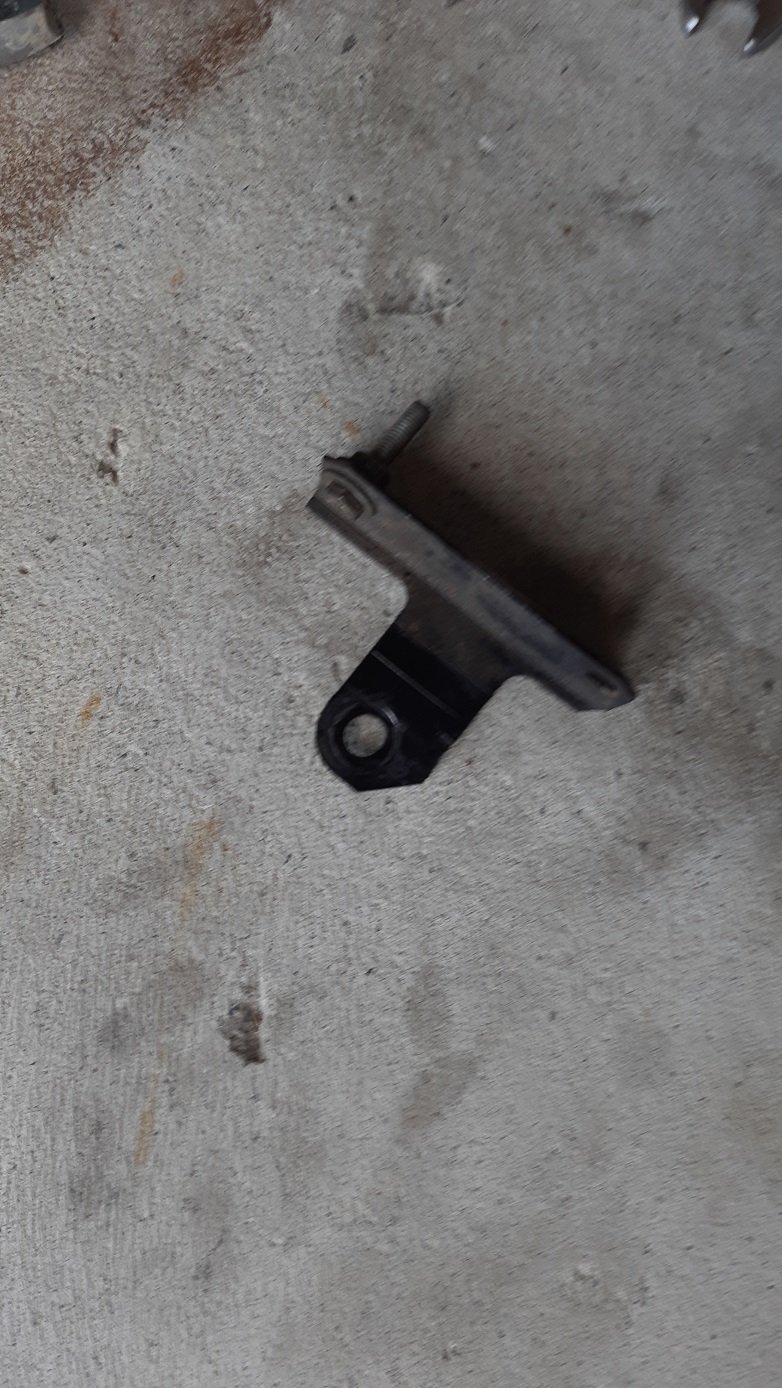
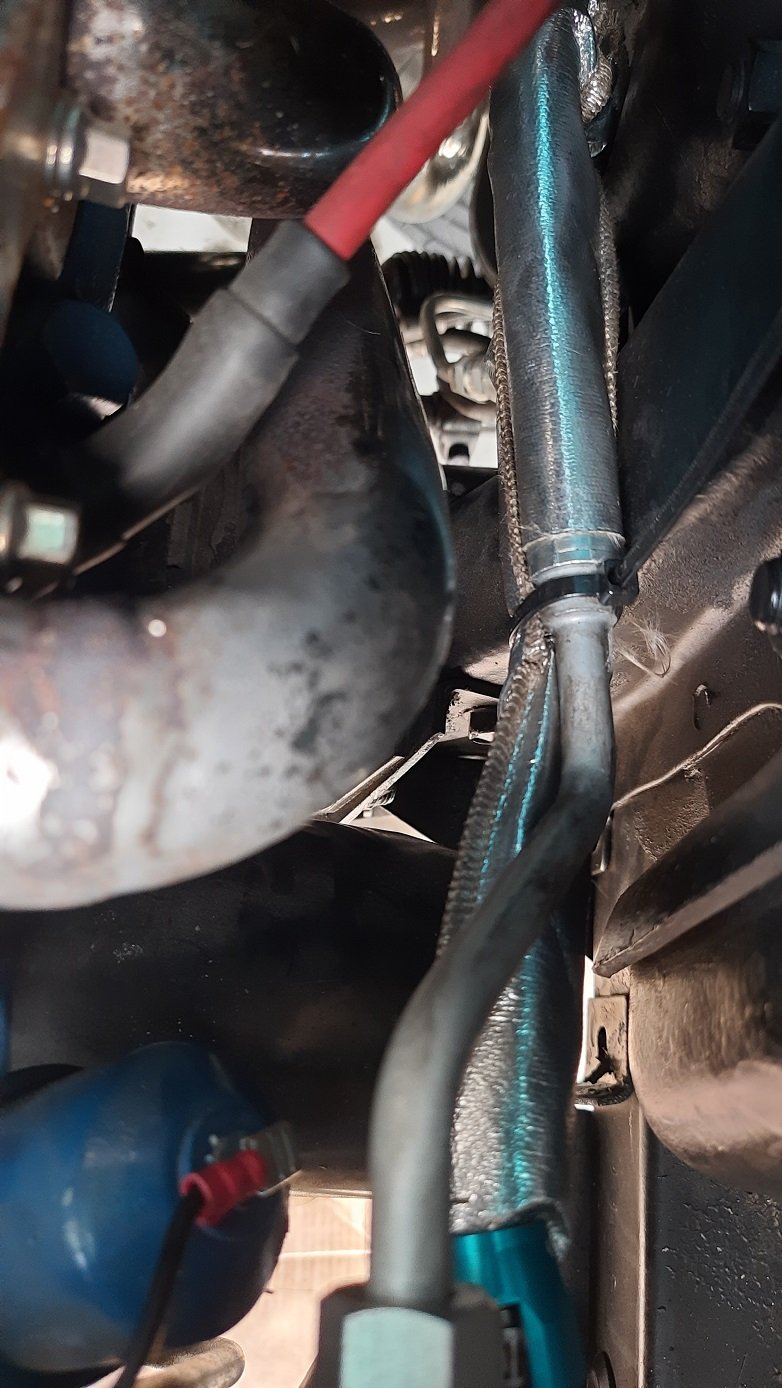
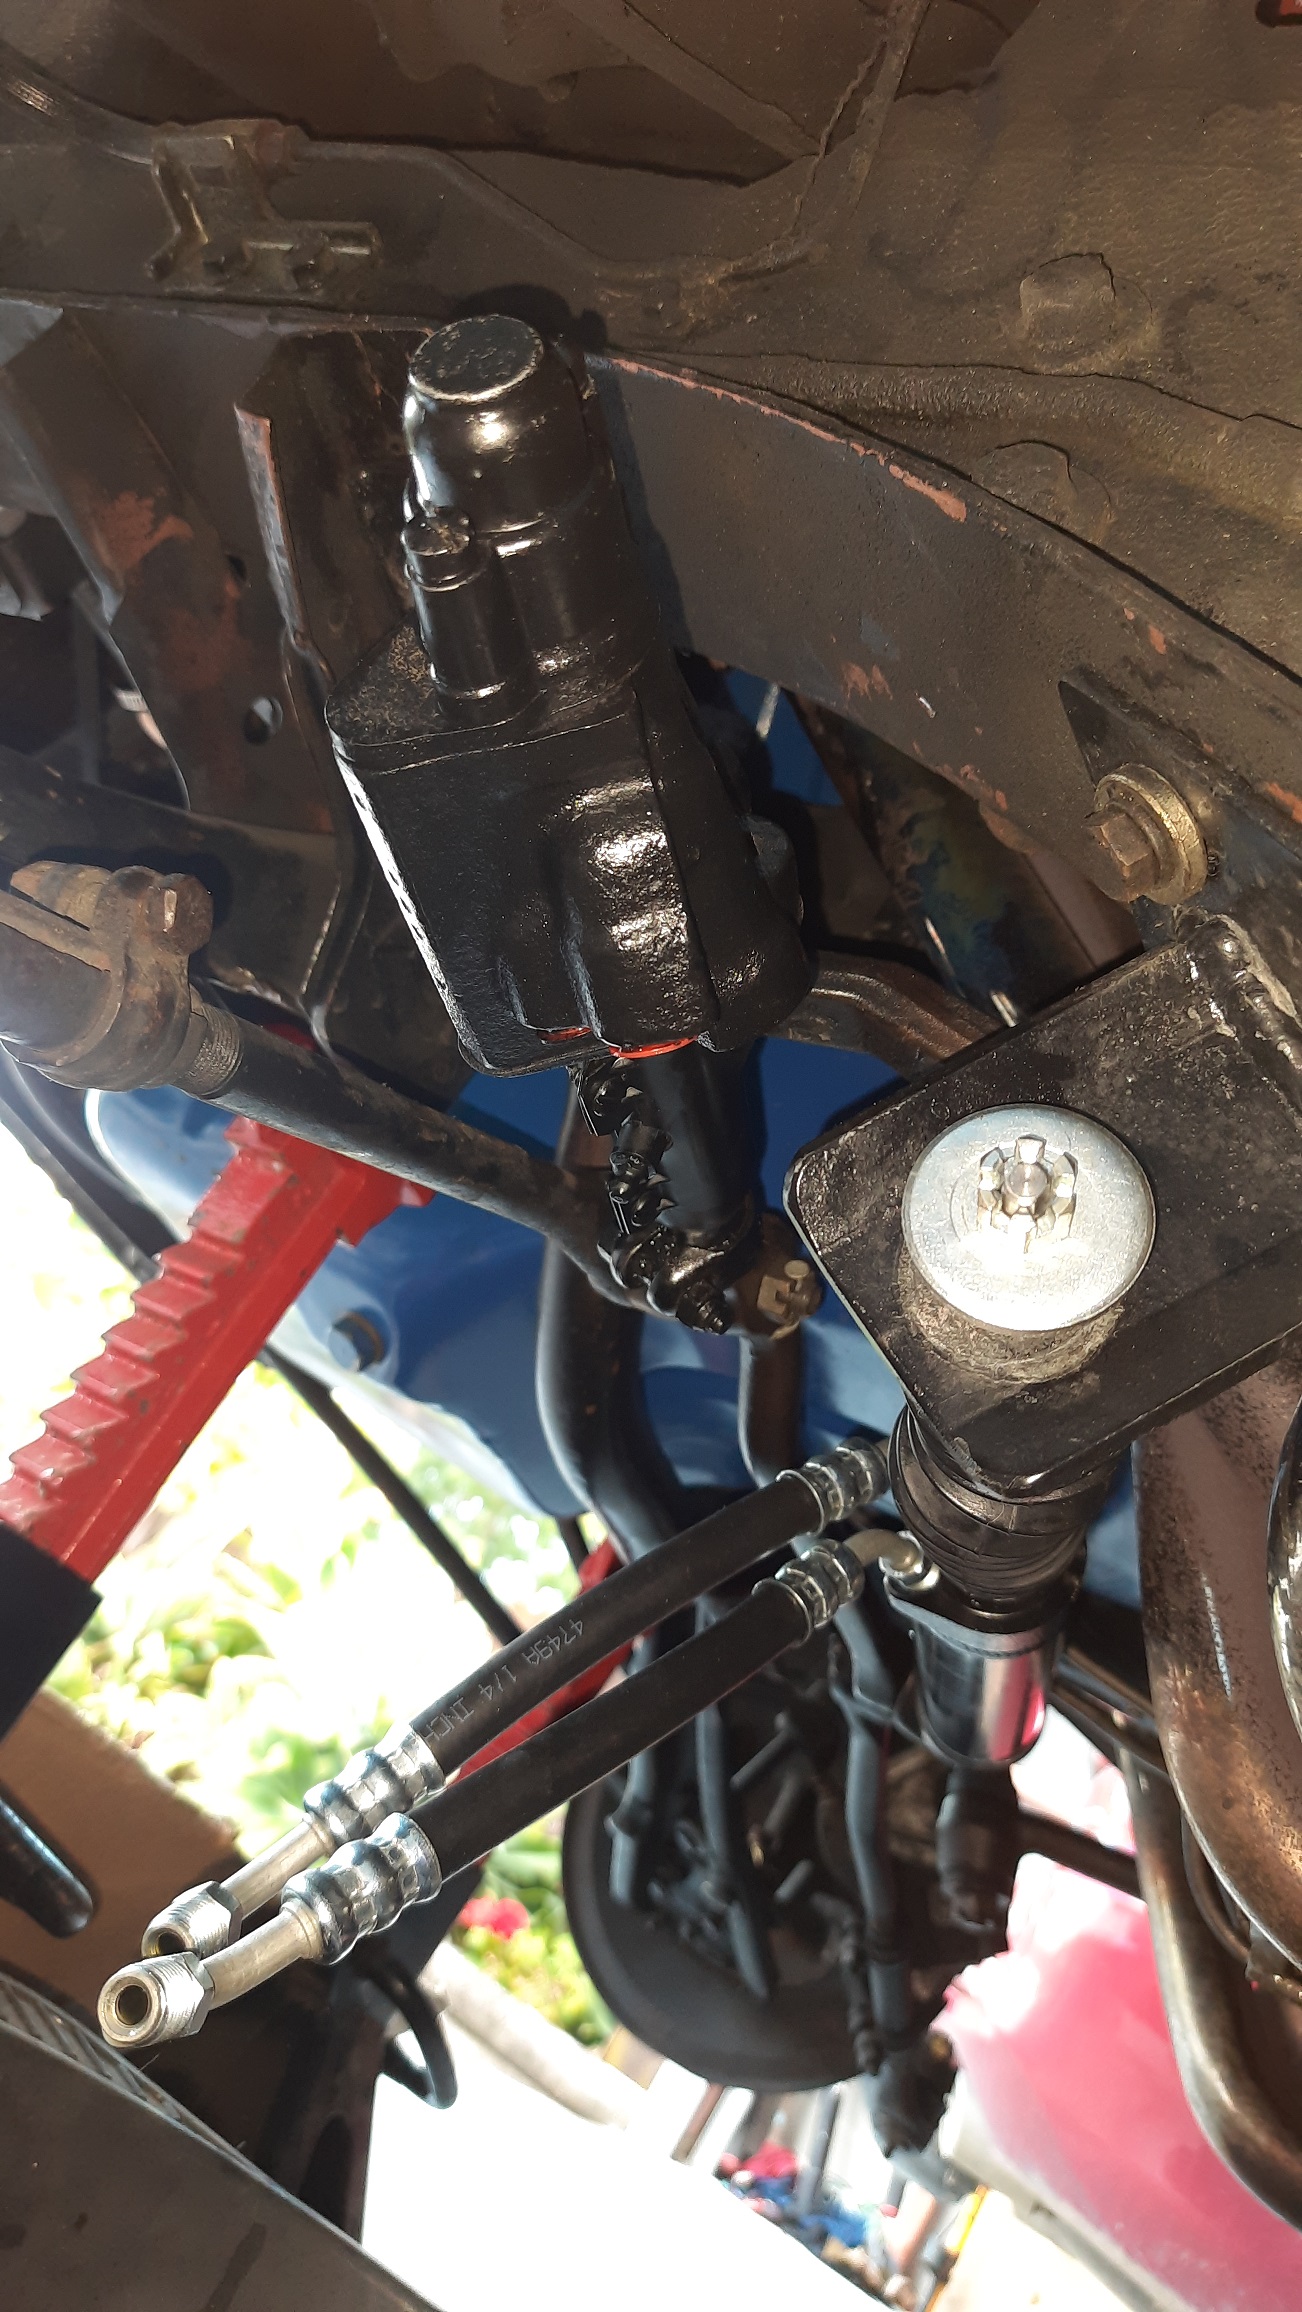
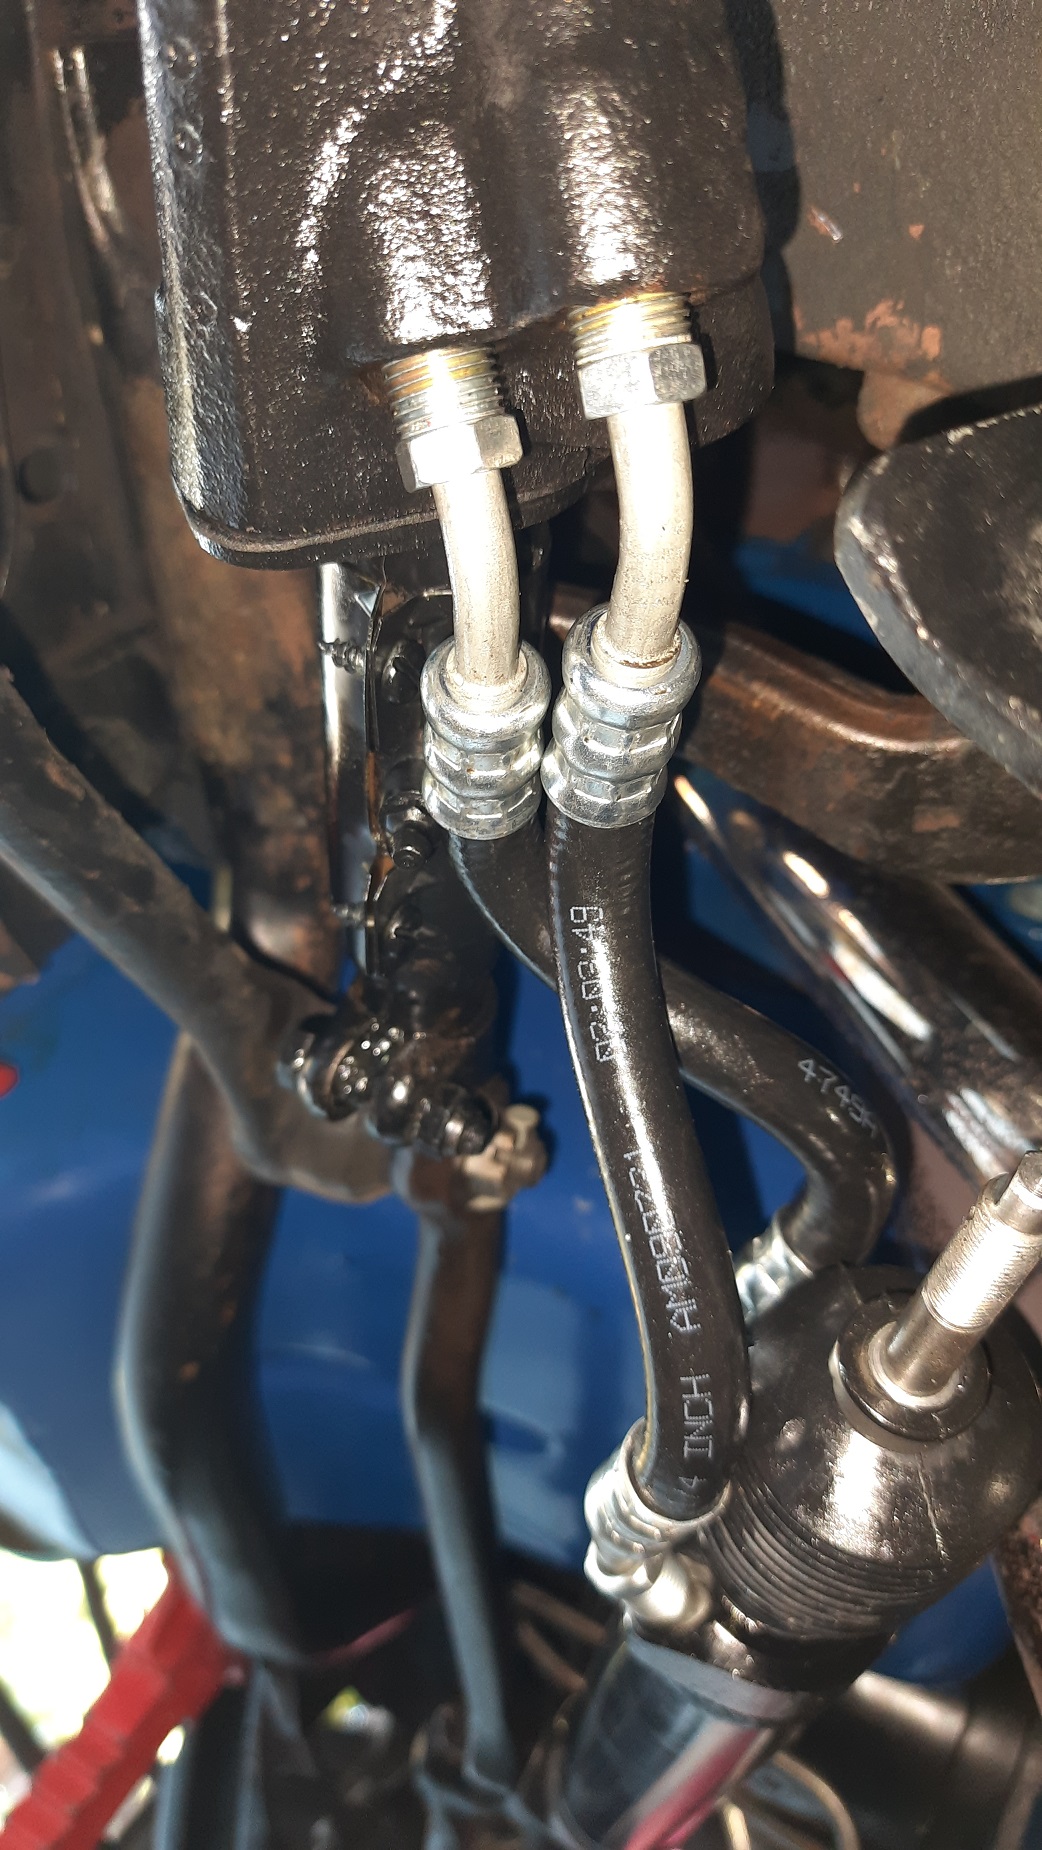
Before diving back into the steering I thought I'd revert to what I know, wiring. The temp and oil pressure gauges are dodgy, they may work but I can't really tell. The terminals looked shite so I replaced them I decided the Random bracket on the engine mount that does nothing was getting in the way of the power steering lines Now gone Dunno what that did but the car is not lighter and more efficient. It freed up enough space to lower the lines a bit below the headers and with some manipulation I managed to realign the hard lines off the power valve. Add a zip tie and now I have more clearance. I think the pressure line is still a bit long and hits the header at the bottom on full lock but the heat sheath will save it for a while. There are also a few leaks and the lines from the power valve to the ram still need to be replaced but I might take it in to a pro to check everything and do an alignment once finished. I also need to replace the trans shifter seal so I might get that done at the same time. Lucky I live pretty close to the shop.
-
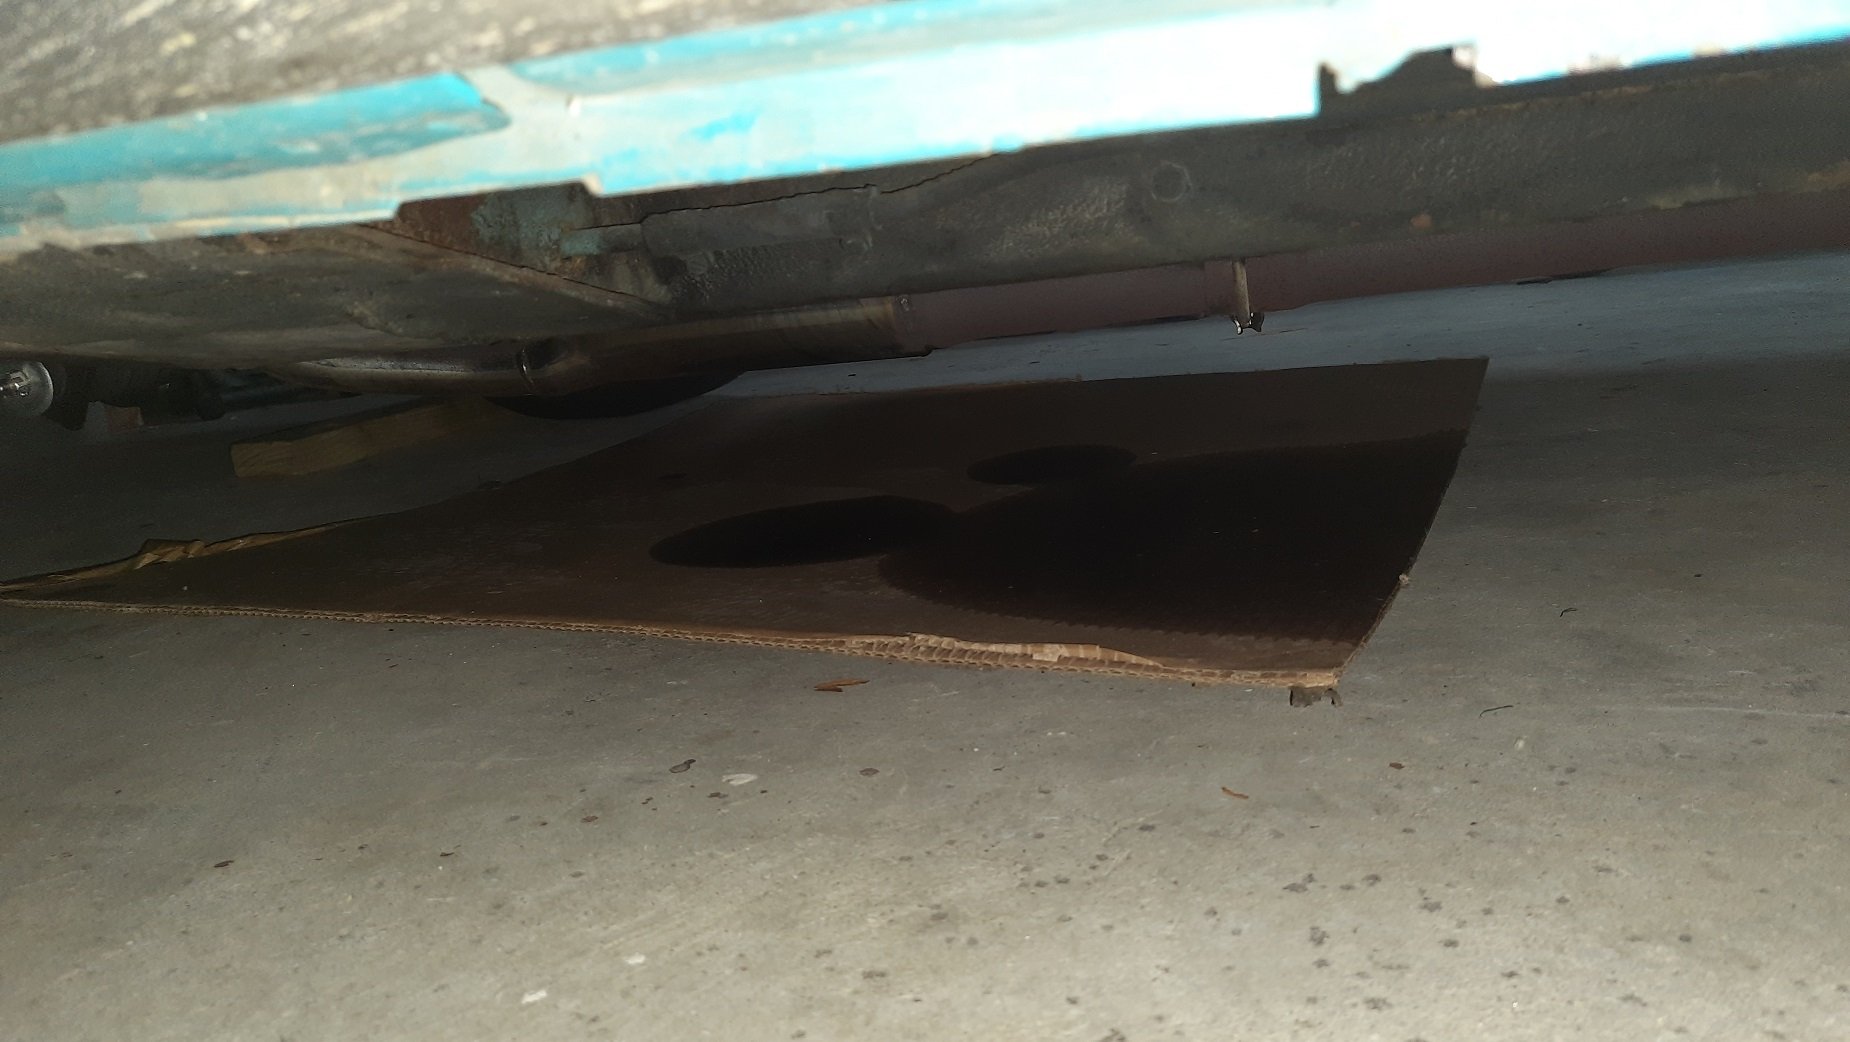
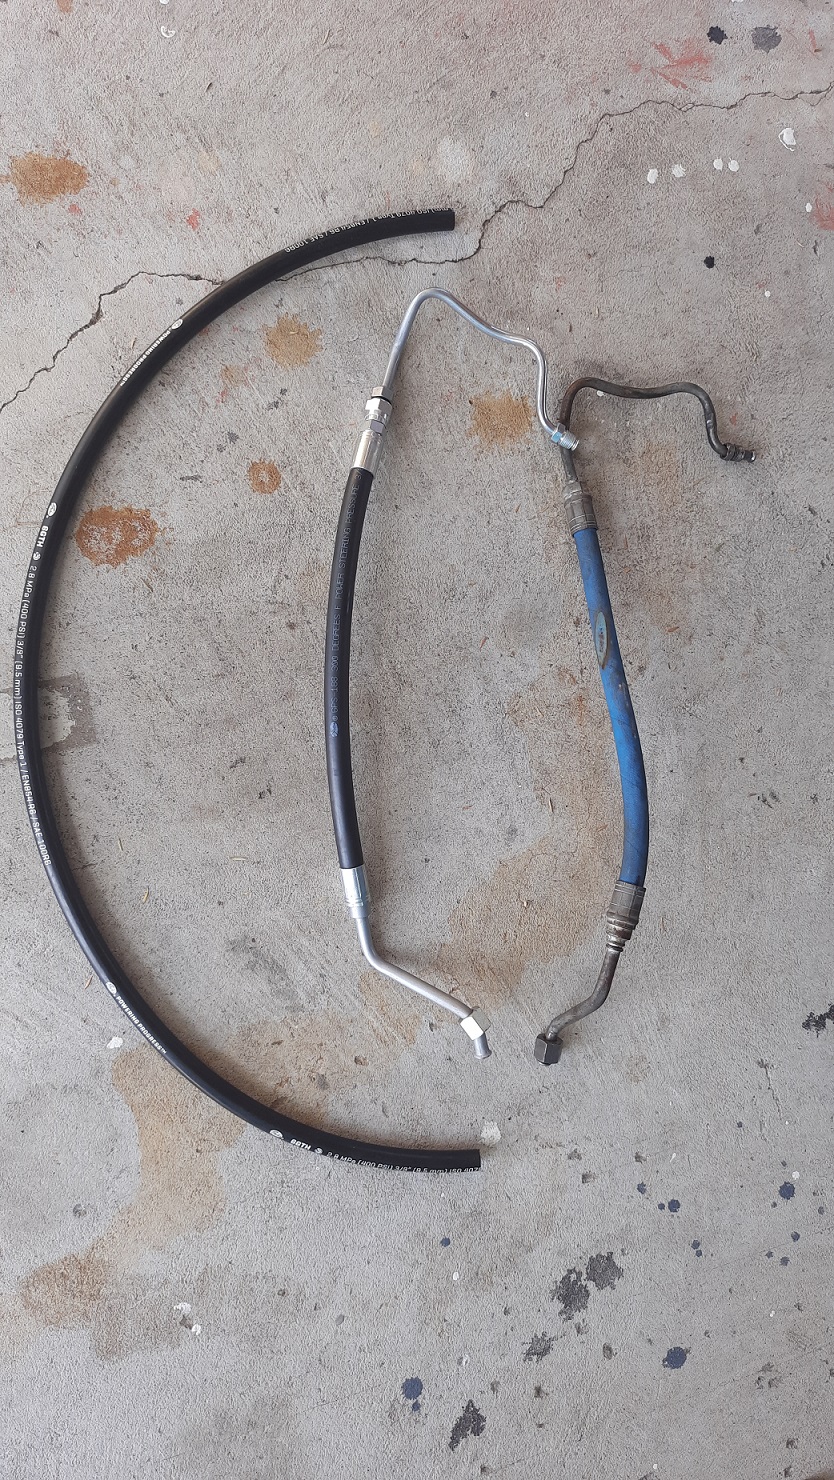
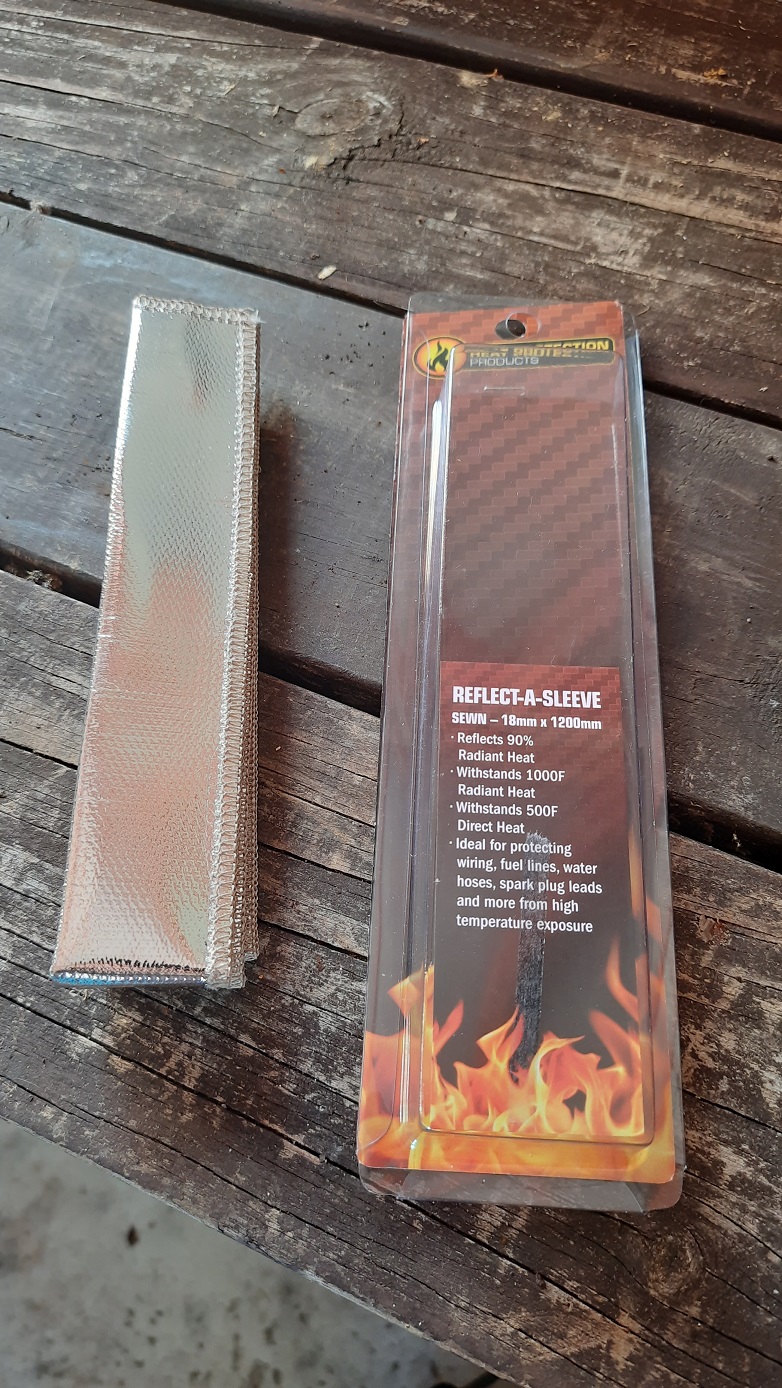
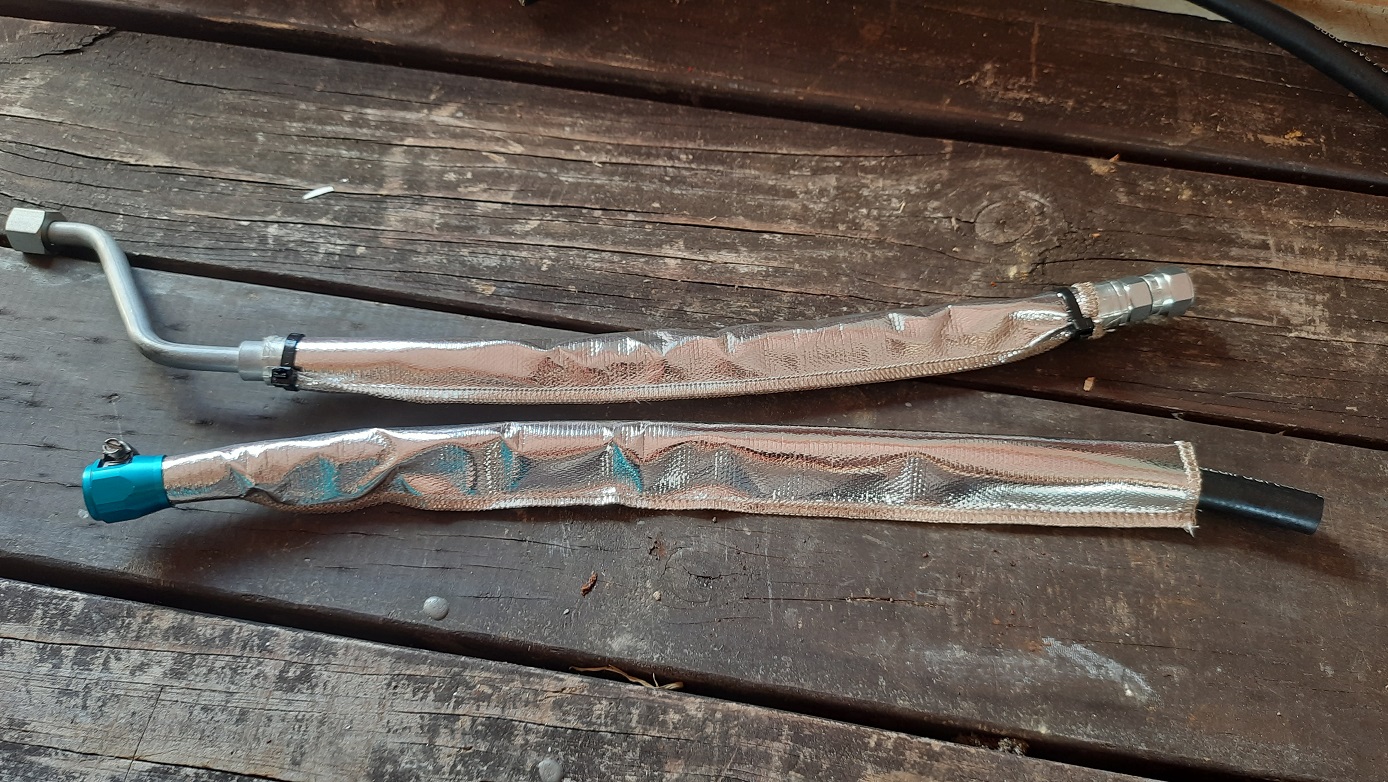
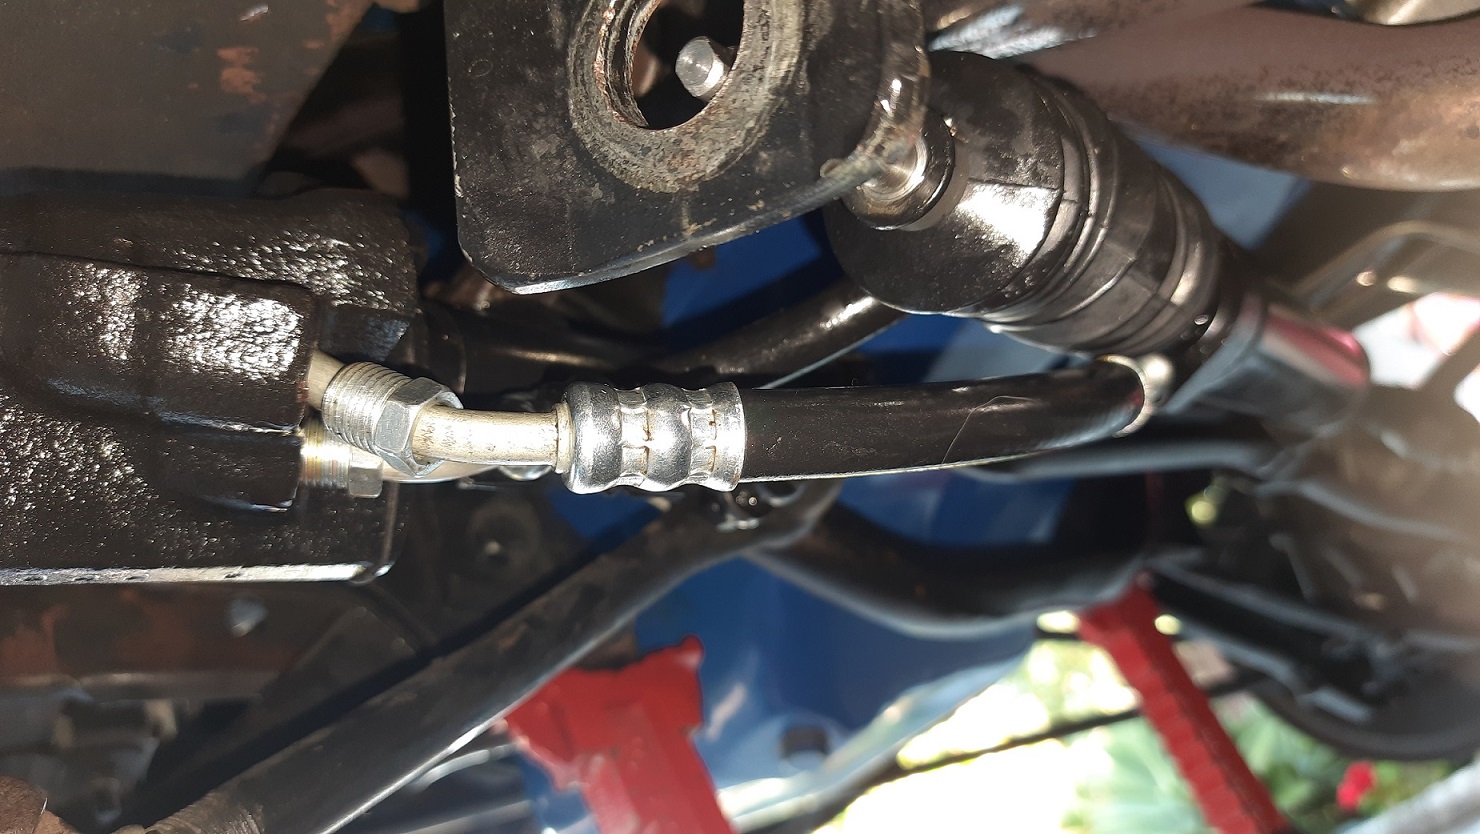
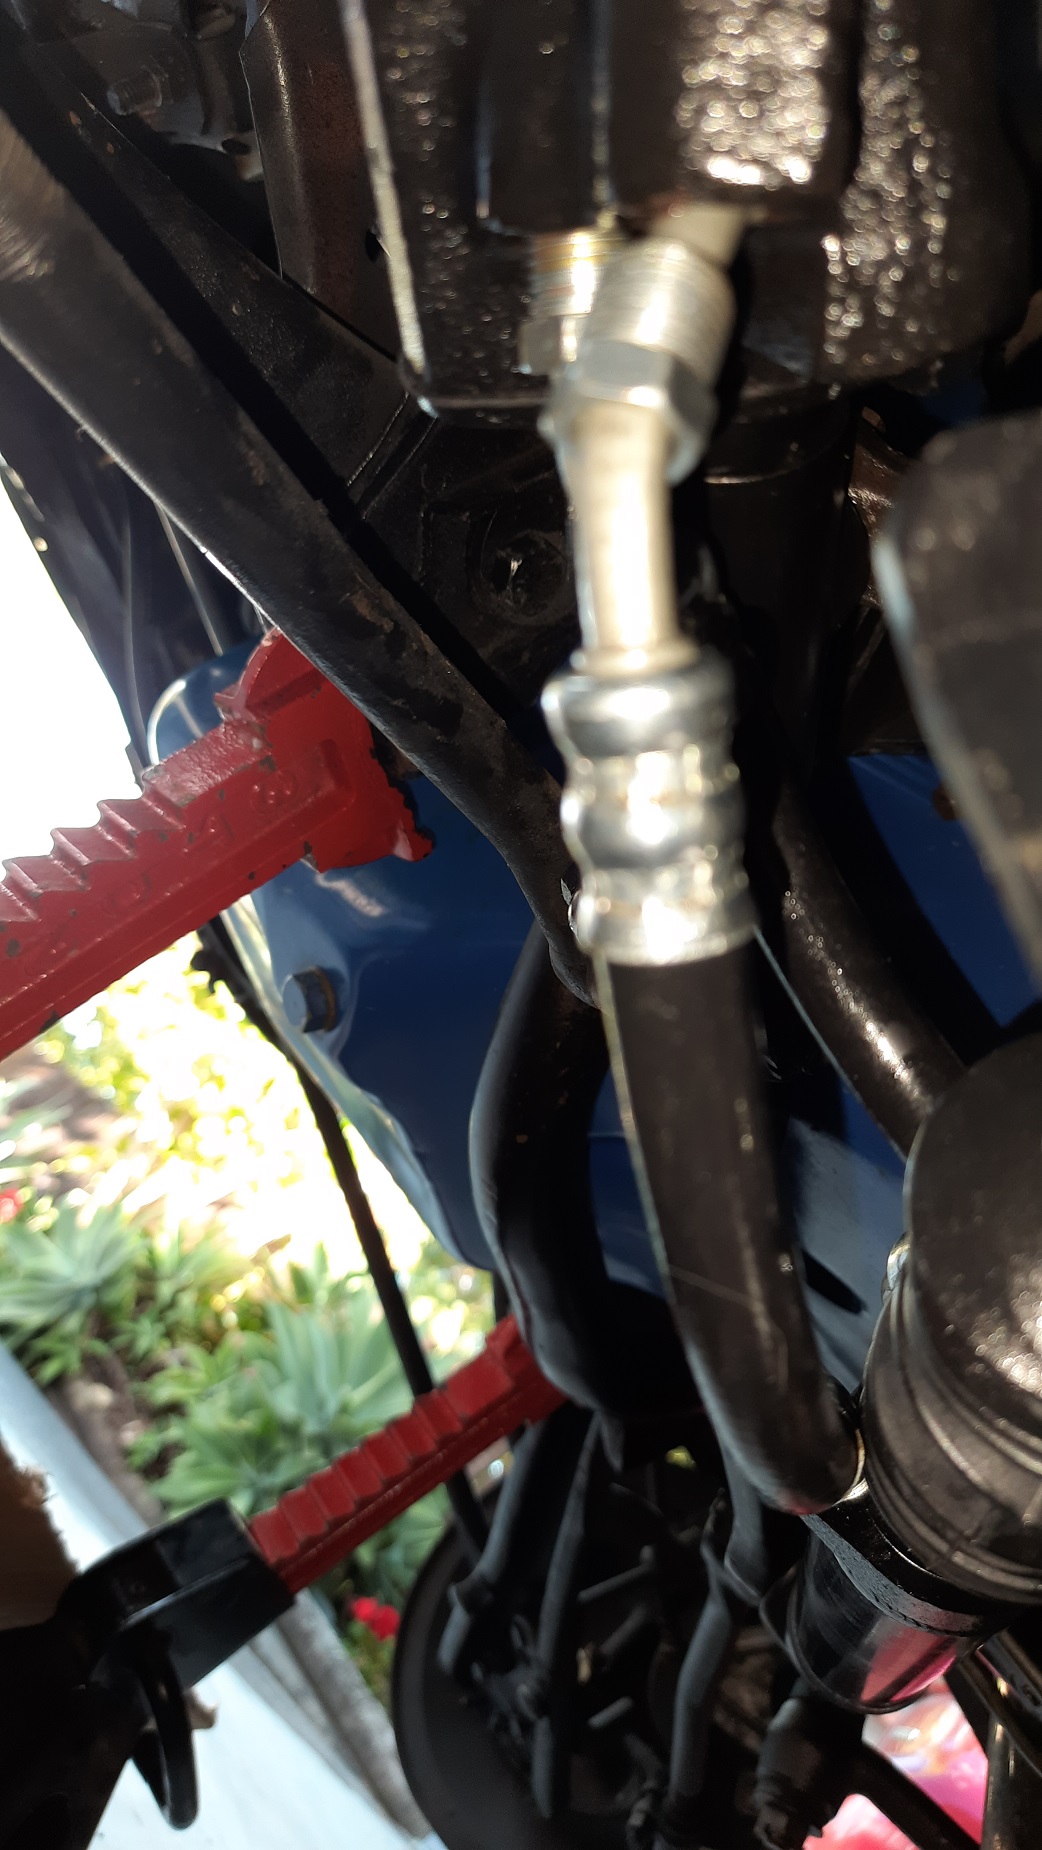
Got my lines shortened thanks to Waitamata Hydraulics and had another go at the power steering. The new ram lines were not going to work so I refitted the old lines, easy as. Fitted some heat sheathing as the old lines got scorched on the headers And fitted, ish. Did I mention I hate flared fittings? They can be a prick to start. Much swearing was required to get them fitted. Aaaaand fail Better on this side The lines hit the headers at full left lock and are close to the frame at full right. No wonder they got scorched. In theory I should be able to manipulate them out of the way as the hard lines off the power valve are the same but I need a break before I lose my shit and throw a tool.
-
Got my new steering components delivered recently, recon control valve, ram, and lines. the valve and ram went in ok... bit of an issue with the lines... Hard to get a good view but I don't see how these are ever going to fit. The pipe is longer and hose shorter than the original and they are not clocked correctly to line up. Look ok in the last photo but almost impossible to plug in. need to double check I'm connecting them the right way around too but that is not the main problem at the moment. Open to any suggestions.
-
Yep, just one. It seemed to clean it up. Running direct with no PCV valve should clean it up and prove the system but could cause it to lean out at revs. If it did clean it up maybe the PCV is gunked up? I fitted the FiTech as the Fairmont was a prick to start if left sitting and backfired a few times which blew out the power valve causing massive over fueling. With the FiTech and the supporting mods it started first time every time and ran mint. The carb would bog as I was dumb and fitted big valves in 2v heads with a only slightly warm cam. The EFI cleaned this mostly up. I could now floor it and it would just go. It even gained 10kw when mashed on the dyno compared to 18 months of driving. While it is cheap and other systems are better the FiTech still works like it is supposed to. the only issue I had was the alternator (120amp bosch) which would now not come online from startup unless I blipped it. WOF guys flattened the battery every time by not doing this.
-
I kept the FiTech throttle body and will still use it, I found it was a massive improvement on the carb and cheap and easy to use. The new fuel sump looks much better so I doubt you will have the same issues. My Fairmont originally only had standard breathers and when I stopped I'd see fumes but once running a PCV that seemed to stop. The Mustang has a PCV as well and has no issues with exhaust but did get fuel fumes with a full tank. I think the cap was not sealing but I think I fixed that. Did you notice a change in the exhaust fumes with the FITech? My Fairmont was cleaner afterward due to better AFR but that is just tailpipe not under bonnet. I could actually see the gassing on the old Cleveland till I ran the PCV. Since I owned the Fairmont for 20 years I was used to a bit of fuminess compared to my daily drivers.
-
Hi Flash, I had a FiTech fuel commander and the only place it would fit is in front of the shock tower. The only issue I had was a leak from the -ve terminal due to poor quality of the unit. FiTech don't make mine now and I sold it as I'm going to use an in tank pump. the WOF guys didn't care where it was fitted. I'm a bit slow to the exhaust party but did you sort it? When I fitted pacemakers to my Cleveland they had heaps of leaks and only cleared up with gasket sealant, new gaskets didn't help. I could even hear them when the bonnet was up. Have you tried high temp gasket goo?
-
Mustang centre have all the replacement parts for around $1k. It would be nice to have a cleaner install and rack and pinion power steering would probably be much better in operation but it is cheaper to keep it original and does not require a cert which any mod would.
-
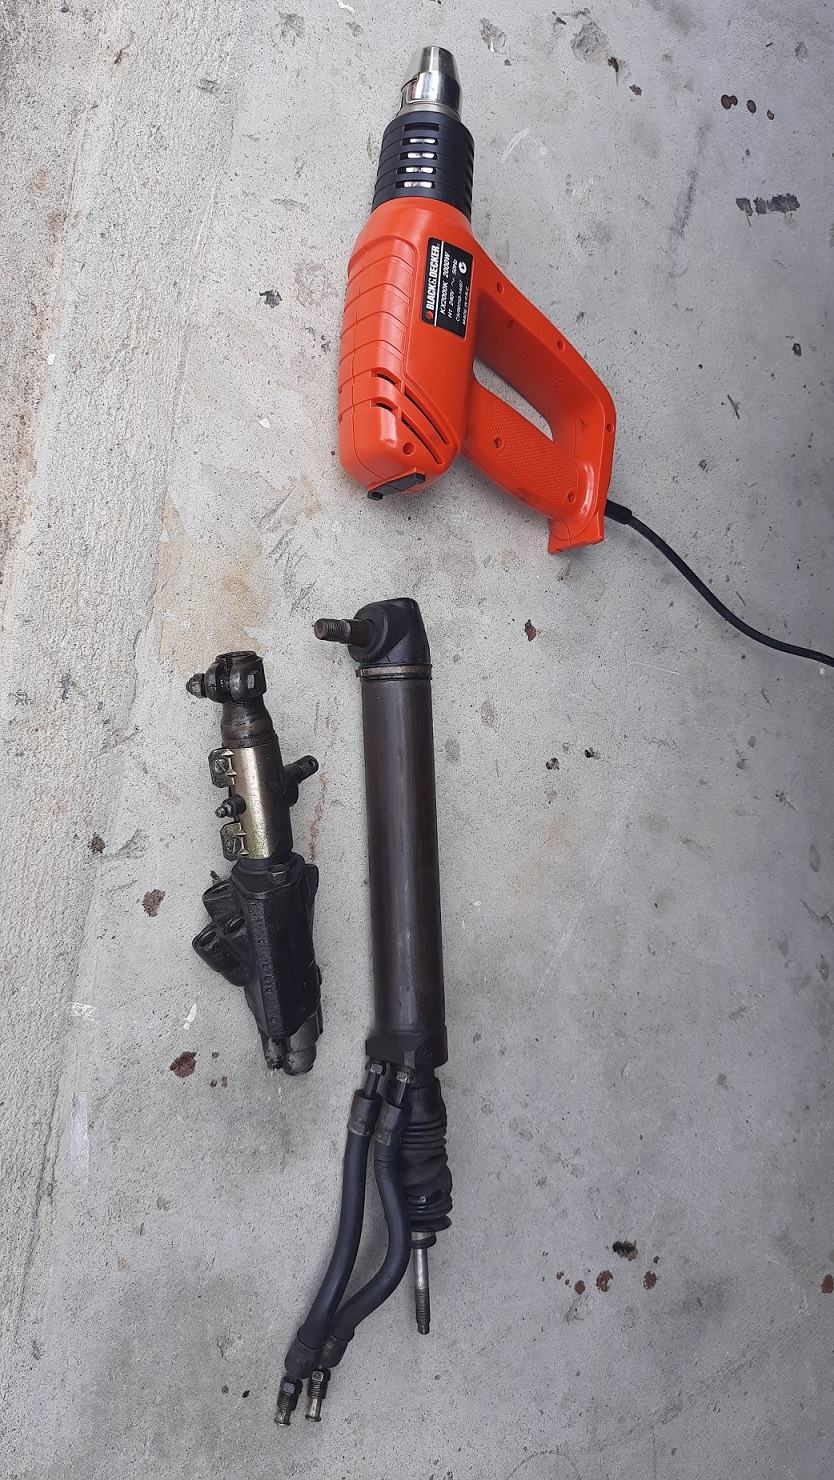
First step, jack your car... These items were leaking from everywhere so need to come out. Had to buy a tool for the steering arm, hit it with a hammer and off she comes The ram was a bit stubborn, hammer didn't work had to use heat. Lucky didn't need to move up to a torch The lines get too much heat. From the header I think, not the hot air gun, I'm not that gash. All the tools required because Ford. Need to take it in to a power steering specialist now, I'll hopefully get new seals, lines, and bushes. I might replace some other steering and suspension bushes while it is up in the air.
-
The main things I'm trying to achieve are temperature isolation from the manifold as the phenolic does not transmit temp like aluminium and also by using an open spacer when I fit my EFI later it has a consistent signal for the MAP sensor. TBI systems do not like dual plane manifolds unless there is a slot. I have seen tests where a spacer can add small amounts of power due to longer runner length and possibly better 'signal' at the jets but this will be minuscule on my baby v8.