Vk304
-
Posts
389 -
Joined
-
Last visited
Content Type
Forums
Downloads
Events
Gallery
Everything posted by Vk304
-
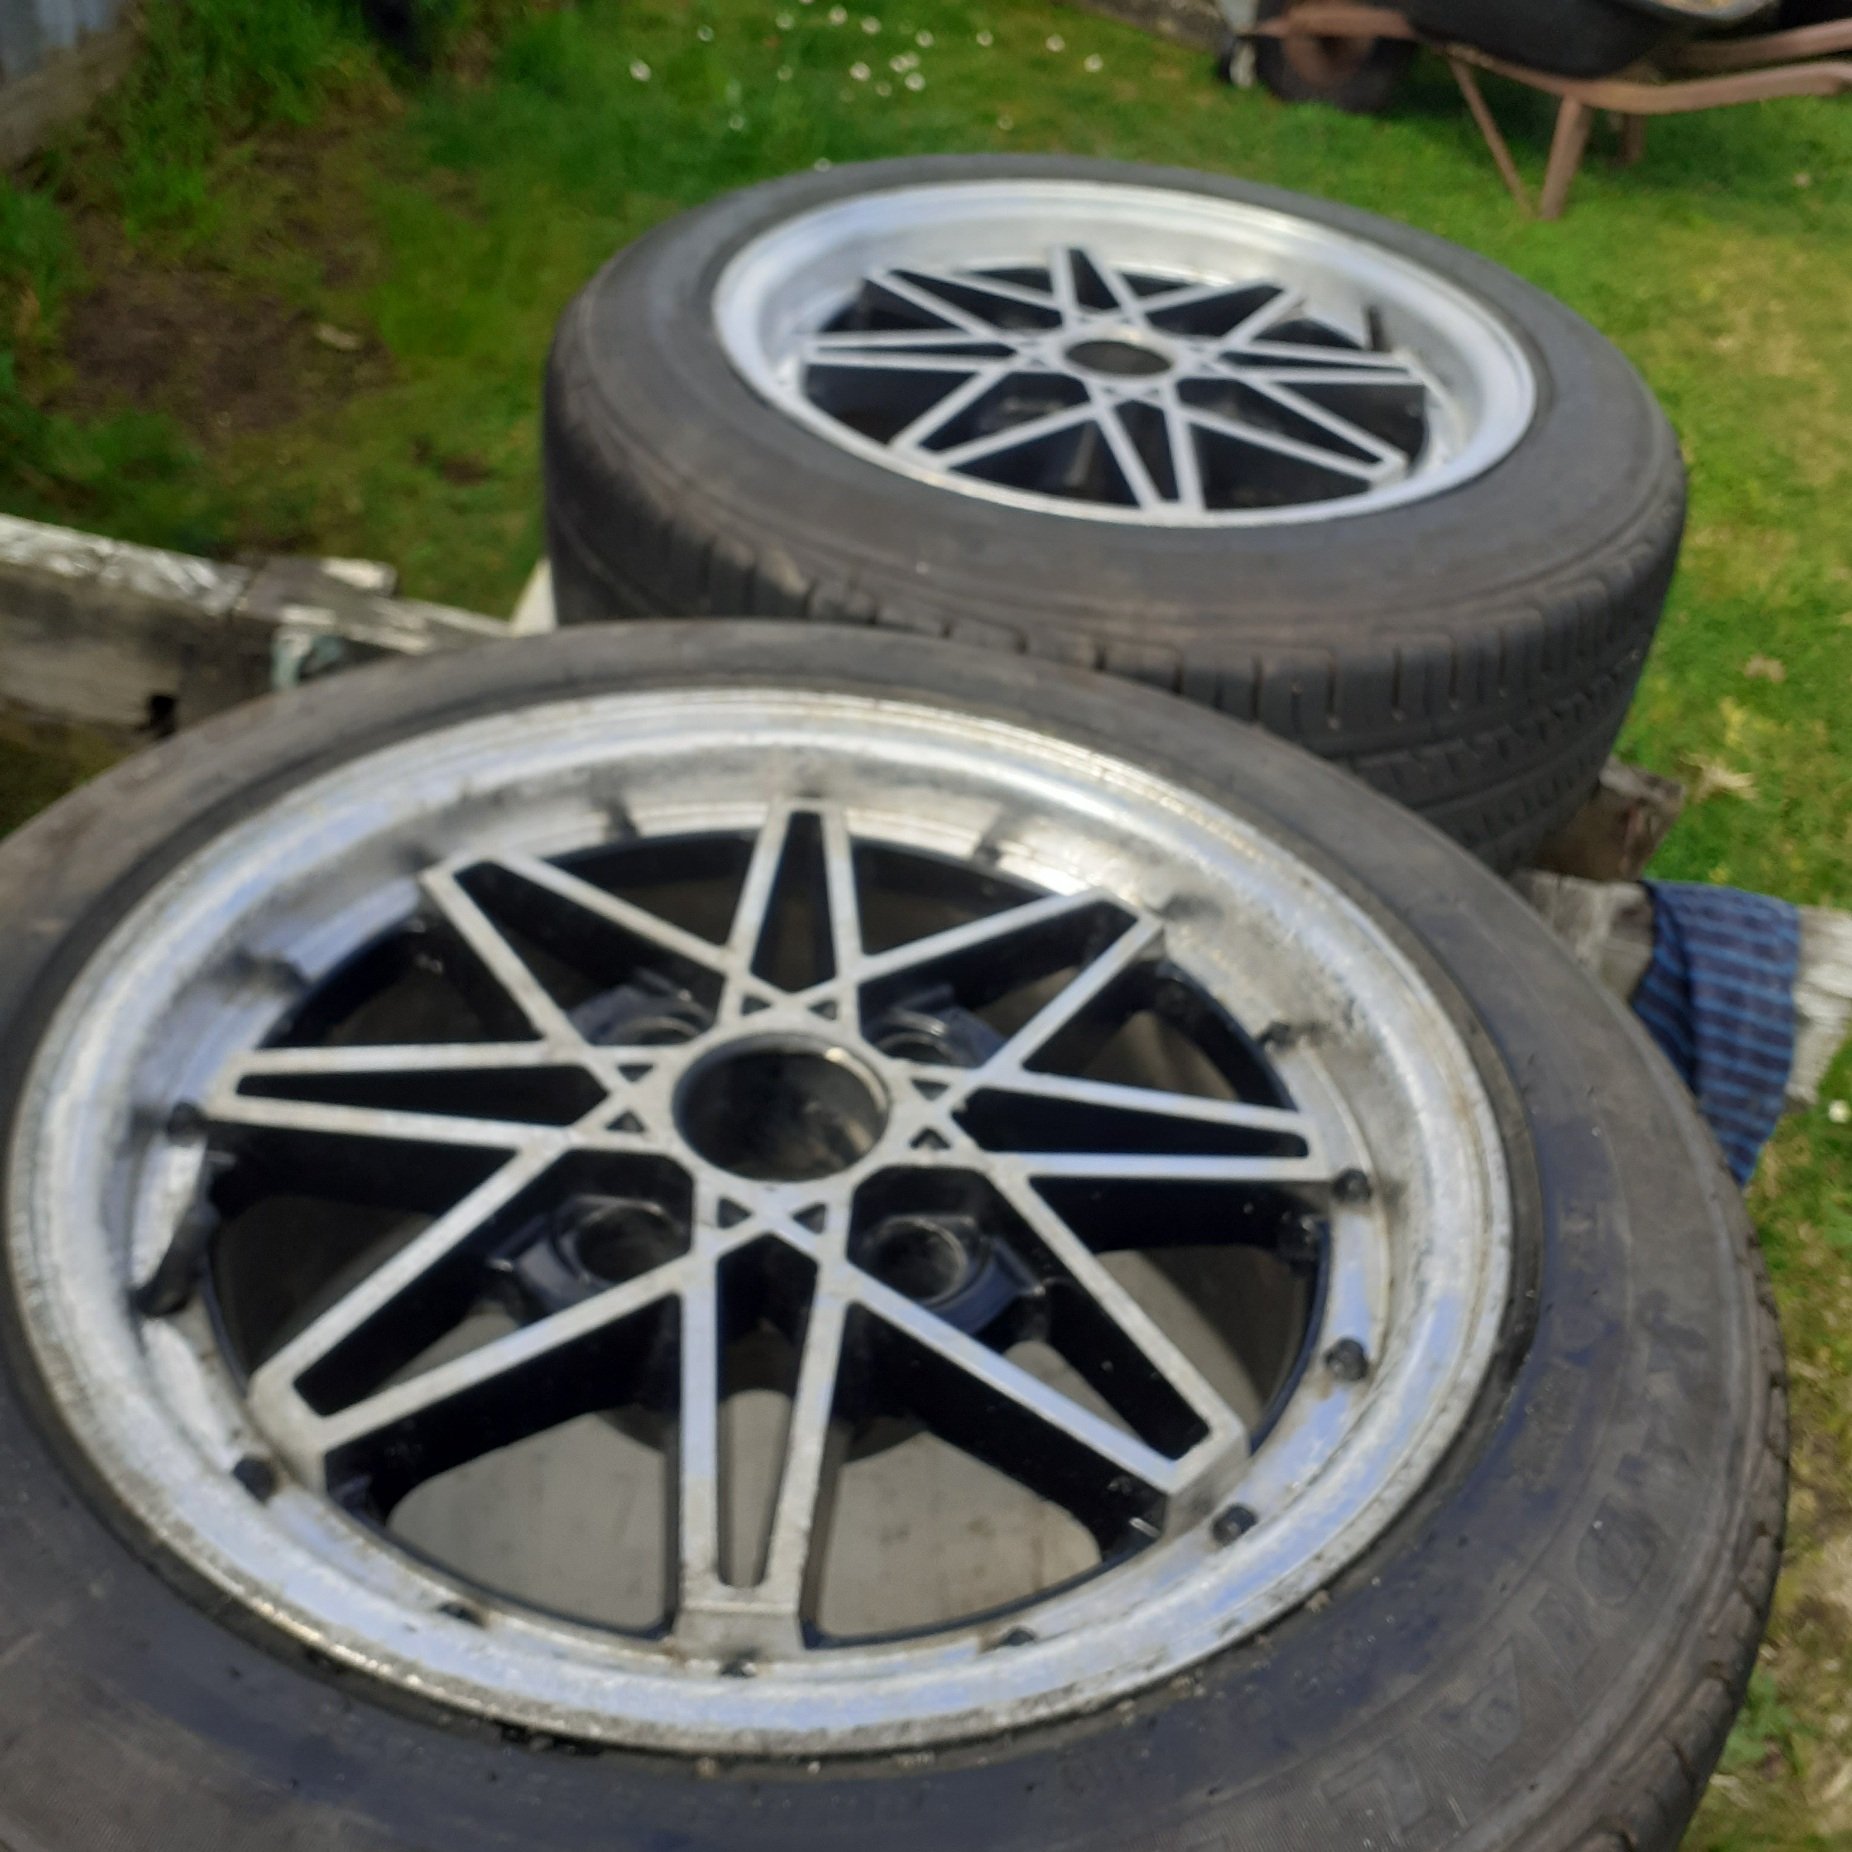
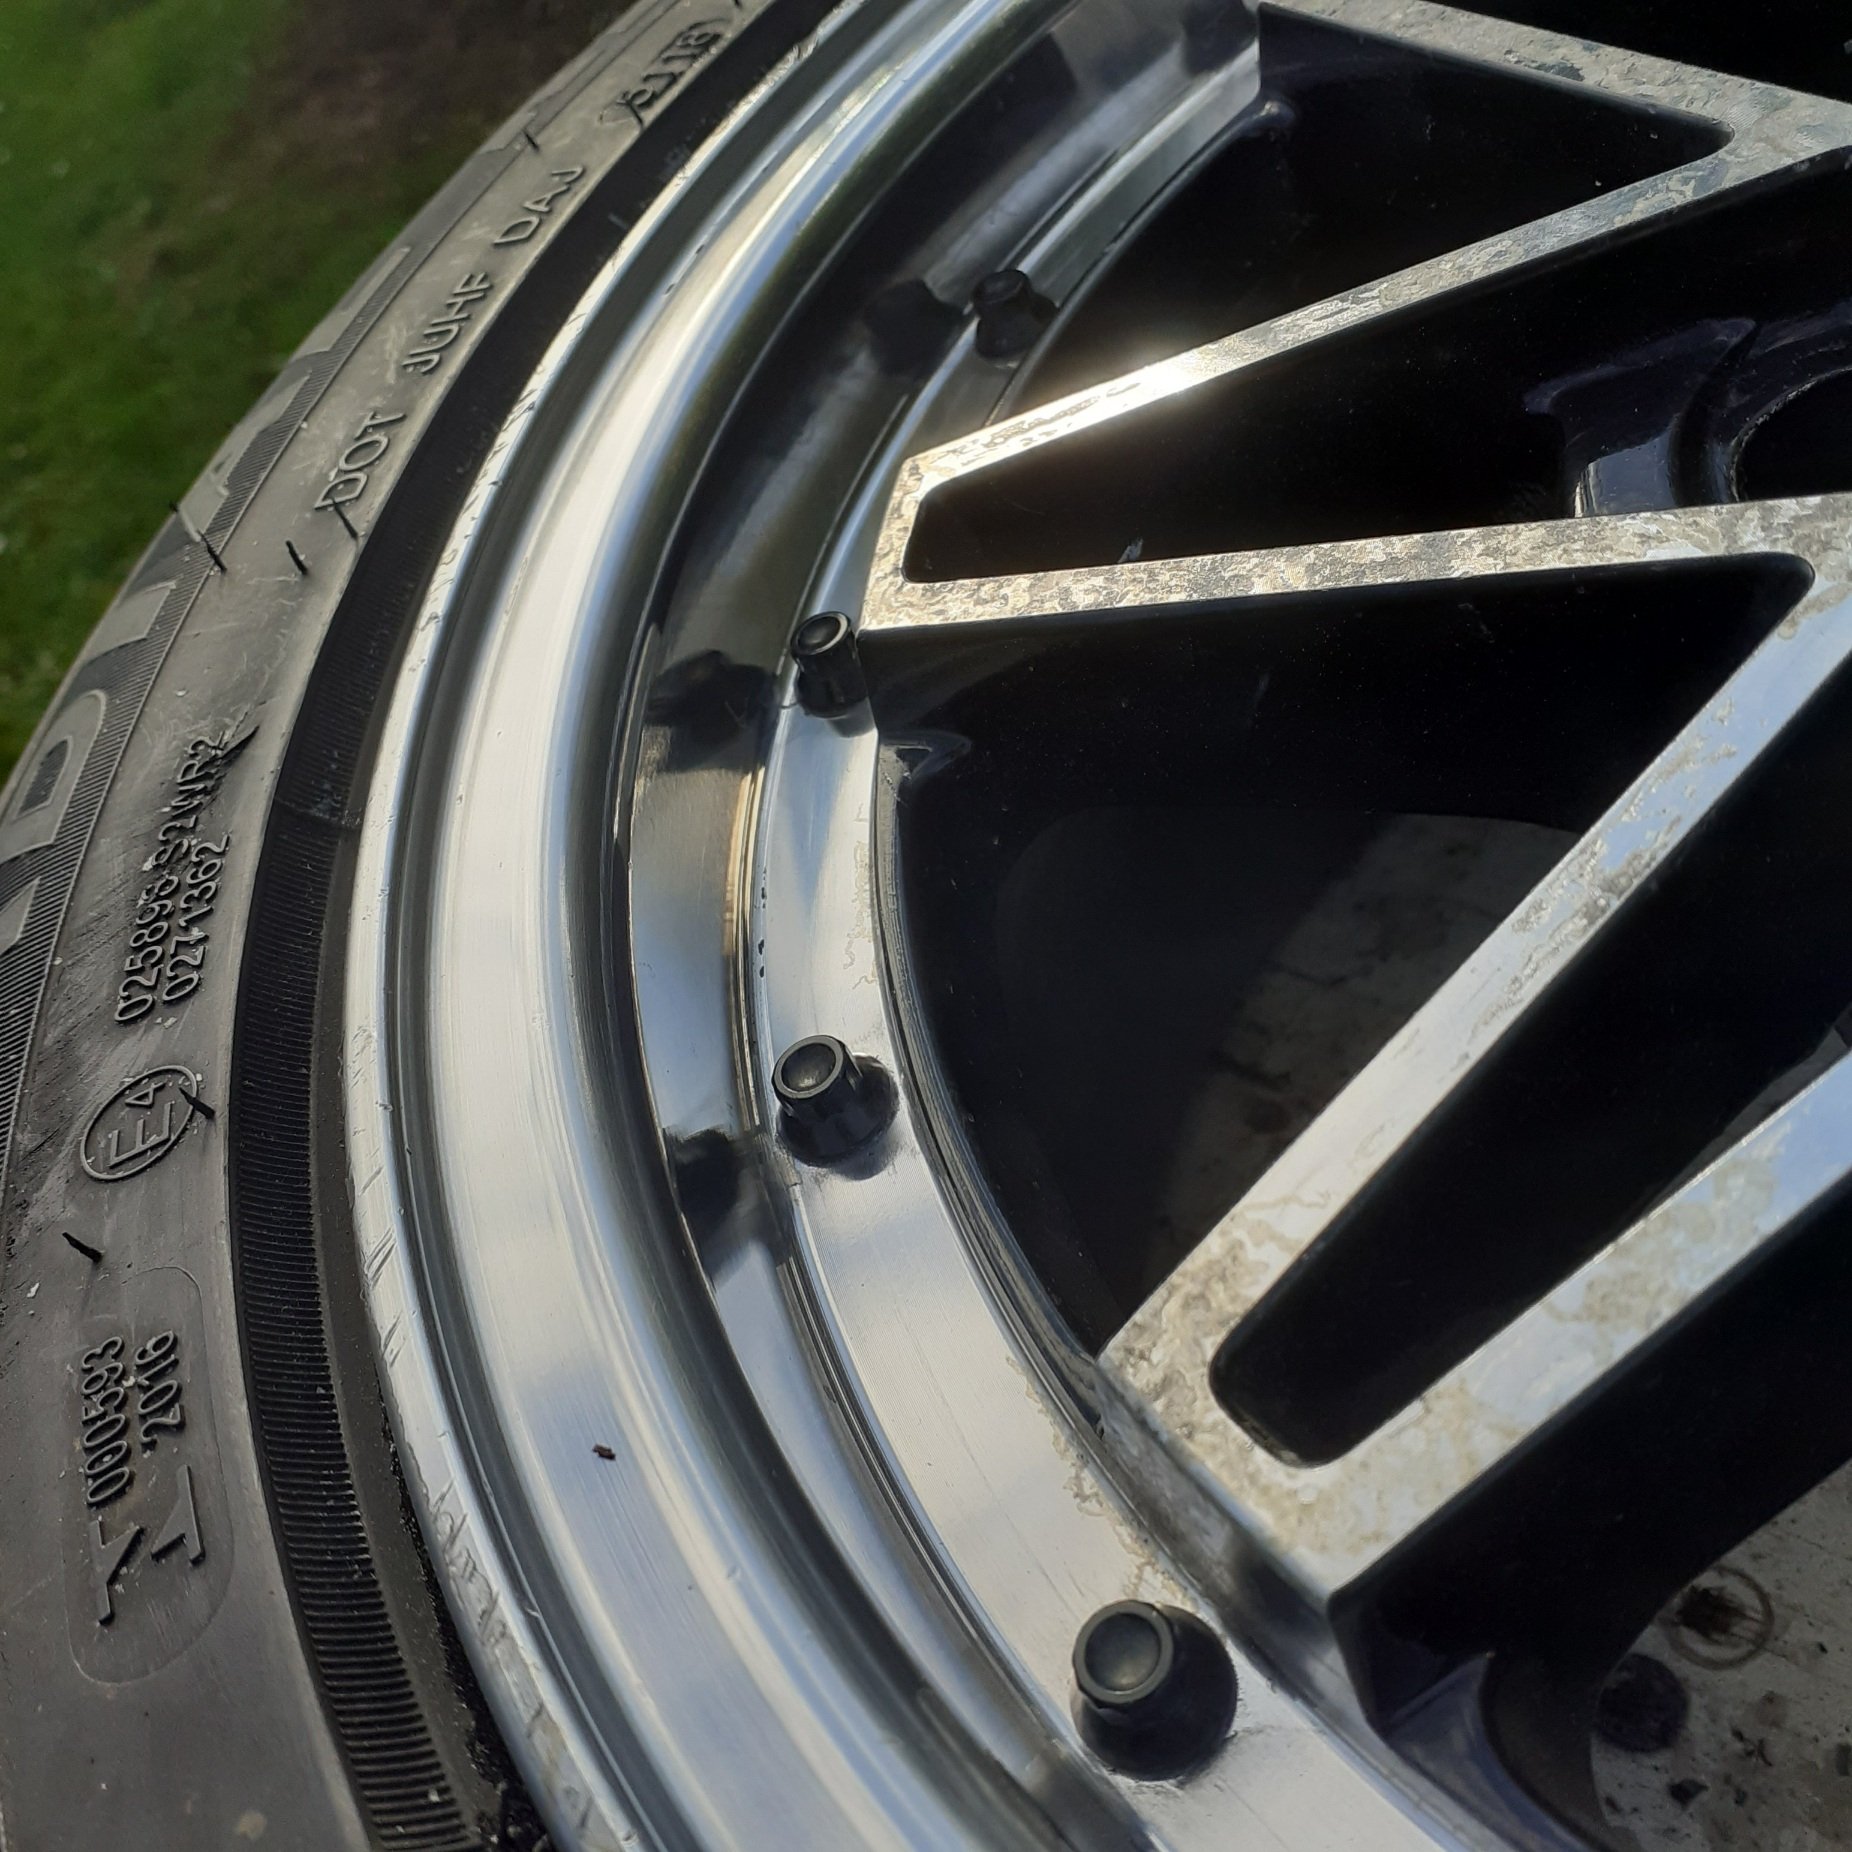
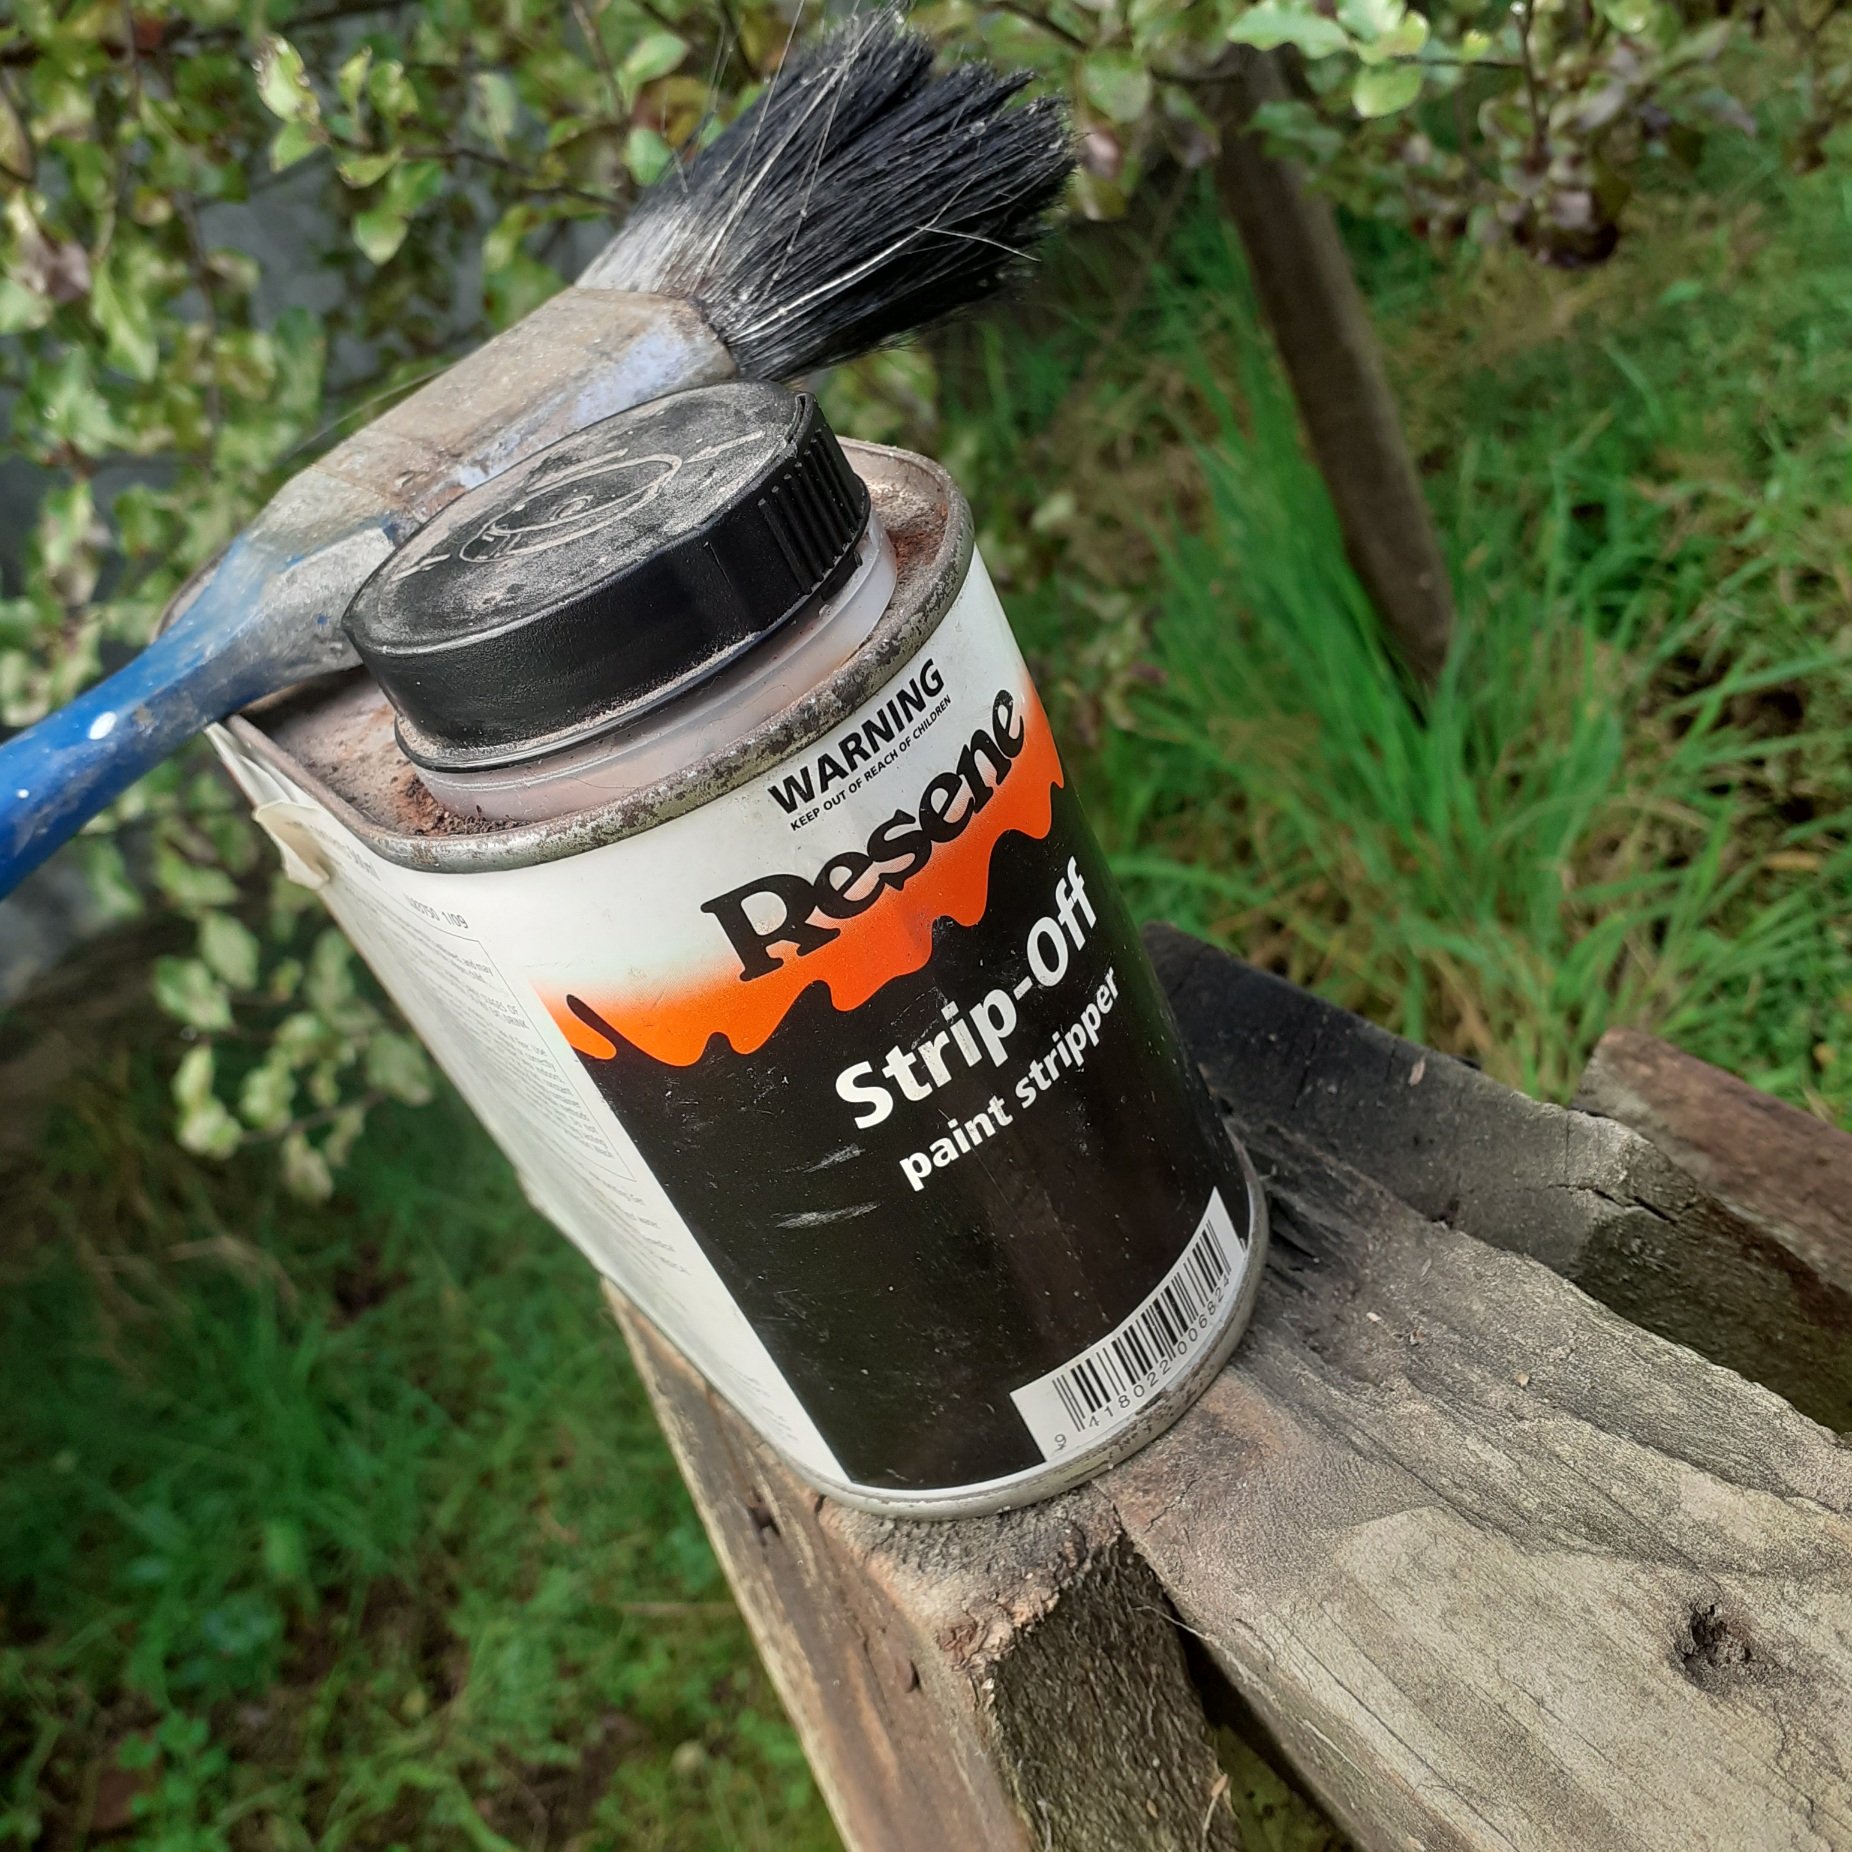
Did a quick test to see if the bad clearcoat would come off, started to sand one then remembered i had paint stripper , this stuff works great, kept it off the powedcoat black, bit of a polish, i think ill refininsh the curbed lips and they will look nice

-

VK304's 1988 Nissan Vanette w/ added SR20DET
Vk304 replied to Willdat?'s topic in Project Discussion
Oh yea was looking at the wrong picture, yea it probably has, may fix that -
VK304's 1988 Nissan Vanette w/ added SR20DET
Vk304 replied to Willdat?'s topic in Project Discussion
How do you mean gaps ? The wheel was loose because i forgot to tighten the nuts , and its all factory parts -
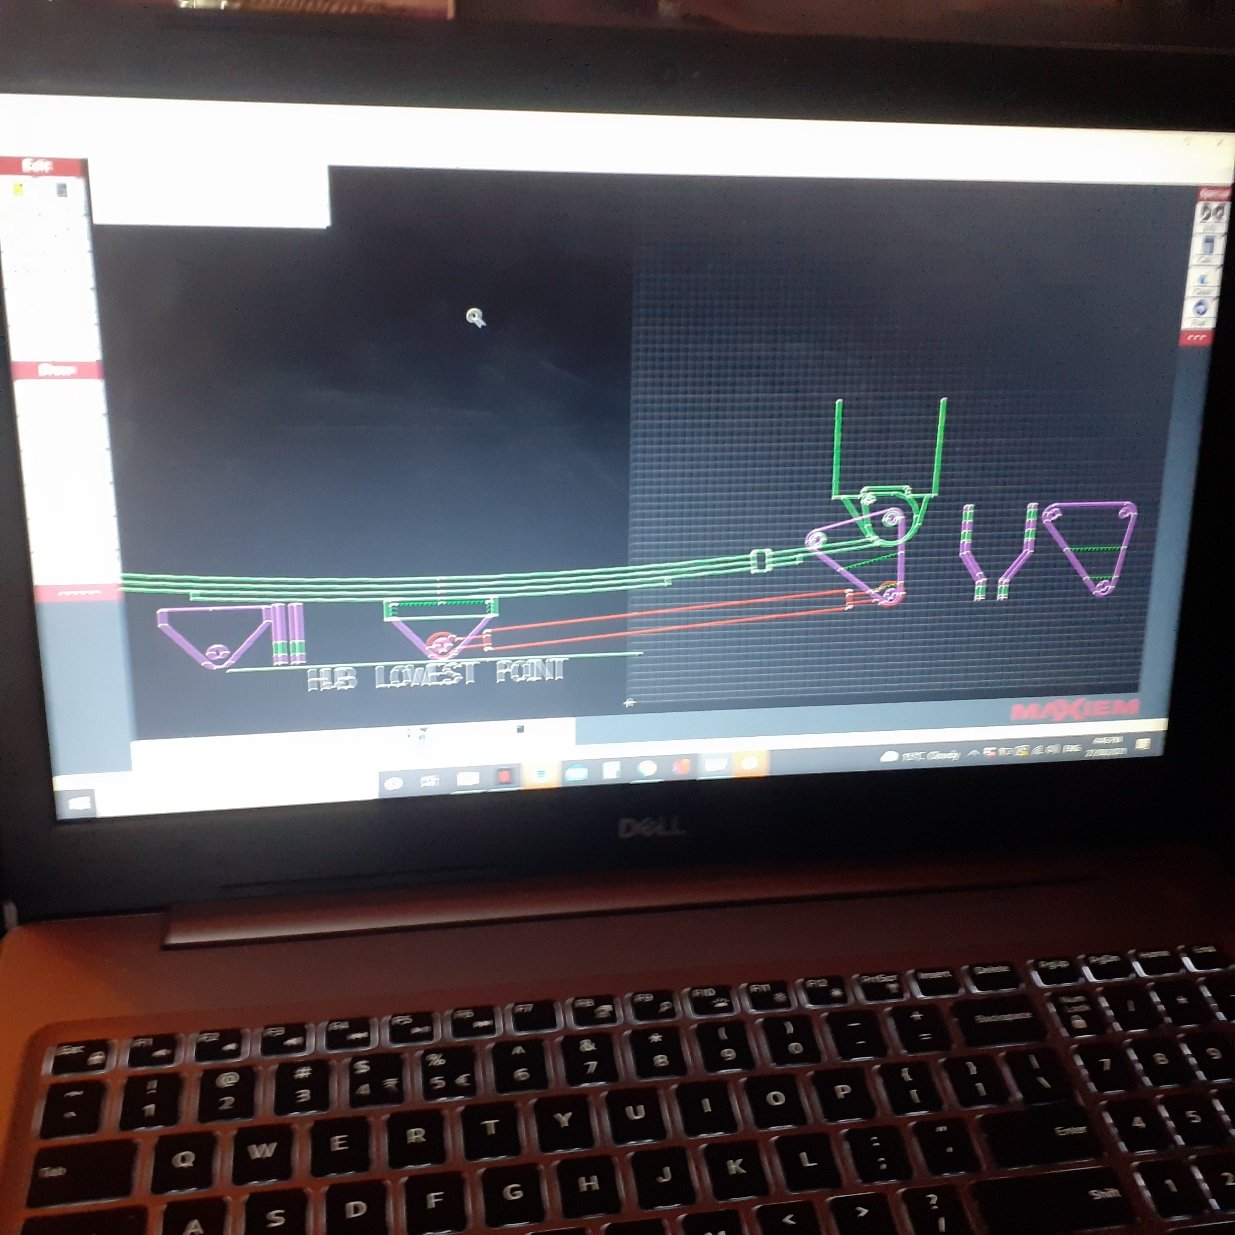
V2 with rim edge and lowering block, will probably get plates cut on waterjet, once ive got all the bolts and rod ends, also shrunk pivot plate a little, and has about 25mm clearance to spring, i think this will work, aloong with a solid alli bushing in the front as specified by caltrac
-
VK304's 1988 Nissan Vanette w/ added SR20DET
Vk304 replied to Willdat?'s topic in Project Discussion
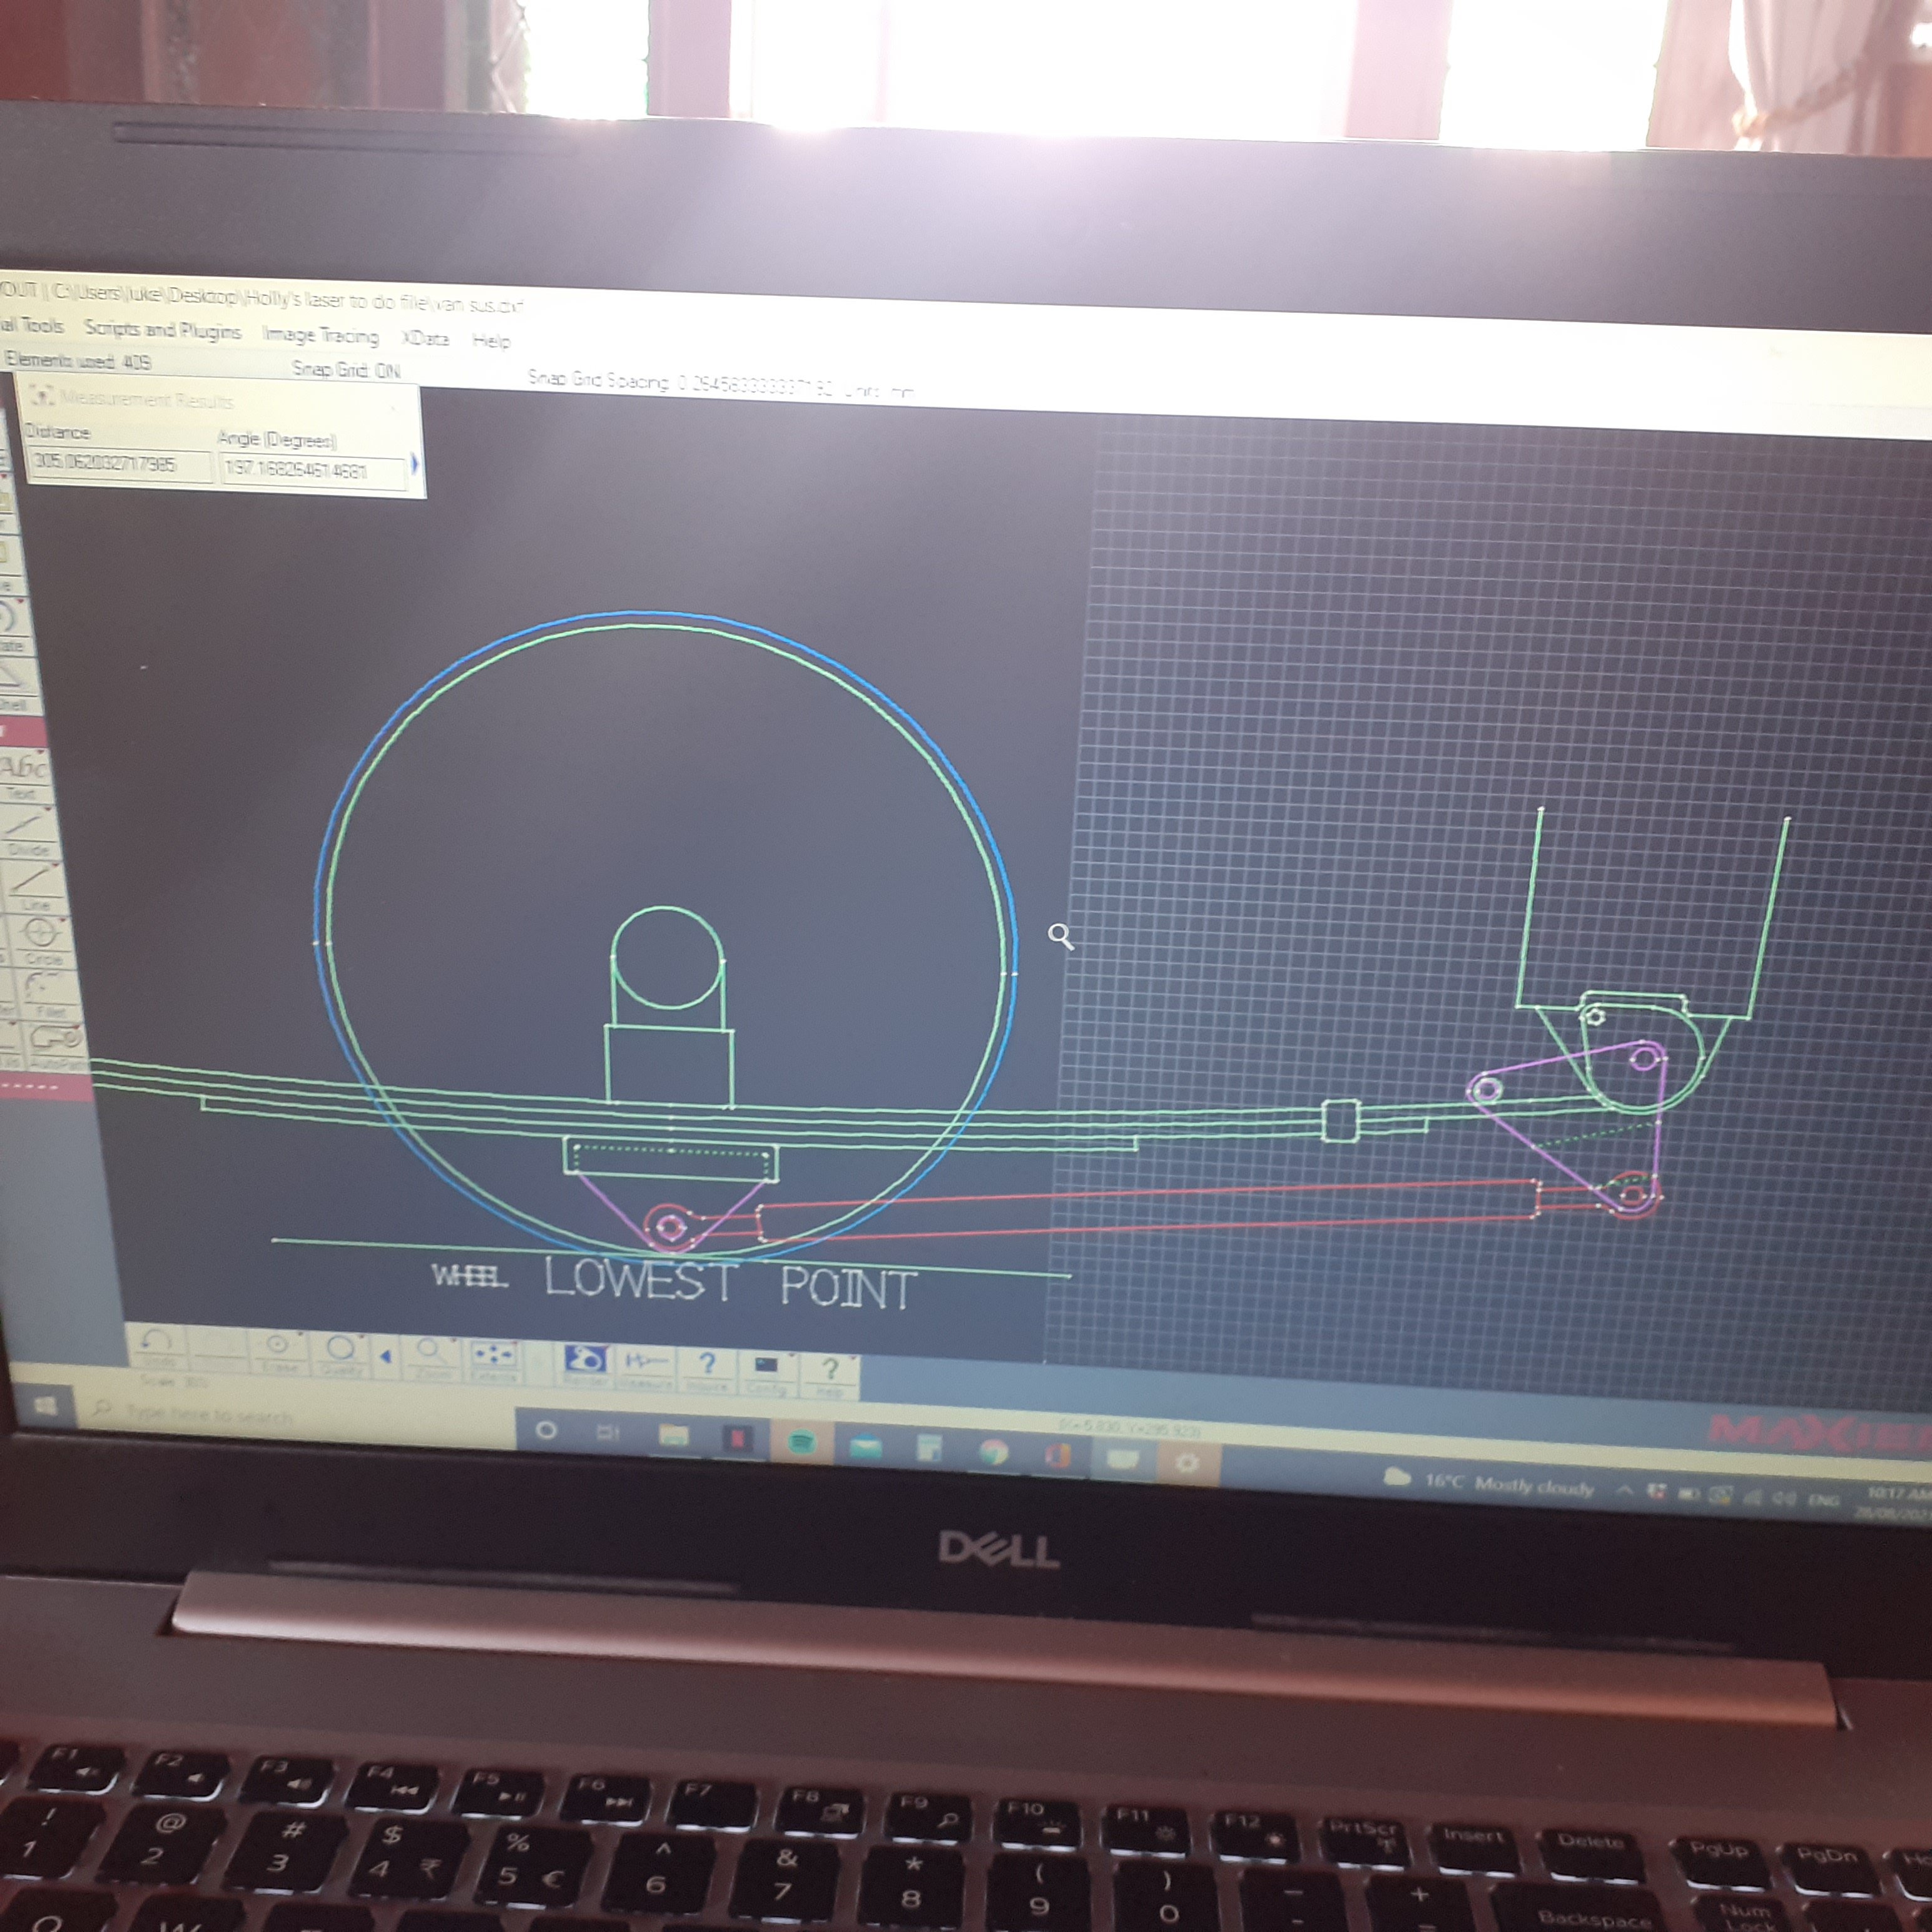
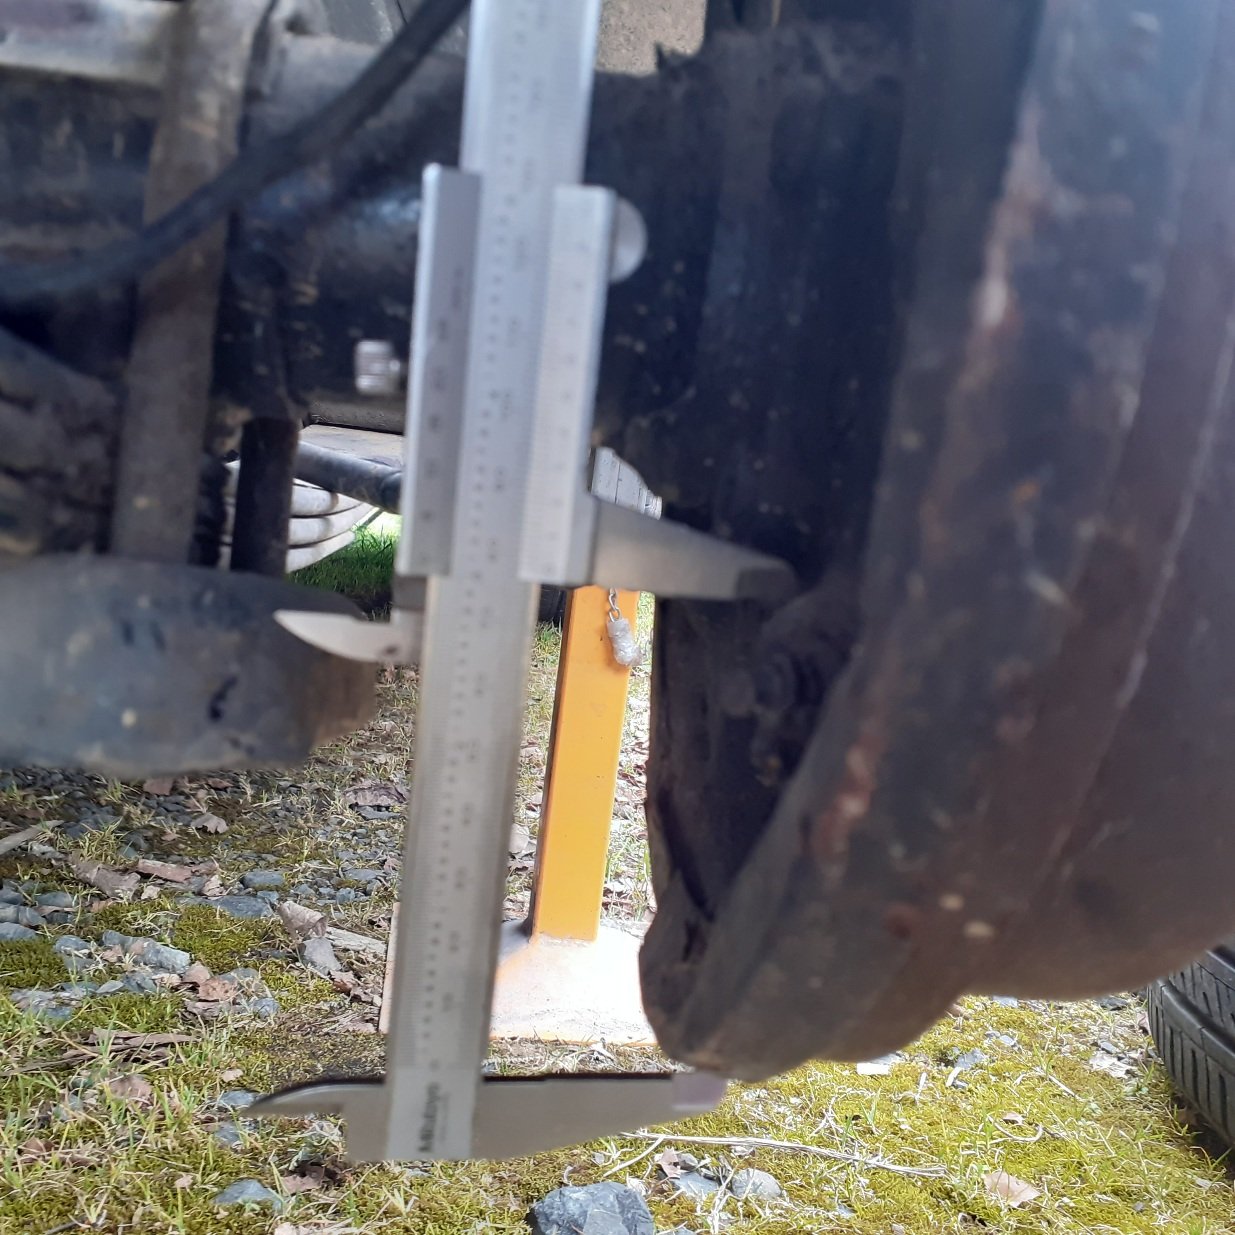
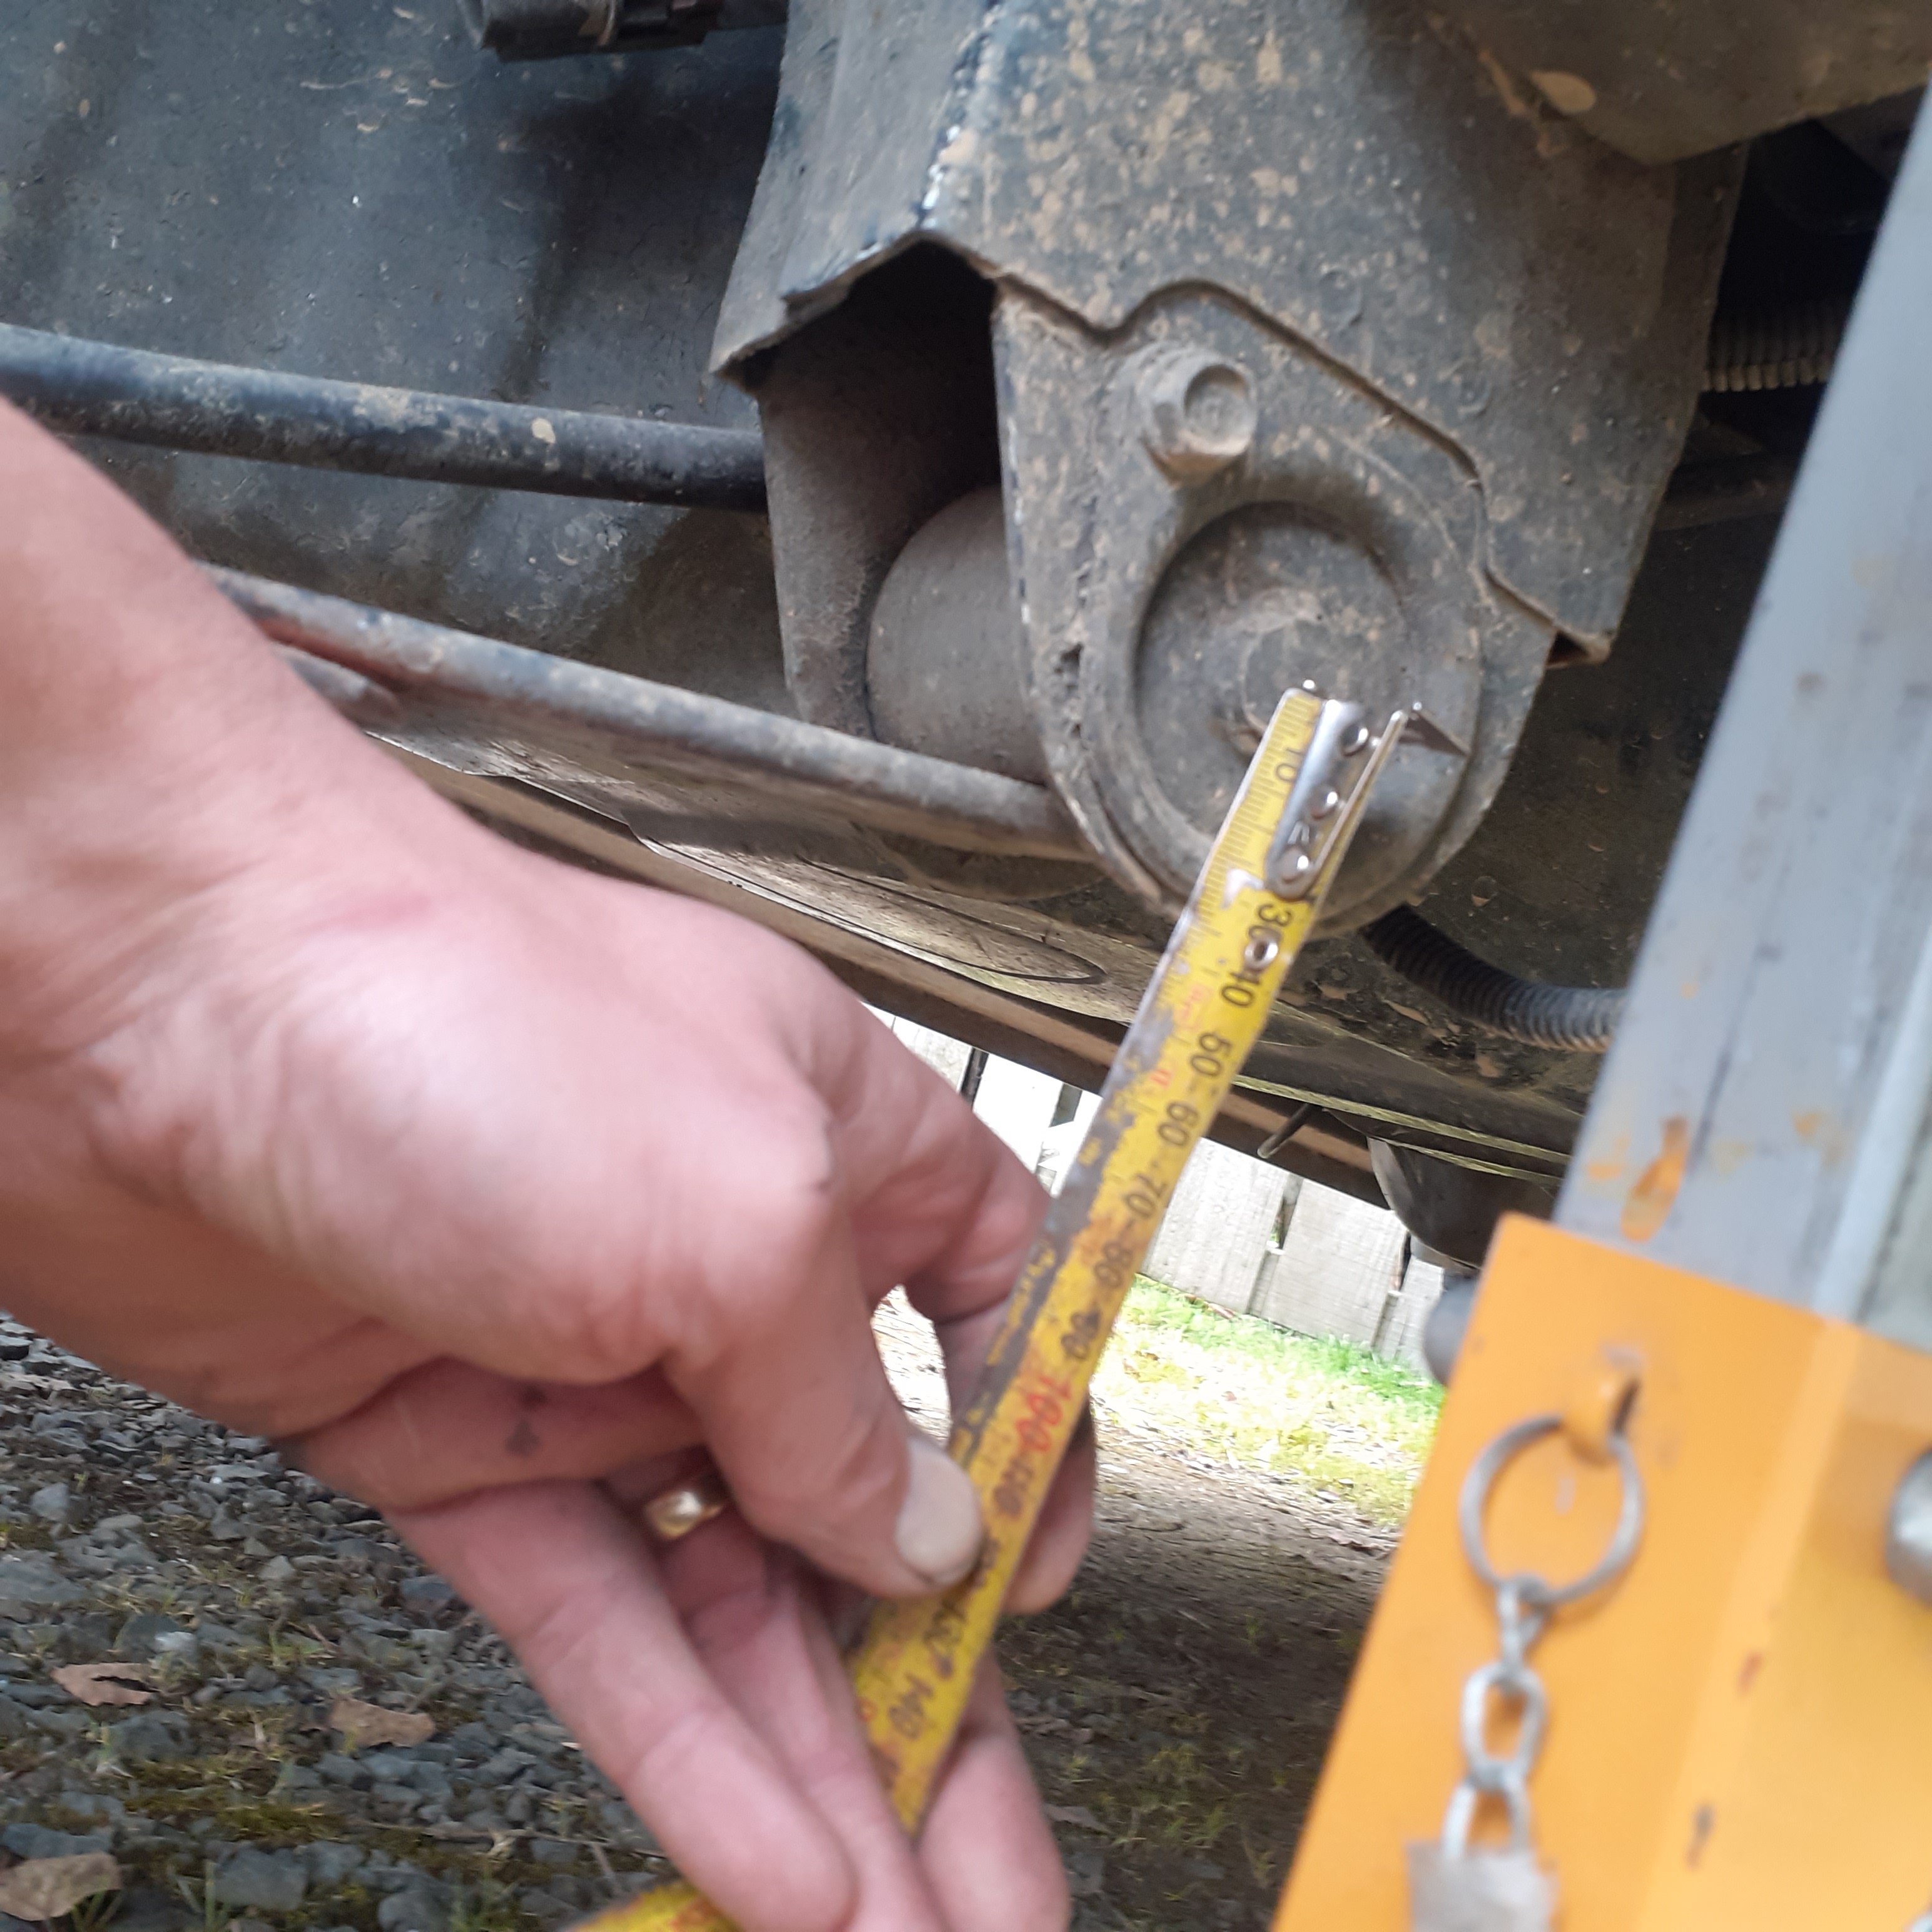
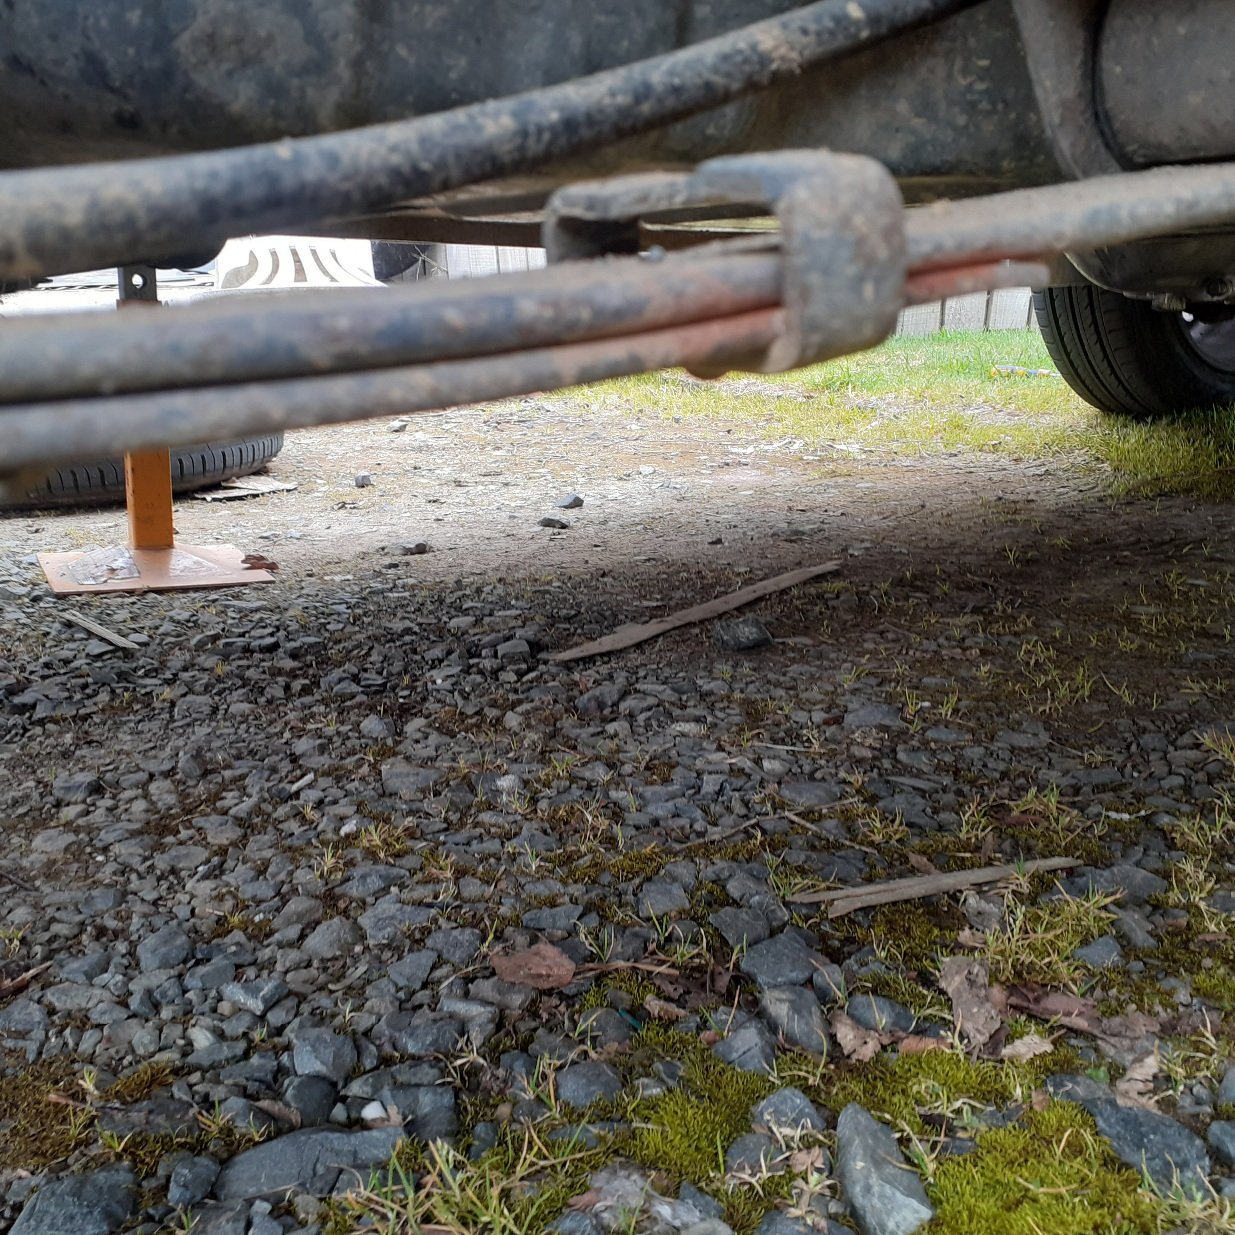
Nice good information thanks, yea i wanted to make sure it will never hit the ground, so with blocks will be just above rim bottom -
After a LOT of measuring of the car at rest, a copy of caltrac bracket measurements that someone put online, and limiting factors such as the lowest point on the drums which i was going for, though it could probably be lowered to the edge of the rim ,so will probably lower middle bracket to that.. but this is v1, should help hold the diff and pinion angle in place and allow movement without any kind of binding problems??i came up with something that might work and all angles and lengths can be pulled from
-
VK304's 1988 Nissan Vanette w/ added SR20DET
Vk304 replied to Willdat?'s topic in Project Discussion
Yea man thatd be great, am still planning on doing that, ive got 2 joints just need 2 more and some bolts and tube i think around 32mm but i have suspension arms i can cut up . . . Lol -
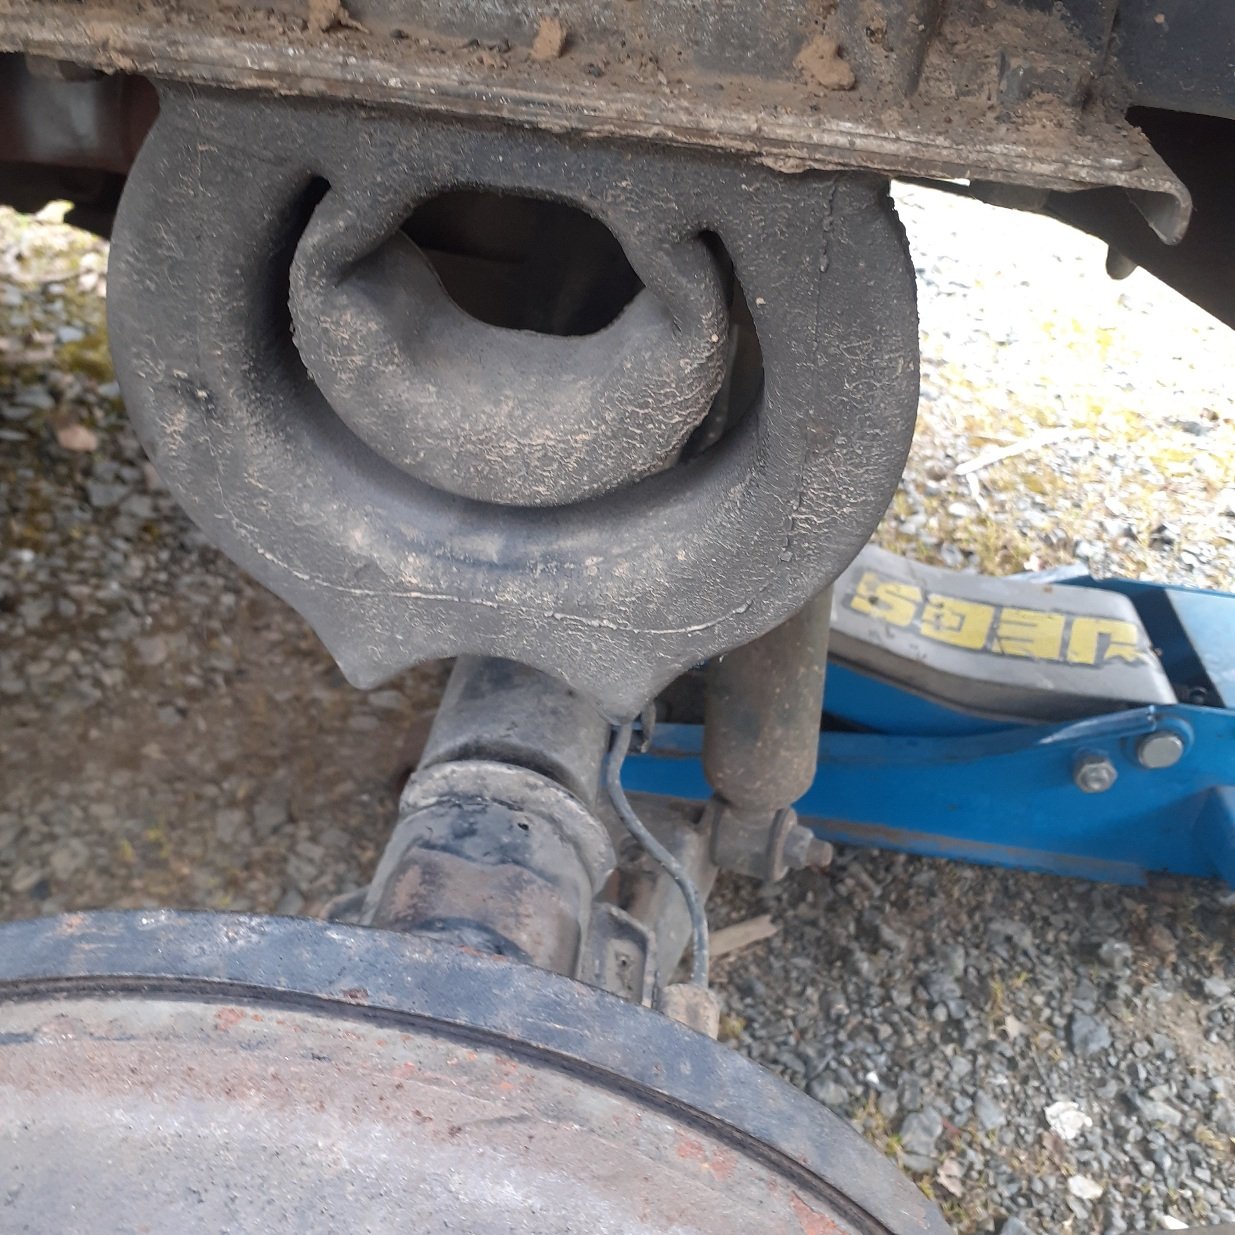
Cut bumps because they were obviously bottoming out a lot and ill be lowering it 2 inches so gave it some more room, legal? Dunno-welcome to let me know in discussion
-
VK304's 1988 Nissan Vanette w/ added SR20DET
Vk304 replied to Willdat?'s topic in Project Discussion
Might have to, definitely aim to see how fast it will go once finished -
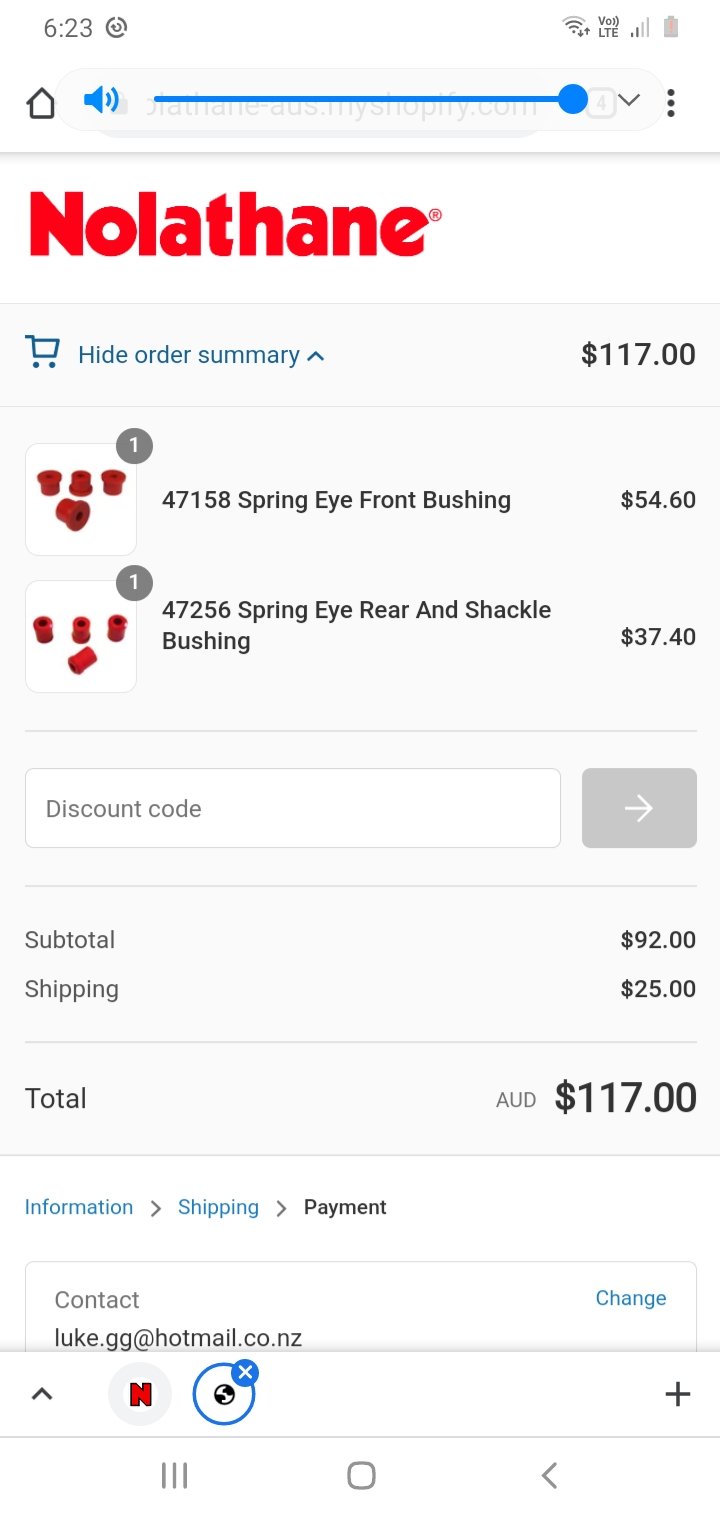
For $117 i can get all leaf spring and shackle bushings from nolathane direct- delivered , not bad! Next pay ill get them
-
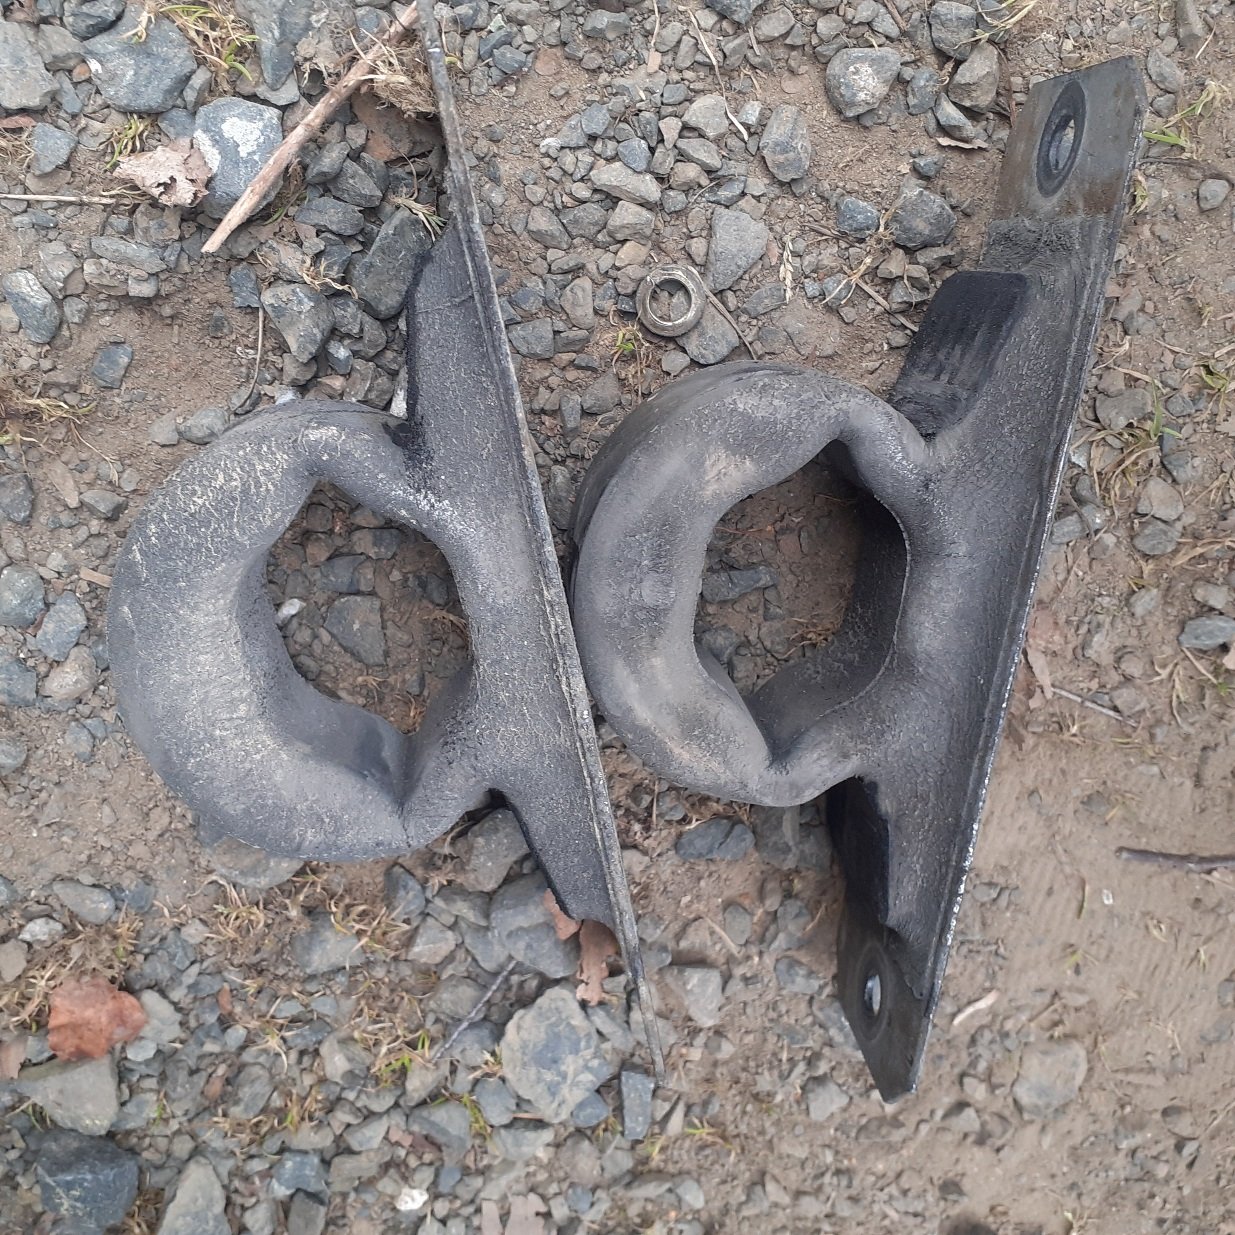
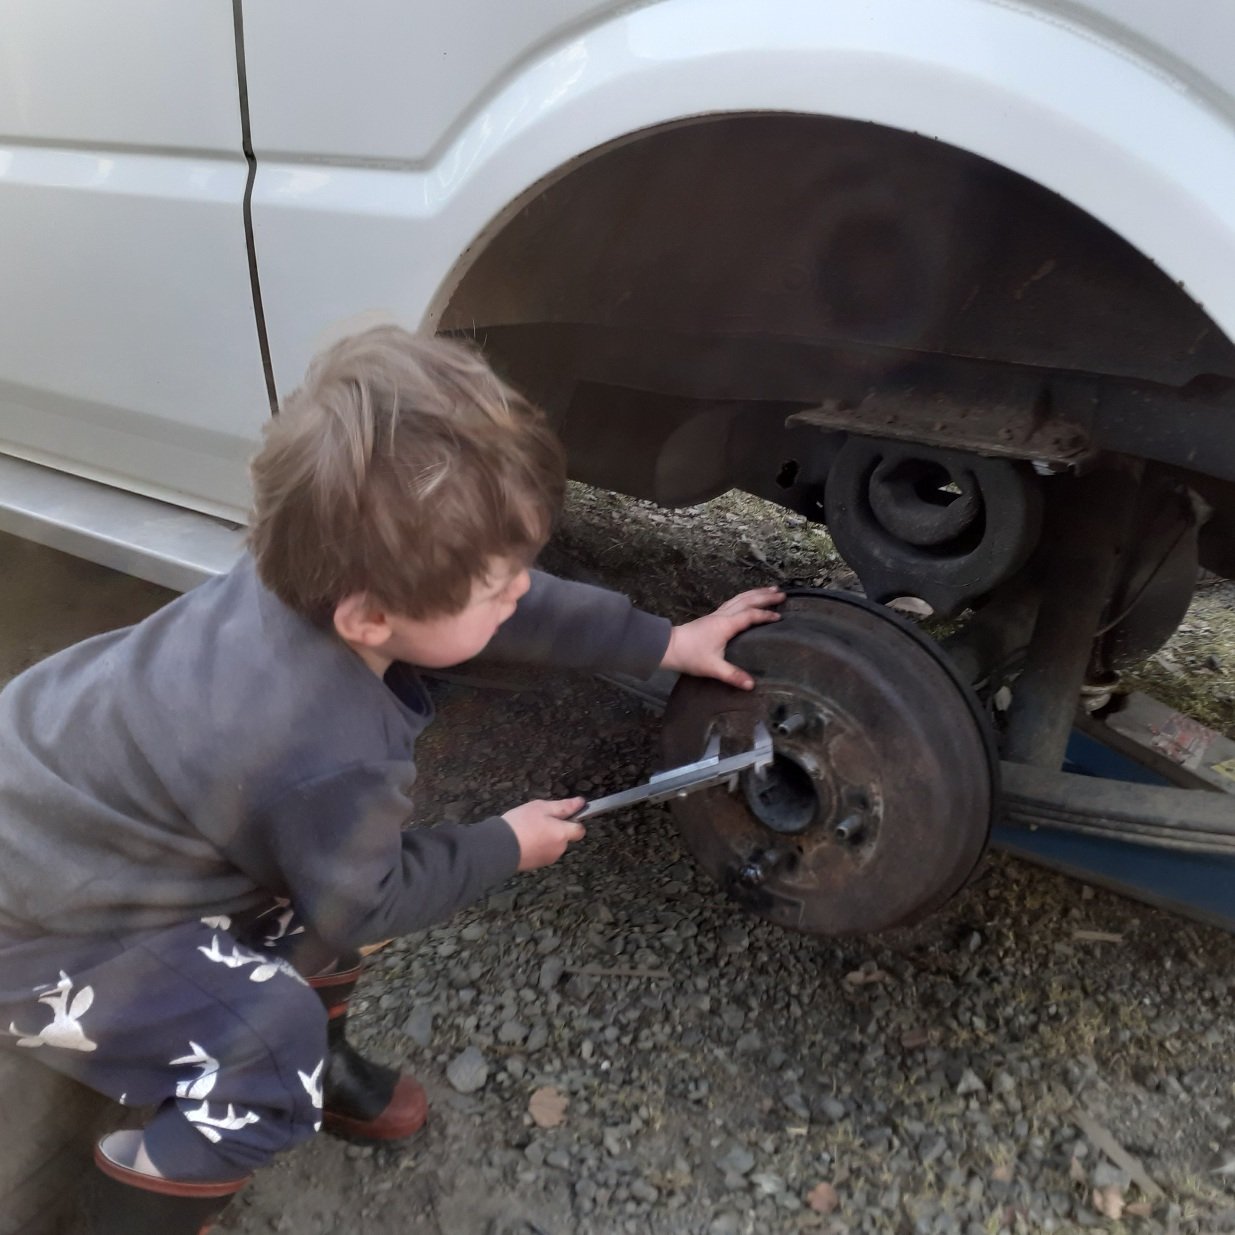
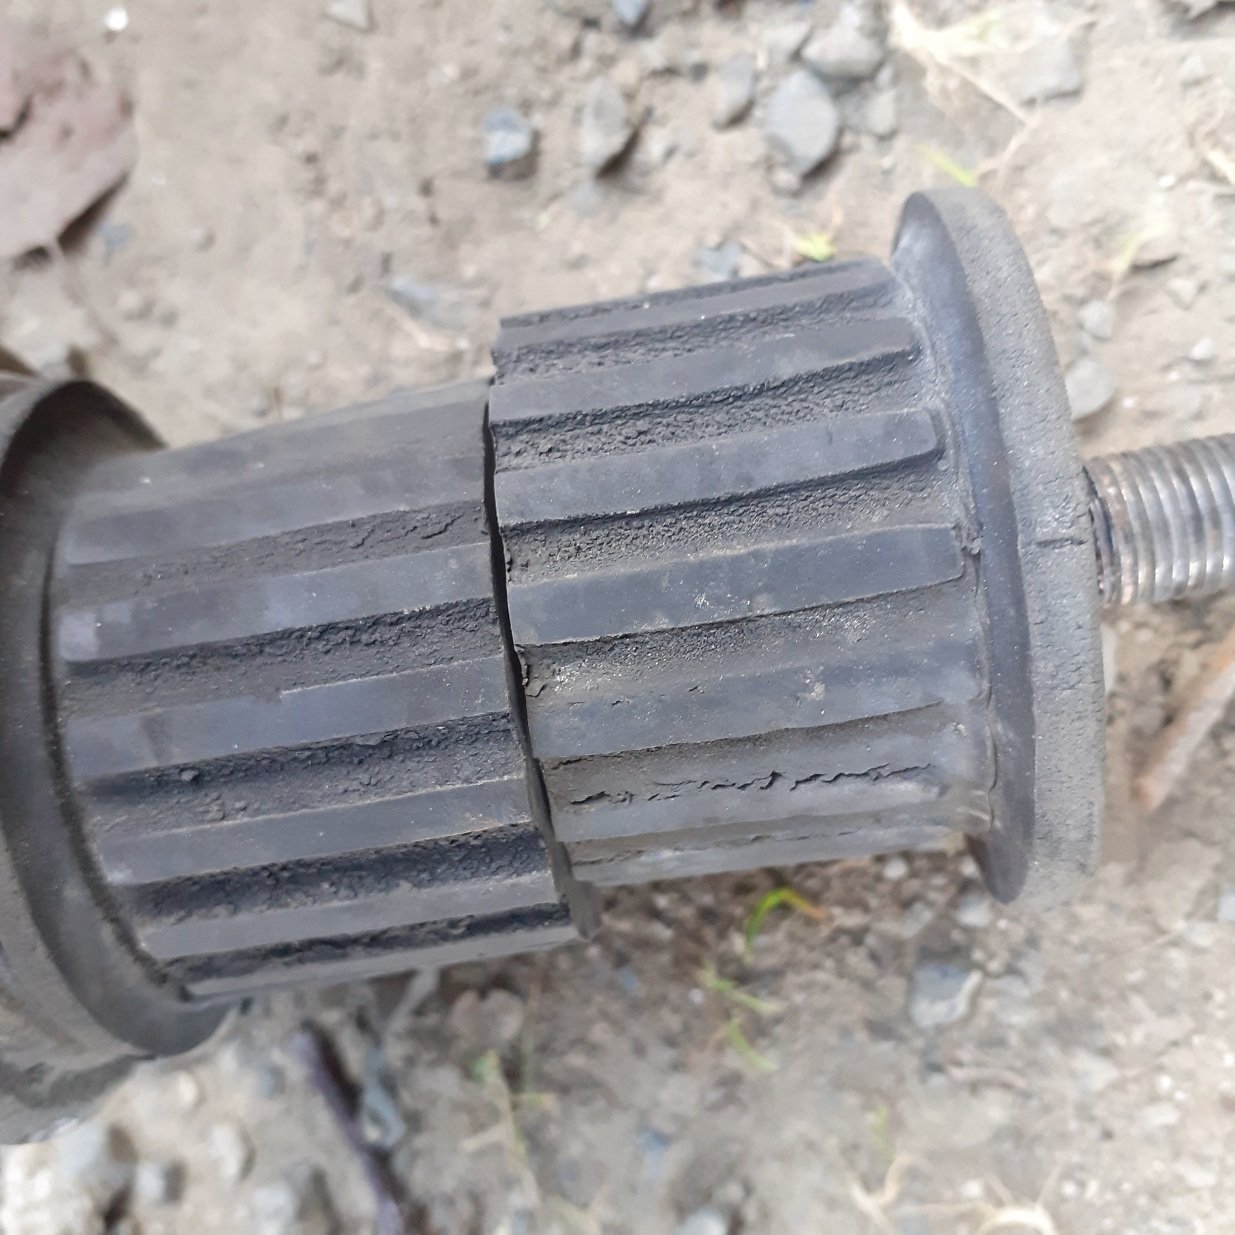
I have 2 joints i could use for caltrac, maybe some more in town, obviously no company makes them for a 1988 nissan vanette, so id make a setupthis guys confirming my pcd to make sure no more wheels wanna fall of lolnot too flash in the bushing department either, might have to turn some nolathane ones at some point ??
-
VK304's 1988 Nissan Vanette w/ added SR20DET
Vk304 replied to Willdat?'s topic in Project Discussion
Yes that too, cheers for the suggestions -
VK304's 1988 Nissan Vanette w/ added SR20DET
Vk304 replied to Willdat?'s topic in Project Discussion
Yes have been looking into those, i think they would be ideal -
VK304's 1988 Nissan Vanette w/ added SR20DET
Vk304 replied to Willdat?'s topic in Project Discussion
I did too when driving it, sounded like it came from the front not back, so i stopped and checked wheels, but must not have checked properly haha -
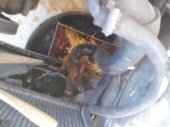
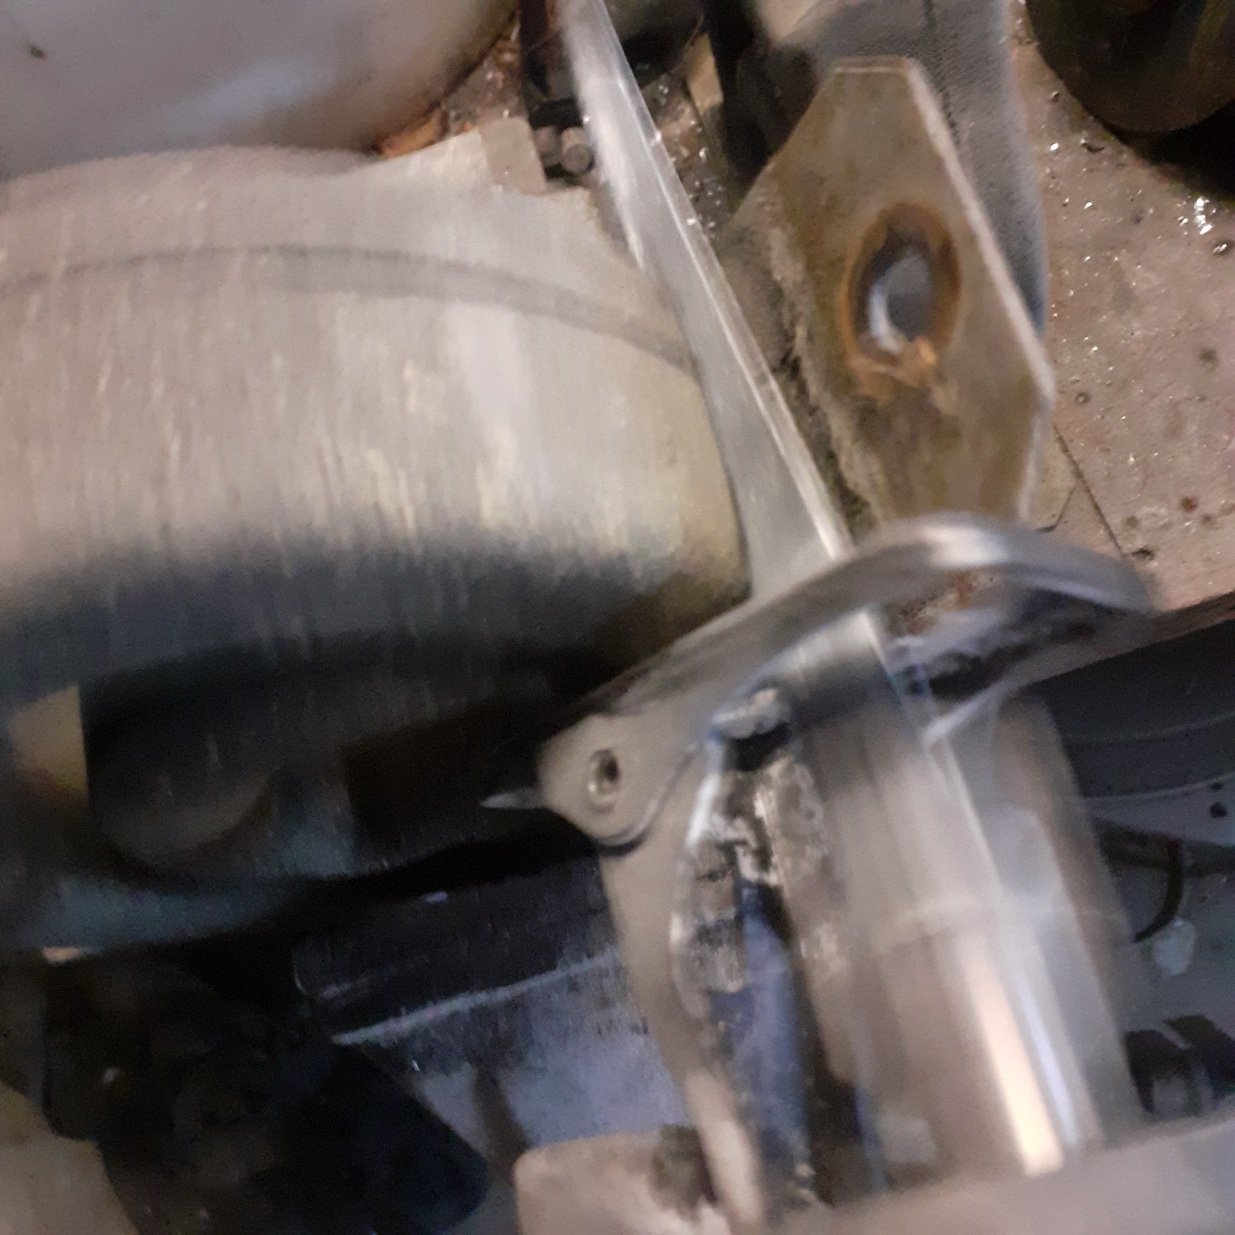
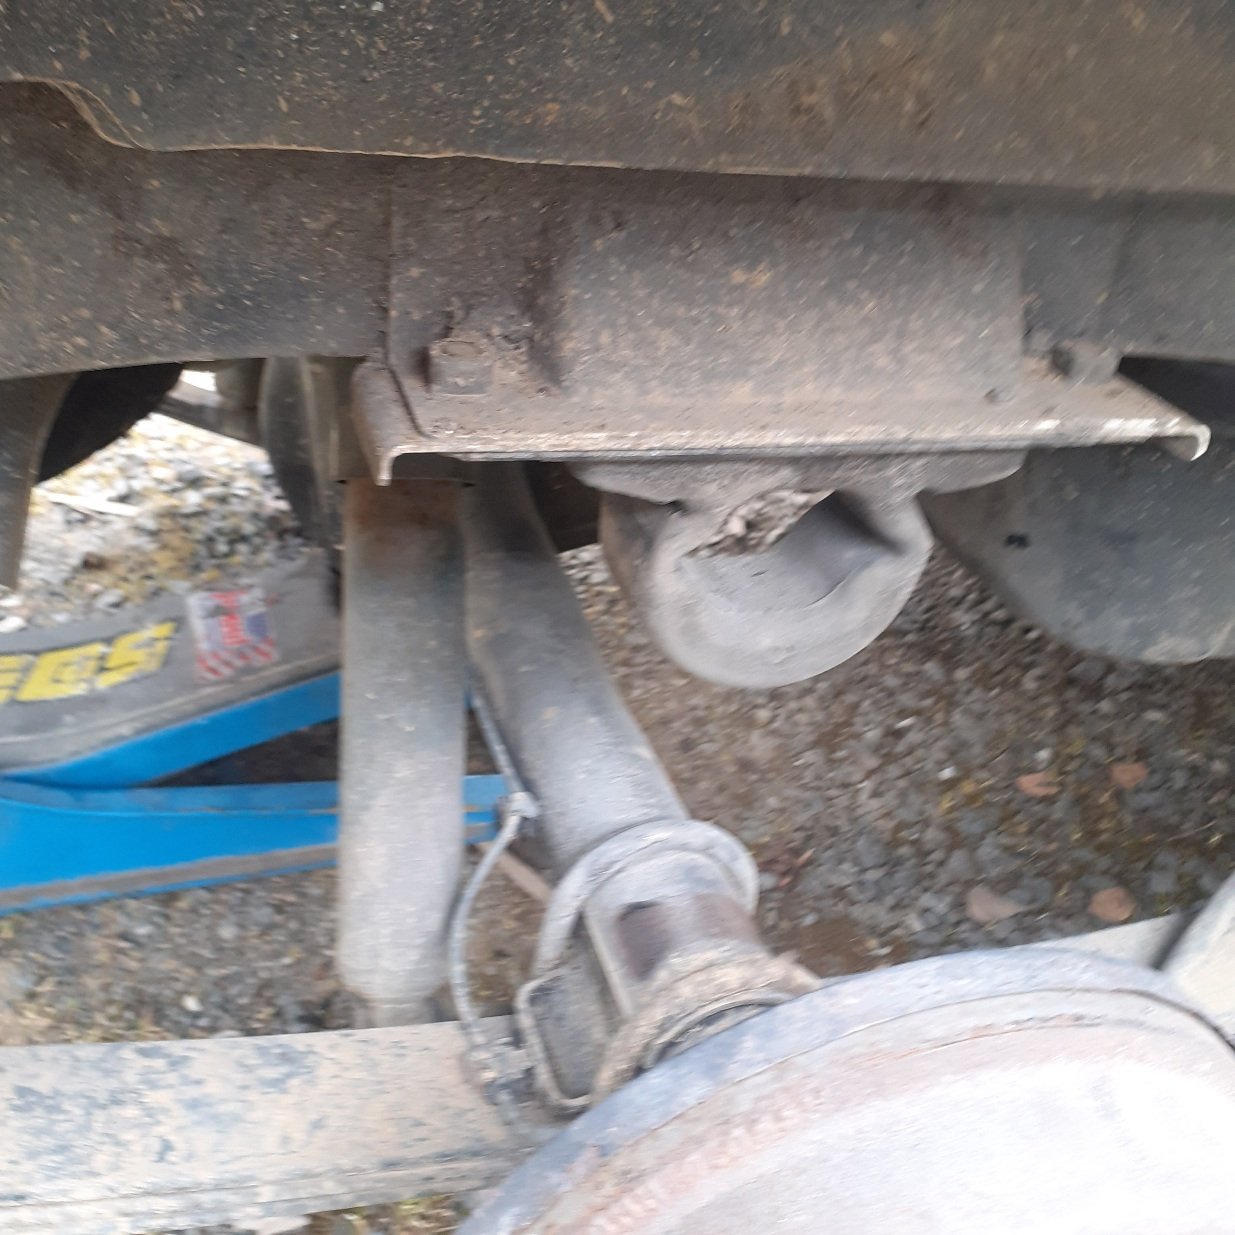
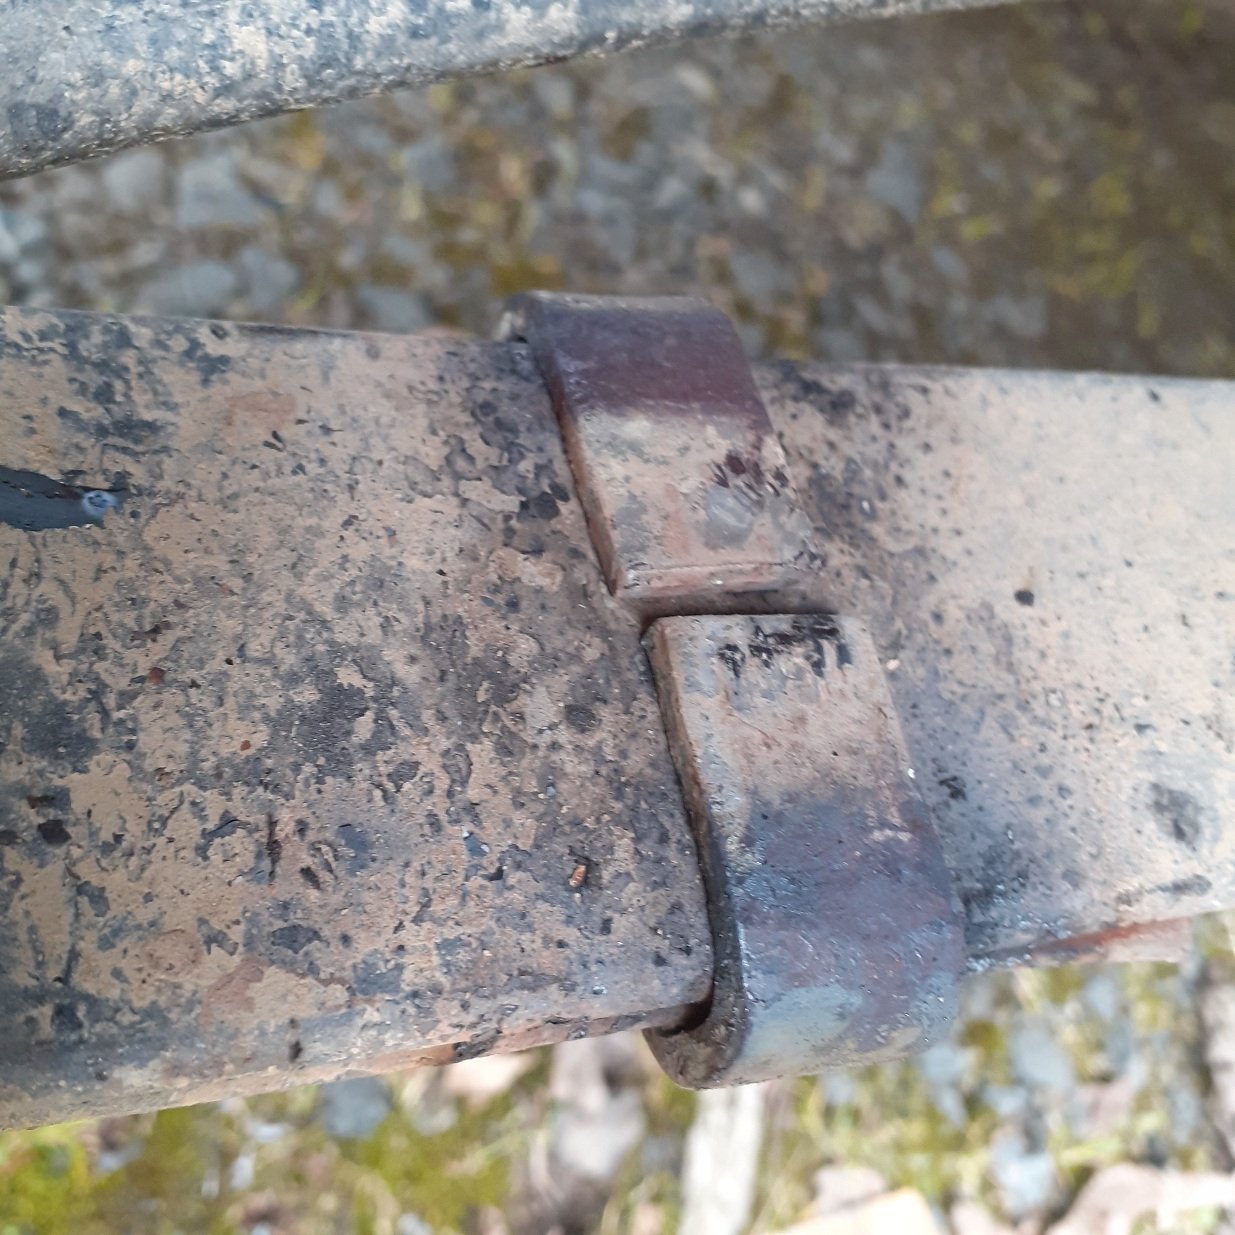
Woops little metal come off the wheels but not too much to worry about.springs had gap here figured it would be benificial to close this gapi made sure not to heat the actual spring, but let me know if im wrong here.. i know nothing about leaf springs... also the back has similar gap, should i close it too or not? https://oldschool.co.nz/index.php?/topic/78072-vk304s-1988-nissan-vanette-w-added-sr20det/&do=getNewComment
-
VK304's 1988 Nissan Vanette w/ added SR20DET
Vk304 replied to Willdat?'s topic in Project Discussion
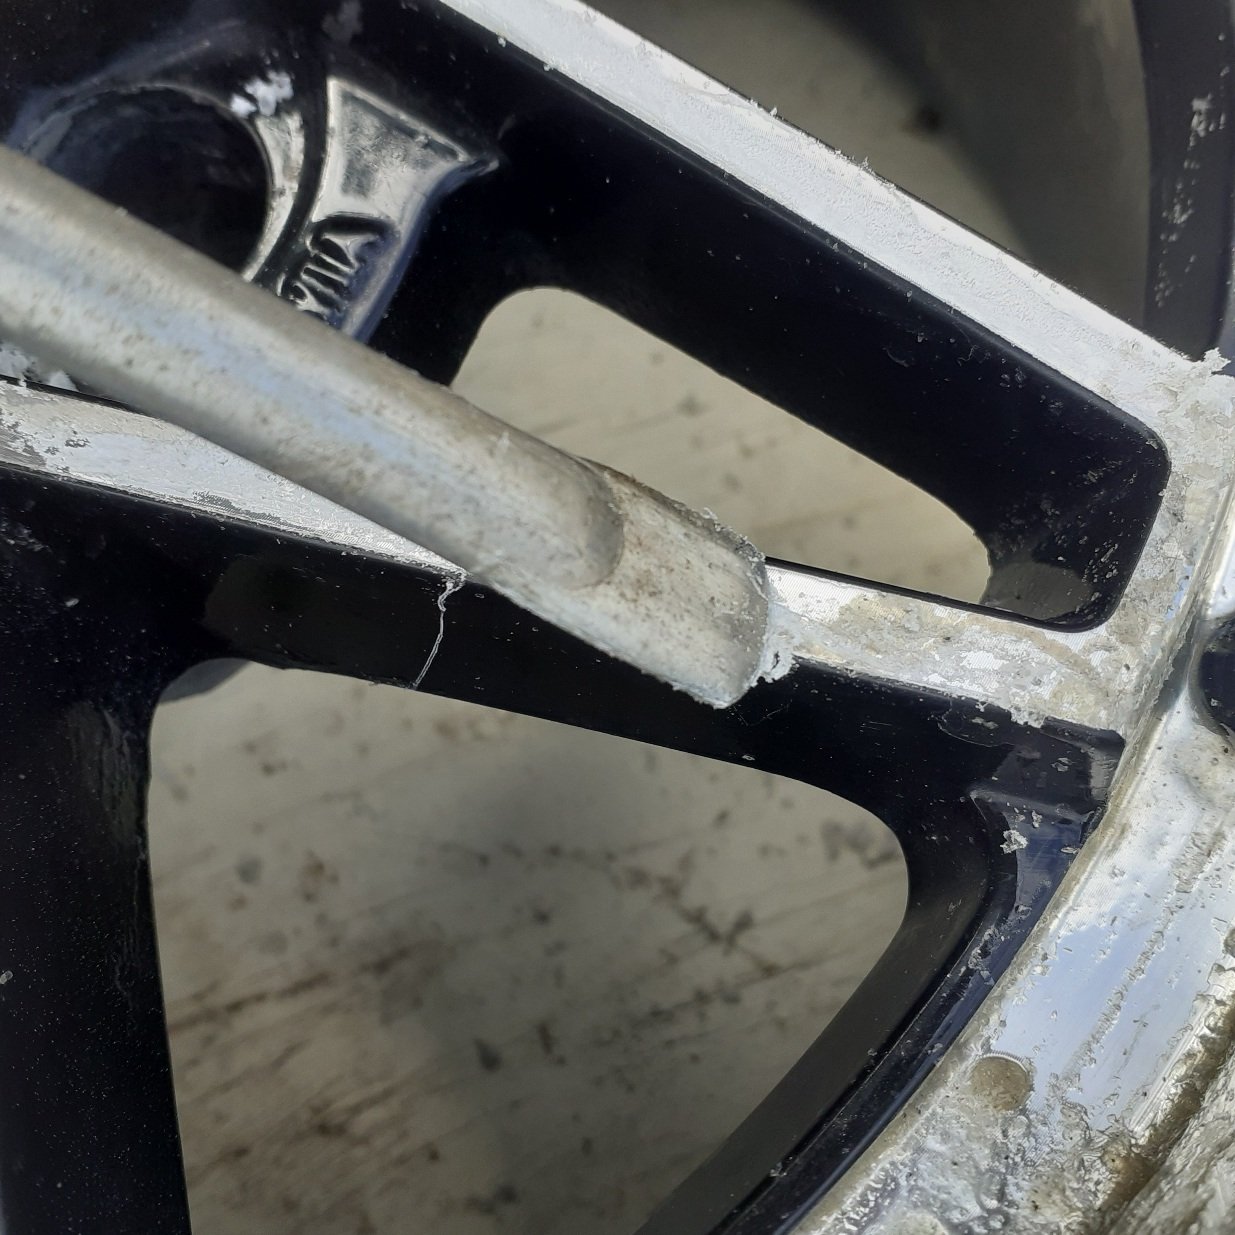
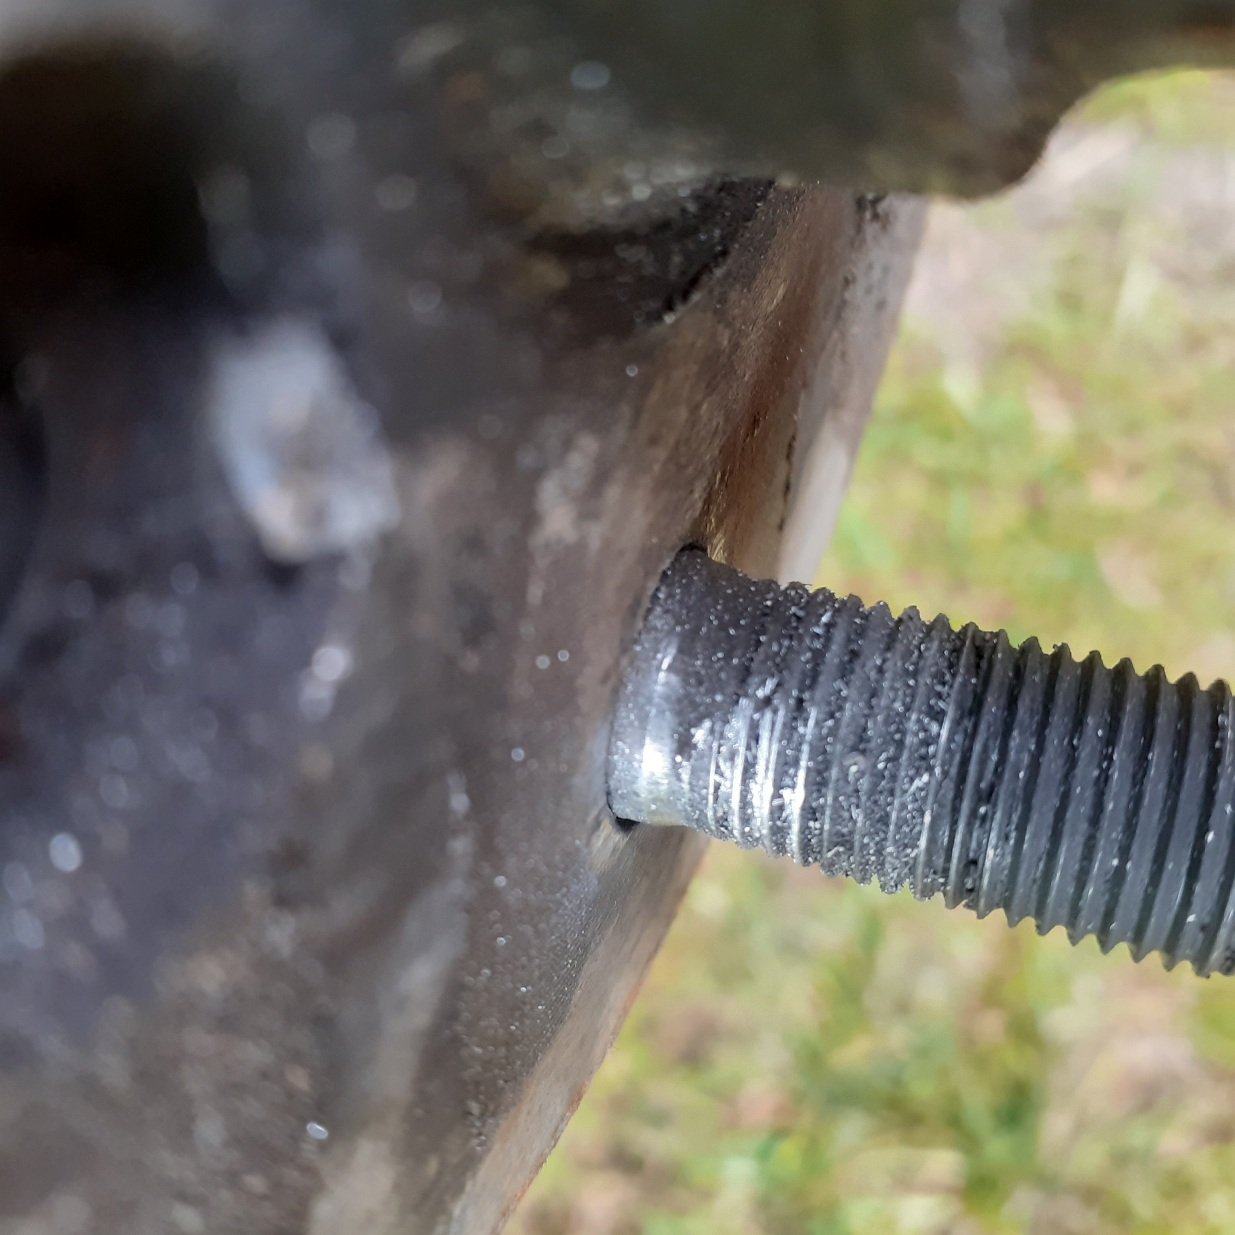
Very loose wheel nuts on left front wheel lol luckily diddnt damage anything too bad , and yes im trying to come up with a better setup, its the biggest diff that came on these, h190 in theory should be able to hold the power with it being rated to 285 lb. Ft., the engine in stock form is 220 lb.ft. I dont like the setup though and am improving it
-
Turns out it was loose wheel nuts on the front, anyone got any u bolts and or 2 inch lowering blocks to sell?? It sits a bit lower in the front.. Around te Awamutu ways https://oldschool.co.nz/index.php?/topic/78072-vk304s-1988-nissan-vanette-w-added-sr20det/&do=getNewComment
-
https://youtu.be/y3iUEdeq-3c might be time for a lsd
-
VK304's 1988 Nissan Vanette w/ added SR20DET
Vk304 replied to Willdat?'s topic in Project Discussion
Yea man thanks! Hopefully more time now -
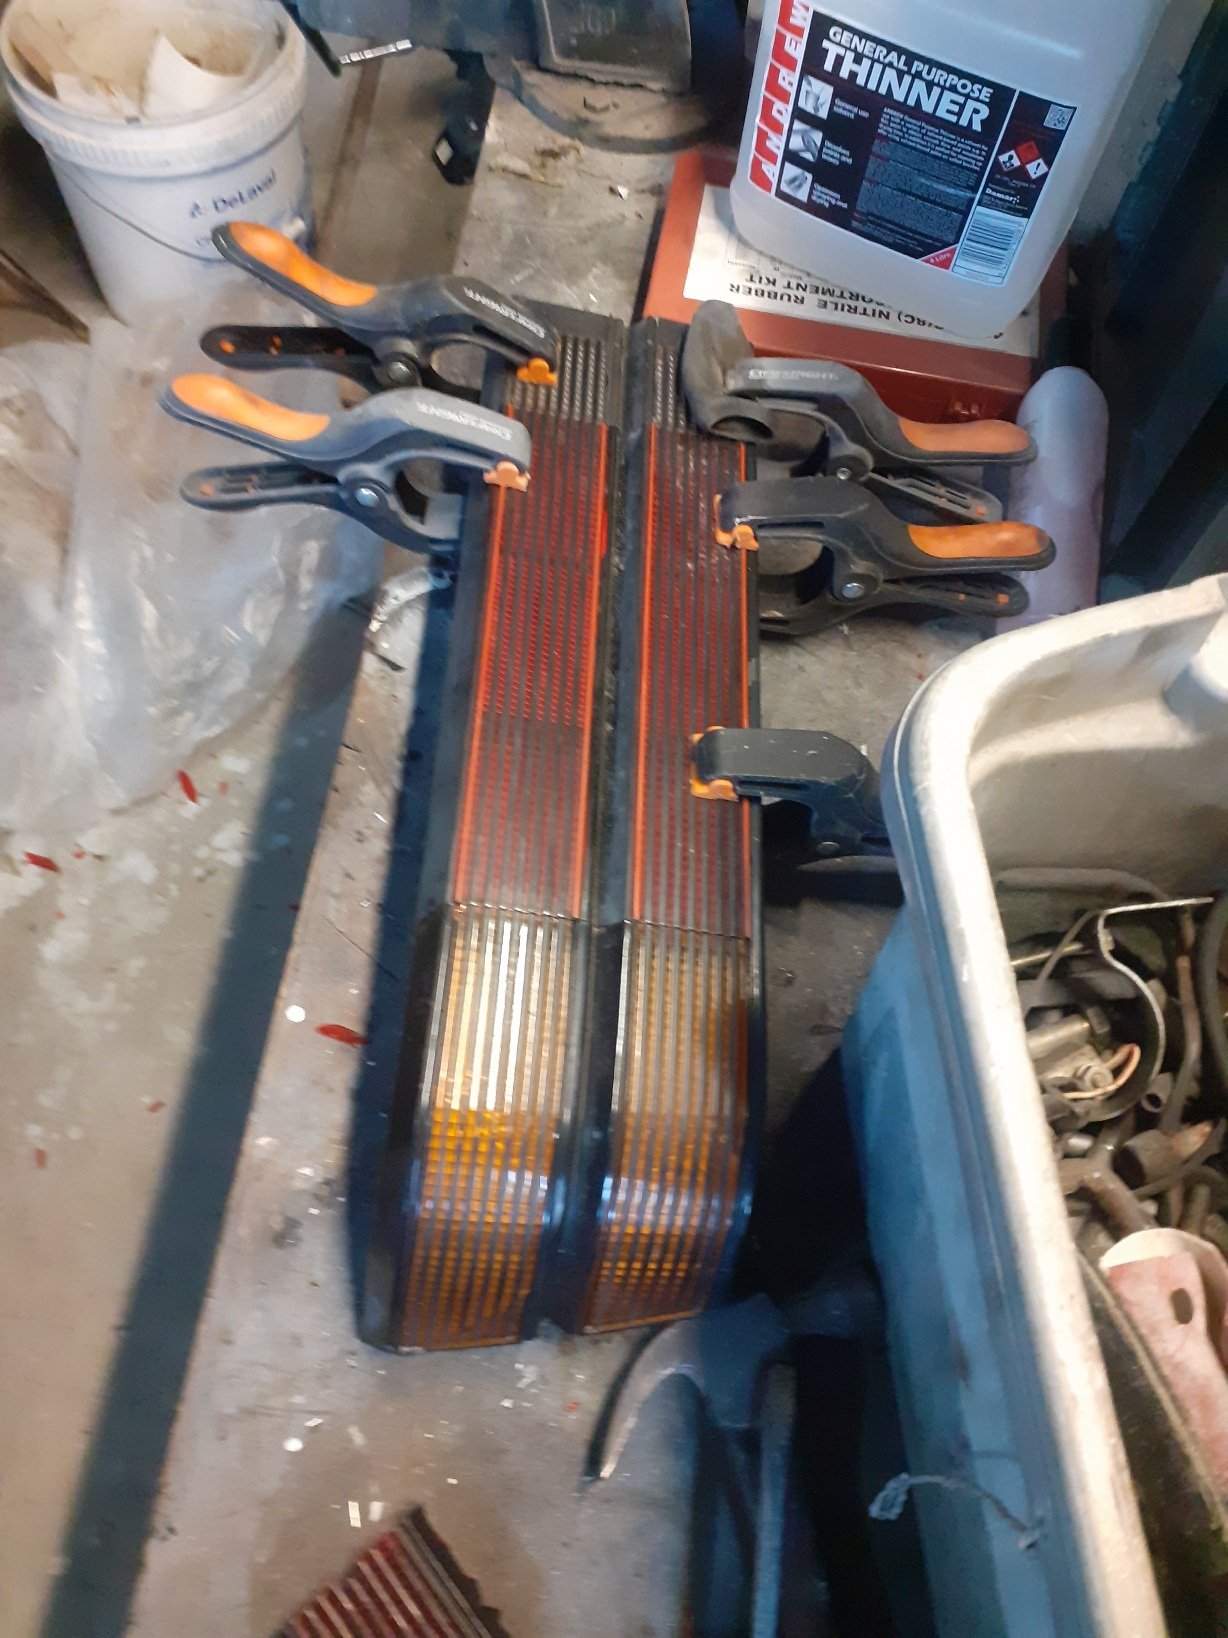
Overall not too bad, painted the stripes same colour, gave them all a polish and tidy up, and some silicone spray .. that parts done onto painting
-
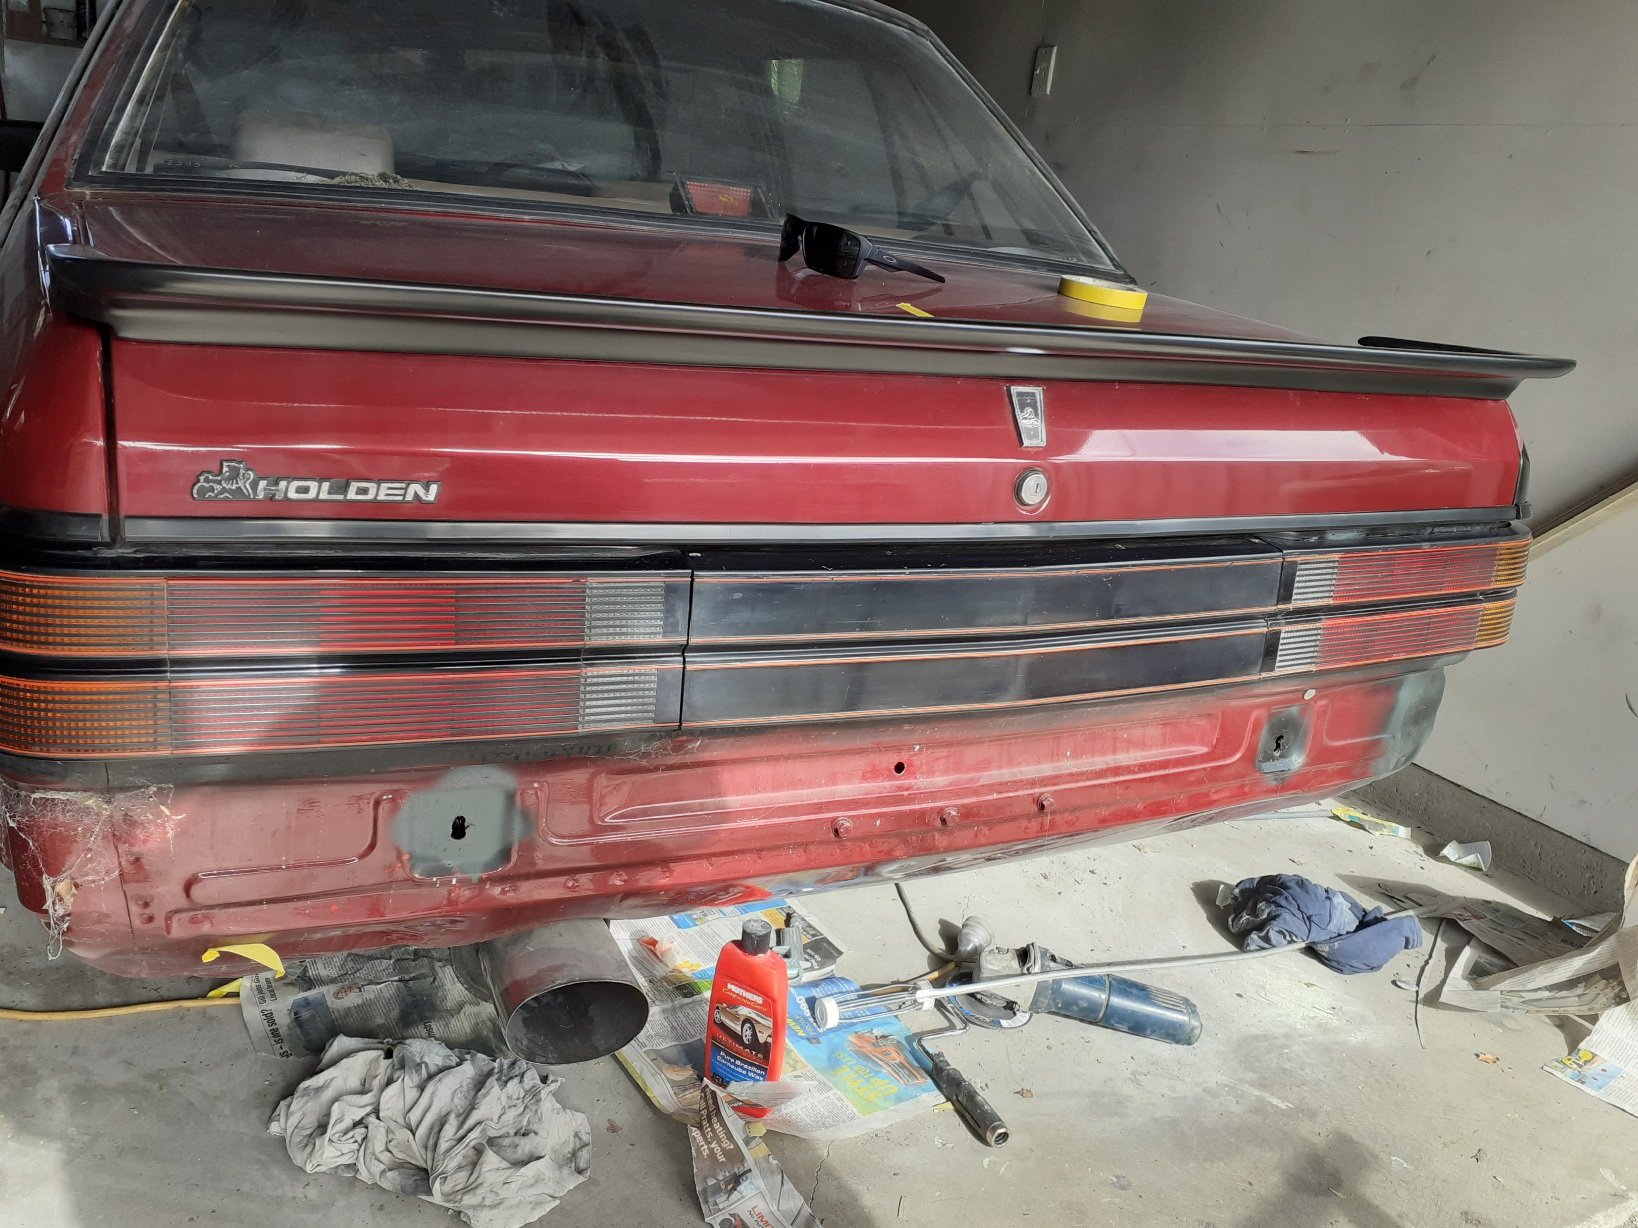
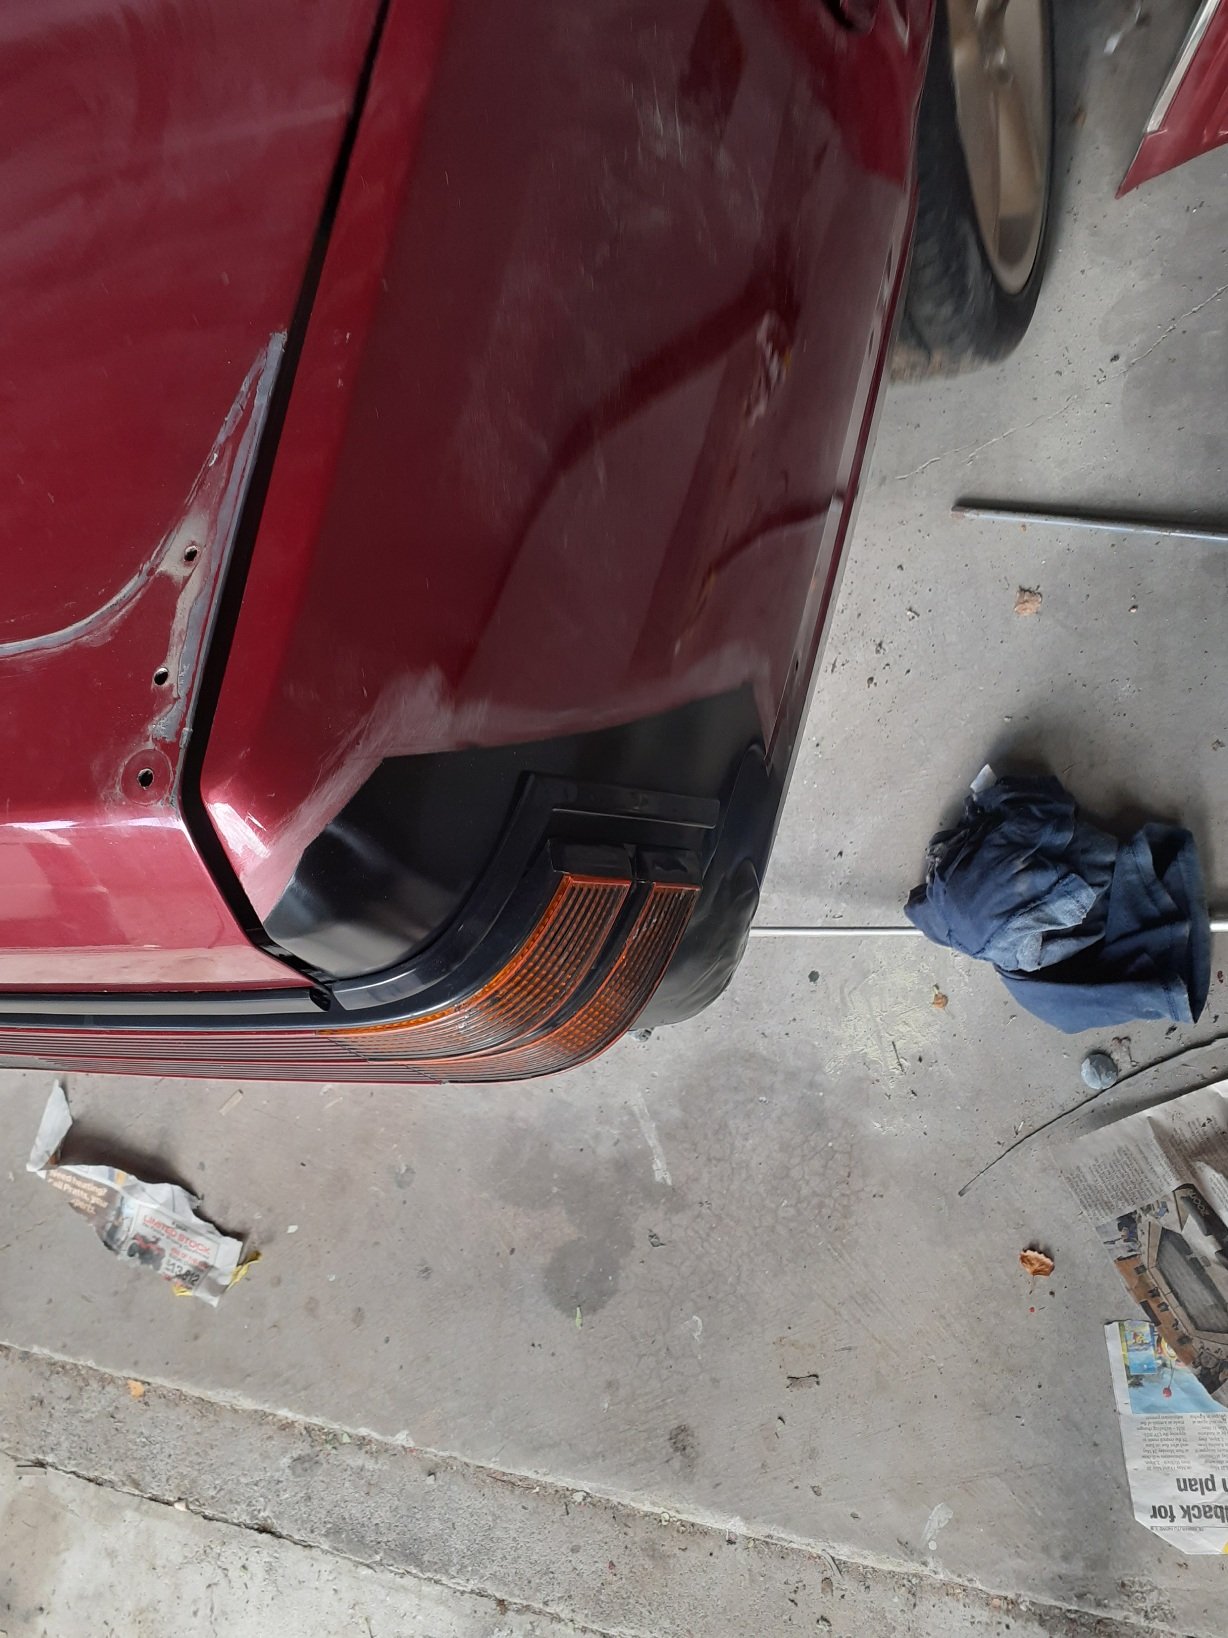
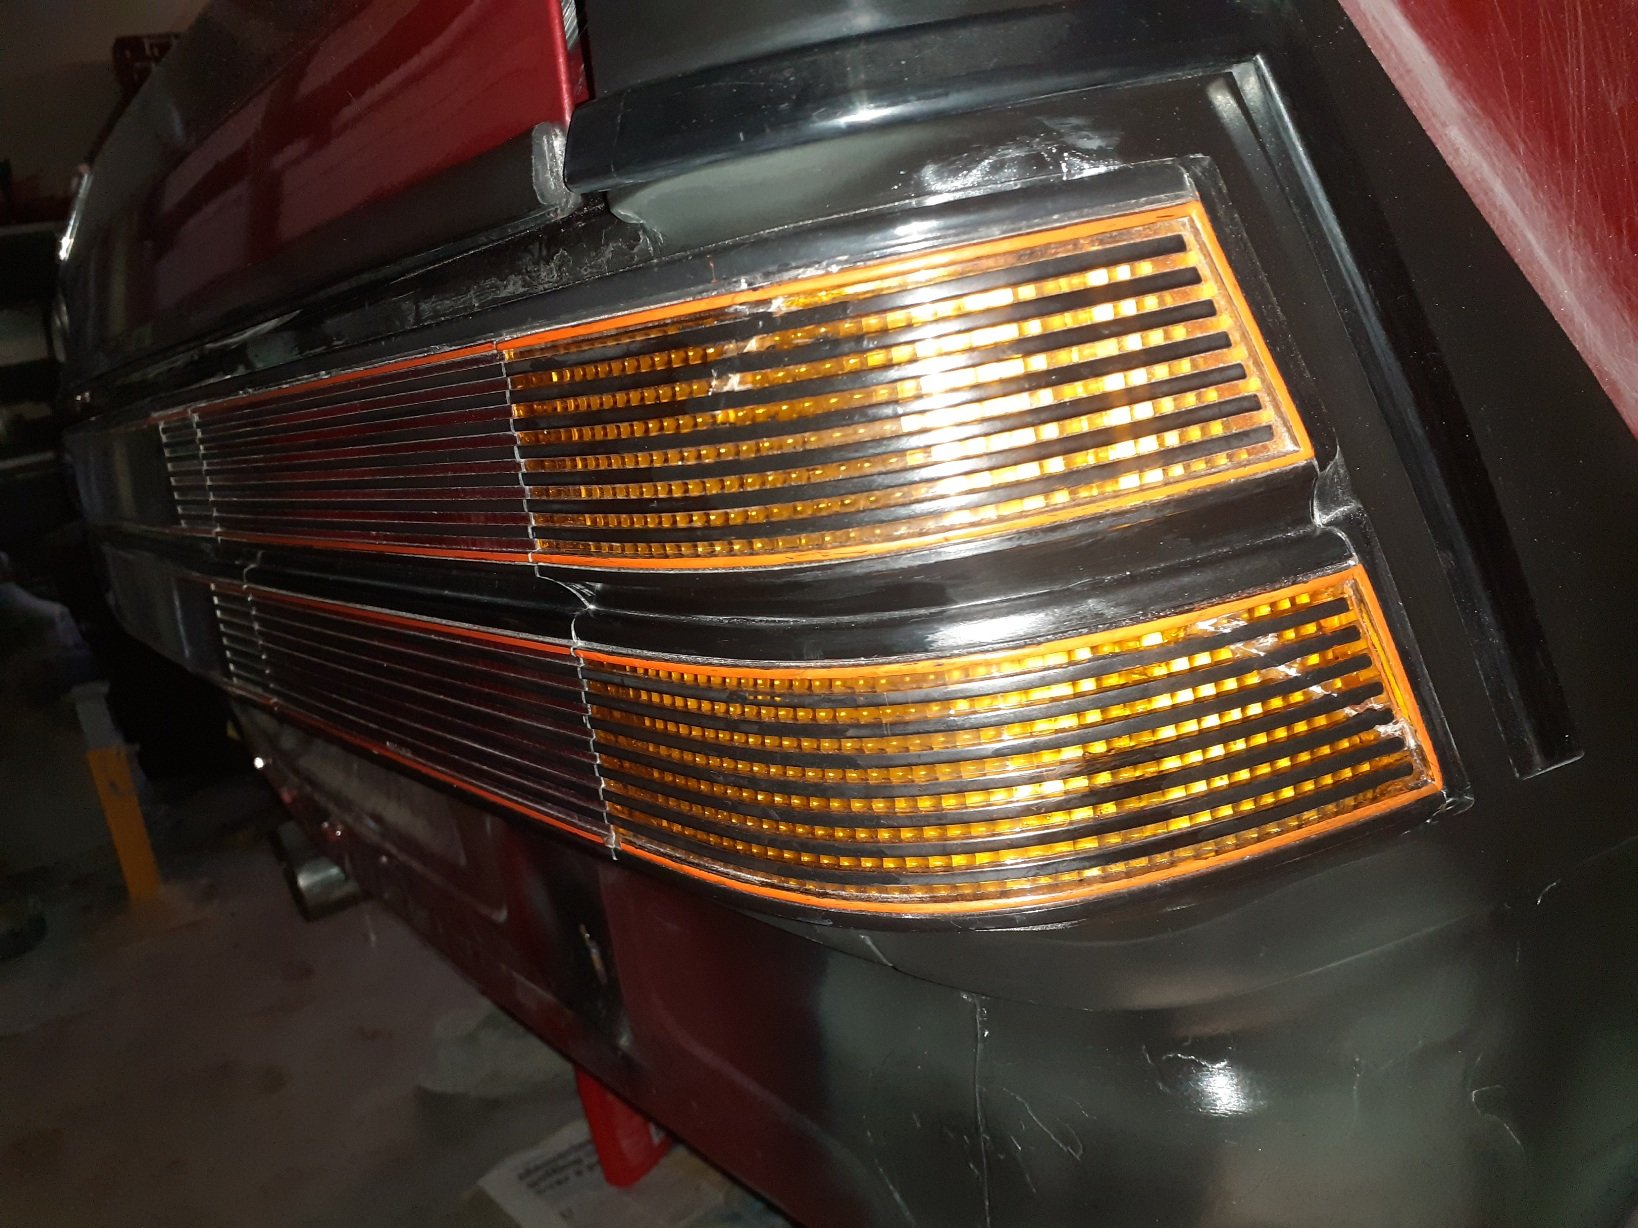
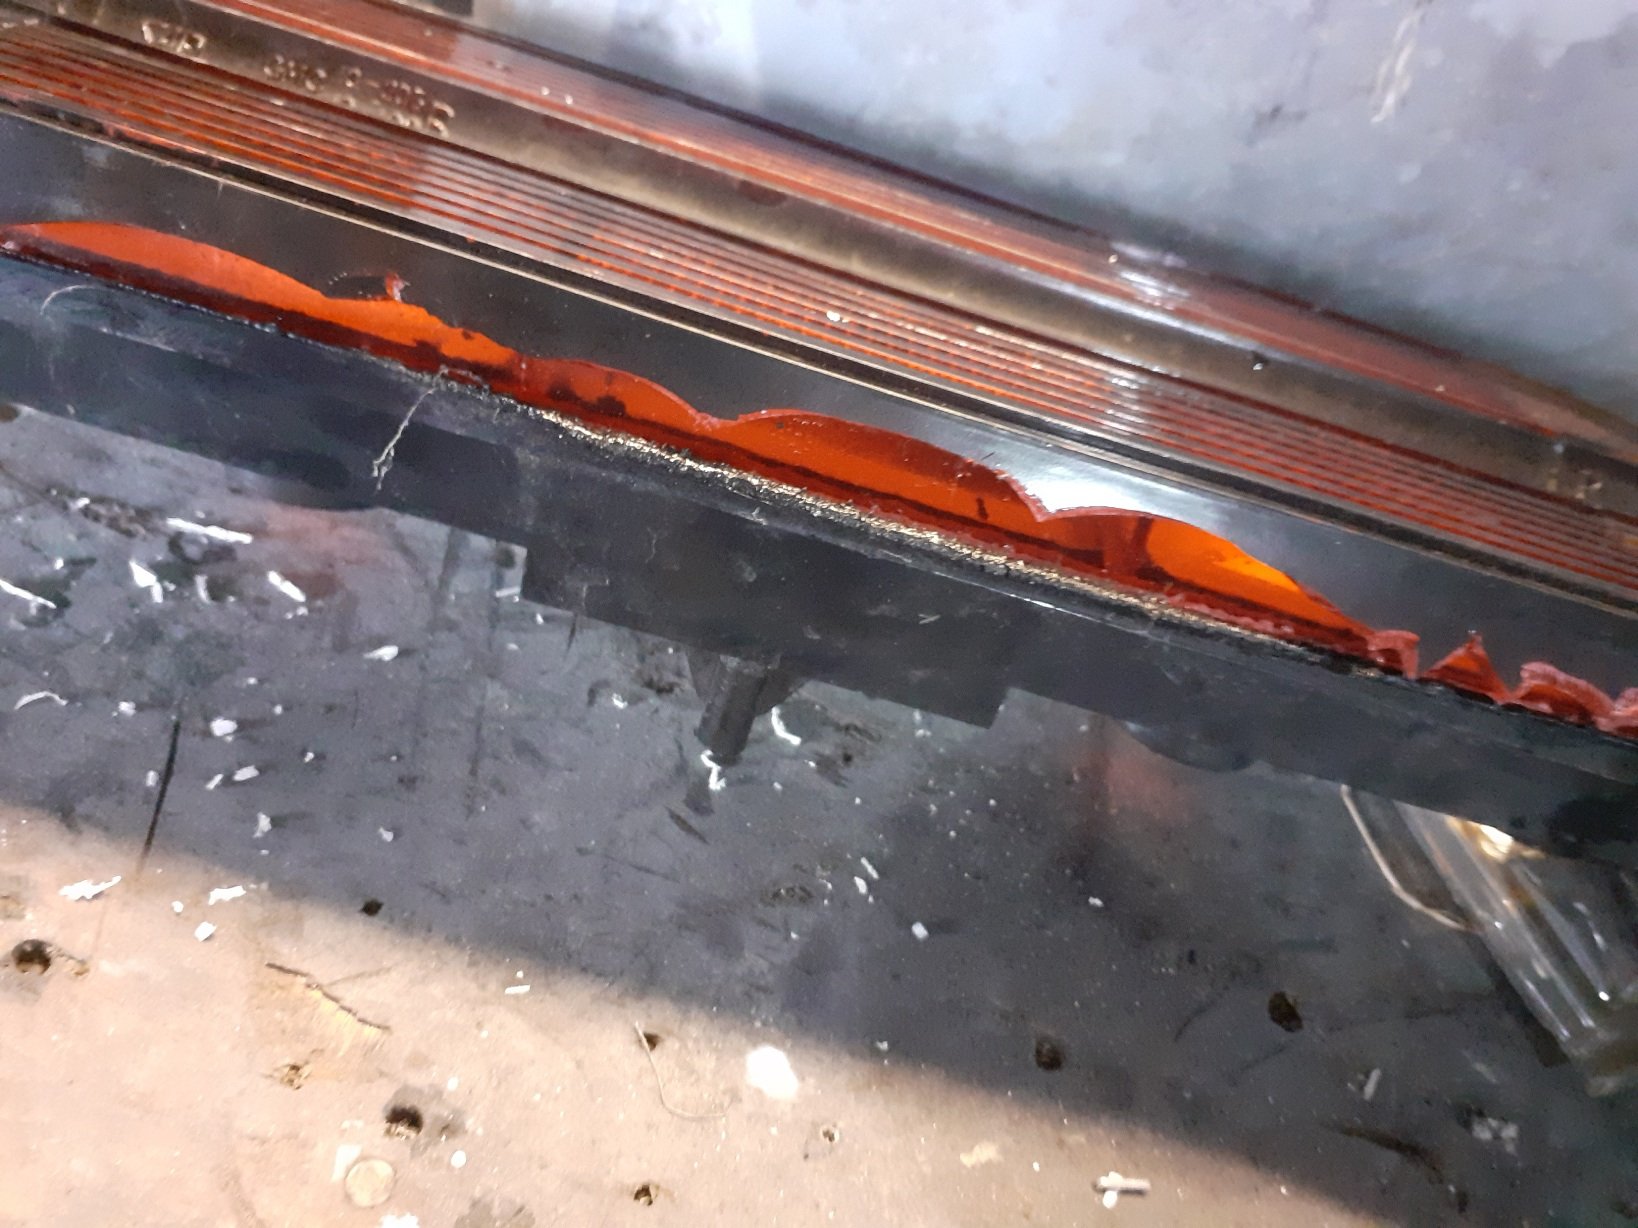
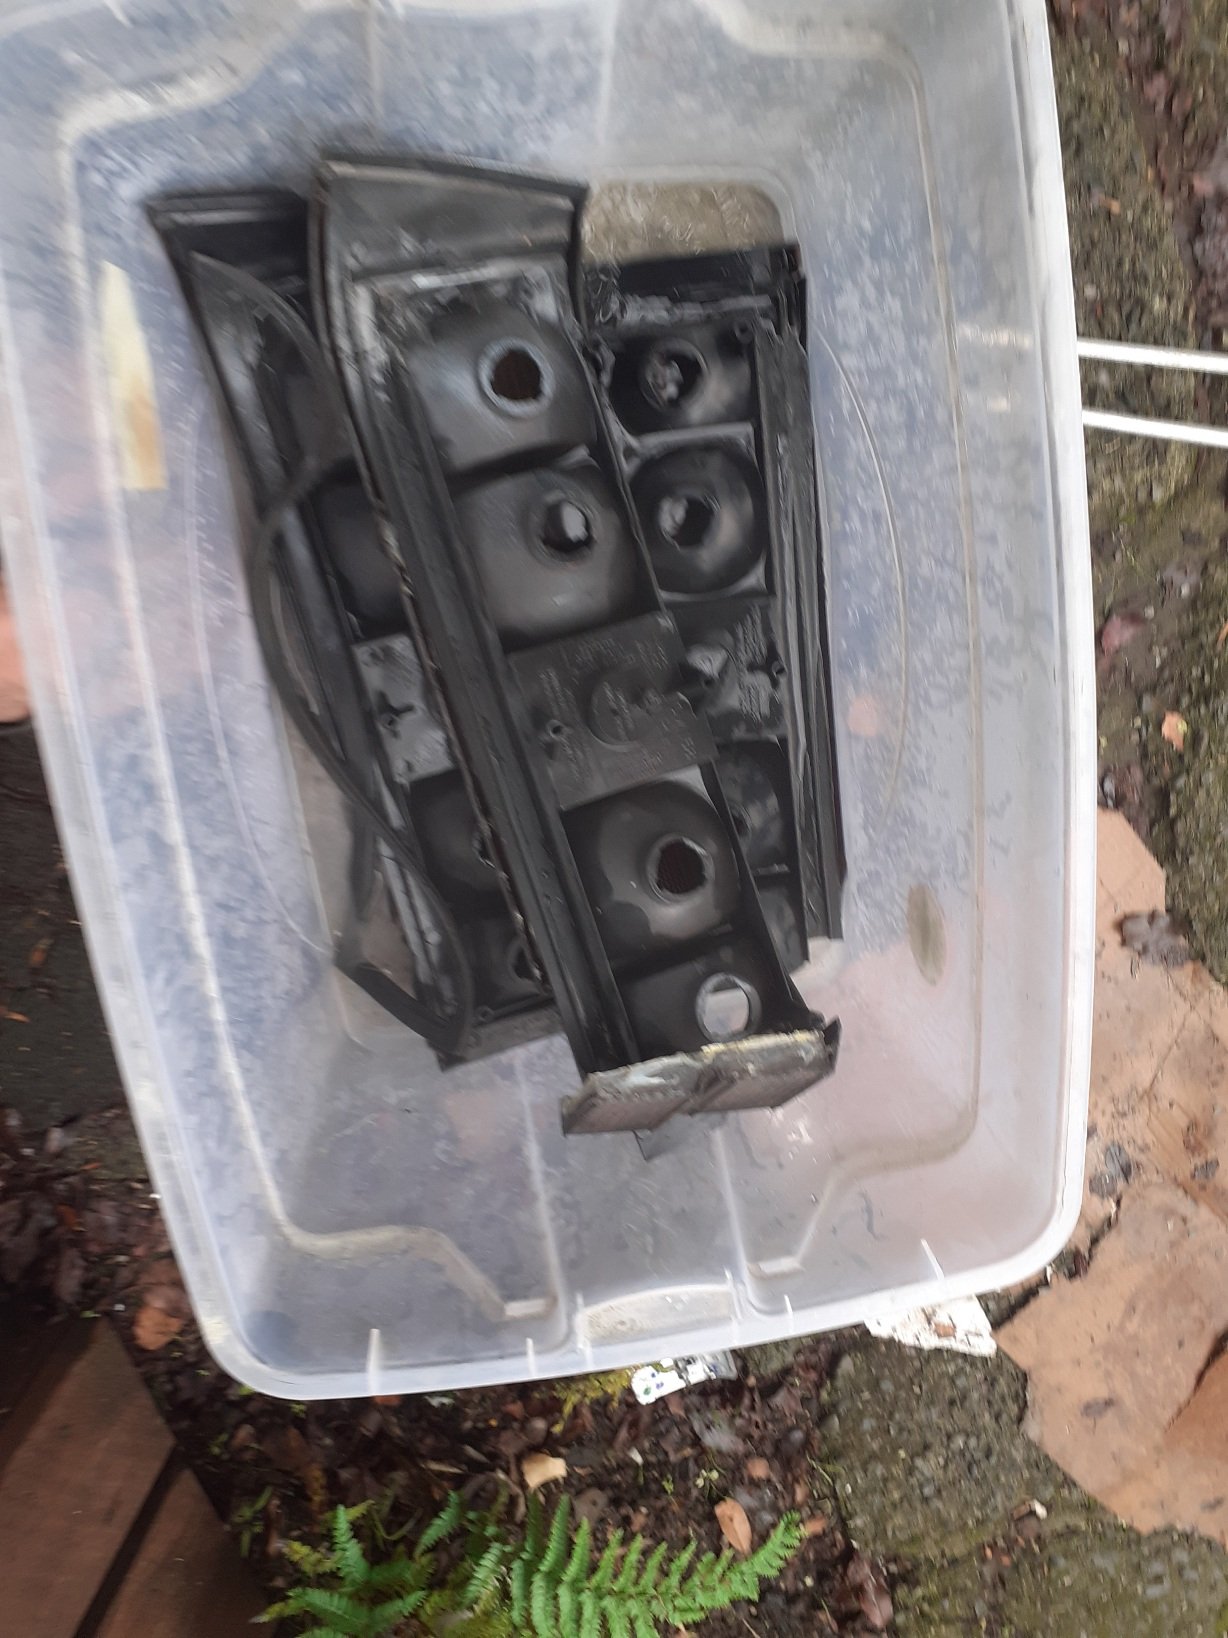
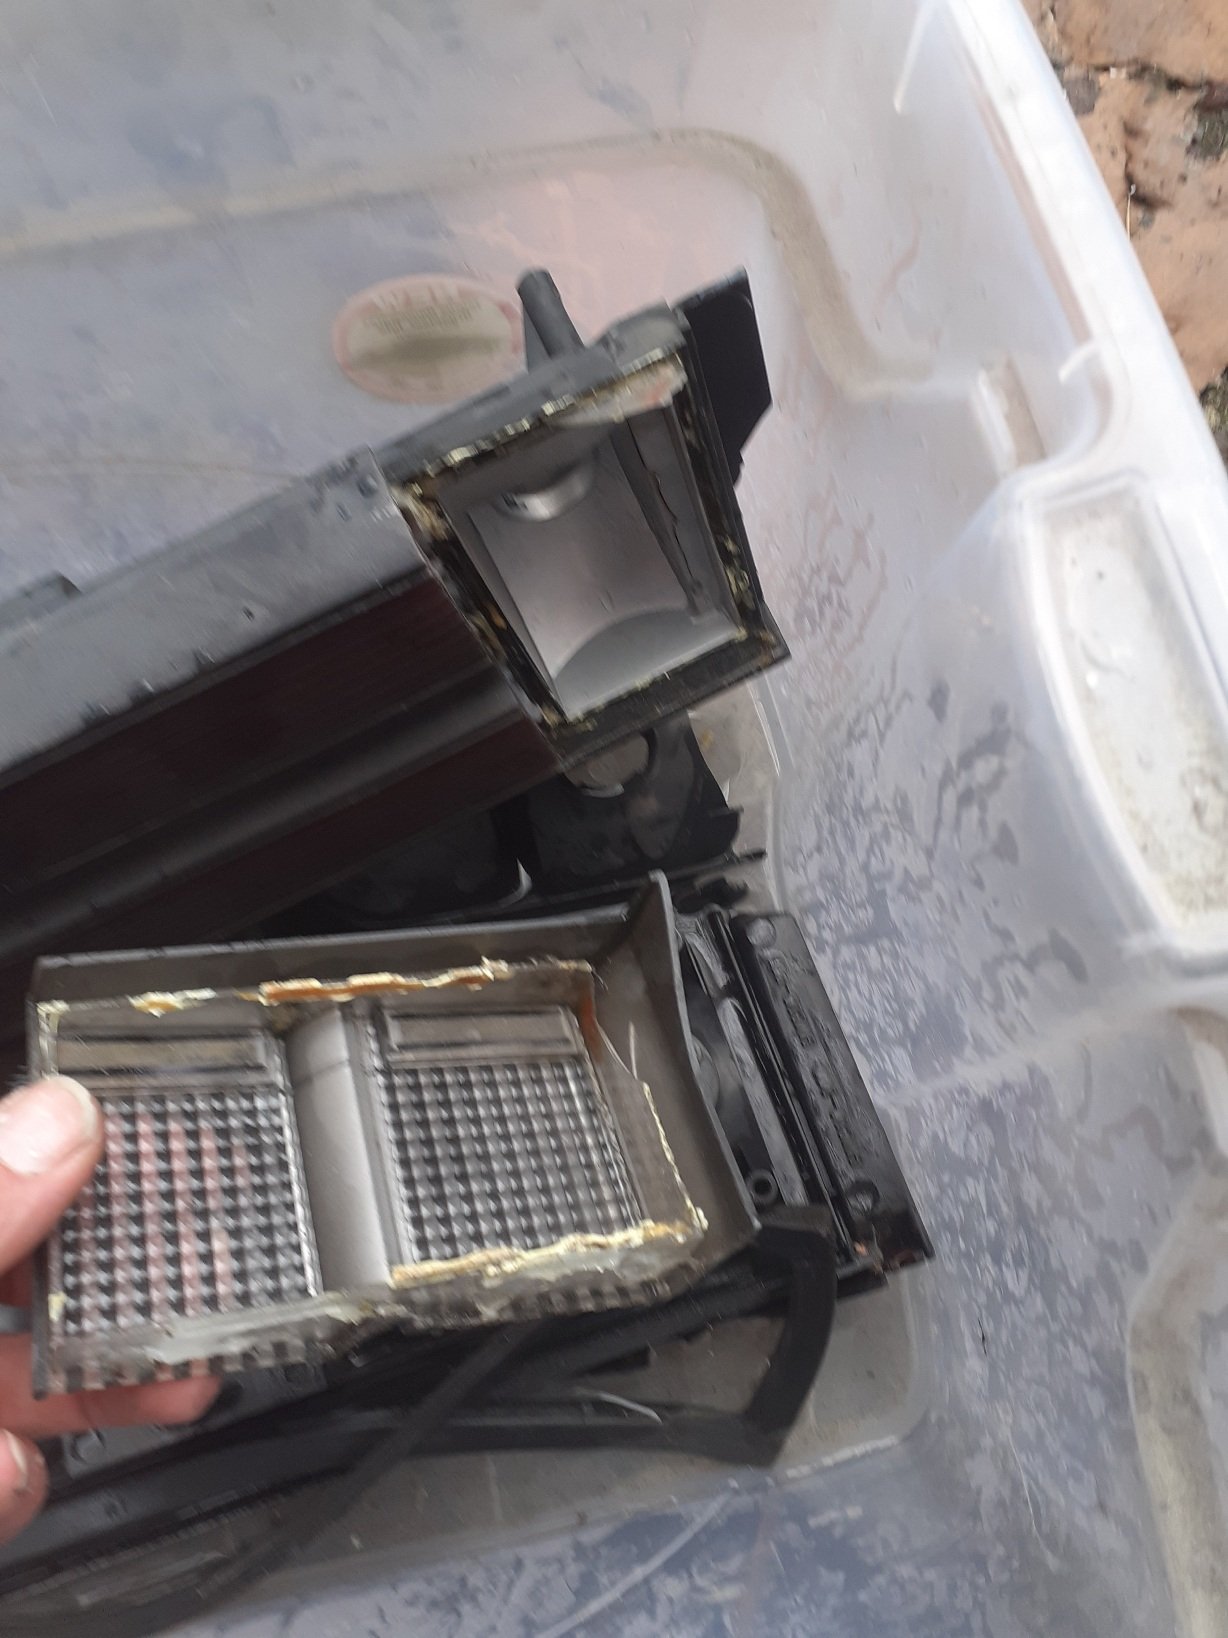
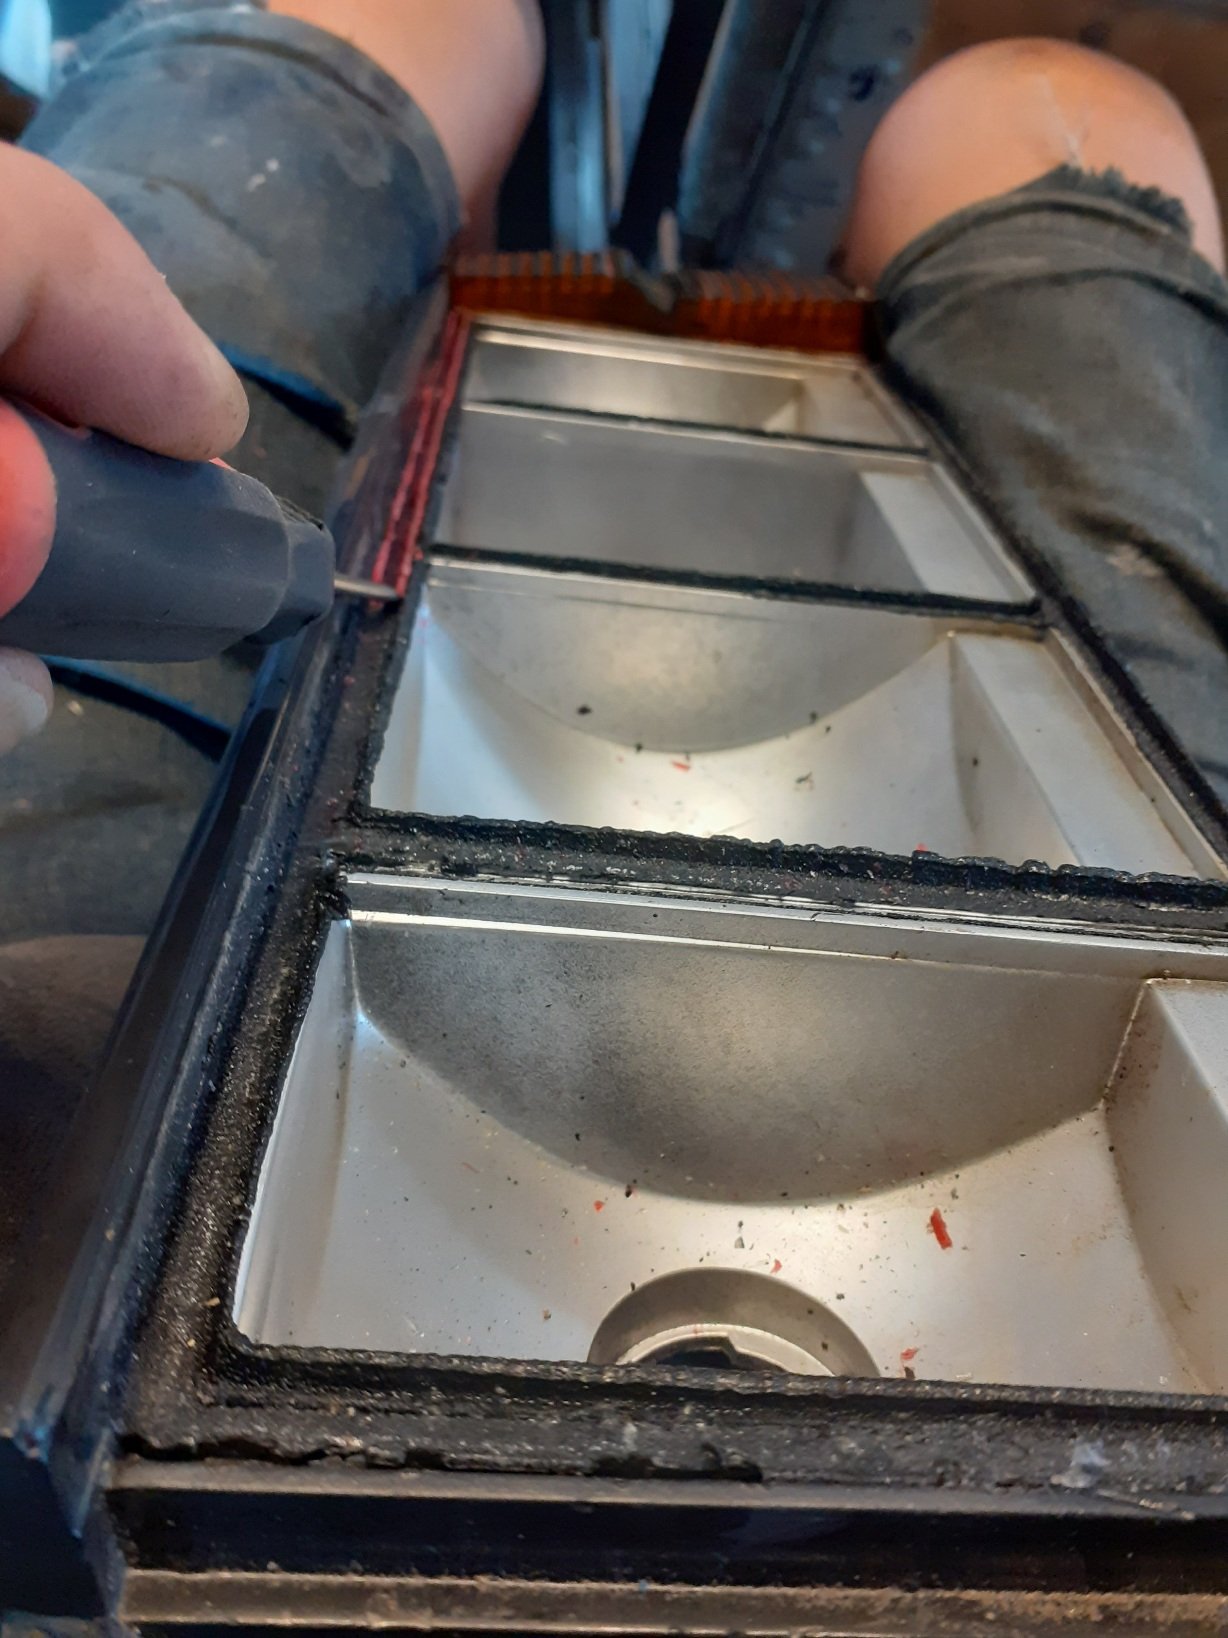
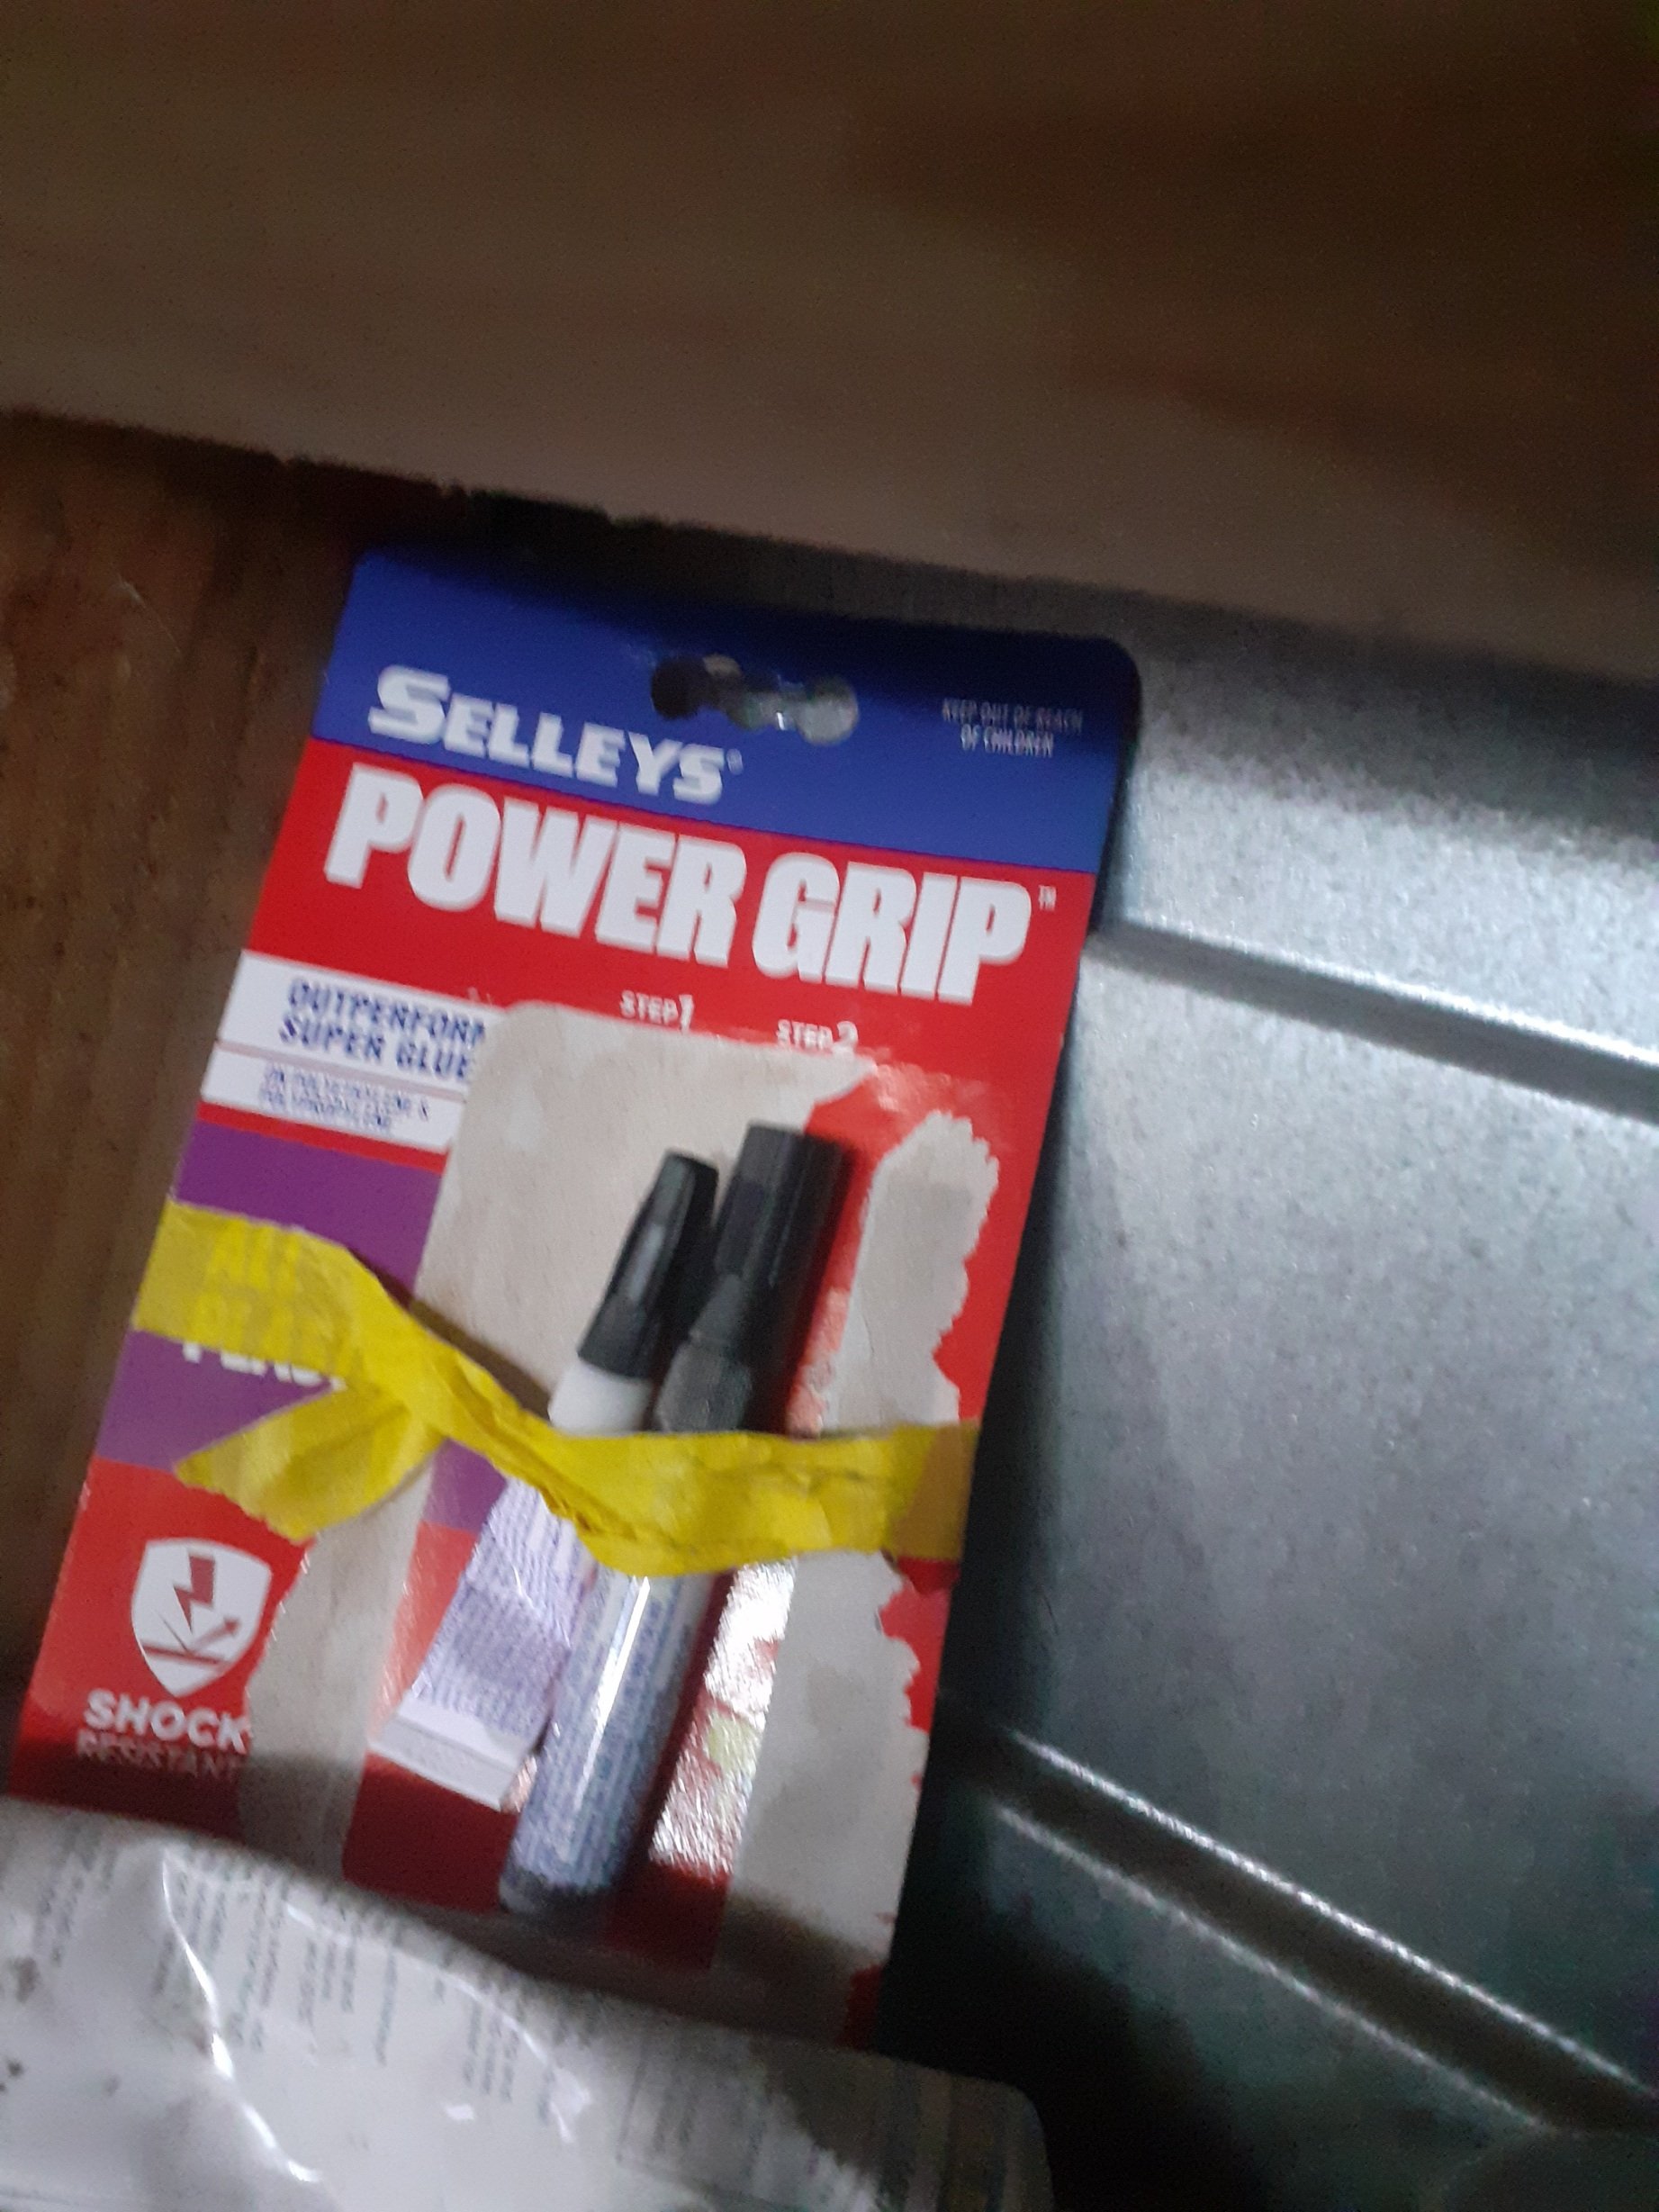
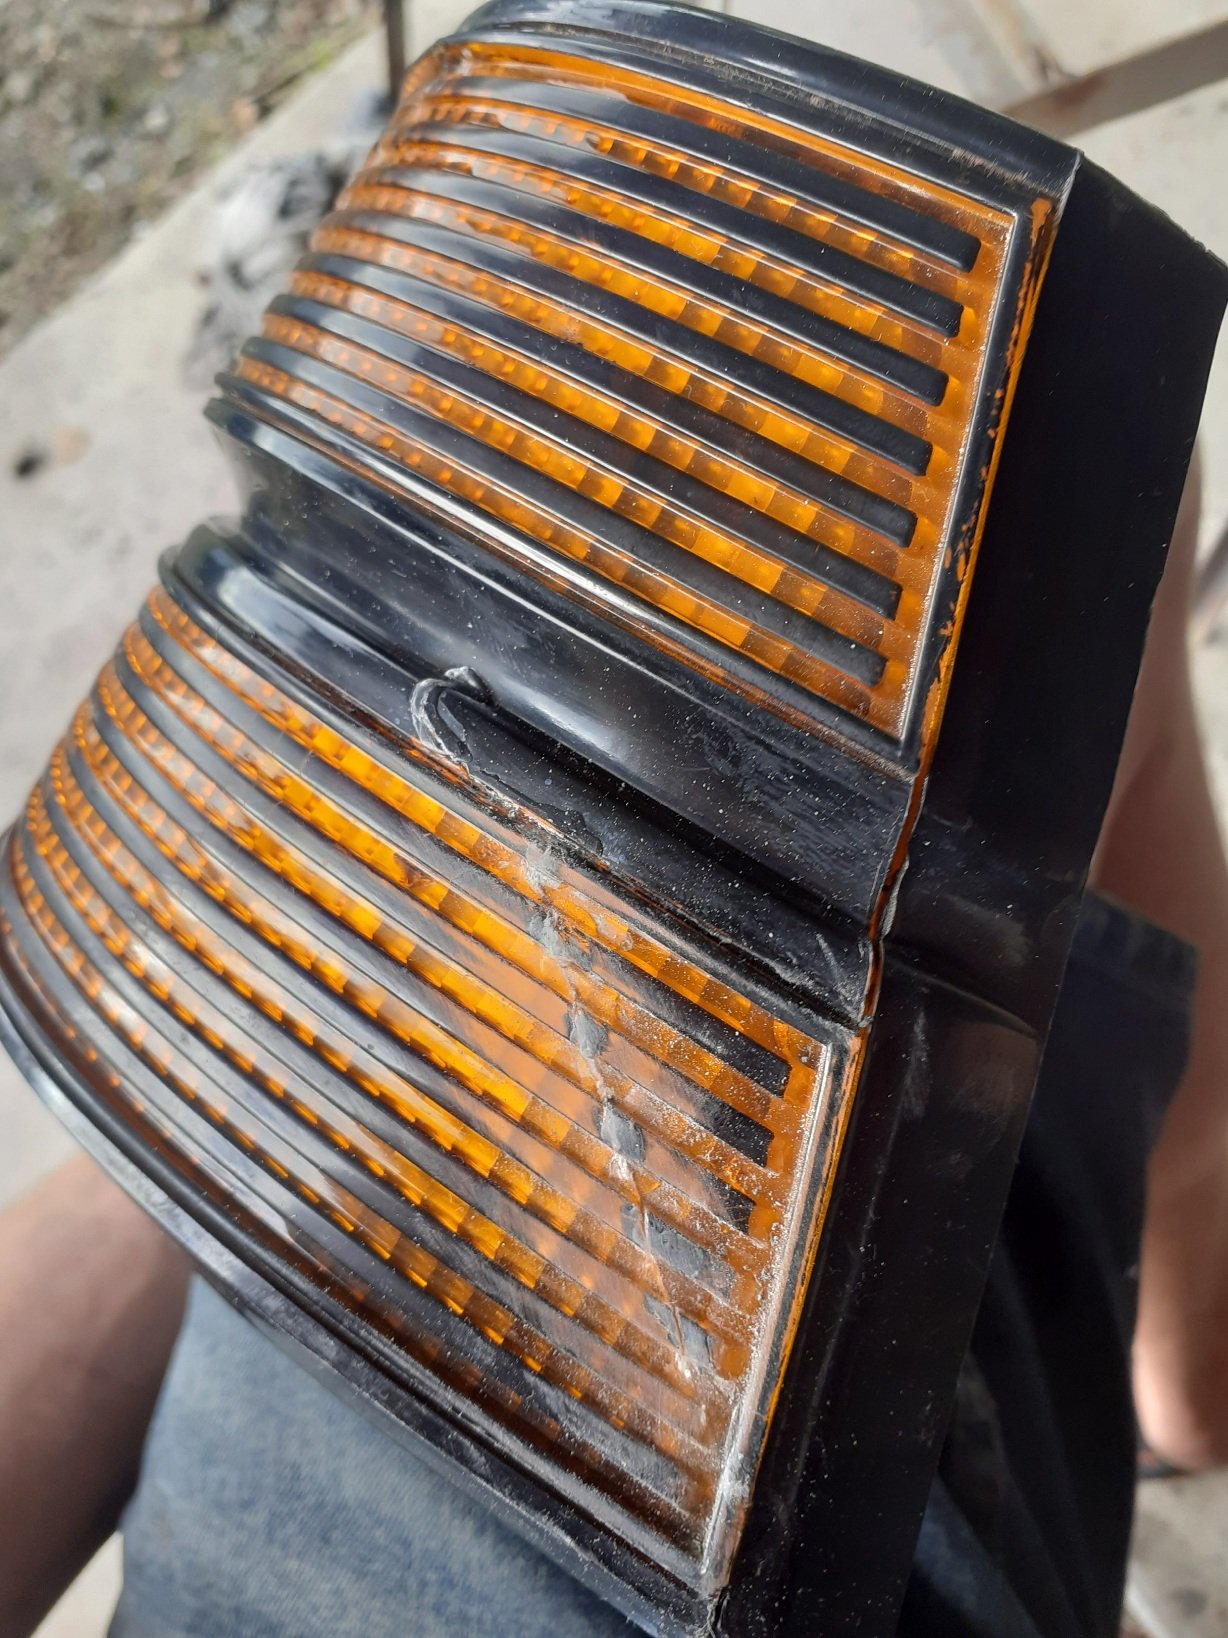
So yeaa i backed it into my fence because akward garage exit, non attention and caved the rear quater corner in, broke a light and munted a bumper side, i was pretty gutted put it back in garage, diddnt take pictures hoping it would fix itself, but the next weekend i had regained some motivation, soo off to aussy spares to get some bits and try to make it nice again... I put in quite a few hours popping the corner back out, took bumper side off to work on getting the new one ready sprayed some black on it to protect the metal and left it for a while so i could get paint bits .. There were no lights with no damage so brought the least damaged one, along with 2 i had to make one good light lol This included digging out plastic panels and using some pp/pe plastic glue (worked great), non hardening sealer to seal it, and made it presentable
-
Painted in a garage with no fancy equipment, and cost me maybe 50$ in materials, about 2000$ in labour though
- 85 replies
-
- 17
-

-
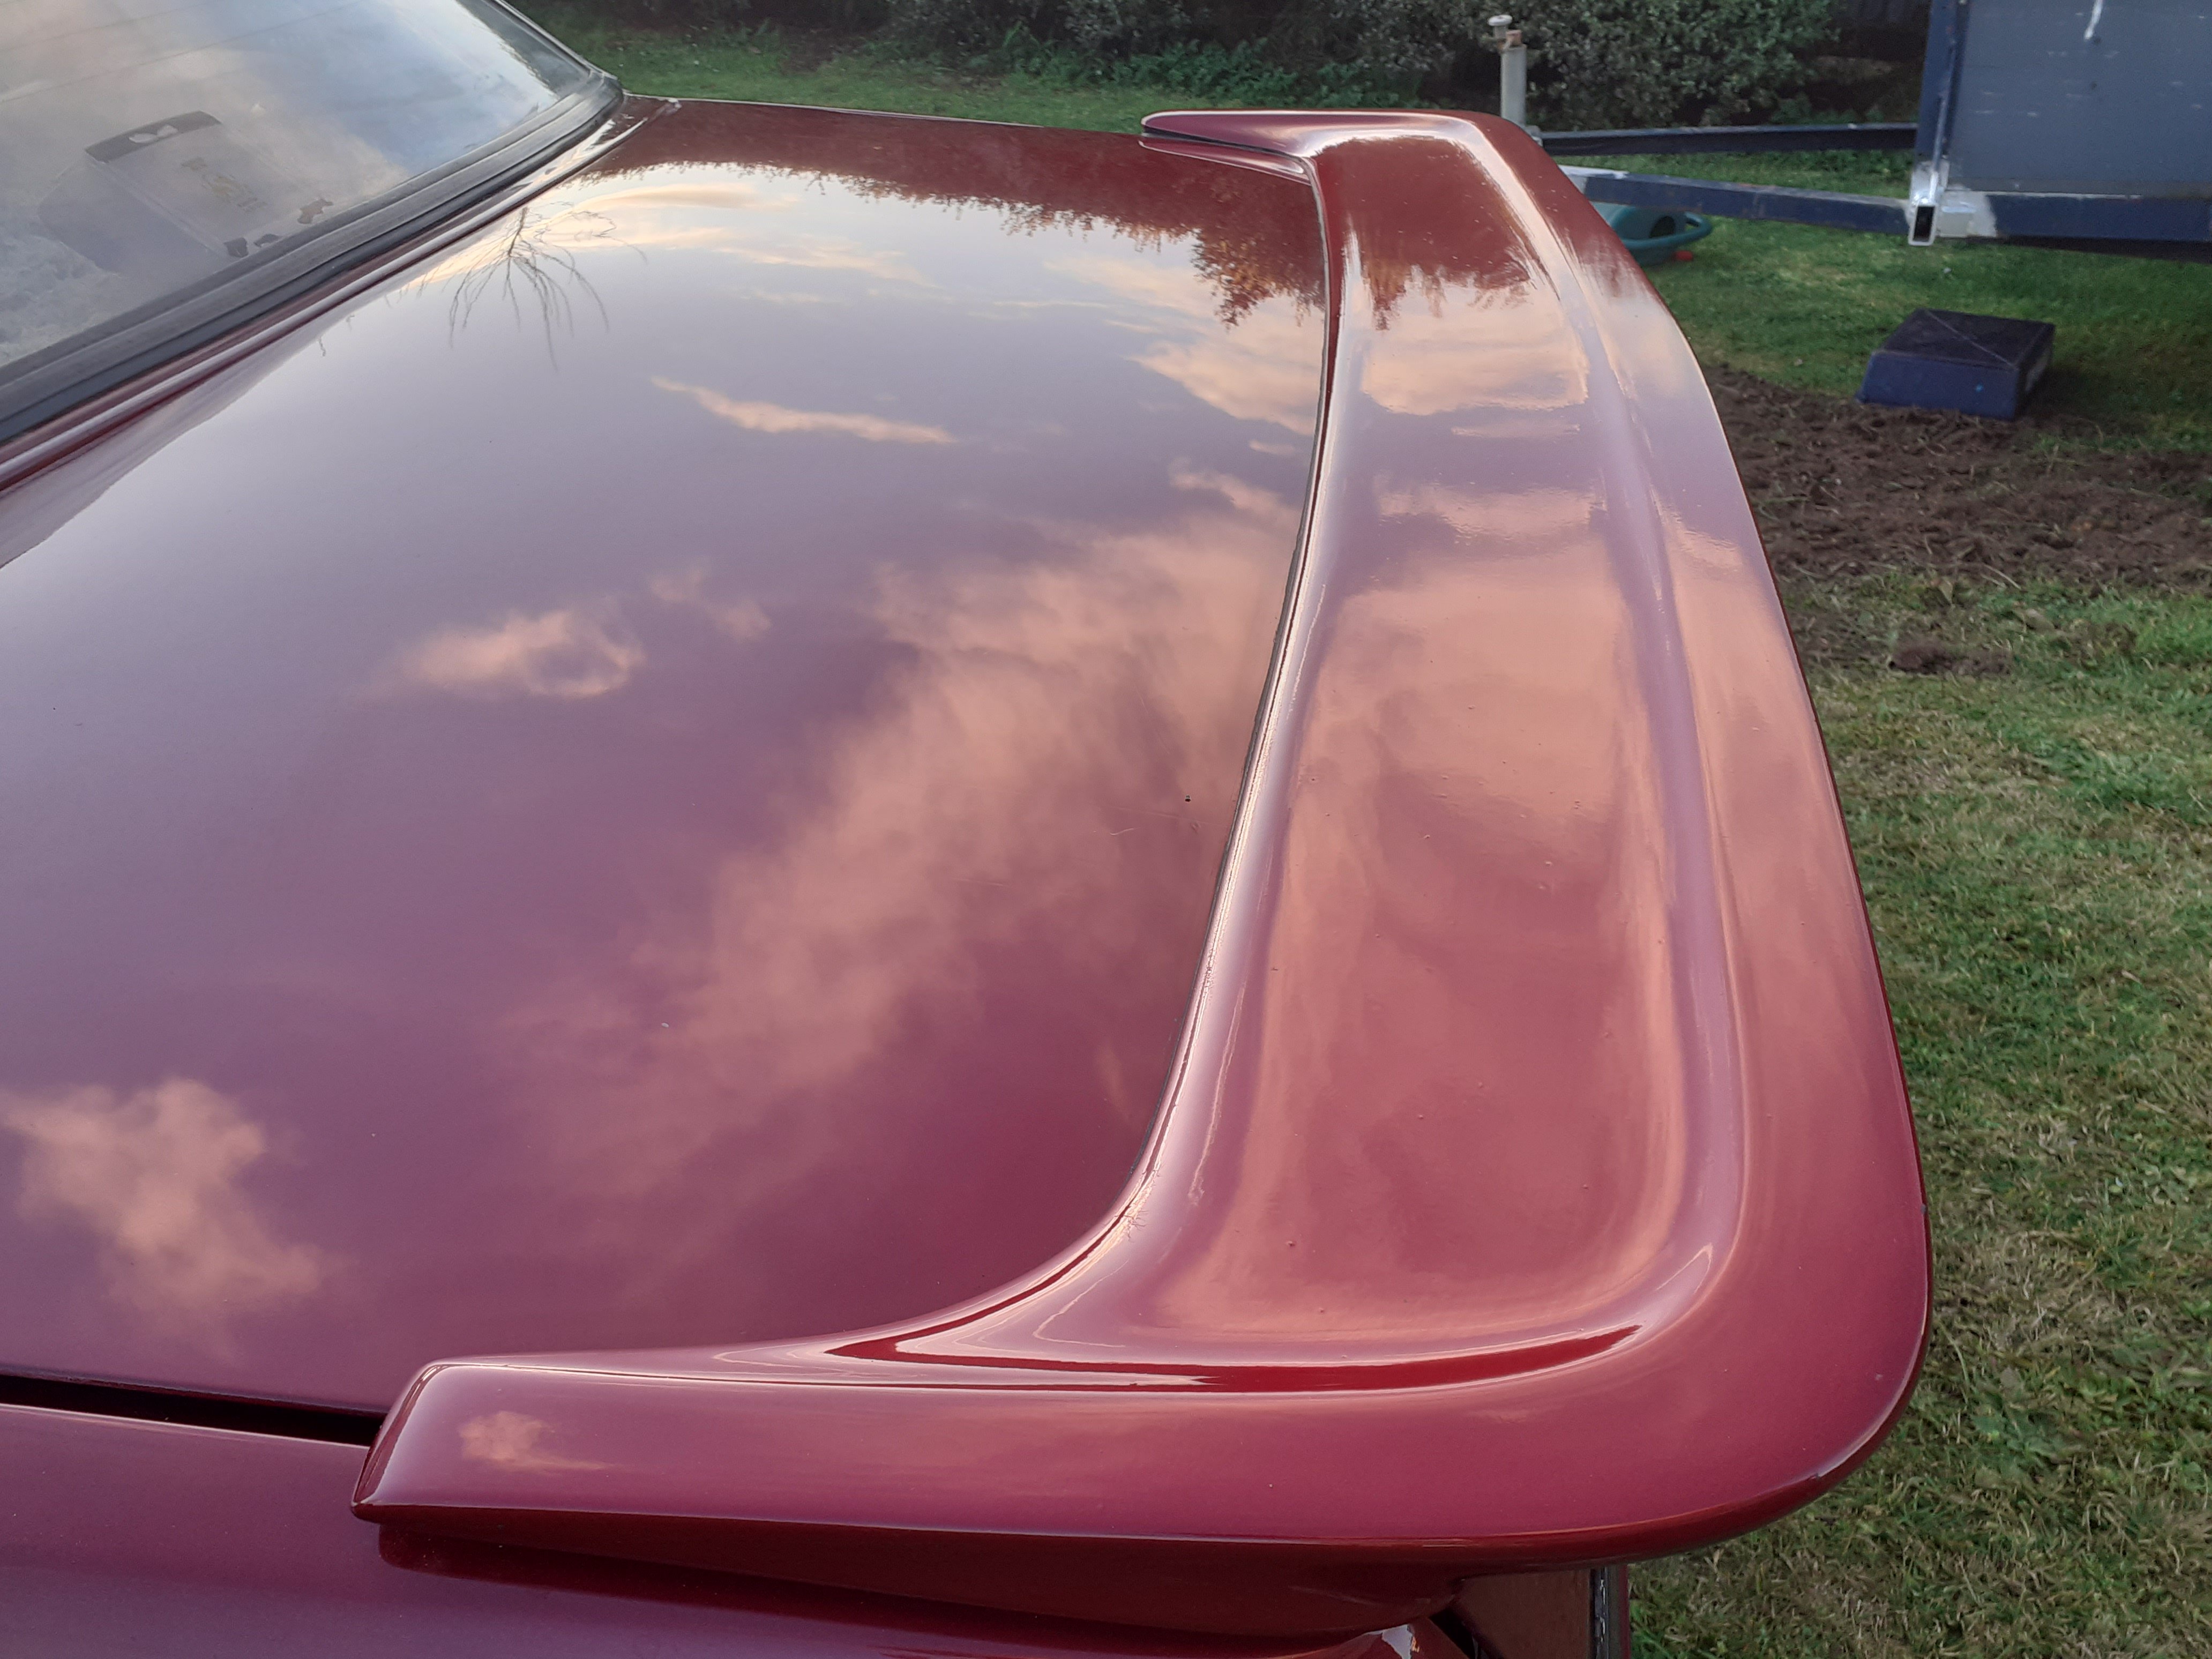
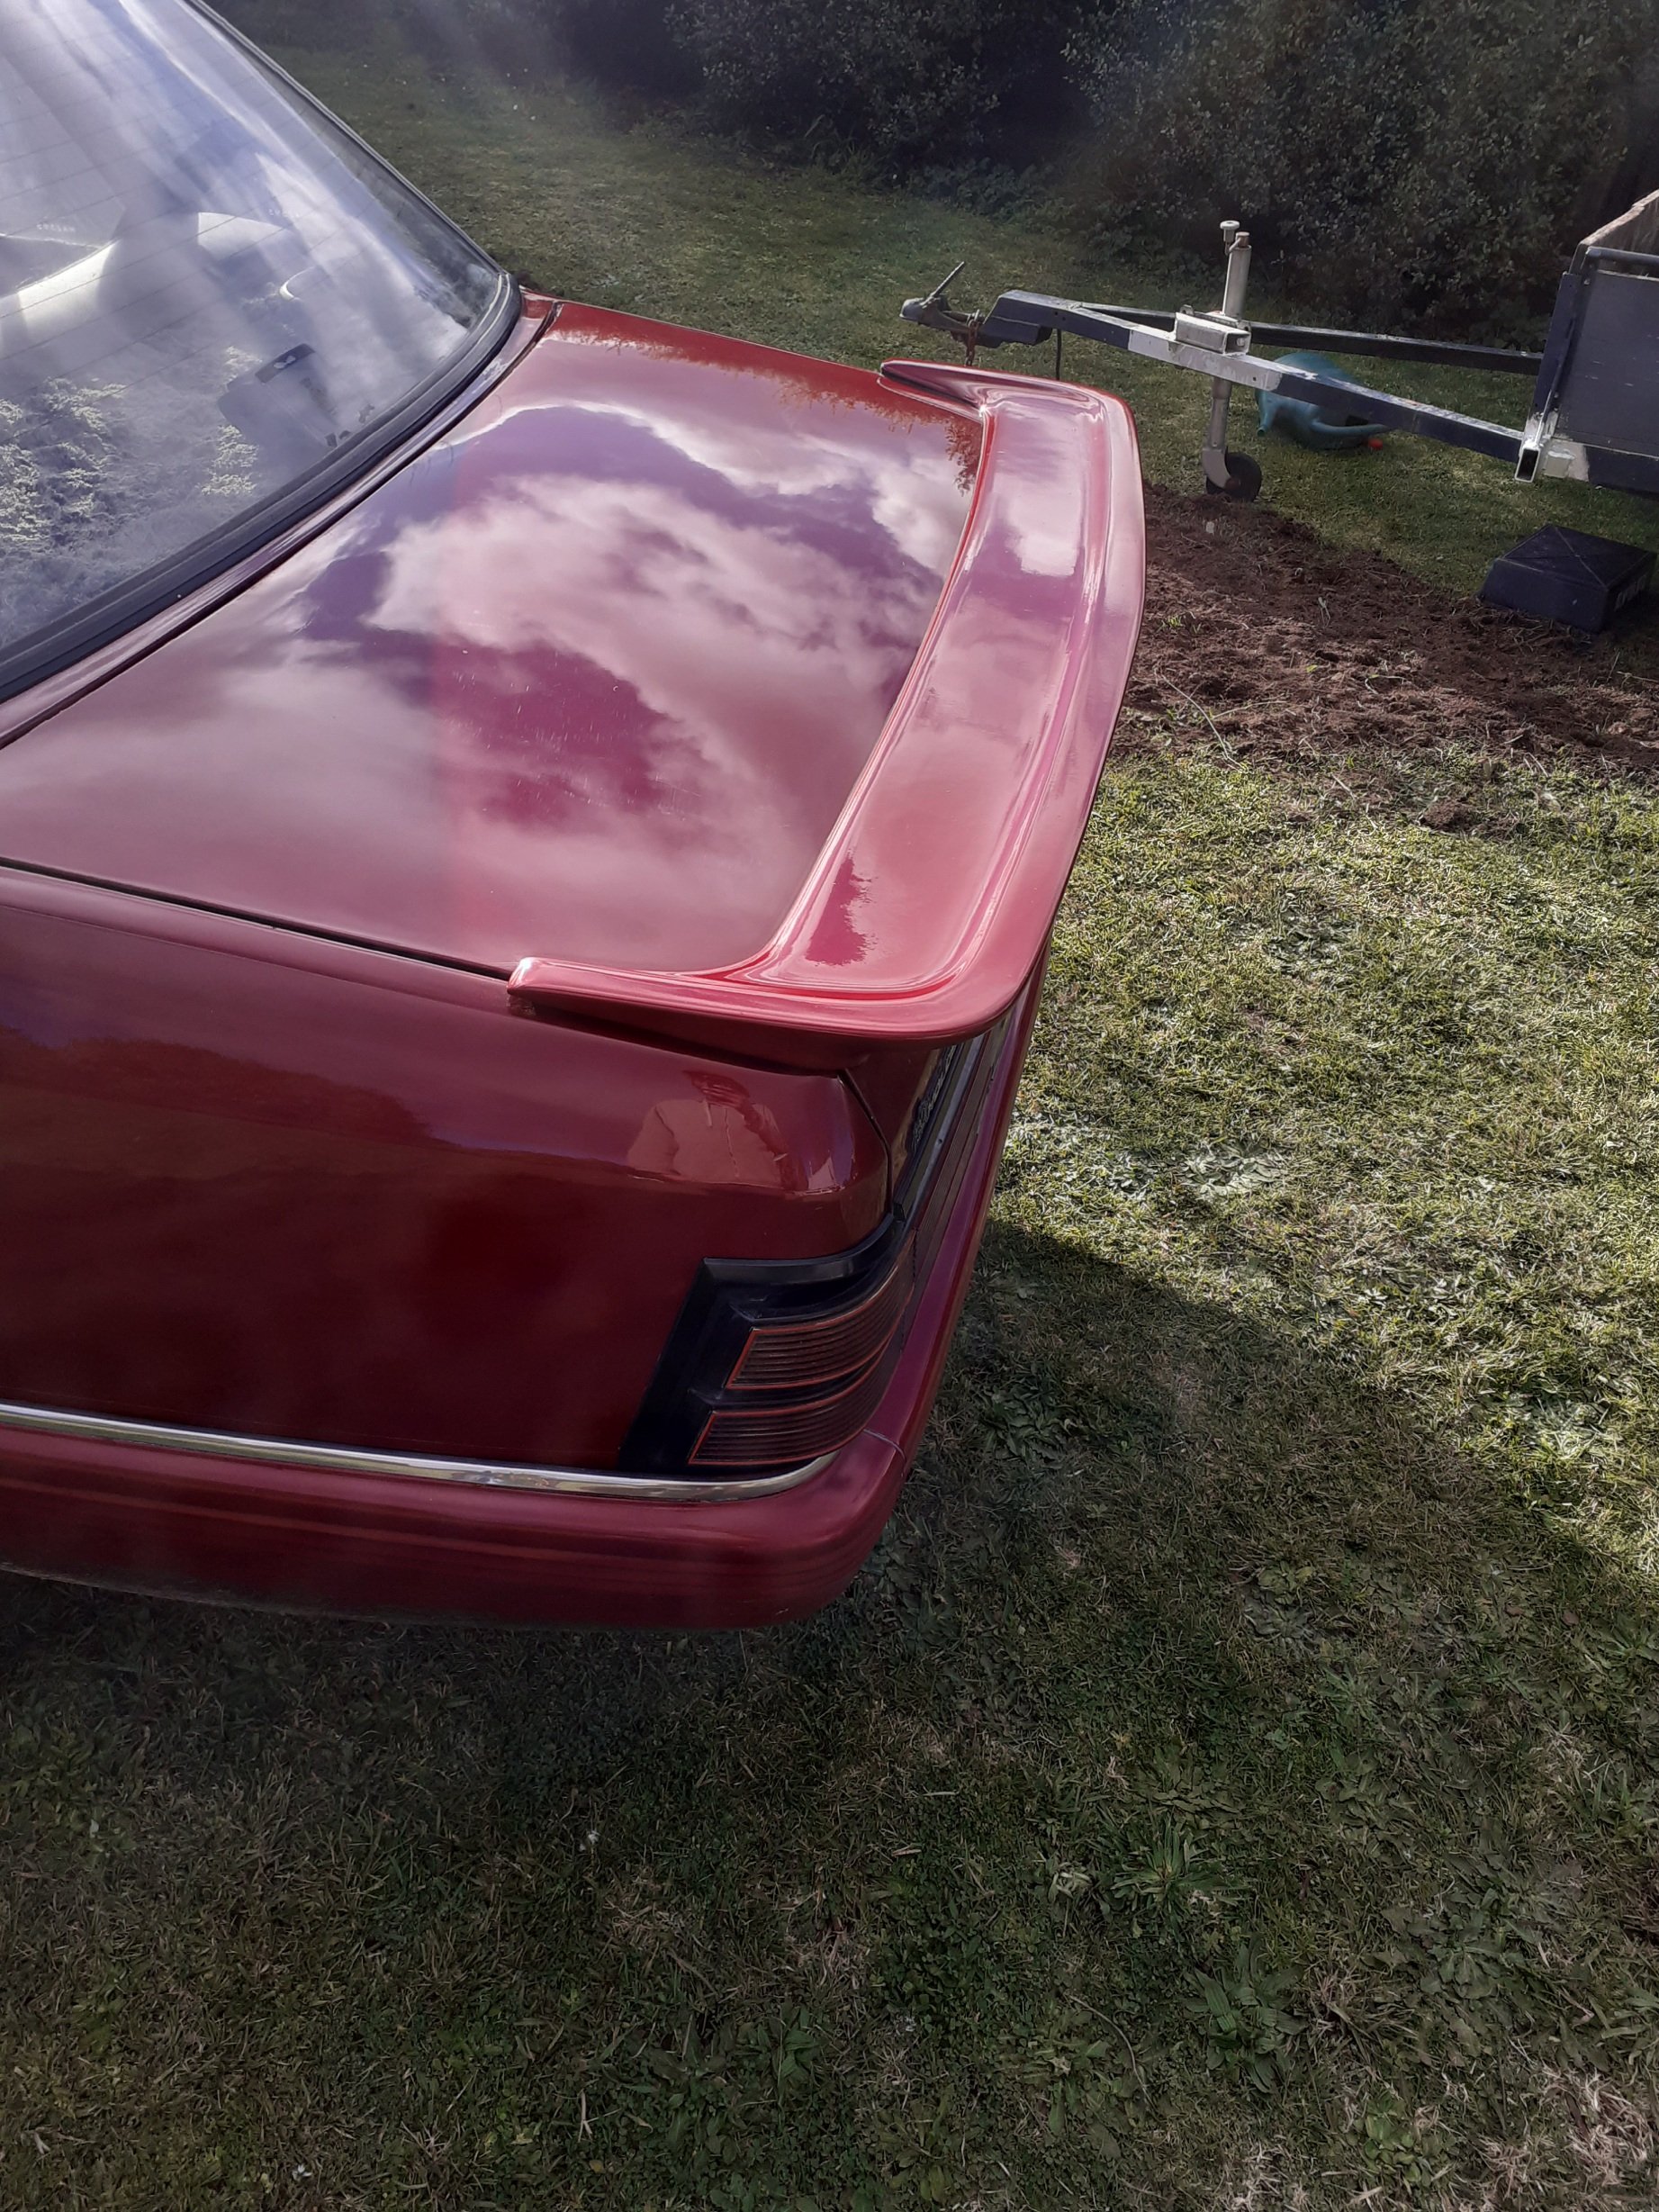
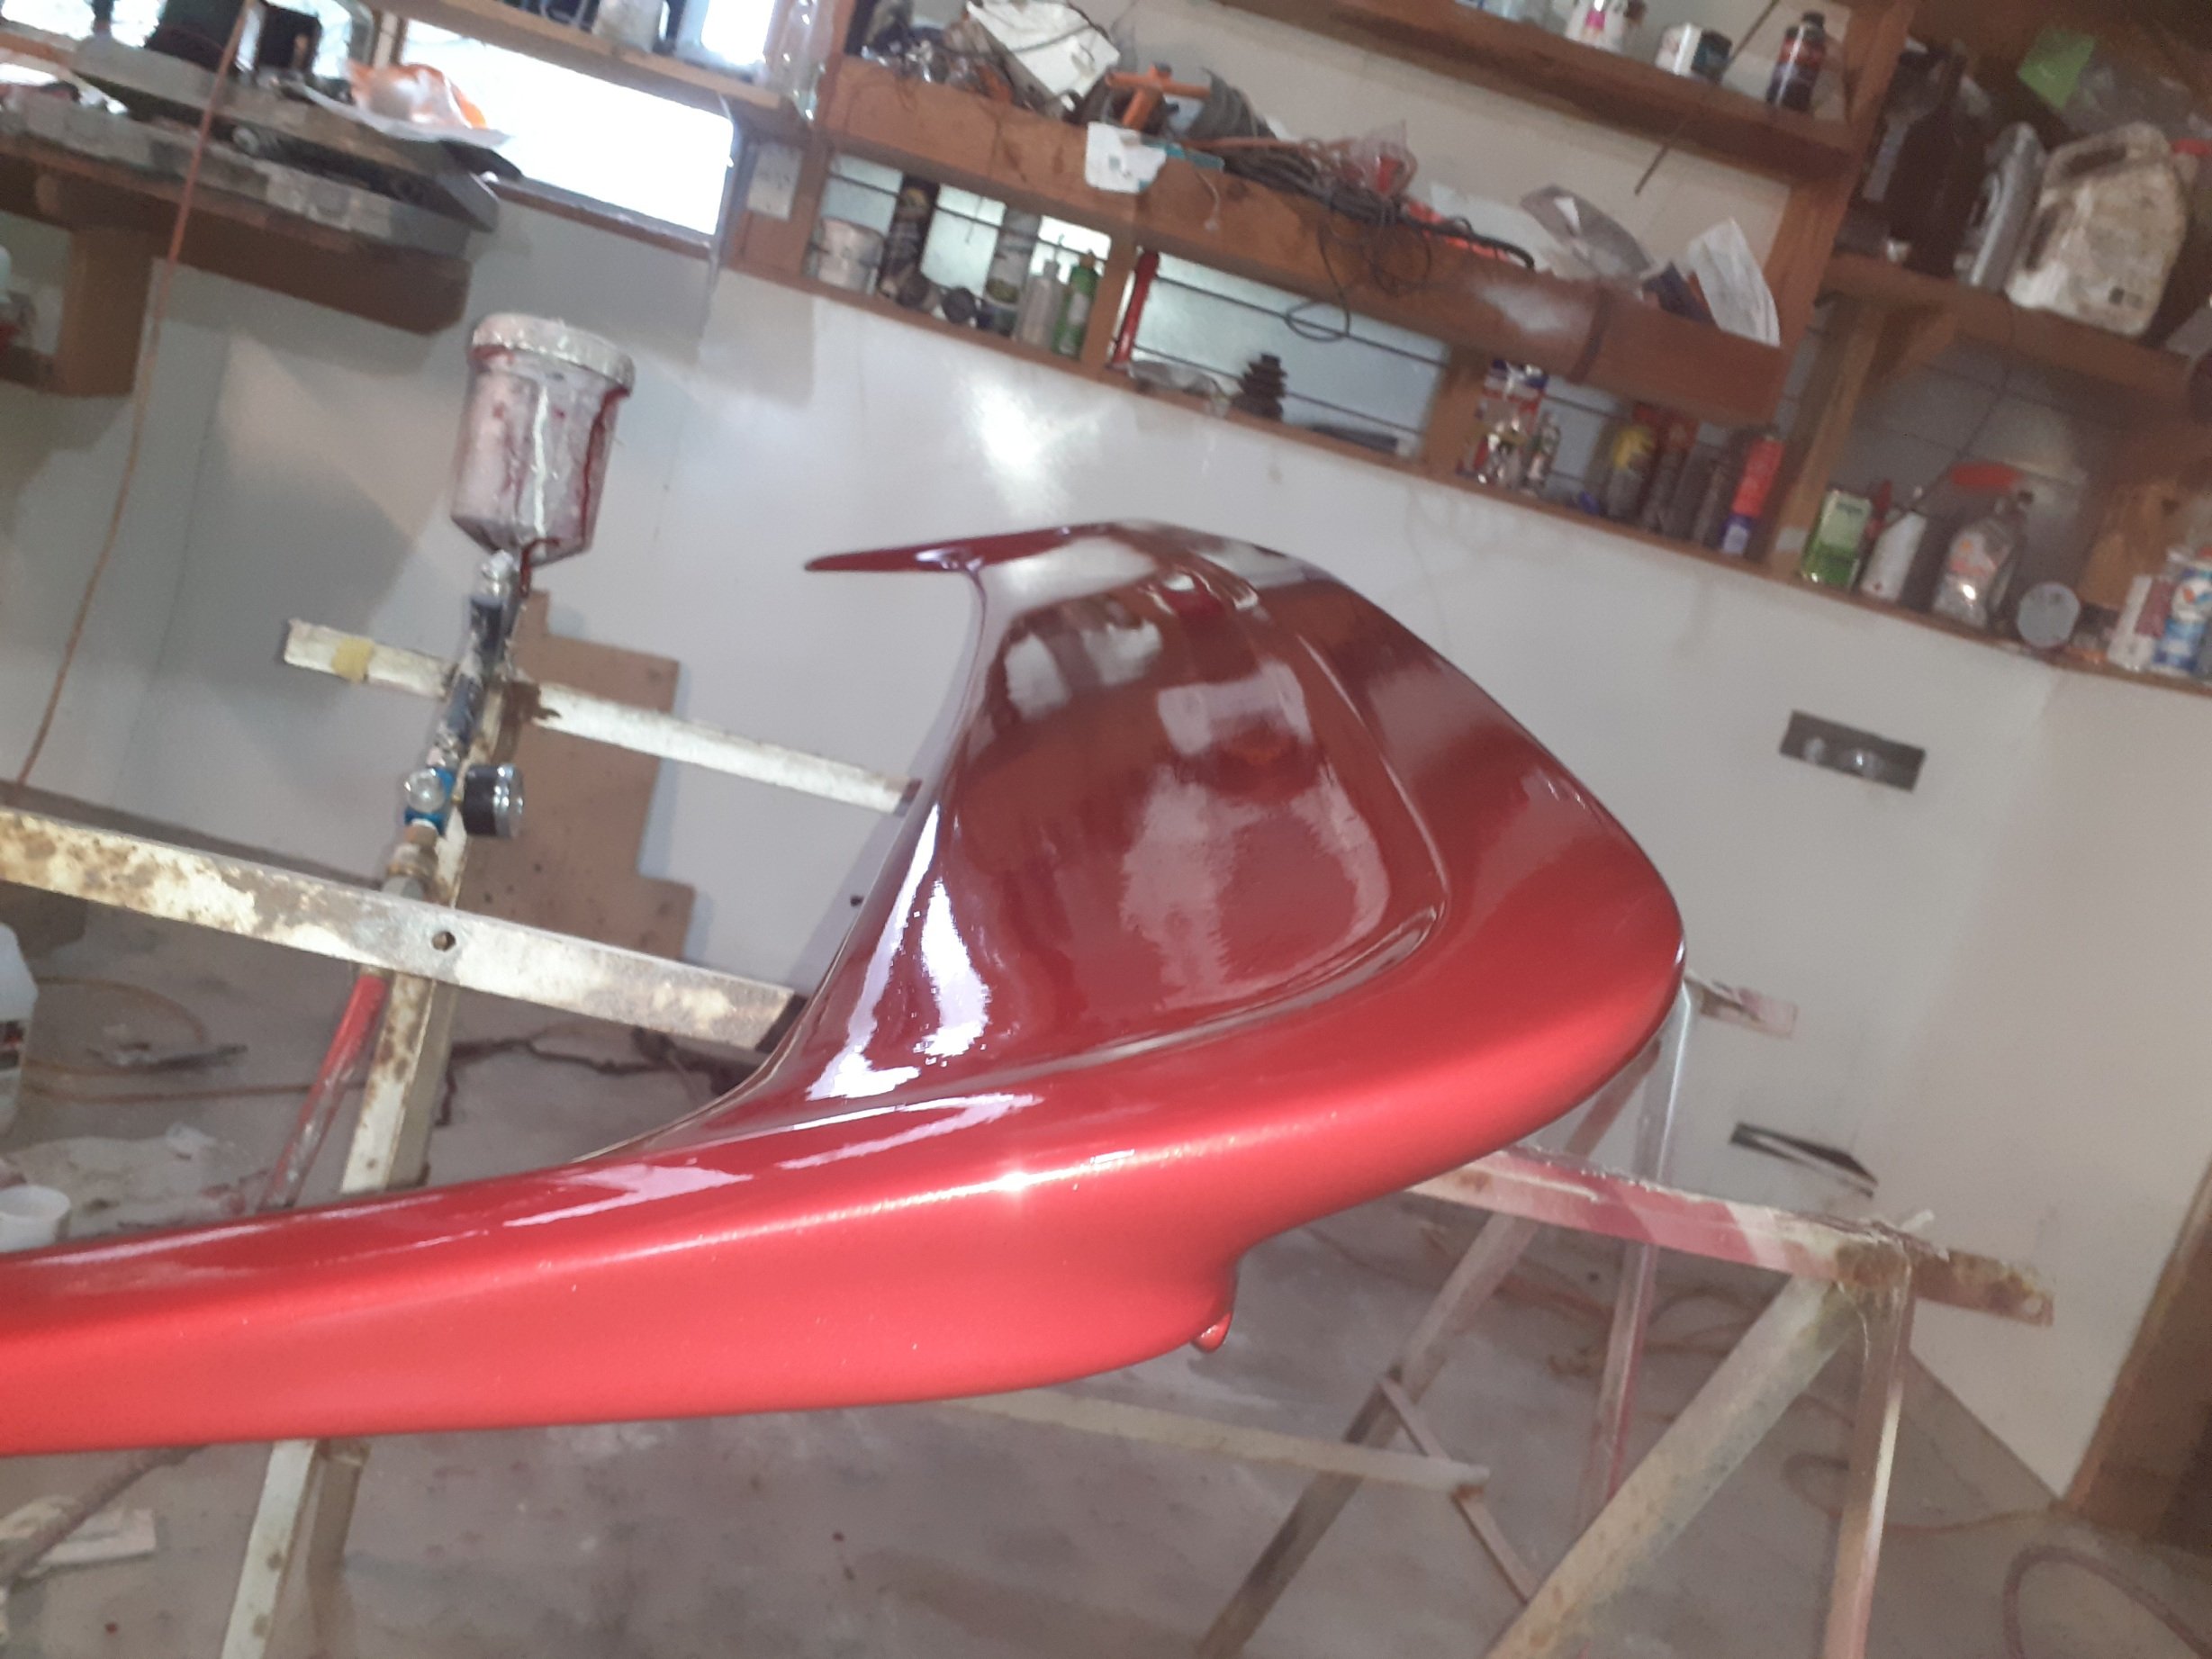
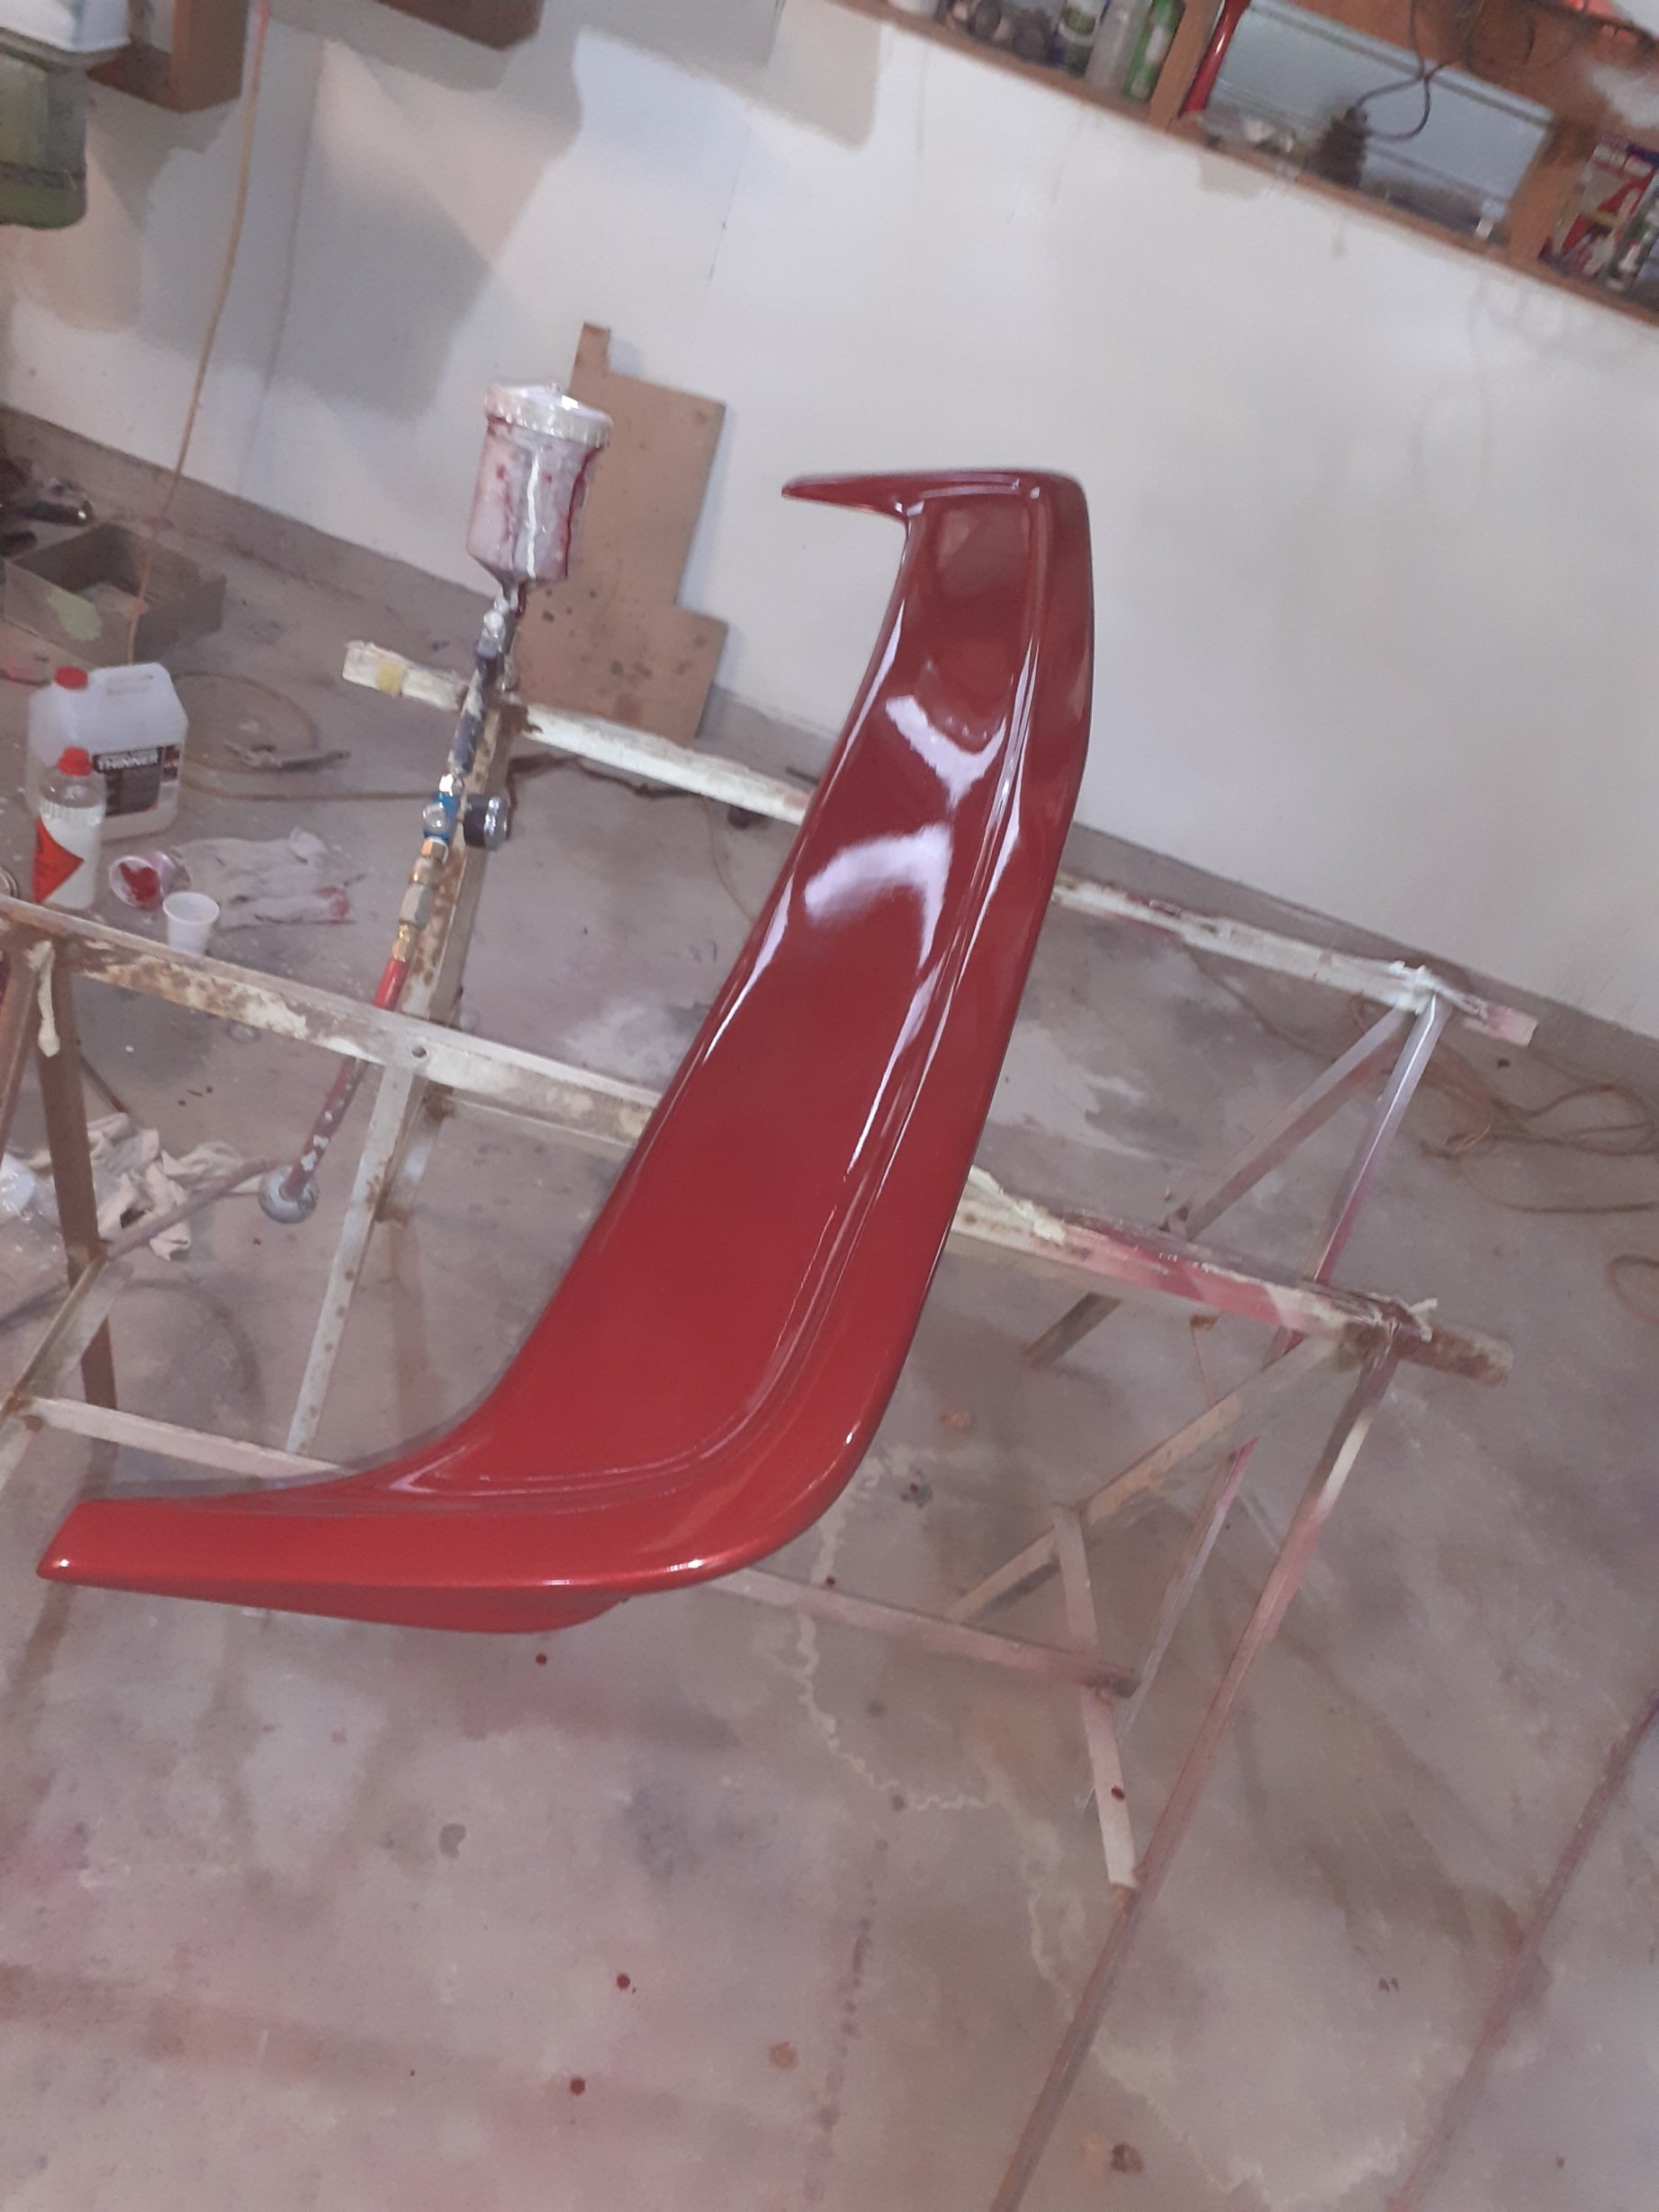
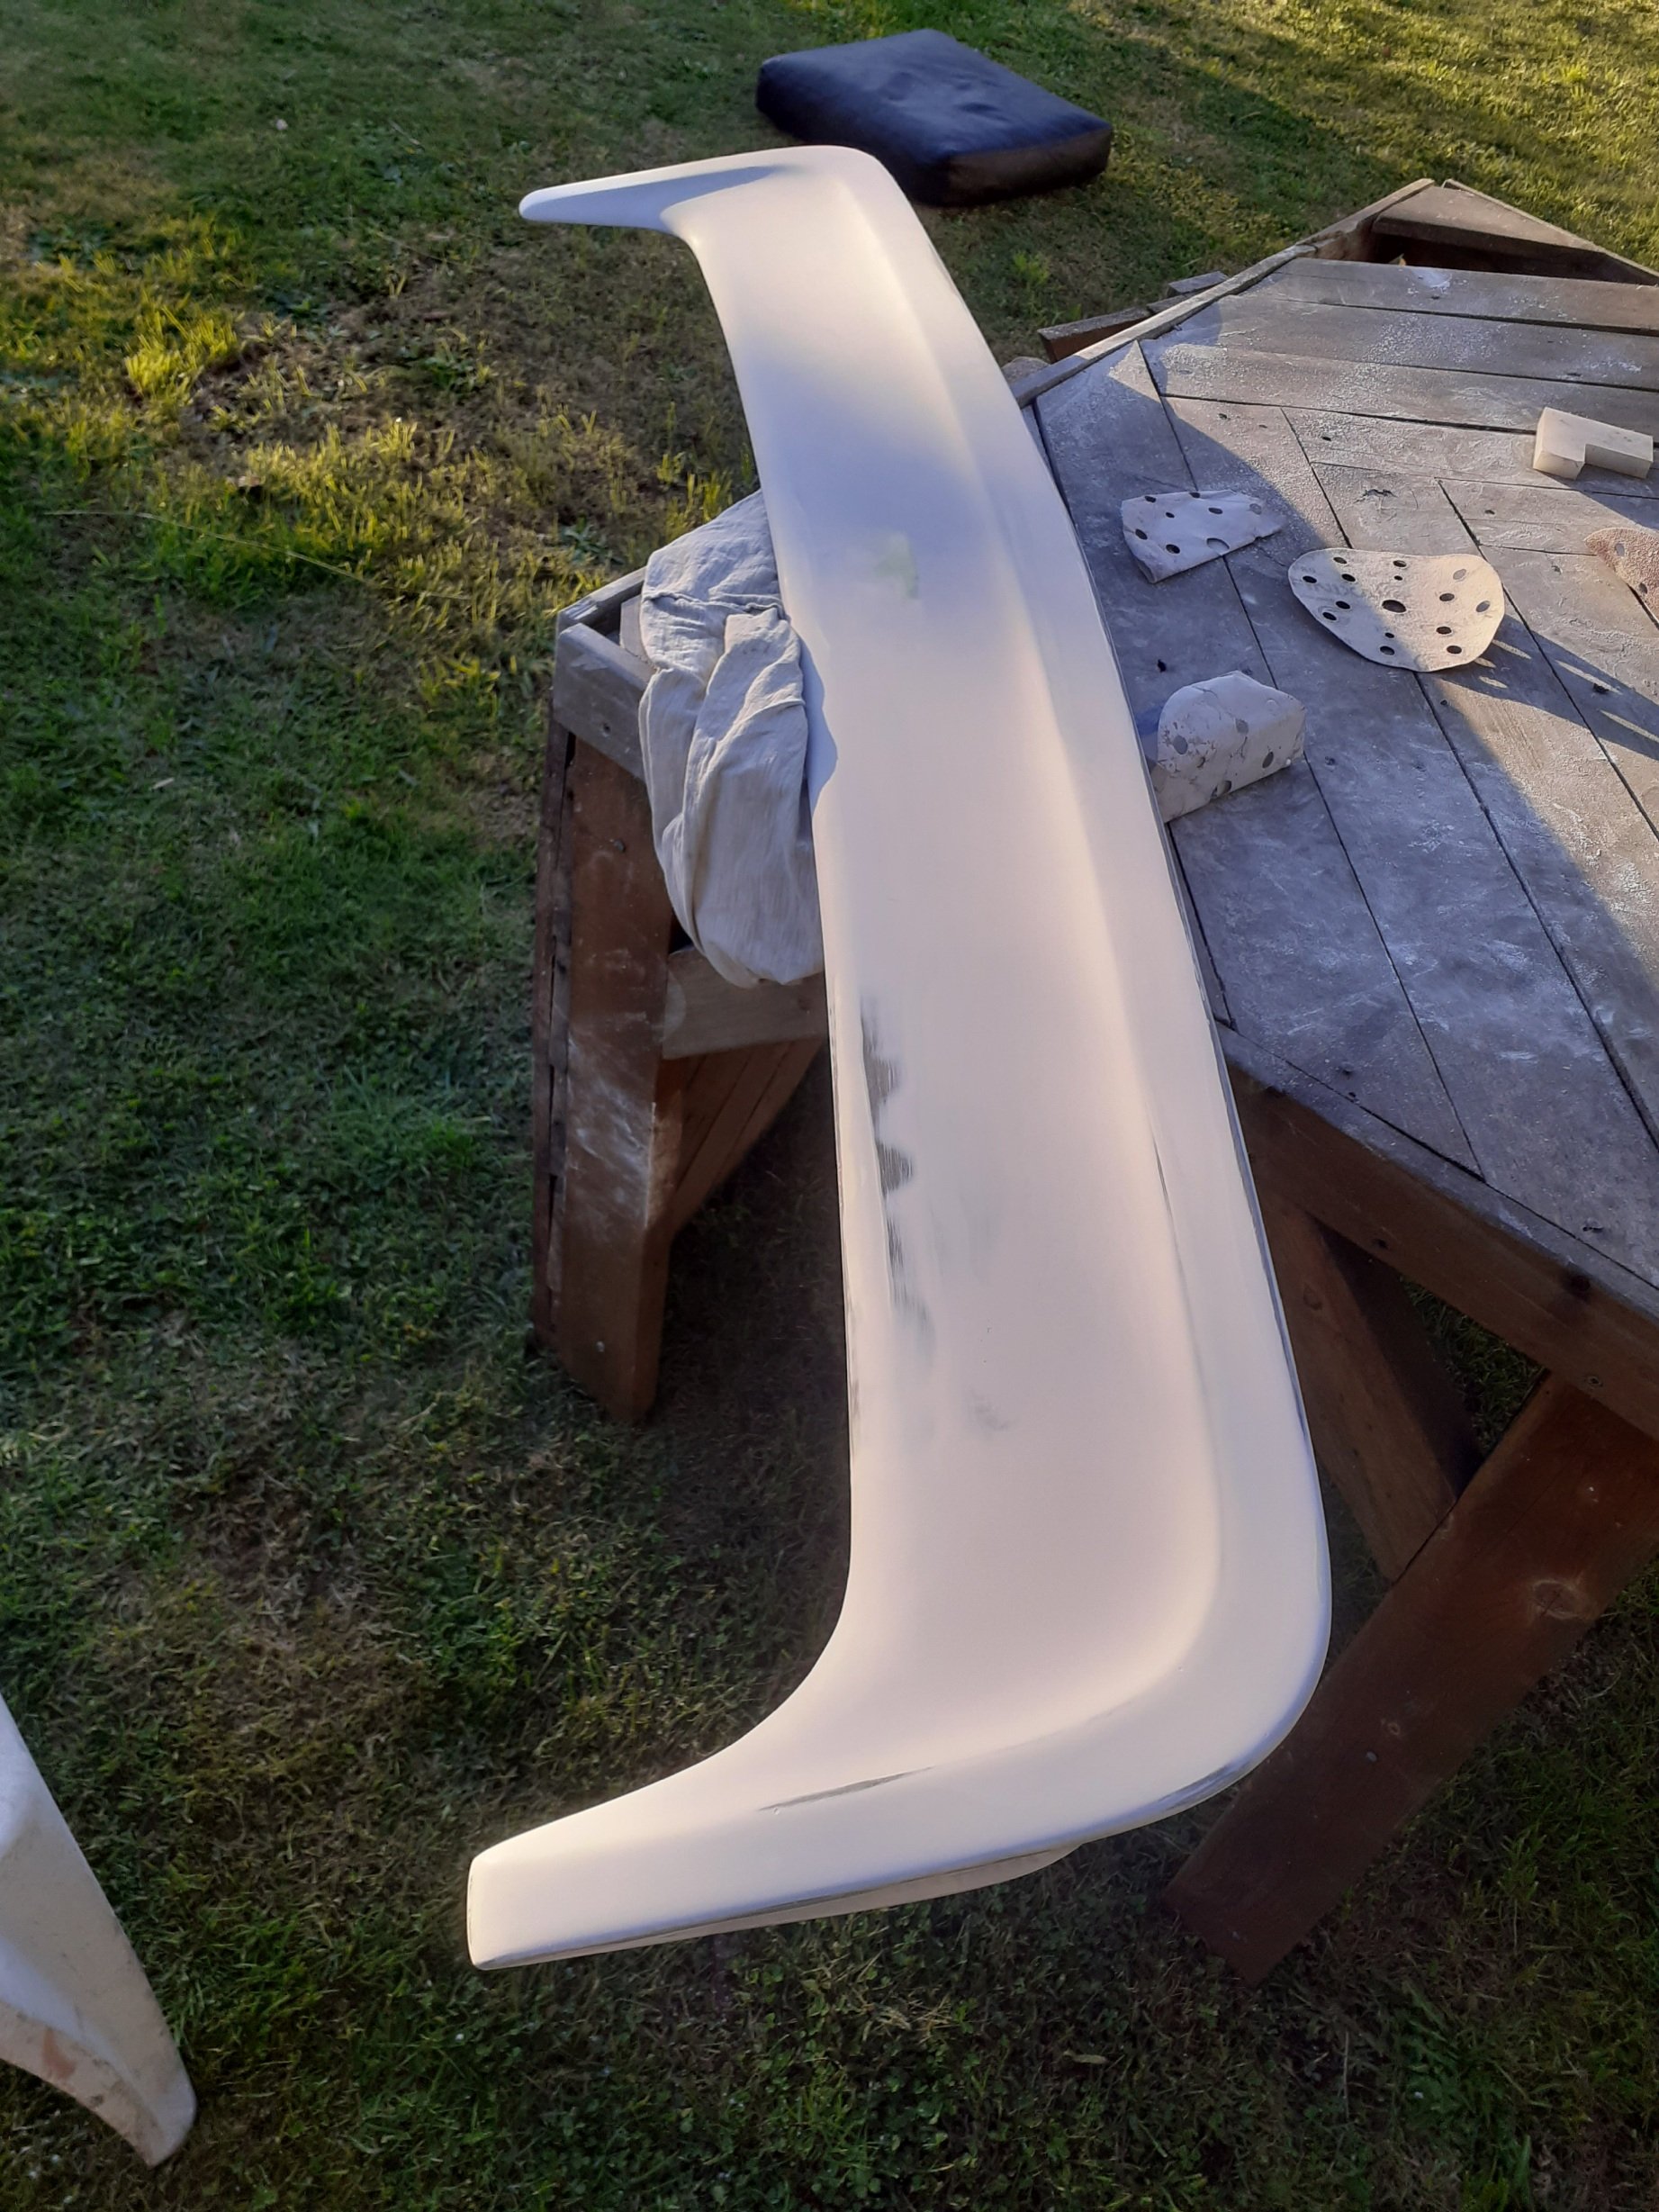
Keeping in mind i did not know how to paint with anything other than a rattle can as of a year ago, im pretty happy with the result Its sealed on front edge and where bolts come through boot with some quality sealer with gaps to let water through, still have to cut and polish lightly but overall the ss wing looks good Yea and i decided this is gonna be a hdt ss rep ( not group a or group3) its got the basic trim, 5l v8 manual, wing, and with a stripe kit, some ss decals front and back it should be pretty close to what the base ss models were . . Well not exact but thats what i want it to be . .
-
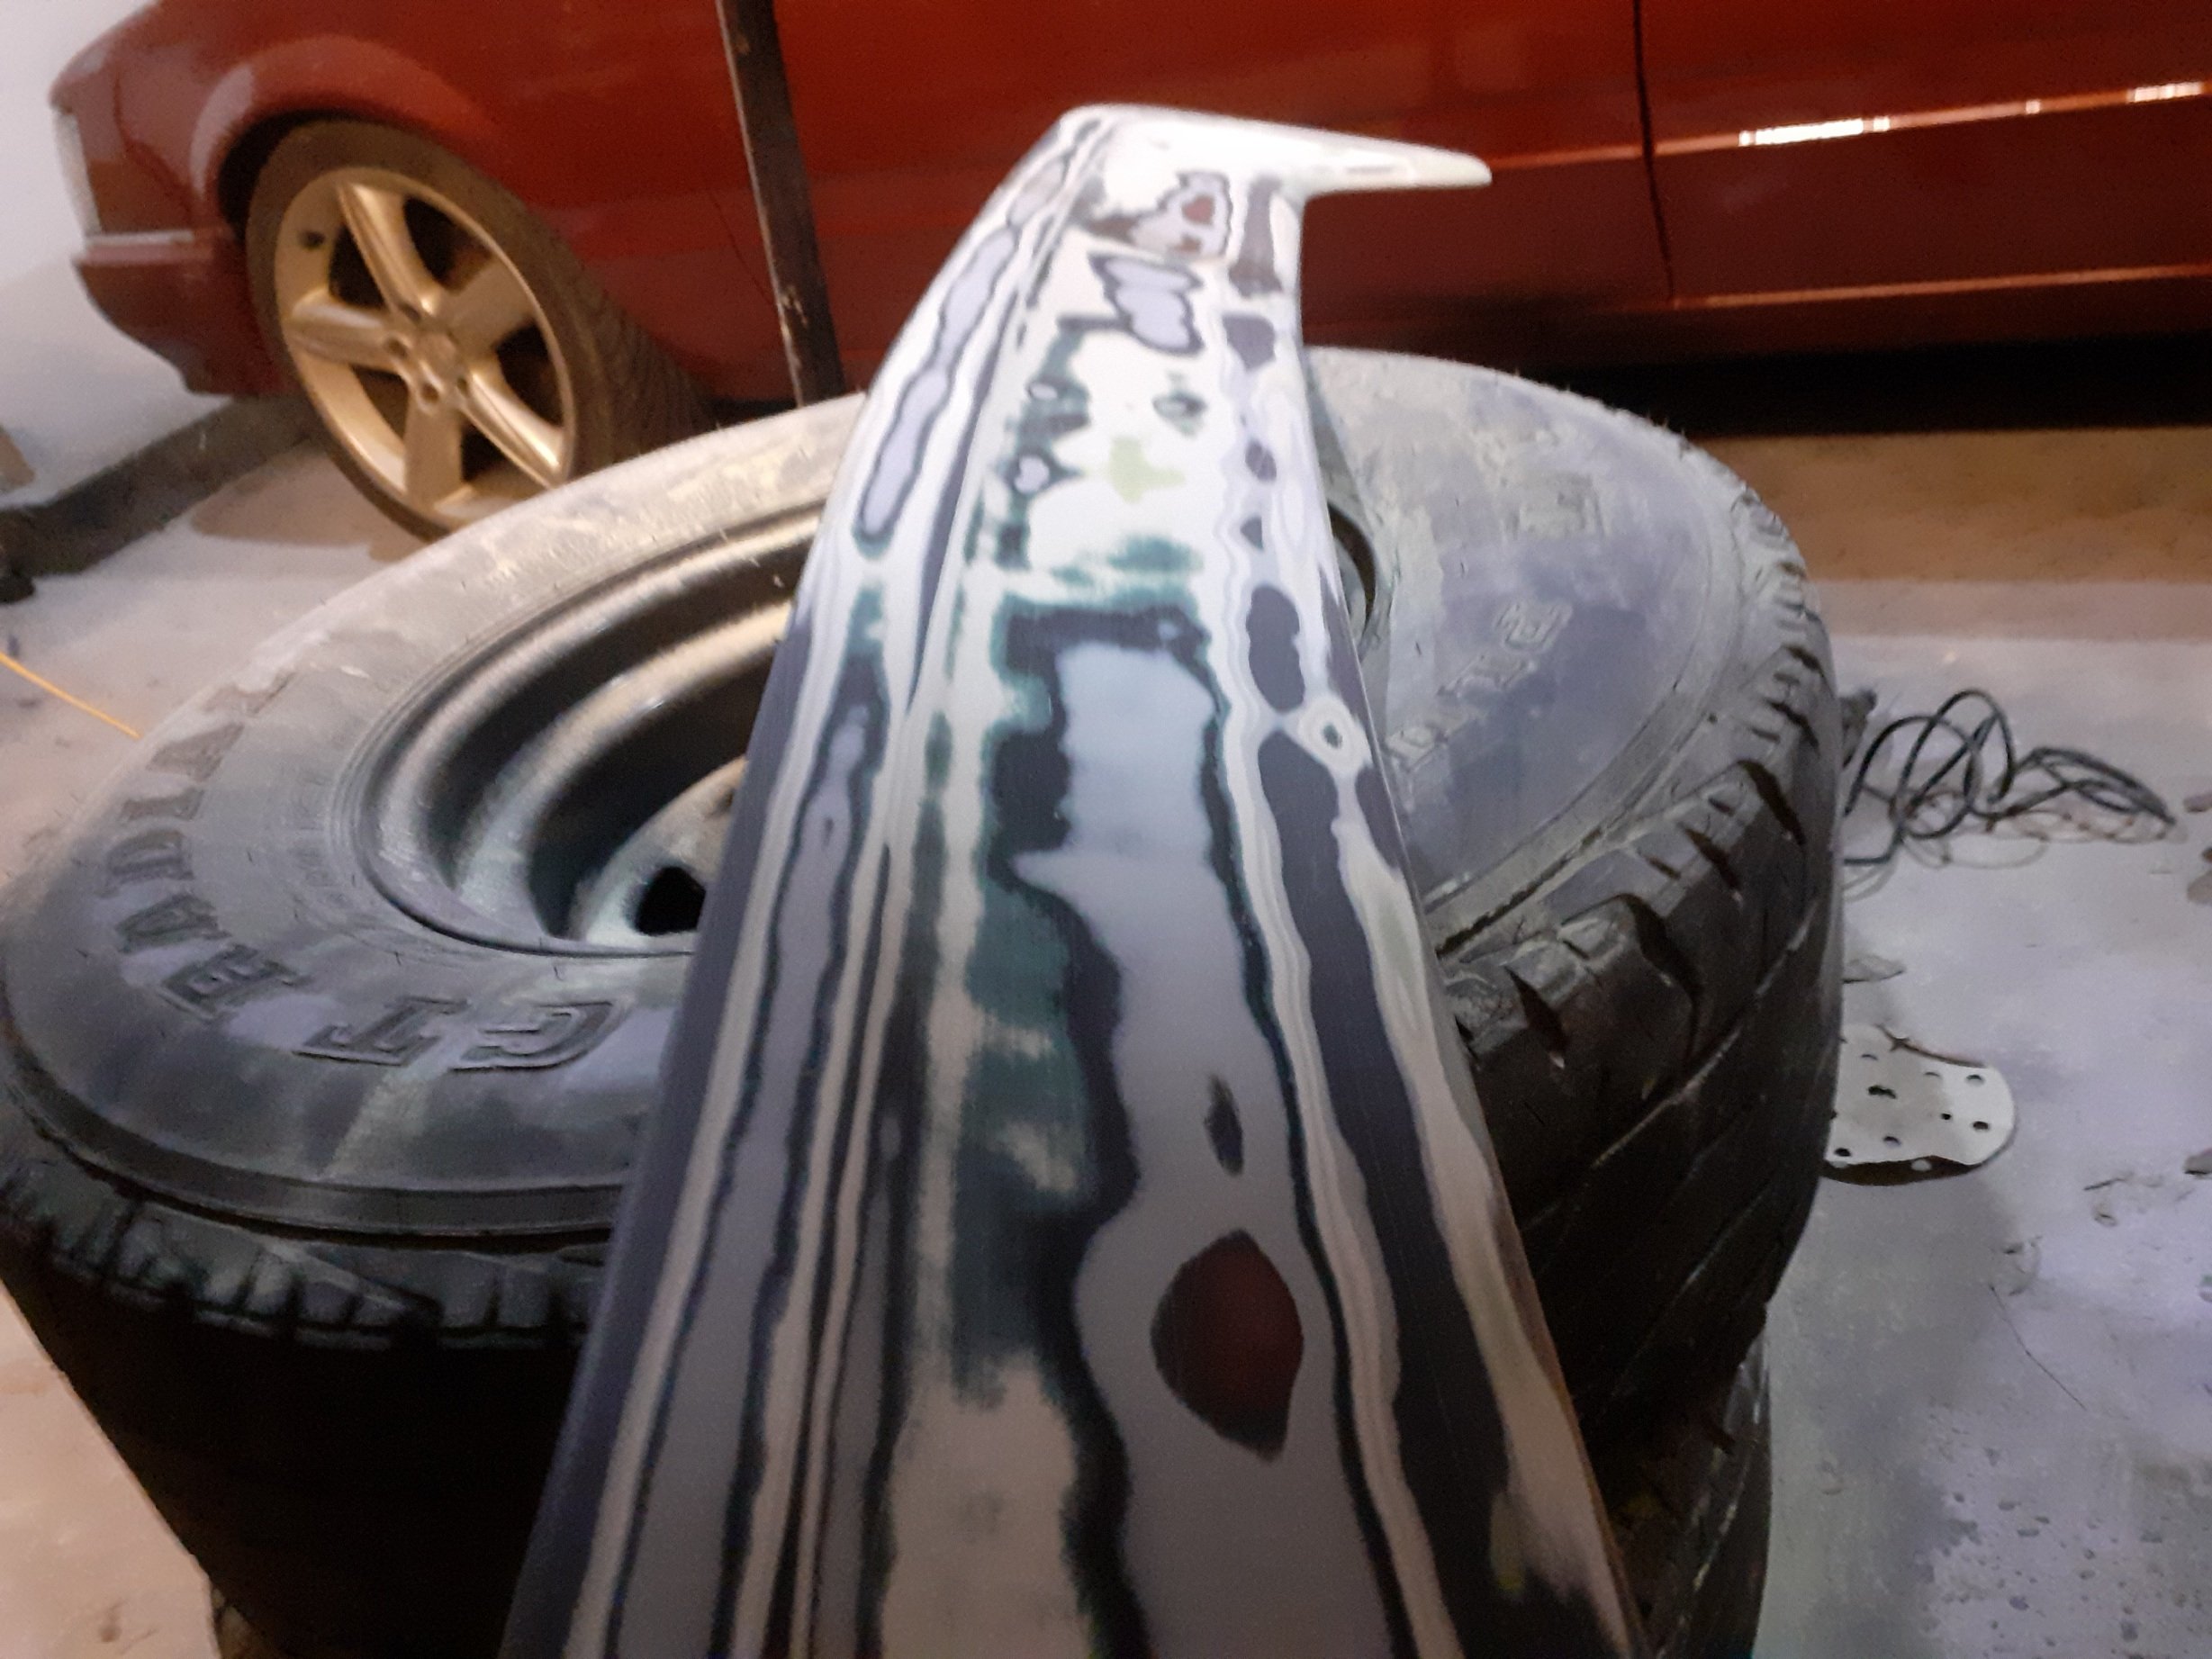
Some black base, and final fitment check before spraying it with 3 coats red and 3 clear to really make sure it doesnt wear as easy and a little cut and polishing can be done without burning through
-
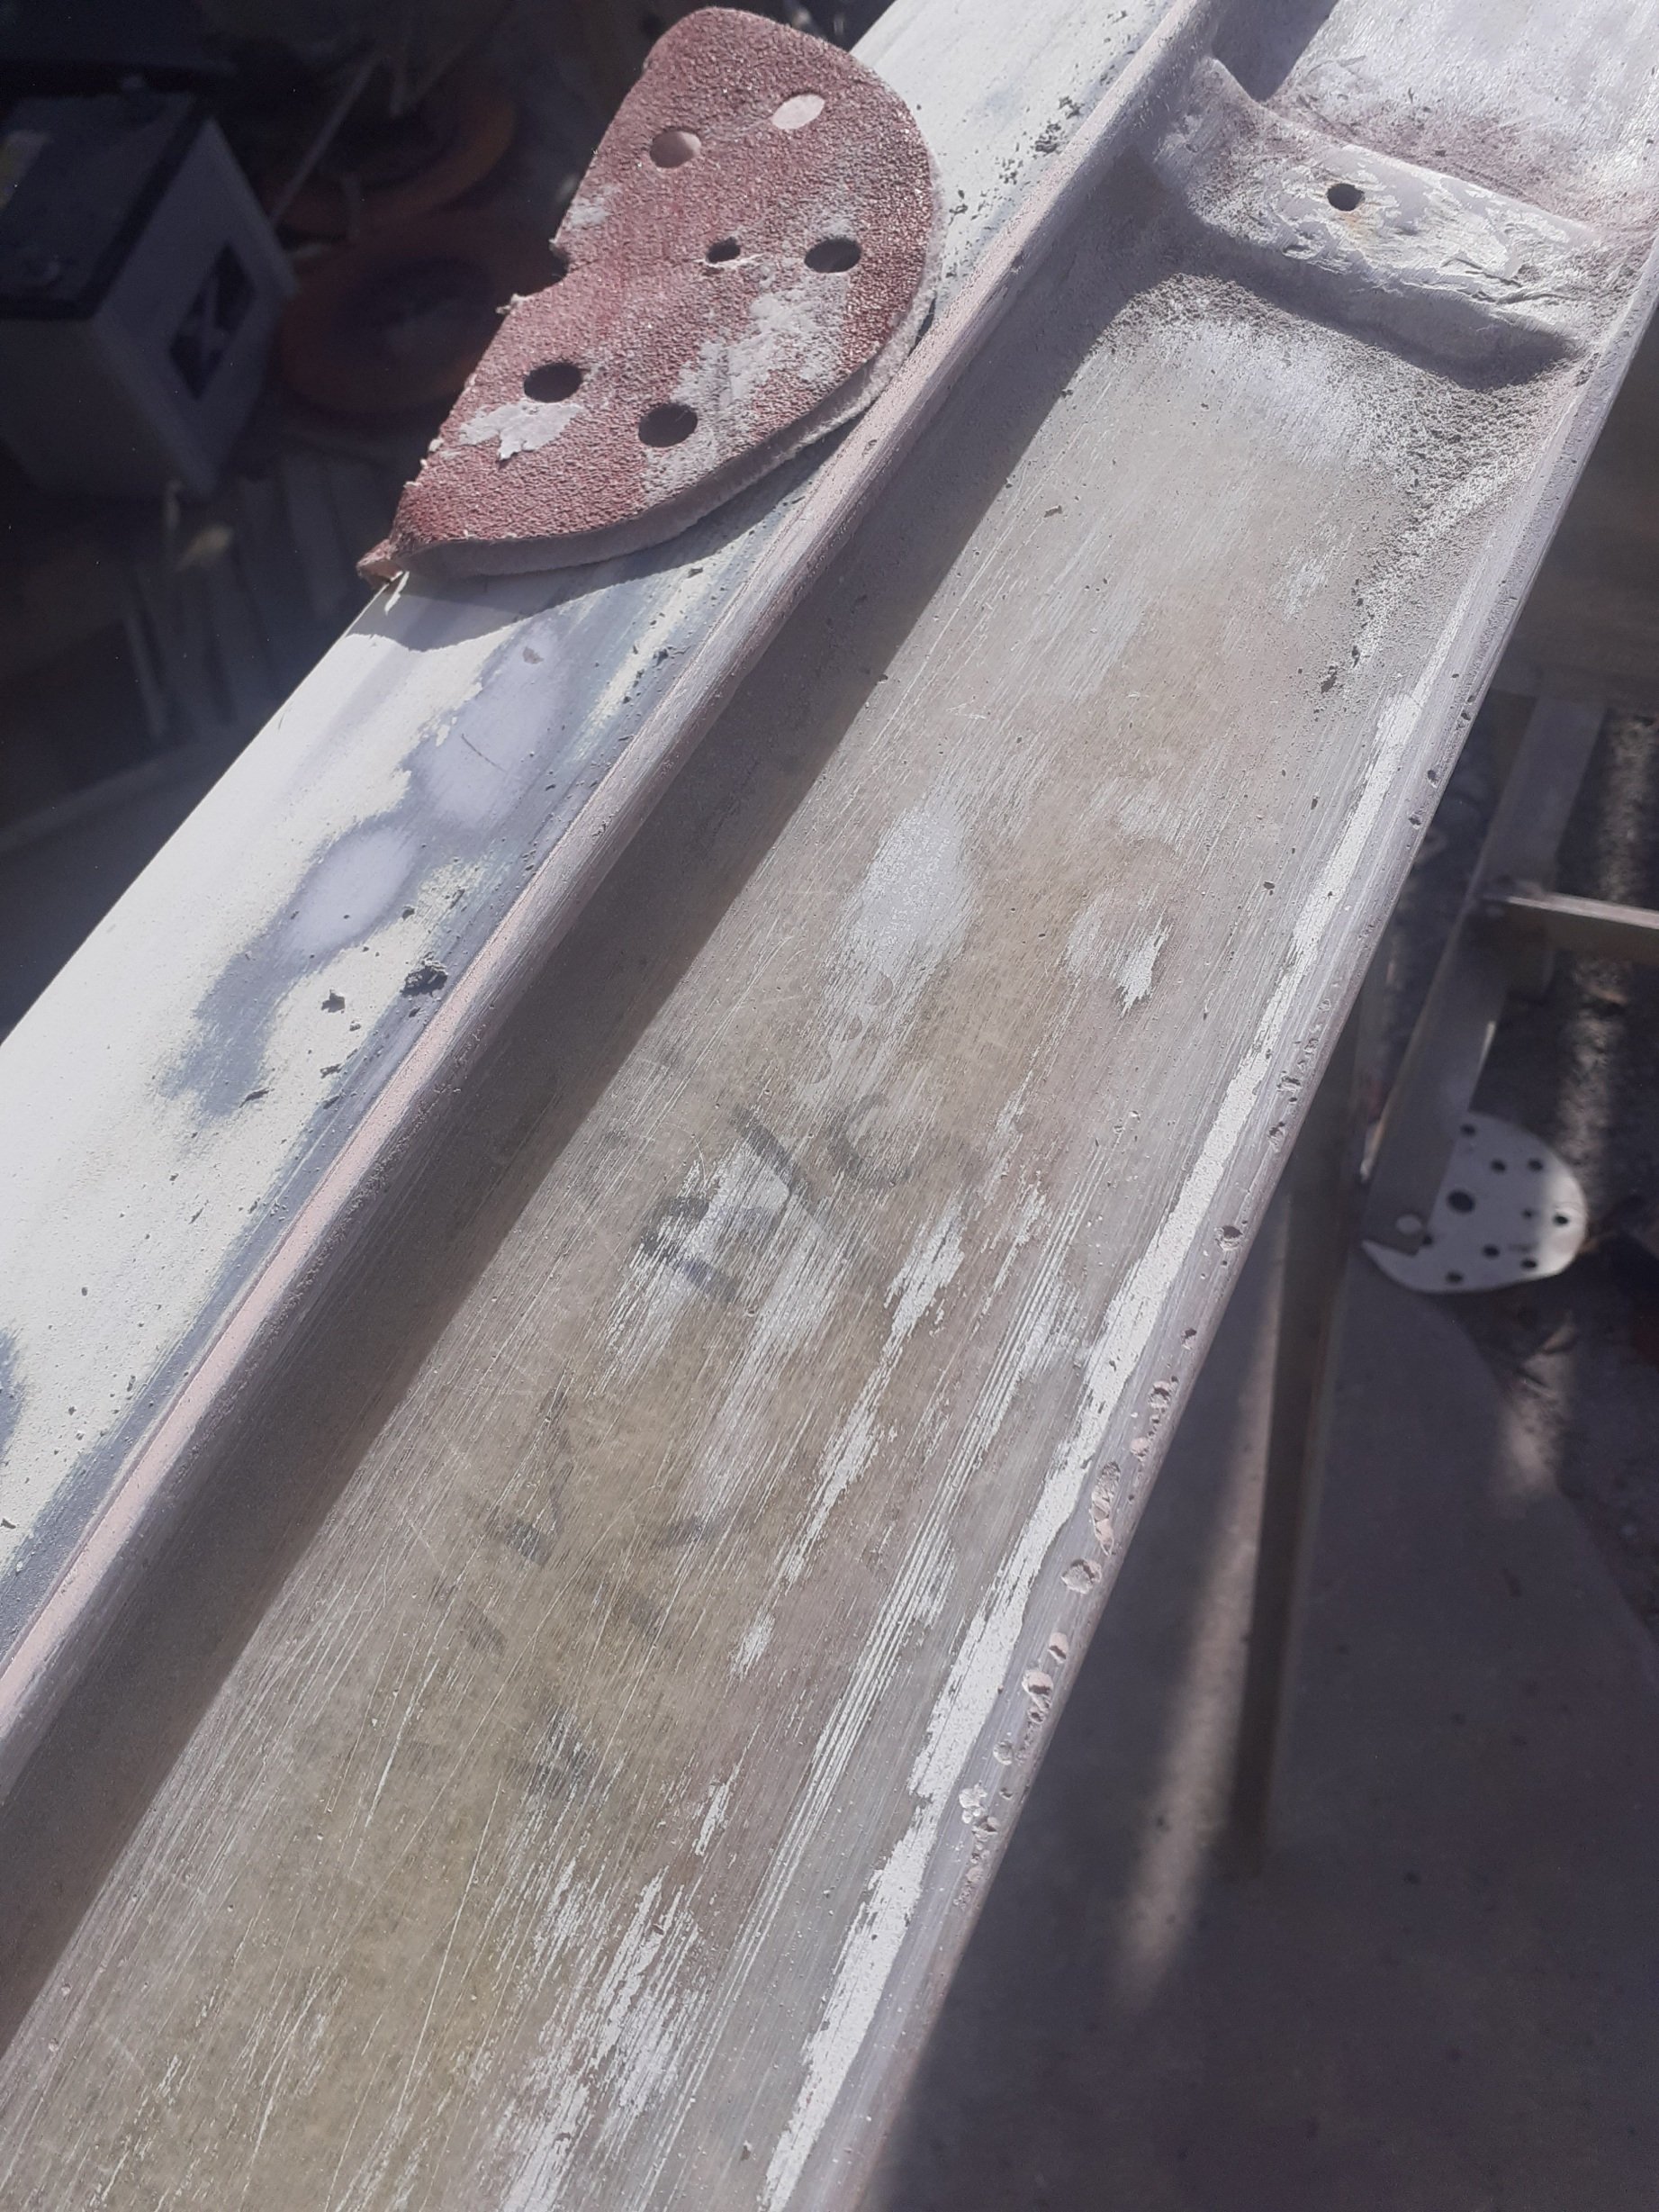
A lot of sanding, skim fill, primer and repeat to get it straighter


.jpg.2471cb90ffbef2f0d38775eeed082e72.jpg)