-
Posts
346 -
Joined
-
Last visited
Everything posted by Vk304
-
New radiator time ! Wasnt planning on buying another but must have been a bit reckless in doing my rivets i managed to nick a core and put a hole in it, dont fancy tempory bogging with epoxy so tried in vain to weld it but too much crap on/in it and yea melty mess woops $300 later facebook deal, i got another one same size but made for down flow application, figured it wont matter as id move all the parts around and make it a functional cross-flow. picked it up and as a bonus its a 4 row! Score . Old one was 2 row..
-
Nice-got everything done, put in my davies craig fan controller tucked away, and put coolant in etc, was well pleased nearly done! Untill it kept dripping on the floor, waited for a while, dried things off tightened hose clamps, waited... still dripping, fuck somethings not right here....
-
Yea ... so turns out just when i thought i sorted every thing and put everything all back together, the radiator started pissing out of 2 cracks that developed, may have been the fault of a guy trying to bend a bracket on it over with a hammer.... But im inclined to blame it on the guy before me's butchery, just look at that hole the top hose was soldered into... and the ends had been cut and soldered together... Tried in vain to re solder but i ended up with a mess... so i spent an hour or so walking around outback 4x4s yard looking for one that was the right size etc out of one of their vans.., well i got home and relised ive got a mirror image one with opposing inlet/outlets , f#ck it ill see if i can pull the plastic tanks off and come up with some other tanks, cant find any anywhere, so will have to get creative with the tig haha fml
-
I ended up with a nice oval housing, and had the fans riveted in so that the plastic middle divider between fans was juust about touching the radiator, important because i brought a 2 stage davies craig fan controller, that will activate one fan, then the other when needed, so they arent both going all the time... One fan is sucking through the radiator, not the other fan, thats not going if that makes sense?? some thin alli sheet to attach bottom and miss the cars crossmember, i will be sealing this properly, all around to create a proper vacuum, rivets only go into radiator bracketry not the tanks lol plenty of space yes i welded it onto the radiator, i think itll be fine no need to bolt it on have to modify air box a little bit still getting there, waiting for my fan switch to turn up and install new 82c thermostat, and finish sealing around shroud, pressure test welds..
- 85 replies
-
- 11
-

-
Chopped pretty much the whole shroud off because it diddnt fit, moved the top radiator hose and came up with a plan to attach the leftovers to a piece of 2mm aluminum by rivets into plastic, and then attaching the alli onto the radiator, giving the tightest fit possible, they are wider than the radiator but will fit ... used my 3$ metal shears i found at the local dump shop the day before lol, it was meant to be..
-
For the whole time ive been driving this ive had overheating problems, its fine to drive in colder weather and highway speeds, but this summer the issue came to light again. Its only overheating to just above 100c but thats still not cool... had a 16inch fan on it with custom shroud, and adjustable fan switch with radiator probe. Turns out this switch works when it feels like it and the fan doesnt have any balls... Punched the centre out of the thermostat to see if that helped... it diddnt So i went to aussy spares again and yea got some ford au falcon fans, these are supposed to flow much better
-
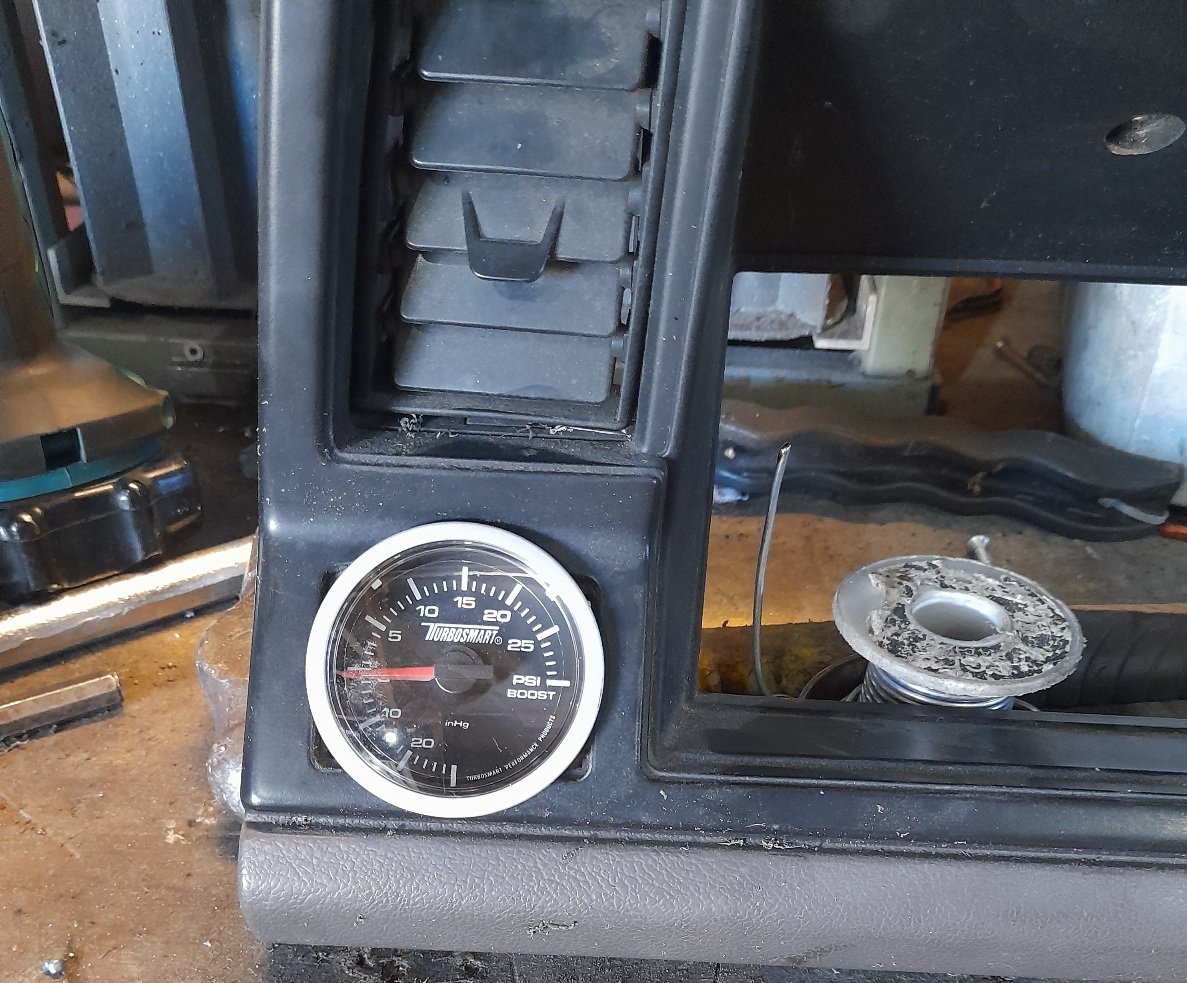
And a boost guage after i found a broken wire in the boost solenoid plug, which might have dropped the boost, figured might be good to know how many psi its running, and its a turbosmart gauge which was only 70 bucks might be a bit bright but if it is, i can always throw a resistor in or something to dim it down, its hooked up to light switch like the rest
-
Finally had some time to fix this, i originally cut this to fit engine because it was too tall, as its now all settled and finalised, i shaped the panel so it gave clearance but still sealed the engine cavity with the rubber seal under the seat cover... Welded a steel rod in place where the factory fold would have been so should be stronger than factory, its still tight, cant go any higher, but shouldnt hit . . A lot of tidying to do still but getting there
-
Brought some guages, just cheapo ones but is an upgrade over none lol, oil pressure with sender and temp, work good, wired in stereo which also works now, fairly clean looking, took for another drive, everything seems to be working good so far, just a little concerned about heat buildup in the engine compartment, especially above turbo, may have to add some cooling ventilation sometime. Happy new year
- 178 replies
-
- 11
-

-

VK304's 1988 Nissan Vanette w/ added SR20DET
Vk304 replied to Willdat?'s topic in Project Discussion
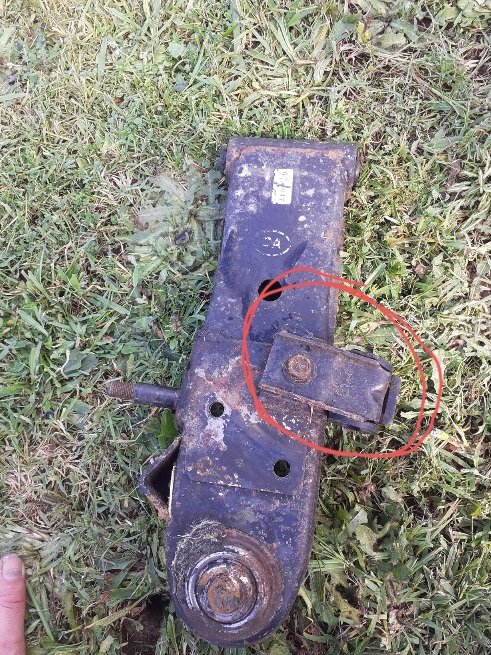
Looks like this assembly, and rubber mounts that could lower if i could make them more shallow but retain the bolts , haha noo im not messing with that id like to be able to drive it still, may look at getting a guy to reset/heat the leaf, but its already pretty flat as it is -

VK304's 1988 Nissan Vanette w/ added SR20DET
Vk304 replied to Willdat?'s topic in Project Discussion
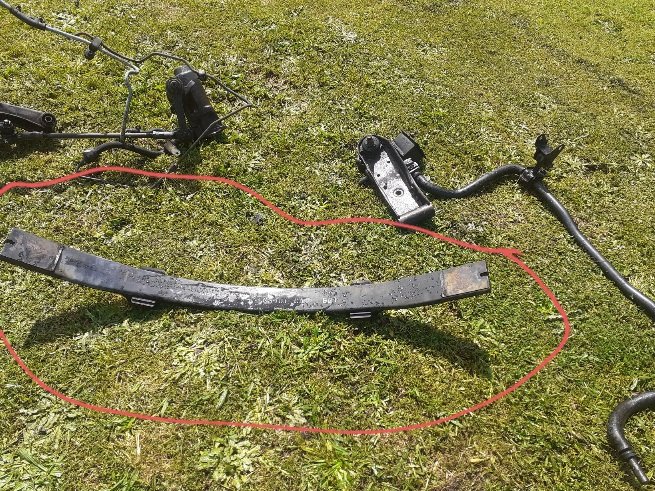
Yes thats right, one double leaf steel, the other one too but made of fibreglass type material, makes it hard to lower lol -
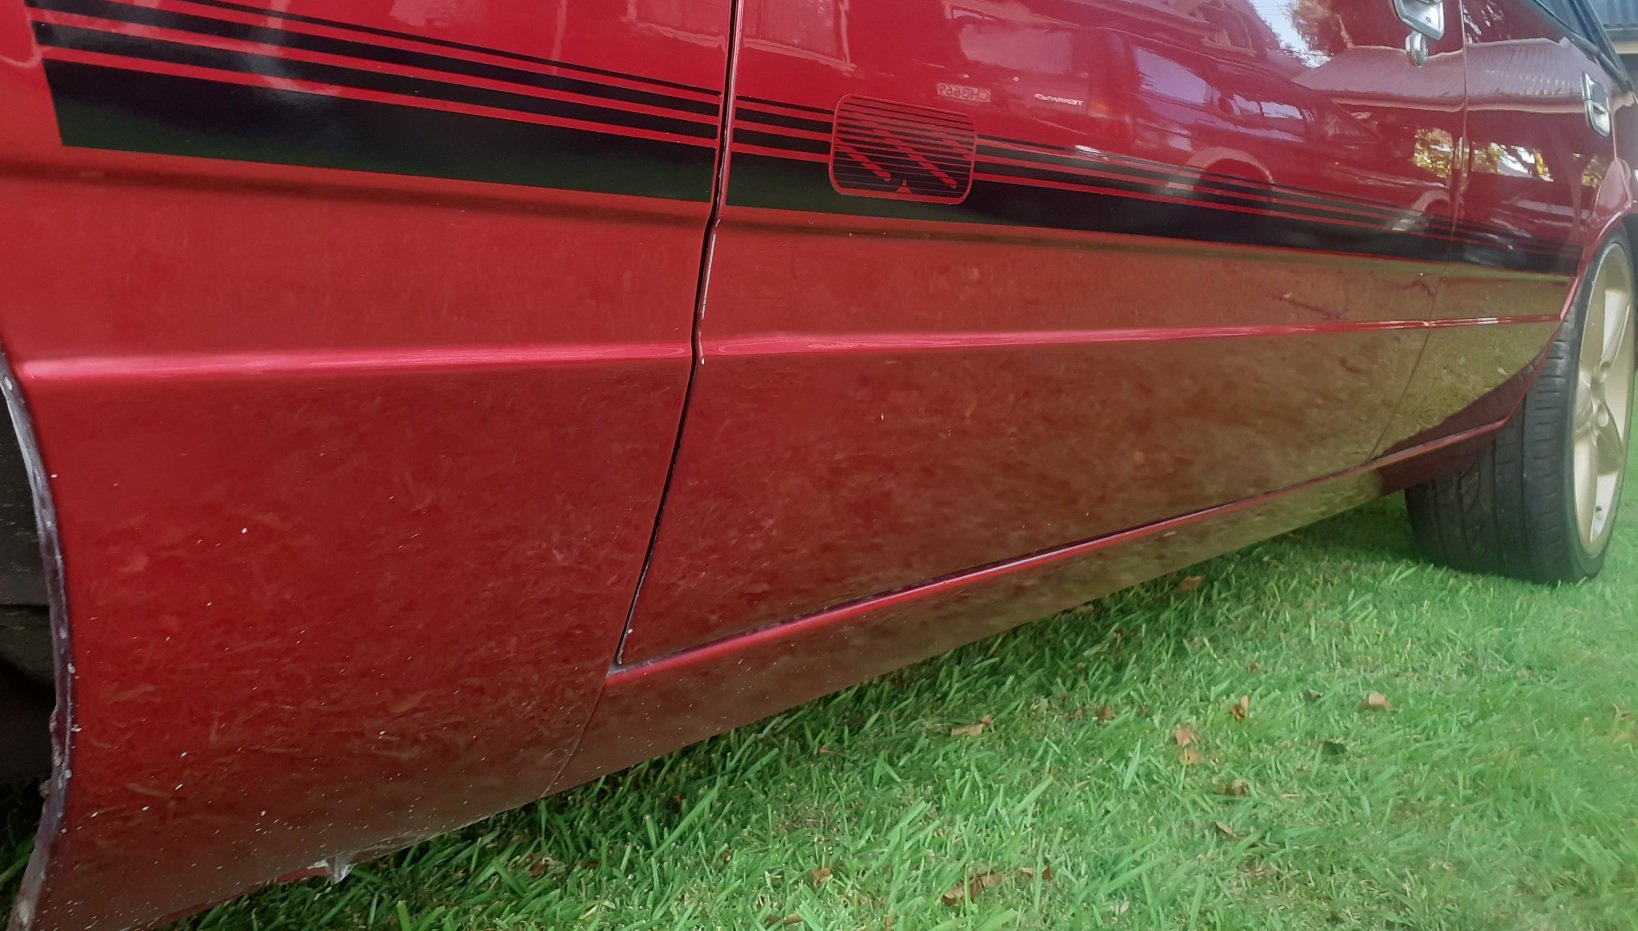
Looking very nice on this side, unfortunately the other side has a bog crack in the door and im unsure how ill fix, got no paint left and dont really want to end up with a different shade on the door... so may leave it there will have to vinyl wrap the bottom chrome to finish
- 85 replies
-
- 11
-

-
Got a 'ss' stripe kit out of aussy, by first stripes company, hdt ss vk stripe kit, took a while to get here but when it did i wet sanded the quater with high grit sand paper, cut and polished the rest of the passenger side. Pack n saves finest palmolive dishwashing liquid was sprayed on both the car and decals as to line it up (a must otherwise it will stick in the wrong place and never come off) installed it as holden dealer team did back in the day, going off picture of genuine ss cars
- 85 replies
-
- 16
-

-
Welded in a 3mm steel plate to bolt column housing to, and re enforced shifter area, went well, and shifts good now, driving a bit more stable, although have yet to do some hard cornering to test the sway bar, power steering is nice especially when turning around, pumps all bled and lines securely attached
- 178 replies
-
- 11
-

-

-
I started with this work of art in the old van, ended up a little stronger now, and 2 bolts per bracket, so should be a better shift feel, better than sloppy column shifter anyway.. Cats not impressed, but then shes always grumpy
- 178 replies
-
- 10
-

-

-
Due to the complexity of making the column shift work with the new powersteering box, the shift rods rub on motor parts due to space limitations, and it pops out of gear sometimes when driving hard, ive decided to move away from column and installed floor shifter, still more to do but this is where im at ...made some new brackets out of stainless steel plate, using some alli foil to make templates Good riddance to these
-
Installed powersteering pump and resiviour, not the best place for it to be sitting but i literally have no room anywhere else, i may make a pod filter cover later on, but it works, and after a couple of days cycling the fluid occasionally, it now works just fine, made a huge difference to low speed driving!
-
Despite having some paint flaws, which will never make it a show car, i decided to finally fully cut and polish the rest of the car. The front here was dull and covered in rattle can overspray, pretty happy with linkup products, its a lot brighter really brings the colour out ... more to come, takes a lot of time but will compliment the next phase
- 85 replies
-
- 15
-

-
thats done, now gotta figure out how to get it shifting off column, as it now doesnt have linkages and such on the ps box
- 178 replies
-
- 11
-

-
Put the ps box in, it bolts up just fine, just needs some panel work done in the cabin to bolt column housing onit is now adjustable got me a rivnut gun and some steel rivnuts, this van diddnt have a swaybar from factory, but it had the holes in the chassis and it so happened they were the perfect size for m8 rivnuts, so i put them in and it bolted right in, bushings are new too so thats an upgrade. Also went through and swapped out bad ball joints with good ones, and greased everything up..
-
So here are some parts needed for conversion off old van, the mono spring that runs through the front is made of fibreglass and is really light, not sure why, but the one im replacing looks like a steel leaf spring type, i may use this oppertunity to lower the front too as the rear is about an inch to low. Cleaned all the crap off. Some sway bar mounts on lower arms, and the powersteering unit. The old column has a different steering wheel spline amongst other things.... I found i couldnt use the ps one to bolt in so i tried mix and matching, i think itll work, will do more on my days off soon
-
-
Havent done seat yet, as i drove on a test drive to see if my radiator fan worked and a general test, fan works, but noticed the steering was heavy even when driving at 100k, found it was binding on at least one ball joint .... Sooo instead of buying some ball joints..... I had the great idea to swap alll the powersteering from 'luxury' van, as well as gain a sway bar, ajustable steering wheel angle, to make it handle ..... better. Got set up..
- 178 replies
-
- 14
-

-
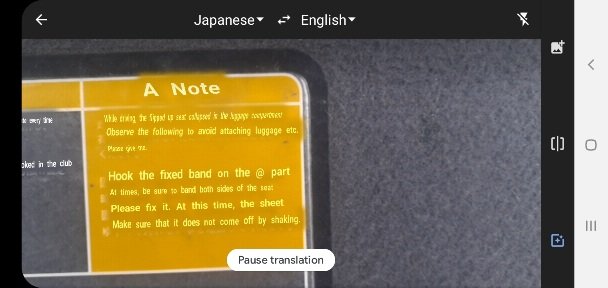
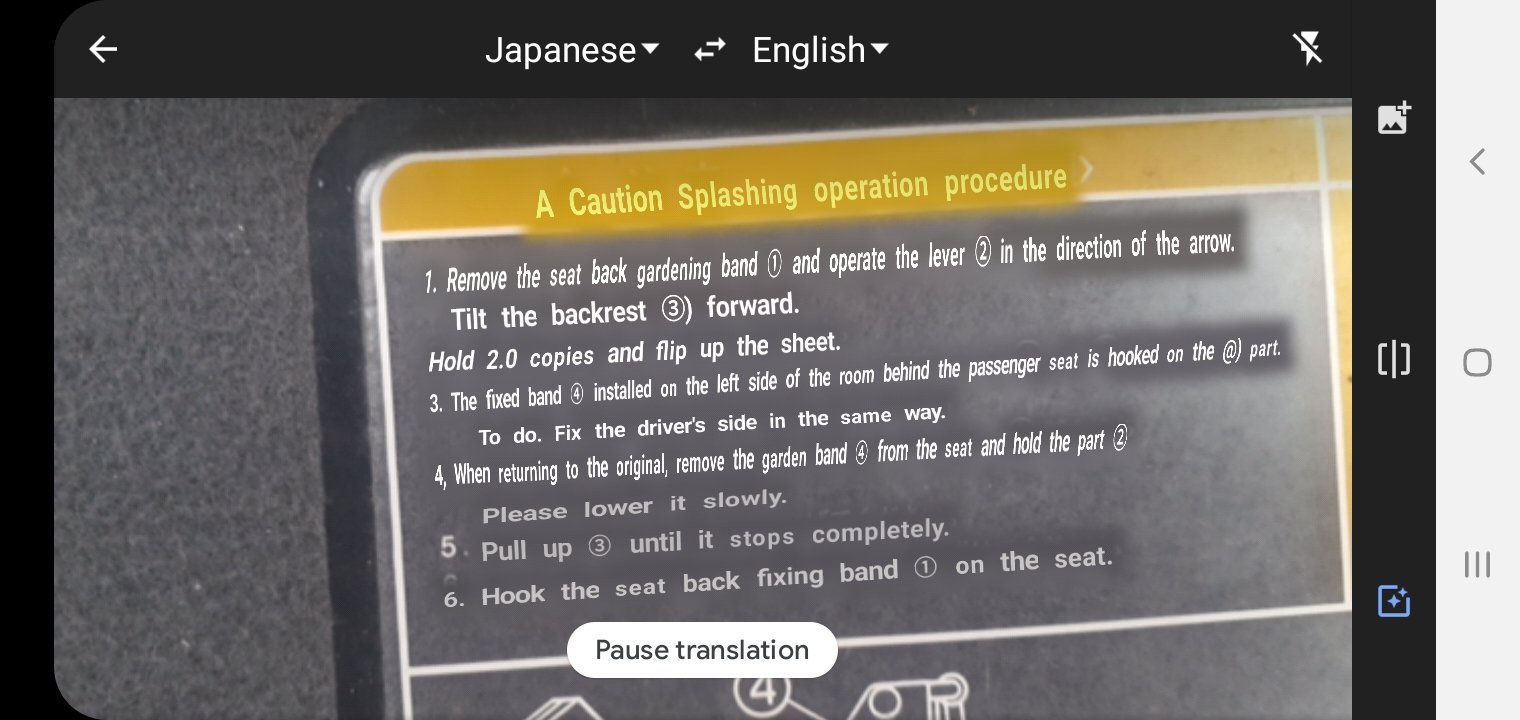
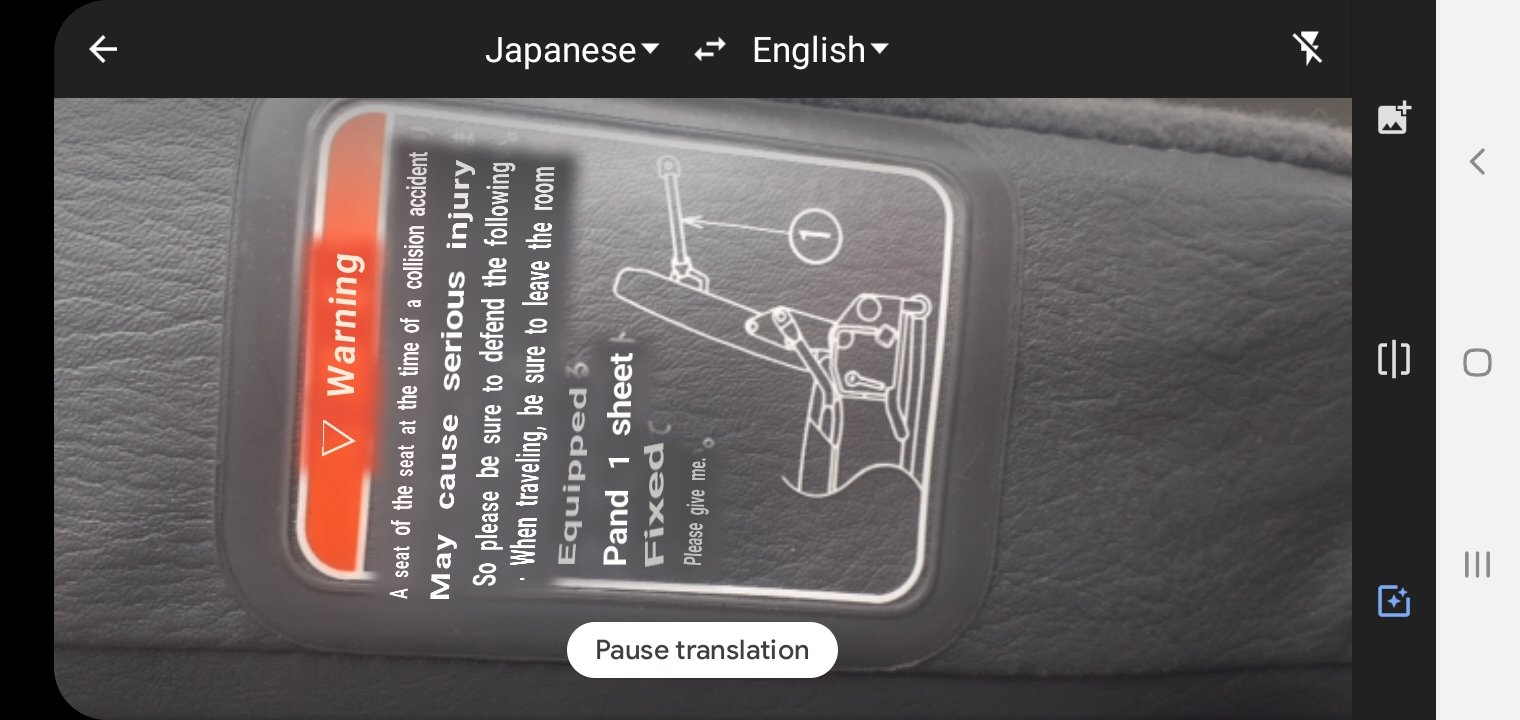
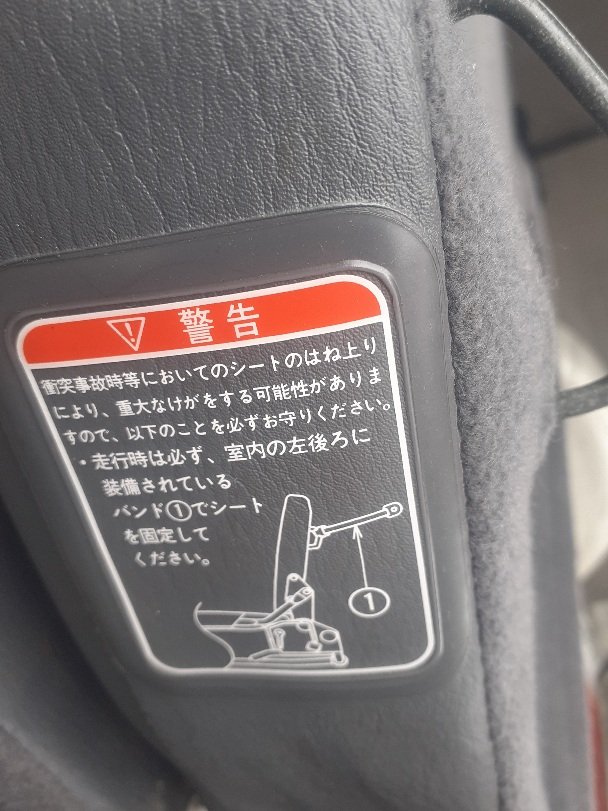
Wasn't sure how it secured itself down or up so got google translate to 'help' ... i got the gist of it, one strap holds it from the back, i dont like the title though, seems suspect, nothing holds the back down... it just sits on the rubber feet ? I googled some pictures of it factory installed in a vanette and it seems like this is how it works, the seat belts installed on the pillar to hold you in event of a crash i suppose.. I do have belts from the old van, will have to research how legal it is to create mounting points on the pillars.
-
And got a seat !! From a later model vanette, that folds up and out of the way, however this may need some modification as theres no belts or places to put belts lol


