
- Popular Post
shizzl
-
Posts
5023 -
Joined
-
Last visited
-
Days Won
1
Posts posted by shizzl
-
-
I got 272kw at the wheels on stock injectors (s4 motor, s5 turbo, link v3).
maxed the stock pump out.
-
 1
1
-
-
59 minutes ago, Nominal said:
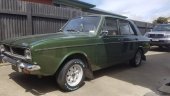
Heck, that's a well used rental.
Exceptionally high seeing as it’s based in Tokyo.
it’s a 4x4 Xtrail. Drove really nice though -
Take that rental car!!!
boom instant depreciation haha

-
1
-
-
The more I read these info snippets, the more I realise that I must be close to death already. Bogging, sanding, painting, grinding alloy , galvanic poisoning about 20 times. Yup way to look after myself.
she’ll be right *sigh*
-
2
-
-
- Popular Post
- Popular Post
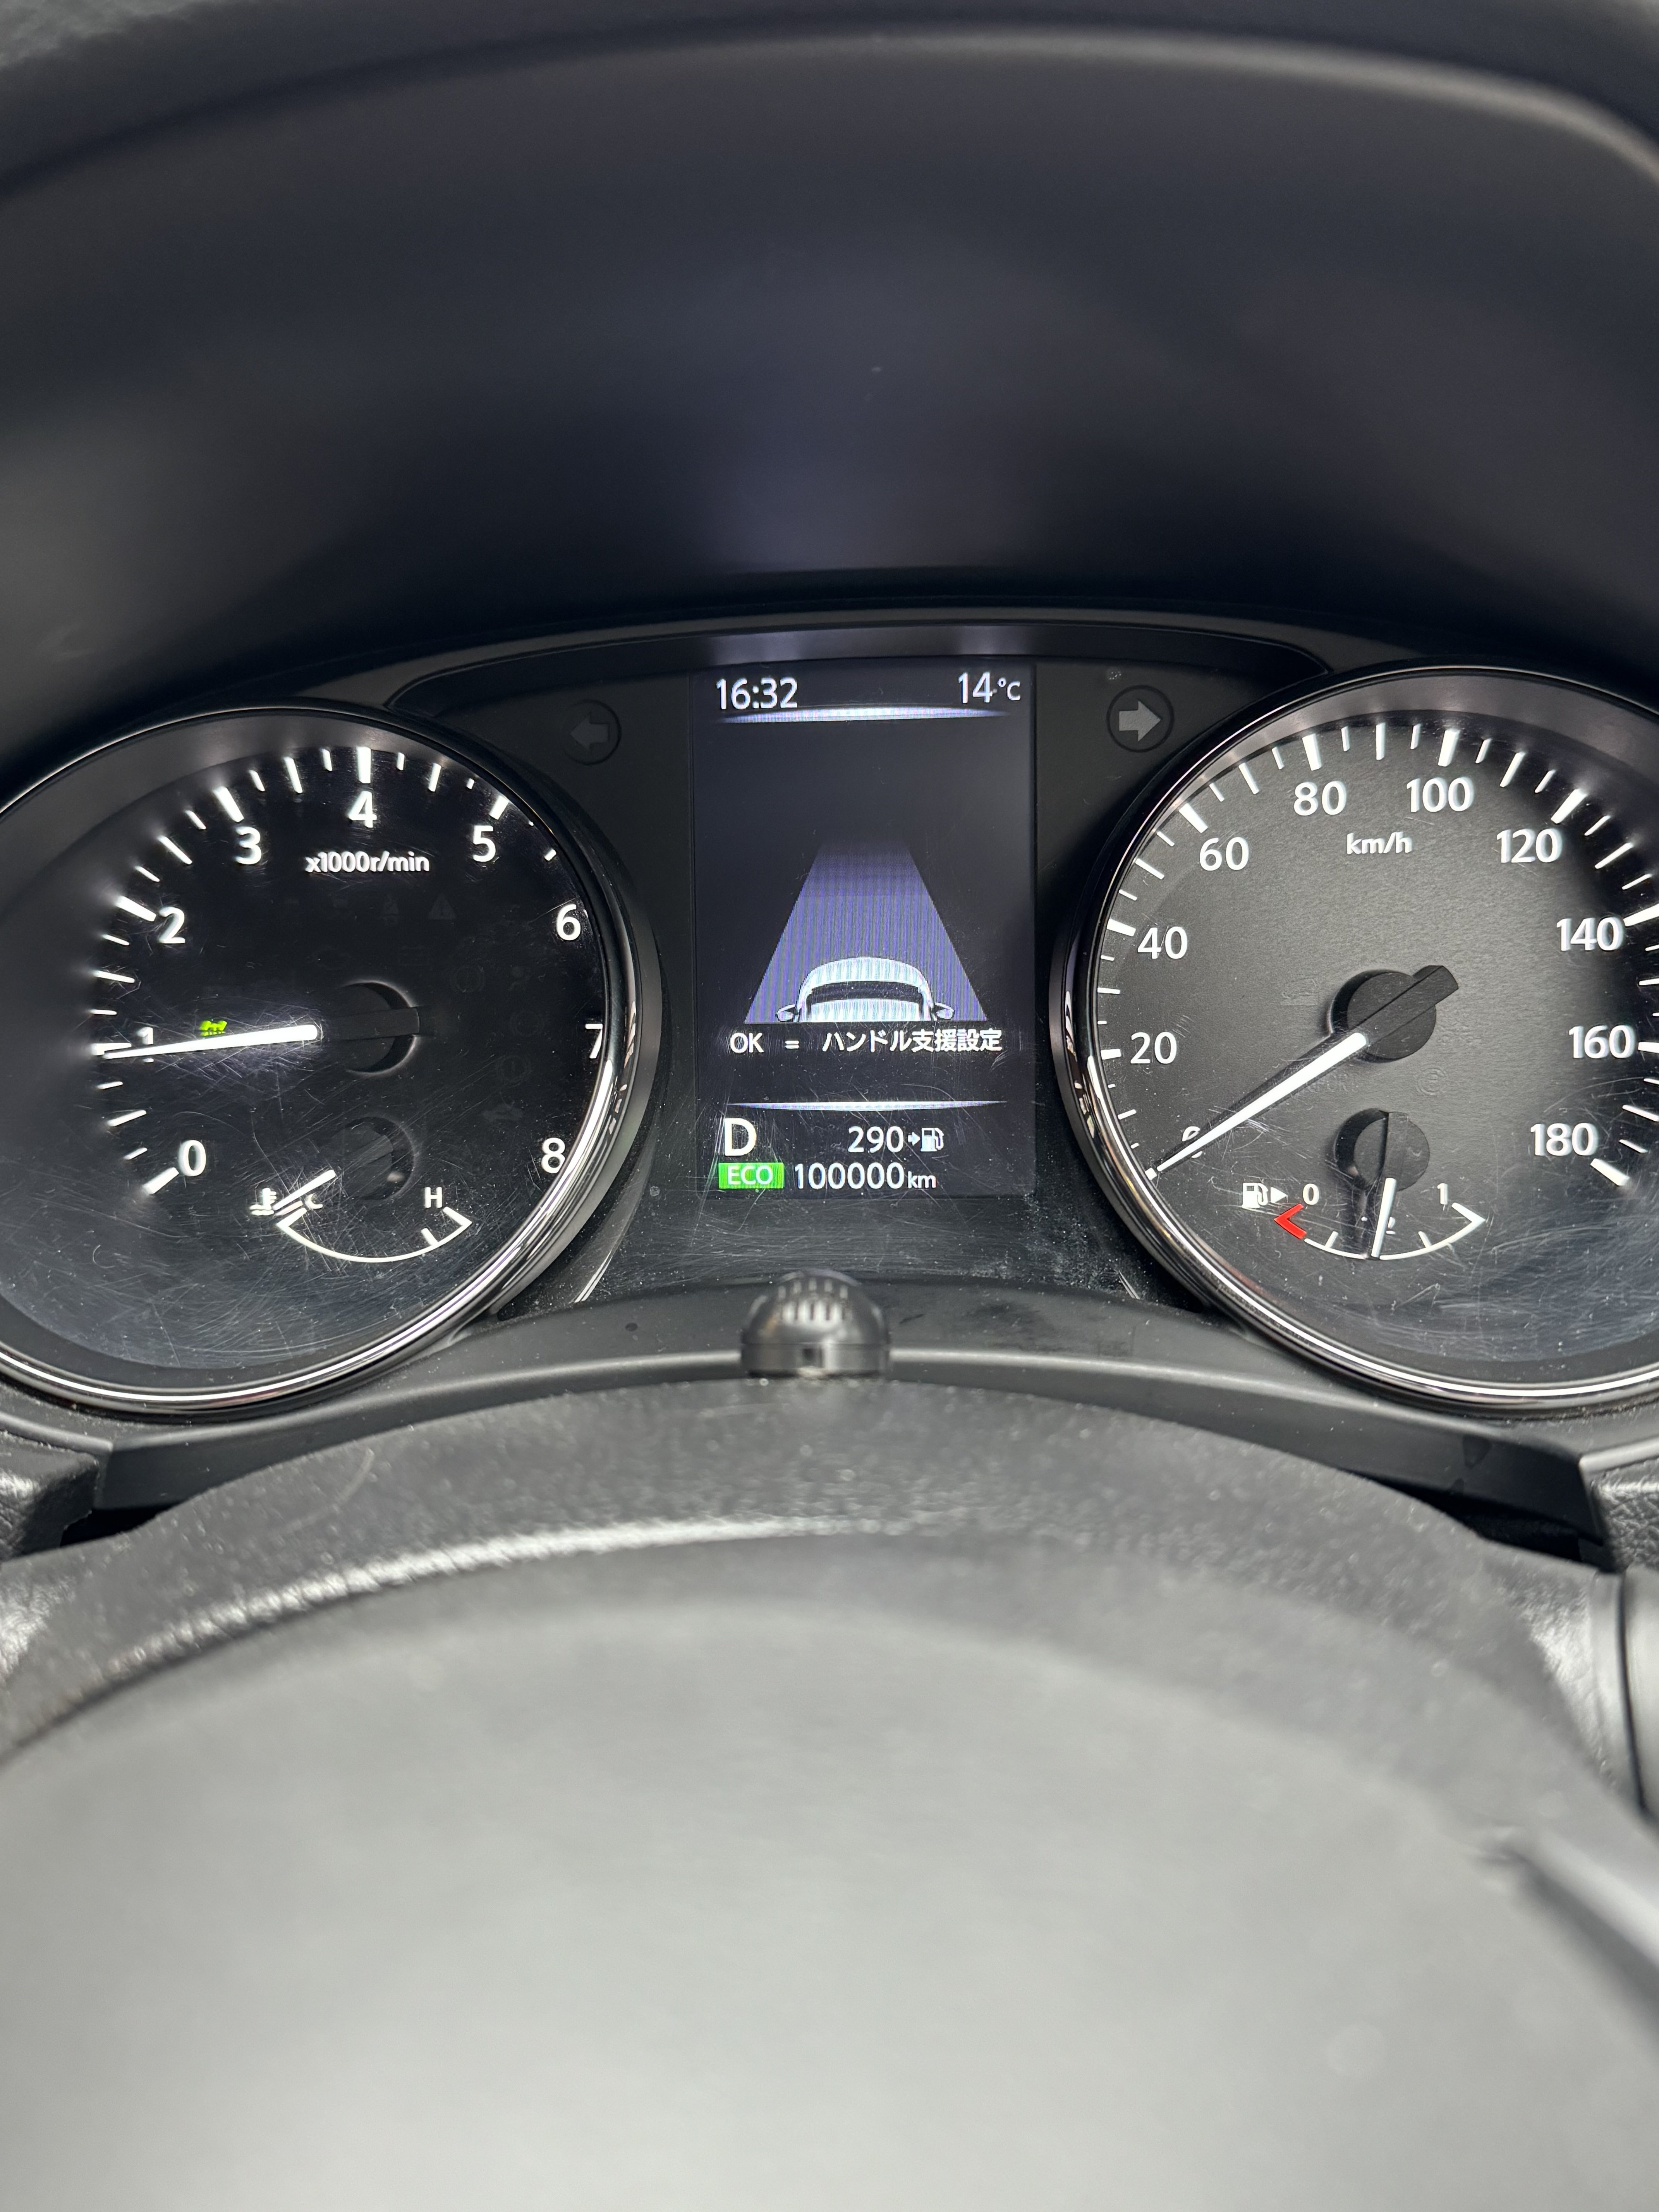
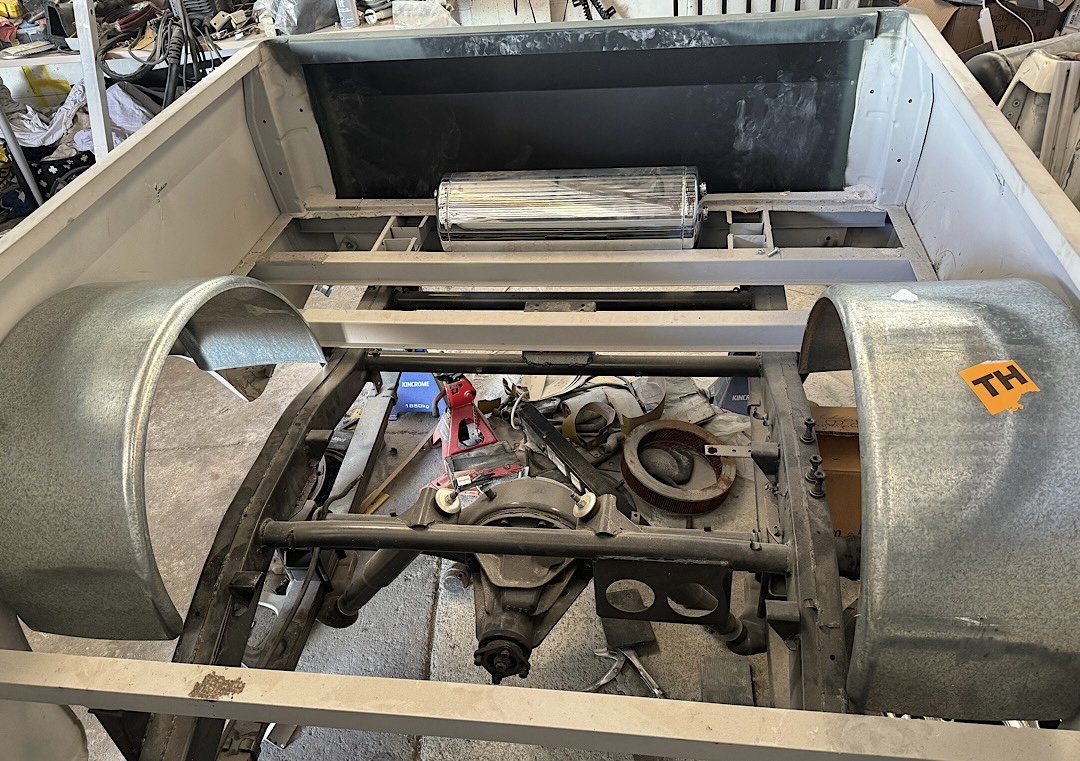
Picked up a pair of trailer guards, aka wheel tubs from a solid GC today.
just sat them in place where I think they’ll end up, or there abouts.
stood back and admired the look, quite like it.
still need to trim to fit snug once it’s all decided.-
29
-
- Popular Post
- Popular Post
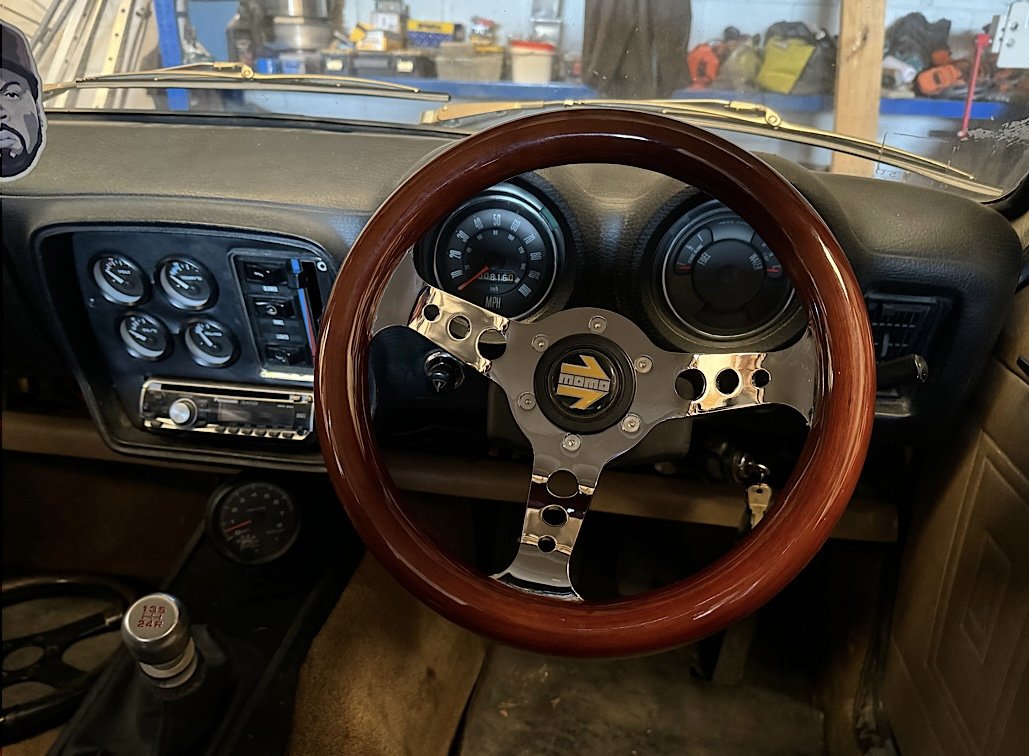
Got back from Japan with my little UP Garage purchase.
fitted it as soon as I got to the shop this morning.
Dayyyyyyyyyyyyyyyymmmmmmmm
-
23
-
Those armorlites are nice, I’d love a set of those.
have 13x7 hotwires sitting in my rack 4x10⁸.
had sonics way back in the day.
your not true OS unless you’ve had Cheviot wheels
-
6
-
-
- Popular Post
- Popular Post
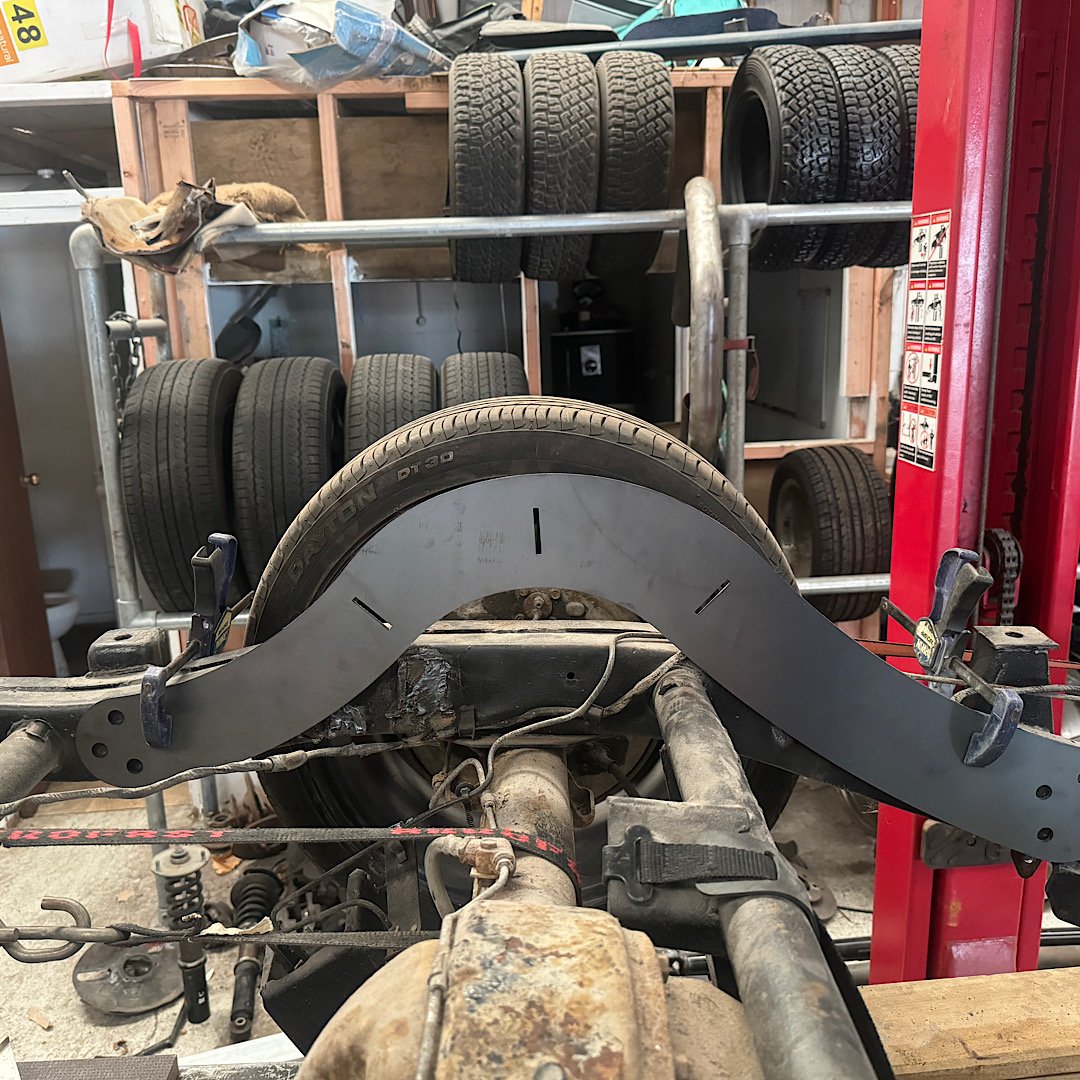
Not much of an update really.
i ended up ordering a set of air ride nz’s notch kit that he had in stock. Listed as an 8” notch.
i roughly sat one side in place, I figure it allows for a 70/80mm bump stop on the diff in this position.
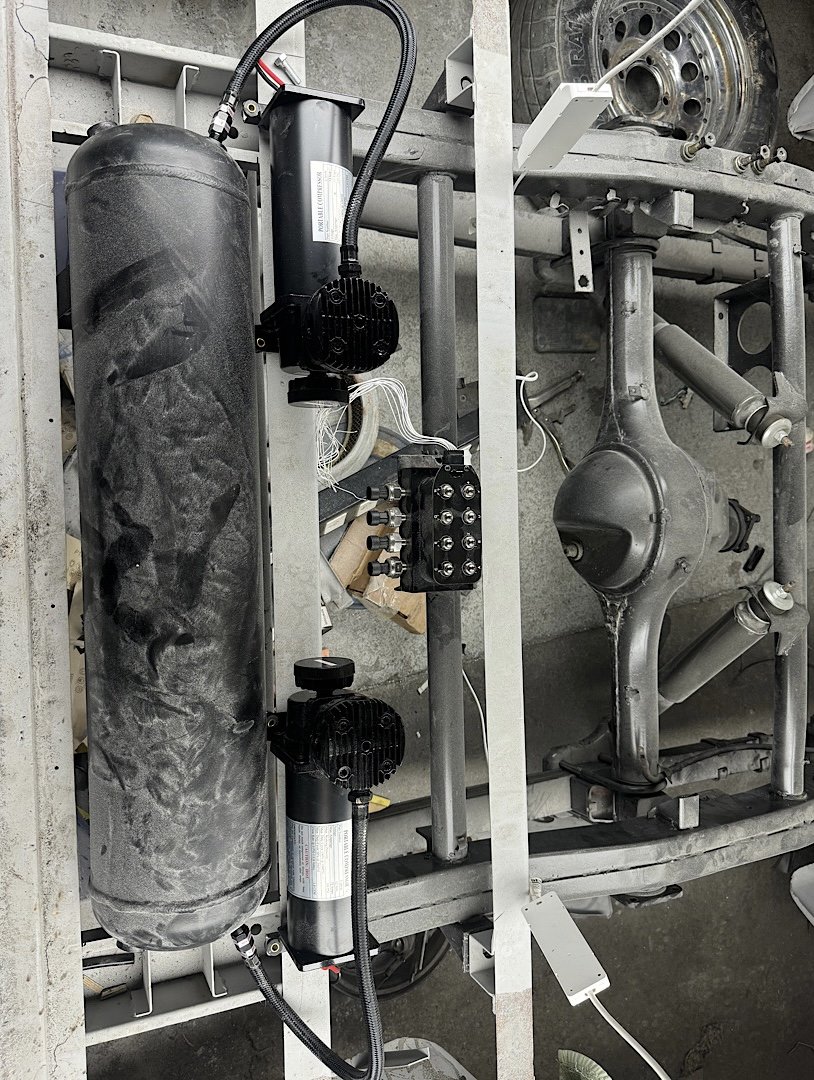
Had a play around with the air system layout on the other ute. It will all sit below the deck floor. And each compressor will have a water trap before the tank.
the valve block can mount to the factory spare wheel mount. Looks quite good like that
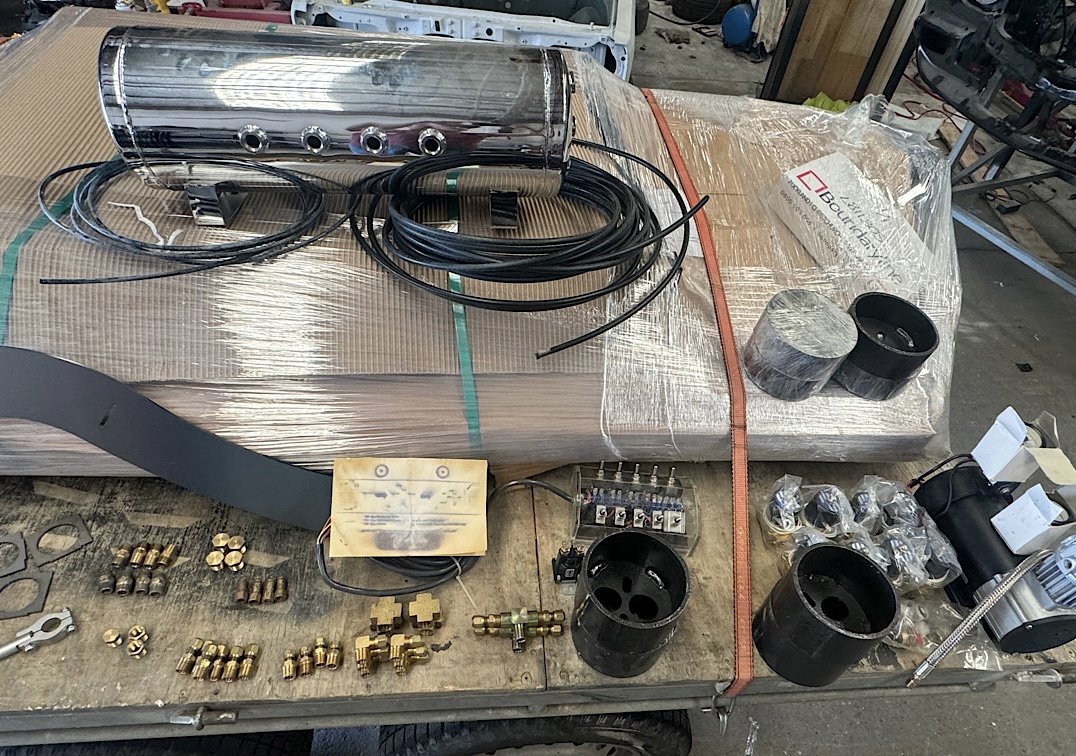
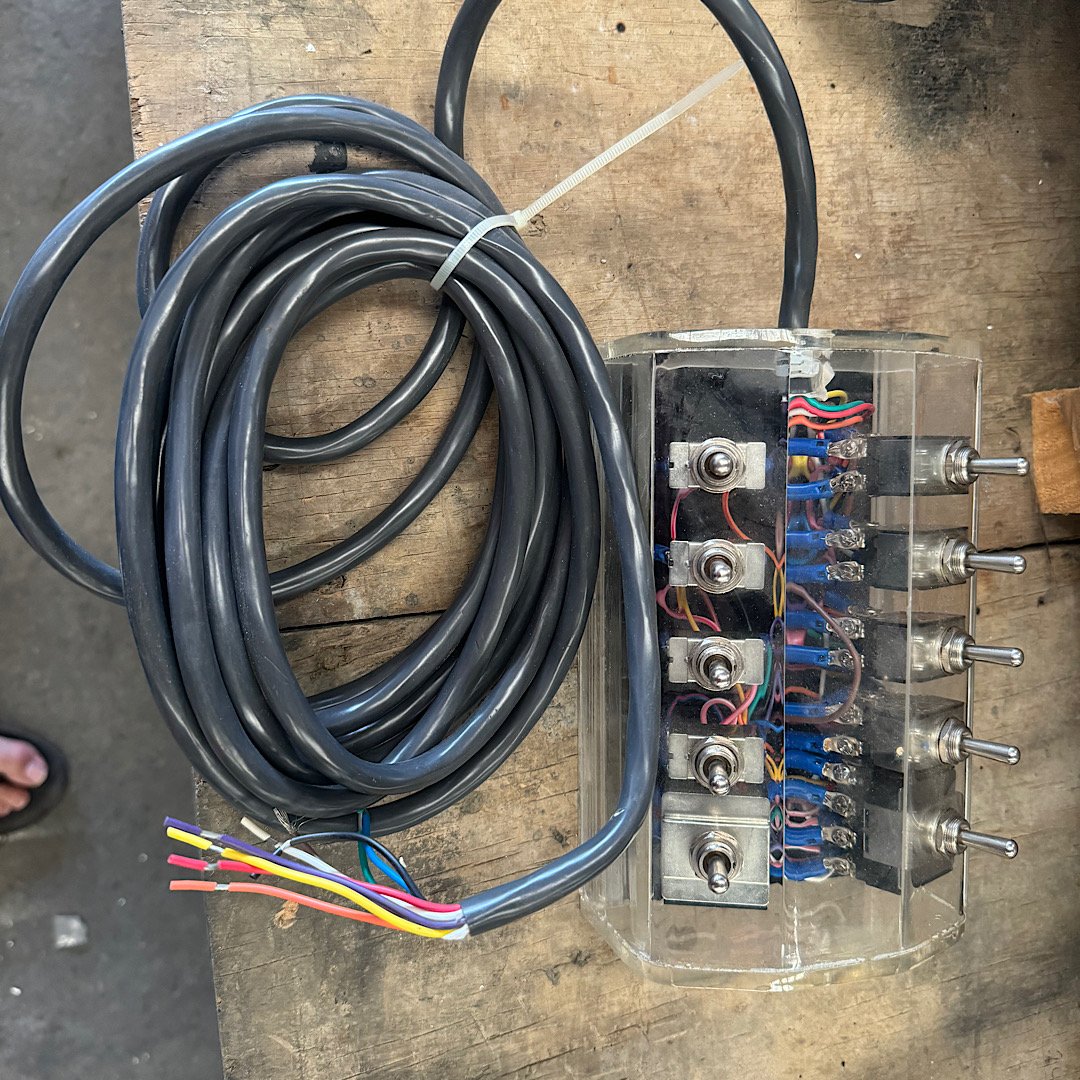
however, a deal came up on marketplace that I thought was pretty good. A “showtime” bag fitting kit for $250.this included everything in the photo below. Chrome 9 port tank, pressure switch, compressor, 2 gauges, solenoid, 10 switch controller, 3/8” and 1/4” air line, 8 x 3/8” bag solenoids, a bunch of air line fittings and a full set of bag mounts (cup type).
I will use these solenoids, fittings, airline and tank.
i won’t use the switch block and compressor, gauges and upper bag cups.
this means my valve block, switch panel will be redundant ( this is a full kit minus bags).
I can potentially buy 4 more bags to make another full kit (single pump).
the air management system I will use is an air command air8000 system that has 8 presets with a digital display.
i only need to figure out a way to lock out the system while it’s driving.
maybe a wheel speed sensor somehow, this will be wired through the air8000 alarm circuit which locks the system when set/armed.
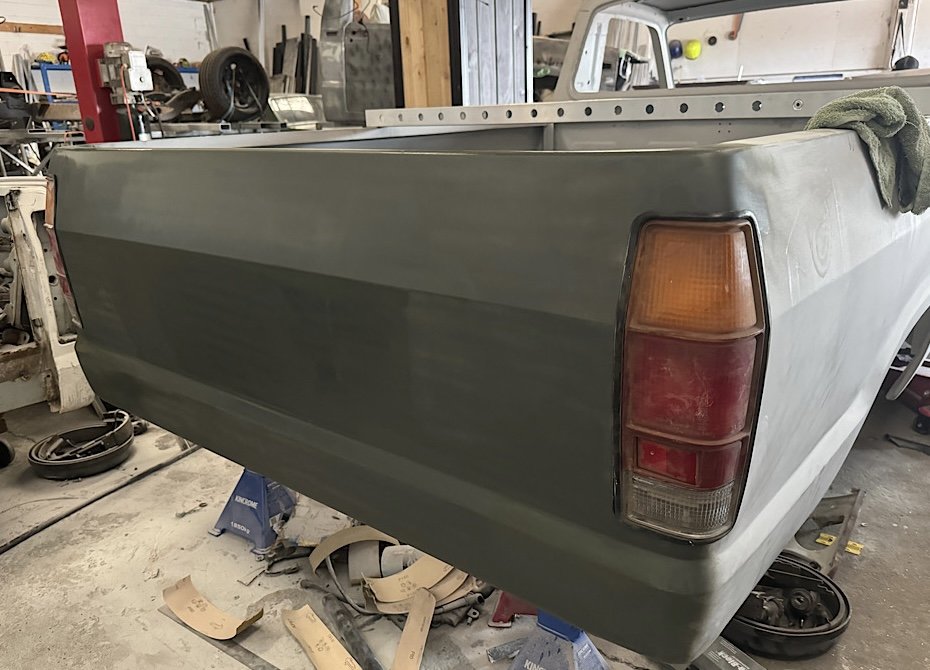
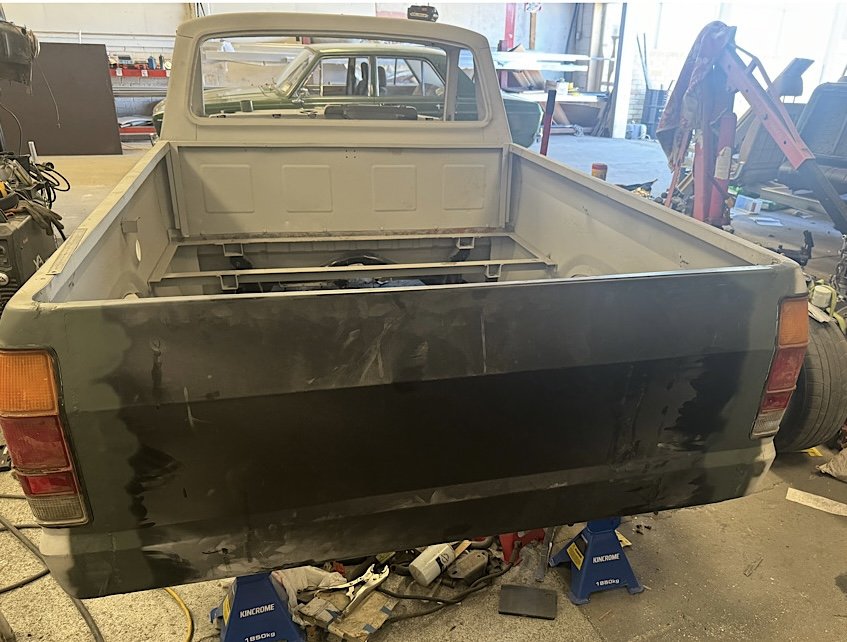
I’m sure that will work.i slapped the tail lights in the tray for max visual, so stoked. Just need to finalise that concave line now.
i fly out to Japan in 4 days, so nothing else will happen until after nats.
i would like to hunt down a nice steering wheel while im over there.
-
18
-
I have done some testing.
I packed out the balljoint by 10 degrees, eased the binding but is very close to maxing out.so with the spare set of arms I pie cut them to 15 degrees. At ride height the balljoint sits neutral, and max lift and lower it doesn’t max out.
i have noticed that the balljoint has an angle on it from factory of around 6/7 degree by eye.
finding a flatted/neutral balljoint would be the ideal solution though. -
But you wear the tax of owning a triumph
-
 1
1
-
-
Slap a stamp on it and give it the big send
-
1
-
-
When I took my Hunter for a cert, it was pinged on too much camber ever after an alignment.
it now sits at 1• neg.
following this thing made me cringe at the camber of the front, rear suspension looks static.
also, just flap disc it and send it bruh
Is rather cool but I’d paint it atleast
-
1
-
1
-
-
20 minutes ago, Snoozin said:
I put a stack of Stacks in the KP and they're absolutely superb. Would recommend.
 1981 Toyota Starlet KP61 4AGE (142)-Edit by Richard Opie, on Flickr
1981 Toyota Starlet KP61 4AGE (454)-Edit by Richard Opie, on Flickr
1981 Toyota Starlet KP61 4AGE (142)-Edit by Richard Opie, on Flickr
1981 Toyota Starlet KP61 4AGE (454)-Edit by Richard Opie, on Flickr
Stunning, did you source them locally?
was the speedo a mechanical drive or a speed sensor?
they look so classic and lush
-
1
-
-
I had some 15 year old Kelly budgets on my RS legacy that was rwd, make for fun commutes.
i have the re003’s on my Hiace, massive overkill running 245s, theyr super sticky.
hard to see how these could harden given the compound.
-
1
-
-
48 minutes ago, Otodat said:
I thought you were Auckland based?
Pokeno, technically north Waikato. Get labelled Auckland .
-
1
-
-
What is cjc?
-
 1
1
-
-
I’ve tried organising a casual cruise day. No one showed interest.
left it.-
 1
1
-
-
- Popular Post
- Popular Post
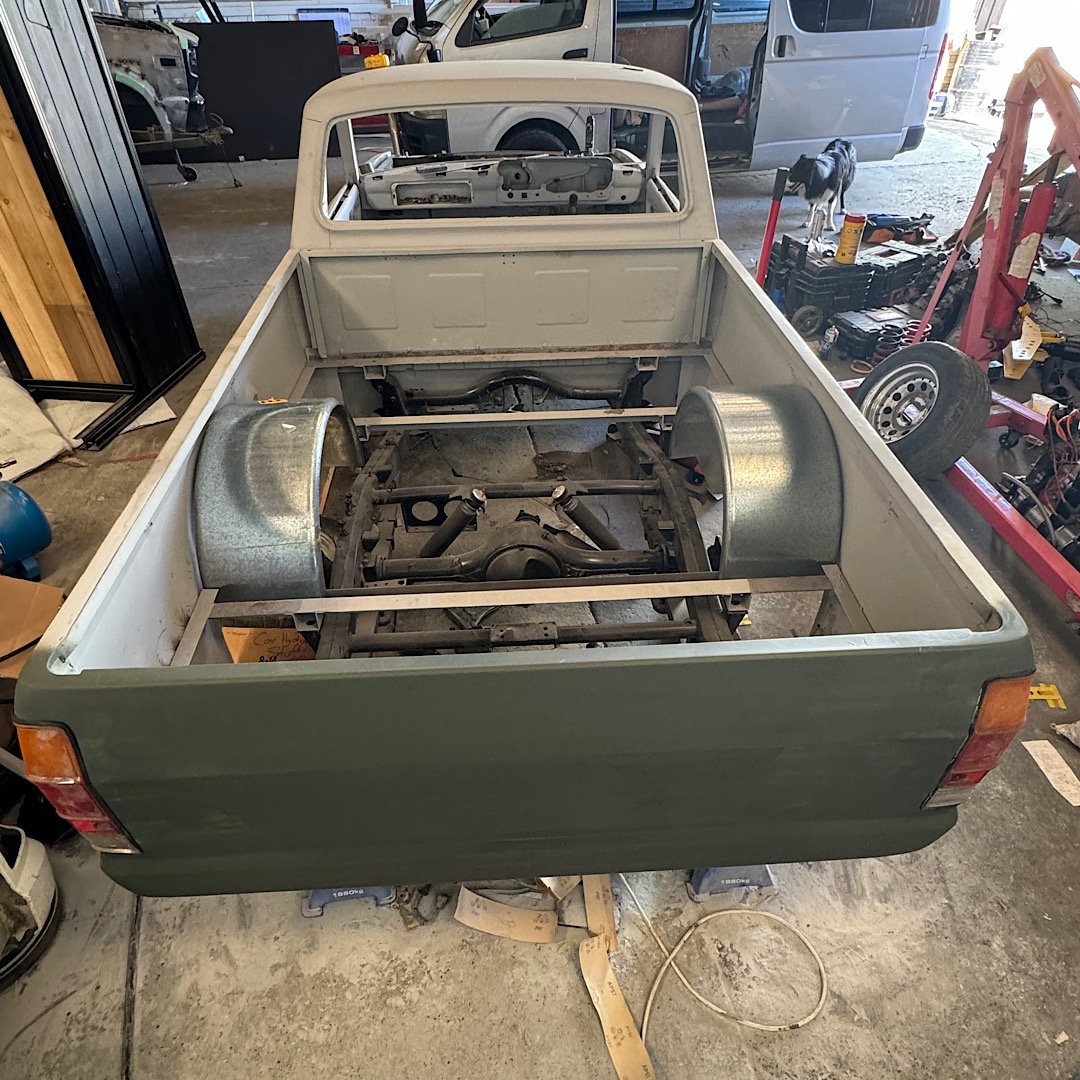
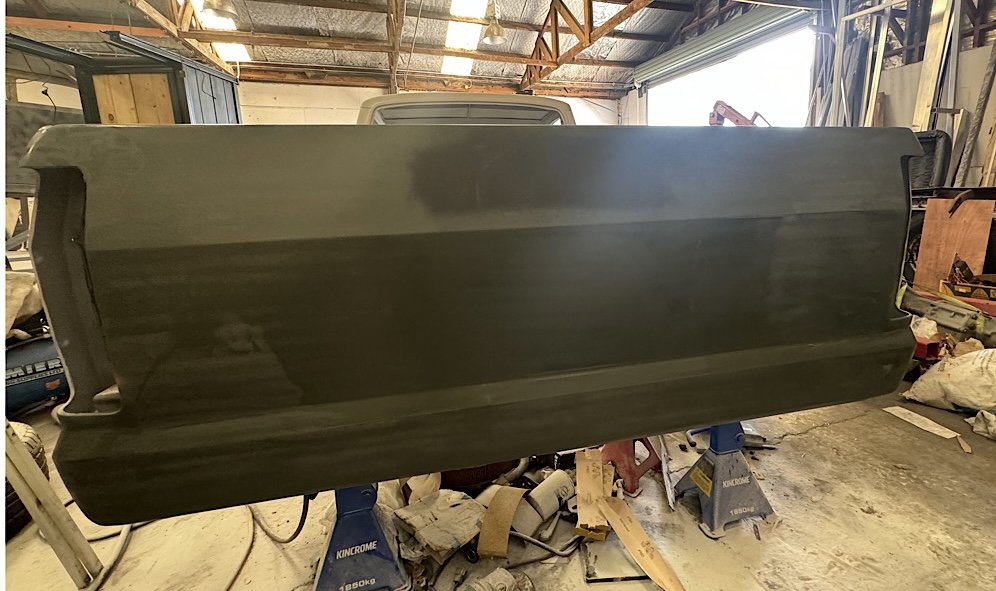
Tailgate 99% done.
only have some minor fiddling to do on the concave fold line. Might need to make a shaped sanding block for it.
then sand out the 80g scratches ready for a filler primer.
i also played with spacing the balljoint to achieve a better angle.
tried a 9 degree wedge (achieved by washers).
this got the crossmember to 20mm clearance.
id be happy with that, but still don’t like the idea of the bj being close to maxed out.
so I decided to pie cut a set of arms (I have a spare set on the parts ute).
cut it to gain a 10 degree change.balljoint sits neutral at ride height and very nice at full lift and full slam.
crossmember is on its tits.
Now it’s time for some c notch action.
with the frame currently sitting at 90mm with the diff on the frame, a 6” notch should be sweet.
I will set bumpstops to max out to the legal scrub line or whatever it’s called.
think it still equates to 50mm clearance “legally”.
doesn’t need to be smashing the frame into the ground.
I needed to get the body into final prep before I head to Japan next week. So pretty stoked so far.
-
23
-
Yeah I figured that aswell, I’d aim to have the shocks spaced out as far as possible to the factory offset to the chassis.
the spacer idea seems far easier to accomplish with less risk of error and less welds
-
Thanks Clint @cletus
that’s exactly the info I need to move forward.
so making a tapered “wedge” spacer between the upper A arm and balljoint is ok?
would be better than cutting.
-
Cheers Matt, that one that got sent to me didn’t have the majority of its front tubs and was road legal, so had me scratching my head with so many conflicting opinions out there.
have spoken with Tim from shoresfab about doing the pie cut. Just need a yes or no from a certifier to proceed.
will start with a spare set of arms I have to get the initial angle right.
and retain the correct castor angle
-
Does the bonnet count ? Haha
all good looks at the manual, but as I’ve found by experience it’s always best to get confirmation from the certifier for their opinion.
1 says yes, the next says no.
-
- Popular Post
- Popular Post
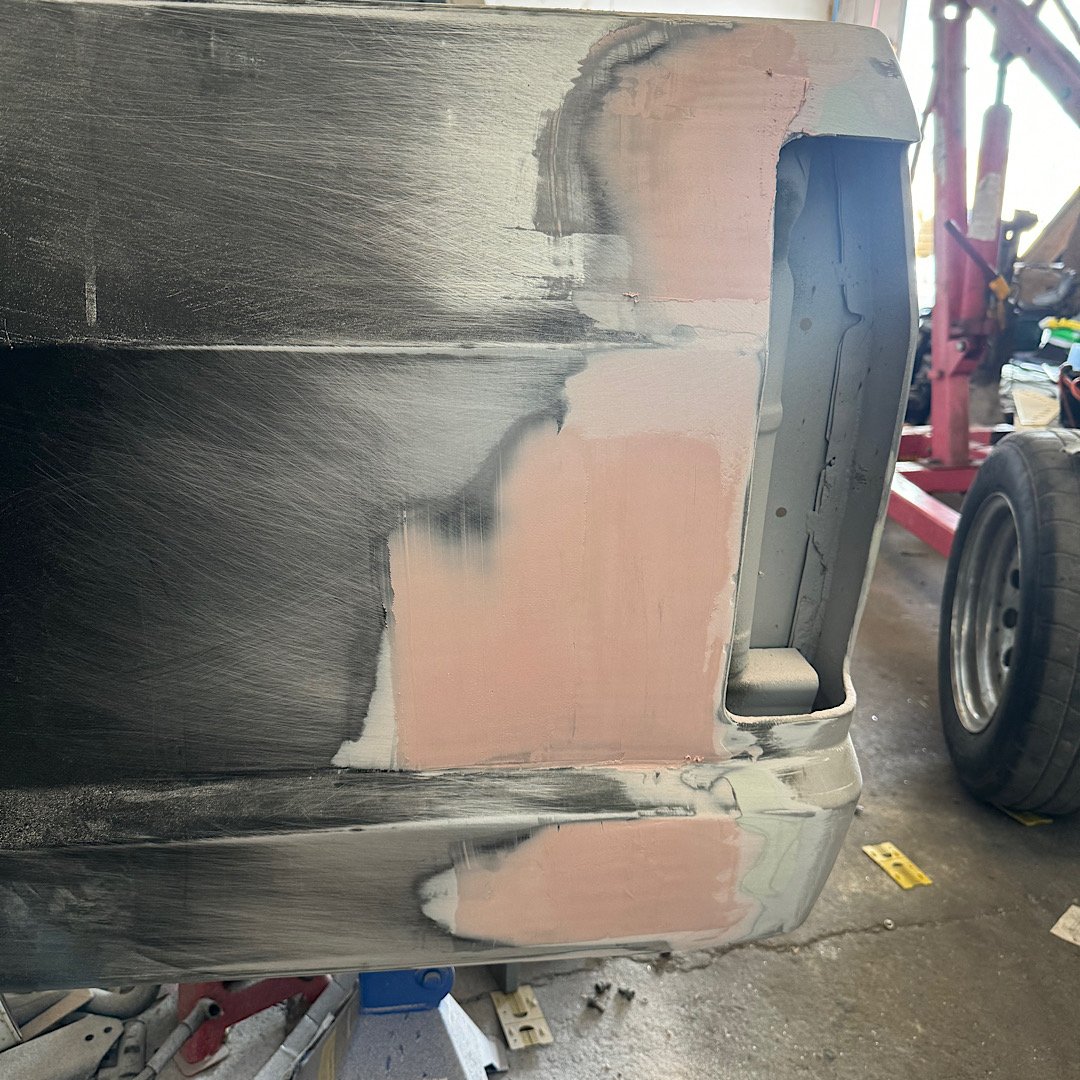
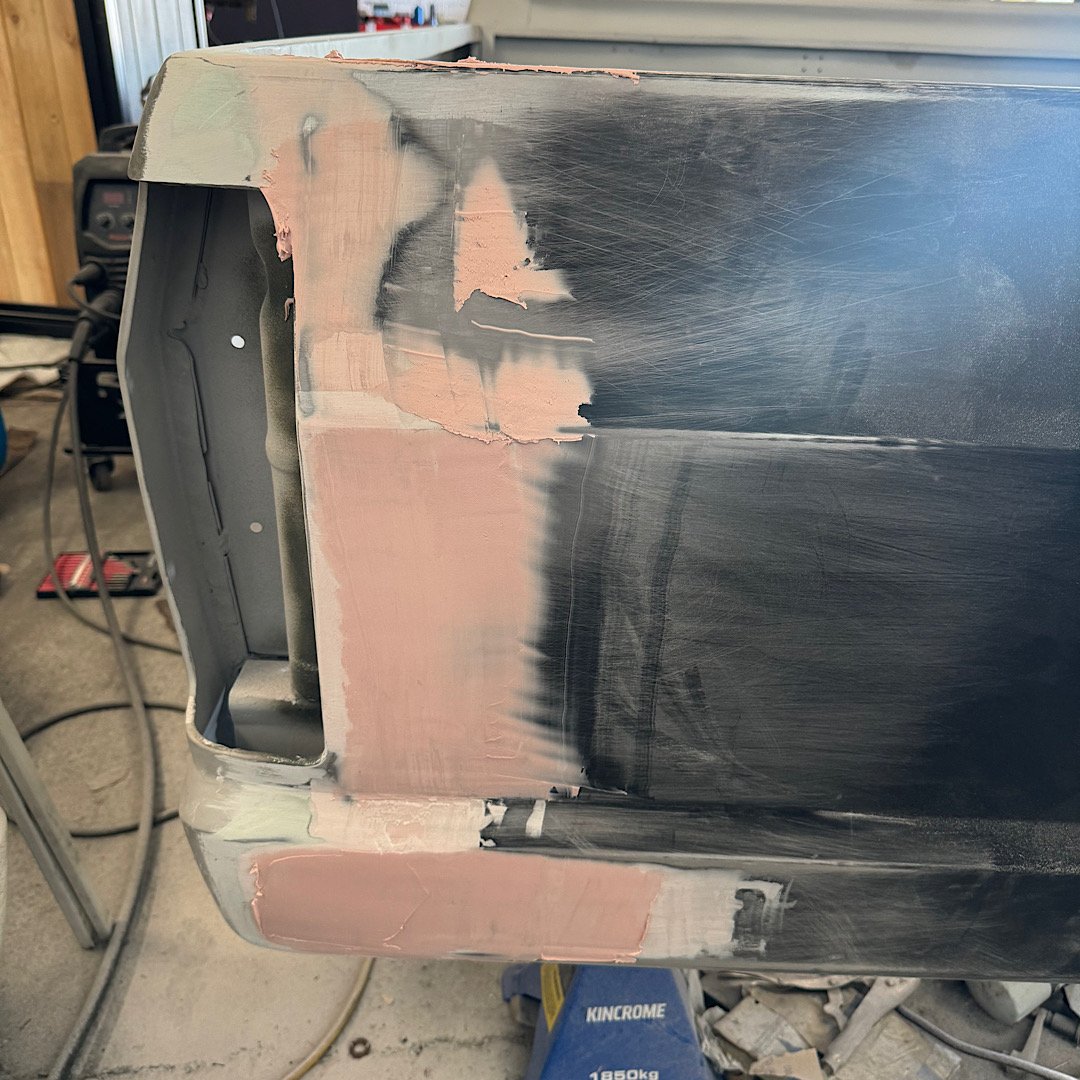
Well well well, another day of progress, well , a couple hours anyway.
knocked the nubs off the welds, etched, then set about throwing mud at it.
actually hasn’t taken much except where the previous body guy has just filled instead of pulling the corner out to align with the other side.
not much left to finish the filler off, used about 400gm of filler with most of it going the floor after sanding.
almost ready for paint. Just need to see if I can “delete” the inner guards before I lay colour. No pint going back and doing it after paint.
-
22
-
Also, is it legal to completely remove the inner guards like that one?


RX3UTE rebirth - throwback thing build
in Projects and Build Ups
Posted
Got home from Low Key Nats to find a nice package had arrived.