dmulally
-
Posts
1,394 -
Joined
-
Last visited
-
Days Won
3
Everything posted by dmulally
-
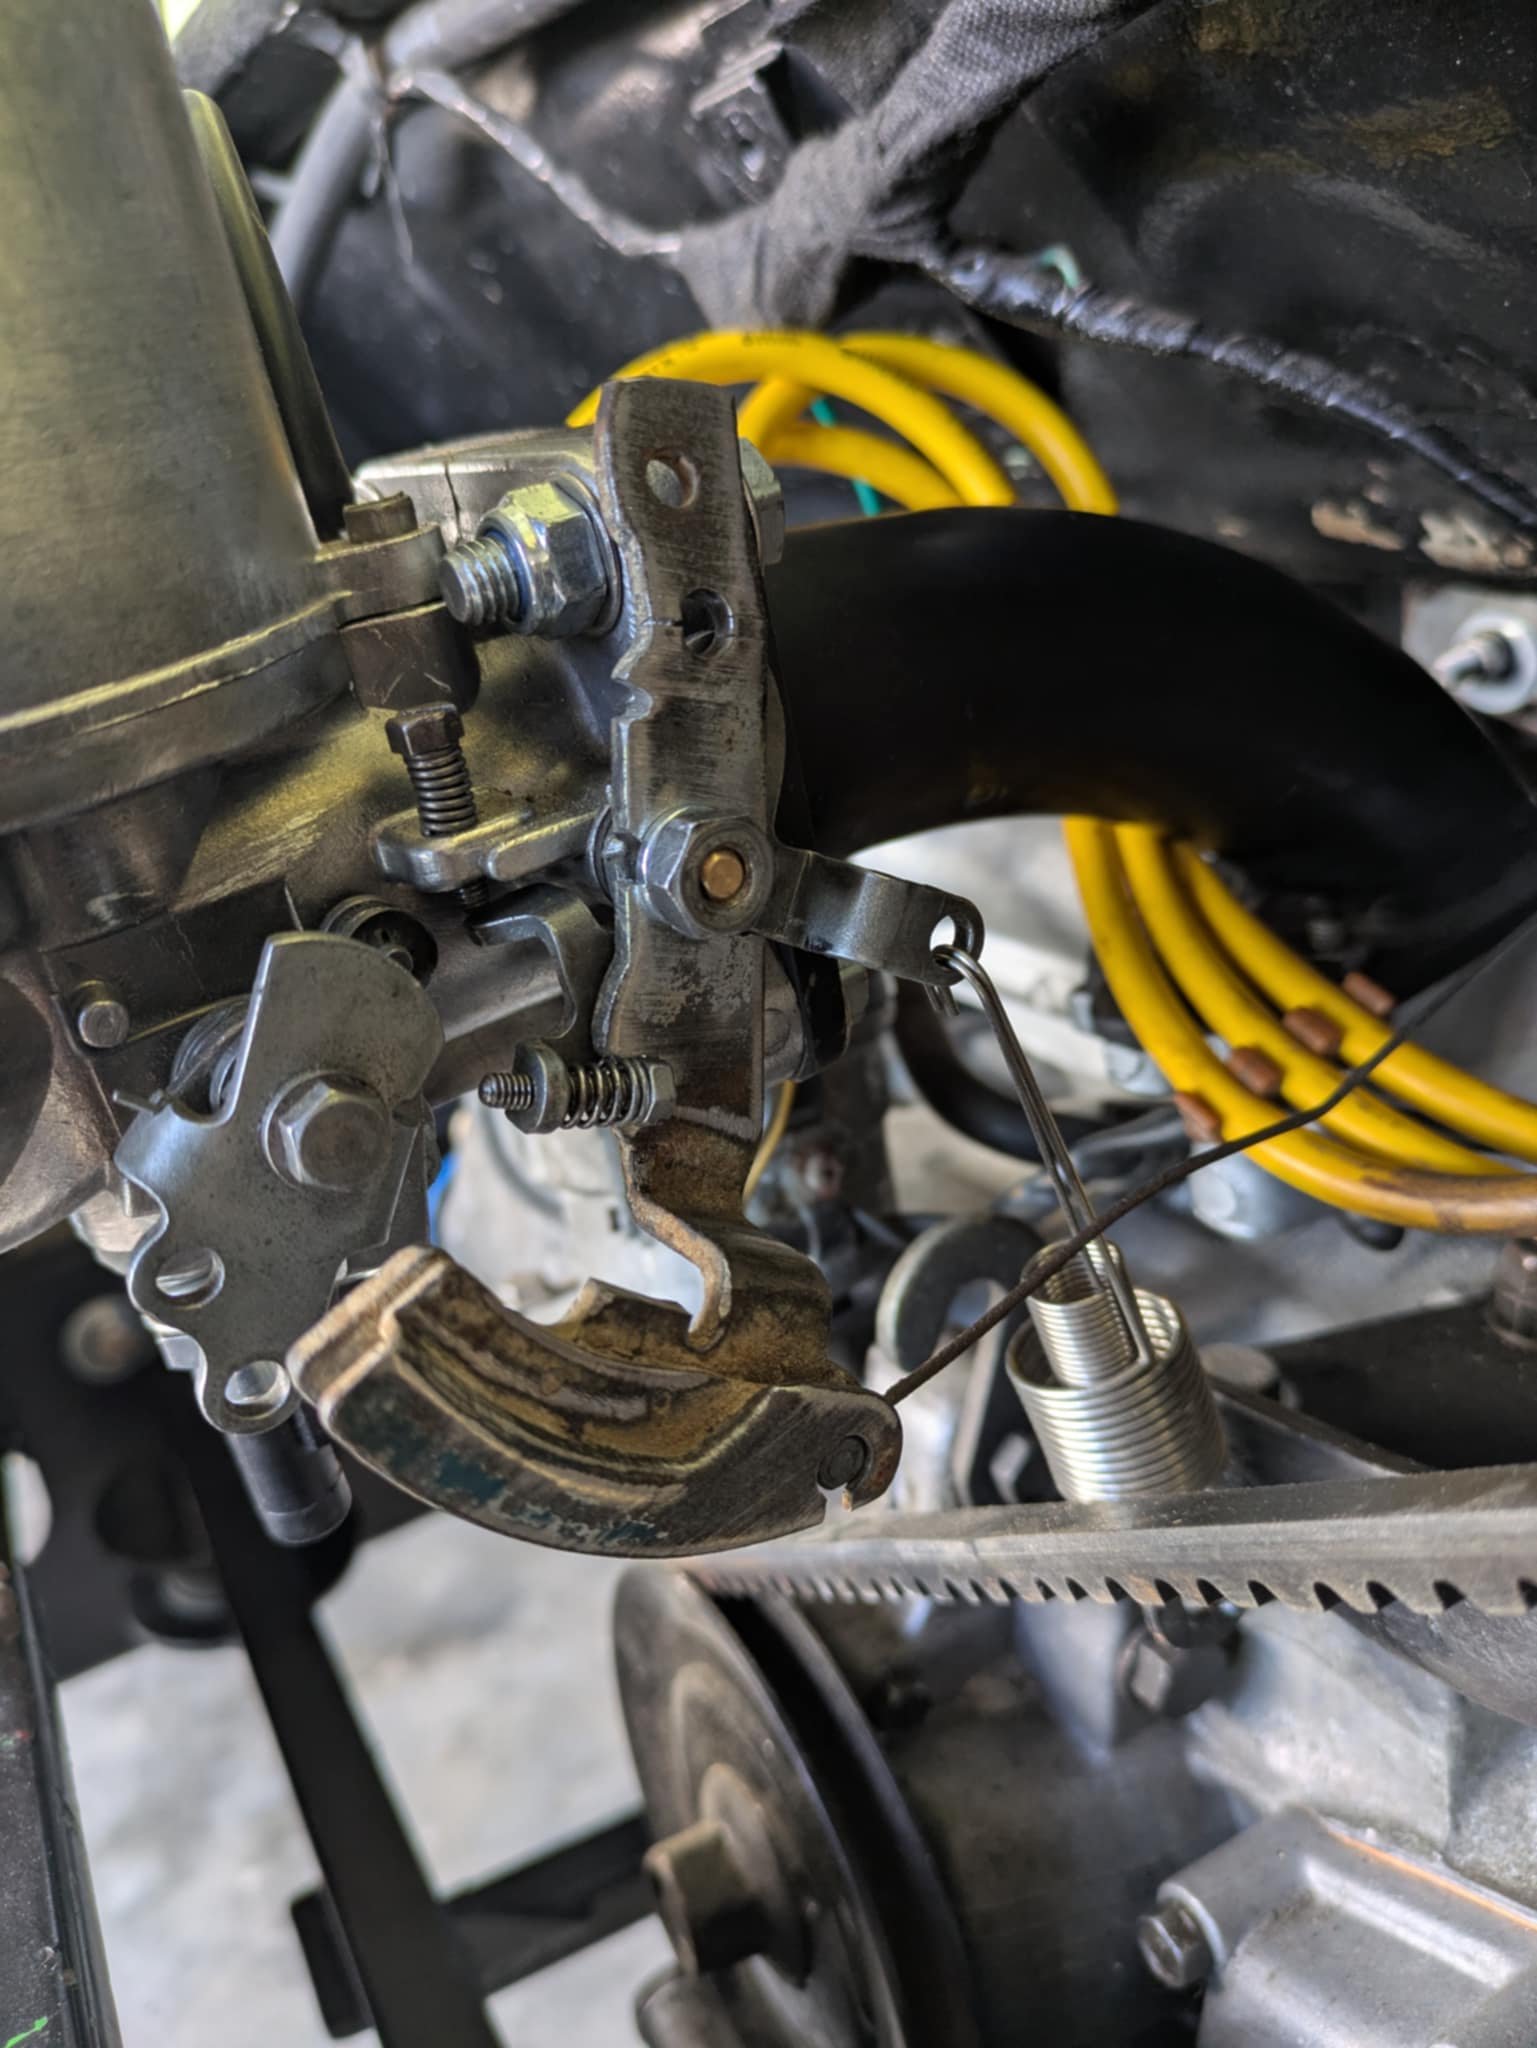
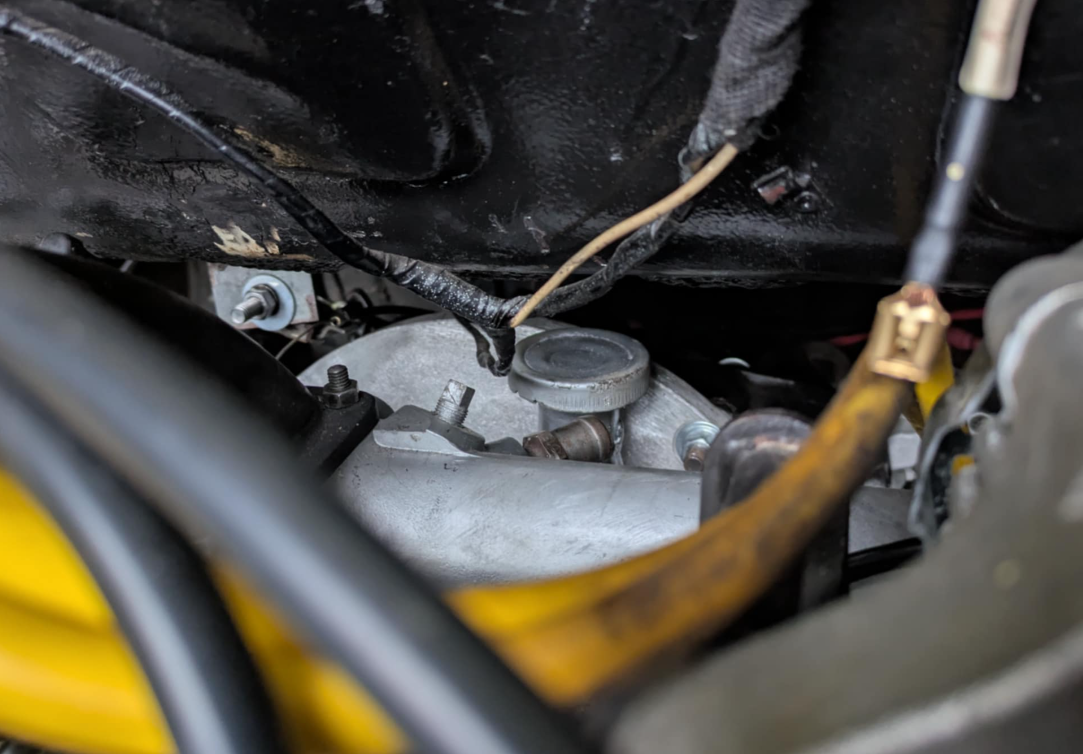
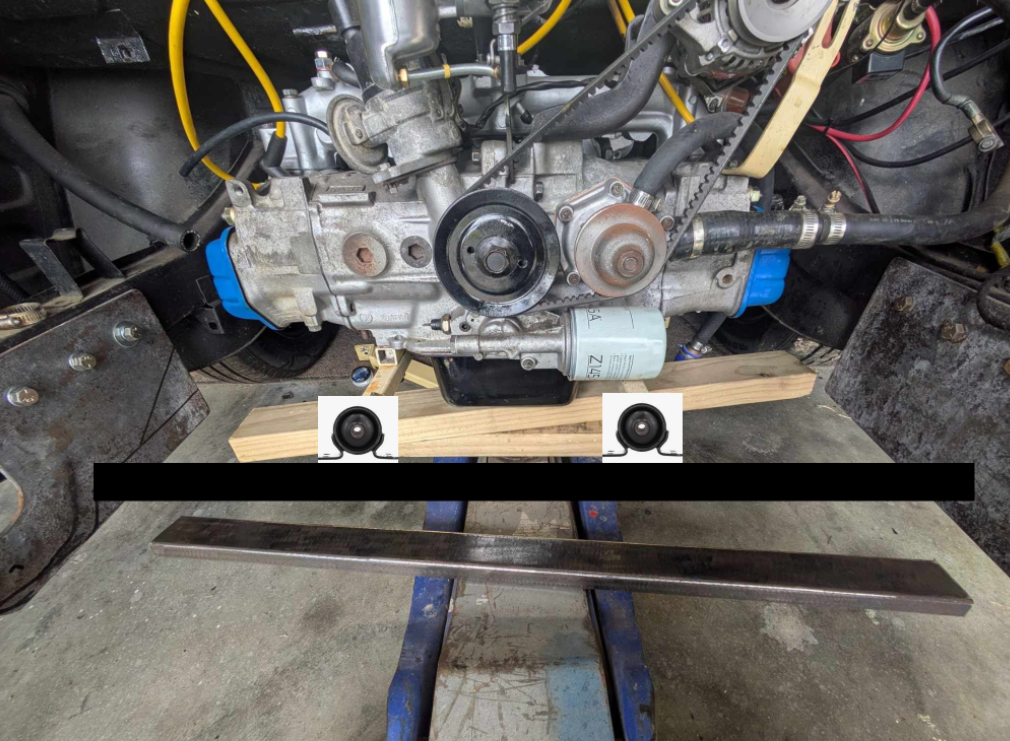
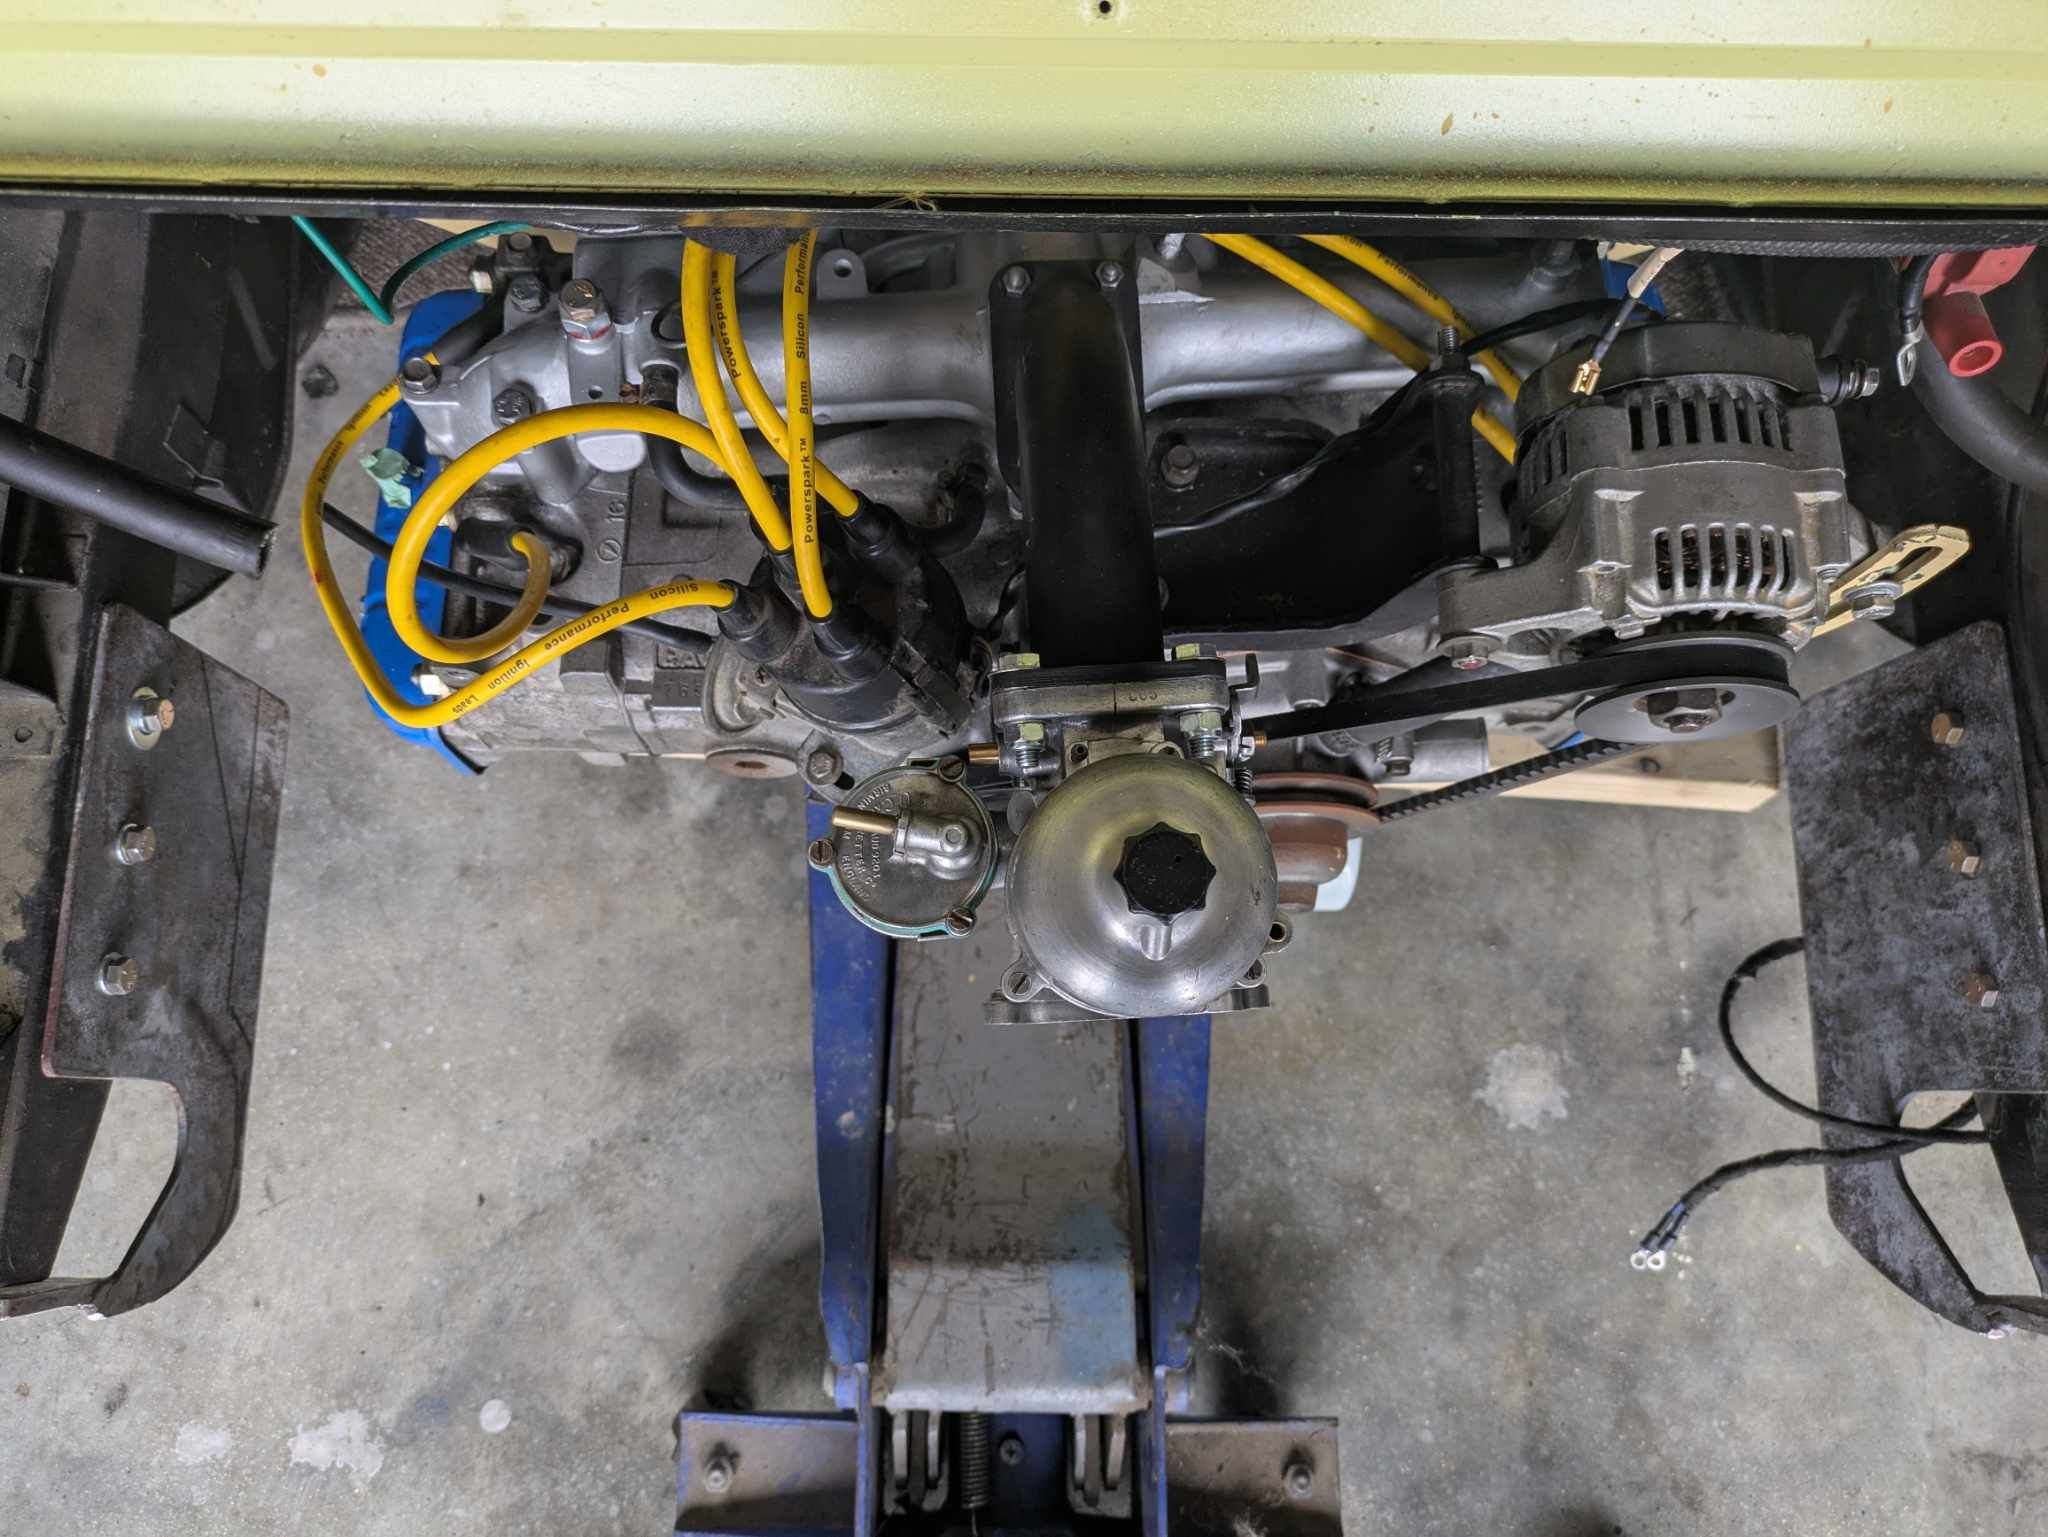
Managed to get the throttle cable connected. Still need to sort the choke however. Throttle is bits ripped off a nissan diesel in a landrover in the shed. It's upside down and back to front but gets 70% travel which will be fine for now. Especially running in a new engine. The next thing I need to take seriously is the exhaust. The old one was two full size mufflers and with the new engine bar in the way, simply won't fit. On order are some small hot dog style ones I've had success with in the past. They are quite small so may need to be packed for LVV but I'll cross that bridge later. Might look at putting a battery and radiator in tomorrow and trying to get it started. Still need to sort the air filter and breather hoses but a test fire won't harm it.

- 115 replies
-
- 16
-

-
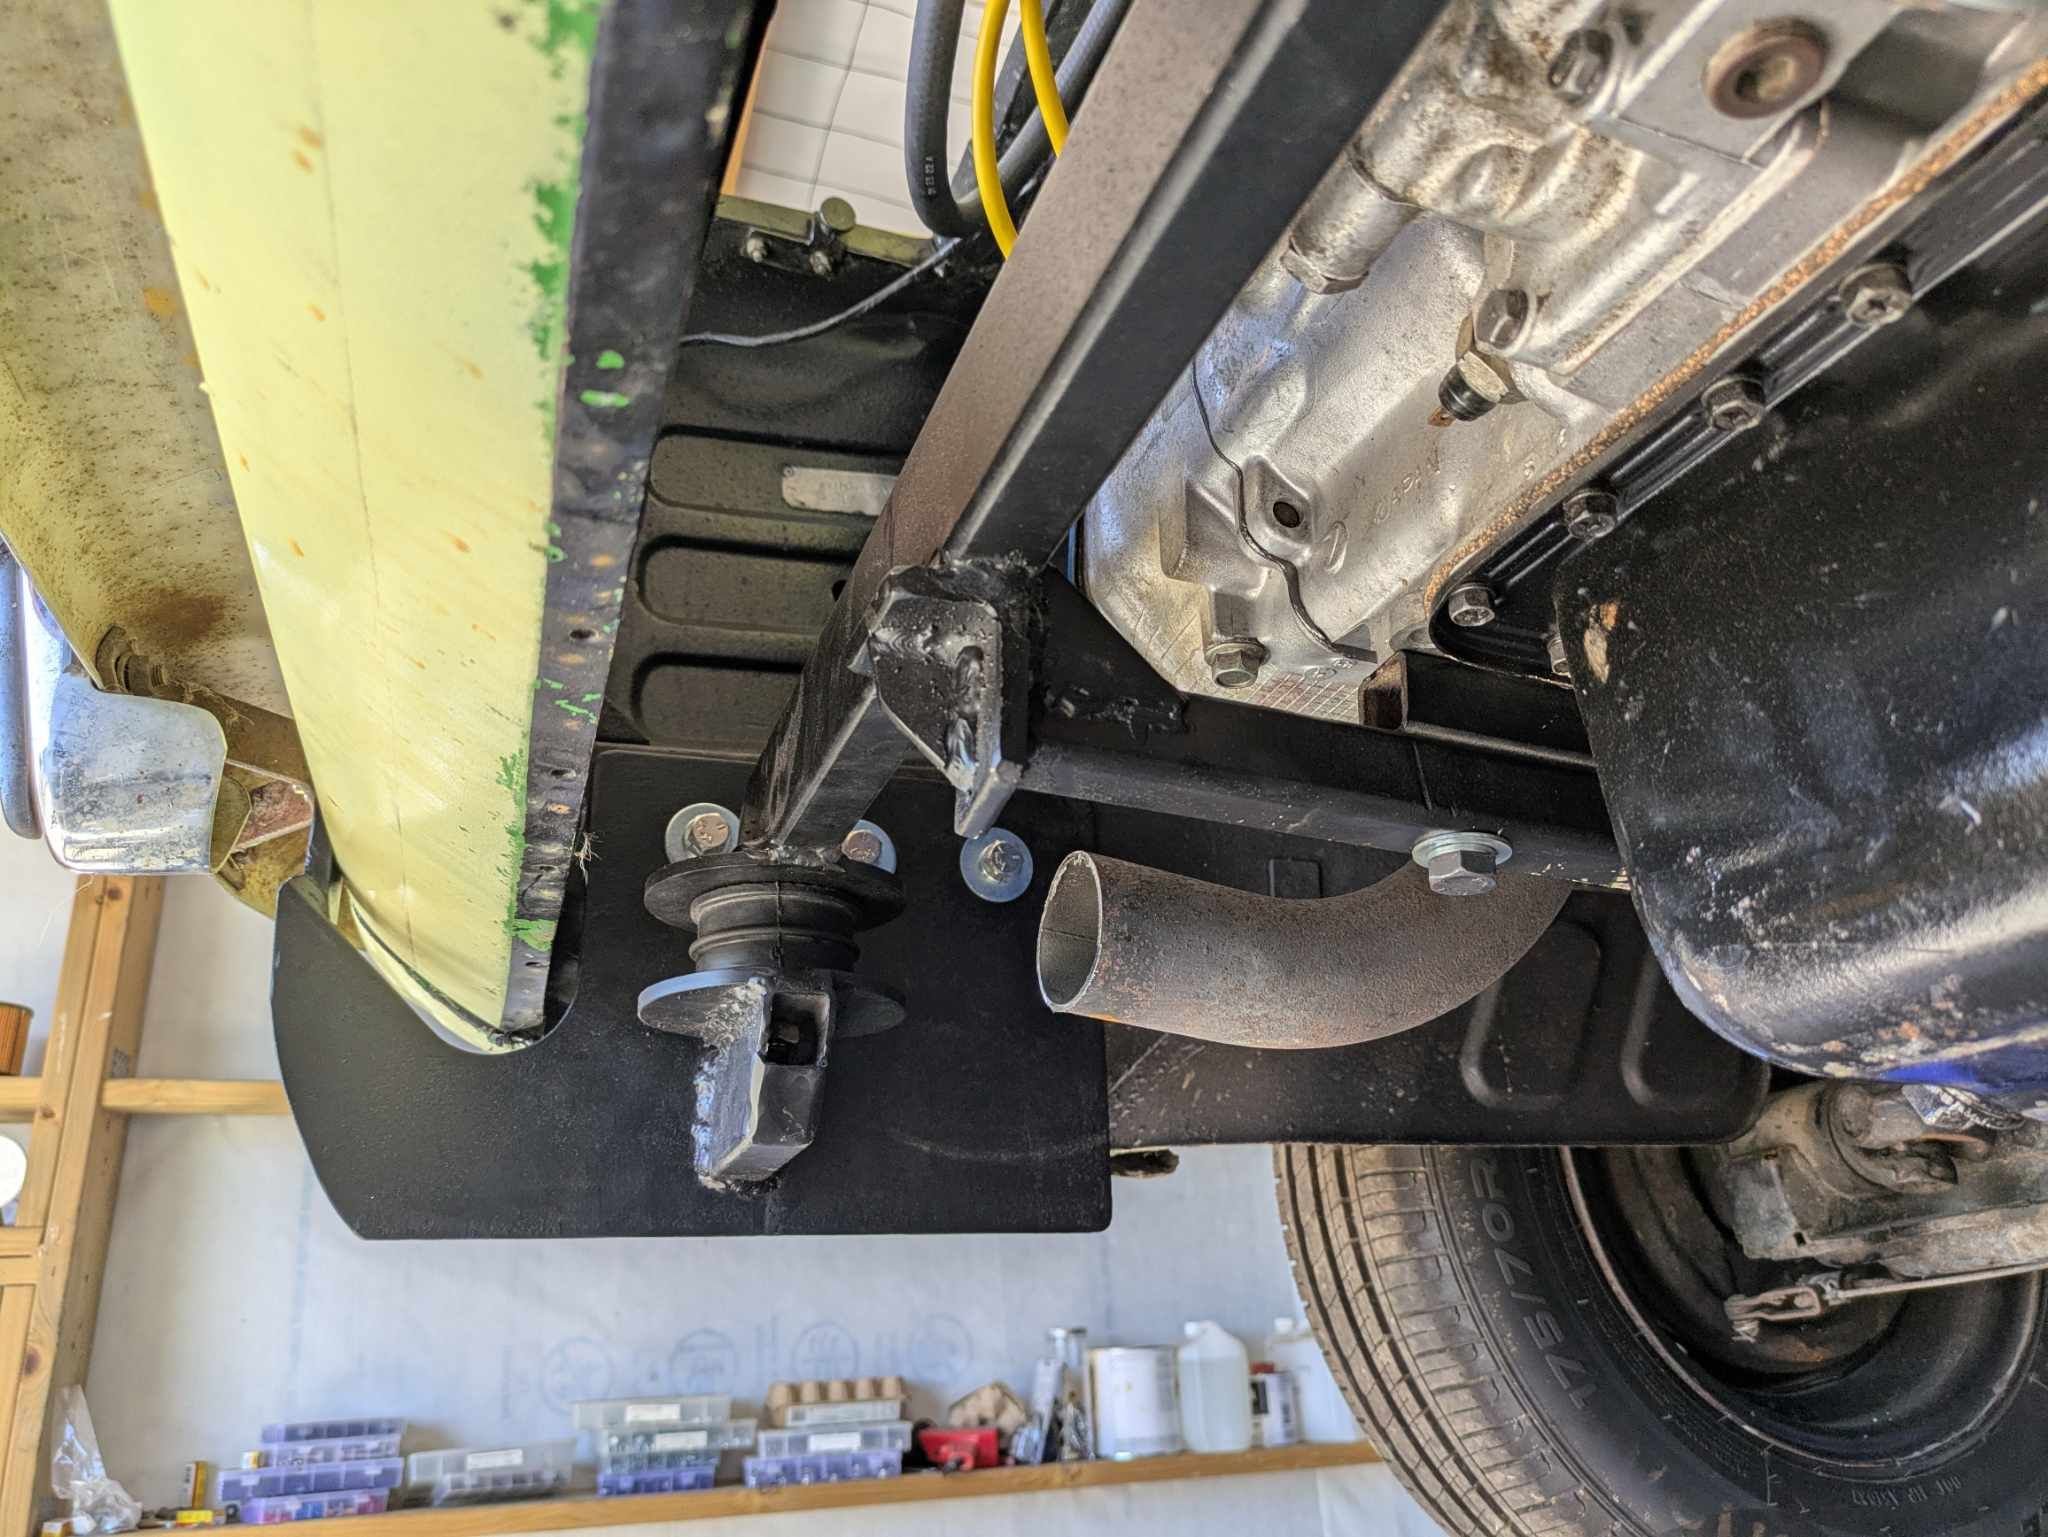
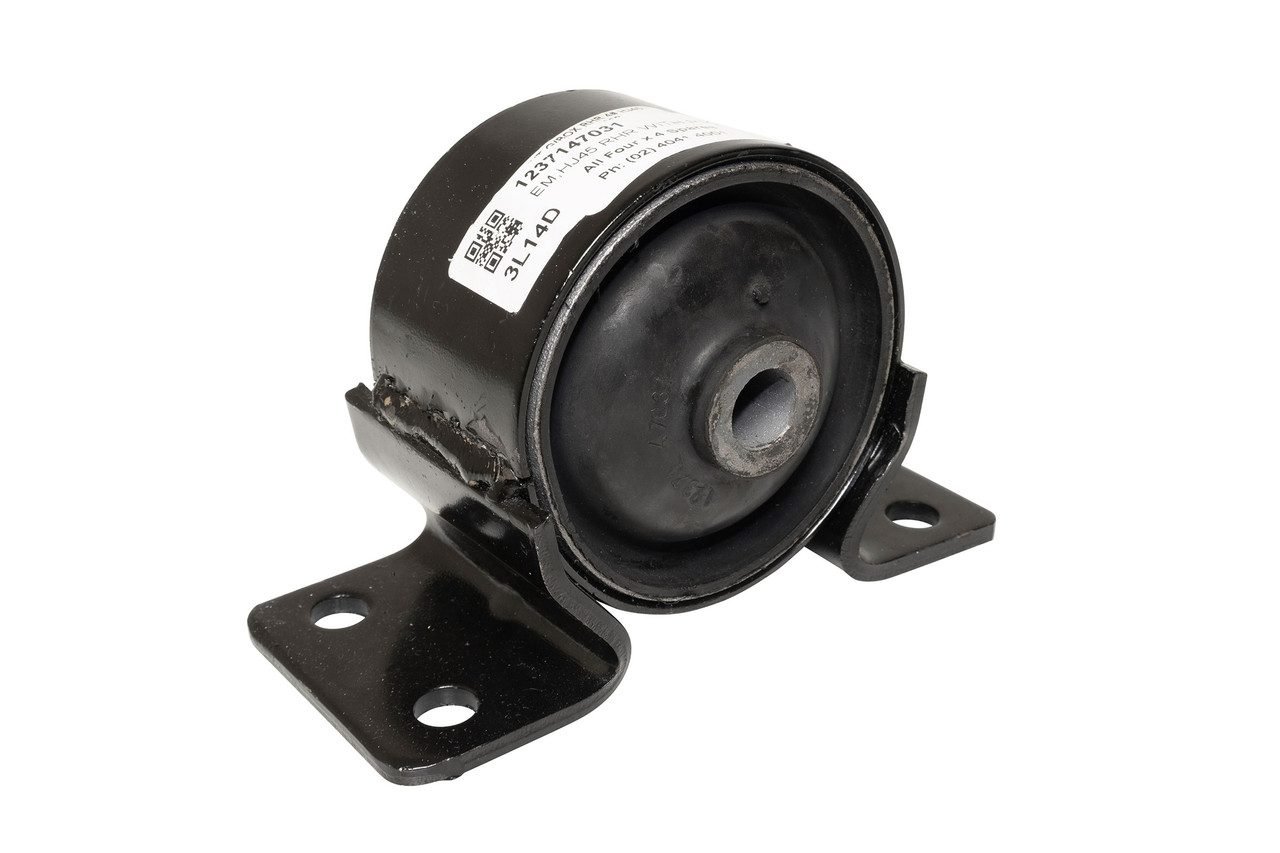
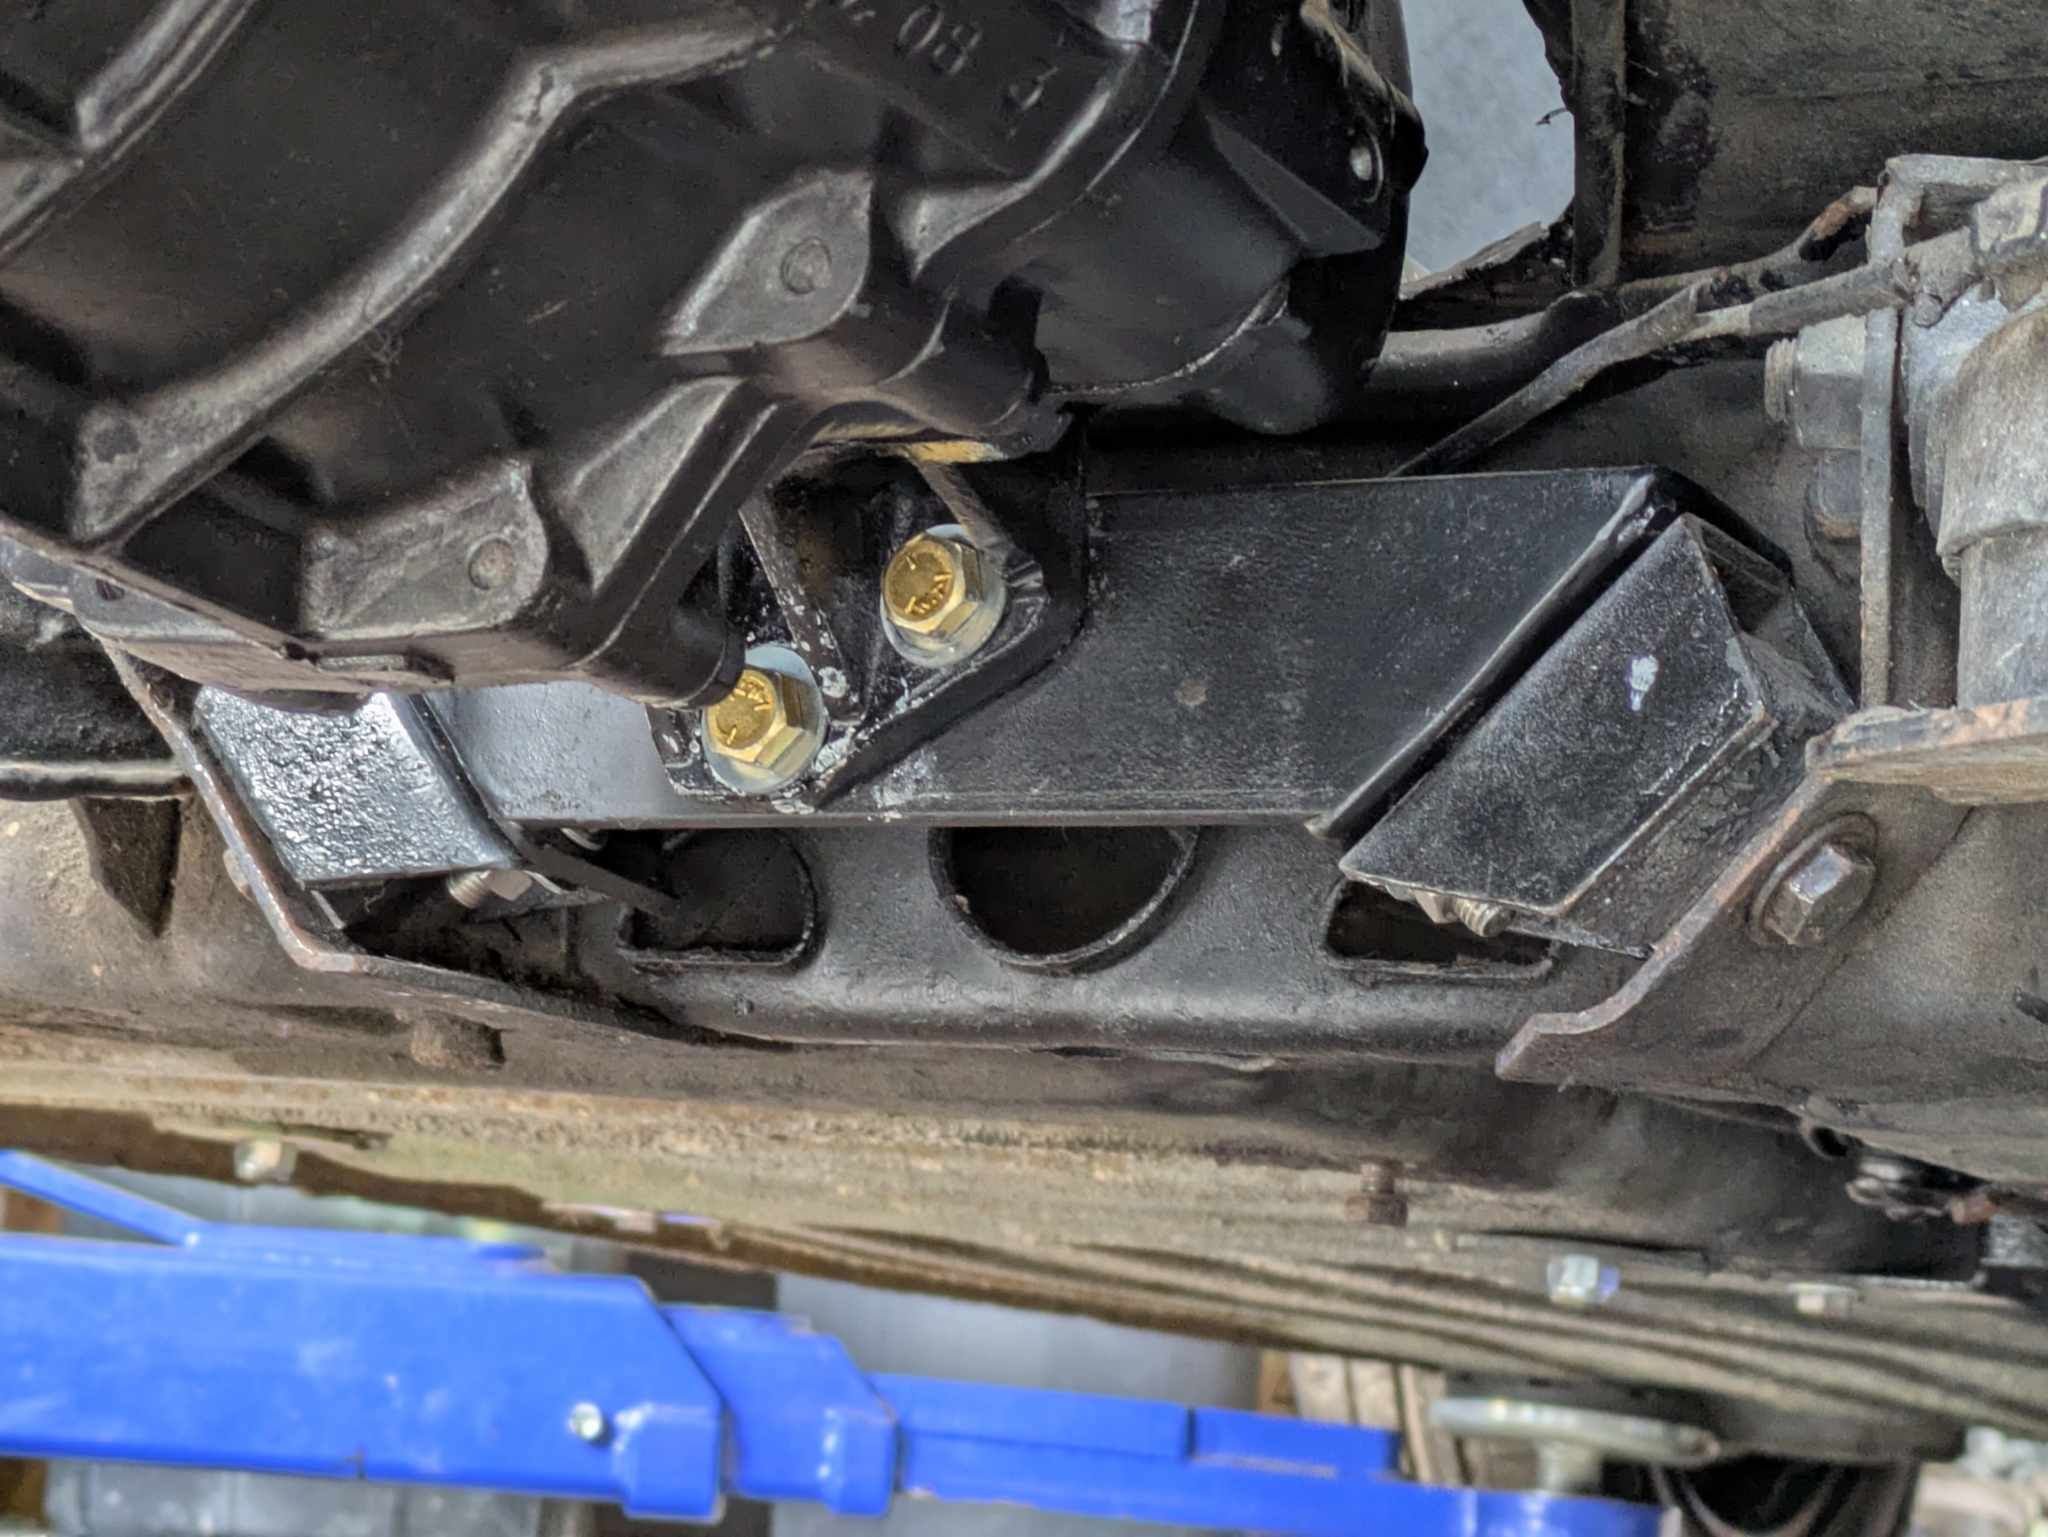
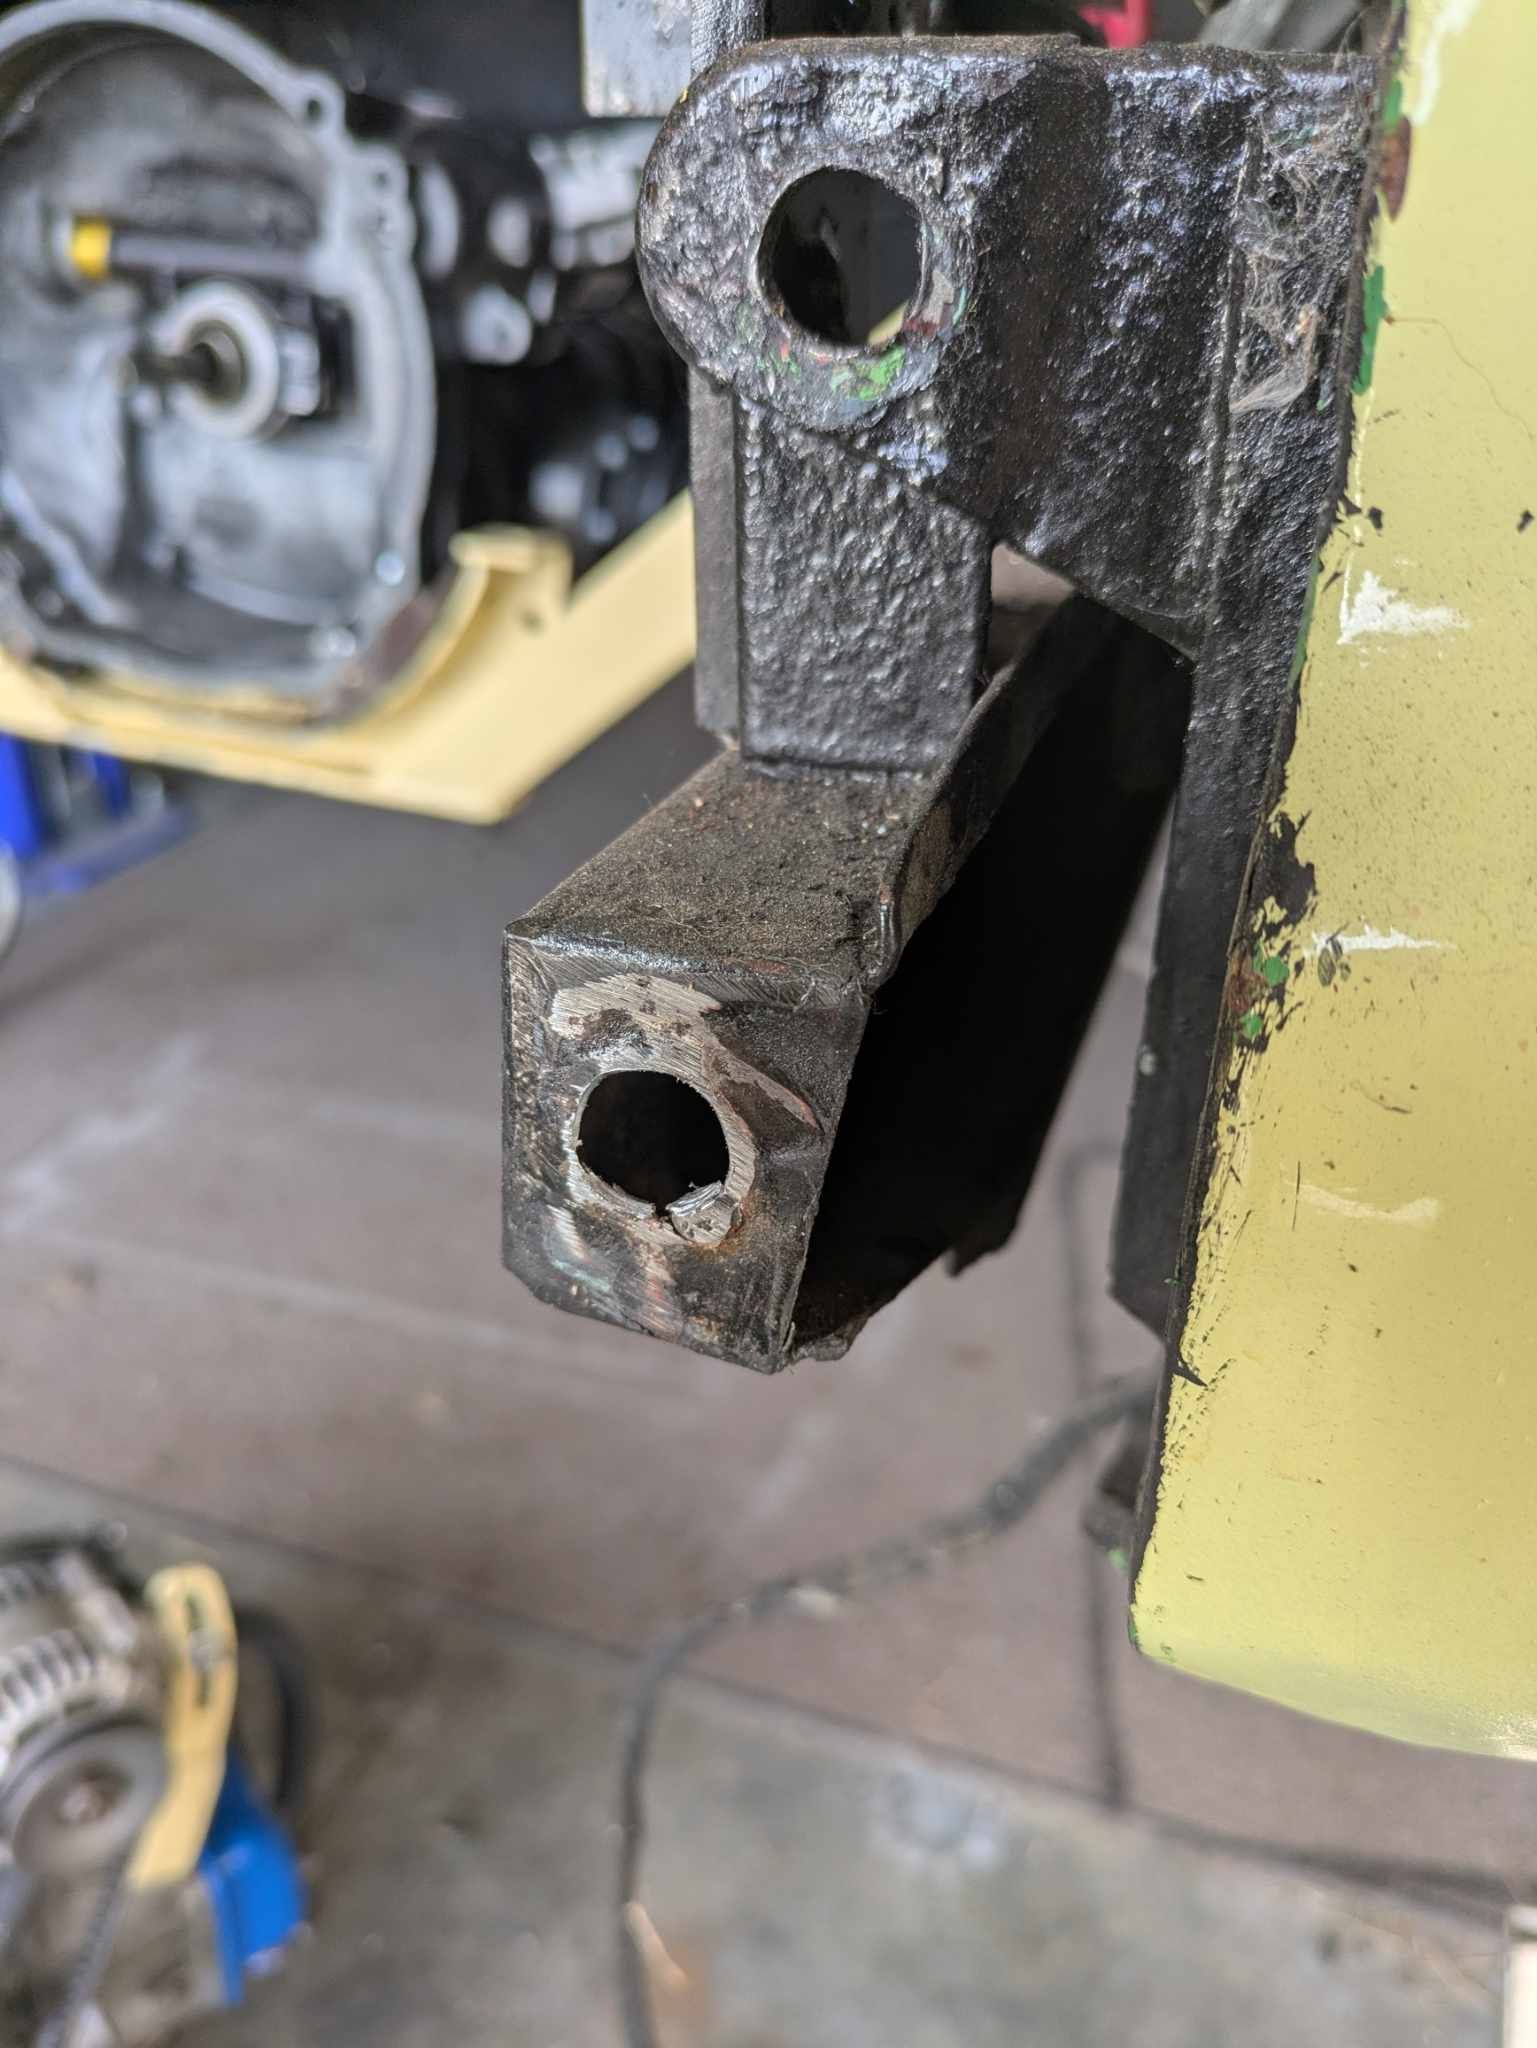
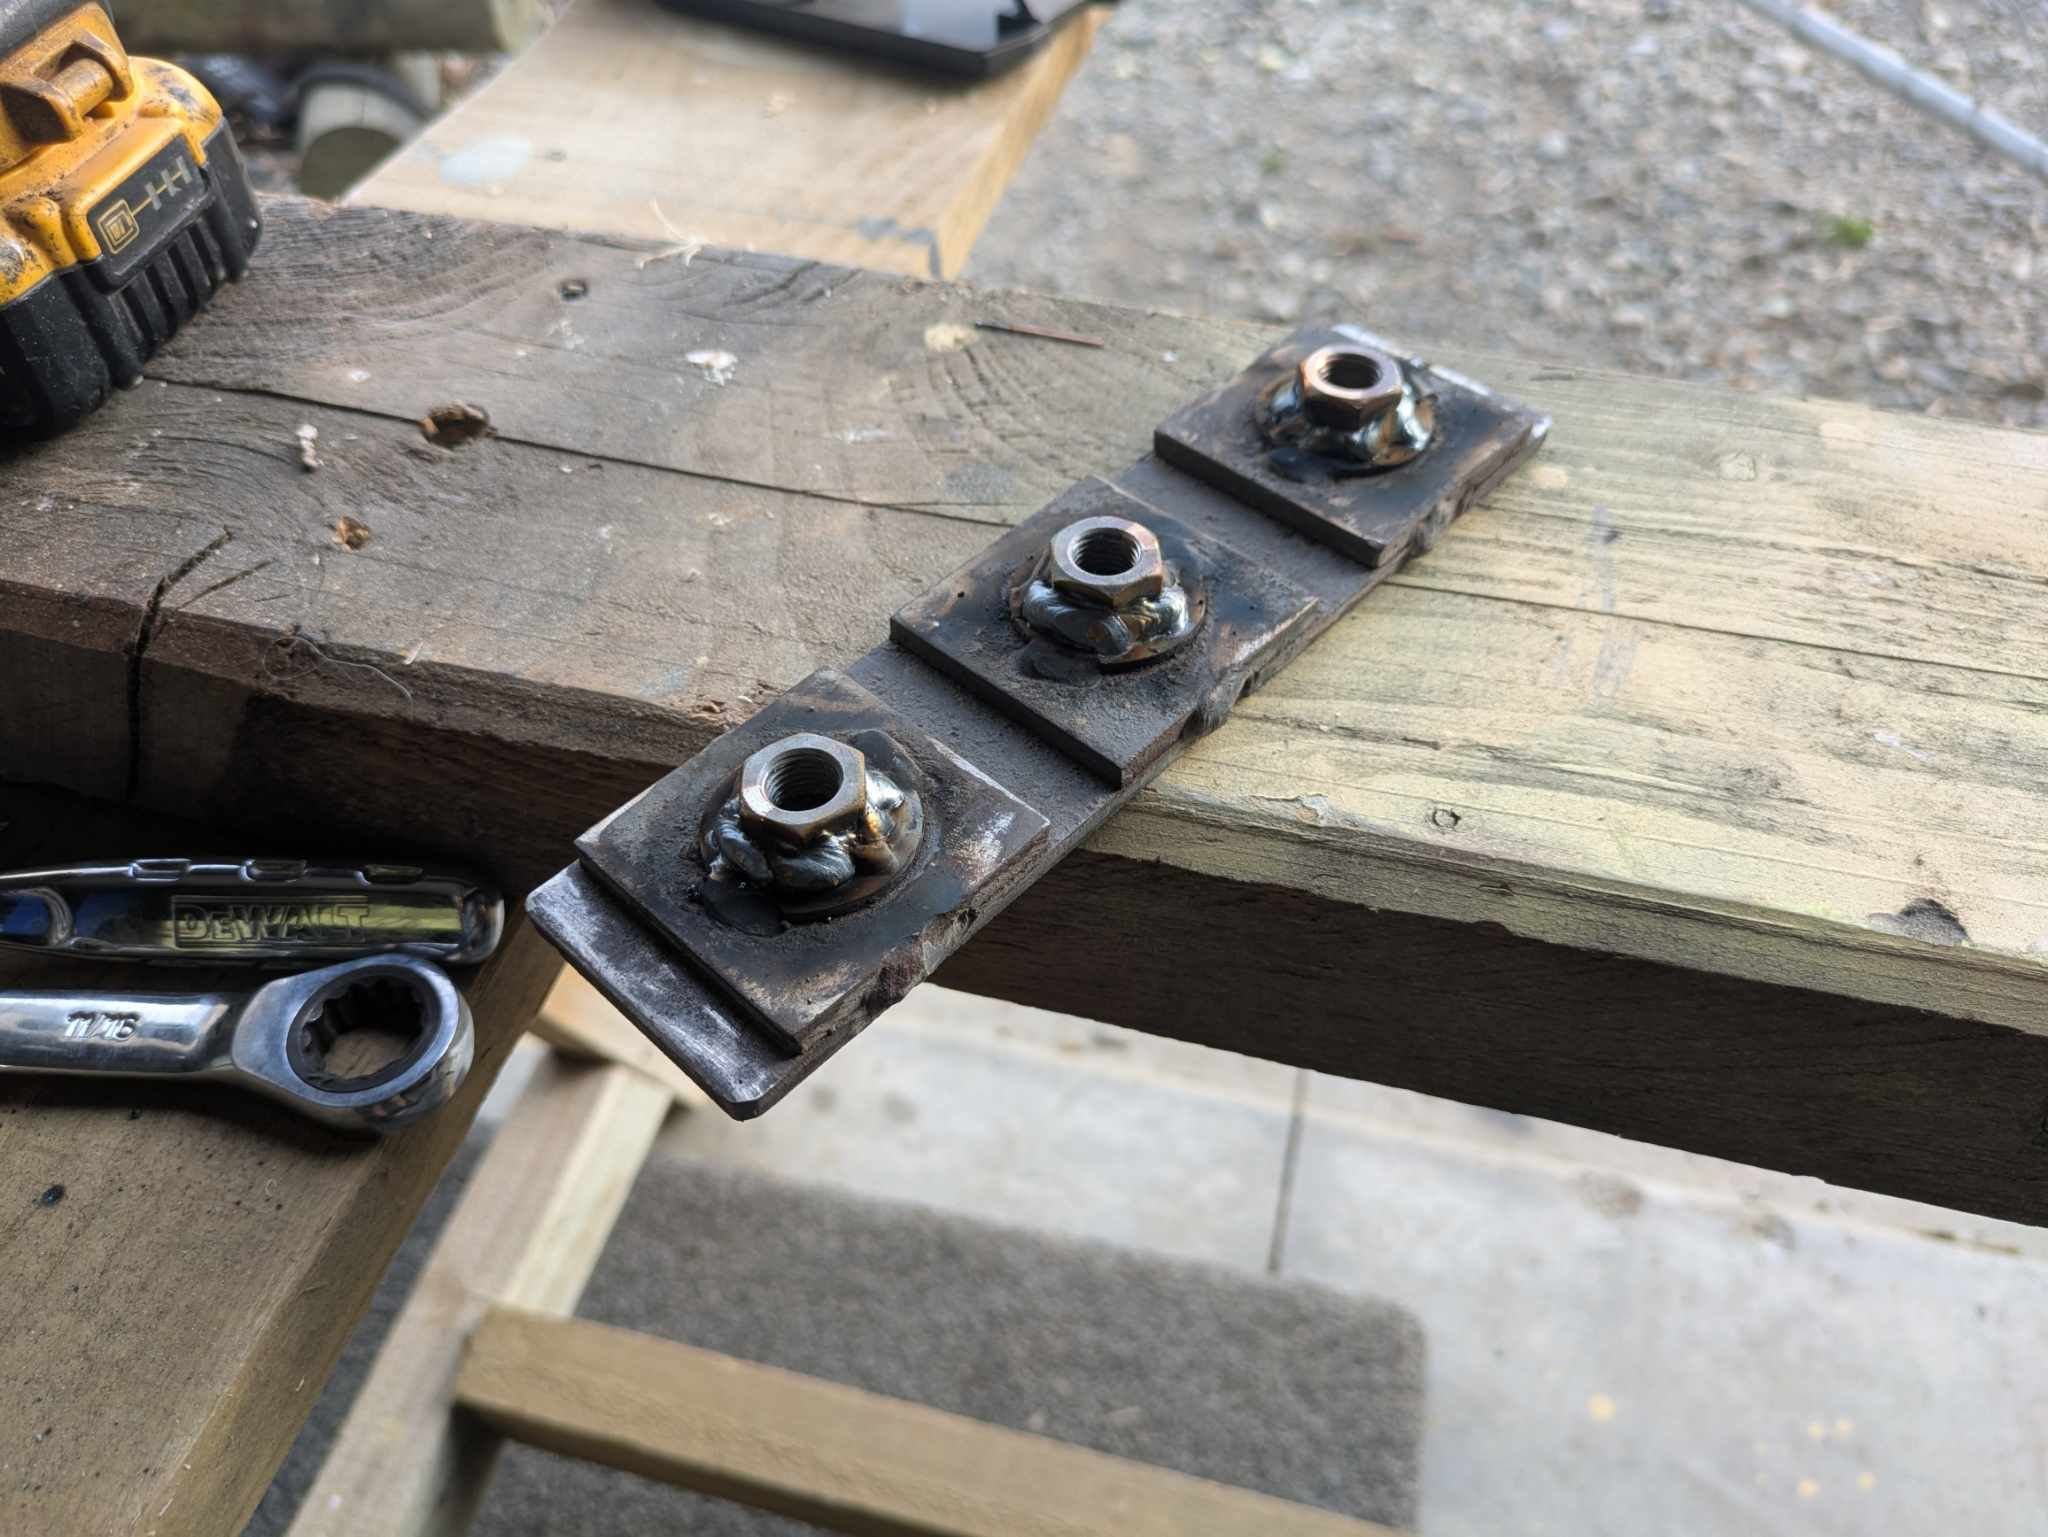
Gimpy spanner got the nut on with no dramas and the mount all fits thankfully. The bolts on the frame aren't long enough but will do for now and new ones an inch longer have been ordered. With it all bolted up including the bumper bar end bolts there is no flex so I can relax my flaps about a towbar. Although I will be eyeing off the space after the exhaust is done which should probably be next on the list. I was going to chop off the old engine mount but it isnt in the way and I could possibly use it for something yet. For comparison, here is the mount that it replaced which had it far too wobbly at idle.
- 115 replies
-
- 19
-
-

-
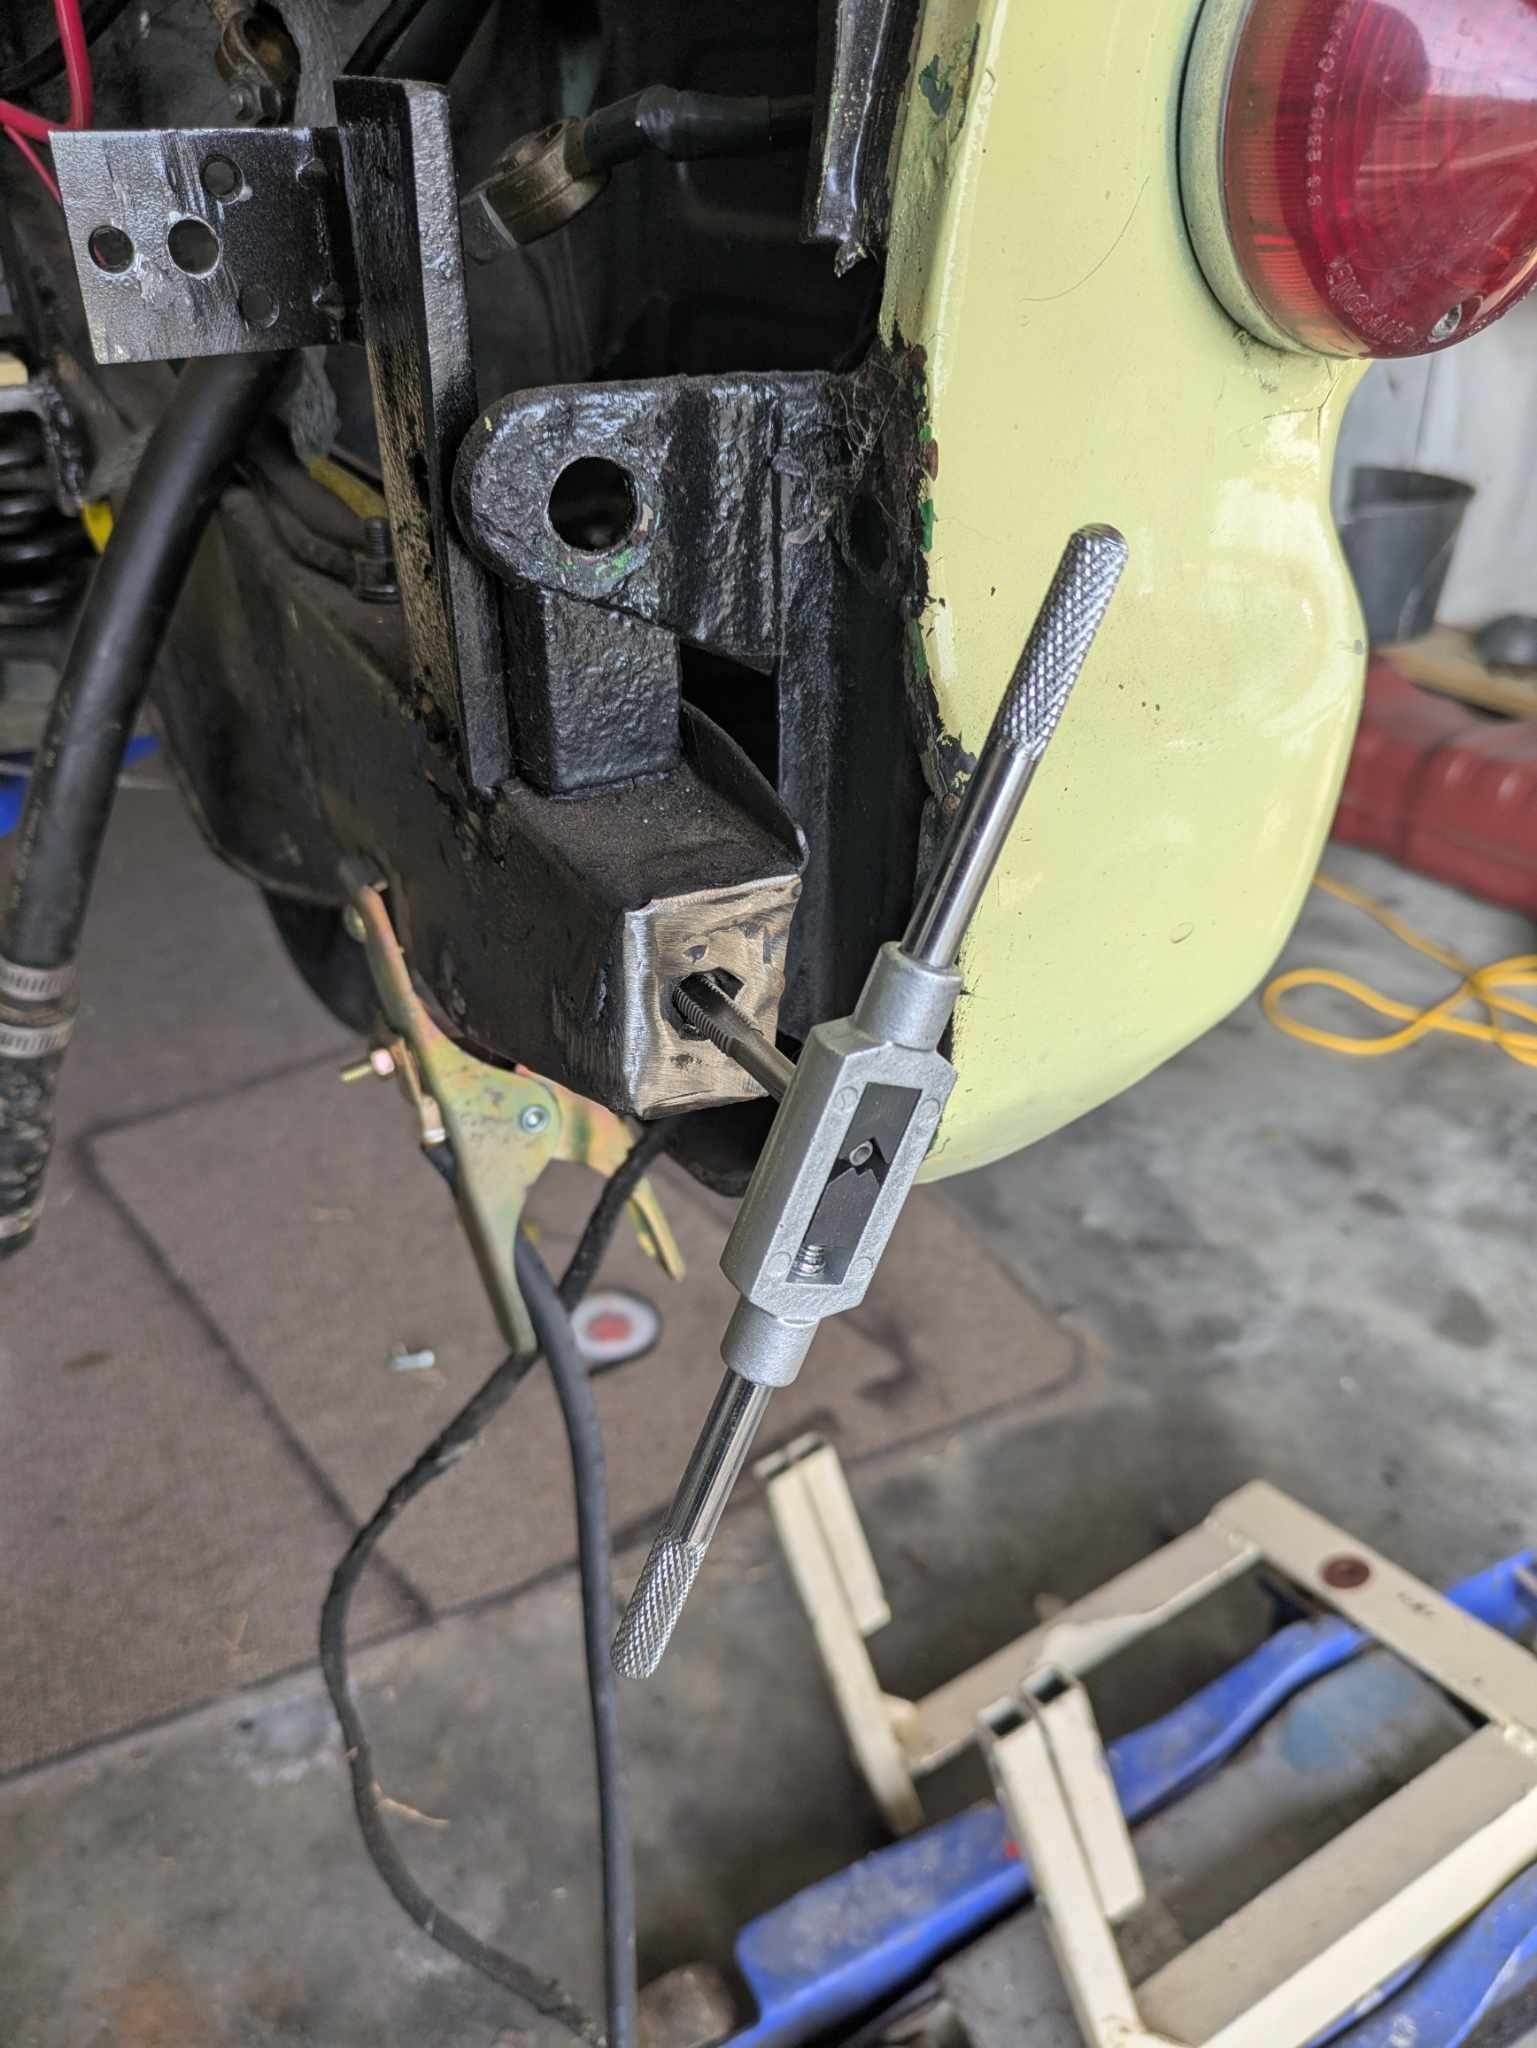
Mounts are coming along well but there is a little flex on the bottom of those plates that bolt to the rails. So am going to investigate what I'll need for a dinky little towbar. I already smell a tiny trailer project for the farm in the works. For the mounts I ordered some Volvo S40 ones but after two weeks I got a refund saying out of stock. So rather than order again and have to wait I found some land rover ones in the parts bin and they'll have to do. One end has a captured nut and the other has a window to get the nut on. As per usual I had to butcher a spanner to get it on and off. I'm almost up to a full set of spanners that have been cut down.
-
I think it was because I had the engine at a tilt to get the staggered twin carbs to fit under the parcel shelf. Thus making both halfshafts and cv's at different angles. But honestly I'm not sure. It could have also been the widened wheels not being balanced. I had them done at the same place that did my mitsi and after taking them to another place to get rebalanced they were well out.
-
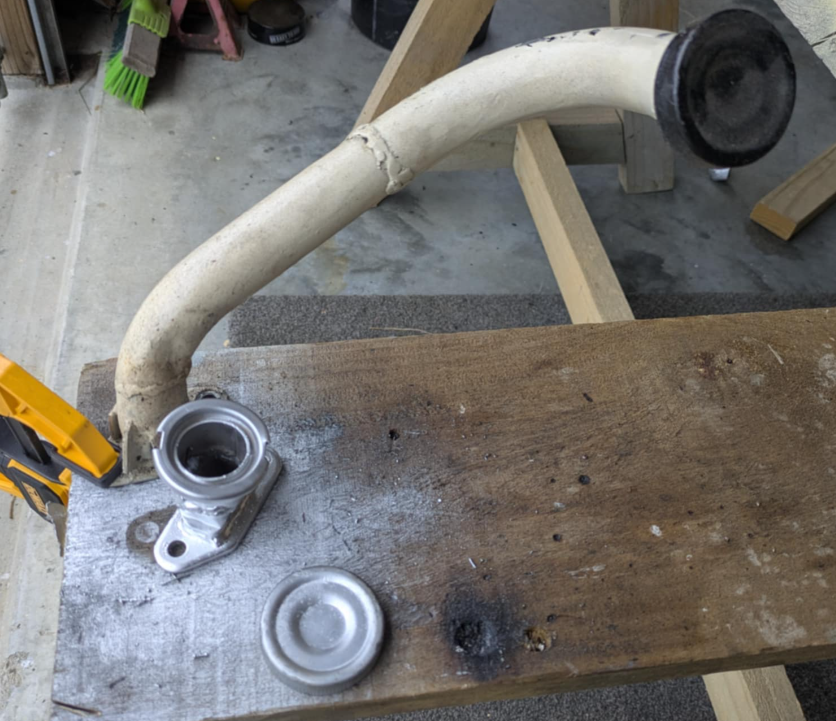
Trying to sort the engine mounting this week so I can get around to starting it soon. One of the problems I had before with the ea71 was the sump dangling down too low. Even with it dragging on the ground the half shafts were at a steep angle. So I'm making the angle even worse by raising the engine but it means the sump will be slightly more protected. I also made the engine mount brackets oversized so that if it gets really bad I can put a bash plate down there. The things that were stopping me raising the engine before were the downdraft carbs and the oil filler tube. It now has a side draft and I cut down the filler tube to be a fraction of the height. Means filling oil will be a pain in the bum but with a long flexible filler neck shouldn't be too hard. Now onto the mounts.
- 115 replies
-
- 17
-
-
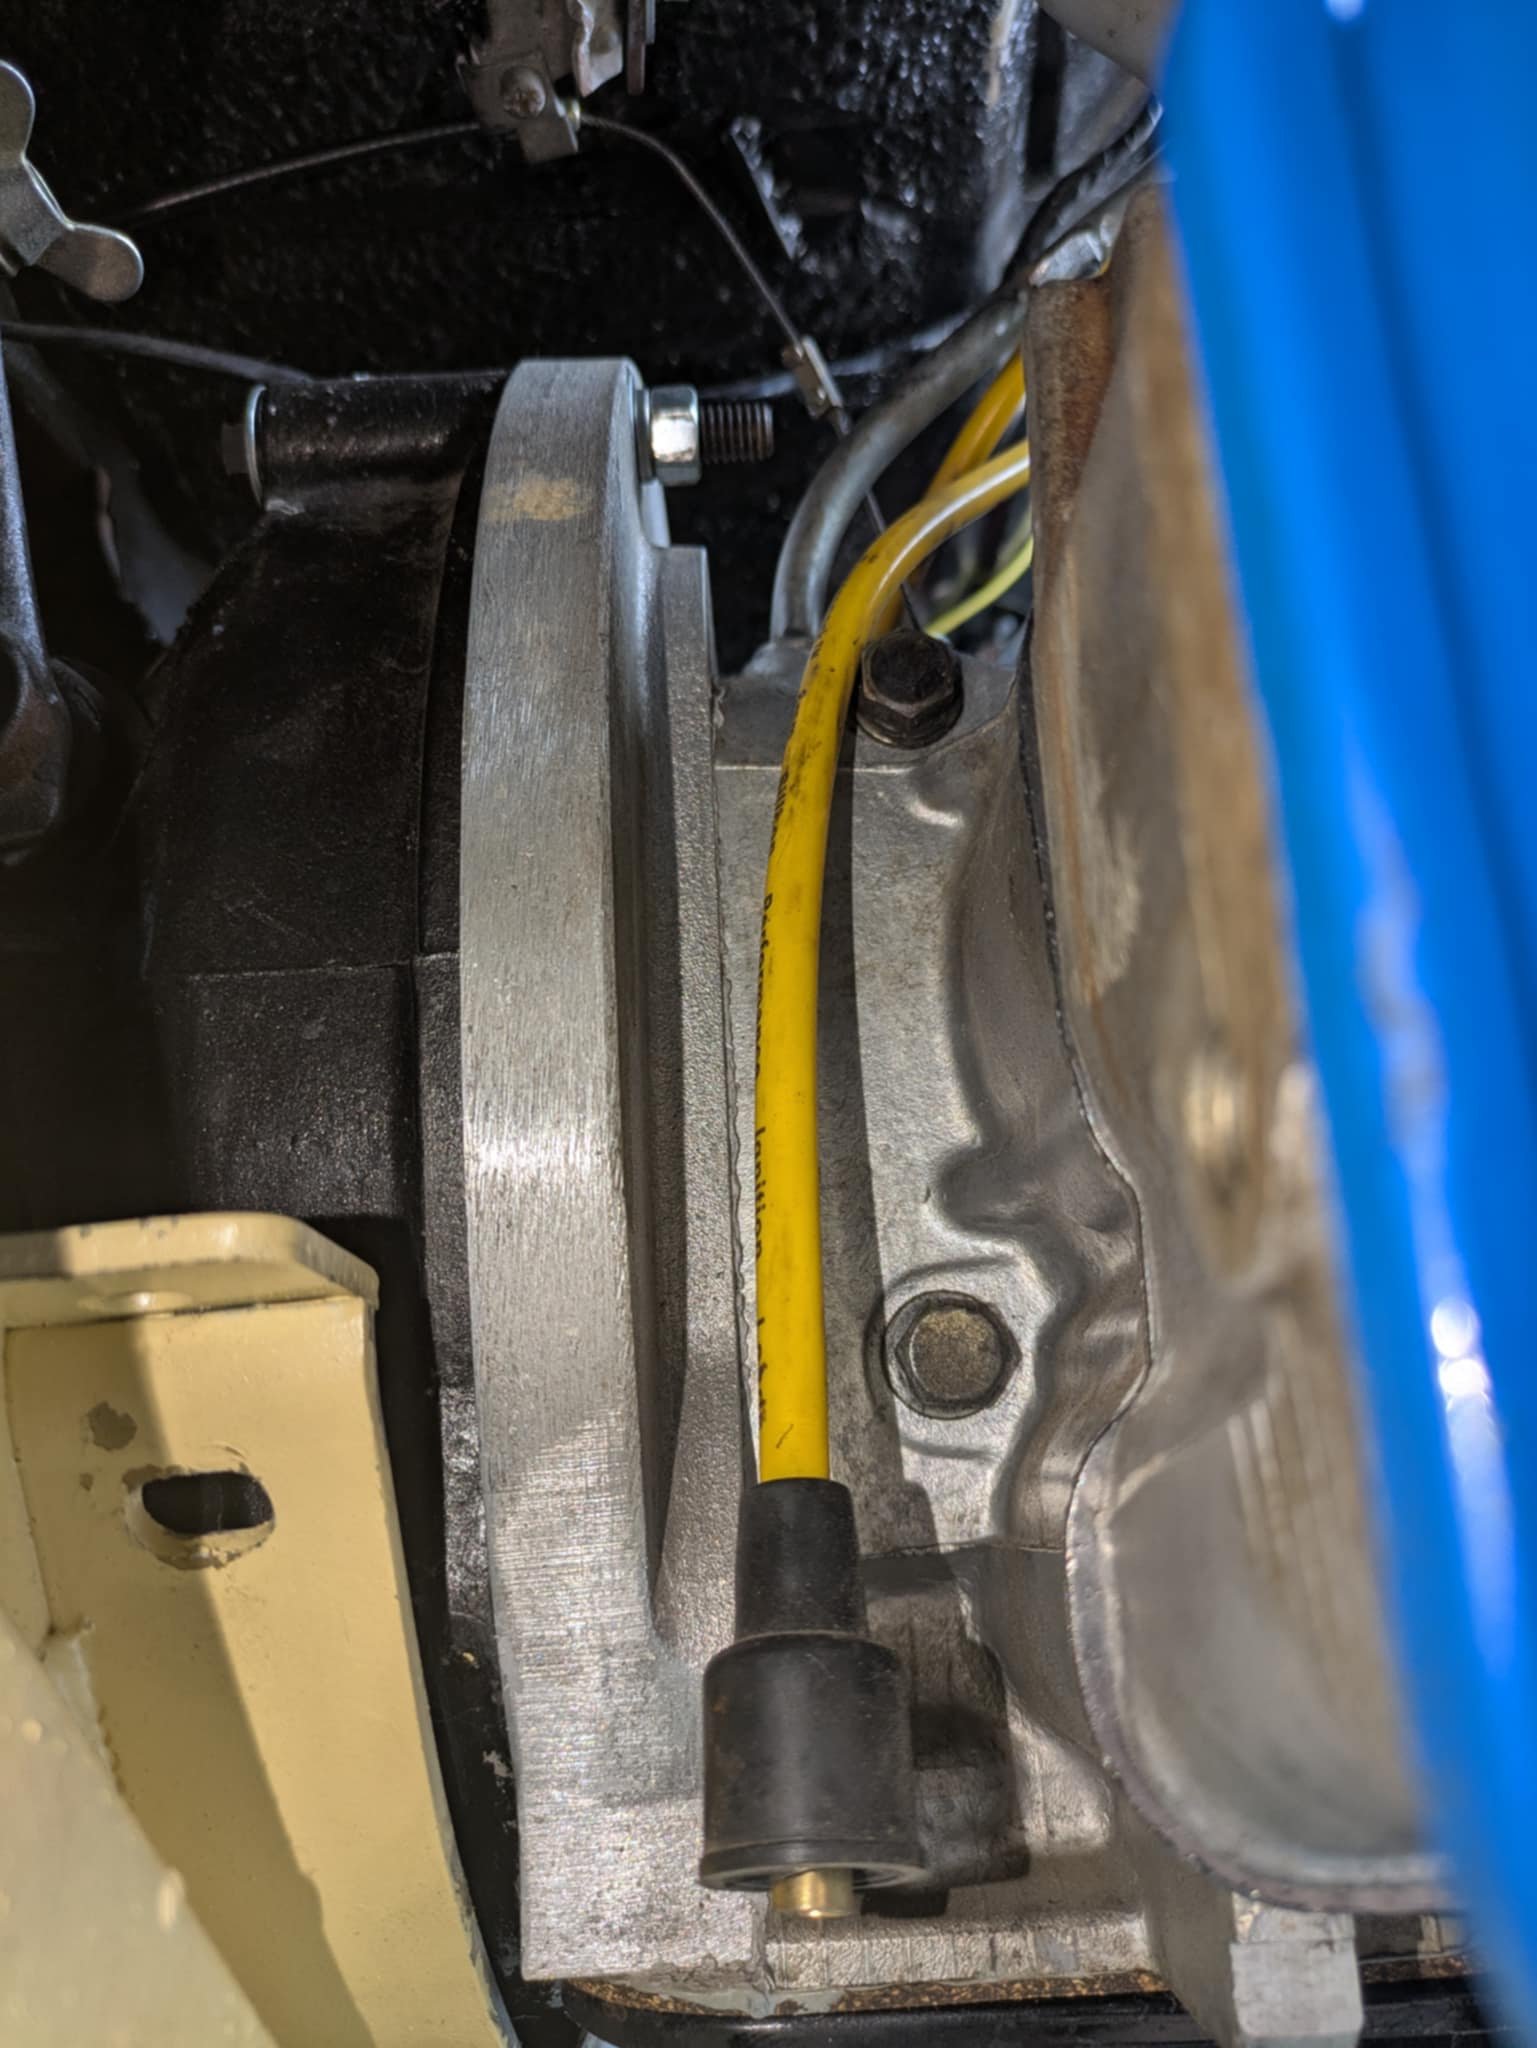
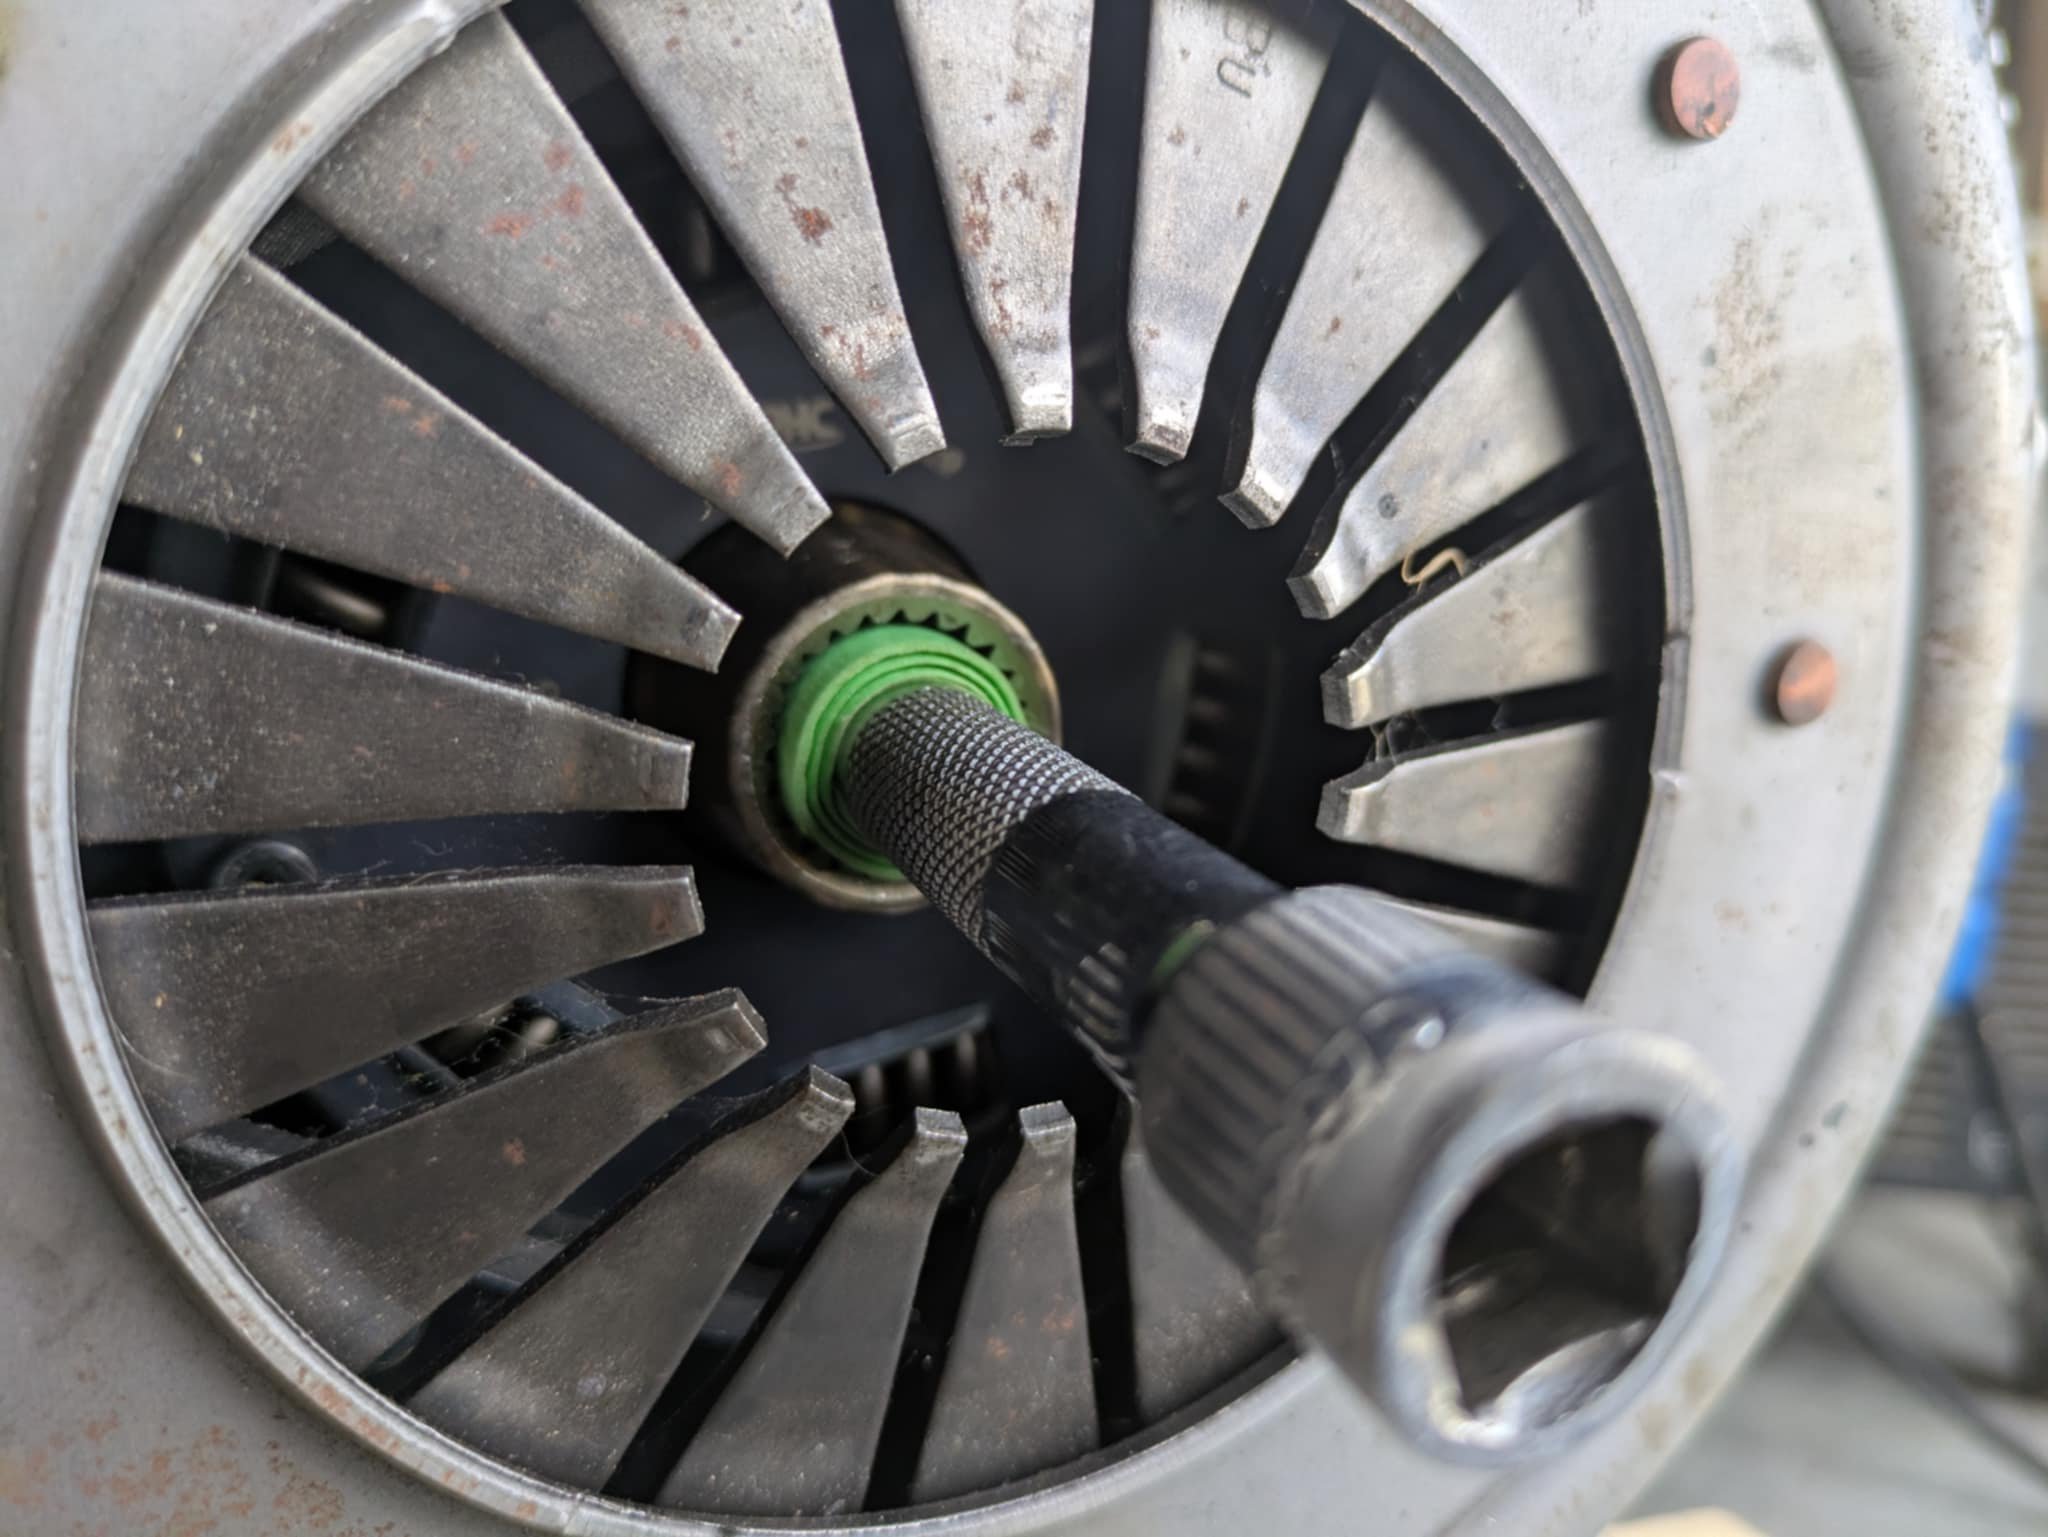
Ended up going for option 7 and machining the rear to match the ea71 flywheel. Havent started it up yet so lord knows what'll happen but it fits just fine. And so this isn't the most boring post in history please enjoy my bogan clutch alignment tool. Tape wrapped round a socket extension.
- 263 replies
-
- 11
-
-
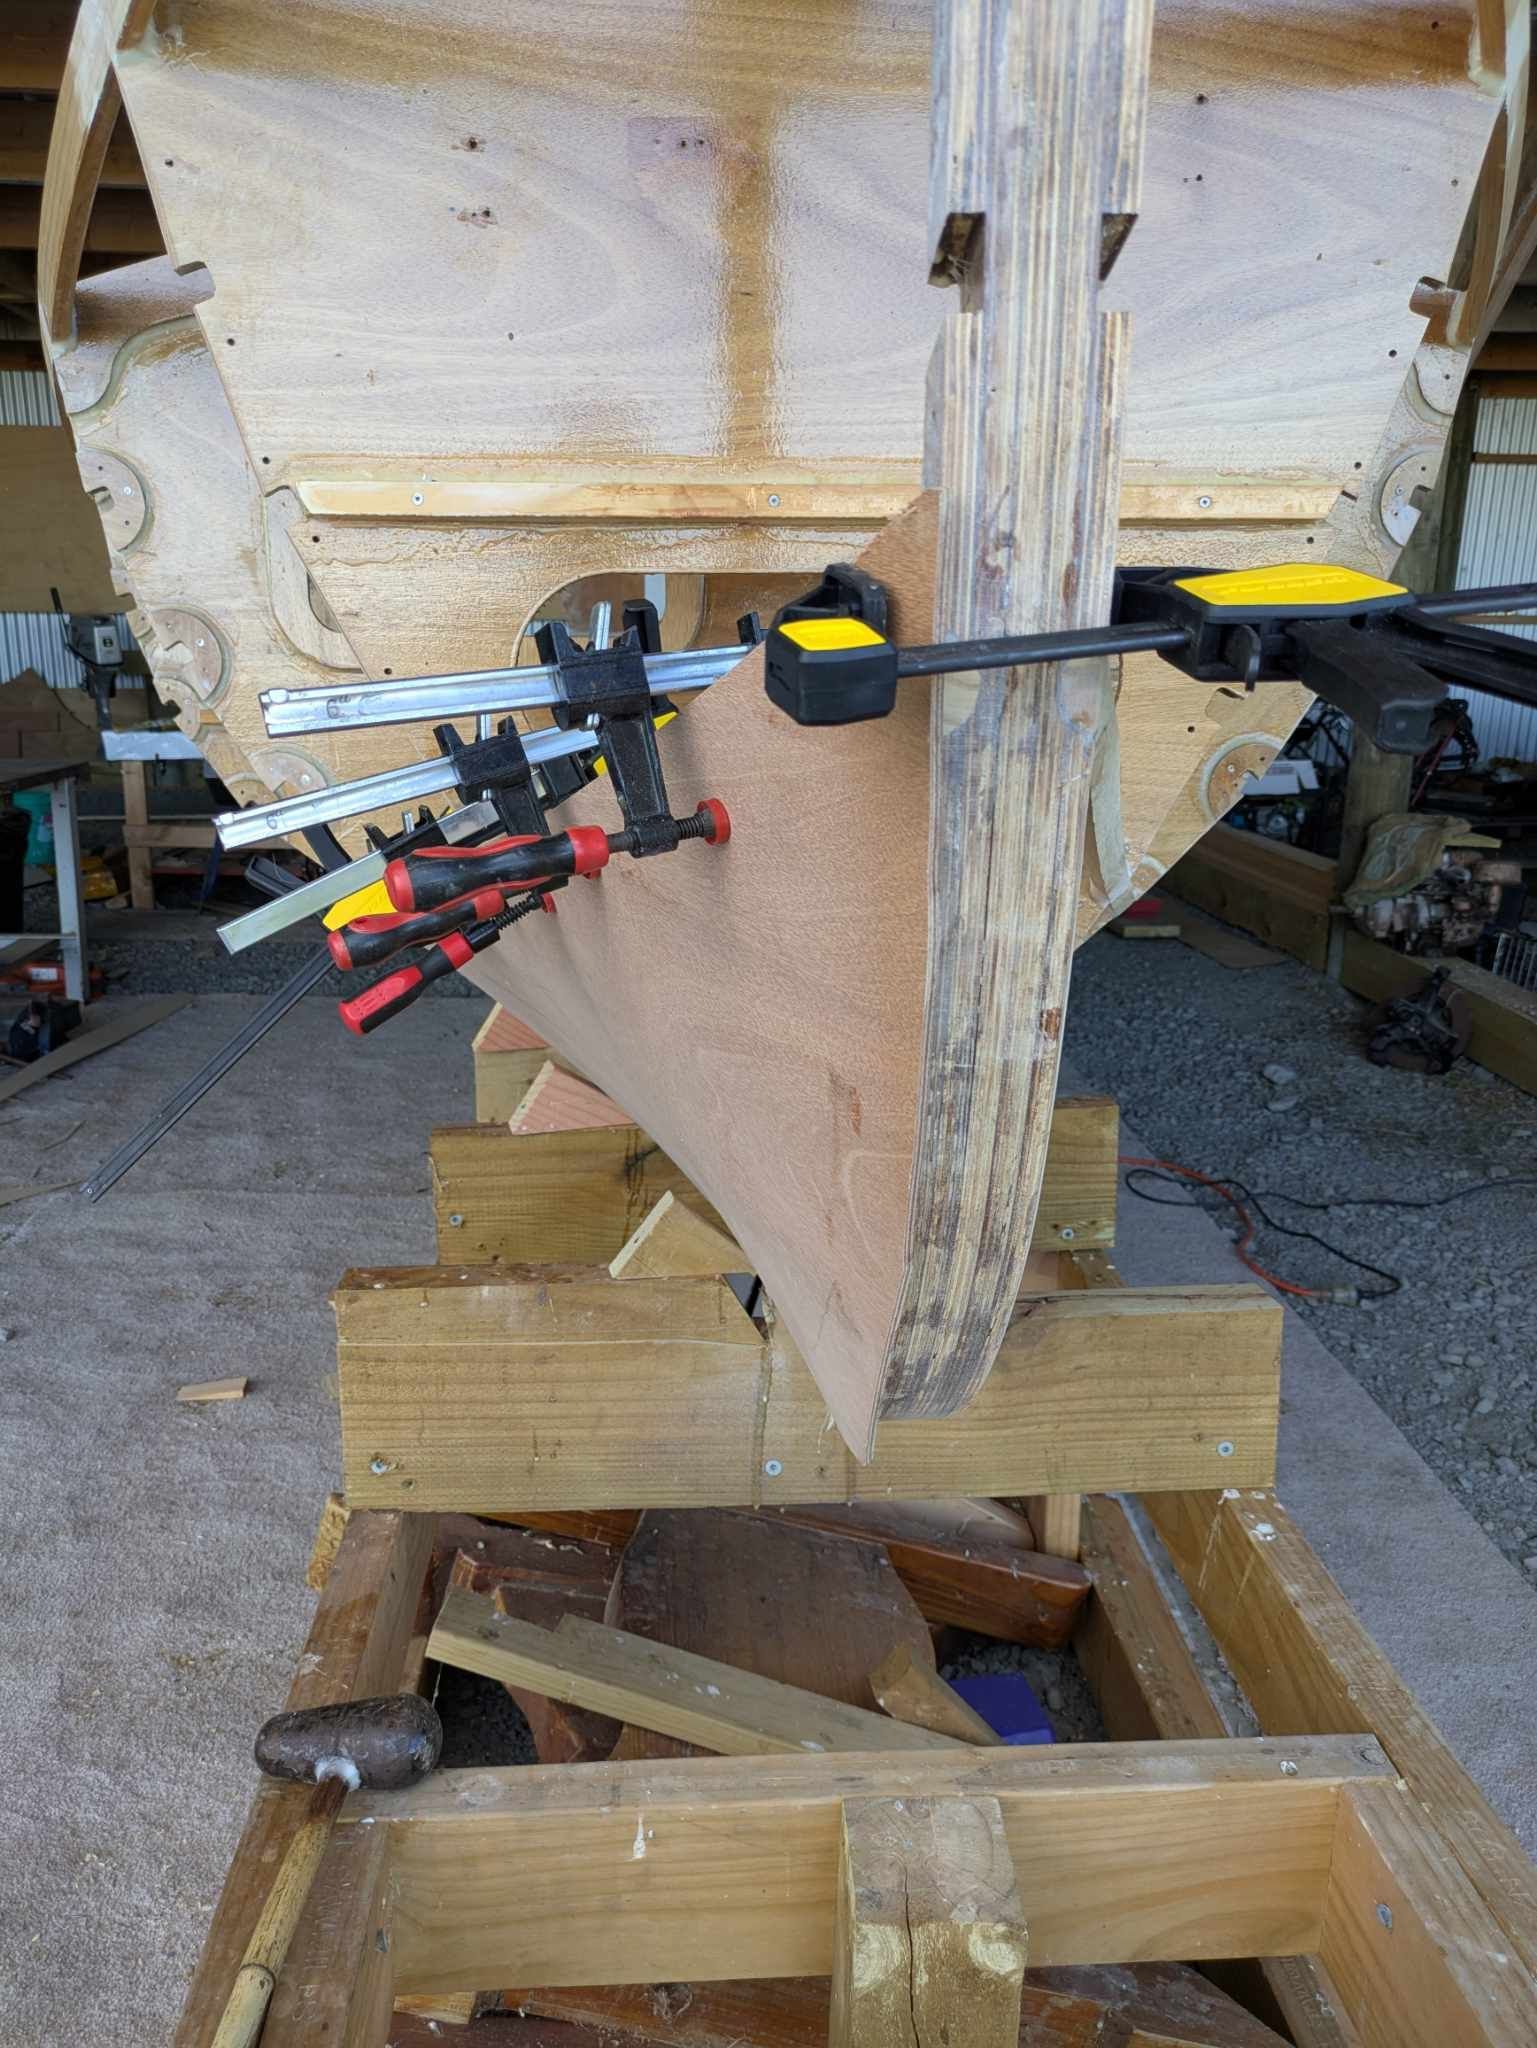
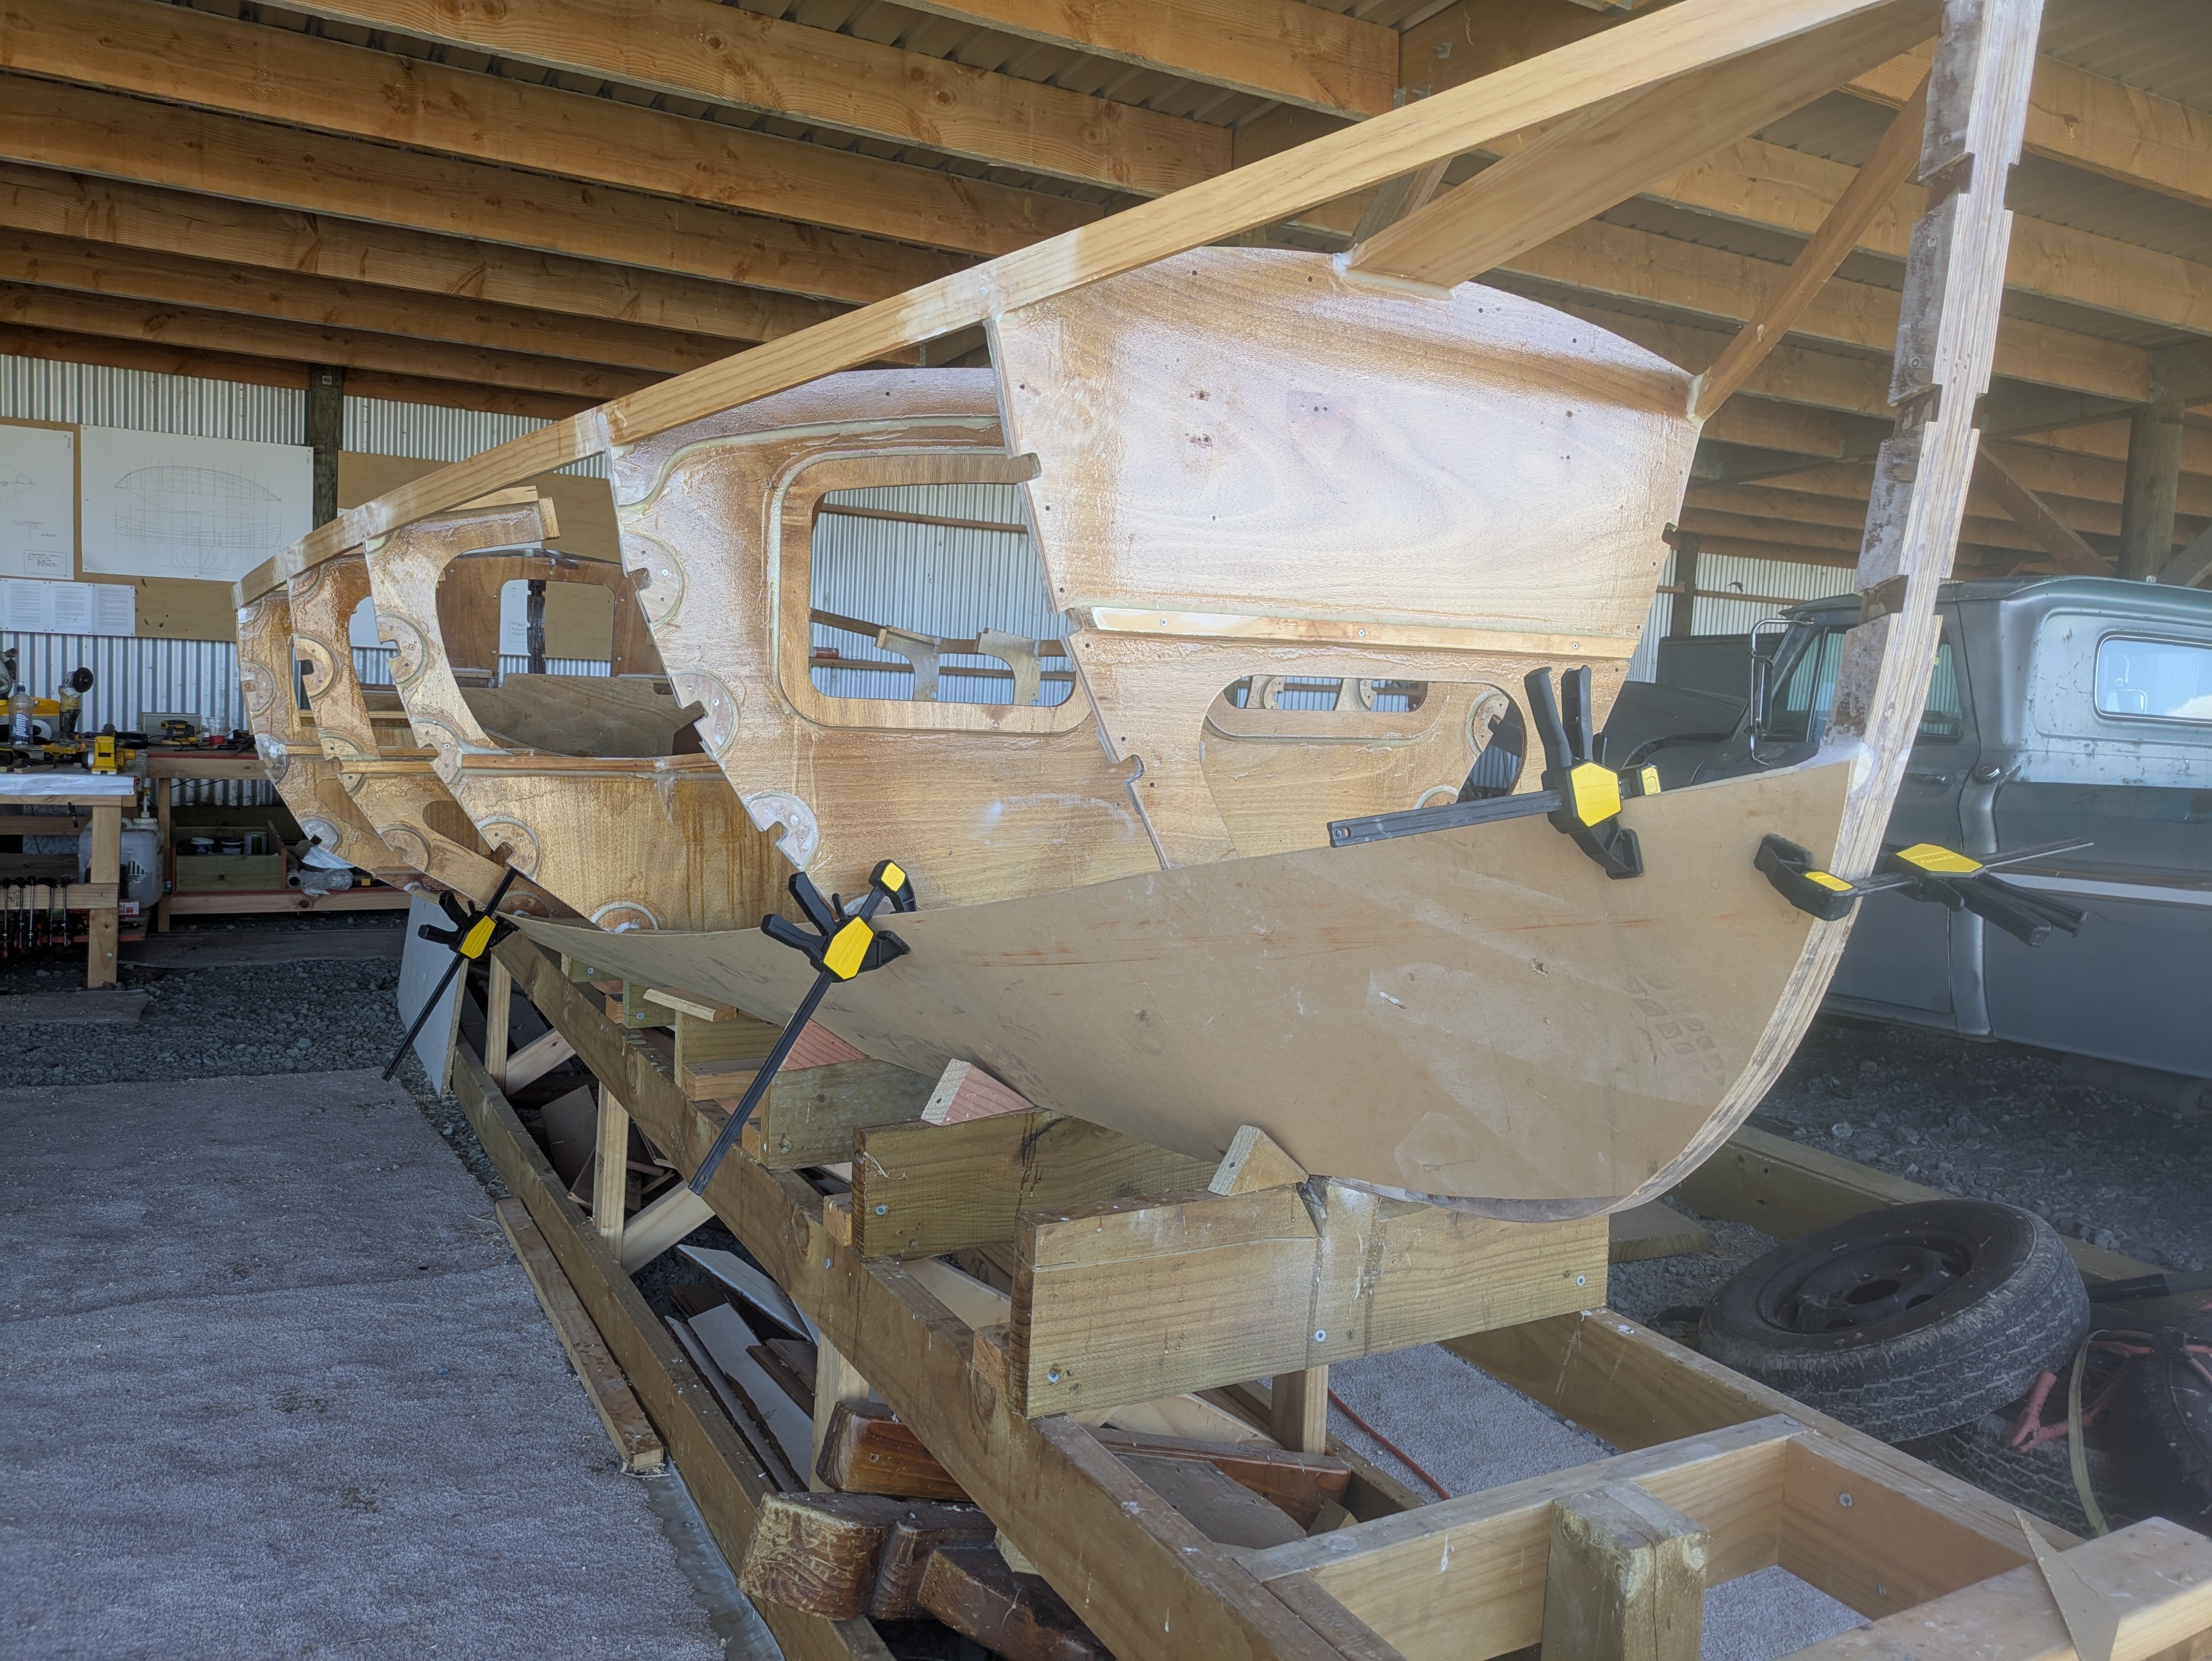
So the lower/garboard plank is finally done. From all reports from the other builders this is the most stressful part of the entire build and I'm glad to have it behind me. I don't think it was too hard personally but I was able to learn from their mistakes. For the middle section I came up with another 3mm MDF stencil which I think worked pretty well. There are many different ways to get width right including spiling which I'm certain is much more accurate. But I found using the sacrificial piece of MDF, I'd do it by eye first and then used a drawing compass locked in at the widest gap and scribed it the length to dial it in. Then it was a matter of tracing the top side over the stringer and then shaving a bit off here and there. I was bricking it when transferring it to the other side but thankfully they were pretty close. Once the real sheet was cut I then had to recheck the face of the stringer that it was flush. Towards the aft there are some gaps which I'm not happy with but it's such a tight bend that I'm not sure I'd be able to get it on without taking too much meat off the stringer. I'll fill it with thickened epoxy and it has to be trimmed anyway for the plank above it to sit on it properly. I'm not going to get too precious with this as it could take forever and when I flip the hull to glass the lot I'll fair it properly so there are no wobbles. You can see in the pic above (albeit blurred out) the random wedges I screwed to the jig to keep the panel locked in whilst the epoxy set. Plenty of talented builders scarf their plywood planks and then put the whole thing on as one. I think that would be possibly easier for a smaller boat or one with a square transom, but I didn't even try to attempt it on this. John Welsford in his instructions thankfully mentions that it's fine to but join them with a backing piece holding them together. Phiew. The sequence of putting a plank on involved wetting all the contact facings and joins with epoxy. Then clamping it all together tightly. Once that was done running thickened epoxy fillets along all the edges as normal. The lower part of the plank that joins the bottom panel was much more open than I'm used to, so it took a couple of planks to figure out I need to be putting on three times as much to get decent coverage. Bugger that I missed that trick but on top of that goes a strip of glass cloth and then more epoxy painted over that. So it's pretty tight. Still on top of that which I haven't done yet is some more thickened epoxy fairing filler to cover up the join and the cloth to make it all smooth. The picture above shows the thickened epoxy fillet, the butt join, and if you look through the drainage hole up top you can see where I put it on too thin to start with. You can see some of the tape too which I'll need to fill over the top of and sand back to make smooth. Then again it's under the floors so I'm not sure how much effort will go into that. It does feel bloody strong though so I'm really happy with it in spite of it being an average job. I have deliberately left both the bow and the stern oversized so I can cut back and get a piece of hardwood shaped to both ends. This isn't in the plans but I have seen it done before and frankly I want something strong up front for any crash landings and through bolts for the trailer winch eyelet and heavy rudder gudgeons to spread the load safely. I have some rosewood which is like steel I'll use but haven't properly measured it out yet so will leave it oversize until then. So this is how she sits presently. You can see the wedges clearly now holding the planks in place but they can come out now no worries. Not perfect but nothing on this boat is. Going to take a few days break from the boat as I have to get the stupid engine mounts done for the stupid Imp in the meantime. Next on the agenda for the boat next weekend is to extend the seat fronts to the lower plank (the instructions had this before the garboard plank but fuck knows how you'd know where to meet the plank without having to trim it 50 times), and get started on the transom. The plans are vague on that due to the difference in boat motors but as I'll have a rise and fall bracket mine will need the transom quite a bit further into the cockpit. The other thing I am waiting for is some advice on where to put the mast as I'm aiming for a balanced lug or a junk rig. I cbf'd having a gaff rig with a jib and tripping over a million ropes. I have asked Mr Welsford but haven't heard back yet what rake I need for the mast and also where to put it now I wont have a jib. I think it can move forward some.
- 74 replies
-
- 10
-
-
Stand by and Ill whip one up.
-
Is there a thread on OS with classics parked next to modern cars to highlight the size of modern cars?
-
Im saving all the used band aids from massive splinters for you to make into a raft. No need to thank me.
-
Easy....eeeeaaasssyy.... Was told by a boat builder to cut the bow at a 45 degree angle on the sheet and it'll want to bend easier. I count three separate curves at the very front.
- 74 replies
-
- 13
-
-
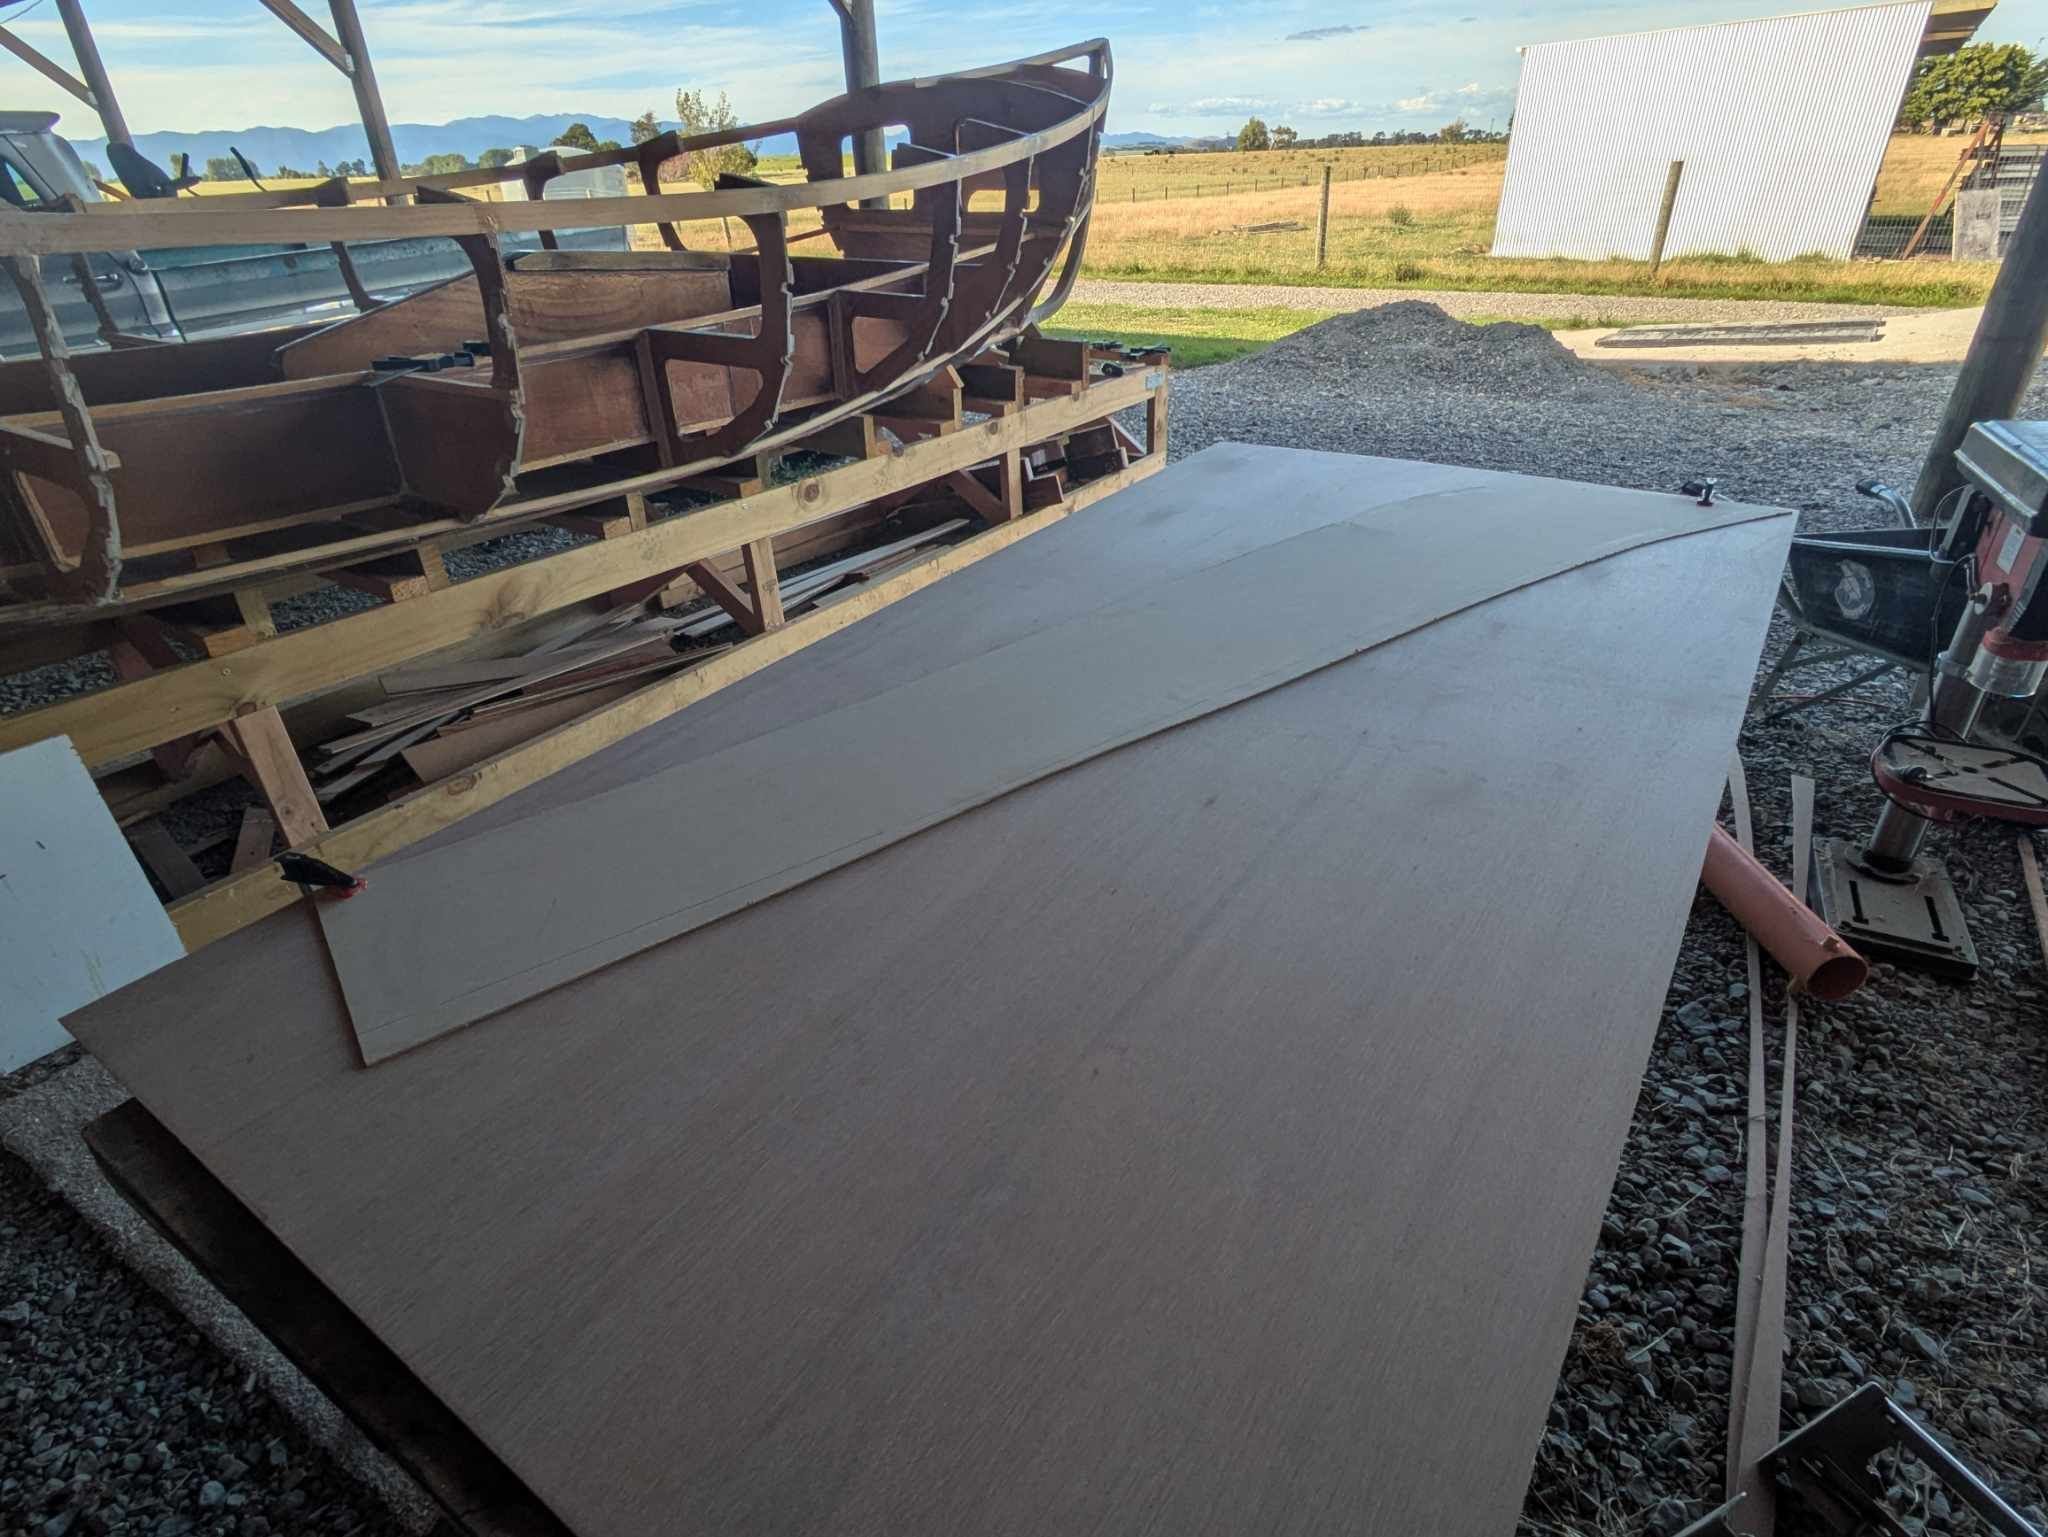
Nothing too exciting to add. Spent maybe 10 hours this weekend sanding and fairing the stringers and bulkheads prepping for planking. Lots of sawdust in my nose, eyes and hair. The one did thing I did learn is that I need to take the stringer angles a little more seriously when installing them to cut down on fairing time. I didnt have to take much meat off but to get them right took forever. I had some hardboard on hand and started making a template for the garboard plank. I screwed it up a little by cutting it undersized which is fine as it's not with actual plywood. I quite like this method so might grab some more and do the whole length as a template. Going to take a couple weeks I think but according to other builders is the most difficult part of the entire build.
- 74 replies
-
- 10
-
-
I ended up going in there over lunch and seam welding the entire thing in. That minute bit of flex I have eliminated could mean the difference between first and last place when pushing both ours up your driveway to put on the hoist to find the issue. I didn't see anything in the LVV construction manual about NOT using old offcuts of lino as a welding shield so figured it was safe. Still a few fires but nowhere near as bad as before.
-
Filled them with concrete and they sit in the front of the imp to be able to safely drive in a straight line without setting on fire
-
Volvo make one that is much cheaper. Plus here is a picture of my twin and I in front of a Volvo so that's the sort of engineering calculations I can get behind.
-
Me again. Can anybody think of an engine mount that isn't as heavy duty as a land cruiser that is similar to the below? The smaller the better really. I want to put them around here. That way I can weld in a crossmember to the side plates which will help stiffen the rear up.
-
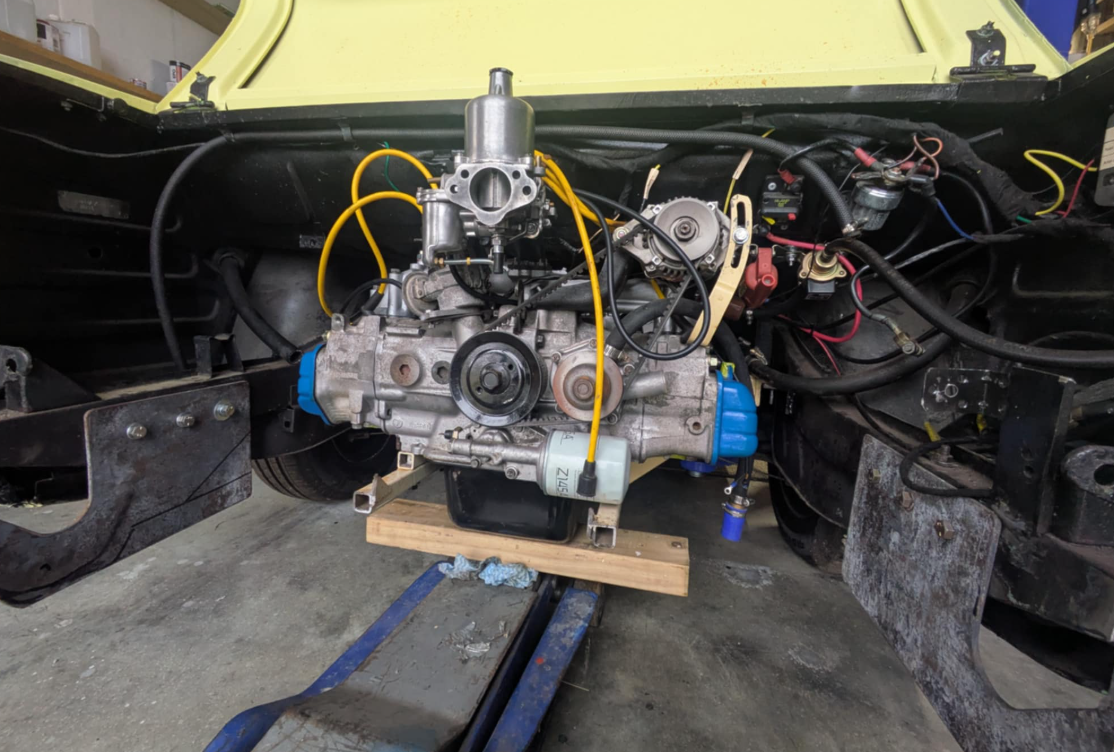
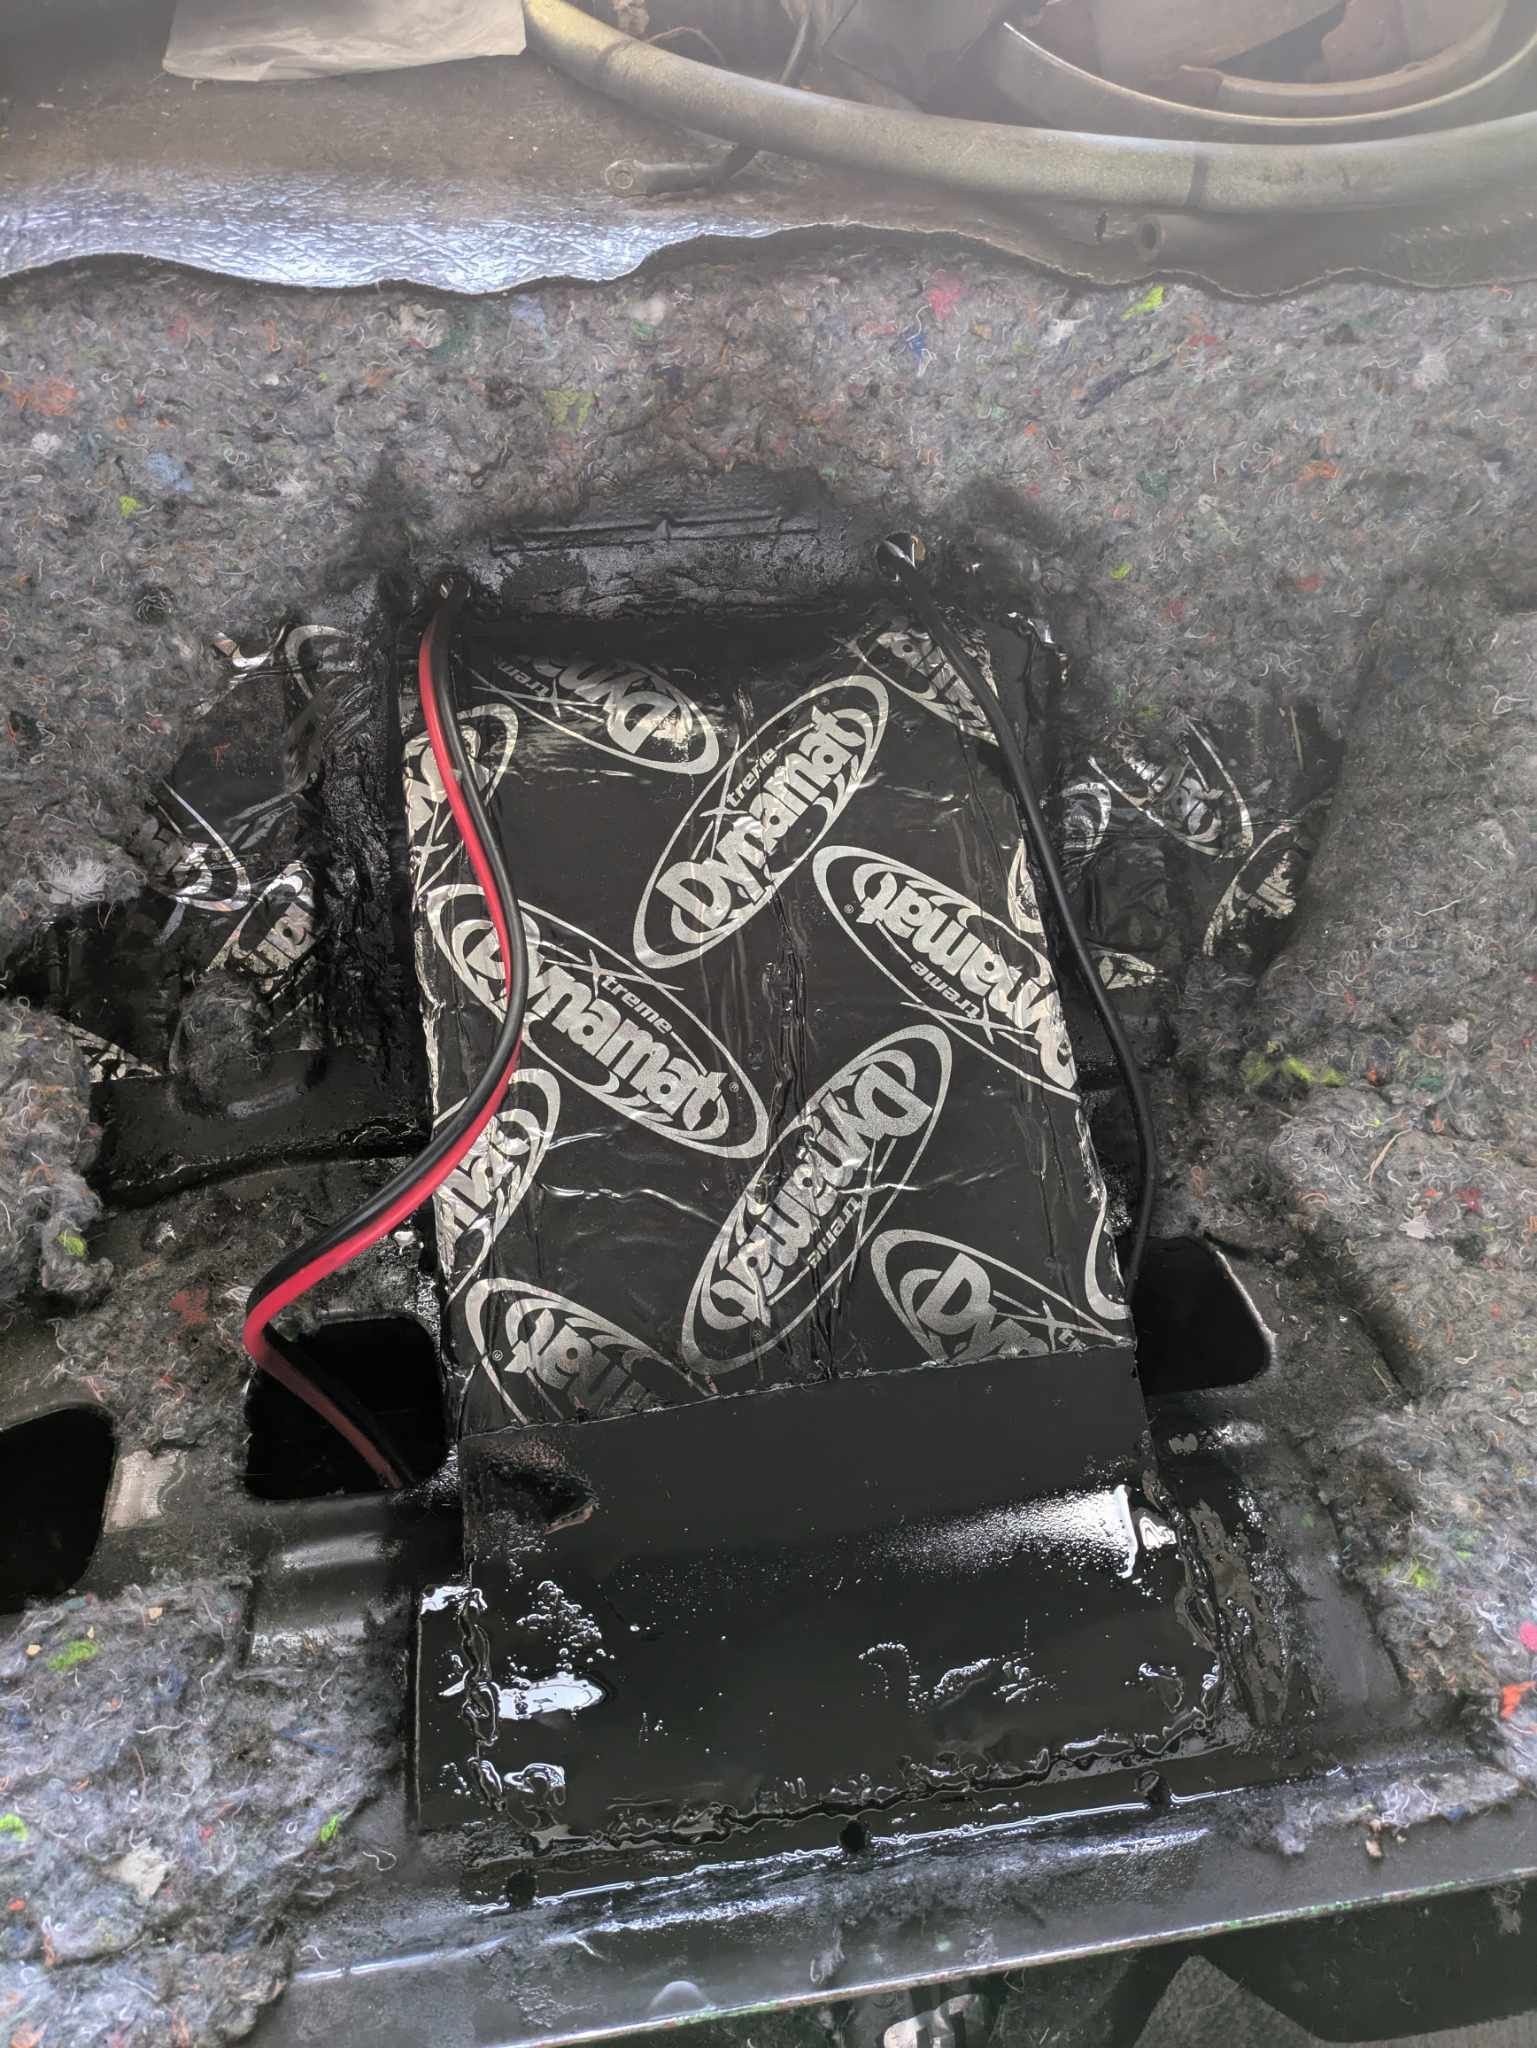
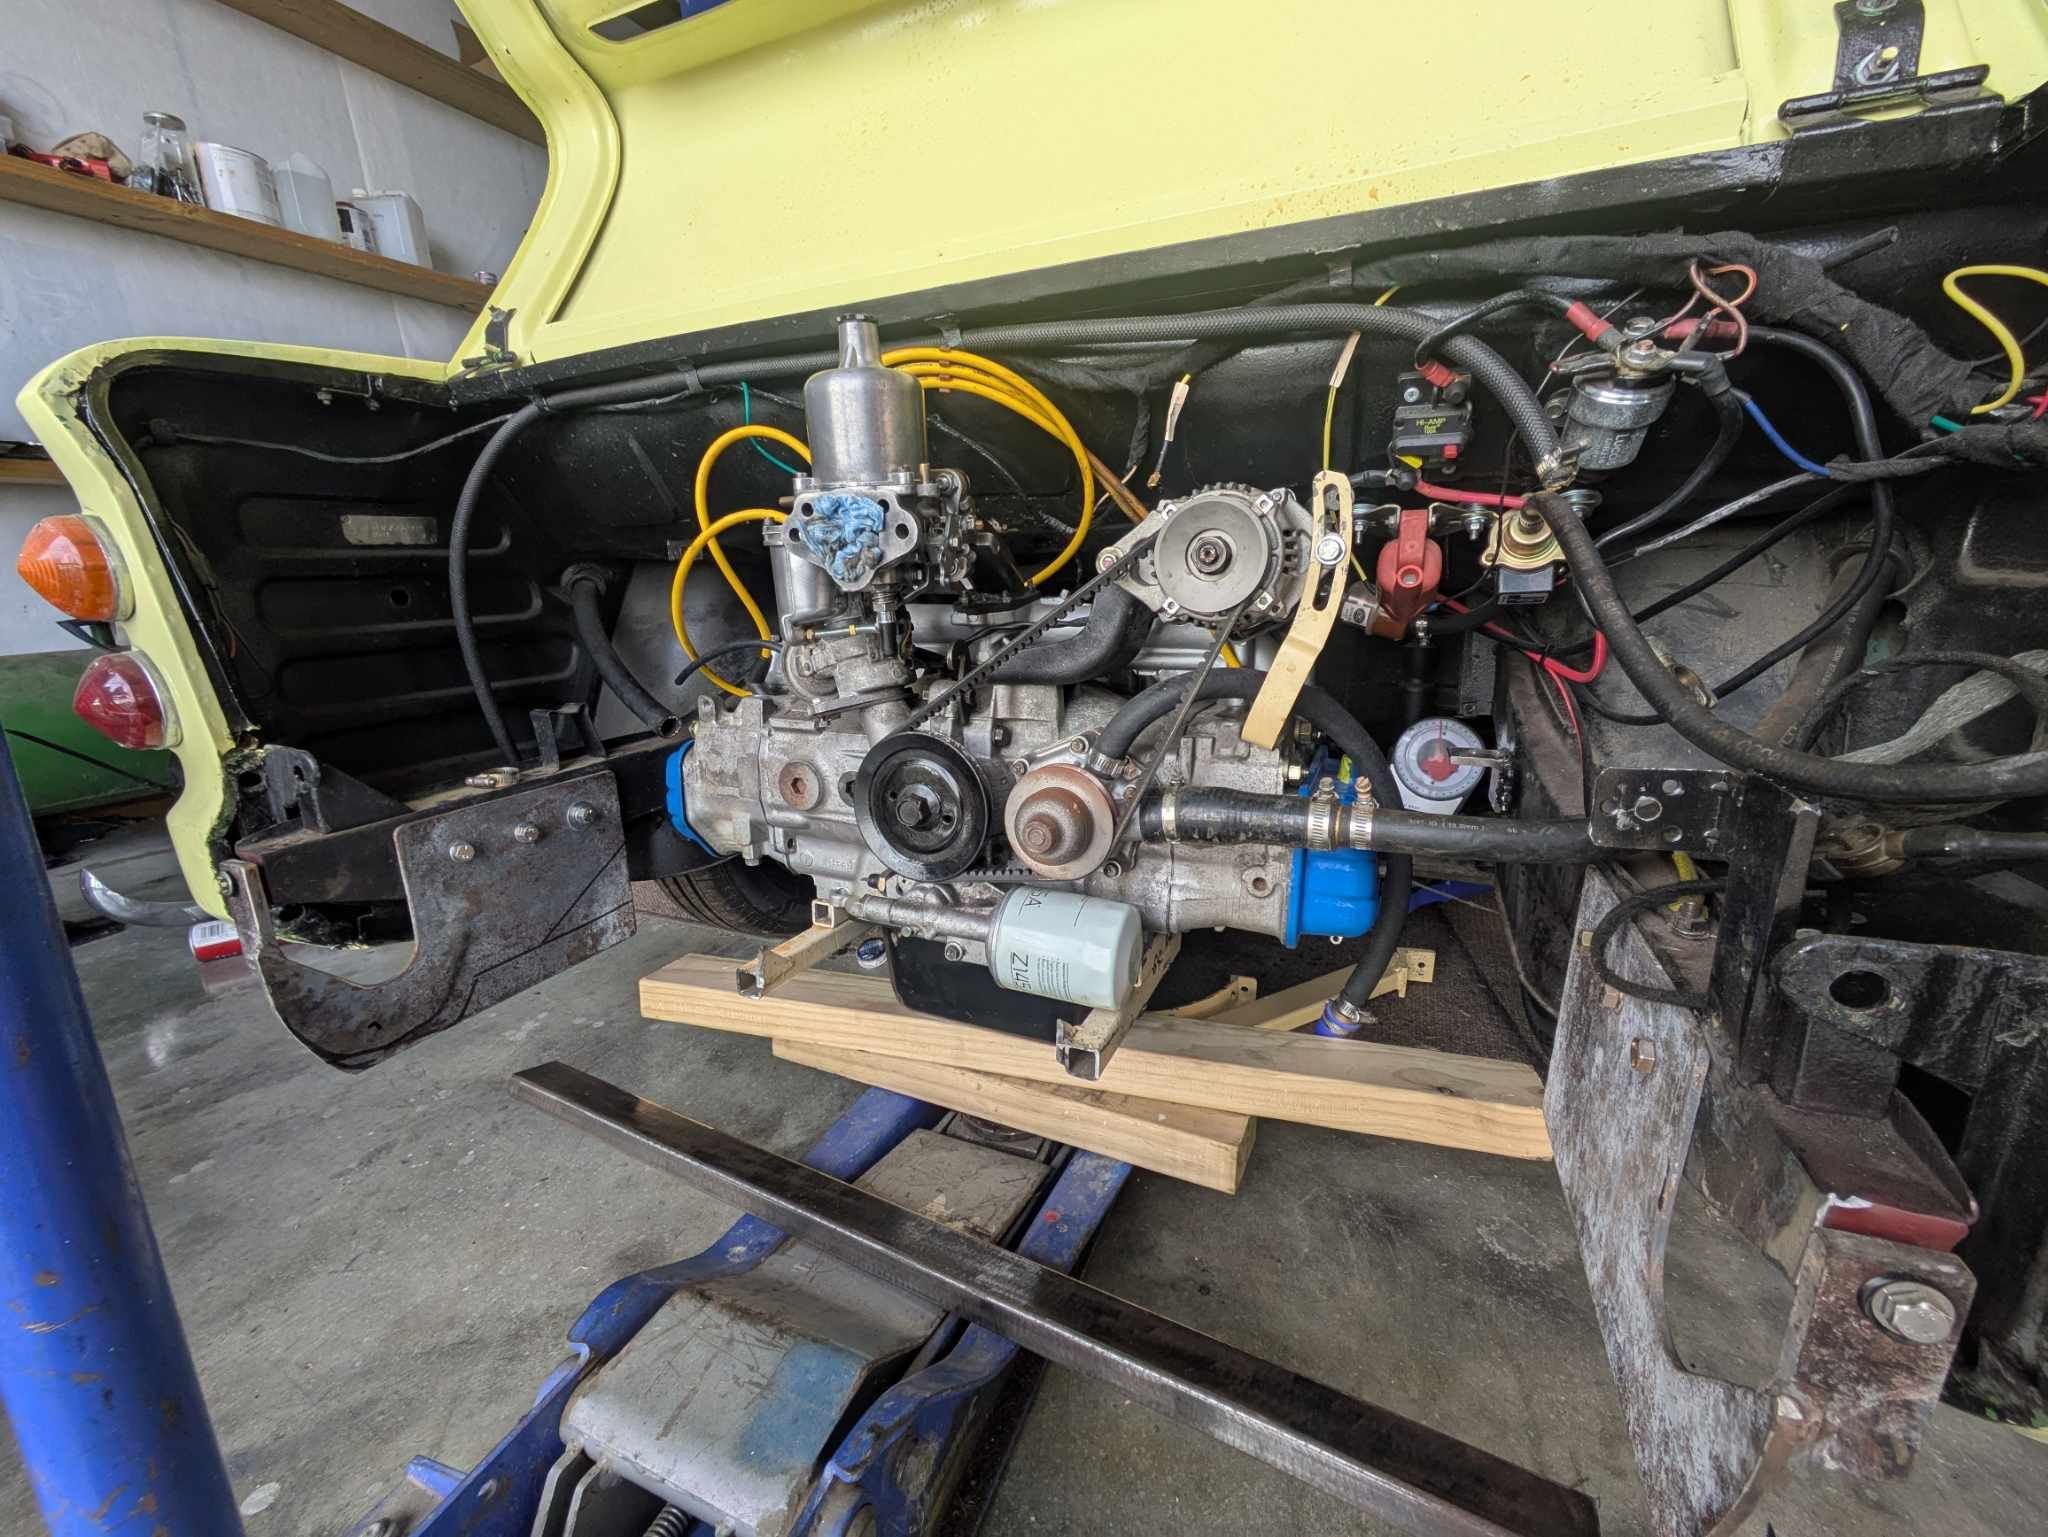
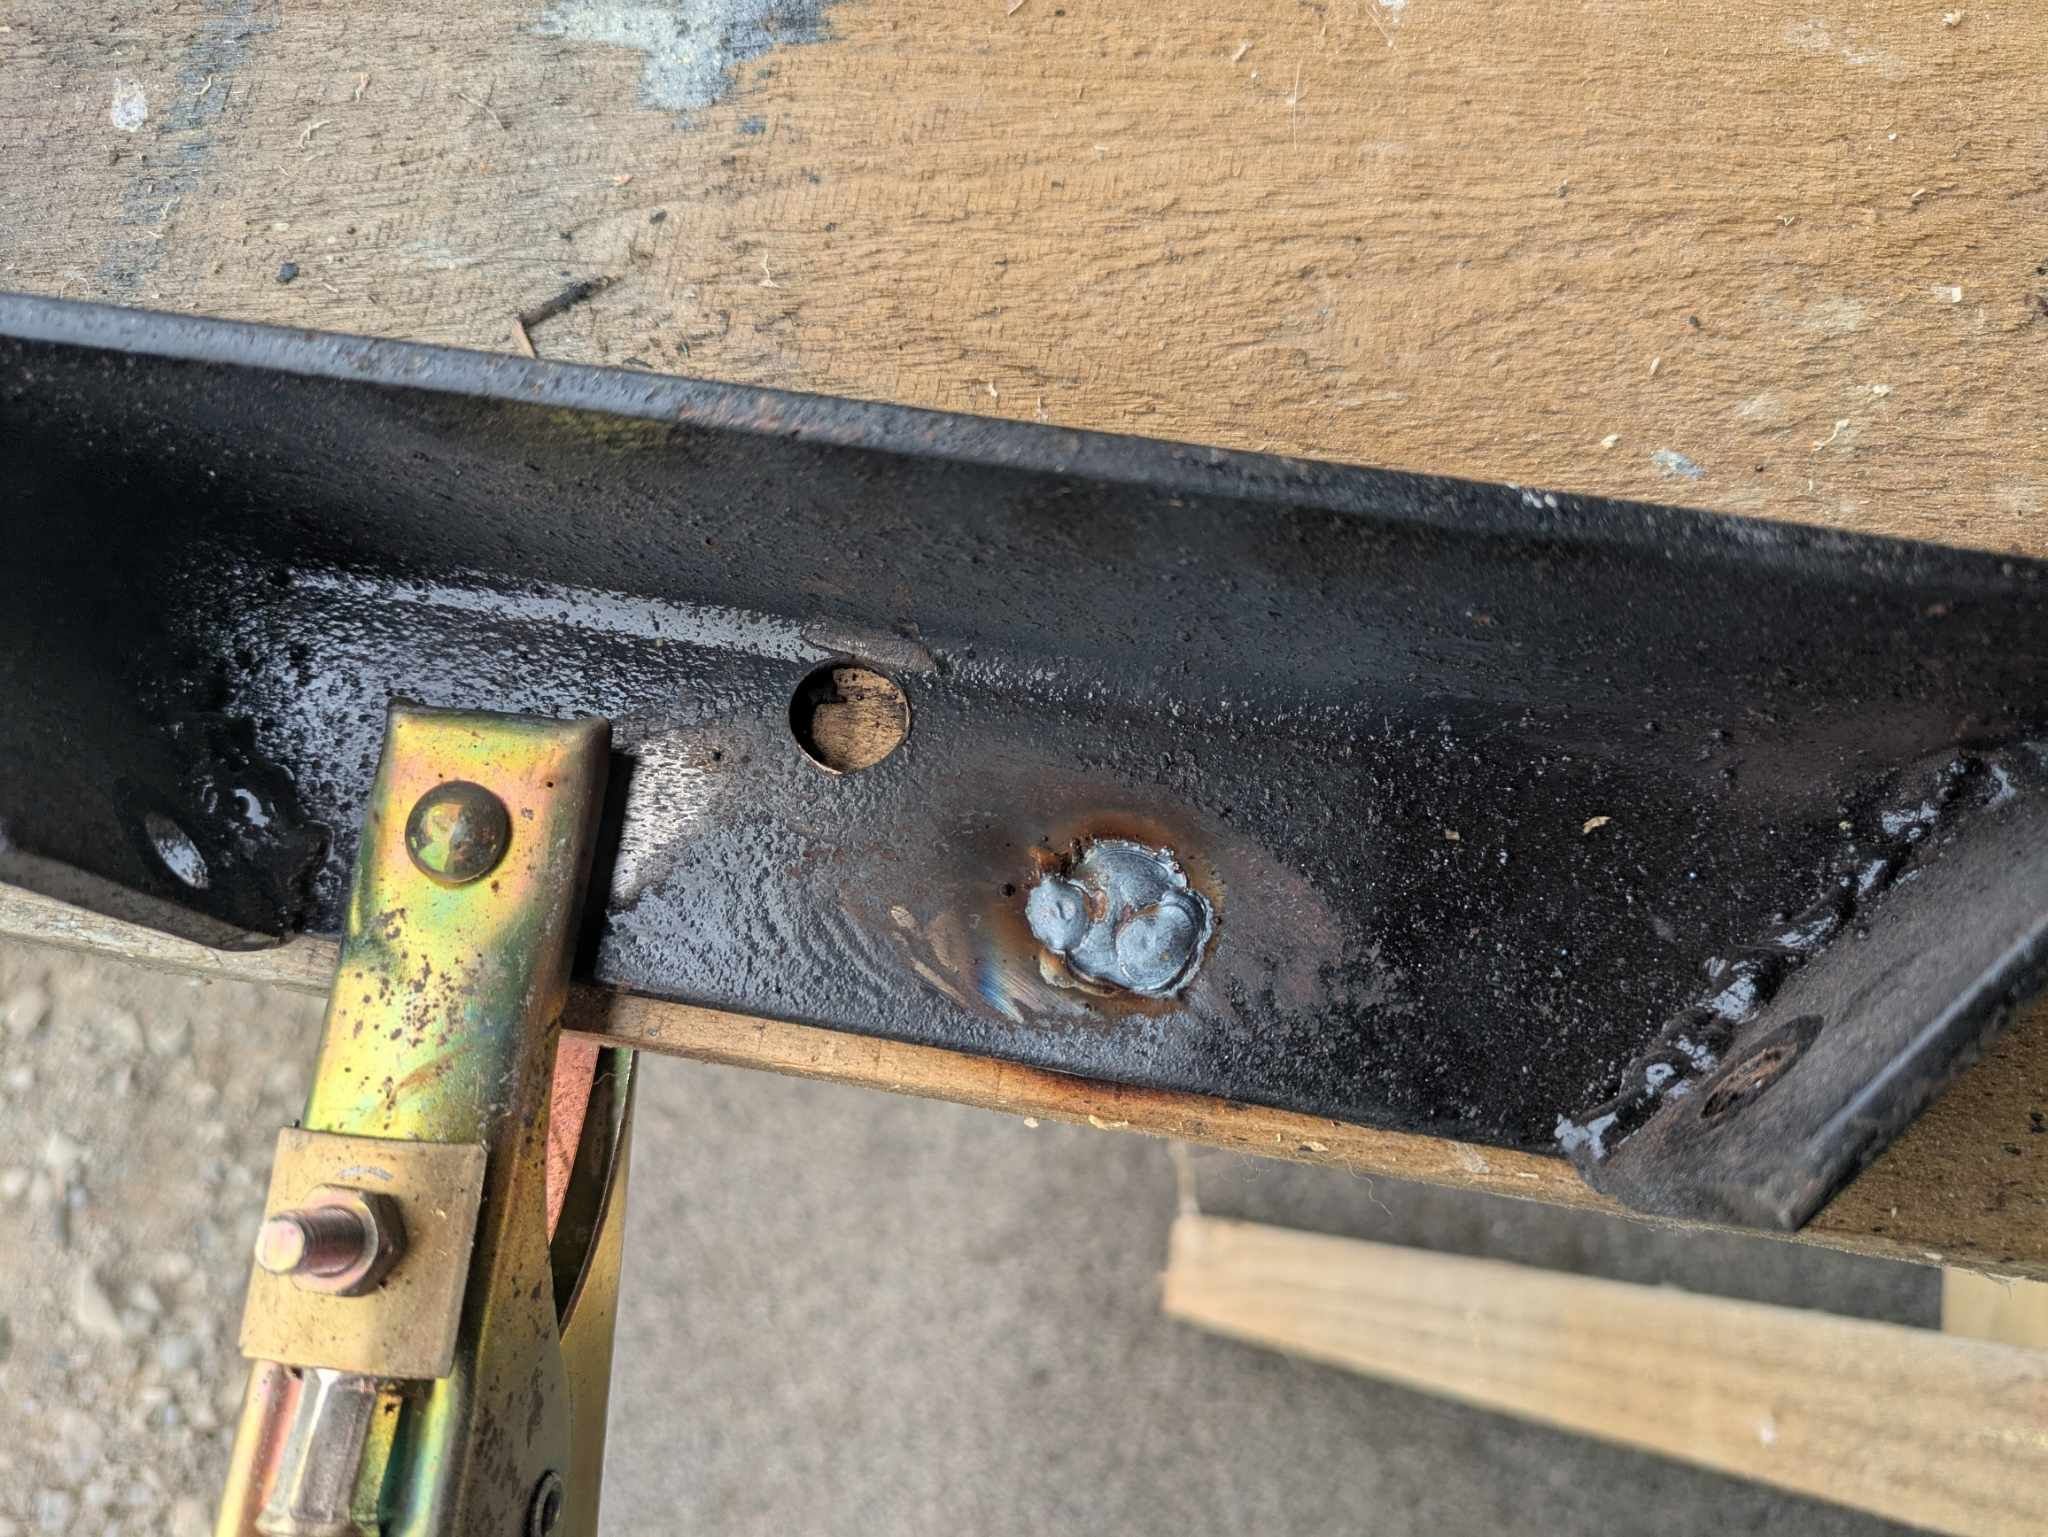
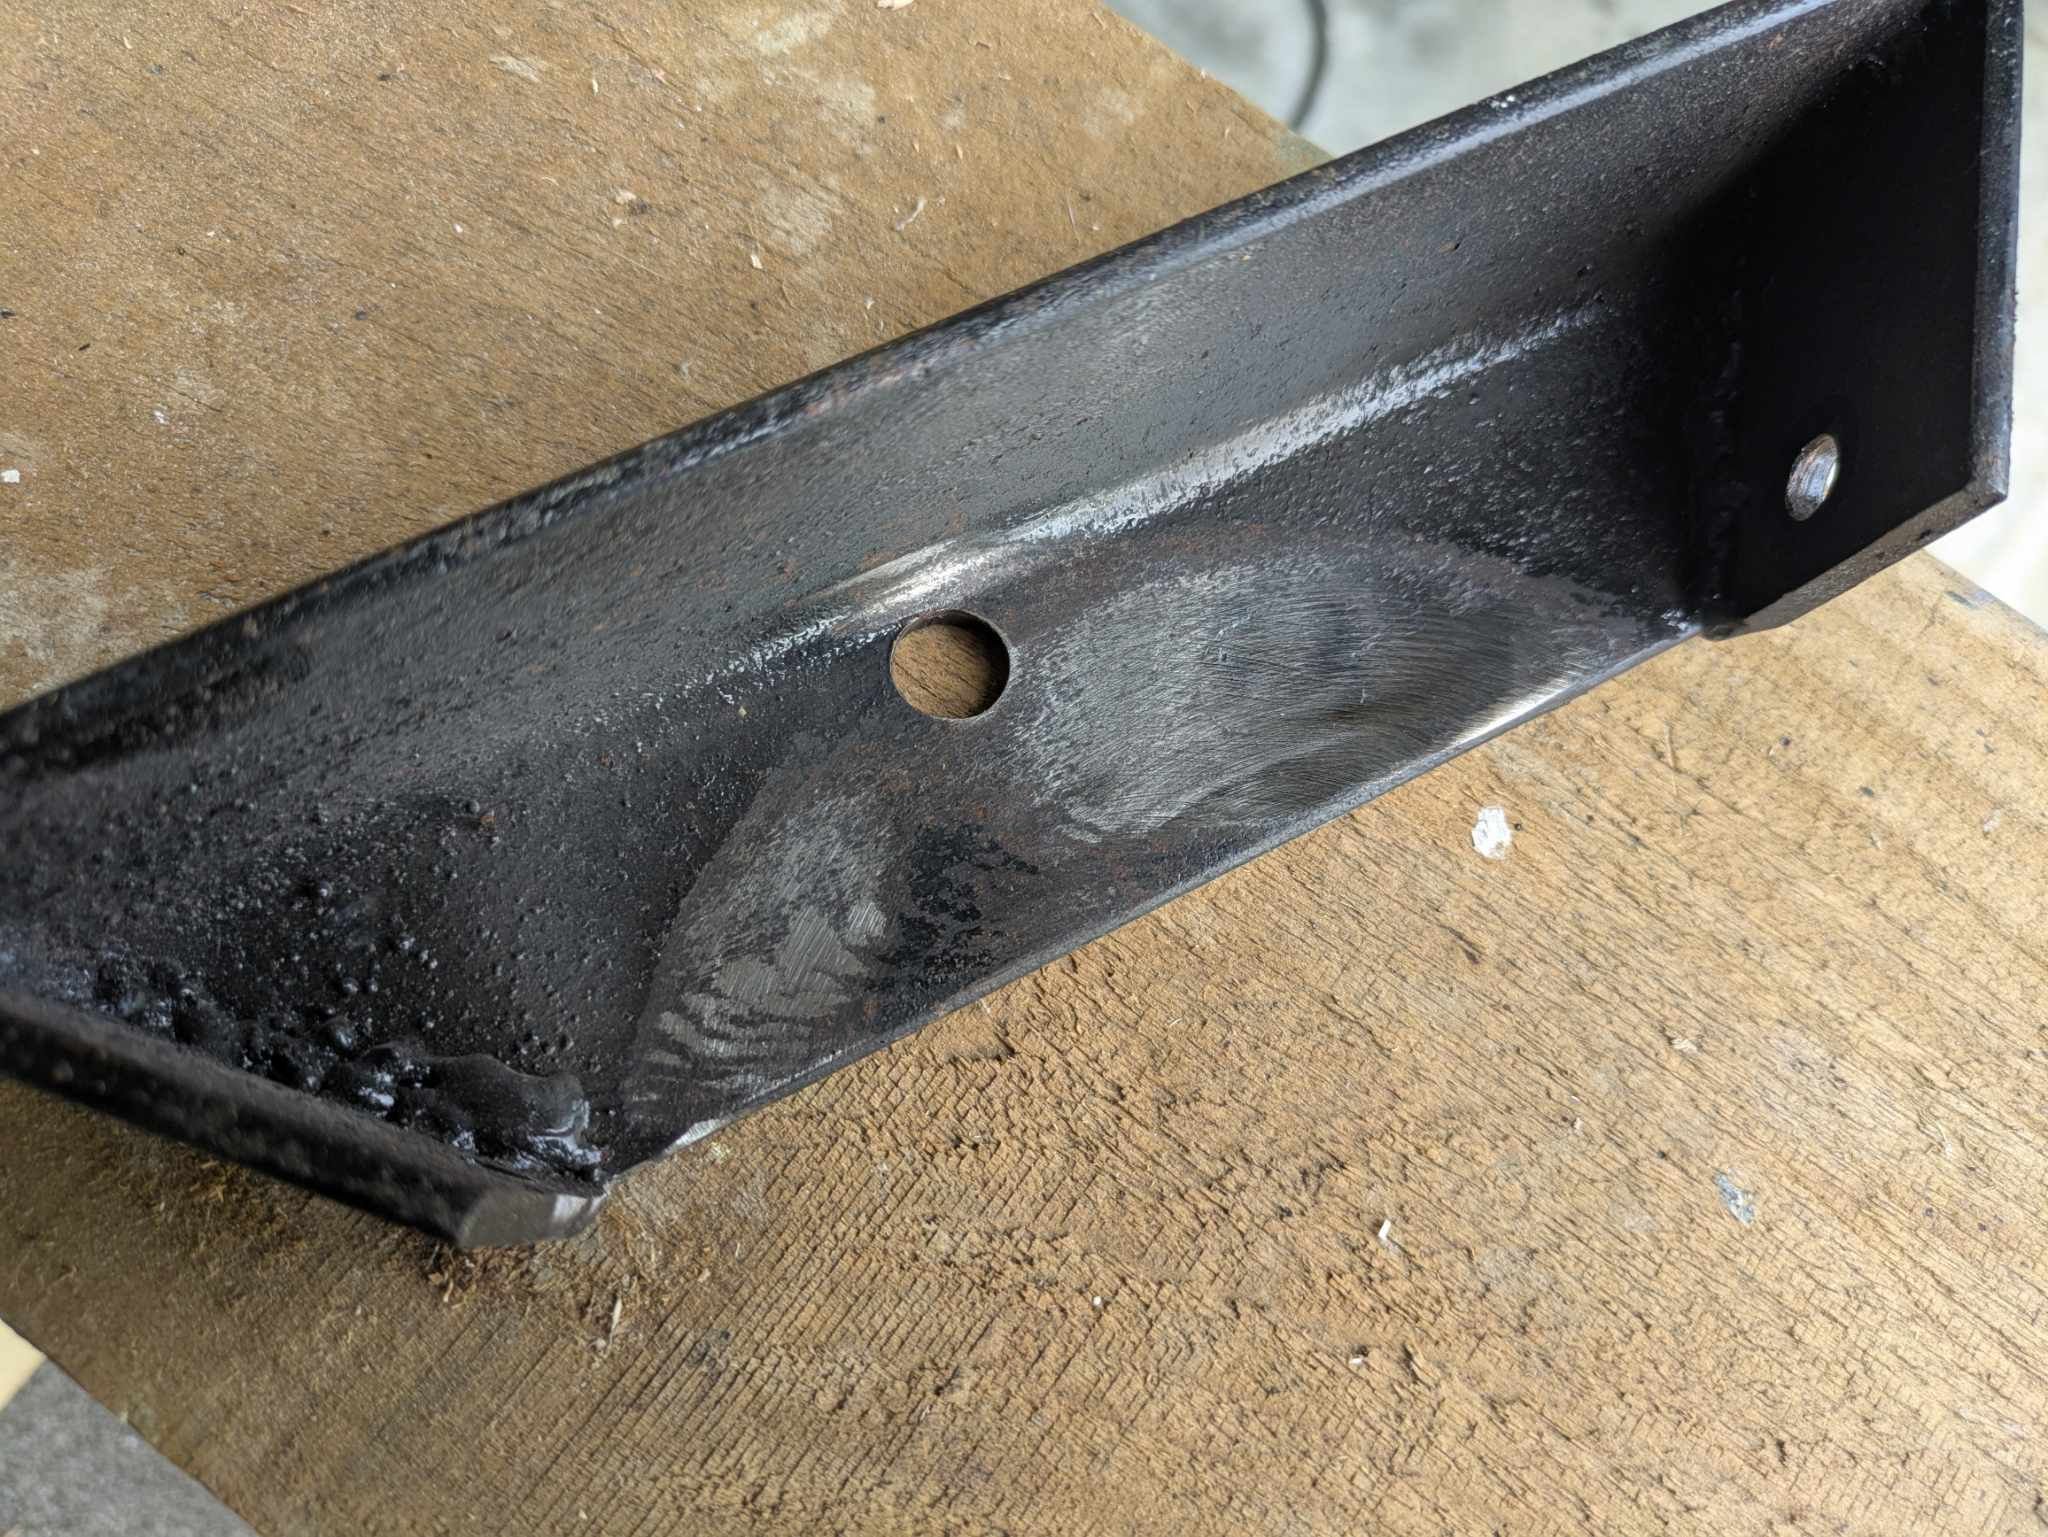
Back to working on this awful thing. Whilst the flywheel is back at the machine shop to get whittled down so it can fit in the bellhousing, I am doing lots of little jobs before I can put the EA81 in properly and get it started up and run in. The ea71 was tilted on a slight angle for clearance on the twin carbs which were in a staggered formation on the manifold and I have a feeling it was responsible for the vibration that I couldn't get rid of at speed. Or perhaps it's wishful thinking I'm not sure. Anyway I have tickled the gearbox mount so both halfshafts are at the same angle. I really hope this fixes the vibrations because the half shafts have been balanced and rebalanced as well as the wheels and it still wouldn't go away. It wasn't major but it was noticeable. I kept the top mounting point and just swiveled it back straight and redrilled. To get out of making a new mount I just plug welded the old hole and redrilled. Can't even see it! The other thing I did after reading the LVV book is to weld in the hole I cut out for the gearbox tunnel. I had this bolted in before but it's probably a little too bodgy even for me. So I seam welded it at the front and rear and then stitch welded/tacked it in on the sides. I'll put some silicon over it all for any gaps/pinholes and then it'll get carpeted over anyway. It will hopefully pass LVV. As it was with just 4 bolts I doubt it would have been that rigid. If the cert man wants evidence of welding he only needs to look at all the fires I started around it. That carpet underlay shit is flammable. I haven't refitted the seat on top of it but it will be lucky to fit as I have raised it a little to give more clearance to the gearbox. I want to sell this thing eventually but if nobody wants it (most likely) I will ditch the rear seat and have a flat floor from the parcel shelf with some storage holes where the seats were. Nobody will ever sit back there as it is and it should at least be mildly practical. The next two jobs on the agenda is to sort out engine mounts as well as the throttle cable and return springs for the SU. The new manifold is probably too long but it looks cool. Depending on my care factor I might relocate the rear number plate as there is a big hole behind it where the carb air cleaner will be perched but I'll see how I feel. Doubt I'll care that much. Because I'm used to working on V8's and bulldozers, I am adding about 20kgs of steel to the rear to make the mounts. The old one was in the stock location and as the boxer is a lot more wobbly when running than a stock Imp engine, it rocked too much for my liking. So I have cut out 5mm plate with doublers on the inside of what passes for a chassis rail to lock it all together. Not content with this I have then bolted it to where the bumper bar attaches. But it was very soft there and flexed way too much installing it that it ripped out the factory threads. So I drilled it out and put in a thick washer and nut and glued it all together. Cleaned out some spatter and good to go. Feels a lot stronger and zero flex now. These are the doubler plates. As per the LVV guide I have rounded them on the insides to suit the curve of the chassis rail before they went in. I dare say they'll be coming out a few more times before this nightmare ends.
- 115 replies
-
- 17
-
-
The answer is usually whatever is the hardest and most annoying to do. But if it's the same mounting points I can't see why it would need to change. Especially if it's captured nuts as you'd have to cut them off. If it isn't a captured nut and just a hole in the floor I'd use a doubler.
-
Thinking back to when I put a Nash seat in my chev I had to make sure the doubler plate on the bottom and the bodgy angle iron on the top had to form to the corrugations of the floor panel. Not sure if relevant for the falcon however.
-
You guys are the Hillman Imp of friends. Get better lathes please.
-
Just wondering if it was supposed to be like the other one but he forgot to finish it. 🙃
-
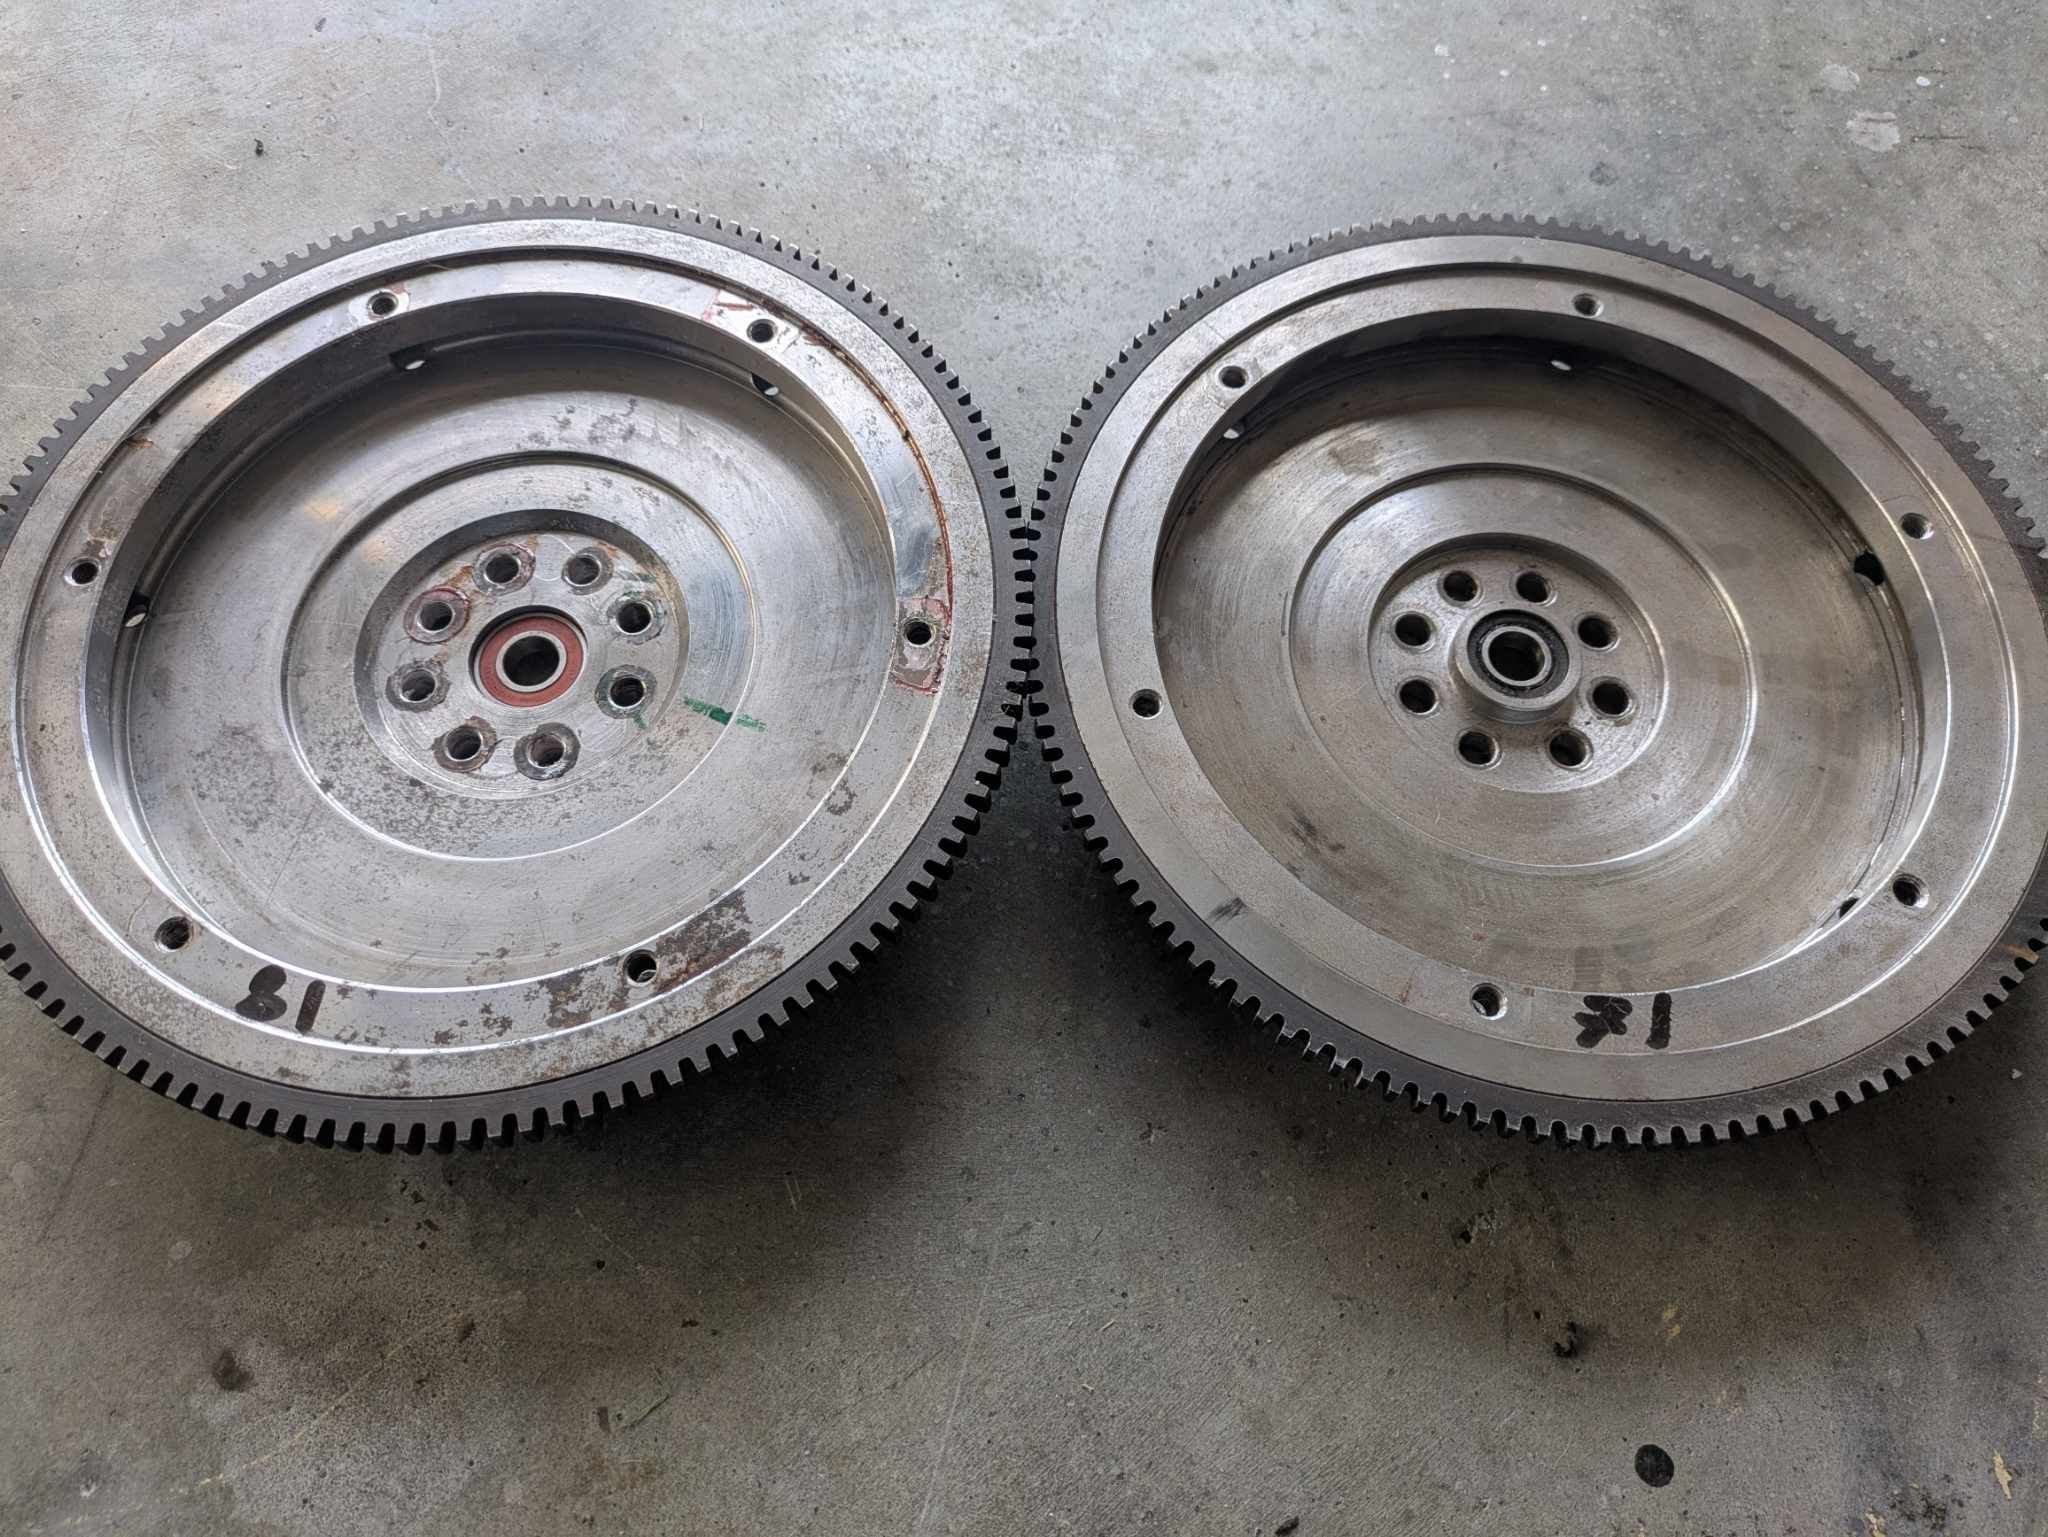
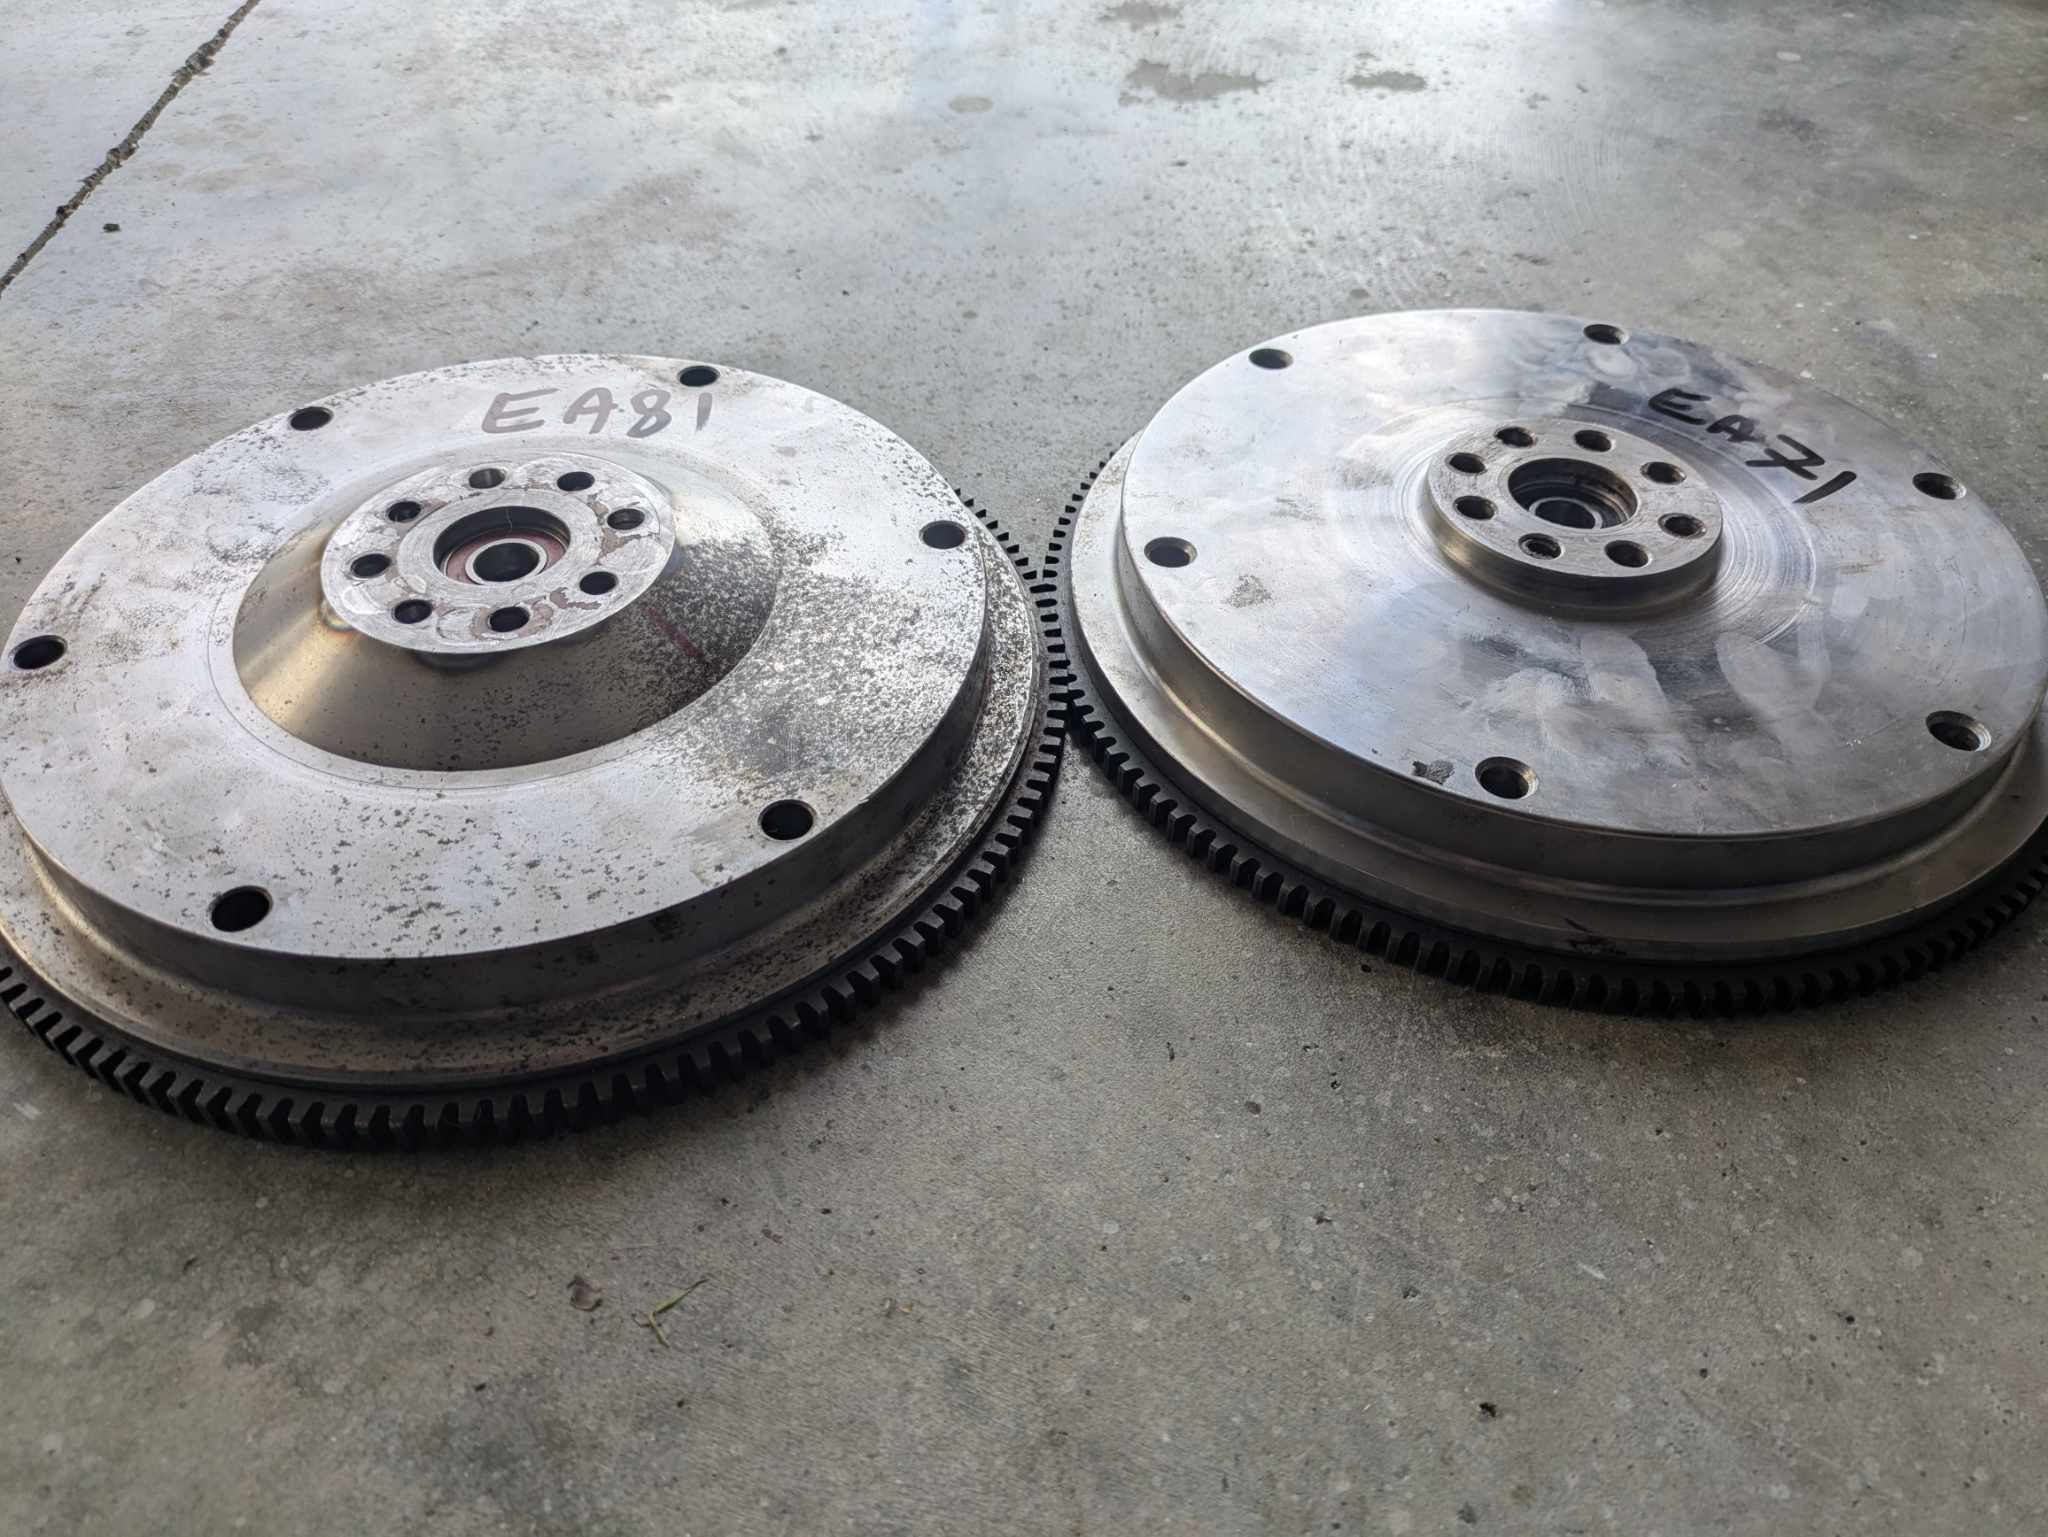
Through the bolt hole to the face the 81 has 18mm and the 71 has 11mm. Seems the easiest way would be to hack off some at the back of the flywheel and then step it so it remains the same diameter of the crank.
-
For my records:
-
He is in Queensland and mentioned that he was retiring. Old age catches up to all of us at some point and he had a great rep 20 years ago so I think I just lucked out. Tbf I wouldn't trust him to be able to sort it and the shipping costs will be more than the machine shop.
-
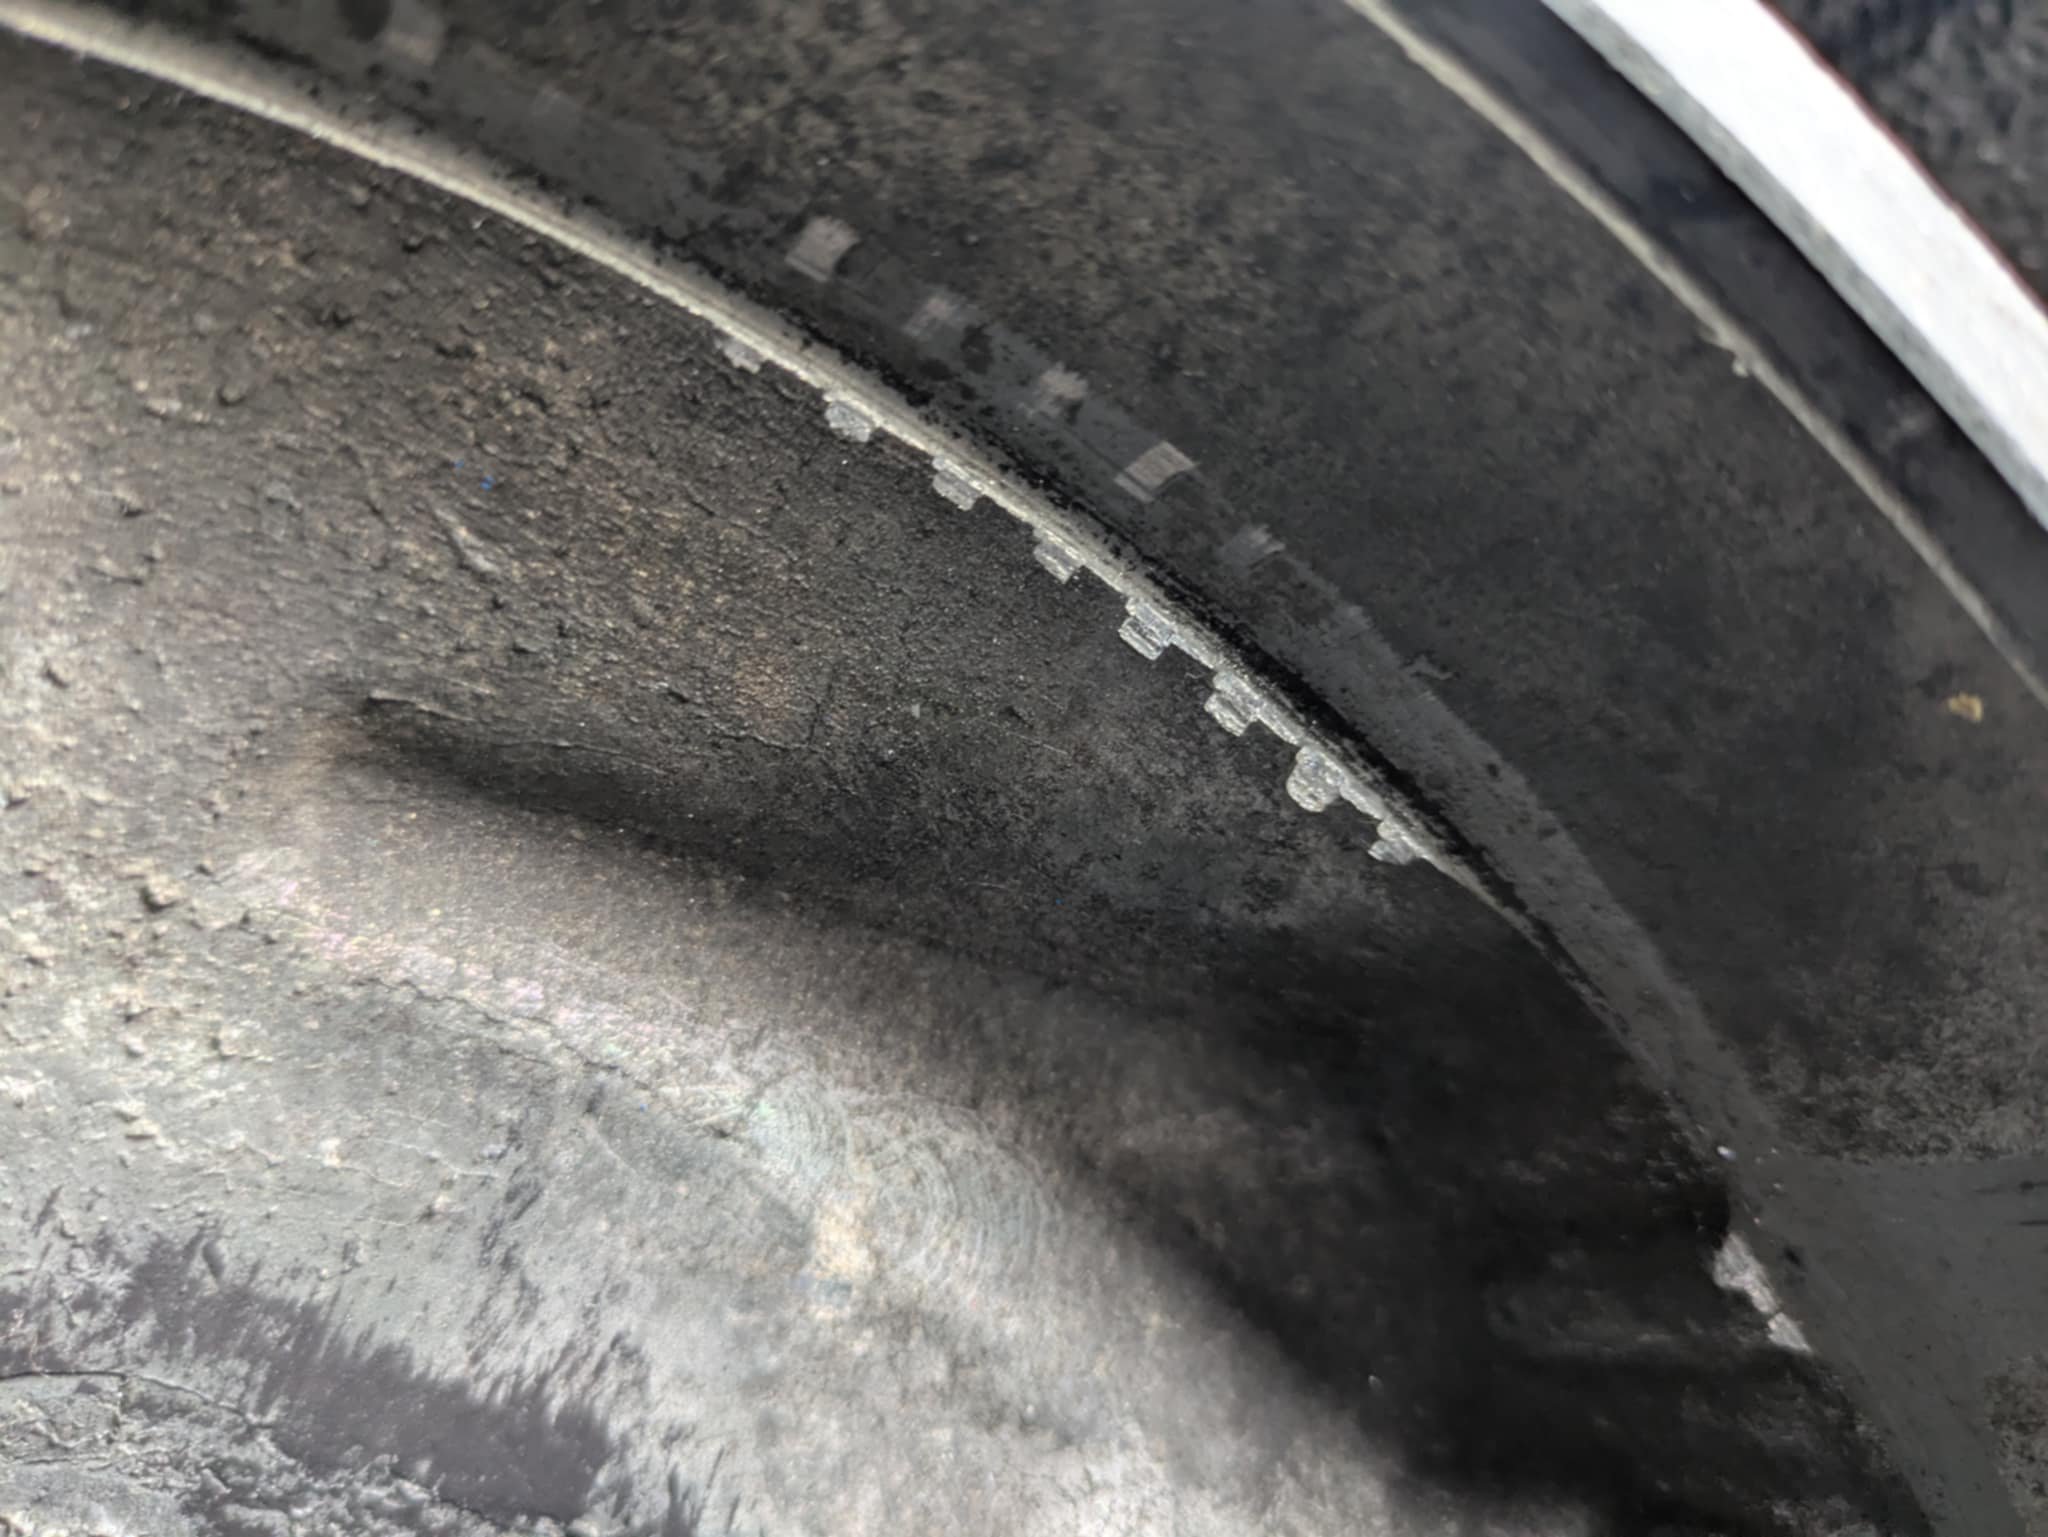
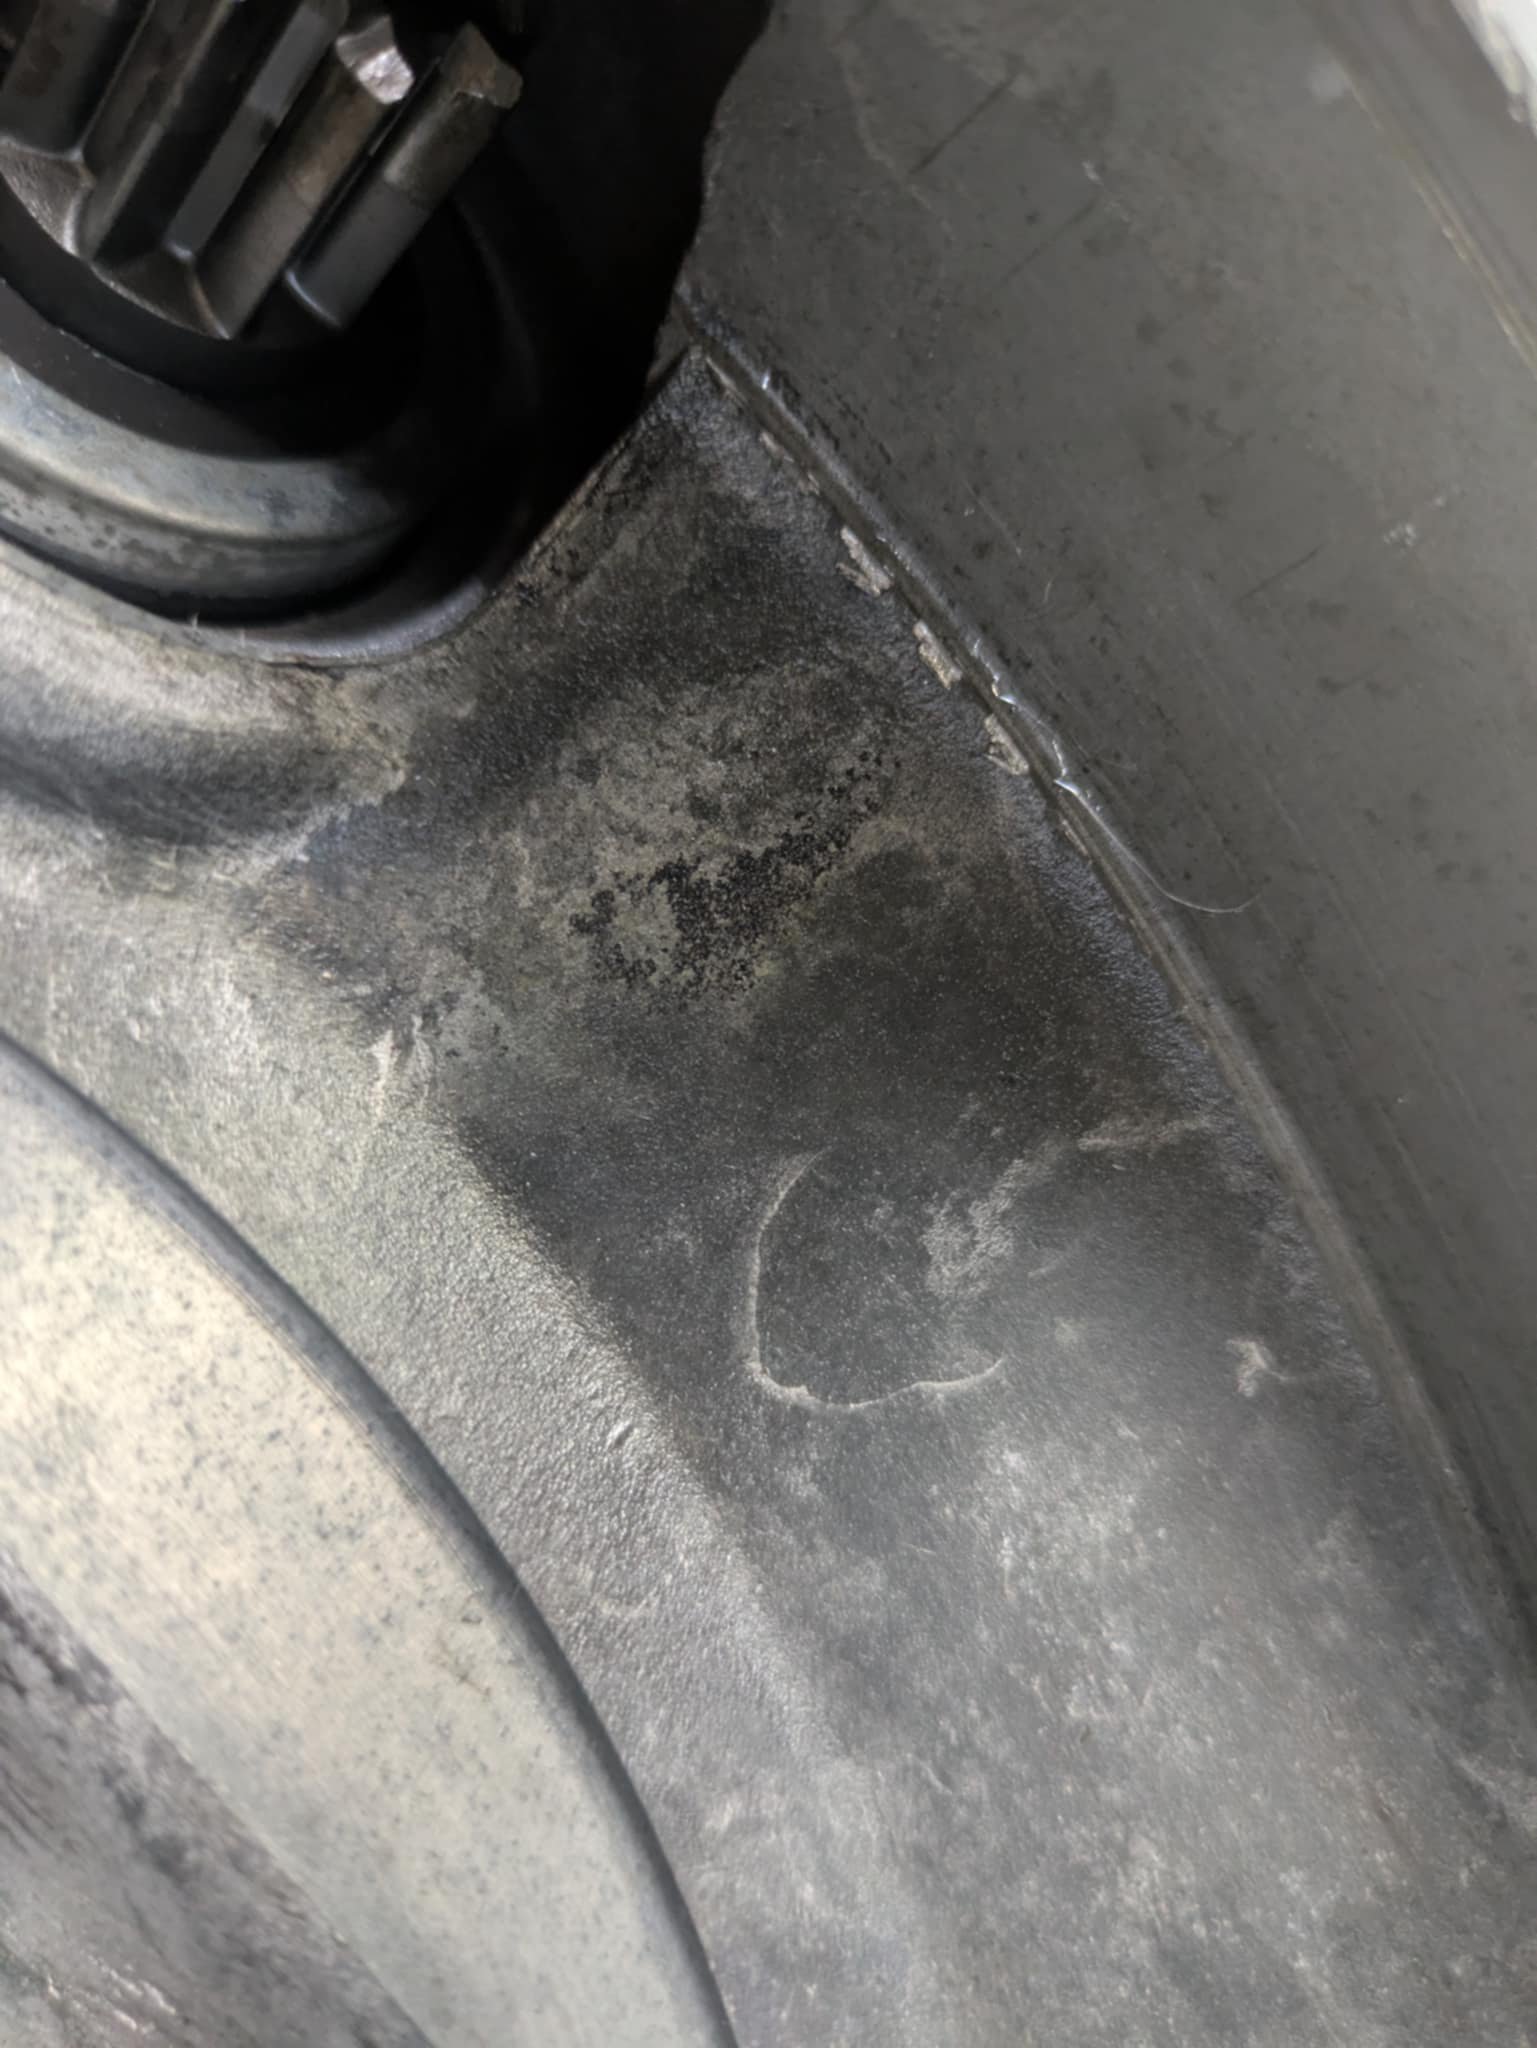
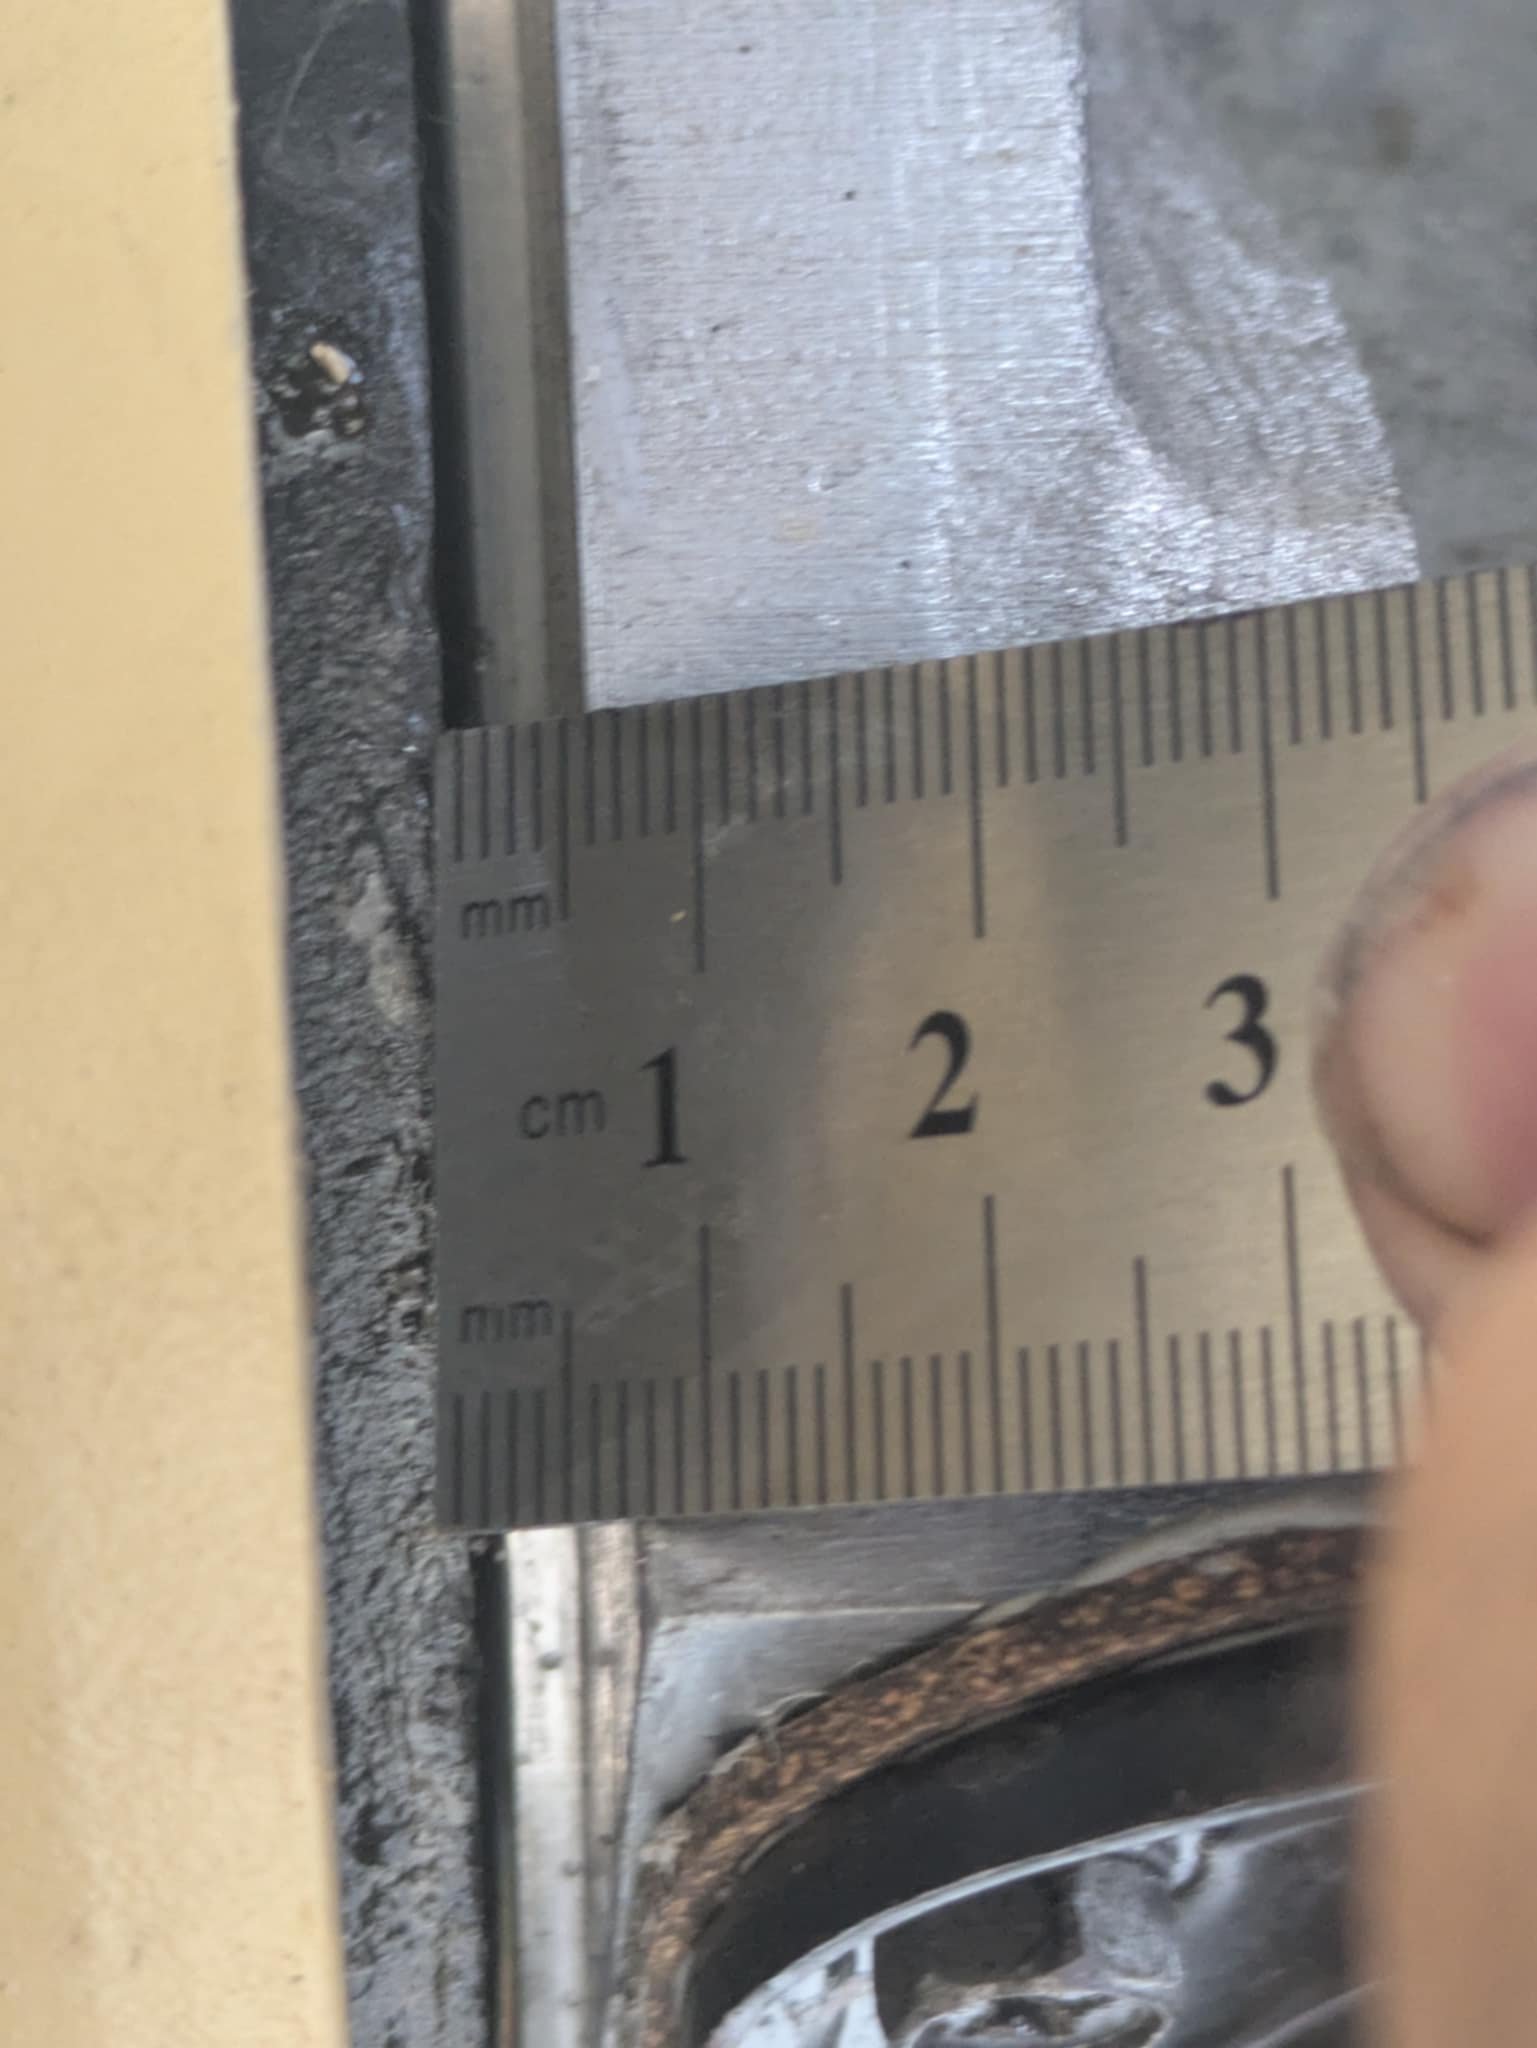
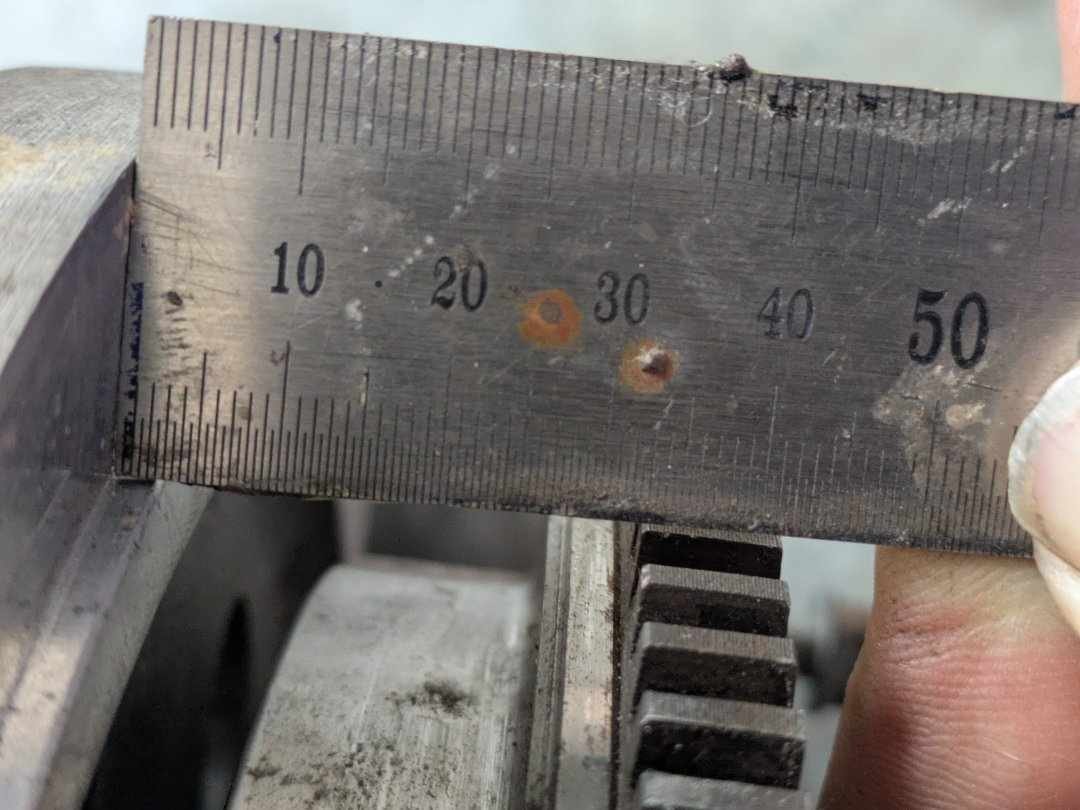
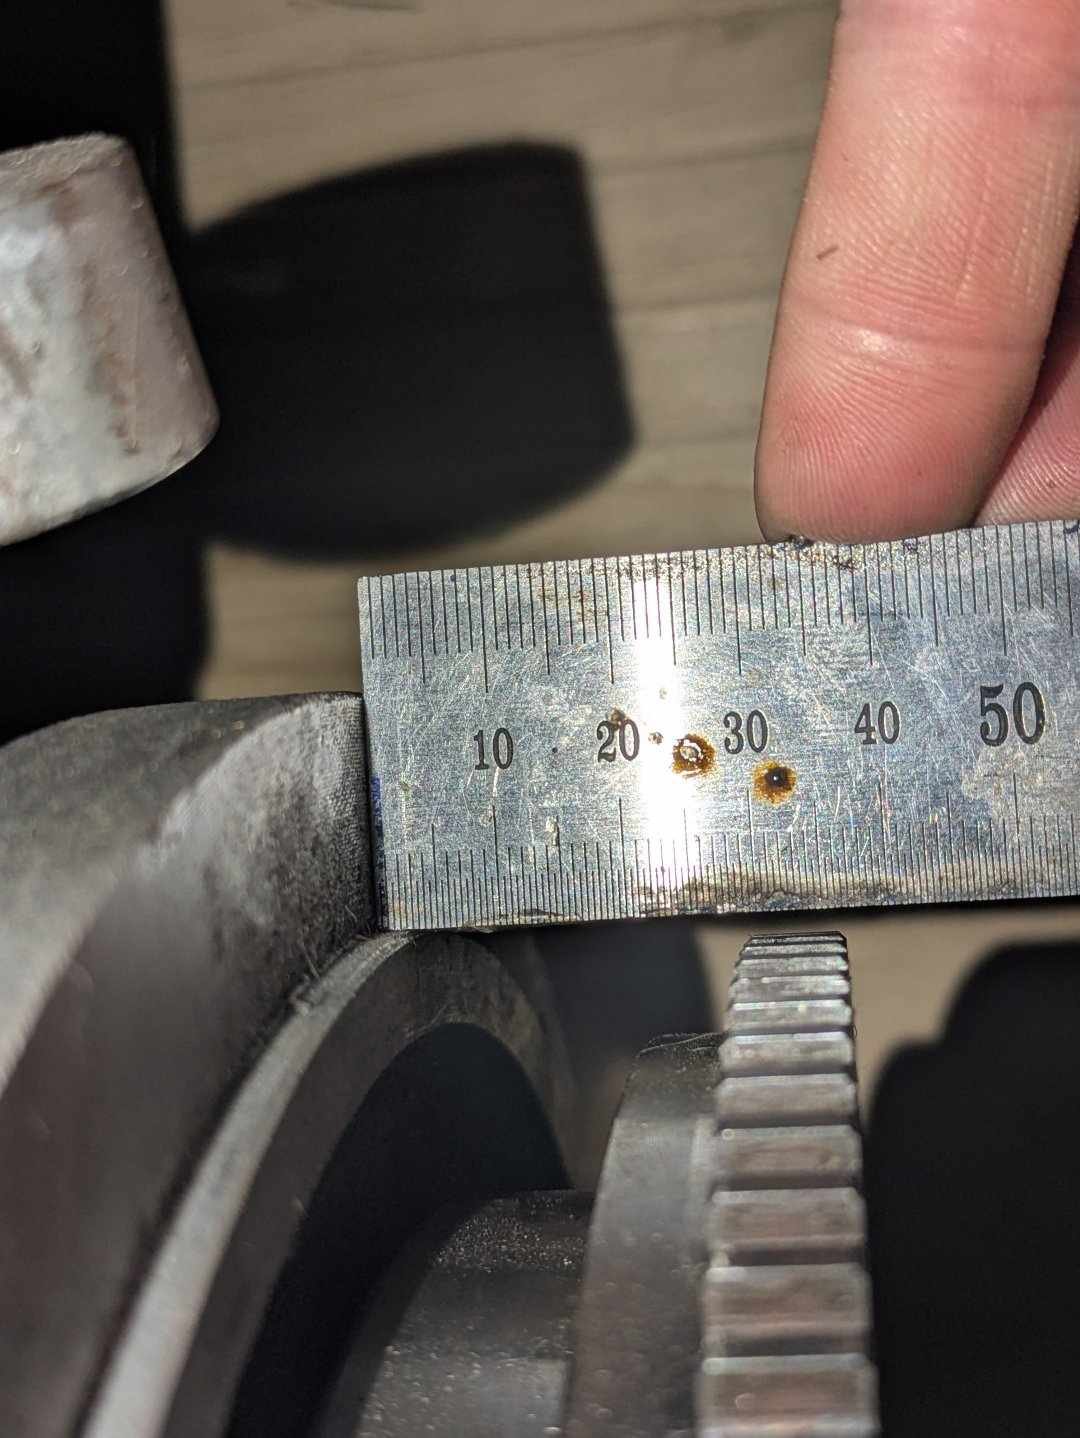
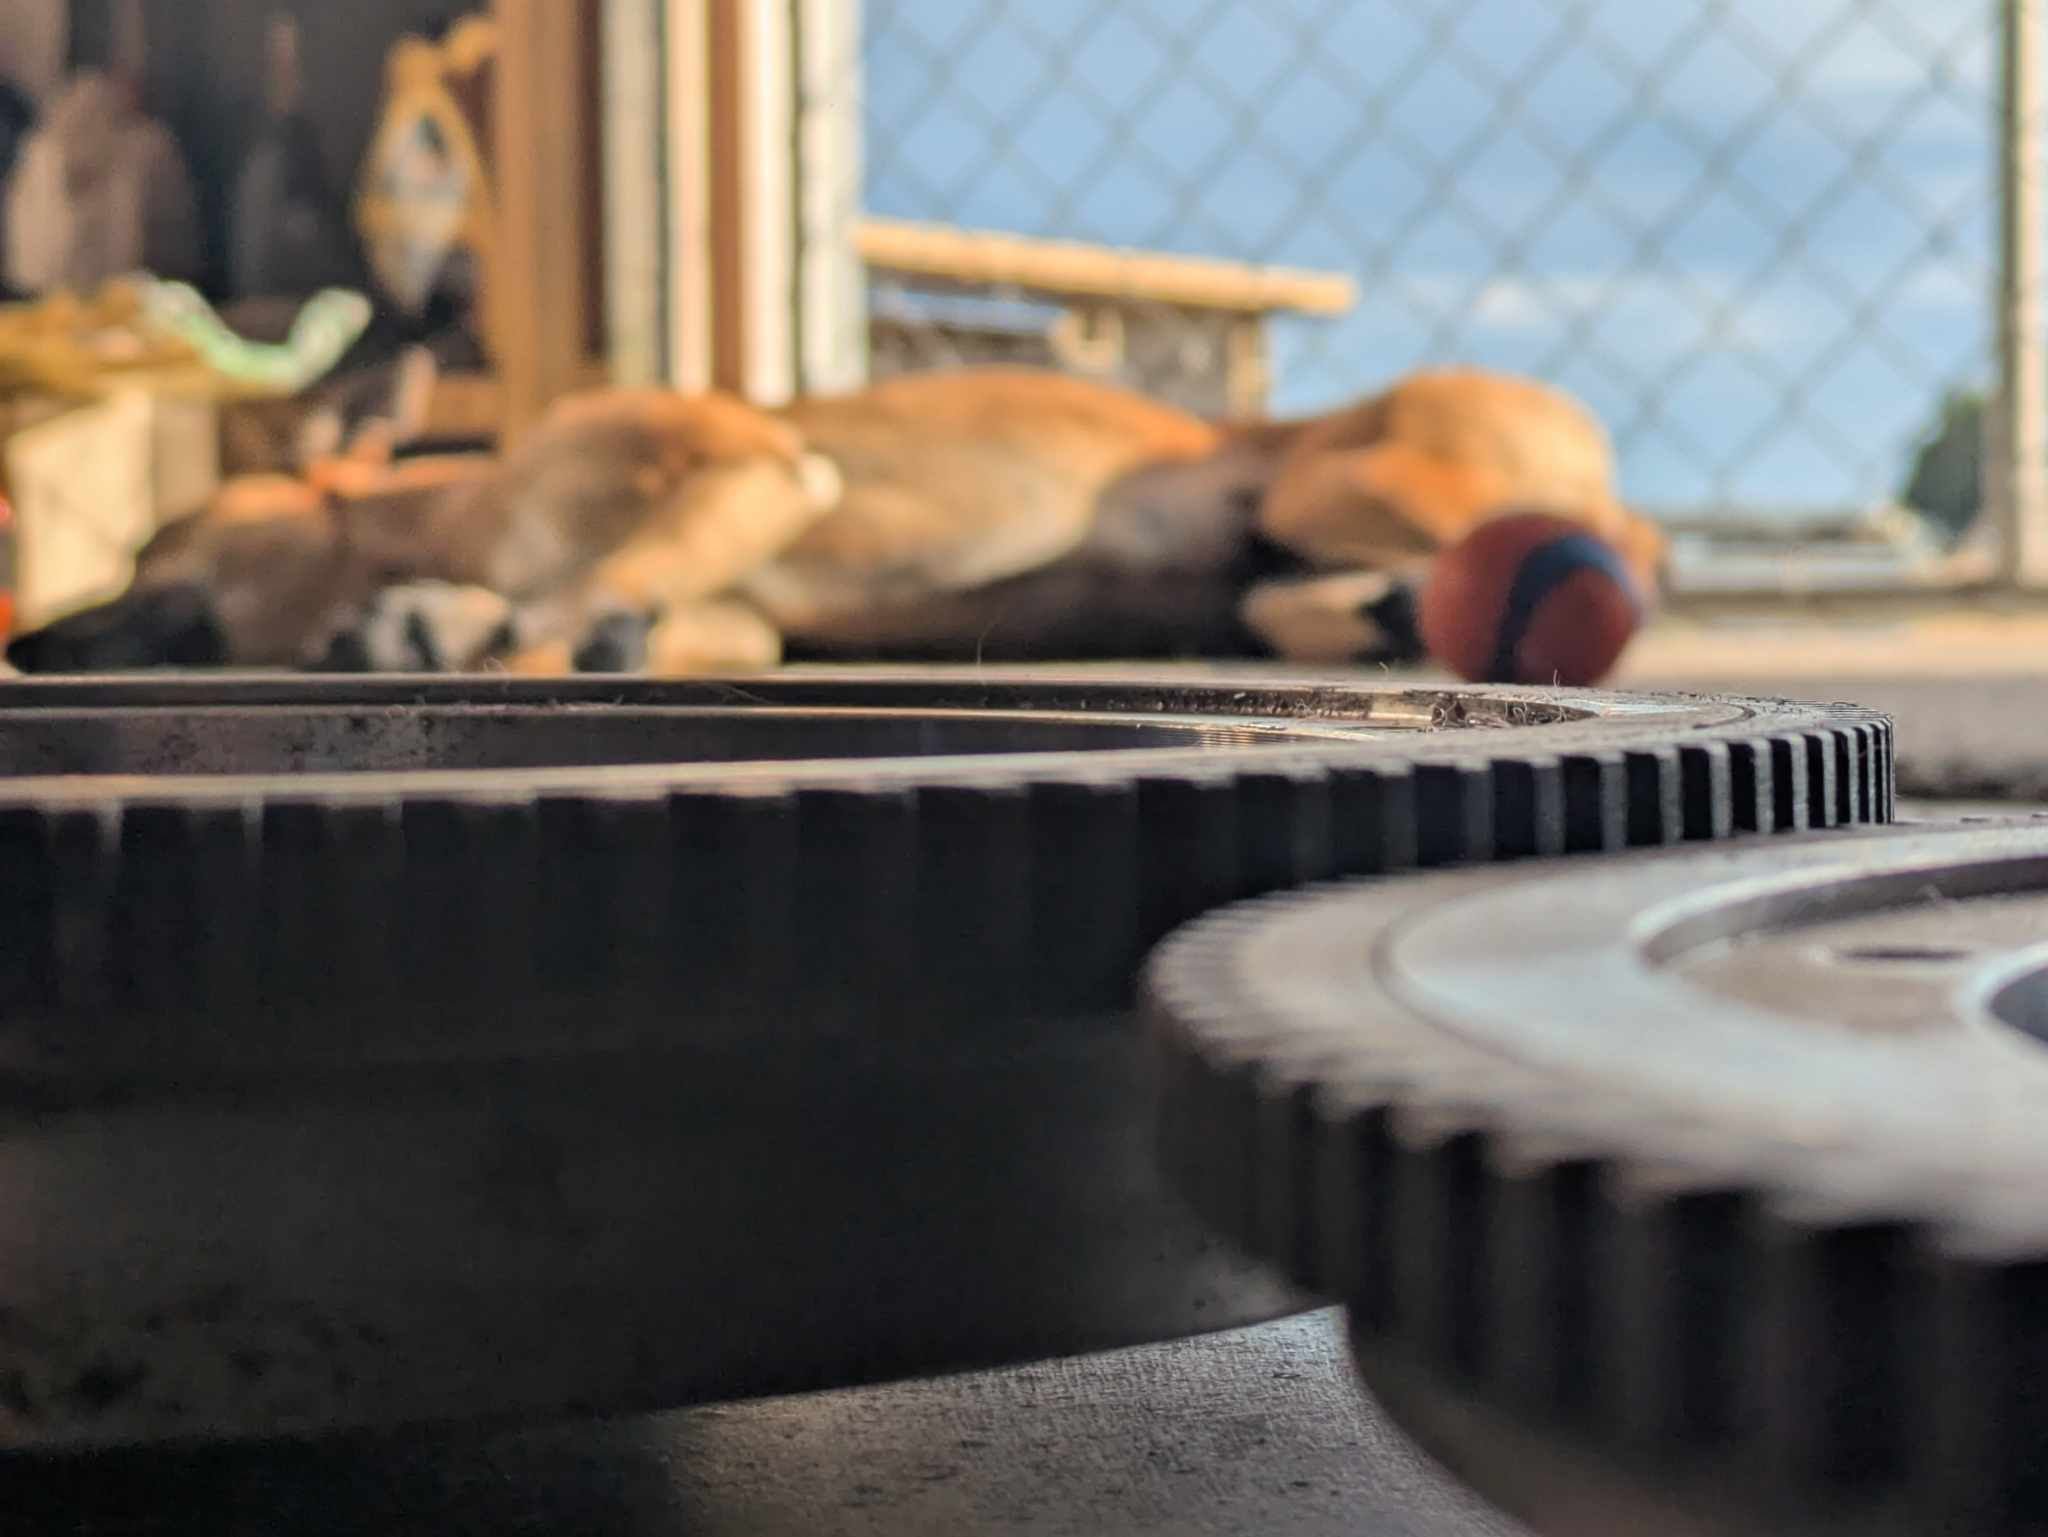
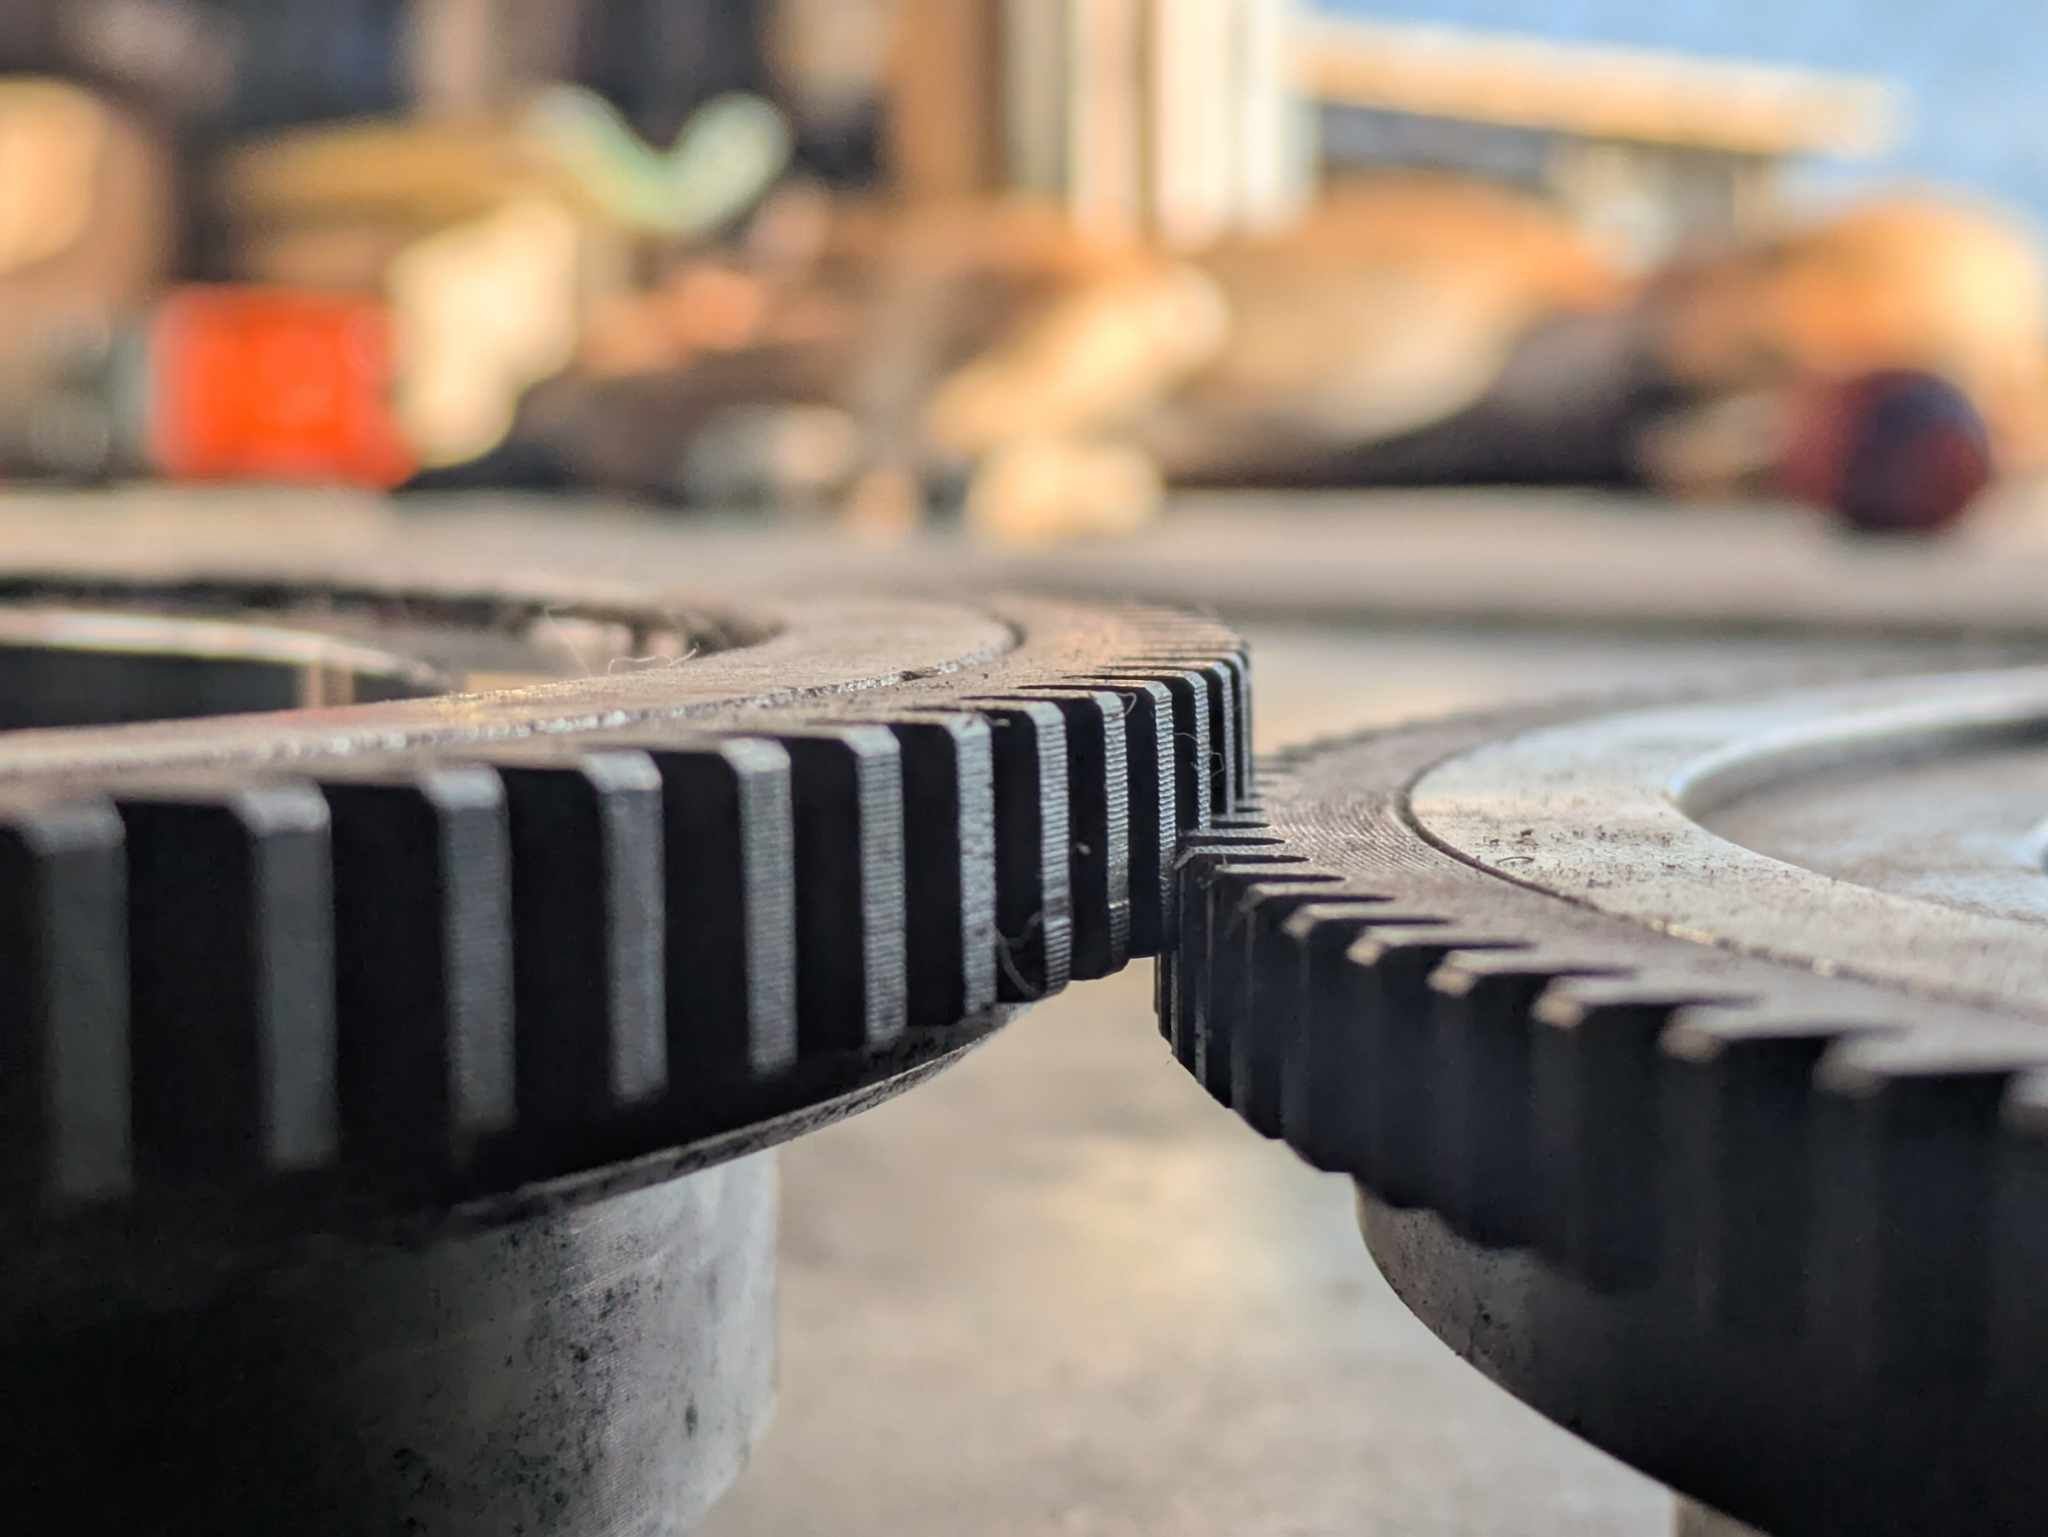
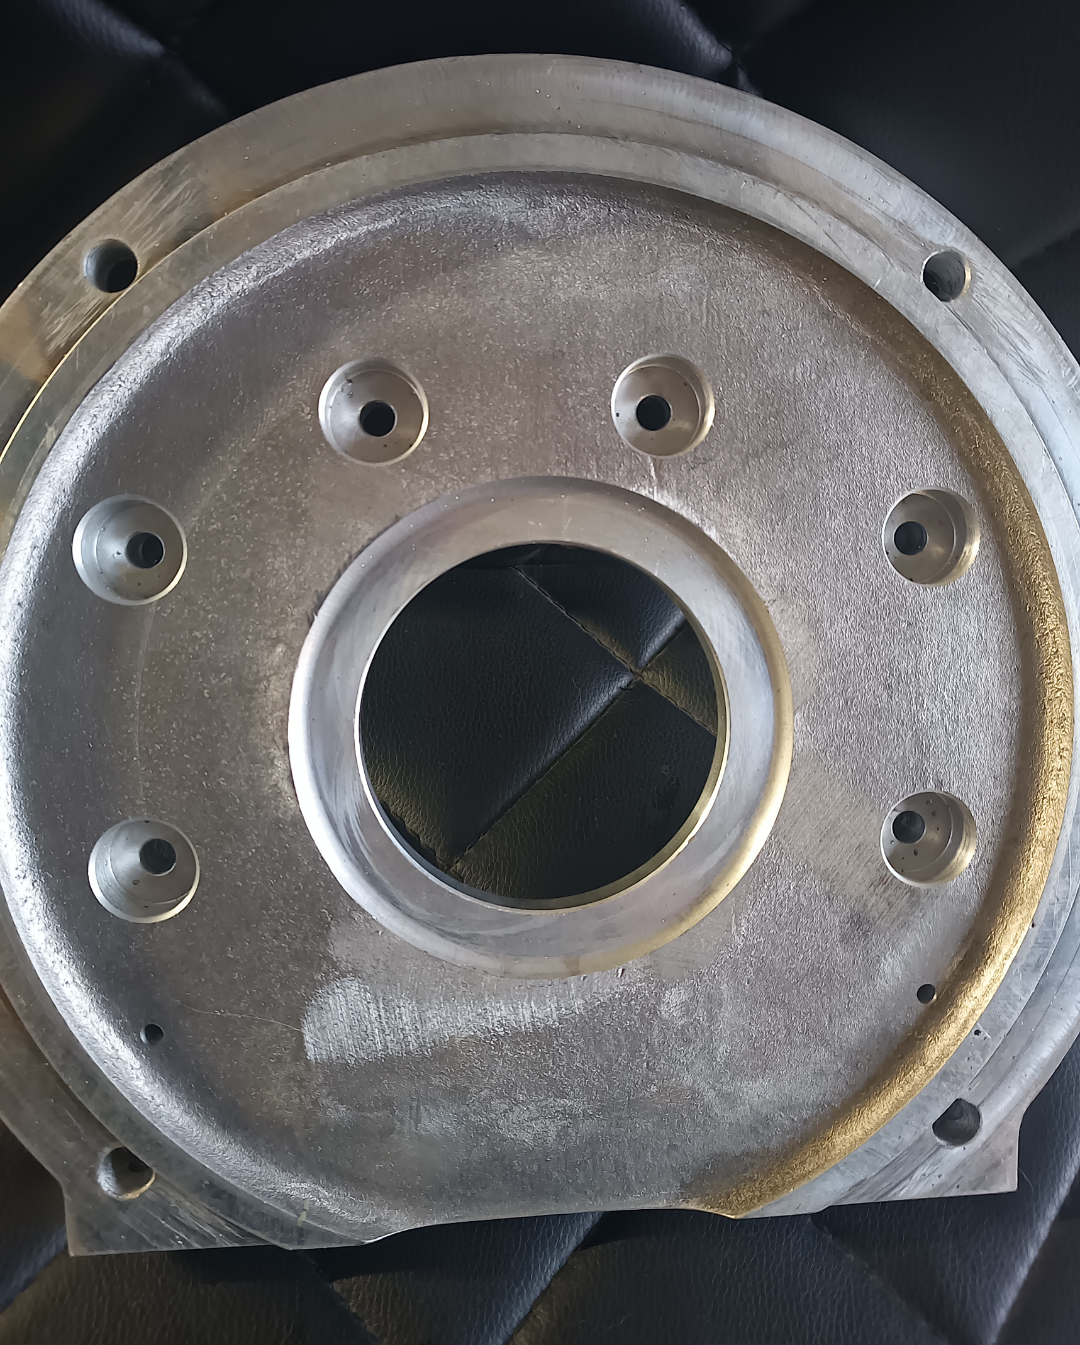
So old mate fucked up the EA71 adapter and with the EA81 going in it wouldn't be another day in paradise if this adapter wasn't fucked up too. First the flywheel had the wrong bolt PCD. So the machine shop had to weld it all up and redrill it correctly. Annoying. Next issue I'm having is the ring gear now fouls the bellhousing. Arrrgh. Might need some help from the brains trust as to what to do next. You can see the score mark here. I turned the crank bolt to feel the grindy goodness. Looks like there is 5mm to go until the adapter plate is locked into the bellhousing. Some differences between the two adapters: Rear of flywheel to front of ring gear: EA71 = 34.5mm EA81 = 36.5mm Ring gear thickness EA71 = 8mm EA81 = 9.5mm Adapter plate face (not locking tab) to edge of ring gear: EA71 = 37mm EA81 = 41.5mm So what should I do to fix this never ending nightmare of a project? 1. Burn it 2. Push it back into the shed and put a tarp over it for 6 months 3. Find a clapped out VW buggy and take the datto/toyota from that and sell the Subie engine (worth more than the car) 4. Machine the ring gear down/back 5. Put in a 10mm spacer (plenty of meat on the bellhousing/adapter bolts to do this) 6. Grind the bellhousing inside (not keen) 7. Machine the crankshaft facing side of the flywheel which means less meat but should move it back some. 8. Drop it all off at the machine shop when he is out grabbing lunch and deal with the fallout later. Open to other ideas logical or otherwise.