120why
-
Posts
217 -
Joined
-
Last visited
Everything posted by 120why
-
The time has come... What a full on weekend getting this done. Stage 6 camshaft from Auckland Cams, 5.8kg flywheel & new clutch. Something I have been wanting to do for sometime but haven't had the opportunity. Saturday - pulled engine & box, installed camshaft and timed up as per specifications (18 deg adv), installed lightened flywheel and new clutch. Engine back in and carbs bolted on, chokes changed to 32mm from 31mm (need some 34's) and the main jets upped from a 125 to a 130. Engine mount changed as I found it was broken in half (lol) and causing the radiator fan to hit the shroud... I thought this noise was the clutch being fk'd hence why I got a new clutch and installed the lightened flywheel... alas I was wrong. Sunday - First start, ran for 20mins at 2000rpm and then went for a sedate drive! Sunday afternoon, drove to Mount Maunganui for a beer and some chips, then hauled ass home, man does this machine sound great on full song. Video: Discussion:
- 33 replies
-
- 11
-

-
Cheers! She's coming together, only been 4 years
-
Has anyone got any advise on cam installs, this needs to be dialed in and I'll need to re drill the cam gear to suit. Both of which I have not done before. Cars in Tauranga and I'm hoping to do this on Saturday coming (17th Feb)
-
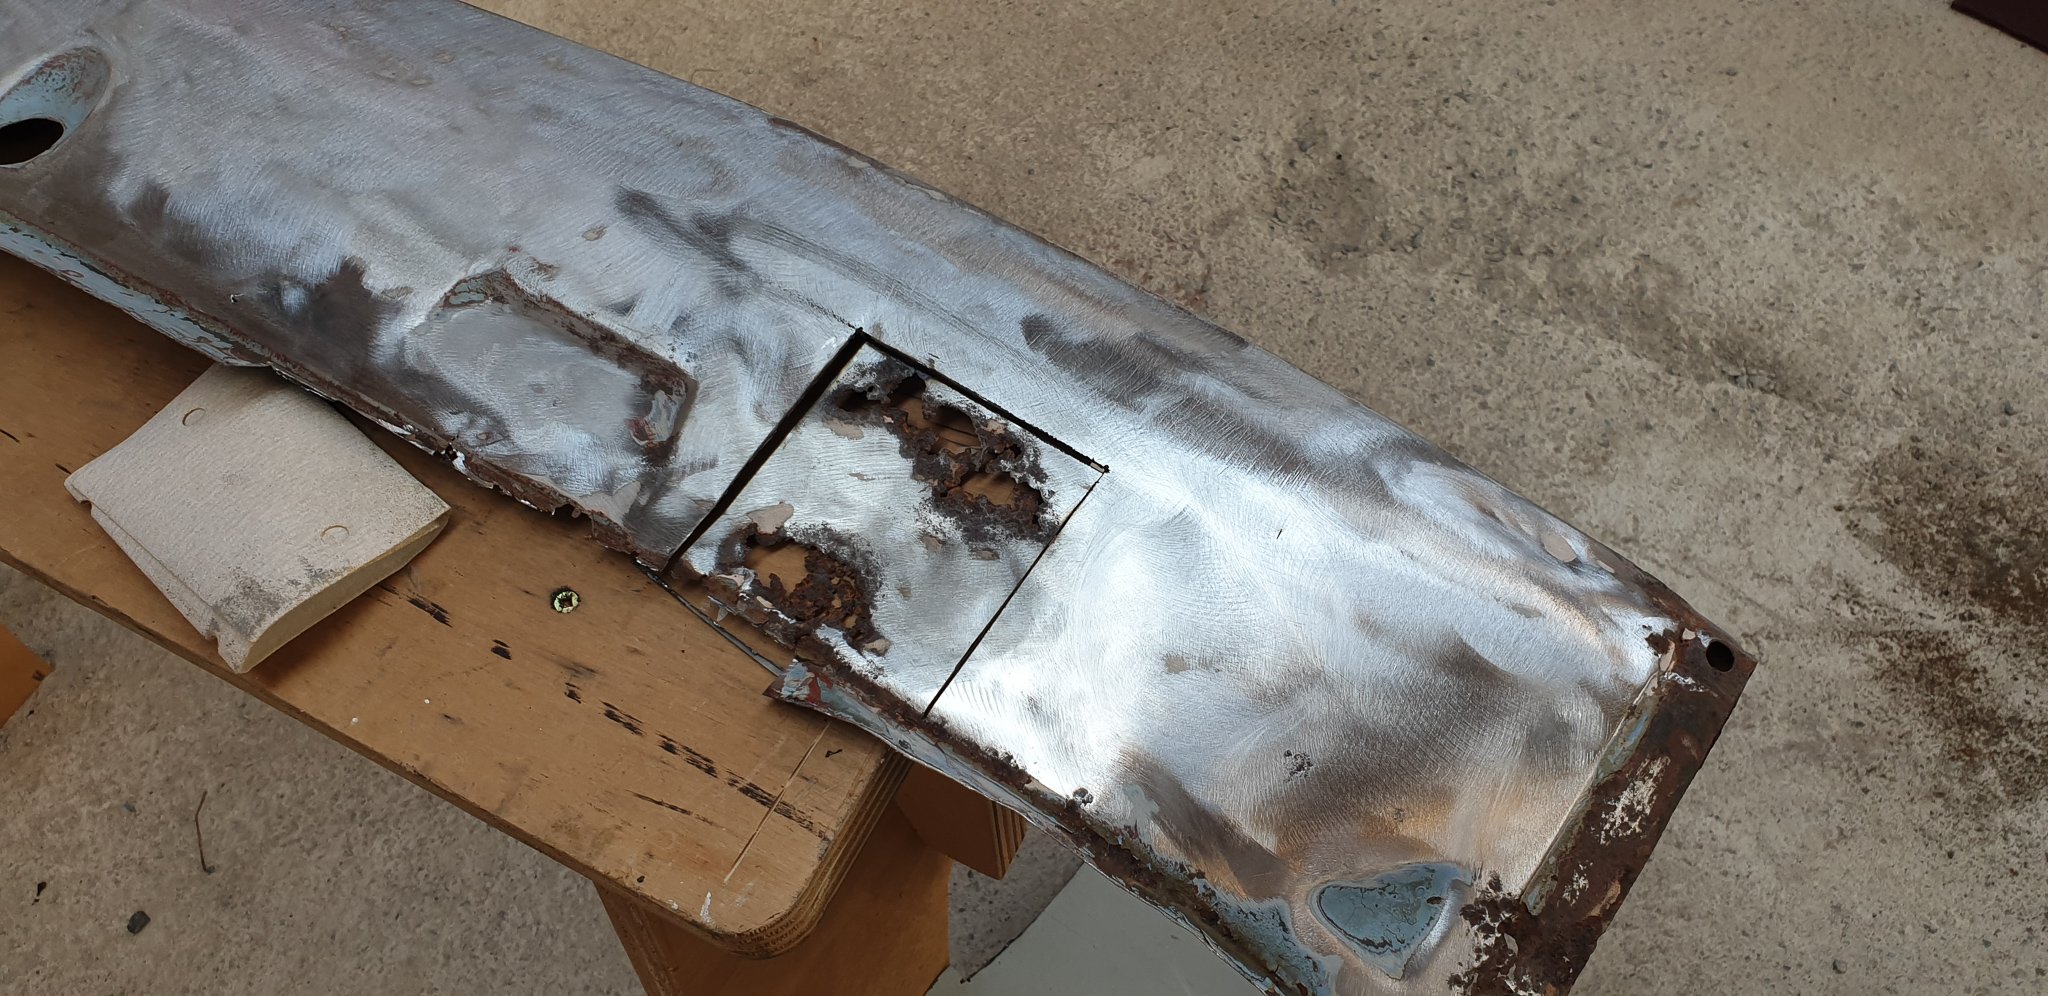
I ordered a new rear 1/4 from Aussie in September and it finally arrived 28th December. I was excited so got stuck in! Images do the talking, ohhh and I got to use the Christmas present I brought myself - a Plenishing Hammer Yuck. Rot behind, removed back to solid metal. Remade and replaced the first inner section. Corner support for the panel remade. This is where the bumper comes around and bolts back into the car. My new toy, what a machine this is. Absolutely made mince meat of making the curved panels, something I've been needing for a while. Curved in two directions, identical to the old one. Welded solid back in place! Rust treated, primed and painted black (not photographed) New panel clamped up for fitment prior to cutting it to suit. Very well made panels and fitment is bloody good. Thanks Automotive Panel Craft Australia. Welded and spot welded in place, ready for a grind. Ground and ready for primer................... Progress feels good and its looking a million bucks from where it was! Discussion; https://oldschool.co.nz/index.php?/topic/86954-120whys-75-datsun-2-door-wagon/
- 6 replies
-
- 24
-
-
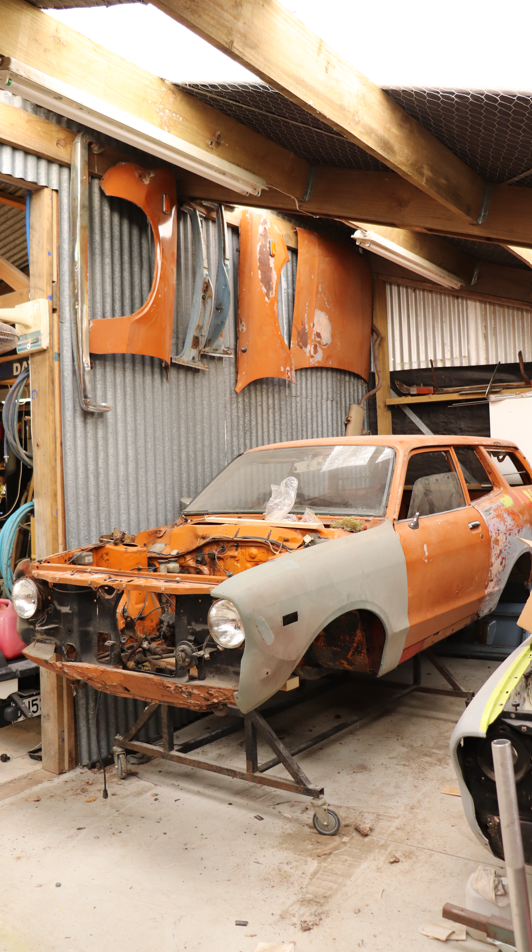
December was busy, bare metaled the shell and got some 1k primer down. Going to attack the panel beating with this primer on, then sand back to remove and redo with 2 pot epoxy. There are too many dents to warrant using epoxy now as it would just need to be redone (and I havent finished rust repairs yet). I worked on some small rust to catch up - engine bay, doors, radiator cross member & RH 1/4 window rust.
- 6 replies
-
- 16
-
-
Some film images from 2022 Datsun Nationals that I organised last year. We spent the morning on the drag strip, afternoon doing a grass autocross followed by a 60 person dinner. Sunday was a drive to Castlepoint, lunch at Tinui pup then cruise to Martinborough. I say cruise lightly, it was more a sprint There is a bunch more photos about, it was an awesome weekend https://photos.app.goo.gl/iYnSCnW6hemBWeV59
- 33 replies
-
- 15
-
-
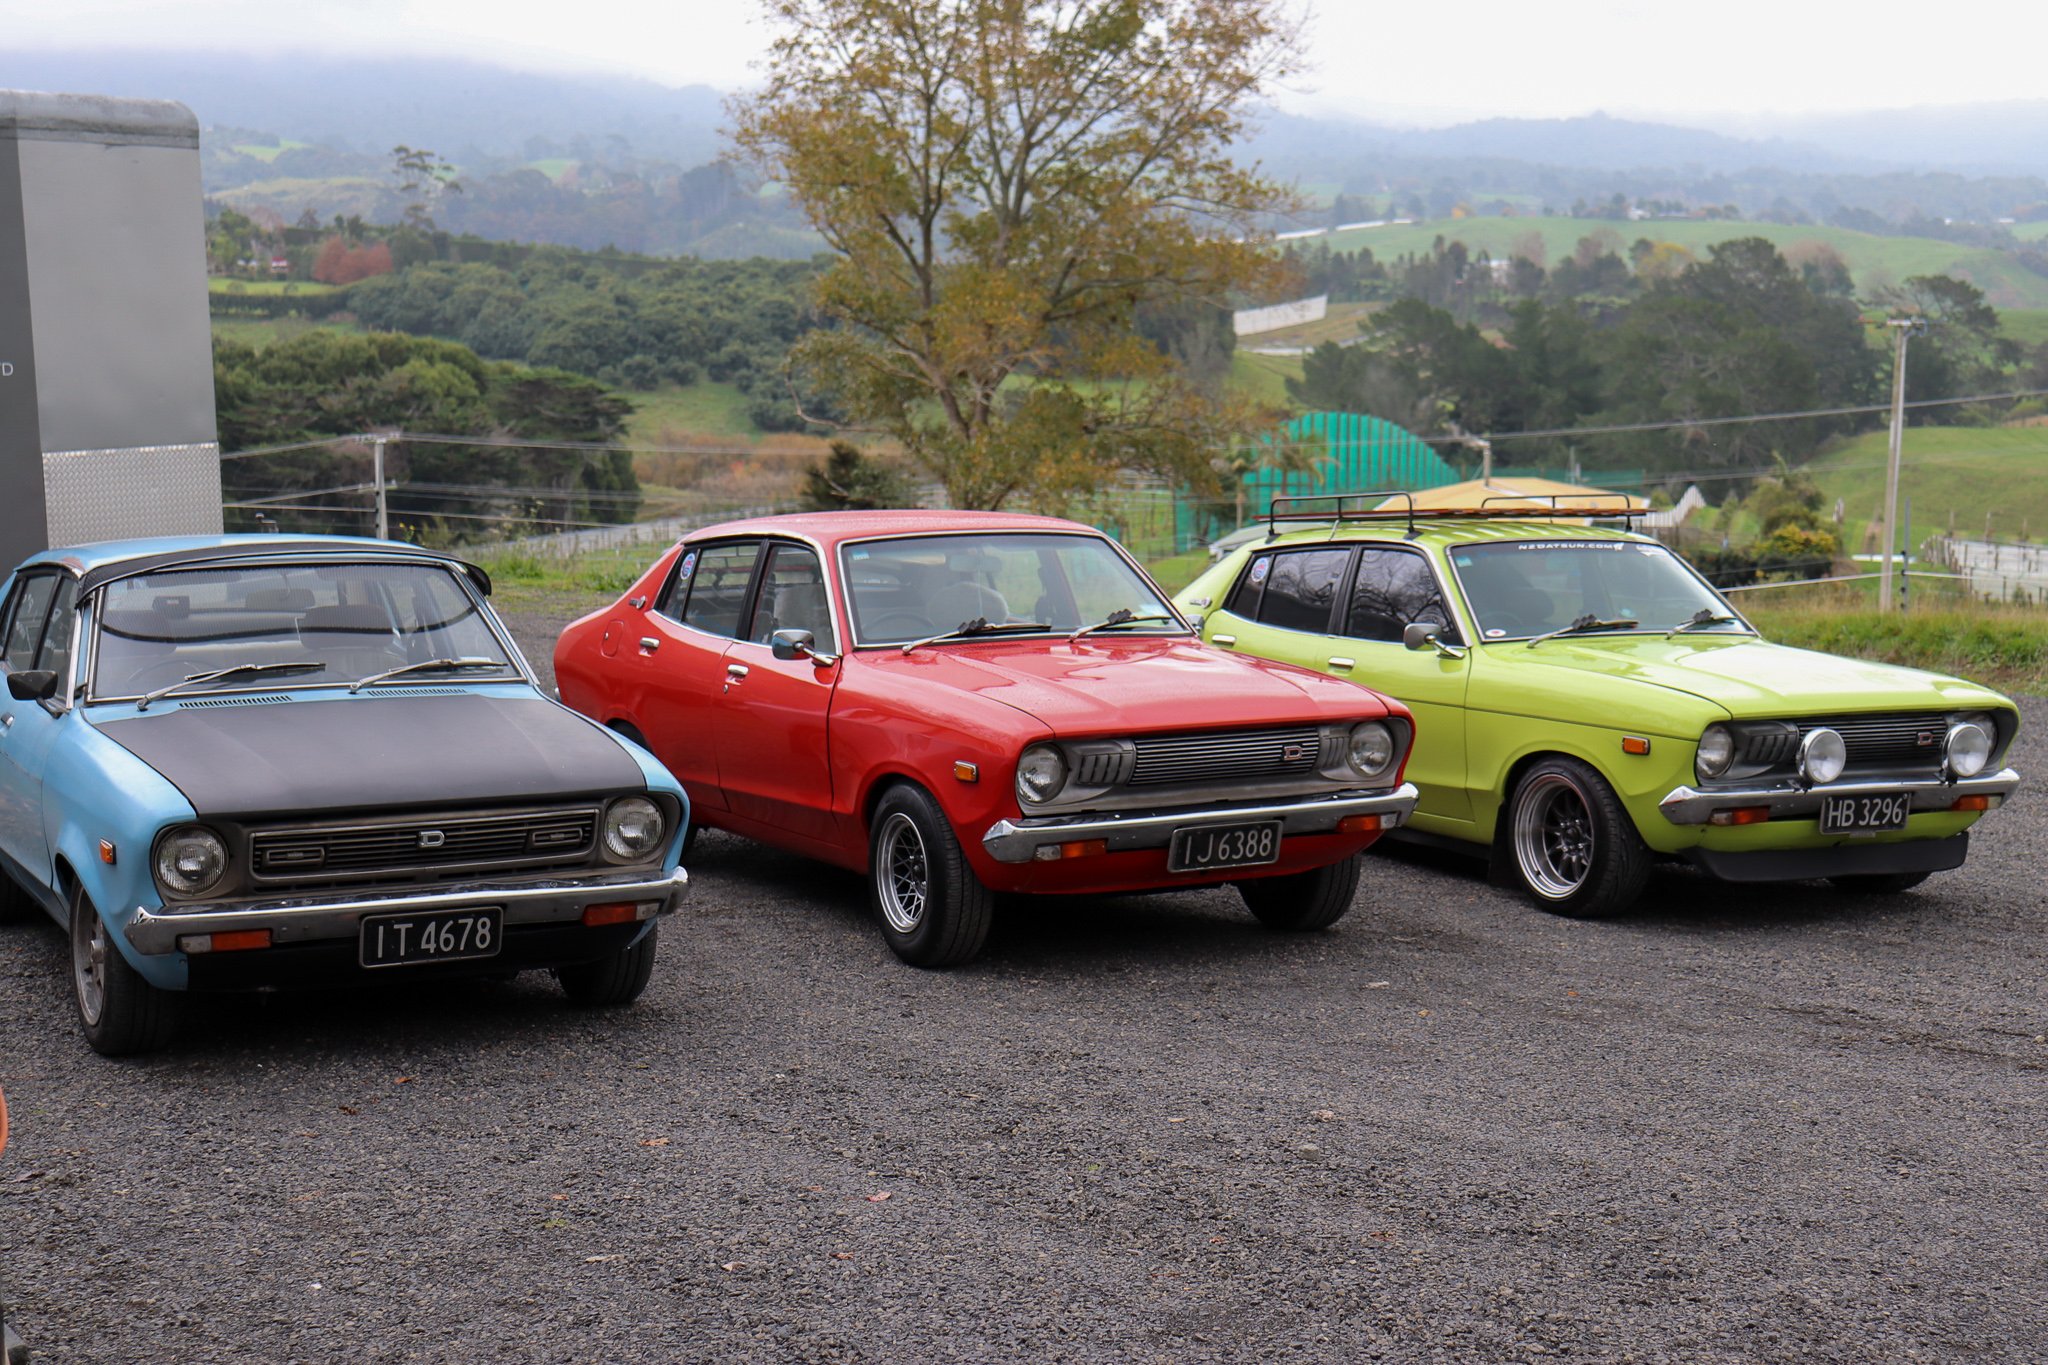
Datsun's love rust, this car is not immune to it either. 8 years of paint has done very well all considering. Bathurst was on, so a good chance to get stuck into it and also work on Dads SSS. Forgot to take finished images. Blended the paint and buffed it in, happy with the blend! NZ Datsun North Island Meet - New Plymouth. We had 4 120y come along, a good drive from Auckland to NP, around the mountain and back!
- 33 replies
-
- 14
-
-
Phase 3: 1/4 panel behind door, inner sill and sill. This was fun, lining everything up and having an opportunity at getting the gaps right on the 120y (making them better than factory as they are shiet). The 1/4 panel is from Automotive panel craft in Aus (these guys have saved me with this build) and the sills were rolled years ago. Poor girl developing rust while I fix the other inside Next stage, phase 5: RH 1/4 Window rust repair. Encouragement is welcome:
- 6 replies
-
- 15
-
-
Had fun last year at 2022 Oldschool Nats. Bit of a delay in photo updates, but hey Had some issues with timing and crank key wearing. I couldn't get the thing off the line very fast! Sorted now, so should be ready for Drags 2023!

-
Phase 2: Hinge mount reconstruction. Phase 2 involved some cuts from another car I managed to pick up. This made the process much quicker, something I usually done have the luxury of! Old cut out, new one cut to fit then rust treated & primed then painted. Tacked it in and aligned the door to ensure gaps were set correctly before fully welding it in place. Photos don't show the work in the sill (jack point support & 2mm plate for strength). Happy with the outcome, much nicer not being able to see through the floor & sill! Photos talk: Phase 3: 1/4 panel behind door & inner sill. https://oldschool.co.nz/index.php?/topic/86954-120whys-75-datsun-2-door-wagon
- 6 replies
-
- 20
-
-
Cheese! Well, not so much anymore. Replacement floor & inner sill, merging into the door hinge mount. A solid weekend spent getting this stage underway. Looking a tad better now! Replacement floor from Automotive Panel Craft in Aussie. Phase 2: reconst ruct the hinge mount. Discussion:
- 6 replies
-
- 16
-
-
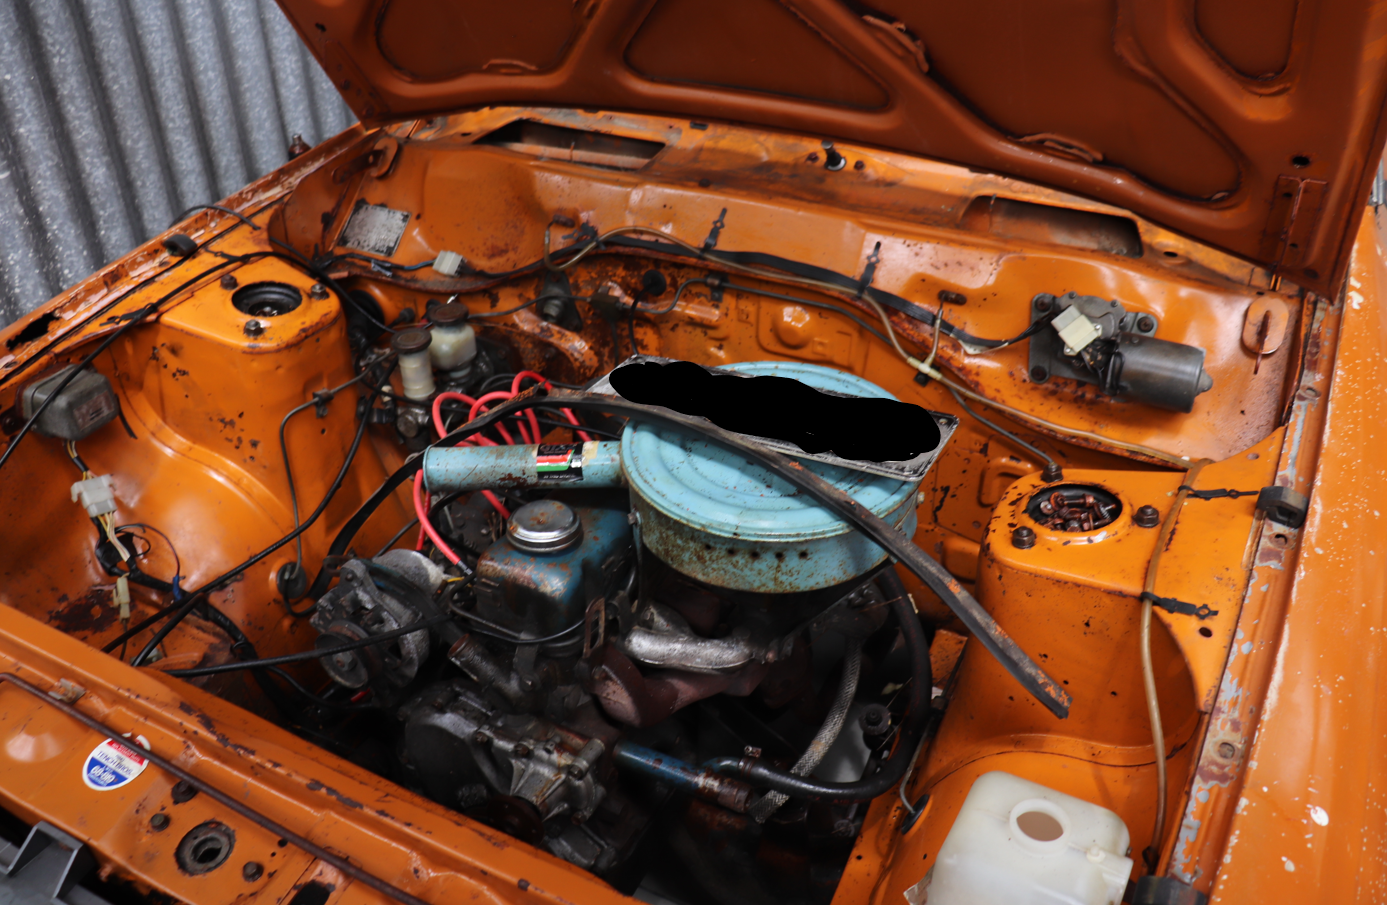
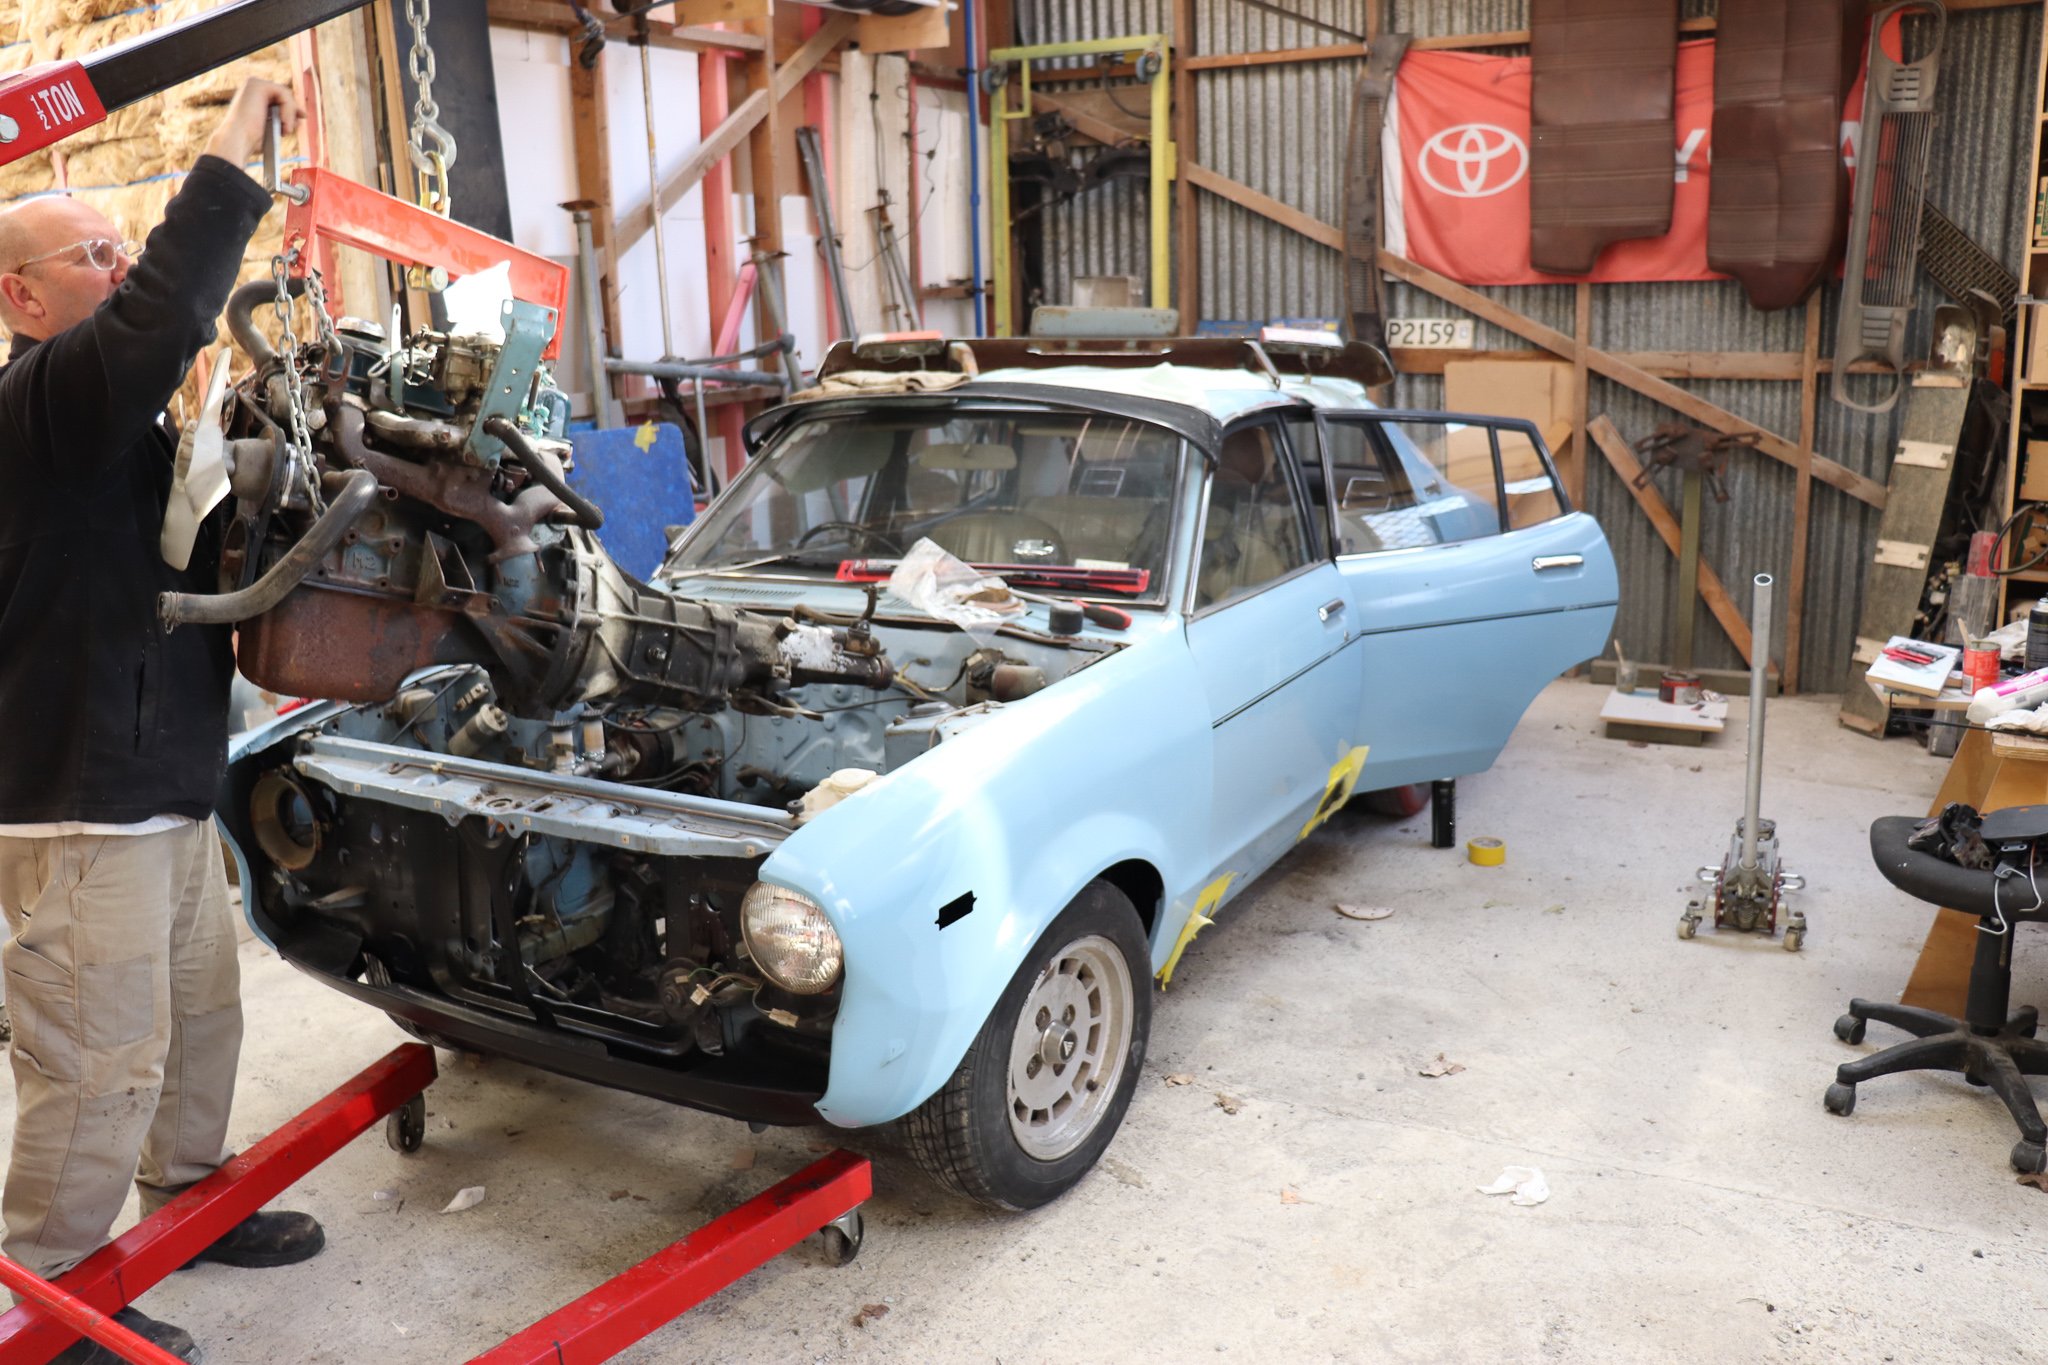
Engine bay before the motor came out! Suspension dropped, car on trolley ready to get stuck in!
- 6 replies
-
- 19
-
-
I have a Uniden DRF7, mid range priced unit. Its never let me down, been very reliable. You can filter the K bands to avoid false alerts. It also remembers the false spots via gps so learns its route. Picks up cam vans well and knows where all the speed cameras are. Paid $580 but theyre about $650 now. Only had a ticket the one time I forgot to grab it..........
-
Might be quicker one day @R3spct Yup OG paint. The floor is non existent, some geezer back in the day installed some foam pvc stuff under the carpet and its just sweated out. From the floor upwards, its pretty darn good (usual bits and bobs). A14 Turbo or.......... FJ20ET. Undecided yet, it will be factory A12 for the revin though.
-
Discussion for the build!
-
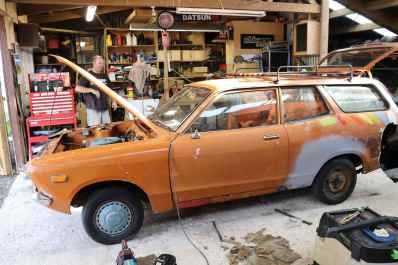
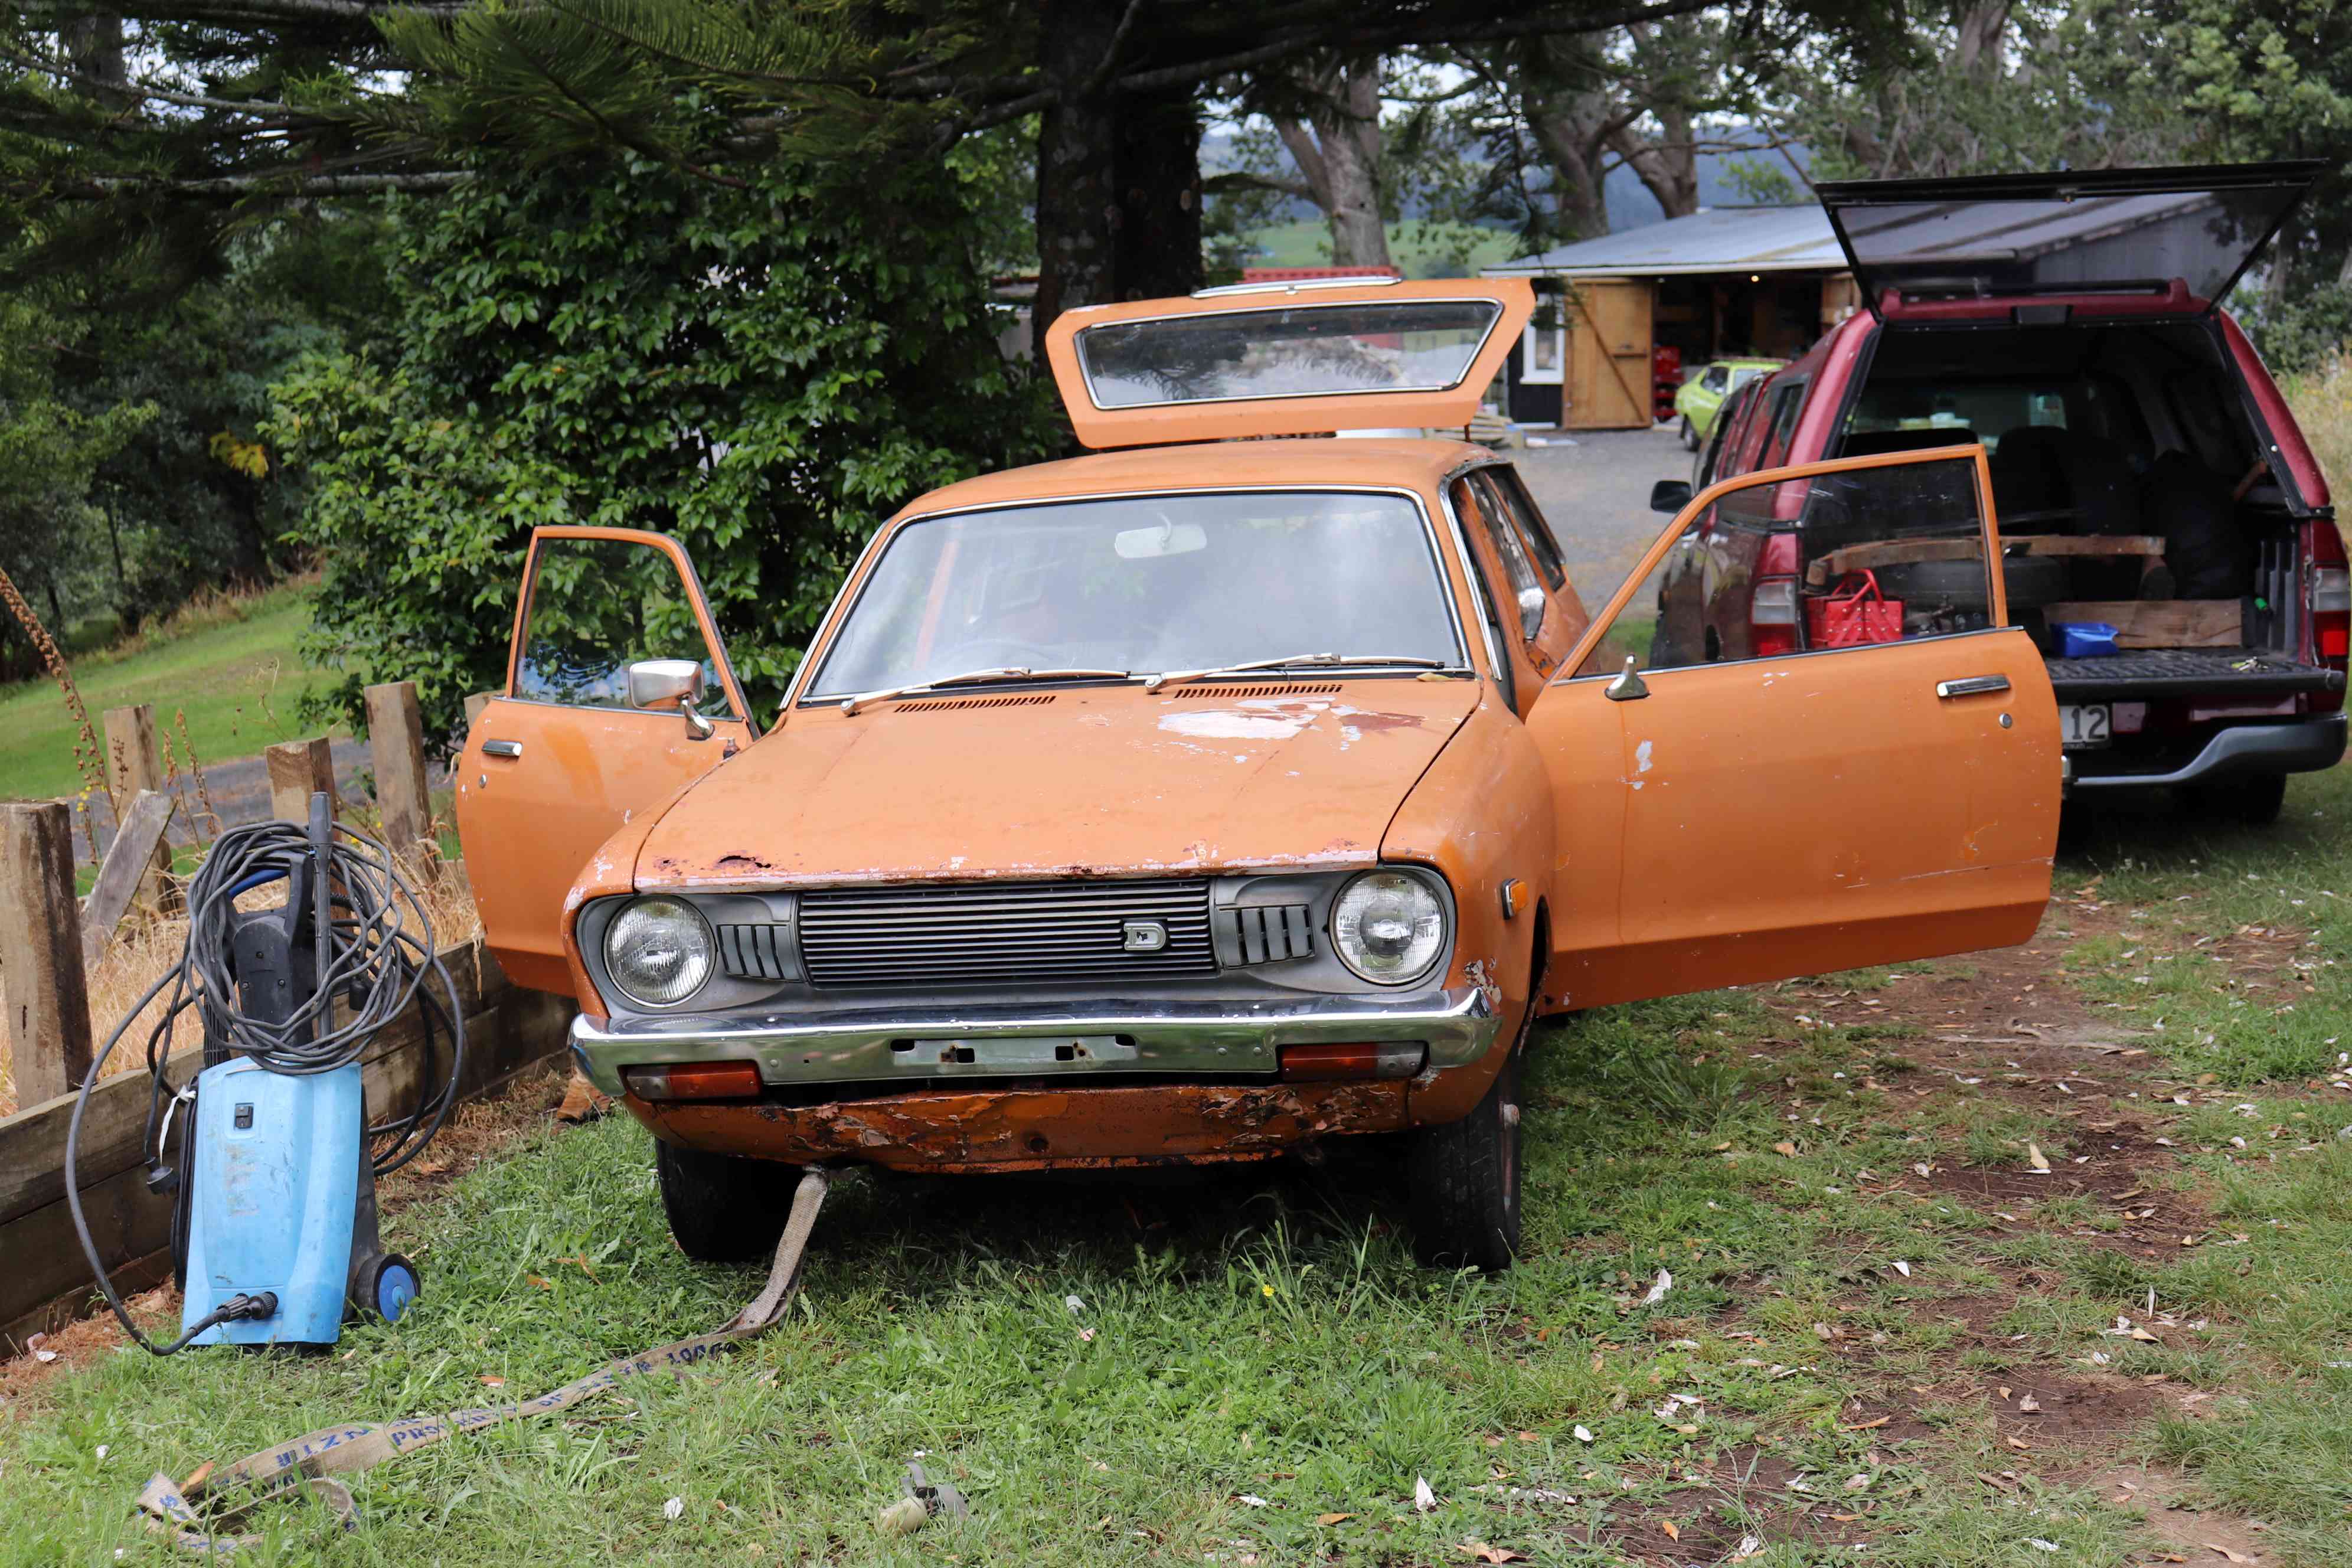
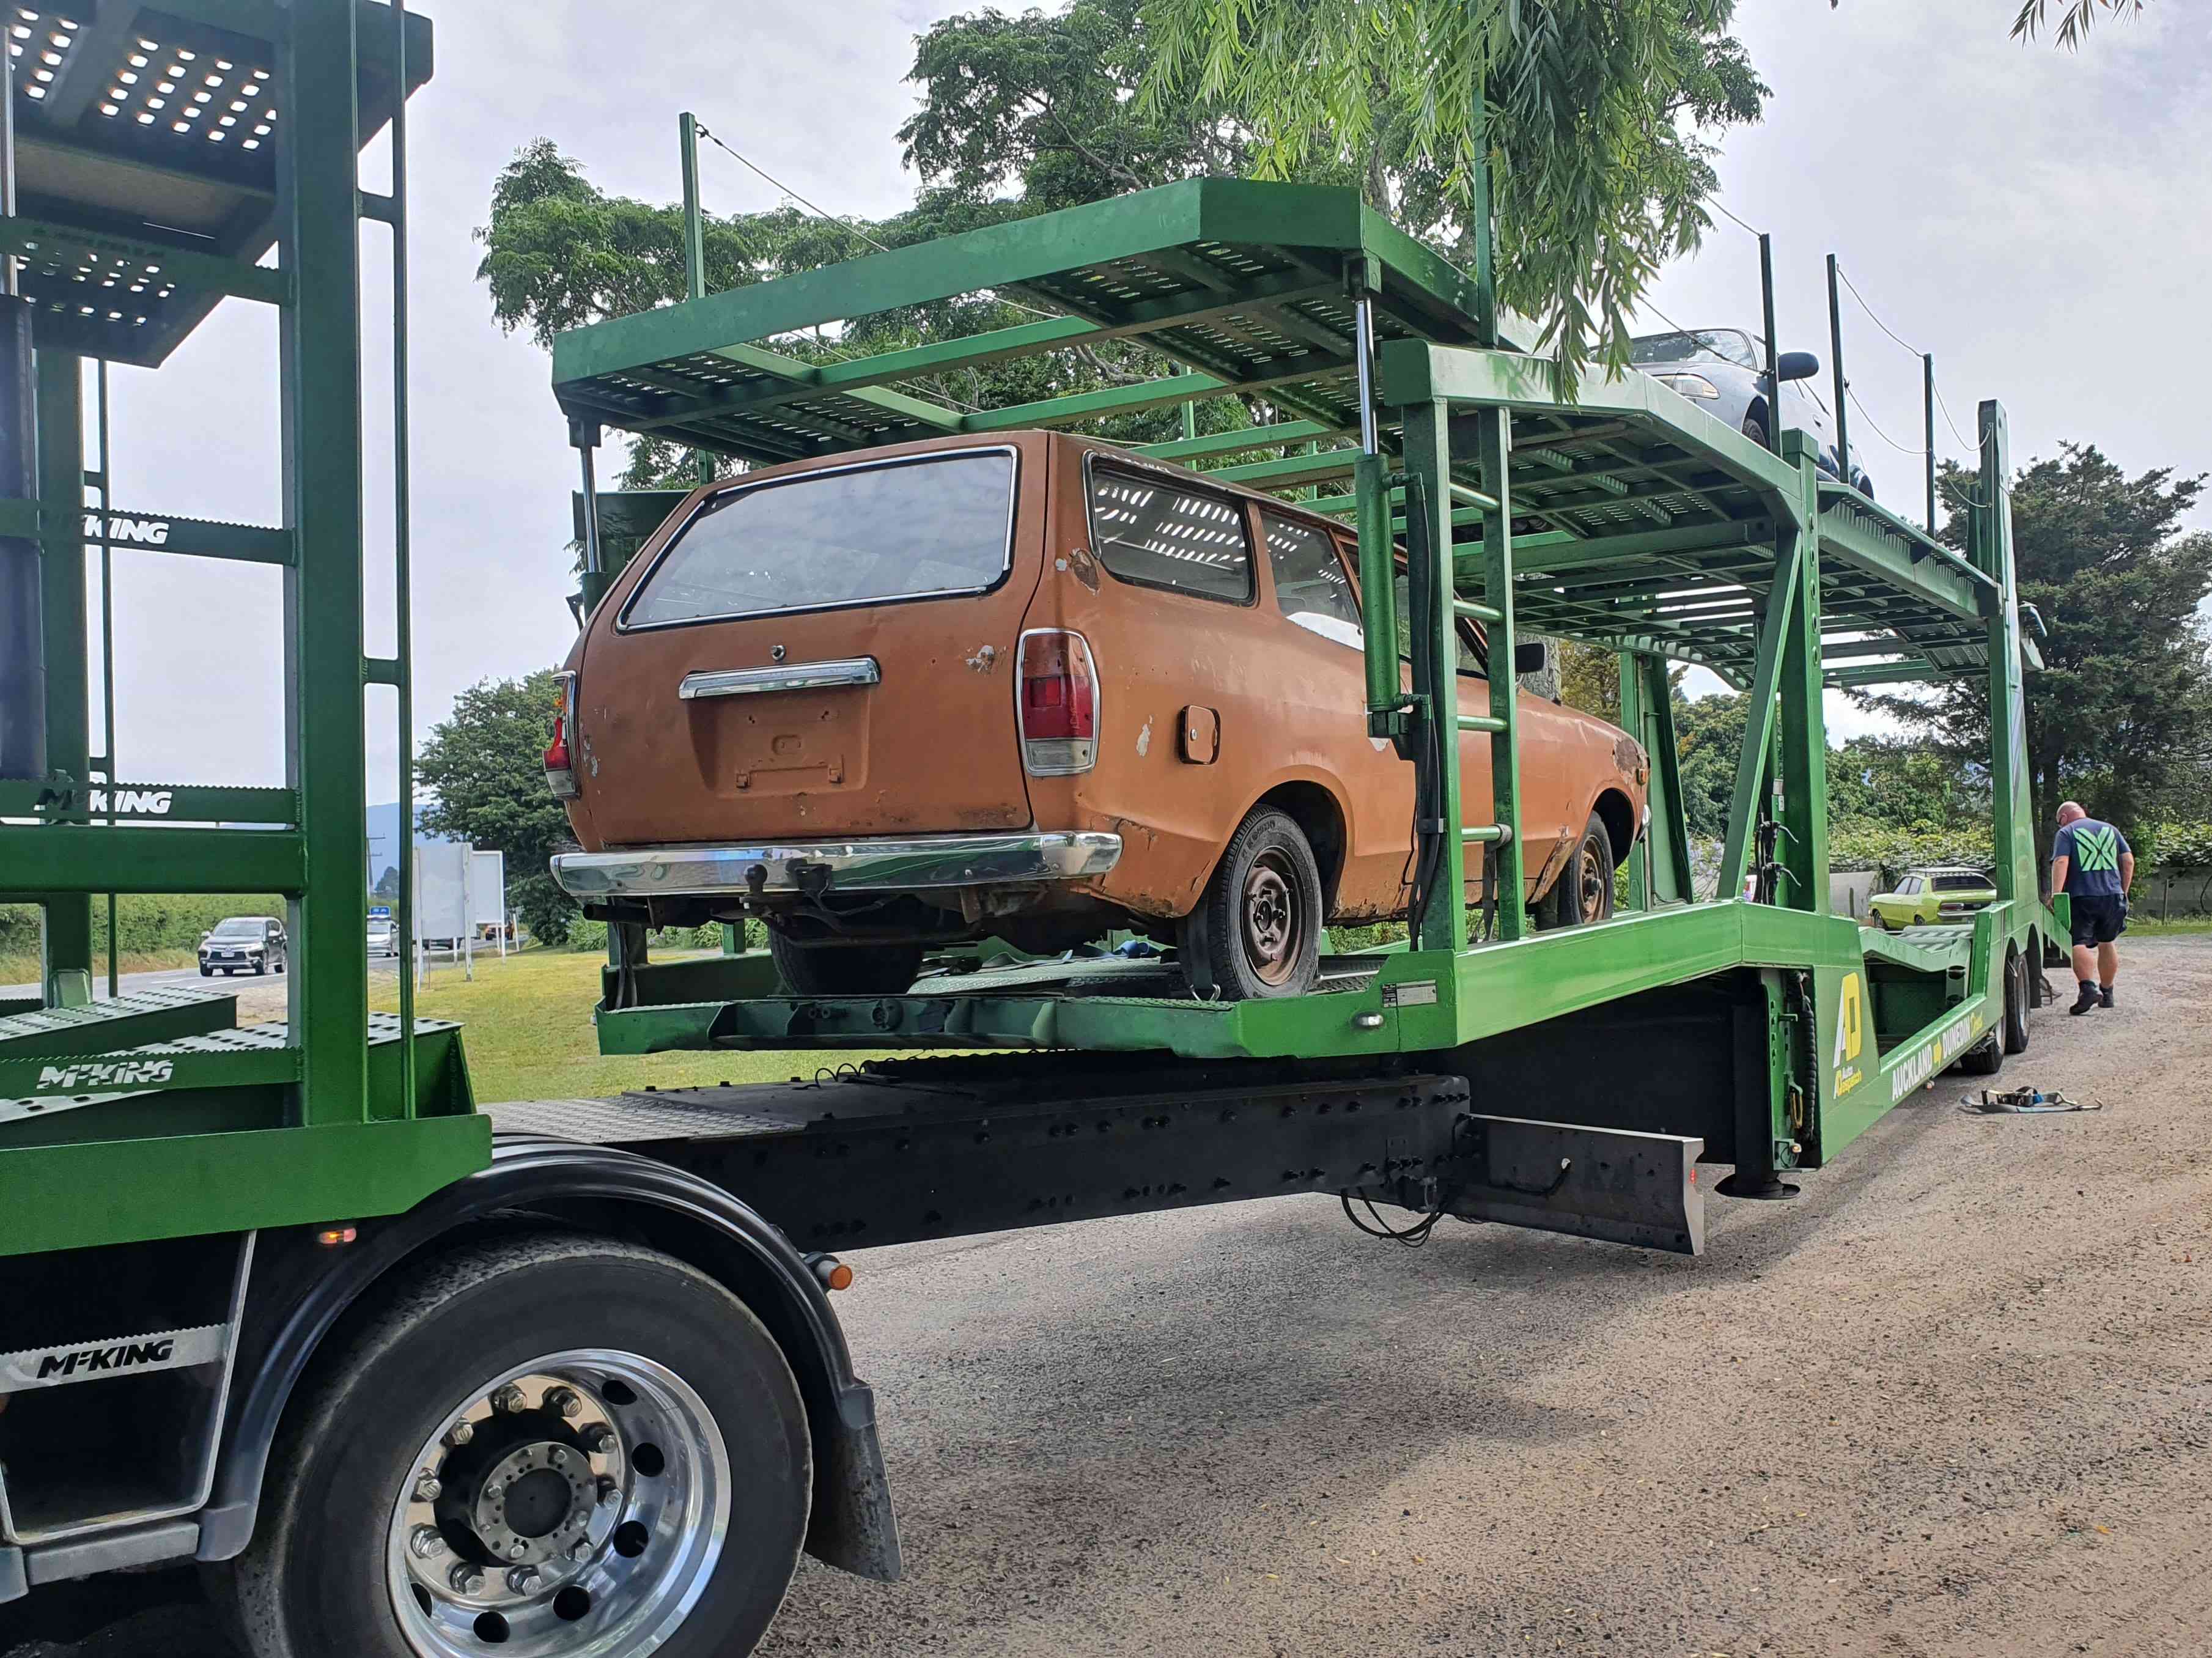
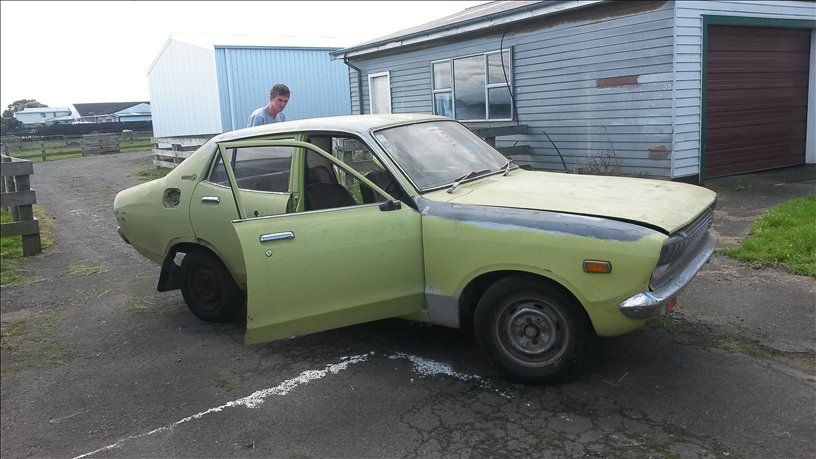
Sooooo, been wanting one of these for a while! This little gem made its way up from the deep south in 2020 to the sunny BoP where it resides in the shed. Not many of these left! Rust rust and more rust is on the agenda for the next wee while, and has been for the past year when I get free time. If you have/know of/potentially have a lead on parts.... please sing out! Discussion: https://oldschool.co.nz/index.php?/topic/86954-120whys-75-datsun-2-door-wagon
- 6 replies
-
- 22
-
-

-
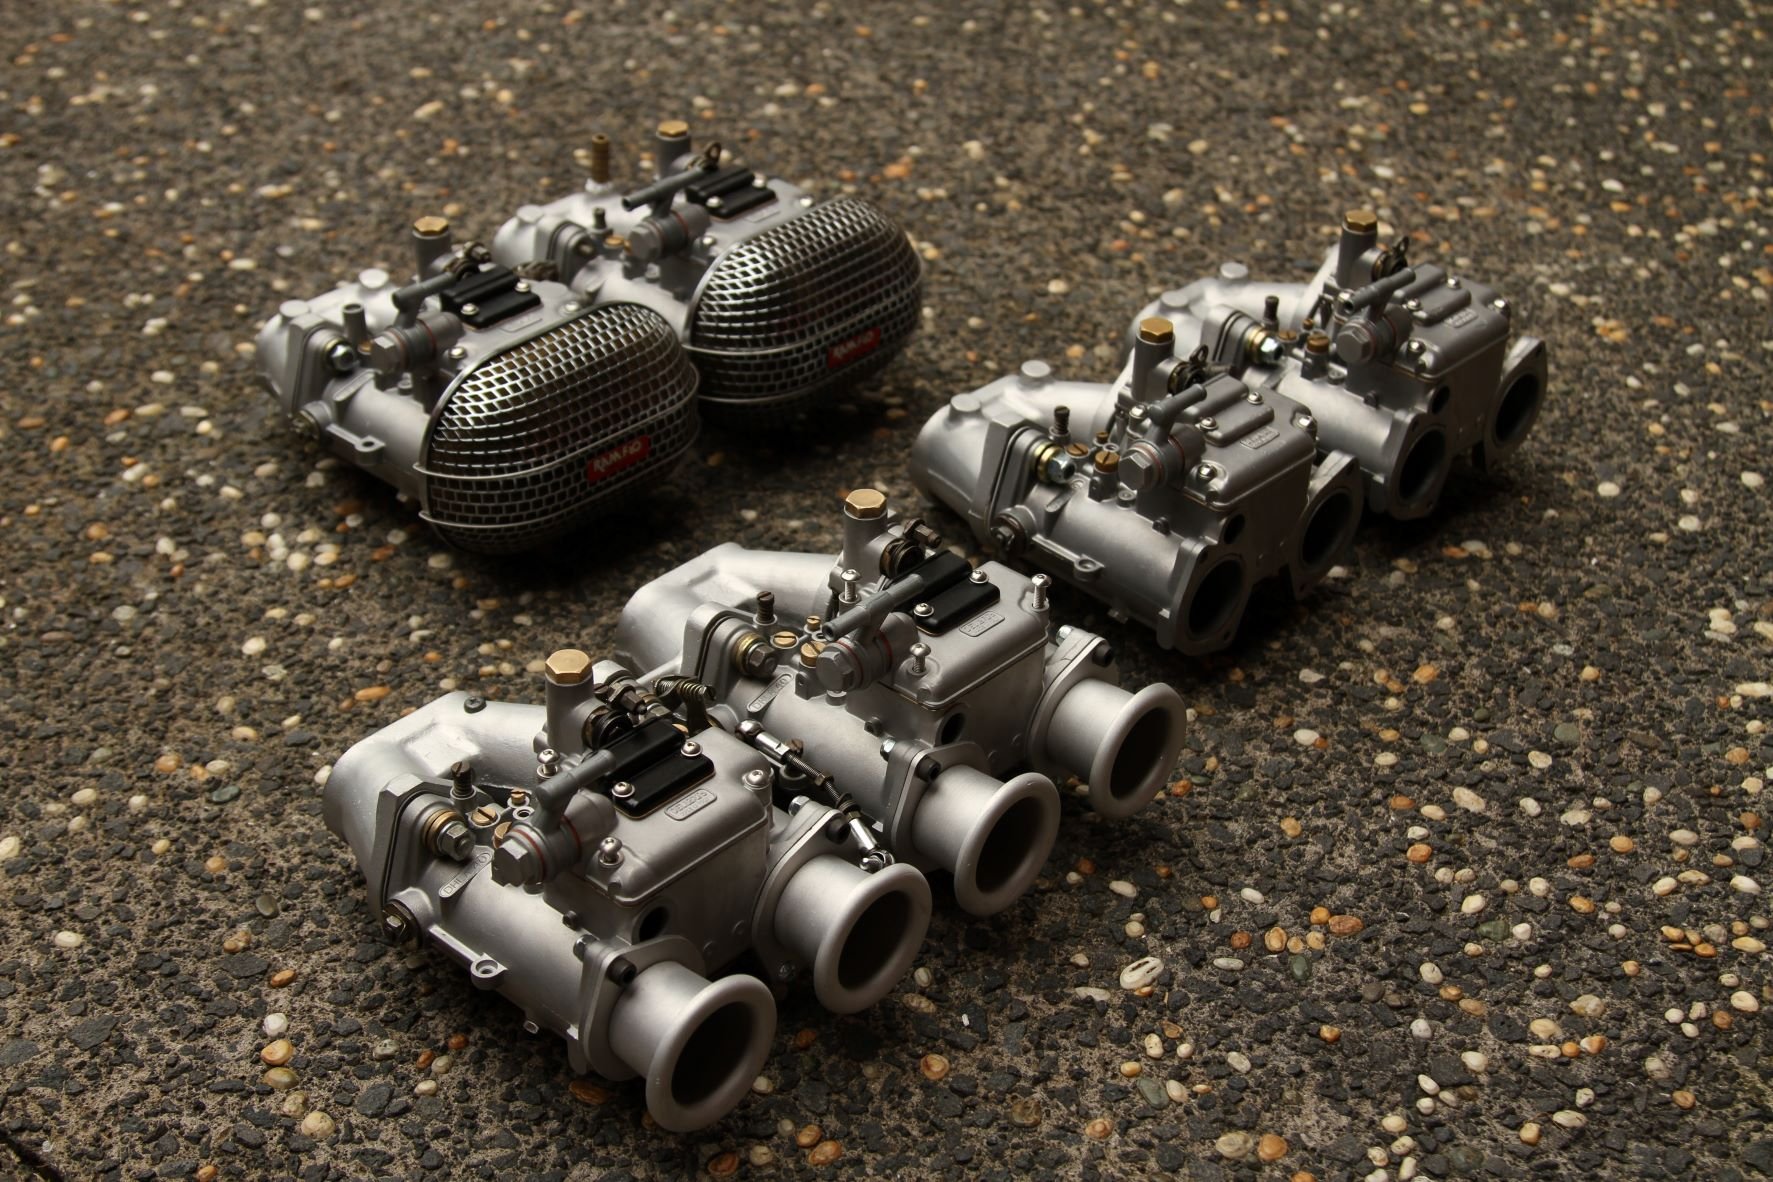
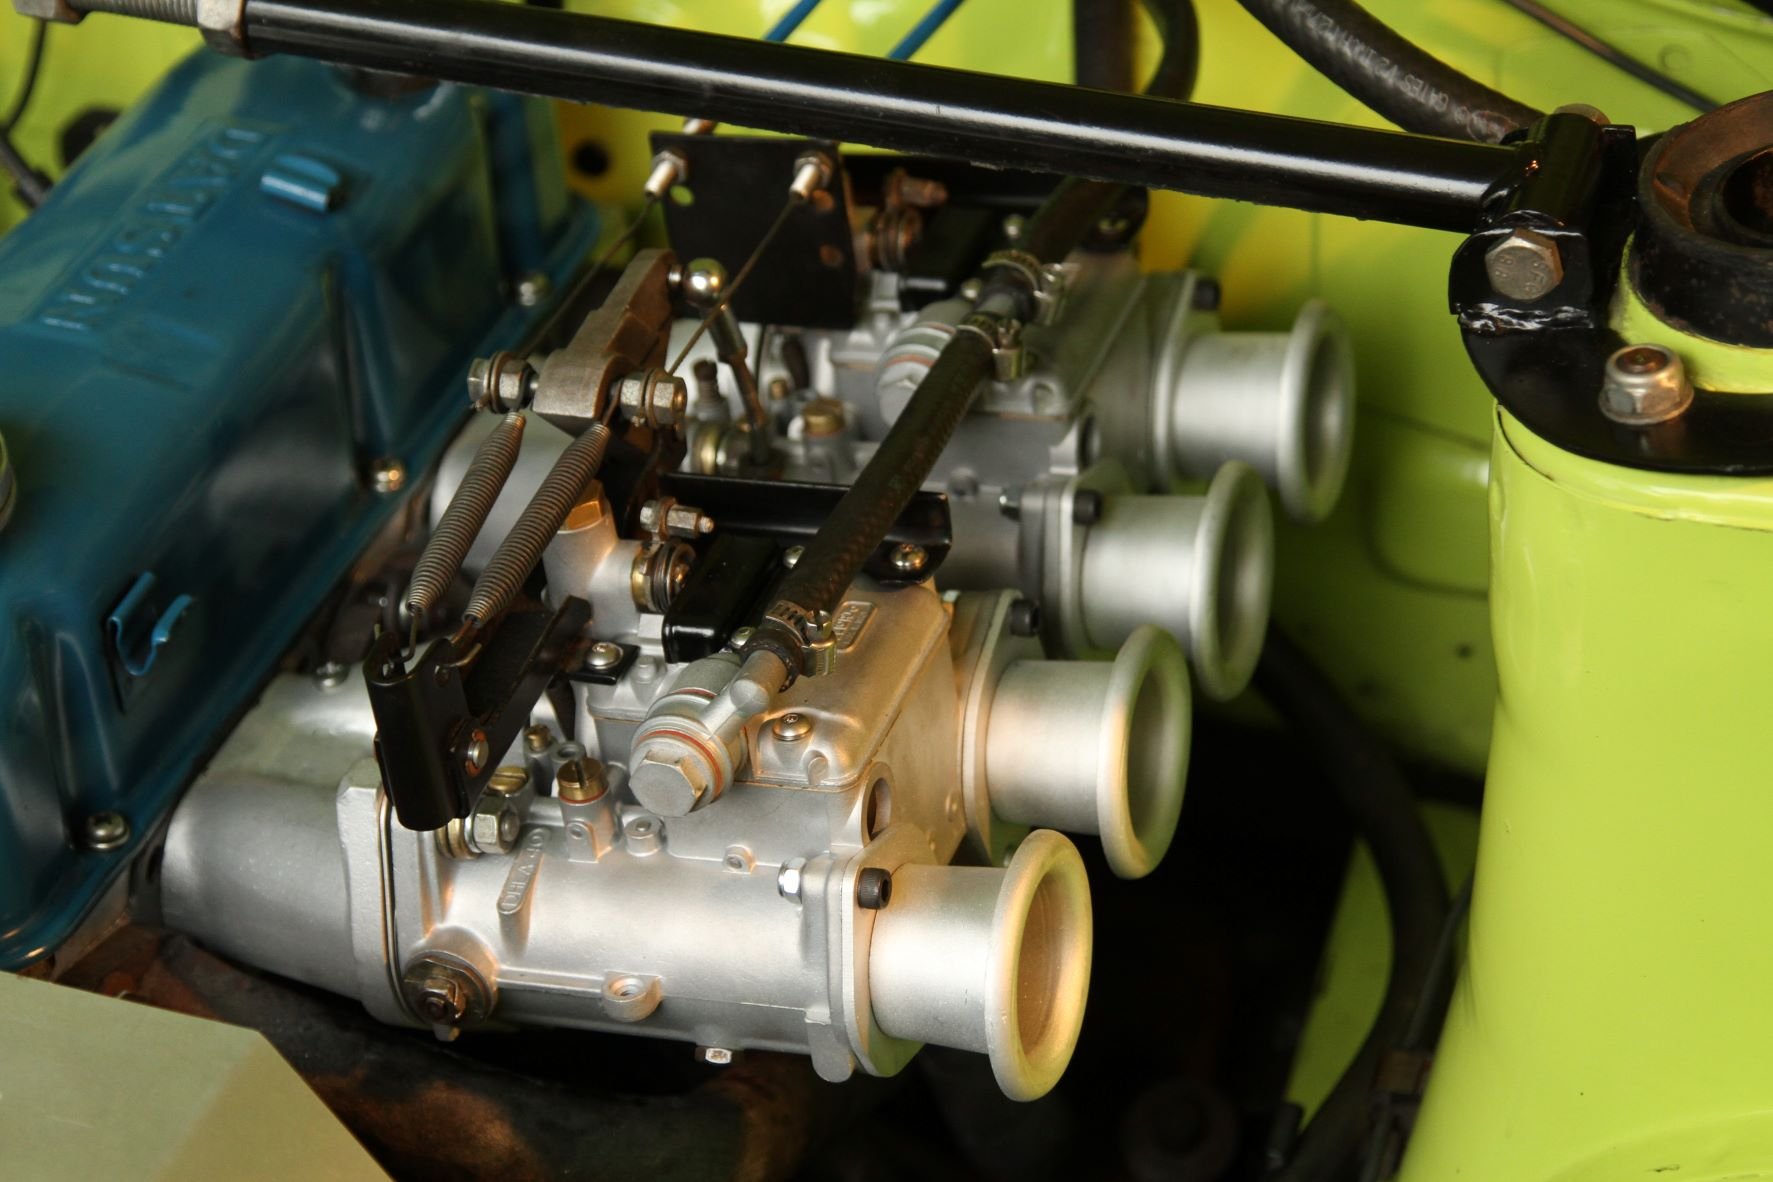
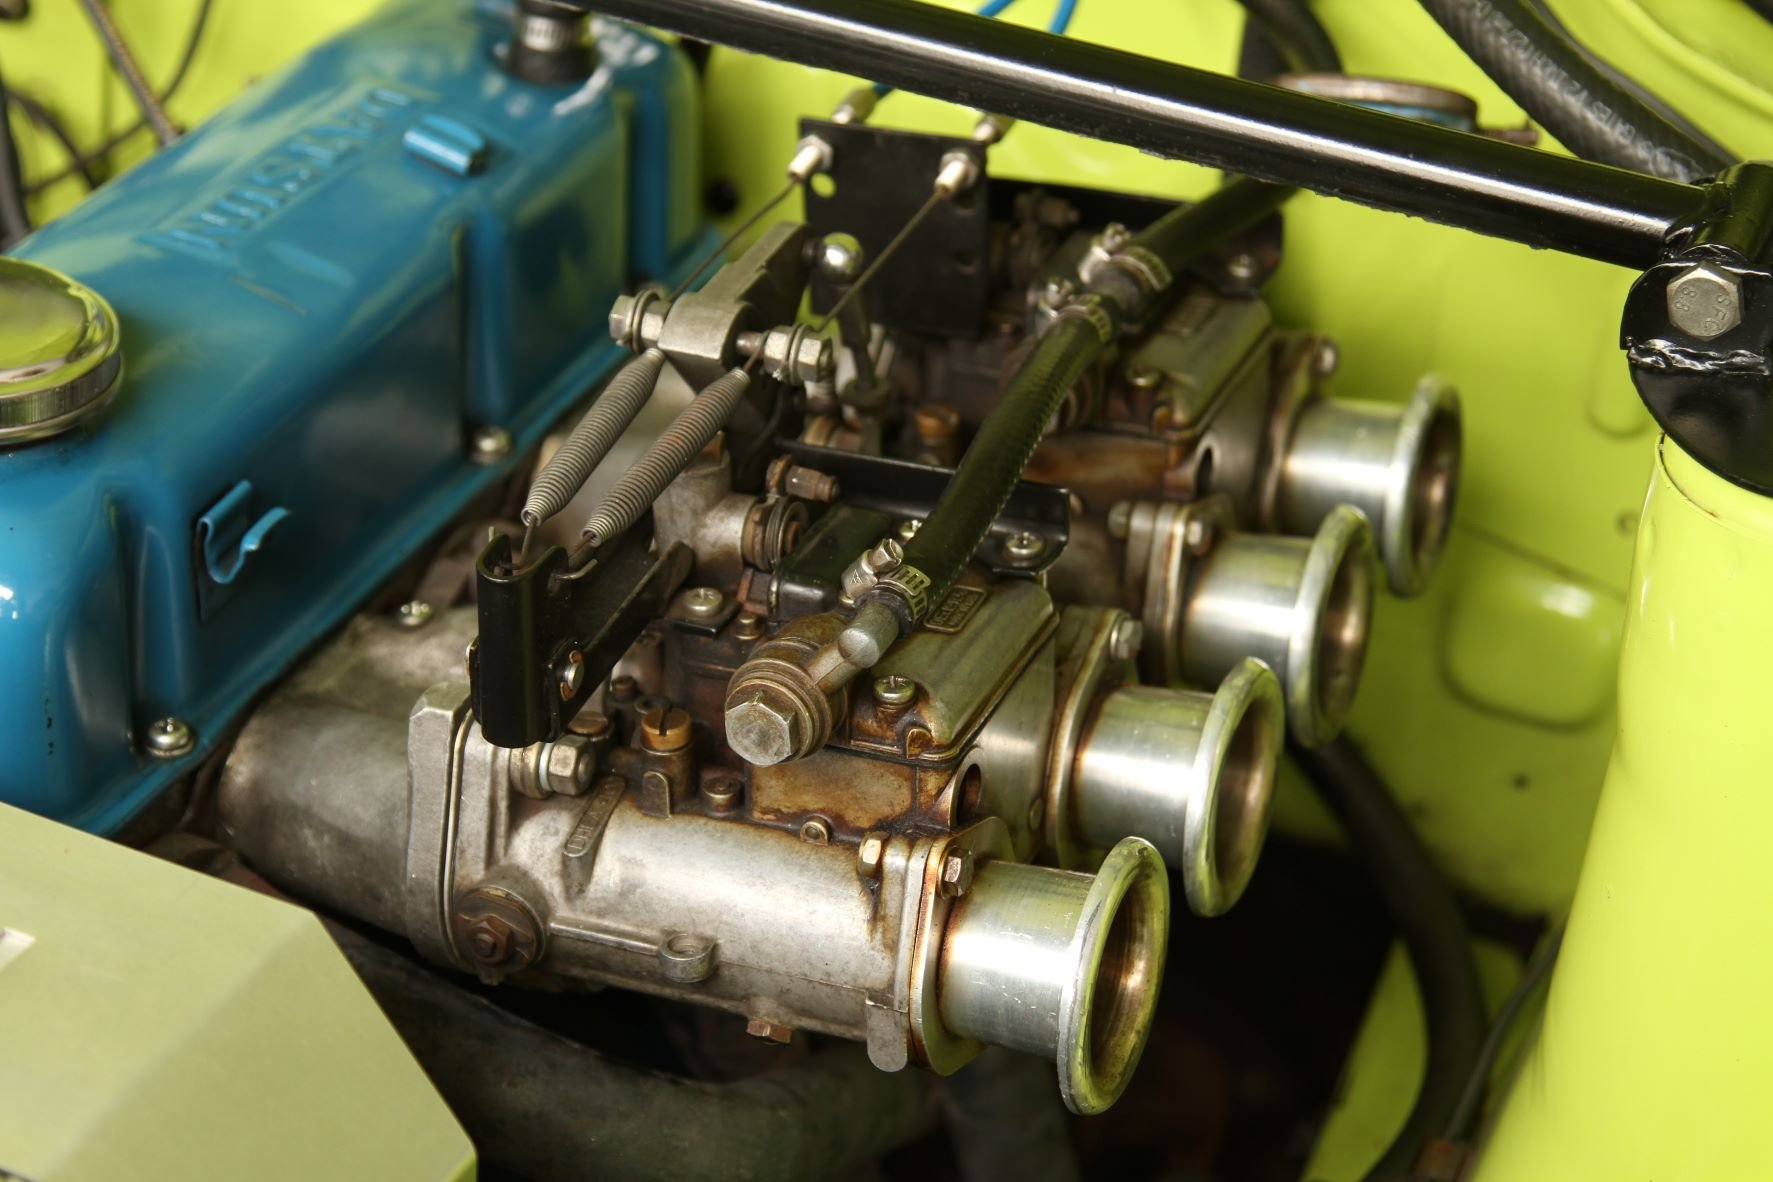
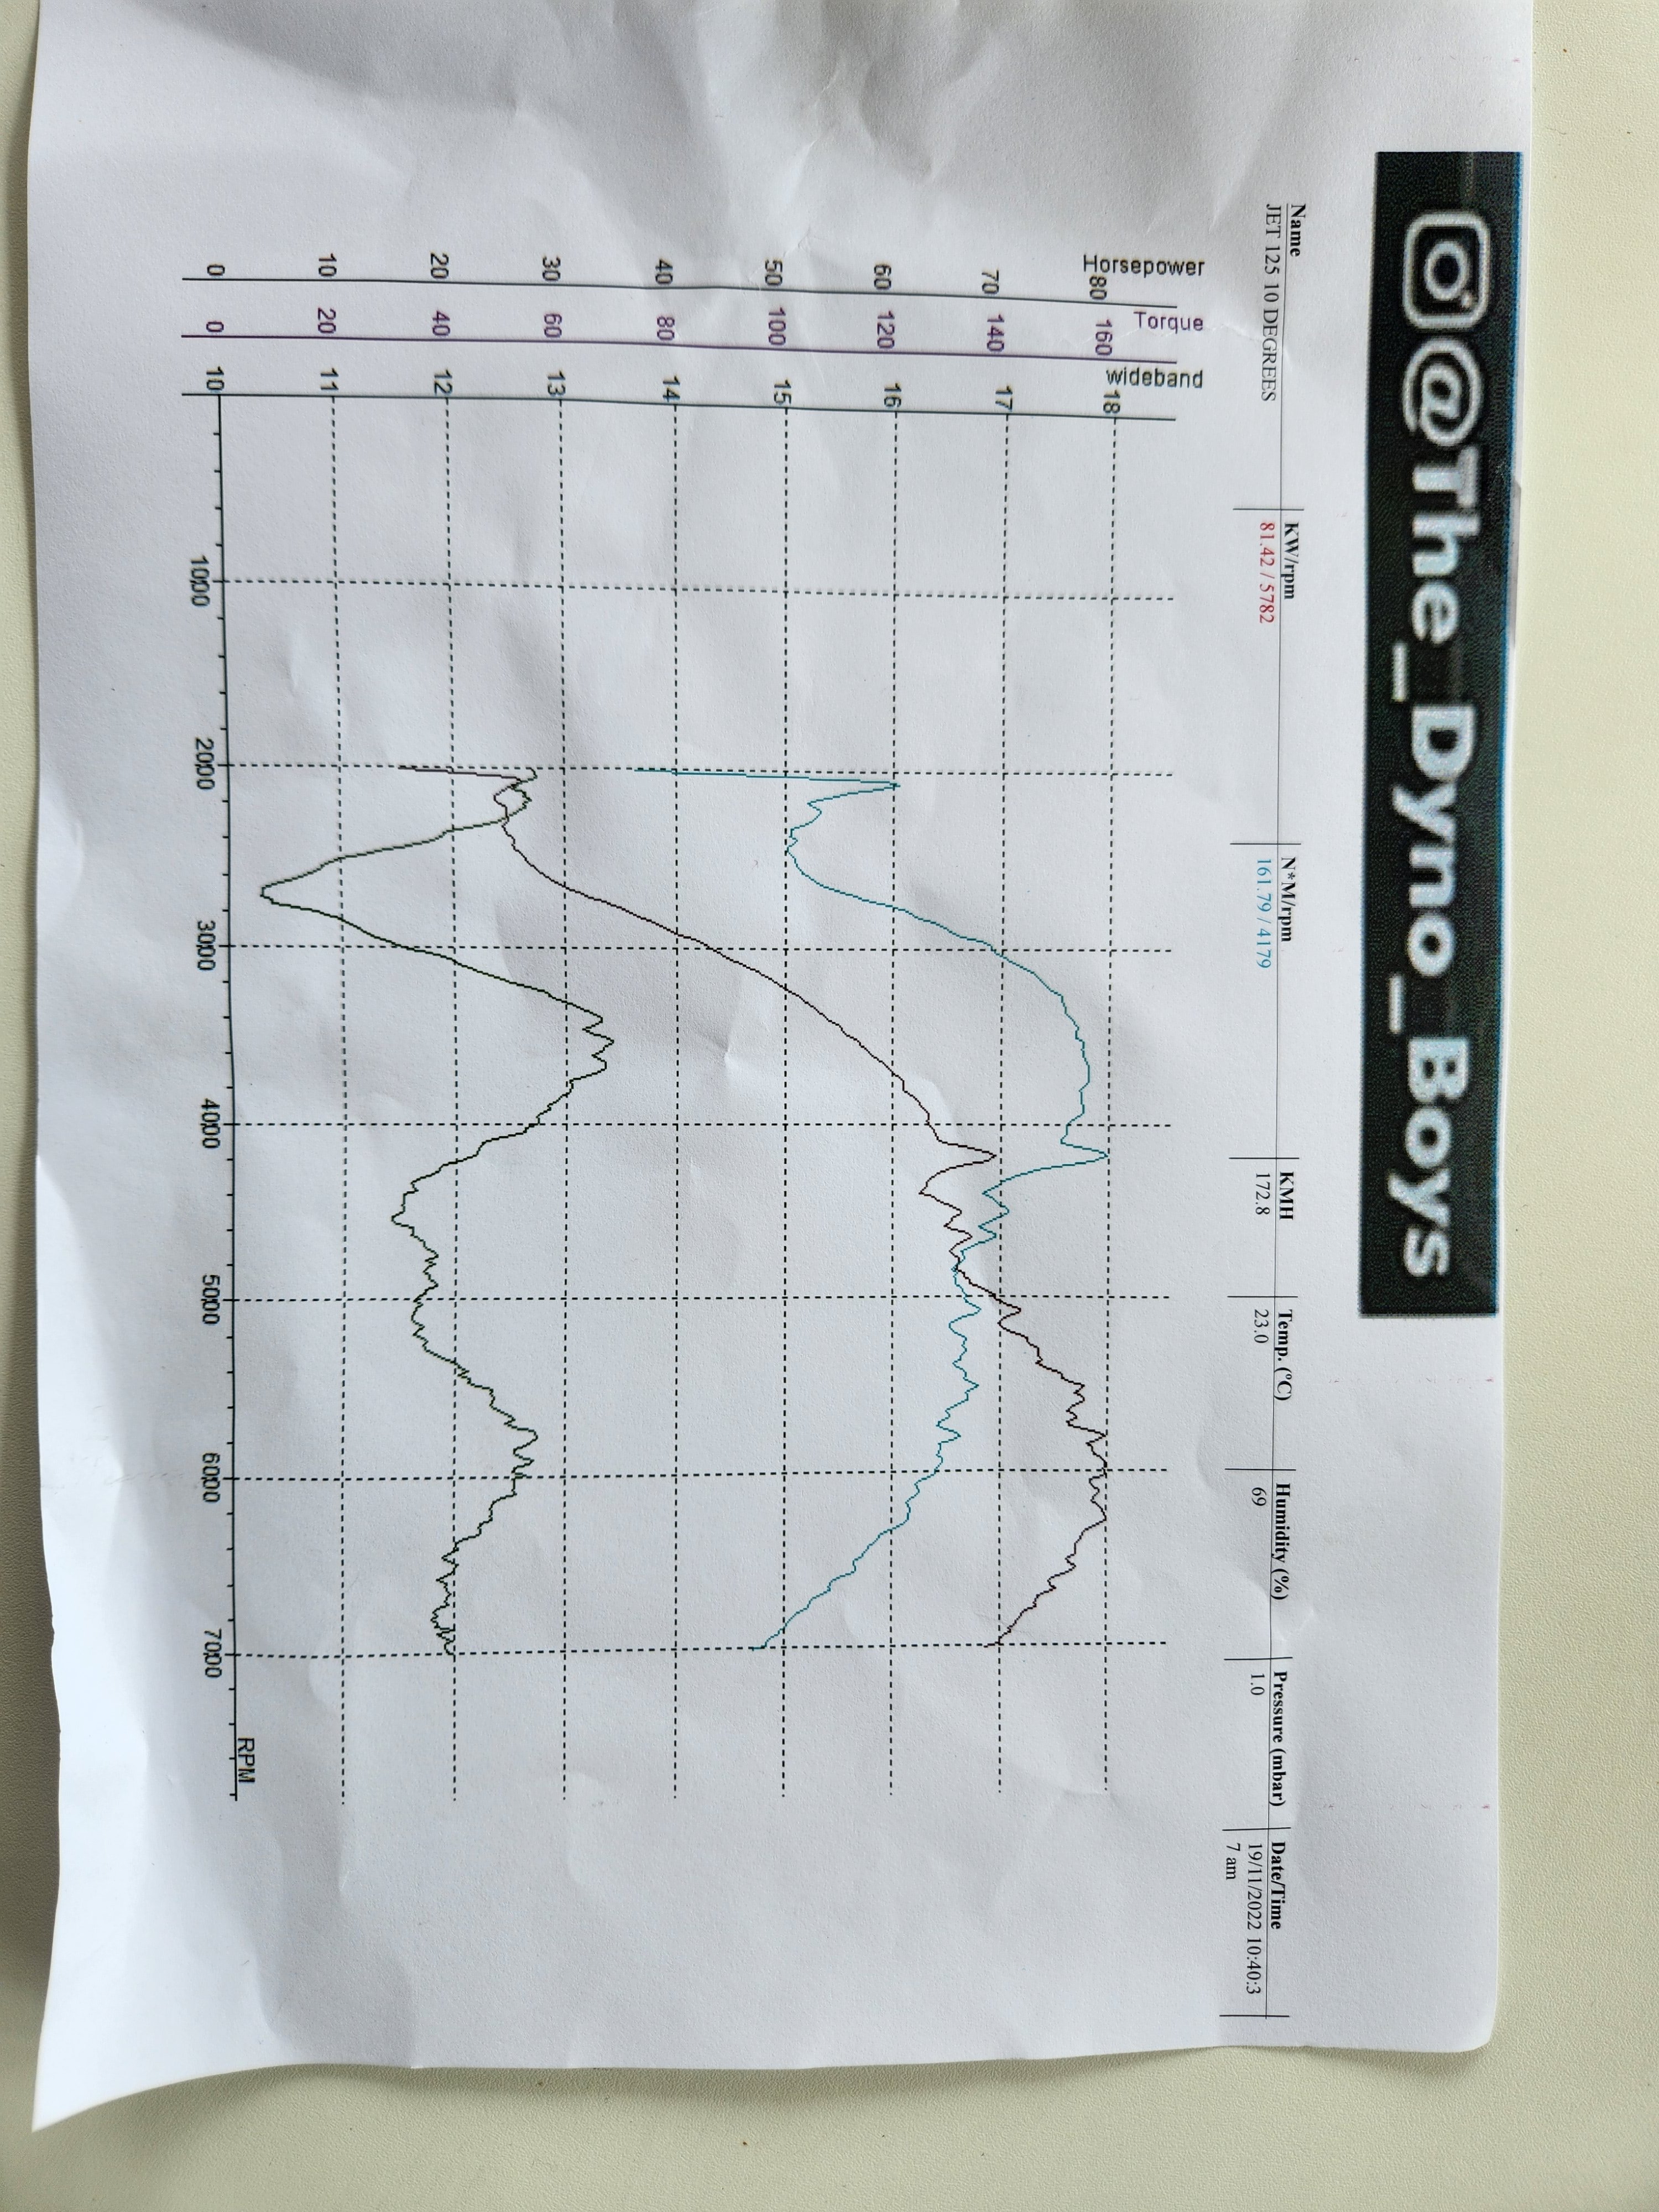
Wow, long time no update. Cars been running well, I vapor blasted the carbs over Auckland's lockdown 2021 edition because boredom was real. Turned out pretty trick! Last week @R3spct organized a Dyno day for the Datsun folk. Started with 101hp first run with 138 main jets and 16 degrees timing. Reduced jets to 125 main and then 10 degrees advance to produce 109hp. Pretty happy but the dyno graph shows my AFR is up the shiet. Cheers @Roman for the video. Anyone have knowledge with AFR and Dellortos? I'm about to purchase an AFR gauge and wideband to aid in getting it right.
- 33 replies
-
- 11
-
-
-
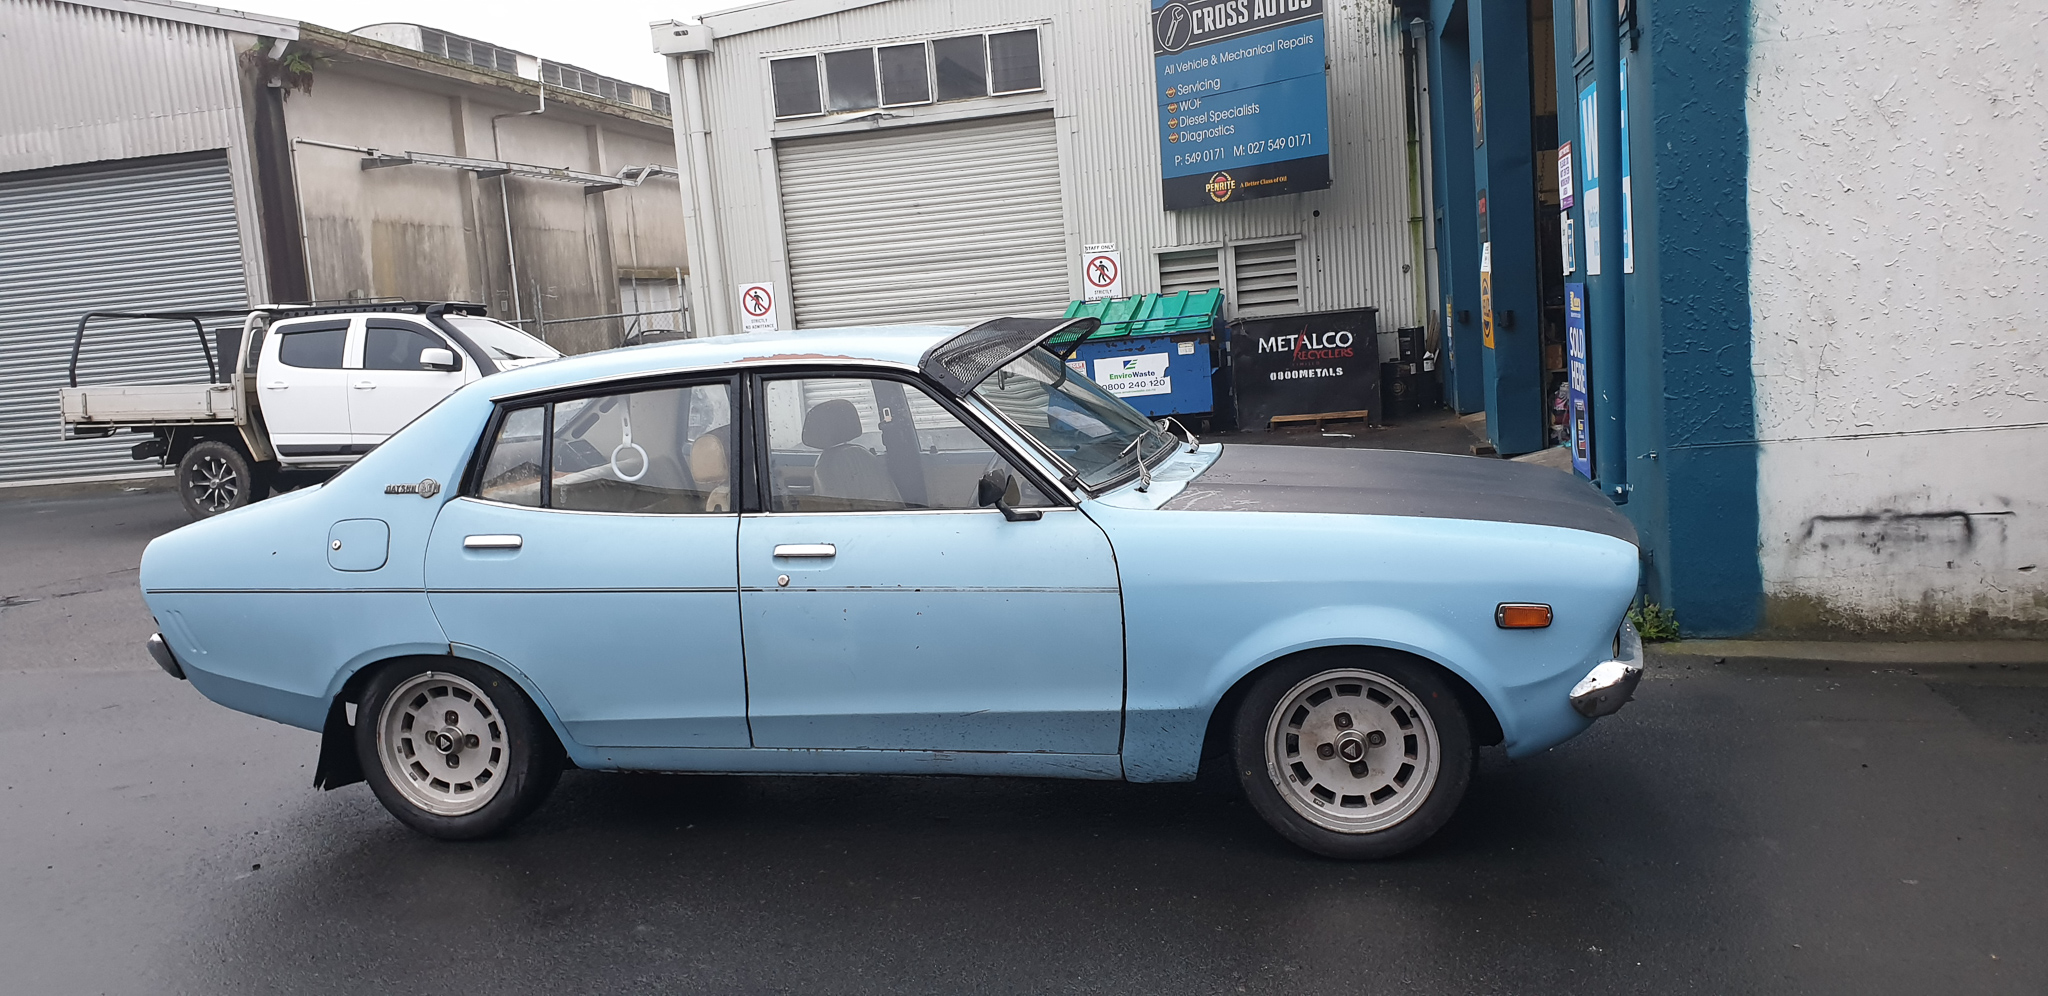
Baby blue has been trucking along well. Ive rebuilt some b210 struts and brakes to put back in (currently has b310 struts and brakes), so we will lose the spring binding issue when it hits bumps. Radiator rebuilt and new hoses throughout. Currently our cheapest car to run with the a12 and single carb
- 5 replies
-
- 16
-
-
-
This is looking very swish @crustywhipwish it was in my garage! Wheels and height - spot on
-
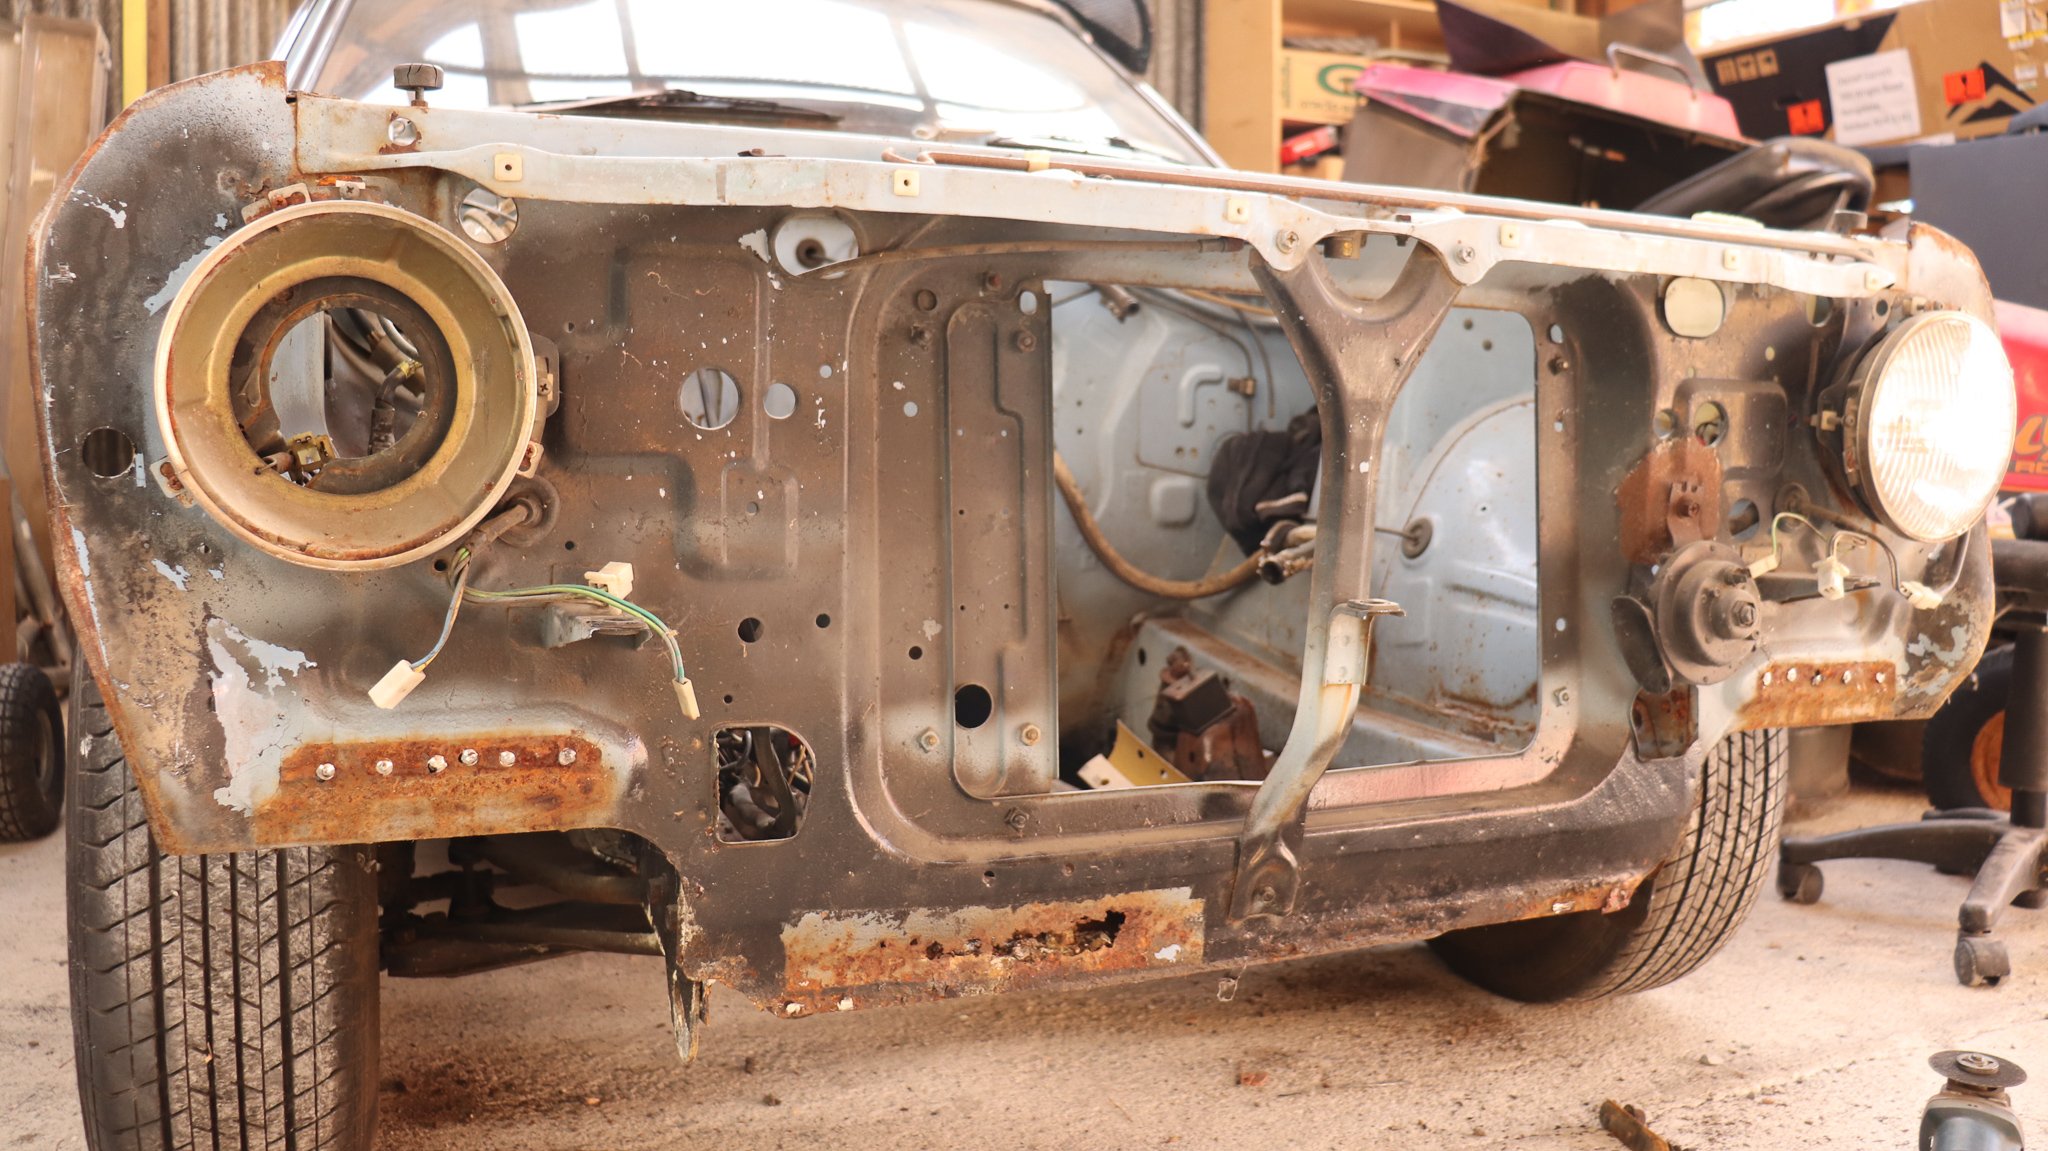
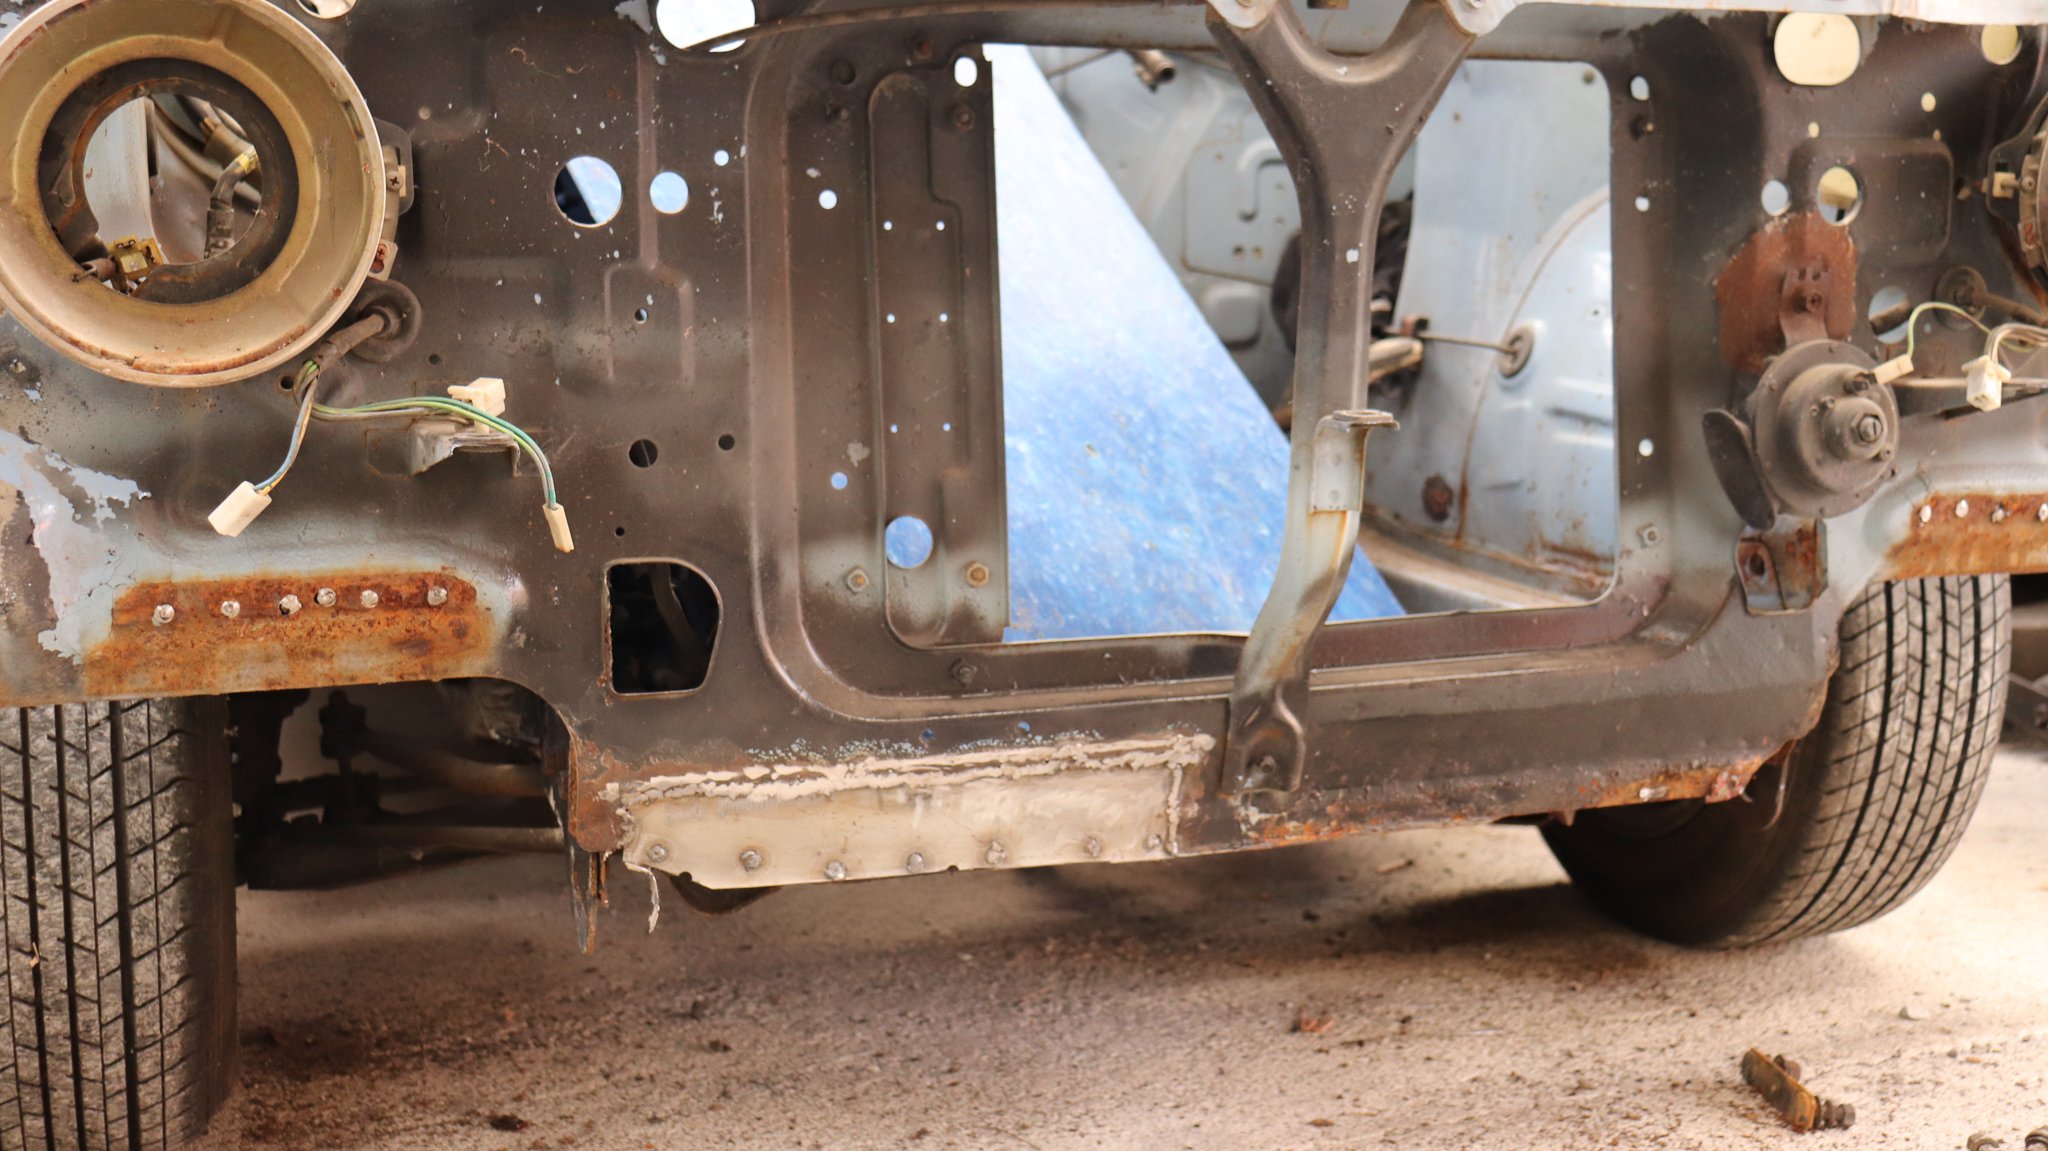
Few more photos from months ago... front valance had some nasty rust. Cut and patched up as well as the lip on the bottom. Bare metaled it and sprayed in black for now Stitched back onto the car. Discussion:
-
So I forgot to update this thread and in the meantime, iForce image hosting disappeared so the thread has no photos! Car got sprayed...car went through revin...car got wof and rego...cars driven almost 10,000kms. Took it to the Datsun North island event in October last year, went well. Next steps - I have a set of 40mm dellorto's I am rebuilding for my sister to get on this car - should make it go a bit better! Photos from start to finish. Ill work on getting the thread revived again so you can see the process this car's bee through!
- 26 replies
-
- 15
-
-
-
Some of the rust repairs, car was very solid but has some strange areas of rust that aren't usual for the 120y. Tops of front rails usually go, so folded up some new steel and got that in!
- 5 replies
-
- 11
-
-
Slightly delayed but here's some photos... Head off, new valve stem seals as the other ones were literally in pieces, new head gasket, new tappet gasket, new waterpump and new carby gaskets... good to go! no more smoke. Engine came out for rust repairs.
-
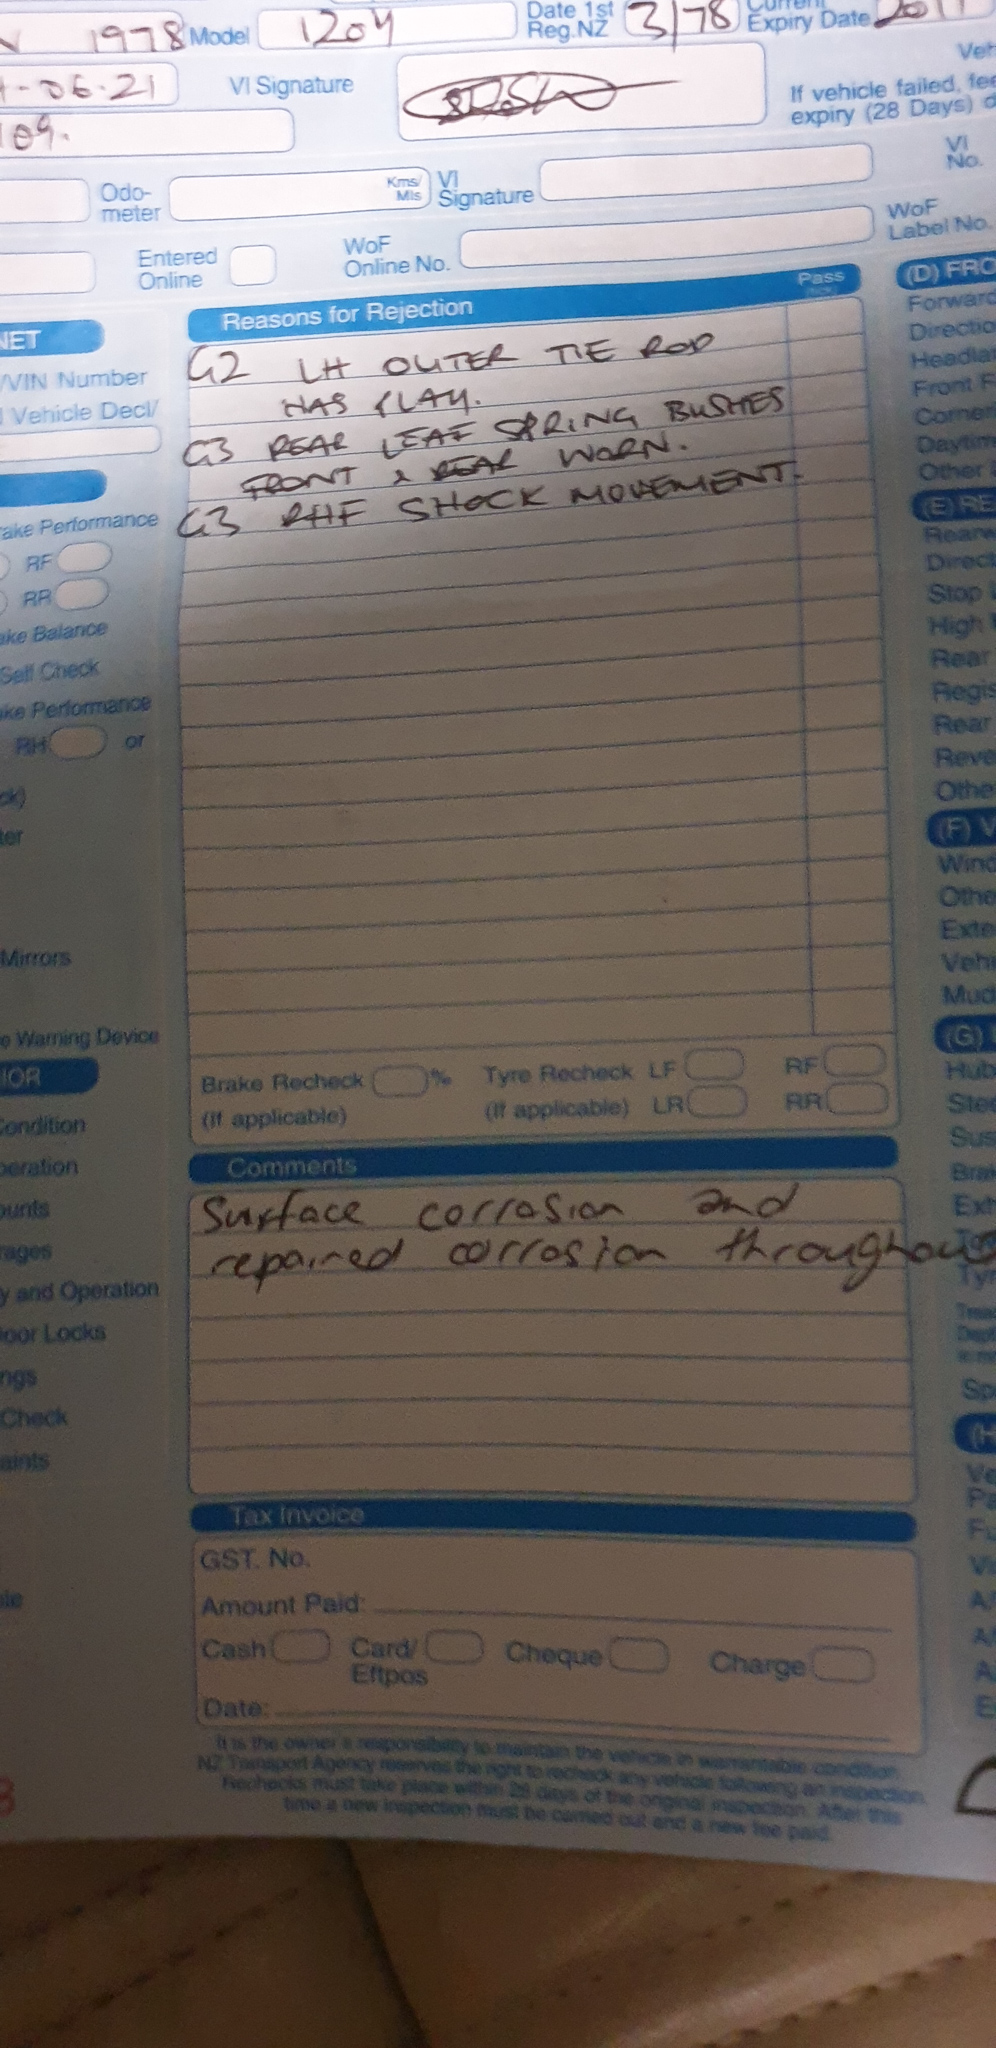
Big day today for the old girl. WoF time, first time in 10 years! List of work completed to her in the last two weeks while I've had time off in between changing jobs: New battery New water pump New valve stem seals, head gasket, tappet cover gasket, carburetor gaskets New ball joints New shocks Indicator wiring gremlin fixed Battery discharging issue fixed (washer motor short) Alternator replaced for one that actually charges and doesn't whine! Full oil service New rear slave cylinders Front struts swapped for B310 big struts with bigger brakes (bolt in), lowering springs installed. Front brakes rebuilt (seals and pistons). New master cylinder New tyres (Nangkang 175/60/14) Spare bonnet for my Green 120y put on (already paneled and primed black) Spare arched guards sprayed with a rough blue match and put on. Tune up 2" Lowering blocks installed Rust cut out and repaired: Engine bay - left and right strut tower Under left and right front guards - support rails Radiator support Front valance Rear right door shut to roof seam So all in all, pretty happy with the WoF items! Spring eye bushes and tie rod on order, will hopefully see them next week. Could have picked these would be pulled up, should have done them in hindsight but have run out of energy! I will get some more photos up of the work completed. She drives really nice and smoothly, no more smoke thanks to the valve stem seals! A full buff and replacement of the pinstripe is certainty required!
- 5 replies
-
- 17
-
-
Discussion for the 78'