HKM400
-
Posts
182 -
Joined
-
Last visited
Everything posted by HKM400
-
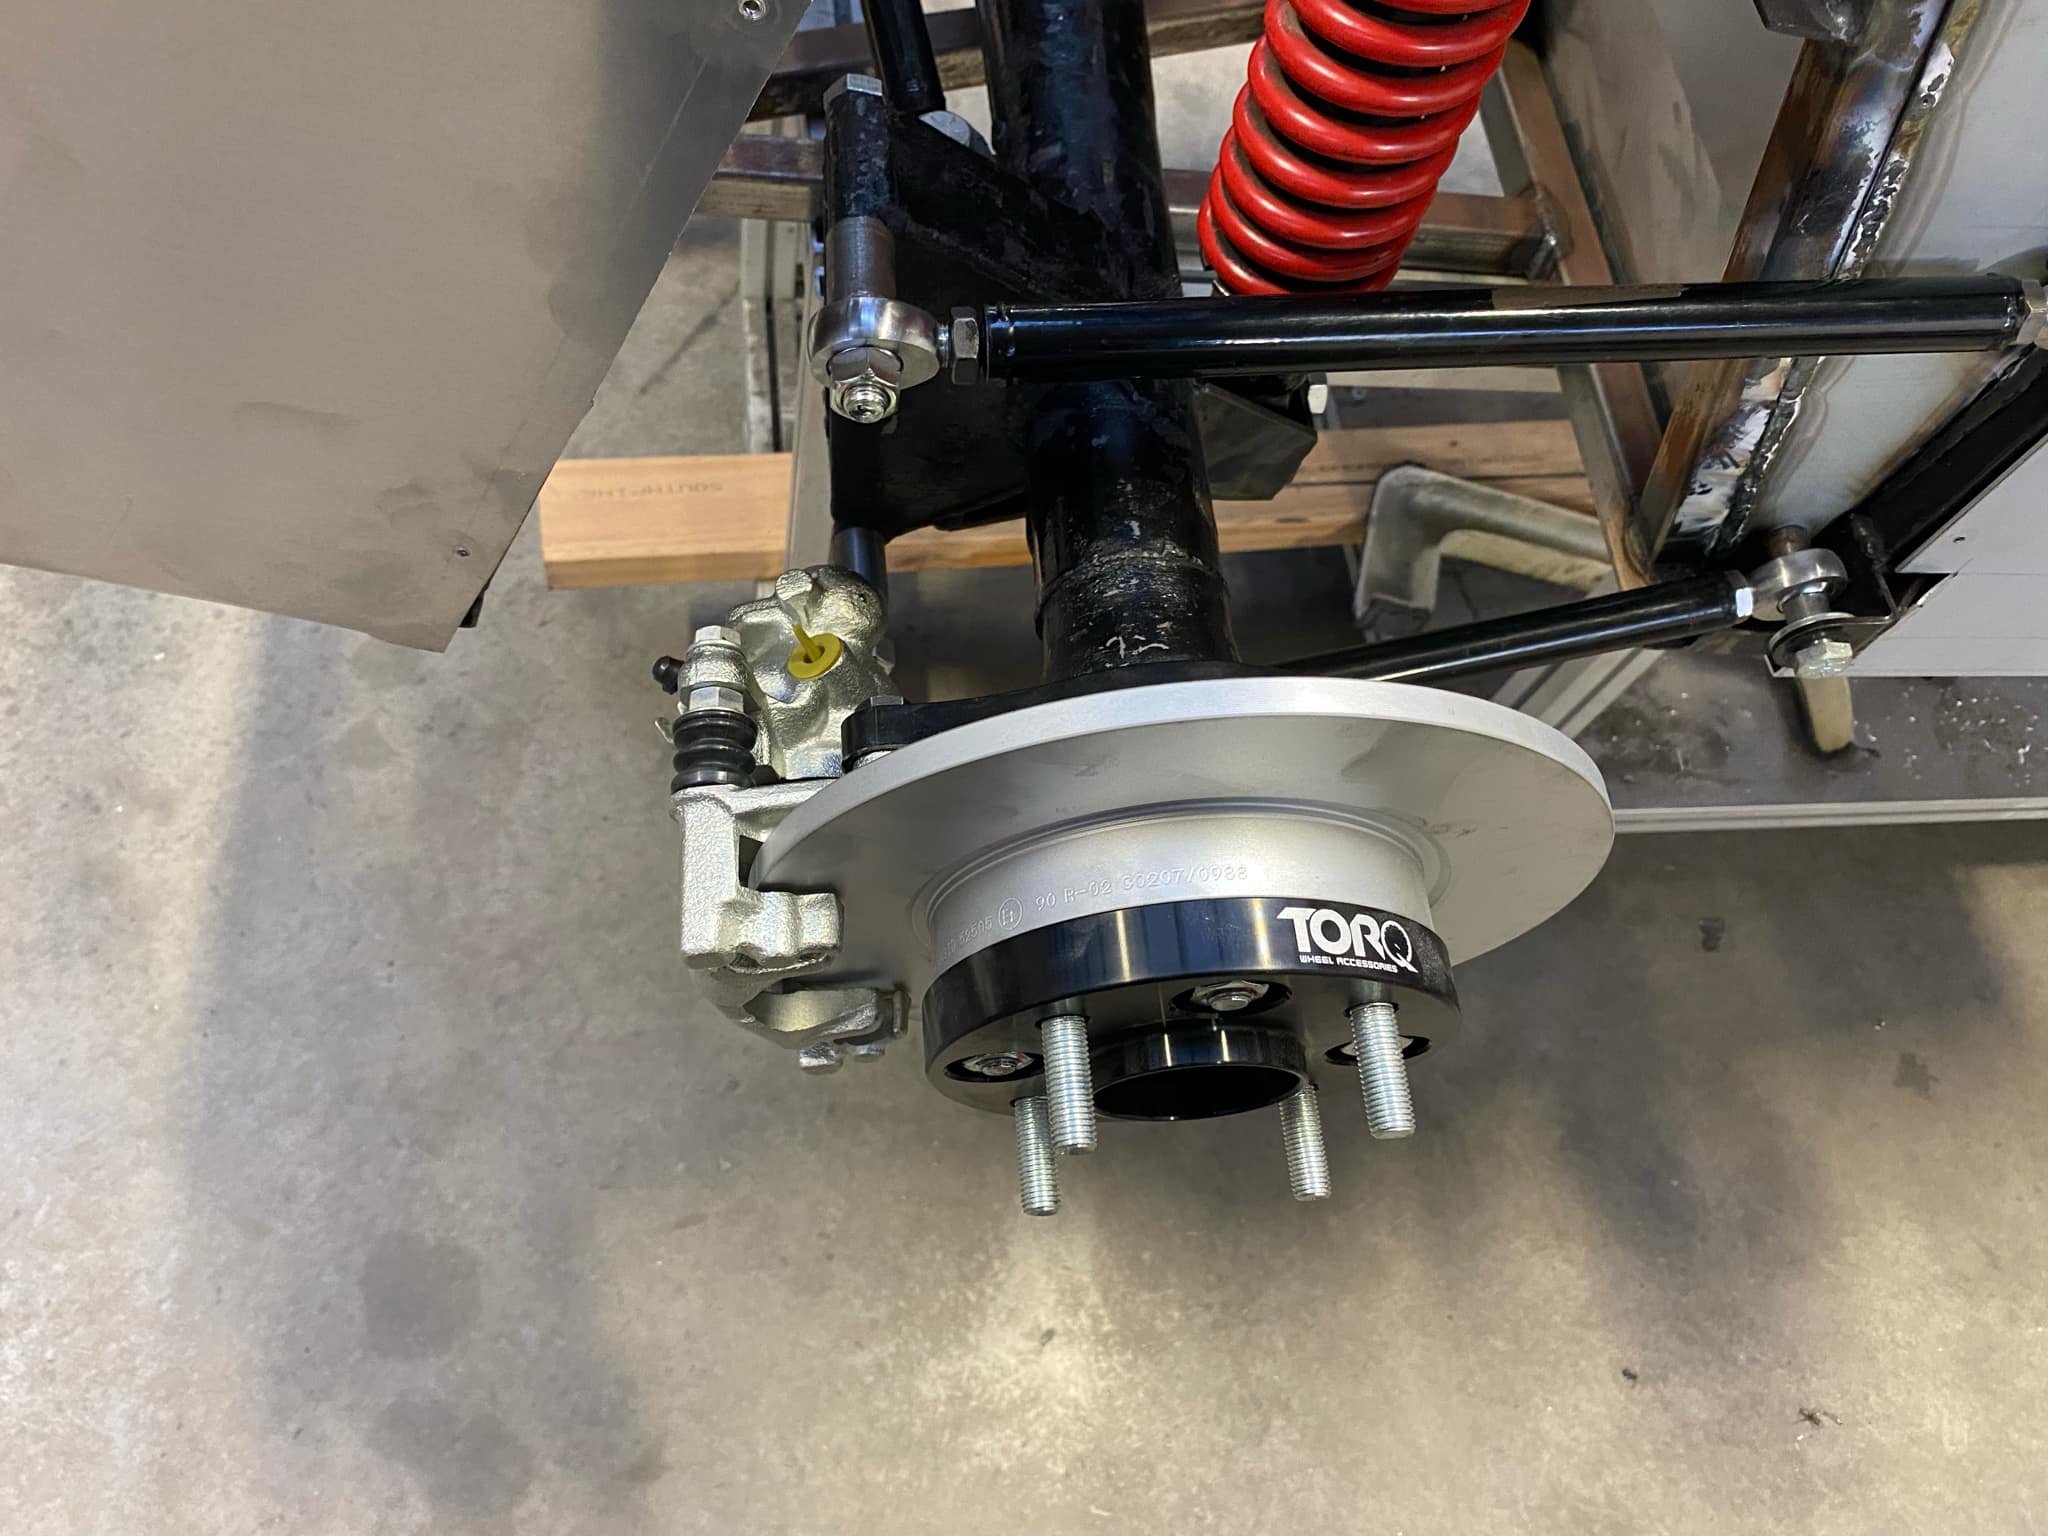
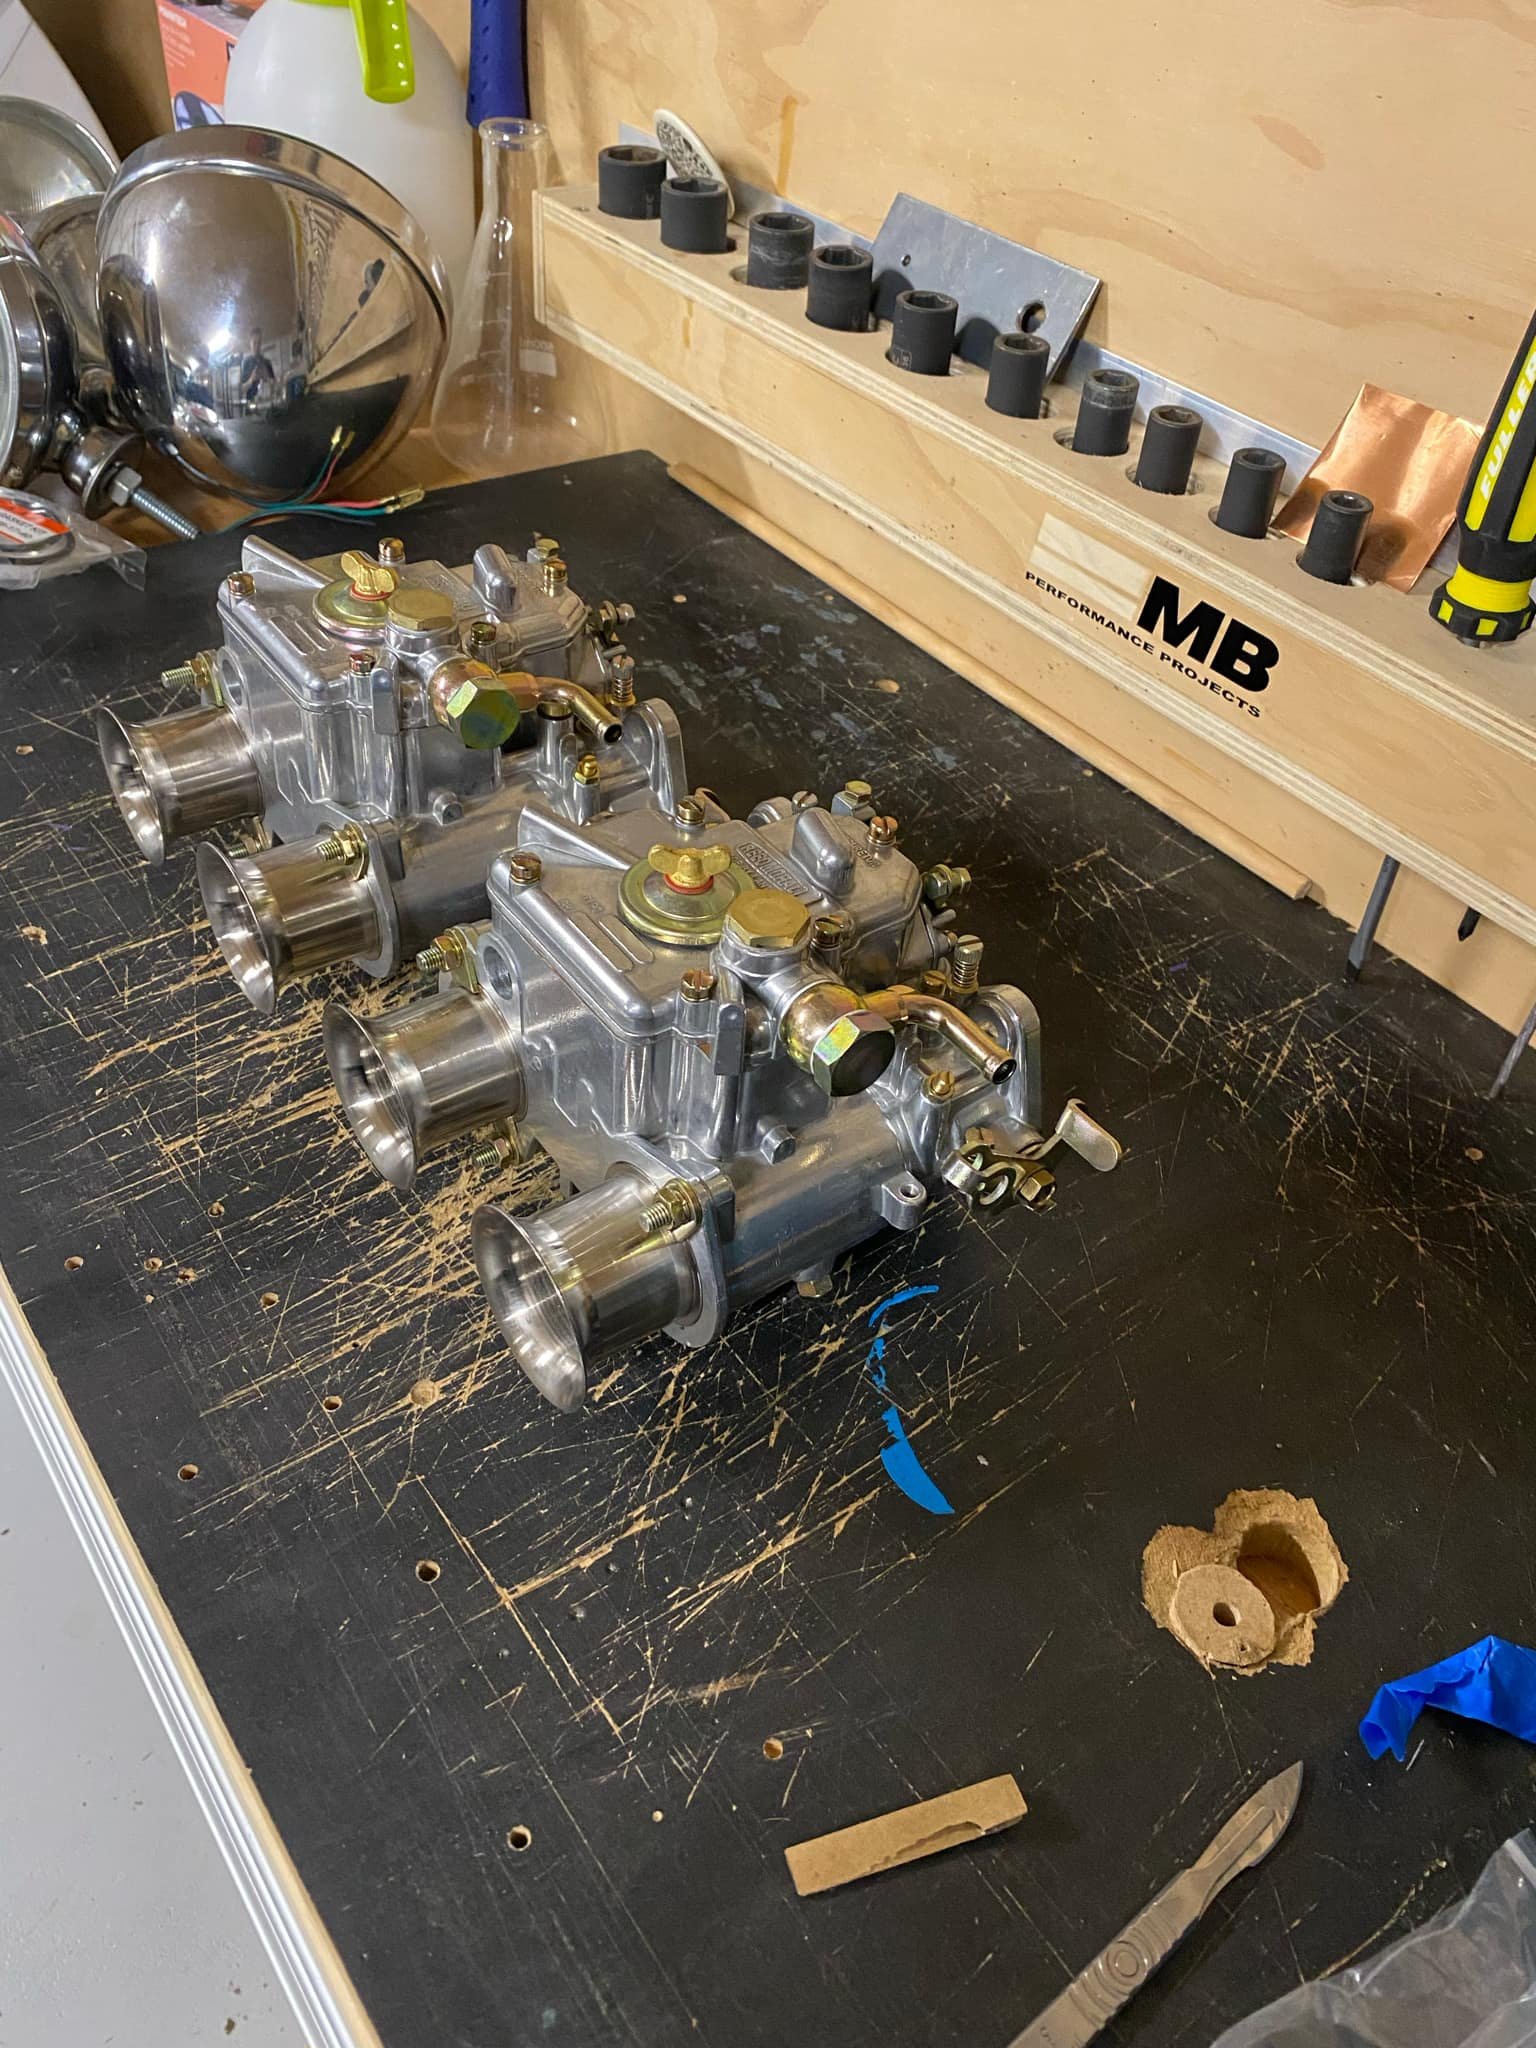
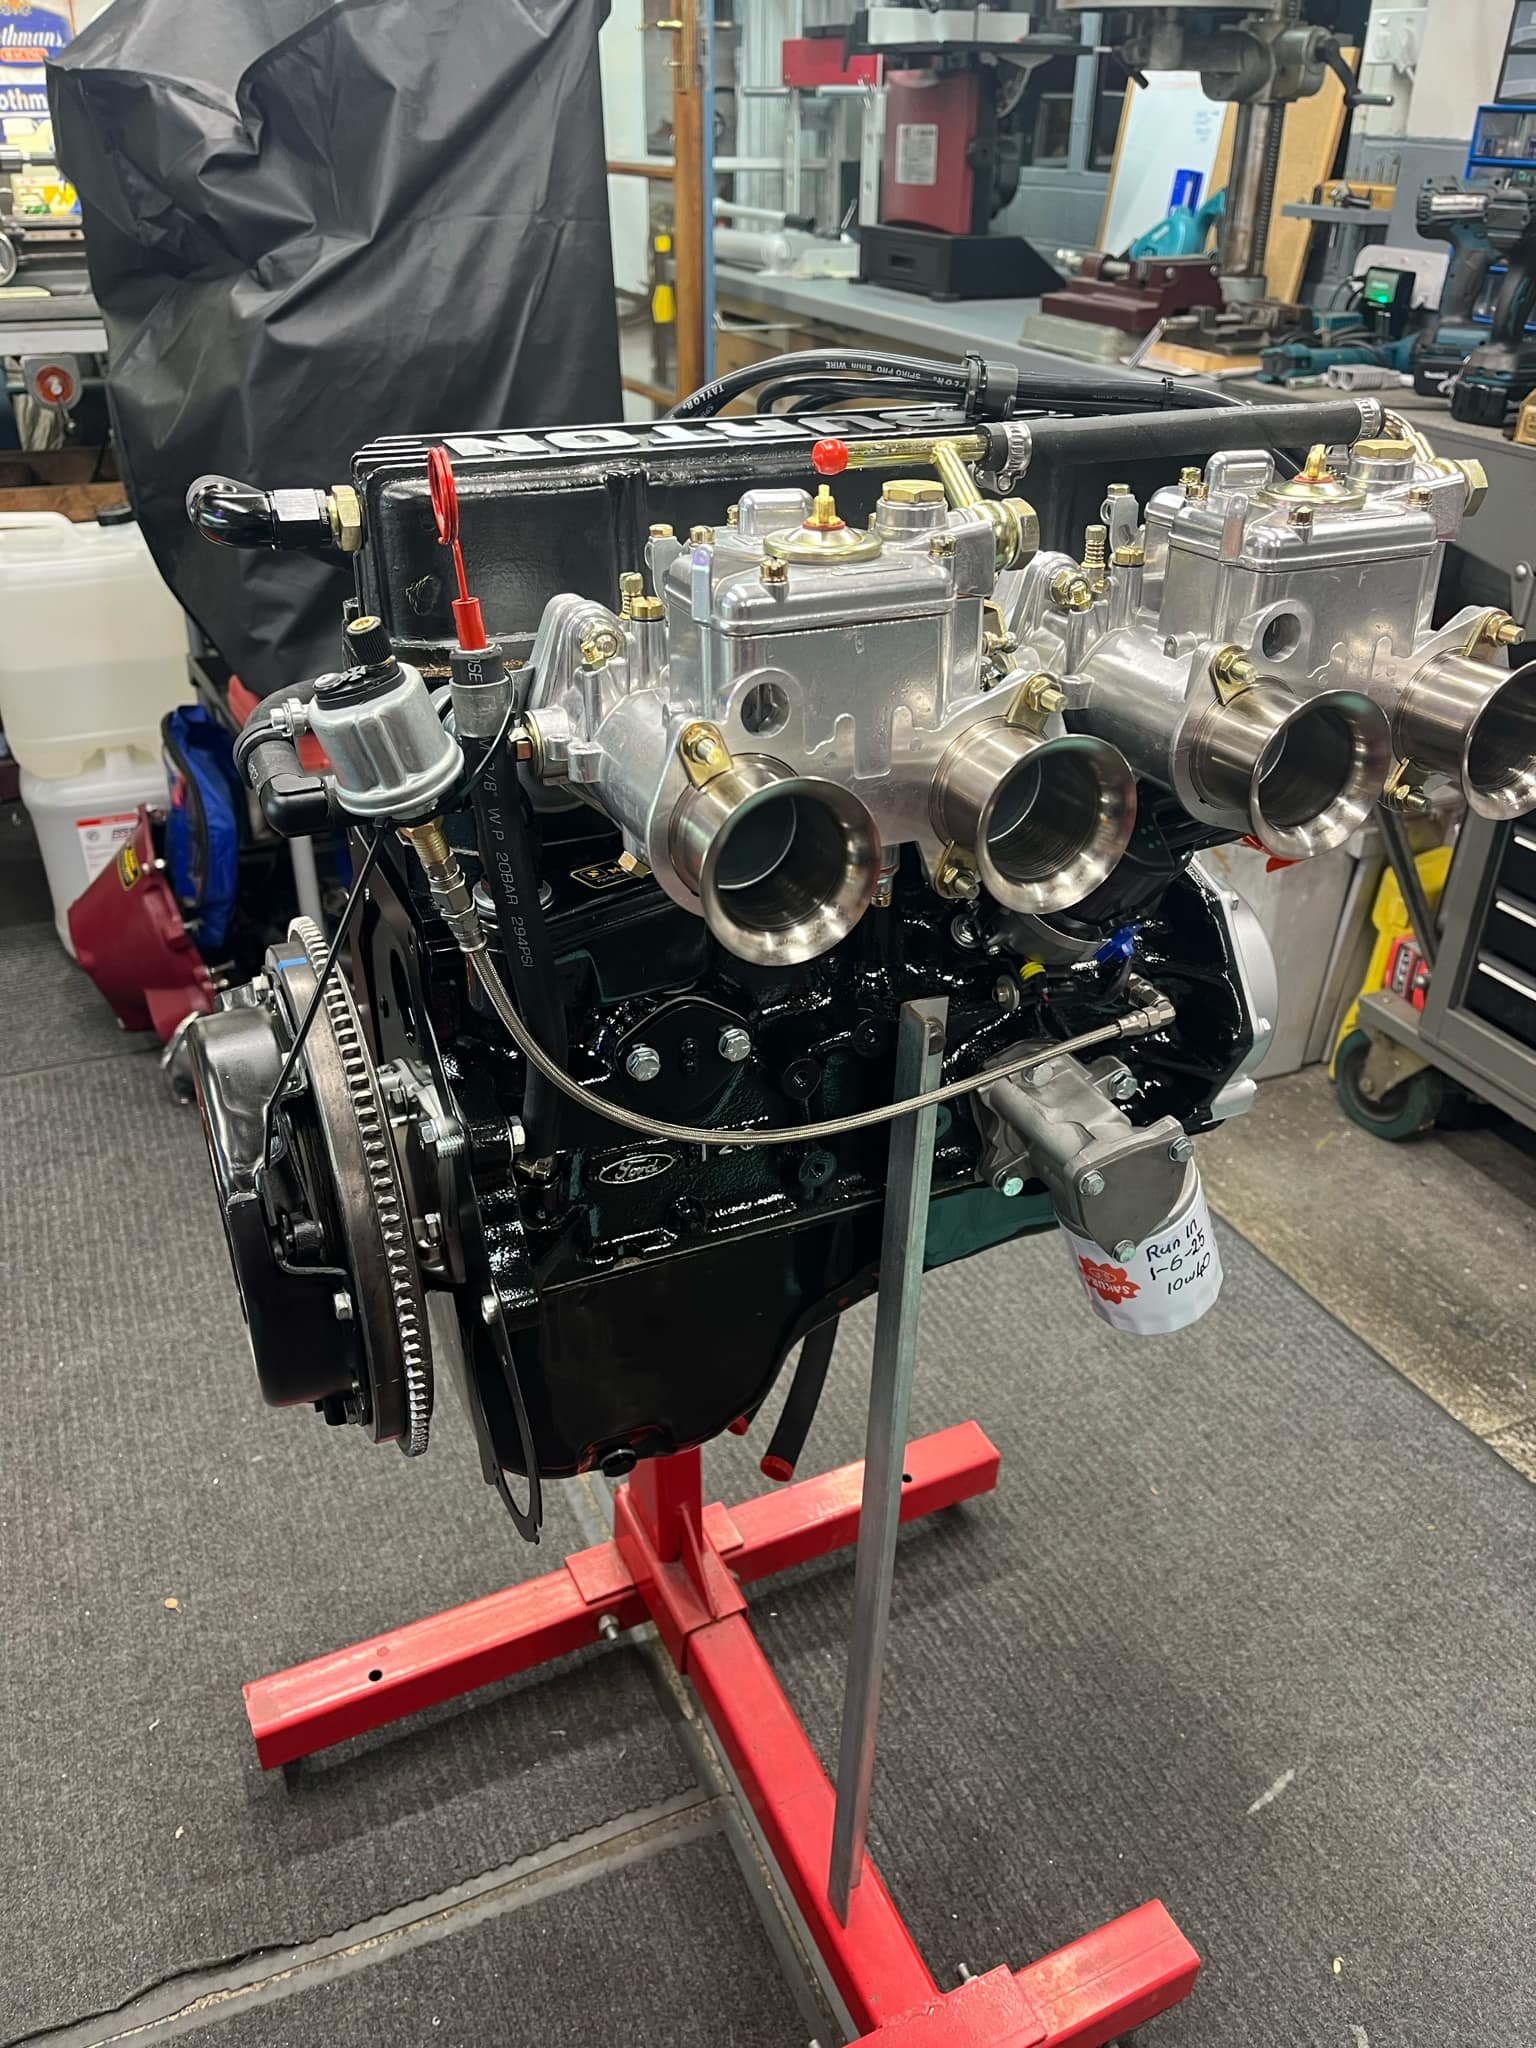
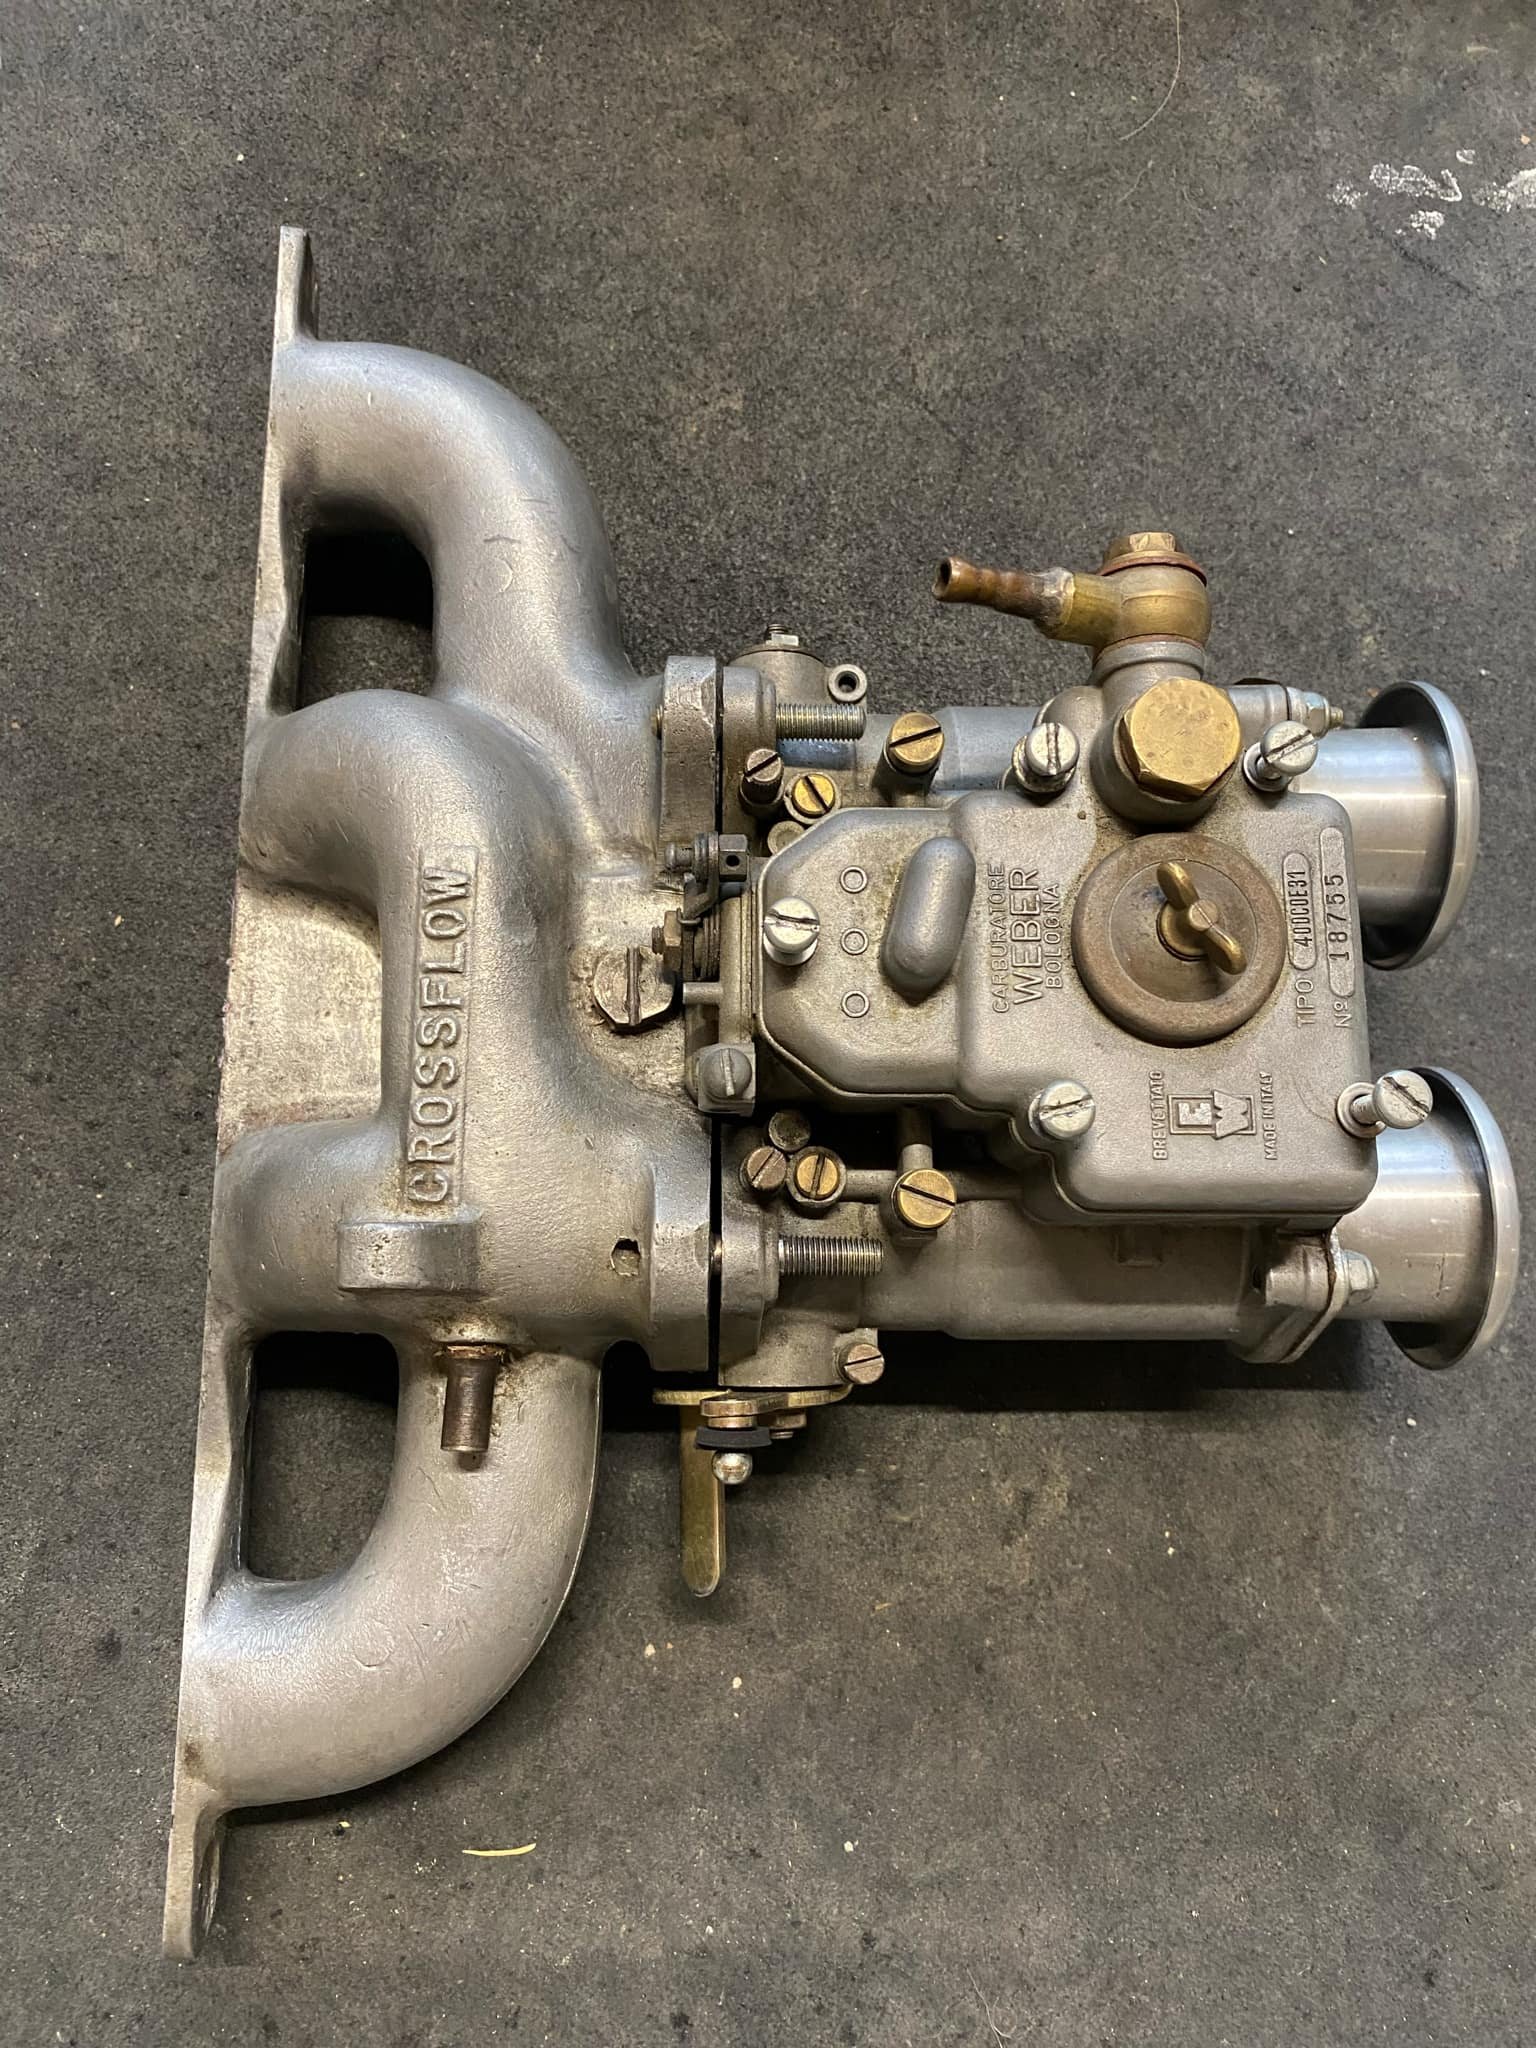
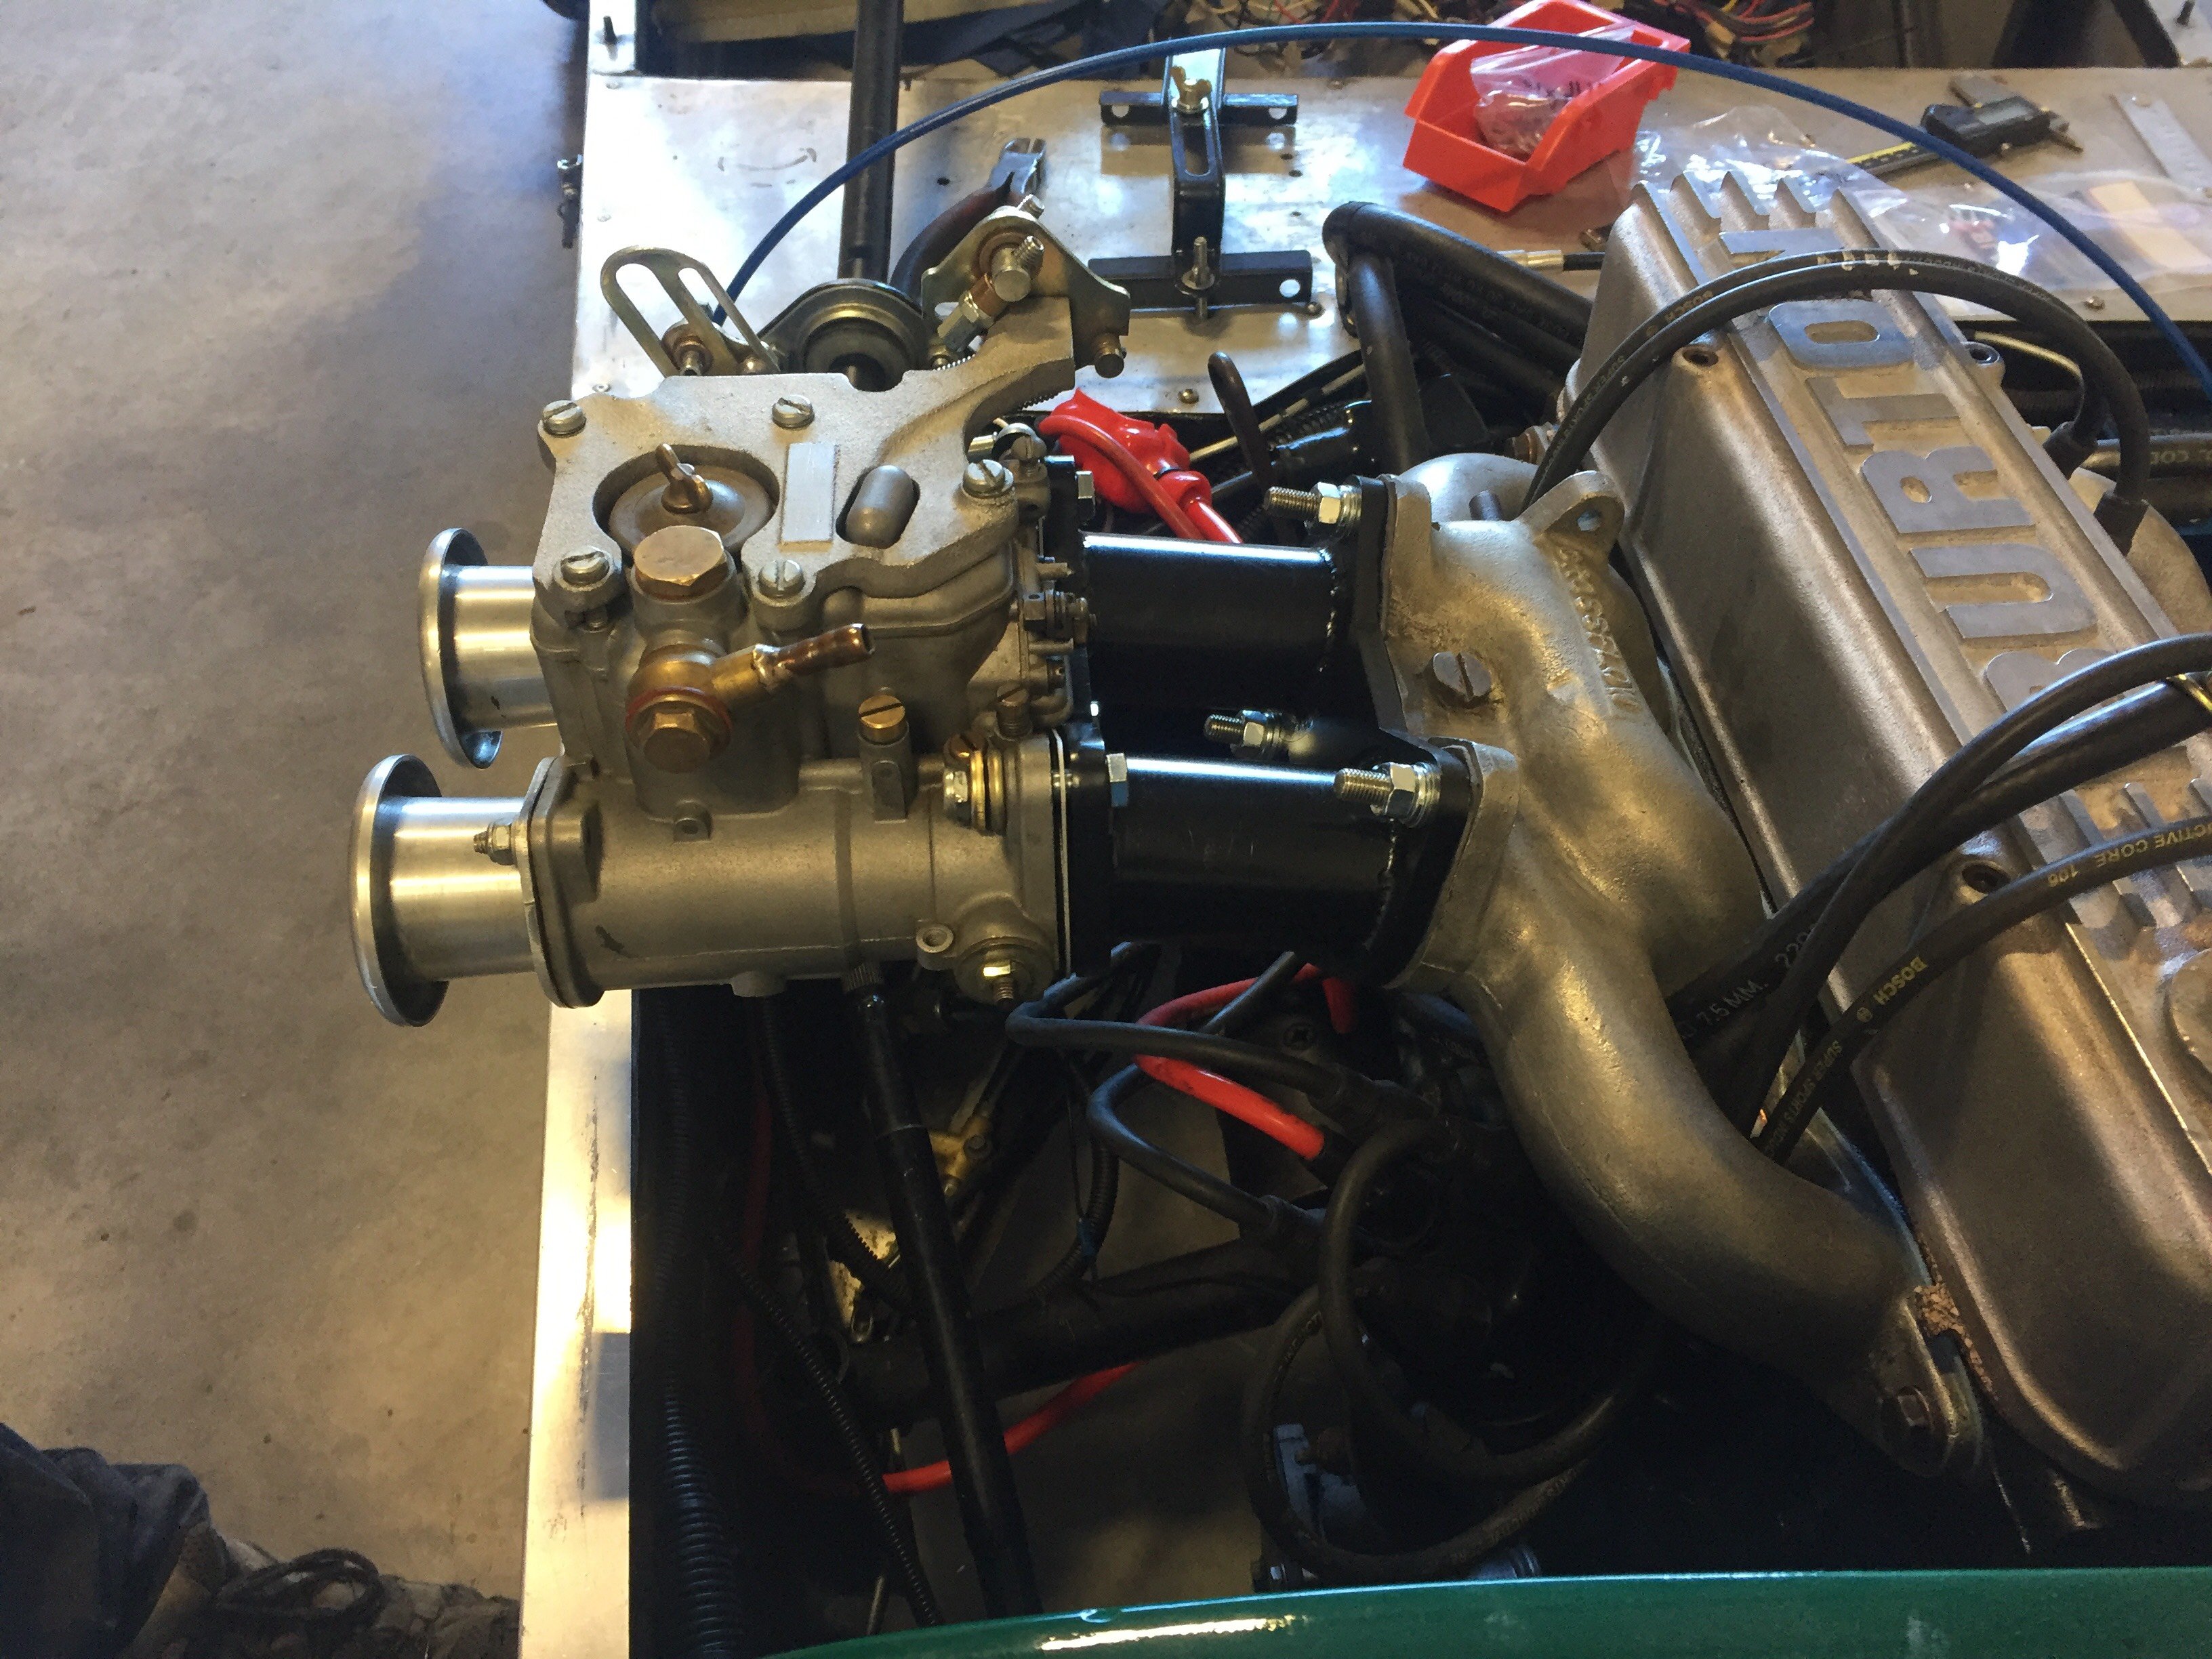
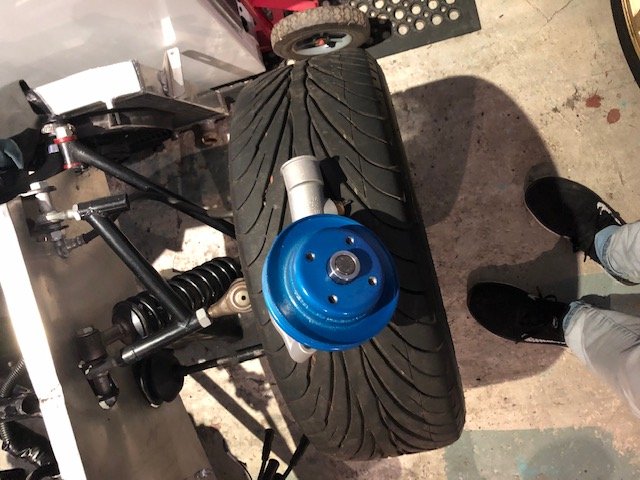
Lots of progress made in the last few months. Have upgraded the front and rear brakes. Wilwood dynalite fronts and a disc conversion on the rear. To go with the added stopping abilities, the engine has had a birthday as well. Twin faux Weber 40’s, re ground cam (K276), double row timing chain, +040 pistons for a bit more compression. Looks the business If anyone wants to buy some Anglia bits let me know. Rear brake setup is complete with backing plates, drums shoes etc, and a pair of girling front calipers. Will also sell the Italian Weber 40 I have, has a crossflow manifold to go with it if desired.

- 48 replies
-
- 17
-

-

Random slightly cool stuff you built but not worth its own thread, thread
HKM400 replied to h4nd's topic in Other Projects
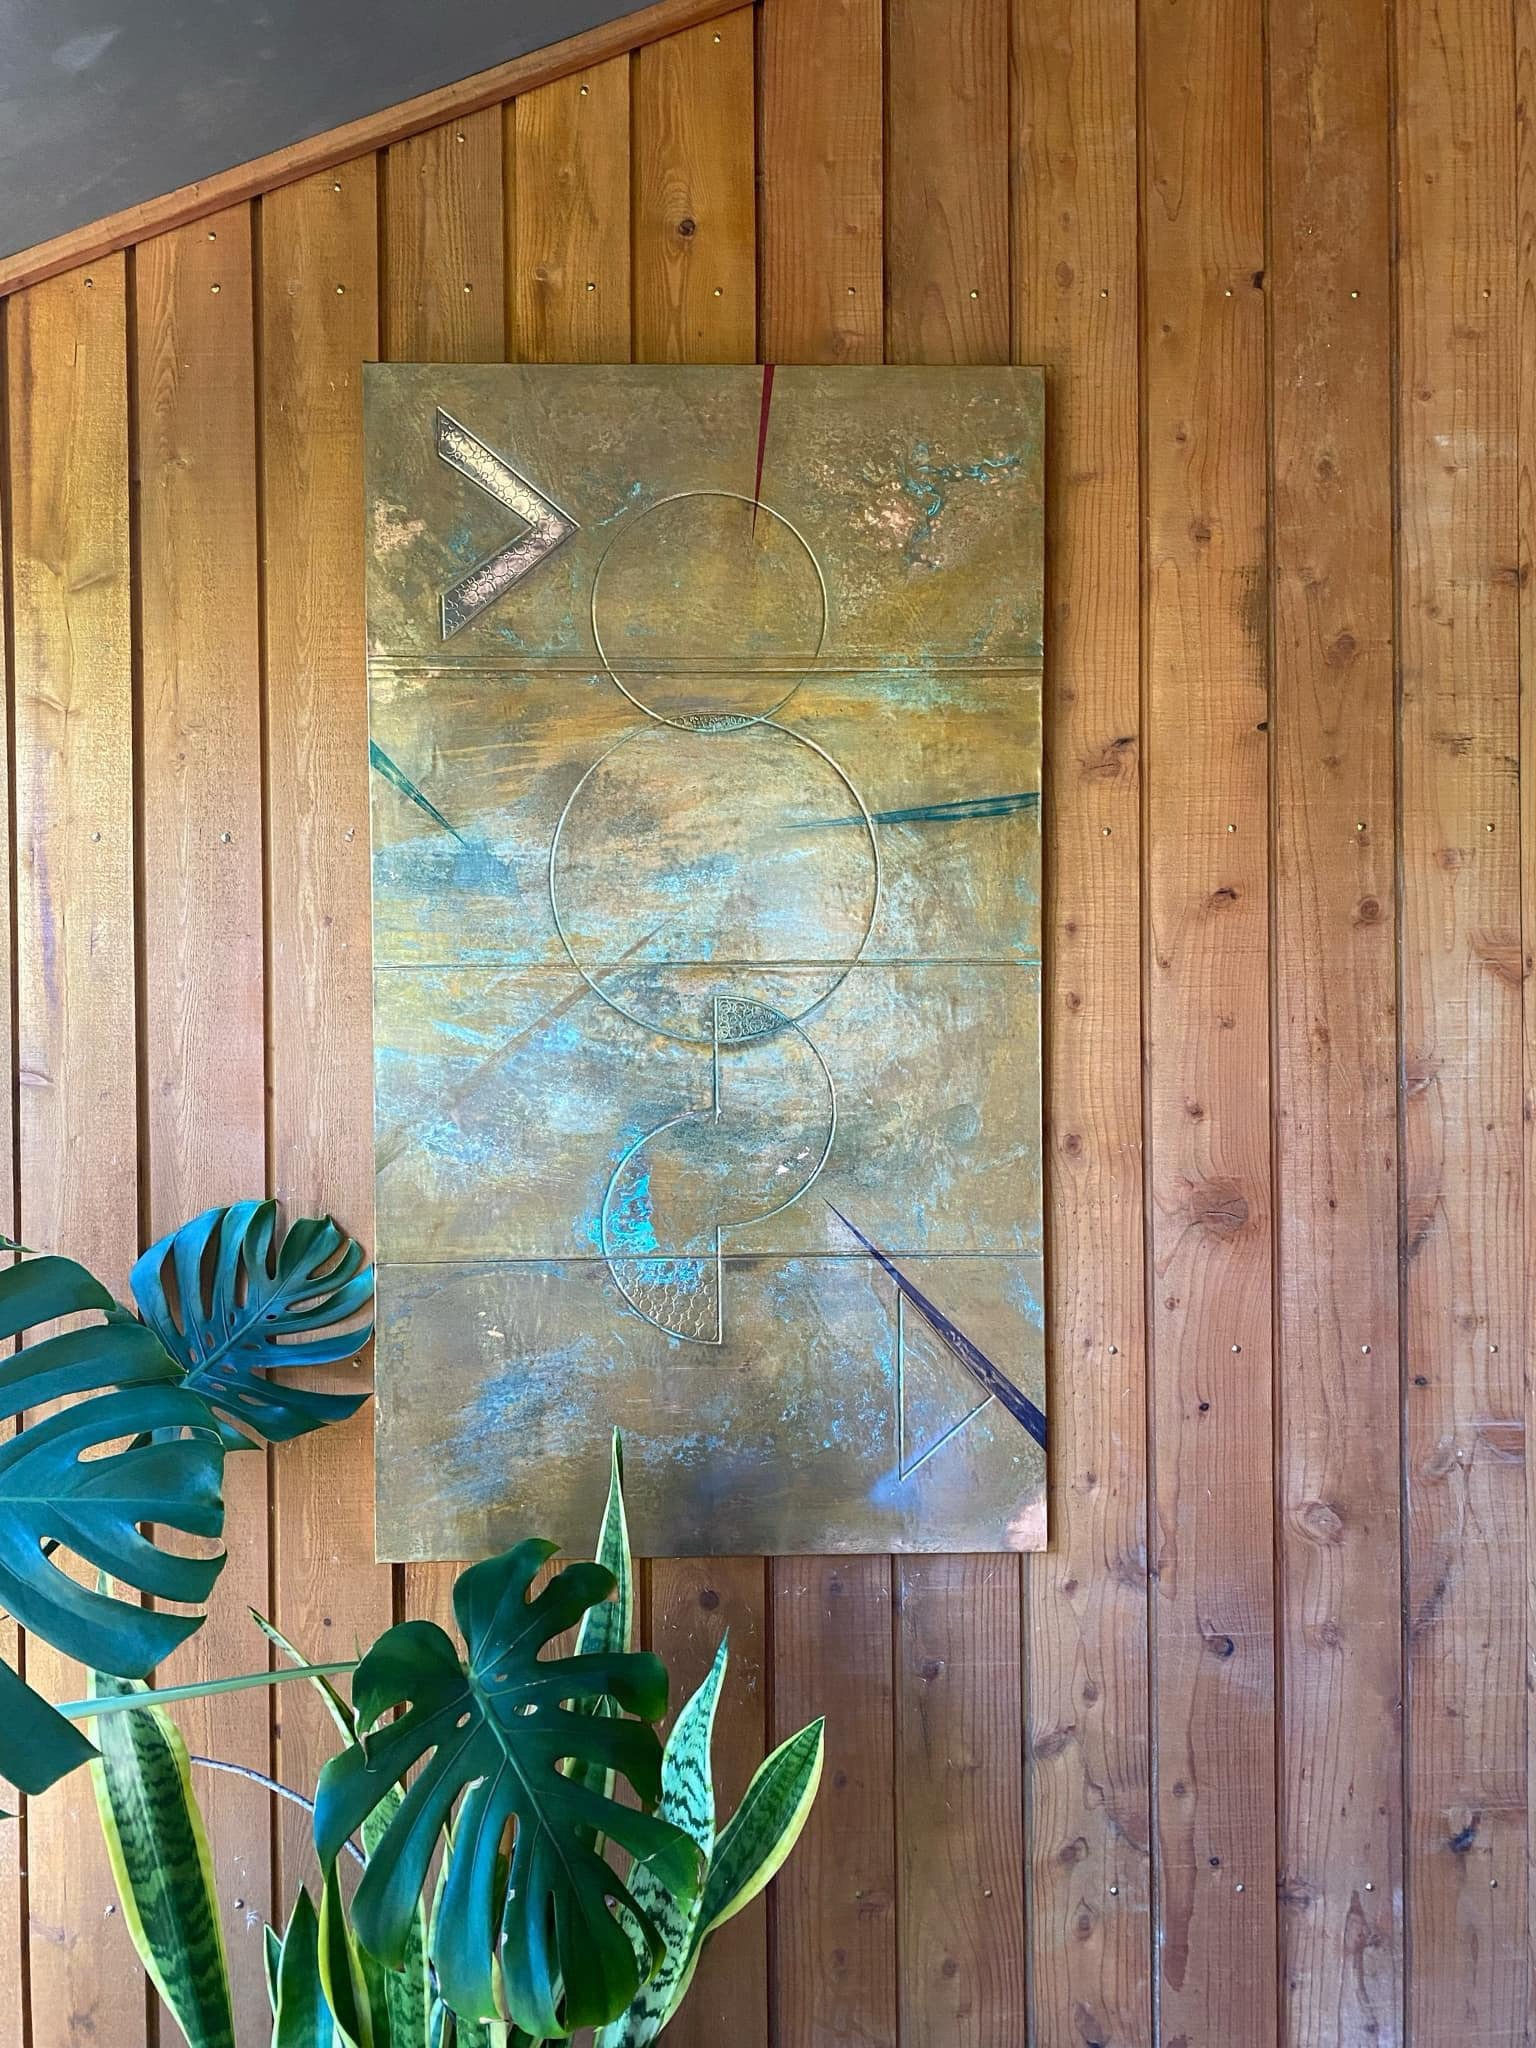
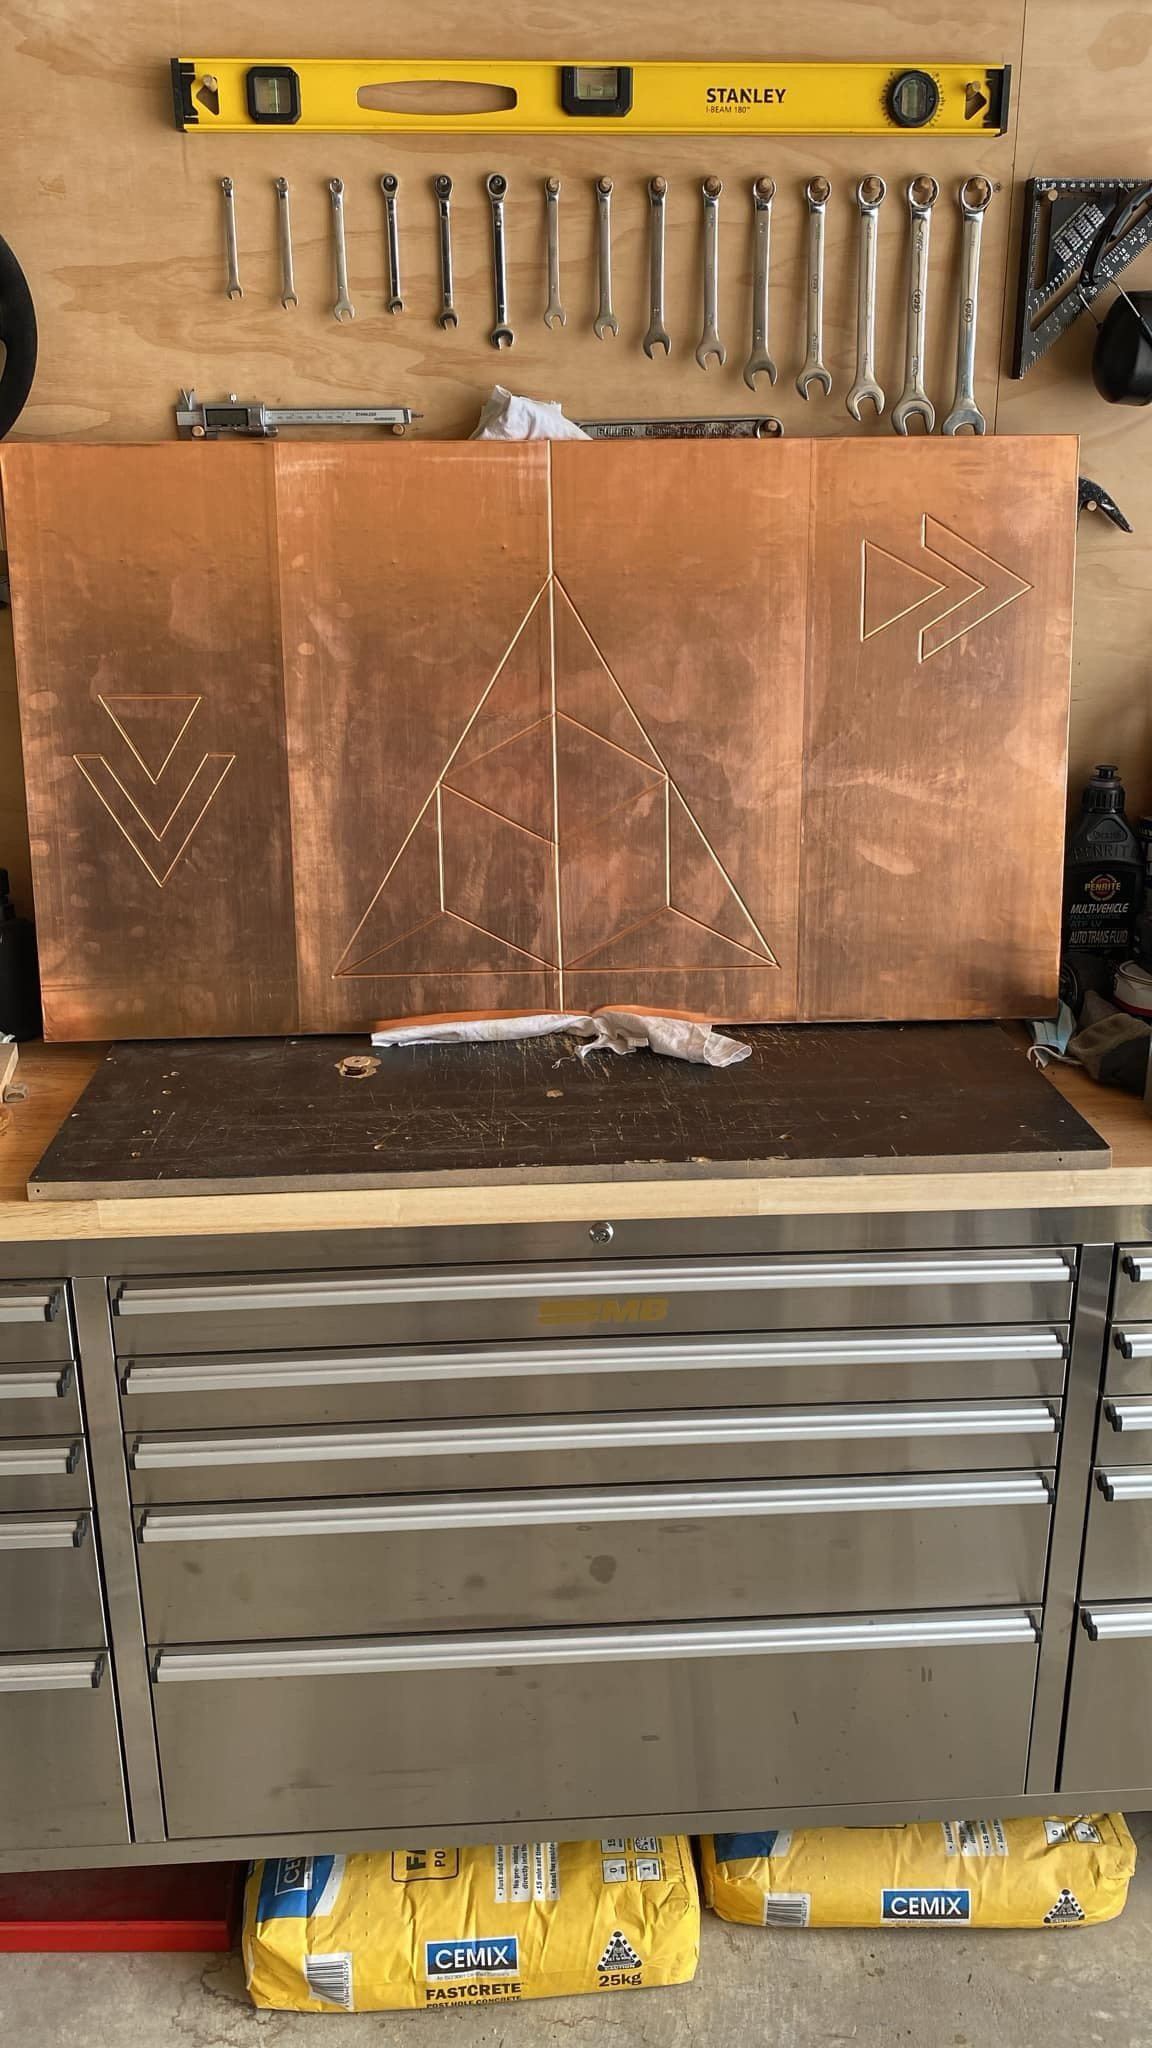
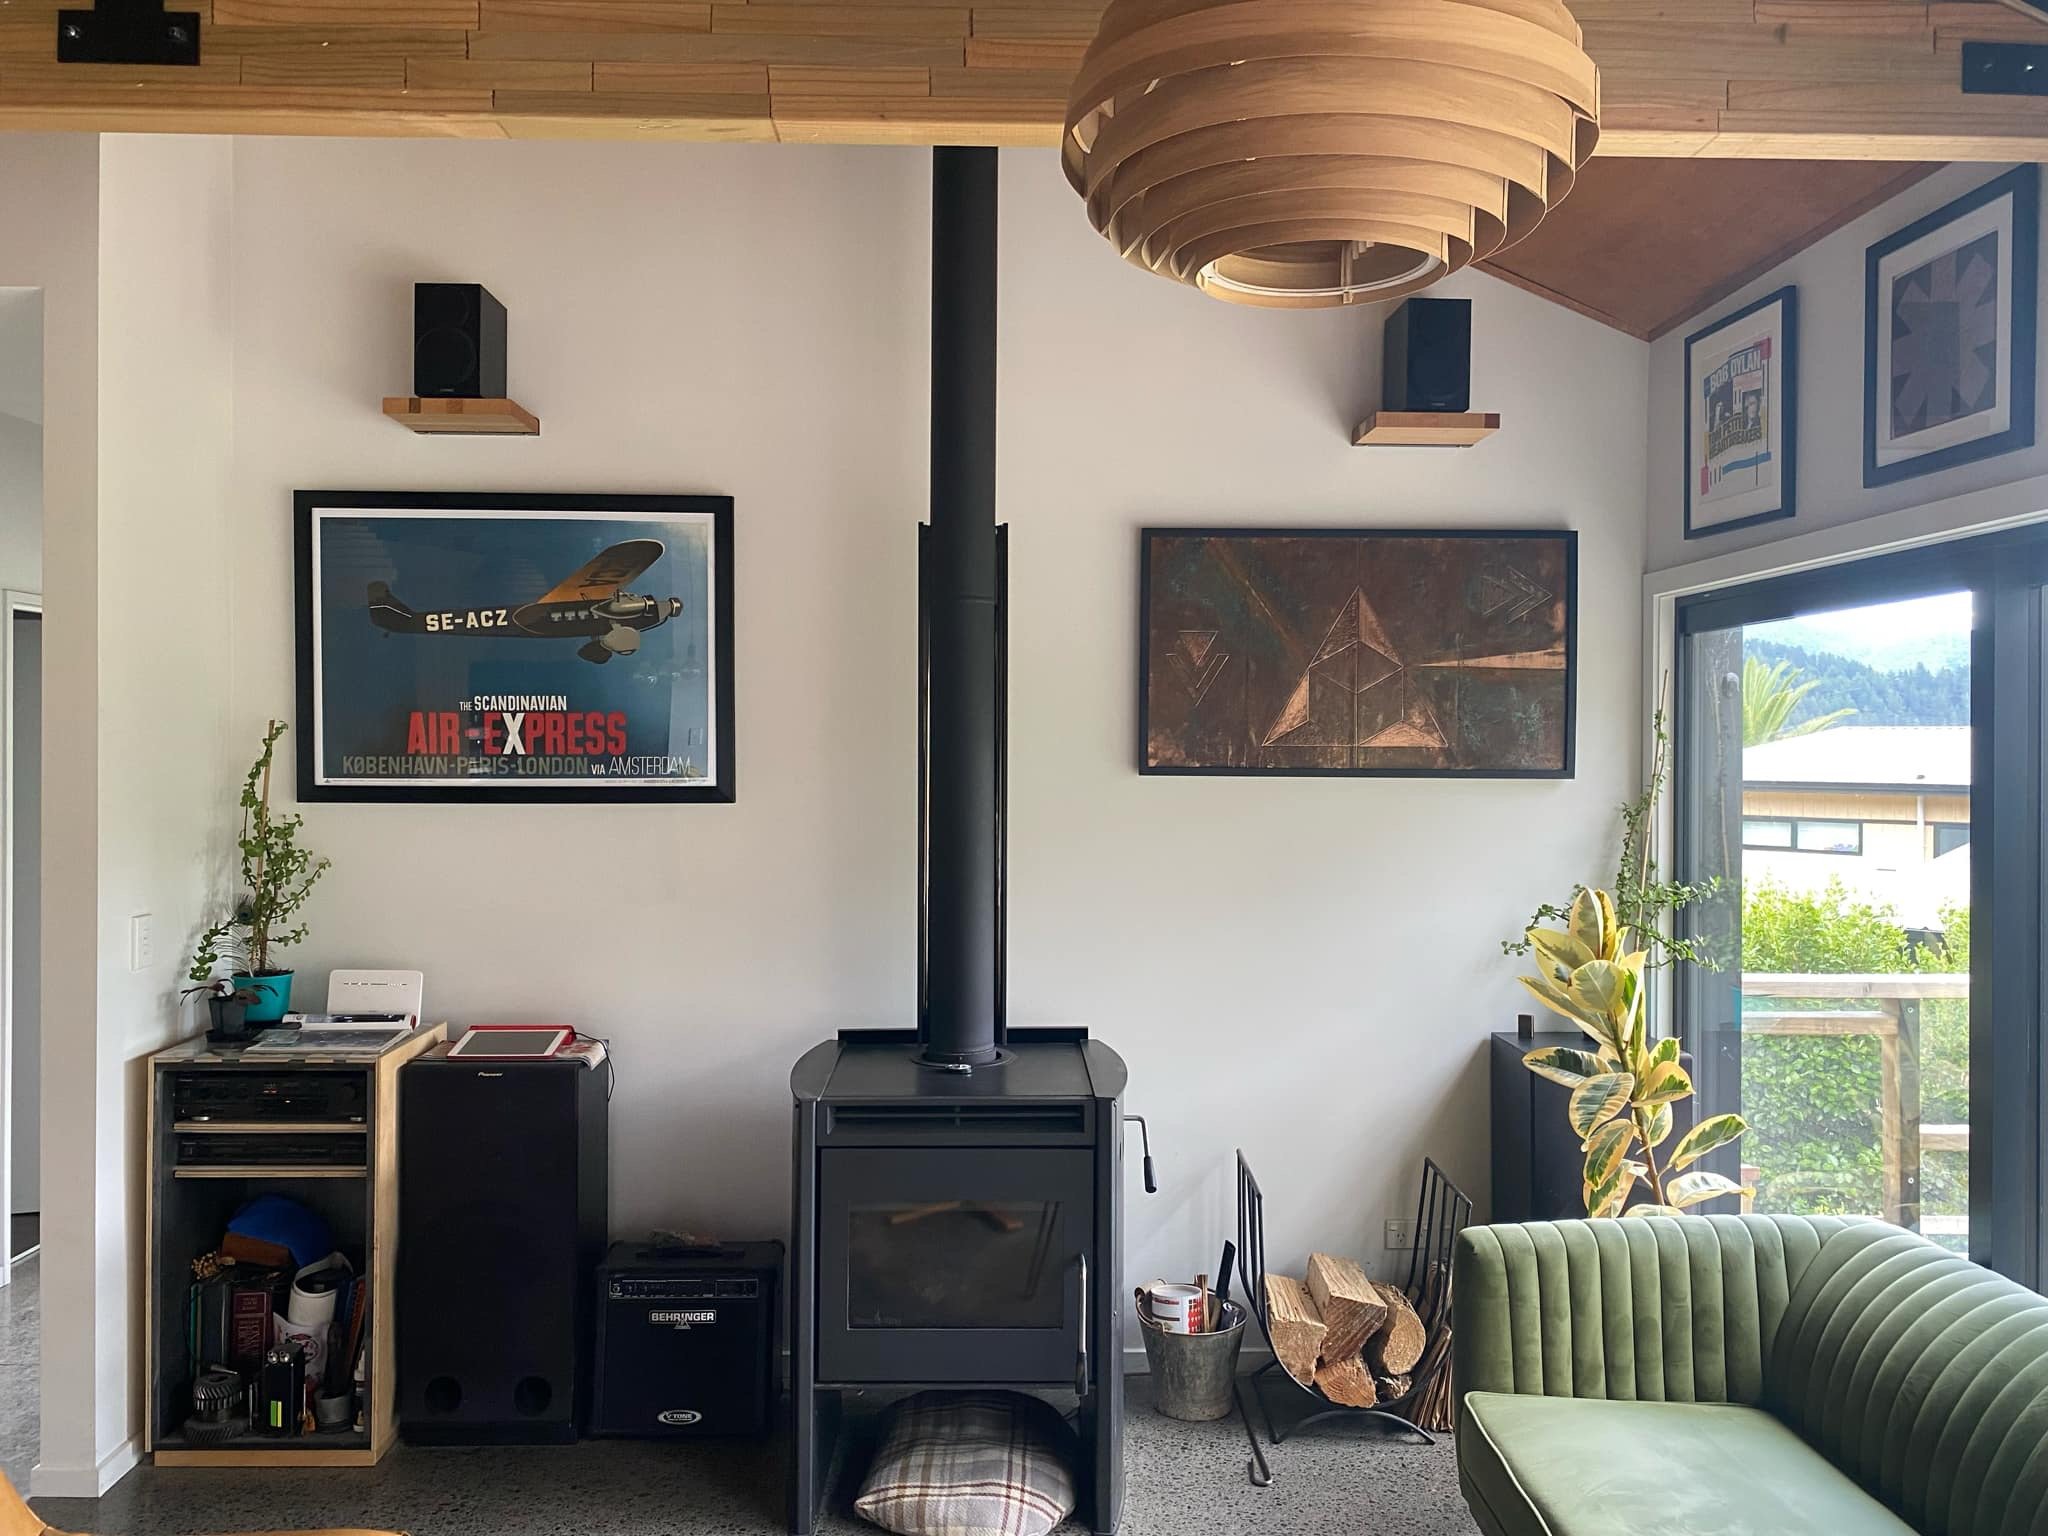
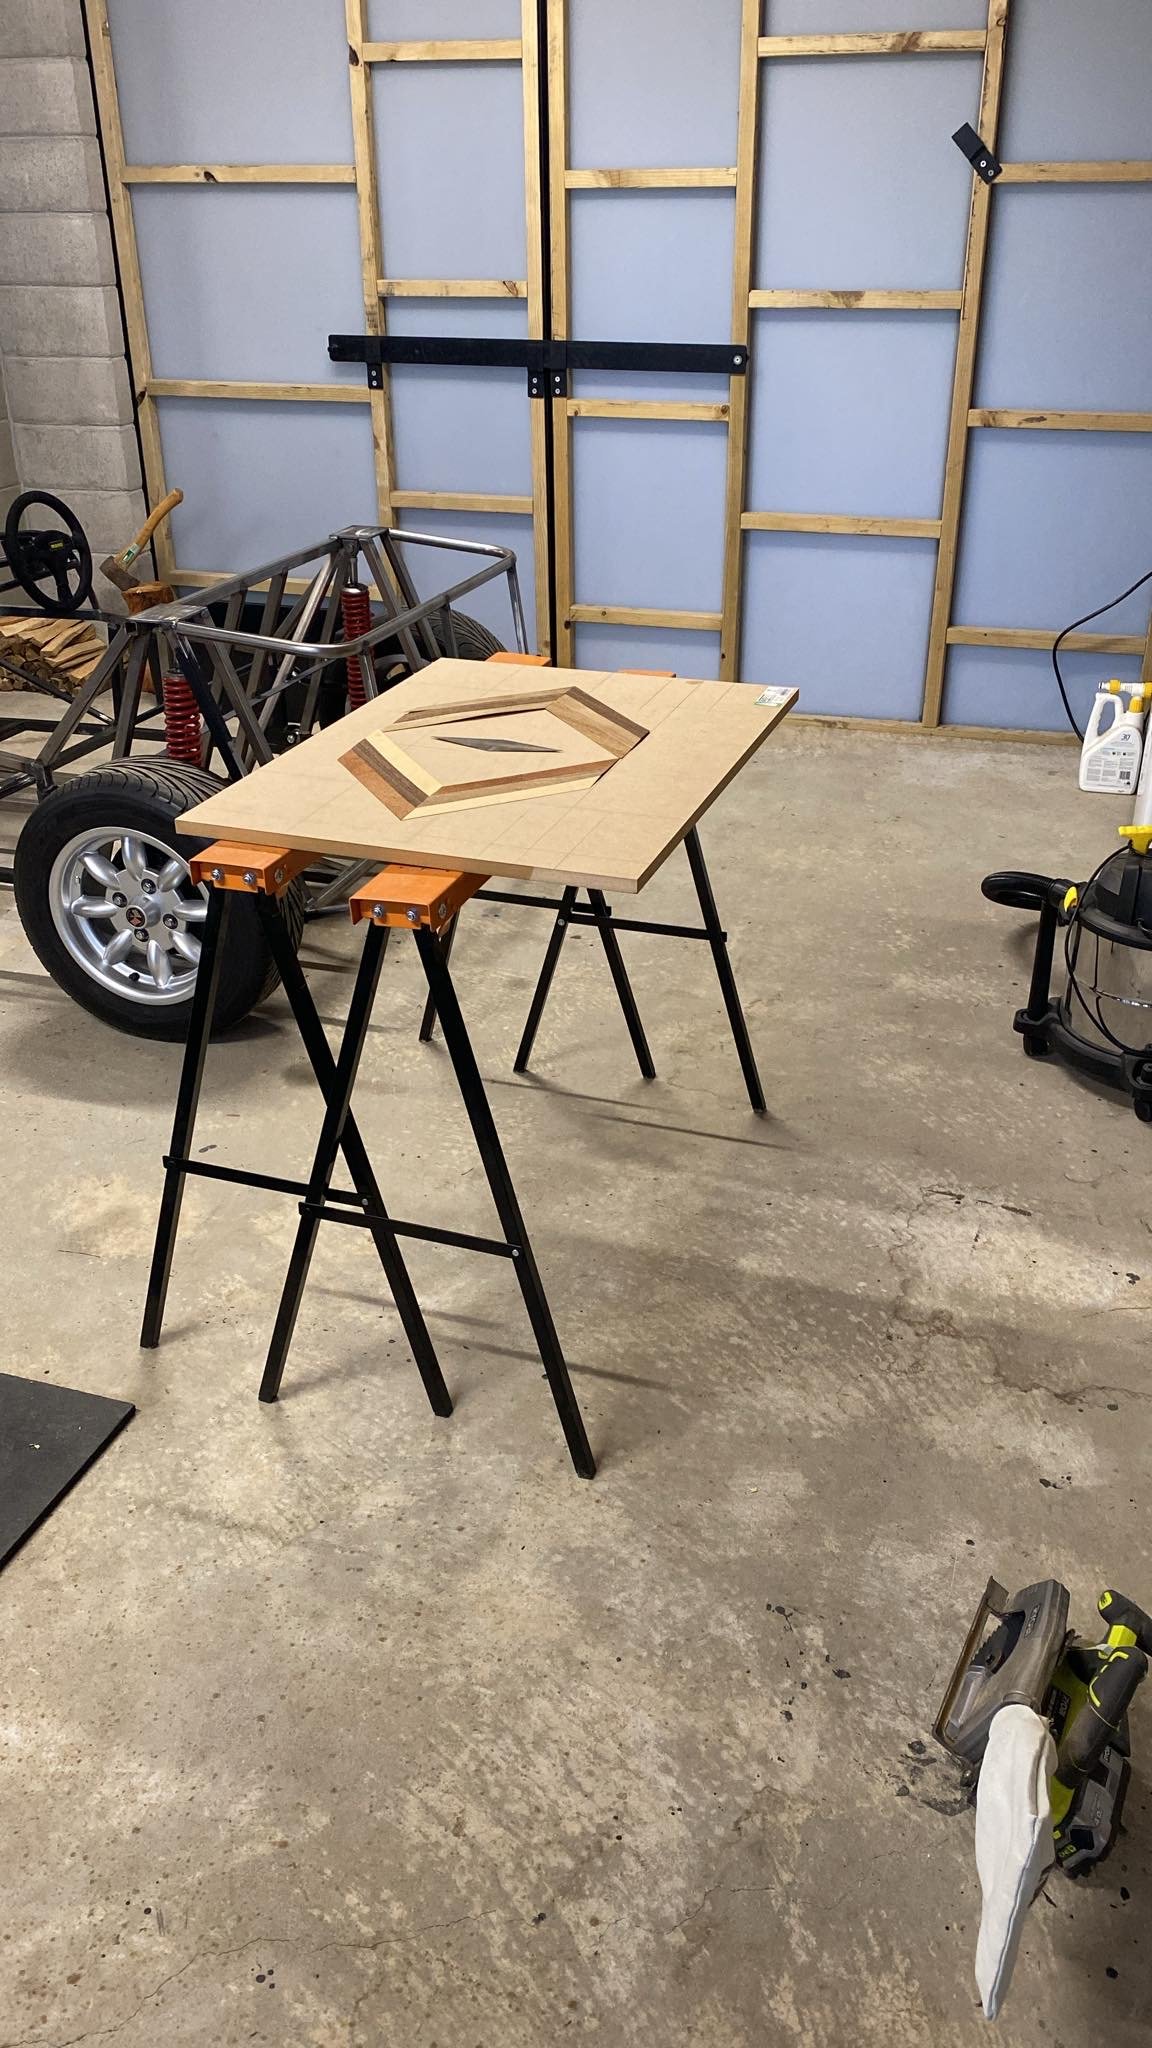
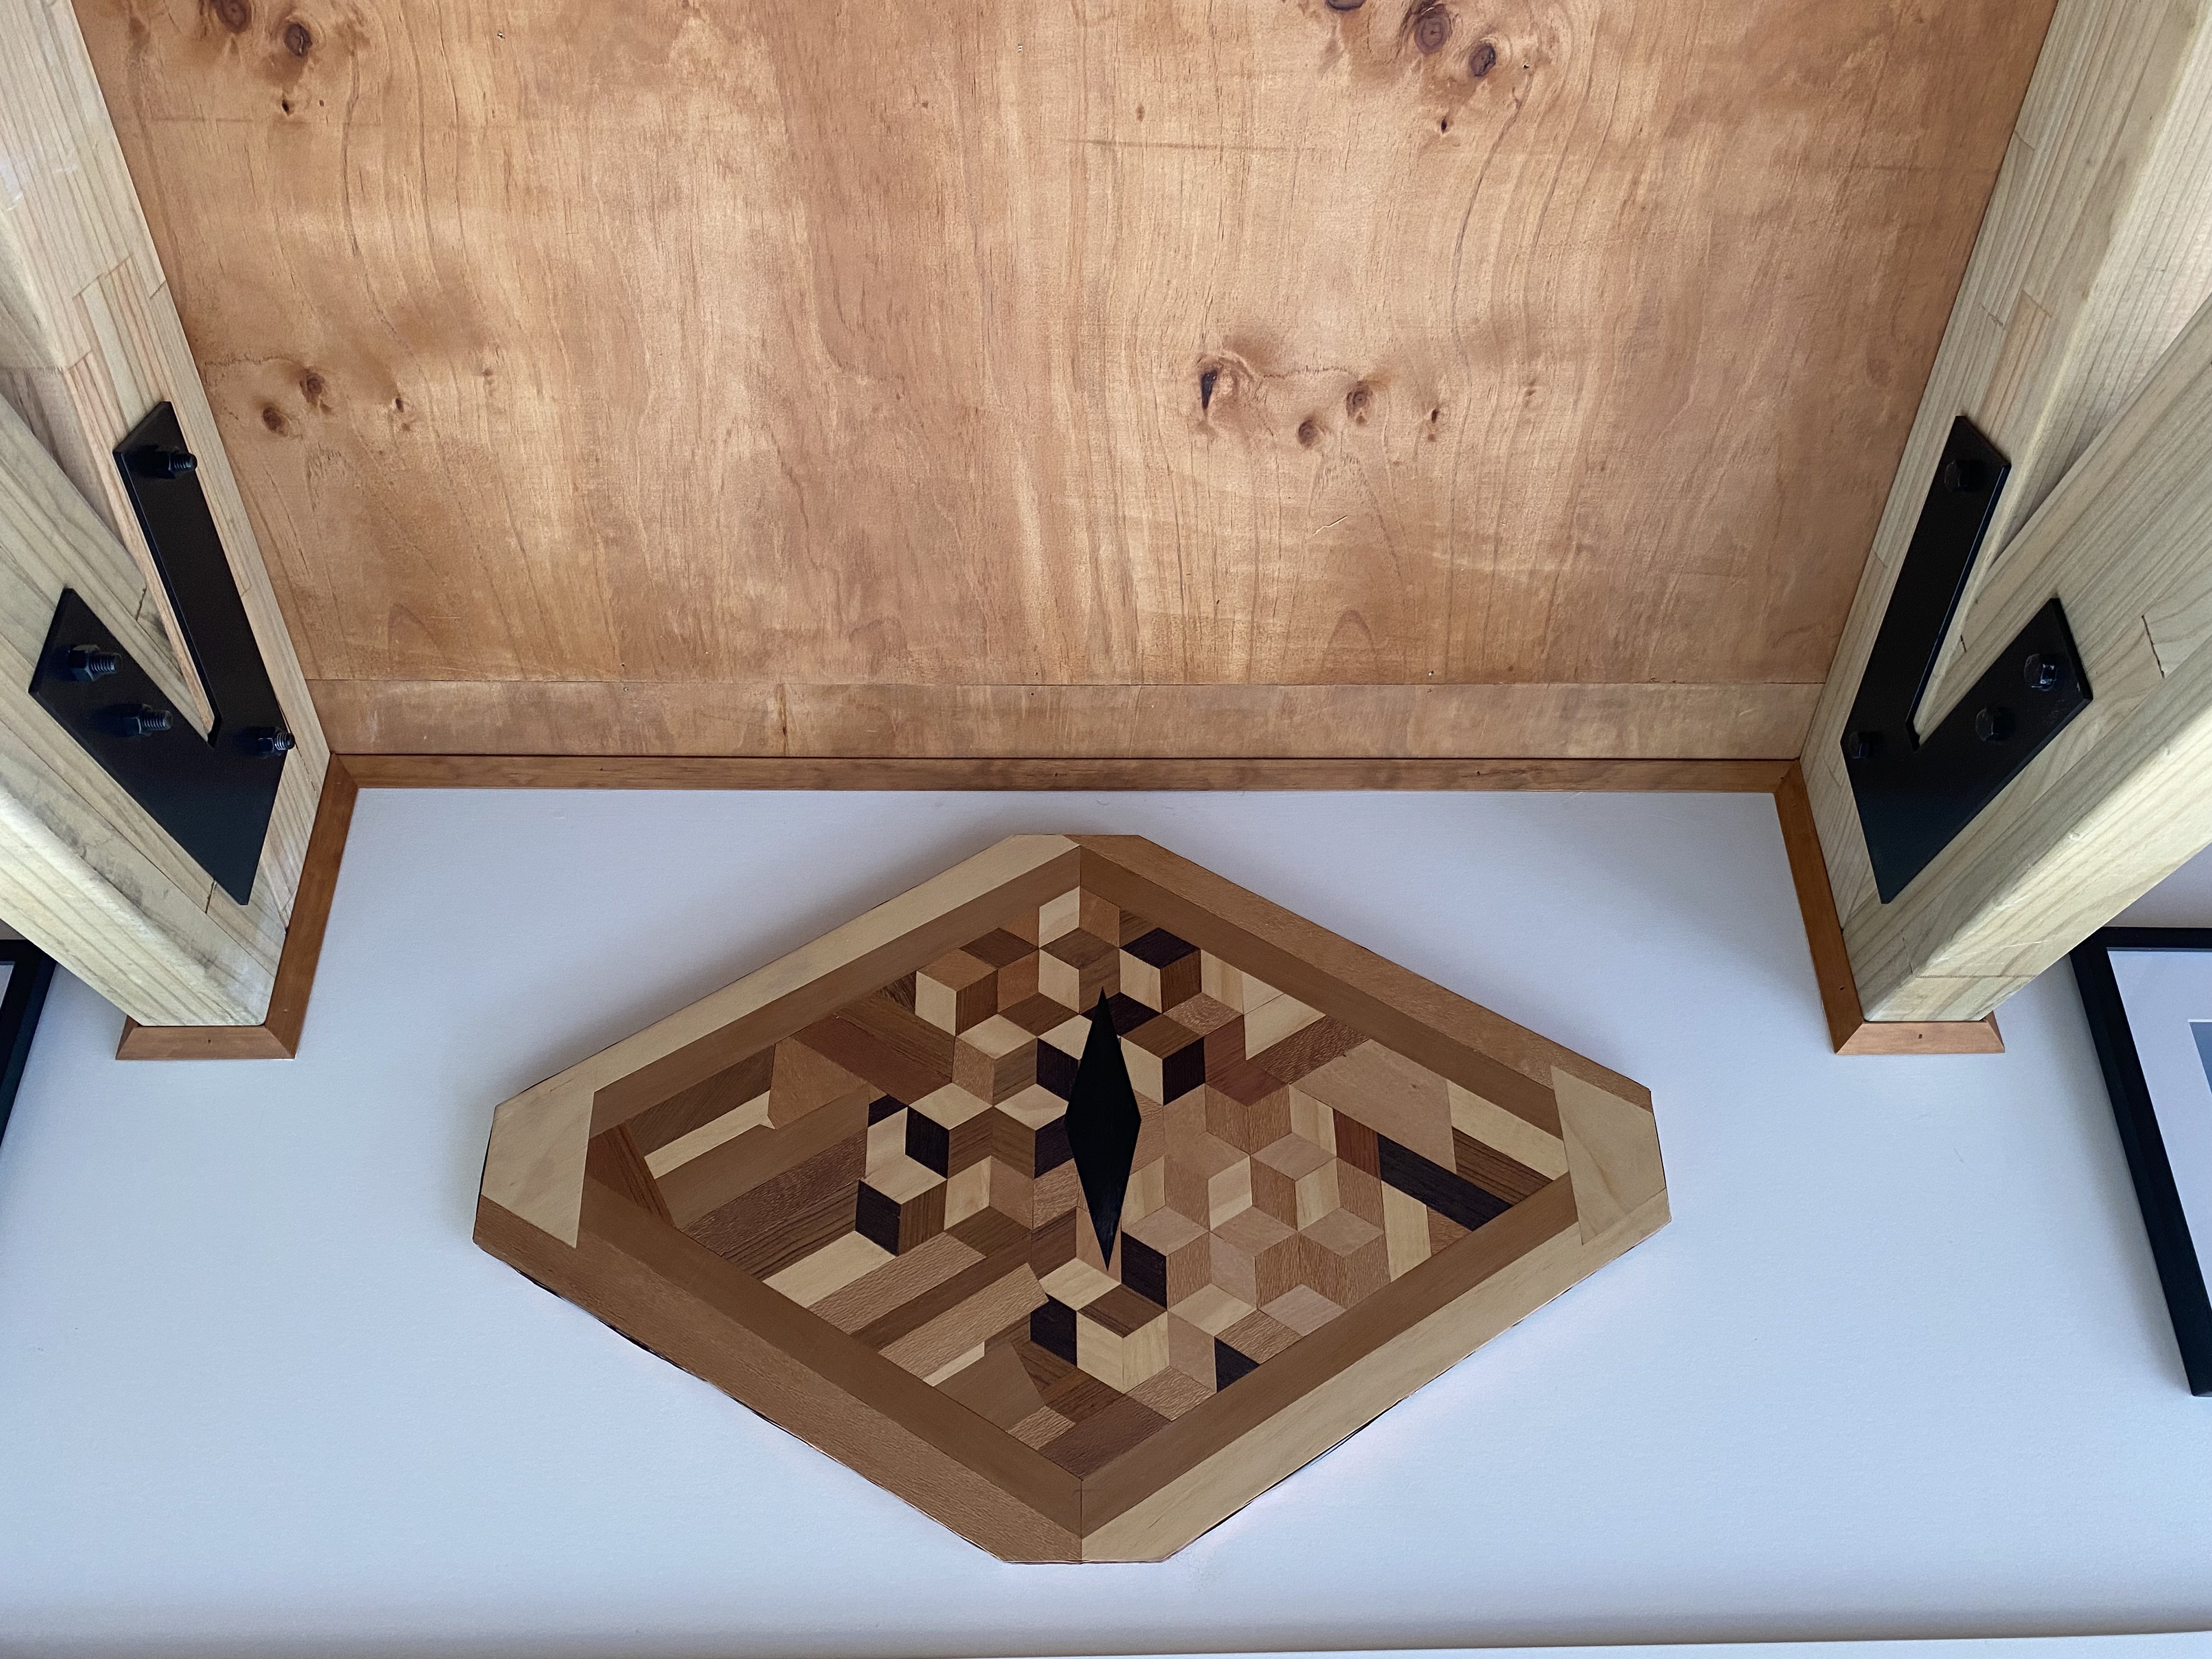
Made another one to try and compliment the other beside the fireplace, this is my favourite for sure. Figured out the black chemical reaction now. Already planning the next one.
-
Random slightly cool stuff you built but not worth its own thread, thread
HKM400 replied to h4nd's topic in Other Projects
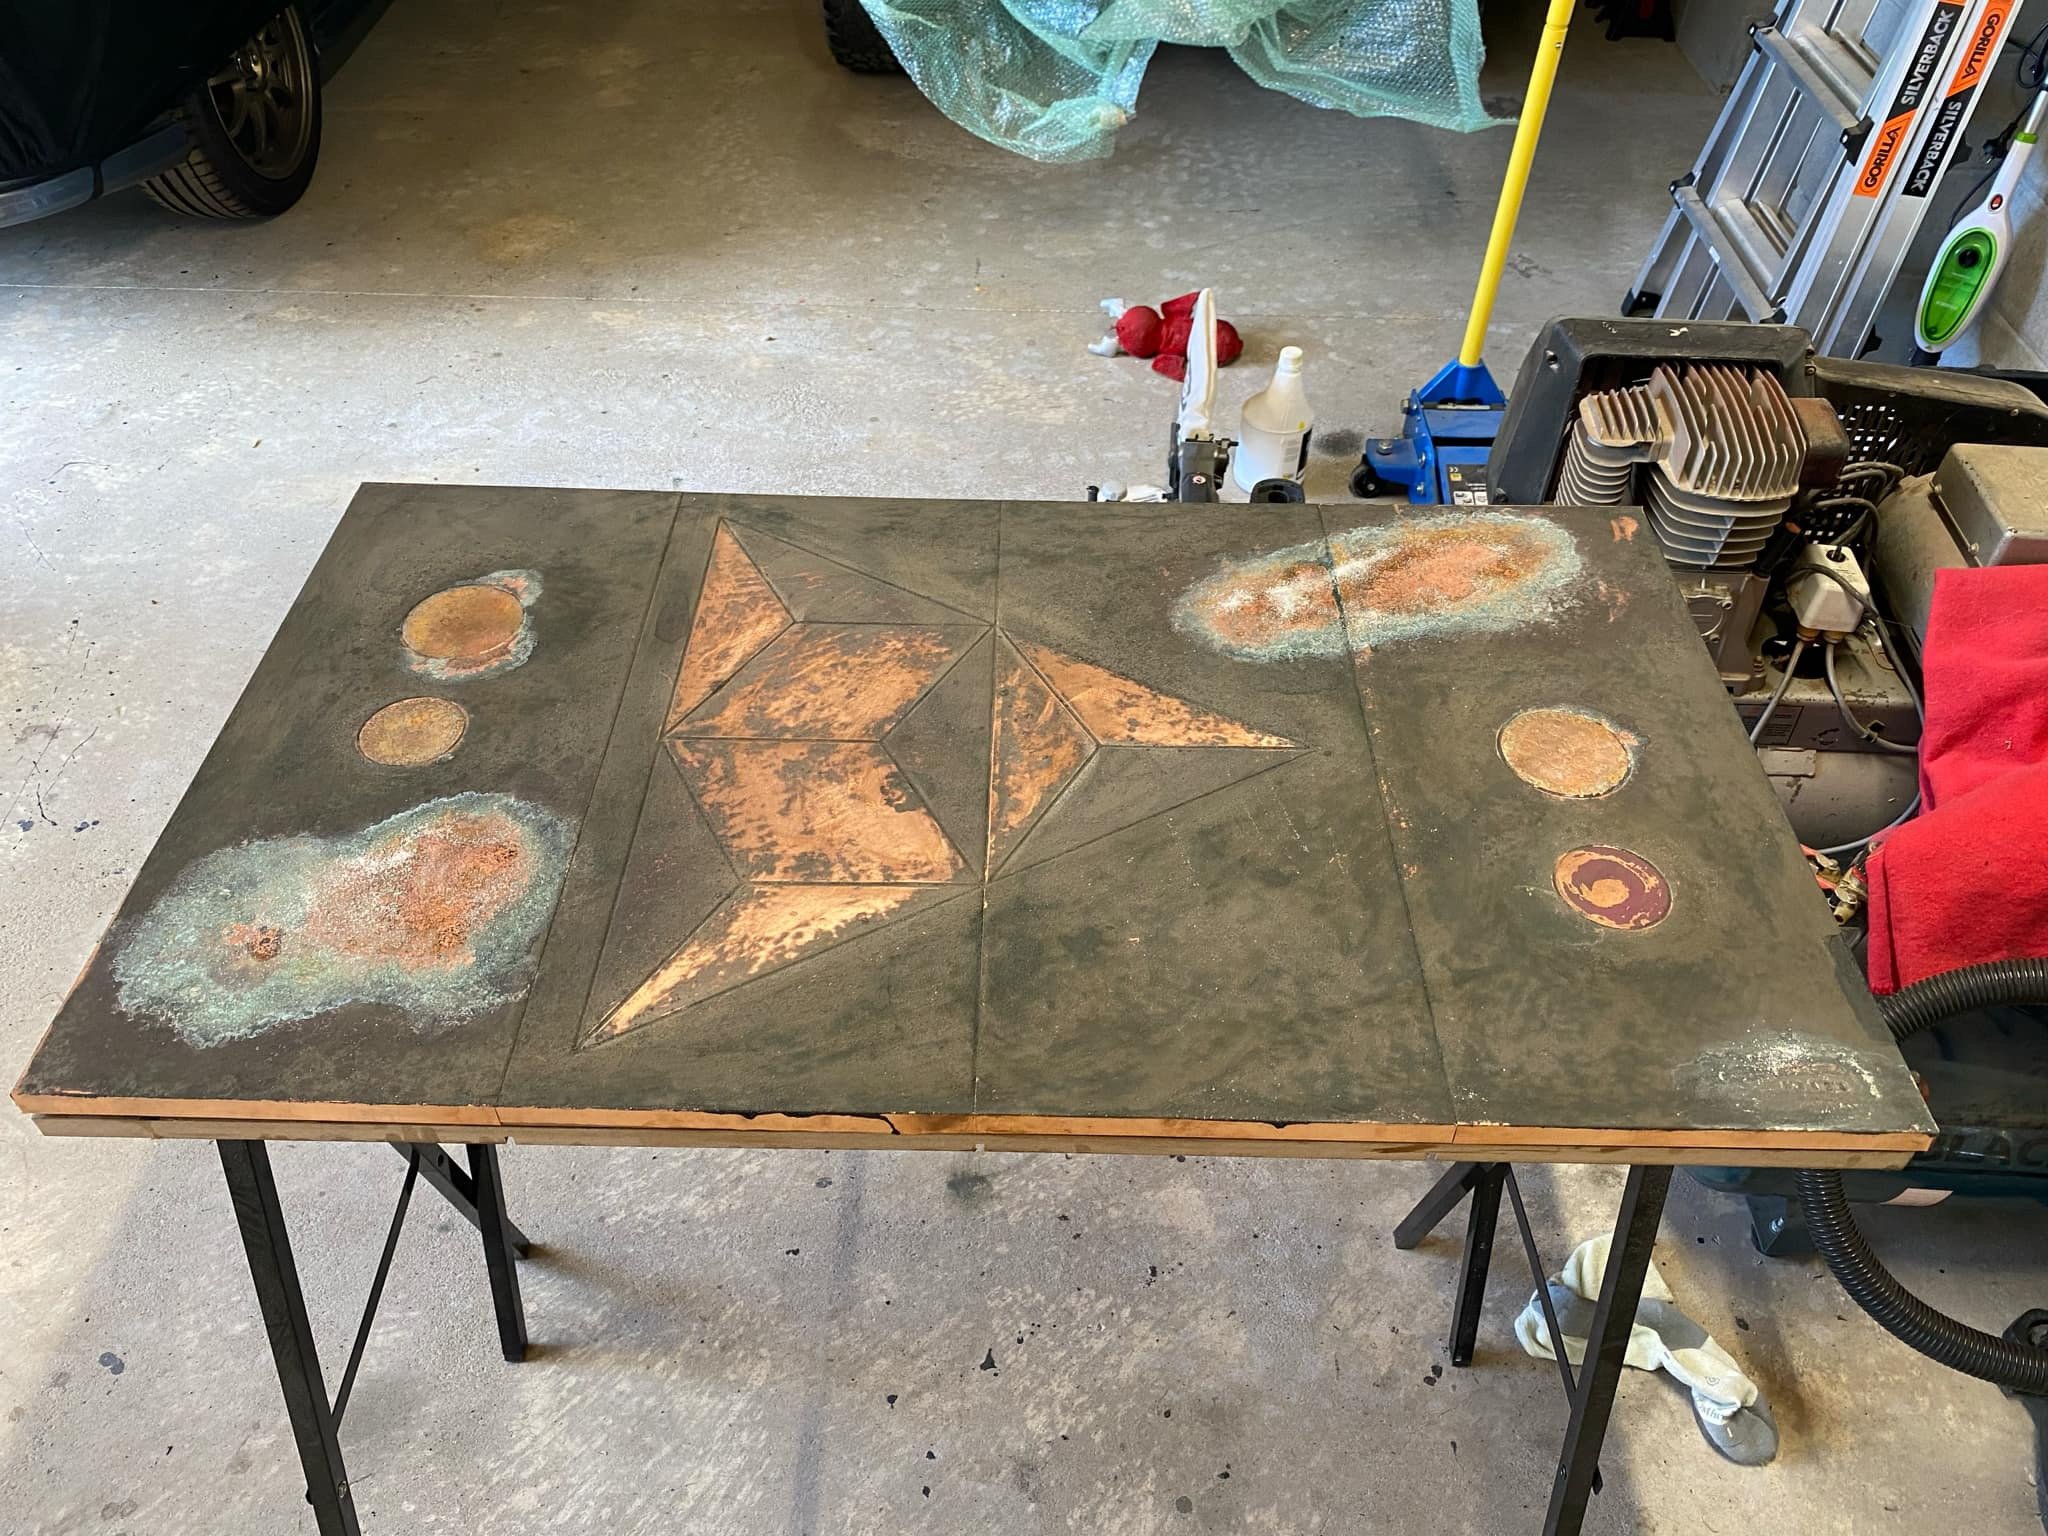
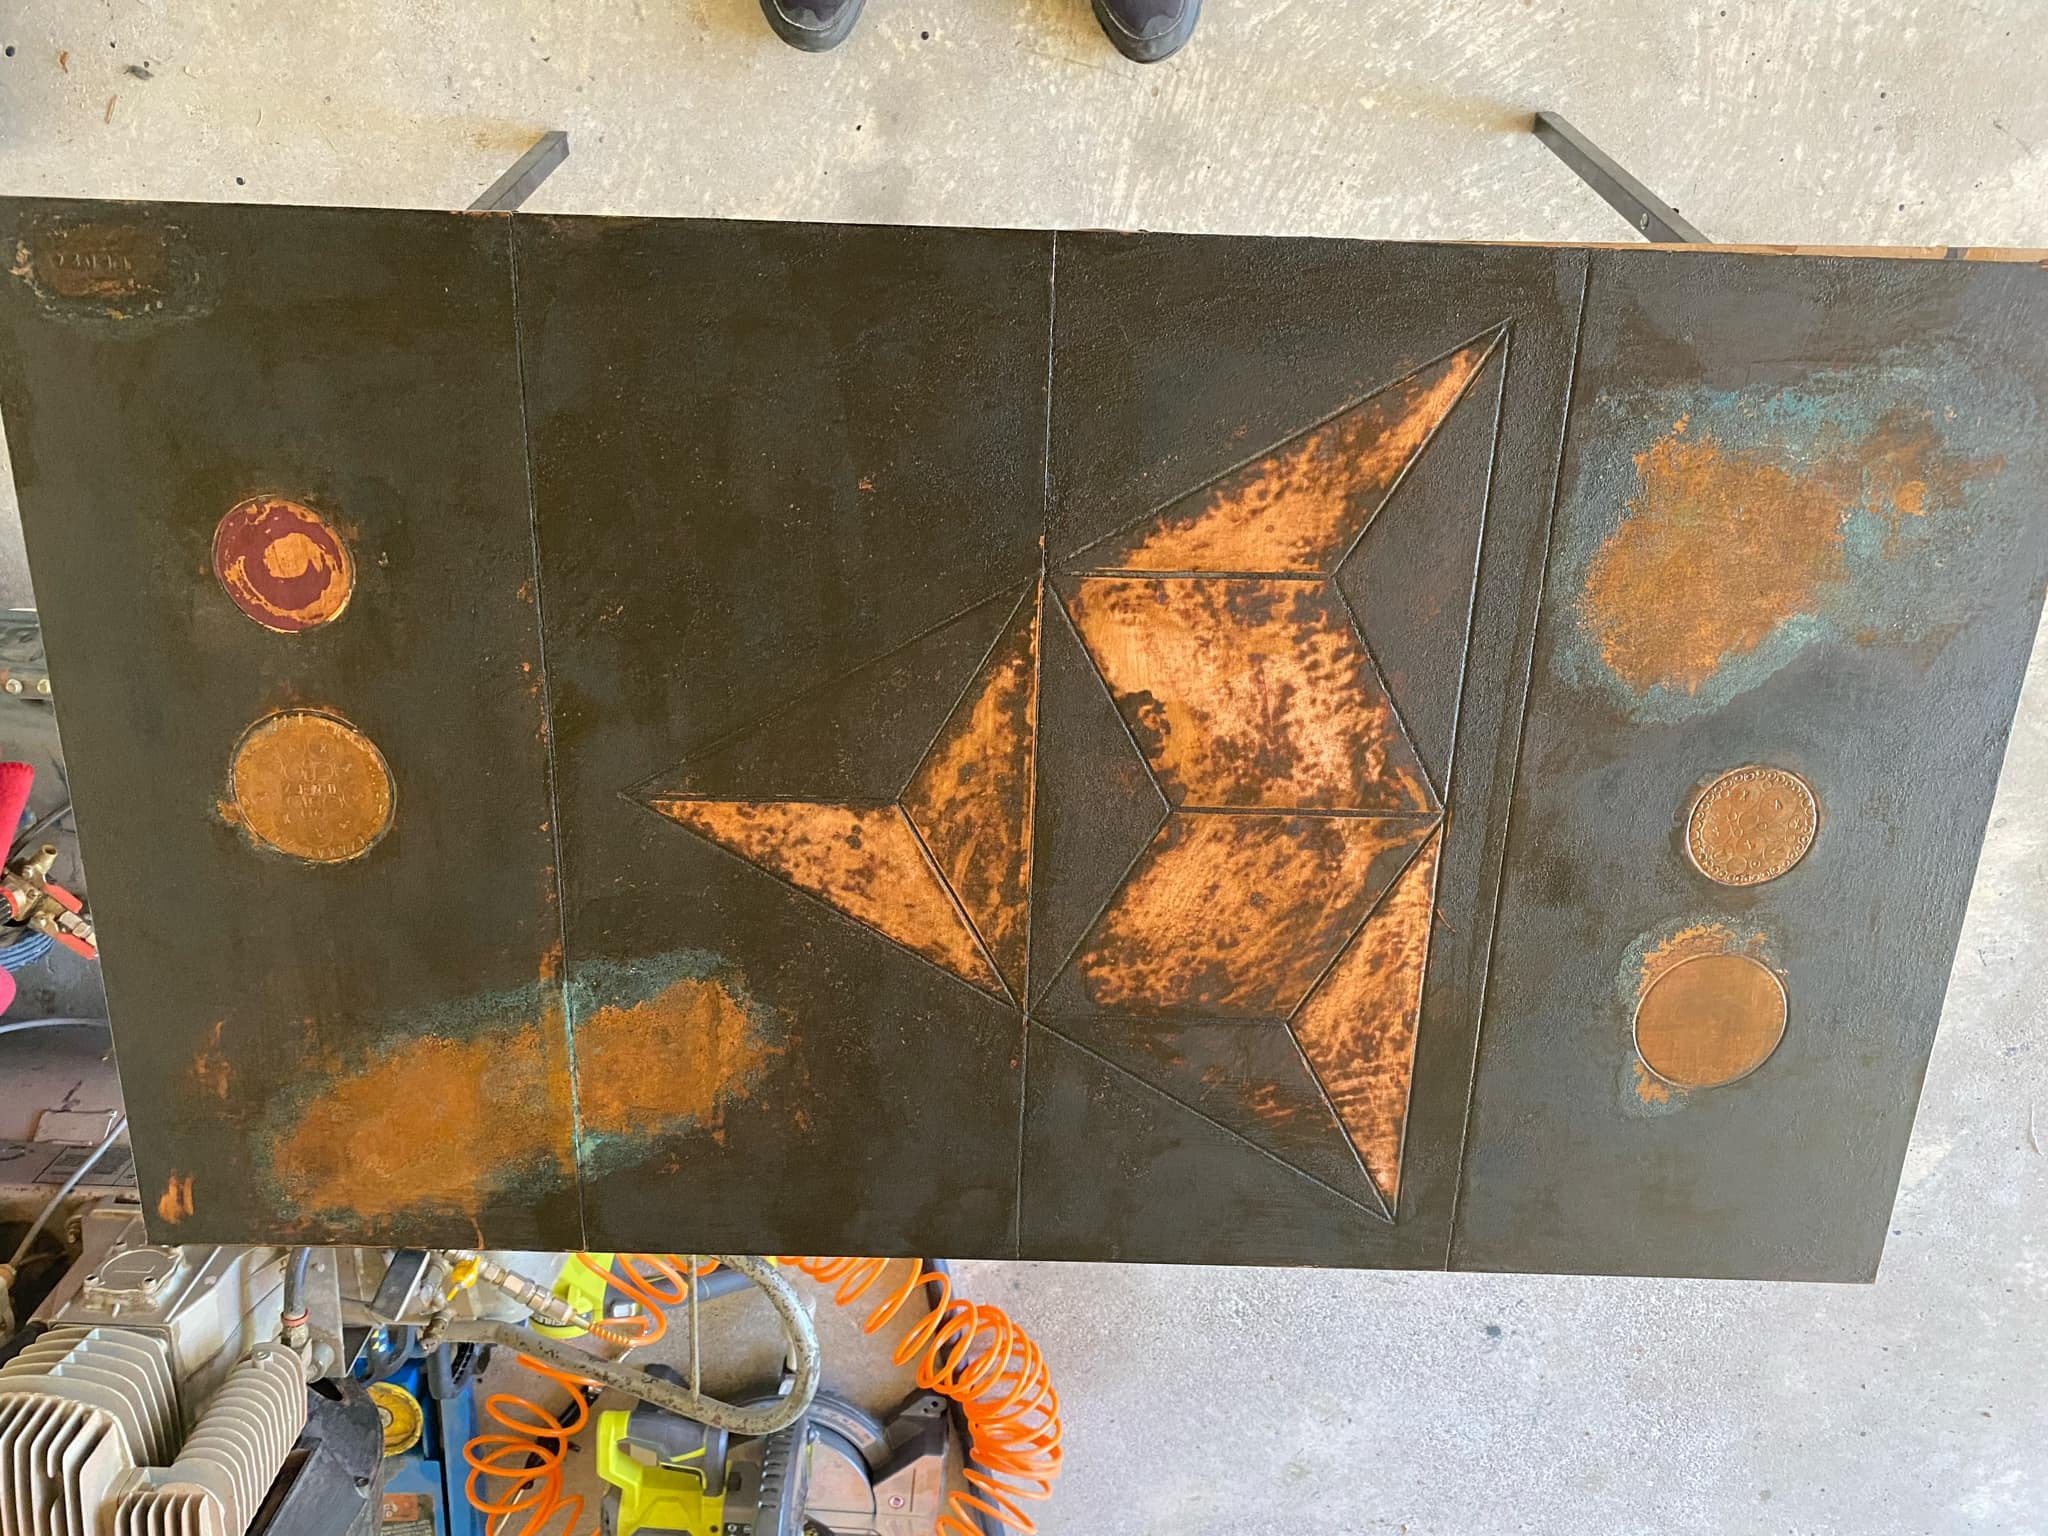
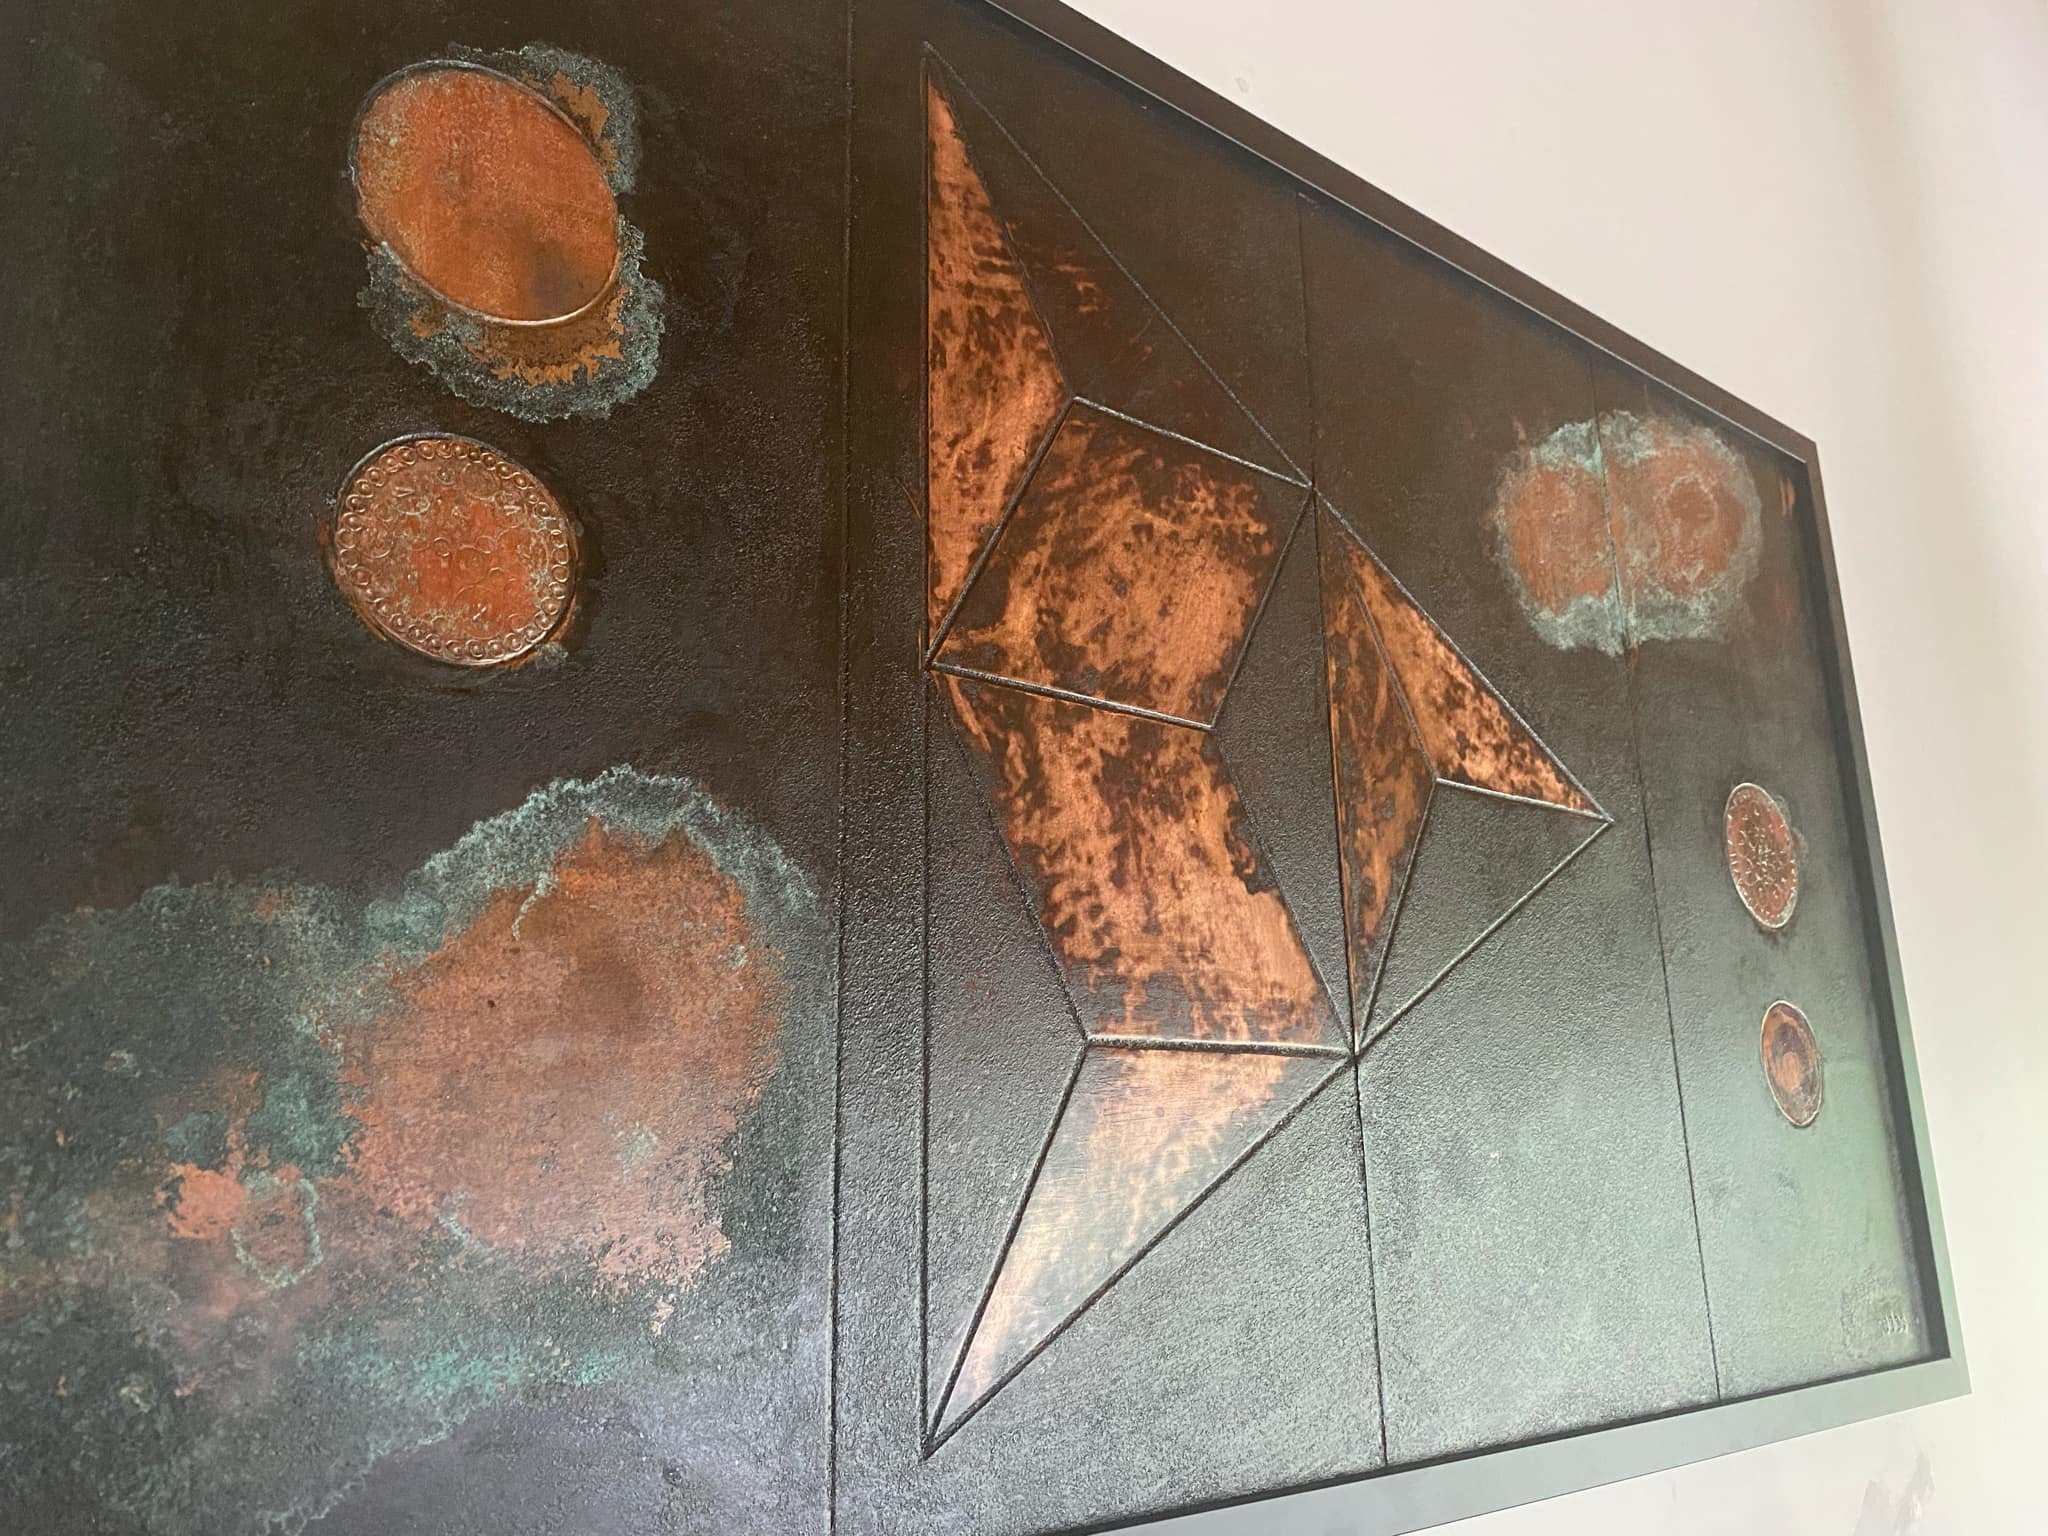
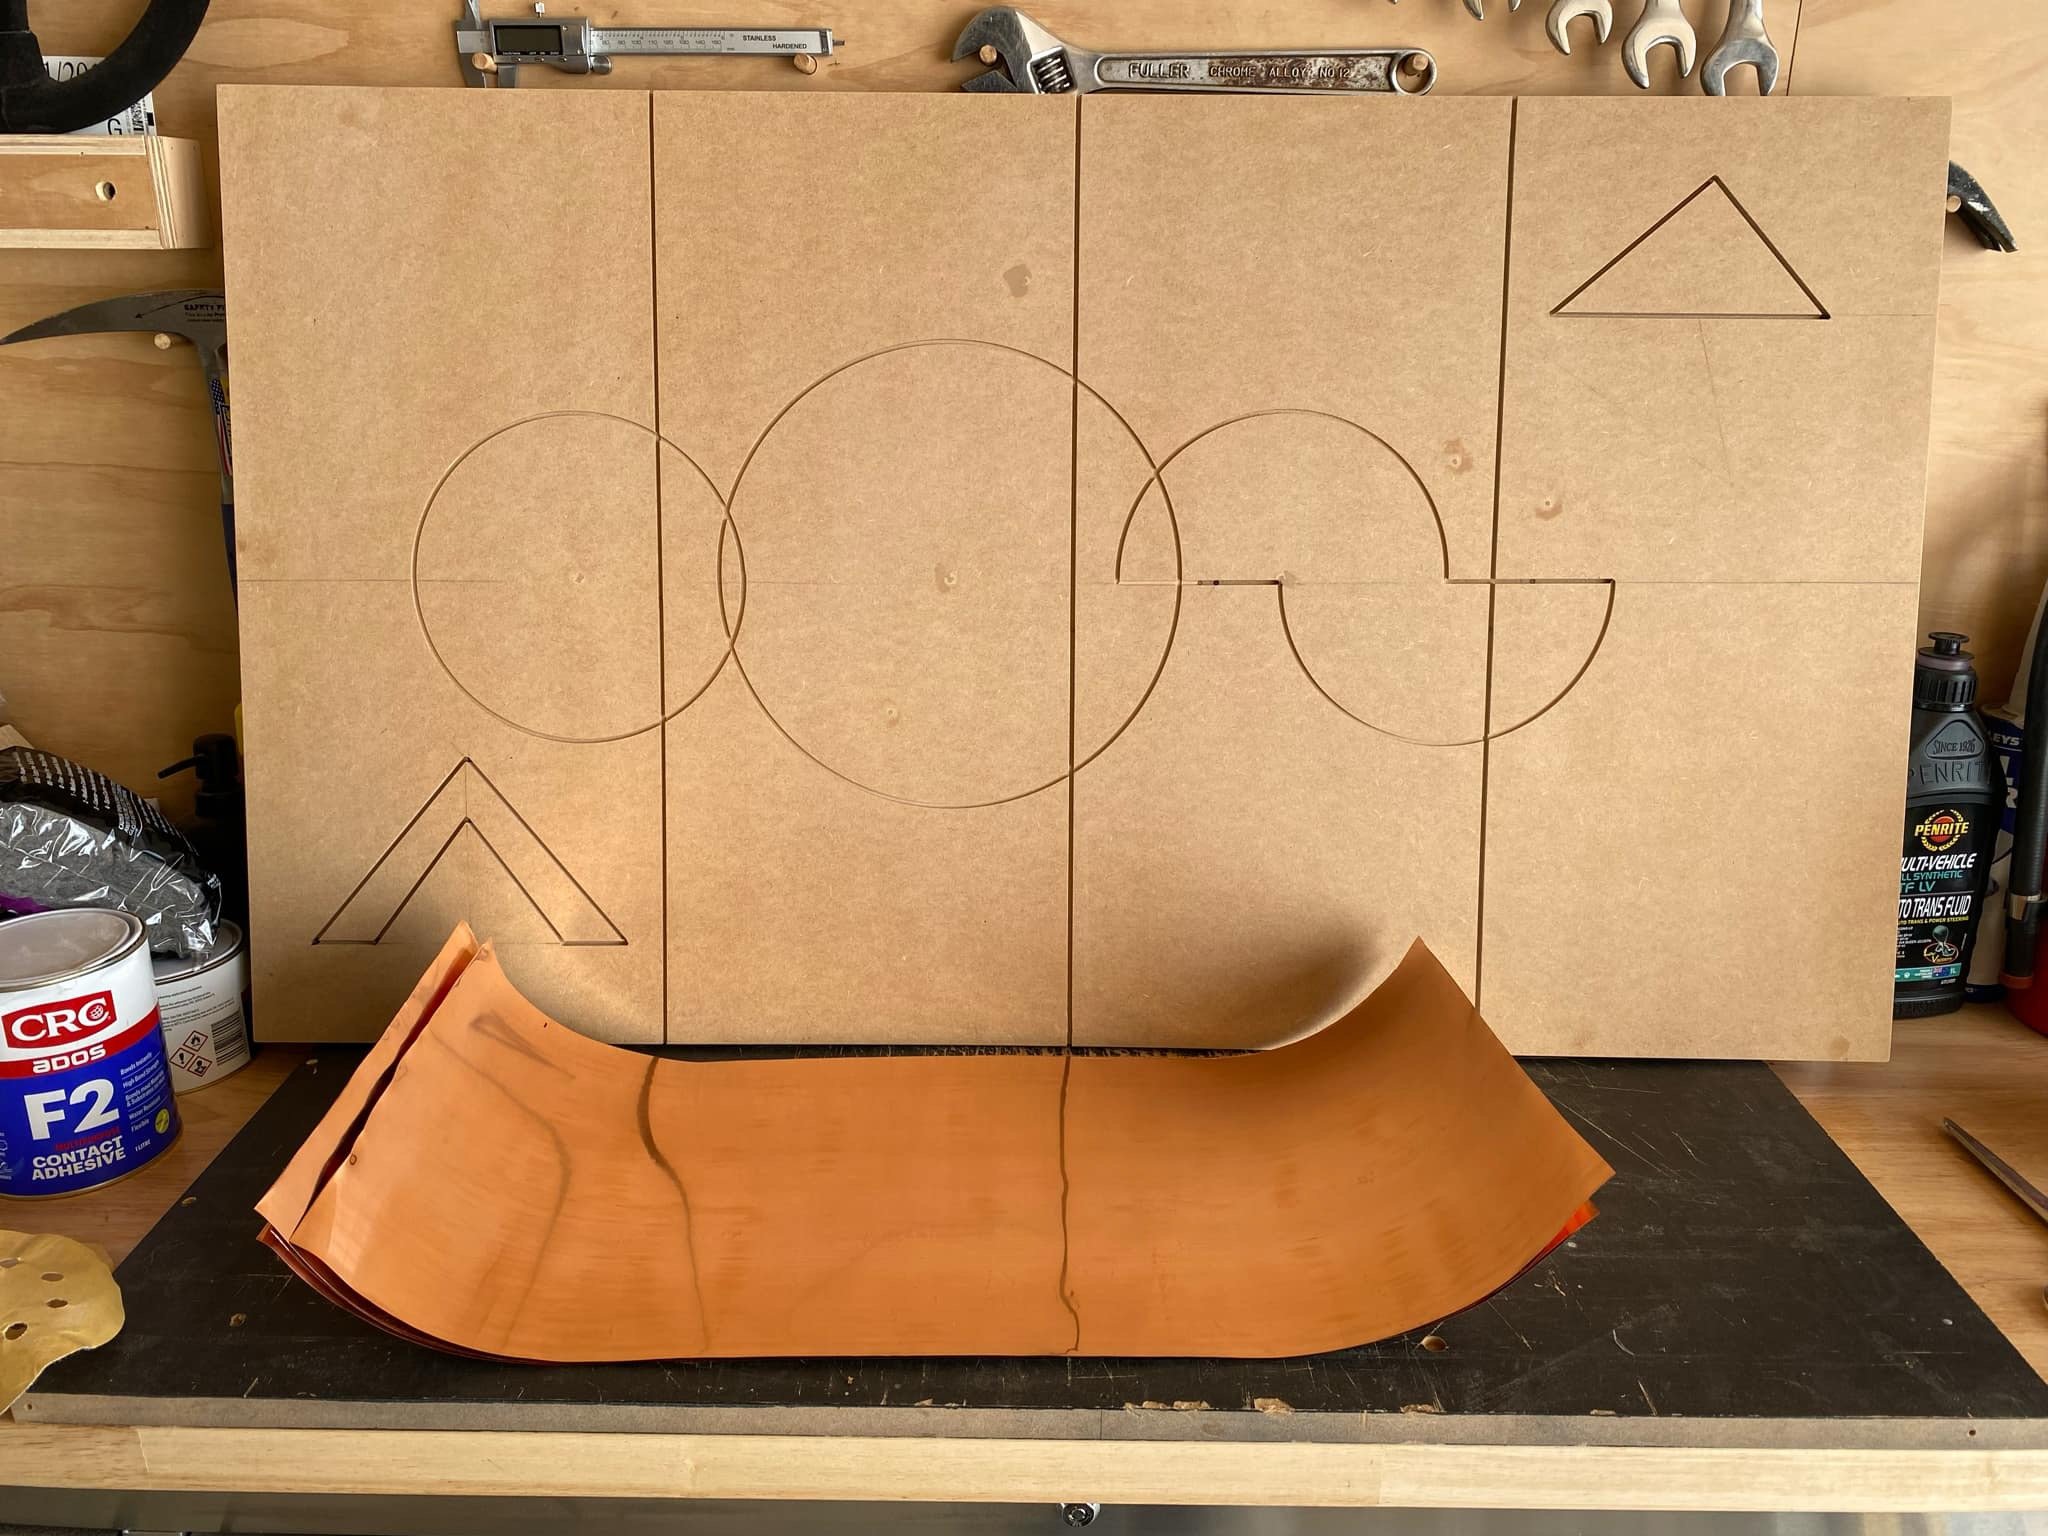
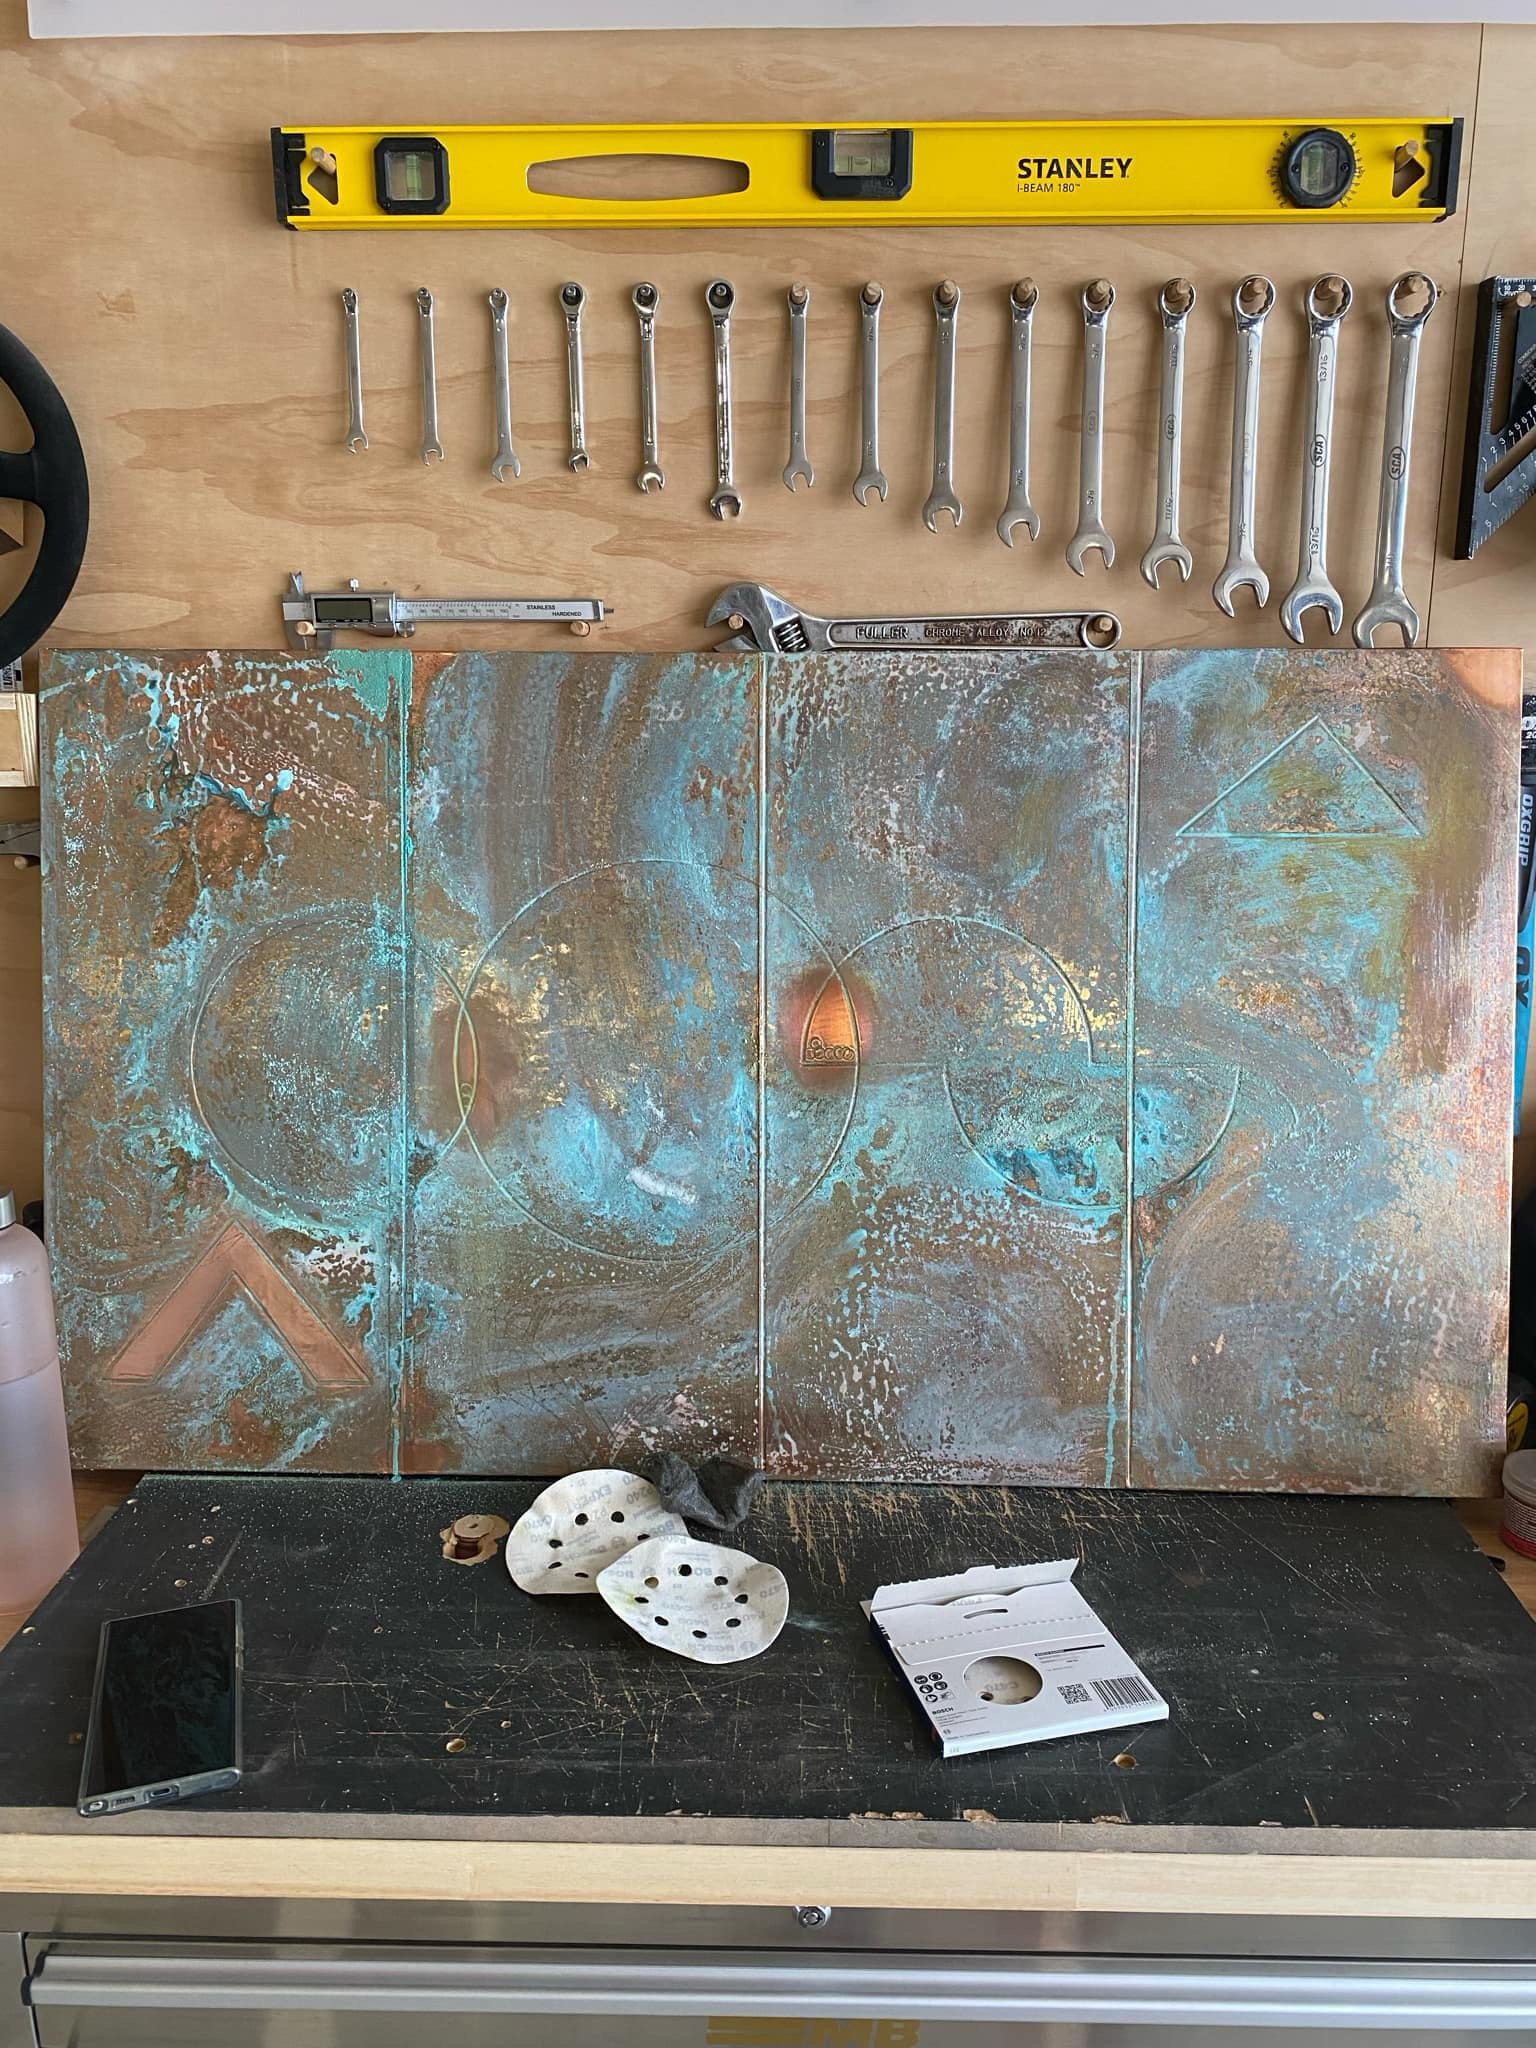
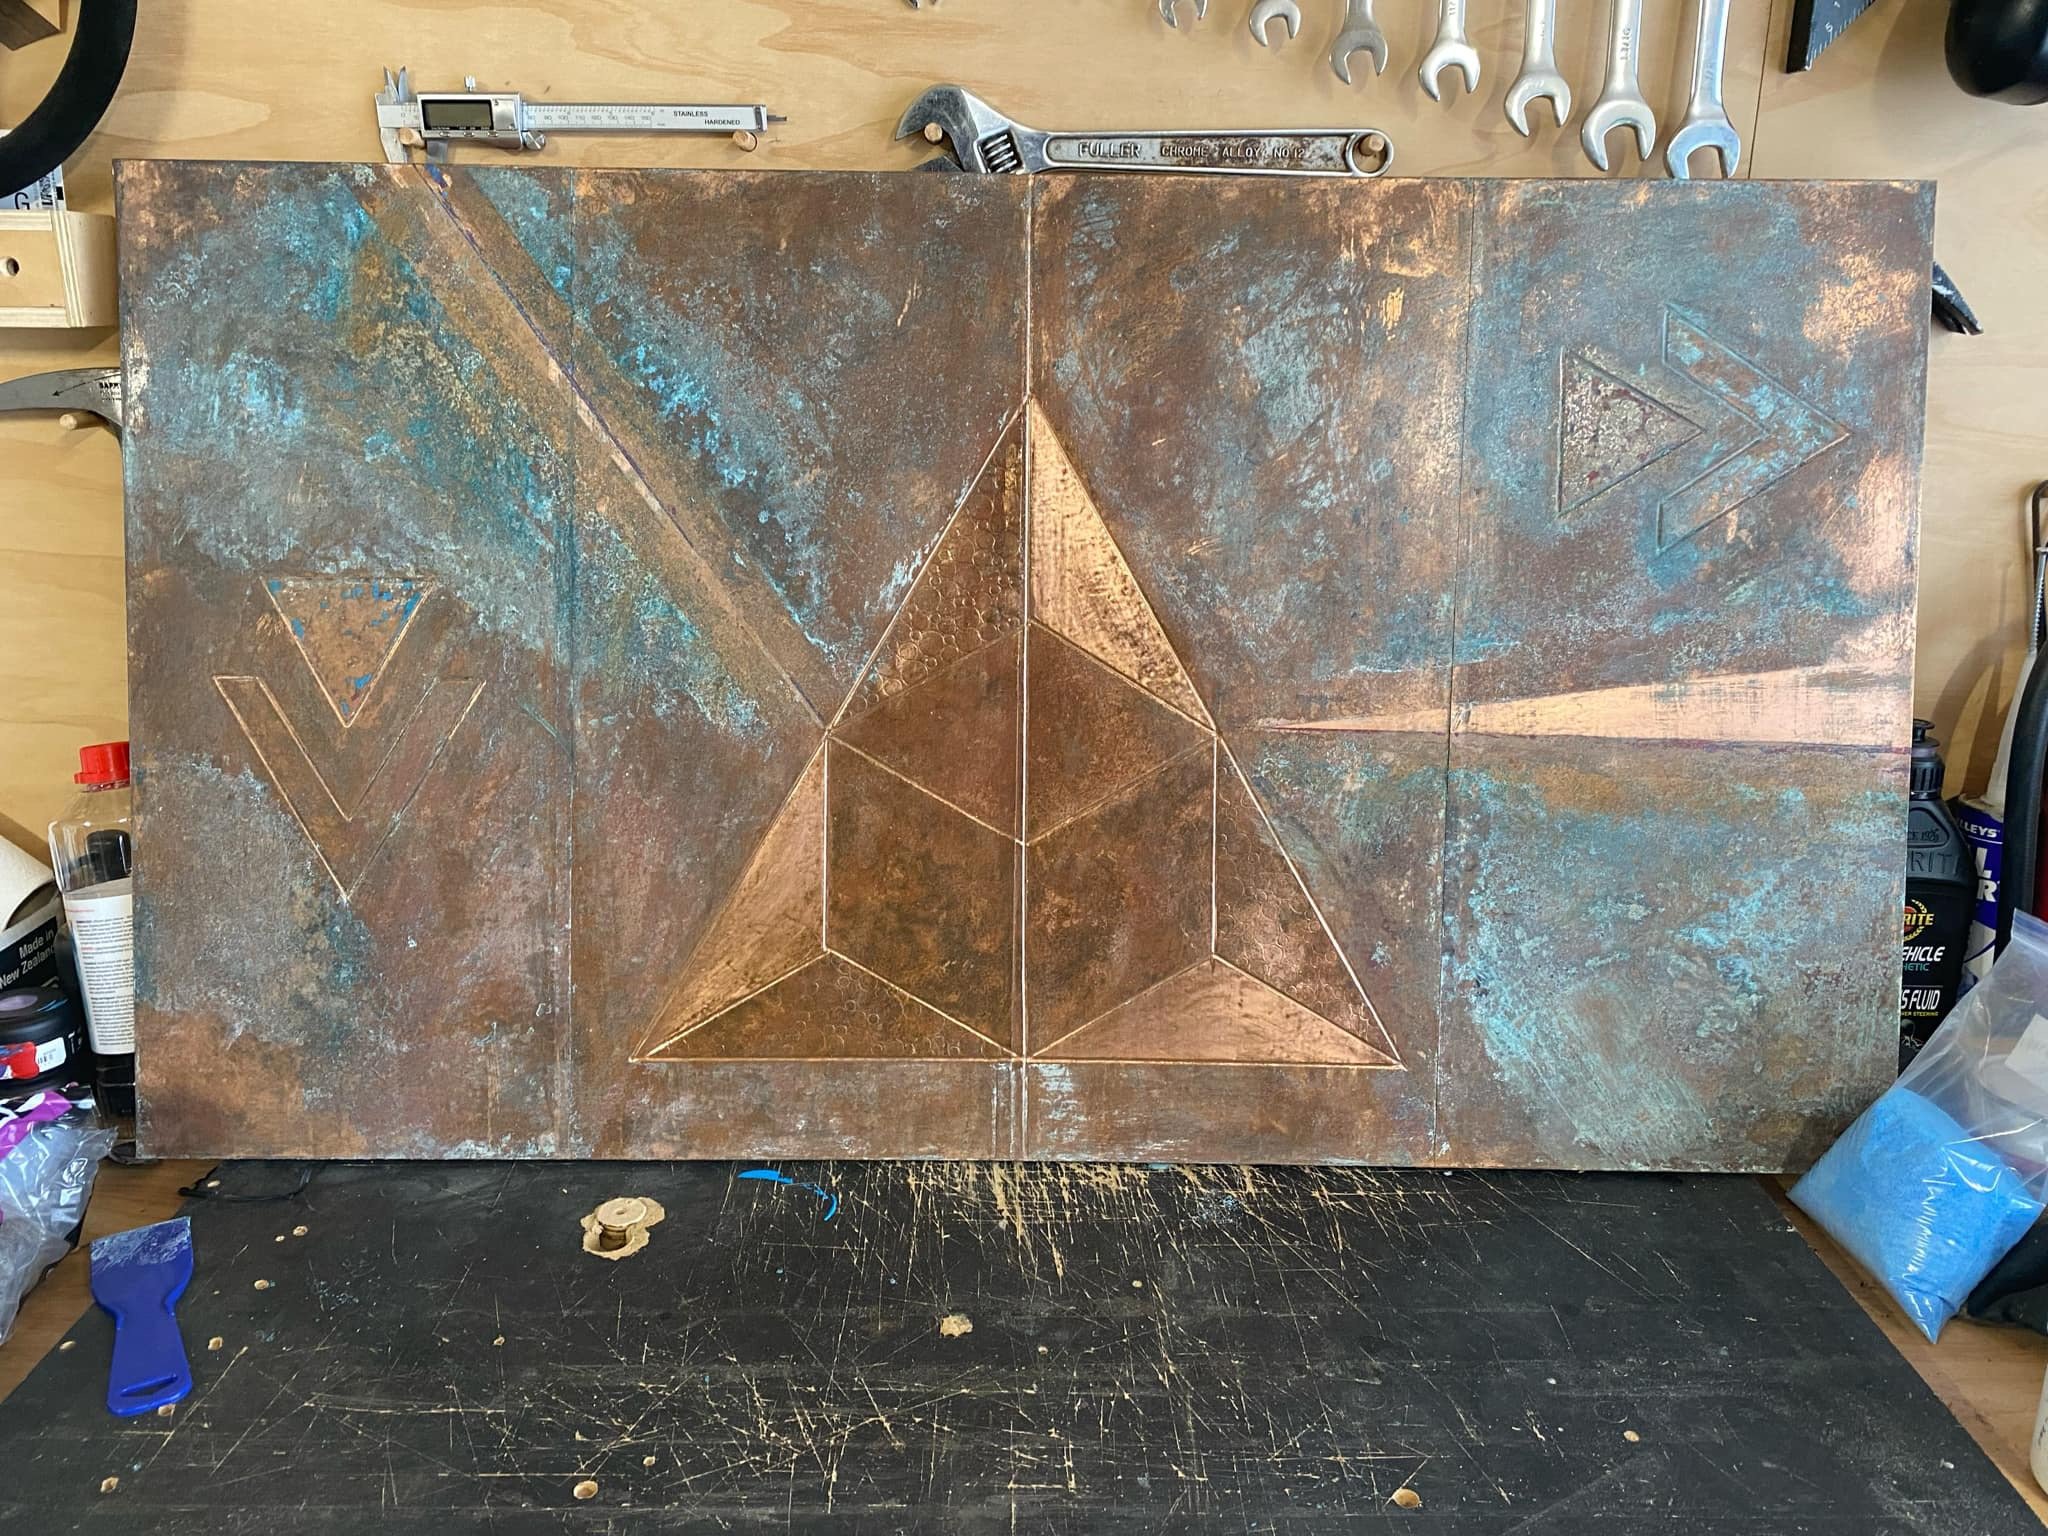
I’ve been experimenting with copper artwork things, same friend who does the veneer patterns showed me some tricks. Pattern router cut into a piece of mdf, copper shim rolled on and then pressed into the grooves. Then discoloured the copper with various chemical reactions. Finished with shellac to seal them up. Went ok for a first go even though I fucked up some of the joins in the copper. Made another one, I’m a fan of geometric stuff so dug the compass out of the pencil case and drew this up. Discoloured this one a bit more, then added some paint and did a final chemical application, sanded and sealed with shellac again. Paid to get it framed, quite happy with it. Up close the colour is more obvious
-
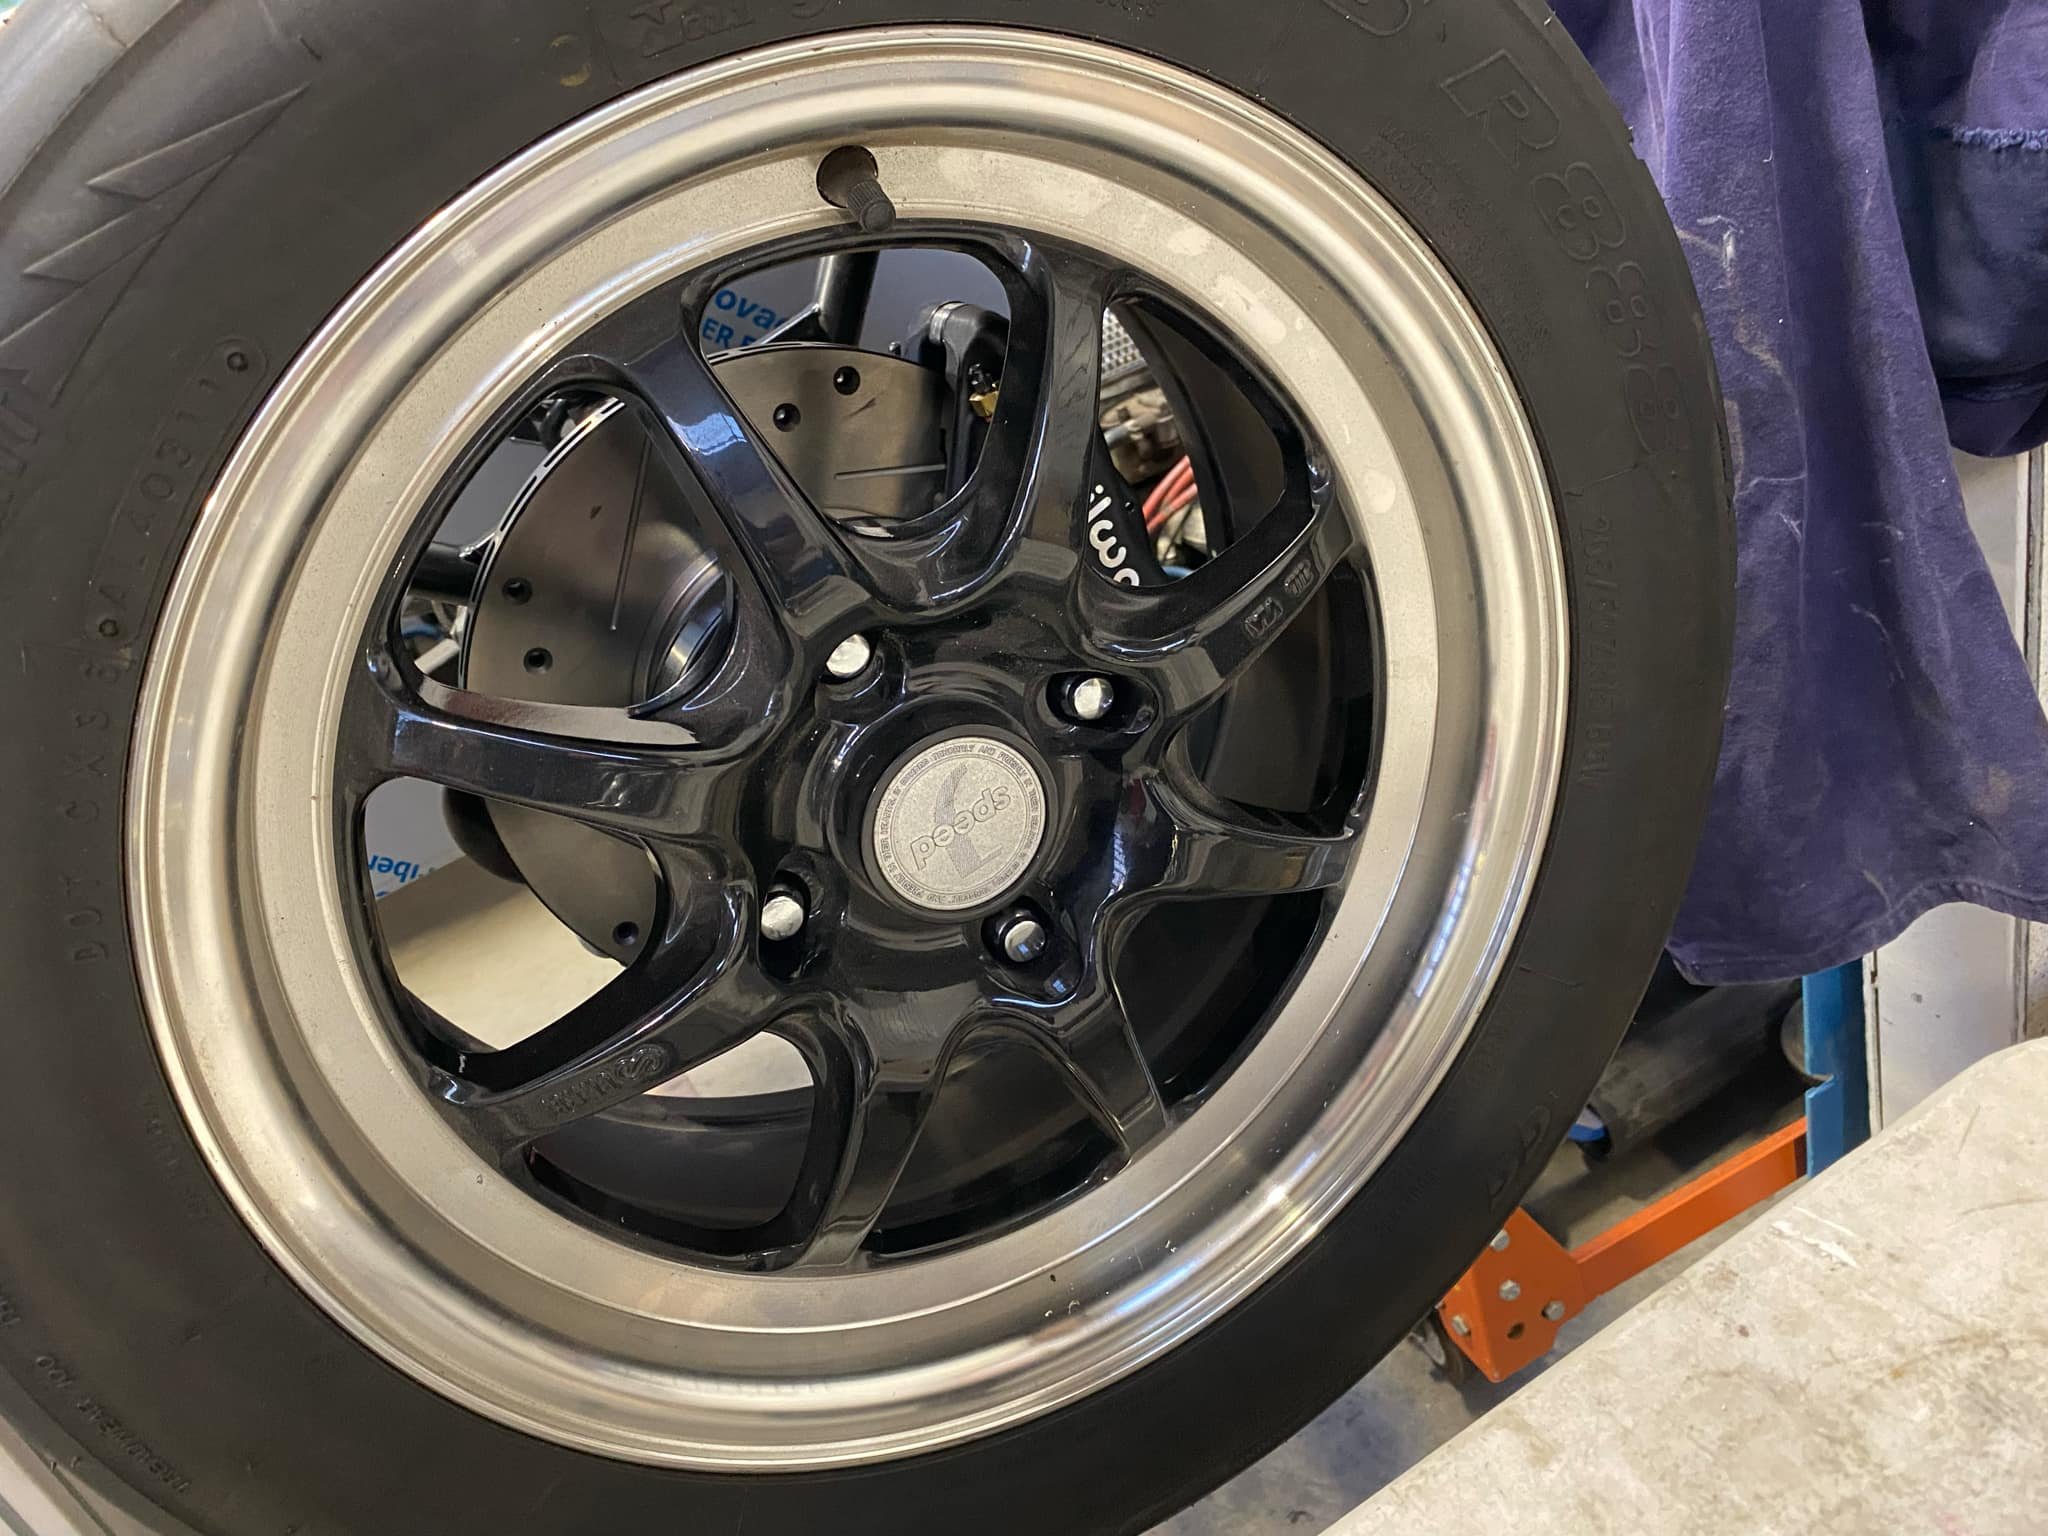
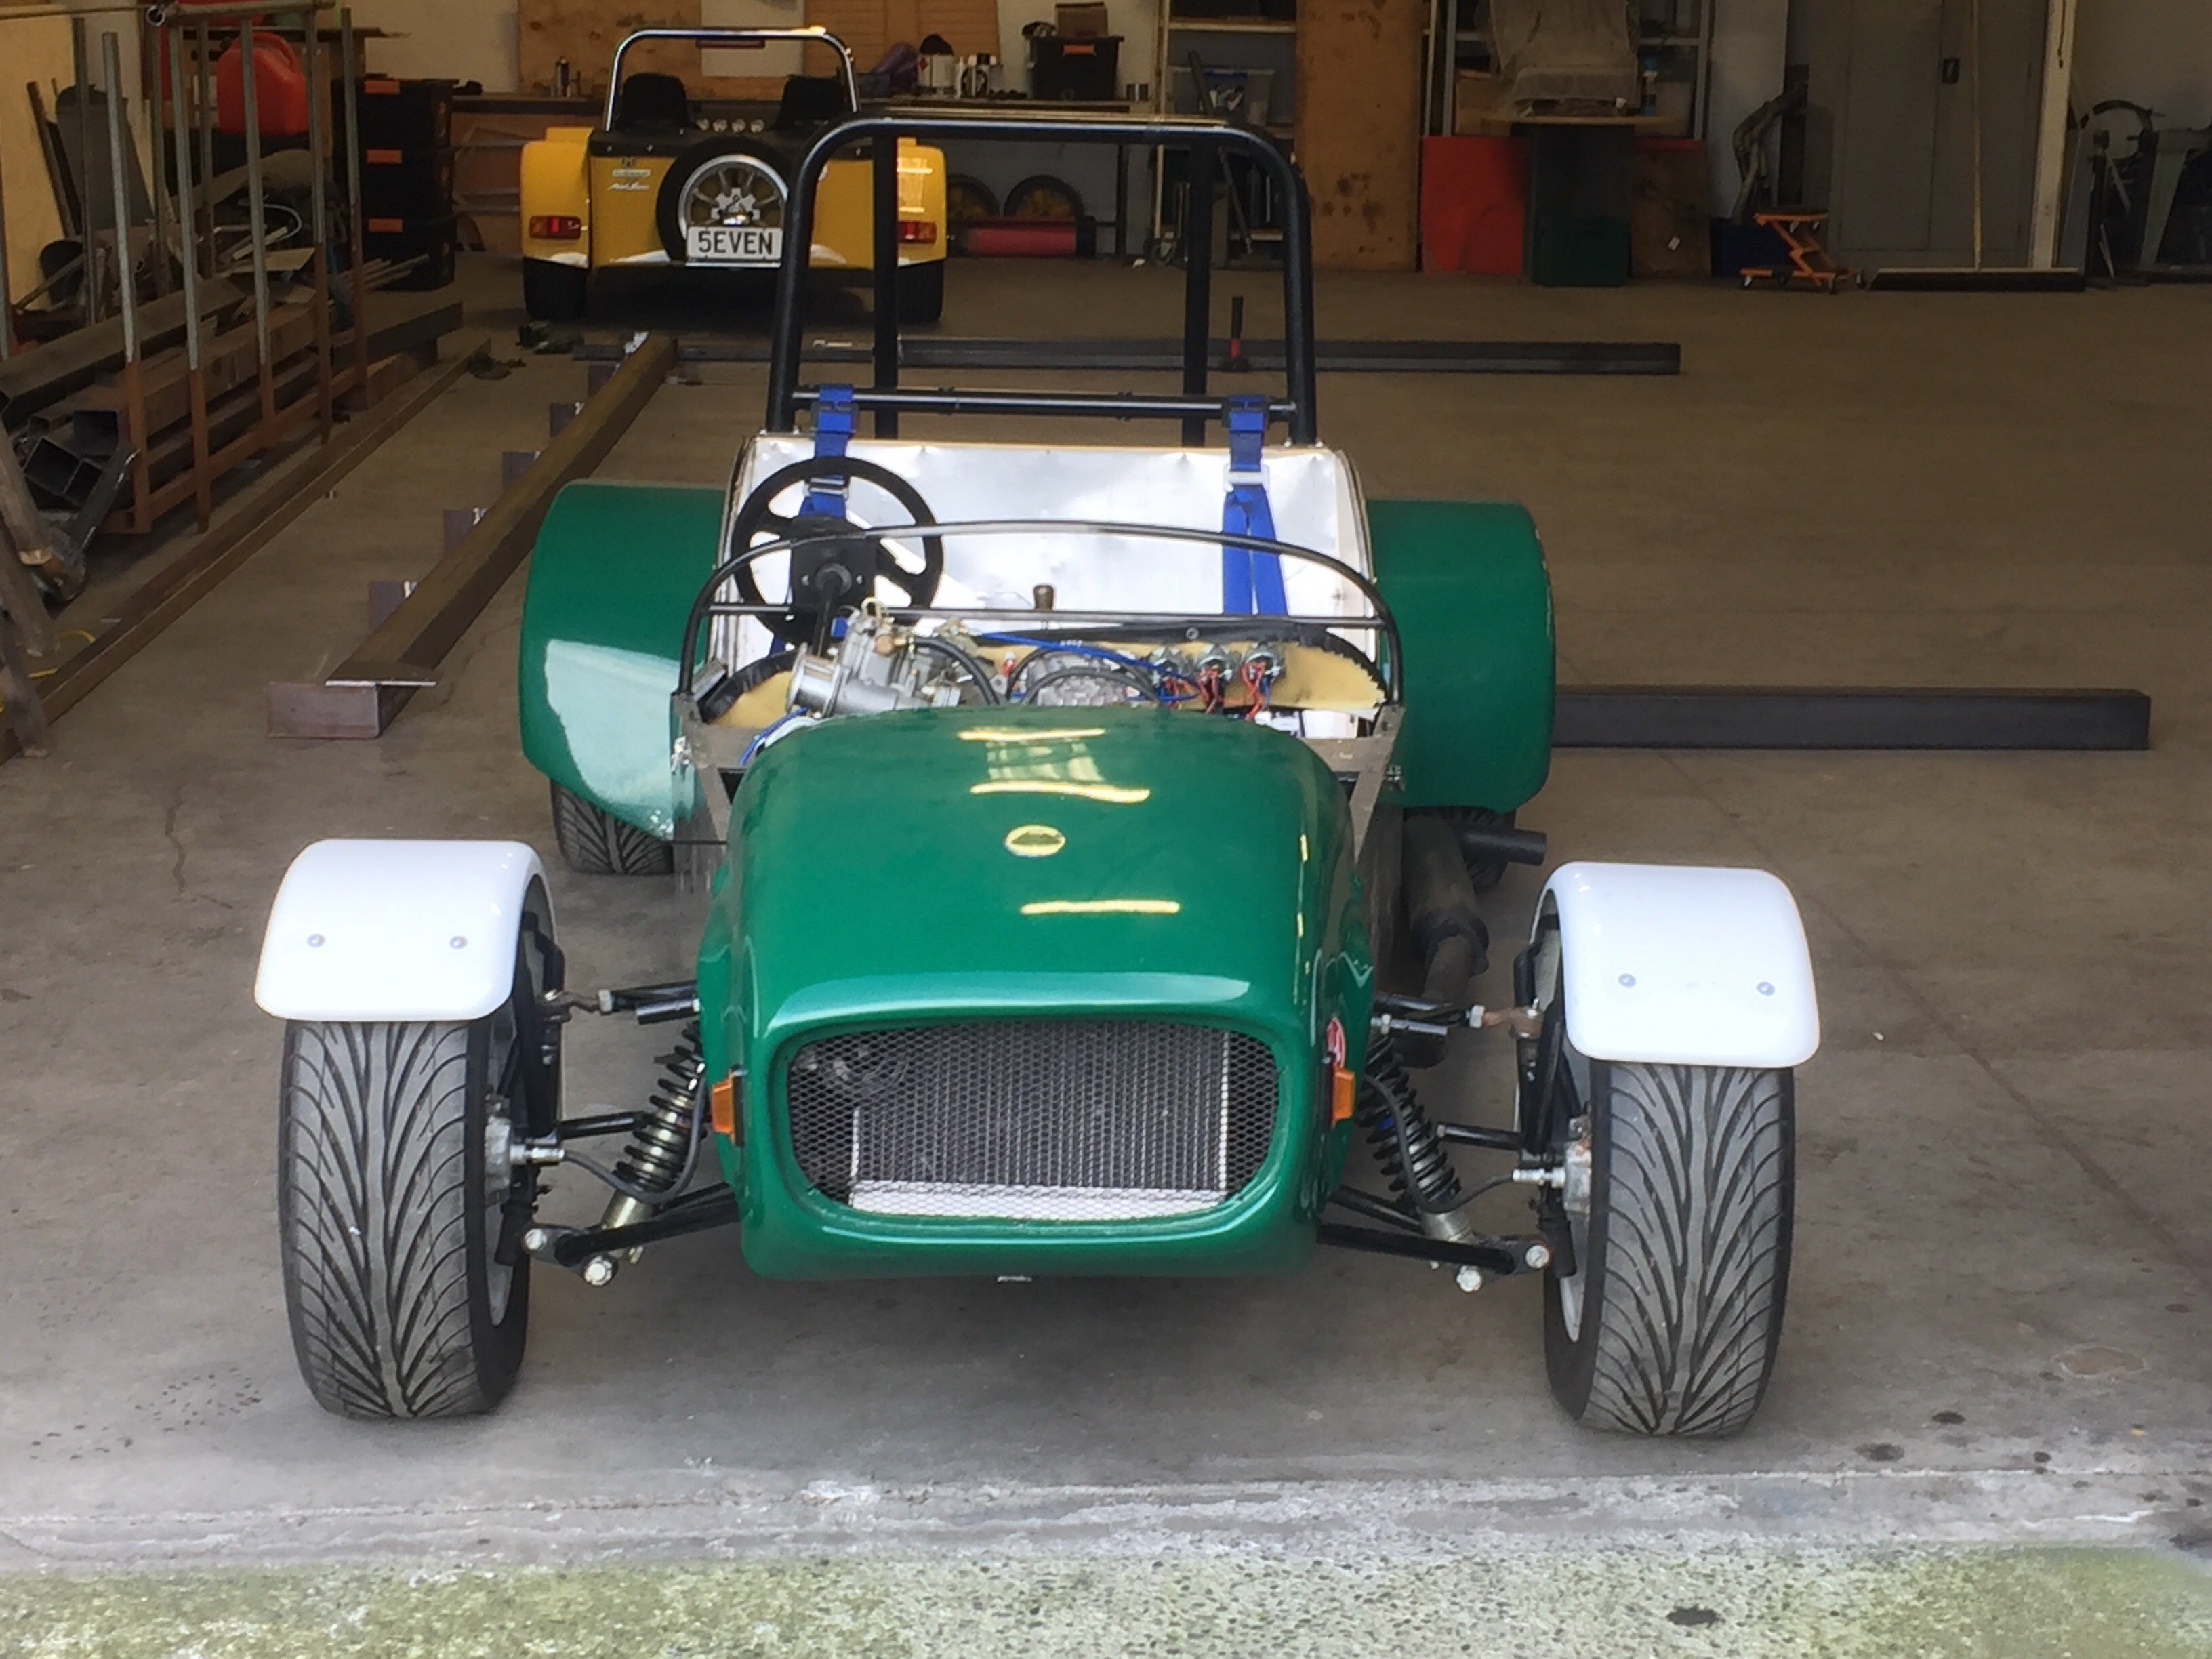
Yearly update, but things are progressing well. I’ve had this thing for 14 years now and while I’m proud I got it running in its old guise, I’m really excited to see it become the car I always wanted it to be. Since the last update it’s had: - Diff drain/fill and breather repaired - Extractors - Moved to 15 inch wheels, looks pretty stout- enkei j speed with R888 tyres - New body panels, scuttle, bonnet Nearly time for paint, I’m thinking Honda championship white. Anyway, pics
- 48 replies
-
- 21
-
-
Random slightly cool stuff you built but not worth its own thread, thread
HKM400 replied to h4nd's topic in Other Projects
Thanks! Yeah takes awhile to cut each piece but it’s not too bad. I looked at a lot of snake/cat eye photos and sometimes it appears like the pupil isn’t centered in the iris, so tried to replicate that -
Random slightly cool stuff you built but not worth its own thread, thread
HKM400 replied to h4nd's topic in Other Projects
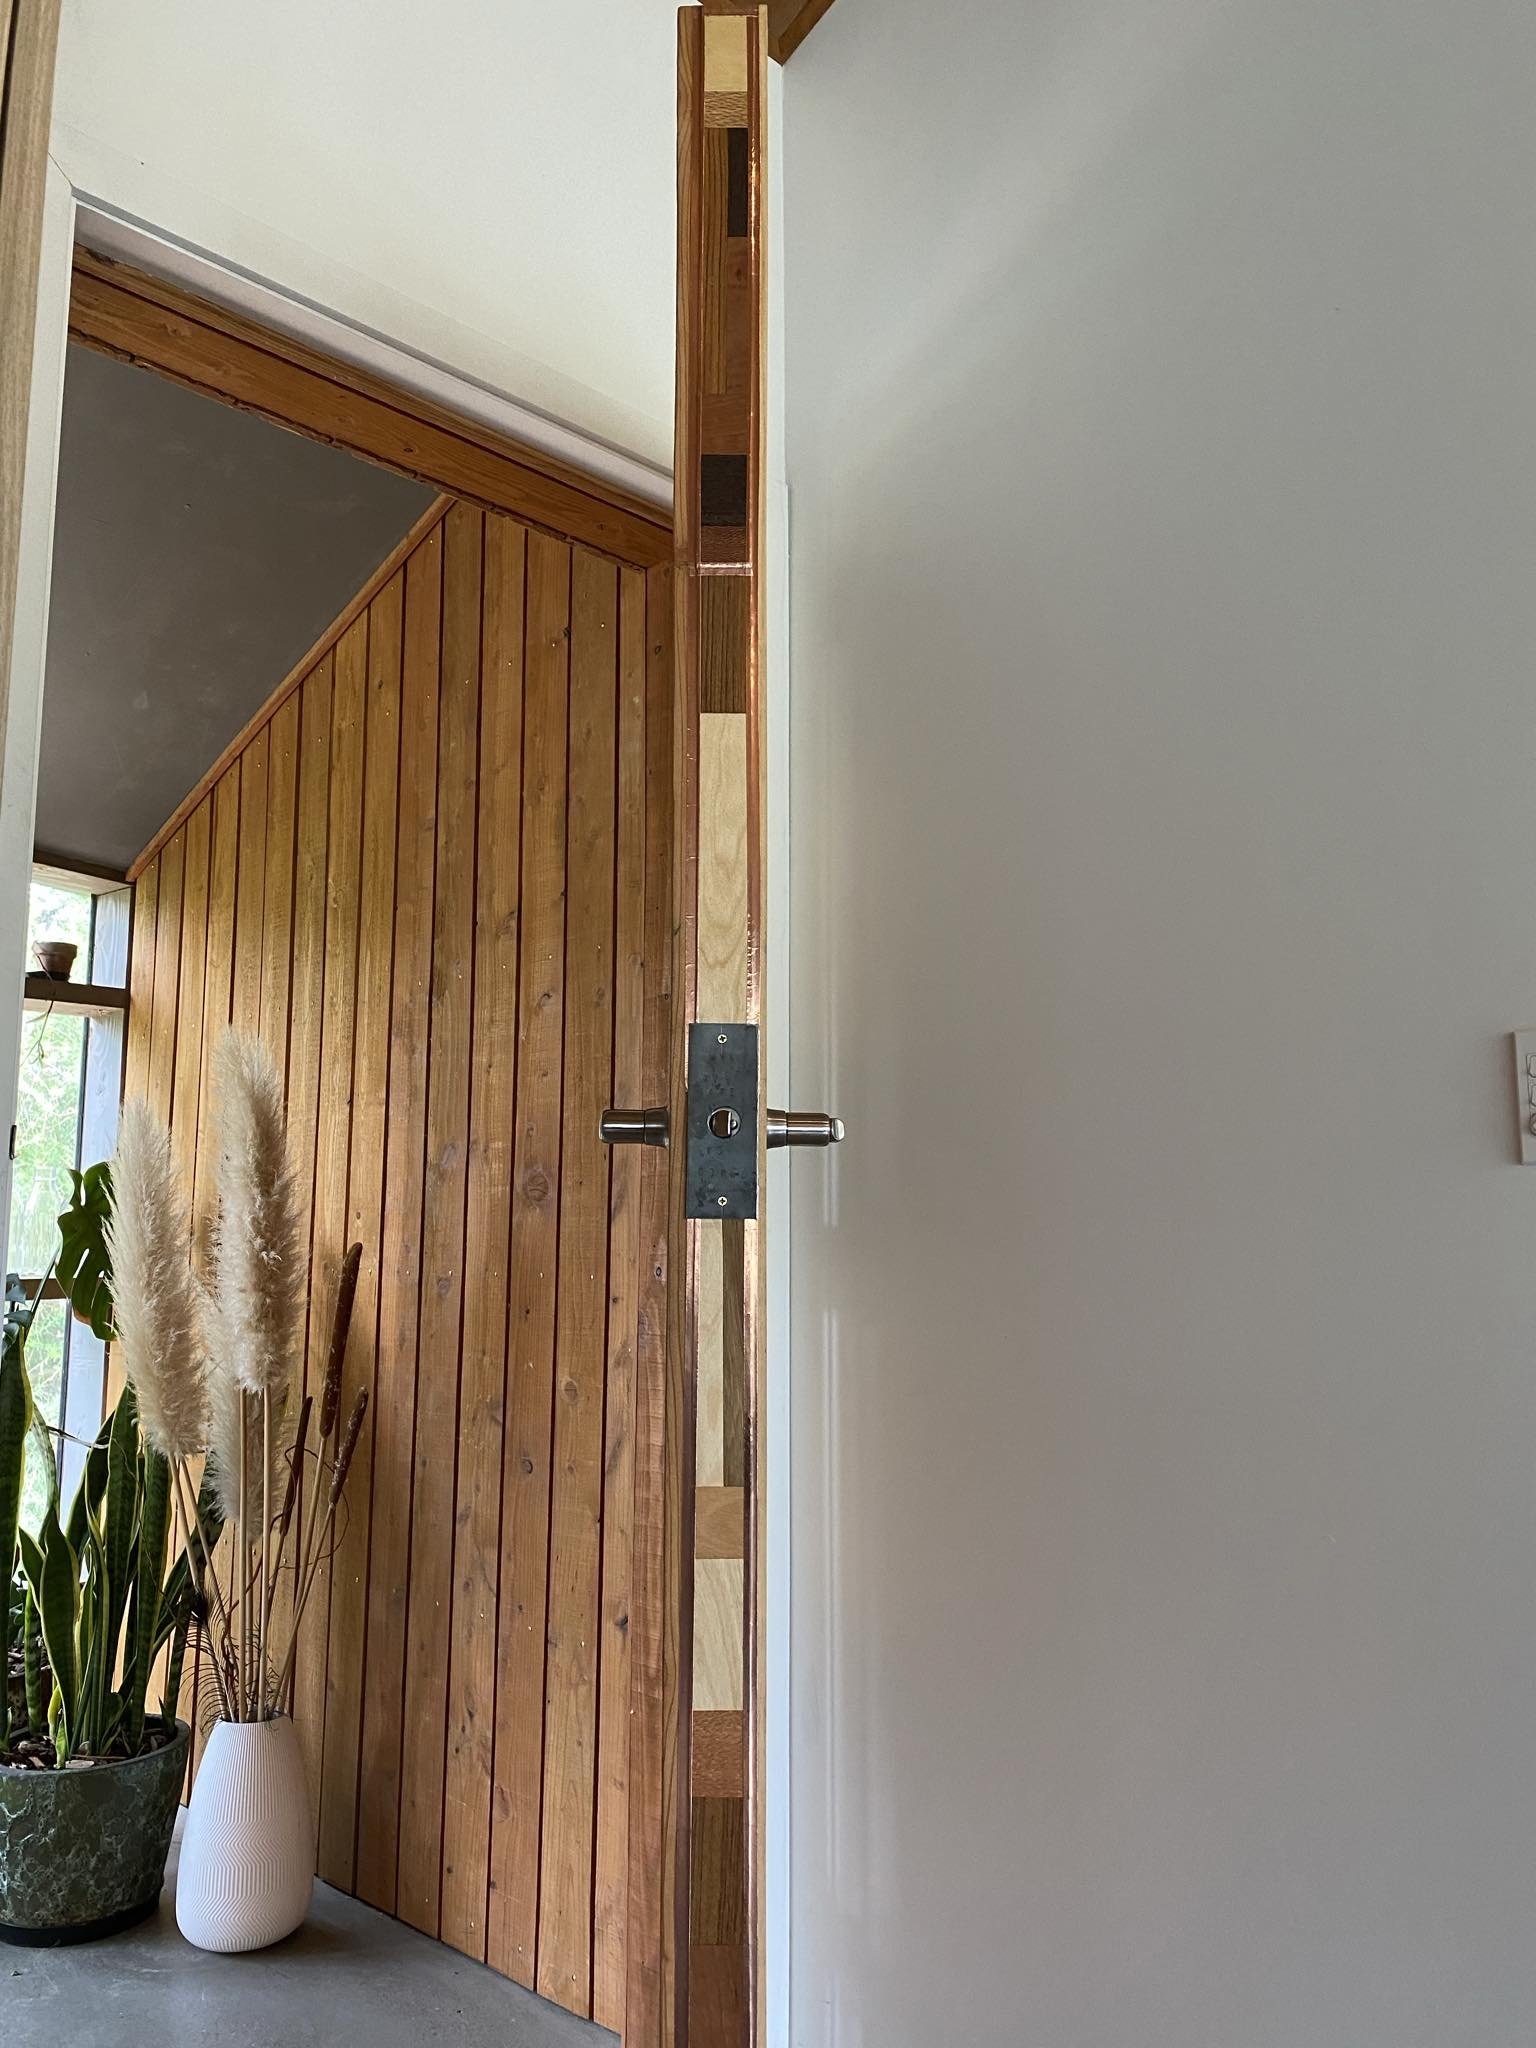
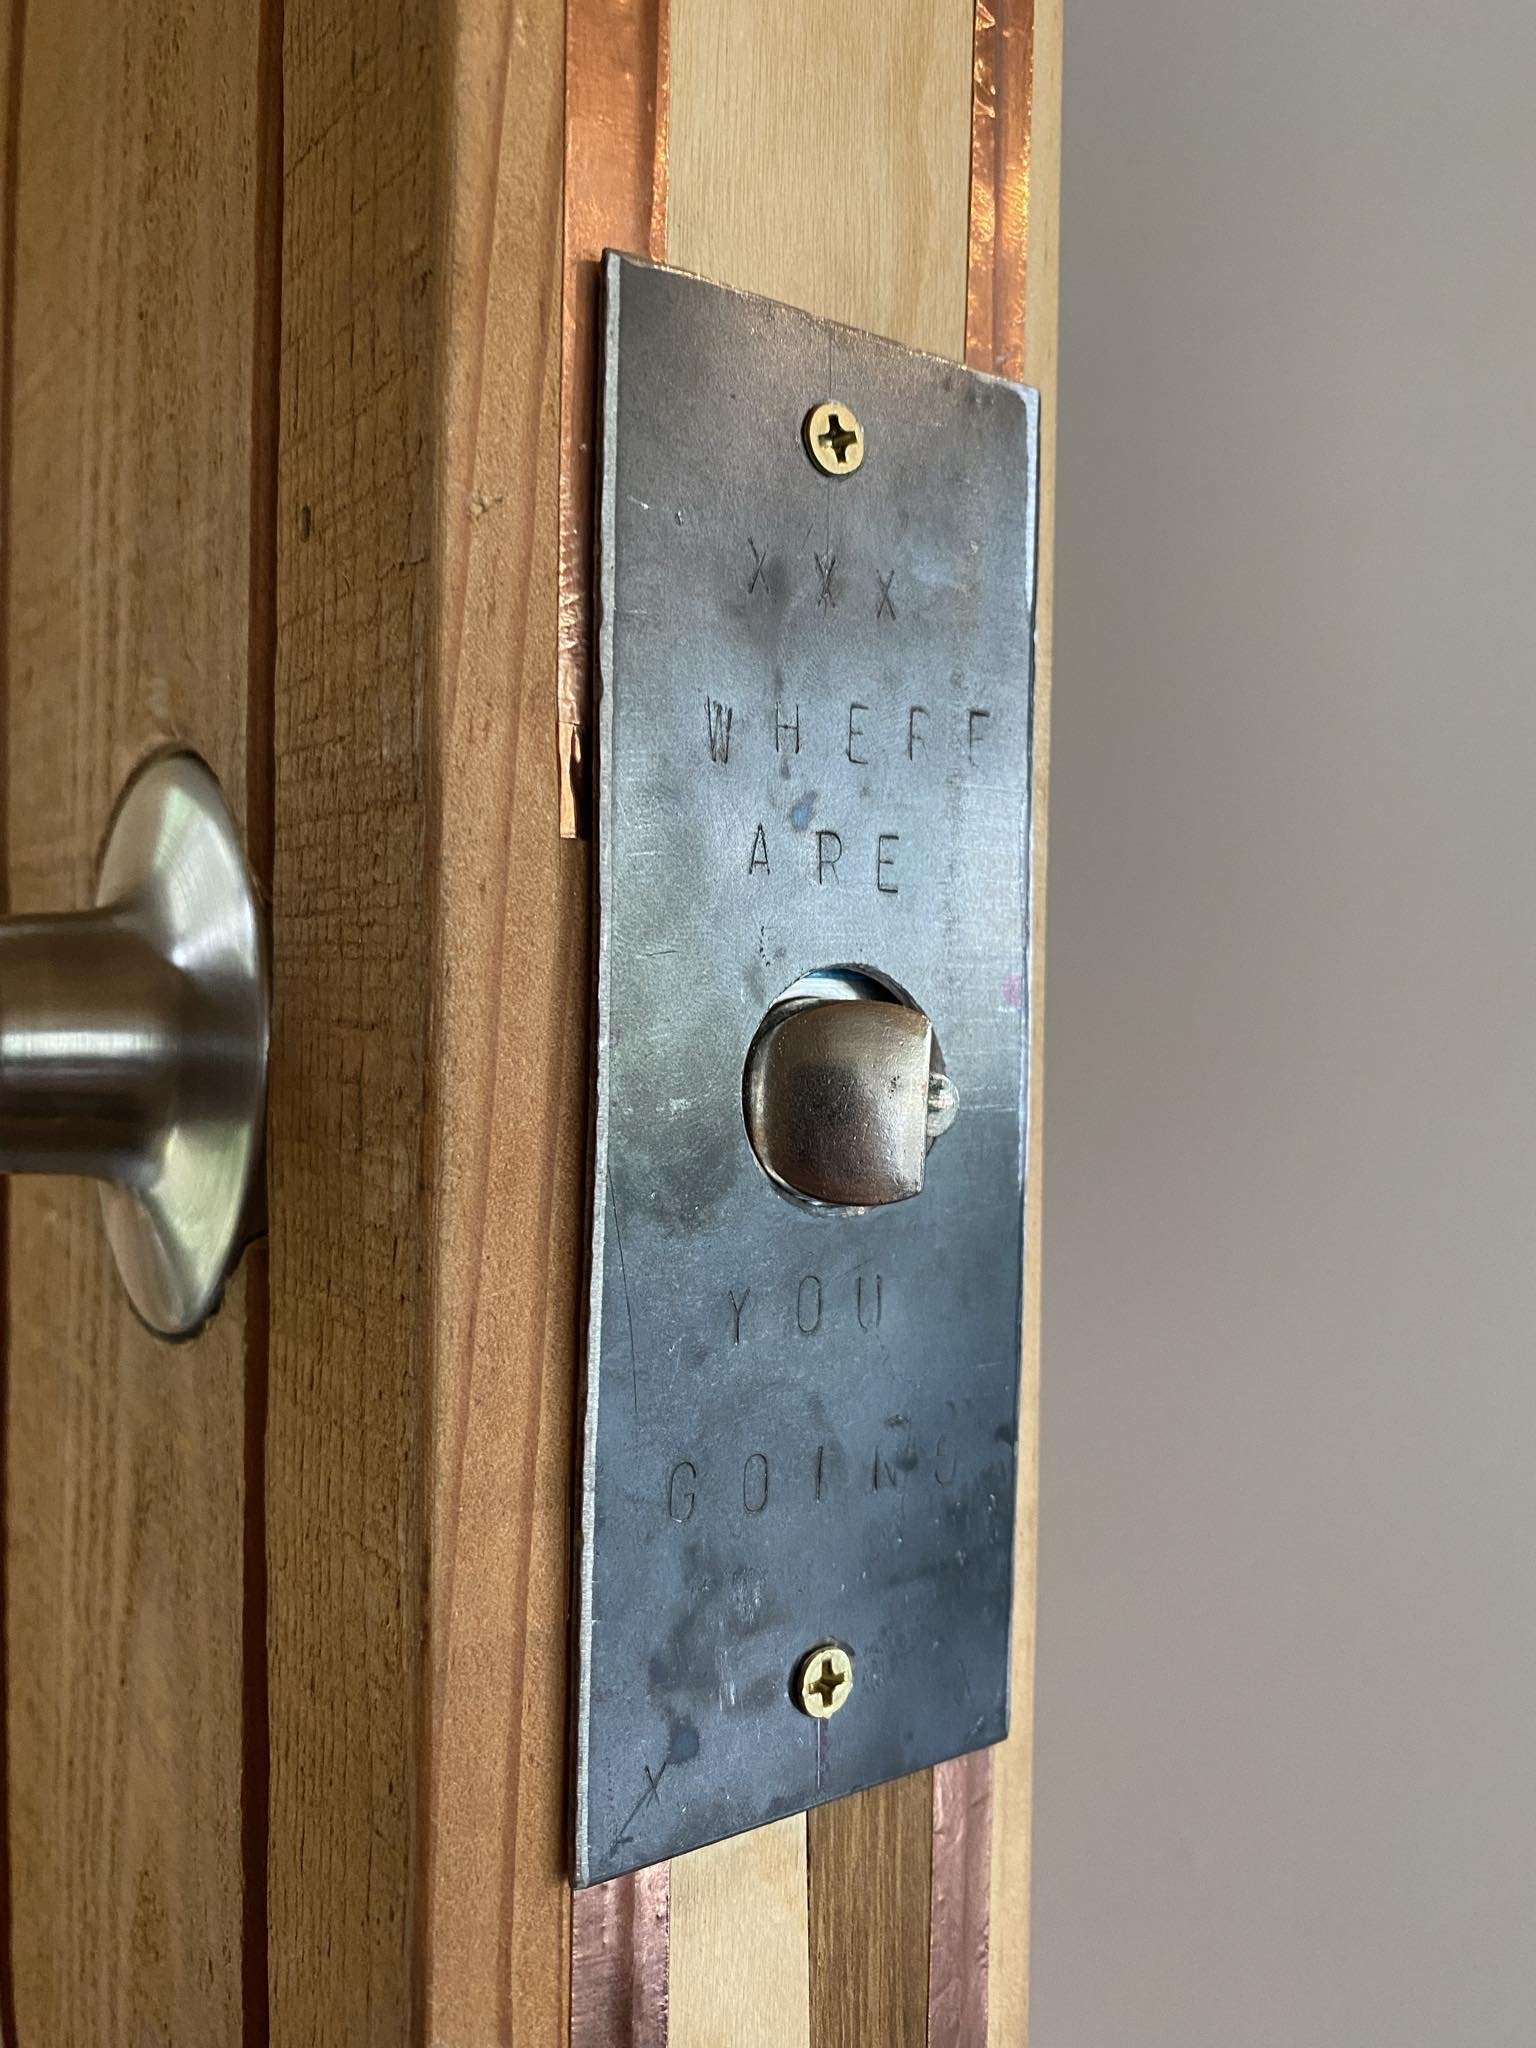
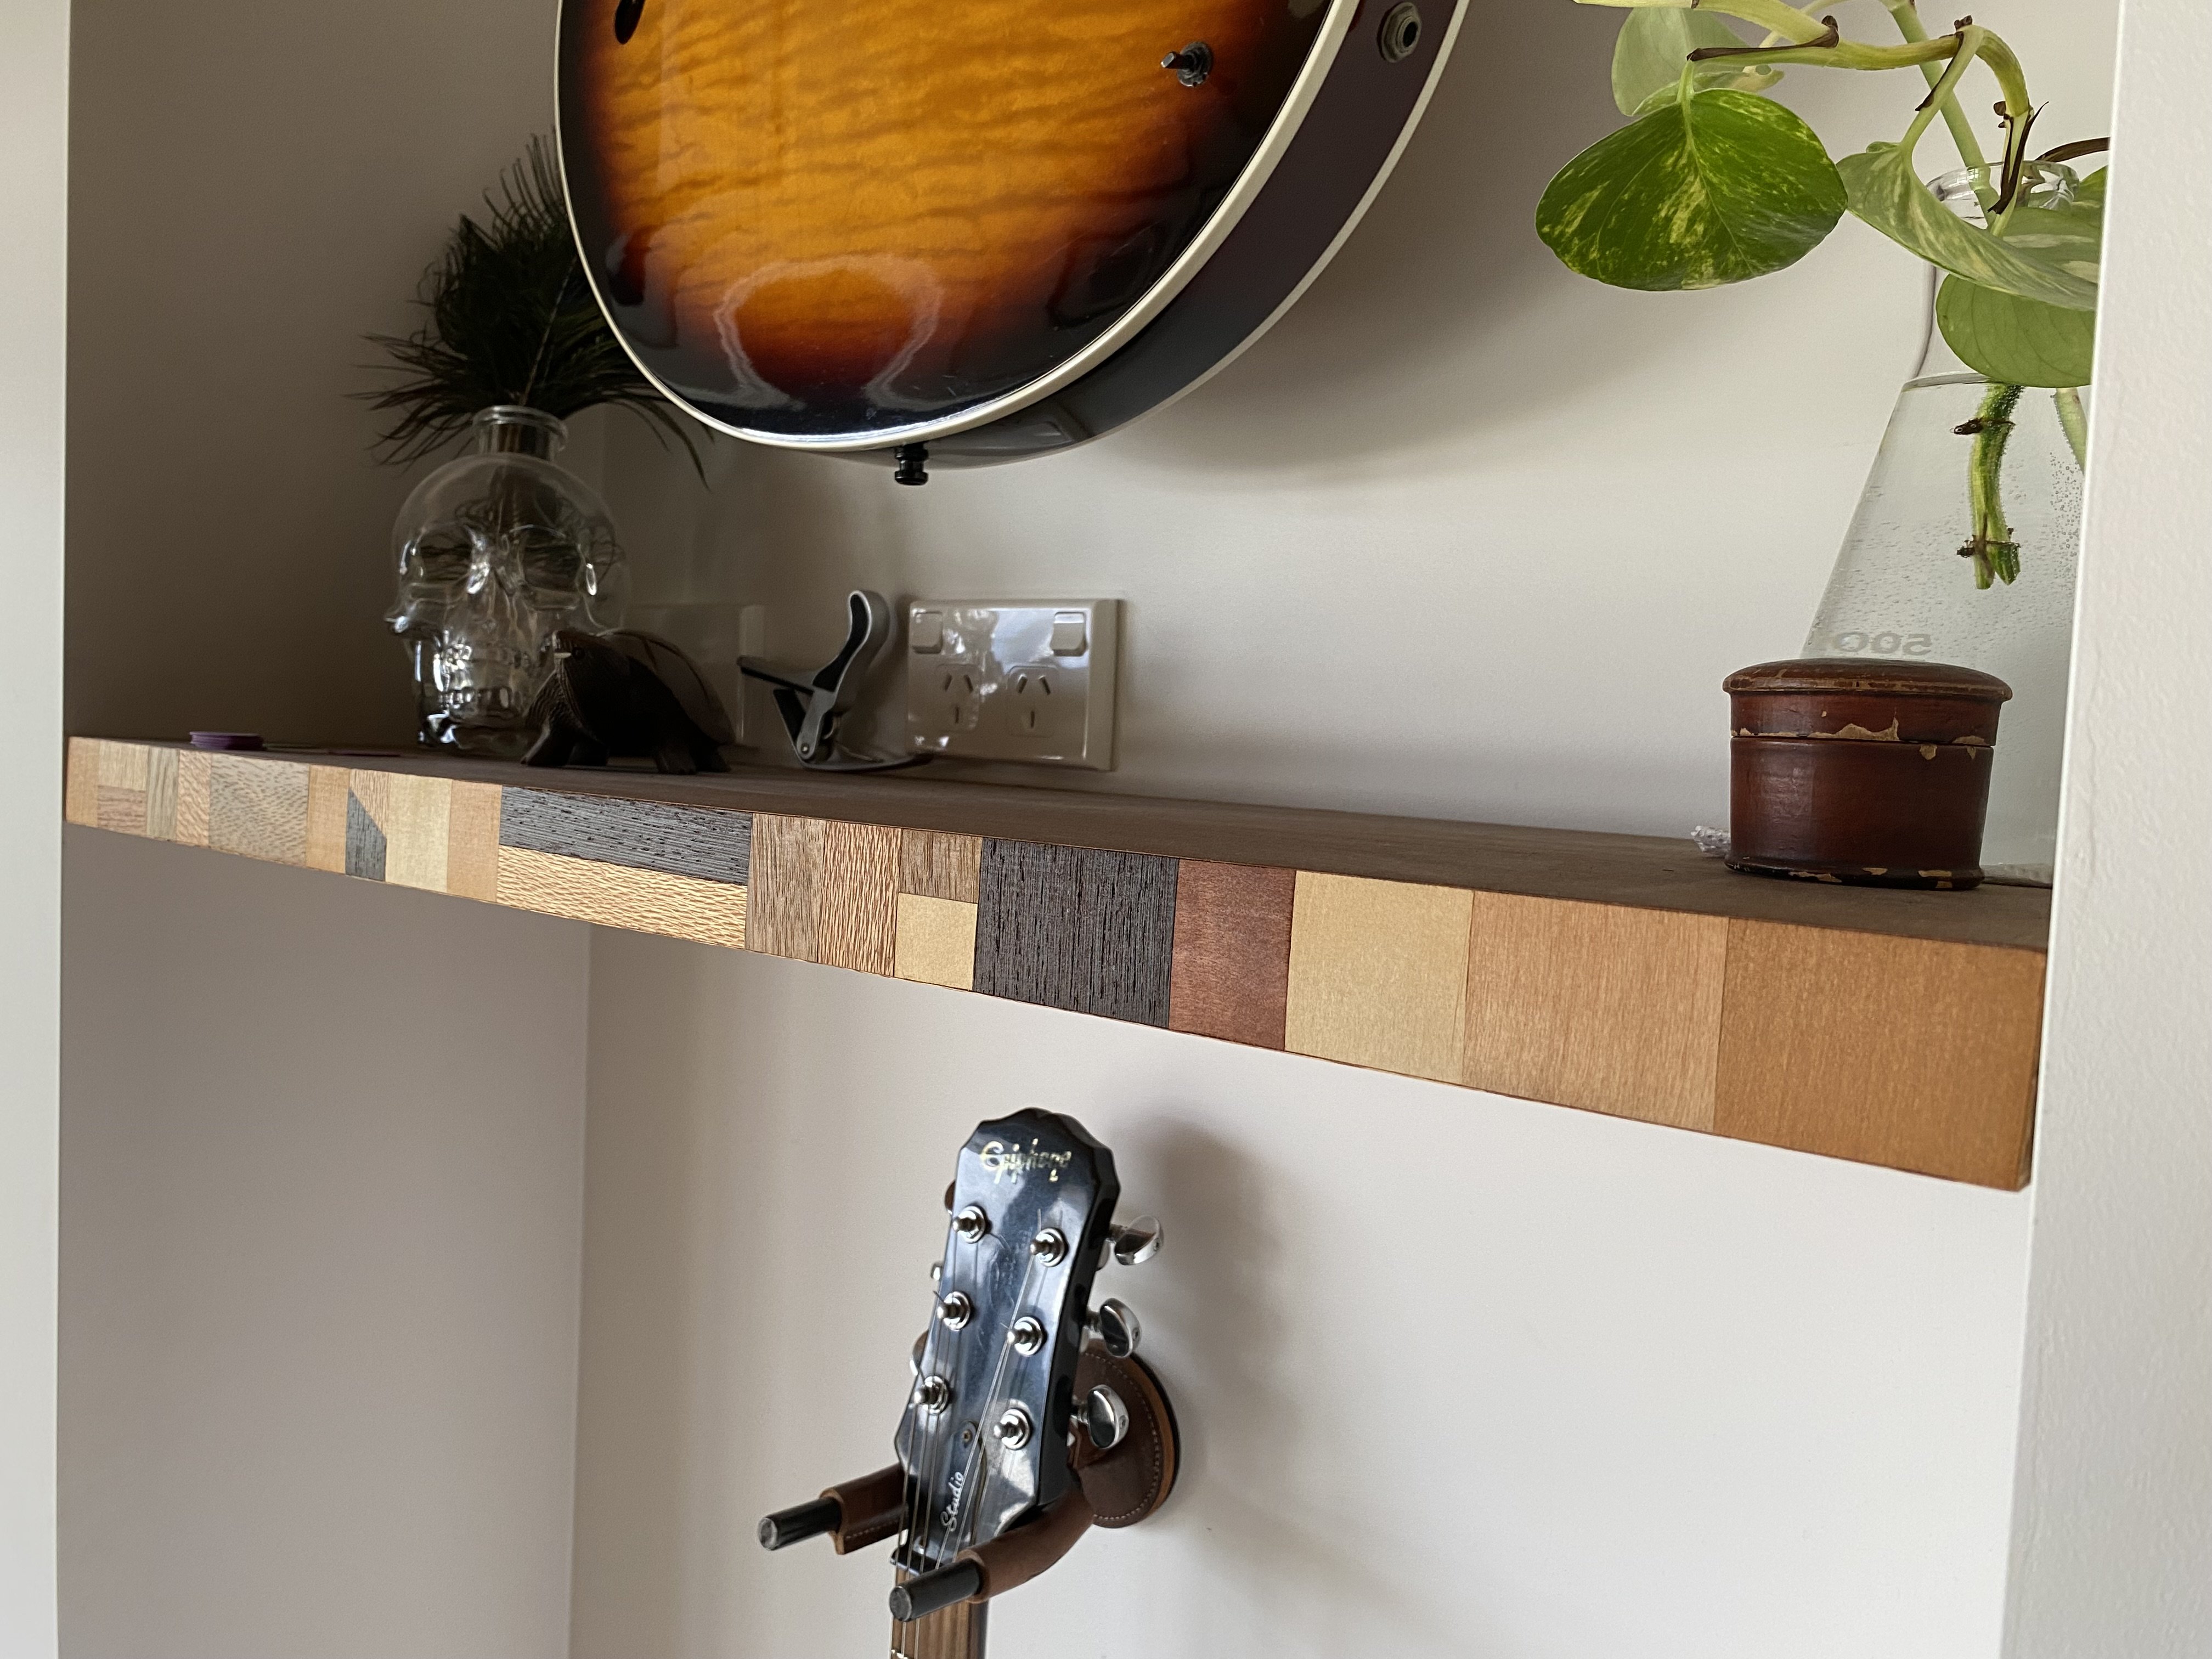
Few more recent veneer projects, I sanded and re oiled the door and made a pattern for the edge, as it annoyed me being plain when the door is open. Bit of copper tape to tidy up the edges. Because the door hardware needed to be adapted to fit with the larch cladding, the latch area was a bit ugly so I made a cover for it out of plate, complete with creepy stamp text Made a floating shelf out of 2 pieces of 18mm mdf glued together, then a patterned front edge/top and bottom. The purple piece is Totara, really beautiful when oiled. Tried out making some 3D cube designs, I wanted it to sort of look like a serpent eye, the pupil is made of ebony. I think I fucked with it too much and then cut the board down into a weird geometric shape, I wasn’t really happy with it initially but it’s growing on me. Enjoying learning more techniques and trying to get my joins neater
-
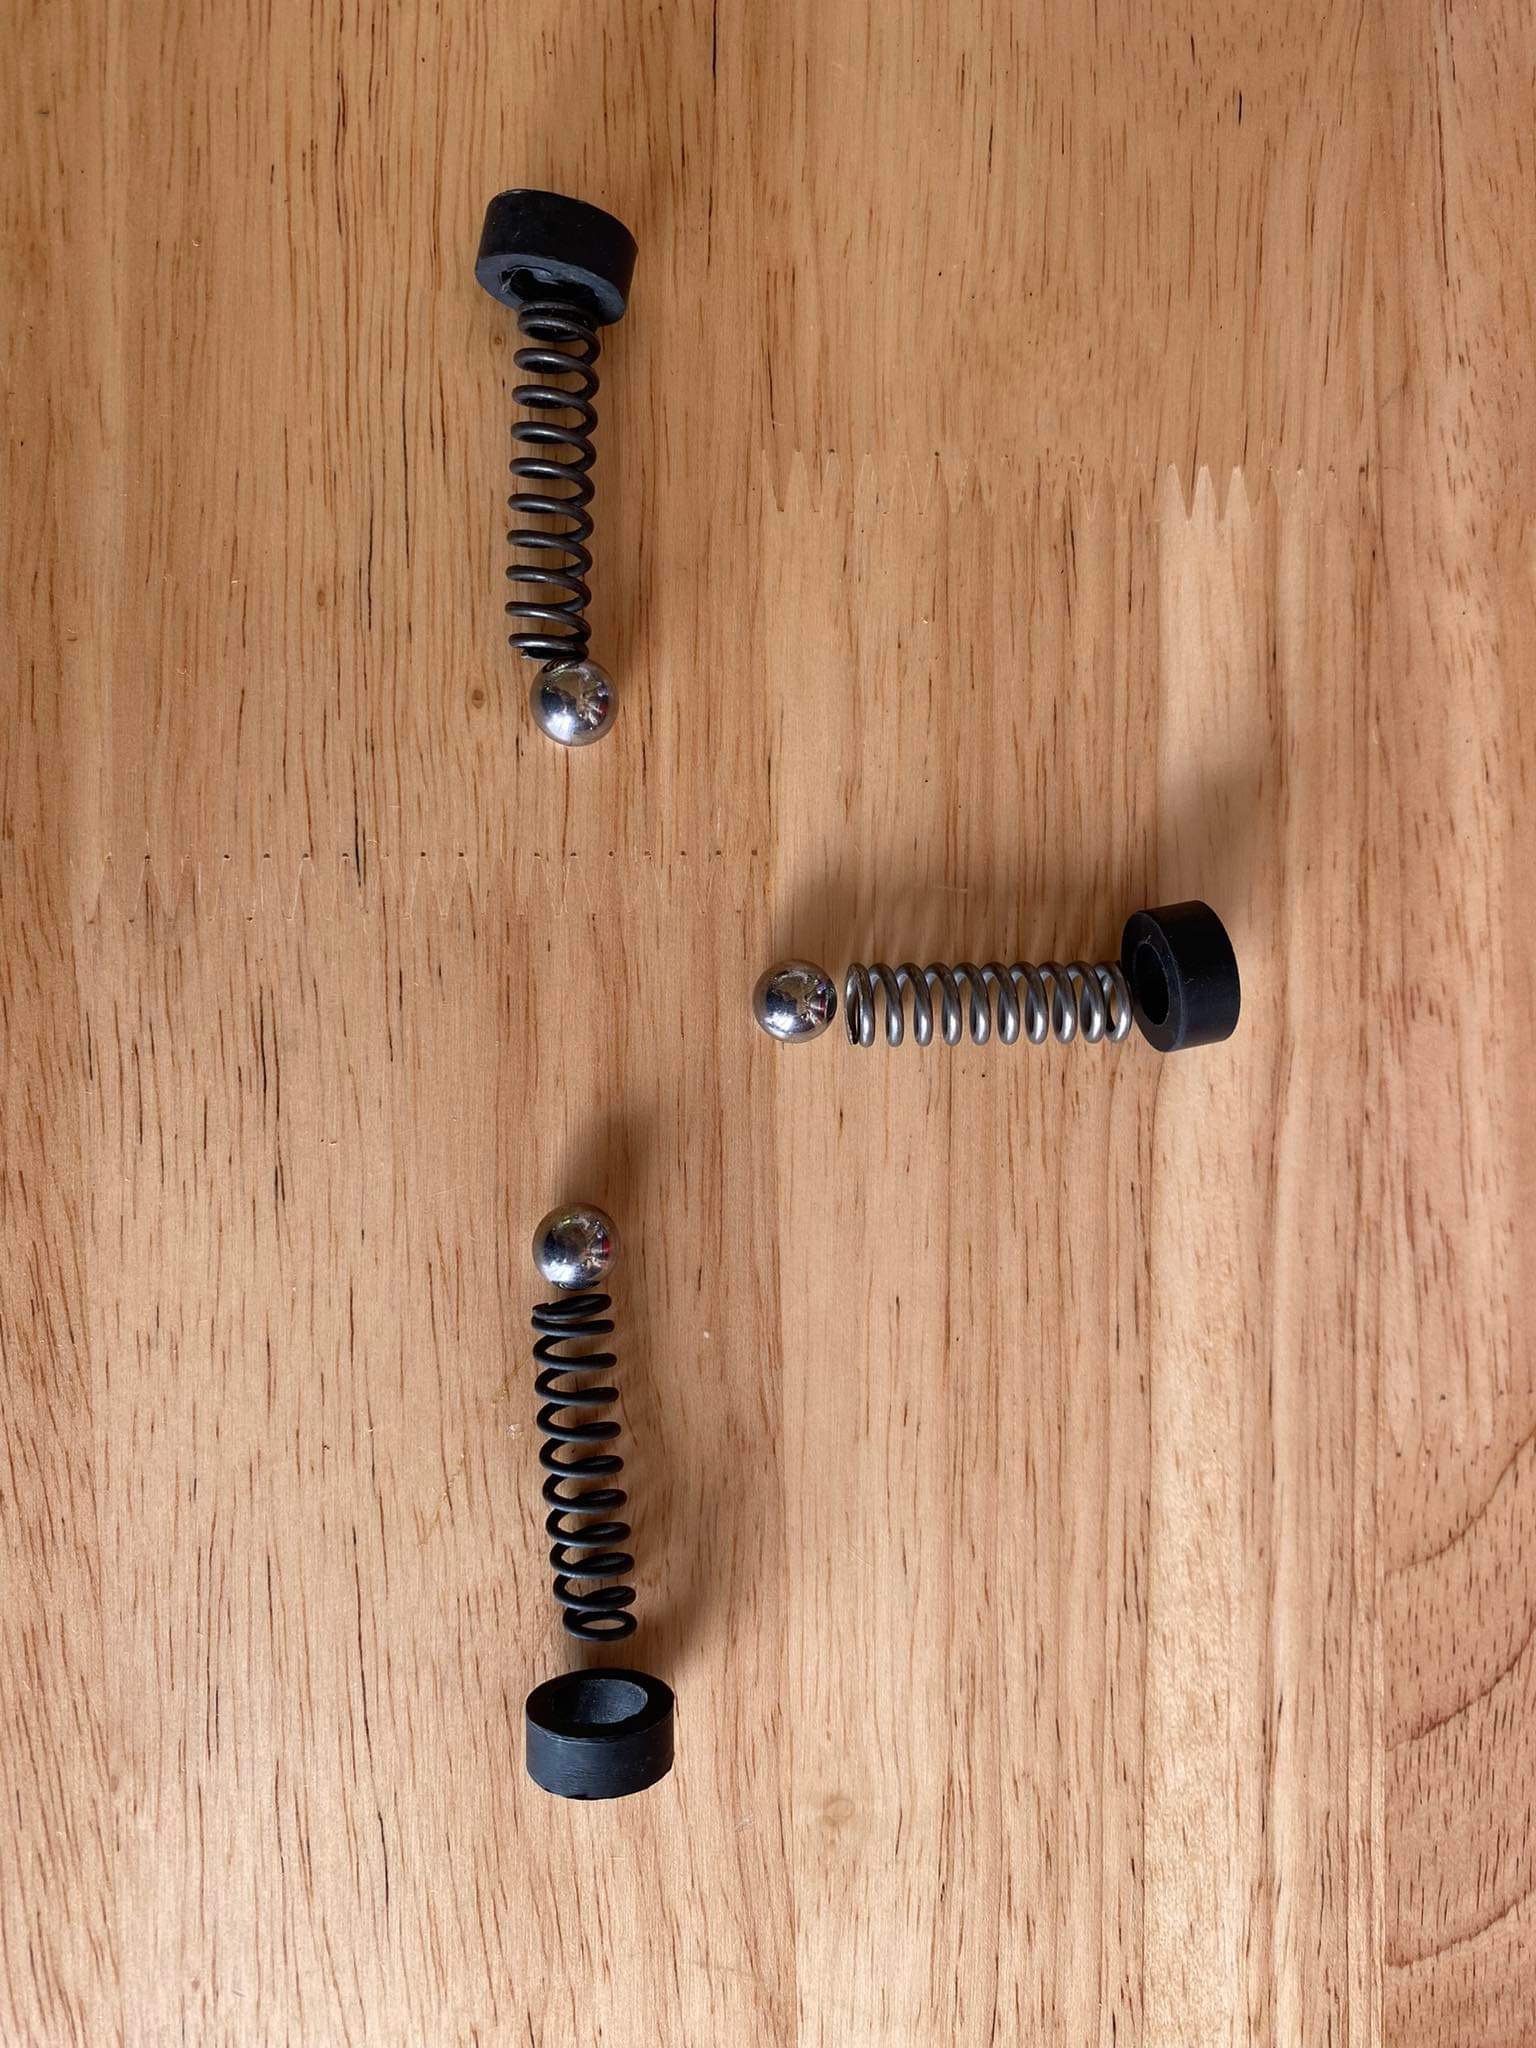
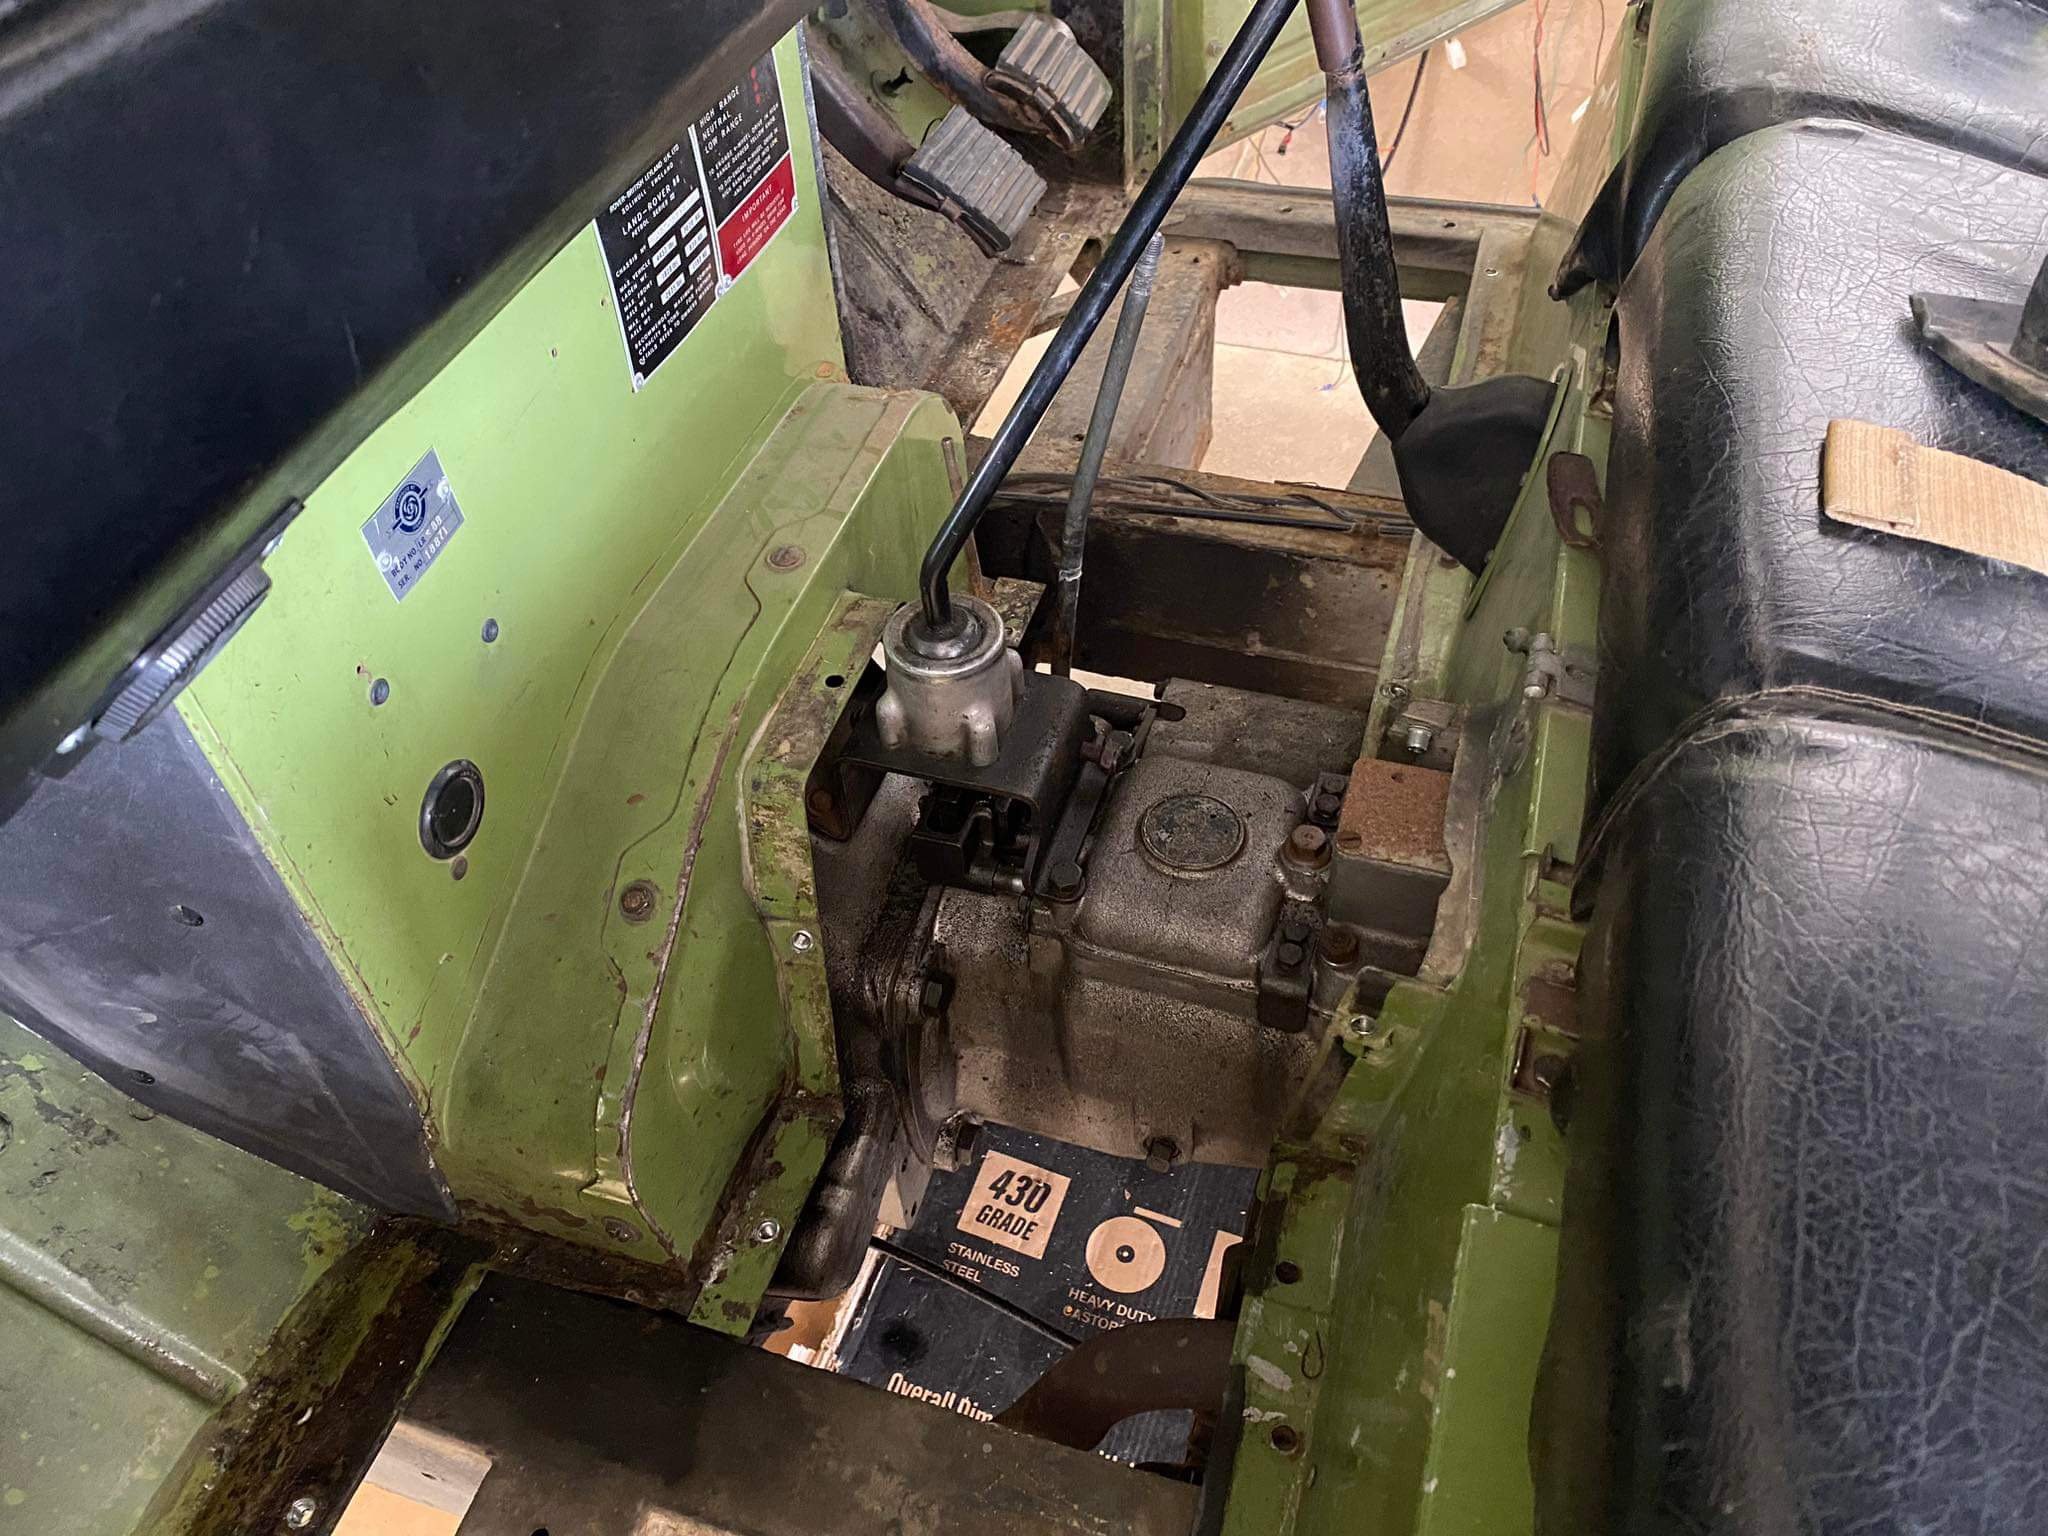
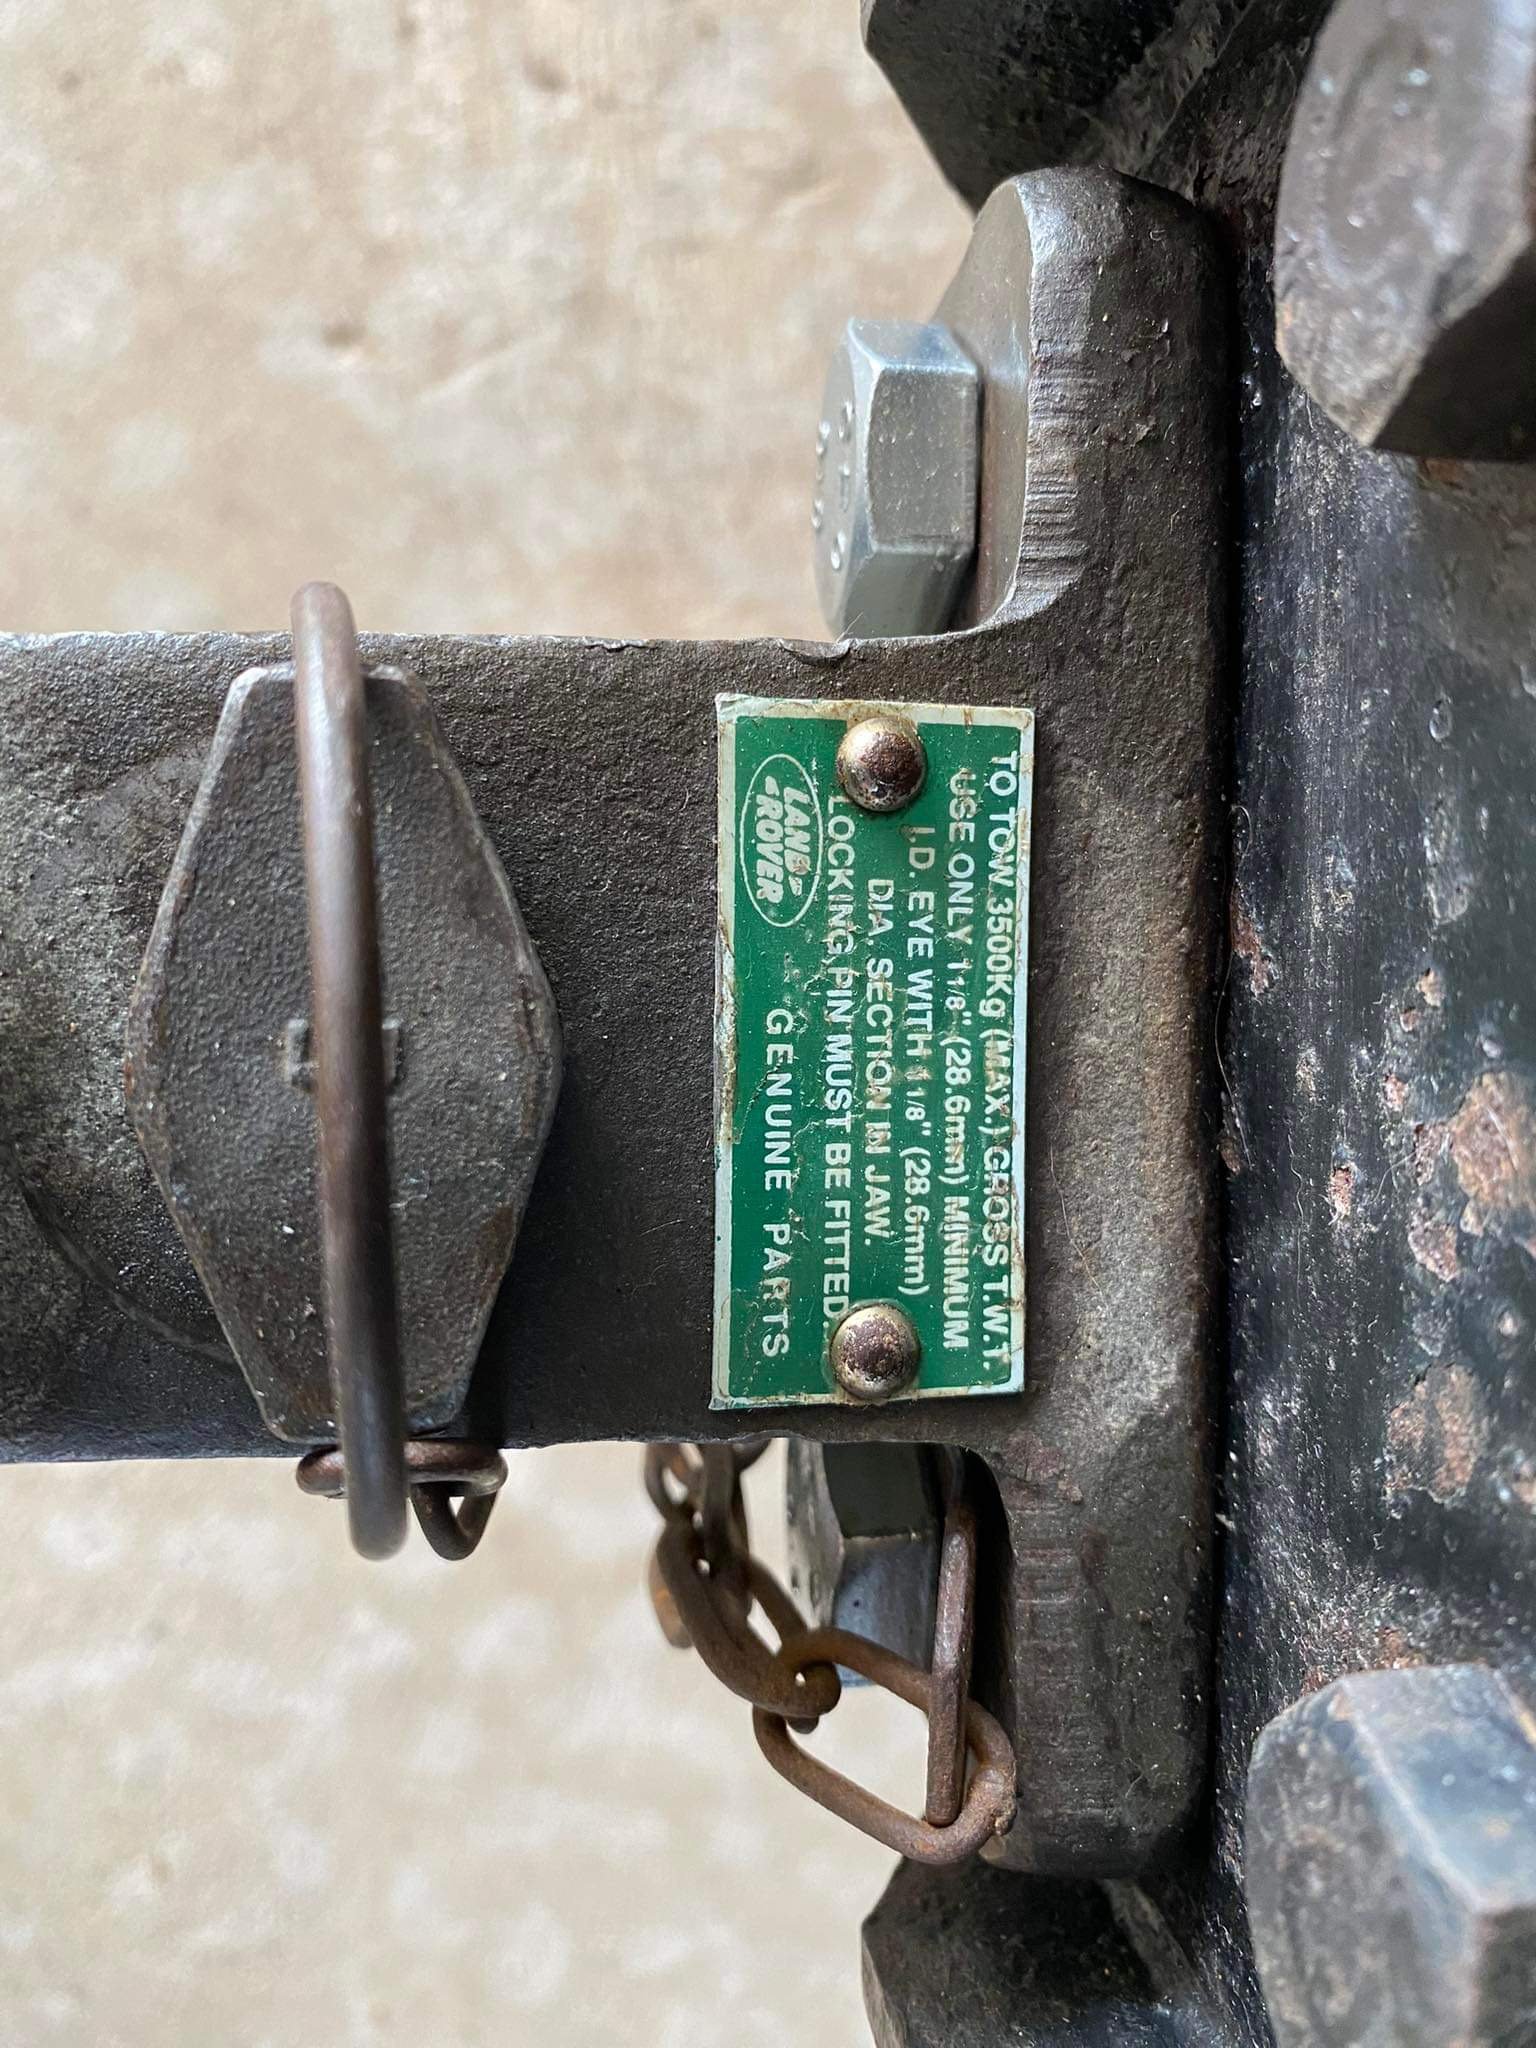
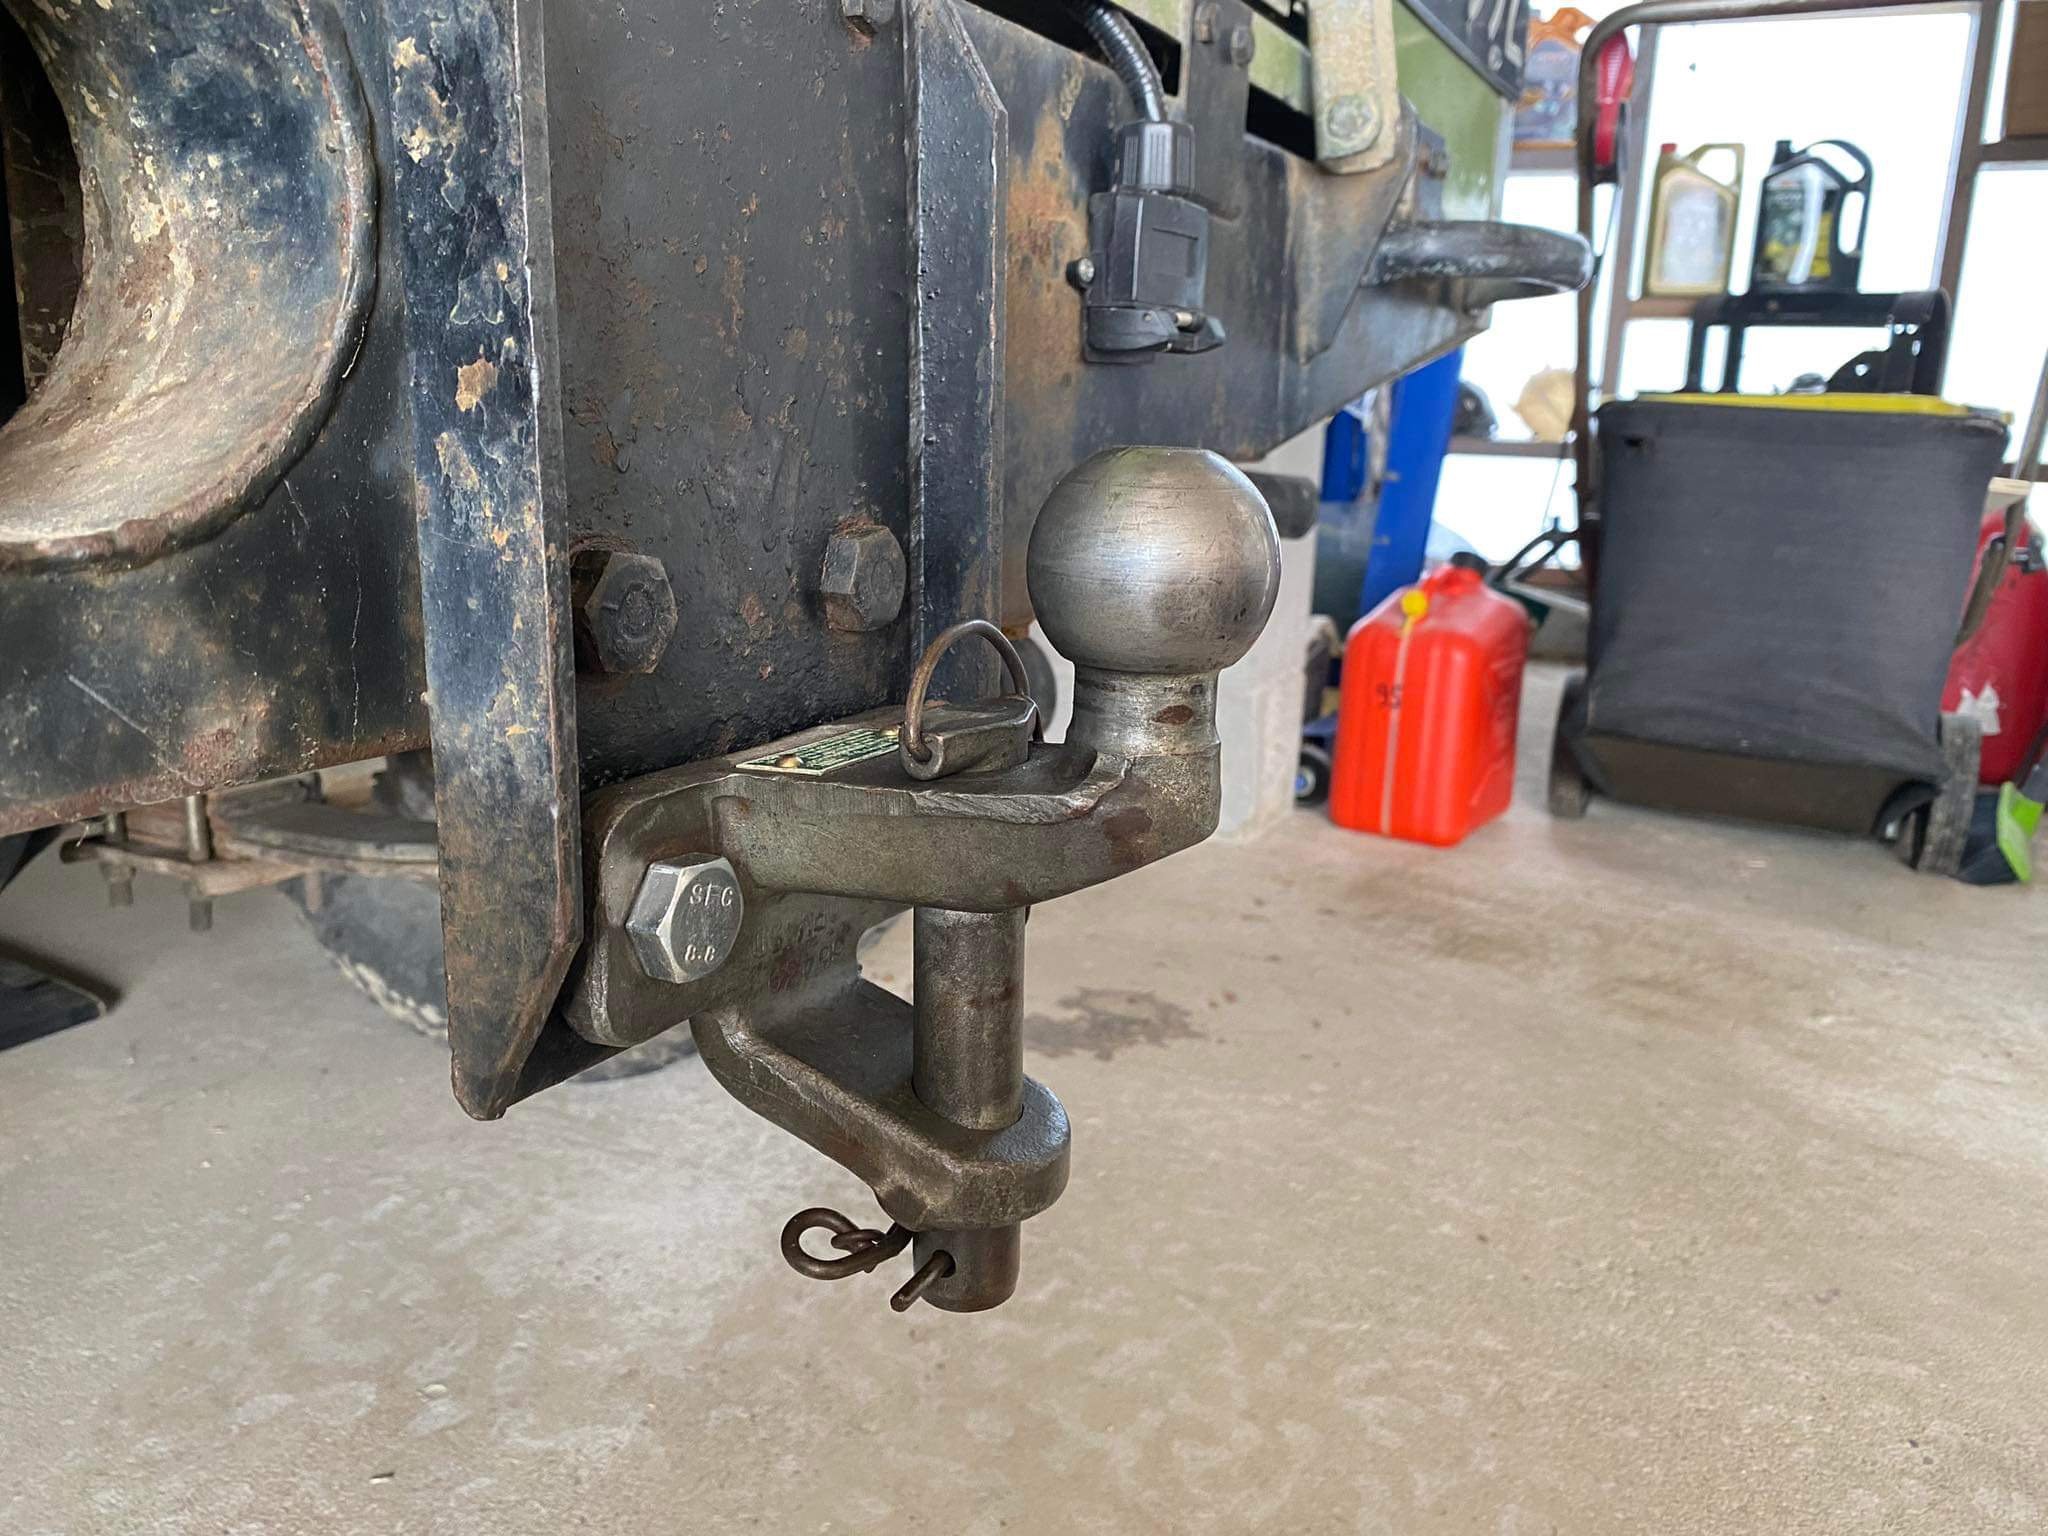
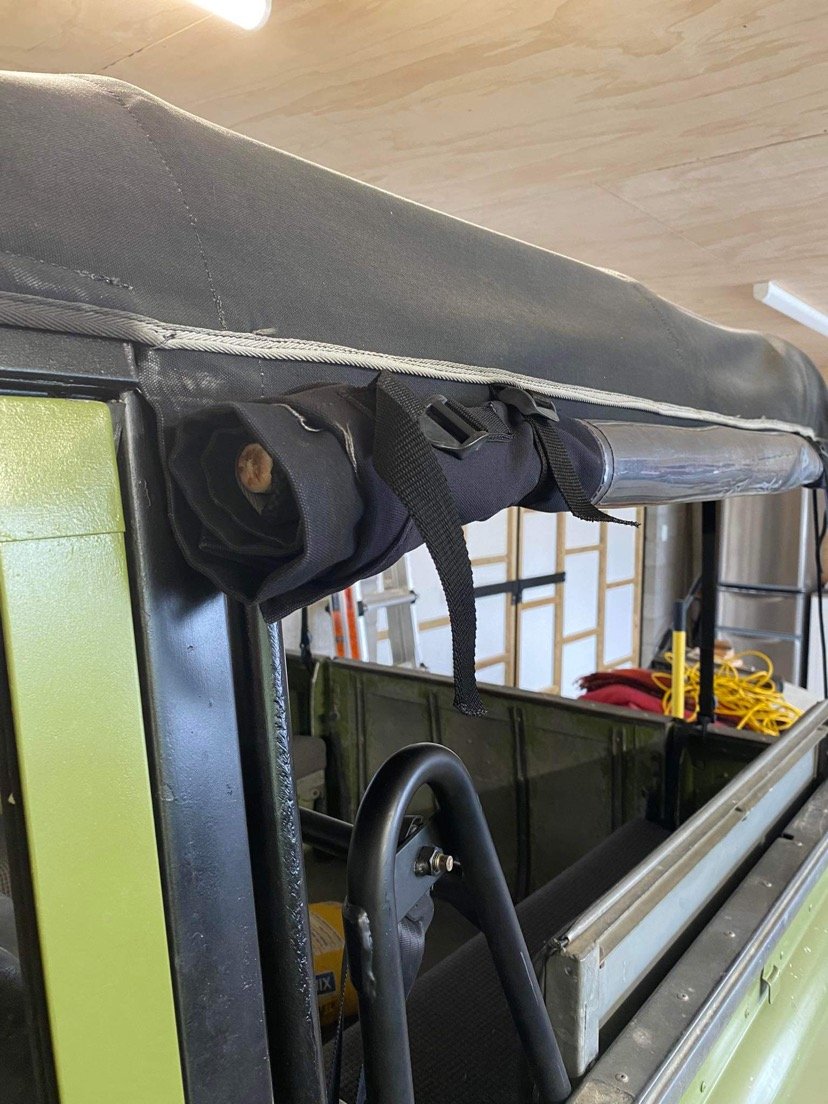
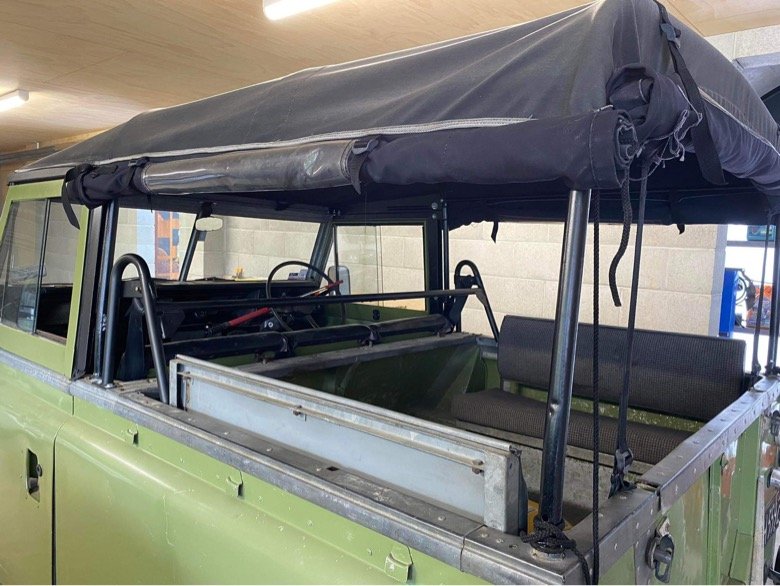
Pulled the floor and tunnel panels off to change the detent springs last weekend. Didn’t know what to expect or if the old ones would be in bits/not even there. But they were all present but a bit more compressed than the new set. Turns out I didn’t need 3 seals, the top one had a recess in the nut: Tightened the gear selector grub screw as it had backed out slightly. It’s no short shift kit but it’s certainly better. Scored a genuine Land Rover tow ball with hitch pin on the tard for 80 bucks. Old one may have become compromised using it to pull tree stumps out a few years ago… Saw a neat trick on Instagram to keep the soft top sides tidy when rolled up. 3 wooden broom handles slipped into the hem of the soft top.
- 11 replies
-
- 20
-
-
- Land Rover
- Rover
- (and 1 more)
-
Random slightly cool stuff you built but not worth its own thread, thread
HKM400 replied to h4nd's topic in Other Projects
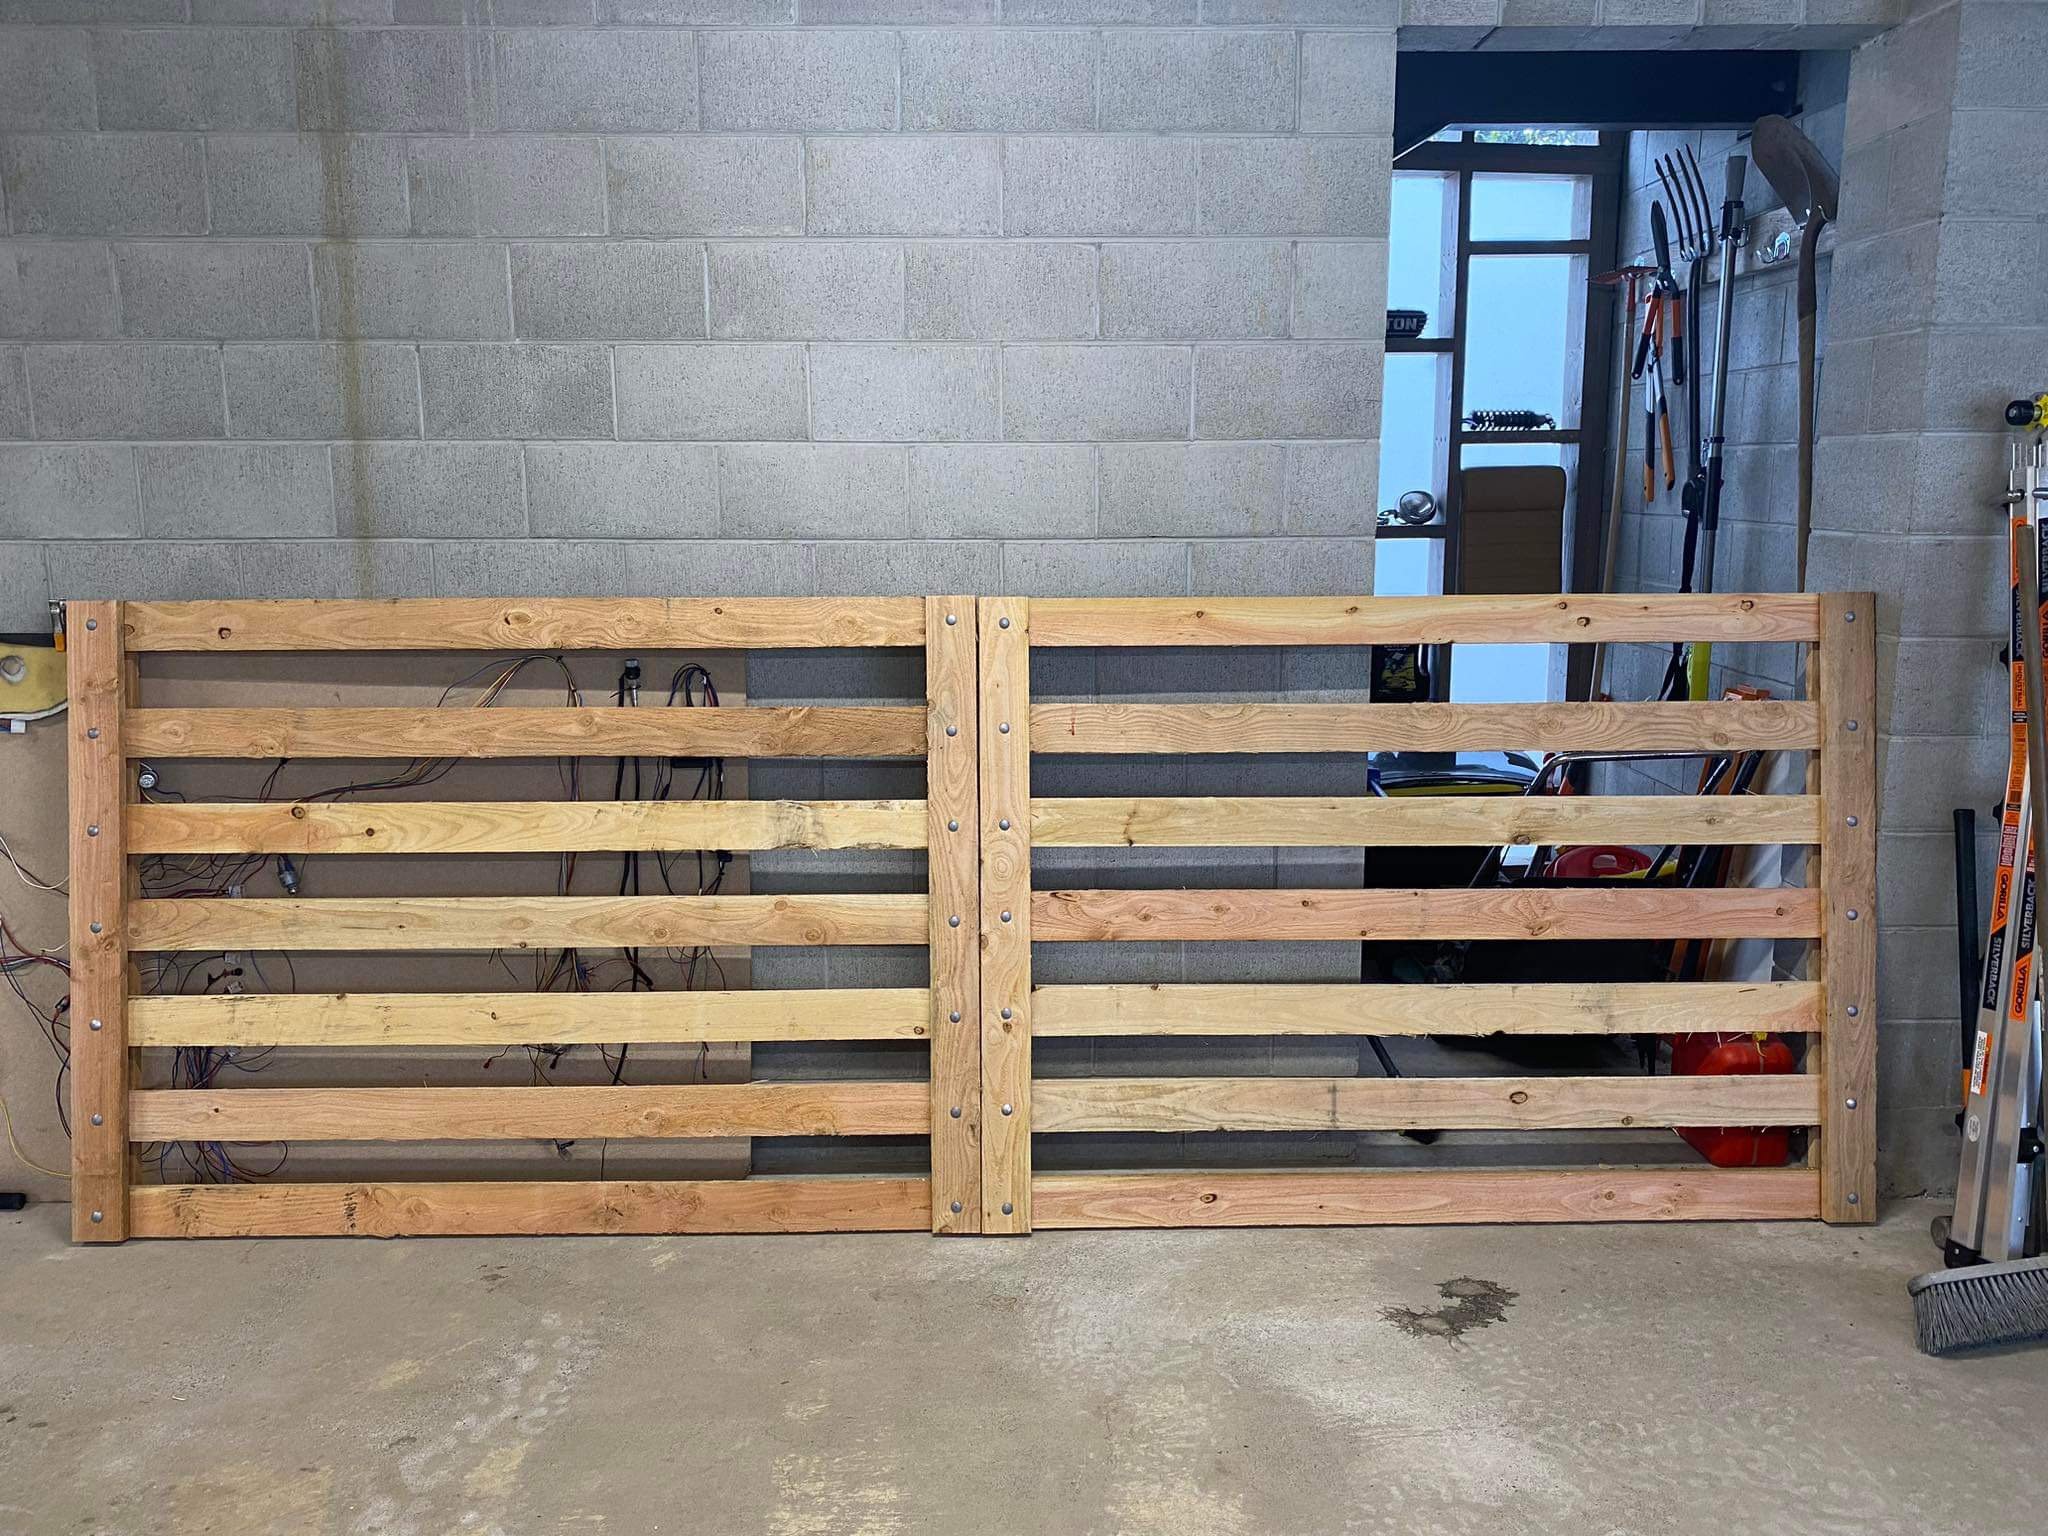
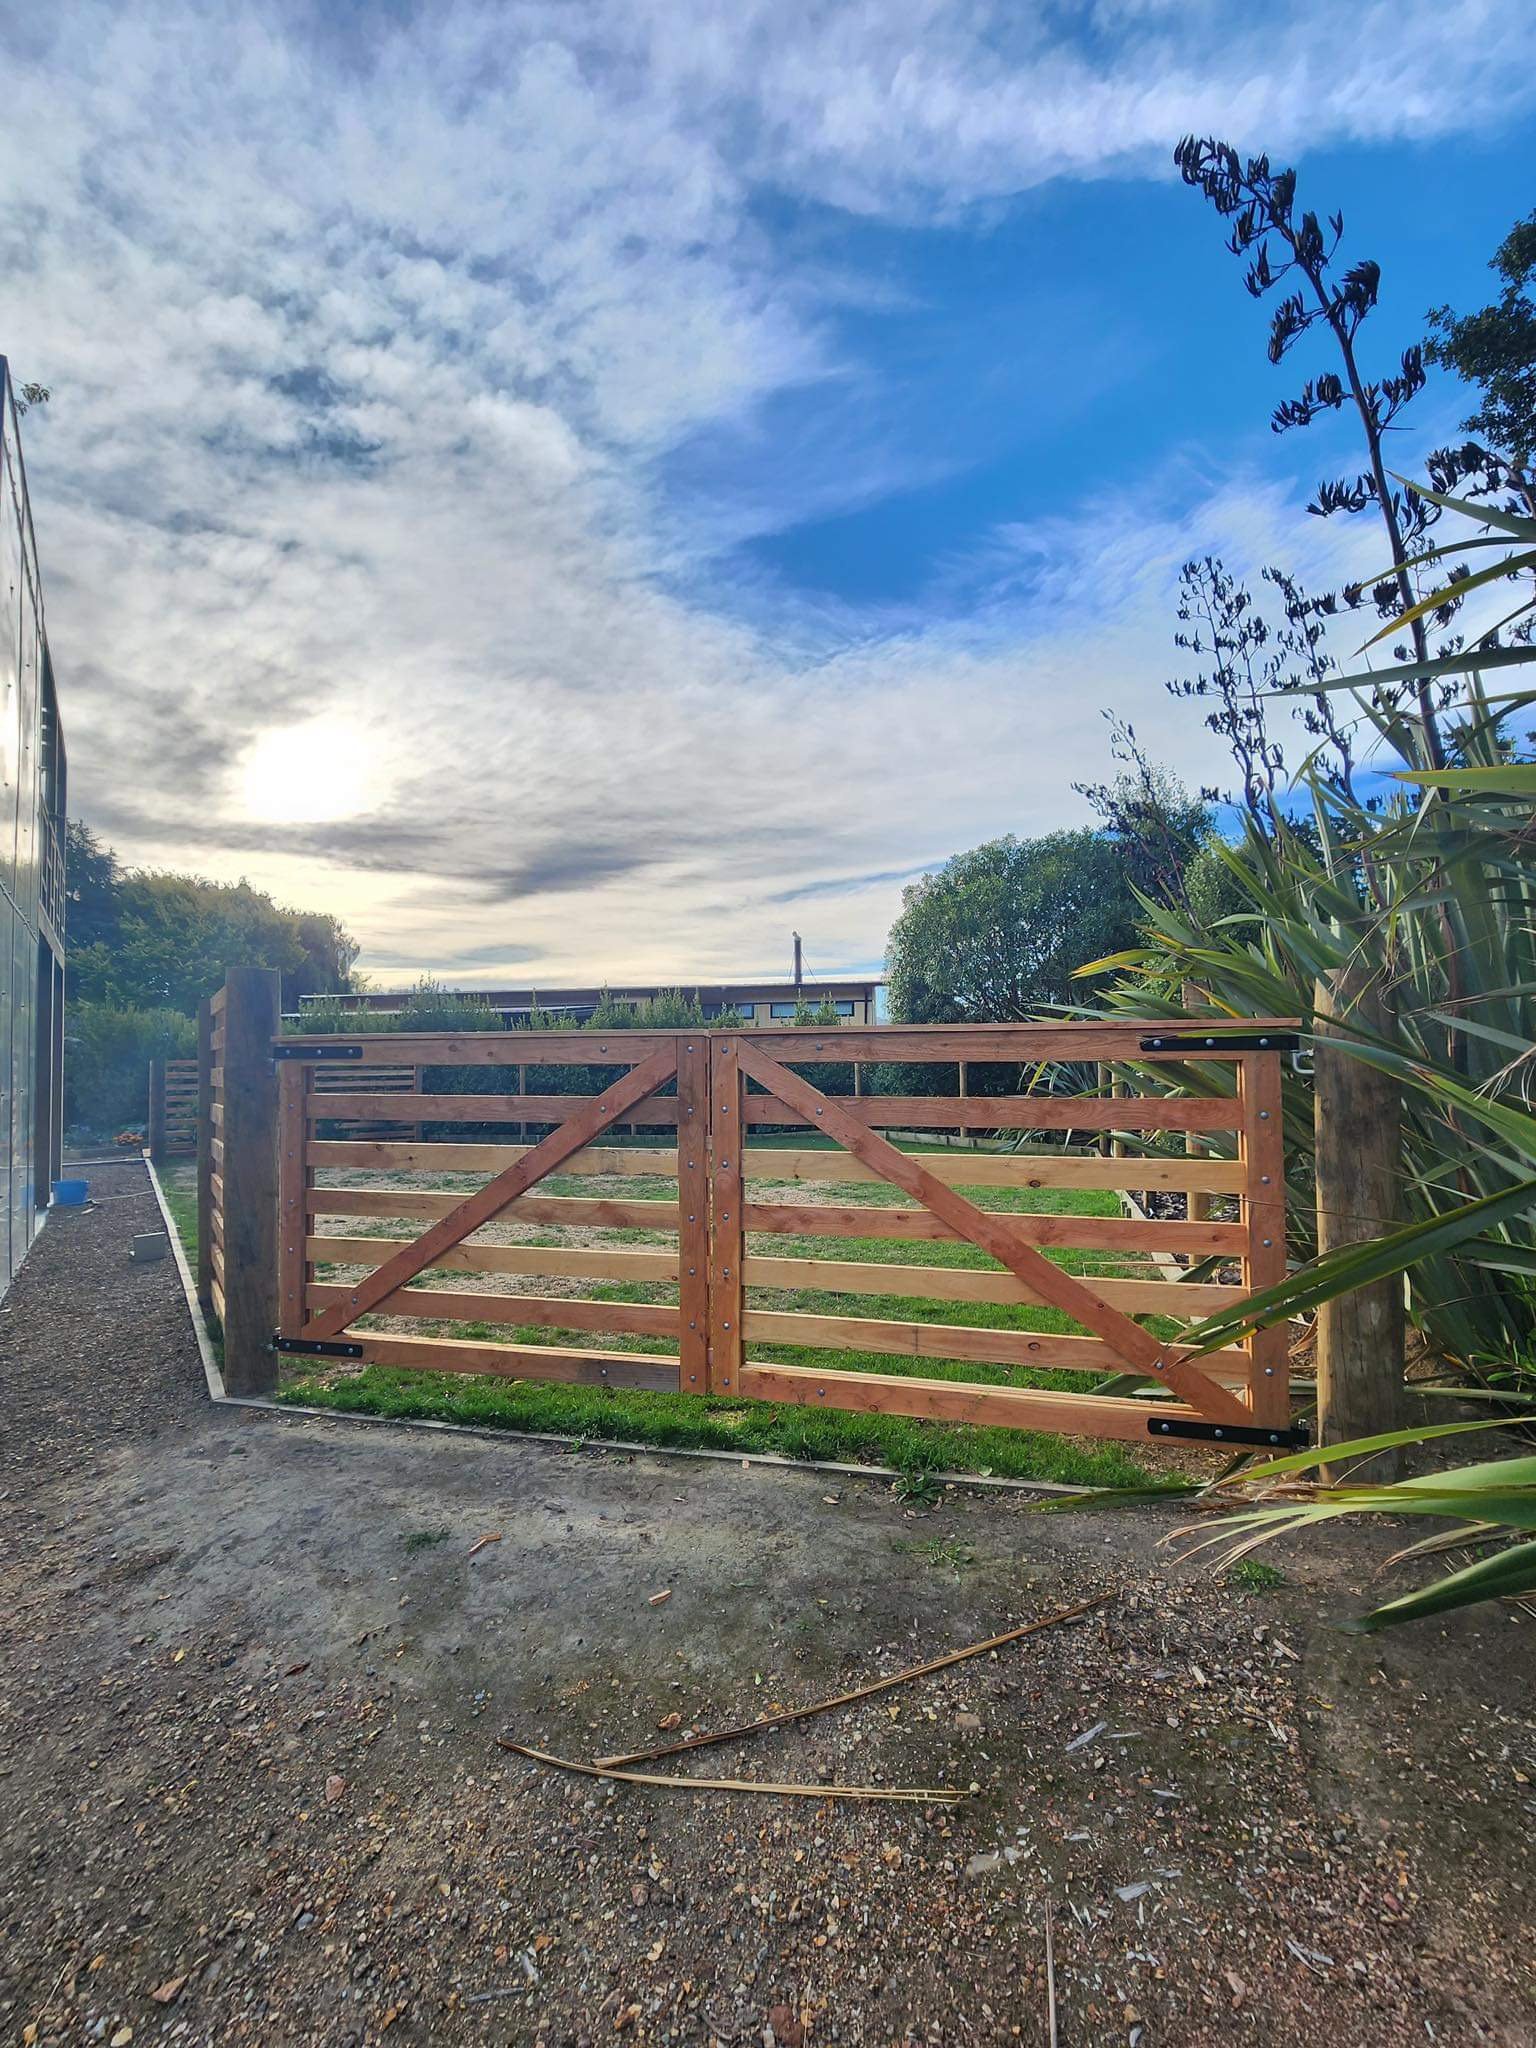
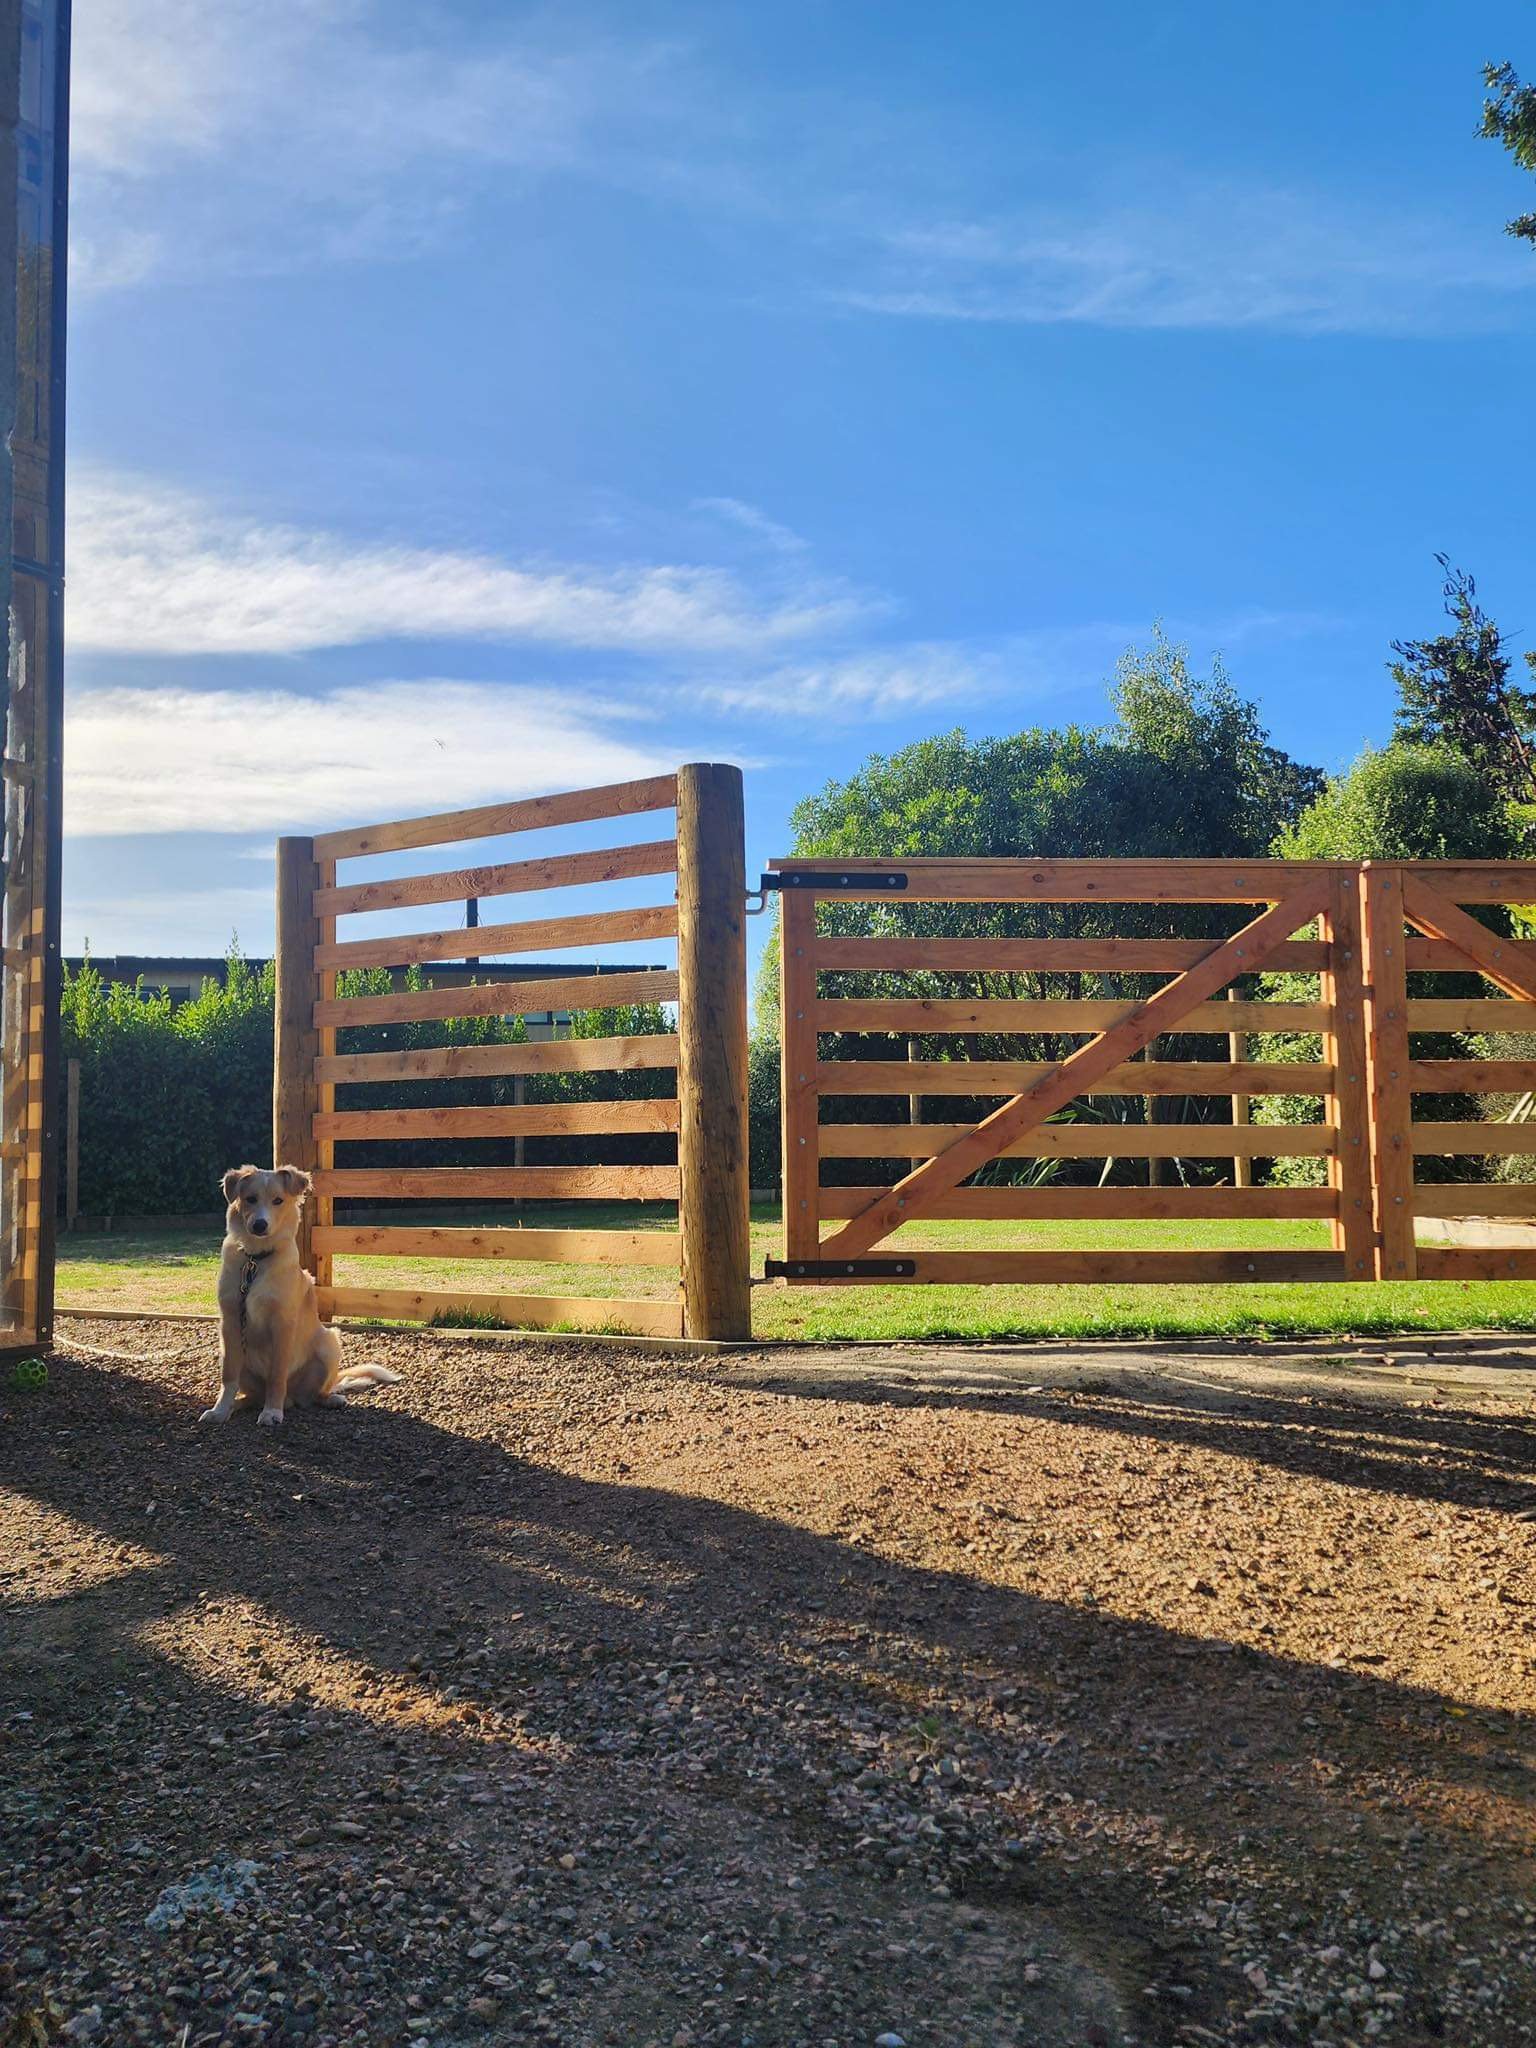
Made some gates so Finn has a nice place to hang out off the lead. Gates are 100x25 Oregon and 200mm round strainers for each gate post buried a meter per side, pretty sturdy: He was keen to show that he could still escape if he wanted to… Alcatraz it is not… yet…
-
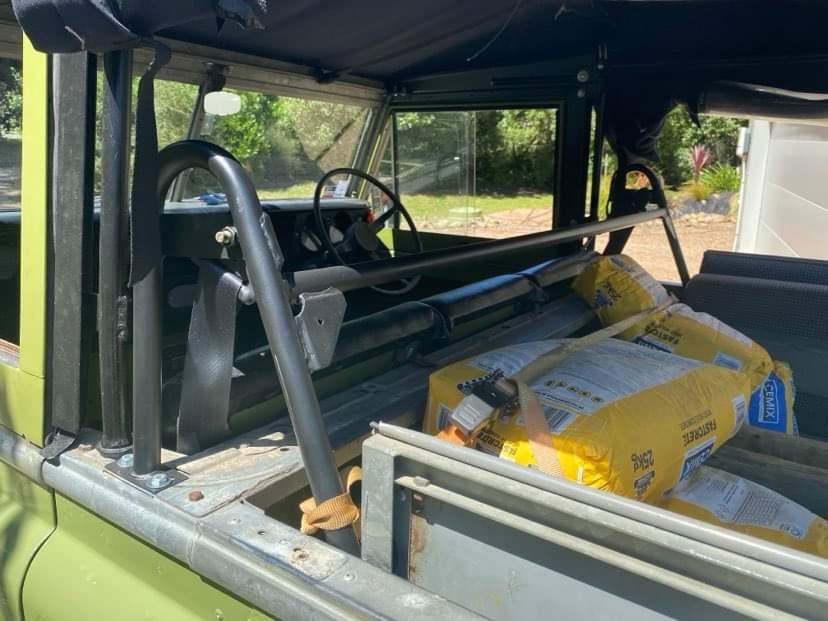
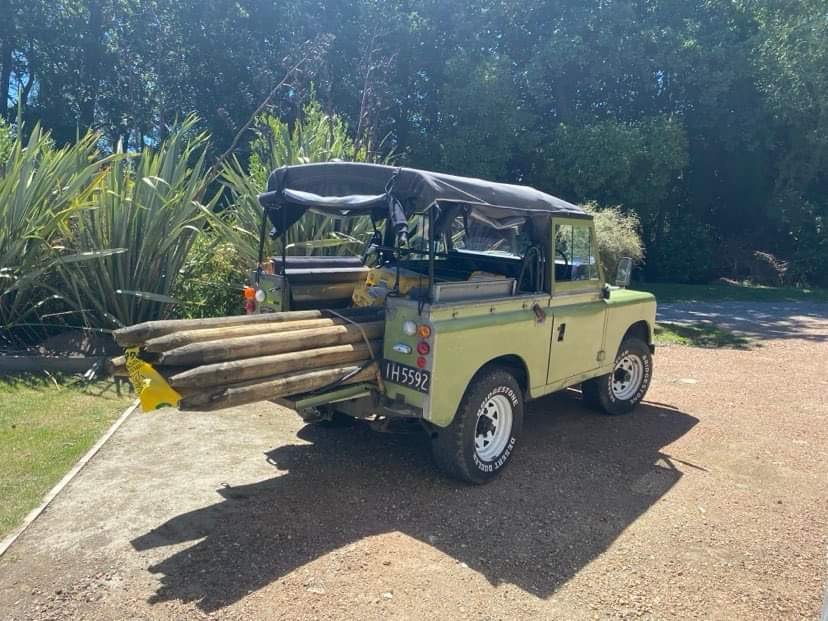
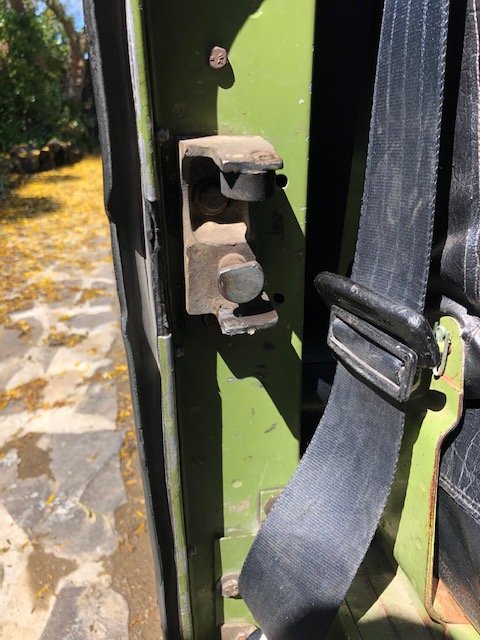
Seat belt bar arrived so fitted it a few weeks ago with a bit of ratchet strap persuasion Been using it to grab fencing supplies the last few weeks, can fit a 2.4 post in the back, less dodgy when weighed down by a few bags of premix Next job is to replace the gear selector detent springs, sometimes it doesn’t want to deselect gears or it’ll jam in gear, hopefully this fixes it.
- 11 replies
-
- 15
-
-

-
- Land Rover
- Rover
- (and 1 more)
-
Thanks both of you for the info, will get some class 2 licenses booked instead
-
Hoping someone can assist- we have an Isuzu Elf at work that is currently over 3.5 ton, so requires a class 2 license and COF. We want to remove some racking as it’s never used, this will put it under 3.5 ton so would only require class 1 to drive it and annual wof inspections. Is it a case of removing the racking and getting it certified at the new weight, or is there a separate process?
-
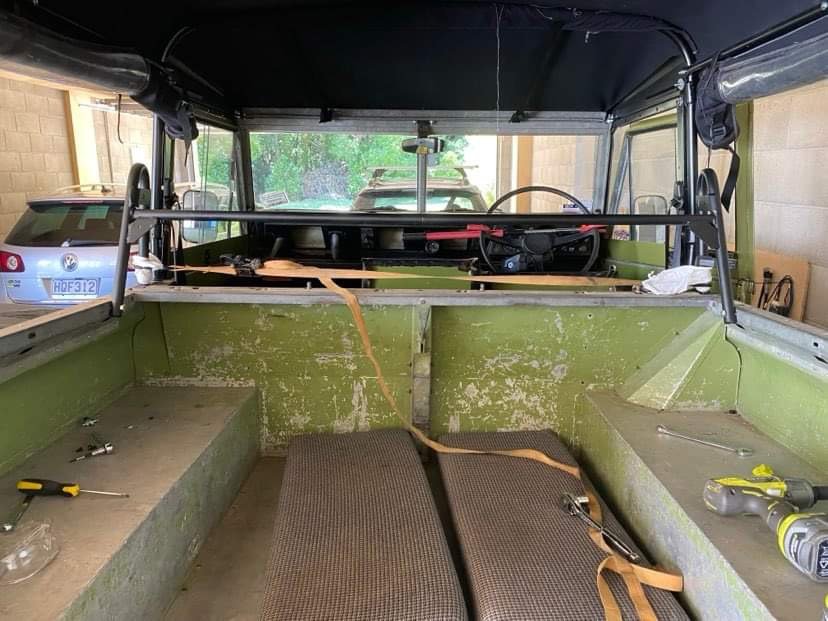
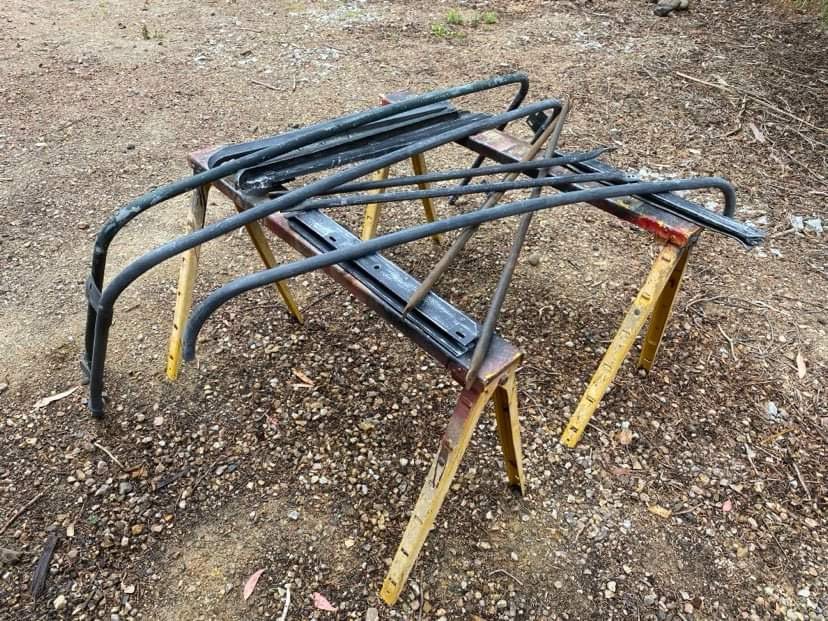
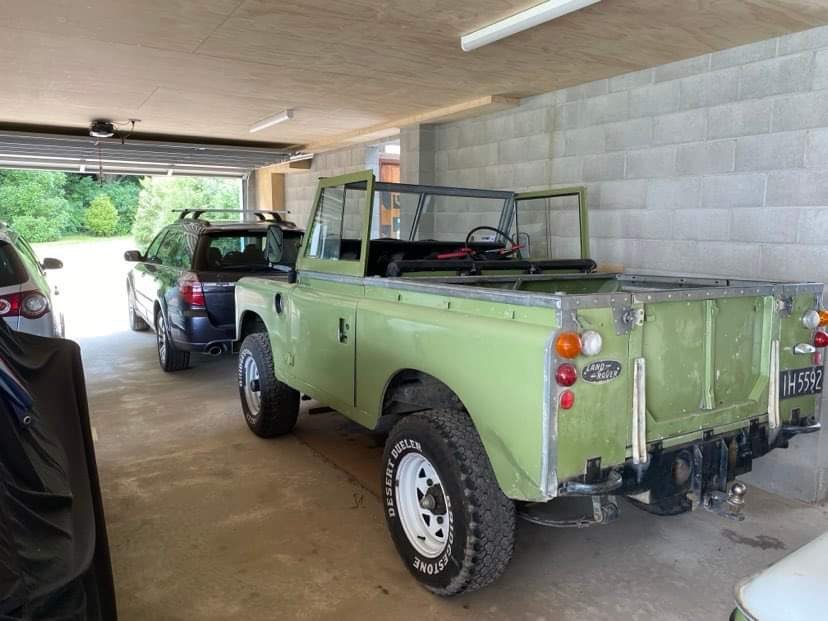
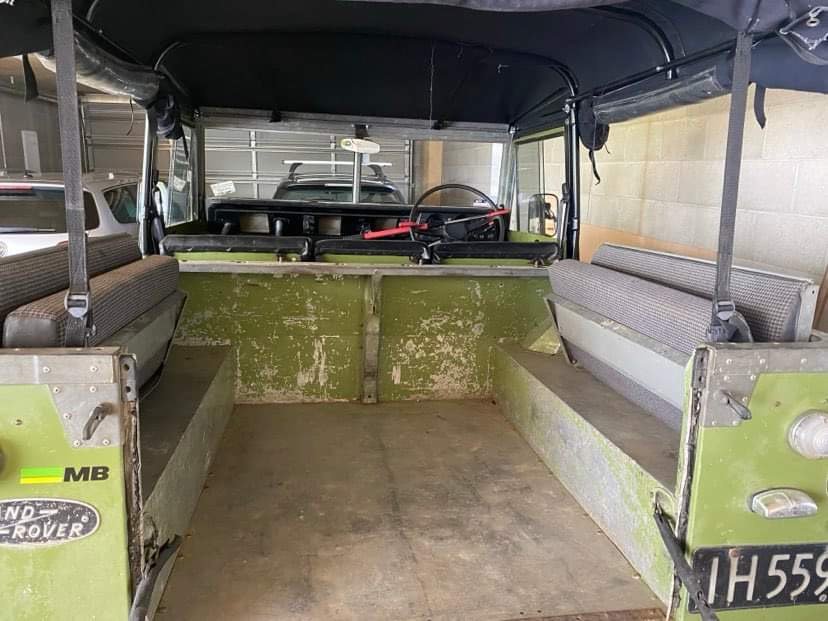
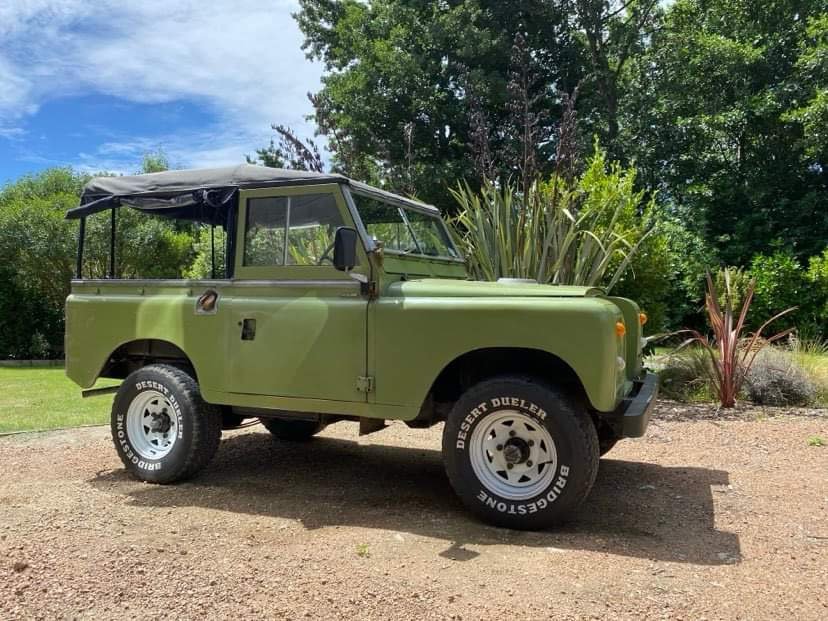
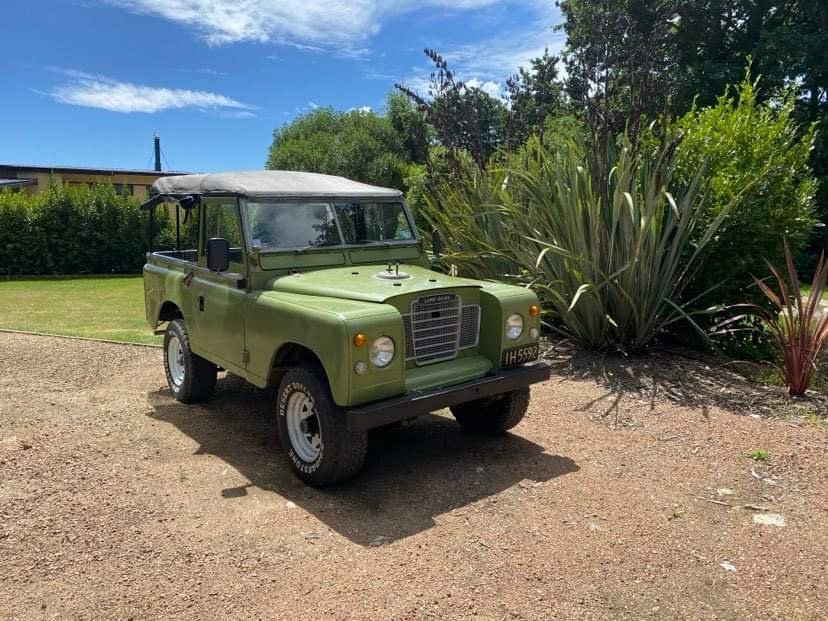
Dredge… decided now I have a garage to put the soft top back on. Repainted the hood sticks over the Christmas break. I’ve ordered a seatbelt bar for it as well so I can take the whole roof off and retain the 3 point retractable seat belts. Currently only bolted through the front hood support until the bar arrives. Had a set of bench seats for it as well so put those back in. Black wheels this year I think. Mostly did this so we can take our new little mate to the beach, off to the dag thread with me
- 11 replies
-
- 13
-
-
- Land Rover
- Rover
- (and 1 more)
-
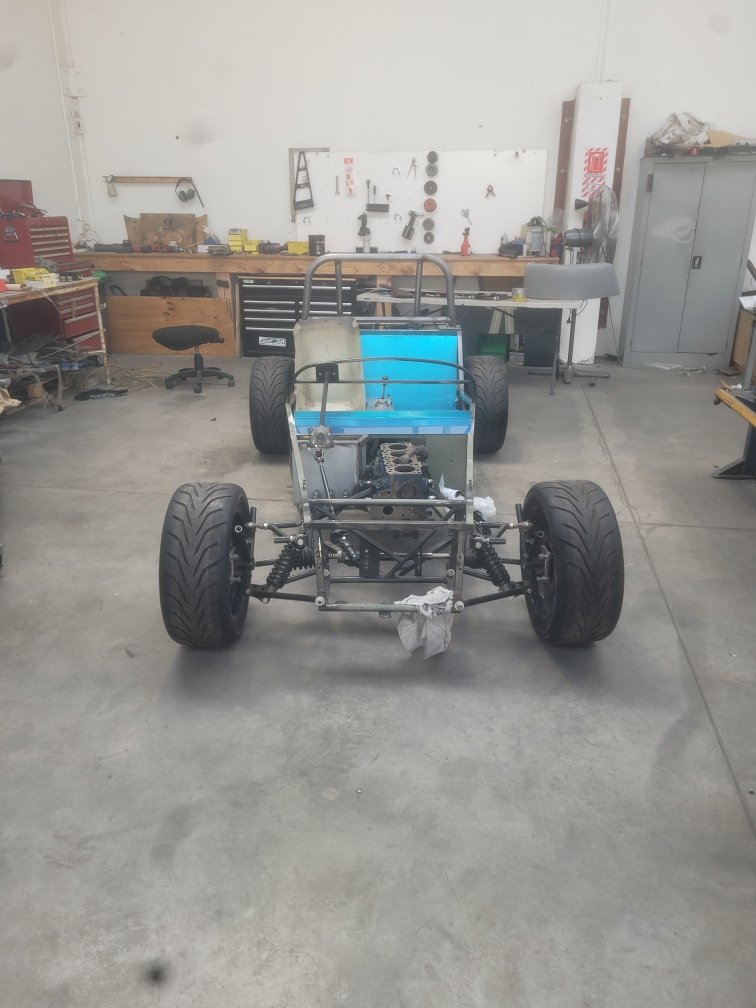
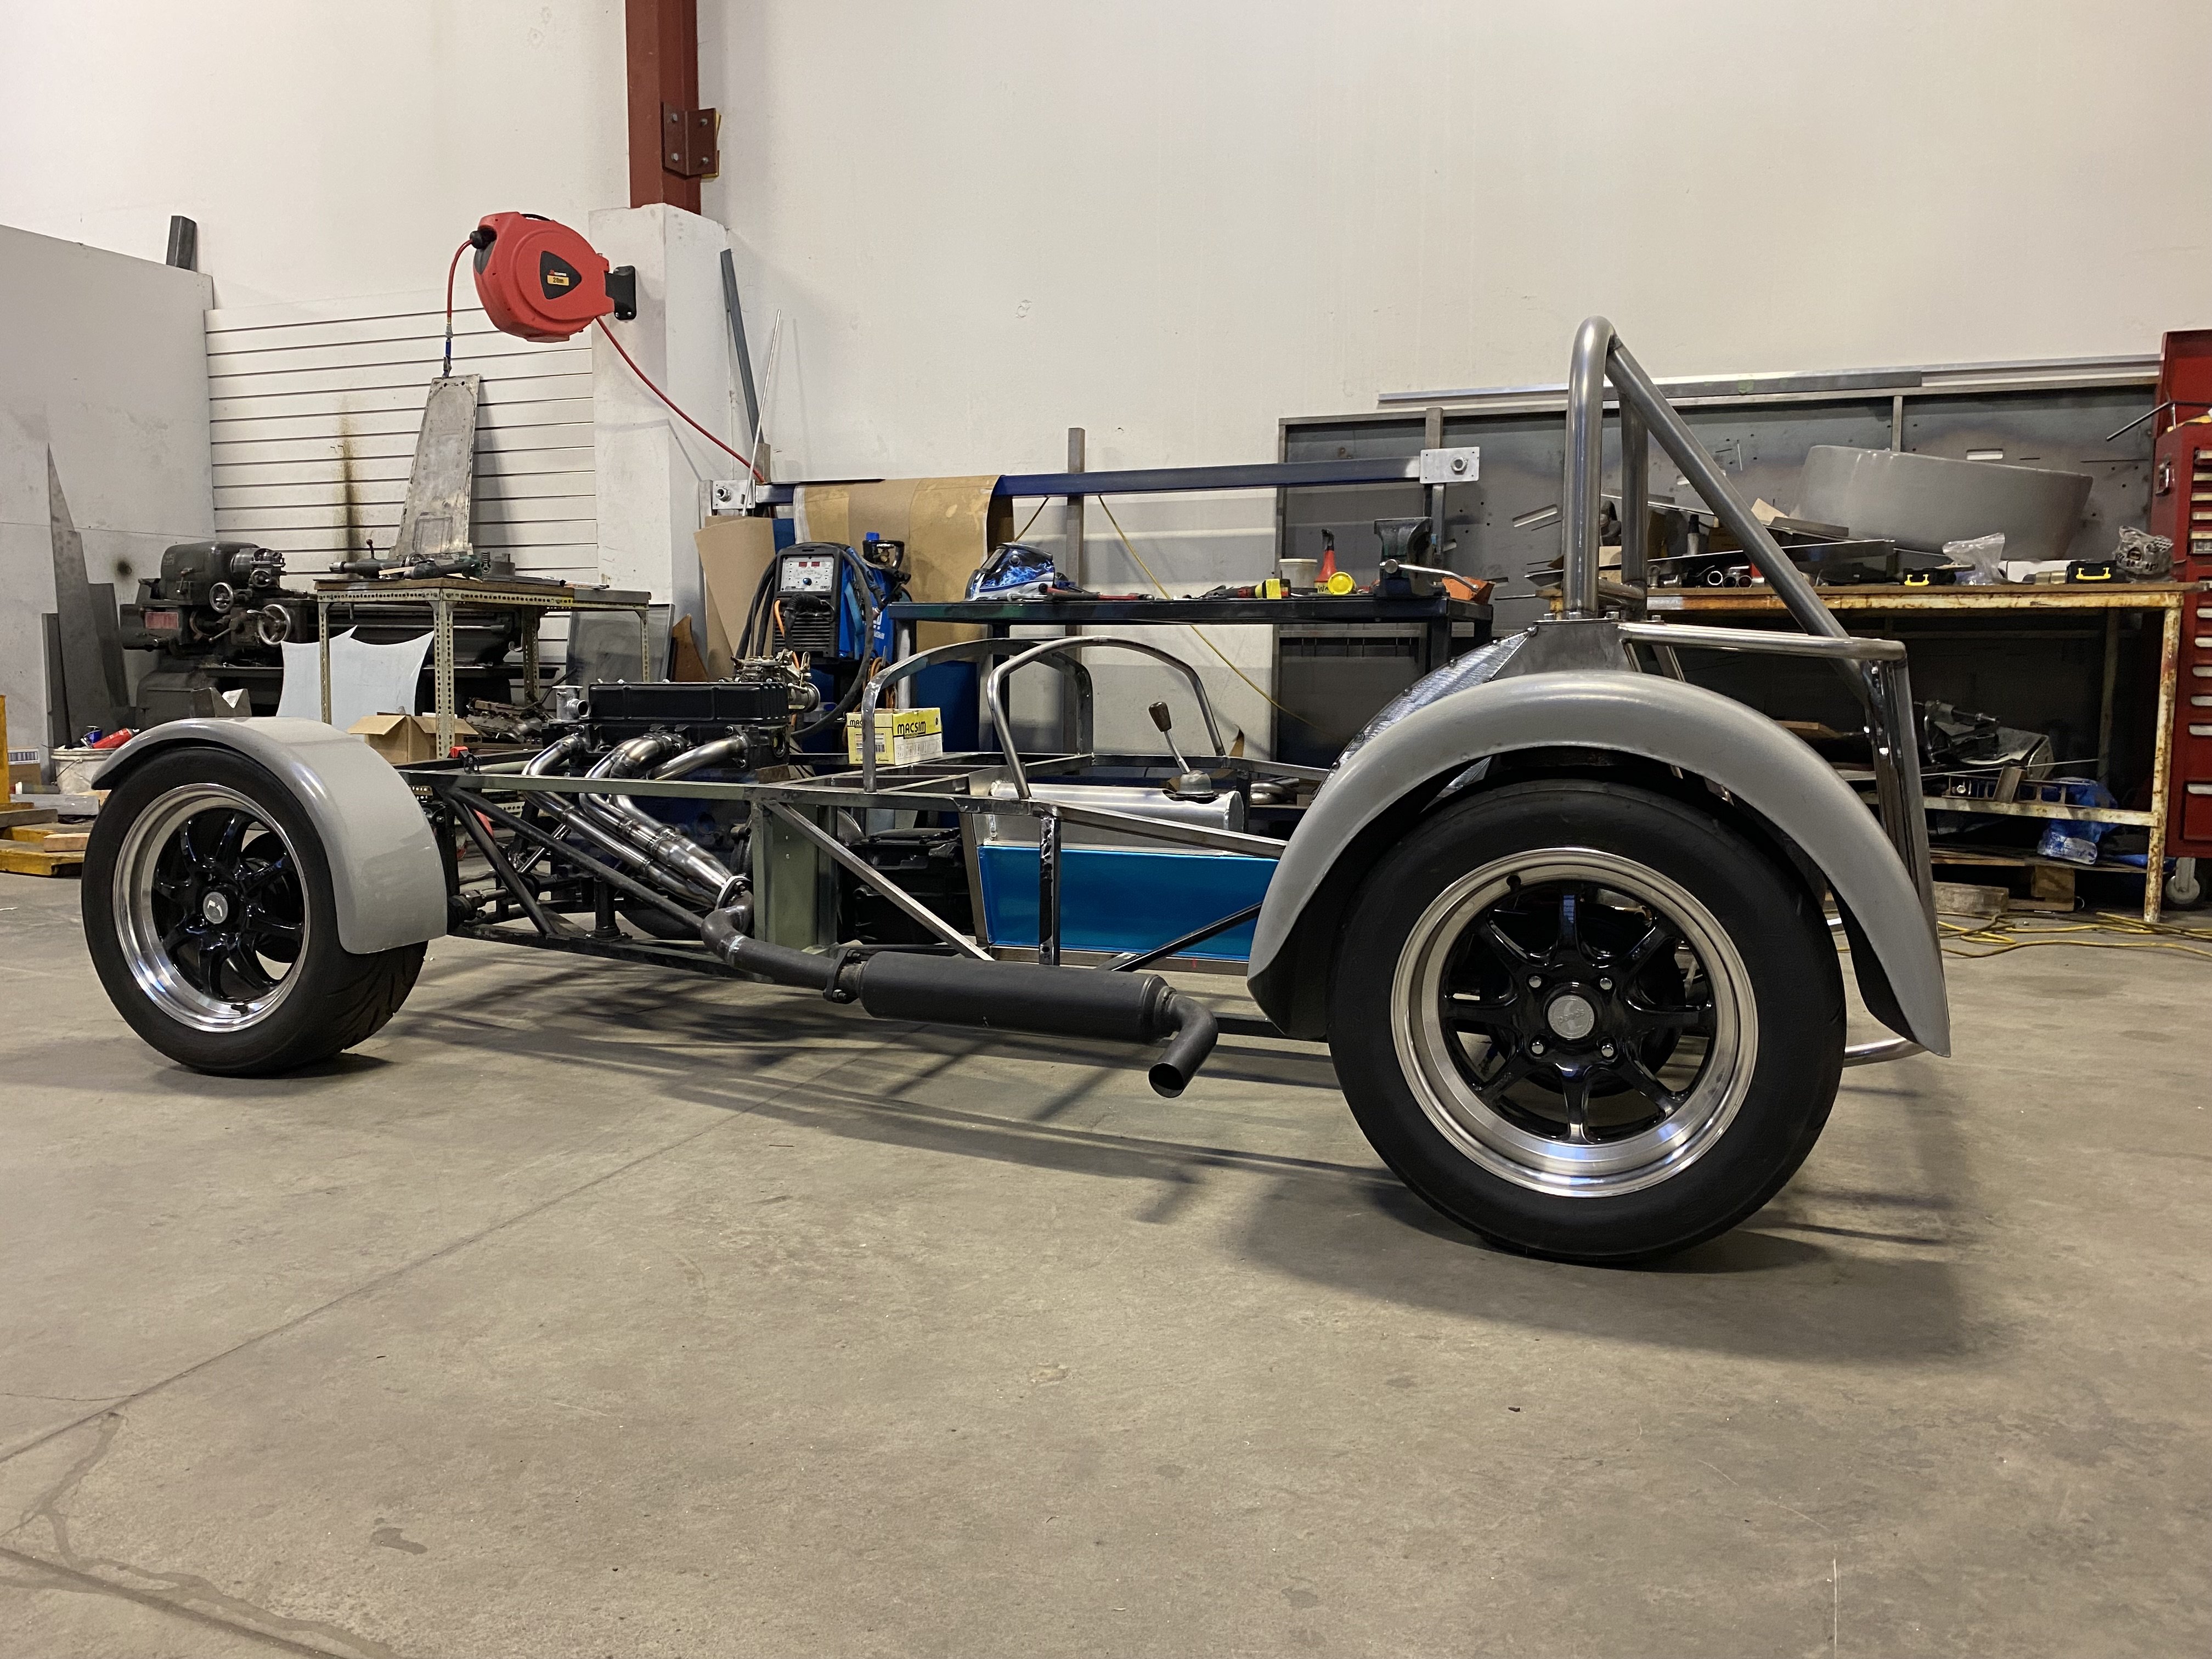
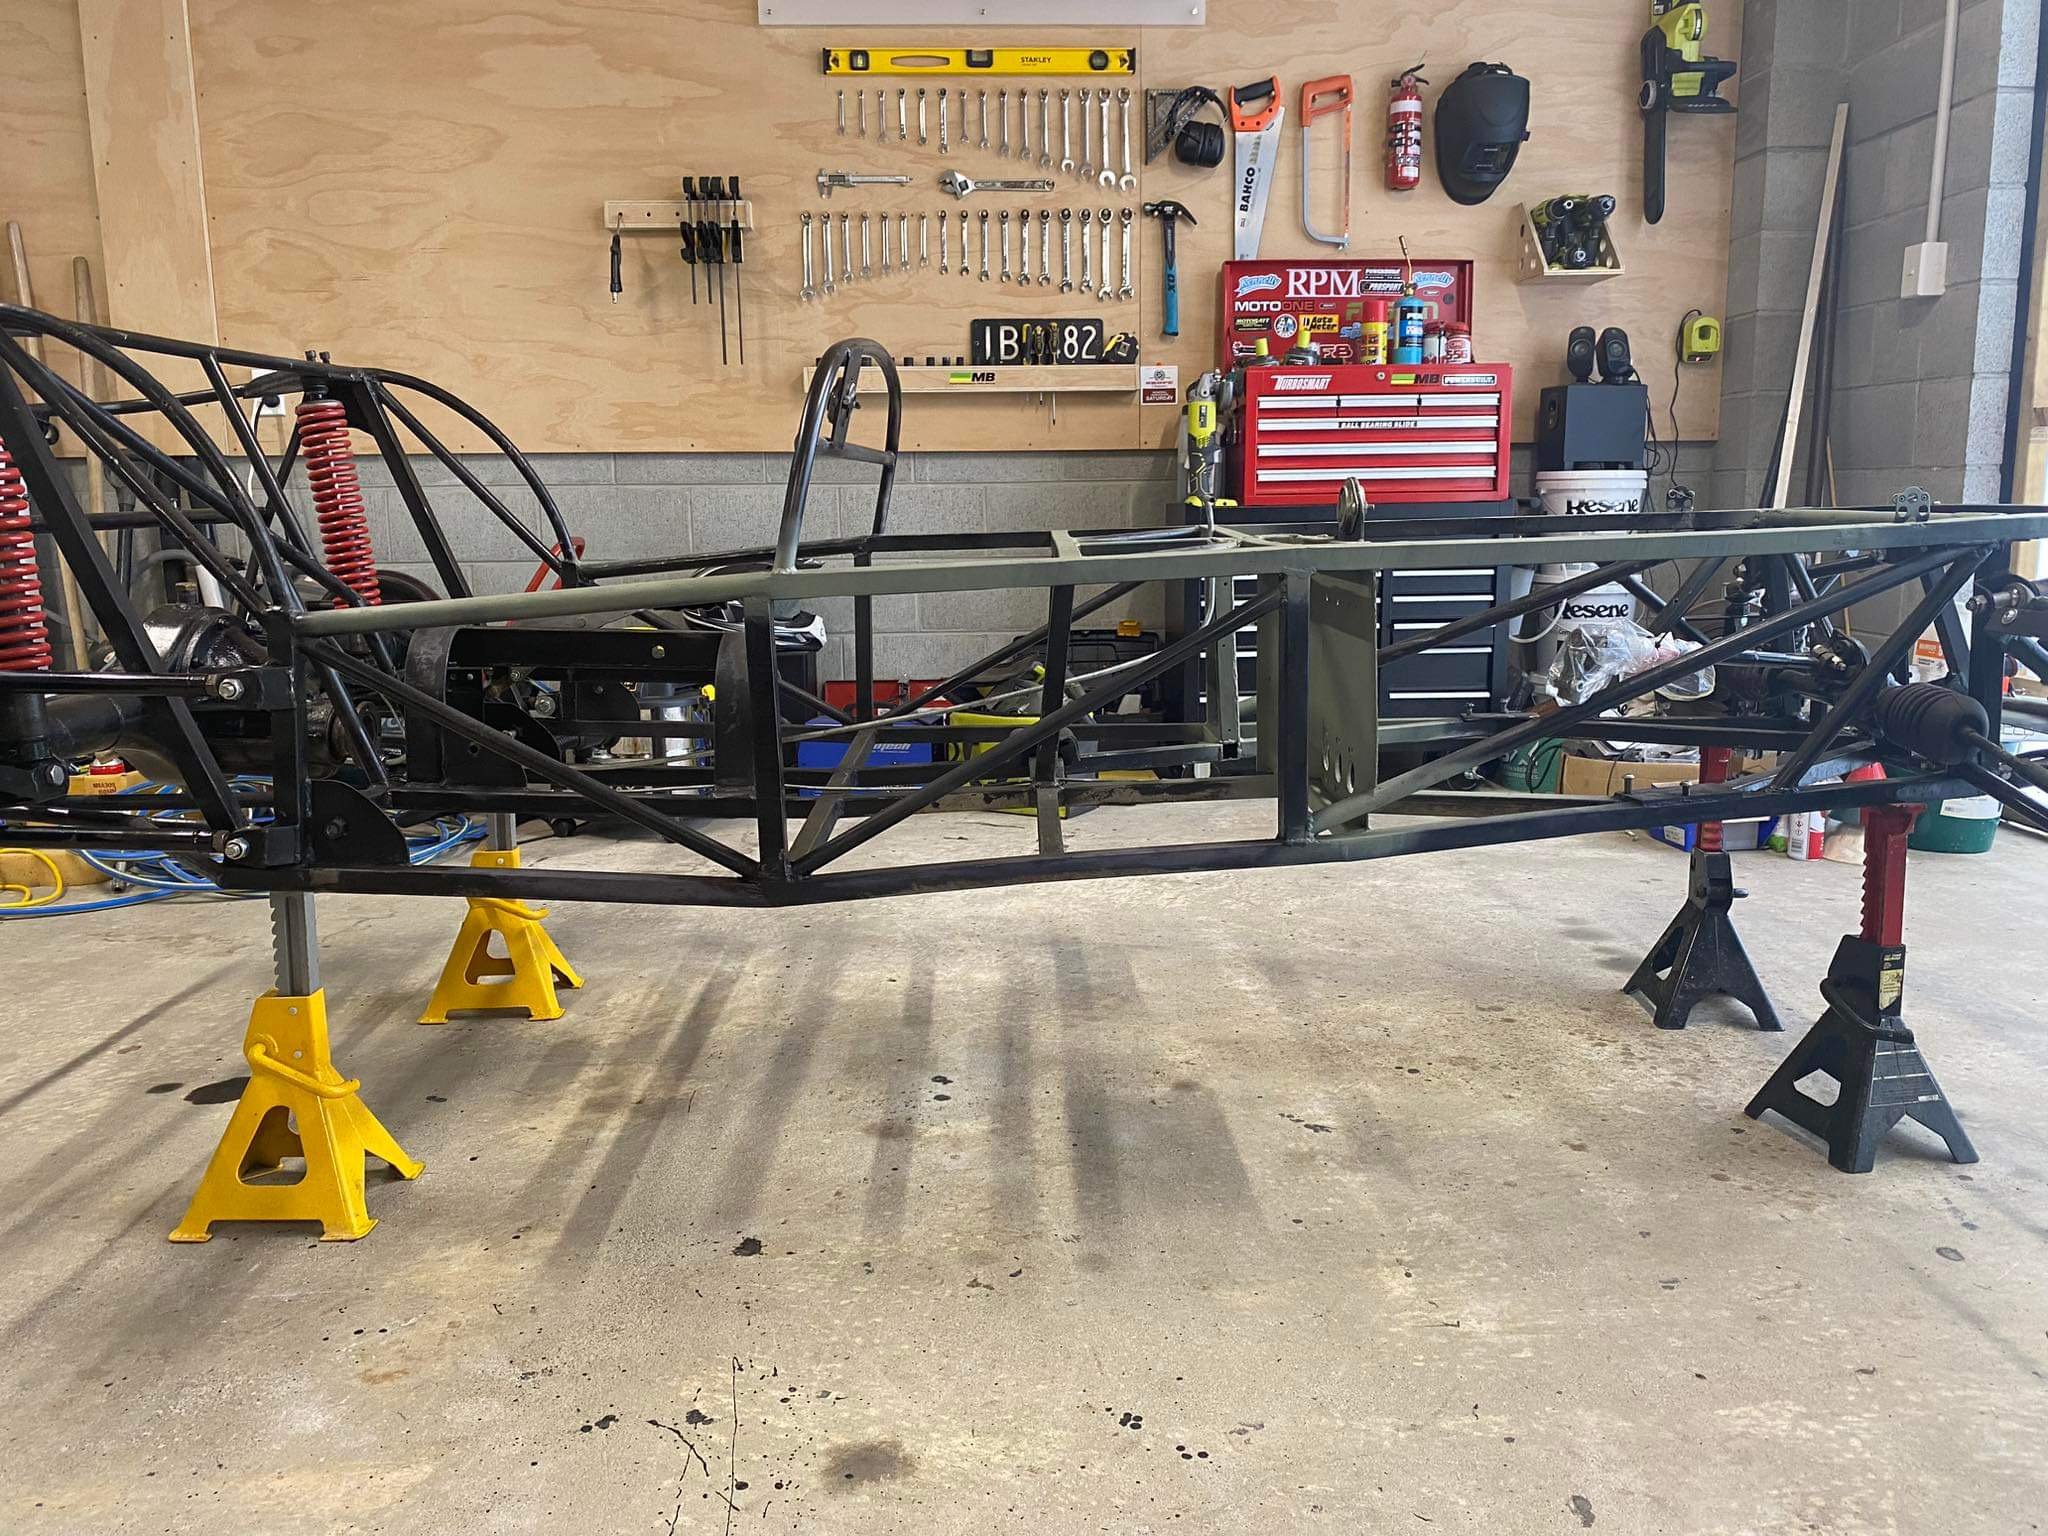
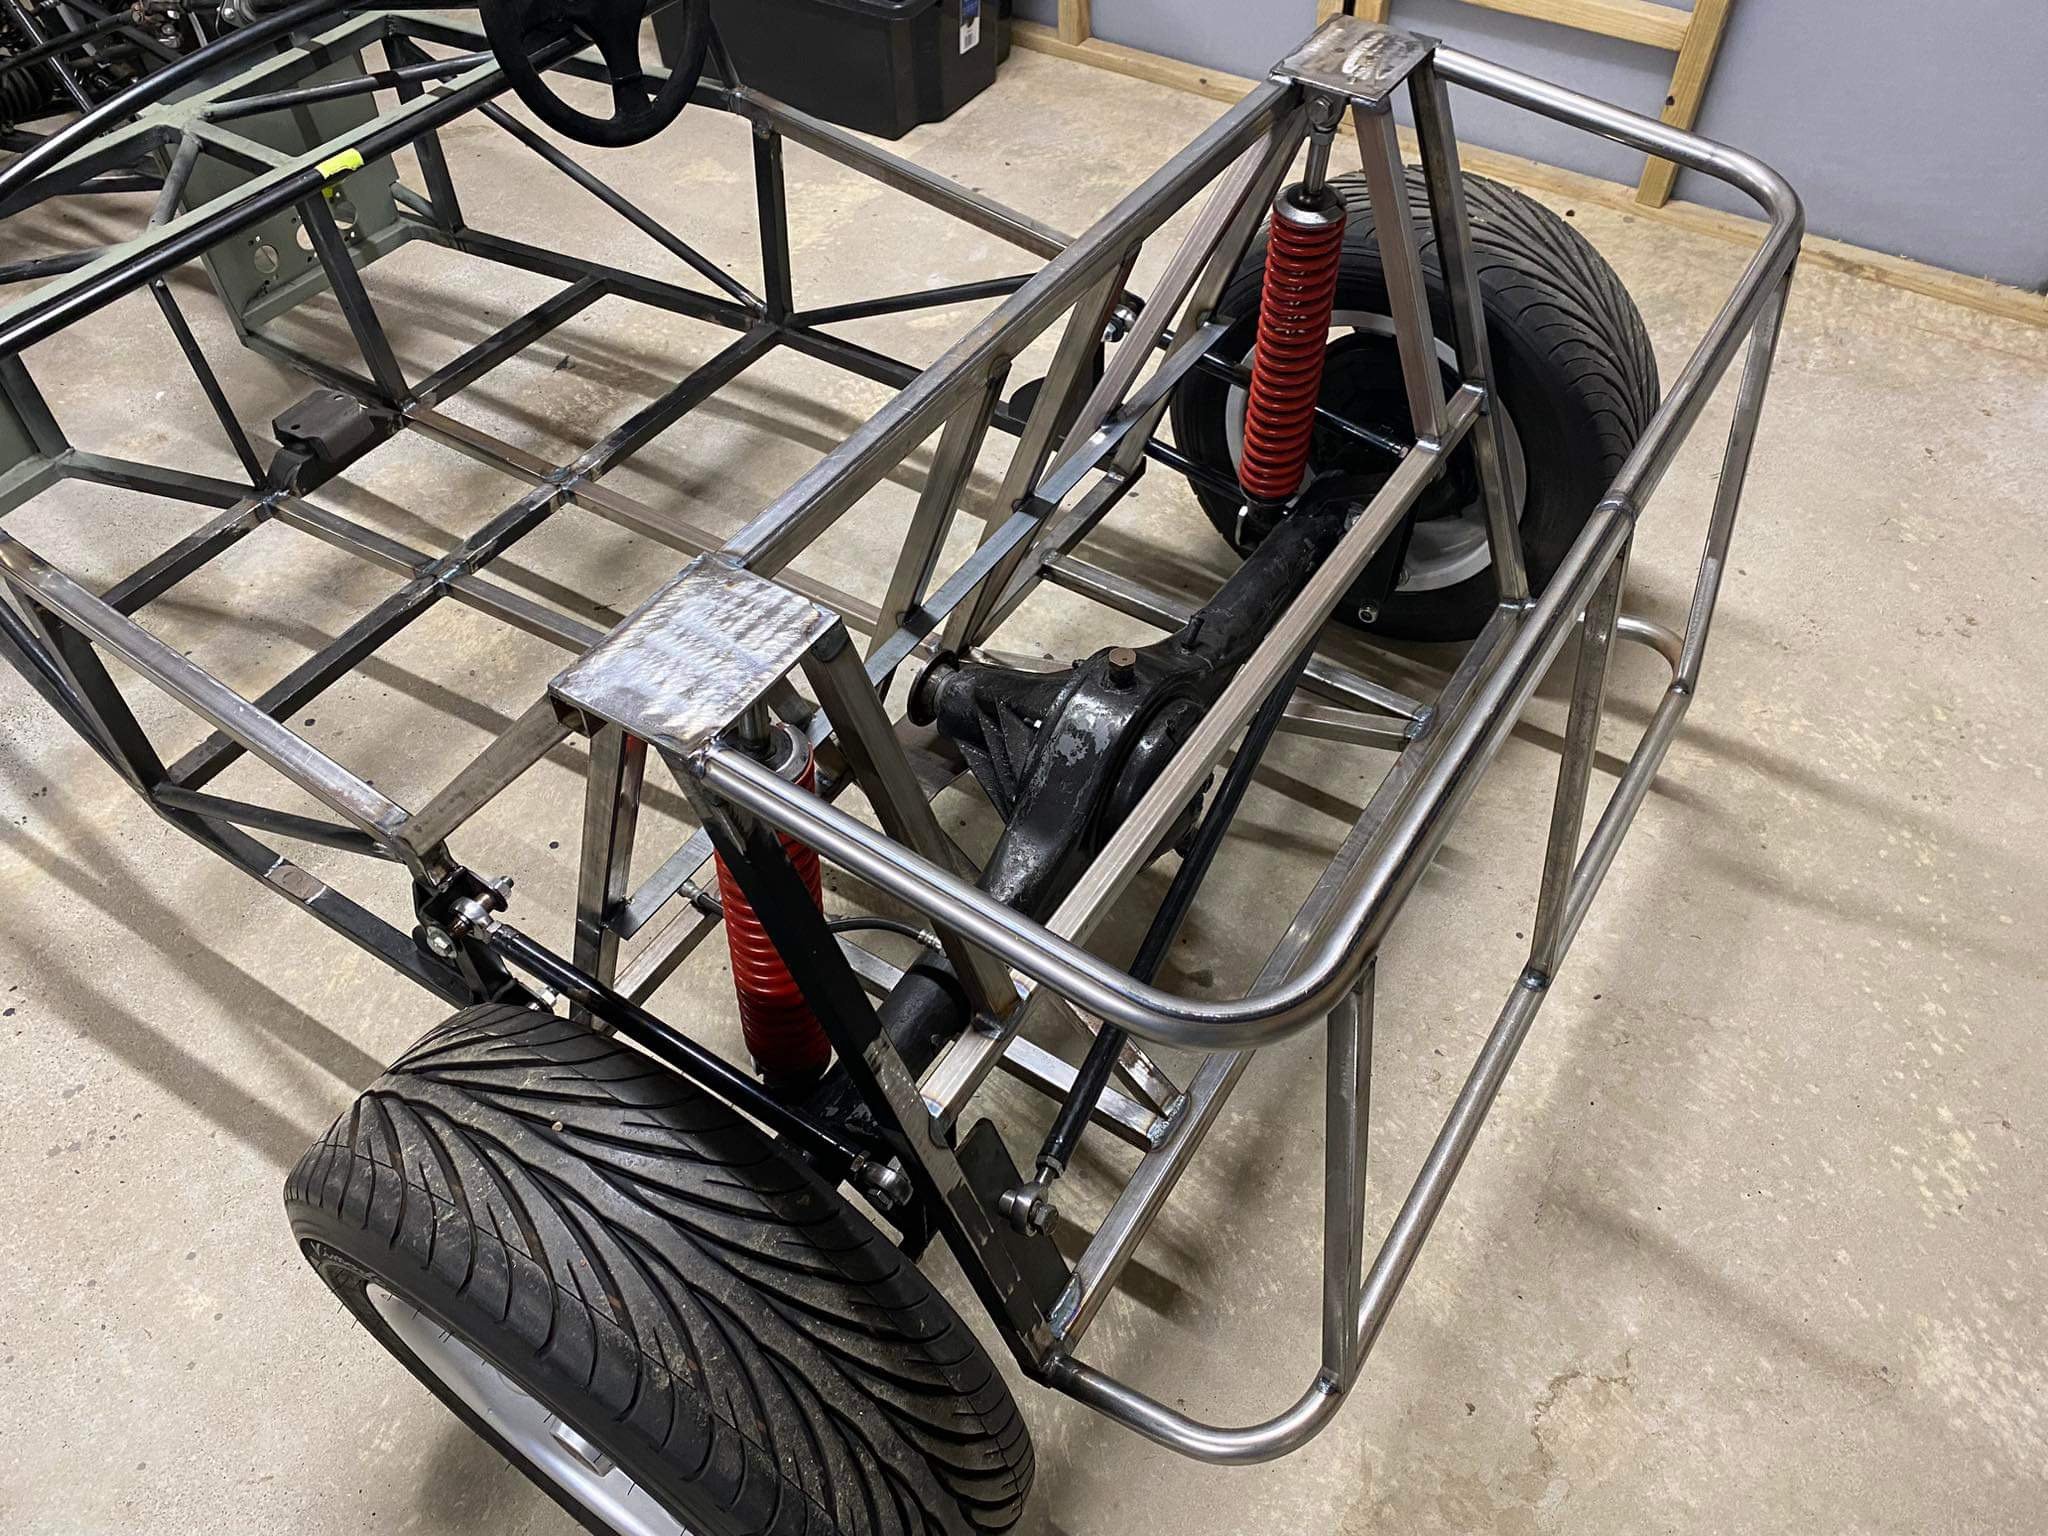
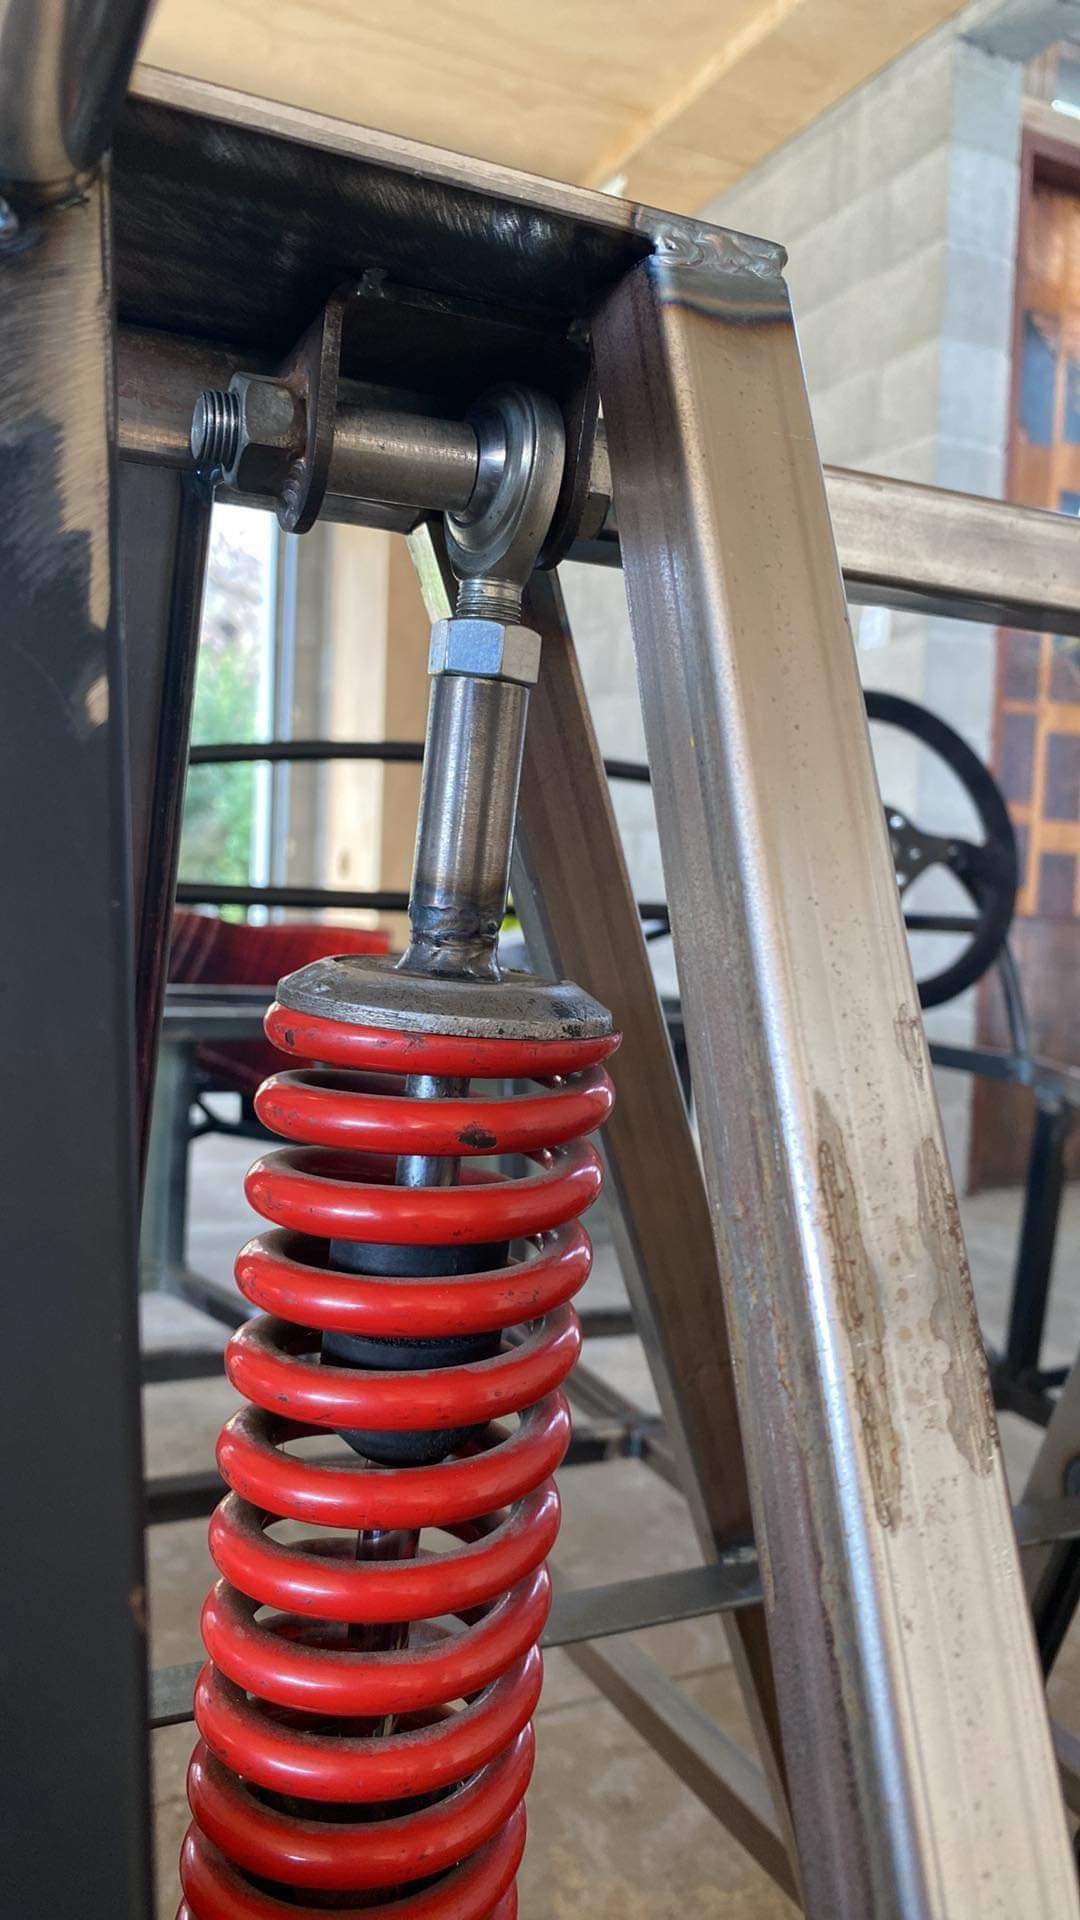
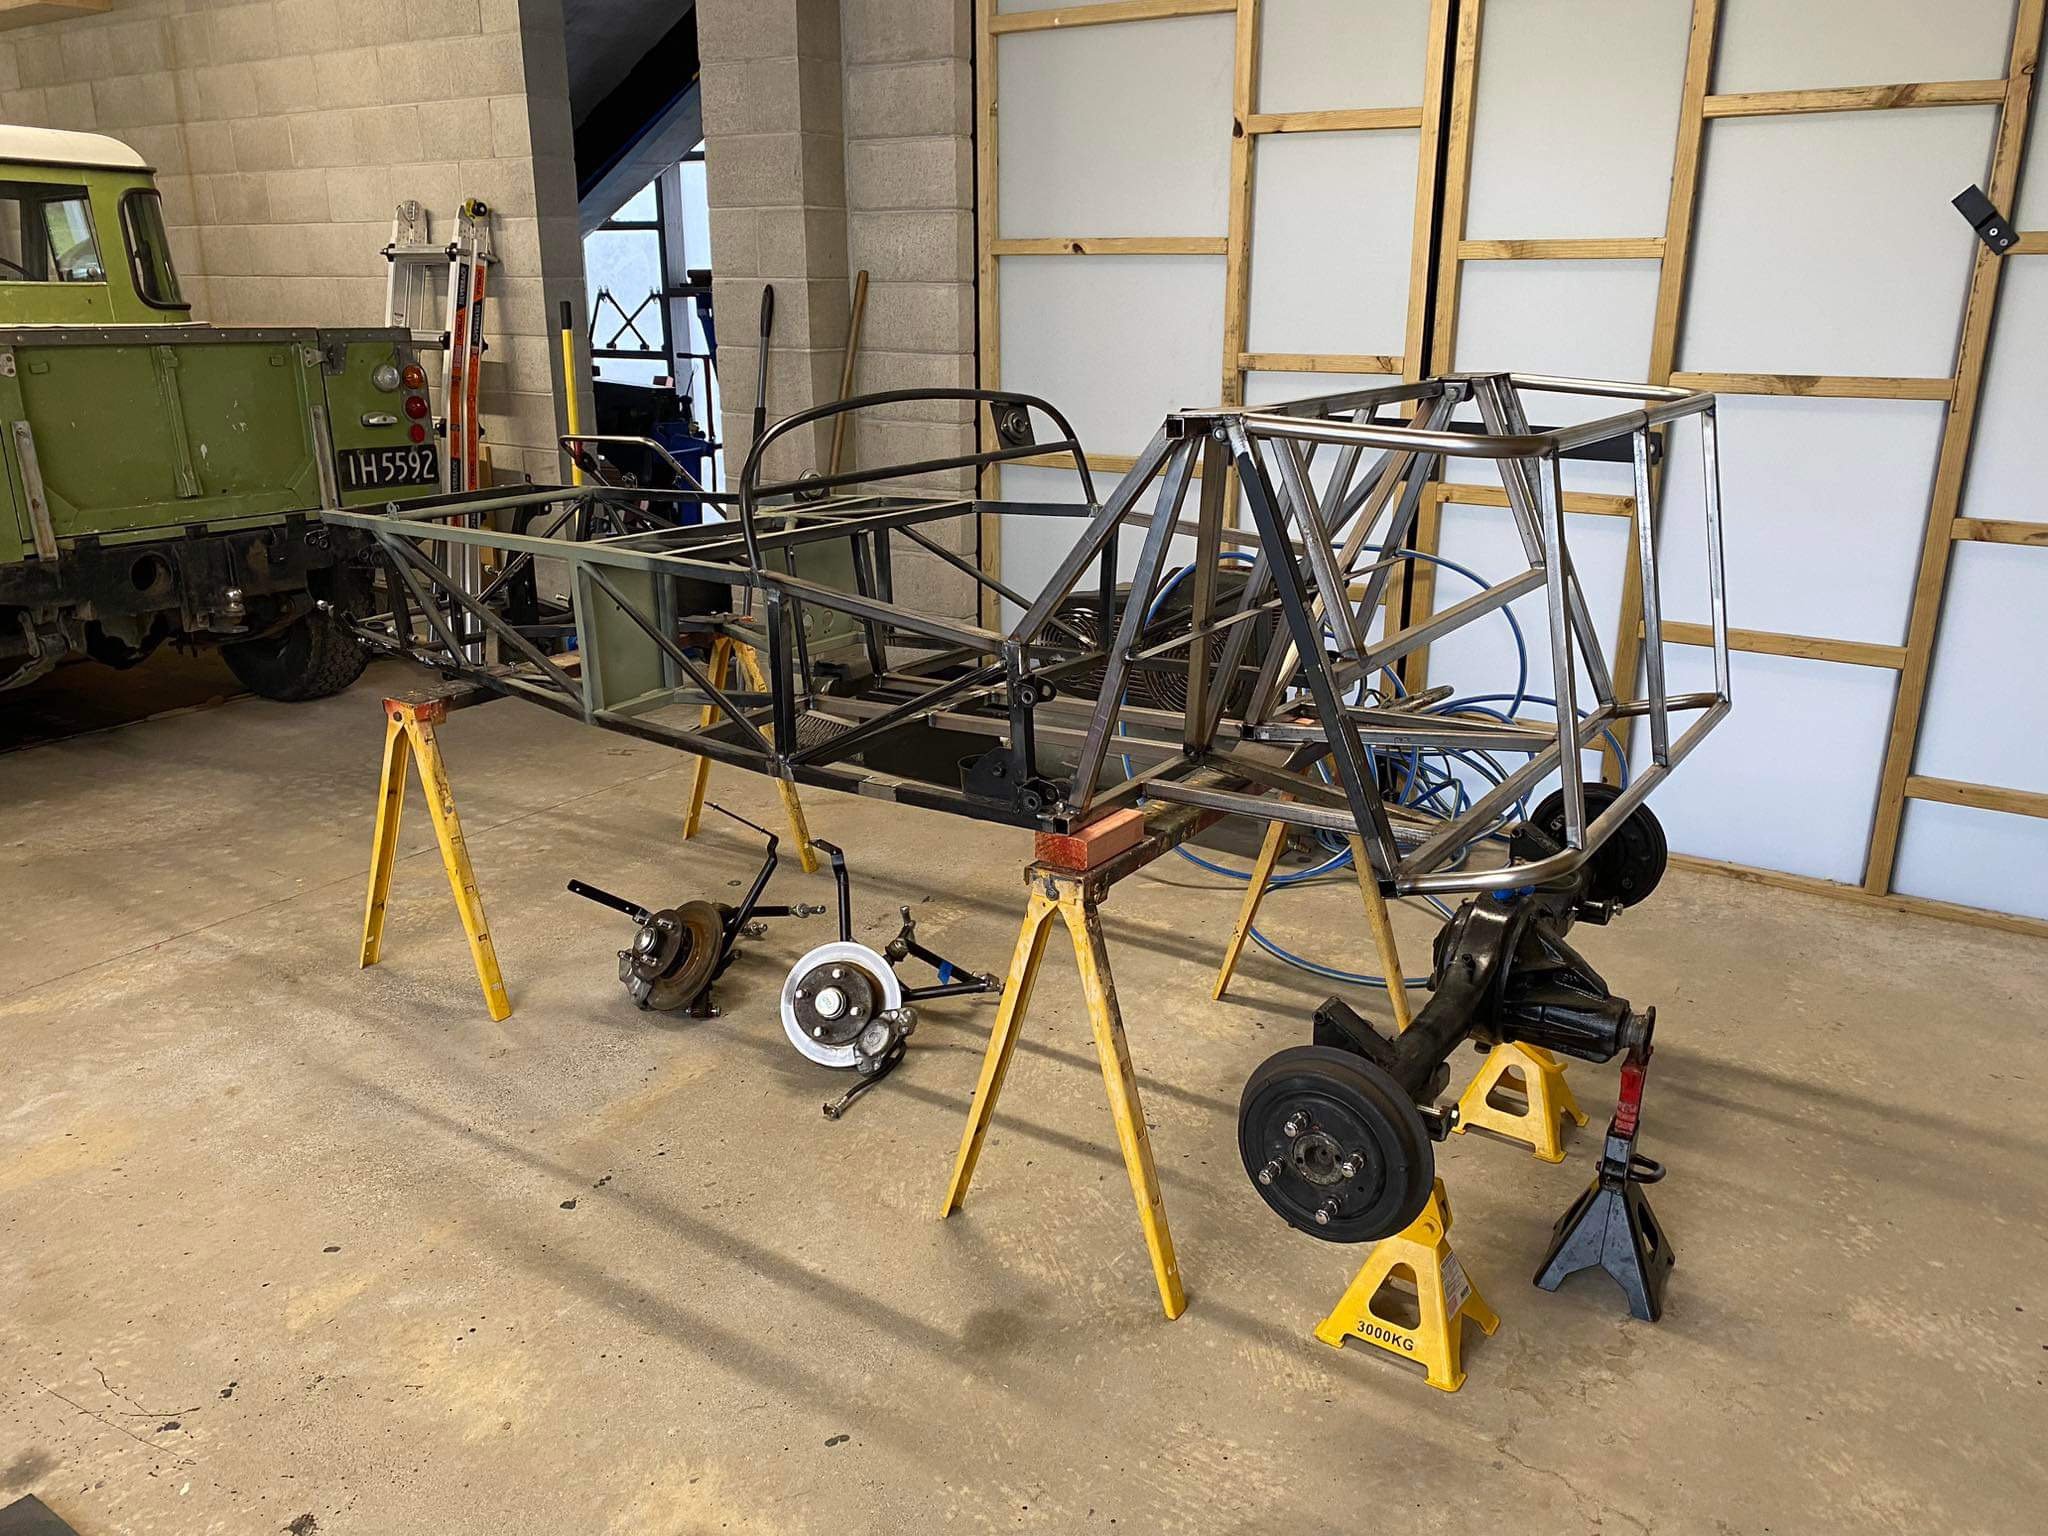
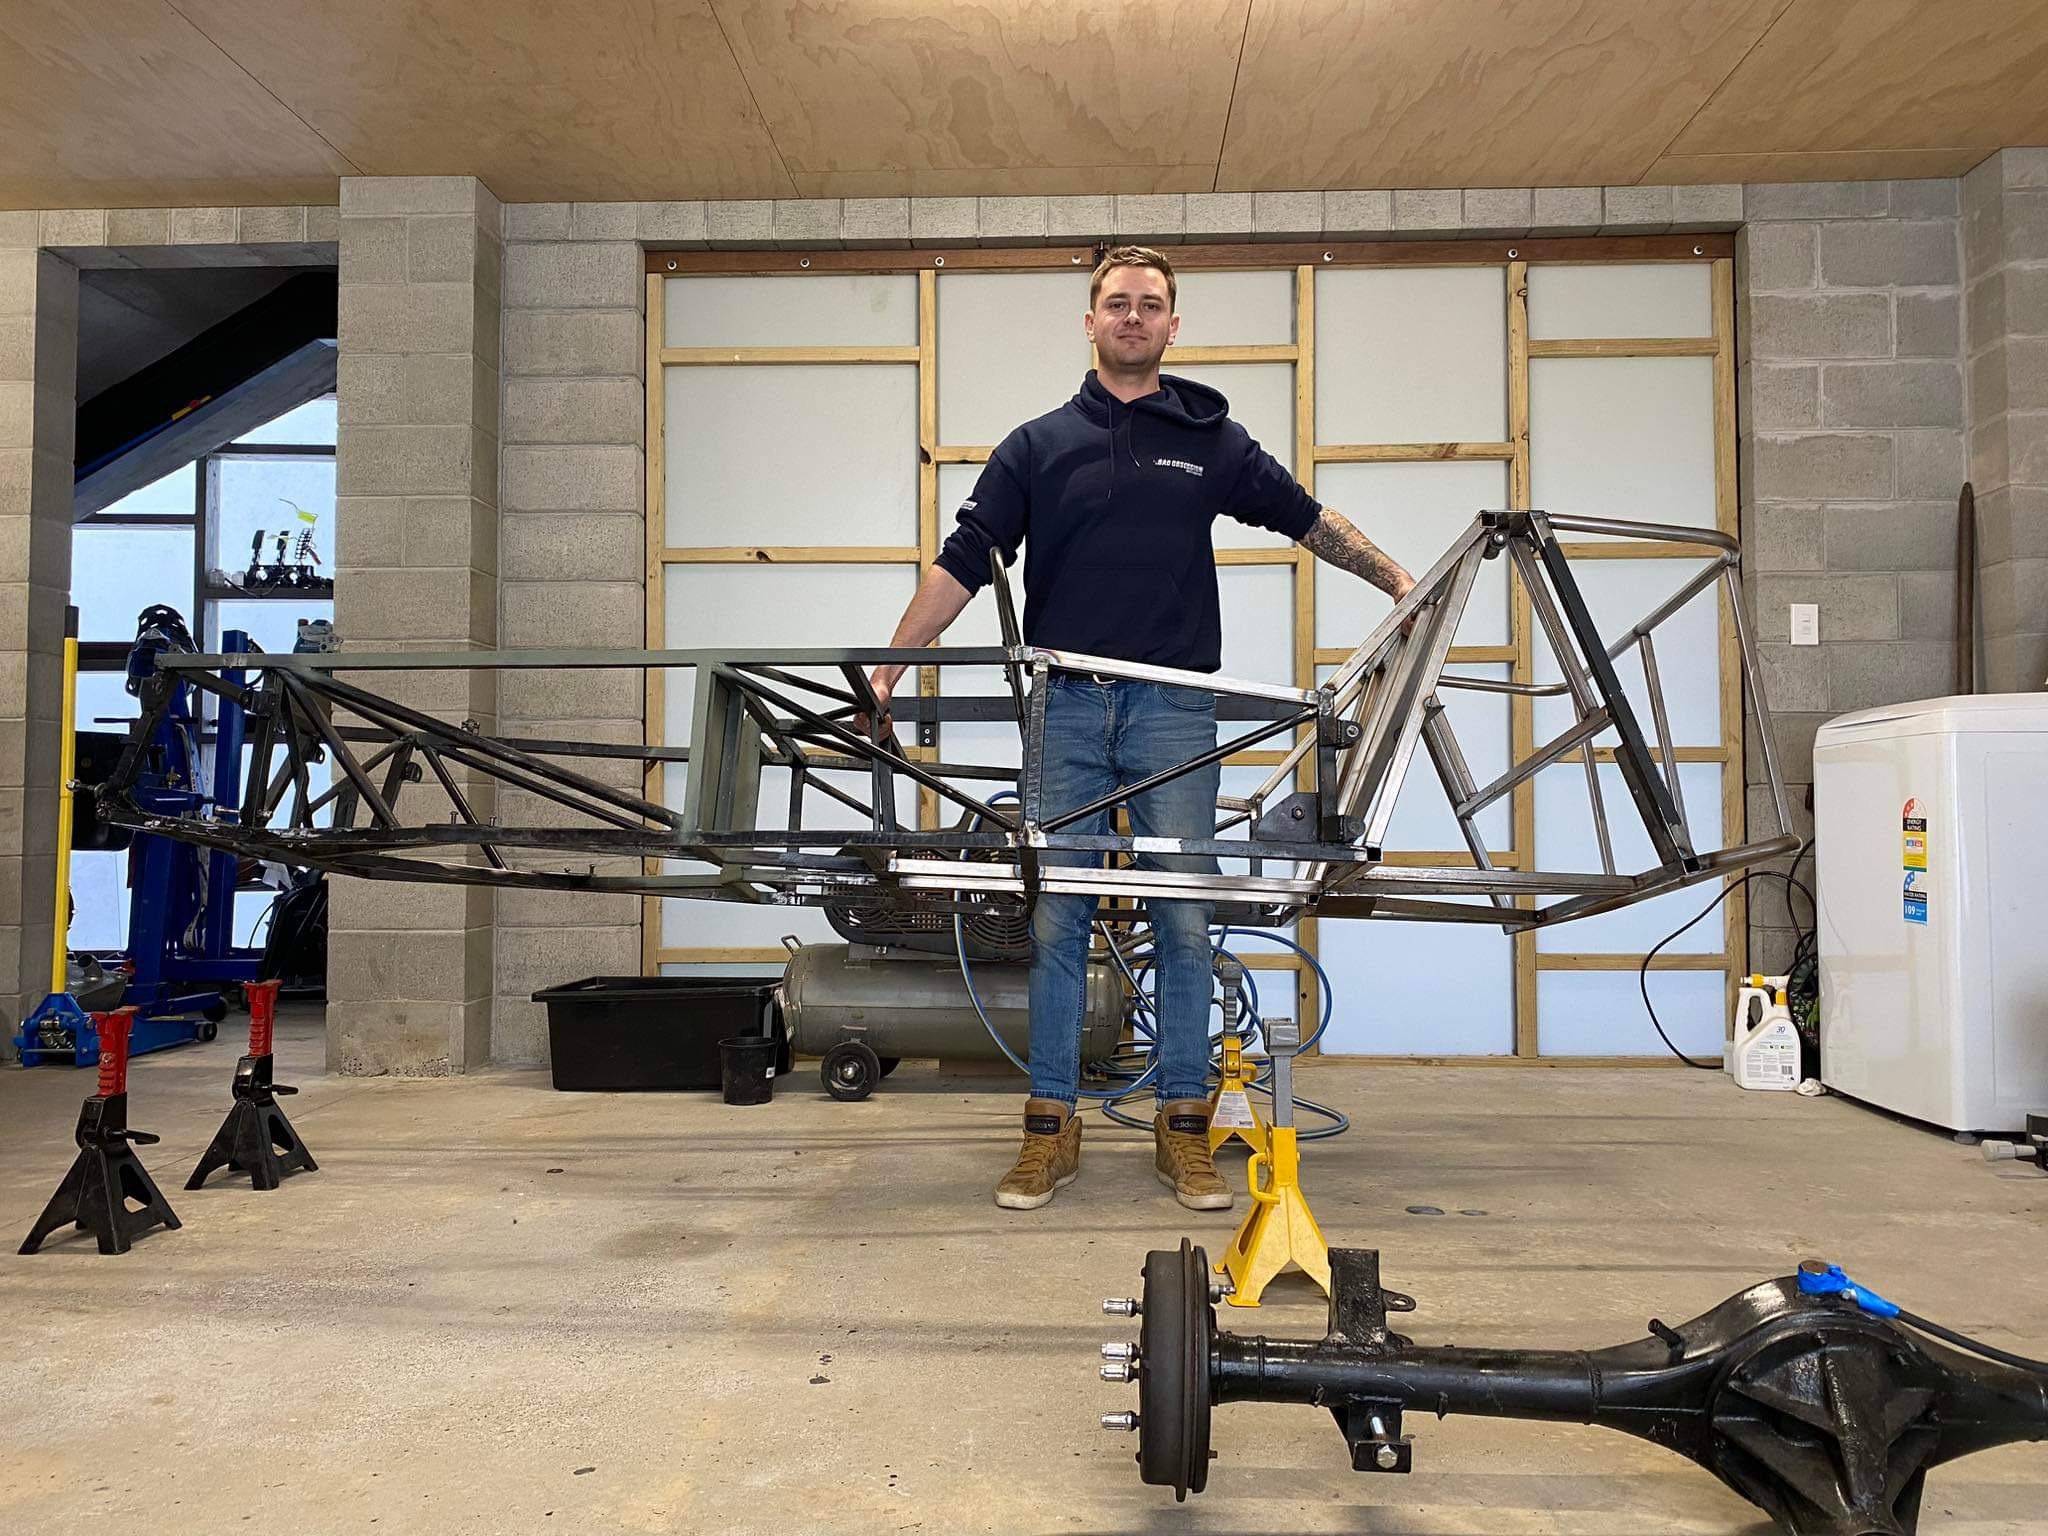
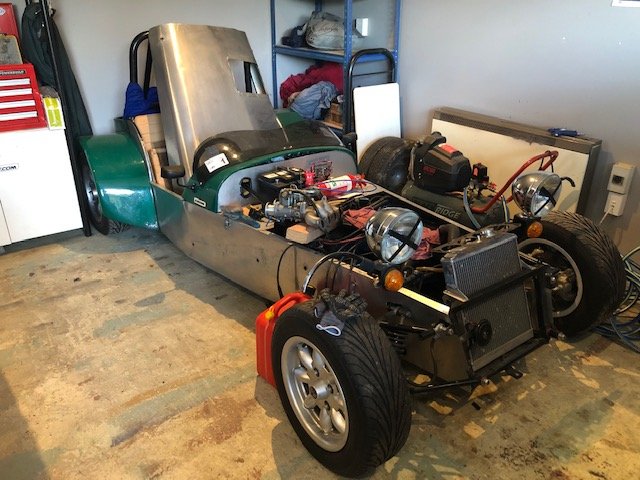
Tidied up the chassis early this year, welded up any unnecessary holes and cut off a few redundant brackets. Then the car went off to McGregor Motorsport for a reimagined rear end to be grafted on. The chassis can now sit completely flat on the ground from front to rear, originally it sloped upwards from the rear bulkhead. The new setup is much tidier and stronger, while retaining most of the mounting points. I’ve also gained ground clearance was was previously an issue. Will get a new tunnel soon. The chassis does need to go back to be fully welded, so have disassembled the suspension and this is where it’s at today. Quick center of gravity and weight check, still acceptable.
- 48 replies
-
- 26
-
-
Random slightly cool stuff you built but not worth its own thread, thread
HKM400 replied to h4nd's topic in Other Projects
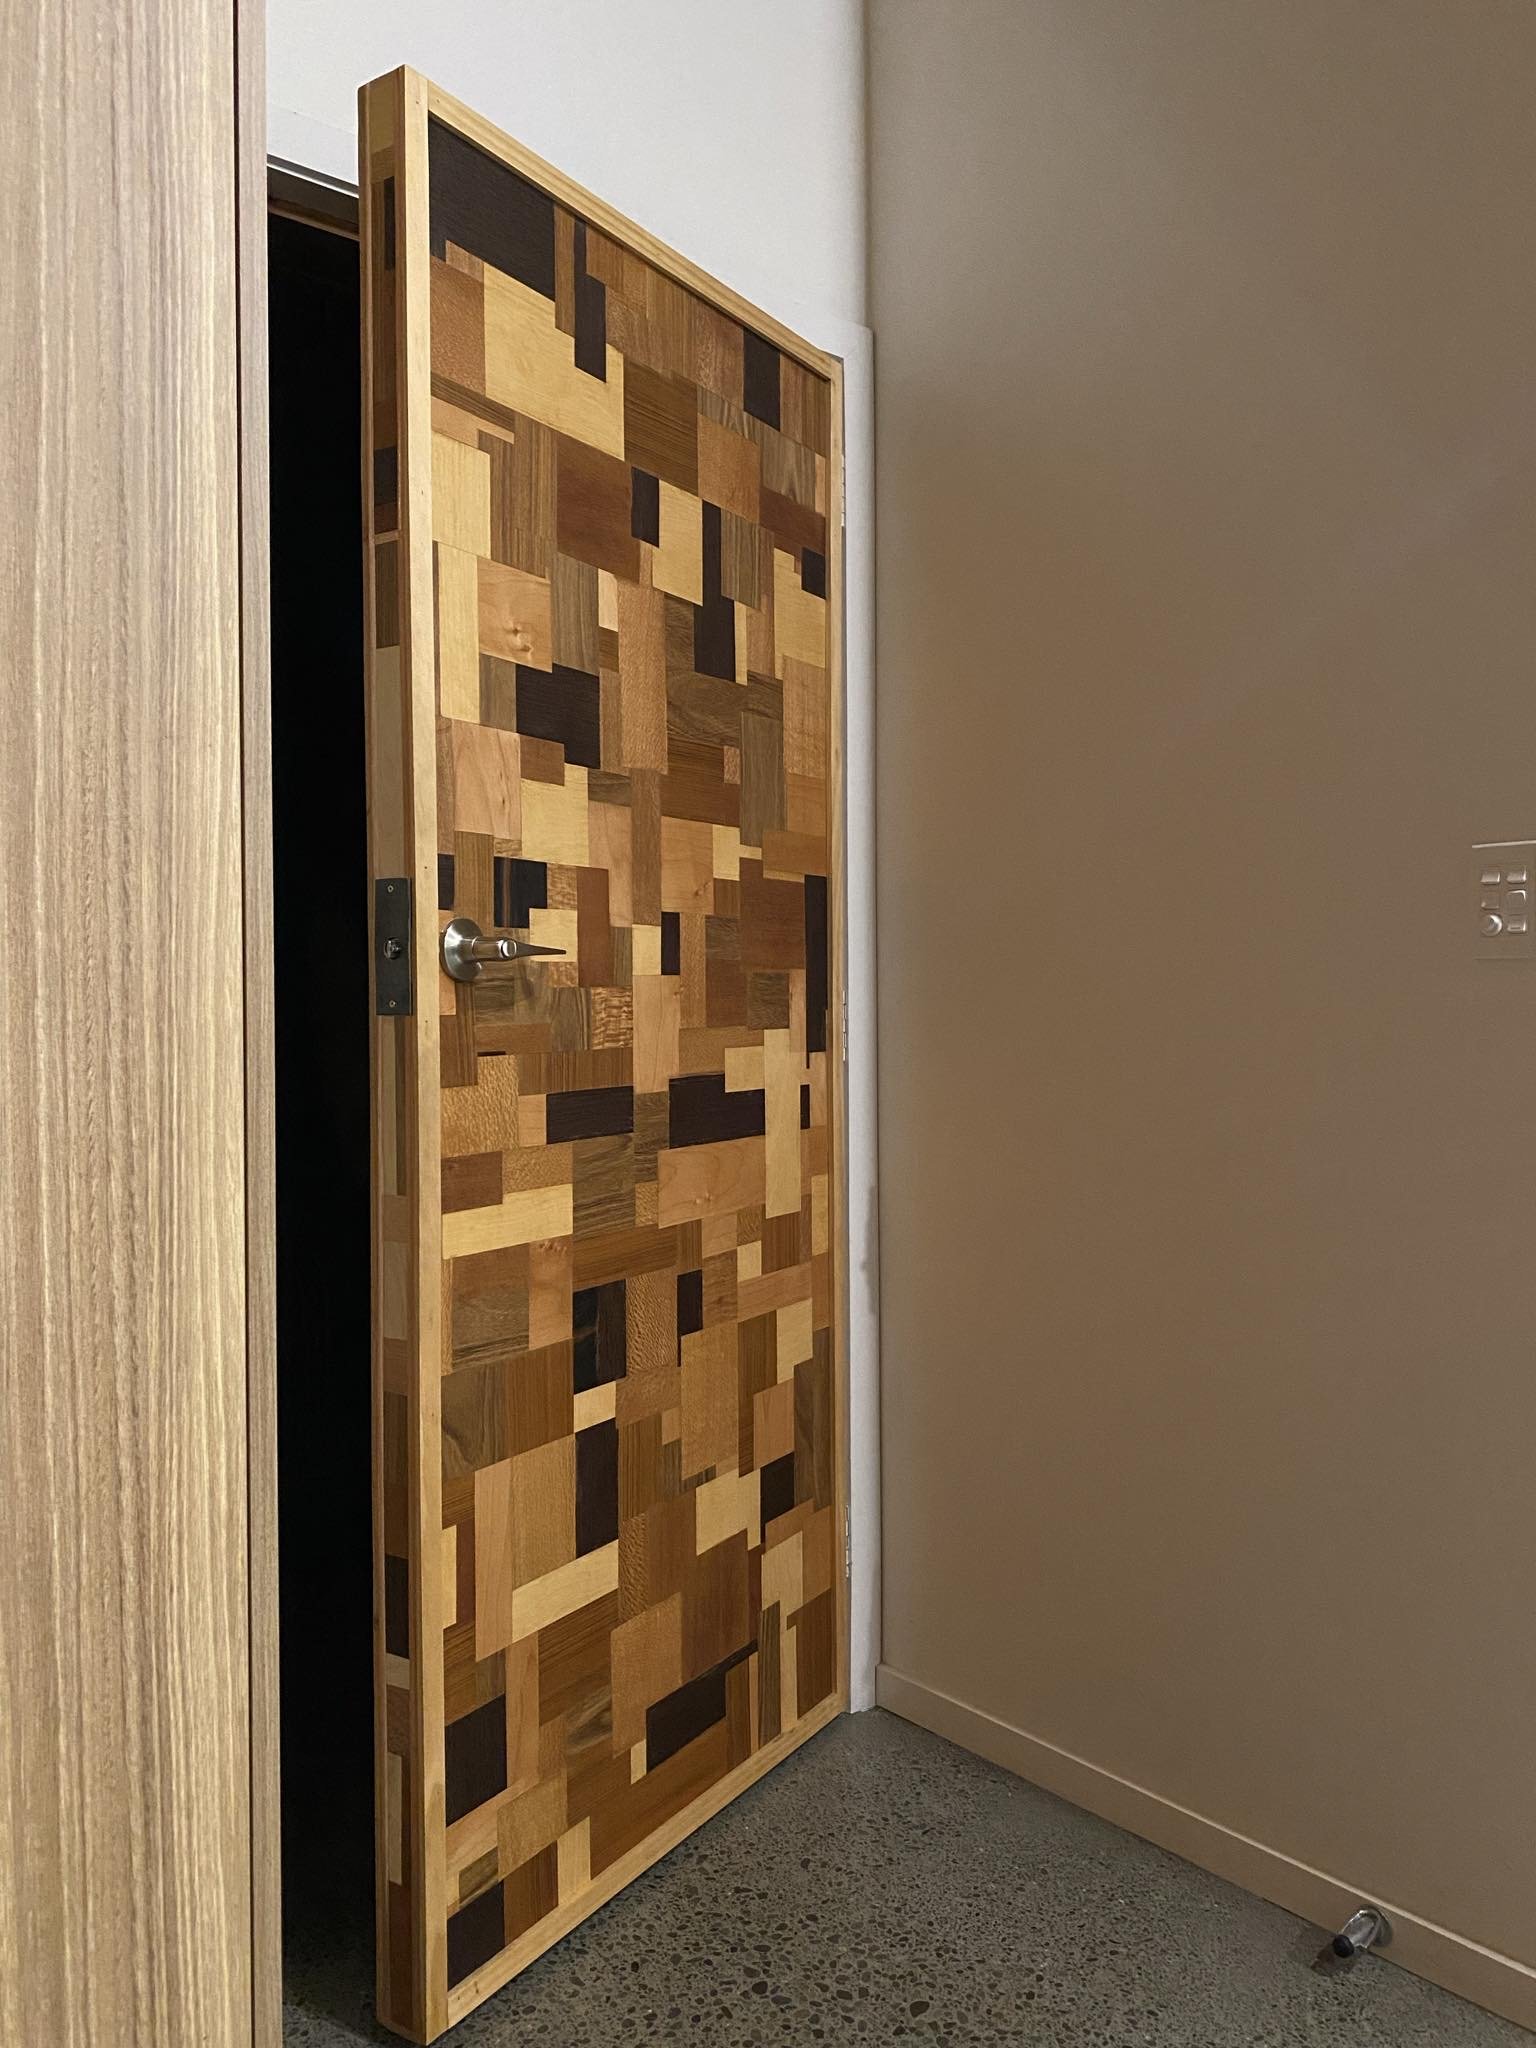
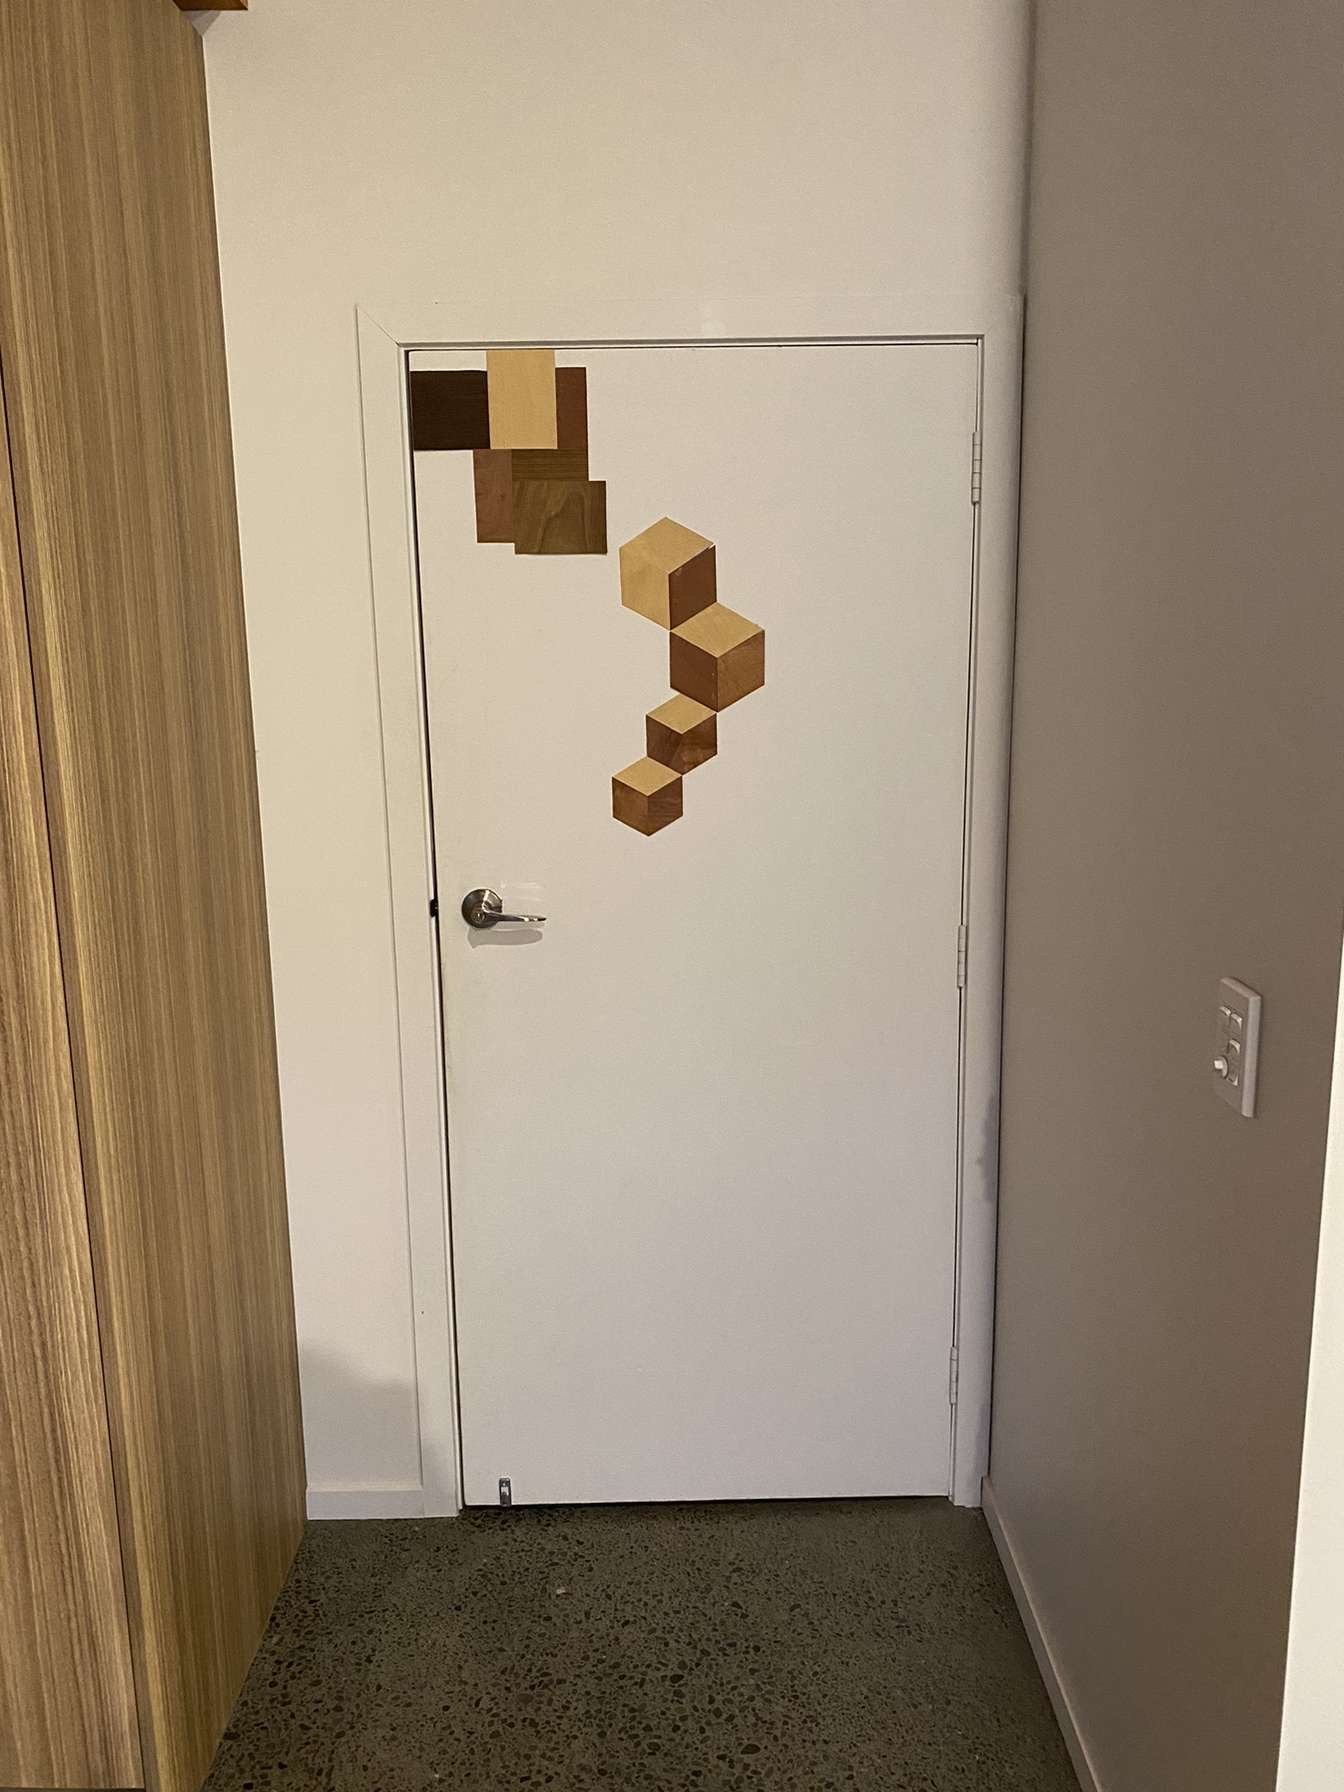
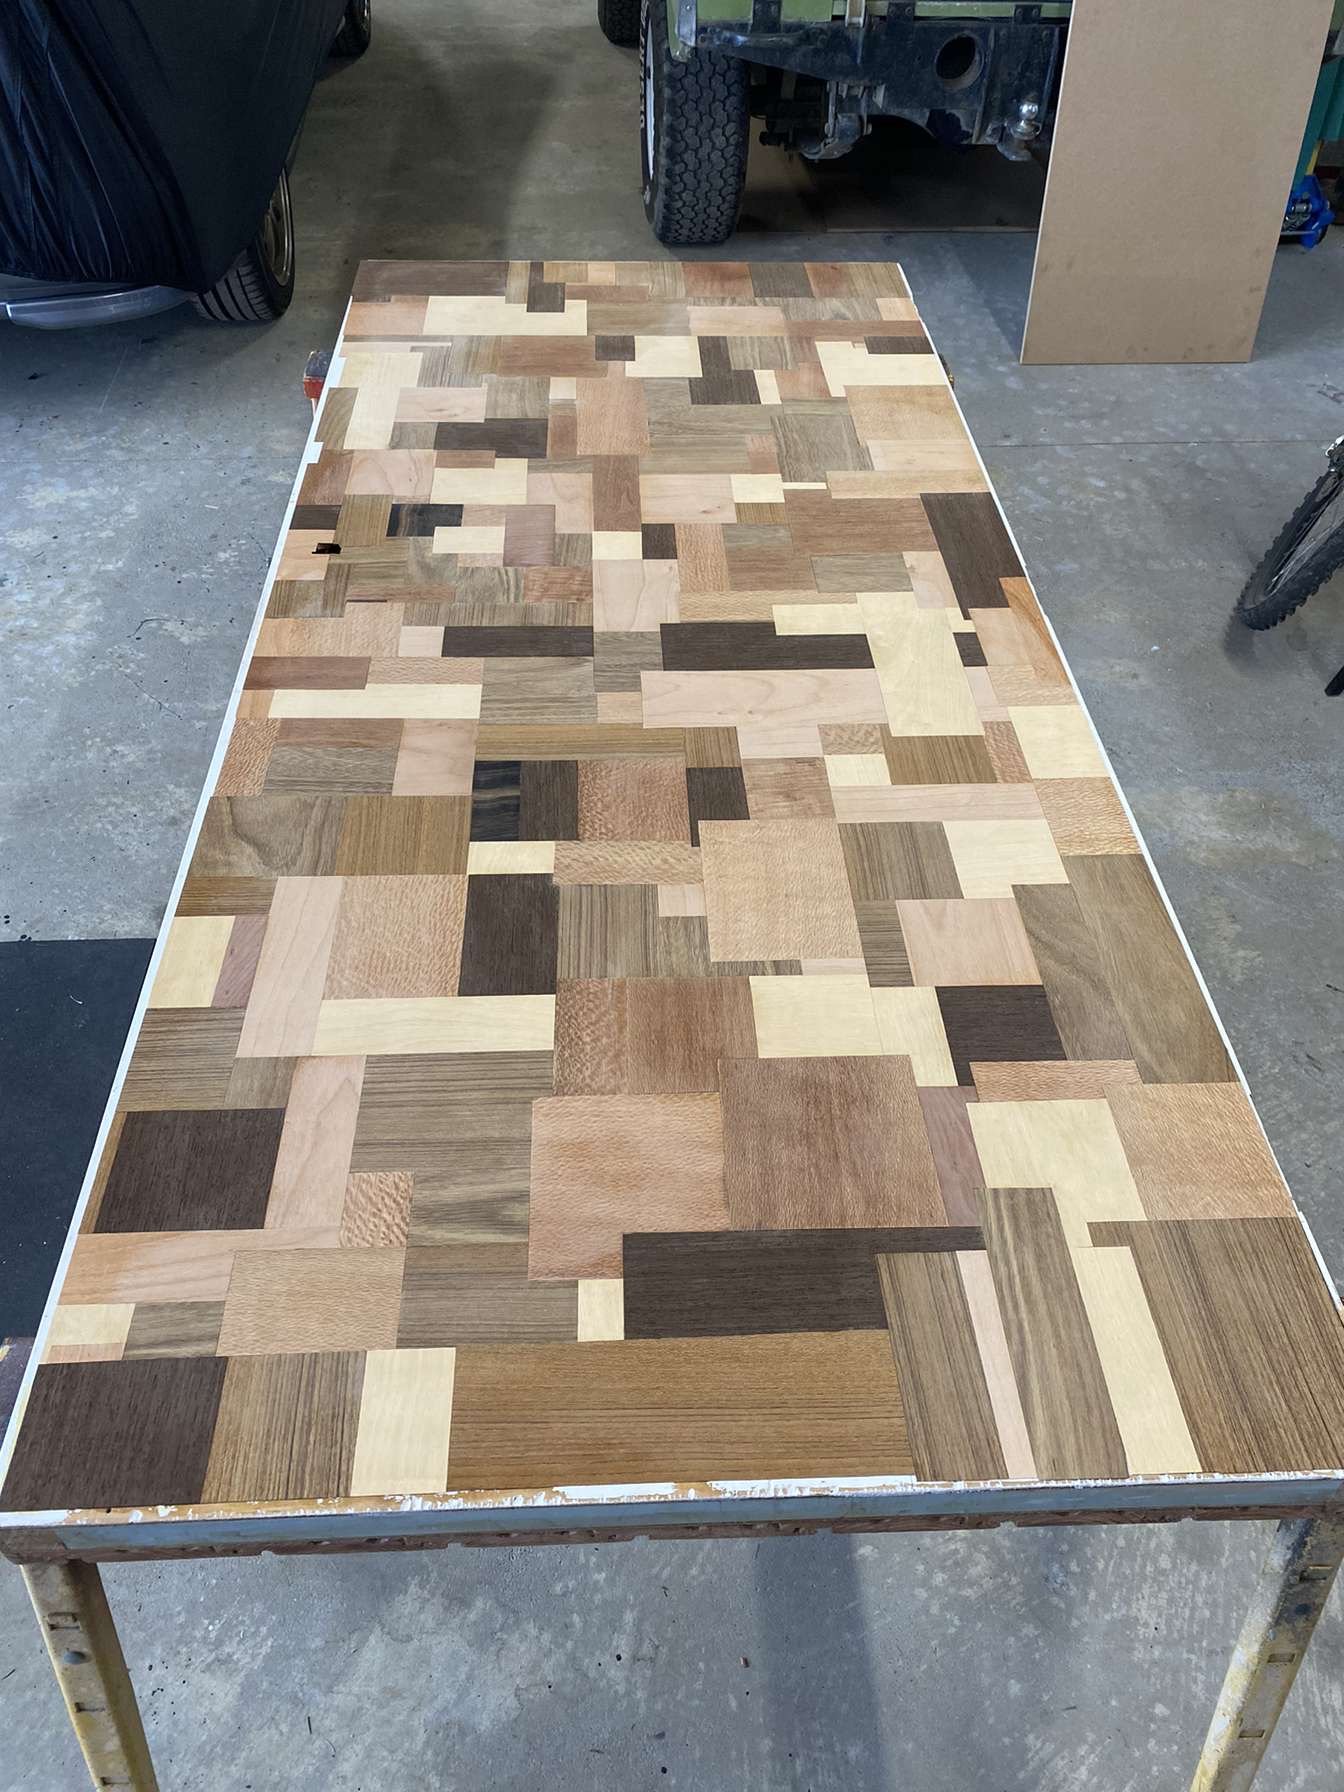
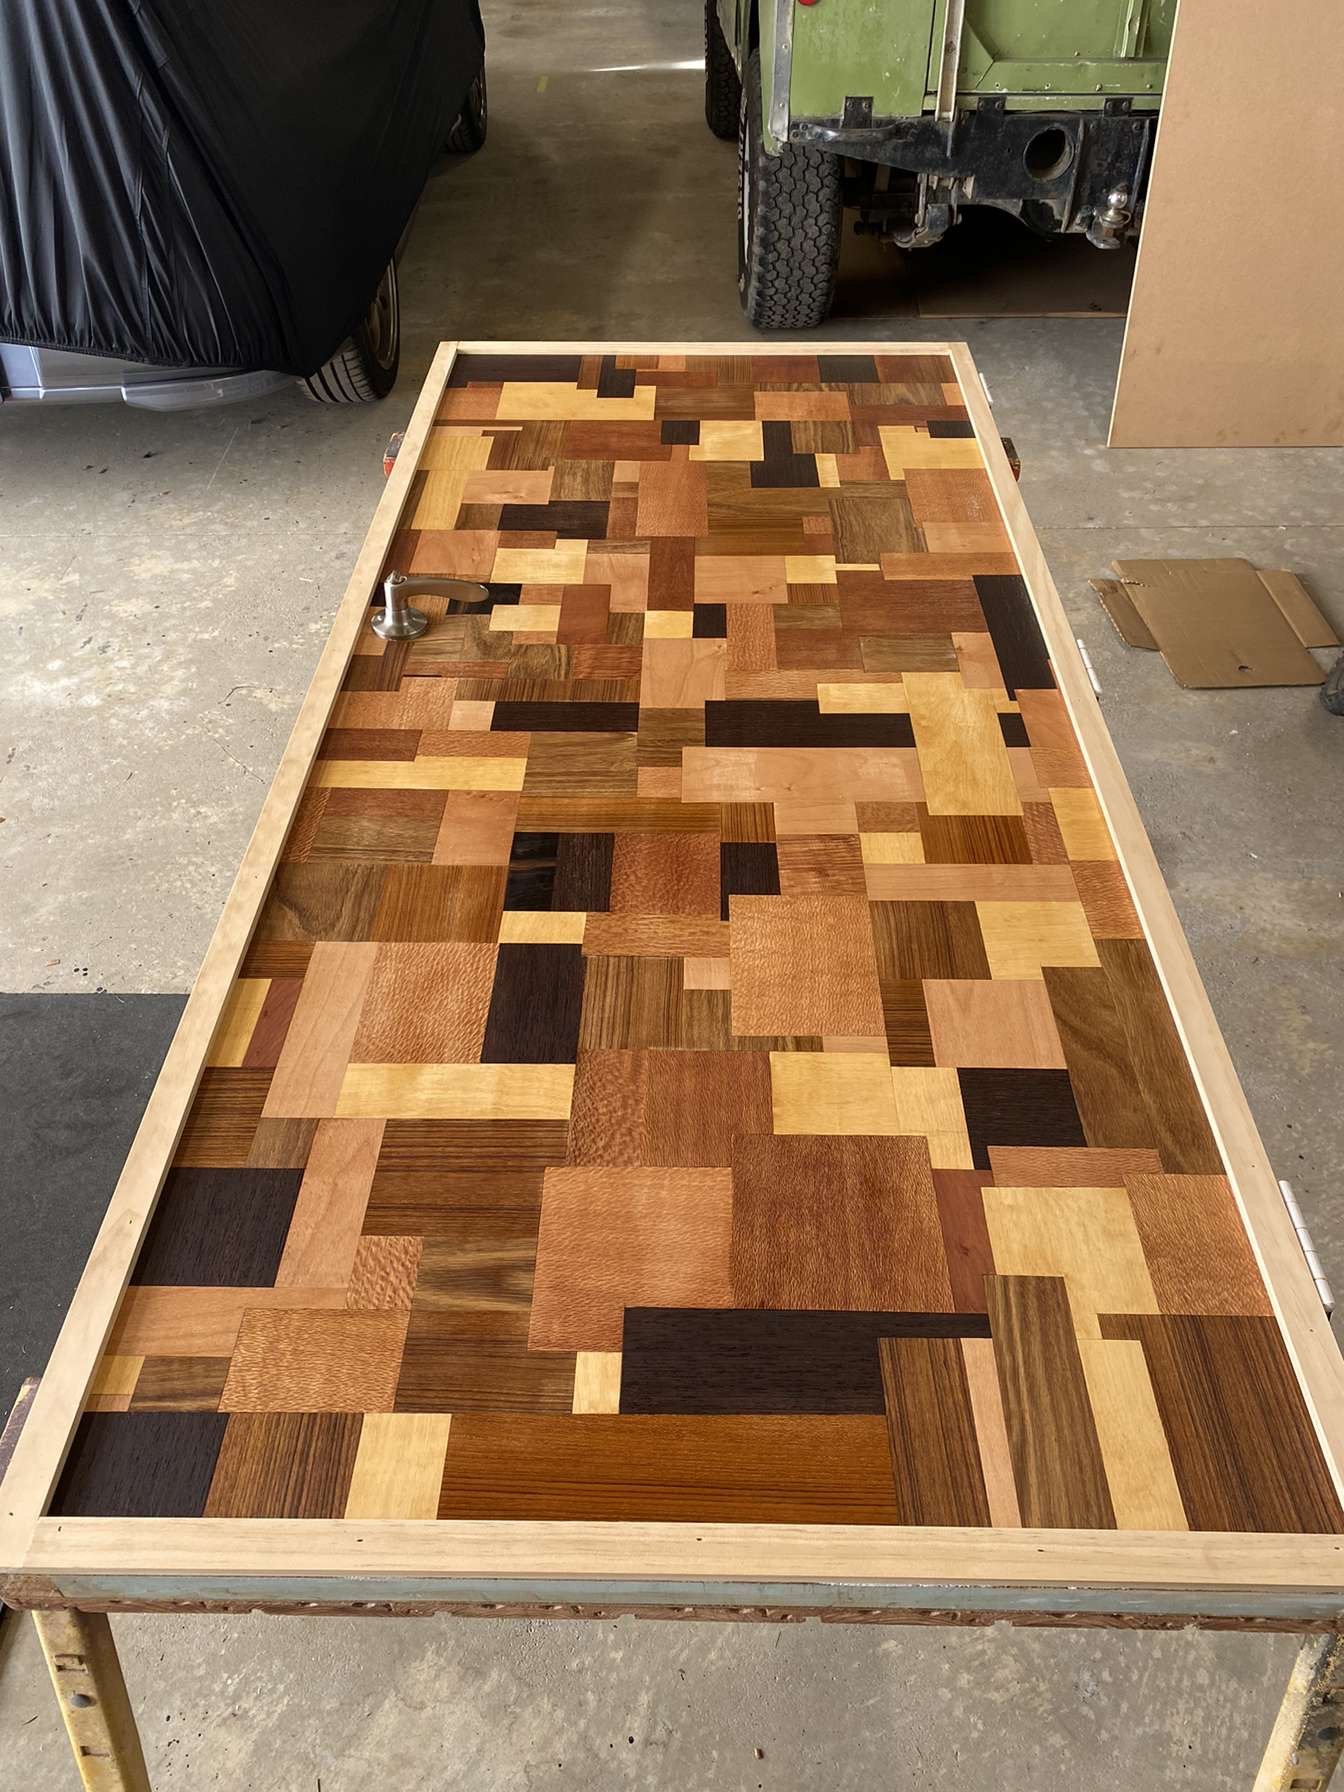
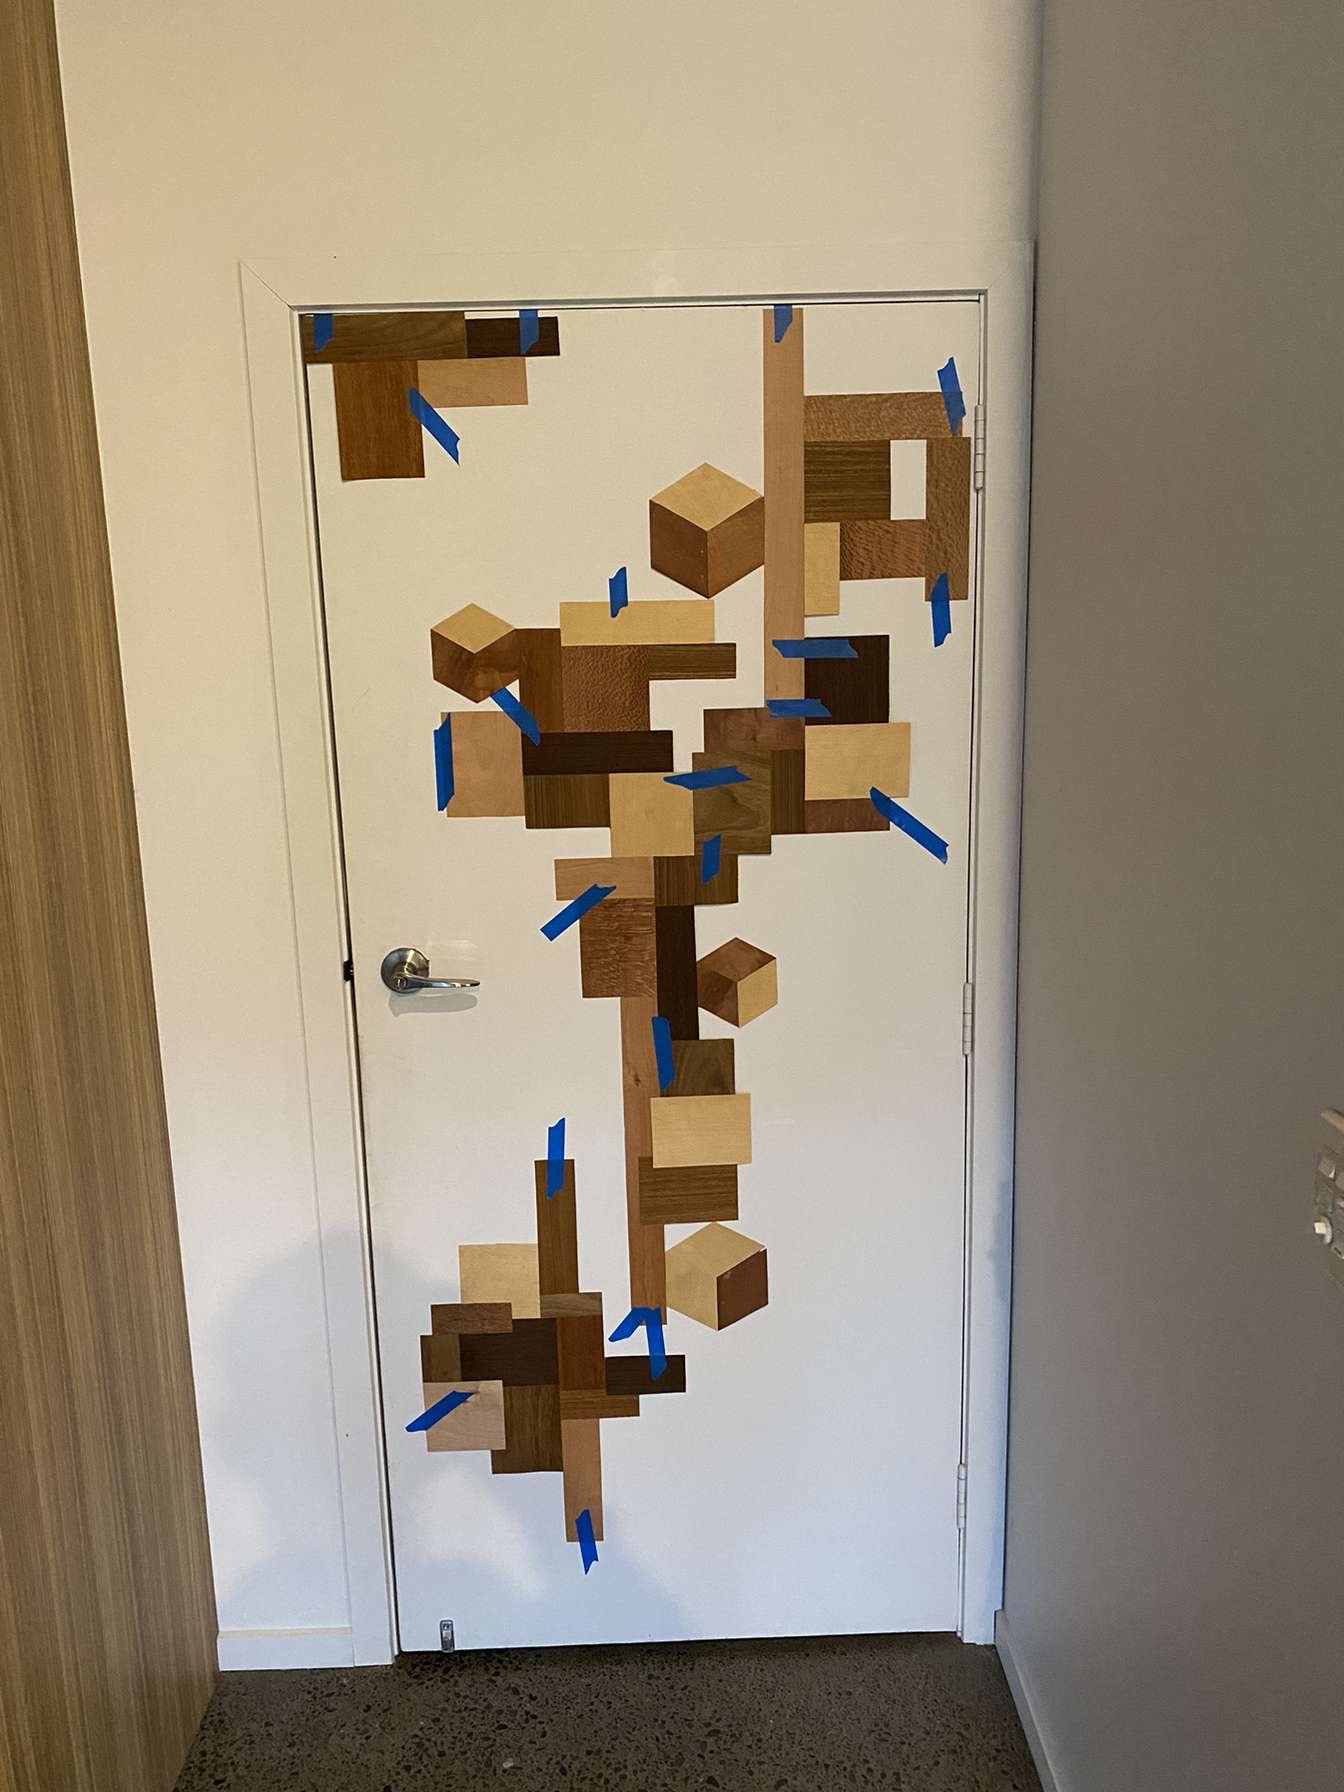
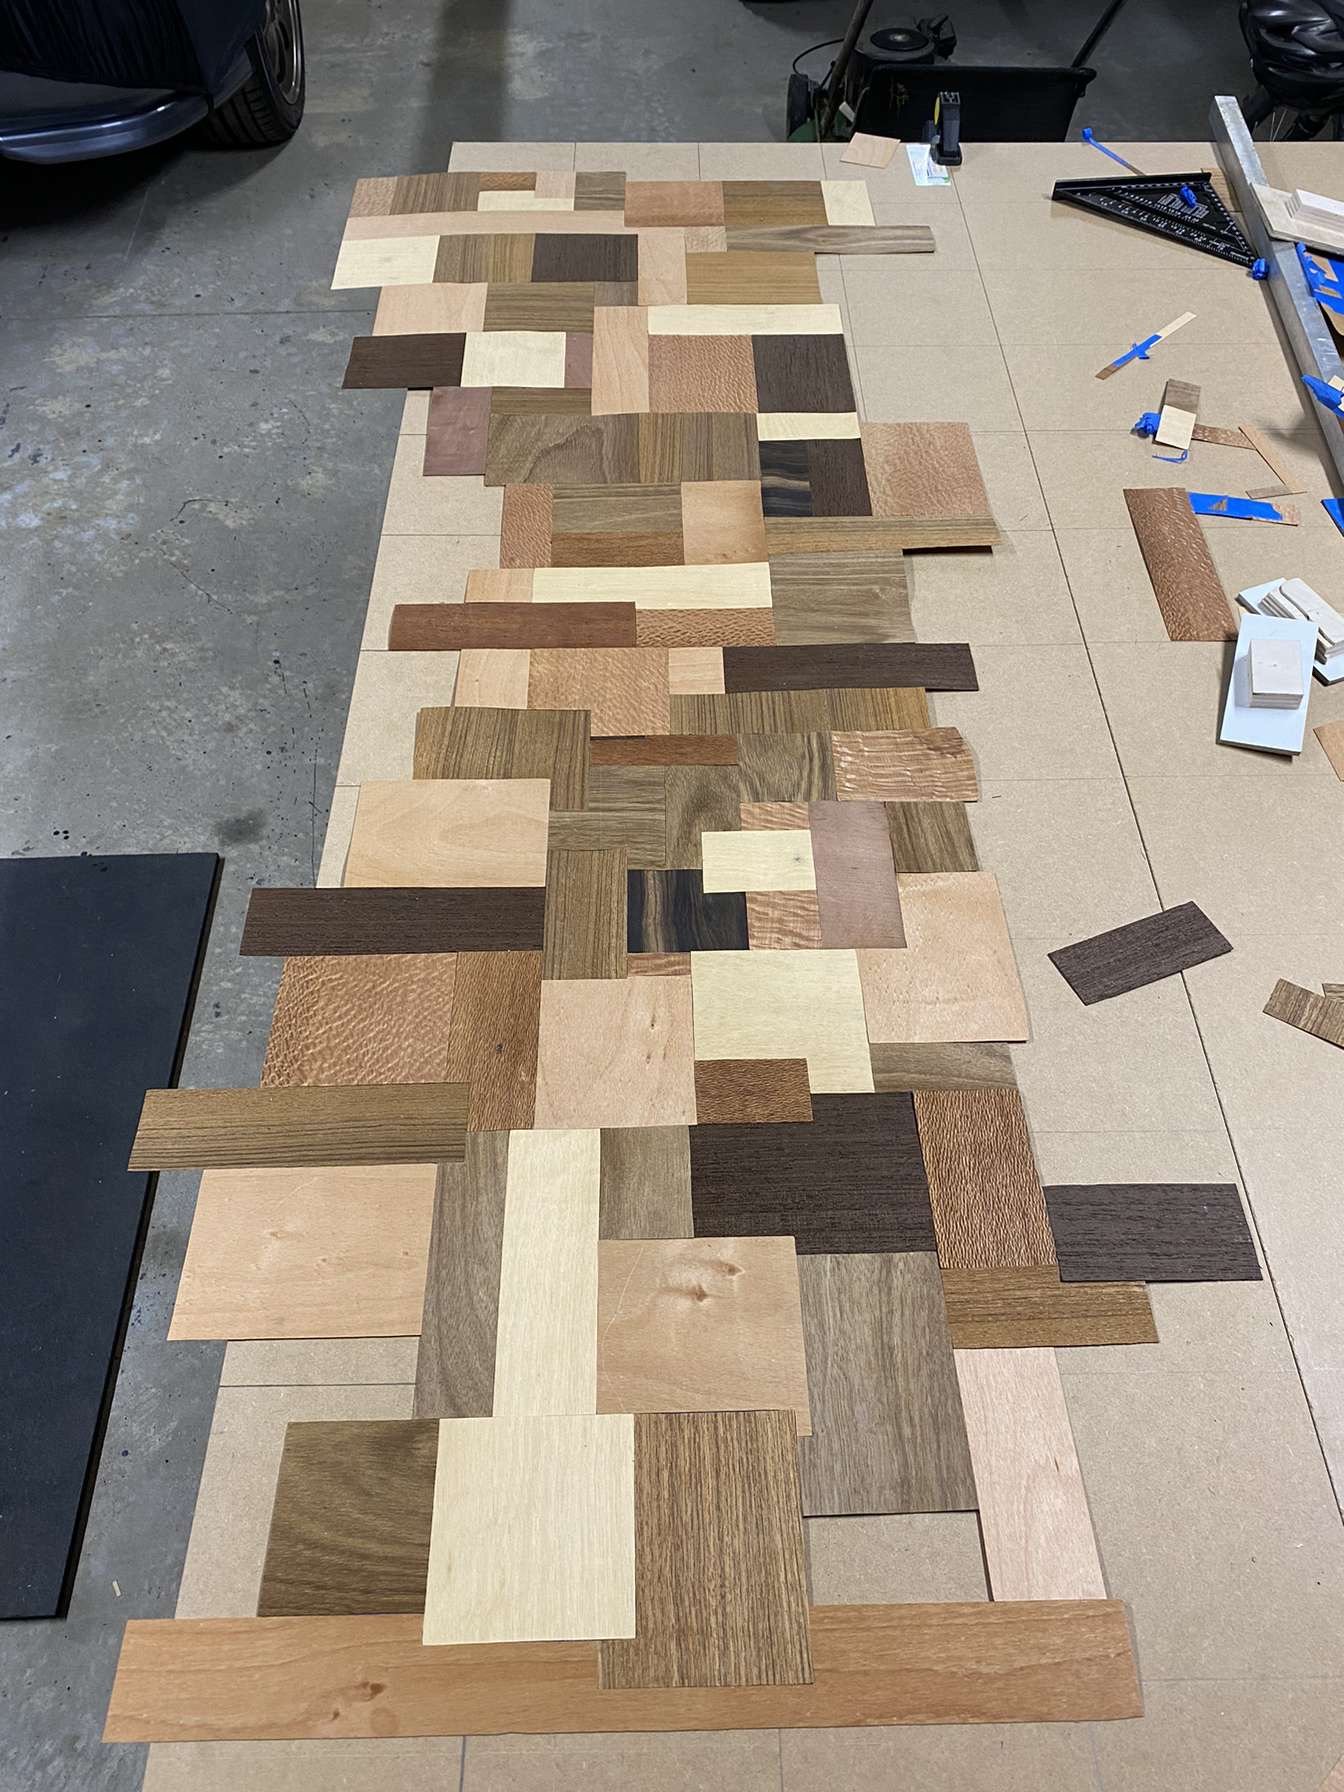
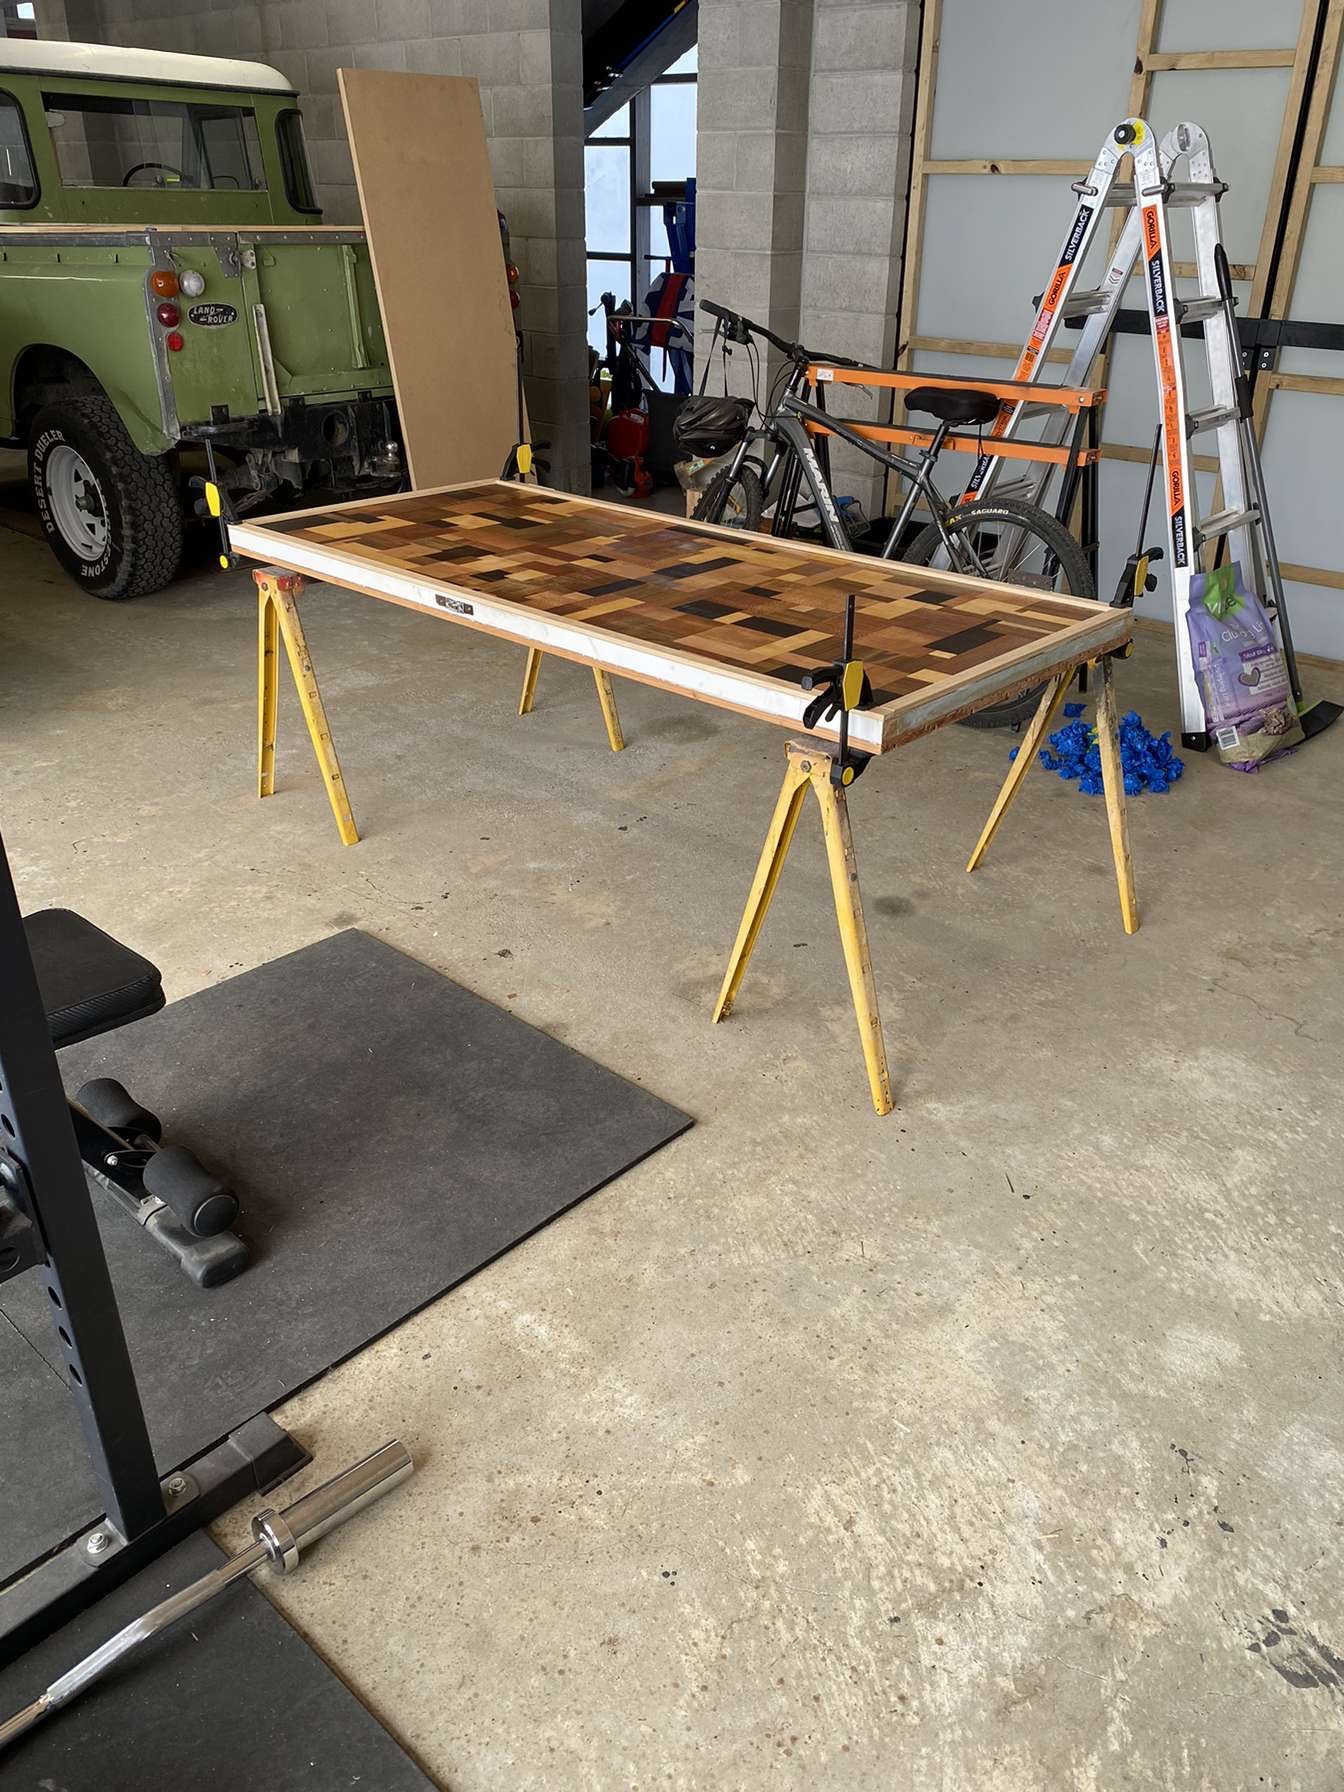
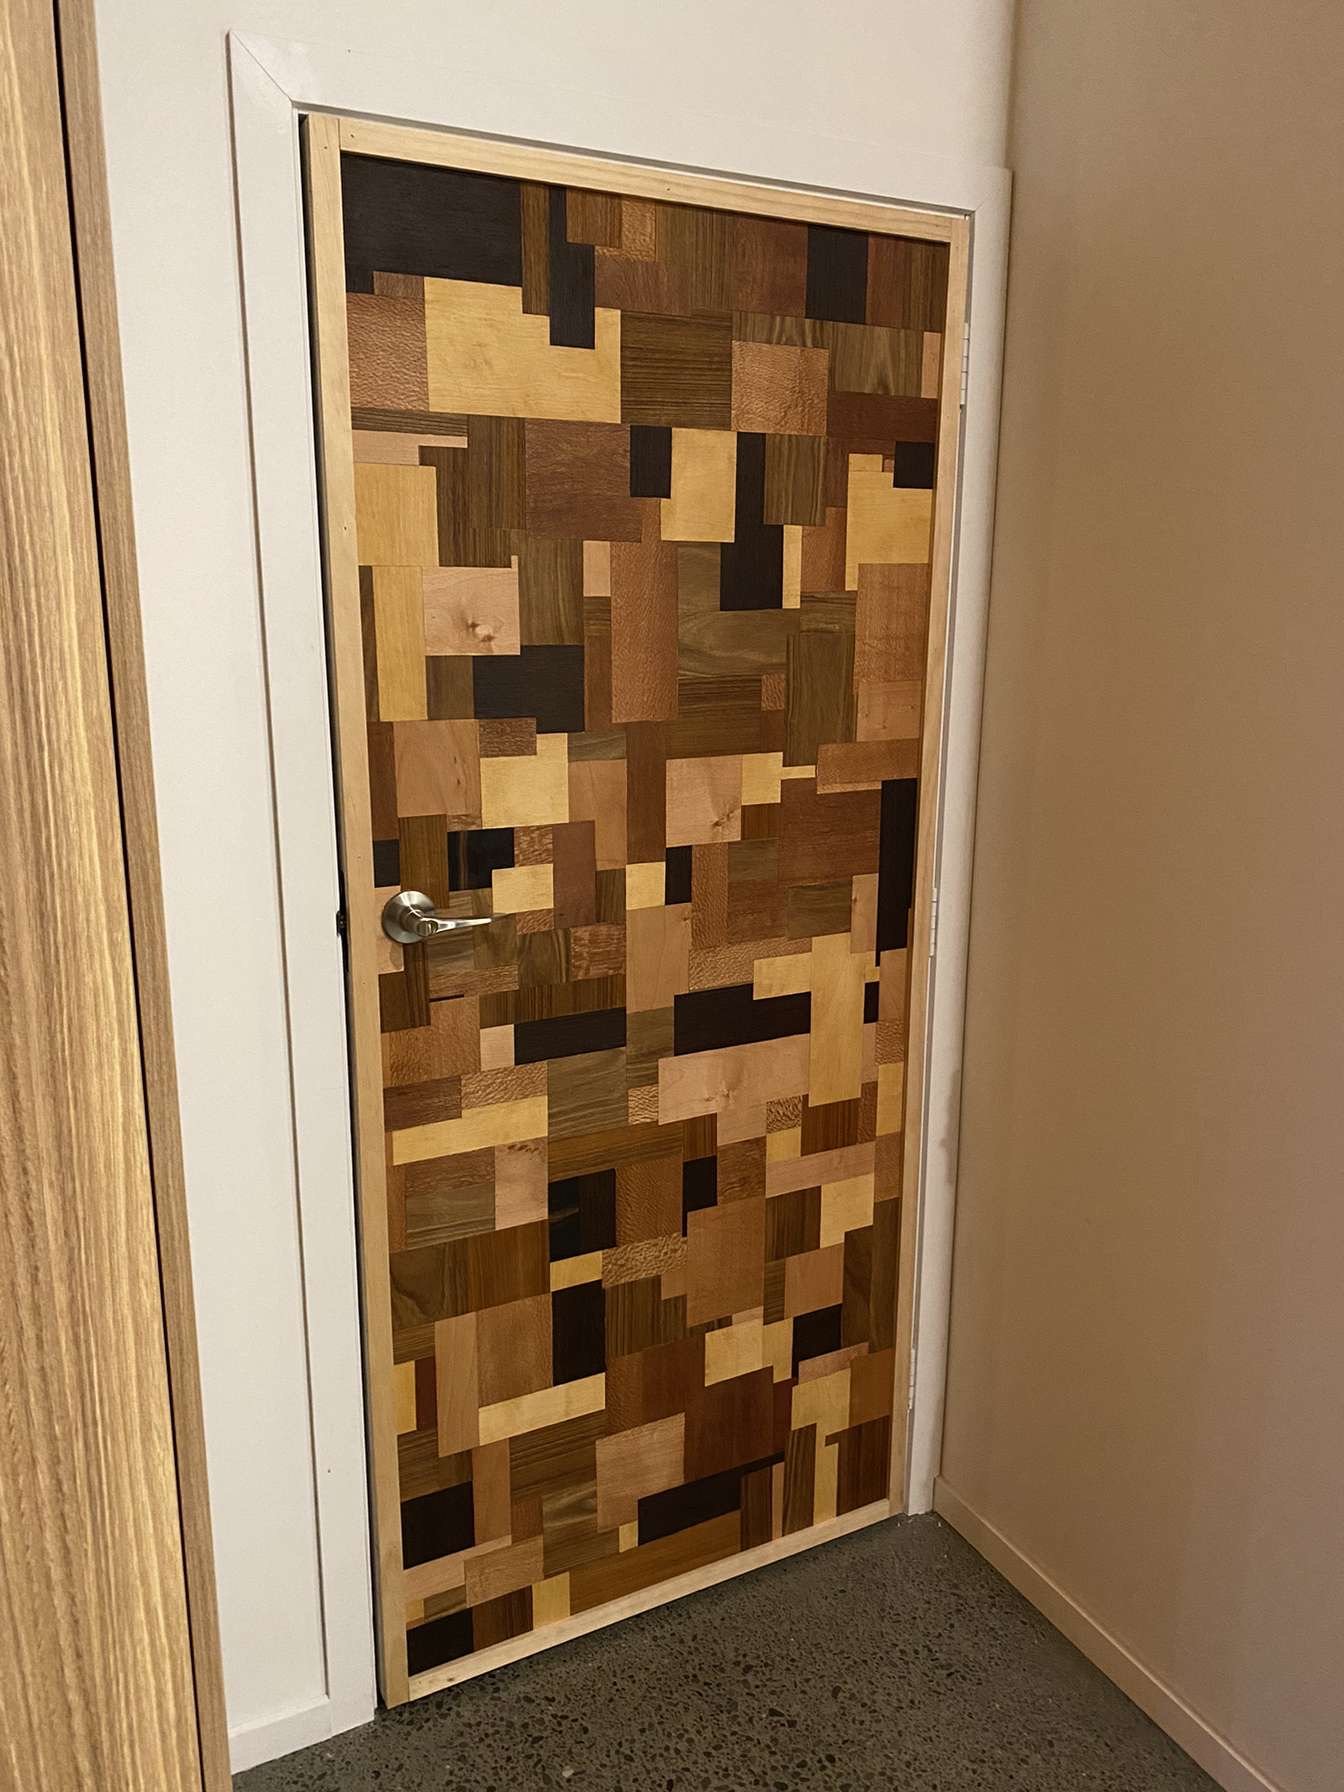
Wanted to make this door more interesting, so decided to do some random veneer pattern. Learned how to do this from a furniture maker and artist who also supplied the veneers. I wanted to include some 3D cubes but beyond my skills at this stage, maybe next project on a smaller scale. Started out with a few trial pieces Built up a sheet that was 1960 long and 860 wide, all taped together. Then used contact adhesive to bond it to the door Glued on and rolled, weighted down for a day, then sanded with 400 grit Oiled and a 30mm pine boarder added All finished, underestimated how long it would take to cut all the pieces… few gaps but overall pretty happy
-
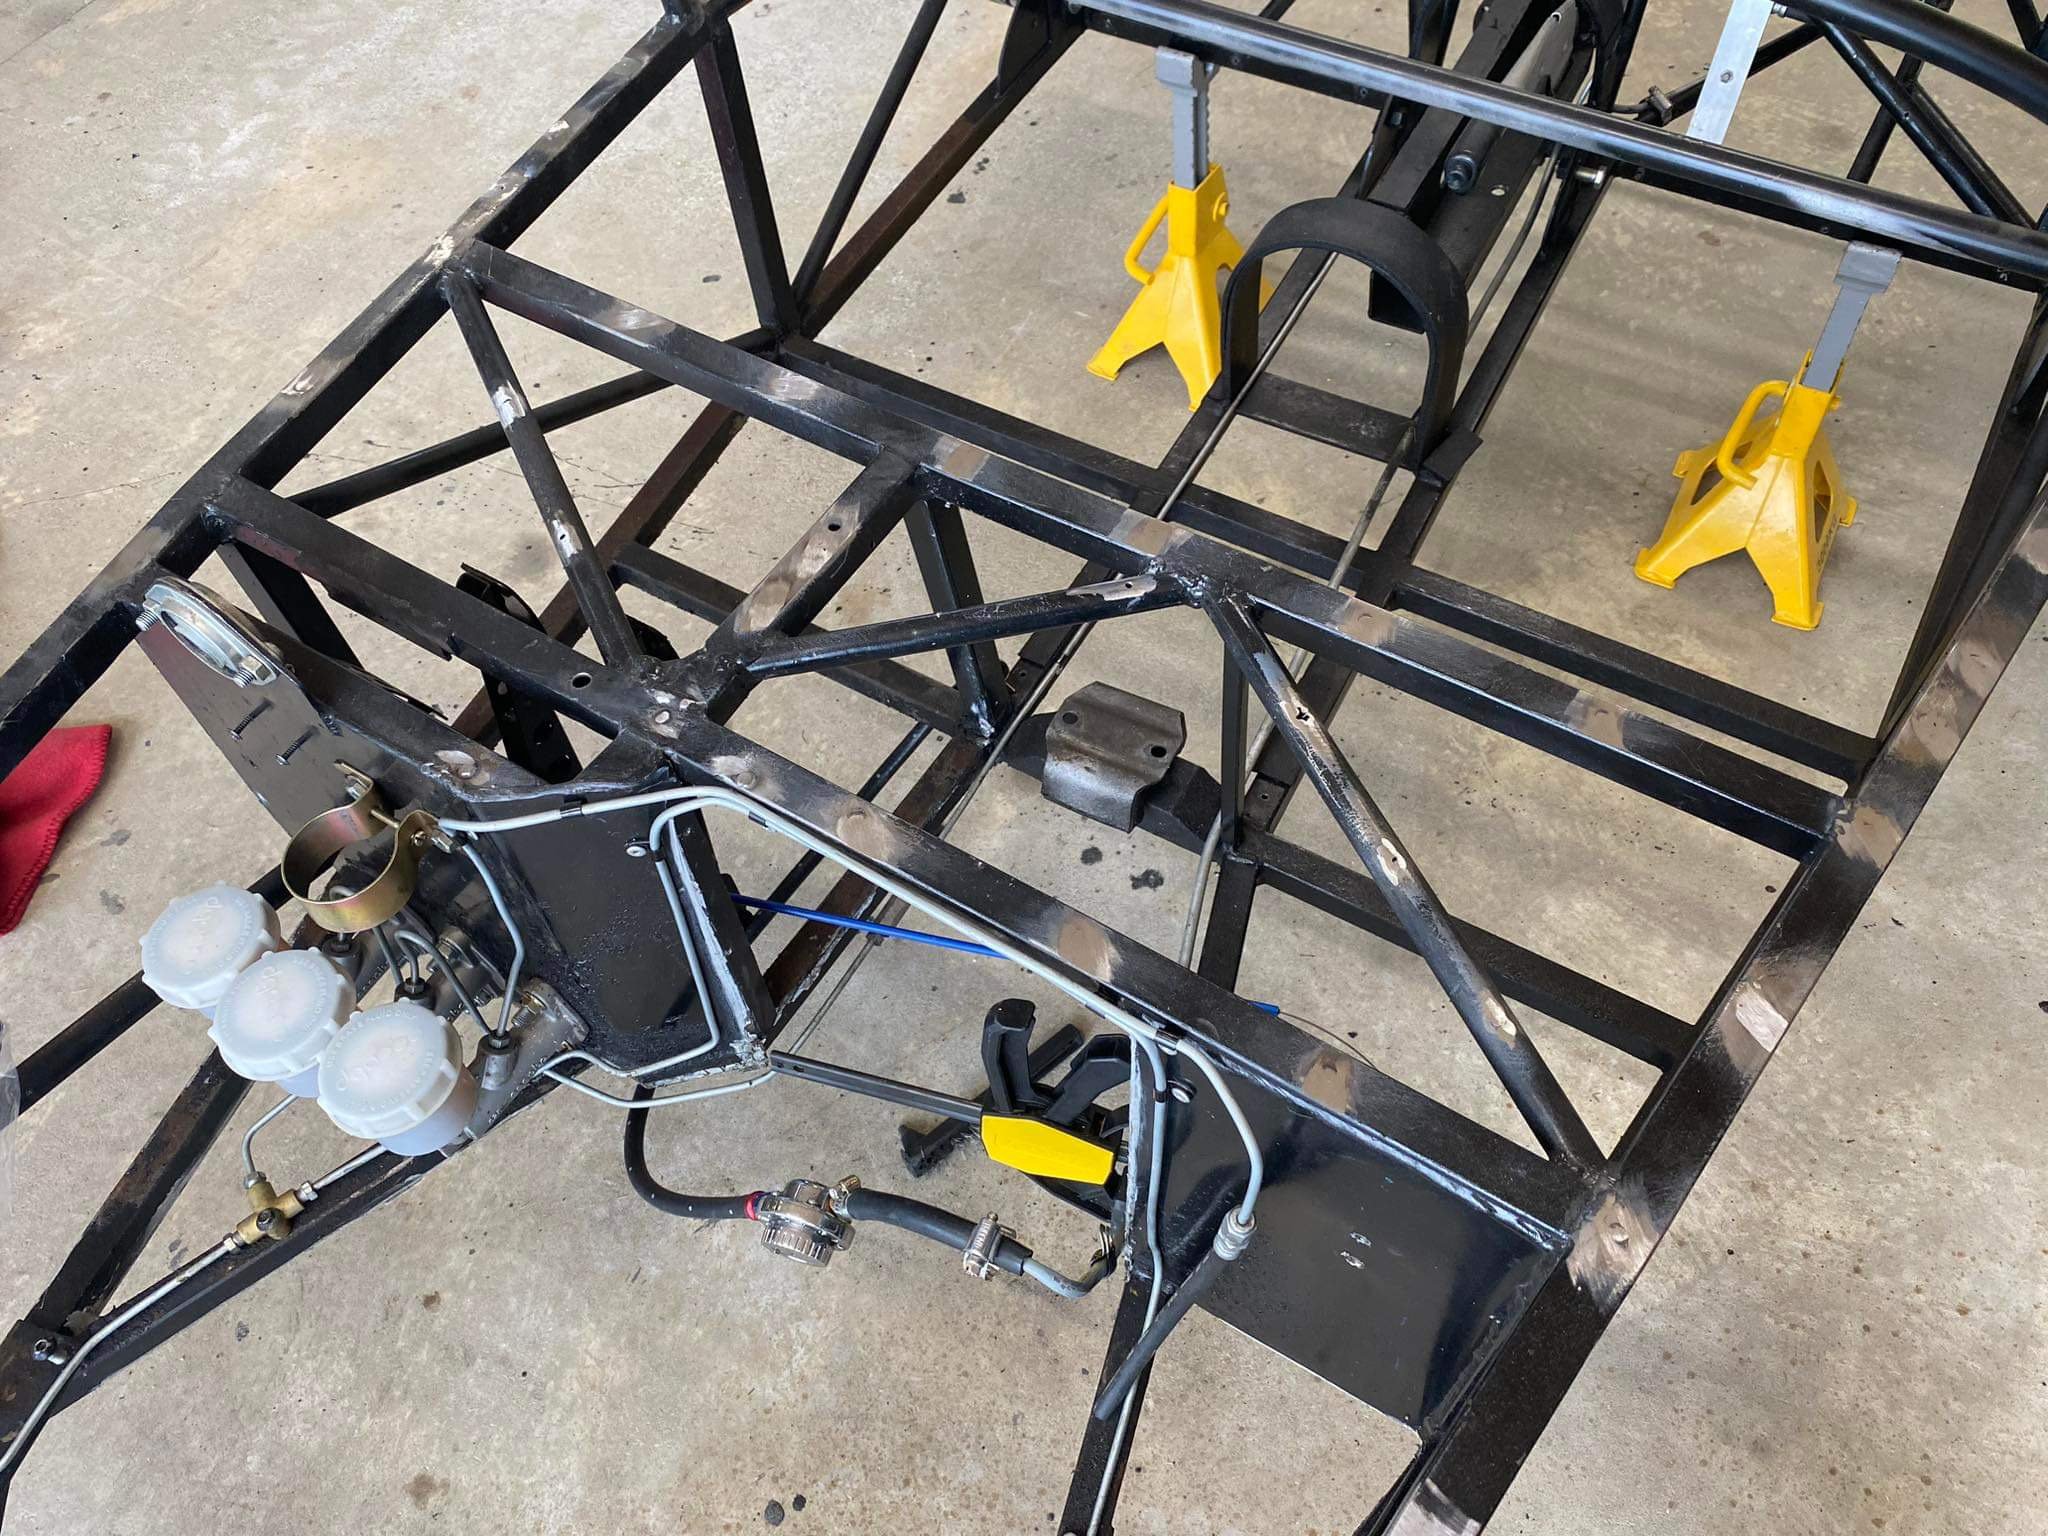
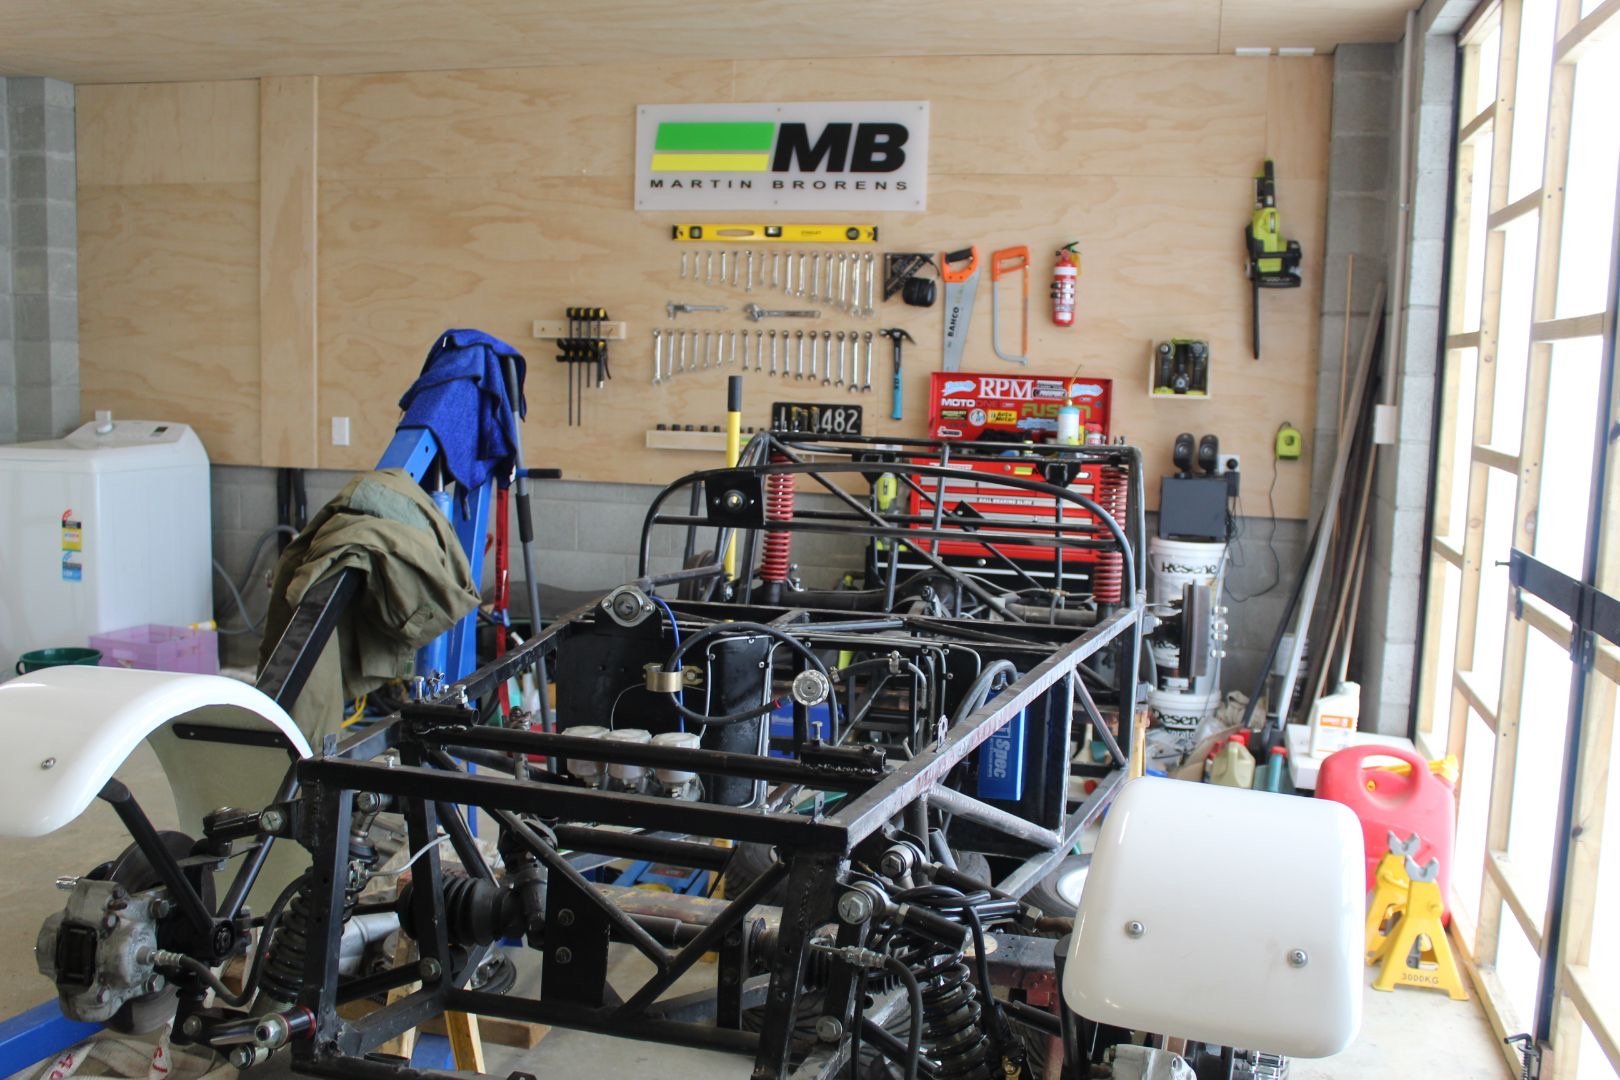
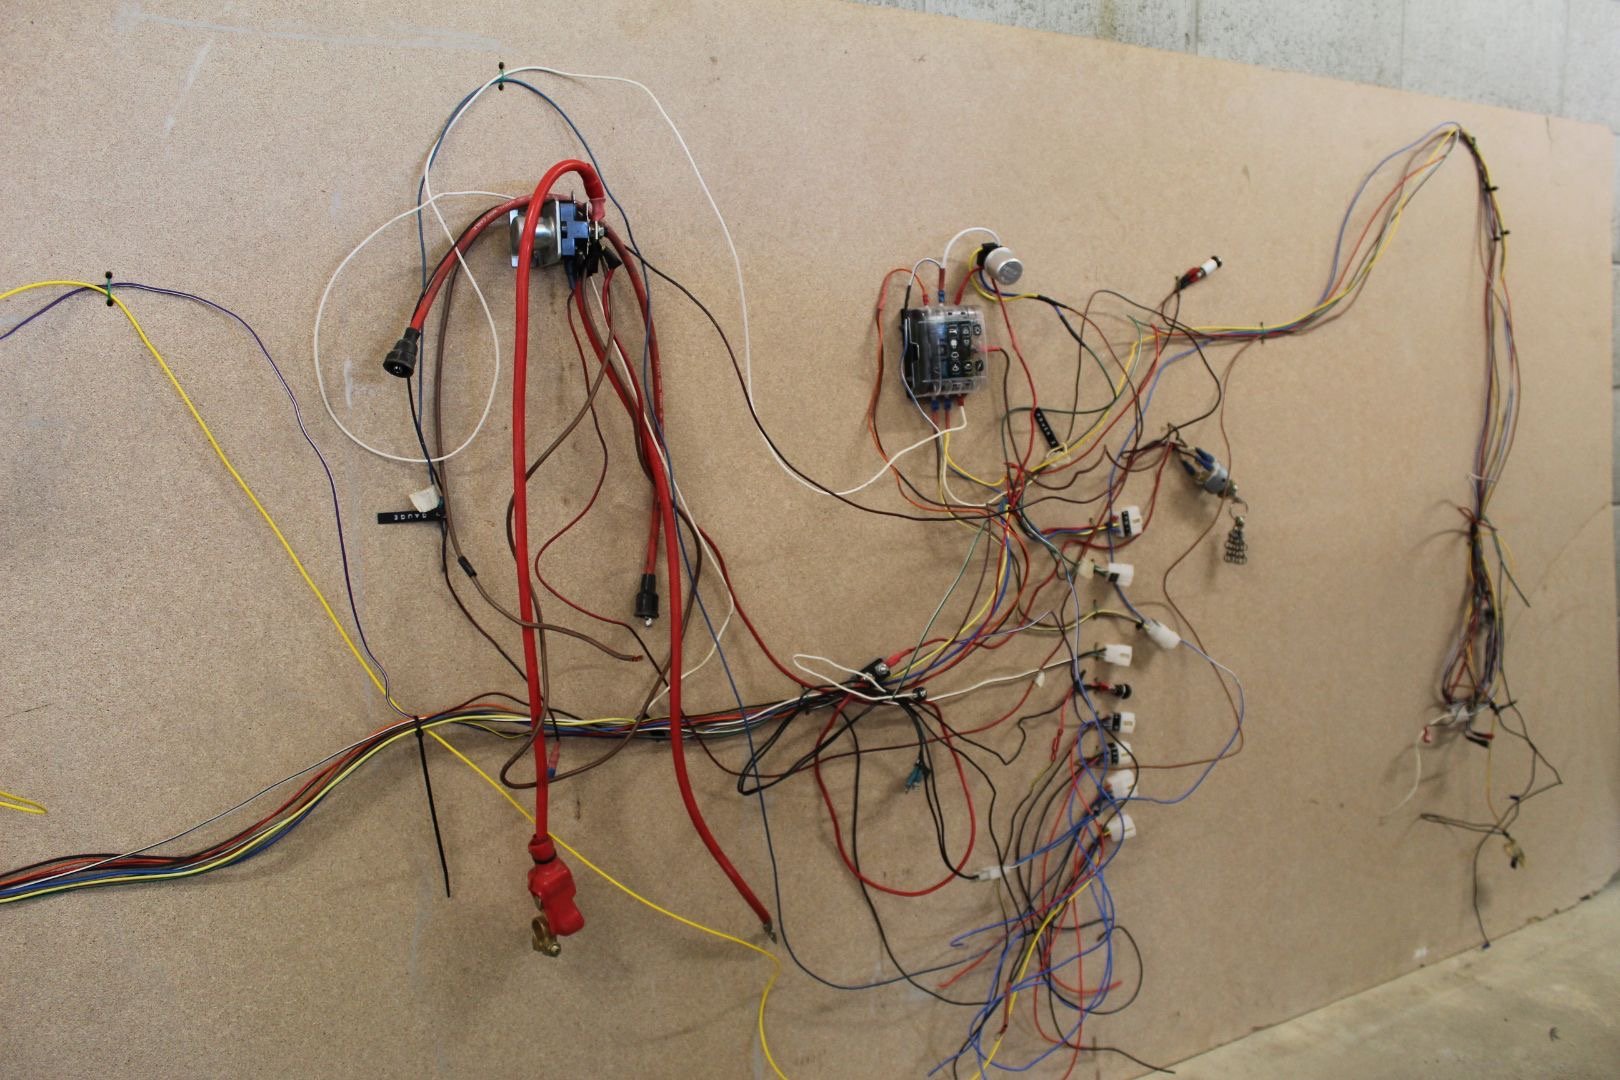
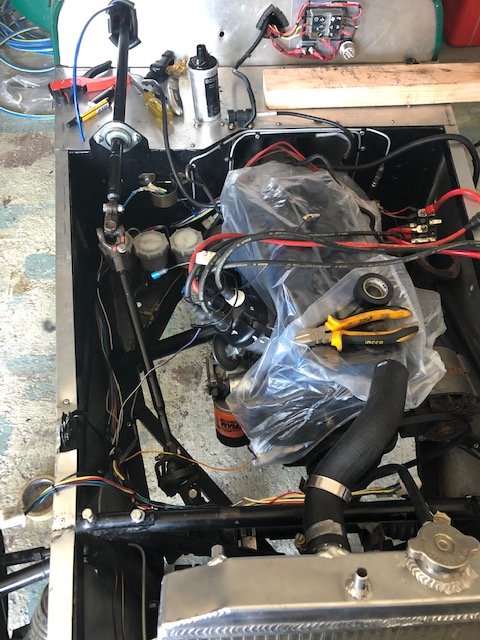
Decided to do my own “over summer refresh” - I suspect it won’t be back together for some time, but I’ve made some progress. Have pulled everything apart, engine out, back to bare chassis minus the diff, brakes and a few bits Terminated everything on the wiring loom so it’s no longer just individual wire connectors, each gauge has its own plug which should make things easy if the dash ever has to come out again. There’s no doubt a better way to do it but I’ve enjoyed the process regardless, is good to actually understand how it works, even though it probably has similar complexity to the wiring loom found on a horse and cart… And yes all that blue wire should be purple for illumination on the gauges but I couldn’t find any purple in stock, so it’s blue. The connectors will go inside a waterproof box along with the main board. Tethered the whole loom to a board so I can map out everything properly this time. The loom itself was for a McGregor 7 and I never bothered to terminate anything at the right length- again I’m trying to do it properly this time. Fuse board had a crack in it so replaced that with one from burnsco. Once the engines back in I’ll fit it and check lengths etc before wrapping it up. Next step is to tidy up the chassis and remove any unnecessary brackets, weld up some holes. Maybe it’ll be back on the road by 2024…
- 48 replies
-
- 18
-
-
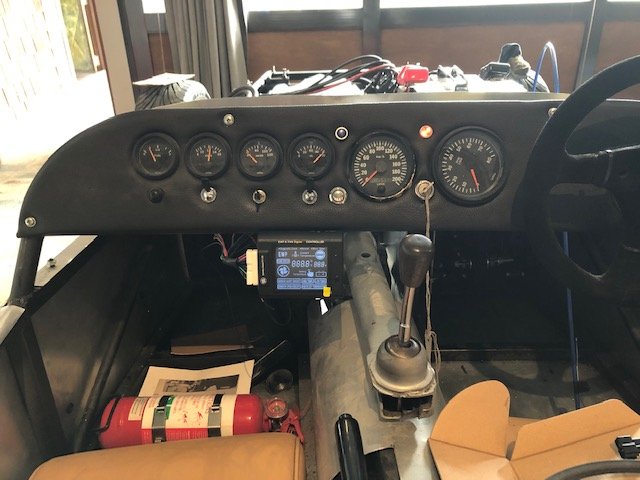
I did get the engine running shortly after the last post, and then promptly ignored it for another year while focusing on other things. Late last year I decided it was time to make some progress again, so Scott and Mark at mcgregors fitted cycle guards and moved the dash away to give a more comfortable steering reach, it’s so much better now. They also modified the manifold so the carb now sits level, meaning the float isn’t on the piss anymore. Next will be a proper bonnet and windscreen, and fixing all the jobs I half arsed as an 18 year old… 10 years on and it’s still only had 2 wofs
- 48 replies
-
- 23
-
-
Booked in for cert on some coilovers in Christchurch this week, wanting to check I have everything prepared, and if I'm missing any info he will need. Alignment was done this week and has been setup within OE tolerances, have the alignment sheet for the certifier. Access to the strut tops in the rear is behind the seat back. Currently I have the rear seats out as I'm still setting up the damper adjustment/fine tuning the ride- will leaving these out for cert make his job easier, or does he need to see the car fully assembled? Thank you
-
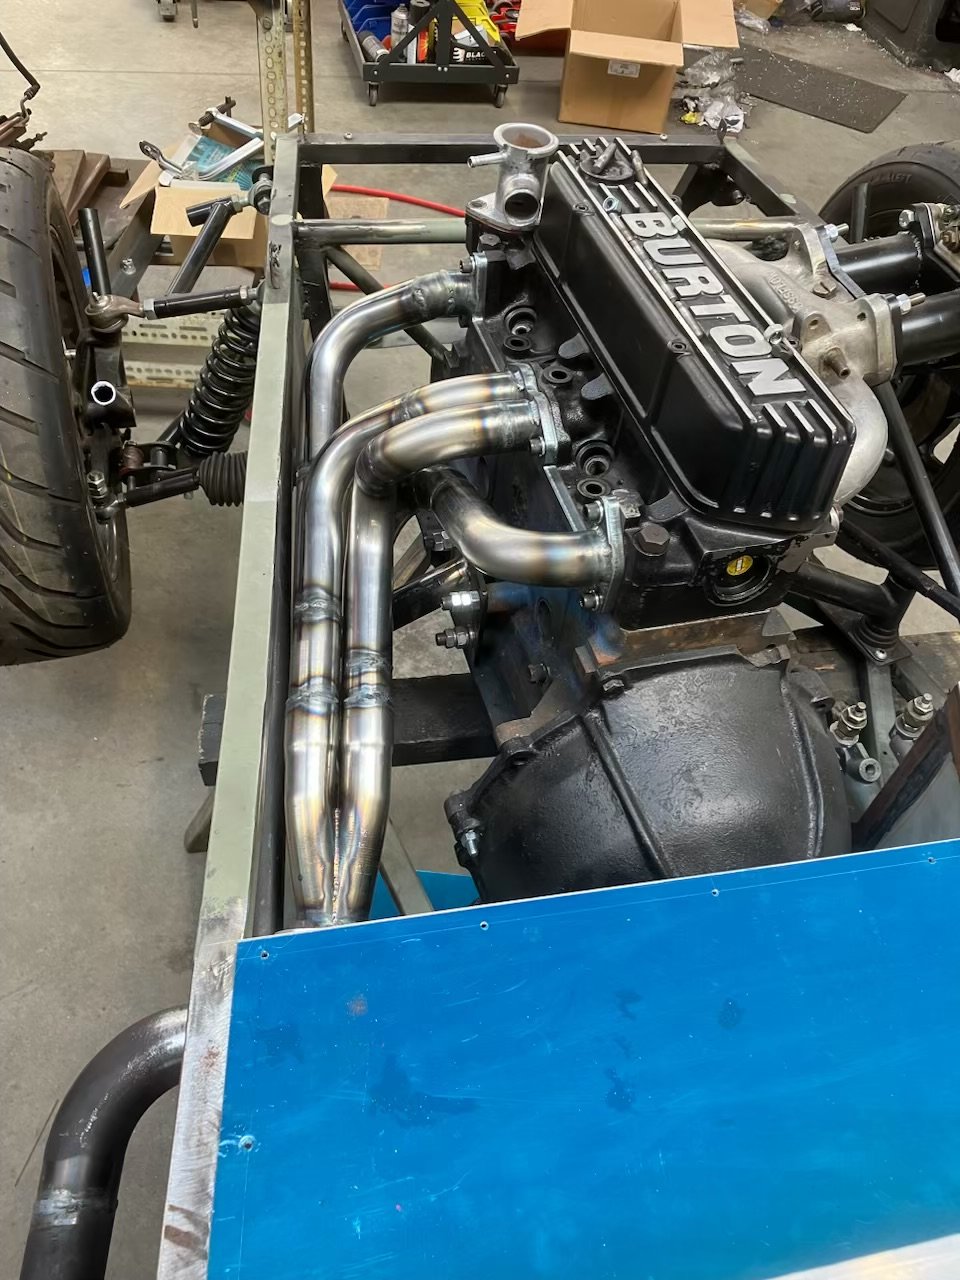
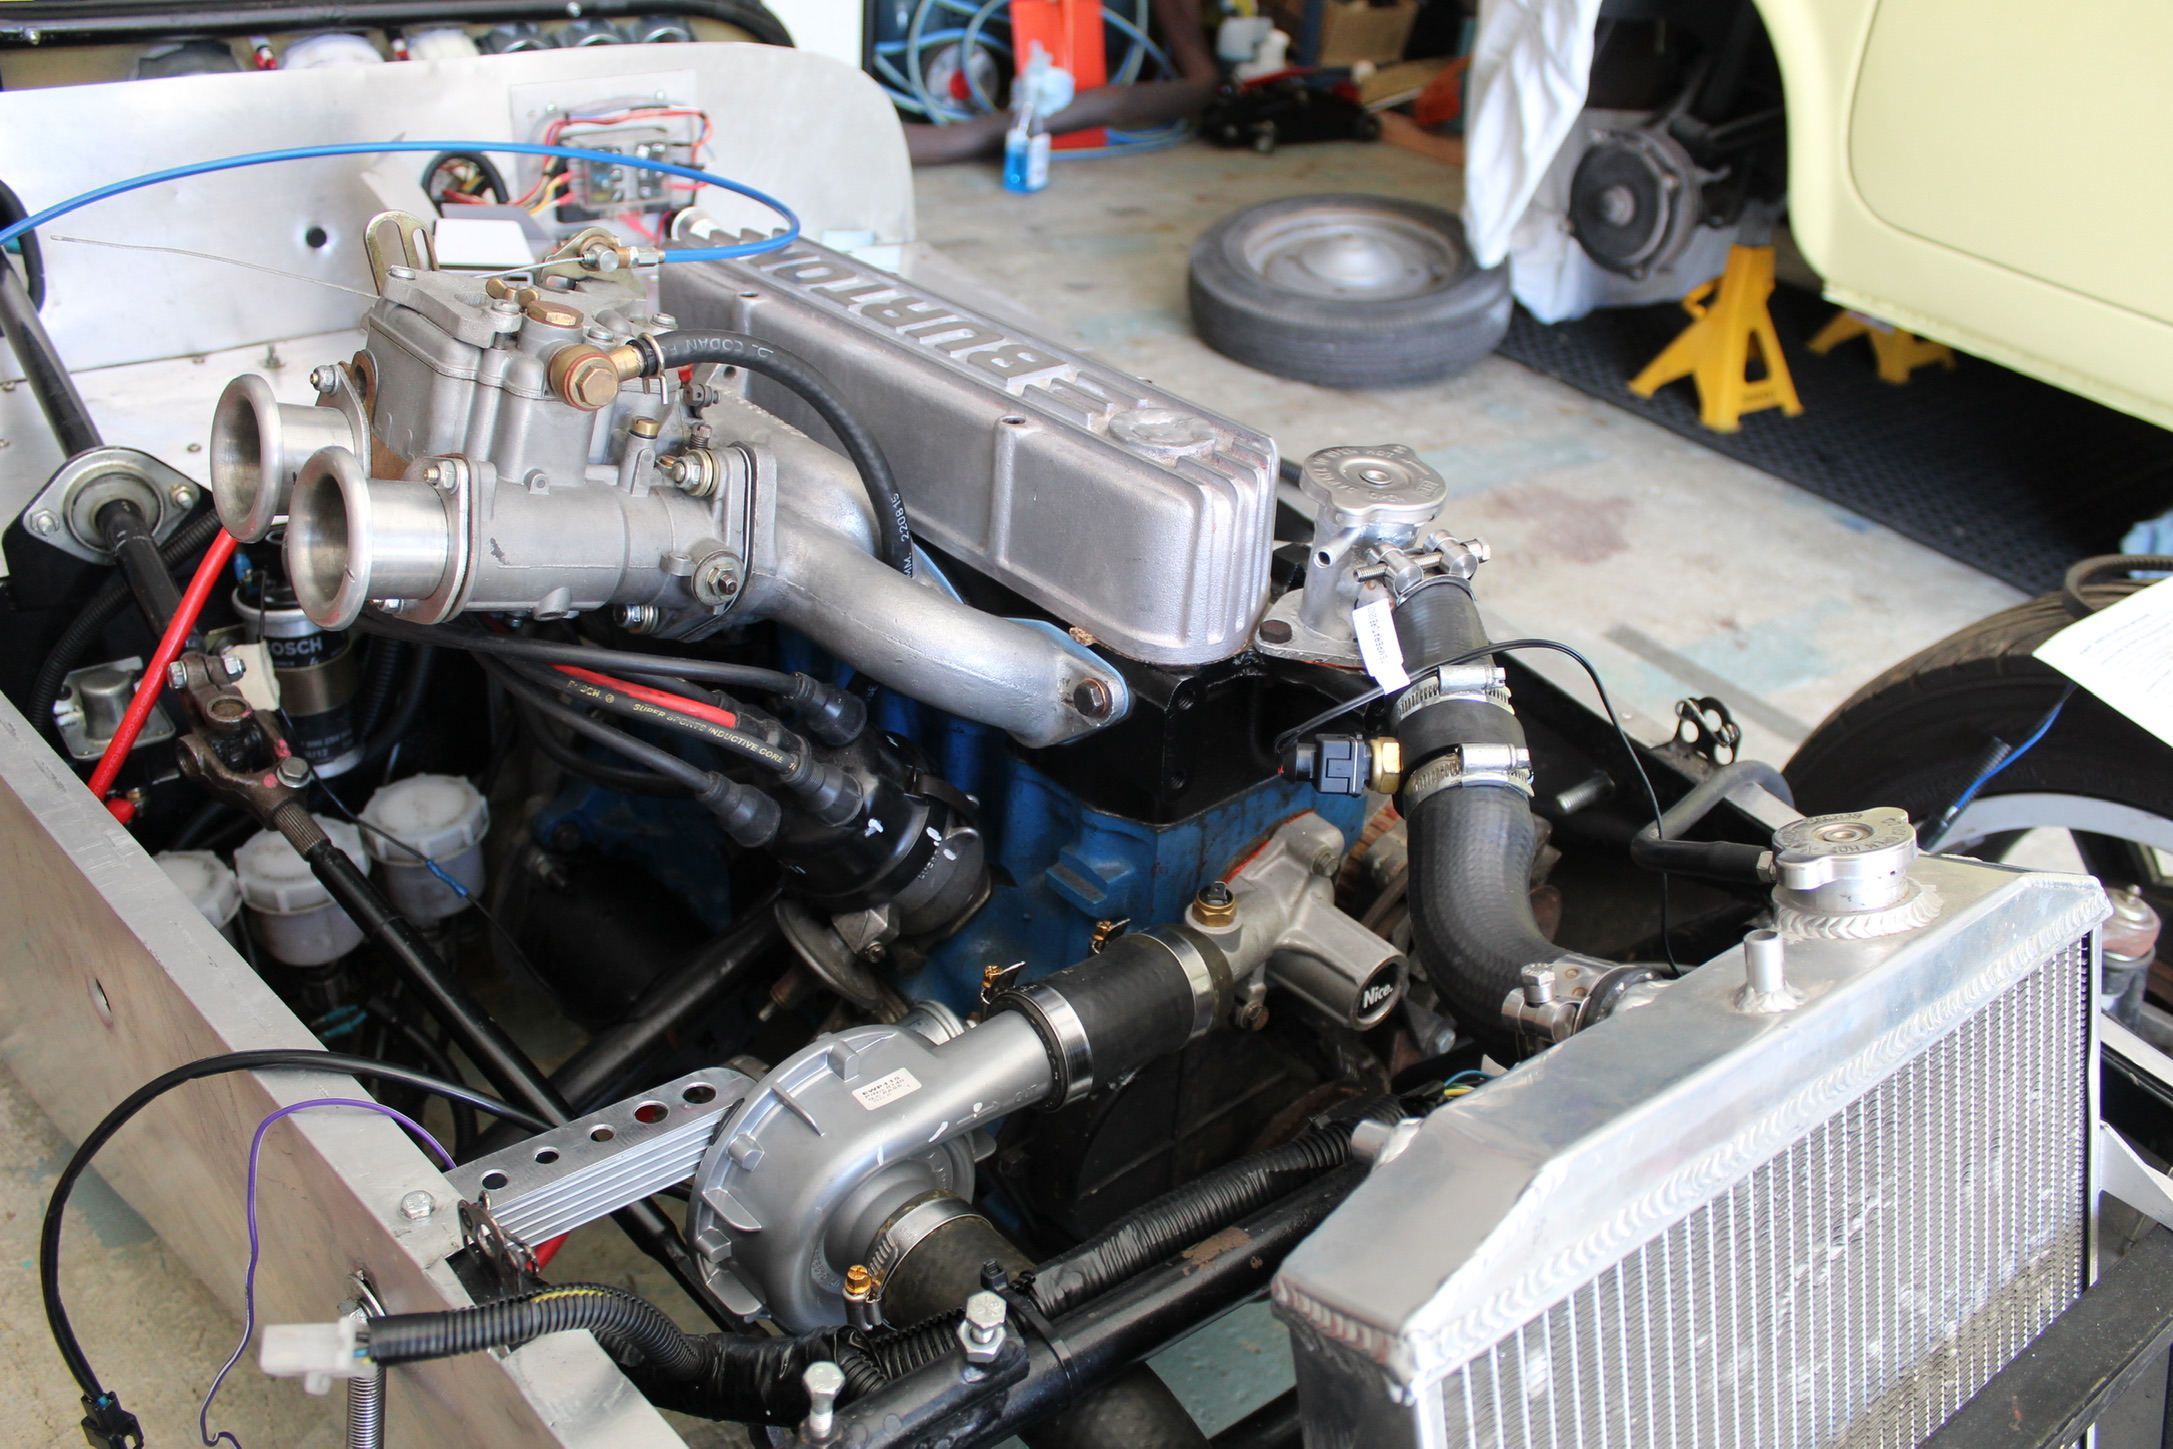
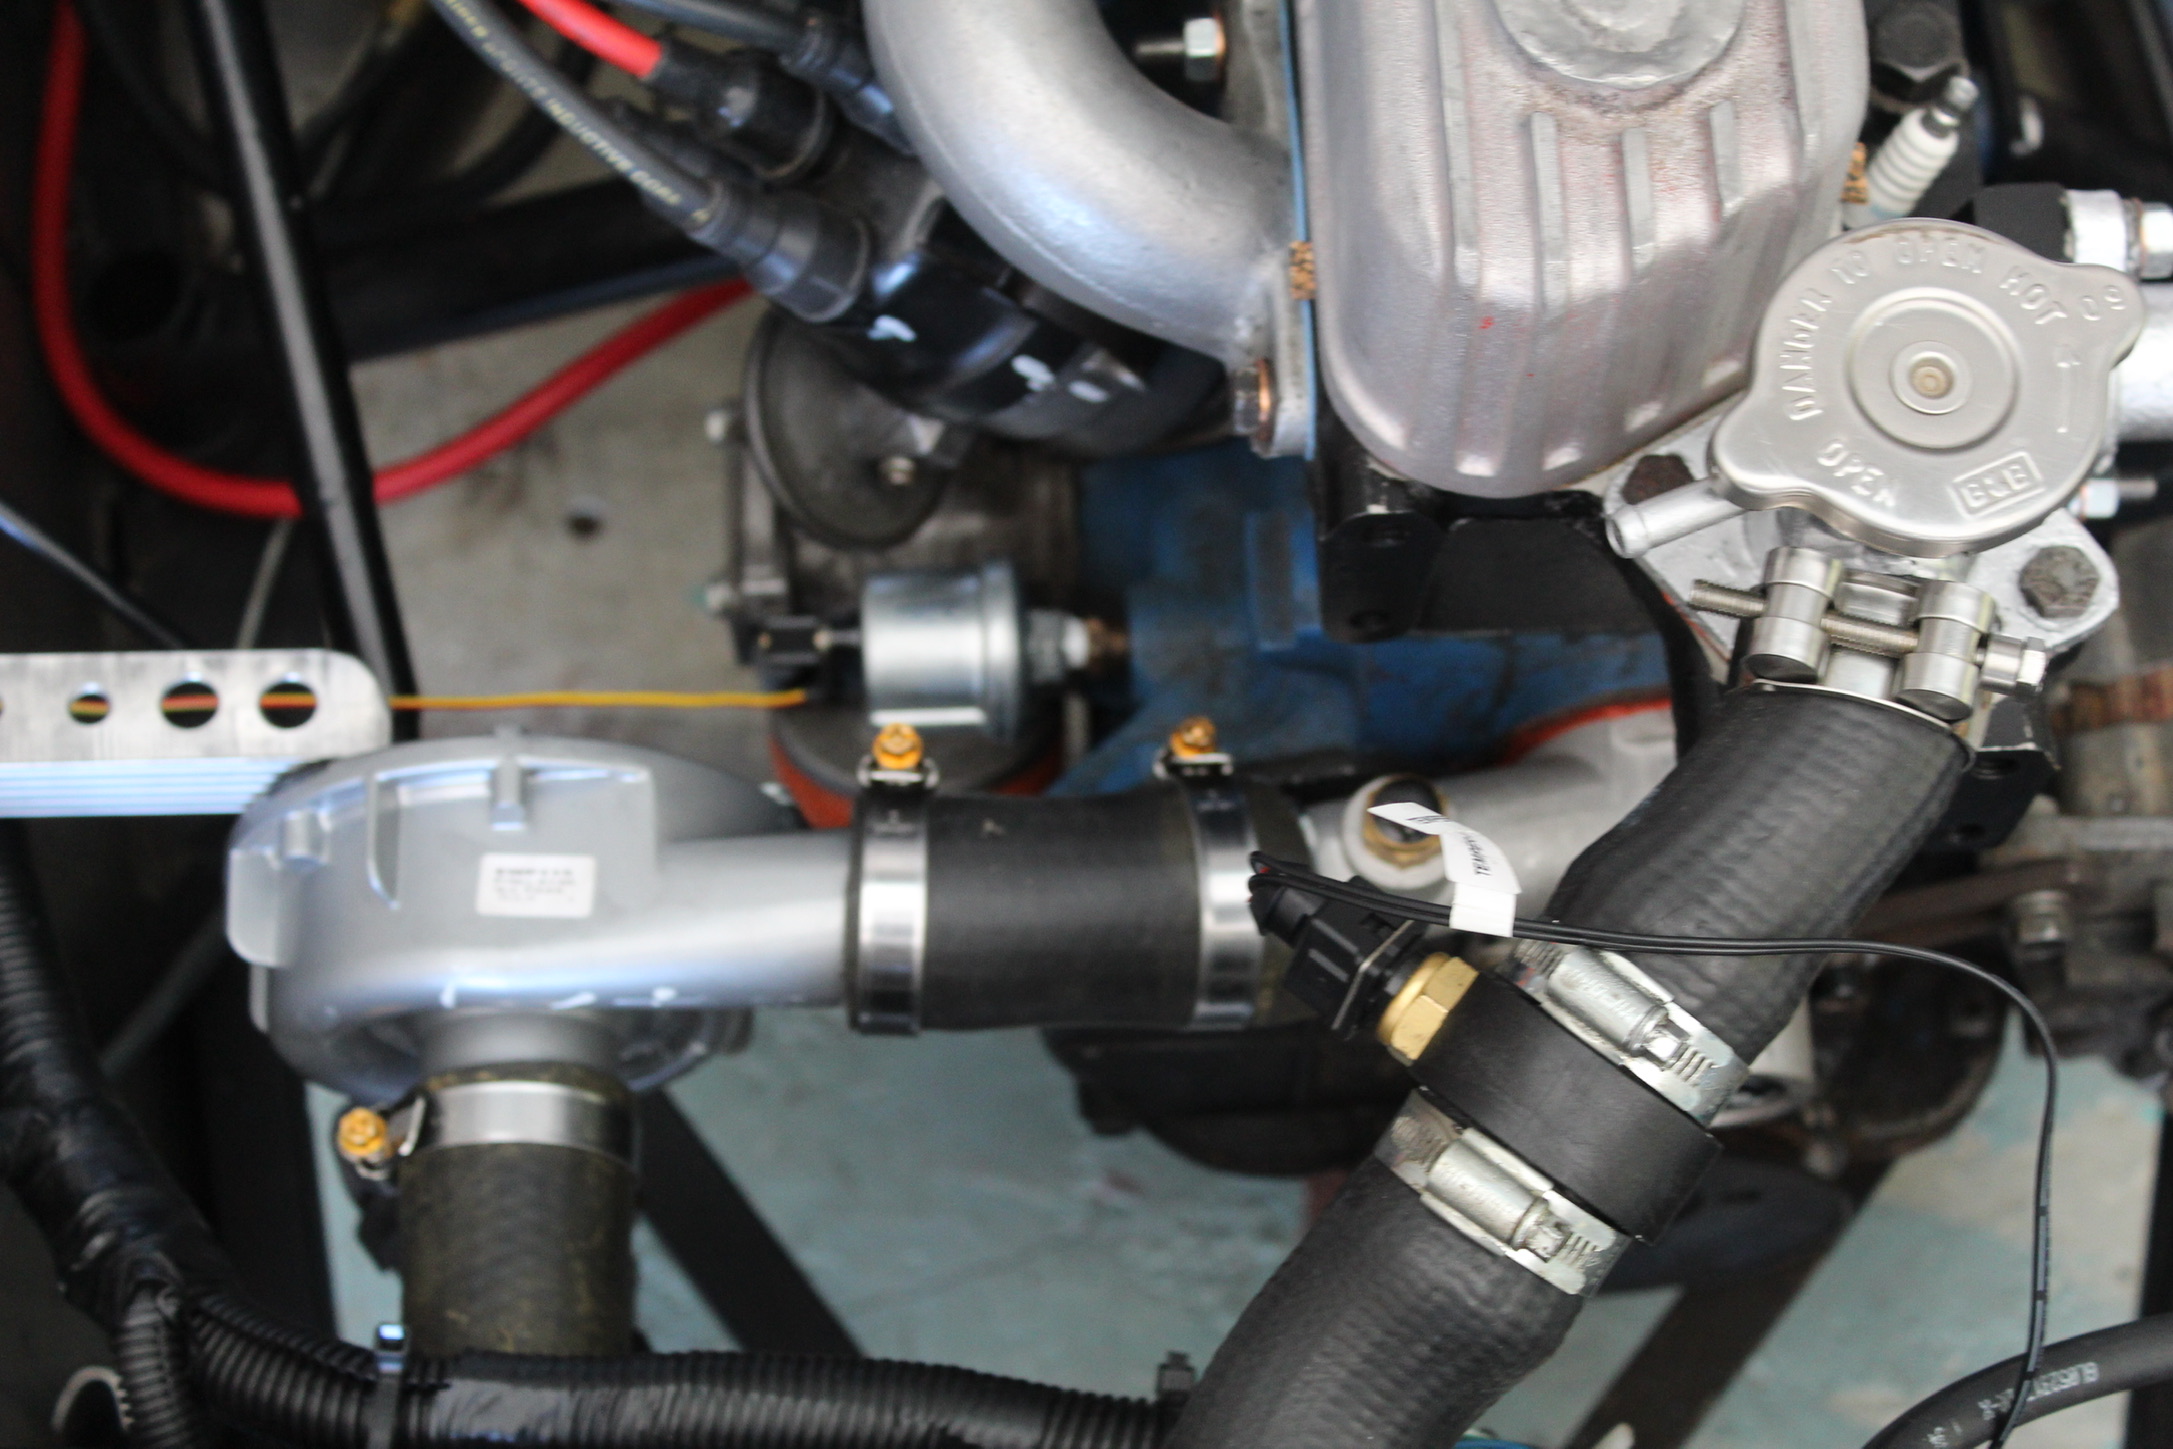
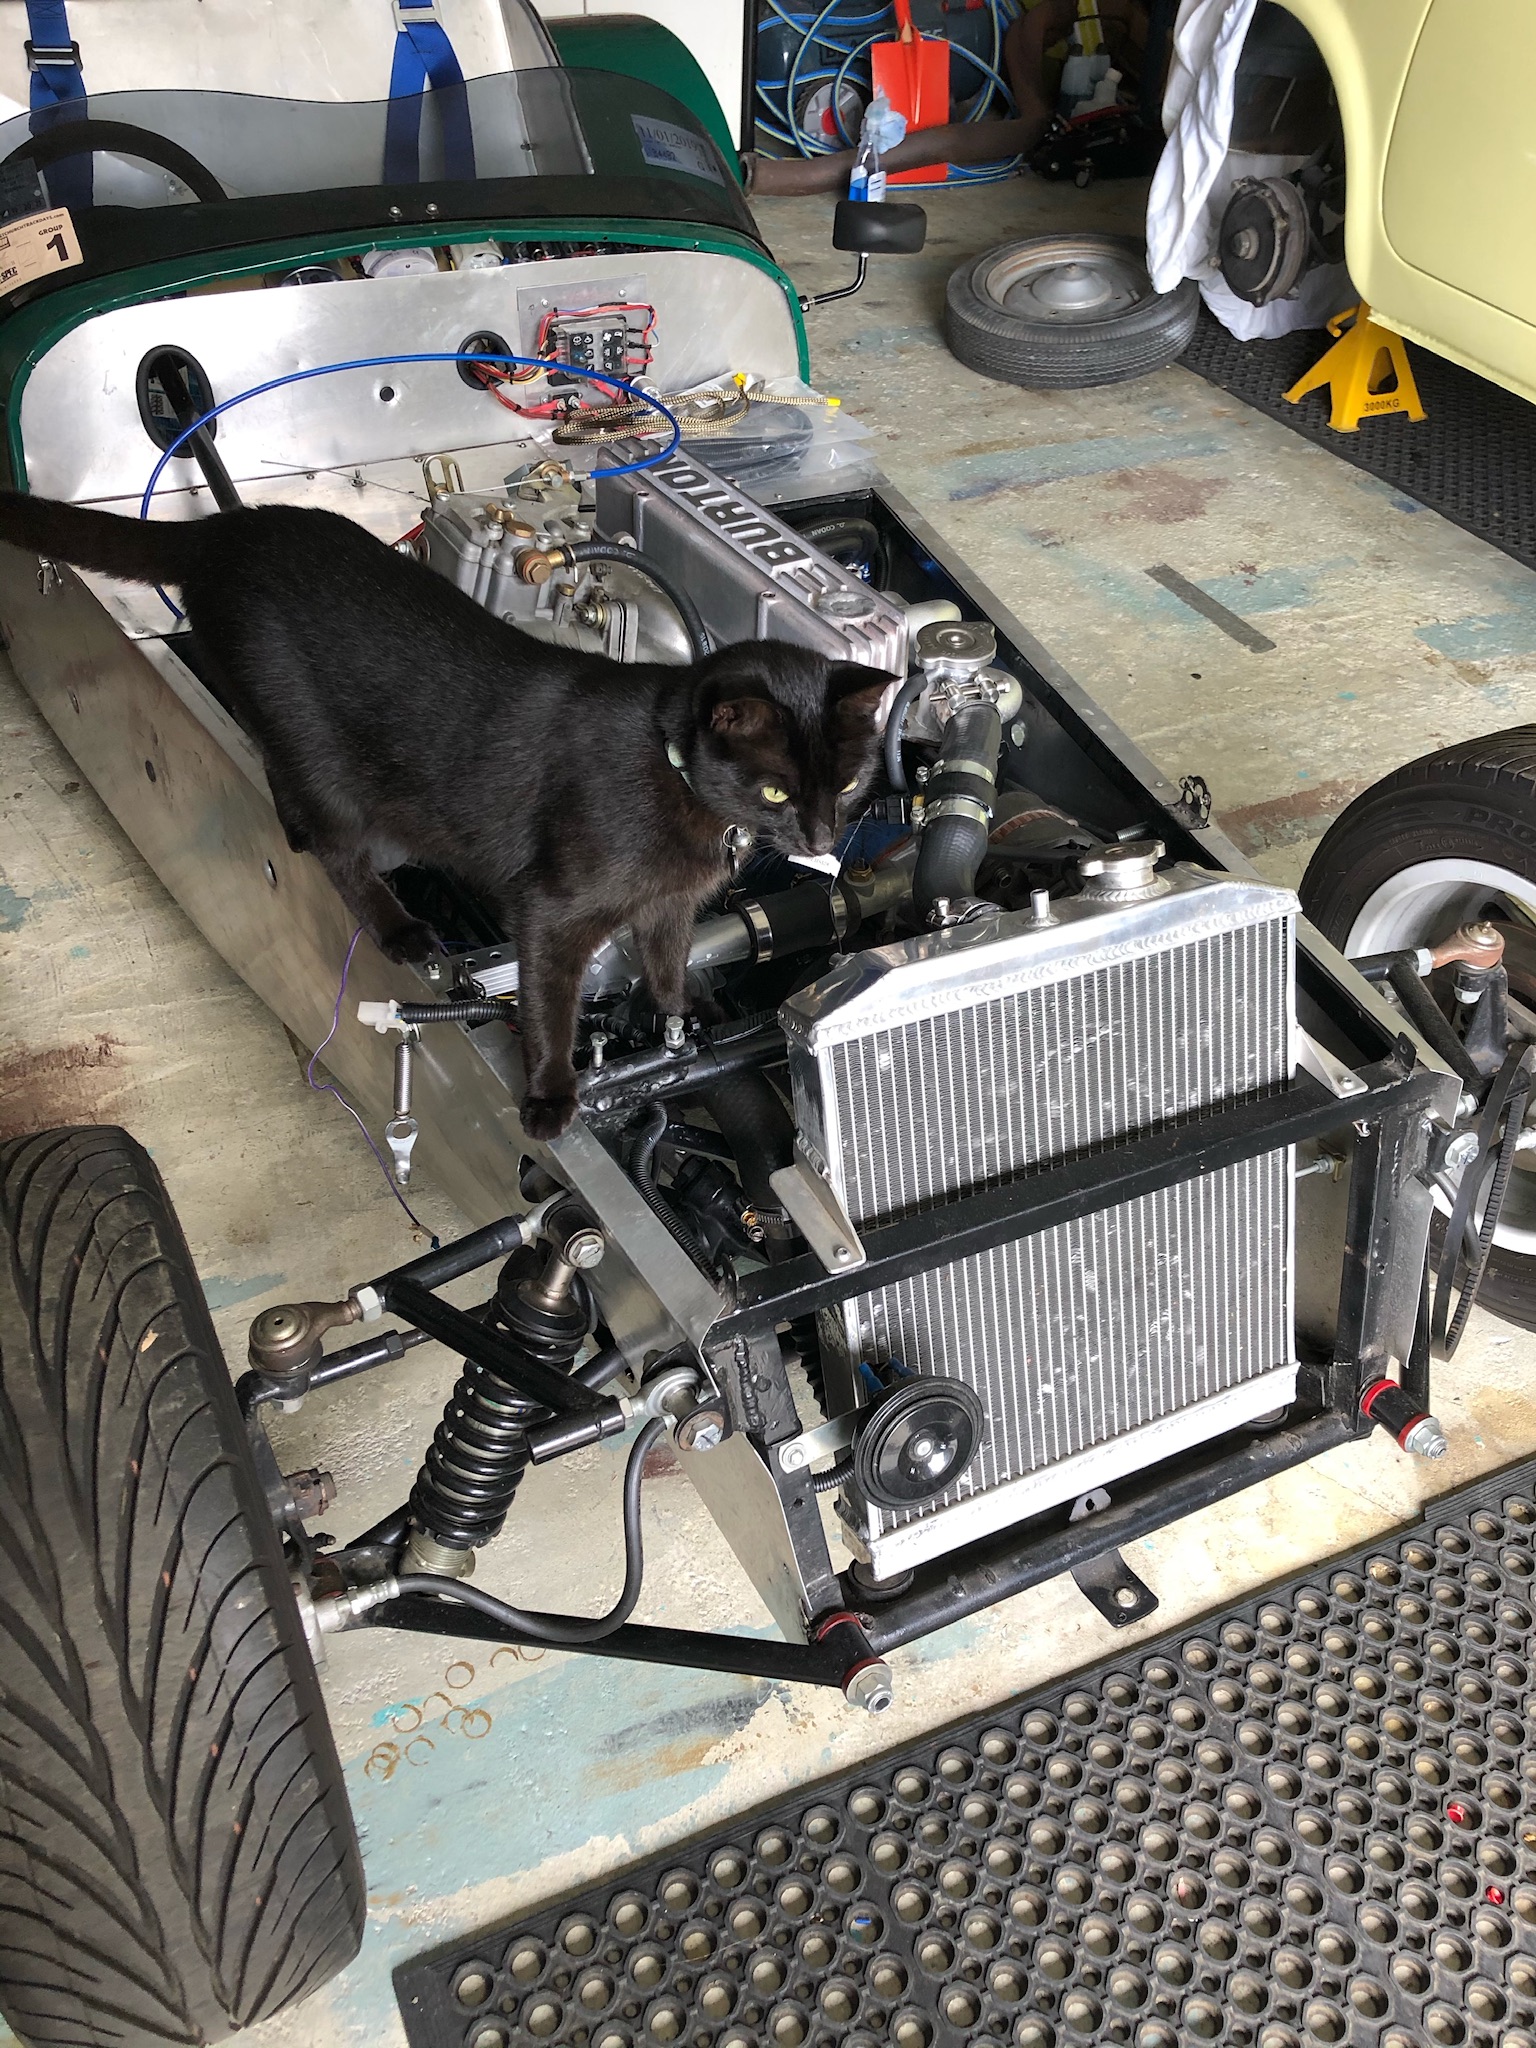
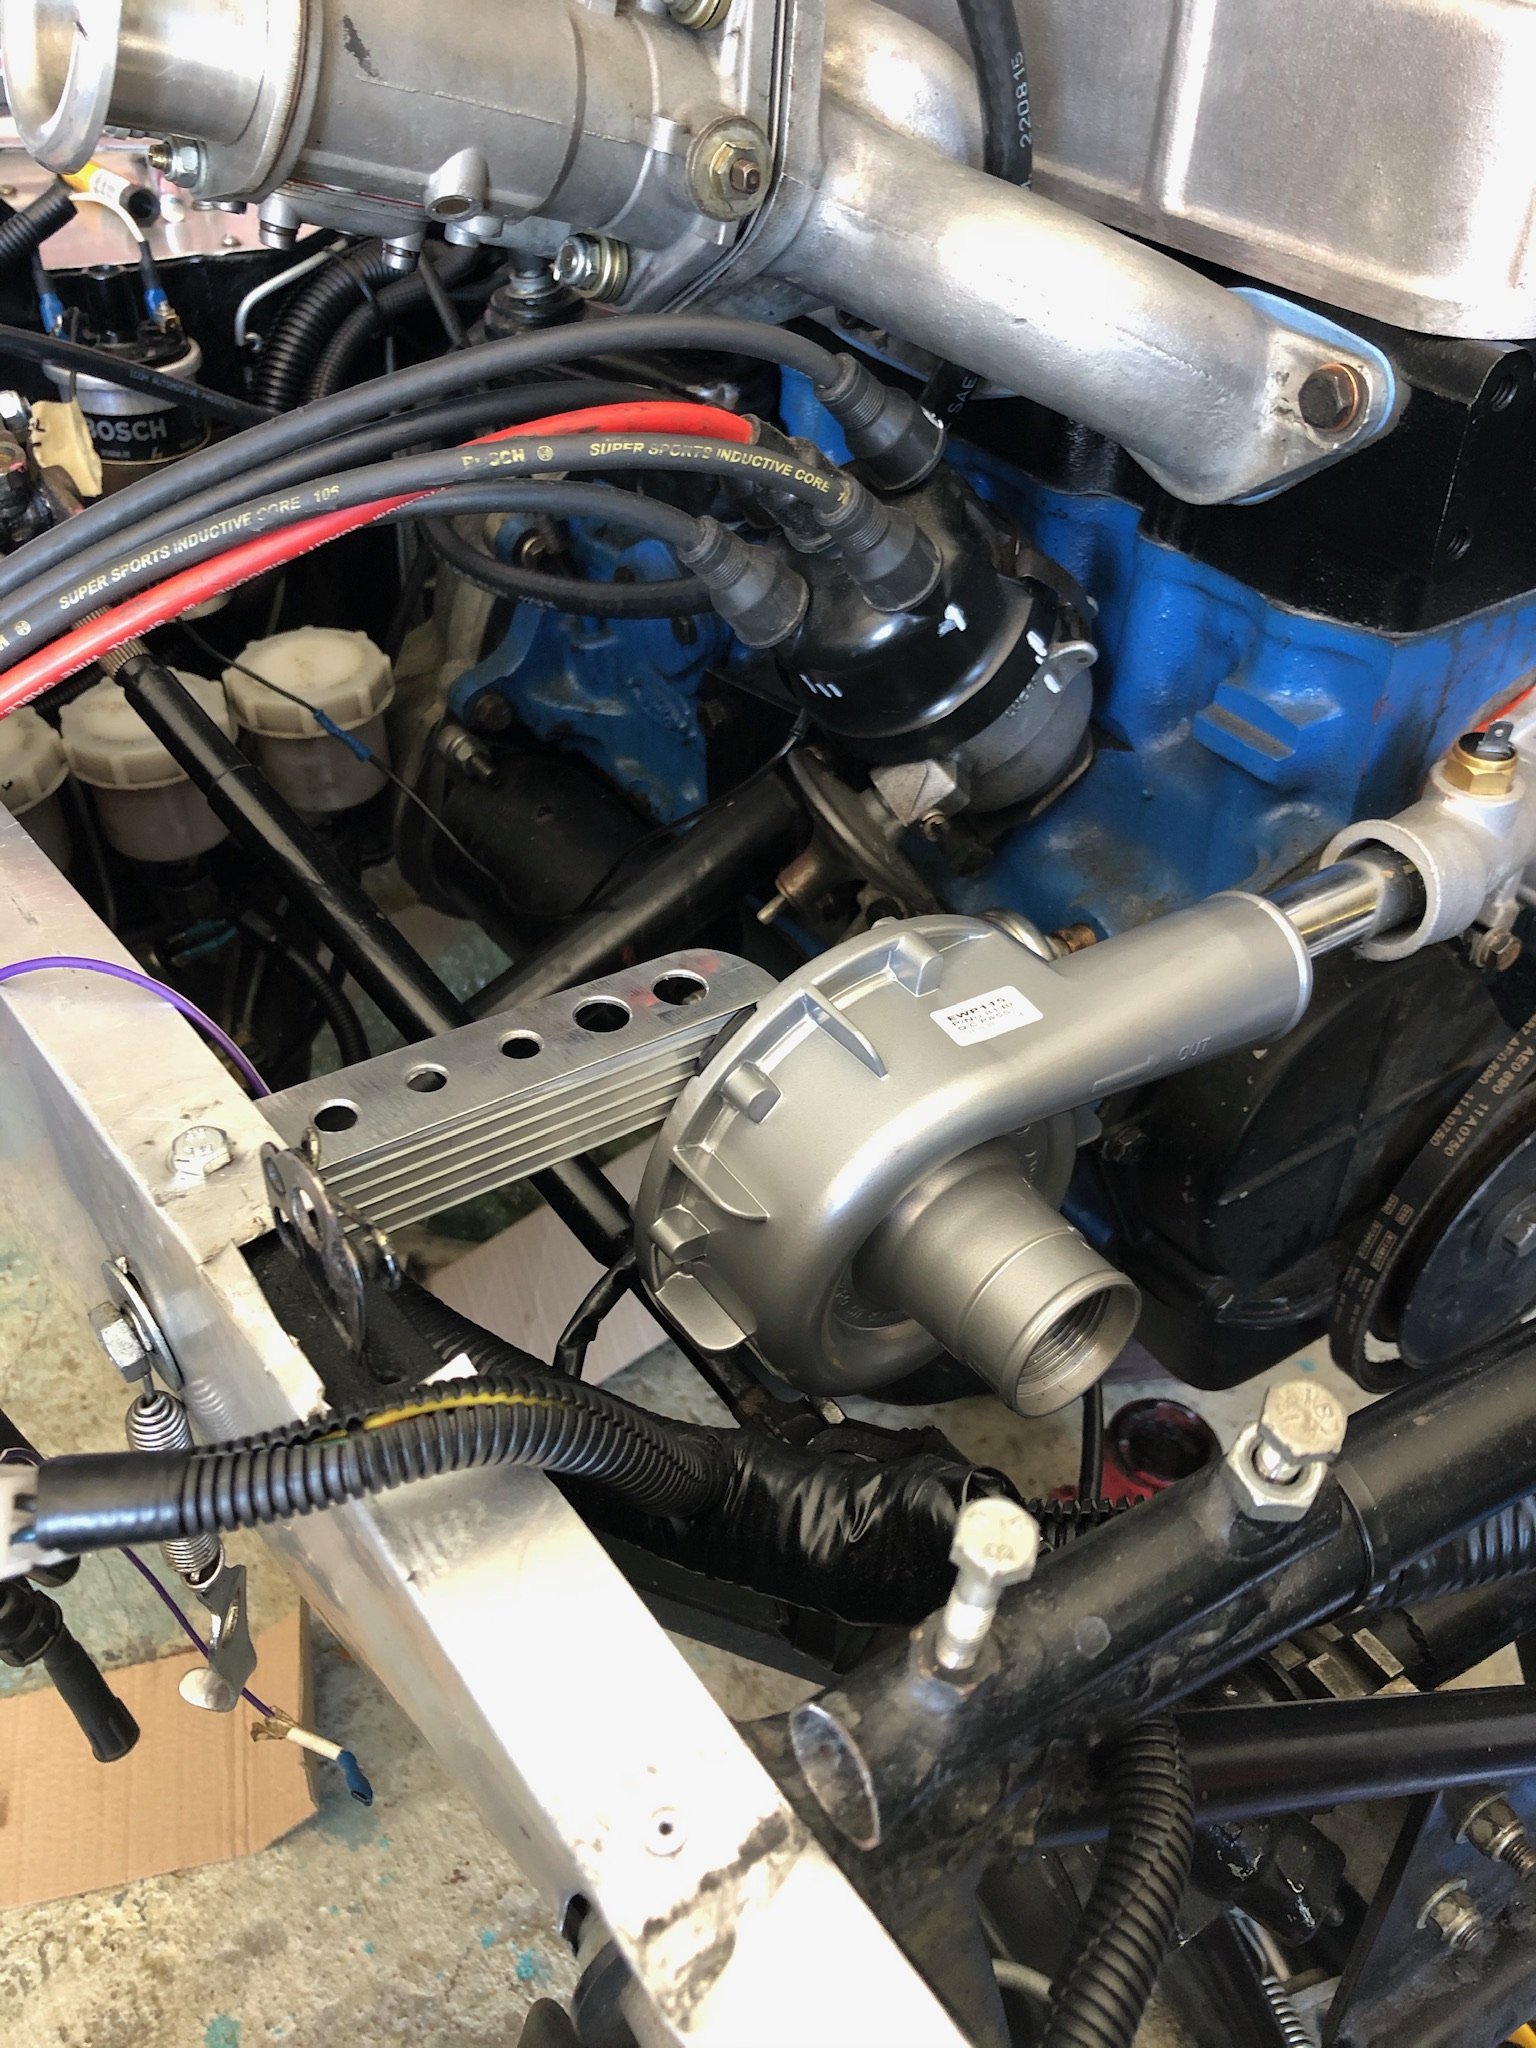
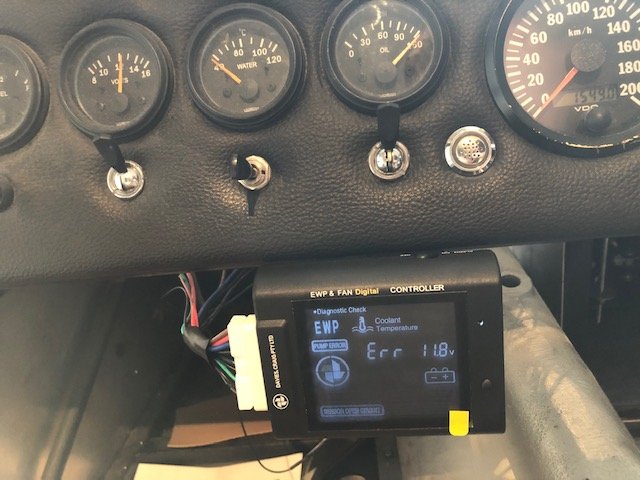
Yesterday I made up some radiator hoses and mounted the pump for good. Hacked up an XY falcon hose as it had the right diameter and bends. Had to add the temp sensor for the pump into the top hose, worked better than expected. Quality control cat checked it for structural integrity Did a bit of heat management on the wiring too, bought some sheath for the alternator wiring as it runs right beside the exhaust collector. Still some tidying up to do but it should be ready to start next weekend. V nervous.
- 48 replies
-
- 16
-
-
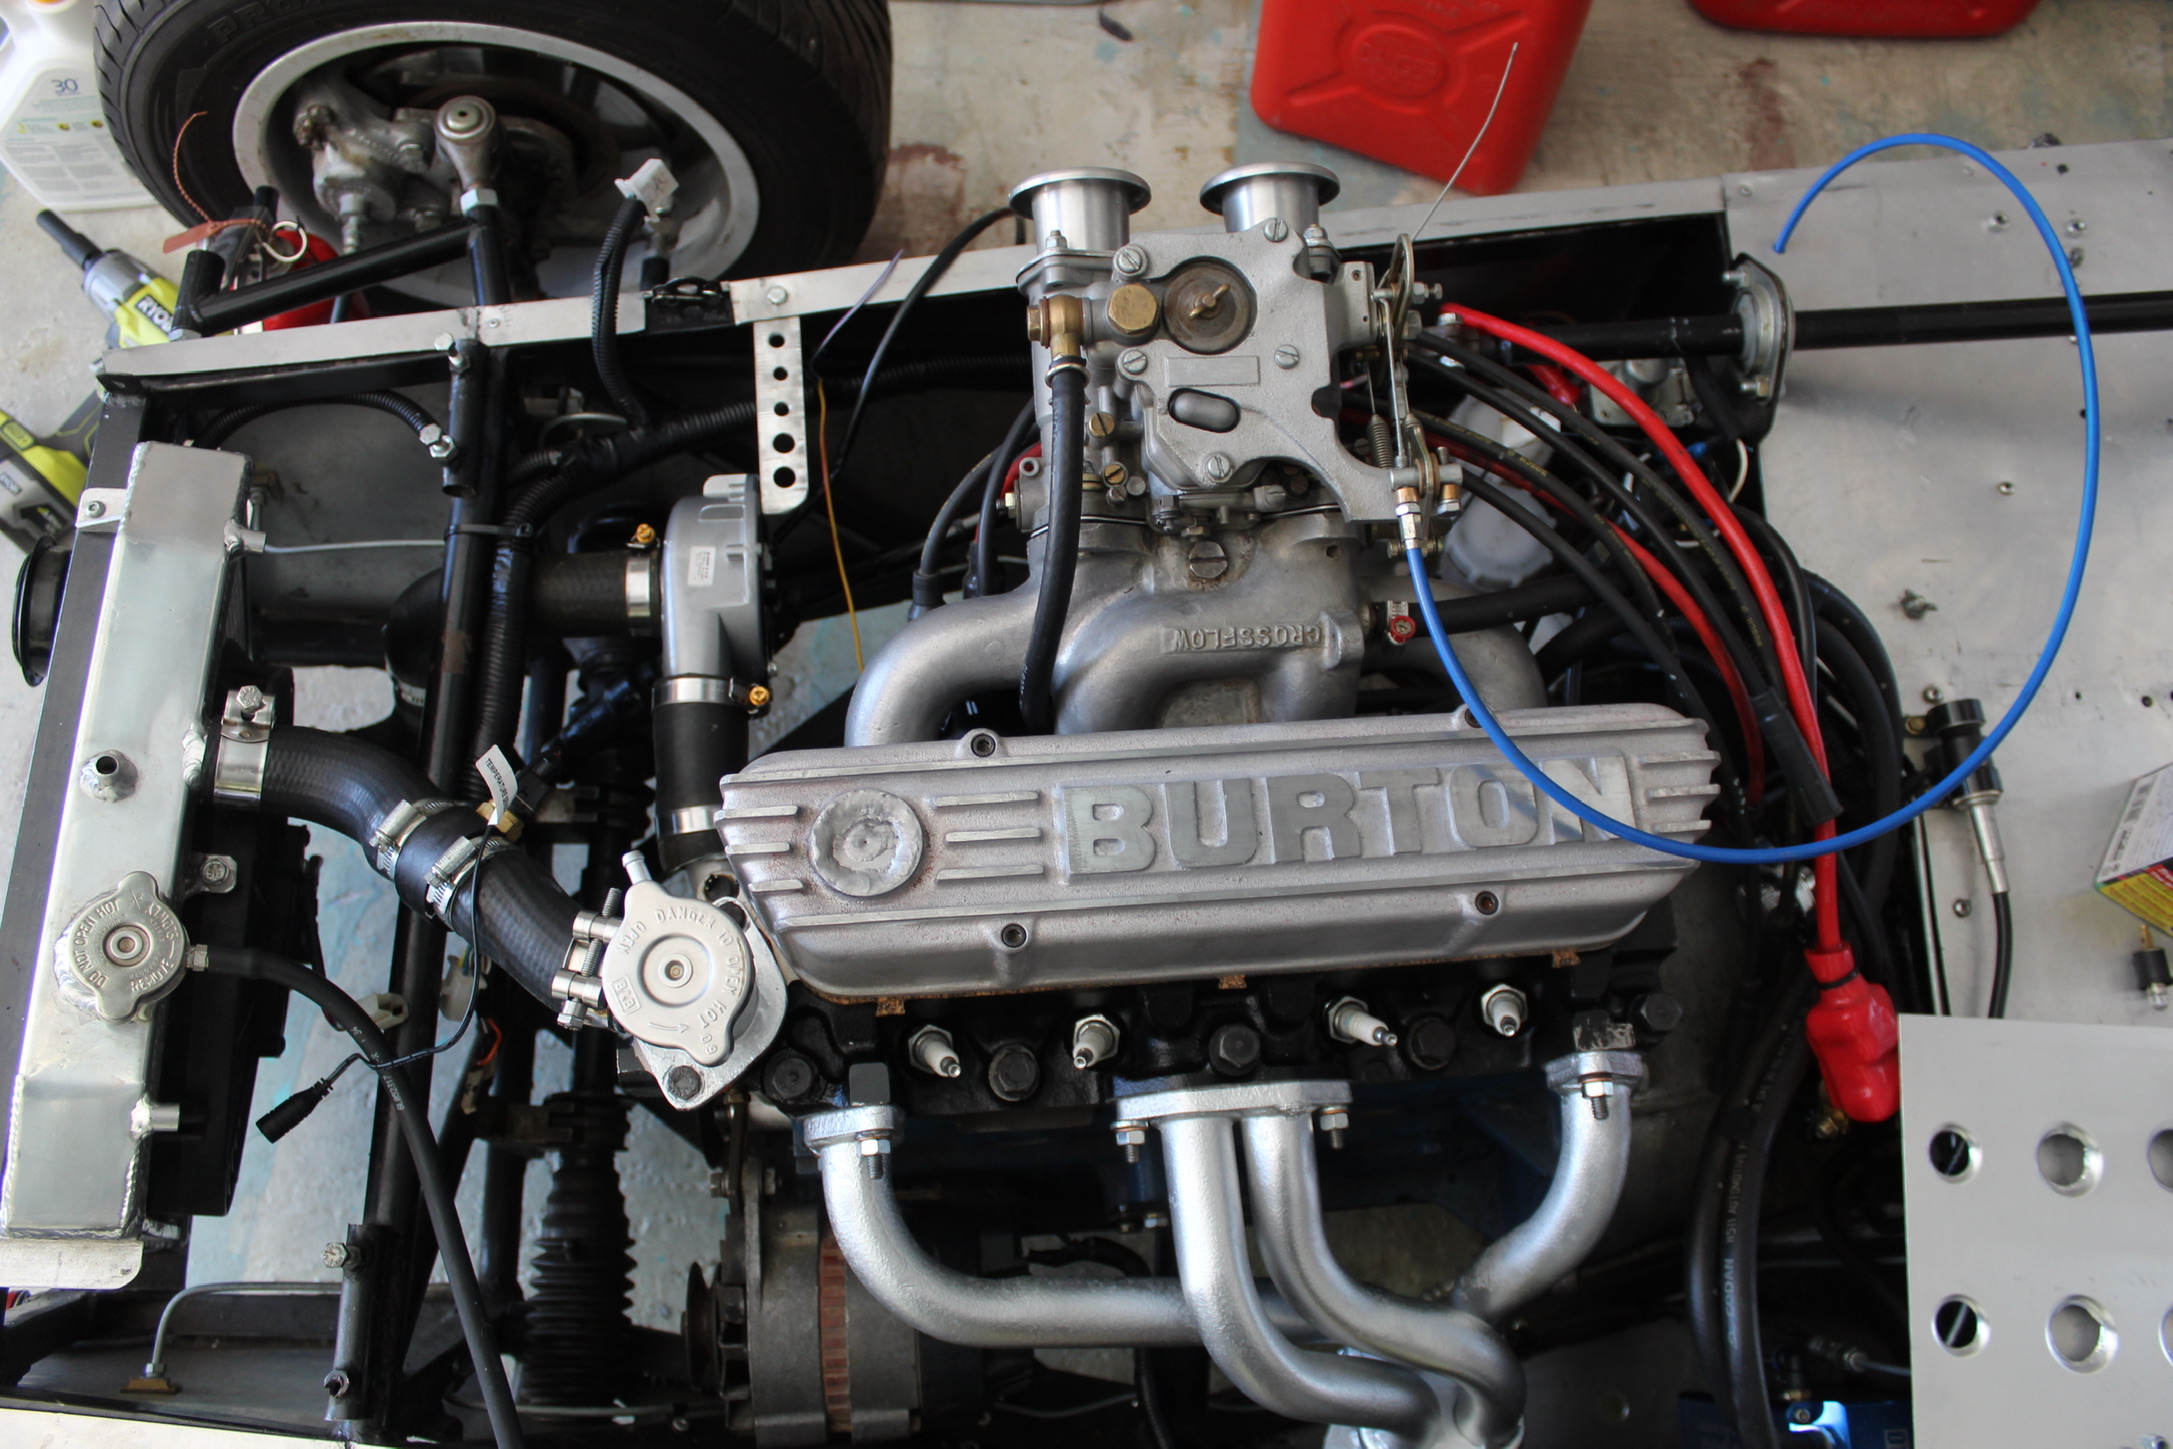
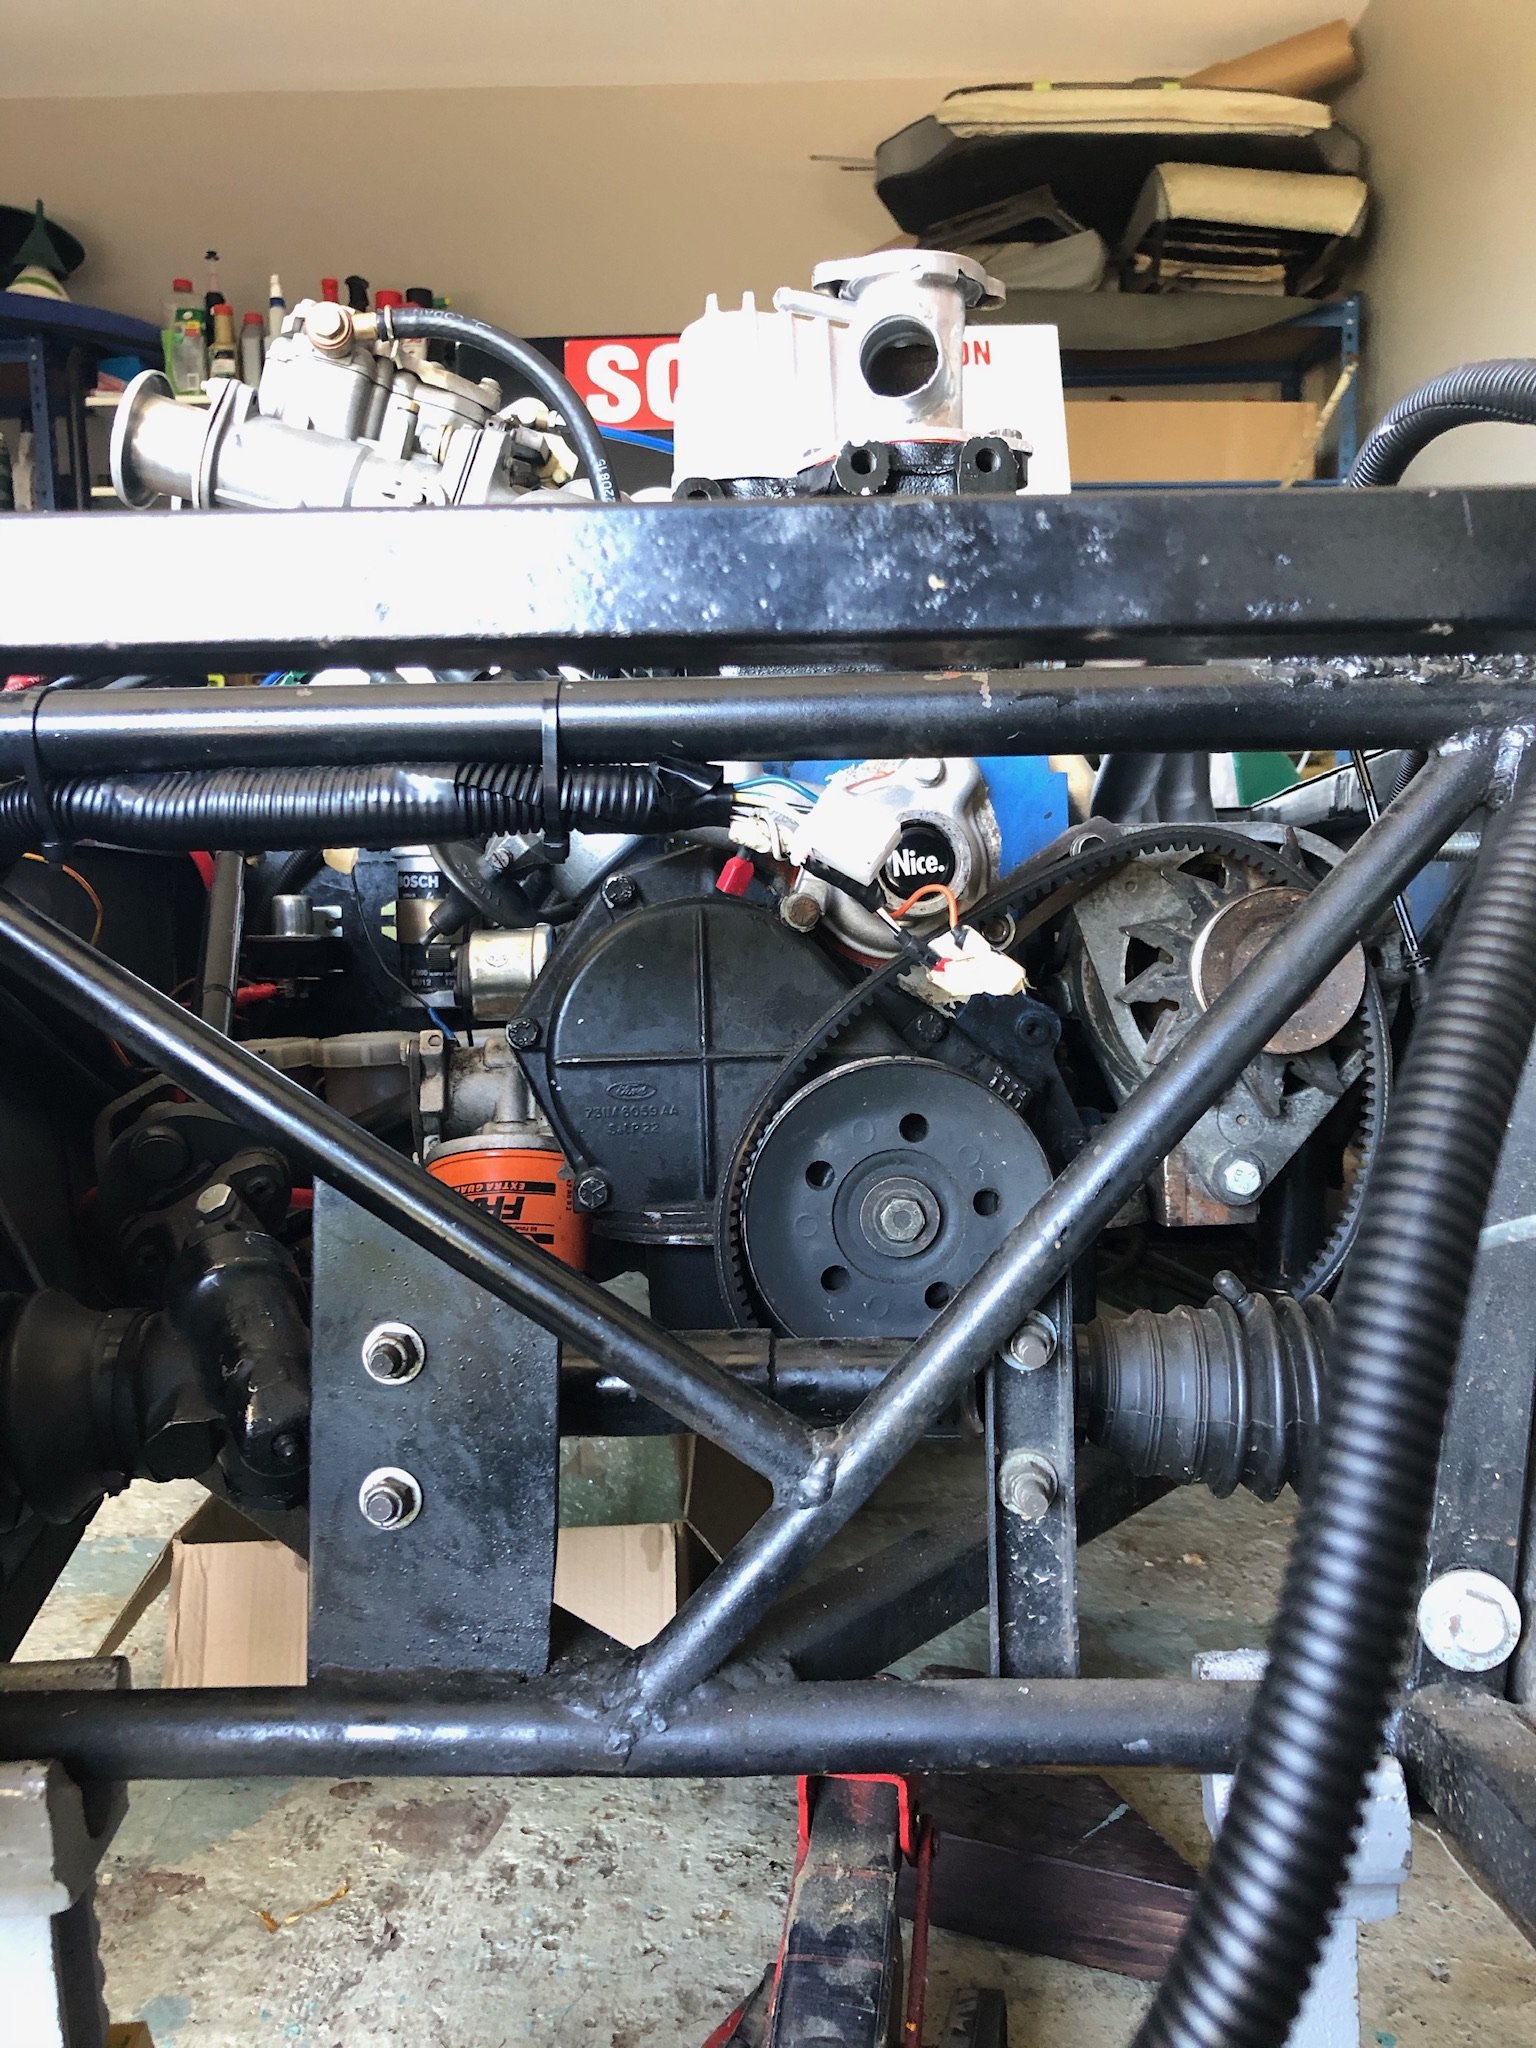
Back in April I tried to fit the new head, only to find the dowel sizes from the original head and the new head were different. The head went back on the shelf at this point. Last week I got the head milled so the block and head had the same diameter dowel holes, and made up some new dowels. New gasket in, then bolted it up yesterday, rockers back in, clearances all set etc. A workmate also managed to press the impeller out of the water pump and blank off the end, so now I can run electric water pump only, no thermostat and the controller can take care of everything for me. Need to get a very short alternator drive belt now. Tidied up some other bits, I stripped the rocker cover back to bare metal finish, repainted the exhaust manifold. Looks a bit better. Cowl isn't fitted properly- just sitting on there, the gap isn't that horrendous. Made a little bracket to help support the electric pump, got a bit carried away. Generally the rad hoses are enough to support it, but an extra bracket shouldn't hurt. Speed holes because BOM aspirations... Hopefully the pump will be ok drawing from the bottom hose in this location. The rad hose should allow for some movement as you're not really meant to solid mount these pumps apparently. Time to find some hoses that'll fit. So many things I want to redo. A lot of my previous workmanship (or lack of) is starting to show. Trying to do things properly now.
-
Sorry @Paul LS7 S3 for the massively delayed reply. The A arms are the original ones that came on the car I think, but Mcgregor Motorsport did a lot of fabrication work on the car and I’m sure they could provide you with some advice
-
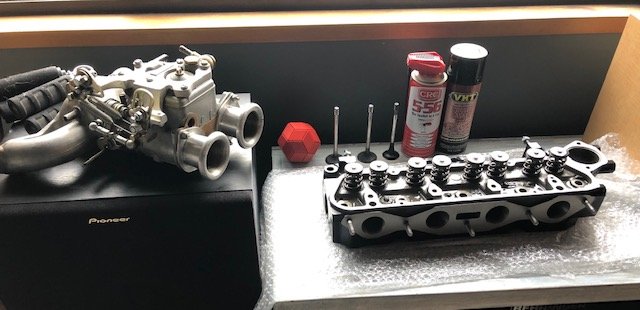
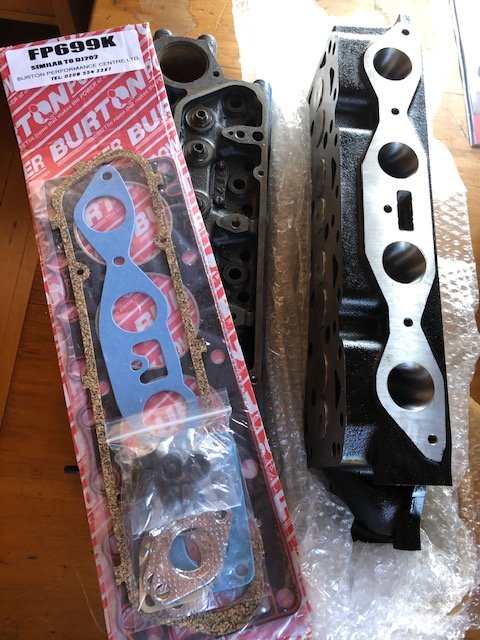
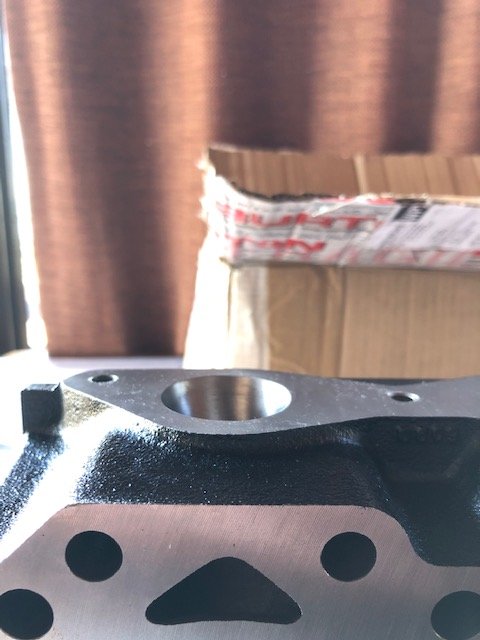
Some nice things arrived before everything turned to custard The water passage looks like a shocked face :O Repco is also delivering at the moment - I ordered a gasket set with the cylinder head but it was a bit bent and some of the sealing material had come away, so ordered another head gasket locally. Also painted the water pump pulley a stupid colour because why not. Fitting tomorrow - what's the opinion on copper gasket spray on head gaskets? New one is a generic permaseal. Cheers
-
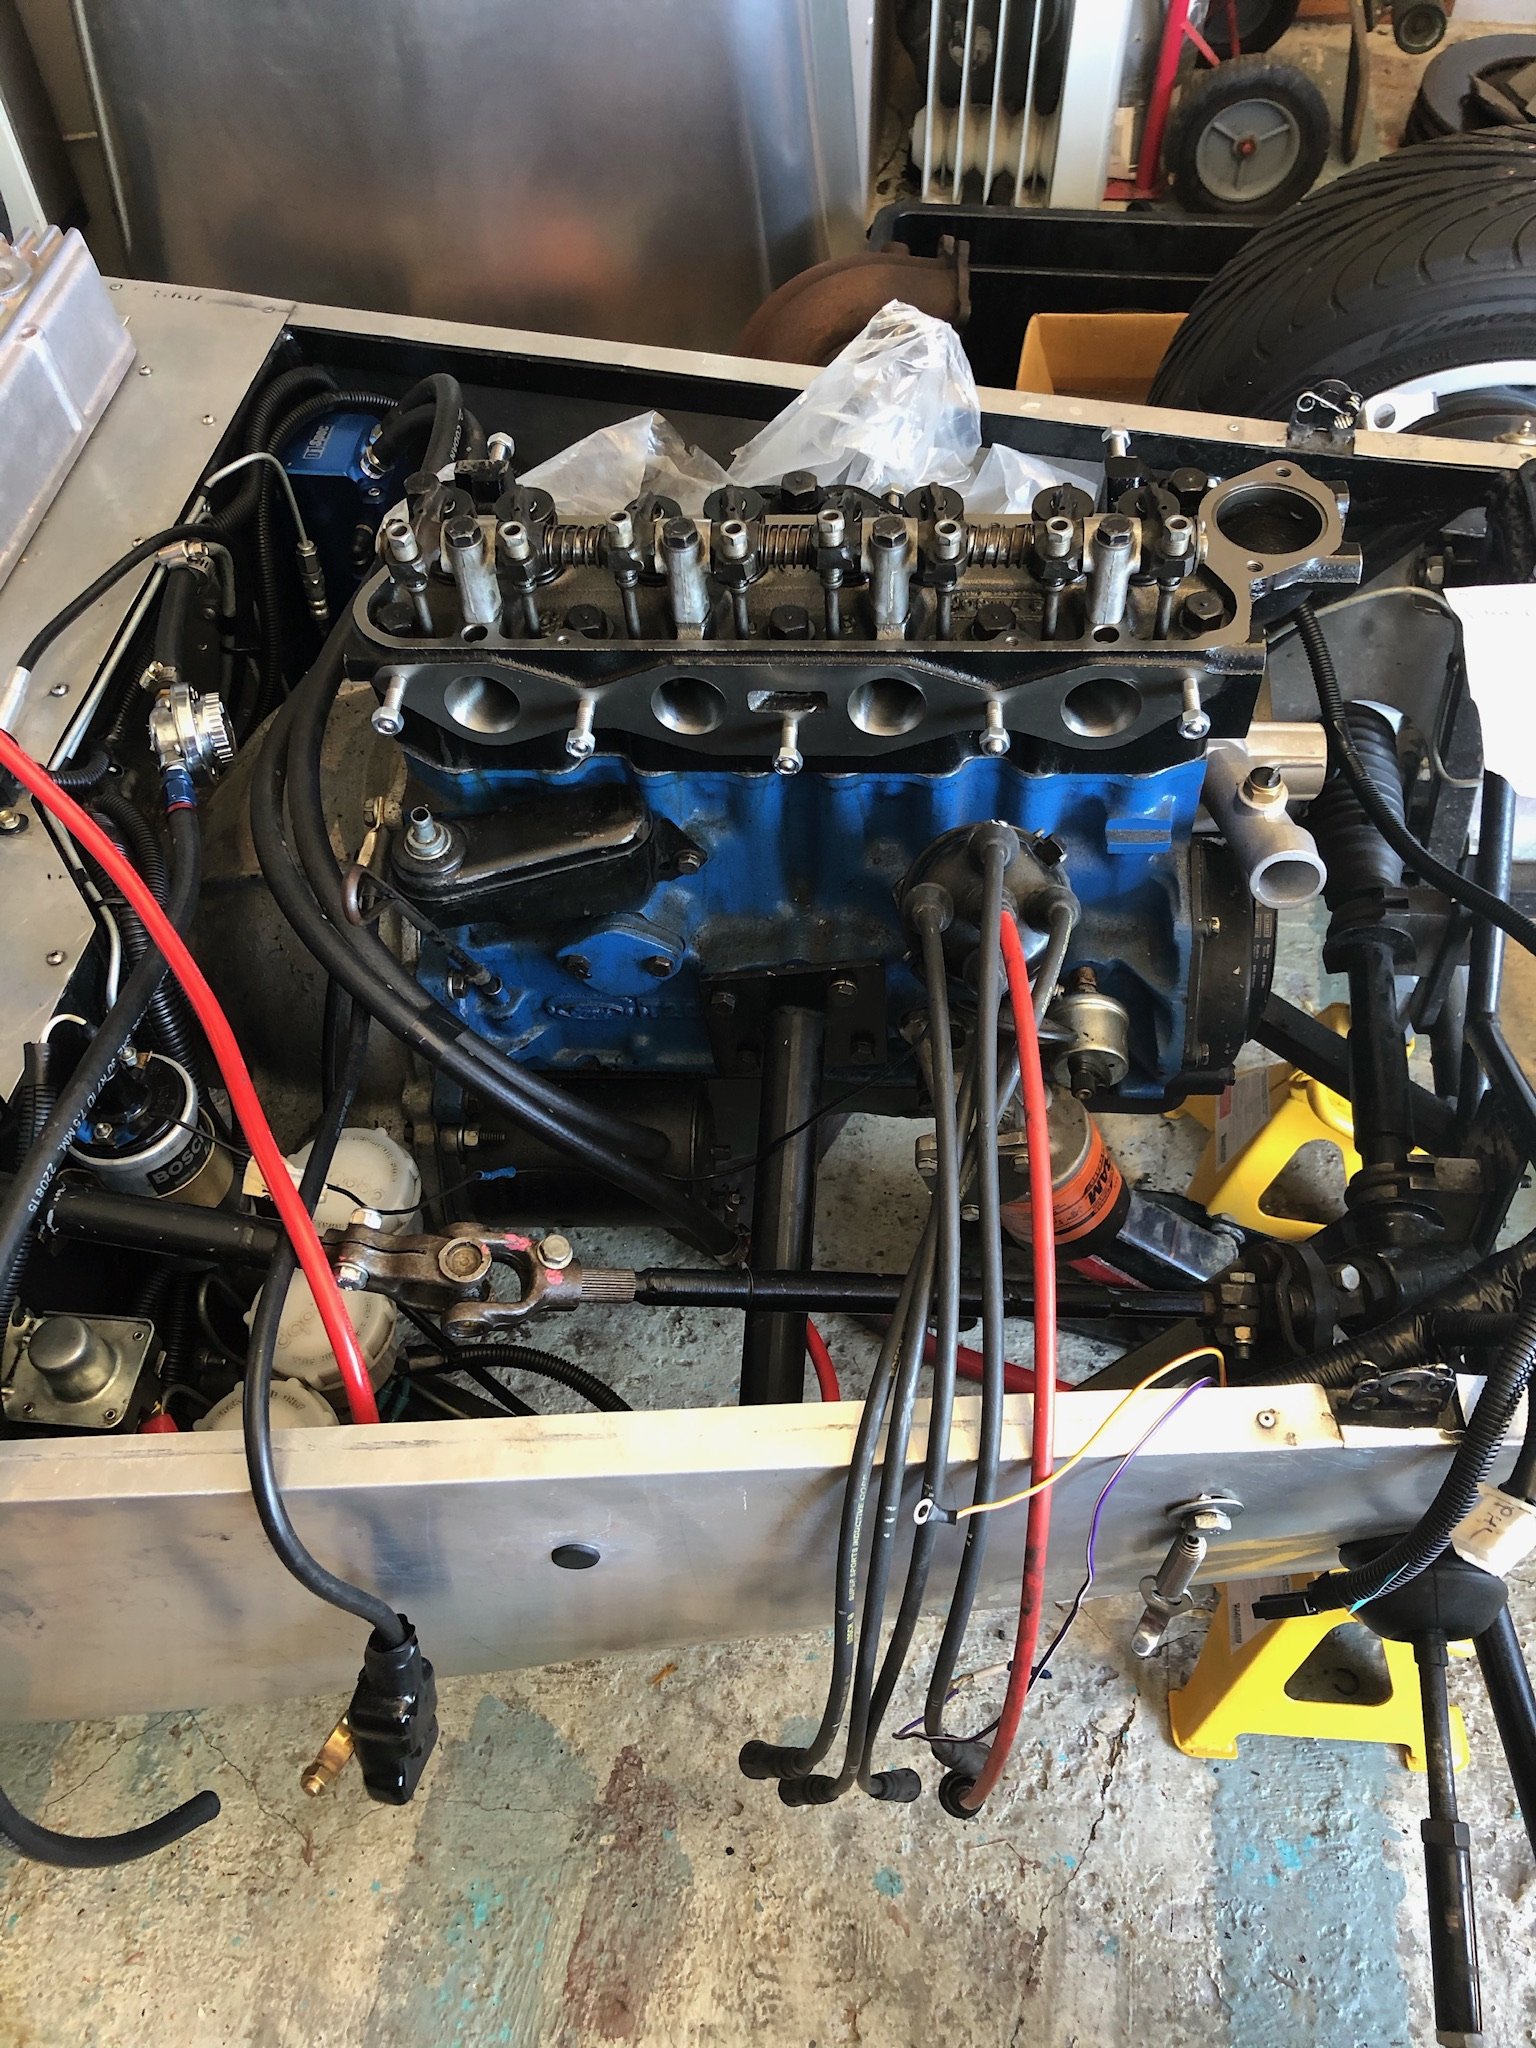
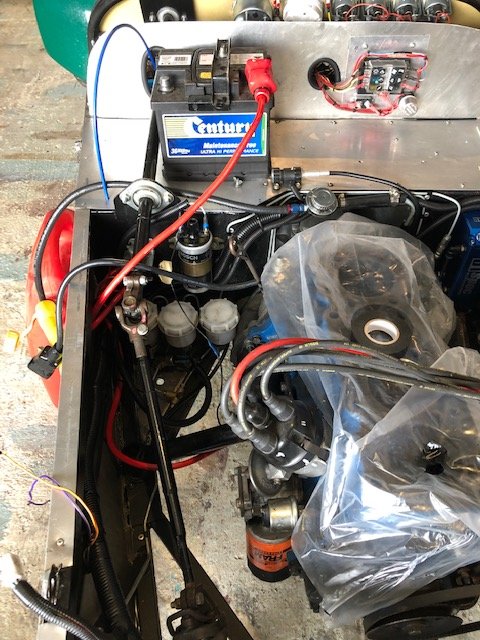
Have rediscovered a bit of love for this the past few weeks. It's odd revisiting your previous work, I guess I was in a rush to get it running but there have always been numerous untidy things that have annoyed me about the car, so it's quite nice to make some improvement. The main source of annoyance was the wiring and the way it was run/cable tied all over the place, so I recovered the whole loom and rerouted most of it. This turned out to be a good move as there is still a lot of oil coating everything after the filter explosion disaster. The cable routing is better, will never be perfect but it is a lot more tidy. Before And after I also decided to follow some good advice from the discussion thread and got a Davies Craig EWP and controller. It may be slightly overkill for this application but I will be happy if the car runs at a reasonable temperature and I can eliminate the mechanical pump - this will probably require some fabrication as you cannot remove the impeller from the factory pump but I think I can get that sorted. Also wired the controller up and made a hinged bracket so the display can be folded up under the dash. Simple but does the job. Sensors aren't plugged in obviously, as I have no cylinder head. Will tidy the rest of the wiring once the pump and radiator are back in. Have been saving up for a new cylinder head, will probably source one from the UK. Going to be an expensive day but likely cheaper than buying a second hand head here then having it crack tested and built up etc. Time for a beer one thinks.... Cheers
- 48 replies
-
- 10
-
-
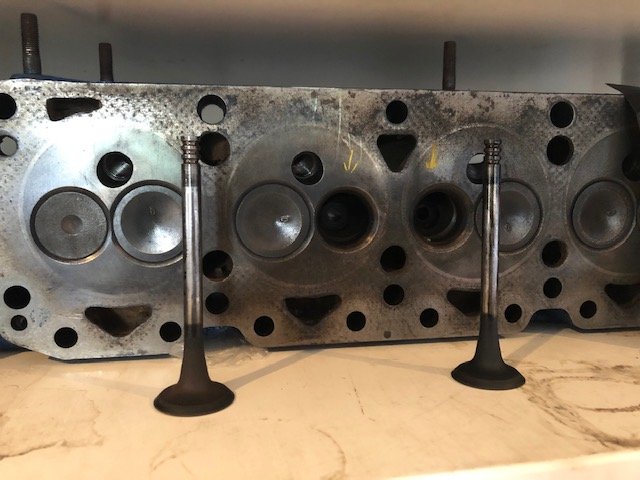
Well, crack test has confirmed, it's fucked. Has been previously repaired as well. Cracked right around both the removed valves. Given the cost of repair it is uneconomic and would likely happen again anyway. Both nice to confirm the issue, and also a bit of a pain. Time to figure out the next move...
-
@Sunbeam just recalled, few years ago someone borrowed the 2a mentioned earlier in the thread and took his kids down a dirt road, they were sitting in the back, rear door flew open and one of them fell out. Luckily they bounced and were fine. Naturally old Land Rover wasn’t going all that fast
-
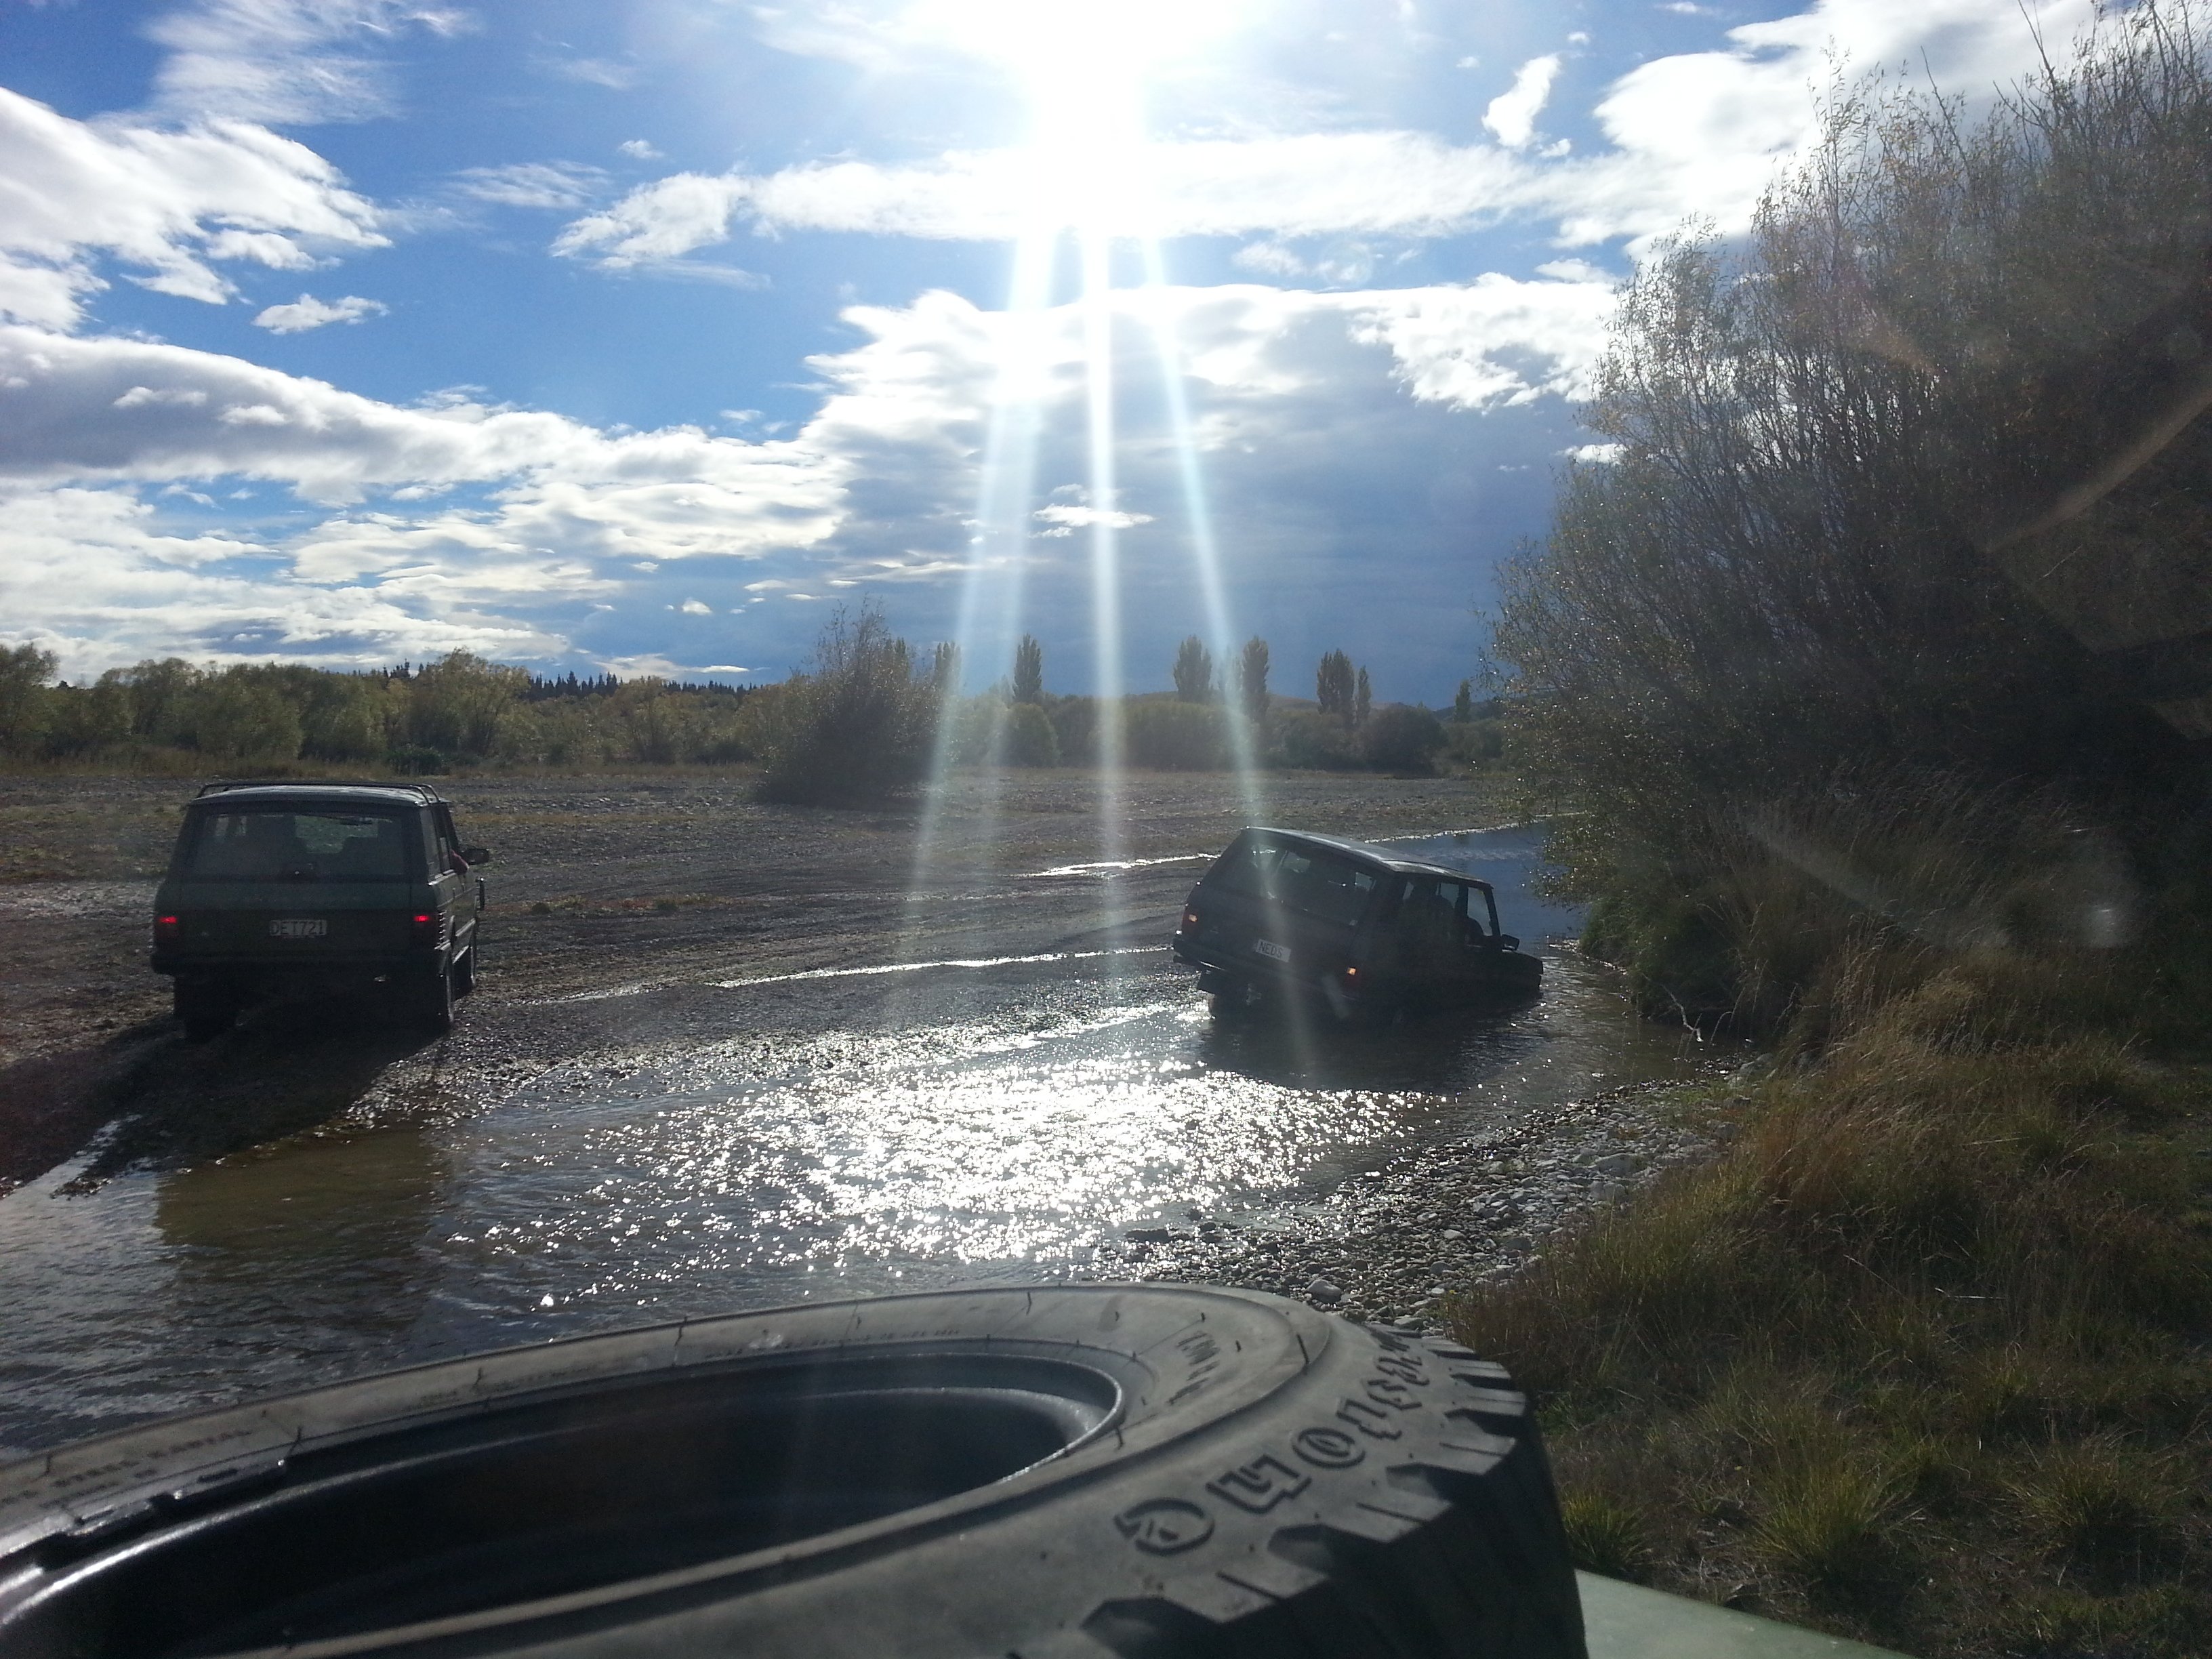
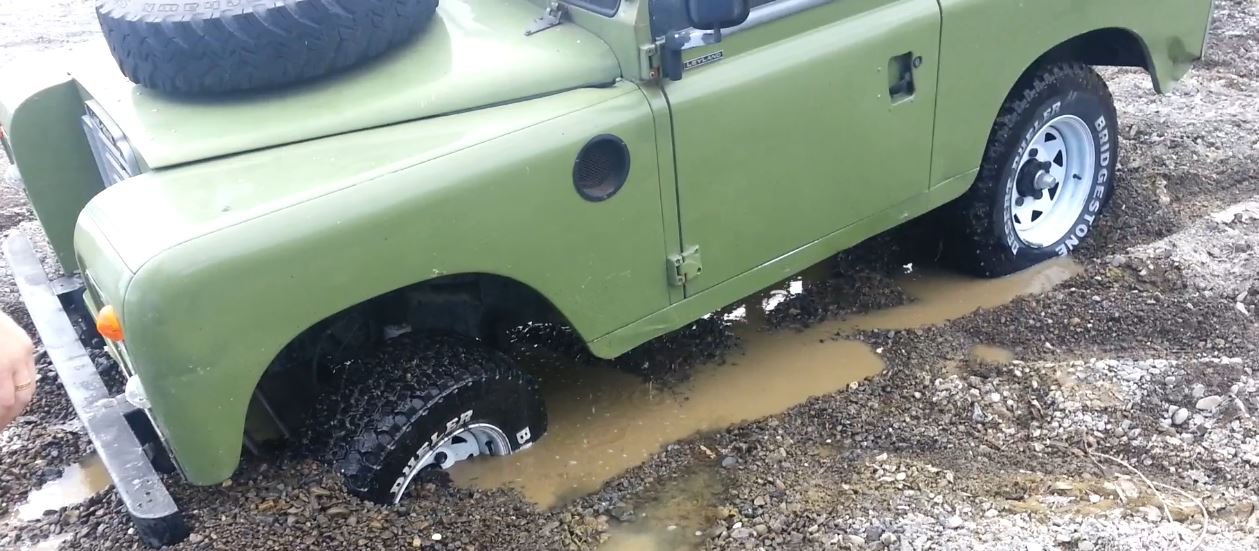
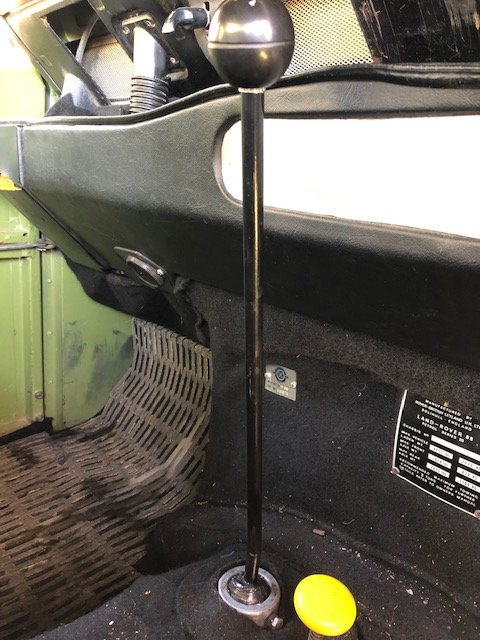
Got things back together. The gear stick is slightly closer to the driver now which is both helpful but I have also now lost all my reference points Left a car park entrance with a fair bit of speed on, and the drivers door flew open. Not the first time this has occurred so also adjusted the latches, they are pretty well worn however. Slam locks always draw attention as members of the public probably think I'm furious about something. In reality I just want to go home without falling out. Tried to go and find some puddles or things to drive over at the Waimak but access is pretty well blocked off. Found some old photos anyway Moments before this occurred, I believe the driver said, "Watch this!" Which resulted in trying tow the range rover out, which went well... My car did back out of that, but a man with a snatch rope had to come and rescue the range rover. There are computers under the drivers seat for things like the airbag suspension etc. Which were under water... This was a few years ago and I believe it's all fixed now. Keen to try and find some spots around Christchurch for more of the above, Waimak and also Mcleans Island seem like a no go anymore though...
- 11 replies
-
- 13
-
-

-
- Land Rover
- Rover
- (and 1 more)