


AALAWS
-
Posts
342 -
Joined
-
Last visited
Posts posted by AALAWS
-
-
Hey Guys. My new ke25 shell has no paperwork history, but a quick call to LTNZ ( via the chassis number) and they told me it was last registered in August 2006, however they wouldn't give me any of that in writing for some strange reason. I need some sort of proof etc to get it re registered so they suggested I fill out a CA03 Alternative Documents Form and pay them $184 (their hourly rate btw) for the pleasure.......any words of wisdom before go further with this?
-
I swear by Sikaflex urethane, but you need to use the complimentary clear primer/activator to prepare the glass and aperture to avoid any bonding issues. (3min flash off time) If you've got fresh paint on the aperture, then give the bonding area a quick scuff with scotch pad and use the ska black primer (10min cure time).
If you have a yarn to a local Smith and Smith they might let you buy a tube and have a nearly empty activator and primer for cheap/free.
-
2 hours ago, Otodat said:
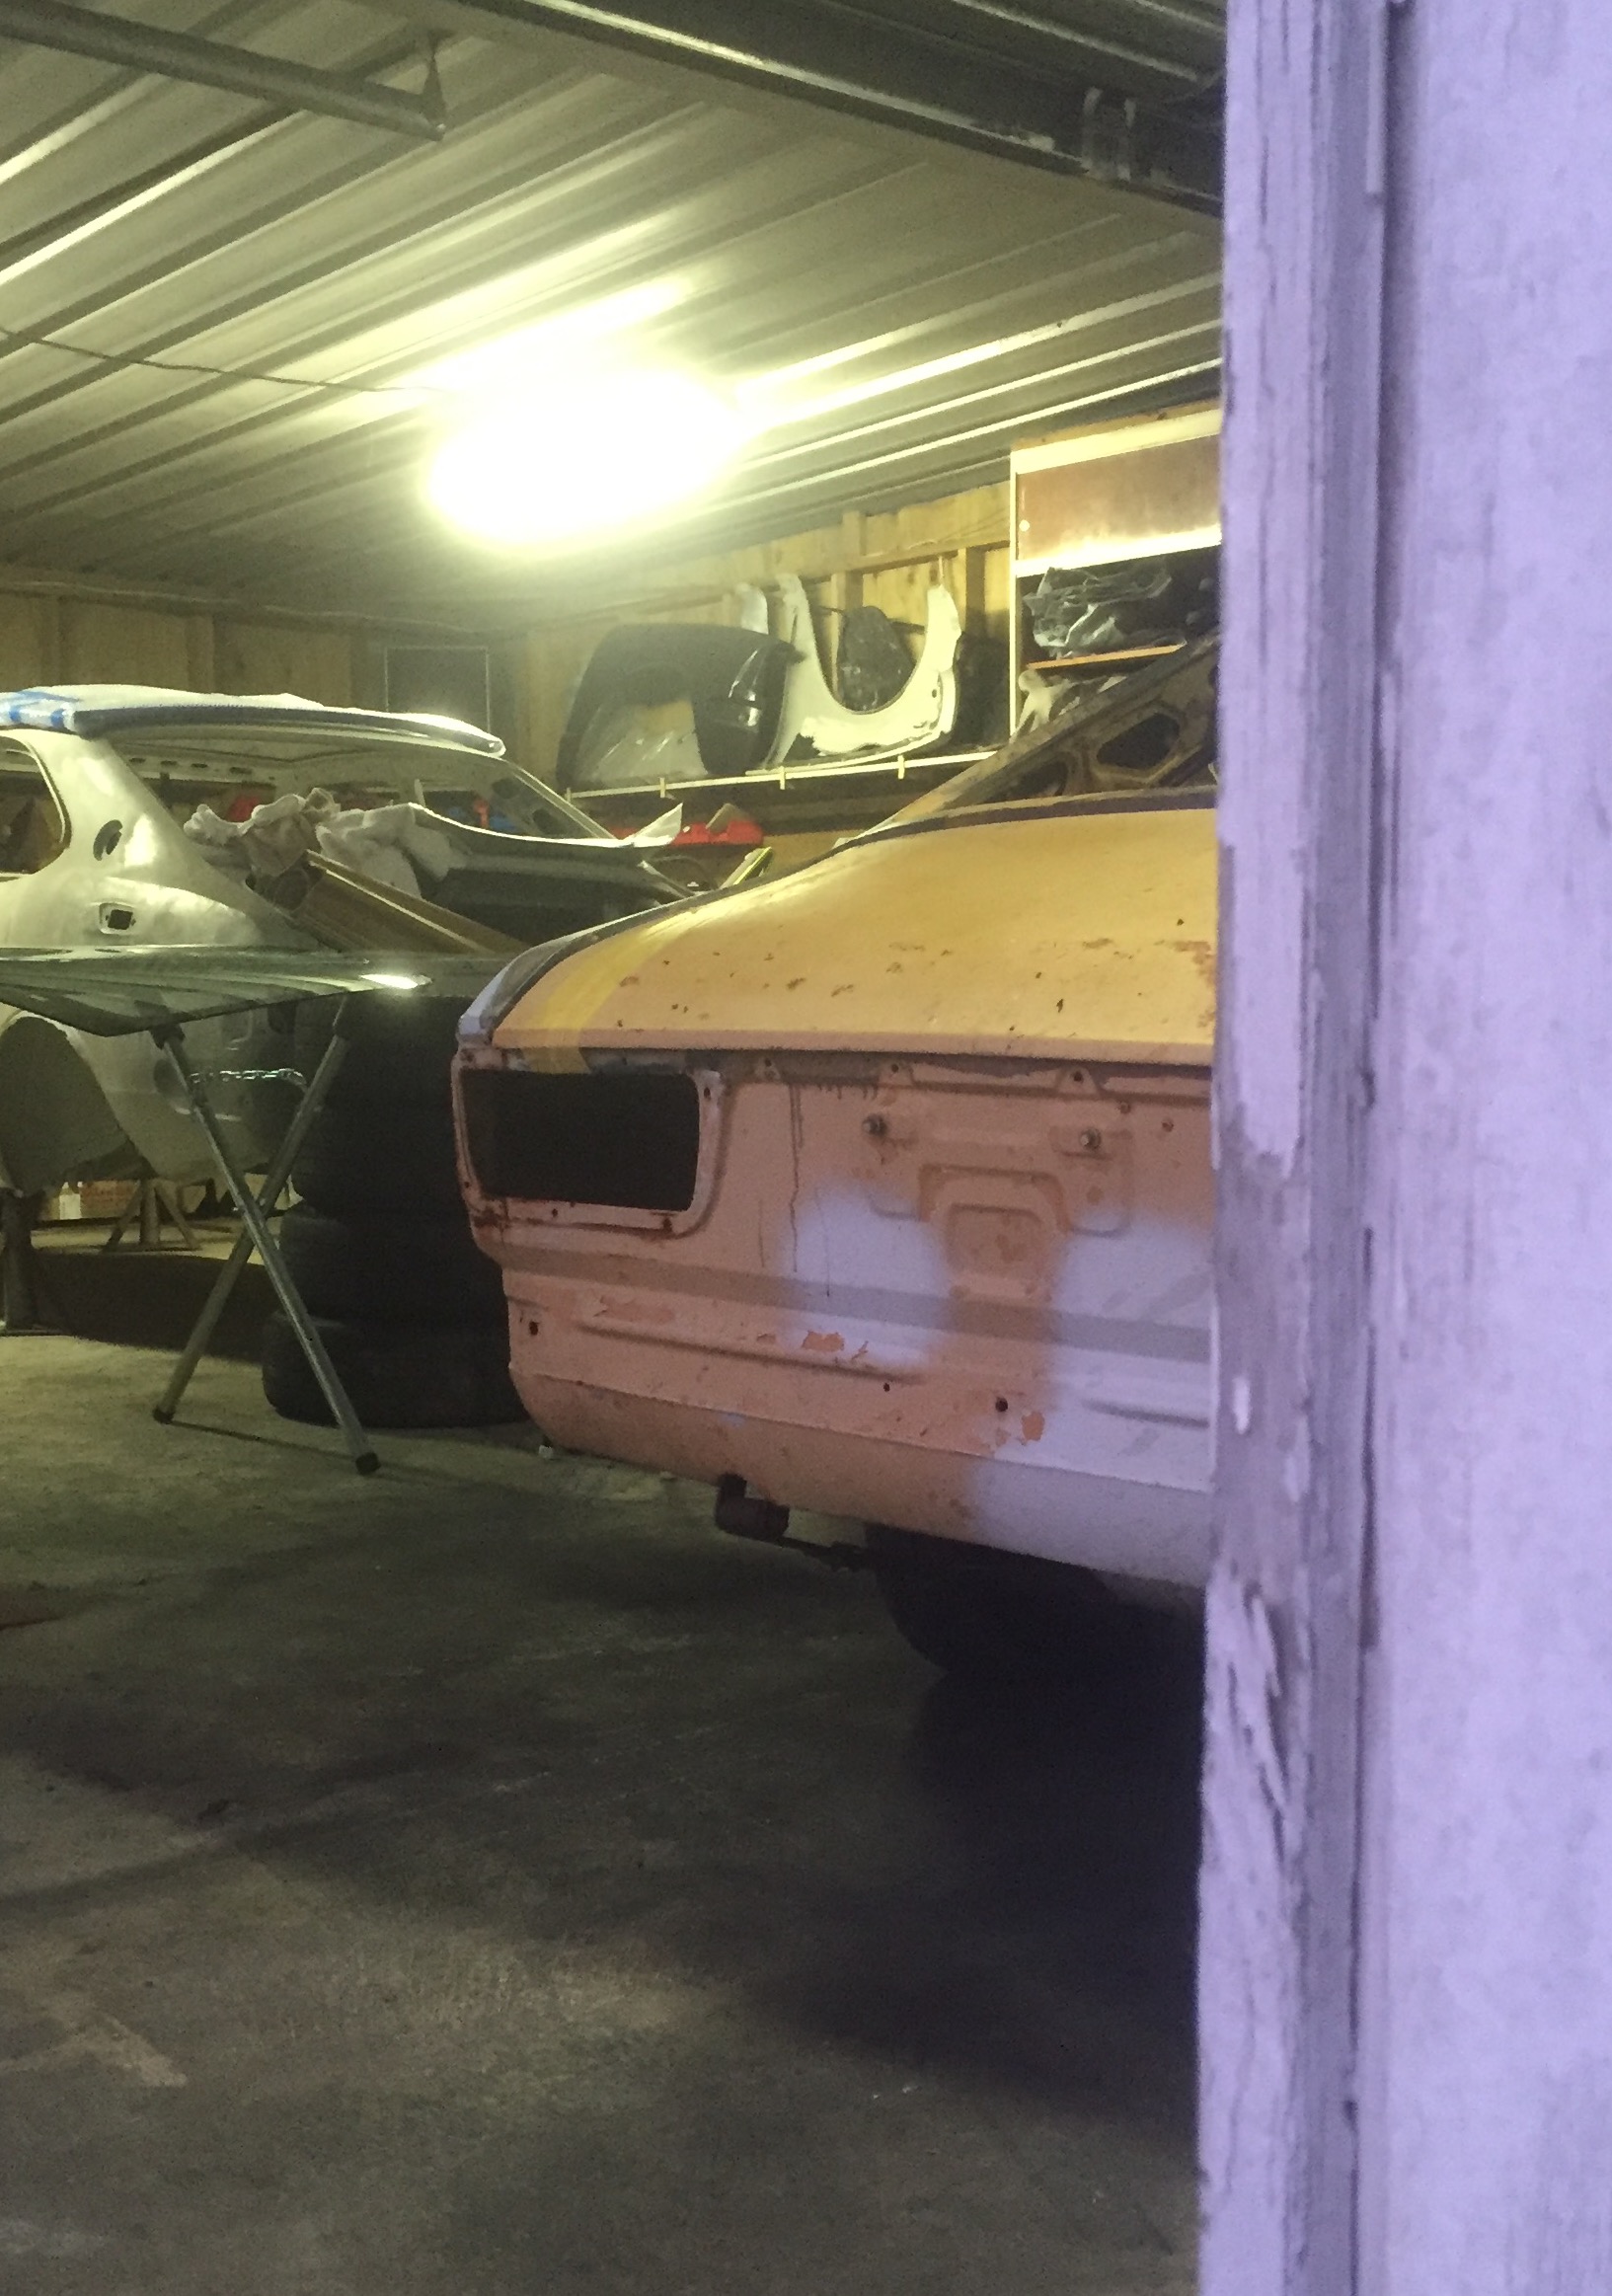
Good score, that shell looks dam tidy
Barn find quality! Can't wait until we get some good weather so I can get stuck in
-
- Popular Post
- Popular Post
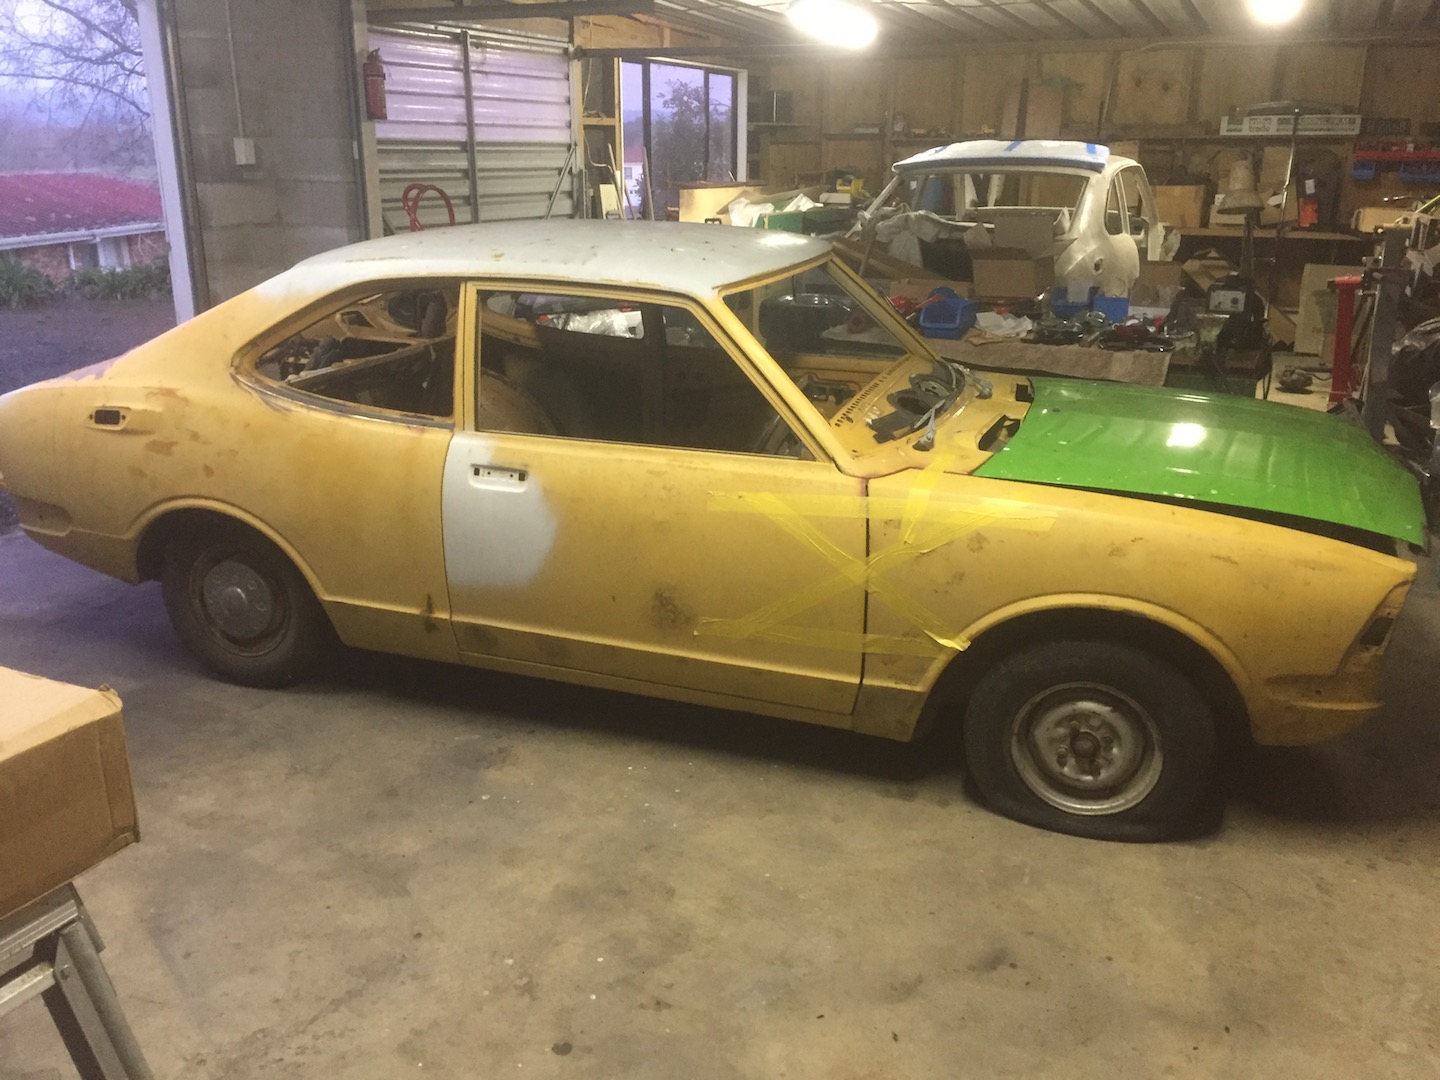
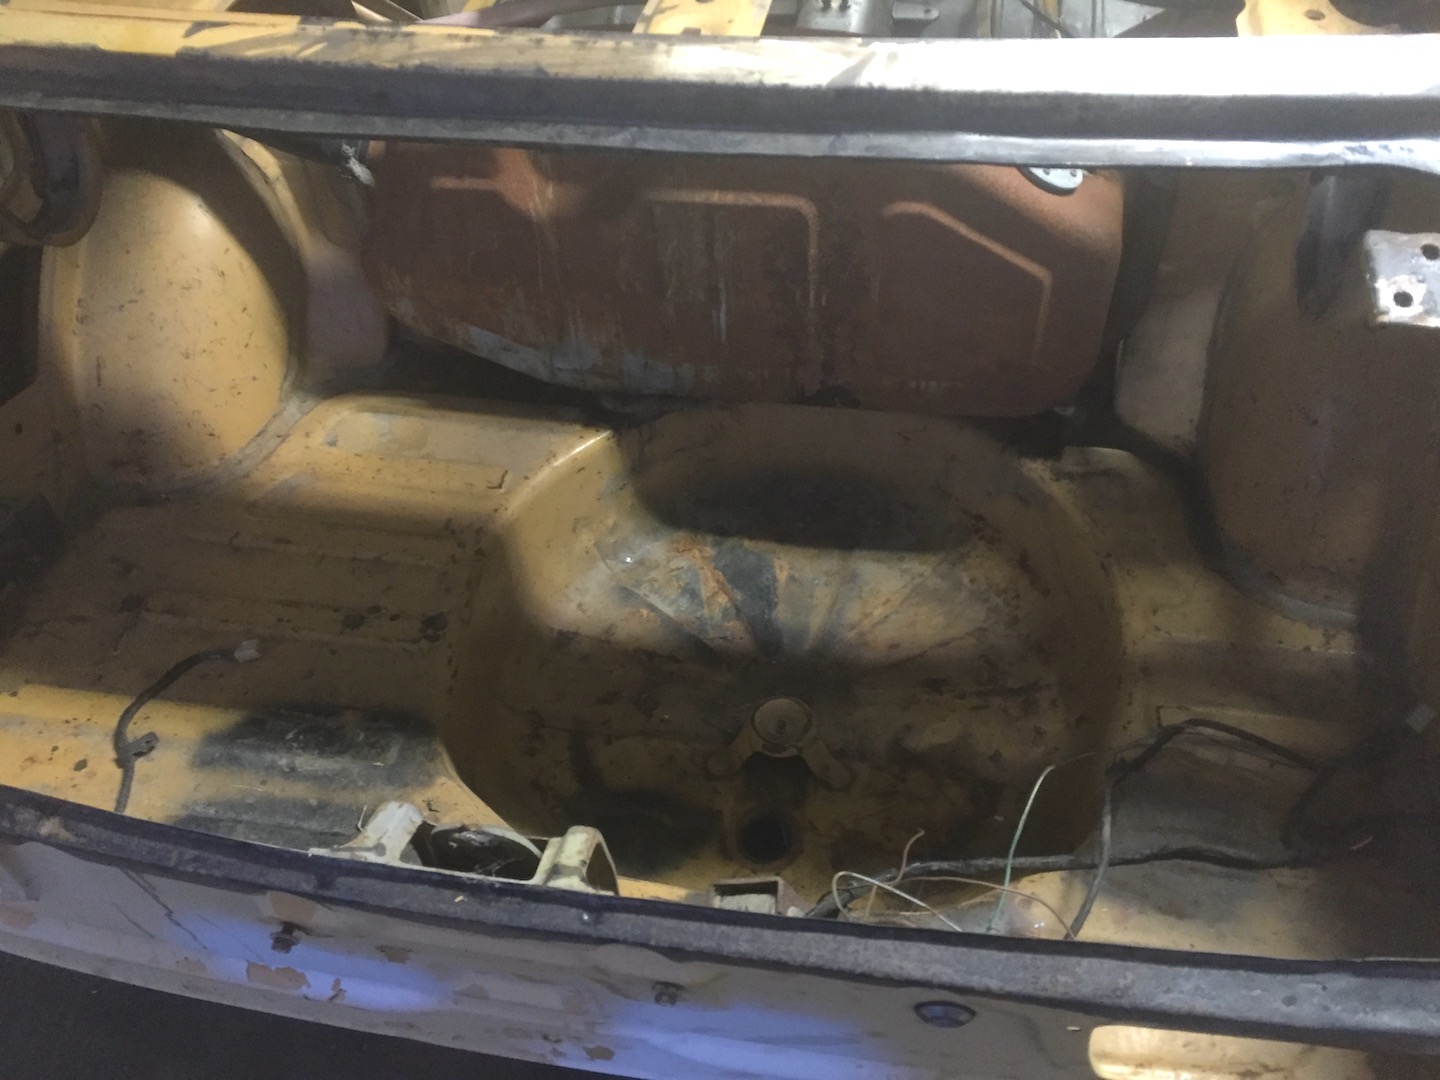
SO....this shell is WAY better than mine.
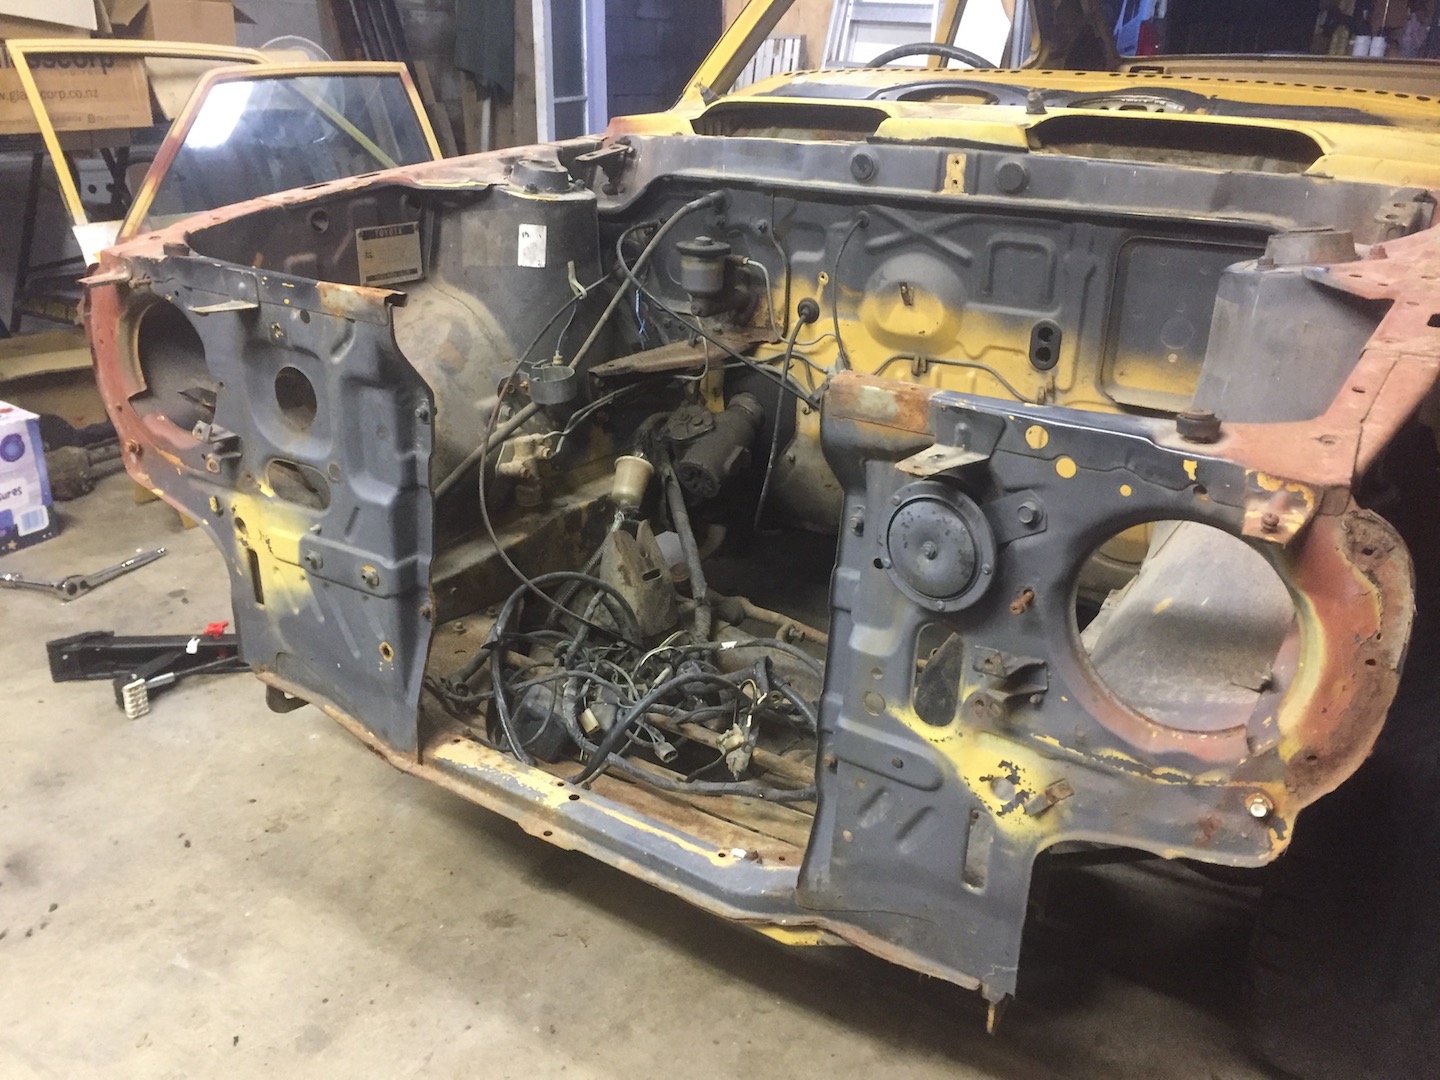
It has virtually no rust in the spots that are an issue on my first shell, and the front end/panels are totally straight.
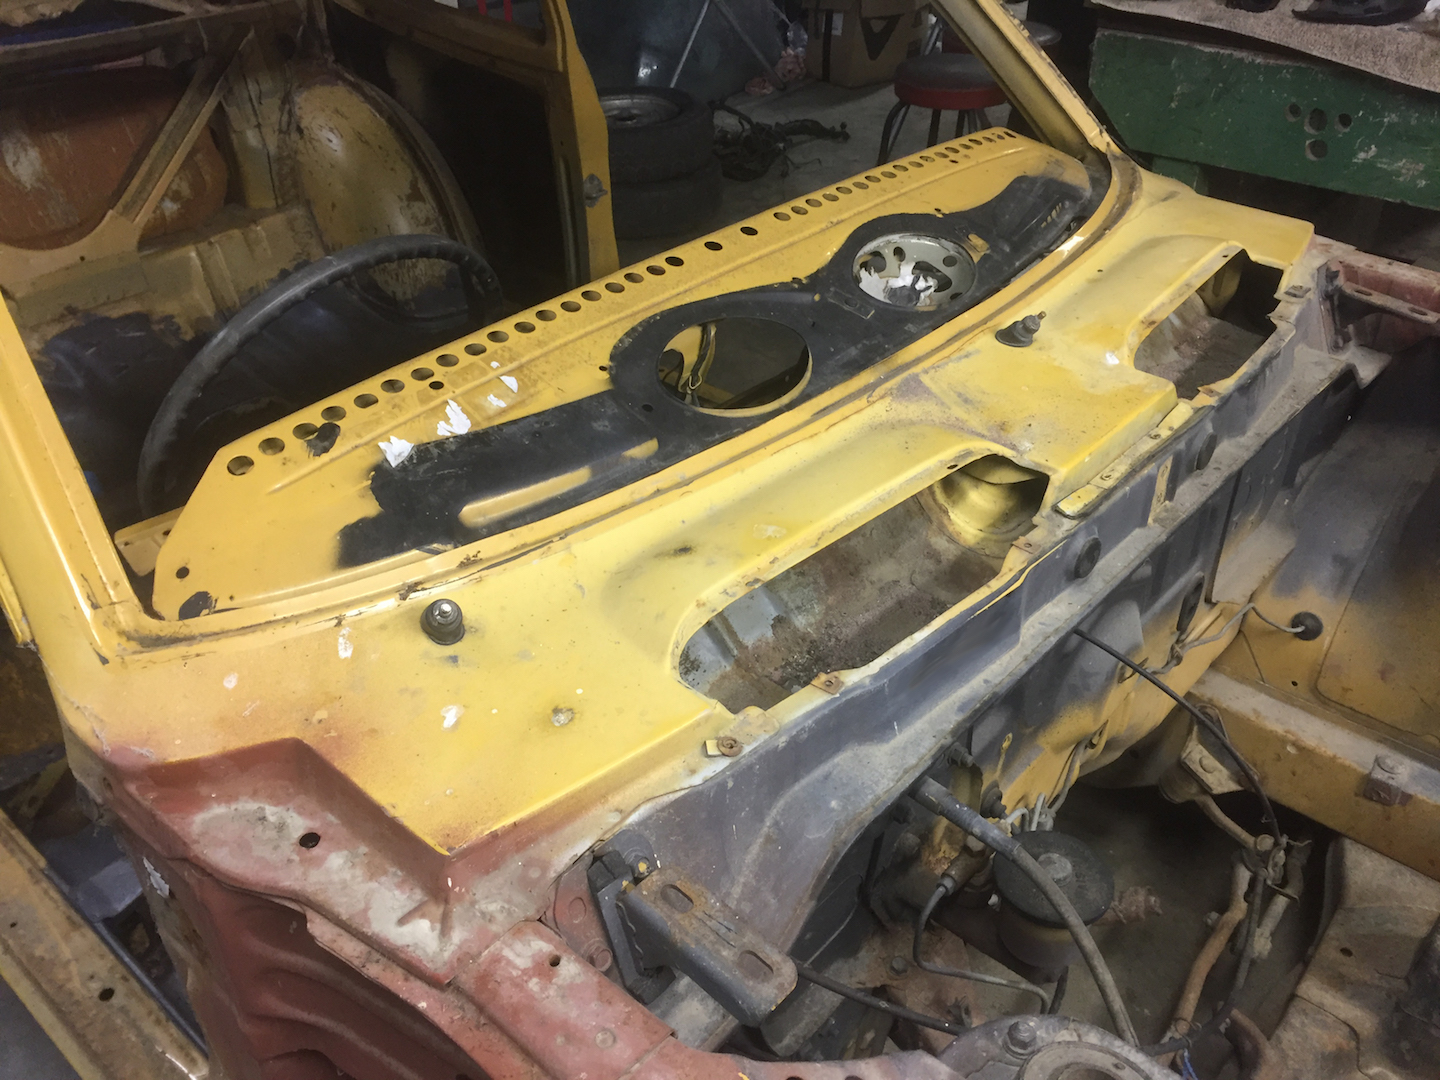
There's no rust under the cowel where the heater box mounts up, the spare wheel well is all complete, I now have a set of rust free doors.
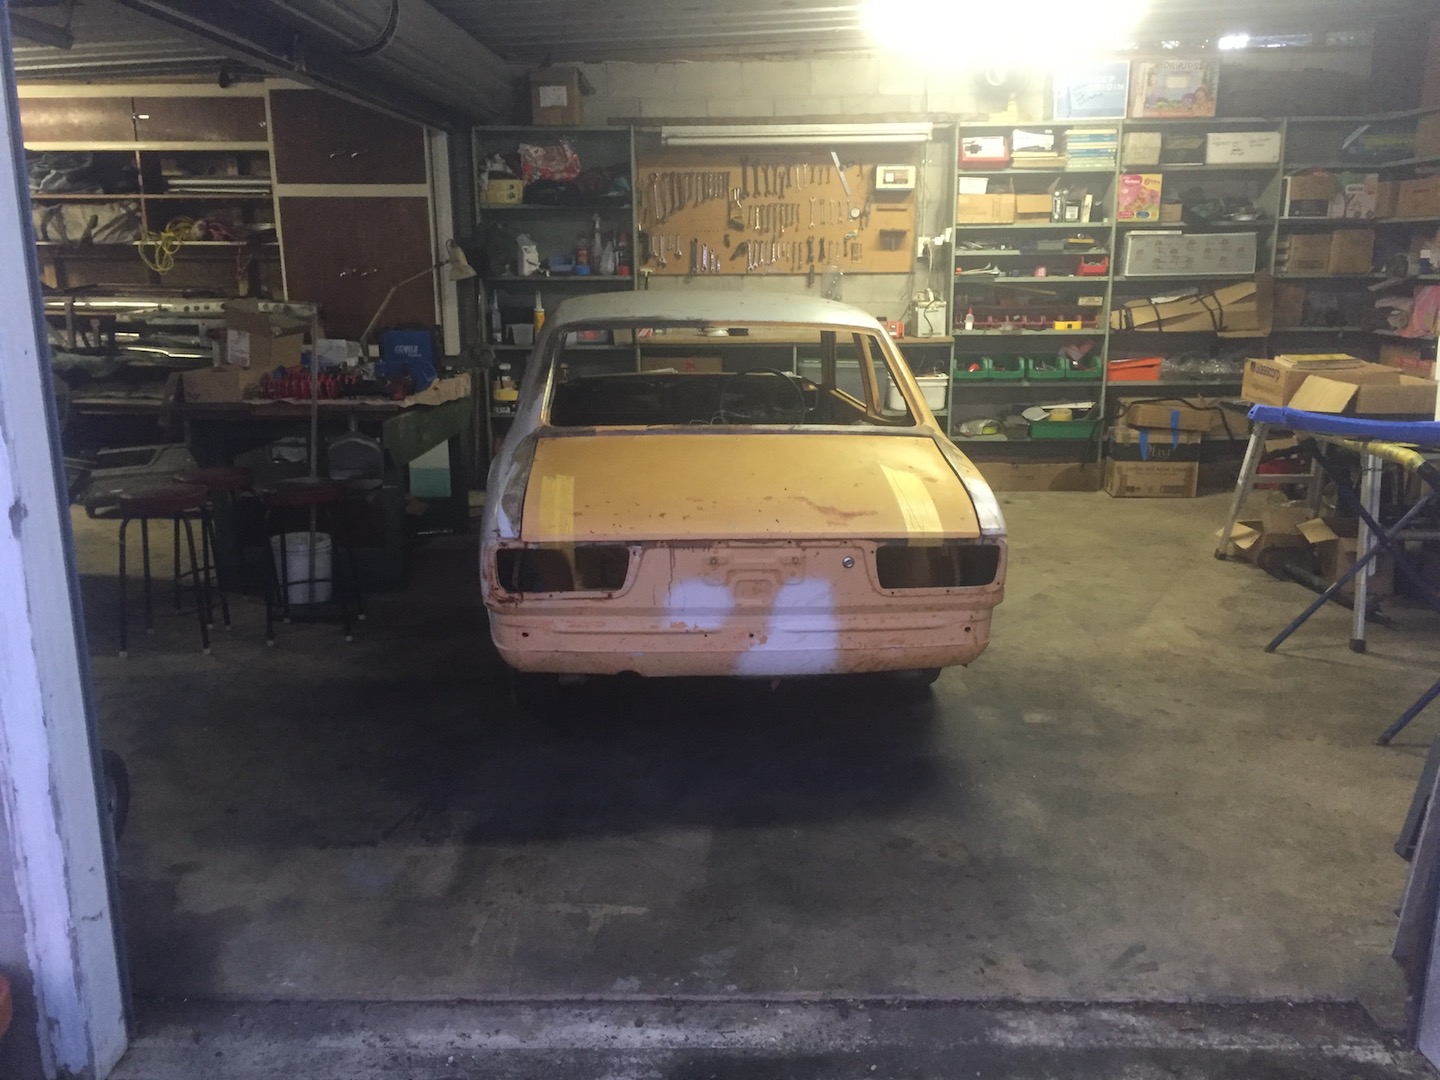
The boot and bonnet will need to be stripped to reveal their true state as it looks like theres a few gremlins under the surface, but the shell at first look, looks 95% rust free!So the plan is now to strip this and send it off to the panel beater with minimal fabrication work needed. I won't count my chickens, but this could speed up the whole rebuild a lot.
Happy Man!

-
 15
15
-
 1
1
-
This space?

-
2
-
-
more accurately.......watch this space
-
1
-
 1
1
-
-
Watch this space.....
-
3
-
-
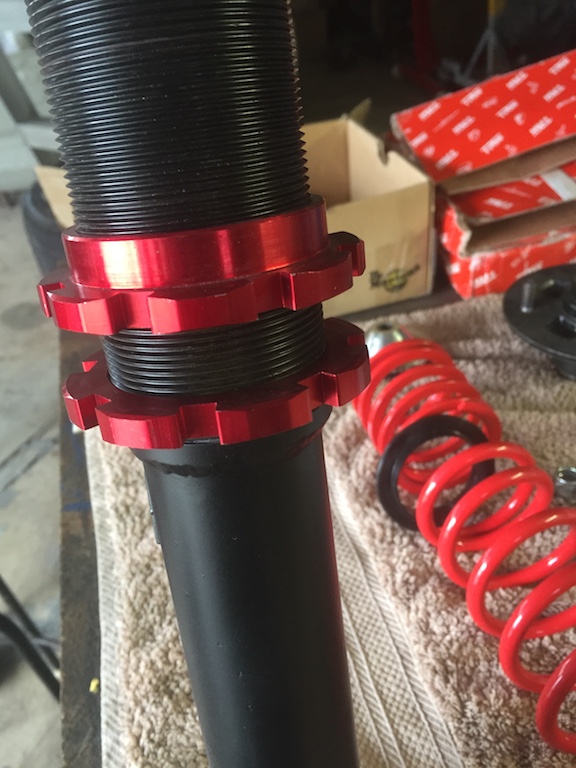
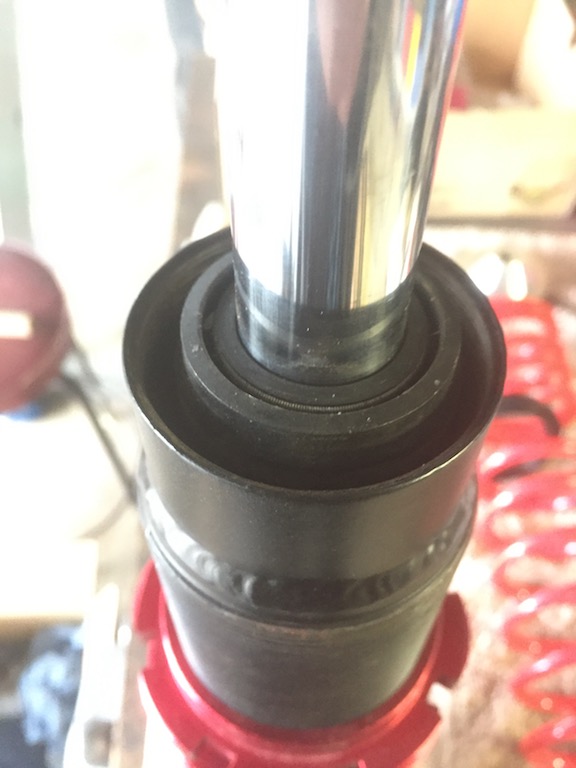
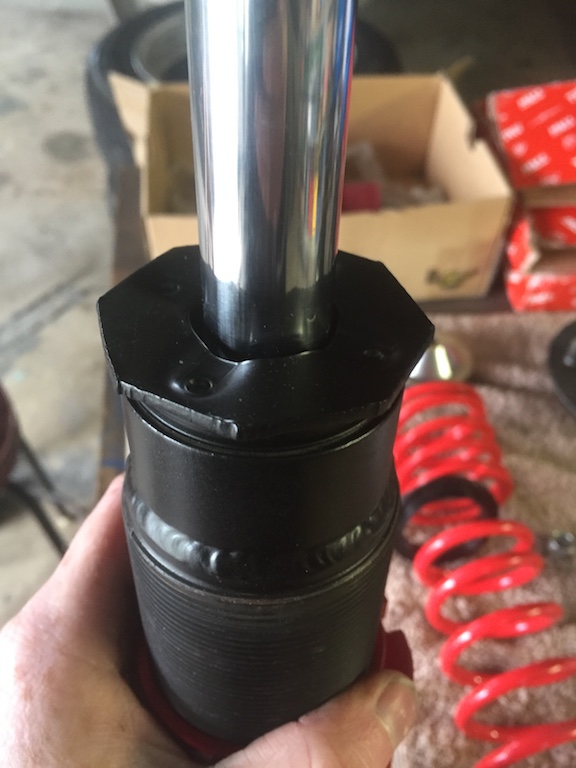
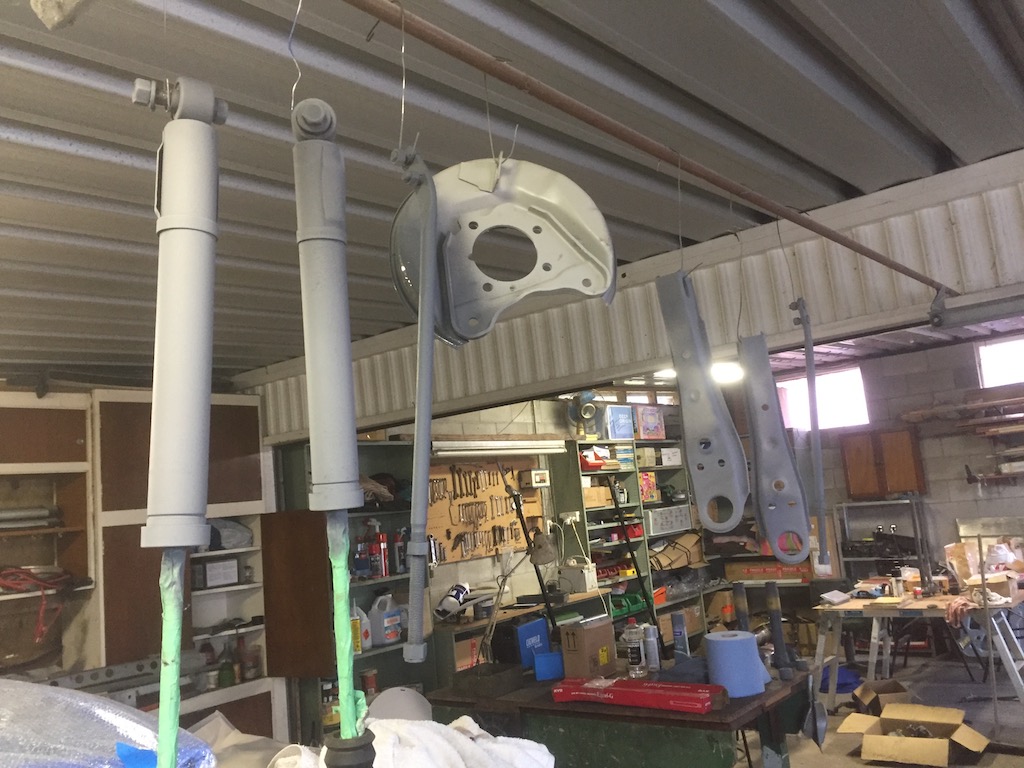
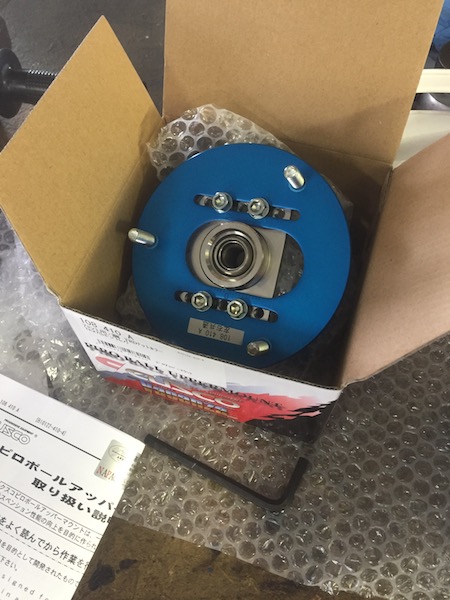
Shiny Goodness.
All painted and ready to assemble.
Just not sure on the exact arrangement of my coil over kit........any advice?
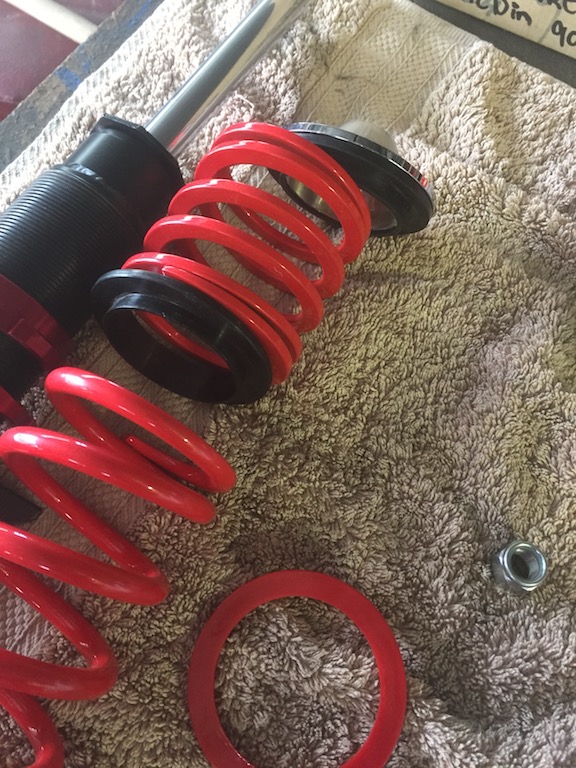
1. There is two bits at the bottom for the spring to perch on. I assume having both of them threaded up tightly together is sufficient to hold the spring, but which way do they go? As in the picture? I've seen ones where the bigger one is flipped and at the bottom? and does one of the red plastic washers/spacers need to sit between the spring and the mount?
2. does the insert need a spacer between it and the outside of the strut tube or is having the threaded top enough?
3. Does the larger spring go first, or the smaller one (the retainer spring i believe?) ....again I have seen both ways.
4. The extra red plastic spacer is seen in the last photo....doe this sit between the threaded base/perch and the first spring? or the top of the top spring? (which is where it was in the kit but that black one is already there so that raised the question for me. I'm leaning towards the first option but just wanted to double check.
Cheers folks......help a noob out!!
-
3
-
-
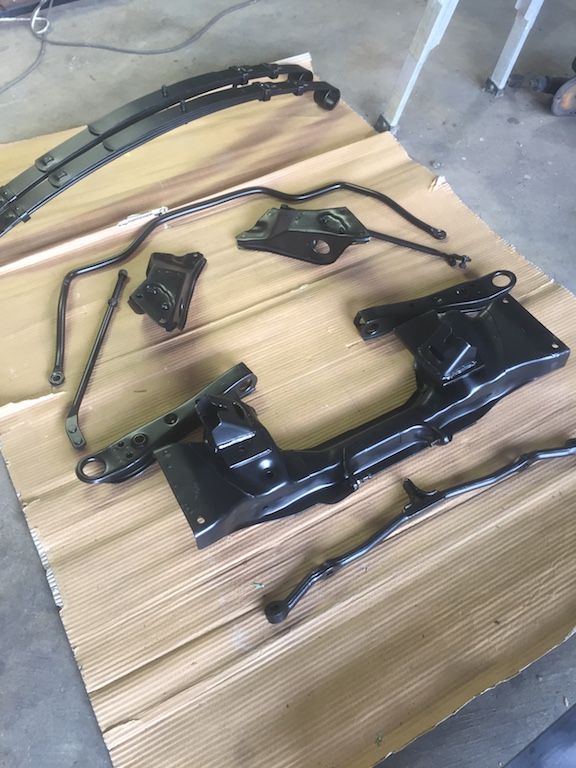
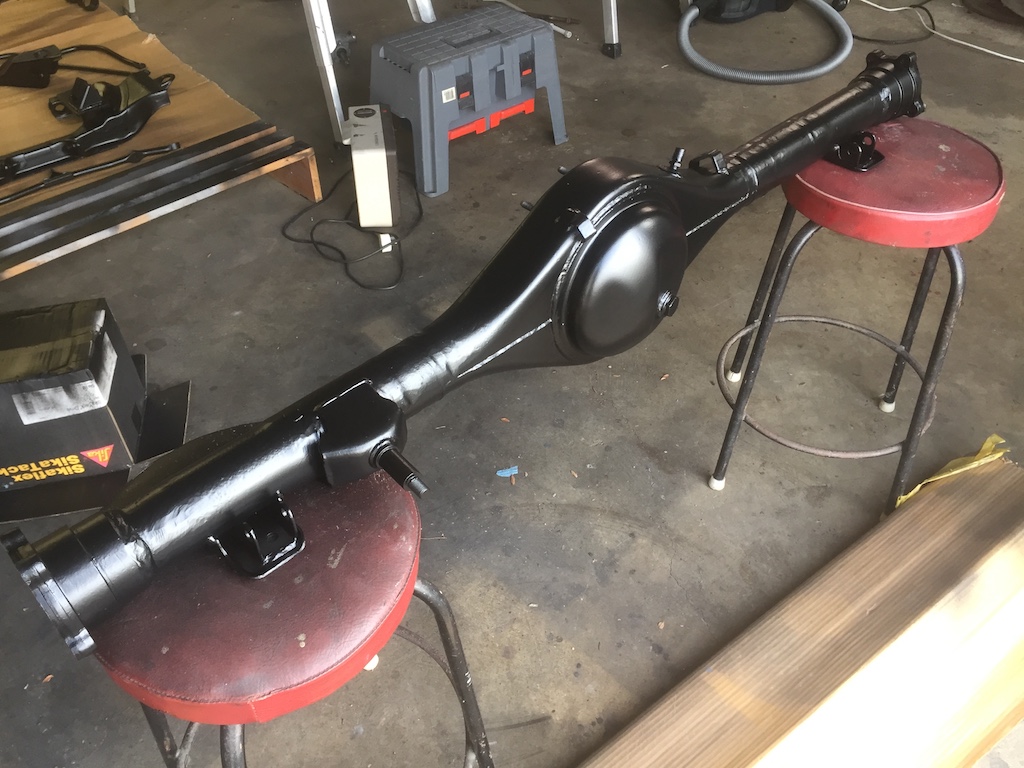
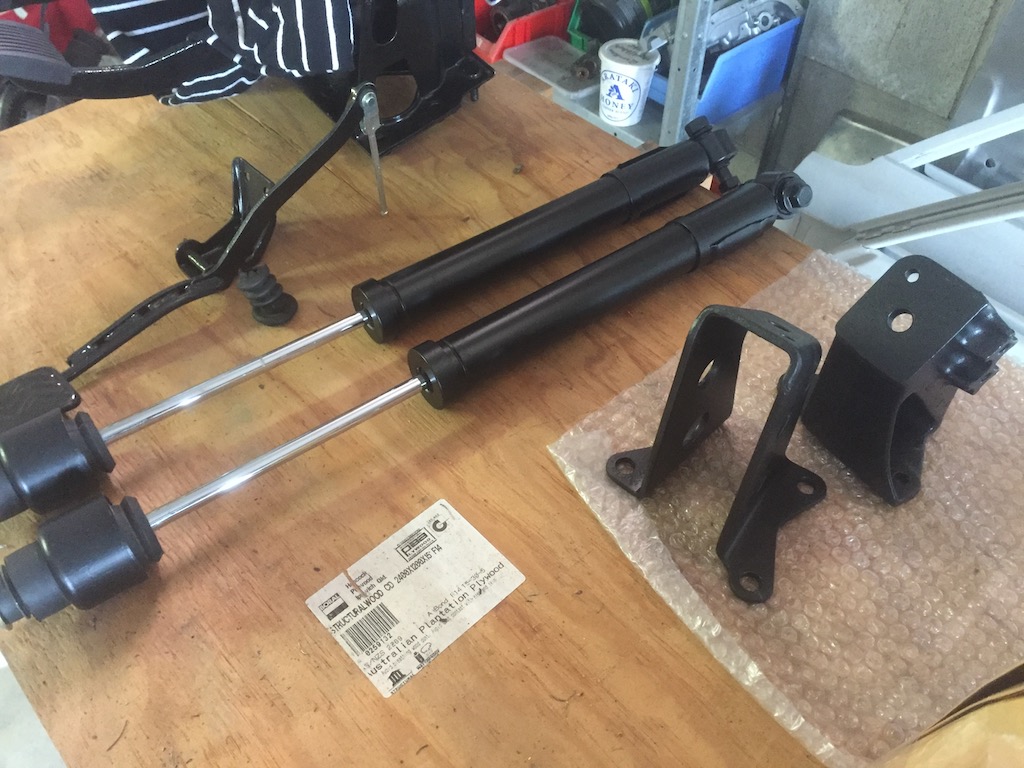
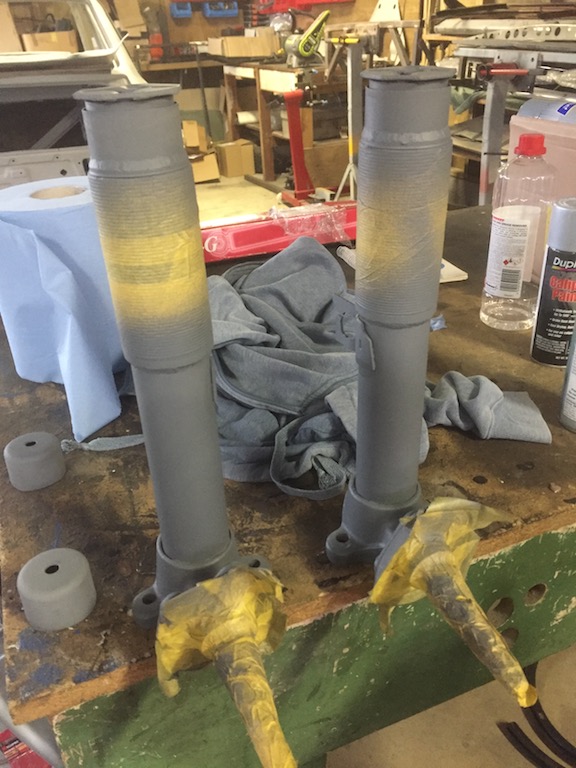
Just like a state house........Crack testing passed!
Gave a few bits a coat of primer the other day, then some top coats yesterday while the weather was......warmer atleast.
It got pretty cold once I had finished, hopefully that doesn't effect the6-8 hour cure time??Had them all hanging together with the fan heater going to warm up the area....complete with hi-tech corrugated cardboard insulation barriers!
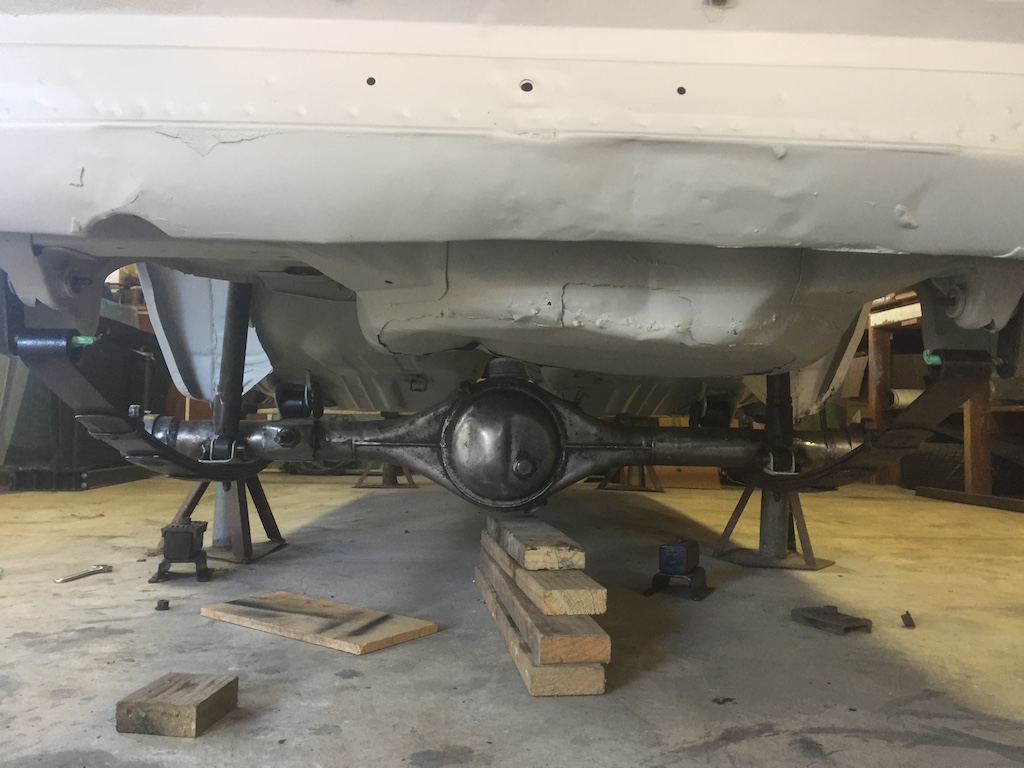
Powercleaned the diff housing, doused the inside with CRC and gave it a rub down with rust converter, and another coat on the leaf springs.
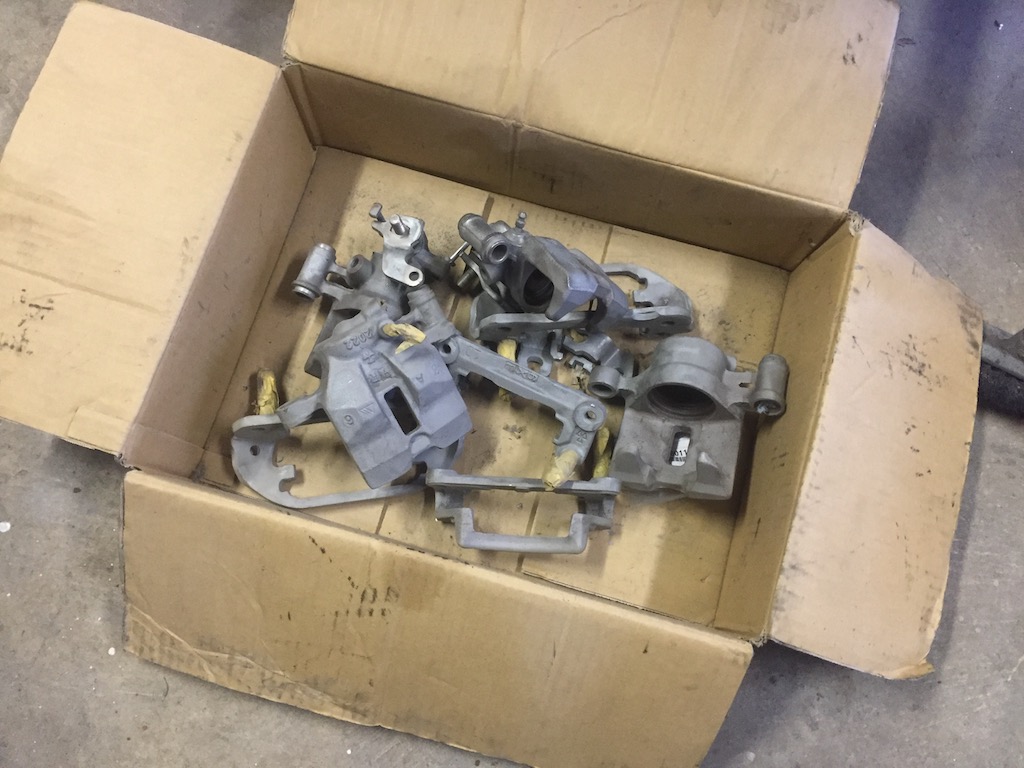
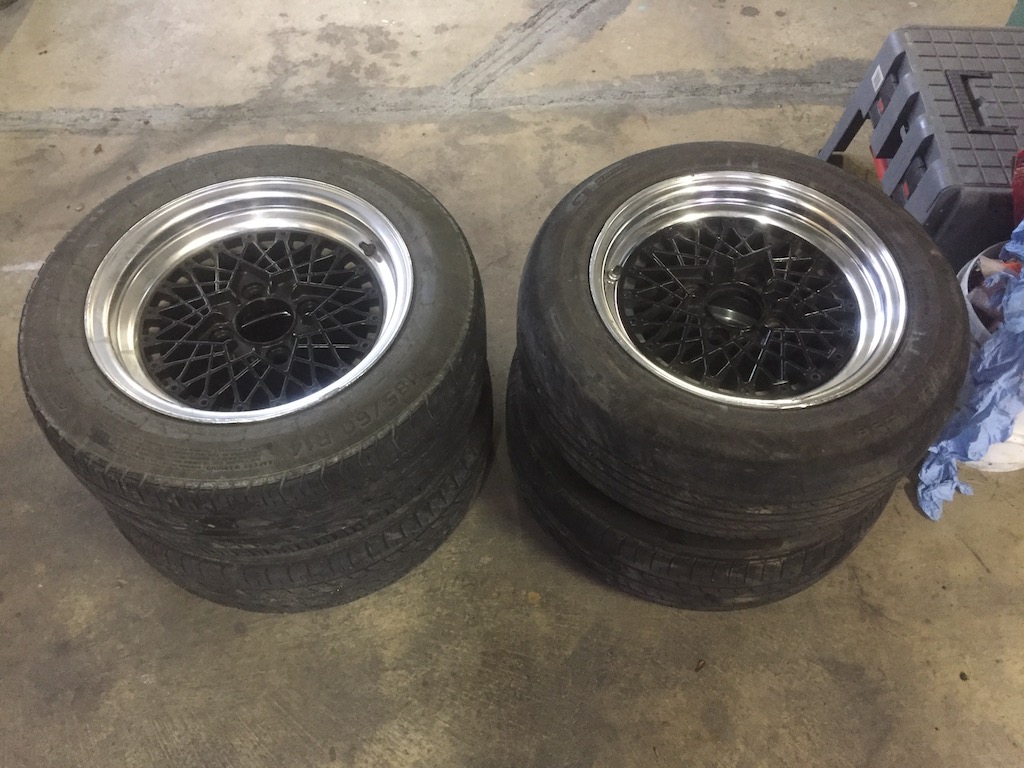
Also had the shitty paint blasted off the callipers and got some crappy tyres fitted to the wheels to get it rolling atleast.
Ordered some bigger U-bolts and the lowering blocks/brackets are being modified to fit them.
Now I just need another good day to finish off the top coats and the fun part of assembling all of this to get it rolling begins!-
5
-
-
13 hours ago, Transom said:
needs to give himself a ticket for parking like a dick
-
3
-
1
-
-
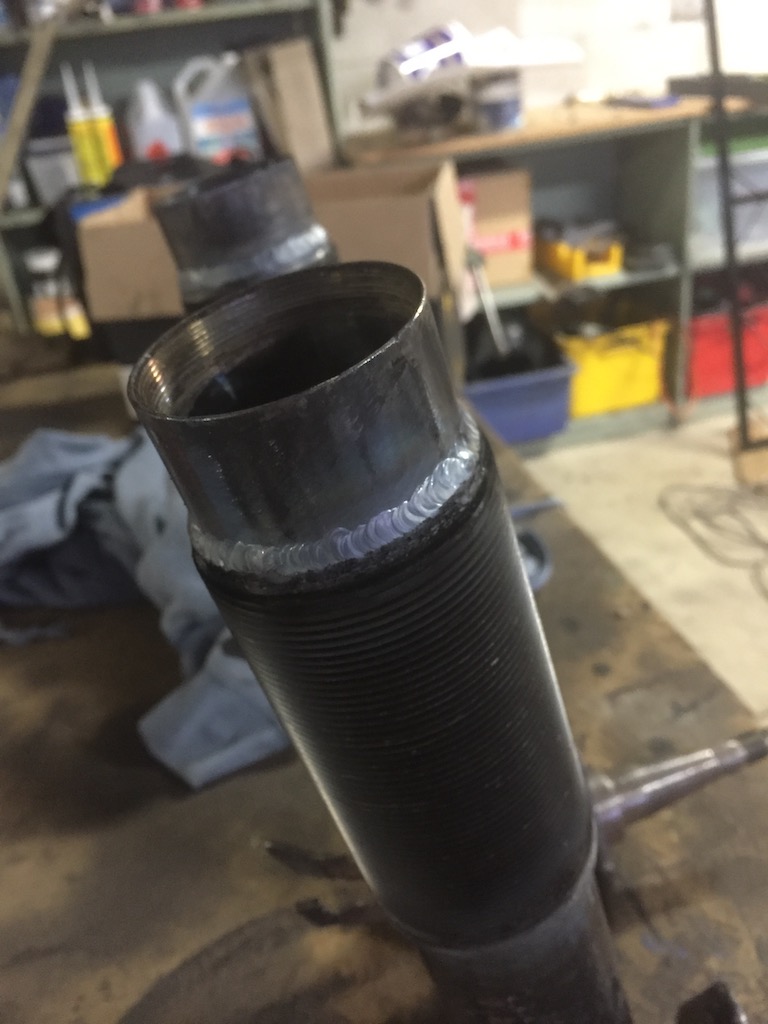
Finally!!!
Off to drop these off to get crack tested tomorrow!! - along with the rear diff and the 4age mounts on a ke25 crossmember.MMMM......professional quality welding
-
4
-
-
19 minutes ago, jono007 said:
Sorry to ask but who did your seats? They look amazing.
A chap called Grant.....he specialises in ke25/te27, te37 and old celica seat skins and door cards
-
- Popular Post
- Popular Post
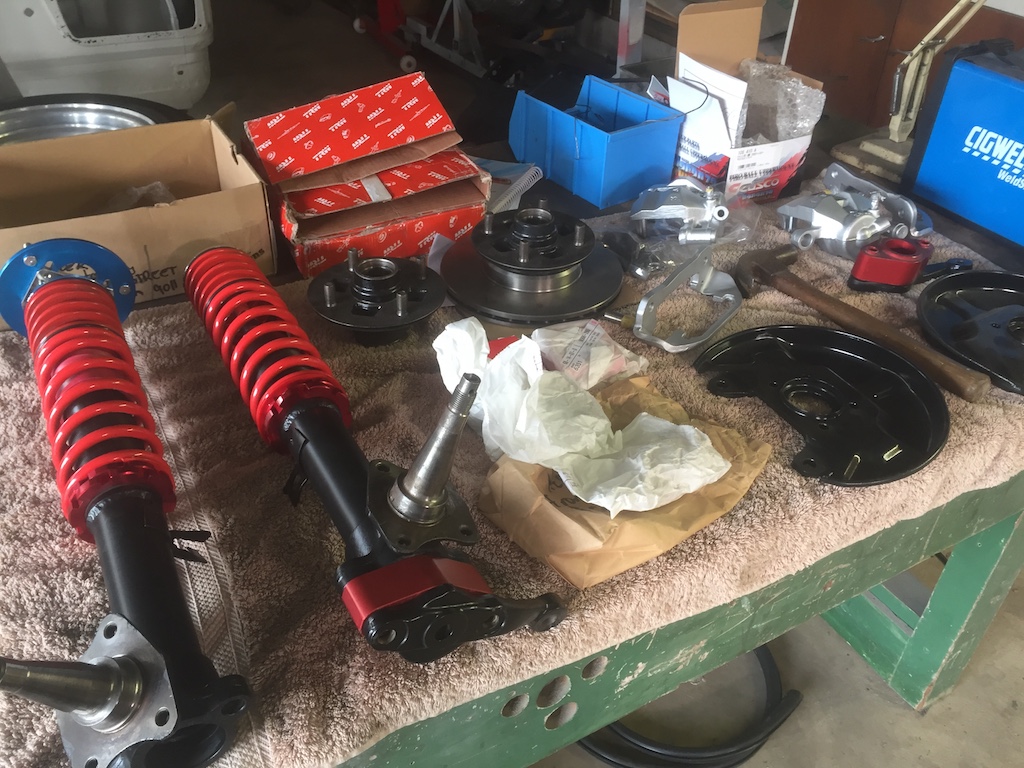
So I finally got (most) of my bits back from the engineer! (Front struts/coil overs due early next week)
Bearings removed from axles and minor repair to axle - wire wheeled up the hub faces and will need to replace a stud.
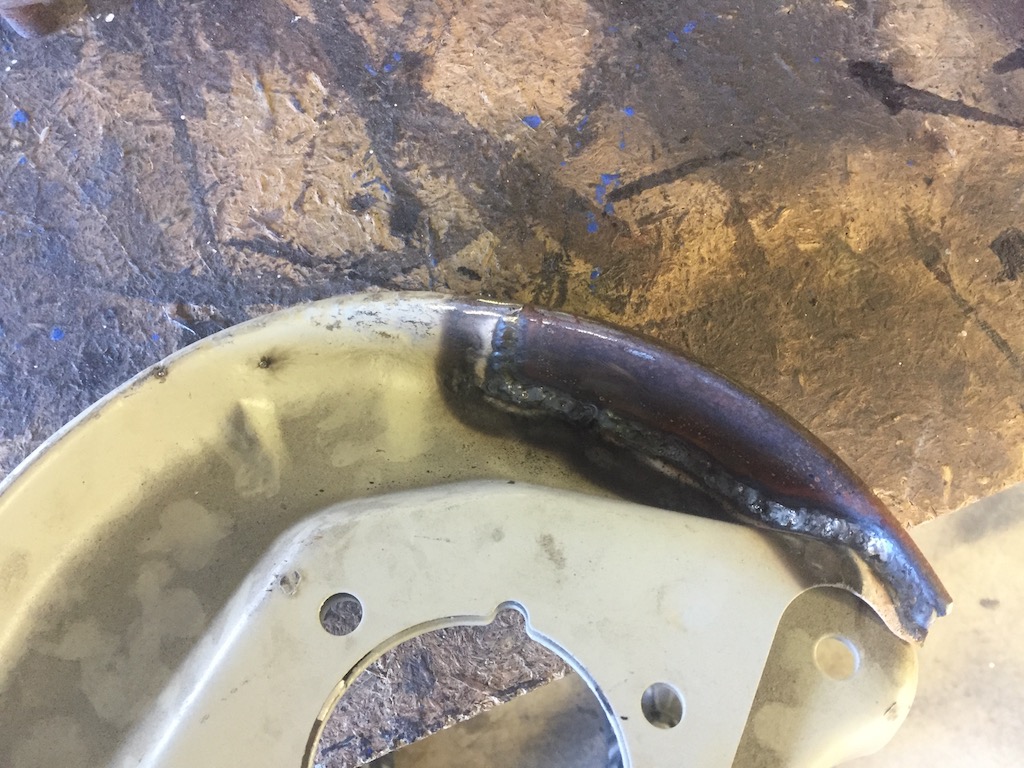
Ball joints removed from LCA's, bolts swapped into straight (non bent) strut bar.Rusty section cut out of backing plate........which I then proceeded to put a hole in when cleaning up the welds
ha ha will get it filled up easily enough.
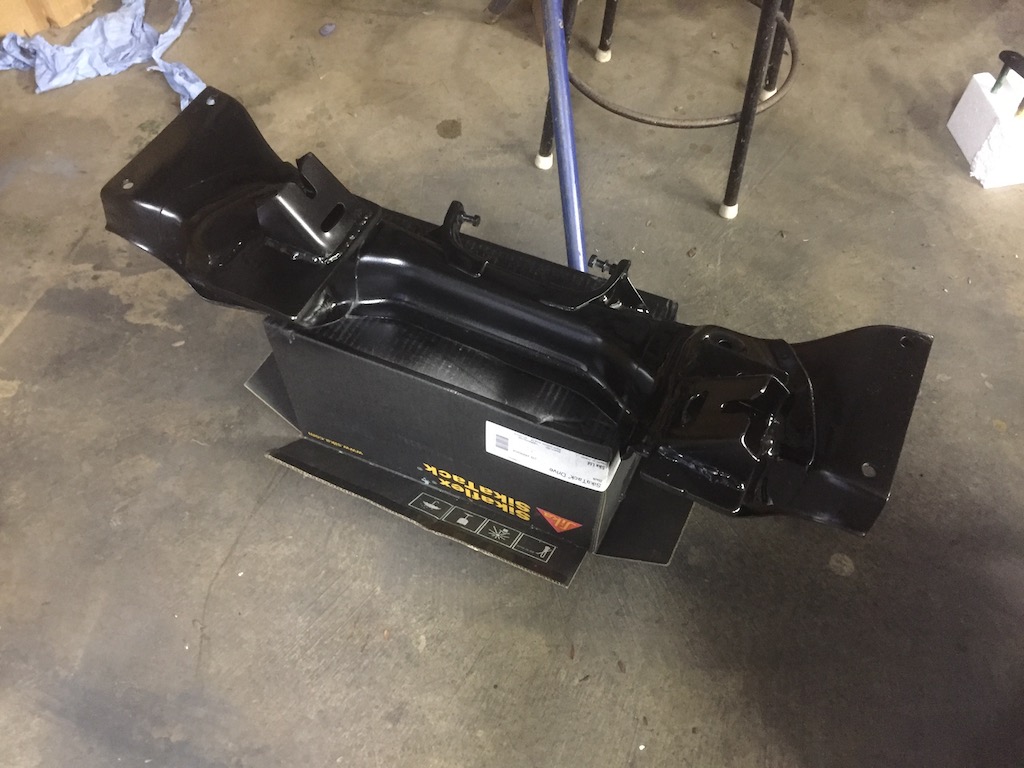
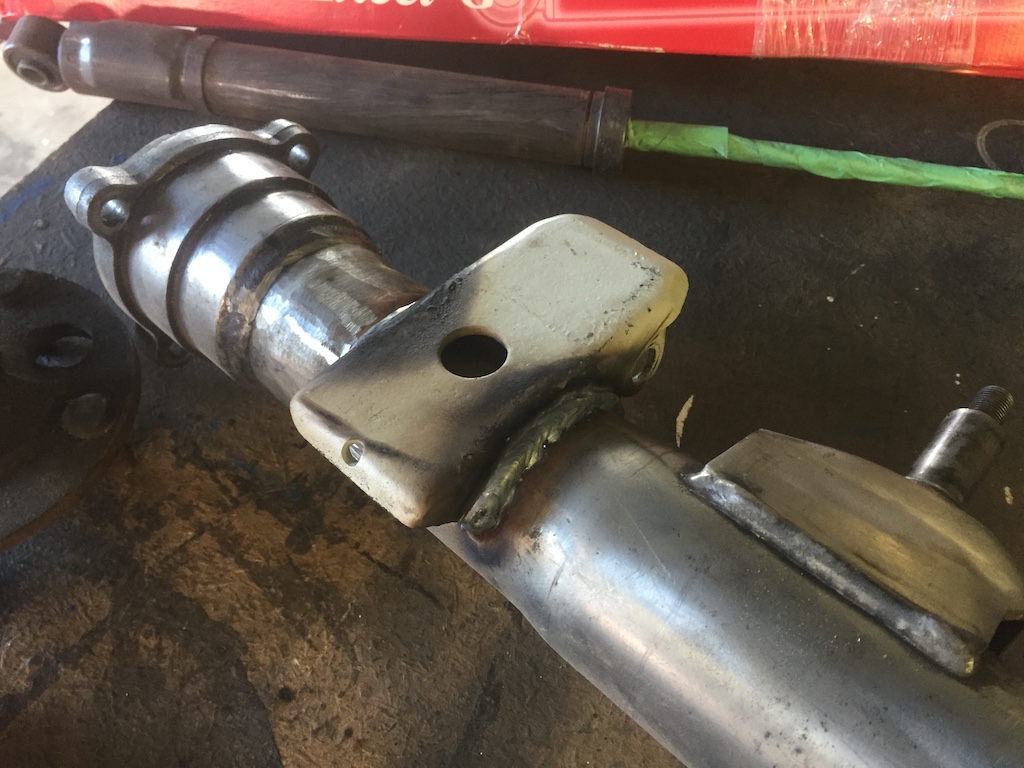
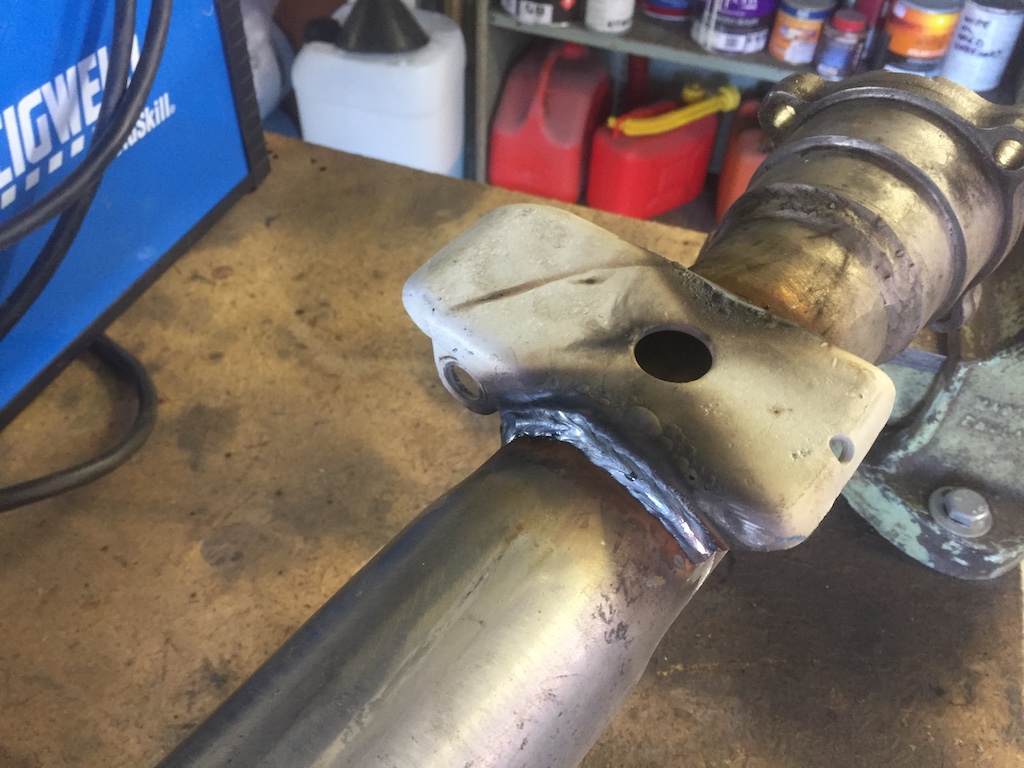
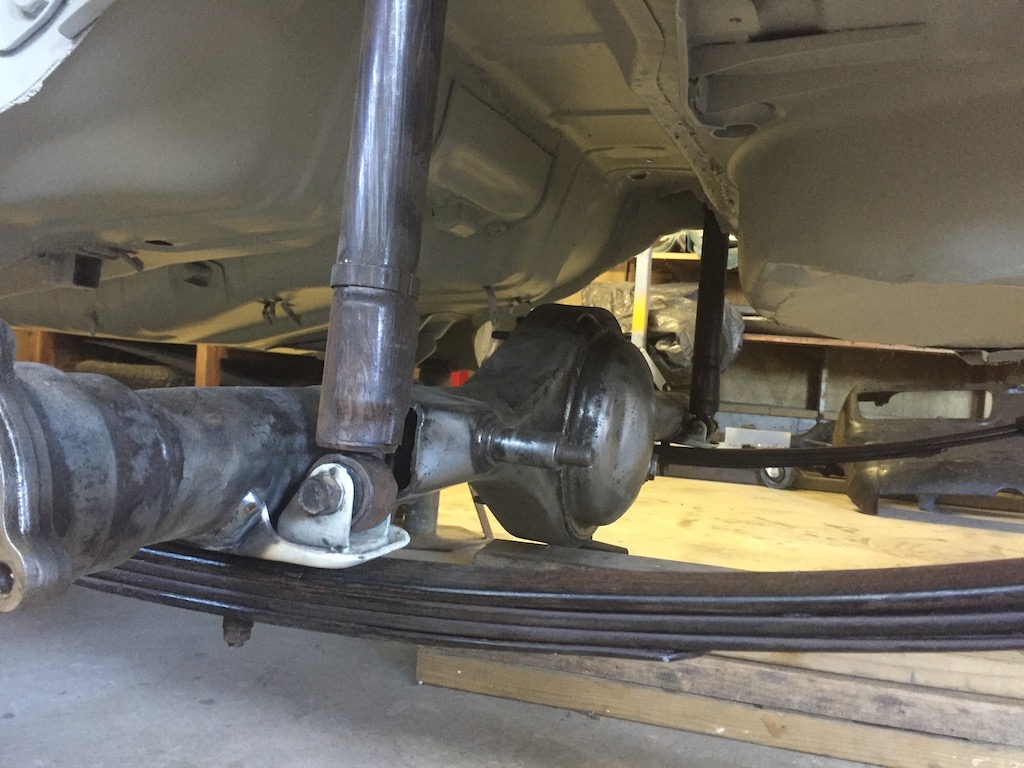
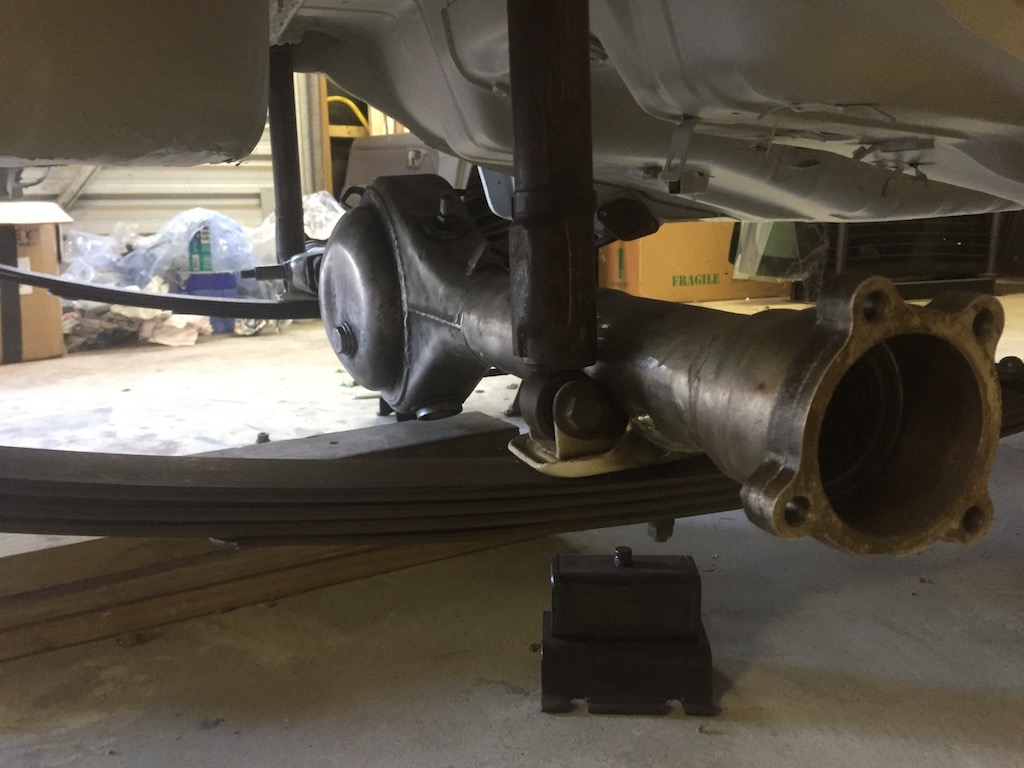
And the main event........leaf spring perches onto the AE86 diff housing
And after a quick mock up and to check alignment......it is the goods! (will need to get bigger U-bolts for the larger diff housing)
Now to get it crack tested and then all painted up and assembled to get the car on it's wheels for panelbeating!!
Feels so good to finally be making some progress again. And in other good news, a local garage I've been doing some glass work for has a sandblast cabinet and is going to blast that shitty paint off my callipers for me so I can repaint them and assemble them with all my NOS parts goodness!
-
12
-
On 4/20/2018 at 18:06, tenyearguarantee said:
Hey, what are the front seats from? I wouldnt mind a set like that for my 25
Sorry mate - long time no see........they're recaro's that I had custom skinned in a te27 style finish.
They came with the car so not 100% sure but maybe from a surf??? they have solid headrests, not the fish net style -
- Popular Post
- Popular Post
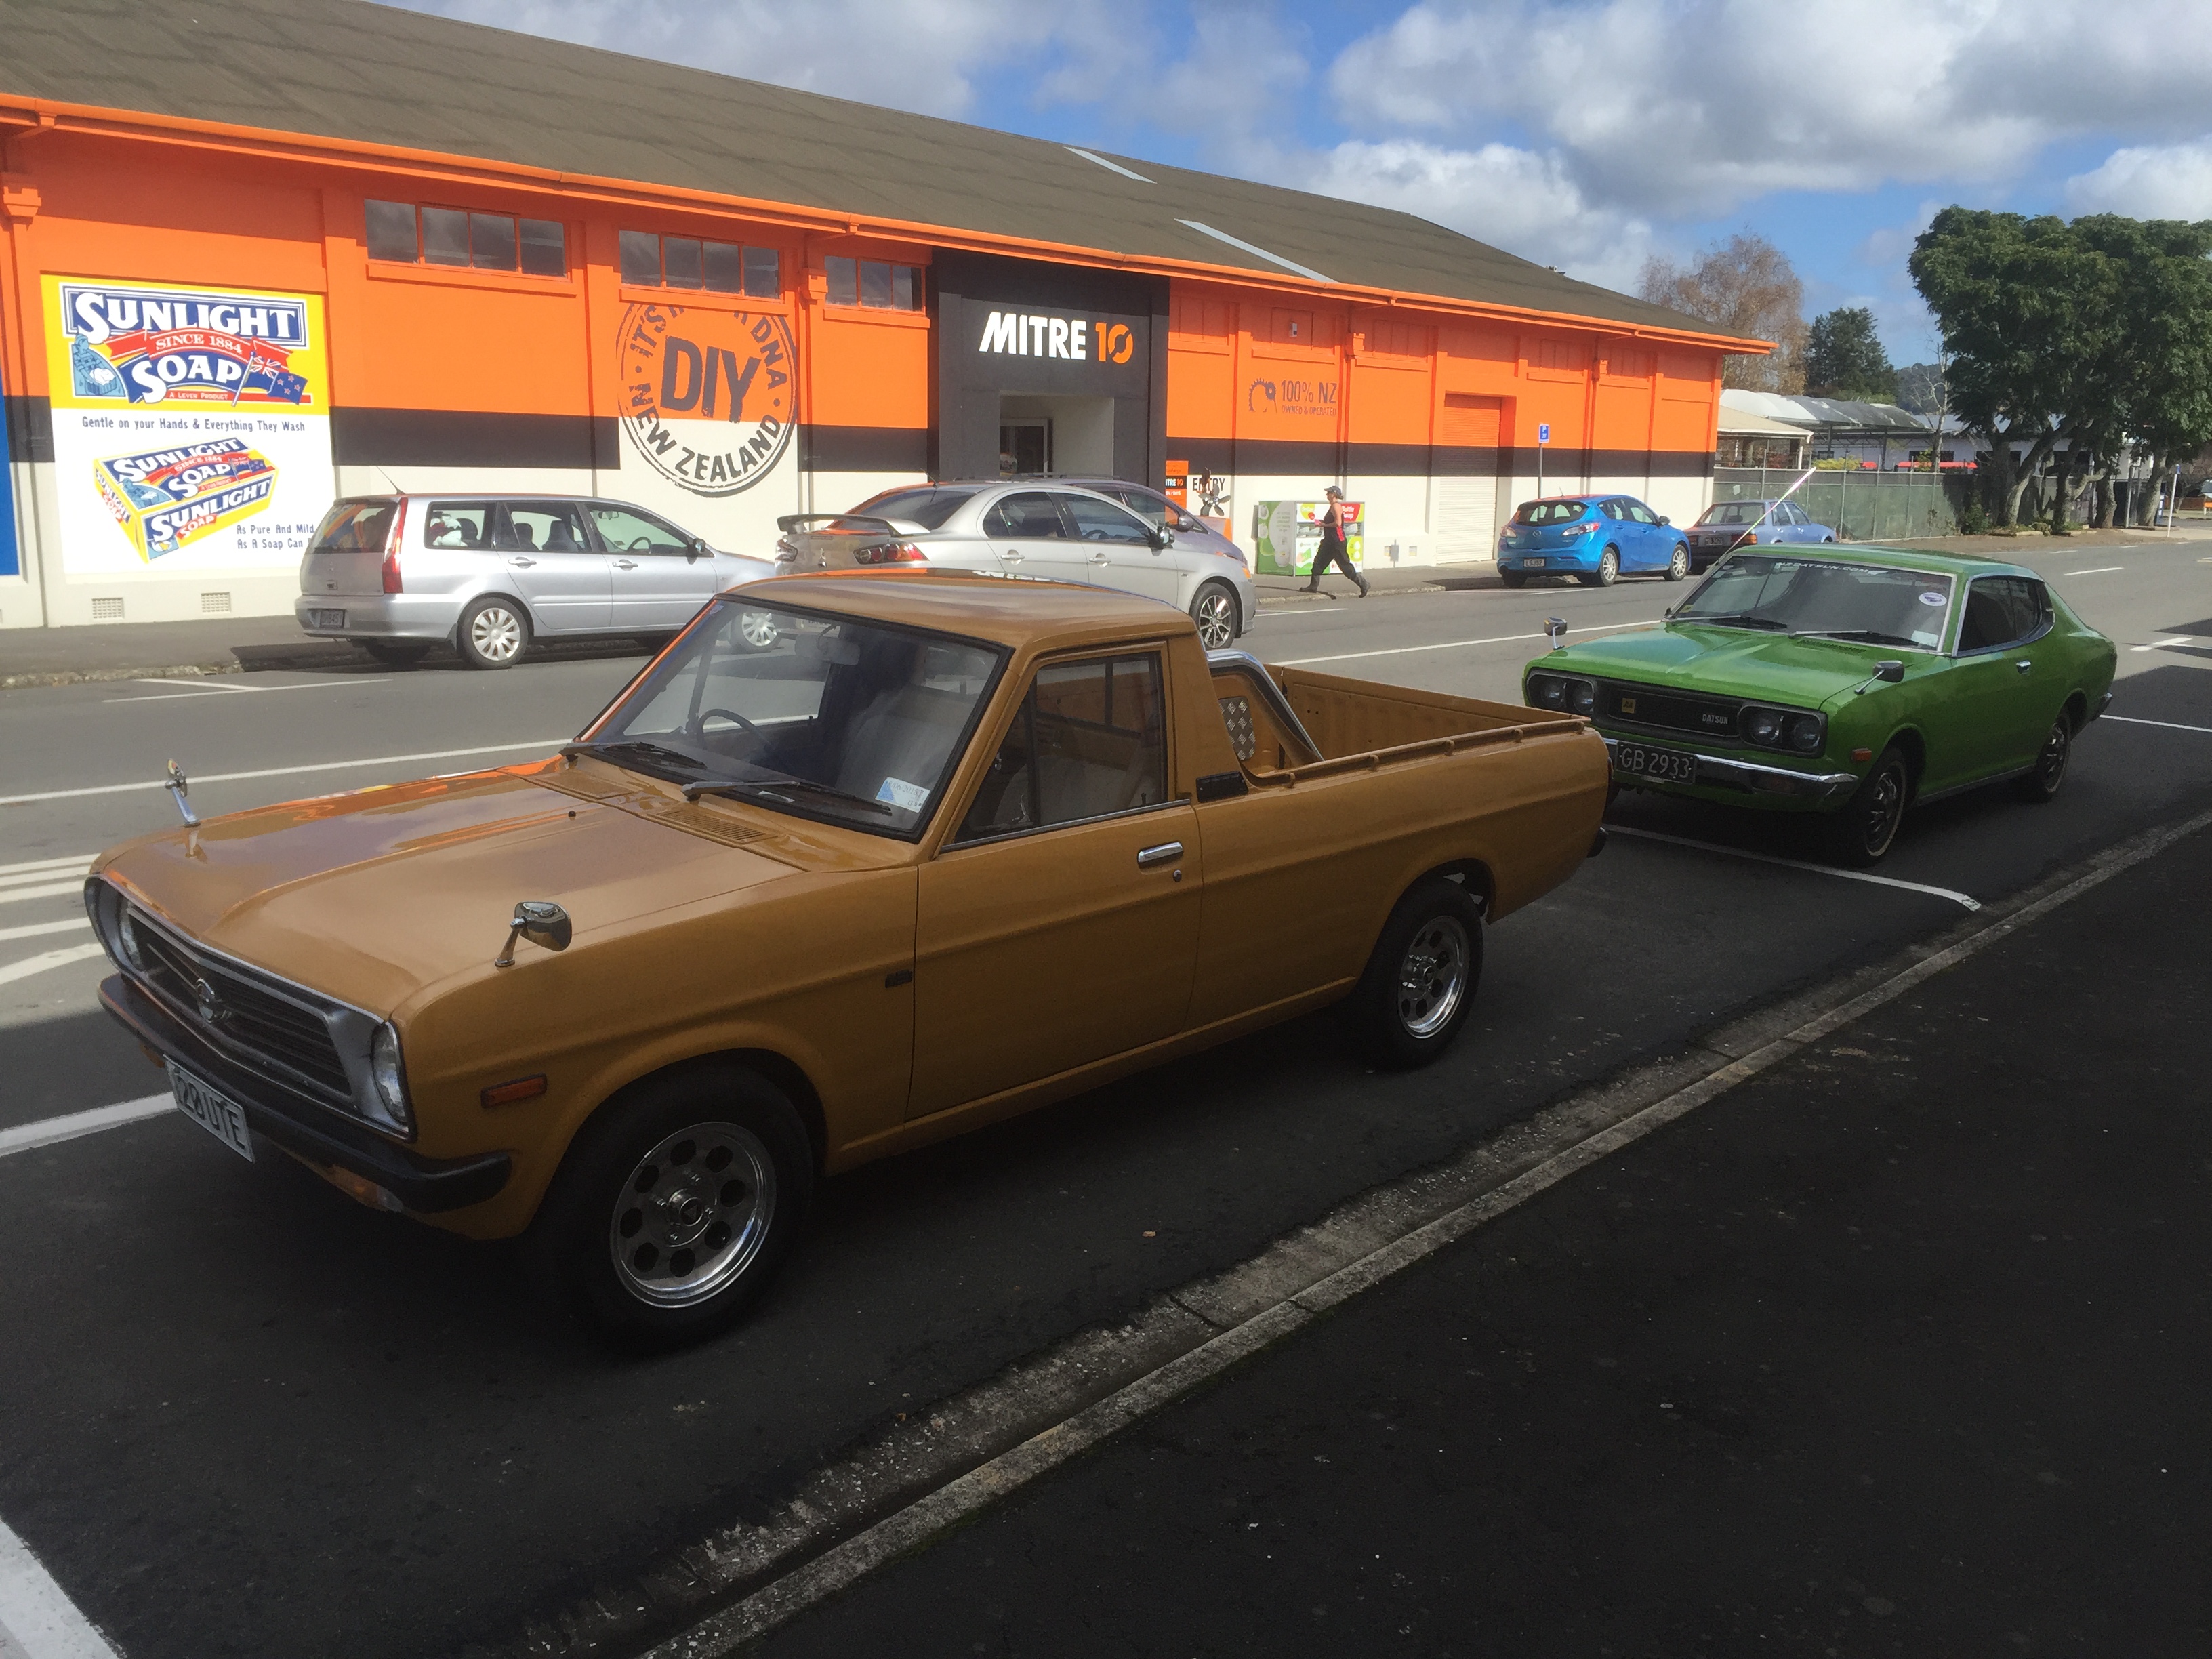
Spotted in town last weekend
-
15
-
51 minutes ago, Evan said:
You get this sorted?
Yeah cheers mate all done
-
I've seen fibreglass bumpers are available.....there's a slowly increasing amount of aftermarket parts for these comping at our Asia at the mo so there could possibly be something out there....
-
If a screens been replaced before the urethane is usually easier to cut than the original so feeding through a special cutting wire and attaching handles is the best method....but you have to be so careful getting started or around the edges as any little knick can start a crack. You have to pull down and away from the edges so the wire isn't being lifted into the screen. Heaps of places have these....glasscorp, glass tools ltd.....
The beauty of the wire is that it does the work, you don't have to saw, just pull/lean on each end alternatively and your away.
I rarely use a long knife as a) the risk of cutting/damaging trim and or yourself increases, and b, the scratching on the aperture needs to be throughly wired back and primed. I can't tell you how many screens I've pulled out here lately, that have been installed by the major franchises, and they're rusty due to not dealing with the scratches. S&S provides all their fitters with a great wire tool for removing screens safely and cleanly so there's no excuse for it really.
If there's minimal room between the screen and the frame, or it's an old nissan with too much urethane (true story) I have a new fangled tool with a fibre line that I feed around the whole screen and cut it out from the inside....it is operated by a cordless drill.-
2
-
-
- Popular Post
- Popular Post
@Otodat sniffed out a lead of a possible KE25........Owner was good enough to let me salvage a few bits, also there was an old vauxhall and Isuzu Bellett
-
17
-
Found a ke25 shell today.........salvaged the windscreens, a few plastic clips and the door chrome.
Local engineer still hasn't sorted my diff and struts etc......and still a little boy waits......
Check out left to rot to see the two other wrecks hiding under the trees......-
7
-
-
These parts?
91660: 73872-01M0591246: 73873-15F00
I have access to a few oddball parts through some contacts an can check for you?
-
1
-
-
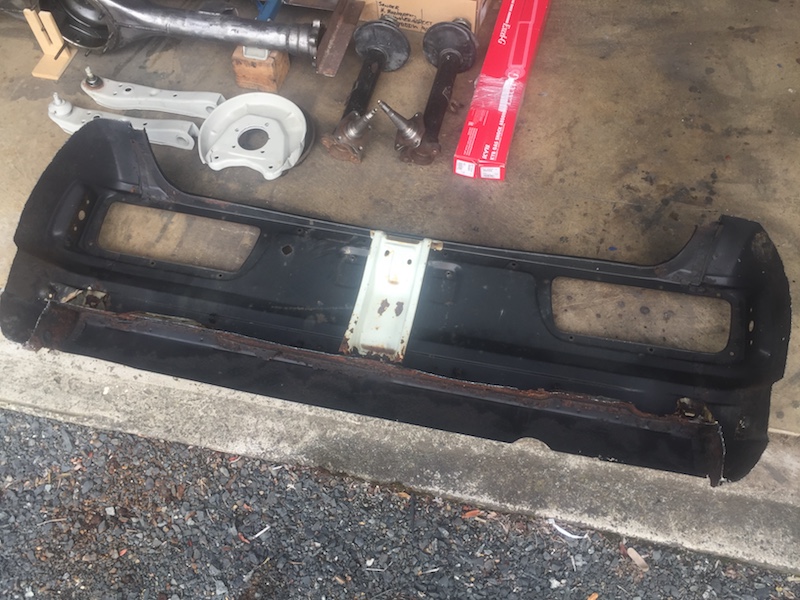
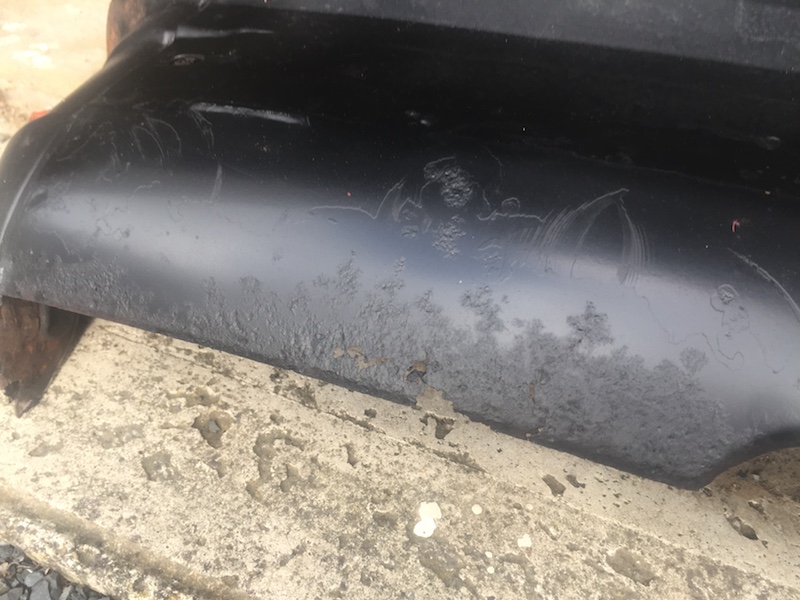
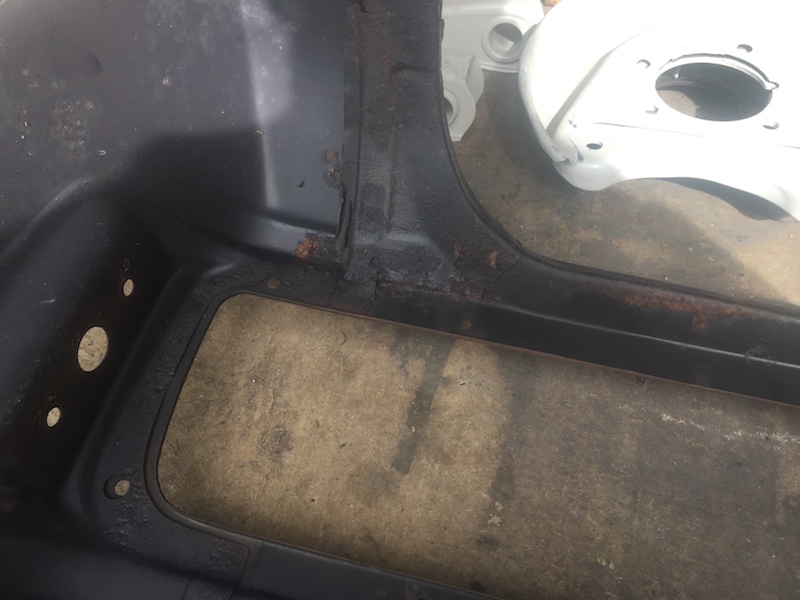
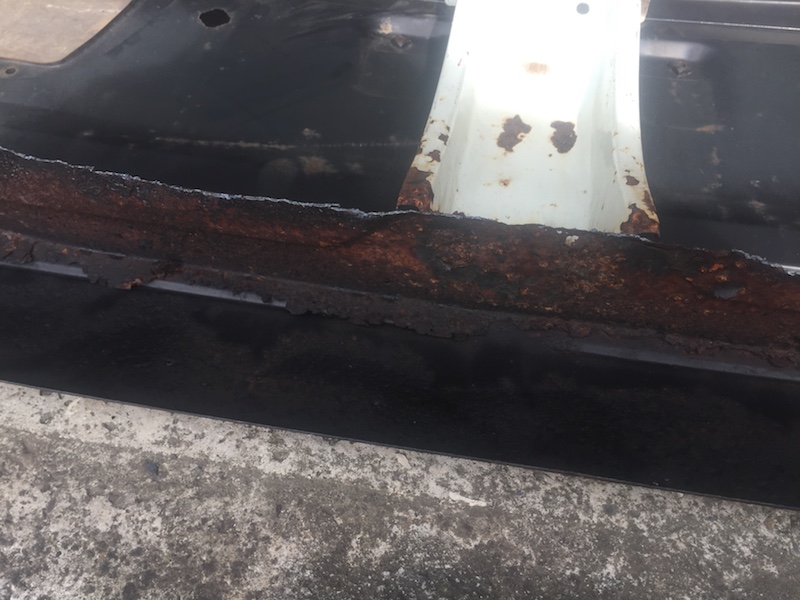
Ok so it's Wednesday tomorrow.....maybe I'll drop all those parts off in the morning
My rear panel arrived via ML Racing! it looks like it's been a newish panel stitched on to a rustier car. It's been hacked off the back of the donor so thankfully all those rusty bits like the remainder of the boot floor etc can just be removed as I only need the actual face of the panel. It's got a bit of pitting along the bottom valance and a few small holes, but it's miles better than the bent swiss cheese on my car at the mo. Inner tie rod ends arrived too.......just waiting on one last delivery of gaskets and other small bits and we'll be in business.-
2
-
-
aargh!! Looking at the old pics of this!! Better bloody get a hurry up on and get this finished!!
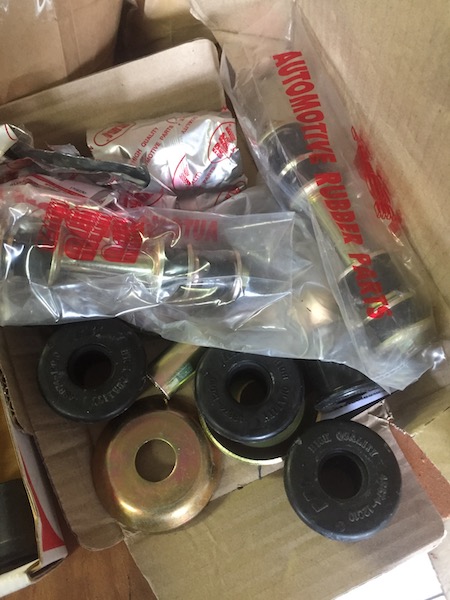
Few more bits arrived to get it on it's wheels. Toyota diff gaskets and a few seals etc, cusco camber plates, front bushing kit ex eBay Thailand, AE86 discs and a replacement for a bent suspension arm (cheers Daz at Oldscool....eventually ha ha)....I'll get the bits off to the engineer on monday for a professional steel glue job.....then it's paint and assemble.-
1
-
-
Howdy - looks like you probably have an abundance of parts now, but I have a mate in Auckland with an imp van, coupe and fastback? - all three versions anyway.
I'll get you his details if you need them?


For Questions Regarding WOFs/CERTs/NUMBER PLATEs
in Tech Talk
Posted
Didn't come up on carjam unfortunately
I just don't want to do all the work and then not be able to register it because of silly paperwork/proof of ownership yadda yadda........so you saying I don't need anything like that?