


Kimjon
-
Posts
2,353 -
Joined
-
Last visited
-
Days Won
2
Content Type
Forums
Downloads
Events
Gallery
Posts posted by Kimjon
-
-
Yeah, I've already stripped it completely down and rebuilt it.

Back together again. I was too focused I forgot to take many photos.
-
 2
2
-
 1
1
-
-
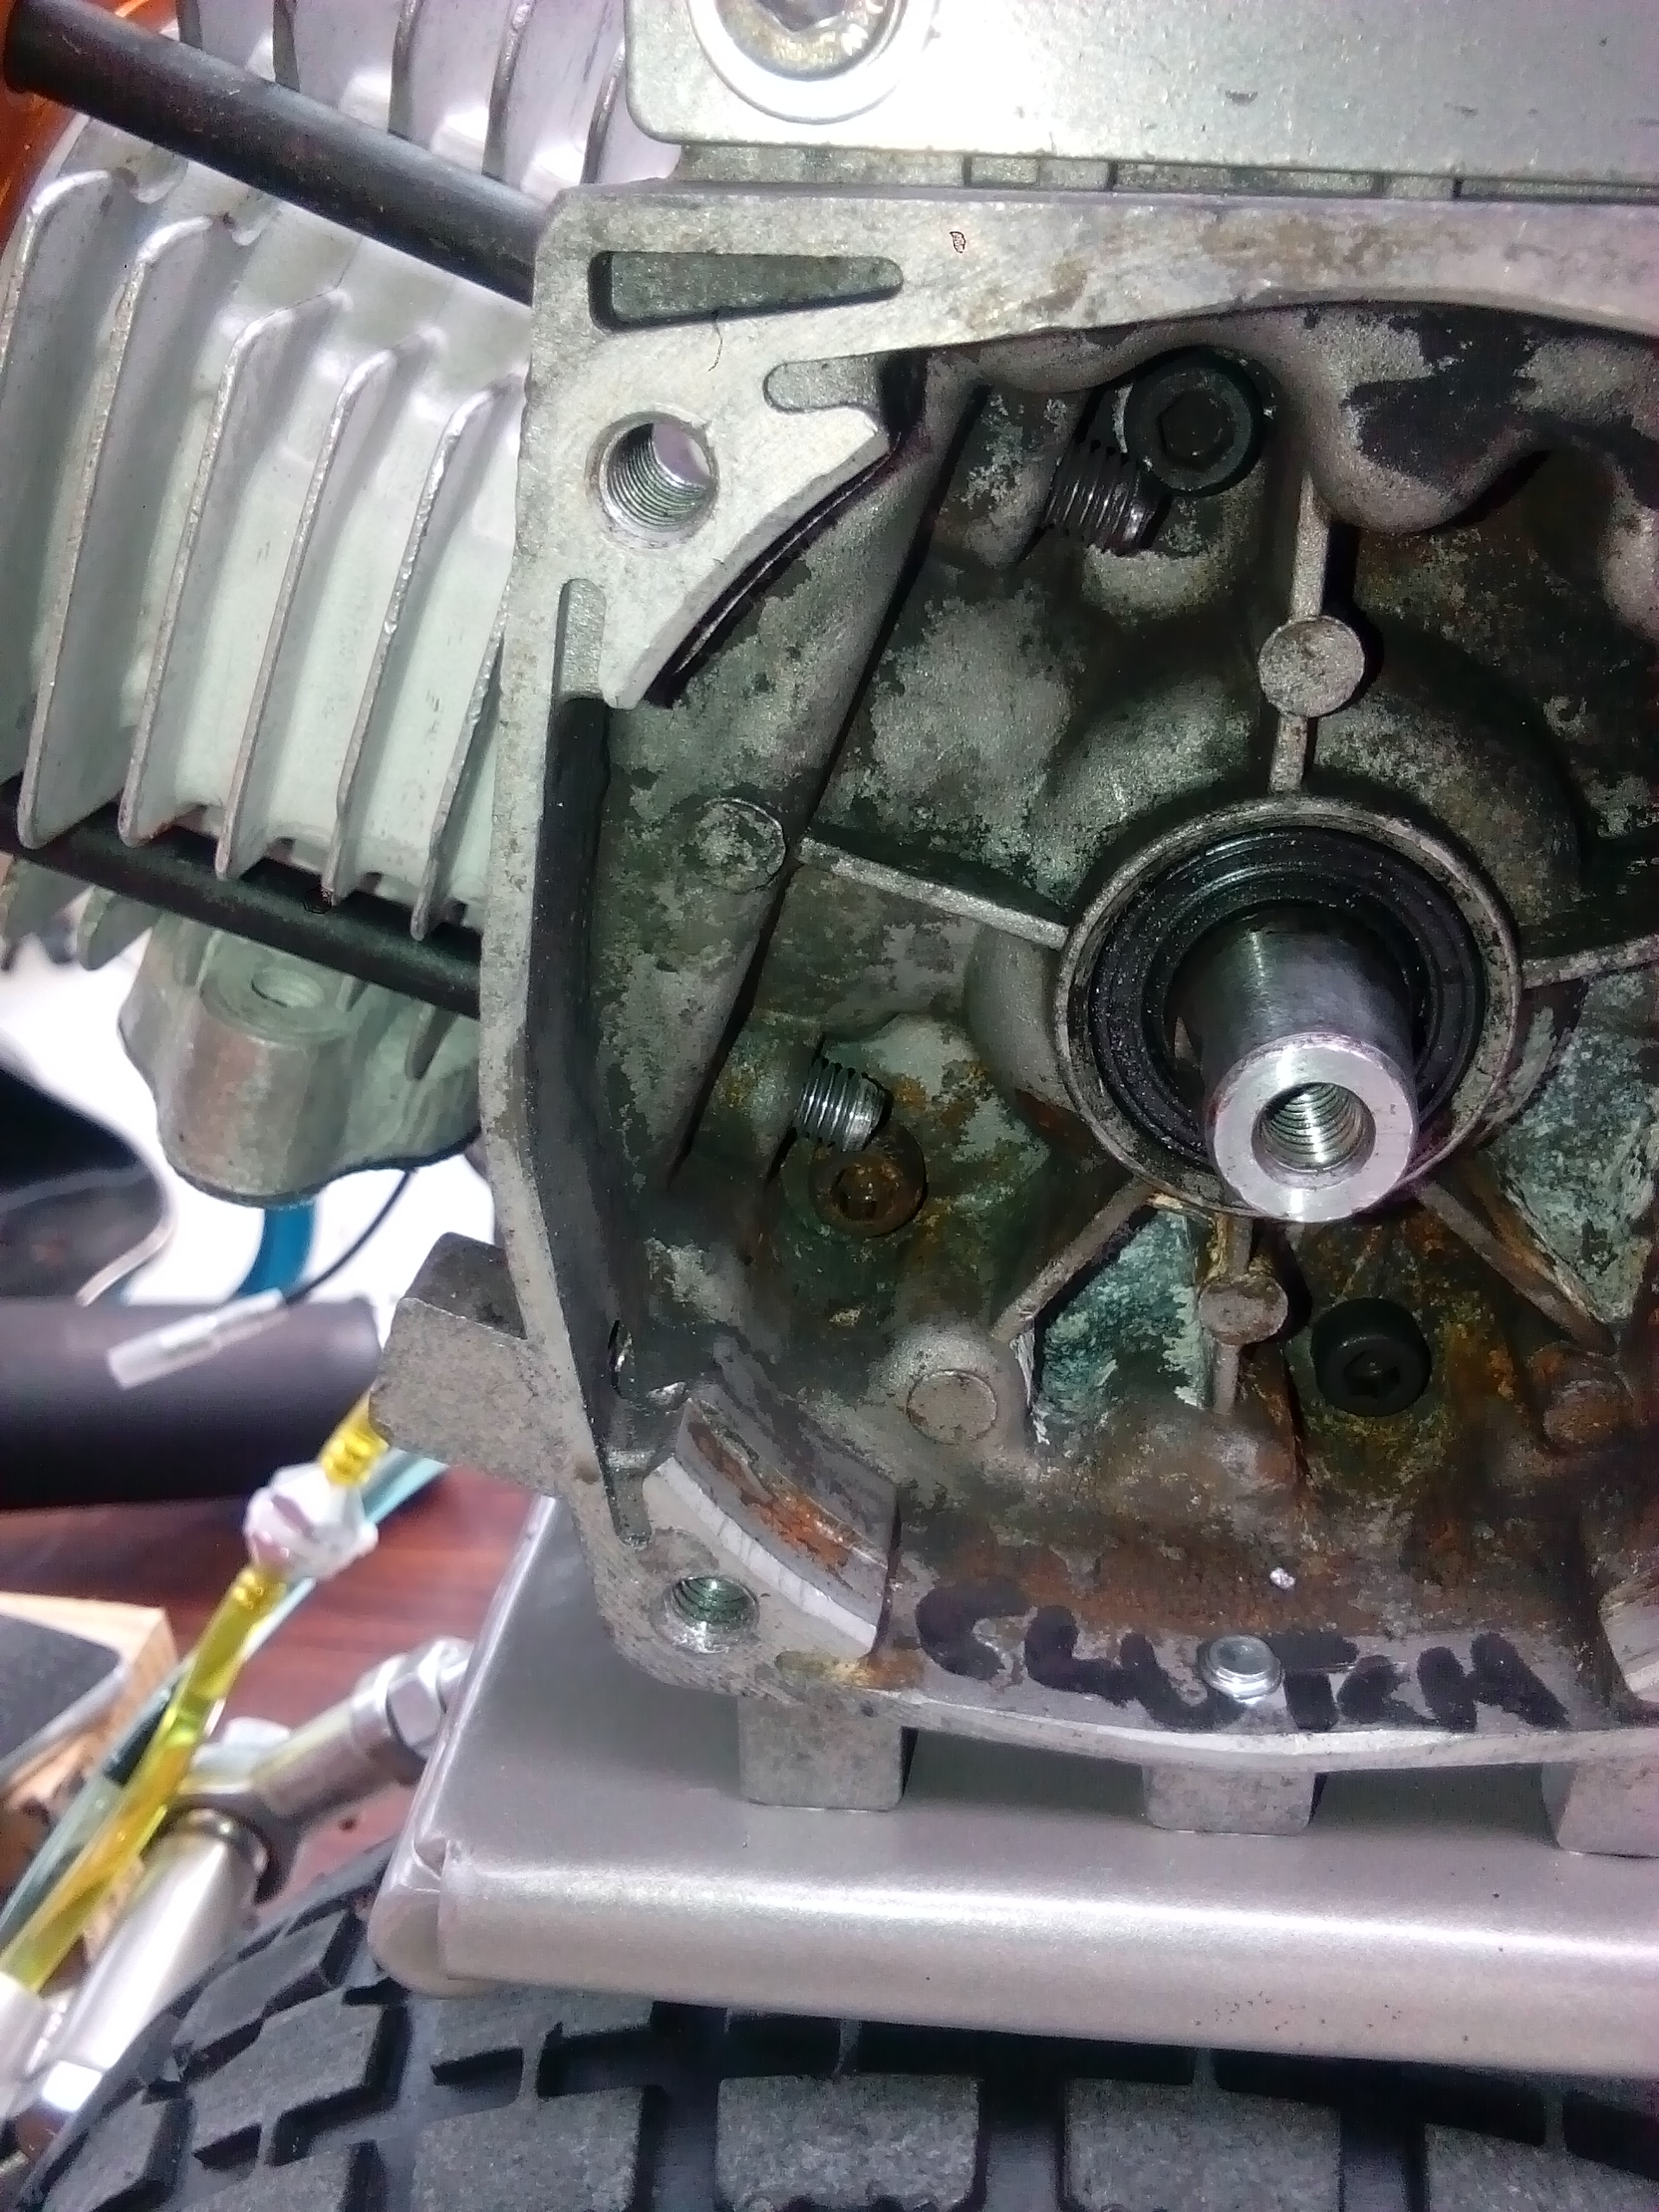
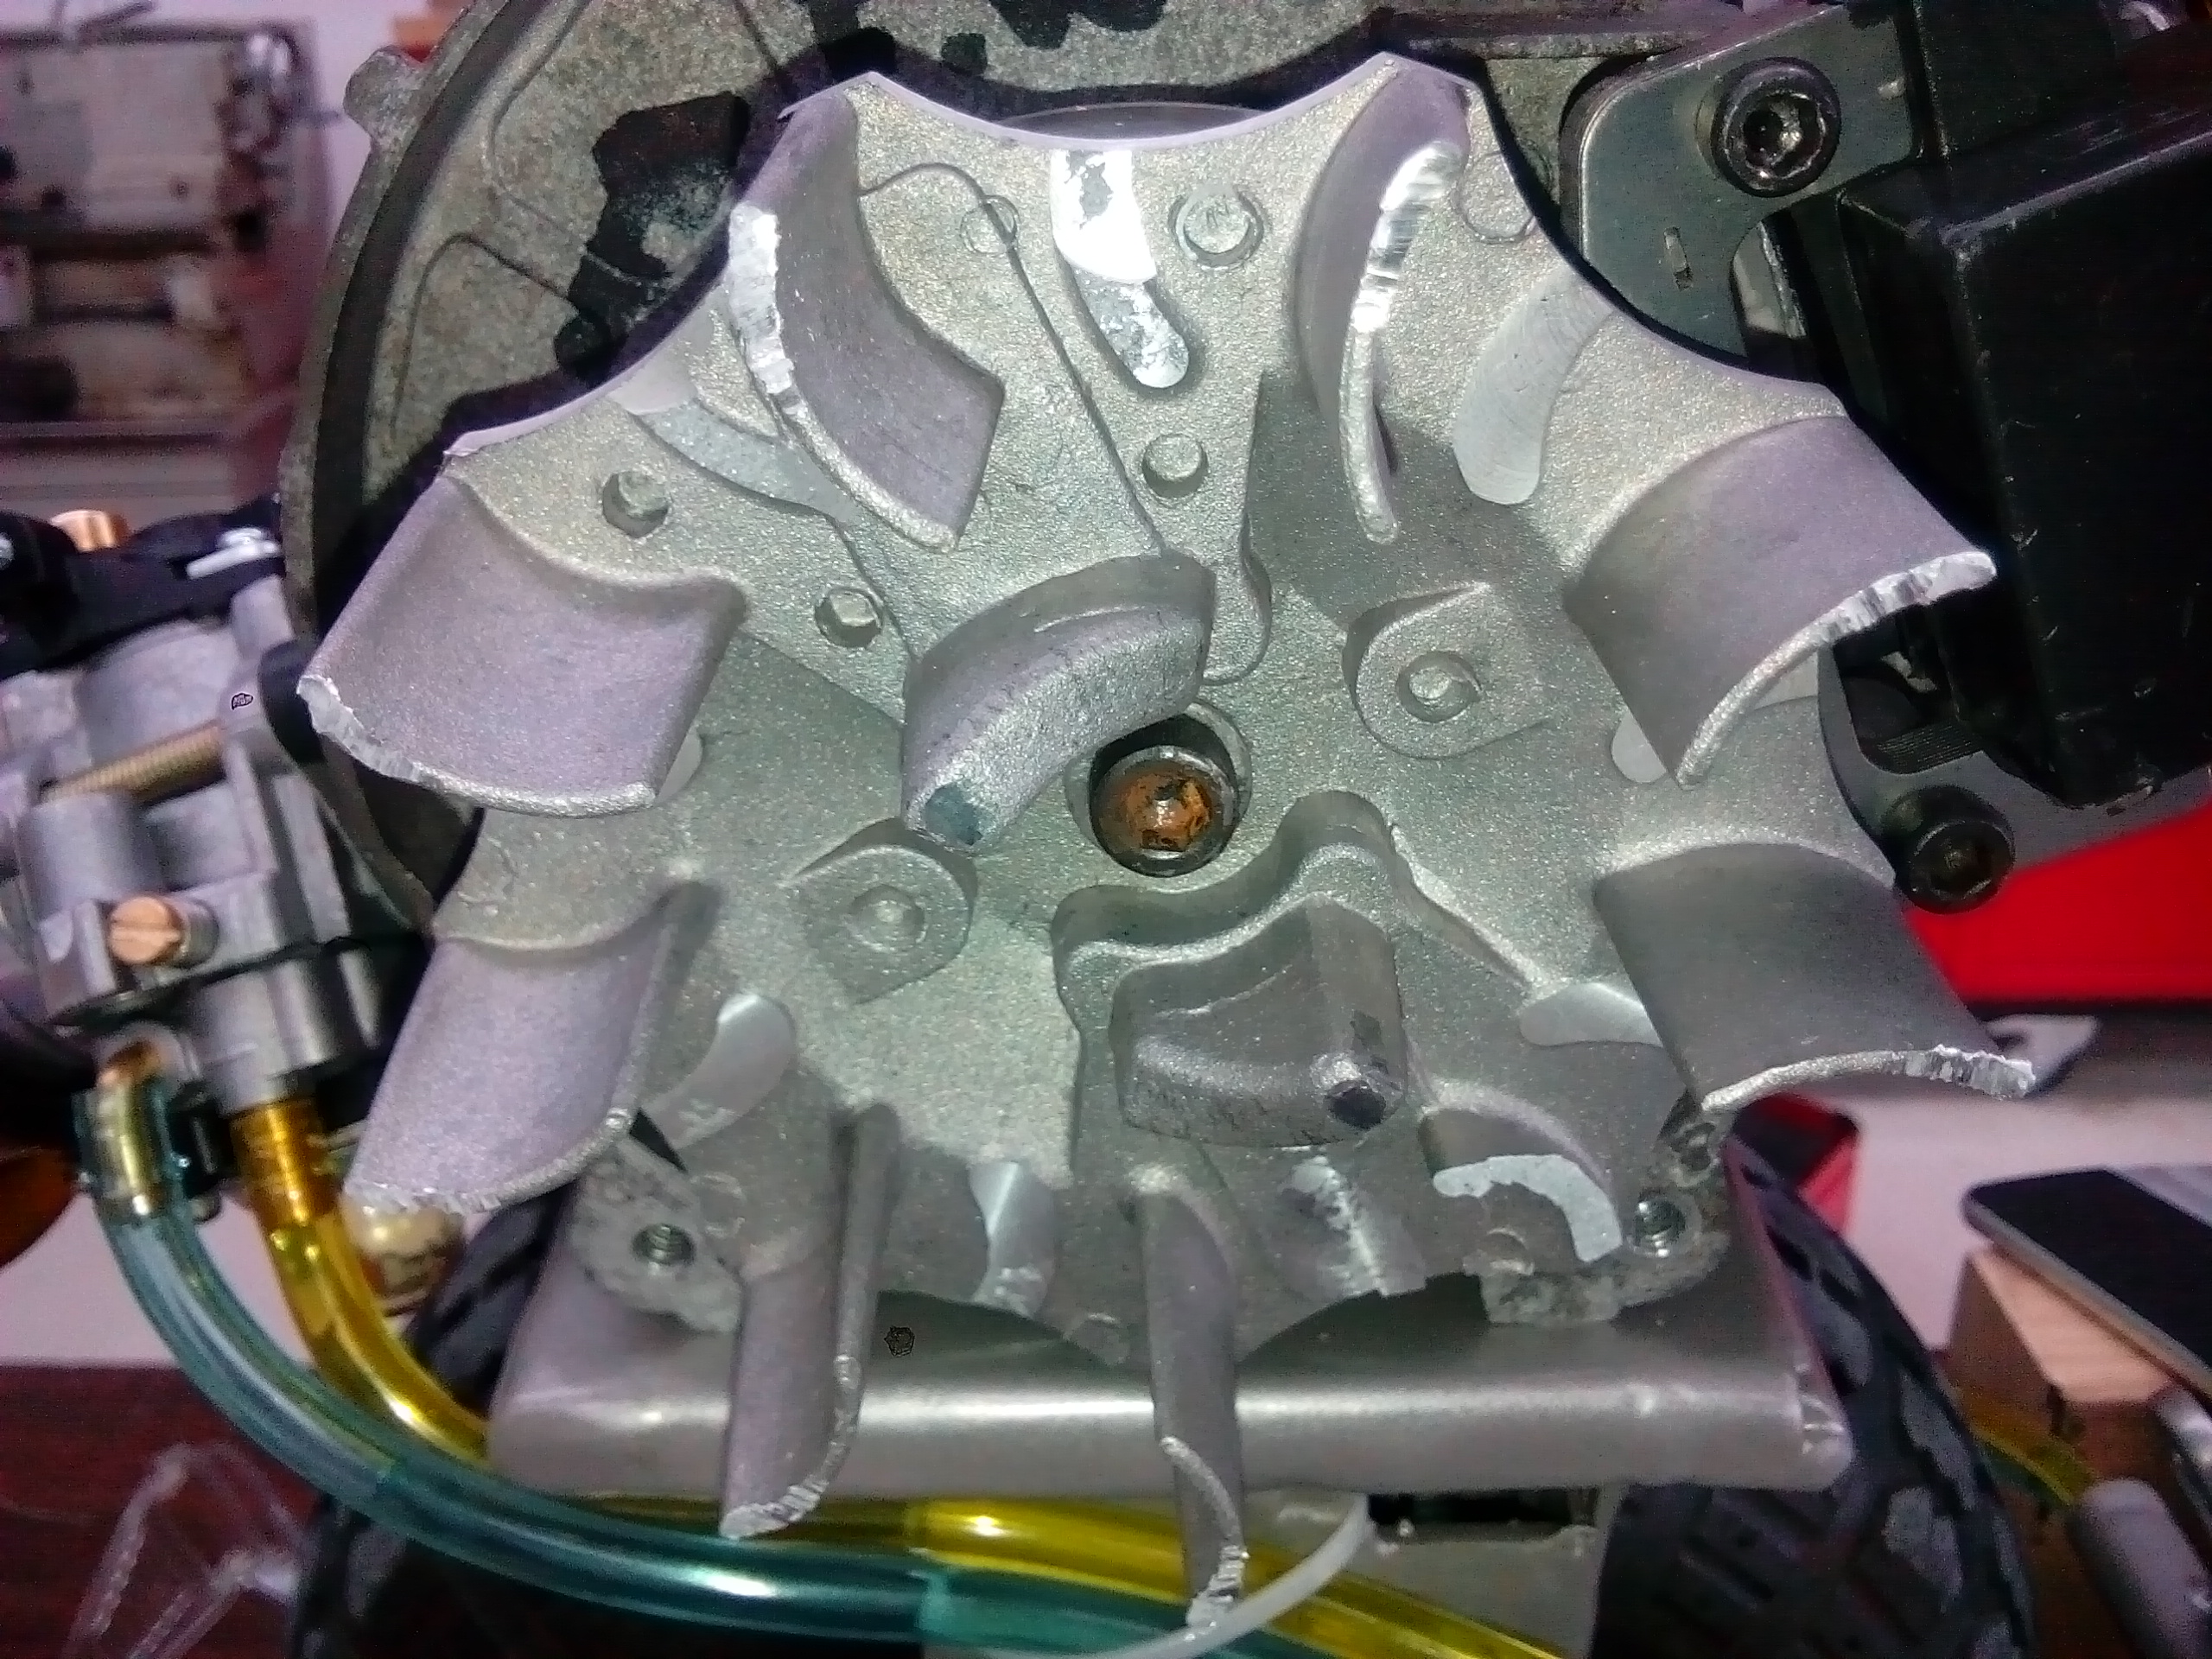
Ok... small set back happened shortly after
It decided to blow up! I was resigned to the fact that lots of small bits of metal all over the floor usually spells catastrophic failure. But I think the short block is okay.
List of fucked up shit includes:
-FlywheelI
-Ignition
-Fan cover
-Pull start
-Clutch
-Intake manifold
-Possibly the crankshaft (though I think I "fixed it" with a hammer and file?).
The cases and cylinder head are okay. I think the clutch or flywheel contacted something or came loose...then shit spinning at about 16000rpm wanted to stop spinning!!!
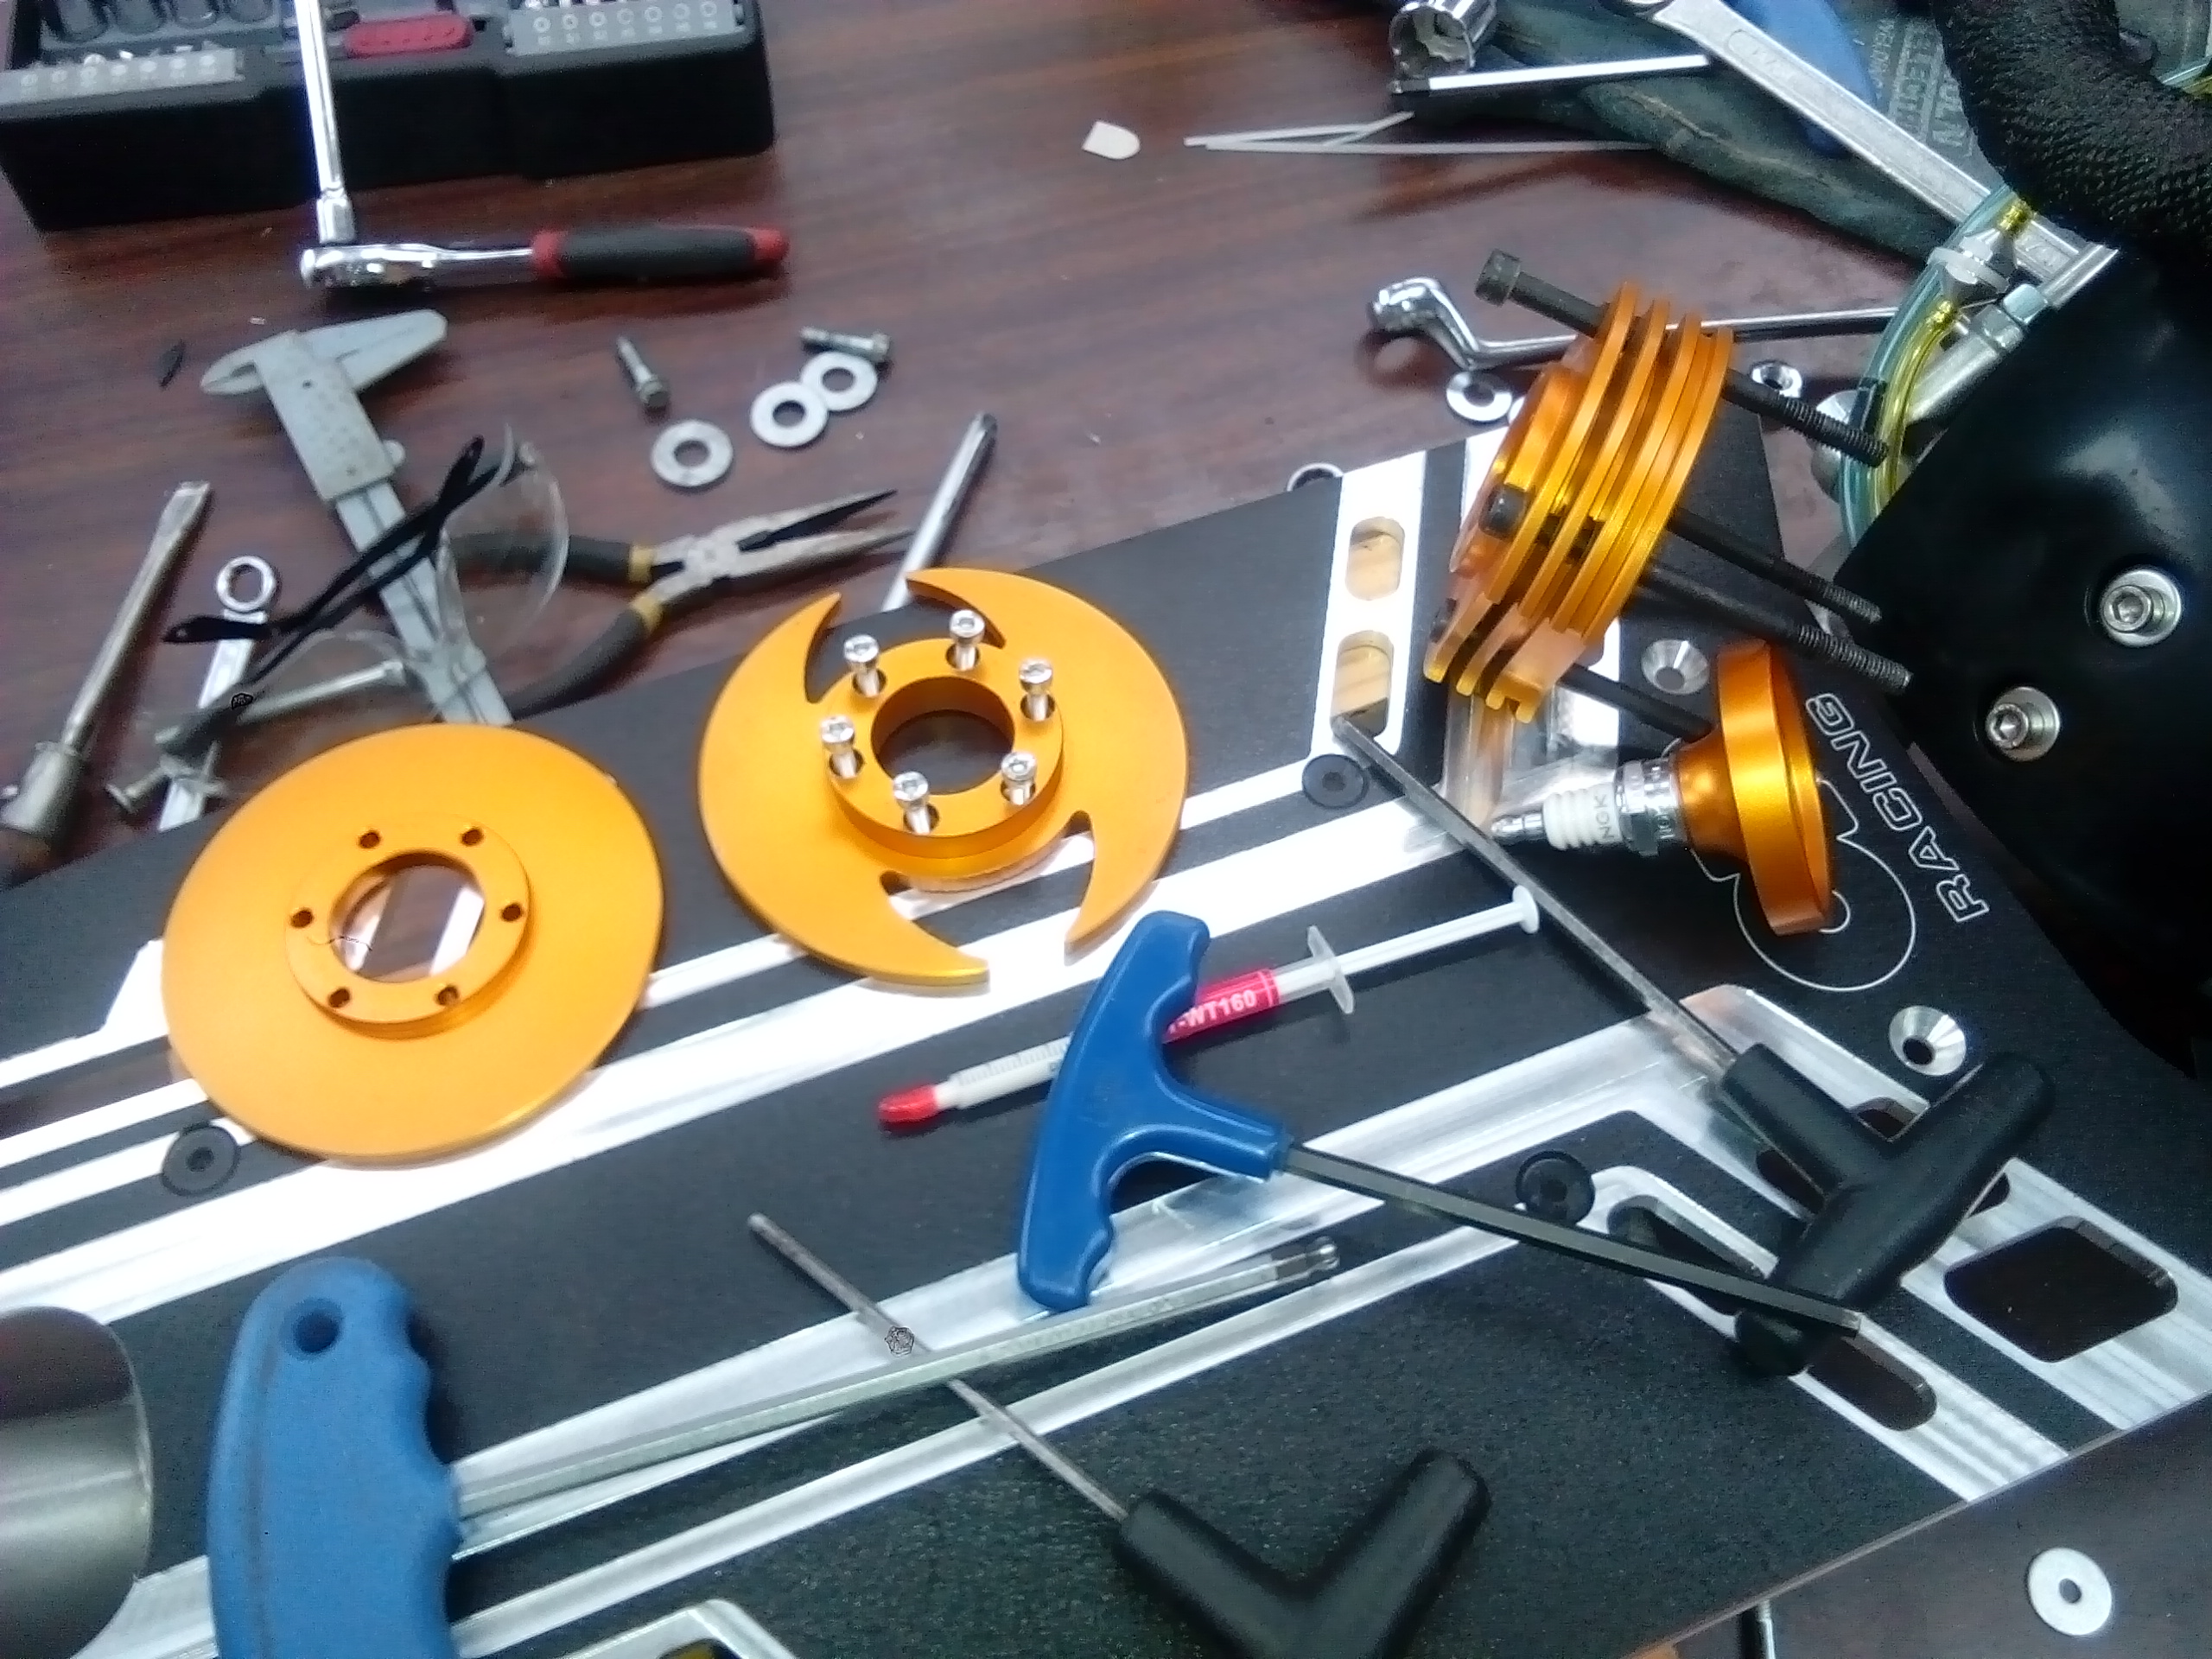
Luckily I have parts to fix, so V2.0 coming soon
-
 1
1
-
 2
2
-
-
38 minutes ago, Muncie said:
Fuck yes! Sounds half way between a swarm of wasps with laser beams on their heads and a huge chainsaw. Don't spare the safety gear on your first ride picking it'll be an absolute handful to ride.
Haha...
Going to swap carbs over to a slightly bigger walbro, as I suspect it may be running lean on the LSN.
The bigger walbro has a dedicated needle jet in a more accessible location to adjust/tune. So that'll be this afternoons mission
-
Big development...it's alive!!!
I don't have any cables controls hooked up at present...so tuning will come later...but fuck yeah!
-
4
-
-
Sounds Harleytastic!
-
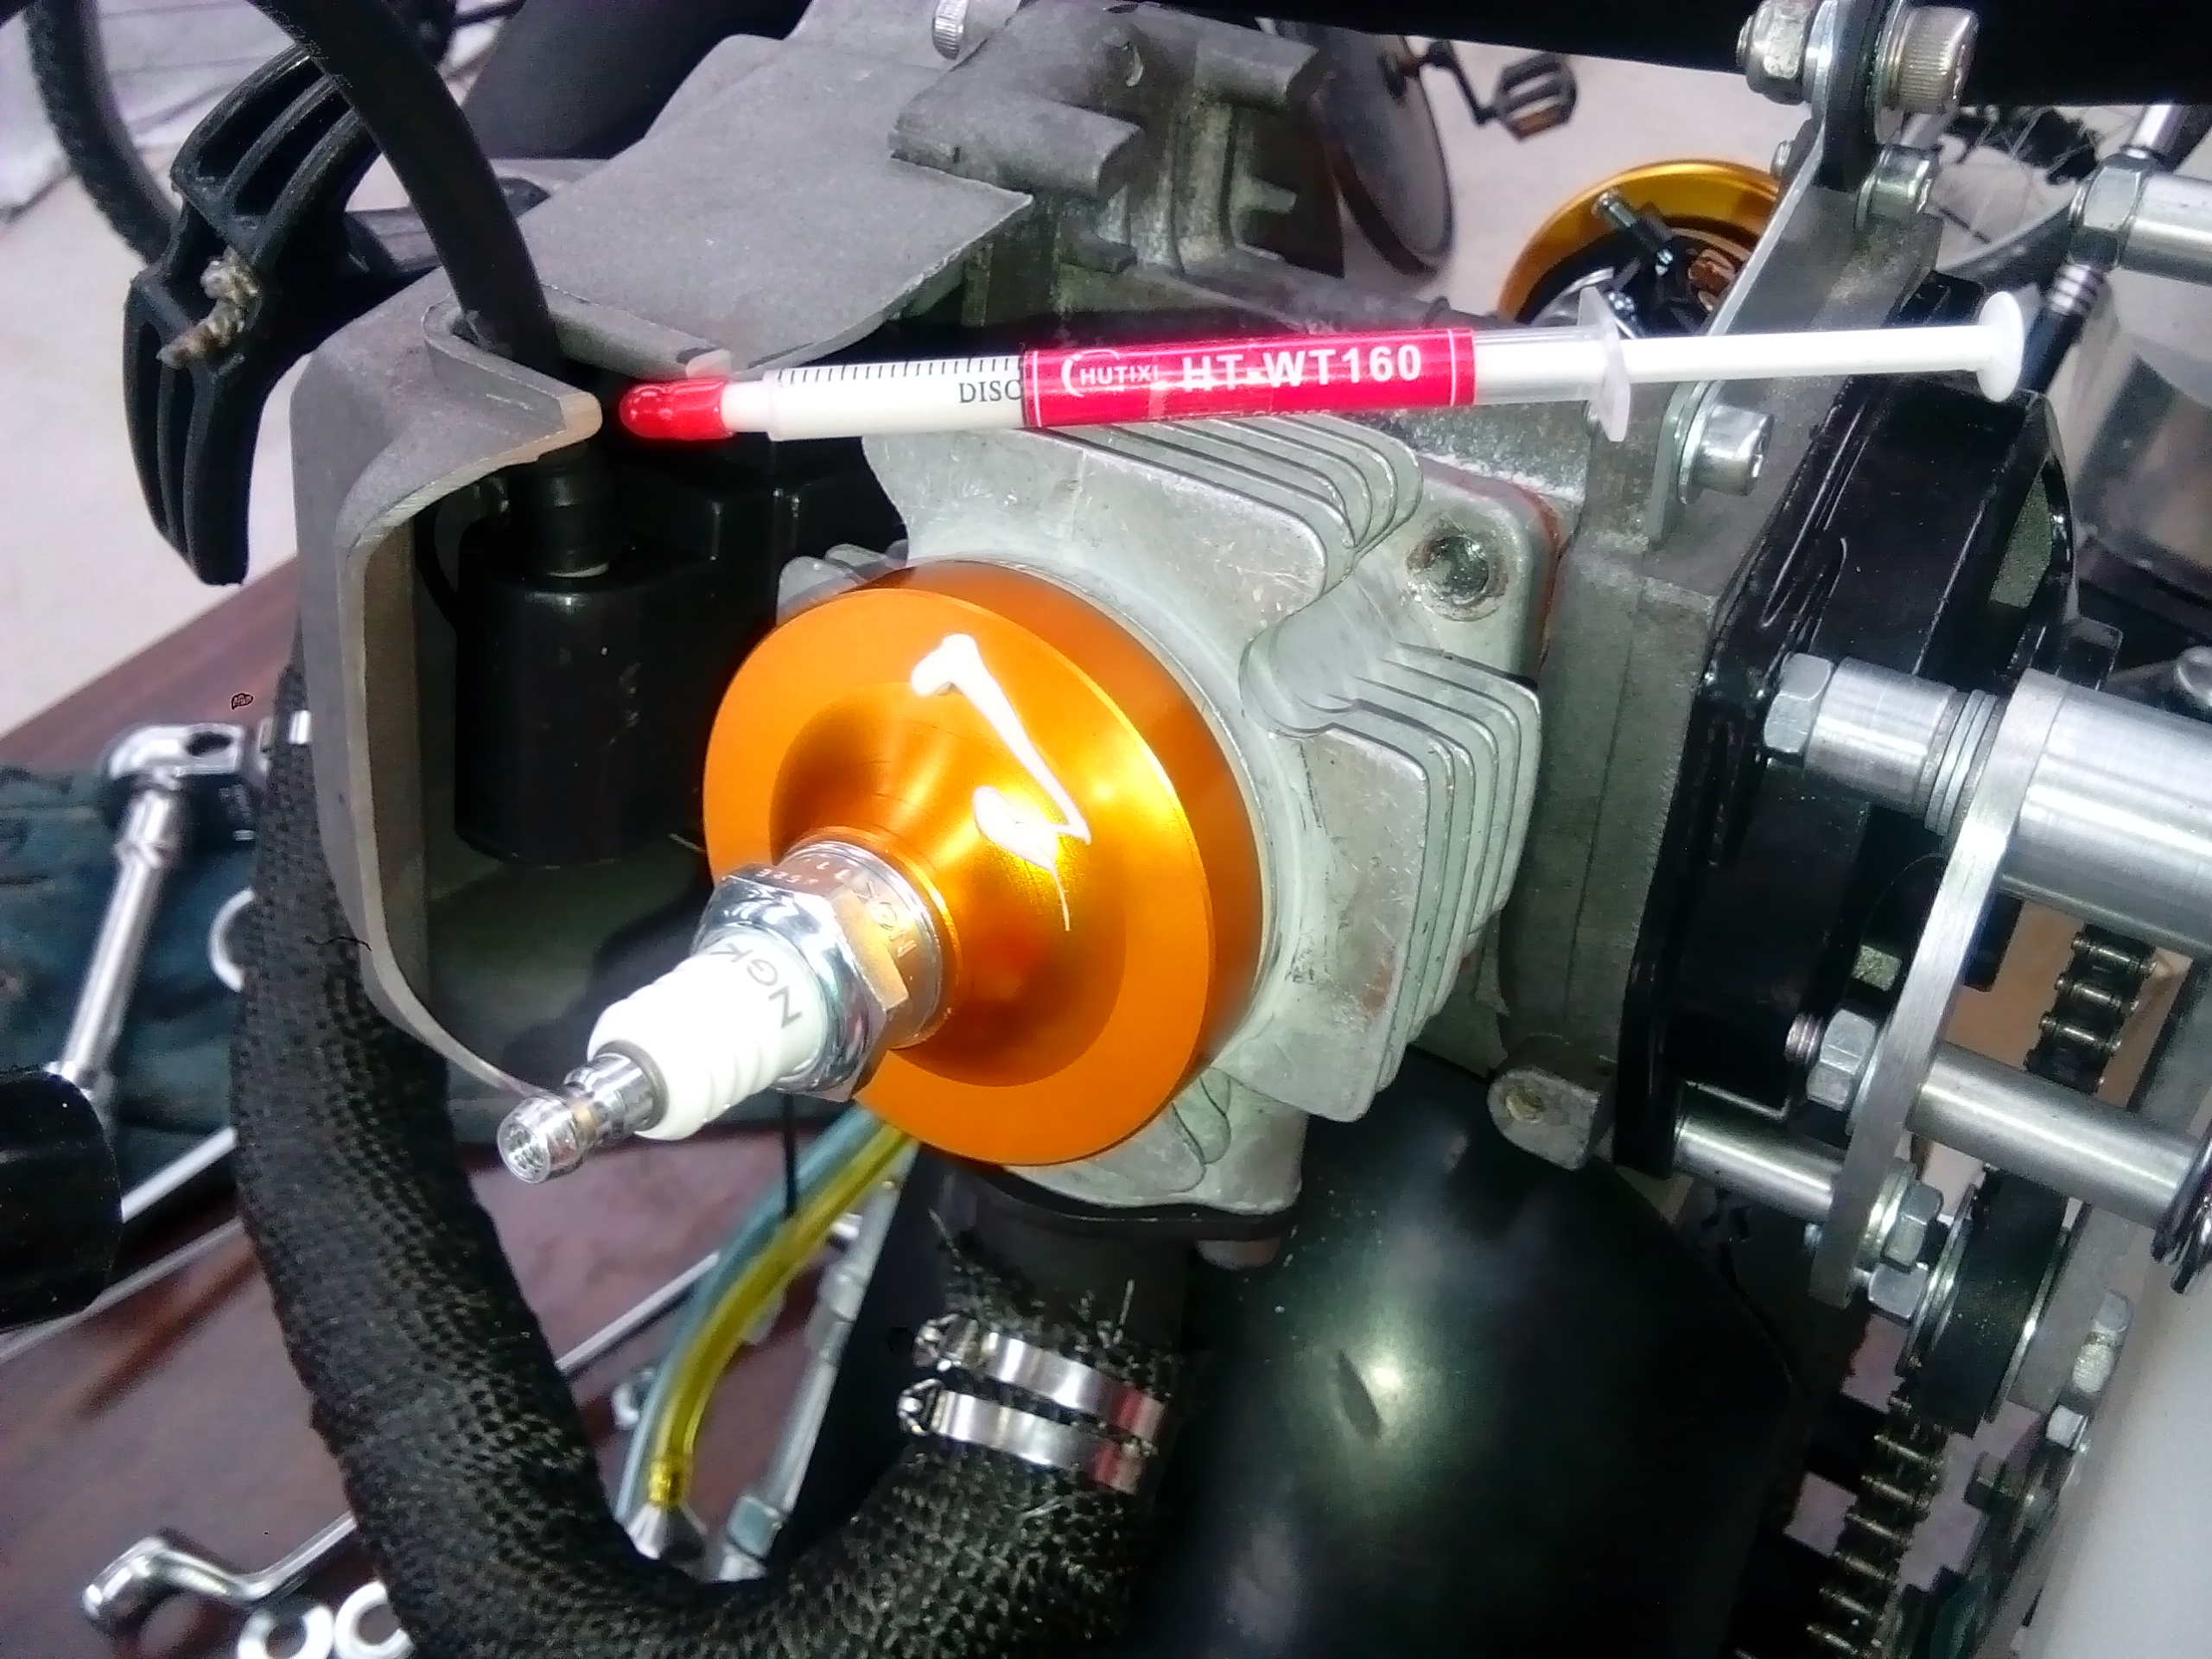
I got hold of some thermally conductive grease, used for heat sinks in electronics.
Took the head off, flipped the copper gasket rings around...put a thin layer of the grease between each of the outer head mating surfaces (I smoothed it out evenly) and put it all back together again.
The tooling grooves between surfaces don't transfer heat very well.
Think that should be it for now. Still waiting on my handlebars...but everything else is done.
-
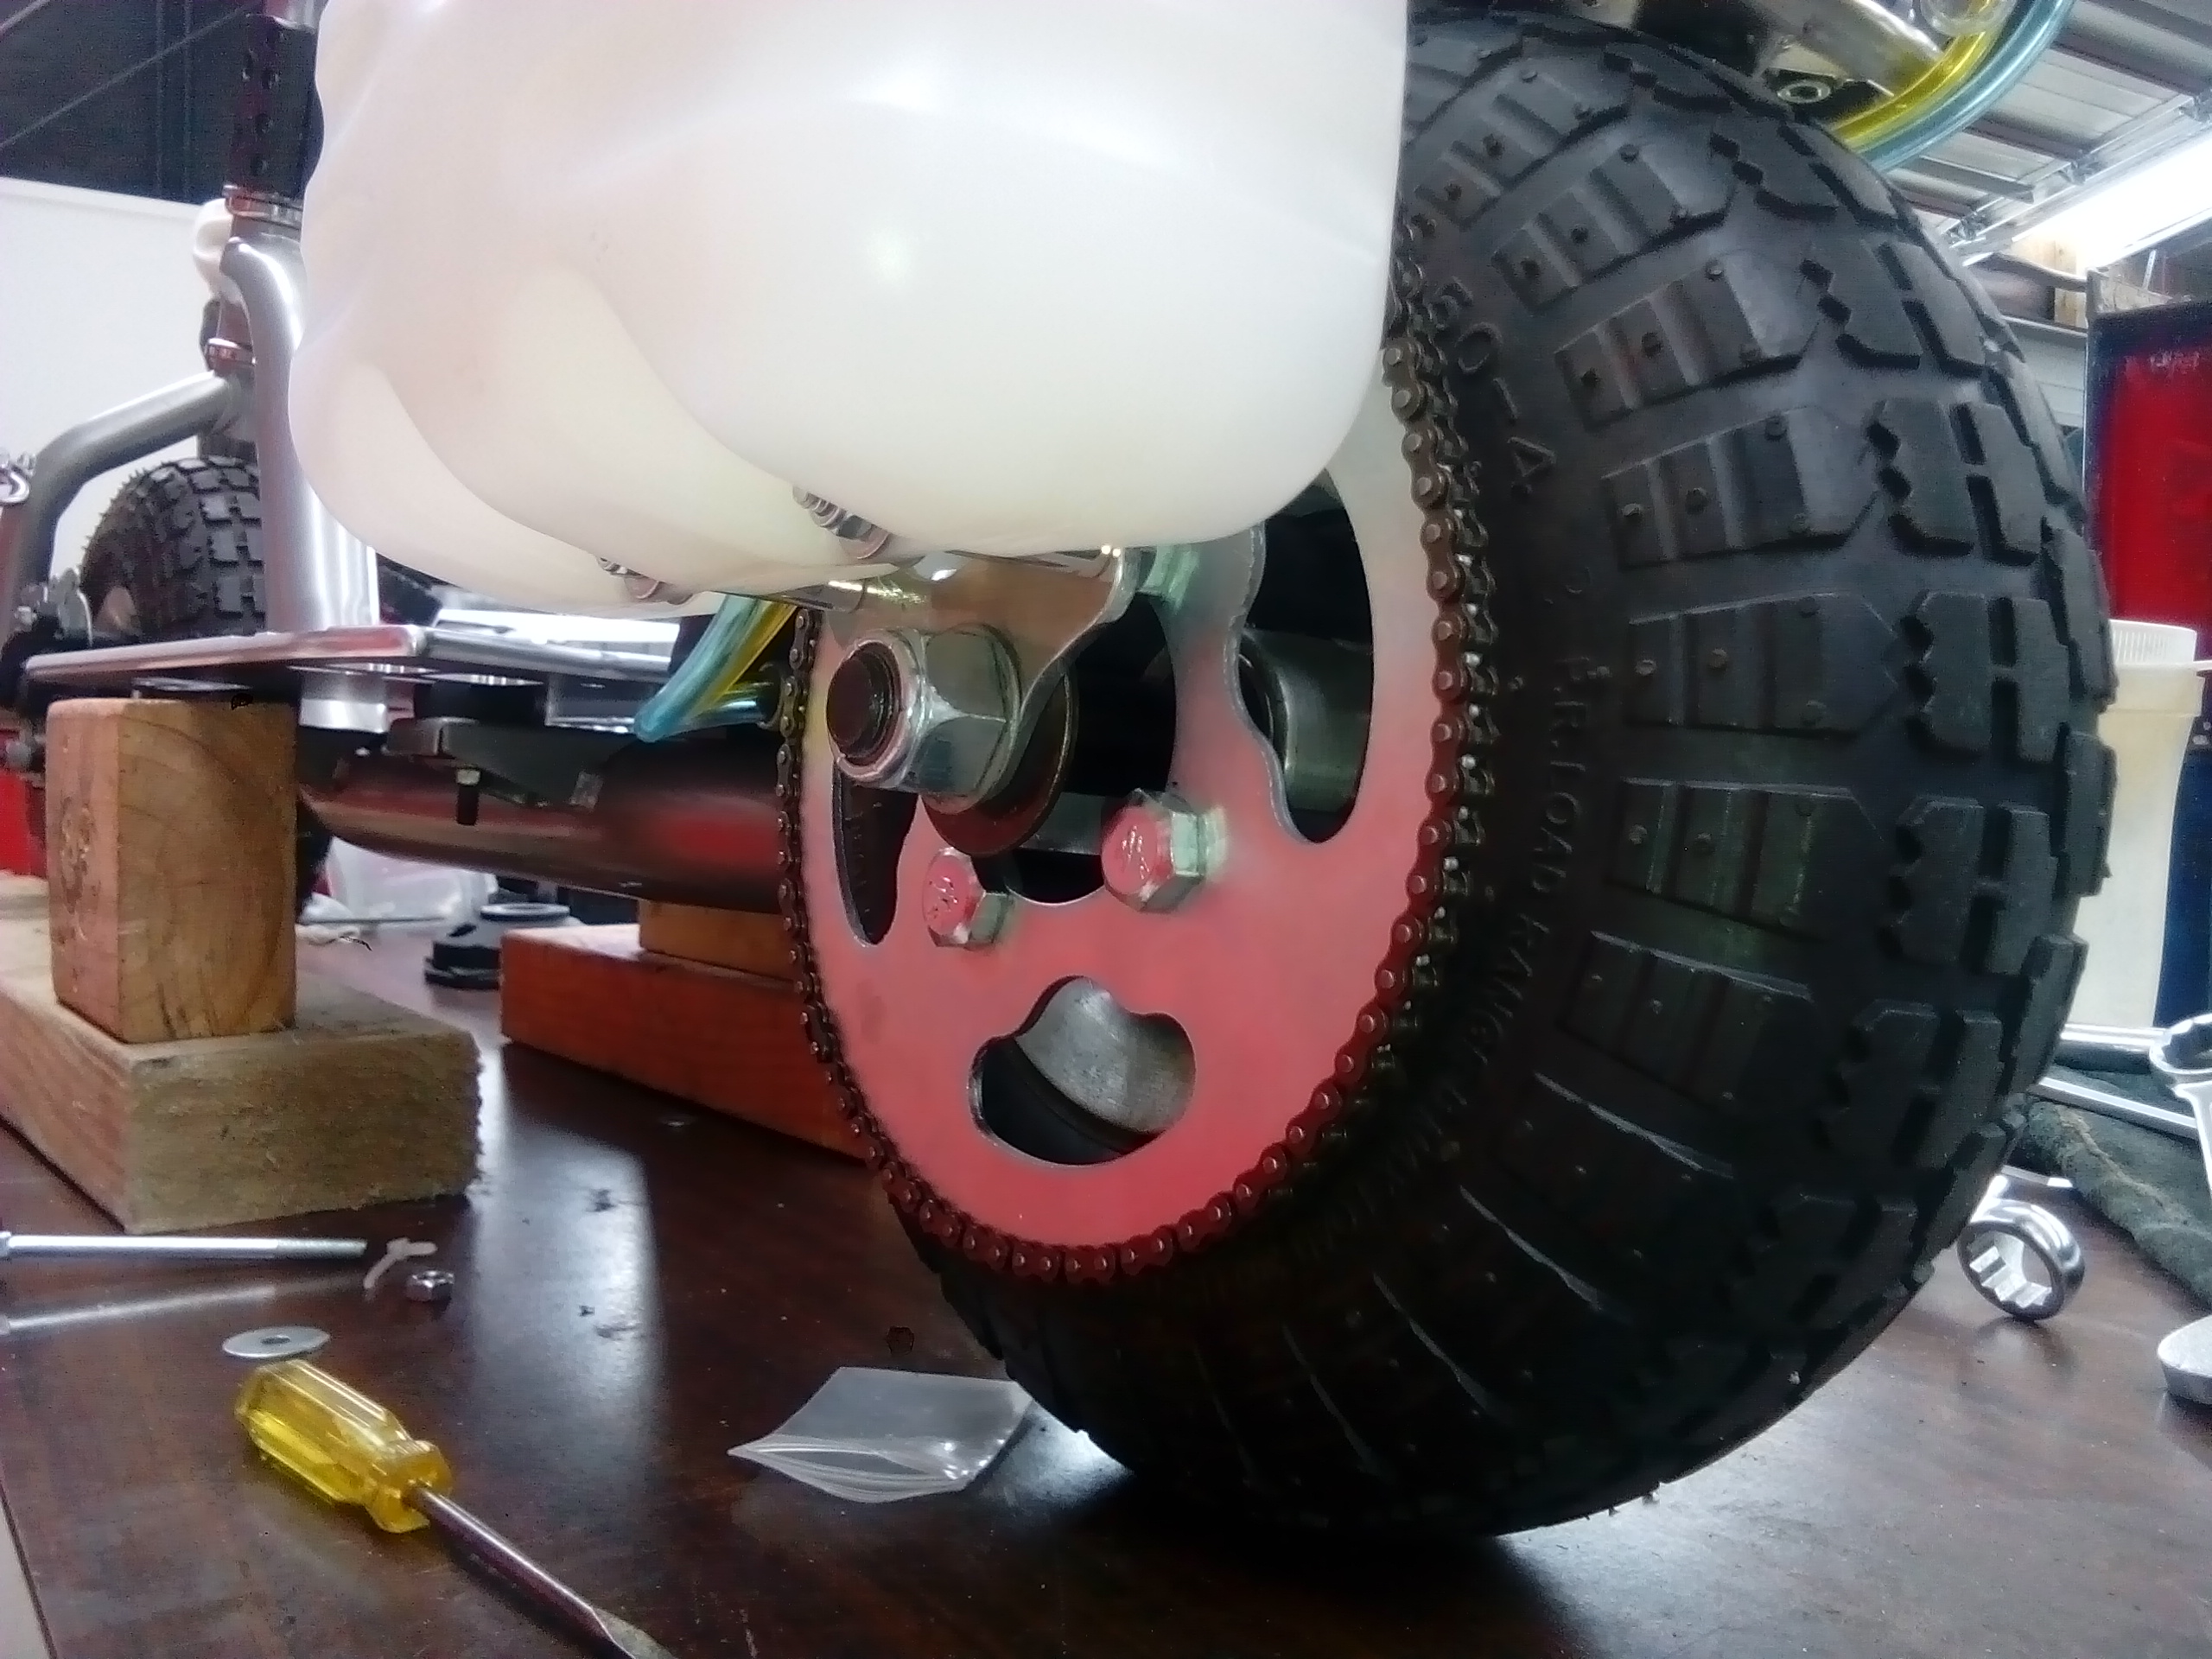
Swapped out the rear 68 tooth sprocket for an 80 tooth.
This should give it more mechanical advantage.
68/7=9.71 or 9.71:1 ratio
Vs
80/7=11.42 or 11.42:1 ratio
I do have a 6 tooth clutch/pinion gear, this would bump it up to 13.33:1 if needed. But I'll try and see first.
-
1
-
-
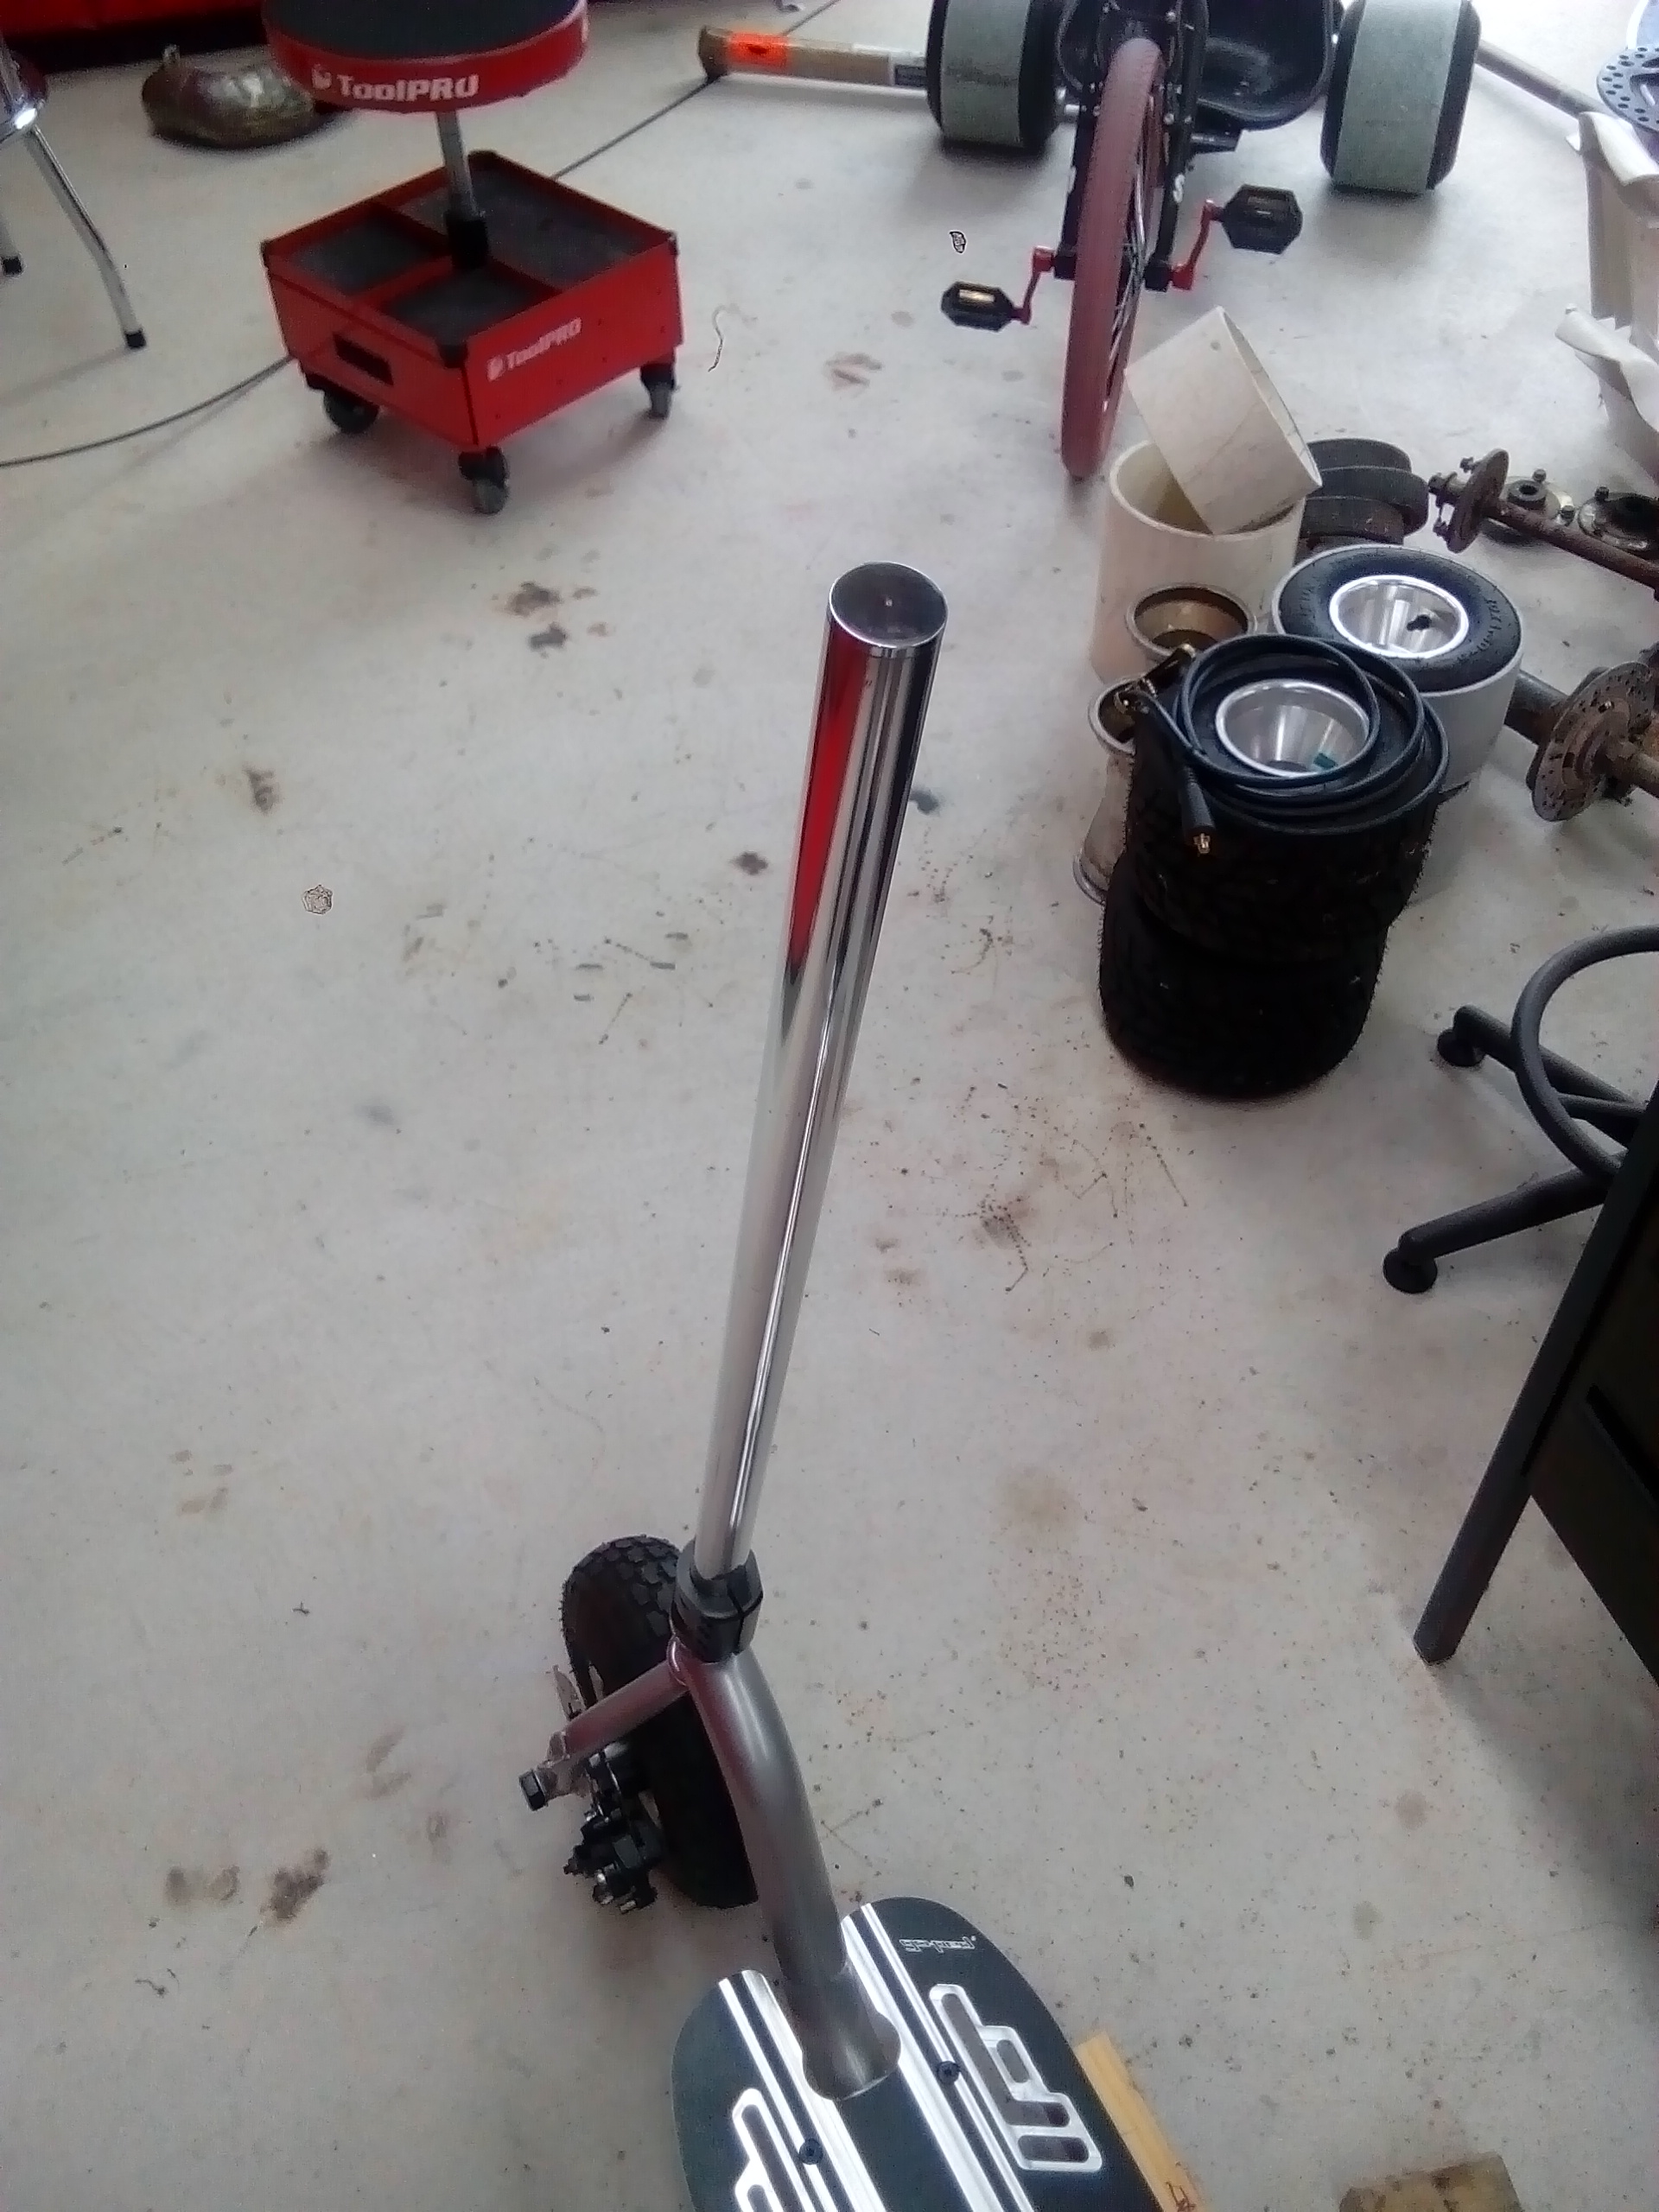
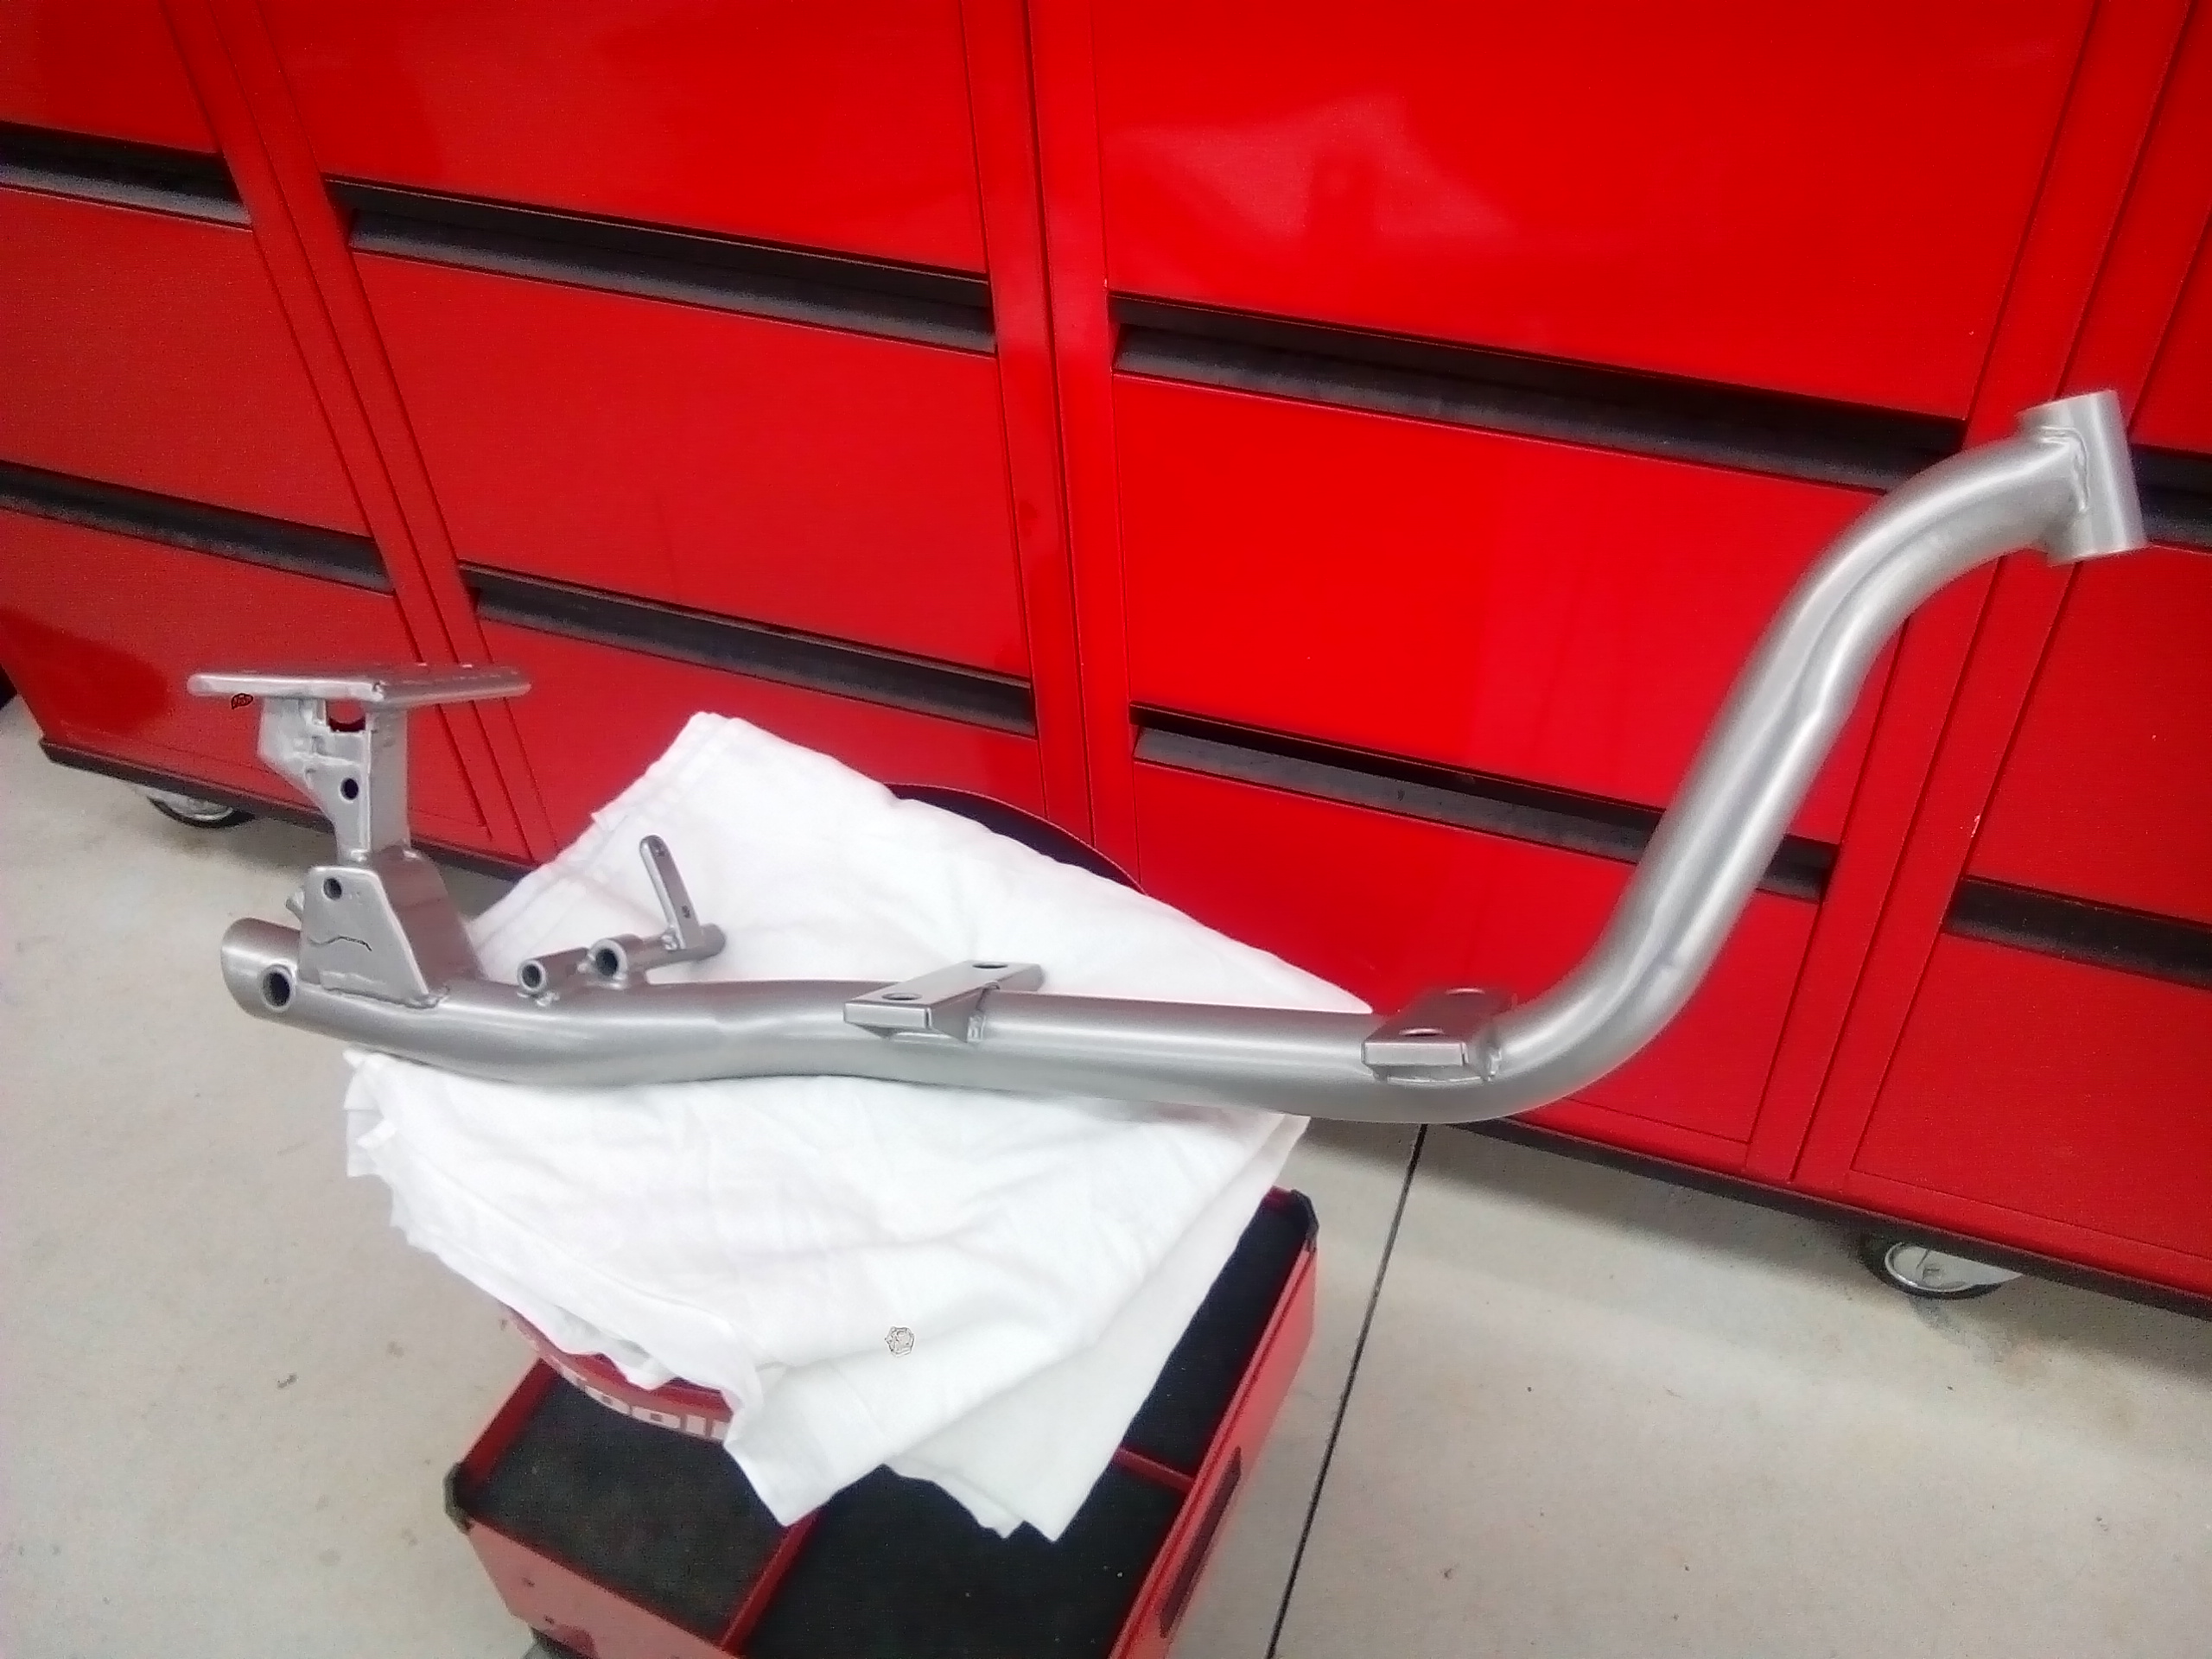
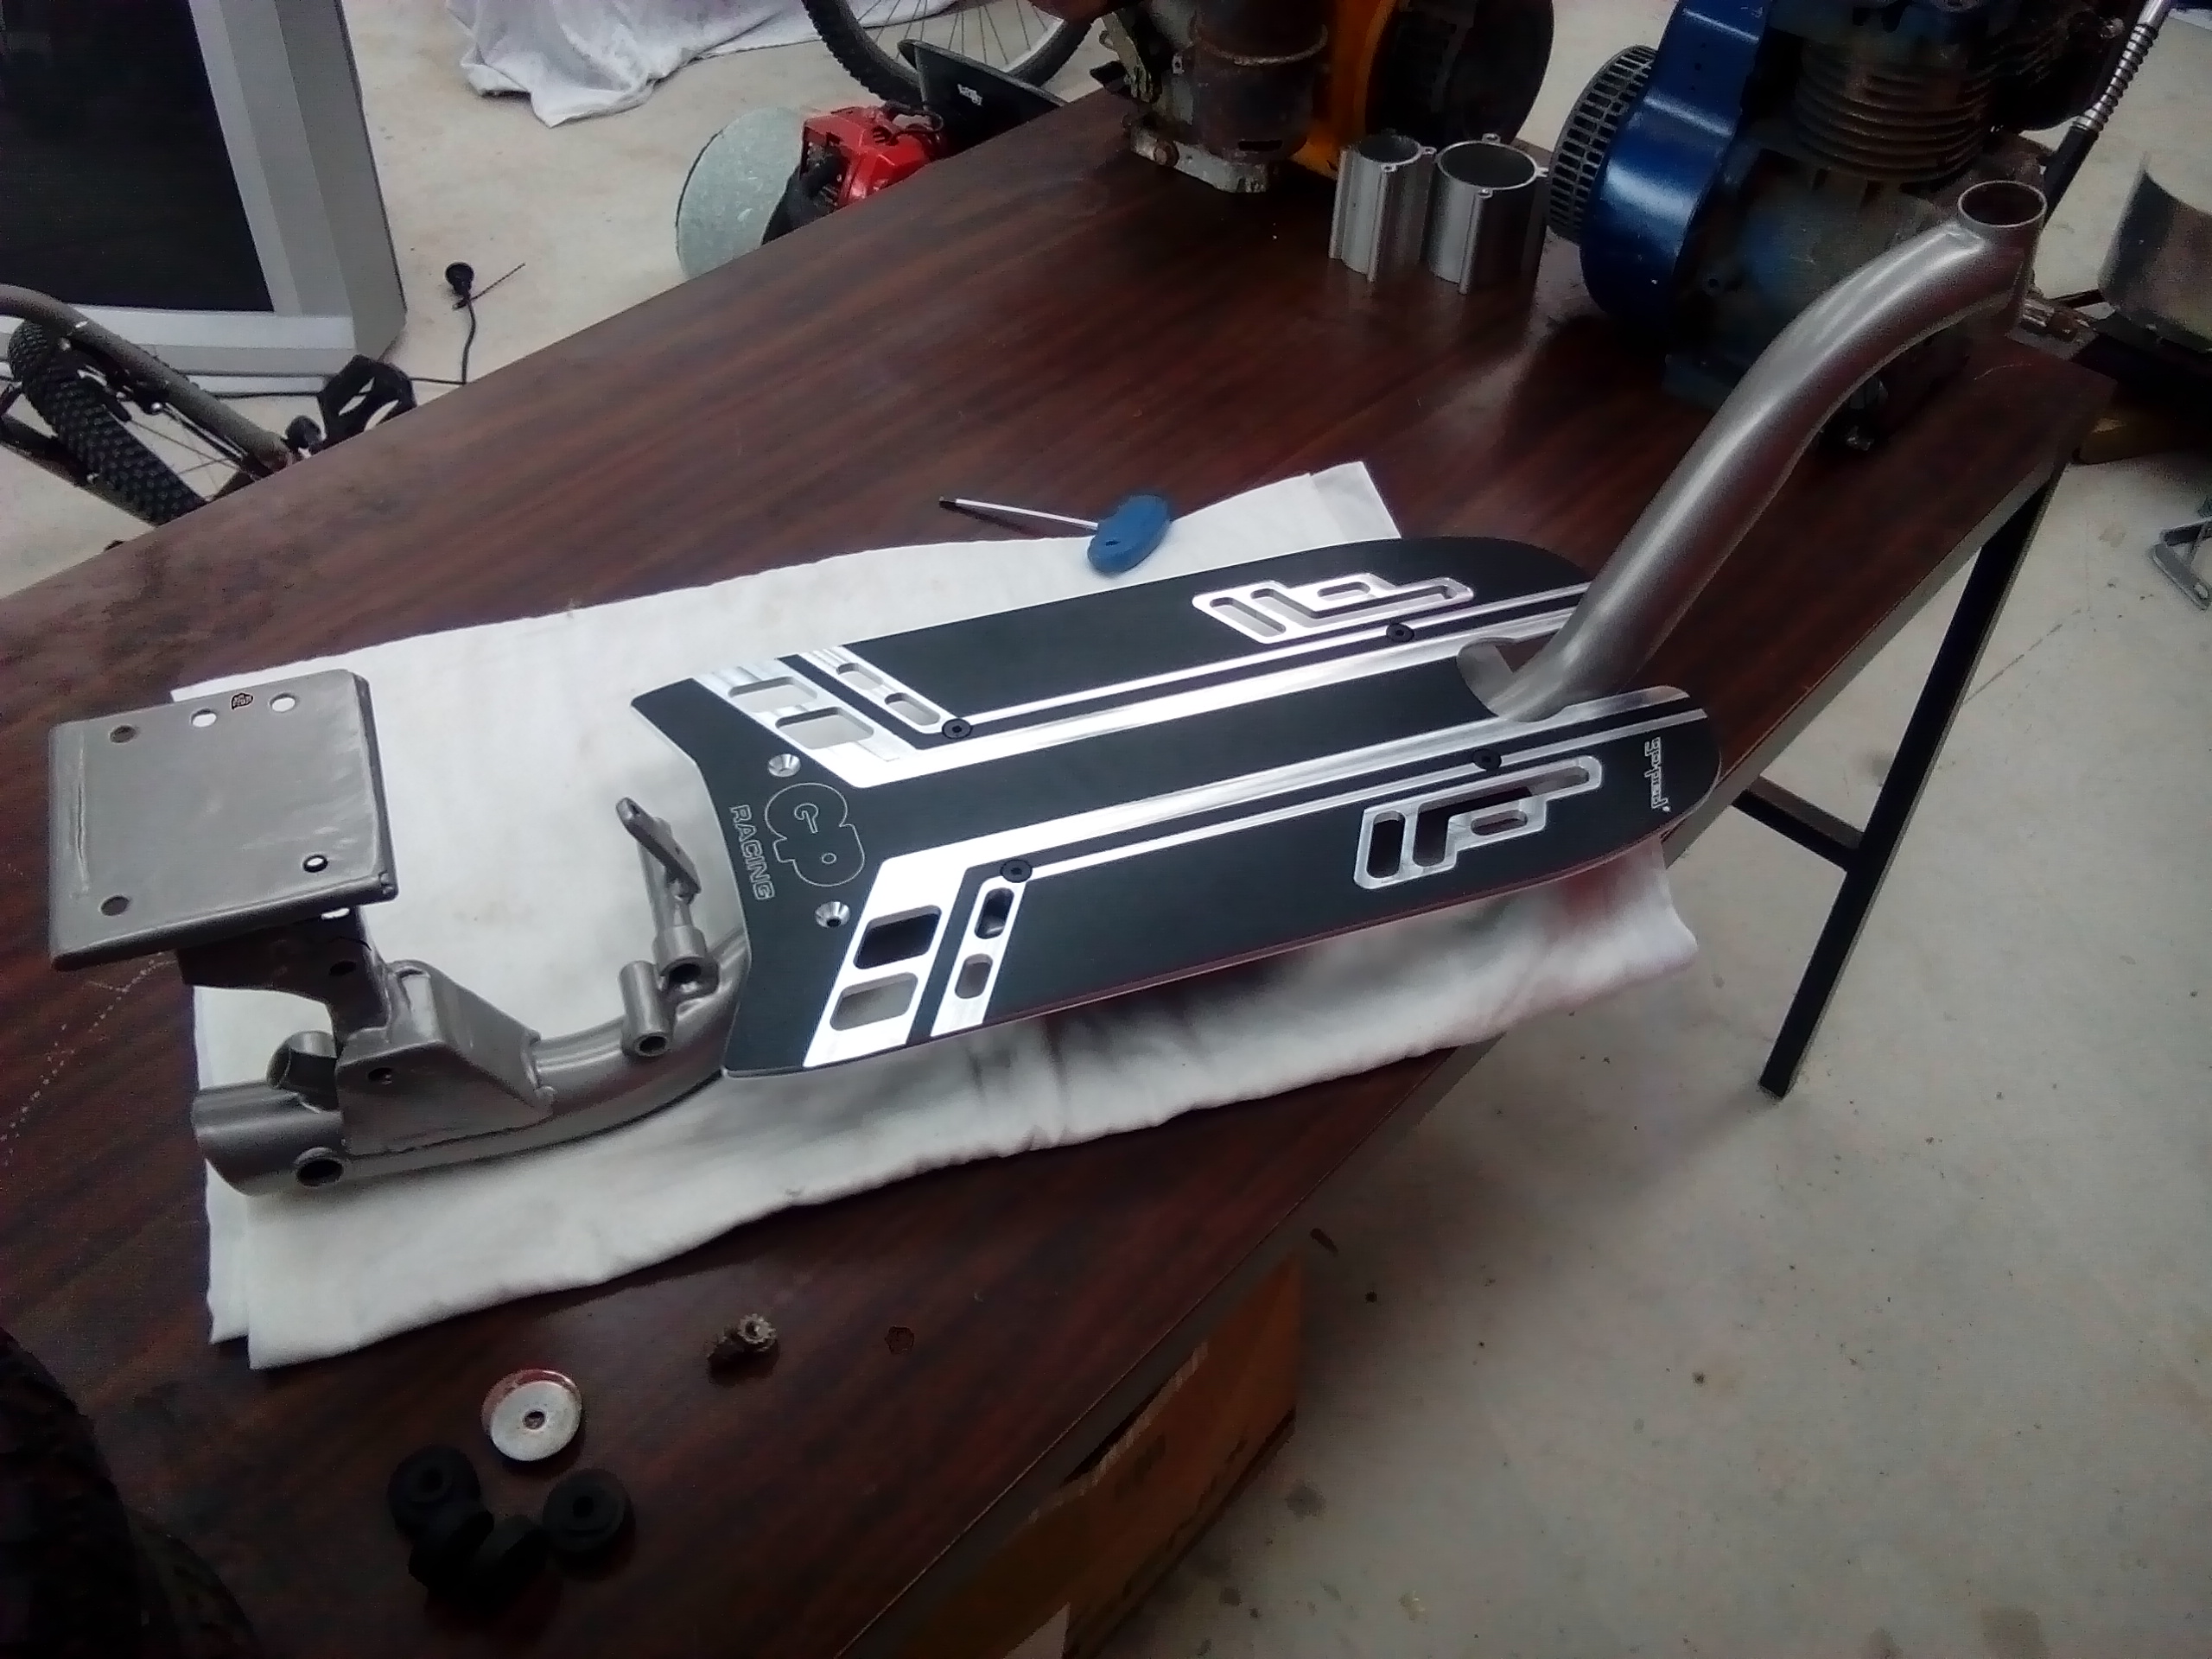
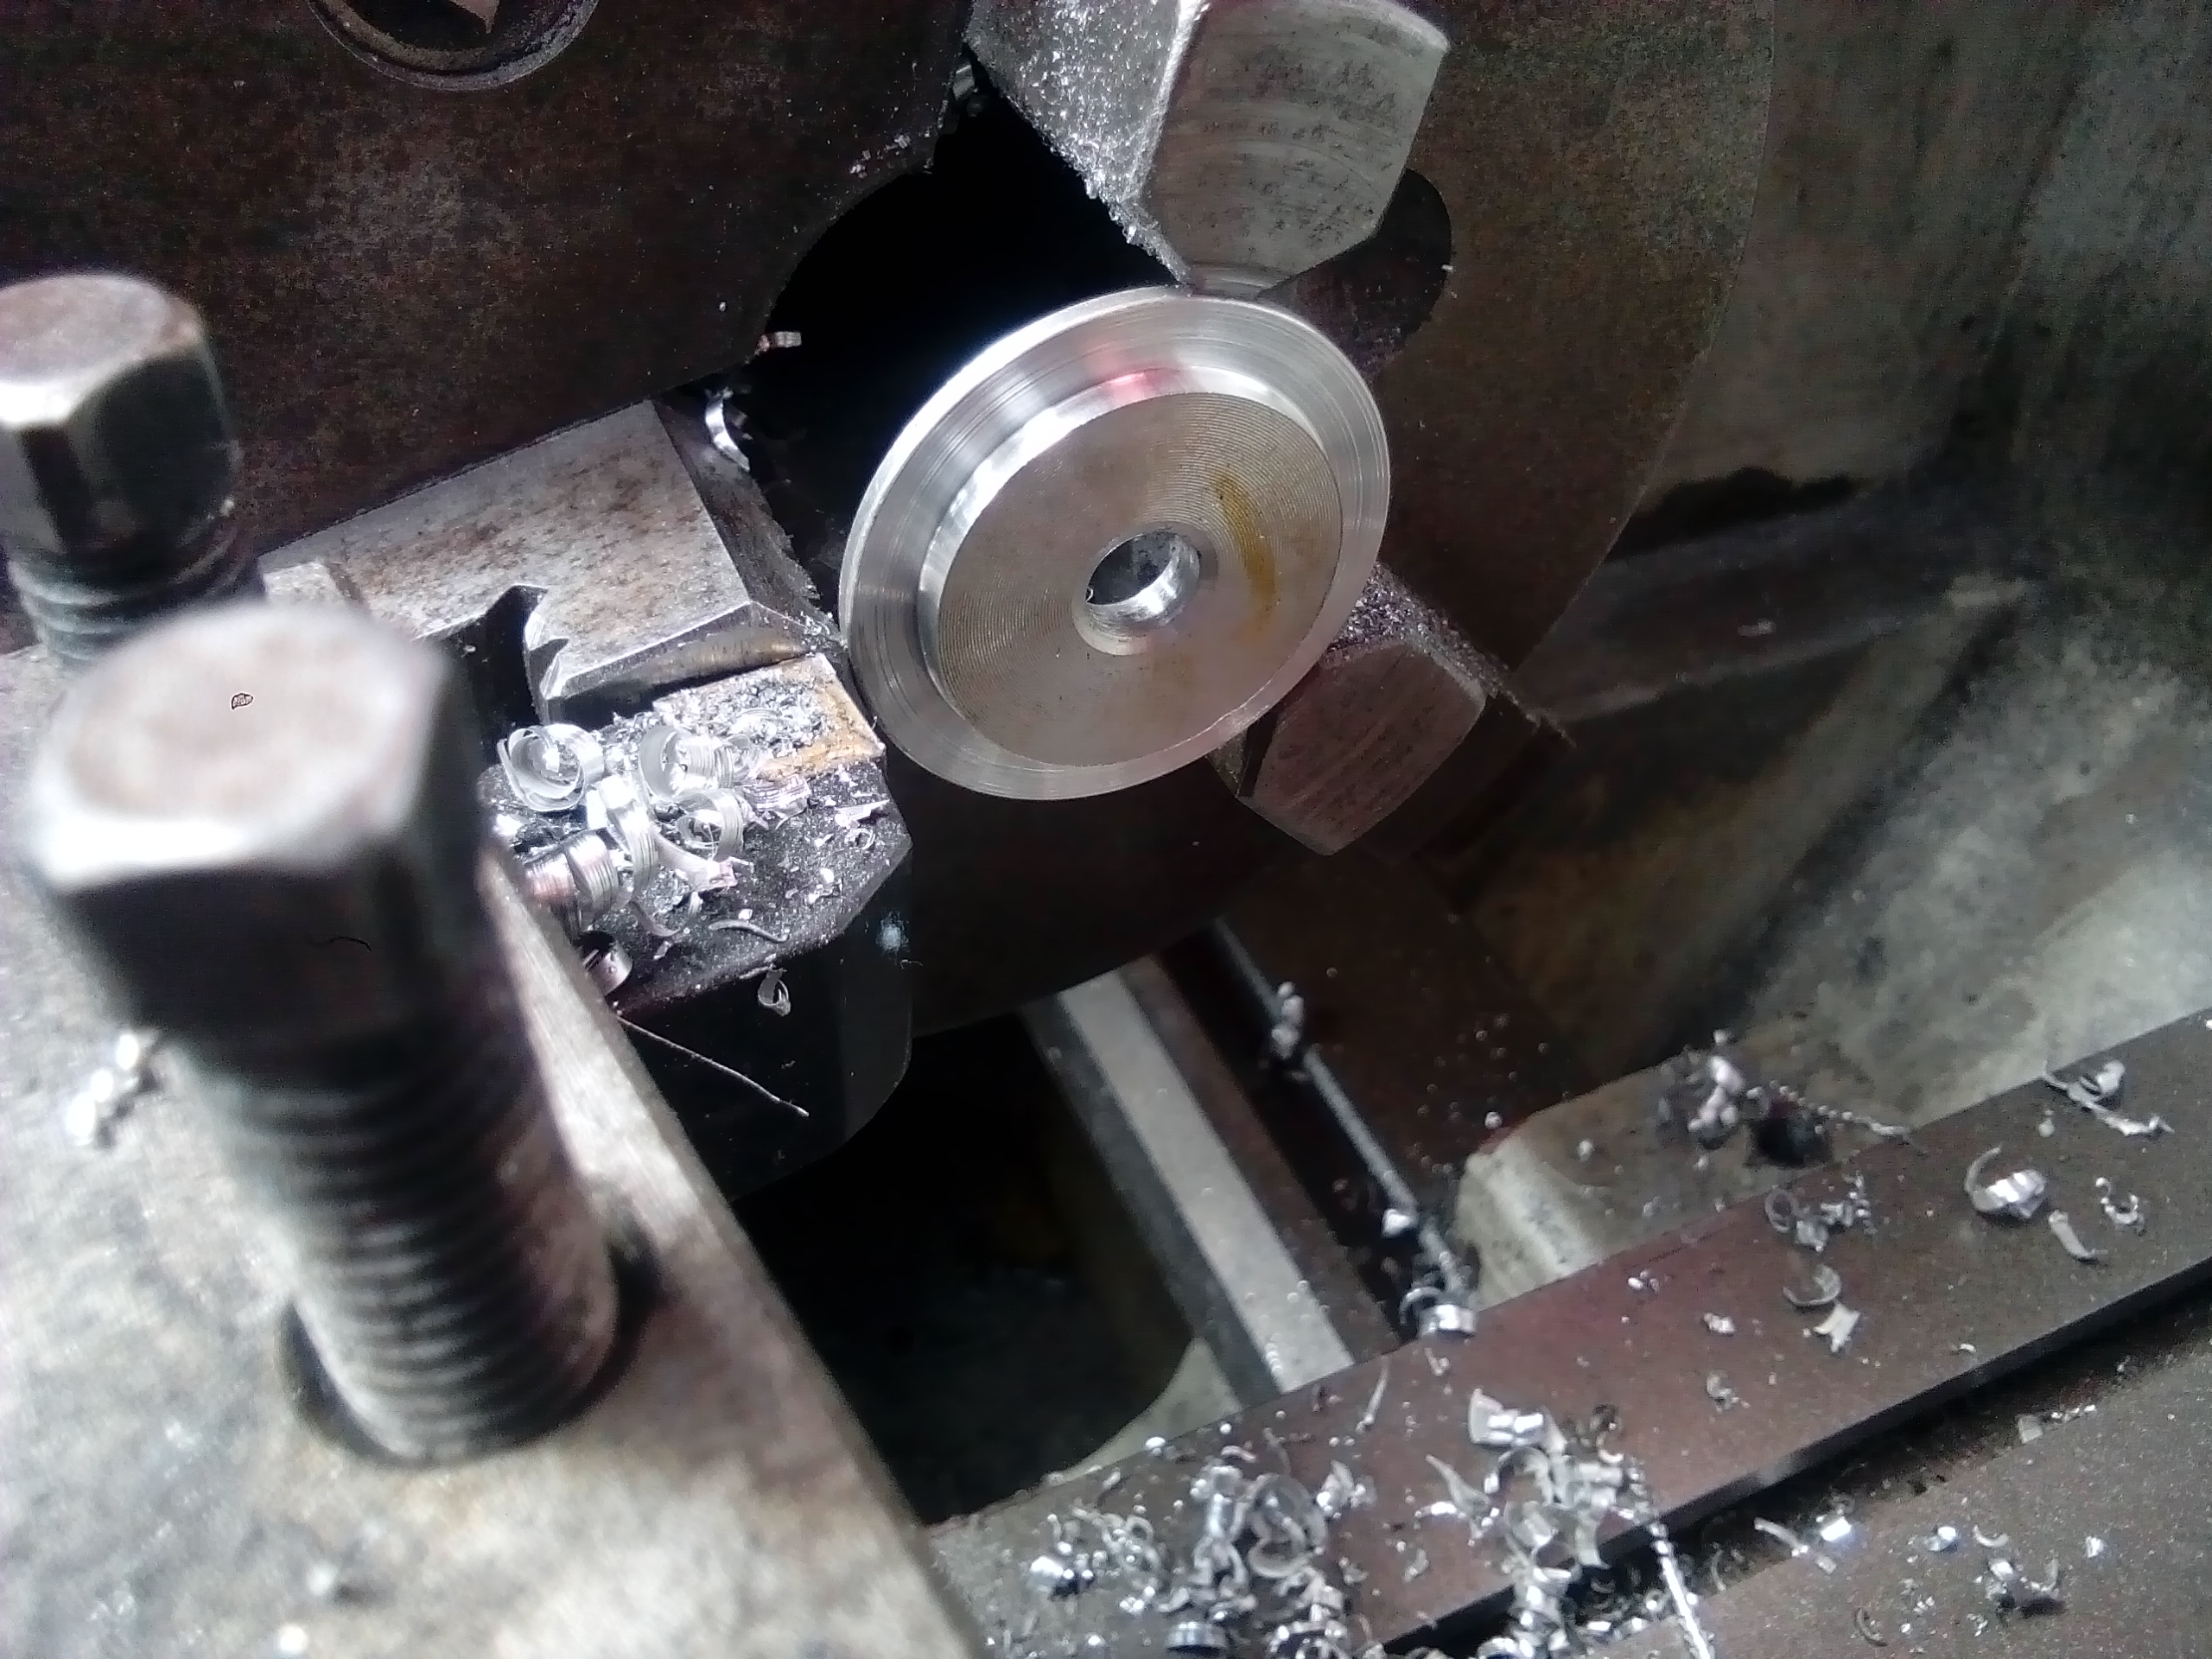
Small steps, but in the right direction:
I polished it up like a strippers pole, nearly ready to rock n roll!
-
2
-
-
Nice work, can't believe I had never seen this thread before.
I've been working on something similar off and on (well...mostly off) for the past 3 or 4 years too. It occurred to me the other day just how close to finishing, but meh...why rush?
Great seeing another hard tail is out there, keep up the good work.
-
1
-
-
Cool, cheers for the tips @Muncie
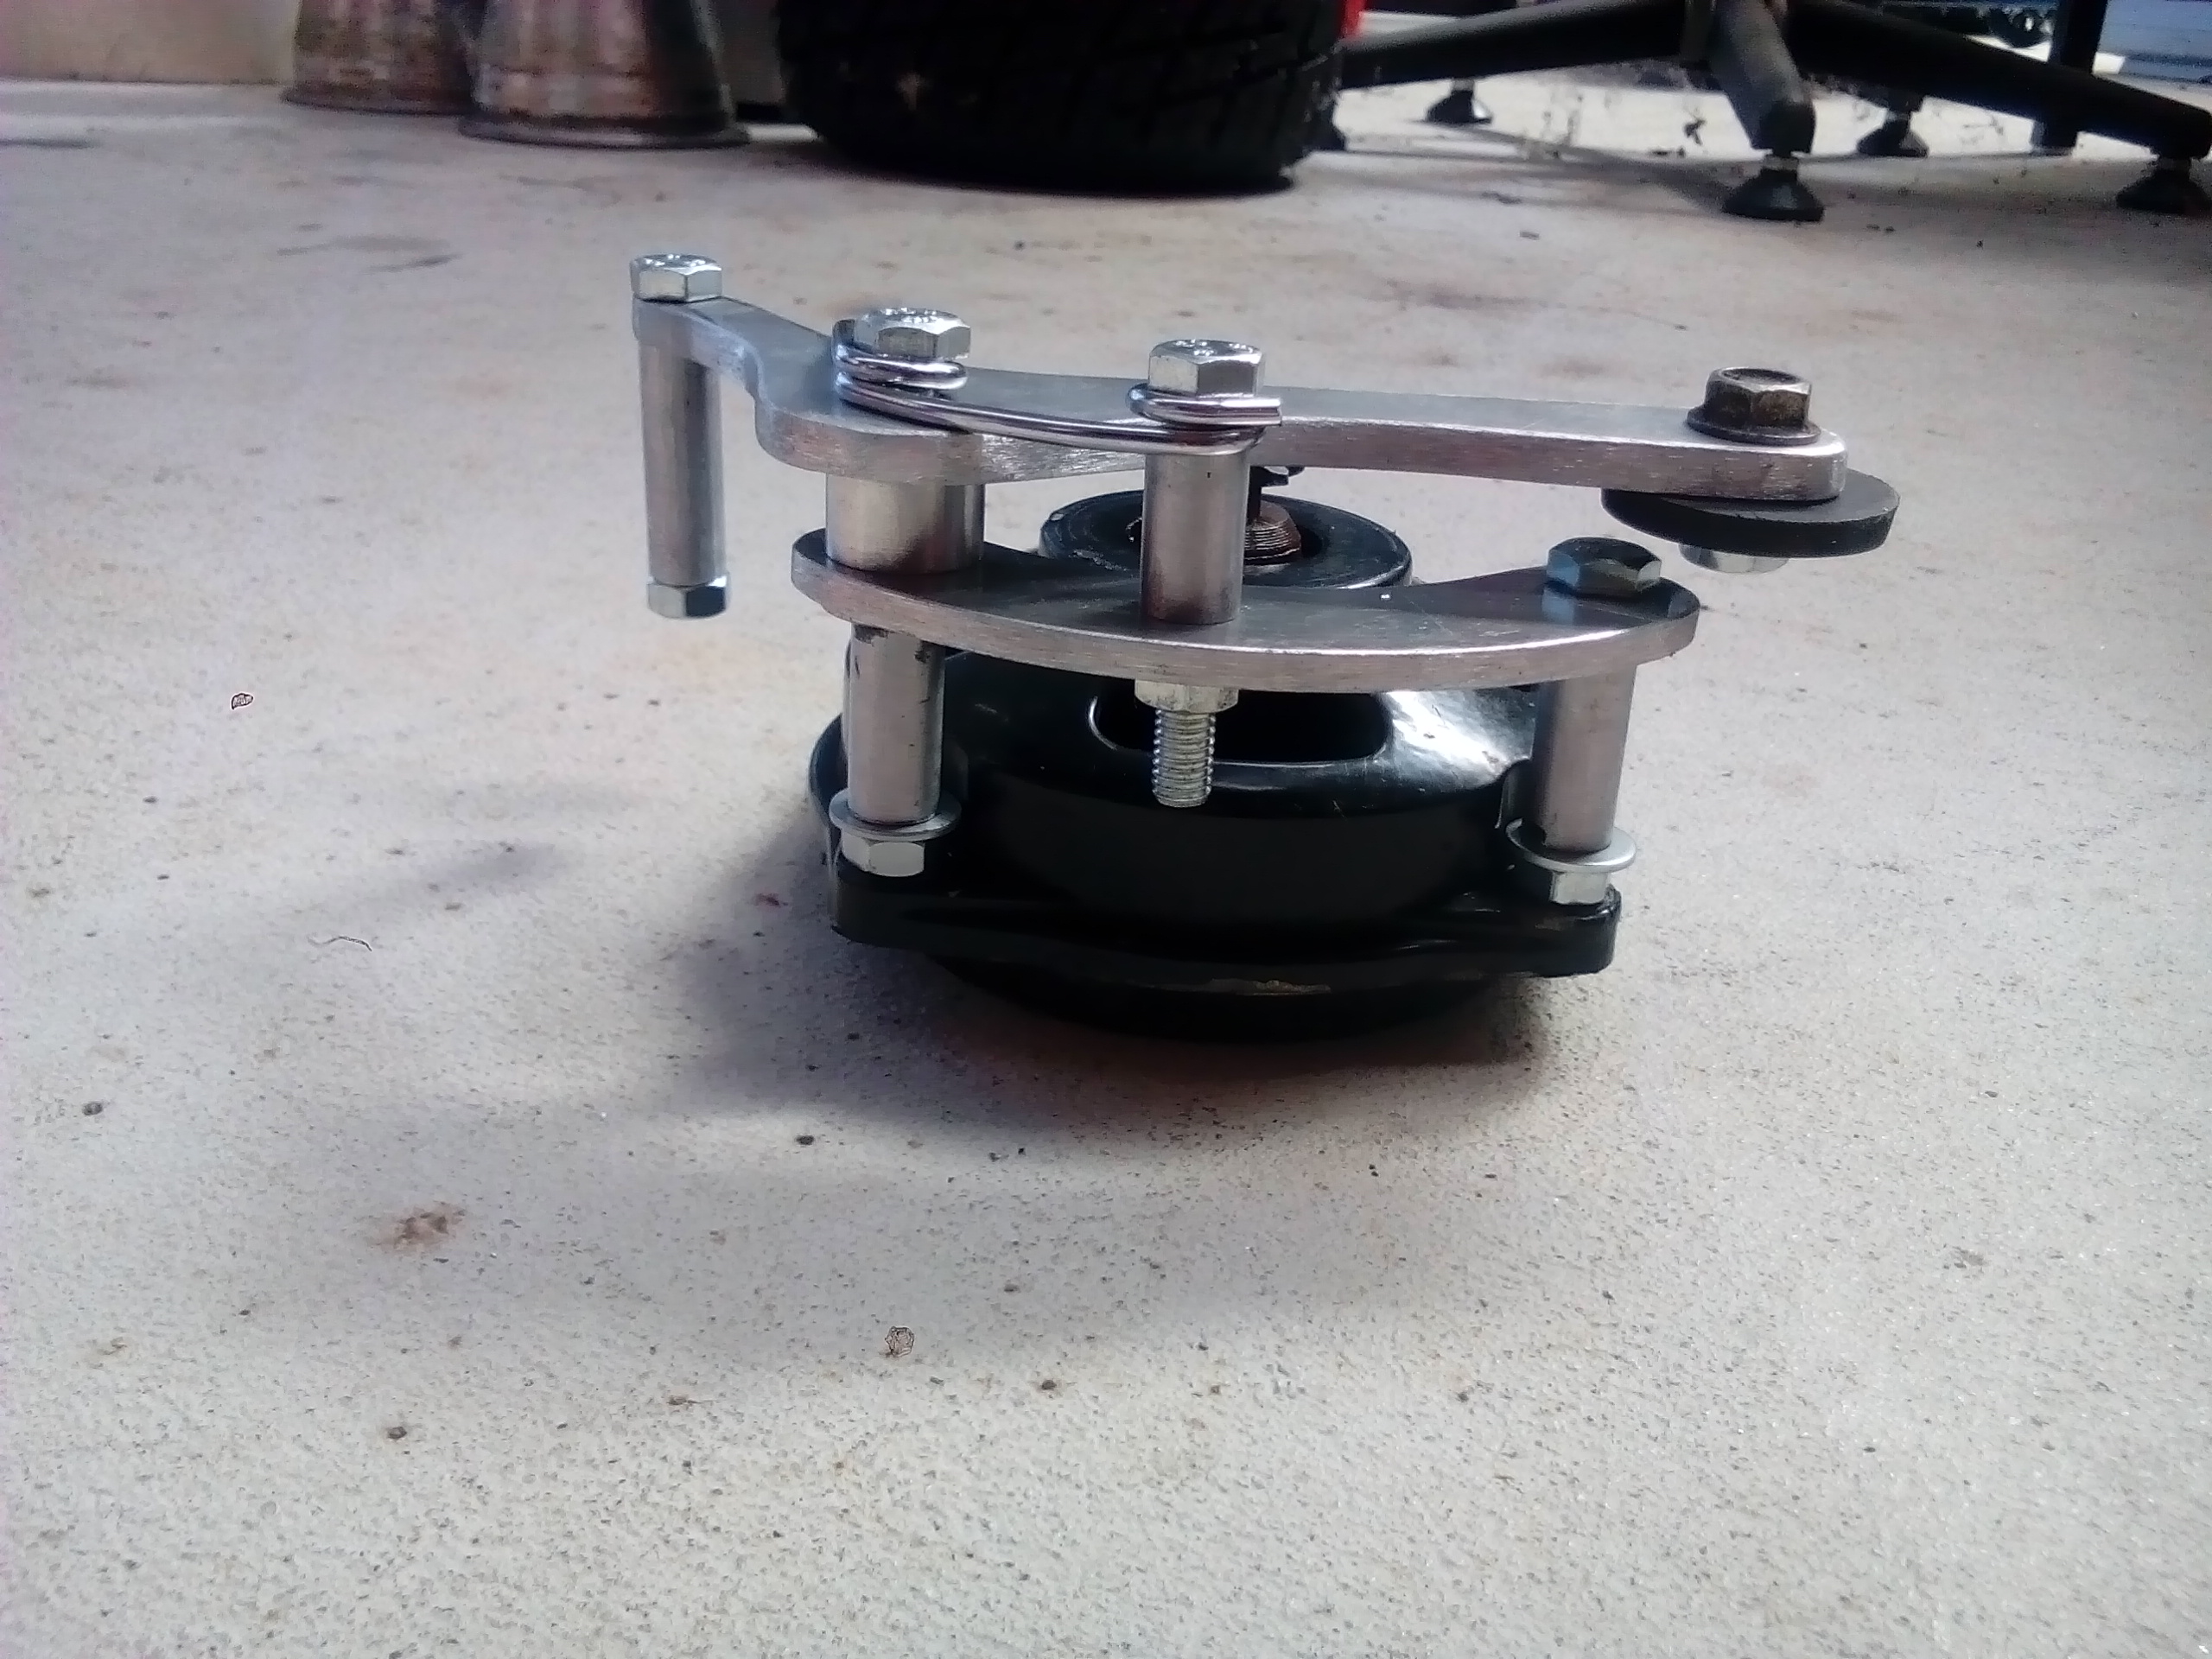
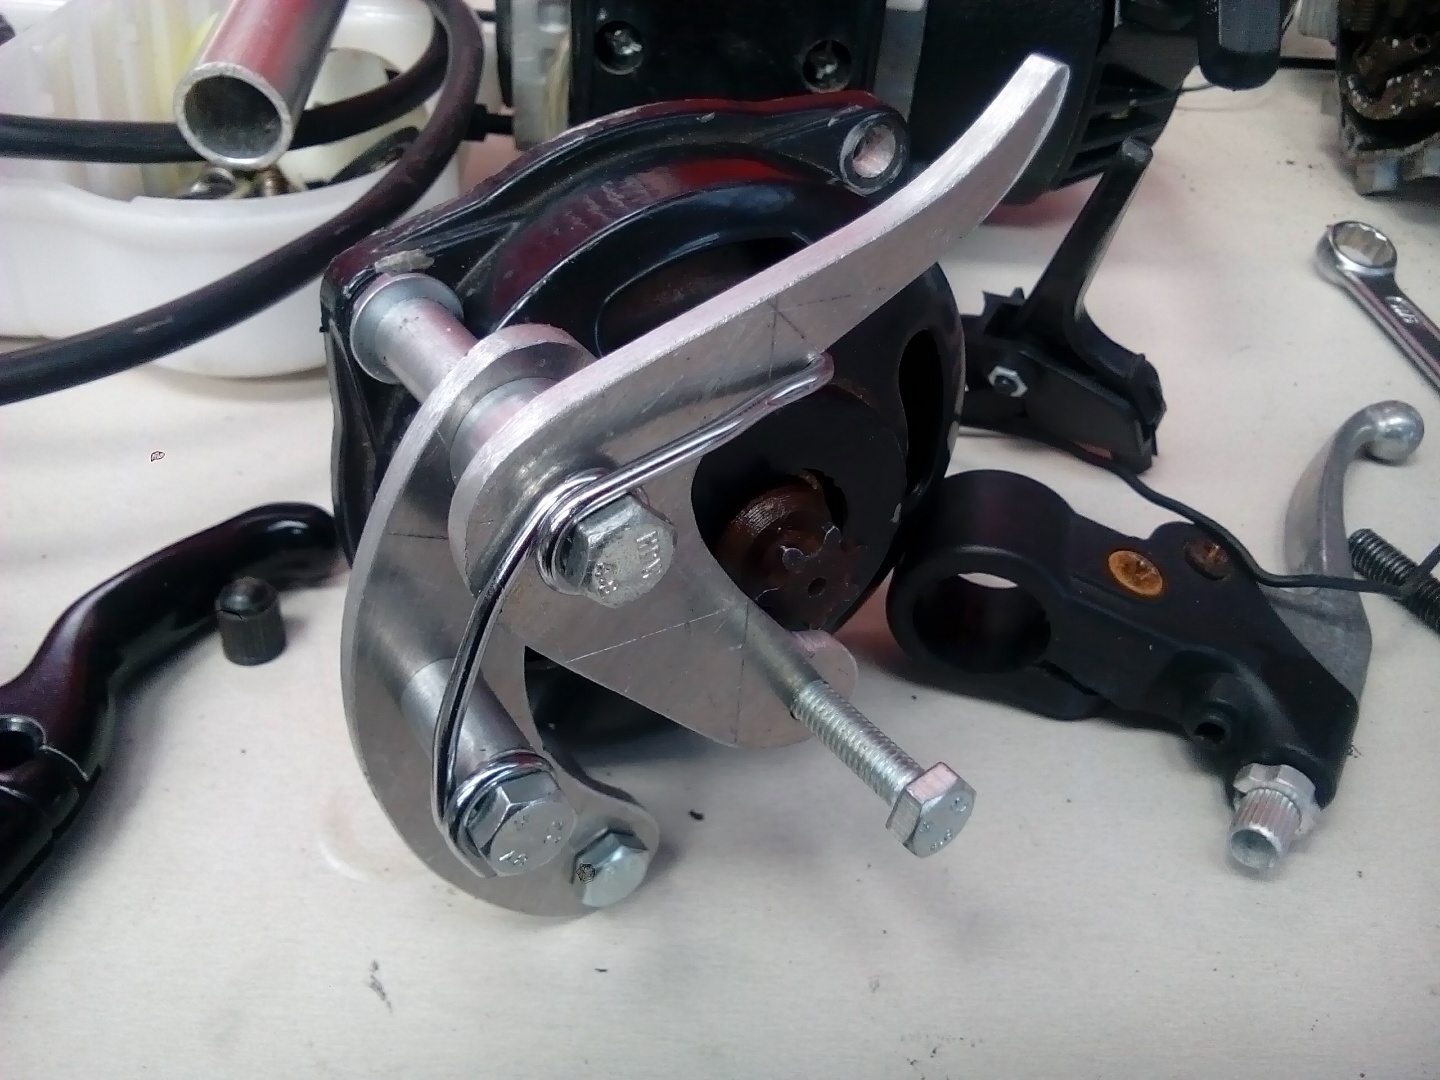
I got this tensioner mechanism sorted! It's all working as it should, but for now I just have a bit of rubber in place of the chain roller.
I'll buy a chain roller for a pit bike, I've used these before and it worked great on the other applications.
I'll tidy it up a bit and then call a day.
-
4
-
-
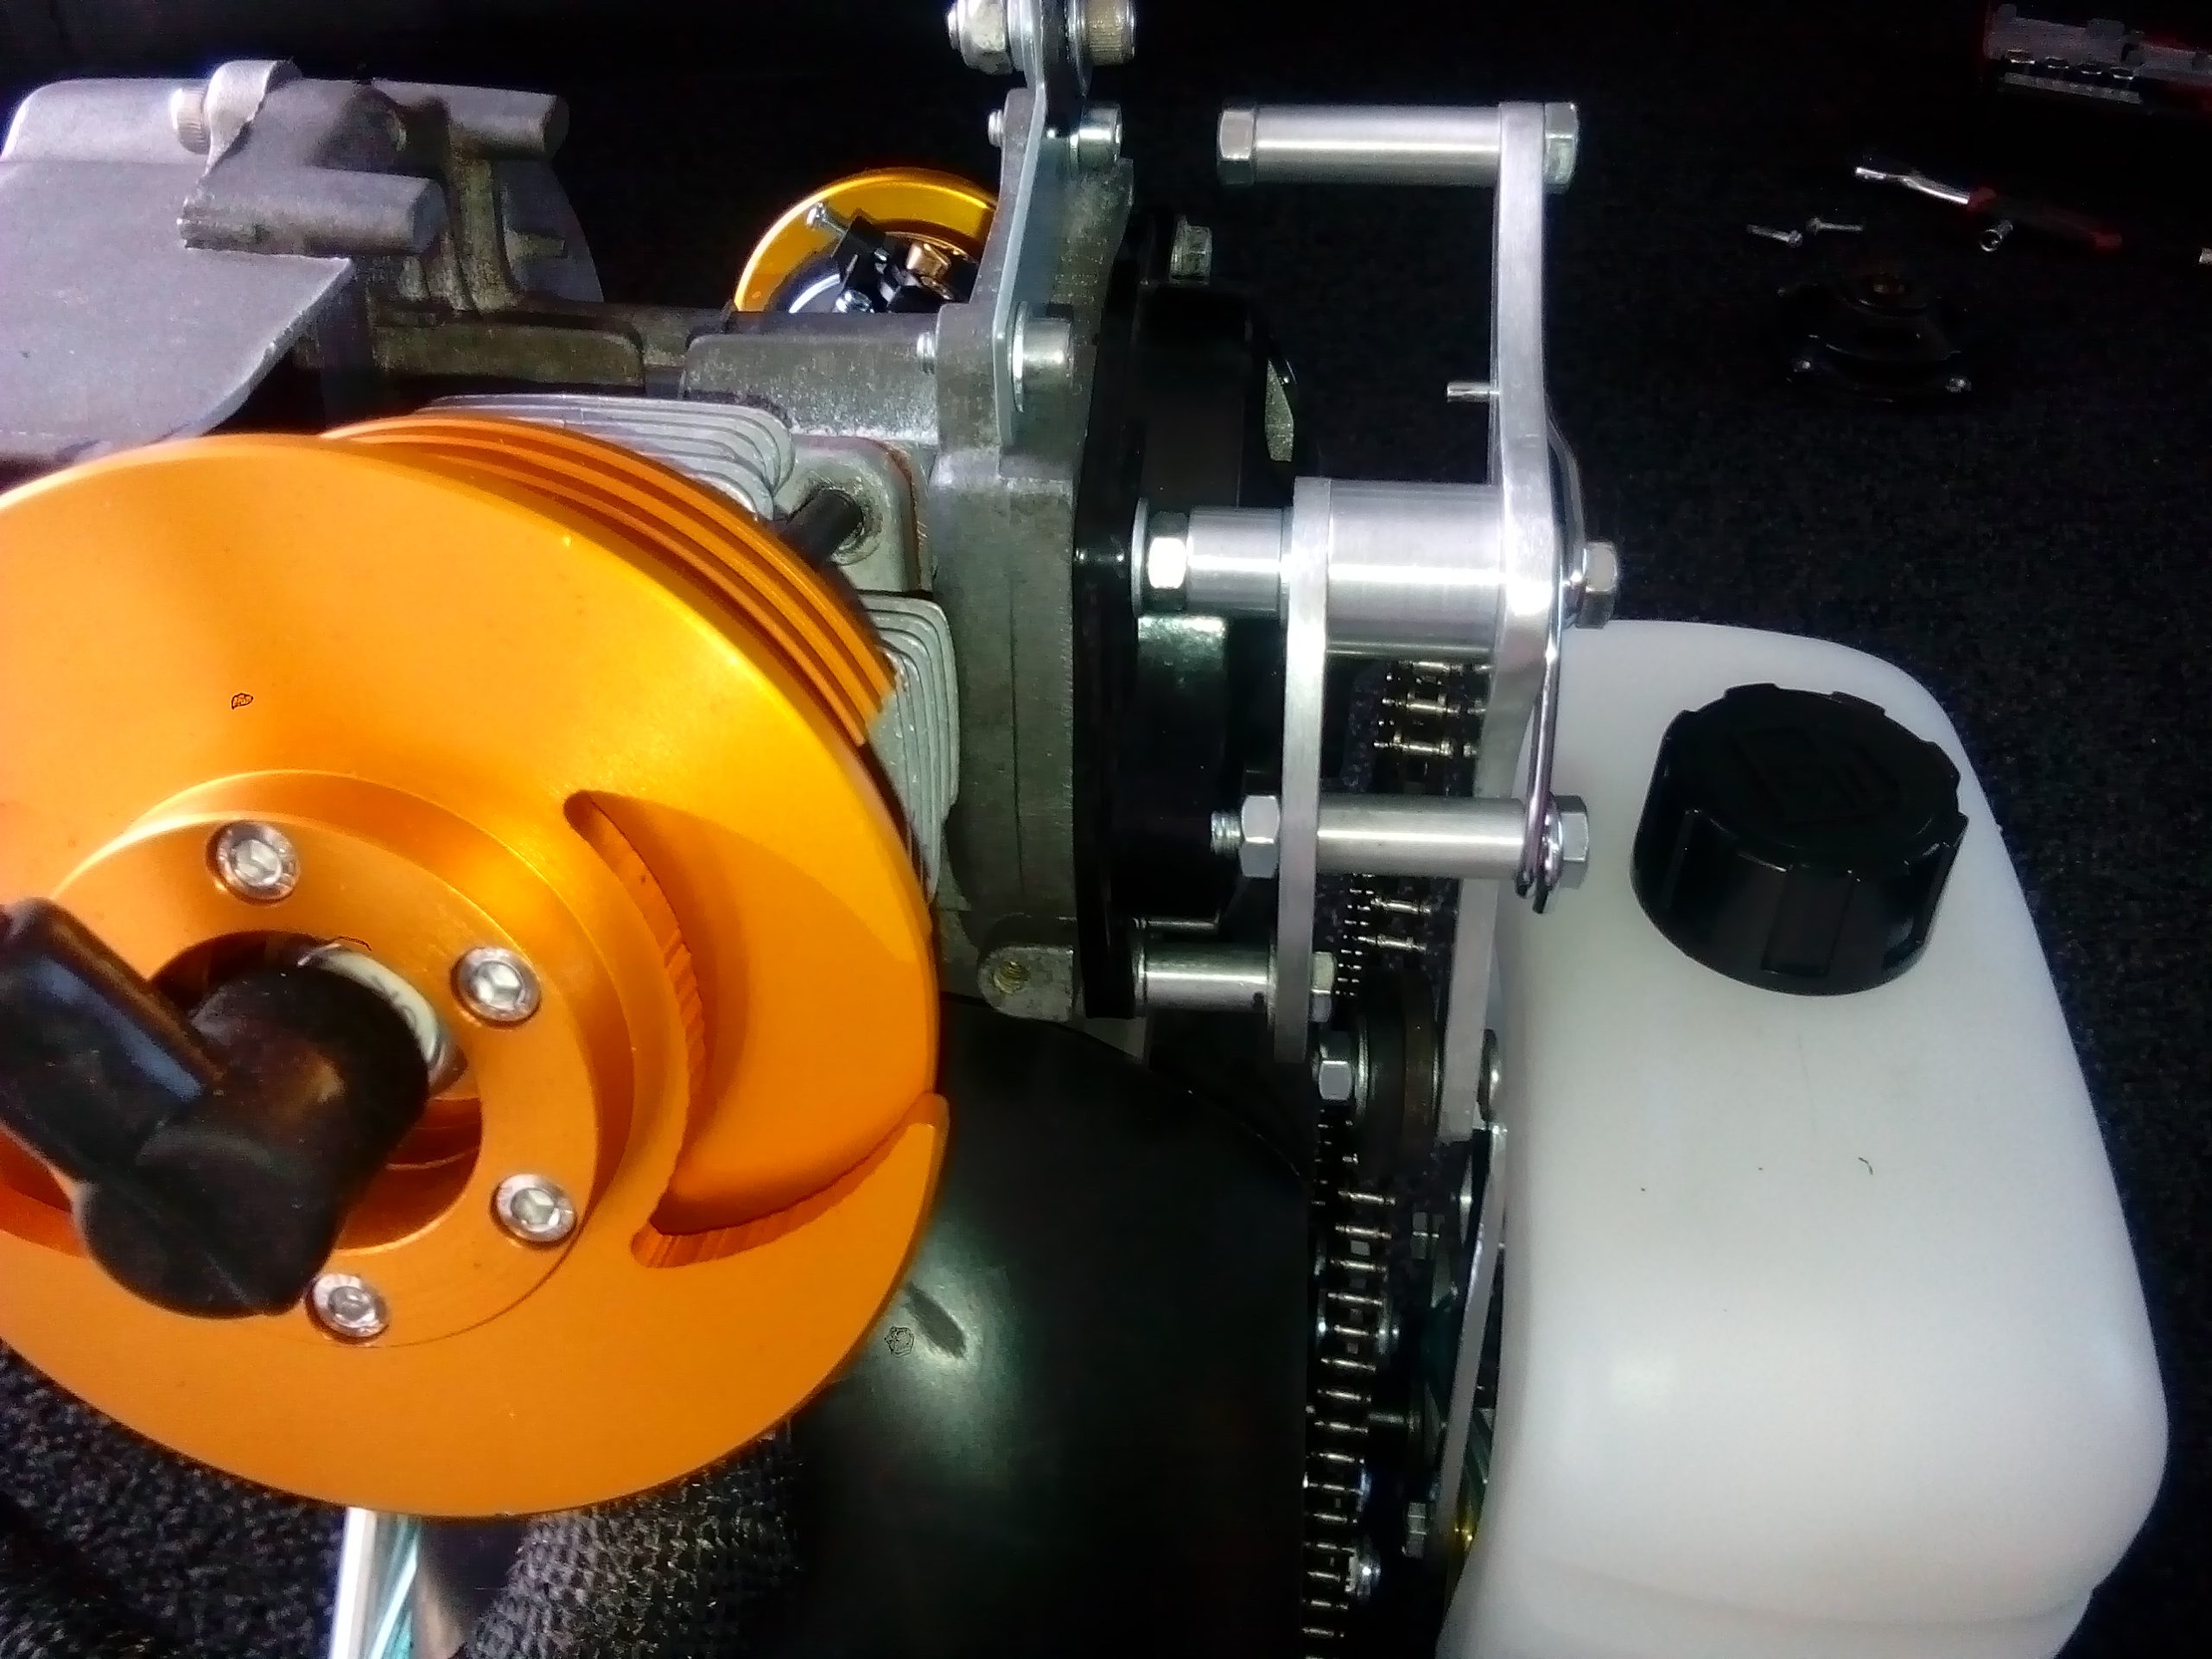
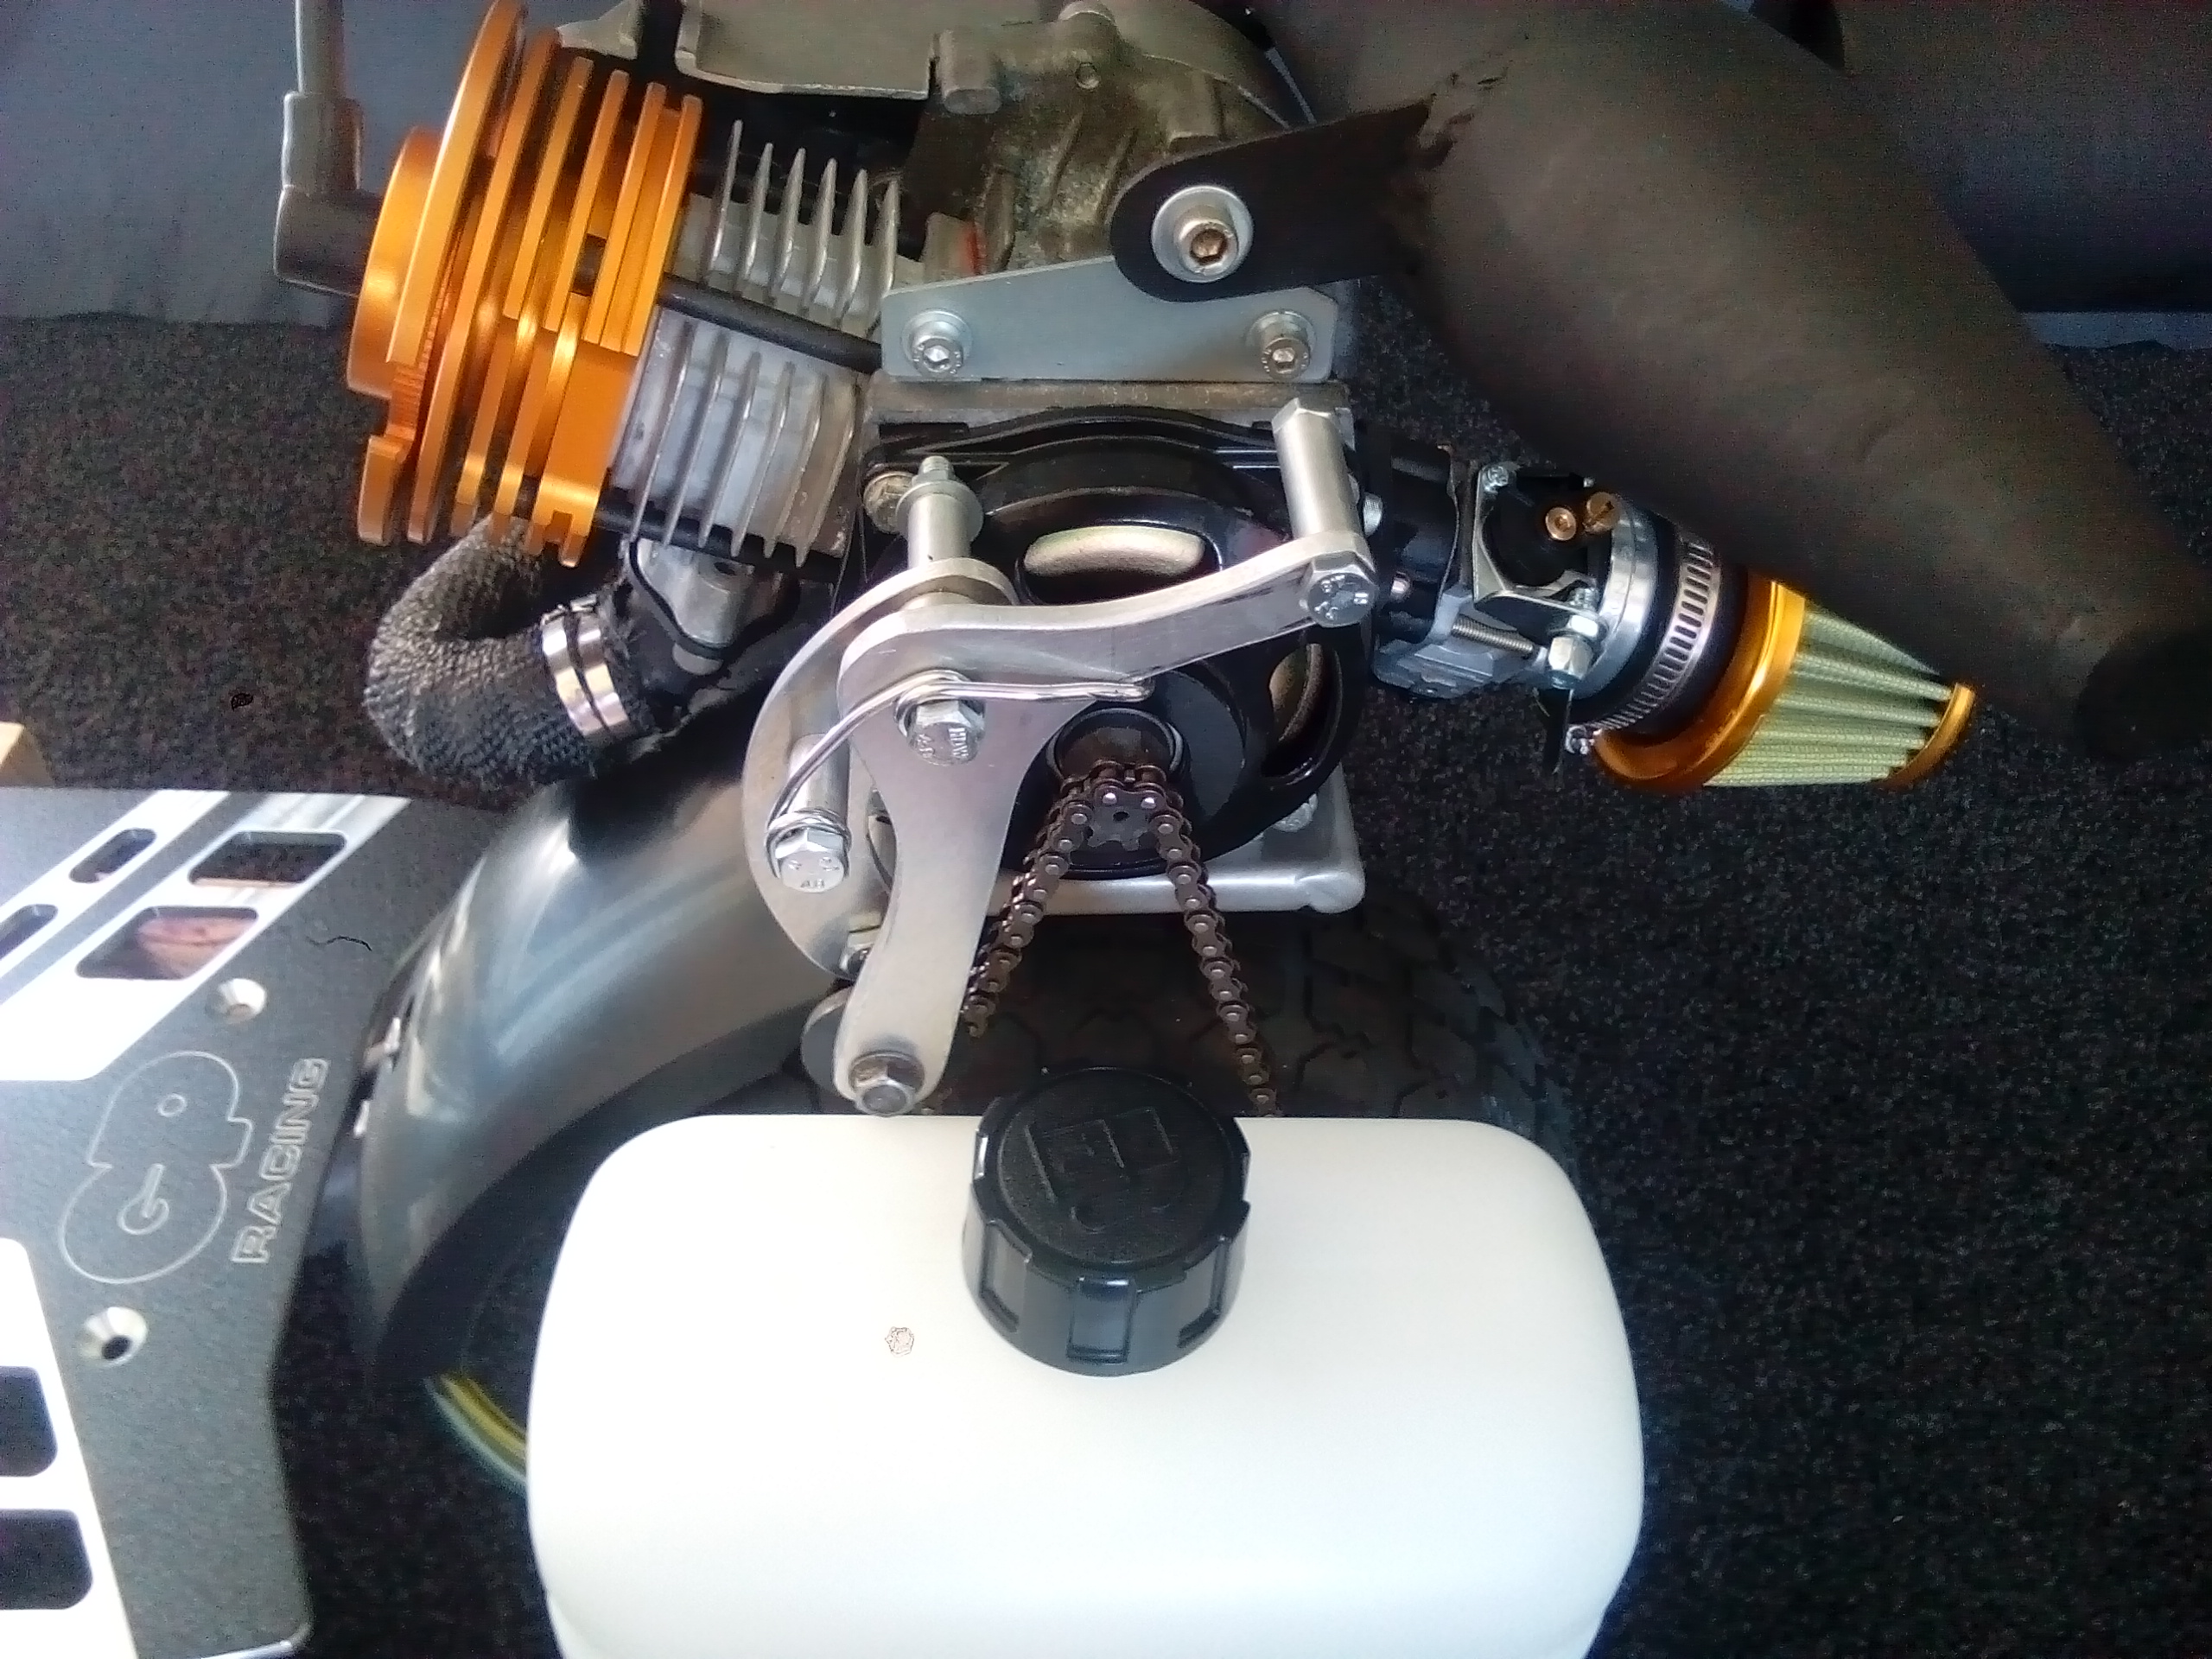
I took onboard some advice and shifted the chain roller further away from the pinion gear. It now contacts the chain close to the middle of the span between the pinion and the driven gear.
Its just sitting on there for a quick photo. But you get the idea. I'll finish it off, and sandblast it to reduce drawing too much attention to this part.
I added a pin on the end of the handle you push to adjust initial tension. This was added to catch the chain. So now if the chain breaks, it's gotta get past the expansion chamber, then the handle pin and the pivot pin on this tensioner. I feel a lot better with all this redundancy.
-
1
-
-
Jealous, like seriously fucking green with envy!
-
2
-
-
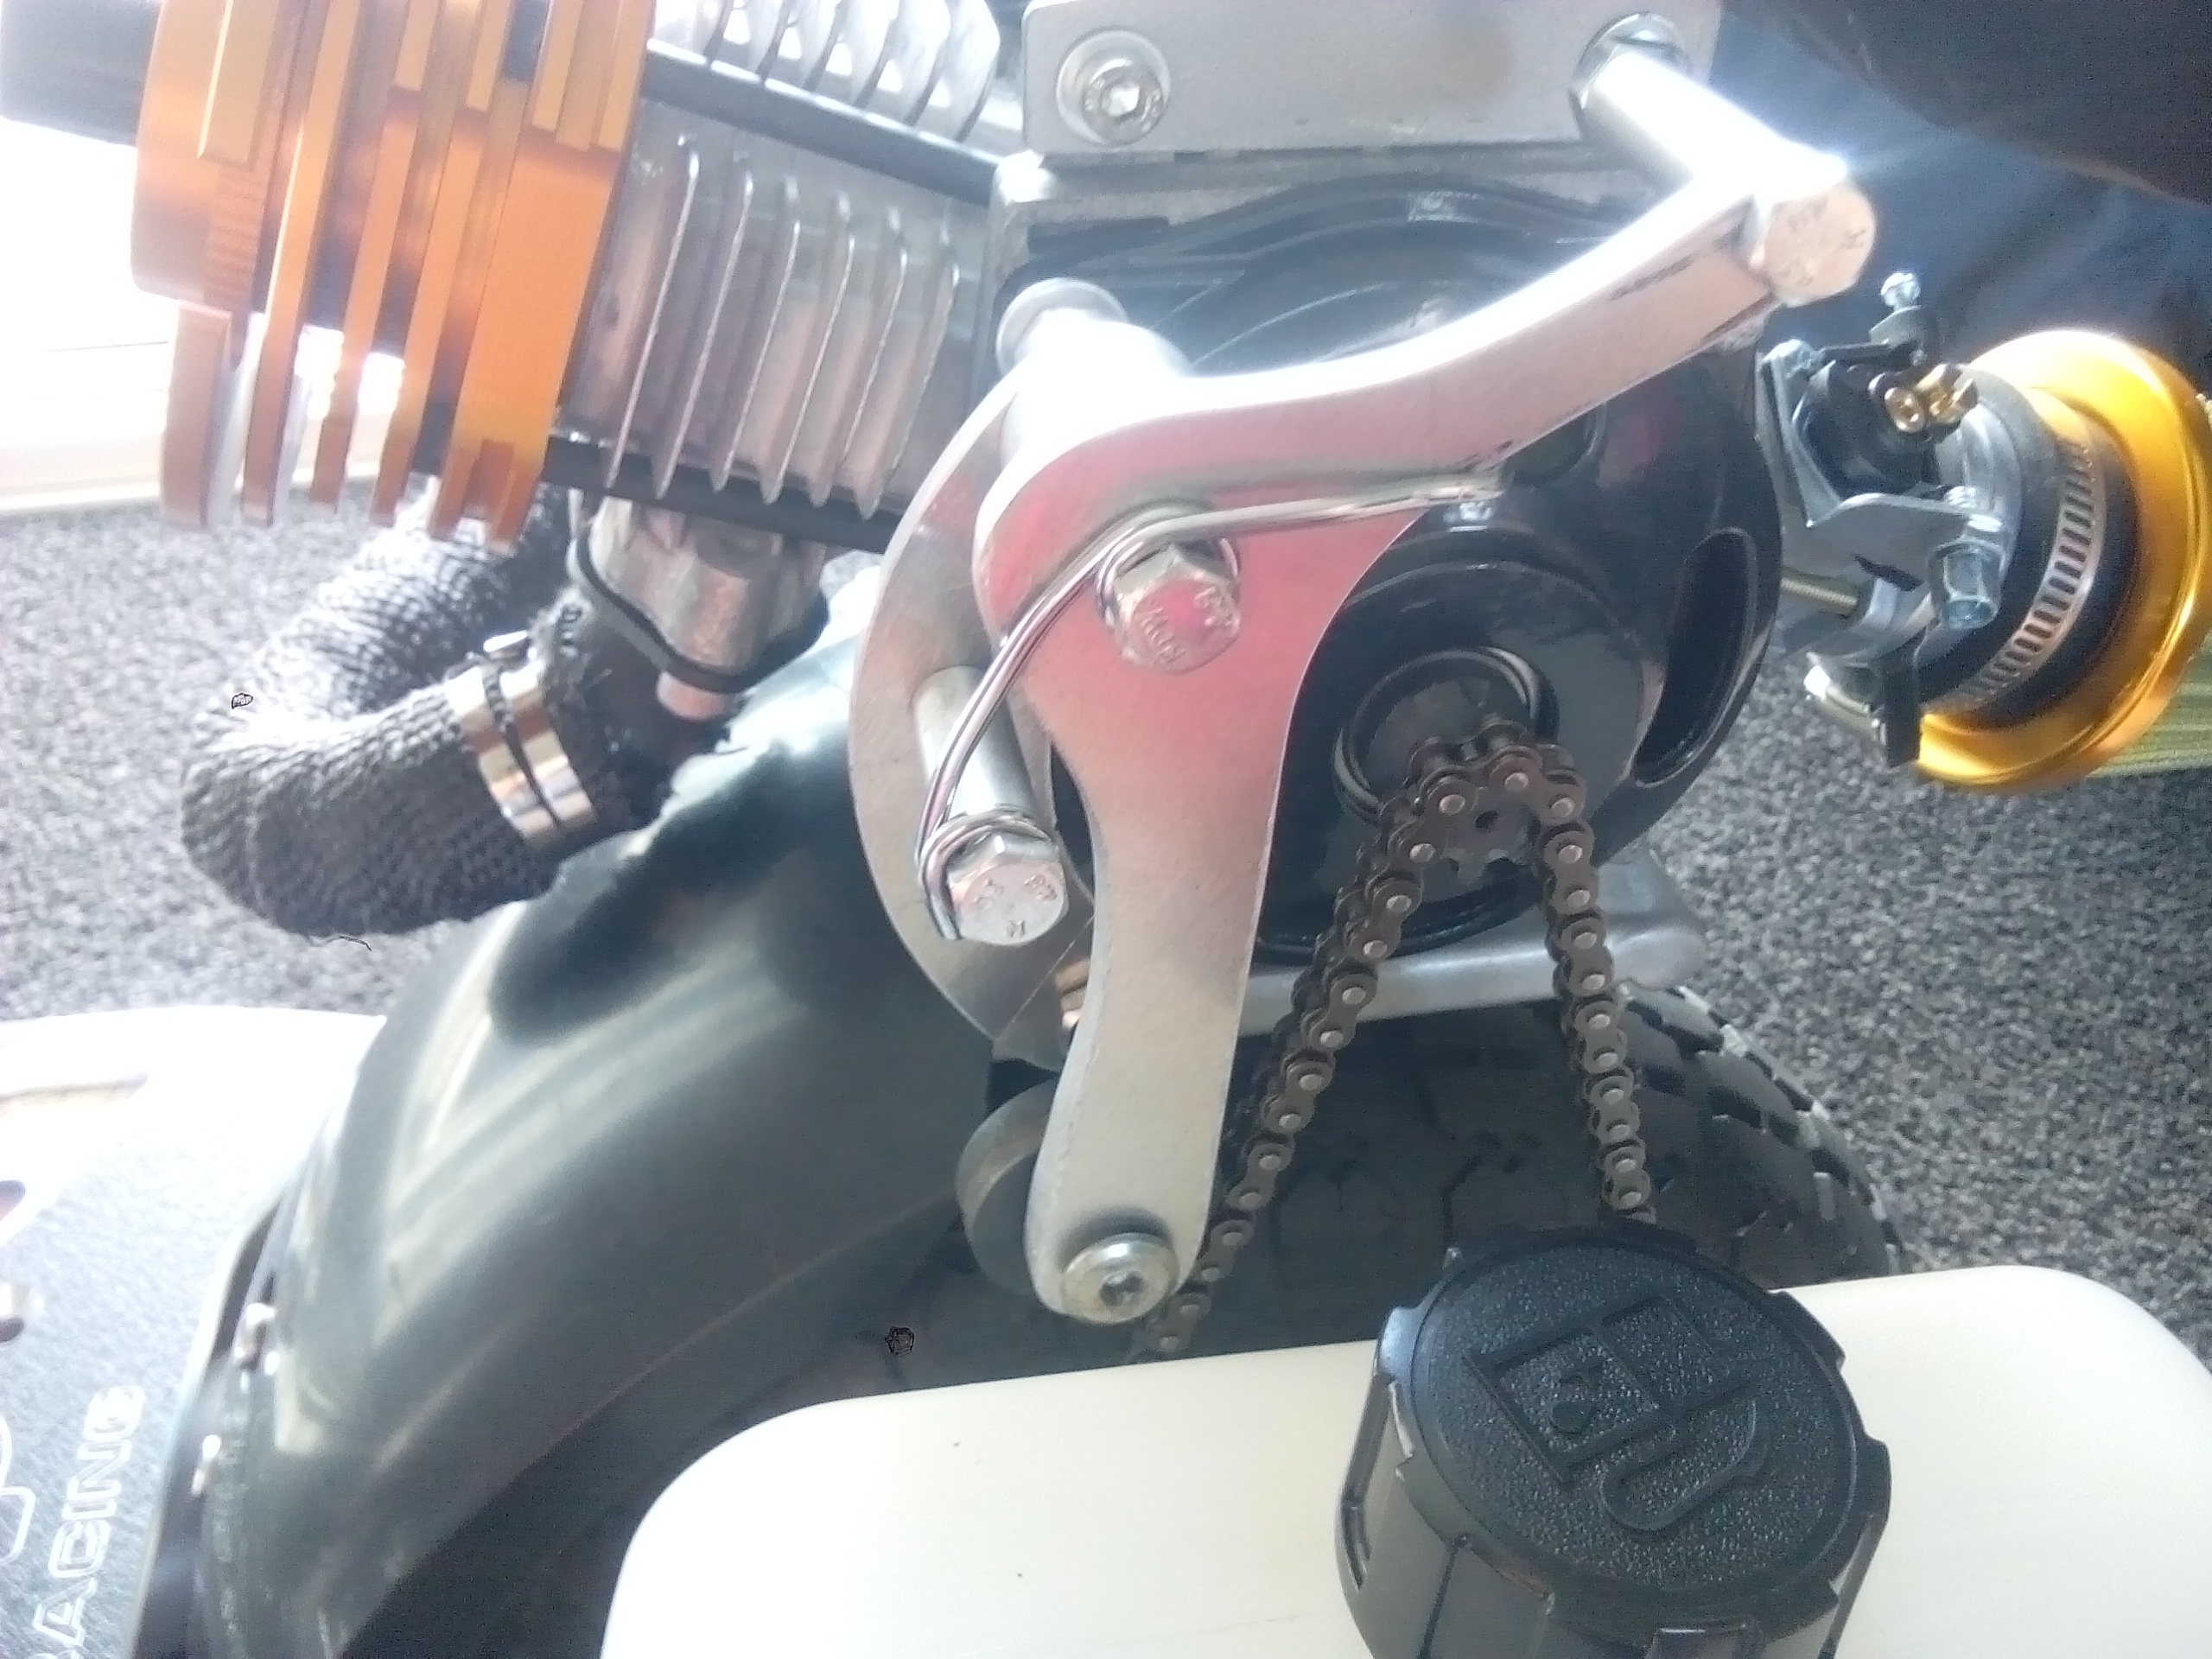
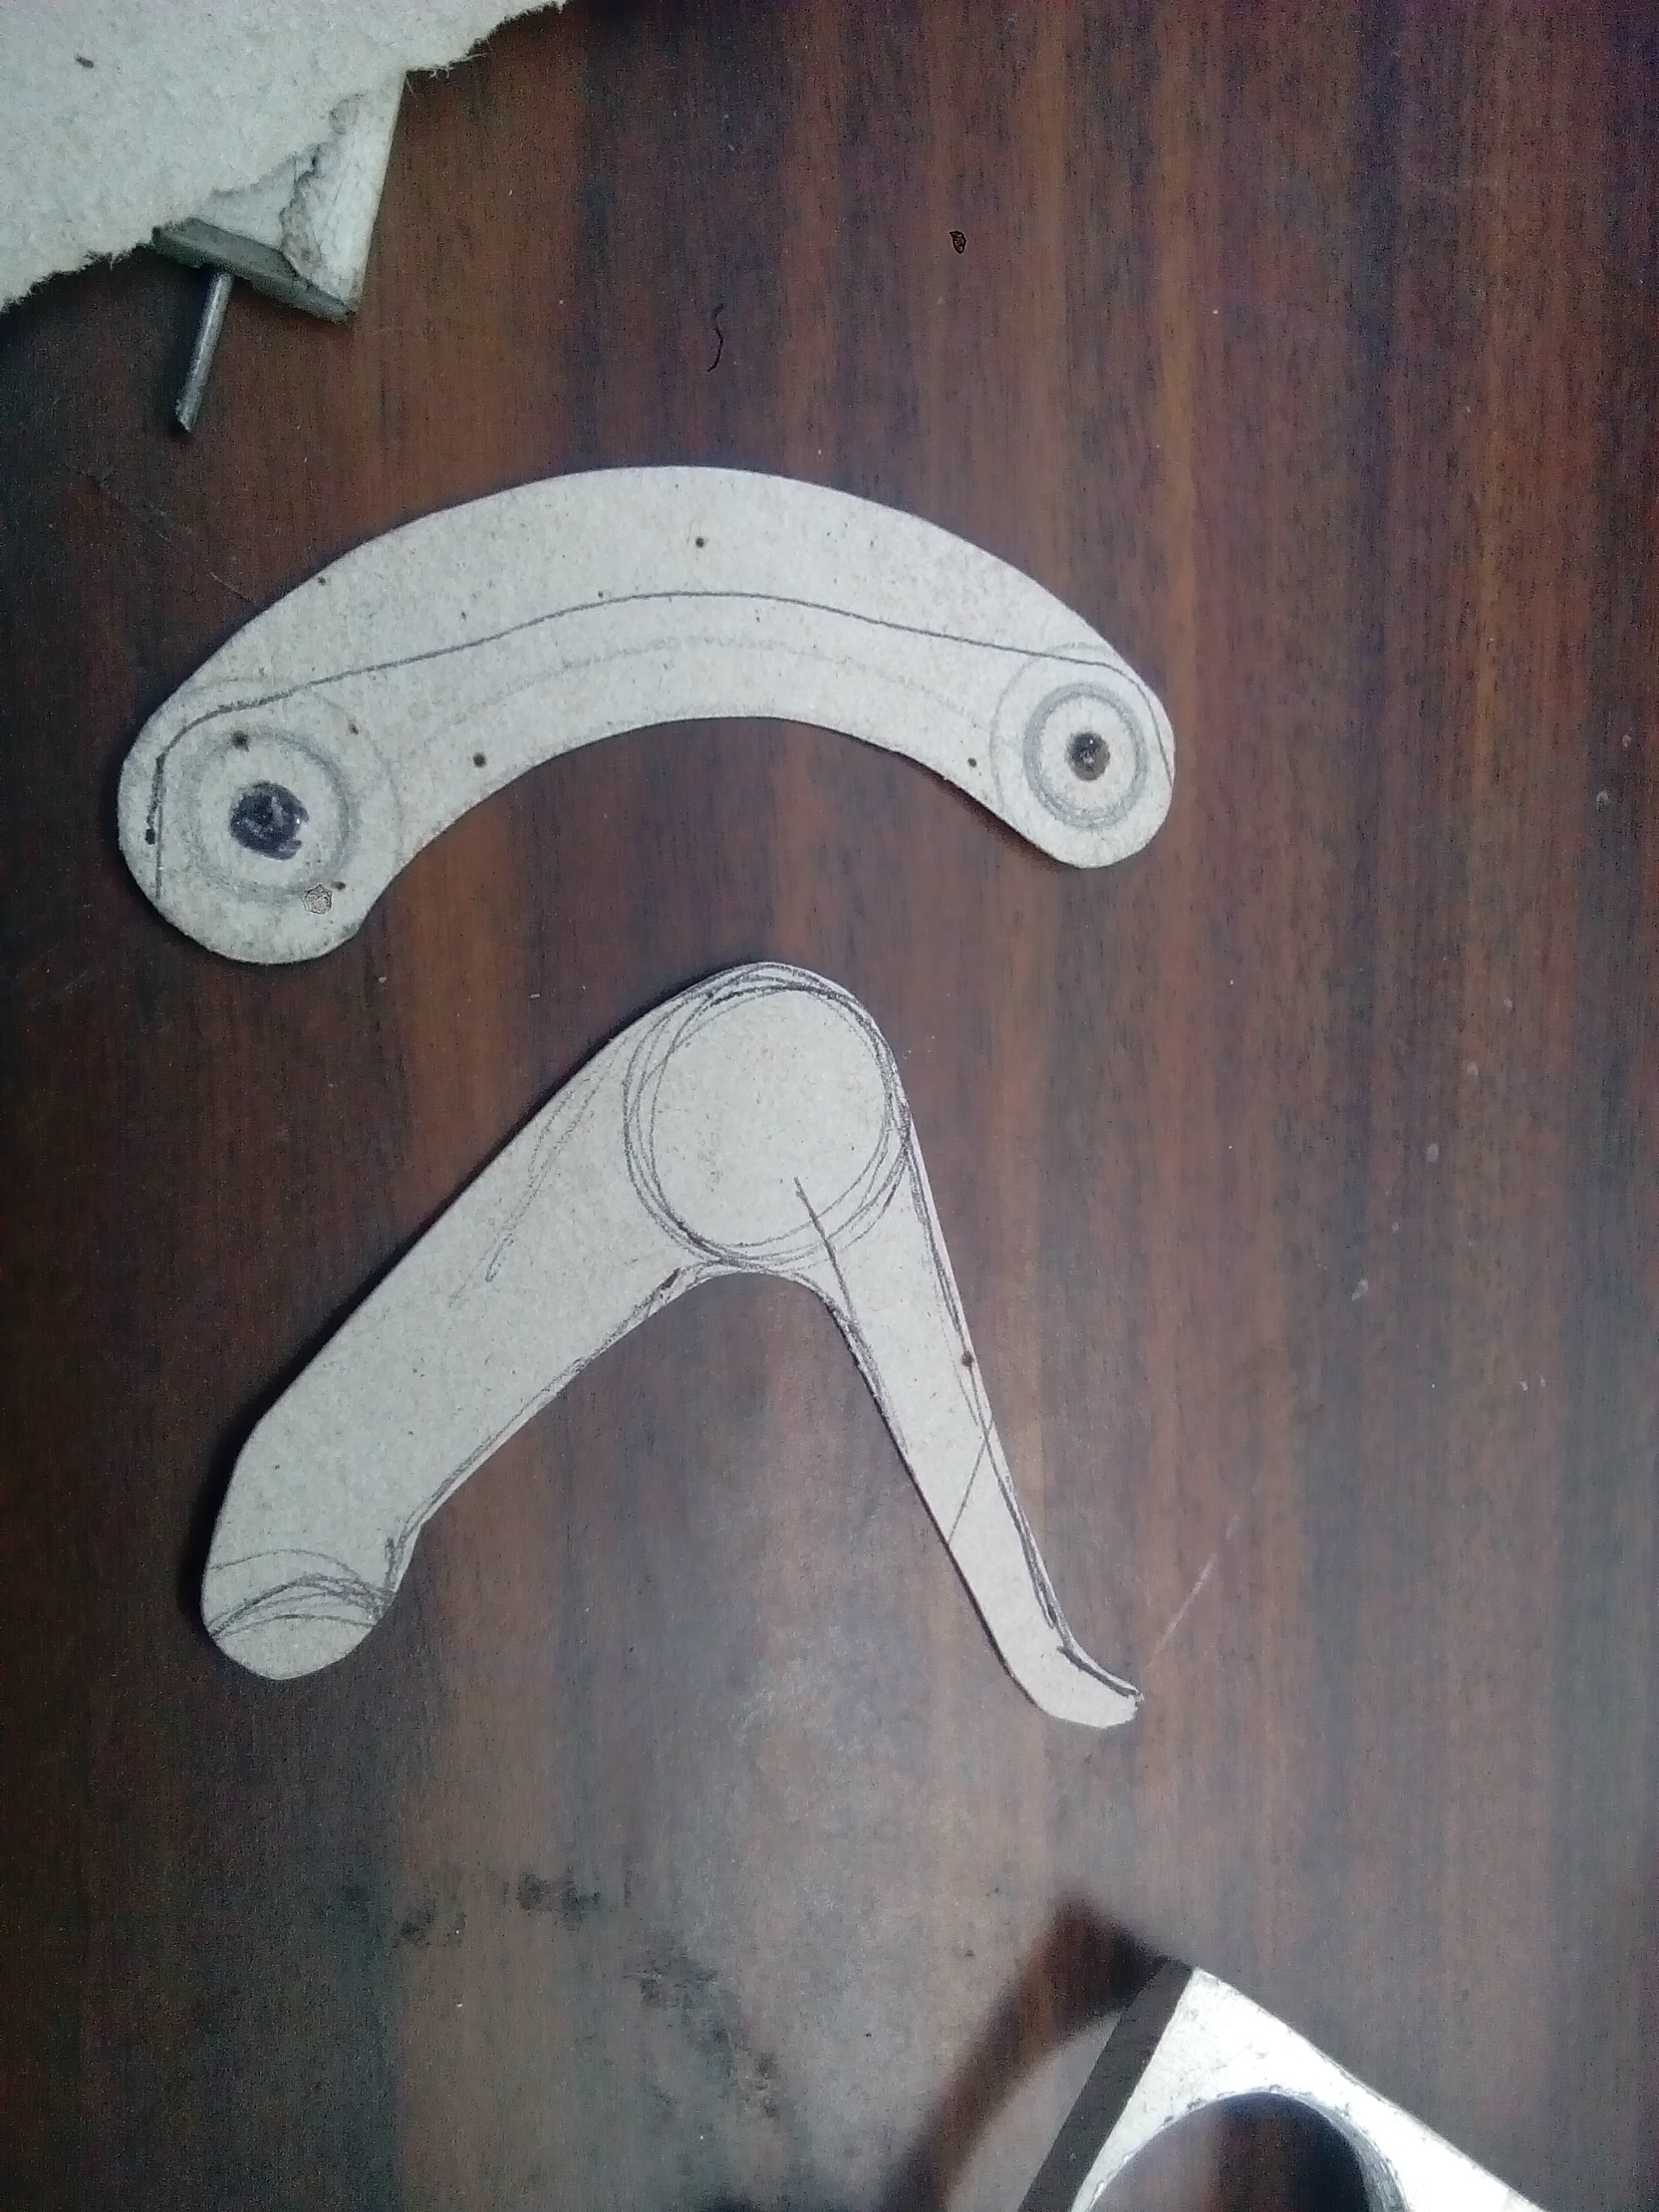
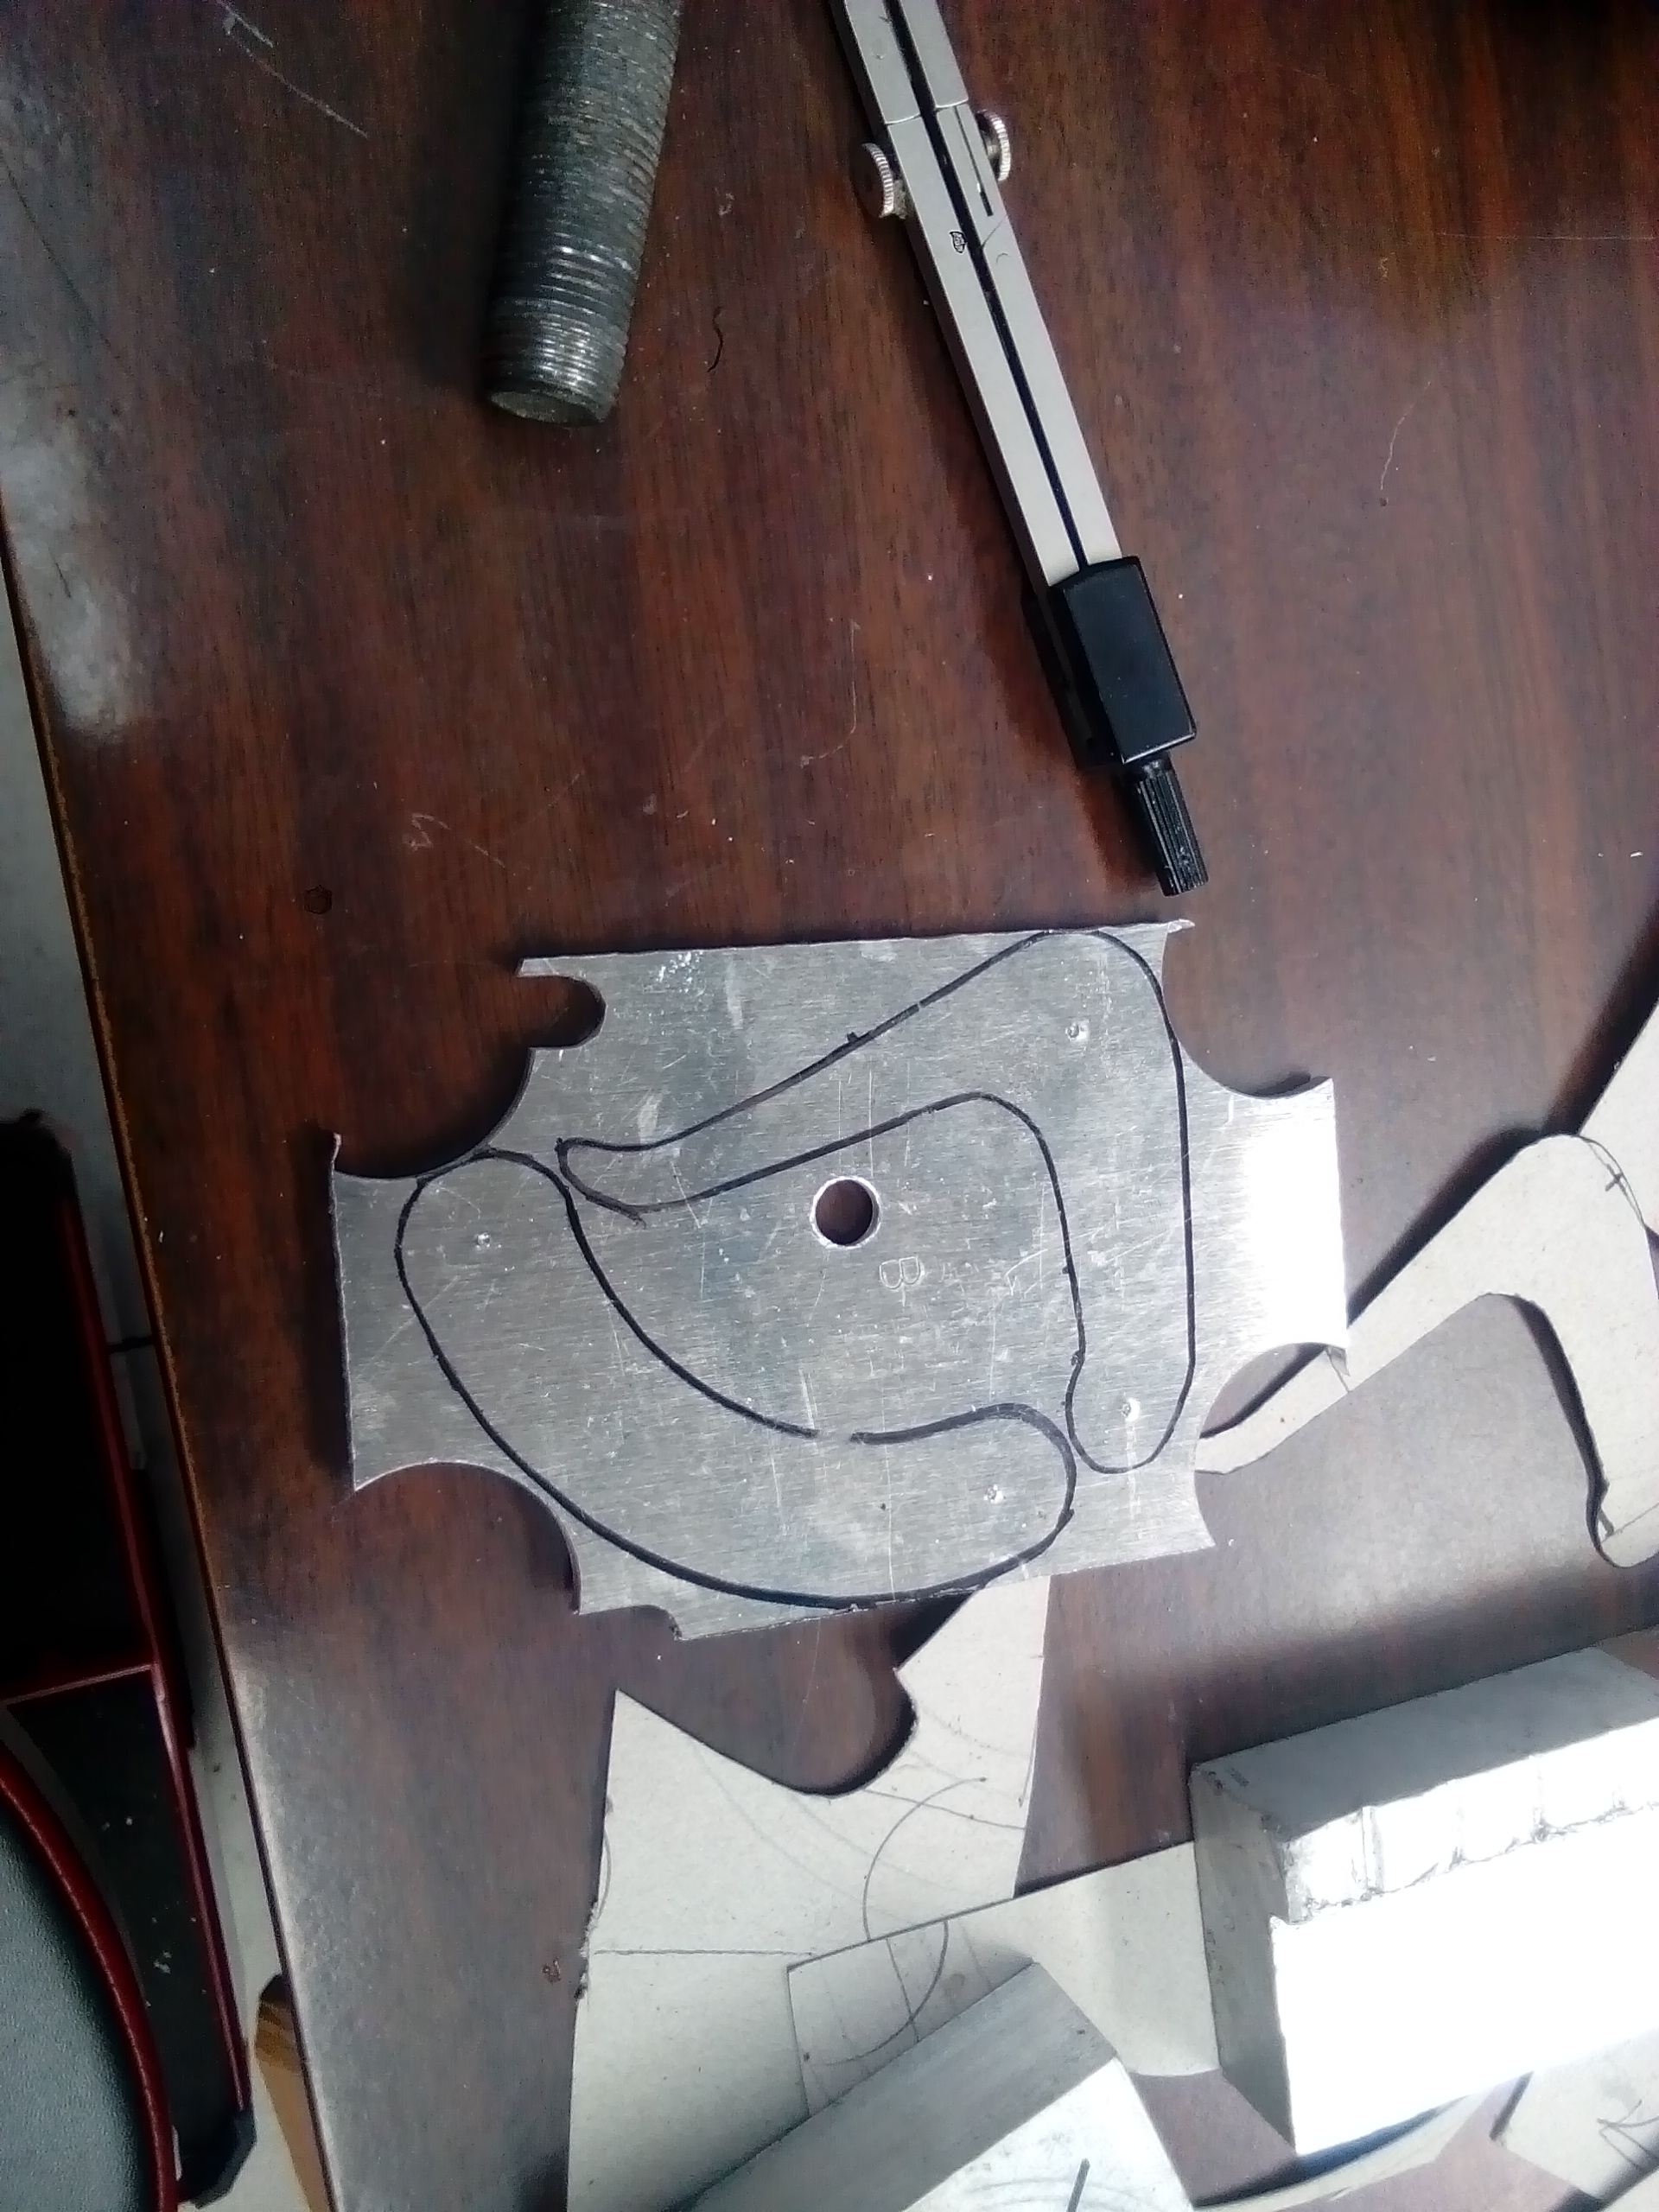
I was worried about what could happen if the chain was to break. So I decided to fit a guard.
The guard may as well perform a dual function, so I came up with this tensioner system, that will put pressure on the chain to eliminate any slack.
I need to get a bearing/roller to complete. But those are easily available.
Now the chain should run sweet, but if it does break it hopefully gets deflected by this and doesn't whip me!
-
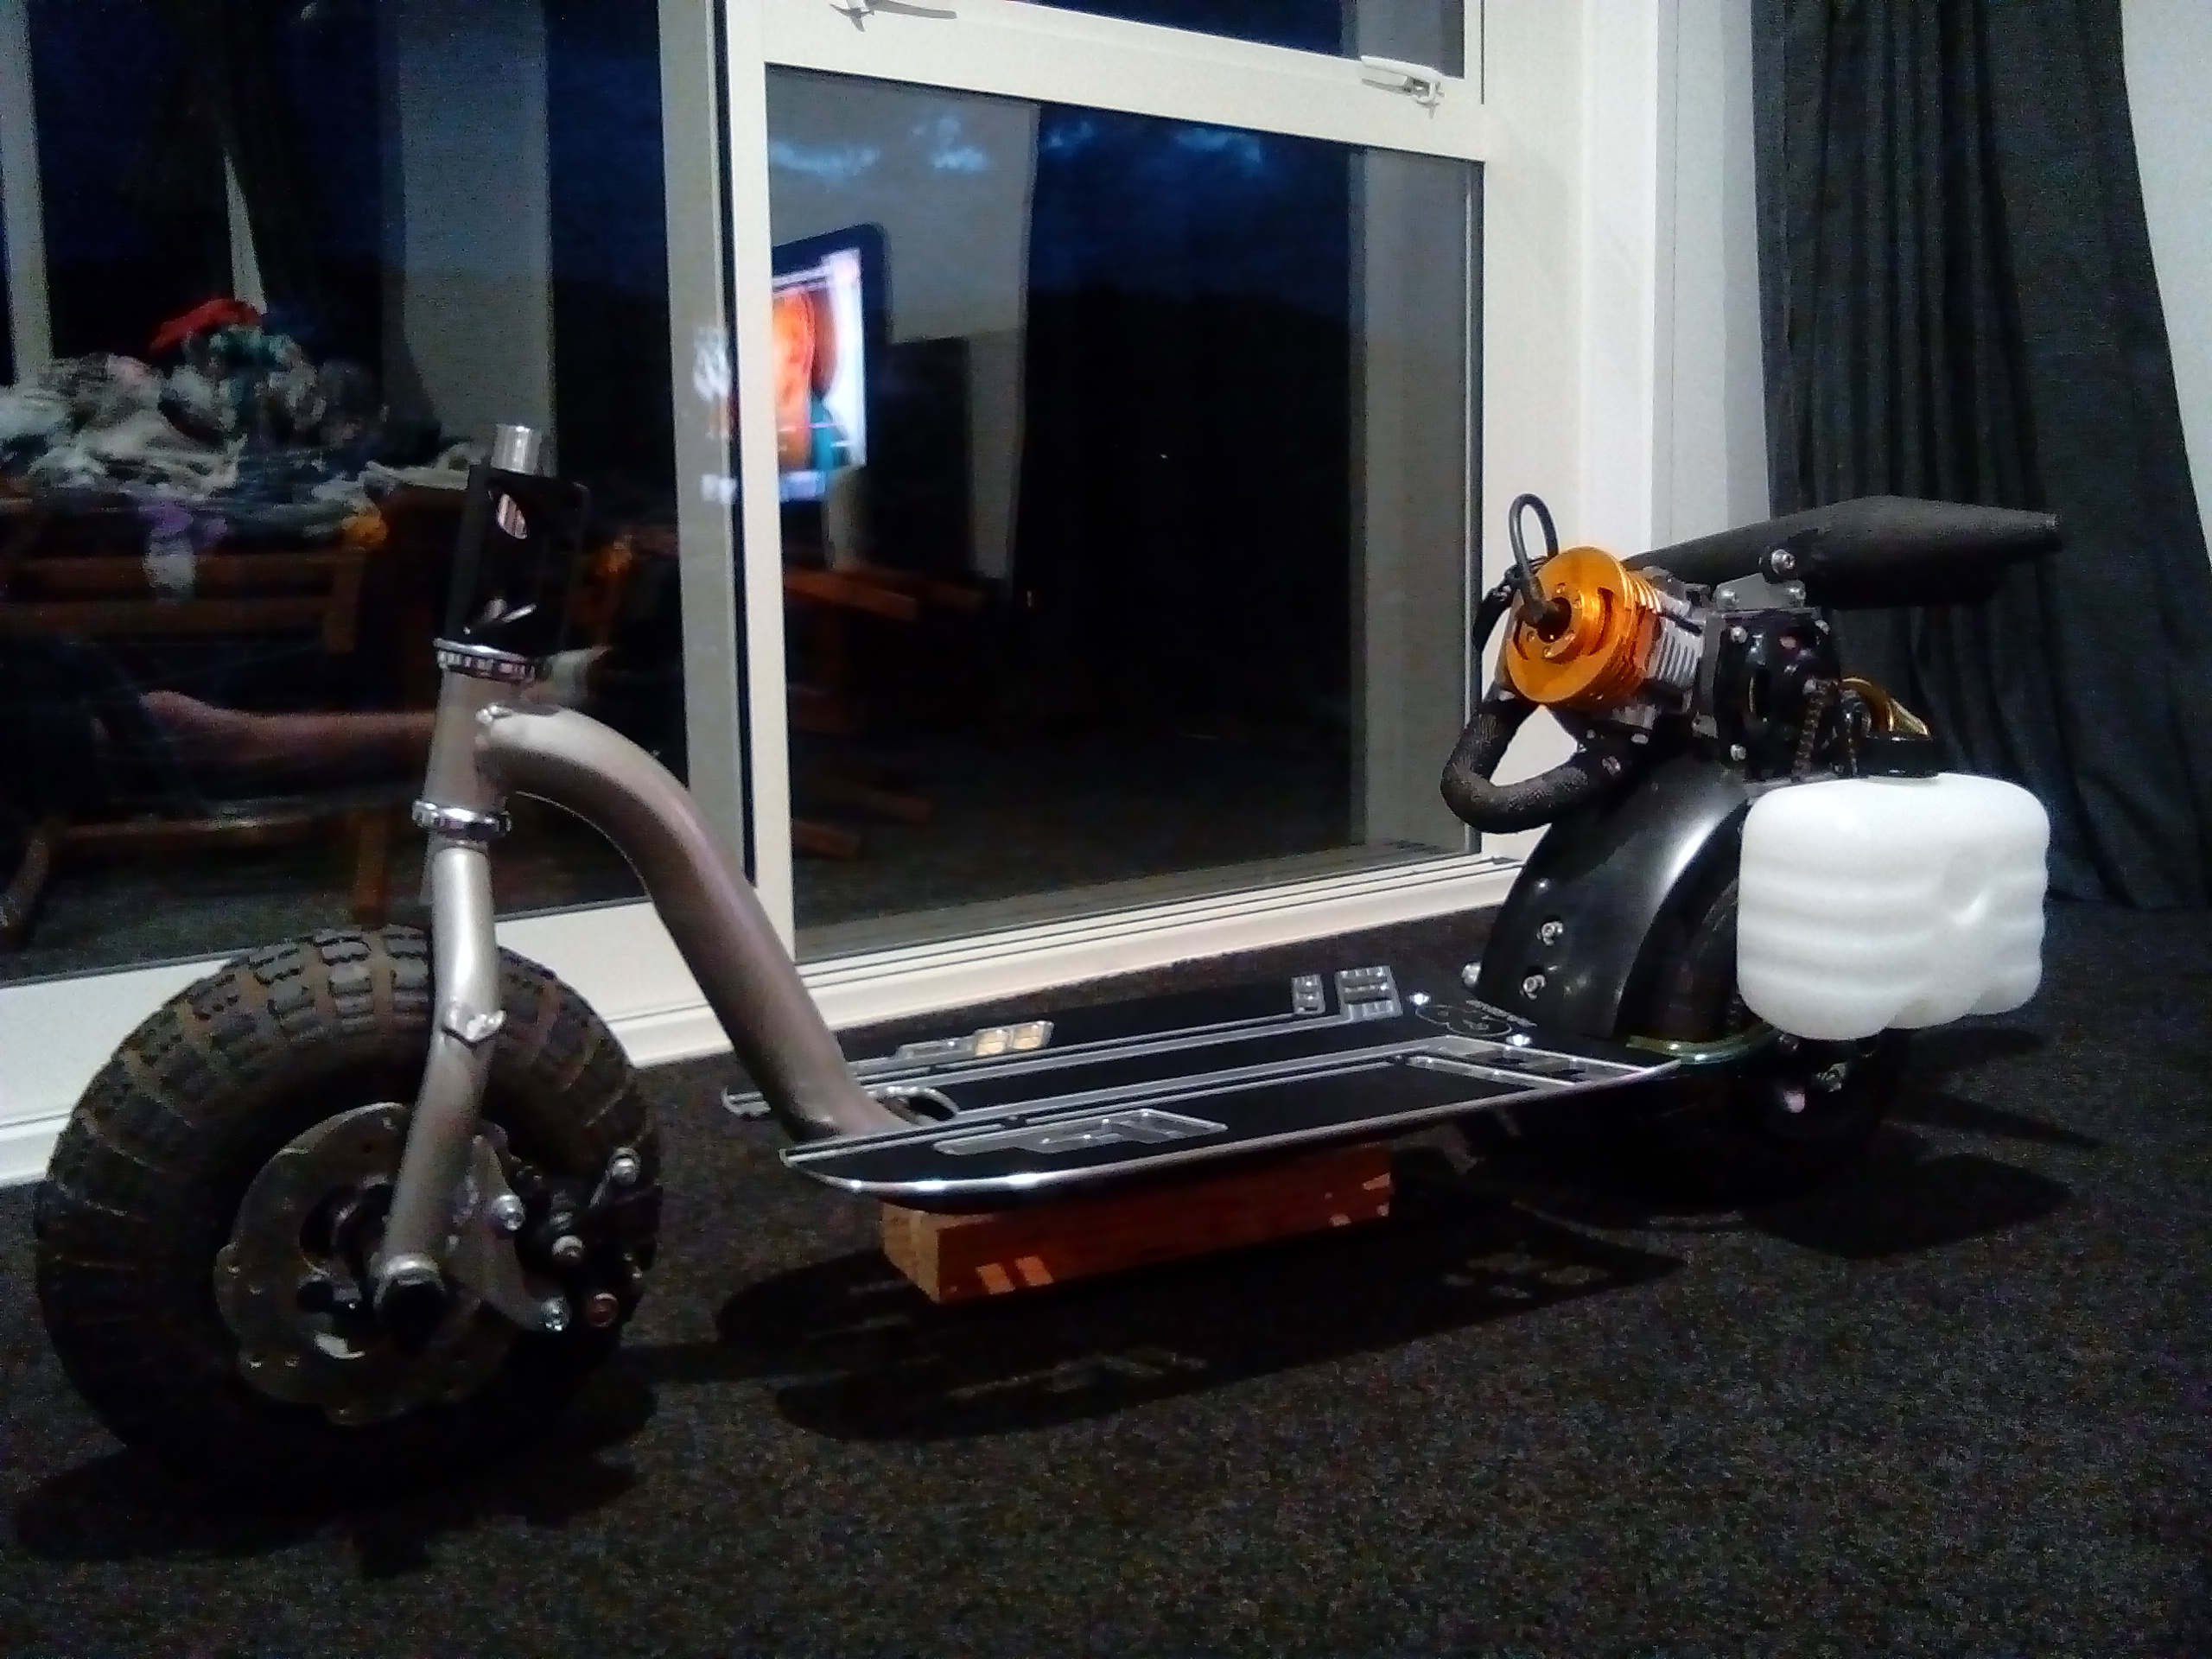
Tv's so boring these days, there's never anything on worth looking at...so I dragged the goped inside to stare at on the off chance I glean some inspiration.
My wife is currently googling "psychologists in the Waikato region". I don't know why, there's nothing wrong with her?
-
6
-
2
-
-
24 minutes ago, Muncie said:
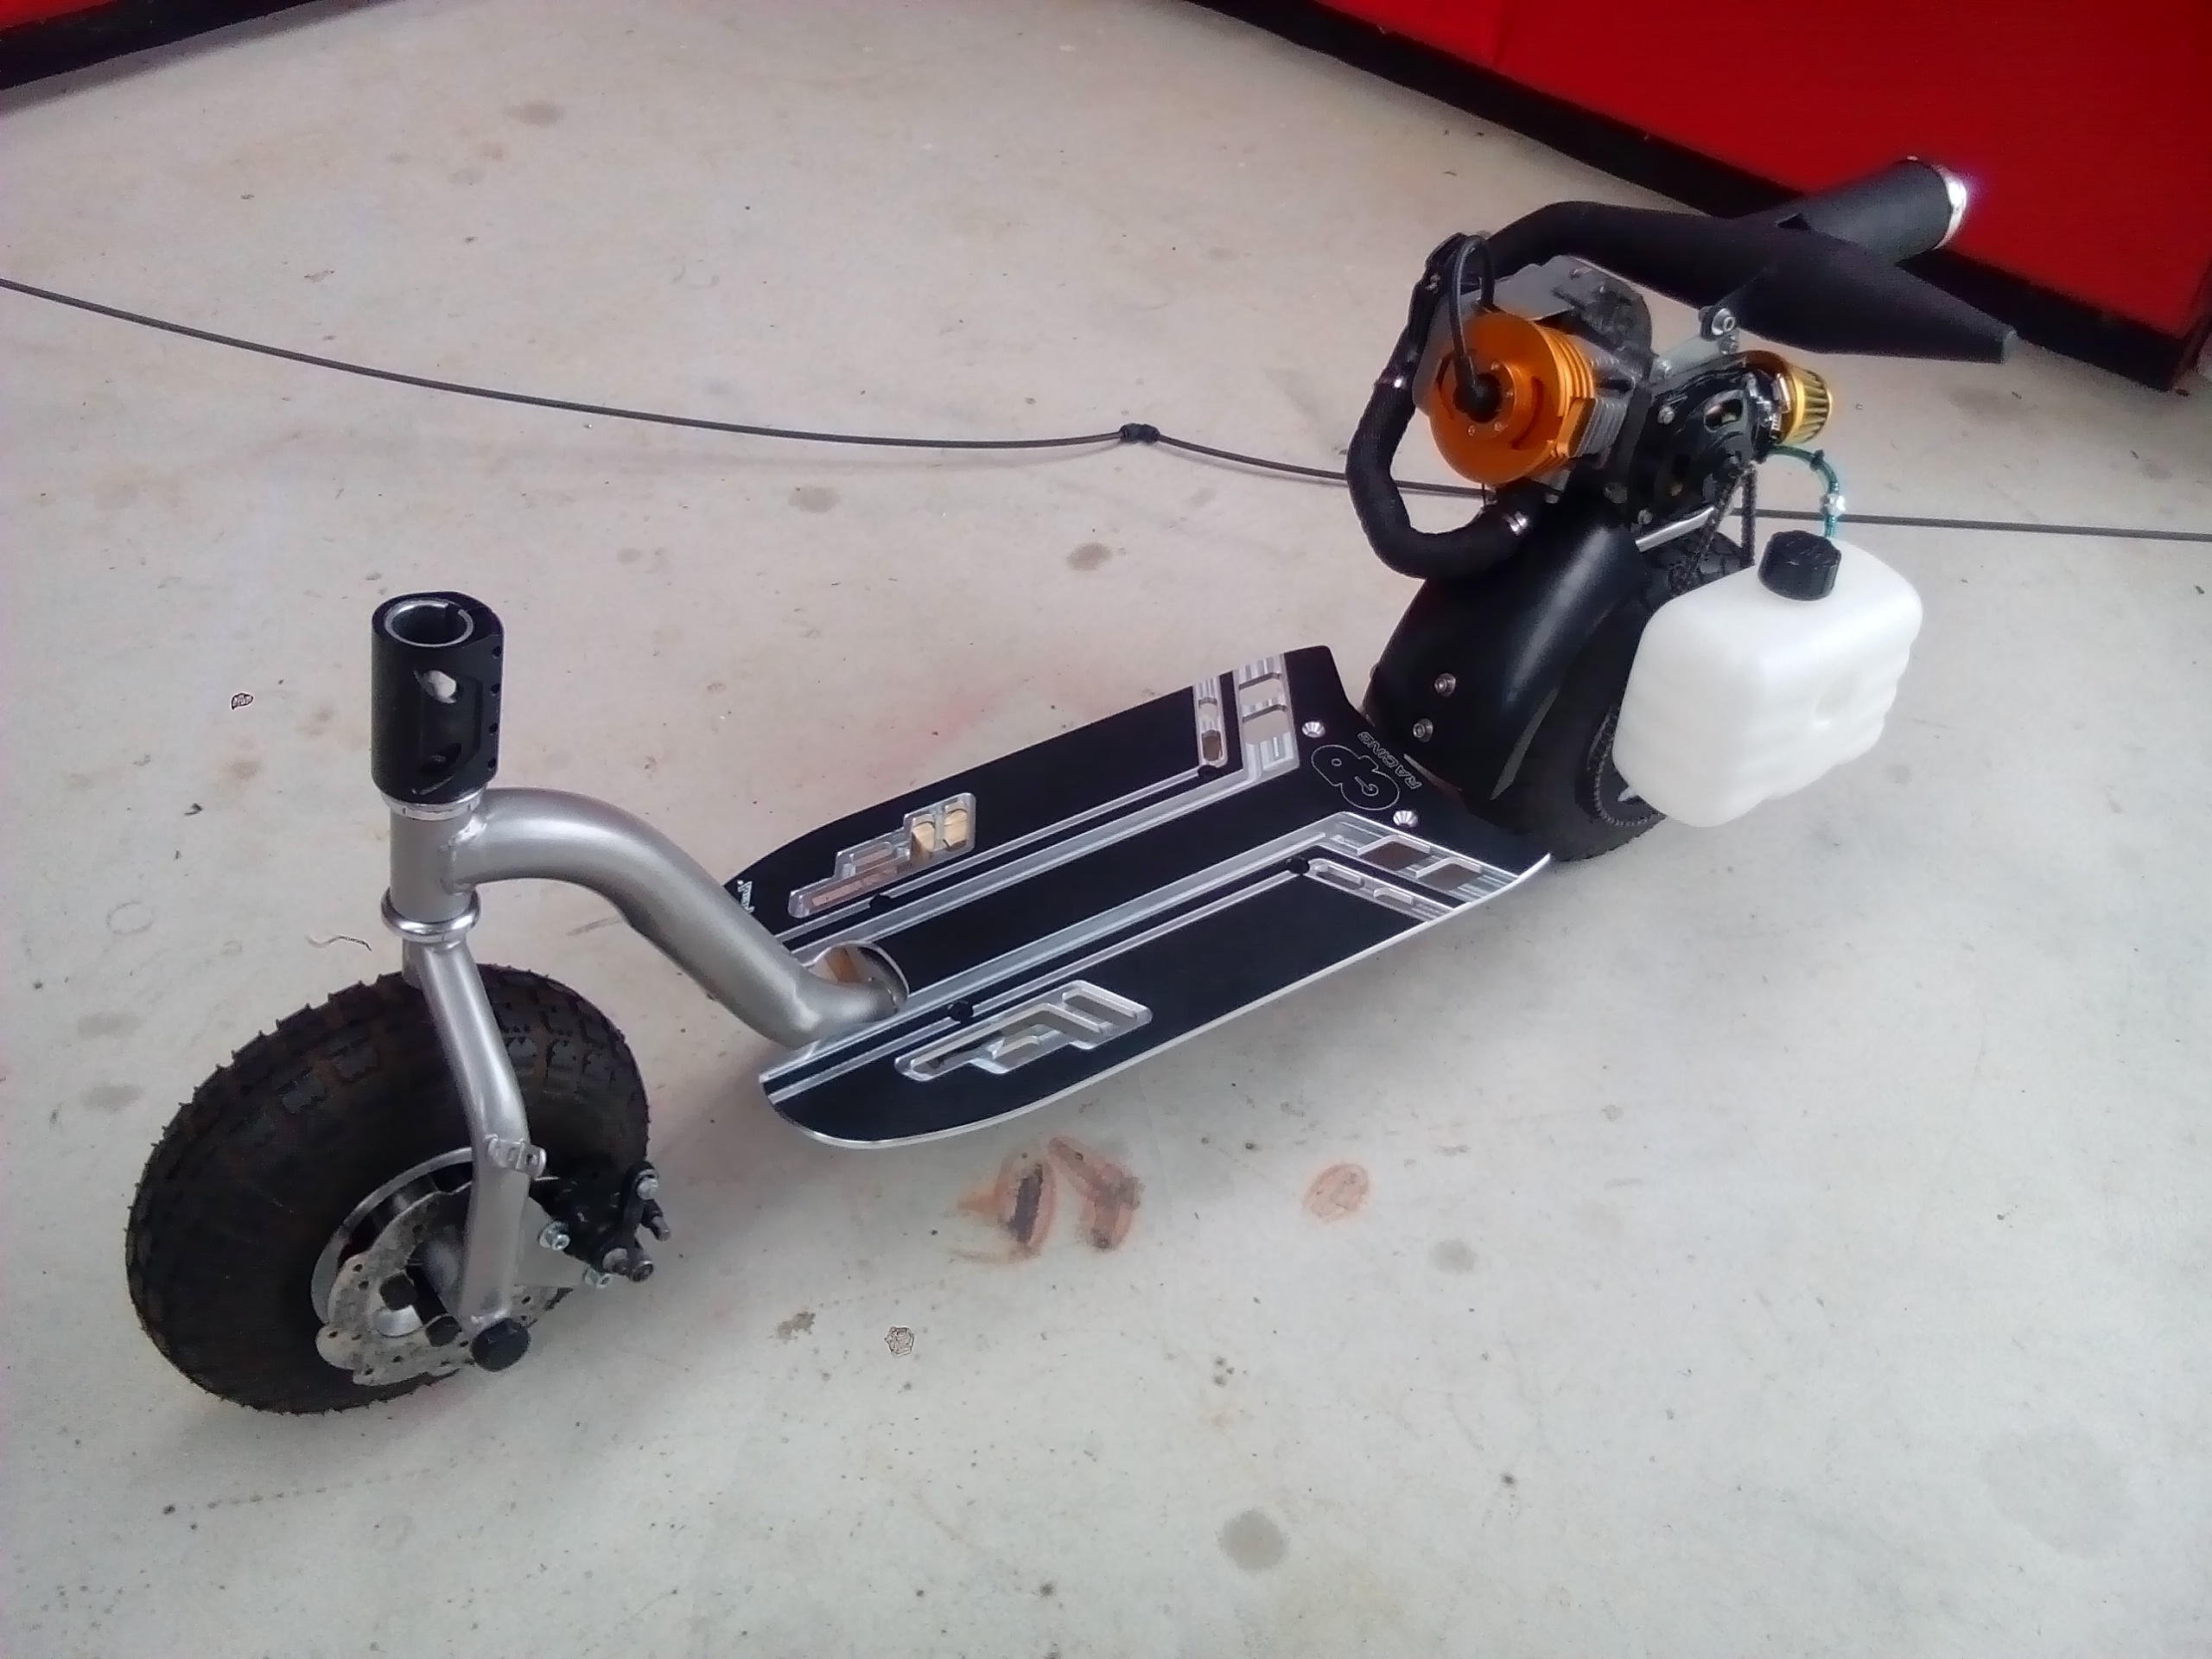
I think I like yours better....... liking the alloy deck do they get slippery?
Not too bad.
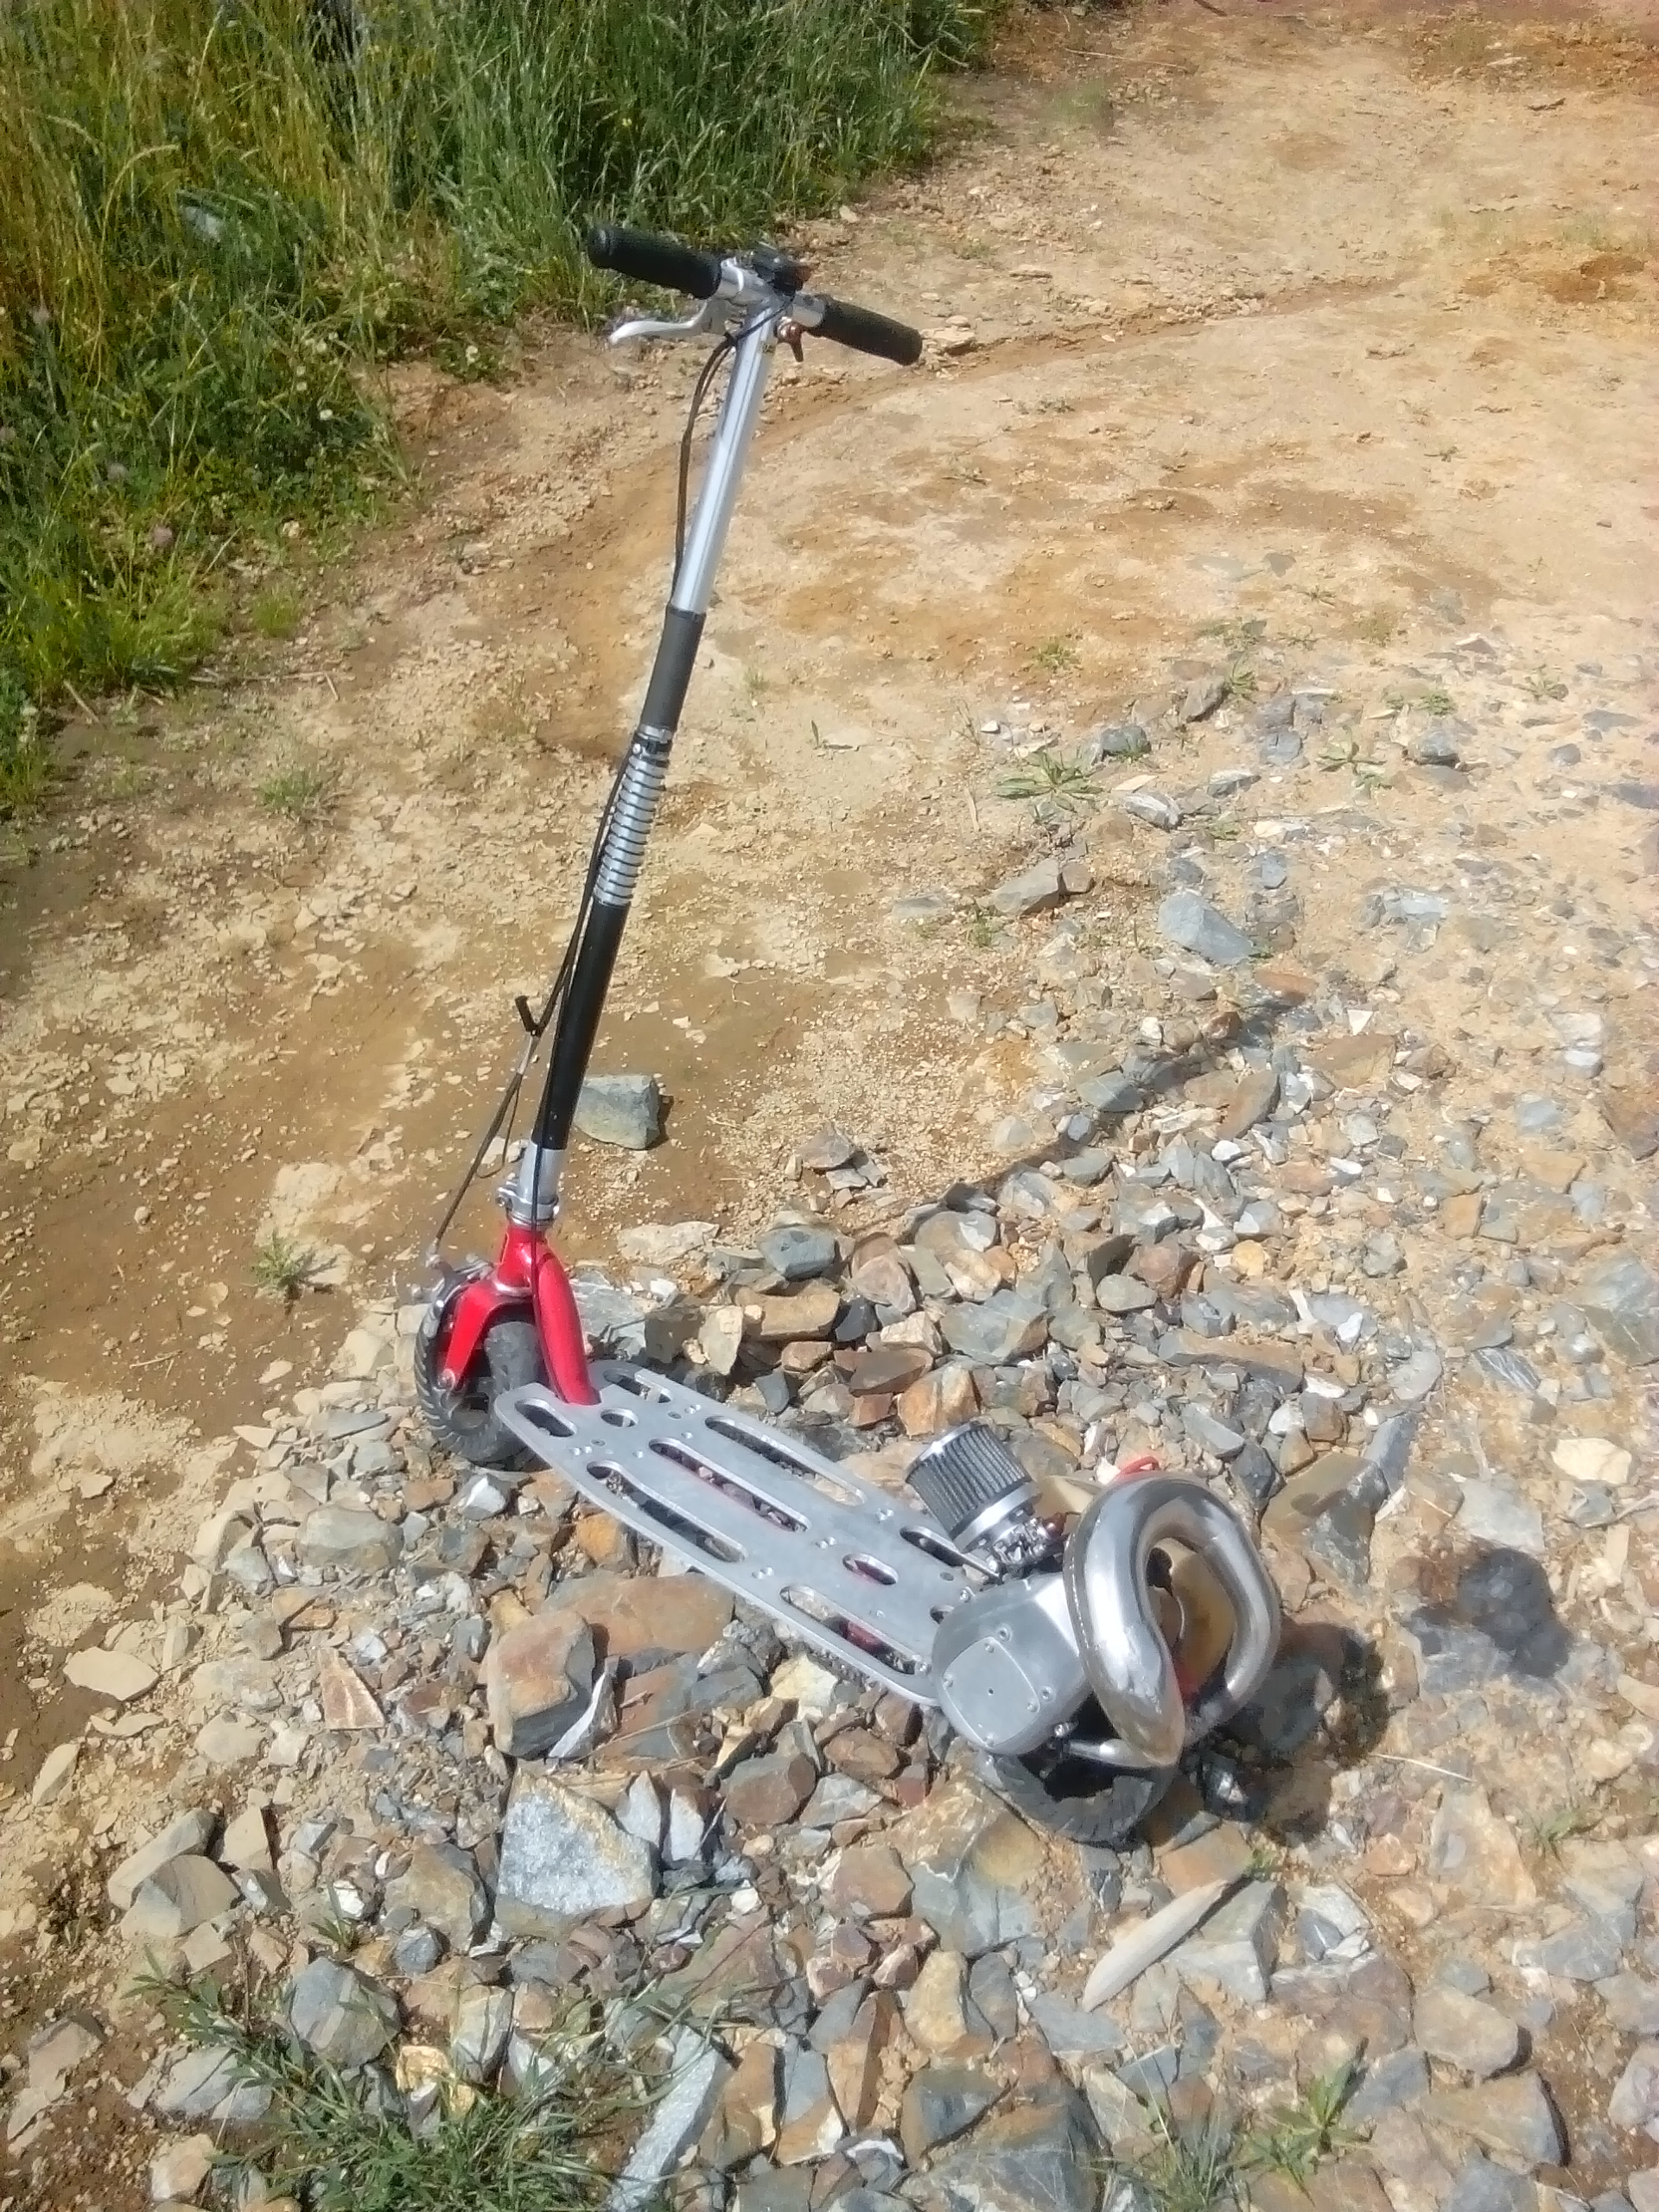
I made my own (deck) about 20 years ago for this goped sport pictured below:
The deck has never caused an issue. Although in the wet may be different?
I still have that scooter... and it still hauls arse, with a power band like a sledge hammer!
It was the first motor I ever fully built myself. Its a hybrid with Zenoah G23LH cases and crank, with a Zenoah G290RC head and piston. That's 22.5cc and 29cc with the resulting hybrid ending up at 25.8cc. I gave it a very mild port job, advanced the timing, raised compression, added a bigger carb, made a velocity stack, lightened the fywheel and added an expansion chamber.
When I built it I really didn't know what I was doing, but somehow fluked a pretty good resulting product.
-
2
-
 1
1
-
-
Here's a mock up with some handlebars on. I won't be using this set... but it's cool to slap em on, stand back 5 paces and visualise.
The factory bars are only 1mm wall thickness aluminum. I'm going up to 3mm wall thickness for added rigidity.
-
3
-
-
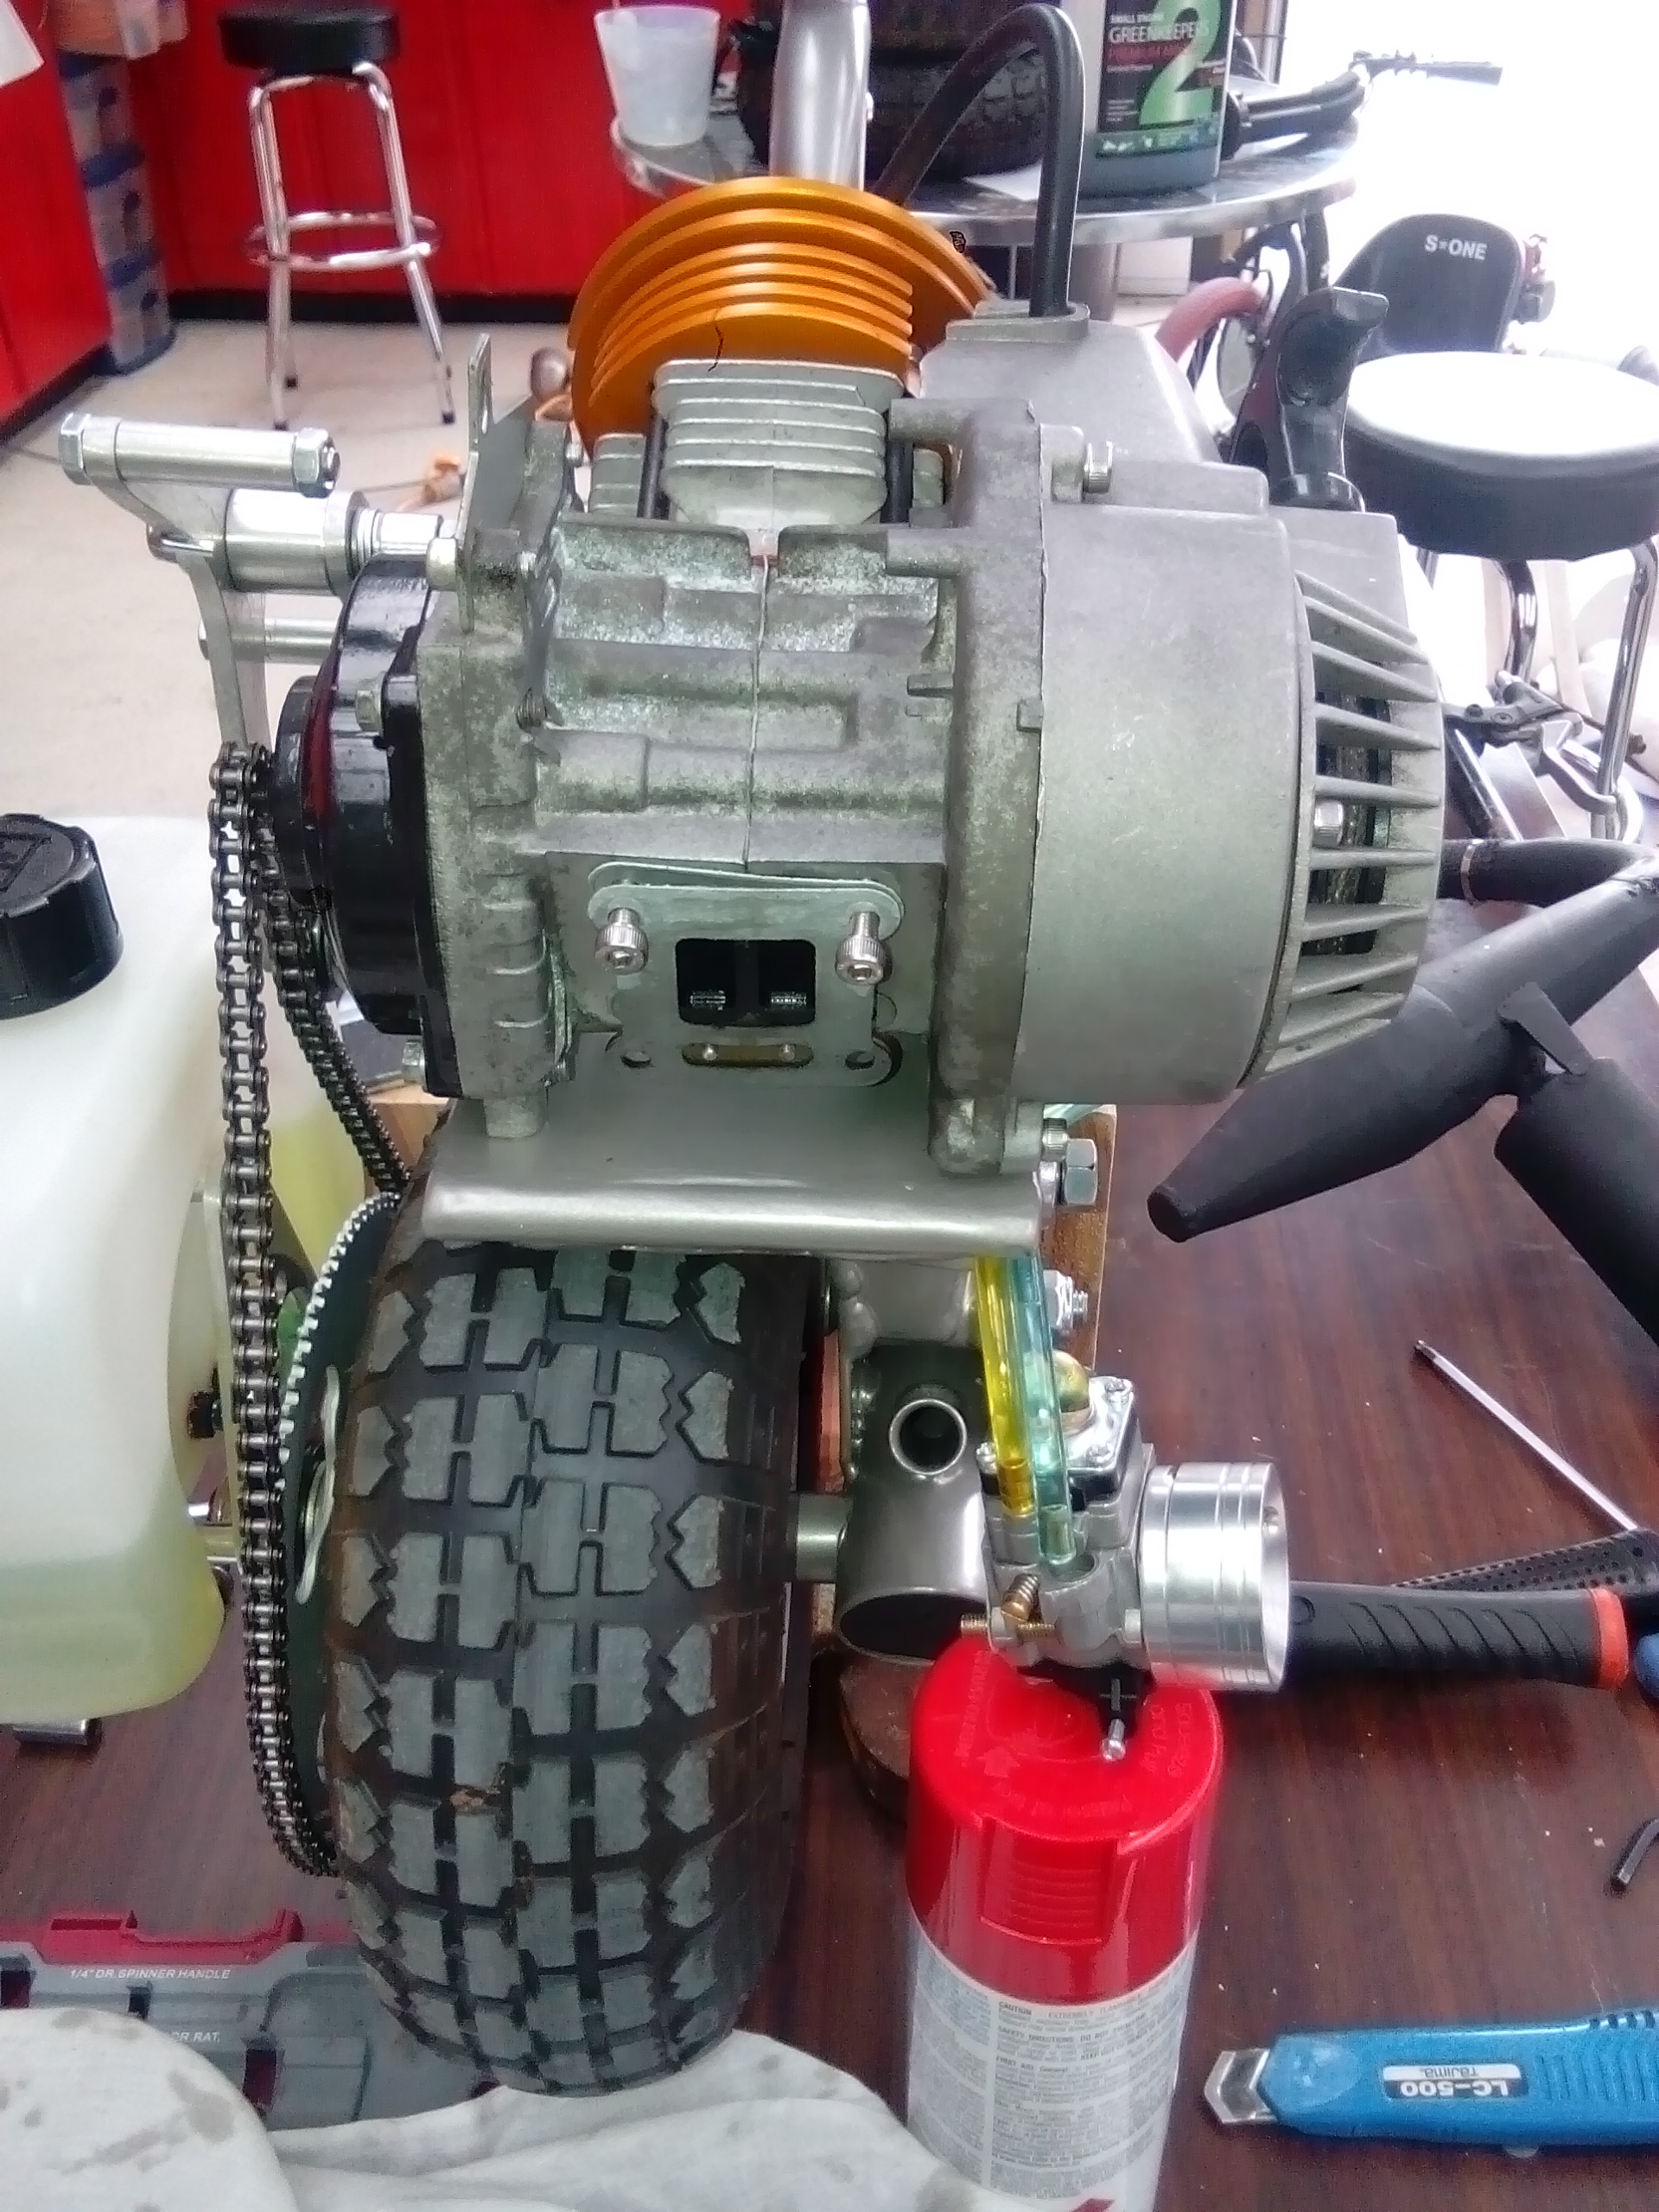
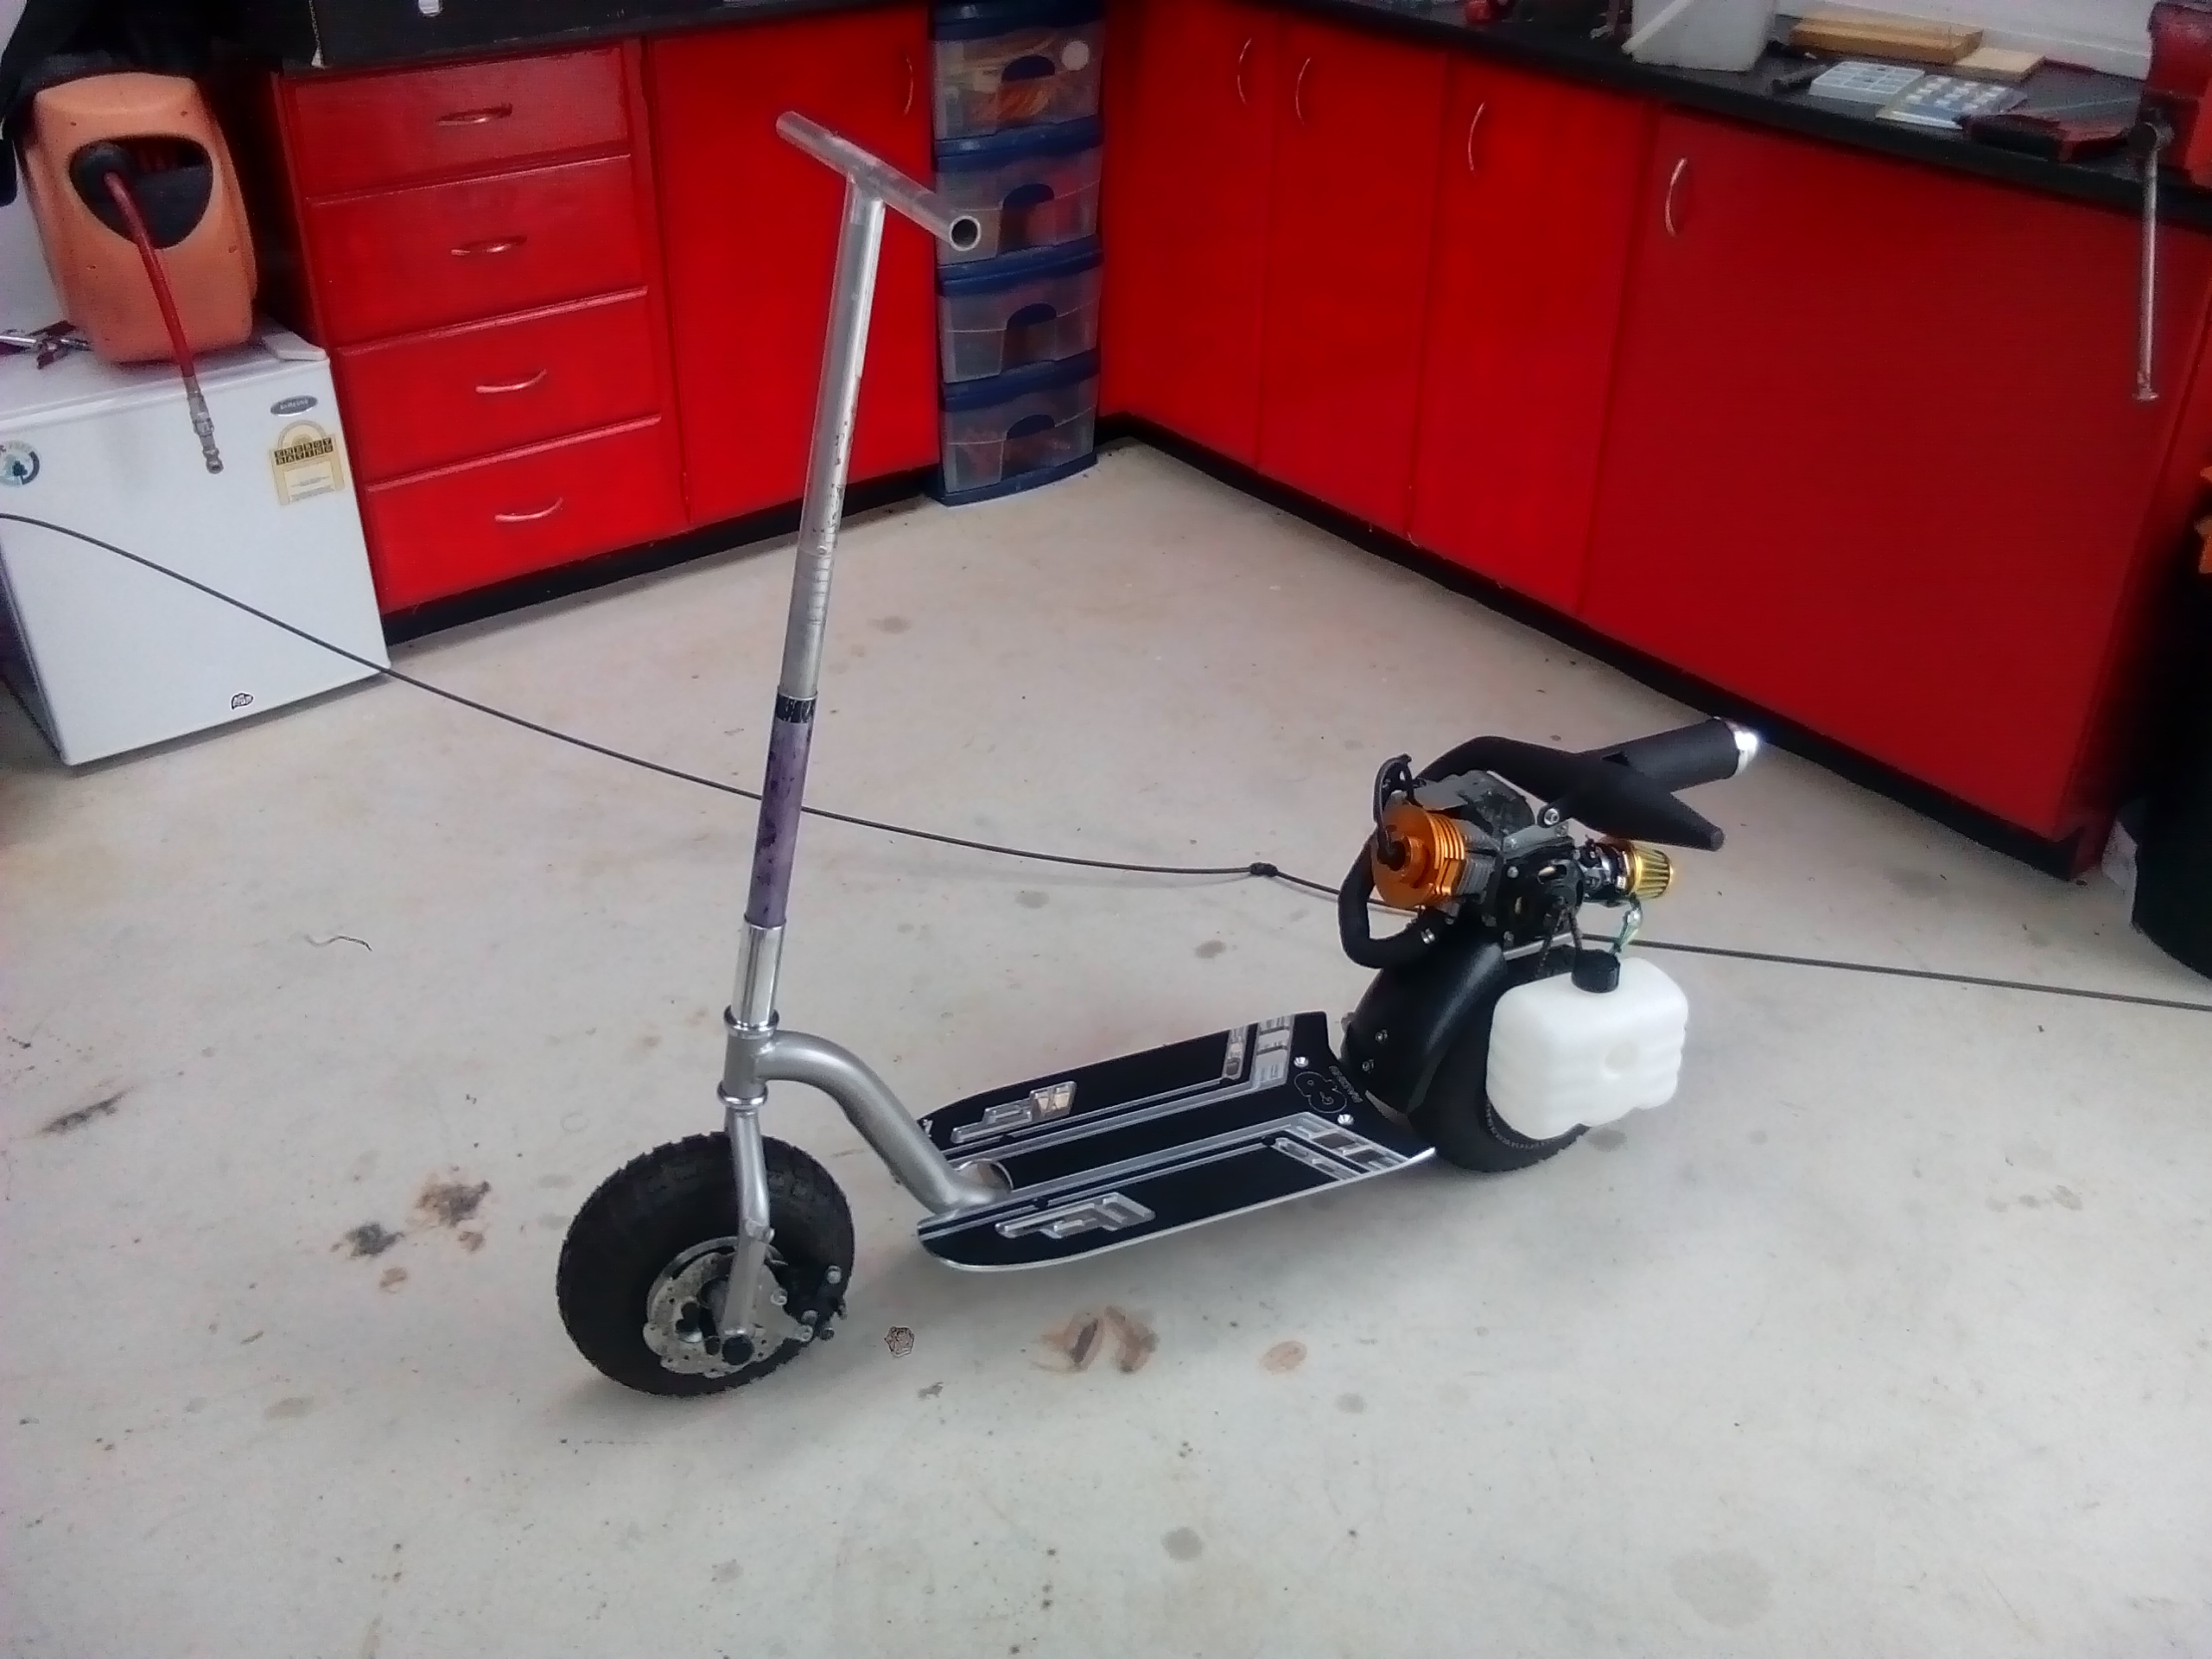
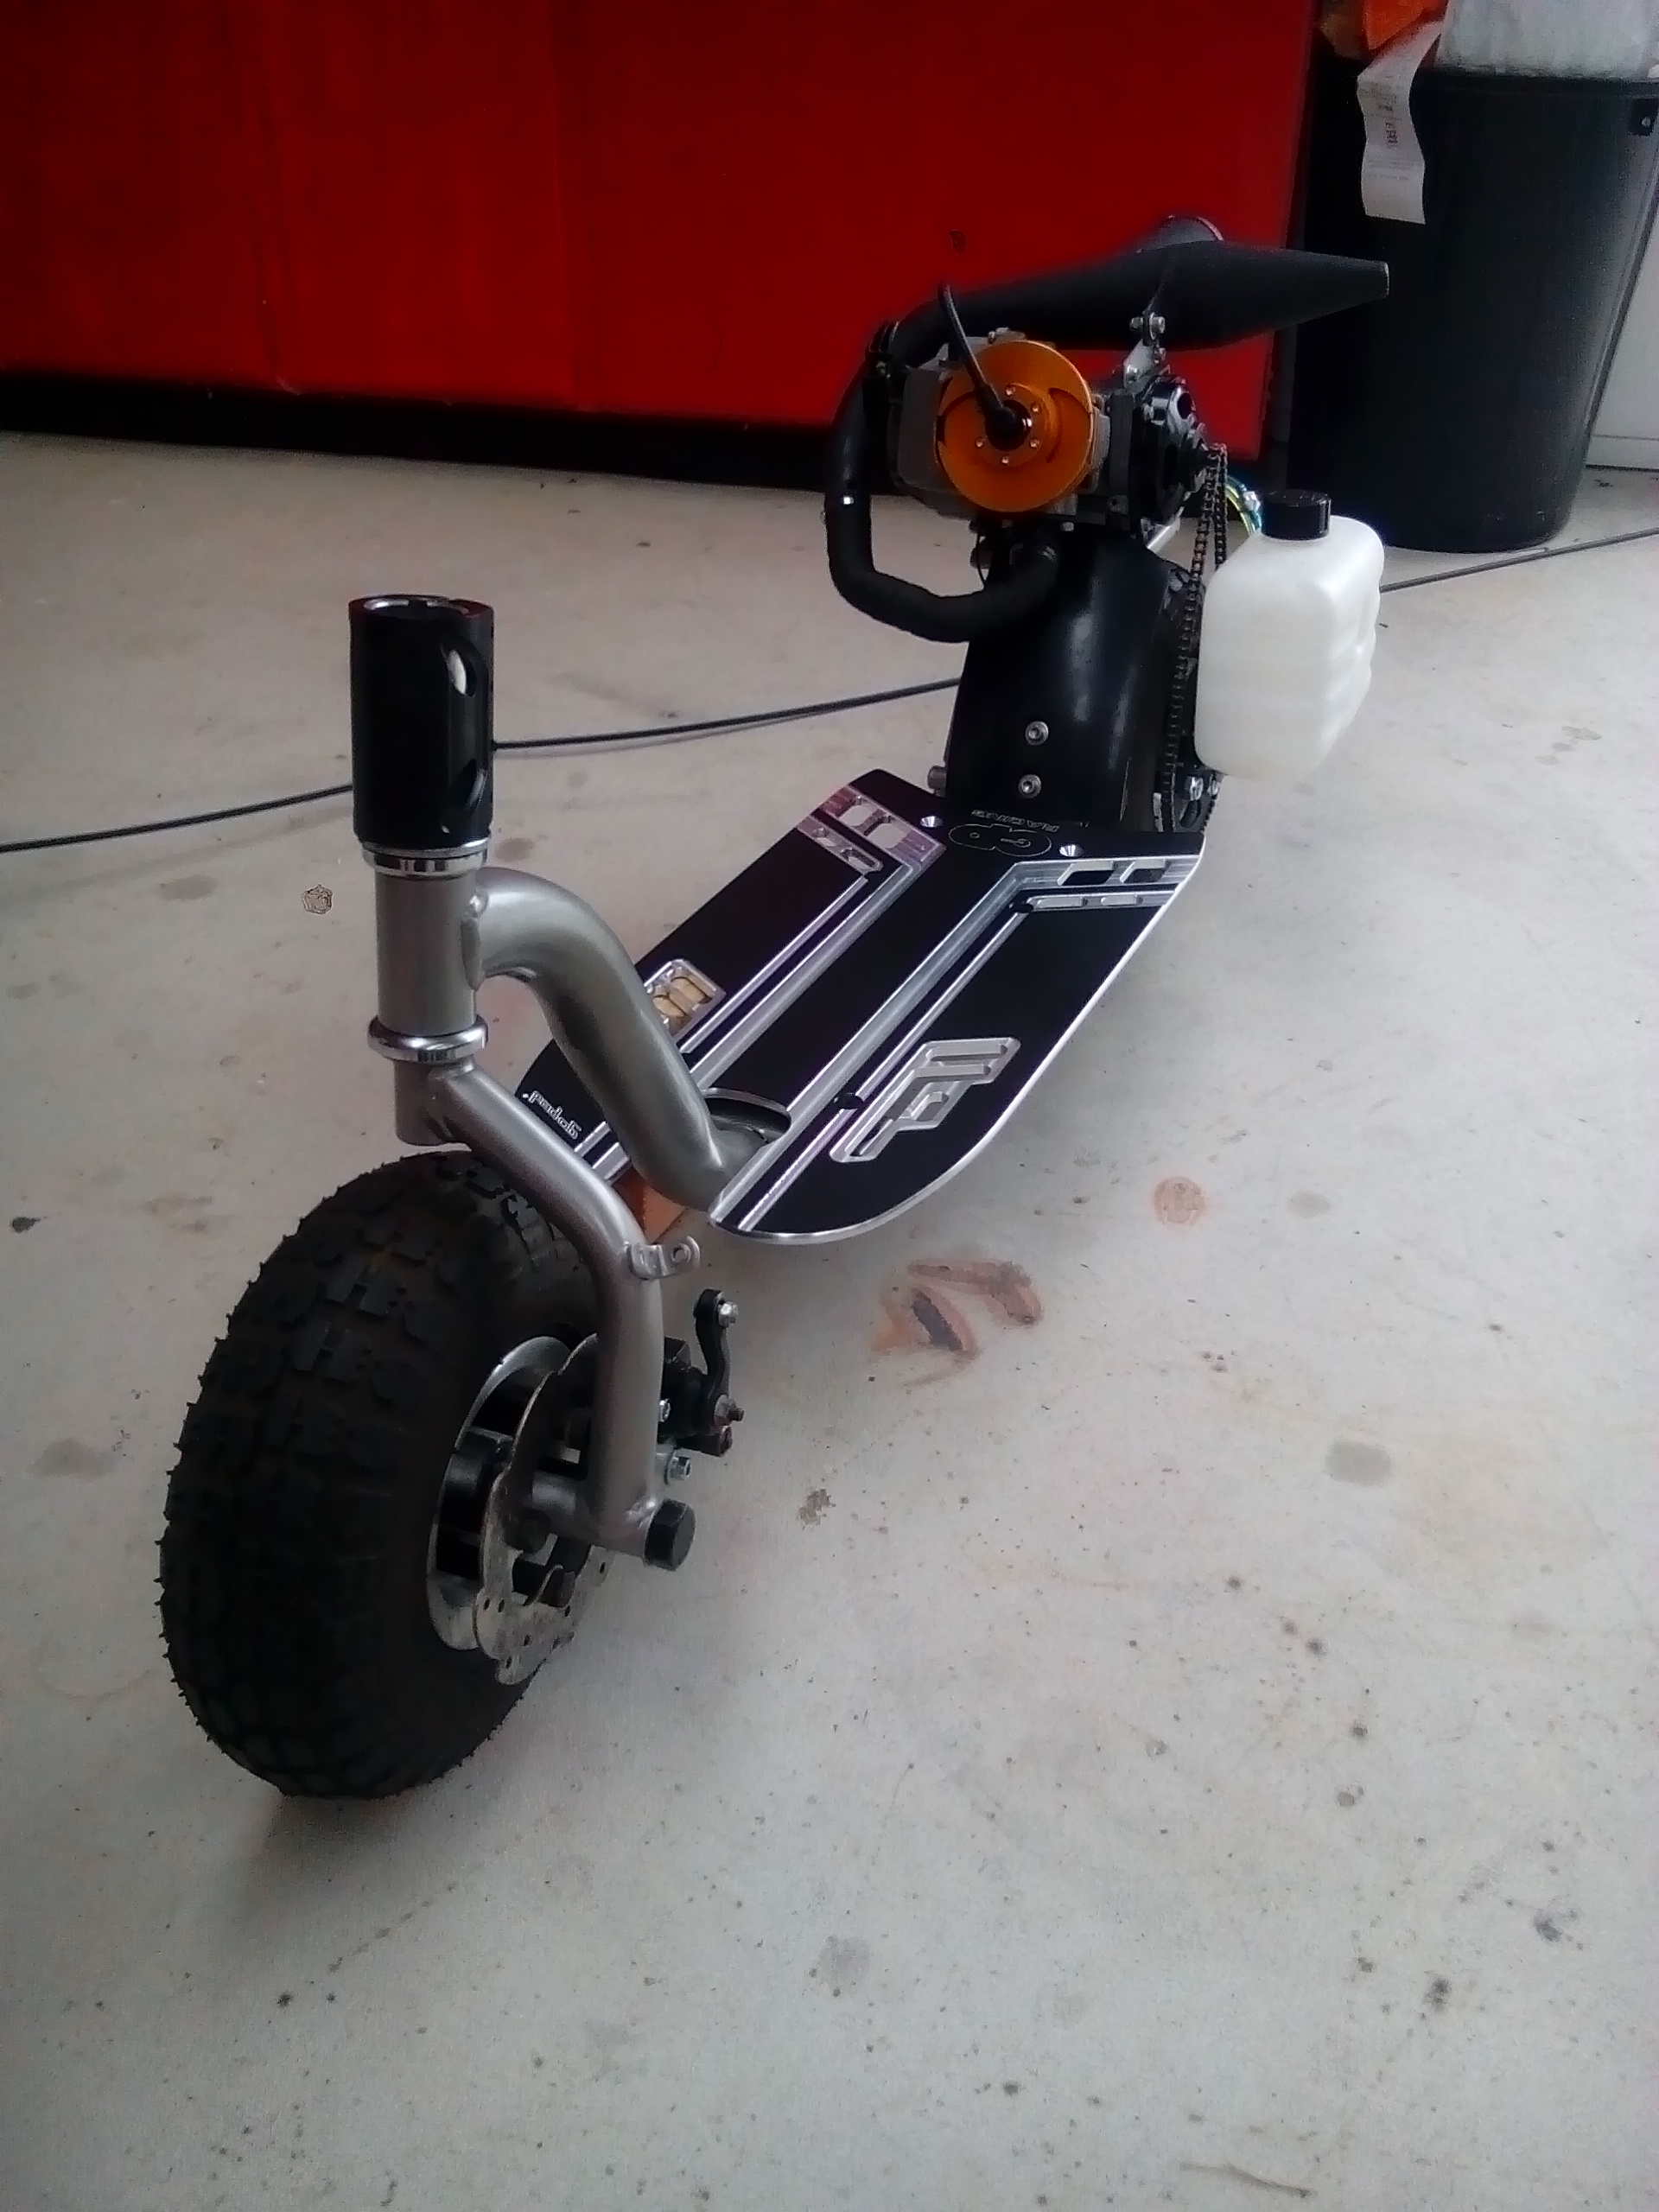
Then the motor...
I'm waiting on a few little eBay parts to complete the handlebars, but it's mostly complete now.
-
4
-
-
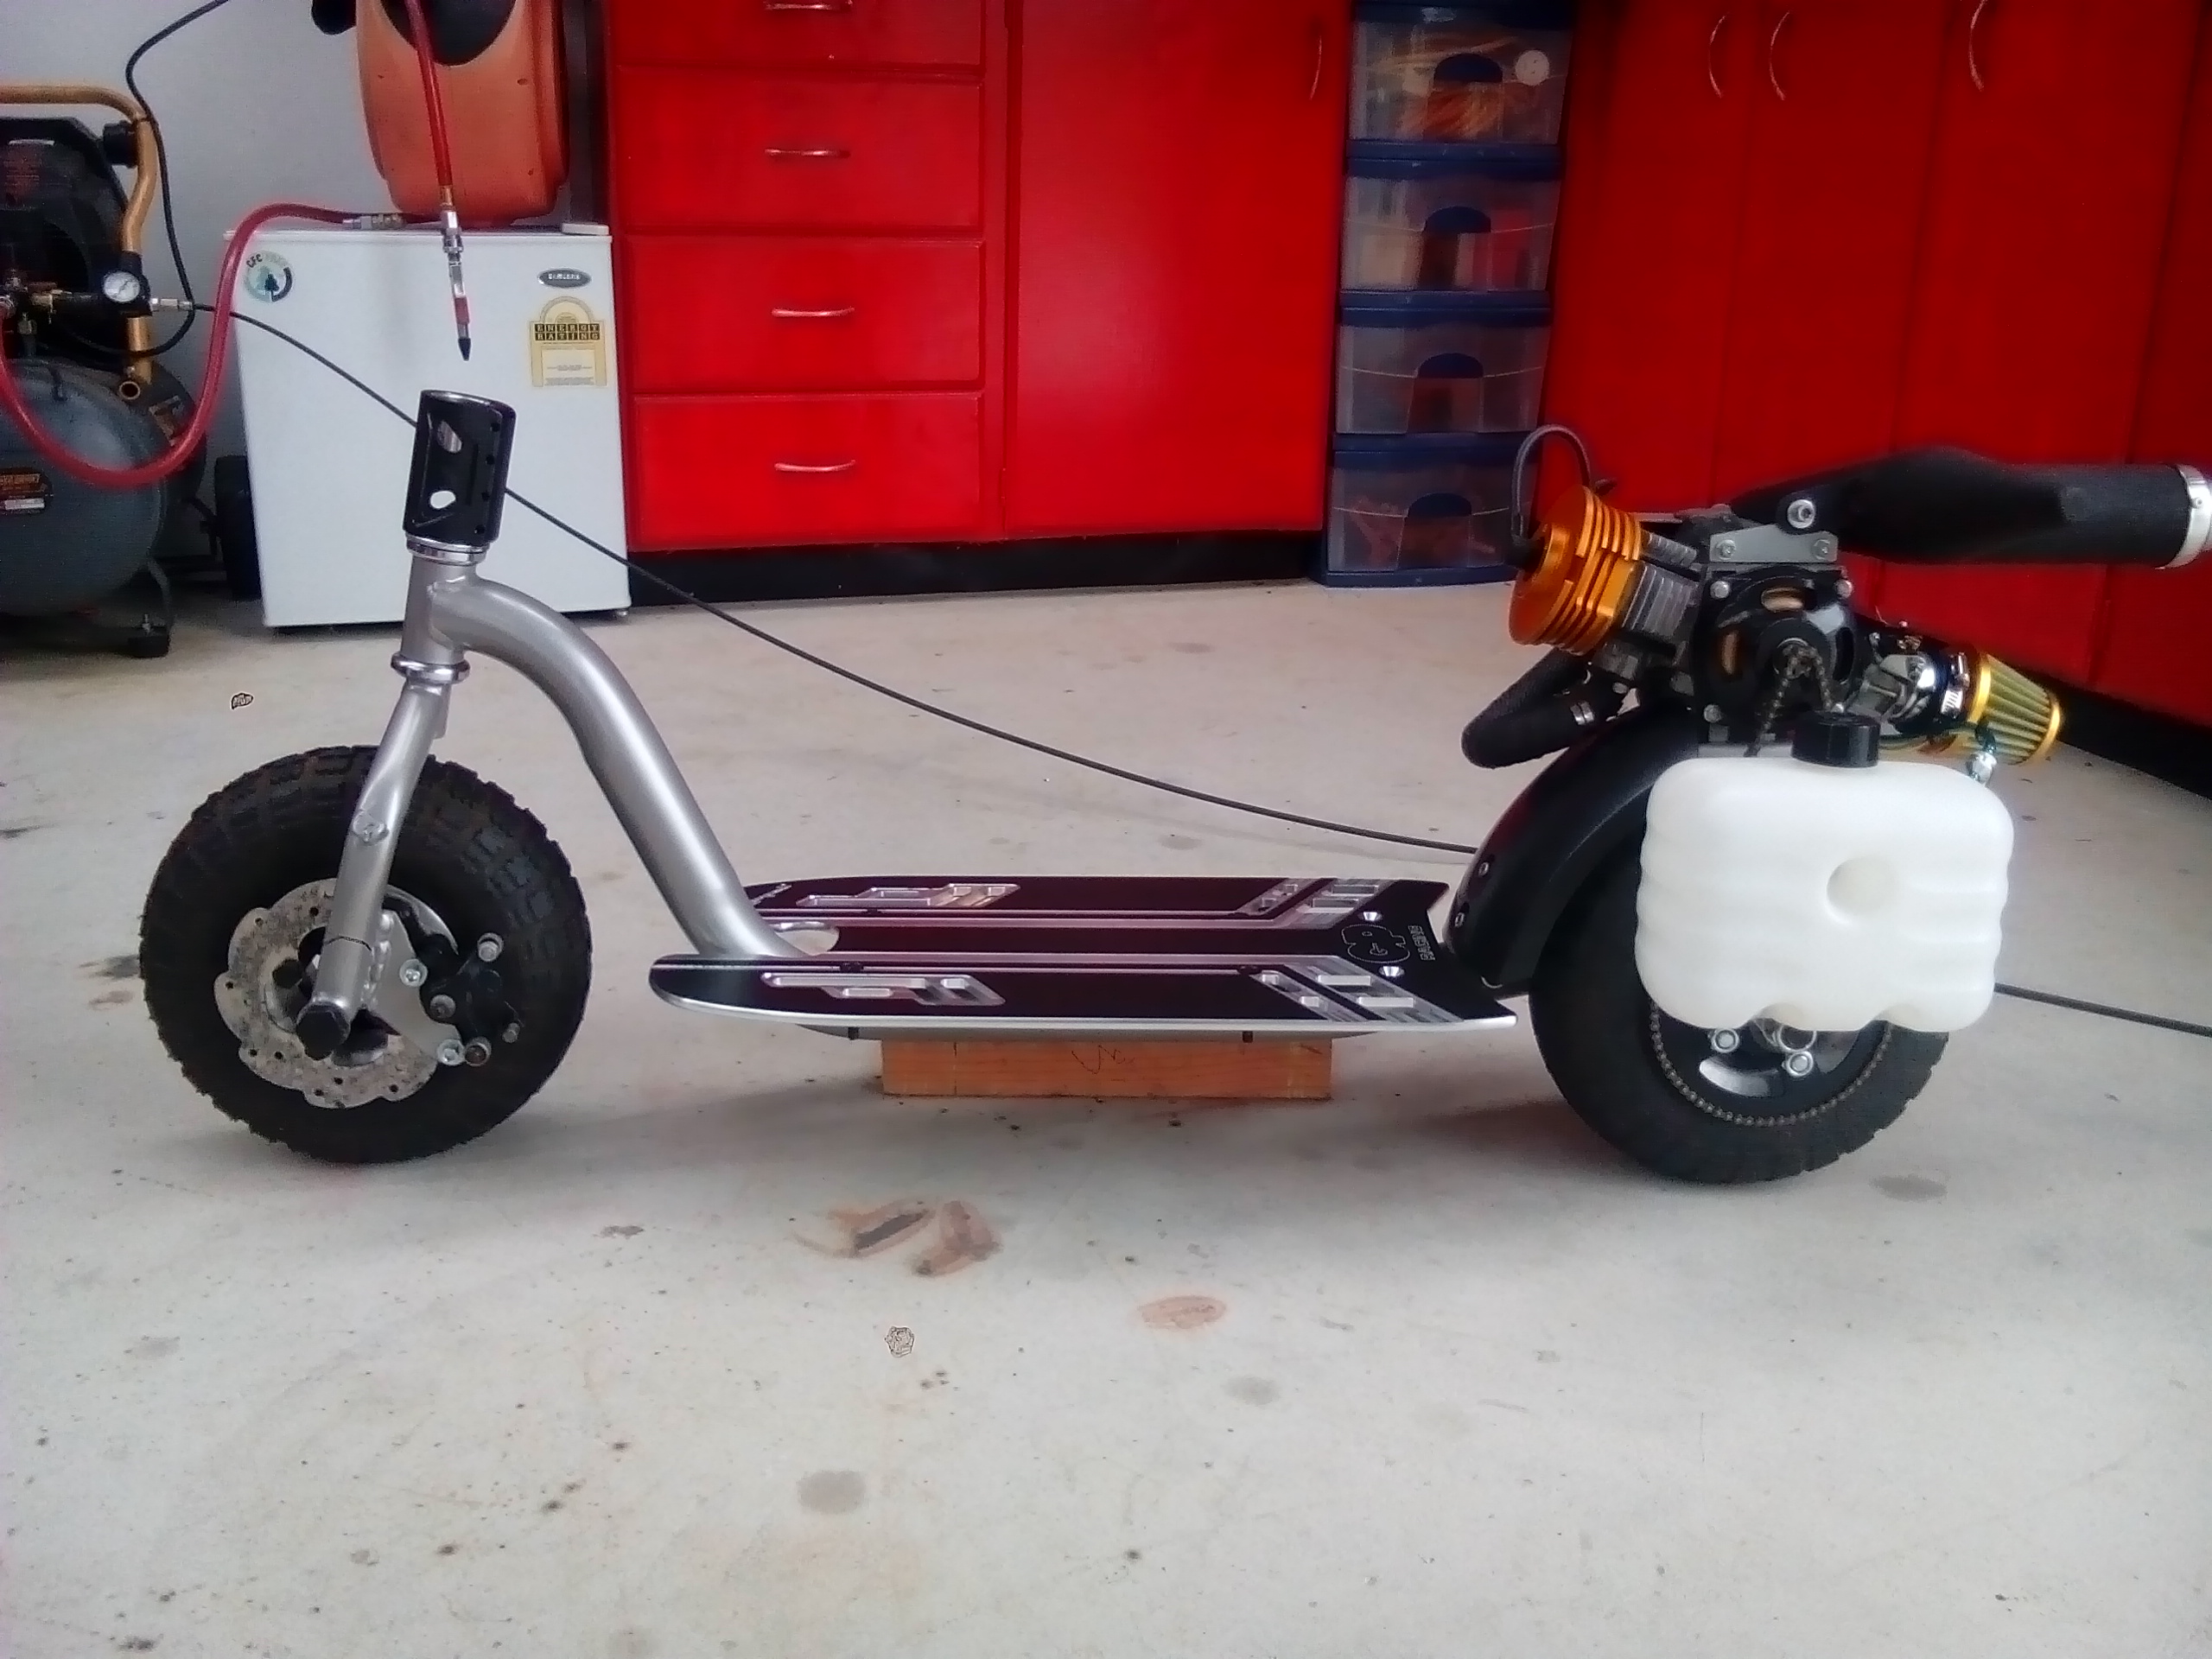
Okay, so much good stuff has been happening on this bad boy lately.
First up, the frame is finished:
Then all those many little bits I've been working on just started falling into place...
-
3
-
-
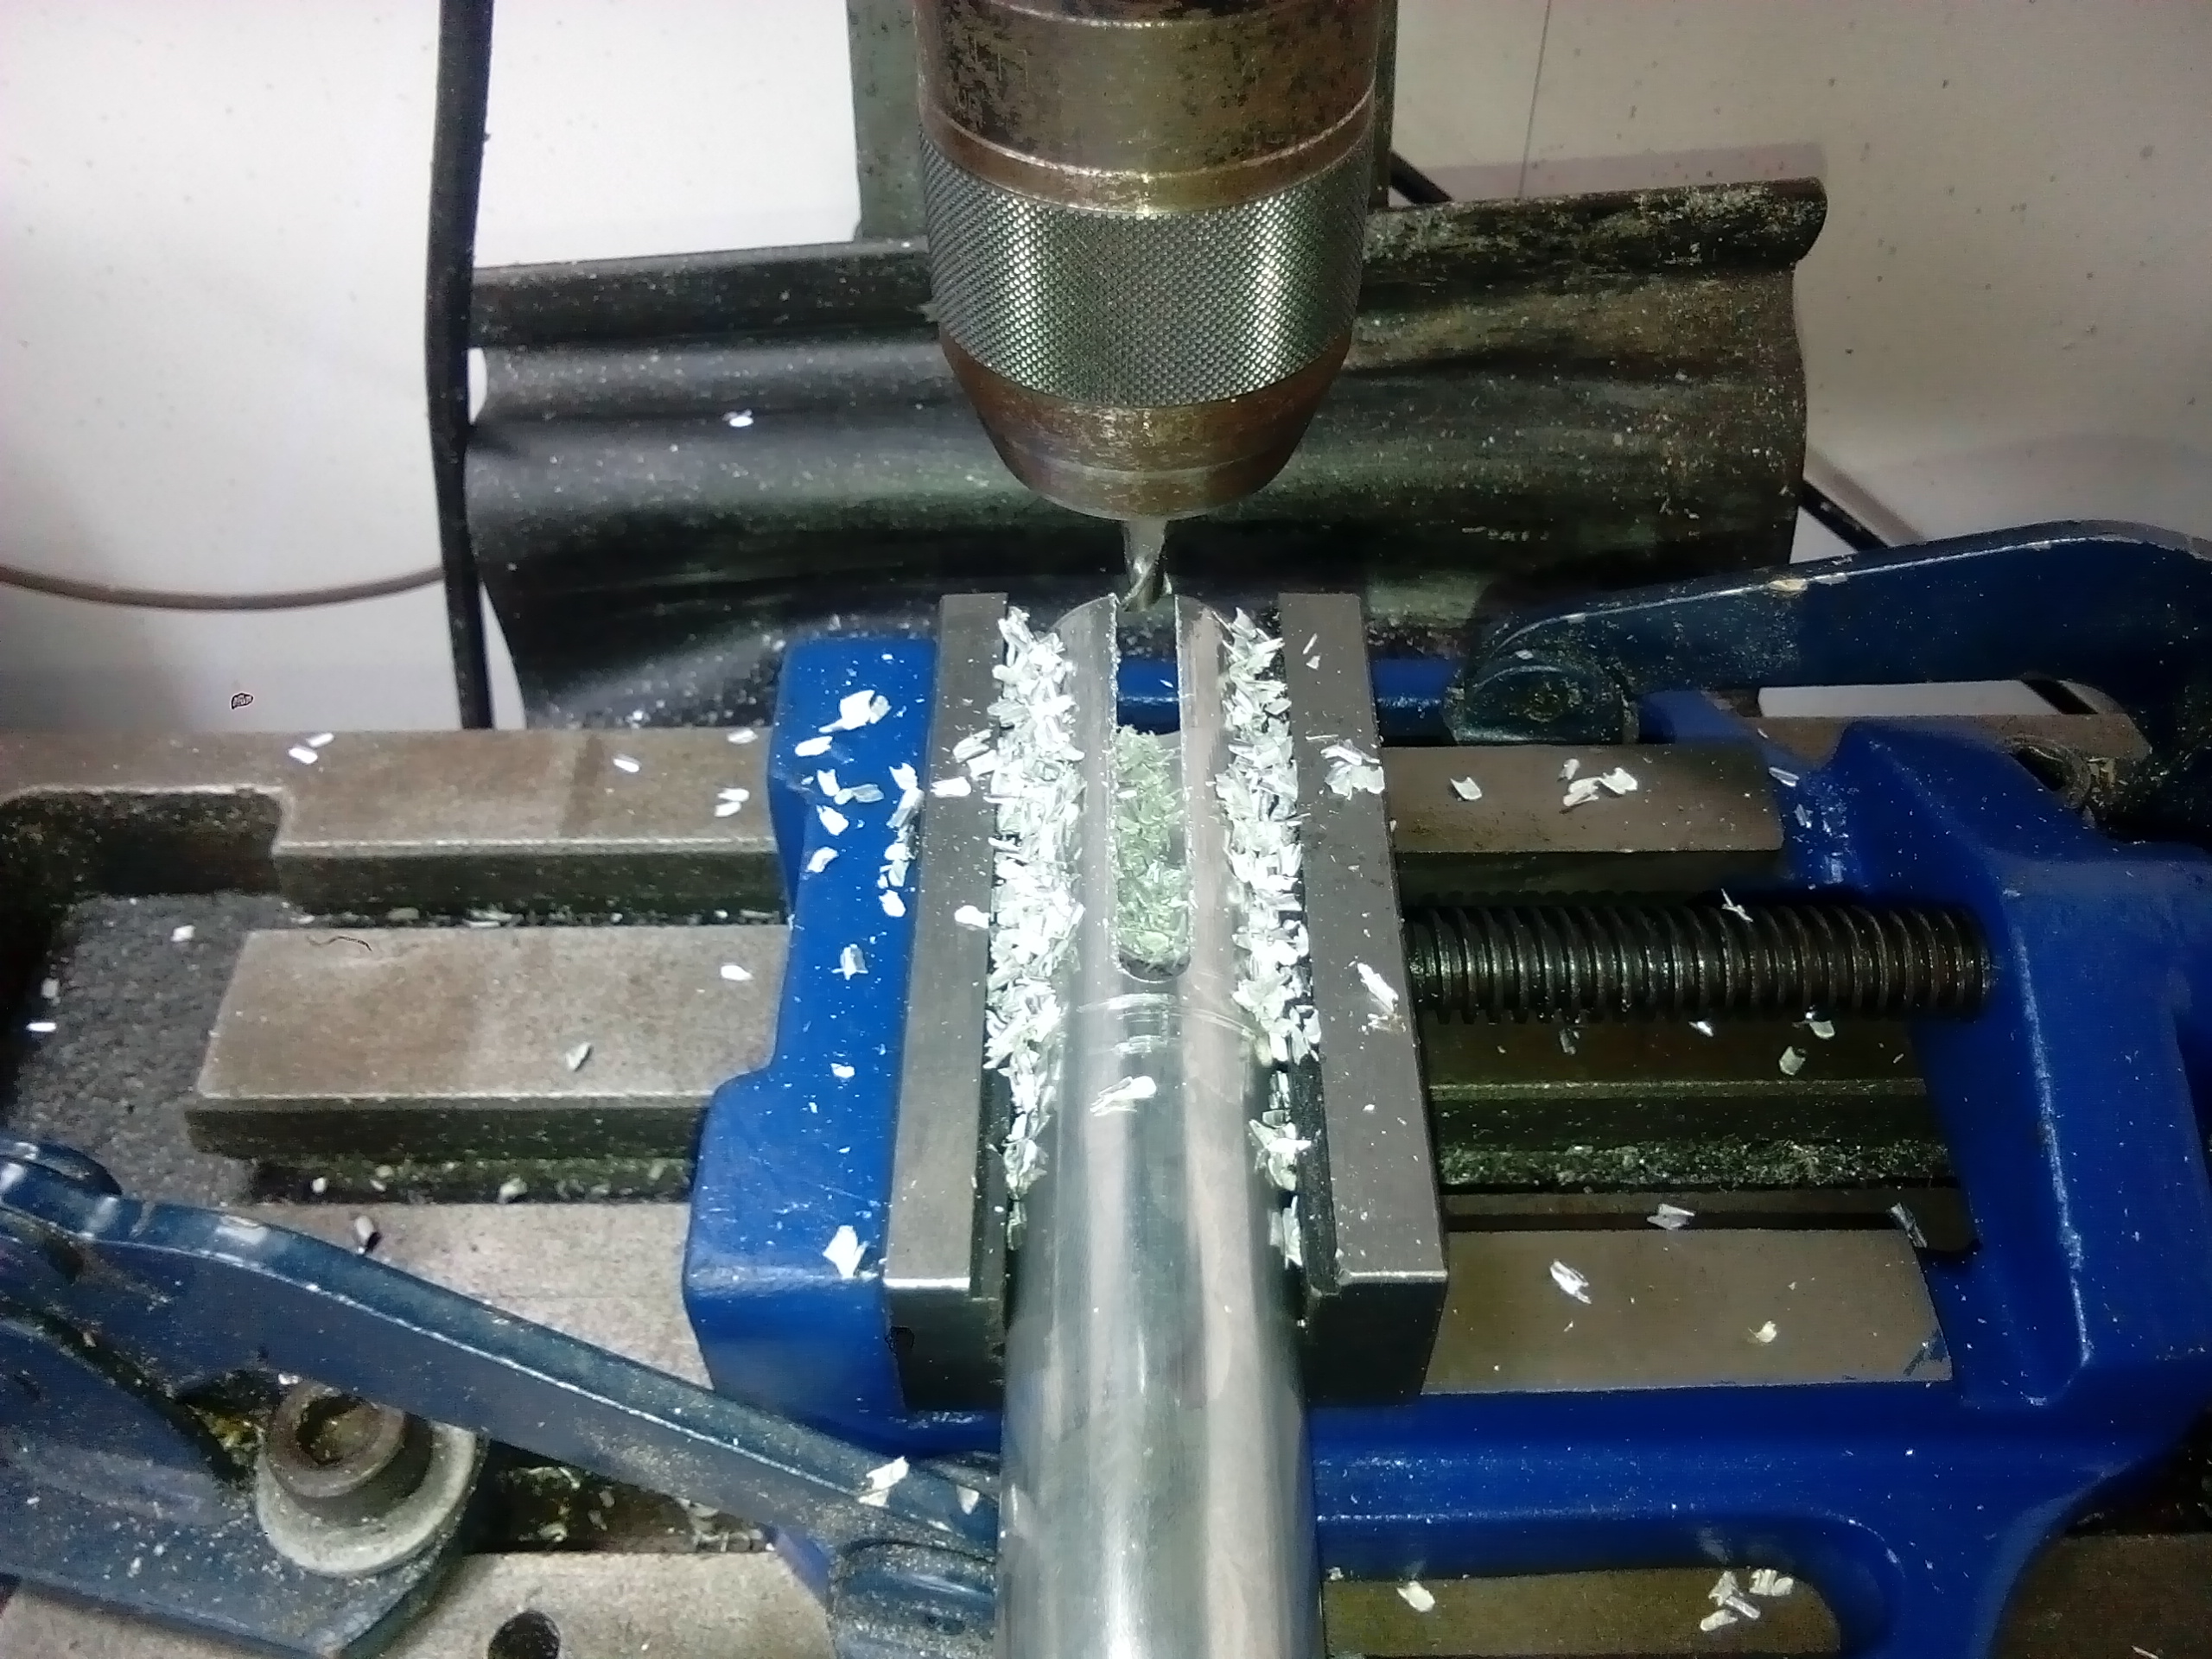
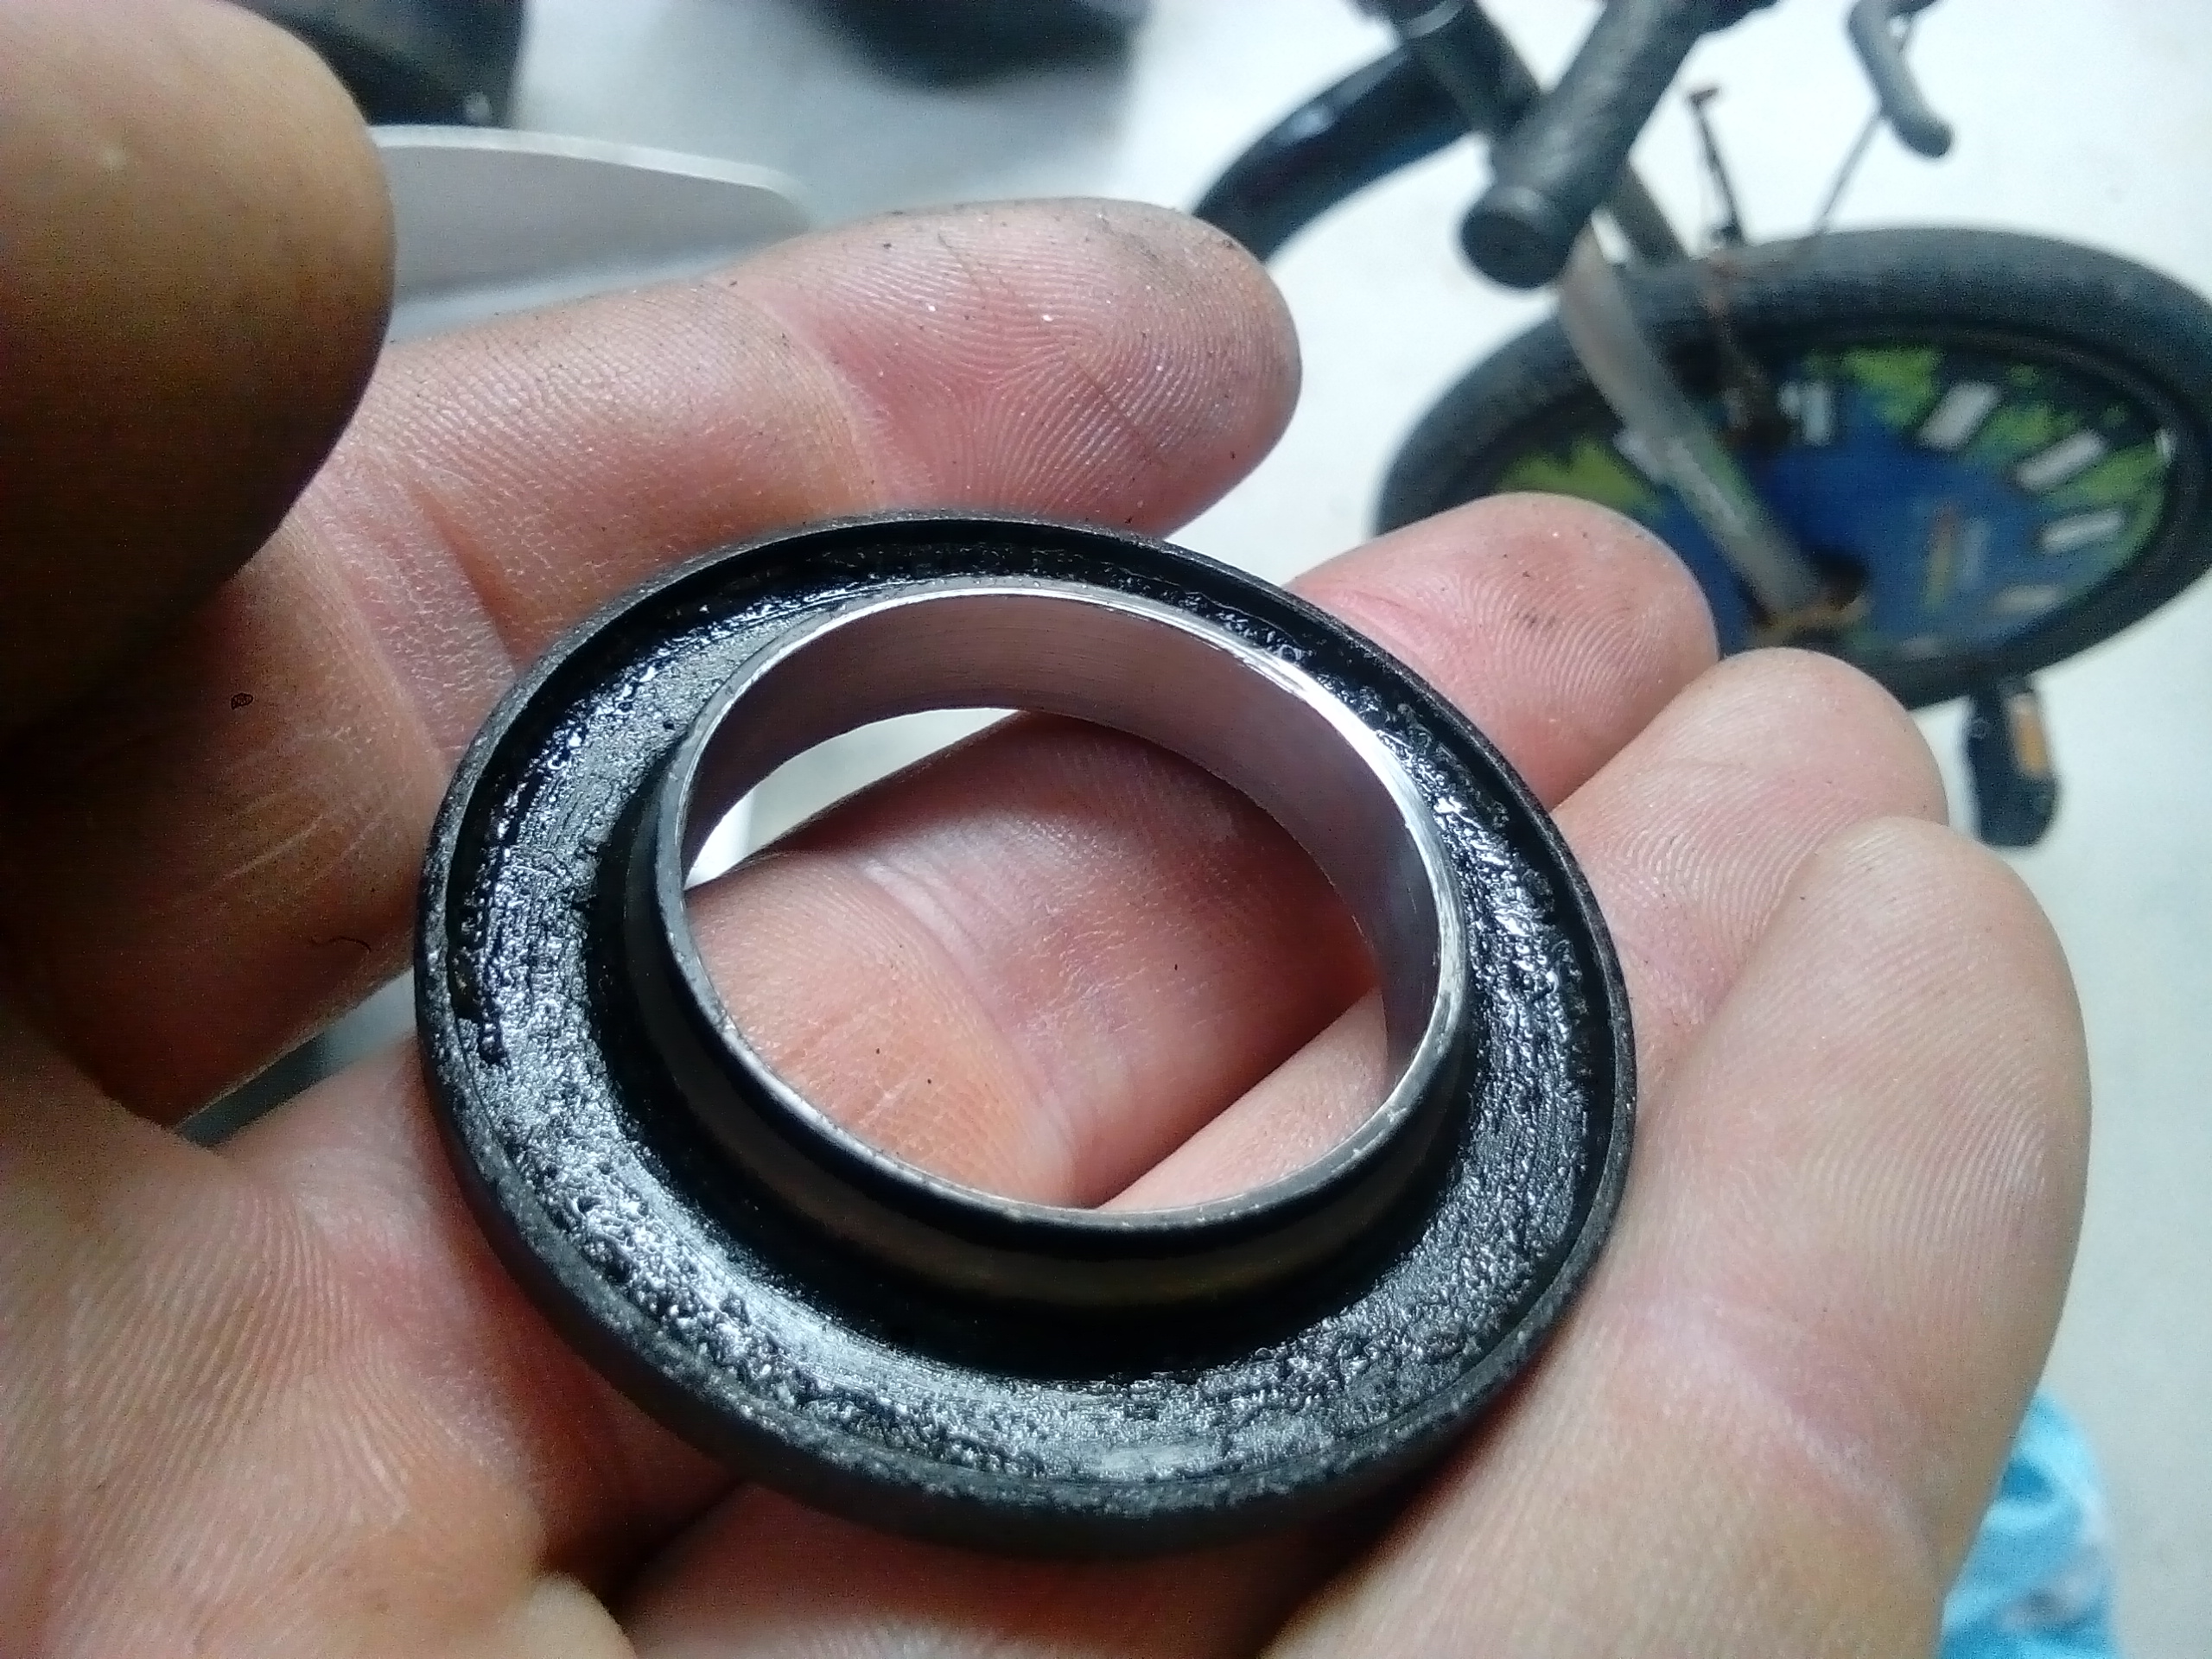
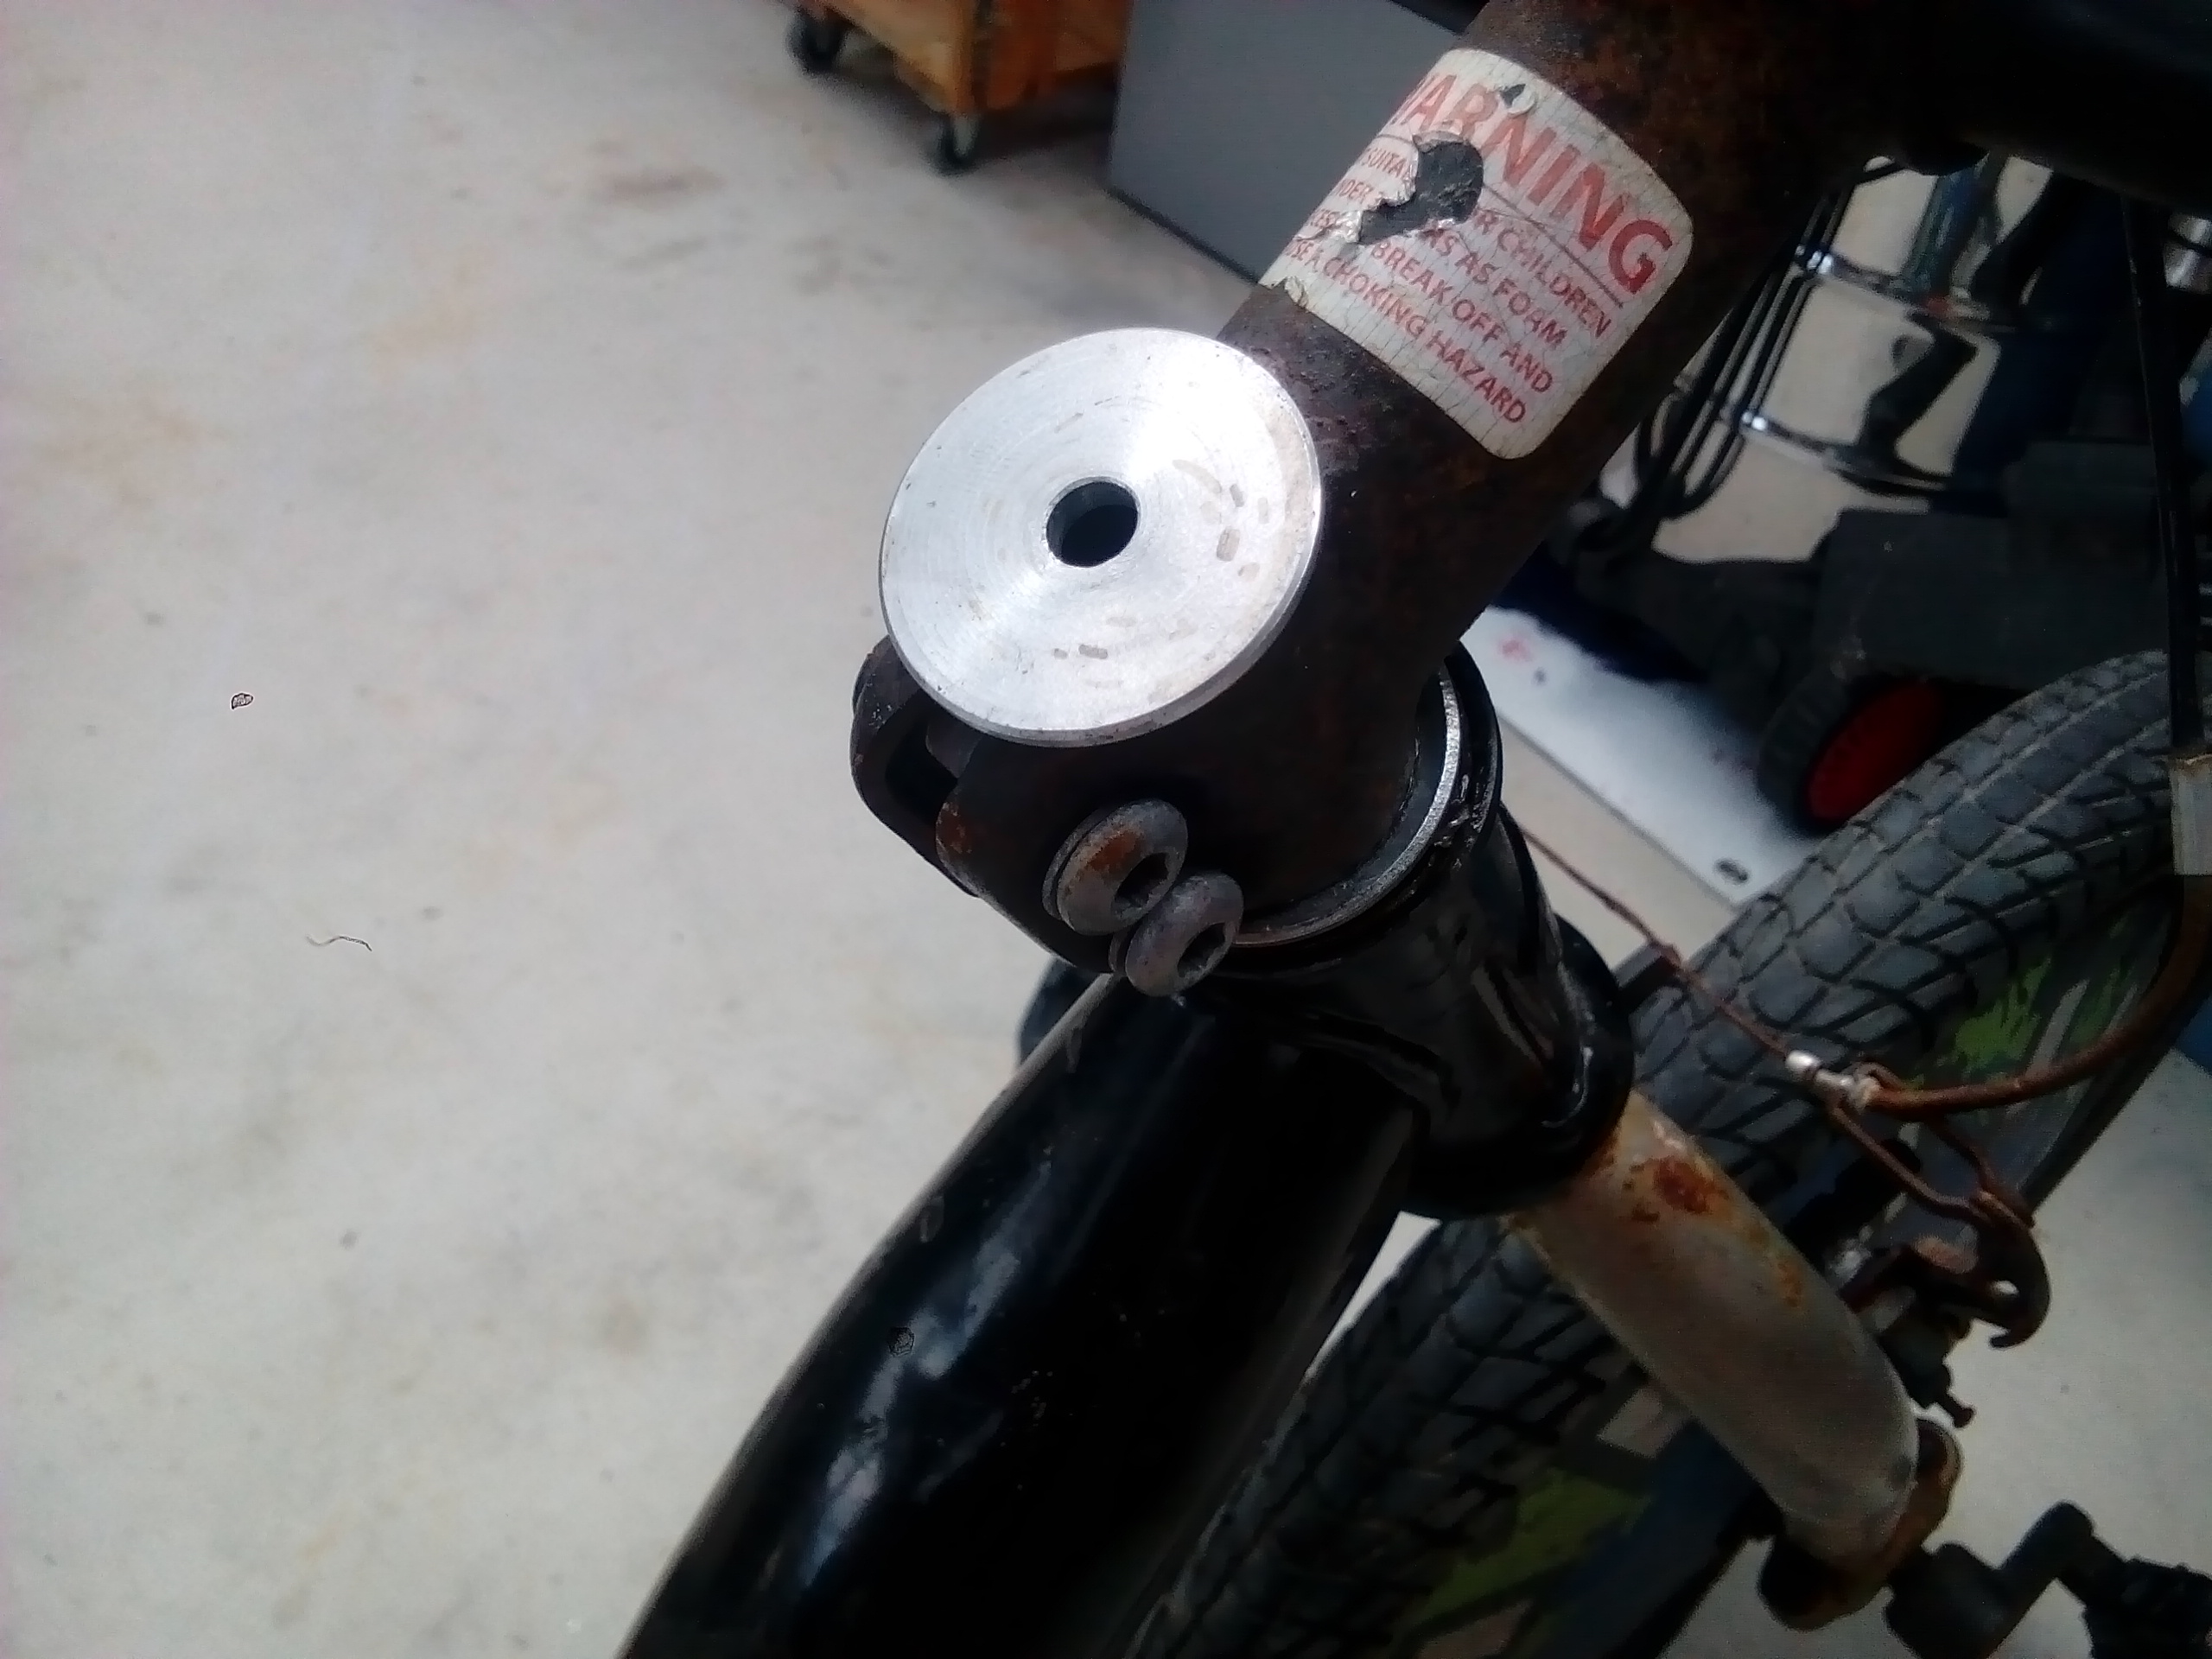
One of the issues often encountered when cobbling shit together is that the part you need is often missing, and the substitute is the wrong size.
My steering stem was "wiggly"... so I adapted this bike part to solve that issue.
boom! No more "wiggling wiggly bits".
-
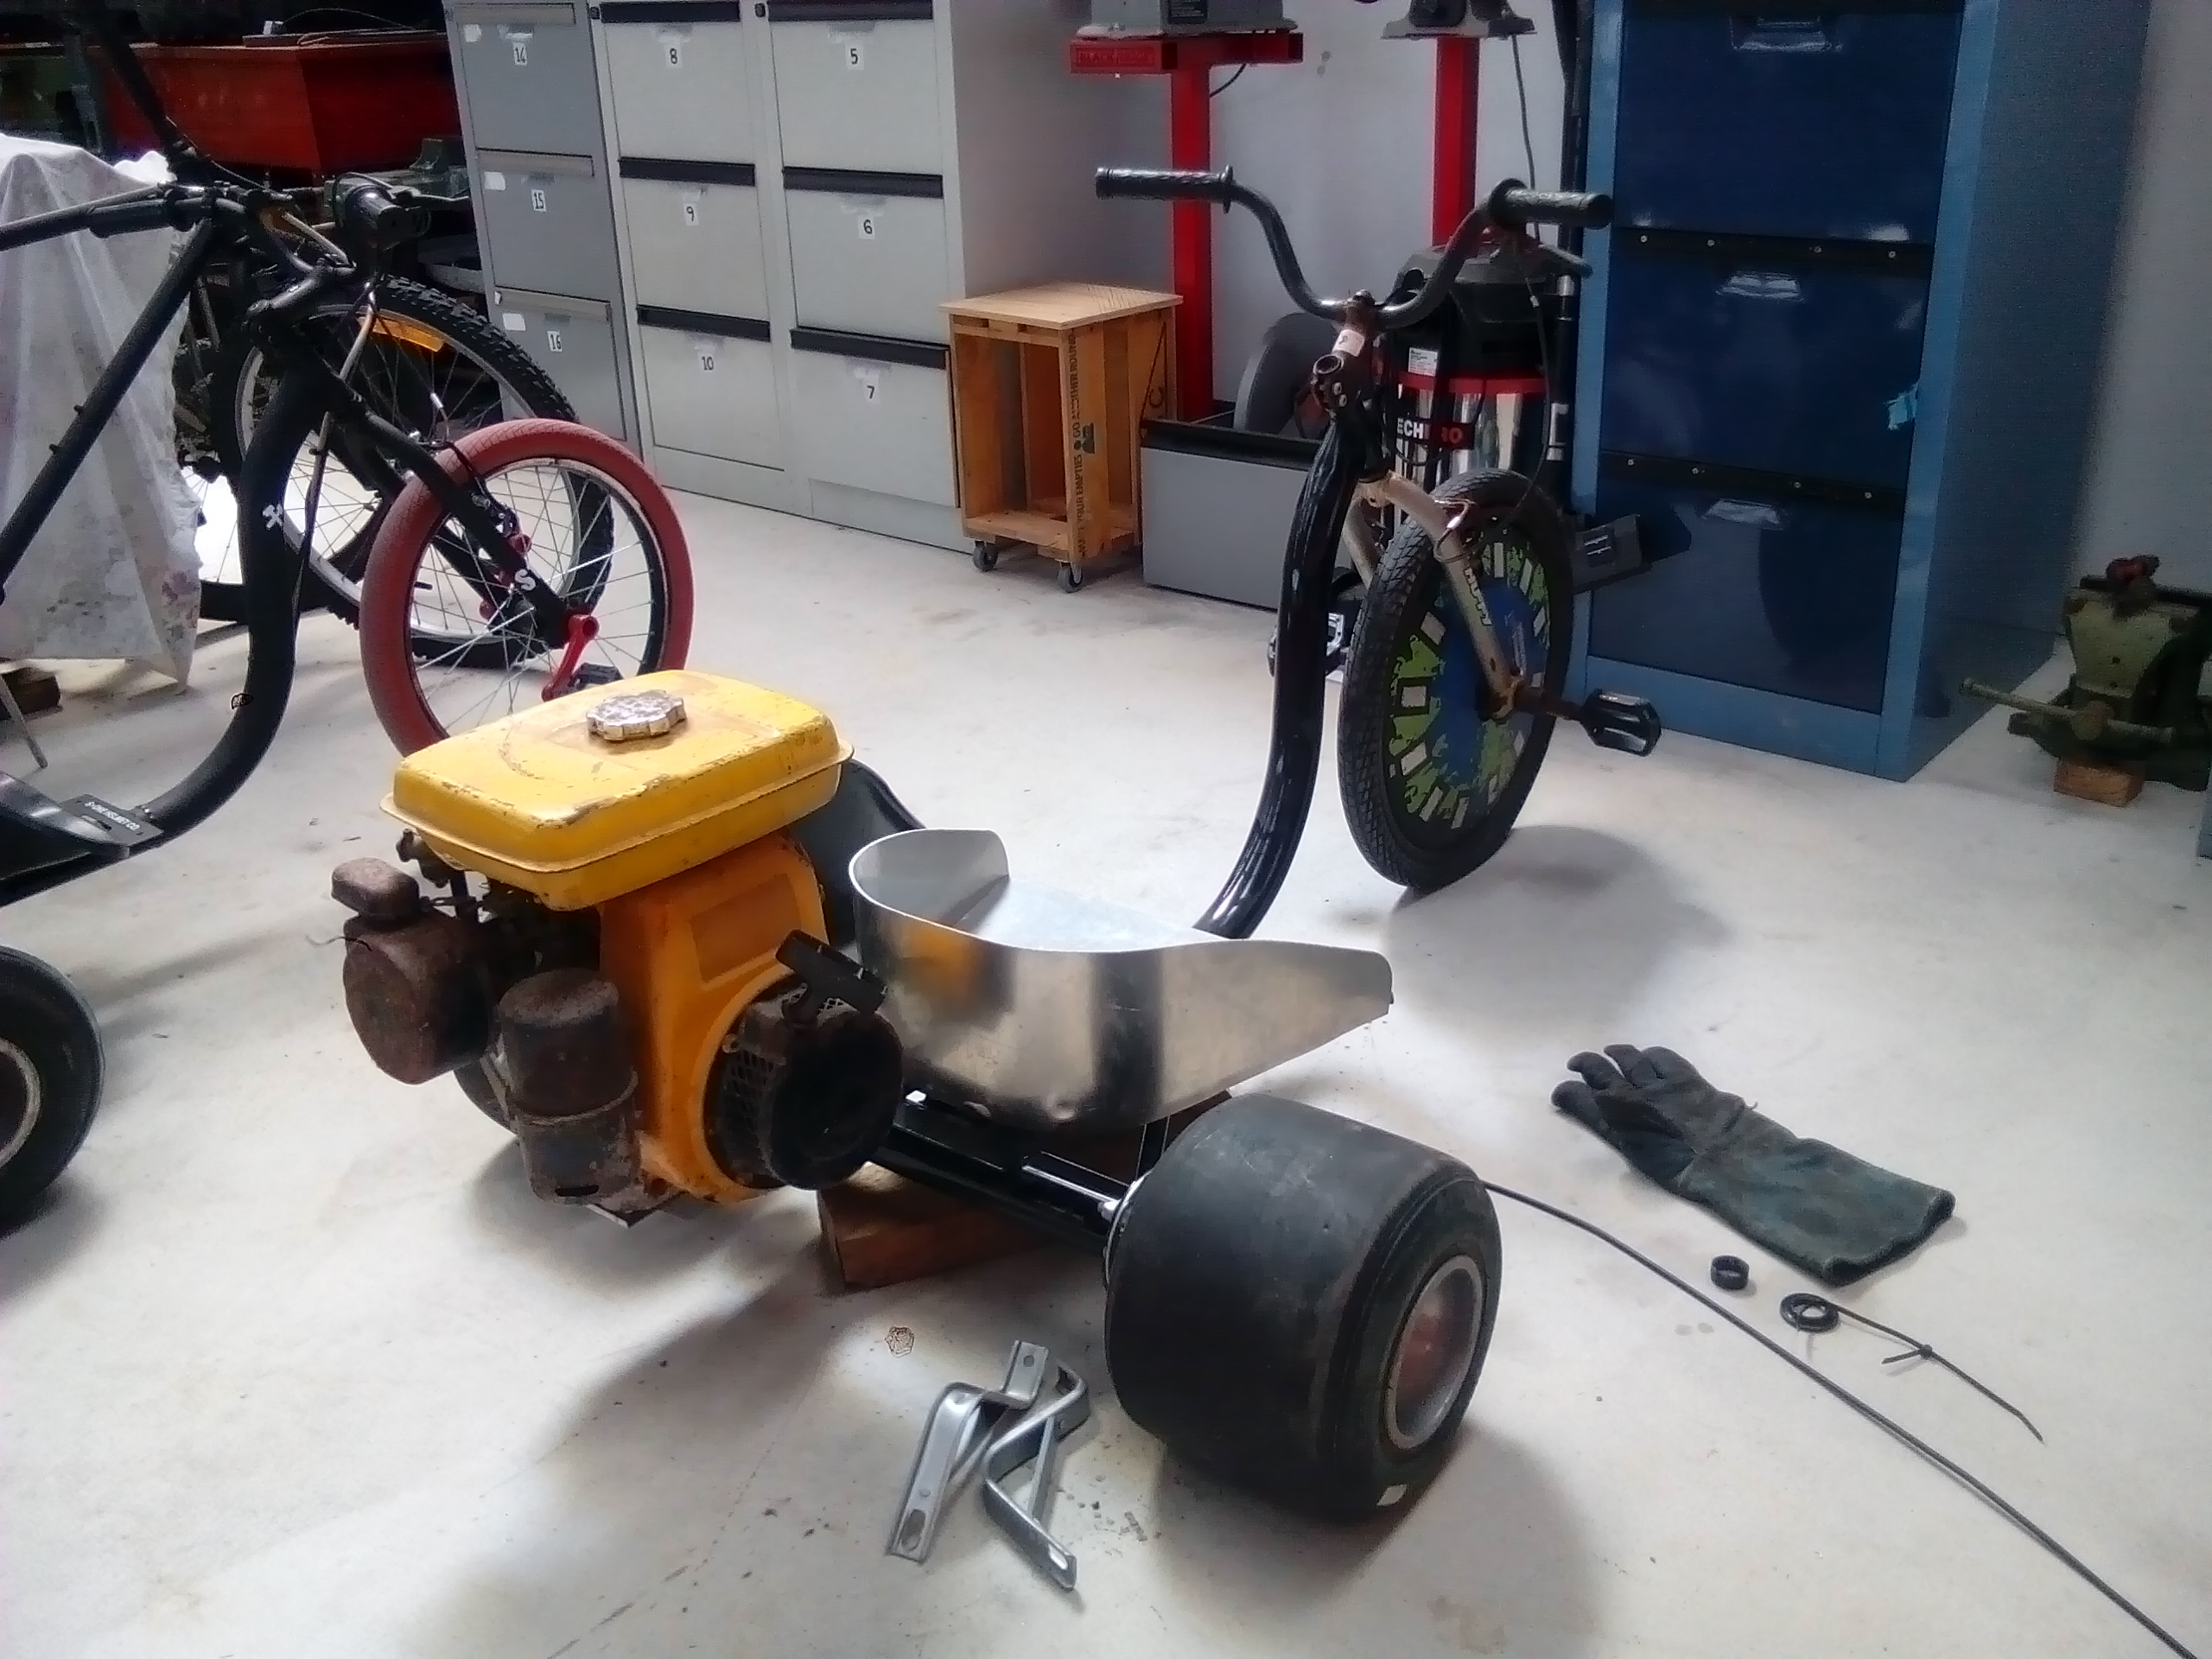
180cc @ 5.5hp. It will have no trouble spinning the wheels with 4-stroke low end torque.
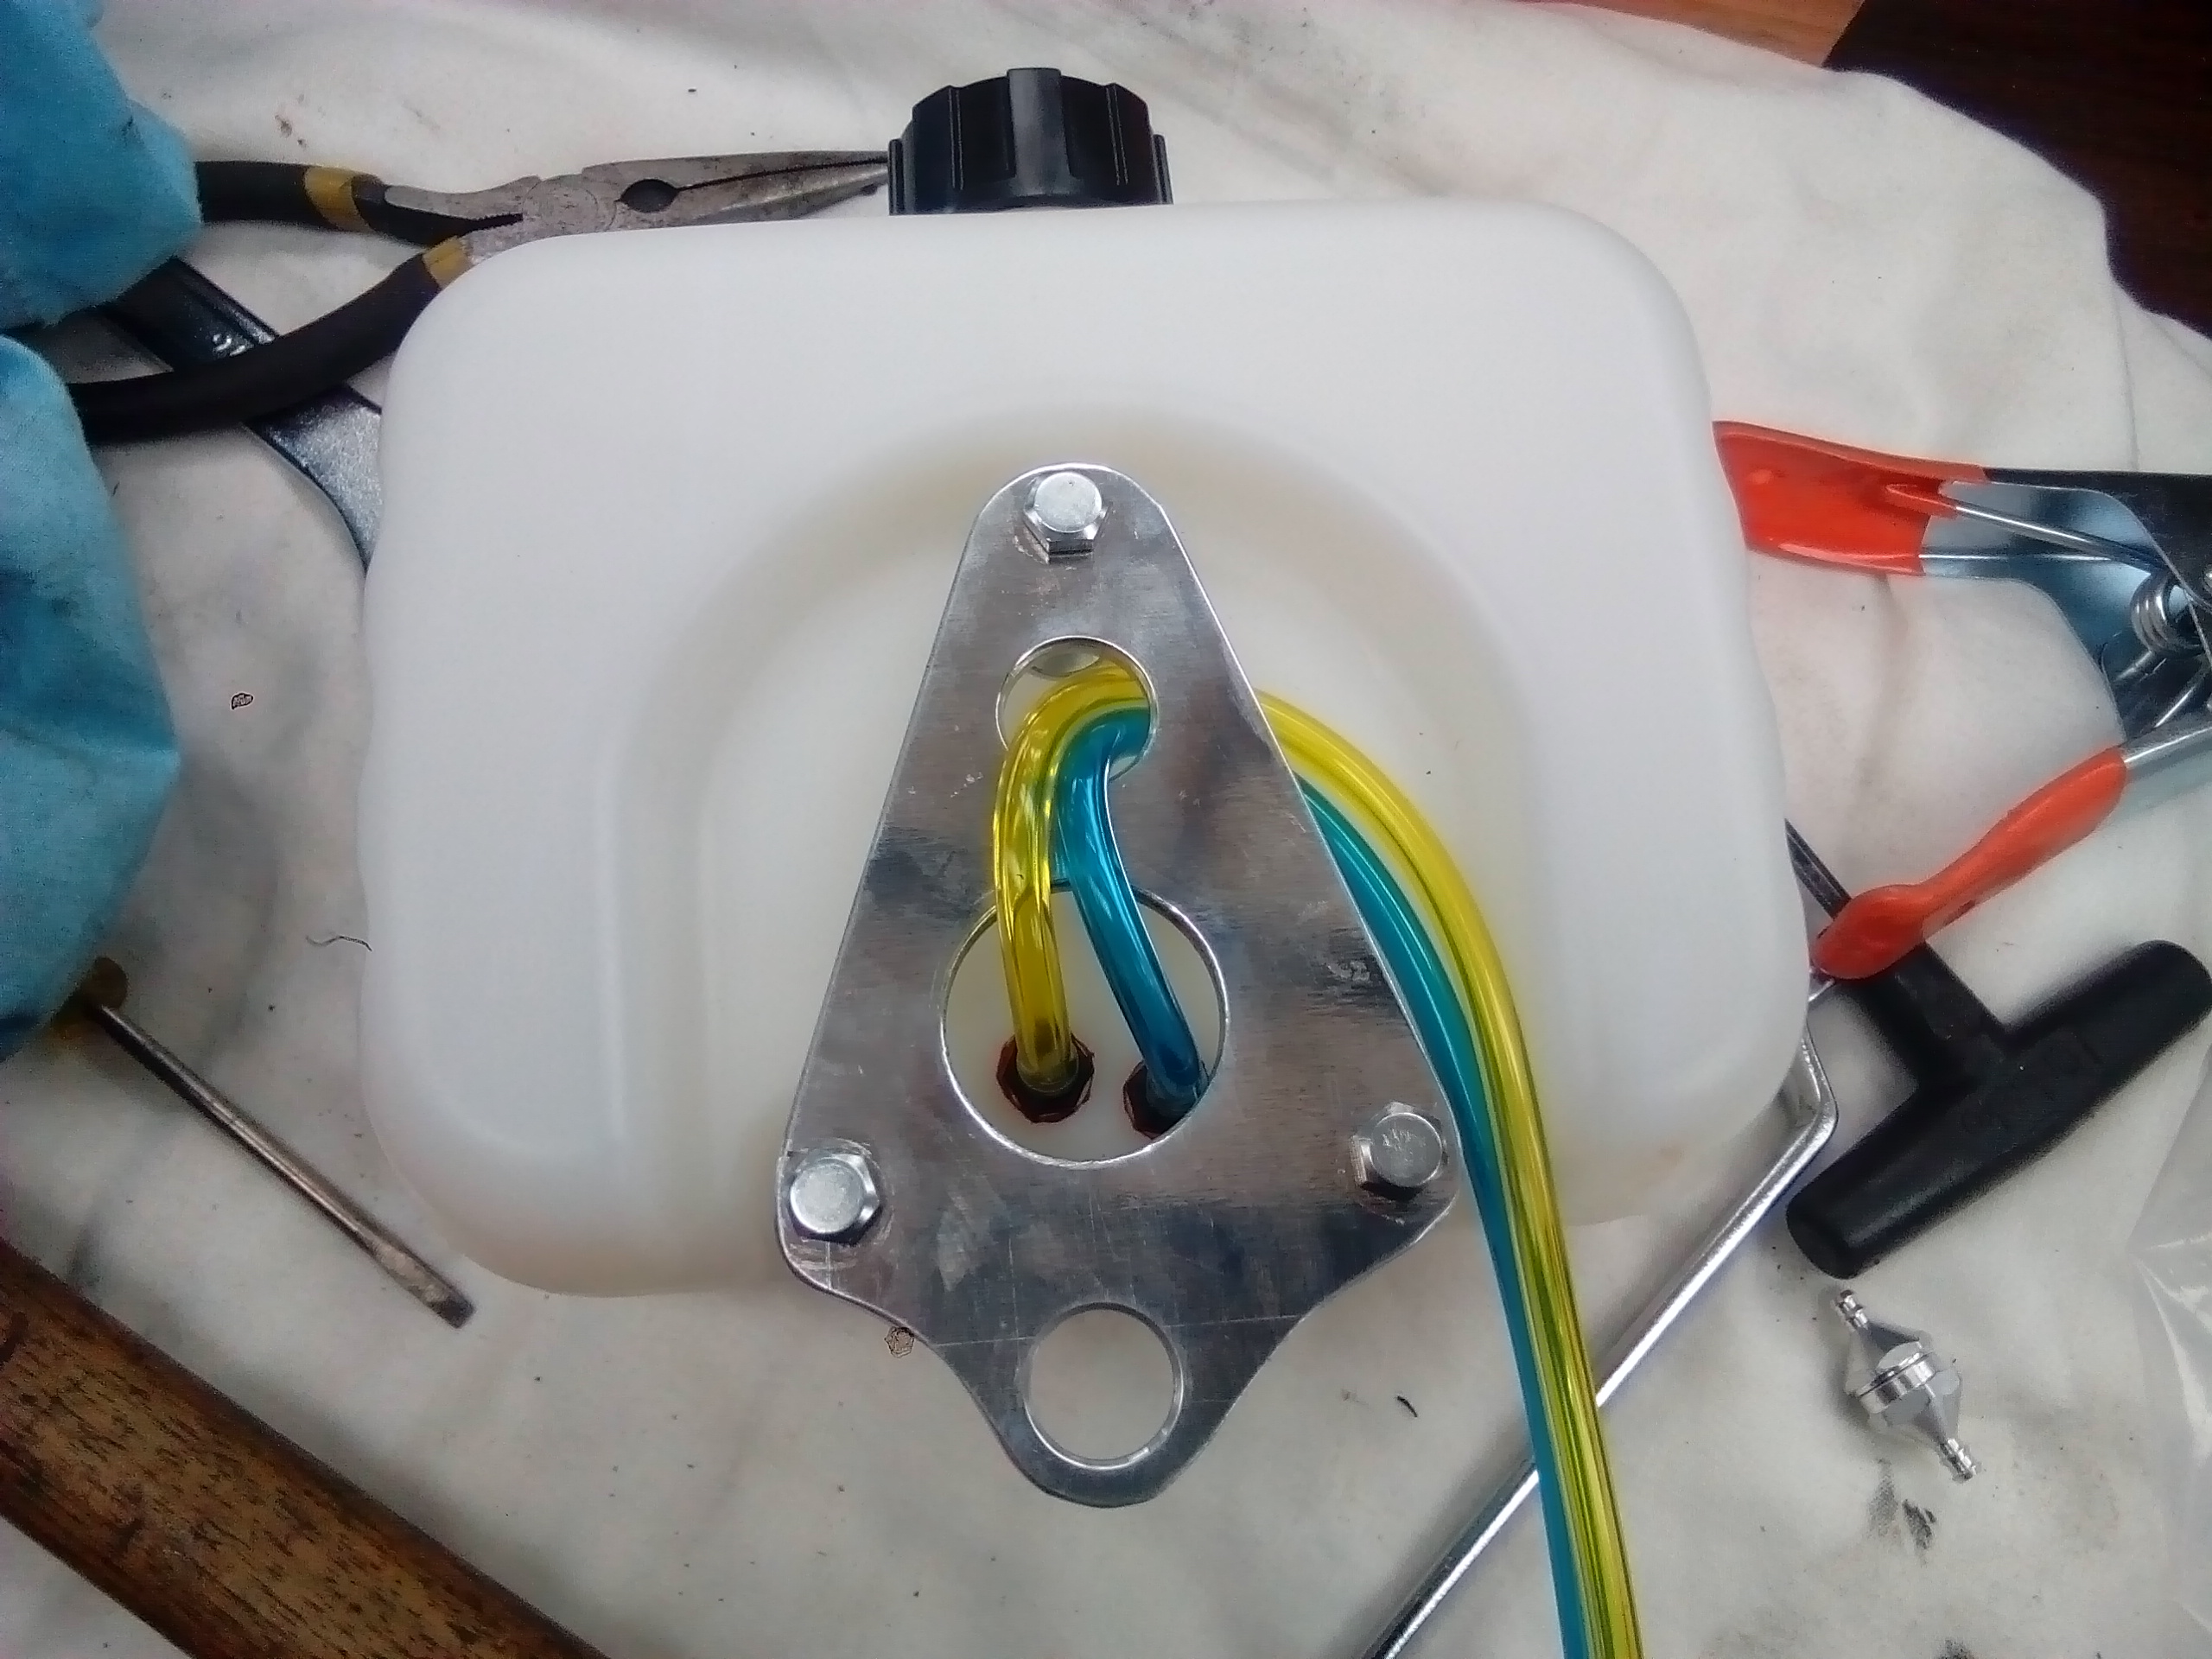
I'm going to lose that gas tank as it's not my style. I tend to add my own little touches to these things.
-
The front end was fucked. Luckily I had a spear one leftover from the "Mike trike" project.
Between the two front ends I can salvage something workable.
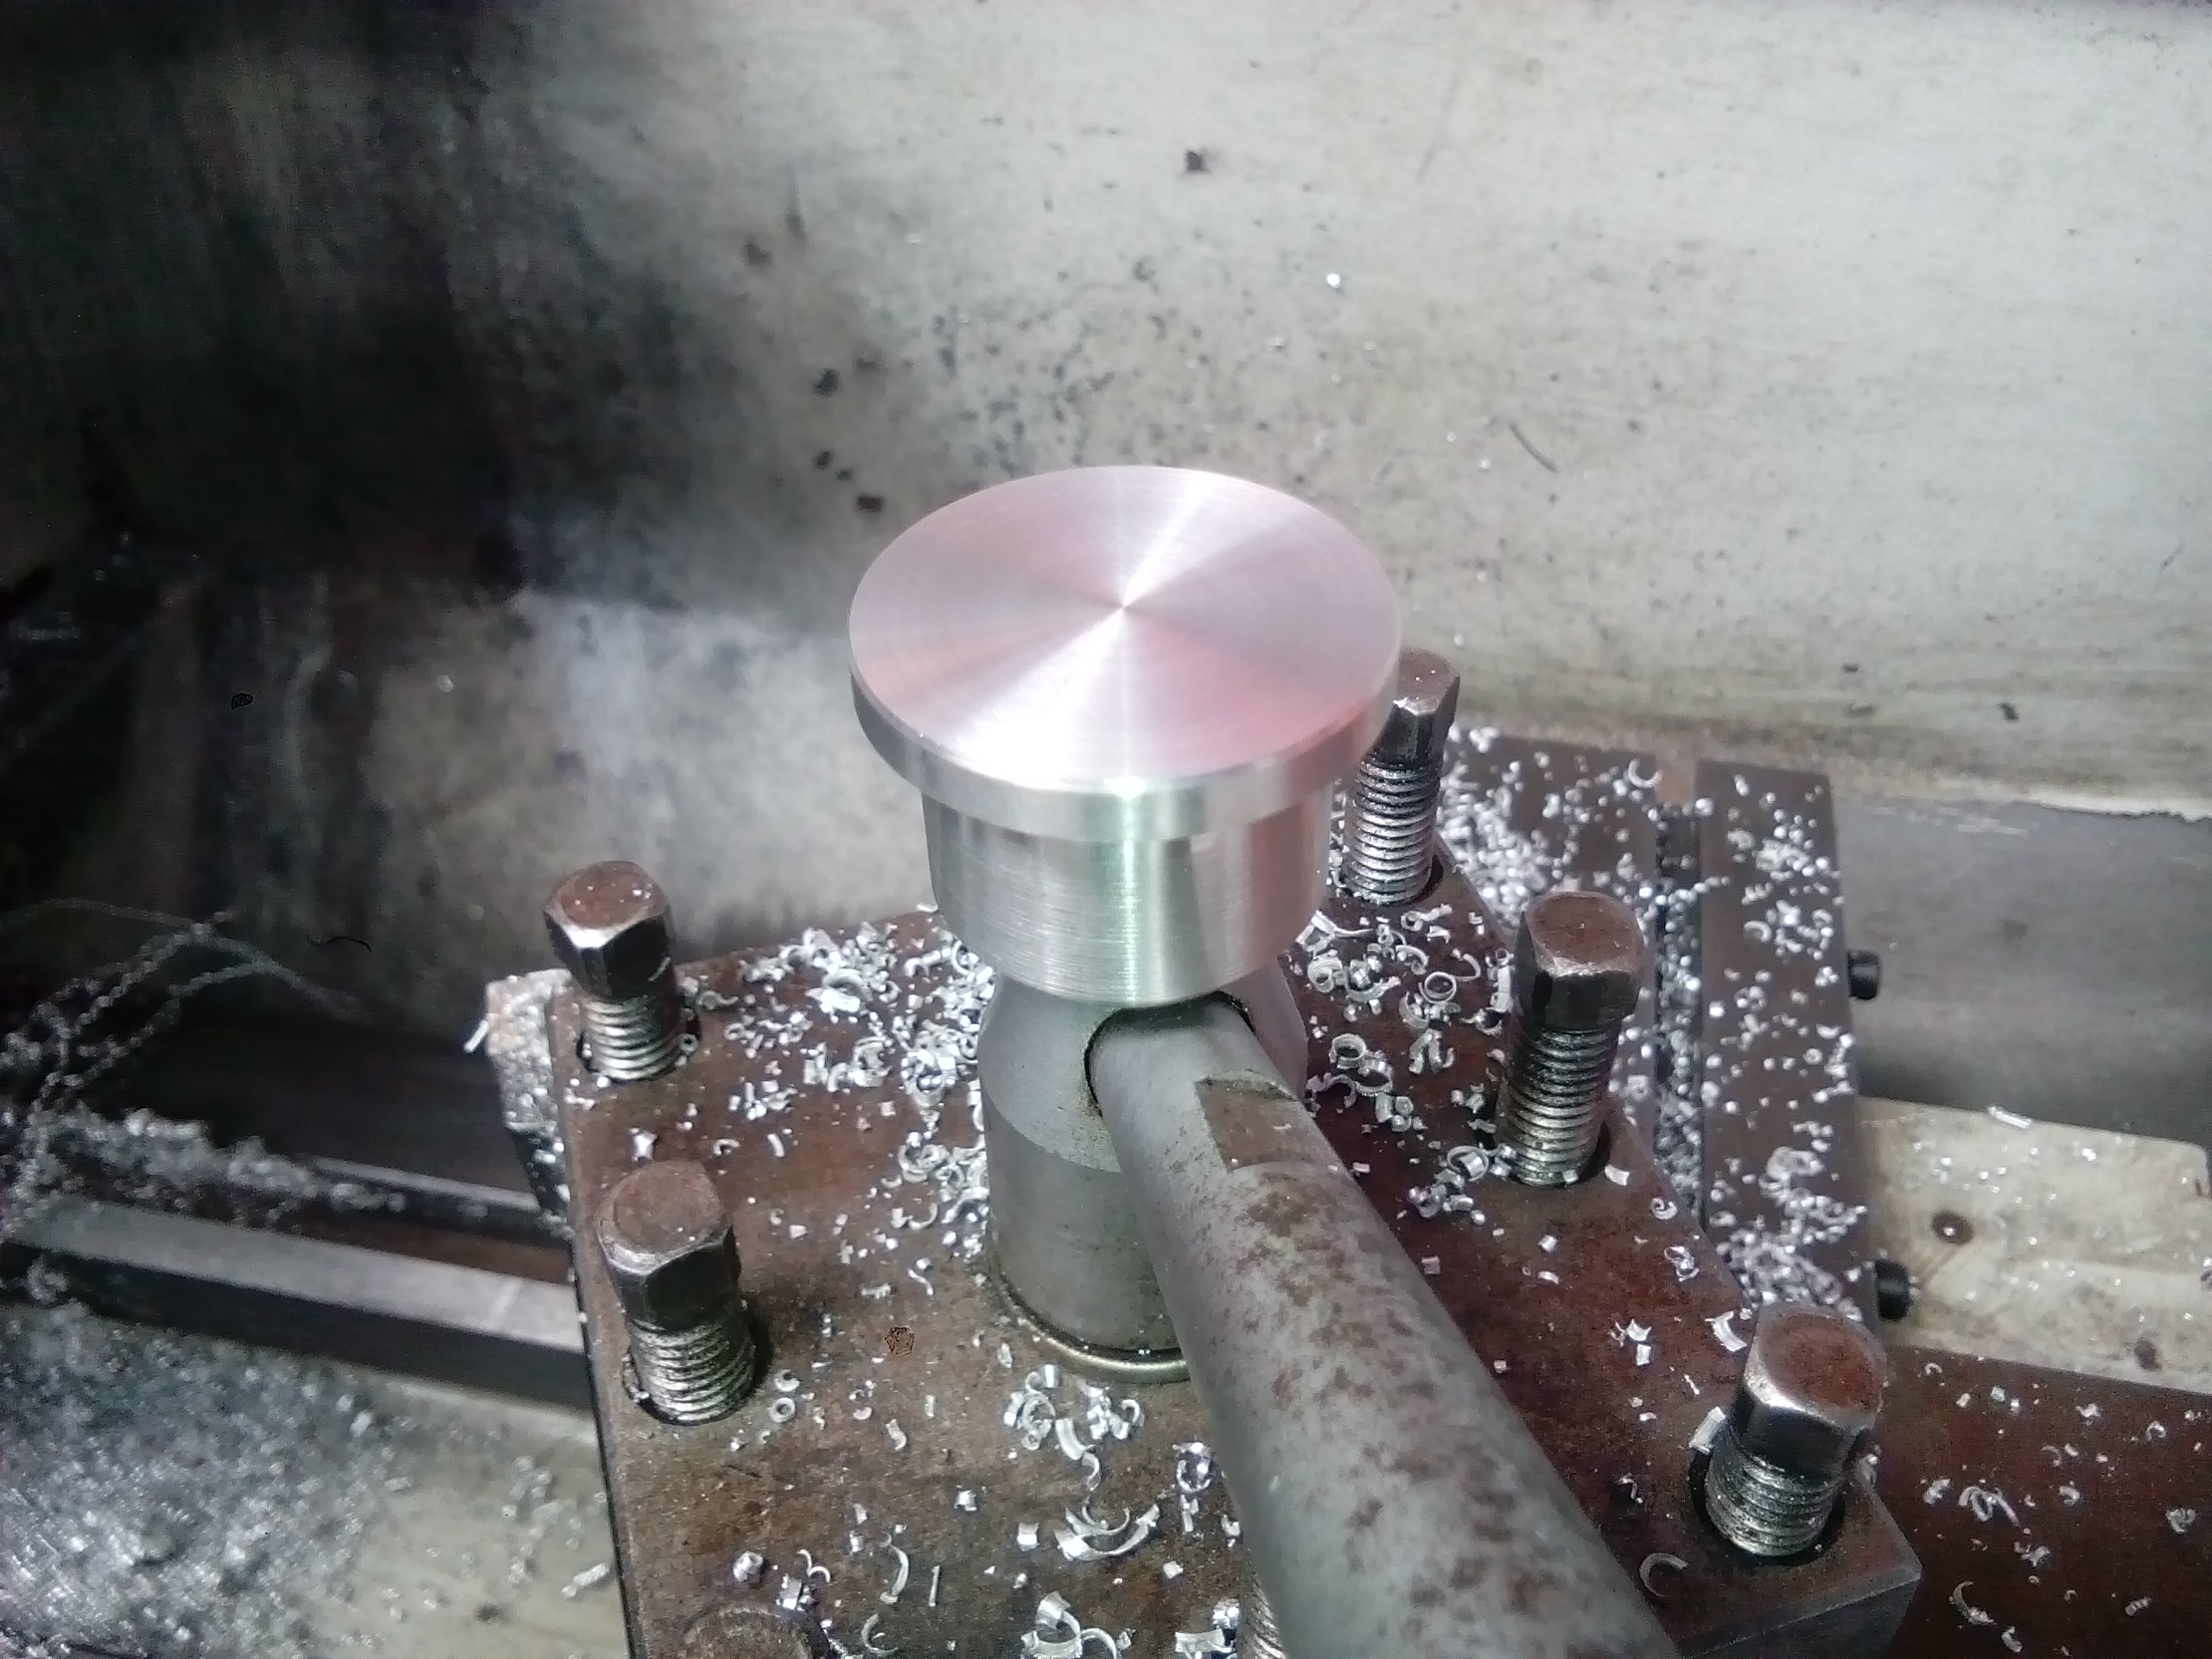
I'm also experimenting with this seat idea. I'm not in love with it...but figure I've come this far, may as well see it through. Perhaps a few dimple die holes to make it look the part?
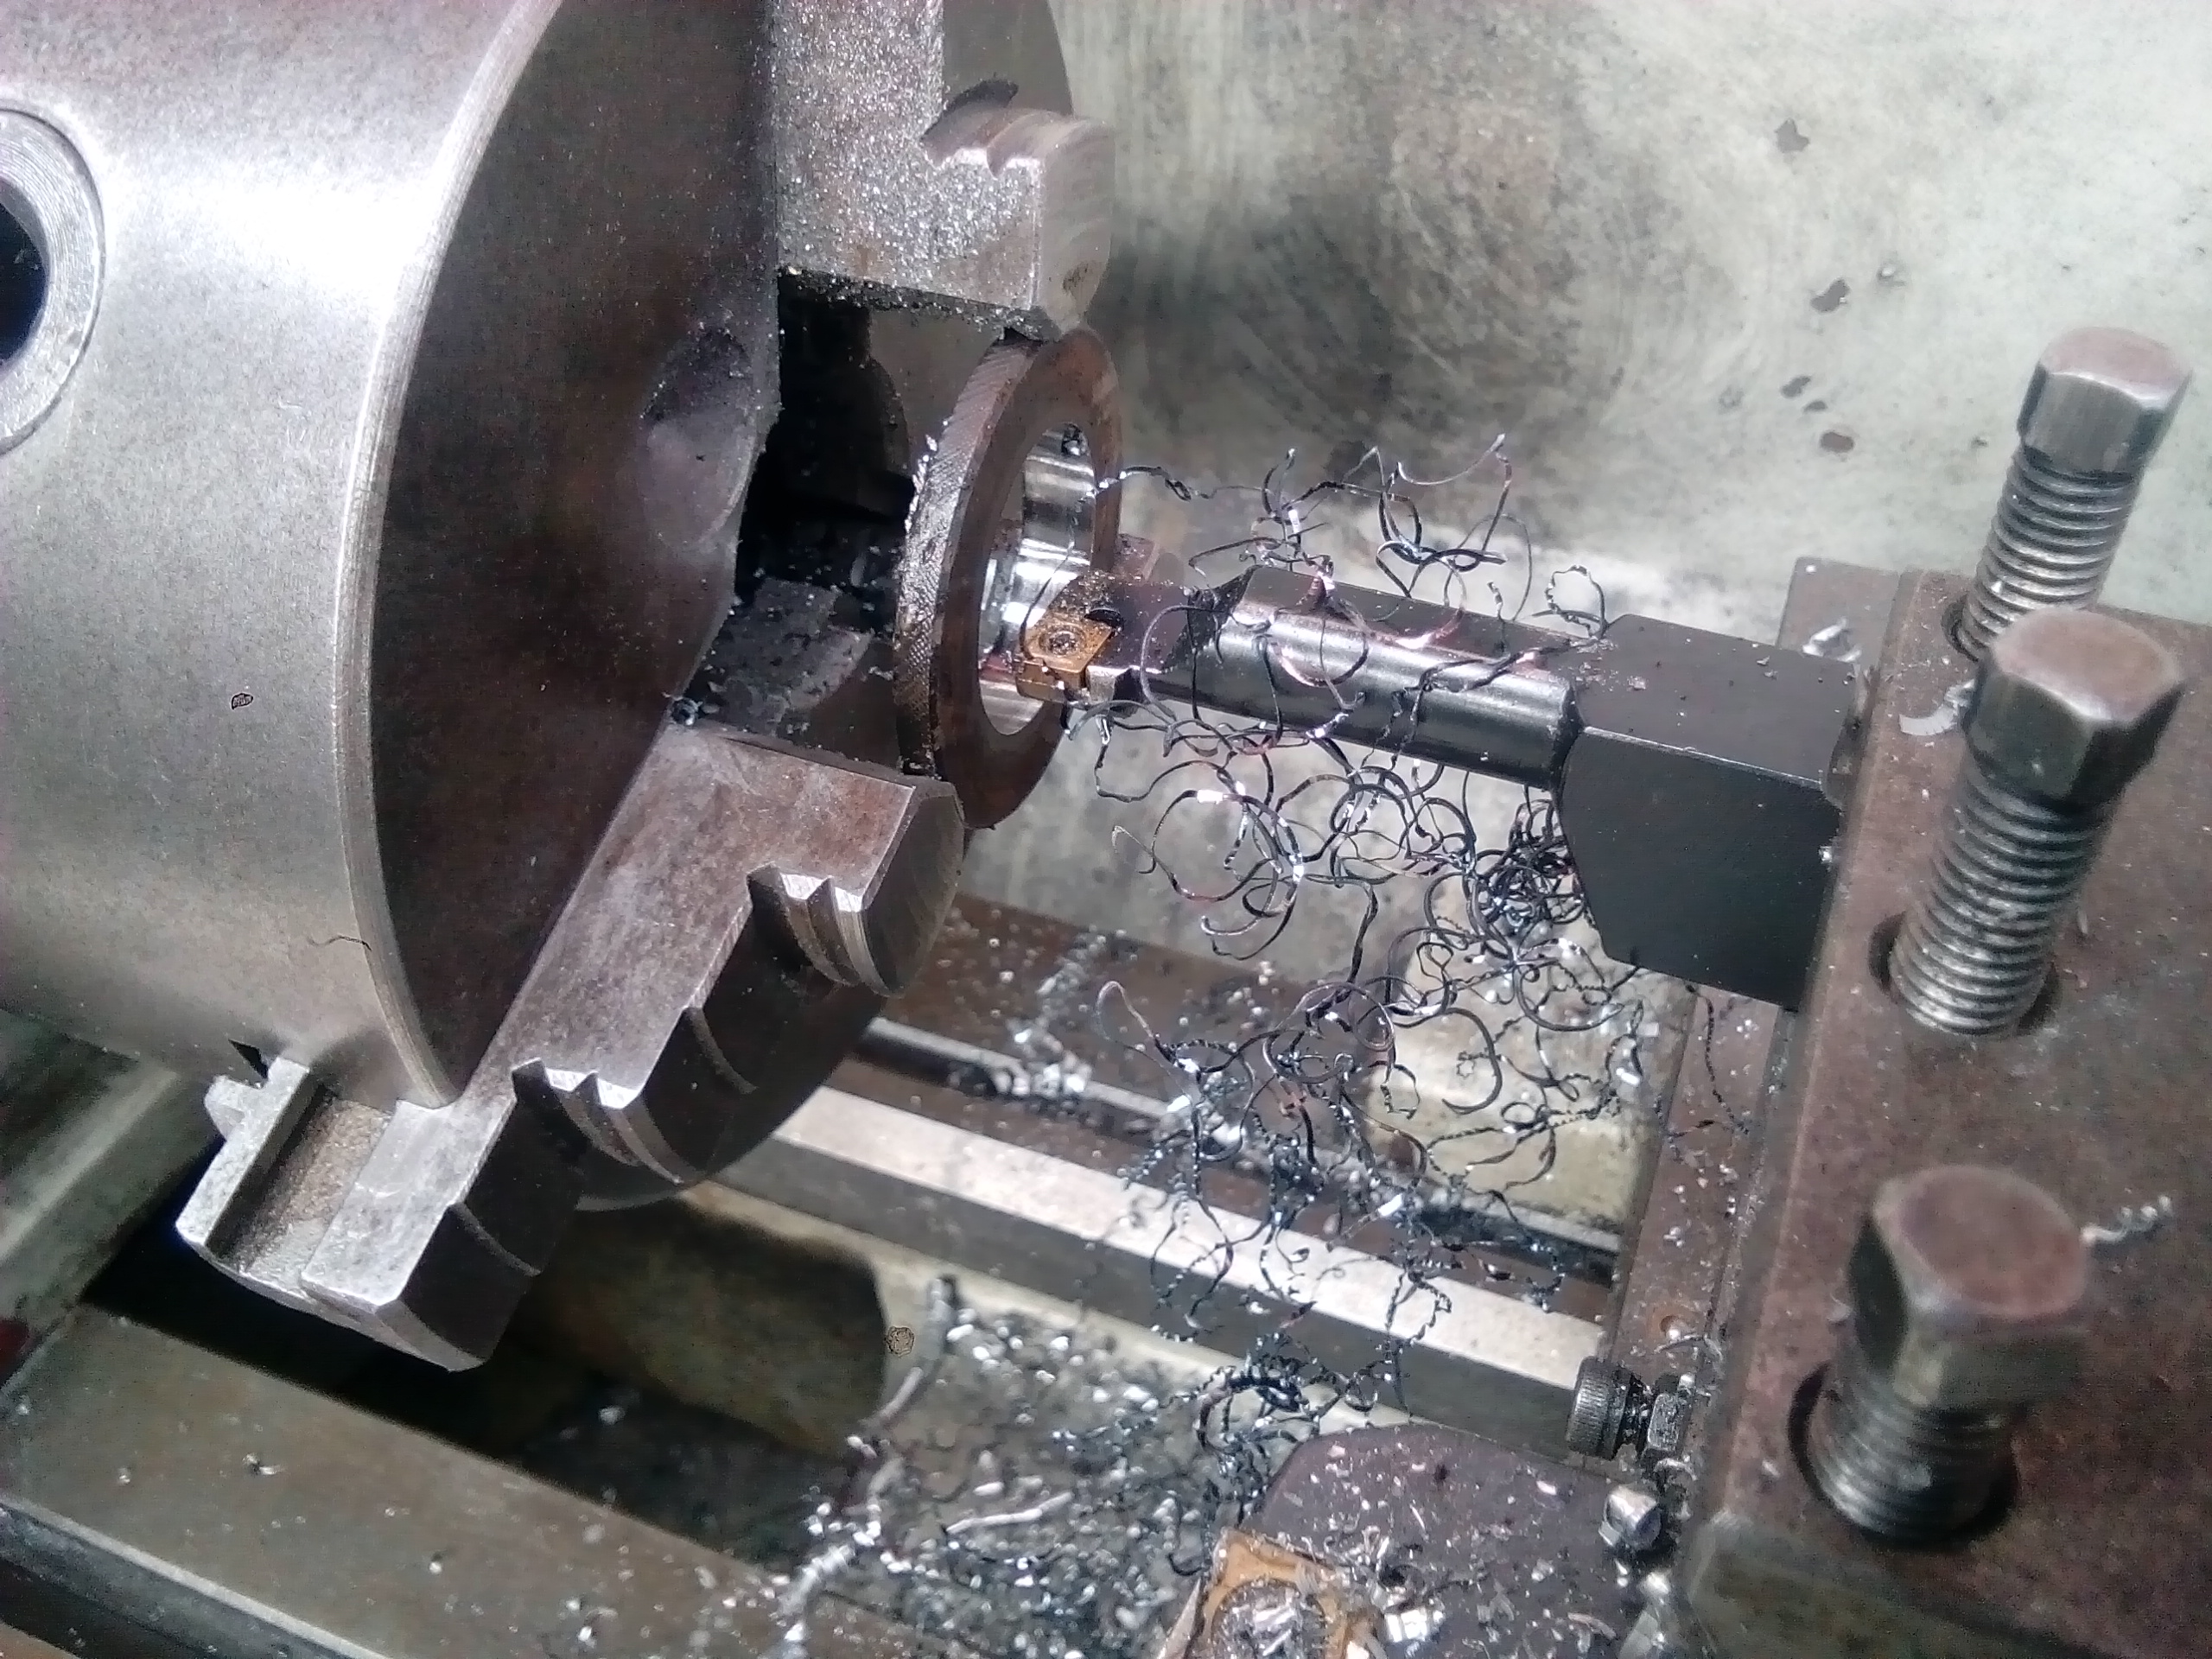
Then I turned up a sexy retaining plug for the stem, as it was missing one.
-
1
-
-
I love it! It's just so dam ridiculous with all that motor...yet time so well spent doing it.
The fact that you can't go to the shop, buy one, then ride out an instant badass makes it a fantastic project.
-
1
-
-
26 minutes ago, Valiant said:
Sweet.
Is it easy enough to put cart wheels on a quad axle?
Kind of. If you get a 110cc mini quad axle, you can cut the hubs down to fit and re drill the holes
I can't put my hands on a photo of the hub right now...but search under my name and I've done about 4 other drift trike builds on here with step by step how to...
In a nutshell the more money you try to save, the more work it creates.
-
3
-
-
5 hours ago, Valiant said:
What axle do you use?
I have been toying with the idea of building one "for my kids"
Anything cheap on trademe.
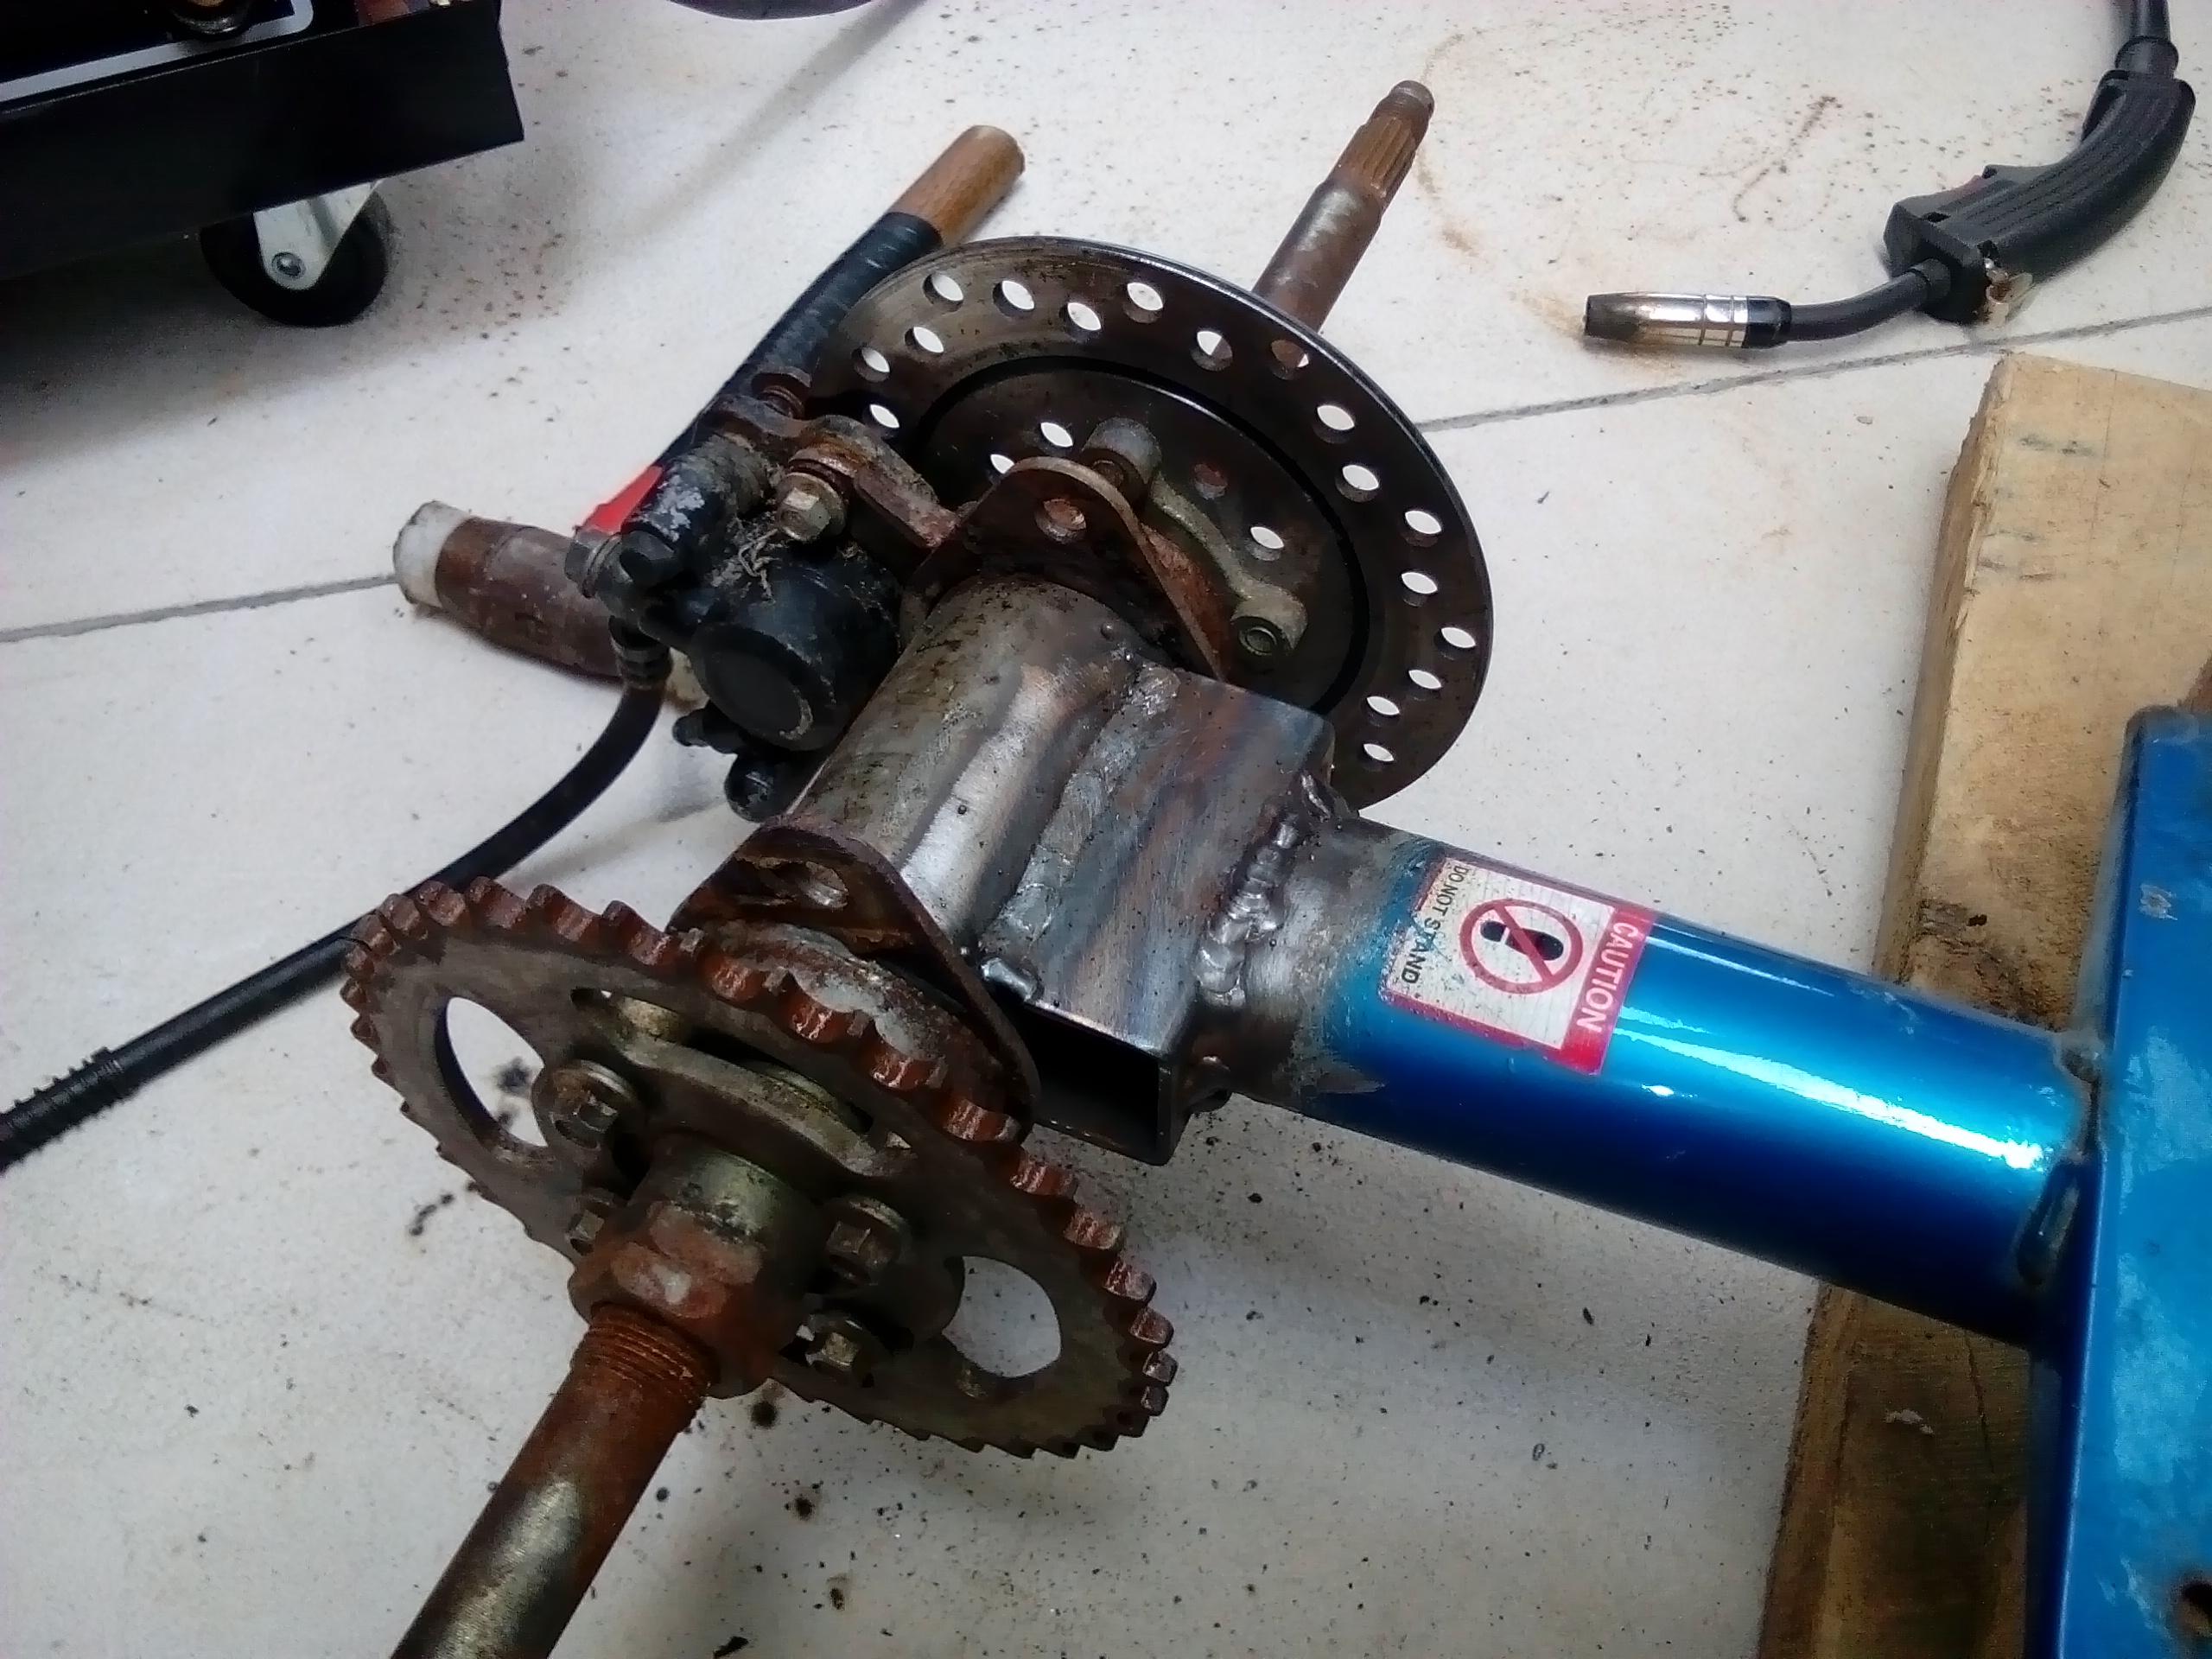
My preference is quad bike axles as they're cheap and mostly good to go with brakes and provision to hold a sprocket.
This one uses an actual gokart axle. It's more expensive, but makes for an easy job, as you can buy any bolt on parts off the shelf to make it work. Of course, to keep the cost down I'm making/adapting stuff e.g. I'm using a wheel hub to hold a cheap sprocket, rather than buying an expensive sprocket carrier.
My ones are all lessons in doing shit ona budget. At best guess, they'd cost about $300 doing it this way V's about $1500 to buy the proper stuff all new.
-
1
-
")
Kimjon's not as cool or epic as Muncie's off-road goped Bigfoot scooter thingy
in Two Wheels
Posted
Manifold gets some epoxy love!