Flash
-
Posts
1,719 -
Joined
-
Last visited
-
Days Won
2
Everything posted by Flash
-
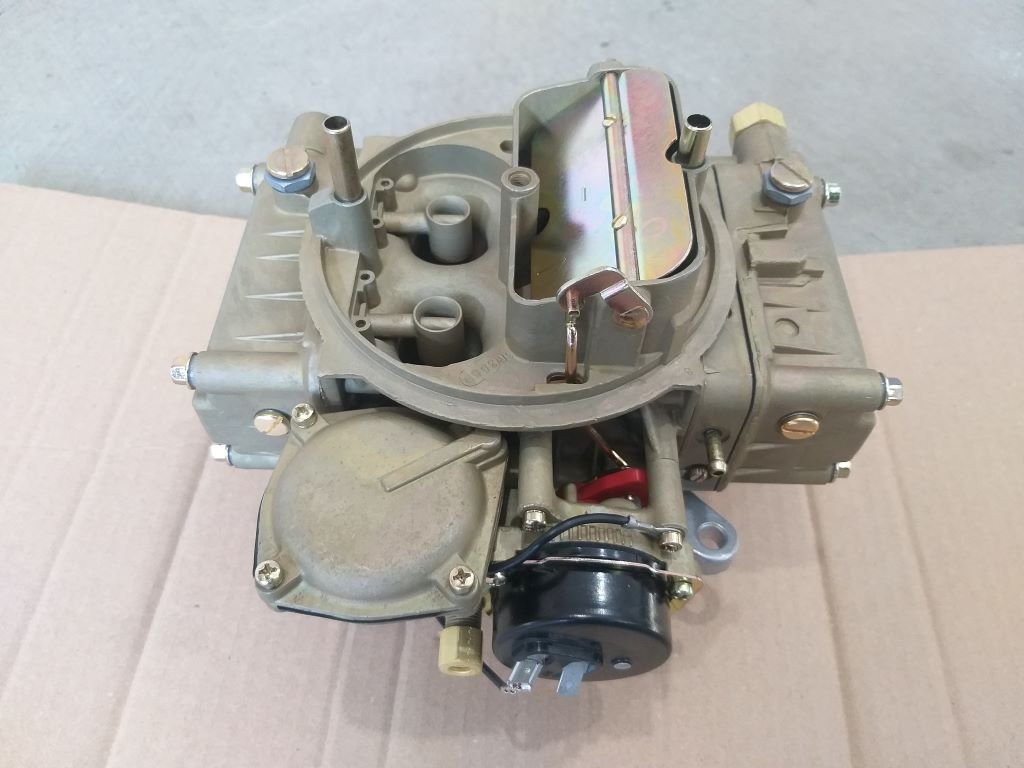
Managed to grab a few spare minutes this morning so quickly chucked the new carby on. I've currently got a replacement ignition switch on order so had to hot wire the car, but it only took a few cranks to get the fuel through and then she fired straight up. Even idled perfectly on their test setting which impressed me no end. The instrument cluster is half out so I could get to the back of the crook ignition switch, so I wasn't able to go on a test drive. Hopefully the new ignition switch arrives in the next day or two so I can do a road test. Photo of the carby which is a credit to the workmanship of the Hume Performance Team. AAA+++ Would trade again.

- 198 replies
-
- 21
-

-
Thanks for that Rusty. I'm hoping for the same result.
-
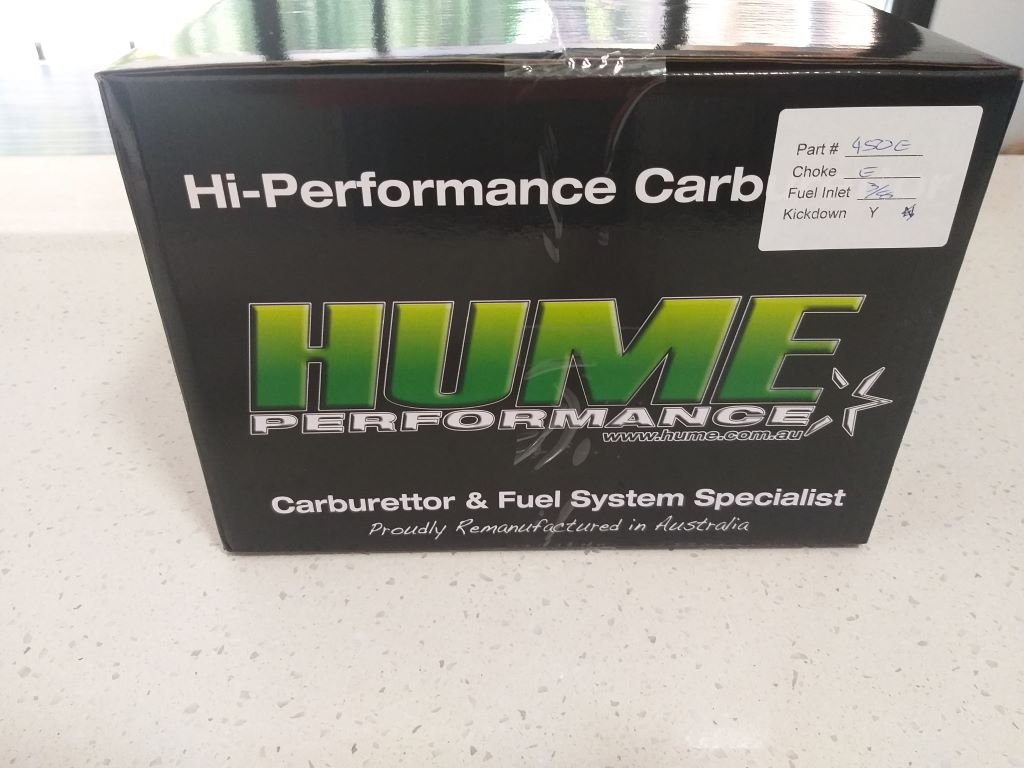
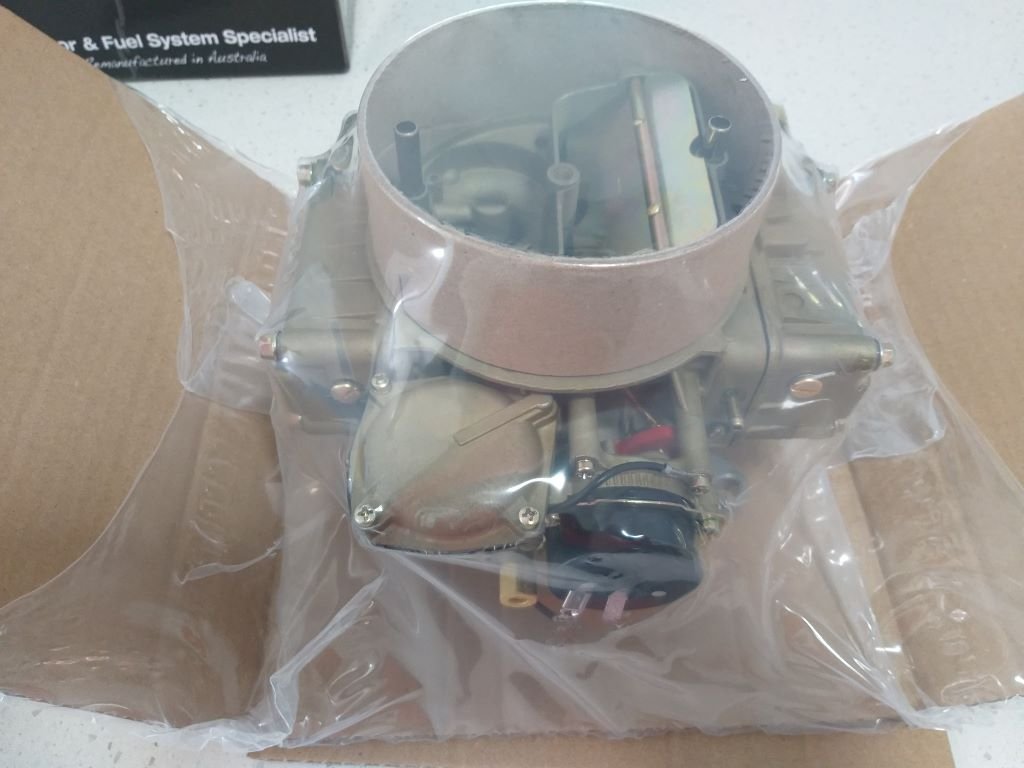
So about a month back I gave Bobby at Hume Performance a call to discuss a replacement carby for the Muzzy. I explained that I had been experiencing fumes at idle with both the original Holley 650 and also with the Fitech EFI and he reckoned that both the Holley and the Fitech would have been supplying too much fuel for the little 289. His recommendation was a 450CFM with vac secondaries. He stocks brand new Quick Fuels but I wasn't overly impressed with the one that I had on my Chev 350 powered Bedford van back in my NZ days, so he offered to remanufacture an original Holley for me. And earlier this afternoon a parcel of goodness arrived for me. I excitedly ripped off the plain brown paper wrapping and discovered this box hiding inside: Not what I was expecting at all. I had pictured some manky old second hand box with a bit of old newspaper stuffed inside. Opened up the box and this was lurking inside: Beautifully presented with the slight whiff of fuel seeping through the vacuum wrap when I poked a little hole in it. Just perfect. Bobby did mention that they run each carb on their in house test engine as the last step in the process, so I guess that explains the fuel smell. So far I'm well impressed, but I'll leave the final verdict till I install it tomorrow.
- 198 replies
-
- 17
-
-
That was my thoughts too. I'm already using a thermo fan so letting it run for a while after a stop not only solves the vapor lock issue, but also reduces the engine heat seeping into the cabin. And all for the cost of a little battery drain.
-
Or maybe to cool down the rider's big gonads.
-
I'll grab my multi meter and report back next time I do a long run.
-
Well fellas, I conducted an interesting experiment today. Needed to head into town for some supplies, but before I did, I stuck my head under the dashboard and quickly moved the radiator thermo fan relay exciter wire across from my ignition fuse box to the adjacent battery fed fuse box. Drove into town and as soon as the engine temp hit 95C the thermo switch activated and the radiator fan kicked in. My first stop was a short 5 minute one. I switched the engine off, but as planned the thermo fan kept running. Got back to the van and the fan was still running. She fired up on the first turn of the key and no stumbling which I was kind of expecting for such a short stop. My second stop was about the same length of time. My third stop was for about 20 minutes, and this is usually when I have issues. When I got back to the van the thermo fan had stopped. On entering I immediately noticed a difference in the ambient temperature inside the cabin and the engine cover only felt luke warm (normally after a longish stop the metal cover is pretty hot to the touch). Engine started promptly and there was no stumbling at all. Got home and parked up in the driveway. Again, the thermo fan kept running and I timed it to see what would happen. Fan ran for 12 minutes then stopped. At 15 minutes I climbed back in and she fired up first go. Again, no hesitation when driving. I'm thinking that long term I can live with the extra drain on the battery if it cures my issue. Time will tell I guess.
- 58 replies
-
- 18
-
-
Thanks Alex, would be interesting to know.
-
Thanks @GregT, a Tee at the carby makes for a really simple solution.
-
Thanks for your latest input @sleeektoy and @GregT. My current mechanical pump has an inlet, an outlet and then a separate return outlet built into the pump. If I was to fit a pump that does not have a built-in pressure switch, what would be the easiest way to plumb in my current return line ?
-
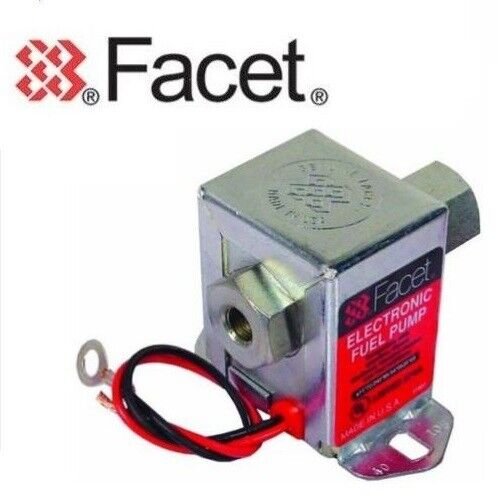
@sleeektoy, I've just taken a gander at the facet pumps available. I'm assuming it's one of these little jobs that you are referring to: This particular one is their model 40104 which I'm guessing would do the trick. I'm assuming that since your pump is mounted very close to your fuel tank you haven't worried about fitting a return line. Is my assumption correct?
-
Thanks for that. Nothing can be rowdier than my Astra power steering pump. Sounds like a jet engine winding up.
-
So, with your 2L injected engine the golden ticket might be the electric fuel pump. Just a guess.
-
Thanks Alex, interesting to hear that he had similar issues with the factory carby as I suspected it may have something to do with the Weber conversion. Were you able to retain the factory Toyota carby spacer when you fitted the Weber?
-
Yep, sounds like a really good solution.
-
Thanks @sleeektoy. My current mechanical pump has a return line fitted so would you suggest that I look at substituting the electric pump for my existing mechanical one or somehow running the electric as an auxilliary? I'm thinking it would be a simpler exercise from a plumbing point of view for me just to replace the mechanical pump with an electric job. Unless you have a cunning plan that I haven't thought of.
-
Thanks for the suggestion @ajg193. I'm pretty sure it's not a head gasket issue. No milk in oil, and no oil in coolant. Thermostat opens at 85C and engine stays at a constant 95C in both traffic and the open road. Well within factory spec. Compression across all 4 cylinders is good too.
-
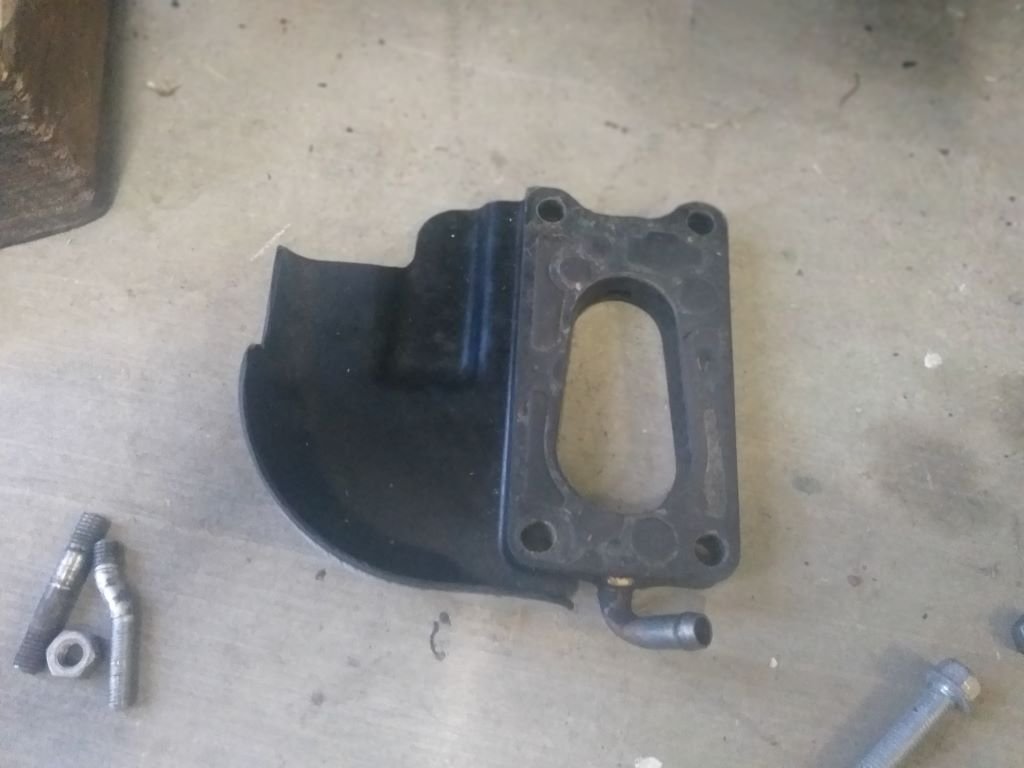
Thanks for the info Bryan. I'm still running this factory spacer between the carby and the aluminium inlet manifold: But the factory heat shield on top of the cast exhaust manifold is just a thin piece of shaped metal, so Making something similar to your BMC example might be the answer.
-
Yep, my Weber is visually almost identical to a 28/32 so what you are saying makes sense. Might be worthwhile me checking in with @yoeddynzas I know he fitted the same carby as mine to a customer's HiAce. I wonder if that van also suffers from vaporlock since the conversion. No roof vent unfortunately and I don't fancy fitting one. I had a good look under the van earlier today and ducting the air out won't be that easy. Lazy Flash thinks maybe just use the main radiator thermo fan to blow the hot air out of the engine box after engine switch off.
-
Thanks Clint, that's a bloody good idea.
-
Yikes, interesting to hear that it happens with a crossflow engine too. In that case the common denominator seems to be the confined engine box. I've lifted the engine cover a few times after a run and the heat that seeps out into the cabin is epic.
-
Thanks for the heat shield suggestion @HighLUX. I am running a Weber 32/36 carby instead of the factory Aisin and I did retain the factory spacer between the carby and the inlet manifold, but the factory heat shield that sits on top of the exhaust manifold does look a bit flimsy and thin, so I'm going to give some thought to fabricating something more substantial. Do you think wrapping the exhaust manifold might help too ?
-
Yep, Toyota 3Y mechanical pump that has the factory return circuit back to the fuel tank. Thanks for the electric pump suggestion Tori, it's worth a go.
-
Okay Team, Flash is in need of some guidance with regards to an irritating issue that I am experiencing with my Toyota 3Y powered Thames van. I've noticed that when I've been on a longer drive and I go to restart the engine after a short stop I have to crank the engine excessively before she will fire up. In these instances, after she has started the engine stumbles a bit especially at lower revs. This stumble clears up after a few minutes of driving. This only happens on longer trips say anything around 20km or further. It doesn't happen on short trips around our village and it also doesn't happen if the van has been left to stand for a longer period of time before restarting. I'm thinking that I may be suffering from vapor lock and after reading everything that Uncle Google tells me the only cause that I can think of in my case is that I'm getting excessive heat build-up in my fairly small engine compartment which is causing my fuel to evaporate in the lines/carby. I'm considering putting my thermo fan on a delay timer so that it runs for a while after engine shut off, just to try to clear some of the heat from the engine bay, but I'd be keen to hear any other suggestions on how to cure this issue. Thanks in advance.
-
Yep, I hear you guys. I think it's the quality of the components that they are using that lets them down. An example is the IAC which is a GM part out of an 80 something Camaro. Would have been okay if they had used a genuine AC Delco version instead of a cheap no name brand. I could have thrown a whole heap of cash at replacing every cheap component with good quality OEM equivalents, but I figured it was time to cut my losses and run.