Flash
-
Posts
1615 -
Joined
-
Last visited
-
Days Won
2
Everything posted by Flash
-
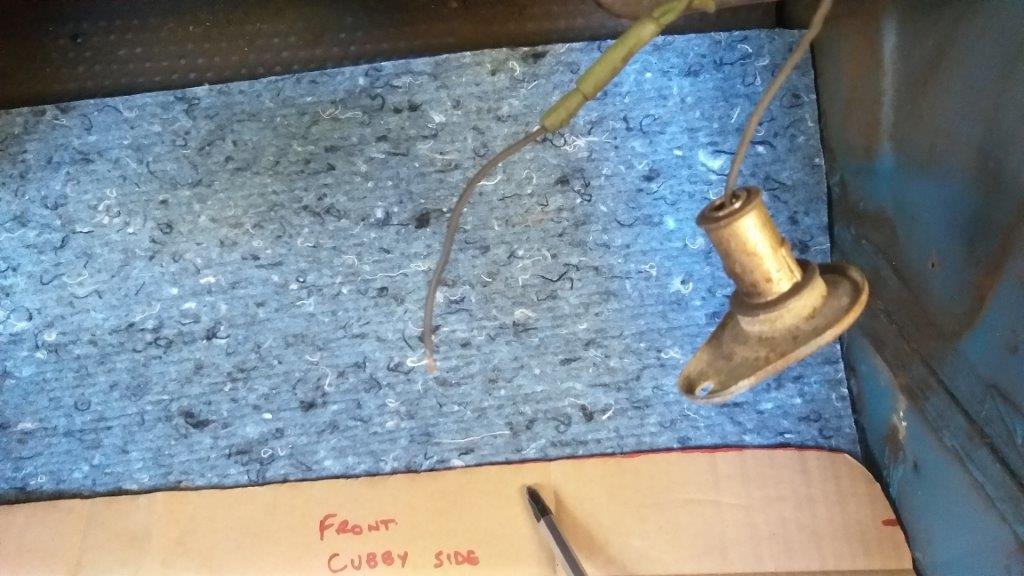
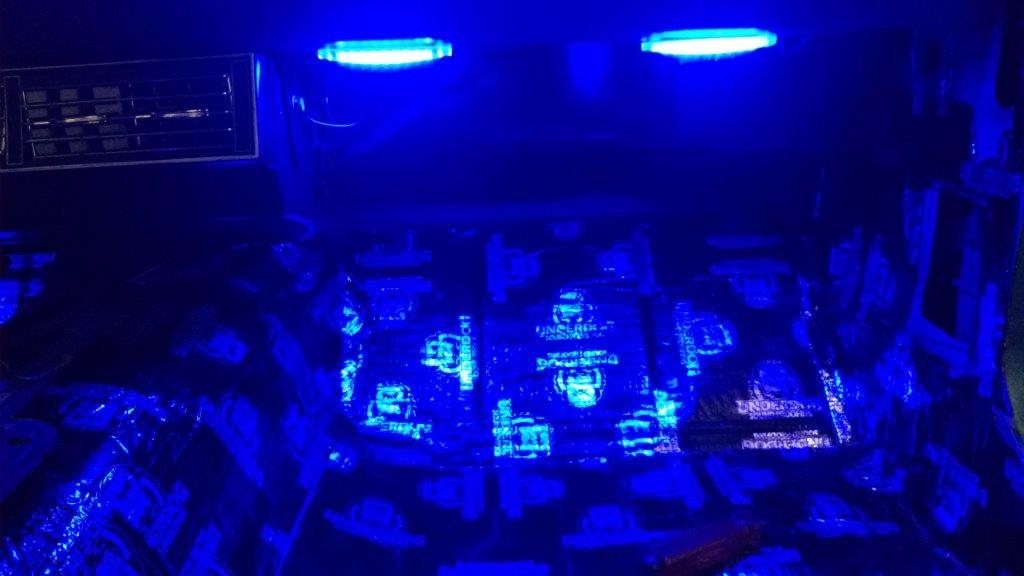
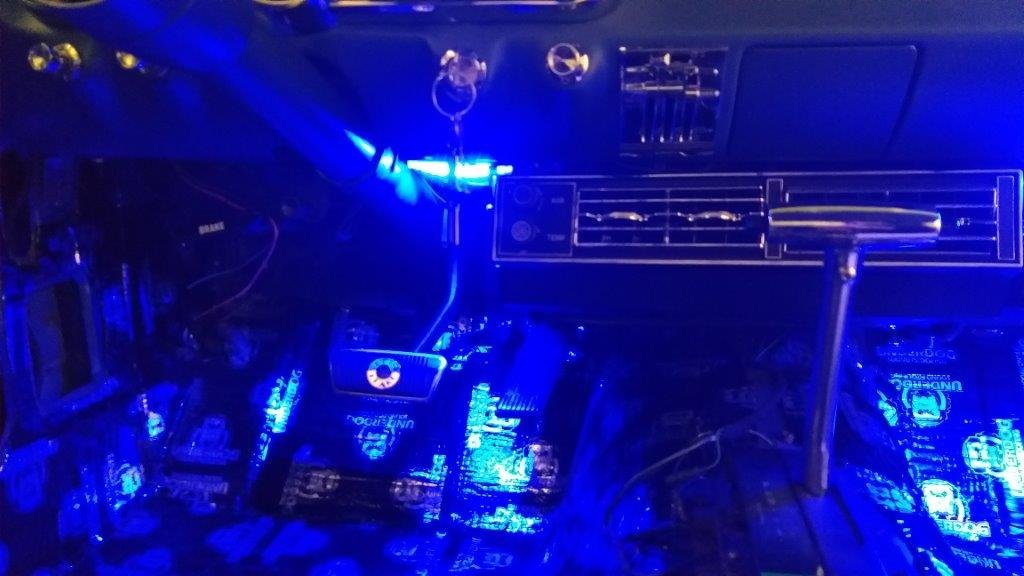
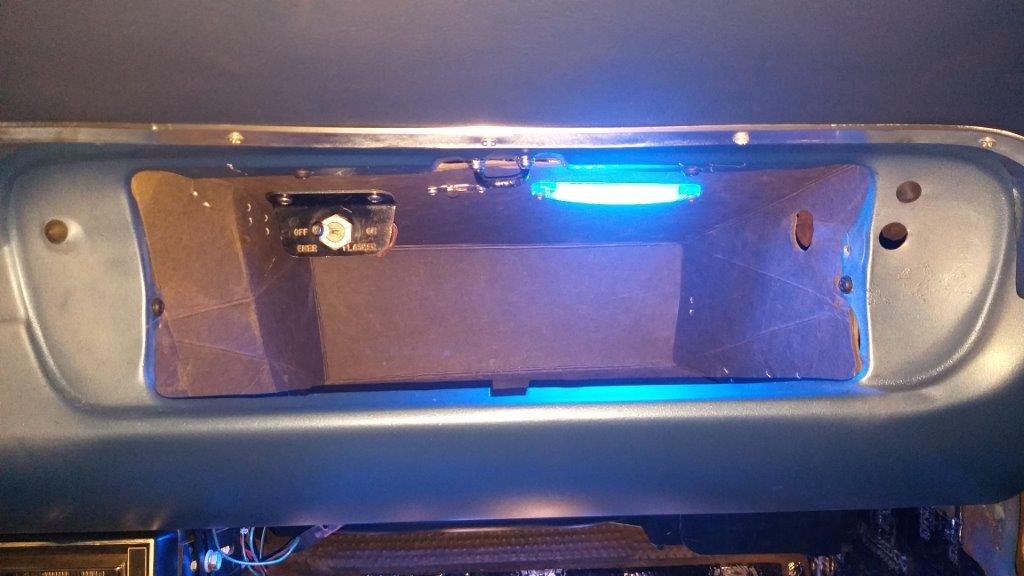
A photo of the factory original under dash light socket and a few photos of the new LED underdash lights. I quite like the blue "mood" lighting which will set off the blue carpet and upholstery once that is all fitted. I also installed a light in the glove box and in the same photo you can see the new location for the emergency flasher light switch.

-
First order of business today was to replace the "tinny" sounding kick panel speakers with the better quality centre dash speaker. Gave the tunes a quick test and I'm much happier with the sound quality now, While I was at it I installed the new demister duct kit that lives under the centre speaker grill. And that's one more item ticked off the list.
-
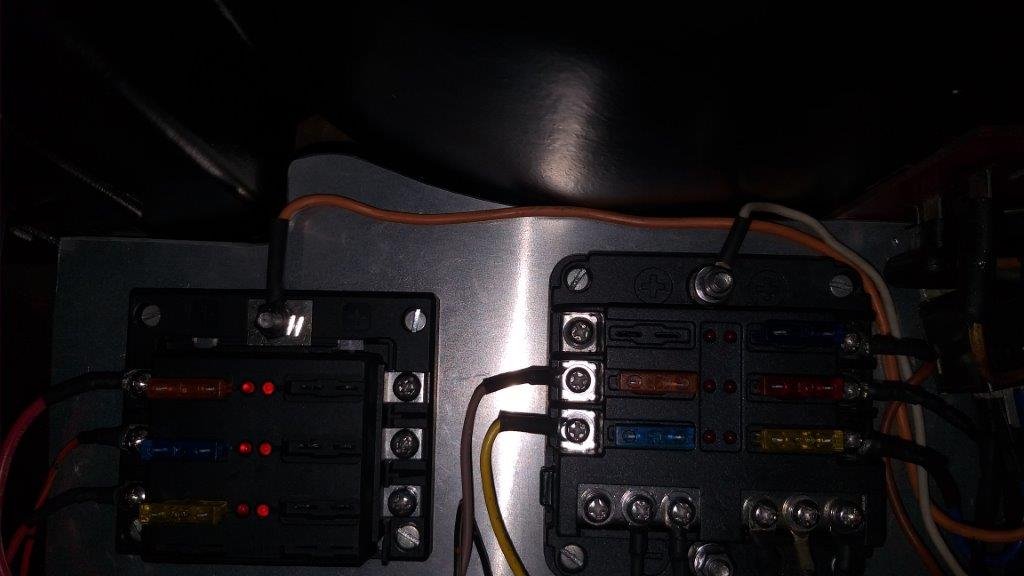
My poor old back has taken a bit of strain with all of the hours that I have spent under the dashboard, but despite this I've been steadily plugging away at the new wiring loom and fuse boxes that feed all of the non factory items. Finally put the finishing touches to it today, so was able to do a basic electrical test. The ugly looking hazard light switch is now tucked away inside the glove box and after installing a replacement flasher unit and a new feed from the new battery fuse panel, these are now working for the first time in many years I suspect. My sound system and the new USB socket for my blue tooth dongle are also working as planned and are now fed through the new ignition fed fuse box hidden under the glove box. My pre owned 6 x 9 rear parcel shelf speakers work really well and I'm happy with the sound. In contrast the original kick panel speakers no longer sound that flash so I'm thinking of disconnnecting them and reinstalling the mid dash sterio speaker that I removed earlier in the piece. I'll try that tomorrow and will report back. One issue that I do have is that the gauge cluster lights are no longer working. I suspect a loose connection on the light switch so I'll need to look at that tomorrow. Lastly, I've rewired my door switches and included a switch that allows me to switch off the interior lights if I so choose, something that wasn't standard from factory. I've also replaced the dodgy old under dash light with modern LED strips. It was a bugger crawling under the dashboard to get a photo of the new fuse boxes and it was pretty dark under there, so apologies for the crappy quality photo.
-
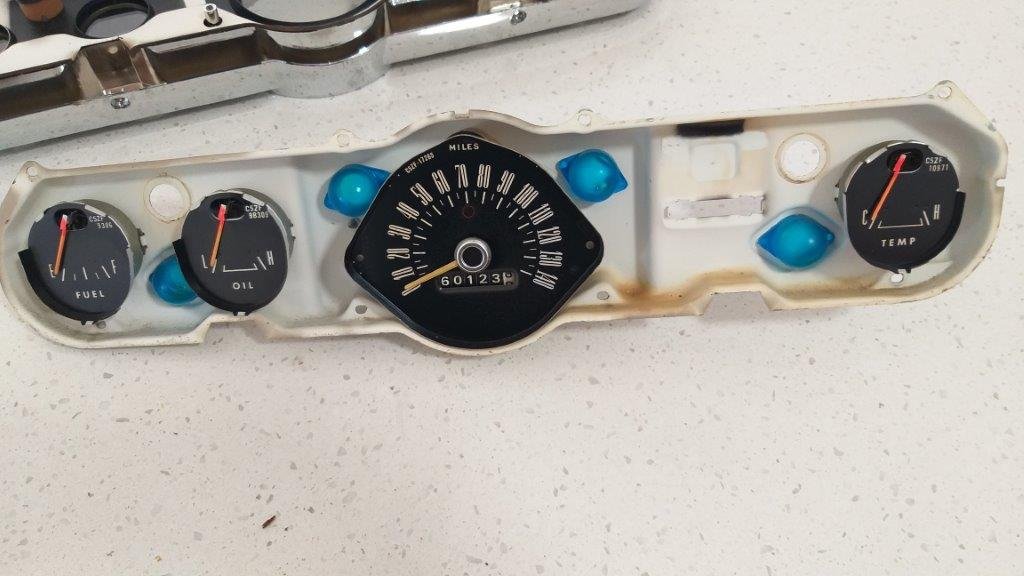
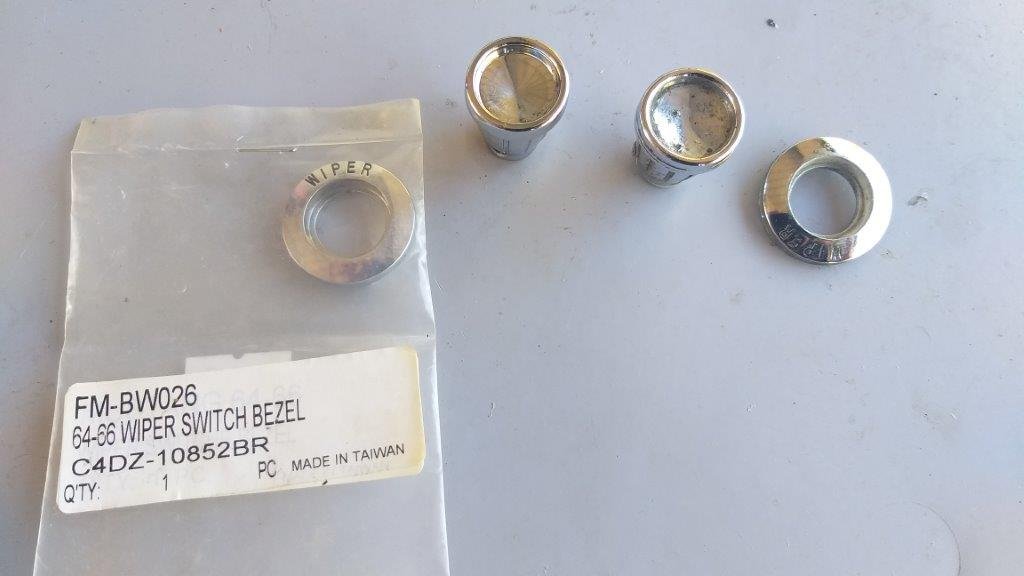
Only got an hour in the shed today so tickled up a few more dash related items. First up I gave the instrument cluster a bit of loving. Removed the gauge bezels and lenses to clean 50 year's worth of dust from the gauge faces. Pulled the ammeter out and gave it a blast of compressed air and it's now working so I can only assume something was gumming up the works as it didn't work before. Got that all cleaned up and assembled ready to go back in. Replaced the pitted knobs and surrounds on the light and wiper switches with new Scott Drake replicas that two owner's back purchased in 2013 and never bothered to fit. In between I chucked a bit of primer and some satin black on the right hand front bumper irons in prep for refitting the front bumper. Small, but necessary steps.
- 194 replies
-
- 12
-

-
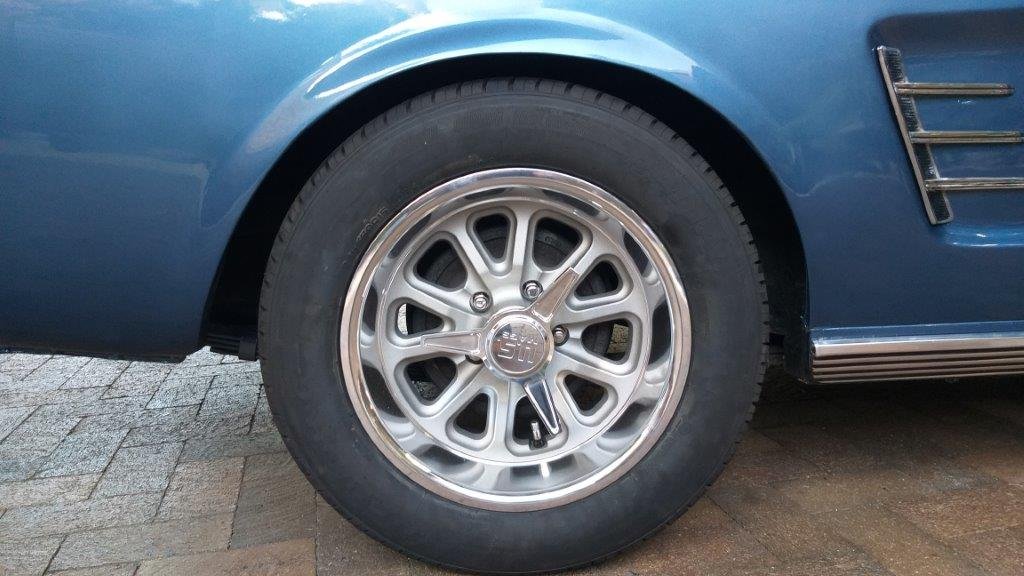
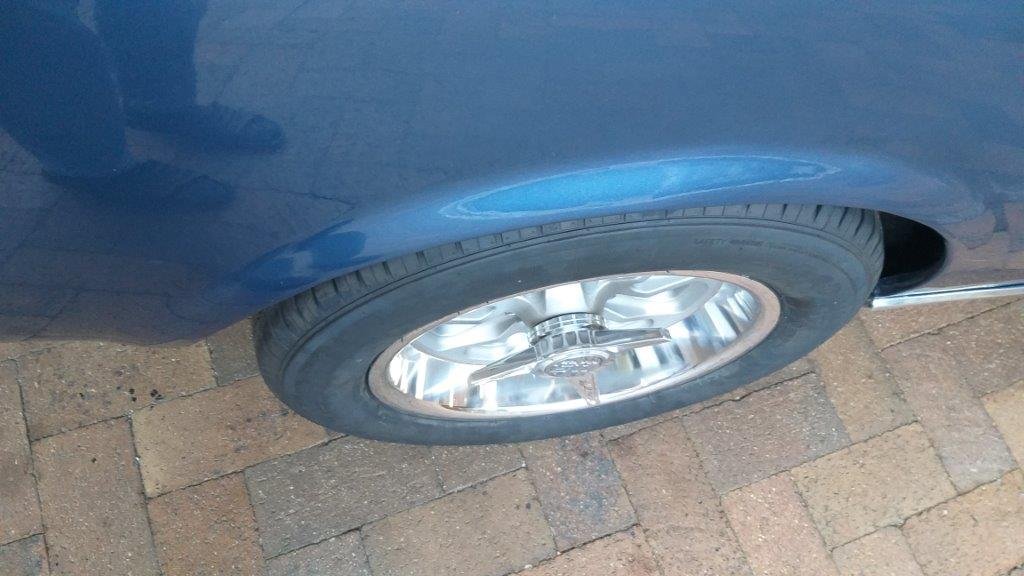
I got a call to say that the knock off centres for my new wheels were ready for pickup. Fitted one to check out the look and to be honest I'm not a big fan. They look really wicked on a 17 inch diameter wheel, but on my 15s they just look too overwhelming. In my opinion the centre of the knock off looks way out of proportion to the rest of the wheel and also the bars end up sticking out too far, which makes the 8J wheel look positively skinny. They were worth a try, but I much prefer the look of the uncluttered wheel. Luckily the supplier is a really good guy and has agreed to take them back for a modest re-stocking fee. Thanks for looking.
- 194 replies
-
- 14
-
-
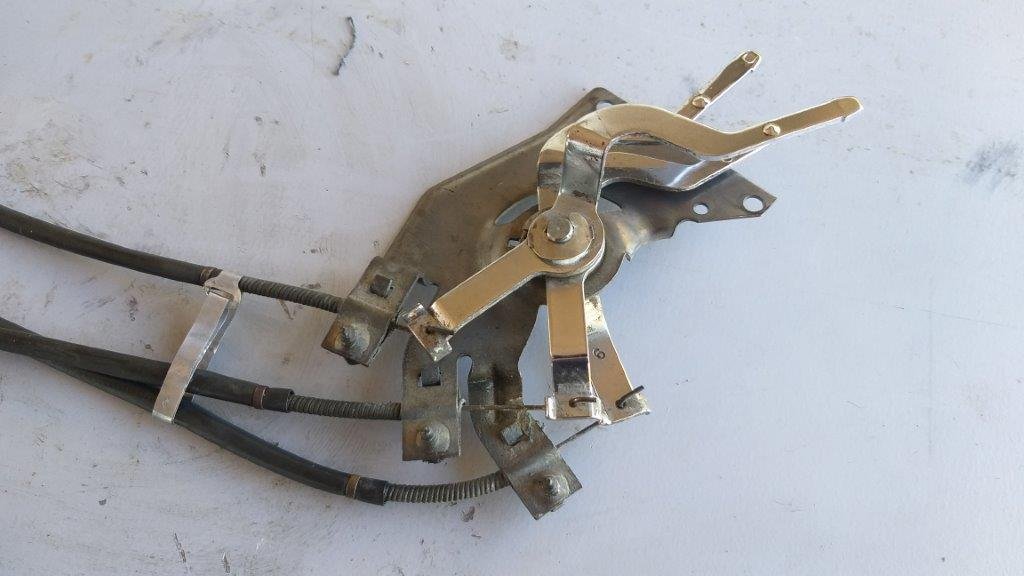
Spent a bit of time cleaning up the switch and wiring and then replaced the perished cable wrapping with some fresh cloth tape. With that behind me I fitted the new face plate and control knobs and mounted that sucker. And that is the first bit of new bling fitted to the dashboard. Cable action is nice and smooth too. So I am one happy camper. Onwards and upwards. Thanks for looking.
- 194 replies
-
- 15
-
-
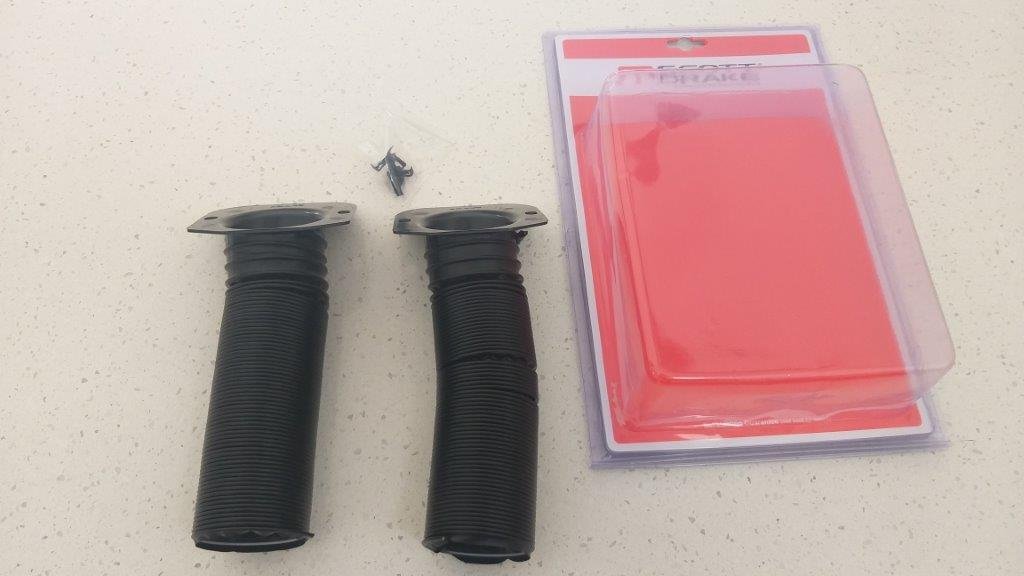
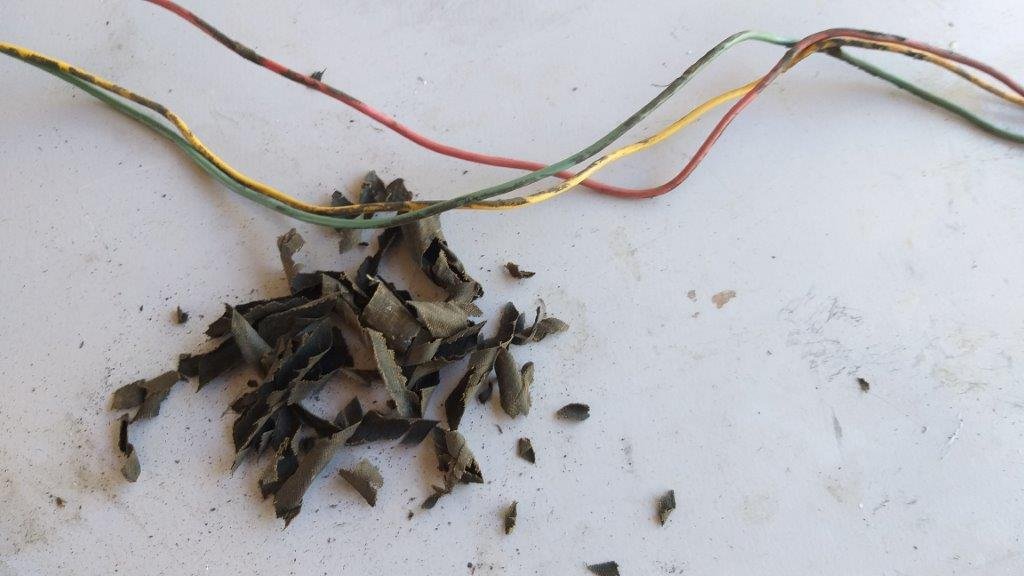
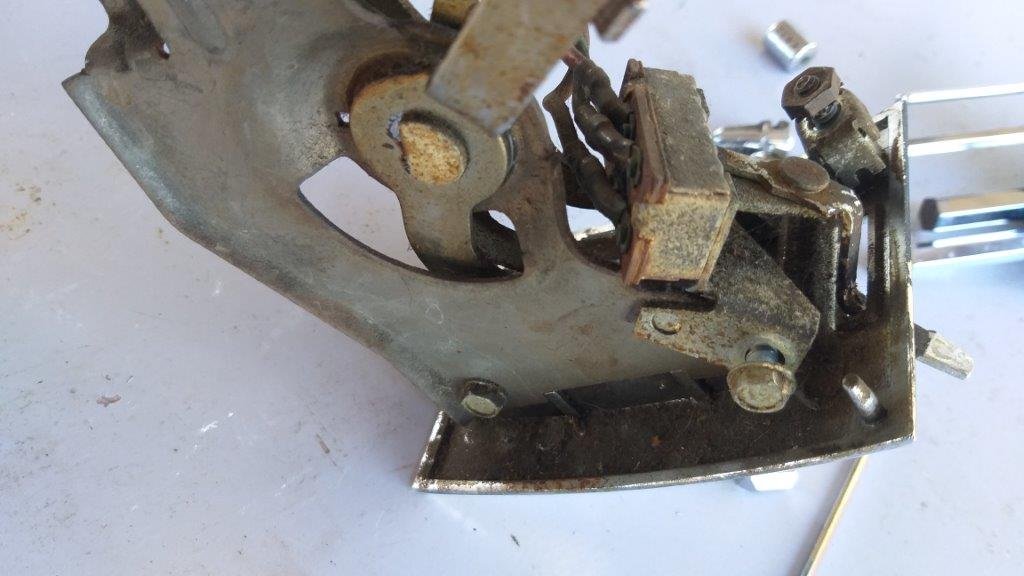
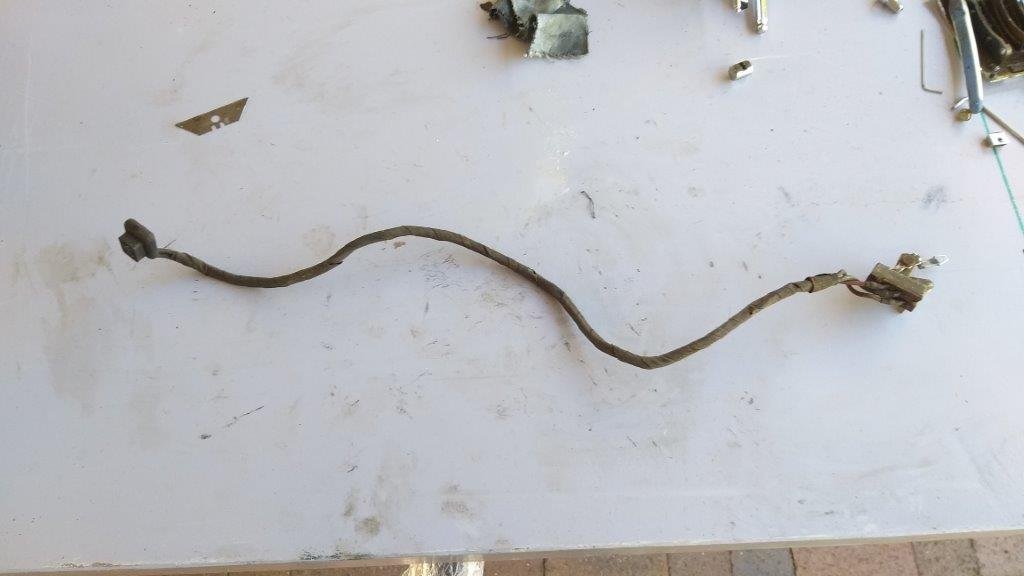
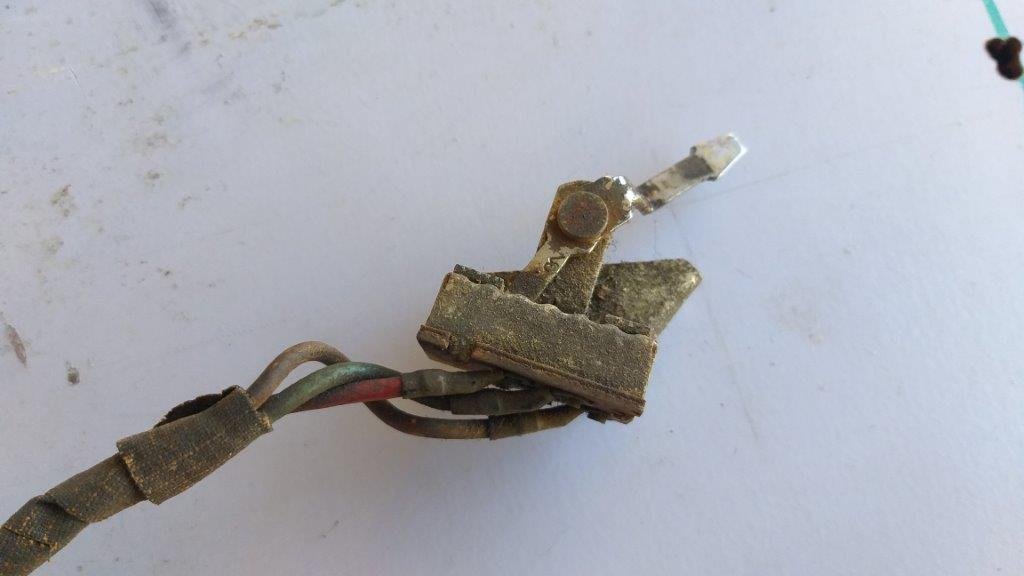
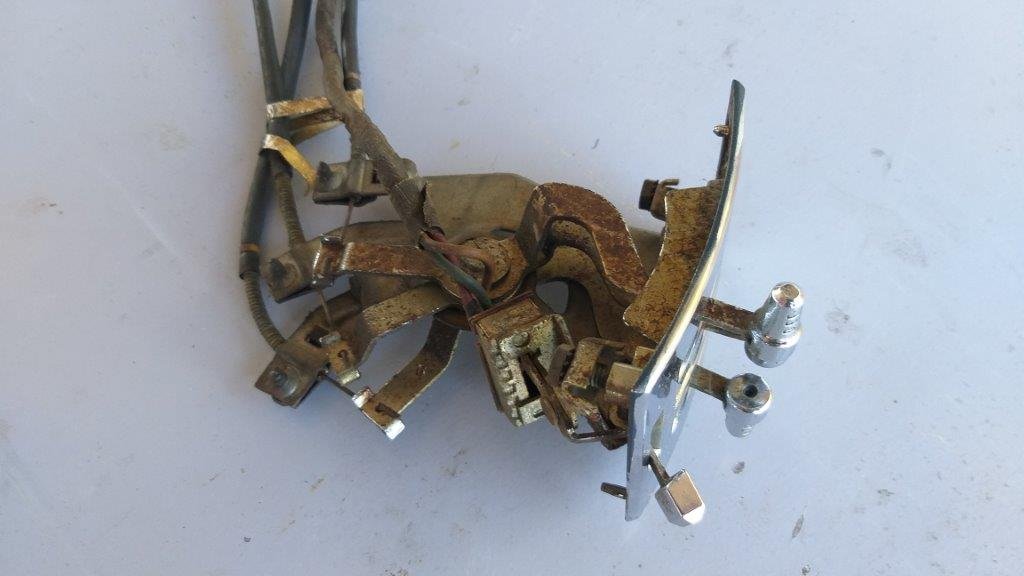
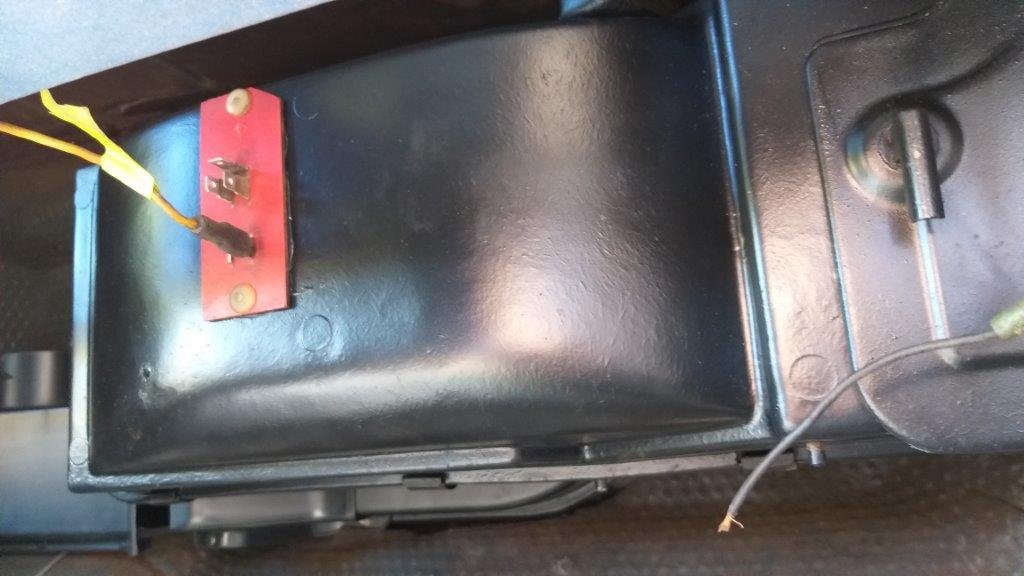
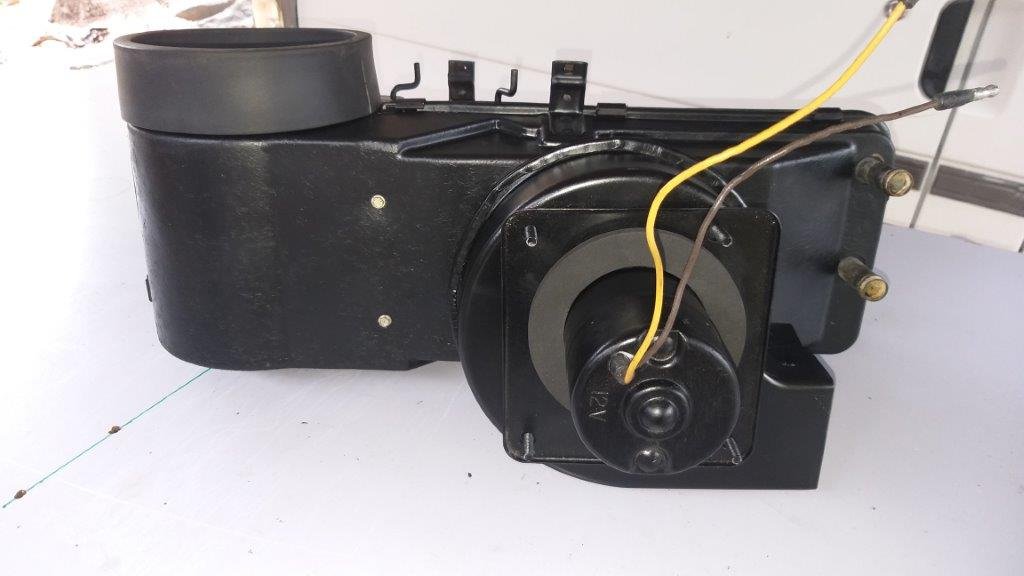
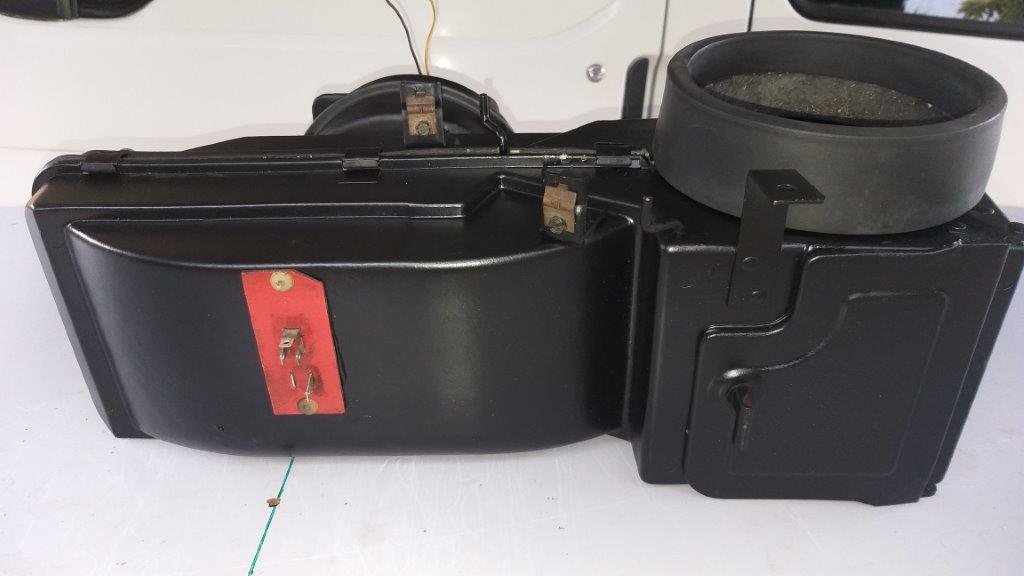
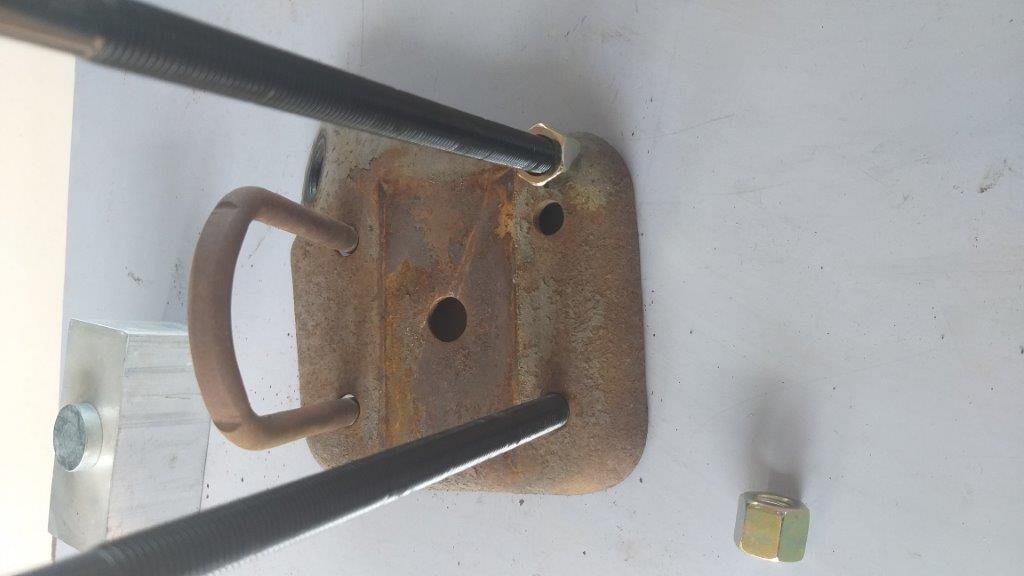
I then turned my attention to the blower switch and wiring harness. First thing I wanted to figure out was how the bloody thing works as the wires run directly from the control panel to the heater box with no obvious input wire feeding the switch in the control panel Had me really confused for a while, so I asked Uncle Google and it turns out that it's quite an interesting setup. The back of the blower motor sits in the engine bay and is permanently wired with a positive. It's the switch that is earthed through the dash mounted control panel. The three speed settings are achieved via a set of coiled wires that hide behind the little red plastic tab on the heater box. Bloody clever these Mericans. Photos of the crusty looking switch and wiring harness:
-
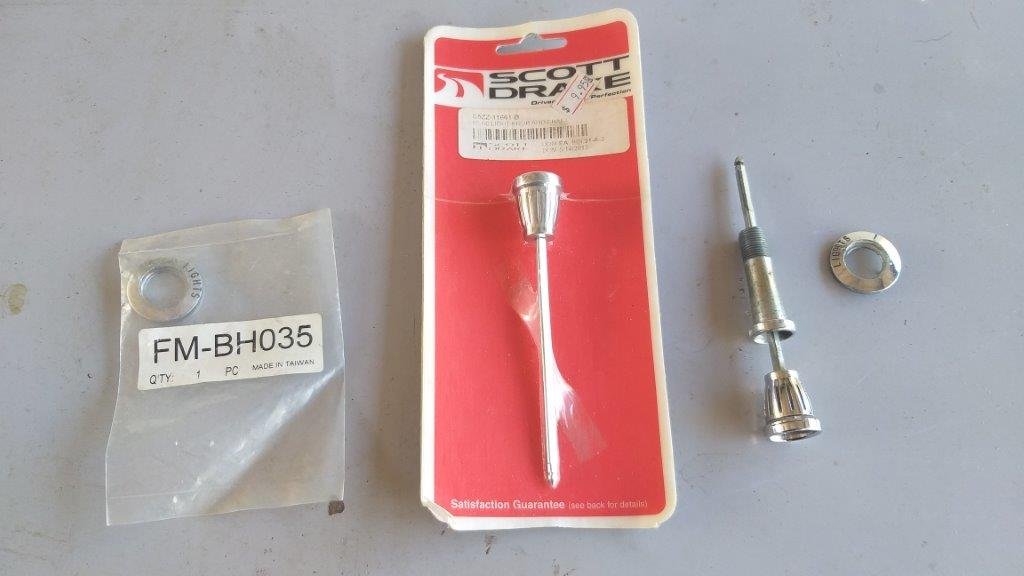
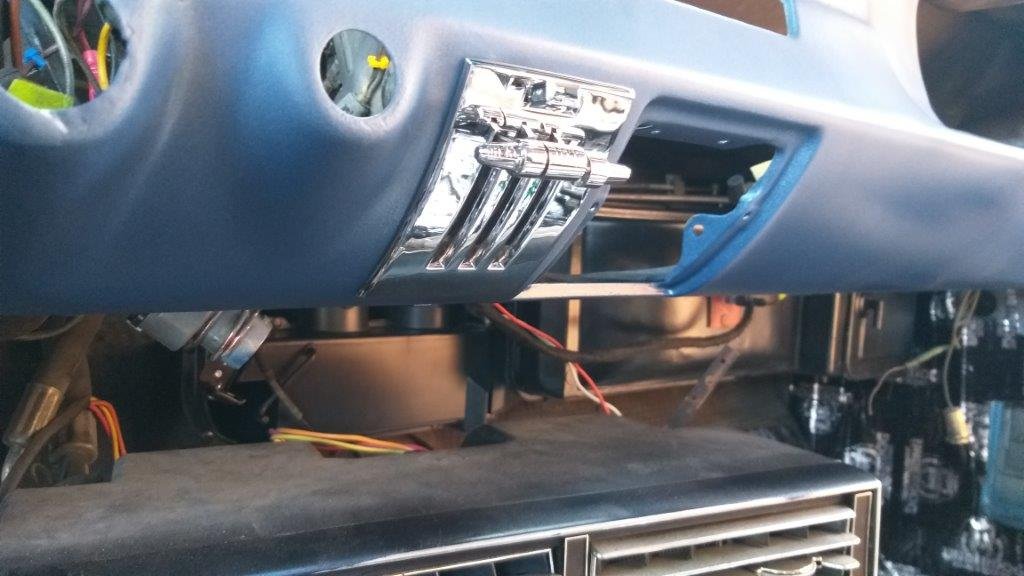
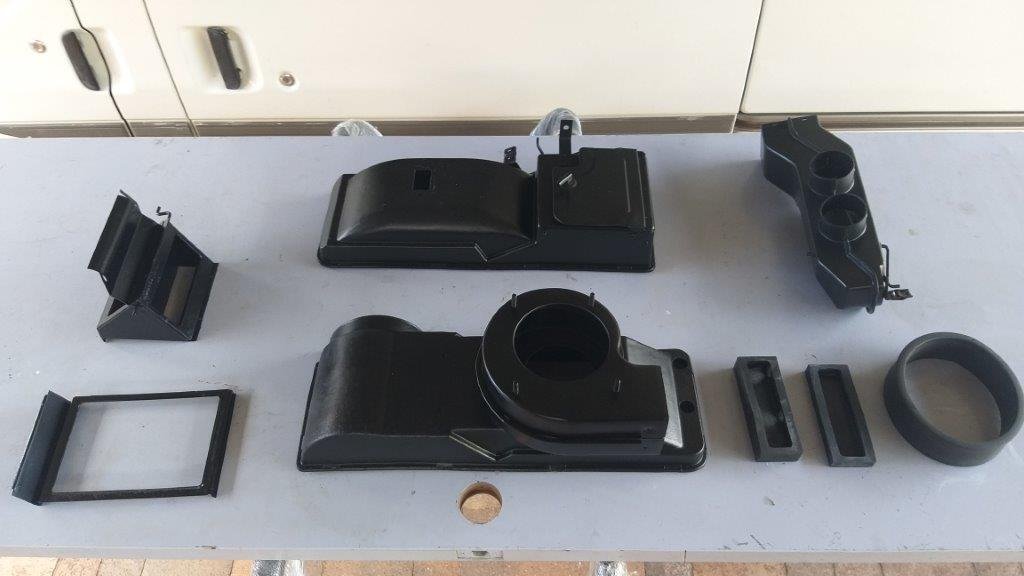
With the heater box in place, the next step was to fit the duct control cables and blower wiring. First step was to refurbish the control cables and mechanism. I had already sourced a repro front panel and knobs finished in Taiwan's finest chrome, but at first glance the little levers that poke through the panel appeared to be badly tarnished. Turns out it was just a bad case of built up grime. A bit of autosol on an old toothbrush had the levers looking mint.
- 194 replies
-
- 11
-
-
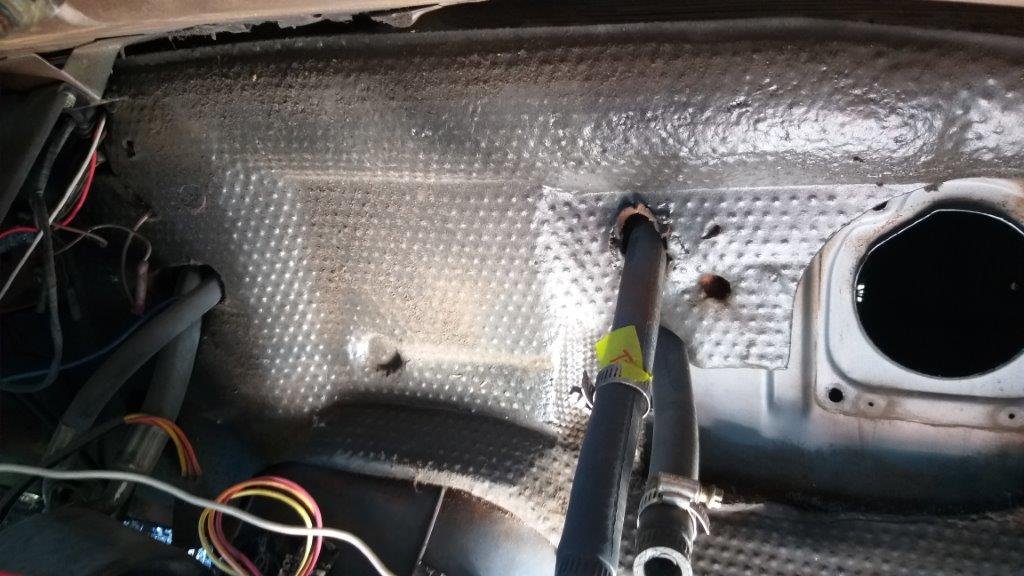
With the firewall mat now secured I moved on to fitting the heater box. Nice !
- 194 replies
-
- 10
-
-
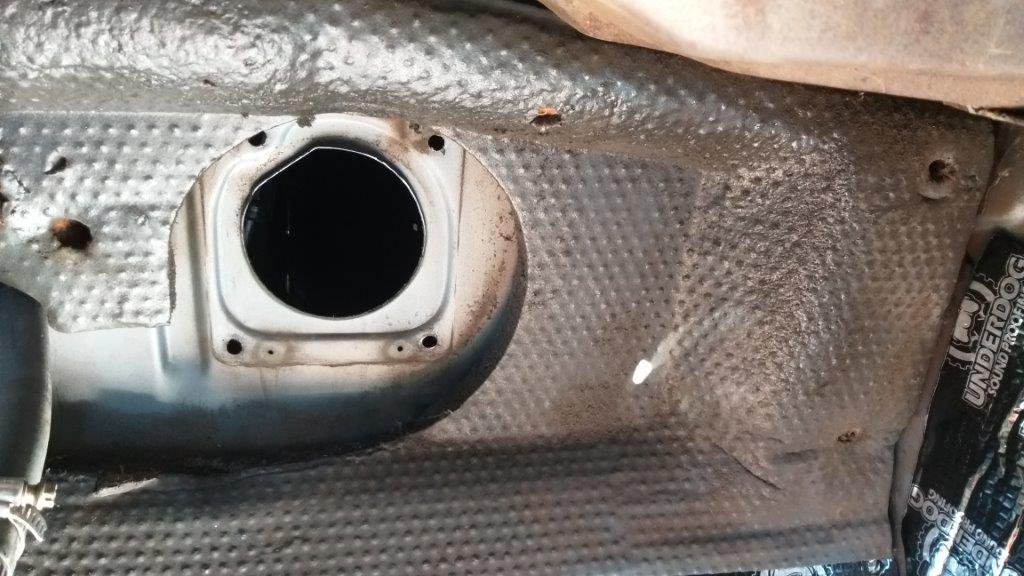
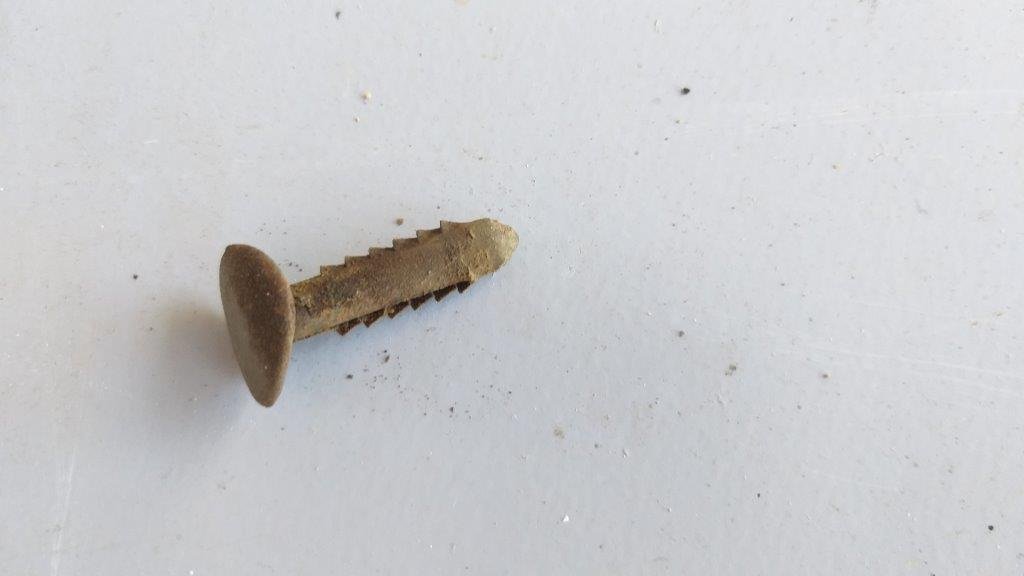
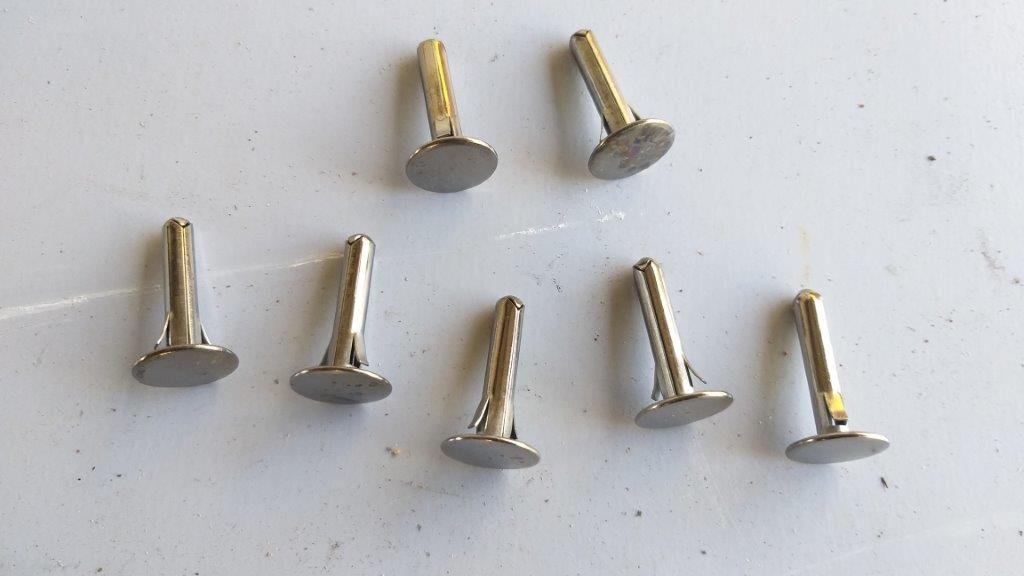
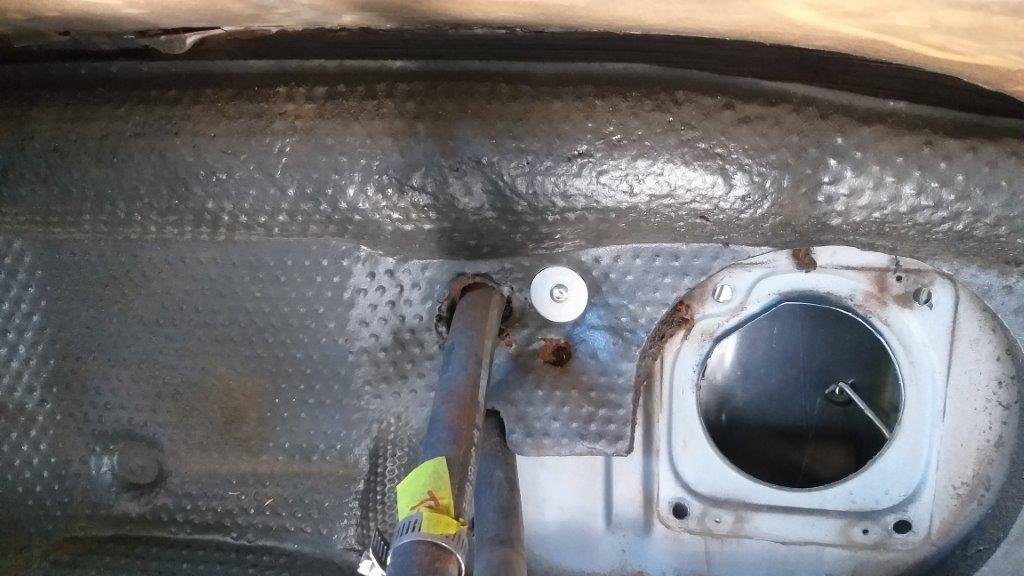
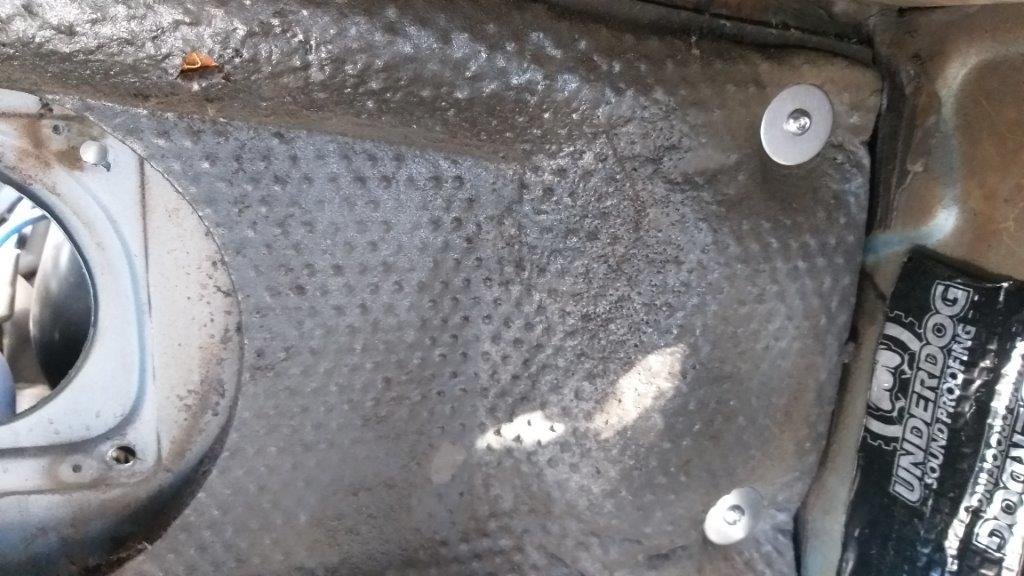
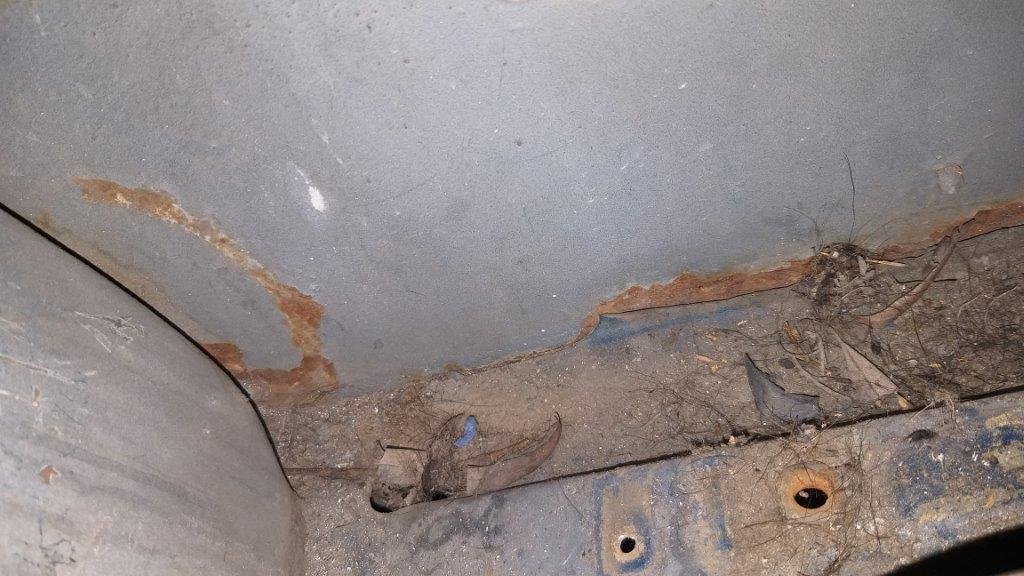
Today's plan was to fit the refurbished heater box. But, before that during the strip down I had noticed that the firewall sound deadening mat thingy - although in good condition - was hanging loose and flopping about. Traced the issue to missing plastic plugs that push through the mat into factory drilled holes in the firewall. In one of my parts orders I included a set of the upgraded metal plugs, so I figured I was good to go. Not. Turns out I should have looked more closely at the mat as the mounting holes have been torn open to the point where the plug heads are not big enough to hold the mat in place. Faffed about with some stainless steel washers on the plugs but then the little prongs wouldn't push through the firewall due to the thickness of the washer. Bugger. I could have trimmed the little tabs a bit, but I figured just go straight to plan B. Ended up fitting some stainless steel button heads with said washers and it worked perfectly.
-
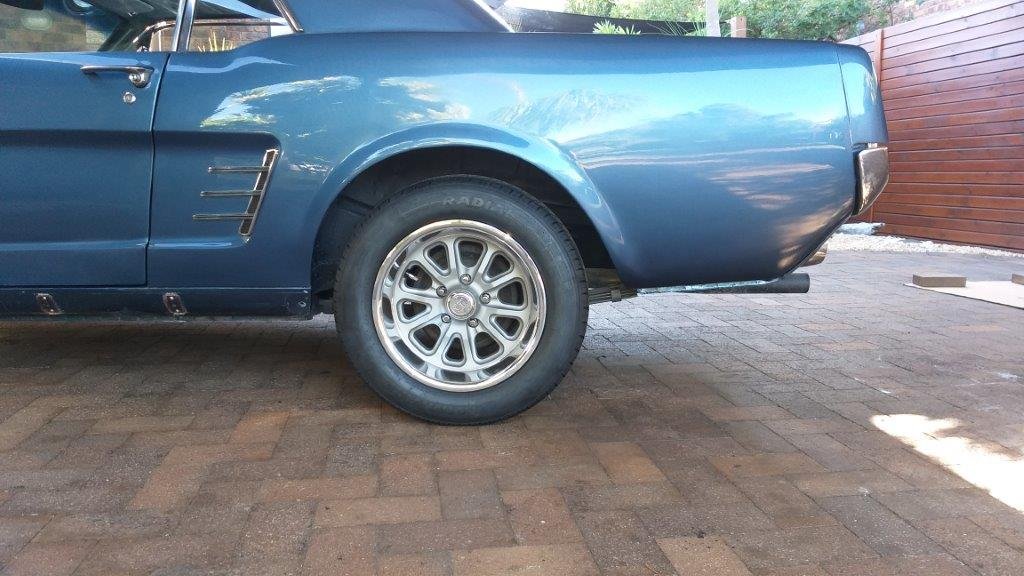
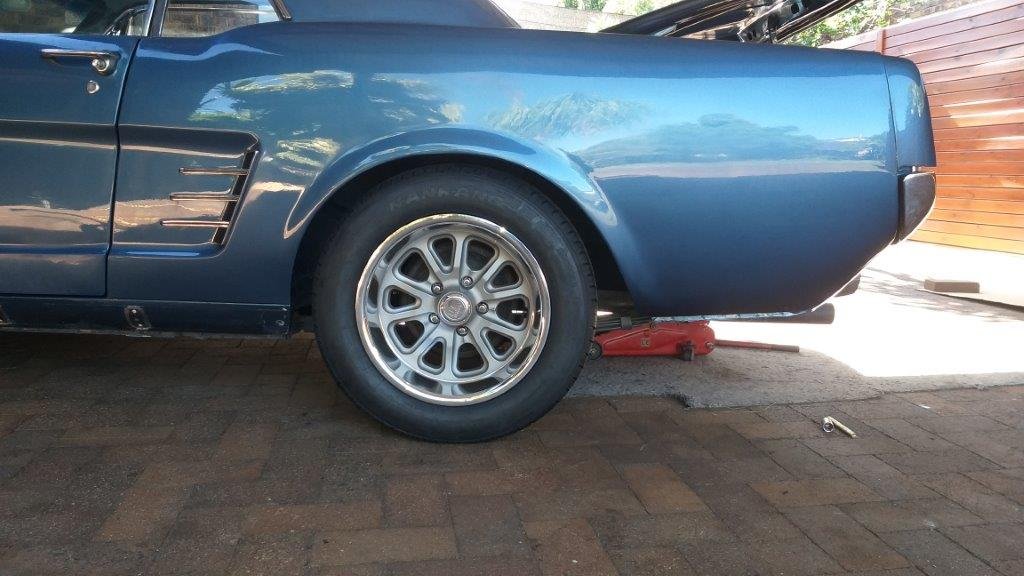
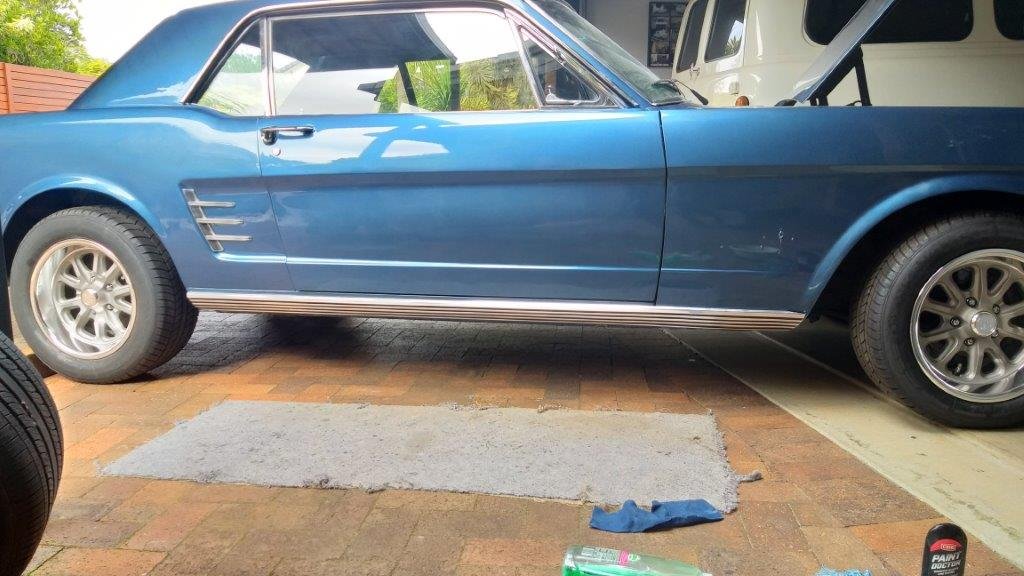
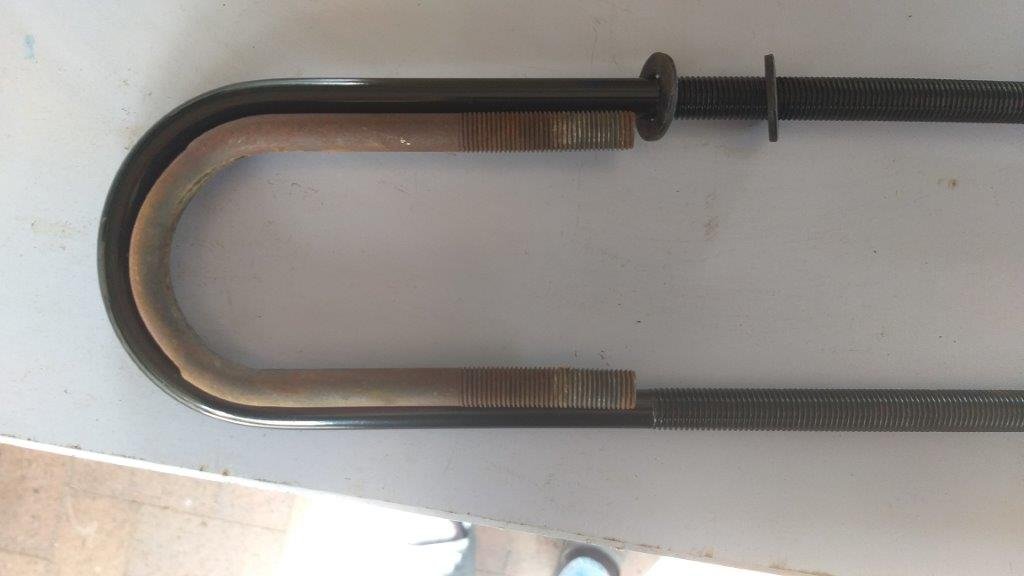
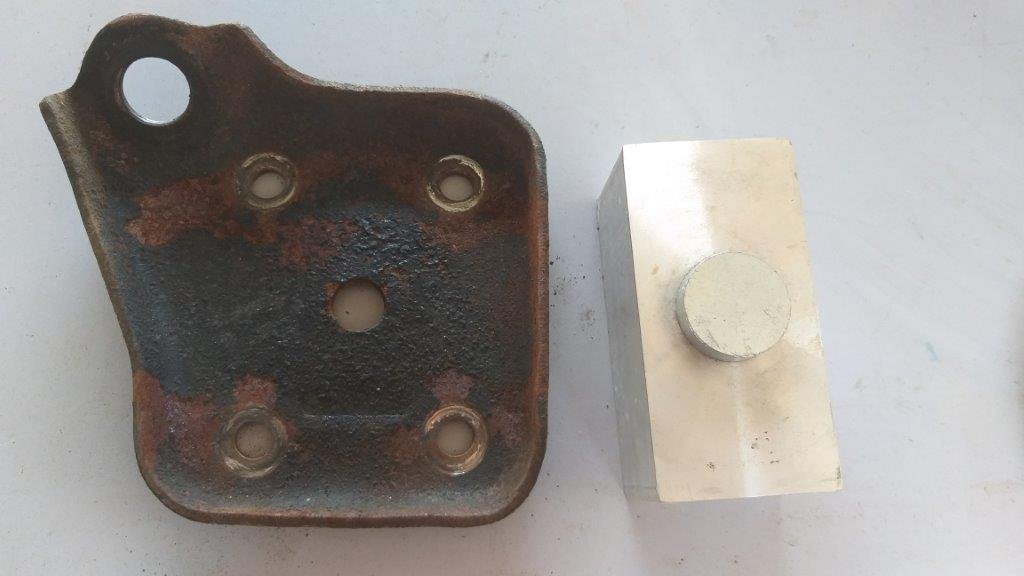
Yesterday arvo the courier dropped off my replacement set of lowering blocks and the supplier got it right this time. So this morning I chucked them on. Result is 2 inches of additional low. Much better me thinks. Best I crack into the front now as it's looking a bit like a gasser. Before and after shots for your viewing pleasure.
- 194 replies
-
- 20
-
-
With the Bongo languishing in the sick bay, I was able to crack into a few Mustang bits today. Finally managed to finish off the heater box rebuild and it's looking mighty good even if I say so myself.
- 194 replies
-
- 16
-
-
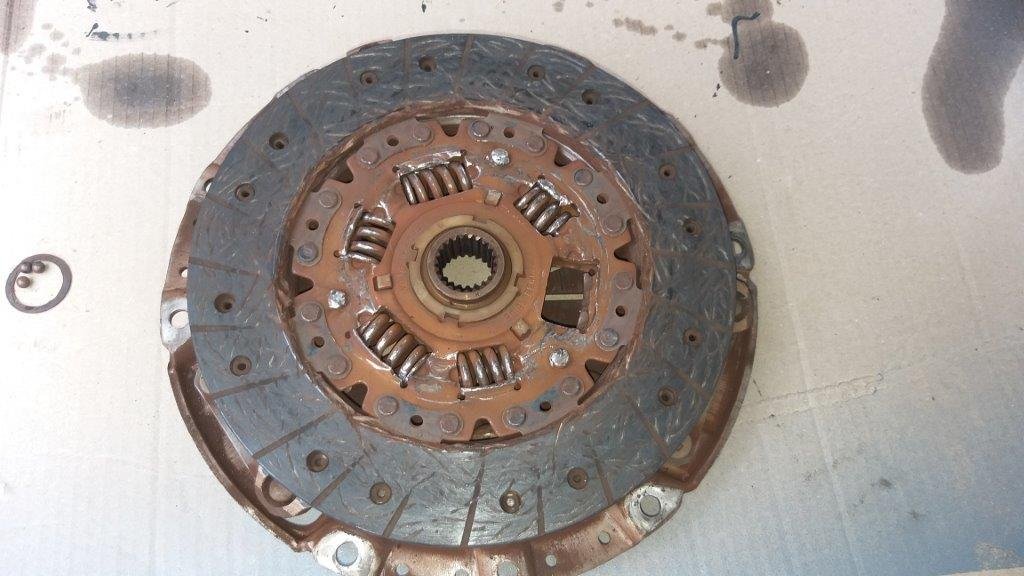
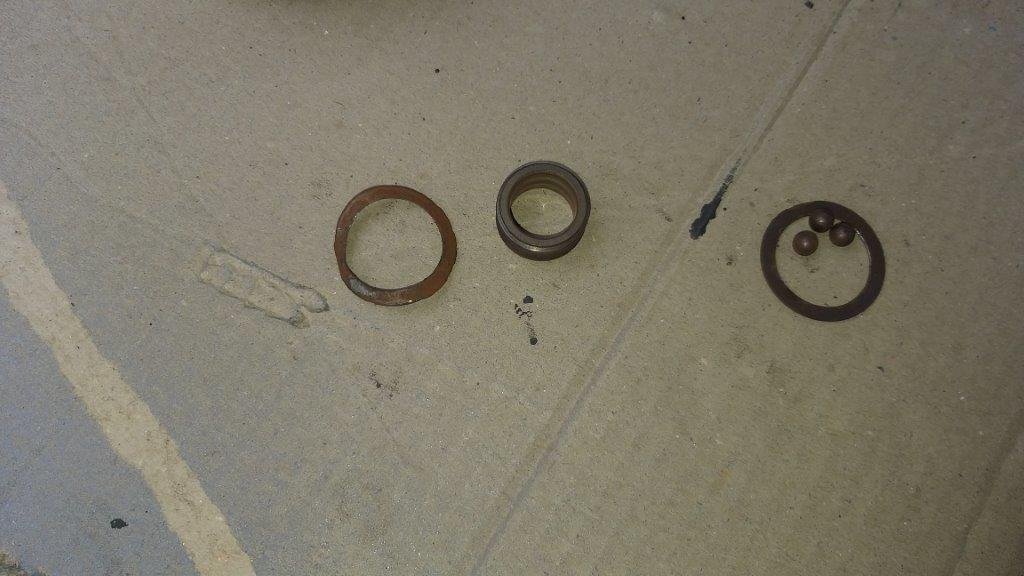
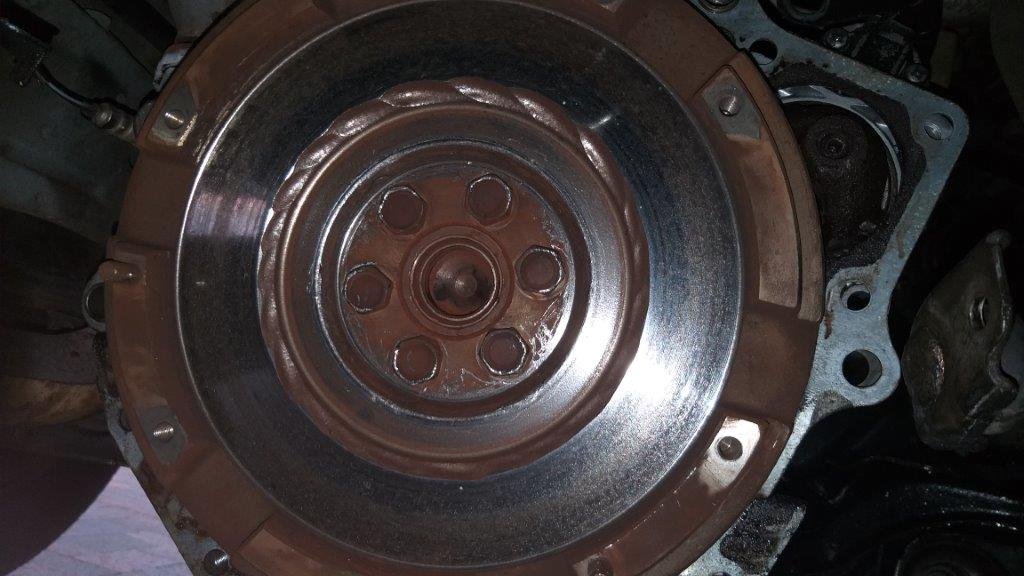
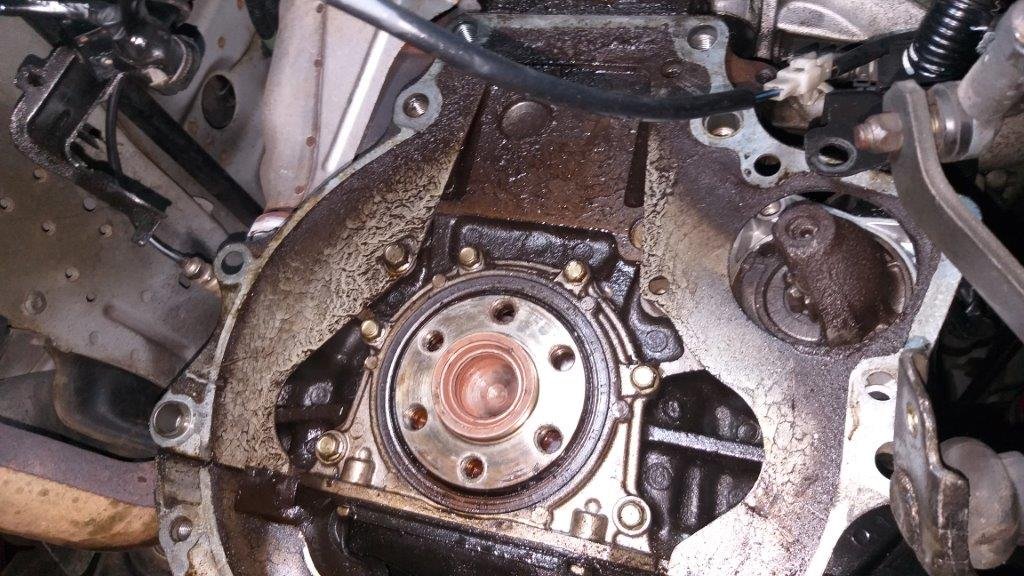
Well bless me father for I have sinned. It has been 3 days since I did anything on the Mustang. So the story goes as follows: On Thursday morning we took a drive into town in our Bongo van to gather some supplies and whilst we were there the clutch decided to pack a sad. Managed to nurse the bloody thing home and spent Thursday night sulking. Now to say that I begrudge every minute that I work on the modern would be an understatement. I absolutely hate it. What a waste of quality time. It's just so soulless. Anyhoo, I figured I'd take a cement pill and just get it sorted, so on Friday morning I dropped the gearbox and was met with a vision of absolute carnage. The pilot bearing has shattered and one of the clutch plate springs had parted company with his mates. It's done a wee bit of damage to the flywheel too. Pulled the flywheel off and headed through to town in Mrs Flash's Moke which is the only vehicle that is going at the moment. Dropped the flywheel off for a skim and ordered a clutch kit. I'm hoping to get a call to pick everything up on Monday. And that's my excuse for non performance on the Mustang front. Oh, and it looks like I have found the source of the pesky oil leak that the Bongo has had since late last year. So I'll chuck in a new rear seal while I'm about it. Did I mention how much I hate working on the Bongo. Pics or it didn't happen.
-
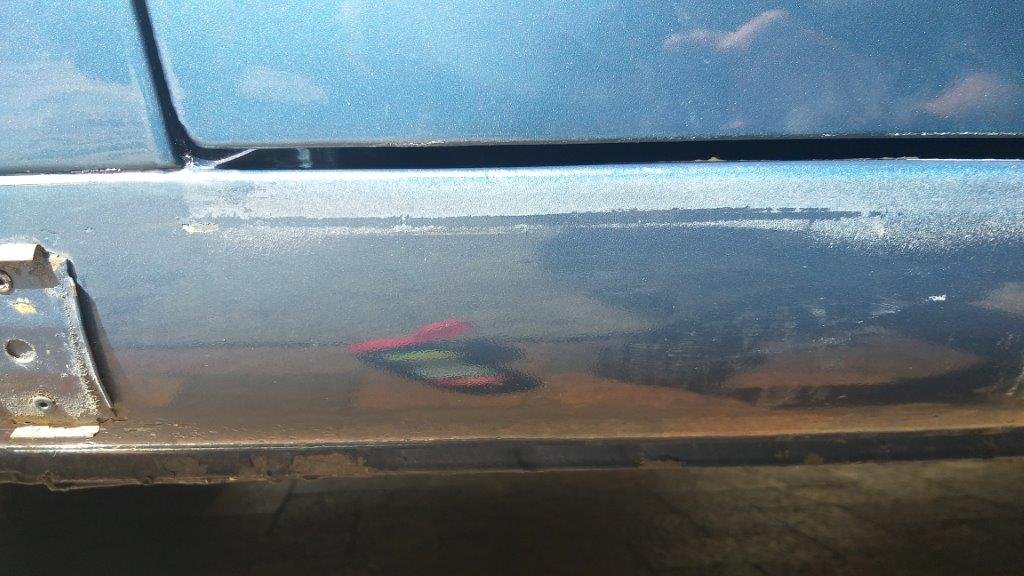
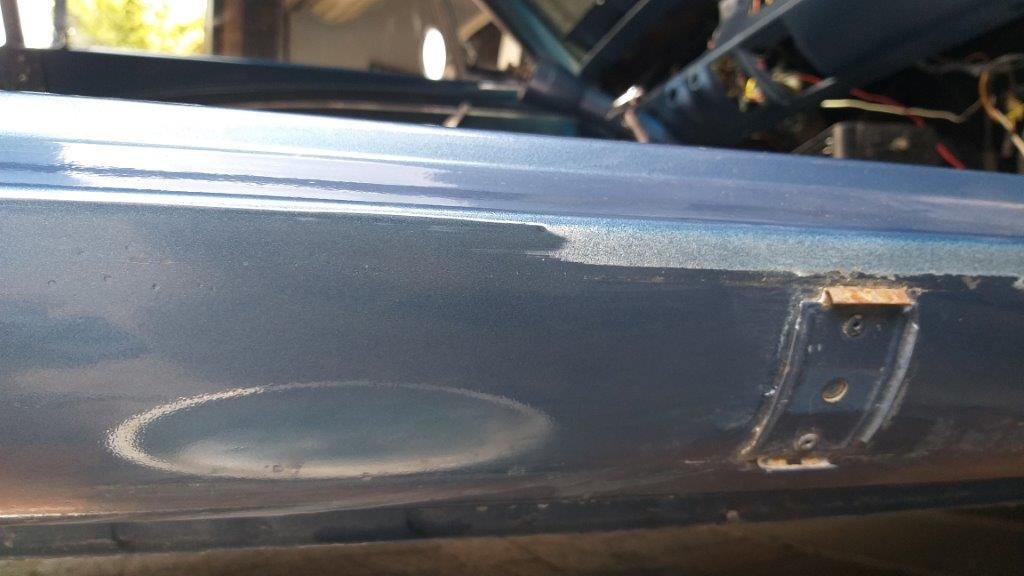
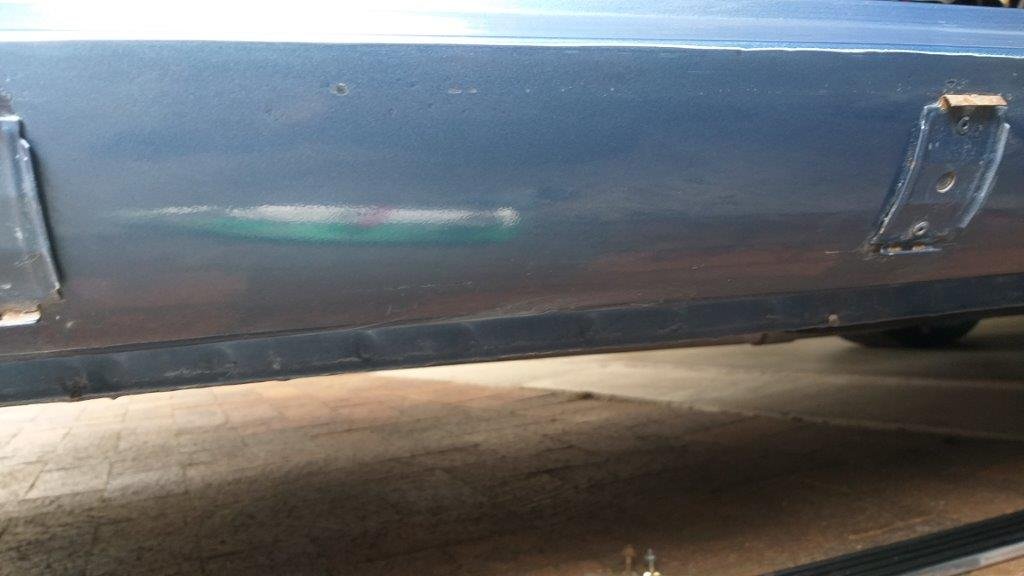
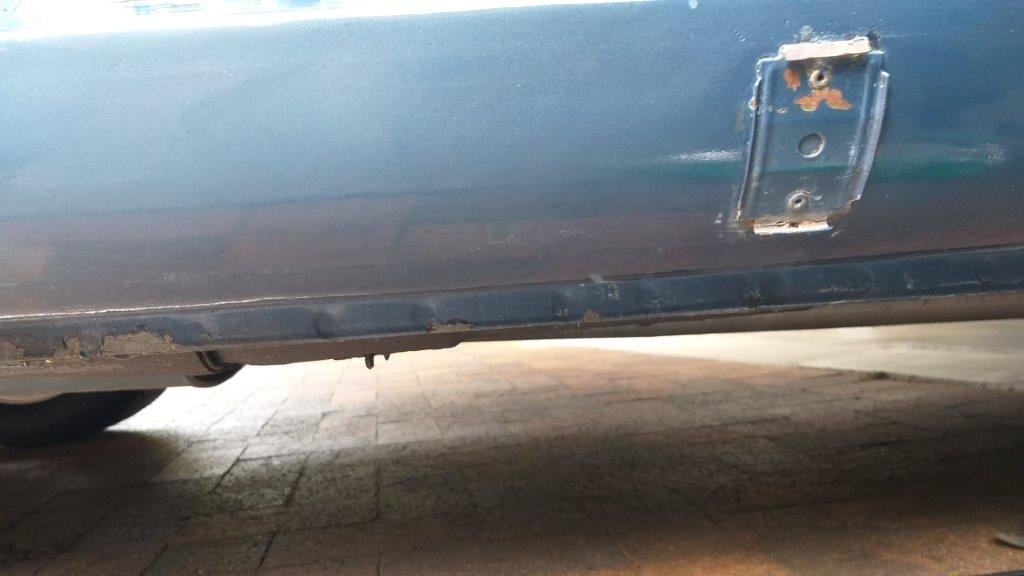
Thought I'd quickly chuck the side trim on this morning before moving on to other things. Err....... no ..... The $1,000 USA respray from 2010 comes back to haunt me once again. Looks like the door jambs must have been painted after the lower side valance and I only noticed the ugly over spray when I got down and personal. If it was just colour that would have been okay, but it's bloody primer too. If I'd have noticed it earlier we could have painted it at the same time as the doors, but oh well. Managed to ease most of it off with a piece of 1200 grit water paper followed by a bit of rubbing compound. It's not perfect, but it's a lot better than it was. Thanks for looking.
- 194 replies
-
- 15
-
-
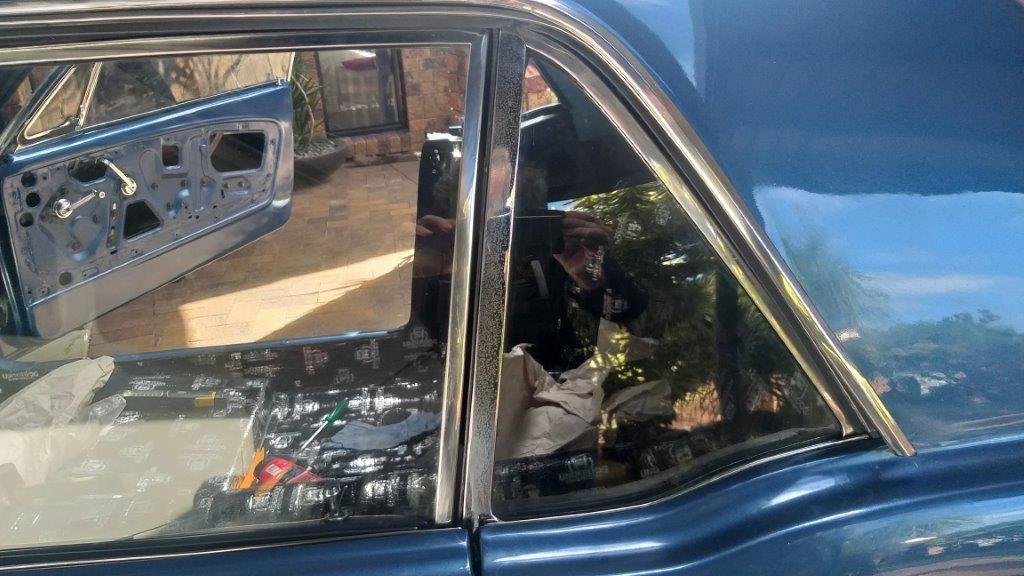
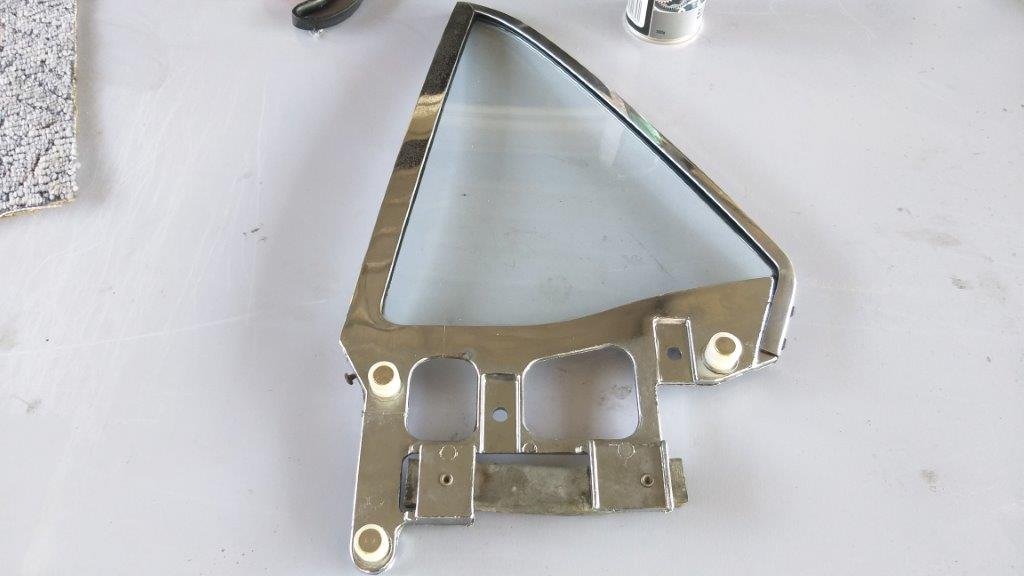
It's a bit of a feeble update today. Doesn't look like much but it took me a good while to align the rear quarter window frames with the door window frames. Gaps are almost spot on now. Just need to clean my dirty paw prints off the chrome. With this out of the way I can now install the rear quarter inside panels and then the parcel shelf and back seat.
-
Just after morning smoko the courier pitched up with my 2 inch lowering kit for the rear axle. Much excite. Unpacked the parcel and ....... instant fail. Not sure what this kit is for, but it's definitely not for a 66 Mustang. Absolutely nothing fits. Just waiting to hear back from the supplier.
-
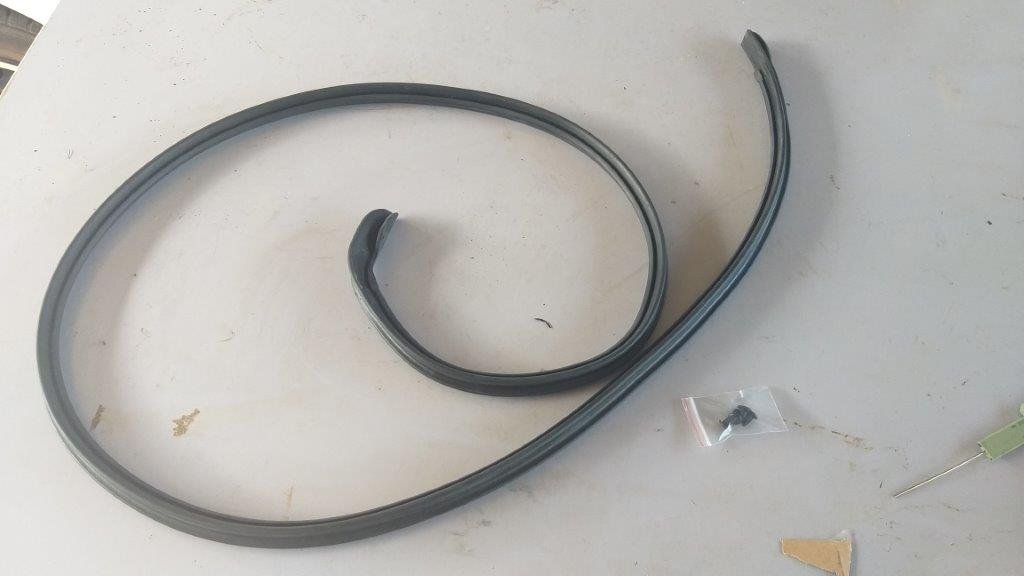
Spent the morning fitting the glass and winder mechanism into the driver's door. Wow, what a difference the refurbished winder mechanism makes. Smooth as silk. Cracked out the new weather strips and door seal and fitted those too. Final step was to fit the interior door panel and related bling. And, that's the driver's door ready to rock and roll.
-
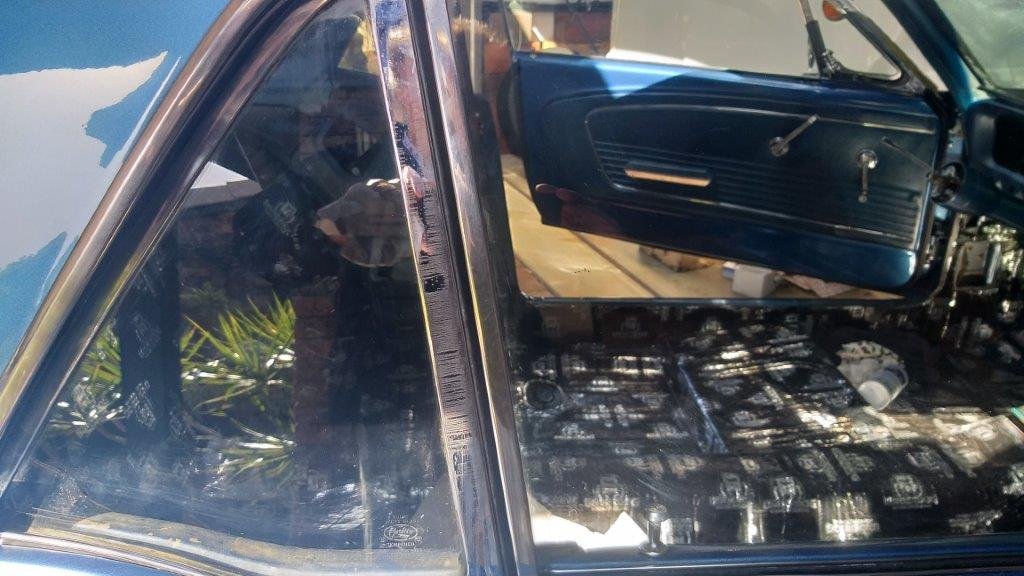
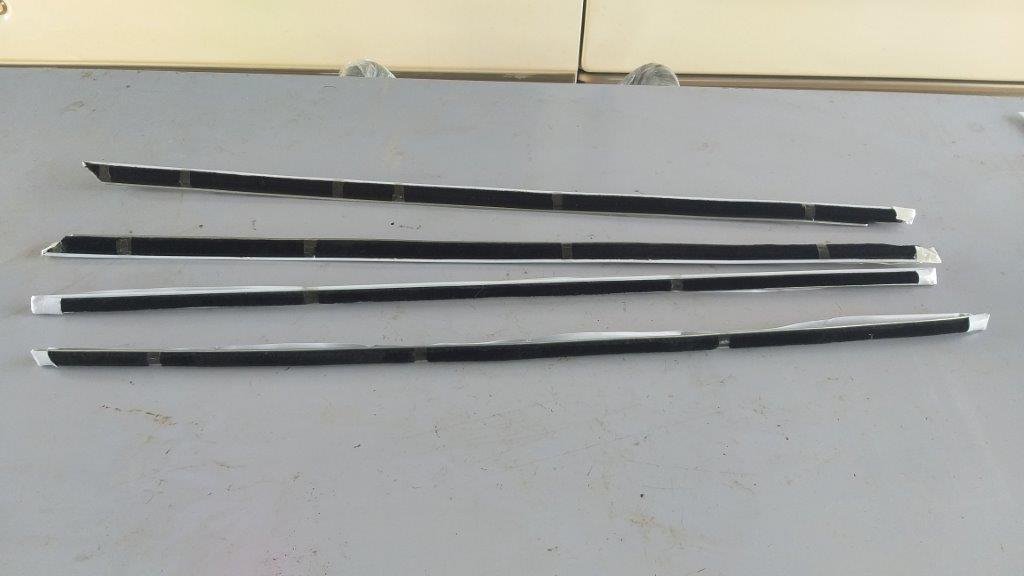
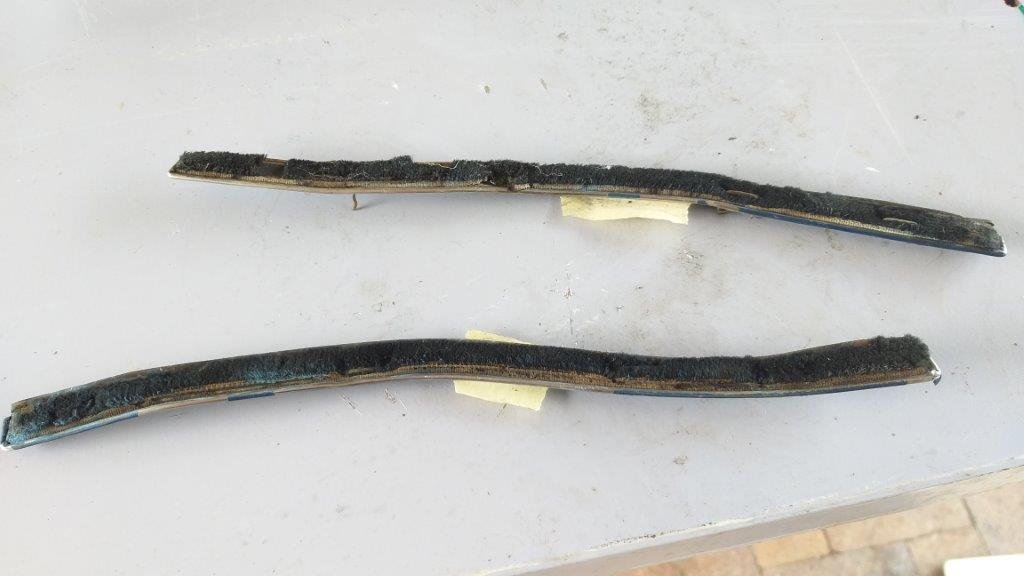
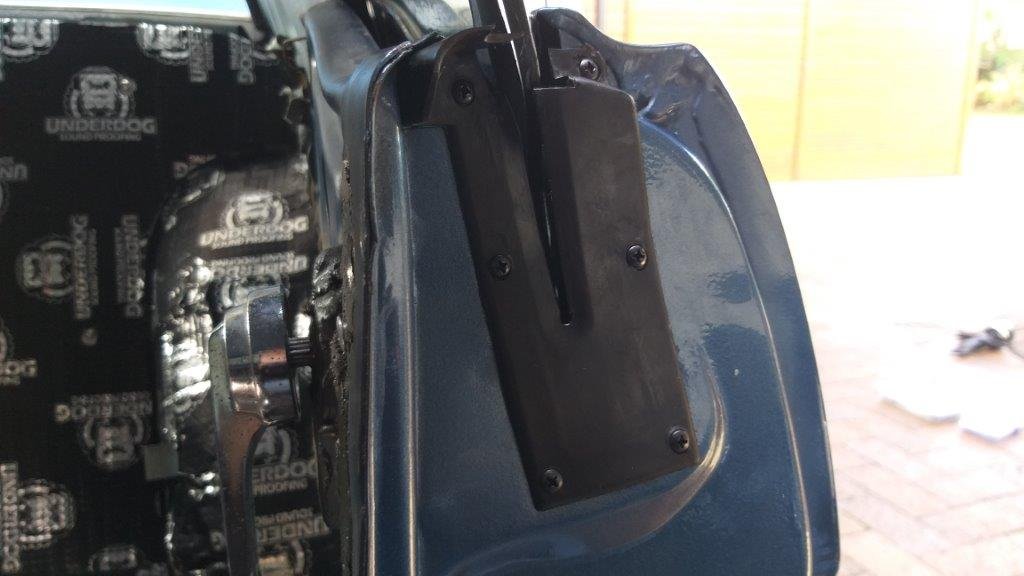
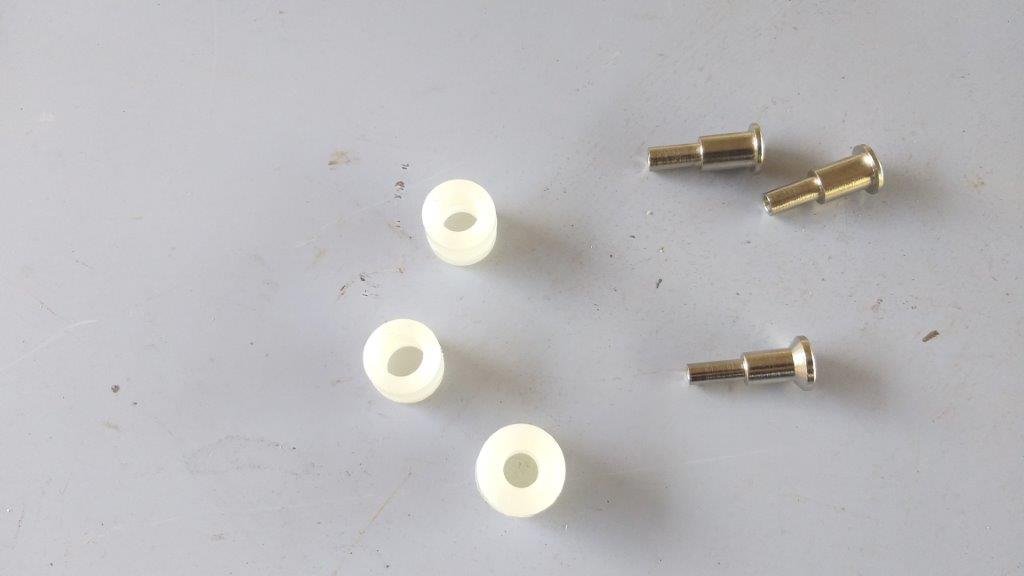
Today's mission was the driver's side rear quarter window. Again all 3 rollers riveted to the window frame were seized solid, so first step was to replace those. The little roller pins were well rusty. Before installing the window backing plate I wrapped the rear wiring harness in new cloth tape and threaded it through to the boot. Gave the rest of the window components a liberal coating of spray grease and wrestled that puppy back into place. With both rear quarter windows now installed I was able to finally fit the new weather strips and rubber end plates. You can see just how bad the old belt lines were. I'd even sourced new screws for the rubber end plates cause I'm a lost case. Thanks for looking.
-
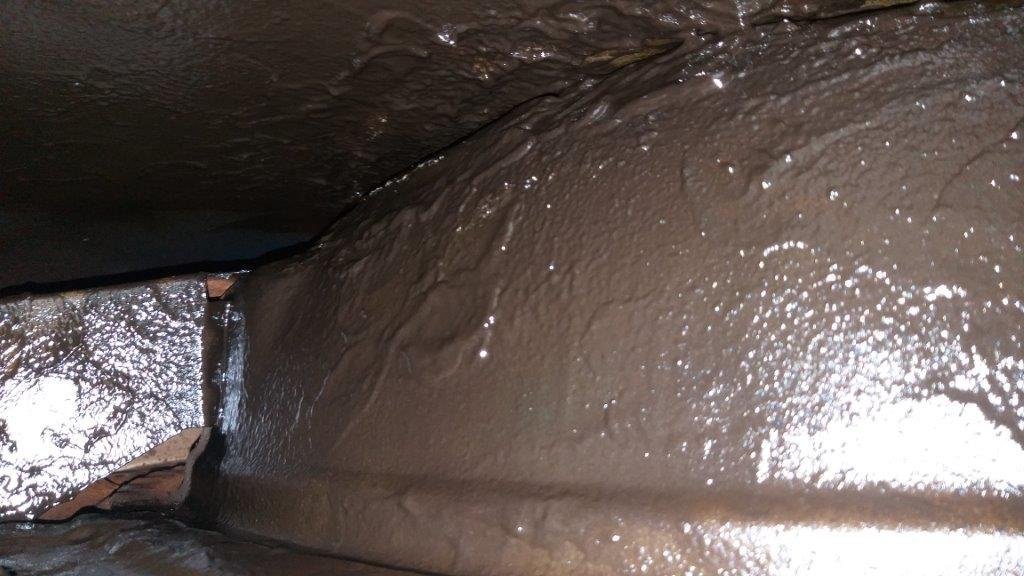
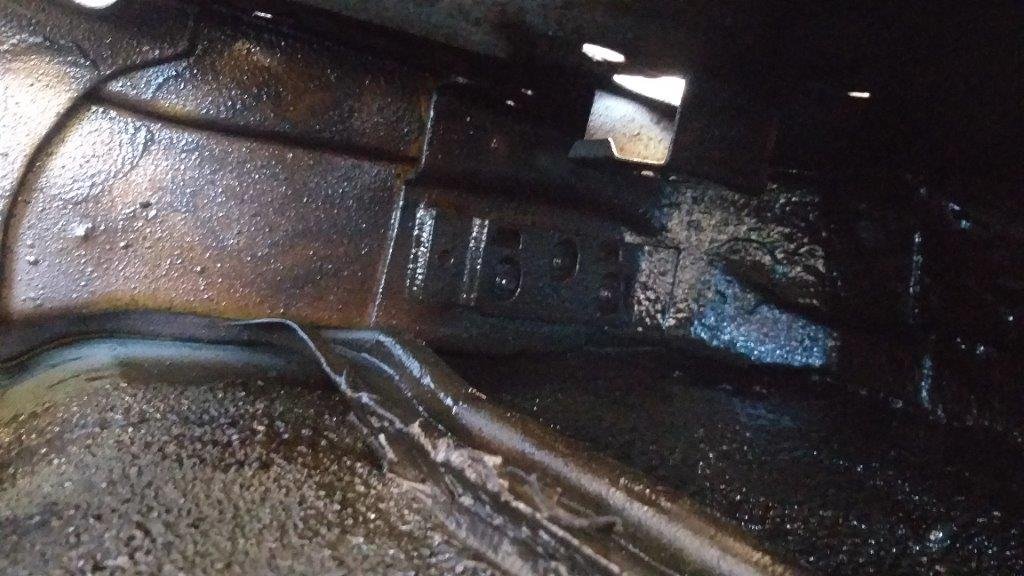
And .... that's the last of the rust proofing done. Pumped two litres of goo into the driver's side rear quarter inner as well as both front chassis braces. Then spent the rest of the morning cleaning up the mess. With that mucky job behind me at least now I can get on to the good stuff, being the reassembly.
-
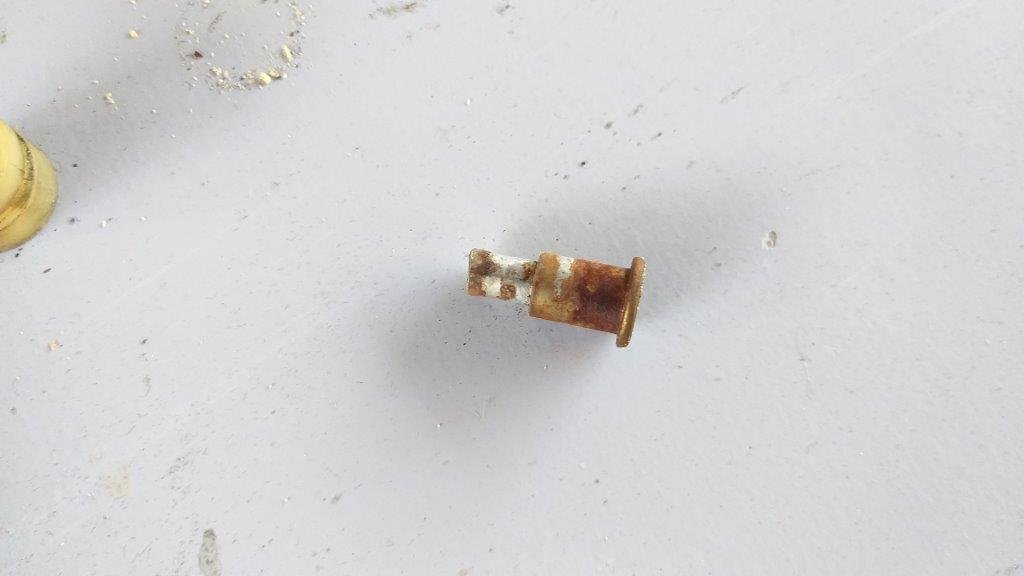
And in other news I discovered this amongst the debris. When was the last time you saw a bobby pin ? Probably lost by Peggy Sue during a bit of back seat passion at the drive in movies back in 1969. I guess it might not be the only thing that Peggy Sue lost that night.
-
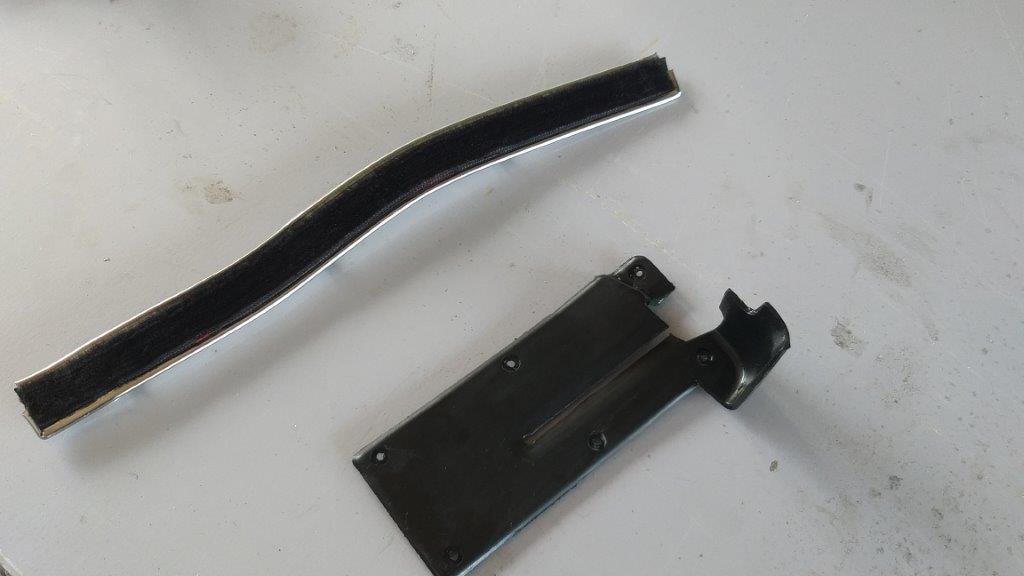
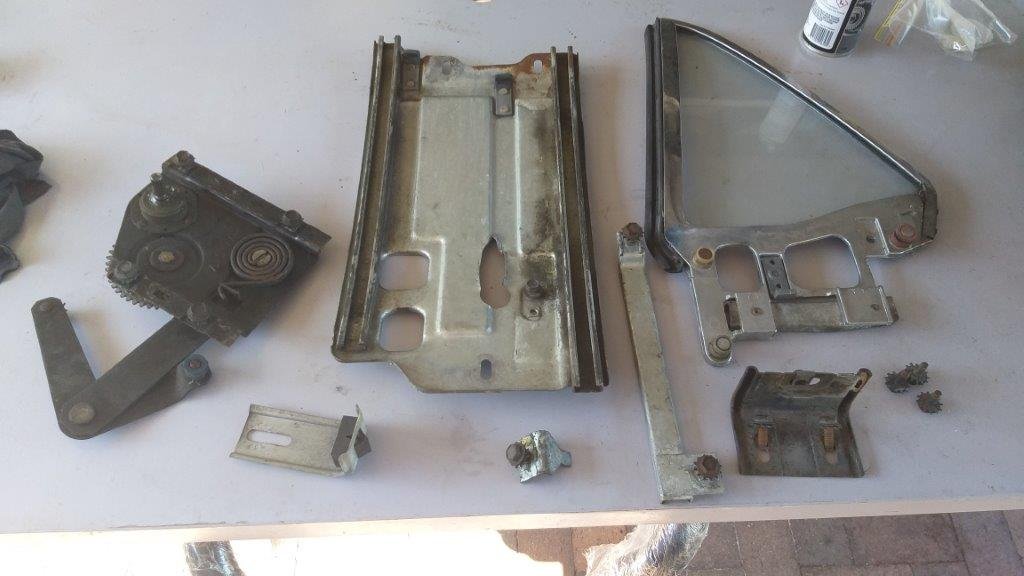
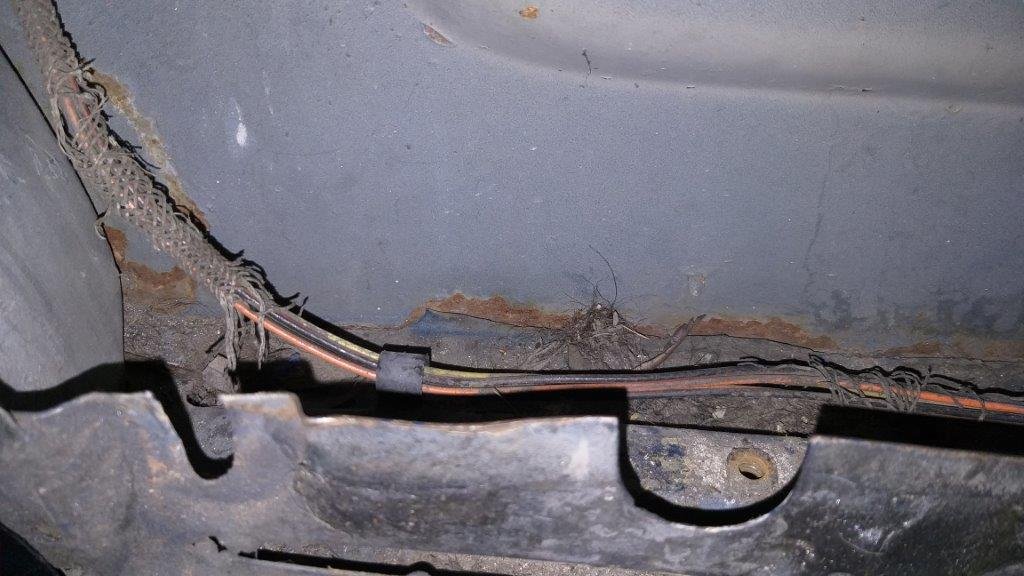
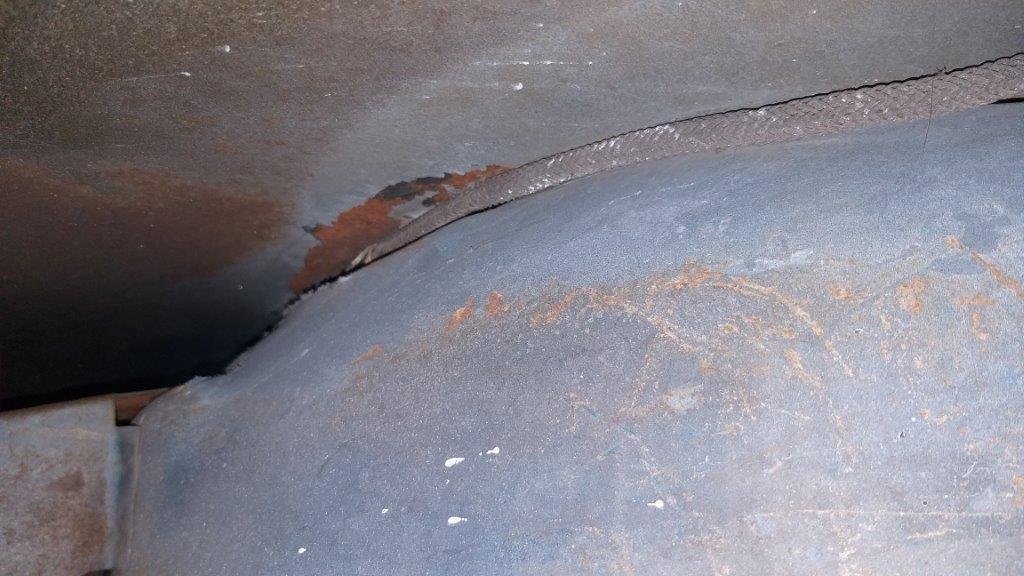
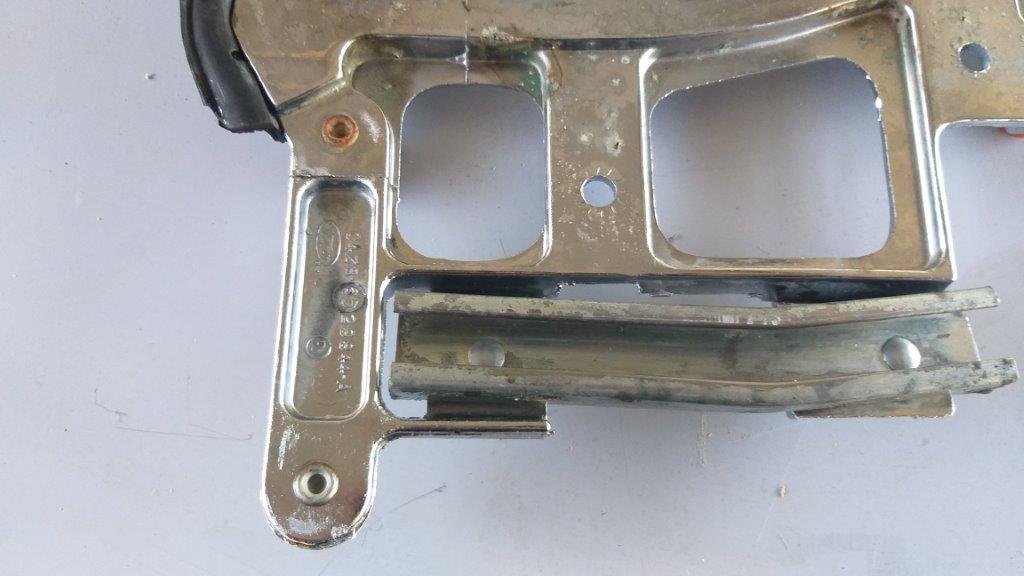
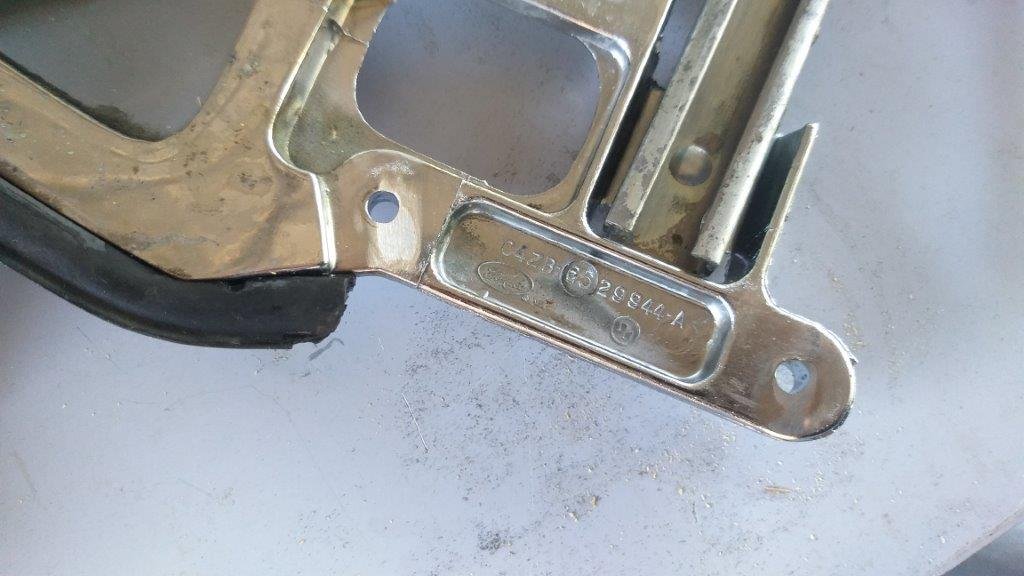
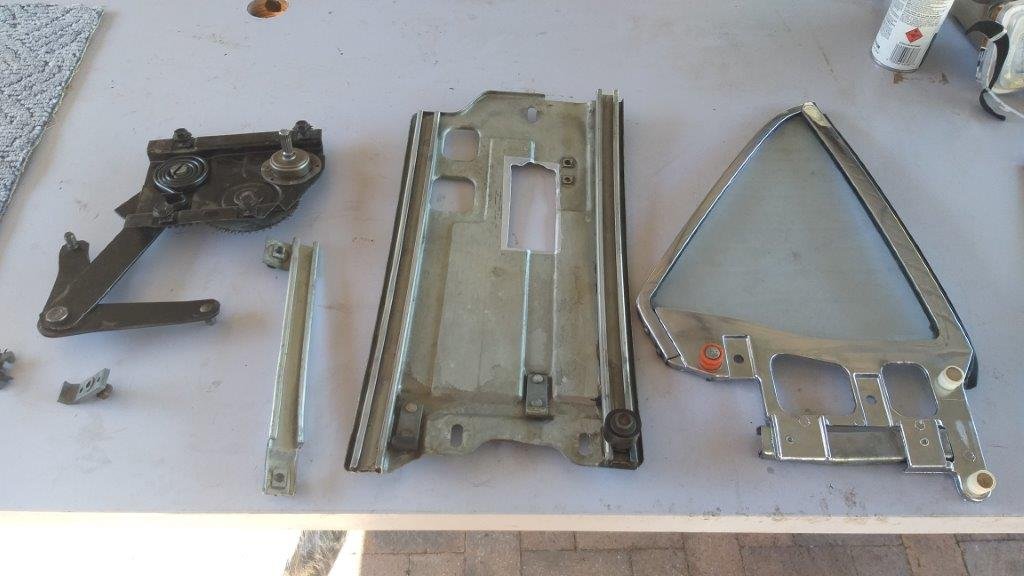
Today's little mission is the last of the panel cavities being the driver's side rear quarter. I started off by stripping out the quarter window and mechanism. Again, the backing plate has been butchered and since its a tetanus shot just waiting to happen I'll tidy that up. The mechanism has seen a bit of loving in the past and has a date of 2011 scratched into the surface, so I'm guessing it was done as part of the major USA rebuild back in 2010 and 2011. The factory sheathing on the wiring harness is well shagged so I pulled that out and will give it a birthday with some cloth tape. Apart from that the metal looks pretty solid. A bit of debris including more dog hair and a little bit of surface rust at the panel joints, but nothing a good clean and a little bit of rust converter won't cure.
-
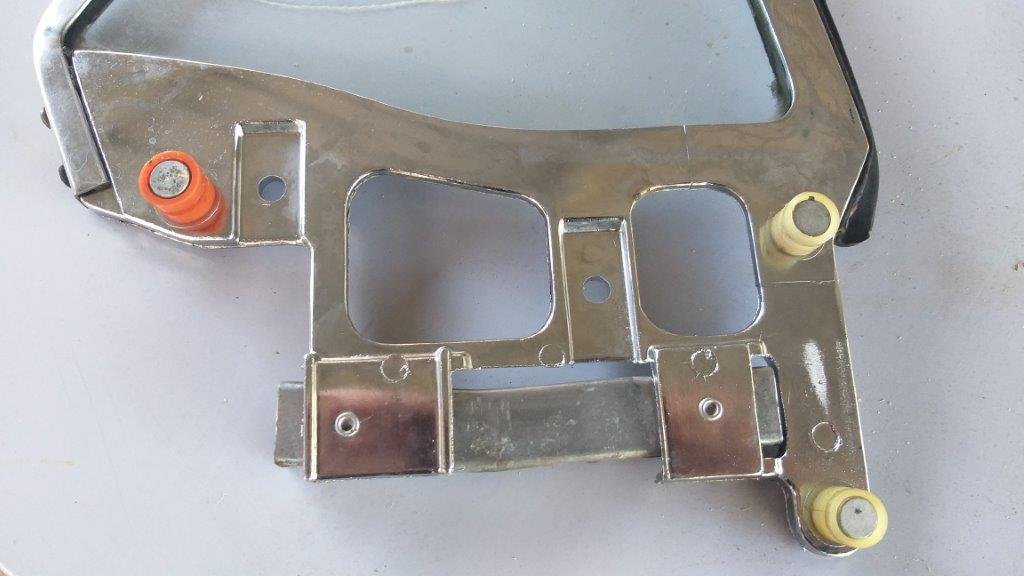
It's another sunny day here at Rough & Ready Restos and today I thought I'd finish off the refurbishment and installation of the passenger side rear quarter window. During the cleaning phase I noticed that the 3 rollers fitted to the window frame were seized solid. Unfortunately they are riveted in from factory so not that easy to replace. Since the rollers were still pretty solid looking I thought I'd try to free them up. After giving them a good soaking in de-greaser and a good tickle of WD40 I managed to free up the rear roller, but the front ones were still solidly seized. So I bit the bullet and ordered a new set that is supplied complete with new factory rollers. After spanking the rivets with a flapper disk I was able to knock the old rivets out, and fitting the new rollers and rivets wasn't as difficult as I initially thought it would be With all of the parts now spic and span I gave the mechanism and tracks a quick coat of spray grease before refitting. The window now rolls up and down smoothly and I am one happy camper. Thanks for looking.
-
Thanks heaps for the feedback. I must admit that I agonised over the wheel decision for quite a while. I definitely wanted to go back to something close to the original diameter, but like you say I didn't want to end up with something common. One of my favorite cars is an AC Cobra in that dark metallic blue colour with the original Halibrand knock off wheels and I figured the new wheels with the classic unfinished looking centre and a polished lip would hark back to that era. I've got a set of polished aluminium knock off caps on order and can't wait for them to arrive. In my opinion they should complete the look that I am aiming for.
-
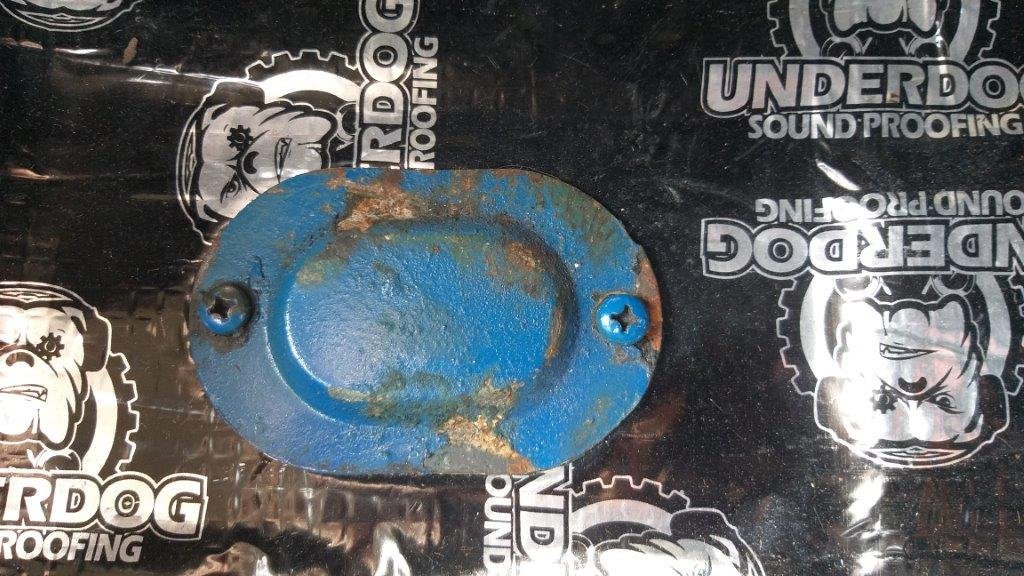
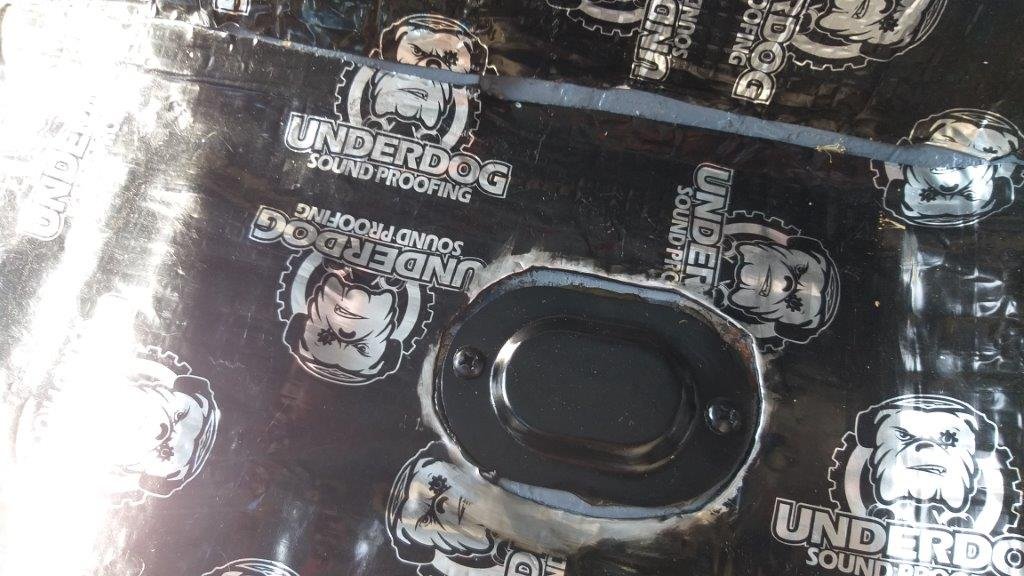
Even although the underlay and carpet are going to hide the 4 floor mounted cover plates, the OCD in me just couldn't leave them looking shabby. So to reward myself for a good job done on the rust proofing I treated myself to a bit of flapper disk work followed by a light tickle of primer and then a dusting of satin black. Even did the screws cause it's a sad life that I lead. Smeared a little bit of non hardening sealer on the edges before screwing them down. Final score : OCD - 1 Me - 0
- 194 replies
-
- 10
-
-
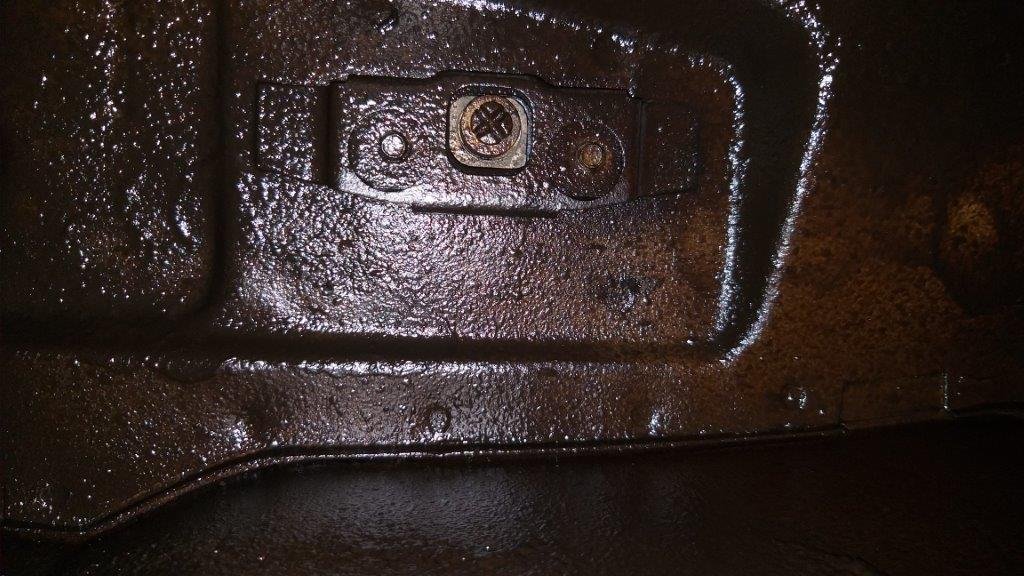
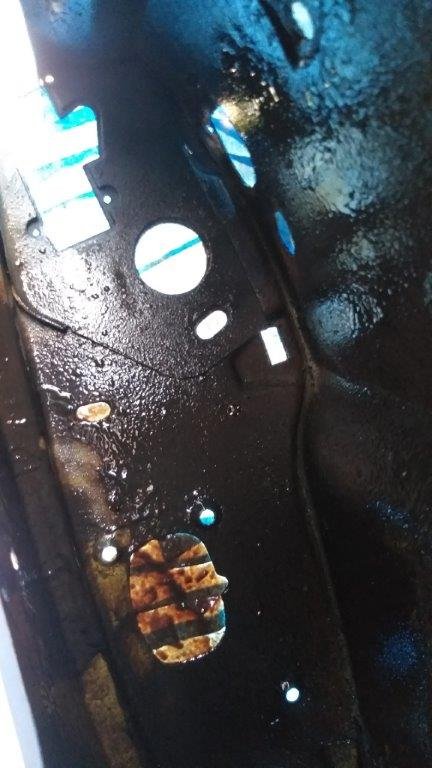
And .... that's the driver's door cavity done. Did I mention what a mucky and tedious job this is. Spray a bit of goo about the place.... clean your hands..... wait for the mist to dissipate..... take a few photos cause my head is too big to fit inside the door ..... check for missed spots in the photos...... rinse and repeat until you are happy with the result. A few photos to prove it actually happened: