bmxnz11
-
Posts
1,157 -
Joined
-
Last visited
Content Type
Forums
Downloads
Events
Gallery
Everything posted by bmxnz11
-
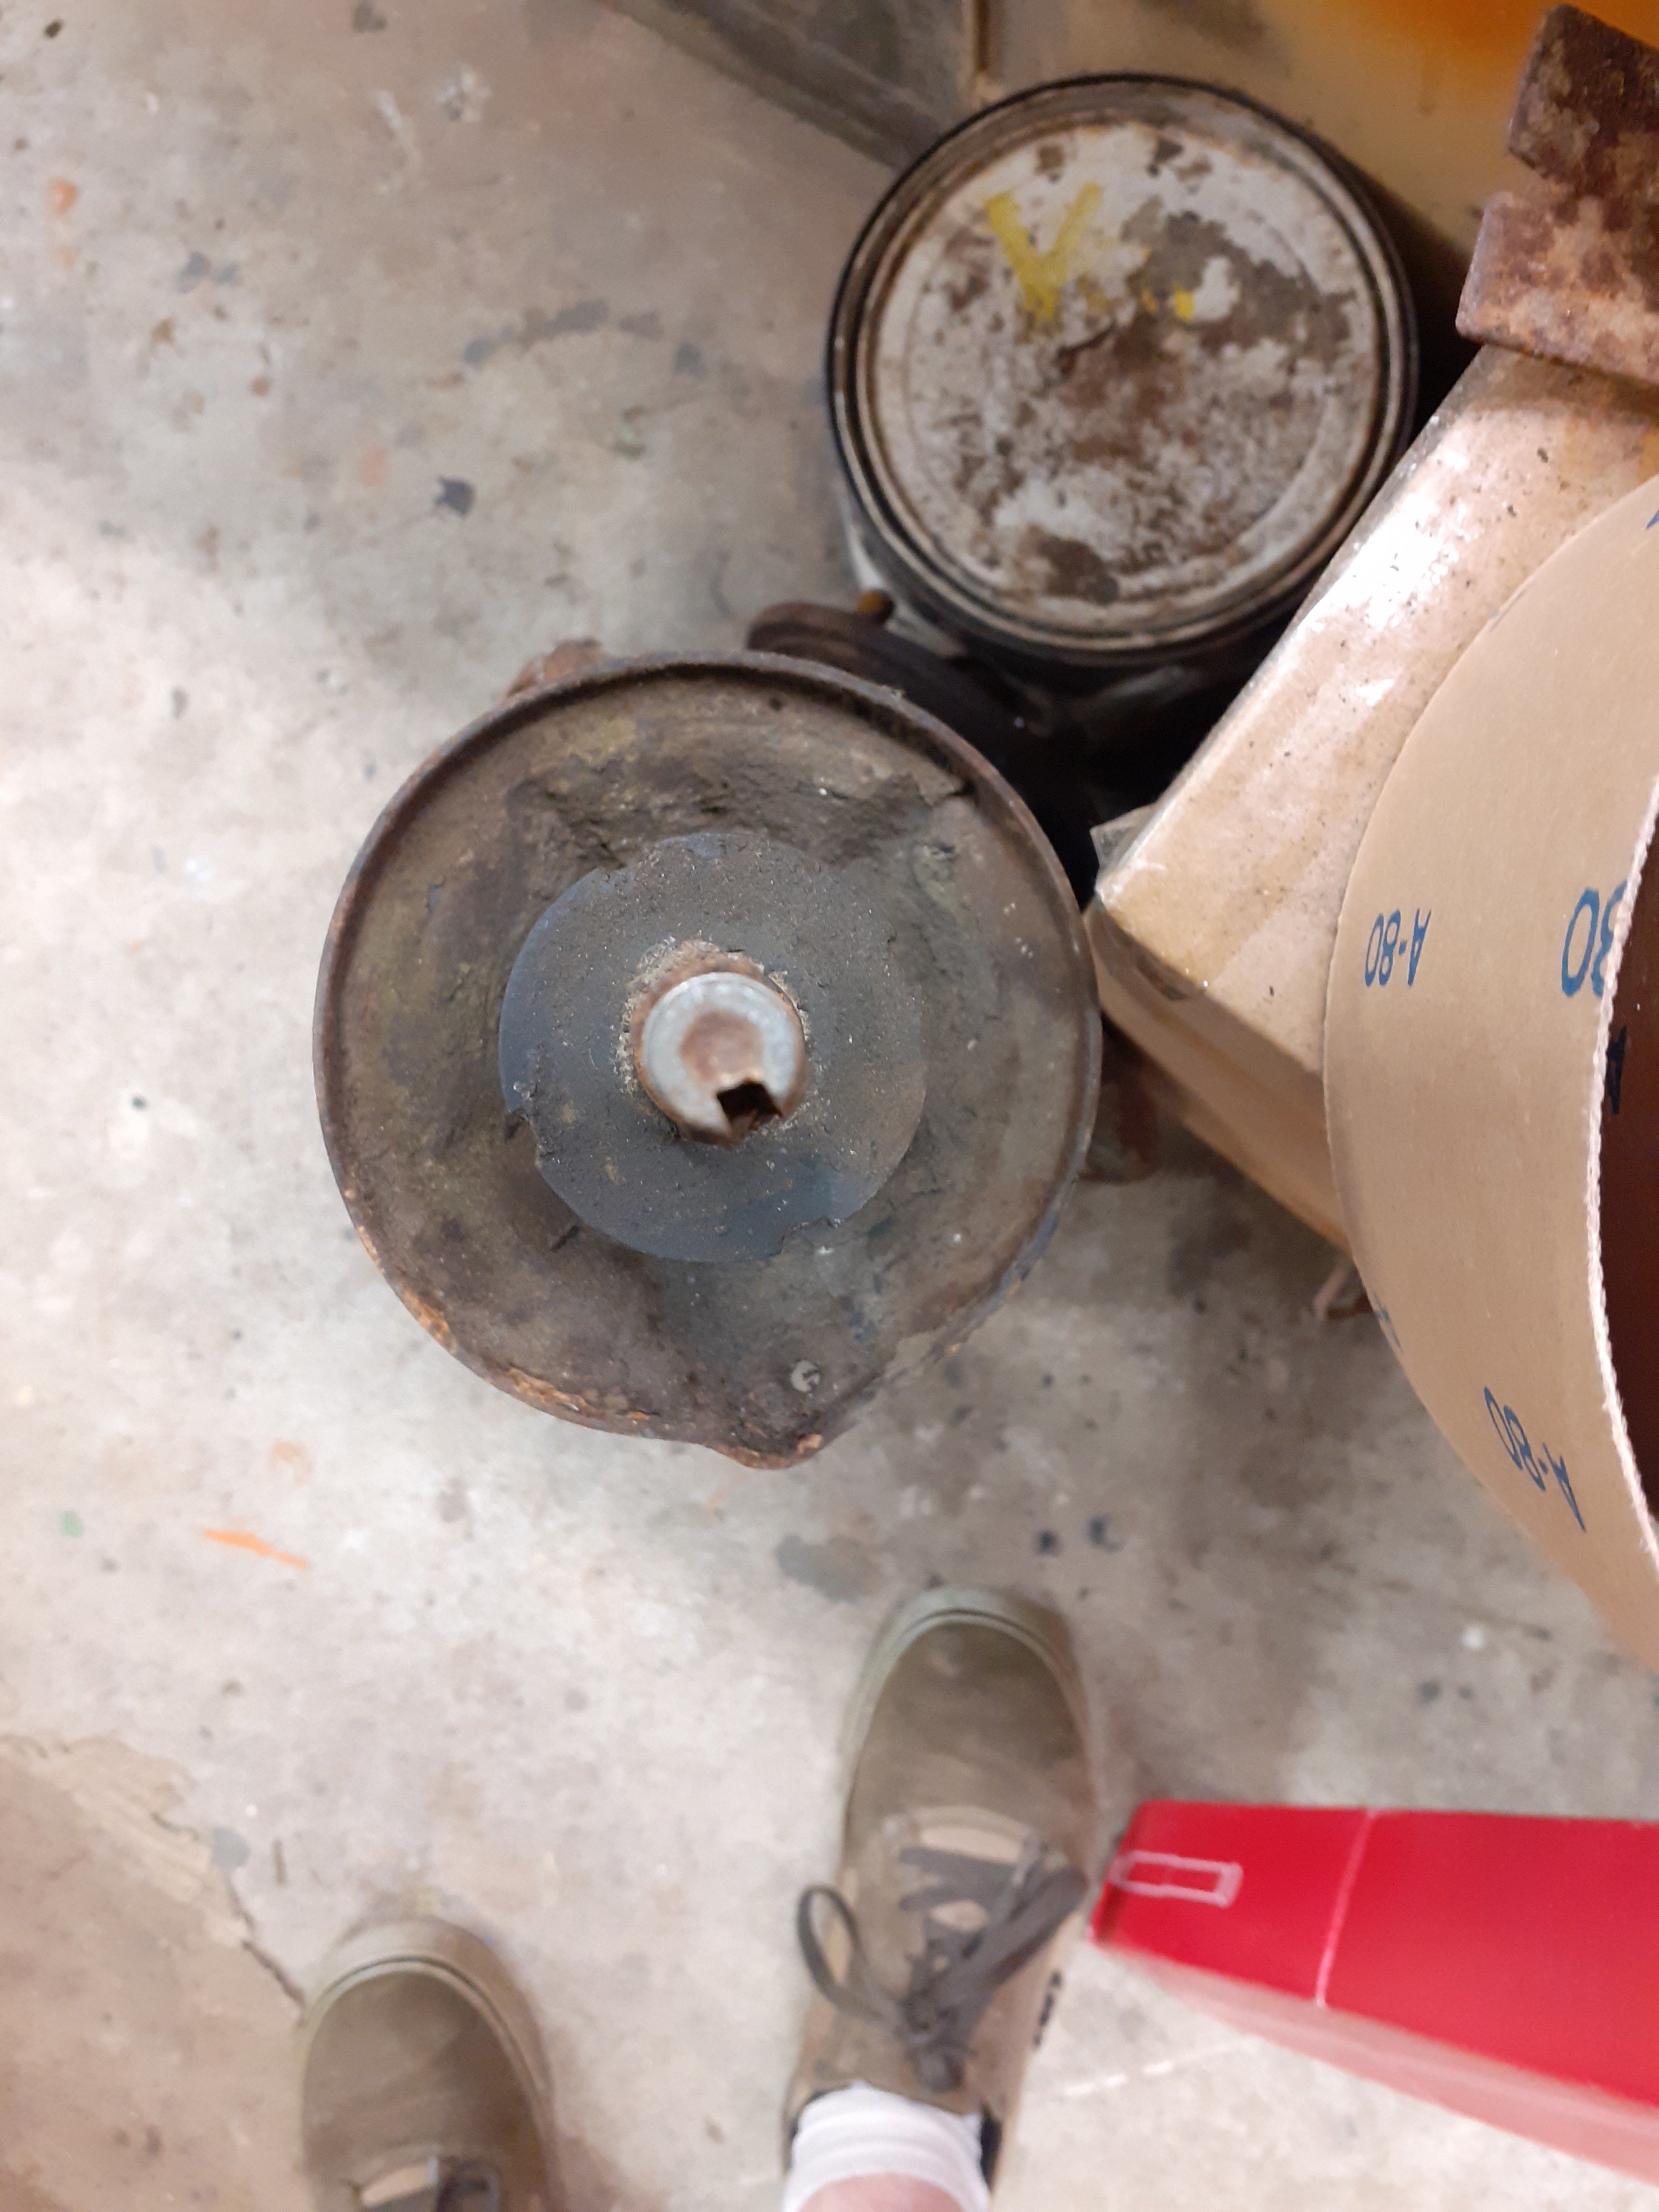
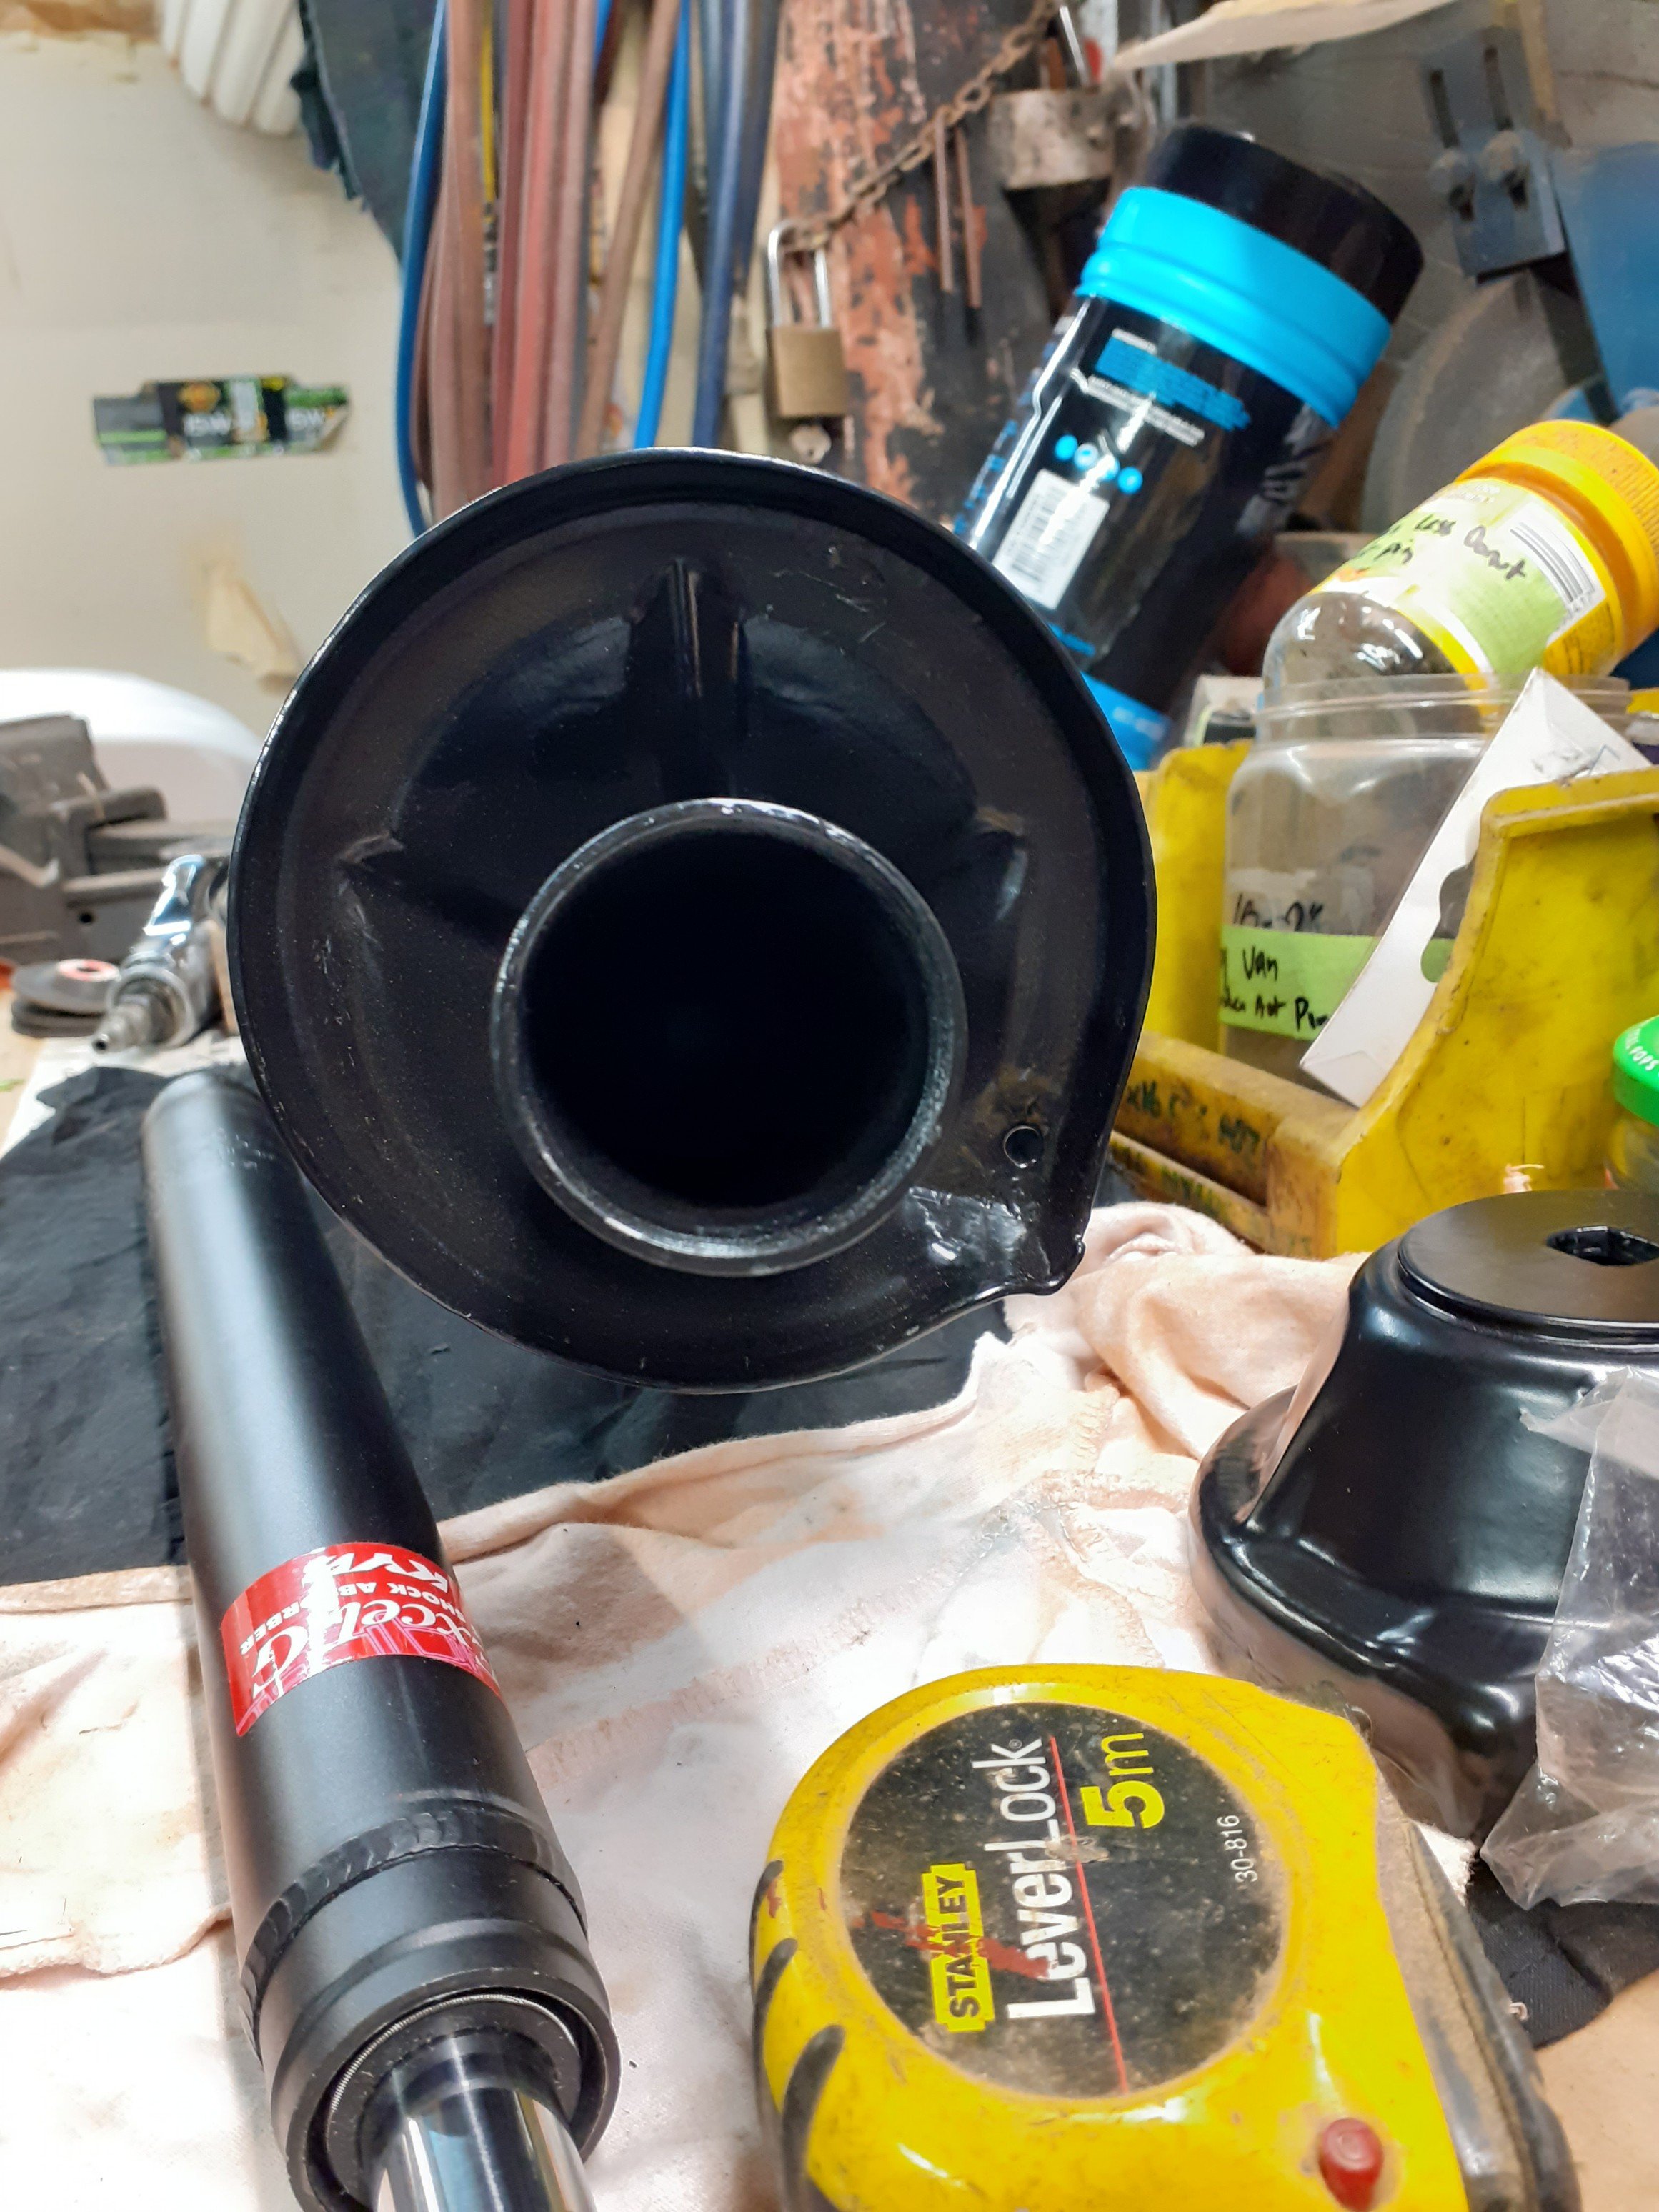
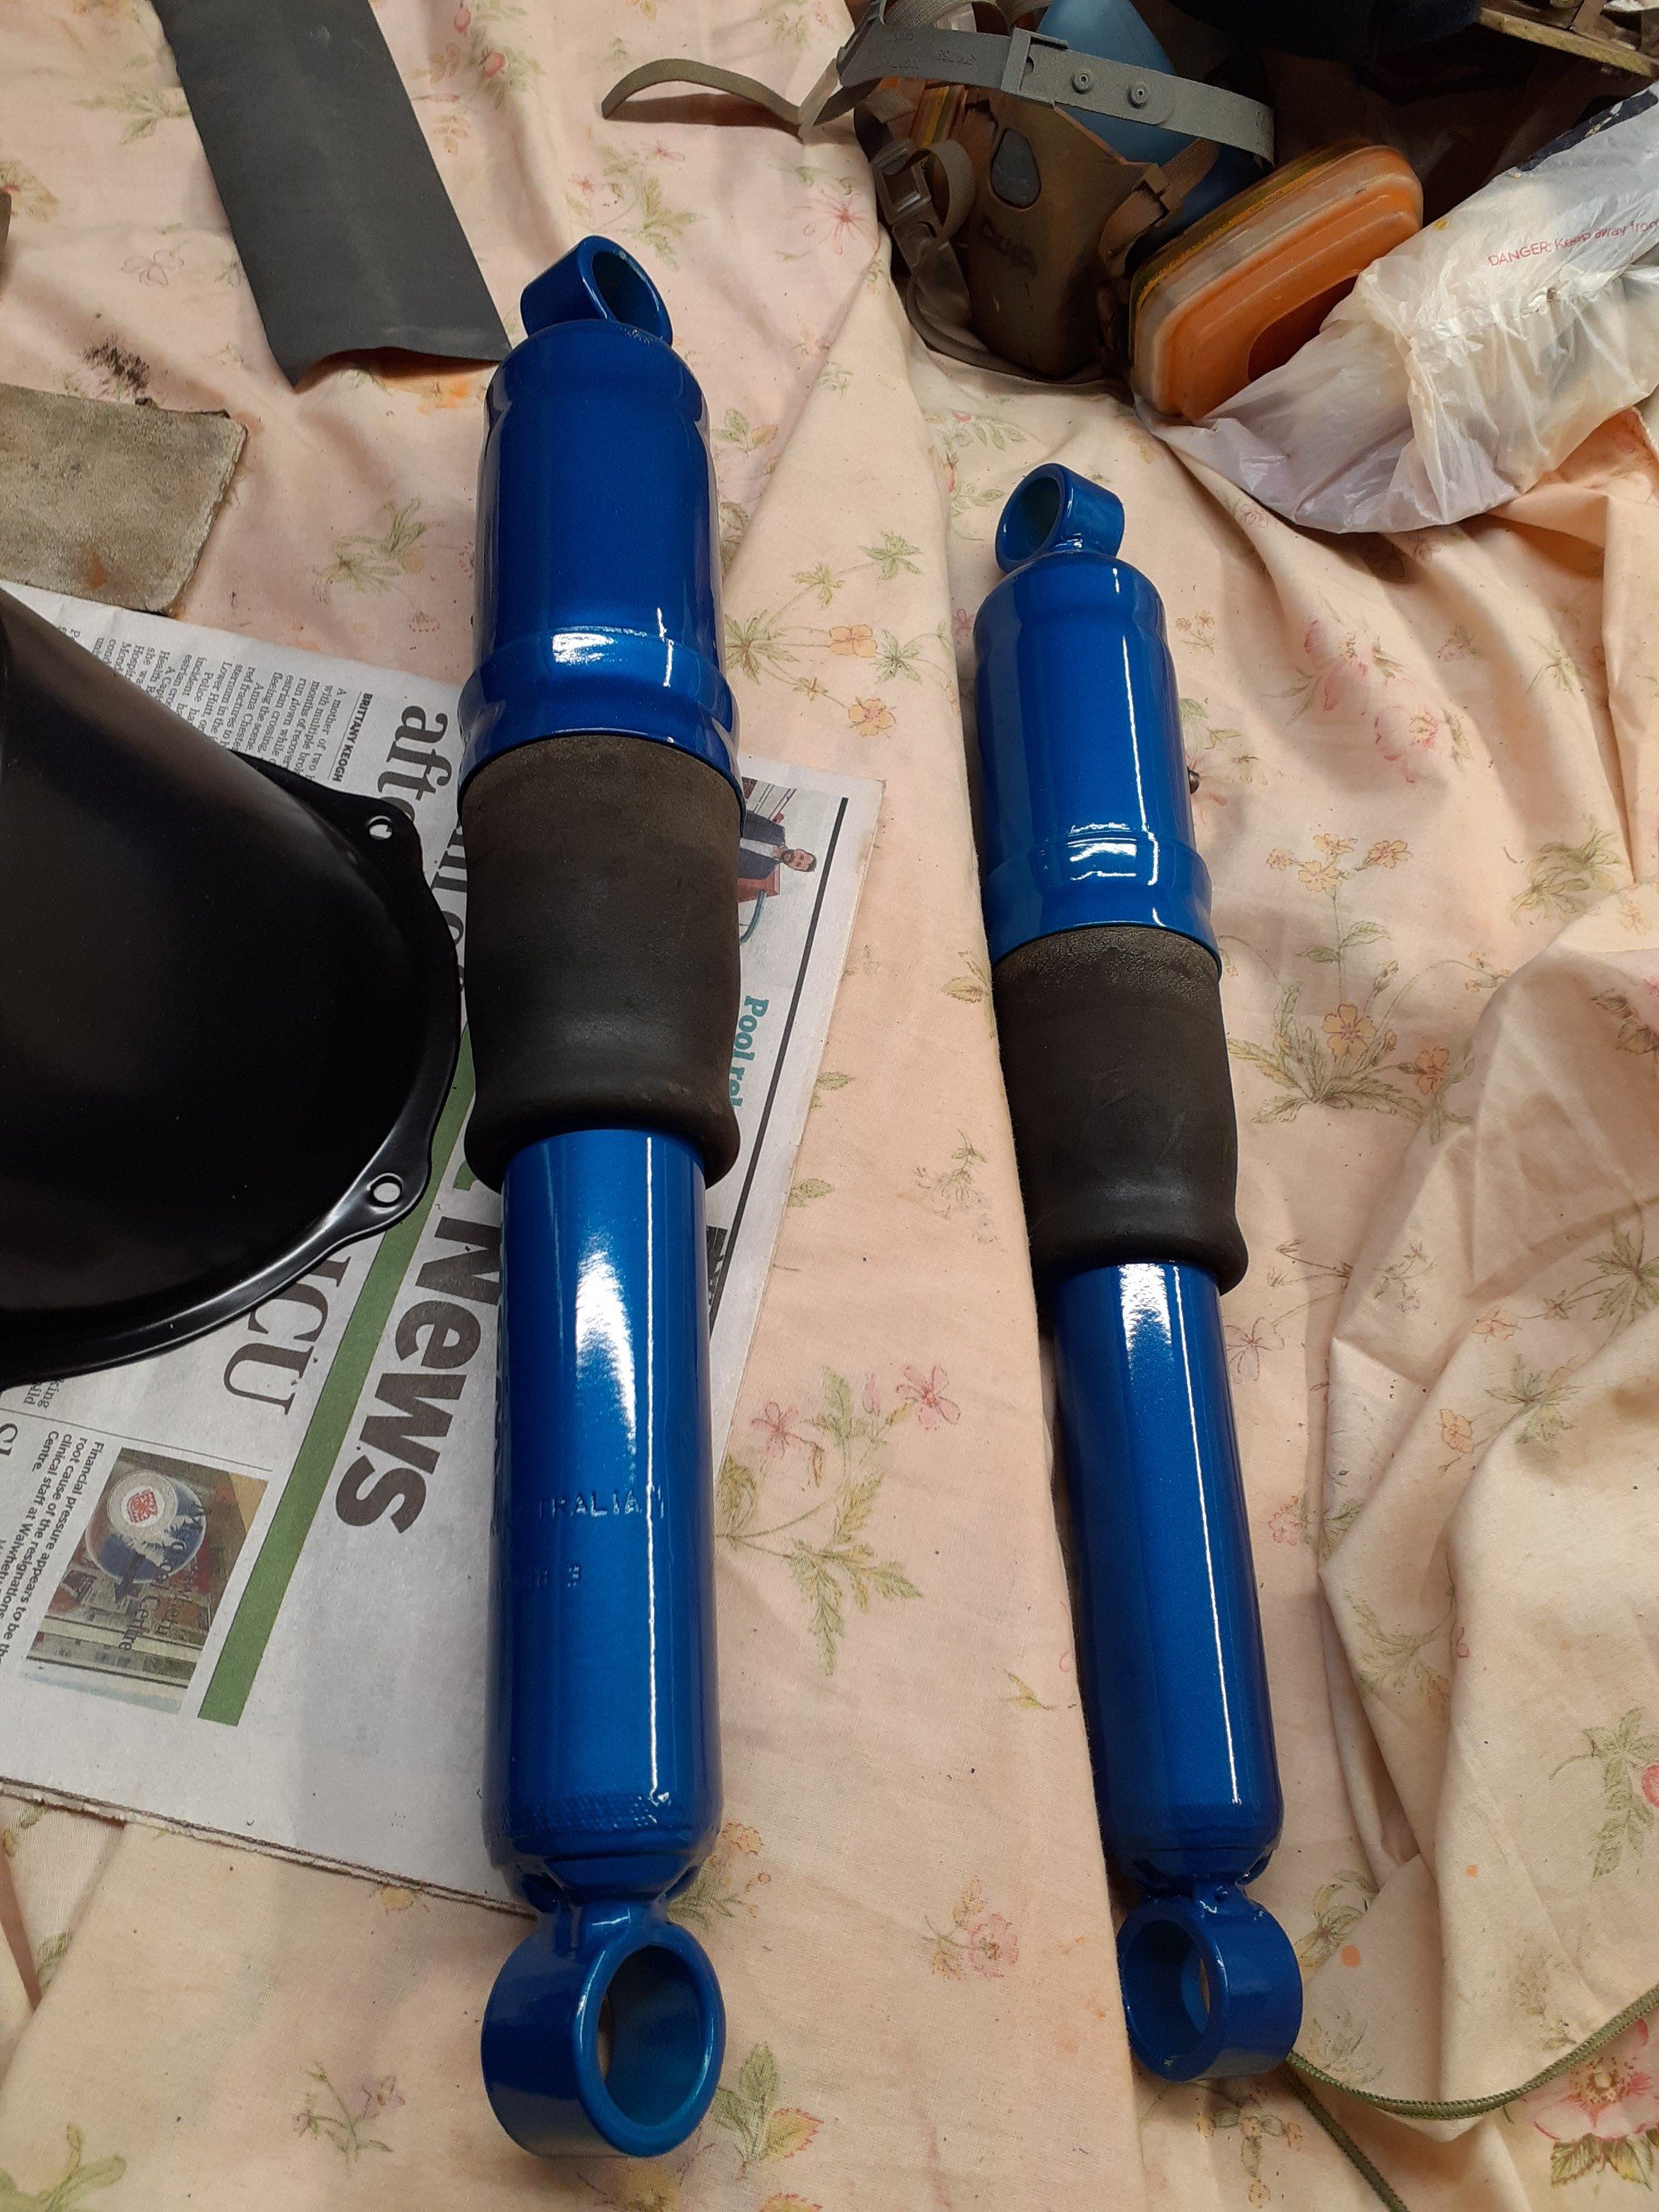
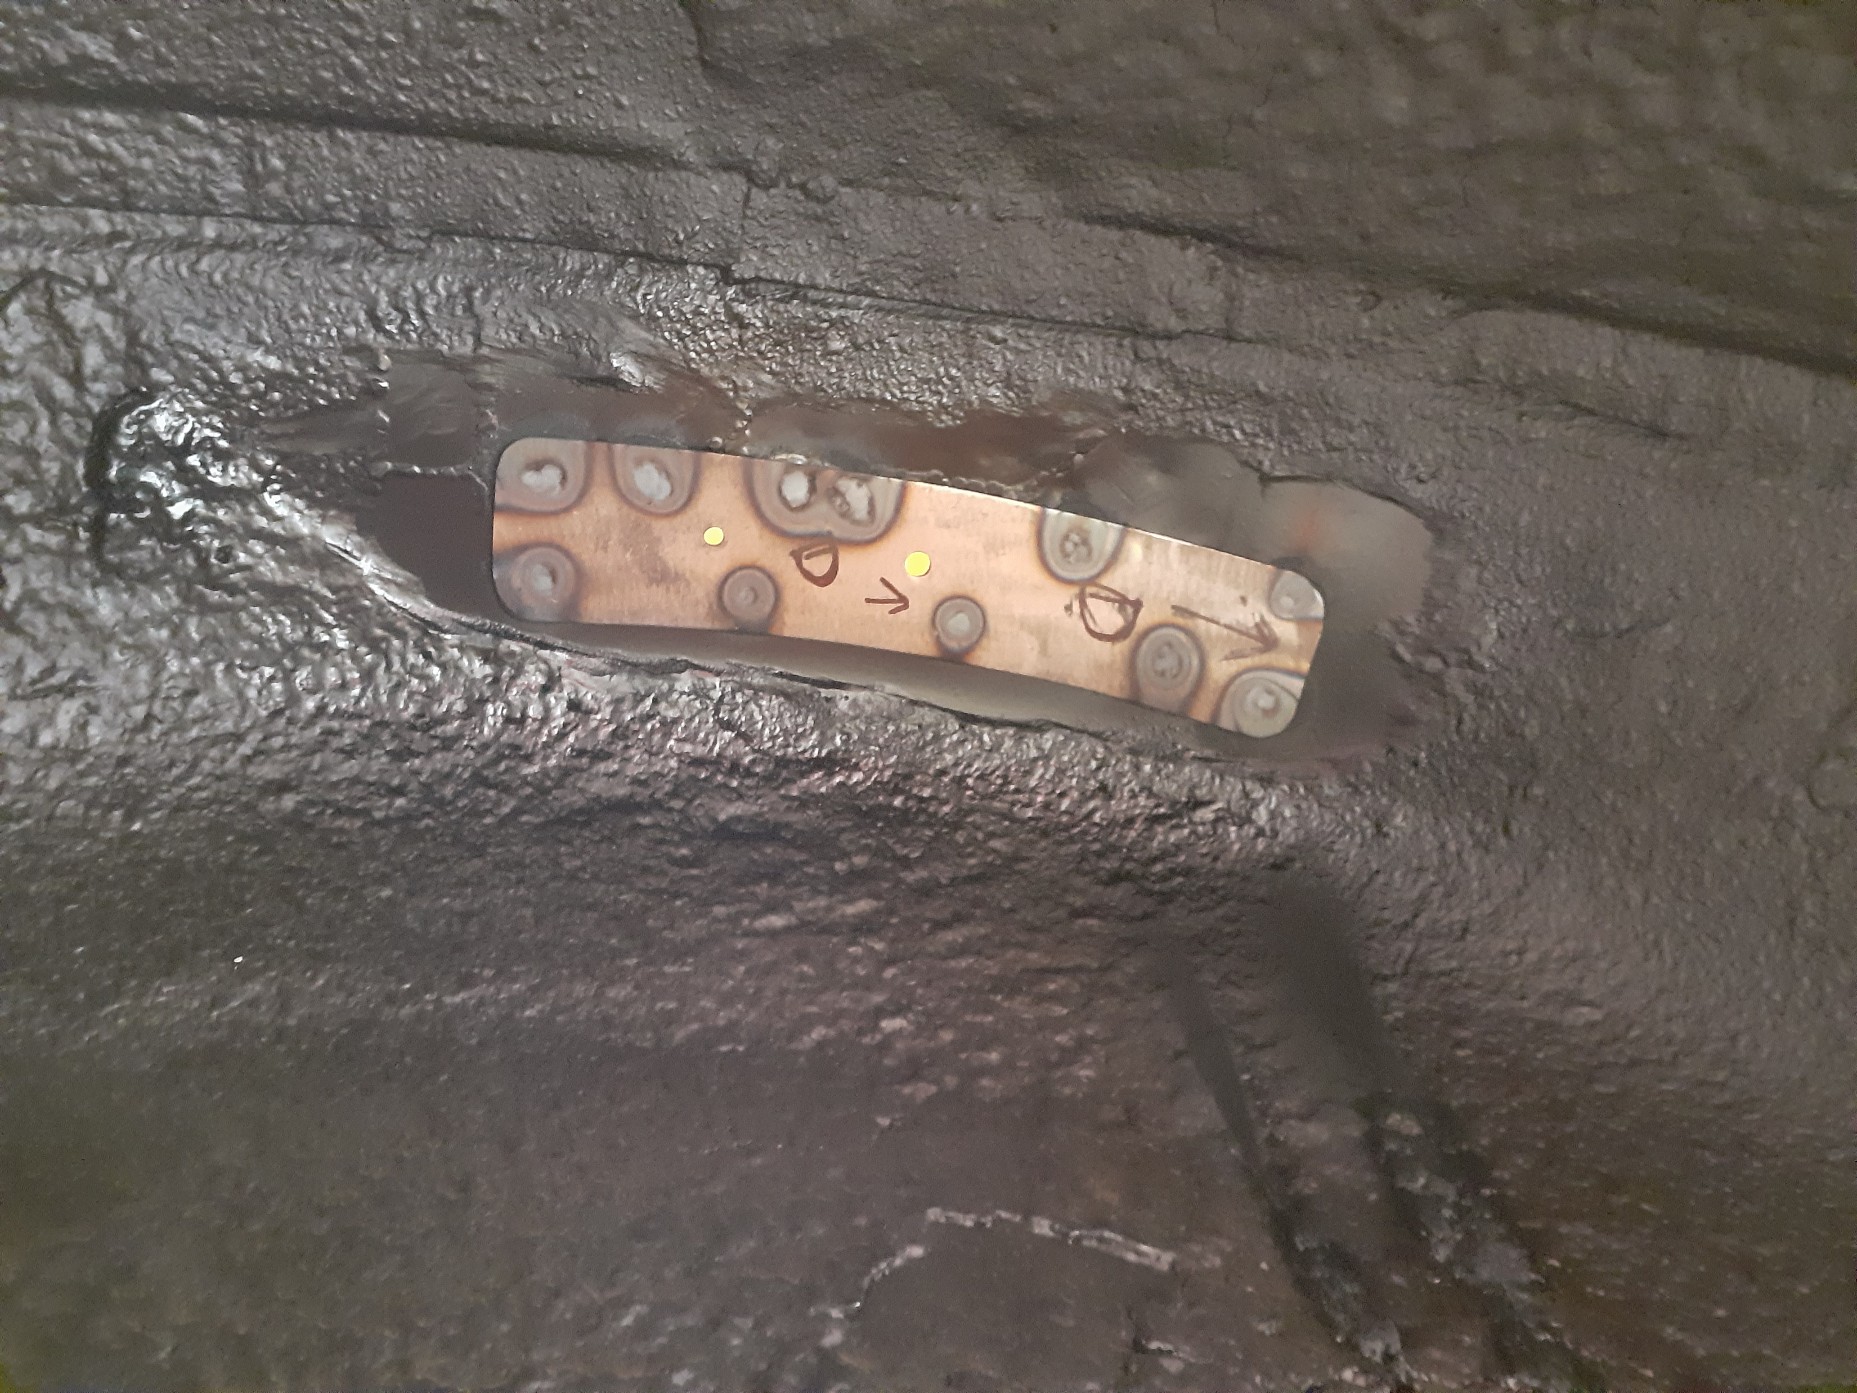
Shiiiit. Started to assemble the struts and thought hmm that spring perch looks a bit different. Compared it to the other spares I had and could see what I had refurbished and rebuilt were not escort struts, though they came out if a mk2 escort. The most obvious tell being the insert tube is not centre on the spring perch. The other tell is when I put the spring in, it didn't sit flat and upright. The spring perch doesn't sit horizontal, it's on quite an angle. Anyone know what these came out of? Confirmed mk2 escort struts. Looking down the centre of the tube. Spring perch angle Not mk2 escort struts Looks like I'll end up strip and repaint the correct pair I have.

-
Cheers for that. I've seen the generic spacers in the second link before but I wasn't sure how secure they would be.
-
Cheers for the quick reply. I'll look for a more appropriate tubing
-
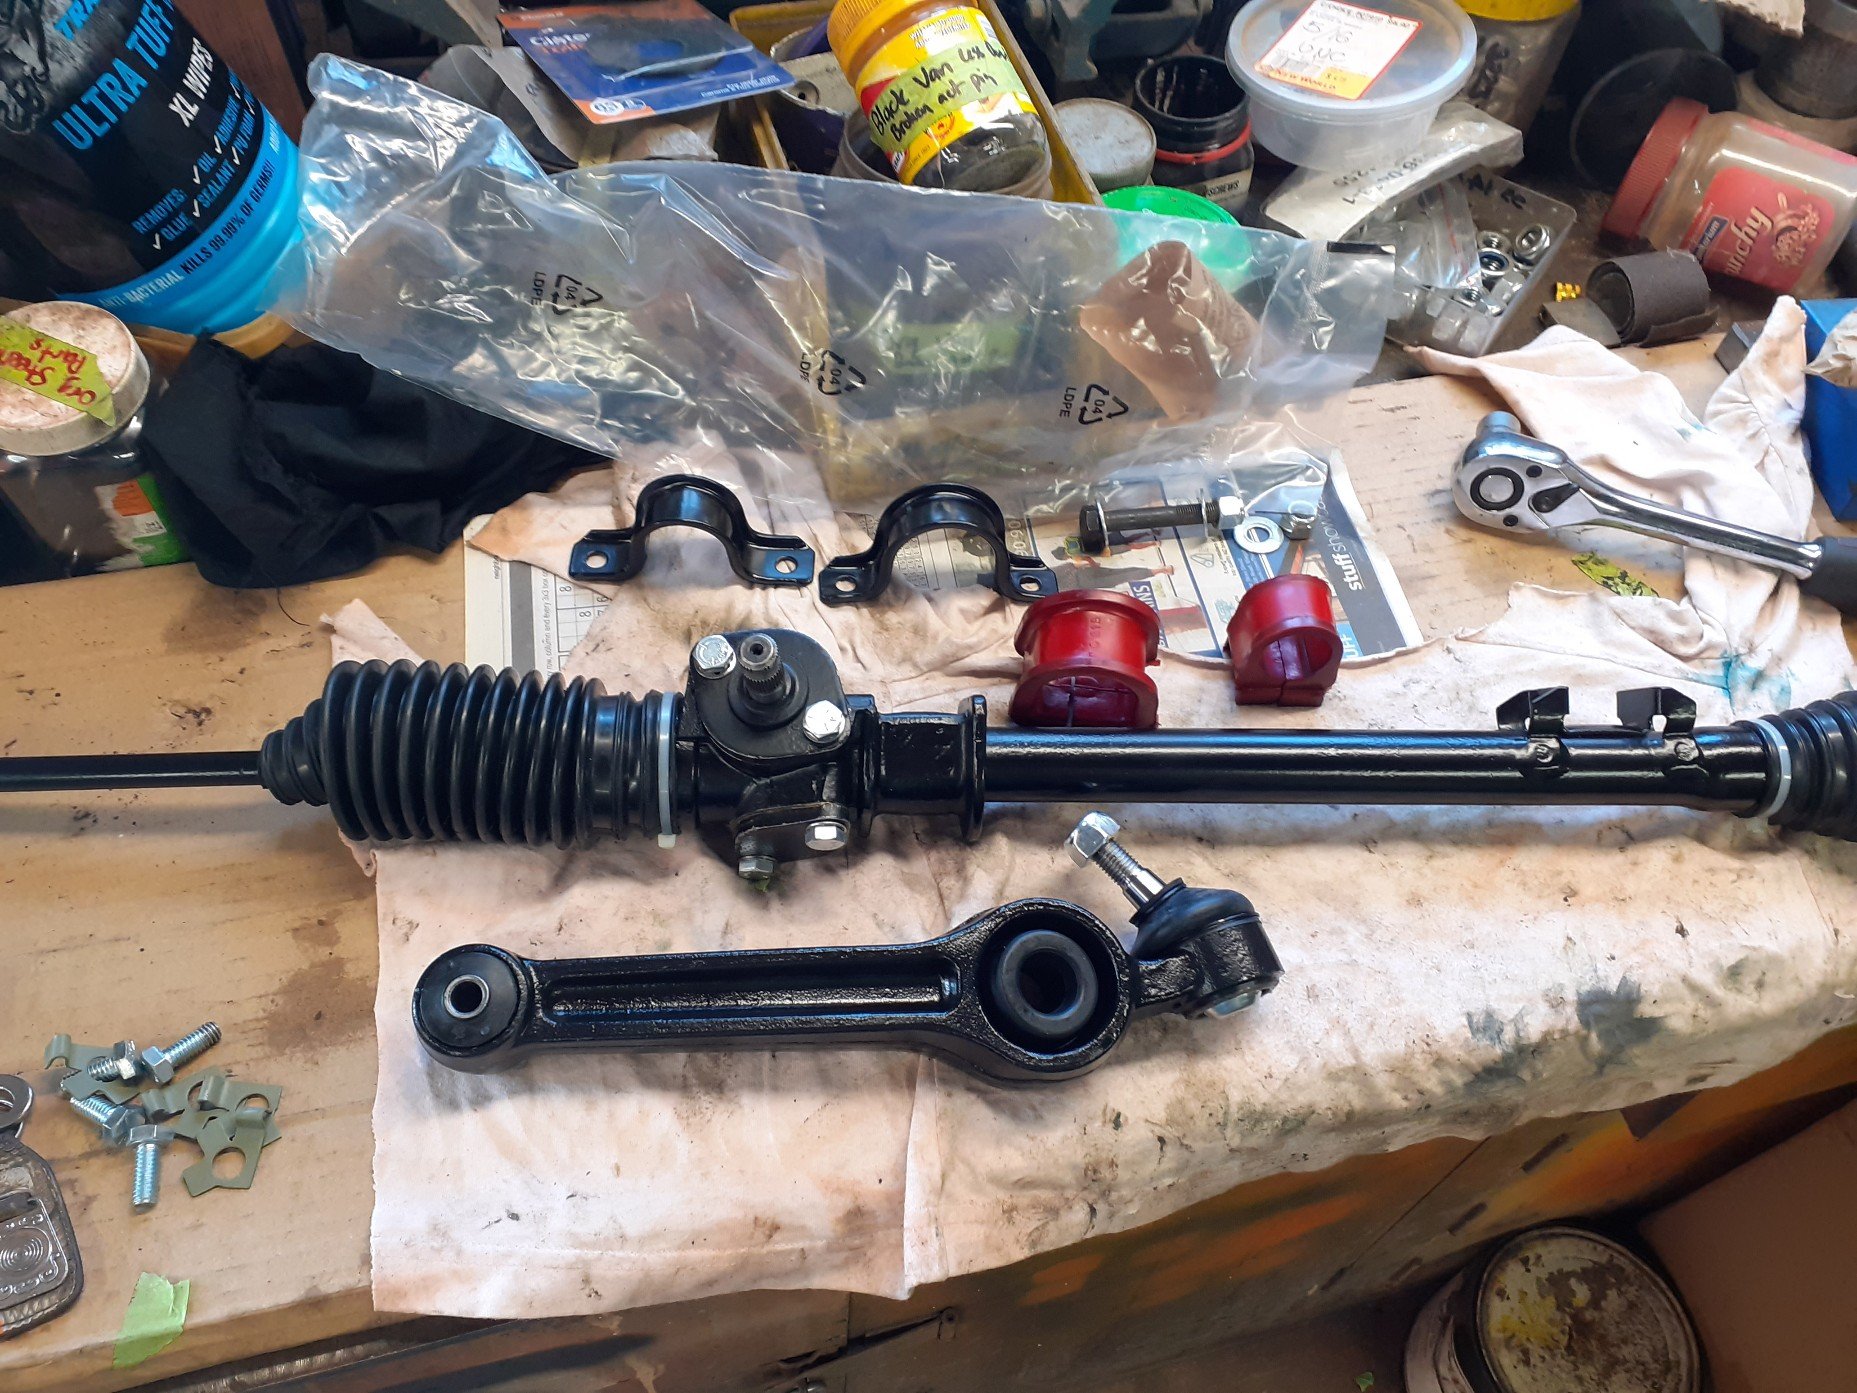
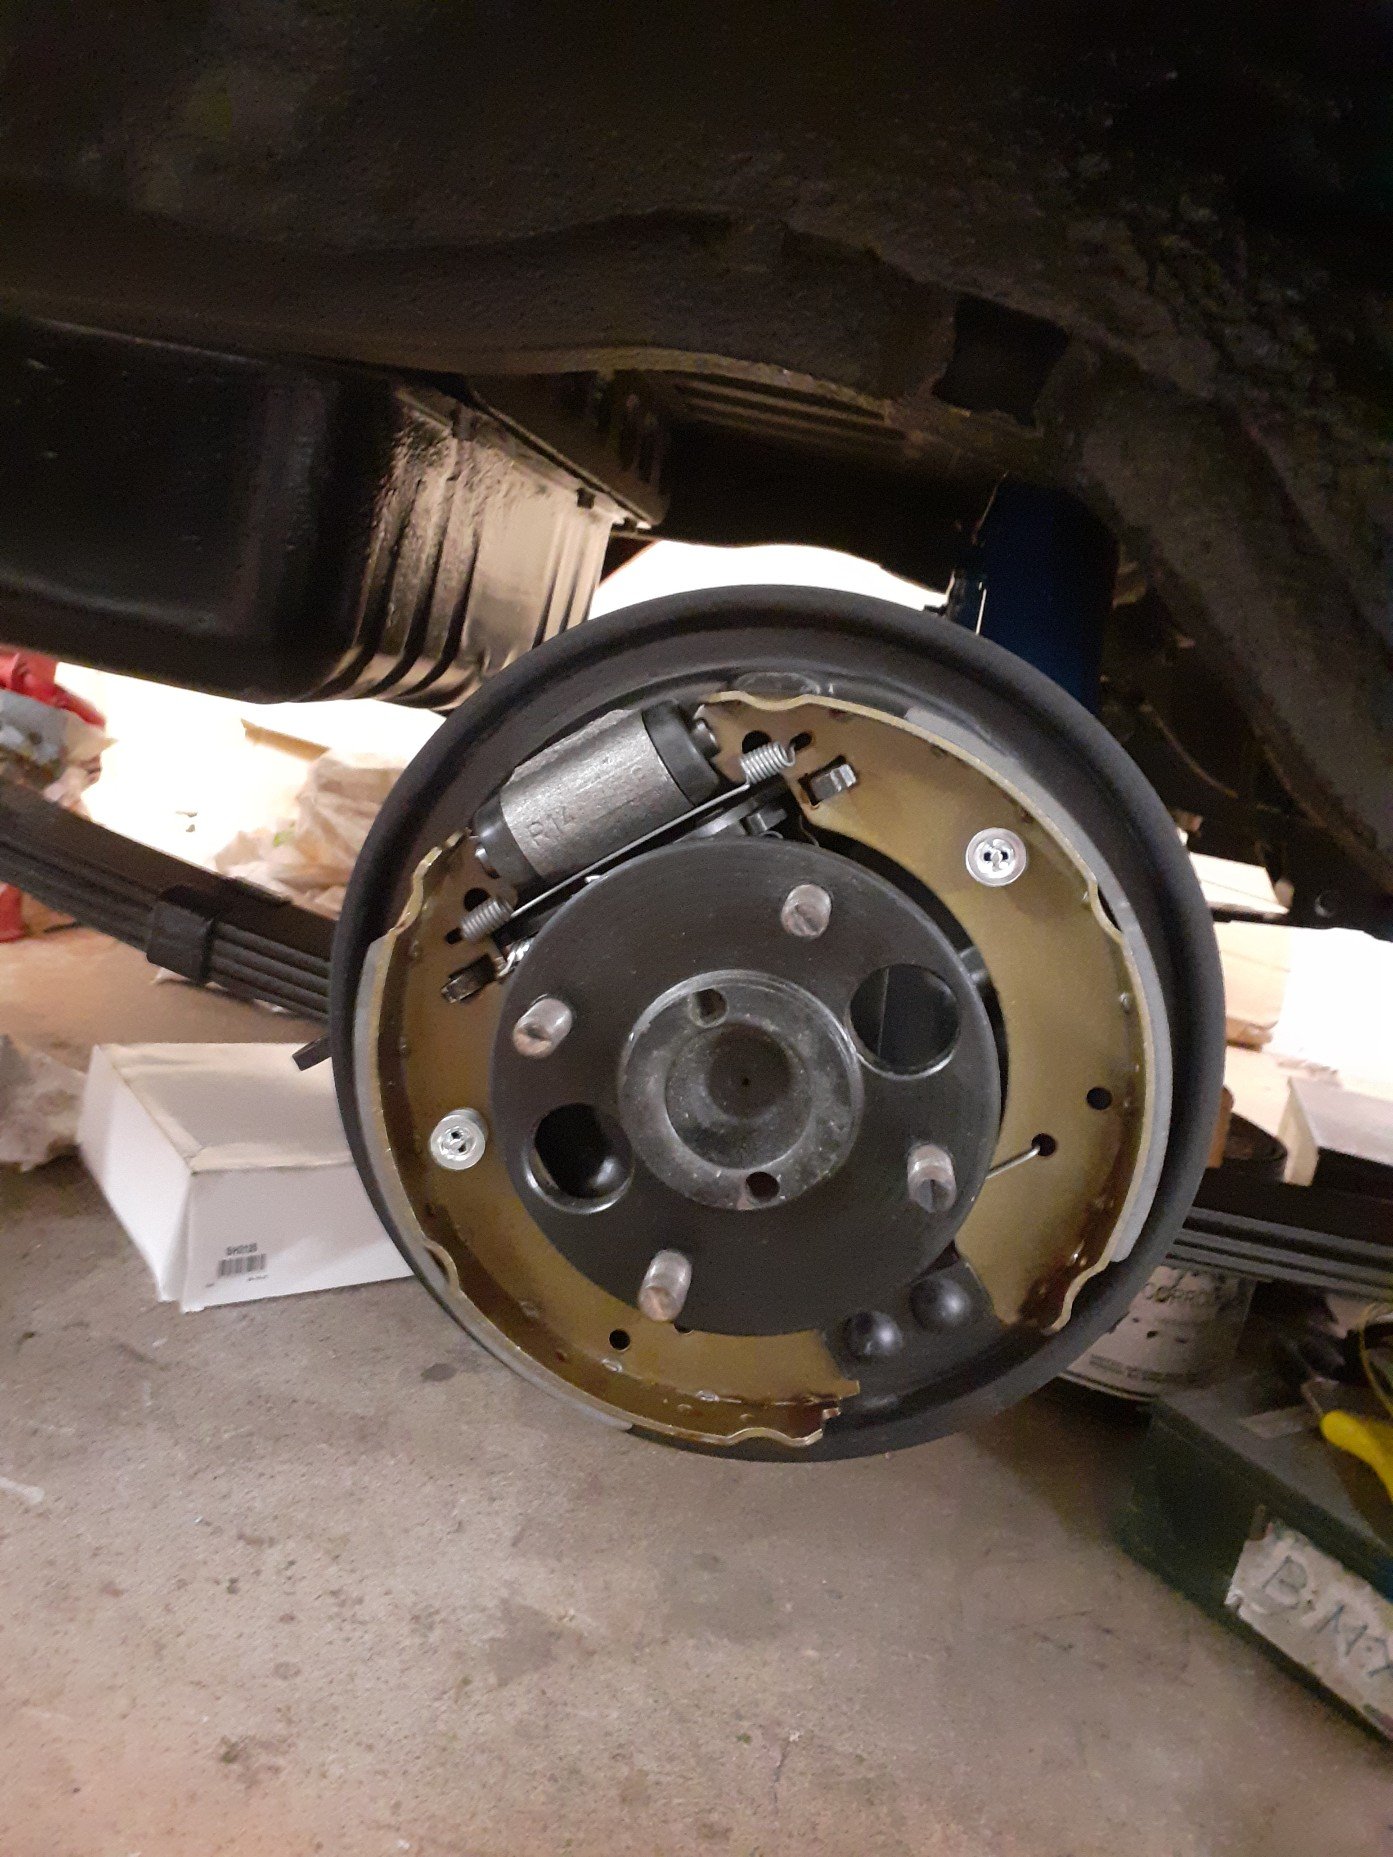
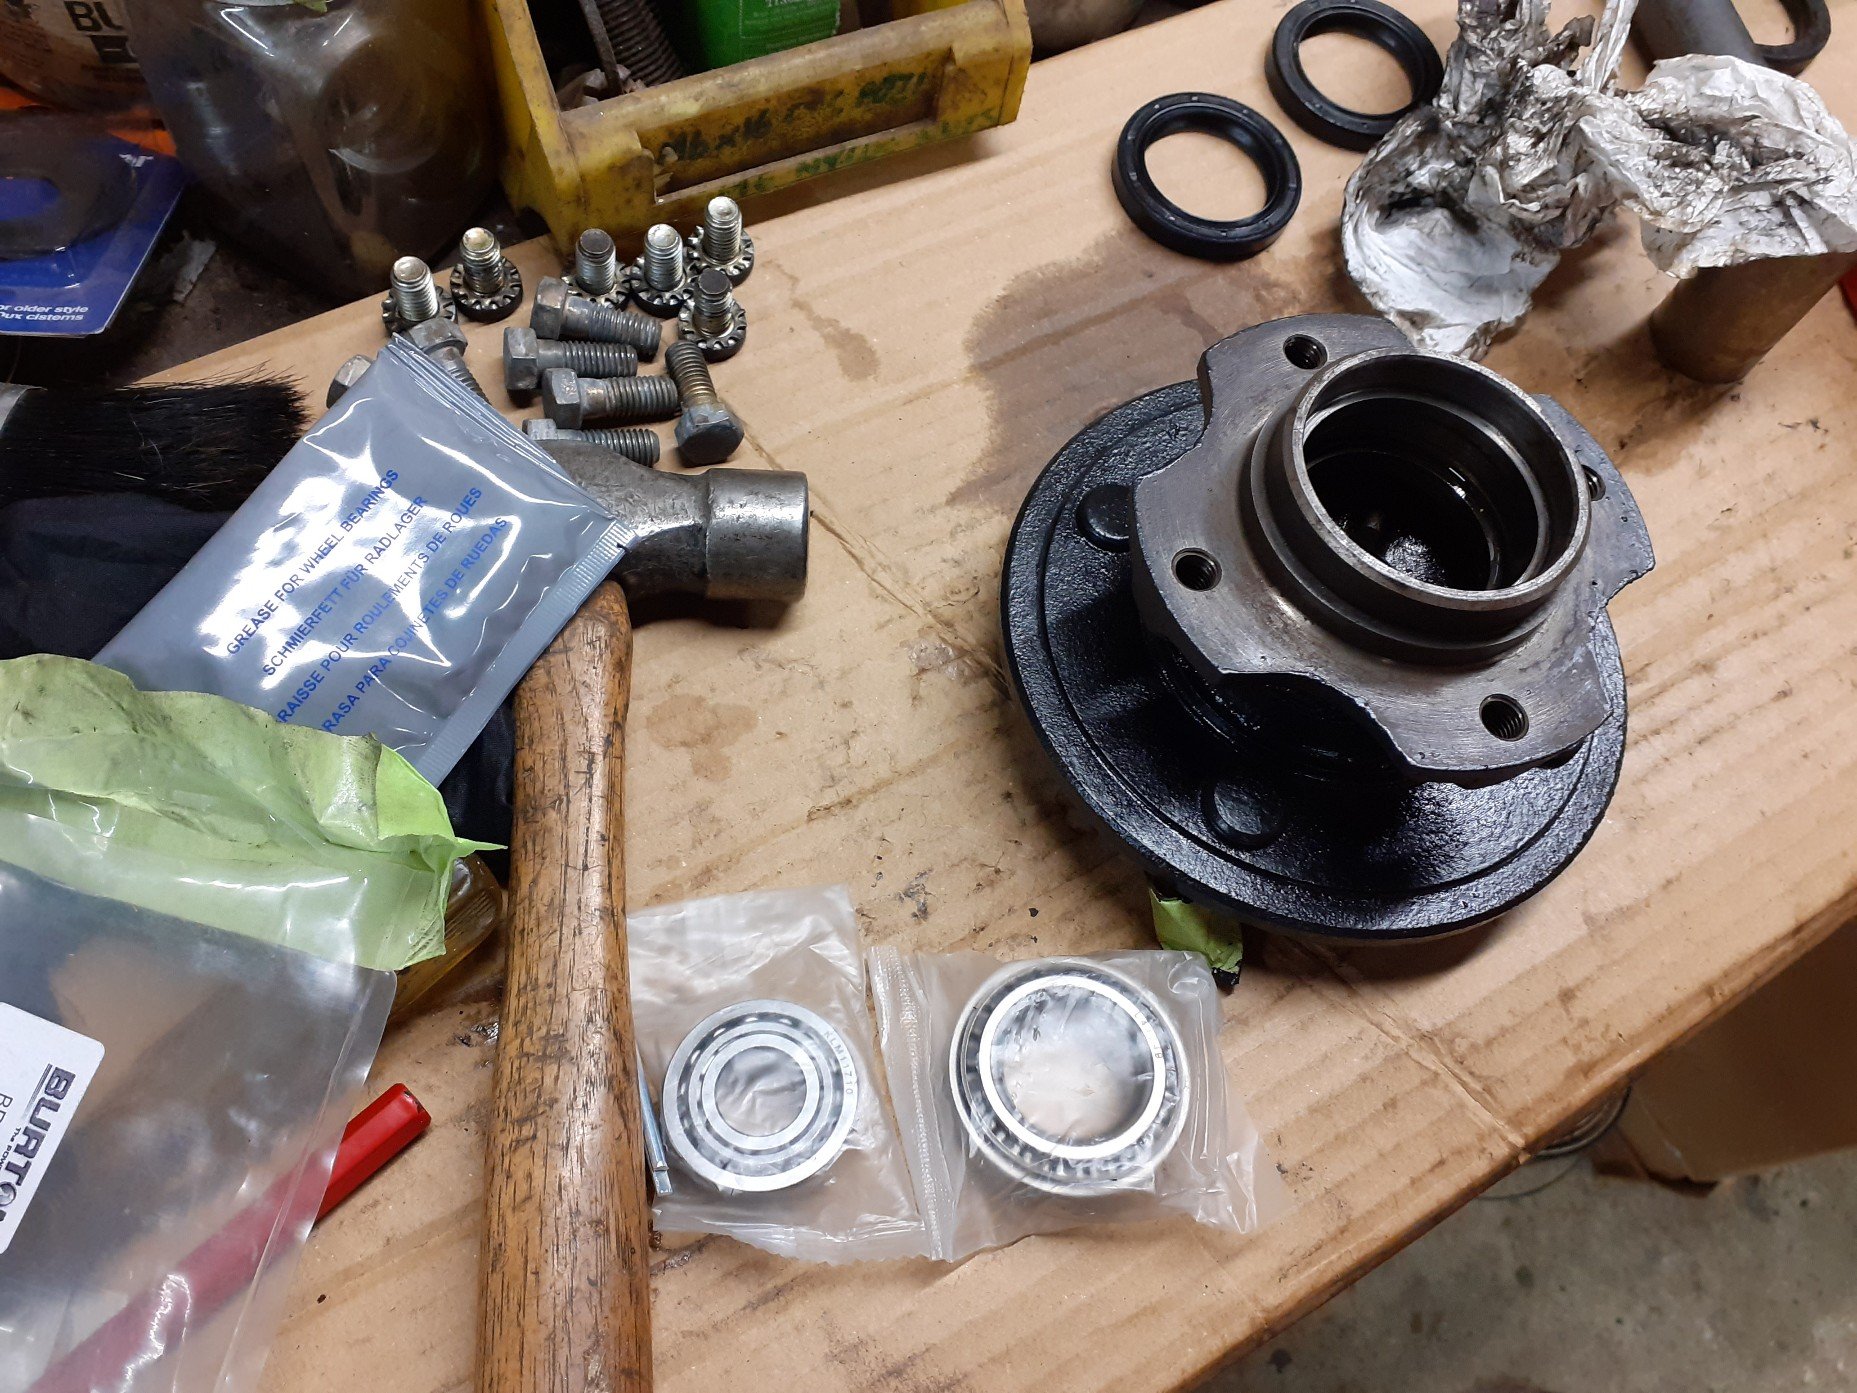
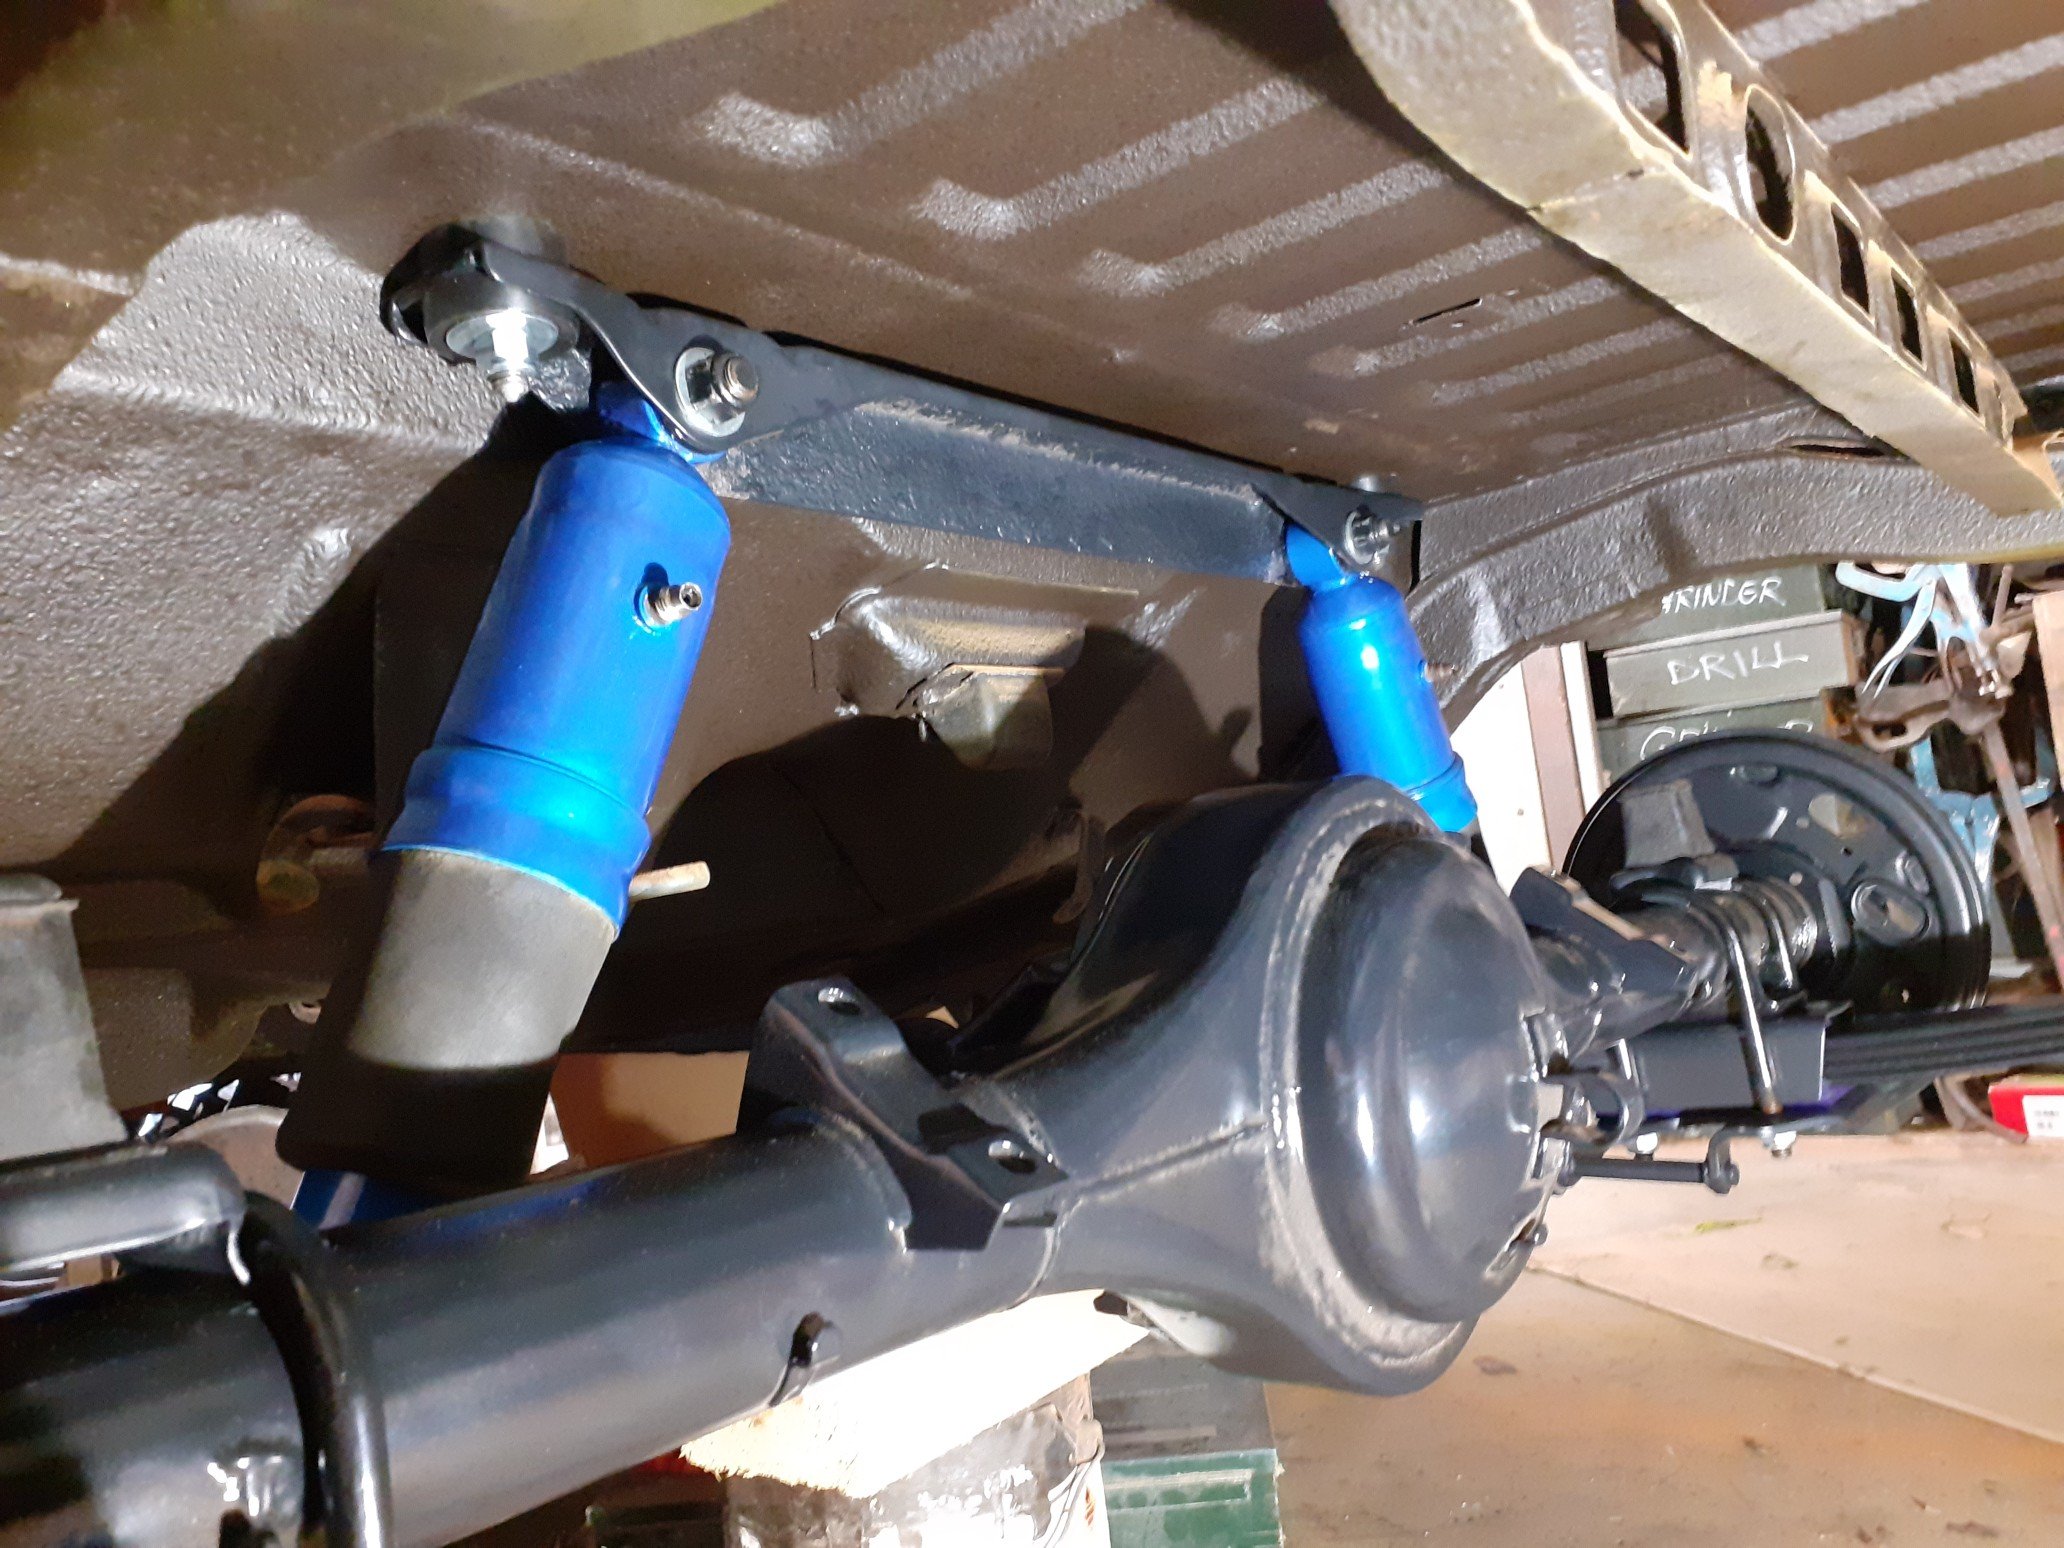
Rebuilt and assembled the rear brakes. New cylinders, shoes and spring kits. Started working the front suspension and connecting parts. I used new and used parts from my spares to rebuild the steering rack. The manual required 2.8kg of force to move the steering arms. 2.8kg of sand on the arm... ...2.8kg of sand on the floor. Yep, kit moved. Drilled, tapped in a new locking brass rod and penned the metal over to hold the rod in place. All assembled and has been thrown on the van with new poly bushes, tie rod ends and control arms. Not in the photo but I've pressed out the control arm to sway bar bushes and will use some new poly ones. New wheel bearing kits in the hubs. Hope to have the legs on in the next couple days.
- 104 replies
-
- 14
-

-
Slipping a bit of garden hose on the top and bottom coils of lowering springs to take up the tiniest bit of play when the struts are unloaded. Still fit securely into the bottom and top cups and are captive. Is this a problem come wof or cert time?
-
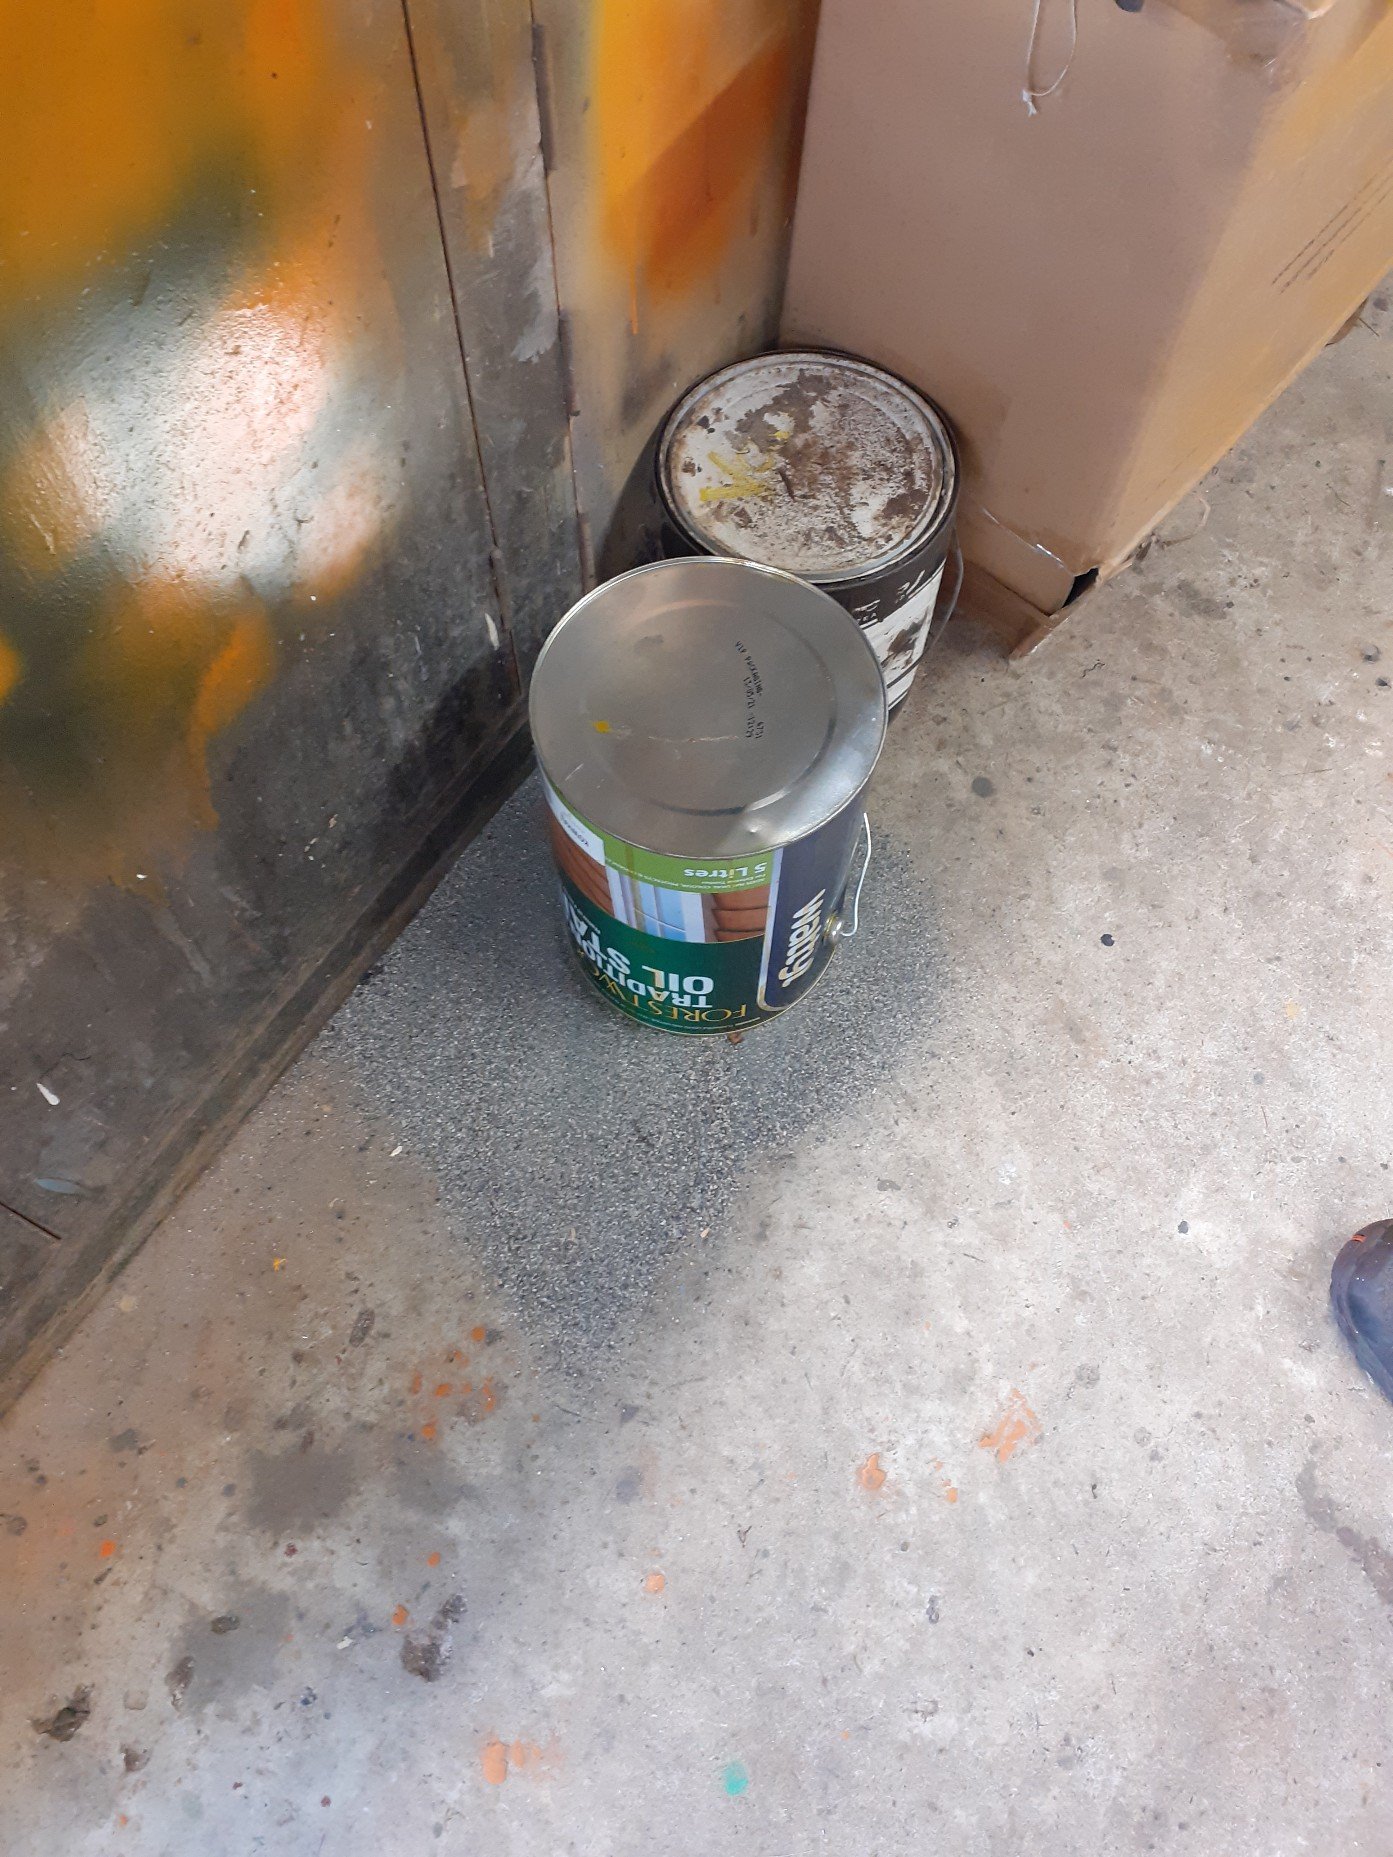
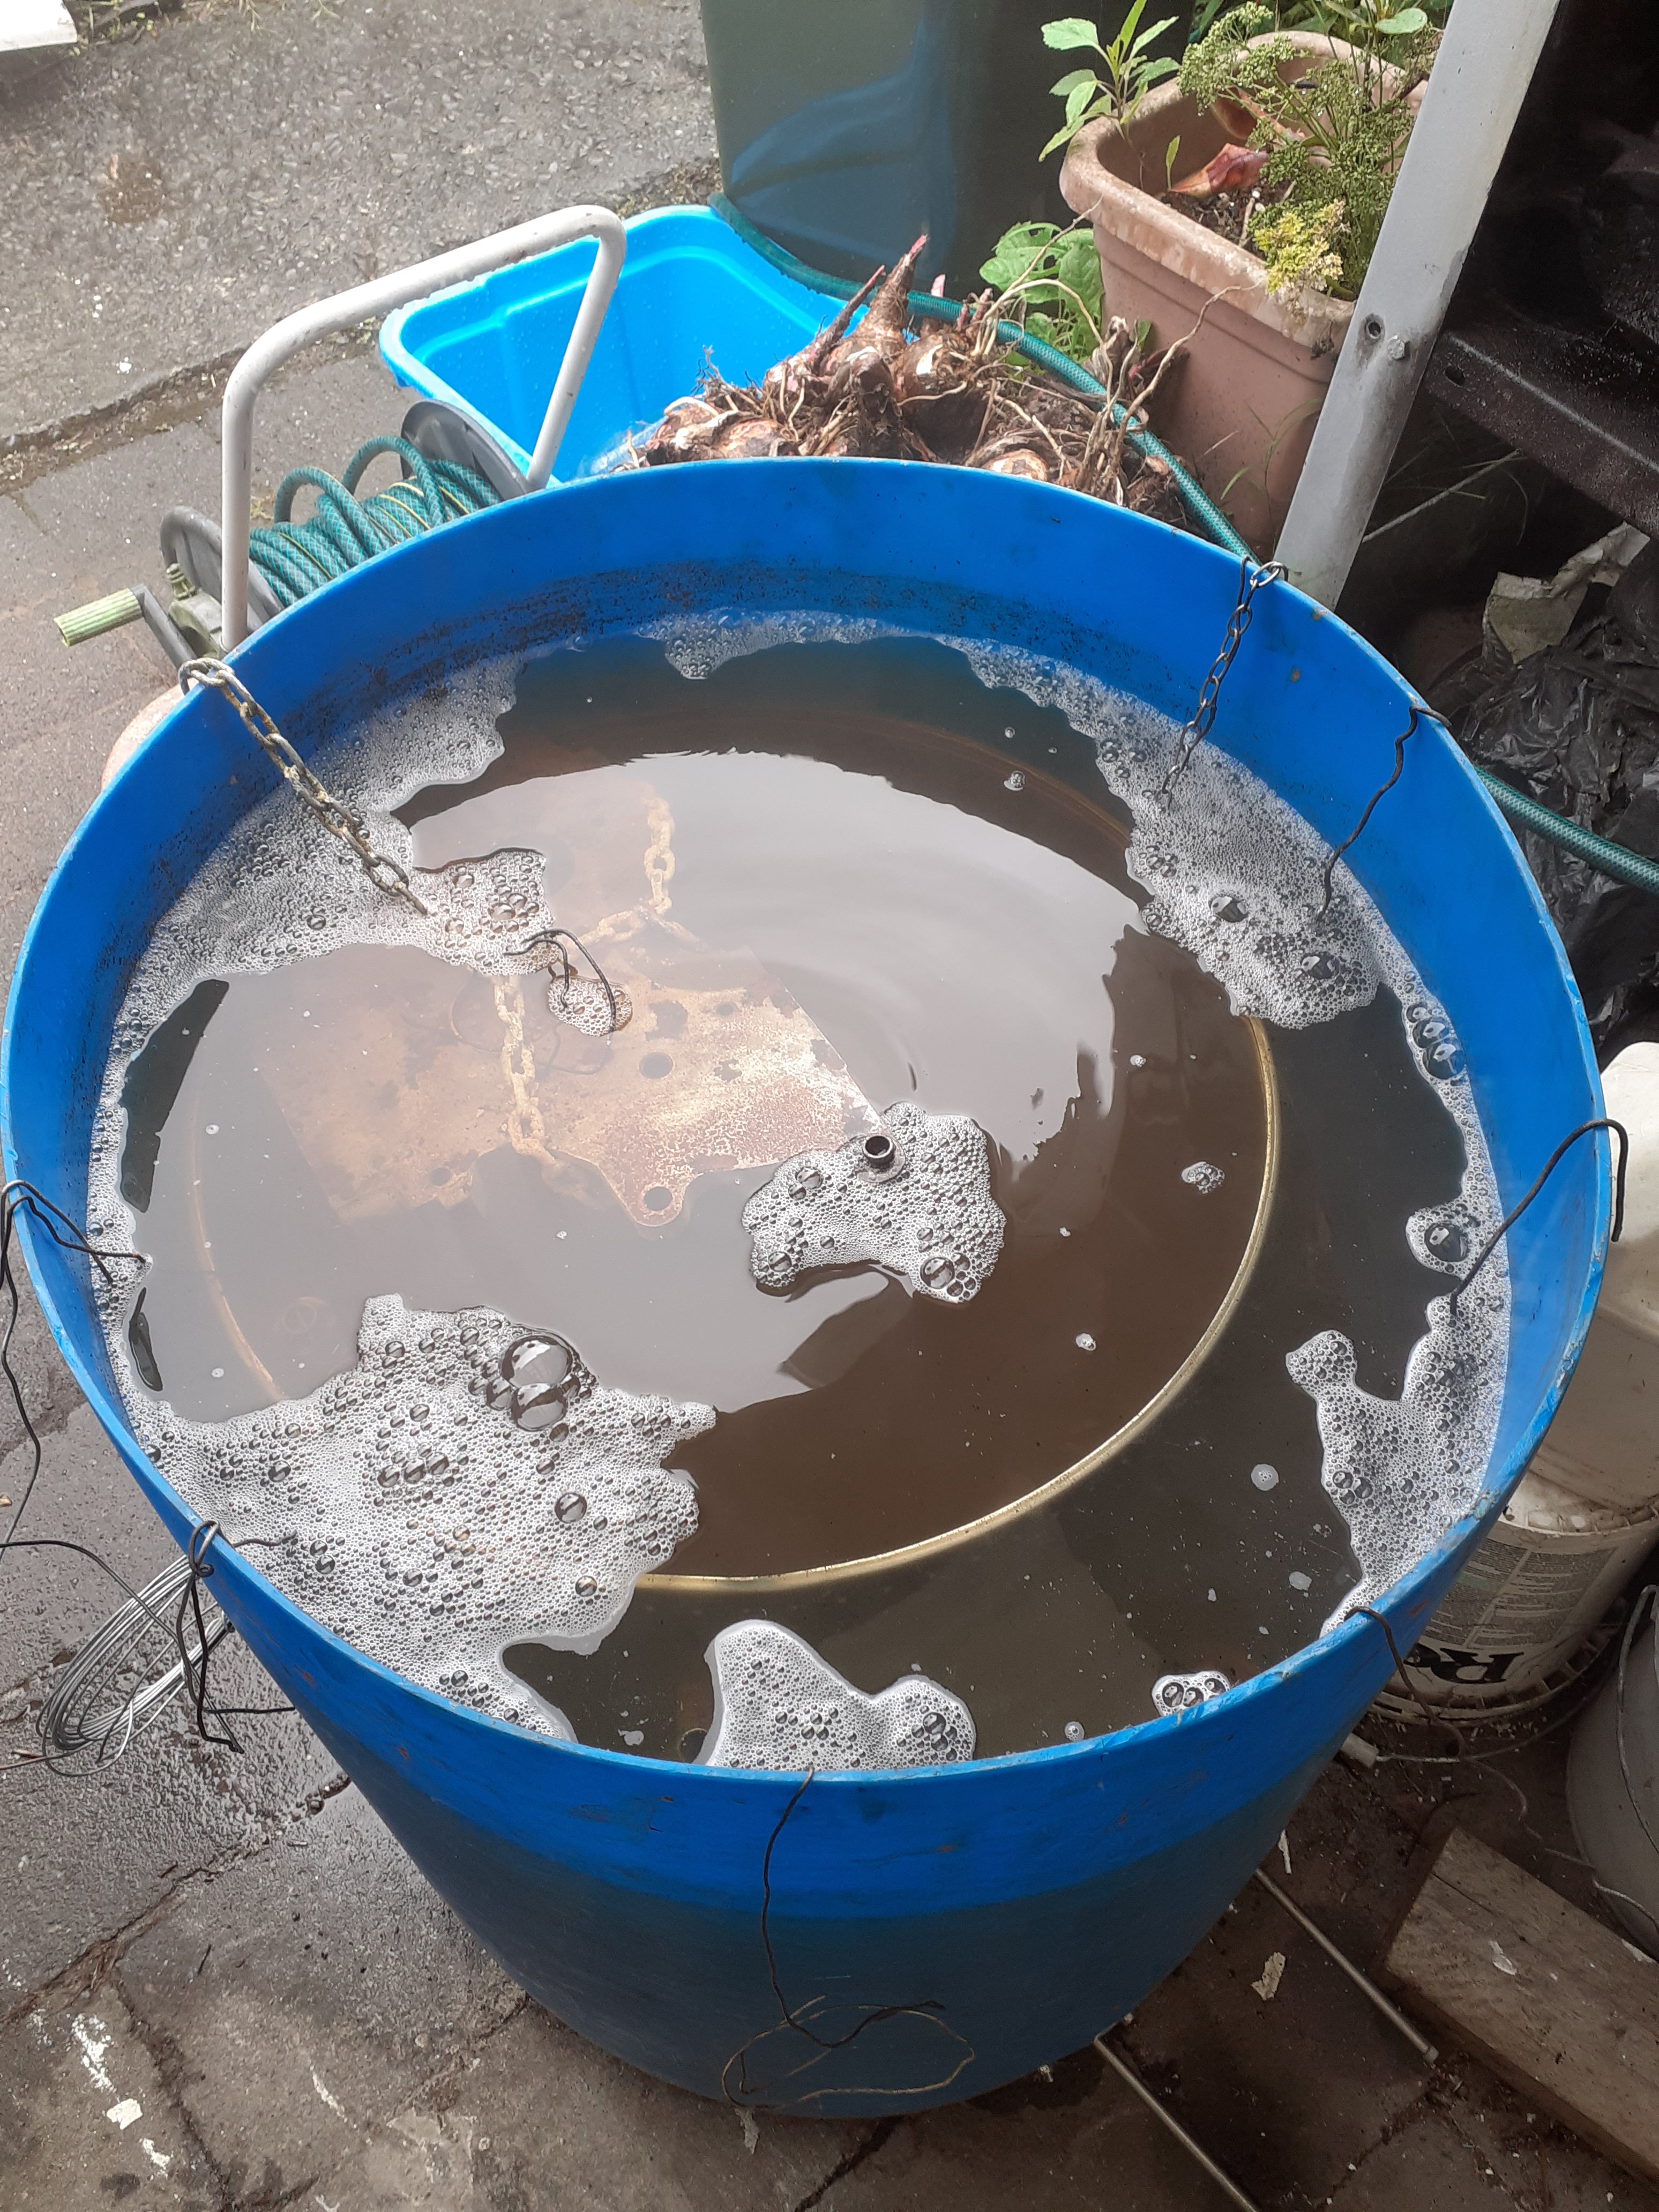
Last but not least I made a hot tub for the engine block out of a drum and a hot water element. I had my block, rod, caps, rocker gear, pcv valves, oil pick ups and odd bits of hardware brewing with caustic soda (washing powder) for 5days. No after photos as it was dark when it all got pulled out, but it all worked really well.
- 104 replies
-
- 11
-
-

-
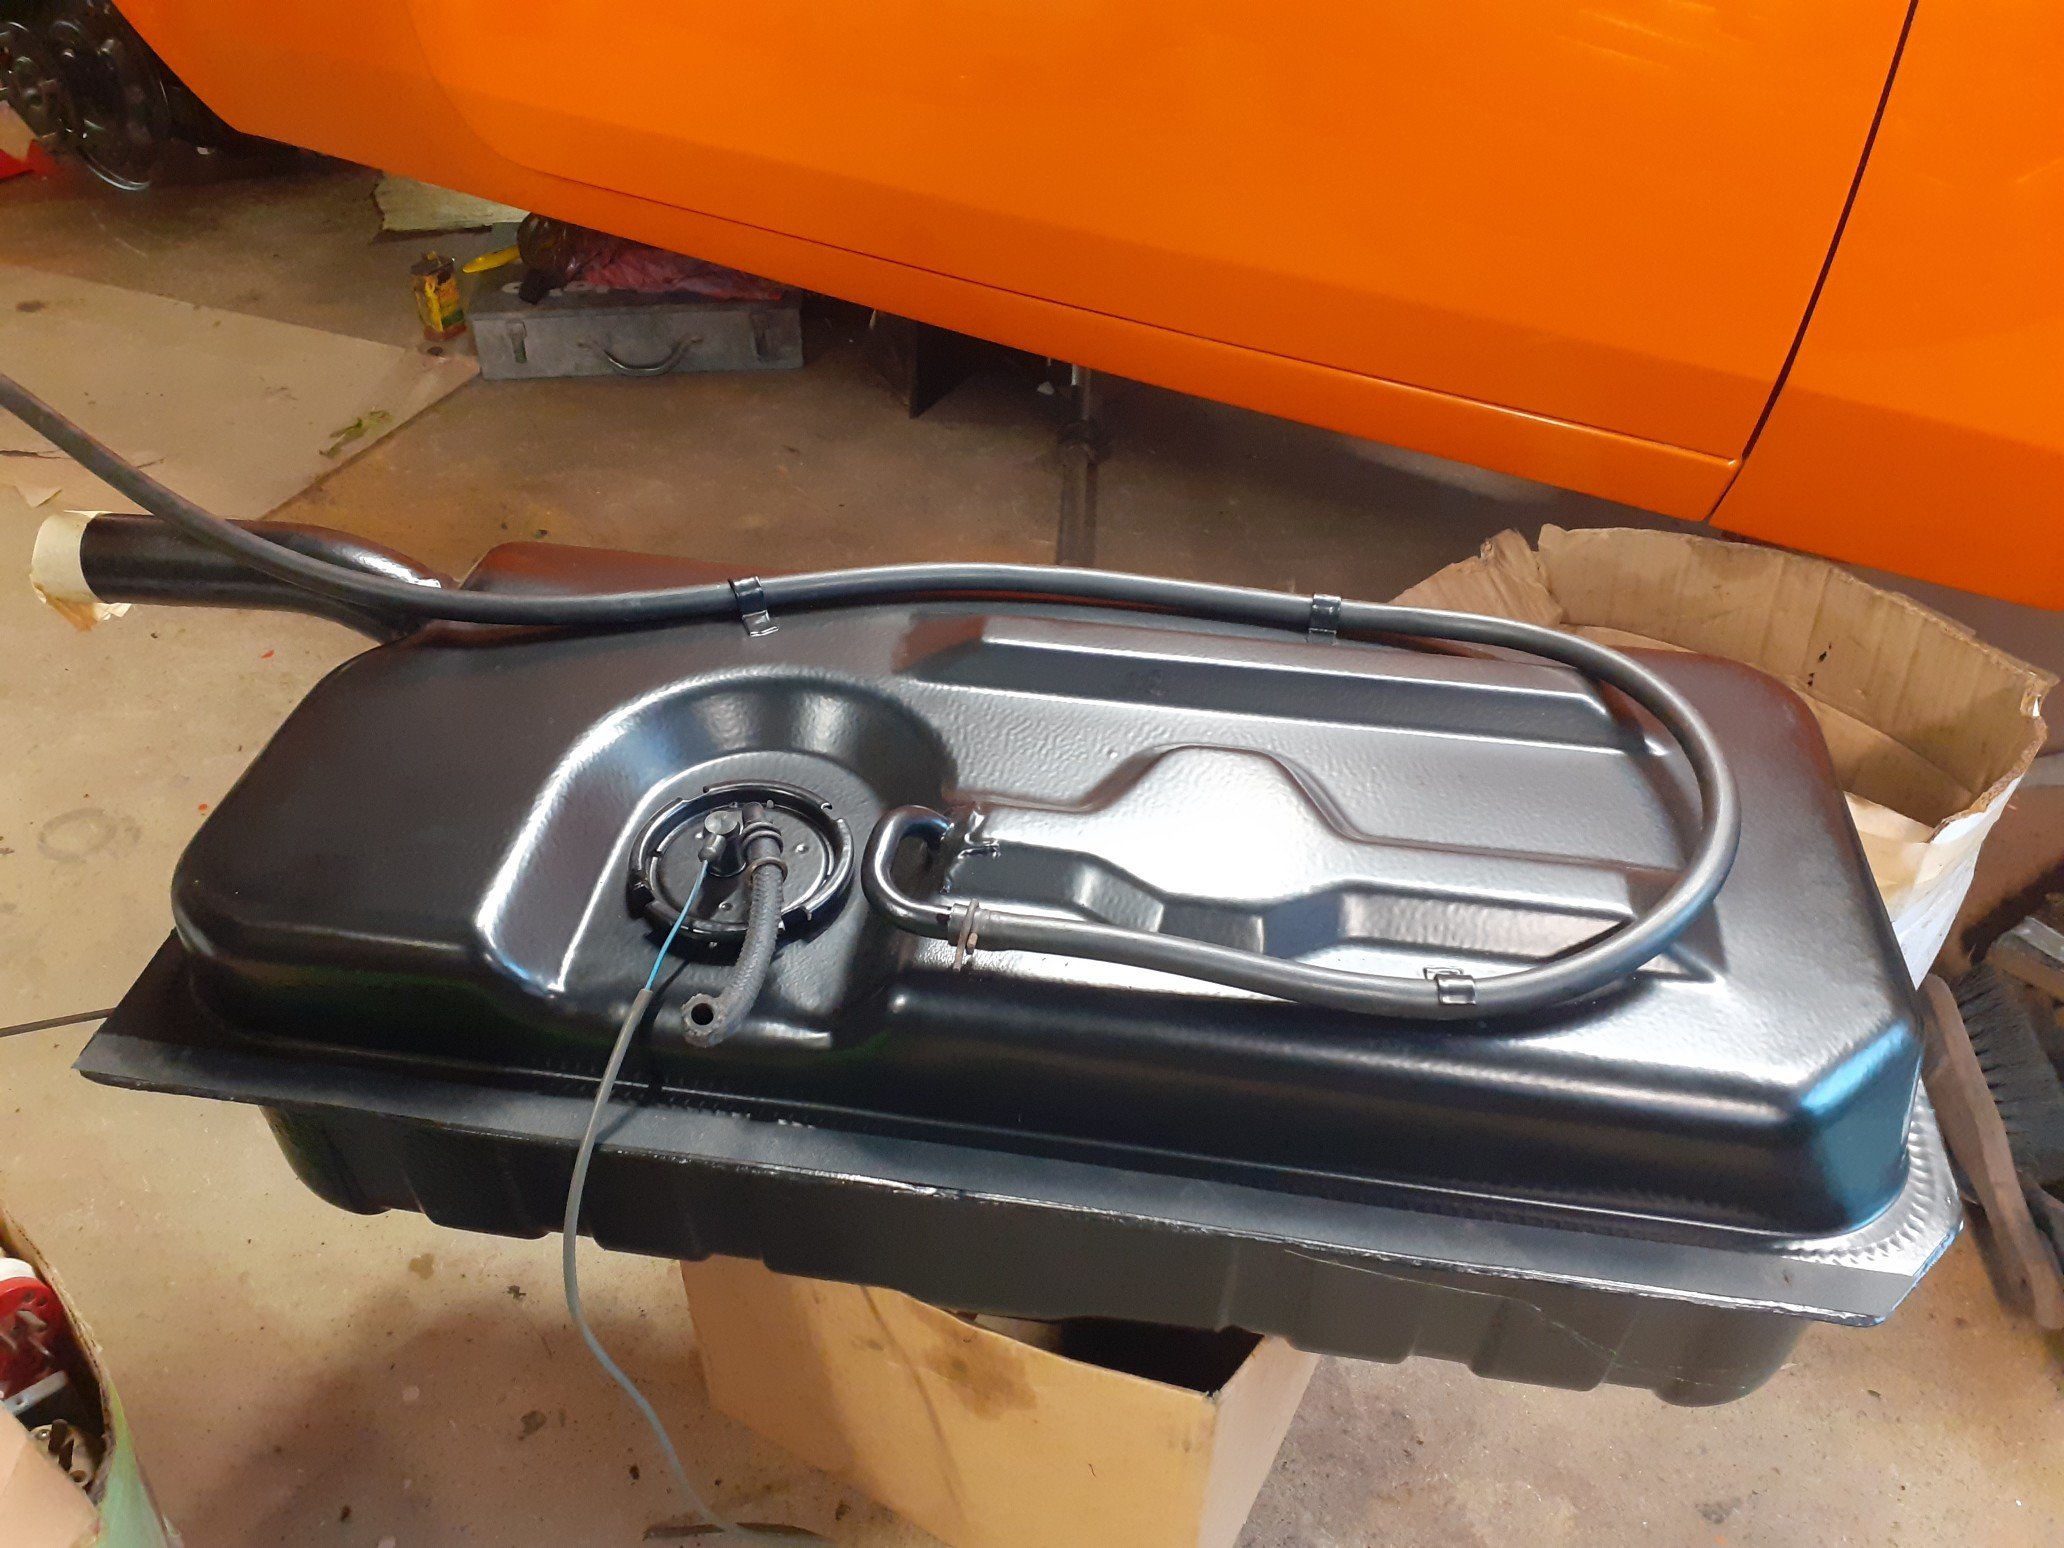
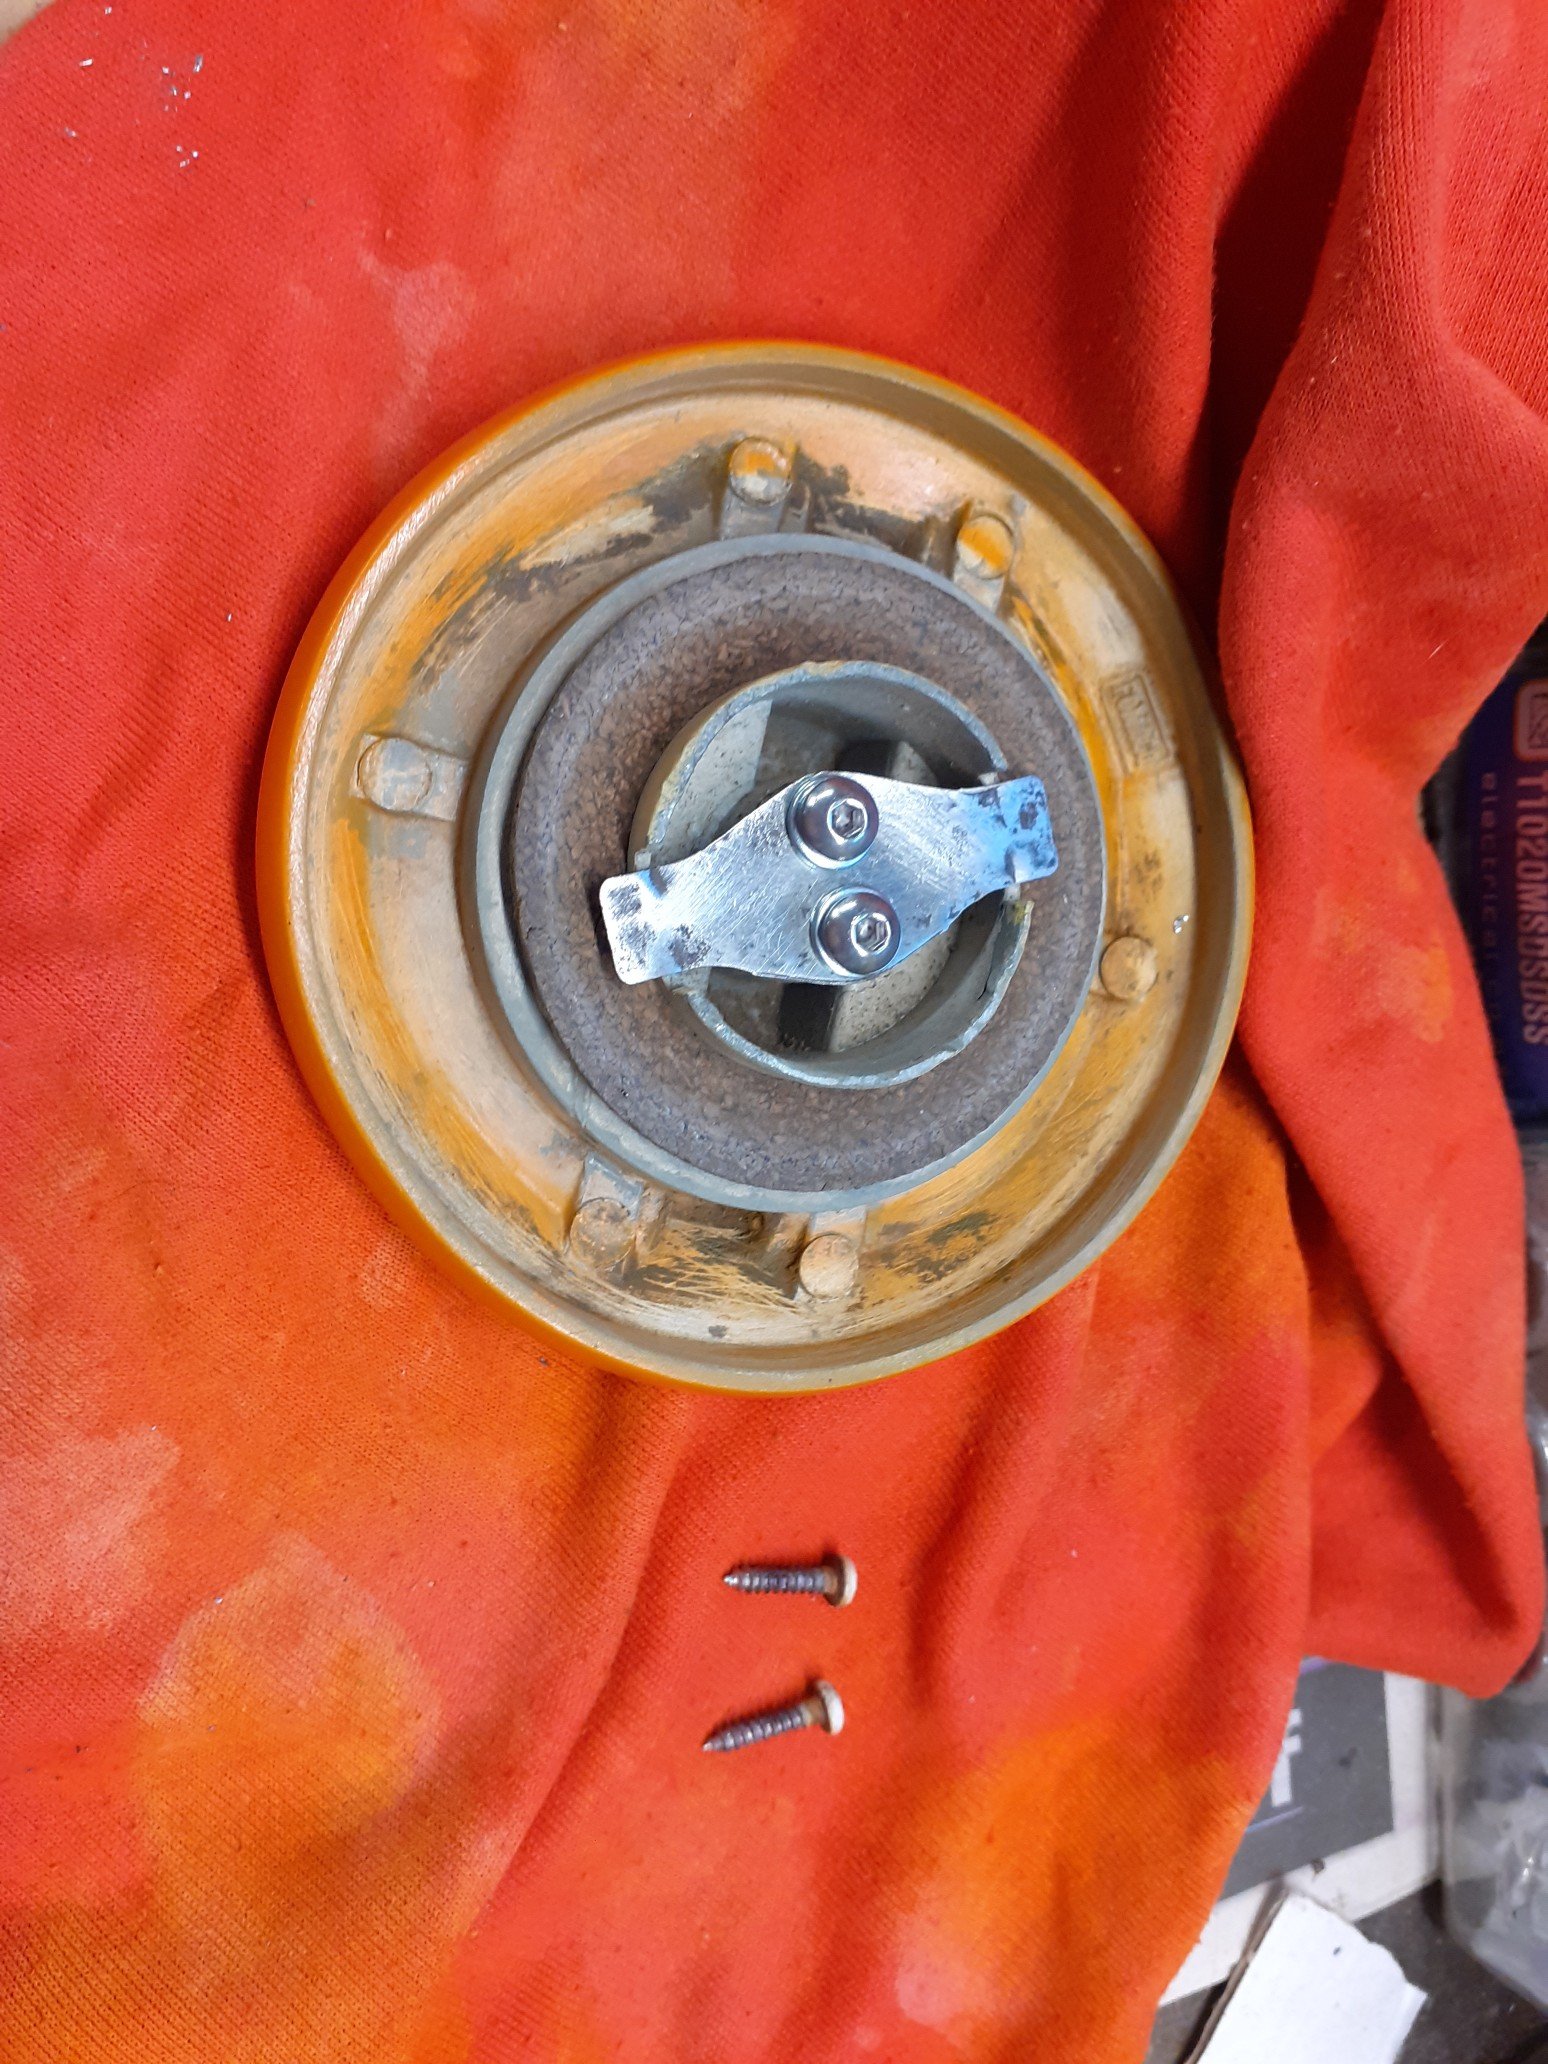
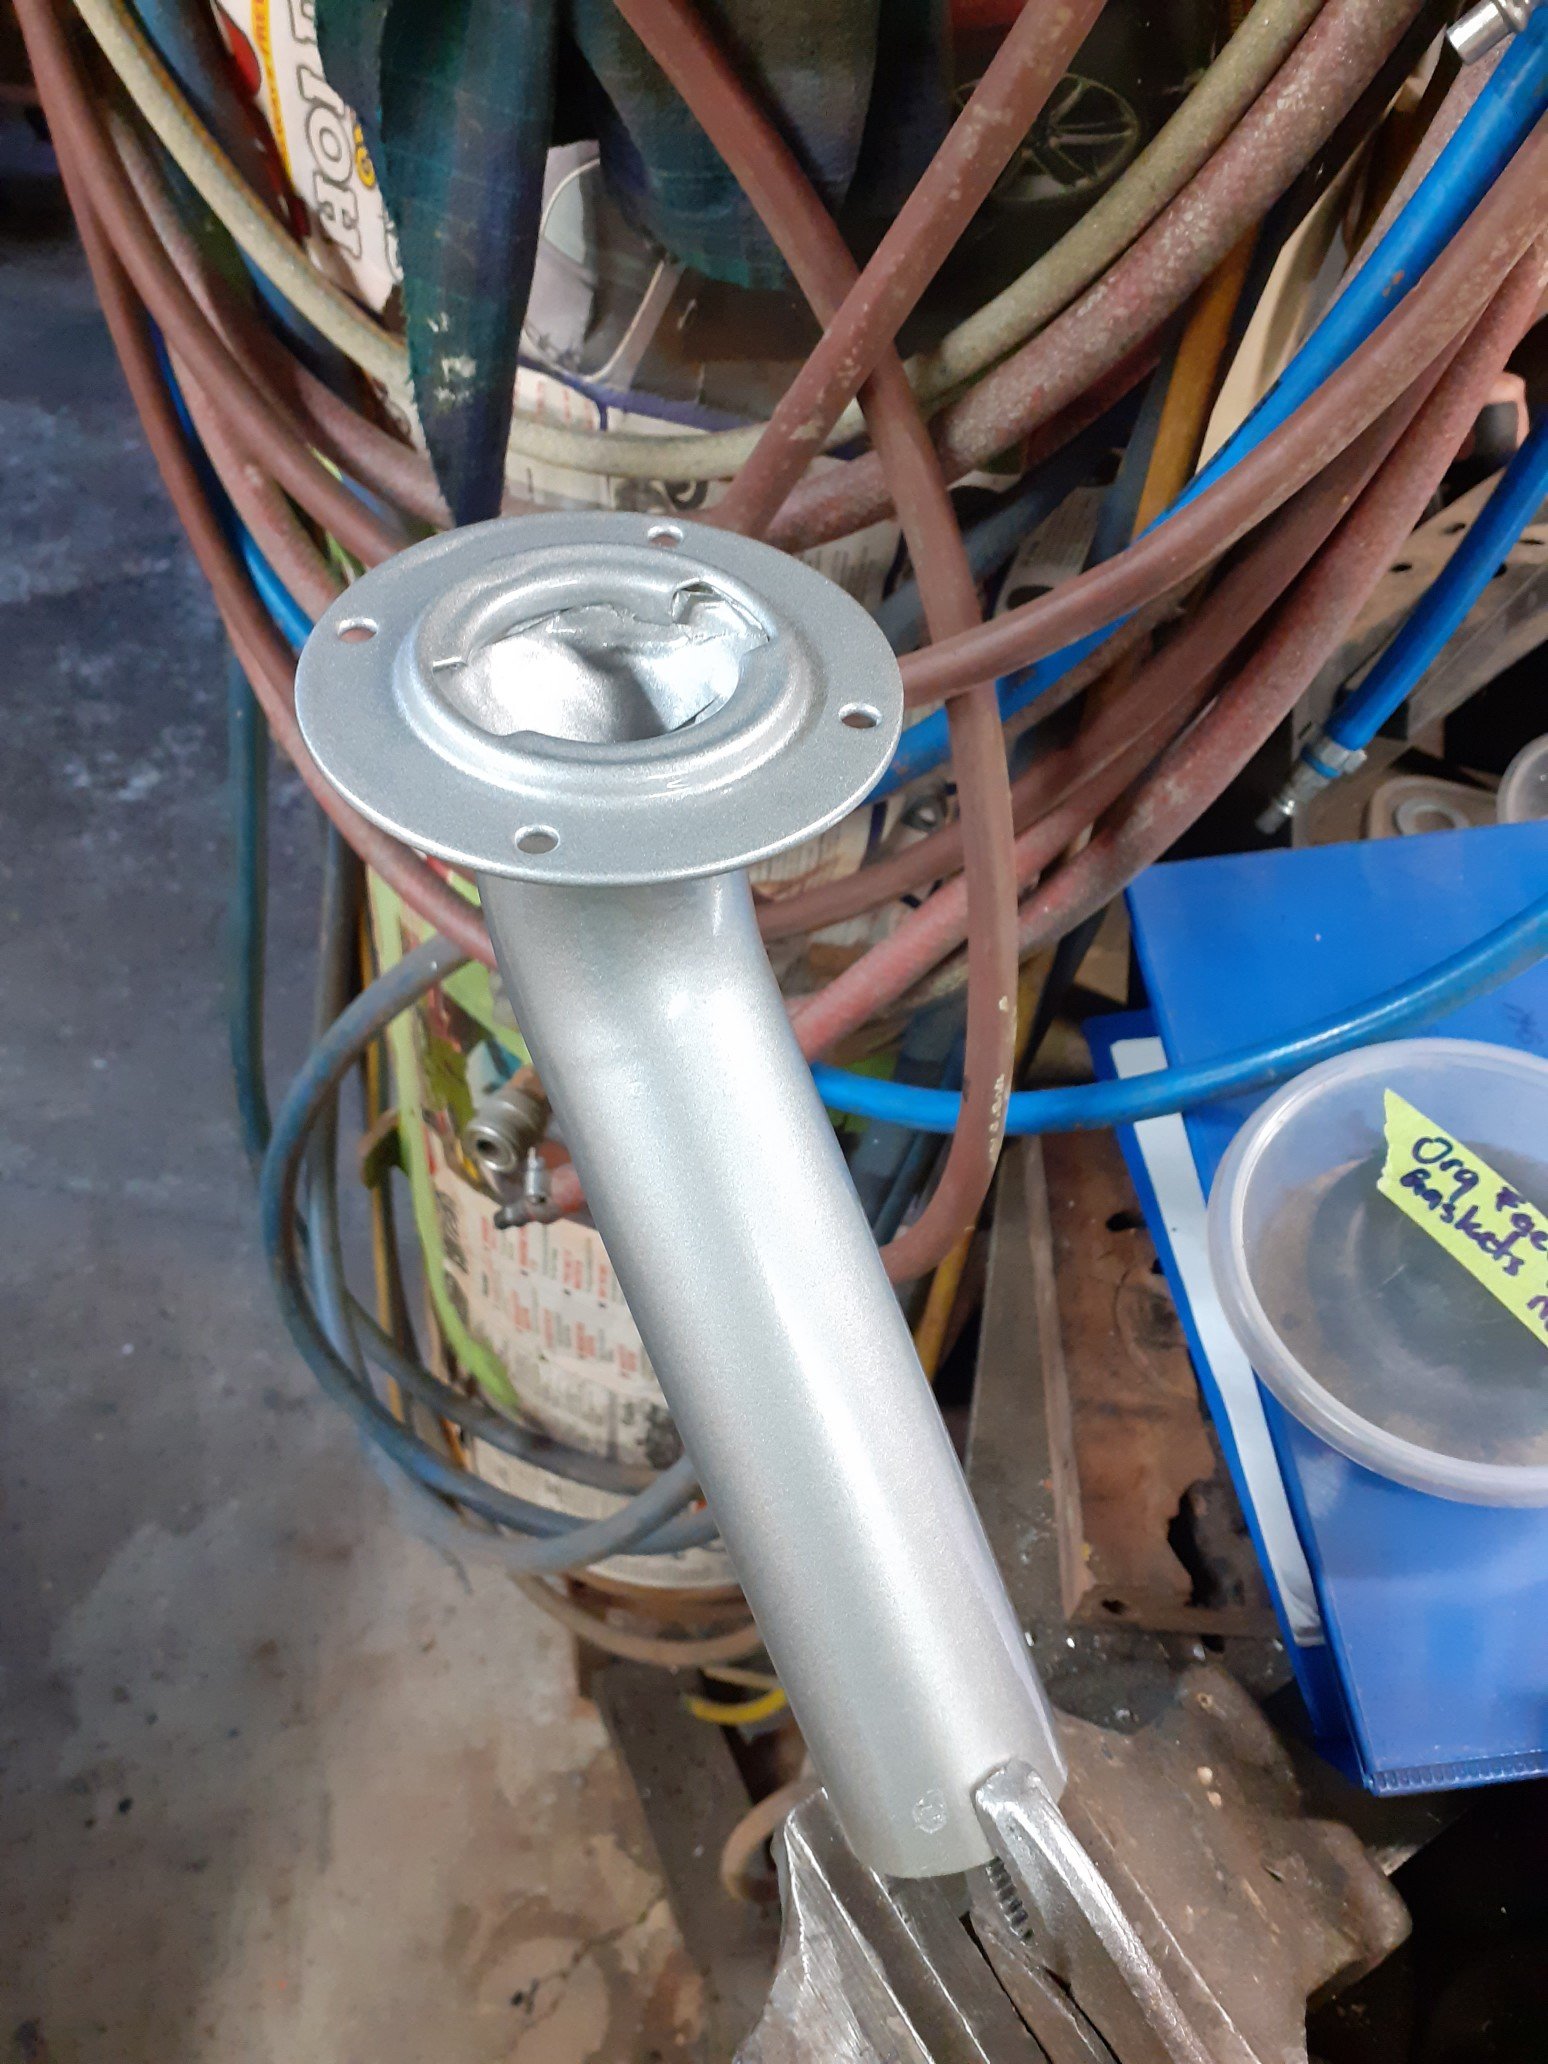
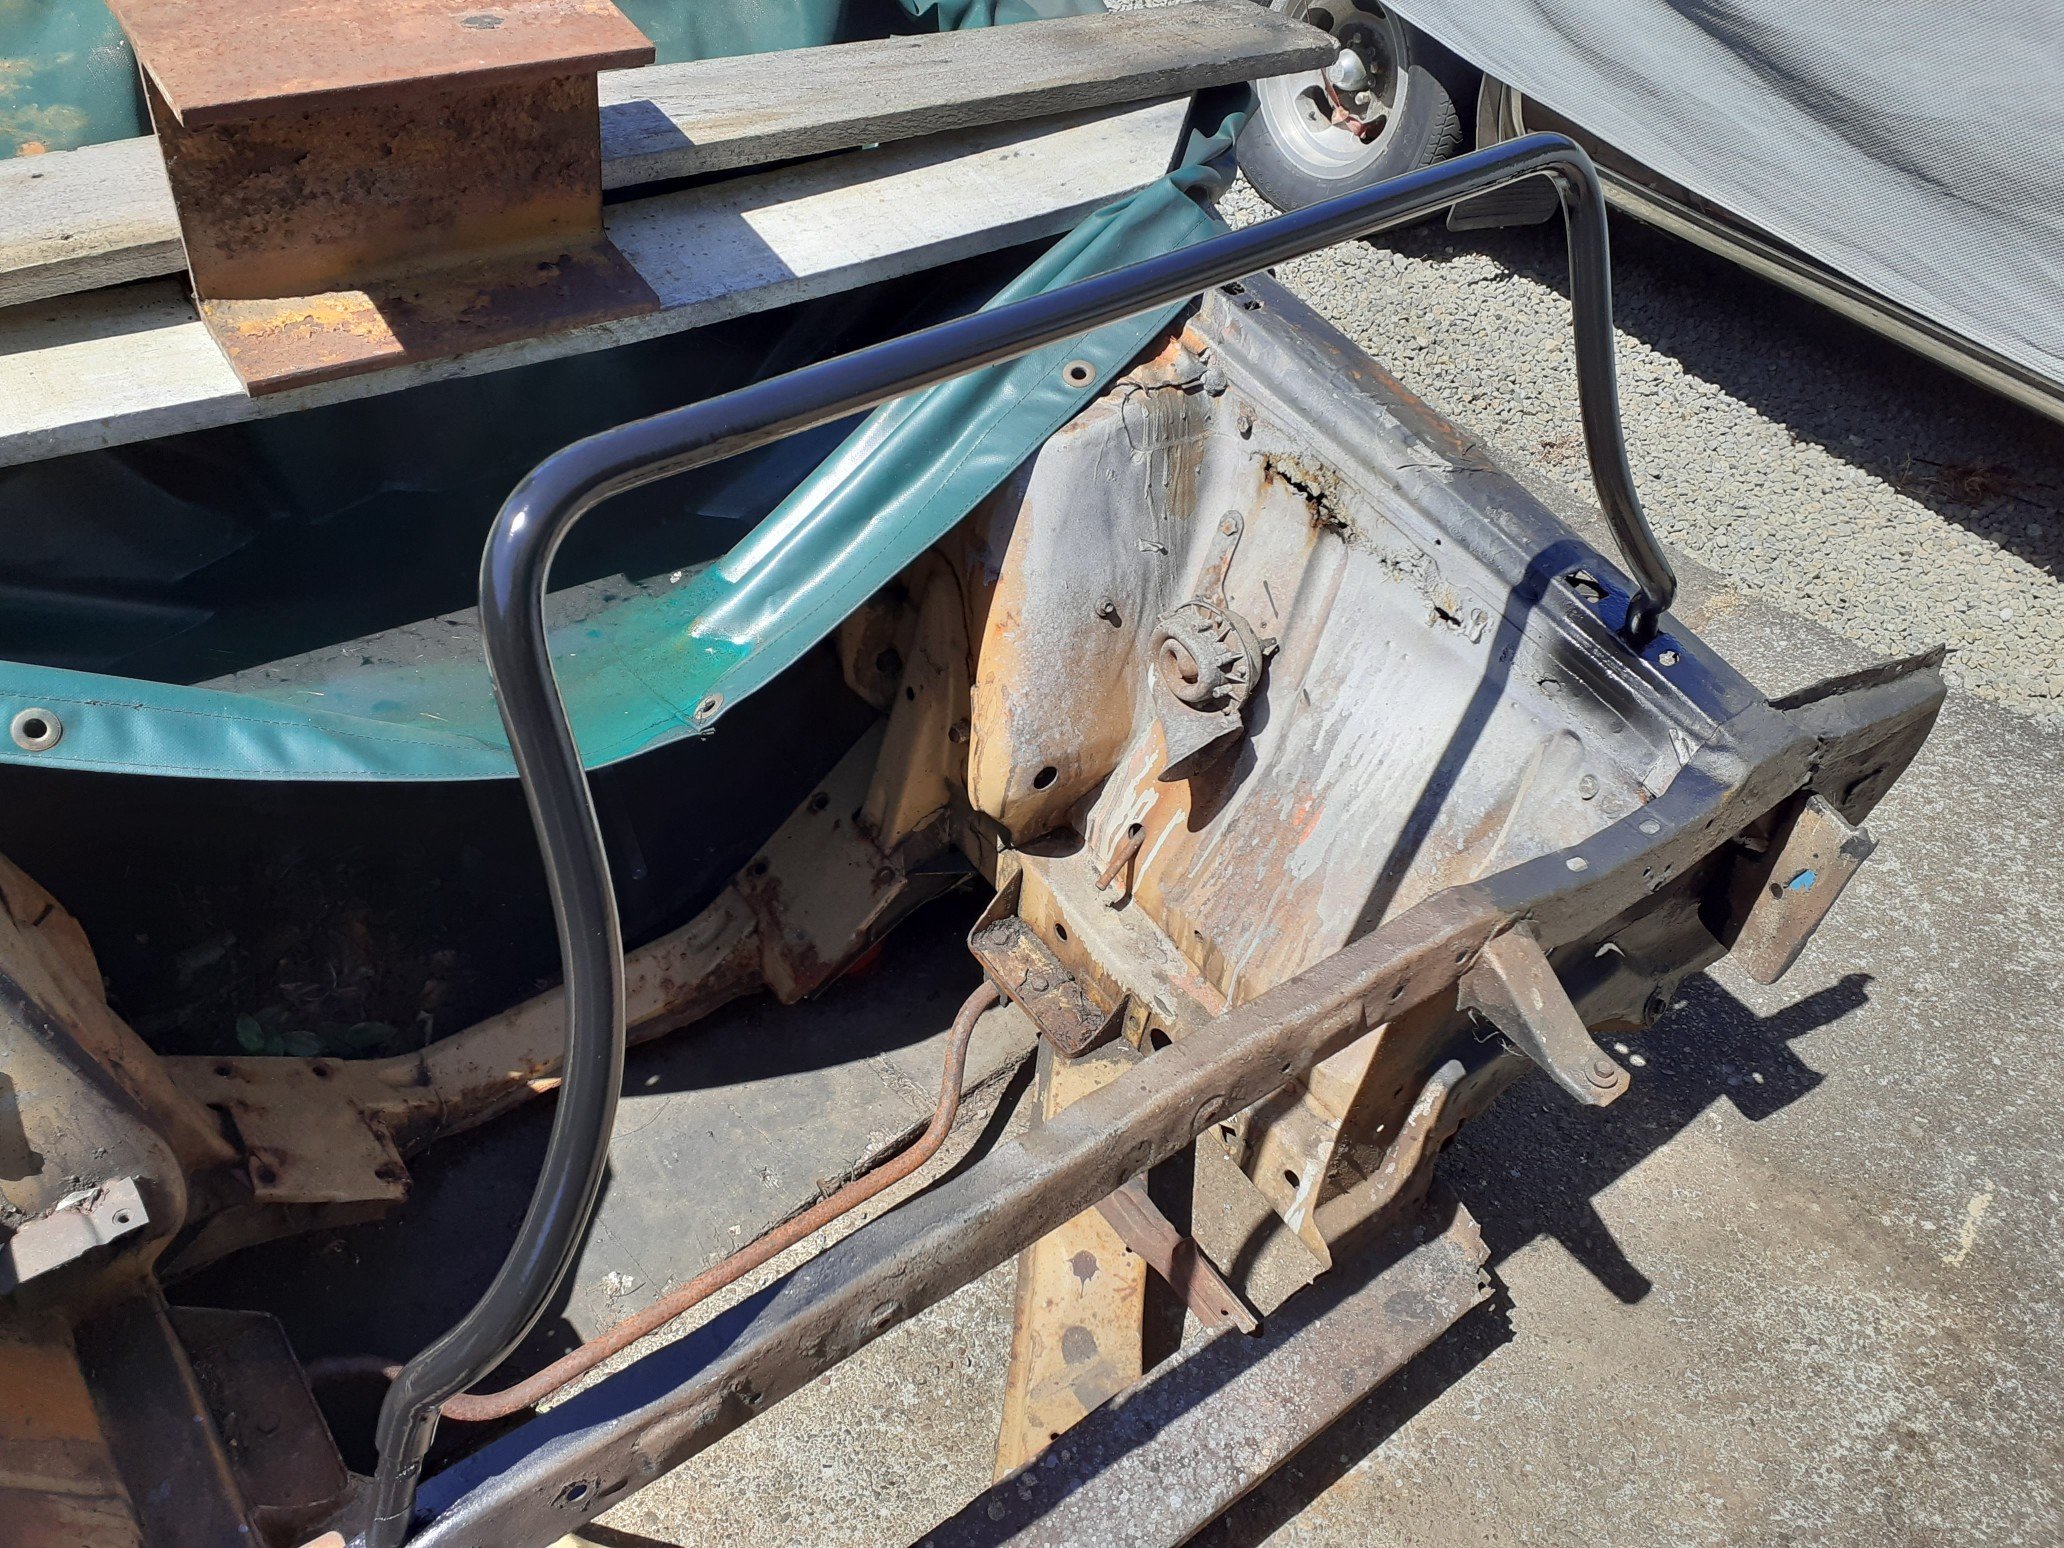
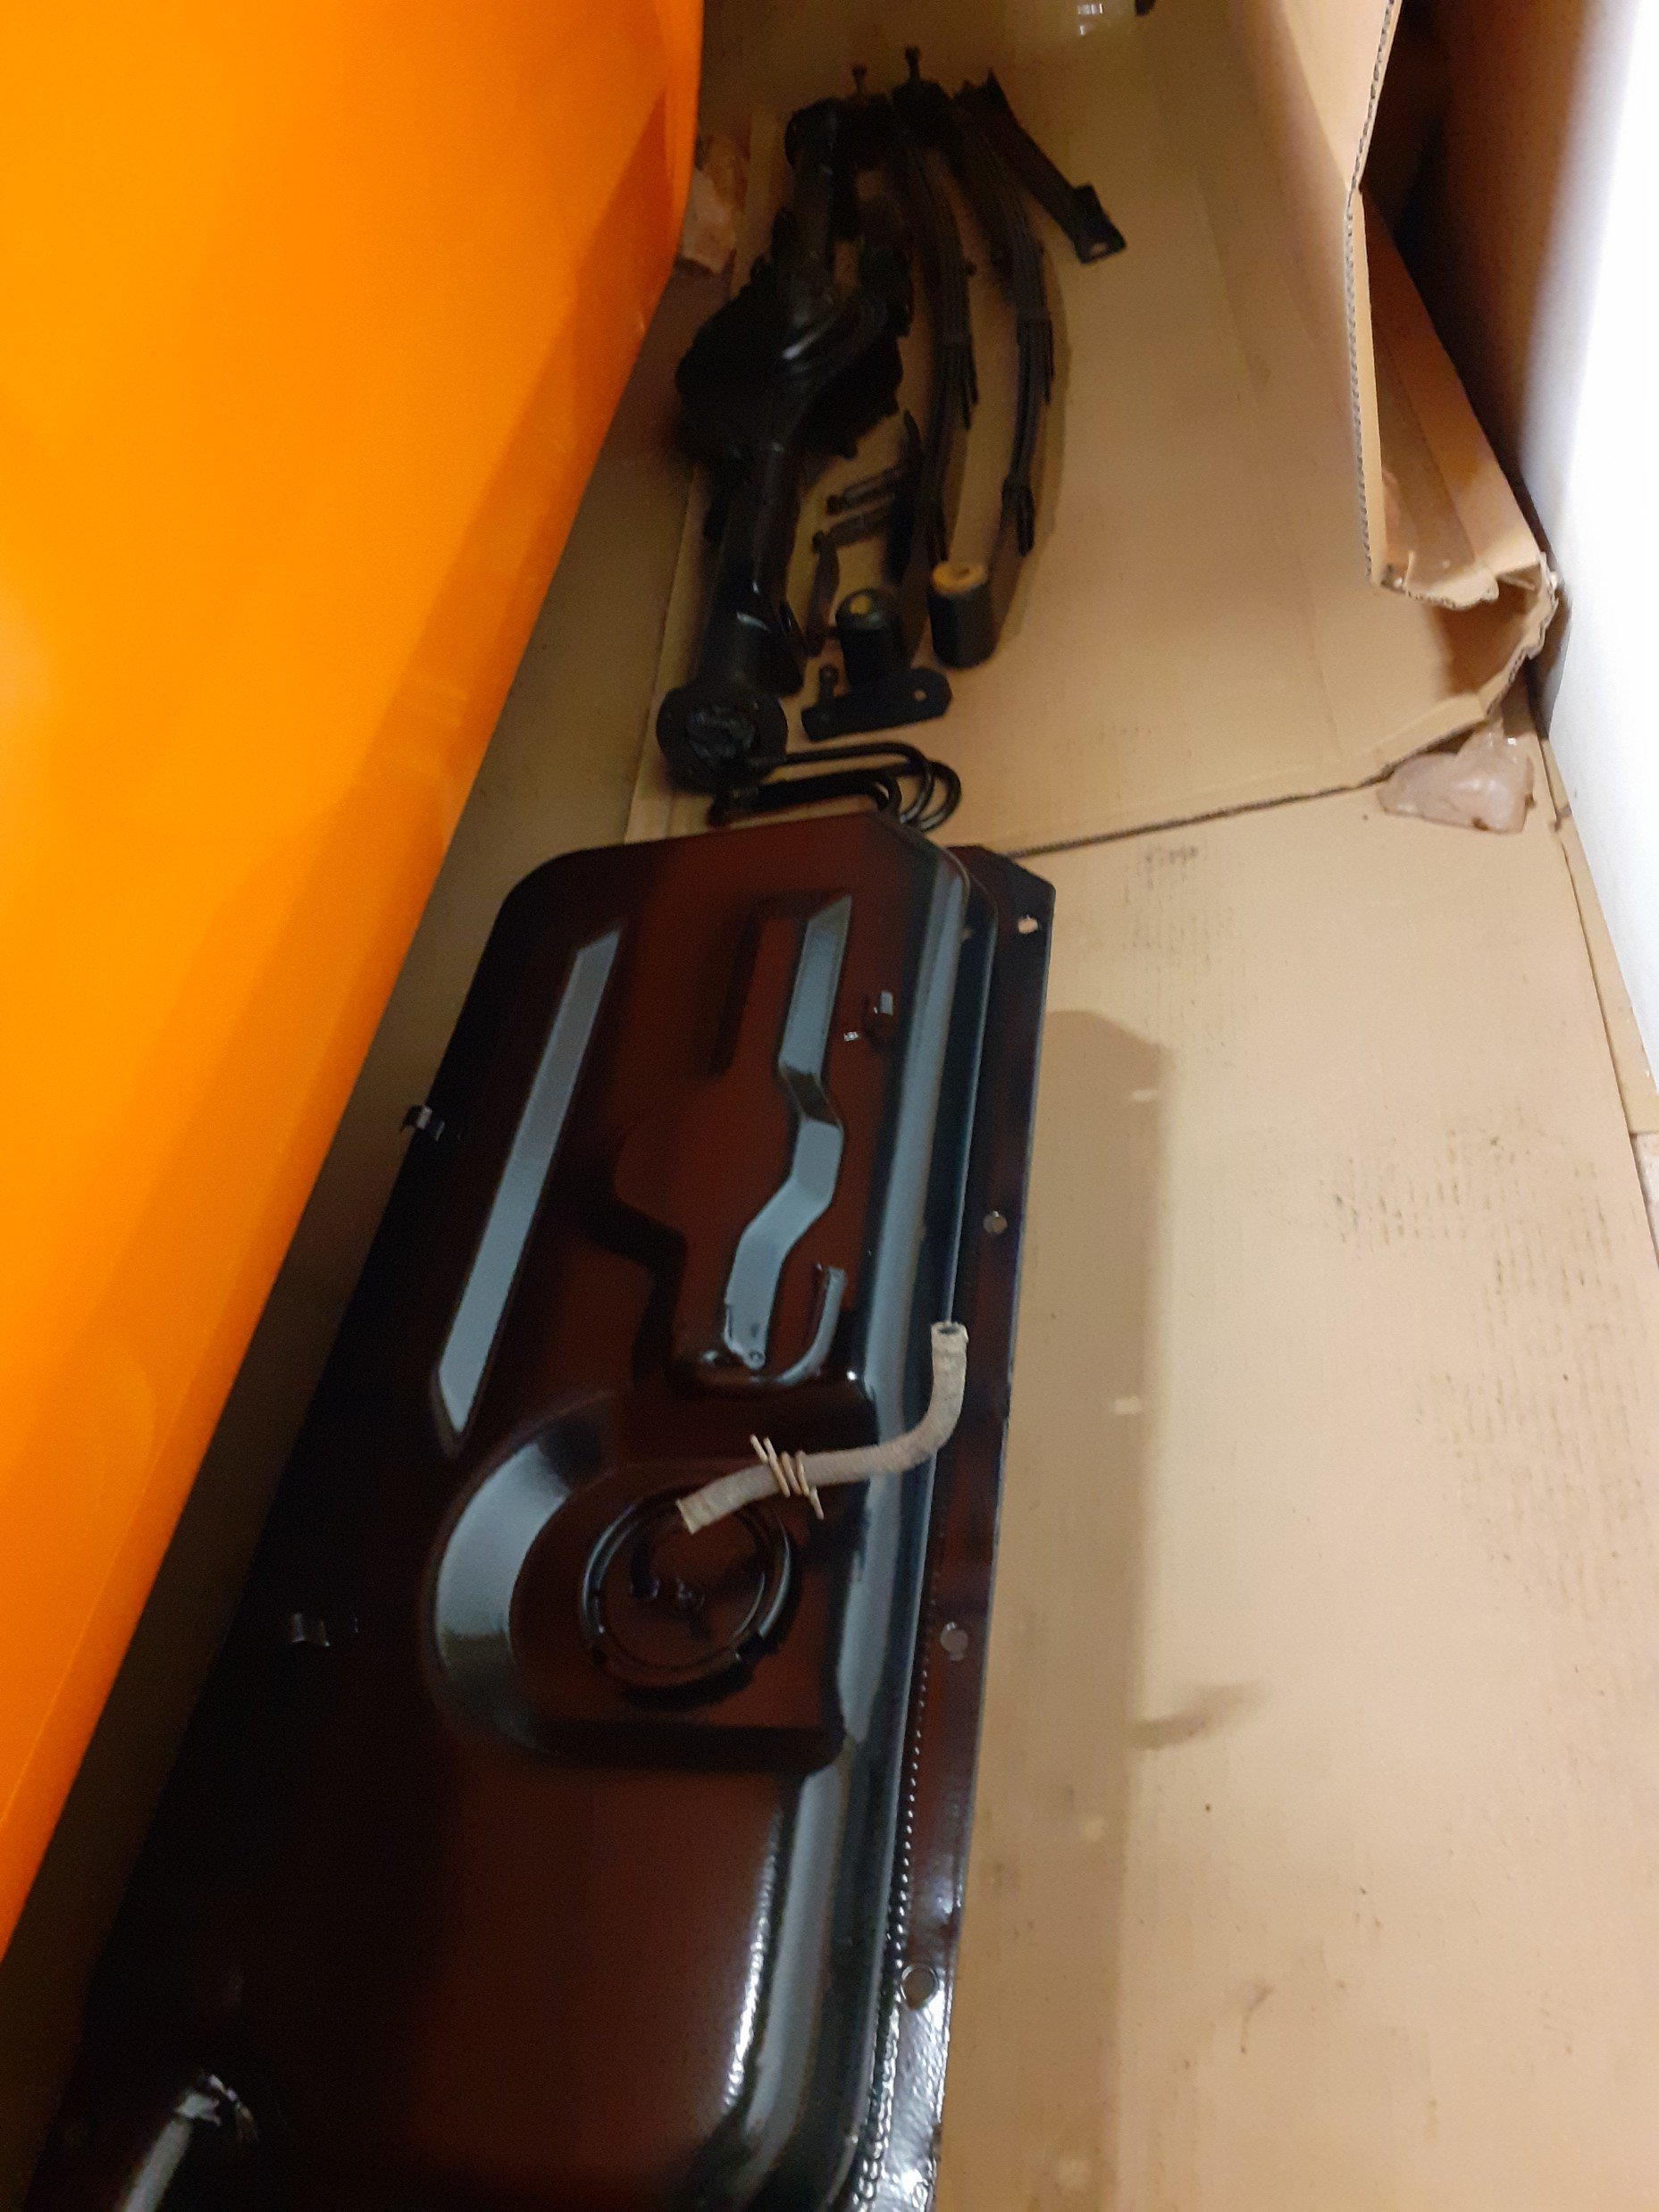
I opened up the petrol tank which has been sitting around for awhile. To my suprise it was like brand new inside. Cleaned it inside and out, and installed. The fuel filler neck was a bit odd. It didn't quite sit flush to the side of the van. I ended up removing some of the floor with a die grinder to lower the fuel filler and get it all lined up. Potentially it was this poor from factory. New gasket, a lick of paint and its done. From the outside, the fuel cap covers the entire filler neck face. I went so far as to even replace the fuel cap screws which hold the locking tongue on from self tappers to stainless caps.
- 104 replies
-
- 14
-
-
With most parts prepped, I've started to reassemble parts and attach them to the van. I've purchased alot of new parts locally and from the UK, including all new nolathane bushes. I've always replaced the old hardware with new stainless or zinc where possible. The mk2 van is actually a mk1 from the windscreen back and uses both imperial and metric, so requires a bit of extra thinking. I made up some spacers for the rear springs and played around at home and set up a little zinc plating station.
-
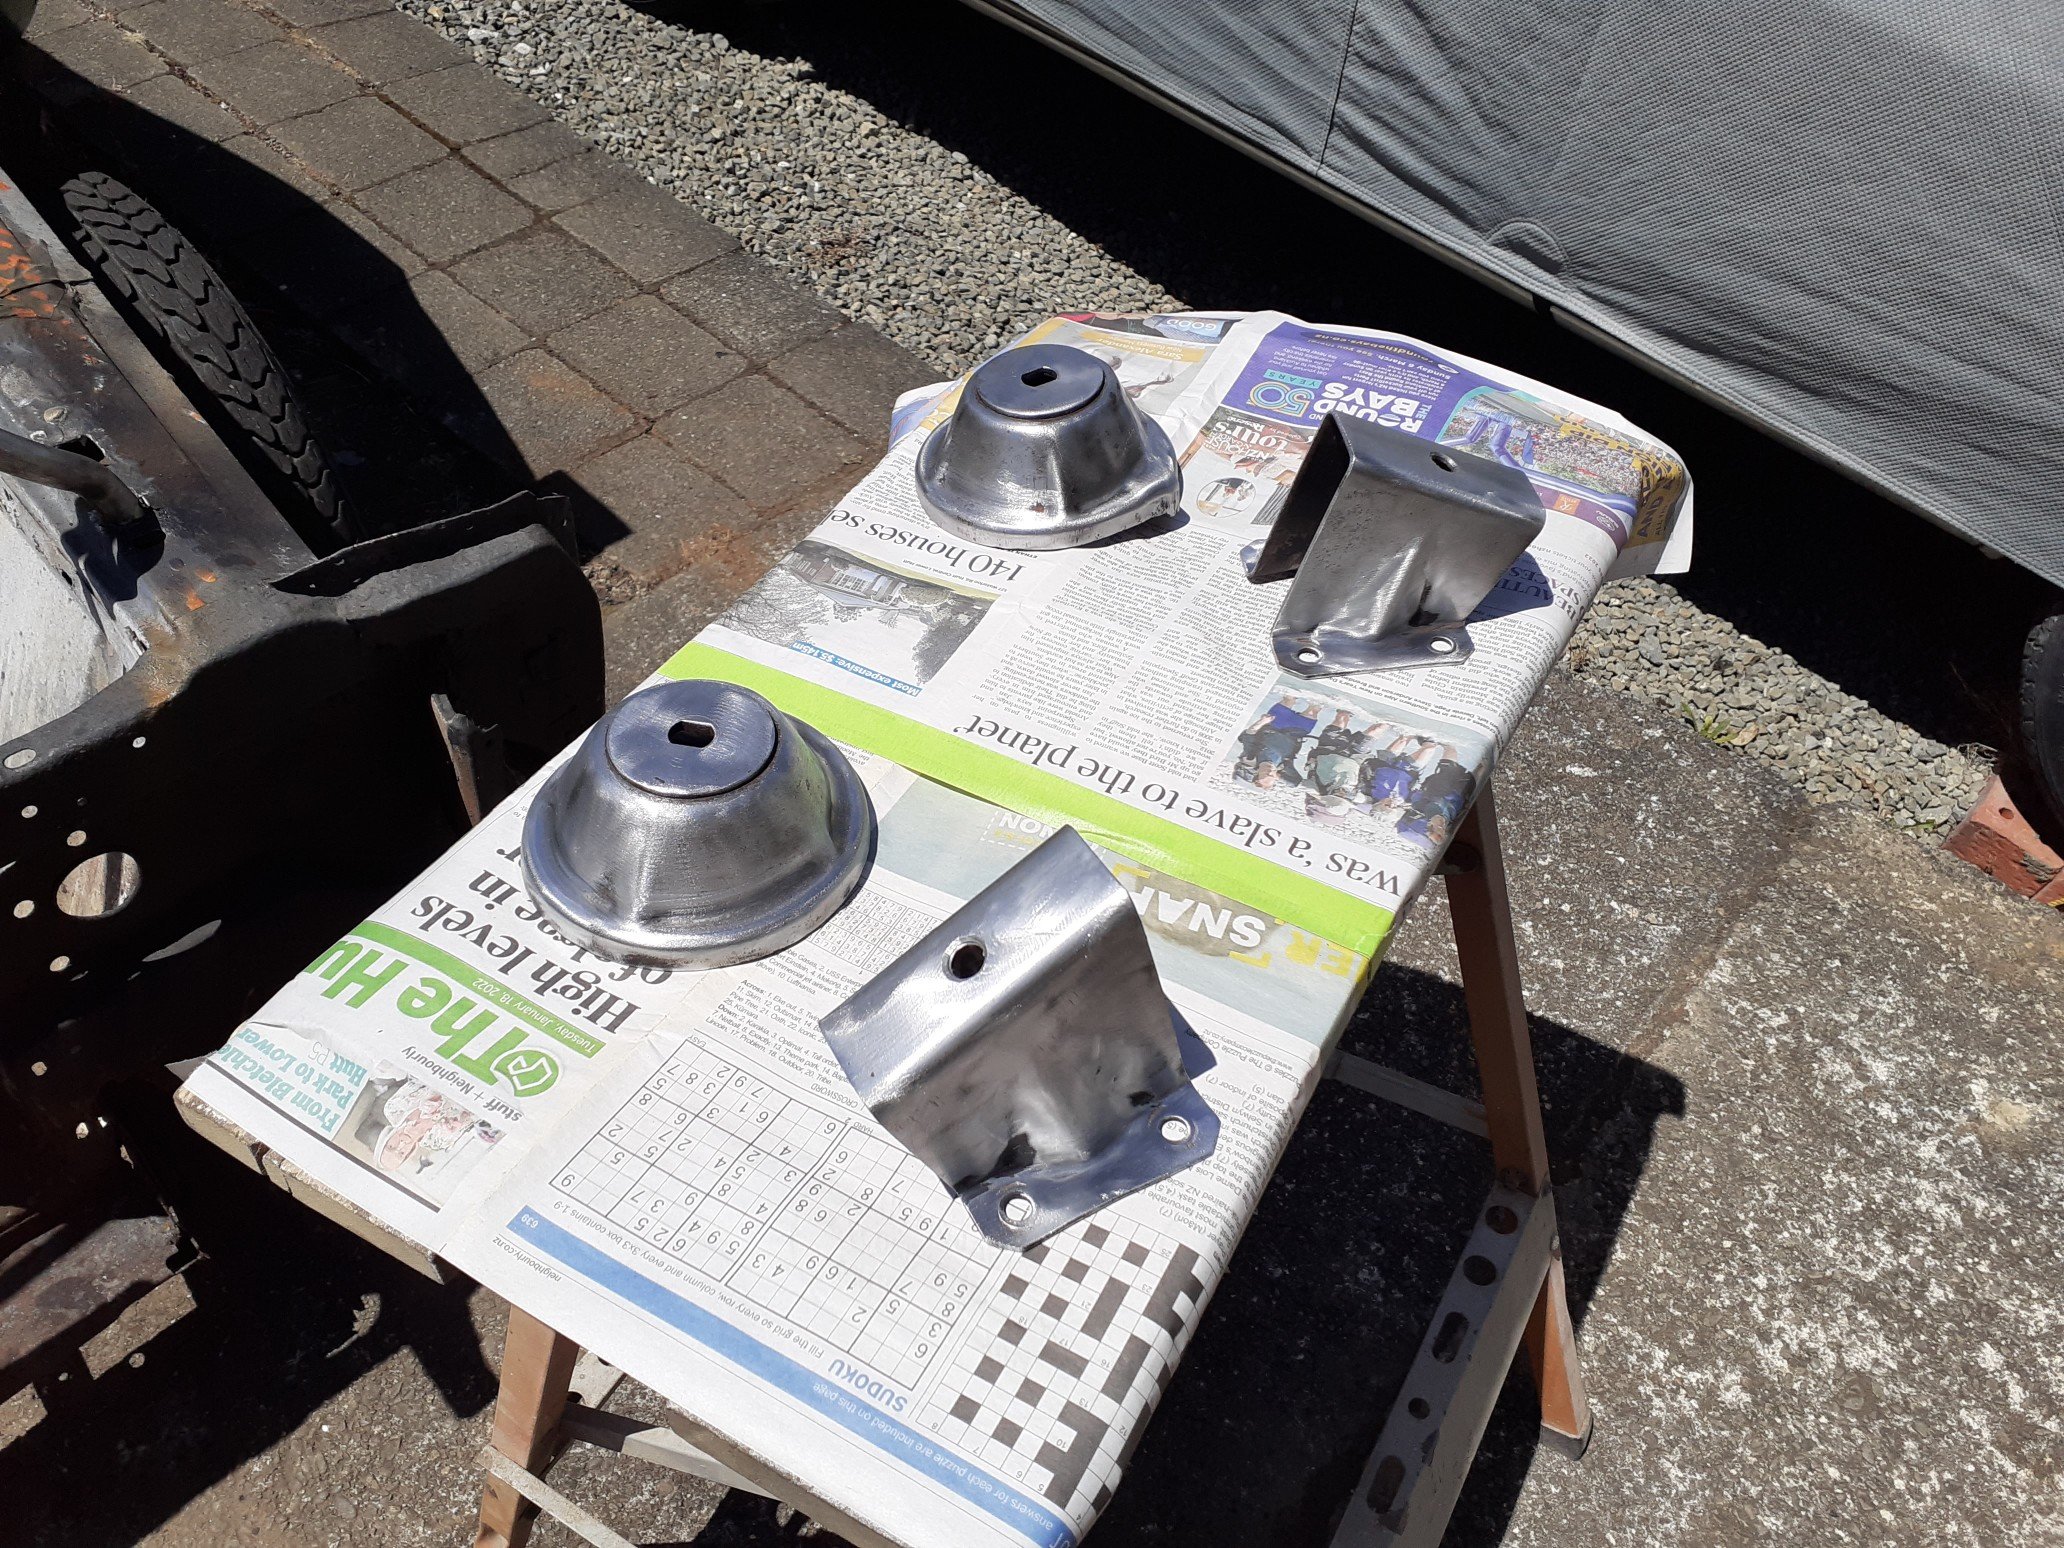
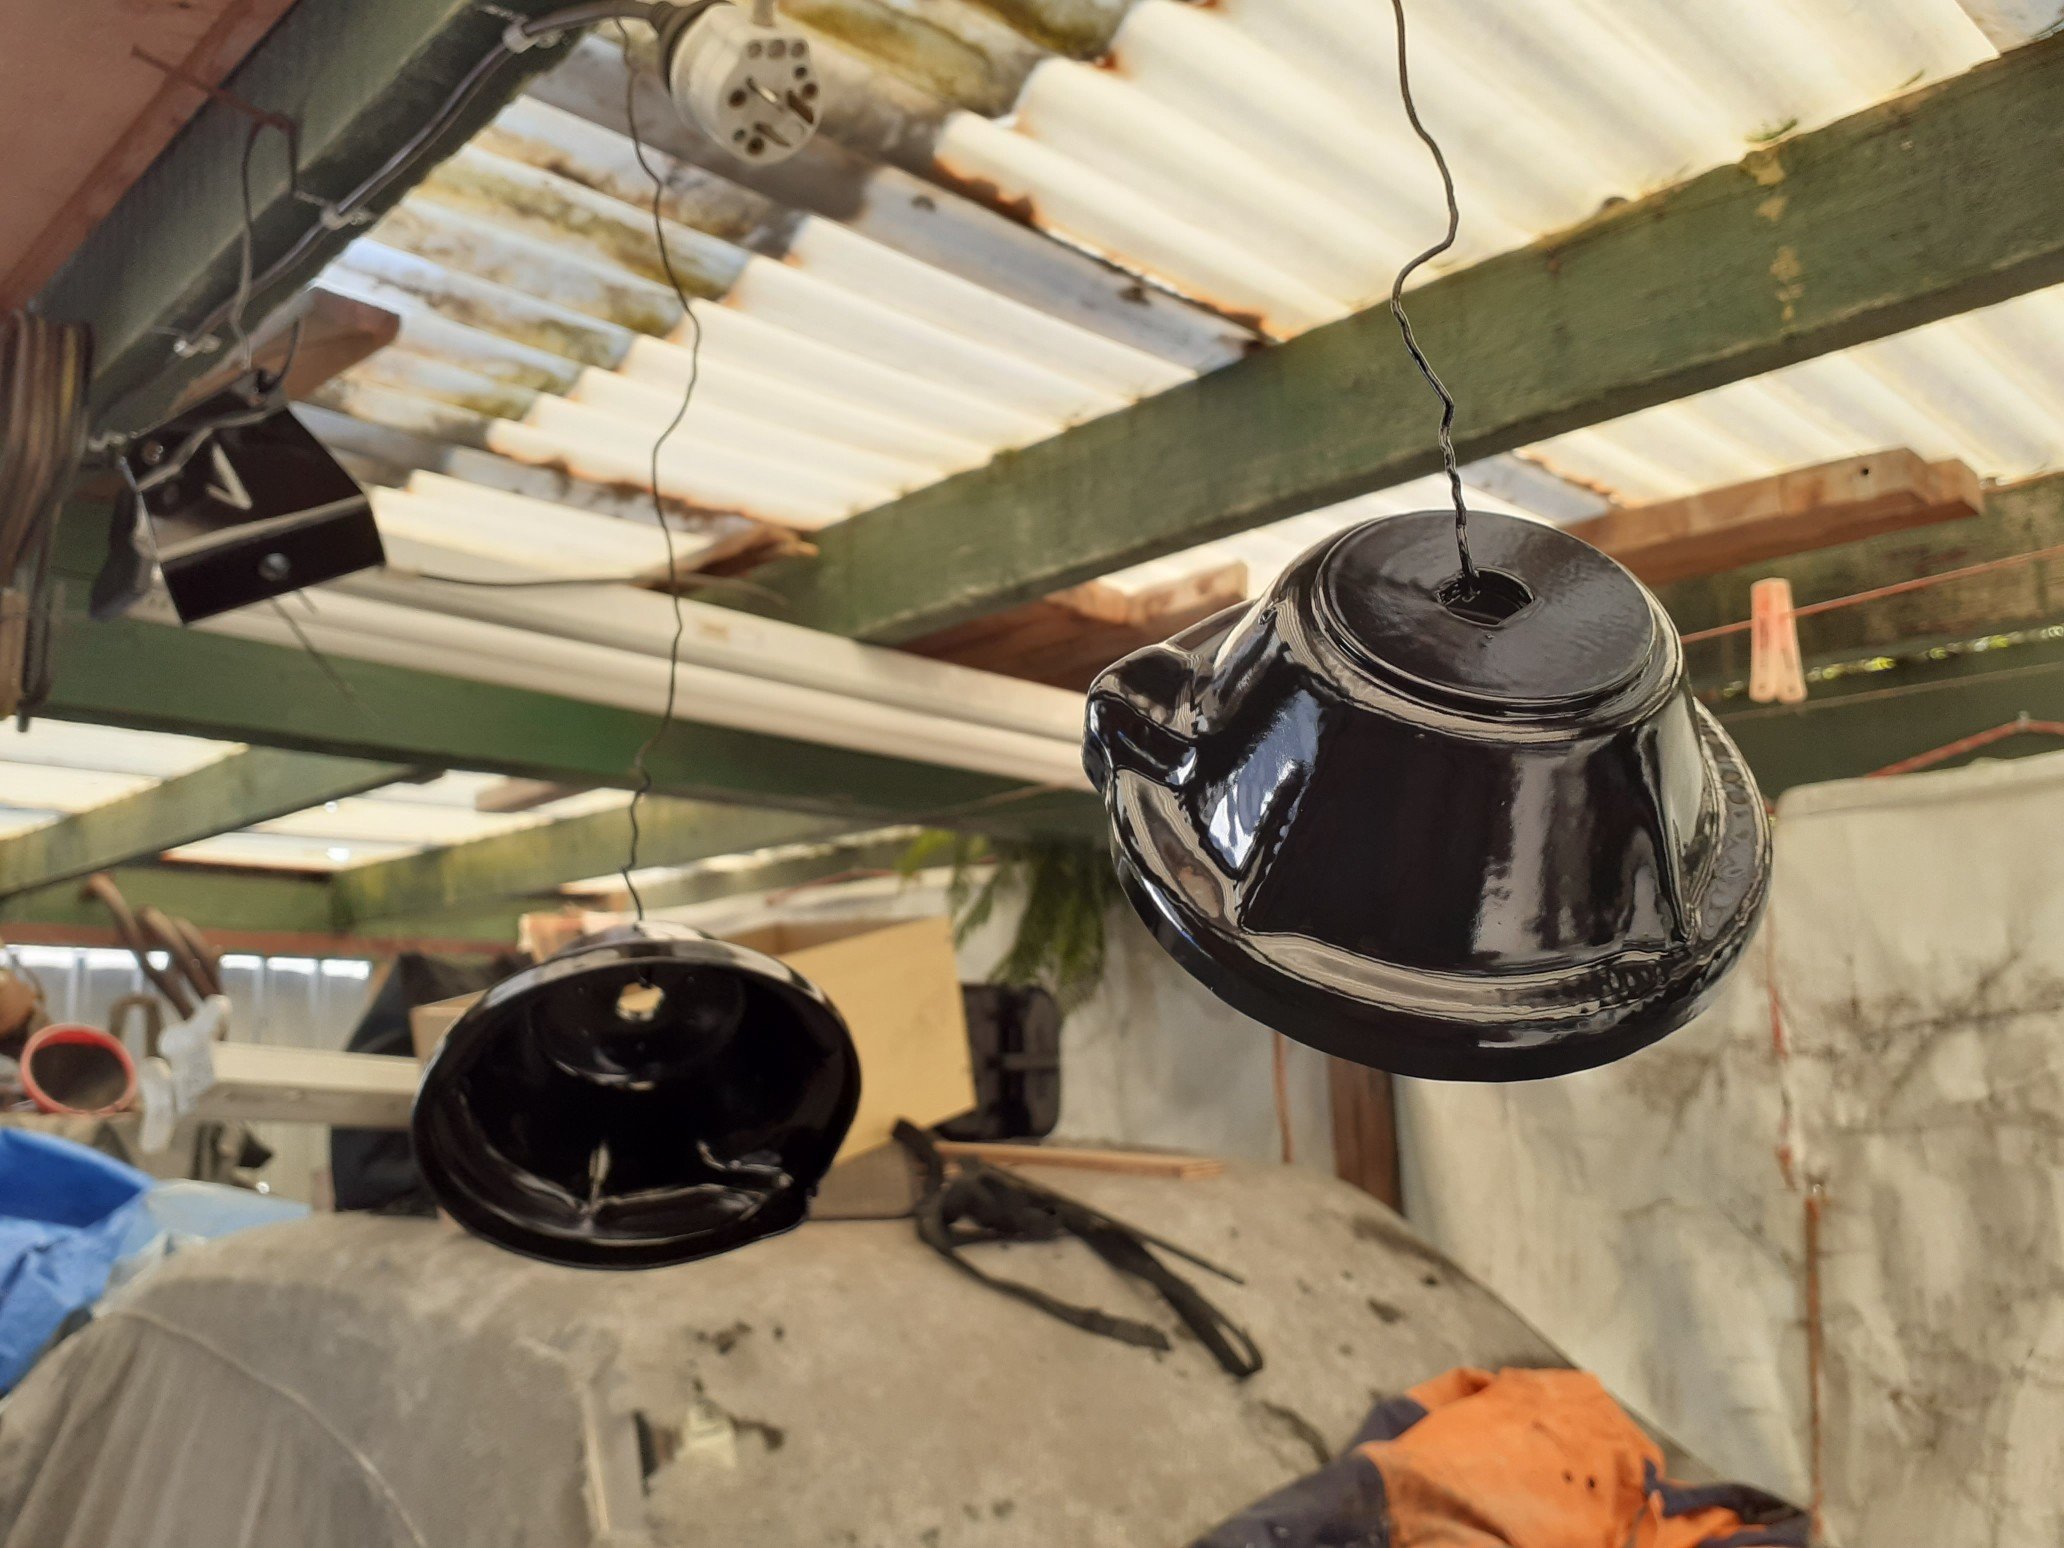
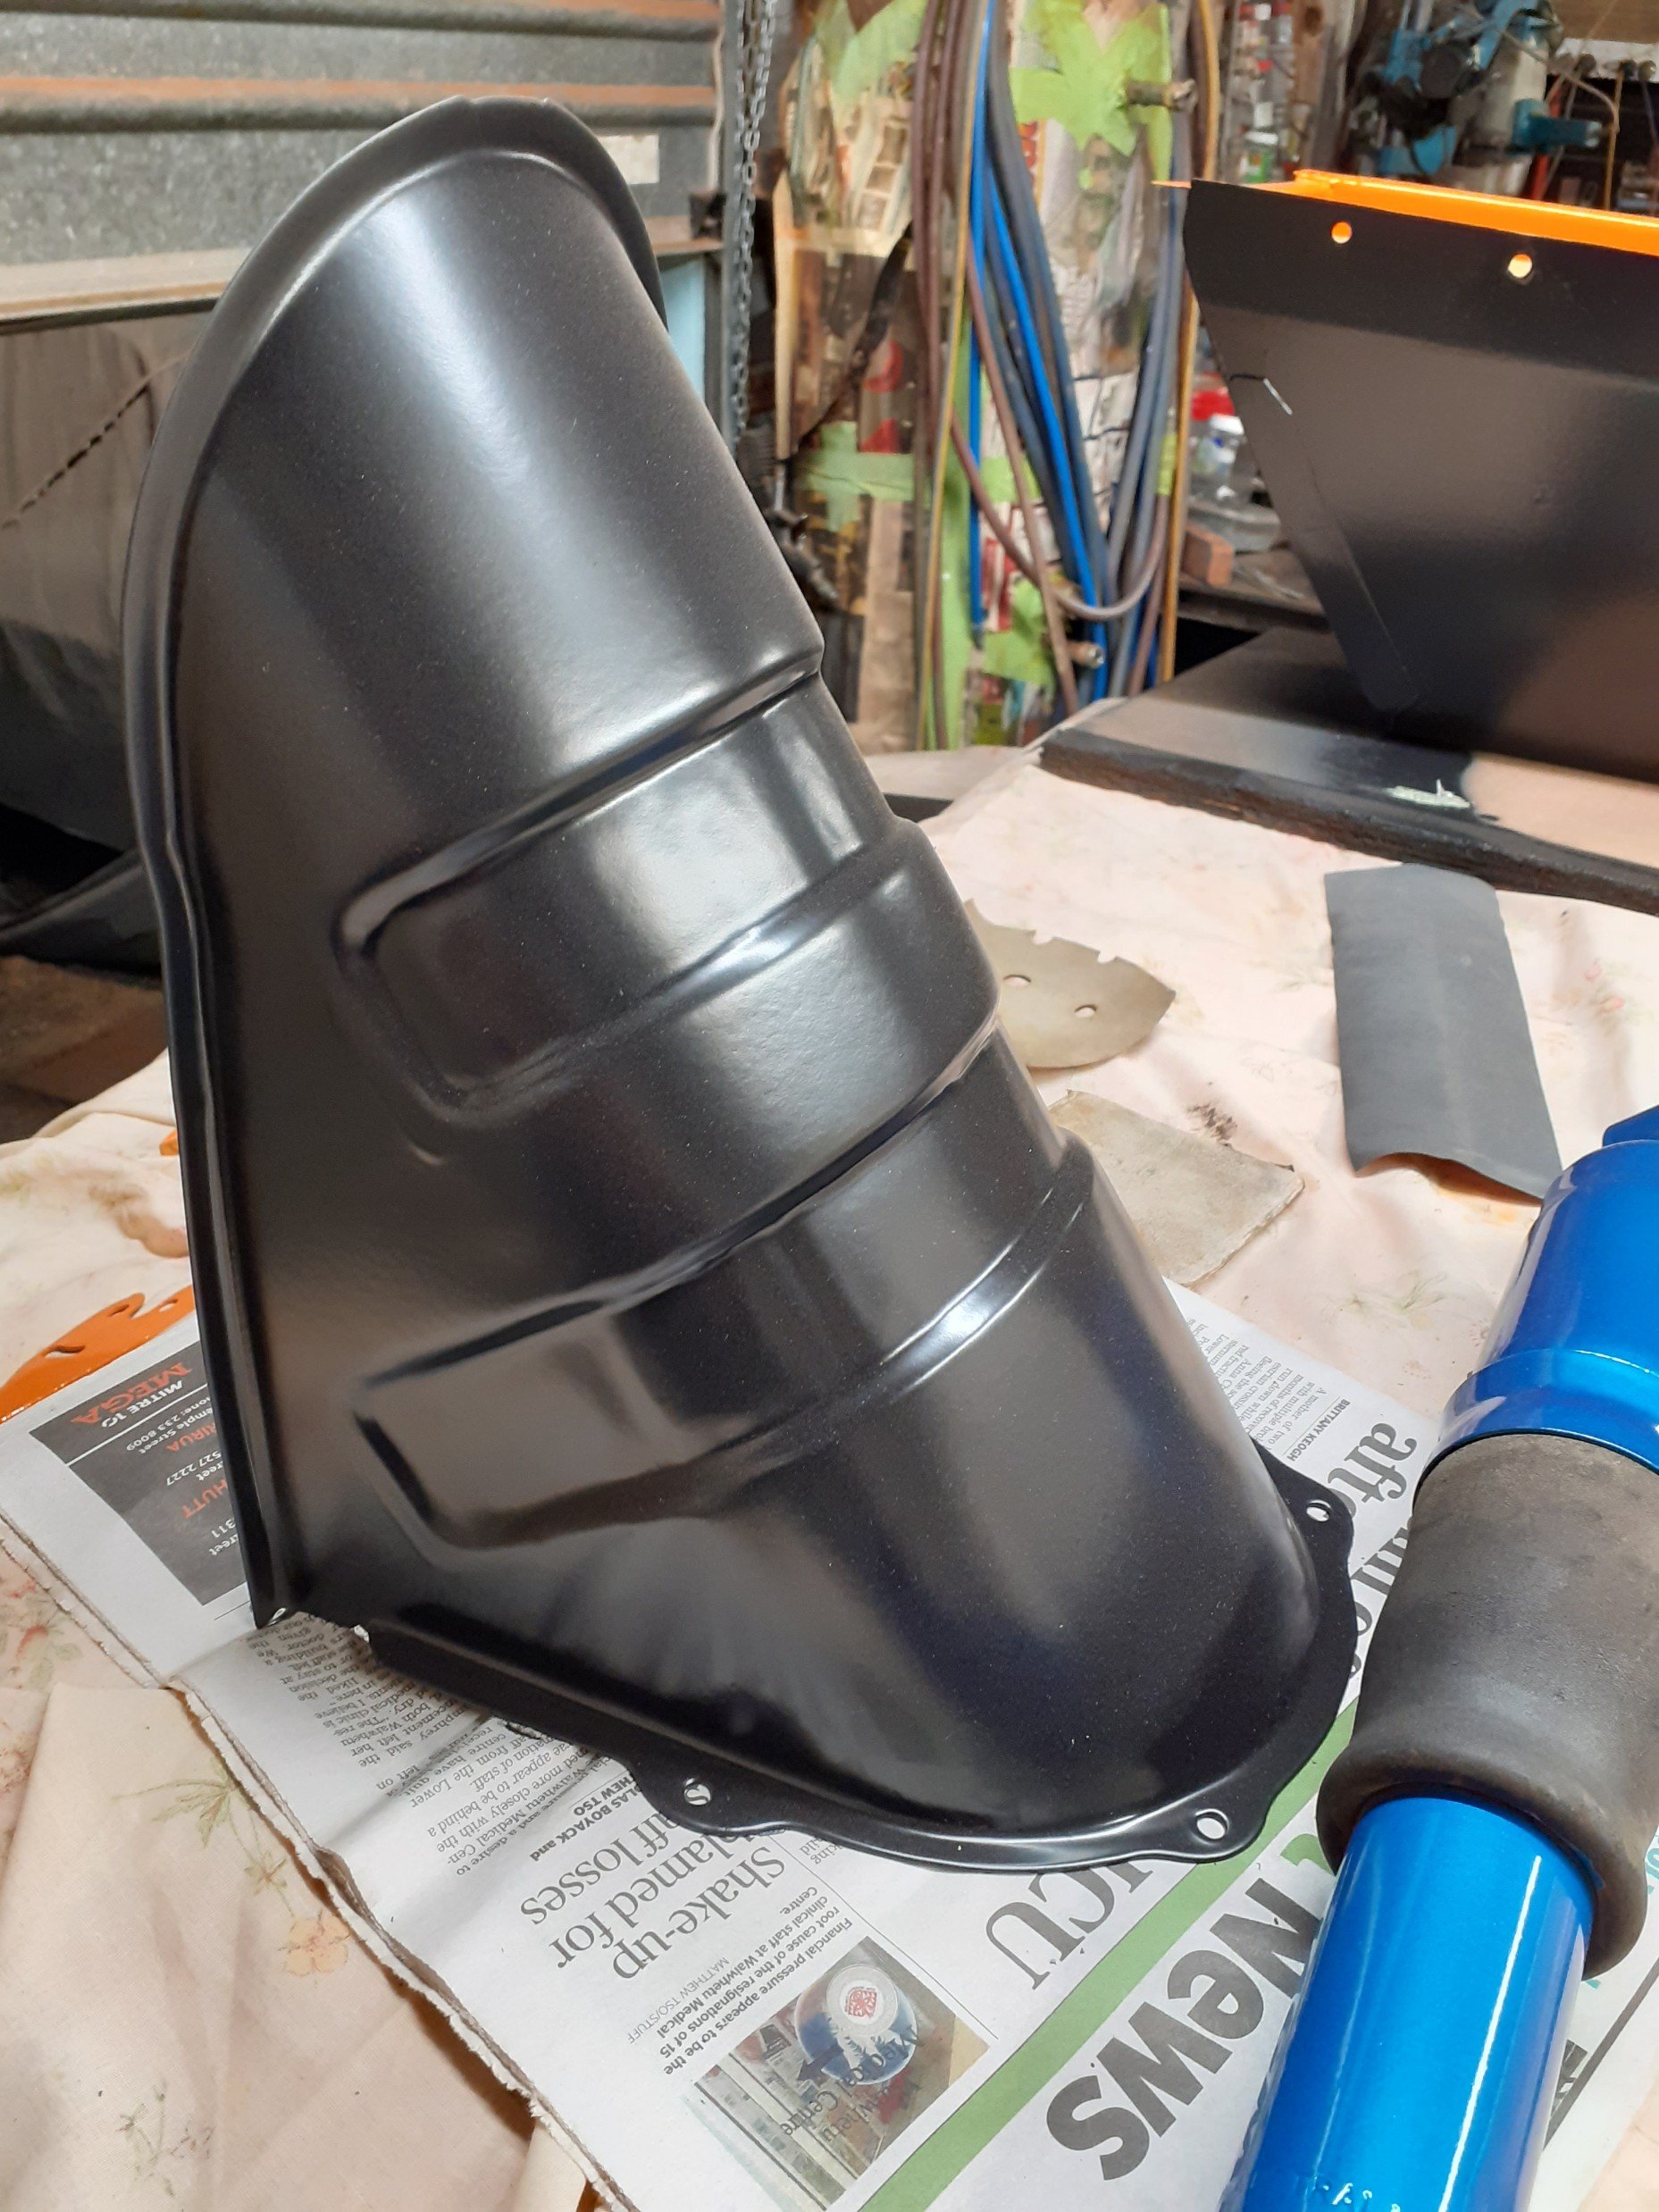
Slowly been sorting out the front and rear suspension and steering components. I pulled apart the 3x steering racks I had and have used the best parts to build one. Everything has been stripped to bare metal and painted in 2k.
-
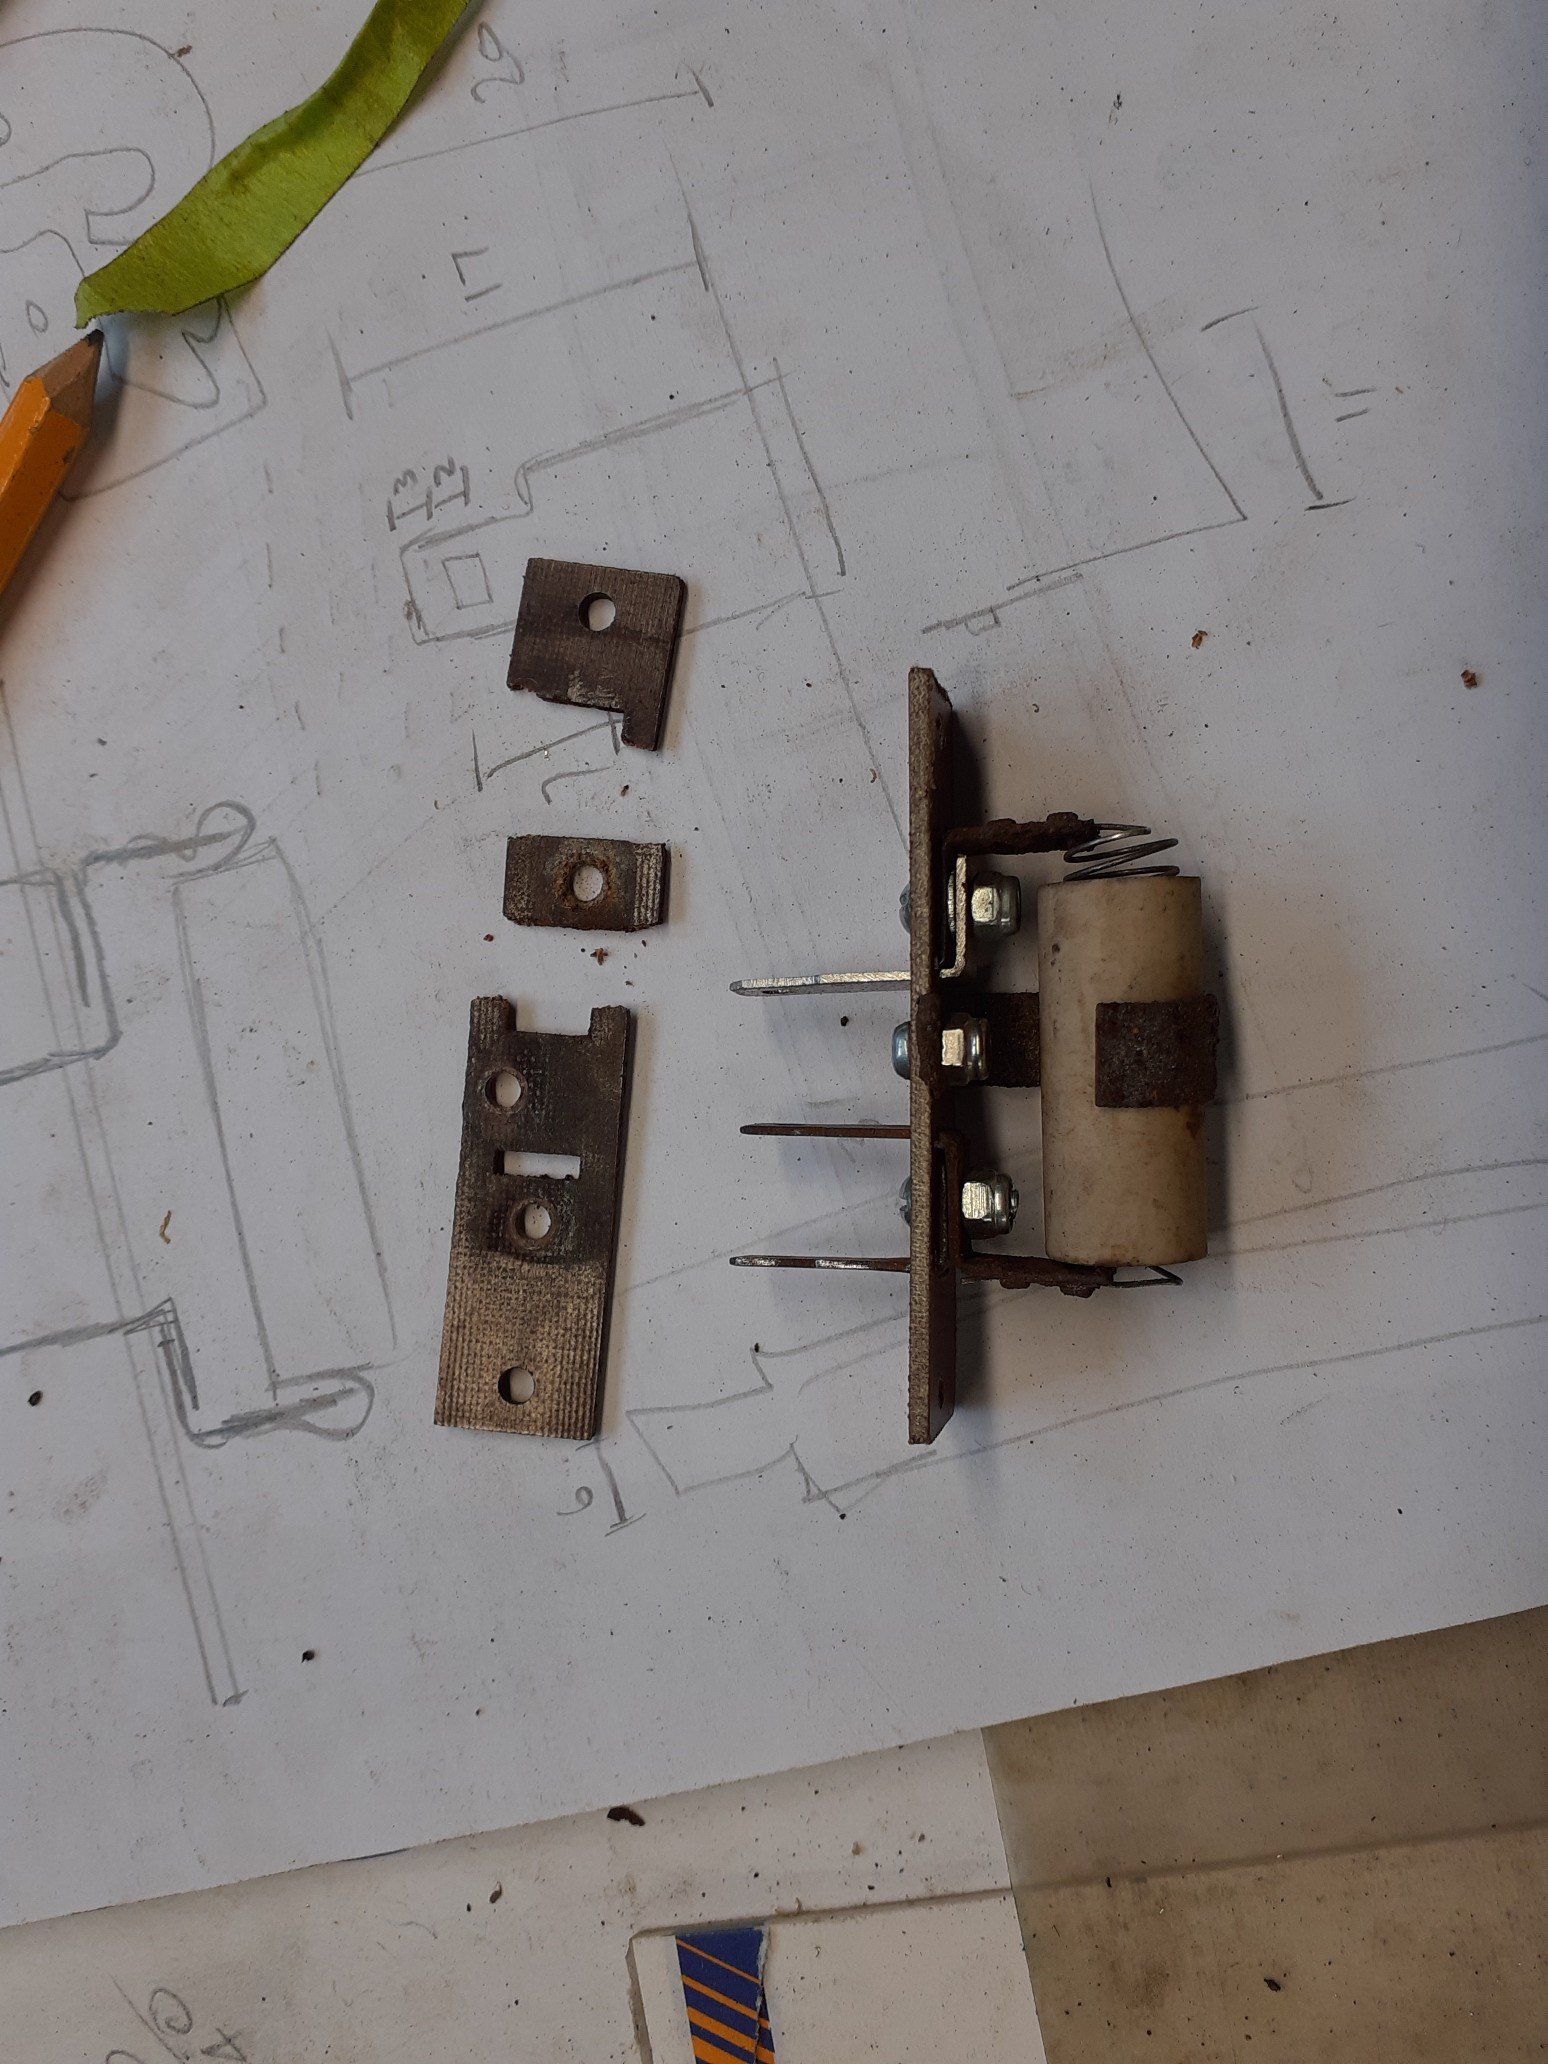
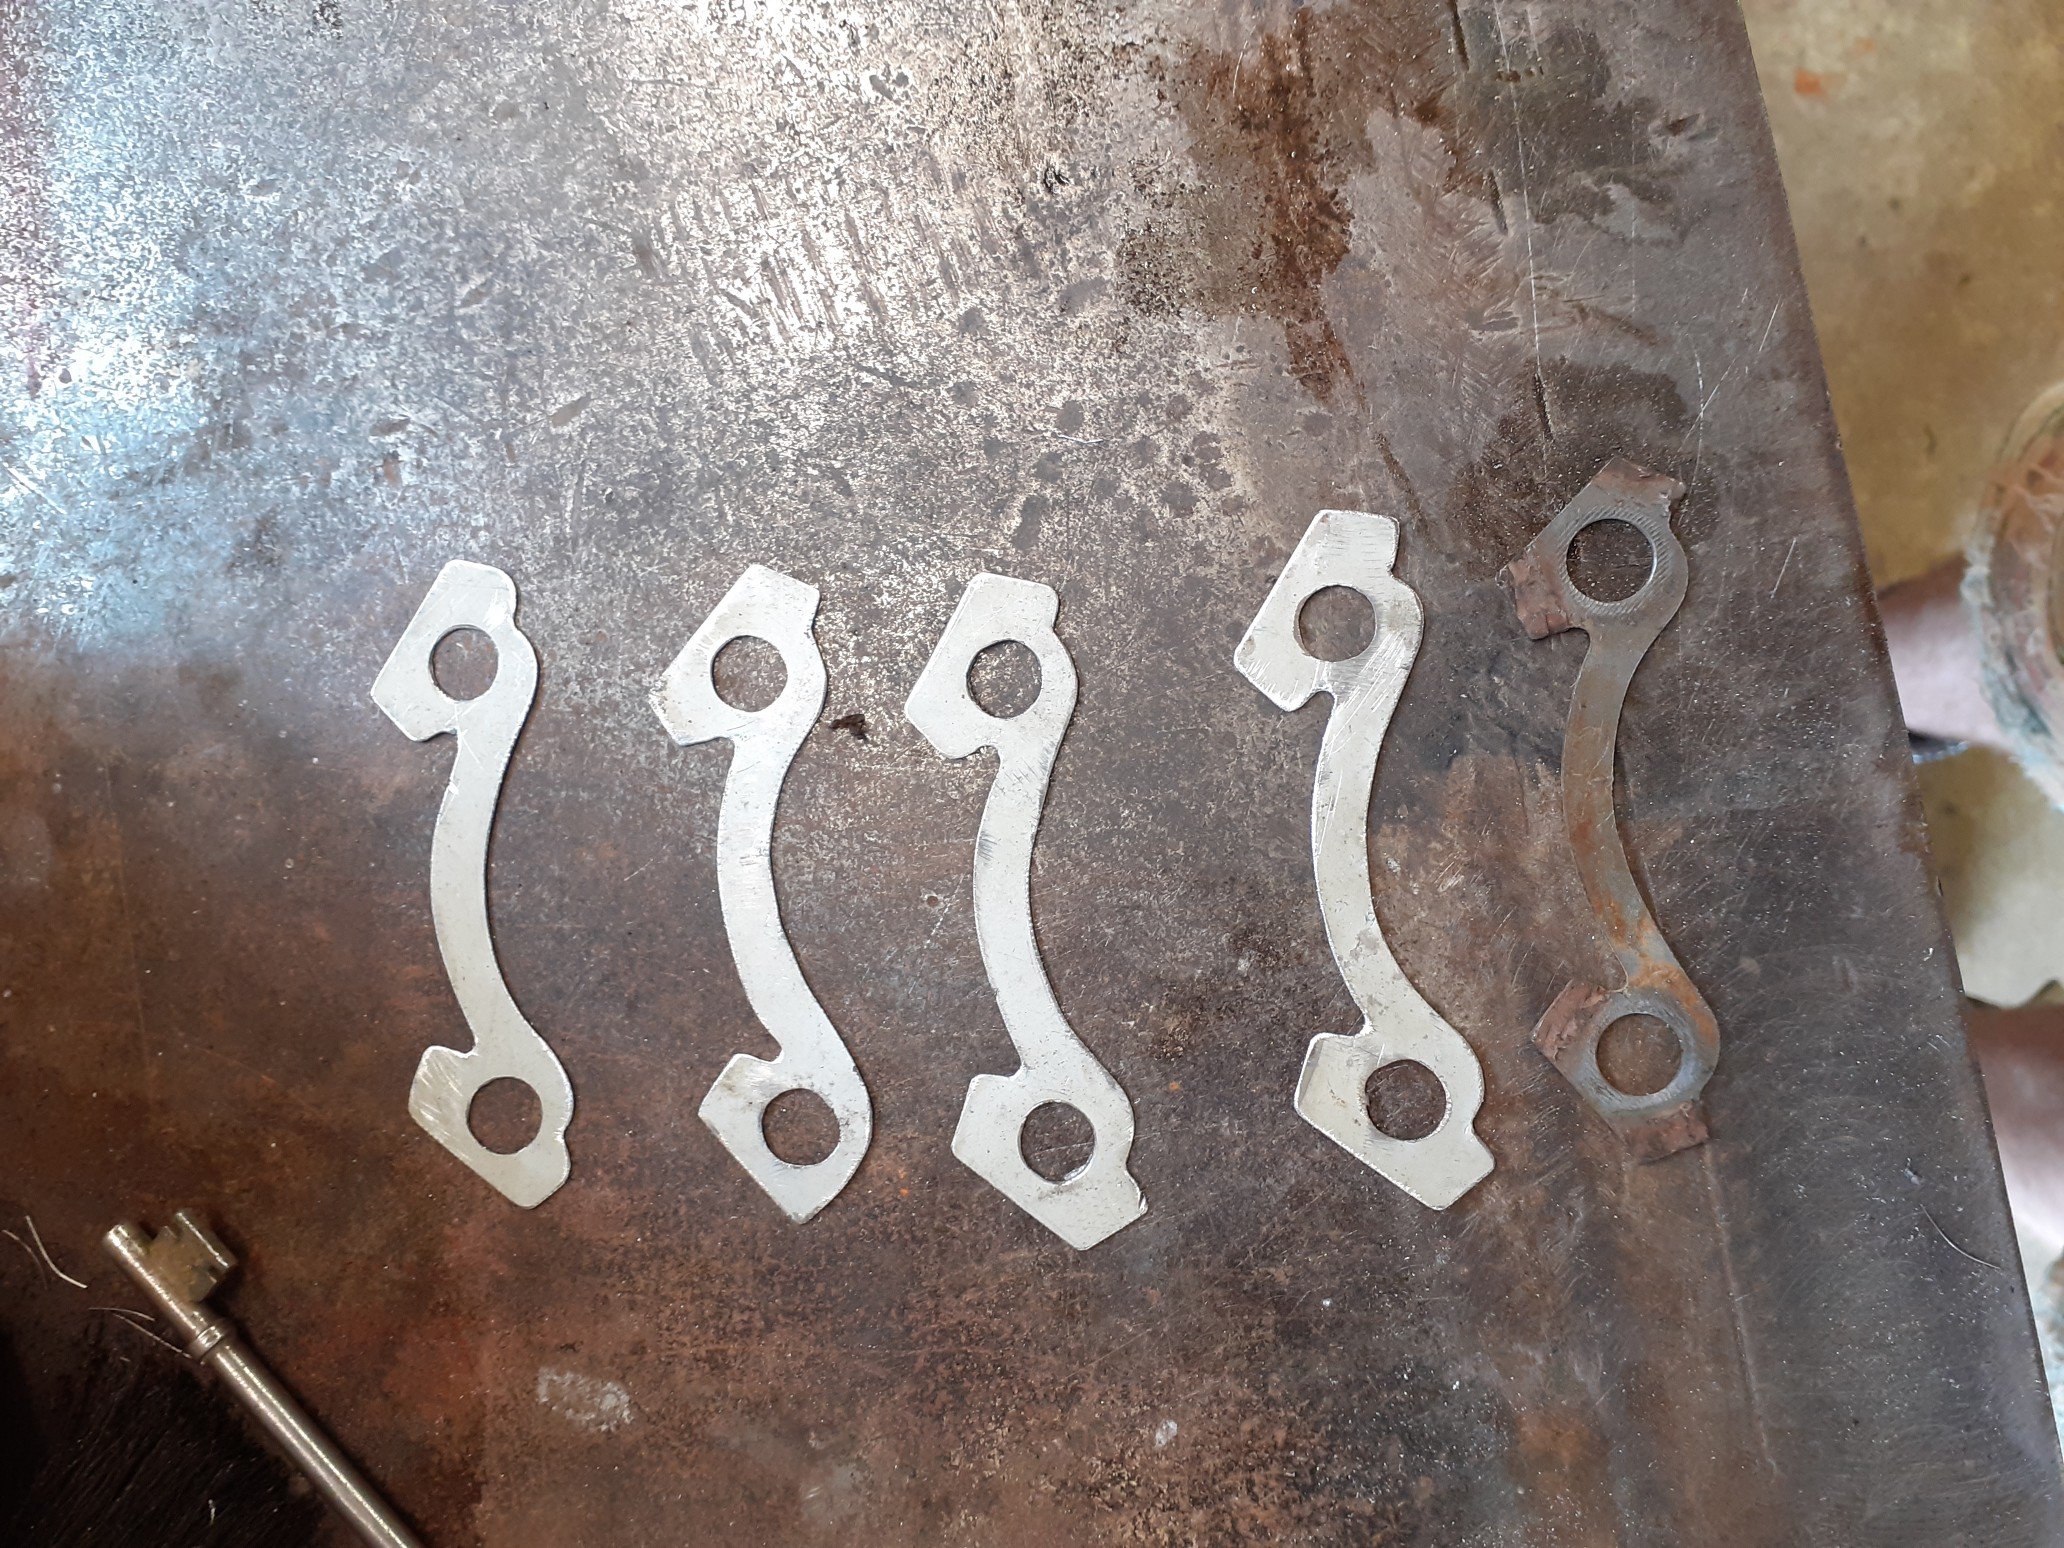
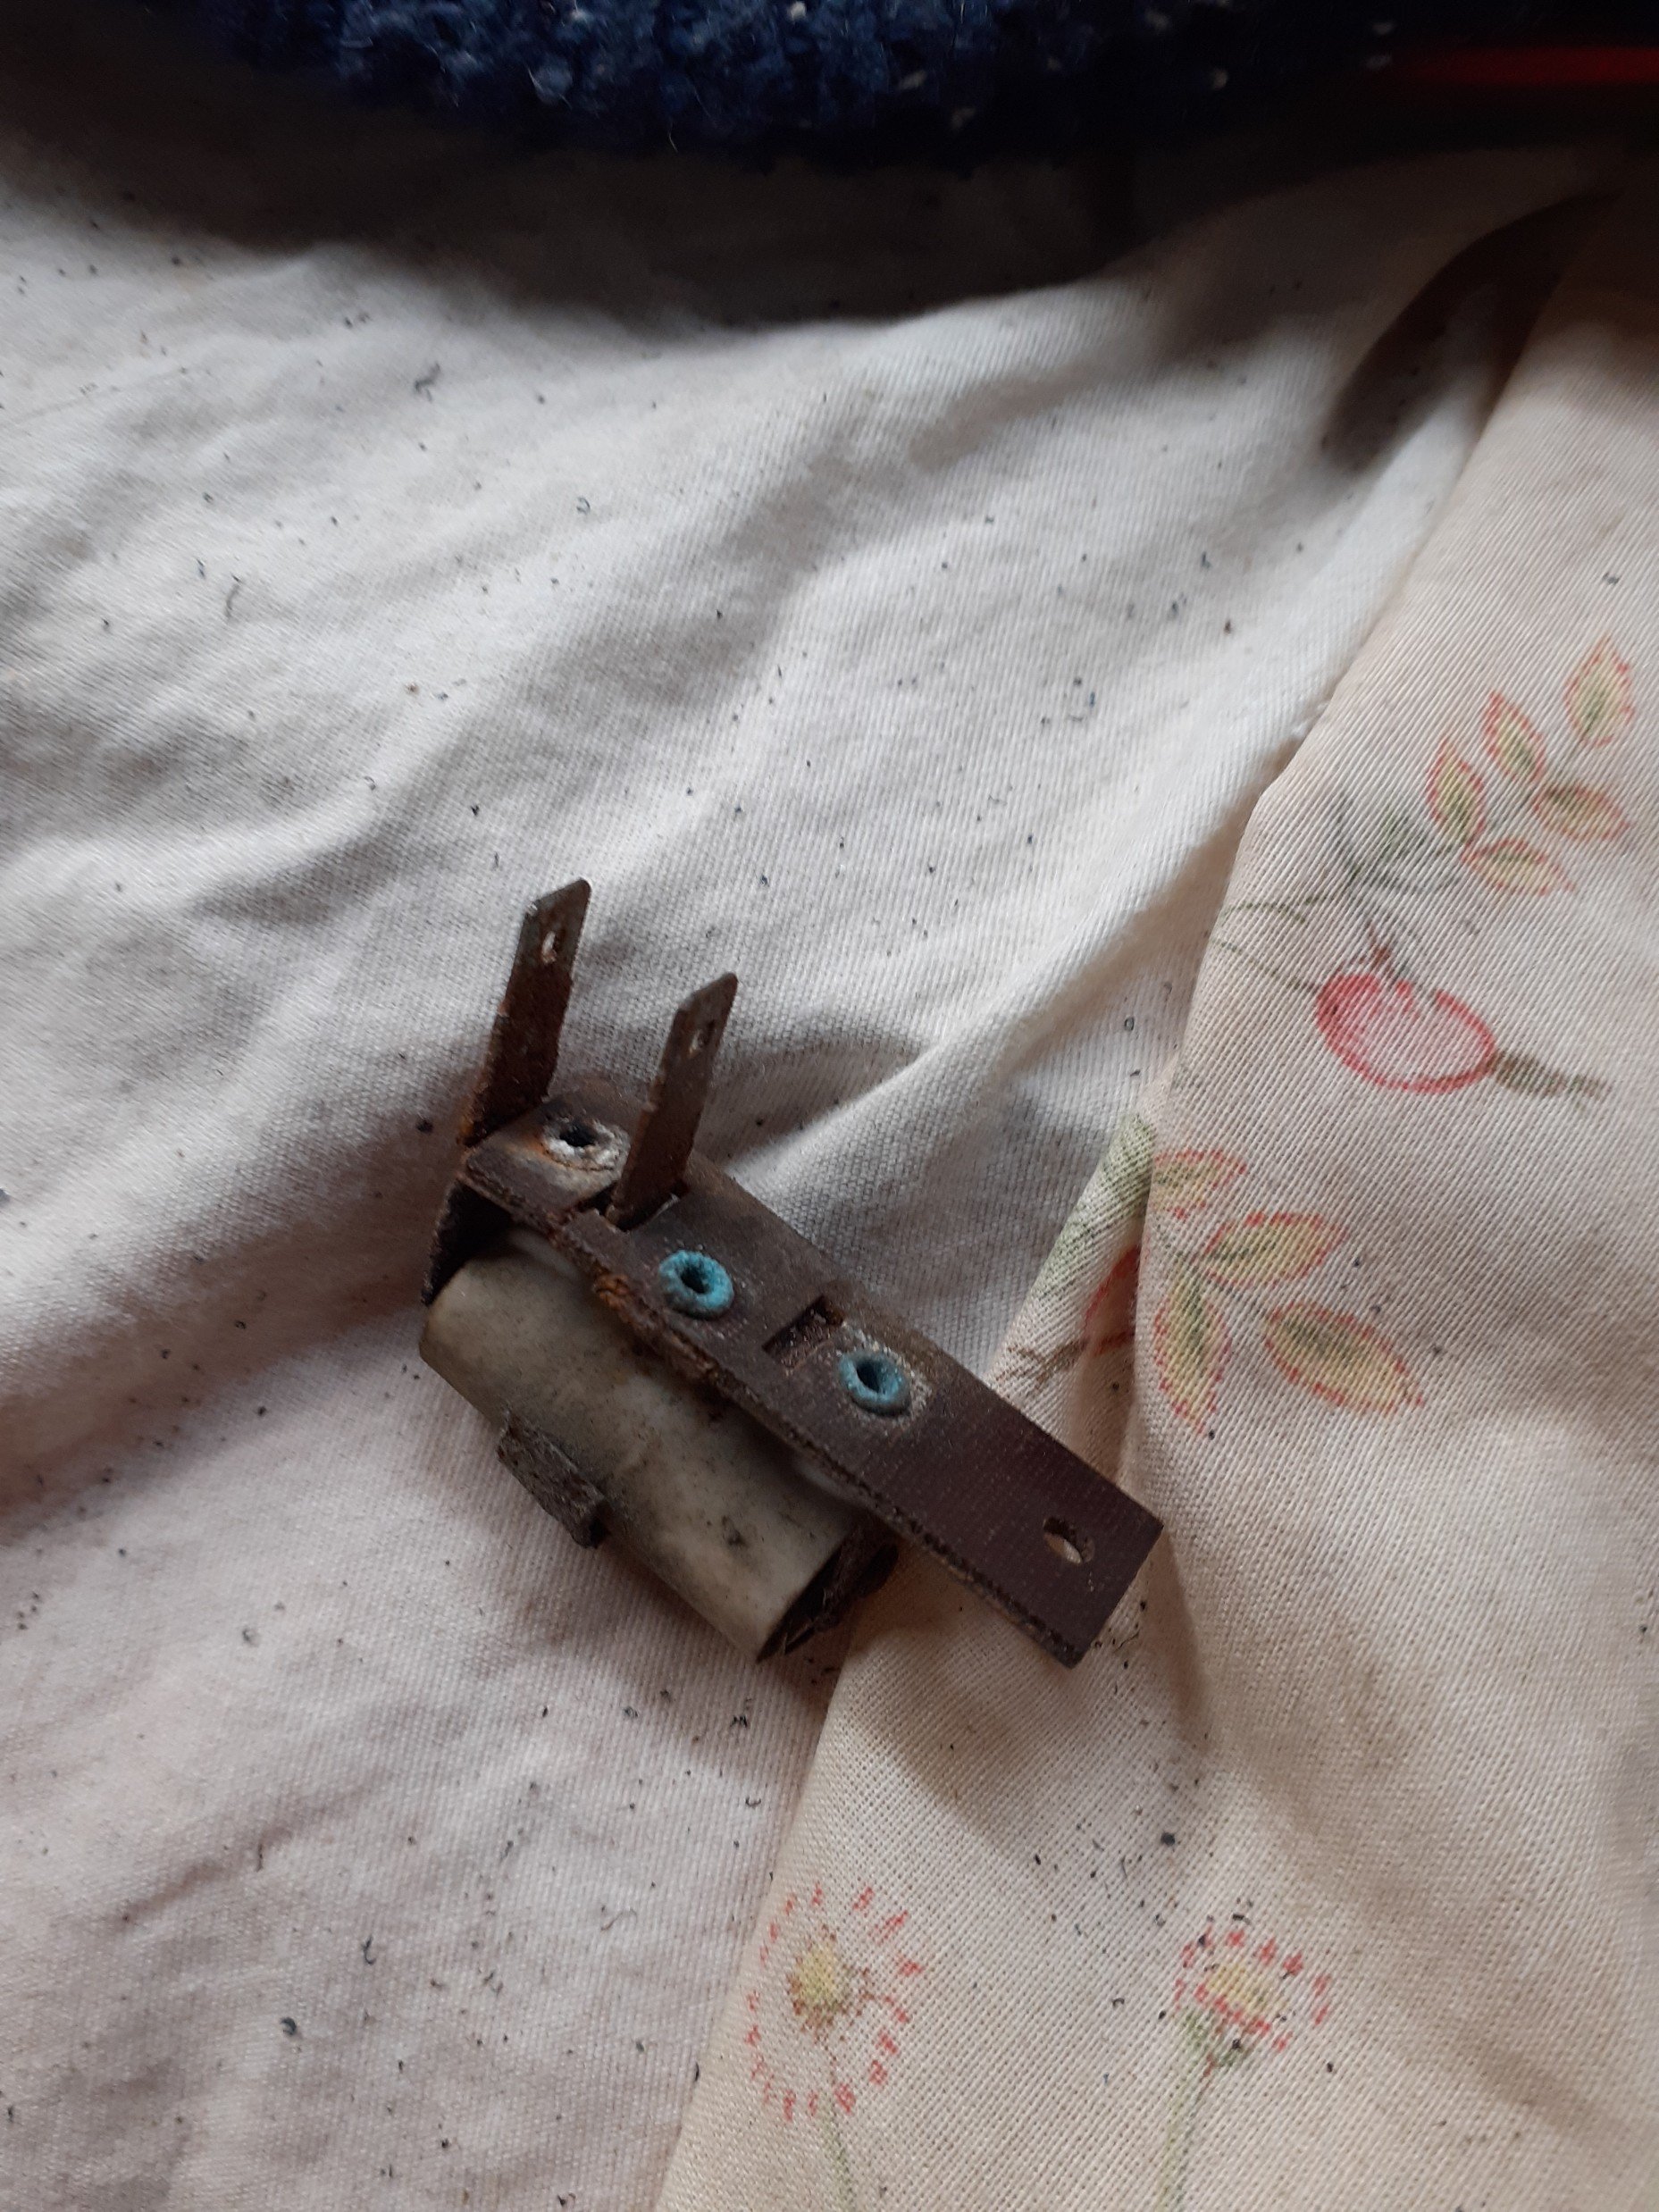
I ended up repairing the heater fan resister with a new board and 1 new pin. Tested the heater box core, had to straighten the pipe ends and fix 3 small holes. All reassembled. Have made a few odd parts as I go along such as new tab washers for the front hubs.
-
Cheers man. Definitely more fun on the road then in the garage!
-

Wellington Monthly Meet - Discussion thread
bmxnz11 replied to KKtrips's topic in Lower North Island Region
Could be keen for next Sunday -
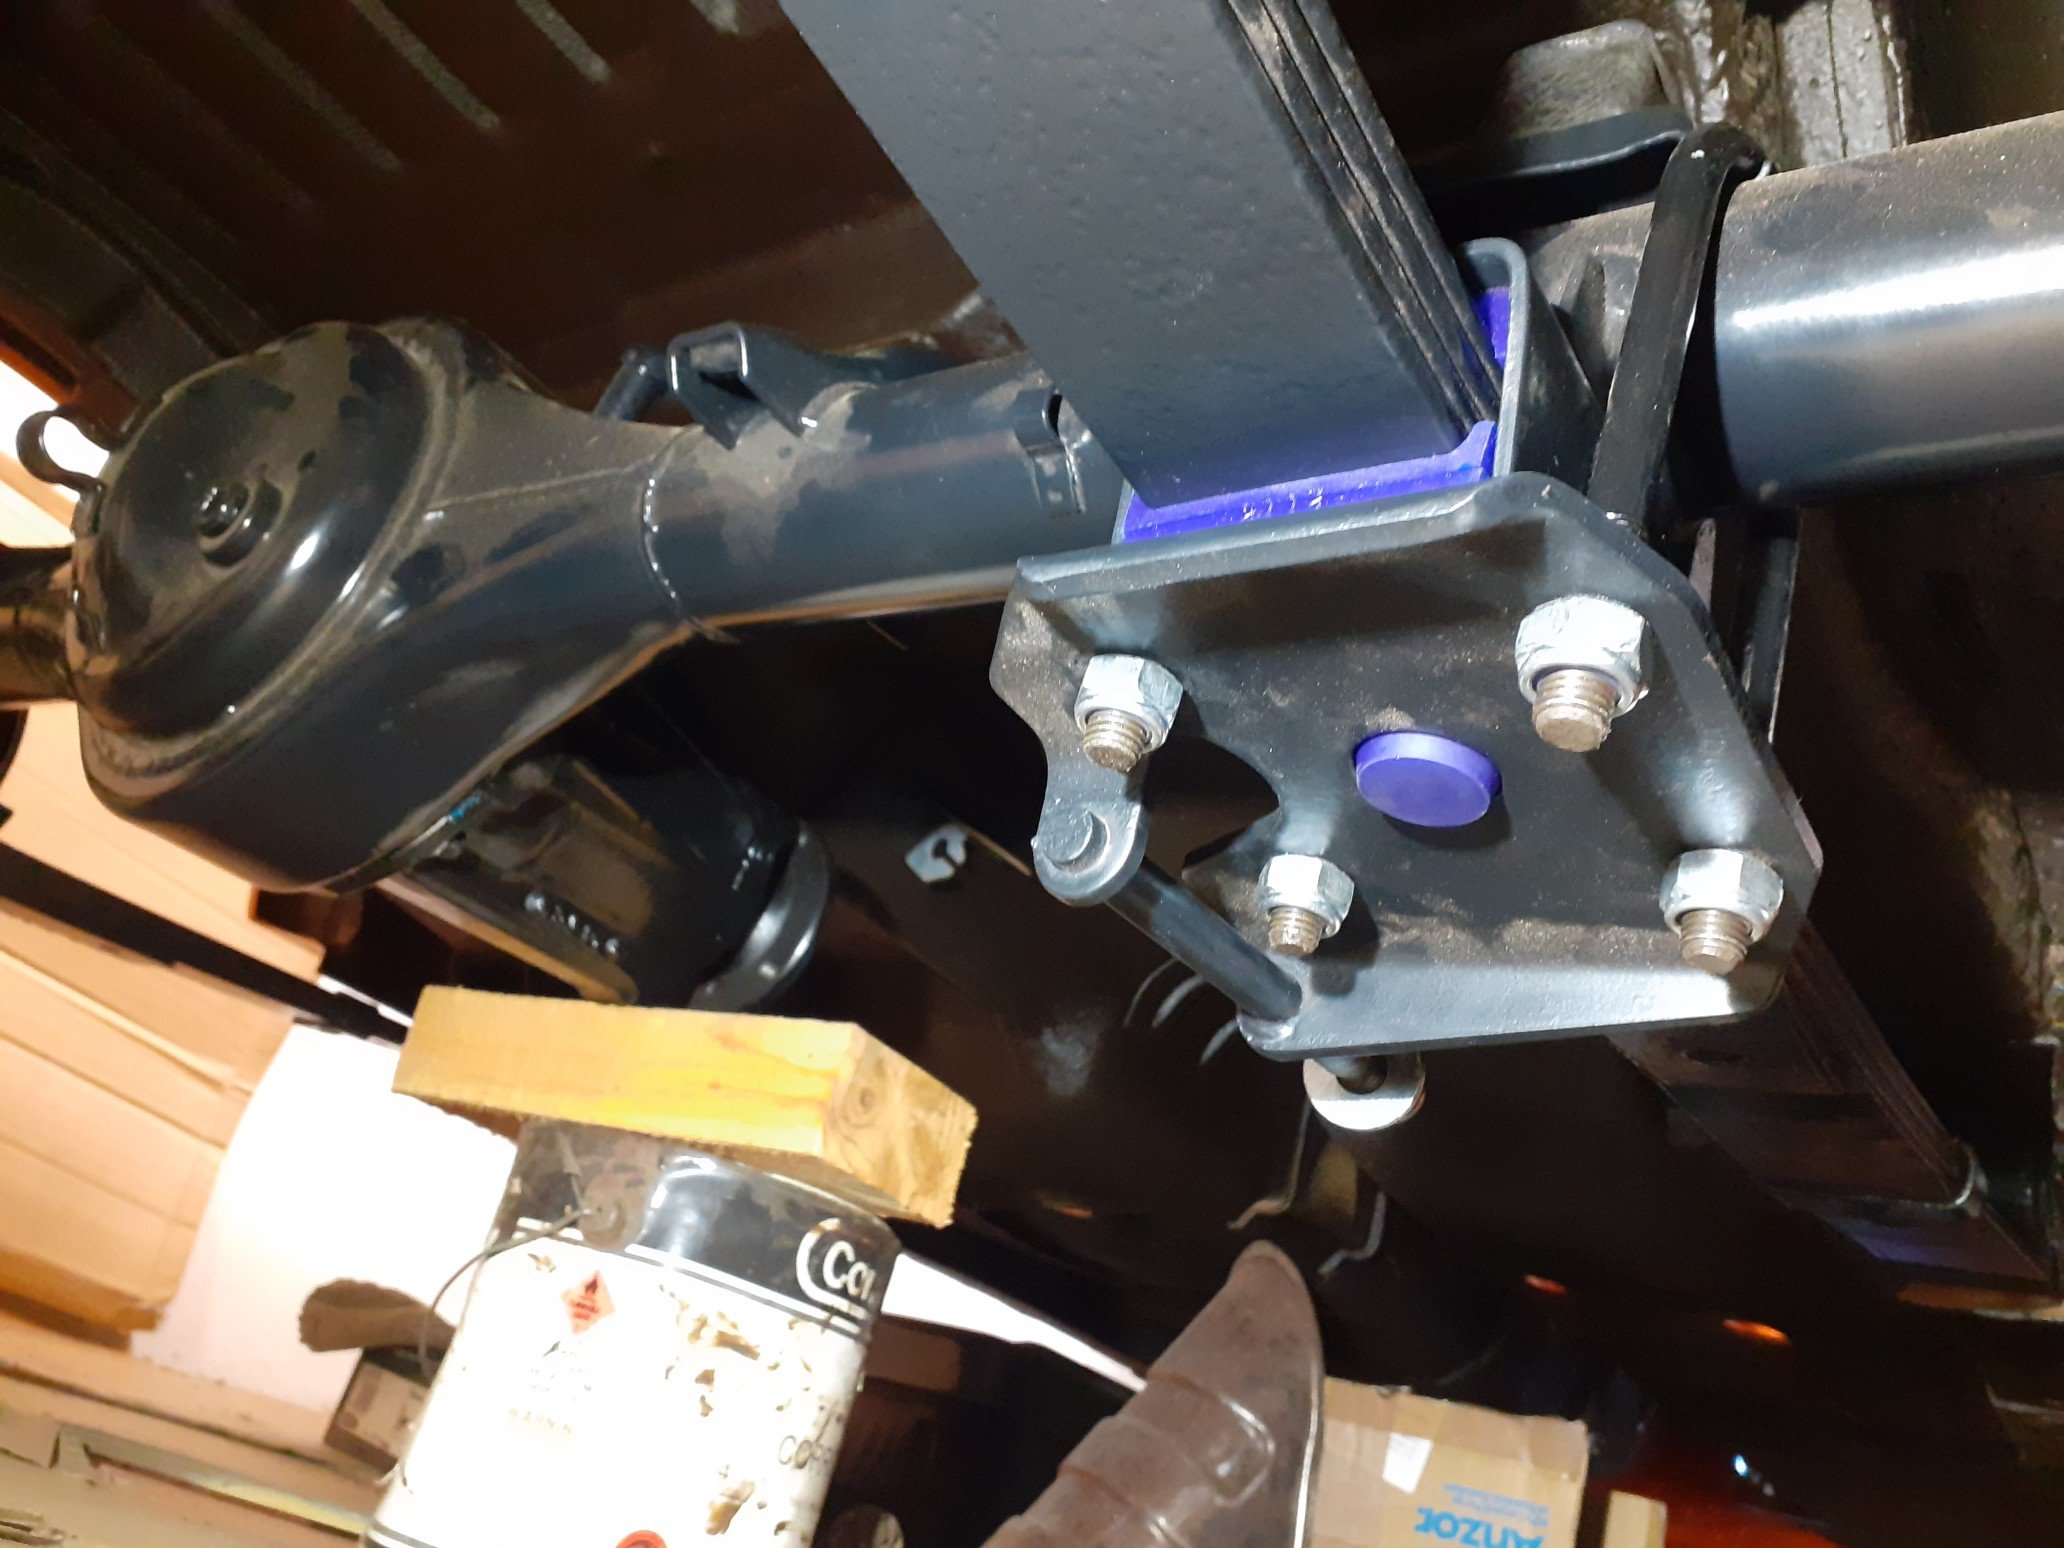
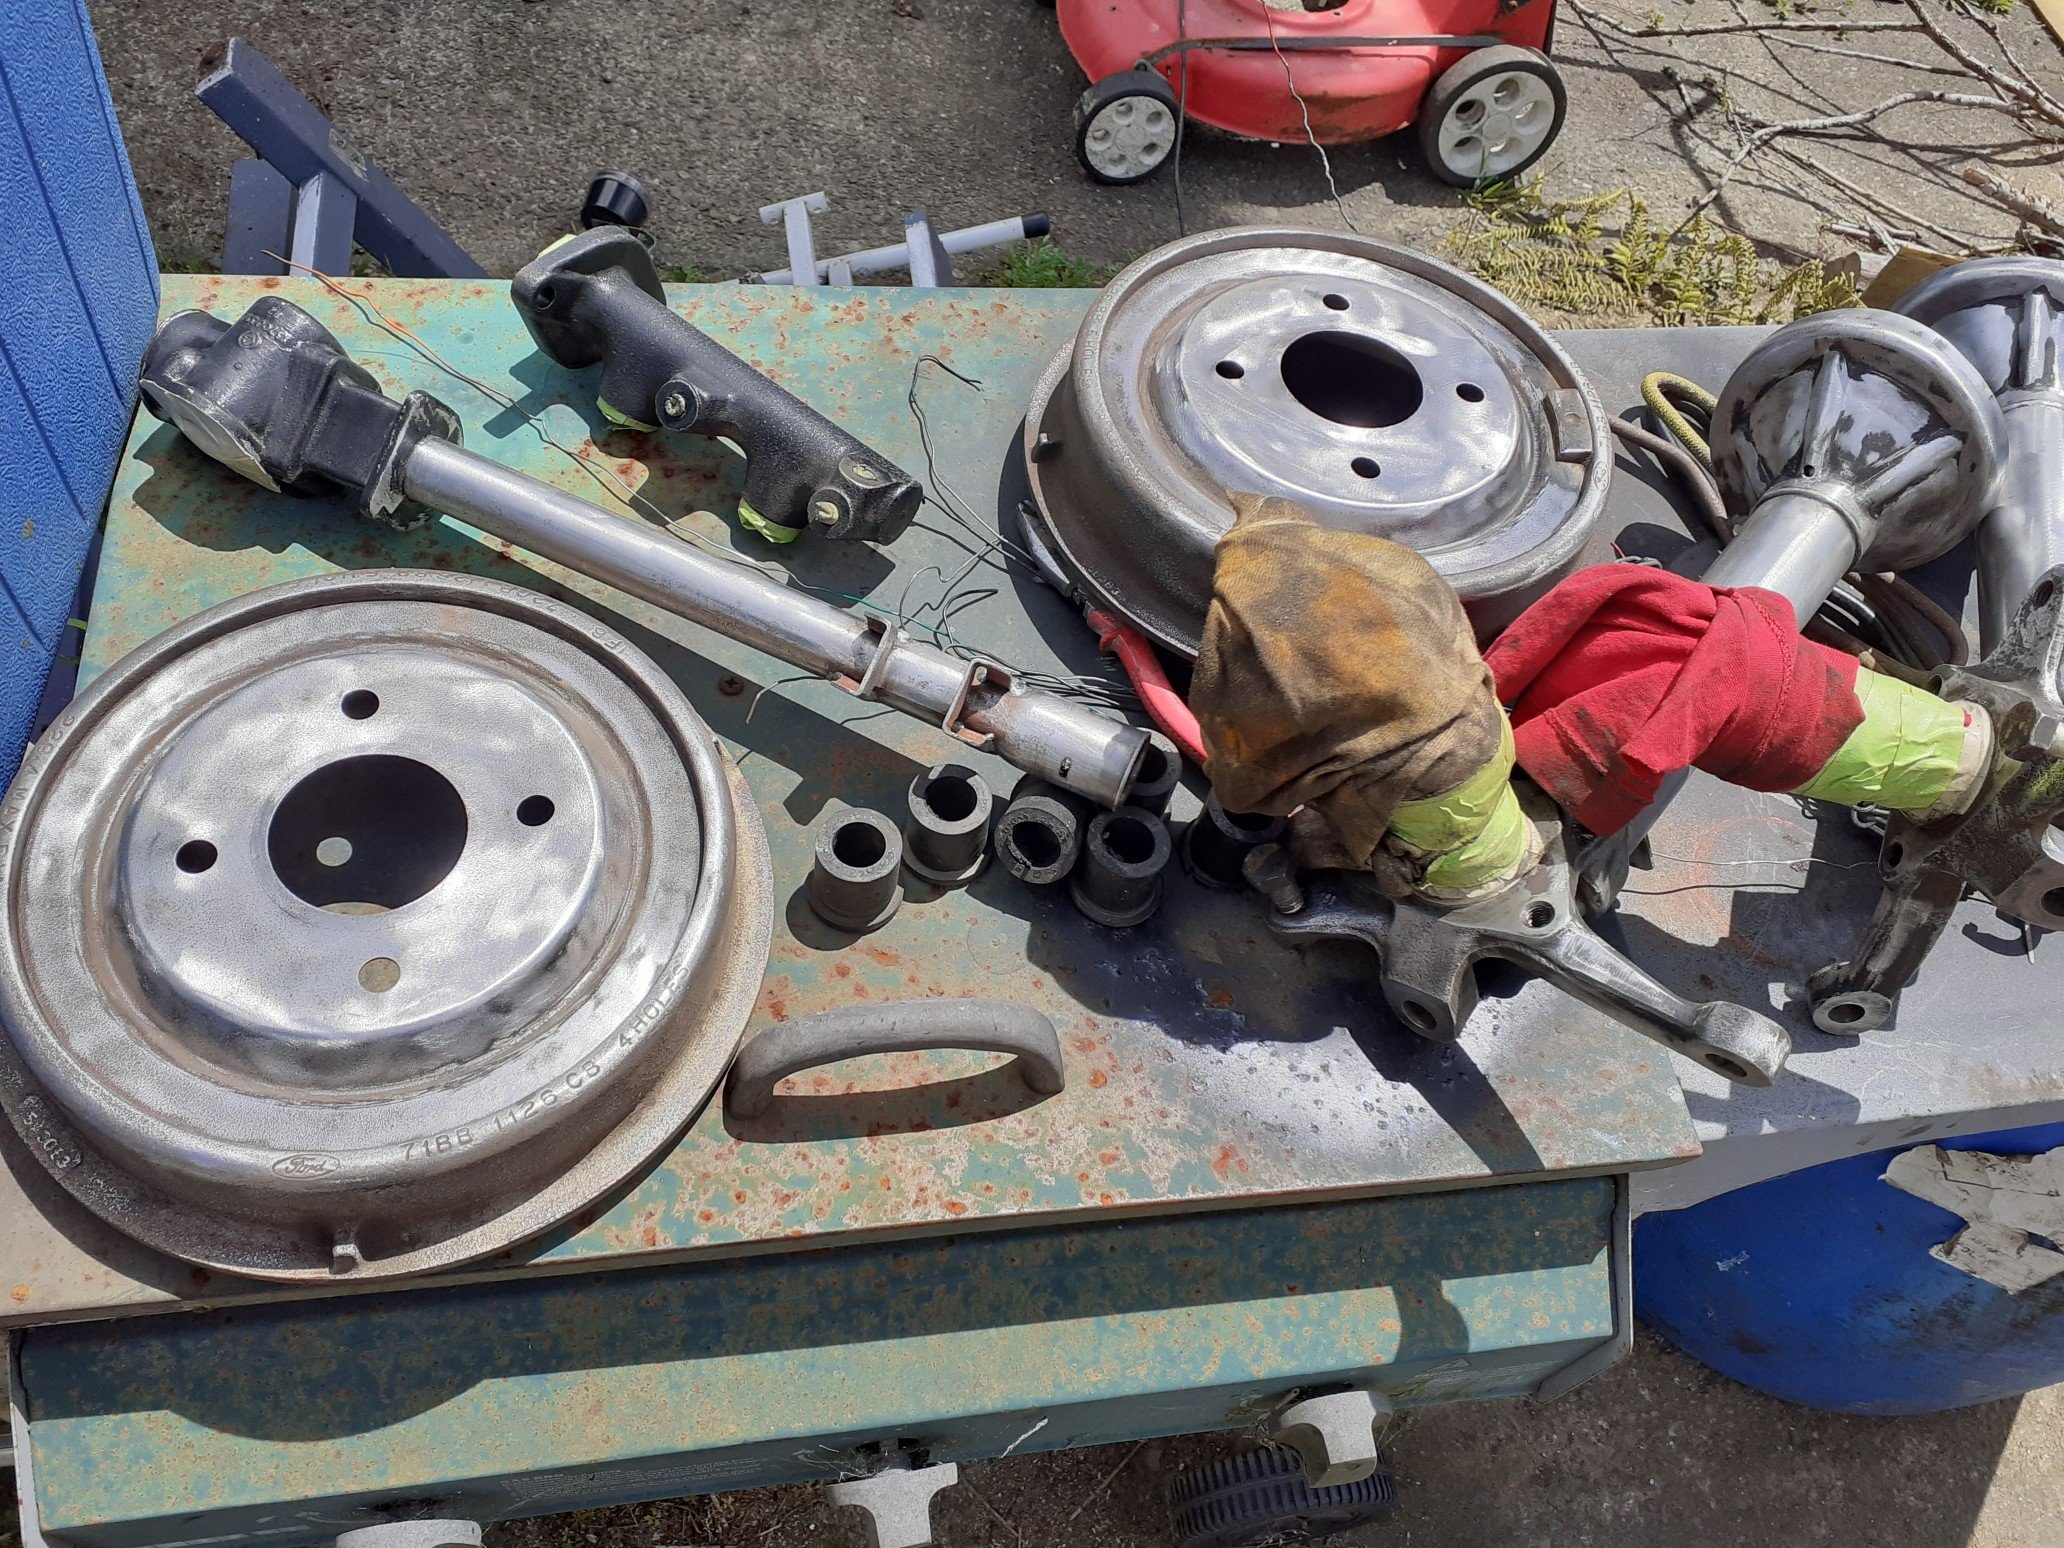
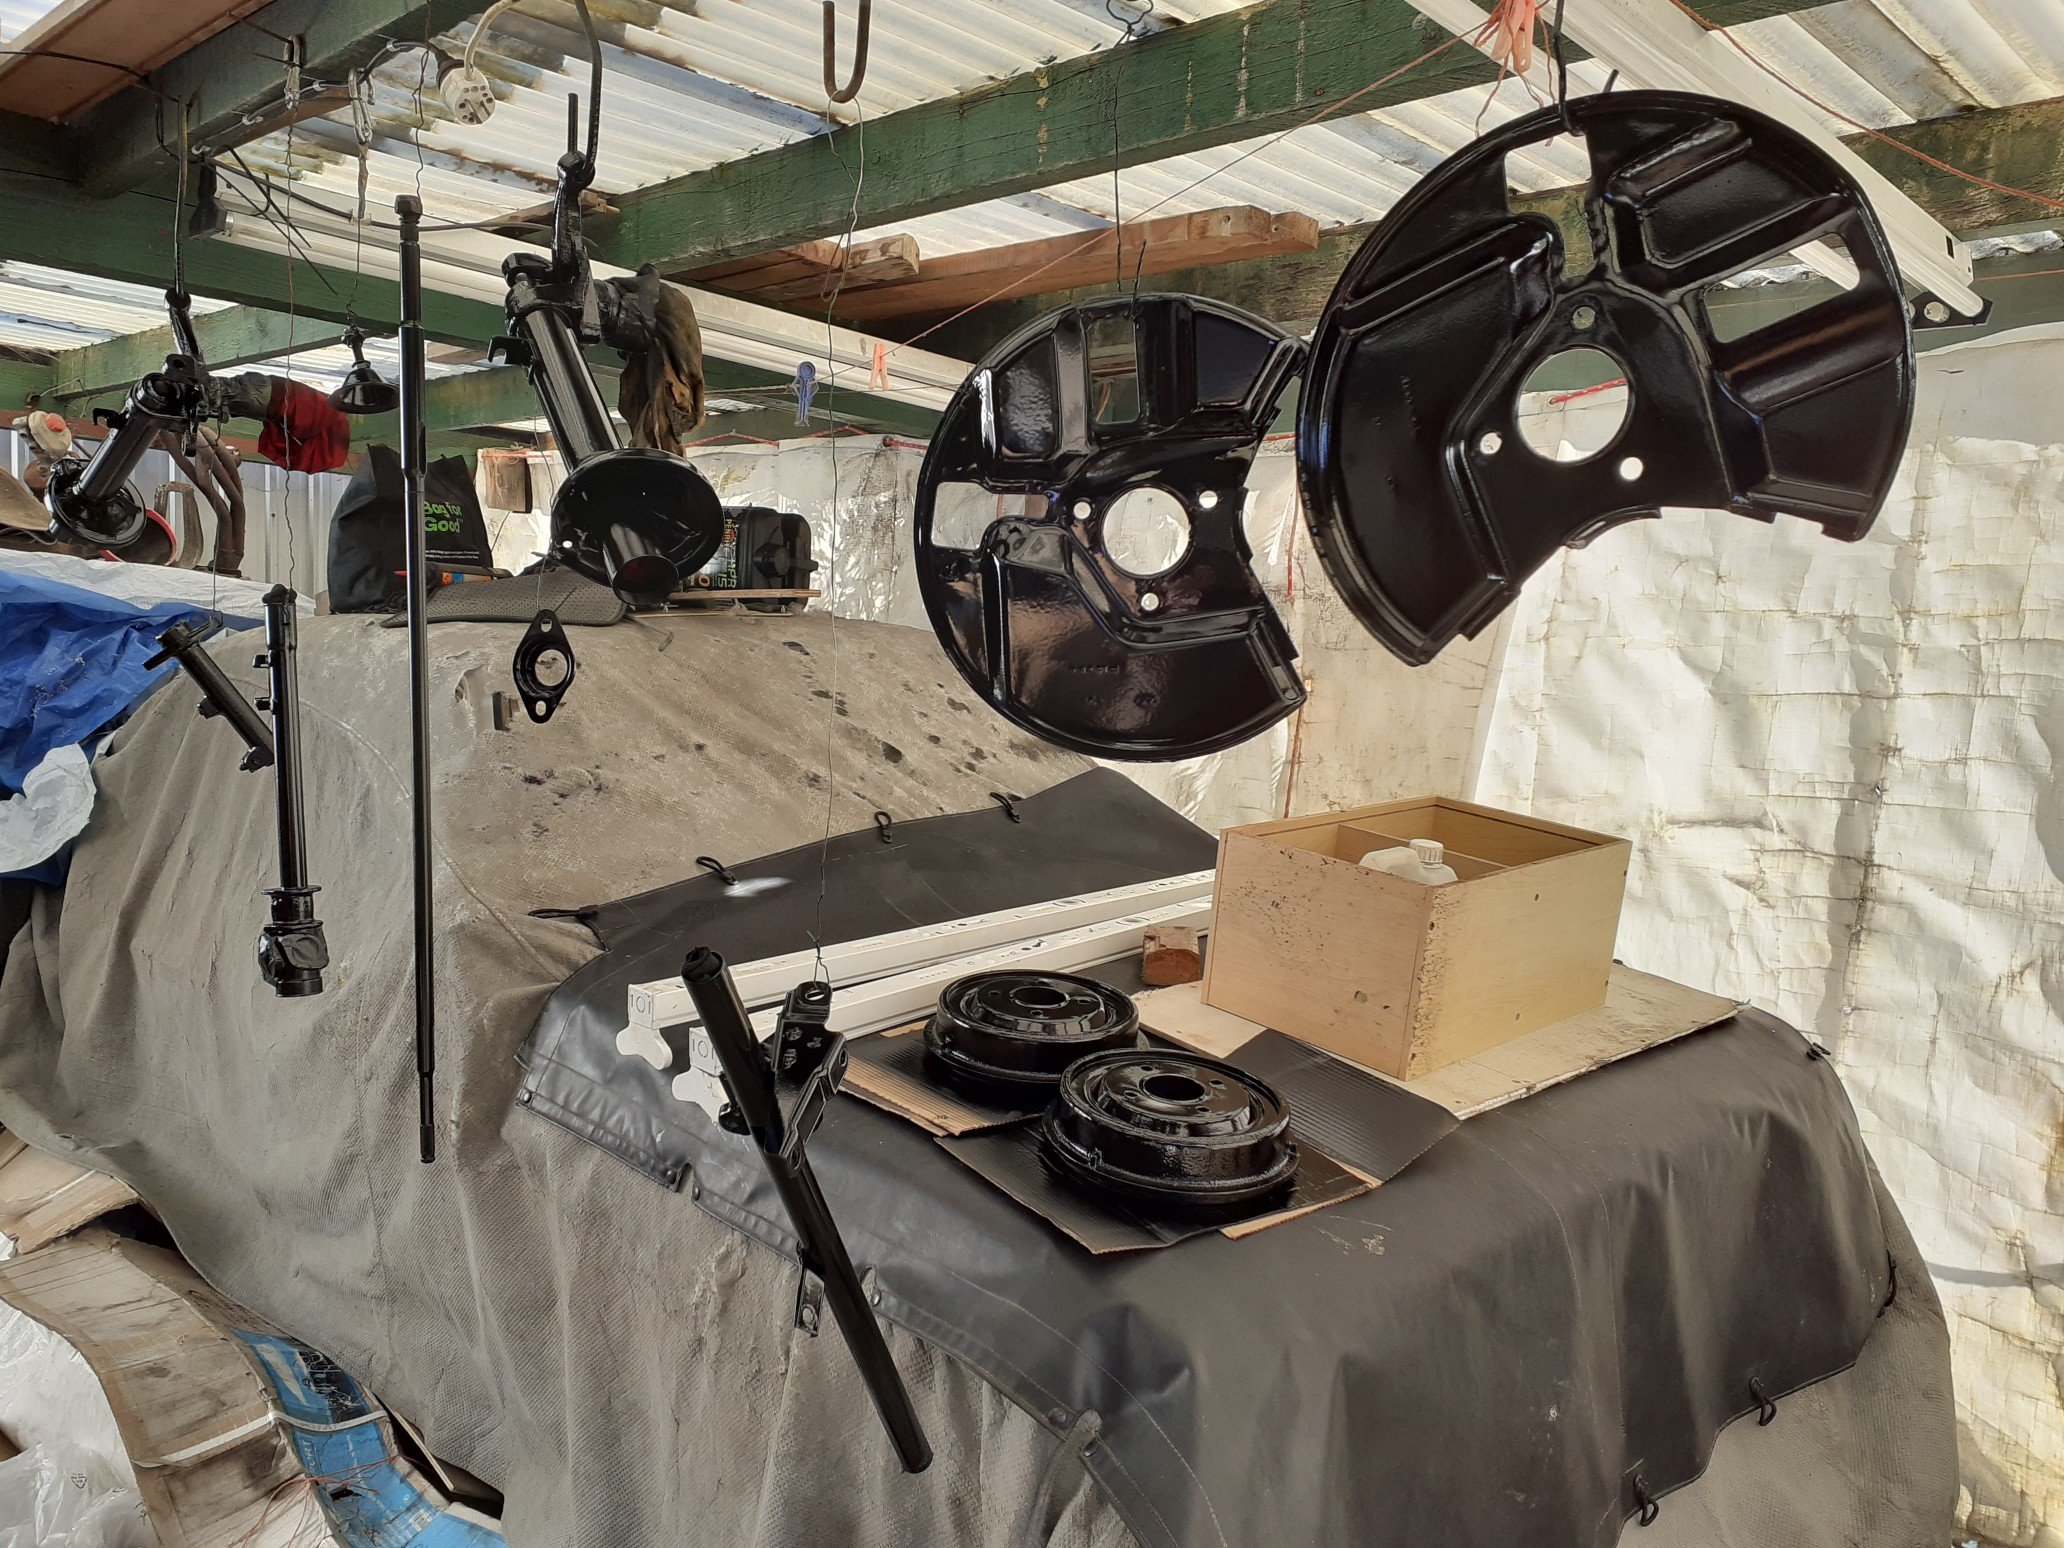
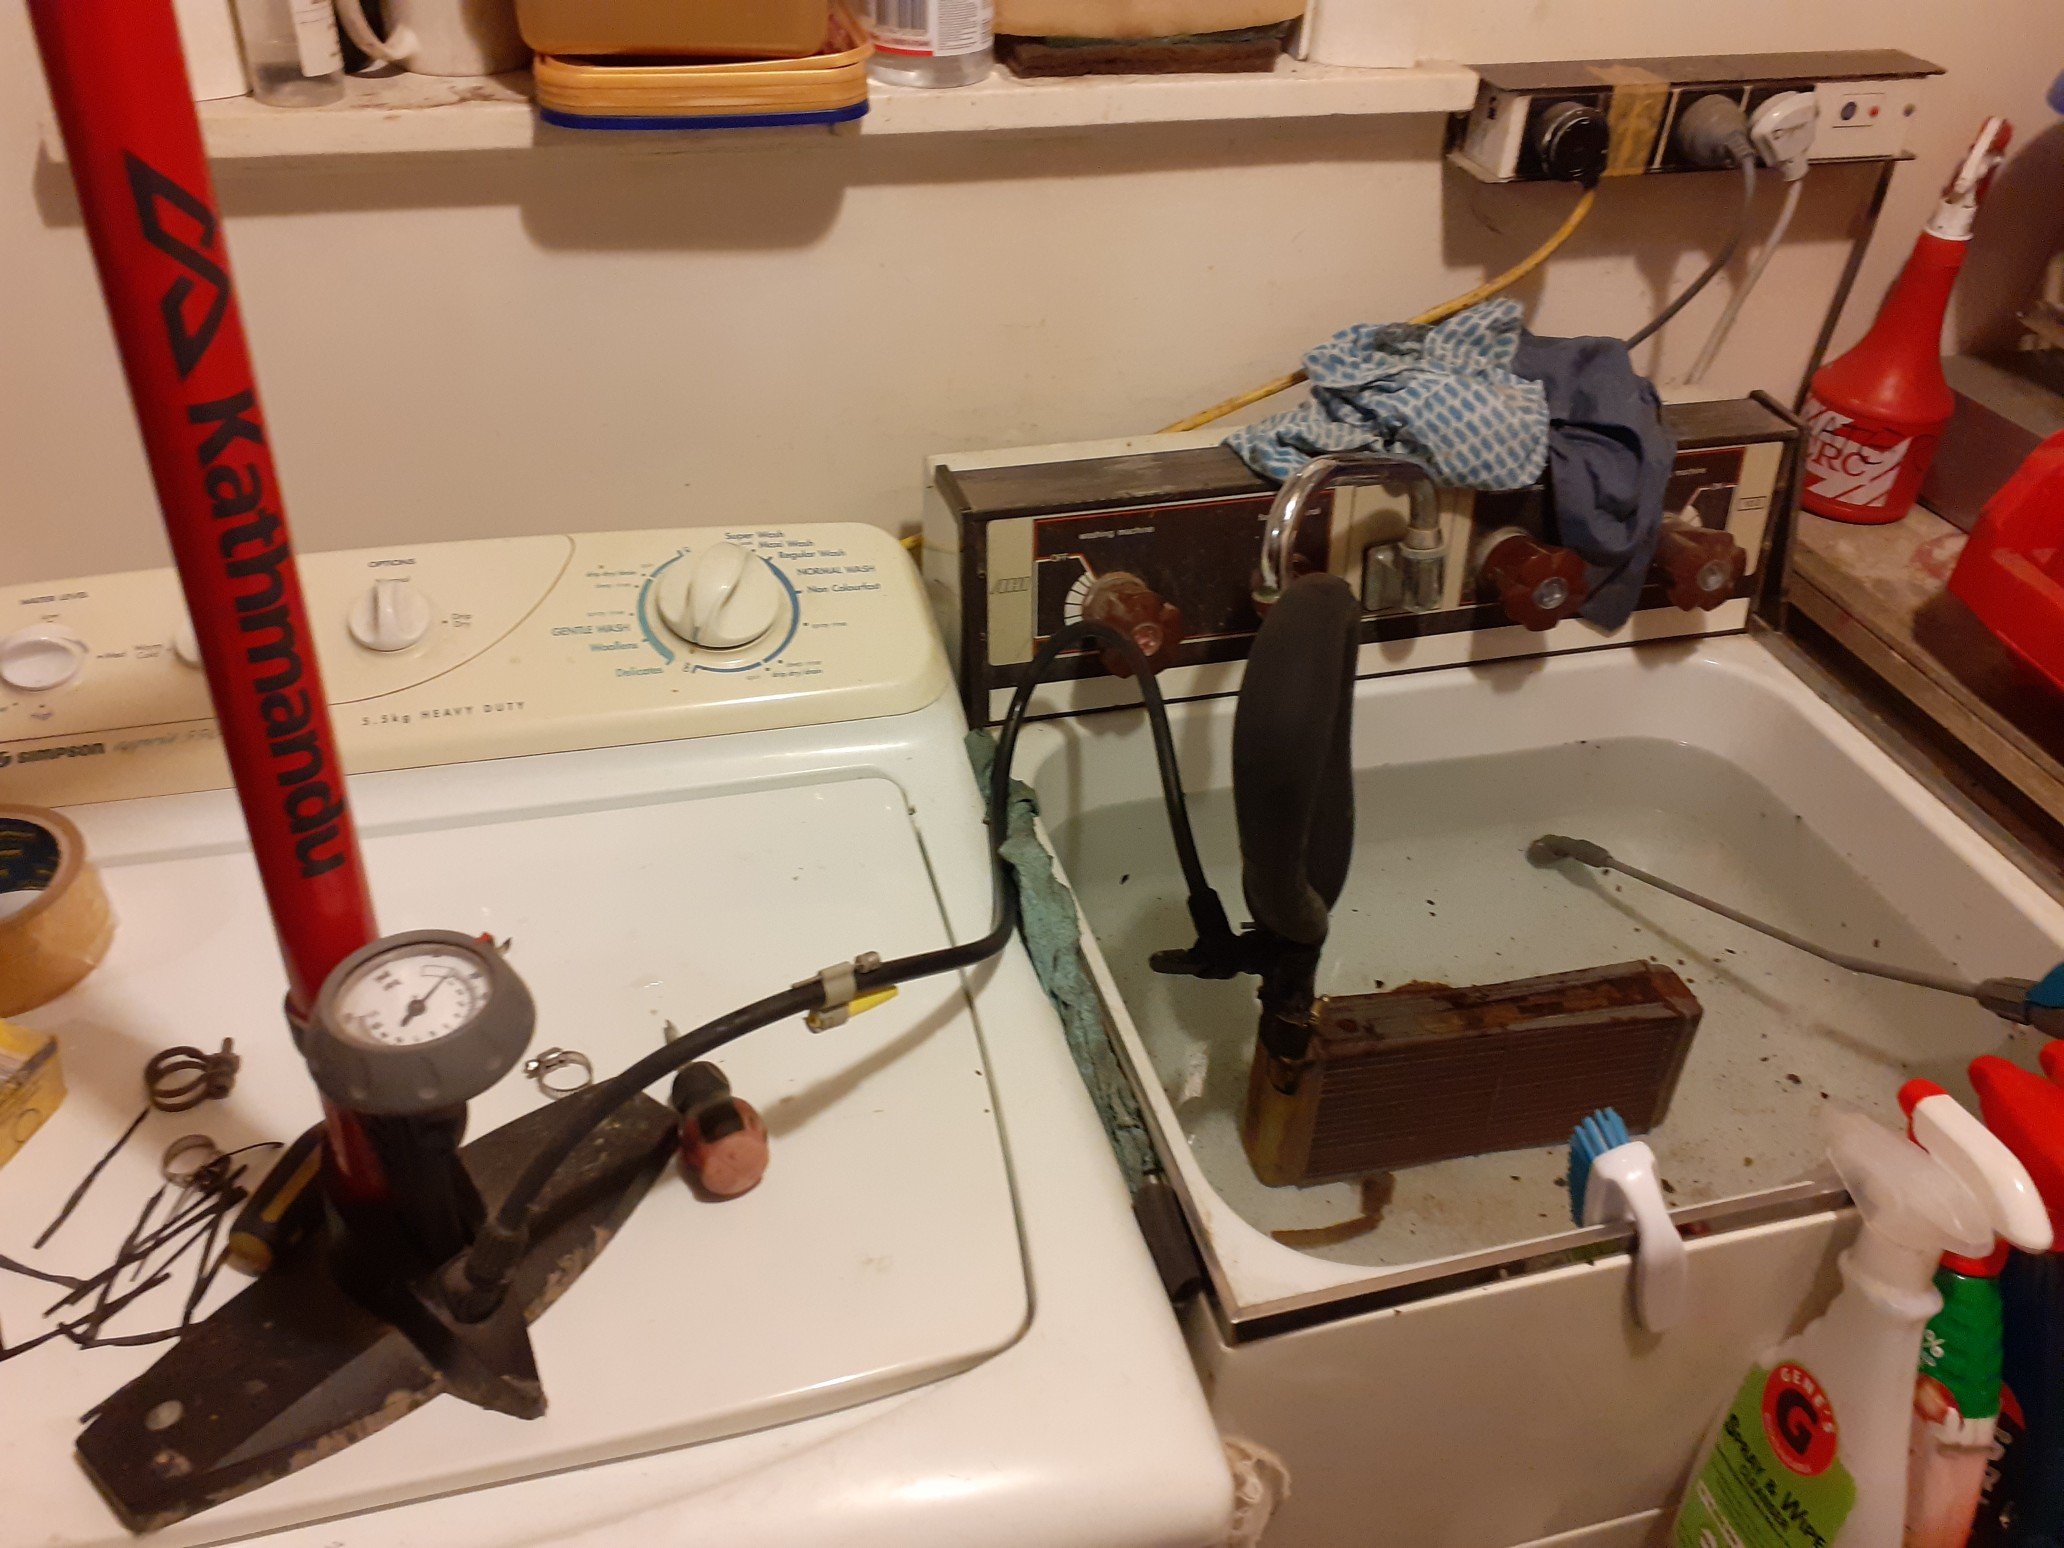
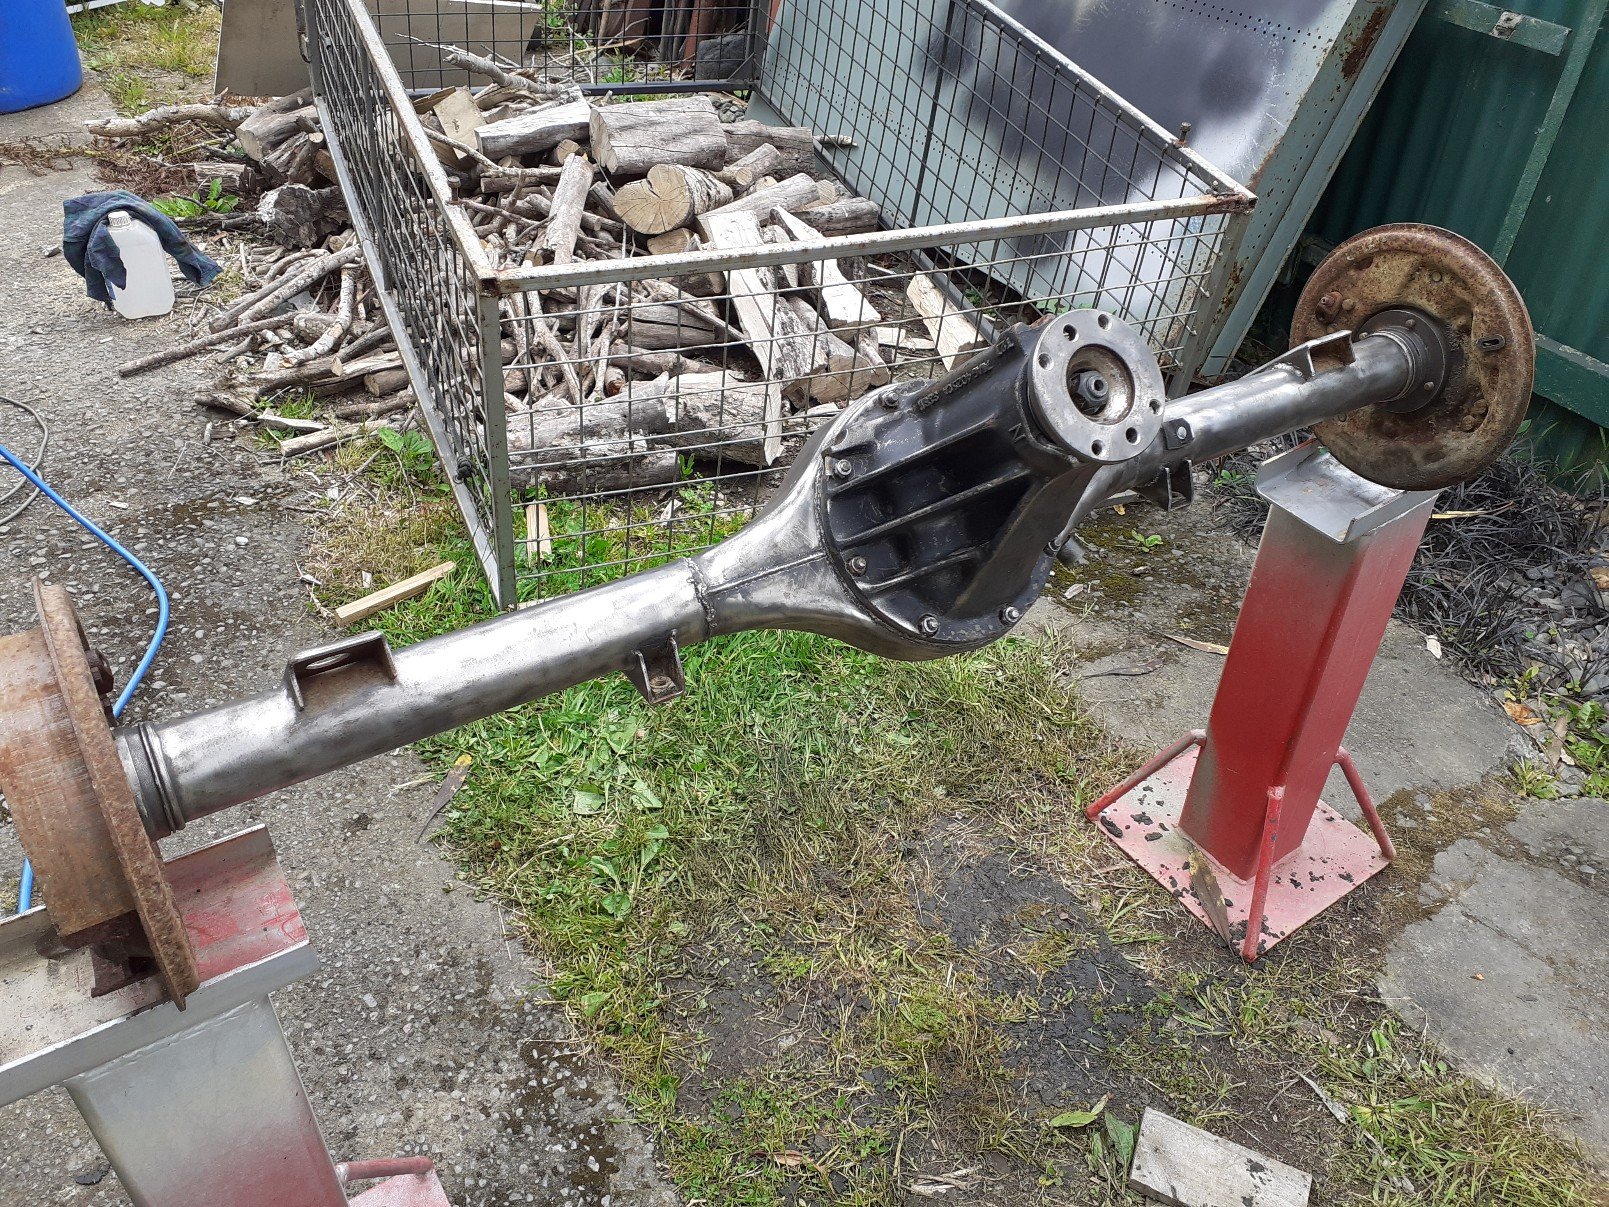
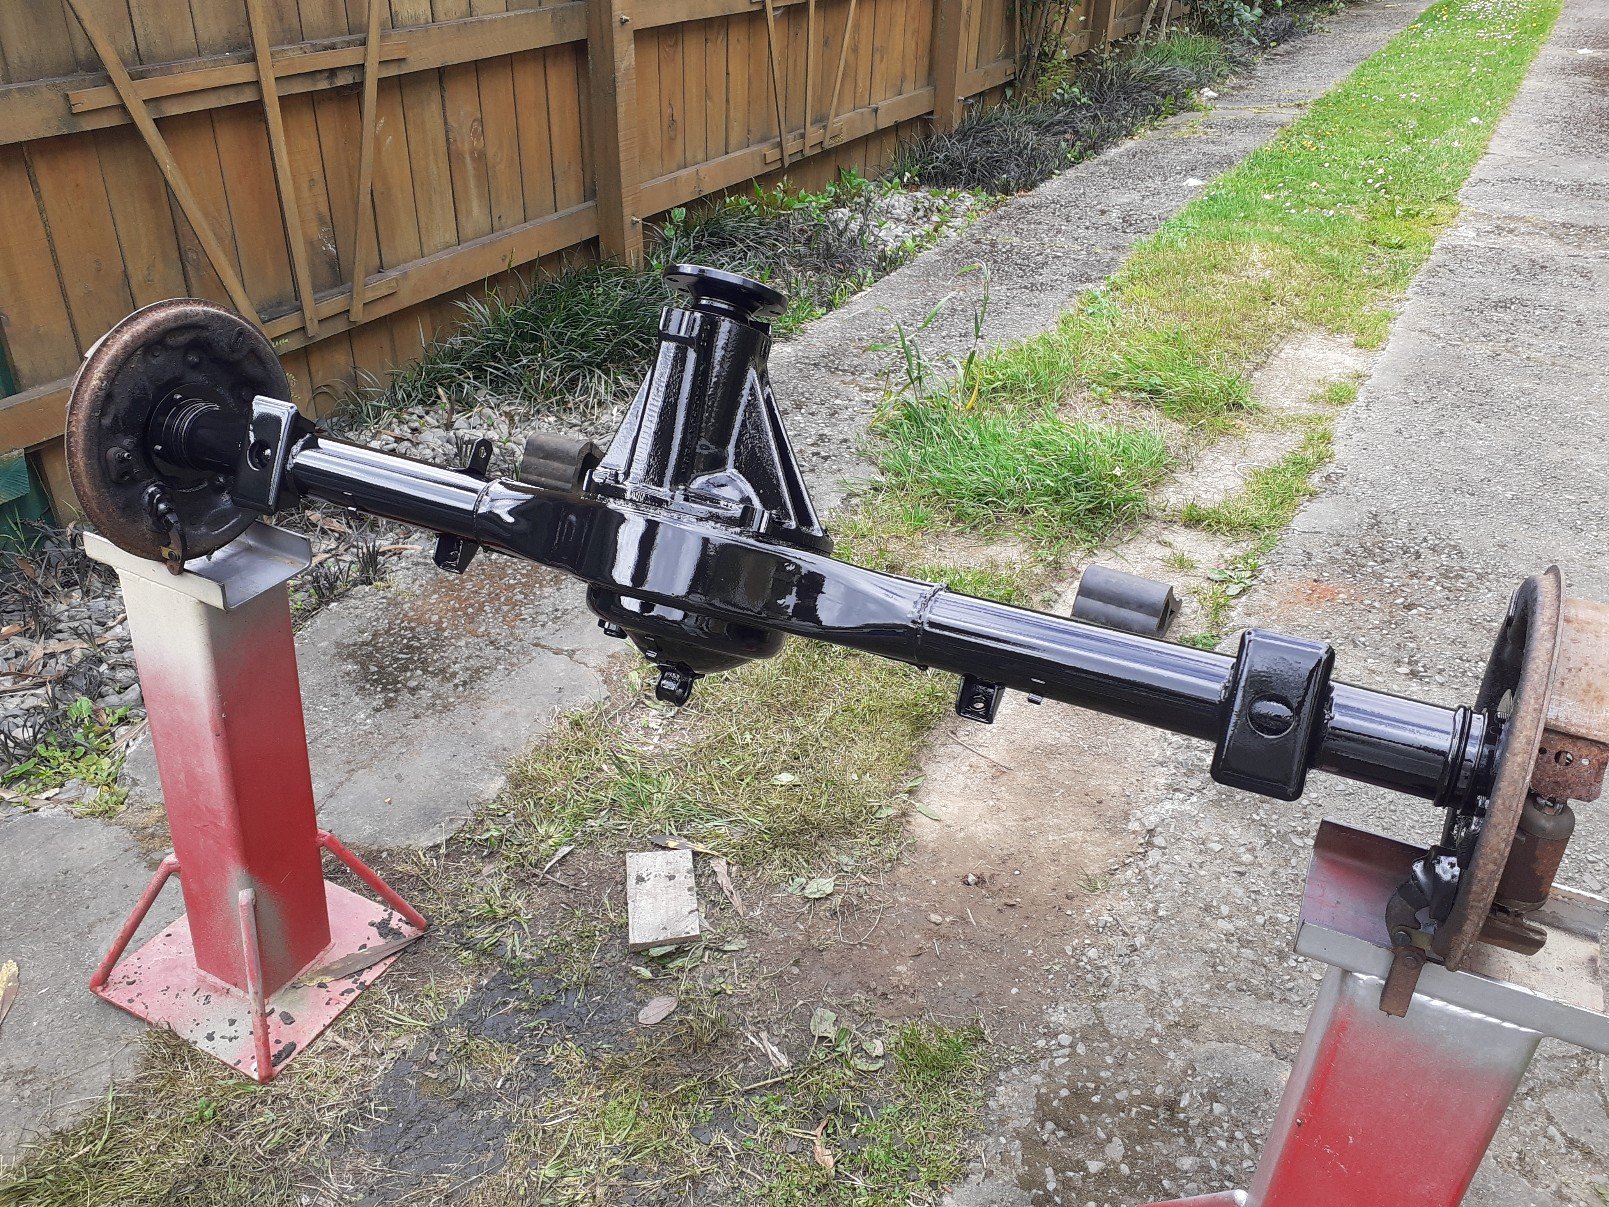
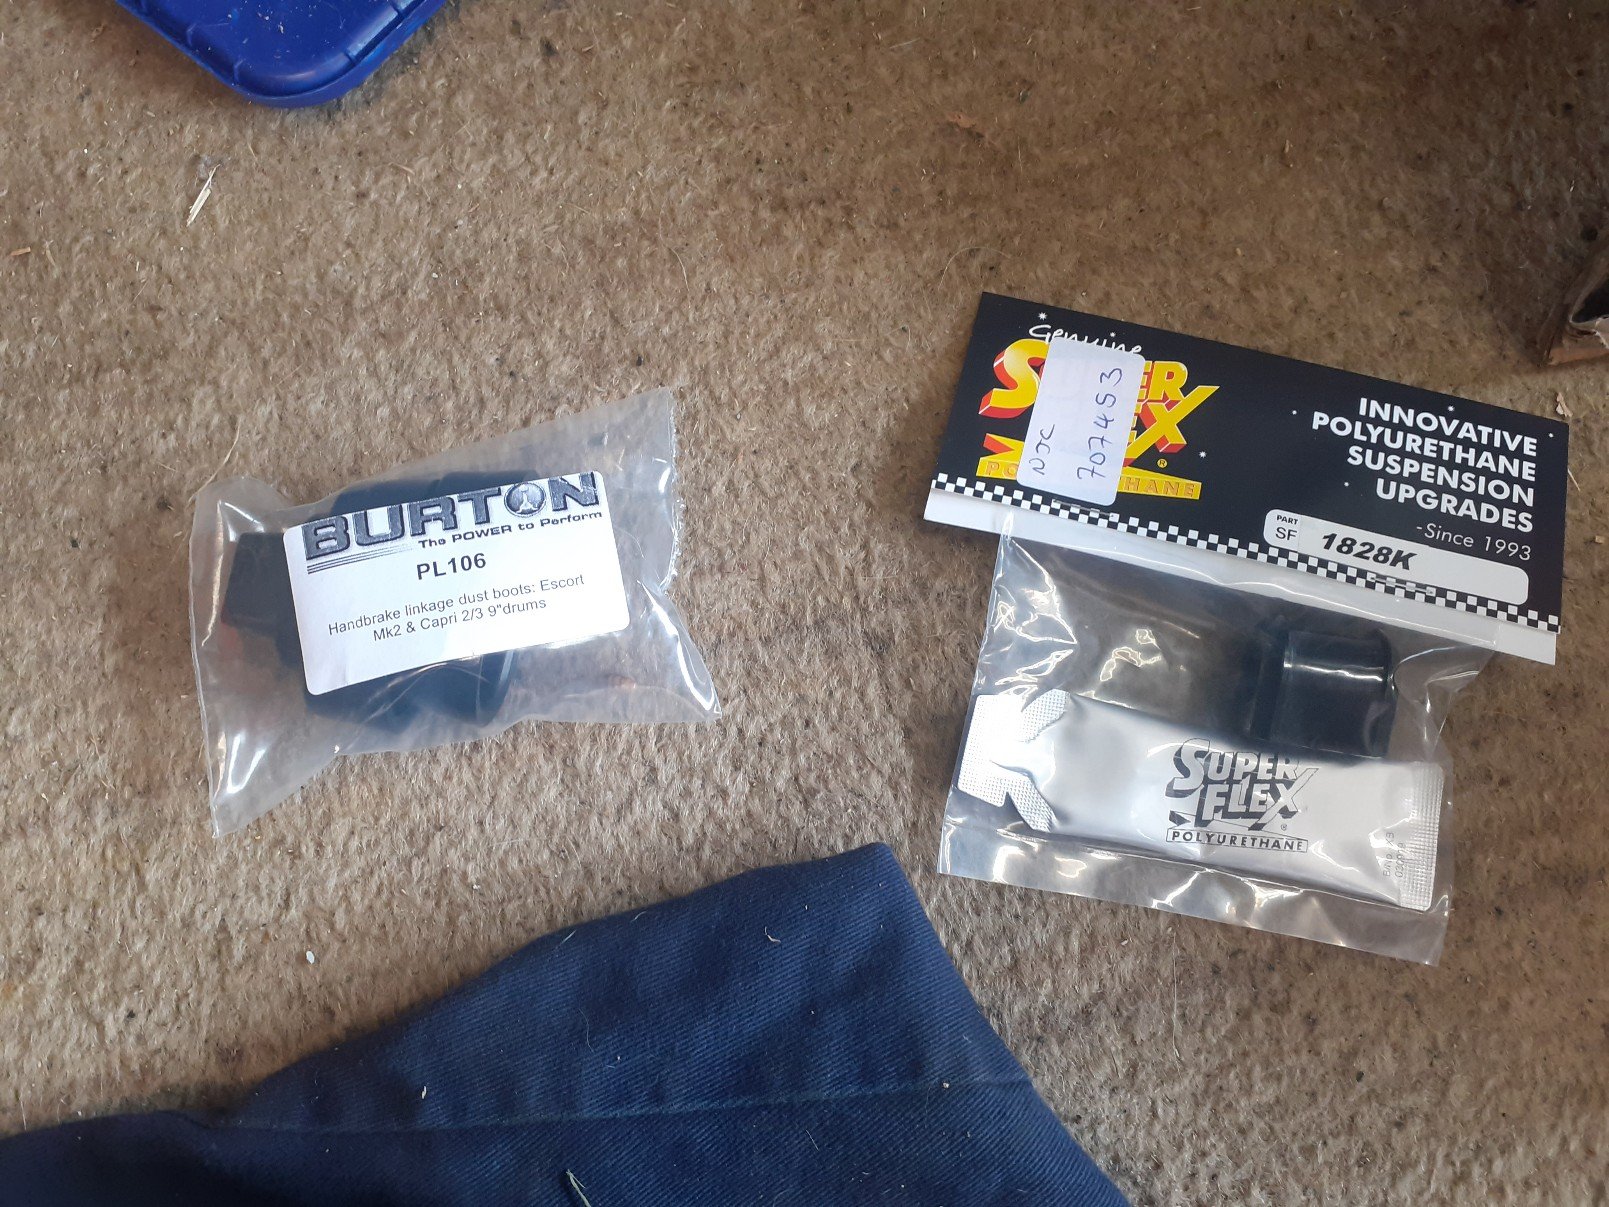
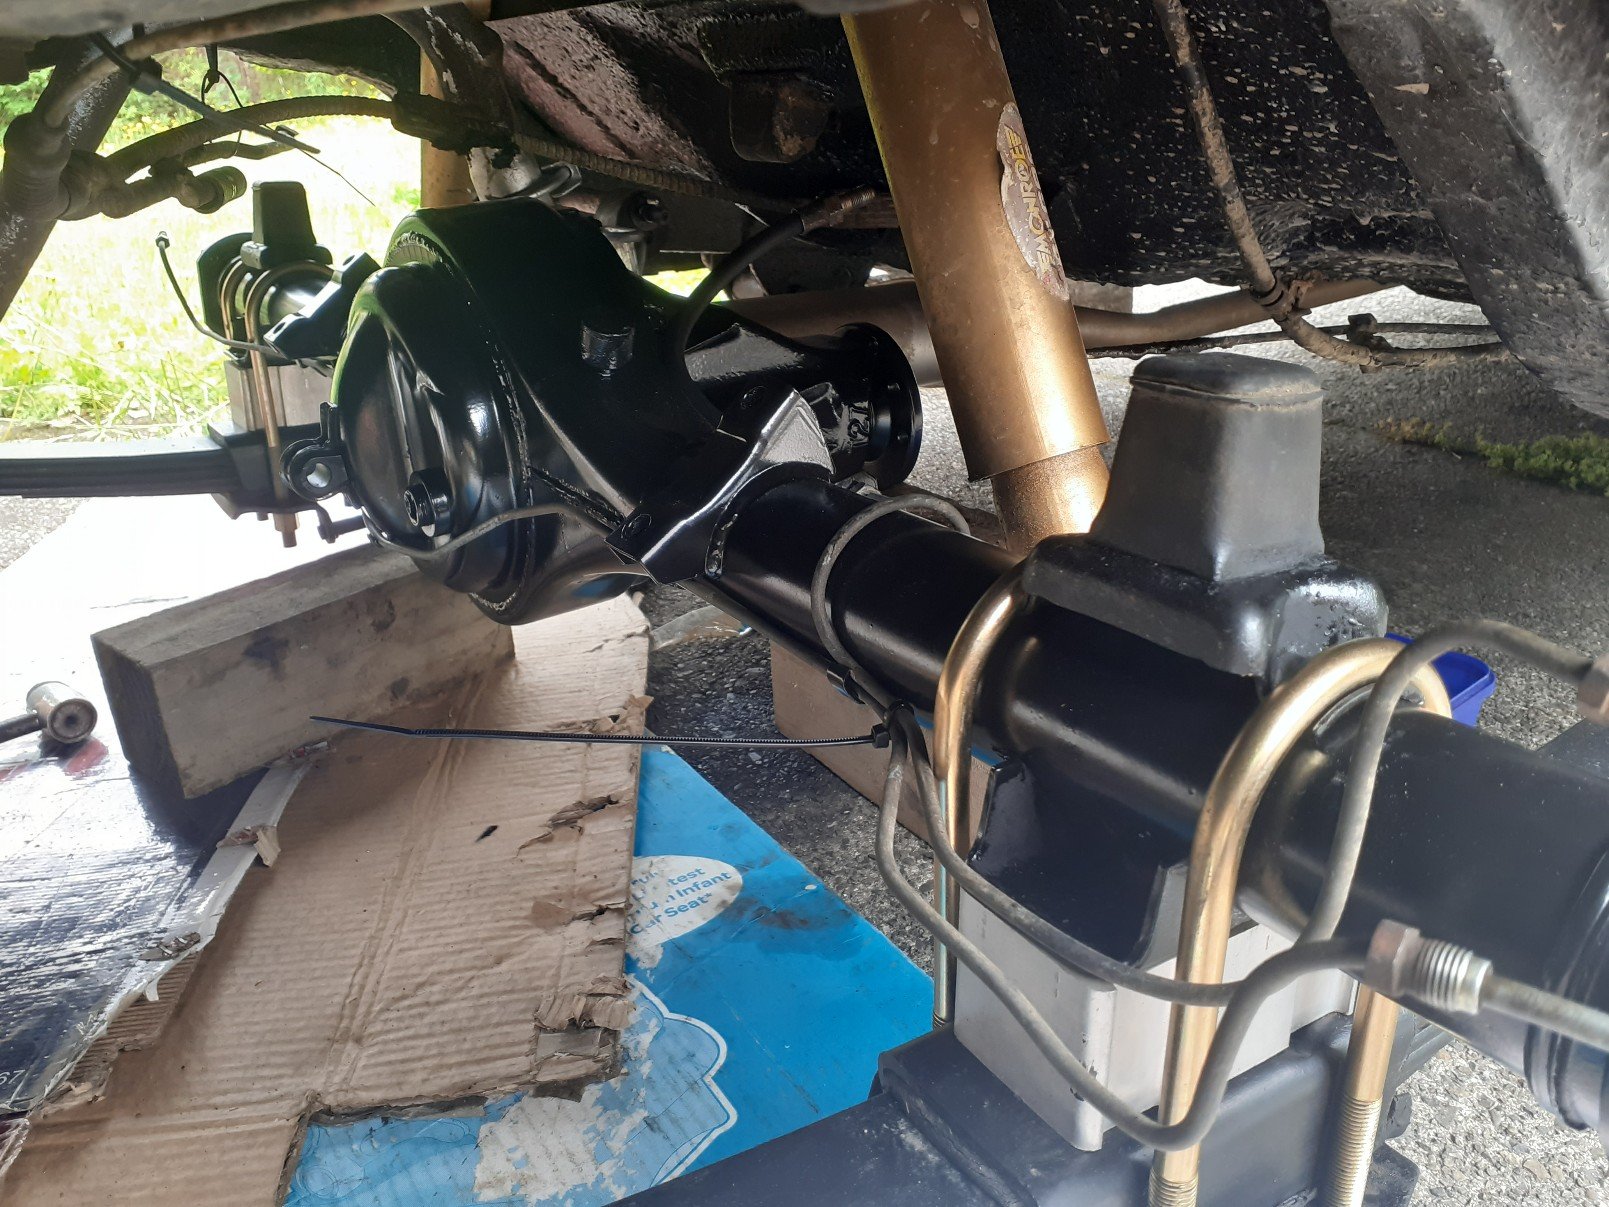
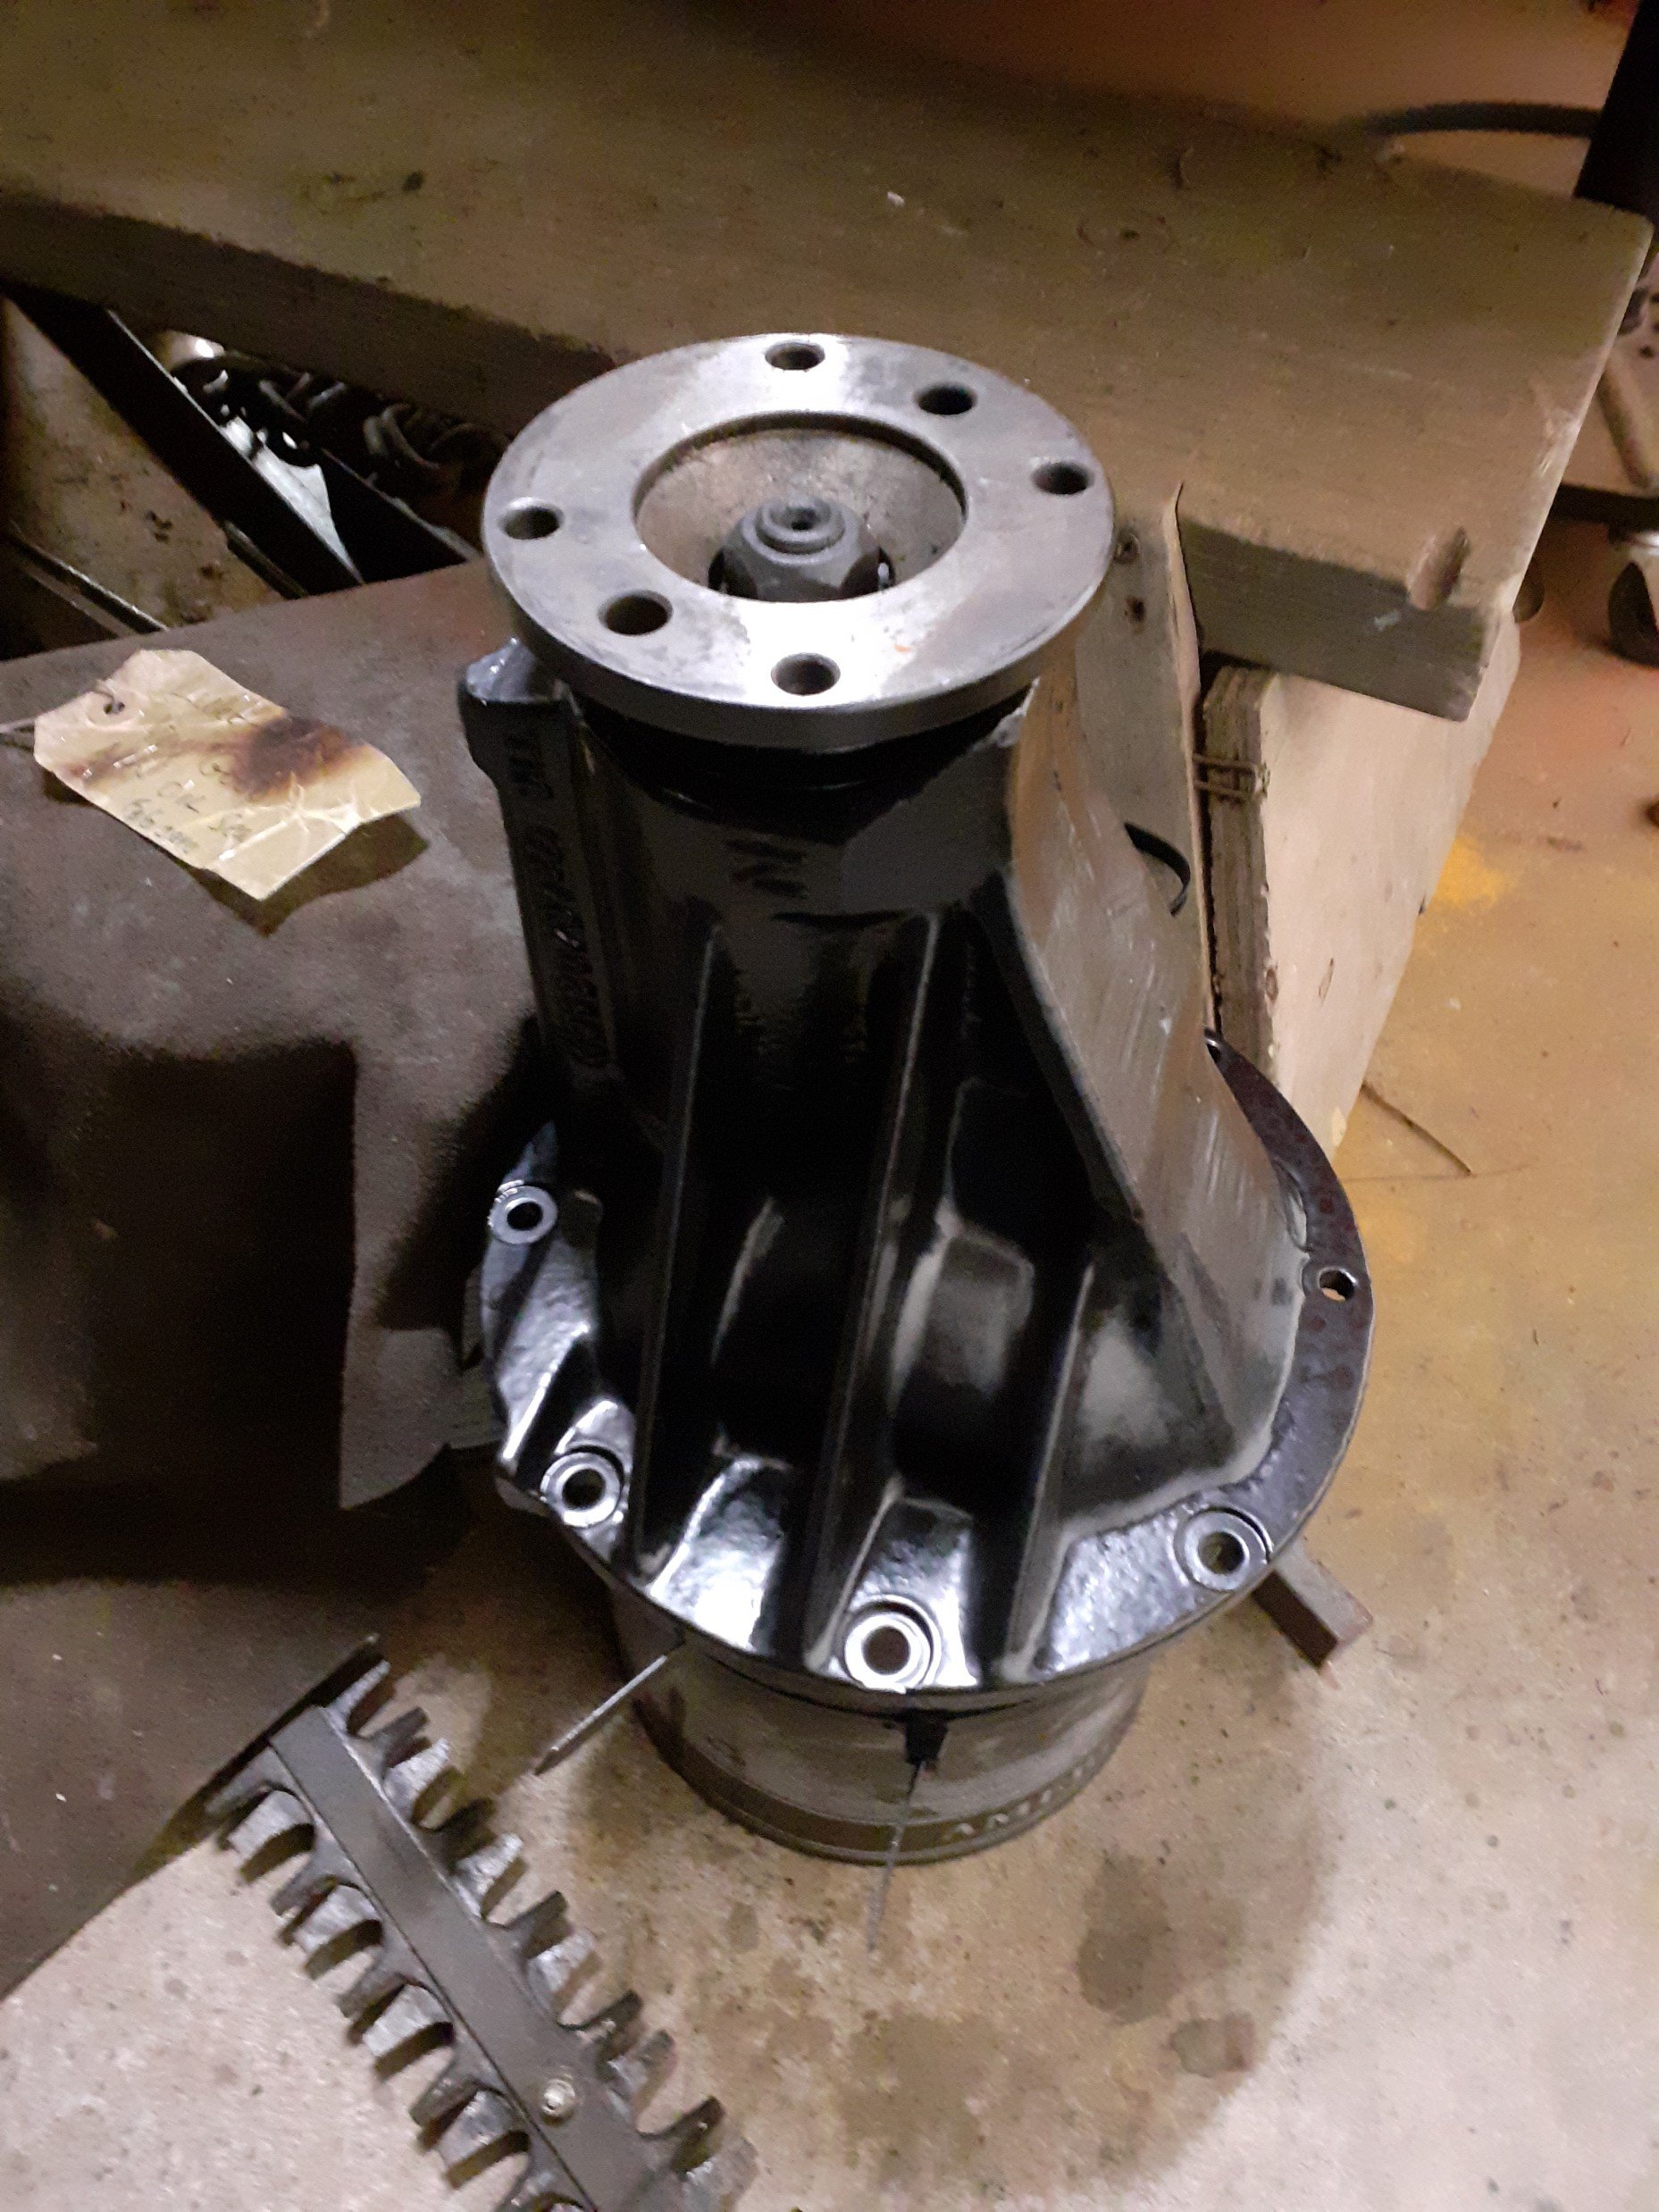
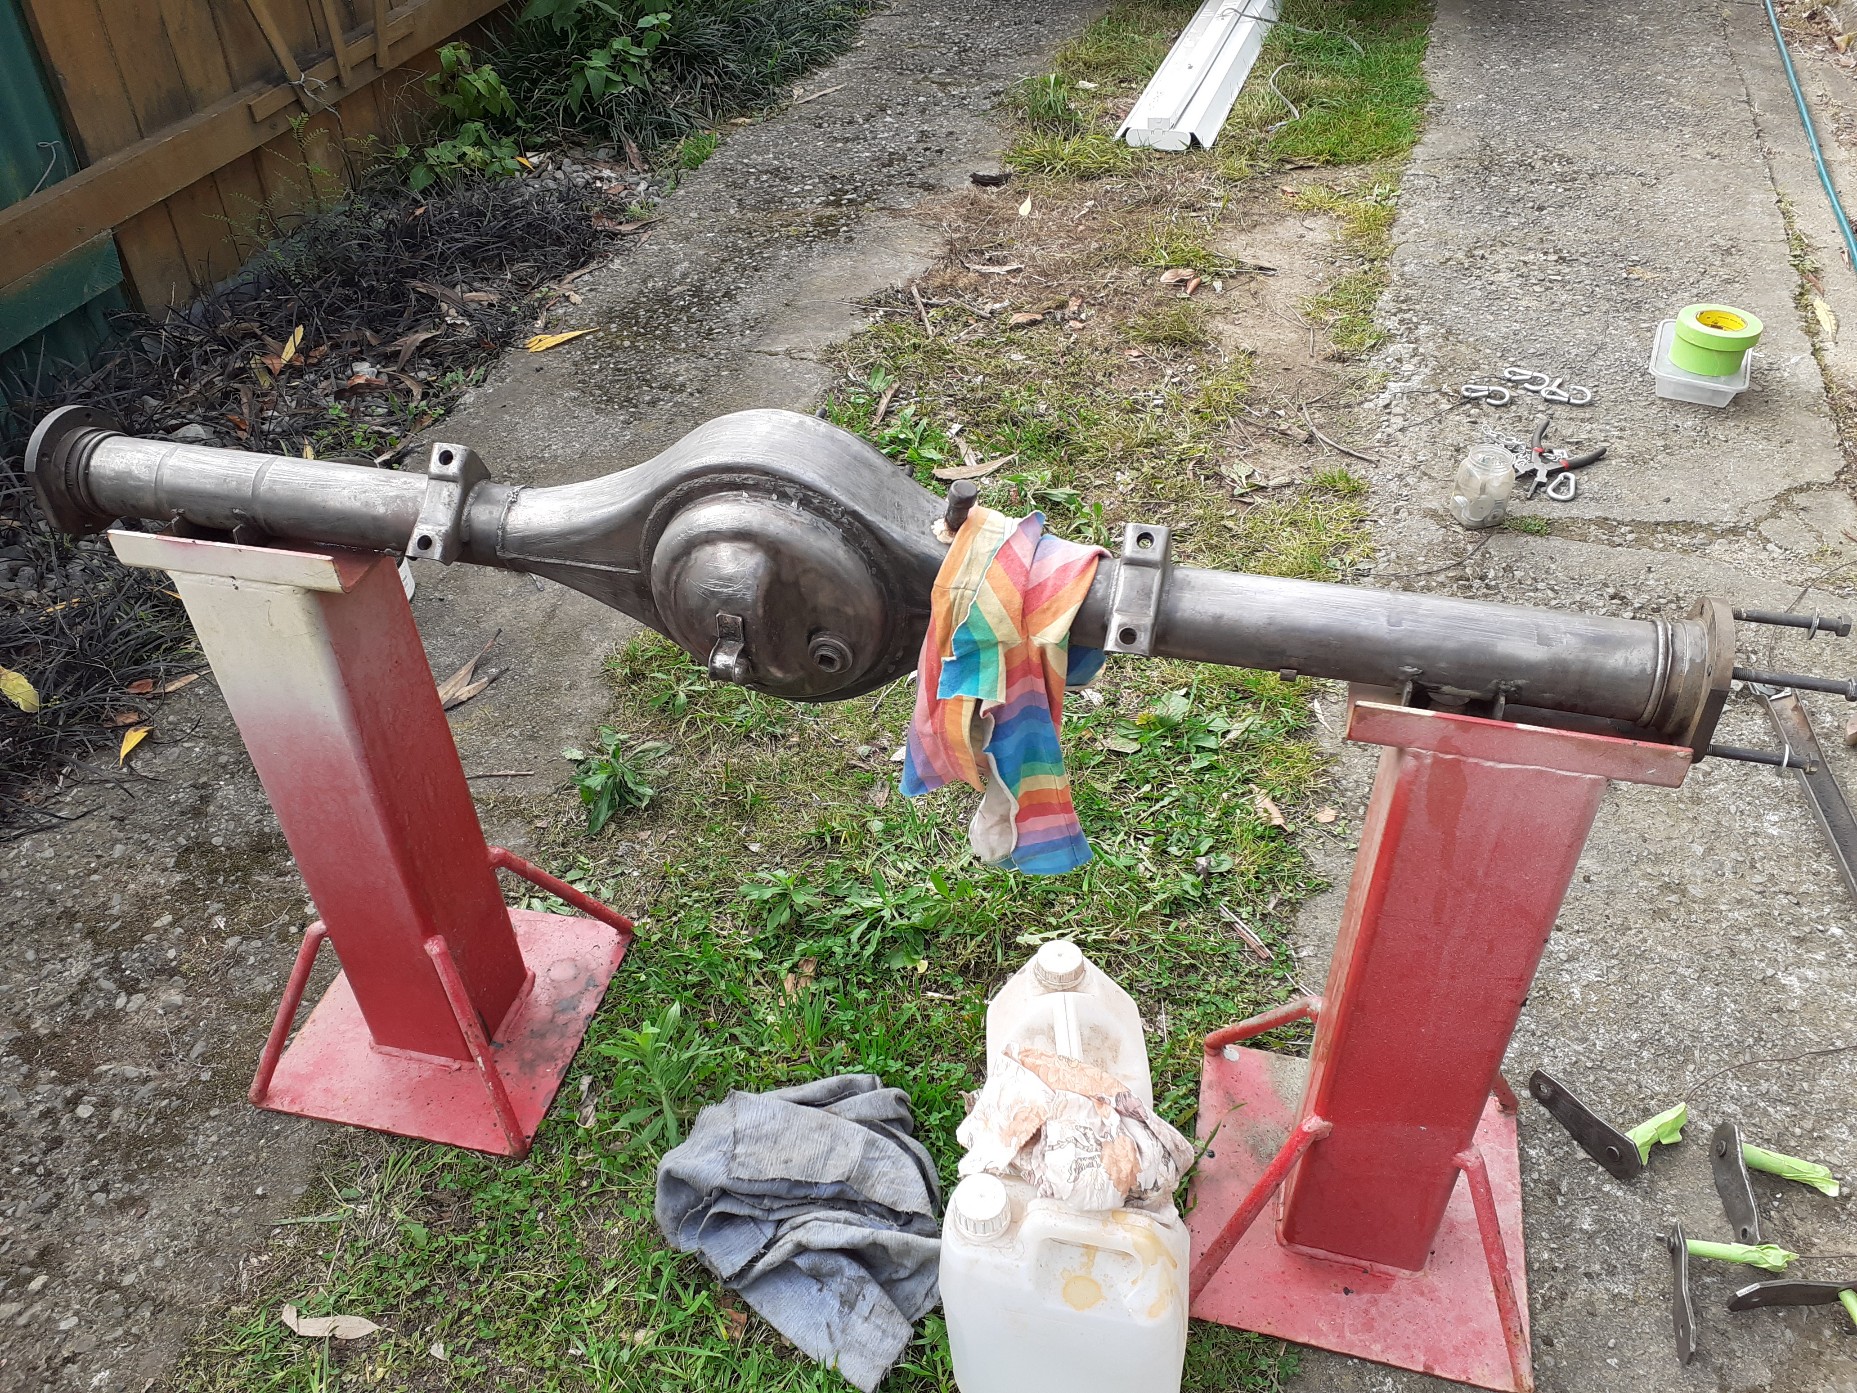
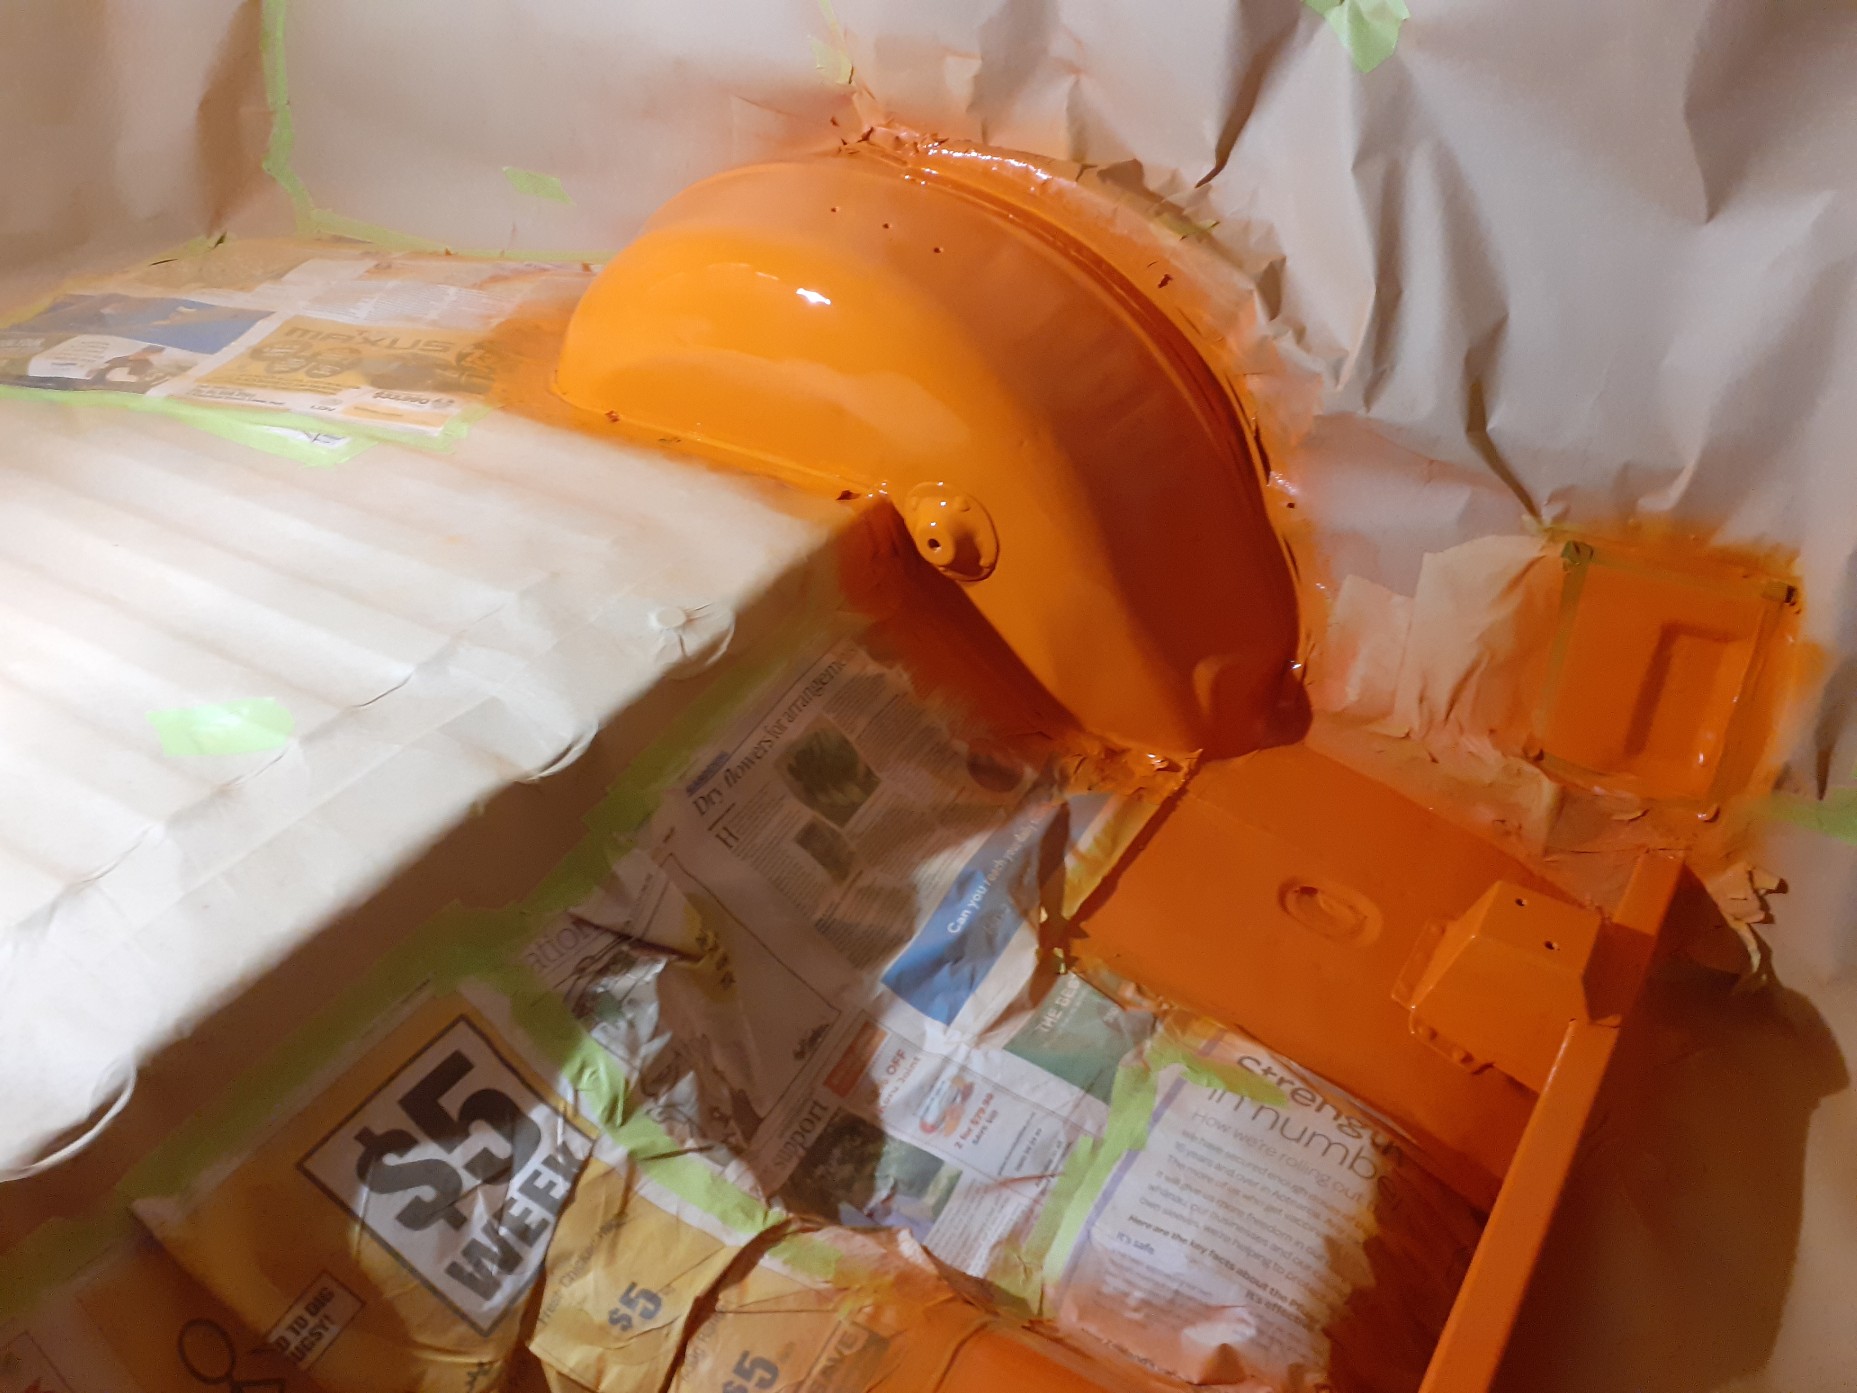
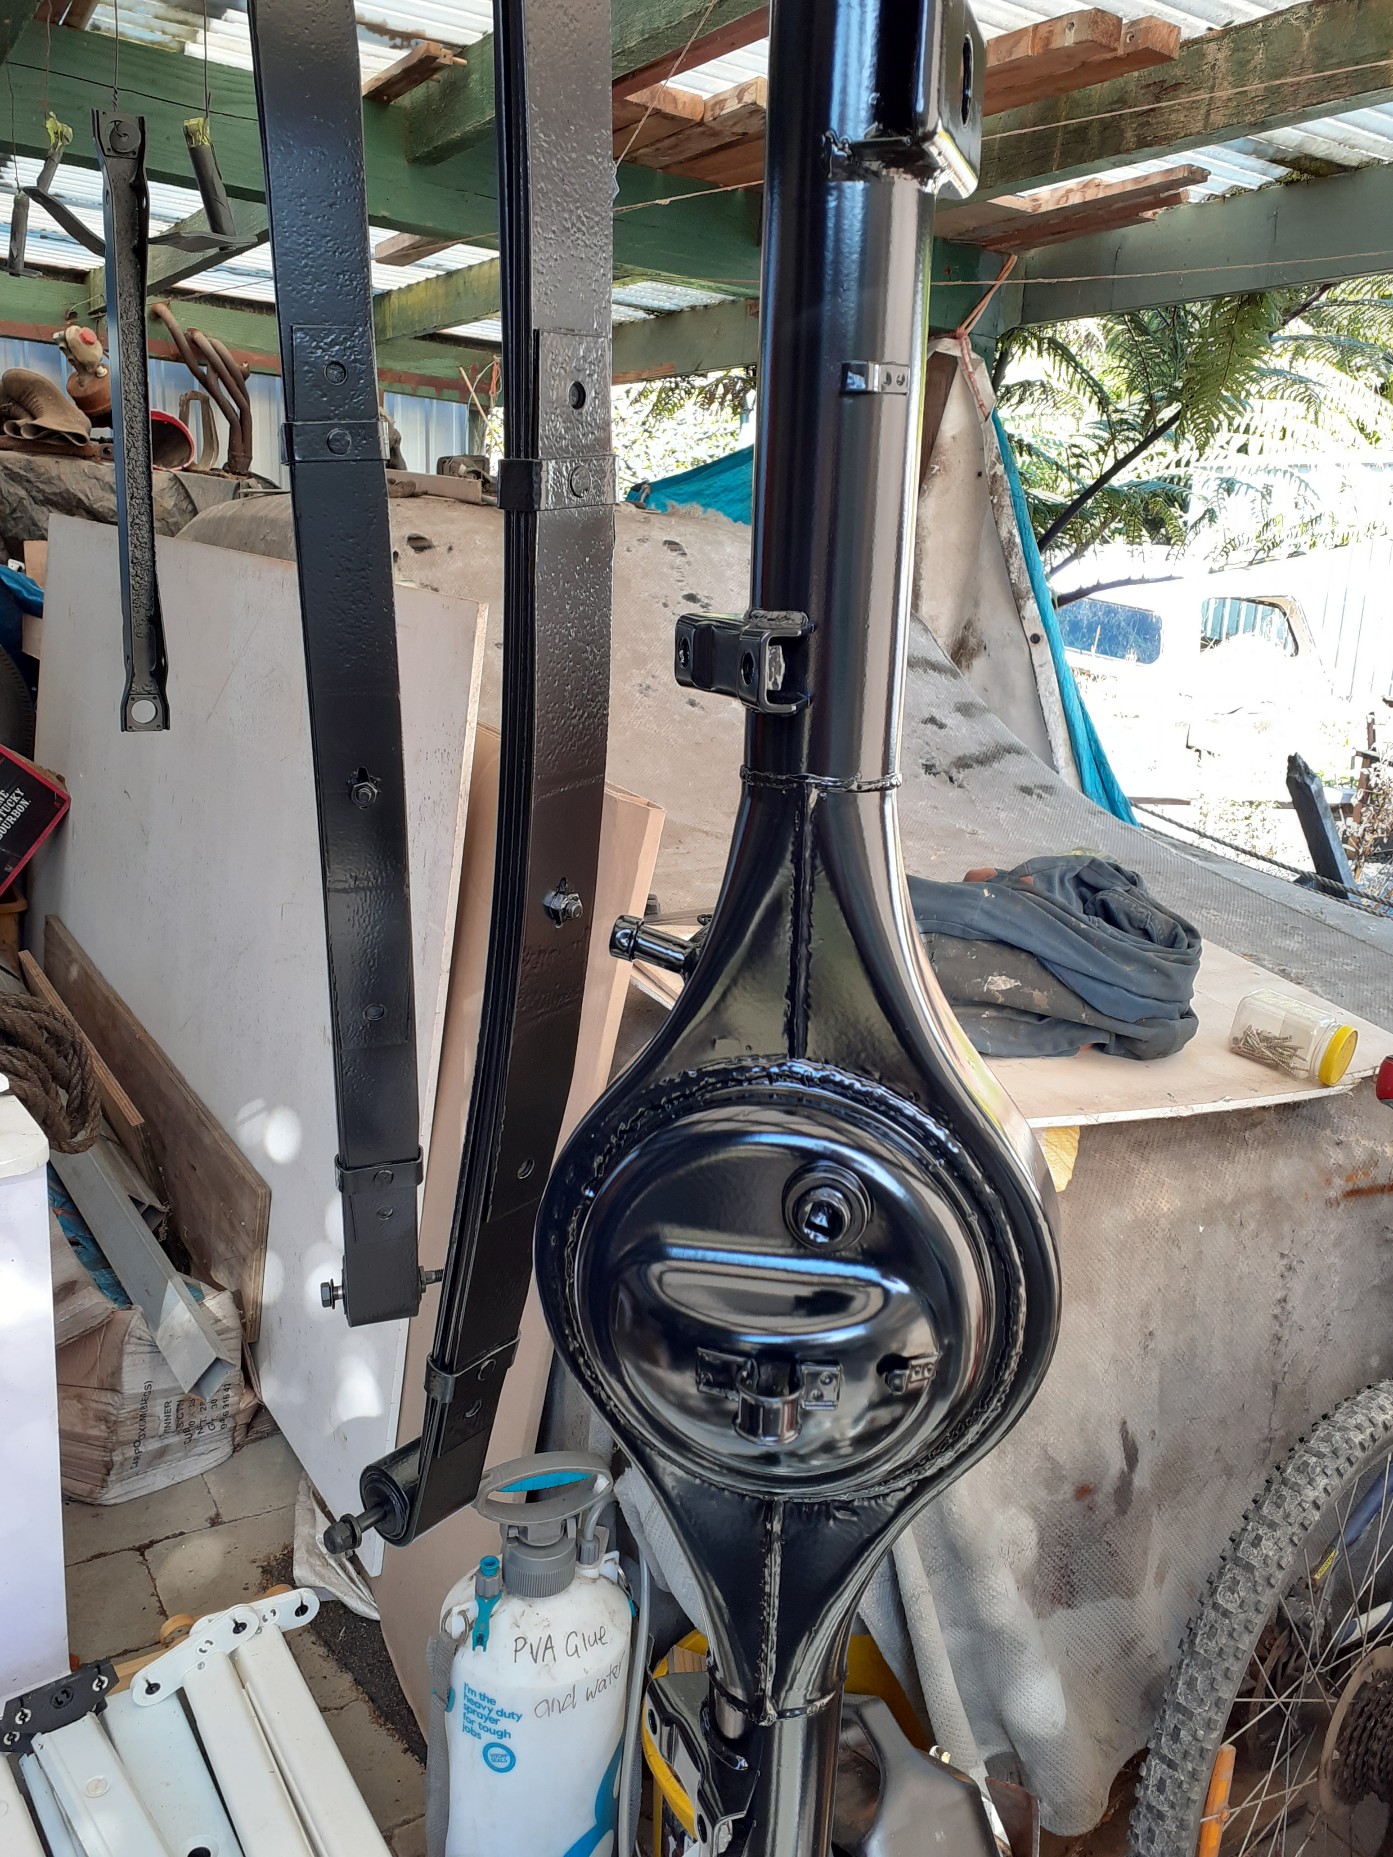
I purchased an entire rear end a couple months ago because I needed the axles for the orange van. The diff in this spare looked pretty good so a plan was hatched to clean it up and swap it into the blue van. The blue van's diff has always been a bit noisy, there was a fair bit of play and generally leaky. It was also the last piece to be addressed under the van. I ended up stripping the spare down to metal and spraying it in 2k. The brake backing plates were later stripped and also painted. I ended up using the original blue axles because they were the only spares I had. The seals and bearings looked and felt OK. I threw in some new handbrake dust covers and a new handbrake rod bush. I cleaned all the brake mechanics and spruced them up before assembly. The brake cylinders were replaced a few years ago so they were fine. Old vs new. Everything has been hooked back up. Just need to bleed the brakes before I can give it a test.
- 37 replies
-
- 19
-
-
Wellington Monthly Meet - Discussion thread
bmxnz11 replied to KKtrips's topic in Lower North Island Region
You the real mvp
-
Wellington Monthly Meet - Discussion thread
bmxnz11 replied to KKtrips's topic in Lower North Island Region
In for the toilet shenanigans -
Things are moving at a glacial pace. A family friend managed to bore the block to +40 and he's giving me a hand with building the motor up. He's an ex engine reconditioner who knows a few tricks. Ordered a bunch of parts from burton so once they arrive that should move things along. The crank is still standard size but will need maching out. Anyone have any recommendations for a crowd in welly? Also on the look out for a decent set of +40 1300 pistons.
- 104 replies
-
- 15
-
-
-
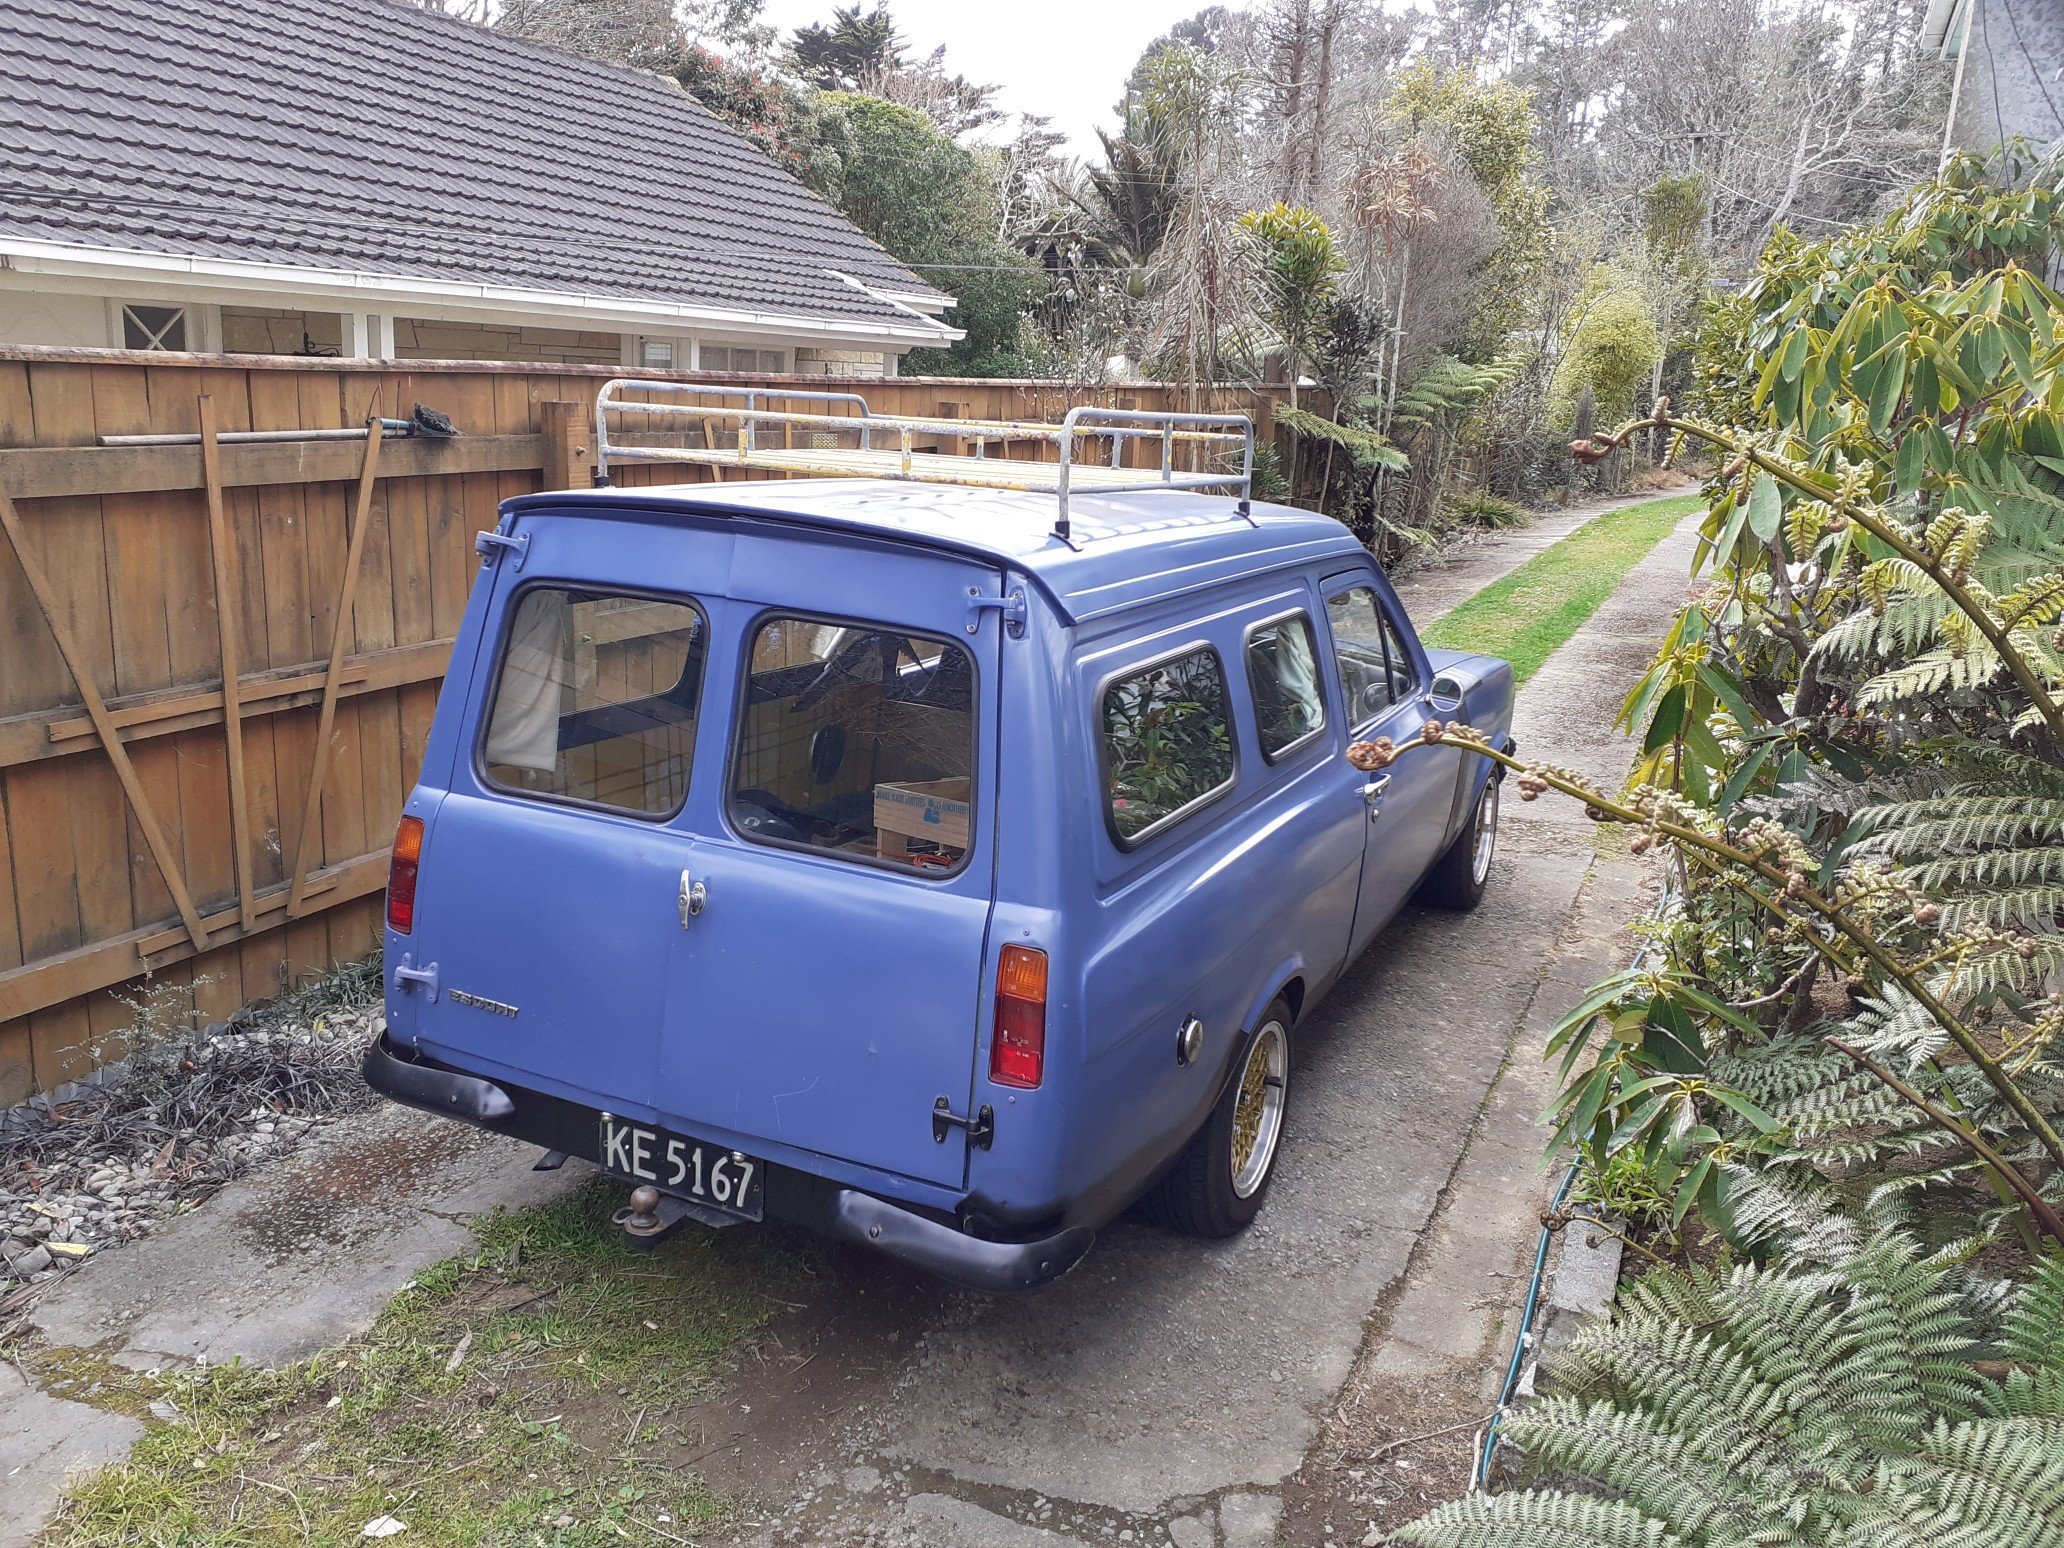
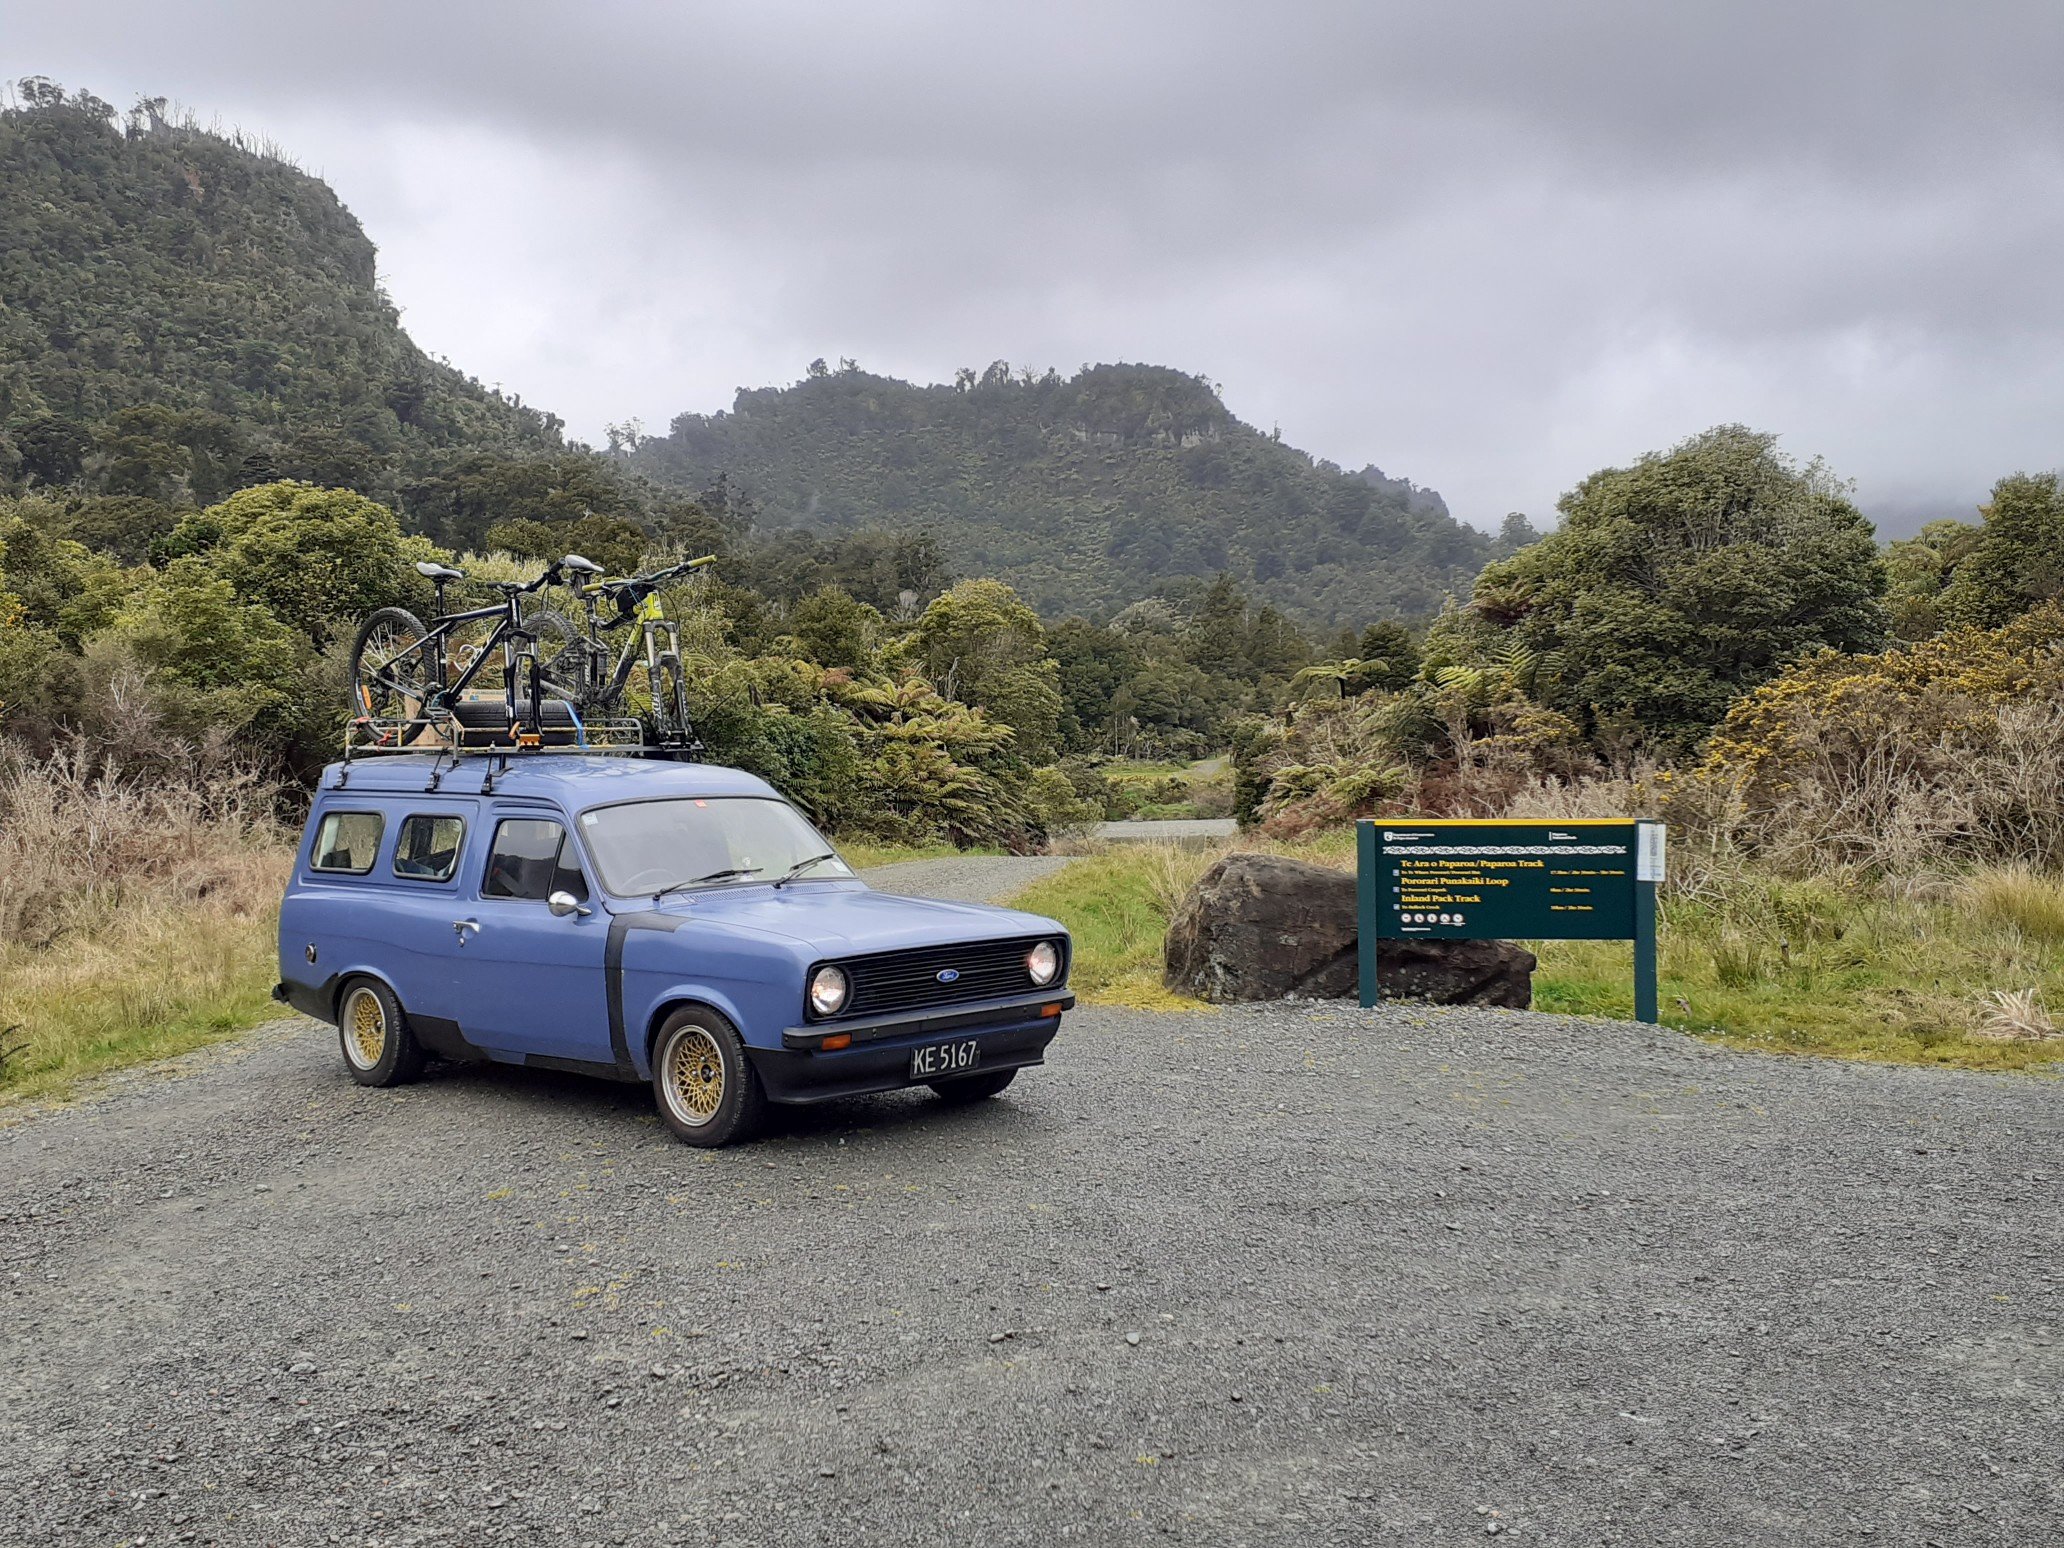
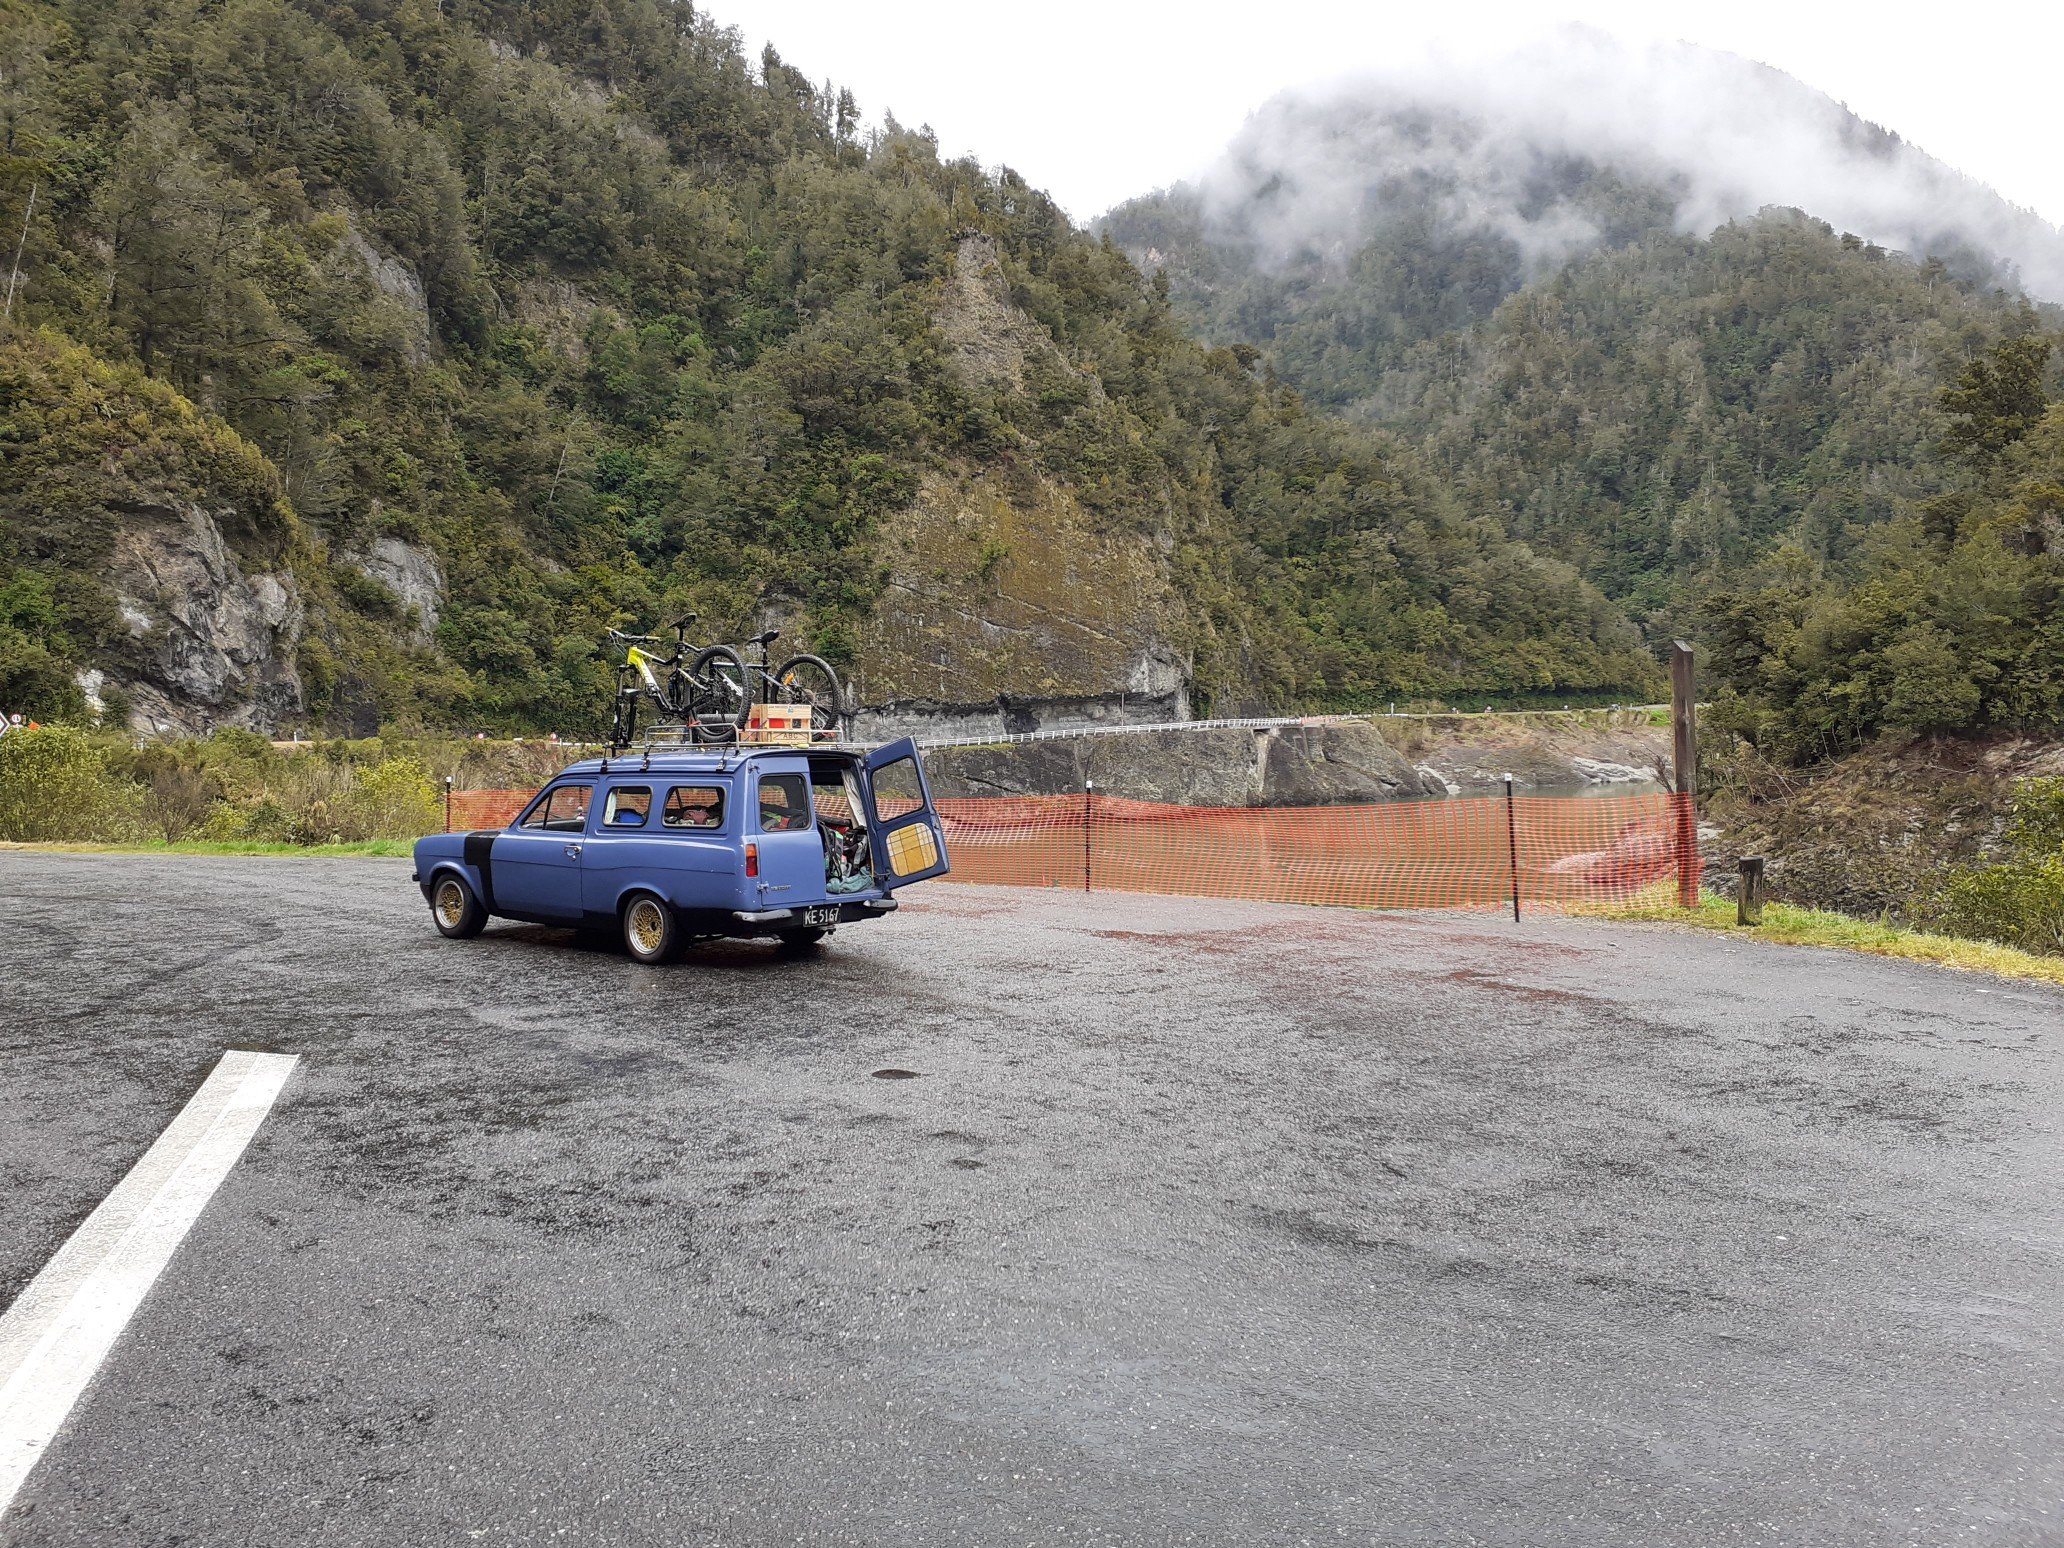
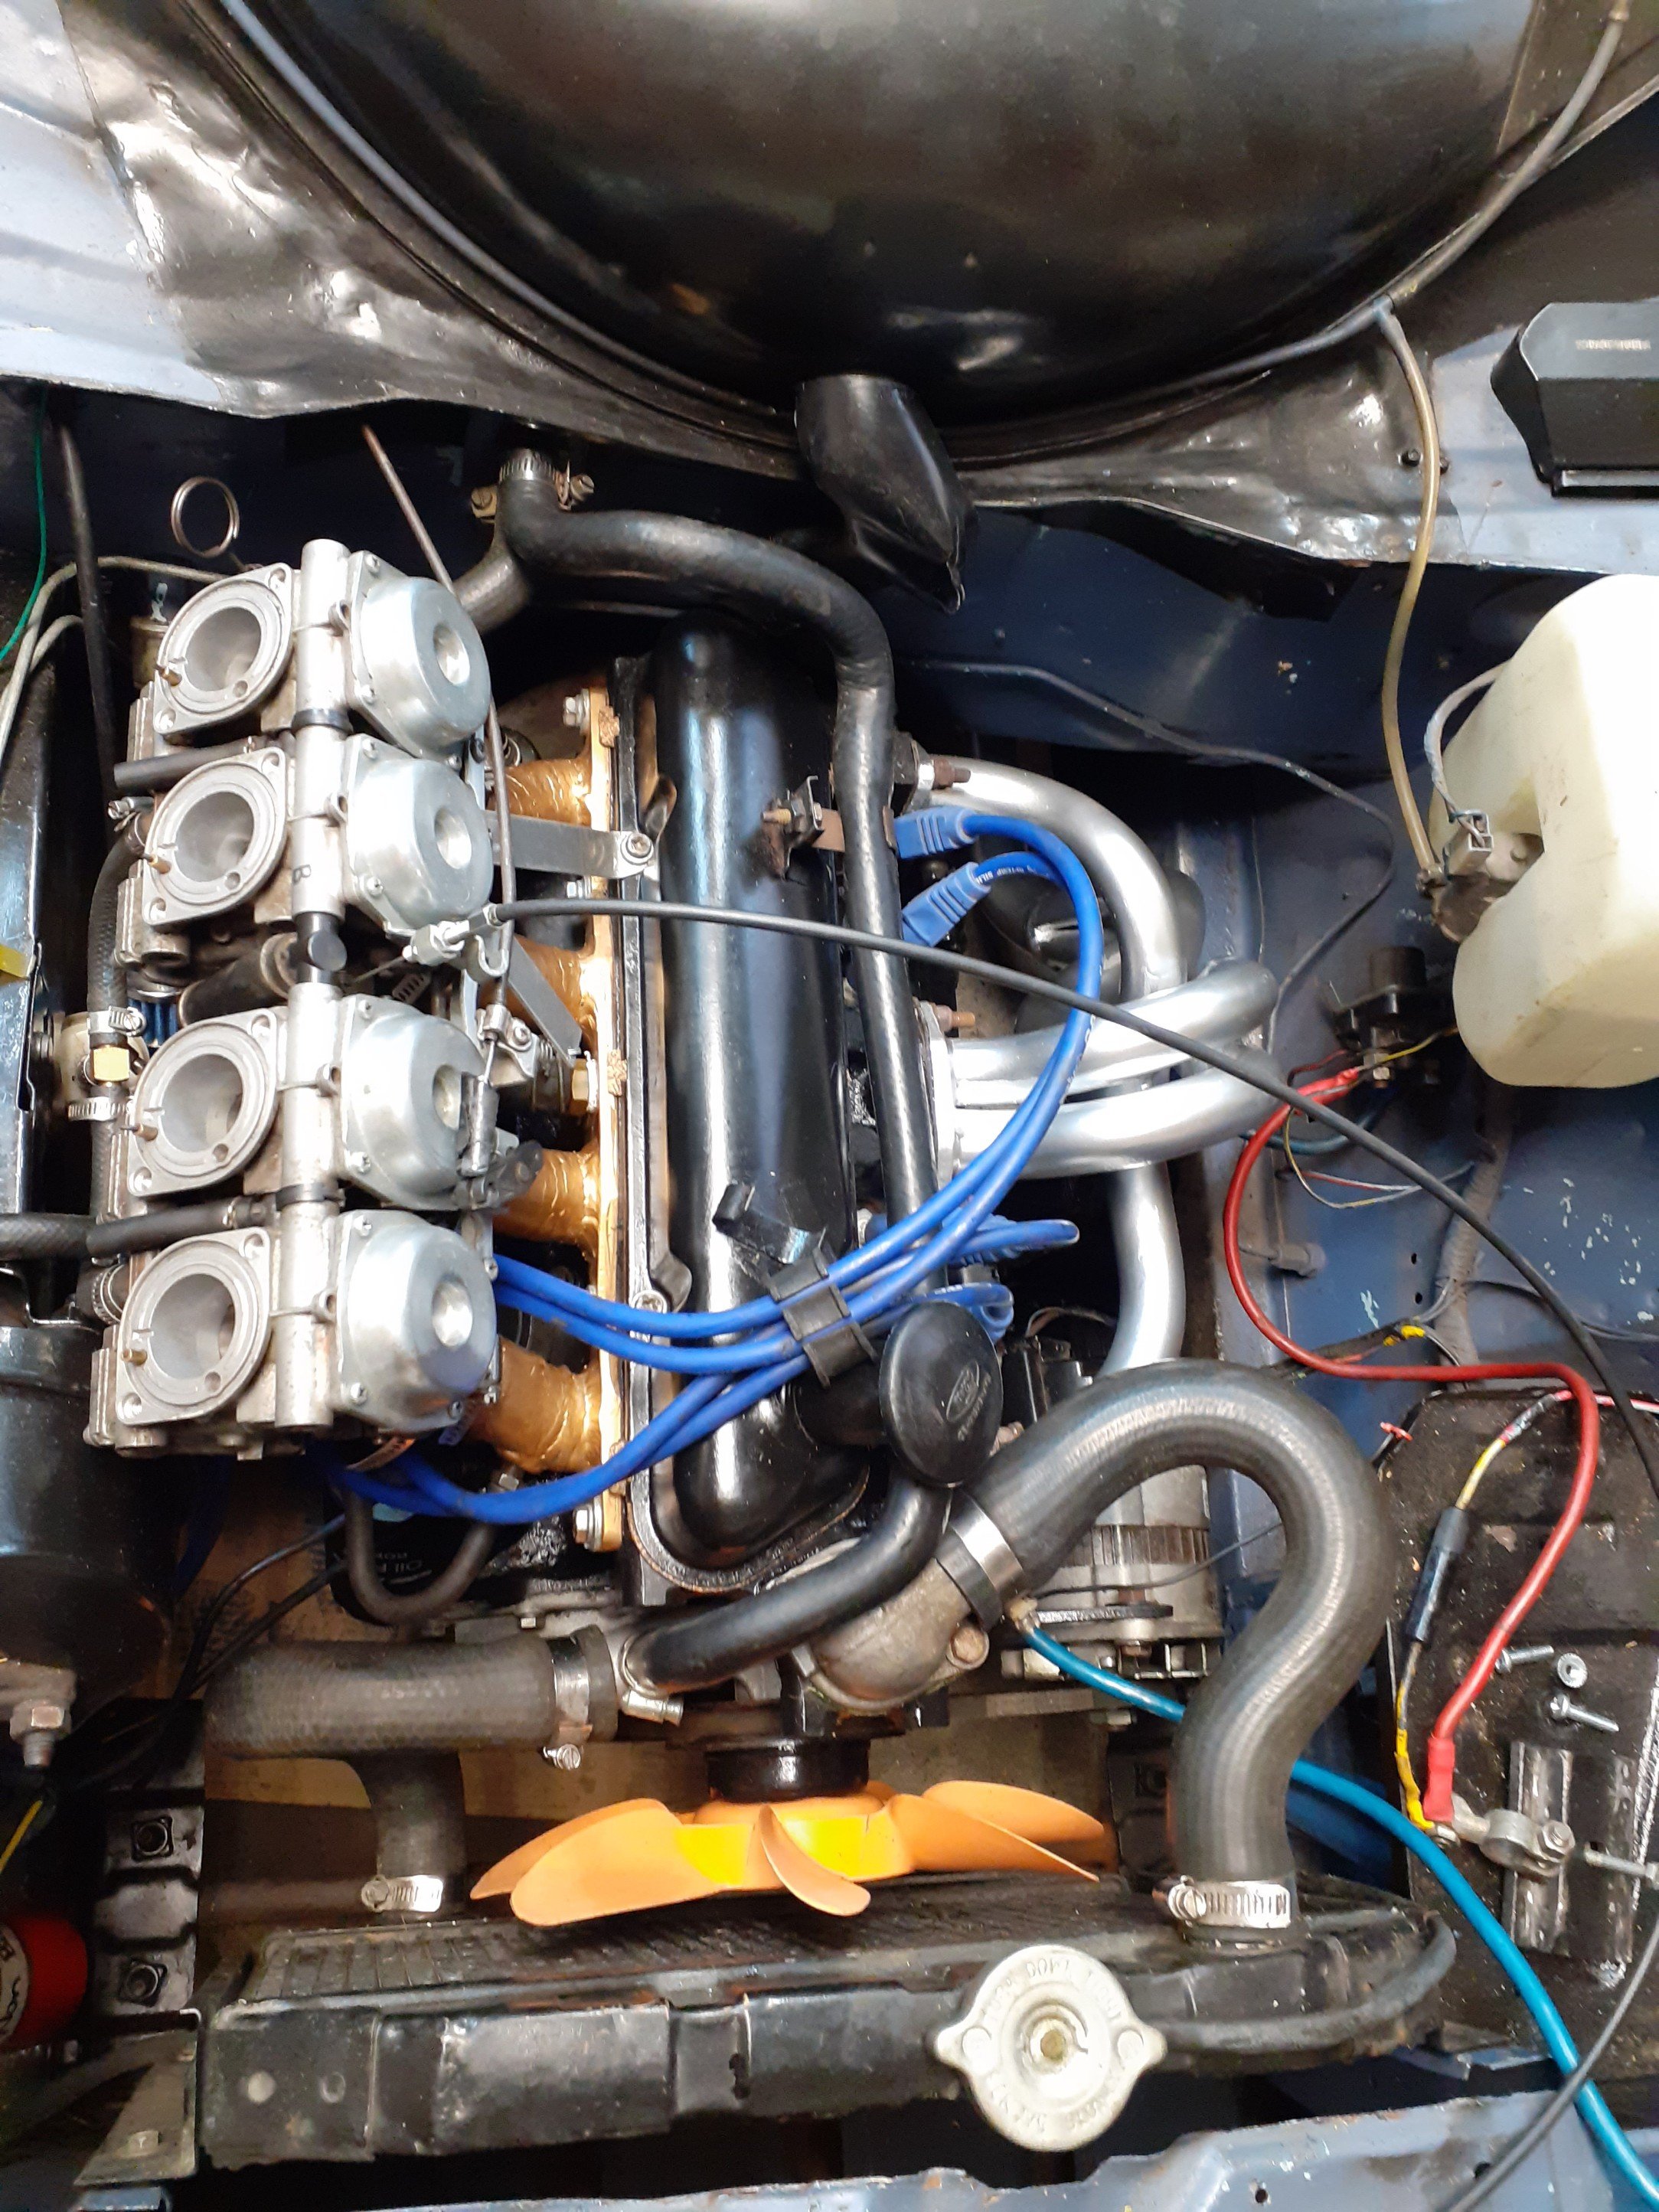
I put the bike carbs back on and ran it up to the palmy swapmeet but on the way back it developed a strange misfire/stutter at constant throttle. I checked a few things before admitting defeat and putting the standard carb on again. I took it all apart and gave it a good clean with a diy ultra sonic cleaner but the stutter was ever present but not as bad? I didn't have time to investigate it too much as I had a roadtrip booked with it down to the west coast for a bike ride. I wanted to mount my bike on the roof for a couple reasons. It would free up all the space in the back, plus it meant I wouldn't have to worry about dragging all the mud and crap in. Using a tow bar bike rack is OK but meant I would have to take the bike and rack off everything I needed to get into the rear. I couldn't find anything suitable for the roof so I was determined to make my own. A visit to grandad one day and he casually mentions his old roof rack is in his shed at home and had been for 40 odd years. A quick look in the exact spot and what do you know. Grandad had this rack years ago on his mk1 zephyr. Under all the new paint, there's the zephyr green which he painted to match. Fitted it up to to van and it was perfect. I made new feet and gutter mounts out of old folder dividers from a file cabinet (not pictured) to mount it. The rack was too short to fit my bike in so I made a front bar out of an old rusty piece of angle iron and used some tubing from an old exercycle to make a dummy axle to mount the forks too. Perfect for the parts bin van. The 1,300km west coast trip went well. The roof rack survived, even when I forgot about the bikes and took a branch off. Luckily it was at low speed and the tree was mostly dead. I lost one alternator bolt, a second came loose, front left suspension has decided to start knocking, discovered a couple of leaks under the dash and with all our gear we were riding bump stops some of the way. Success.
- 37 replies
-
- 34
-
-
-
Wellington Monthly Meet - Discussion thread
bmxnz11 replied to KKtrips's topic in Lower North Island Region
Heading away Friday so Thursday will be max panic packing. -
Had my block machined out to 40thou. Does anyone have any 1300 +40 pistons they would like to sell me? Will get the crank sorted too if anyone knows a hutt valley based place who's good to deal with.
-
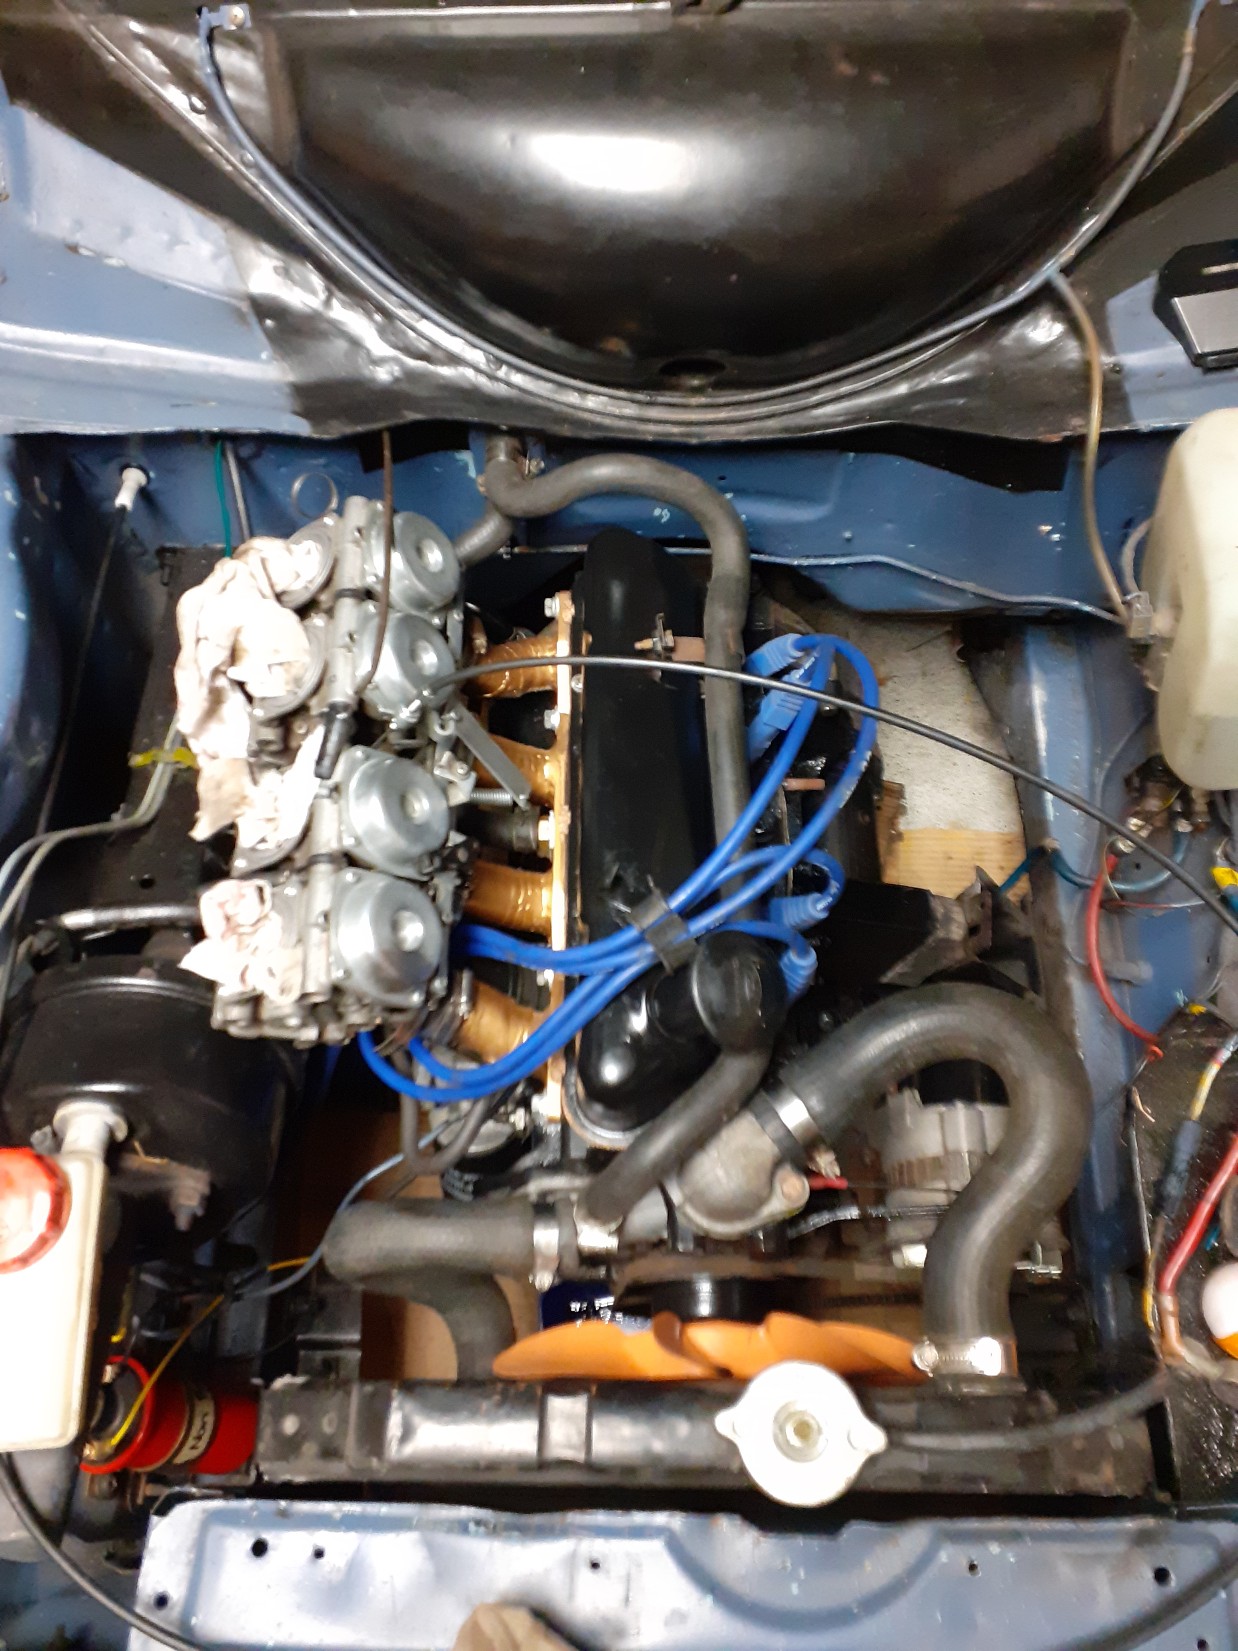
After triple checking my timing and putting the standard carb back on, it still wouldn't fire up. I checked the tappet clearances and noticed the exhaust was very tight at tdc and therefore 'open'. I checked and had to adjust all the exhaust tappets. Turns out none of the exhaust tappets were ever fully closing and therefore I never had a sealed chamber at tdc! Next pop it started up and idled great. I picked this up as a runner, but no idea how that could have been. I'll recheck the tappets another day when its warmed up and do a compression check. Oh well. Proved it wasnt the bike carbs, so they'll go back on tomorrow.
- 37 replies
-
- 22
-
-
Slowly been chipping away at bits. Have cleaned up and painted most the underside parts. Still trying to find some good axles so I can build the rear end and attach it to the van. Looks like I will have to get the axles resplined by a local engineer. Pulled the heater box apart to check it all out. Need to find/make a new resistor? So I get the 2 fan speeds, then that can be reassembled.
- 104 replies
-
- 13
-
-
New gearbox seal, cleaned up and painted the exhaust with heat stuff. Having trouble firing it up. Have spark, air and fuel to the carbs. Bit hard to see if the fuels getting pulled in, we've tried pouring fuel down the throats but it still wont ignite. Confirmed I'm not 180 by looking under the rocker cover and rotating the motor over. Starting to think the timing mark on the crank pulley is not the correct mark. Will take the rocker cover off again and double check everything lines up where it should.
- 37 replies
-
- 11
-
-
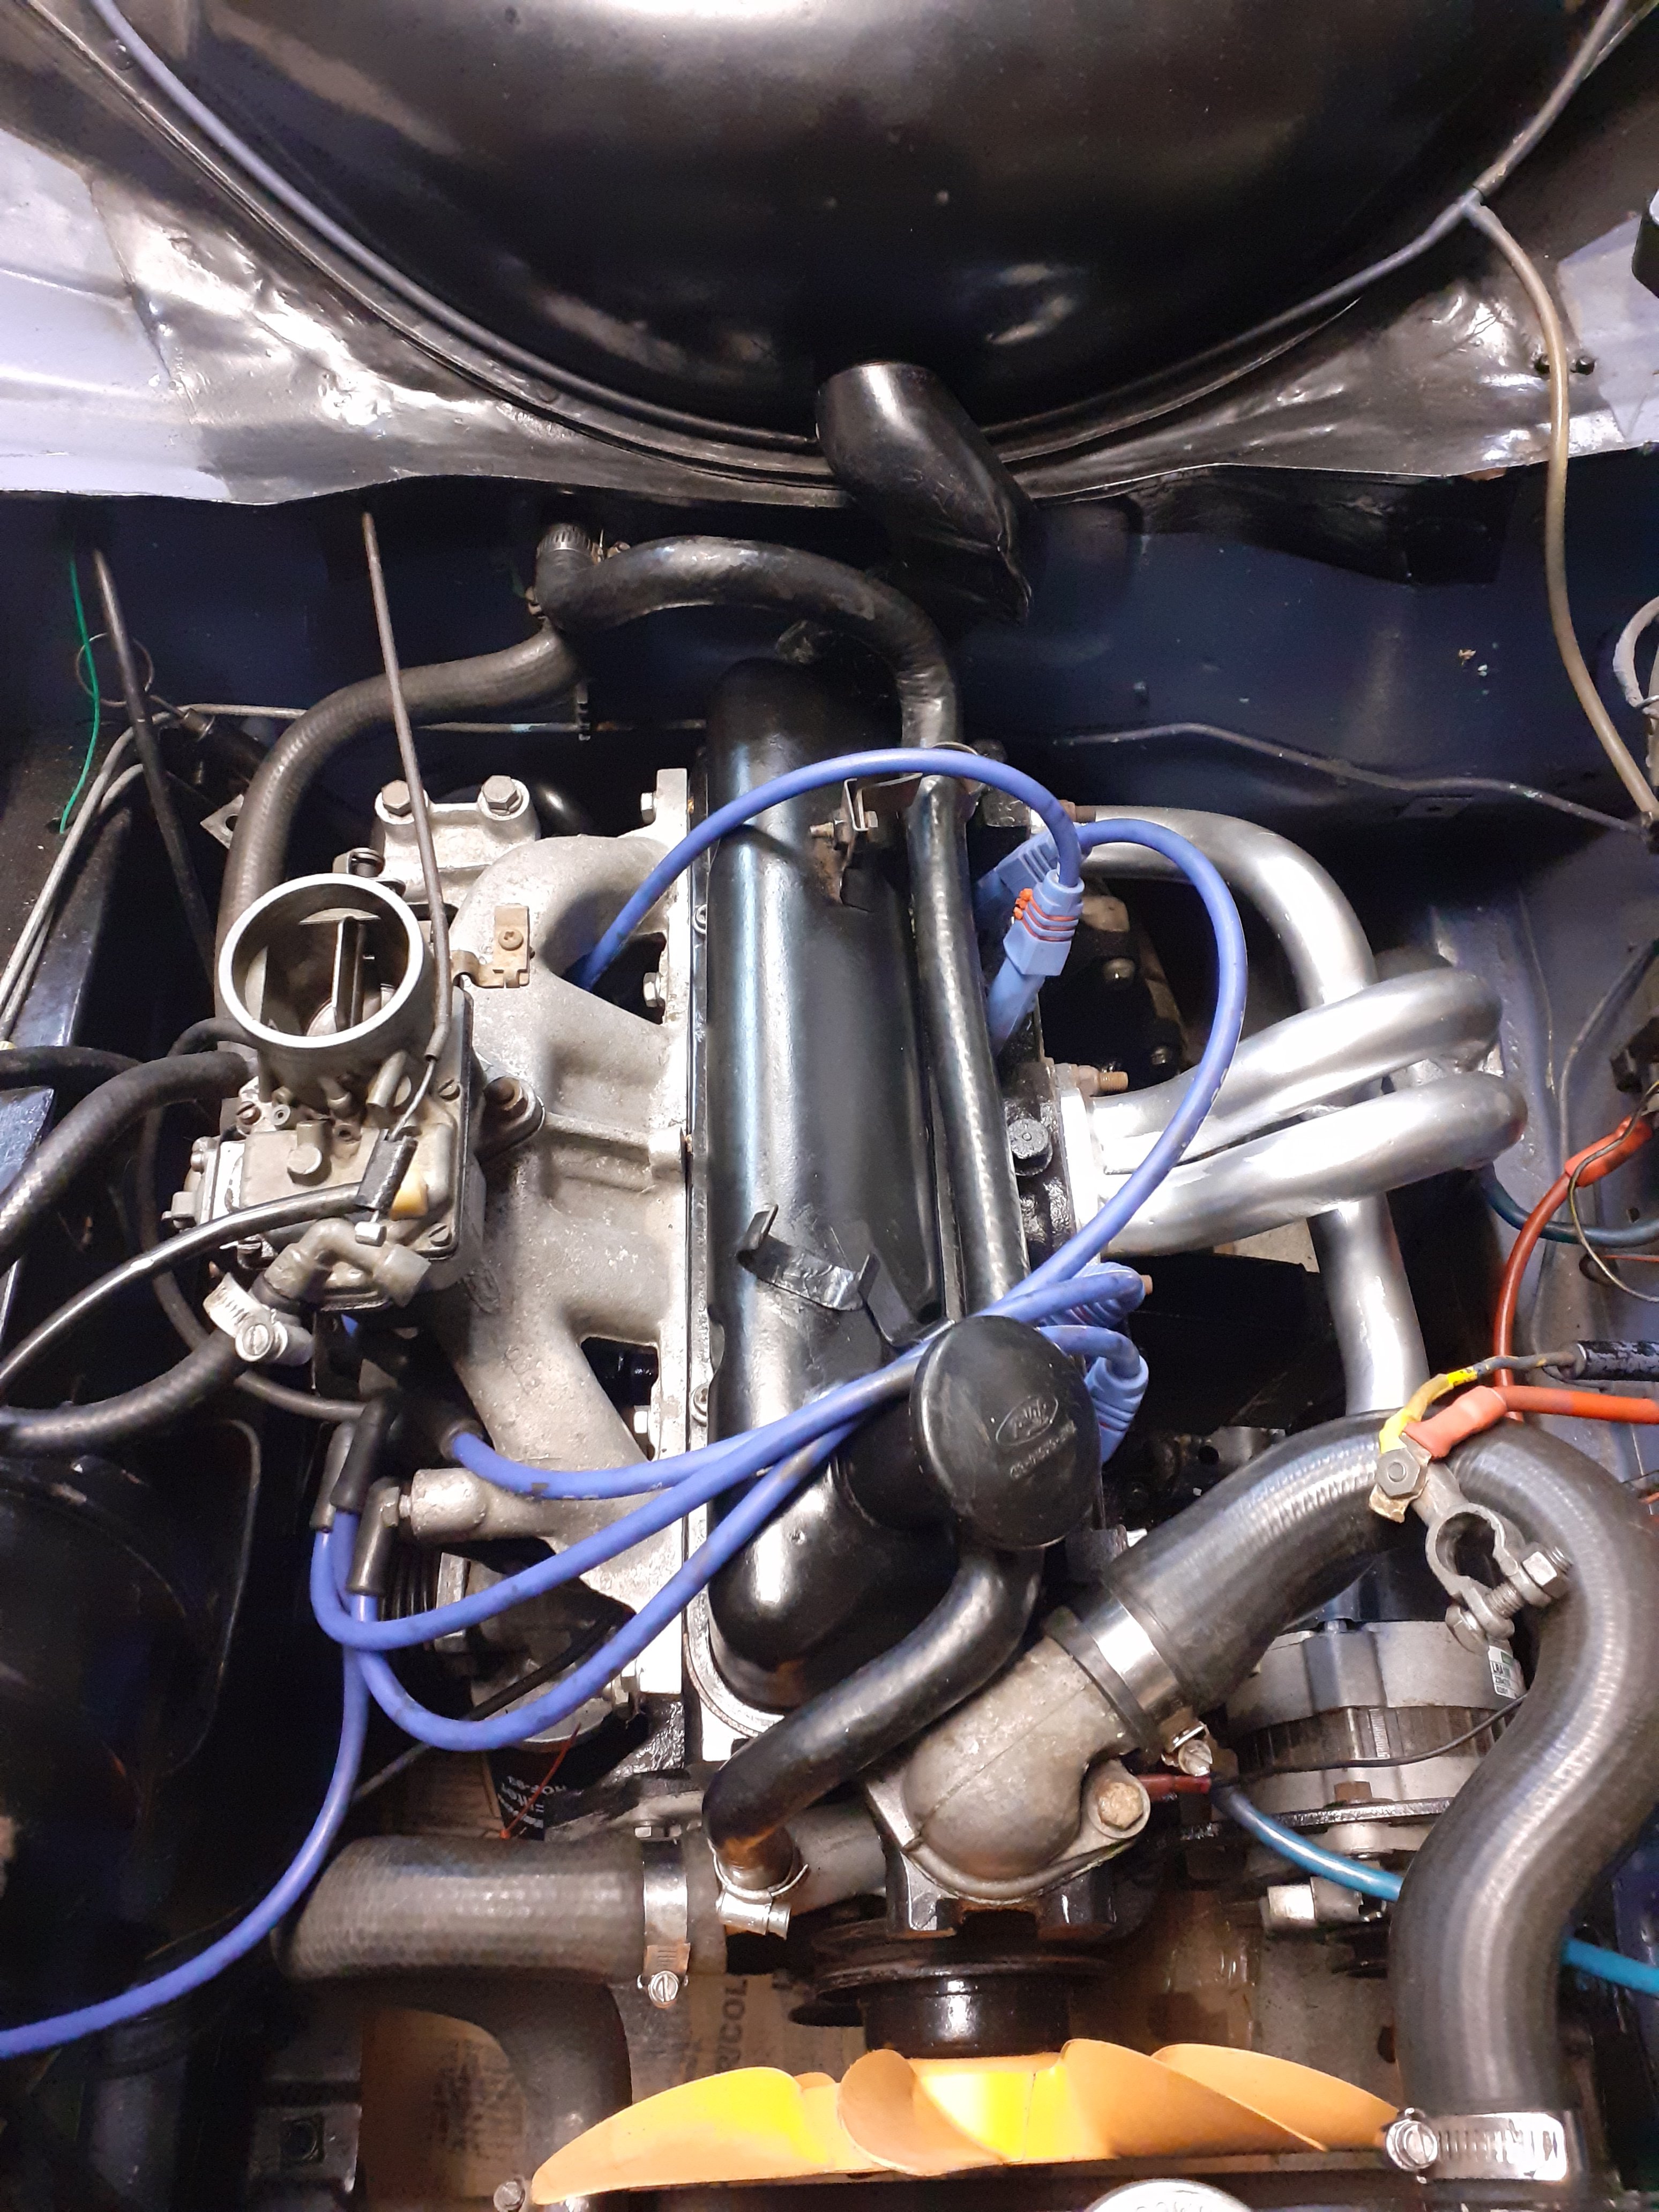
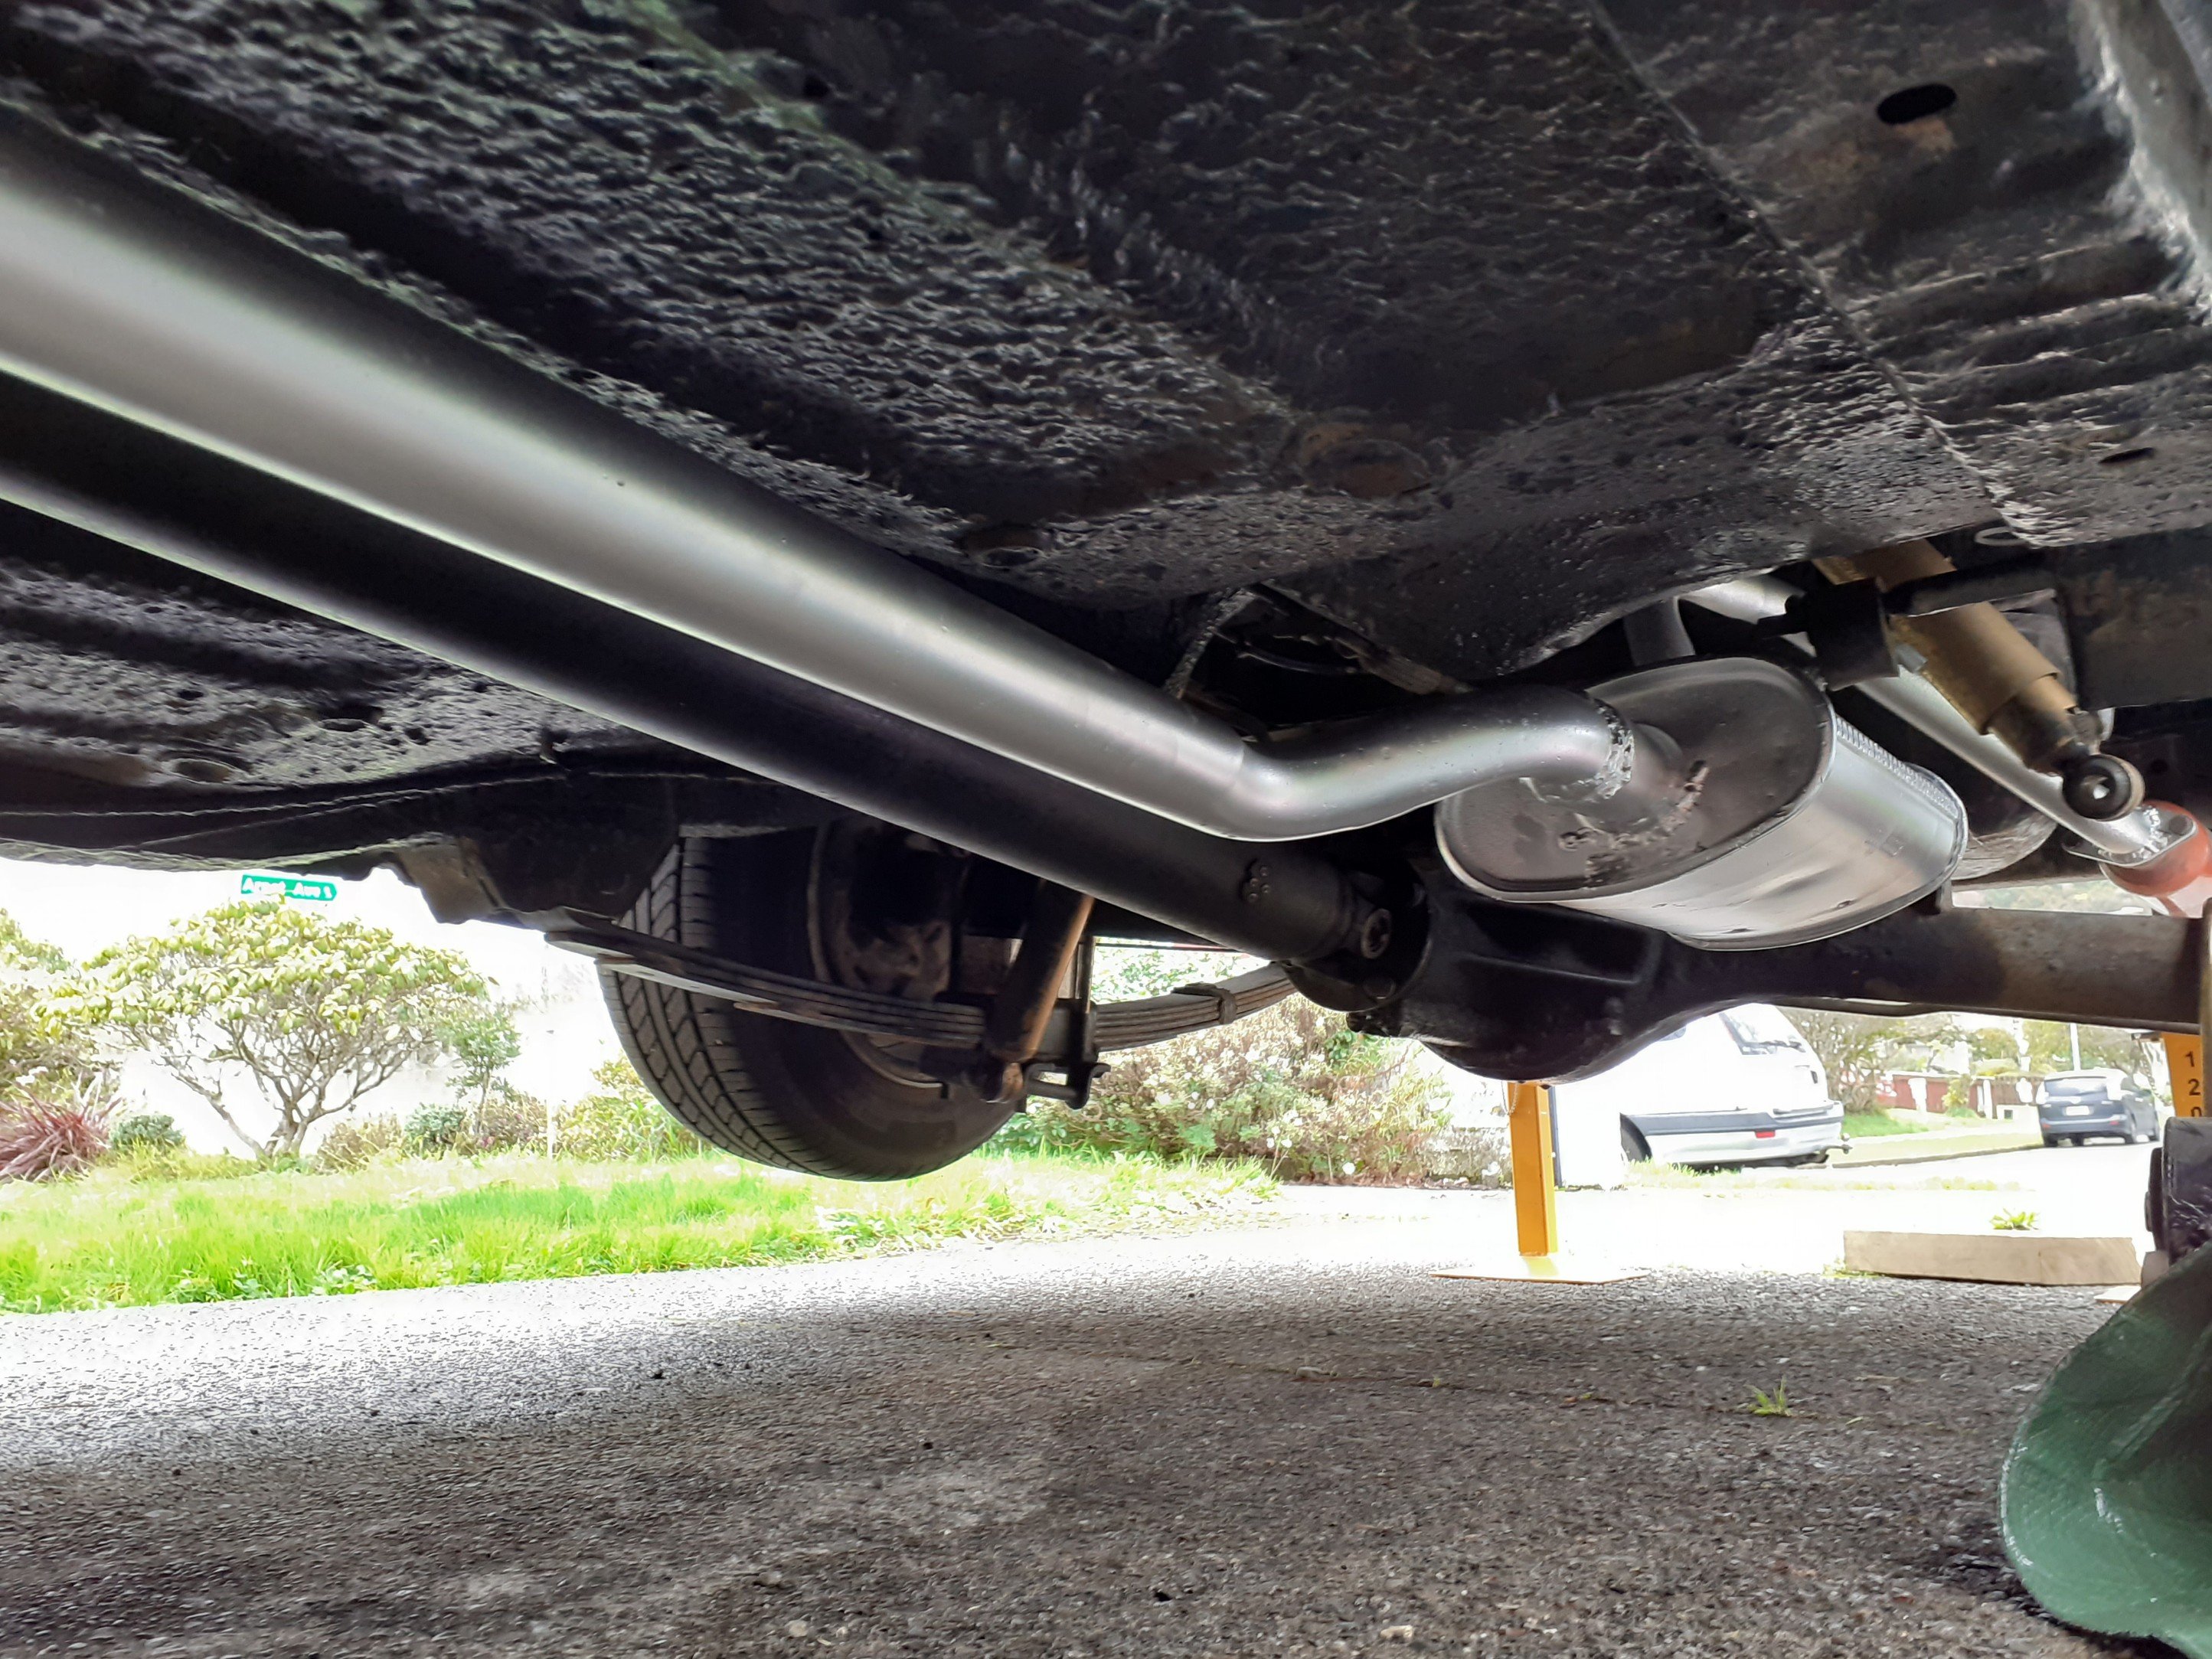
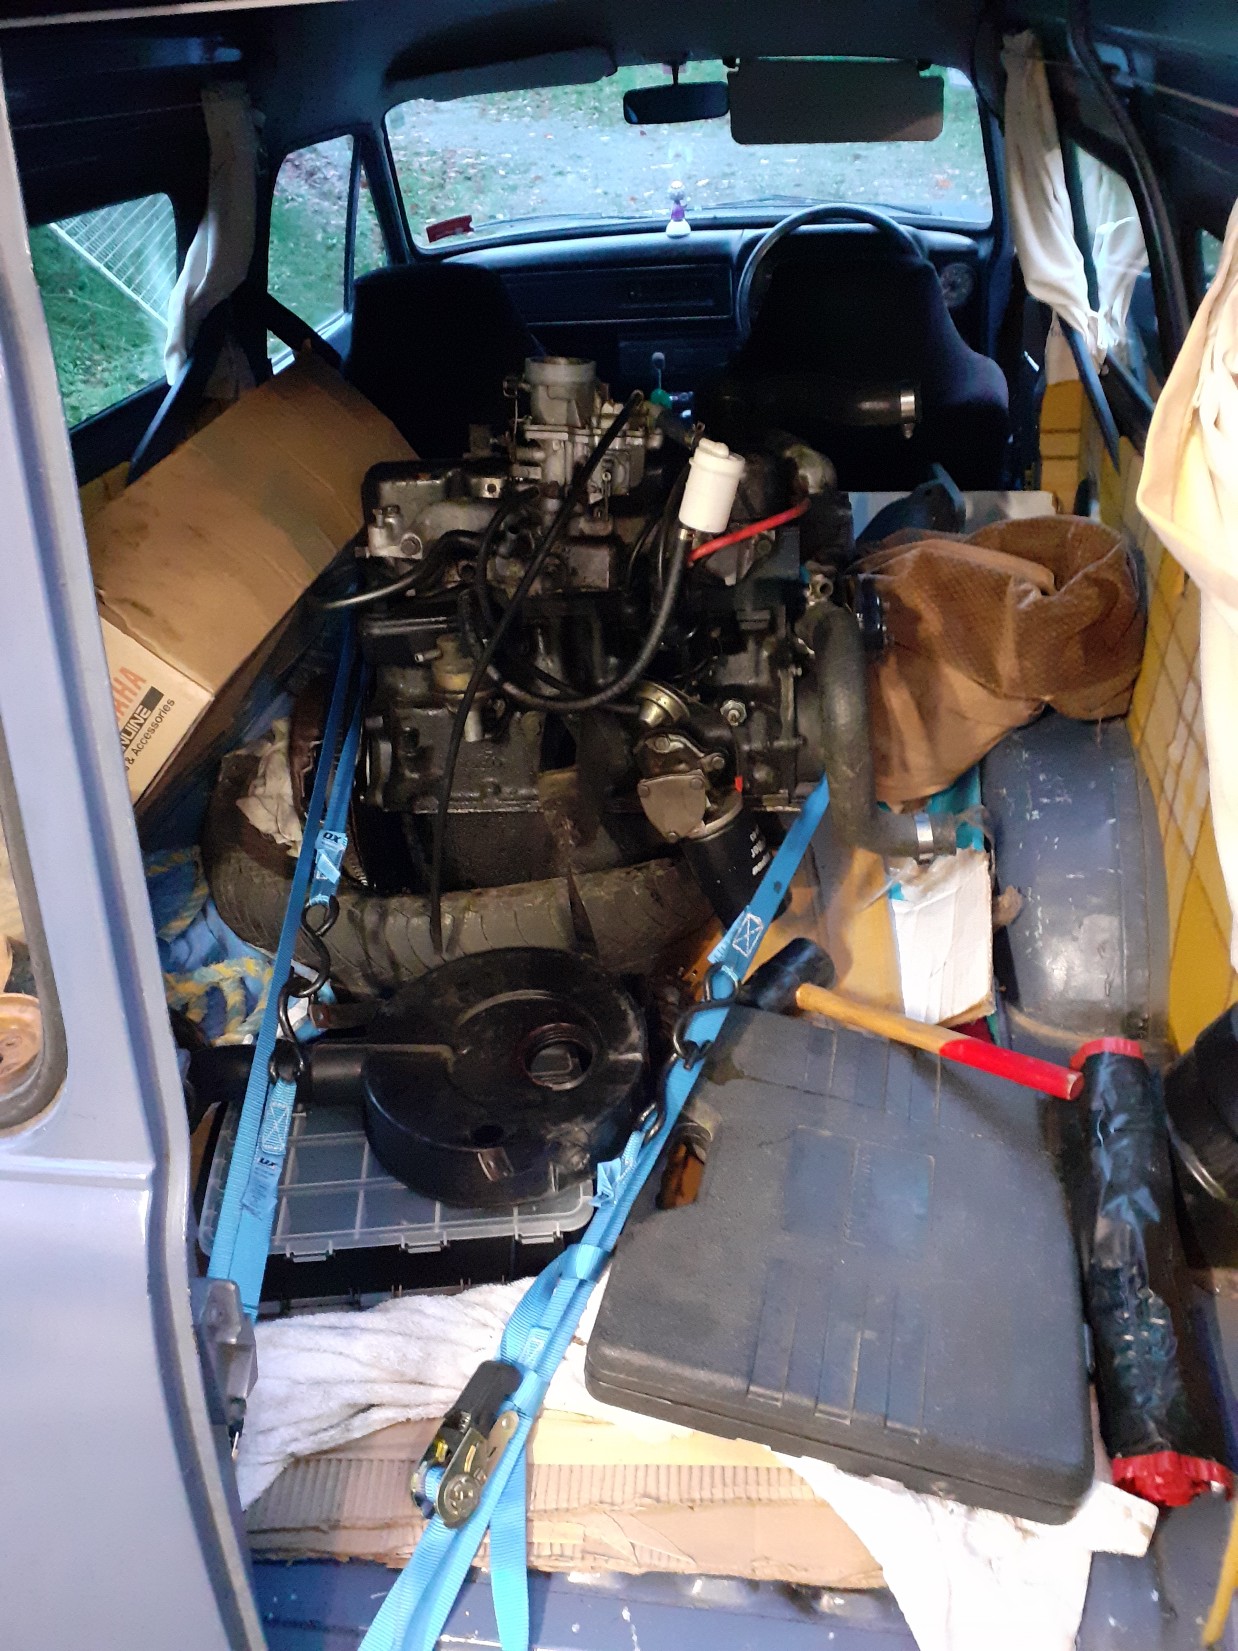
The last few trips over the remutakas was really really bad. So before the Motueka trip I gave it a compression check which pretty much confirmed it. I ended up picking up a complete motor, gearbox and radiator from a runner up the road. It all looks pretty promising with a new waterpump, hoses and other a few other parts. Queens birthday weekend I pulled the old one out and put the new one in. I cleaned up the new one, gave it some paint and put in a new clutch, pressure plate, waterpump barb, radiator, and changed over my electronic dizzy, carbs, fuel pump and extractors. I ended up cutting the exhaust off just after the extractors so I need to weld on some flanges, sort the timing and fill it with fluids then it's good to go. Fingers crossed it actually makes an improvement.
- 37 replies
-
- 23
-
-
Still using this when I can and taking it on regular trips. Most notably I took this down to Nelson and Motueka last September for a bike trip. Had no issues other then a weird oil vapour smell. I put it down to over filling the oil, I couldnt get a clear reading on the stick, and it clogging up the pvc valve. I was lucky enough to spot another escort parked up along one the bays and the retired guy was happy enough to lend me a few tools to remove some of the excess oil. Have just done general maintenance to it like replacing the rack bushes which were non existant and made for an exciting drive home.
- 37 replies
-
- 17
-
-
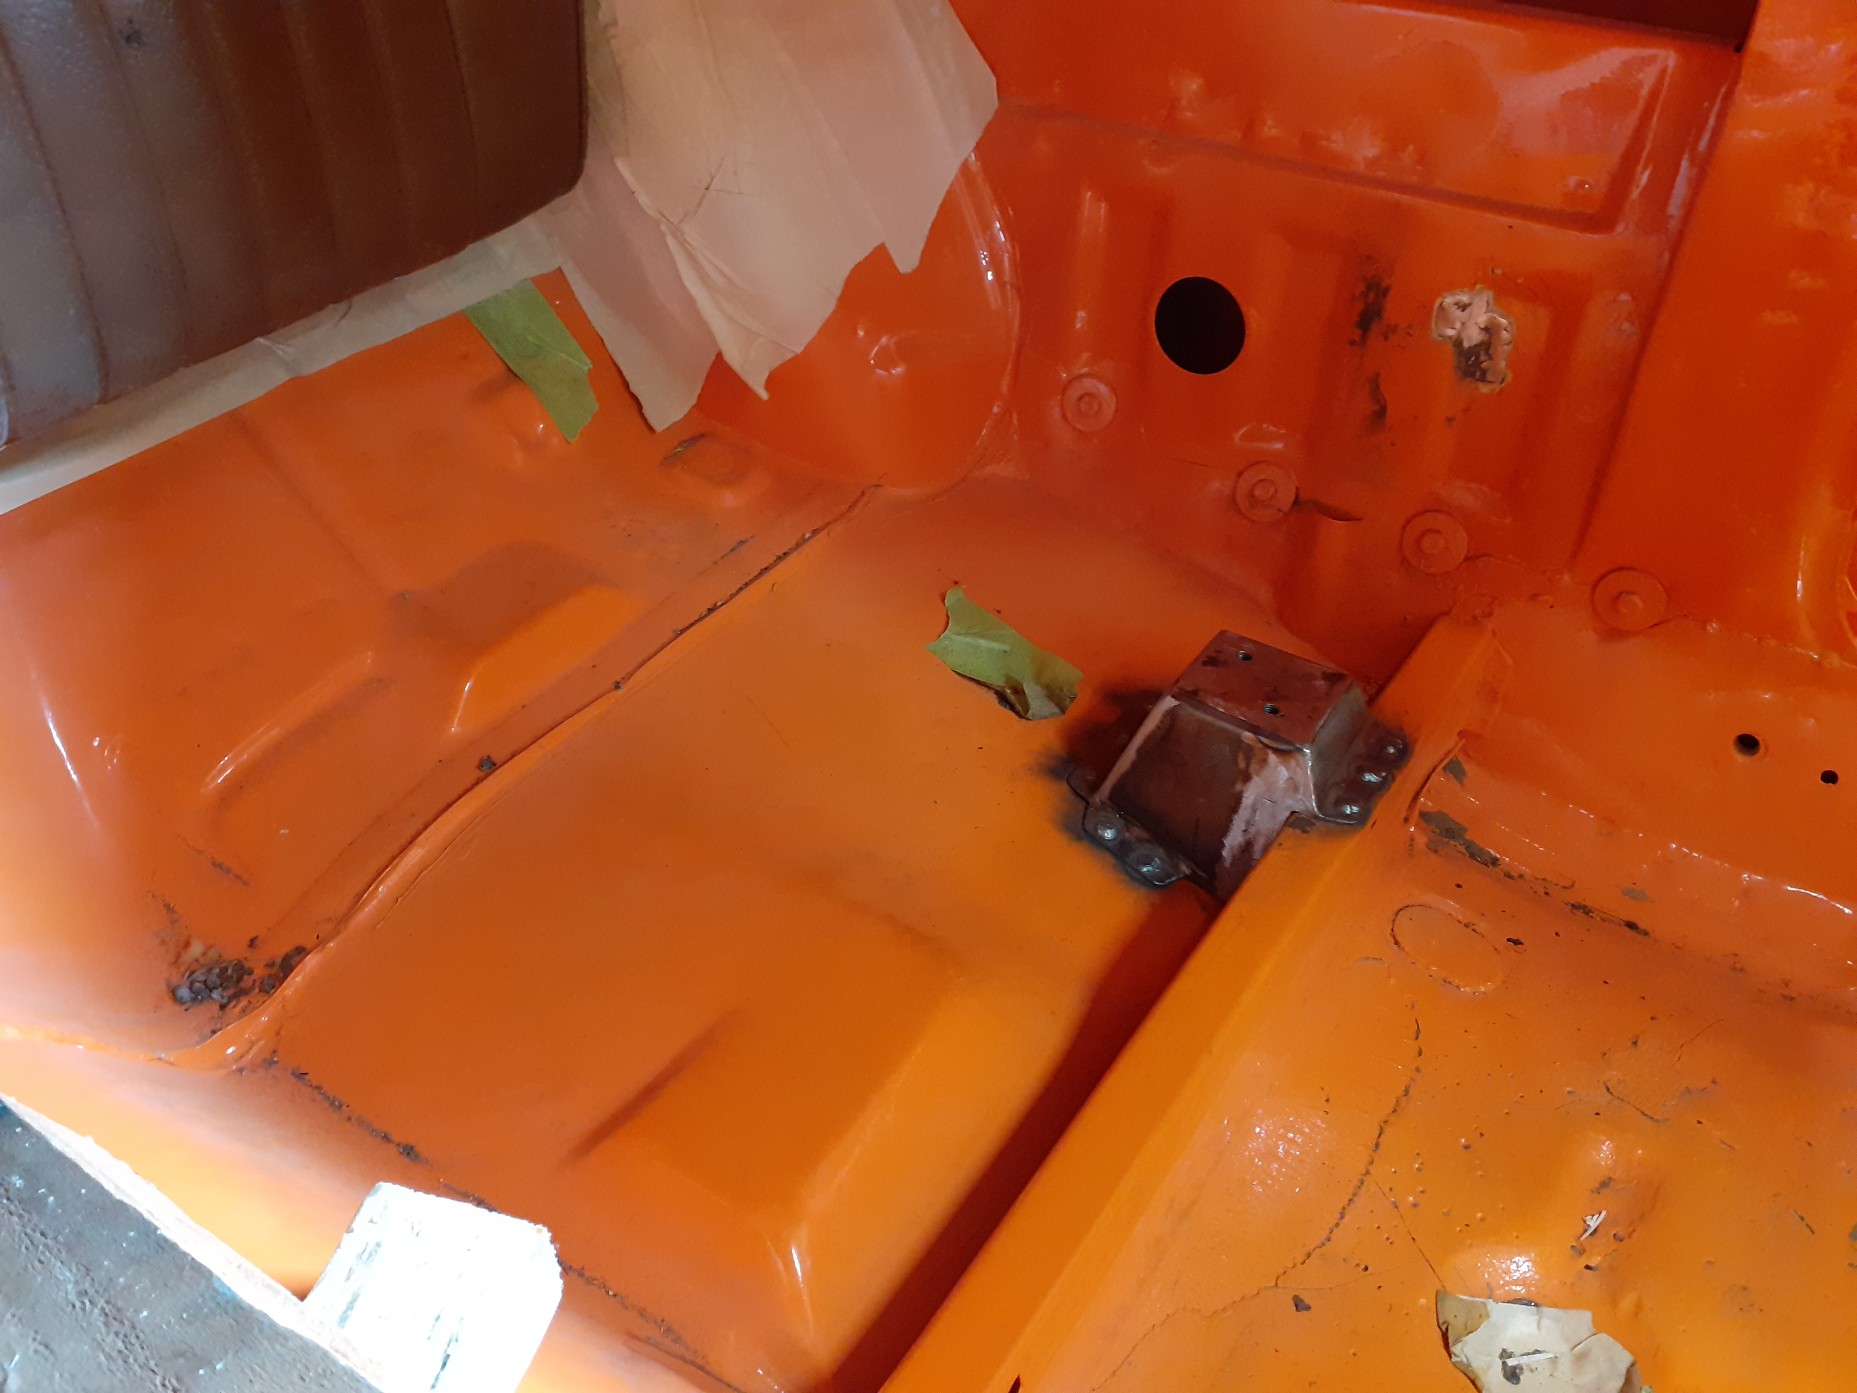
Finished with the back seat mounts which were all welded in. I welded an extra plate under the wheel arch, below the backseat mount/stop just for piece of mind. Since then I've been slowly stripping and painting various parts including the seat frames, diff, leaf springs etc. Should be painting the seat backing this weekend all going to plan.
- 104 replies
-
- 15
-