bmxnz11
-
Posts
1,157 -
Joined
-
Last visited
Content Type
Forums
Downloads
Events
Gallery
Everything posted by bmxnz11
-
Cheers man. Have been watching your build, some serious work going on there. Its going to be one solid bug Someone on the other side of the weld holding a brass block to suck up the heat helps. Slow and steady, little bits here and there to not heat up one spot. Would rather take my time now and get it right than to worry about warping.
-
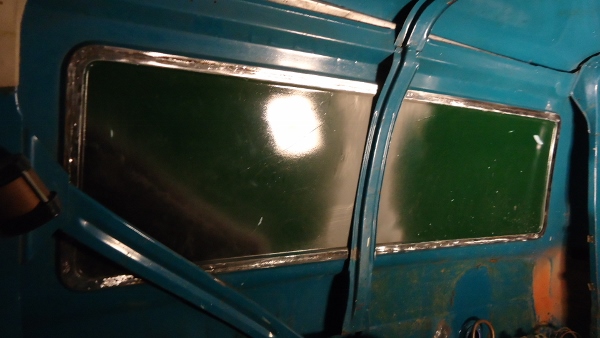
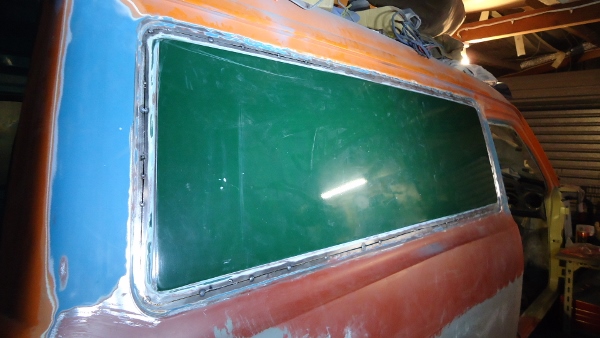
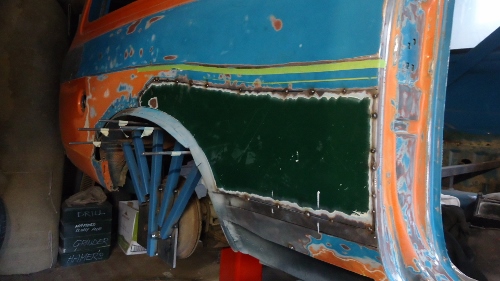
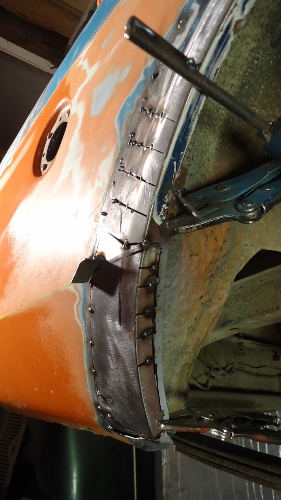
2 nights of careful painfully slow welding and grinding and i have a warpfree panel in place. Welded it on the inside as its a flat surface compared to the channel on the outside, this made for easier grinding. Hit it with the flap disk, quite stoked with the result. Patience paid off. Will give it a coat of 2k primer and a skim of nuetech tomorrow welded from the inside Outside

-
You'll have to fight me for them haha Was looking for ever for a set of widened rostyles. Have only ever seen two sets for sale on TM and I was lucky enough to pick one of them up. Easy option could be minilites/superlites? always look good on any escort
-
I wouldn't have panelled up my windows if I didn't have the piece from the parts van that's for sure. Plus ive got another van with windows, made sense to have one with windows and one without. Im still learning, using the old mans set up and help. Yeah you should throw yours up, always good to see what other people do with theres
-
Cheers man, trying to get into it most days to get stuff moving. Im hoping to use the rostyles,if not then my hotwires. The only problem being the hotwires have near zero offset which works but the rostyles have an offset of +4 or there abouts so stick out a little more. Flares help with that problem. Will muck around with tyre and suspension combos later when its rolling as i have few options. Did your van never have windows put in?
-
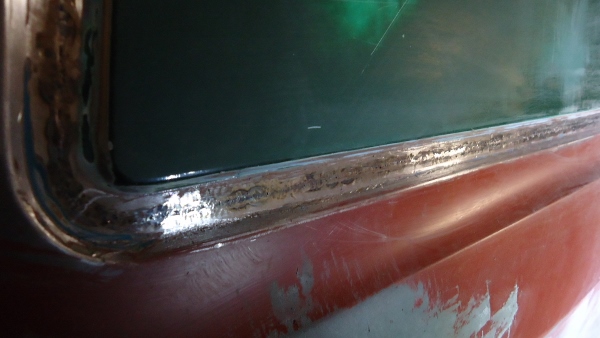
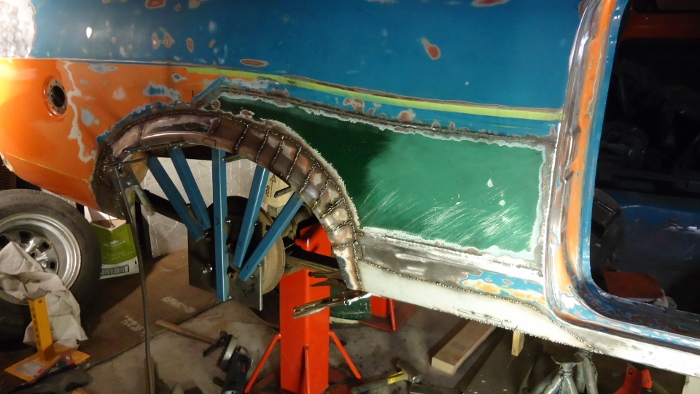
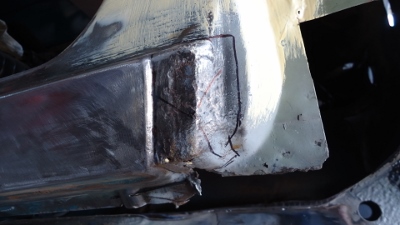
All tacked in place. Still have lots of shaping and sanding to get done on the flare This is where the old piece was cut and the new one tacked in. No warping as of yet
-
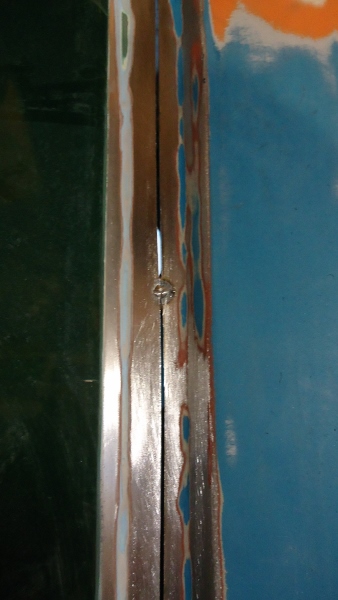
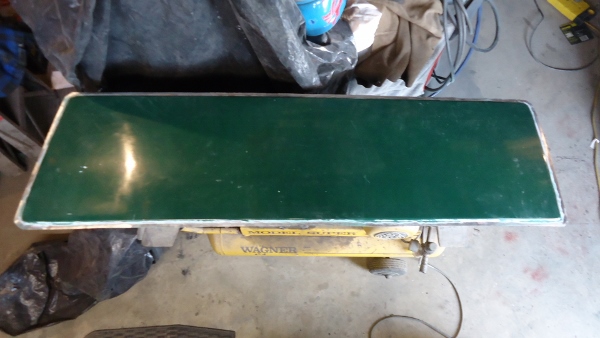
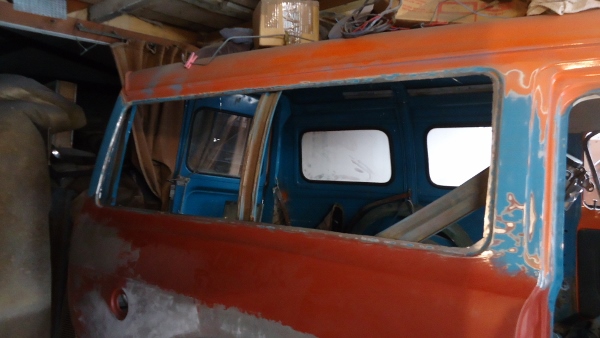
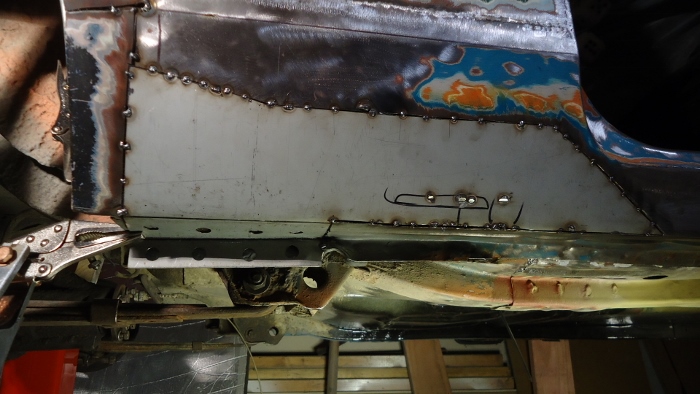
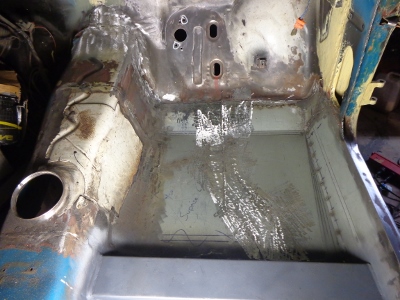
Cut the old window surrounds out and managed to tack in the new panel. Taking it very slowly pressing a brass block on the back of the weld to prevent warping of the panel. I chose the panel where it stamps into the van as this was the strongest part. Pictures to prove the work as done Cut through the centre Panel from my parts van. Would not have gone through this process if i didnt have this panel available Old meet new
-
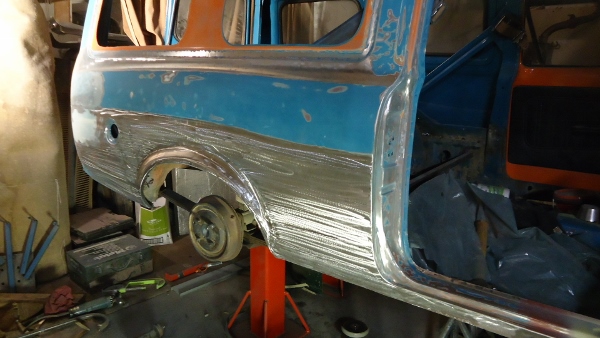
Did the last of the rust repairs and metal work around the sill and arch. Taken back to glorious glorious metal and then for now just brush painted on 2k primer. Skim of neutech and it should tickle it up quite nicely Tomorrow ill start work on paneling up the windows
-
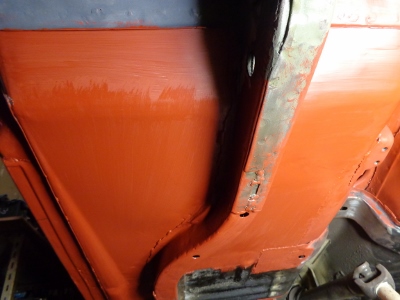
Was hoping to relocate the petrol tank to the side of the van and make use of the extra space underneath by making a bigger box from two petrol tanks, make it look factory and hopefully avoid making it look like a drop box. Would need a cert for this so I wont be doing it. Instead ive been sanding the sides and rear end of it back to bare metal, getting it ready to start the side panels. Who ever painted this must have painted diggers for a living, painted it very heavy. That plus having 100 layers of primer/paint/filler is making it a slow process
-
Cheers for the quick reply, saved me a lot of work
-
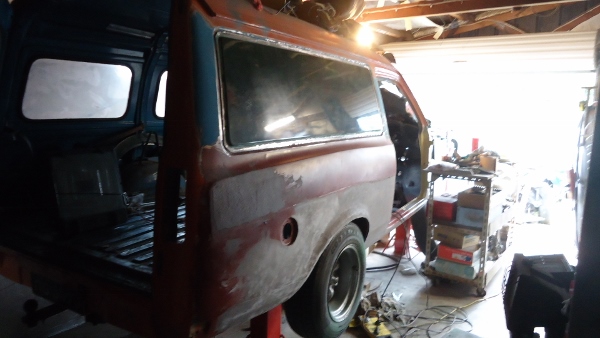
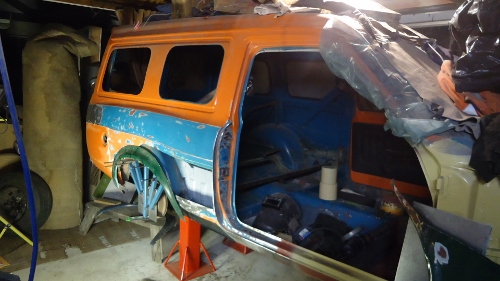
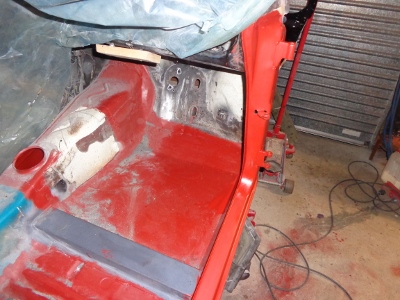
Hi Cletus I know ive asked this question before but i come back with a picture showing the semi final product/example. This is in regards to moving the petrol tank in a mk2 escort van from under the floor in the rear, to the inside cabin. This would be half sunk in the floor and half poking out, using a sedan tank and fixtures etc. Picture is where the petrol tank would be located (on the right at the rear). Can this be done legally without a cert? Would it make a difference if i made a box/casing for it? Any help would be greatly appreciated
-
wheels look choice! 13x6? What size tyres? What size blocks are in the back? tridents and white lettering tyres on a van, always a win in my opinion
-
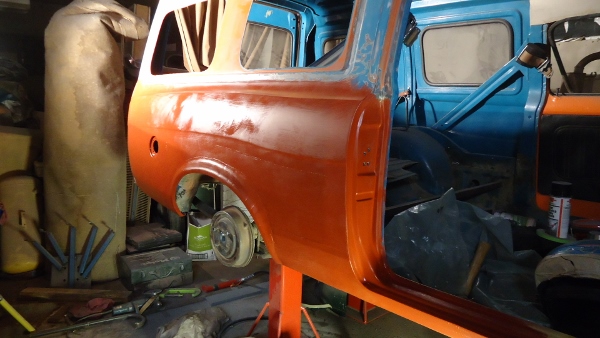
Couple more pictures after a lot of grinding. Seems to flow really well. Pulled the panels in nice and tight Back Front Fingers crossed i can replicate it on the passenger side But before that ill start work on the back and underside. Have some ideas pending i can do them without needing a cert...
-
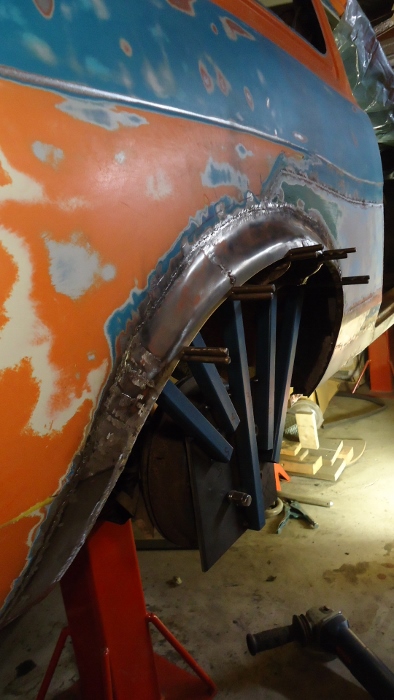
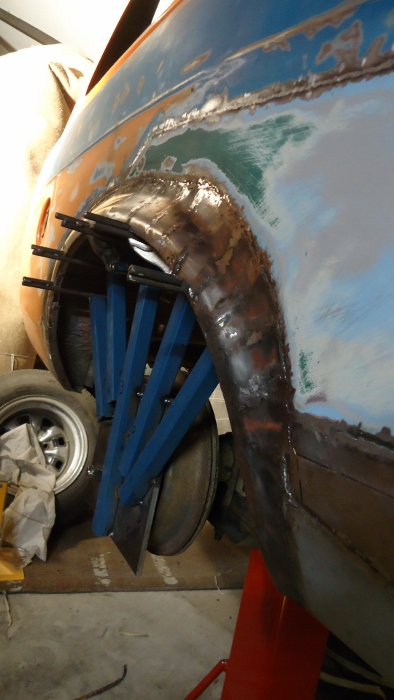
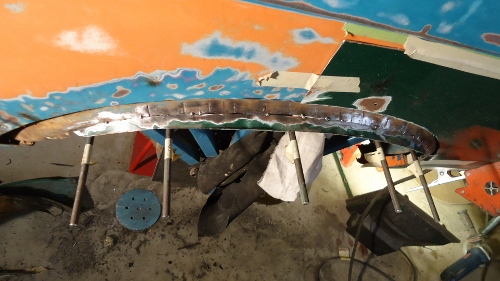
Tacked the flare to the outside of the van to shape and mock up. This is where the ferris wheel jig proved magic. Not only did it provide me with the correct/ original circumference but i also welded tabs onto each point to limit how far the flare sticks out. At this point the under skin touches the flare and this will be welded up later. lots of cutty cutty and weldy weldy and i had a flare i was more or less happy with. Also made this piece up to complete the puzzle Cut the flare and van to suit and welded in place. A picture to prove its metal and not fibreglass/bog/wood/ Still more tweaking to get done before i prime etc
-
Nothing wrong with bubble arches, just means you have to go the whole nine yards with wheels and the front guards. Only doing it this way to match the fronts. The fronts which I don't plan on touching (fingers crossed I can get some bigish wheels under them/probably have to go to a smaller tyre). Plus my van wont be quick enough to warrant the look of bubble arches
-
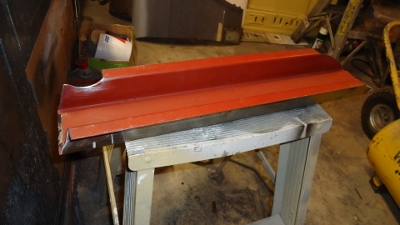
Also tacked up this panel to replace the old damaged part. Will fully weld up once the arch is finished
-
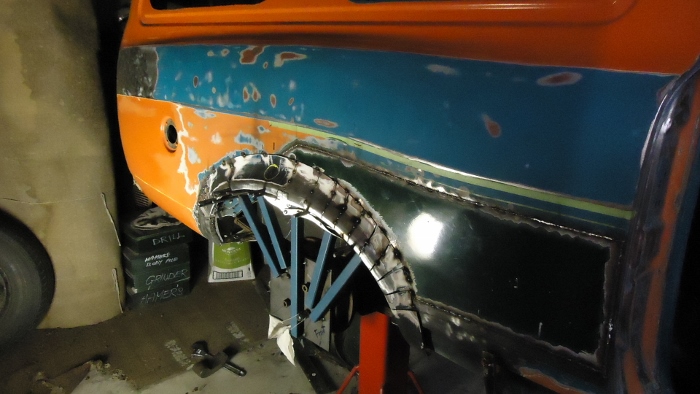
Started work on flaring out the under skin. Cut most the old lip off and flared it out to meet the new flare. Want to do it correctly and give myself as much clearance underneath as possible Tacked on the new flare and started to make the the panel behind the rear wheel to match it
-
Yeah man. Use to have the ke30 at college
-
Not the masterton guy, yeah has to be the same van. Bought it end of last year. The sills, A pillars and floors rusted right through. Underseal sprayed everywhere in the engine bay. Real mess that one. Did everyone a favour taking it off the road
-
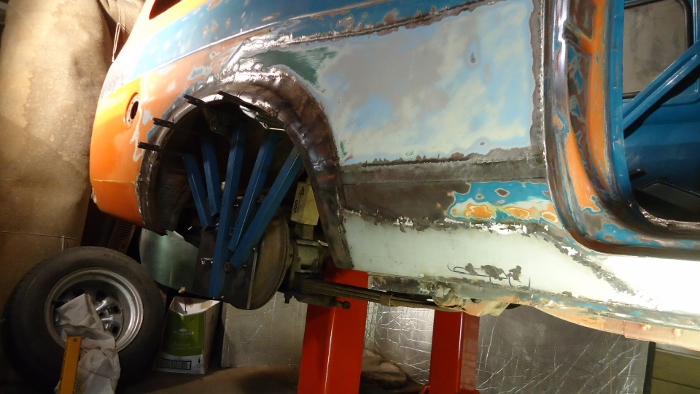
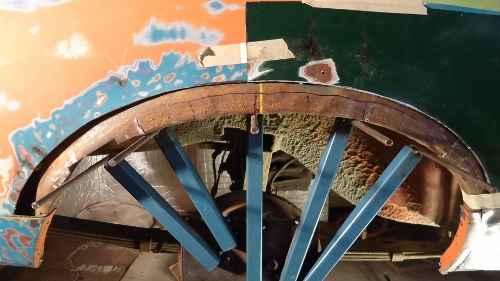
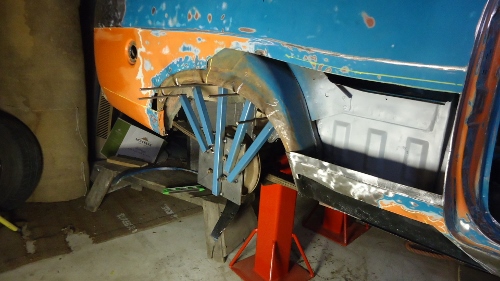
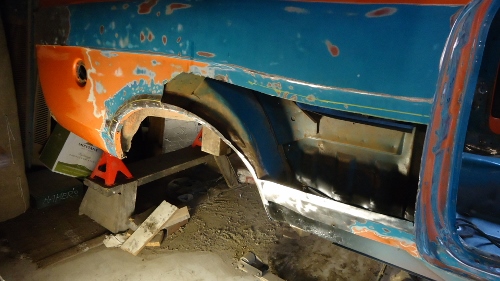
Made this jig up tonight to help shape the arch onto the original. Trying to use the original profile as the arch is slightly different. Will help with bringing the under skin out to meet the new arch too This is as it sits to date
-
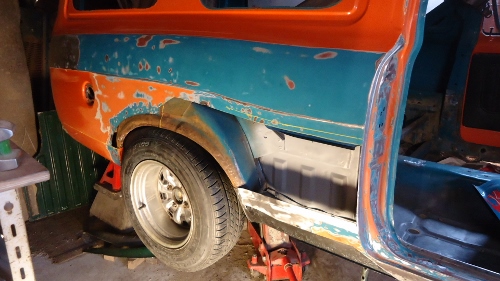
While i had to repair the wheel arch i thought it would be a good chance to flare the rear. As the van folk will know, the van and estate guards have more of a flare on them then the sedan guards, and also more then the rear of the vans. Ive always wanted to match the rear with the front. Then BINGO, my parts van i acquired had a couple of spare very rusty and incomplete guards. So took to them with the grinder and now i have a good base to start moulding them to fit the rear. Pop in my reset leaf springs to raise the wheel closer to the flare to give me an idea The idea is nice and subtle. This way my wide rostyles or hotwires fit nicely under them. Thoughts? i like it Also while with grinder in hand i took to the side panels i will be welding in later on. Can still make out the old sign writing under the paint. "Strathmore Butchery. Please to meet you, meat to please you"
-
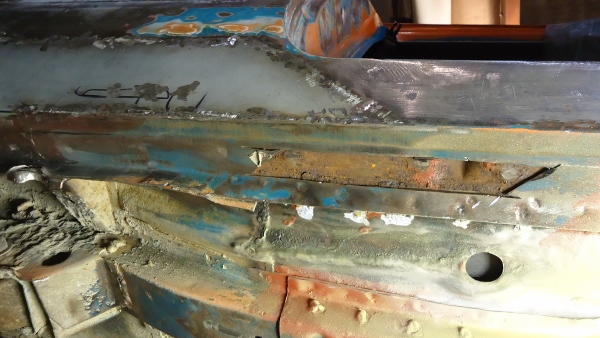
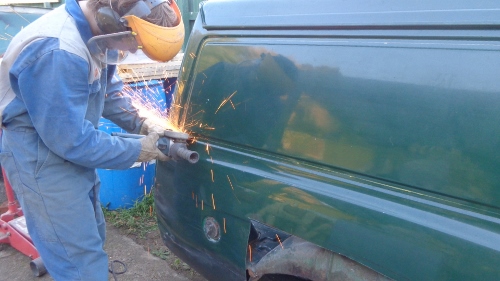
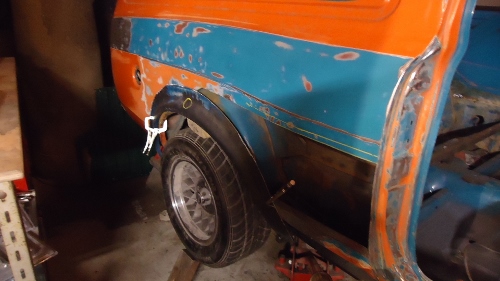
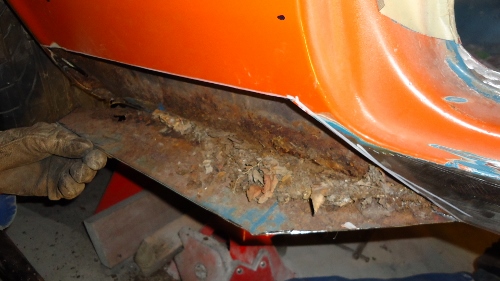
Did some more digging along the side of the van, revealed more rust around the sill. Passenger side wasnt as bad Had some damage infront of the rear wheel arch also this has been cut out and i have a new rust cut waiting. First time trying on my new wheels 13x7 rostyles
-
Plan on welding the entire rectangle side in around where it recesses into the van. This being the strongest part fingers crossed. Will just take my time and use the wet cloth stuff to reduce distortion etc. Have already cut the sides out along these lines
-
They tried every window possible. long single estate, two rectangular ones, single rear bubble one and single rear rectangular one. IMO they all looked