
_Matt
-
Posts
453 -
Joined
-
Last visited
-
Days Won
5
Everything posted by _Matt
-
Got the tray and cab back on. Plenty of room for the exhaust to go out between the chassis rails and guards. The cab was sitting slightly on the driveshaft hoop, so cut a hole and made a patch. Then cut a big hole in the floor!
- 90 replies
-
- 35
-

-
More like "Palmy Yearly meet" hahaha
-
Longest exhaust build ever! What a stupid idea it was to design it like this haha. So far has 5 pairs of flanges on each side if you include the ones at the end of the headers. Will have another pair after the diff as well. Got some flexi's and welded them in, as well as the rest of it. Need to put the tray back on now and see where the rest of the exhaust can run out the back. Made some mounts, after making them incorrectly to start with. Had the rubber hanging under tension where-as it should be compressing, otherwise it would most likely tear the rubber in half. Also made some gussets for the 4 link brackets since they didn't quite look strong enough. Might make some to tie in the other side as well. Need to make a start on the fuel tank soon. Any recommendations on an in-tank fuel pump to use? Don't really know much about them, 255LPH should be enough? Tank will be about 220mm deep if that matters.
- 90 replies
-
- 18
-
-
Sweet as, just bought a couple of AdrenalinR ones. They're probably needed since the exhaust runs very close to some of the crossmembers anyway
-
Got just a few flanges laser cut. Got most of the exhaust tacked together. Couldn't pull out the part with the resonators so they're going to need a couple more flanges welded on either side. Looks so good though! Will it need any flexi's up the front? I'm thinking it will be mounted at the front of the resonators and at the back where the shock mounting bar is with some quite stiff rubber mounts. A package finally arrived from America. New floor panels!
- 90 replies
-
- 24
-
-
Went out to buy some resonators, realised how overpriced for how simple they are, so decided to make my own. Rolled up some perforated sheet, wrapped in stainless steel wool and fibreglass strand. Will probably make another couple to put in behind the diff, which hopefully will make it reasonably quiet. It's a real shame no-one is going to see underneath here once it's done.
- 90 replies
-
- 35
-
-
Thank you everyone for all the kind words!! Trying to keep progress happening even though I'm very busy at work.
-
Done a little bit more. Tried the x-flow underneath but there wasn't really enough room. Move it back to here and looks pretty good. Can be dropped out from here as well. Resonators go somewhere around here. Ran out of stuff to do on the exhaust since I don't have the pipe or flanges yet, so went and filled in some more holes in the floor.
- 90 replies
-
- 20
-
-
Finished this patch Made a start on the exhaust and realised I have a problem with it fitting between the crossmembers. It's going to have to be made of lots of different sections with a heap of flanges, otherwise it won't be able to be removed or fitted. It's fairly tight just to get the x-flow bit in. Might be better if I put the x-flow underneath, so then that whole section to the headers can be one piece and just drop straight down to remove. Only problem with doing that will make the exhaust sit very close to the ground, but should be fine as it won't be as low as the running boards. Will run a resonator on either side in the middle and hopefully those sections can be slid out the back if there's a flange just before the diff kick-up.
- 90 replies
-
- 13
-
-
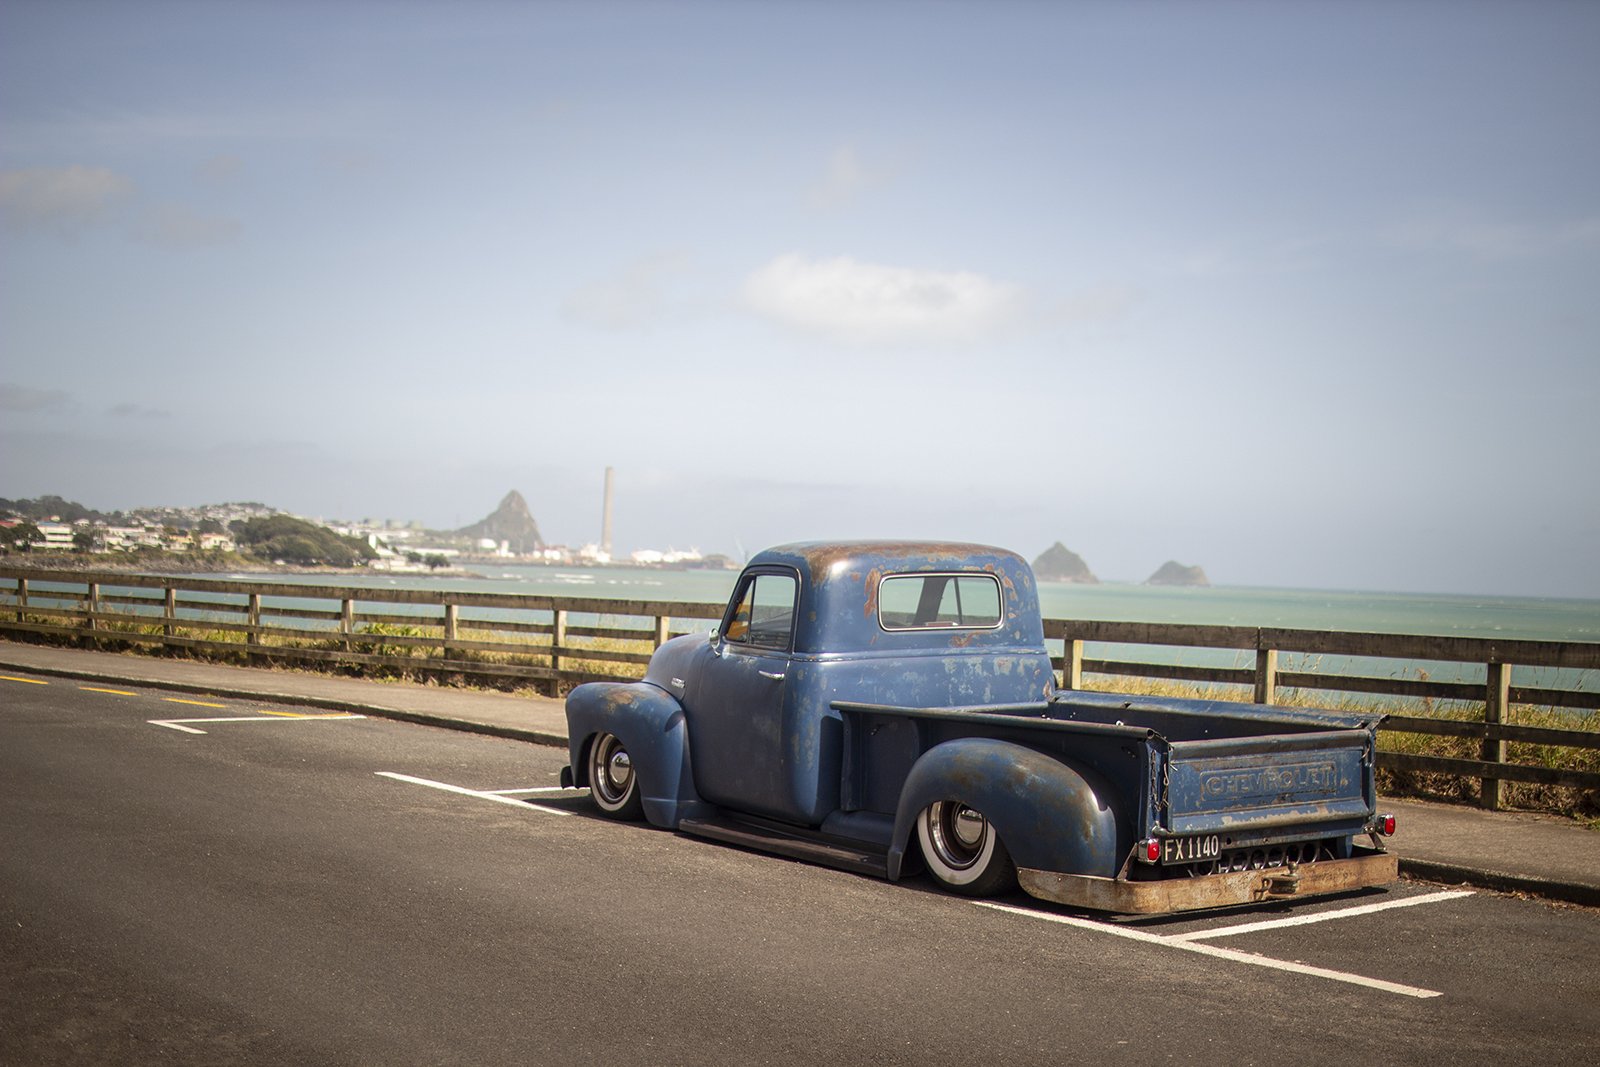
Got the cab back from sandblasting. Has also been etch primed. They did a very good job of it. Patch panels for the right hand side floor should be here in the next week or two. Made up a plate to replace the door hinge captive nuts that were turning. Plug welded it in. Pic for thread because these updates aren't that exciting and so I don't forget how cool this will look once it's done.
- 90 replies
-
- 37
-
-
Finished off the outer patch, then cut out the rust on the inside and welded in a new piece. Was a very difficult shape to form. Went to remove the left hand door and got 3 out of the 6 bolts out, but one had a stripped head and the other two's captive nuts started spinning on the inside. Sorted the stripped one by welding another bolt to the head and then undoing that. There was some rust holes on the inner panel so cut it out to gain access to the nuts as well. Ground off their heads and punched them through, so now need to make up a plate with a couple of tapped holes and plug weld it in there. Pulled off the door strikers and a few other bits so the inside and underneath can get sandblasted this week. Hopefully they stay within my paint-pen lines and not blast any of the outer body!
- 90 replies
-
- 11
-
-
Back to fixing the lower cab corner rust. Look at that nice 1950's welding!
- 90 replies
-
- 20
-
-
Cowl vent patch is now welded in. Welded like crap because it was still a bit rusty and thin in places, but should clean up nicely with some paint. Gonna have to learn how to airbrush patina or something haha. Started a collection of dashes. Picked up the middle RHD one last weekend from a guy just 5 minutes up the road. Including mine there's now 3 50's Chevy pickup projects within about a 10km radius and that's out in the country haha. Bought the one that's been very badly modified to fit a commodore dash cluster a few years ago, not sure why because it's a hideous thing! At least it's in good condition where the unmodified RHD one isn't, so it's going to get cut up. Got it sand blasted and primed. The left side is mint, the right side is quite holey but it's fixable.
- 90 replies
-
- 16
-
-
Some more rust, this time the cowl vent. The channel where the rubber seal sits needs to be completely replaced. The other piece that is spot welded underneath just needs a few small holes patched up. Attempted to use a shrinker/stretcher to make up individual pieces but it wouldn't stretch enough for the tight radius. So then I thought about other ways and decided to try and form it out of one piece. Drew up some cad drawings and got them laser cut. After one hour of smacking it with a hammer. Came out way better than expected. Just needed to fold the inside up now. The inner corners required heating as they needed some decent stretching. The shape and fitment turned out as good as my measuring and cad drawing skills.
- 90 replies
-
- 35
-
-
A little more rust fixed. Getting good at it now!
- 90 replies
-
- 15
-
-
Those headers are gonna be pretty hard to fully weld since they're all tacked together. Look good though!
-
Just used a bead roller like this ones
-
Front right cab corner no longer has rust holes in it now as well.
- 90 replies
-
- 17
-
-
All un-needed holes are now filled! And is now covered in etch-primer.
- 90 replies
-
- 15
-
-
Filled 3 holes today, then got sick of it and attacked it with a stripper disk and an orbital sander.
- 90 replies
-
- 23
-
-
Thanks! The really small ones (2-3mm ish) I just clamped some brass behind them and filled them with filler wire. Then the slightly larger ones I cut slivers off 6, 8 and 10mm rod to the thickness of the firewall, and just drilled out the holes slightly to suit whichever size of rod was the closest. Was doing 4 tacks around and then hammer/dolly, another 4 tacks, hammer/dolly again, then depending on the size maybe anther few tacks. Once they're tacked closely I'd weld about 5-10mm and then hammer/dolly, weld a bit more on the opposite side from the previous weld, hammer/dolly etc. Don't know if it's the correct way to do it, but it seemed to work alright.
-
Done a bit more. So glad I know how to tig weld! Added a swage around the brake booster mounting holes to add some rigidity and try to remove some flex. Also stitch welded a panel on the back to add some strength as well. Still 30+ holes to fill. Kinda over it now haha.
- 90 replies
-
- 16
-
-
Took the cab outside for the first time in 6 and a half years to sand blast the firewall. Look at all the holes!! Right hand side floor and lower firewall are getting replaced with some new panels that are on the way from the USA. Have filled about a third of the holes so far, out of about 50 holes in total!
- 90 replies
-
- 16
-
-
Finished off the front shock mounts. Made some driveshaft hoops.
- 90 replies
-
- 12
-
-
Fixed some rust and filled some holes. Along the bottom isn't rusty holes, just pitting unlike what it looks like it the pics. Both patches had seams filled with lead through them which was annoying! Fixed them up the best I could, will figure out a way to paint/blend them back in.
