
- Popular Post


mk2marty
-
Posts
402 -
Joined
-
Last visited
Posts posted by mk2marty
-
-
Cheers all for the feedback, it's a huge help when the holes in the car just keep getting bigger, and the motivation gets lesser...
As much as I'd like to make the repairs as invisible as possible, the replacement panels limit that a bit. What I'm thinking at this point is to cut the hole larger, drill the spot welds on the inner sill/firewall and use the replacement inner sill panel and butt it to the rest of the floorpan, and plug weld it to the sill and firewall in the same place as the factory did.

-
 1
1
-
-
So there's a hole in the floor of my Escort. Would it be best to butt weld the floor repair section in, or lay it in from underneath and lap joint it - ie. weld it from the top? Bearing in mind that there's also the lower pillar and sill sections to be welded in too.
-
Kinda random but the guy who owned my Cortina prior to me used to own ME5265. All I remember about it was that it had a locked diff and Hoshinos
-
2
-
-
On 27/02/2019 at 07:57, yoeddynz said:
He's looking pretty sprightly for 92!!! Good on him.
Still mows his quarter acre with an ancient Iron Horse too. He's an inspiration
-
8
-
-
Anyone heading to the Waipu car show on the 10th?
-
- Popular Post
- Popular Post
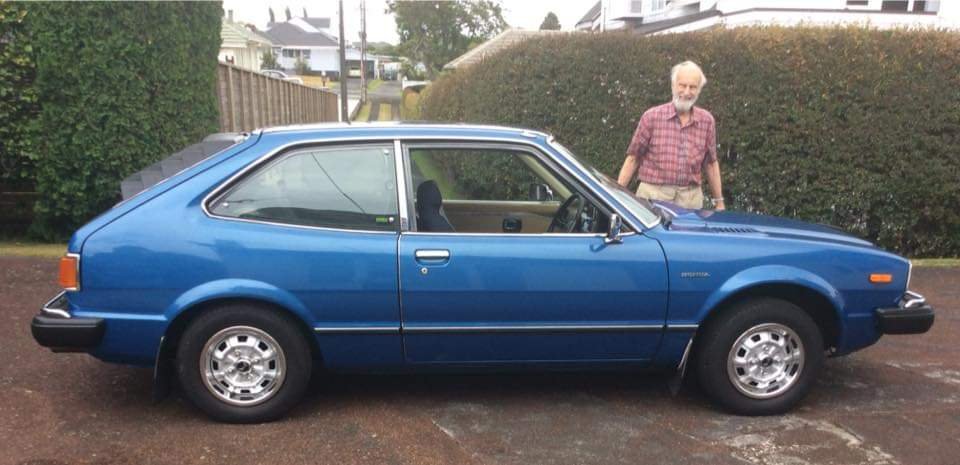
On 03/03/2014 at 11:44, mk2marty said:My Grandad still motors around in his 1979 Accord hatch he bought new.
Finally got around to getting a photo of him with it. He's 92, and the car has only got 75k on it
-
42
-
 1
1
-
Covering all the bases
-
4
-
-
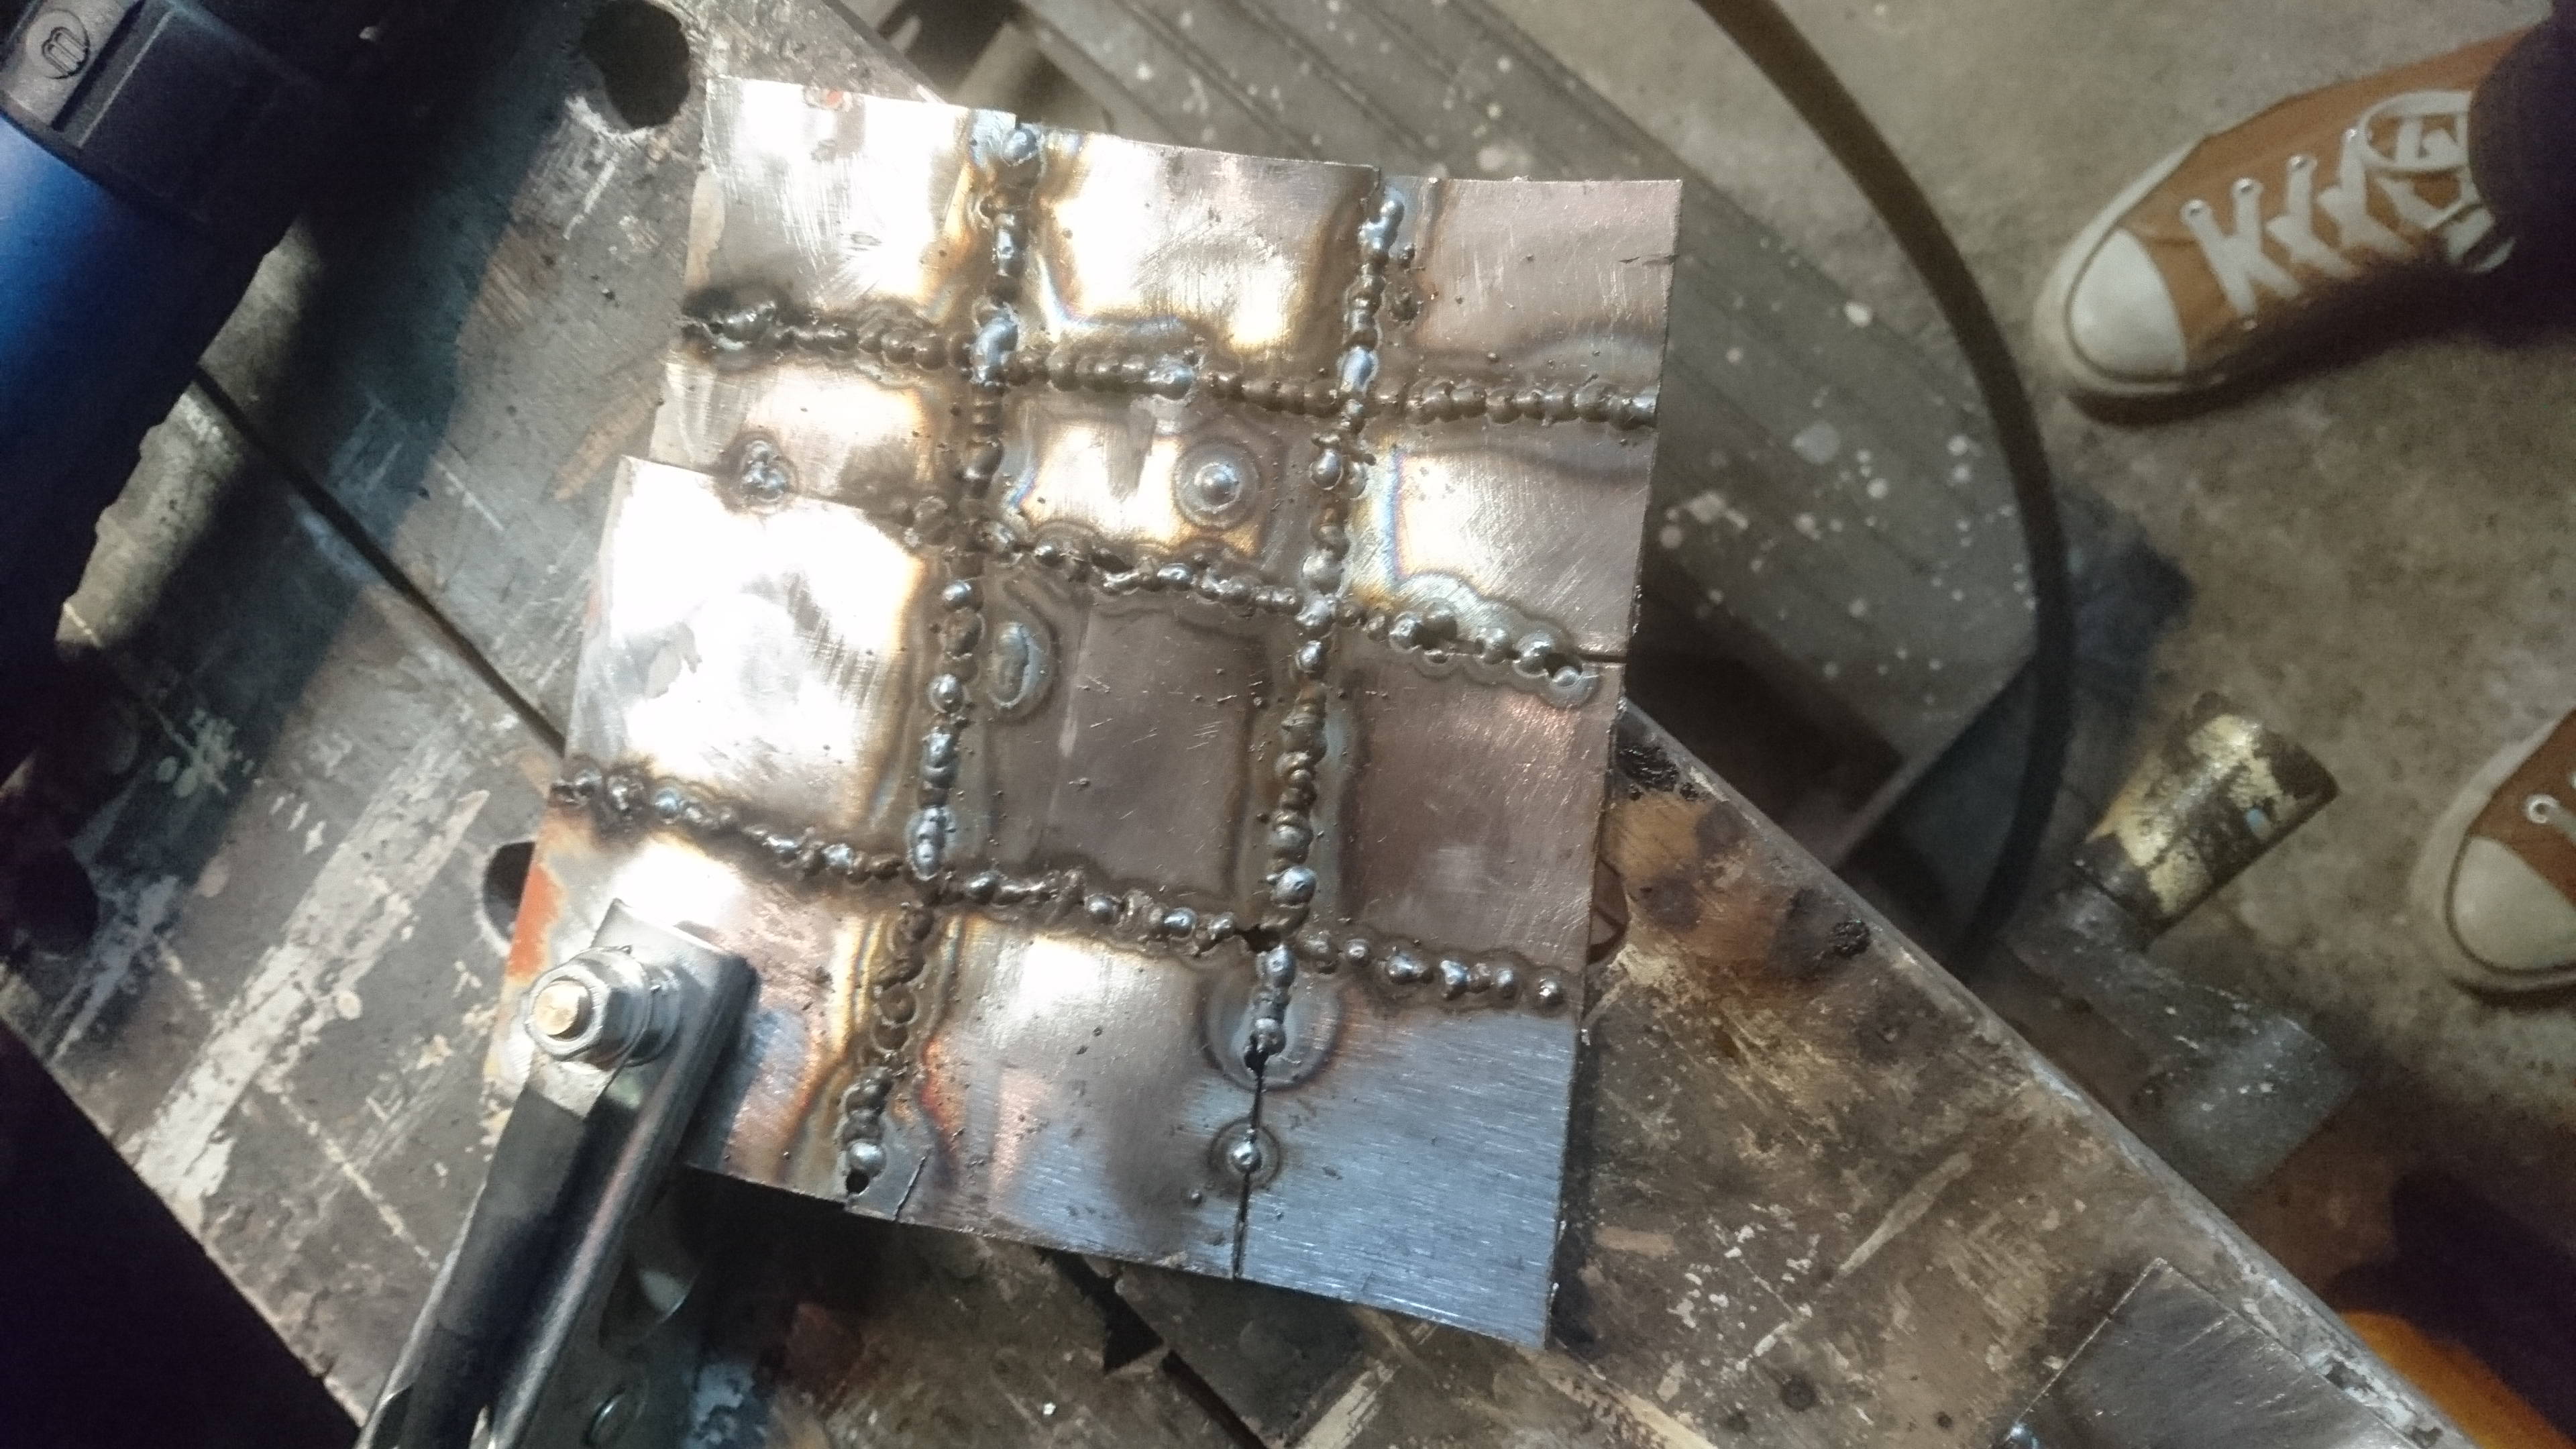
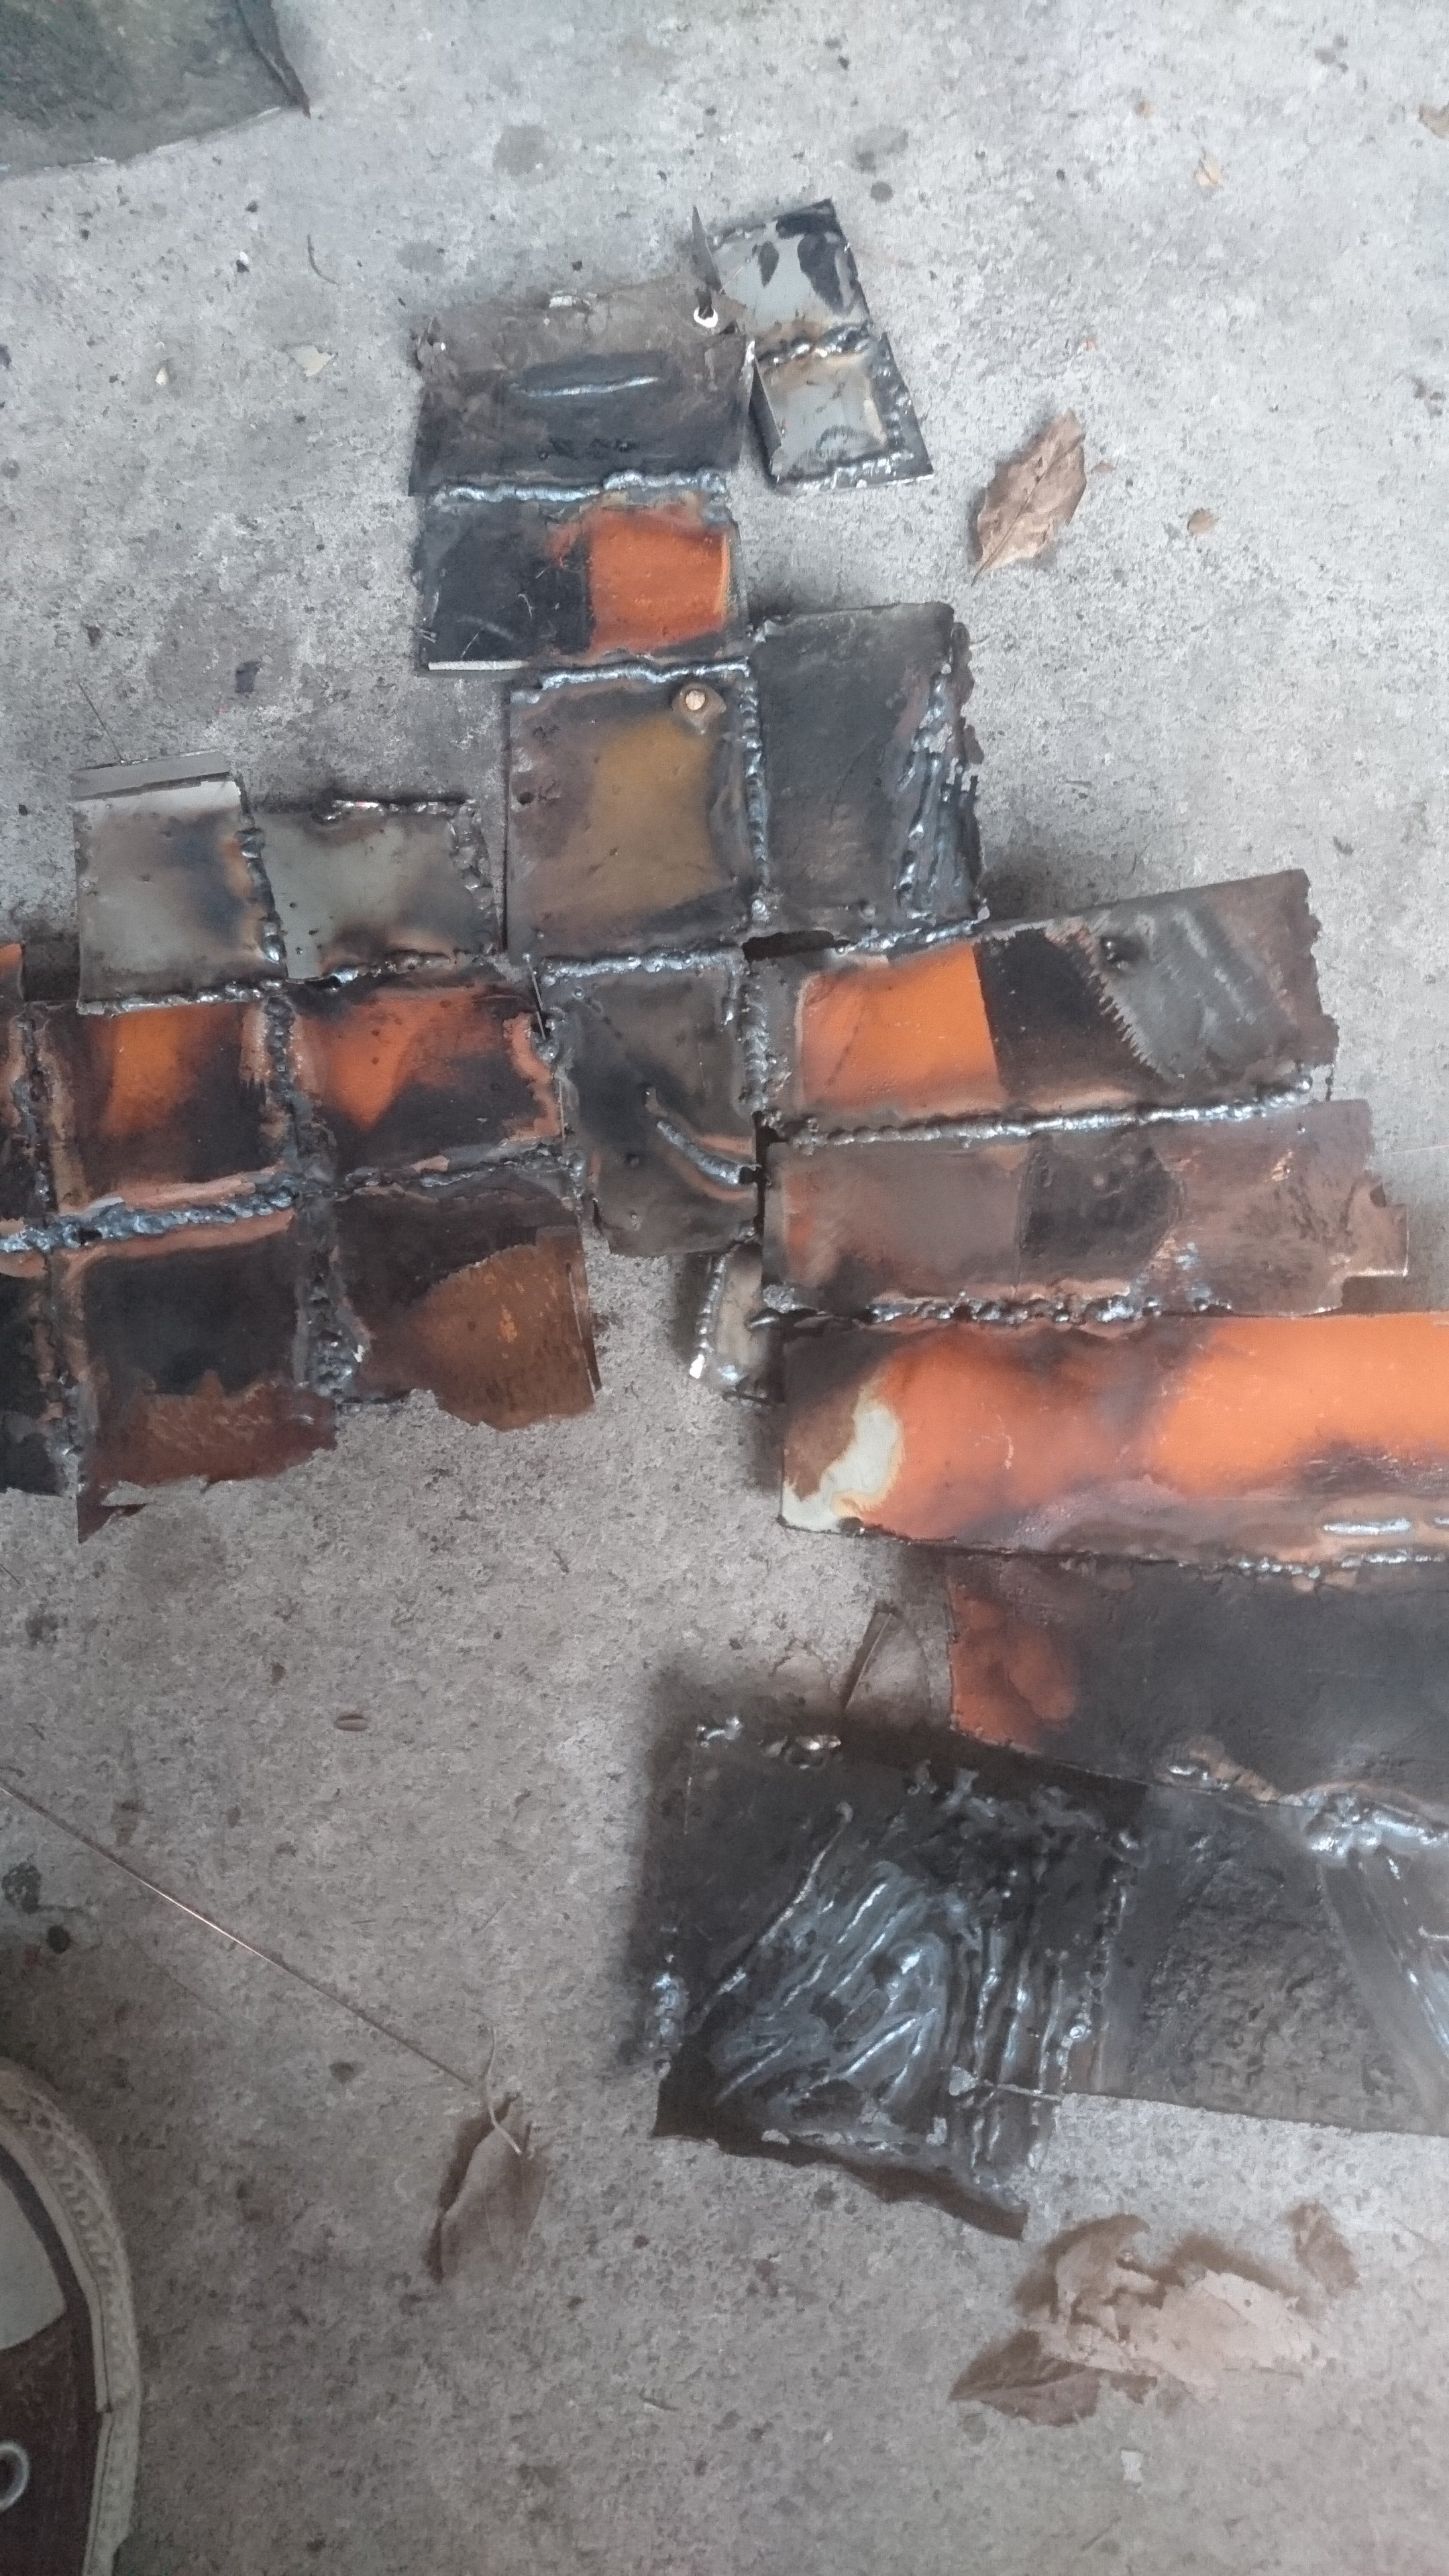
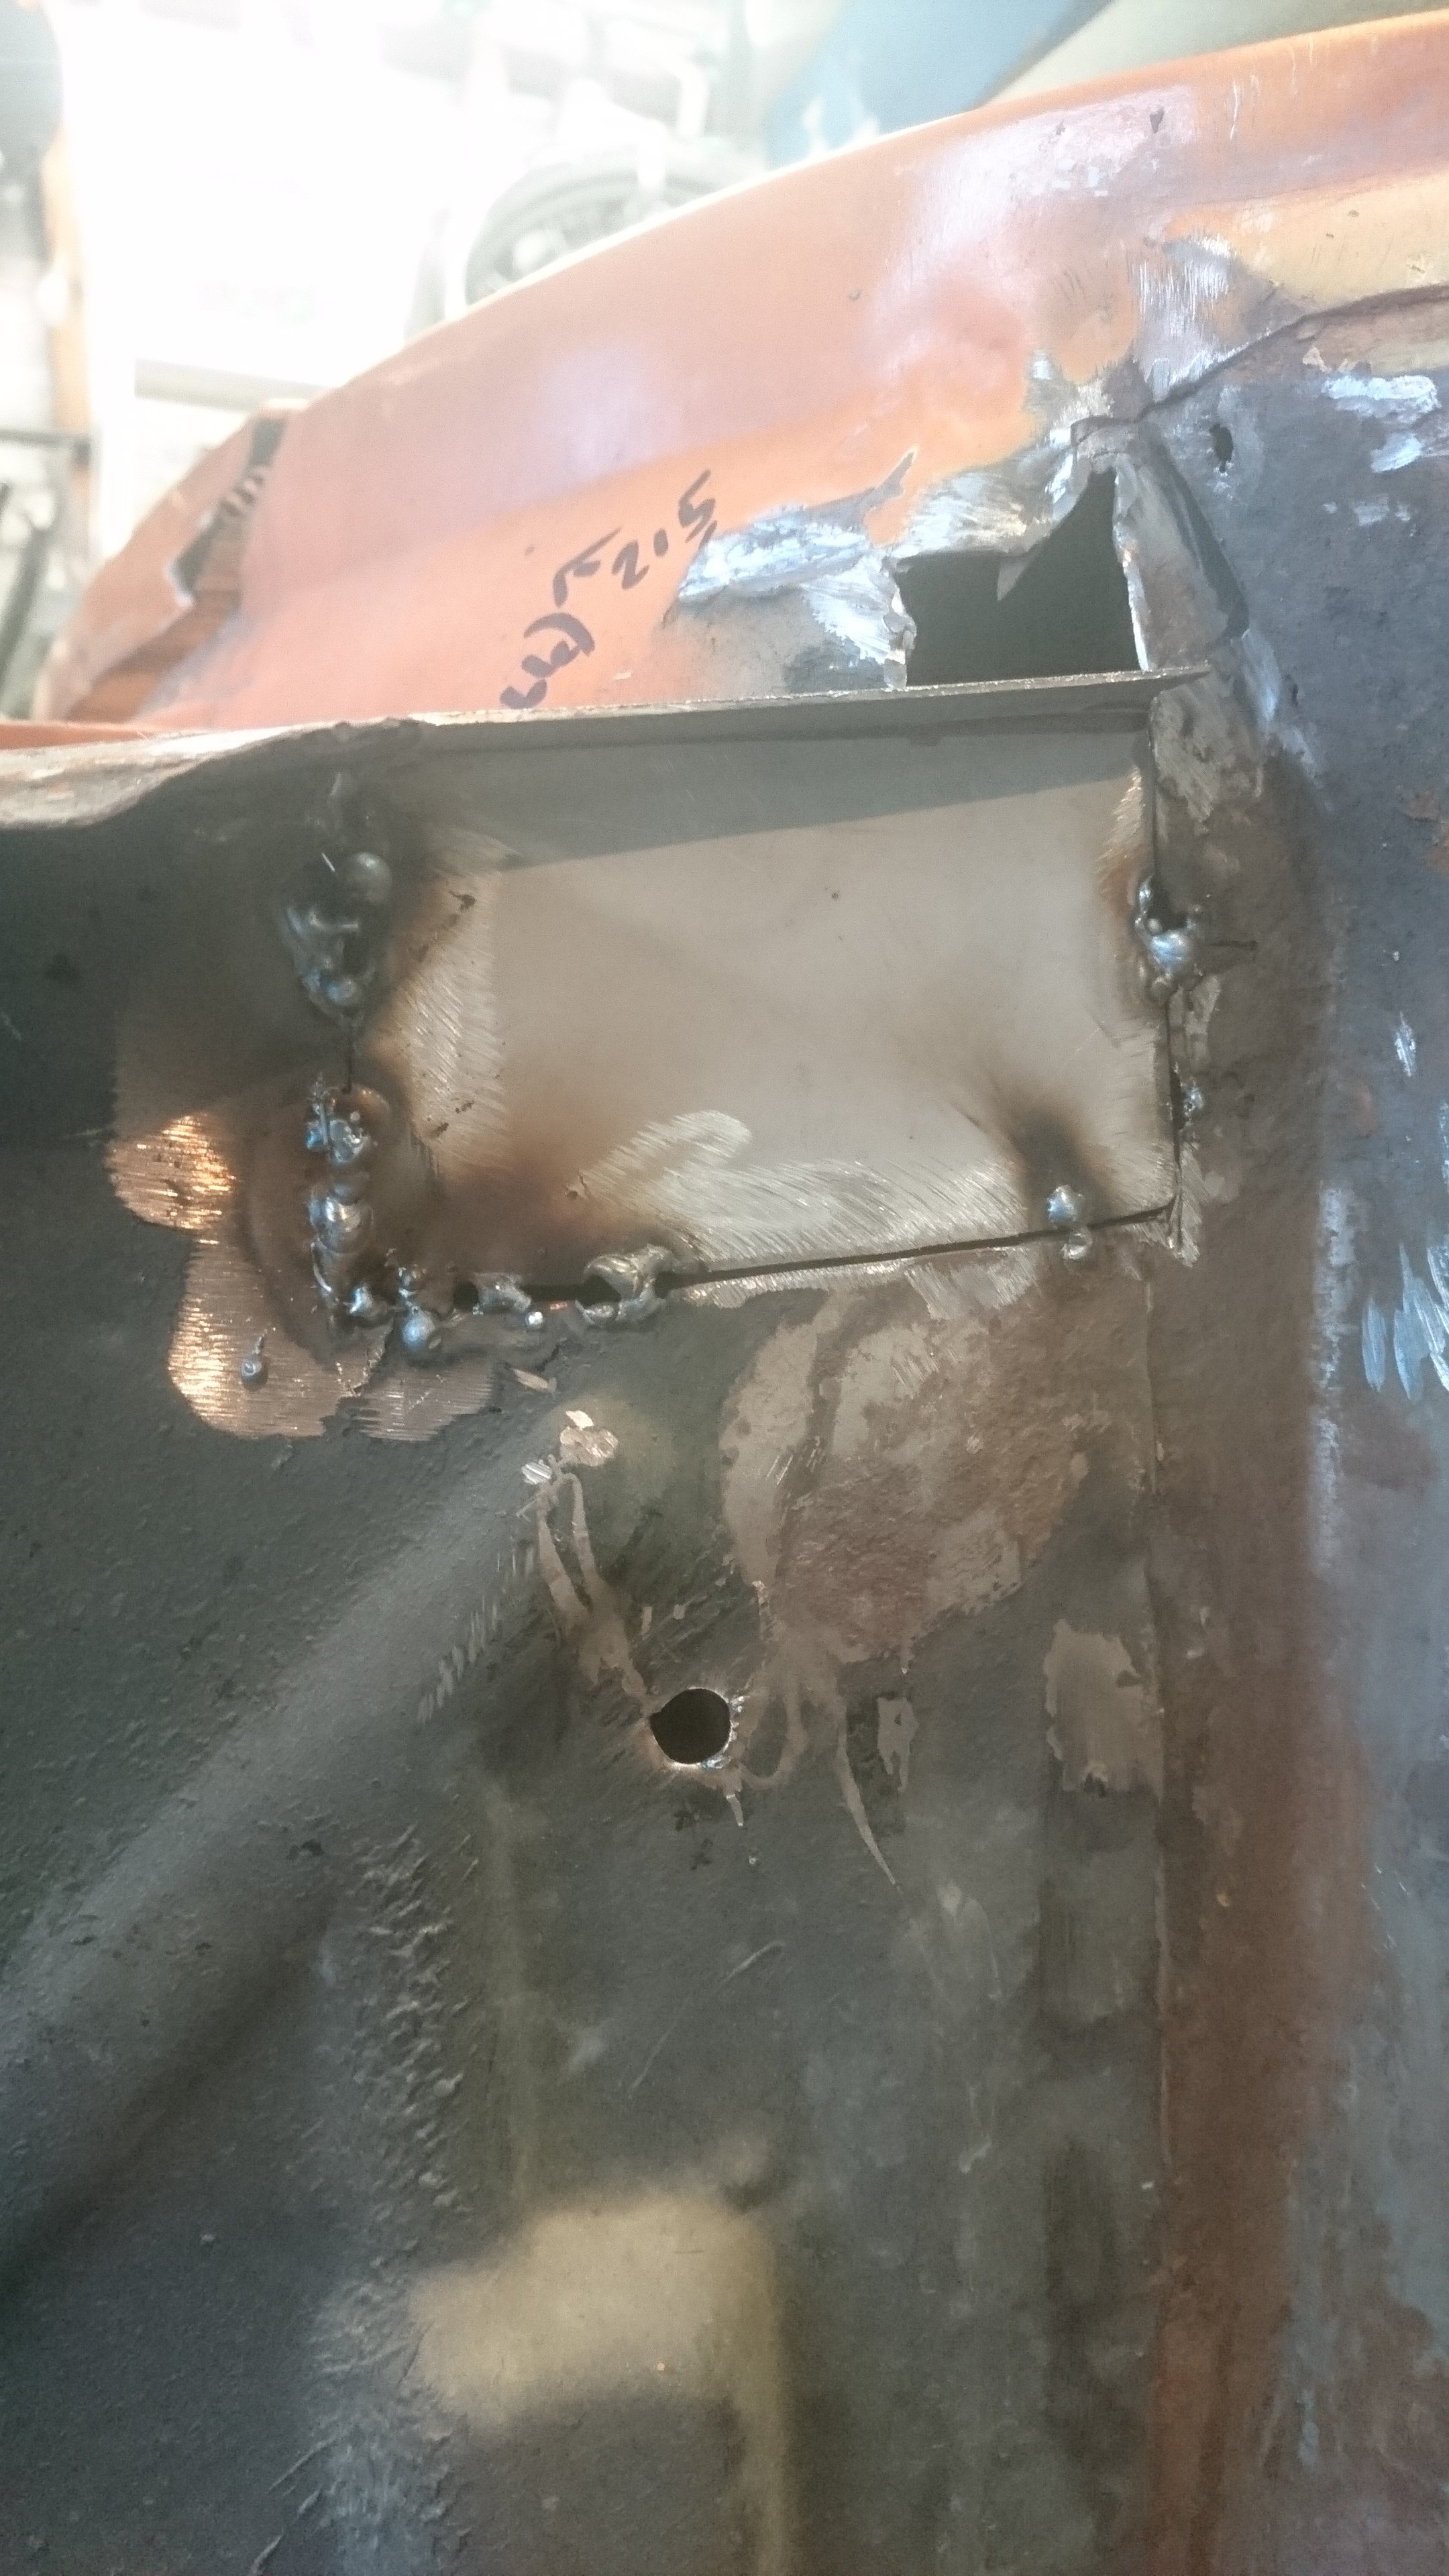
This is the other side. Penetration varies, depending on panel gap and voltage settings. Am I right in saying that if the gap is bigger, it burns back easier?
This was using the 'tack and gap' method. It's by no means the tidiest, but I think it's an improvement. Where to from here?
-
Had another hoon on the spark making/metal gluing machine. Results as below:
-
1
-
-
Thanks everyone for all the suggestions!! It gets really frustrating not knowing what is going wrong, and help like this is why OS is awesome.
If I get some time in the shed this weekend I will post some updates!-
3
-
-
Cheers everyone for the help!
@Bling For the test pieces, i ground the edge that was being welded, but only really about 1mm back. So tbh like you say there probably is a lot of contamination there. I tried to grind back the surrounding panel on the car a bit further, but nowhere near 10mm of clean metal, nor any prep on the back of the panel lololol. Will try both those ideas!
The gas i'm using is the Bunnings mixed 'MIG Gas', which from memory is like 5/2 Argon and CO2, or something.
As for welder settings, it's fairly automated, but i was ranging between 15-16.5V and around 5m/min. These increase proportionally to each other when you turn the dial, so i can't actually adjust them individually. Current and inductance are adjustable to within 20% of the preset too, i'll have another go tomorrow night and get more specifics.
As for the process, most of that was trying to overlay tacks on top of each other while the weld pool was still fairly hot, like by pulsing the trigger once a second or so, which i'm not sure was the right thing to do. You guys reckon one tack, move on 20mm or so and keep going until the gap is filled? -
Some of the practice welds turned out ok, others are dogshit. I don't get it.
-
My Escort is beginning to look like something from those fail car repair channels on Youtube.
No matter what I try, I either can't get any penetration between the car and the patch panel, or I blow holes and burn back the steel i'm trying to weld to. I don't understand what i'm doing wrong. Is it current, wire speed, inductance, or all of the above? What sort of gap do you leave between the patch and the rest of the panel?
Any experts here able to shed some light? Are there any night classes I can go to?
The machine is a BOC Smootharc 180, with 0.6mm wire and an argon bottle from Bunnings.
-
On 19/06/2018 at 08:09, 2052NV said:
Wow, I remember back in high school when I used to visit Porsche for Gateway and you were doing the Mi16 swap on this.
Random!
-
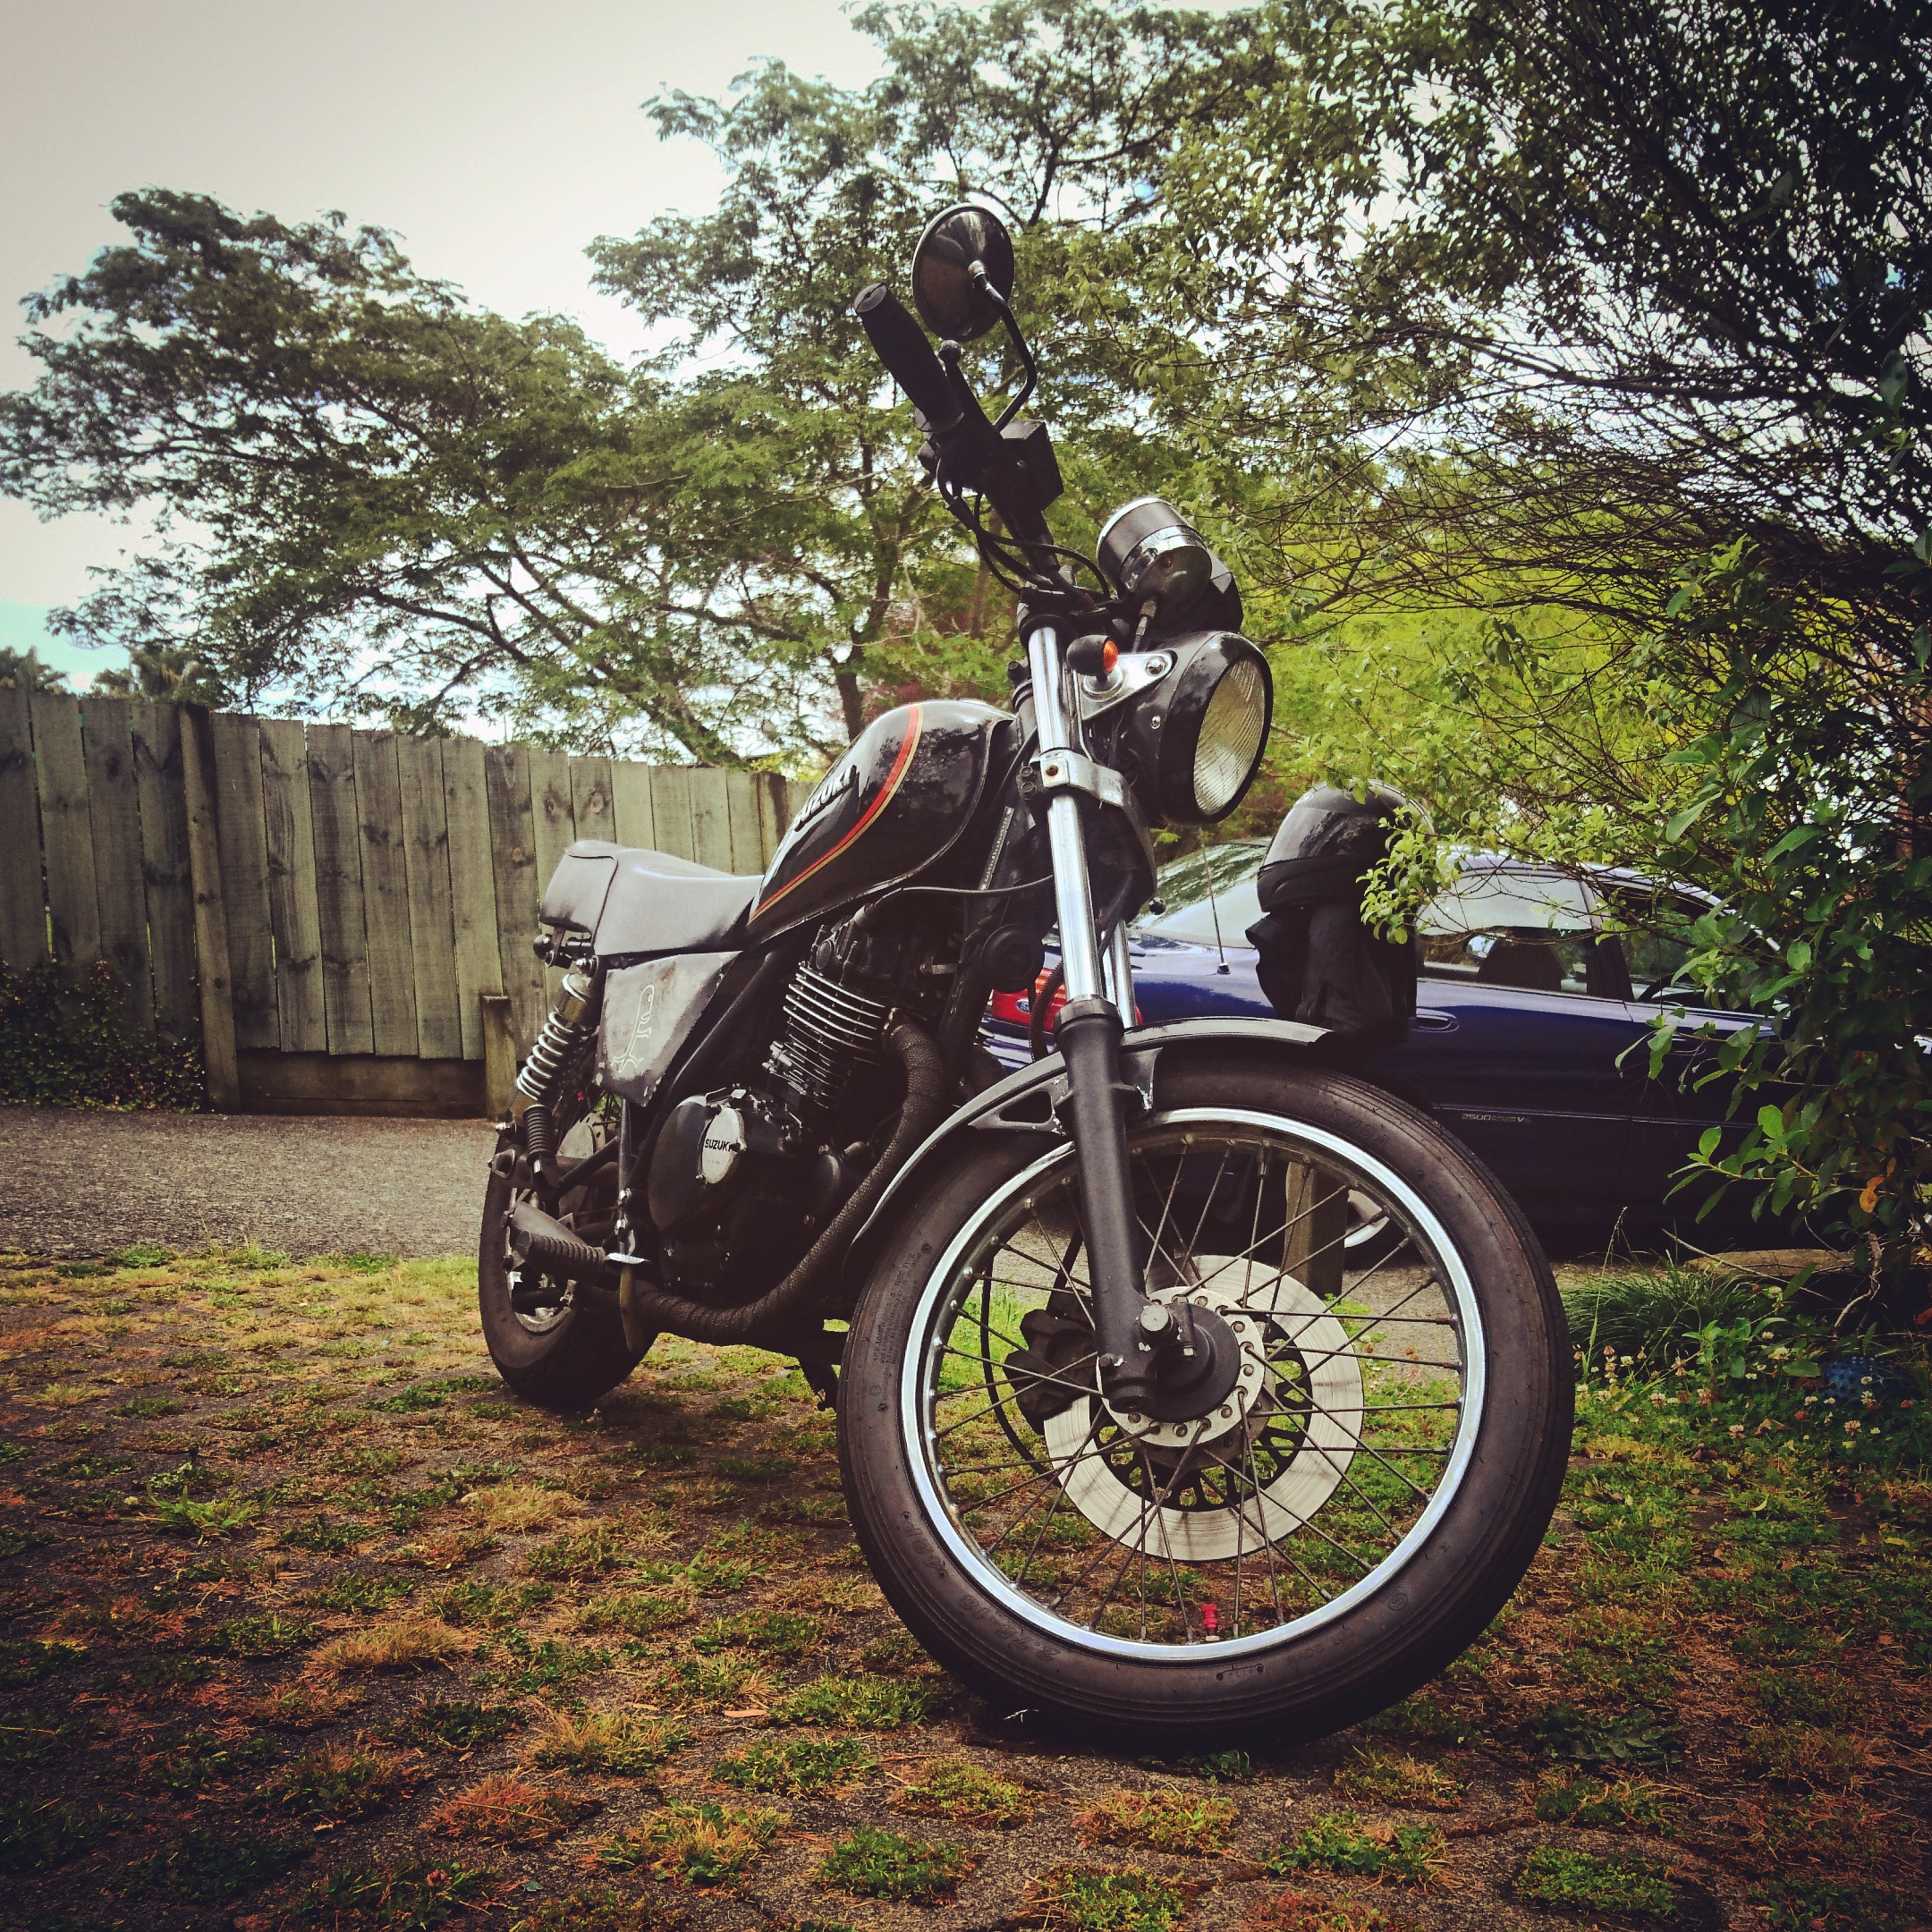
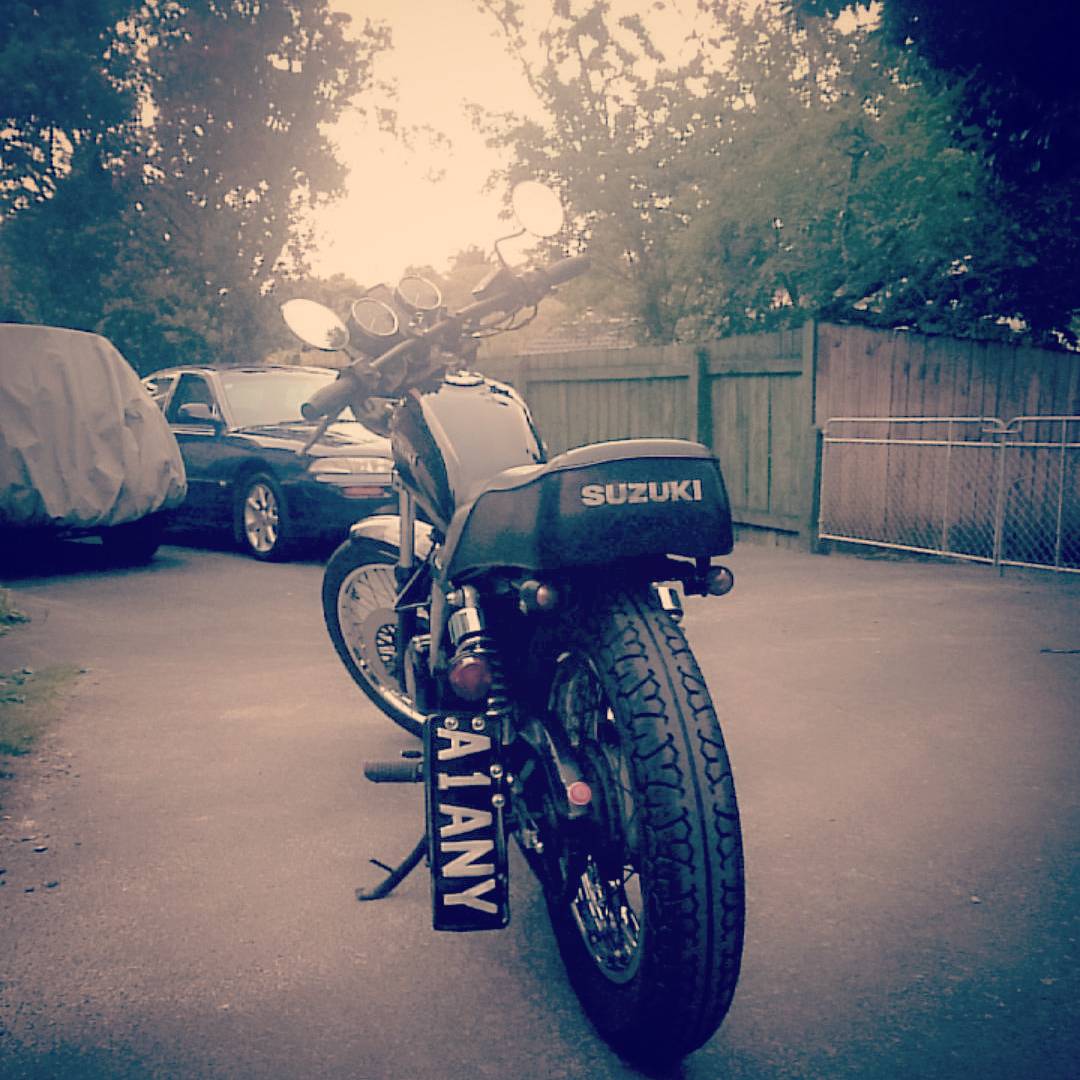
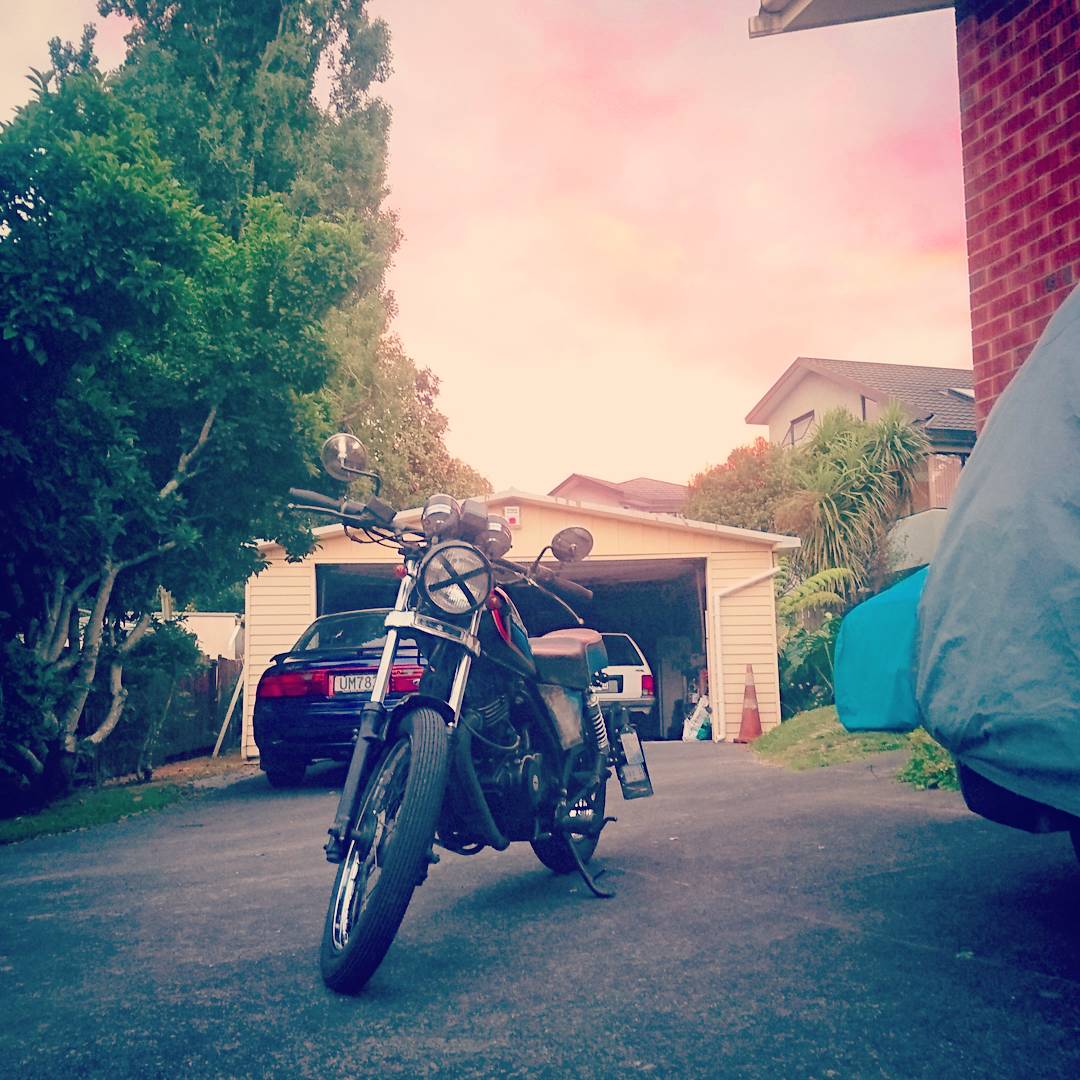
So I did a silly thing the other day and bought a motorcycle. I am a complete newbie to the world of bikes, so this is all a bit of a learning curve.
It's a 1985 model (Japanese assembled) Suzuki GN250, with flat handlebars and not much of an exhaust. It has got spoked wheels and a retro looking striped tank though.
I'll probably end up finishing off the cafe racer mods the previous owner started. Yeah, I know, how original...
Any tips/tricks/advice/sharns are greatly appreciated, and if there is any possible way to hot up a GN motor let me know! Still amazed at the quantity of stuff on Aliexpress available for these, some of which is already on it's way here from China
-
1
-
-
Cheers, i'm going to need it! Thankfully there's plenty of knowledge around OS and beyond, so the trepidation level isn't too bad at the moment.
But then, I haven't actually uncovered all the rust yet...-
1
-
-
Oh hey, this thread has photos again!
Unfortunately, this post doesn't bear a whole lot of good news.
The venerable Escort has been doing daily duties for a year, the new engine is sweet, and goes as well as can be expected from a 1300 Kent.
But...
Sadly, it failed it's WOF last month on rust in the L/H A and C pillars. So after being inspired by @Hurmeez efforts in rust repair on his Mk2 i figured it was time to start digging at the rust.
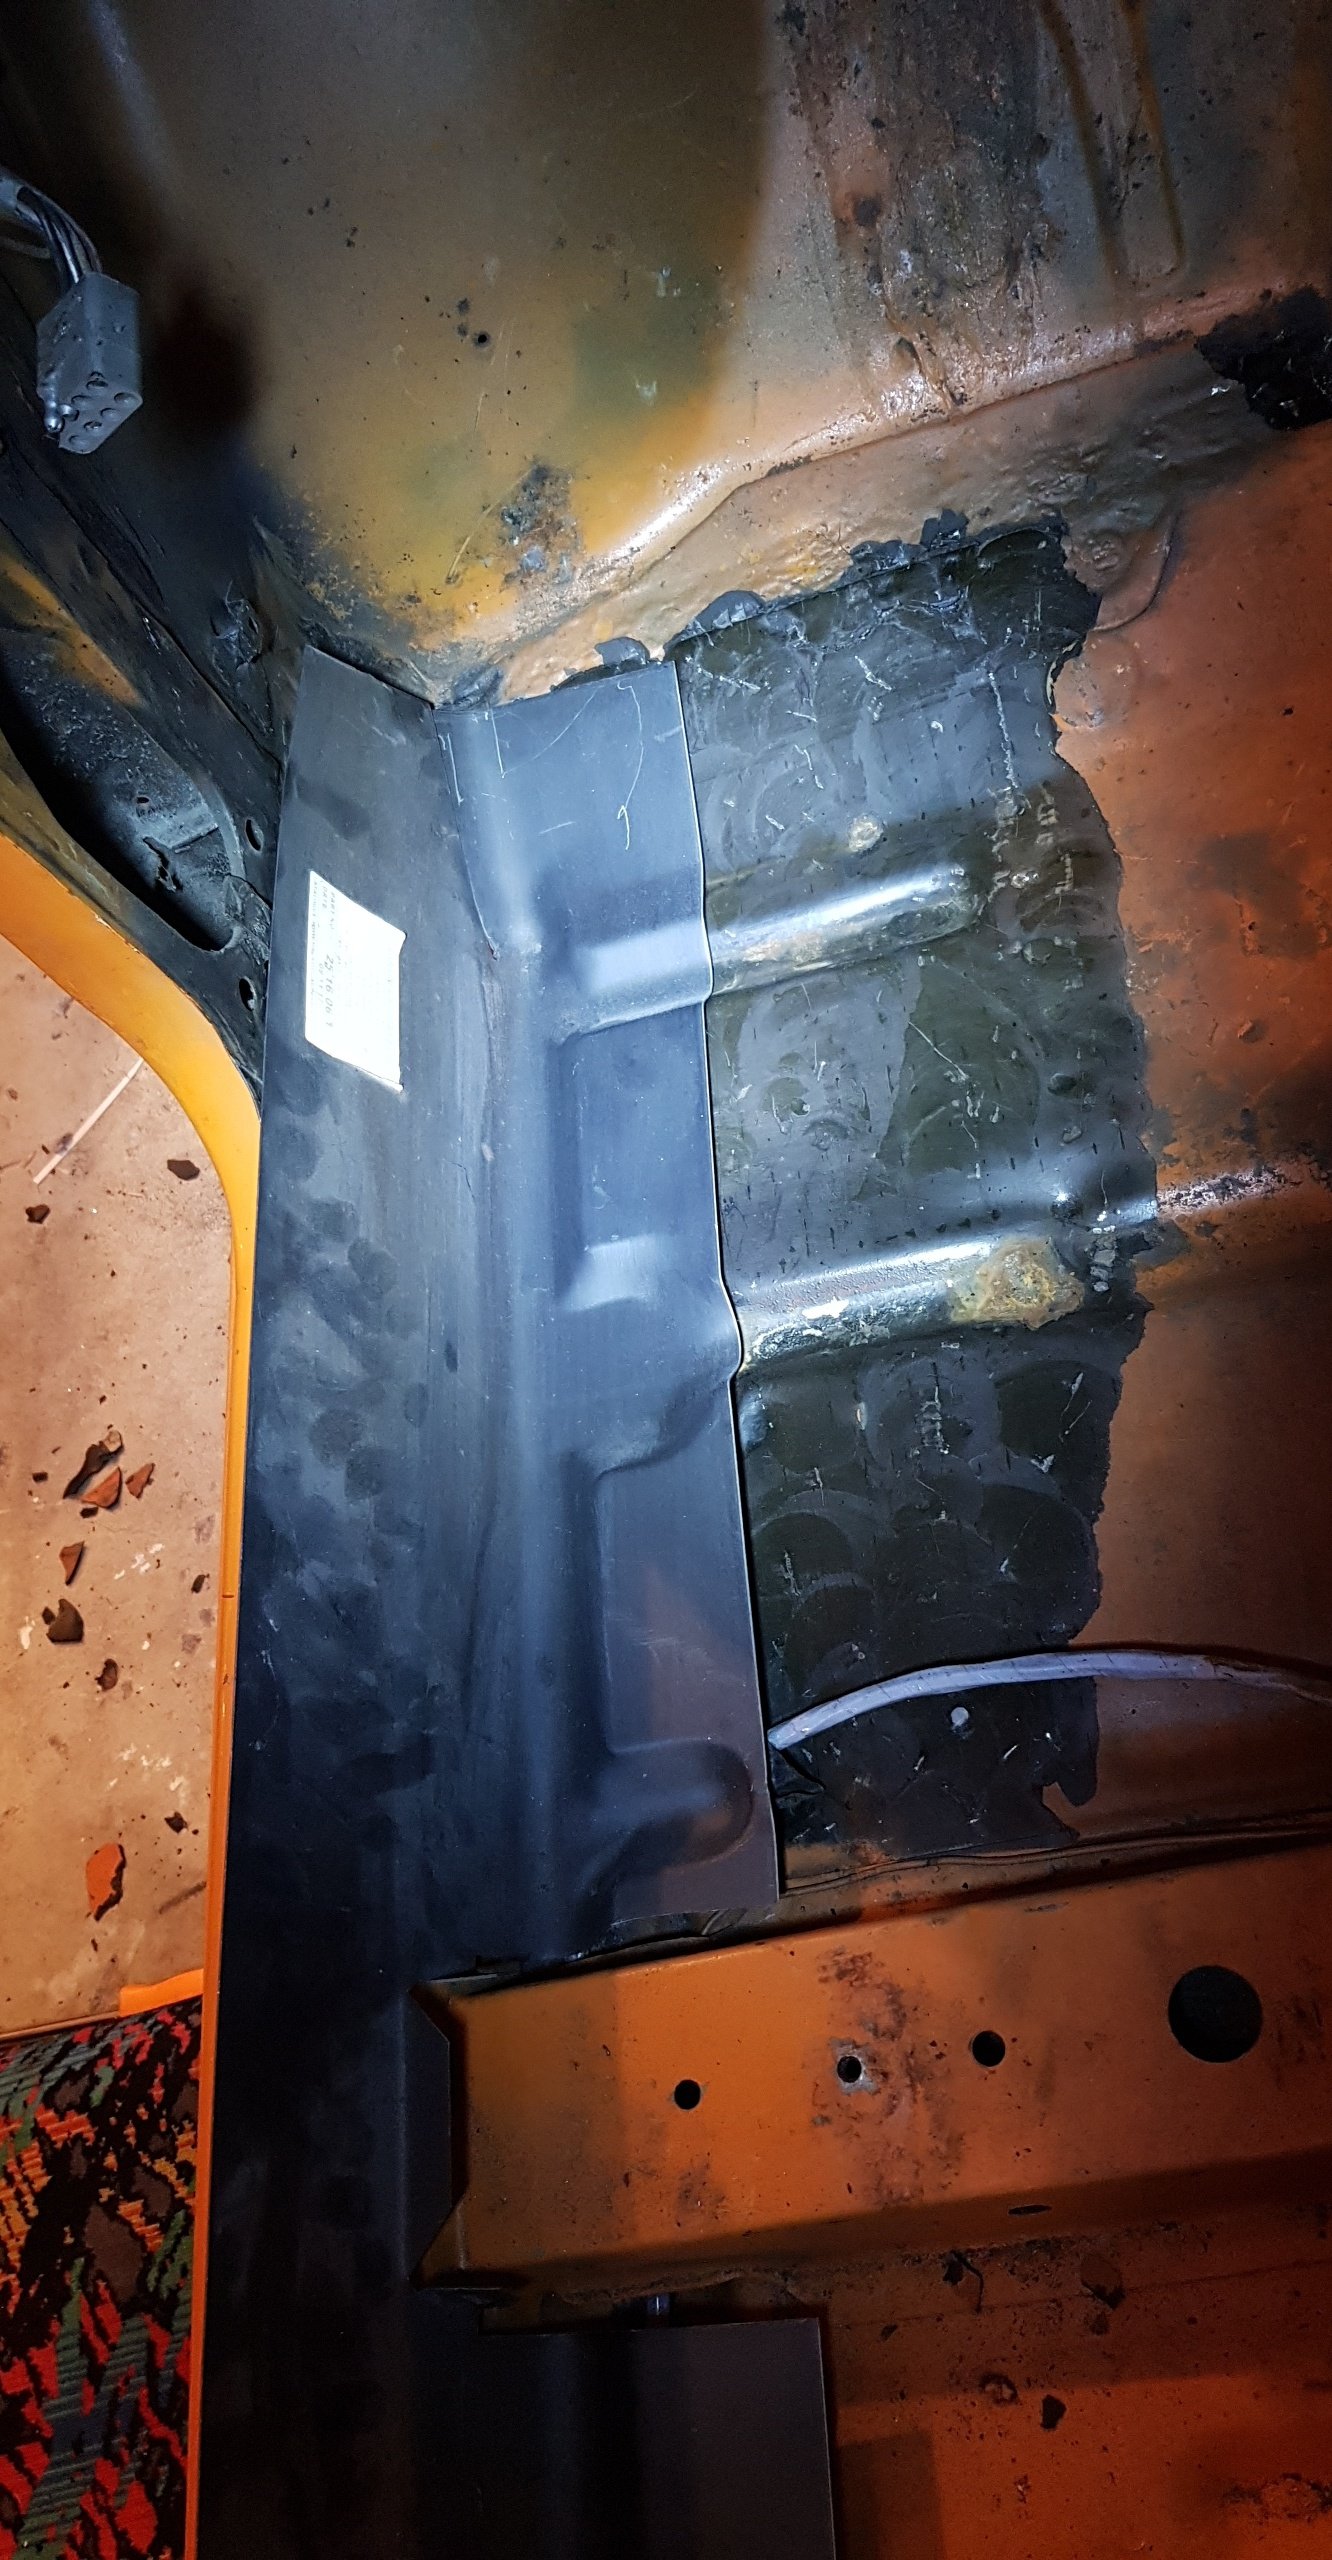
Over the long weekend, I watched more and more of my Escort disappear into dusty piles on the floor...
It started off so nice. After removing layers of bathroom sealant from behind the dash, I found a small hole in the inner guard, by the firewall seam. Figuring this was the rust the WOF man was talking about, I decided it would be fairly easy to patch with the front guard removed. After drilling out the spot welds along the upper guard seam and watching most of the headlight surrounds disappear into thin air, I found the centimetres of bog in the front valance, and after the guard came off, the dodgy looking bits at the top and bottom of the A pillar. At this point there was no going back, so out came the poky screwdriver (with results illustrated below):
This is the bottom of the passenger's A pillar. The driver's side isn't as bad, it only has a hole in the pillar, the sill on that side looks intact (at the moment, anyway)
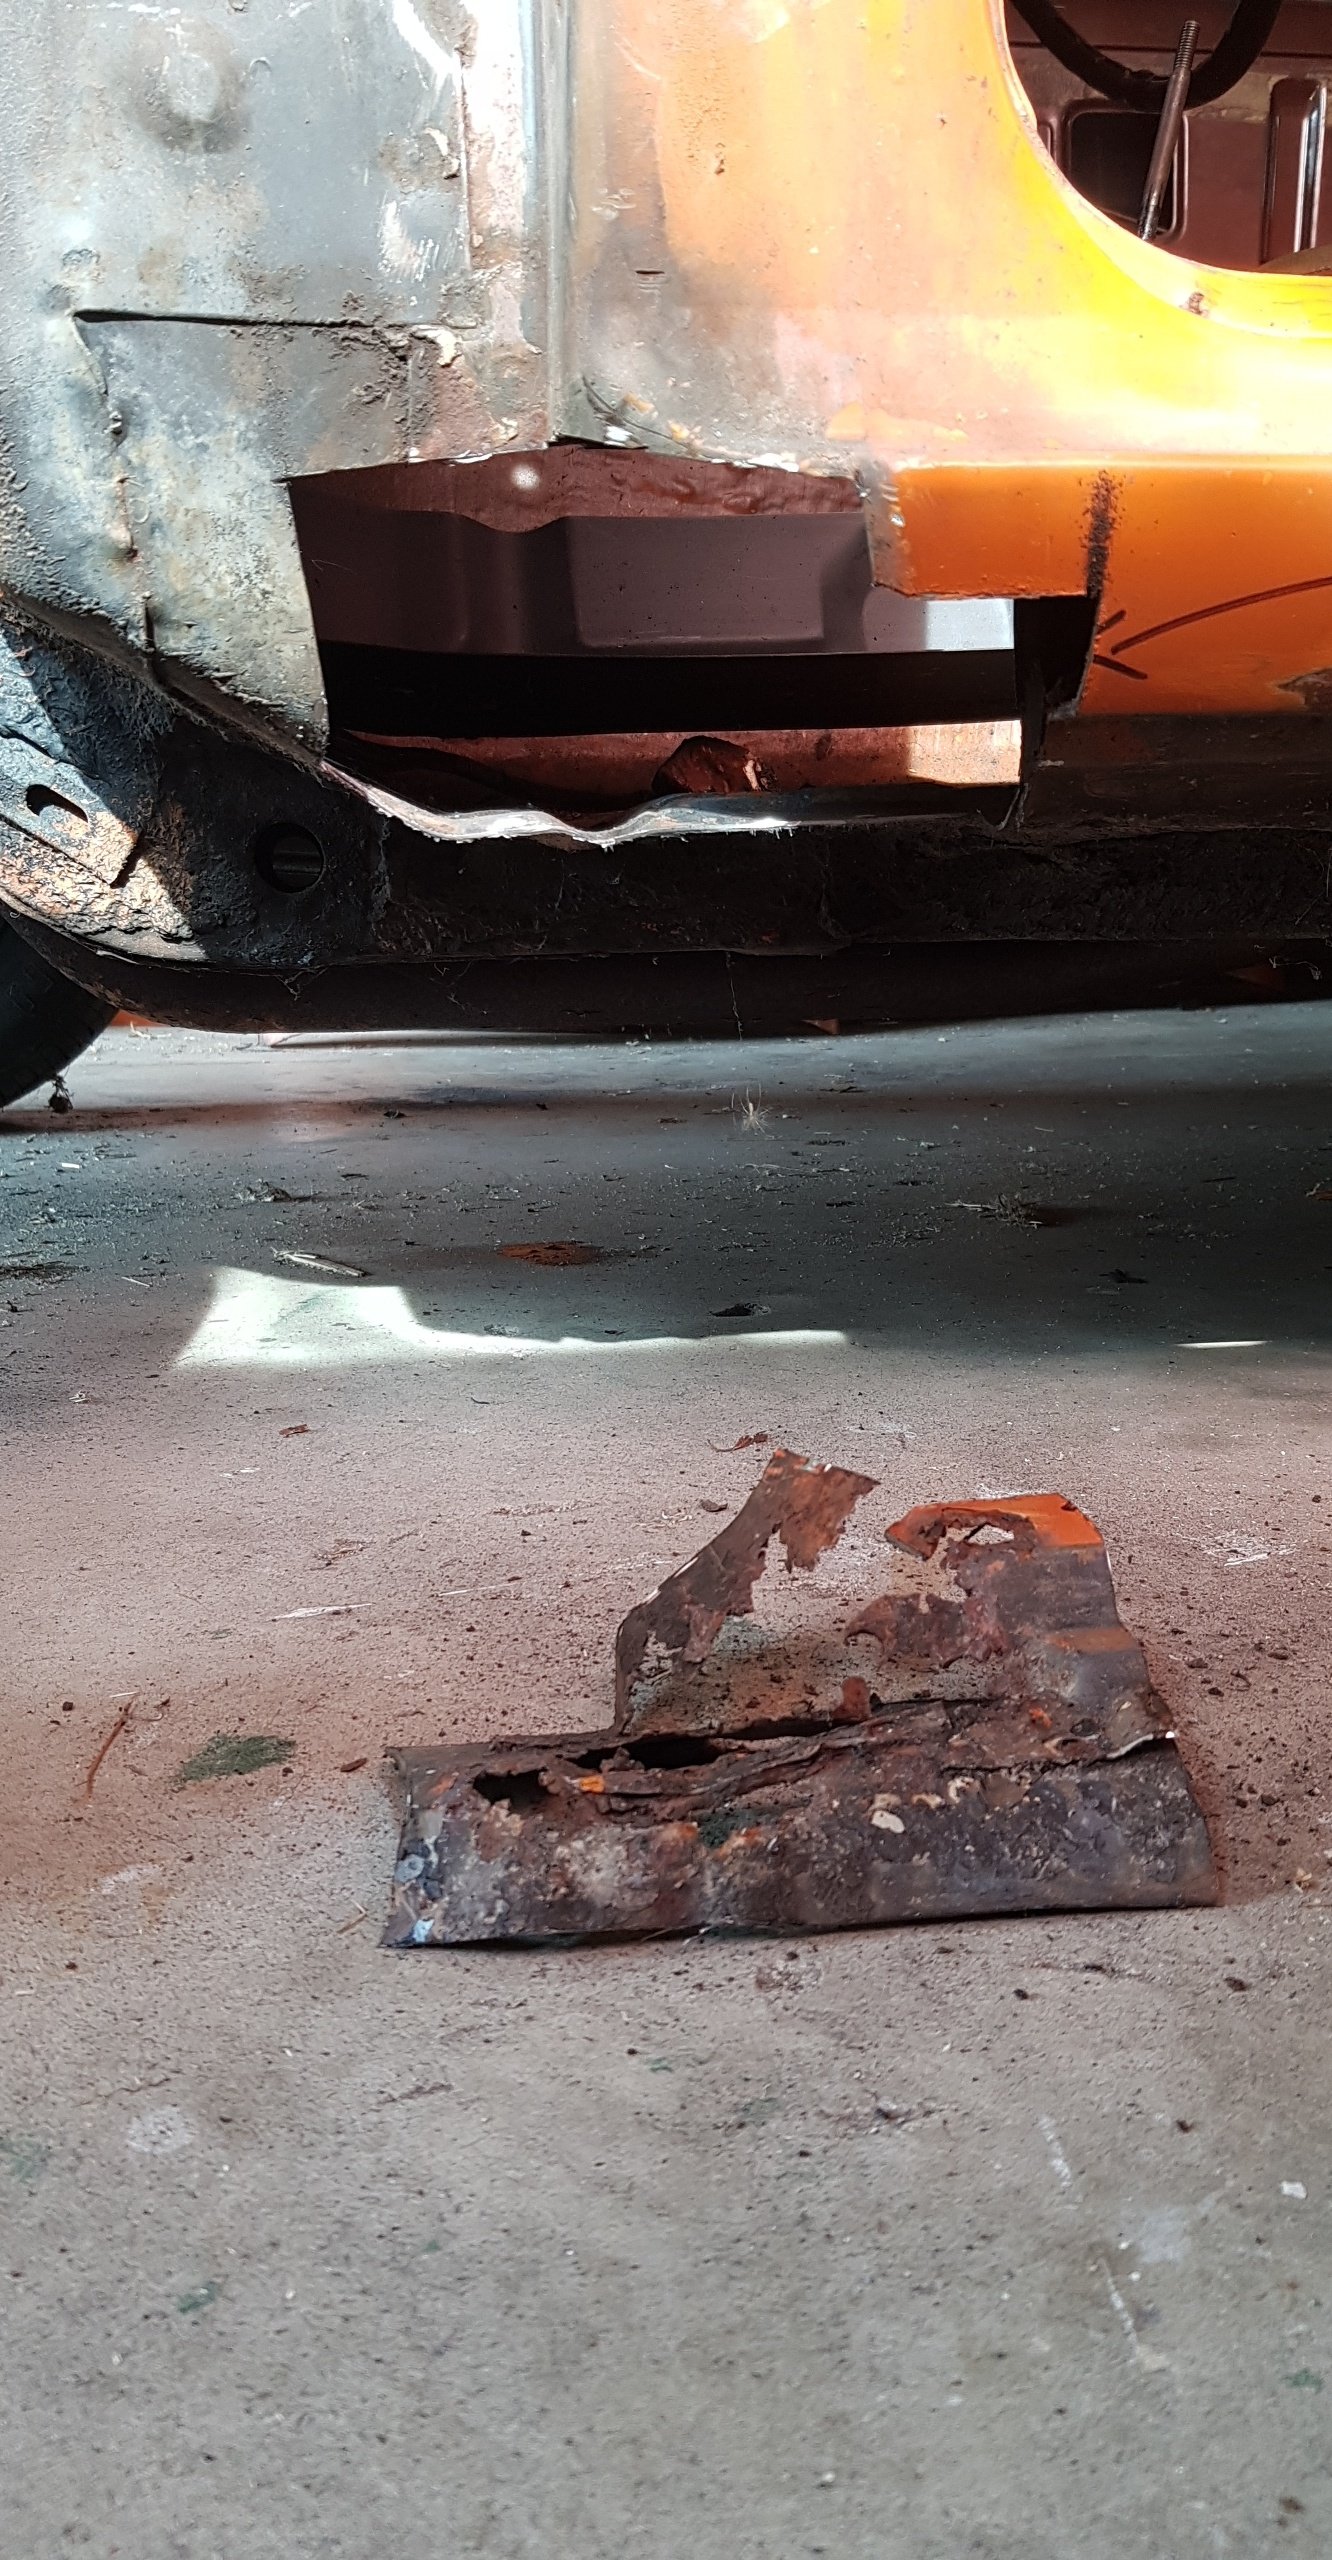
After finding the fist-sized hole in the floor, I threw caution into the winds and attacked any other dodgy-looking bit of the car I could find. This is the rear wheel arch, which looks like it's had a repair in the past and has continued rusting. There are a couple of small holes in the driver's A pillar section, and the guard seam is pretty sad. The heater bubble has yet to come off, but there is serious work there too judging by the holes around the base of it...
This was Dad's contribution: leaving Psychedelic Furs lyrics on my car while my back was turned...
So yeah. I've never tackled any kind of rust or metal forming on this level before, so any tips and advice are greatly appreciated!
Discuss/offer advice/sharns/tell me it's fucked here:
-
1
-
-
- Popular Post
- Popular Post
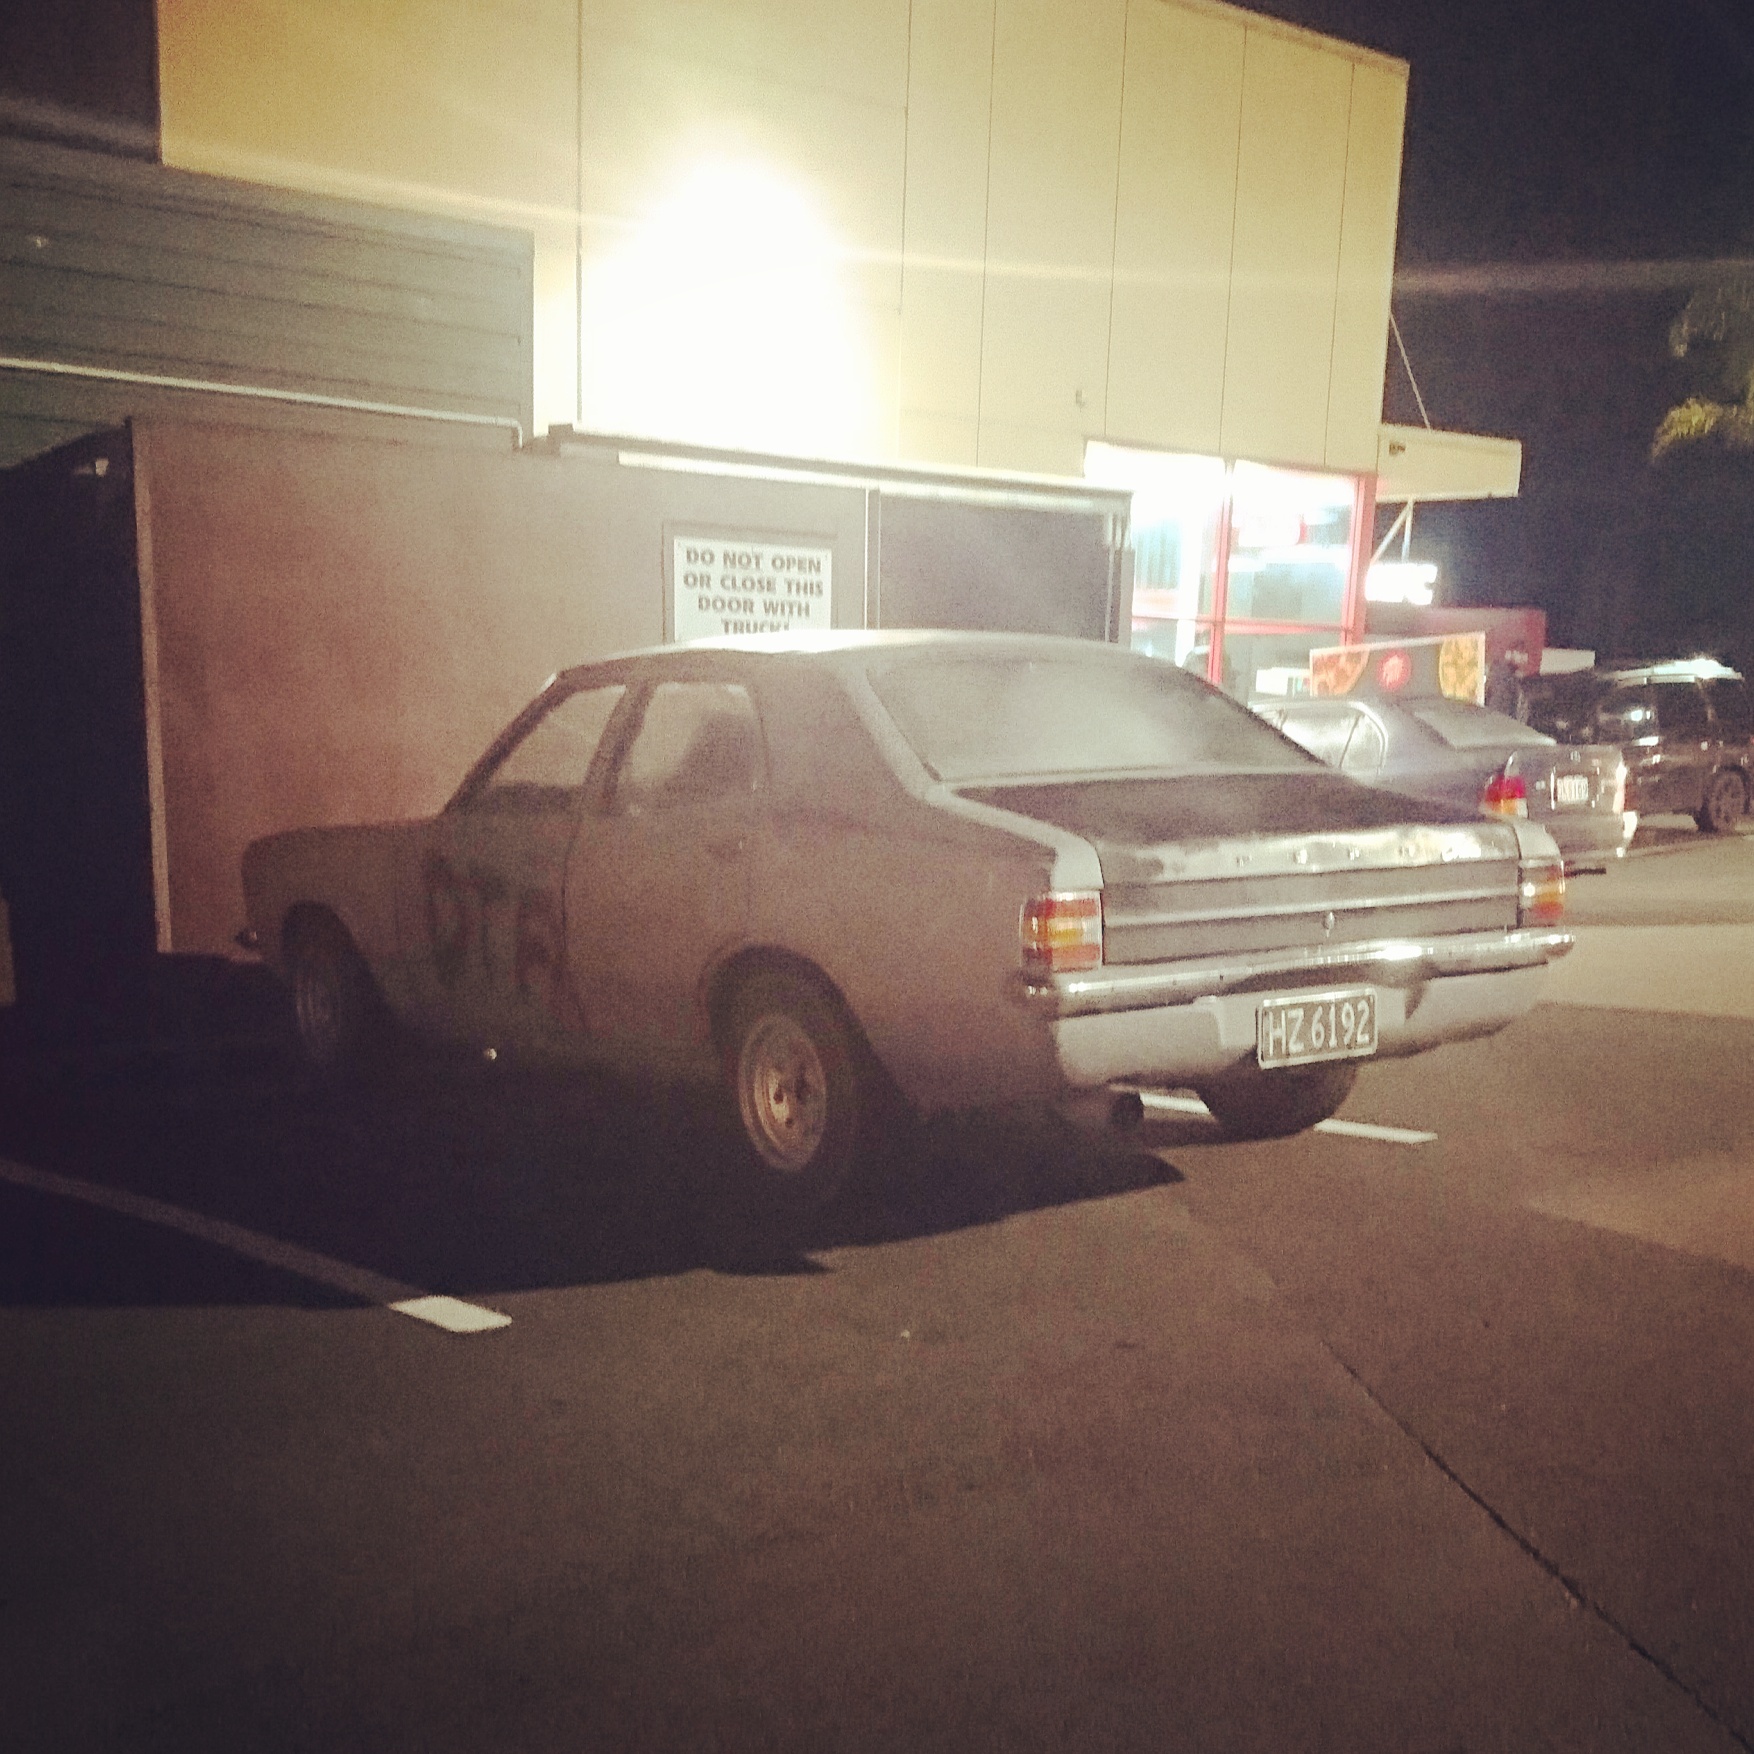
Where do you find the dirtiest Mk3 Cortinas?
Turns out it's outside the Lynfield Doolan Brothers on quiz night.
-
19
-
- Popular Post
- Popular Post
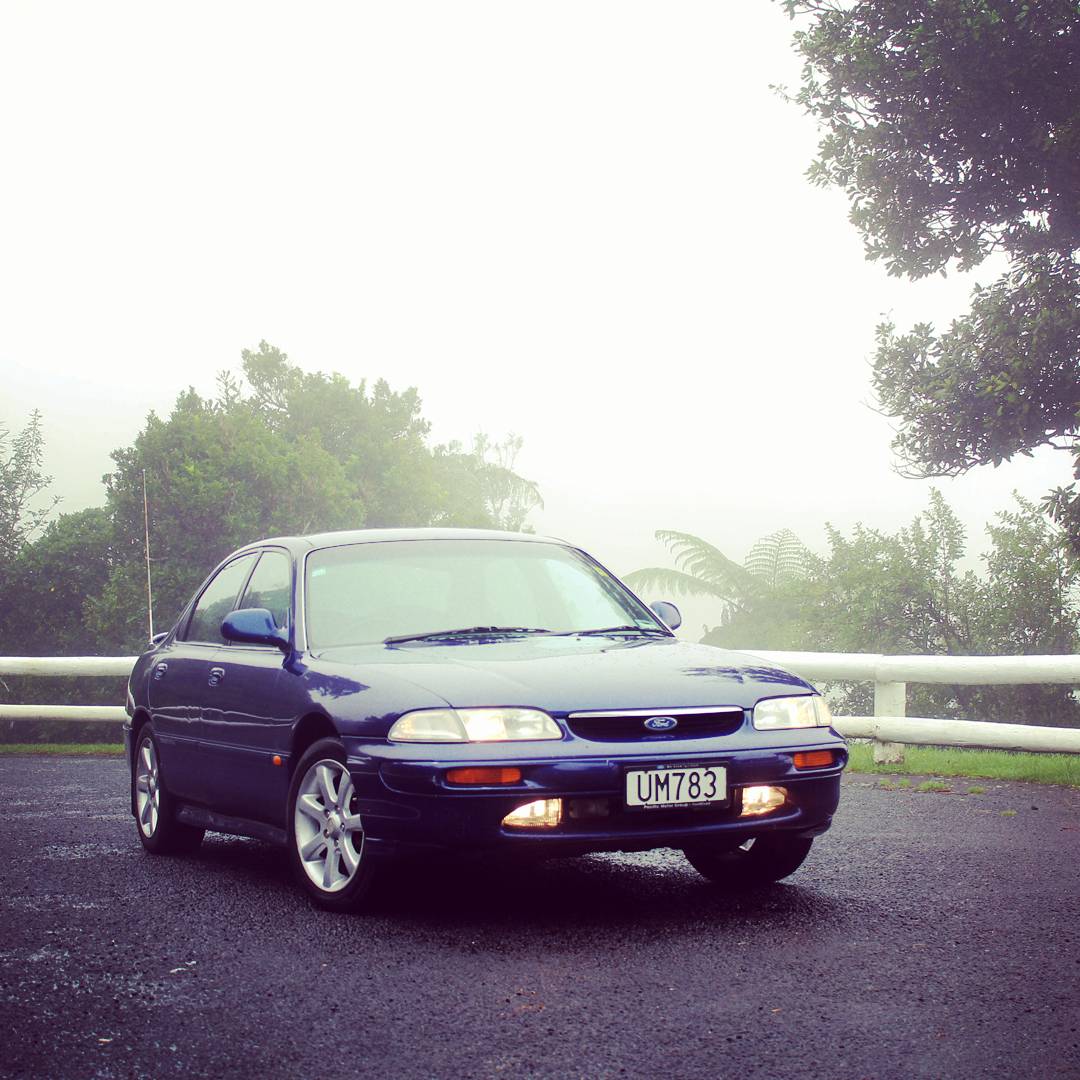
Get a V6 Telstar.
Same idea, better execution. A lot of car for less than $2k, if you shop around.
-
10
-
1
-
On 5/18/2017 at 13:38, locost_bryan said:
Guidance counsellor at my son's college dailies a '60s Mustang.
Mark Sizer? He was at Lynfield when i was there. Good dude.
/for thread: scruffy Mk5 Wagon in Blockhouse Bay
Yeah, I had to go back and park my car next to it, and send multiple Snapchats like the foamer I am
-
8
-
-
Also interested to see what happens with this. My dad always says he wished he never sold the Escort Sport he bought new in 1978, when he was at John.W. Andrews.
There is no record of it on Carjam, so it must have died pre-computerisation, but we'd still like to know what happened to it. He could probably still recite the build number, but it's not a 17 digit VIN so Carjam probably wouldn't recognise it anywayThis is it, circa 1982
i'm sure i heard tell somewhere that the VCC have thousands of old registration records somewhere that pre-date computerisation, but that might just have been an old Barry tale.
-
7
-
-
Sweet! Assembly is the easy bit haha, keen to see it once it's all done though!
Haven't really got much planned for the Cortina, a while ago I converted it to a Mk4 clutch pedal setup because the self-adjusting bit broke, but that's about it haha.
Might still do a thread update... -
On 13/04/2017 at 10:14, BDA780 said:
Top work dude, car looks tidy in orange.
Using this as motivation for my 1600 upgrade sometime.
Cheers man! How's yours going? Are you still going to run slide throttles?
-
- Popular Post
- Popular Post
Oh right, so you wanted the rest of the story too? Sorry, here goes..
Repower, pt.3
So I took a Friday off work, parked the car in the garage and started stripping stuff out of the engine bay. A surprisingly short amount of time later, all the mechanical bits started falling out.
Oily, broken 1100 begone! Sorry, I didn't get any air guitar shots, it was too hard to take selfies while lifting the motor out...
And it's in! After fitting the ancillaries, filling it with fluids, fitting the manifolds, timing it and winding it over to get oil pressure, the moment of truth arrived.
It fired up and ran sweetly, so I had to take it for a cheeky test run sans bonnet. Excite! The valve clearances had closed up a bit, but after adjusting them and checking the head bolt torques, it's been fine. I also replaced the starter solenoid, because one of the terminals broke off. And the Hitachi carb works alright too, I might still play with jet sizes if I can find some others to experiment with.
The difference between the engines is night and day though, like it actually goes up hills now. The transmission is smooth, and all the fluids seem to be staying in their respective places, so i'll call it a win.Since then, it's continued to provide effective, reliable daily transport. I gave it a polish and it came up pretty nicely, considering it's actually six different shades of orange
And I took it camping at Whatipu over the New Years period.
Had to stop on the way home for an obligatory gravel road shot:
discuss/tell me to put a rota in it: //oldschool.co.nz/index.php?/topic/48306-mk2martys-1976-escort-moredoor-discussion/
-
10

.jpeg.60783ce068493a815b4a75064d59f810.jpeg)


Mk2Marty's bendy Accord
in Projects and Build Ups
Posted
We've all done it, right? Spotted something tasty on Trademe while browsing idly on a Friday night? Sometimes, after a few beers, you might even put in a cheeky low autobid just for the hell of it.
Well, fast forward two weeks and it turns out no-one else wanted that crunched Accord you were bidding on while a little bit drunk. Damn.
Thus, for a stupidly small amount of money, I added another slightly rotten Eighties classic to the fleet. This one rolled off the NZ Motor Corp production line in Nelson sometime in the early part of 1981, probably into the hands of a caring gent who treasured it for a couple of decades, adorned it with a set of THE GREATEST WHEELS EVER M8, and apparently never had a flat tyre because the original Reidrubber Award is still sitting in the boot. Fast forward a few years, it passed through several more owners, and tried to pass through a brick wall which didn't go so well for it.
However, considering the reputation that first-gen Accords have for disappearing slowly before your very eyes, this one seems remarkably solid. The wall-inflicted damage was limited to the pushed-back bonnet, radiator support panel, guards and bumper, with the chassis rails thankfully having escaped damage. It was in this state that I picked it up on Saturday morning, drove it to the parents place and tore it to pieces in their driveway.
By Saturday afternoon it was sans front, I had pulled the radiator support panel back to where it should be (it helps when your Grandad has a low mile, immaculate one owner example you can take measurements off) and I sprayed rust neutraliser over every bit of metal oxide I could find. The whole structure is surprisingly flexible, everything bent back into place quite easily, and by Sunday afternoon the front was starting to look more like a Honda again, and the bonnet was back to where it should be. It was solid enough to make the trip home, anyway, and to drive it round to Grandad's beforehand to spin Honda yarns and spot the differences between pre and post-facelift Accords.
It was already missing parts of the grille moulding and a bumper insert though, which was a bit annoying, and the bits of chrome moulding it does have are bent. Not sure where to get replacements for these, I am unused to the lack of aftermarket support for anything that isn't an old Ford...
I did however find some repro indicator/park lamps from a place in Otahuhu that turned up in the mailbox the next day, which was pretty sweet.
I'll take some proper photos of it once the rain stops, but here are some phone snaps in the meantime