

kp60nick
-
Posts
243 -
Joined
-
Last visited
Posts posted by kp60nick
-
-
Introduction
For those of you I do know, hello.
For those of you I dont know, hello here is an up to speed on my car life on oldschool.co.nz
My first build thread was started exactly 10 years ago on my old Nissan navara.
Previous D21 kingcab build thread
At the same time I was building my kp60 and had a build thread on oldschool.
My KP61 starlet which i have since sold.
I sold the navara shortly after that. I then focused my time into the kp it was going good but lost interest in it when family, home and work became first priority. Put it in storage for 4 years. Meanwhile in August 2020 I purchased another project. This particular 1990 Nissan d21 king cab. (Different from the first one) With the kp60 still in storage I started a second project. Earlier this year my free storage came to an end and I had to make the decision on which vehicle to carry on with. I have my reasons for making the decision that I did and to be honest I thought I would feel different to how I actually feel about it but I'm really happy with my decision.
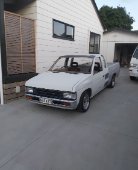
About the car/ute/pick up.
I picked this up really cheap from chch it looked pretty ruff in the photos but I knew the interior was pretty good everything I can fix myself
295000km 2.4L 5 speed manual
My intention is to minitruck it. But make it very classy and classic so hopefully I can pull it off.
This will be a quick fire build thread till we get up to date then progress will be slow. I found oldschool forum a good way to keep me motivated.

Thanks for looking.
-
 4
4
-
-
- Popular Post
- Popular Post
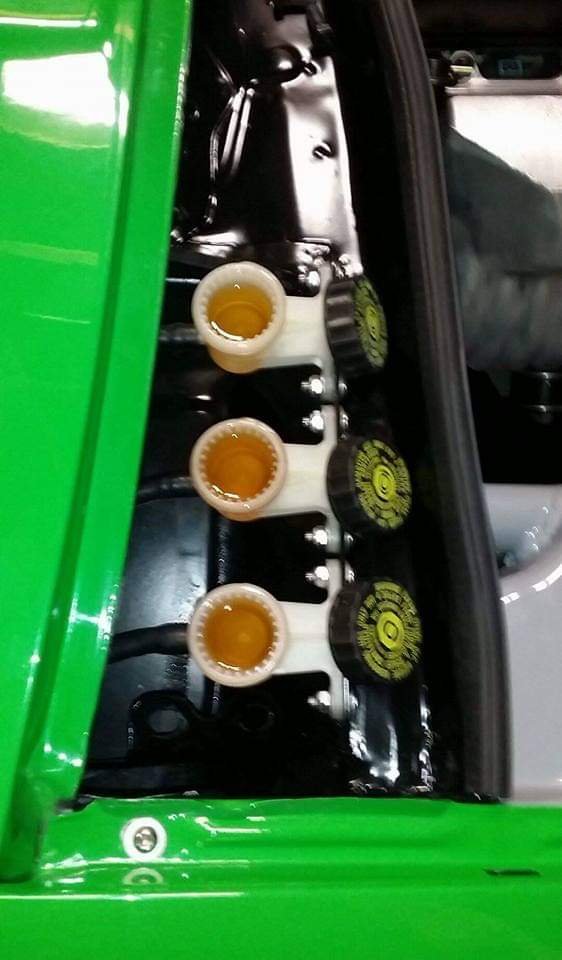
Bonus images. Big thanks to these guys Kieran, stan and the other boys for the endless pumping of the brake pedal.

-
13
-
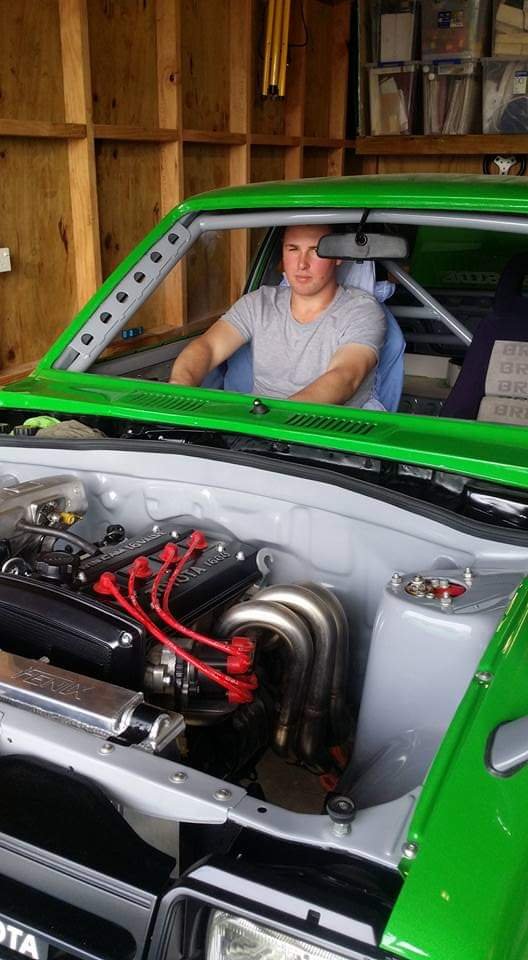
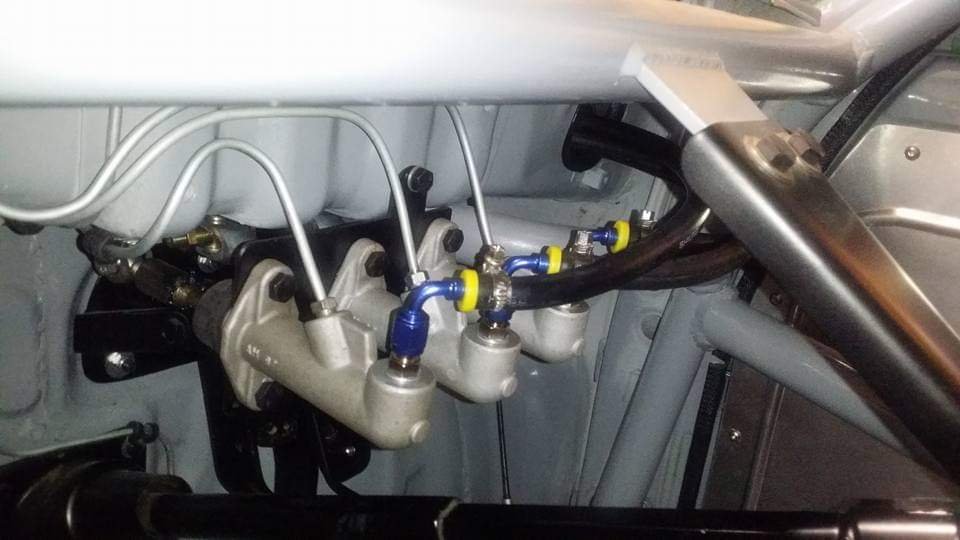
Next thing was to sort brake lines, front calipers and coilovers.
The car came with a home made pedal box with a balance bar it works ok I think it needs a but of strengthening, under hard braking it flexes the fire wall. The other thing with was the master cylinders they used where cheap Chinese trailer cylinders that couldn't stop sucking in air so I changed them out for willwood cylinders.
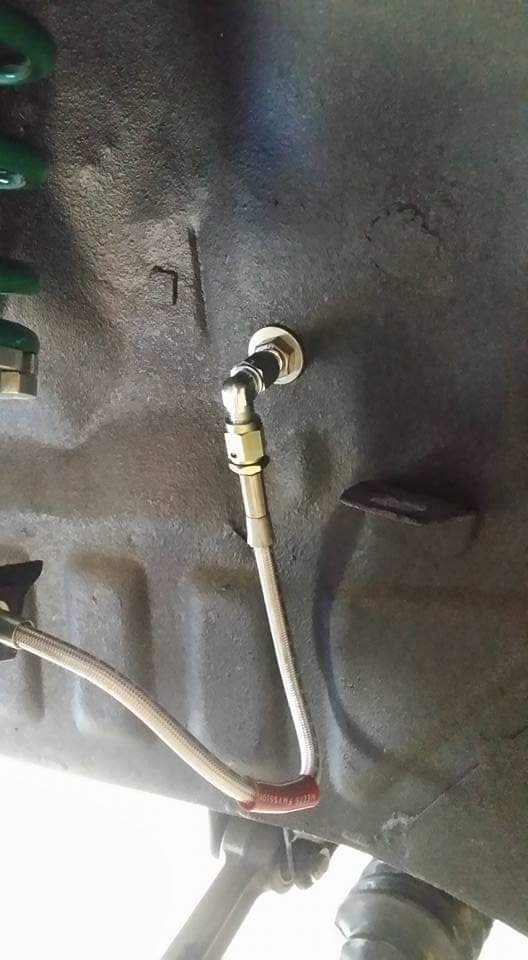
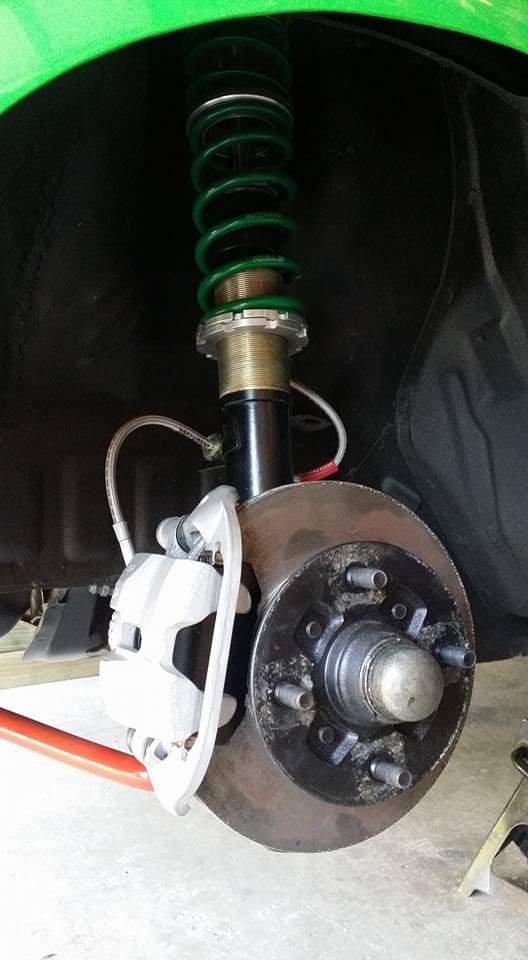
With the brake lines I wanted them hidden as much as possible so most of the plumbing is on the inside of the firewall. It looked good you will just have to trust me as I dont have to many photos. The only place in engine bay is about 100mm section on top of chassis rails. I used right angle bulk head fittings to keep it nice and tidy. Then braided lines to rebuilt AE86 front brake calipers. The struts are ae86 with autolign built coilovers with 4kg tein springs and keepers on top and monroe shocks valved to suit spring rates. Other bits on the coilovers are T3 camber plates up top and at the bottom (not actually part of the coilovers but it this let's you use 86 strut in the kp) T3 starlet to AE86 collar thing that slips over starlet ball joint and T3 RCA. I currently have the T3 knuckle in the car and I'm using the the second hole currently in the hope to achieve more steering lock now I have another set of modified Ae86 knuckles to chuck in the car (but that's going to far into the future). Note: I'm also running a apjs lock spacer.
-
3
-
-
I'm going to do my best to remember what order I did stuff.
After I came off the buzz of painting the car and took my eyes of it for 5 mins to make some progress I believe the fuel system was next on the list. I had an idea of how I wanted to make it. So first I used the factory fuel tank with welded in ( I think -8 ) bungs into the lid of the tank. One for the pick up, one for return for surge tank and one for the breather /roll over valve. First fuel pump is a Carter lift pump ( can remember the size) from there to the 1L surge tank. I think the high pressure pump I used was a Bosch 070 (not as powerful as the 044) then I had bent up steel fuel lines run under the car one for in one for out. P clipped every 100mm. Had two filters one before first pump and one before injectors. All this was mostly kept inside the spare tyre well in the boot. Was going to make a lid to cover it in case of fire most likely out of aluminum.I dont want to spoil the ending but I have changed some of these things on the car over the years.
-
2
-
-
- Popular Post
- Popular Post
This is a test photo to see the quality of pictures. Have been through 3 phones since last time posting and I'm sending them through fb messenger.
-
13
-
- Popular Post
- Popular Post
Update coming soon.
Some of you may know what ive been up to over the last few years through my instagram account but i thought it would be good if i show you in more detail.
stay tuned to find out more.
sorry for the click bait.
sorry for it being 5years between post.
-
13
-
- Popular Post
- Popular Post
Thanks for reading
-
14
-
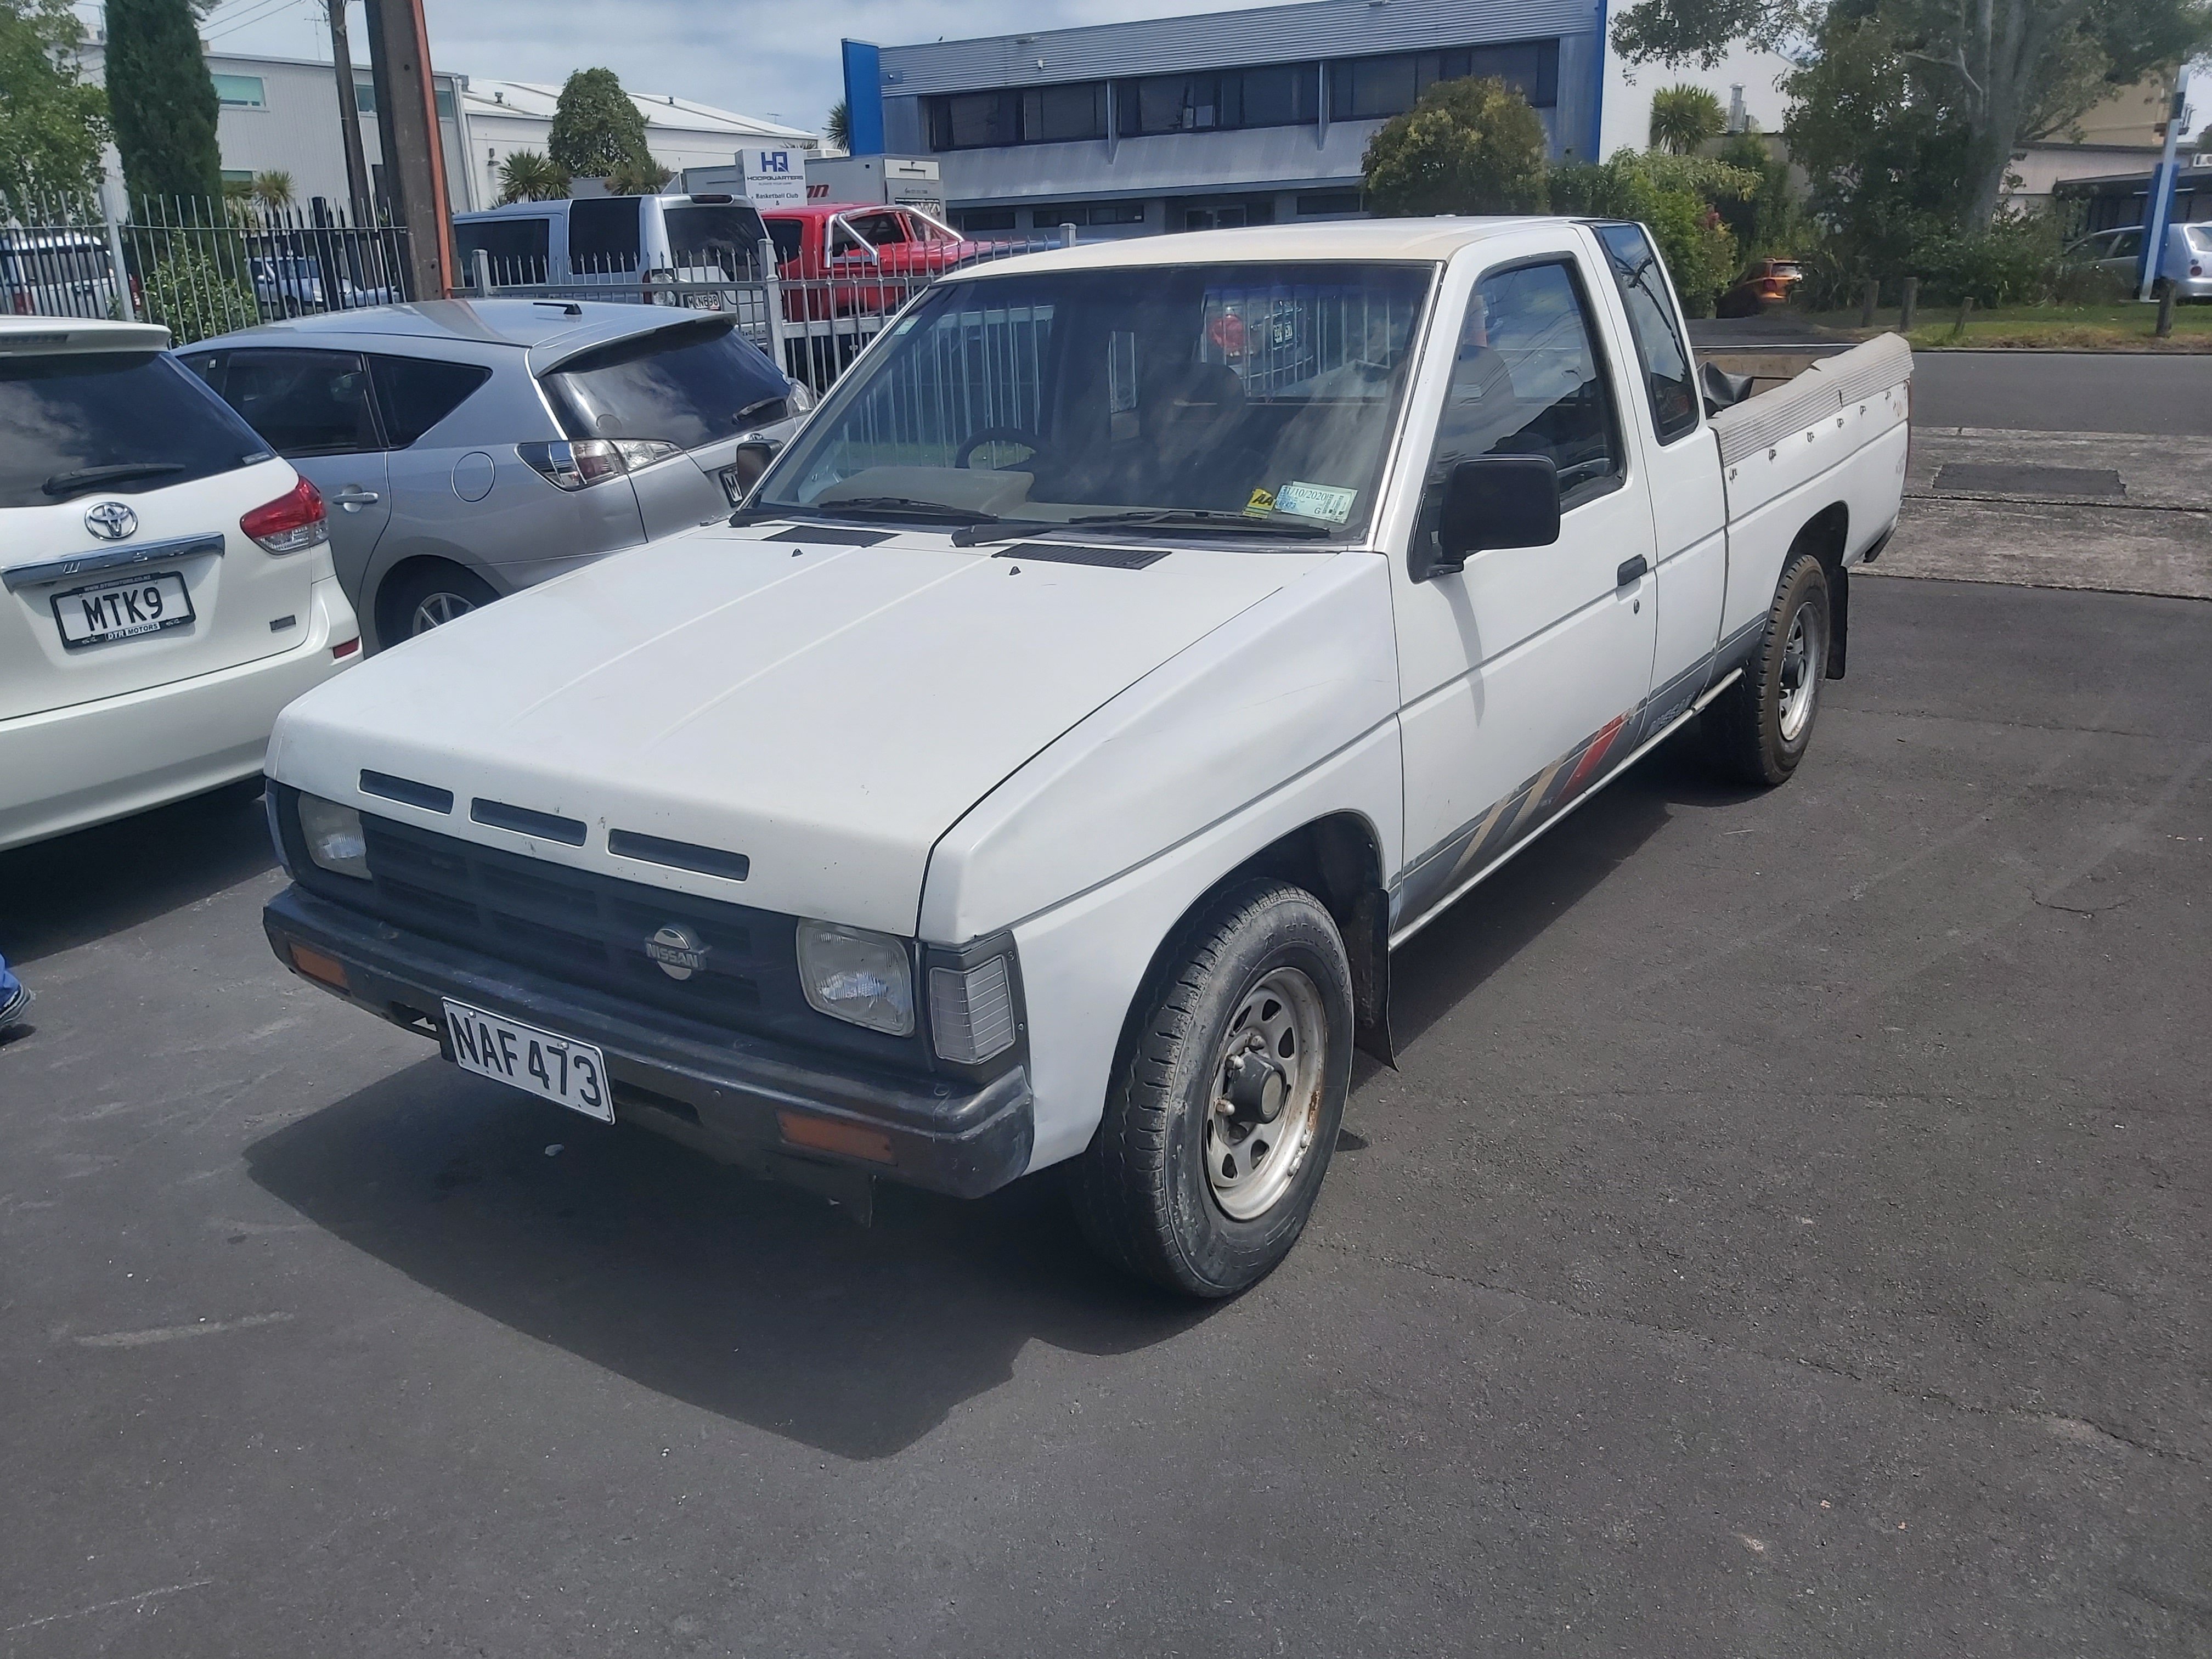
Chucked engine in few weeks ago real happy with how it looks. I got some cx racing headers off eBay, I had read a bit about them online saying that they are shit don't buy them, I still brought them just to try them out. They seem to fit alright, I'll just see how they go. Got some sweet photos of it a few weekends ago. Photo credit 4x114.3 Stan
-
6
-
-
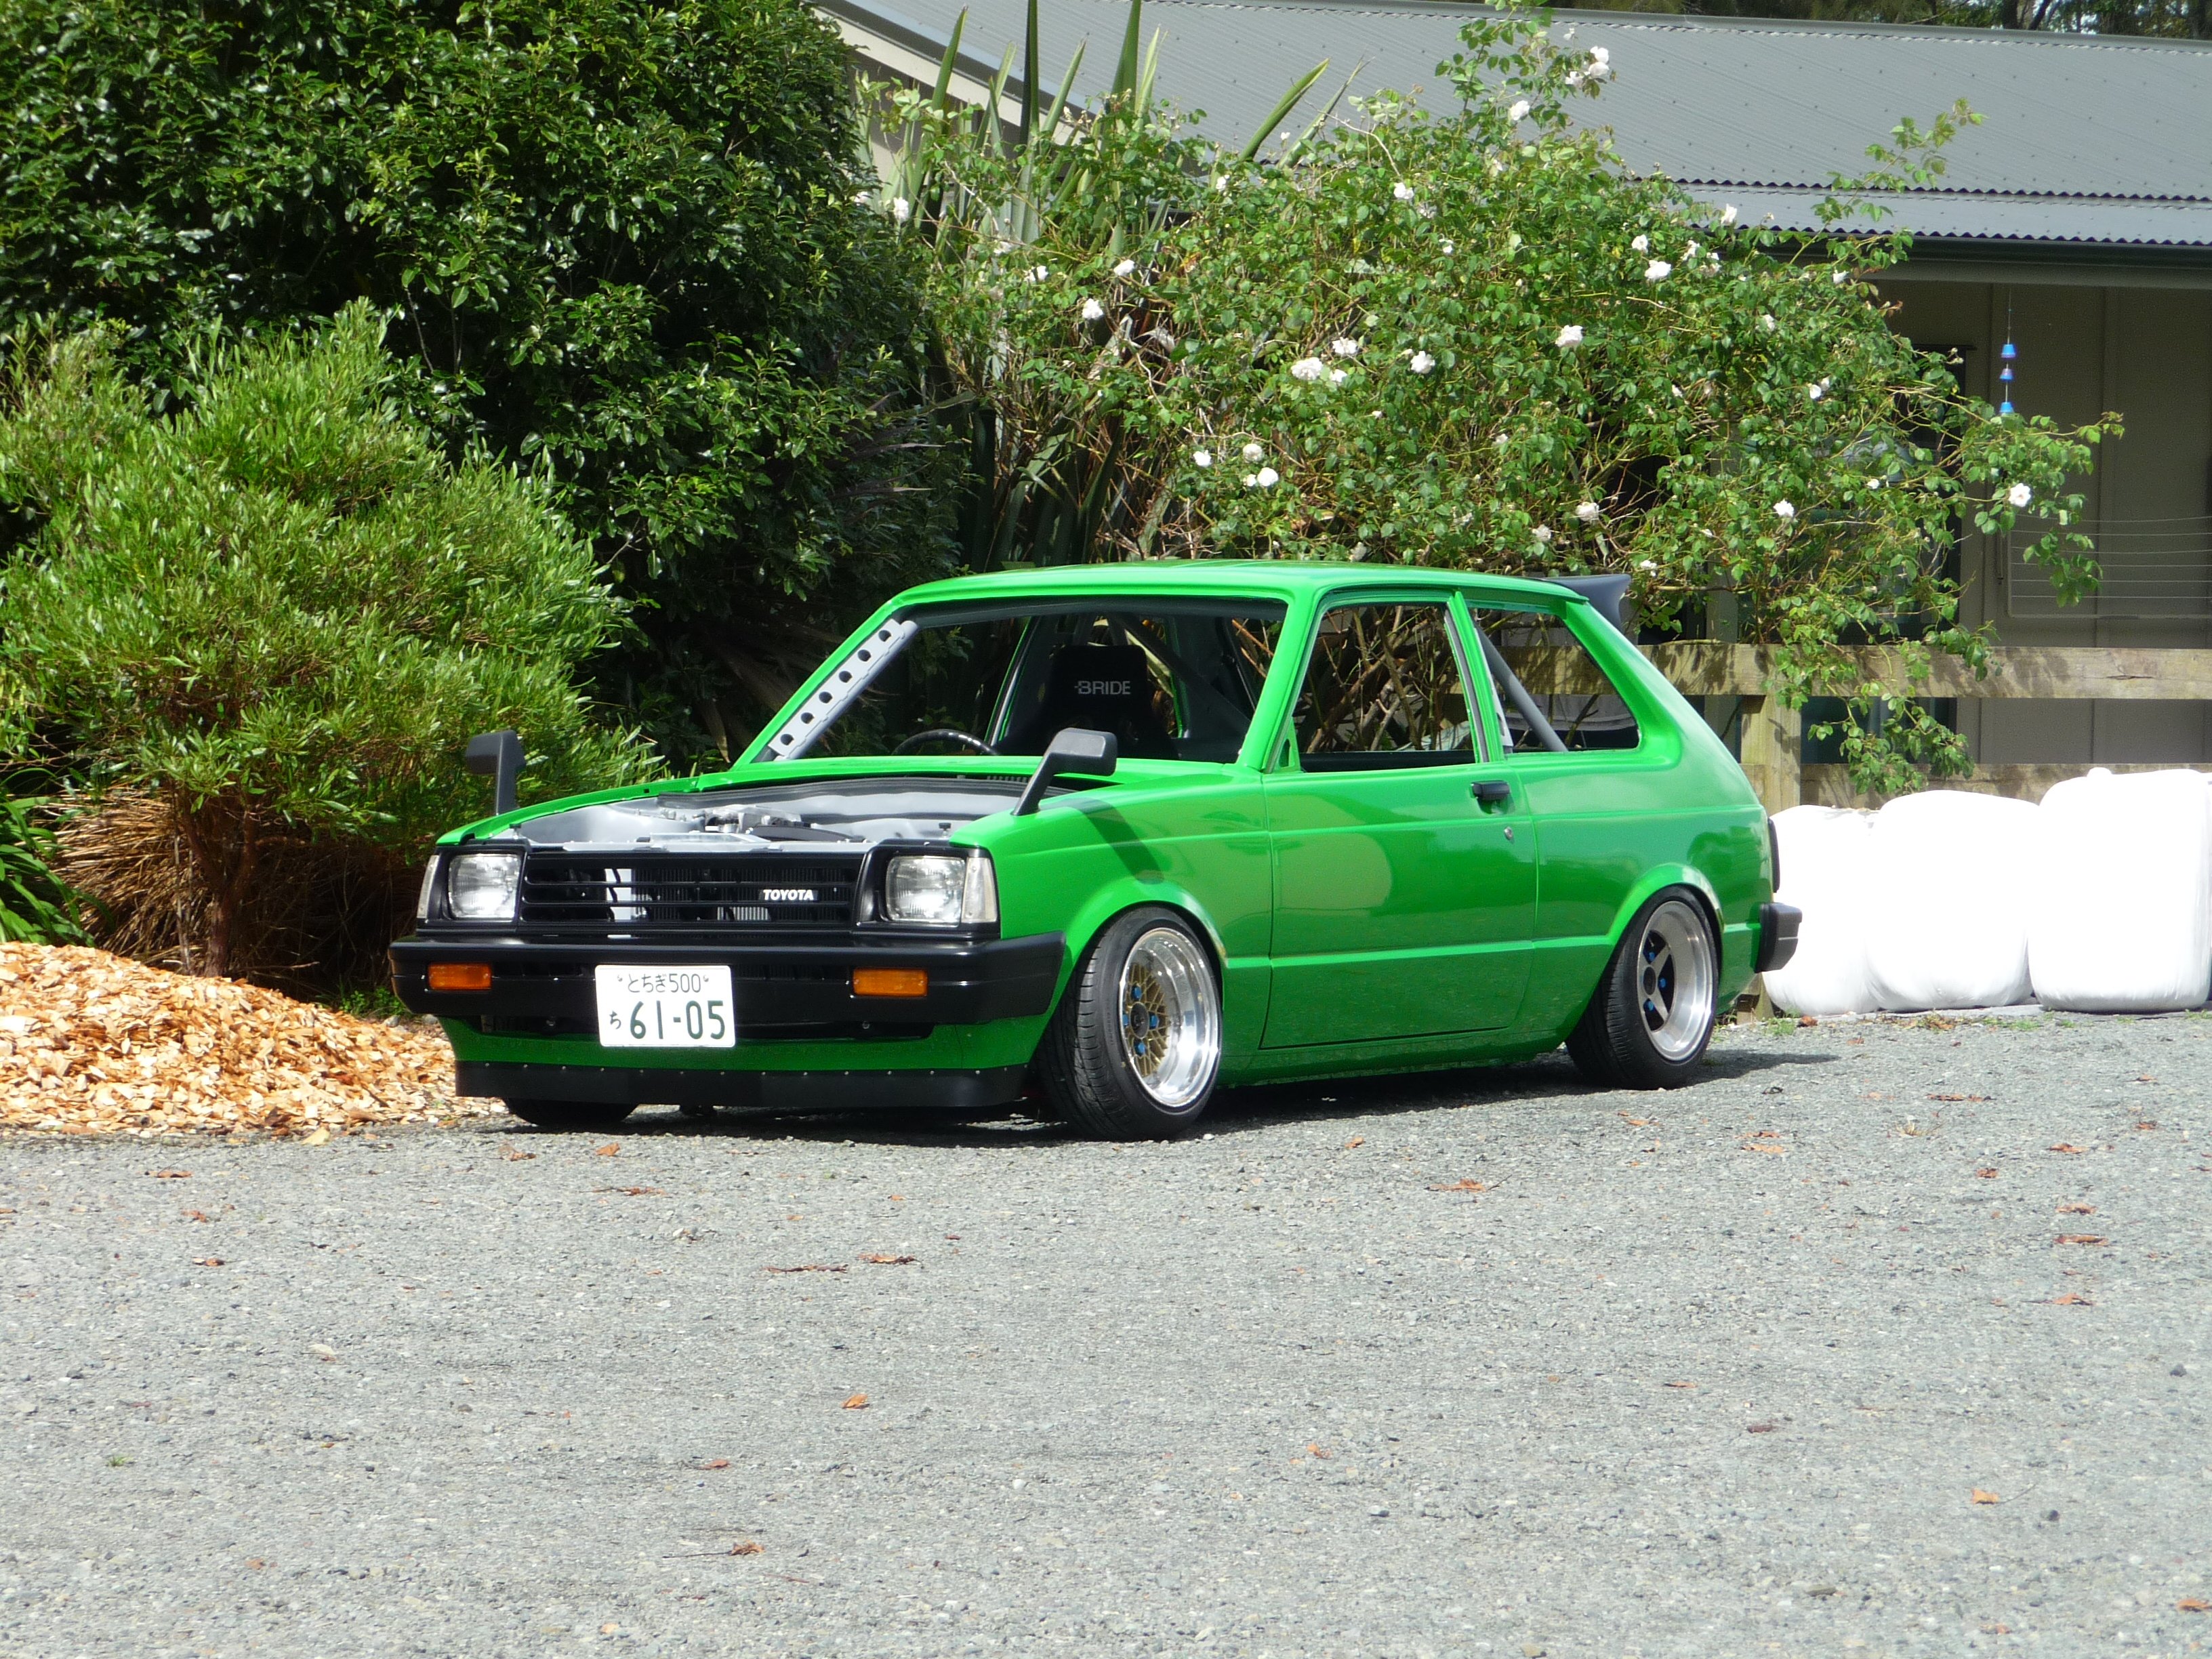
Hey guys I haven't been working on this lately been real busy with work and other shit. Got it rolling on its new wheels srr mk3 13x7.5jj 0 offset front 13x8jj 0 offset. Got a japanese number plate that suits engine size and has 61 in it.
-
Looks nice man!
How much firewall has been cut out for the dizzy?
-
Nice kp man. Liking the yellow.
-
Lately I've been doing things that don't cost much to do while I've been saving up. So I started to cut and polish the engine bay. I've since finished polishing haven't got a good photo to show you guys. This photo is just at the start.
At the rear end I've ditched the idea of putting t series diff in ( for now any way ) just for money reasons.
This is May or May not be the reason why I can't afford to buy parts for my car. Lol
Wheel and tyre combo from jp 13 x 7.5j , 13 x 8j will show centres once I pick them up.
Thanks for reading
-
2
-
-
Looking good man 14s fill guards way better.
-
- Popular Post
- Popular Post
This is what I've been up to lately. Painted outside of car over Easter weekend. Have done other bits and bobs like make seat mounts and added a seatbelt bar to roll cage. All done before paint.
Thanks for looking nick
-
19
-
Na I like the standard body lines to much (each to their own).
Back to the ae86. I saw a video of this at the track and you had a shit load of oil on the under side of bonnet. What happened there?
-
1
-
-
only snapped 2 axles
Pretty good for all the abuse you have given it.
Im keeping my t series as is for a wide track and pumping out the guards.
It would be cheaper and easier for me to leave the t series the same but my body work is pretty much done. Lol
-
Sweet as thought I would pick your brain about the shortening of the diff before I did it to mine.
Has the standard starlet diff held up to the beating of the 4age? Or are you using something else?
-
^ QUOTE FAIL^ lol
-
I went for ling longs this time, generally i just buy what ever is cheapest.
I didn't know that ling longs came that small lol. That's cool thanks man.
I know should ask this on your starlet discussion but did you end up putting that t series diff in your kp?
-
looking good man
what brand are tyres?
-
Other bits that I've picked up since I had my posting break.
They ssr winmesh 13x7.5j -7 only 2 of them. They so shinny. I Love them
The one on the left is the driver seat other is passenger seat. Passenger is a factory AE86 bride and driver is a bride ttm-c.
-
It may come as a surprise but when your sitting in your engine bay bogging and sanding every little corner, it gives you a lot of time to think about things. I was starting to think what I want to do with this car once it's done. As it can't be registered for the road, it was going to be a grip racing track car nothing serious just a bit of fun. But I've been riding shot gun in a few of my mates skid cars and was thinking that would be a bit of fun. But.... The 4k wouldn't cut it as a skid car so I bit the bullet and jumped on the 4age starlet band wagon.
I really wanted to find a rwd 4age and t50 combo so that I knew I was getting everything I needed to do the conversion. But nothing was coming up on trademe or yahoo jp. So I changed my plans again and brought a t50 that came with everything todo with the gearbox.
Then about two weeks later I got a phone call from a friend of mine, he knew of a engine and gearbox for sale in jp. I then asked what else was for sale? It turns out it was everything that un bolted from a AE86. I had to have it. So I brought it and I'm selling off all the bits I don't need which is paying for part of the engine conversion.
It came with everything. I'm going to use engine, gearbox, diff, front struts, radiator and brakes all around. Everything else I'll sell off.
-
So after priming inside a engine bay it was time to start the massive job of bogging the welds. Looking back now I shouldn't have gone overboard with the bogging like I did but ohwell I've done it now. It's only annoying at the moment because it shows up very little spot that hasn't been filled.
This is the engine bay while bogging.
This is after bogging and a few coats of primer still not right. ( I'm to fussy apparently )
I've also been working on the body. It looked like it was real tidy already but as I started looking I found more and more dents. So full prime for the body let it sit for a week or so. That gave it time to shrink back if it was going to. After that I sanded it down found where it needed more bog and then spot primed it.
This is the body after the spot prime, I'm going to leave it for a while before I sand it a give it another prime.
-
1
-
-
It's been a while since my last post I've mostly been doing body work. I didn't really see the point in posting as I knew it was going to be a very slow process. But now I feel as I am coming closer to finishing off the body work it's about time I made a post. I will take you back a few months when I stripped the car back to just a body, I made set of caster wheels to roll it around on while running gear was out.
I paint stripped engine bay it came out real nice and hand sanded inside the car in hindsight I wish I had also paint strip the floor because after about two weeks later all the primer started to flake and cracked up. I found out that the paint I was priming over wasn't prepped properly. I've just left it for now it's most probably to much work to strip it off as I'm just going to put carpets over it.
More to come got to find some more photos.
-
1
-


Kp60nick's D21 kingcab Soon to be Bagged on Cadillac Escalade rims
in Other Projects
Posted
Started by taking the tray off and just generally cleaning and water blasting.