kp60nick
-
Posts
238 -
Joined
-
Last visited
Everything posted by kp60nick
-

Kp60nick's D21 kingcab Soon to be Bagged on Cadillac Escalade rims
kp60nick replied to kp60nick's topic in Other Projects
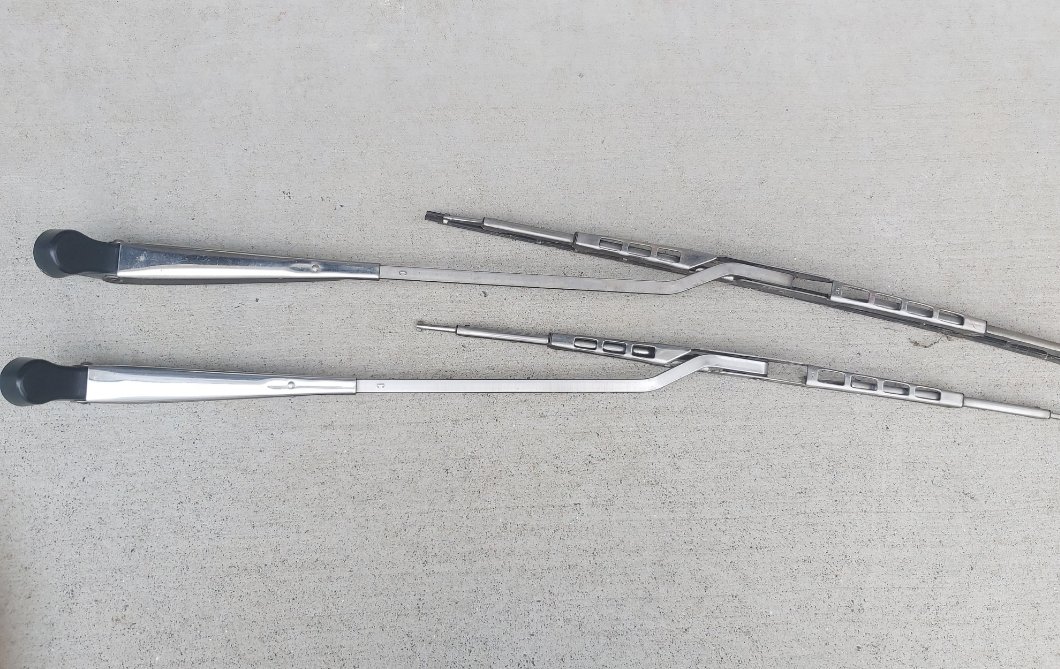
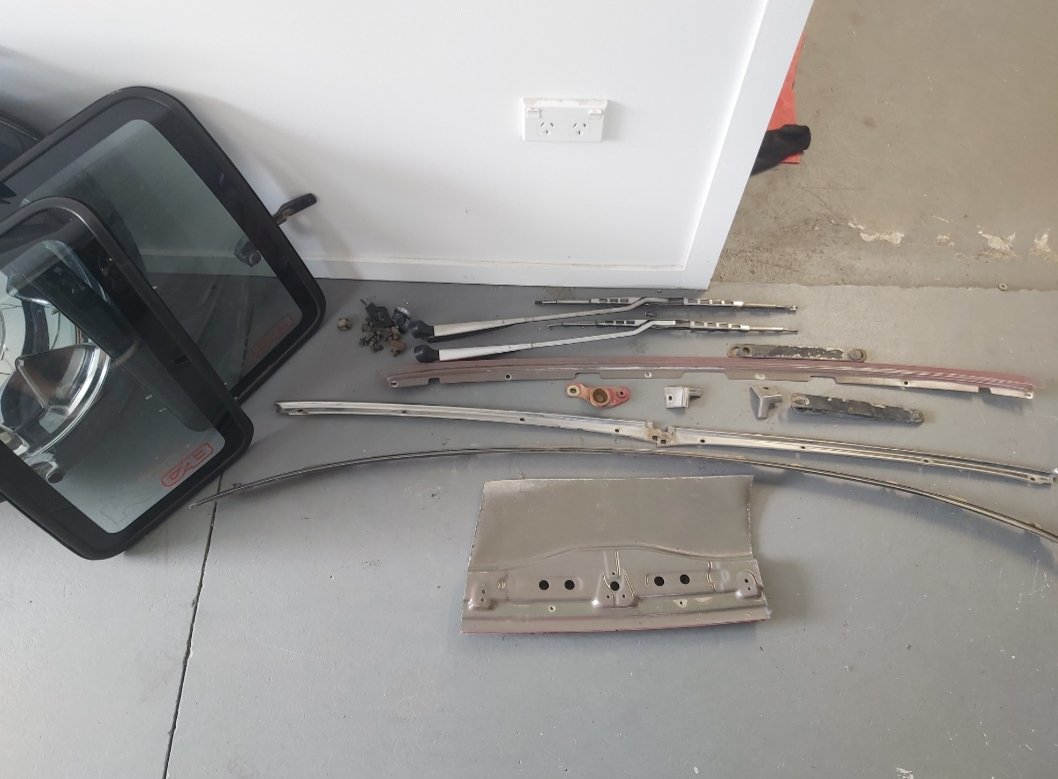
Wipers came up mint. Sometimes I feel I may be building this backwards.
-
Kp60nick's D21 kingcab Soon to be Bagged on Cadillac Escalade rims
kp60nick replied to kp60nick's topic in Other Projects
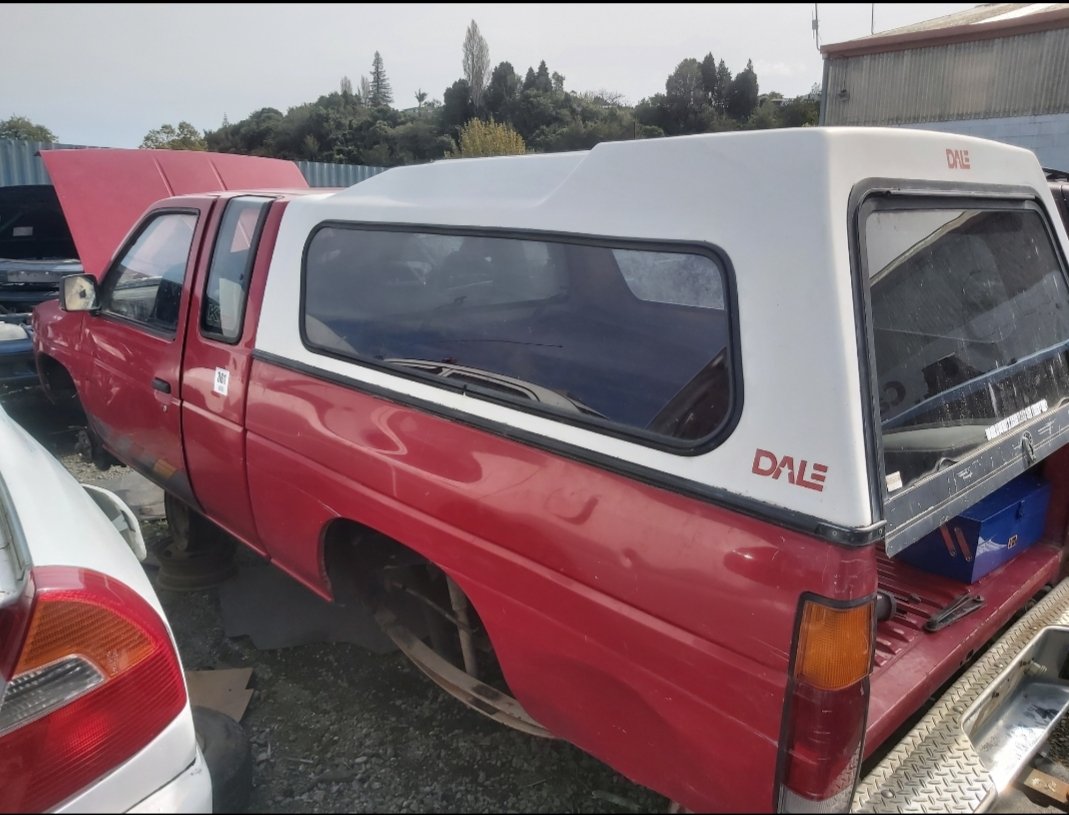
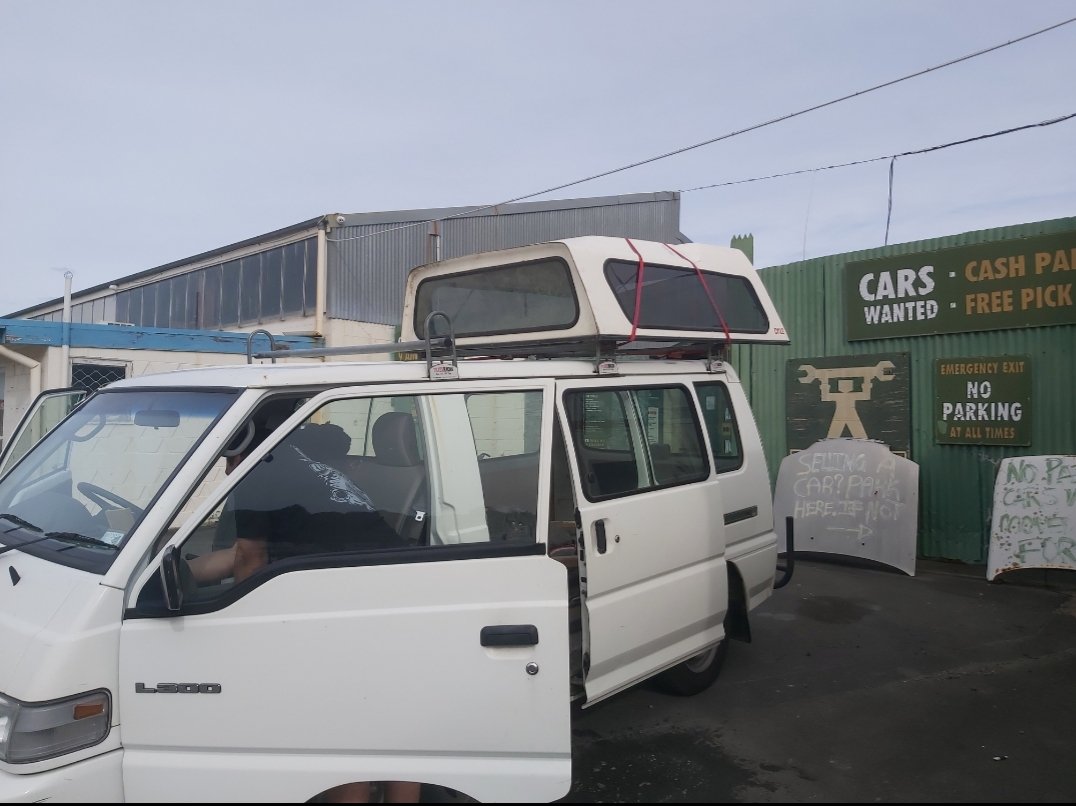
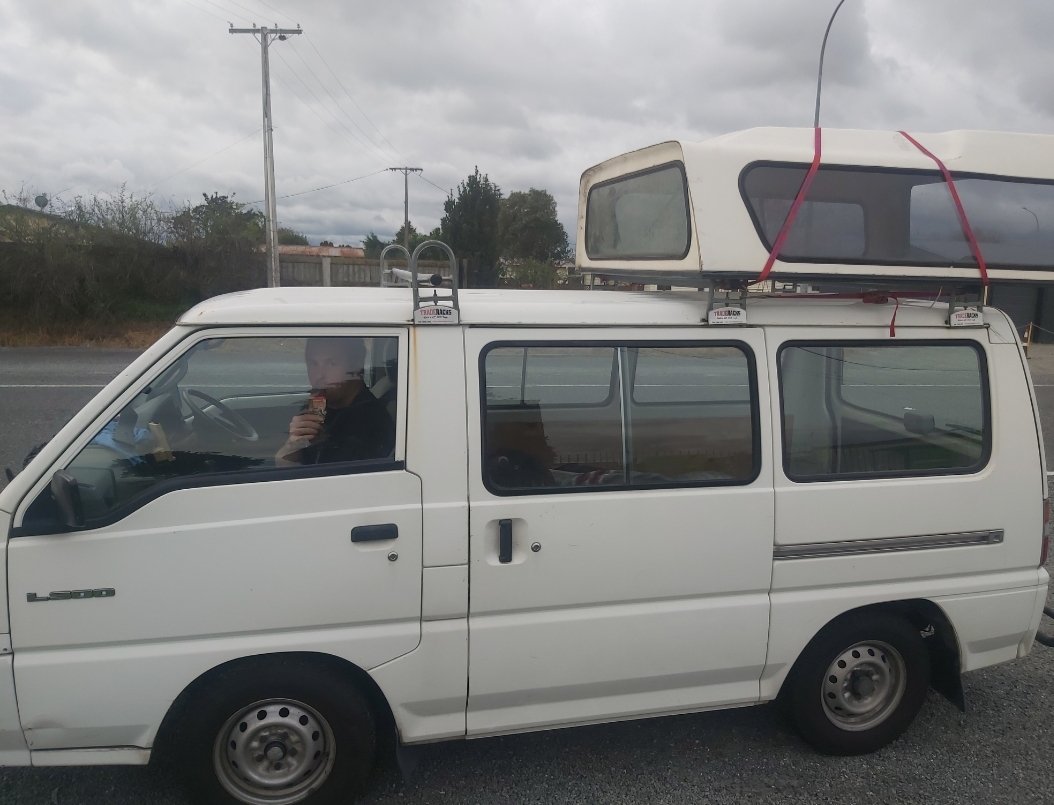
Been slacking on this but.... I had seen a king cab at pick a part down in tauranga so Kieran and I headed over on the weekend and picked up some treasures. Some cool bits like the stainless wipers
-
Unfortunately I wasn't able to be involved at the peak of minitruckin in NZ. I just got the tail end. Load up the thread man, the more the better. I reckon everyone loves a good minitruck, just no one is wanting to out lay the cost to build one. I've always been keen to do a "where are they now" minitruck edition.
-
Kp60nick's D21 kingcab Soon to be Bagged on Cadillac Escalade rims
kp60nick replied to kp60nick's topic in Other Projects
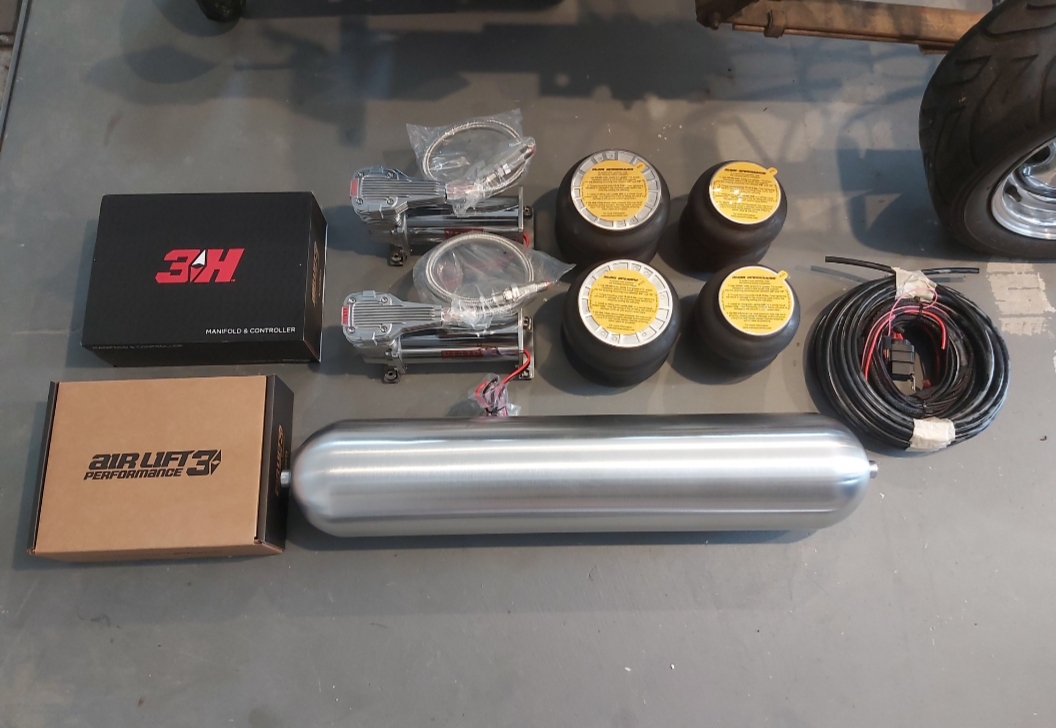
My bits for the air ride are all together now so that's something I dont have to worry about later.
-
Kp60nick's D21 kingcab Soon to be Bagged on Cadillac Escalade rims
kp60nick replied to kp60nick's topic in Other Projects
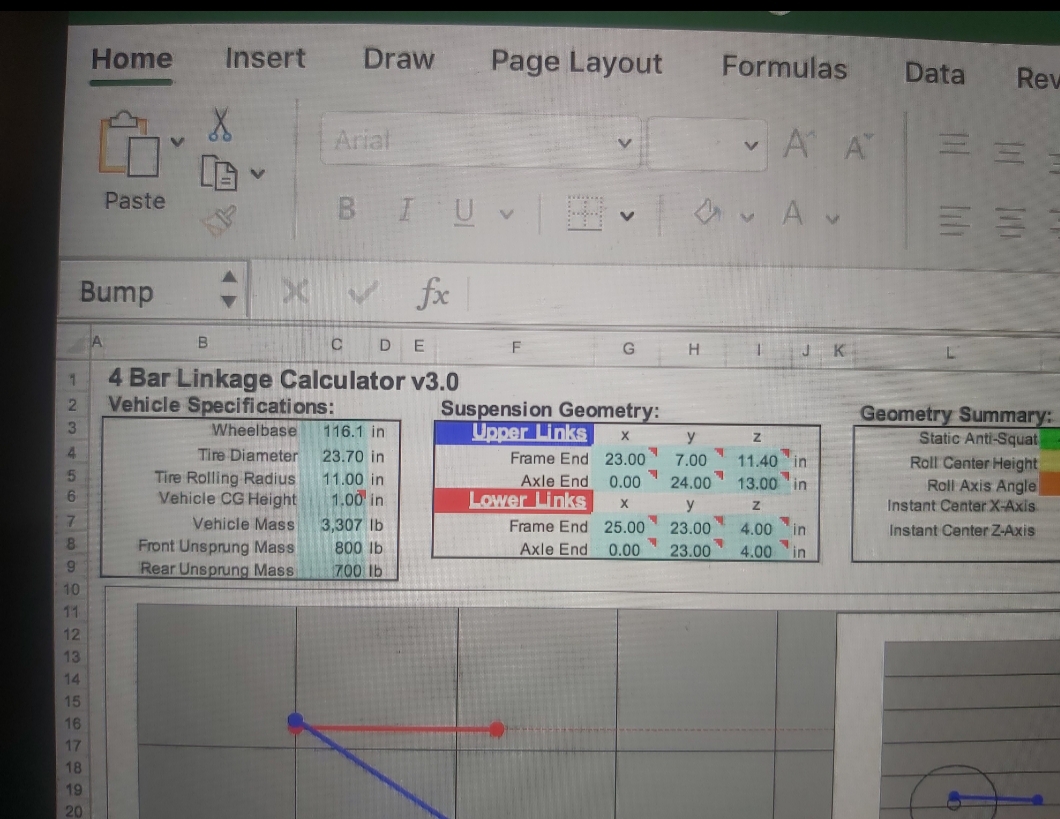
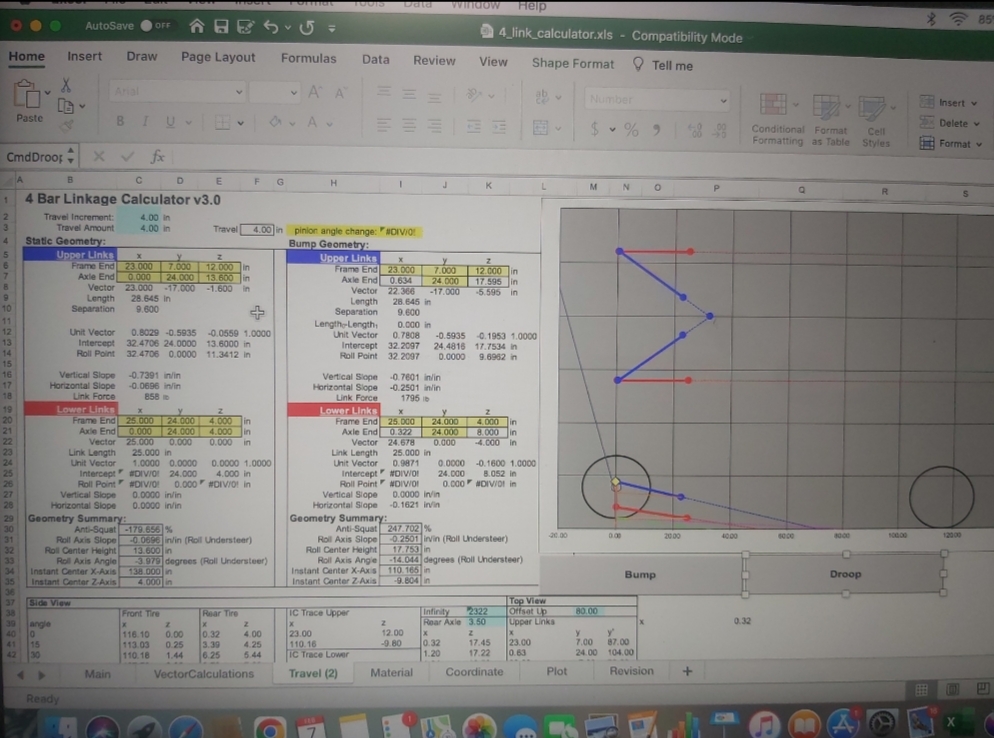
Haven't done any big progress still waiting for the c notch to get done. But in the meantime I've been working on my 4 link design. Thanks to the help of a few GC's on this site they have been steering me in the right direction . I've been trying out 4 link calculators and doing lots of of drawings and measurements. @RXFORD gave me some information from another bagged d21 that was bag on diff and put the top trailing arm to under the chassis rail which was super helpful and super helpful that I designed my c notch to be 100mm higher than it need to be. Once the notch is done I will start drawing up more brackets to get lazer cut. Thanks for reading.
-
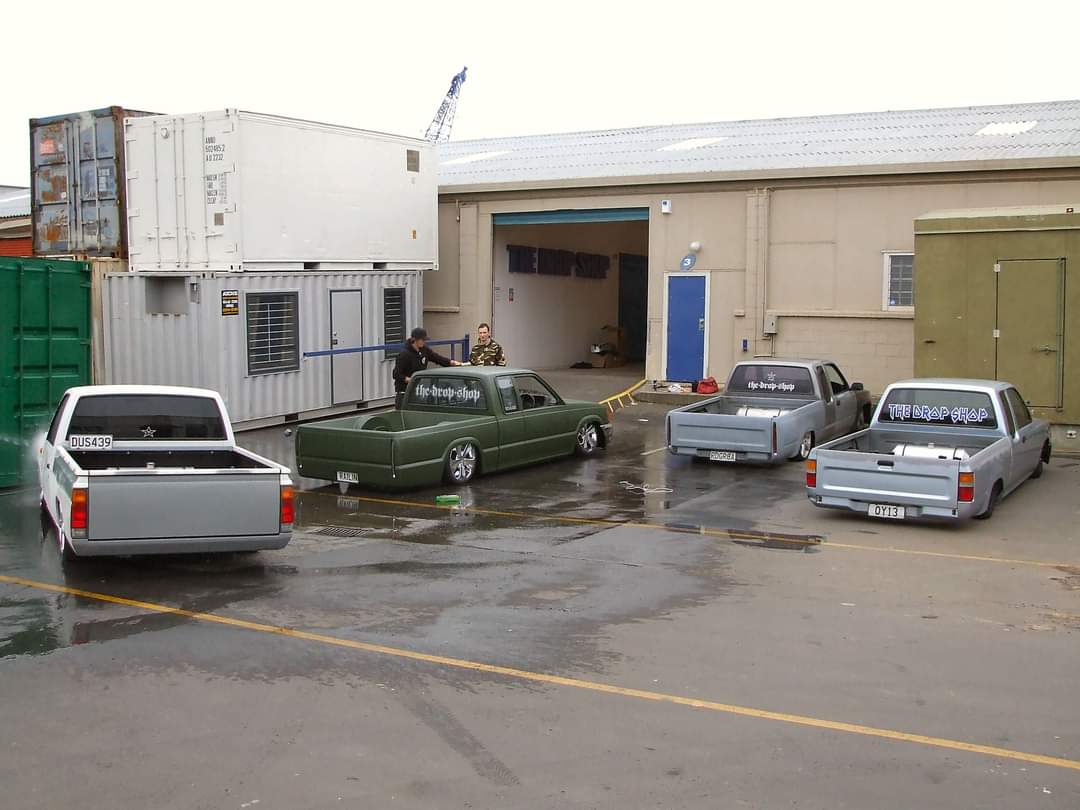
Cool to see a build thread for your truck! I've been a big fan of it for years. I had a look at the work matt is doing for the body drop and it all looks so good. I've had this photo saved to my phone for a while now. I believe it was one of yours. I really liked it. I felt it was a bit of a time capsule. I have a poster on my garage wall of the green courier dragging. Just a big minitruck fan.
- 38 replies
-
- 16
-

-

-
Man you guys are are wealth of knowledge! Definitely haven't scared me off just yet. I'm looking forward to the journey ahead of me. Thank you for all your input!
-
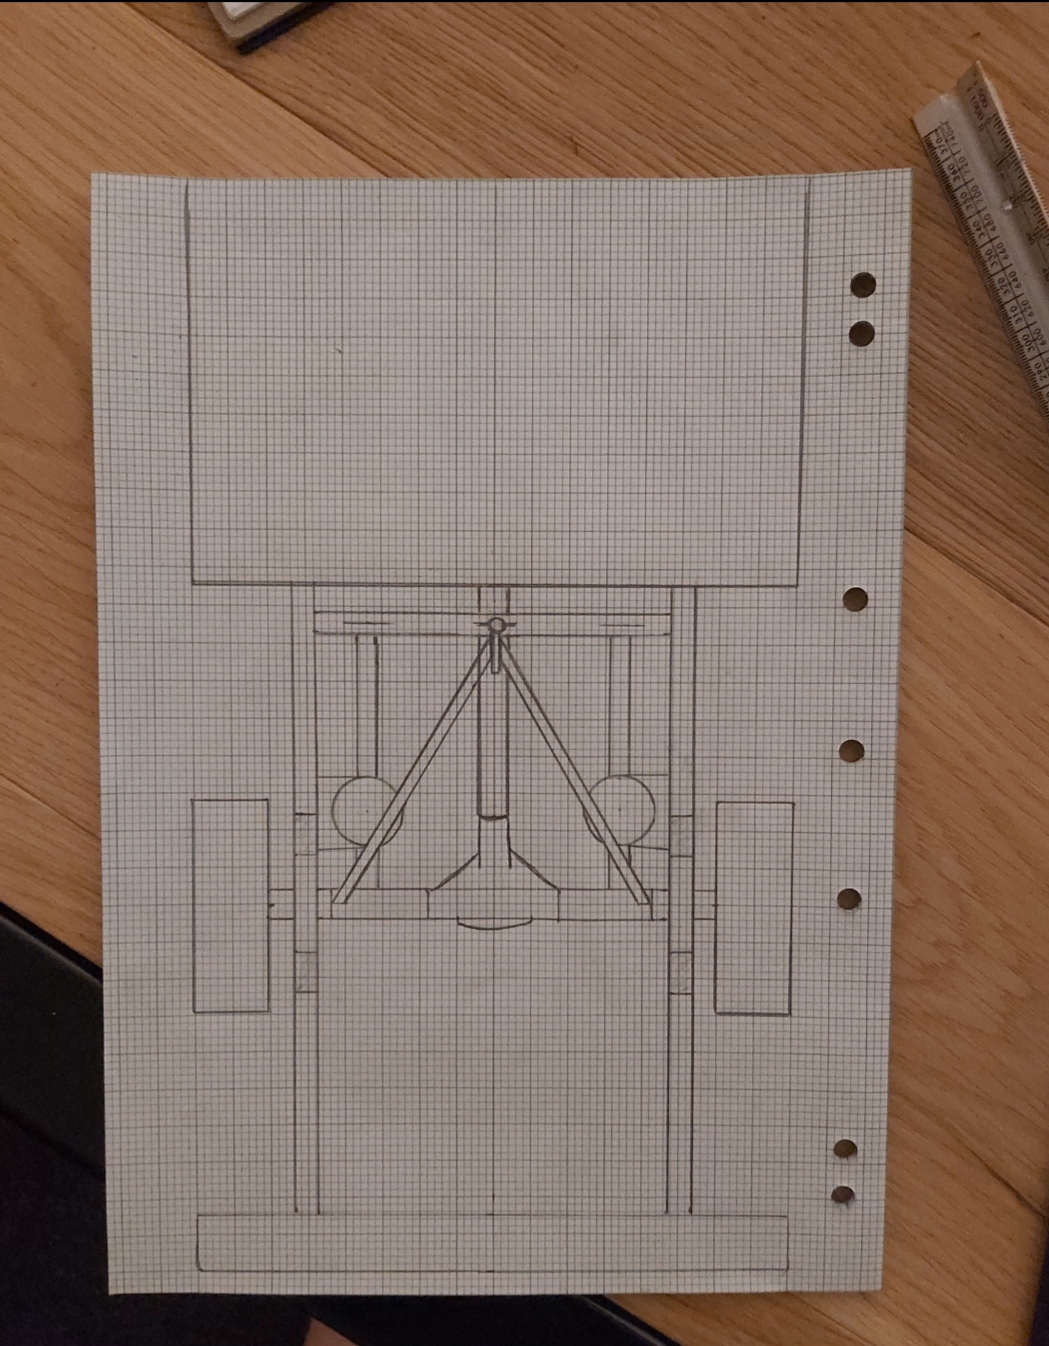
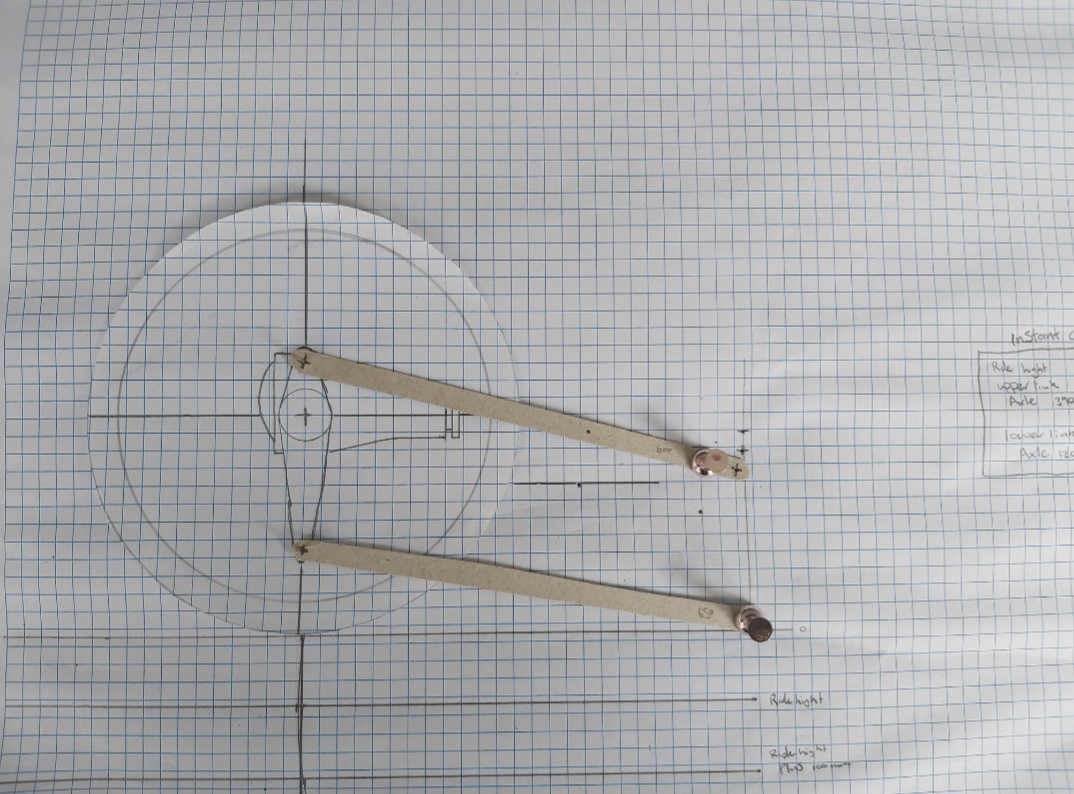
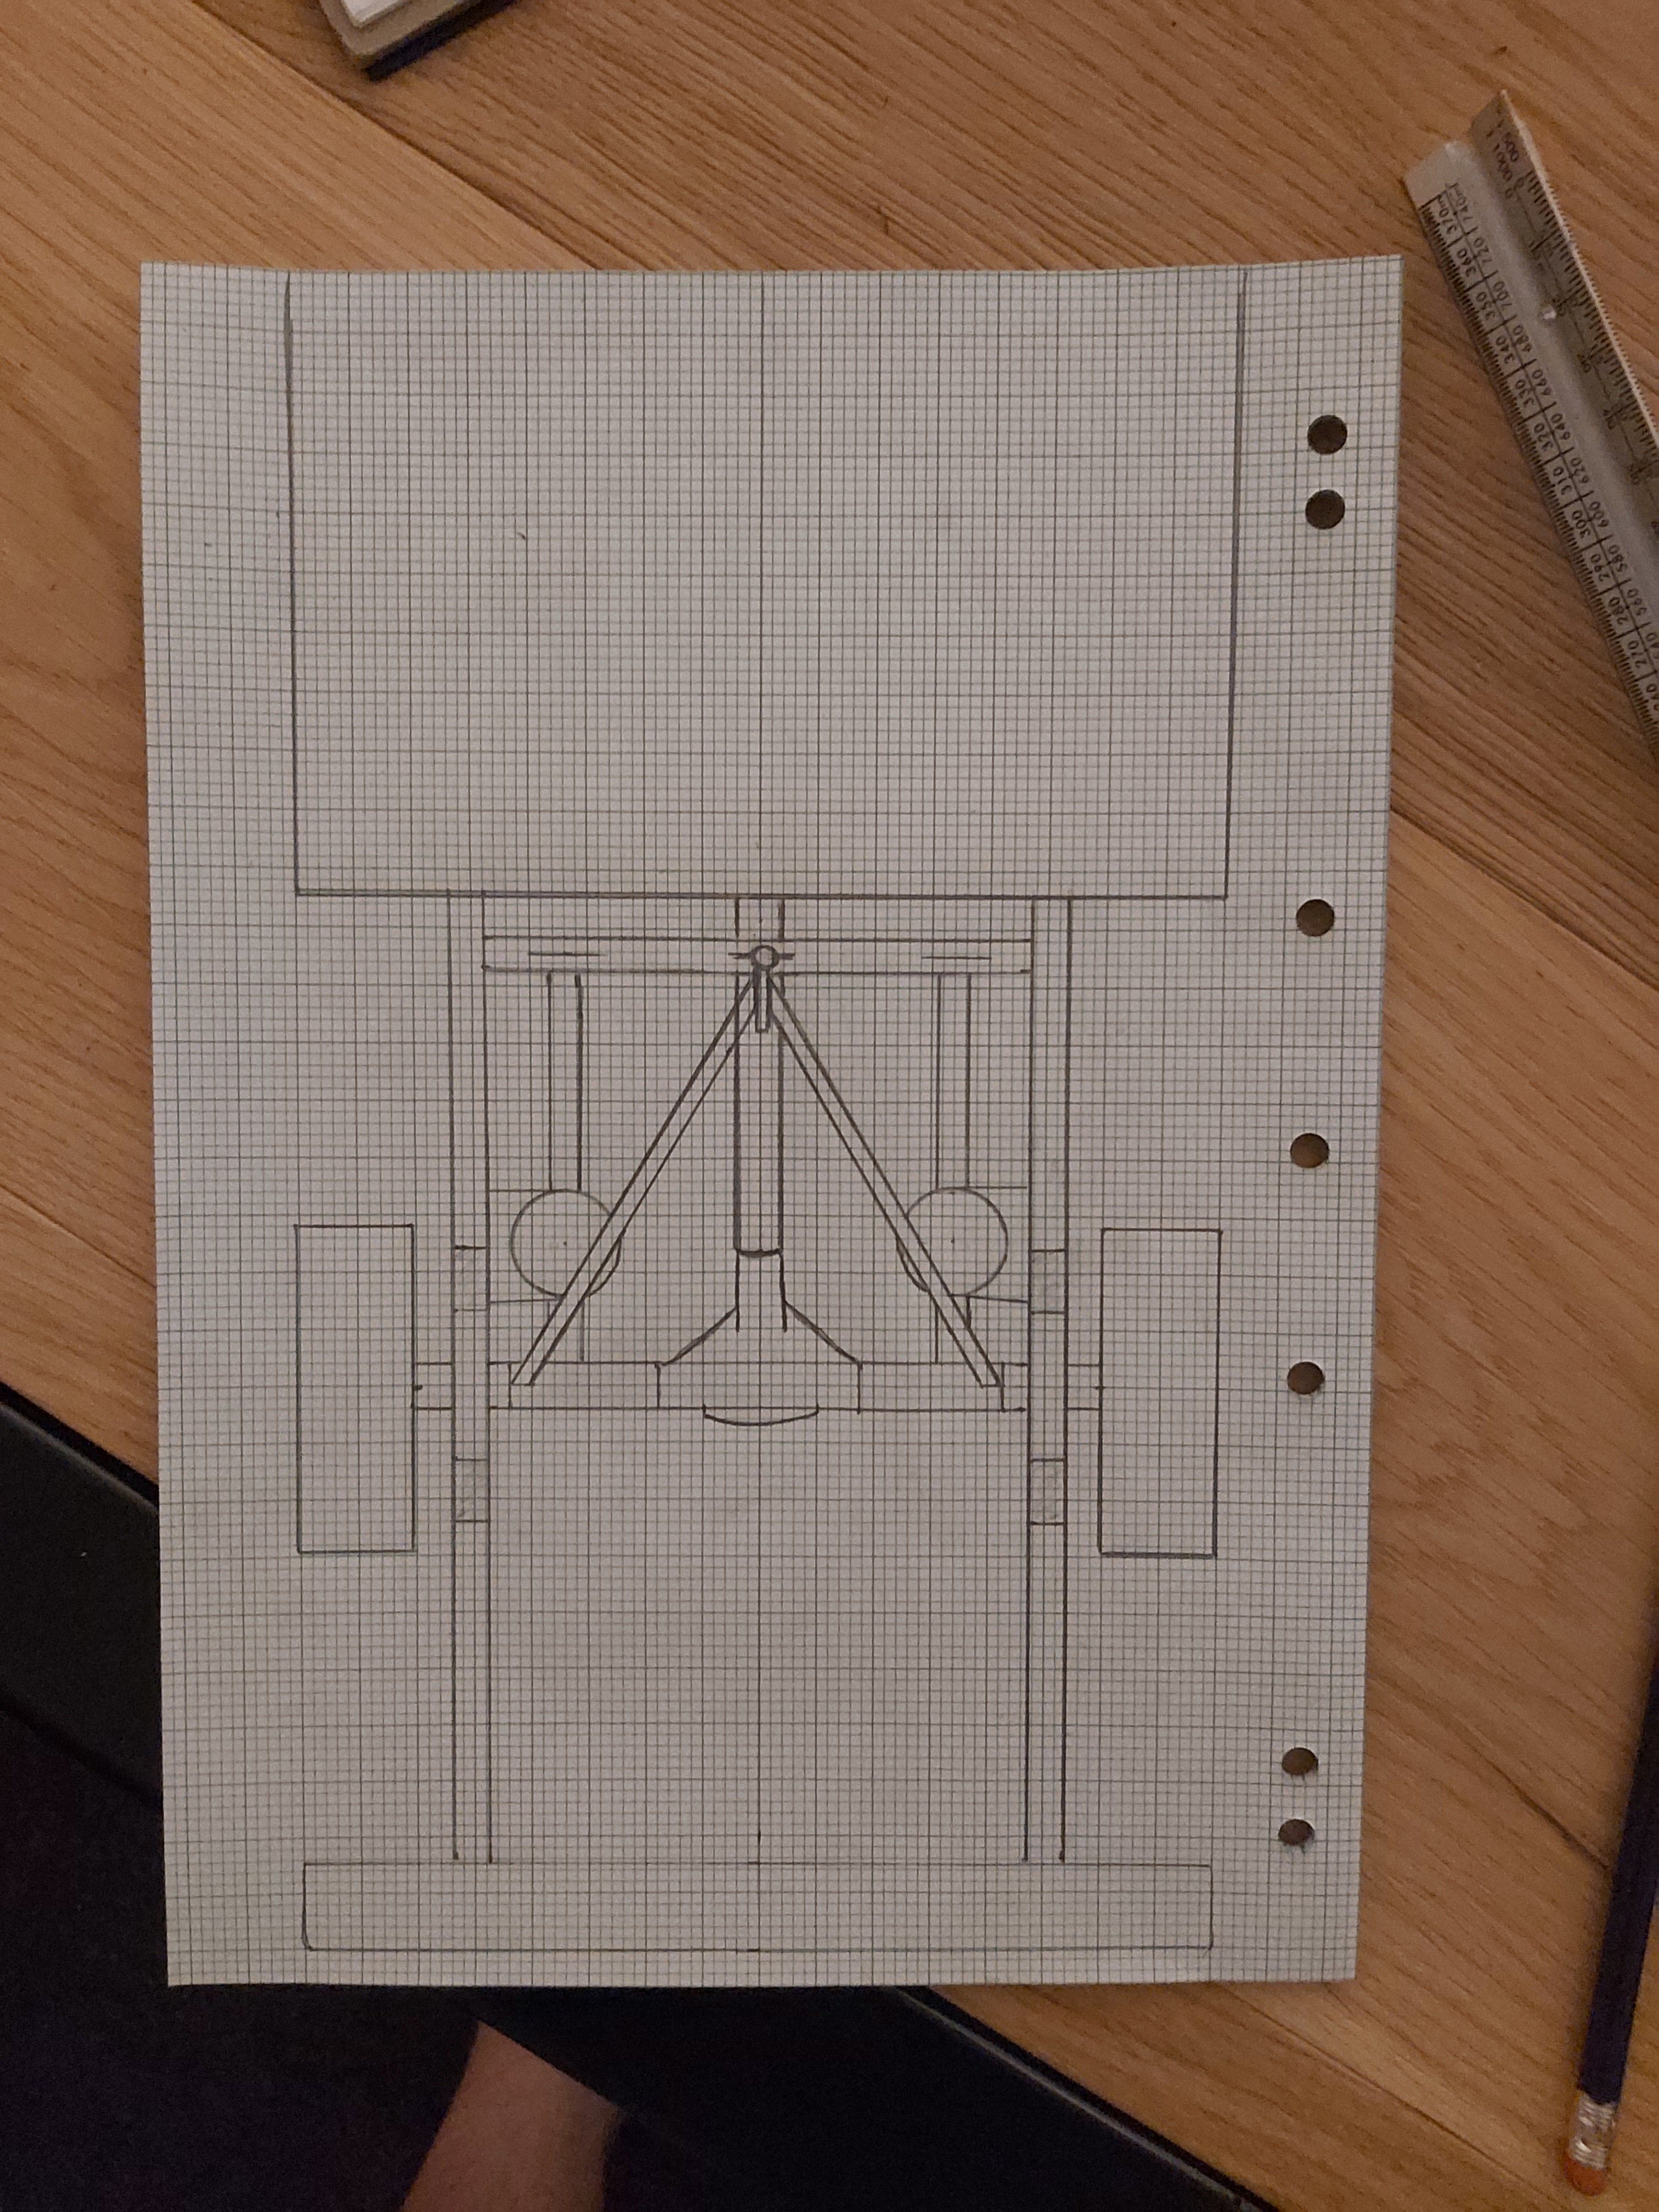
So I have done myself a scale drawing on paper at this stage. In plan view. I Was wondering if this is on the right track? 30° bar angle and keeping all pivot points in same place gives me a nice 750mm center of joint to joint lower arm. If I go greater angle on bar it seems to compress everything up (shorten the bars.) Is this a bad thing? From research I've done so far, the longer the arm less pinion angle change through the motion?
-
Thanks for that guys. I definitely need to do more planning but you've given me lots of help.
-
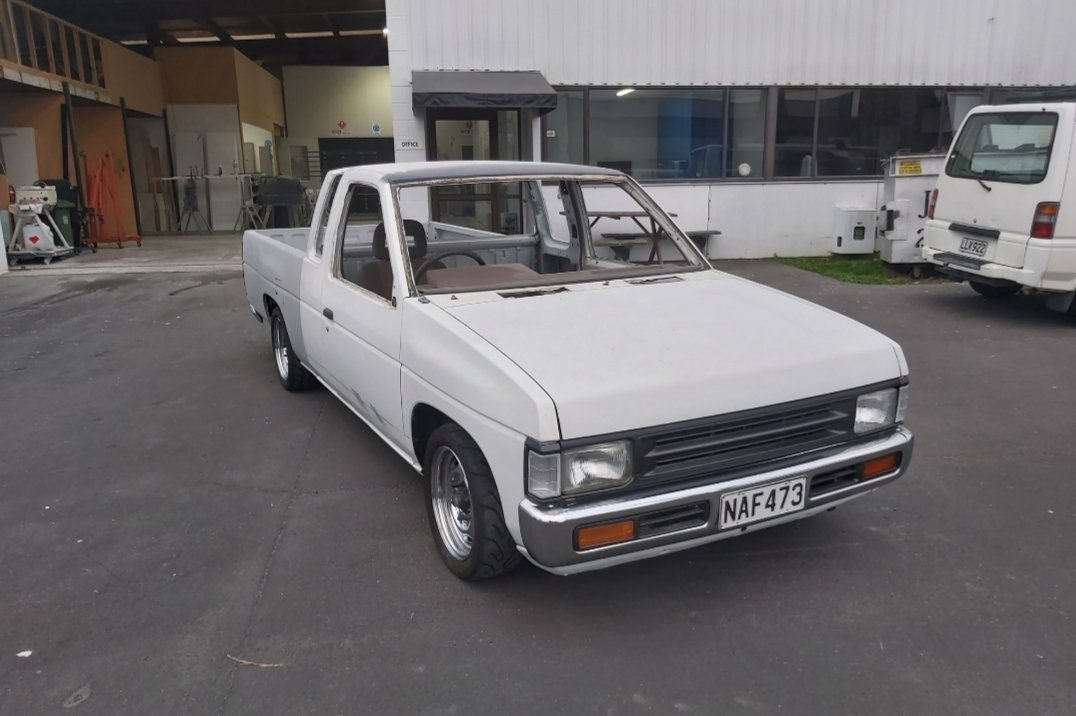
Hi guys I'm building myself a minitruck always been a huge fan and finally picked up my balls and actually doing it bags and everything. Here's my build up I've been diving into the deep dive on the internet on air ride set ups and pros and cons of all the variations. The difference between bag on bar, bag on diff or bag behind diff (there is cantilever but looks way to tricky and want to keep everything low under tray.) Looking at it at first glance the easiest and best way would be bag on diff. Unfortunately due to the fact I have a cast center diff and I have to put my top link arms to the location where the bag would go instead of center like most other minitrucks with triangle 4 links. So bag behind may work with a bracket off back of diff. Down side this requires more air to lift truck which results in hard ride and less lift. Bag on bar really seem like the only option to suit my application. Gets good lift and rides softer. But I've never seen anyone in nz document bag on bar set up (maybe not looking in the right places.) I haven't seen any details on the bar size? or rose joint/ rod end size? The bars are carrying the whole weight of the rear. The guys in the states seem to use lots of rhs box for mounting their bag on bar. Good idea bad idea? I dont know. I'm a little lost. Cheers Nick
-
Kp60nick's D21 kingcab Soon to be Bagged on Cadillac Escalade rims
kp60nick replied to kp60nick's topic in Other Projects
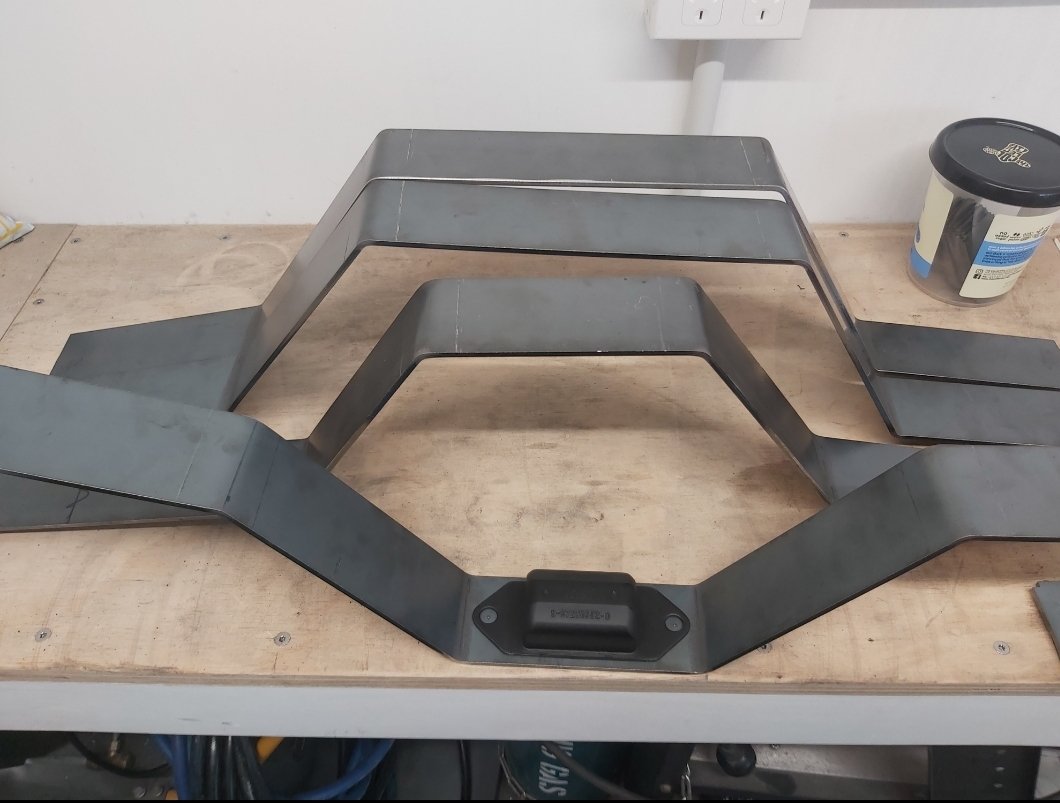
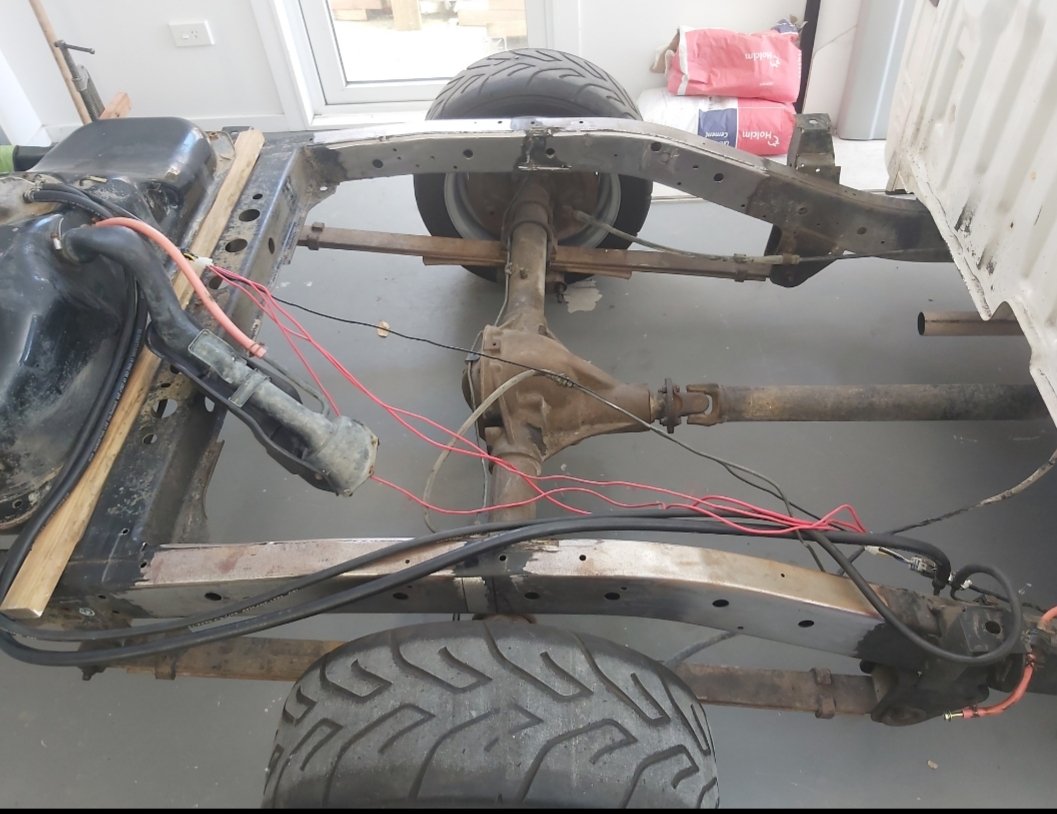
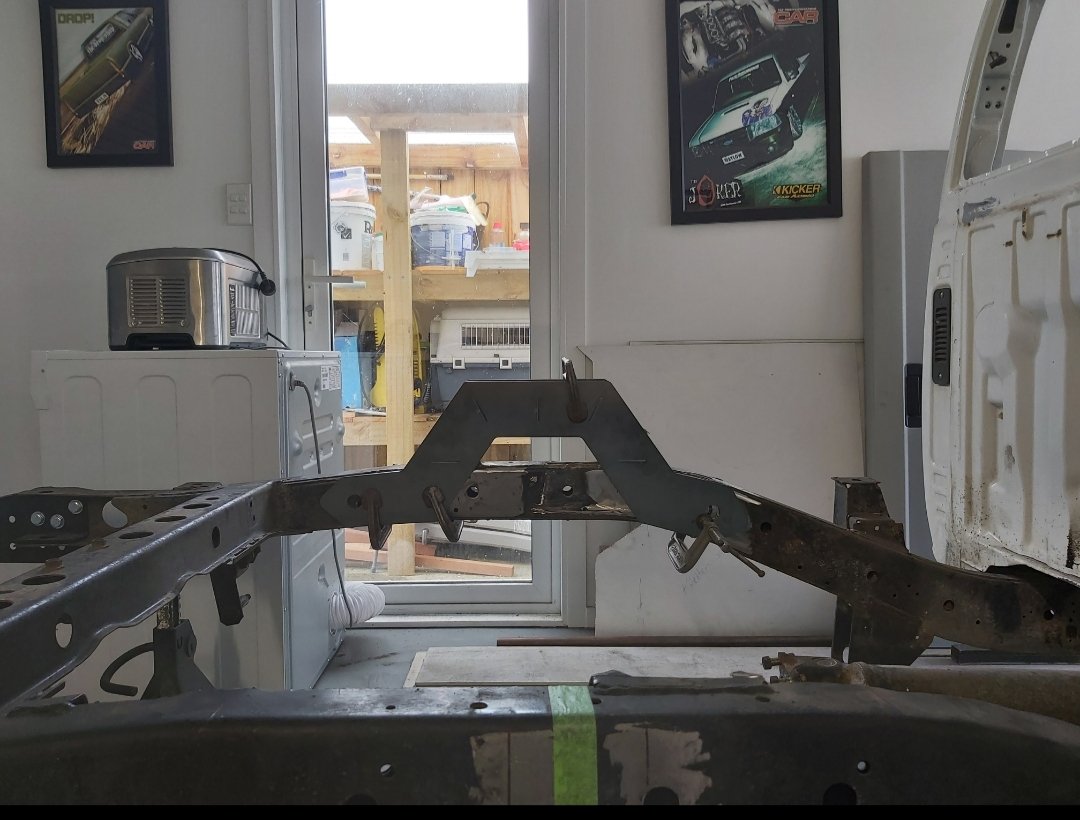
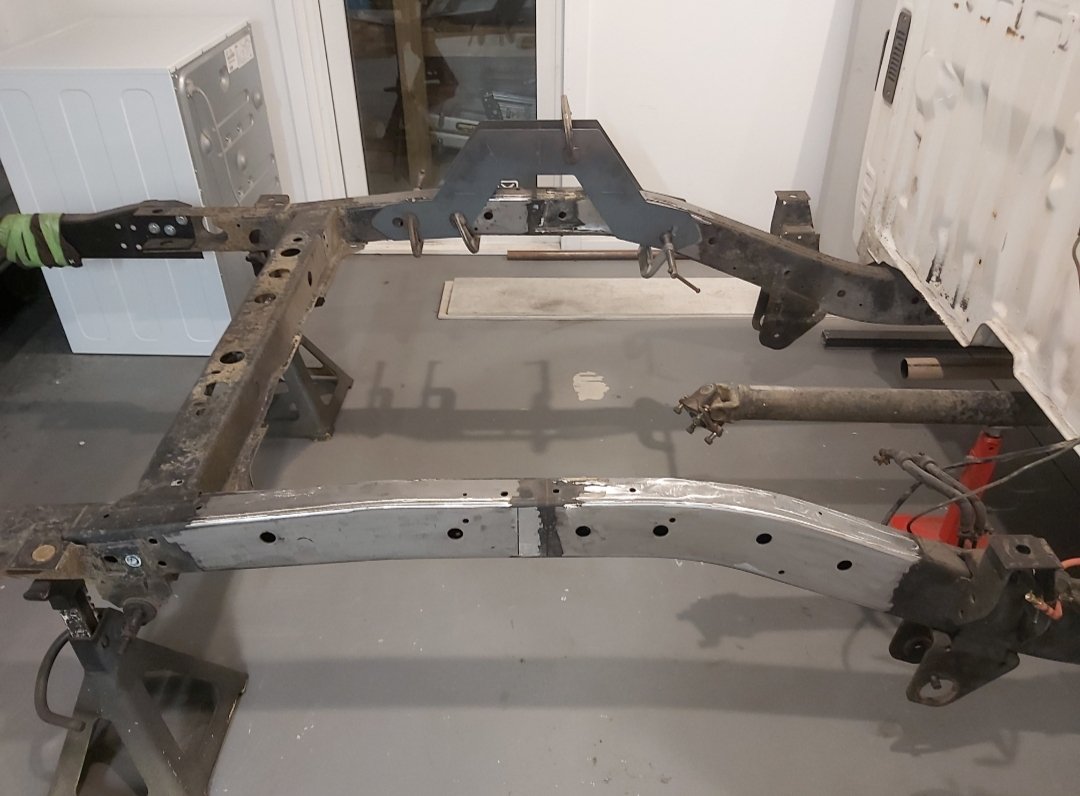
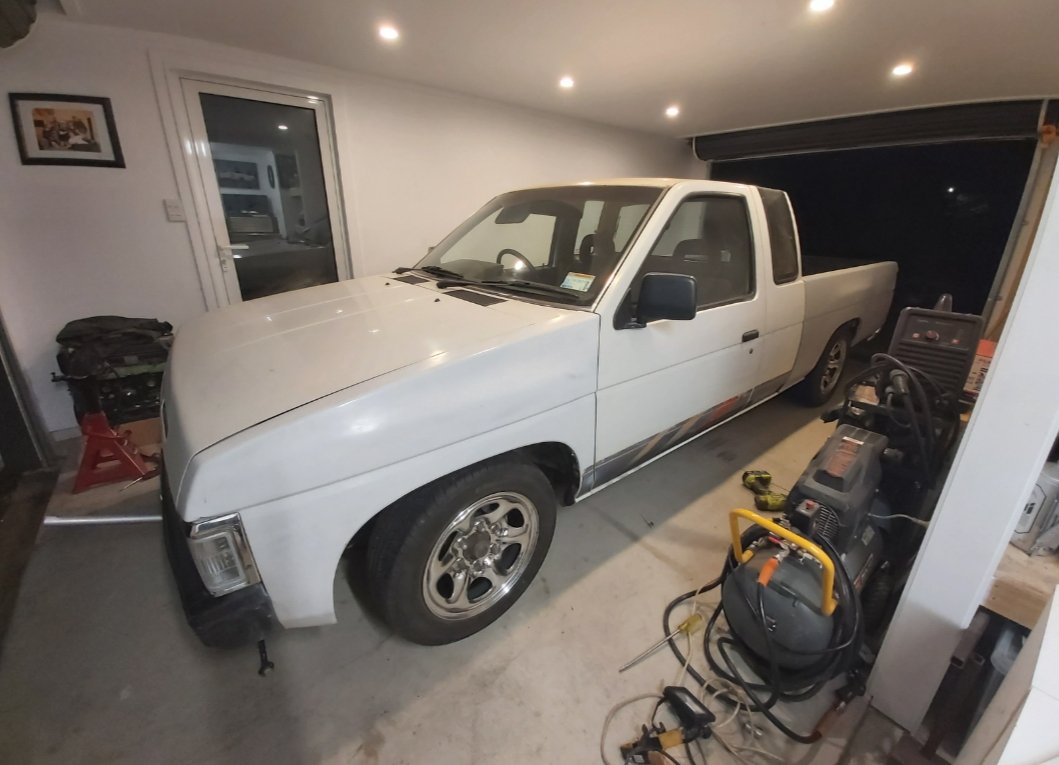
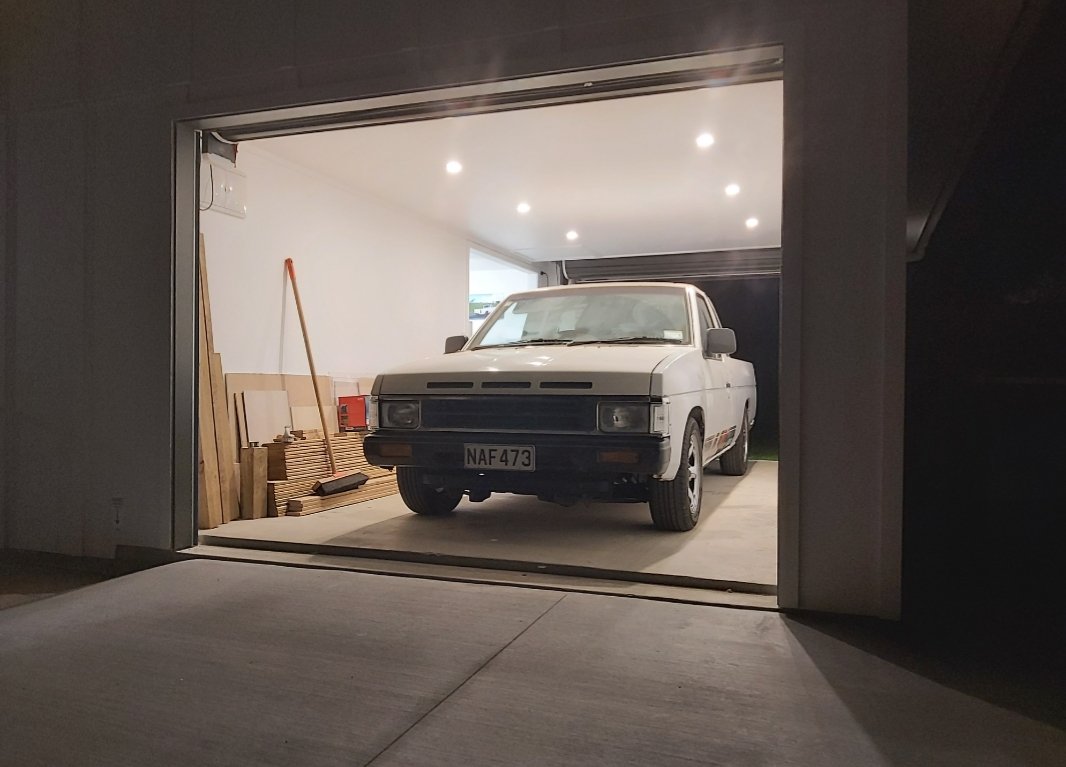
Over the break I got it running again. Extended the fuel lines and wires to tank. Took it up and down my street. Out of the 3 I've owned it's been such a good vehicle starts first pop, drives really well for a 33 year old car. I guess its fairly modern compared to most on this site. Got my c notch pieces back from being folded. Now just need to drill and tap the bump stop hole in the lower piece.
- 53 replies
-
- 12
-
-
Kp60nick's D21 kingcab Soon to be Bagged on Cadillac Escalade rims
kp60nick replied to kp60nick's topic in Other Projects
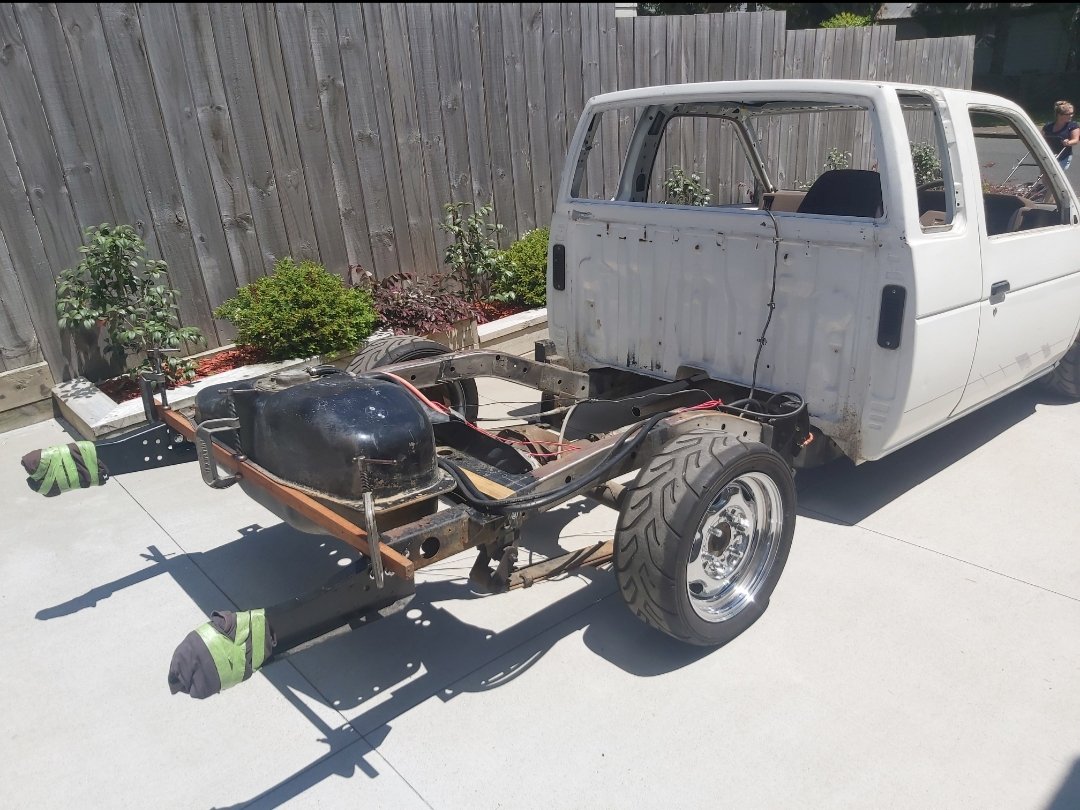
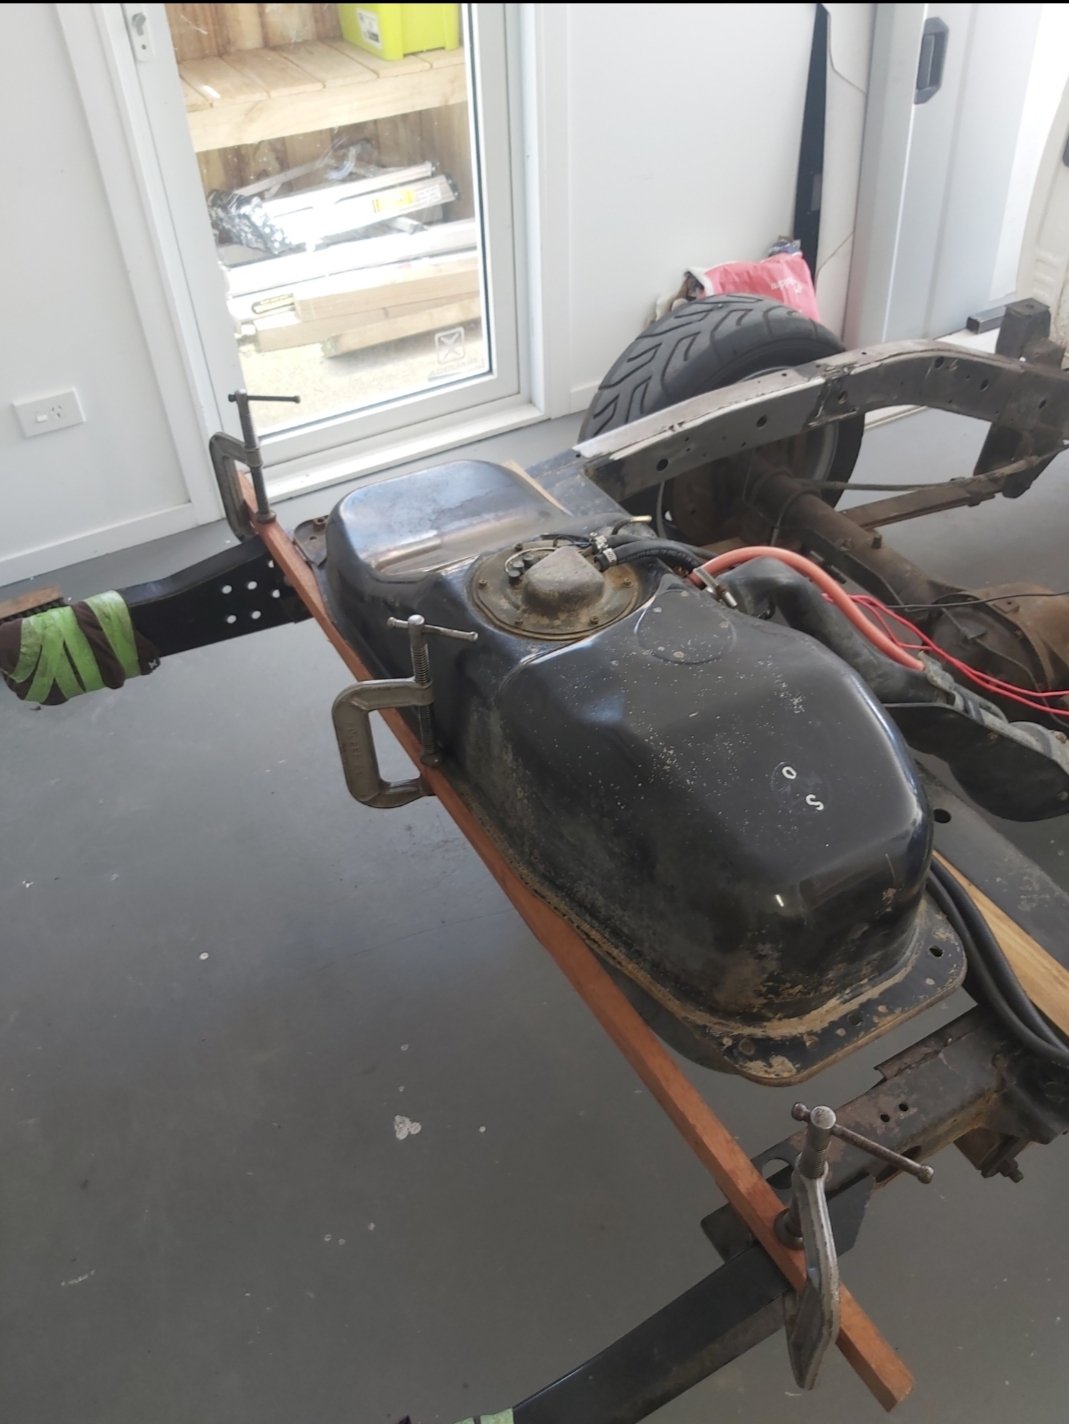
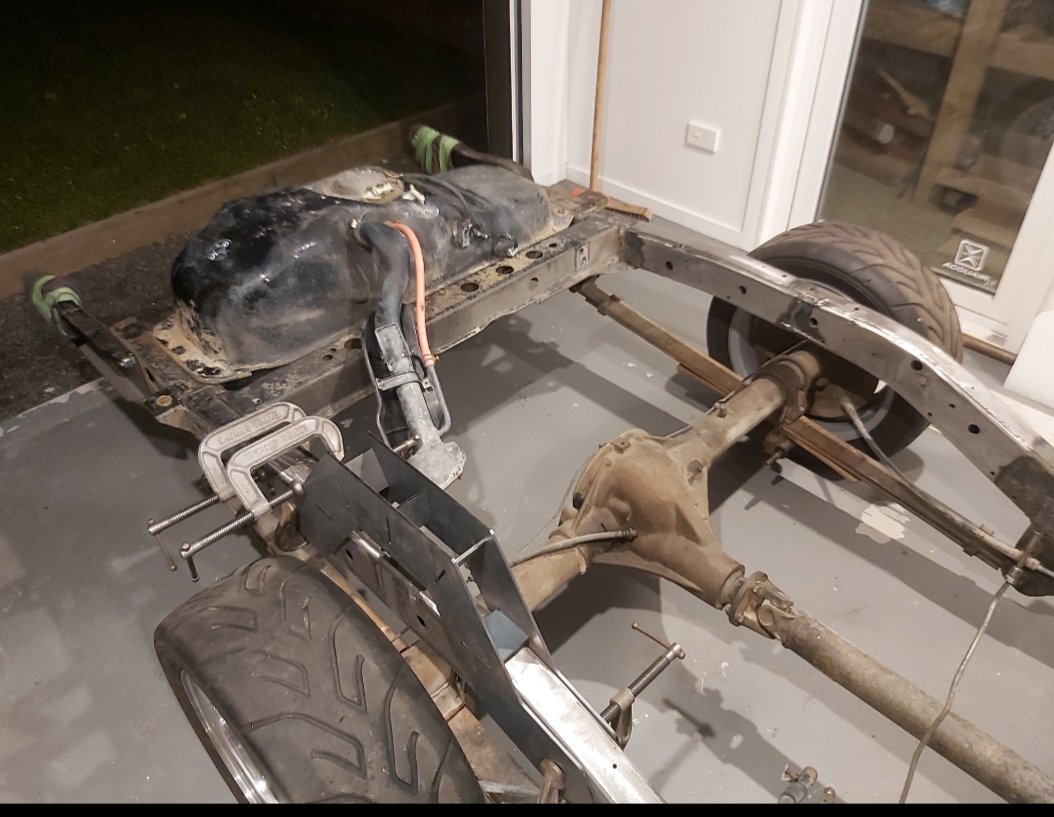
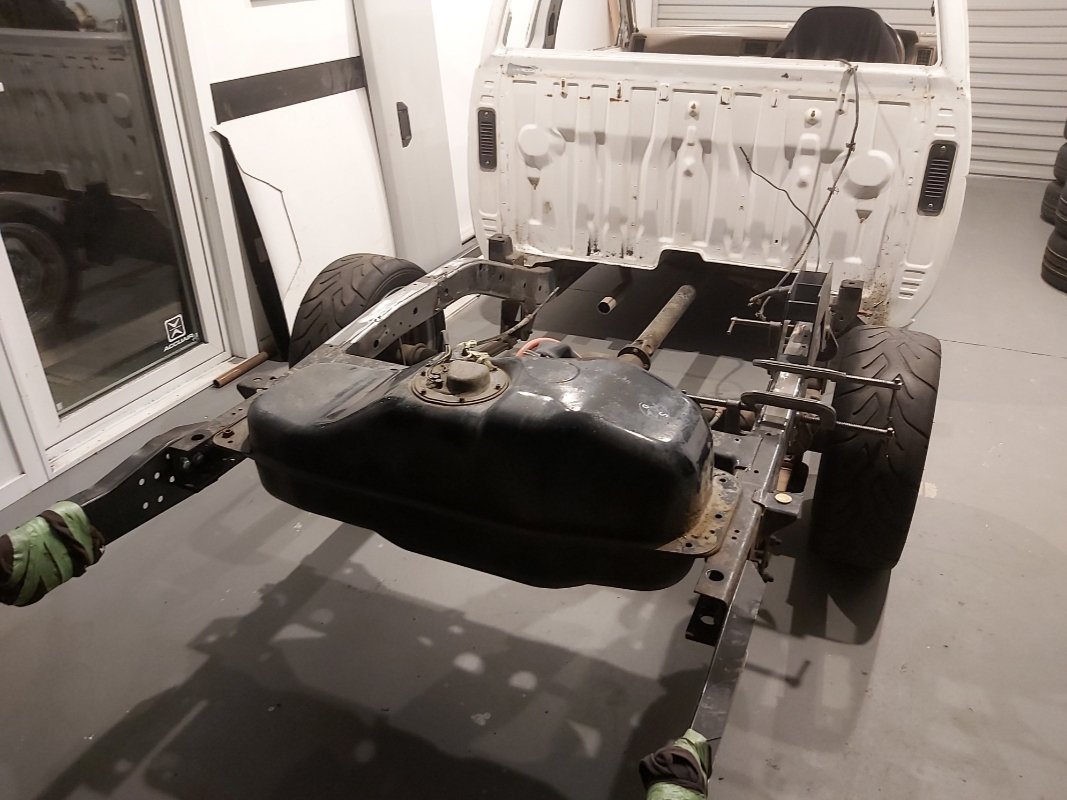
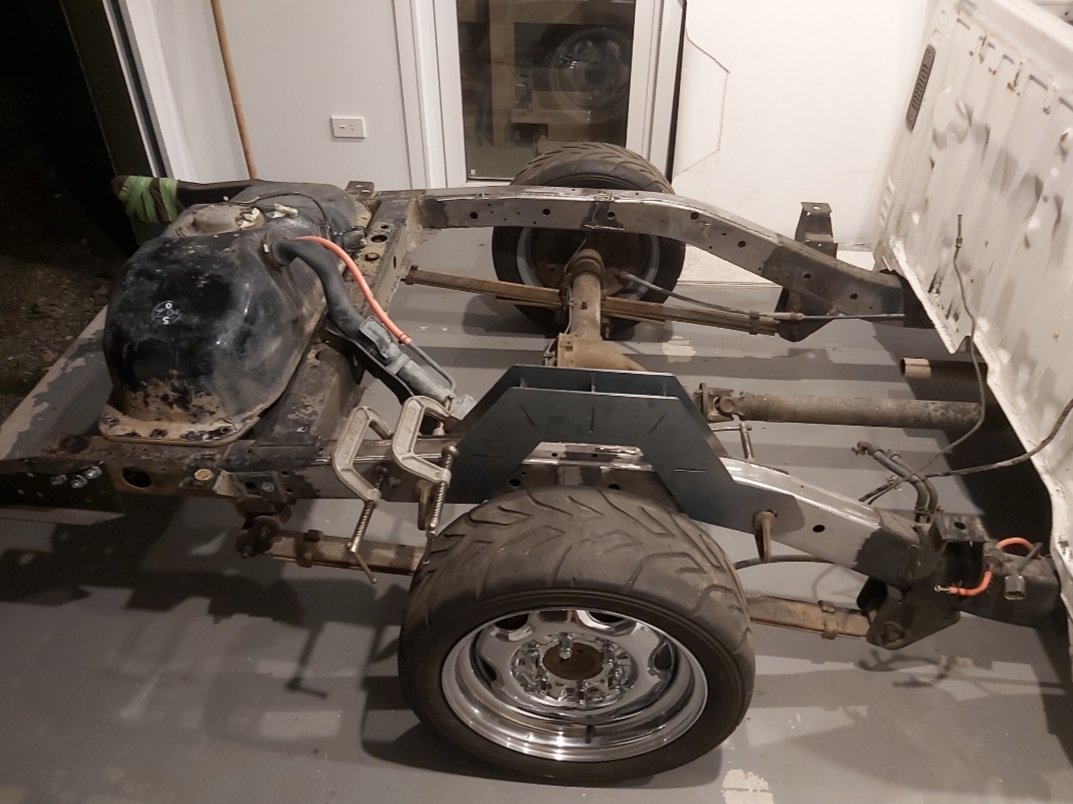
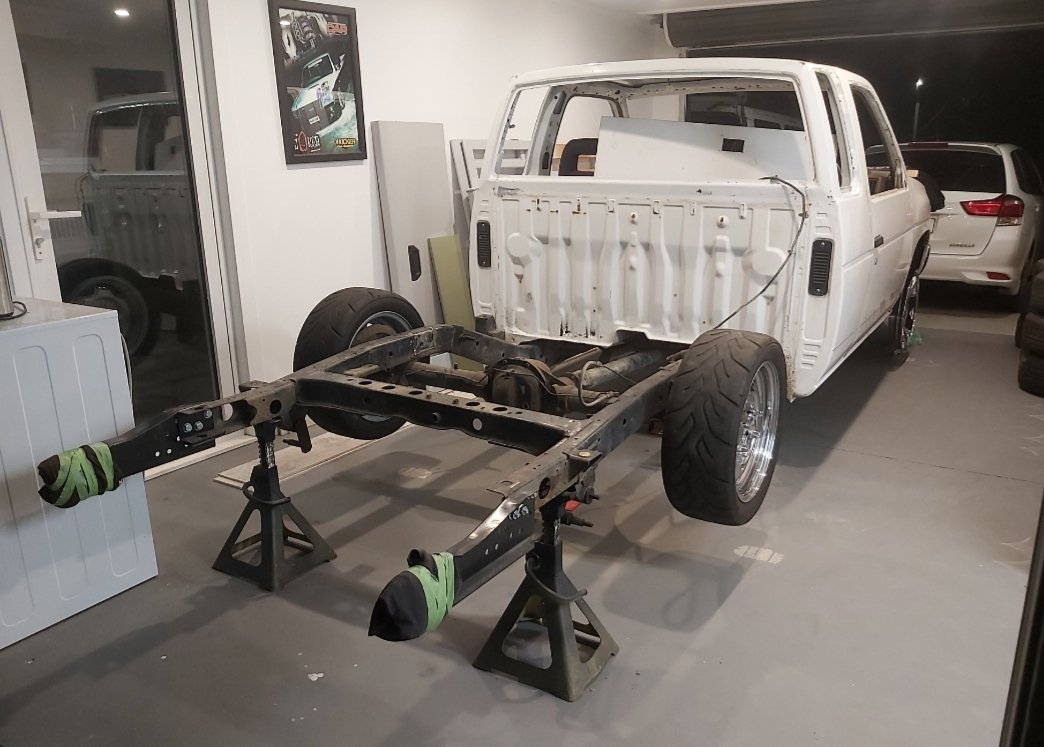
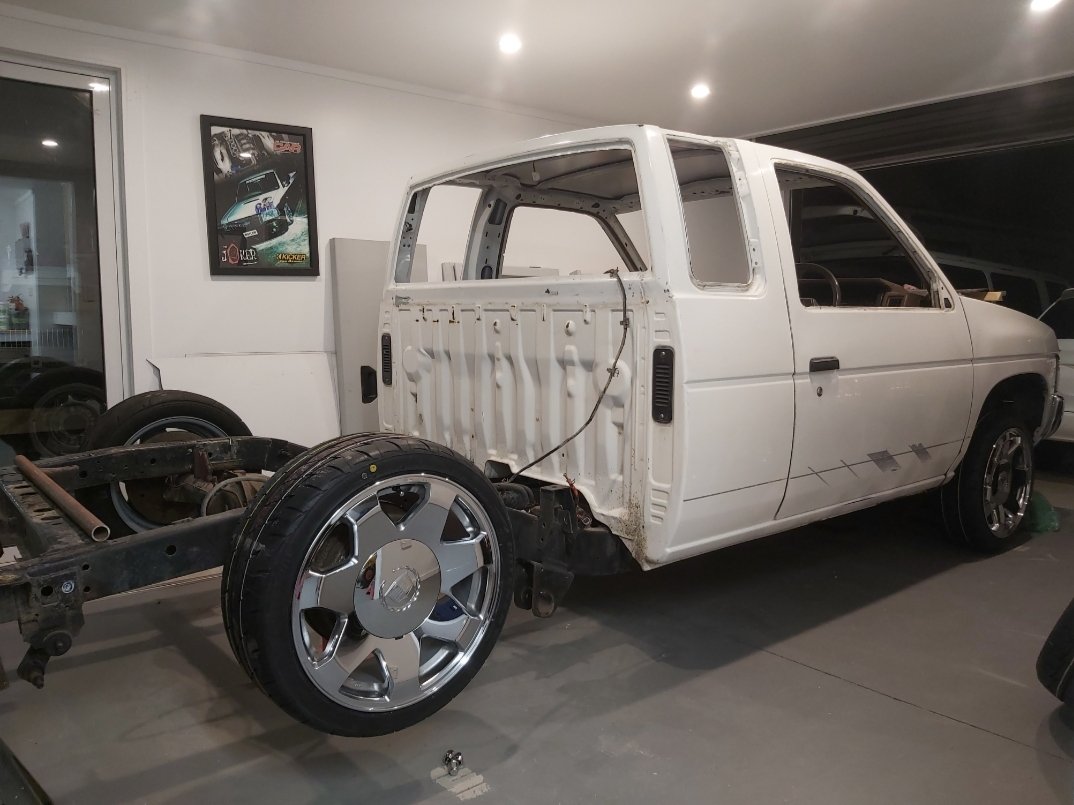
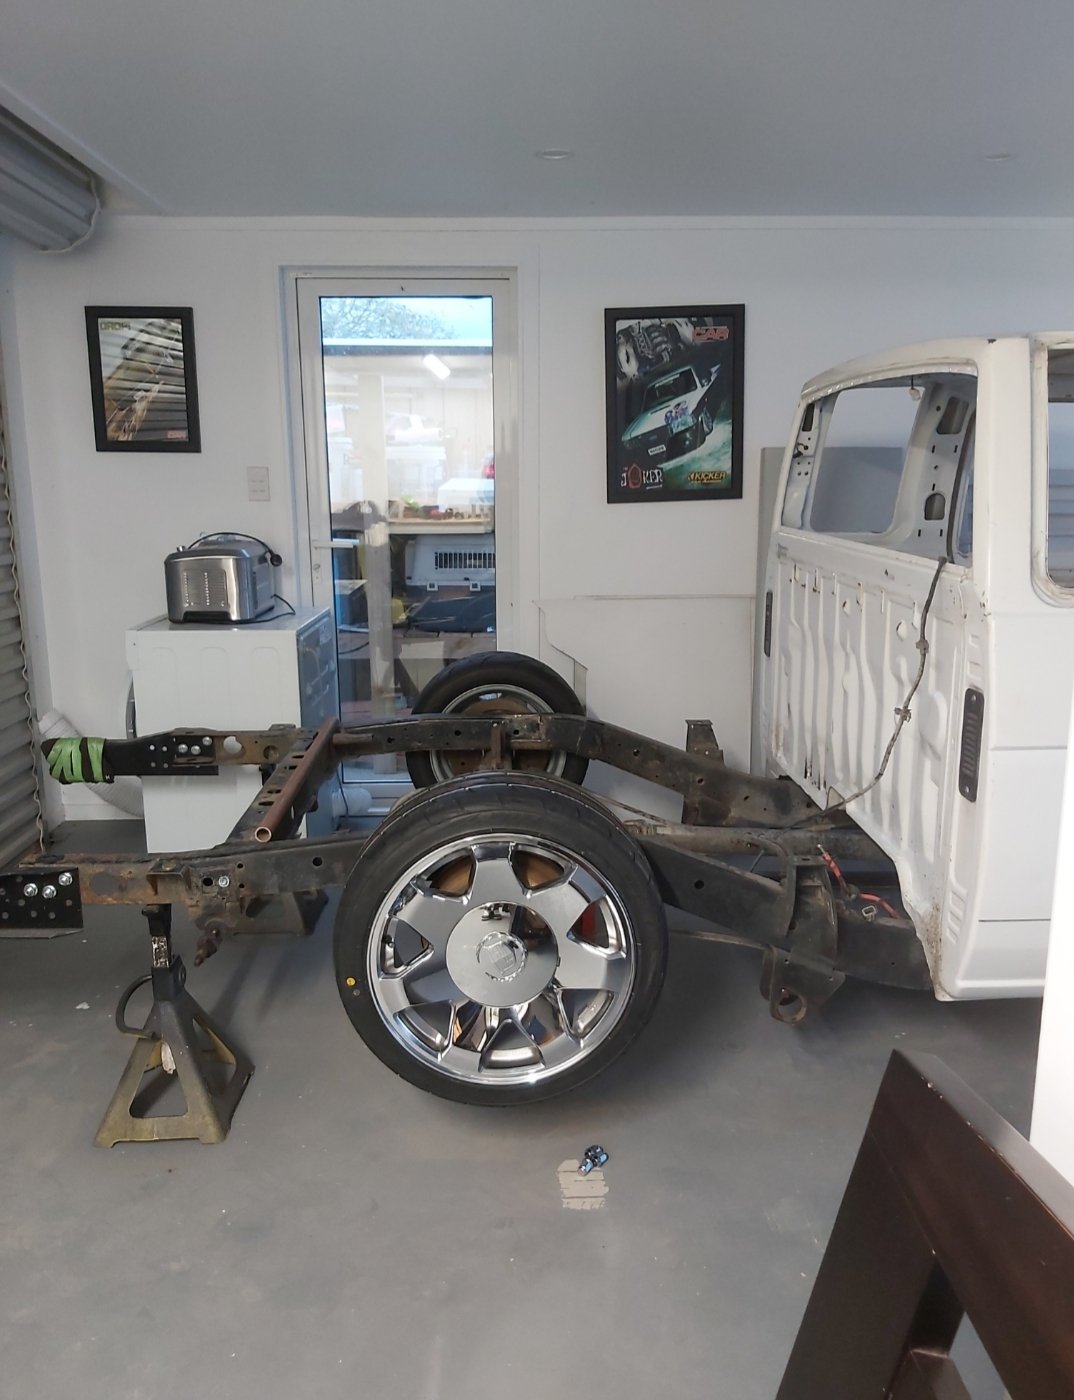
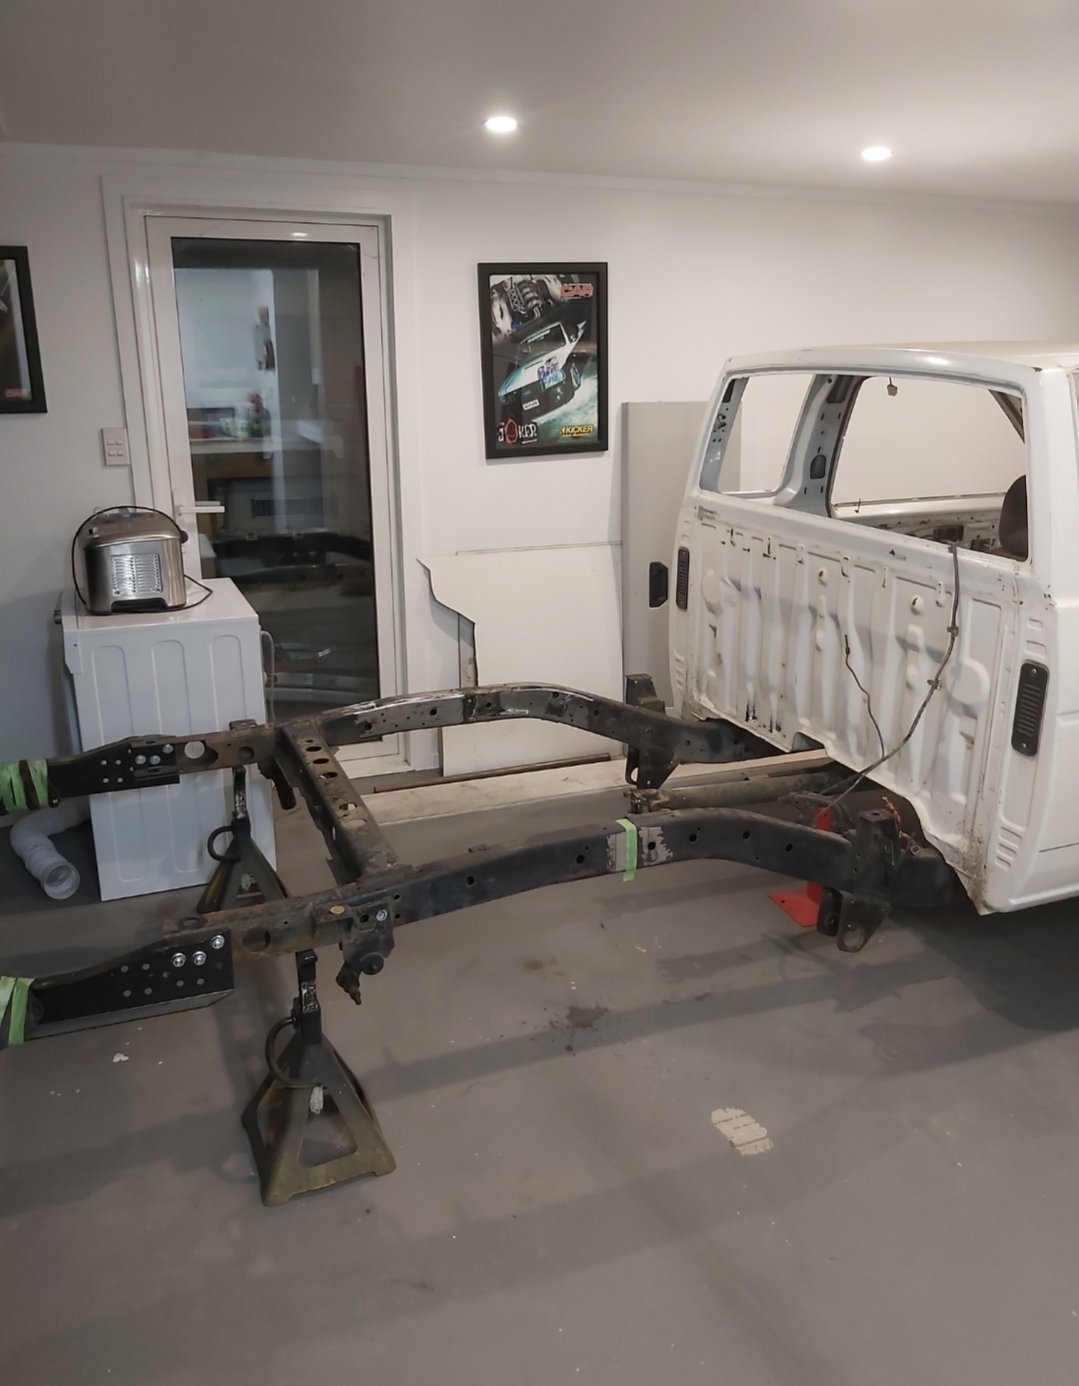
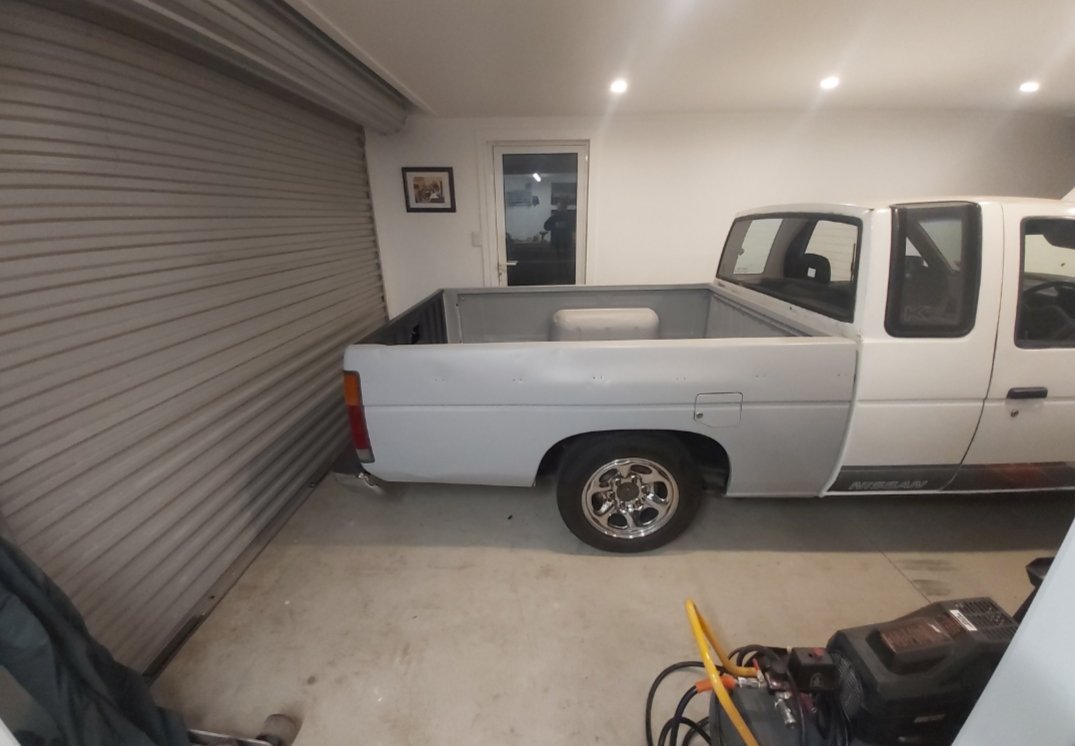
This brings us up to date. I'm just waiting for the top and bottom of the notch to be folded up then I'll get it welded in. Also moved fuel tank to the back of the chassis it fits surprisingly well so I think I will use it there but just move it bit further forward once notch is done and another crossmember is added.
- 53 replies
-
- 12
-
-
Kp60nick's D21 kingcab Soon to be Bagged on Cadillac Escalade rims
kp60nick replied to kp60nick's topic in Other Projects
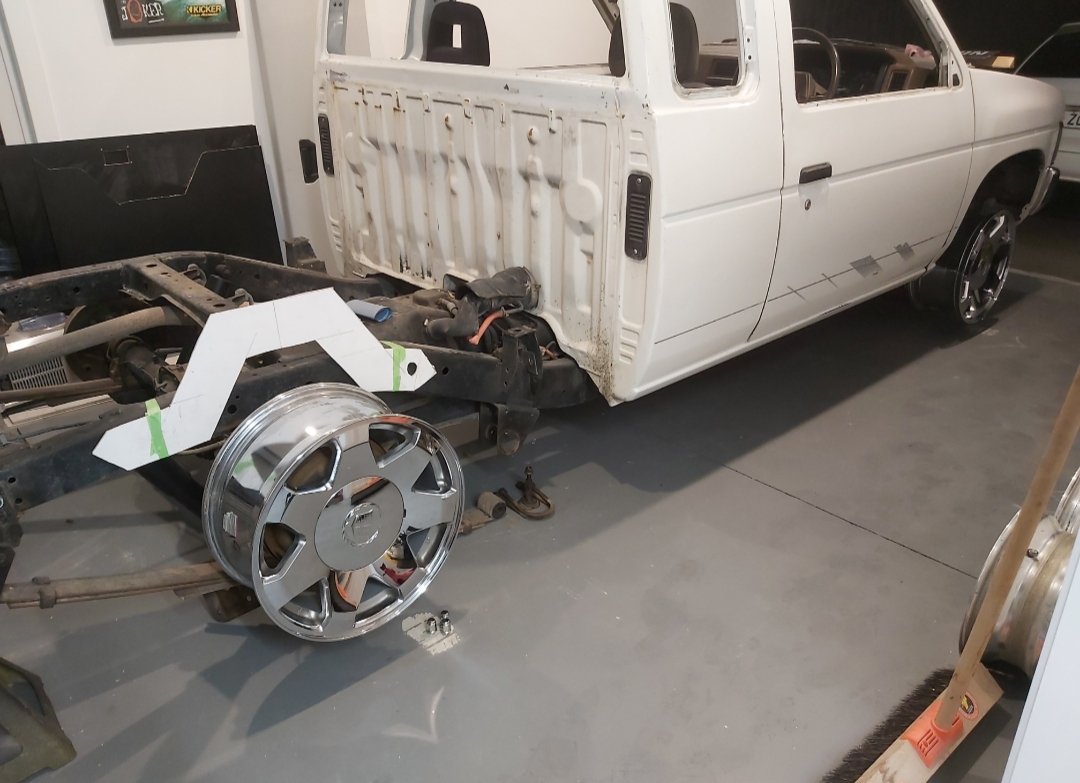
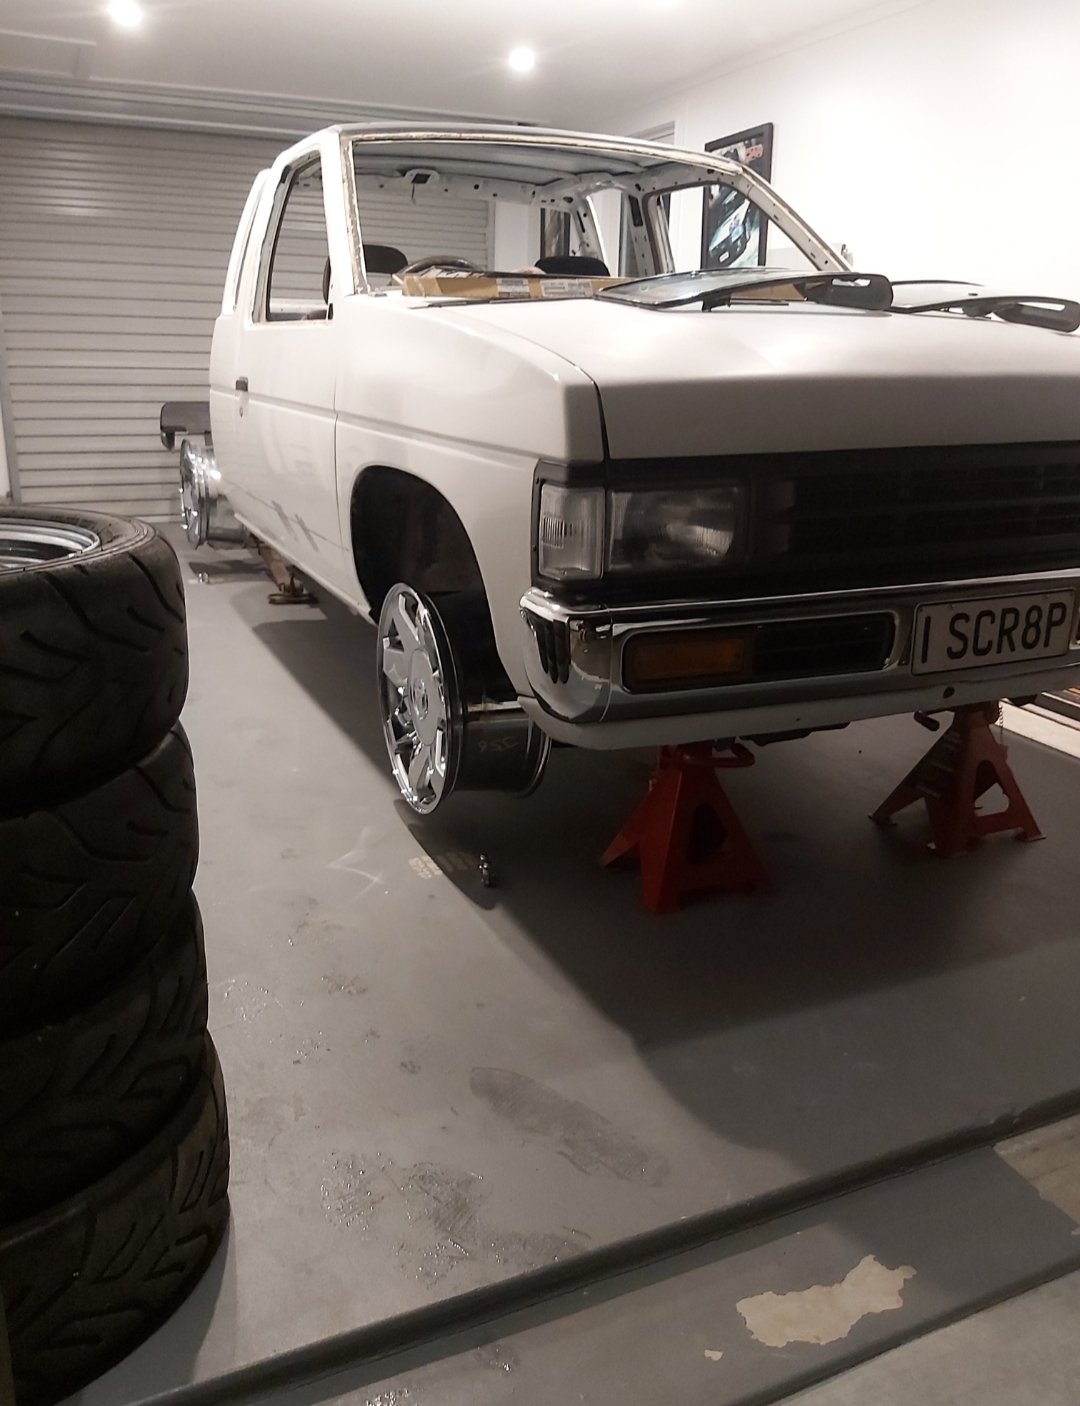
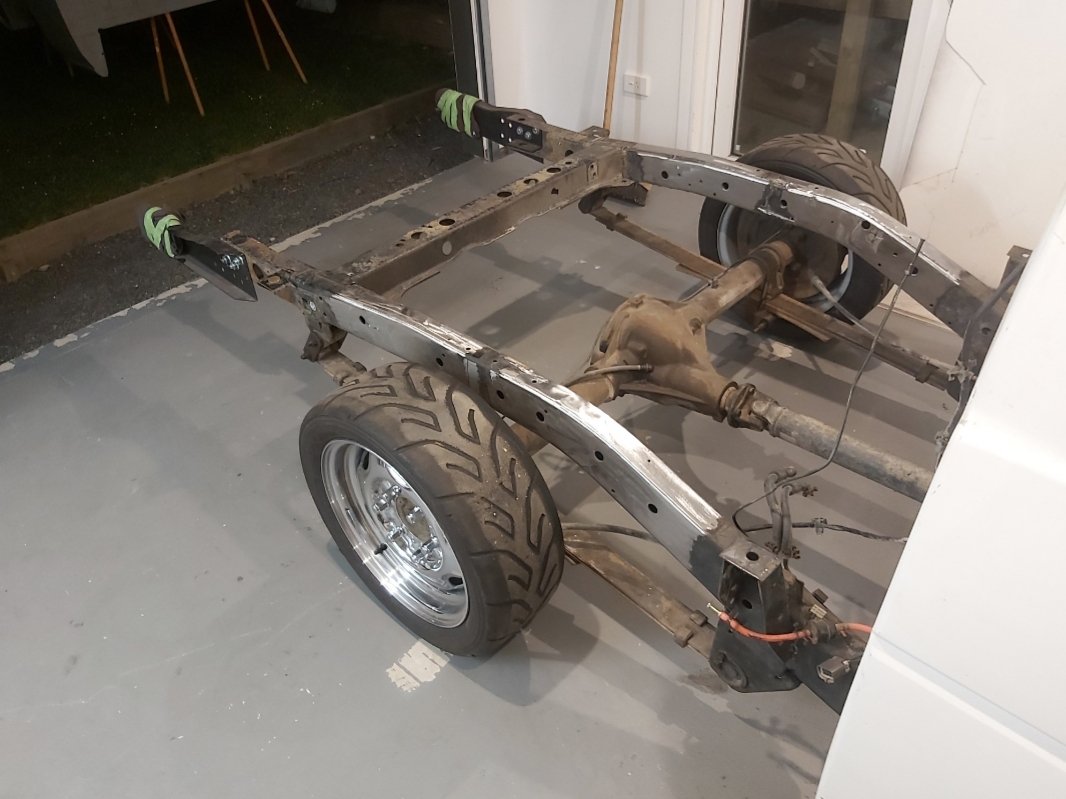
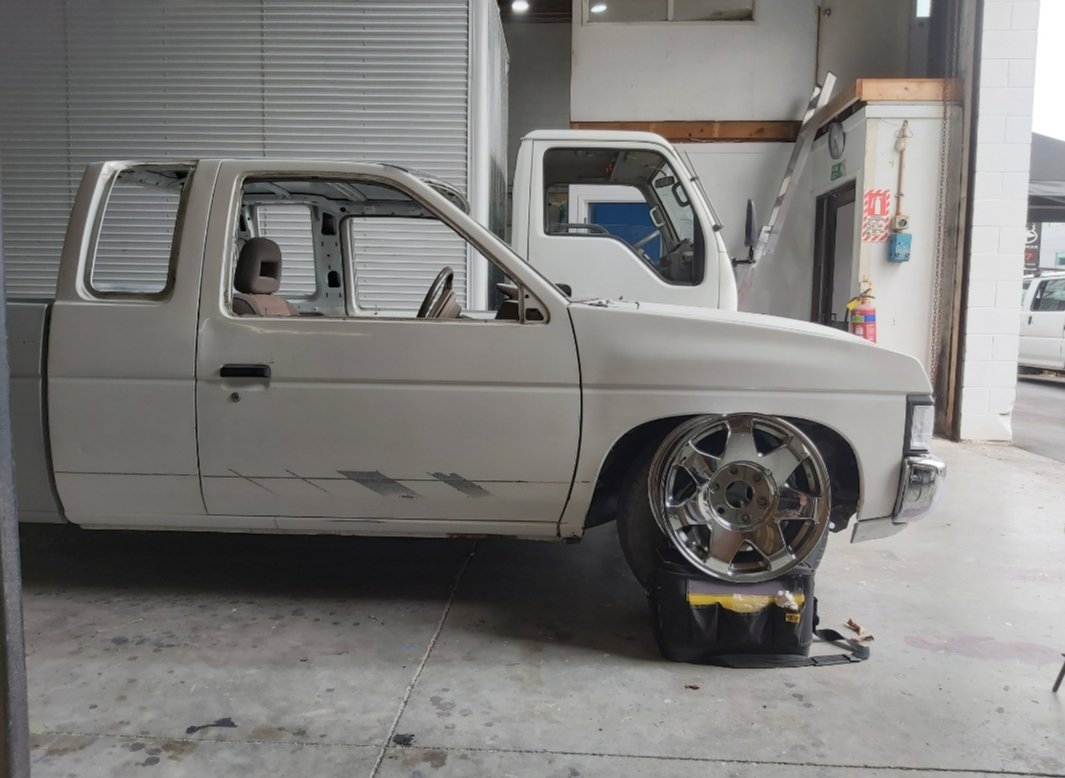
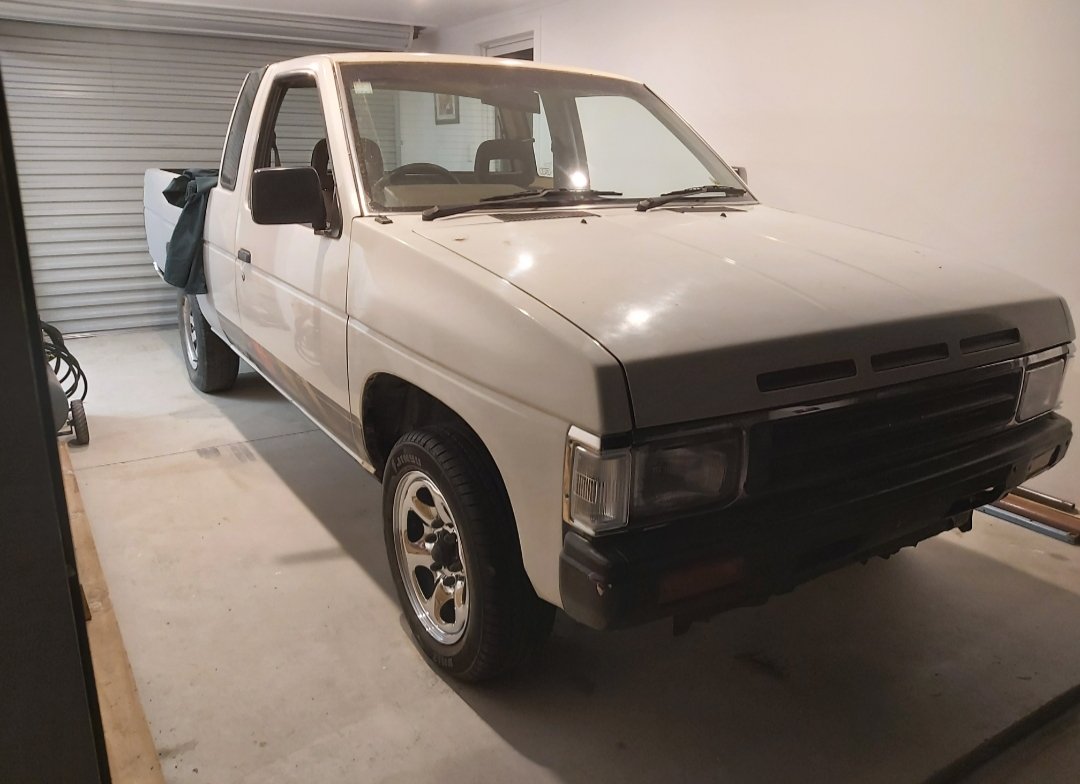
Got the caddy wheels on with new bridgestone re003. I always remember minitrucks having super directional tyres and big chromes. Started cleaning chassis up for notch. Worked out how much clearance I need to get it laying frame on the 17s added a little more and made clearance for bumps tops on the underside of notch. Made a template out of MDF as I have an abundance of the stuff. My little brother luke is doing engineering at uni so got him to draw the cad file and sent it to one stop cut shop. 4mm steel and stays the same thickness as the chassis rail the whole way over.
-
Kp60nick's D21 kingcab Soon to be Bagged on Cadillac Escalade rims
kp60nick replied to kp60nick's topic in Other Projects
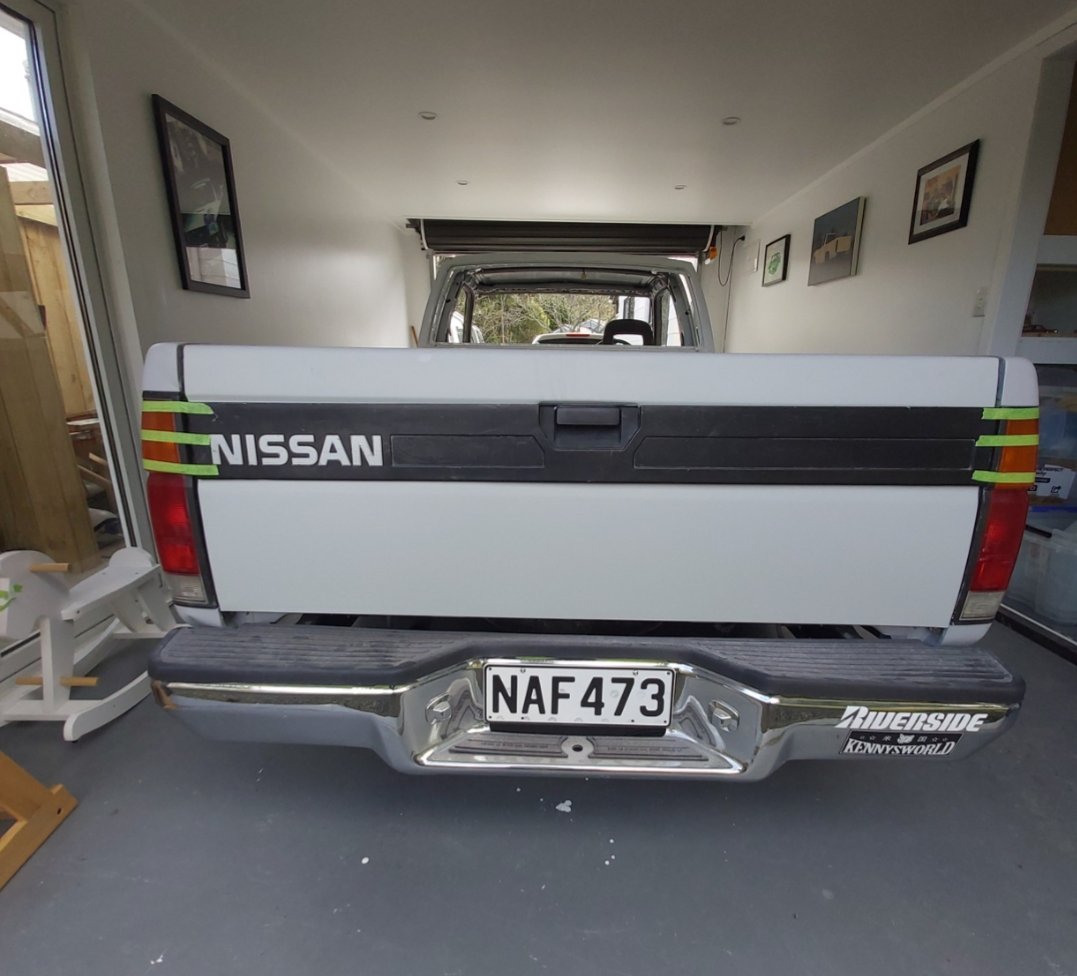
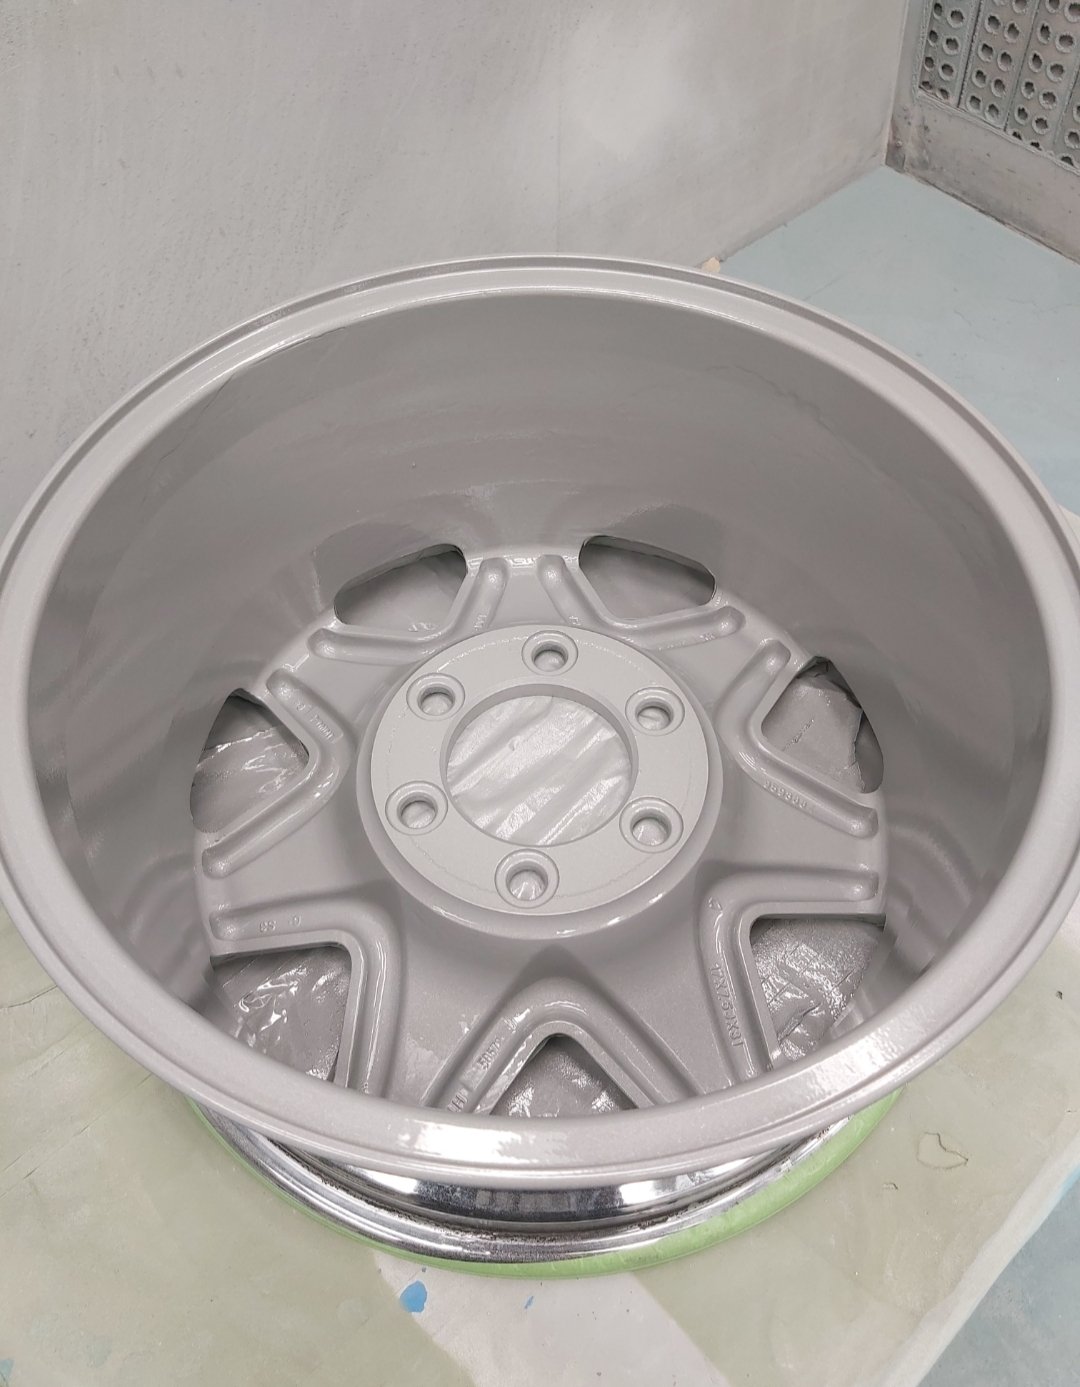
Brought the ute home and some more bits arrived from japan. SE spec tailgate garnish from an USA hardbody and other genuine Nissan bits. Cleaned up the inside of the Cadillac rims. And had the center bored out to 100mm to fit the hub. Painted them a fine silver with matt clear.
-
Kp60nick's D21 kingcab Soon to be Bagged on Cadillac Escalade rims
kp60nick replied to kp60nick's topic in Other Projects
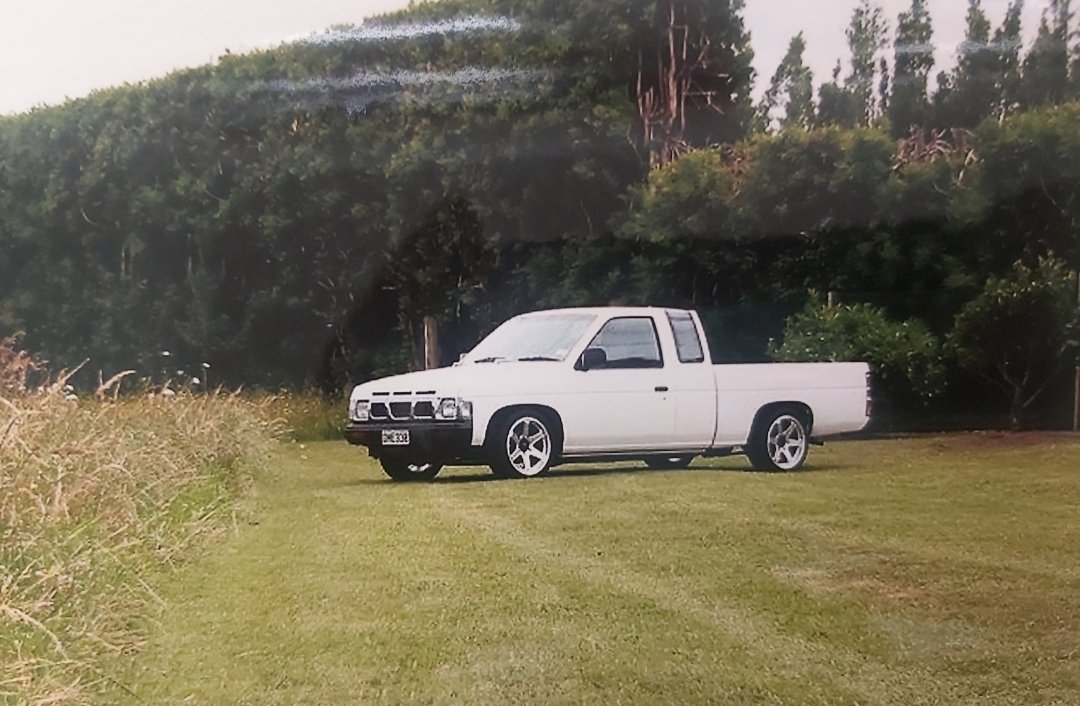
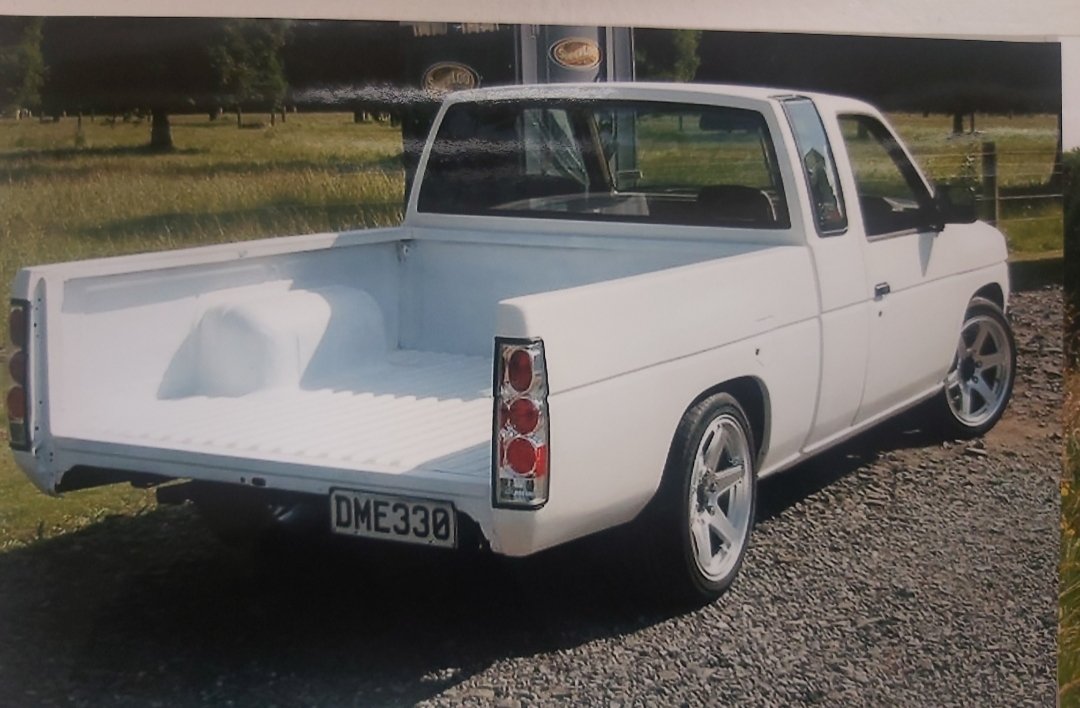
Here is photos of my first ute from 2008.
-
Kp60nick's D21 kingcab Soon to be Bagged on Cadillac Escalade rims
kp60nick replied to kp60nick's topic in Other Projects
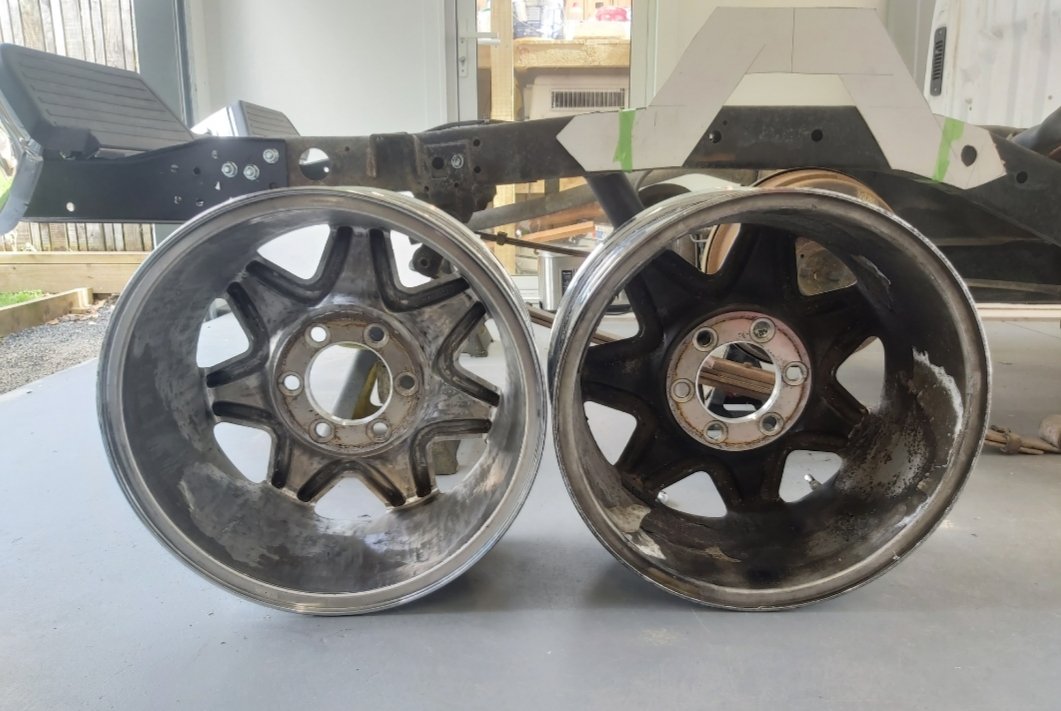
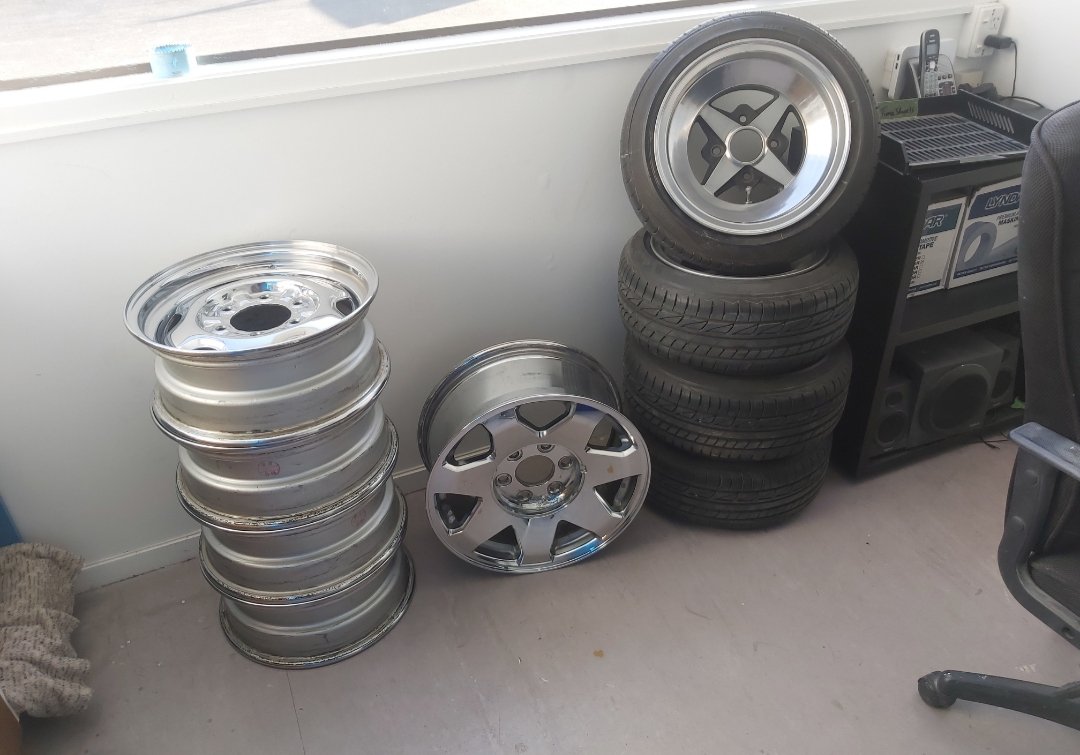
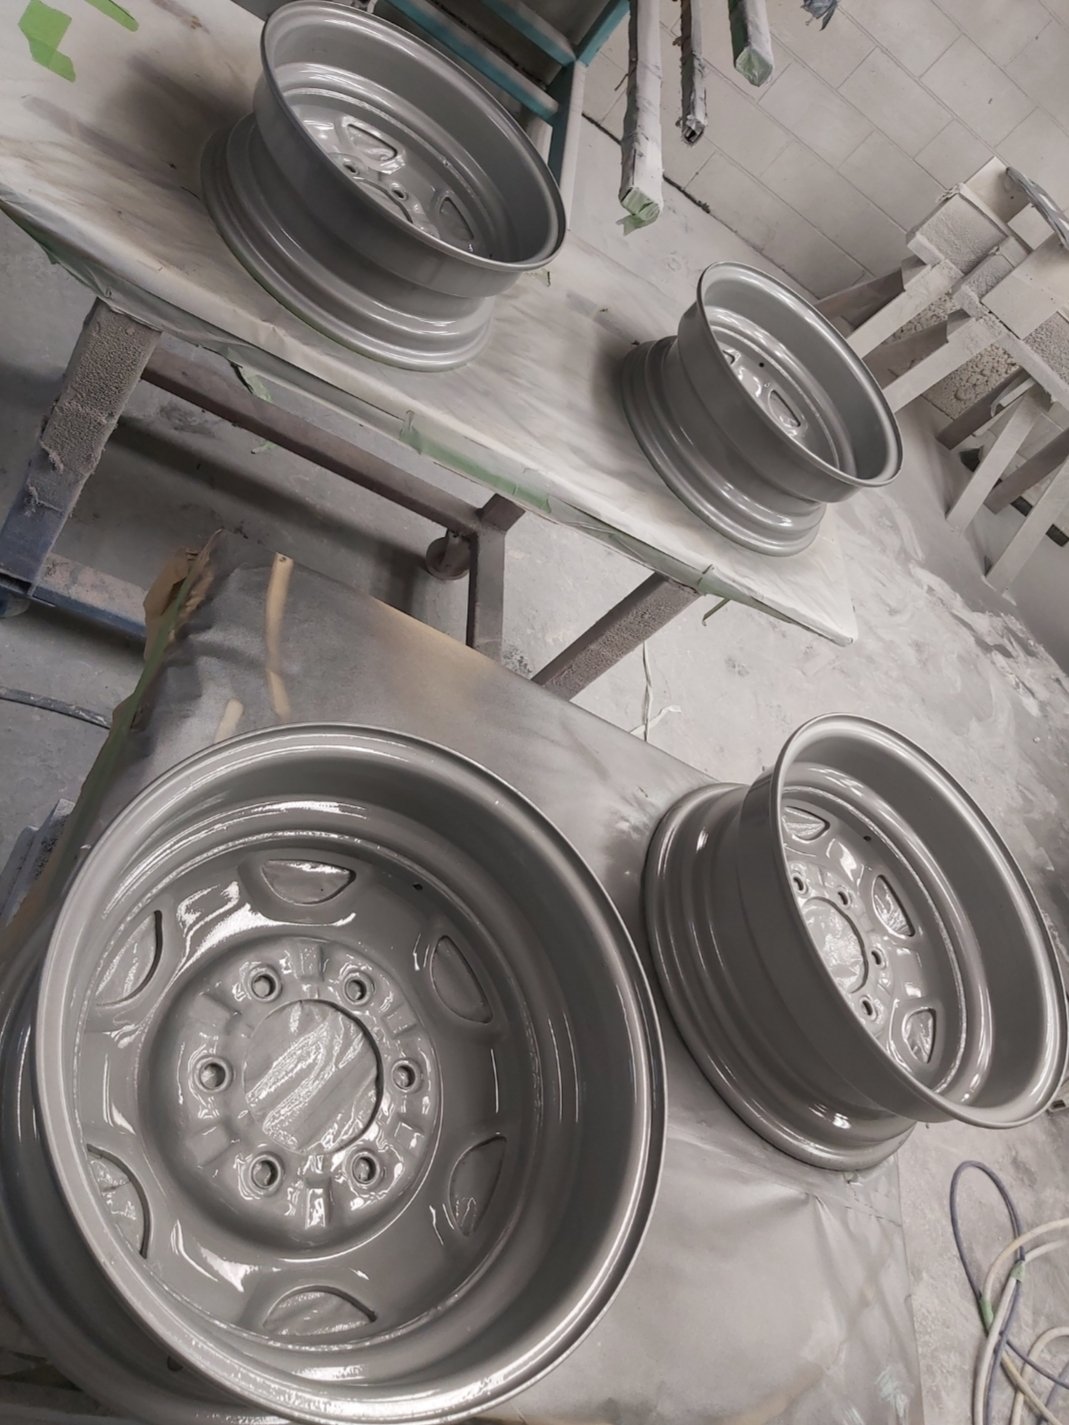
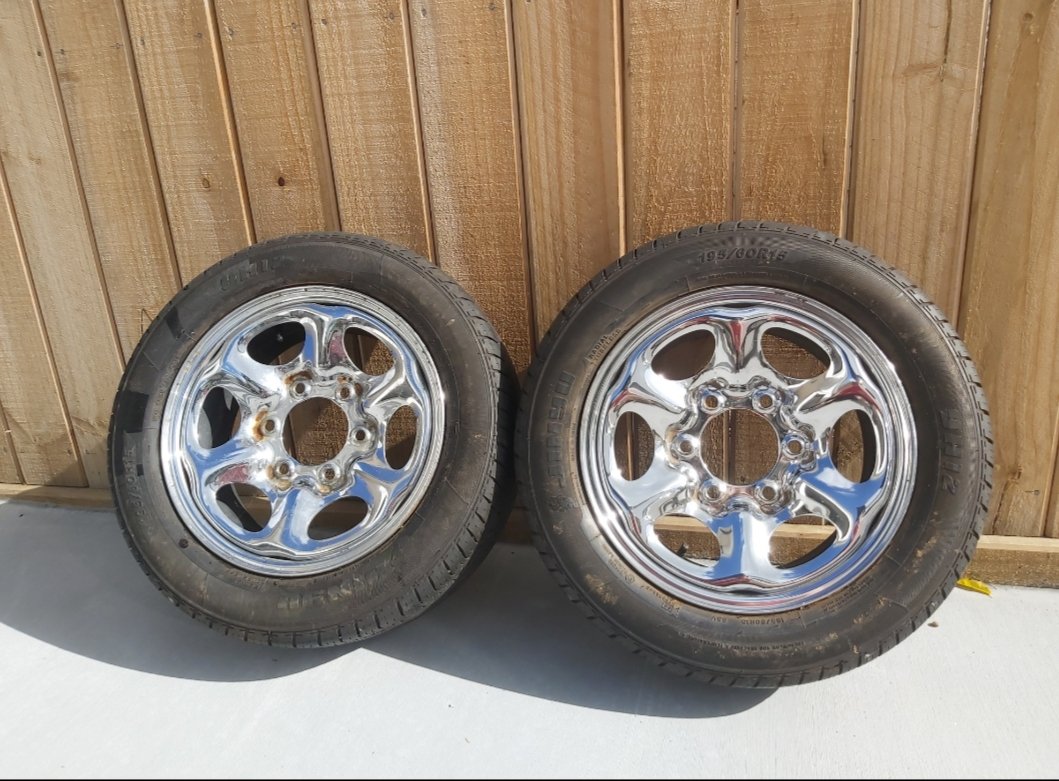
I got a couple of sets of wheels. First set is Cadillac Escalade 17x7.5 that I brought from japan. Chrome is in really good condition just needed to get the center bored out to fit over the hubs. The inside condition is not very good. Second set is a factory nissan wheel 15x6.5. I had seen them on an old boys ute and had to twist his arm to give them up. But we made a deal and got them. steel wool and repainted the inside barrel.
- 53 replies
-
- 10
-
-
Kp60nick's D21 kingcab Soon to be Bagged on Cadillac Escalade rims
kp60nick replied to kp60nick's topic in Other Projects
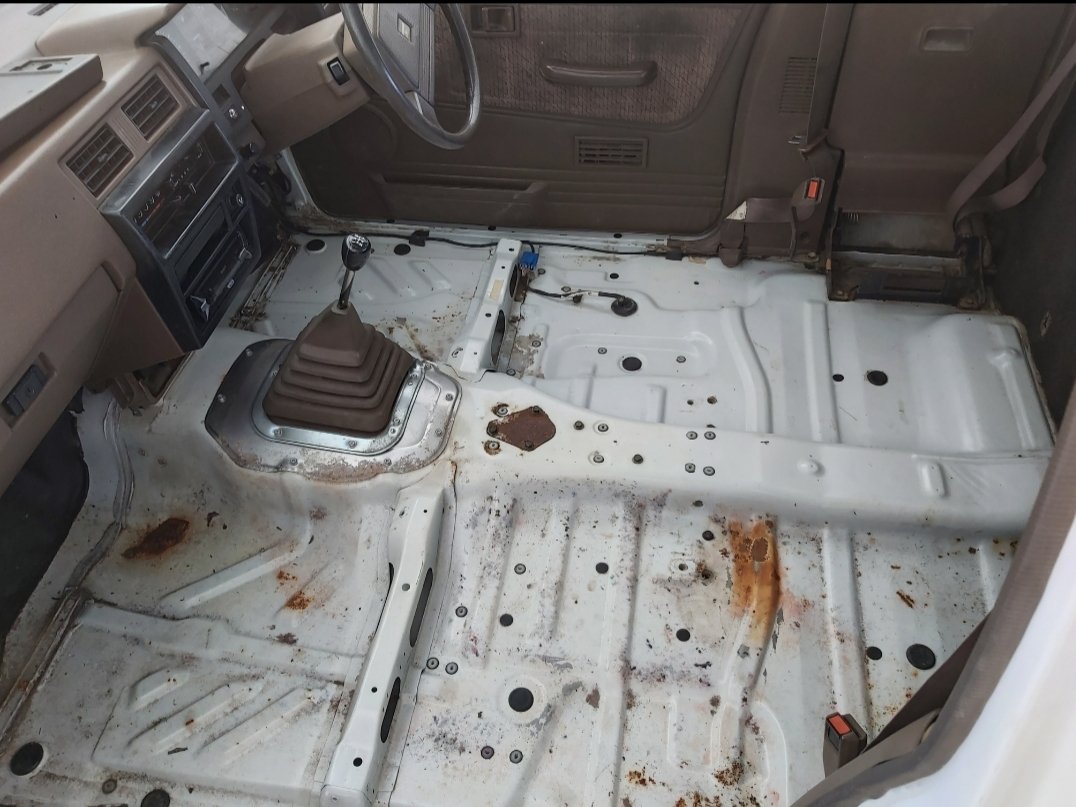
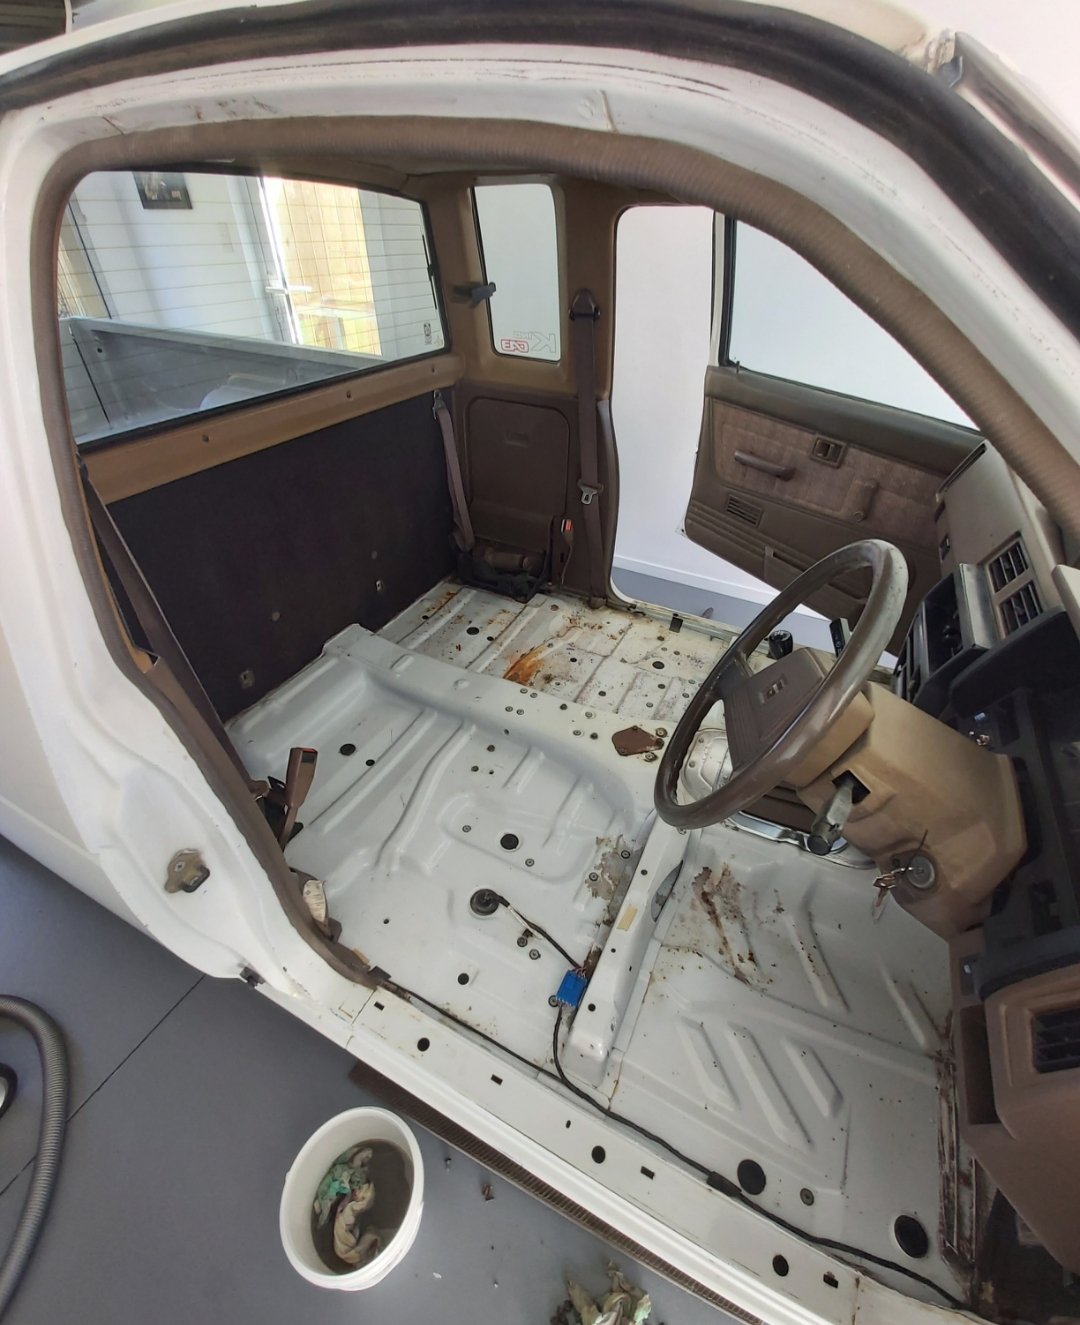
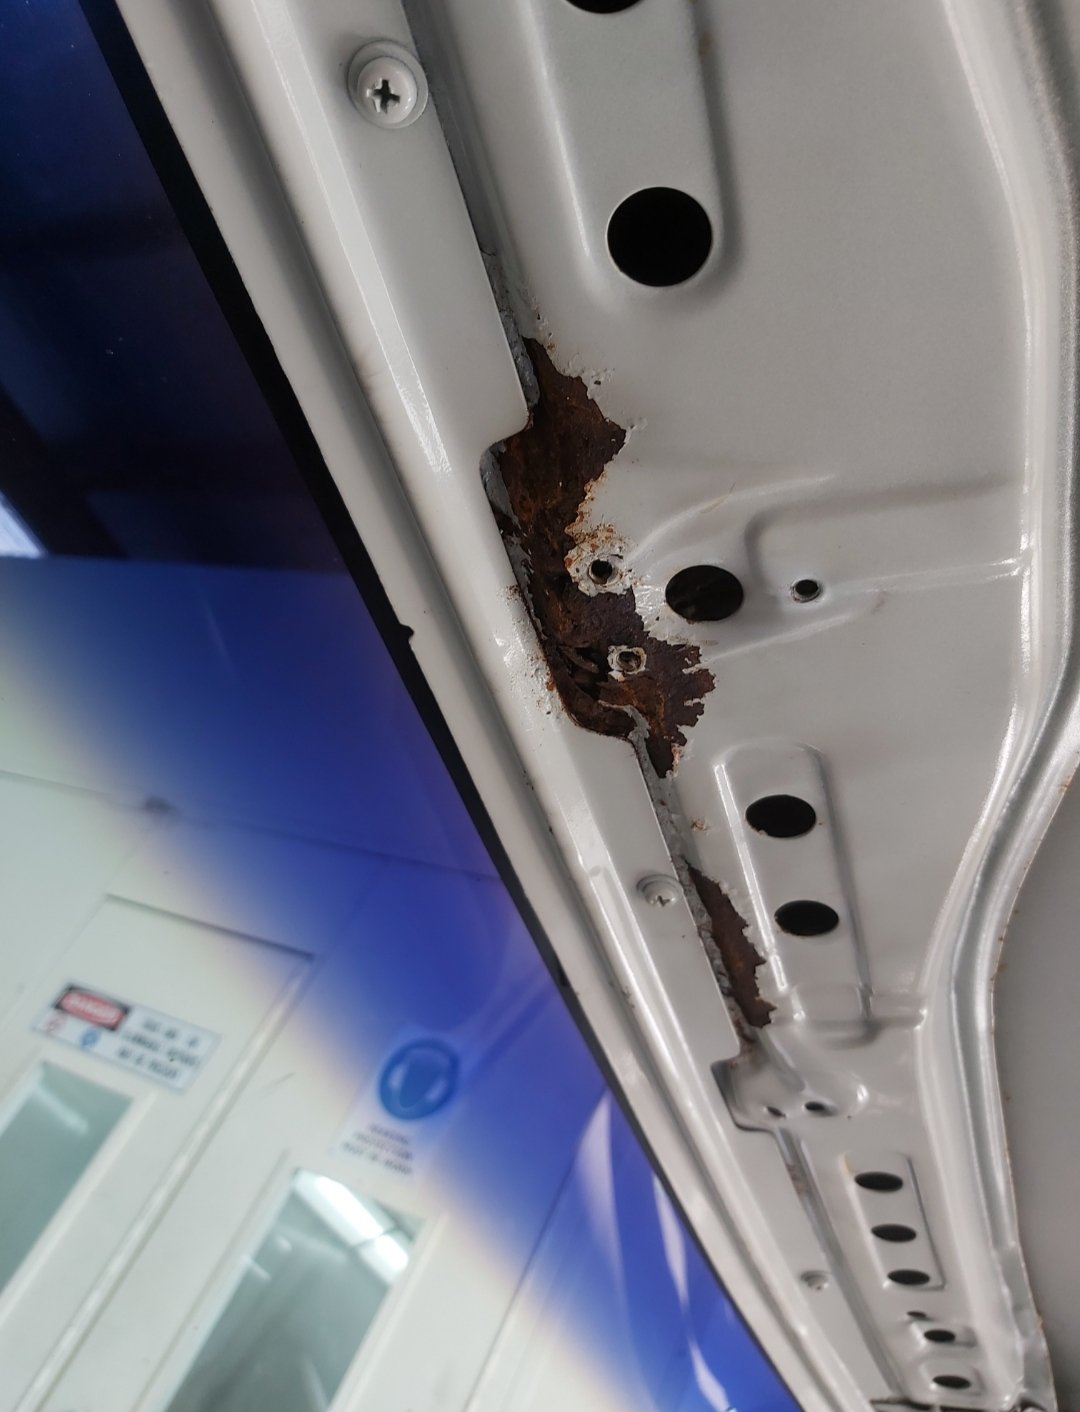
Then I started to strip interior and found some rust around the rear vision mirror and found a couple of rust patches above the windscreen. They look like they done pretty well but they just didn't realize it had got to inside the roof. Other than that its pretty good condition.
-
Kp60nick's D21 kingcab Soon to be Bagged on Cadillac Escalade rims
kp60nick replied to kp60nick's topic in Other Projects
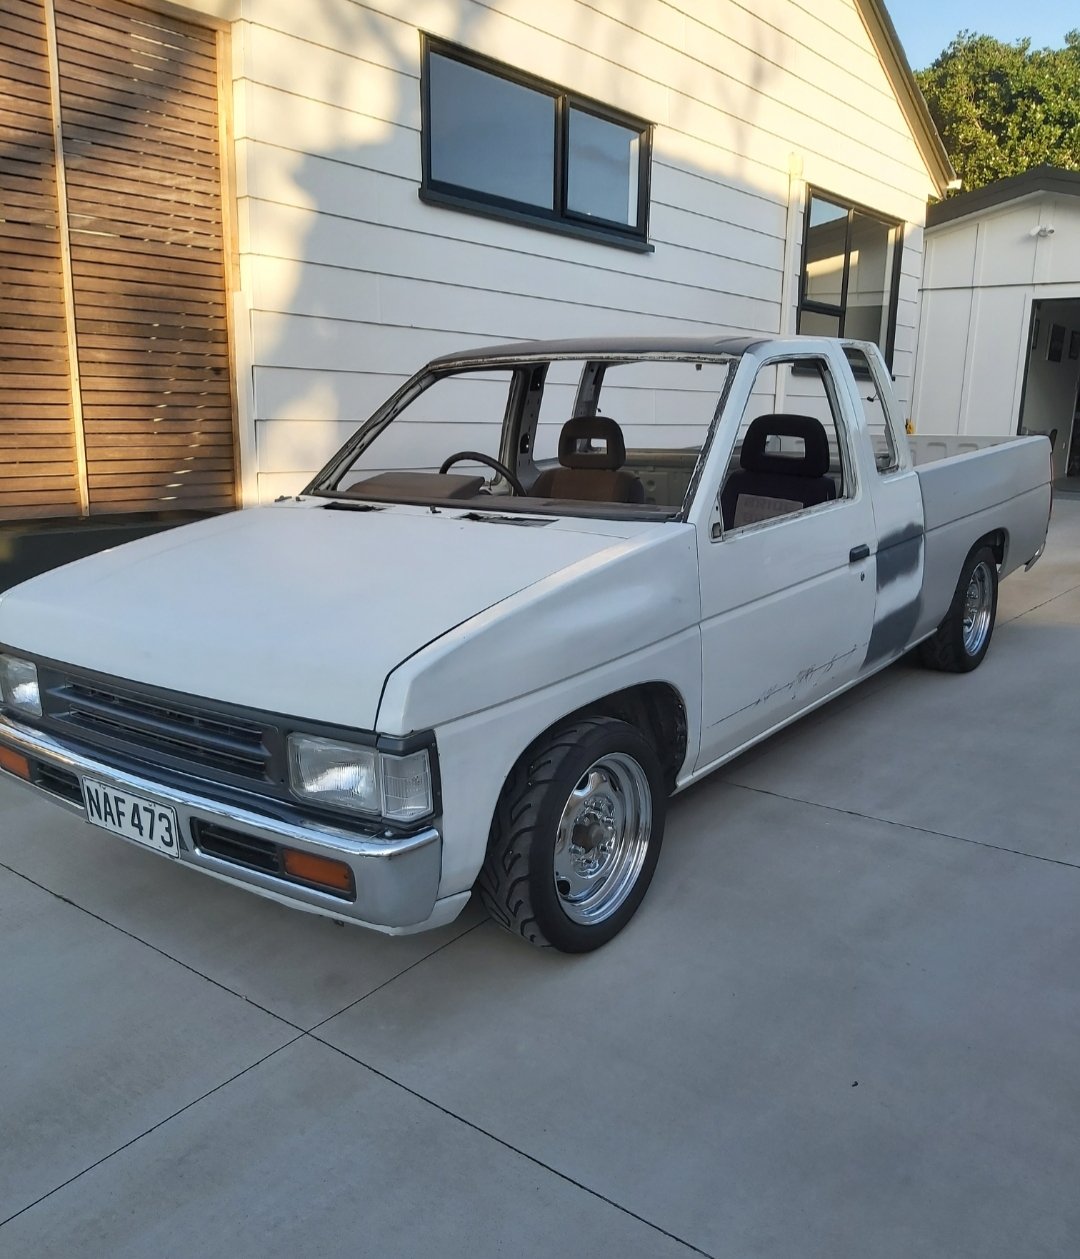
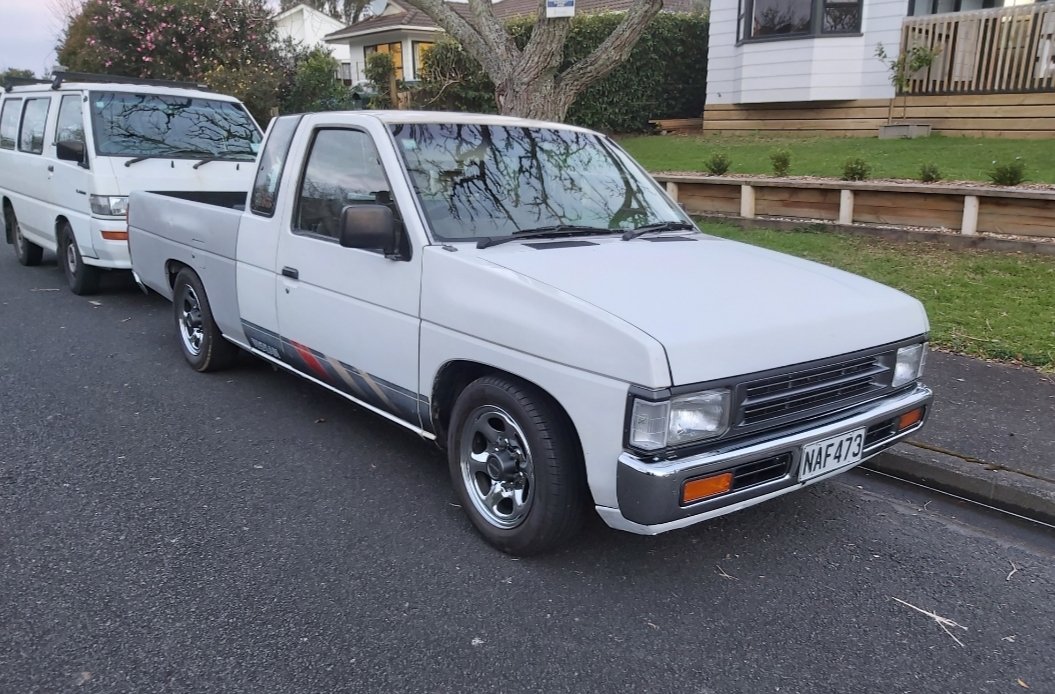
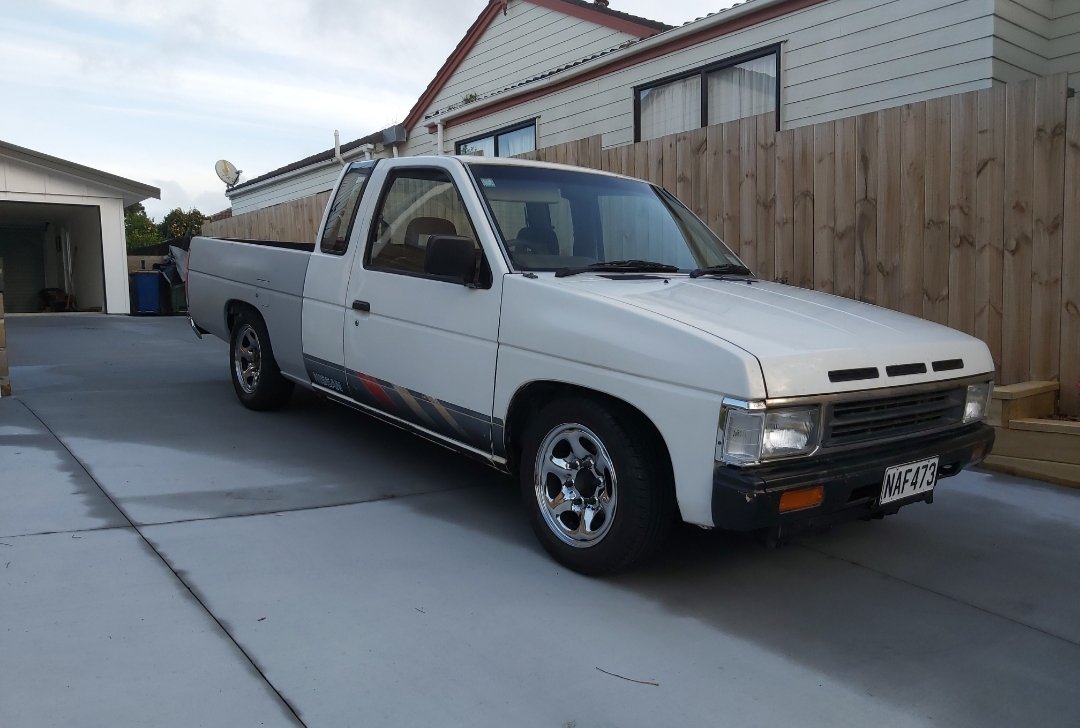
Painted the grille and brought the later model bonnet and lower valance panel stripped them back and epoxy primed them. Brought the later model chrome bumper too. Went and got a wof and went for one drive up to orewa. It did well, it was my big drive in it as I got it transported up from chch.
- 53 replies
-
- 10
-
-
Kp60nick's D21 kingcab Soon to be Bagged on Cadillac Escalade rims
kp60nick replied to kp60nick's topic in Other Projects
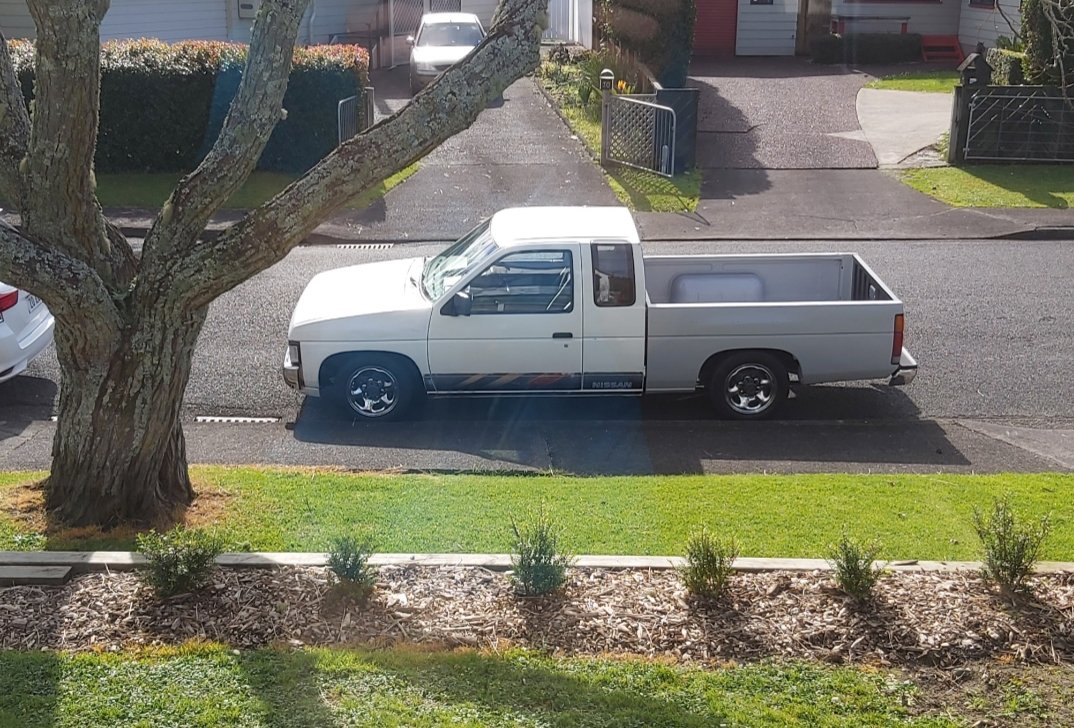
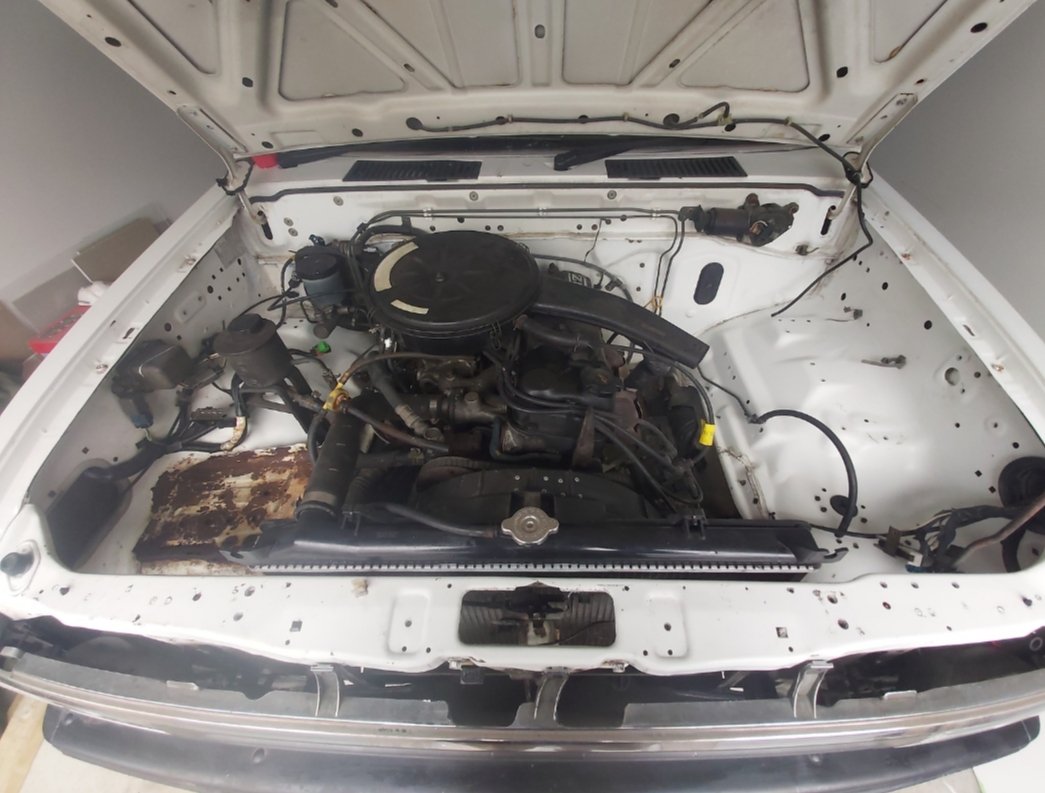
I started cleaning the engine bay up and found under the battery tray is rusty but cant drill out spot weld with the engine still in. Will get back to that later. Lowered it 4 inches reset leaf springs in the back by bob in glen eden and wound down torsion bars in front.
-
Kp60nick's D21 kingcab Soon to be Bagged on Cadillac Escalade rims
kp60nick replied to kp60nick's topic in Other Projects
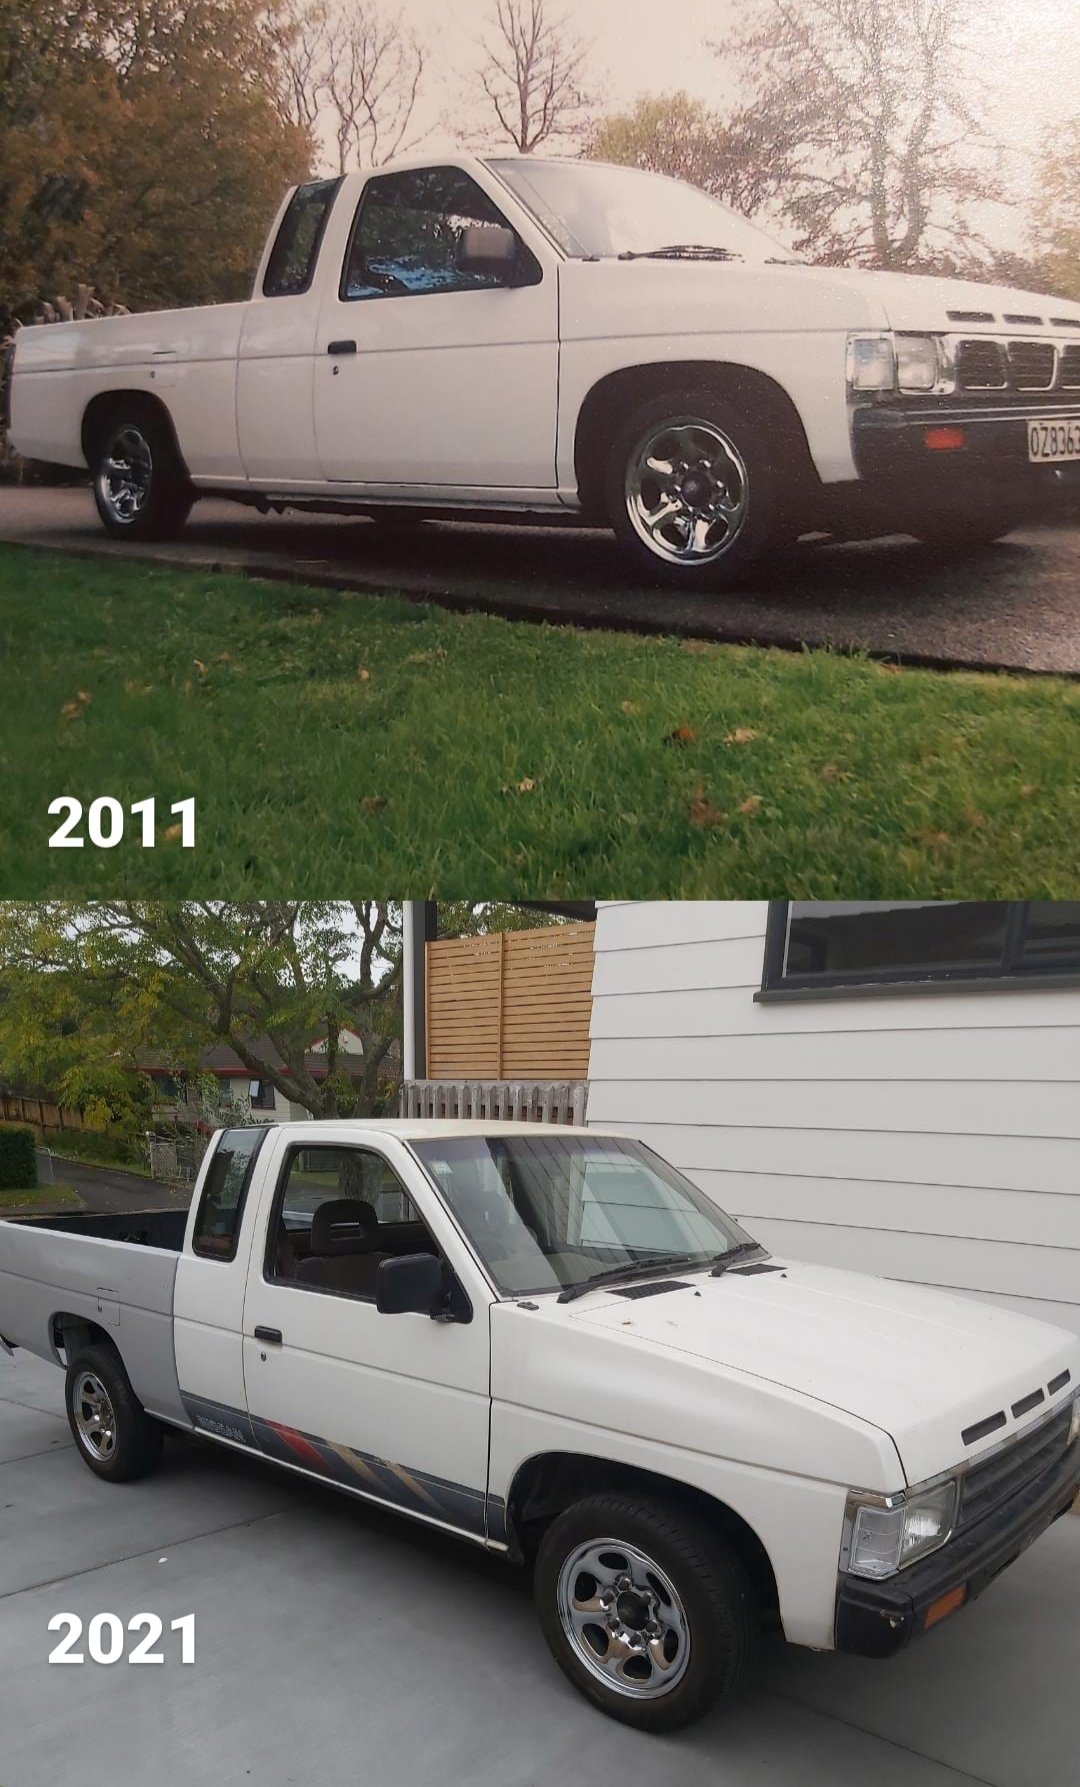
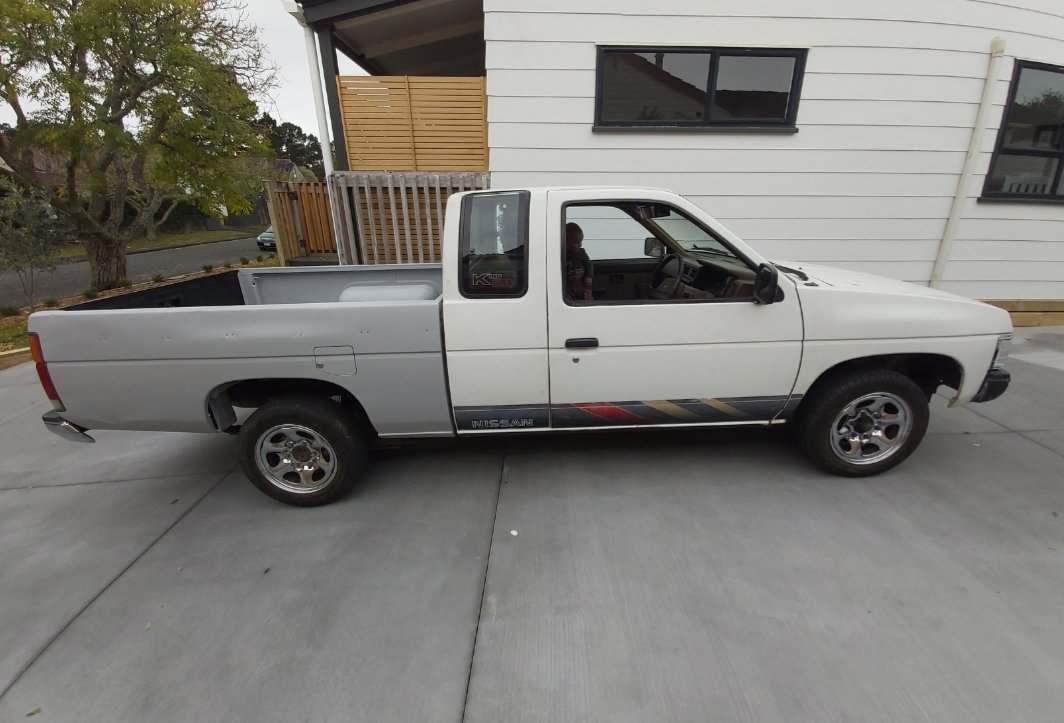
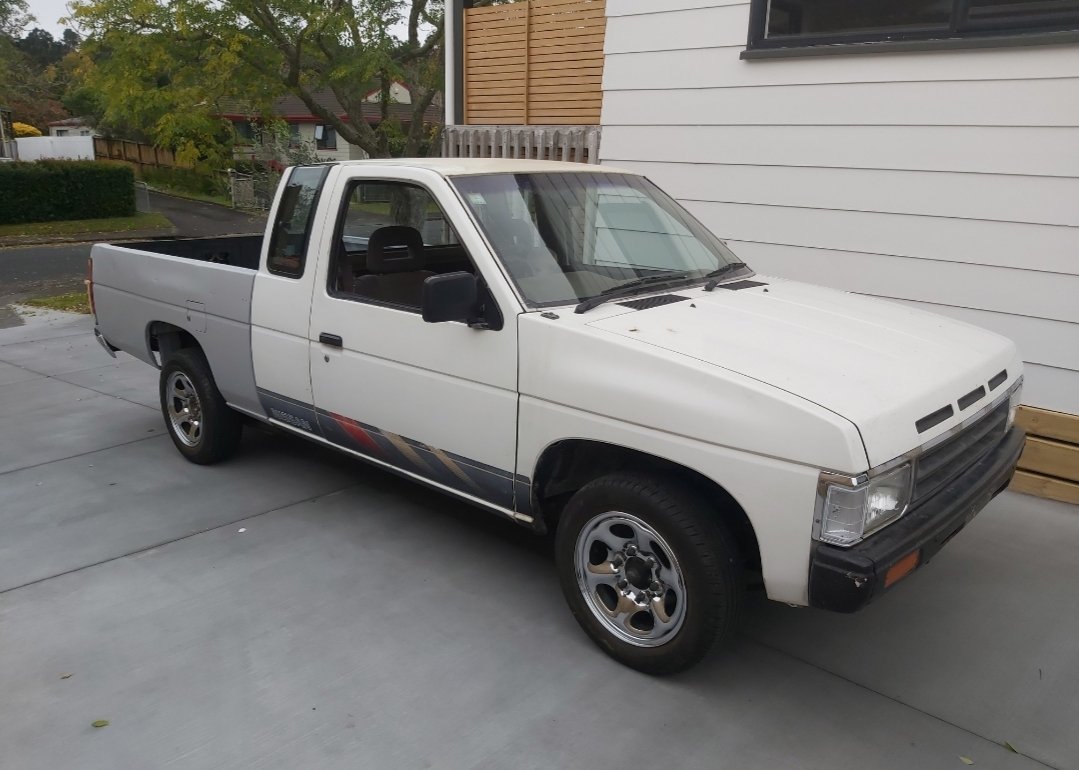
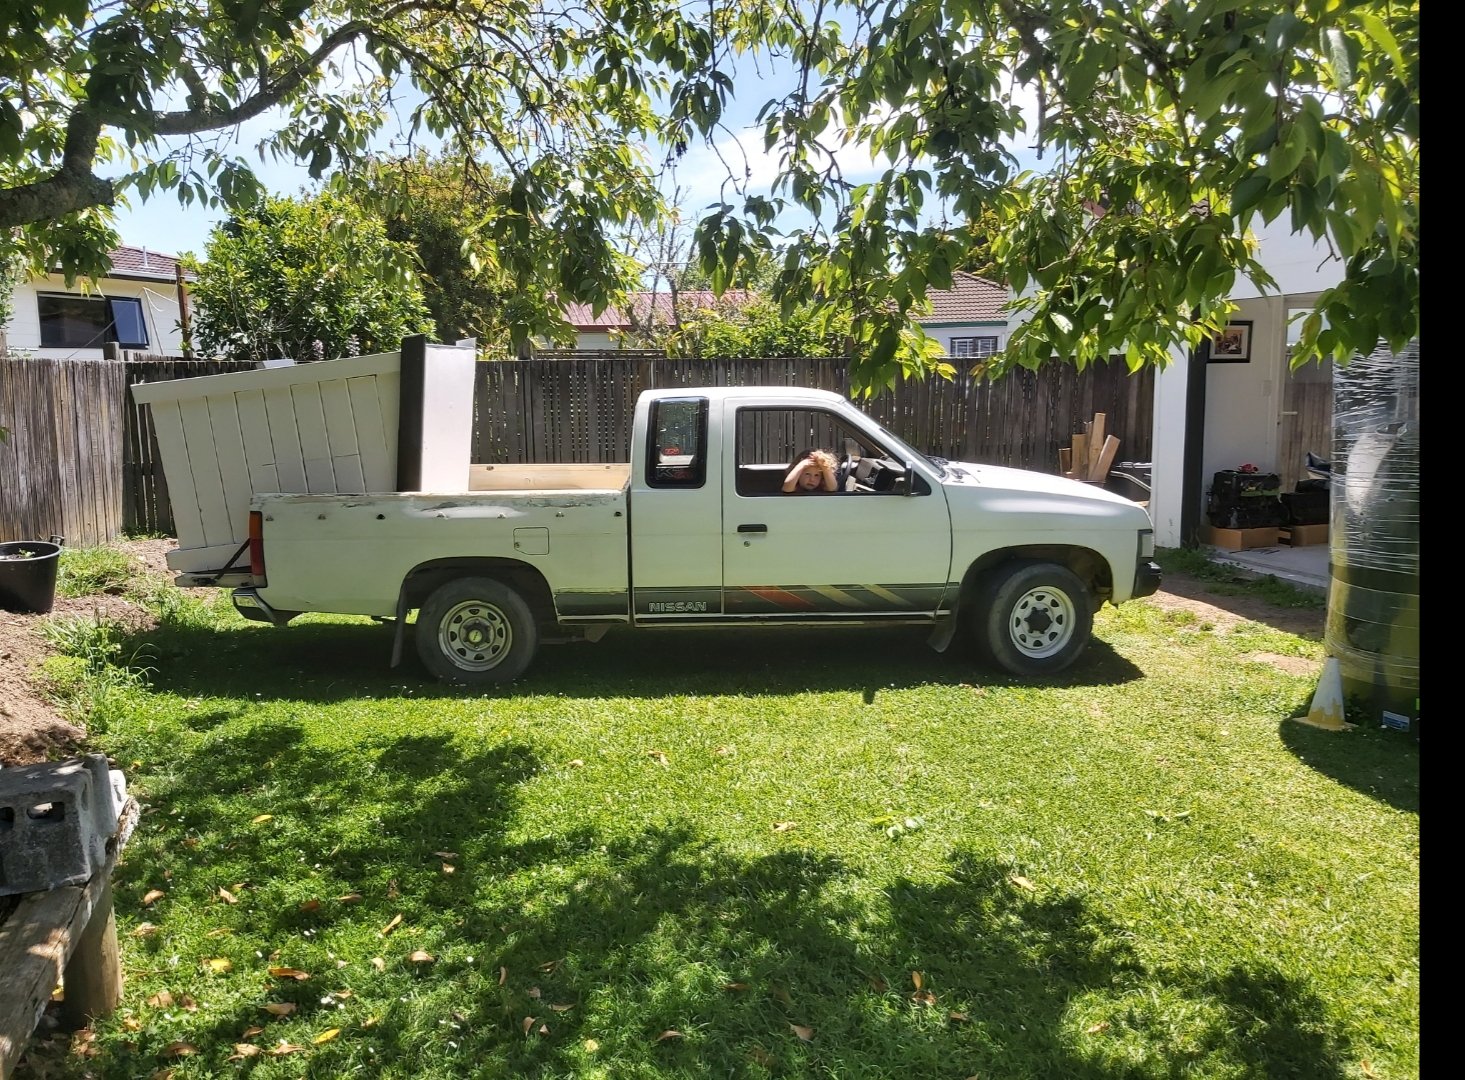
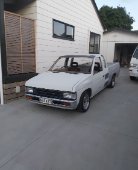
Here is something that was pretty funny. Top ute is my previous ute. (Which is not actually my first. I had one when was 16) Bottom is current ute.
-
Kp60nick's D21 kingcab Soon to be Bagged on Cadillac Escalade rims
kp60nick replied to kp60nick's topic in Other Projects
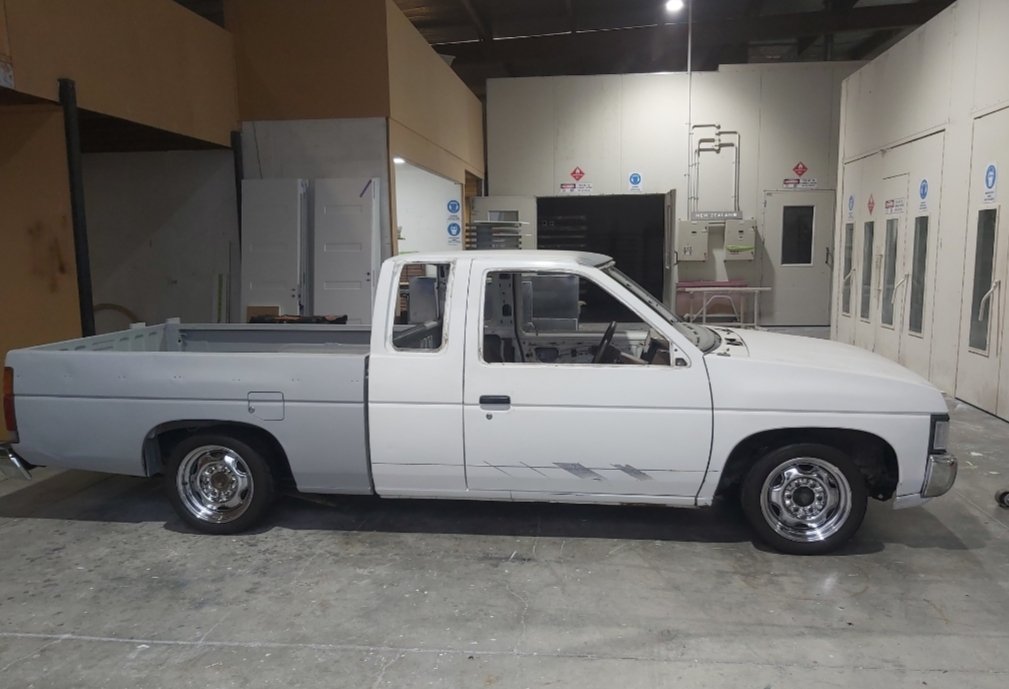
I bolted up the wheels and also did a terrano/pathfinder headlight grille front swap.
-
Kp60nick's D21 kingcab Soon to be Bagged on Cadillac Escalade rims
kp60nick replied to kp60nick's topic in Other Projects
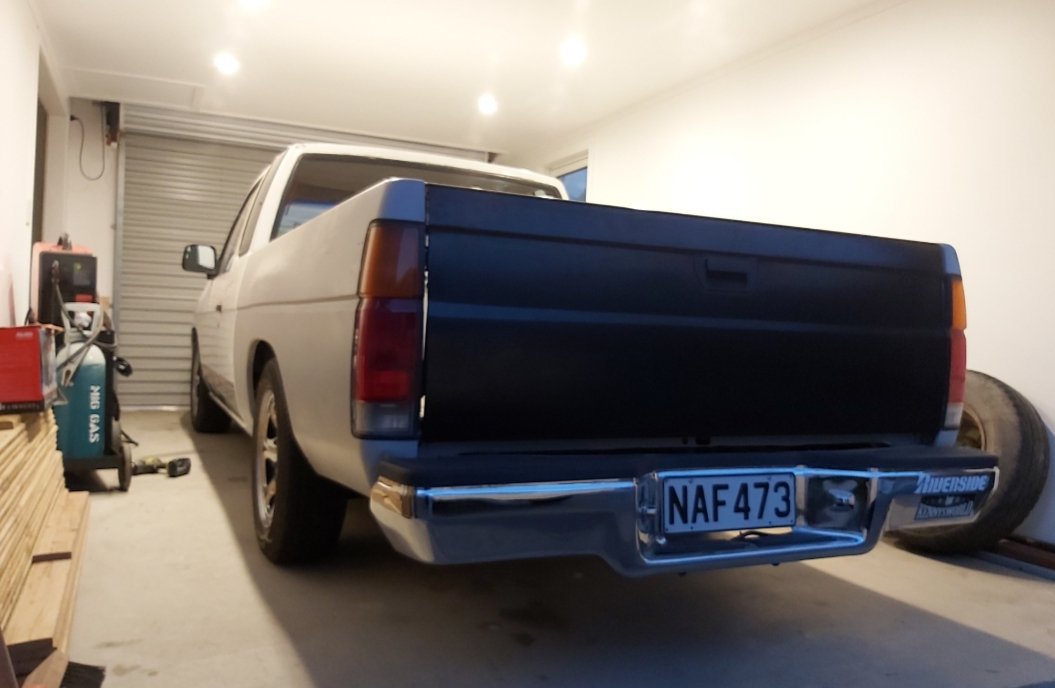
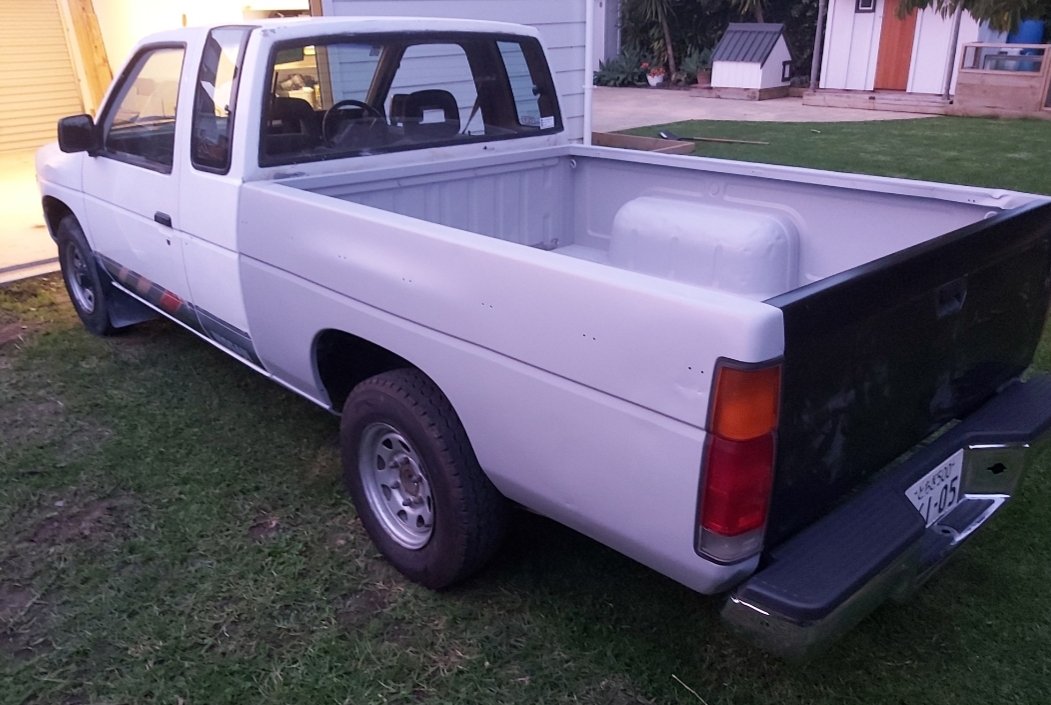
Bolted tray up and brought some wheels for $60 with good tyres just needed a good steel wool to get rid of surface rust. I have bought a few goodies for this. I have got a brand new repo tailgate. Brand new usa spec rear bumper. Just a whole bunch of other chrome goodies.
-
Kp60nick's D21 kingcab Soon to be Bagged on Cadillac Escalade rims
kp60nick replied to kp60nick's topic in Other Projects
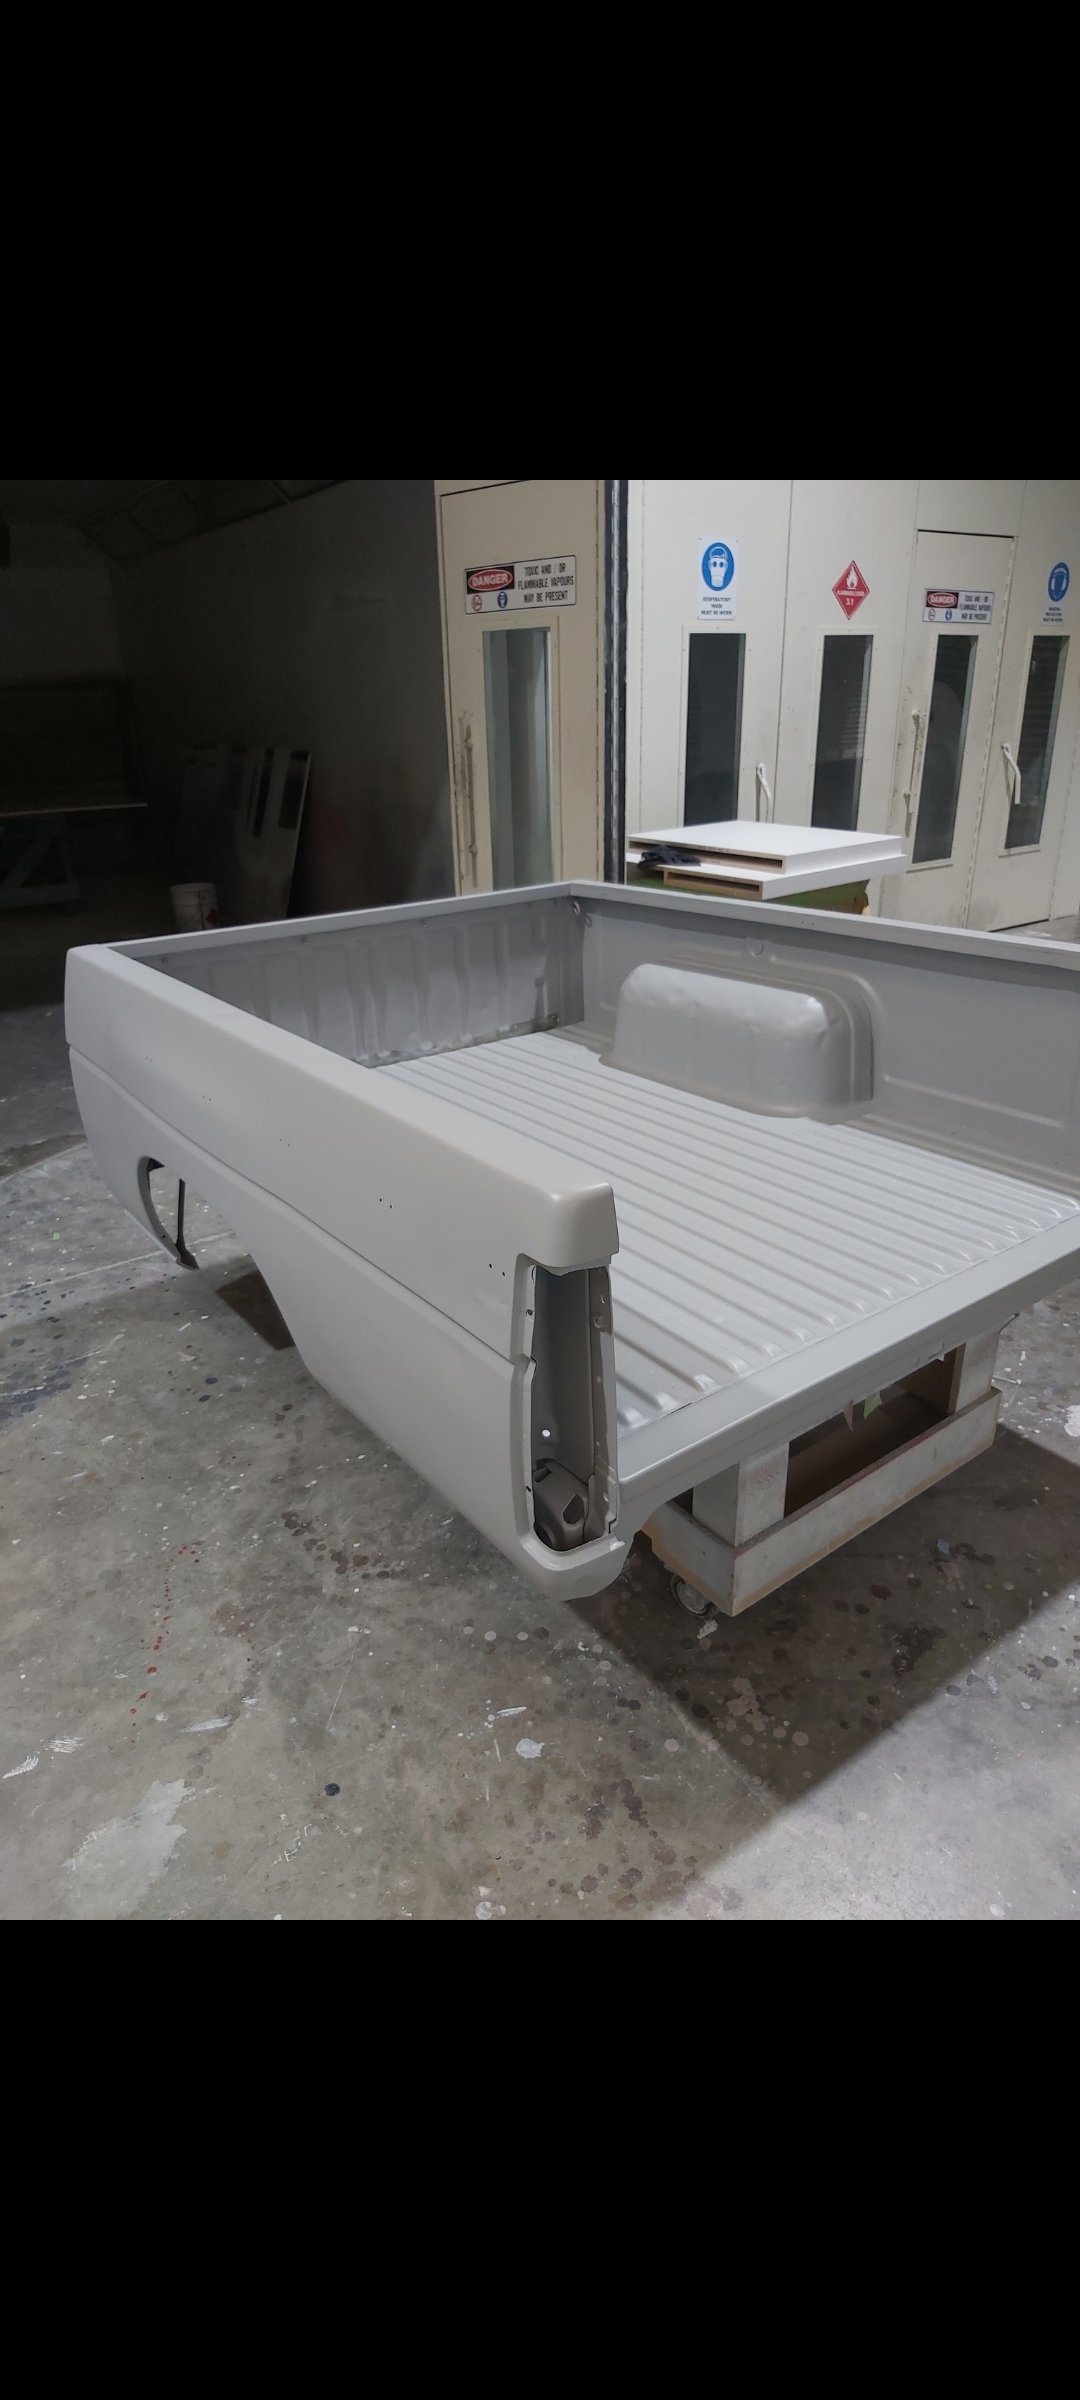
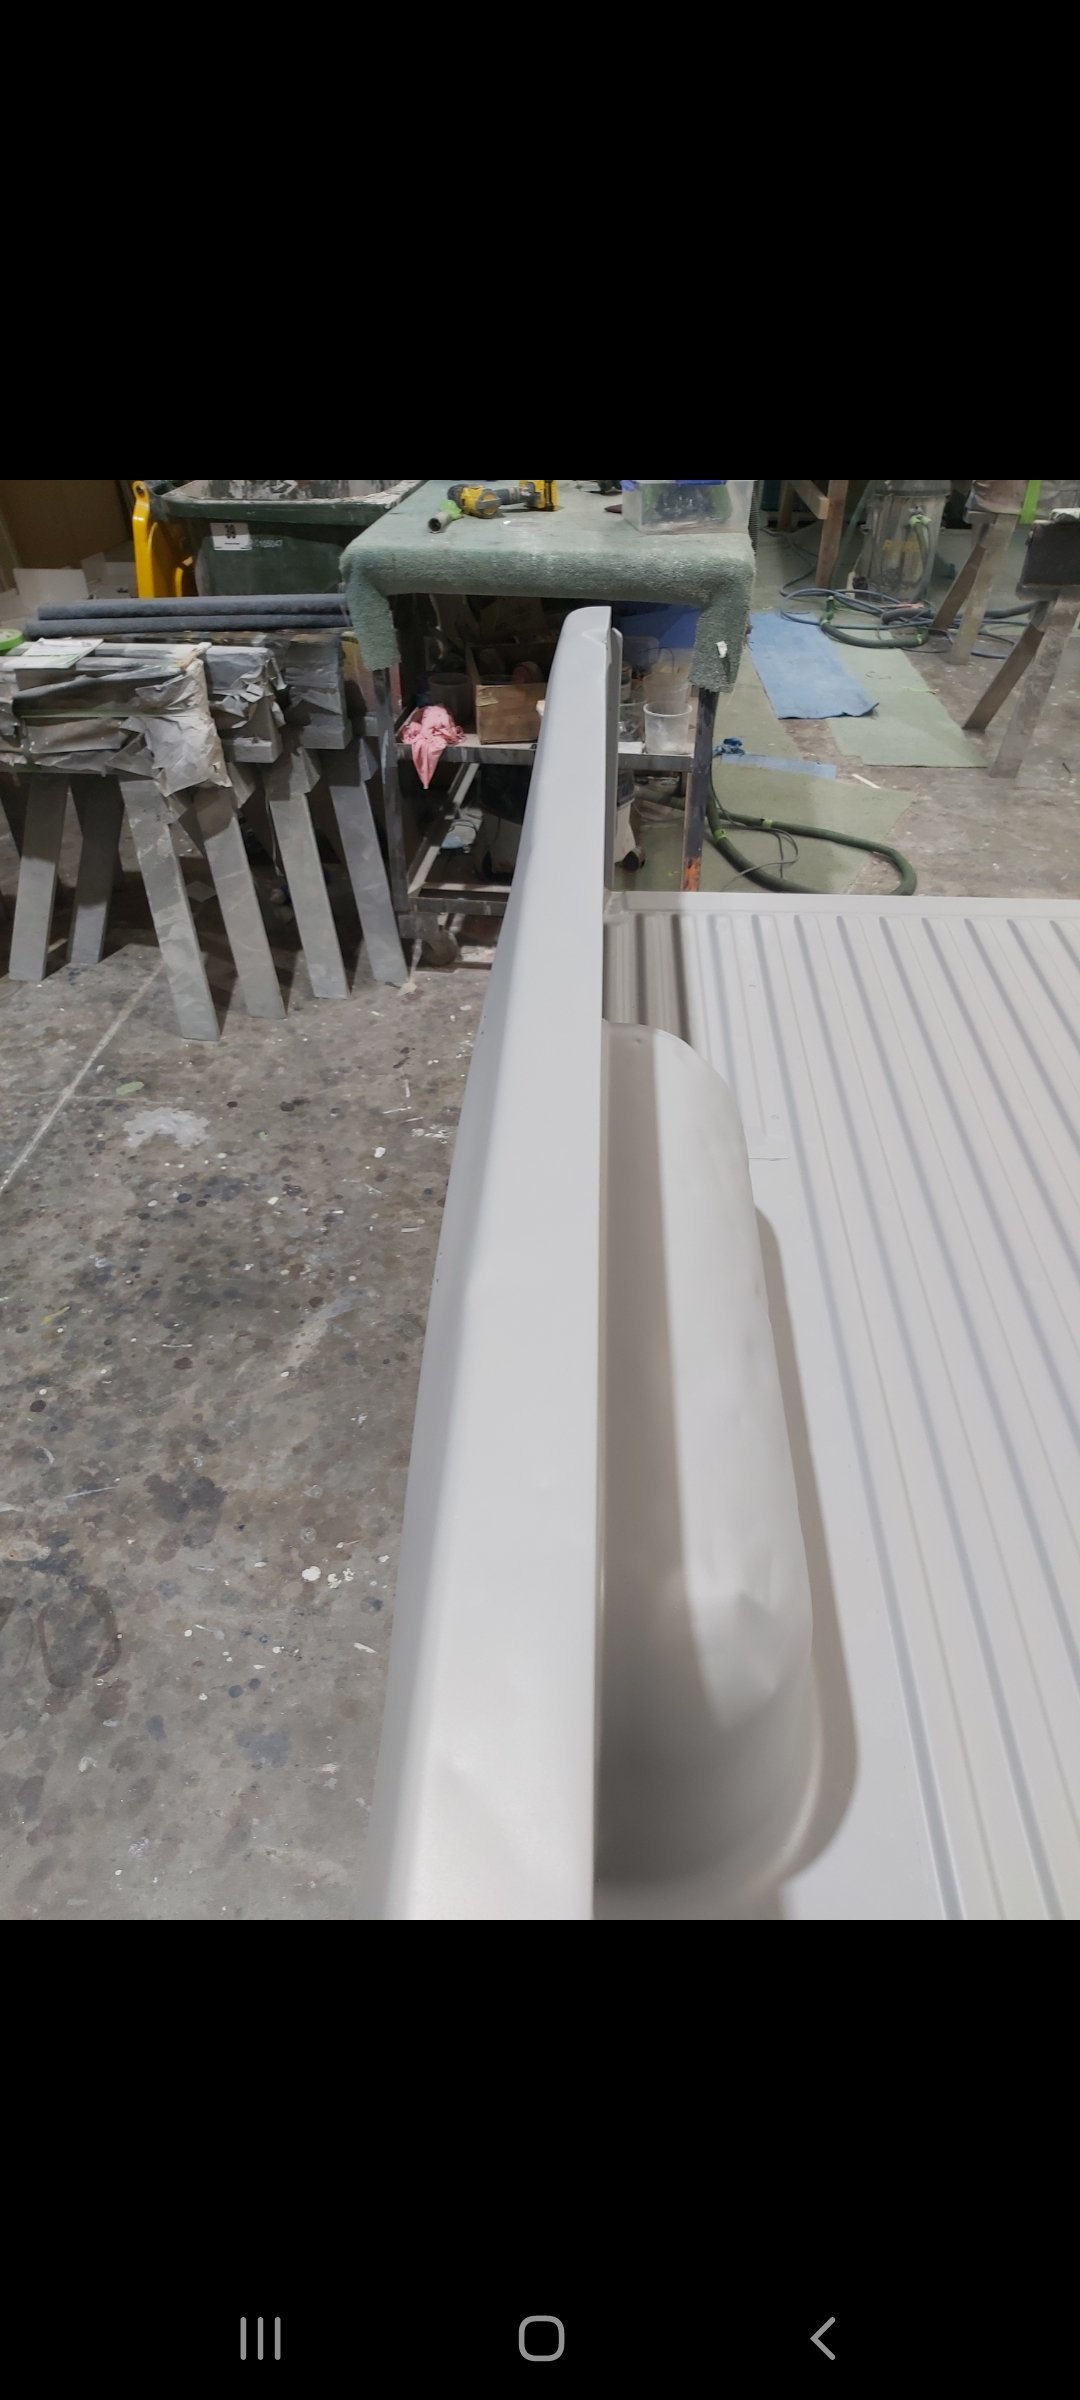
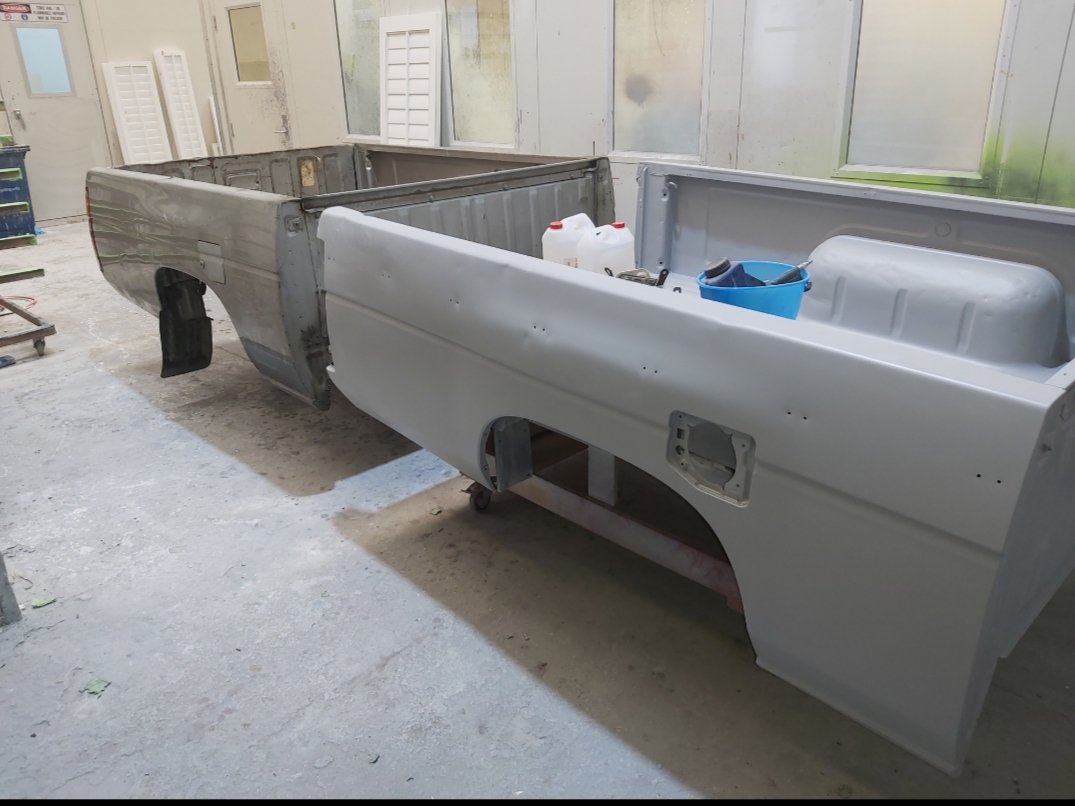
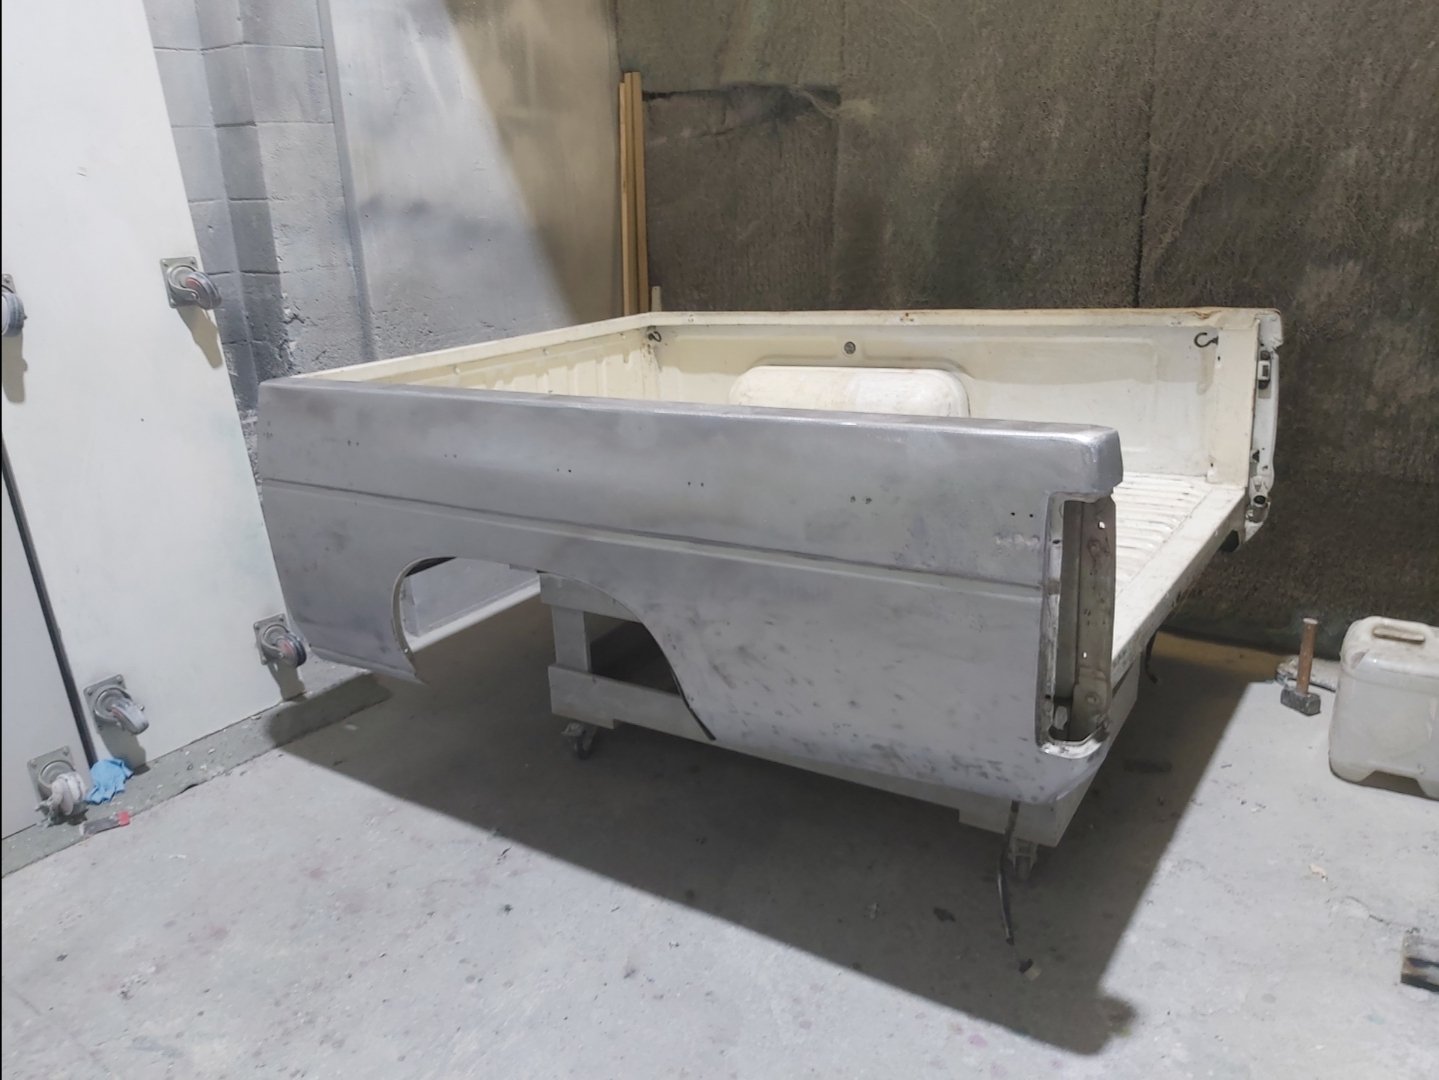
I epoxy primed the tray. I think the following week I found on trademe I wrecker with one of these and I phoned them and brought the tray to see if it was any better. Only difference was this one hadn't had the clips drilled into the sides. I've since given this tray the same treatment sandblast and epoxy primer. I still have both as they are pretty hard to come by.
-
Kp60nick's D21 kingcab Soon to be Bagged on Cadillac Escalade rims
kp60nick replied to kp60nick's topic in Other Projects
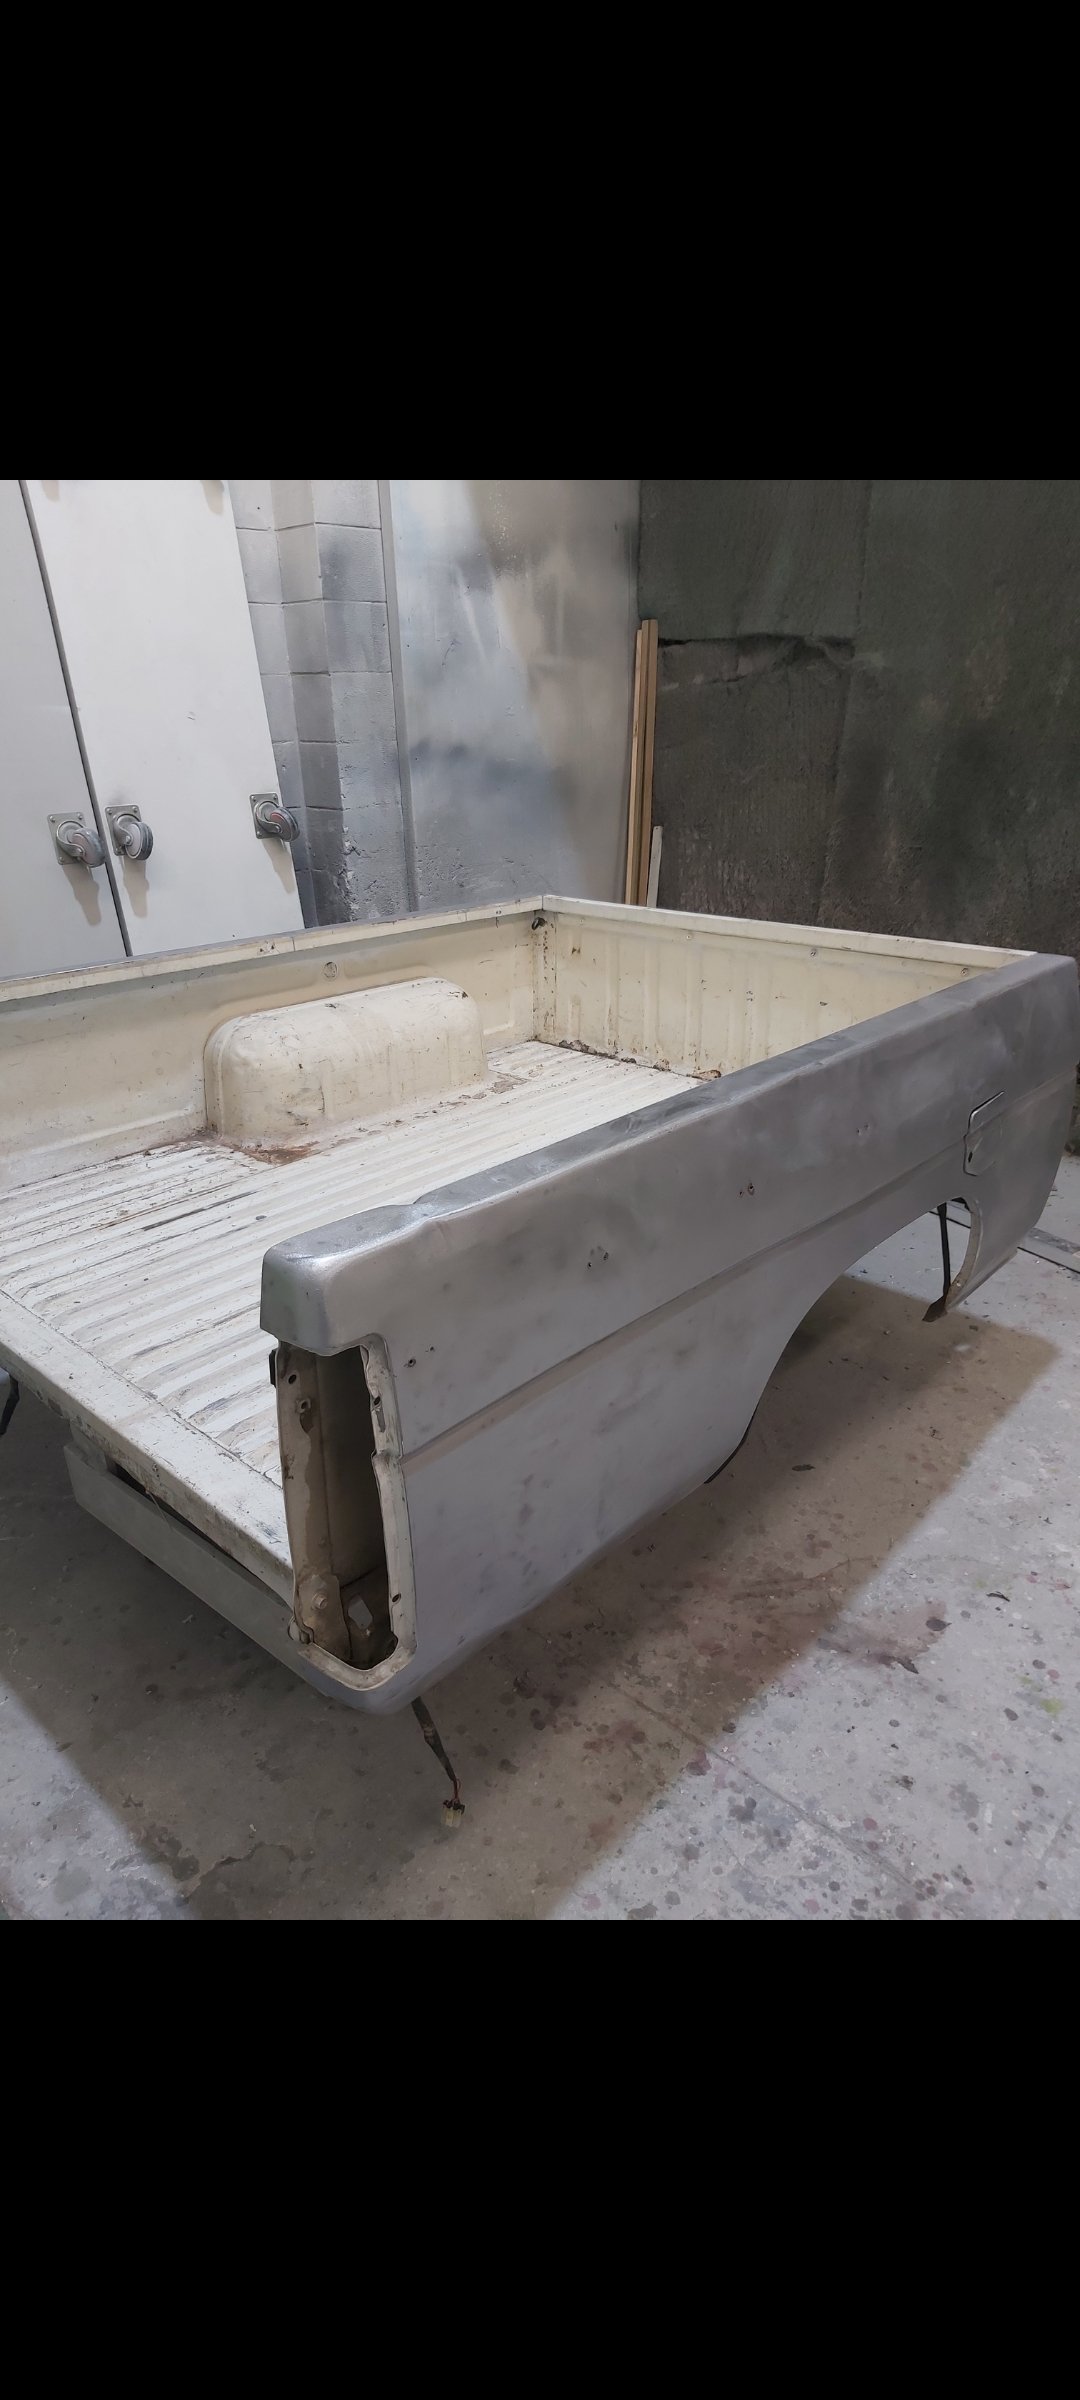
Paint stripped the tray as it looked as if it had a few repairs. I stripped it with paint stripper on the outside panels and eventually had the inside sandblasted. It doesn't seem as bad but still what you would expect of a 30 year old pickup.
-
Kp60nick's D21 kingcab Soon to be Bagged on Cadillac Escalade rims
kp60nick replied to kp60nick's topic in Other Projects
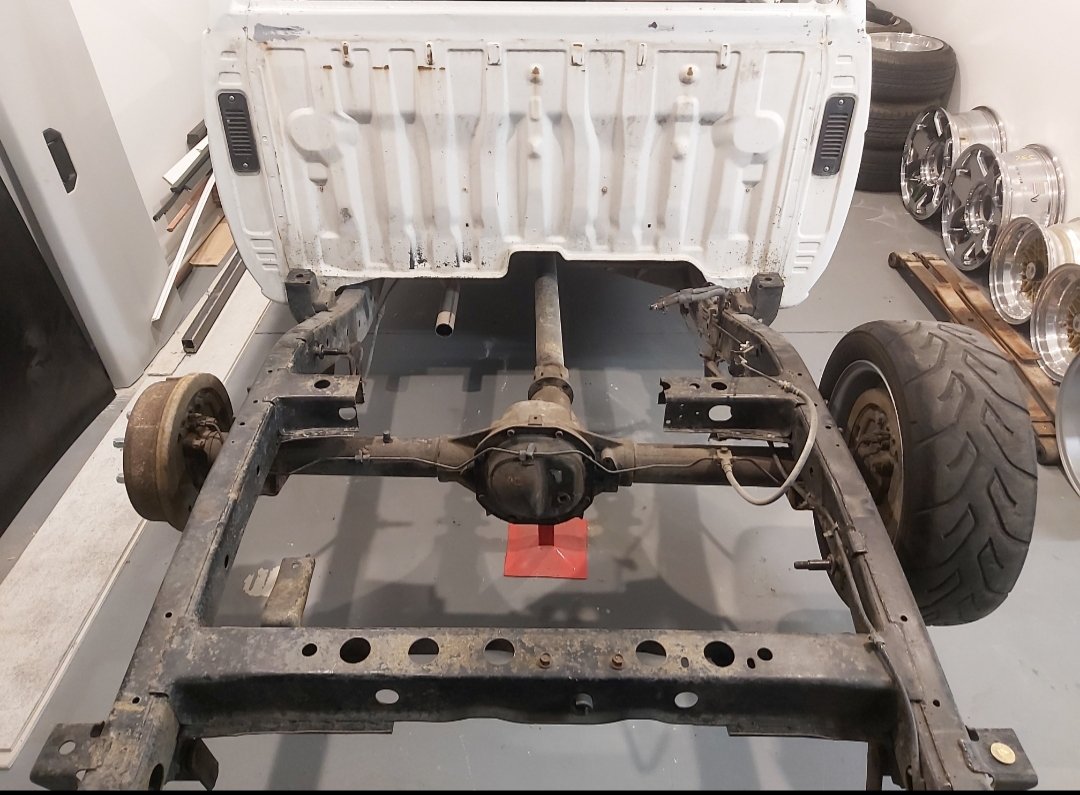
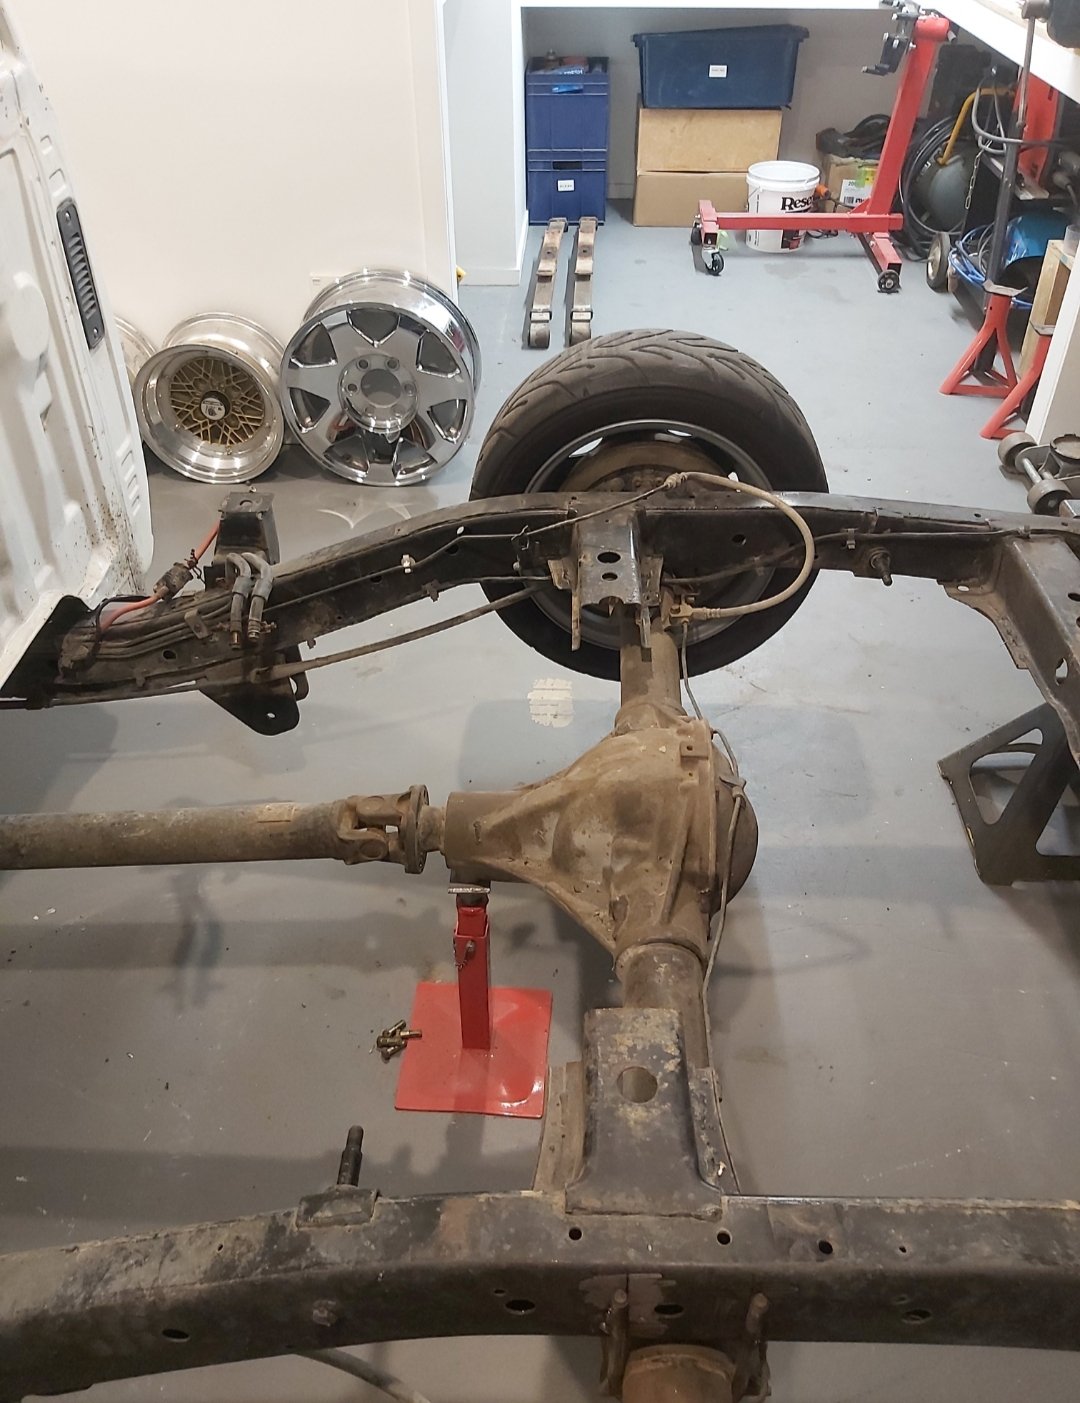
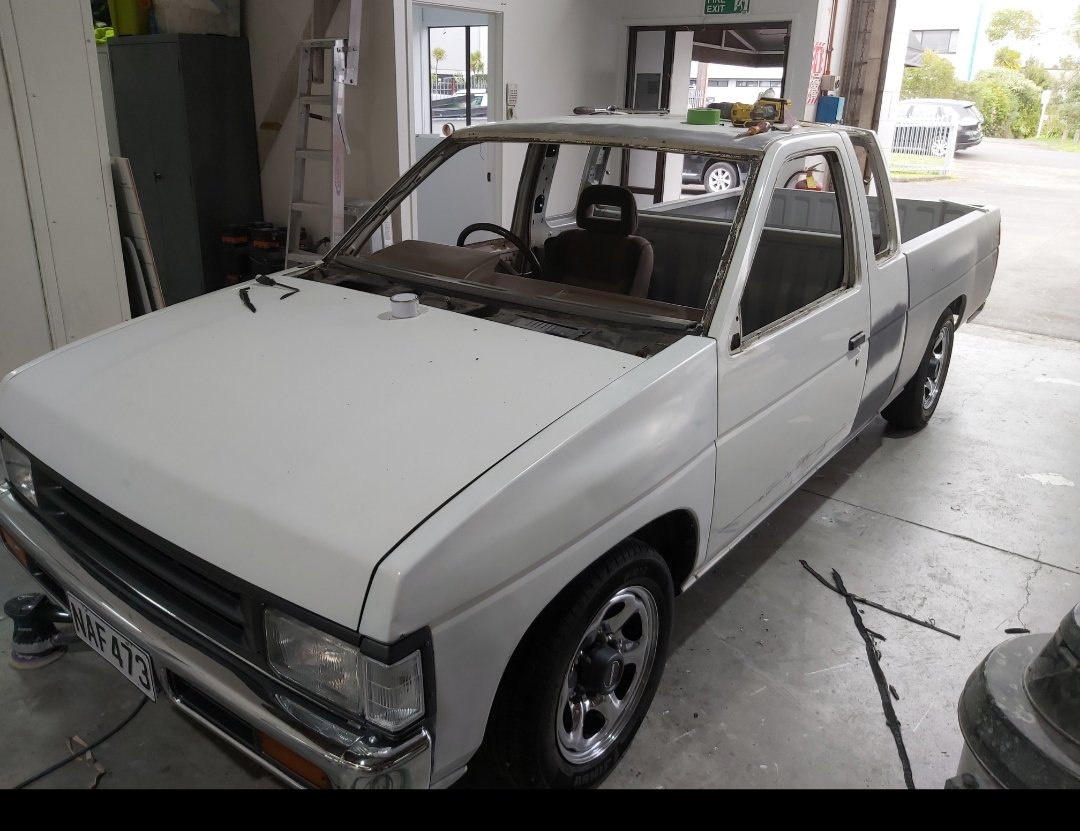
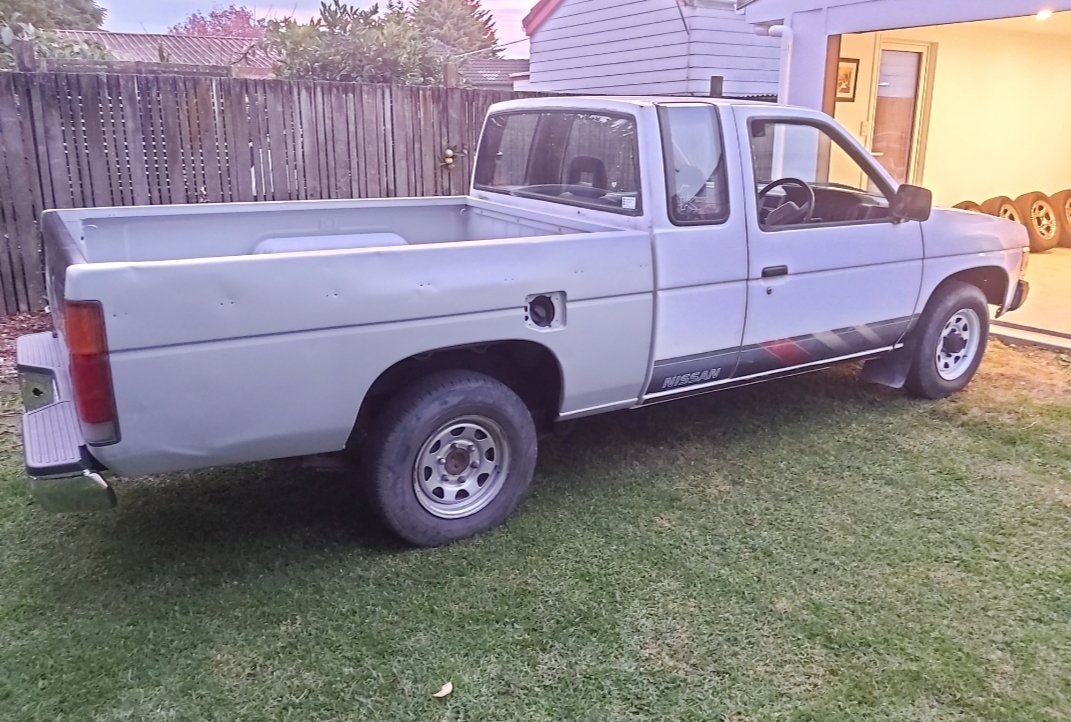
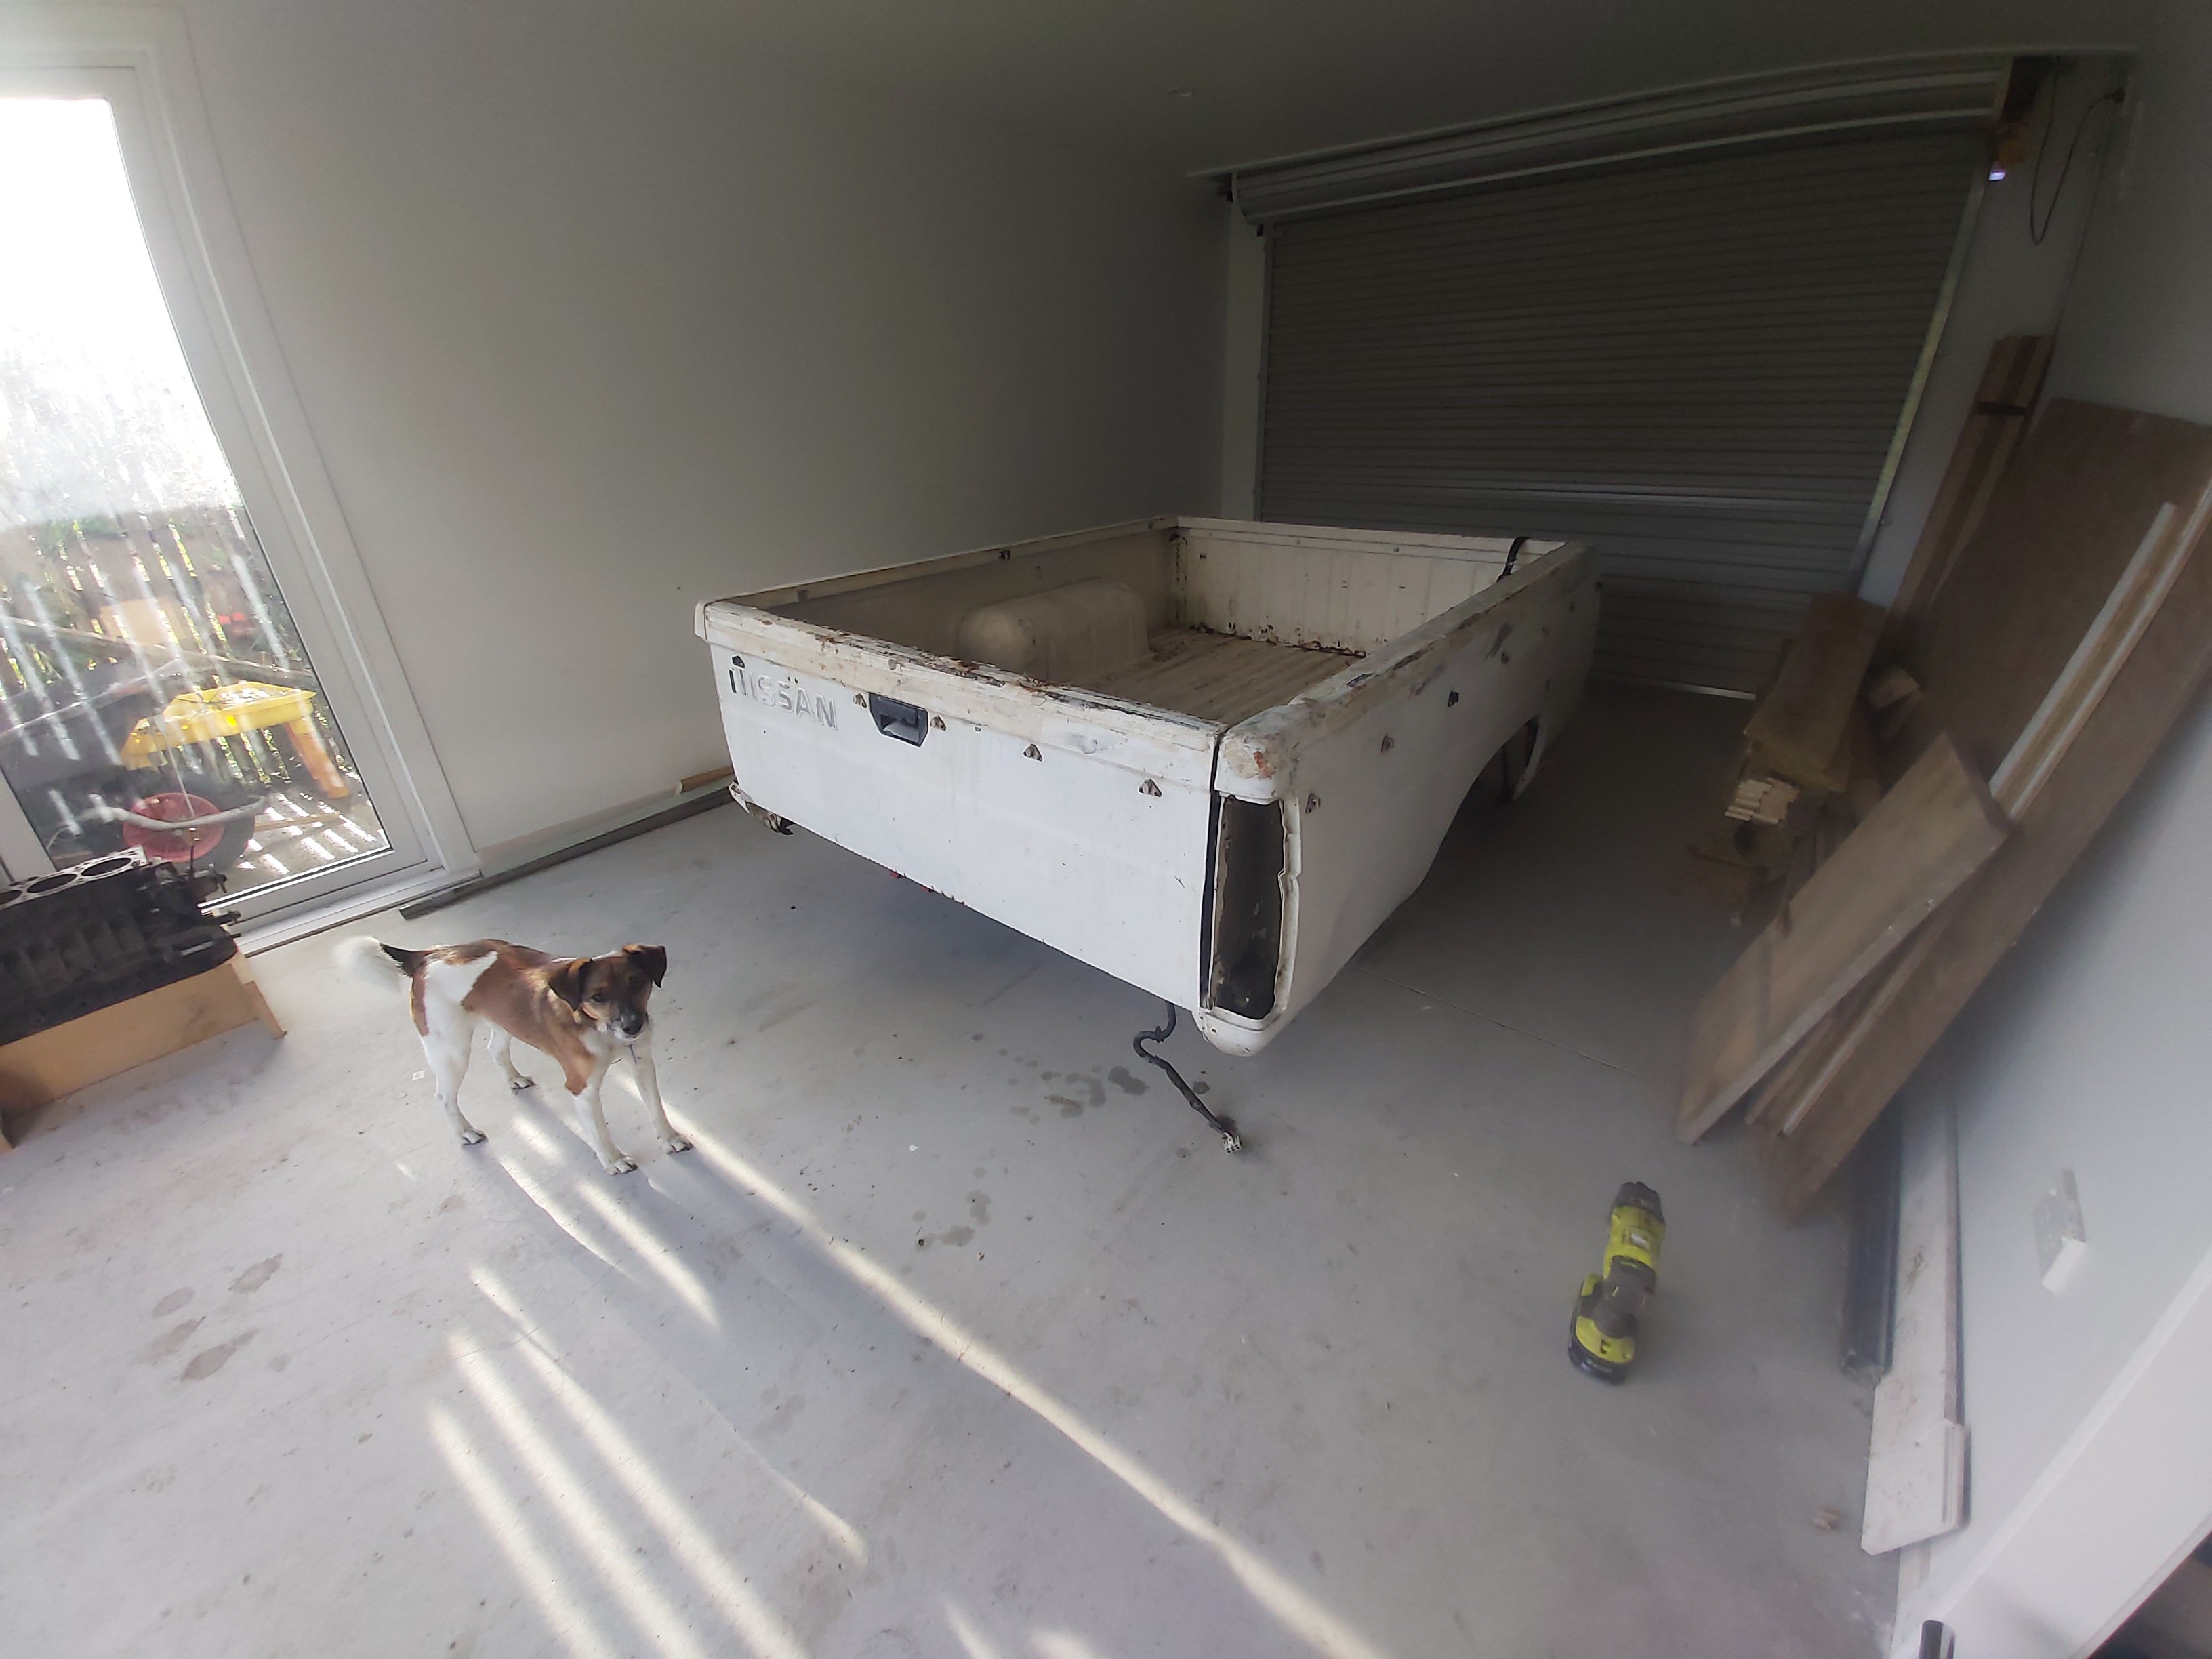
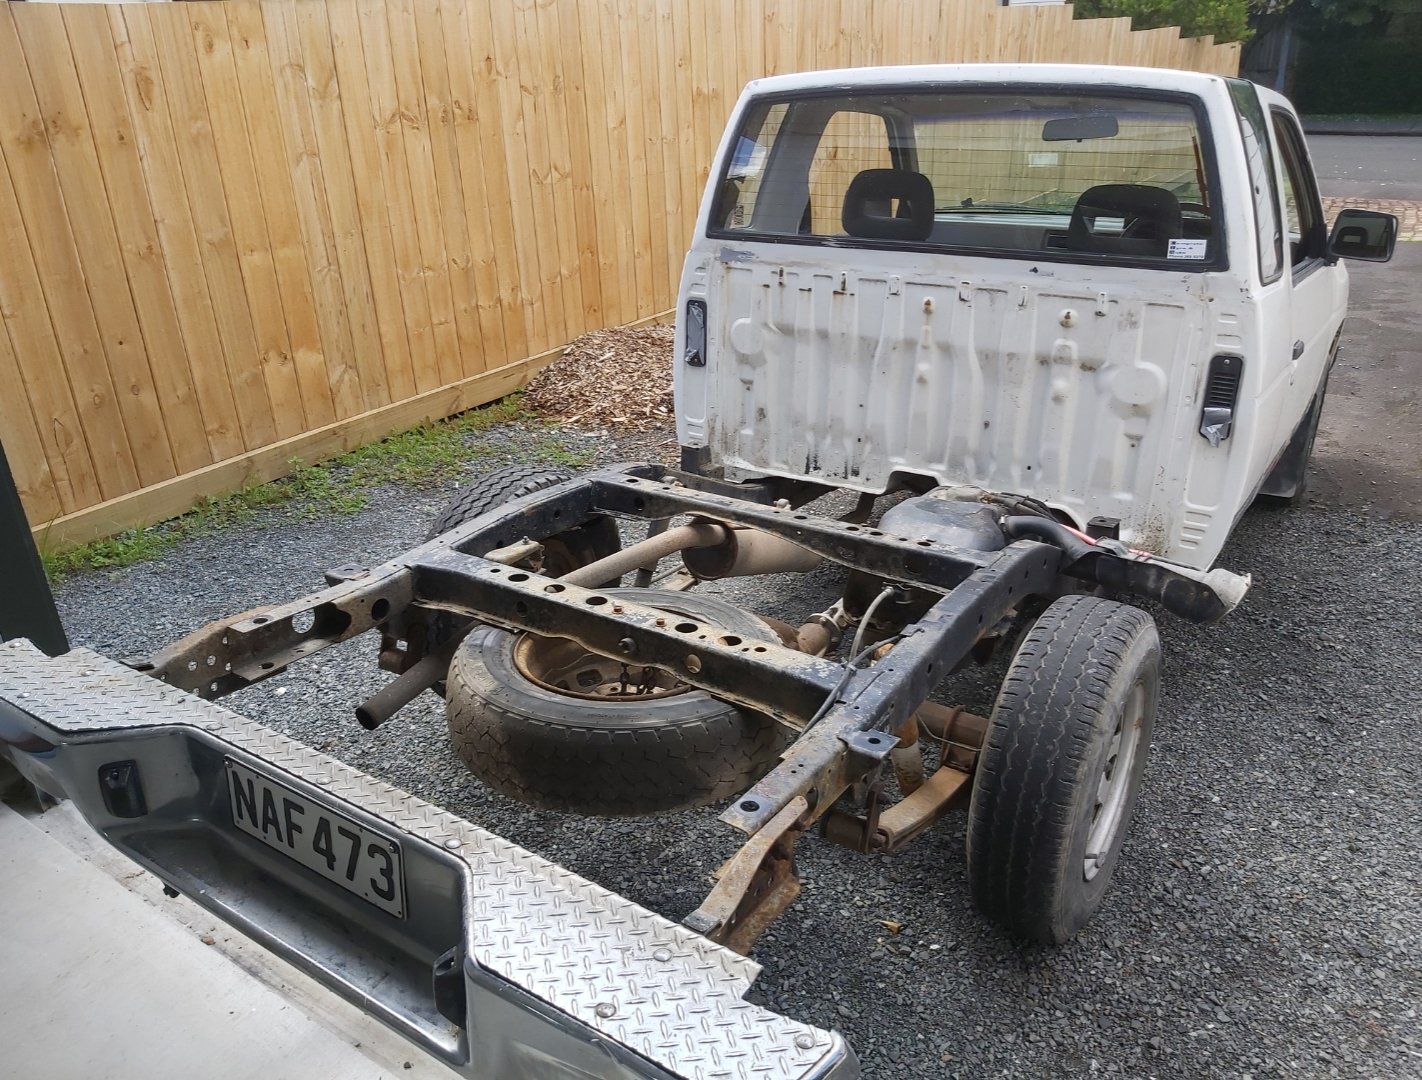
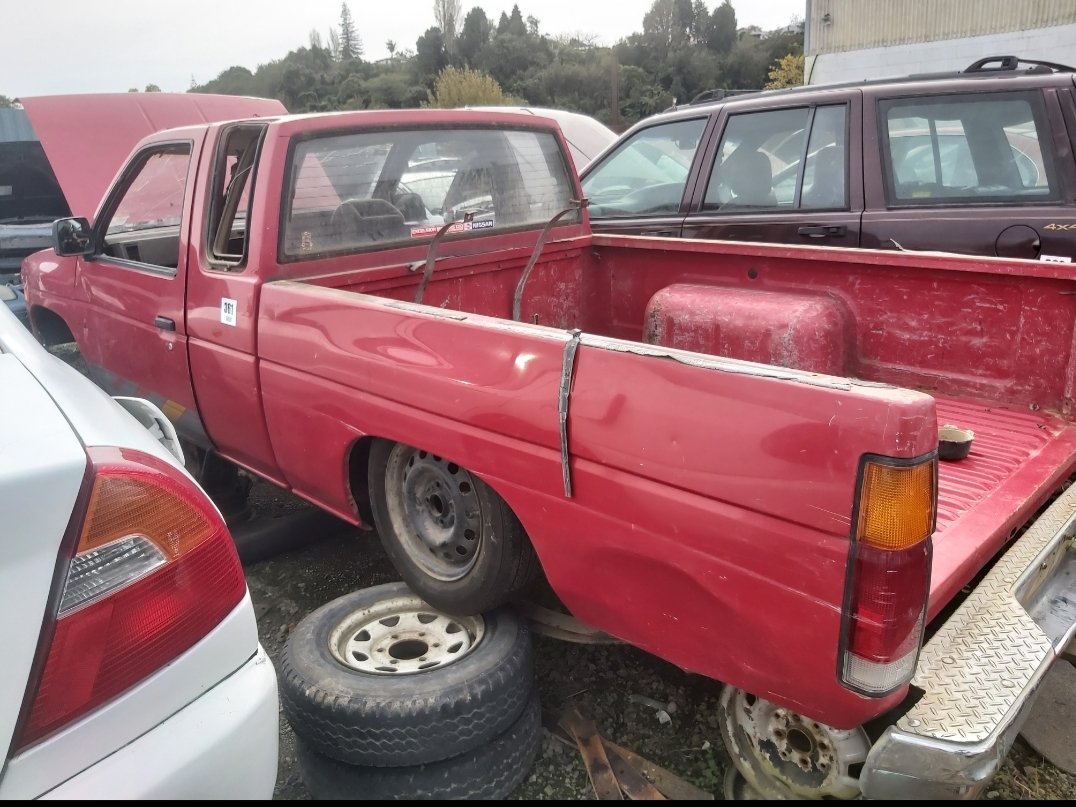
Started by taking the tray off and just generally cleaning and water blasting.

.jpeg.a0a5c776ac75e1bb9483903b42d7d4b7.jpeg)
.jpeg.3446c91e50ebdb015e26673db21e99f9.jpeg)
.jpeg.0dd30bb47d2145061c343b06f7ca1601.jpeg)