shrike
-
Posts
985 -
Joined
-
Last visited
Everything posted by shrike
-
So the plot thickens Had it running today to warm up to check the timing worked out the oil pressure sensor isn't hooked up properly, and that I had plugged the wrong water temp plug in so didn't have a reading on the dash Burnt off a fair bit of shit from the exhaust (oil finger prints etc) and the fresh exhaust paint from the heat shield. Timing light didn't show anything on the marks, realised its showing quite far back so really retarded (probably about 20degrees) tried adjusting the cas without much luck but suspect its out a tooth on the Cam belt as the marks aren't flat but close, also checked it was at tdc by putting a screw driver down plug one and turning it by hand. Turned it off and went to restart and haven't had it running on its own since, battery is on charge now as it cranks, starts briefly and then just dies/locks up. Plugs are really fouled (its clearly running rich) and had fuel vapor coming out the plug holes, swapped plugs and got it running briefly after a small bang, but still won't idle. Have swapped back to the other cam/crank sensor and will have another go tomorrow or later in the week Really getting frustrated, considering putting the speeduino on for more diagnostics. Might need to realign the cambelt but really not keen
-
Timing light arrived today Had a quick go but may have grounded the wrong wire on the fire wall so had some melting cable oops Found the correct plug now Also helps if I put the pickup the right way around on plug 1 ha Need to sort the exhaust gaskets so I'm not smoked out when checking it however.
-
Ordered a digital timing light so I can check the timing, should be here by by the 21st Will order some exhaust gasket and buy some RTV Need to do yard/house work of the next weekend/week so will get that sorted
-
Started first turn of the key! So its a little loud still and smokey but I am guessing the smoke is from the shit burning off, think there was some oil residue in the inlet pipe as well. Also think its over full of oil so need to address that too. That's from stone cold, sounds like its starting to sort itself though, think I need to tweak the idle a tiny amount as its pretty low and see what its like warm, need to add coolant. Had to stop it as I had a leak from the return hose at the top of the fuel tank (all sorted now) The belt squeal is from the power-steering belt as it needs to be adjusted, oil pressure looks ok, vacuum looks ok considering how low its idling Probably need to put a timing light on it as well Thoughts anyone?
-
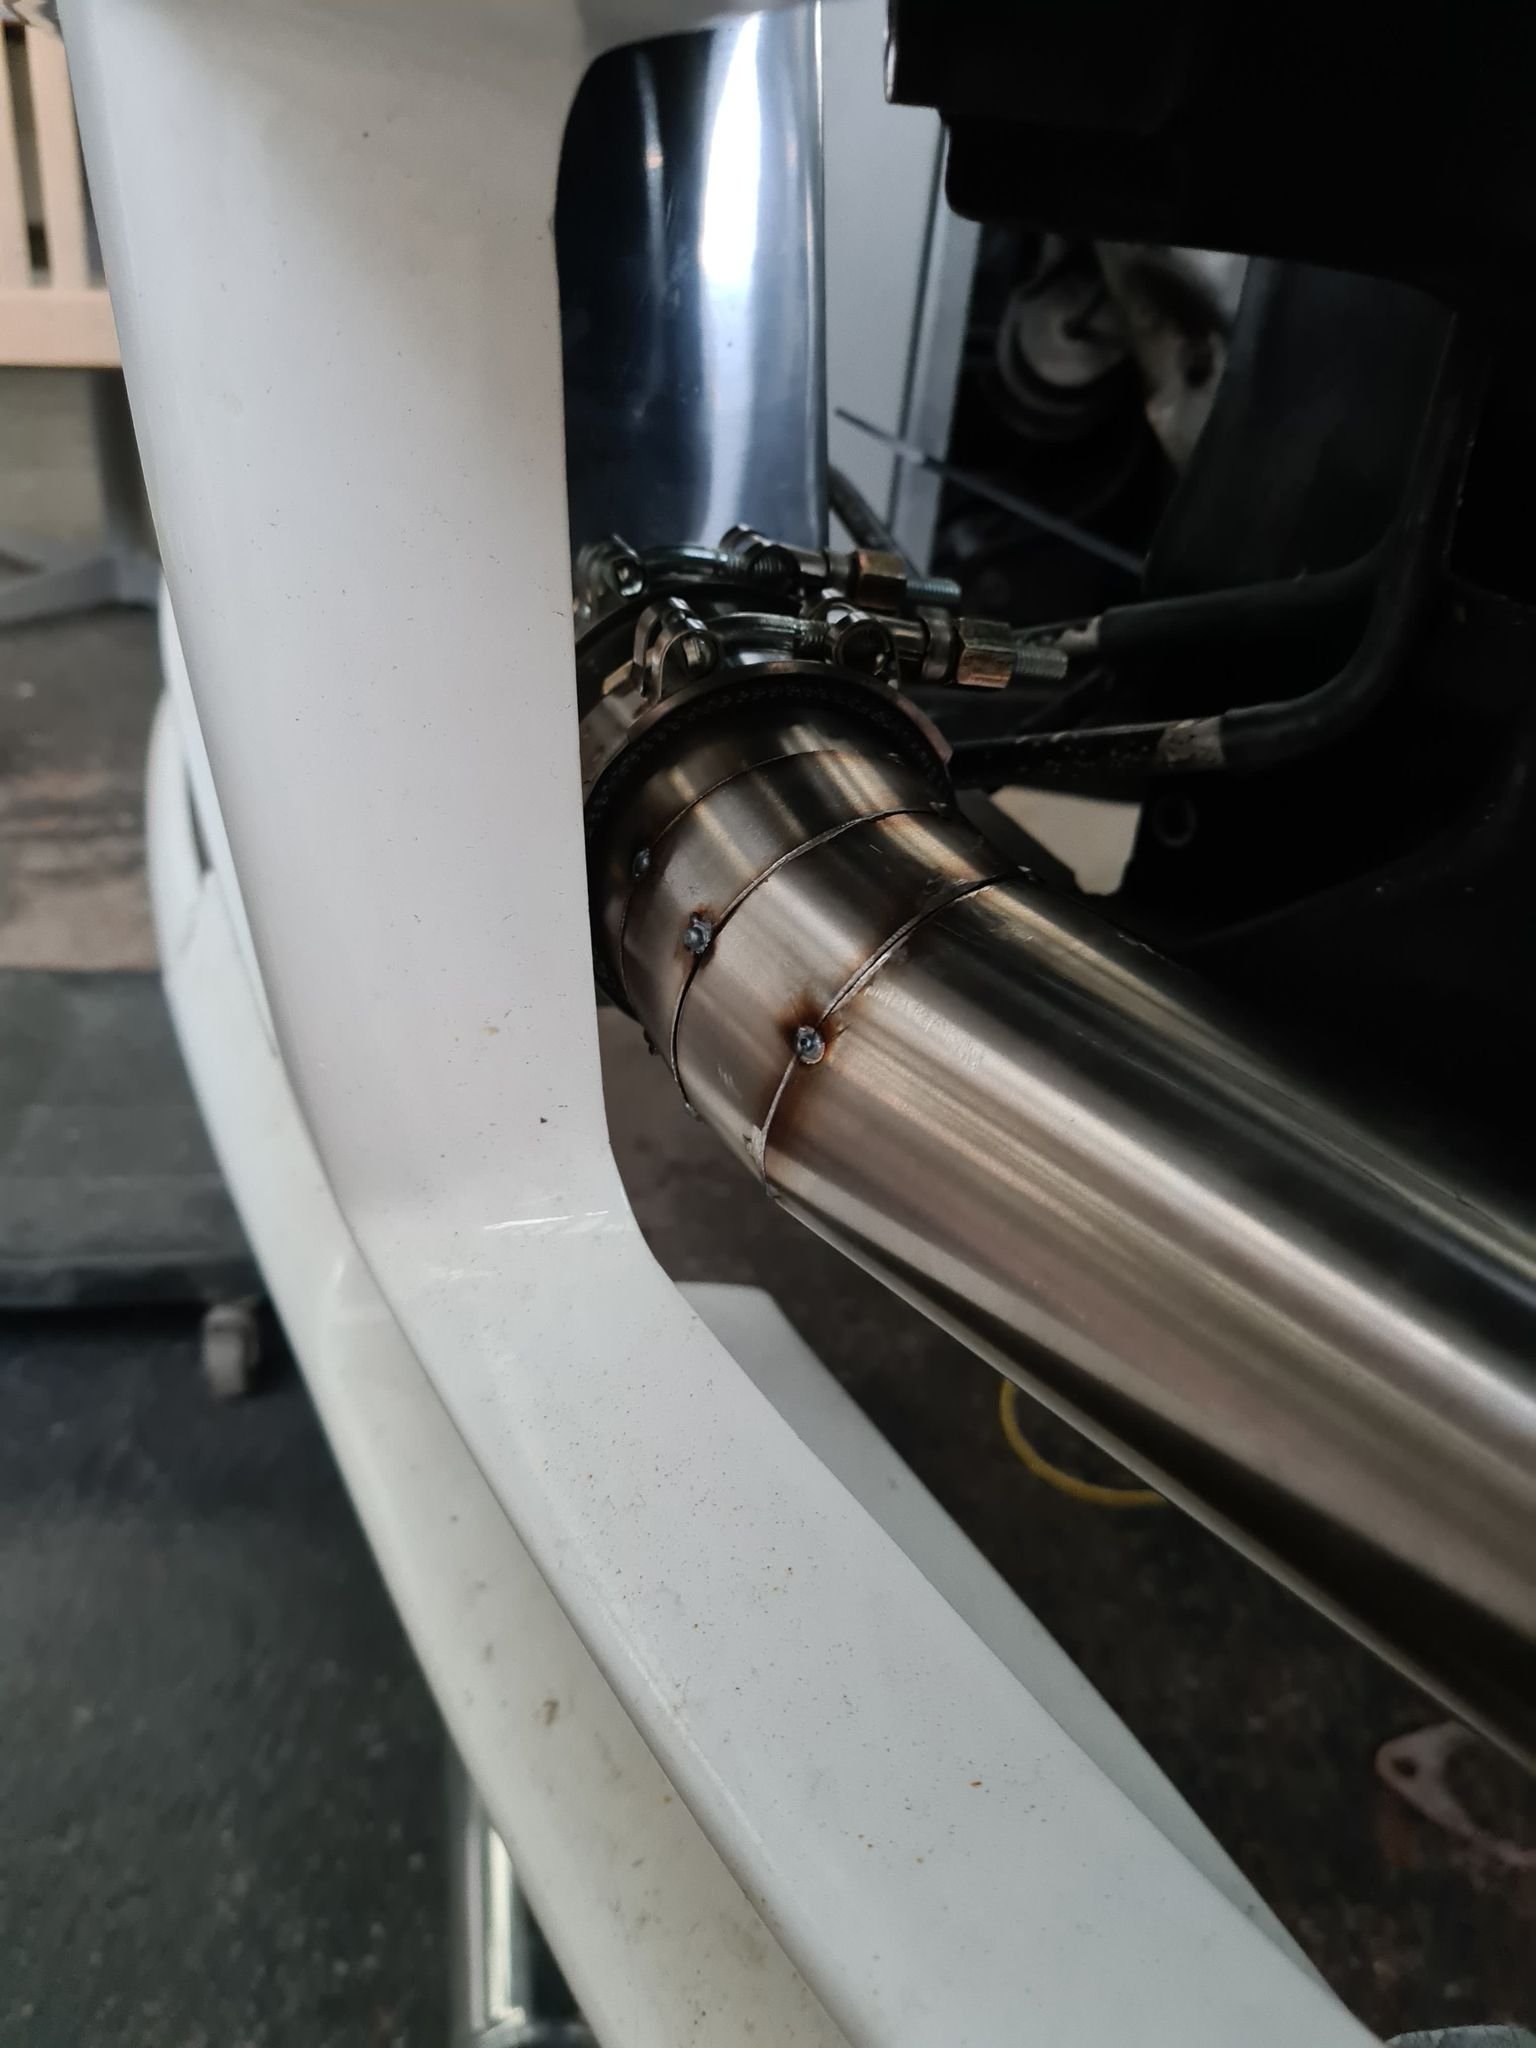
Finished up the exhaust, need to weld the other side of the flexi but it all fits up ok, need to check for leaks as well, but have to get new gaskets and some RTV ultra copper for it Still need to do the adapter to the 1.75" exhaust as well, Tomorrow I have another dog visting for a few weeks so will be tidying up and doing yard work etc

-
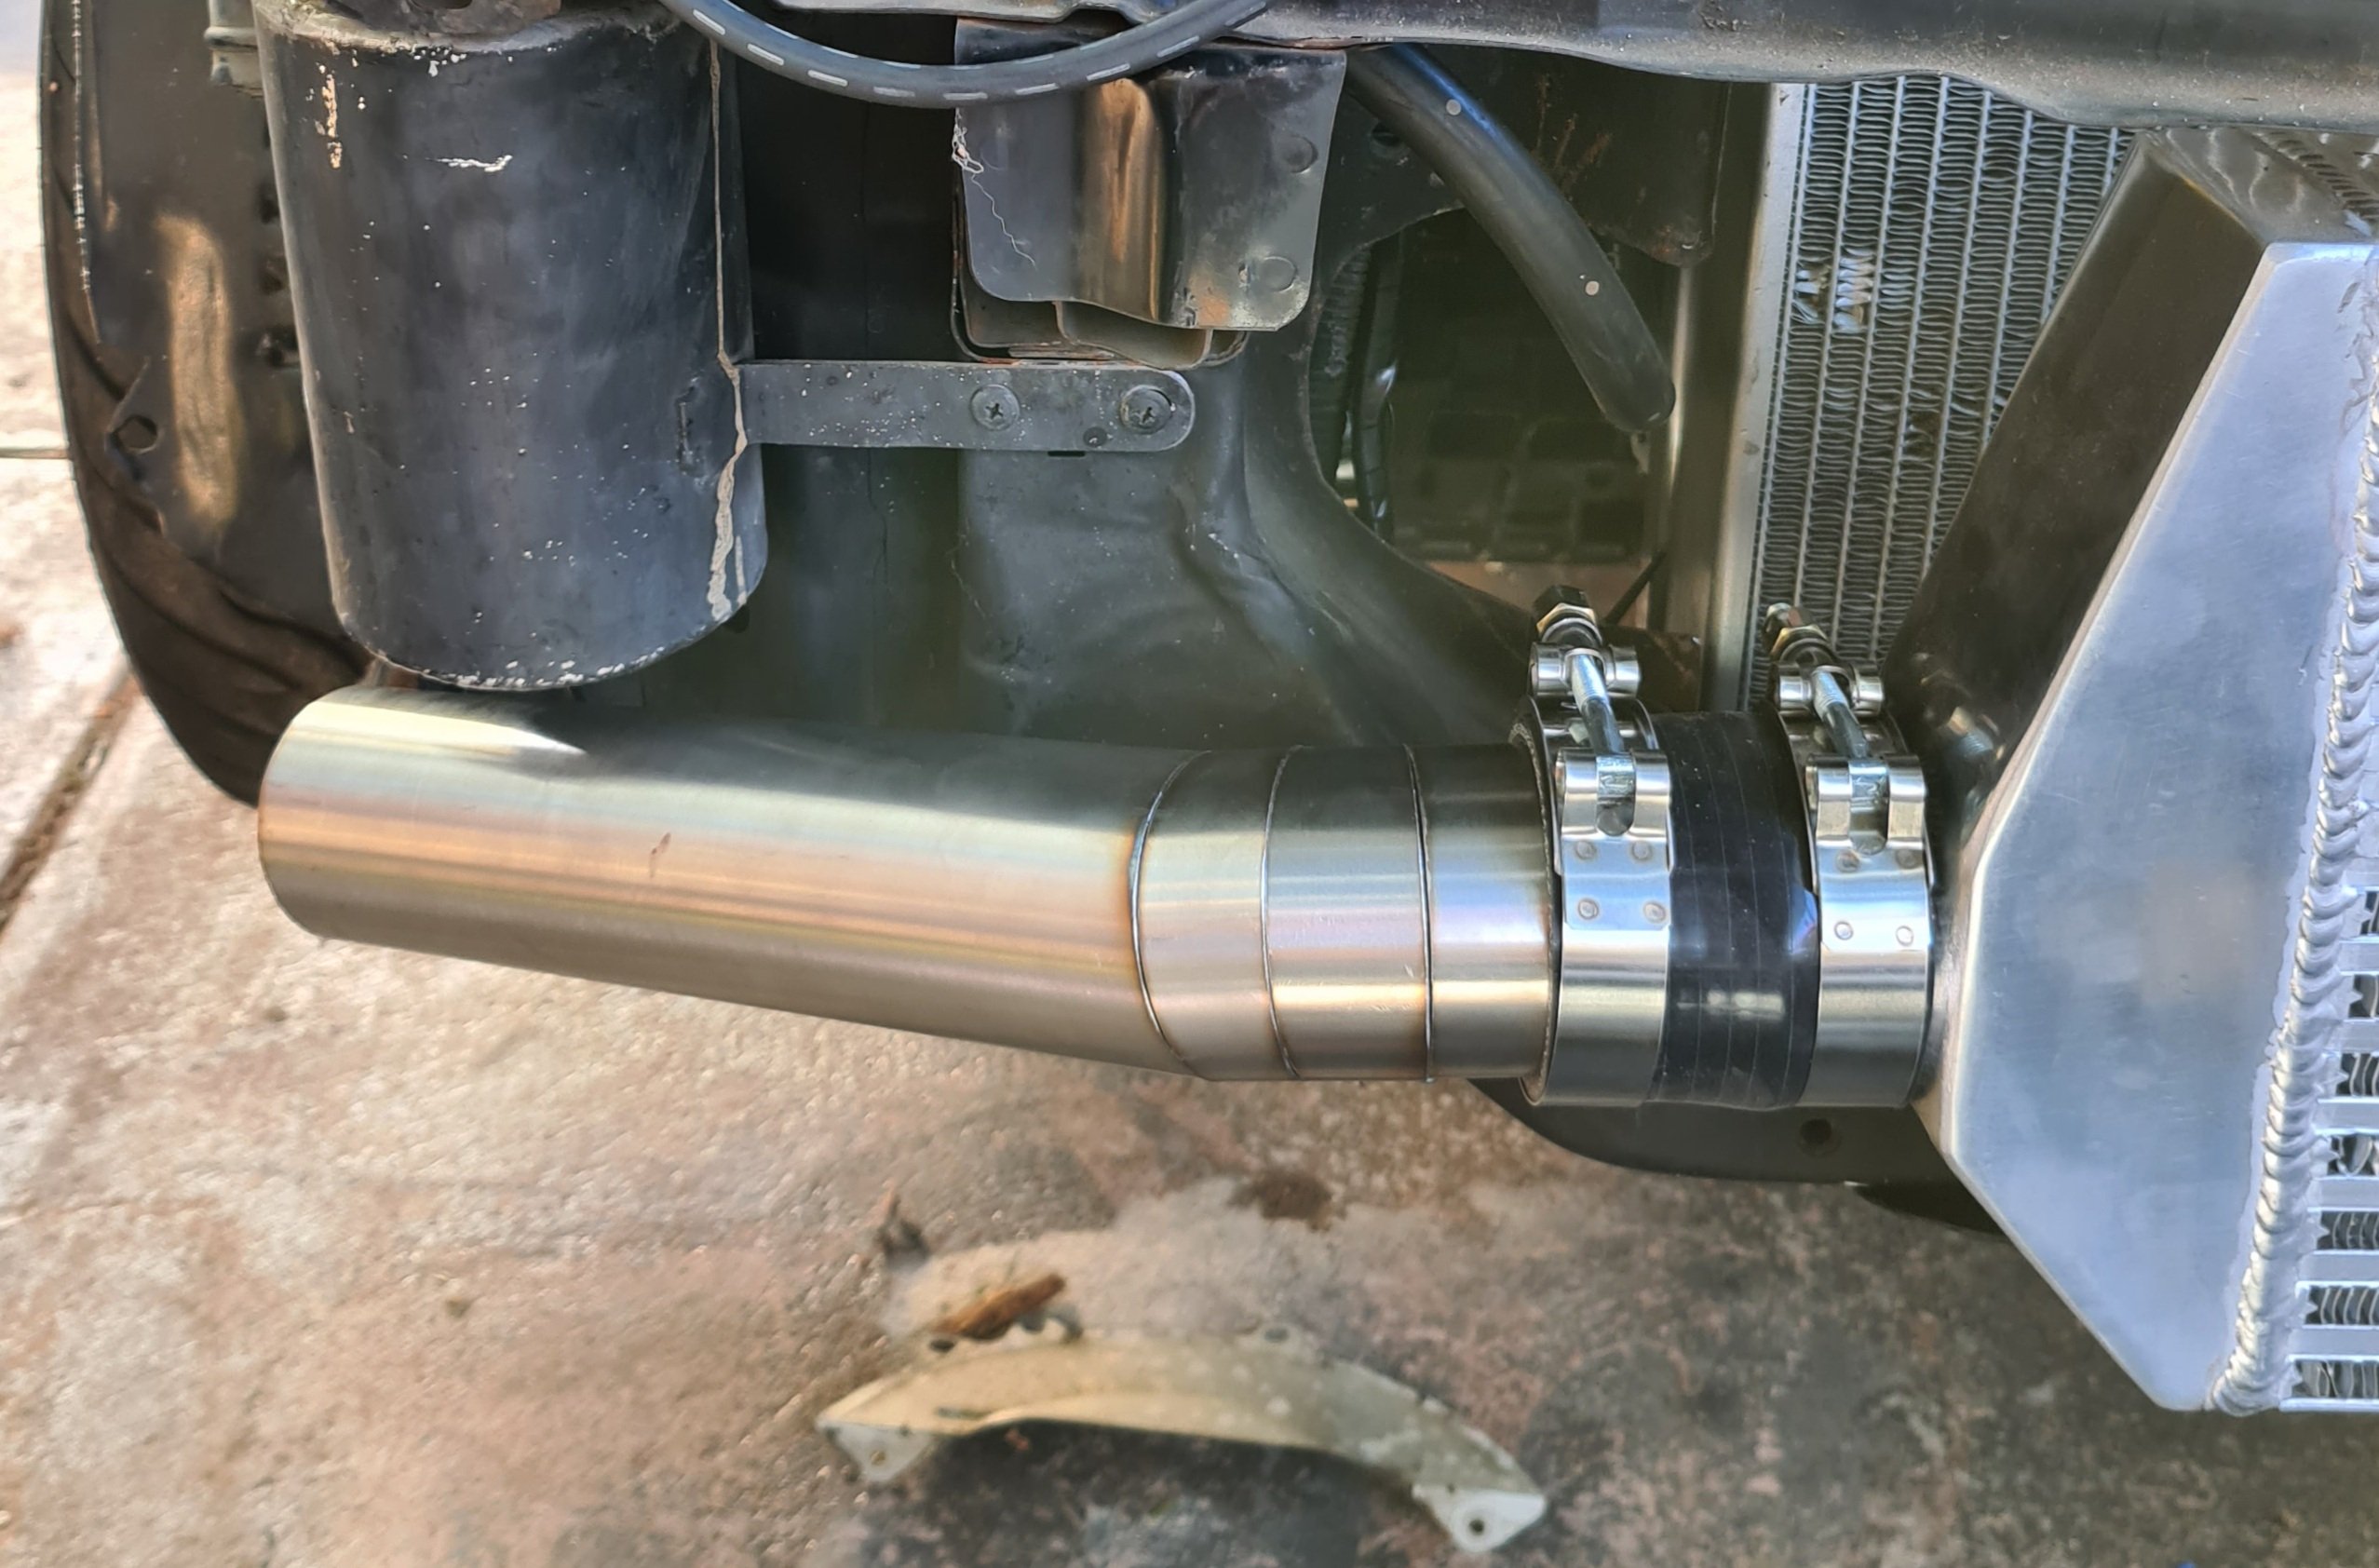
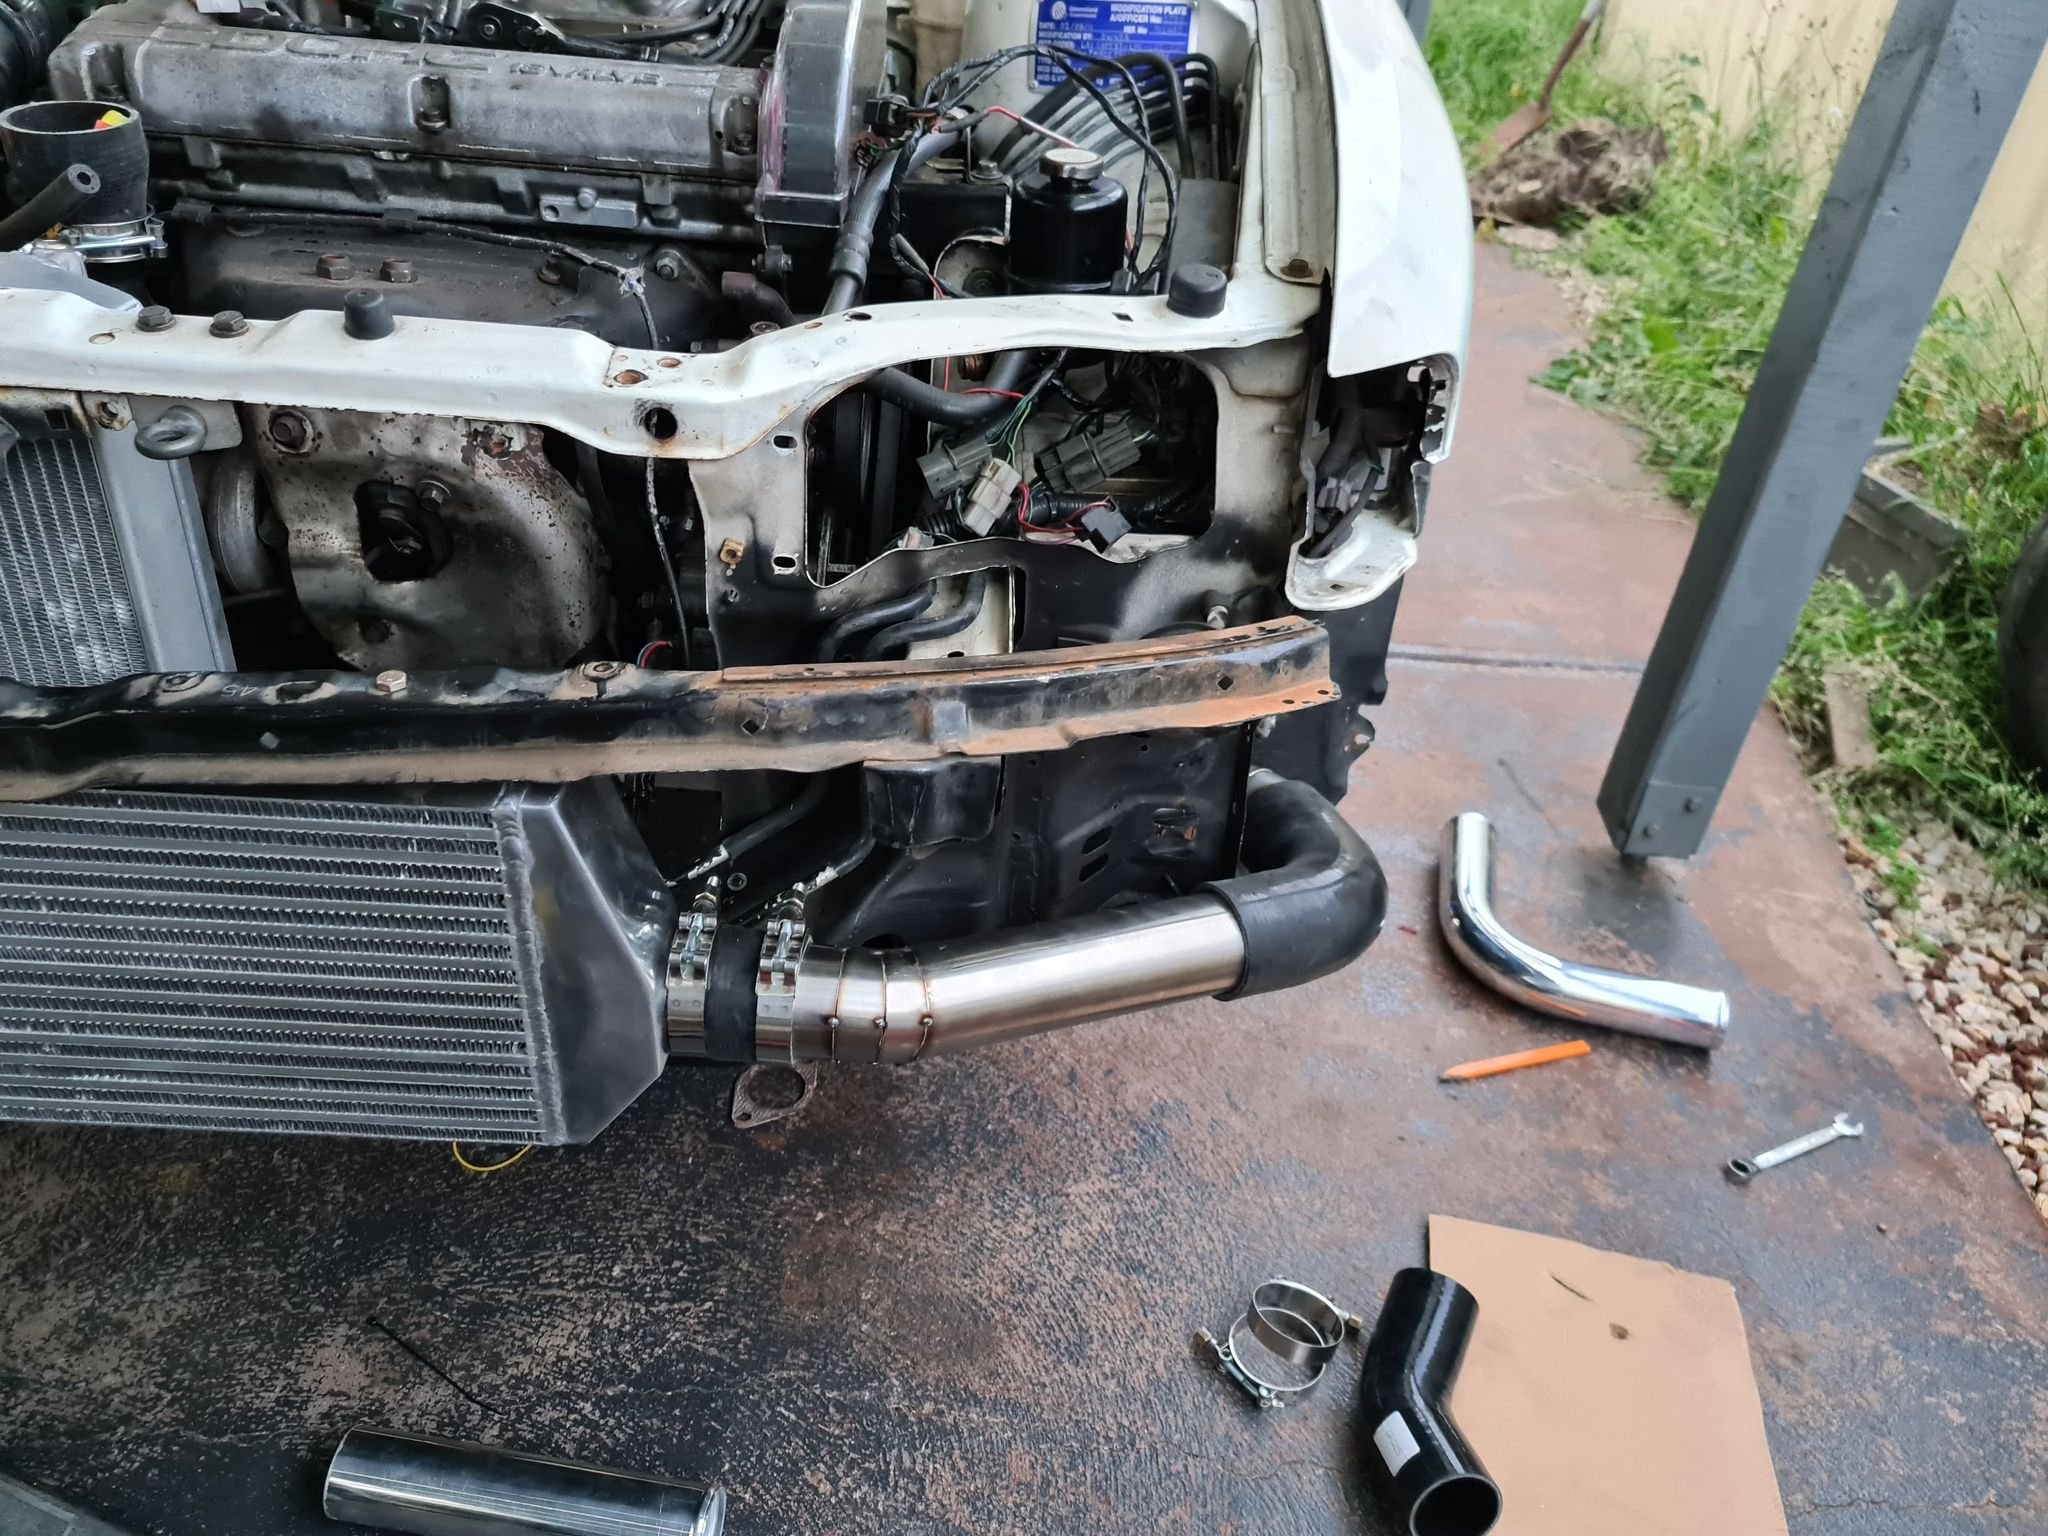
So sorted the intercooler piping, some ill redo later on. Have kind of worked out how to finish the 3" exhaust just need to tack it up to check then weld it up. Started it again, no video as I was distracted by the return line by the tank leaking so fixed that. Managed to get it to idle (poorly) its hunting and barely registering on the rev cluster by turning the stop screw in alittle. Oil pressure came up on the gauge finally after a few seconds at idle so happy with that. Still alittle smokey but could be a few reasons for that Need to put the fuel pressure solenoid lines back on, finish the exhaust, fill it with coolant rather then water, set the idle. Get it upto temp as I'm not sure if the idle valve is working Will get some more fuel soon so I can set the idle and will take a video then
-
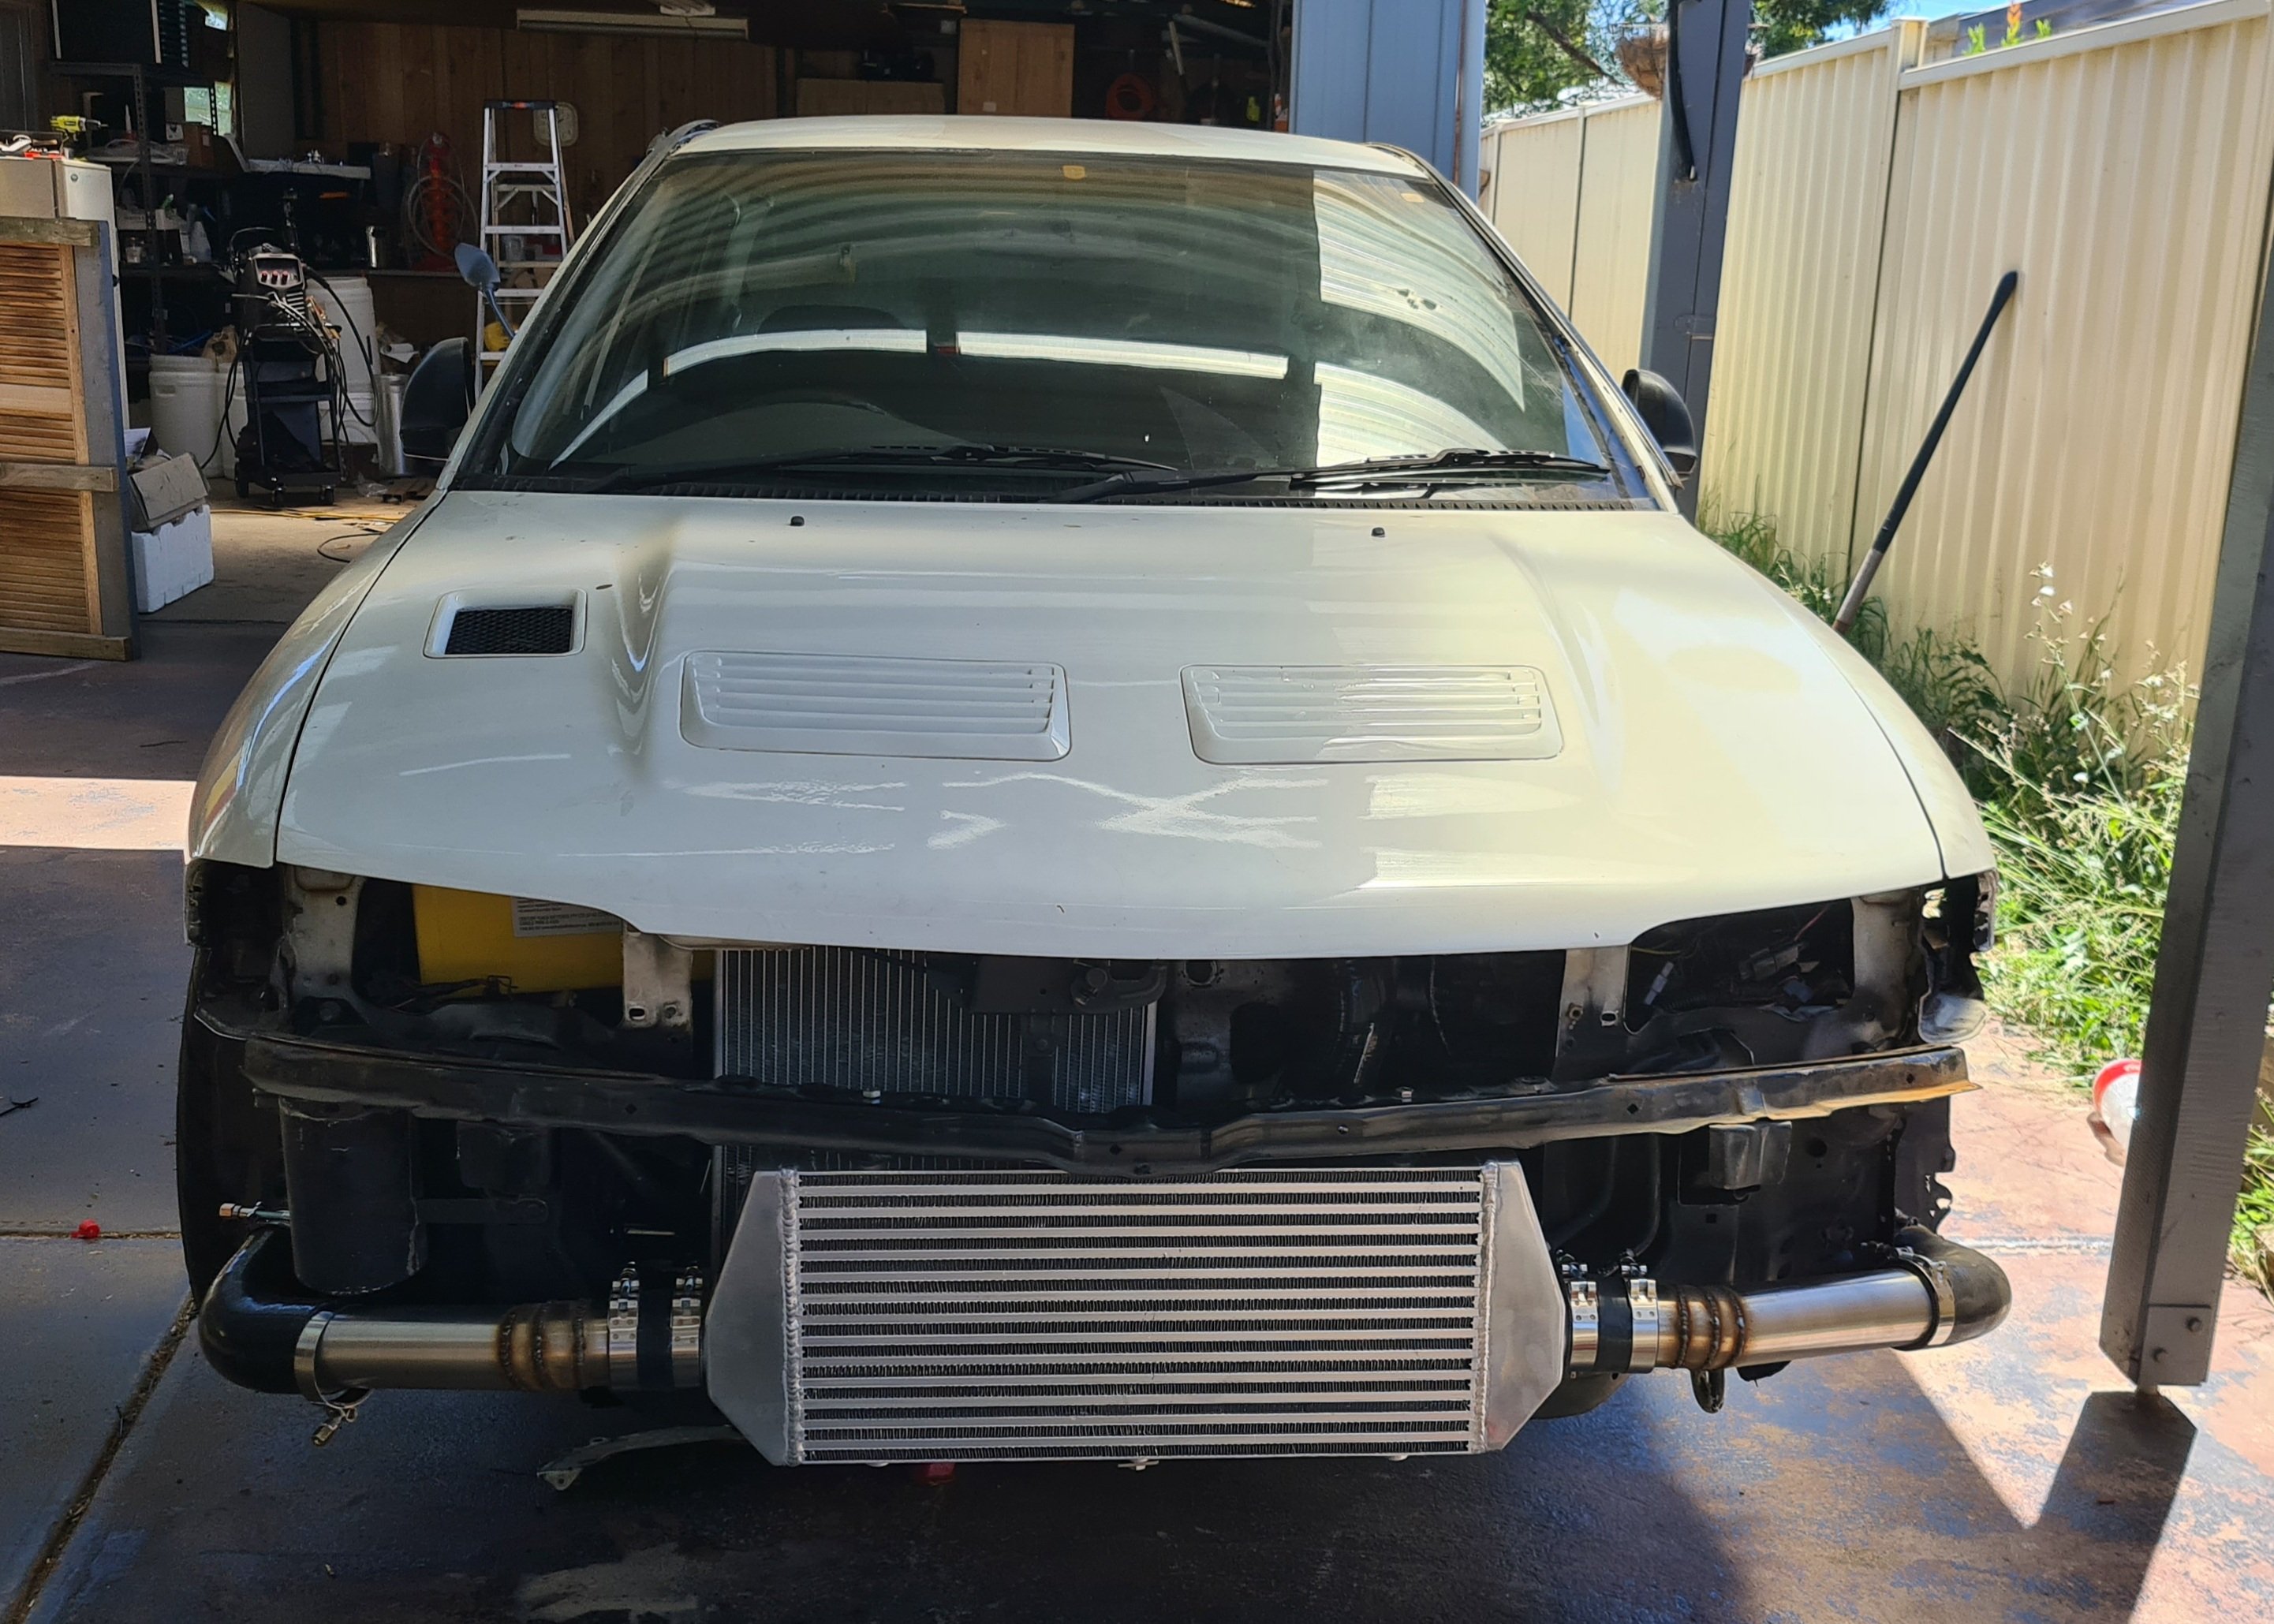
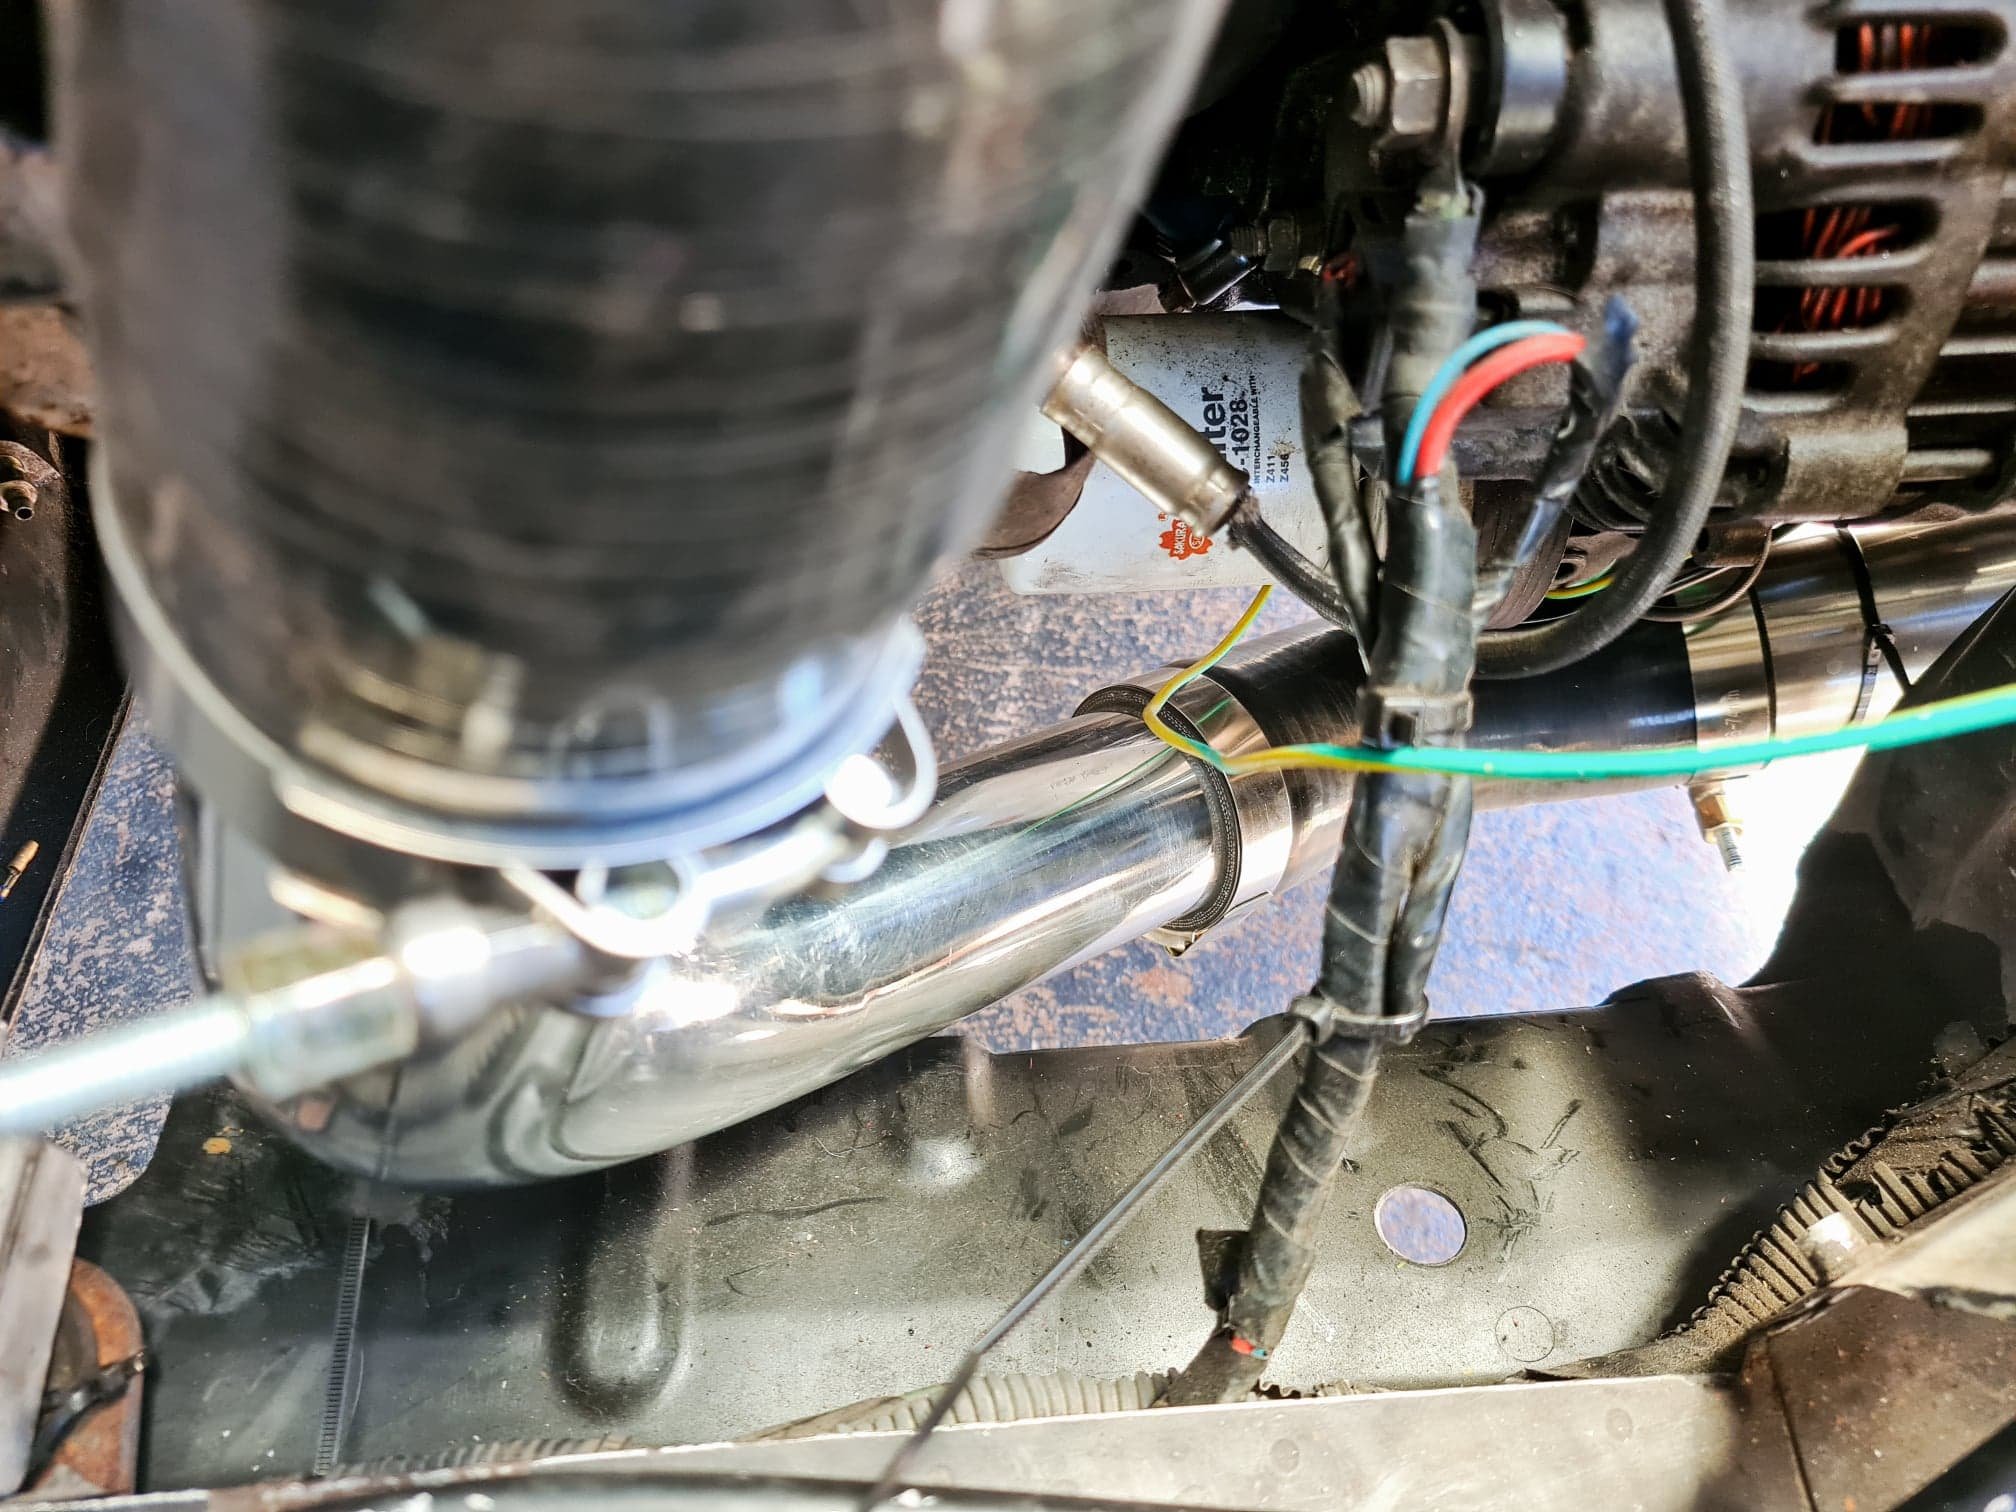
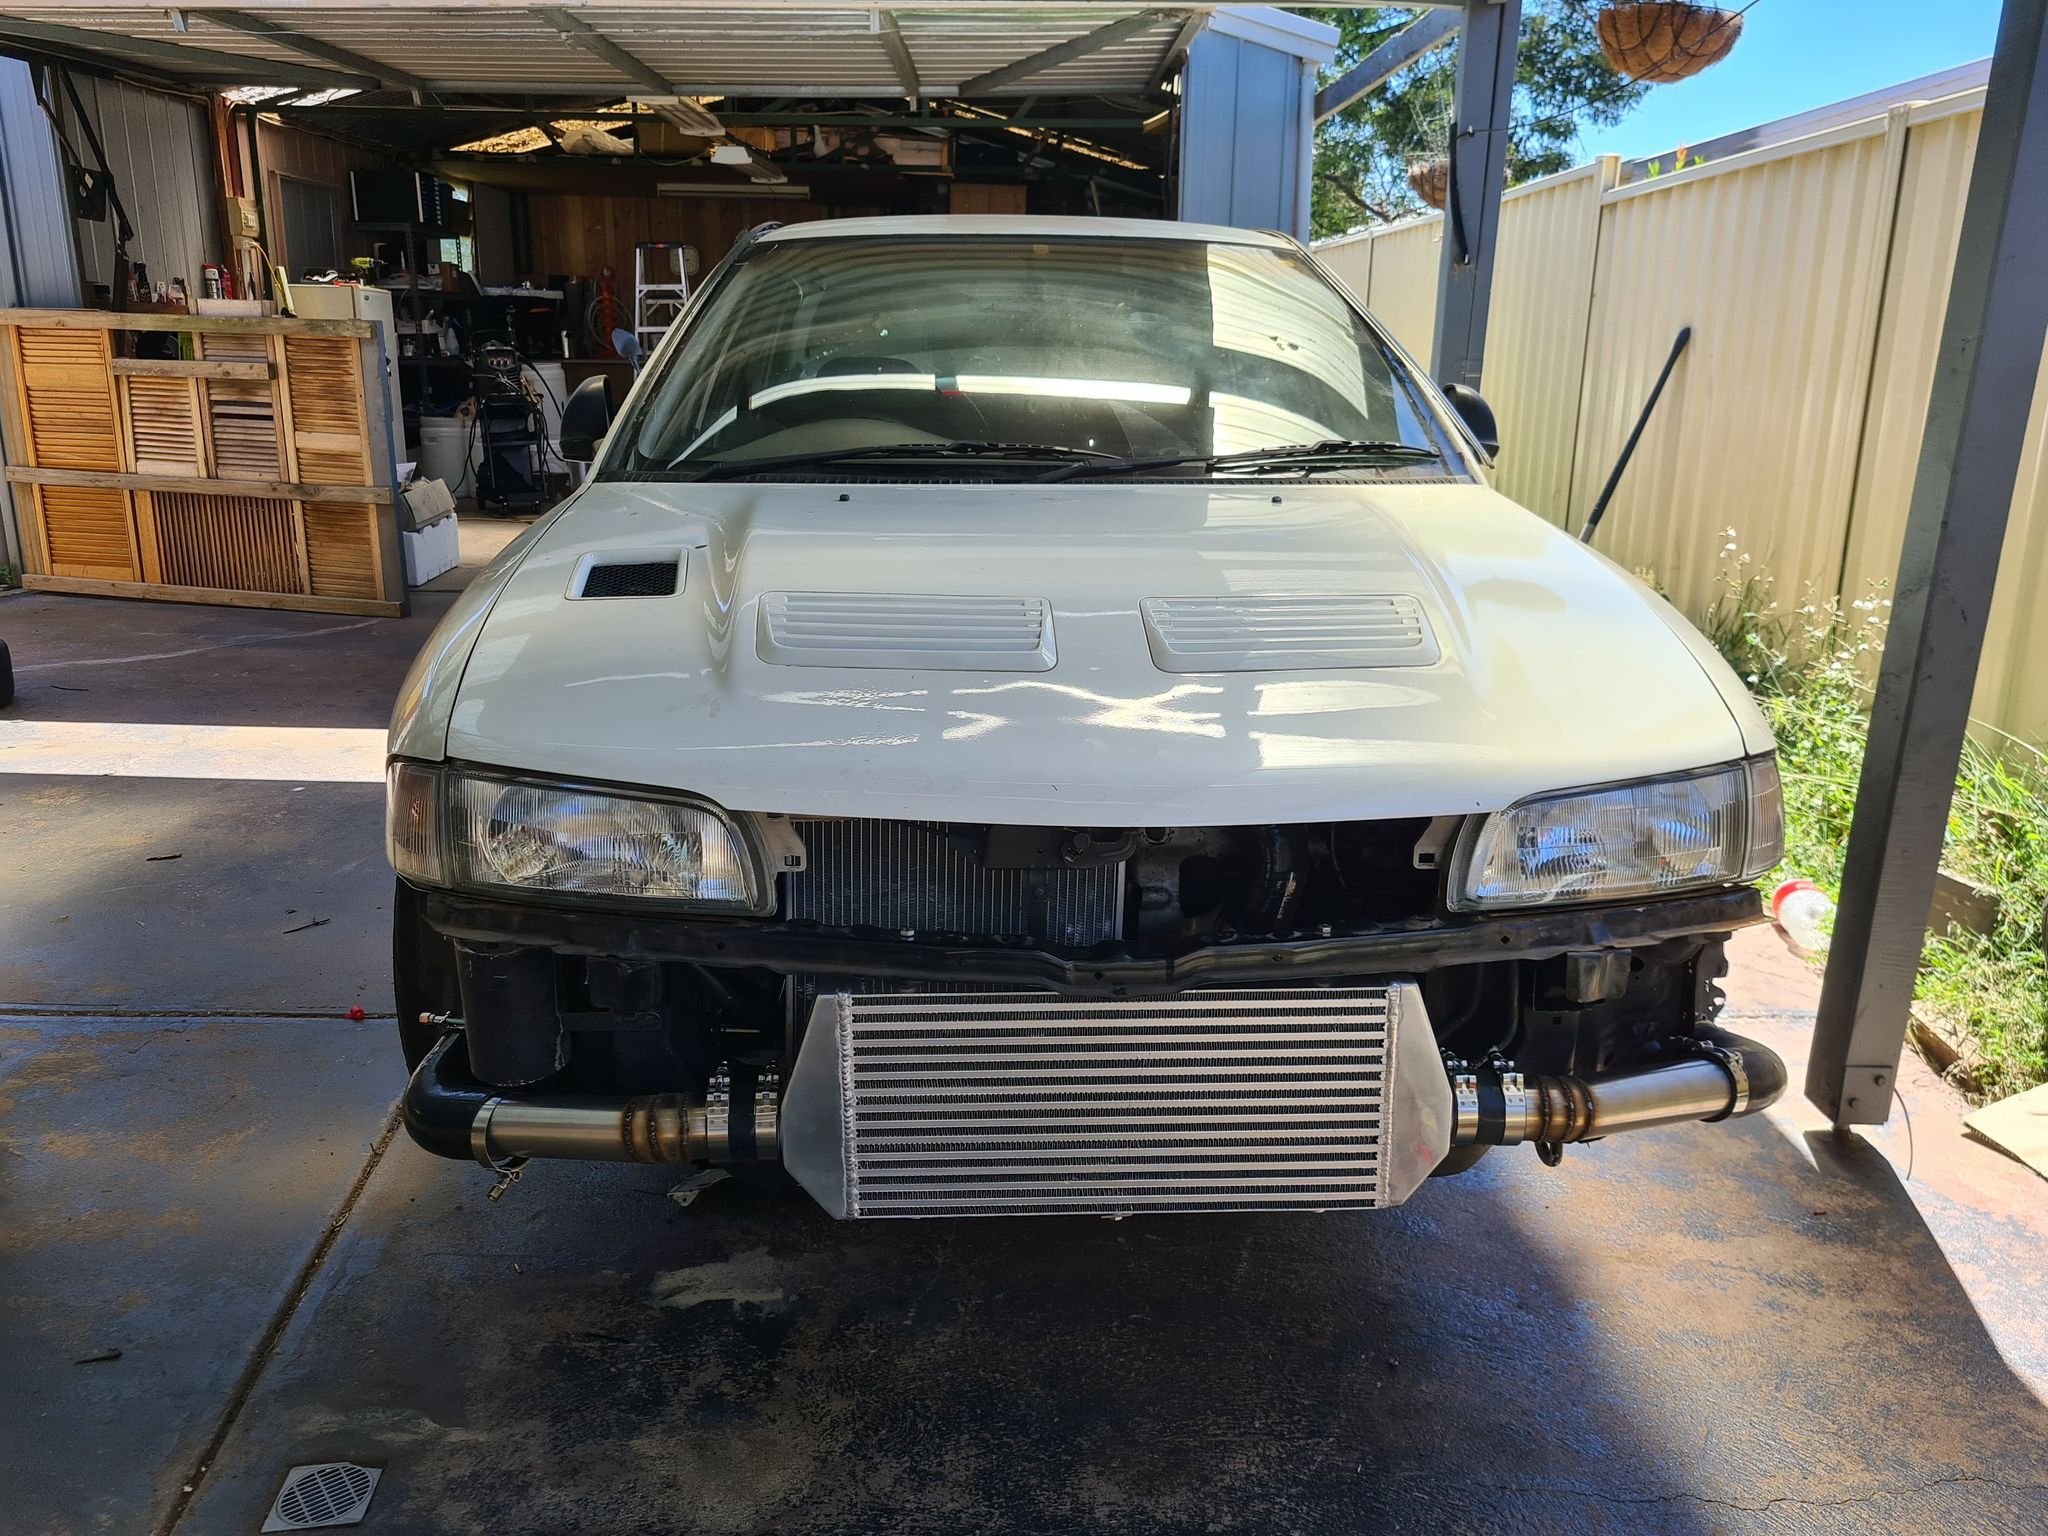
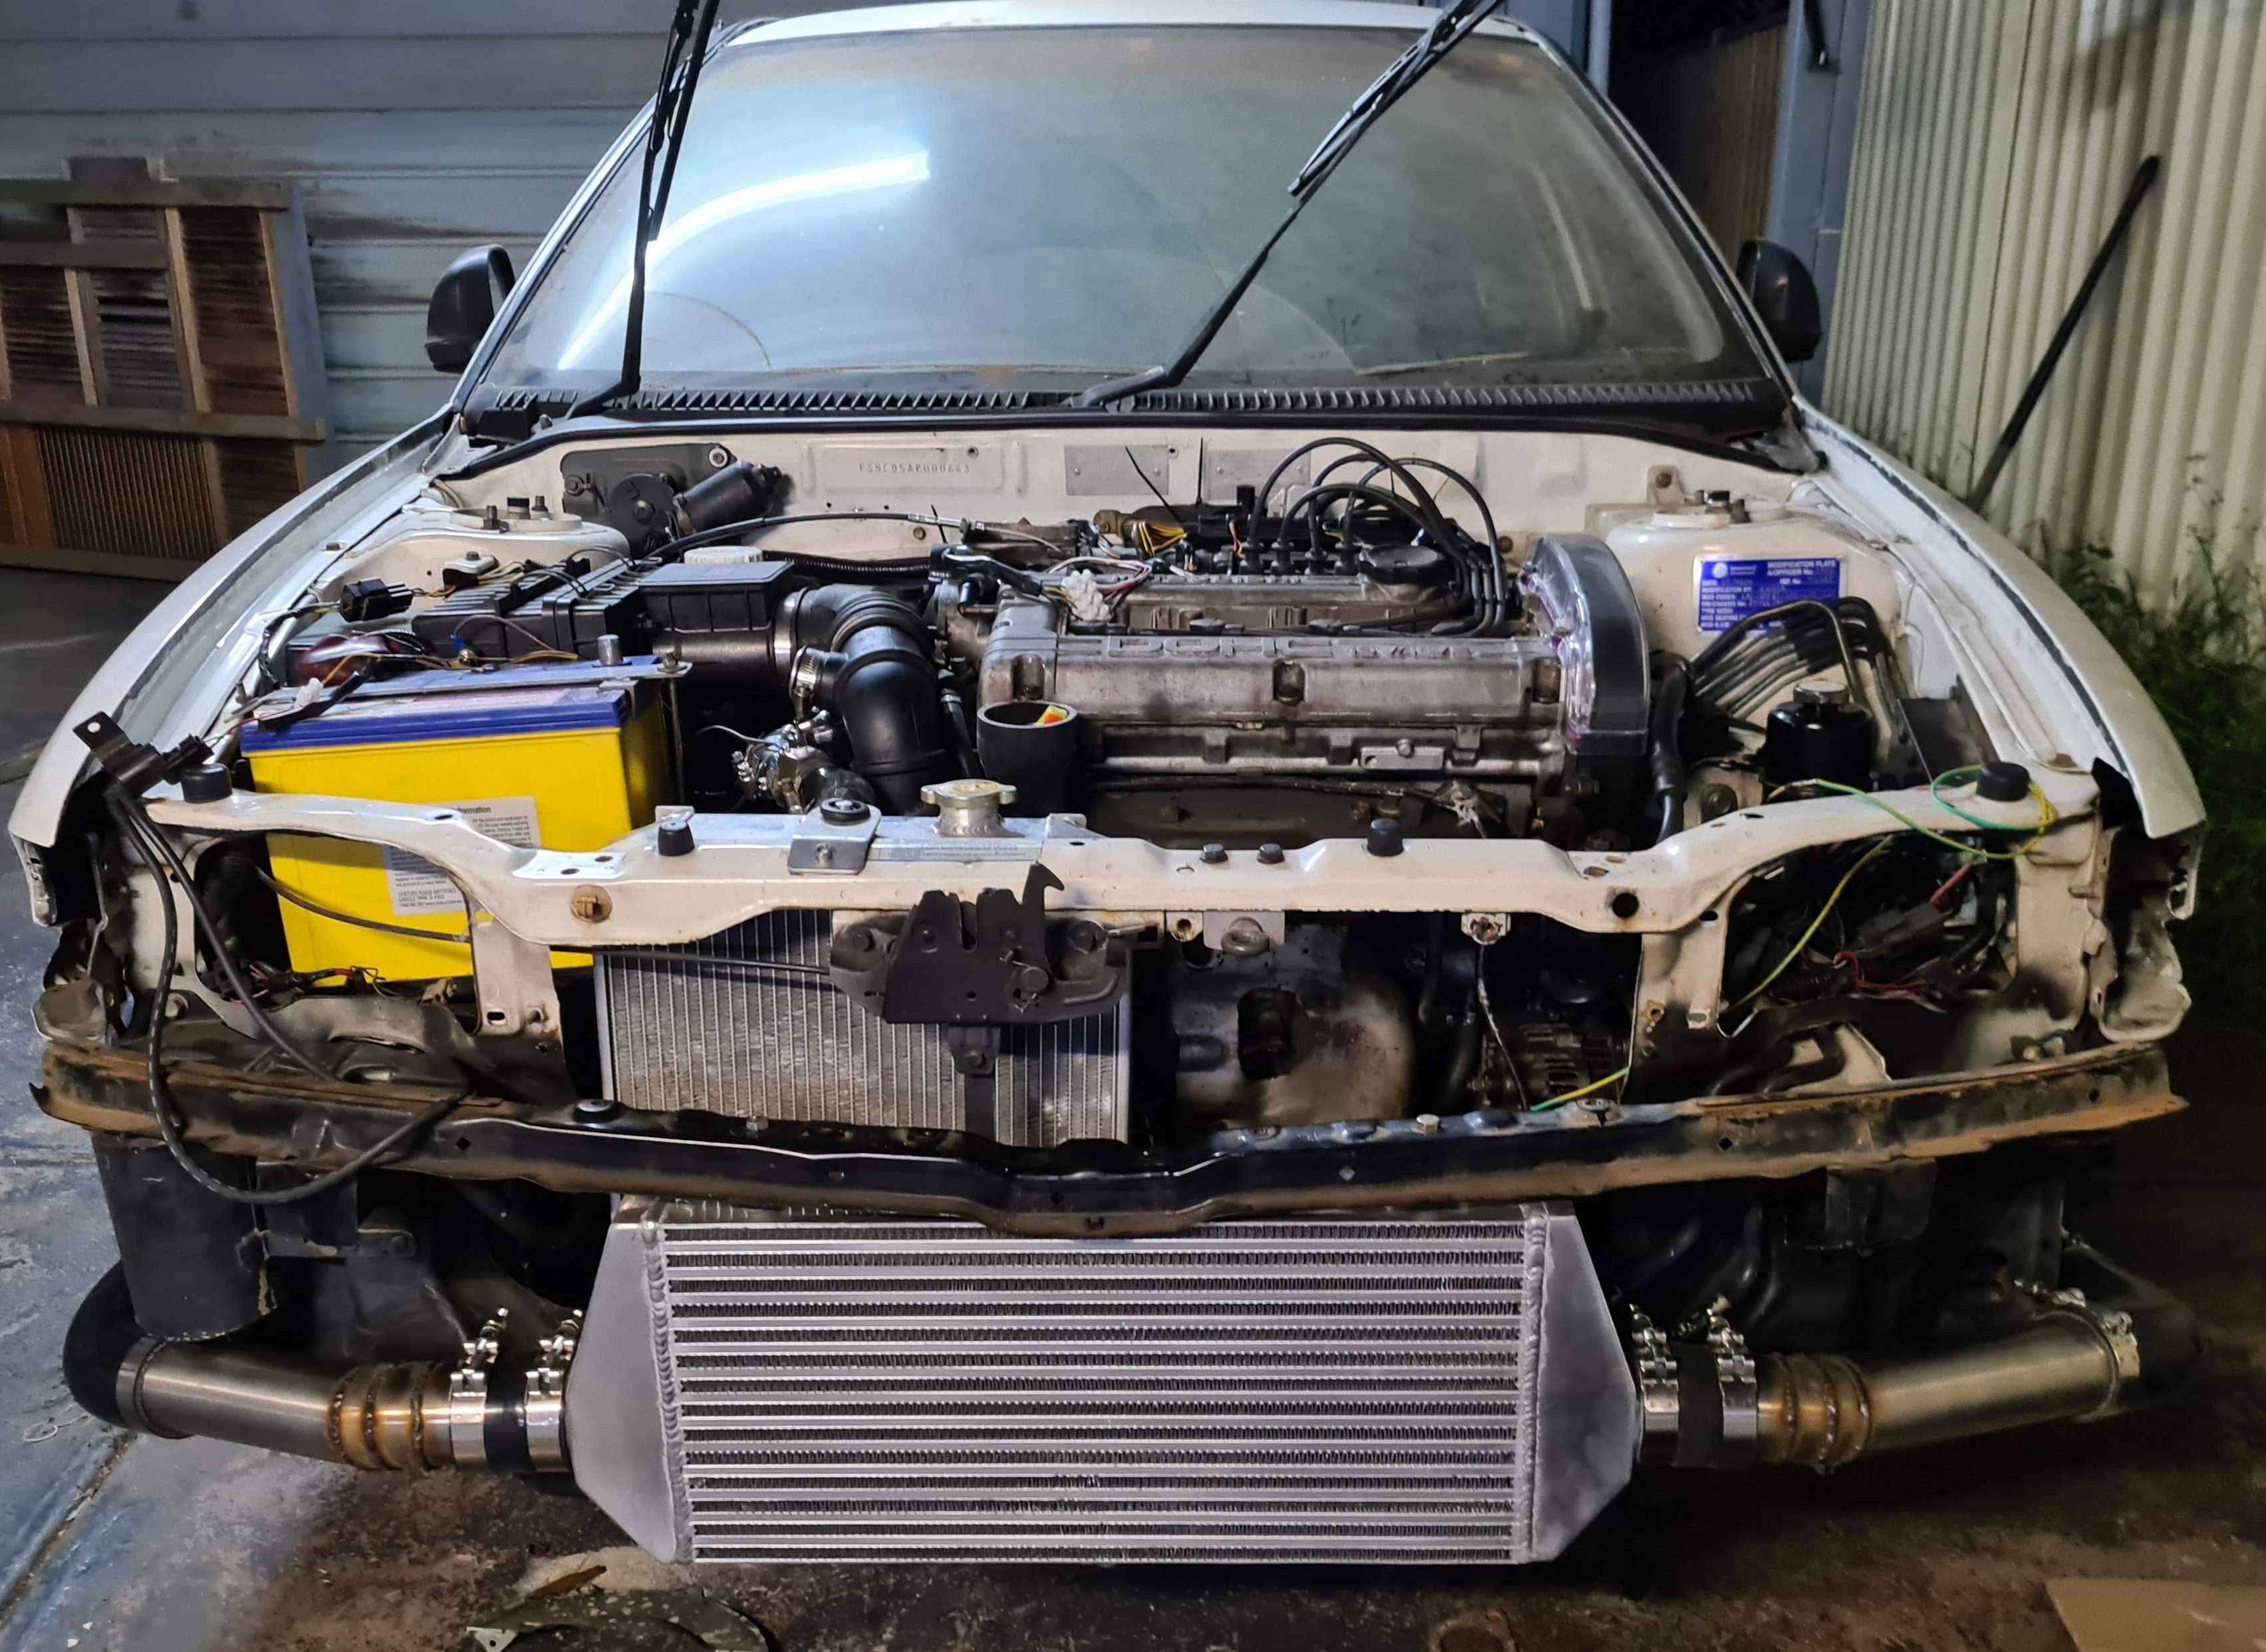
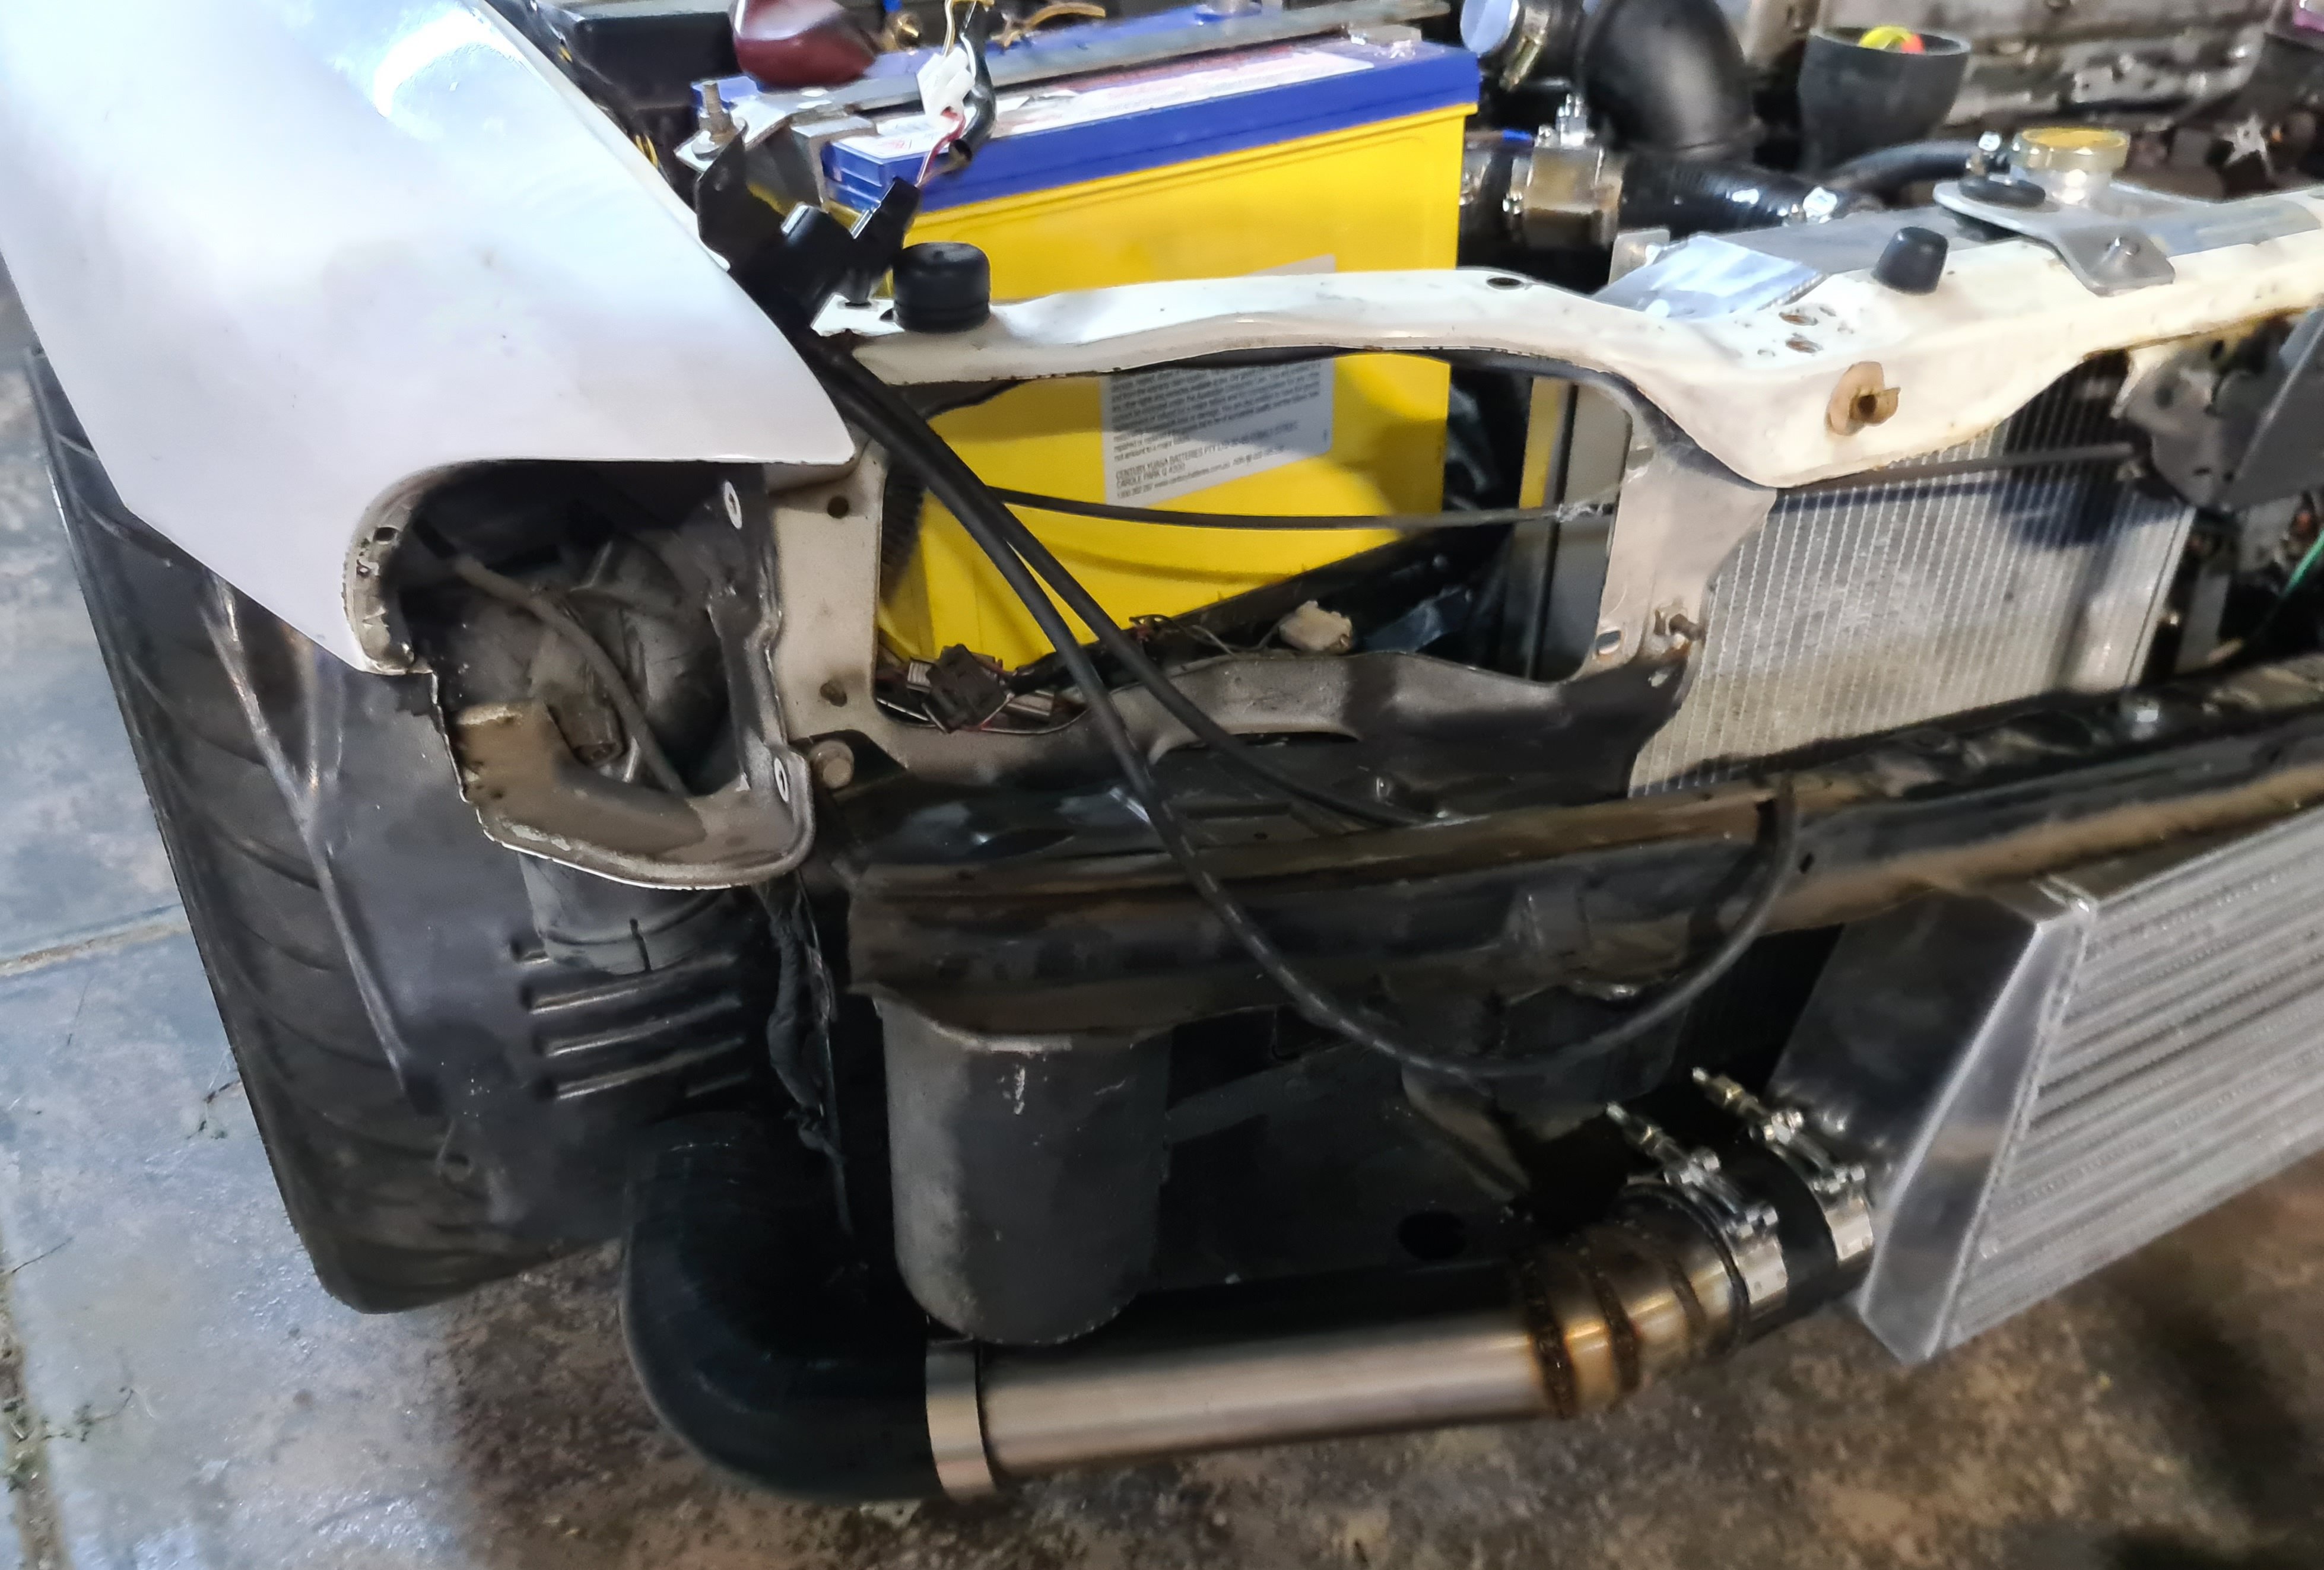
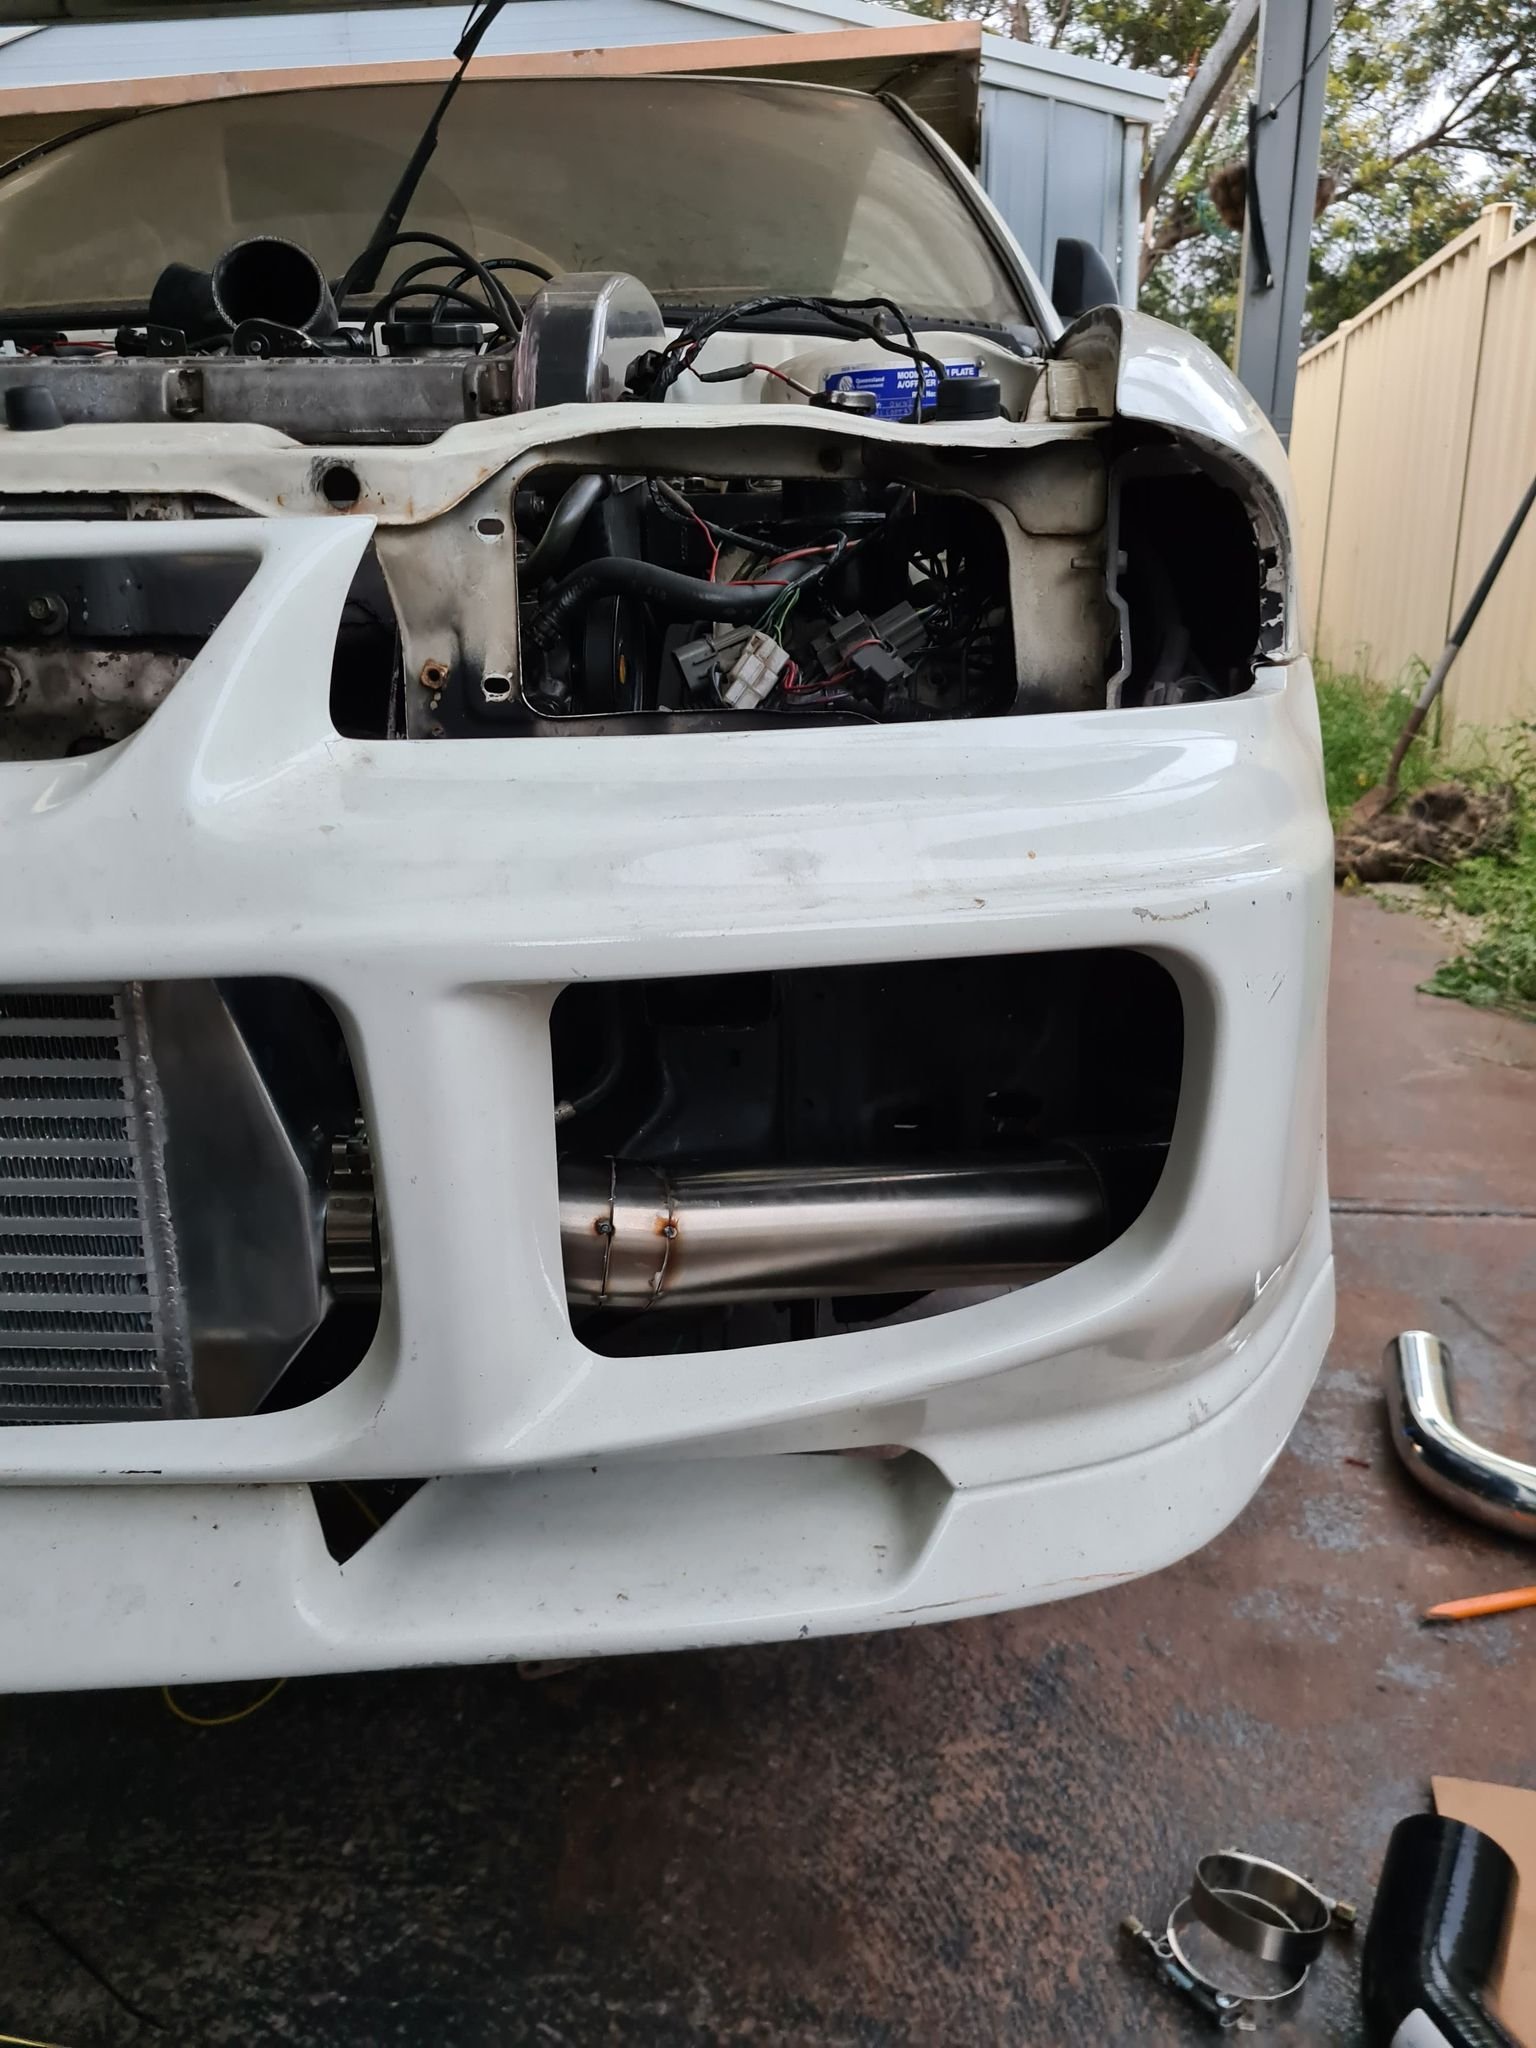
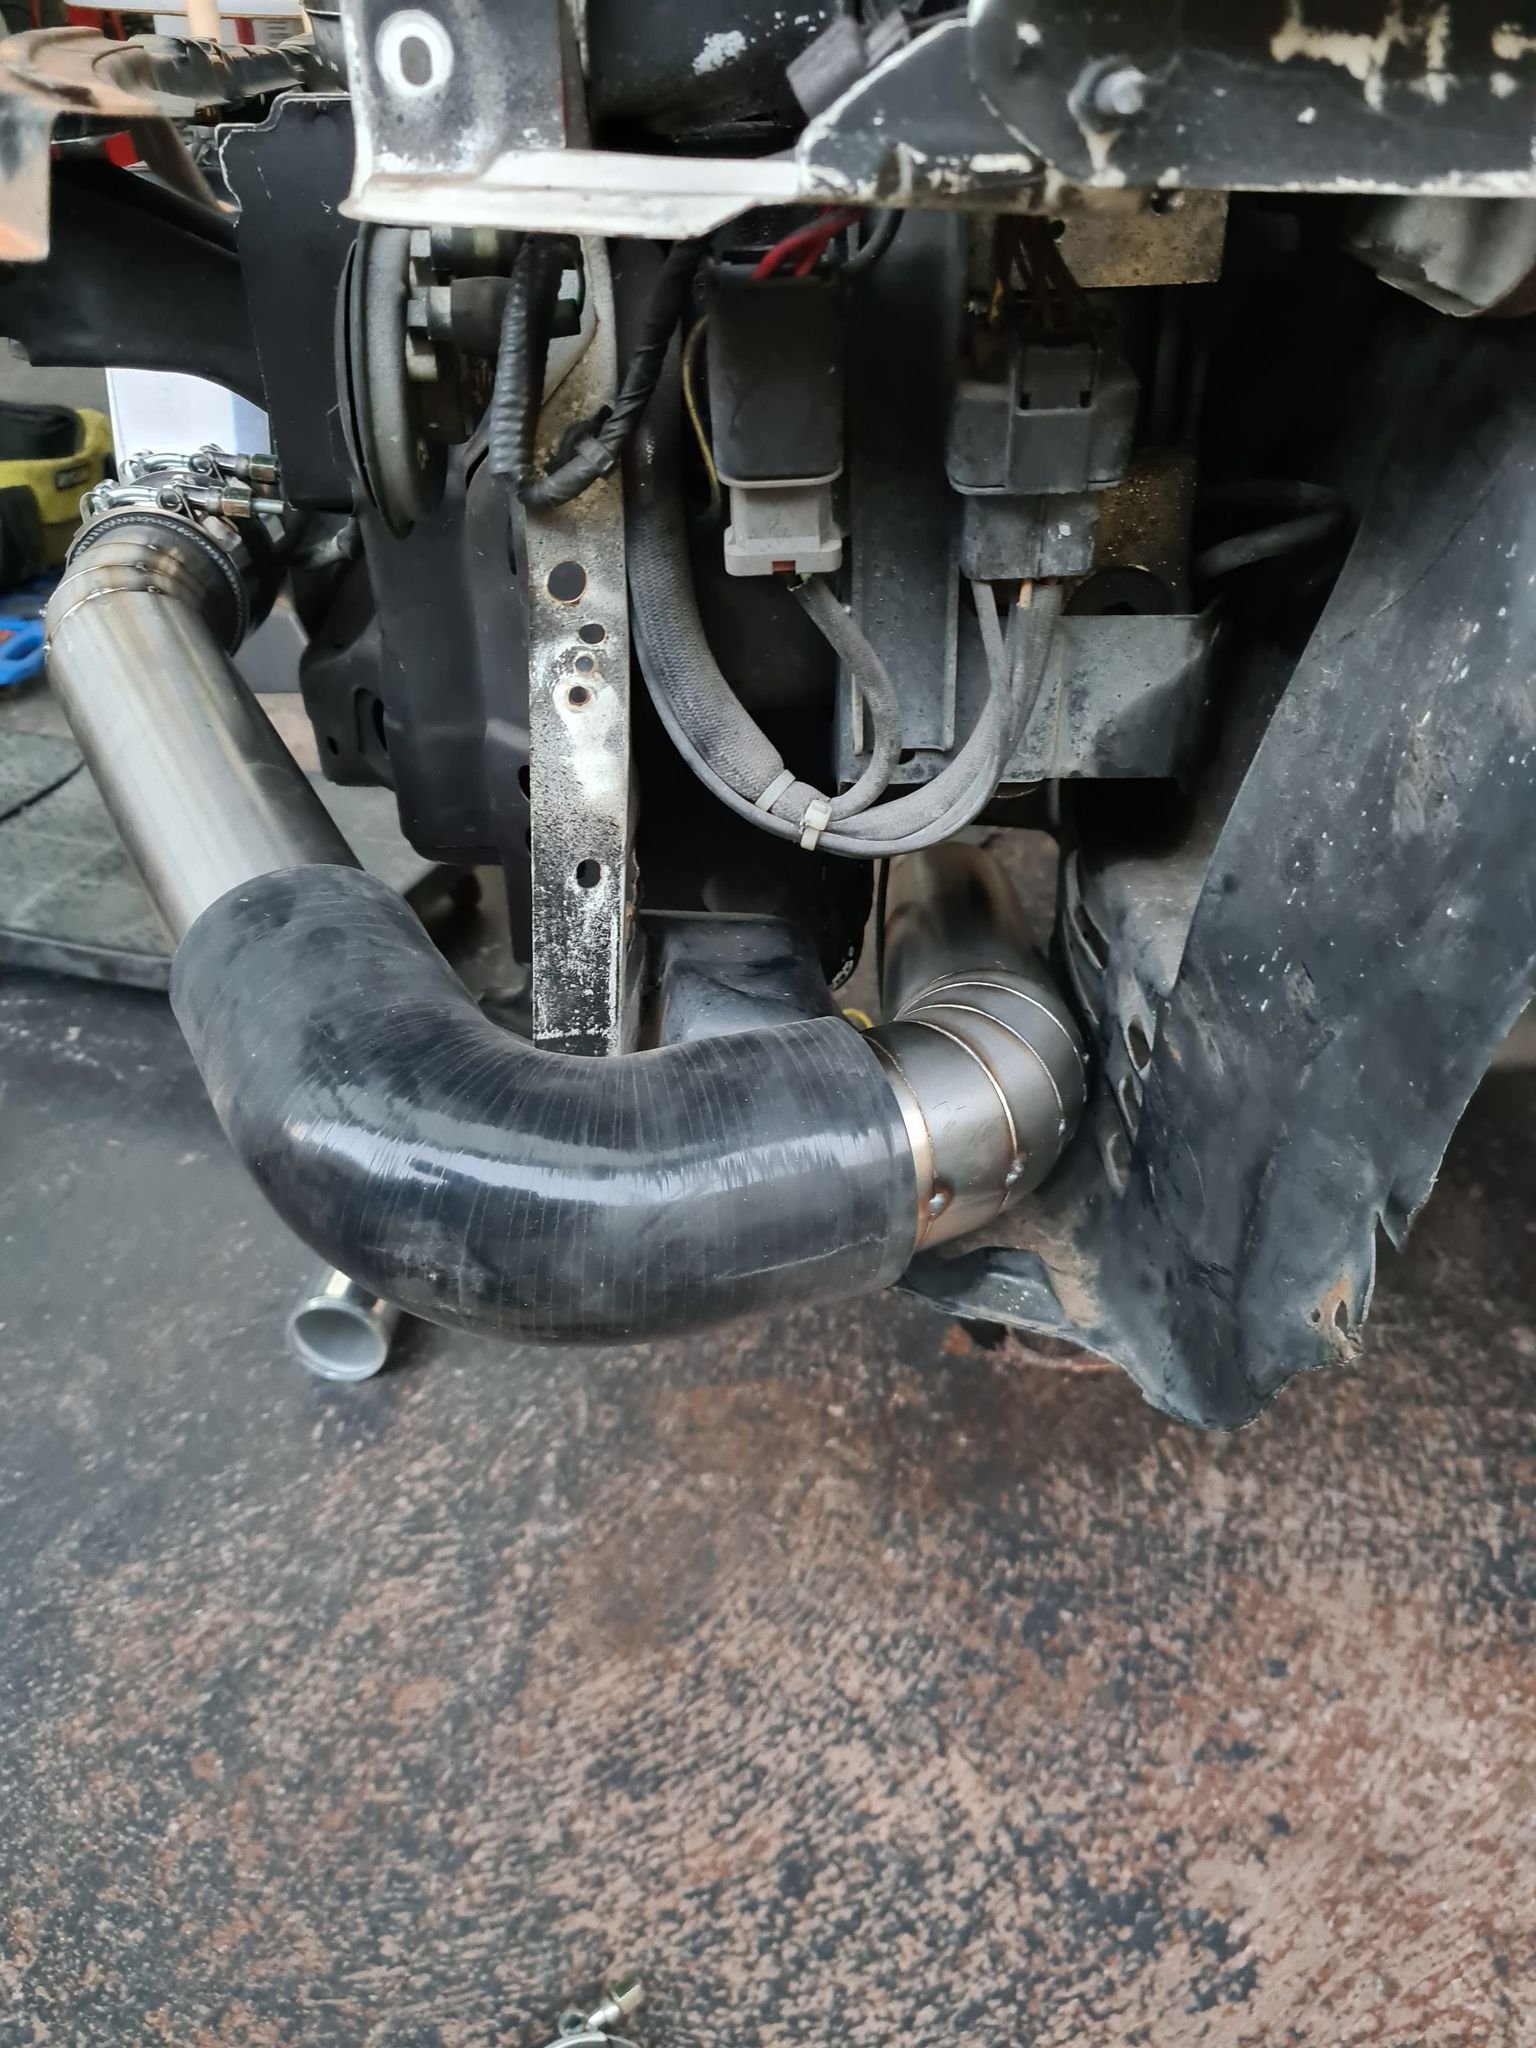
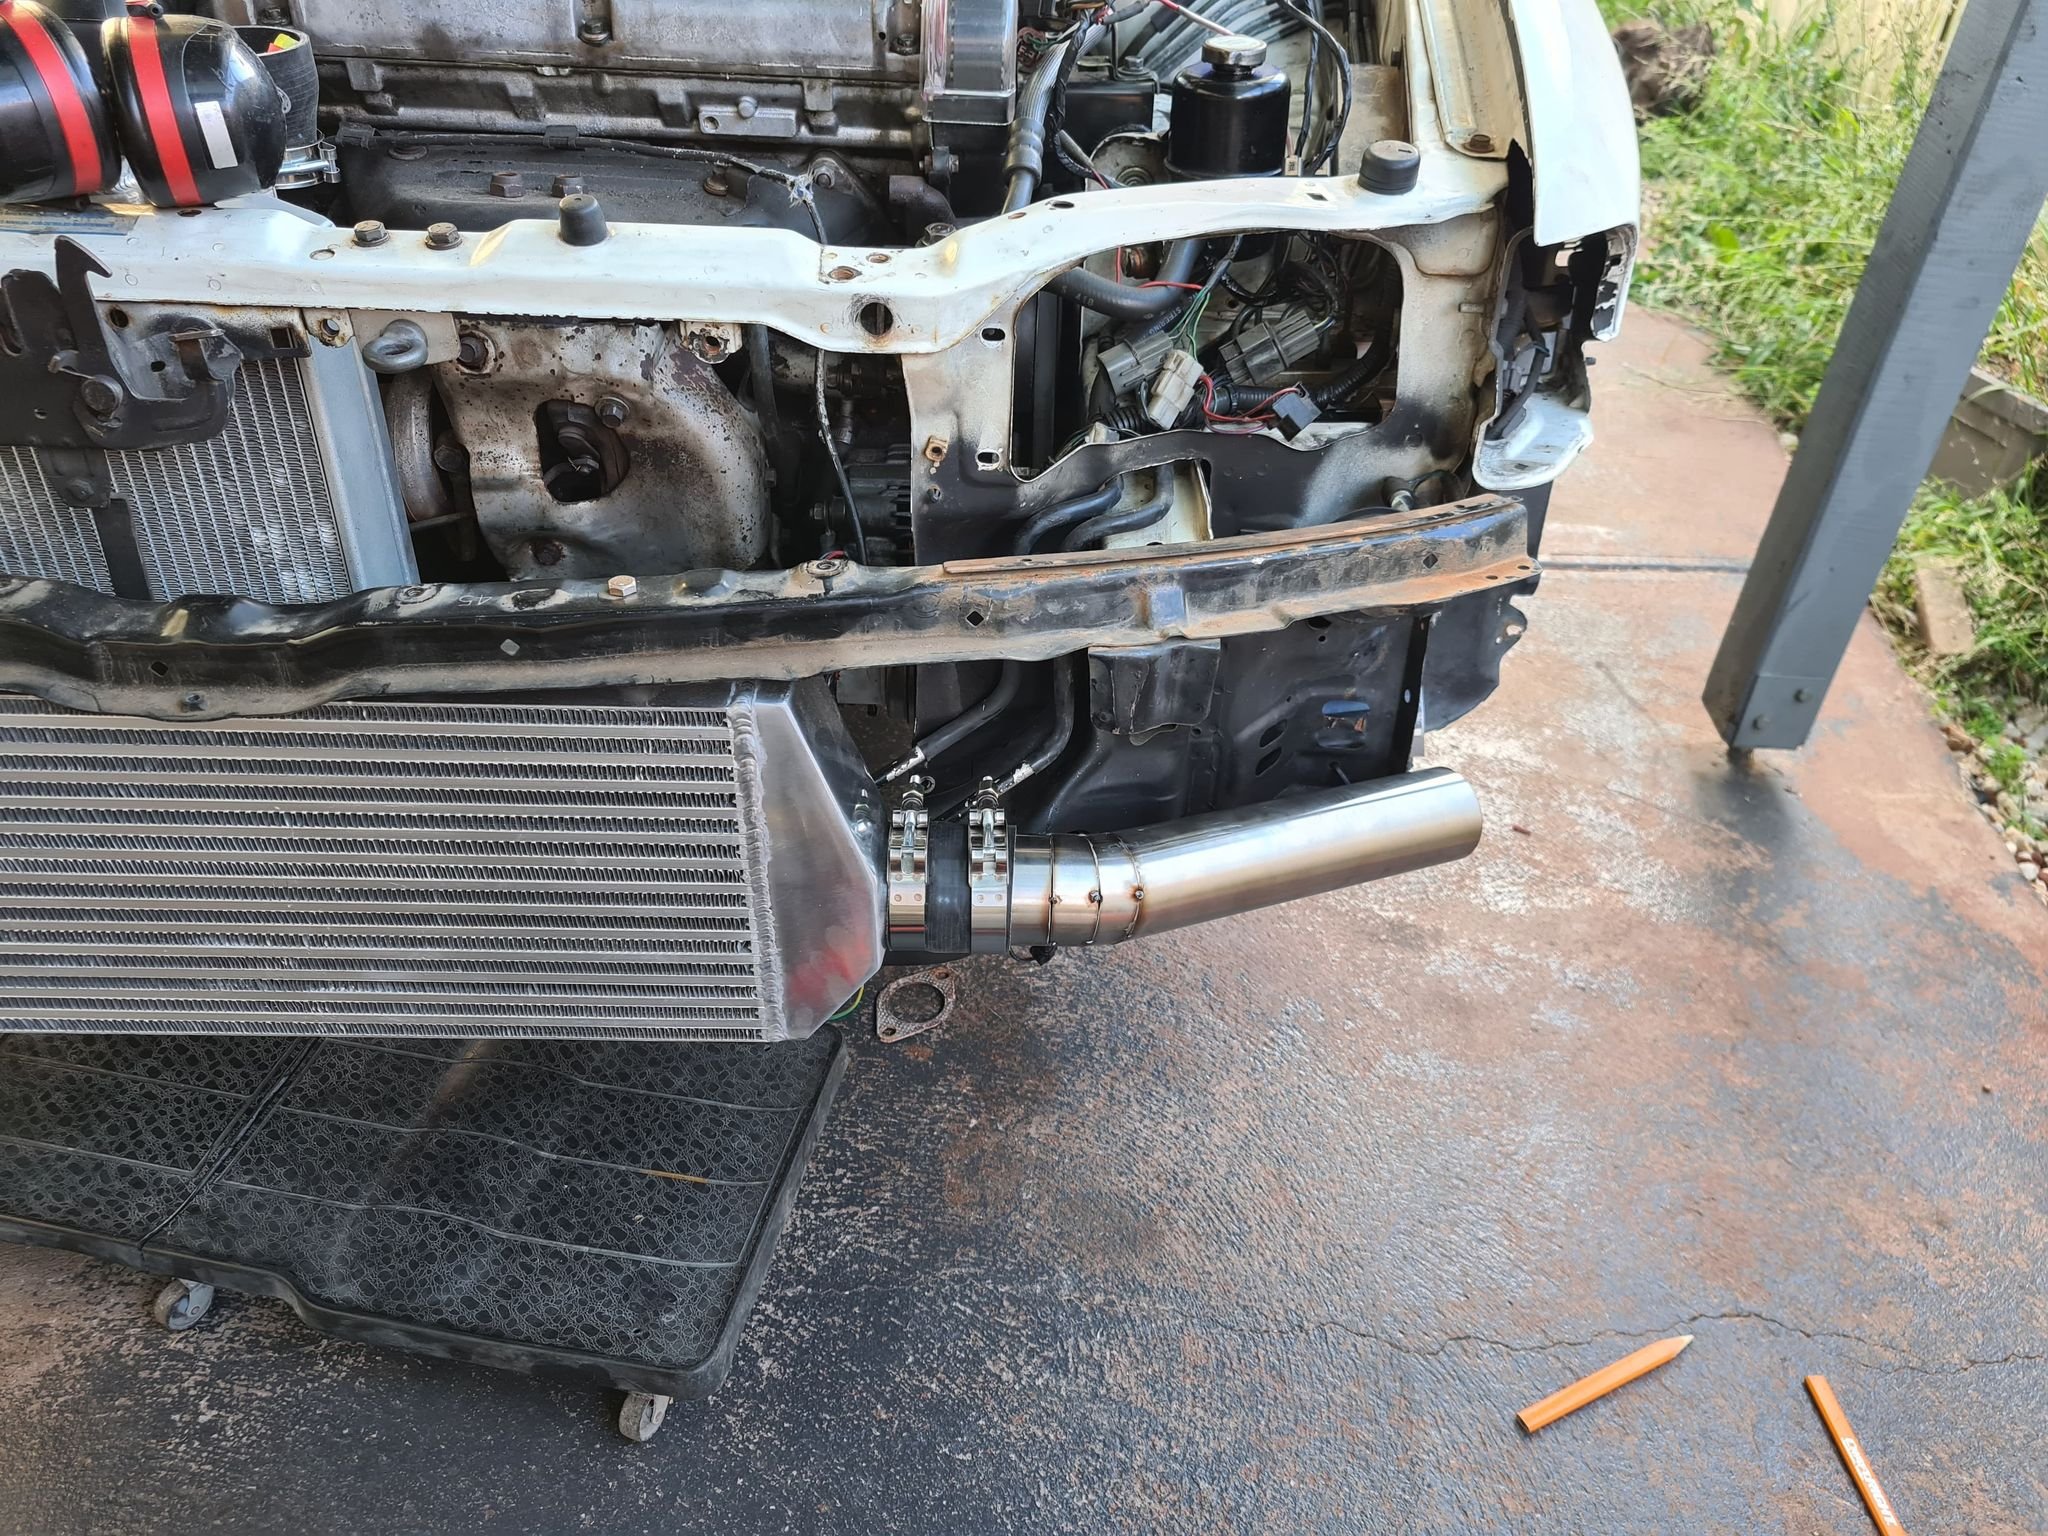
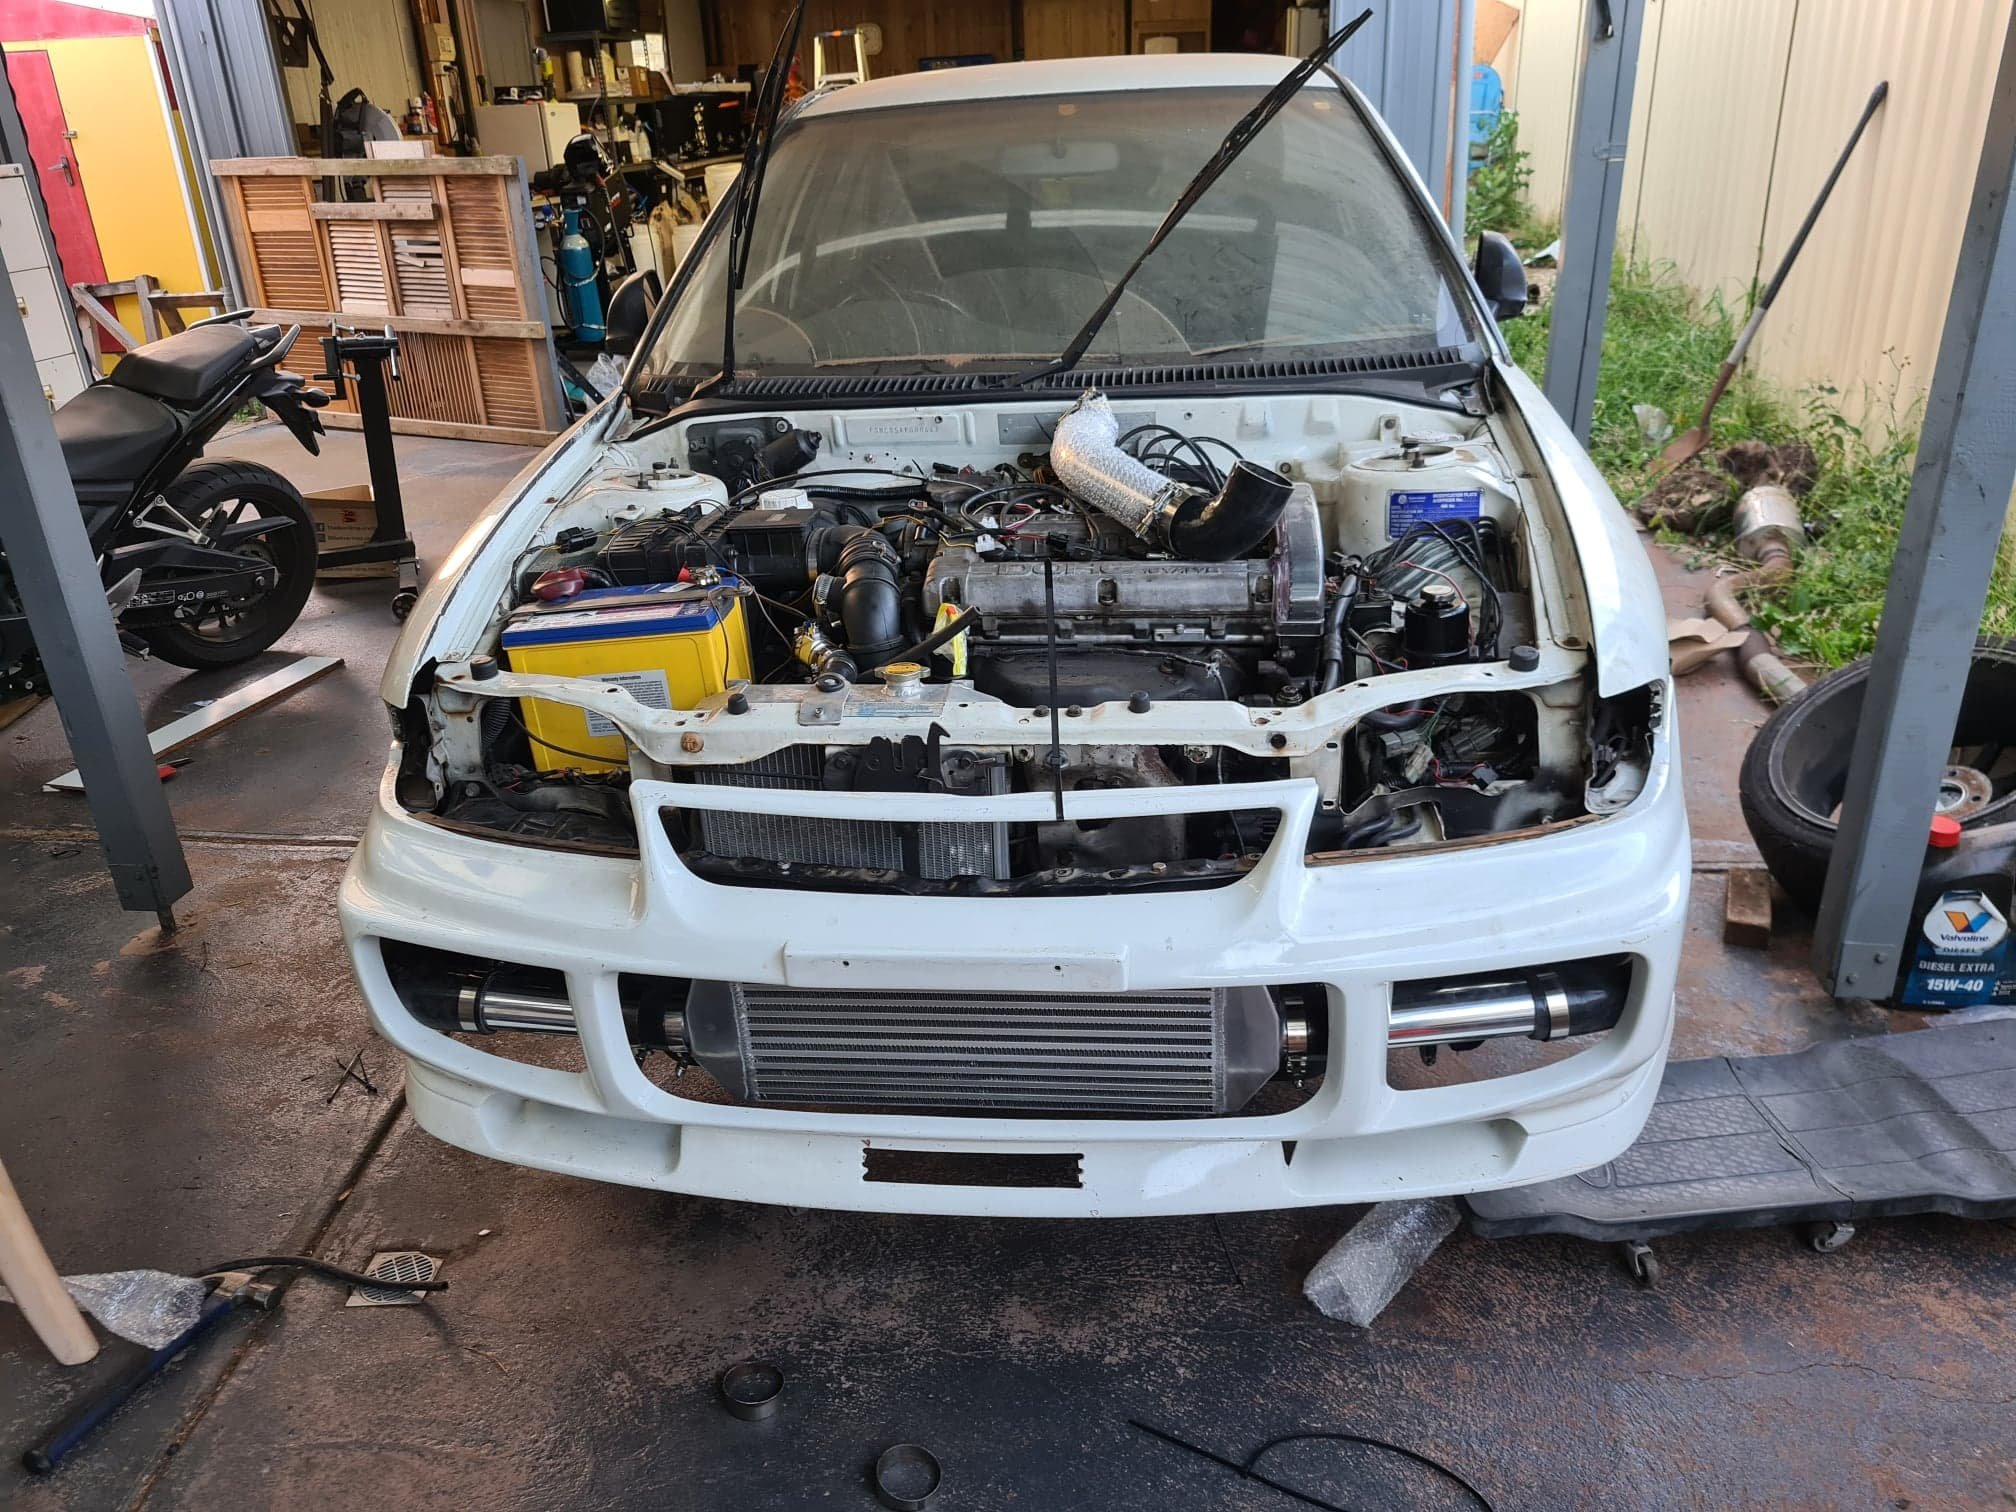
So was at a mates on Saturday putting farm fencing up so didn't do much this weekend, Sunday was doing housework as I am looking after a 2nd dog as of Wednesday for two weeks Managed to put the bonnet back on and clean the windscreen, also got the wiper squirters going, had to cut the factory plug as I am running two solenoids off the one plug, I don't have a rear washer but the washer bottle has two outputs, loom I have has wiring for two washers but already had been cut :s Maguyvered piping out of the turbo, will be replaced when my 1.75 to 2.5" 90 arrives Intake piping just needs me to finish the 90 degree and cut back the straight pipe some more, wish I had another 90 degree silicon but no one has stock/won't arrive till after Xmas so I'll make do Exhaust needs a very small amount of work for the 3" setup to be done Had it running briefly as well and shes loud, (no vids as I had to hold the accelerator down to keep it running) oil pressure gauge still isn't reading pressure so thinking it might not be the best spot for it, may move it to the head but will sort that out later Had some belt squeal so need to adjust them once I get the intake pipe done and get it to idle. Also have a small gearbox oil lead that I am not sure where its coming from so that'll be fun to find. Only started since I started the car/its been hotter here (30C+) Might be able to move it under its own power all going well this weekend, also if the factory ecu I have shits me too much ill swap the speeduino into it Now with headlights/indicators (really need to order some orange ones. I forgot the tab on the passenger side is broken) Ive got another set that have cloudy lenses, might need to swap some lenses over
-
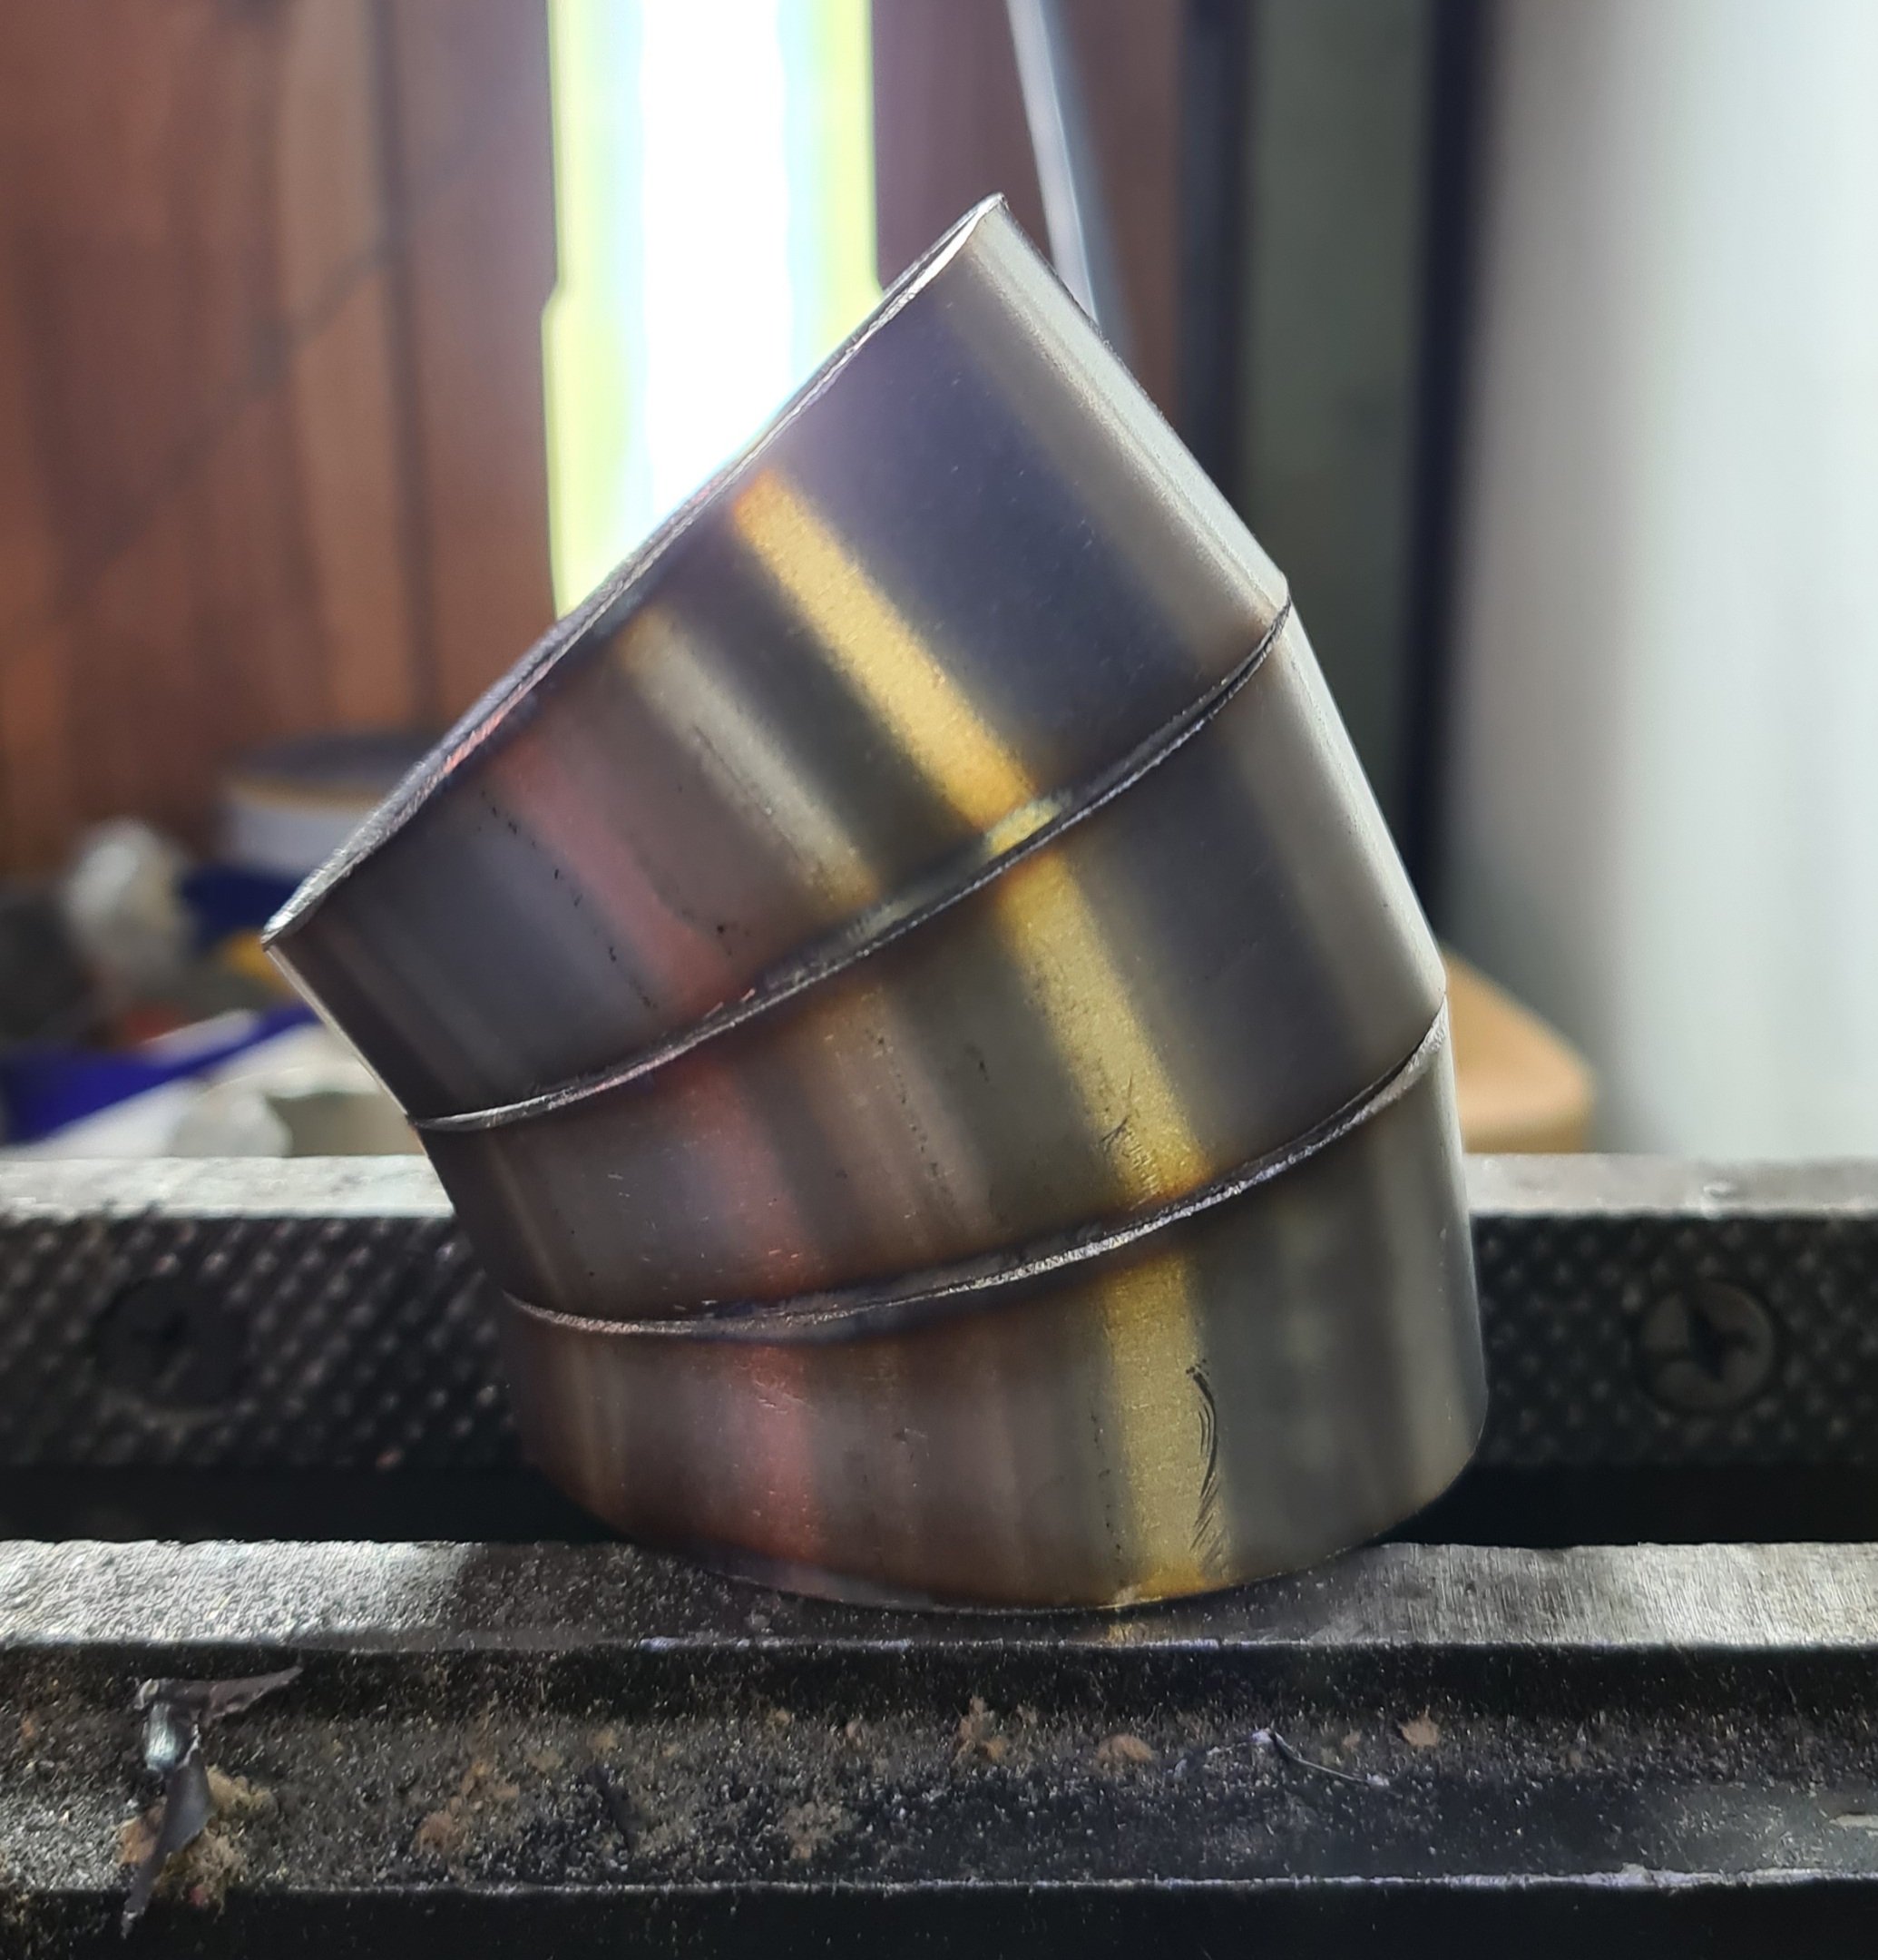
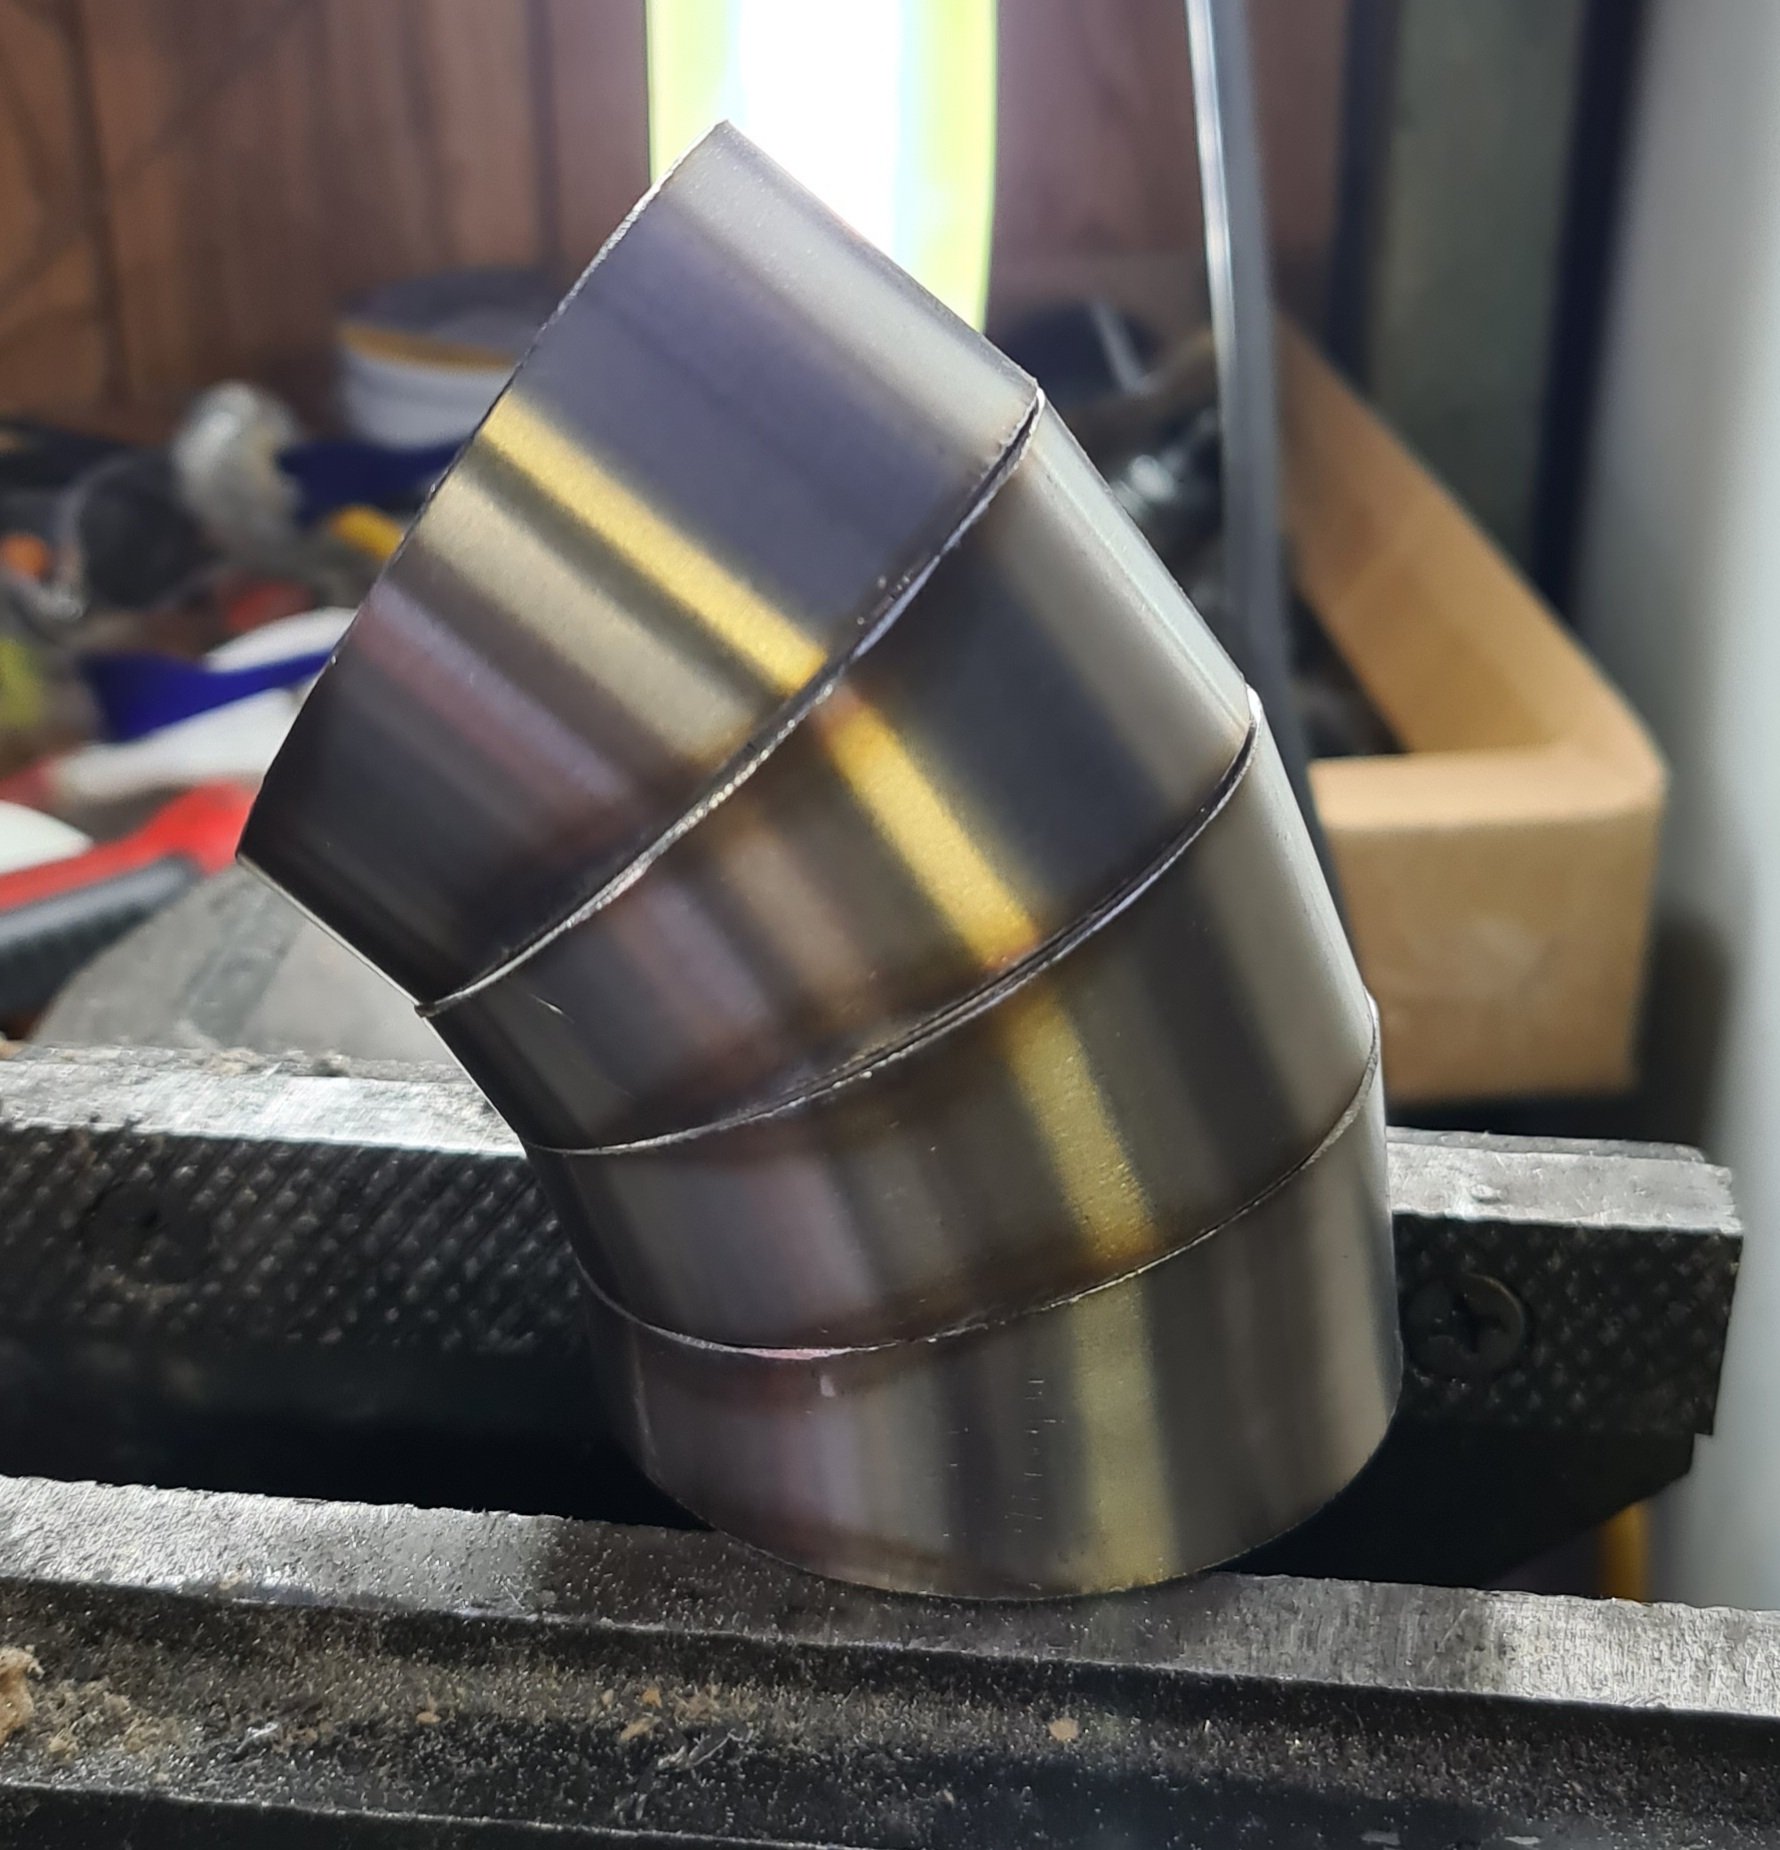
Getting there Will weld up the last if it over the weekend and then start in the pipe upto the intake Still waiting on a 90 degree 1.75" to 2.5" for the turbo outlet, might see what I can maguver though More pie cuts to clean up
-
More inter-cooler piping, tack tack Making pie cut angles for the inner guard pipe Inner pipe, just need to weld it up
-
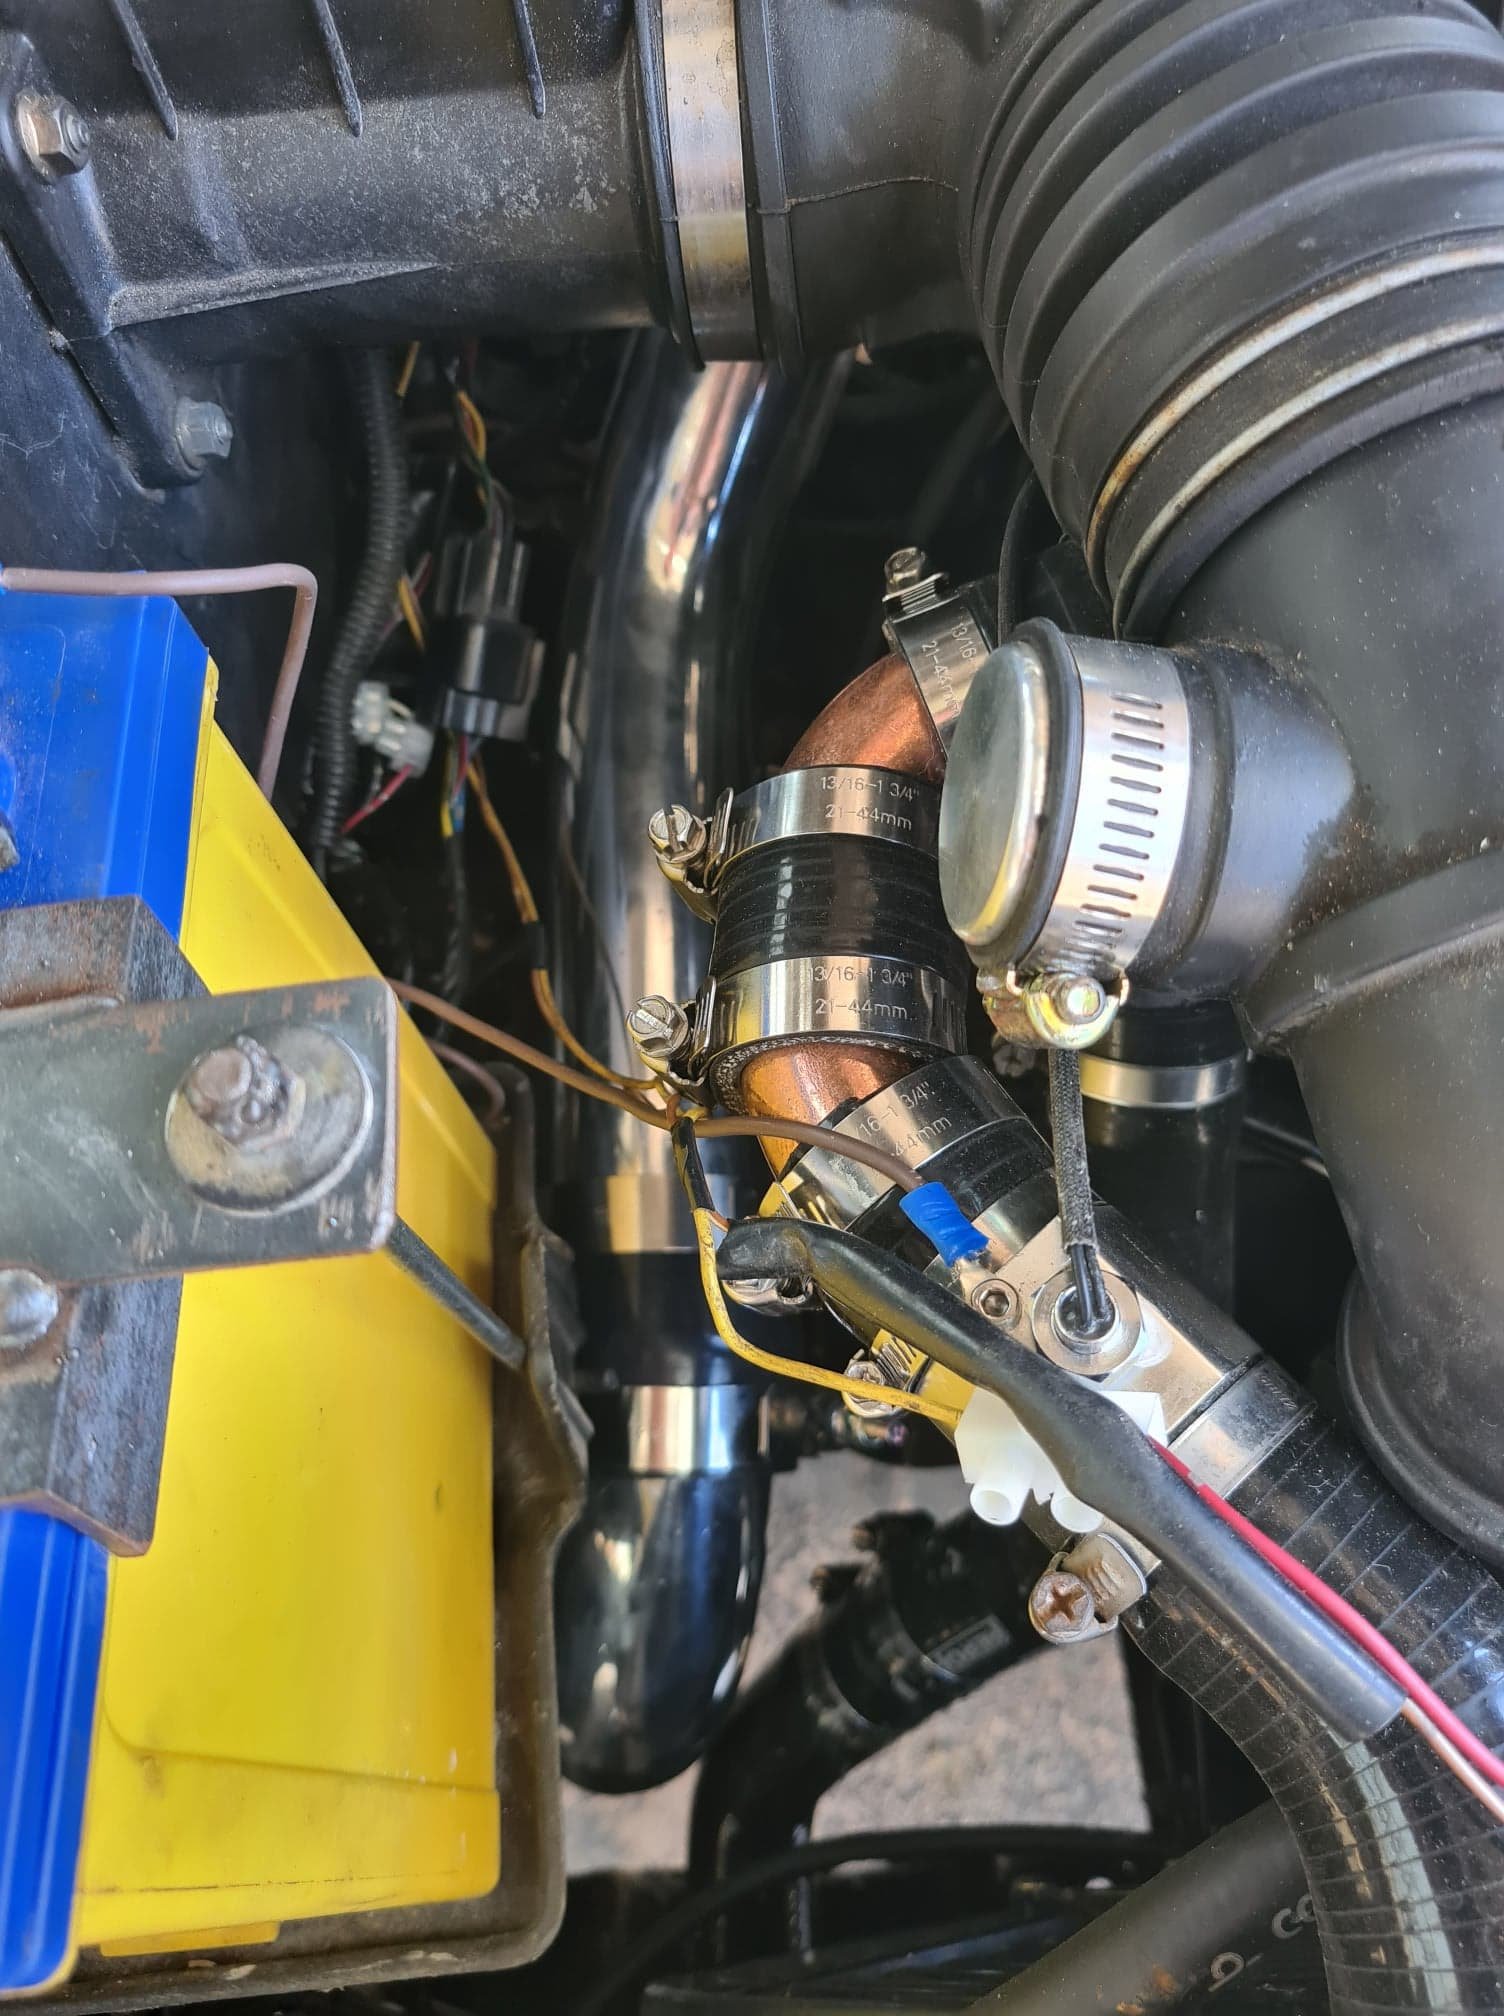
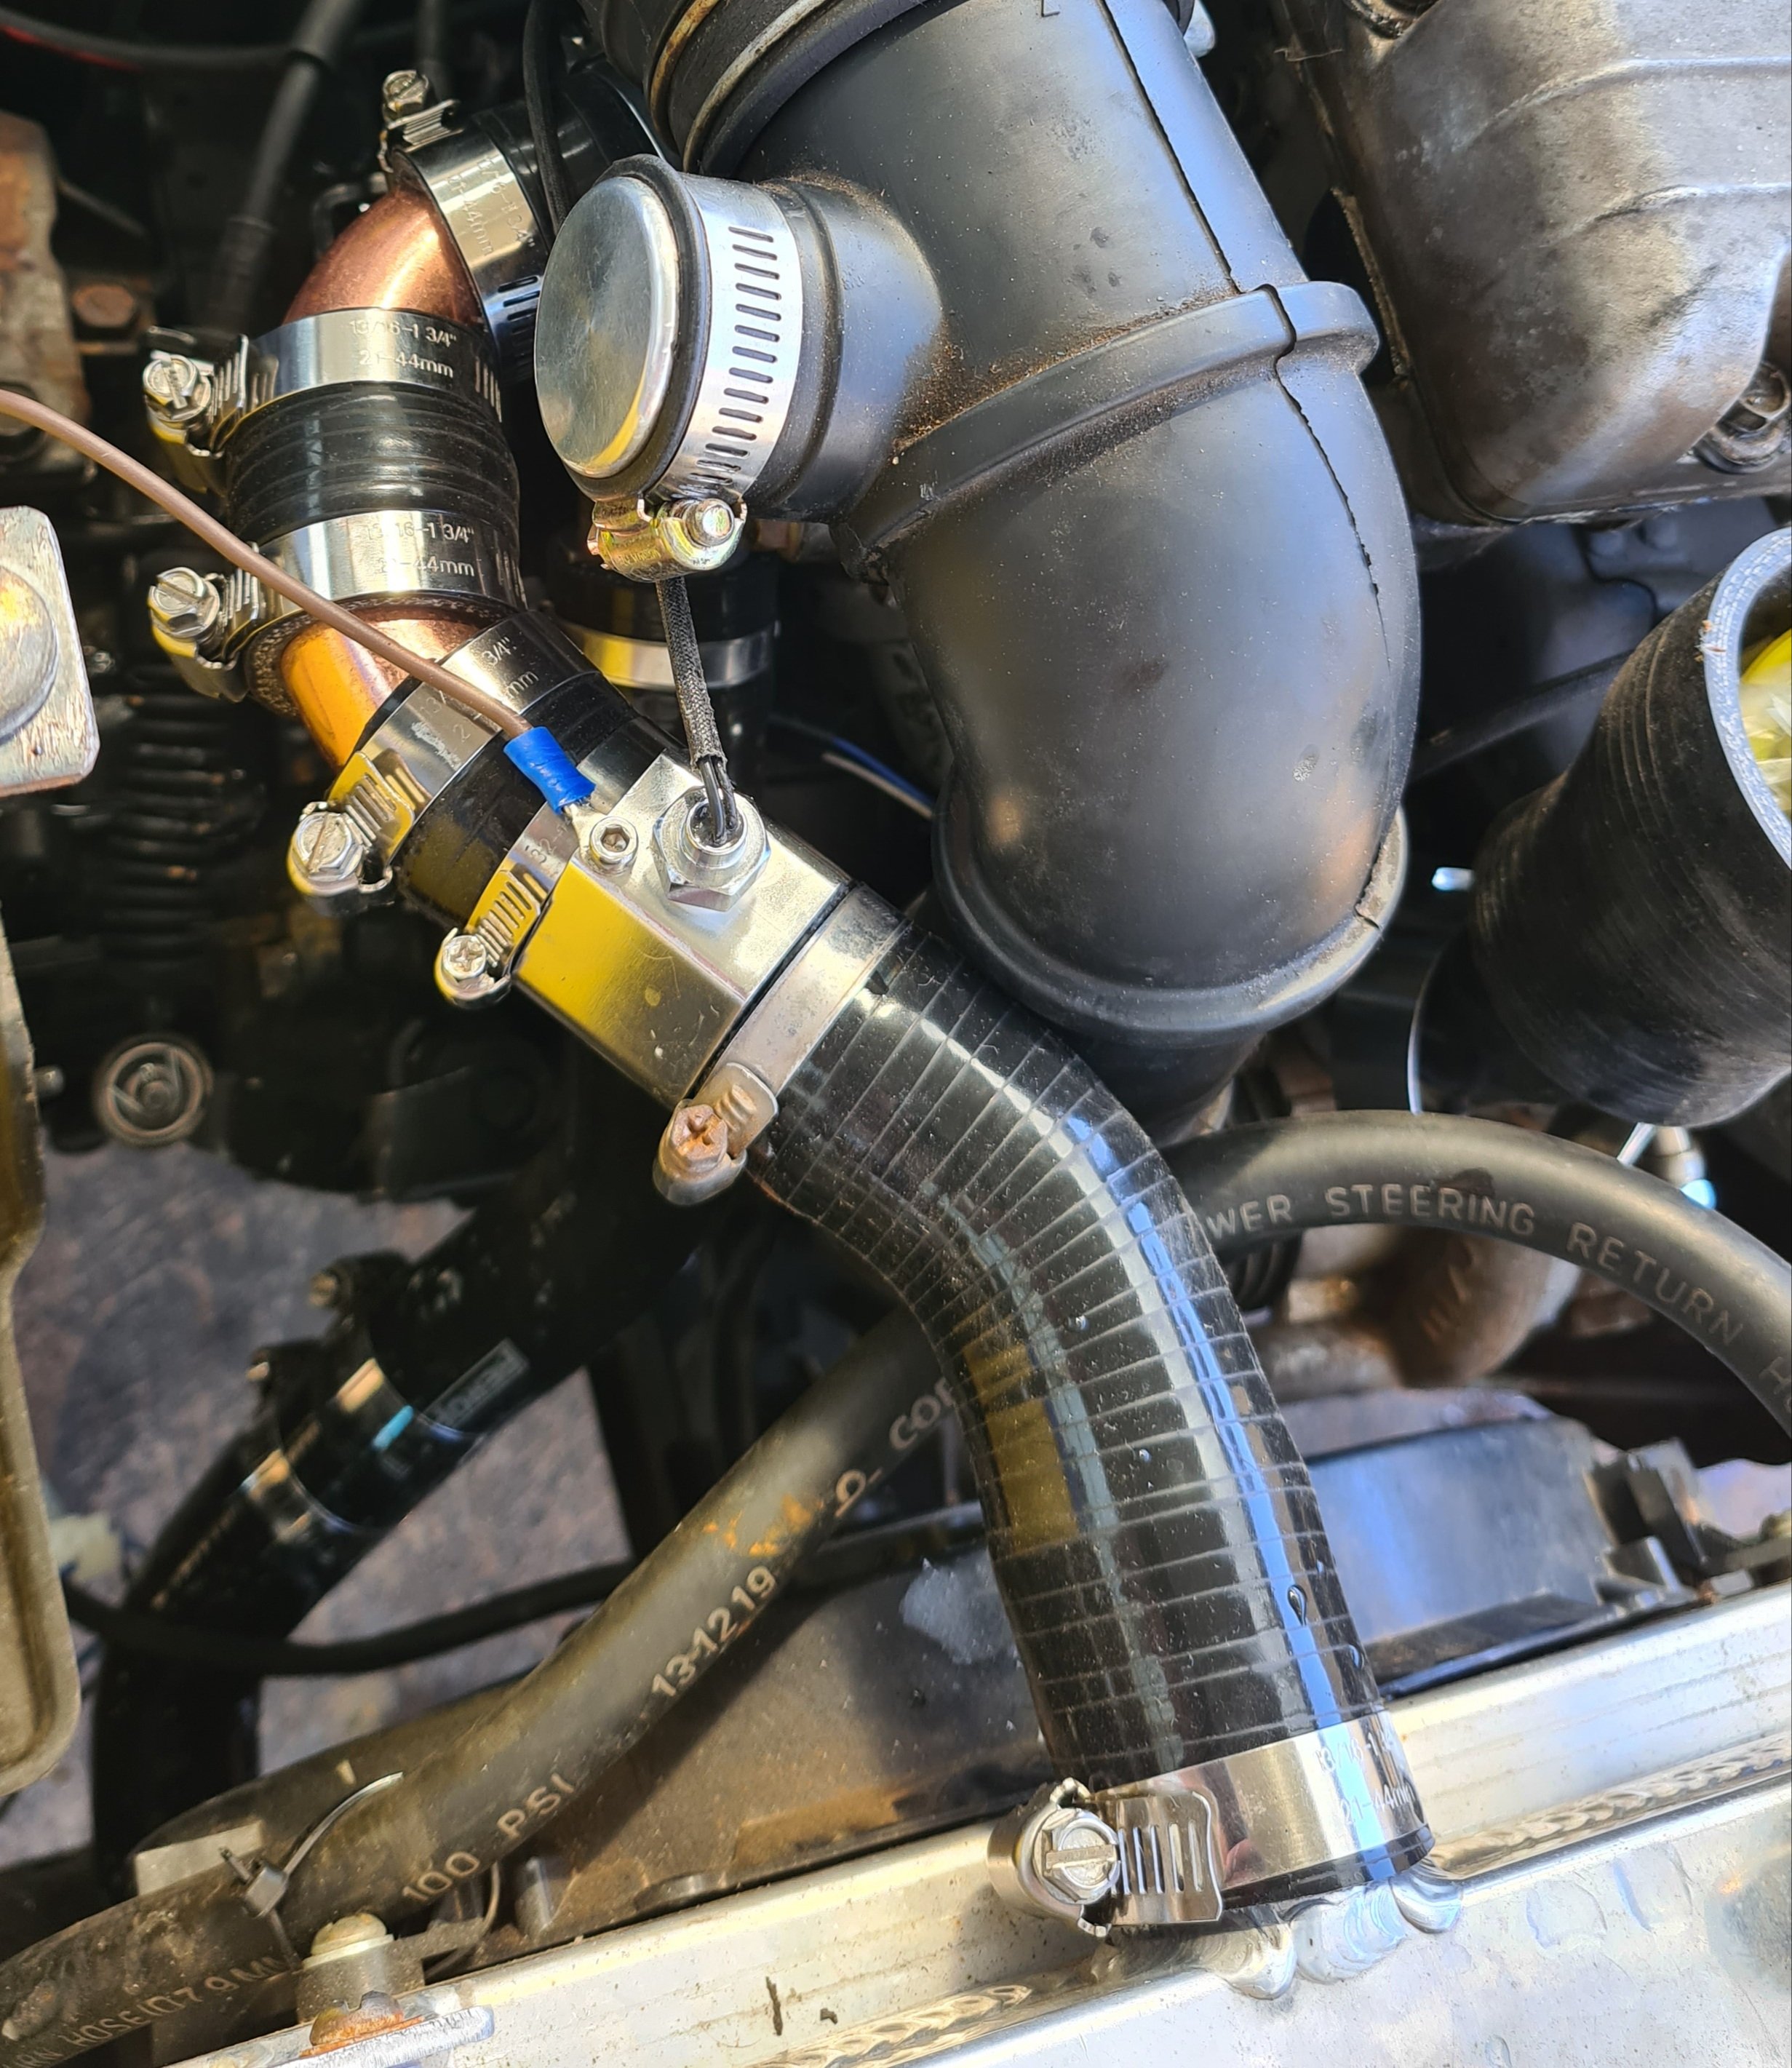
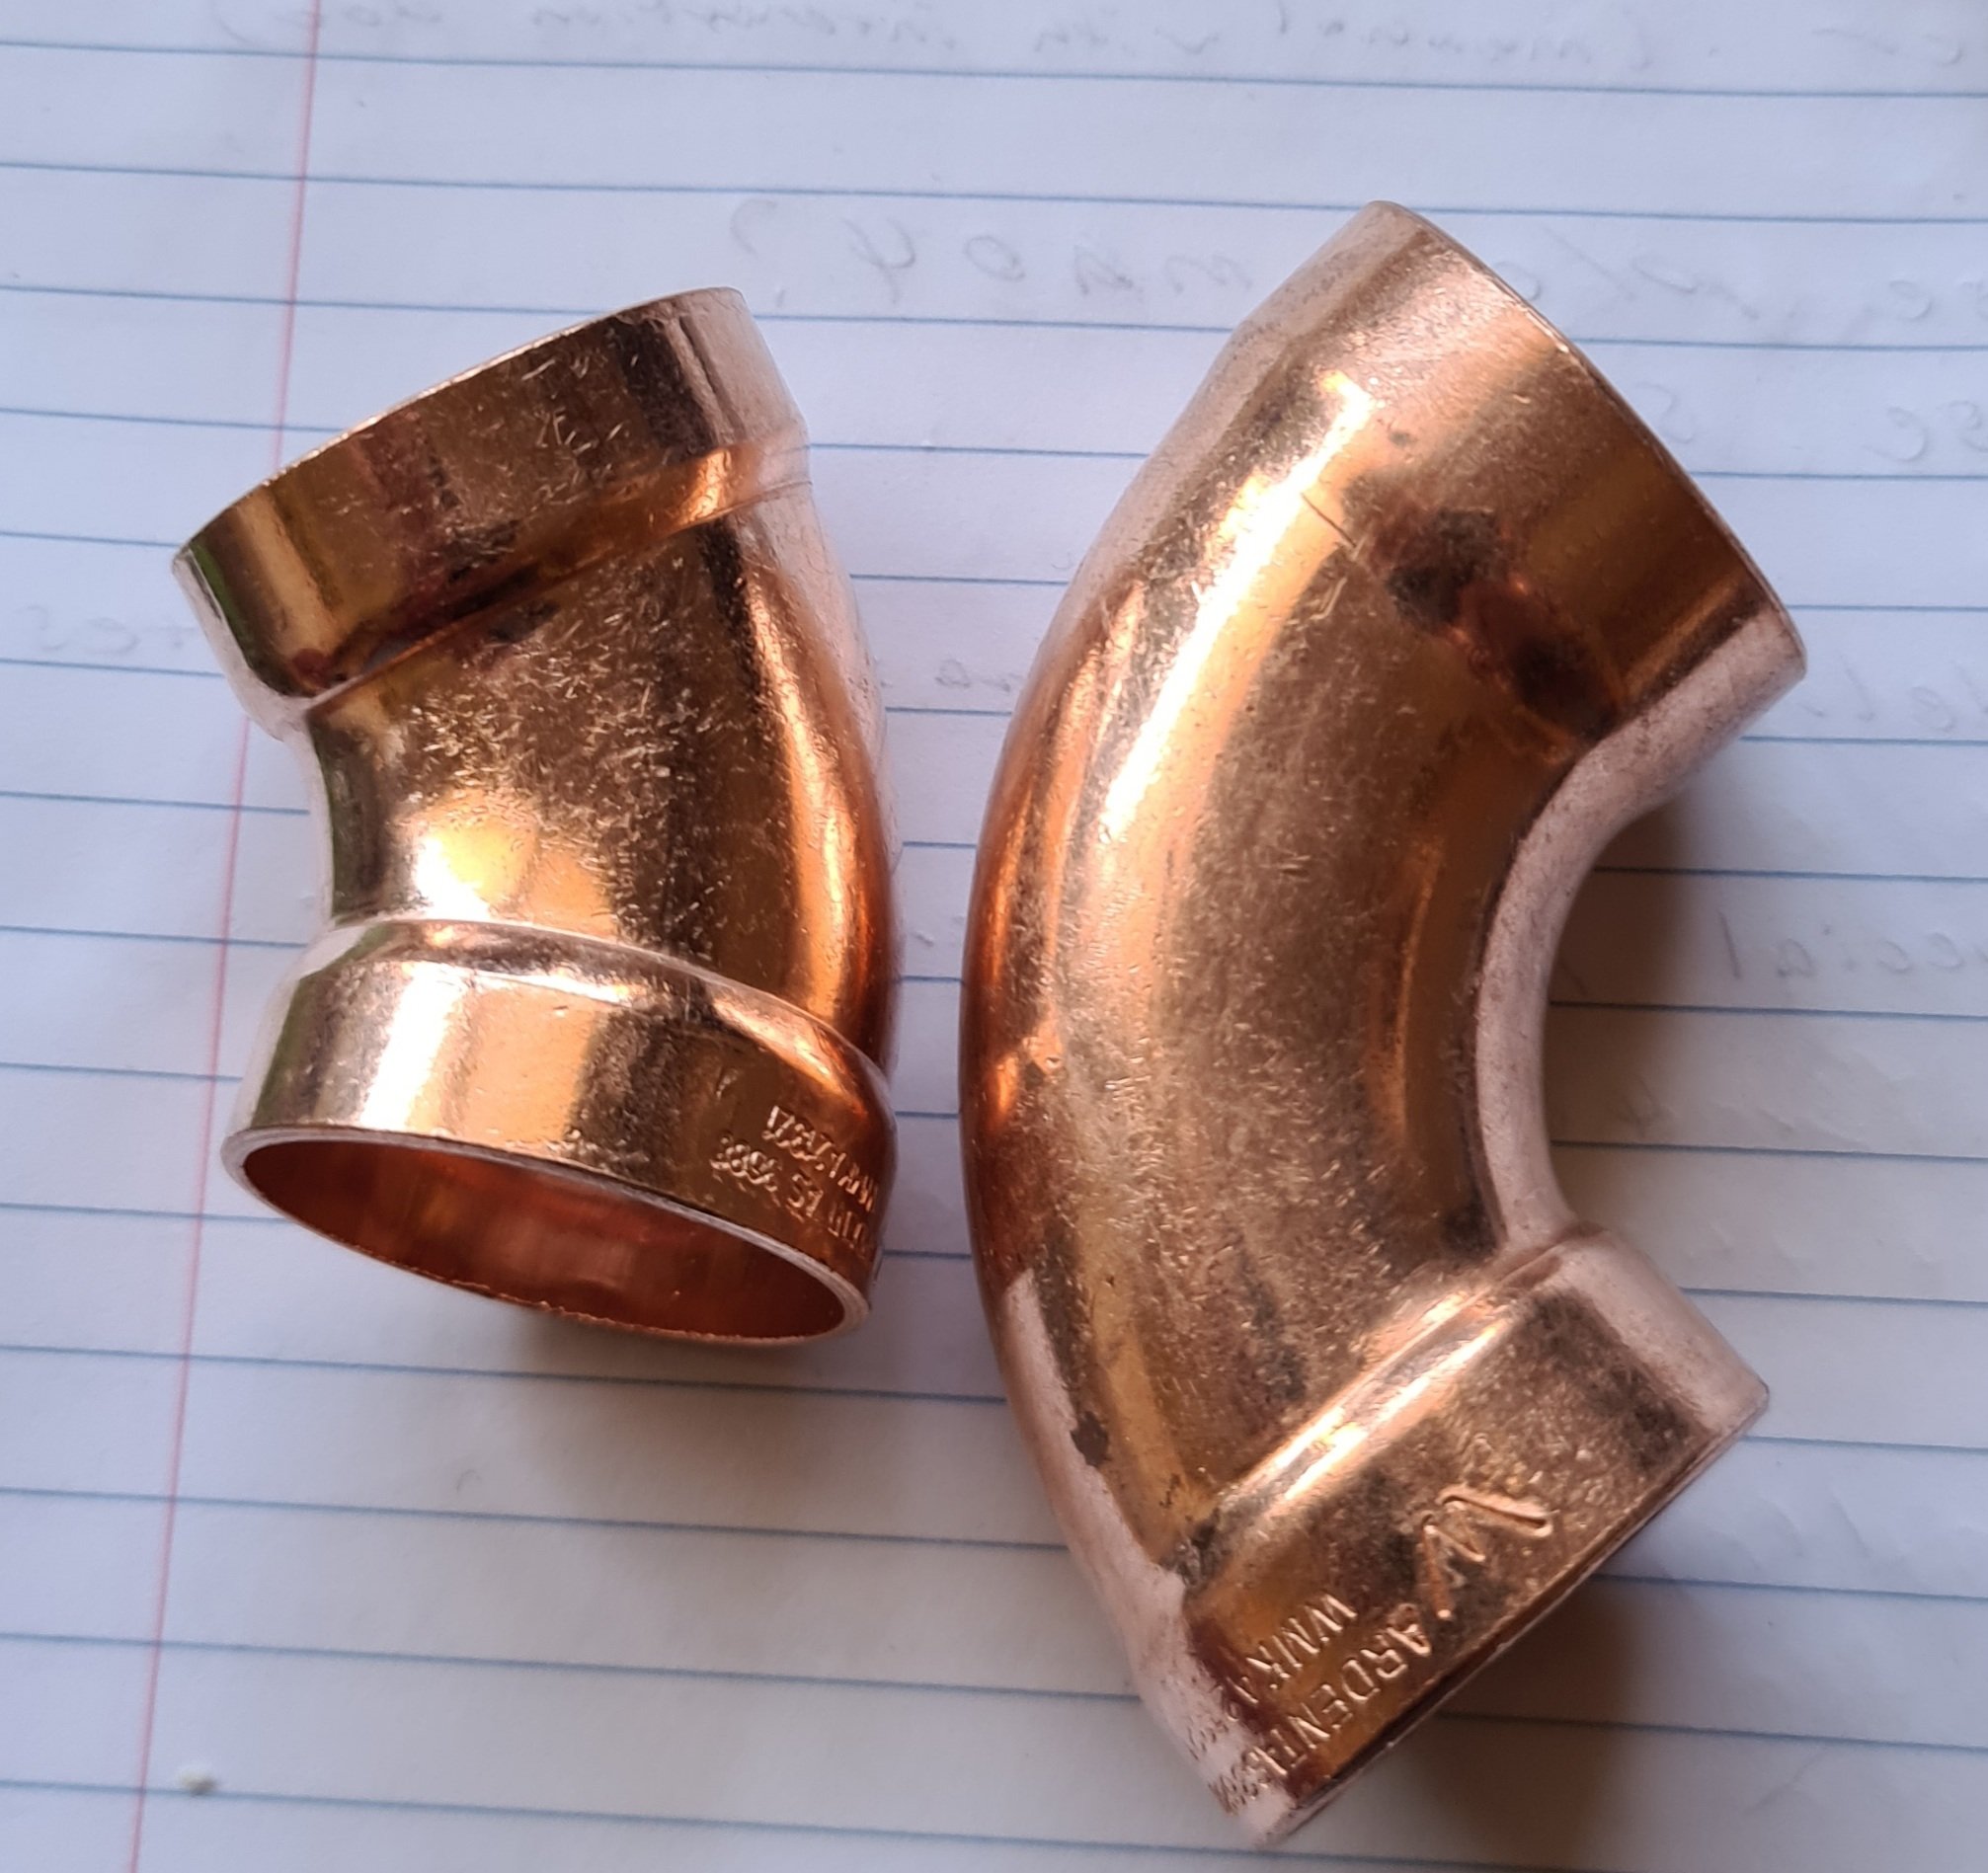
Small update, rad overflow nipple arrived and it fits so that's all attached Also have a bsp to npt adapter arrive that im trying to decide if I use it Popped to Reece's plumbing and got a 90 and 45 degree copper bend cut down the 45 degree silicon joiner I had and bobs your uncle Looks alittle ghetto but seems to work, just has water in it for now while I wait to see if it leaks, will do coolant when I'm happy Few things to do still and then get it started
-
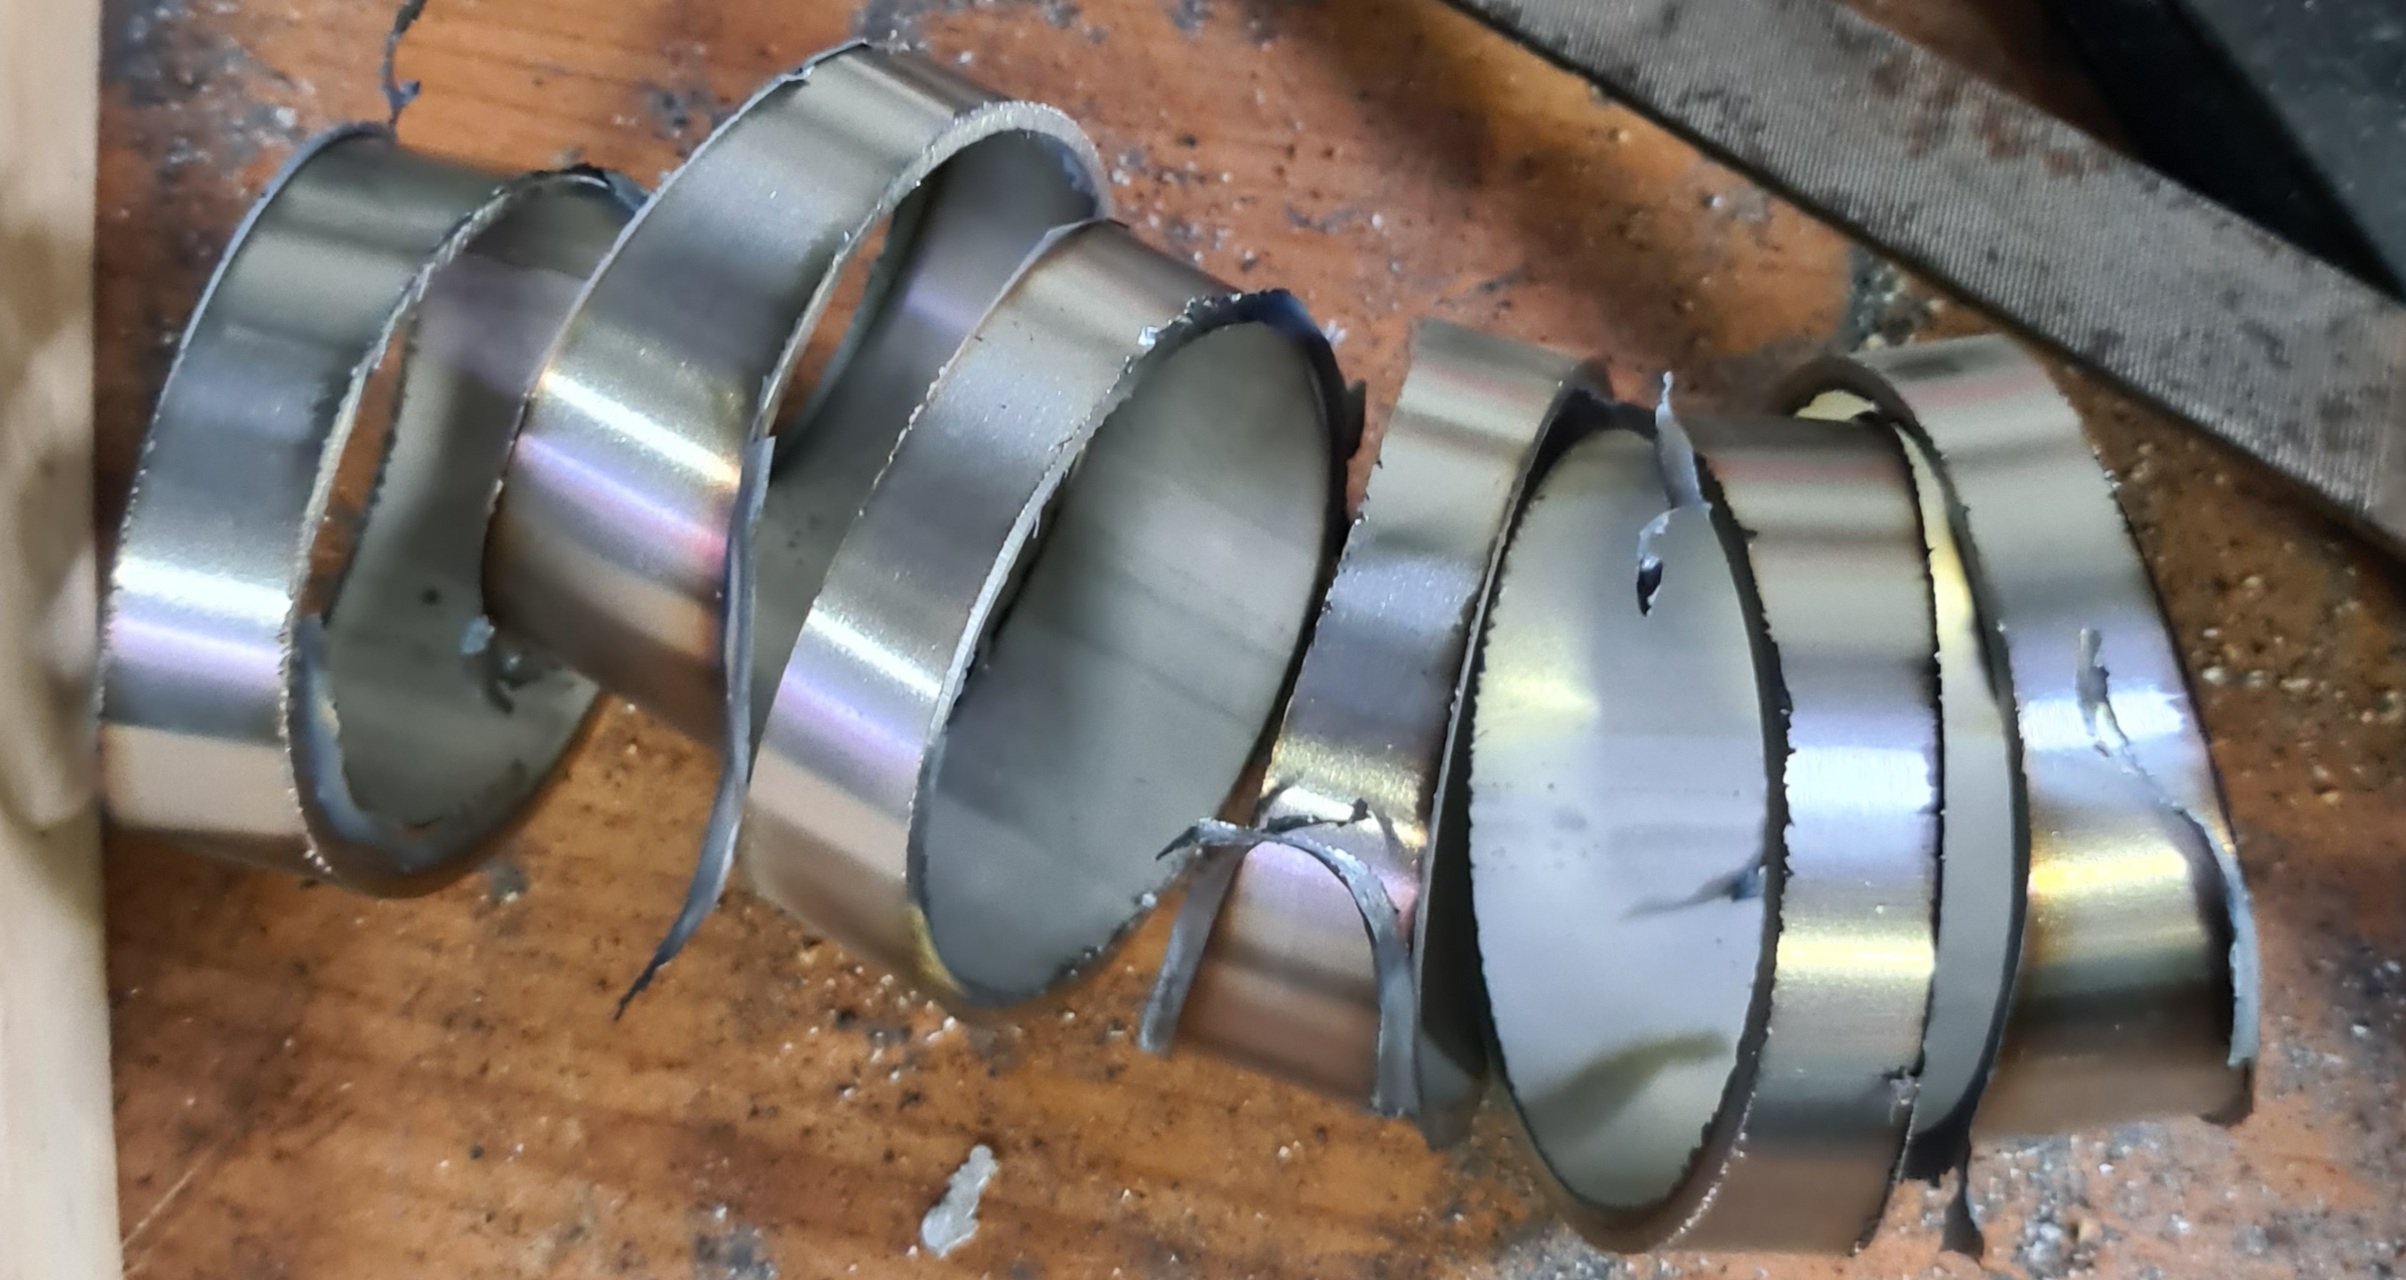
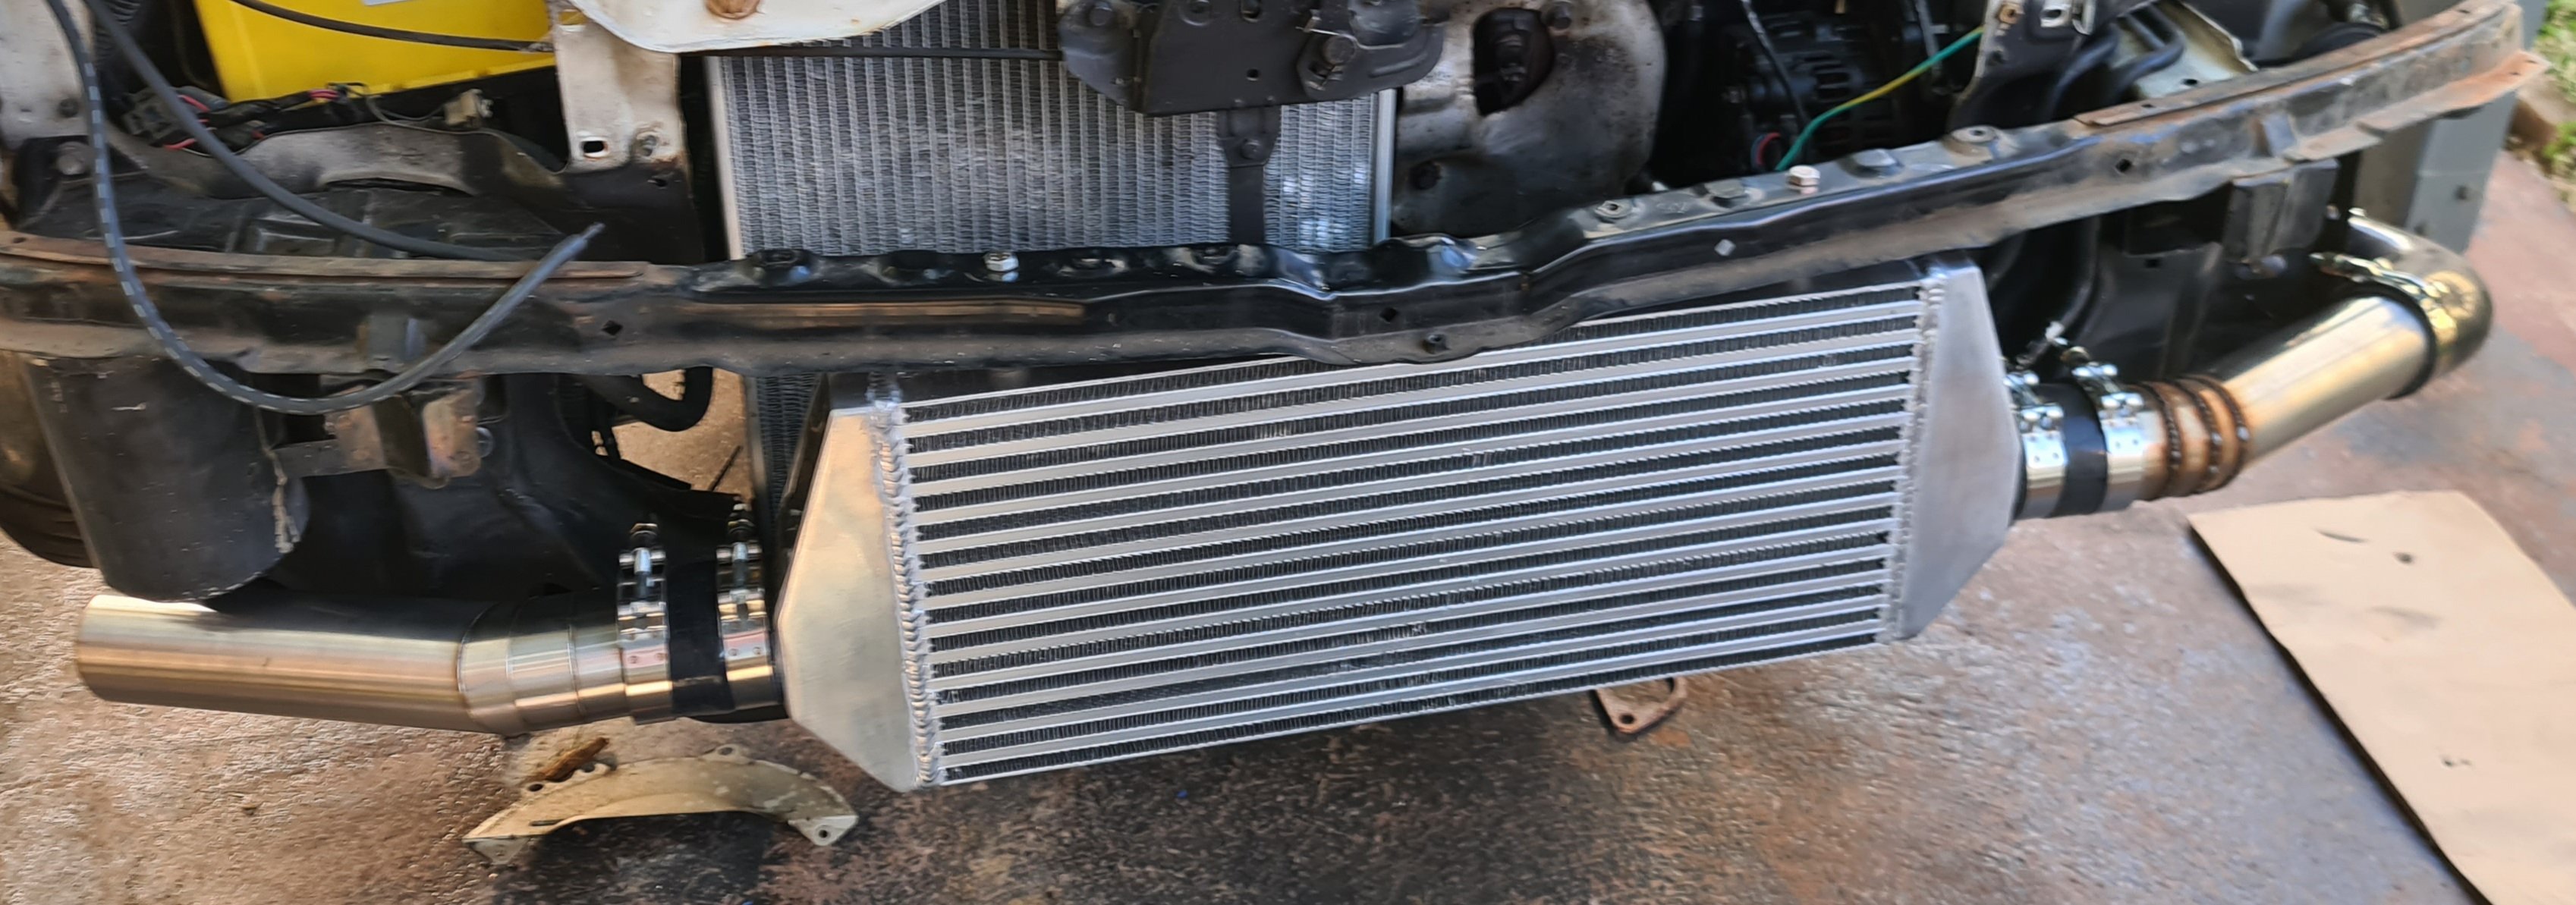
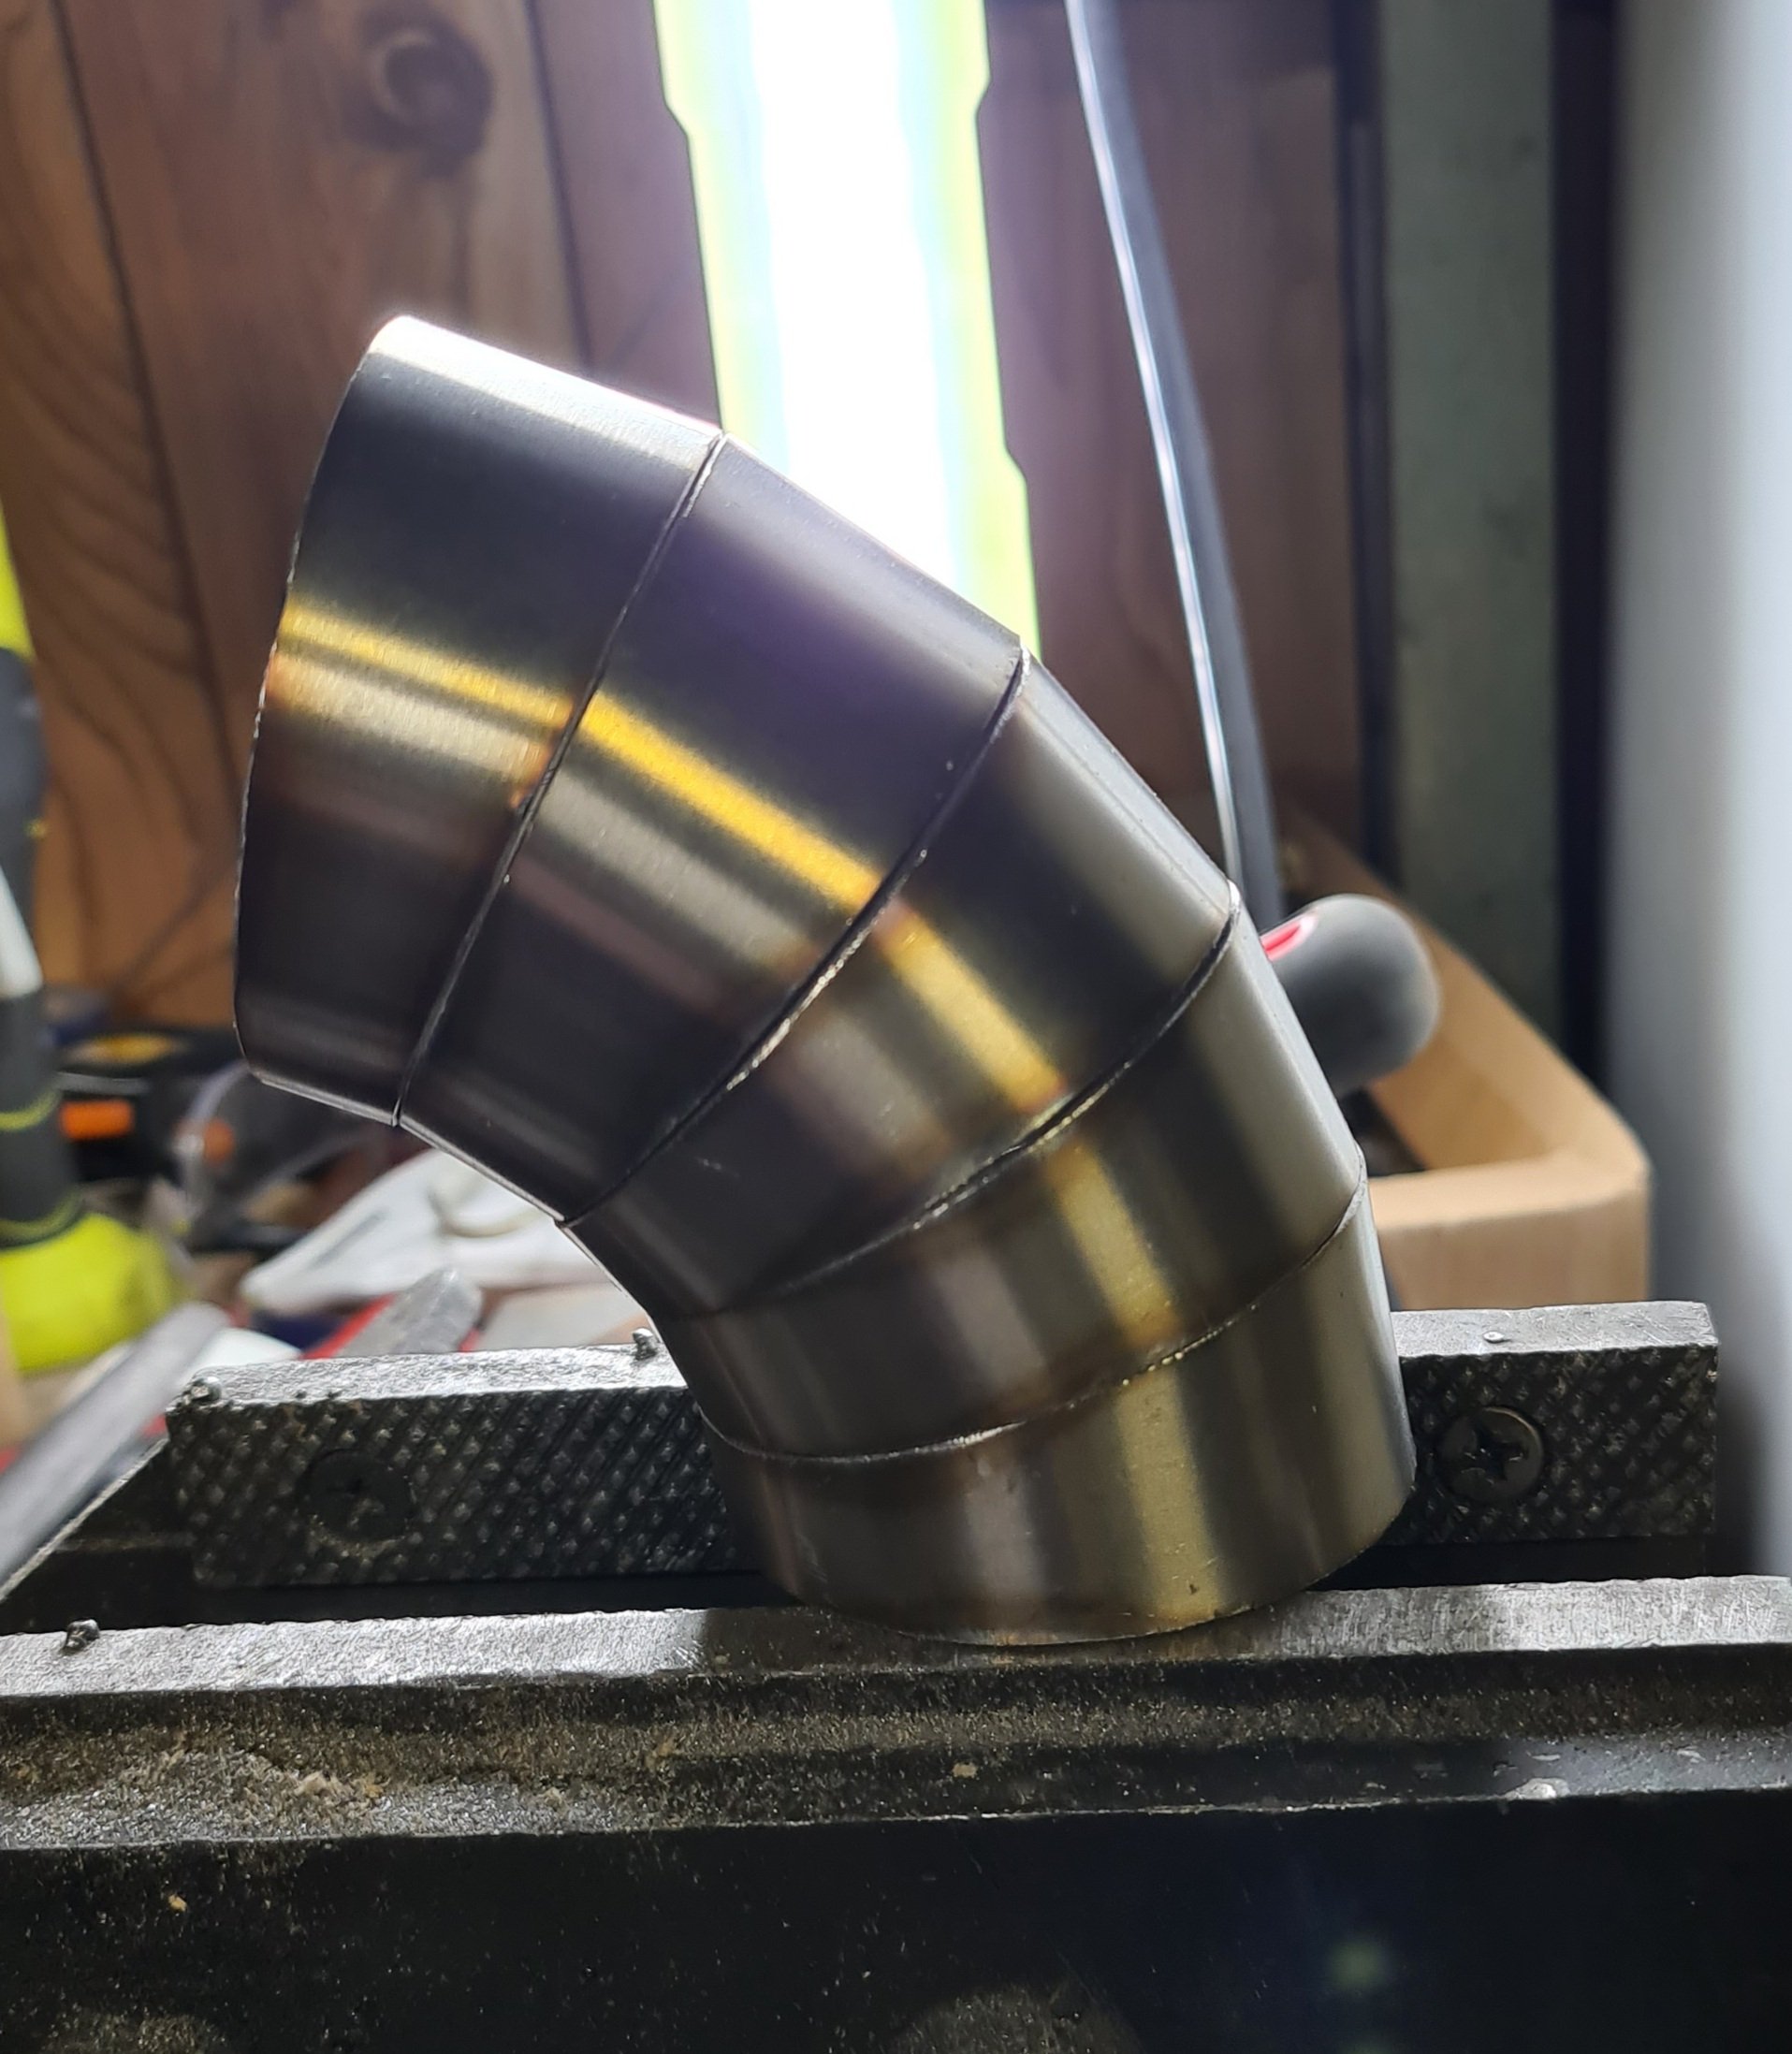
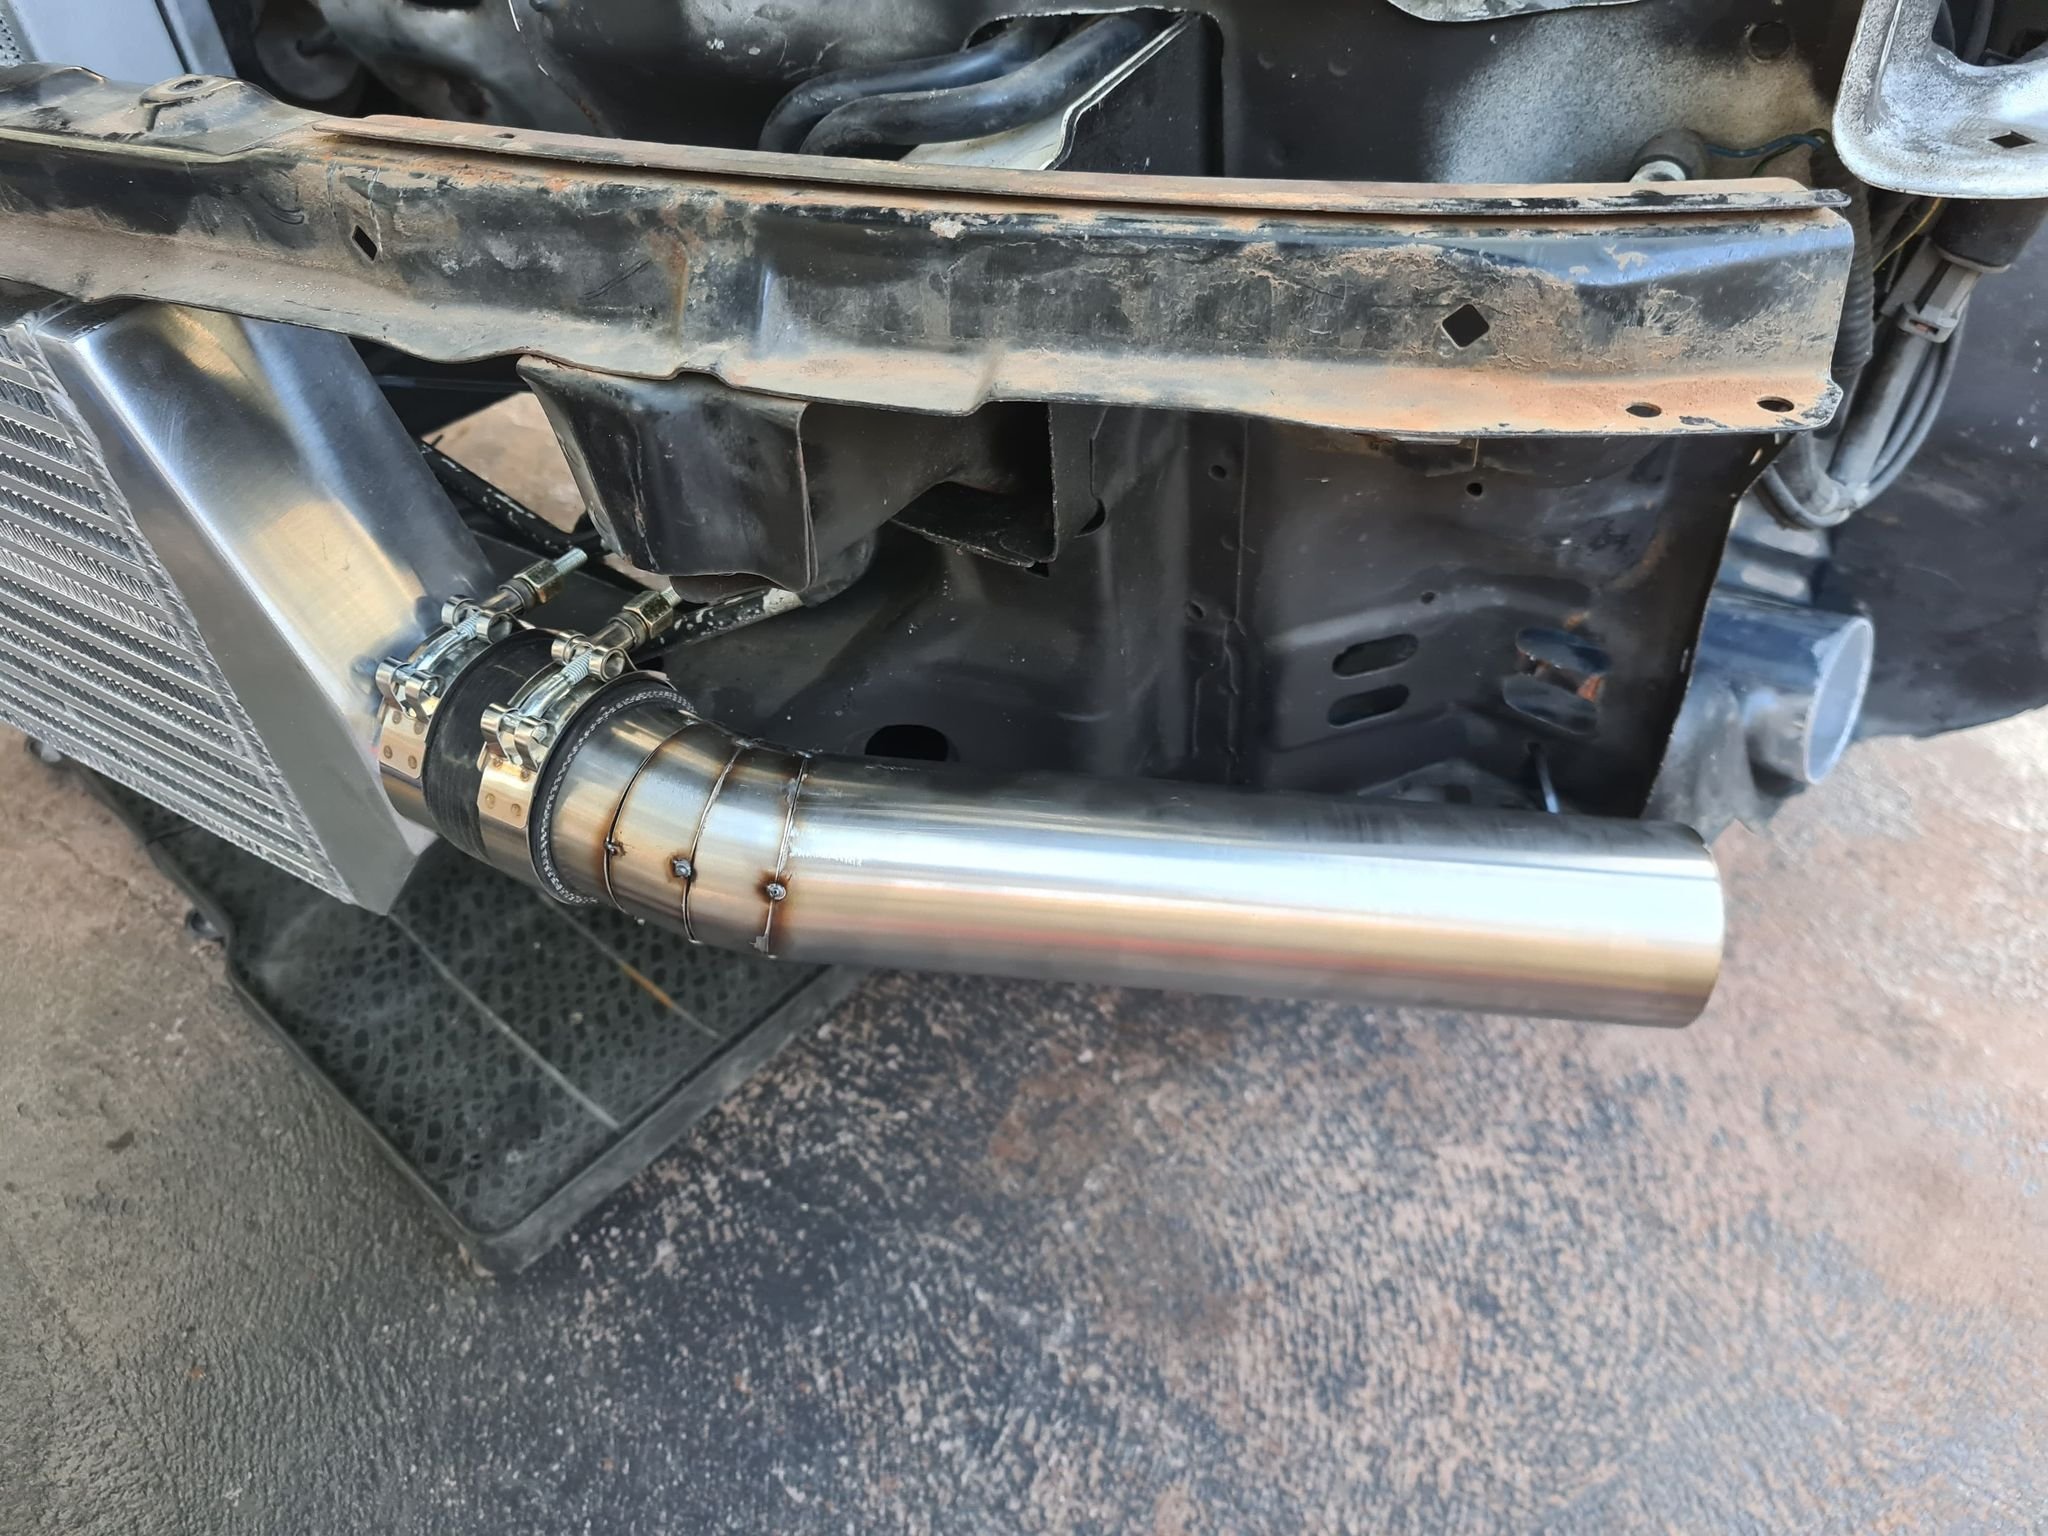
So more time cutting and cleaning up pie cuts gets me to here with a little welding thrown in Also the pie cuts are 7.5 and 7.5 degree so a total of 15 degree per cut roughly 20mm top and 10mm bottom when I cut them well, do have slight width ranges but I am getting more accurate Tacking Tacking, Nice and tight (as tight as I can go without worrying it will rub 90 Degree silicon bend so I can remove piping easily Test fitting the bumper for clearance before I start to weld it up Heaps of space Started welding the pipe that goes though the guard liner the angle is roughly 75degrees and then has a 30mm piece of straight welded on this goes into the 90 degree silicon joiner that's attached to the front pipe Welds aren't the best but they will do, shouldn't need to run a bead on this one as it should go far enough for the weld already on it to help hold it on with the T clamps Need to get the front pipe welded up then will clamp this all together, put the up pipe for the turbo back on and start doing the pipe up to the turbo Haven't started the other side yet but it should be similar, debating if I use the 45 degree alloy pipe I have over the gearbox and then make a stainless pipe from there or not I have some gold wrap to go on the piping in the engine bay anyway Also I am using normal mig wire so will either put some clear over it once I clean it up or will paint it black, went with stainless as it was cheaper then the mild steel I could source and is just all around nicer to work with Need to get some mesh for the bumper as well
-

Tomble's 1983 Starion GSR-X fumbling / hand-holding / discussion
shrike replied to tomble's topic in Project Discussion
I'm not sure what turbo starions normally run fuel wise but personally I would start with some 98 as it has higher knock resistance so if you get the timing wrong it'll help protect the engine. For a turbo engine I wouldn't put anything less then 95, unless its been tuned for lower octane fuel (on a dyno with some form of knock detection) Typically lower octane fuel has less knock resistance and generally knocks if you have to much ignition timing, or heat etc Clamps for power to get it started should be ok short term, just make sure you have a good earth connection -
Tomble's 1983 Starion GSR-X fumbling / hand-holding / discussion
shrike replied to tomble's topic in Project Discussion
Apologies if I am teaching you to suck eggs with this next comment just trying to be helpful , fingers crossed the dizzy works But while you've been waiting do you know any of the below and I would probably do most of this before you try start it Have you done an oil and filter change? or at least topped the oil up (I vaguely remember you saying it was super low on oil) Do you have a good battery for it? Does the engine turn over (ie does it spin when its cranked?) or have you turned it over by hand (turning the crank with a socket) Have you drained the old fuel out of the tank? and replaced it? (what fuel should it run?) Are there any cracked vacuum lines or coolant lines Do you have access to a compression tester? Have you taken the spark plugs out and what do they look like? Do you know how to set the timing when you install the Dizzy? As always main things when you do start it is does it have Spark/Fuel and compression -
Tomble's 1983 Starion GSR-X fumbling / hand-holding / discussion
shrike replied to tomble's topic in Project Discussion
Also if you haven't already https://projectzerog.com/ If it was me I'd get a wideblock 4G64 from a Mitsubishi Ute/Van, pick up a DOHC head from a 4g63 build a 10:1 compression motor to swap in with a turbo (3" exhaust and a front mount inter-cooler), an aftermarket ecu and make a new engine loom for it. Upgrade the fuel pump to the biggest one that will fit in the fuel tank cradle, 1000cc injectors, coil on plugs (probably R35) E85 and then tune it for around 200kw at the wheels Probably go for a Drive by wire setup as well Obviously more to it then that however :p But that also means it isn't original -
Tomble's 1983 Starion GSR-X fumbling / hand-holding / discussion
shrike replied to tomble's topic in Project Discussion
A Link is an aftermarket ECU option to control the engine, Not sure if they do plug in versions for the Starion so you would be looking at a wire in setup I'd probably steer you towards a speeduino and suggest a patch loom/new loom but I suspect if your wanting to keep to factory parts you may not be keen The challenge with factory parts is getting replacements can be hard, also less knowledge these days on how they work for trouble shooting An aftermarket ecu would mean you could get rid of the dizzy, and move to coil on plug or other ignition options. Would just need to sort out a sensor to read timing, it also allows you to get rid of things like Mafs, have better boost control etc and if you have the right ecu move towards Drive by wire options (better cold start/idle and options for cruise control) Fuel ignition has come a long way and an aftermarket ecu allows you to simplify the engine bay and remove parts that are no longer required, this increases reliability (sometimes fuel economy) and when you eventually want more power opens that door as well @Roman Is pretty good at this stuff so maybe he can give more guidance -
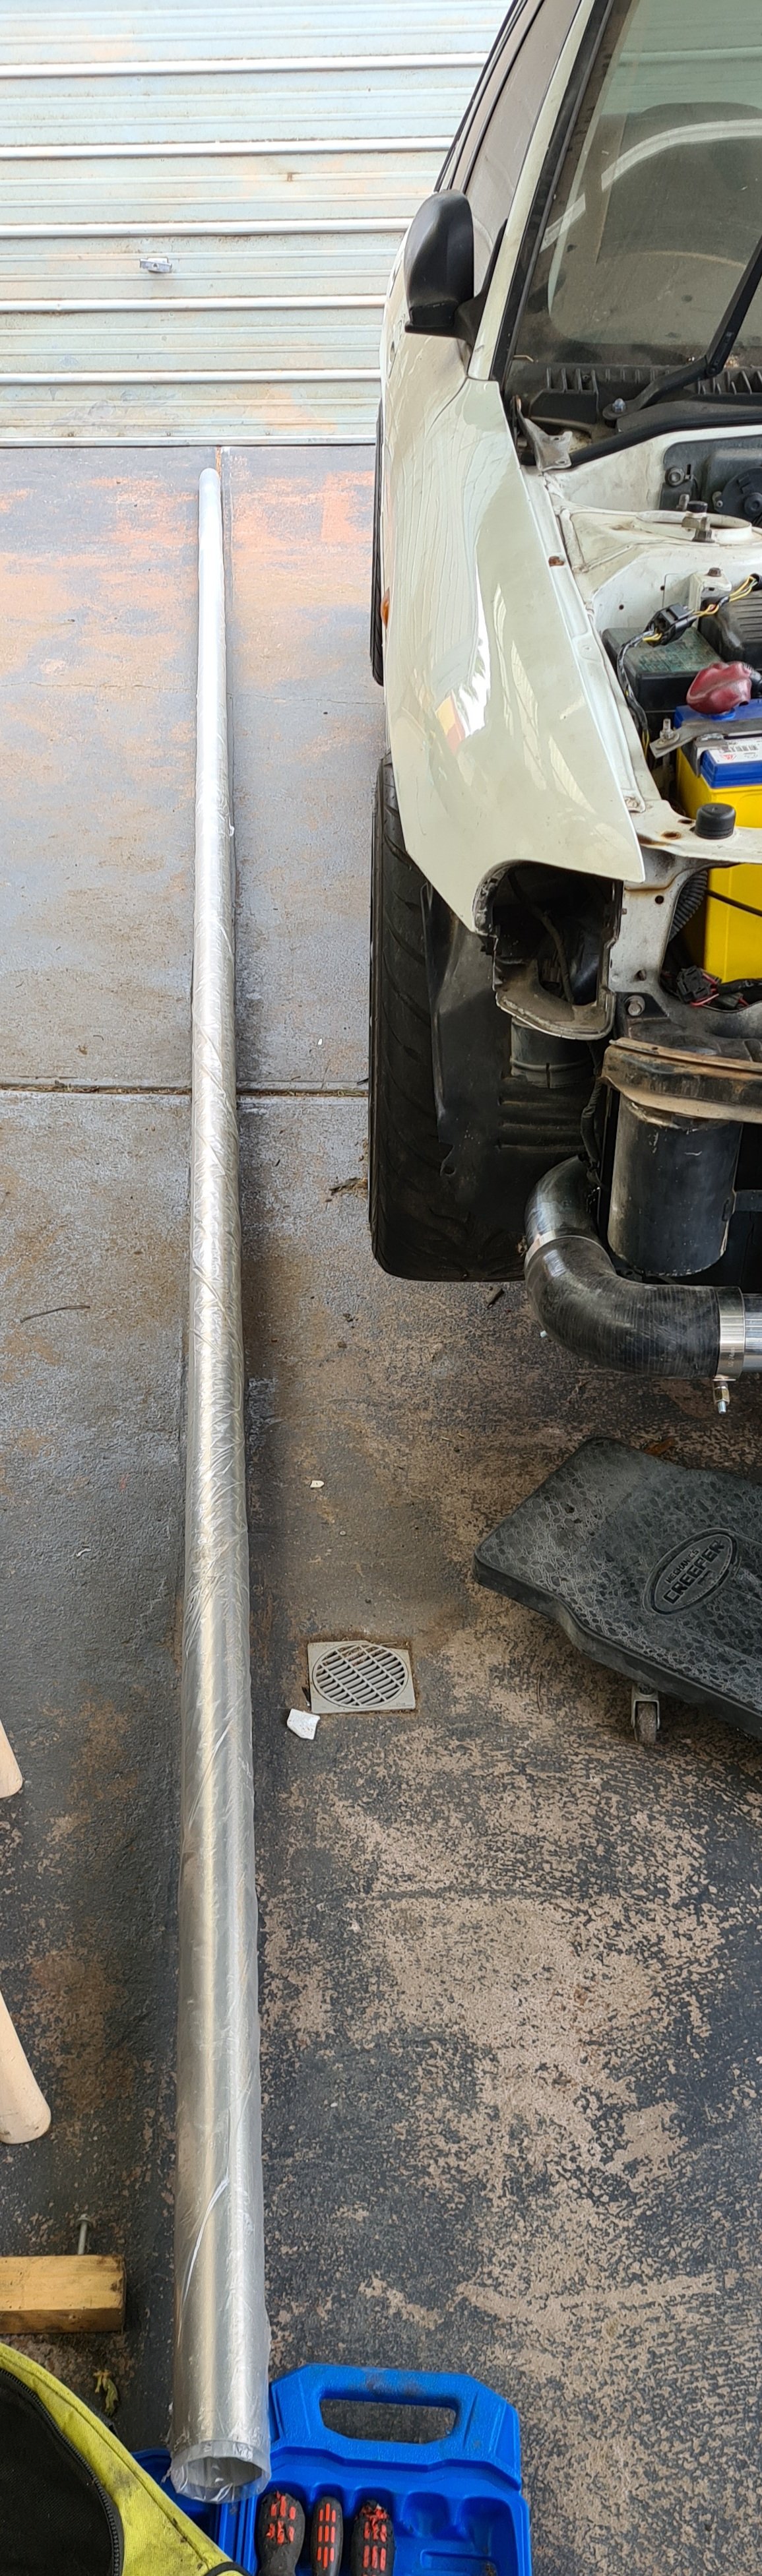
6m is a lot of 2.5" pipe, already started cutting it up, have 2 straight ends (already cleaned up) coming out the intercooler 2 pie cuts to the passenger side and a straight with a 7.5° angle on the end Also cut a few more pie pieces, that I need to clean up. Other side needs 3 pie cuts to start before the straight Haven't tacted anything yet will start once I've cut a few more bits
-
Tomble's 1983 Starion GSR-X fumbling / hand-holding / discussion
shrike replied to tomble's topic in Project Discussion
@tombleI had a quick look on Gumtree for you last night without much luck, if you do find one over here and have any issue getting it shipped let me know, happy to pick up (if in Melbourne) or get it shipped to me and then on send it to NZ (probably via Auspost, but happy to use anyone you like) -
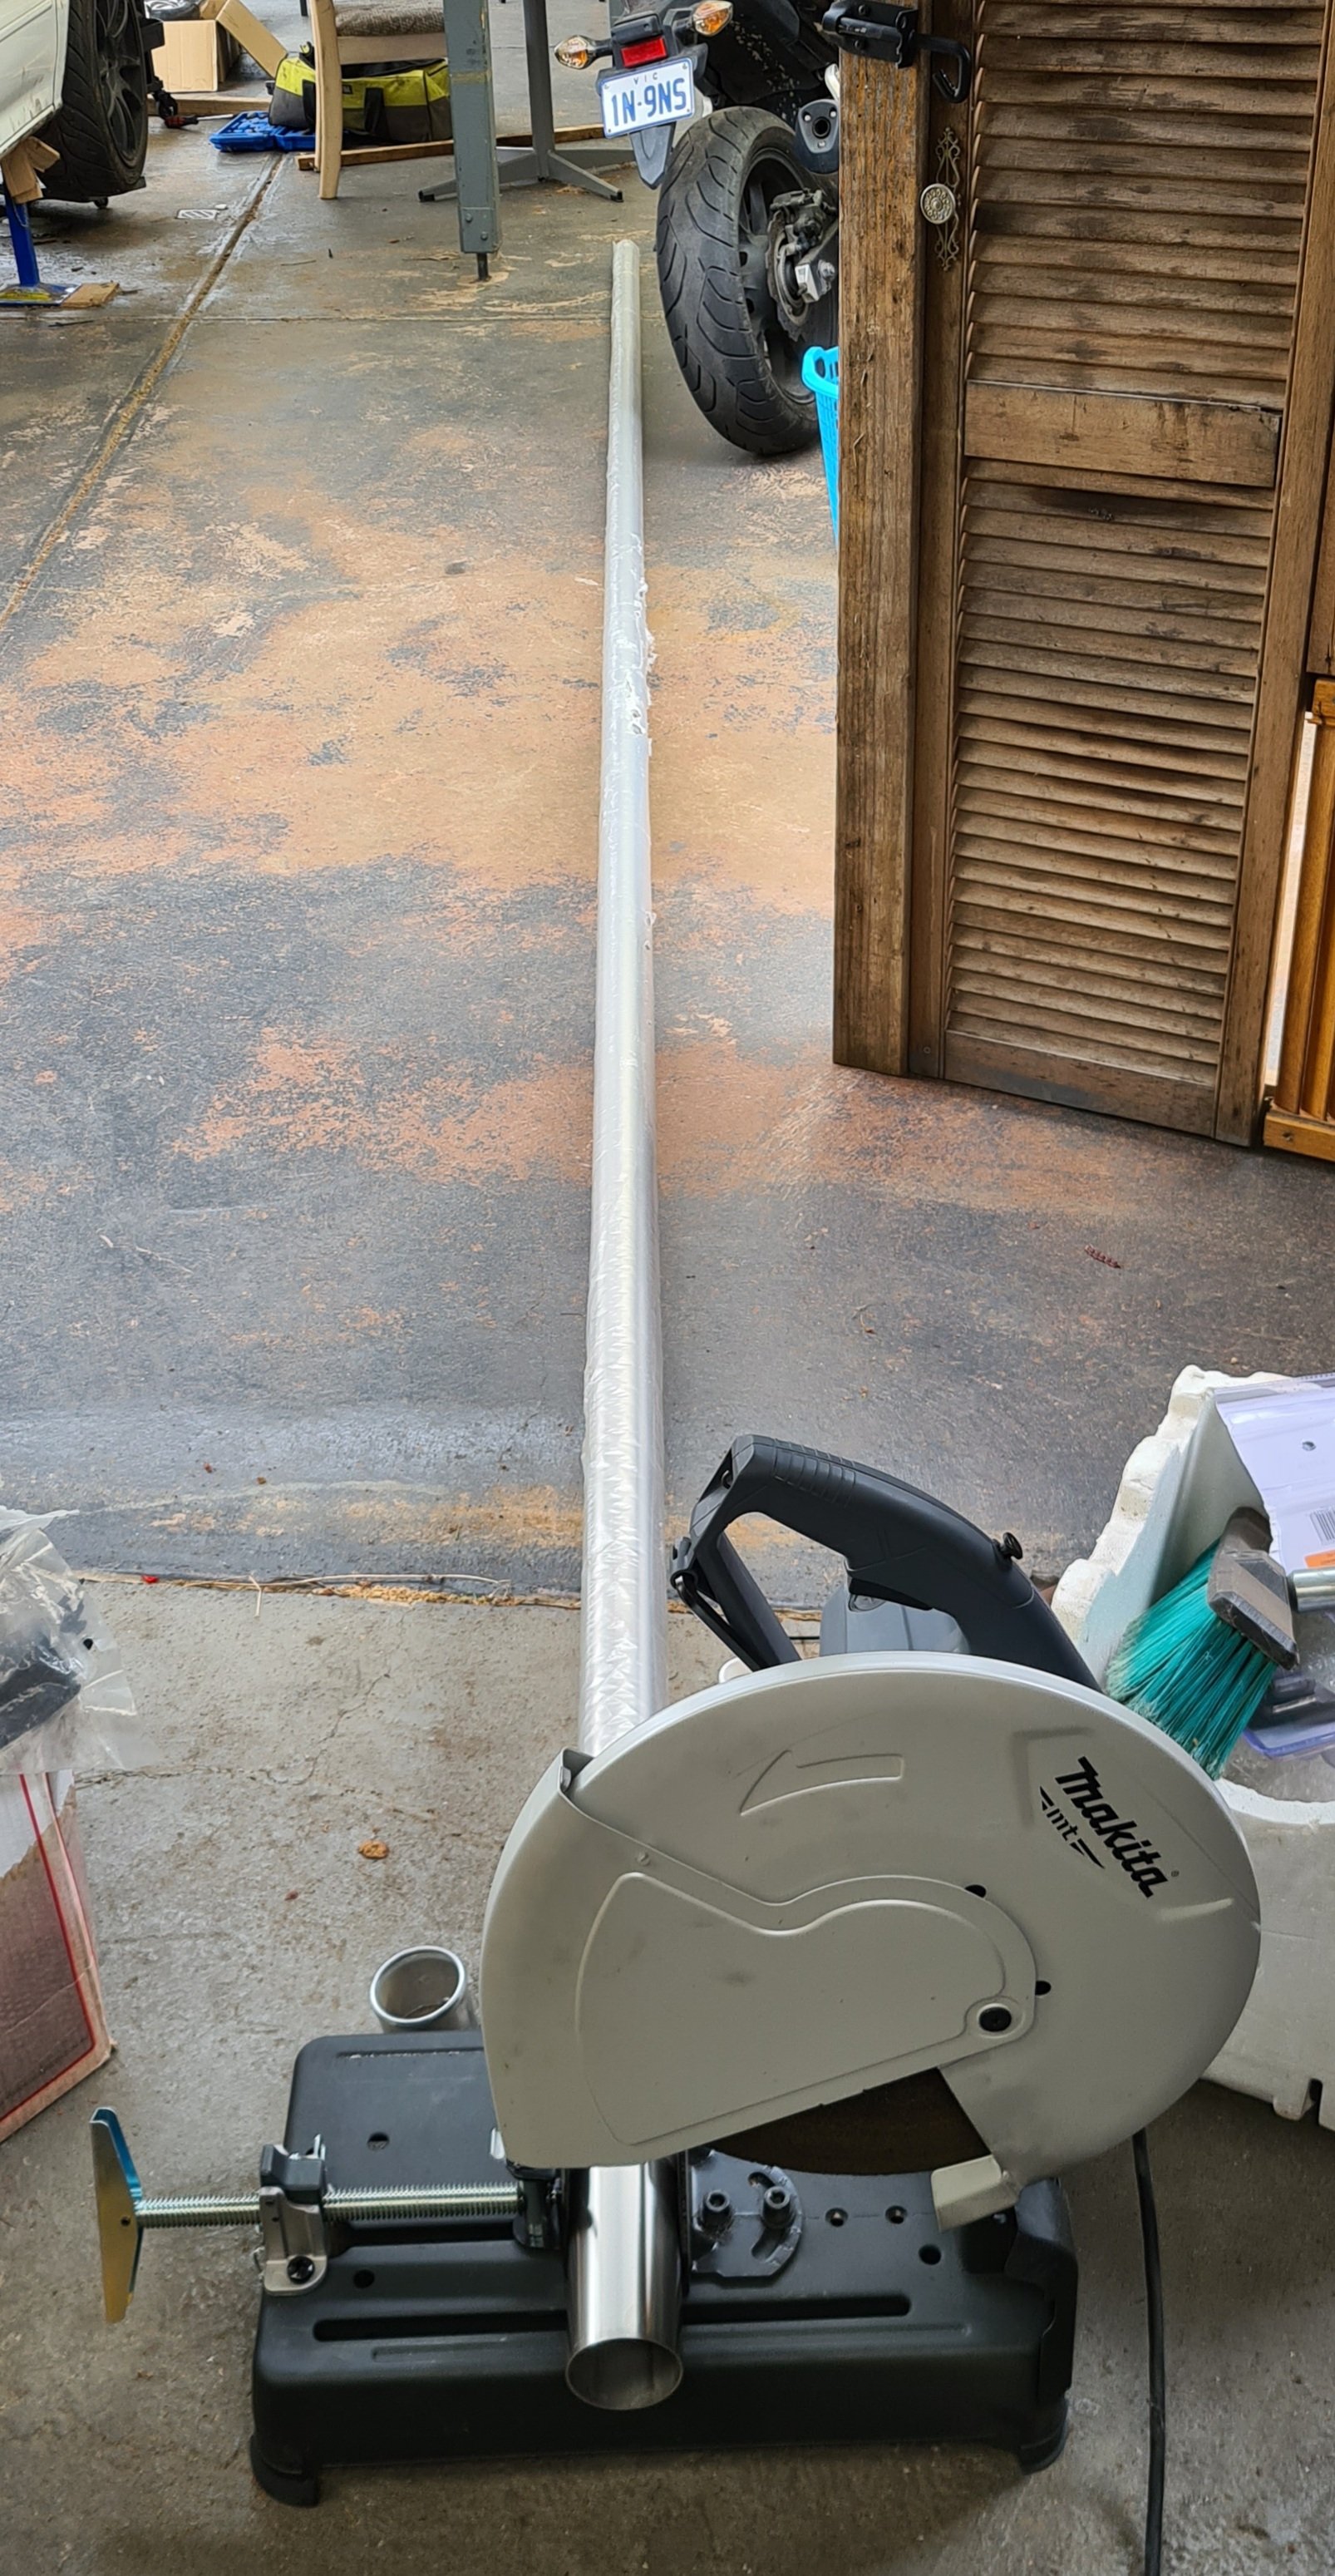
Went to go pick up 6m of 2.5" 304ss pipe from a supplier over here, cost me under $100aud, plan was to put it on my wagon roof racks. Allowed 1.2m of overhang on the front so with a 4.775m wagon I was only 25mm off, was started to strap it on (it was overhanging the back as I was going to move it forward once I had it a little more secure) and the warehouse manager came out and offered to get it delivered as he wasn't happy with me taking it on the roof. Which is fair enough, a little embarrassing though, they had offered to cut it down for me as well but I thought it would be ok before it came out. To be honest once I got it on the car I agreed with them as I had forgotten how long 6m is, next time ill get it cut in half/thirds or delivered to start with. I had taken the grinder with me encase I needed to cut it down as well, but lesson learnt. Should be here this afternoon so might do some piping tonight if I am motivated.
-
Tomble's 1983 Starion GSR-X fumbling / hand-holding / discussion
shrike replied to tomble's topic in Project Discussion
https://www.amayama.com/en/genuine-catalogs/epc/mitsubishi-japan/starion/A183A https://www.amayama.com/en/genuine-catalogs/epc/mitsubishi-japan/starion/A183A/mrtg2/engine-electrical/distributor/5702,5708 Might help -
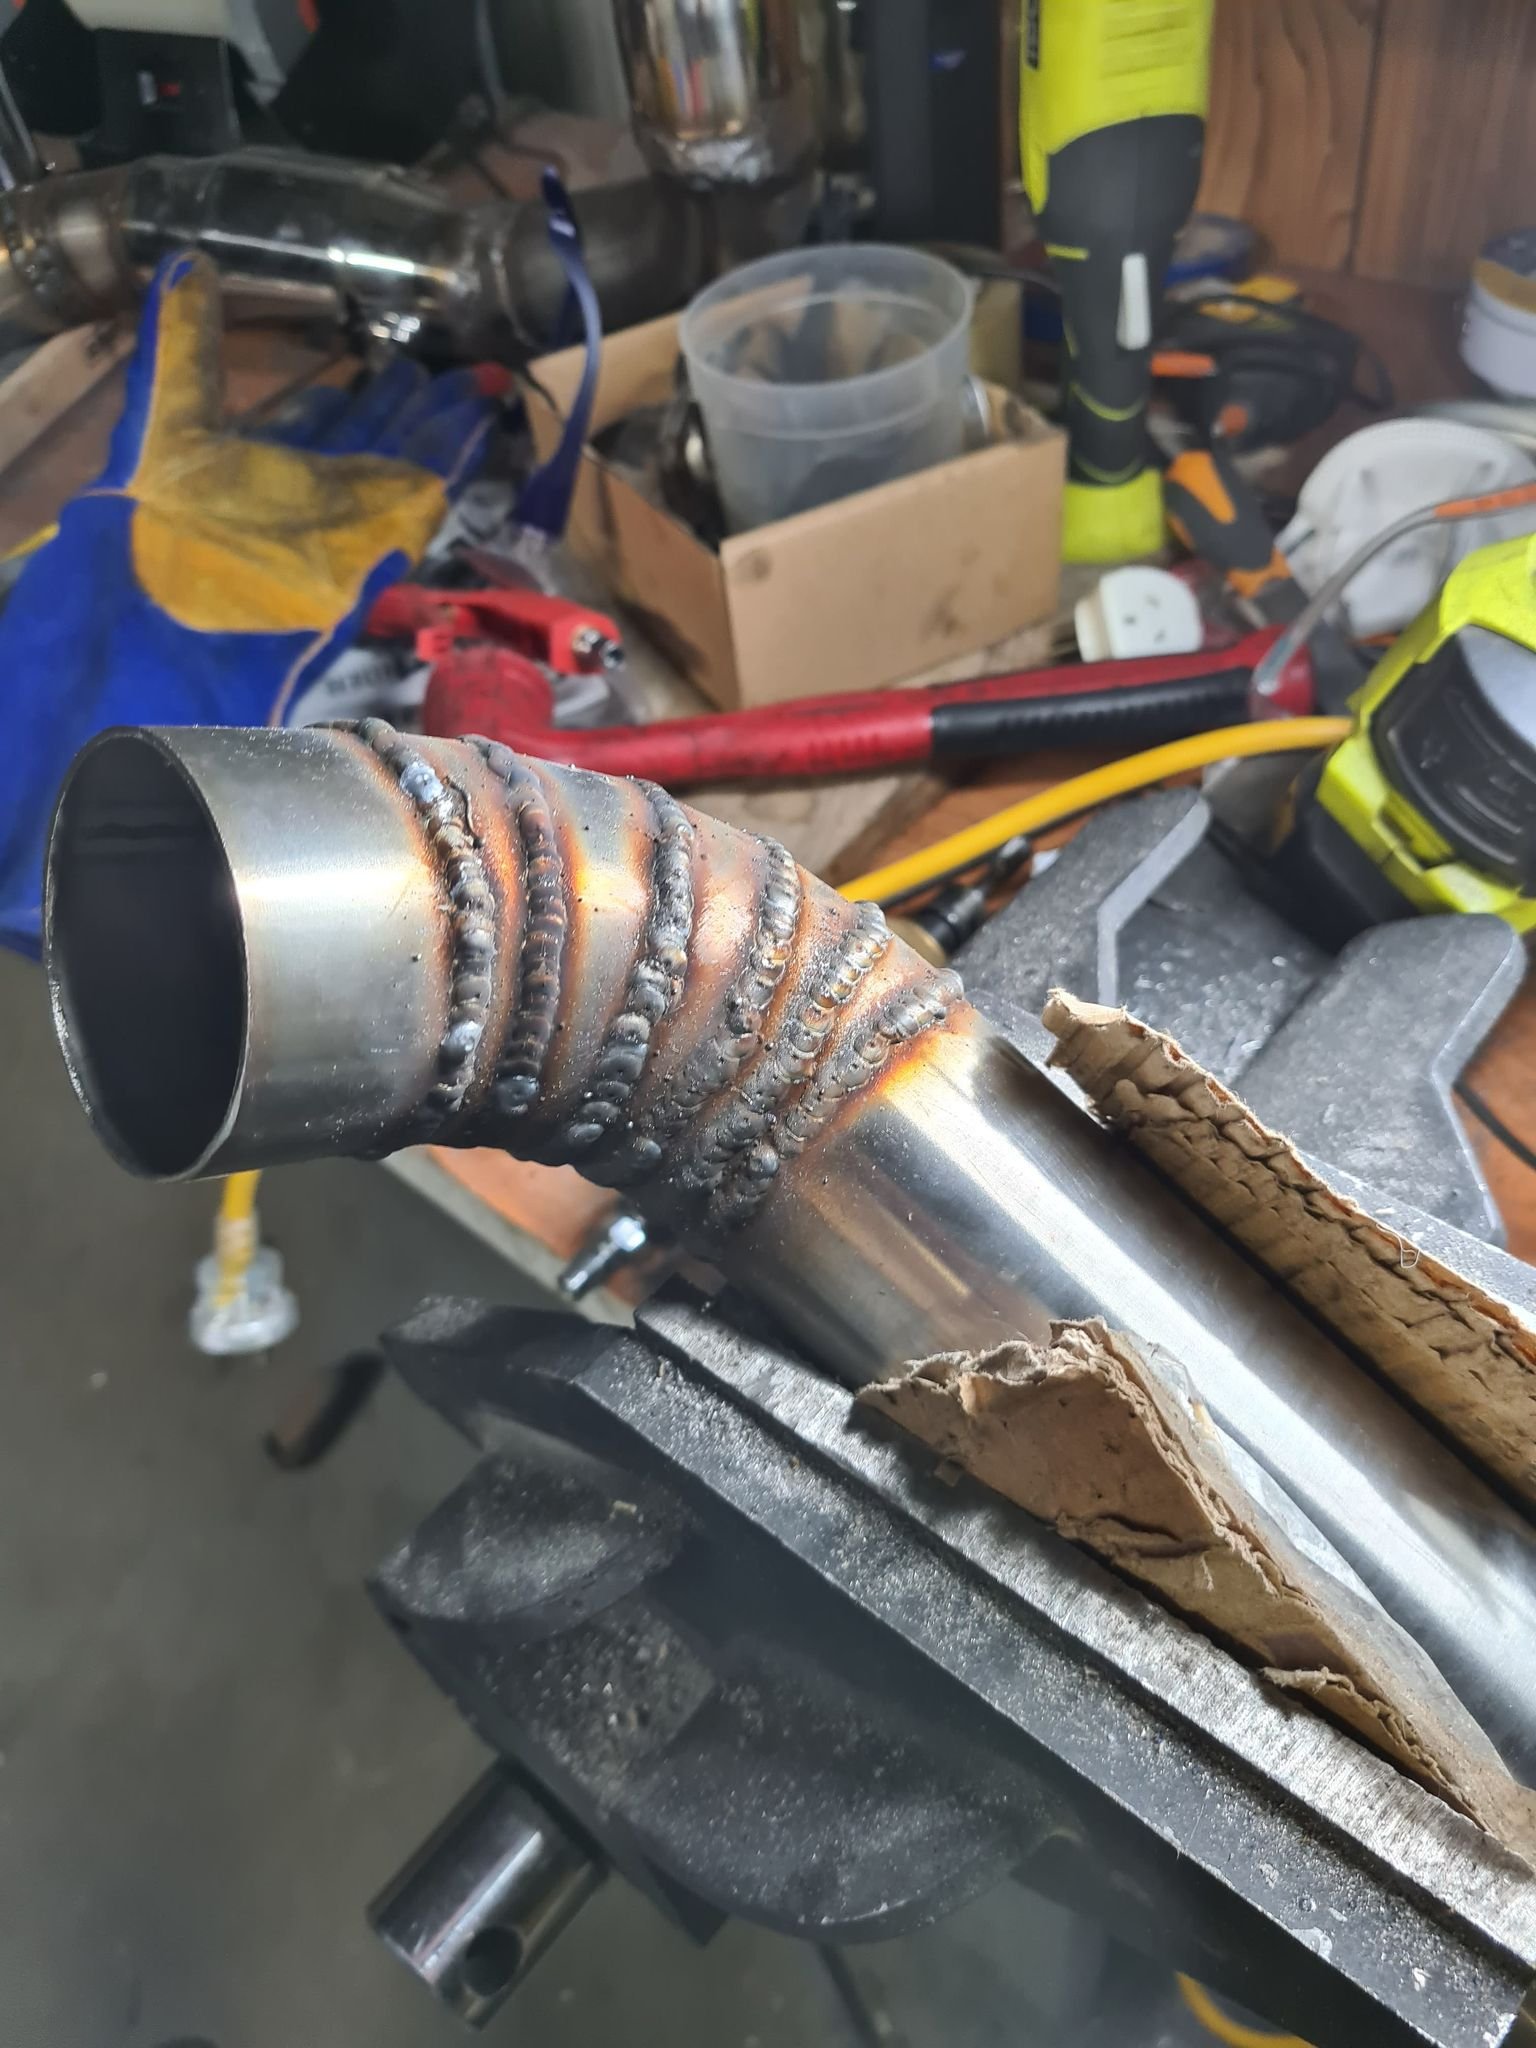
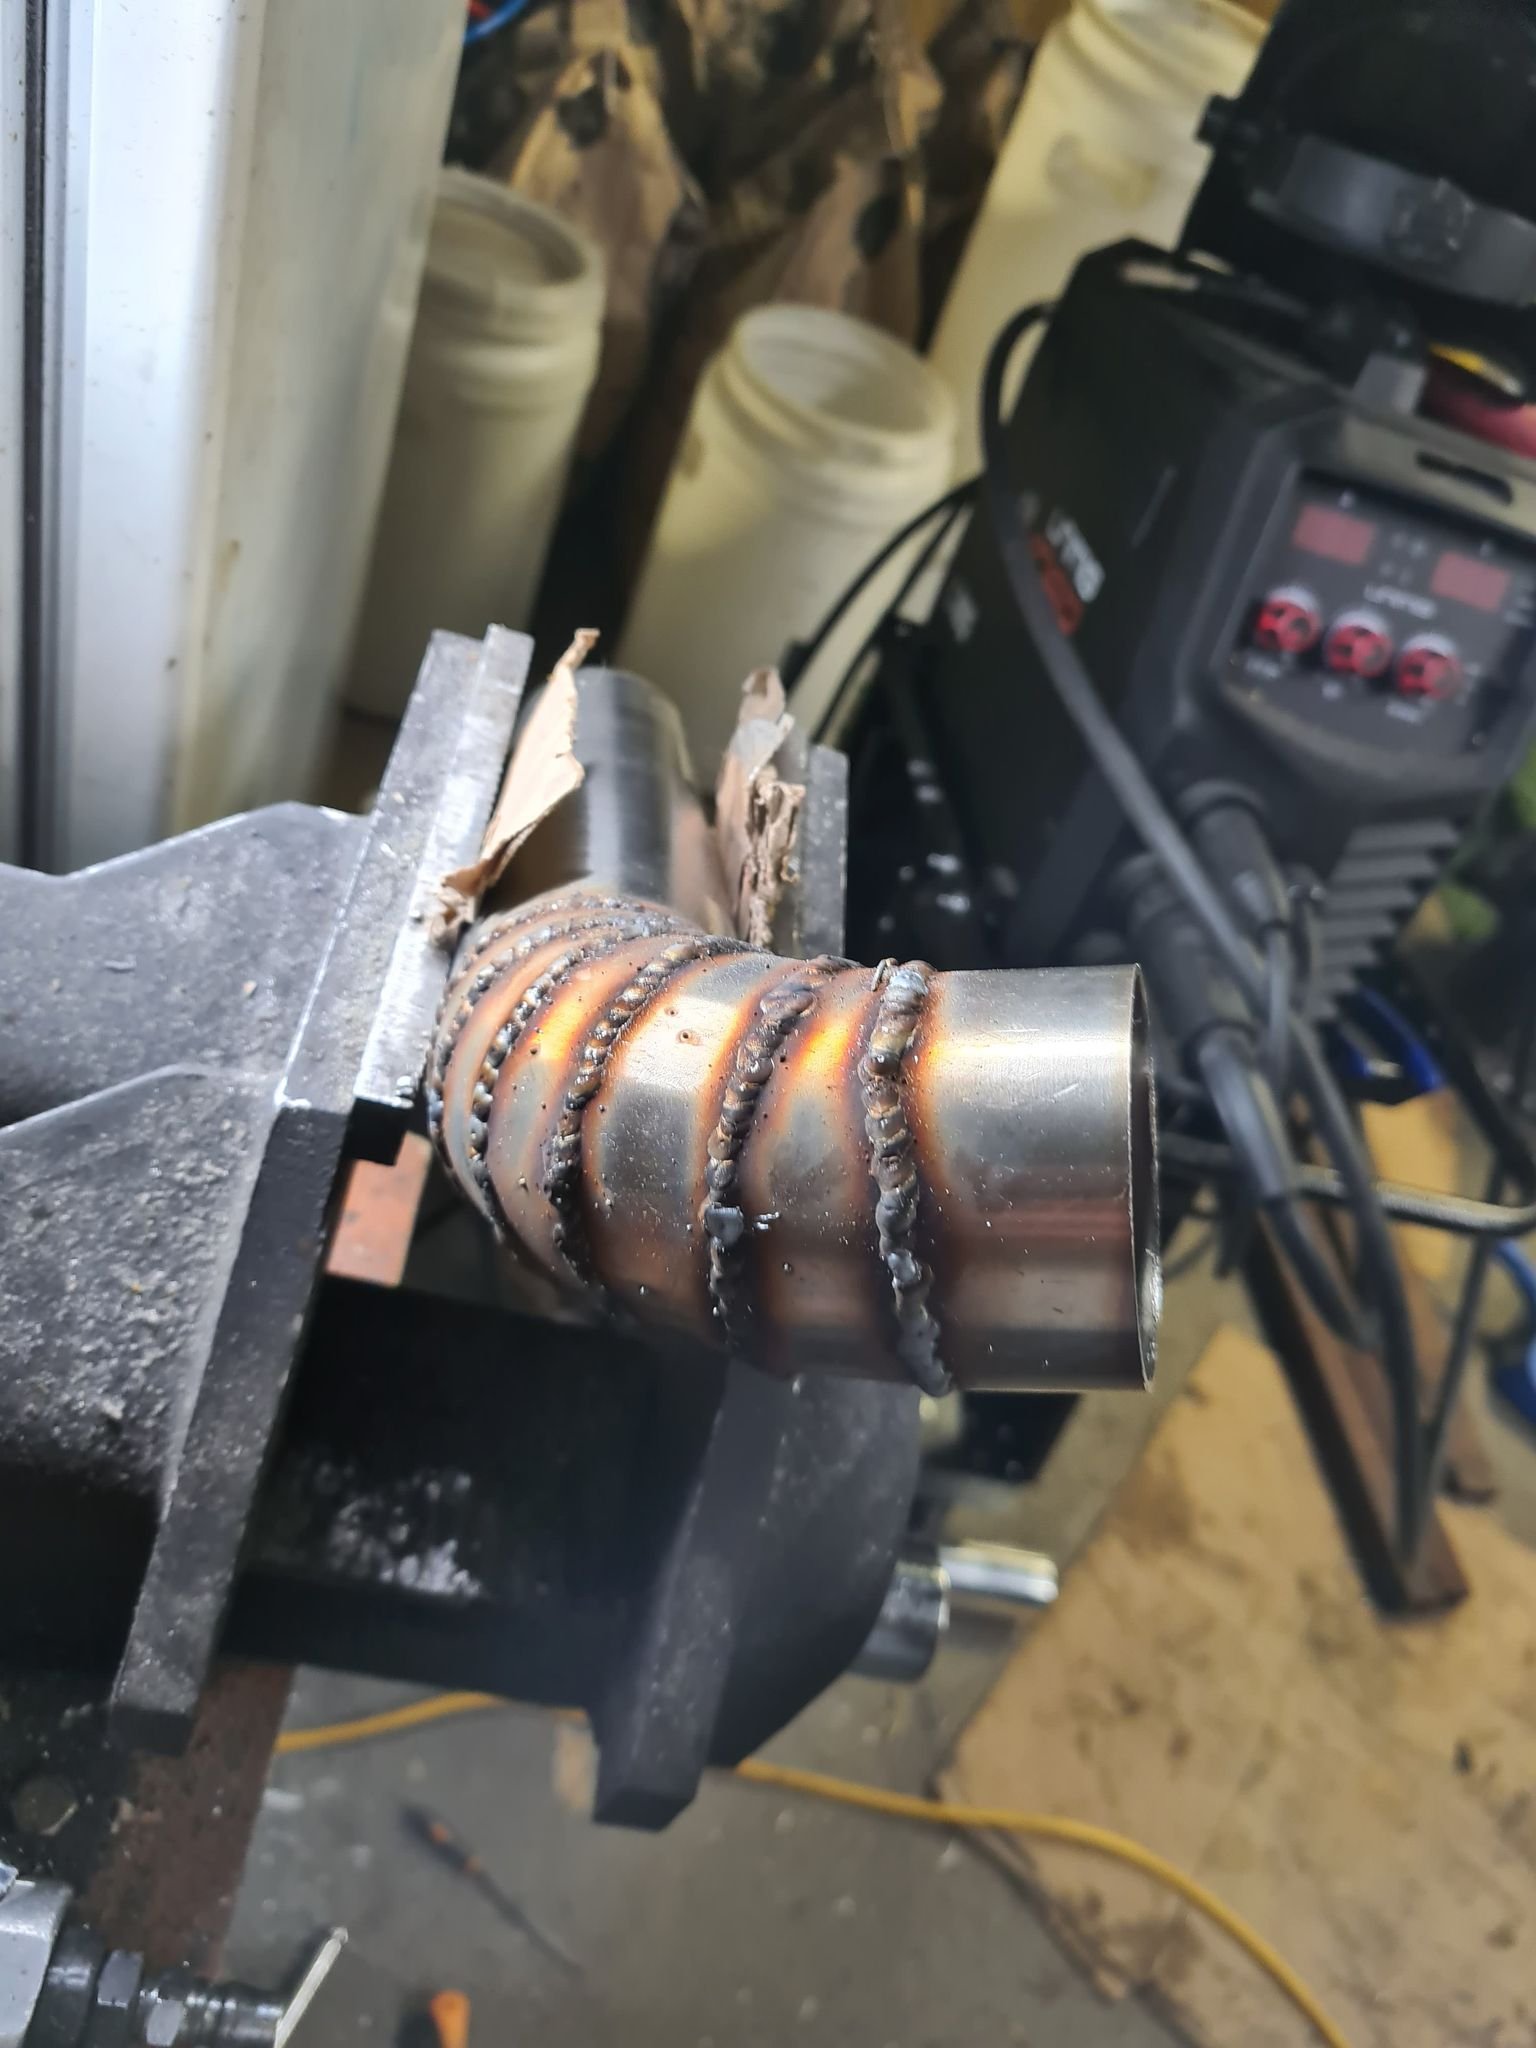
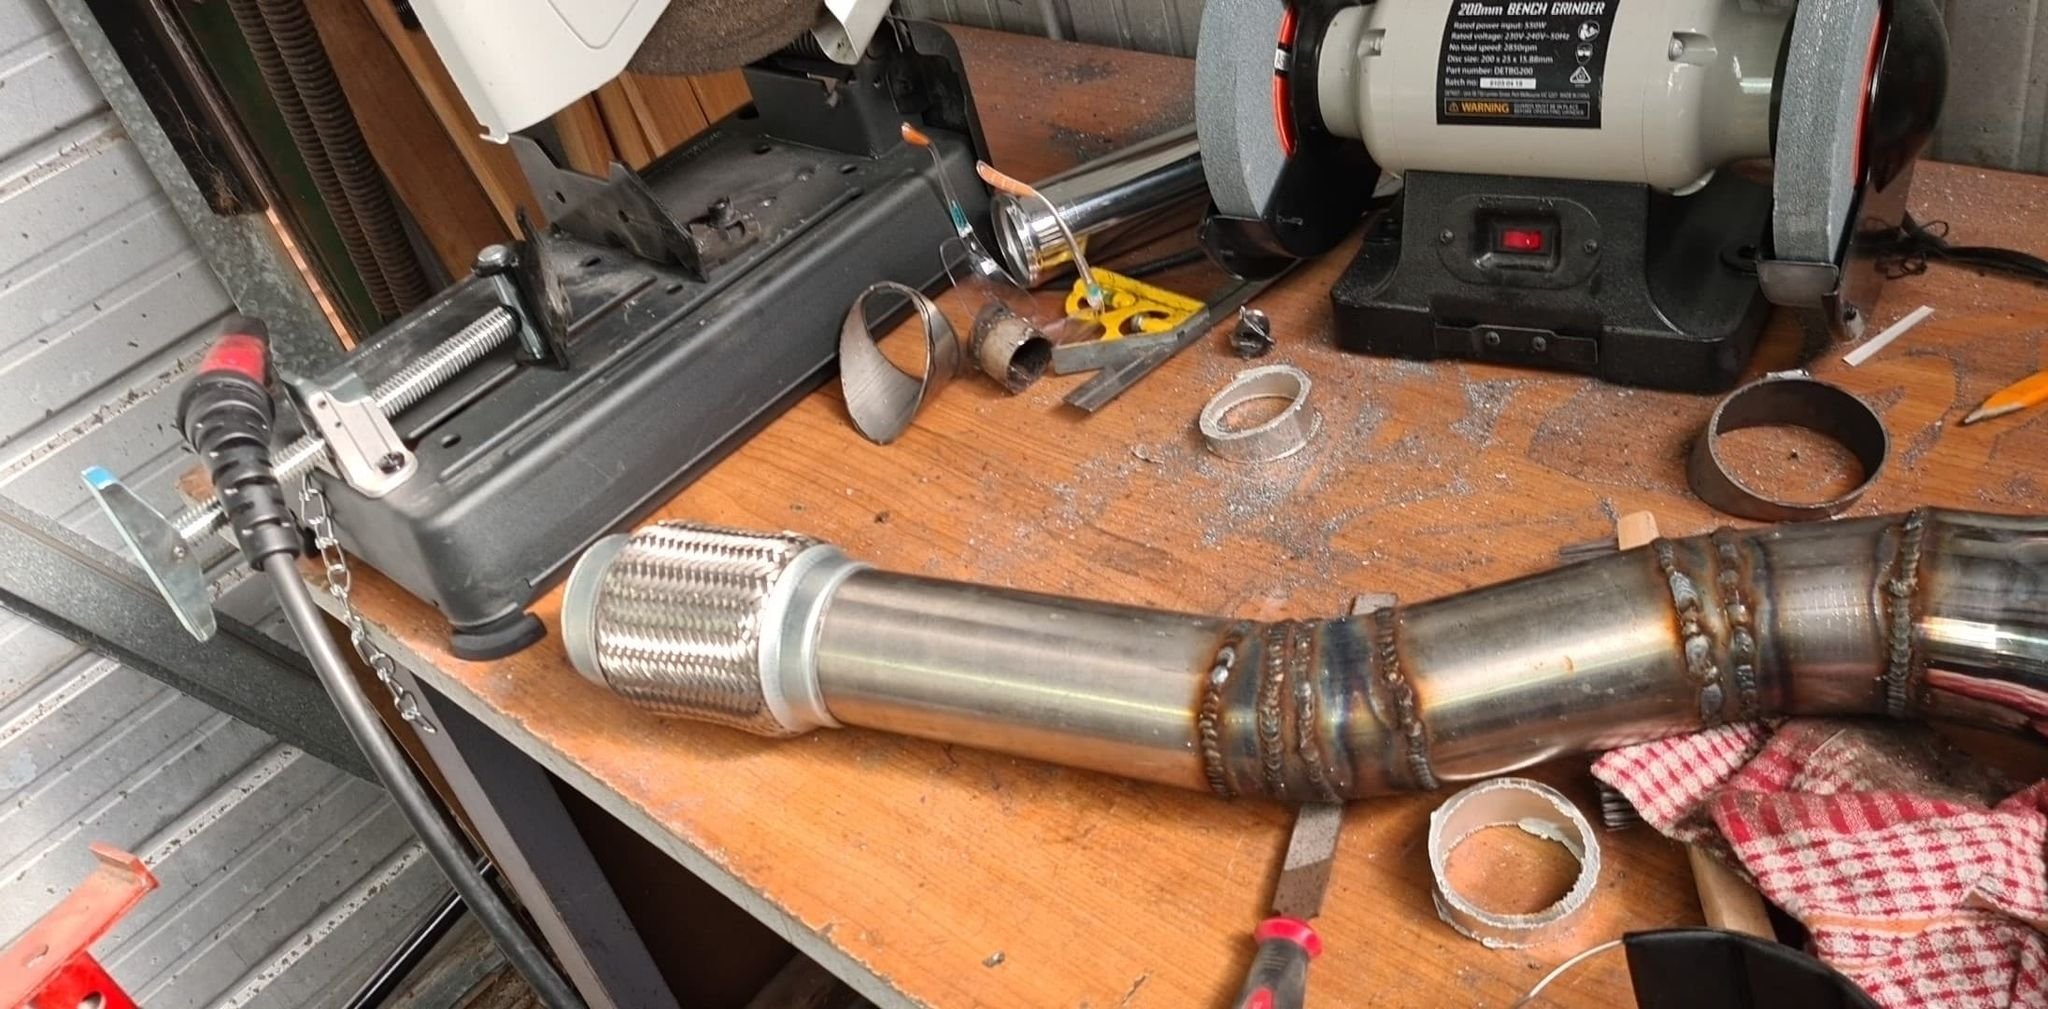
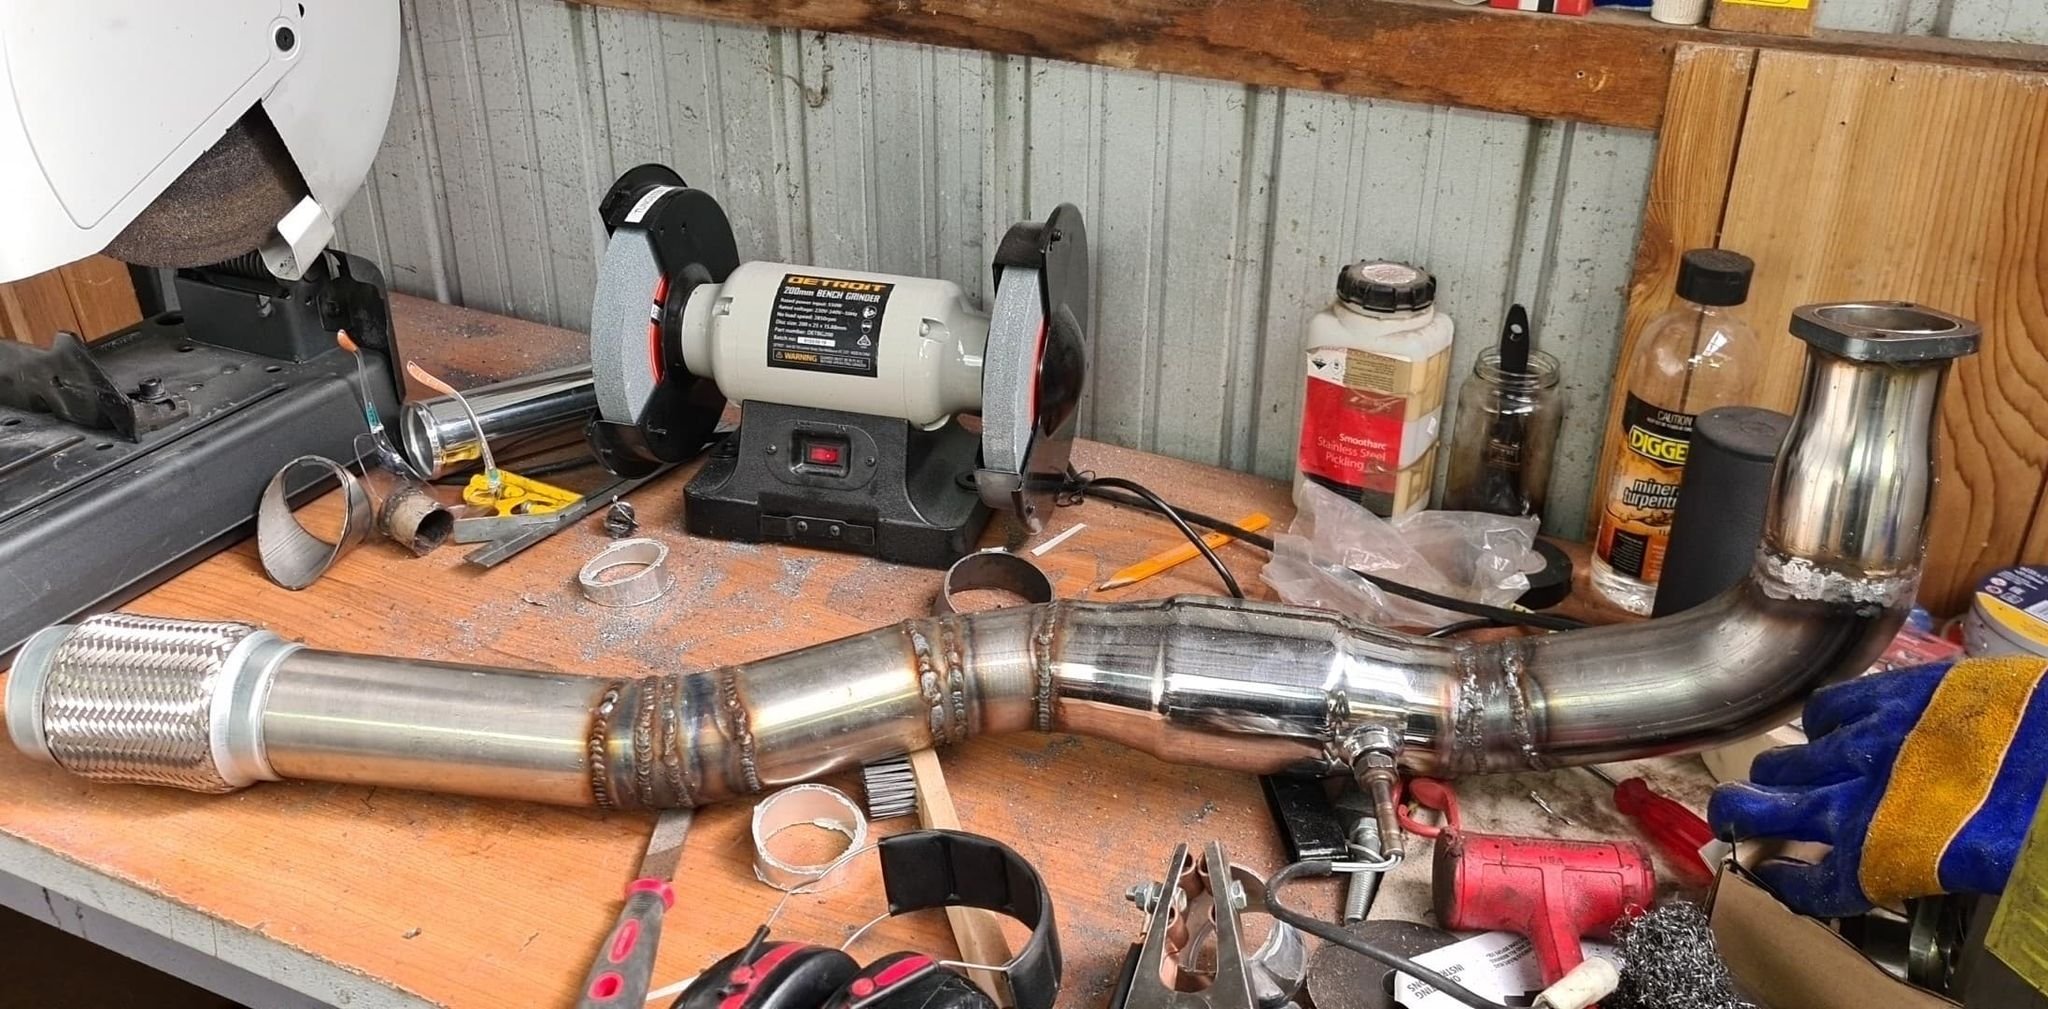
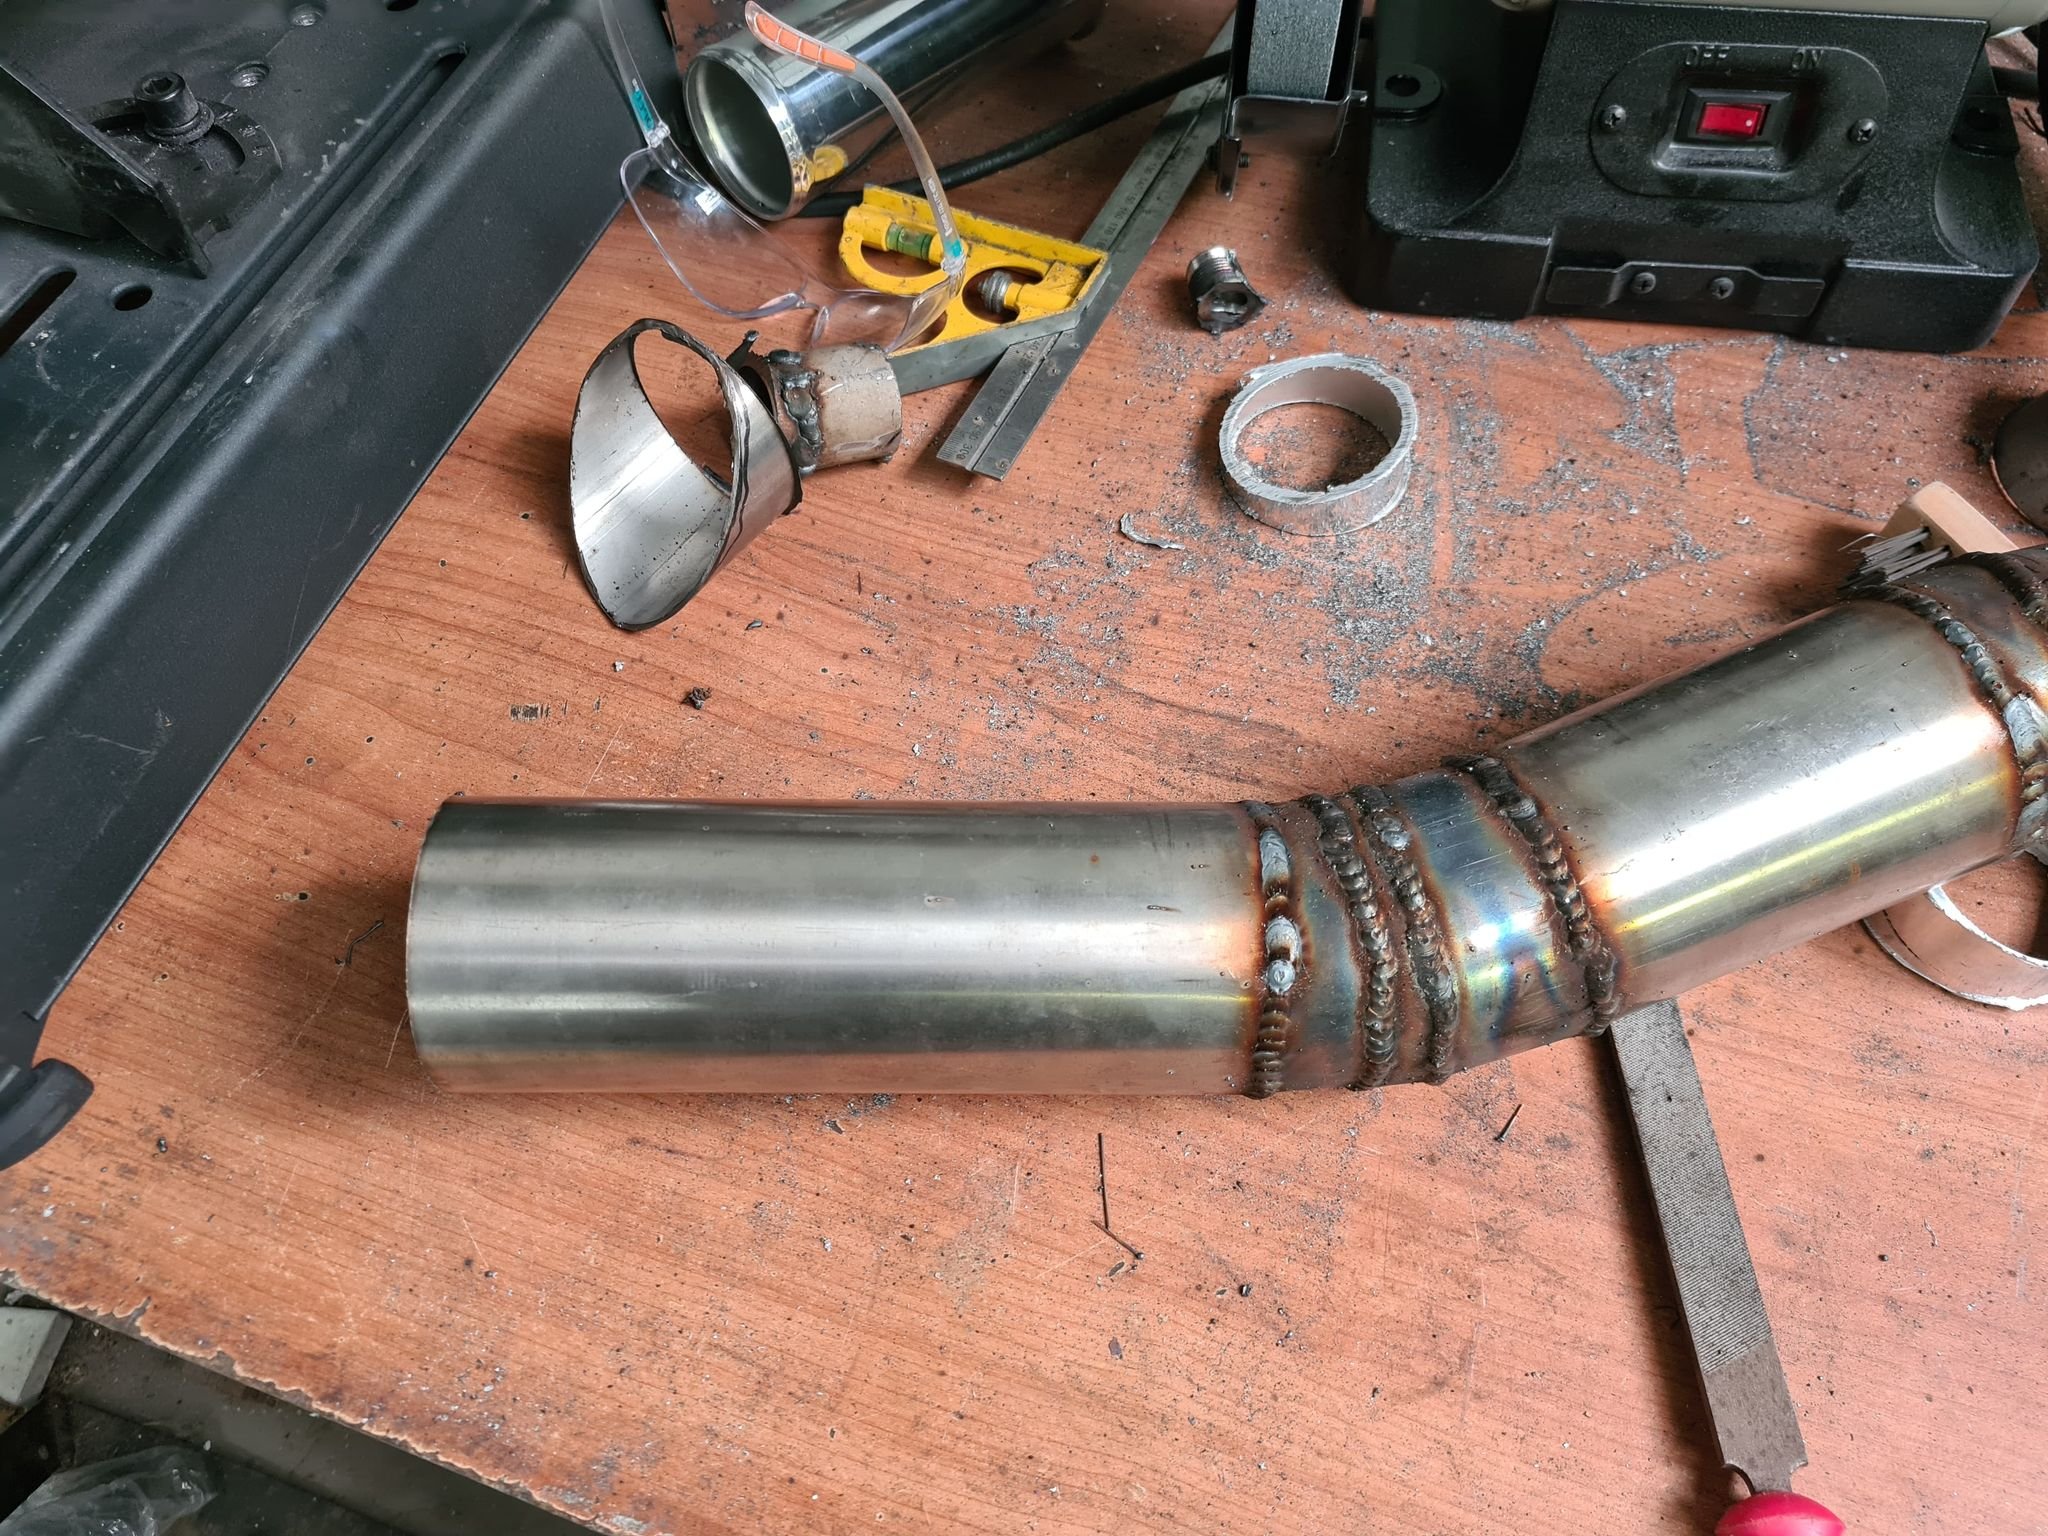
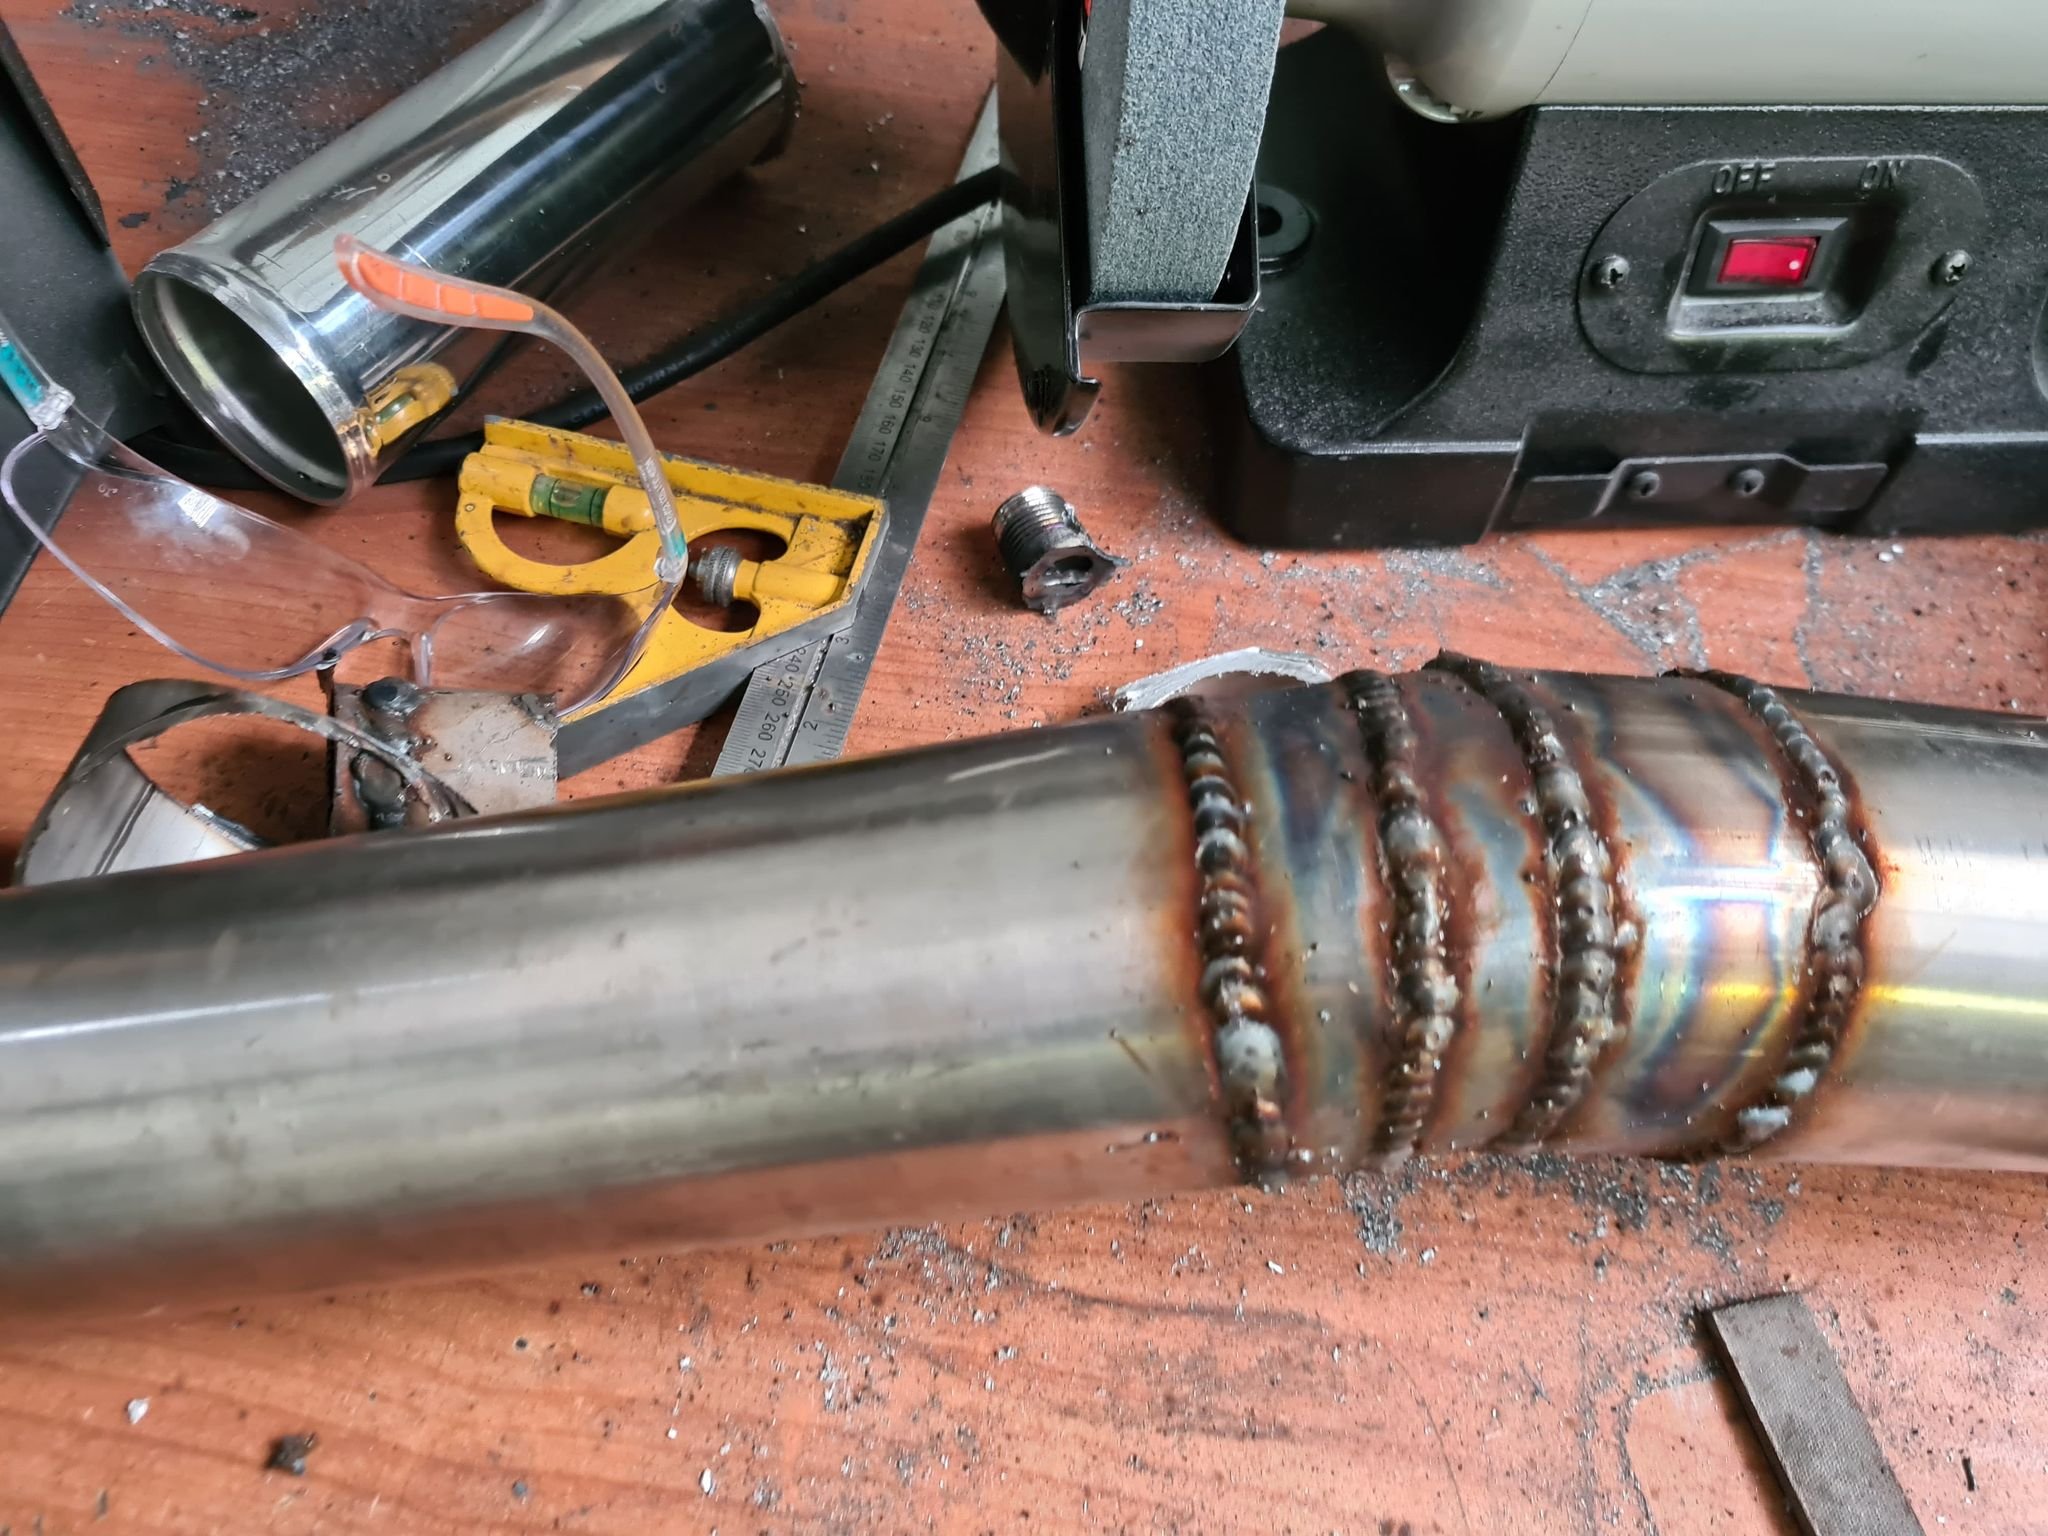
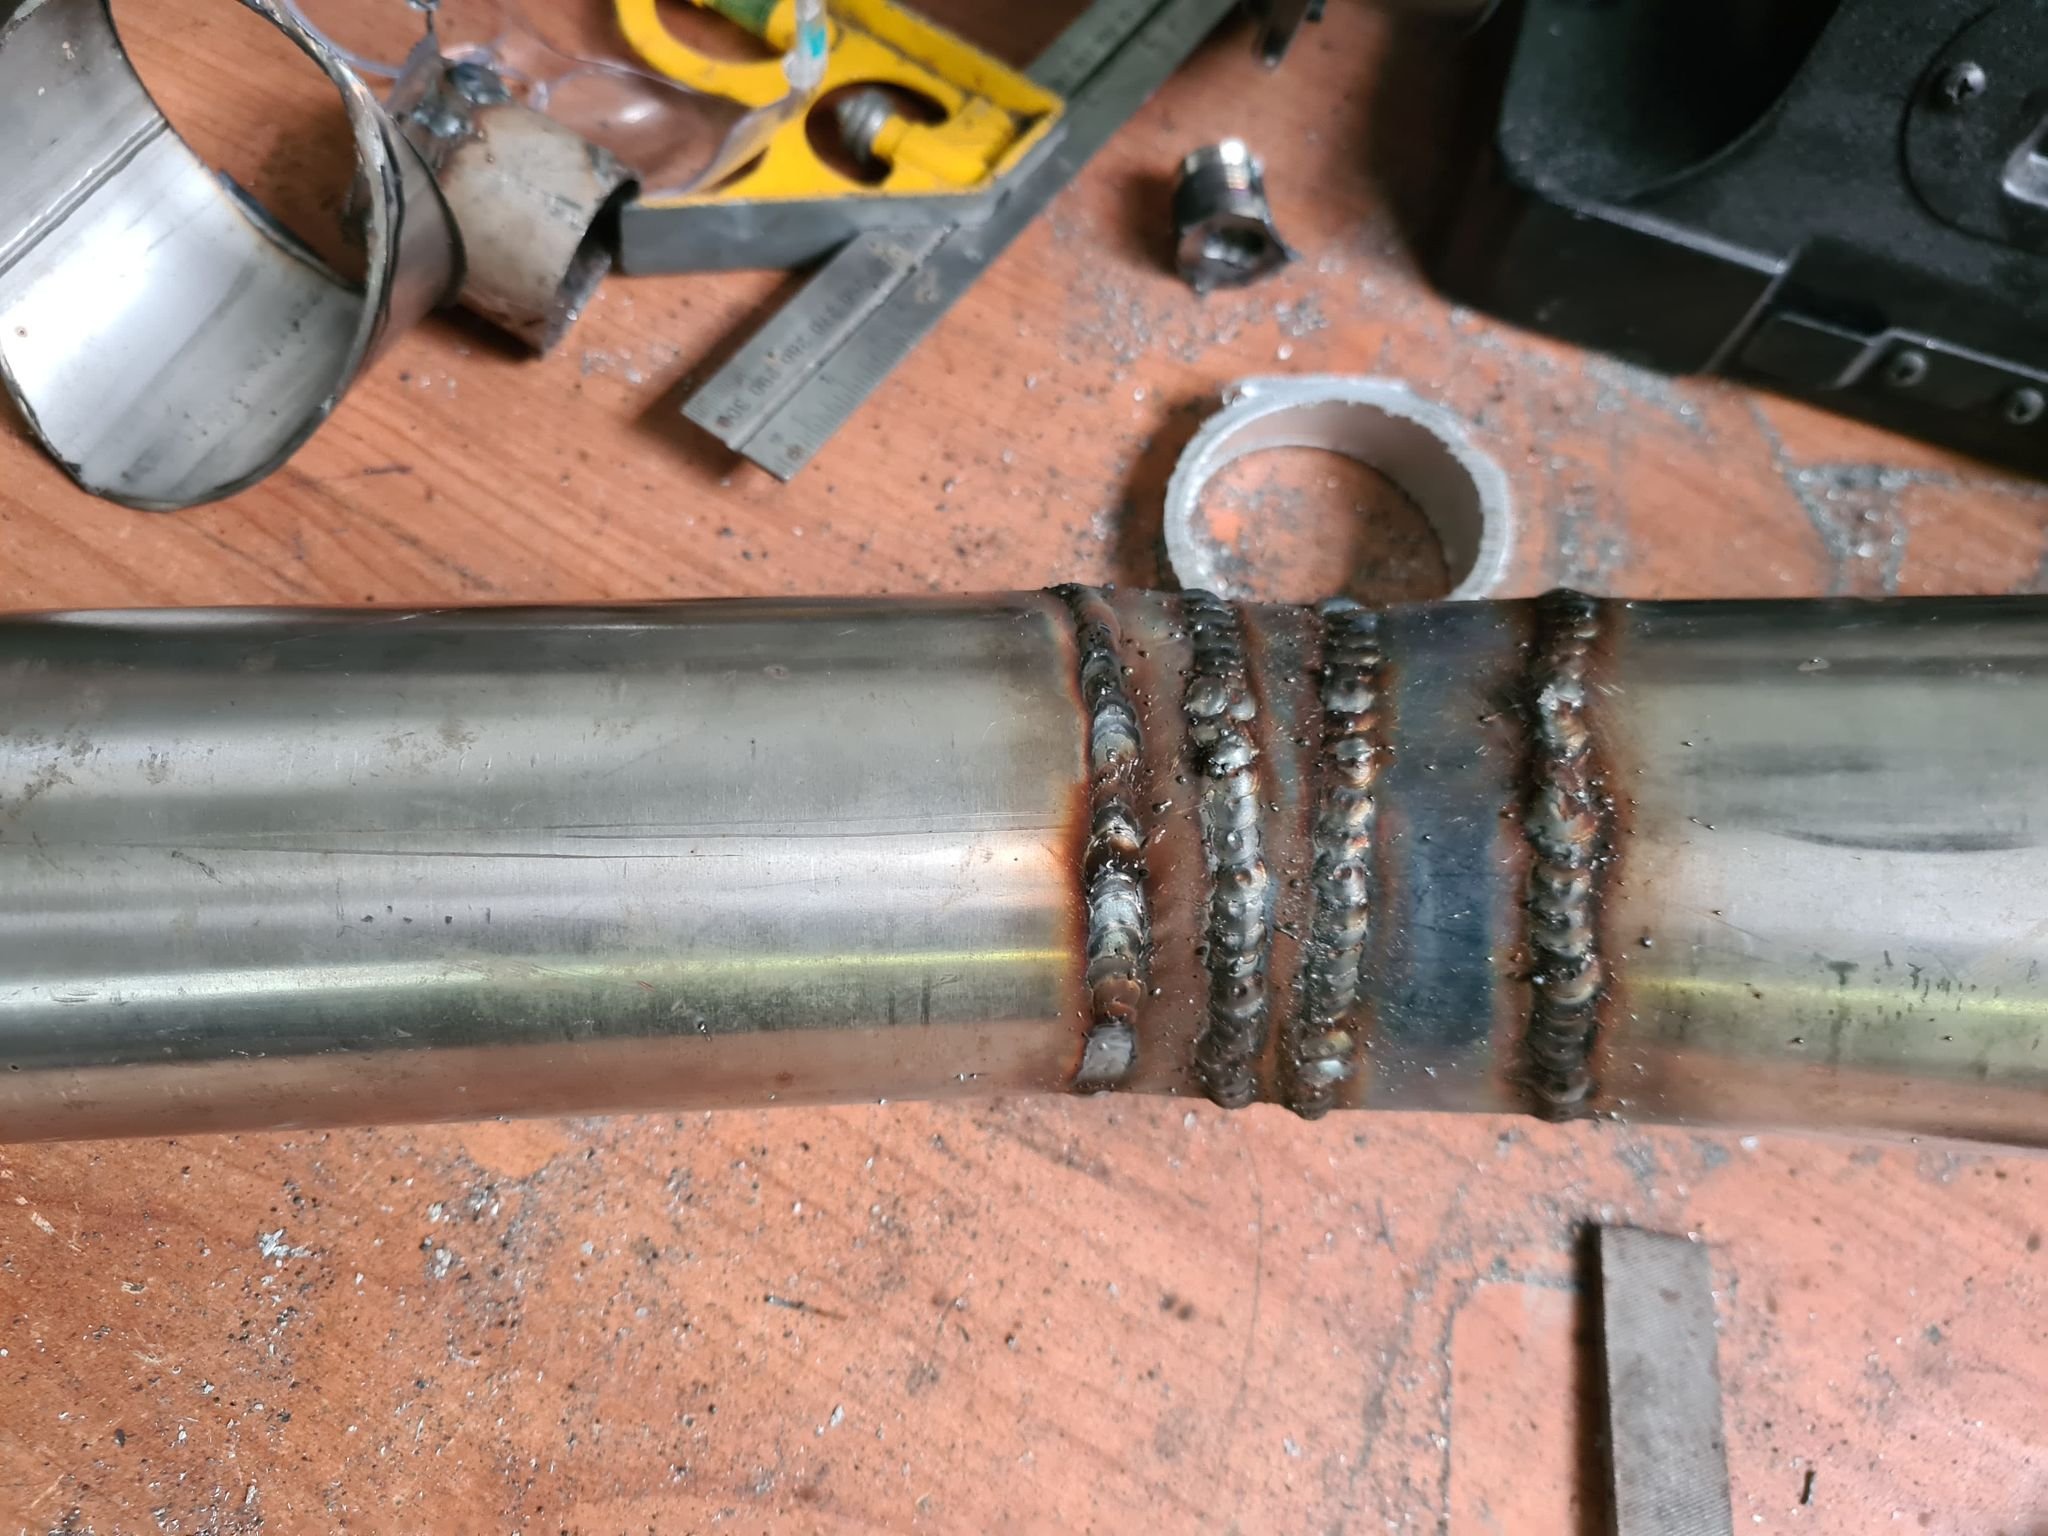
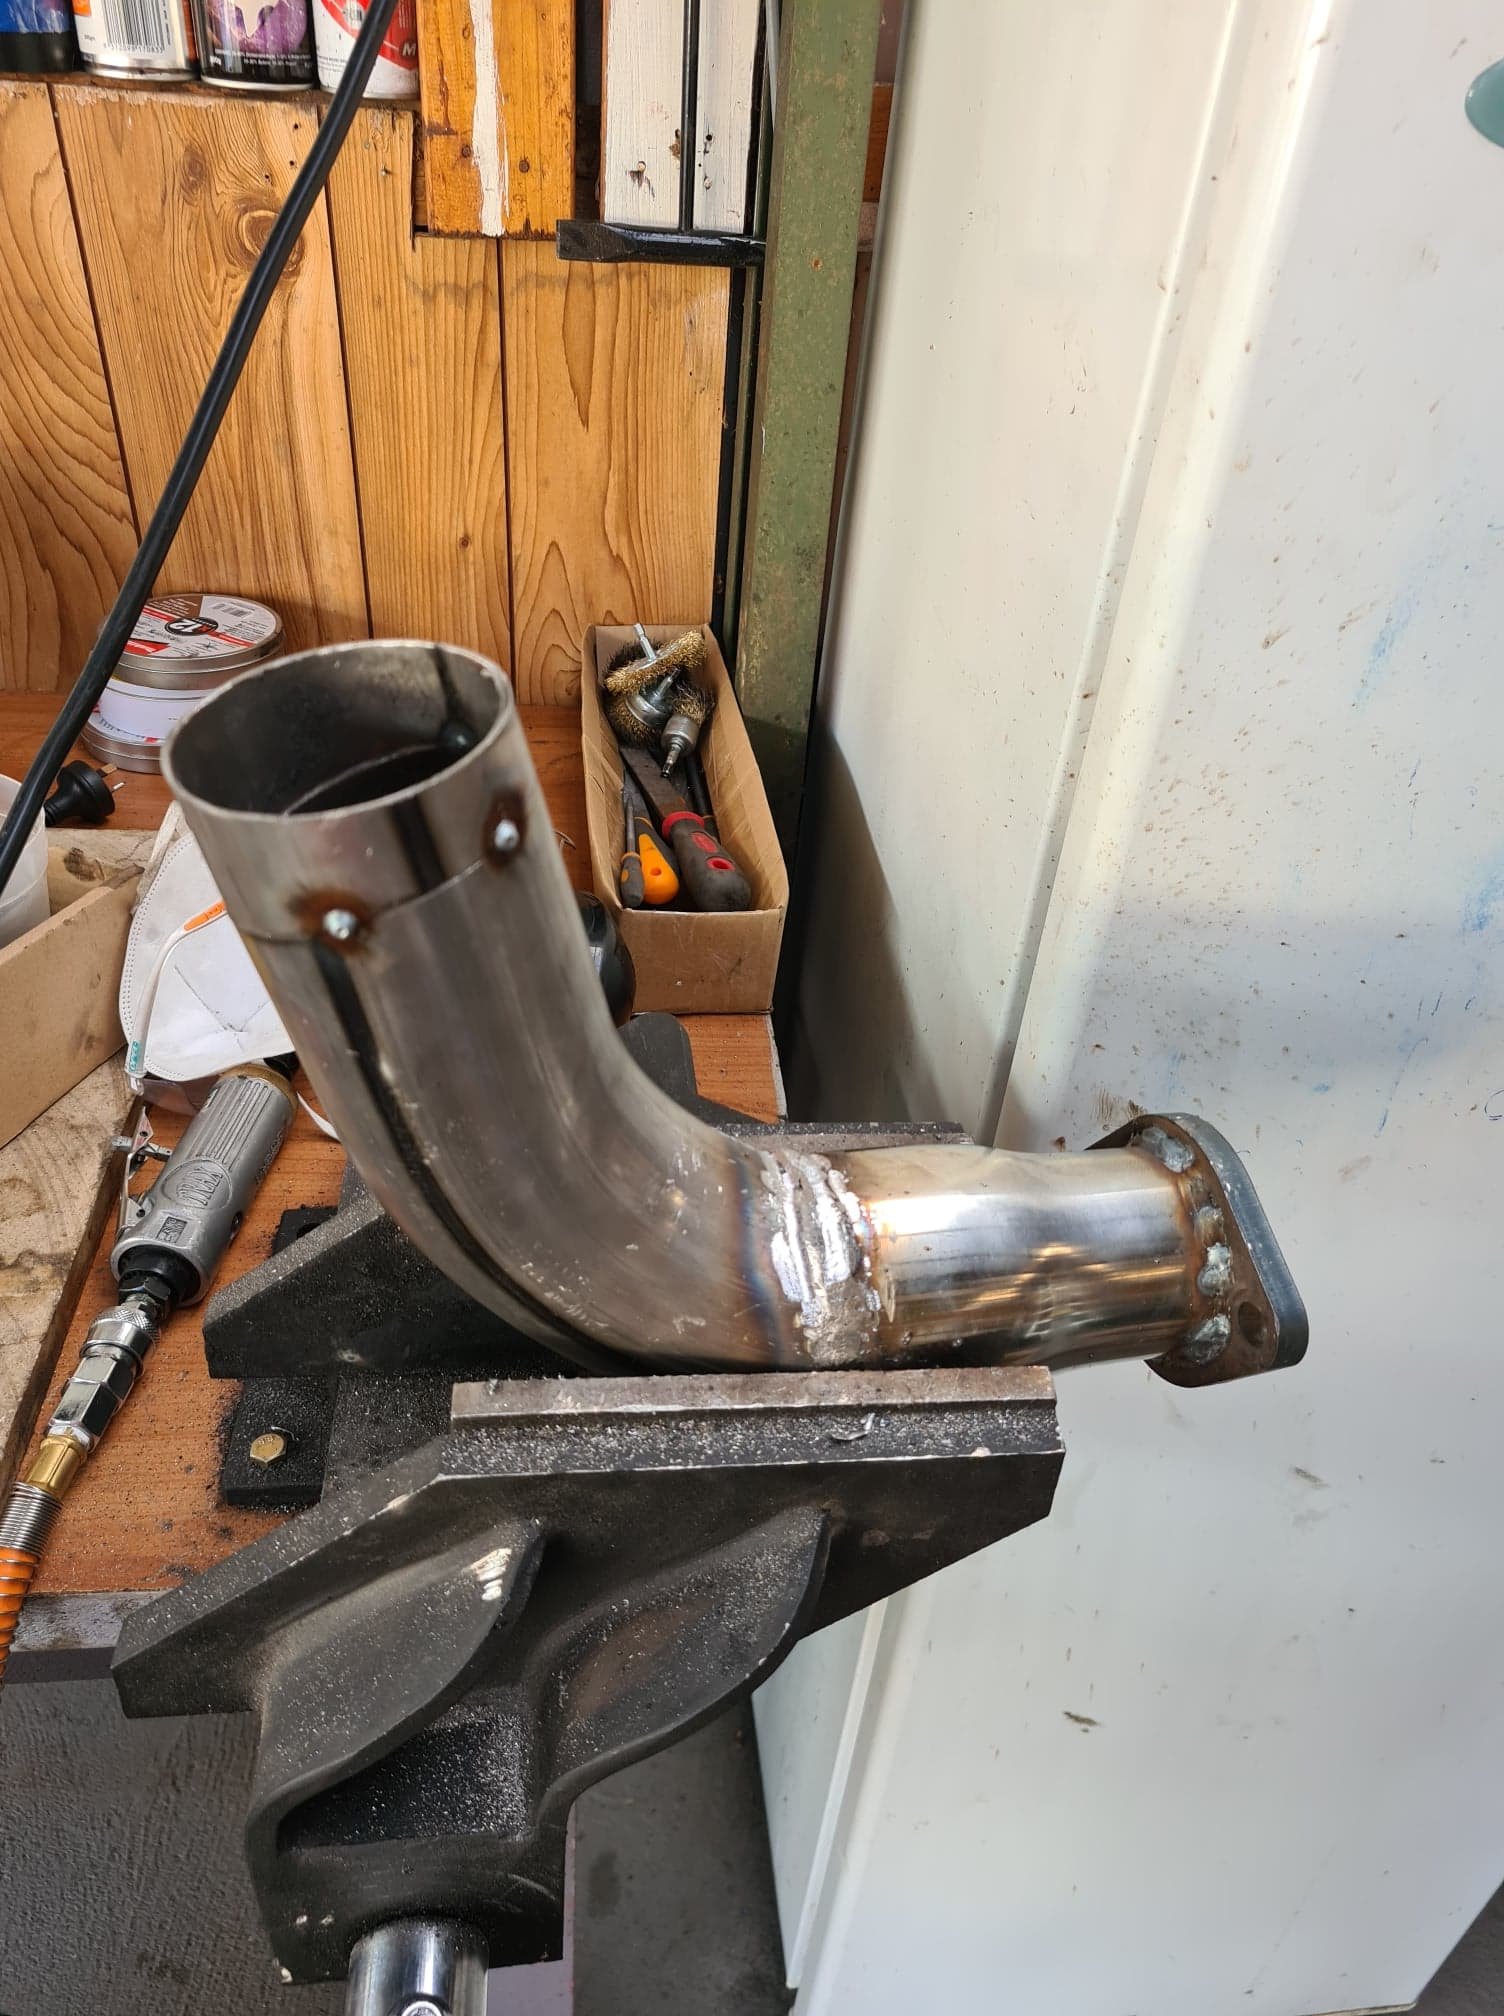
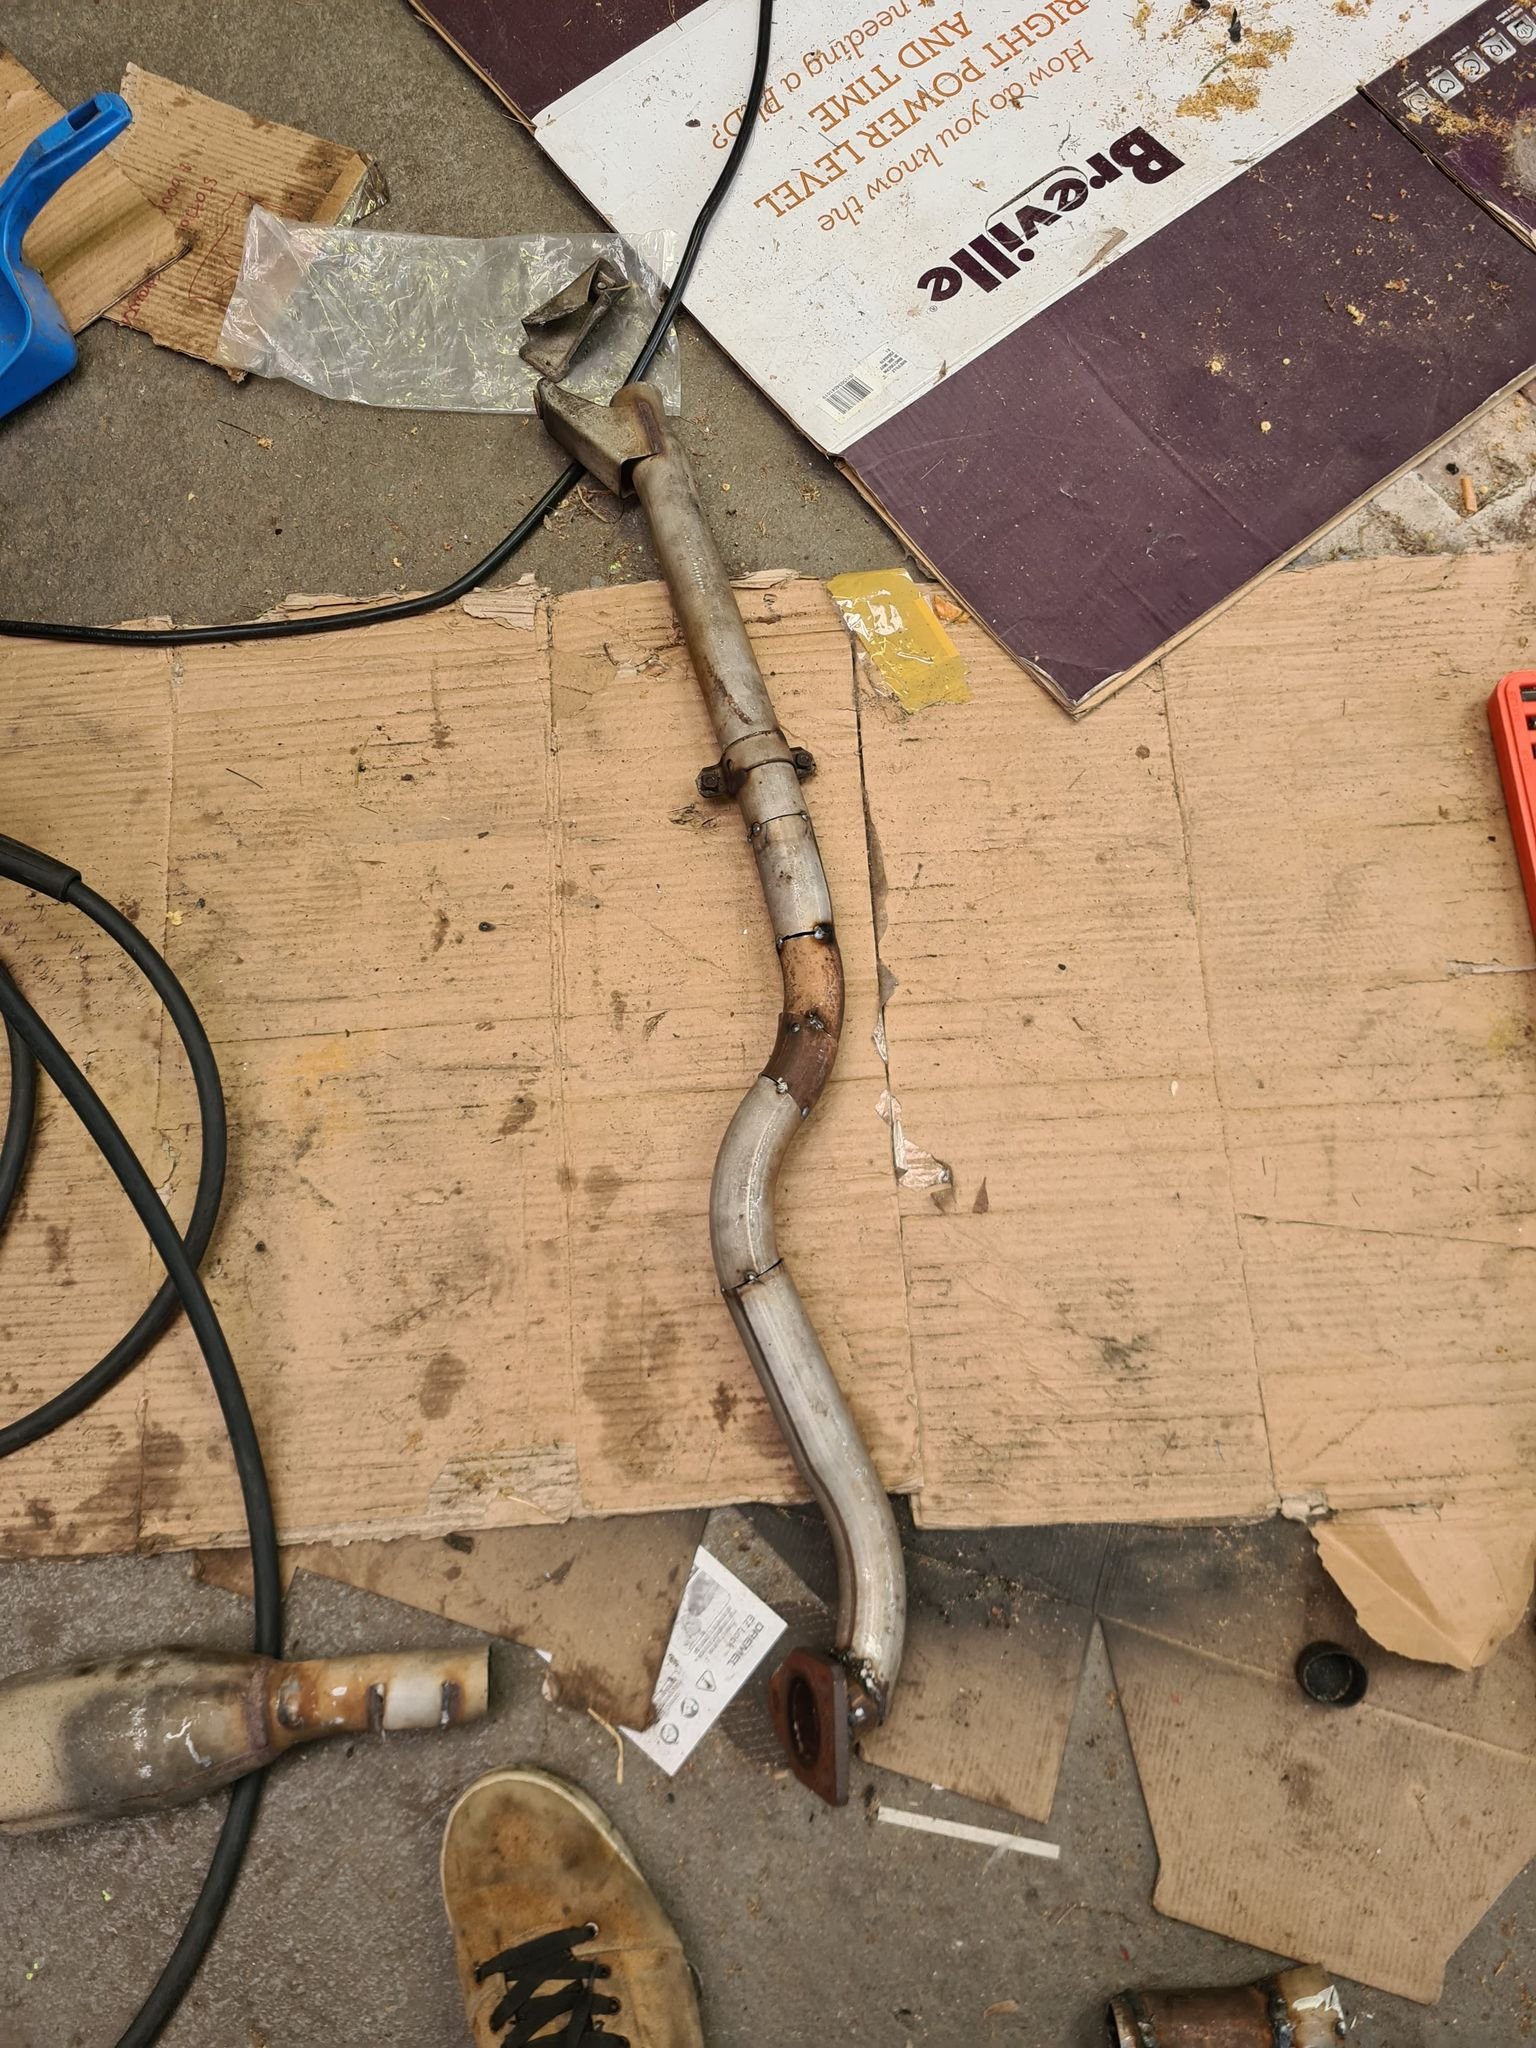
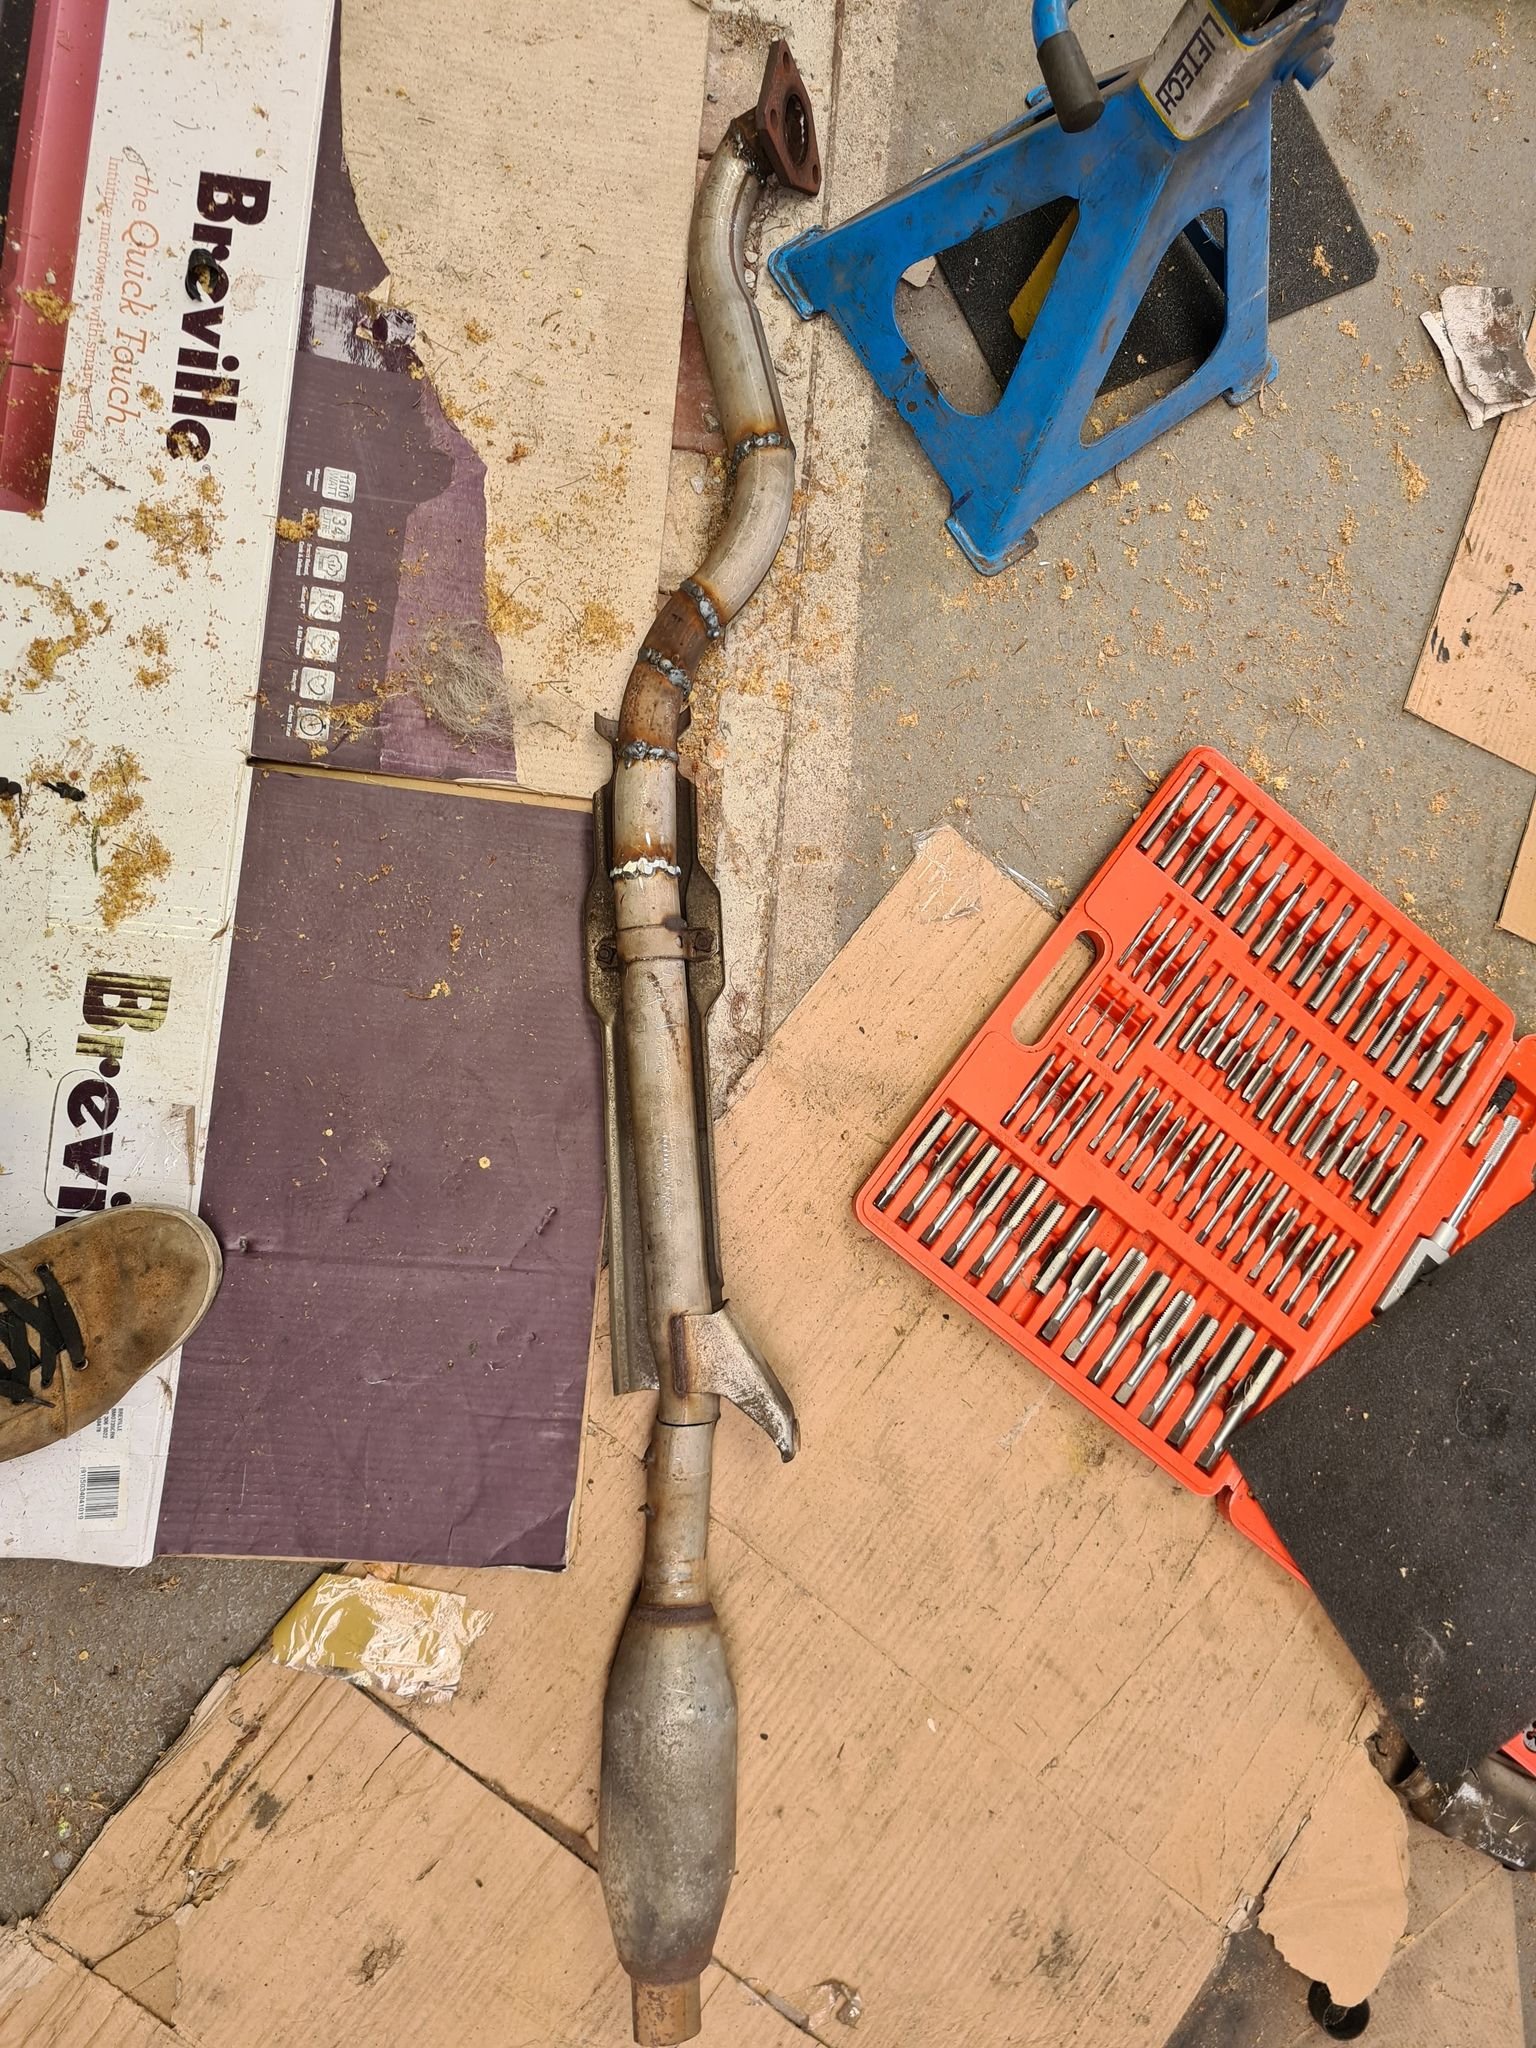
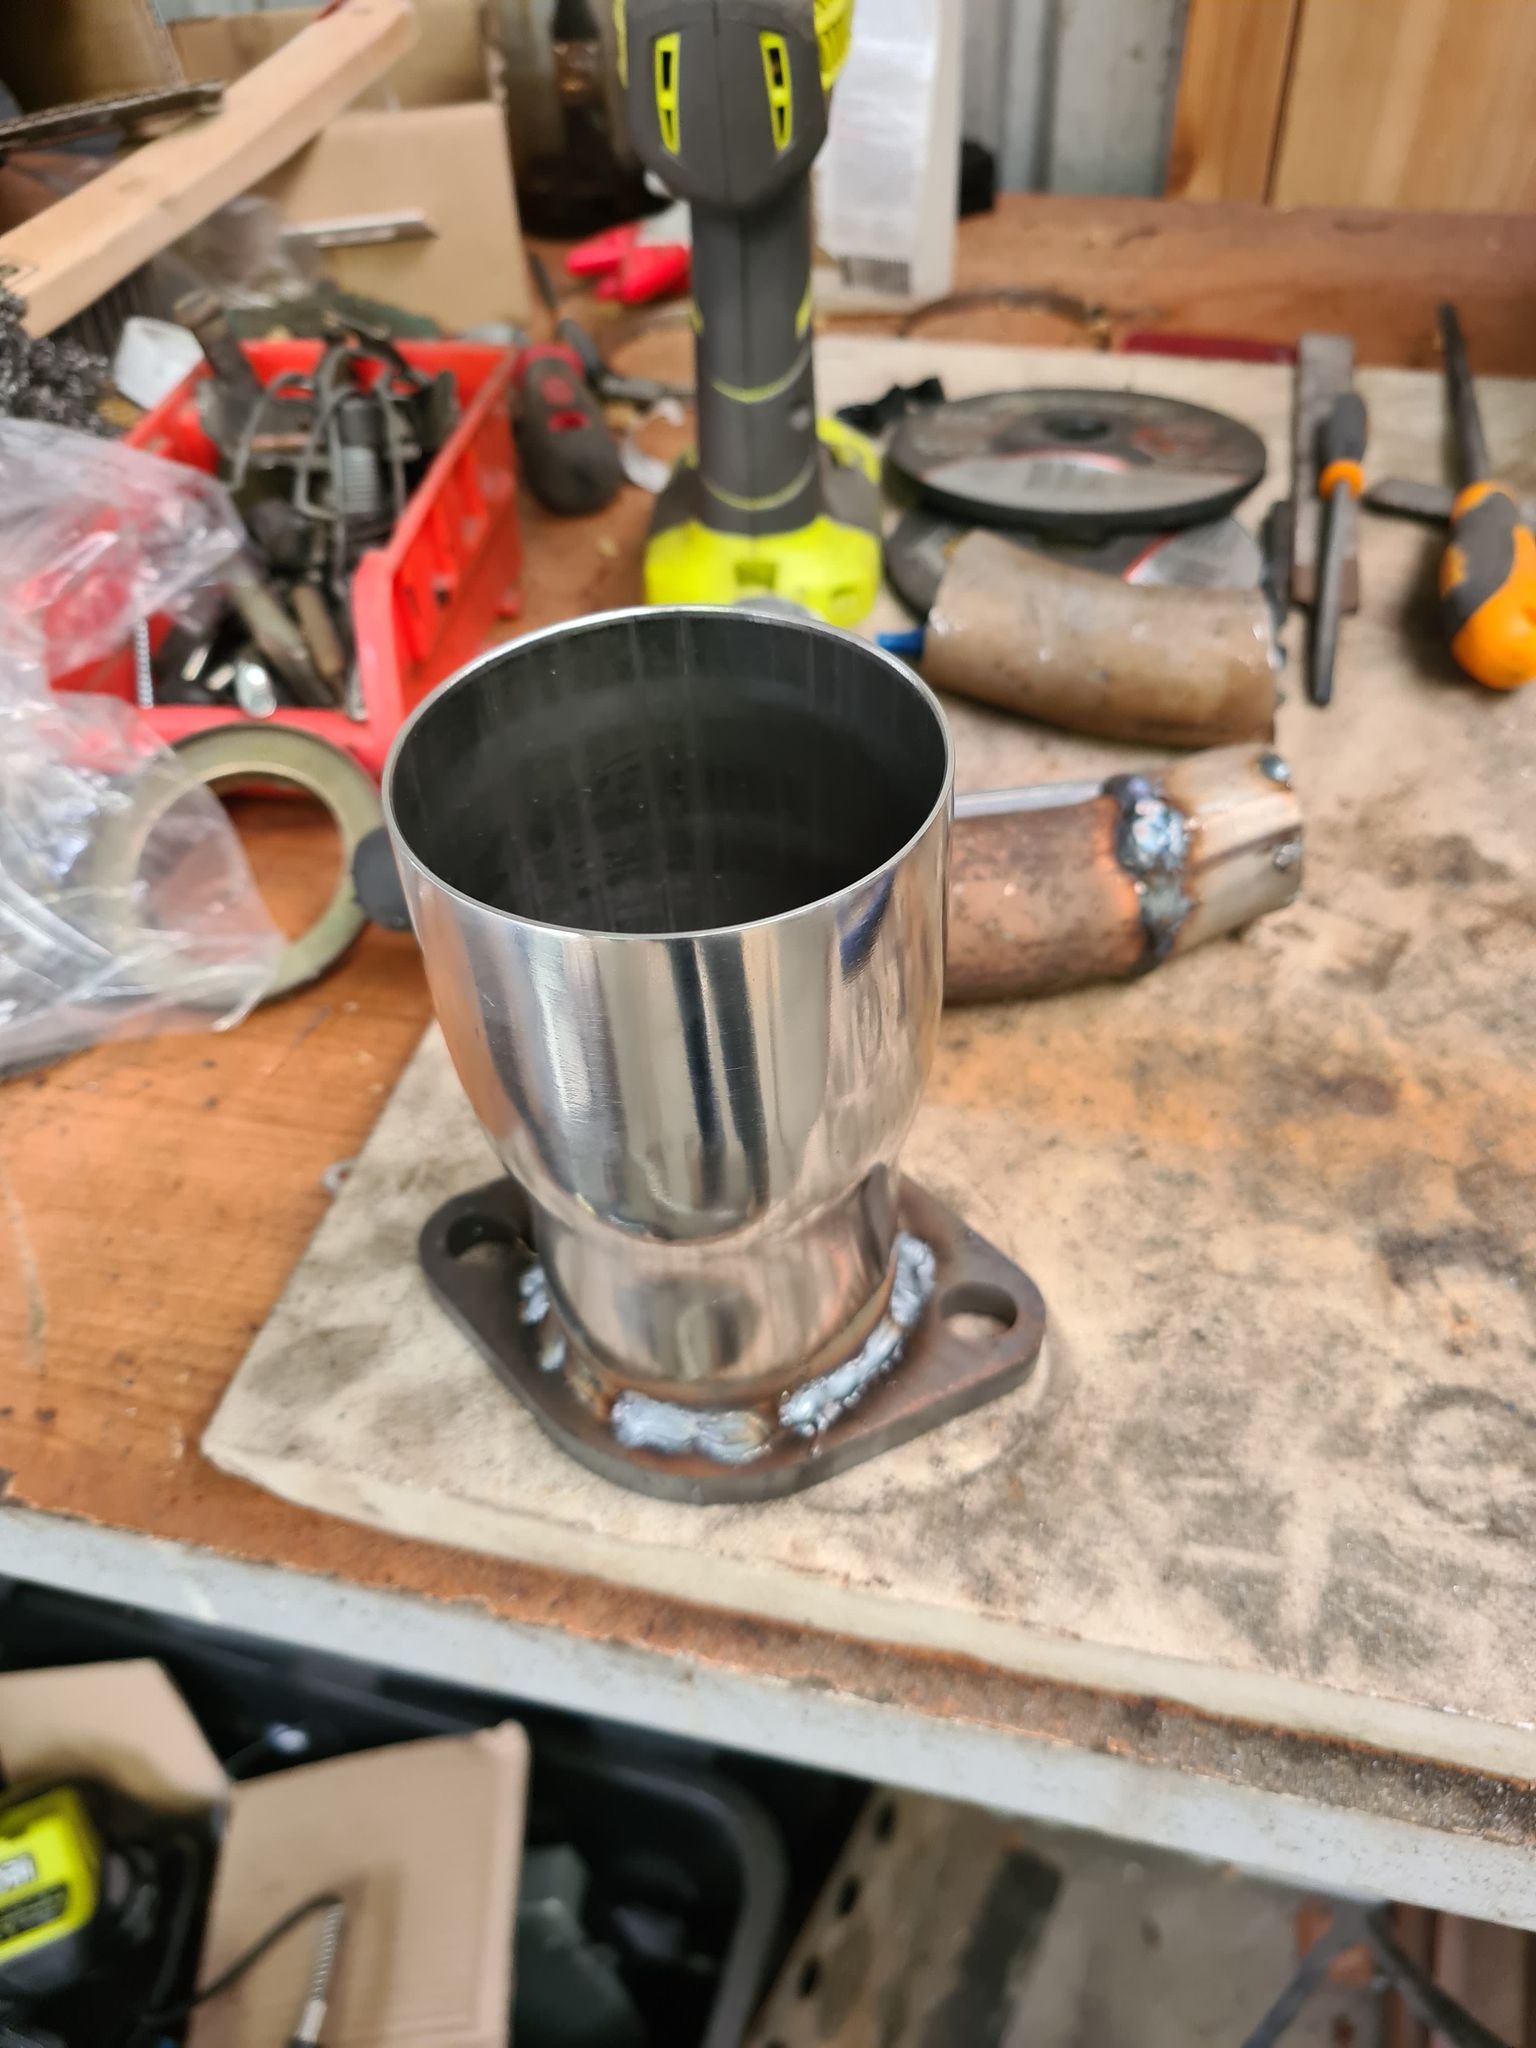
So almost finished the front half of the exhaust, its raining here in sunny Melbourne land and after having a go at lift arc tigging (DC) some intercooler piping off cuts I cracked it and went back to the mig and the exhaust Welding isn't as good as some of you guys on here but I had some good runs on this, and considering its a mix of stainless and mild steel dont think I did to bad. Main issue was I started getting a good result and then sped up, need to keep going slow I think Also need to remember that some of the connections are on and angle and not just weld a straight line Some more close ups Also going to get a few meters of 2.5" piping and do the inter-cooler piping in pie cuts as I wasn't happy with how the alloy piping was shaping up
-
Pics aren't the best but pulled the welder out again Did one more pie cut after this and then I can just run a straight and the flexi with a flange onto the 3" exhaust I have for it The 3" exhaust I have is questionable both from a mounting perspective and just how its built Wish I could weld better as the front pipes looking ok, itll get remade when I get a new turbo however
-
So turns out the factory exhaust on non turbo lancer wagons that are similar chassis to evos is smaller then 2" its 42-3mm which is like 1 5/8" I think so massive restriction lol I can probably make my 2-3" adaptor work with it and I've got some 3" pipe ill use so should be able to get the exhaust done soon. Wonder what the RWC guy will think, clearly should have taken the Verniers with me to the wreckers and looked under a few mitsubishis for something to modify to work (and I may still do this) Hopefully its quiet though
-
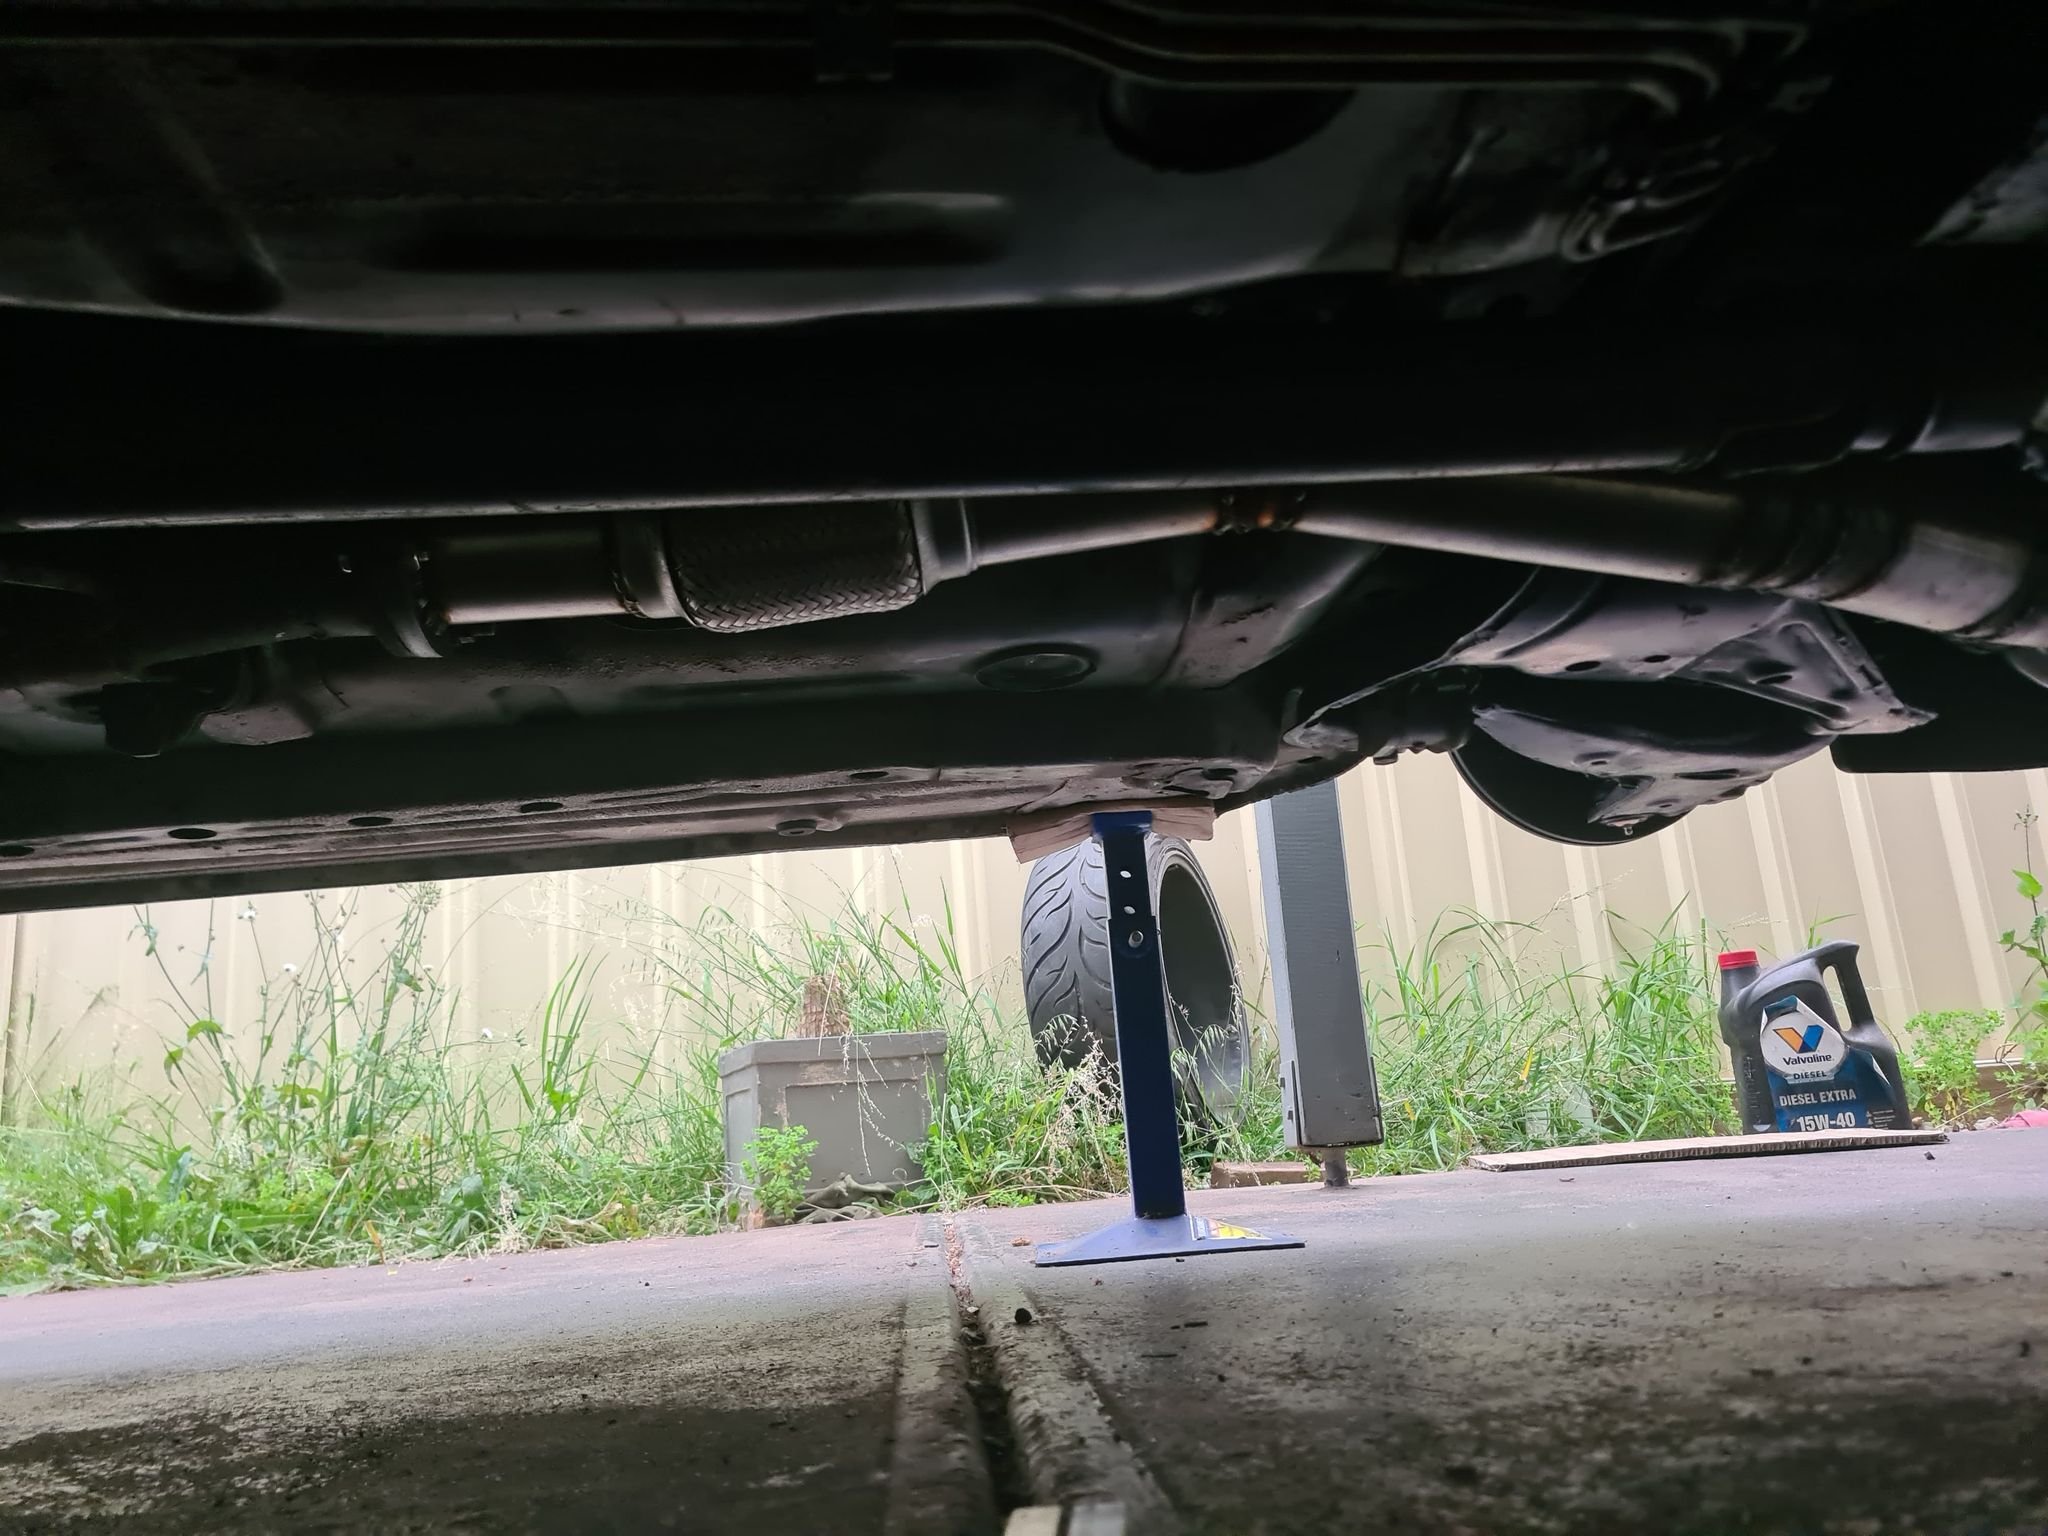
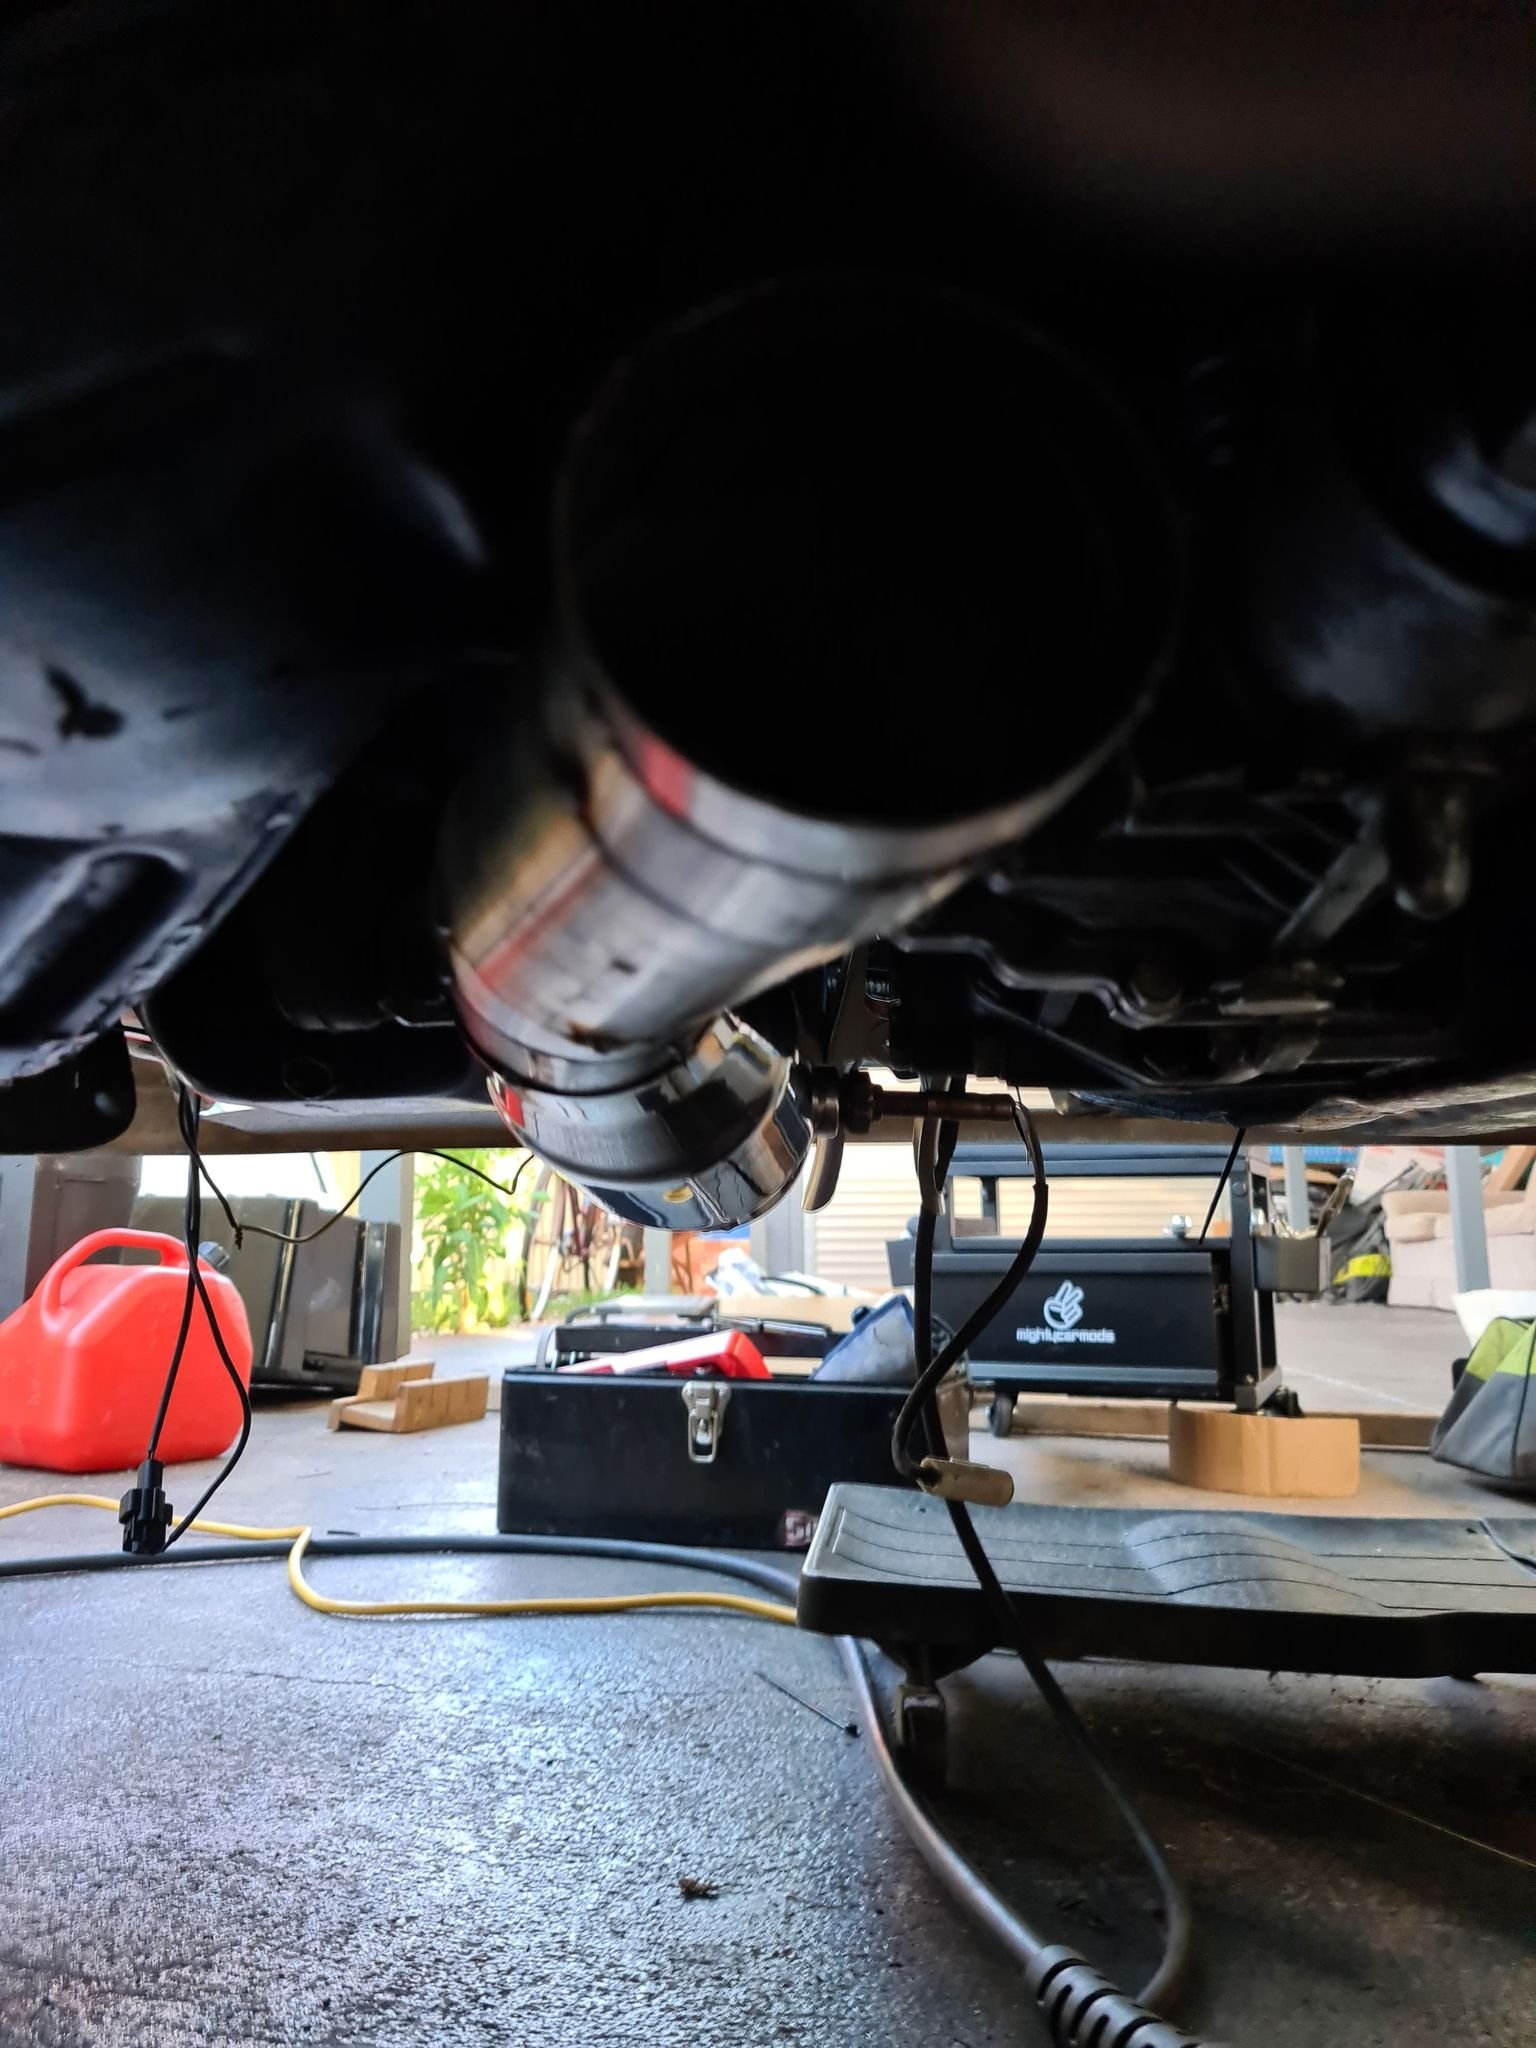
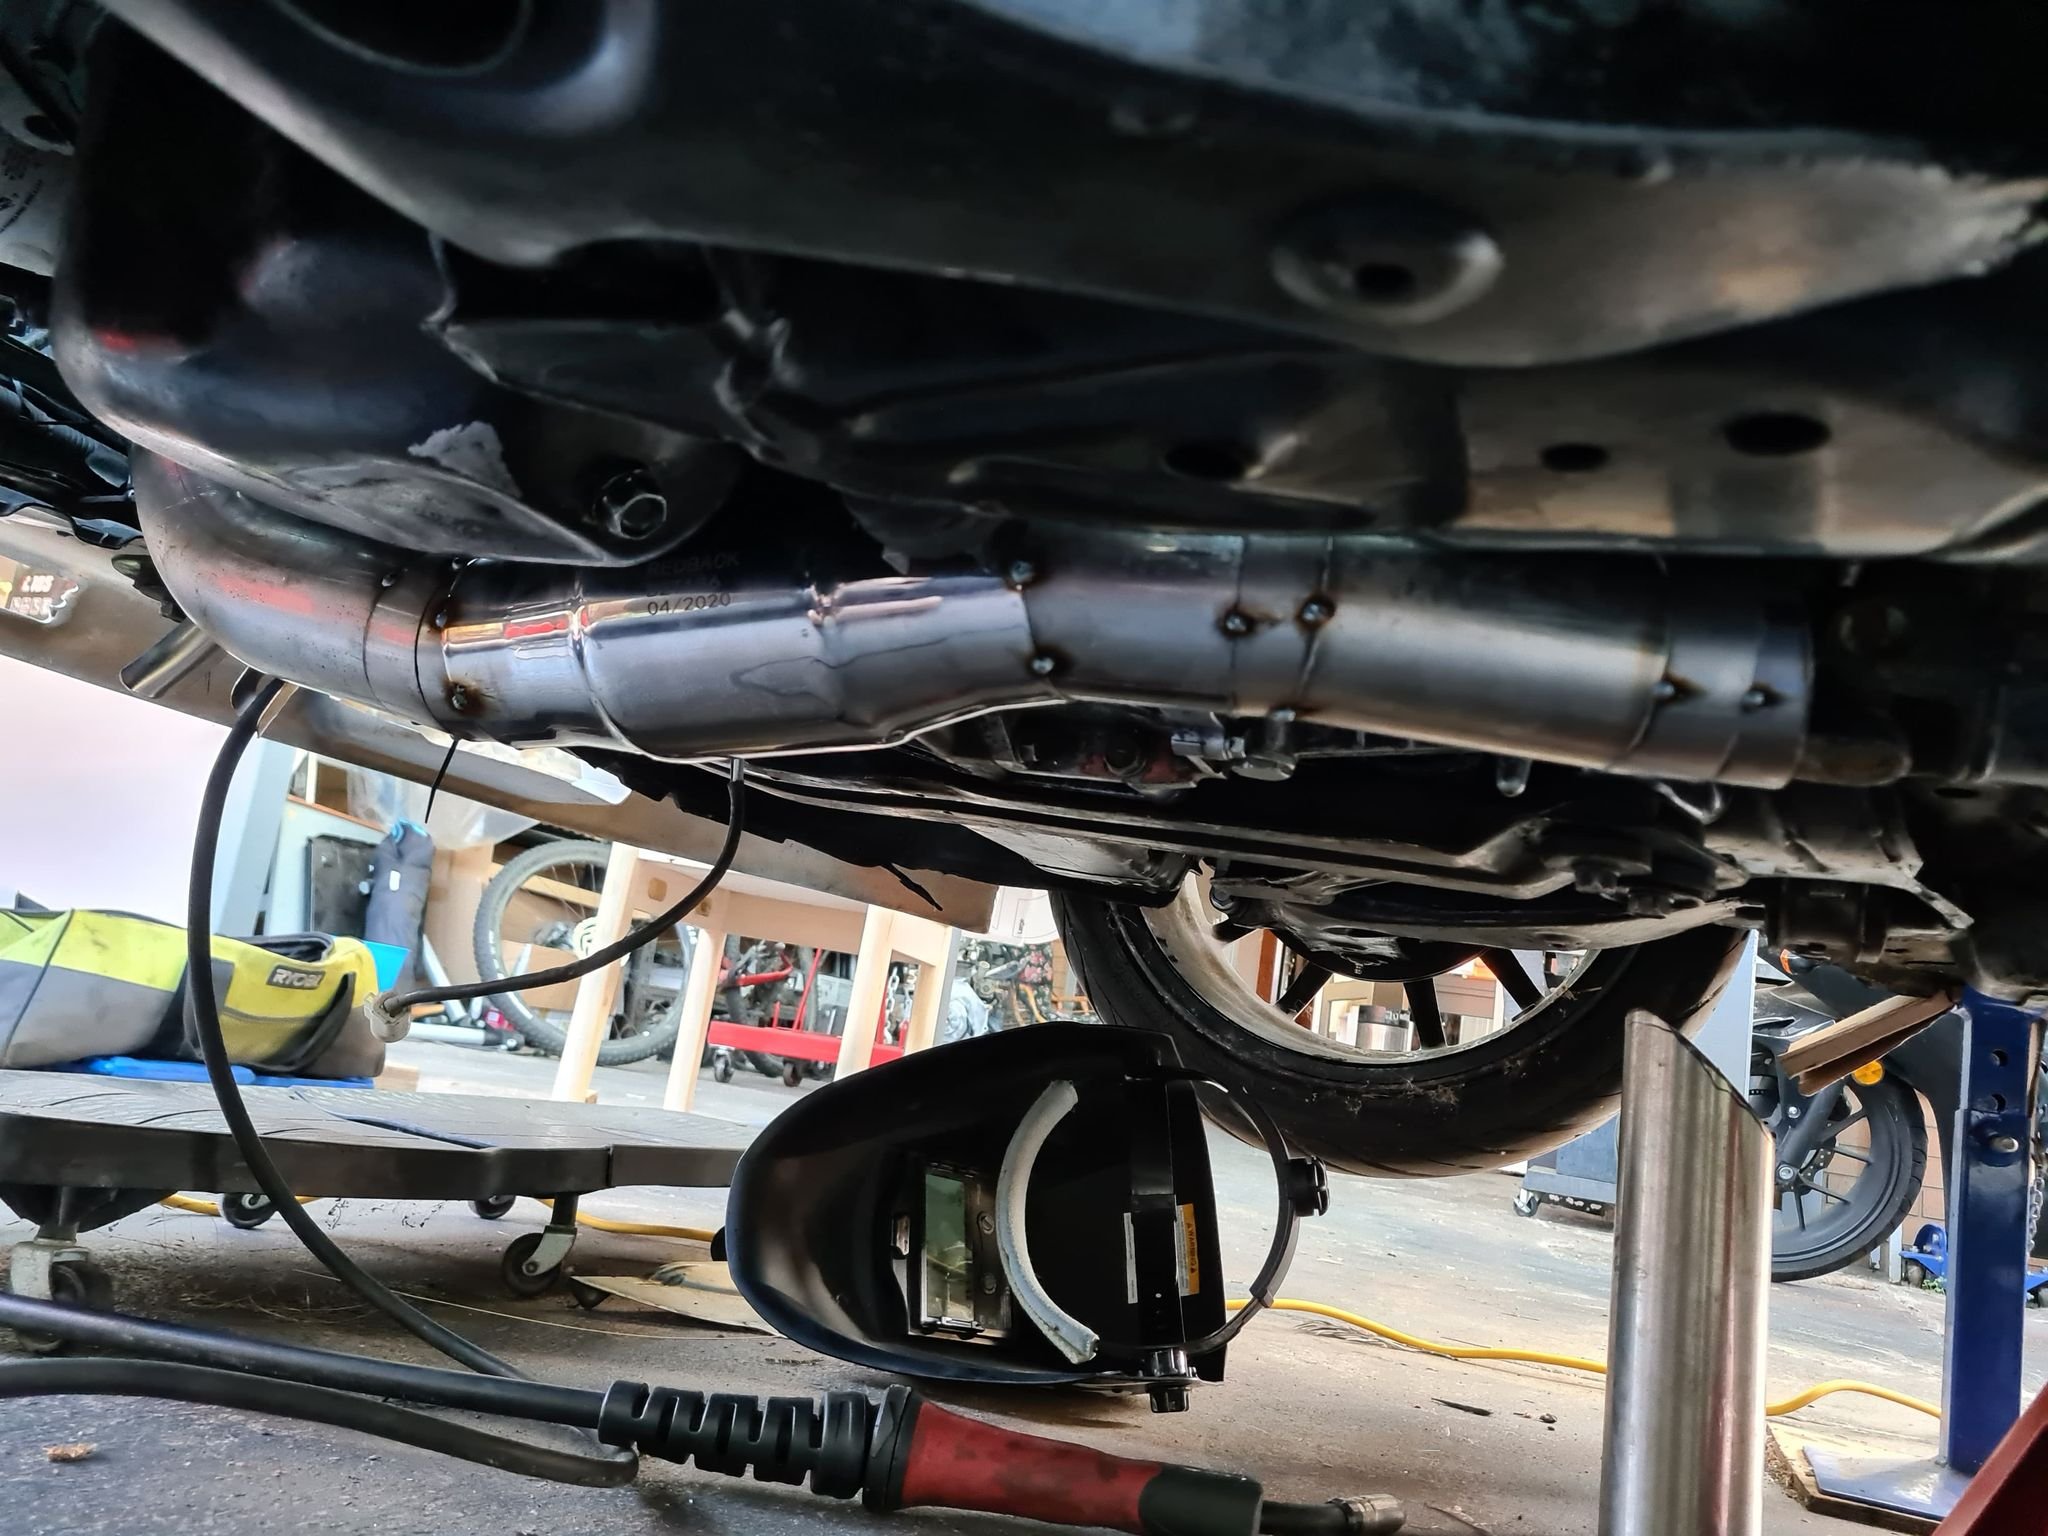
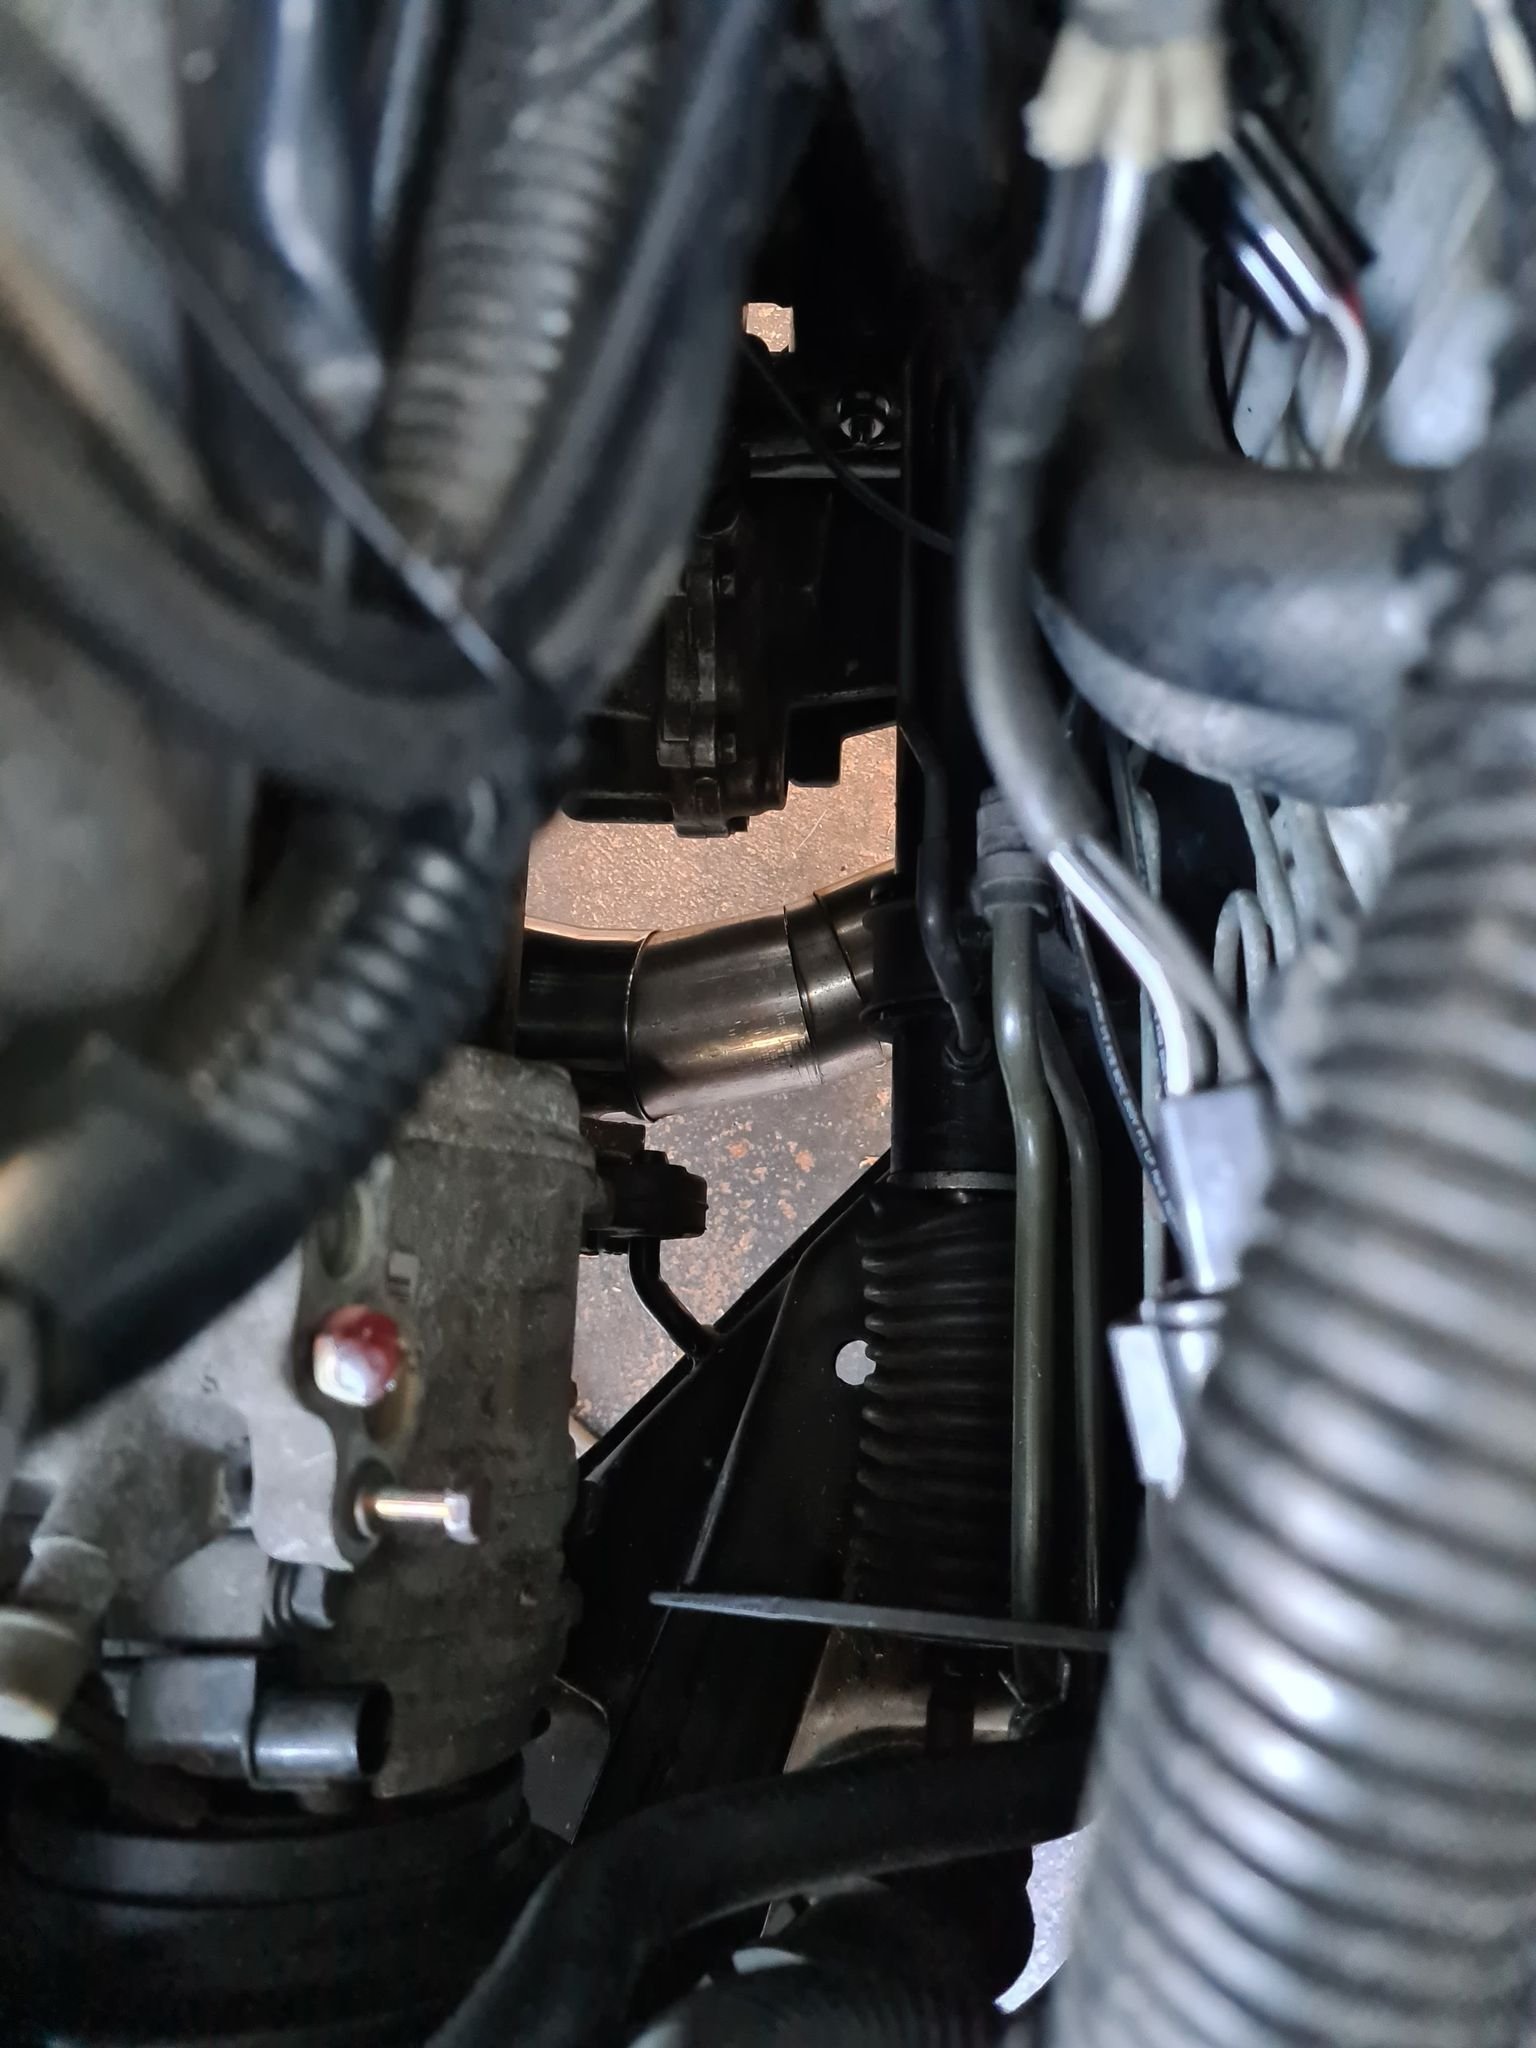
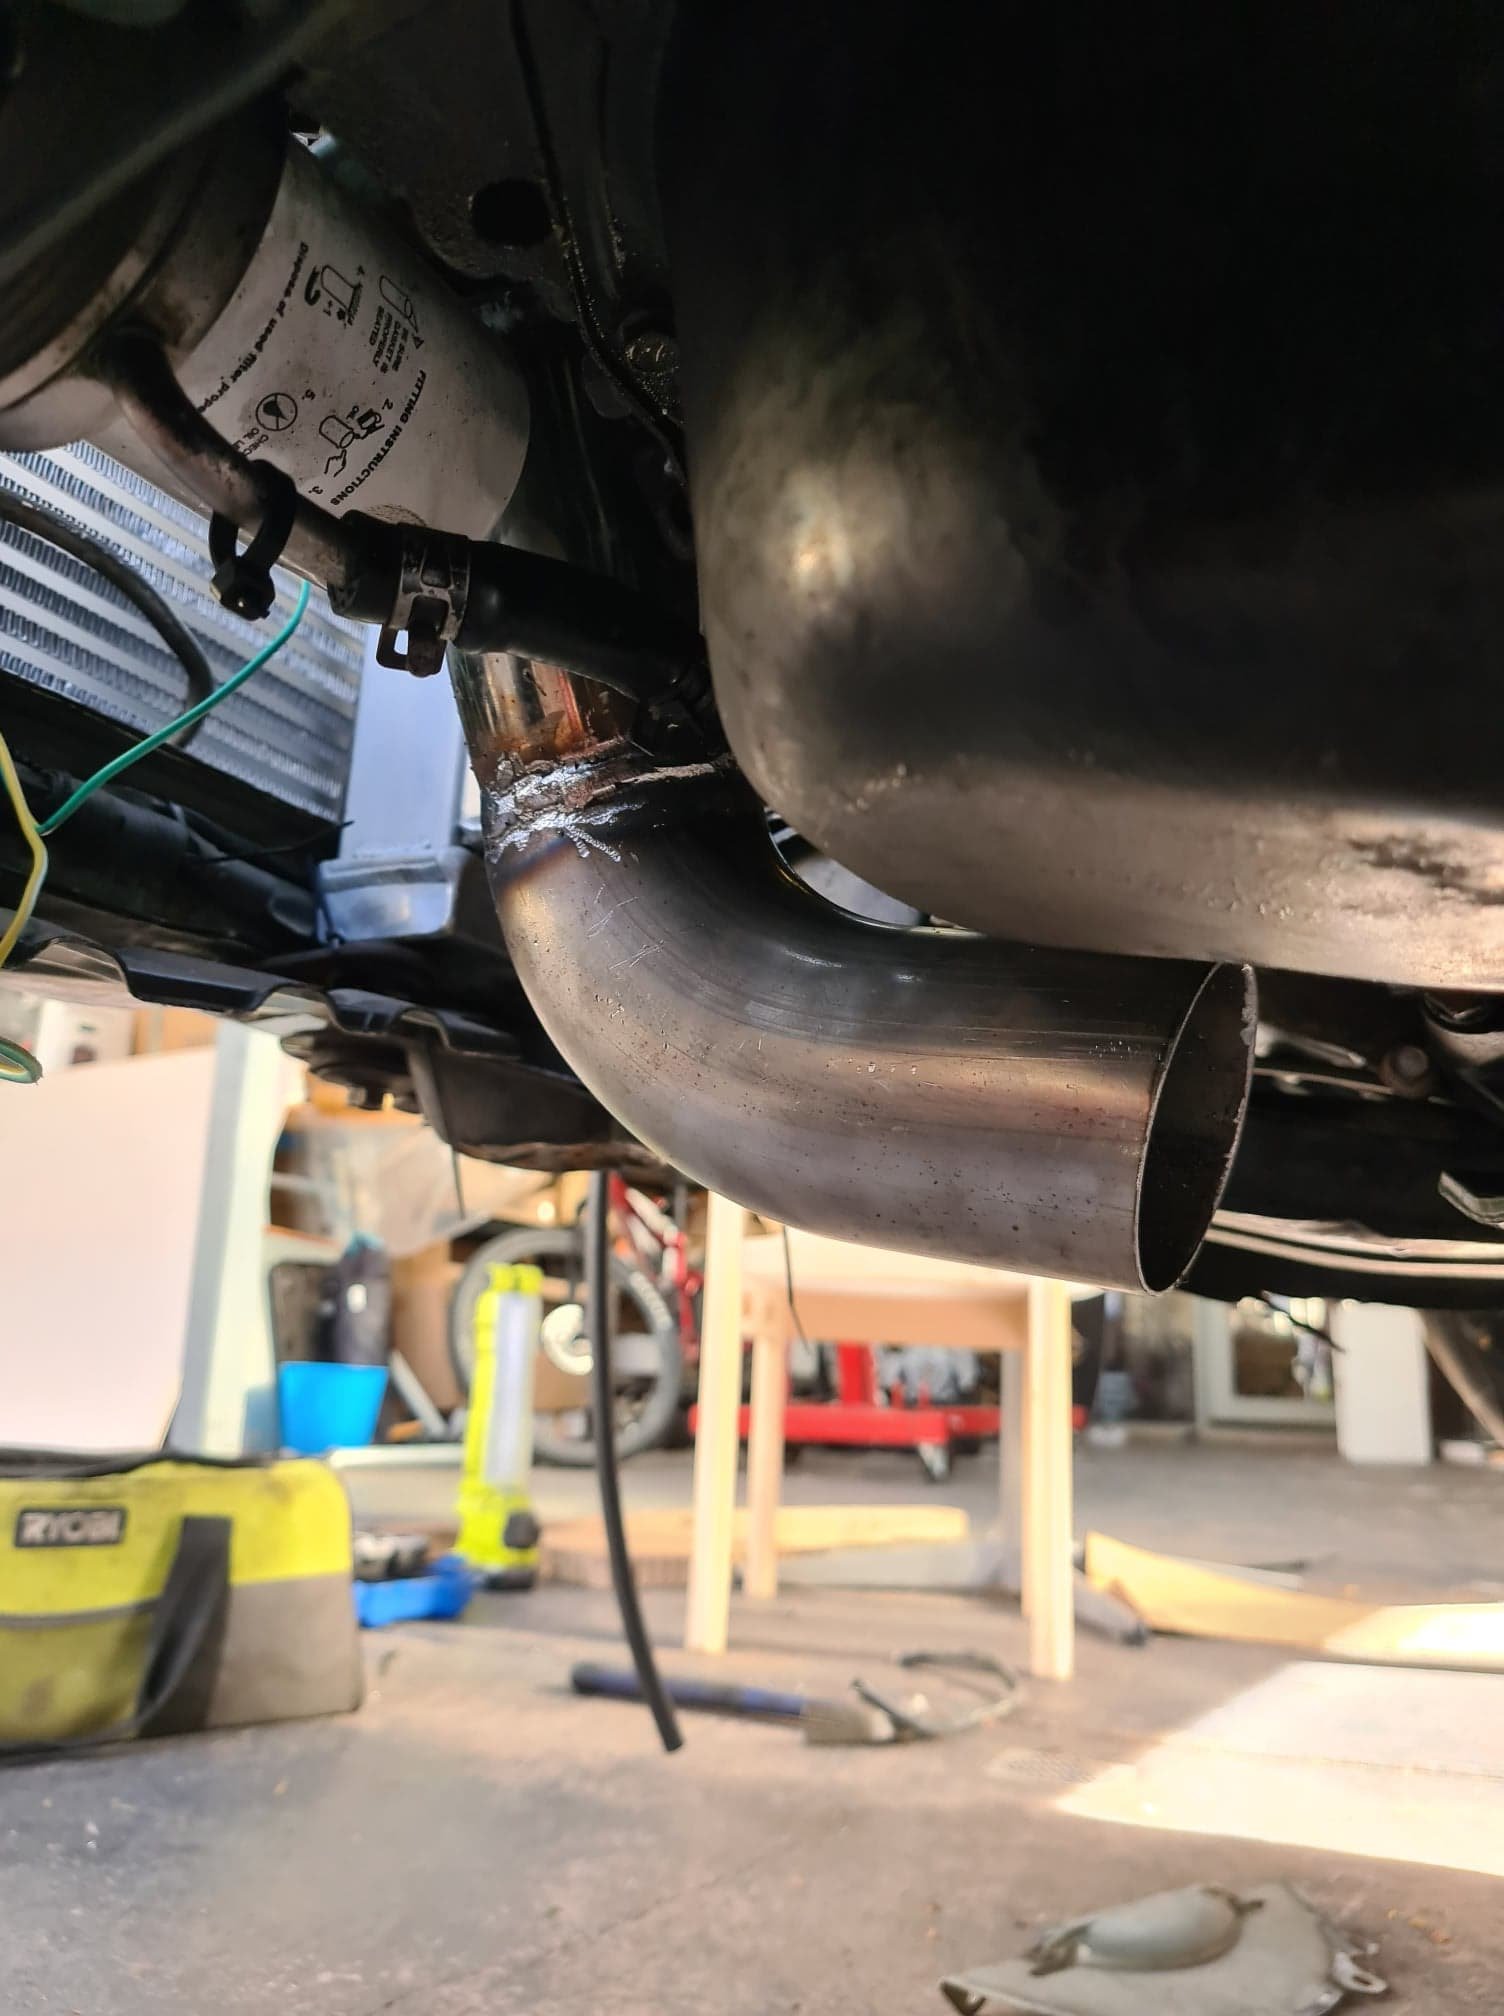
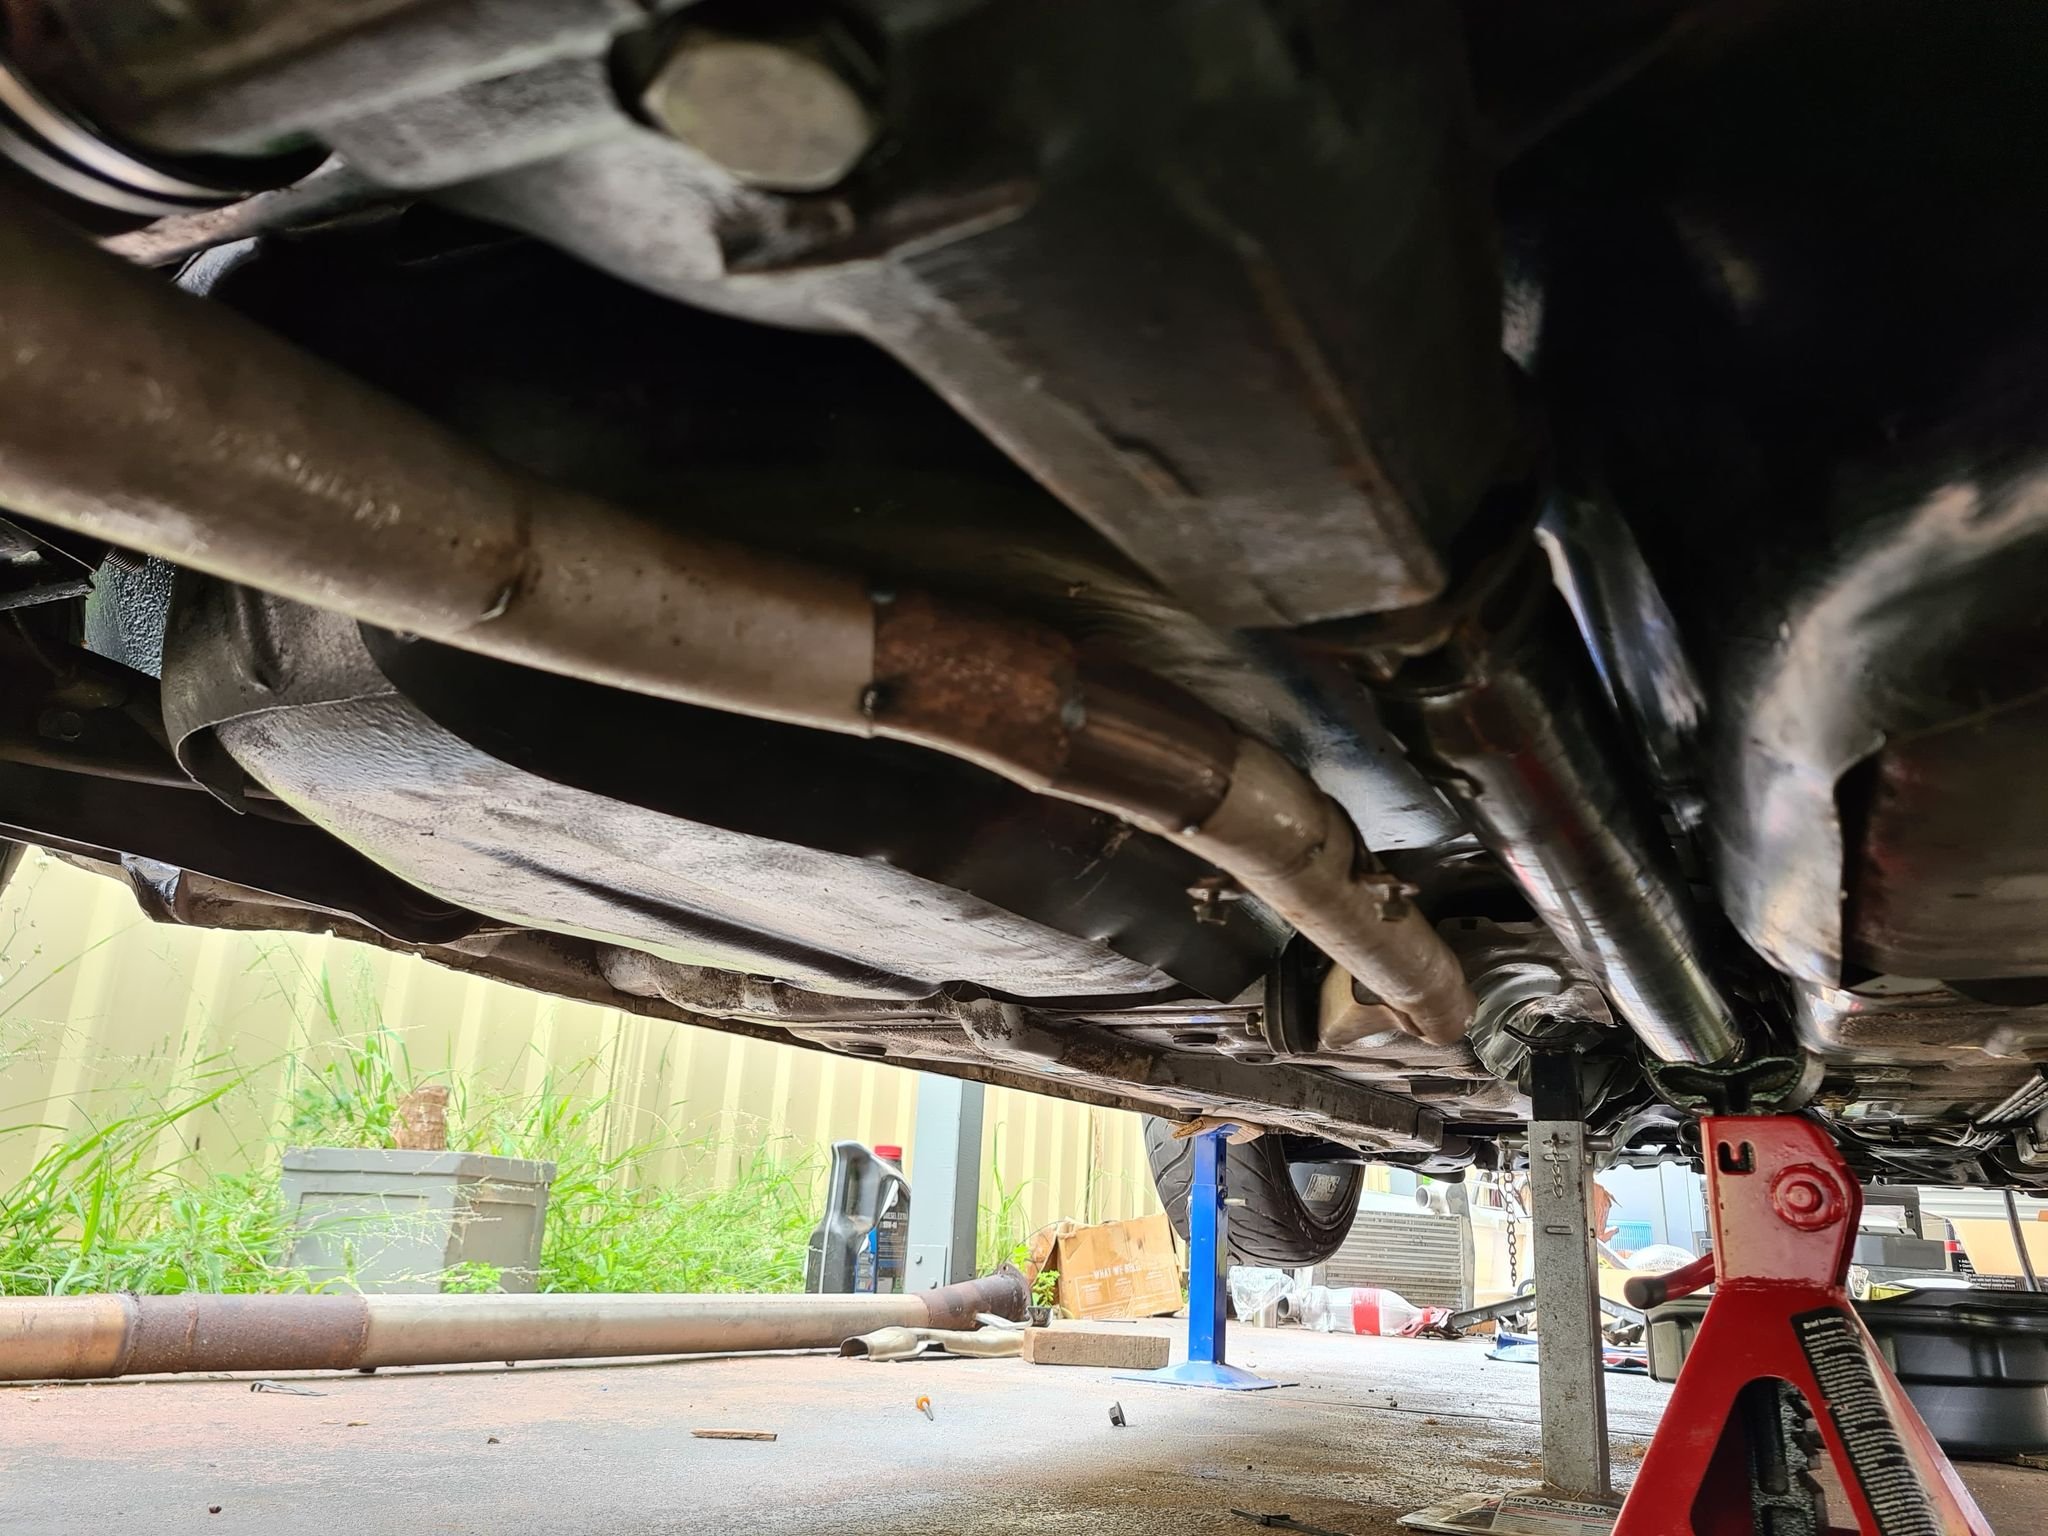
So interesting day Primed the fuel line and had some fuel come out of the fuel filter inlet, so tightened that and all good, forgot to unplug the cas so even had it running briefly (oops) was trying to see if I could get my old pressure gauge to work. Ive used a tee on the factory oil pressure sensor in the oil to water housing and put an oil temp and pressure sensor there. I know it had oil in it as it came out when I pulled the factory sensor out. Not sure how long itll take to refill the tees, know it feels healthy so may just send it Did some more to the front pipe still not as high as I would like but oh well - Haven't taken a pic yet but did some more to the 2" part of the exhaust but I am out of pipe so will need to get some more Front pipe will next get the cat which is angled and as tight to the sump as I could get it with the 02 Sensor to come out under the Transfer case, looks like the flexi won't fit unless I put it further back. Need to see how much 3" pipe I have to do that, need to tack the cat and also add a bracket for it to hang off the front k frame exhaust mount Think Ive semi work out the front inter-cooler piping (its a little tight however) need to tighten it all, make a lower mount for the inter-cooler. Also need to get some fiberglass so I can extend/repair the bumper so that it mounts to the Lancer bumper support Still need to in order to start properly Rear passenger side center cap and wheel on Front passenger wheel on Tighten wheel nuts Finish exhaust Finish inter-cooler piping Sort top rad hose Sort overflow nipple for Radiator Replace water with Coolant More fuel (10l) Then before I drive it Check all bolts Jumper leads Tow rope Someone to follow Bleed Cooling system of air No rego permit Check lights all work Will get it a wheel alignment before I do much driving Then before RWC (In no order) Height adjustment (100mm off ground at lowest point, probably go 105mm on the front pipe to be safe) (Probably do with wheel alignment) Soften the dampener settings on the coilovers Grind down welds on rust repairs, sand and paint (also under-seal) Put carpet back in Make sure the interior is all together Reattach tow-bar Make sure all panels are secured properly I think that might be it :p
-
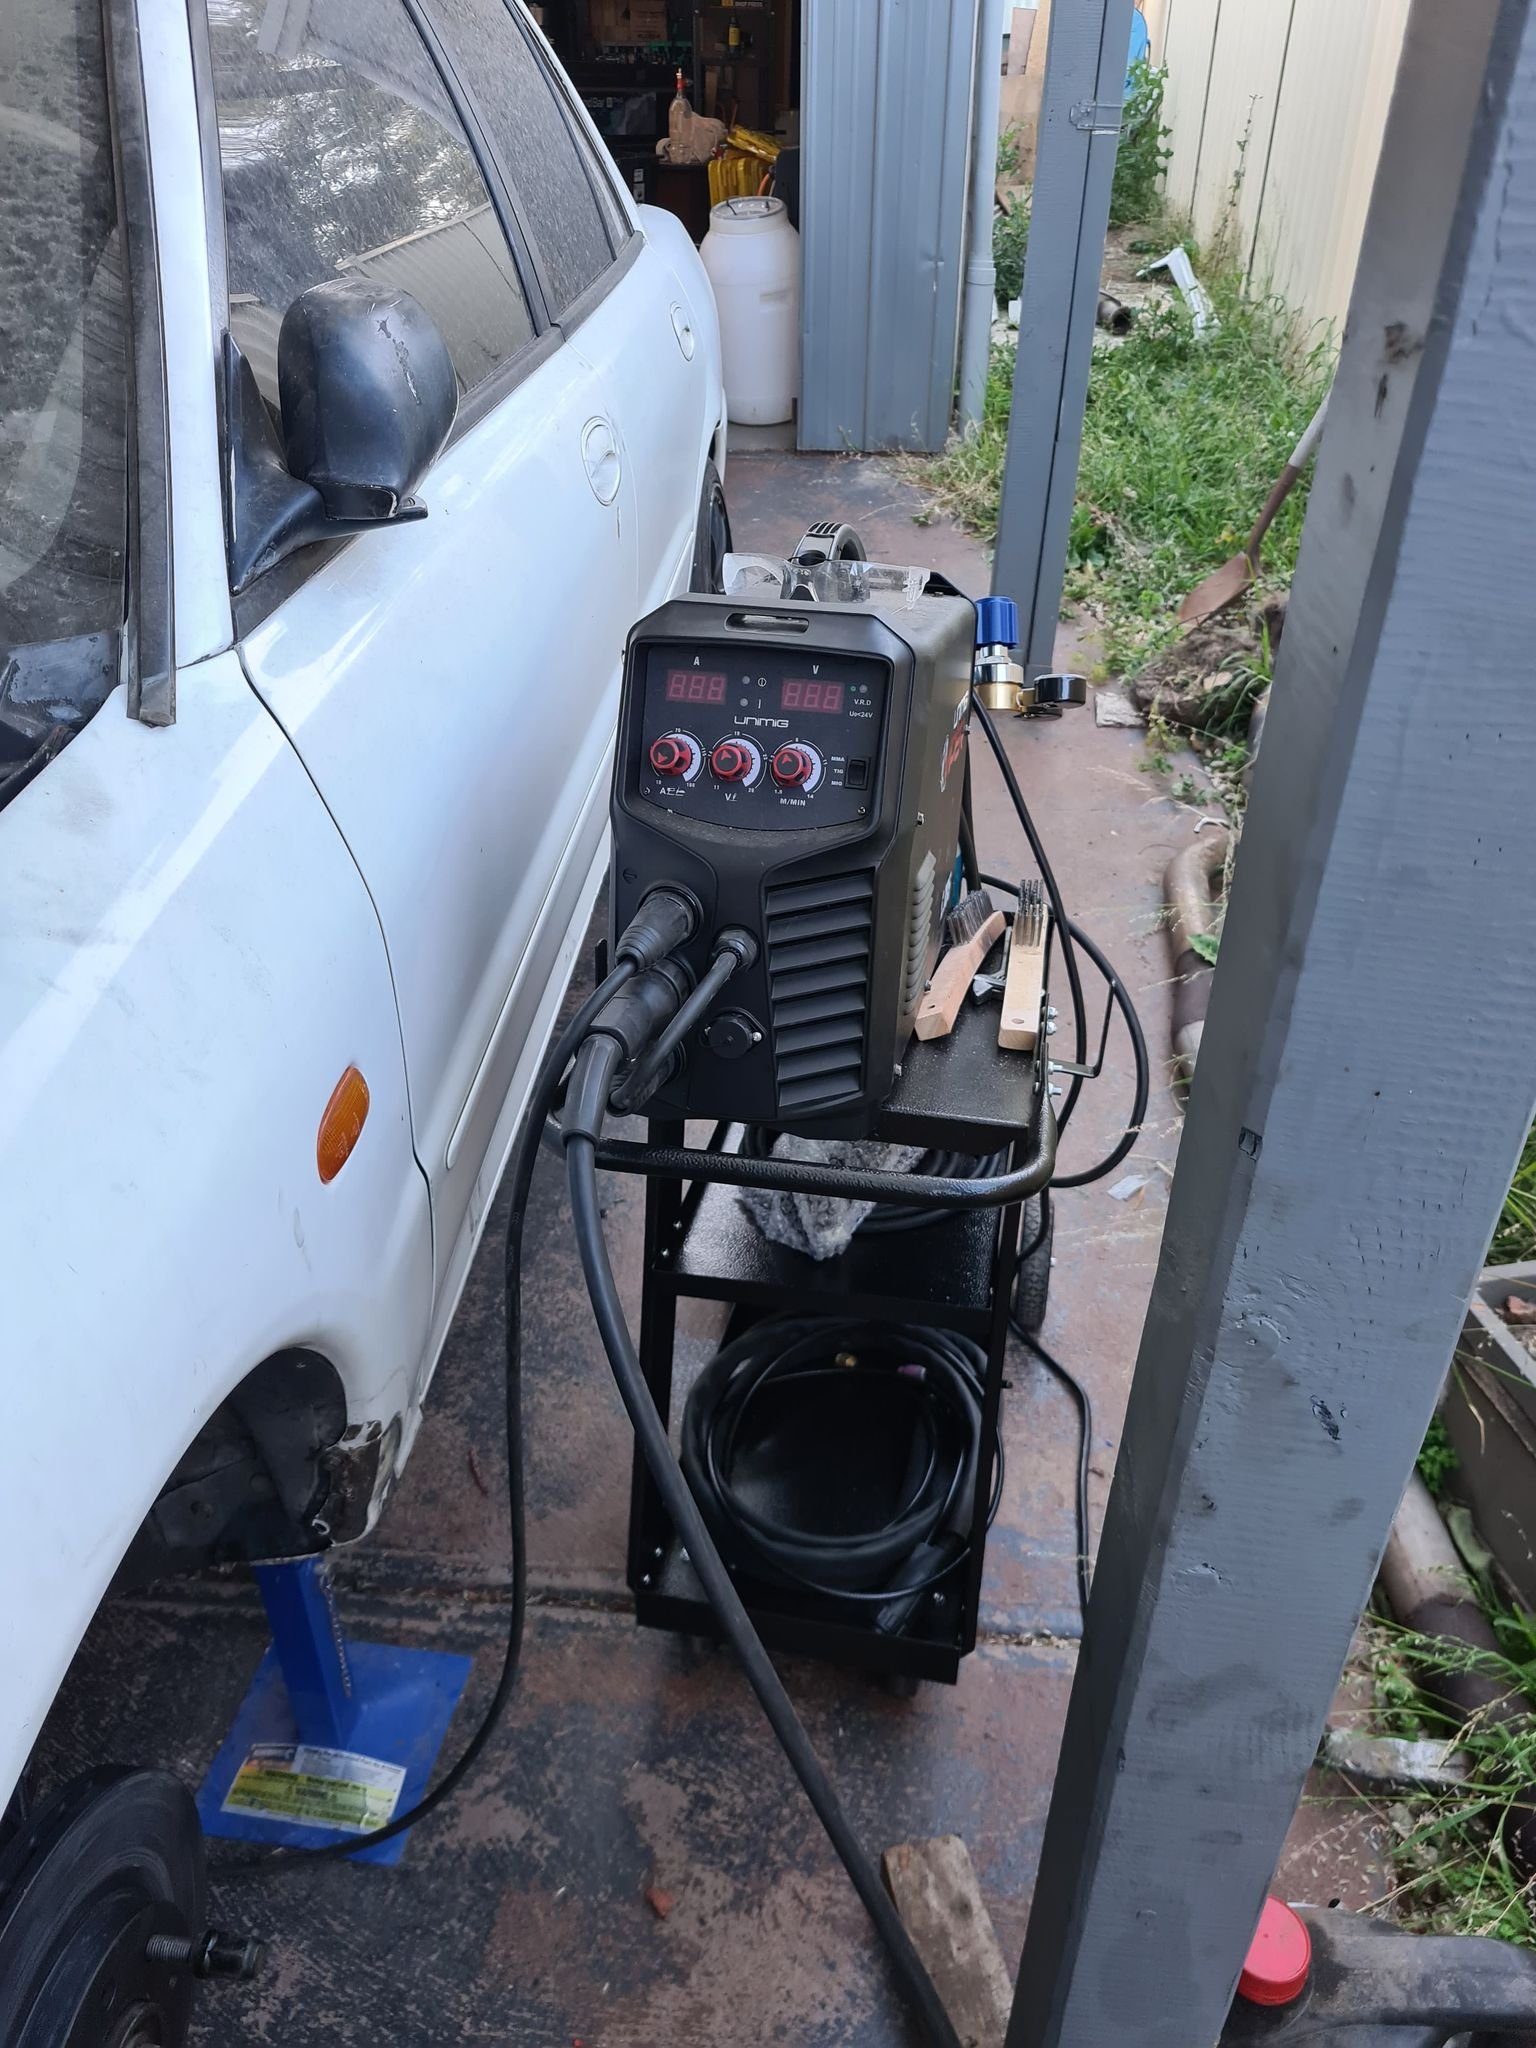
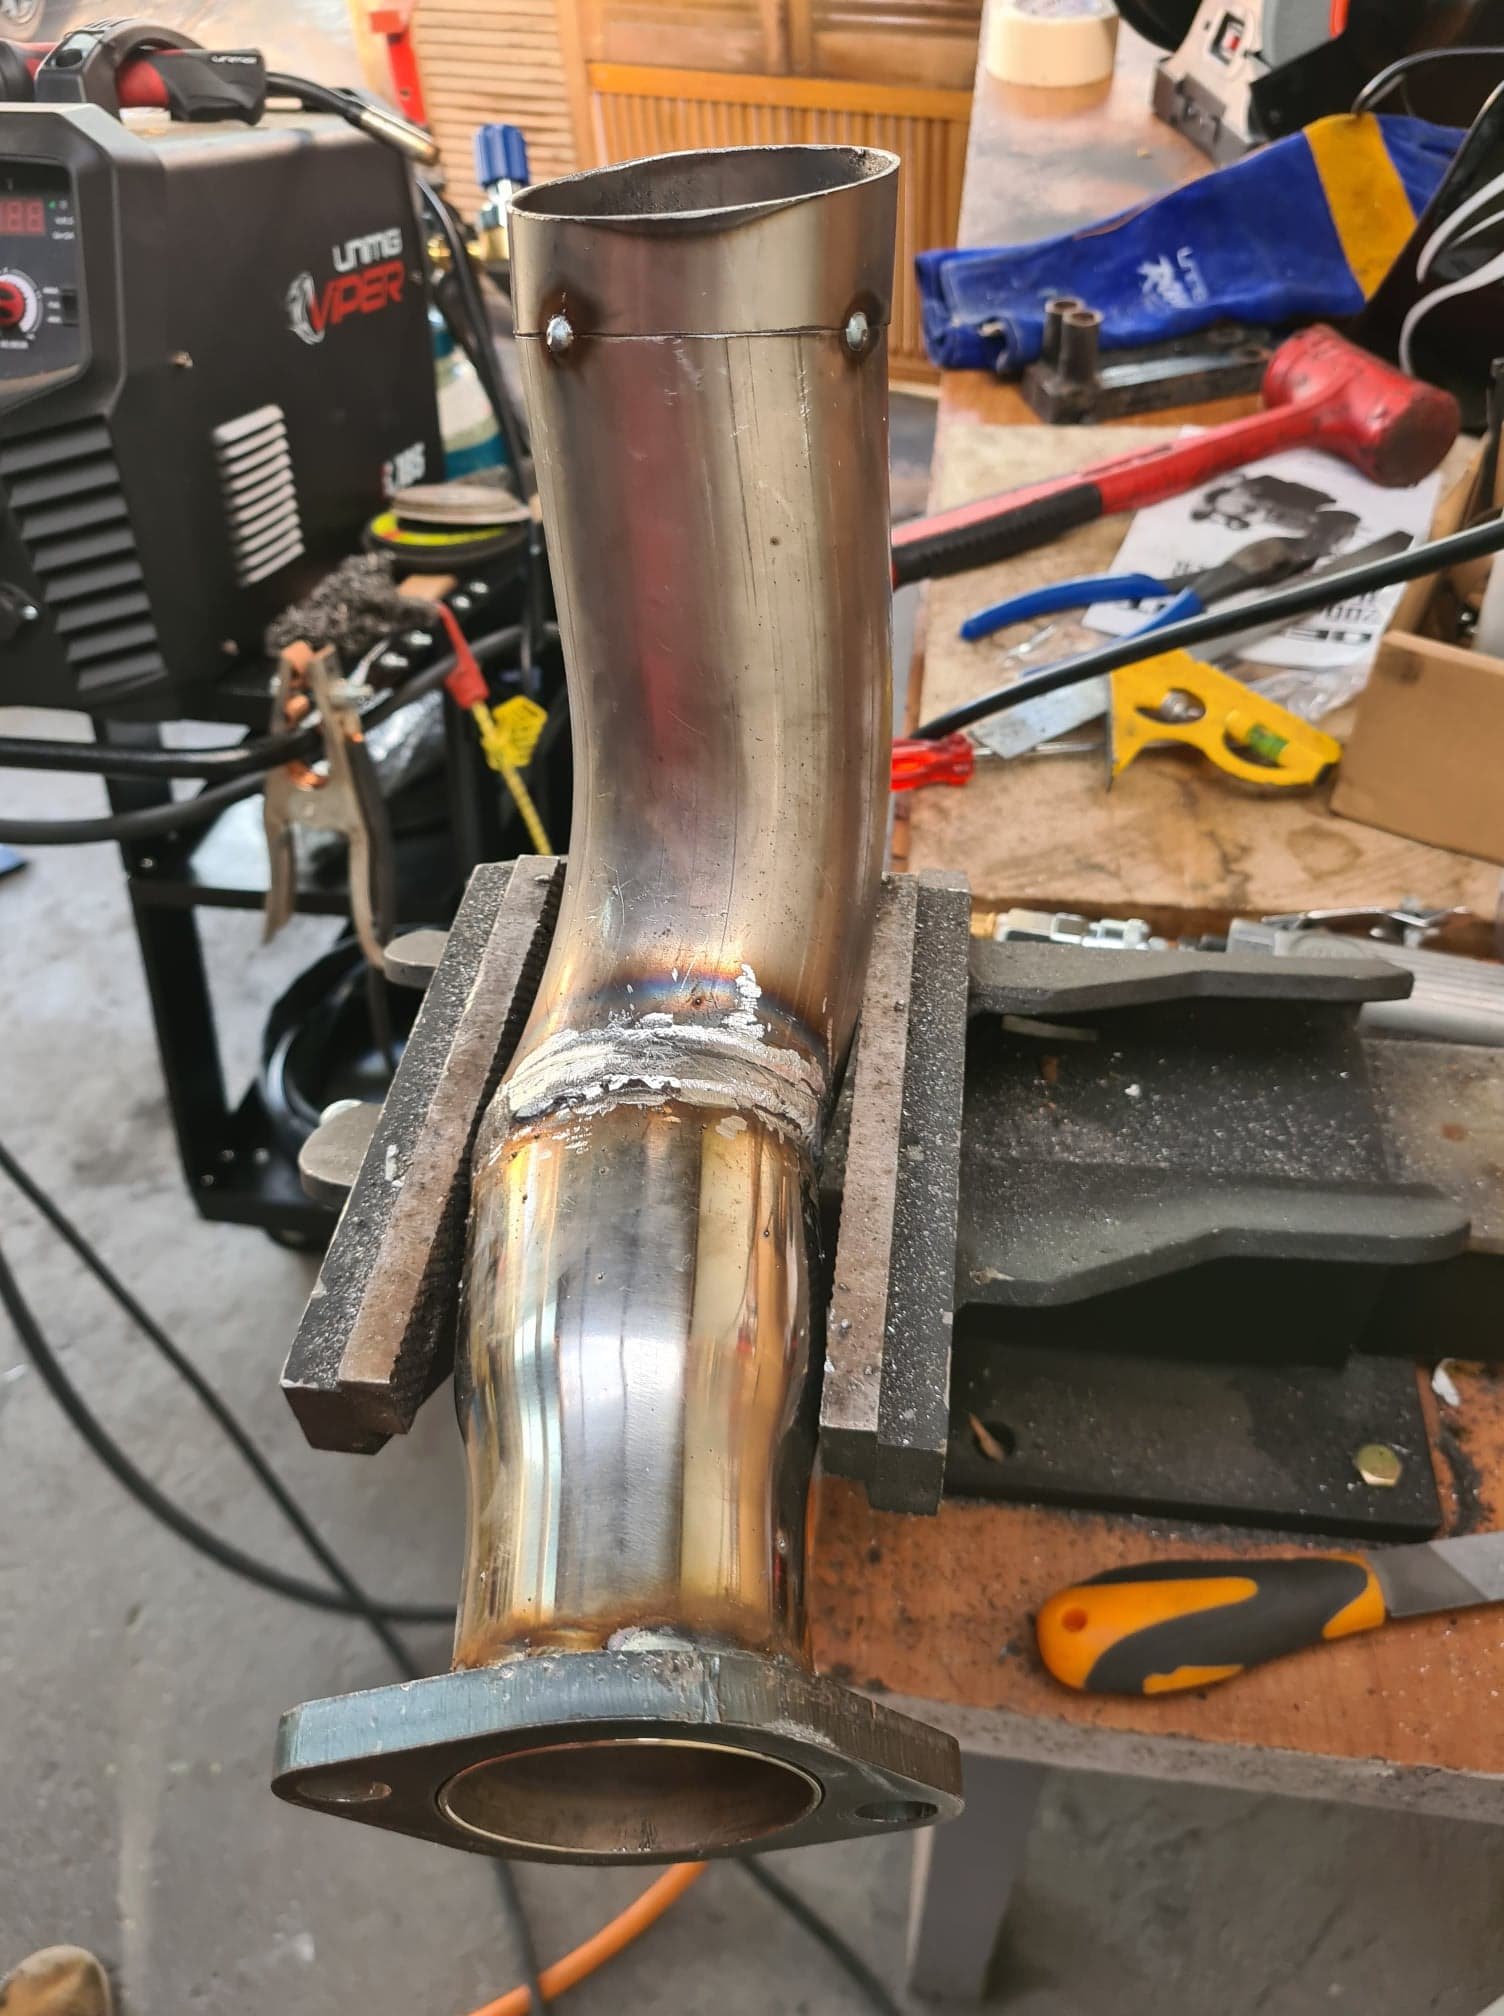
So, swapped the gas bottle over, brought a cut off saw (with spare disc one for steel one for alloy) and a welding trolley as I am sick of dragging the welder around and want the bench space back. Put 10L of 98 in the tank to check for leaks and seems to be ok so far, will prime the fuel system once I locate the fuel return clamp ive tucked away and after I remove the snapped bolt in the ac condenser (need to weld a nut onto it) Will try get the exhaust done this week/weekend and the intercooler piping may need 2x 90 degree silicon bends to be done but see how I go with the pipe Ive got Need to tighten all the wheel nuts as well once I take it off the stands Pics to come in next update Started on front pipe, cut down the 90degree bend I had, doesnt sit as close to the sump as id like but itll do, cant get it higher without cutting the 2.5-3" adapter which I am not keen to do, even tried piecuts but couldnt get it any higher. Started welding it and had a few blowouts so have ground it back and will reweld it
-
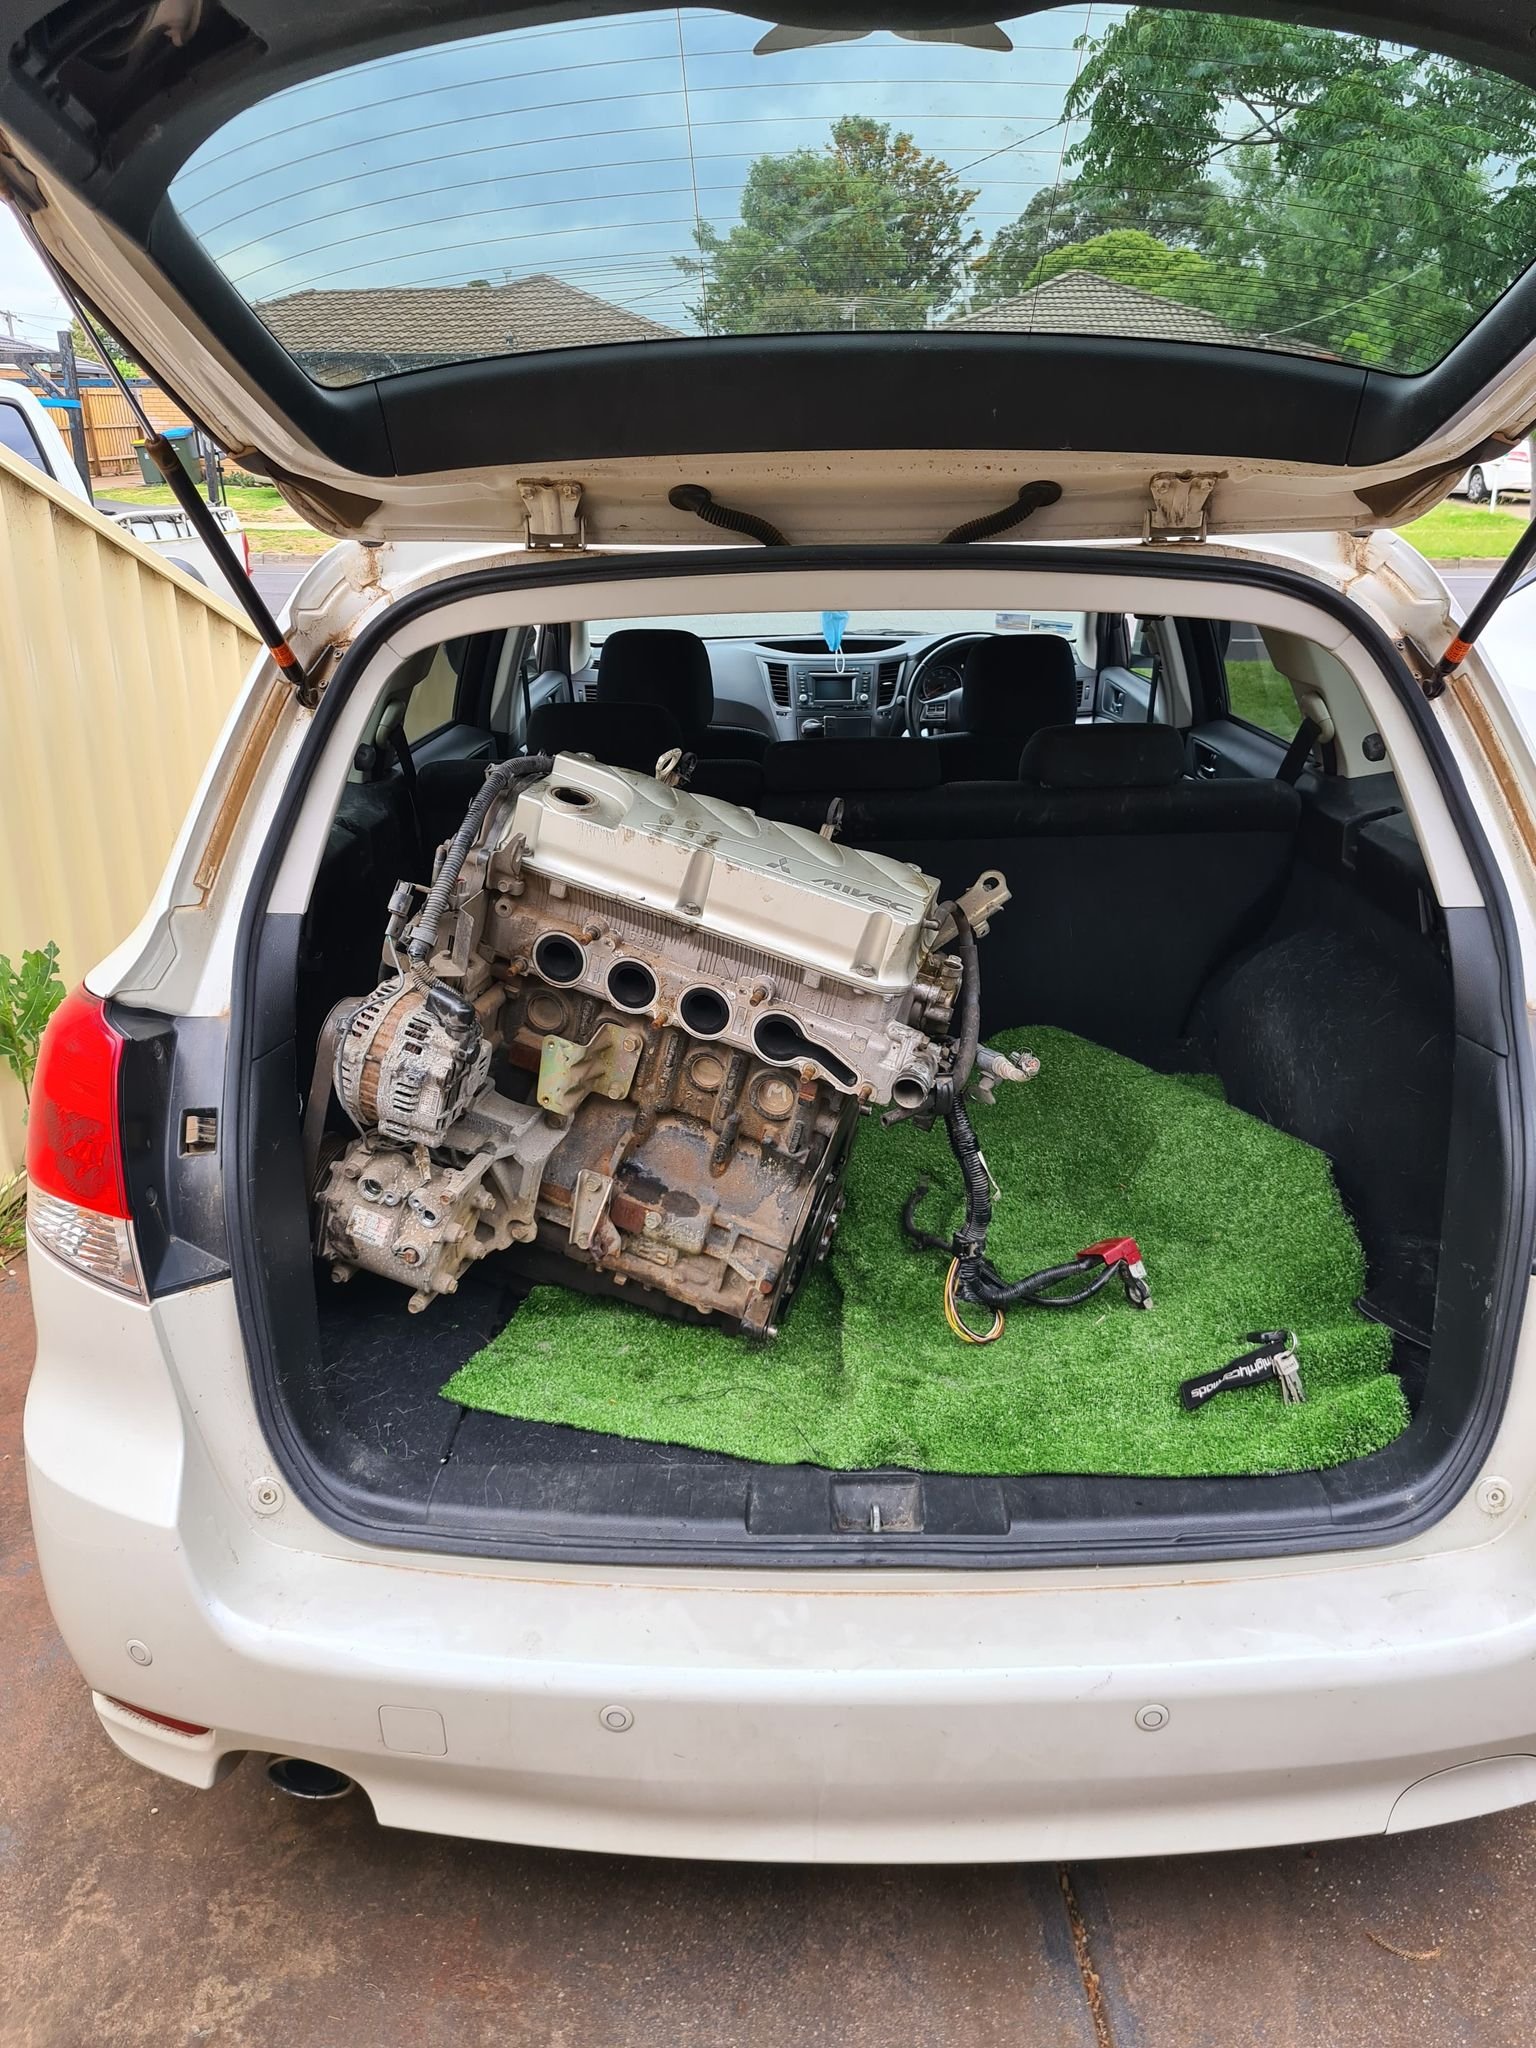
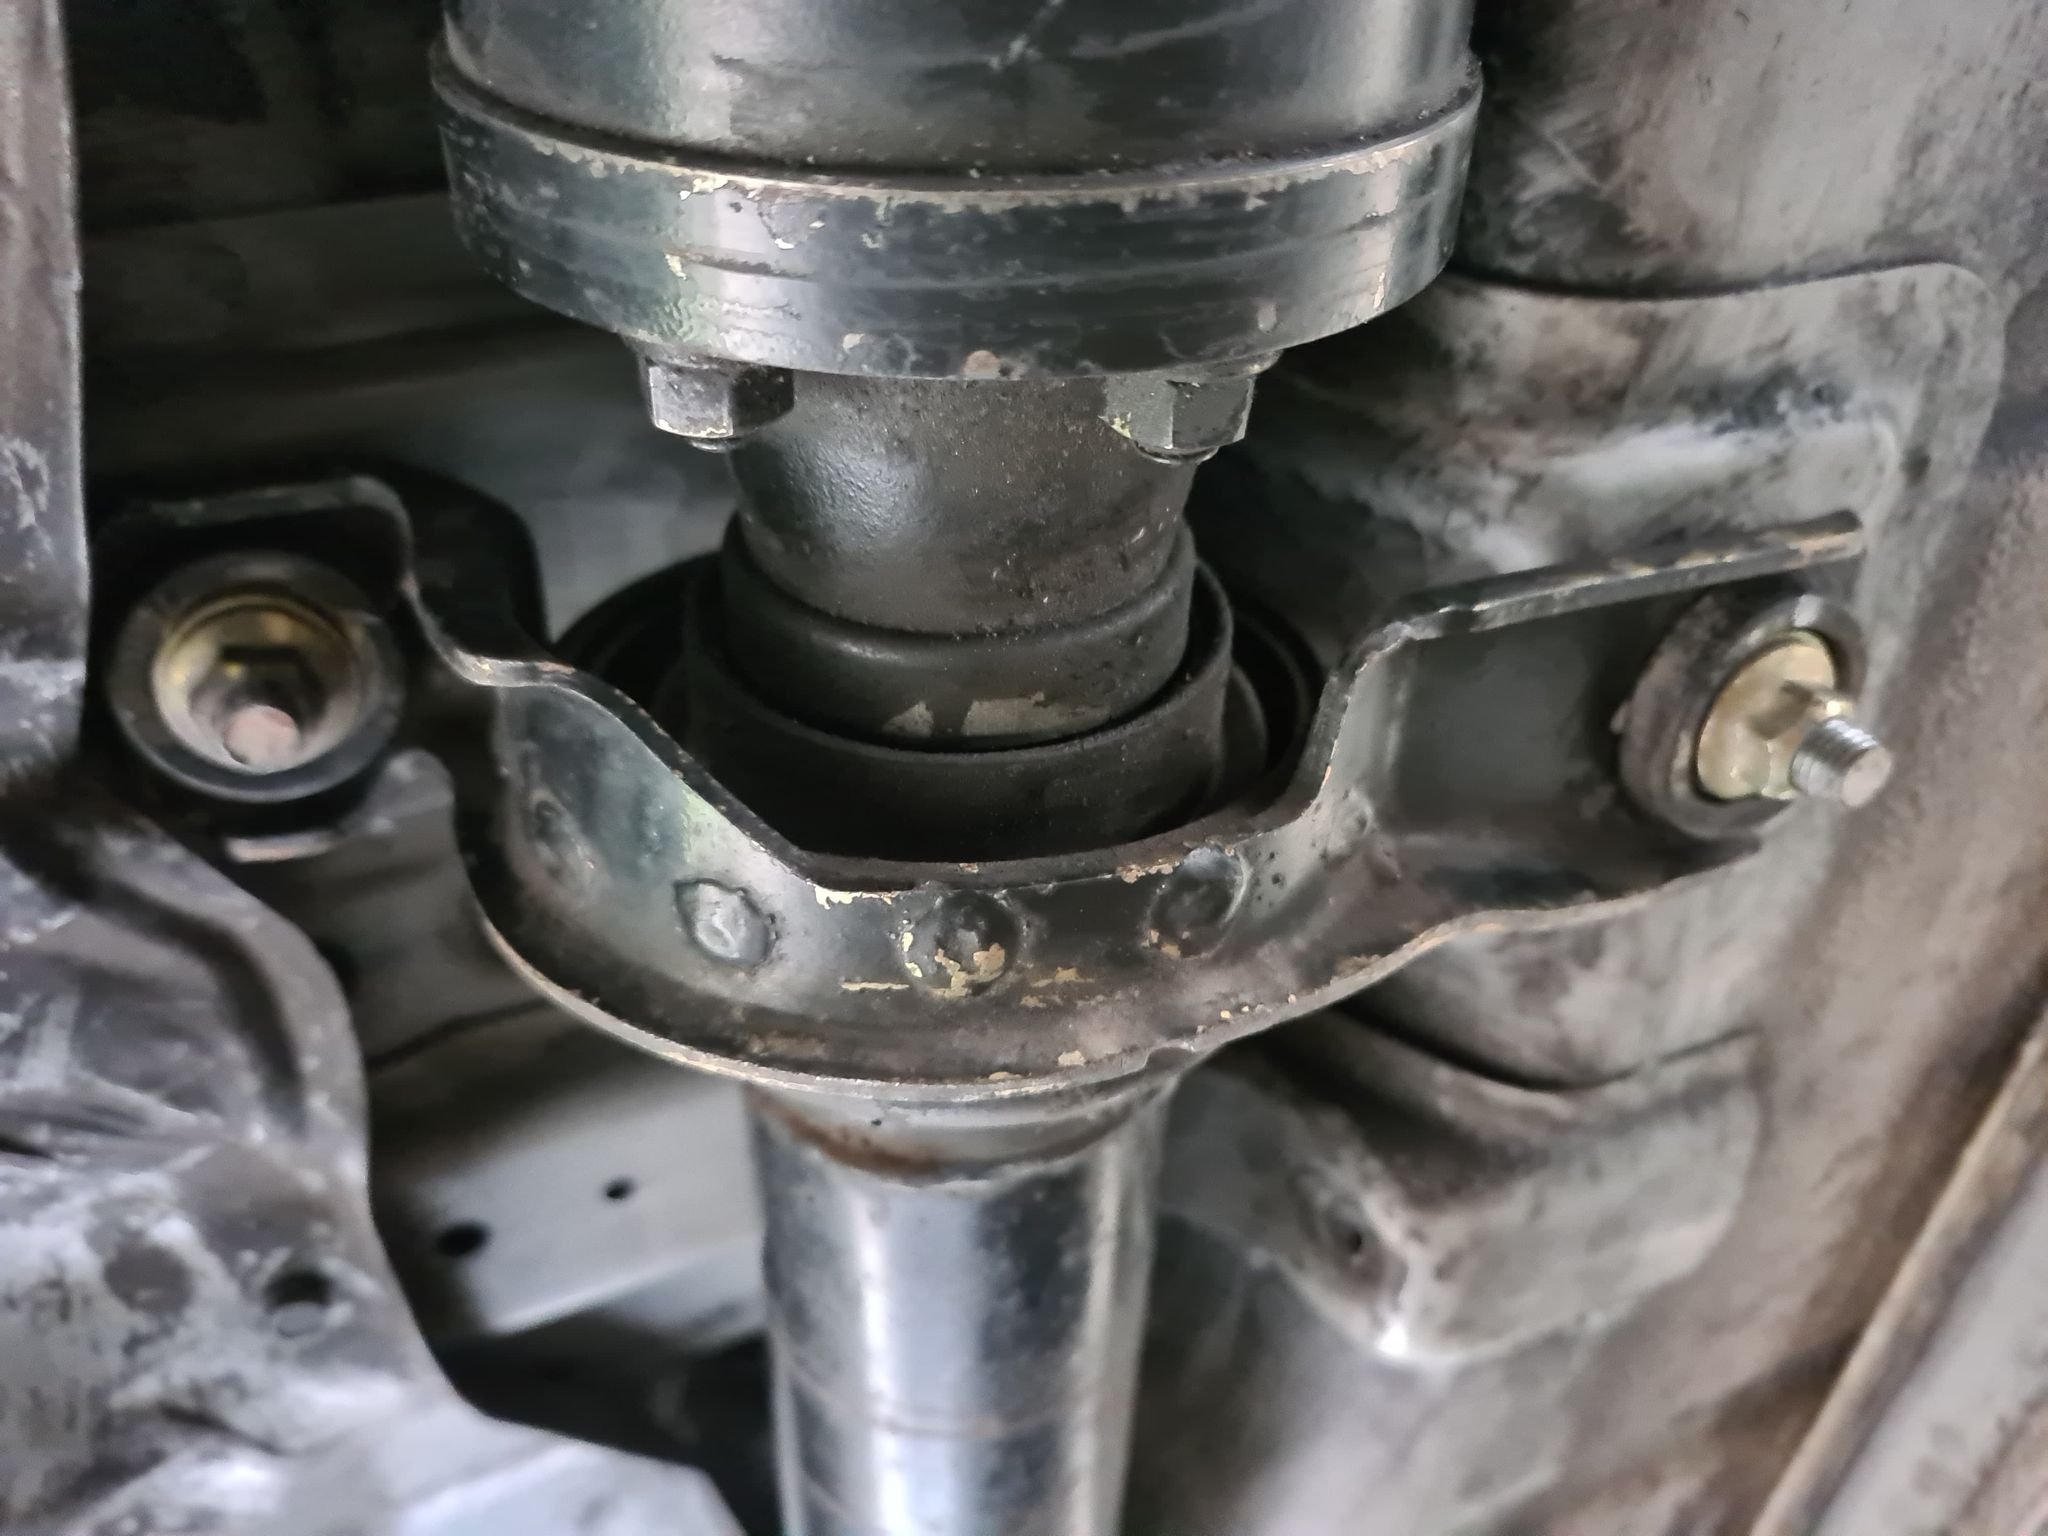
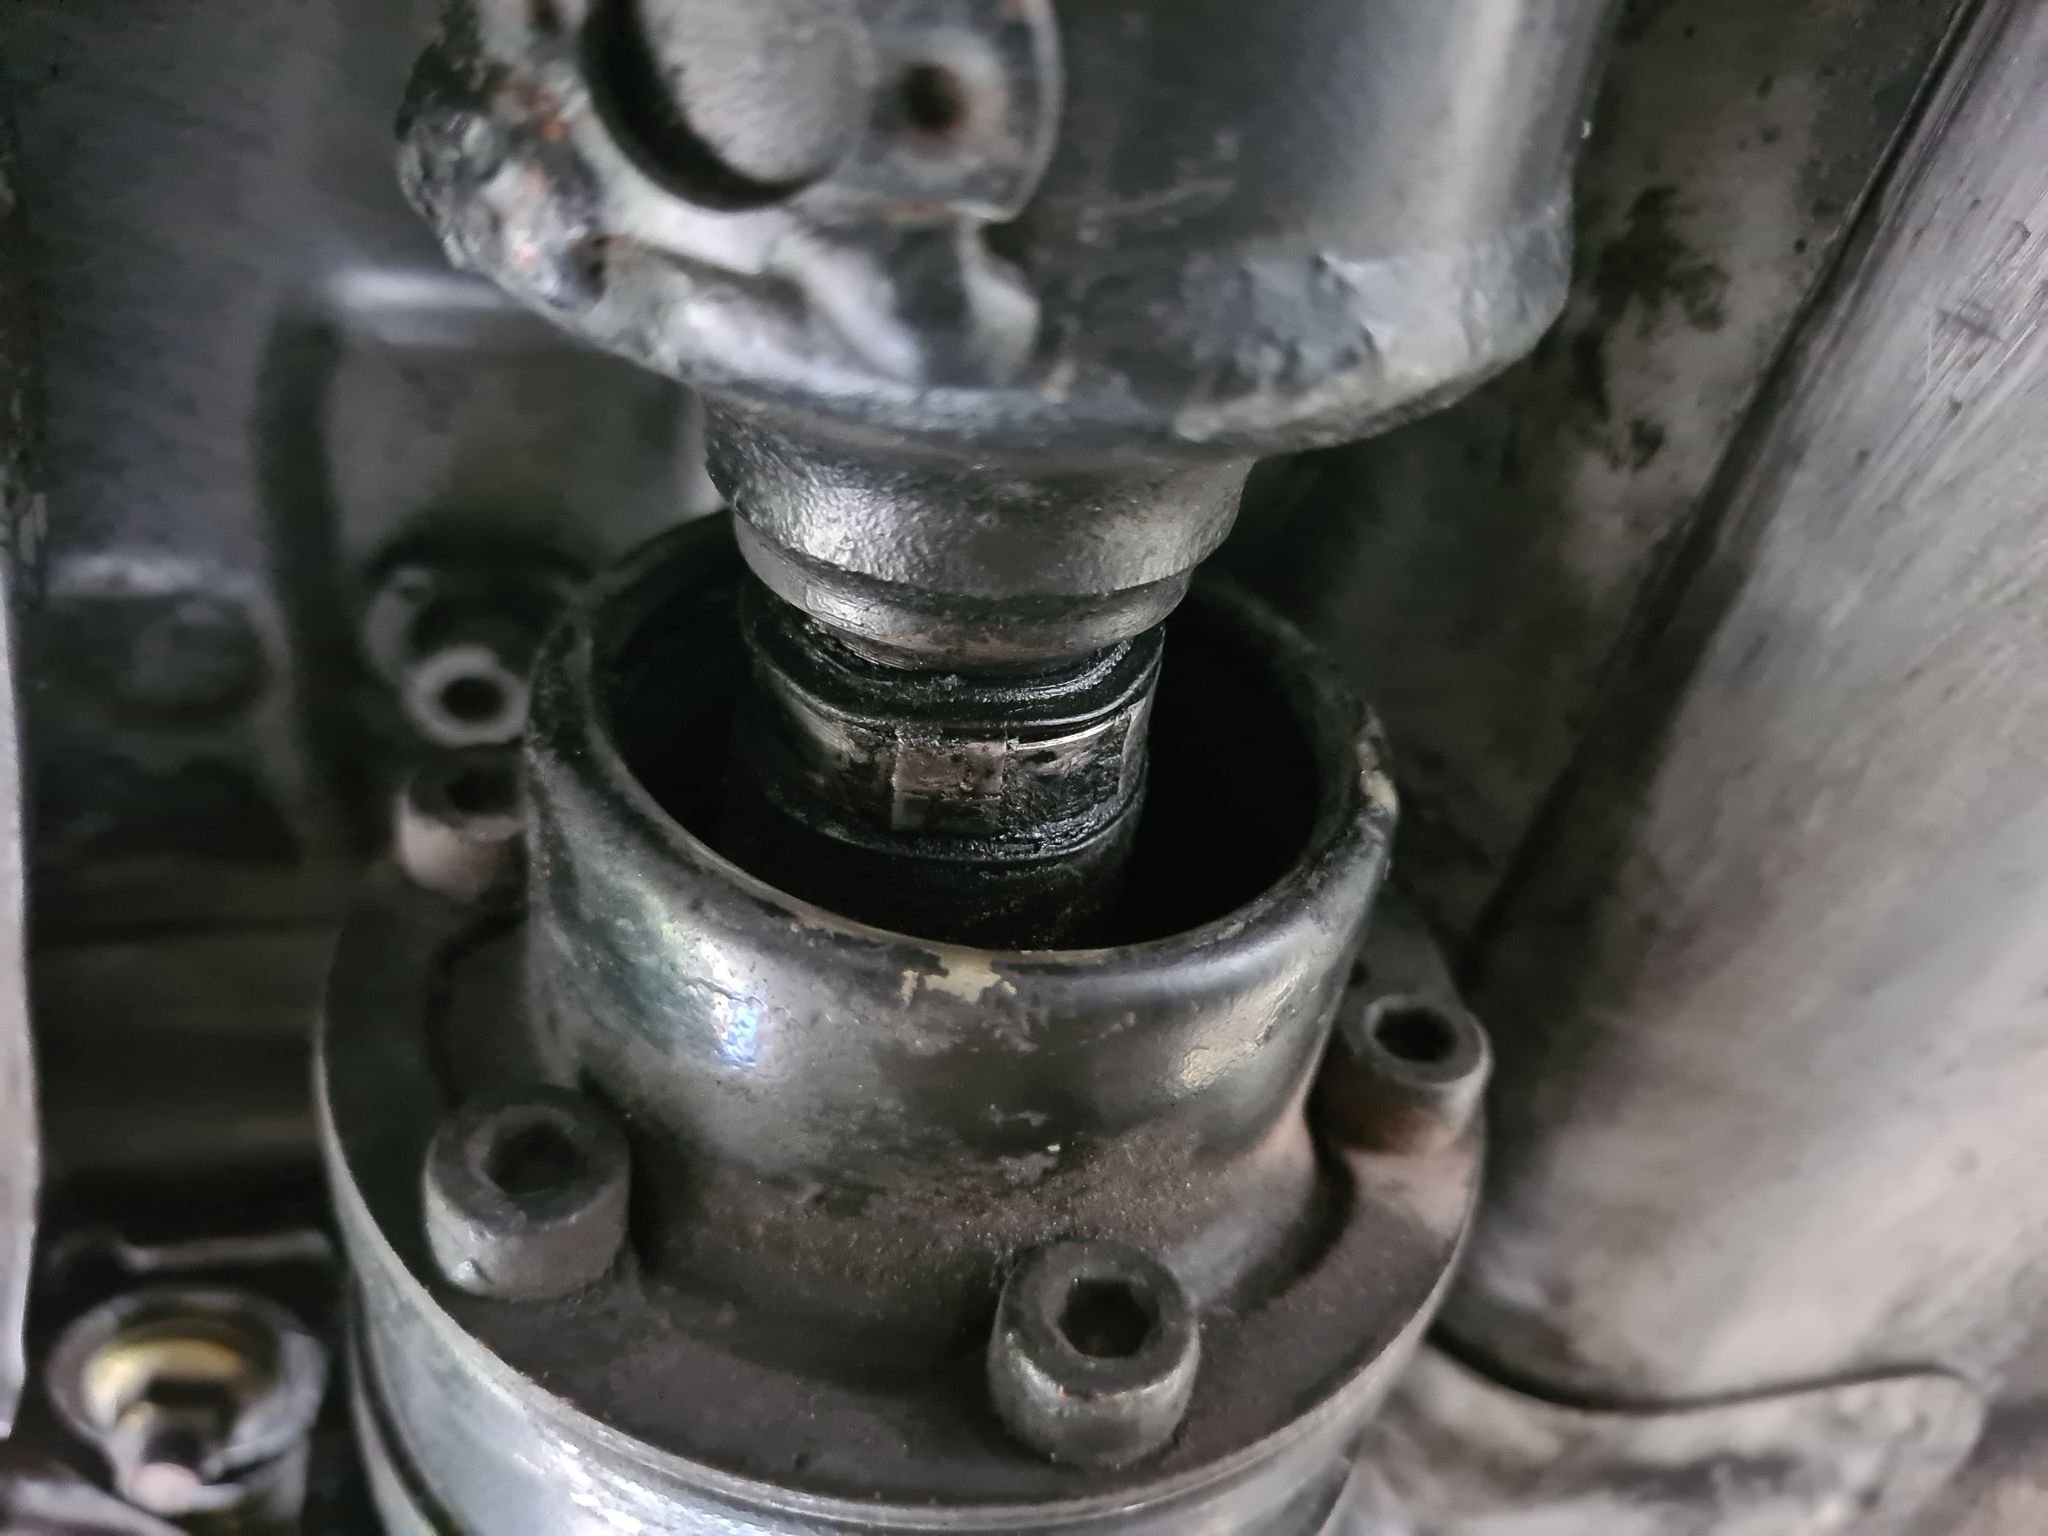
So went to the wreckers to get the Prop-shaft bushes and nuts (ones on an out-lander are the same) considered grabbing the exhaust of the out-lander as it was 2.5" and a lot closer to the GSR/Evo one then the one I got of the lancer wagon but I was already in to deep with the one I had and didn't want to spend the extra $65 for an exhaust ill use once And then this happened, it only needed one engine mount unbolted and a few hoses removed, and for $200 I couldn't refuse. Will put it on the engine stand and get it down to the short block when I have some spare time. Plan is long term for it so not in a rush, will get forged rods and pistons, along with a rebuild to suit the 4g63 head I have, might aim for 9-10:1 comp but see how we go. Not aiming for stupid power long term, but a bit more displacement and some more low end torque are never things to object too Main reason for the 4G69 is I am trying to get away from possible crank walk issues which the 2G RVR 4G63 I have is known for. I may pick up a 4g64 later on as well, a longer rod motor does appeal, and part of me wouldn't object to running a 4G63 crank in one to get a 2.1 long rod setup I grabbed the DBW throttle body and the throttle pedal from the outlander as well with pig tails so that long term I can go e throttle the current speeduino I have doesnt support it but ill sort something long term Bushes and bolts for the prop shaft installed The boot doesn't look super happy but I have a new one to go on when I get around to it, Might be something I use as a reason it fails RWC Spent way to much time under the car today on the exhaust Welds are a little better but still shit, again this will be off the car as soon as RWC is done so not phased as long as it doesn't leak Started making the Front pipe, ran out of CO2 Argon mix when I started it so switched to straight Argon, will go swap the bottle tomorrow/next week. Again not the best welds in the world but they will do till I get a new turbo setup really need to have a clean up tbh Started mocking up the 90 degree 3" bend I have but need to cut it on an interesting angle so need to go buy a cut off saw to do that. May have to mod my 3" exhaust as I think its too far forward to allow space for a cat