


Adoom
-
Posts
2198 -
Joined
-
Last visited
Posts posted by Adoom
-
-
I don't want to sound like a dick or anything...
You sound like you might be "young"?
Have you driven anything with 300-400hp before?
My starlet has 260hp with an LSD and it's quite a handful. It's REALLY easy to lose traction in the wet. Passing almost anything is effortless. I can pass just one car and be going fast enough to lose my licence and have my car crushed once I get past the car..... I take mine to track days/clubsport events.
I forget what my point was....
-
 4
4
-
-
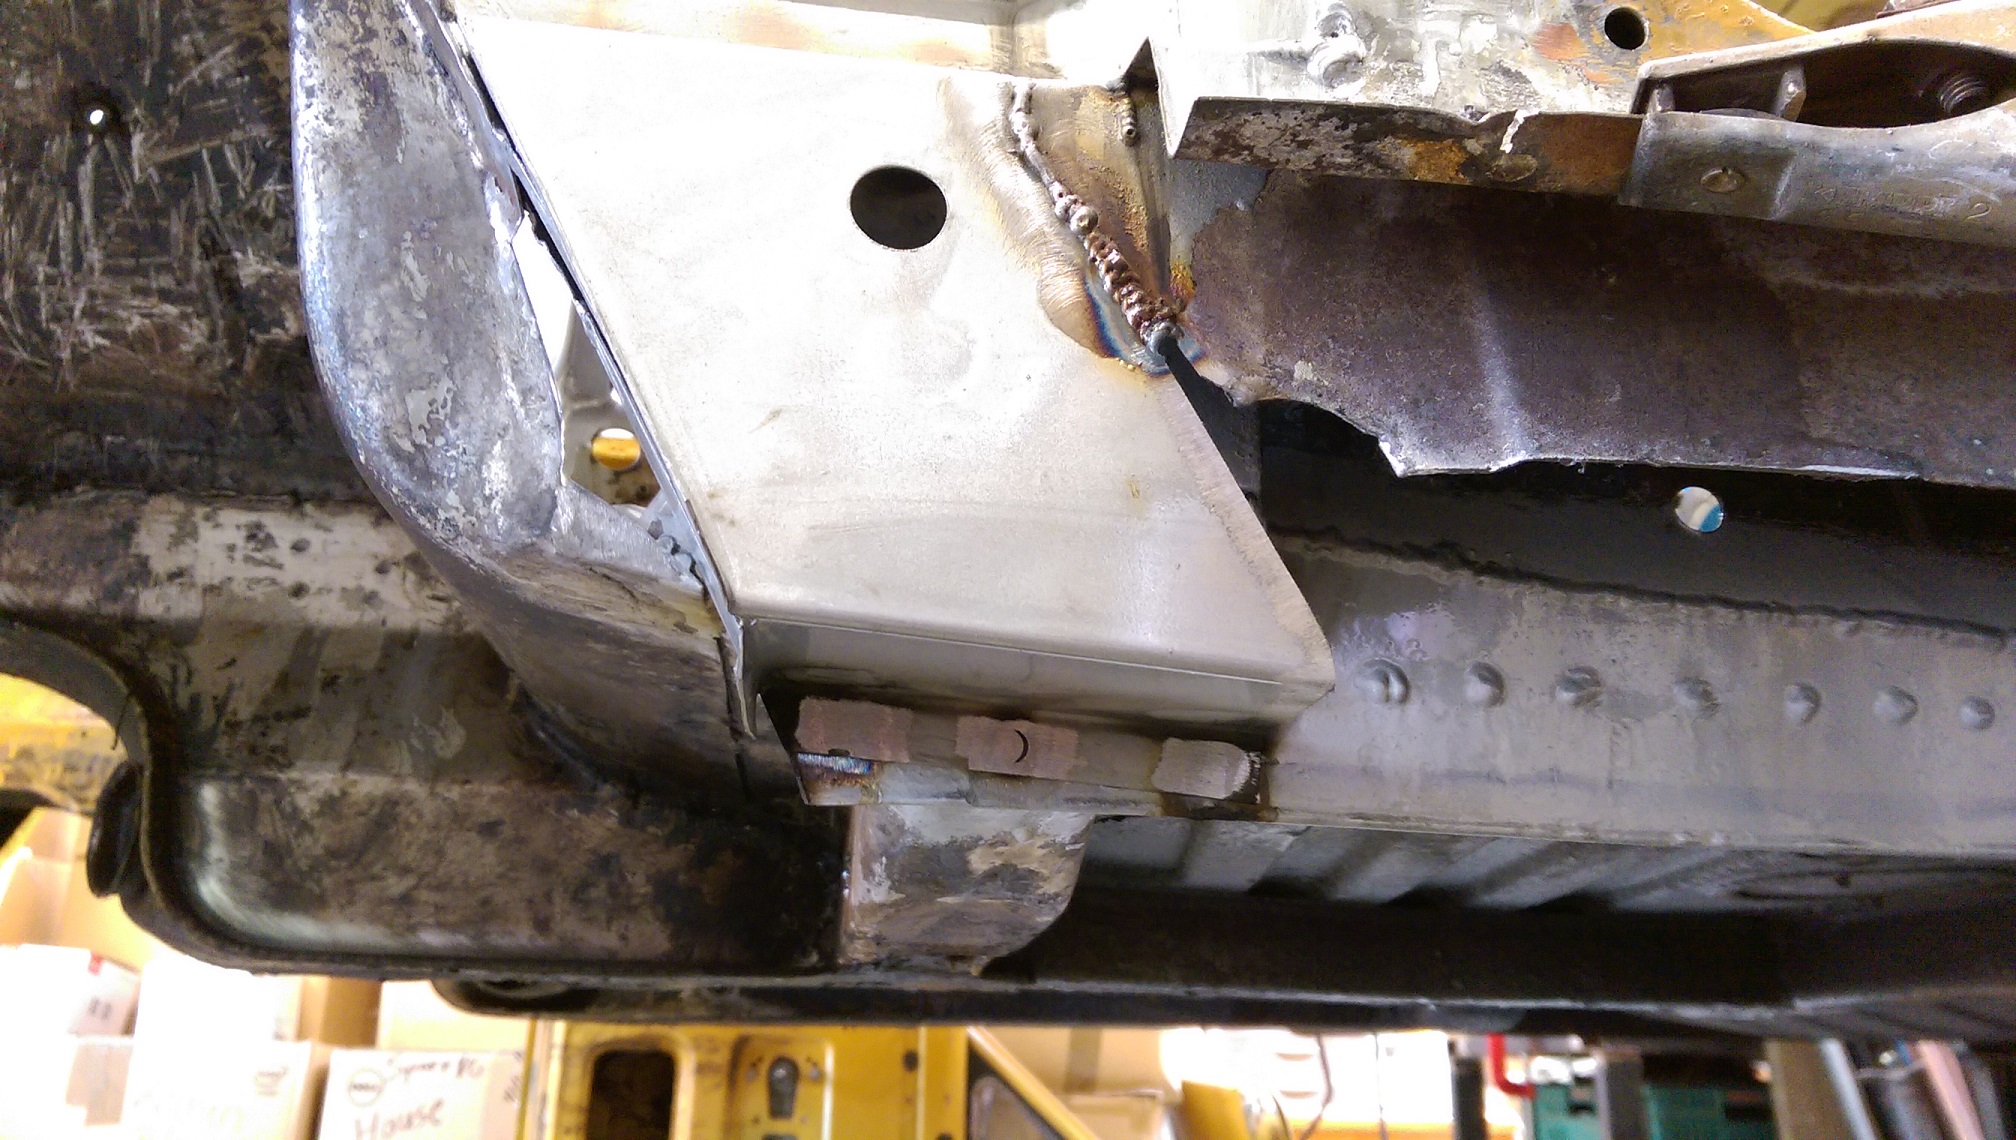
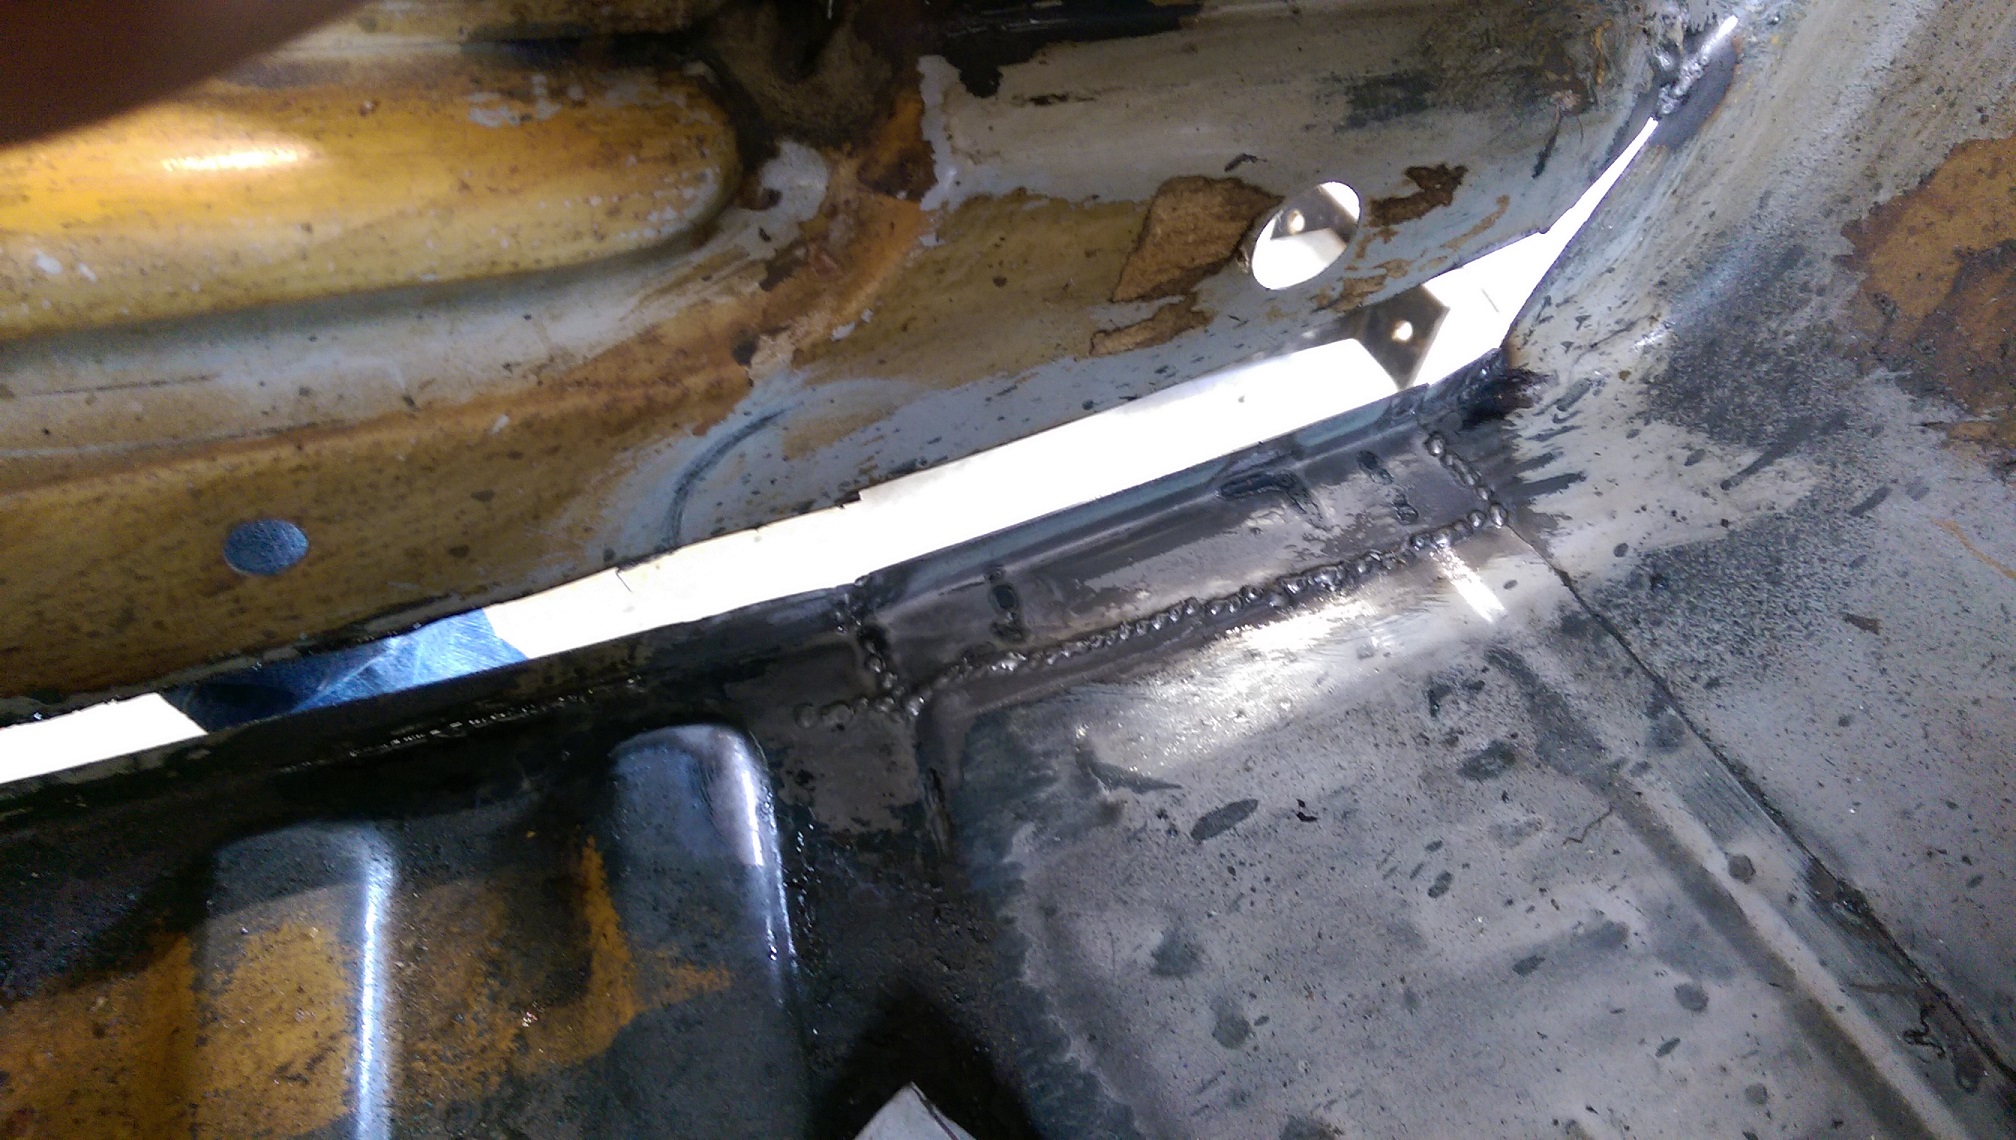
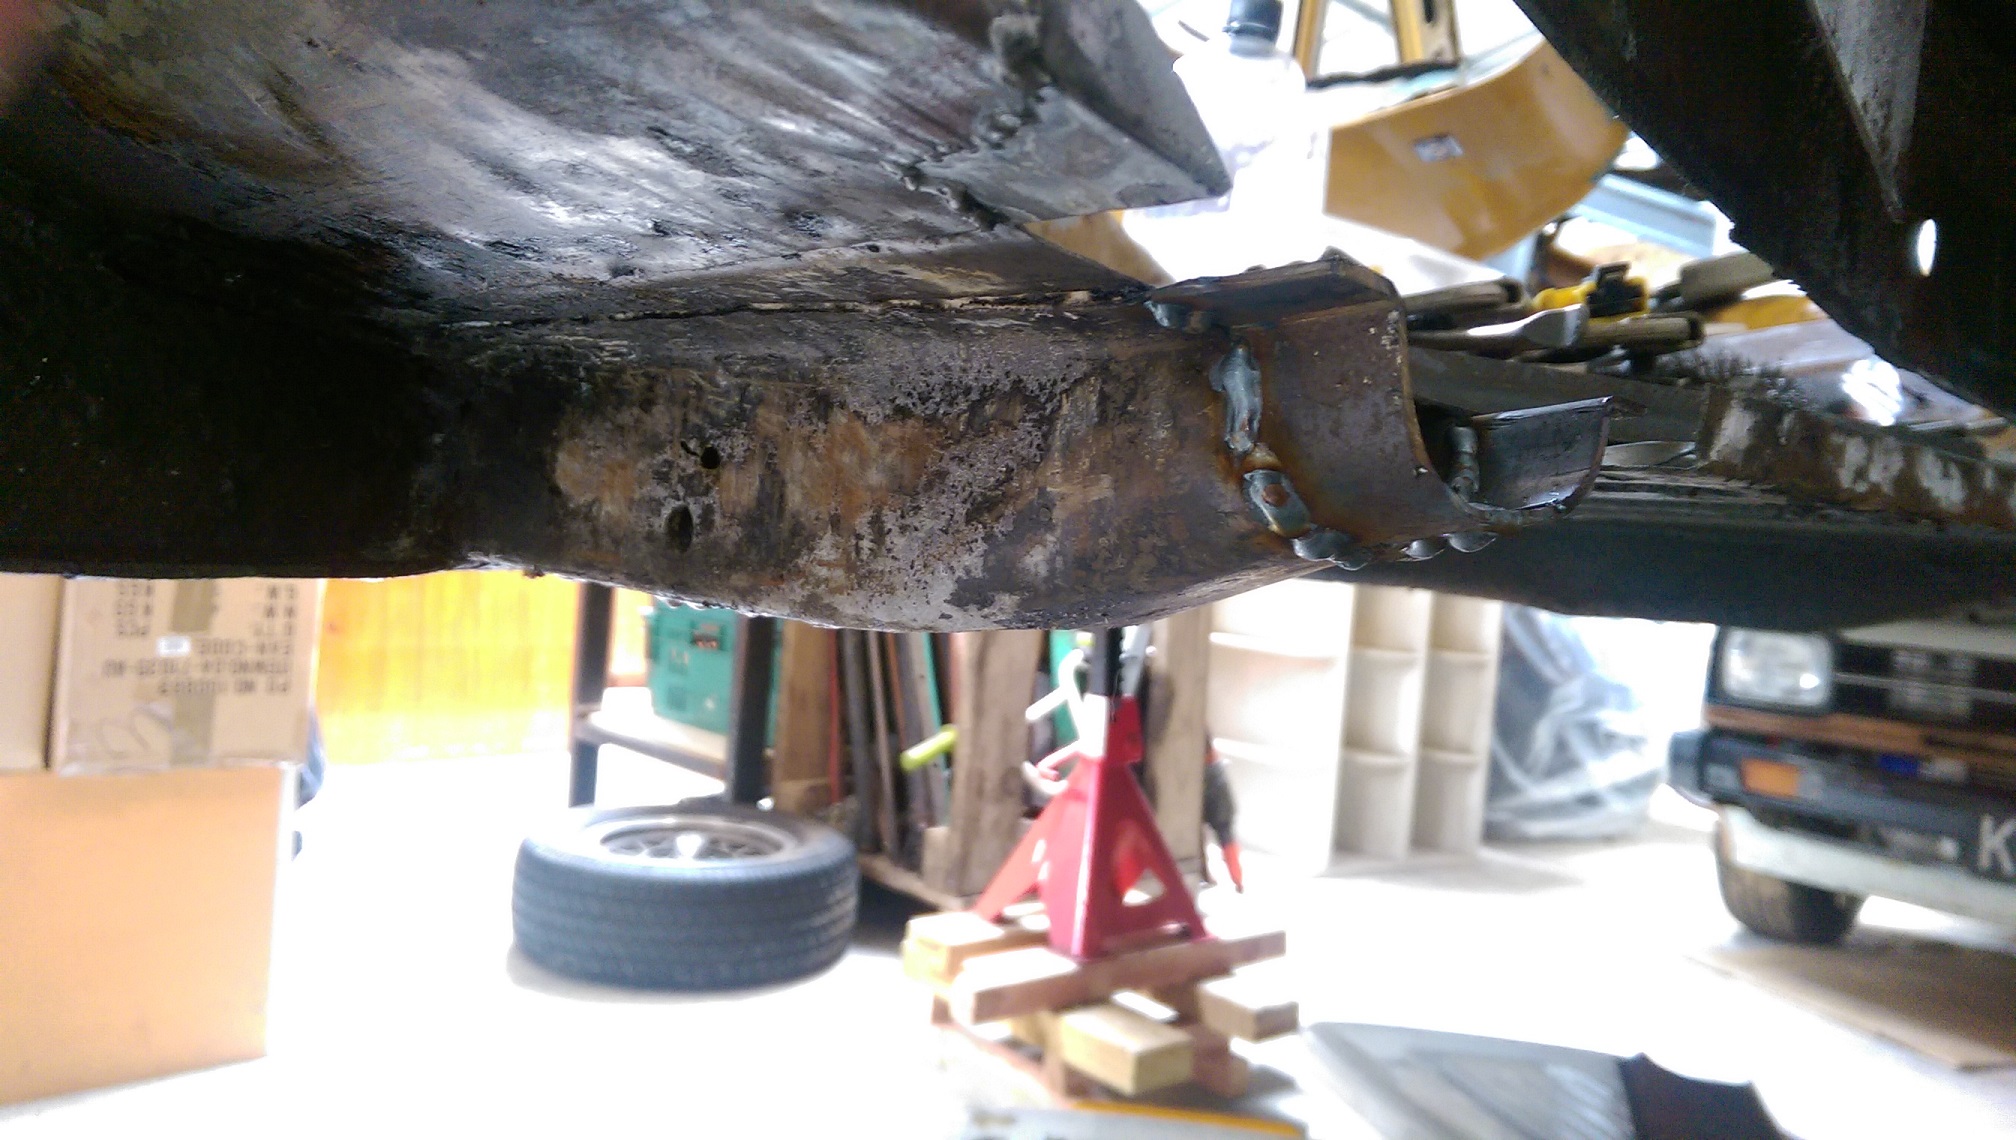
Glued this bit on.
I'll need to make a new jacking point before I can go any further with the sill.

-
4
-
-
Even being careful, I think I have managed to break the clips on just about every single fucking plug on my 1UZ.
-
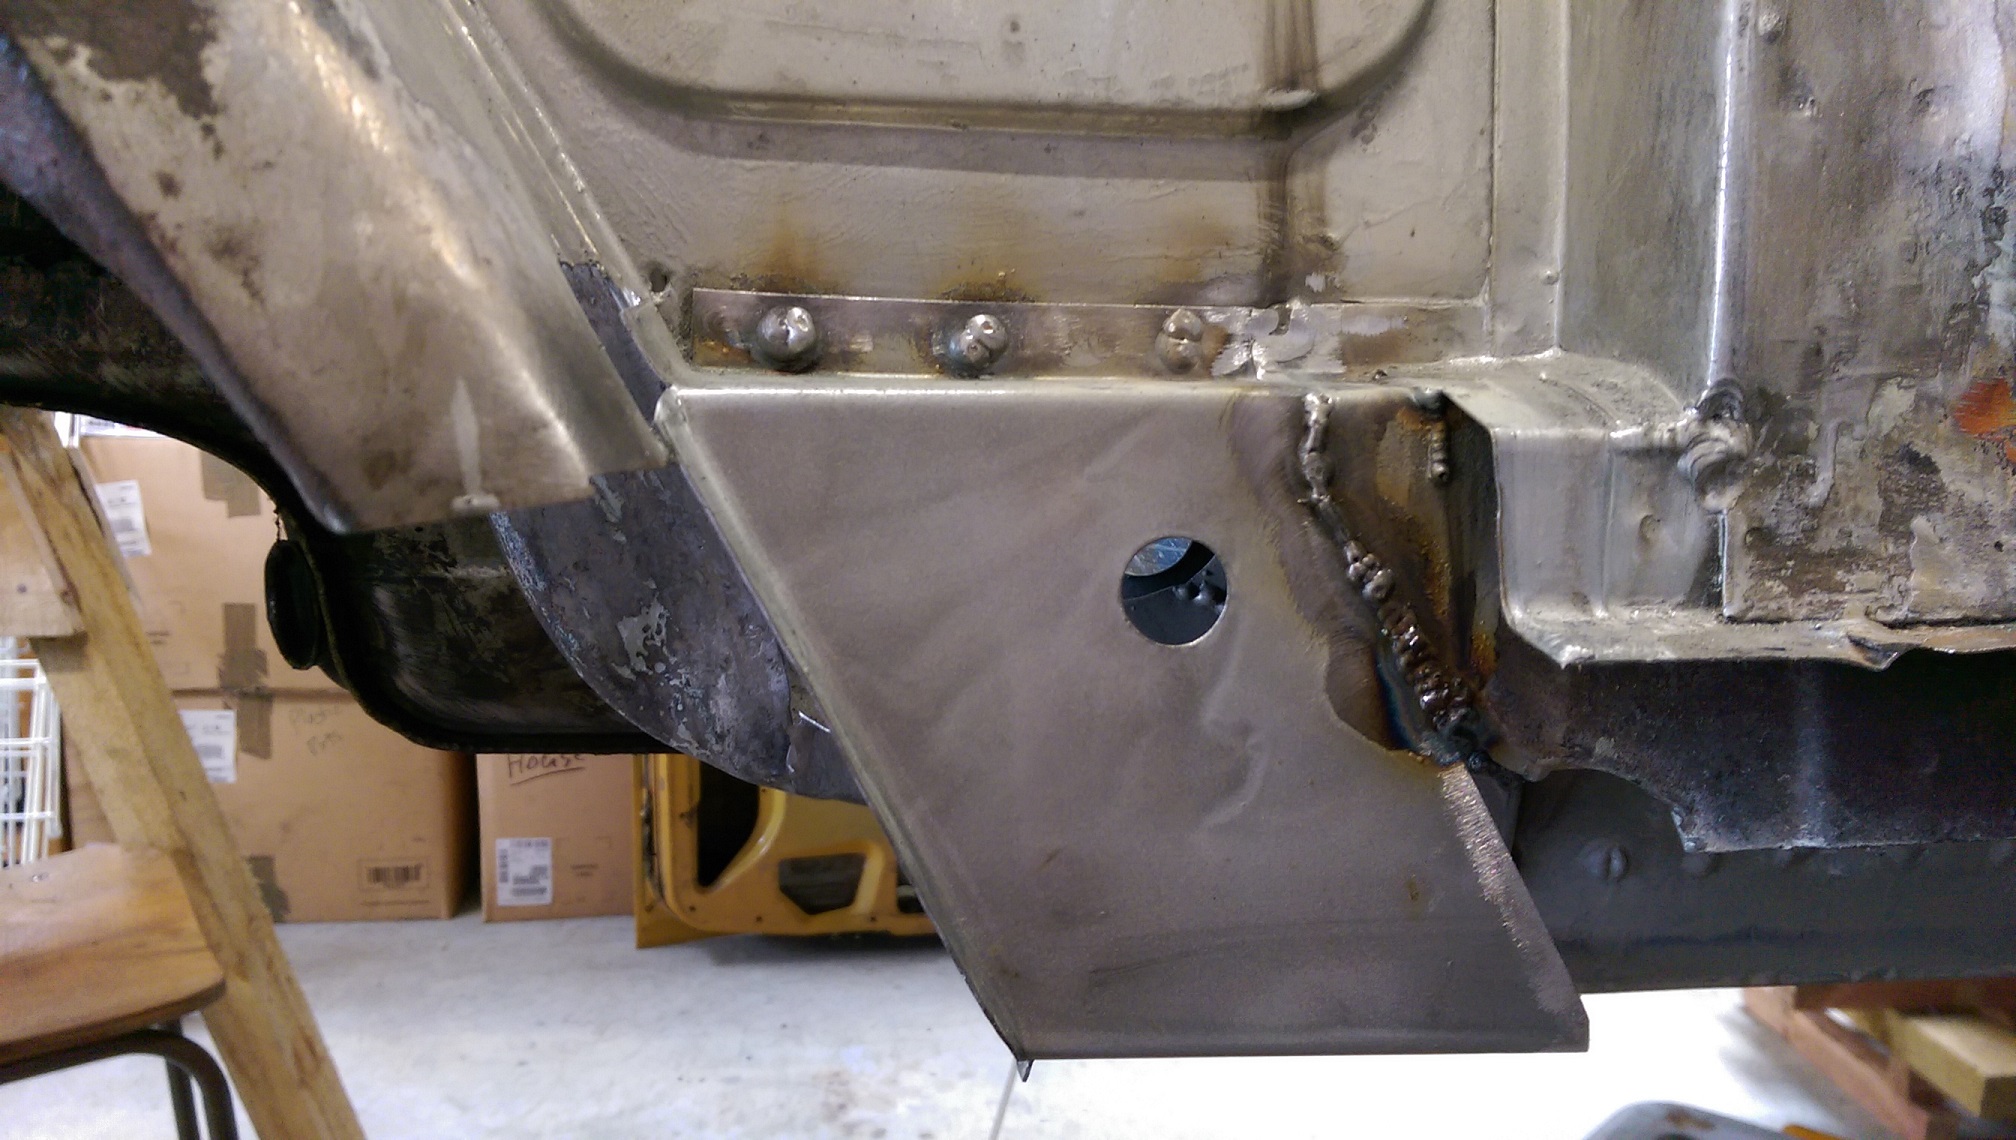
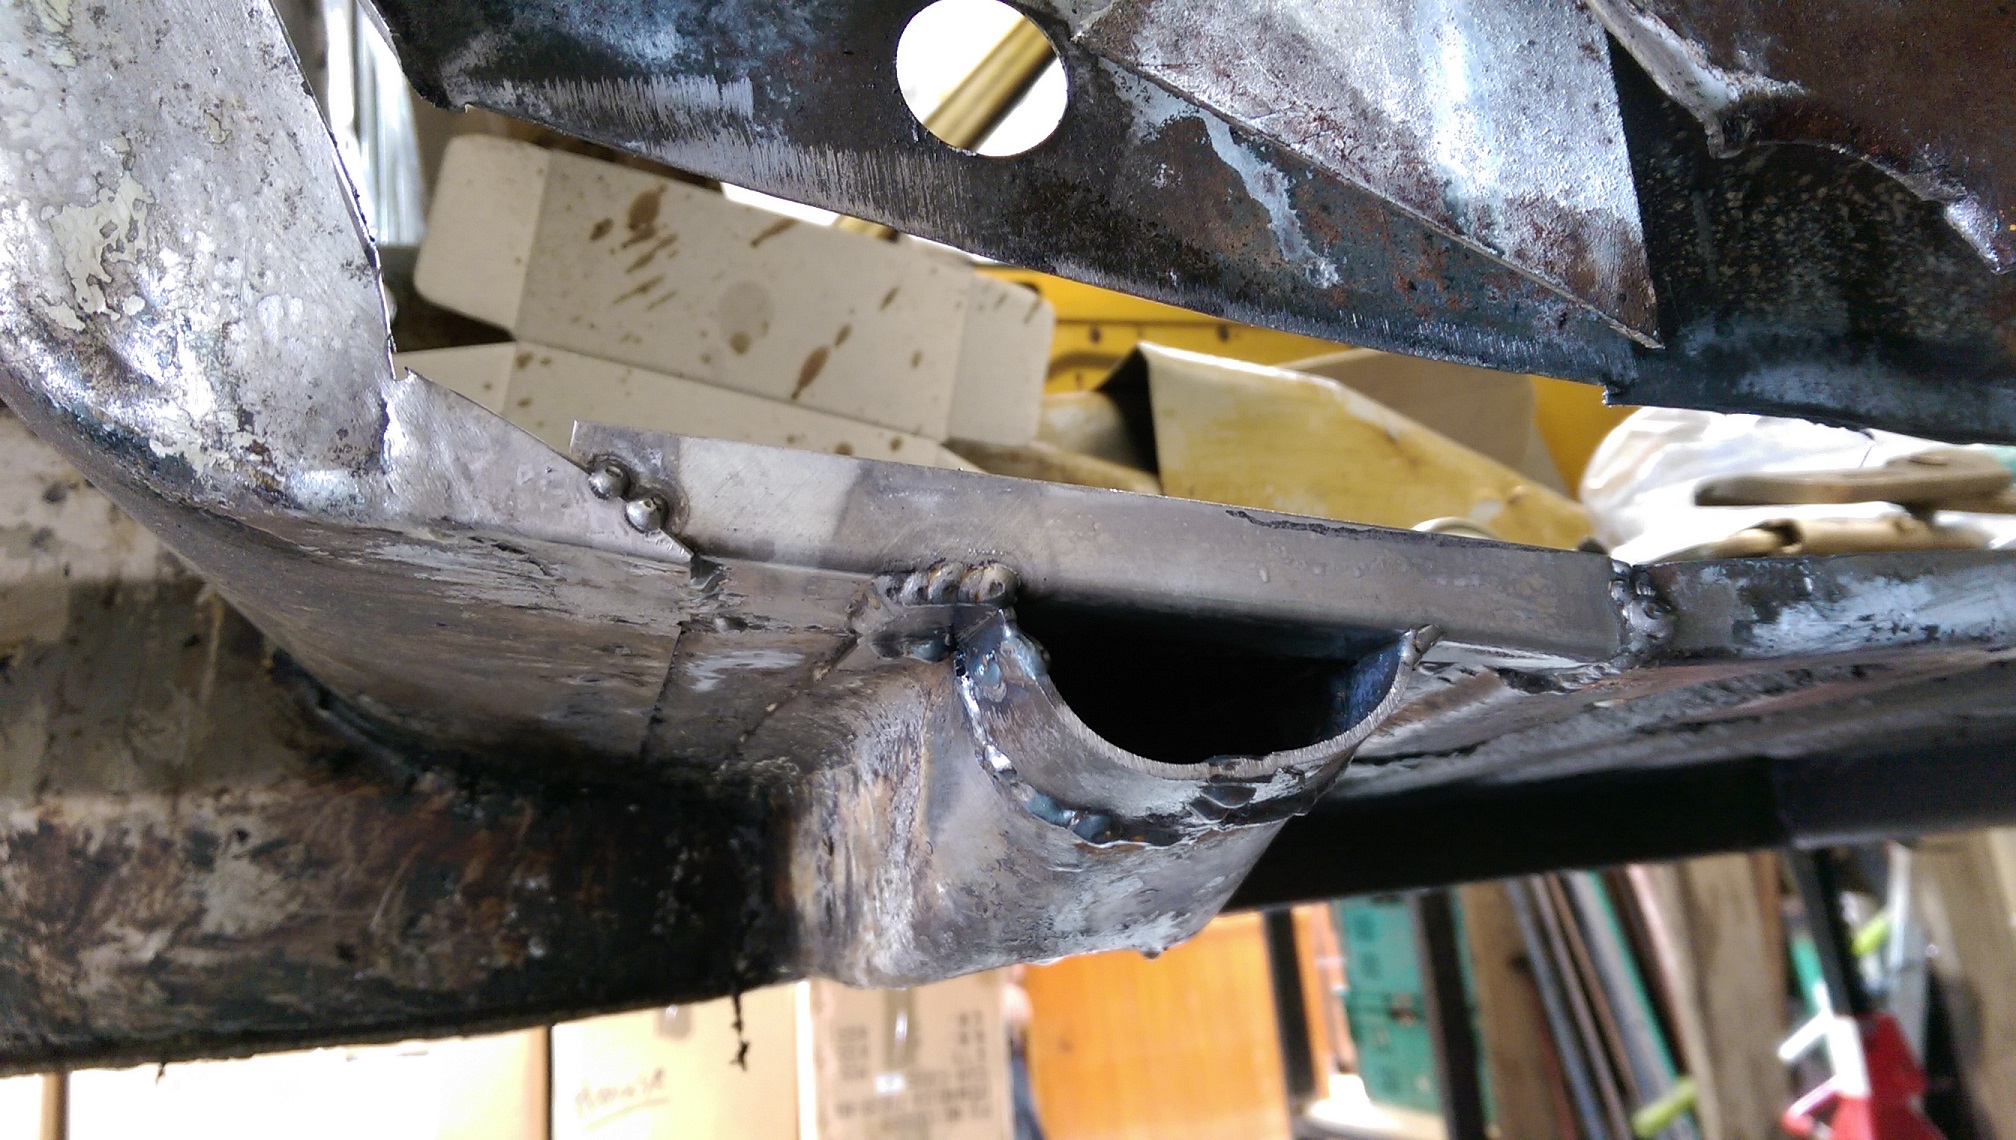
I welded this bit in last night.
The welds are a bit shit, I think I had a bad earth on the ground clamp, but didn't realise till I was finished.
-
4
-
-
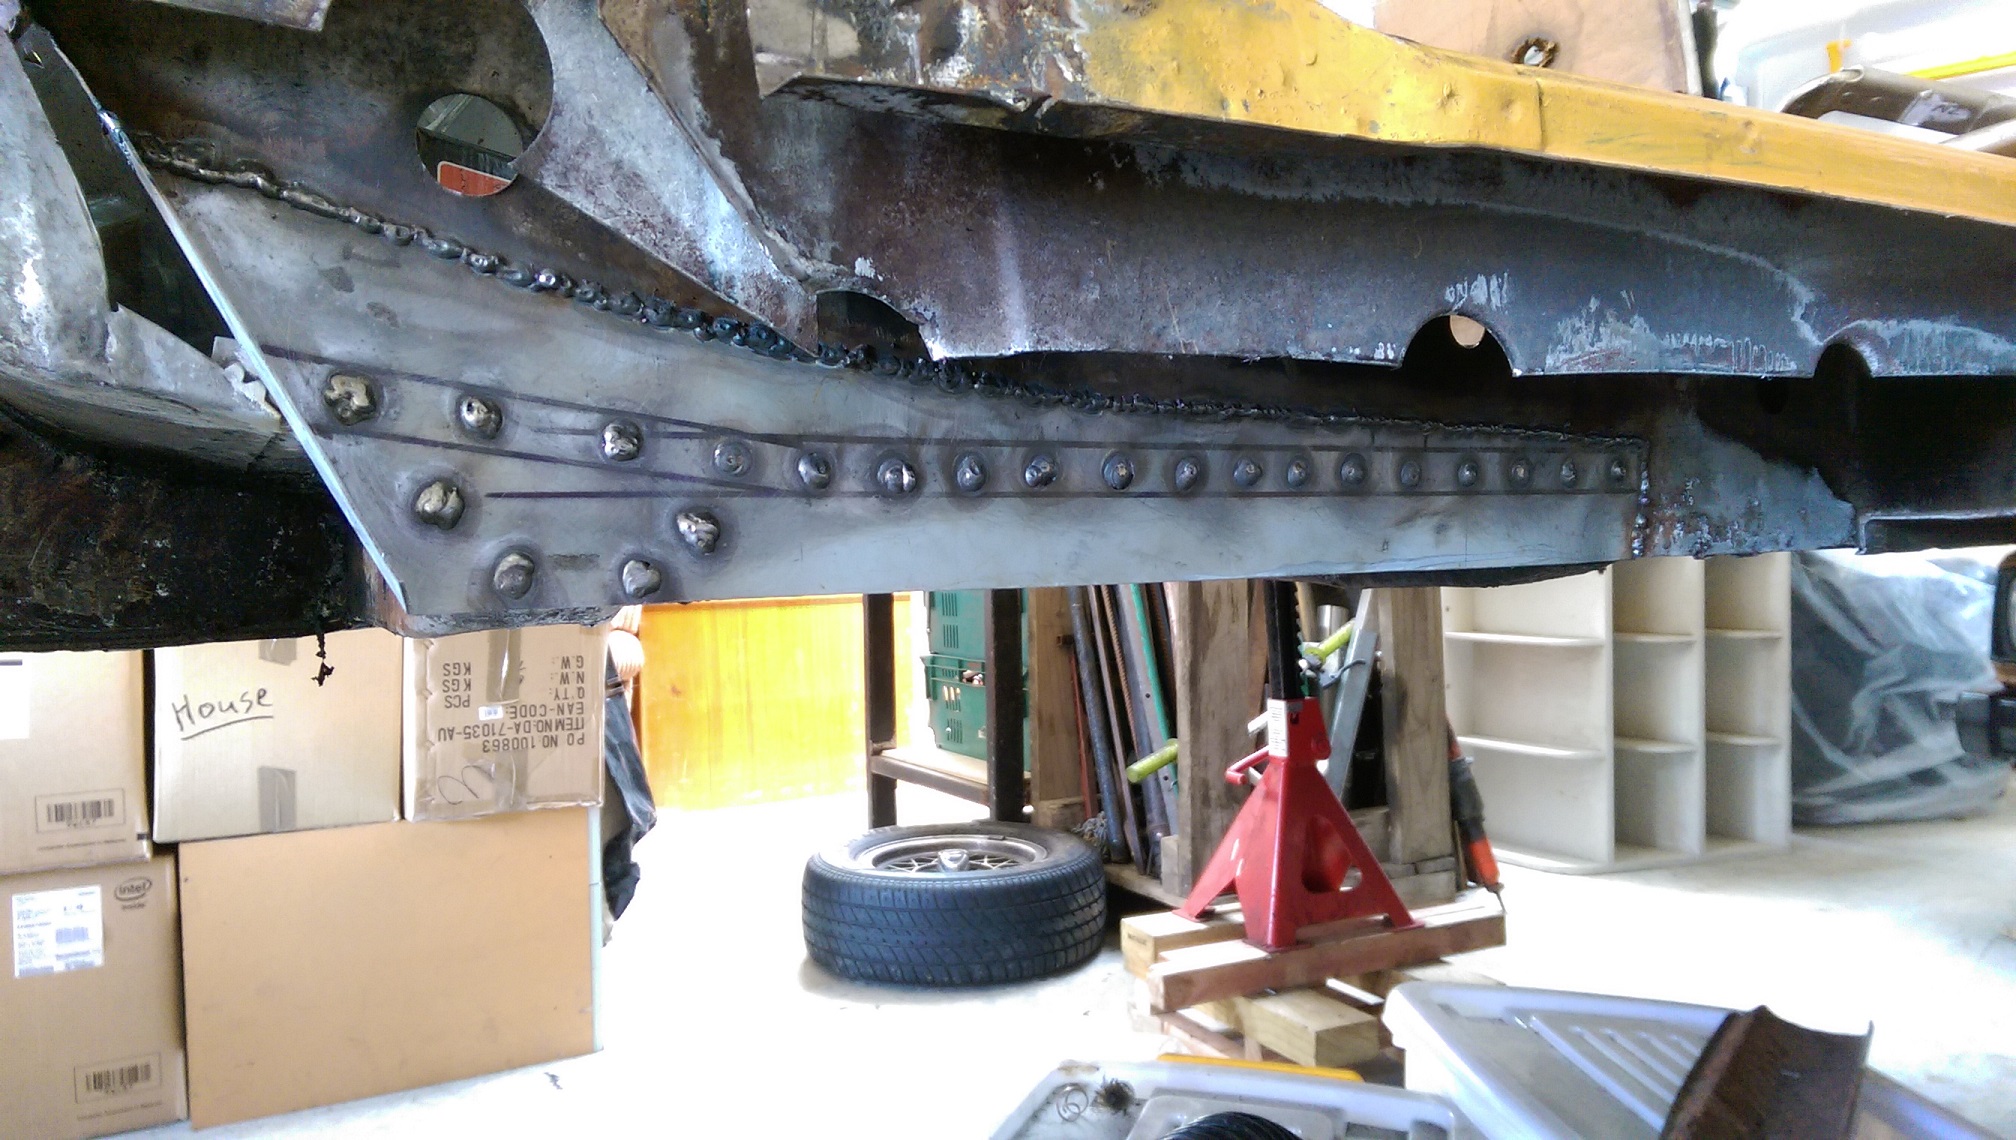
35 minutes ago, KustomKreeps said:
Extra bracing added to cross member. You can also see some of the gazetting that strengthens up frame. Thick plate with circles cut, welded in and out.
AFAIK, it's "Gusseting". Triangles of metal welded in corners to make them stronger. They do the same thing and use the same word in clothing... just with cloth, not metal.
"Gazetting", sounds similar... but, I had to look it up, means something like "publish".
Don't mean to be a dick or anything.
/Spelling nazi
-
 1
1
-
-
- Popular Post
- Popular Post
When the two guys pulled my sheet off the stack and put it in the trailer I saw double. I'm like "I think you might have grabbed two sheets there". Guy was like "If there are two, it's your lucky day".
Just unloaded now. Must be my lucky day. Two sheets sticky stuck together with whatever oily stuff it is they protect the sheets with.
Should have bought a lotto ticket.
-
10
-
I got a sheet of 0.8mm cold rolled, cause @Spencer said it was nicer to weld. I think it was $50 something... I got a few things and didn't get the invoice back.
-
I found a blog of a guy doing the same sill repairs and he has takes lots of photos which will help me reconstruct areas that had rusted into oblivion.
-
4
-
-
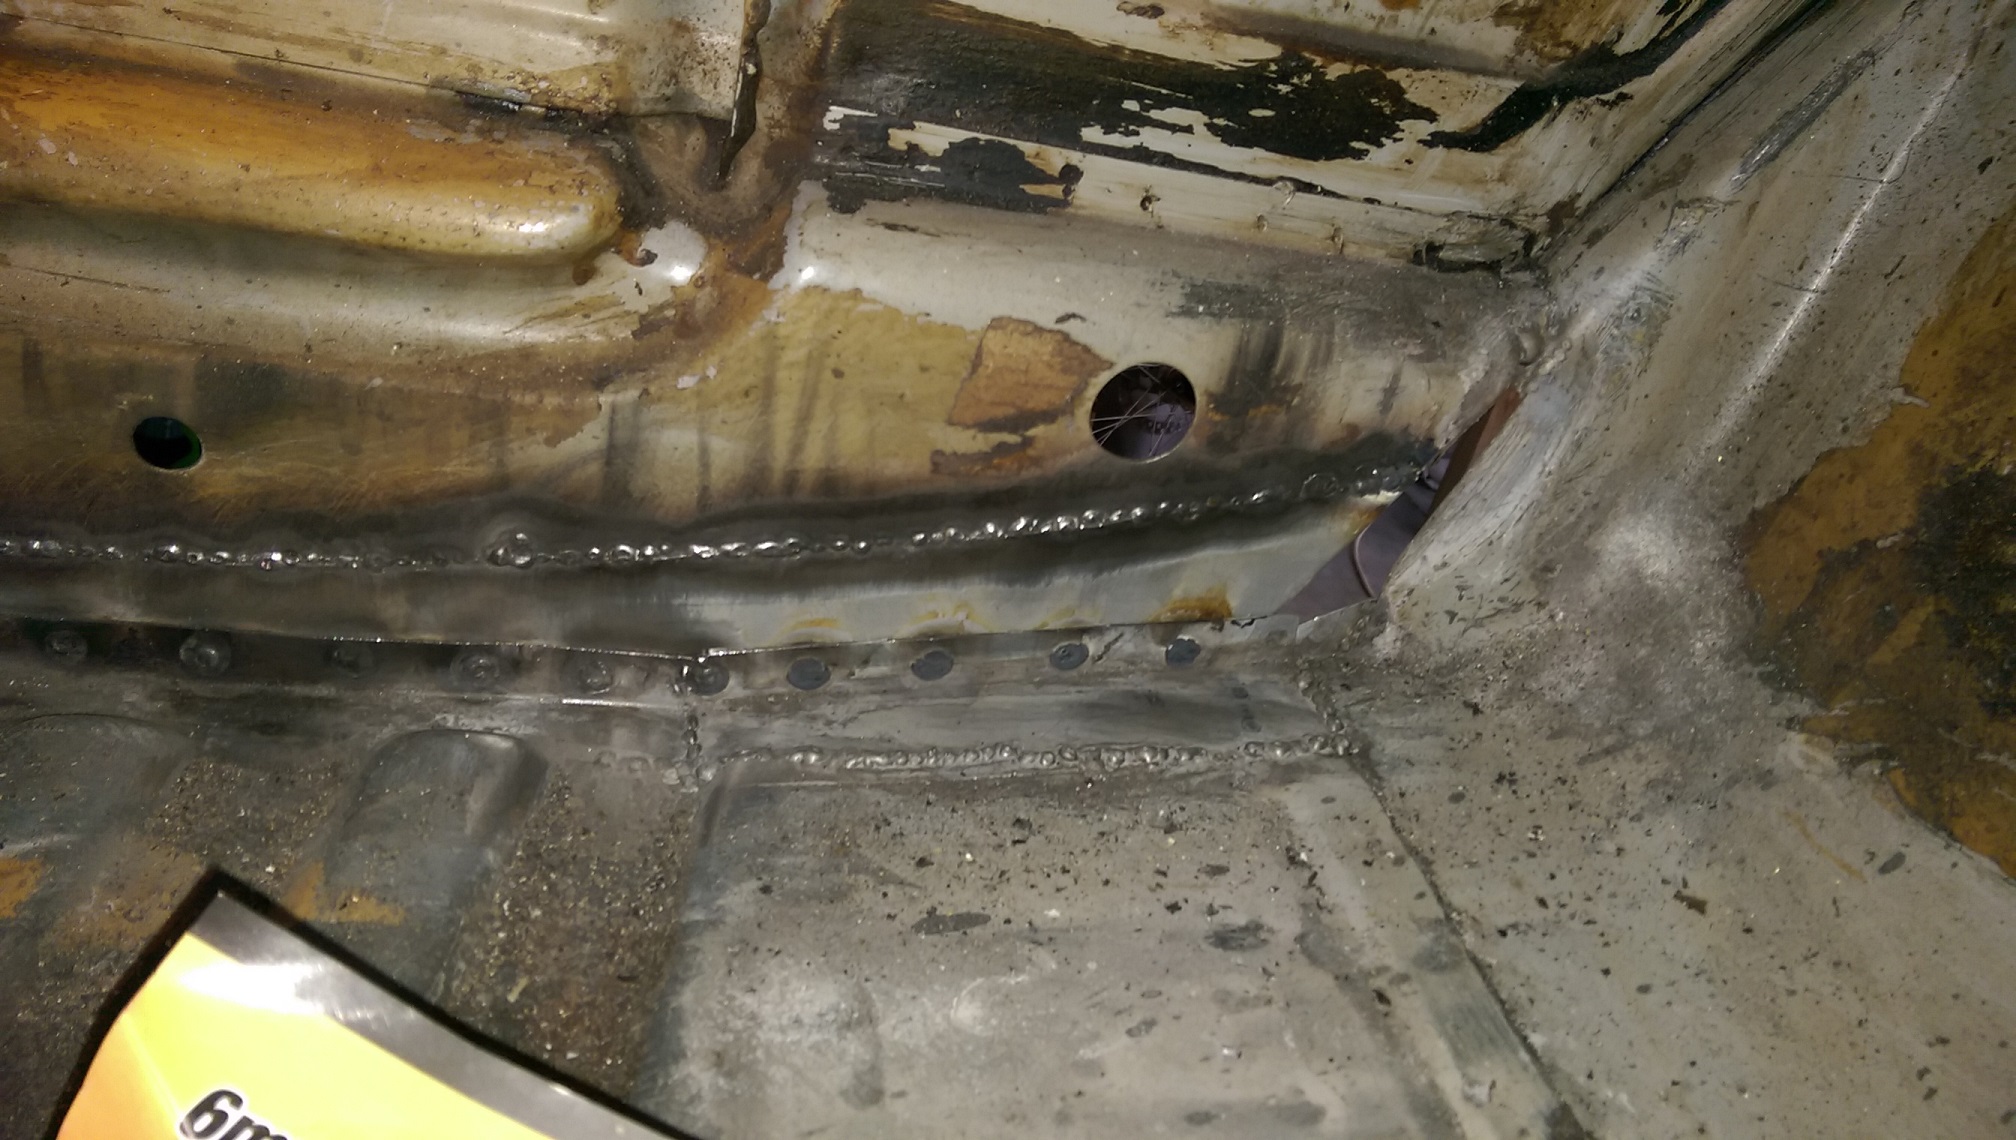
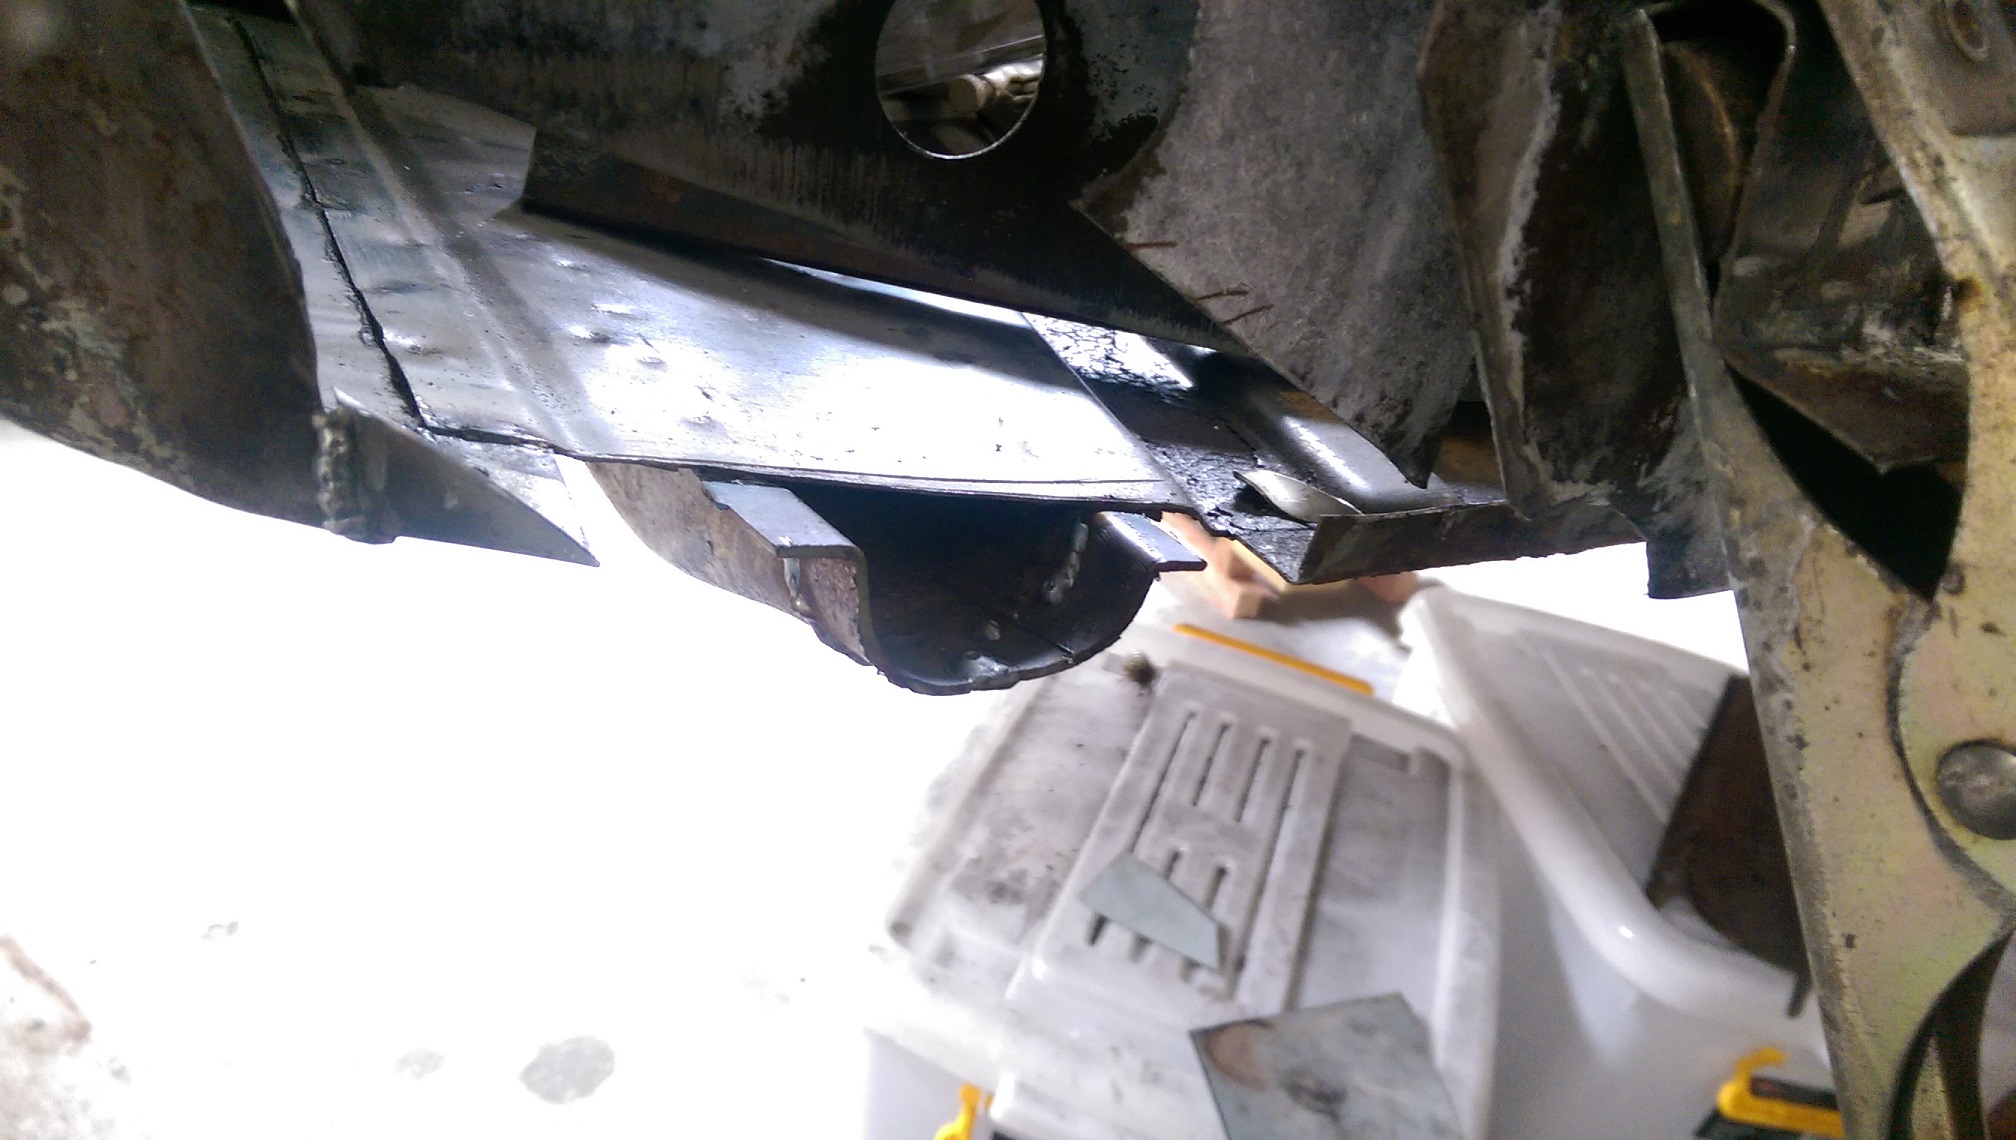
Stuck the inner sill panel on. Feels much more solid now.
-
6
-
-
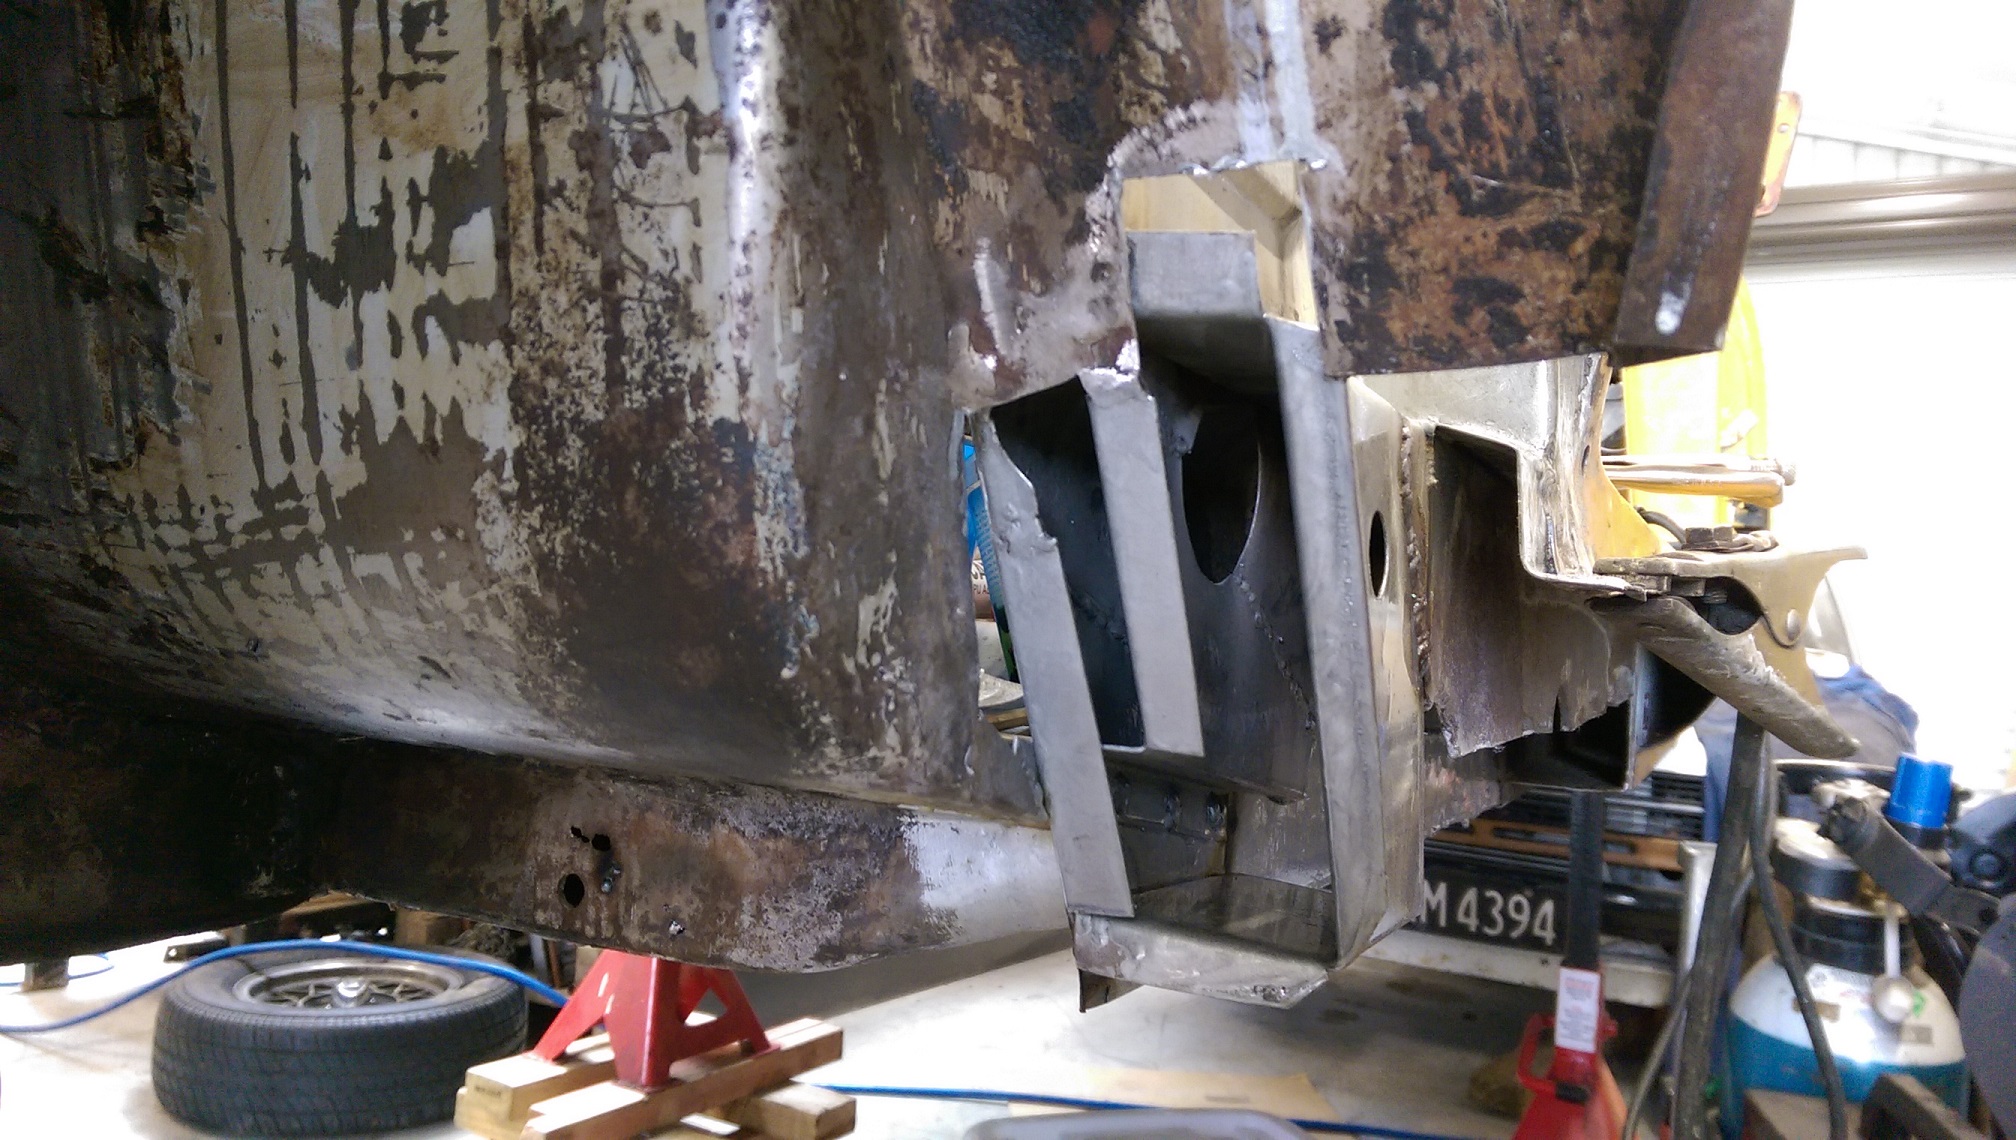
I made the inner sill panel that closes off that big hole. But I didn't take a photo and now it's got wet paint on it.
I also made the flange for the end of the outrigger.
-
BZZZZT BZZZT BZZZZT
It took longer than you would expect to make this patch cause of a bit of a rib in the floor.
-
1
-
-
Can you not just brush on epoxy 2k primer "and have a lot of wastage"? @Spencer
-
6 minutes ago, Nominal said:
If you can get a dolly or something behind the weld then give it a good beating along the weld line to stretch out the area that shrank.
Yeh, I'll try that. I've read a few things that have said the same. Hopefully I don't just make it worse.
-
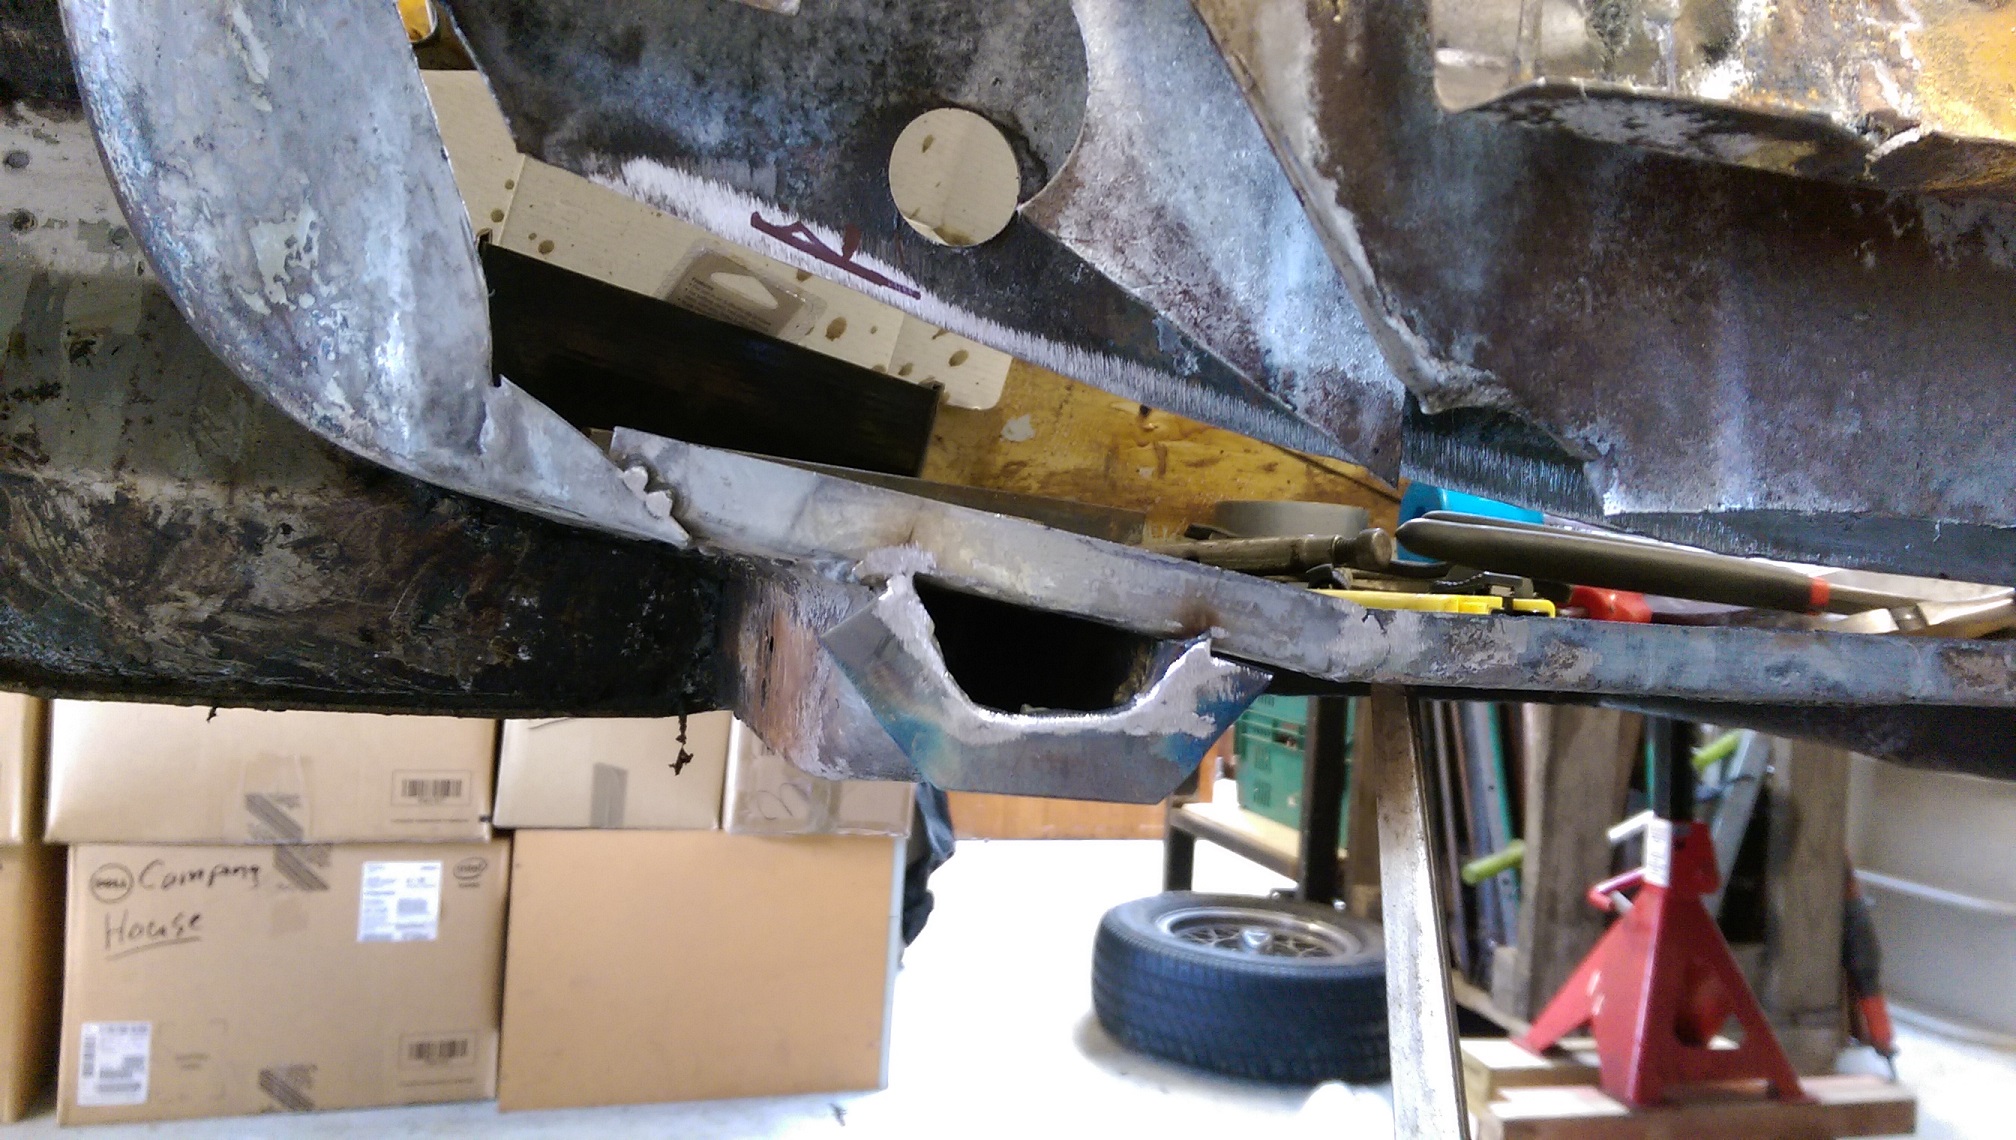
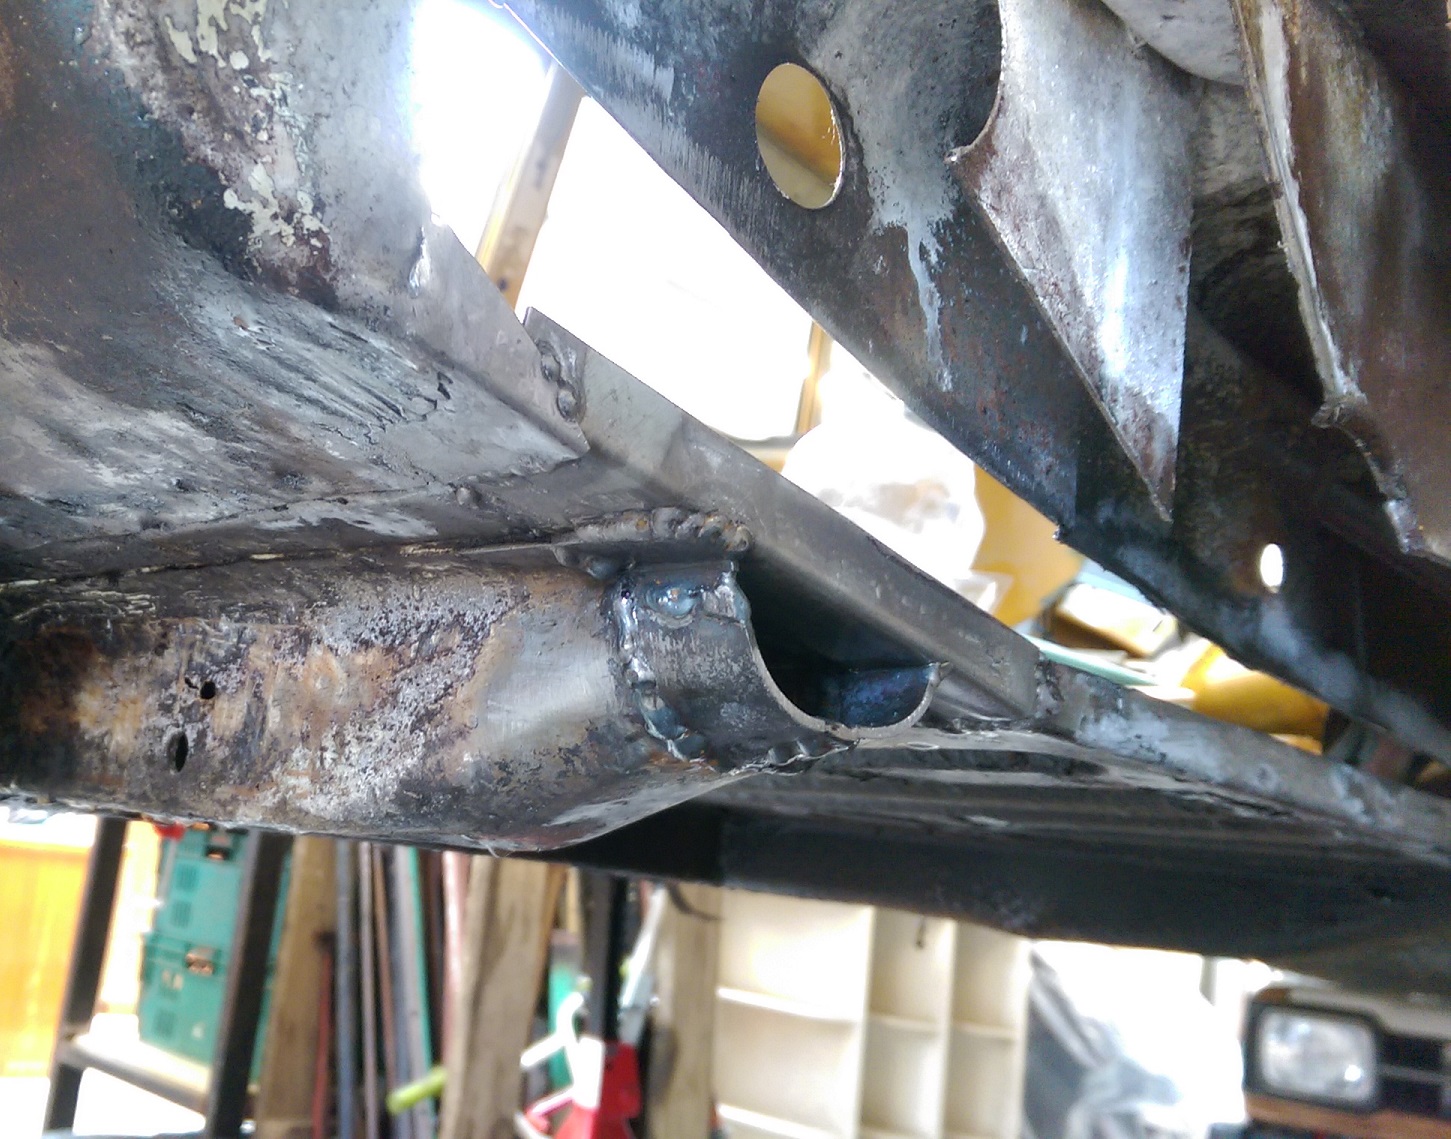
I also made a start on recreating the end of the 'outrigger'.
2mm is so much more forgiving to weld.
I made the shape by banging a block of wood on the end of the outrigger to leave an impression. Then cut along that line with a jig saw(I cut it a little too big, should have been smaller), so I ended up with a little block. Then I clamped the metal to the block in the vise and hammered it around the profile of the block. It worked quite well.
The top flange is not quite right, I cut and shut/ trimmed it a bit afterwards, but didn't take more photos.
-
3
-
-
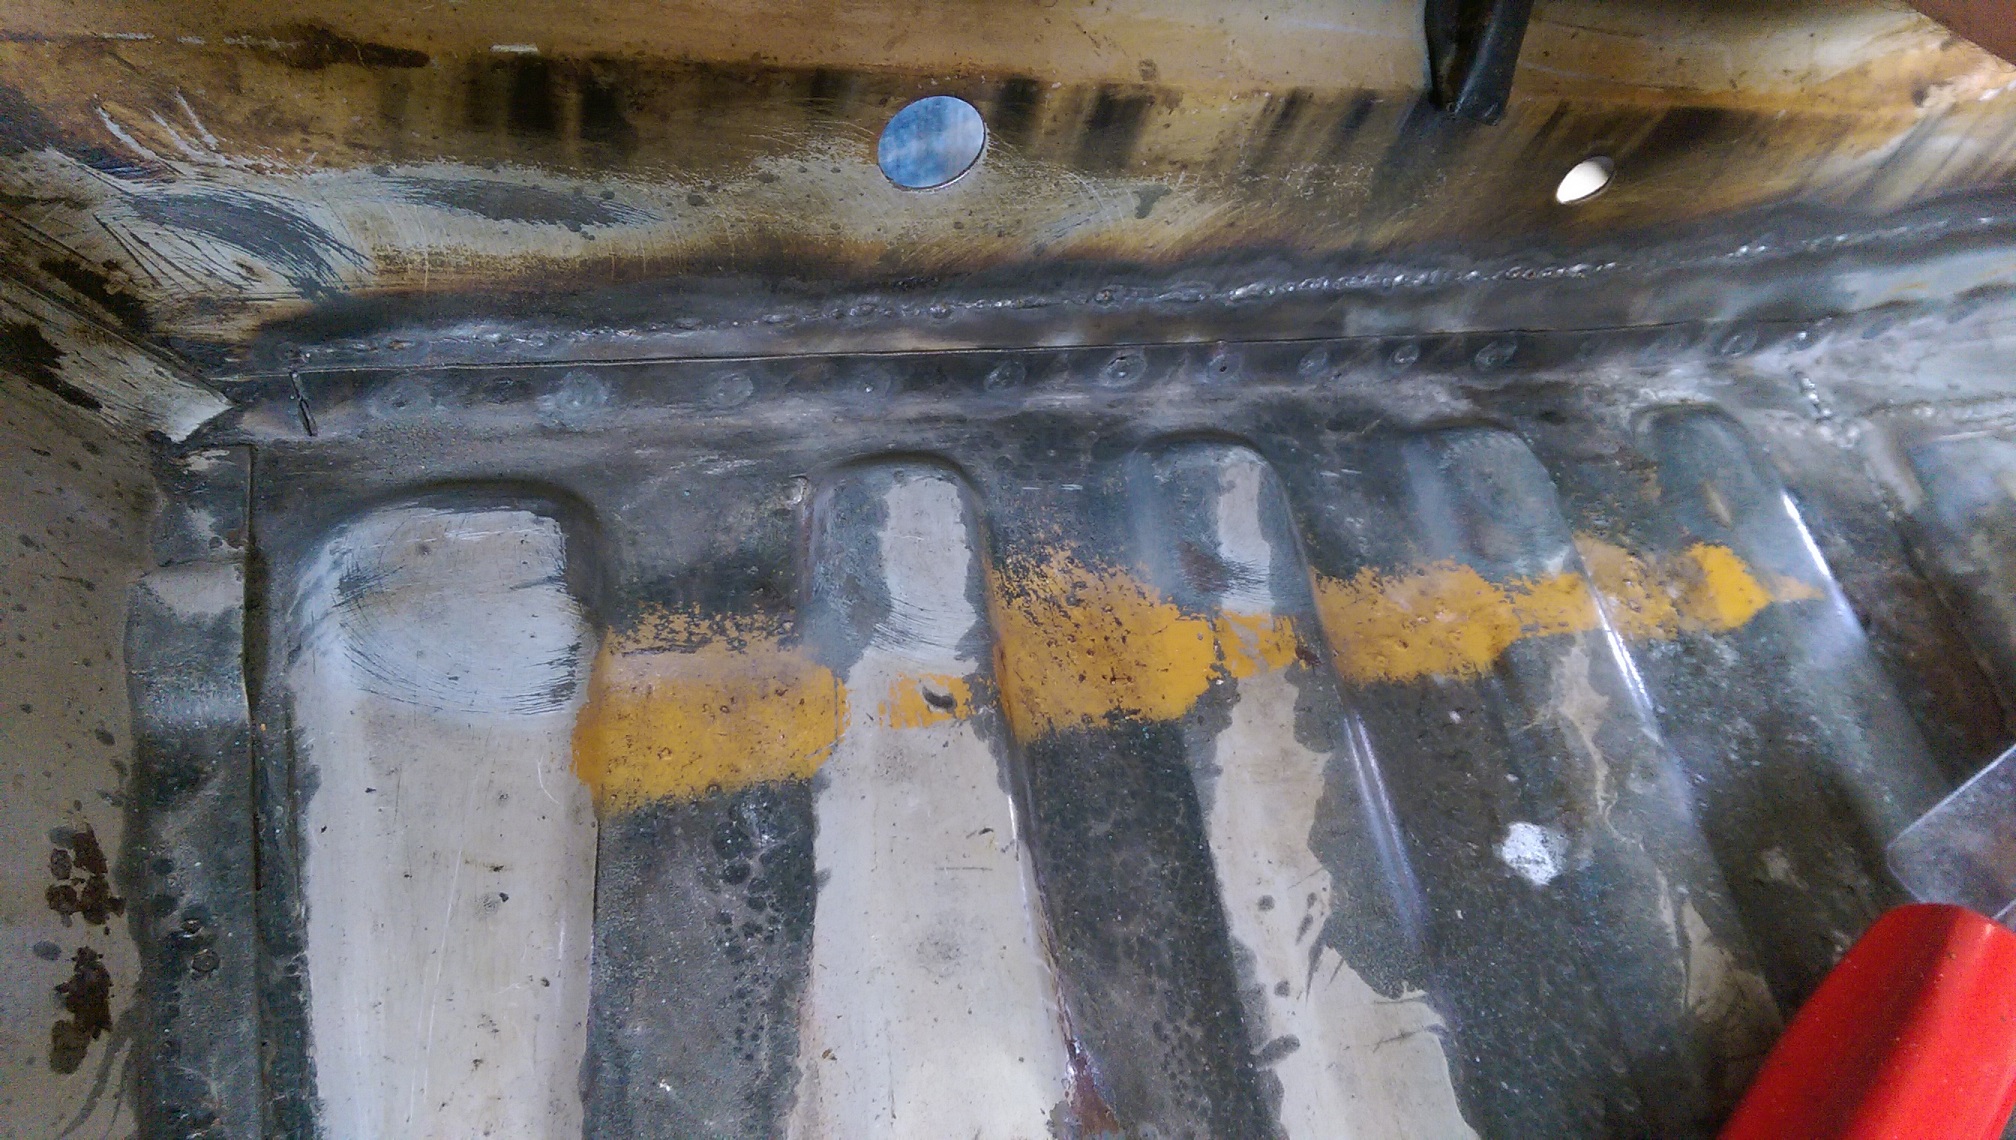
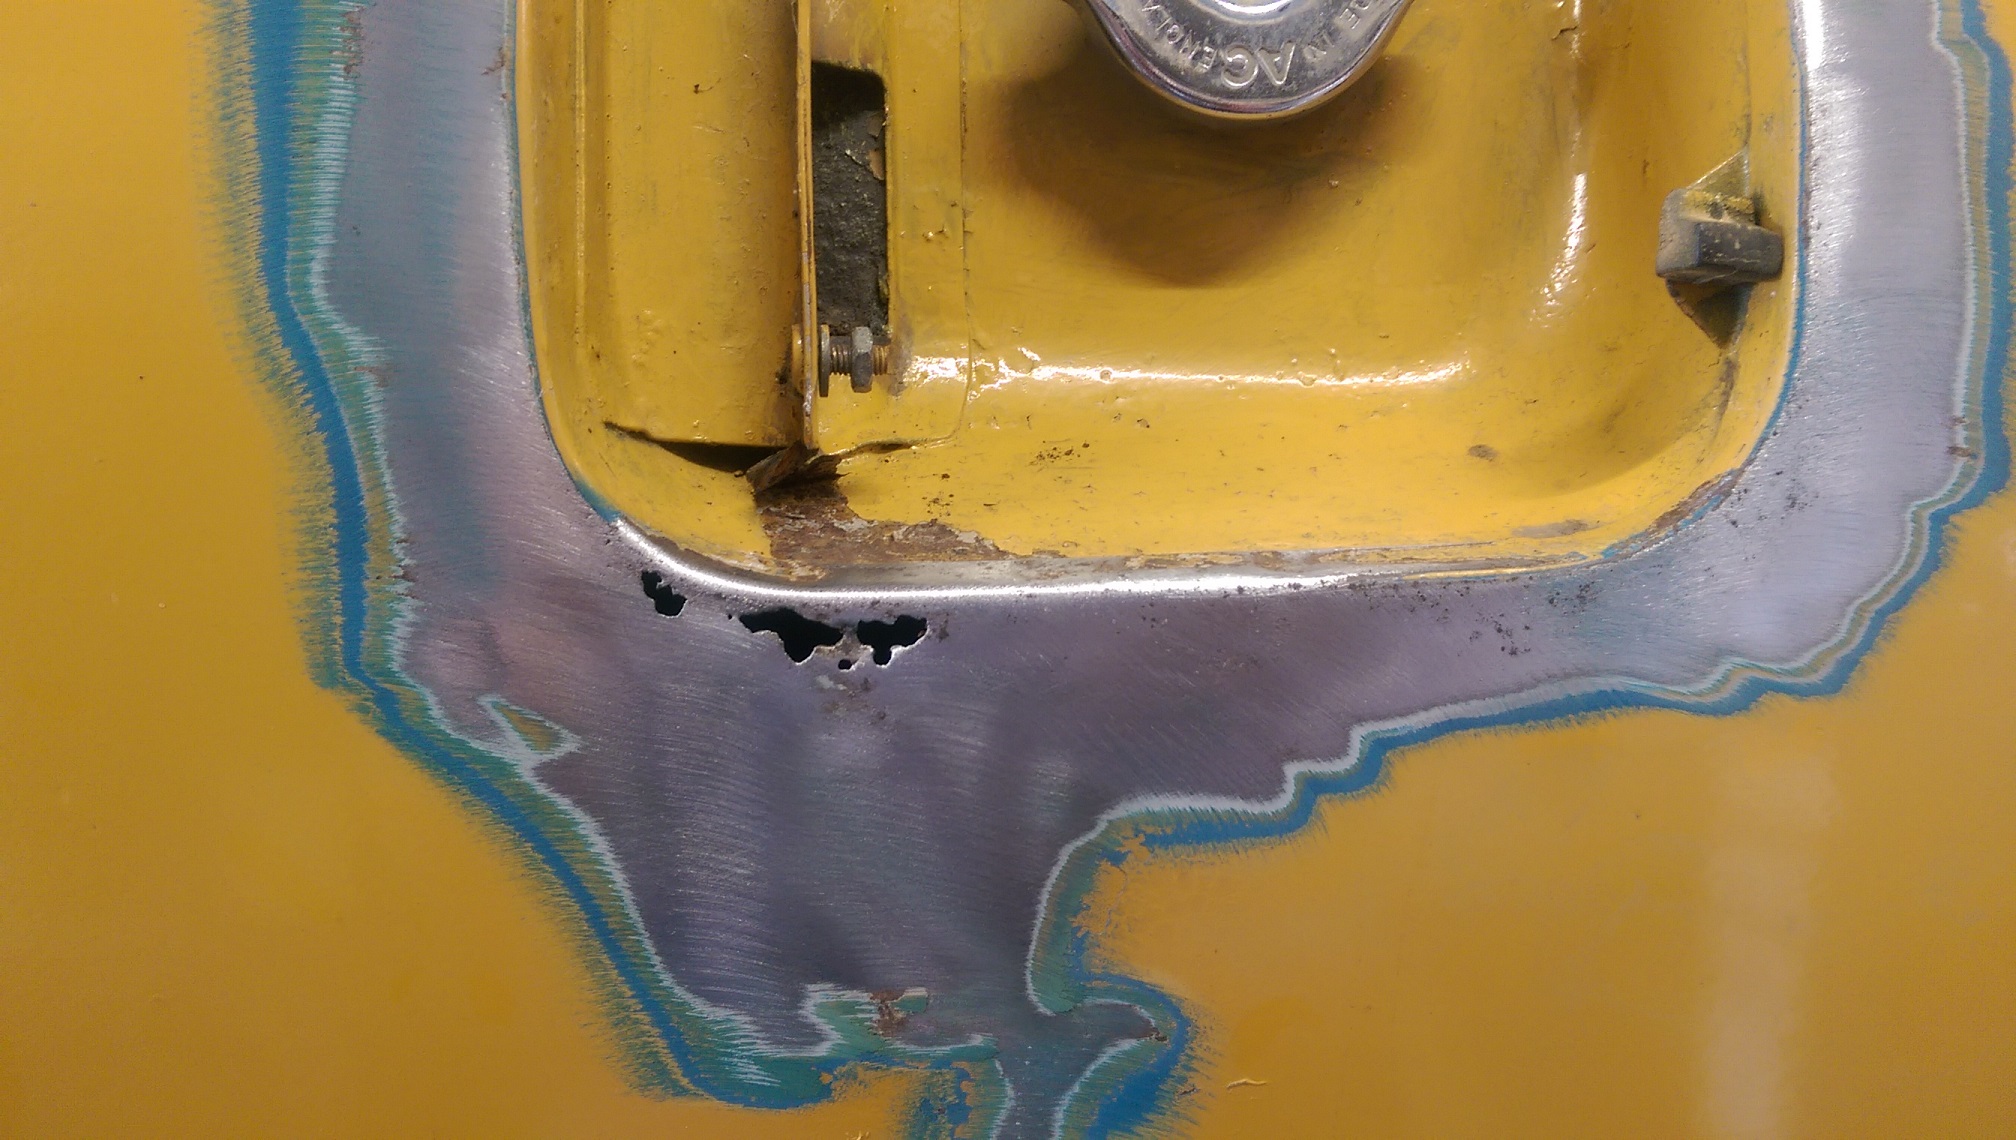
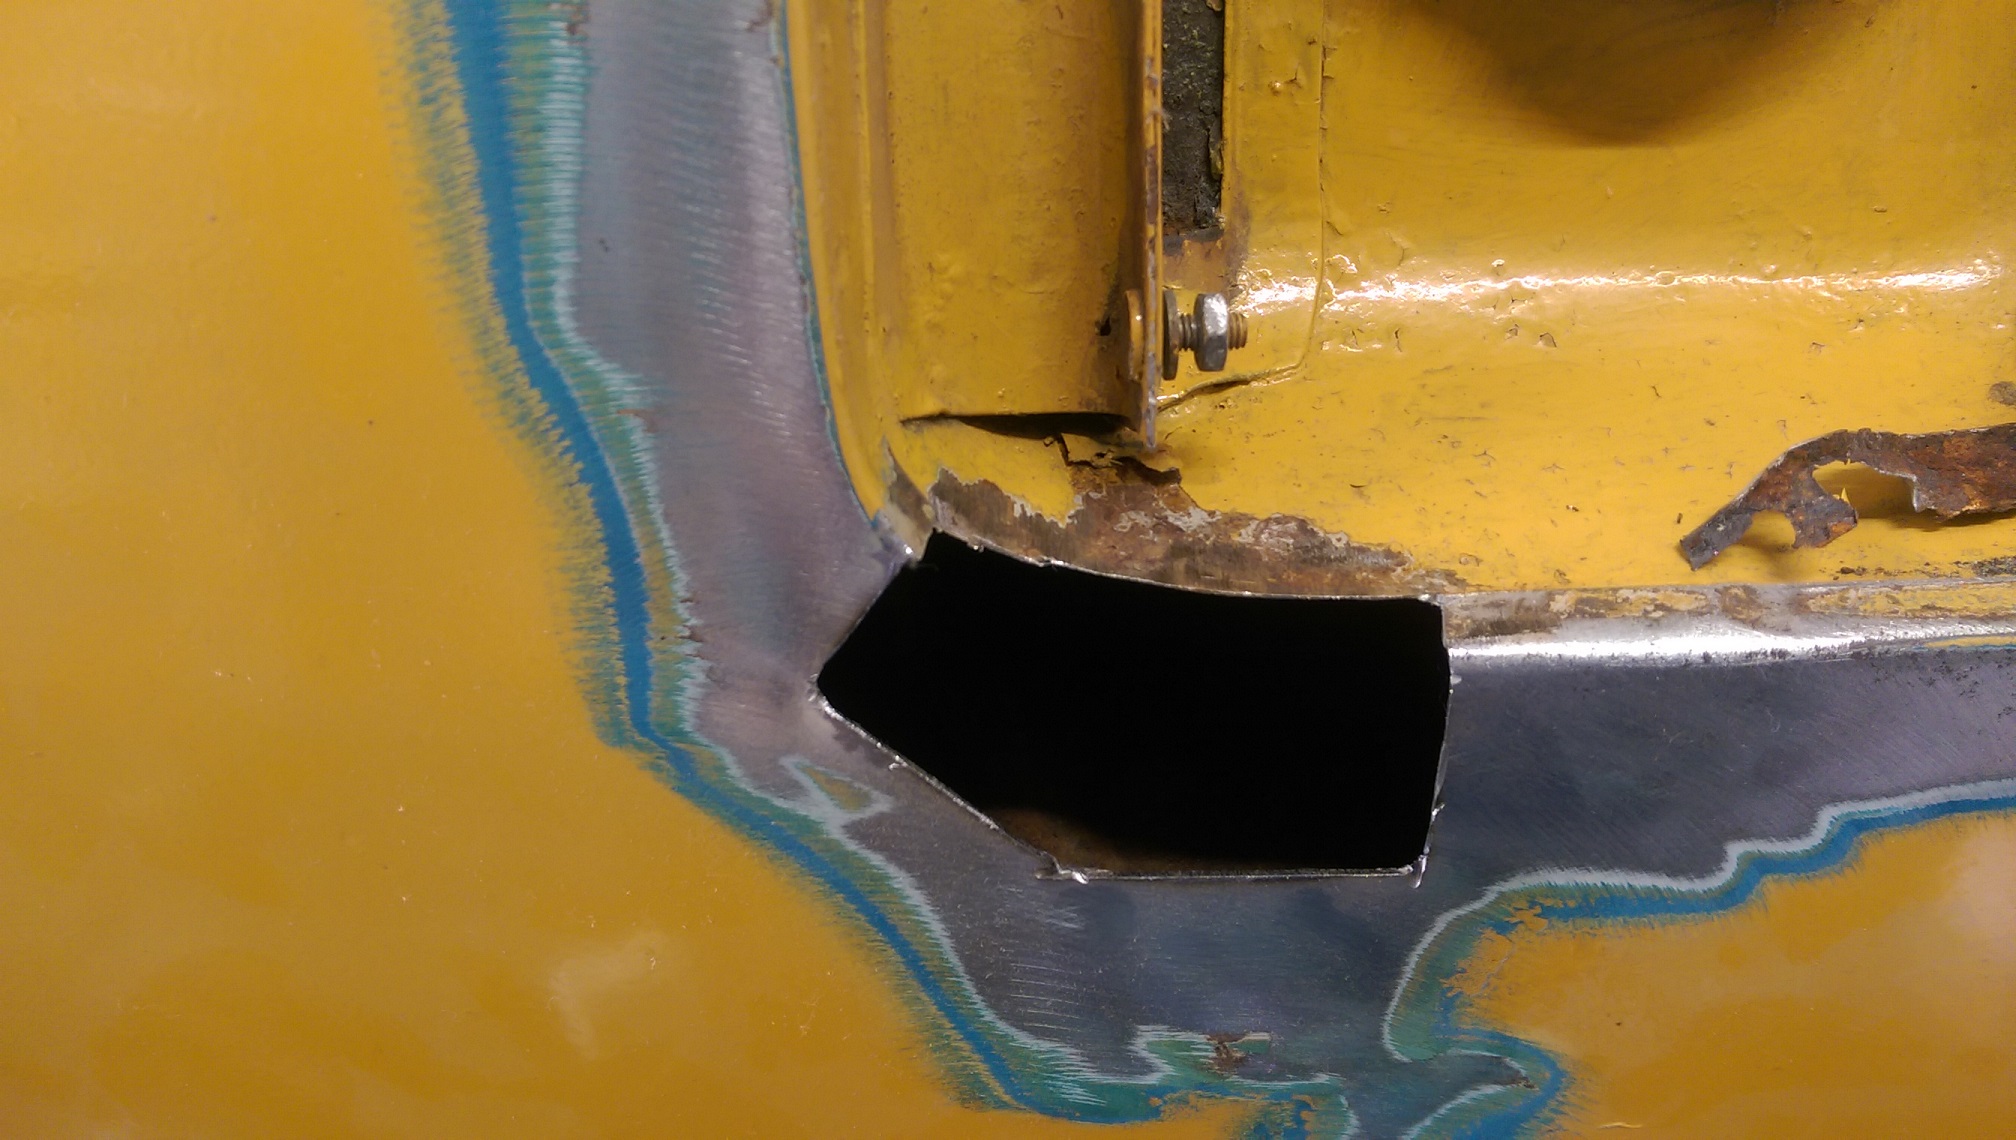
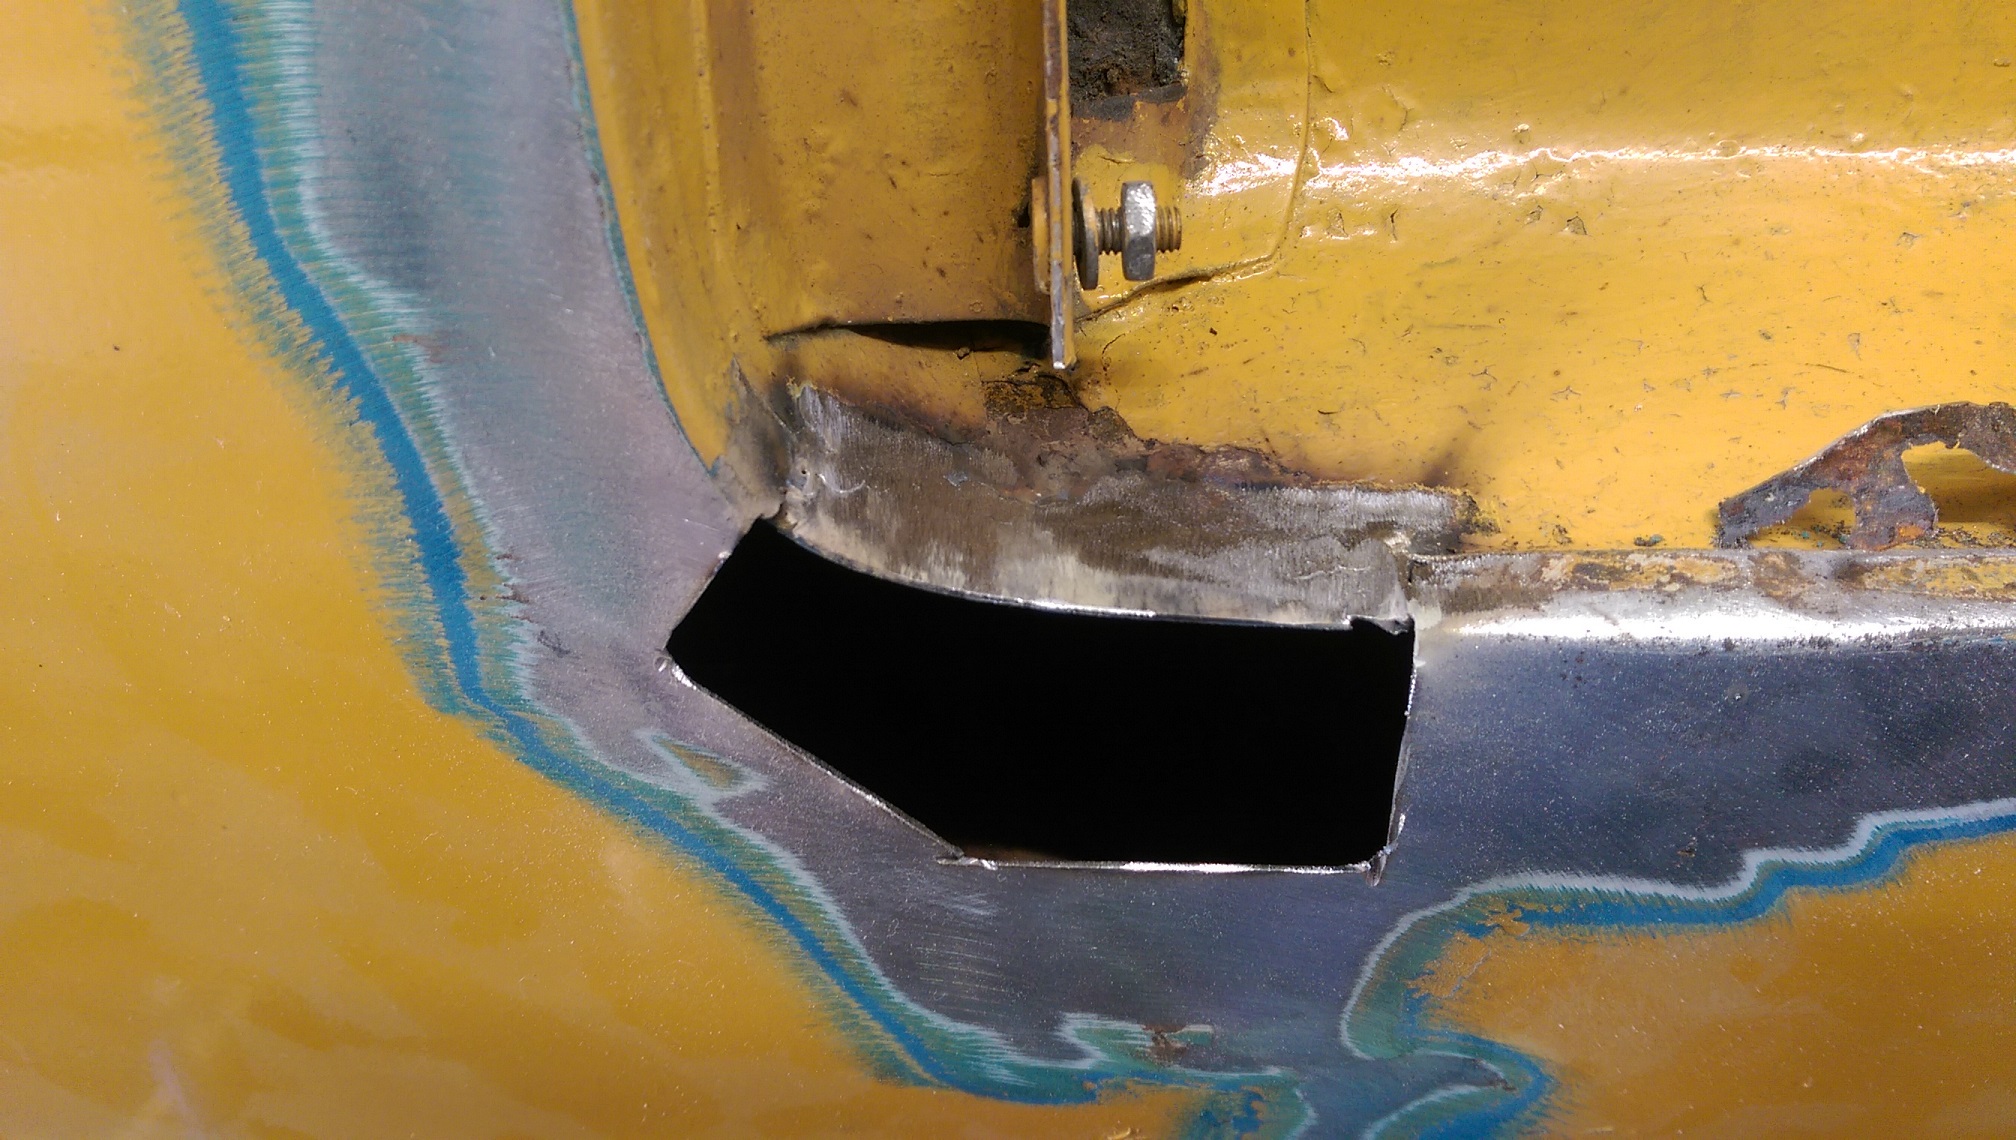
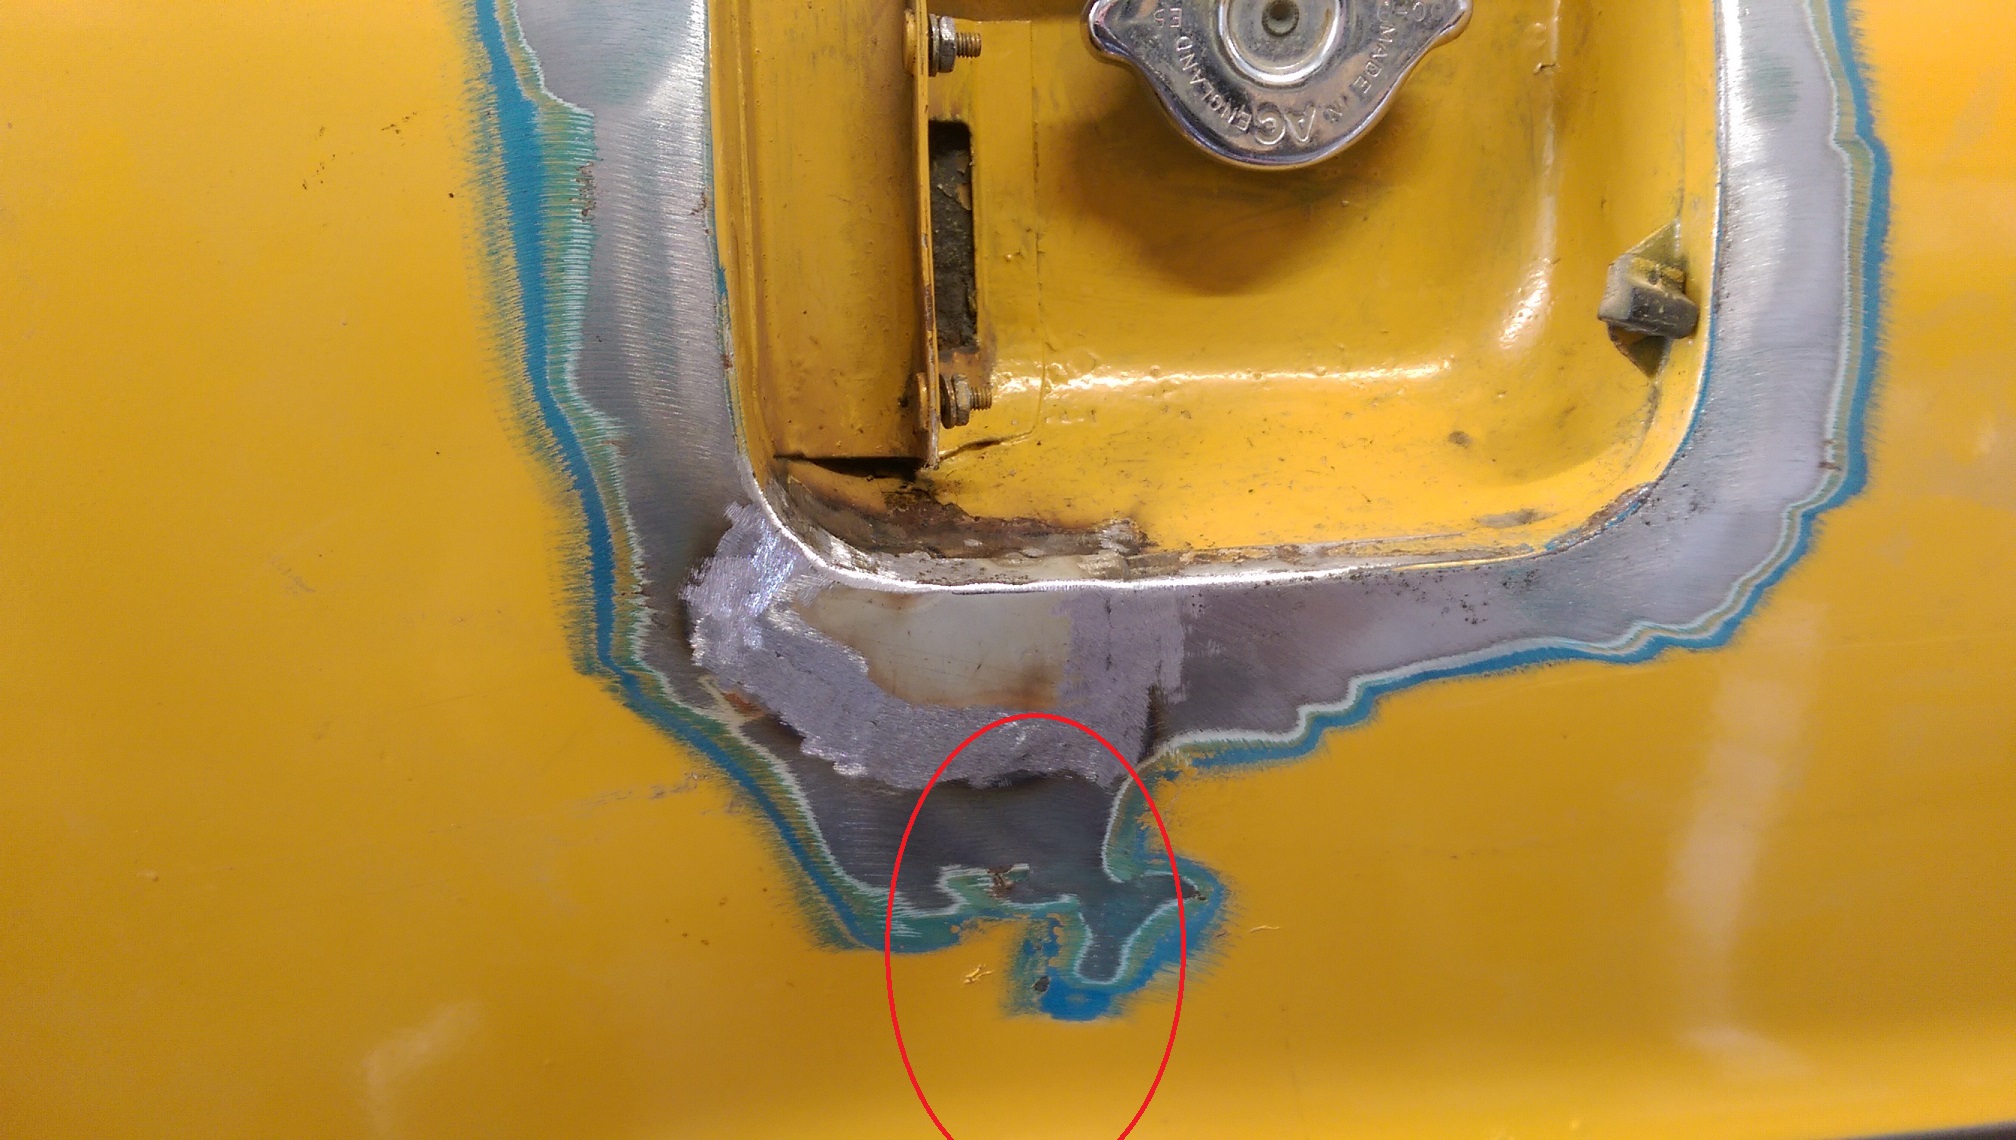
So I thought, I'll just do an easy quick patch. LOL.
Small holes
Big hole
Patch the edge of the .... filler hole bowl.
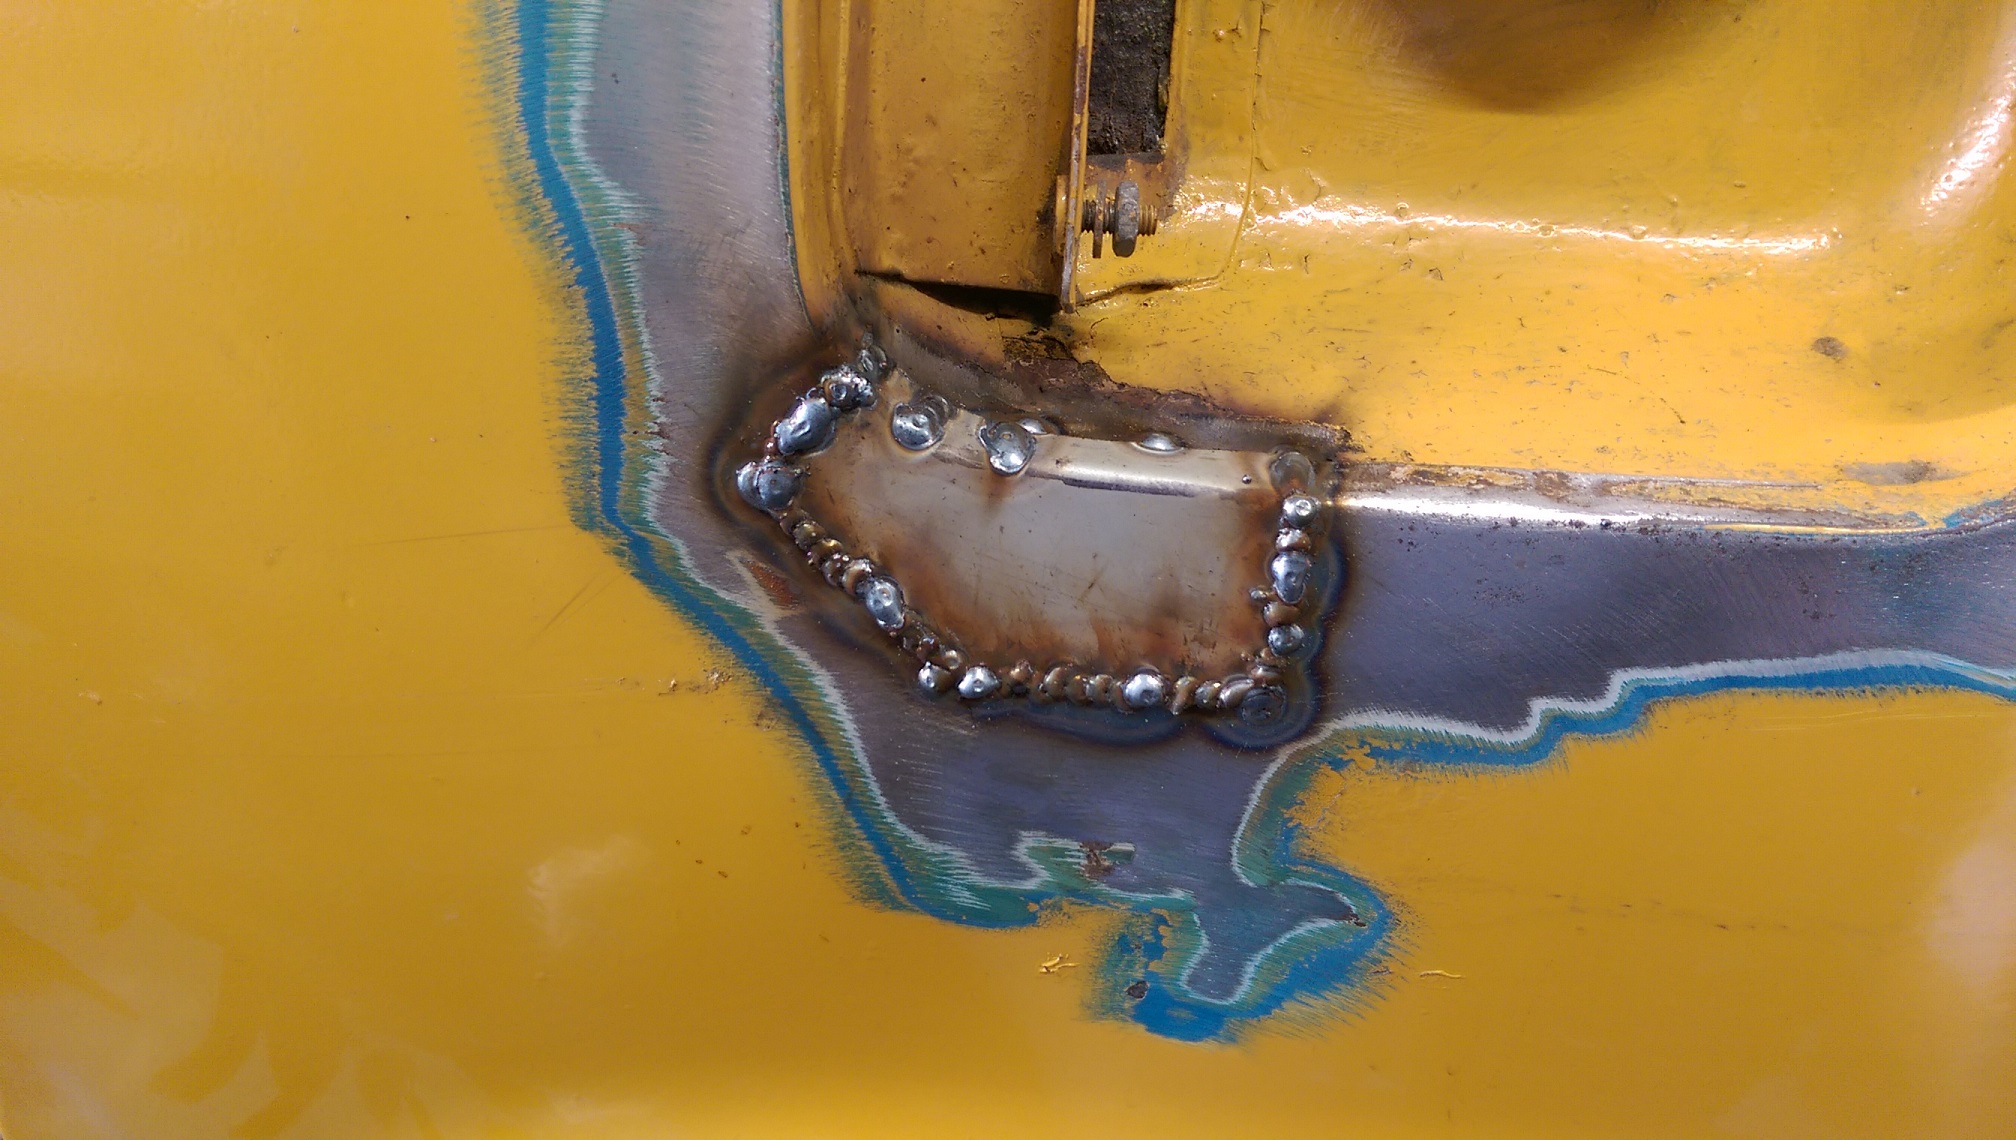
Grind weld back.
Weld in patch.
Grind down welds.
Realise I went too fast and hot with my welding, so it shrank and pulled the rest of the panel in causing a crease/dent down to the top of the wheel arch.
I'd like to fix it rather than fill it because my straight edge makes the dent at least 5mm deep and about 200-300mm wide.
I'm not sure of the best way to fix it...
- Cut a vertical slit through the patch and hope it relieves the tension, then weld the slit up much slower?
- I can sort of access to back through a hole big enough for my hand with a dolly. Could I panel beat it flat? Or is this too advanced for a beginner and it just get worse????
Help!
-
1
-
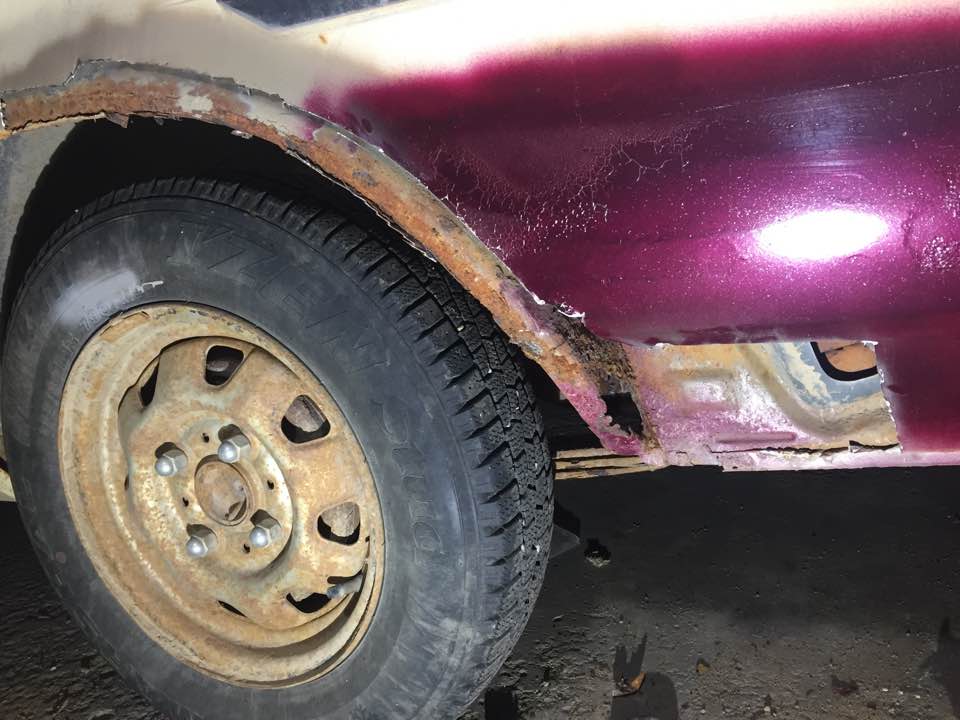
Progress?
I'm doing the same rust repairs on my MK2
-
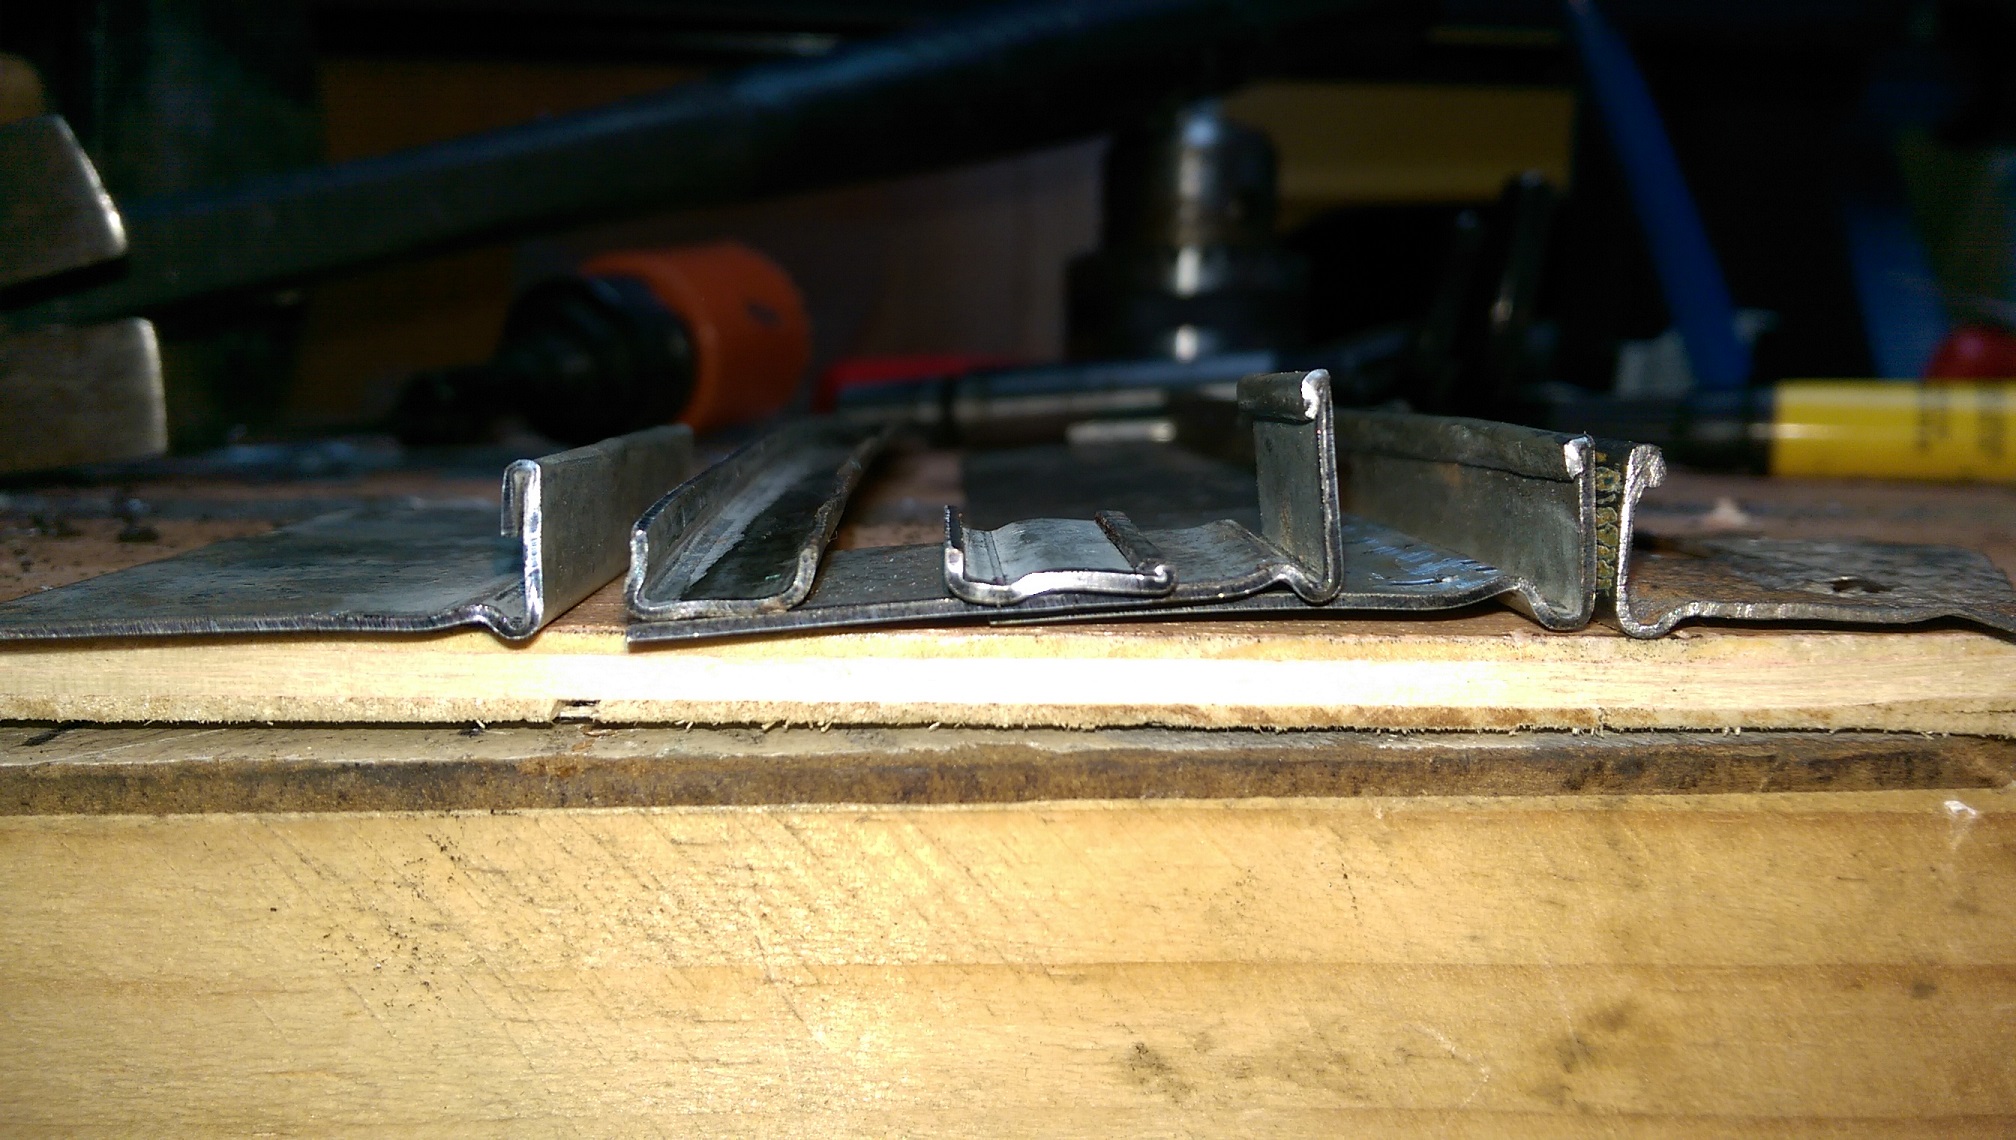
Only took five attempts.
The one on the right is the rusty original. 2nd from right is the closest I could get it.
I made the up-bump on the bottom by bending it 90 degrees, then trying to un-bend it again.
To do the folded over lip, I used a 8mm plate as an anvil and hammered the edge over, then kept hammering until I got it flat.
I also made it long enough so I have enough for the other side of the car.
-
6
-
-
Or do you guys use inches in Canada? it's like 1/32th...1/32nd
-
If they are really 2mm discs, I'd recommend getting some 1mm ones.
-
2
-
-
4 minutes ago, Jukka said:
The biggest progress is that I started cutting out the rust work to start building patches for it.
Cuts look a bit rough...! What did you use?
I recommend an angle grinder with thin 1mm discs. A die grinder can help in tight spaces, if you have one, also with thin discs.
I have a power file(long skinny 13mm belt sander) which makes adjusting the edges of the hole or patch much easier. And with 40 grit belts, makes cleaning up the welds easier because you can be more precise with the grinding and avoid thinning all the surrounding metal.
-
12 hours ago, yoeddynz said:
Ahh yeah. Cool. Yeah that is some sort of acid etch eh?
I don't think it's an acid. But you can see it reacting with the metal and rust. If you leave it wet long enough, it even dissolves the rust from the pits.
It leaves a phosphate coating on the metal that is supposed to 'key' it. But you have to wash the excess off with water. Then dry the fuck out of it with the mechanic's hair drier.
-
17 minutes ago, cletus said:
Probably ok
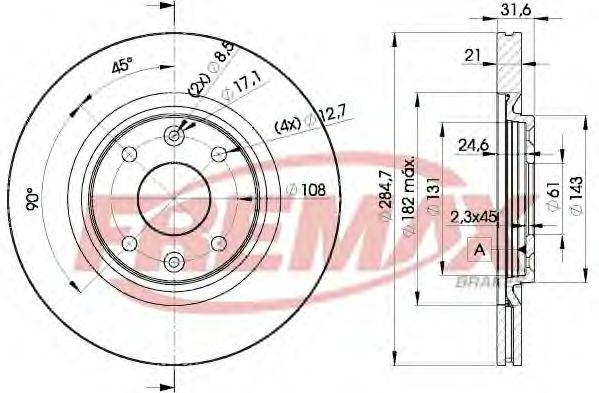
Does the center hole match with the hub? Or is it bigger?
I haven't taken it apart yet, so I don't know. I just did some quick and dirty measurements last night while it was assembled. Hopefully the hole is the same size(unlikely), or larger. If it's larger I expect I would be able to get a 'sleeve' machined and pressed on.
-
I'm investigating front brake upgrade options for my Triumph 2500...
It uses a disc bolted to the rear of the hub using 4 bolts with a pcd of approximately 85mm.
If I wanted to replicate this mounting arrangement by drilling new holes in some appropriate larger diameter vented discs, what would be the minimum acceptable distance for the holes to be to the center location hole? If that makes sense.
As an example, I found some renault discs that look like a possibility. If I drilled 4 new ~13mm holes at a 85mm pcd, that would leave about 5mm of metal between the edge of the 61mm hole and my new 13mm holes. Would that be okay, or too close?
-
2
-
-
All but 2 of the photos you posted today don't display for me. I can see the ones from before today....
-
1
-


Driveshaft stuck in gearbox
in Tech Talk
Posted
Only thing I can think of is that the splines had no oil or grease on them and have rusted together.
I'd keep going with the bit of wood and a hammer. Maybe get a bigger hammer, but definitely keep the bit of wood.