


Adoom
-
Posts
2,281 -
Joined
-
Last visited
Content Type
Forums
Downloads
Events
Gallery
Posts posted by Adoom
-
-
- Popular Post
- Popular Post
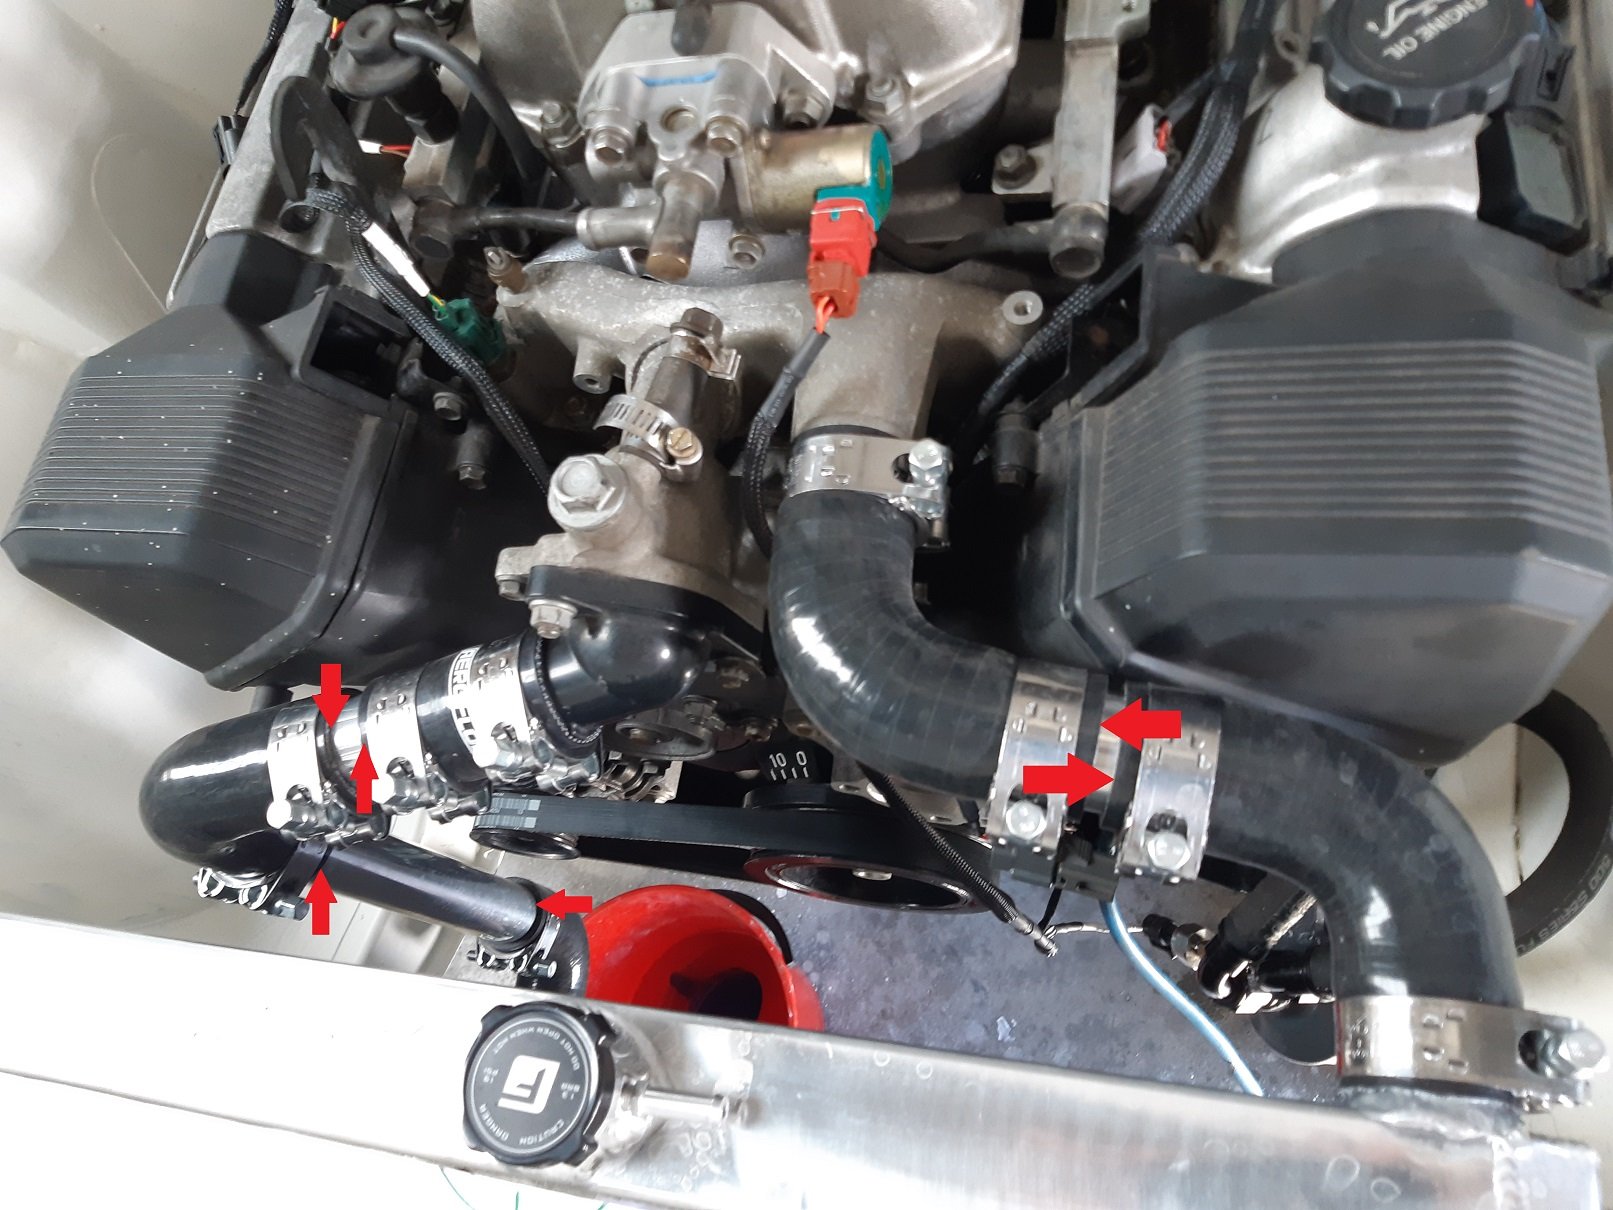
Pieced together the radiator pipes. SO. MANY. CLAMPS! It was actually slightly cheaper this way than buying some random rubber pipes with the right bends and cutting them up.
It was still far more than I was expecting.
I have cranked the clamps up as tight as I can but I still have leaks when the engine warms up. A bunch of leaks.

It seems to be sealing okay at the engine and radiator connections. I'm thinking that since the joints where it is leaking are almost never going to need taking apart, I'll squirt some silicone sealer between the pipe and hose, then put the clamps on again.

-
 10
10
-
10 hours ago, JustHarry said:
Is it possible to make the alternator moveable like most things?
In theory, yes. But I don't think it's advised because the mounts are single shear when most pivoting alternators are double shear. In my scenario, I don't have the clearance to move it anywhere.
Some people make a bracket to mount an adjustable idler pulley. But this "stretch fit" belt is by far the easiest option. I just don't want to find that it is possible to be too tight and damage the alternator bearing.
I tried looking up multi-v belt tension specs, but they required specialist measuring tools.
-
Can a 5 rib poly-v belt be too tight and damage the alternator bearings or something? Or are the bearings stronger than the belt?
I am running an alternator only setup on my 1UZFE, so there is no tensioner. An internet person recommended a gates stretch-fit belt of a particular size that fits.
I looked up the special tool used to install the stretch-fit belts then made do with random stuff that was the appropriate shape.
I got the belt on, but it's pretty dang tight. Should I be concerned for my alternator?
-
2 hours ago, WhangareiKE70 said:
I genuinely don’t know if you are trying to be rude or if that’s just how it is coming across.
Clearly, I made a mistake buying an Apple product for this, but that’s for the same reason I posted this topic asking for advice, I do not understand this stuff.
I was of the incorrect impression that because the app was available for both platforms then it would work. Semi-expensive mistake, but such is life.
From reading that list it doesn’t seem like any desirable ECUs are compatible with the Apple products.In saying that, even the Android/Windows list says that the current Link G4X range is incompatible, and Hatltech isn’t listed either, so maybe the Realdash app isn’t suitable for me anyway.
I'm am not trying to be rude. I'm from IT, I tend to over explain sometimes.
-
1
-
-
8 minutes ago, WhangareiKE70 said:
Well that’s dumb. But I mean worst comes to worst I just bought myself a tablet. Then I have to get another something for dash use.
On that thread, did they mention if any particular type of ECU was compatible with Apple products?Hyperblade posted the Link forum link along with GIANT screenshots. near the bottom of the first page, Adam, the Link guy, says "iOS doesn’t support usb serial port or Bluetooth serial port so it will only work with a few ECU’s that have an Apple approved WiFi bridge.".
So it sounds like if you want to use an iOS tablet, you need an ECU with Wifi... but it also has to be Apple approved Wifi.
If you just go to the Realdash support page, they list the iOS approved ECU's.
-
On 21/09/2021 at 20:42, NickJ said:
Thats interesting, some brands of Pushlock hose state not to use clamps/crimps as the barb geometry can damage the hose.
Pretty sure I read somewhere that Aeroflow recommend clamps on their pushlock fittings if it's over X degrees hotness.
EDIT: LOL just noticed I have basically just said the same as Cletus
-
3 hours ago, WhangareiKE70 said:
So I bought an Ipad Mini 3 (will fit in the standard gauge space). Second hand but in really good nic as I bought it off a friend who has an Ipad hire company, it was his personal one for work so not ex-hire and he has upgraded. Added advantages of working with other Apple bits too, and being slightly older still has an aux port for the music controller idea.
Bought a bunch of these:
https://www.aliexpress.com/item/32964924123.html?spm=a2g0s.9042311.0.0.7d1a4c4dj9WVZp
1x Hi-beam, 1x Low beam, 2x indicator, 1x handbrake symbol, 1x 4wd symbol, 1x low fuel. That's all the important stuff I could think of? Anything obvious I have forgotten that isn't covered by RealDash?
Um. The post I was reading on the Link forum said the iOS version of RealDash doesn't support the Link ECU. AFAIK it's because Apple devices will only 'talk' to serial devices(the ECU) that are Apple certified.
-
 1
1
-
-
I just had a go using Realdash on an old android phone with the G4 Extreme. Initial impressions, looks good. Too small on the phone, really need a tablet.
Would you be able to get a WOF using something like this as your primary instrument cluster, with no 'normal' physical speedo? @cletus
-
Is this stuff all good for EFI hose?
It does say unleaded gasoline and 290PSI, so I'm thinking 'Yes'...
https://aeroflowperformance.com/af500-08-3mblk-8-1-2-black-push-lock-hose
-
- Popular Post
- Popular Post
There were indeed two sticky injectors. I ran the injector test again, and two of them were real quiet. I tapped them with the socket extension a bit and they freed up. So now it runs way better.
I took a video of me fumbling with the ignition one handed to start it and make vrooming noises. I also installed the 'rest' of the exhaust, so now it reaches about halfway down the gearbox.
I thought about using the original copper radiator, but when I had a better look, I found that the fins were disintegrating.
So I've ordered a radiator from Fenix. Ouch, my wallet. After lots of looking at radiators for specific cars and having no luck, it turns out their universal medium radiator is within 5mm of the oem radiator. It also has the same type of mounting flange down the sides, I just need to trim it and drill the holes, then I can use the factory mounts.
-
10
-
2 hours ago, Nominal said:
Nice work on getting it running. You must be pleased.
injectors could be sticky, worry about it later.
Thanks, it feels like I passed a milestone.
I should probably move on to wrapping the loom with the expanding mesh sleeve stuff I bought yonks ago.
-
- Popular Post
- Popular Post
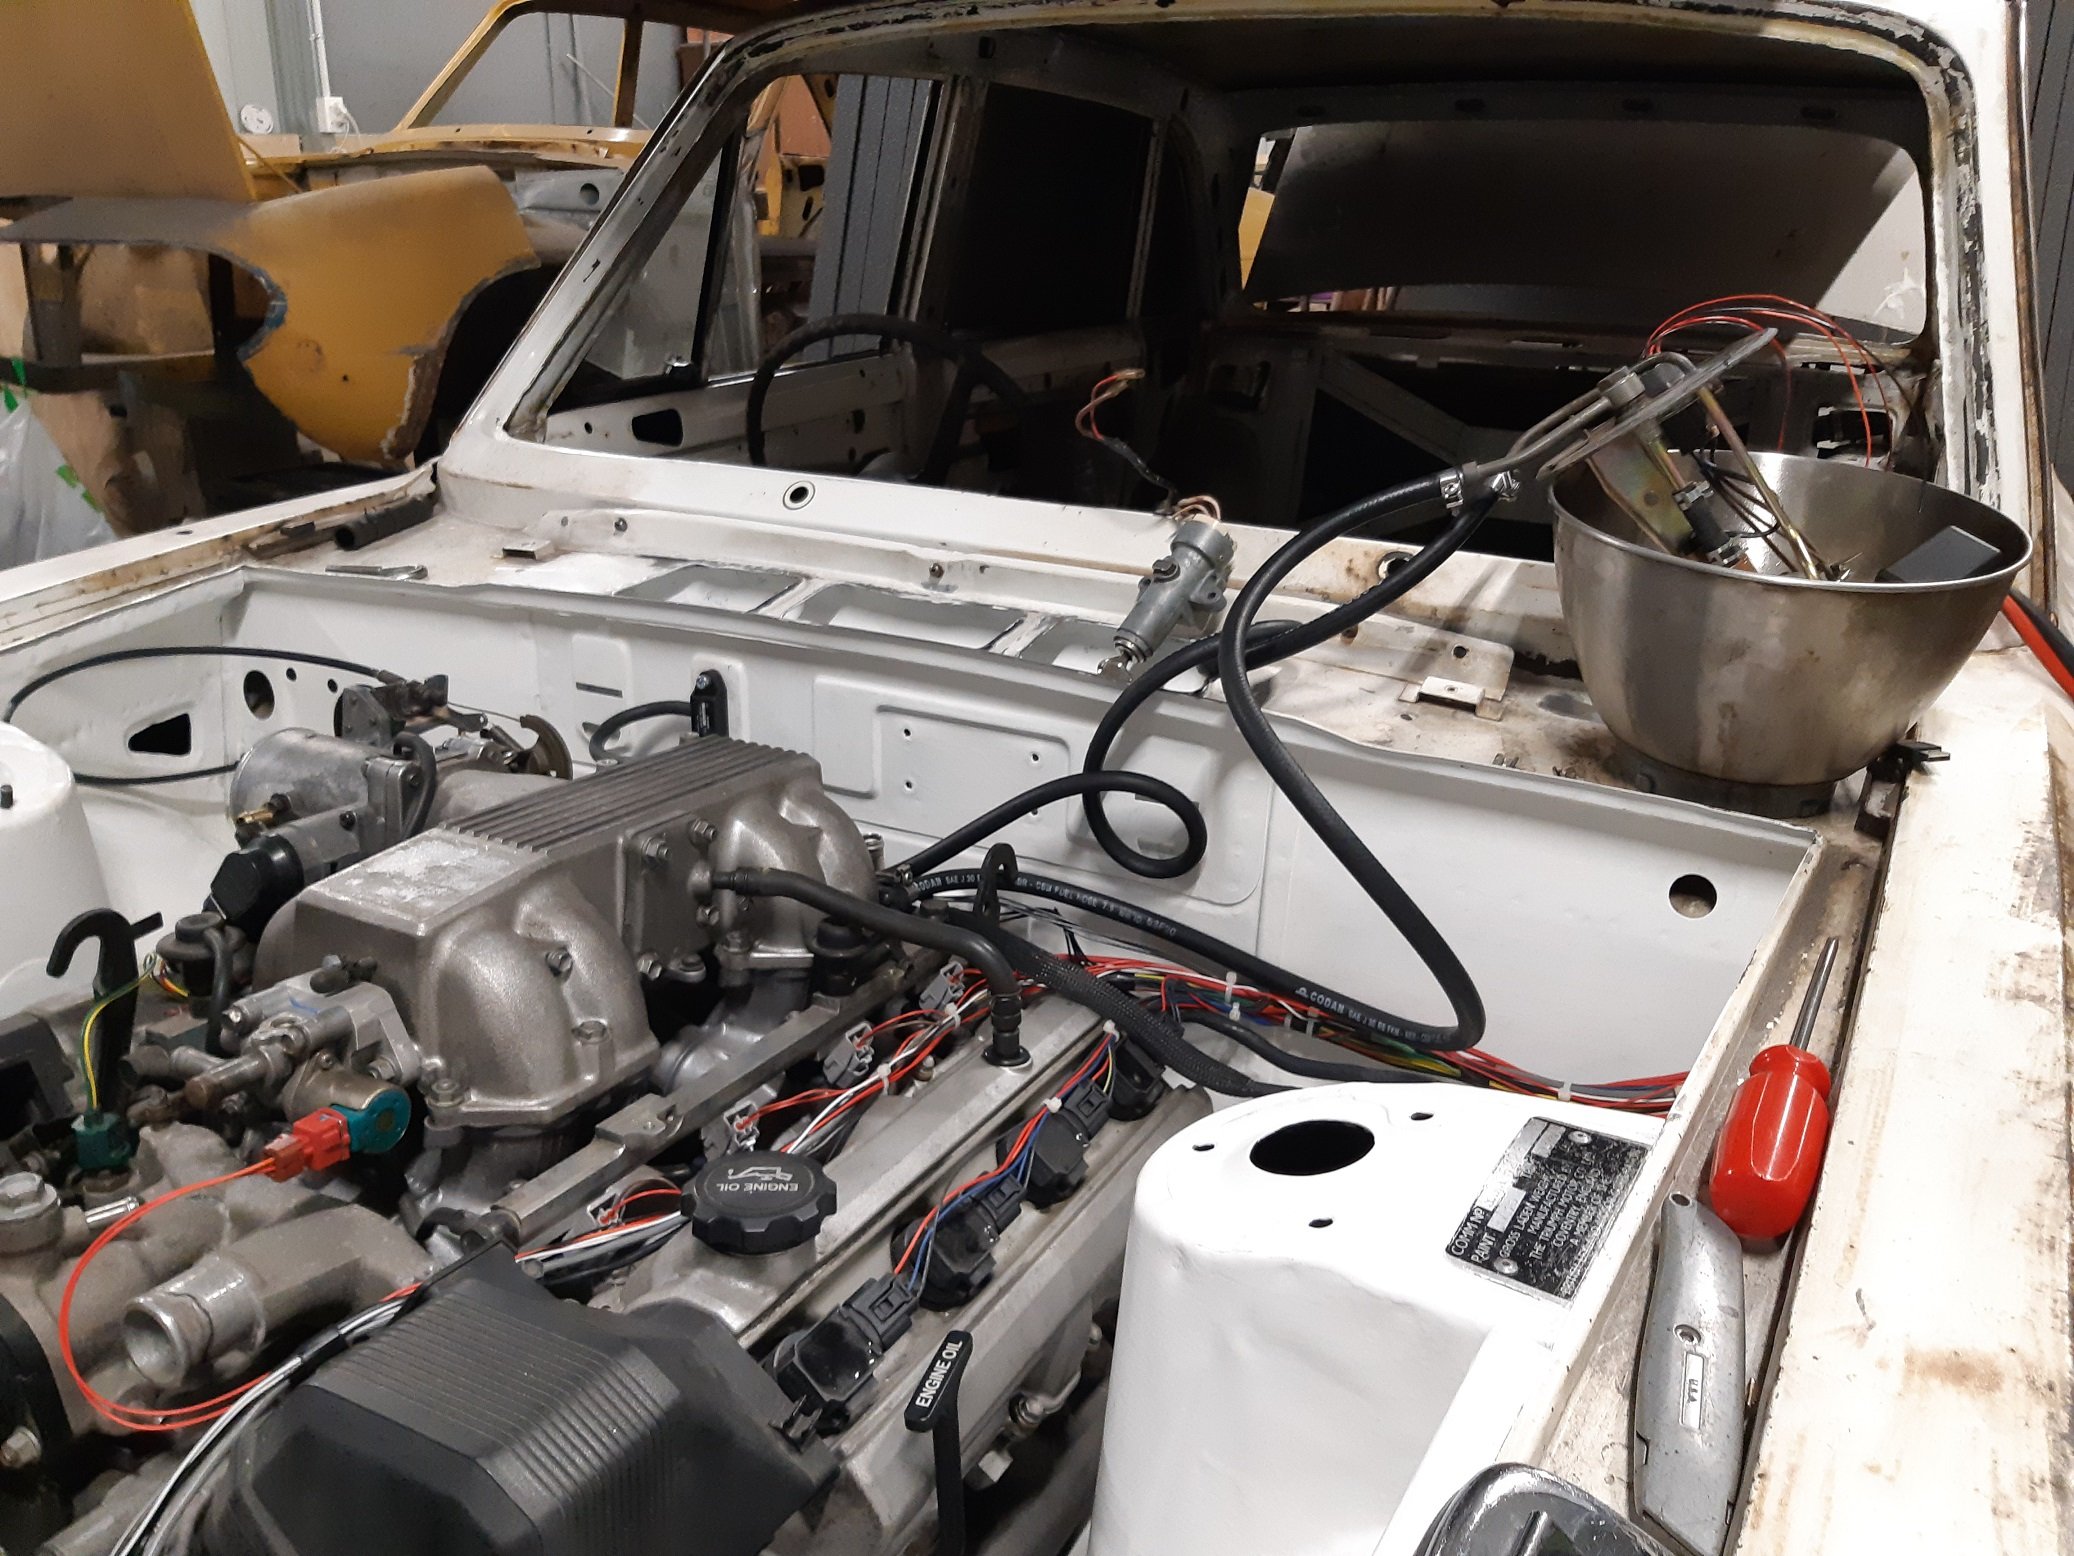
I revisited some of CarTuneNZ's videos. Extremely fortunately for me, he has a series of videos on wiring and configuring the ECU for exactly my setup.
The issue was the base timing, it needs to be changed for the COP setup. I also hadn't configured the idle control
So now it runs! Quite loud because it's only got headers.
I can't really run it till it warm because I've got no cooling system.
It sounds like it's running a bit rough. Maybe some of the injectors are sticky? It has been sitting for several years...
-
12
-
 1
1
-
- Popular Post
- Popular Post
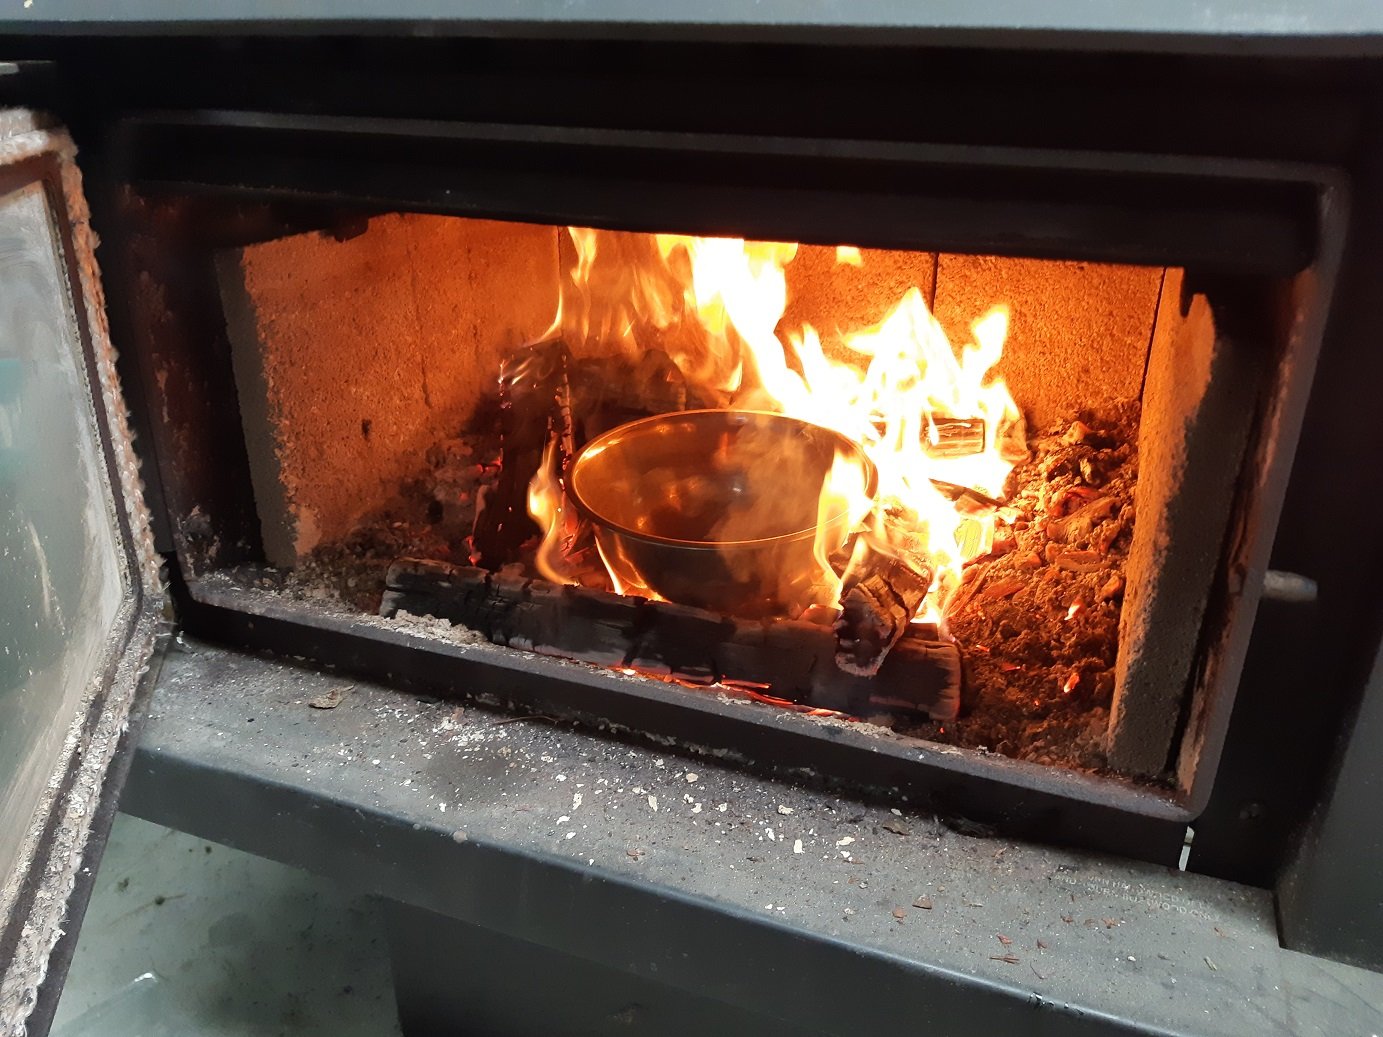
Sayf Tea
No leaks. Didn't die. No fire.
Didn't want to start though. It would just do a random cough every 2 or 3 seconds.
I assume it should run, the tune is from Sheepers 1UZ when it was still standard. All I've done is modify the config for COP.
I guess it's the timing??? Maybe... But I don't have a timing light.
I didn't leave the fuel in the bowl.
-
12
-
I'm keen on modifying something from another car and replacing the pump. Those aftermarket ones seem excessive for my application.
Does anyone know of a suitable doner that is all metal so I can modify it easily? I suppose I could just make it all from scratch. It's just a flat plate with some pipes and a bracket thing.
-
Has anyone installed a in-tank efi pump into a fuel tank that did not have one before?
I'm considering using an in-tank pump on the triumph, for the 1uzfe. My reasons are so I don't need to find an external mounting location and avoid having a surge tank and lift pump, also I would assume it's much quieter(because not-racecar).
Is it straightforward? How do you deal with fuel surge? The tank has no internal baffles. What about the height of the tank?
The oem stuff I have seen photos of look like just a big plastic thing with everything contained within it, I suspect I cannot modify that for height, or make use of the included float level.
Should I just use an external pump and mount it under the car, using the OEM outlet on the bottom of the tank?
I've finished the ecu wiring and want to test start the engine... but the old external fuel pump I had was fuckzorred(I think the E85 ate it) so I need to think about a new pump now...
-
- Popular Post
- Popular Post
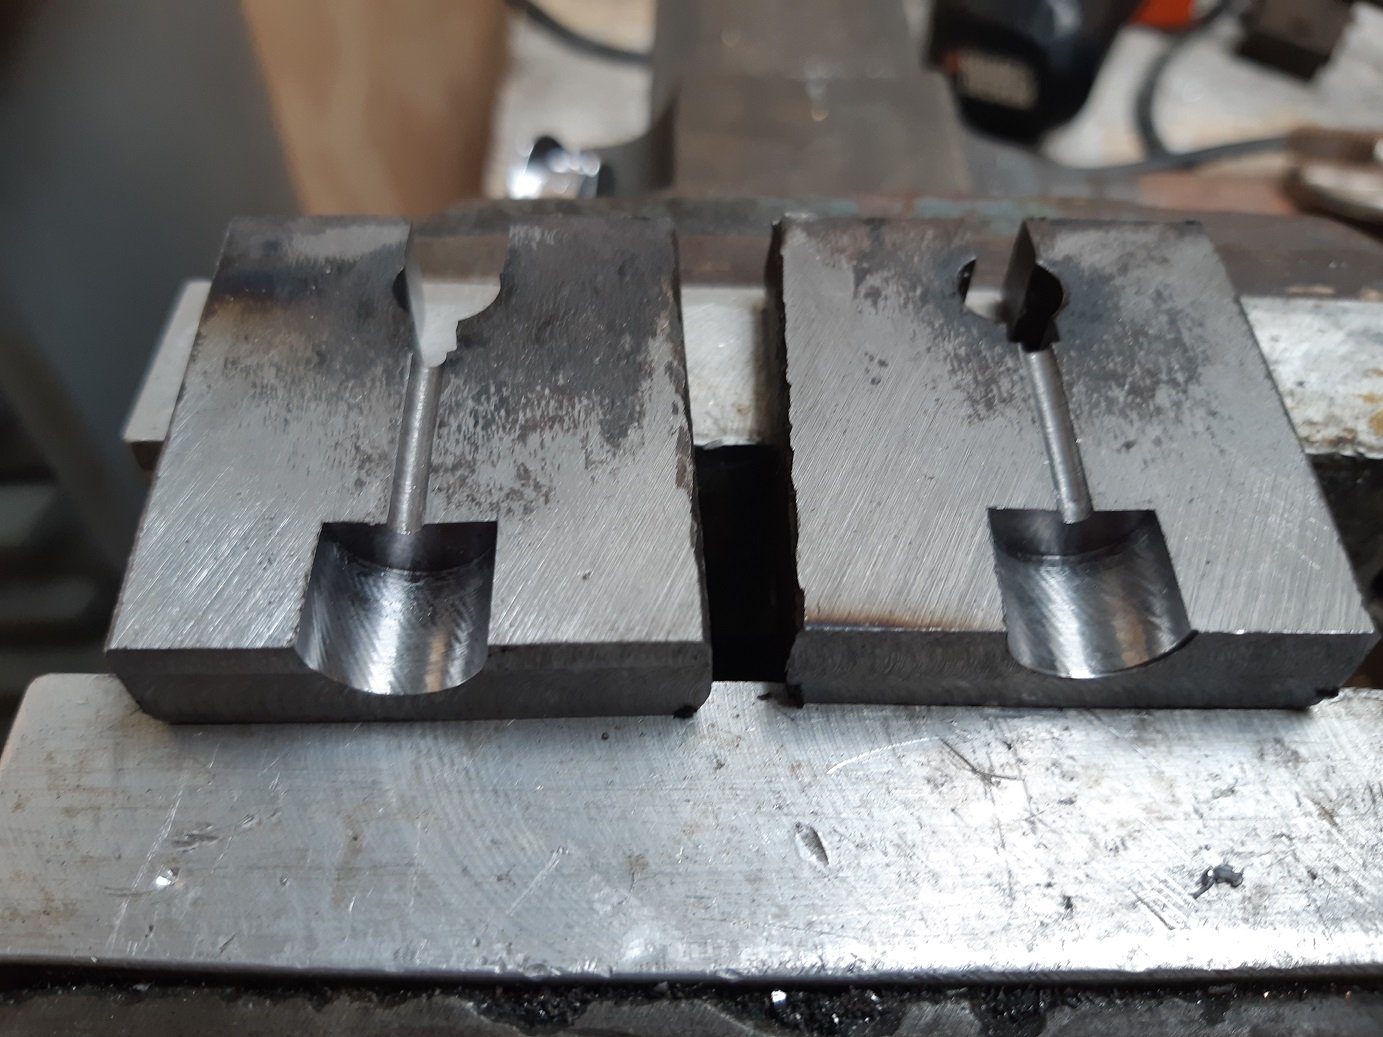
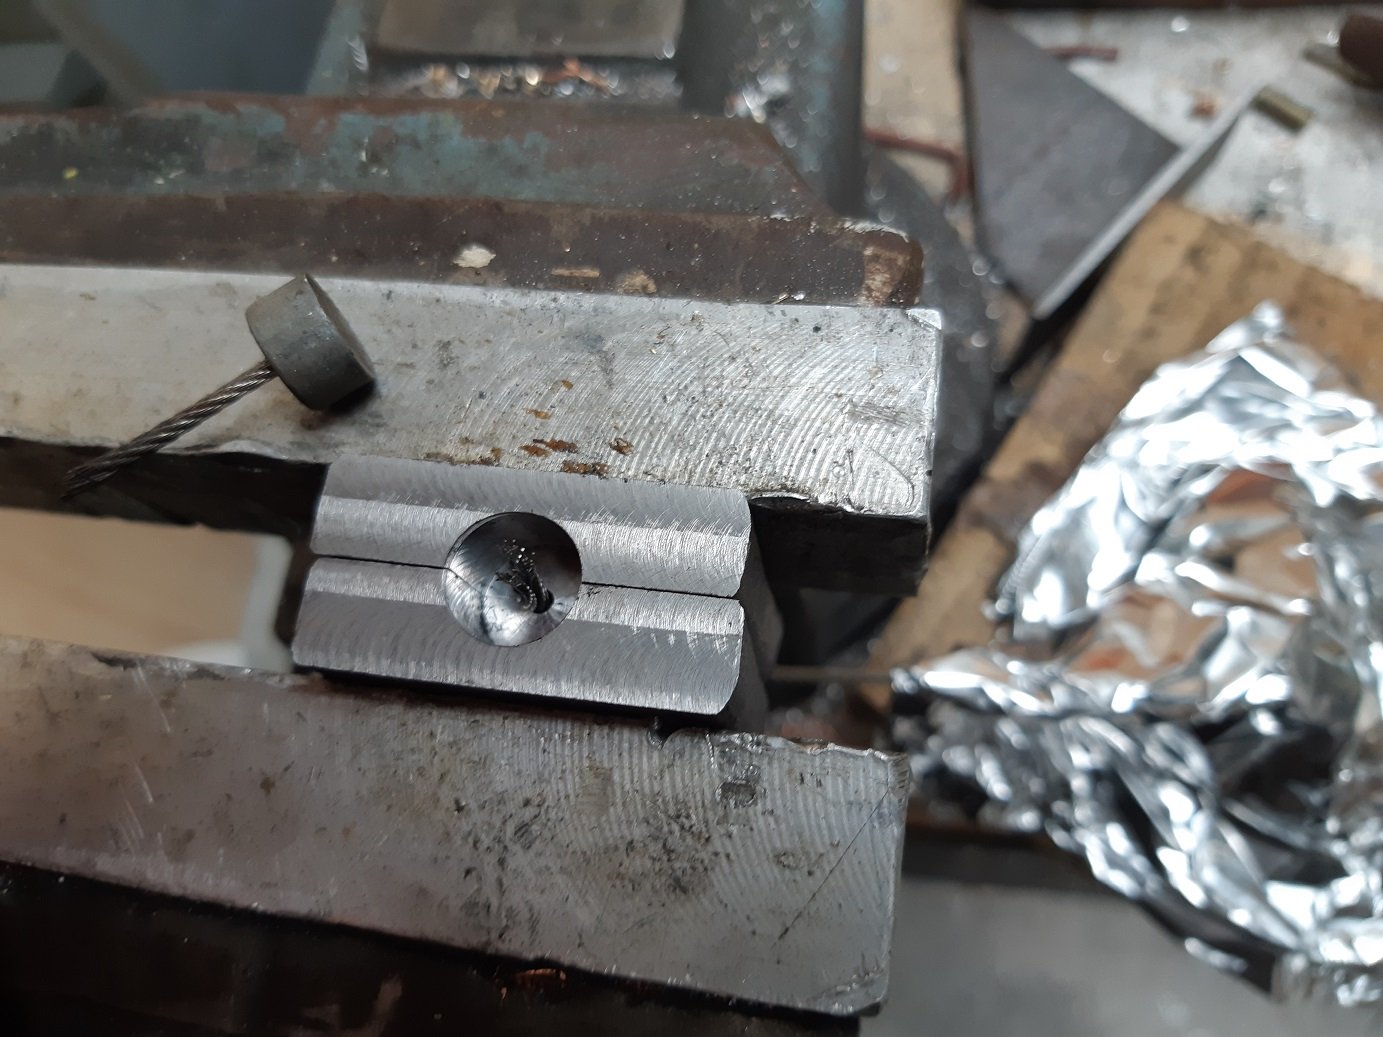
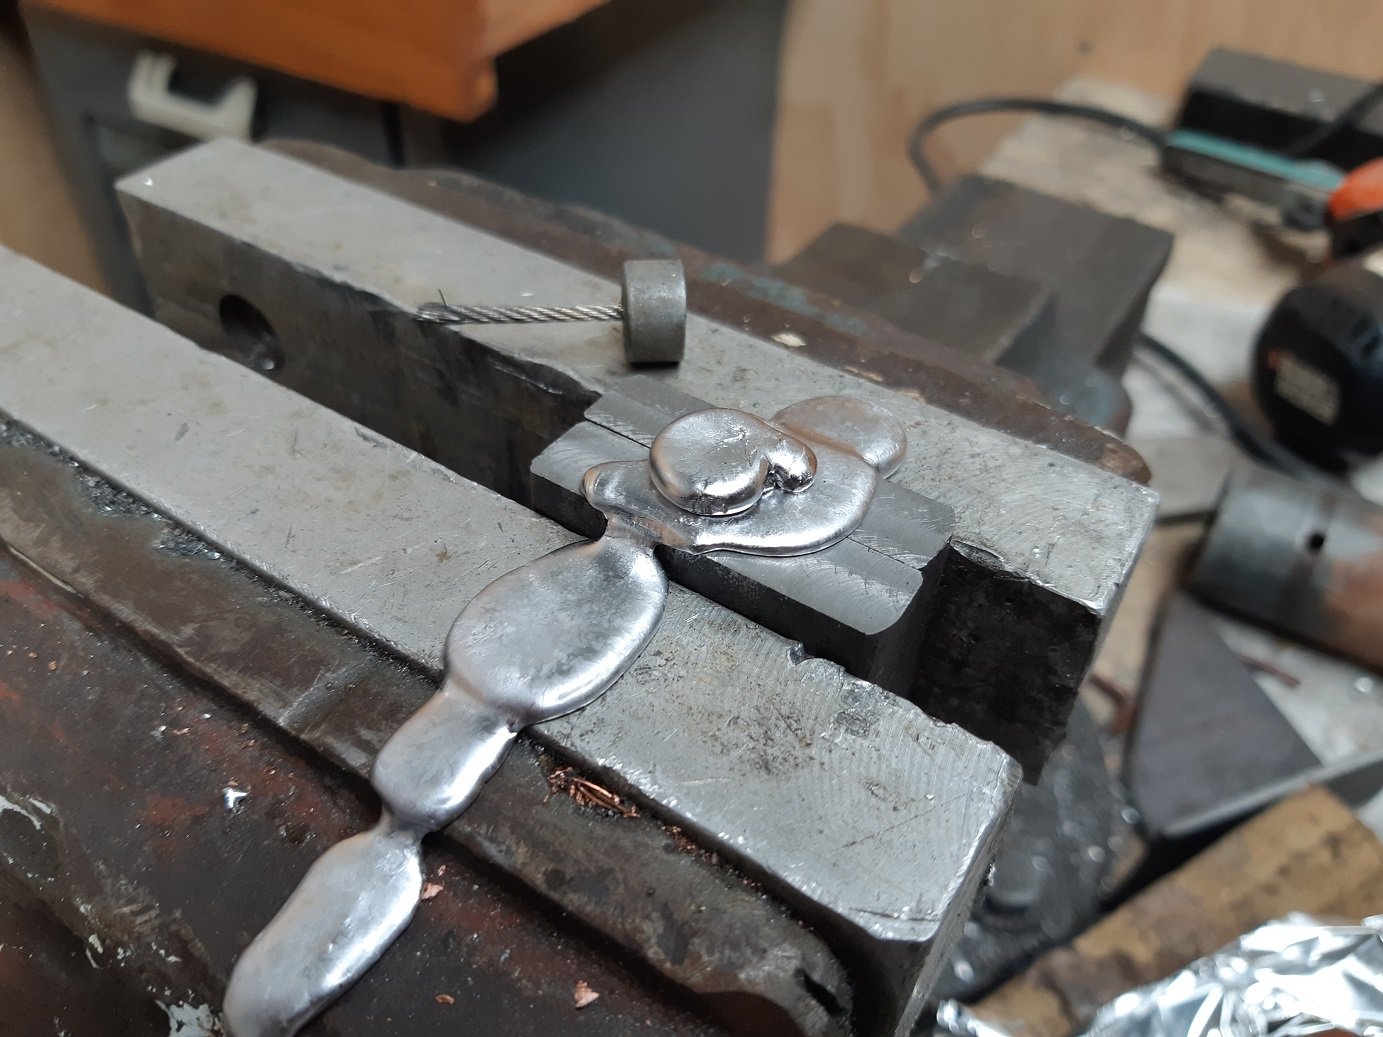
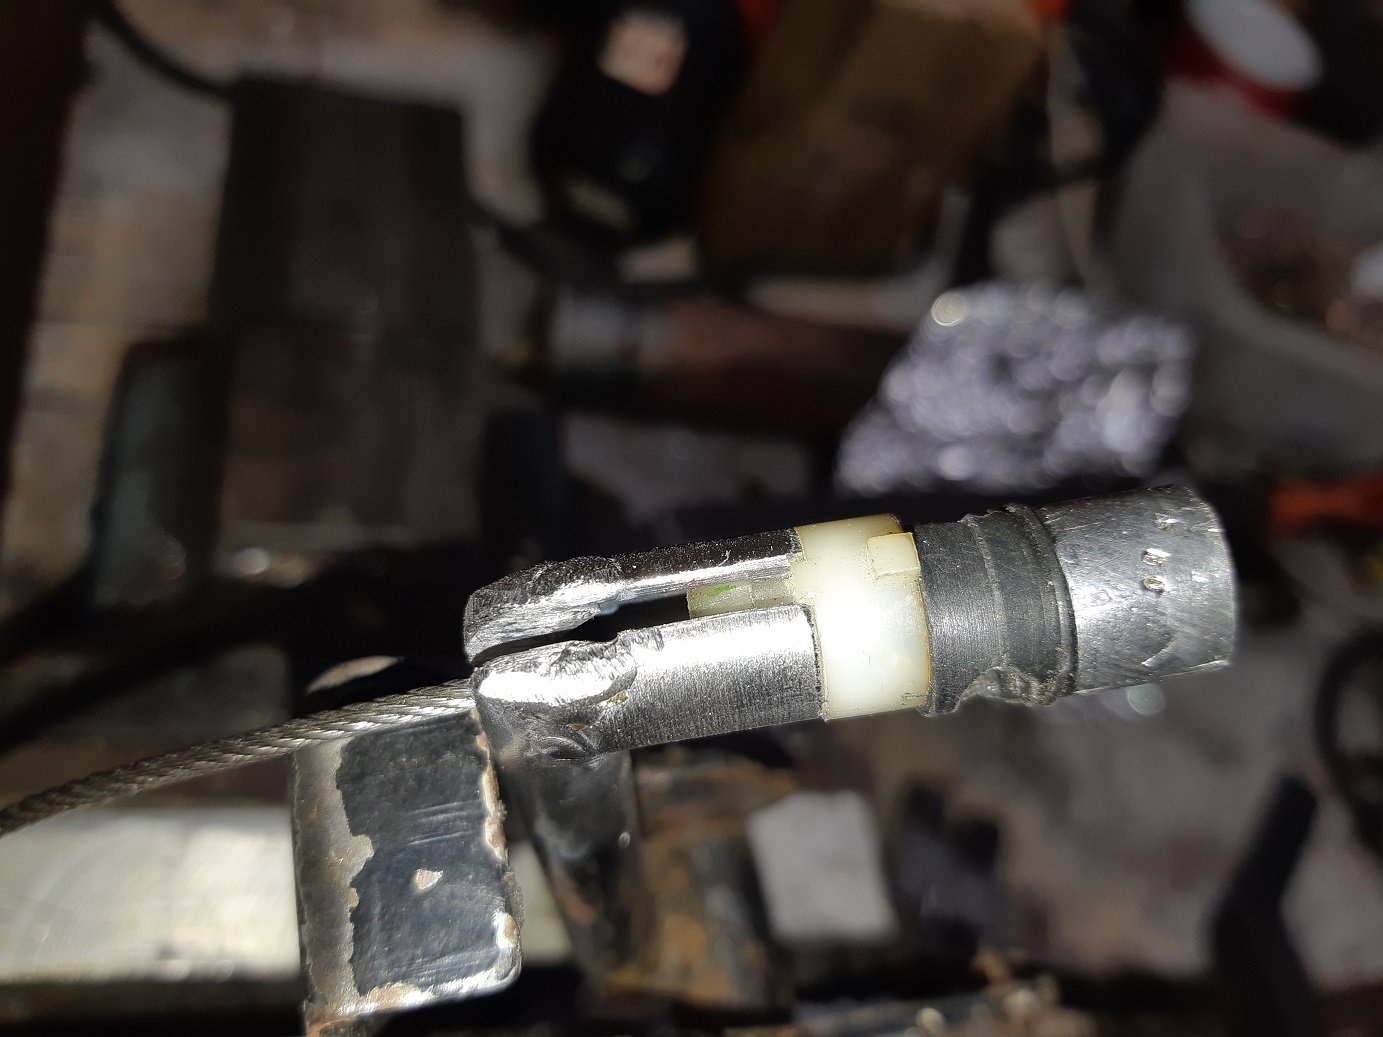
Turns out... lead is easy to melt.
This was the first attempt. I pulled real hard on the other end of the cable and it pulled out.
Second attempt, I preheated the mould with the heat gun and also untwisted the cable so the wires were all separate and splayed them out.
This seemed to work, seems much stronger.
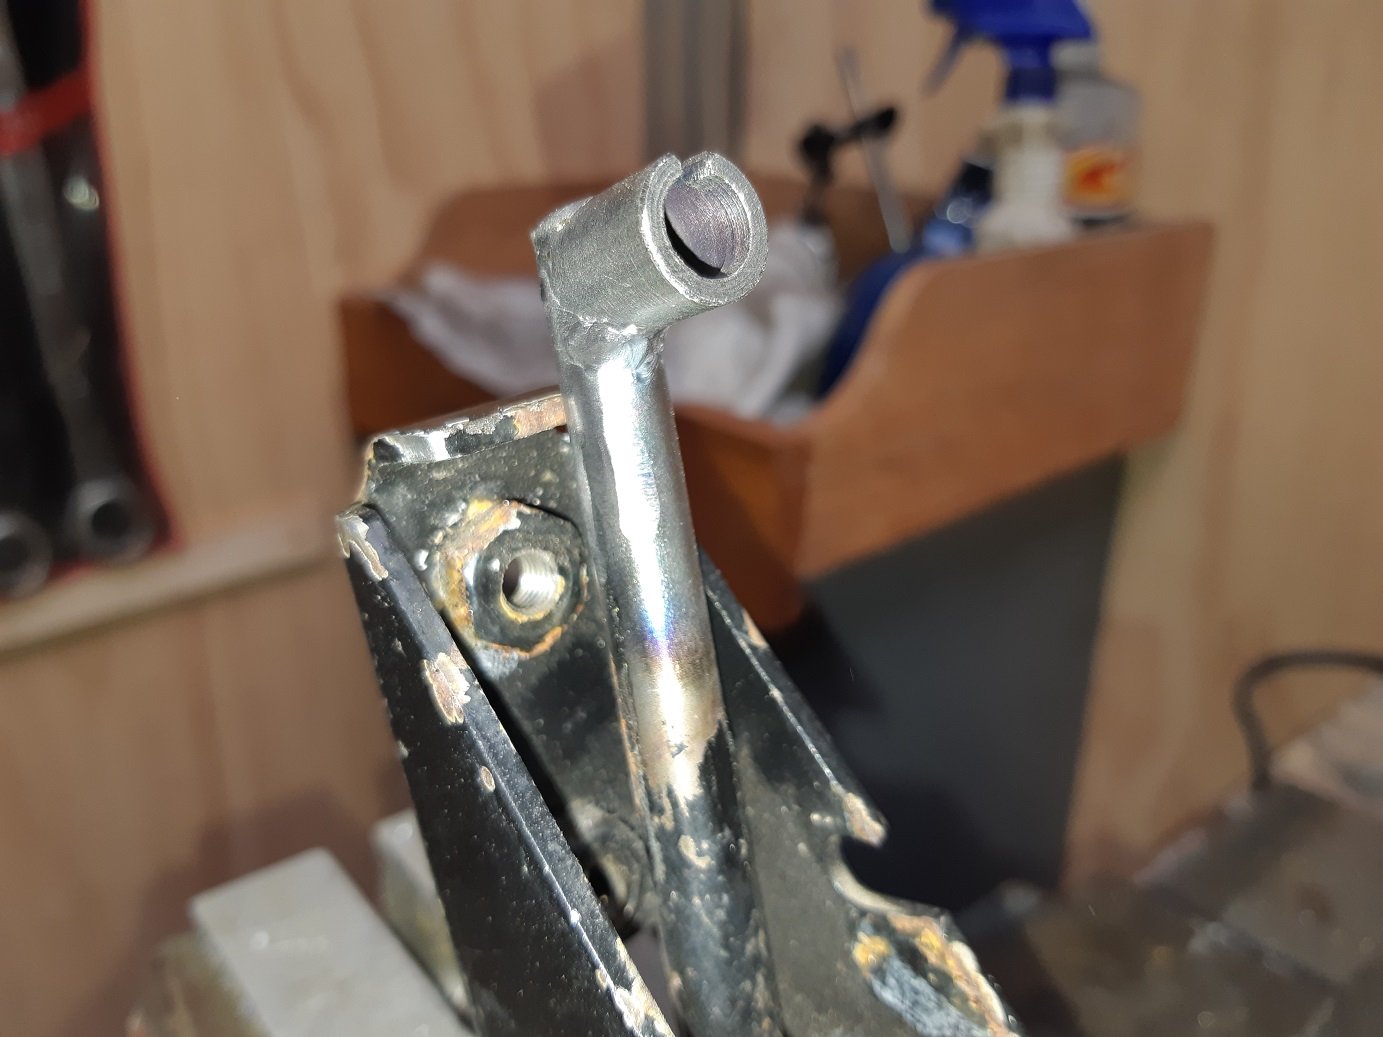
Glued an extra appendage on the triumph pedal so the toyota cable bits fit.
I did check that it opens the throttle all the way. More than all the way... But the pedal has an adjustable stop, so I adjusted that.
-
23
-
1
-
-
If anyone has links to part numbers for common OEM connector terminals, that would be super handy.
I know you can get them from places like RS components, but it's often hard to identify them from the one image they show you.
-
1
-
-
Please tell me you have a plan to narrow the track so it's the same as the maxi. I think a stealth look would be cooler than MASSIVE arch extensions.
-
4
-
-
2 hours ago, Roman said:
Also invaluable is a good depinning tool
You can buy some but I've got a piece of piano wire that's sharpened at one end, with a little handle on the other and it's brilliant.
Sometimes a bit tricky to see how plugs come apart until you've done a few
Mine is one of those WTF does this even fit super skinny allen keys ground to a long chisel tip. I found that it works better than wire because it's stiff and won't easily bend.
-
2
-
-
- Popular Post
- Popular Post
I've been doing the wiring. It's not an exciting thing to take photos of.
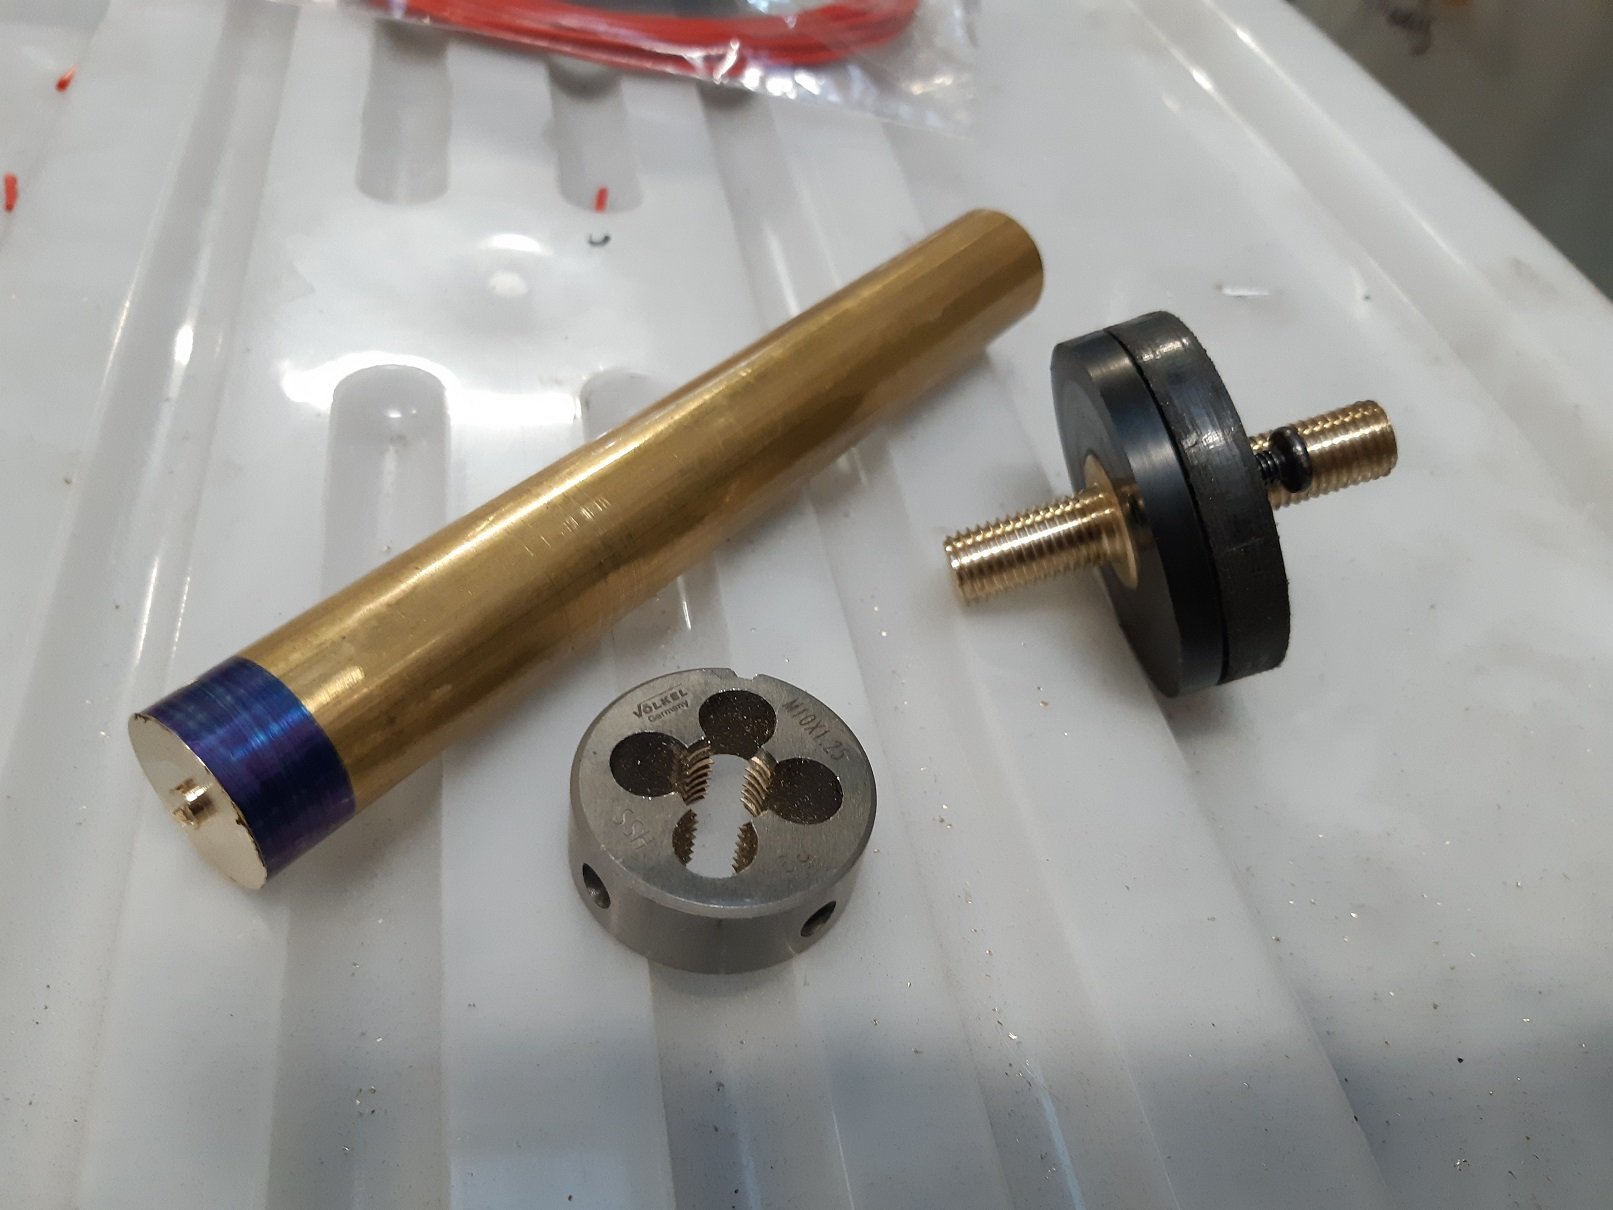
I need to relocate the battery in the boot and I'll run the cable inside the car, so I decided I wanted a through-bulkhead stud thing so I had power right beside the fusebox/ecu and in the engine bay to connect the starter cable to.
Googles through-bulkhead stud thing. $50!!! I'm sure I can make one for less than that.
So I spent $26 on a short bit of 20mm brass bar. I tell myself I'll have lots left over for something else.
I already had a big big of acetal I could use for the body.
So I spent maybe an hour on the lathe making round things and round things with holes in.
To cut the thread... I initially attempted it with my cheapo 'Frost' die, because brass is 'soft', right. And it was entirely useless, Massive amounts of effort required to cut a single thread.
So I spent $24 on a volkel die.... plus $6 shipping.
I've said it before... damn these are good. It's so fucking sharp, I could just about start the thread holding the die in my hand! It was too big for my die holder... so like a barbarian I used vice grips.
Those small screws are countersunk so they don't end up being made live.
-
13
-
Too late now, but I reckon citric acid would have worked on those steel wheels. Citric acid is cheap, you get it in powder form. I think I got my on trademe. A big bulk bag, not the teeny pots used for making food things.
Or electrolysis would be safer, no chance of leaving it in too long. Also cheap.
In both cases you need a plastic thing you can submerge a wheel in. Then you give them a rinse and wipe with a scourer pad. Nice clean metal, until it dries and immediately flash rusts.
-
2
-
-
This old Tony had a couple metal spinning videos... He totally failed though, the material tearing or getting wrinkles.
-
5 minutes ago, daveyc123 said:
Hi guys, bit of an odd one.
So I've had my car 4.5 years and it's been an off the road project that whole time. I was told the rego was on hold when I bought it. Every year I've been reapplying to keep the rego on hold........ I was then told by someone at work that I shouldn't have to do that. Once it's on hold it's on hold. So I done some investigating.
Turns out my viva has been registered by a previous owner as an exempt class A (EA) vehicle. That definitely isn't what it is. So I'd like to change it to what it should be.
What's the process for doing this? I didn't want to just phone nzta and then it turn into a disaster. So any advice on what I should do?
As a bonus question the cars been resprayed (badly) in a different colour. So what's the process for changing that?
I'm not entirely sure I'm in the correct thread for these questions. But it didn't seem worthwhile creating a new topic for them.
As always any help and advice is appreciated
Just for the on hold bit... Don't listen to that guy at work. You have to keep renewing the 'on hold'. If you don't, you will get a bill from NZTA for unpaid rego from the date the hold ended. This happened to me.
AFAIK, to change the rego class, you just tick a different box on the rego form at your local rego form place vtnz whatever. I have not done this.
-
6
-

Adoom's 1972 Triumph 2000
in Project Discussion
Posted
Damn, I got the cool looking clamps because there were going to be so many of them and right in your face.
I did put a bead on the aluminium tube, using the modified vice grip method. Maybe it will help if I move the clamp right on top of the bead, rather than beside it?