


Taistorm
-
Posts
2056 -
Joined
-
Last visited
-
Days Won
1
Posts posted by Taistorm
-
-
All tech in wairau usually carry pump kits. Alternatively if you're just after seals to suit, remove the seals and take them in to advanced seals in Silverdale, they're awesome to deal with and cheap as.
-
- Popular Post
- Popular Post
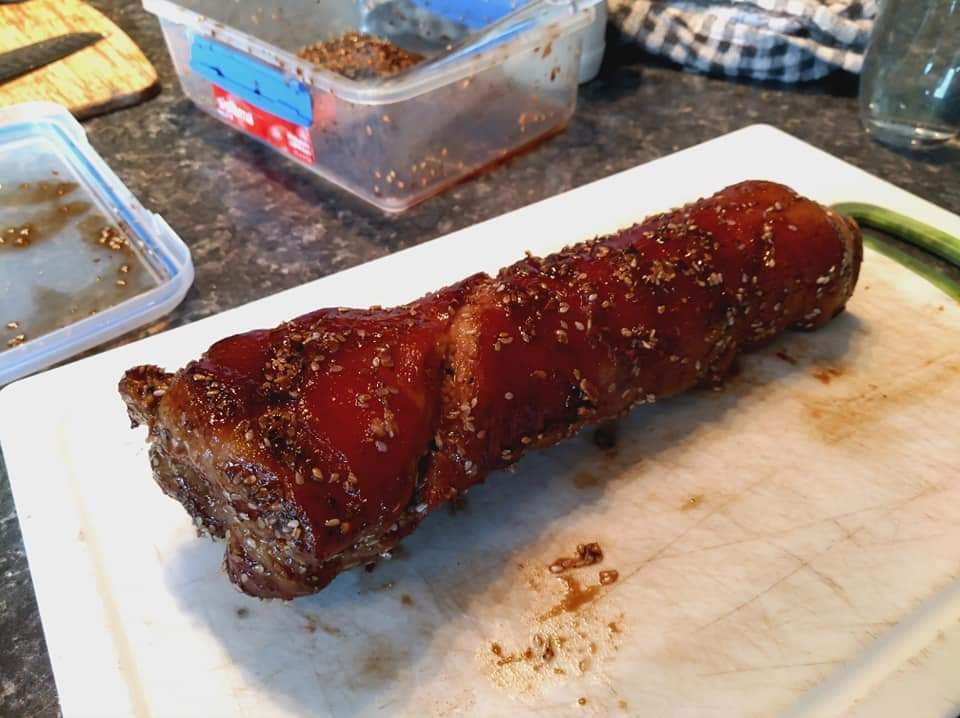
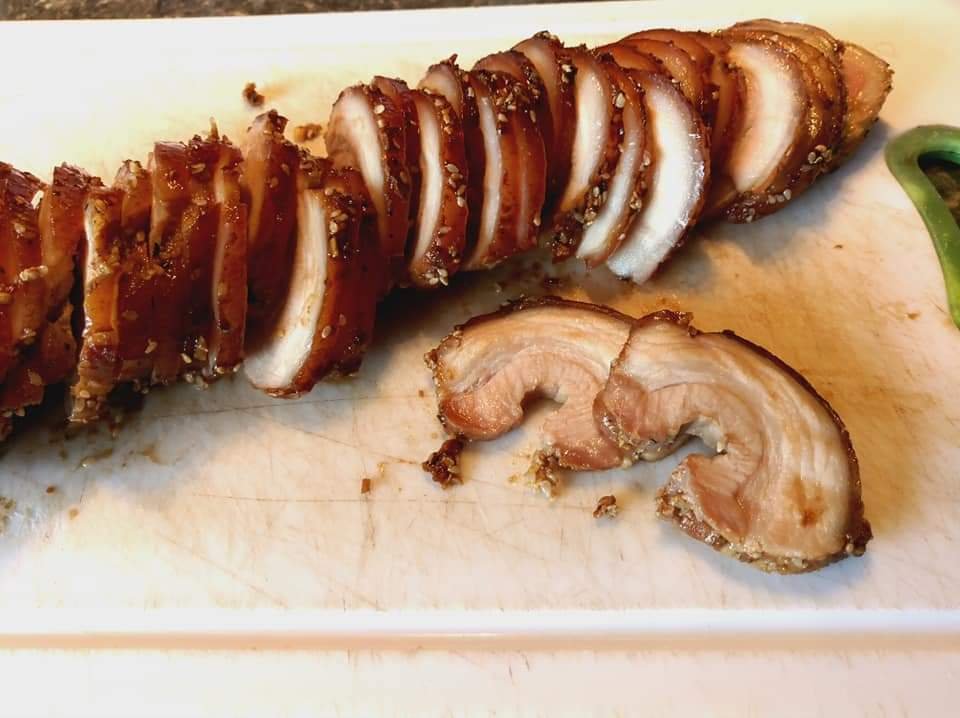
After 2 hours on the rotisserie and the internal temp to just over 60 I took it off, wrapped it and let it rest for about 20mins. Removed the string and cut it up and damn, not too bad.

Juicy and tasty as, sticky on the outside. Made a quick sandwich for a snack and will be using it in noodles tonight. Probably freeze some of it for future ramen.
-
 17
17
-
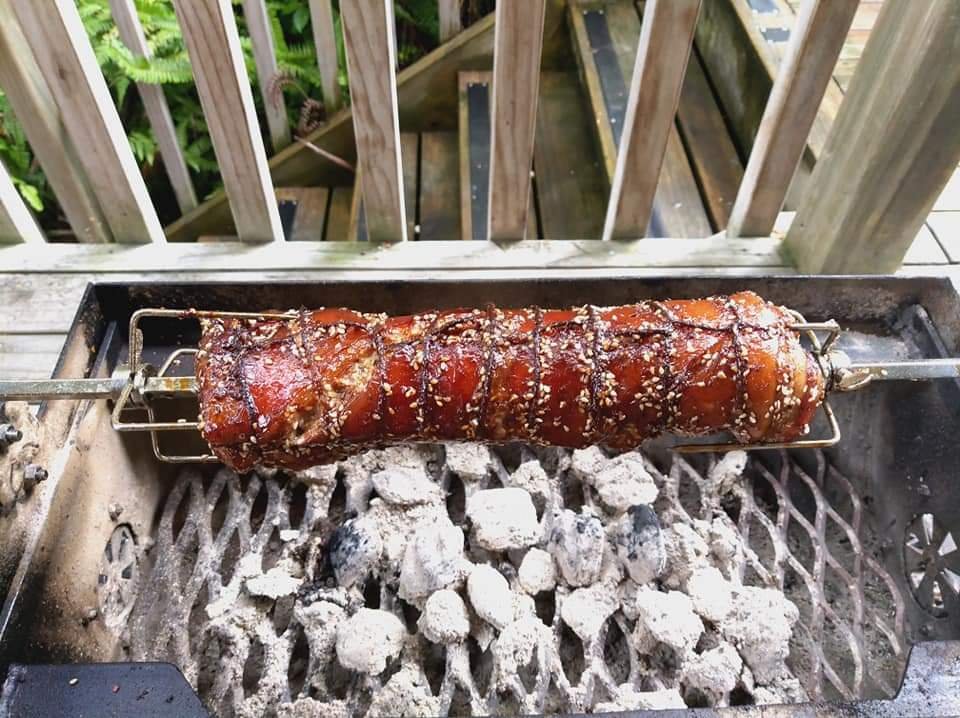
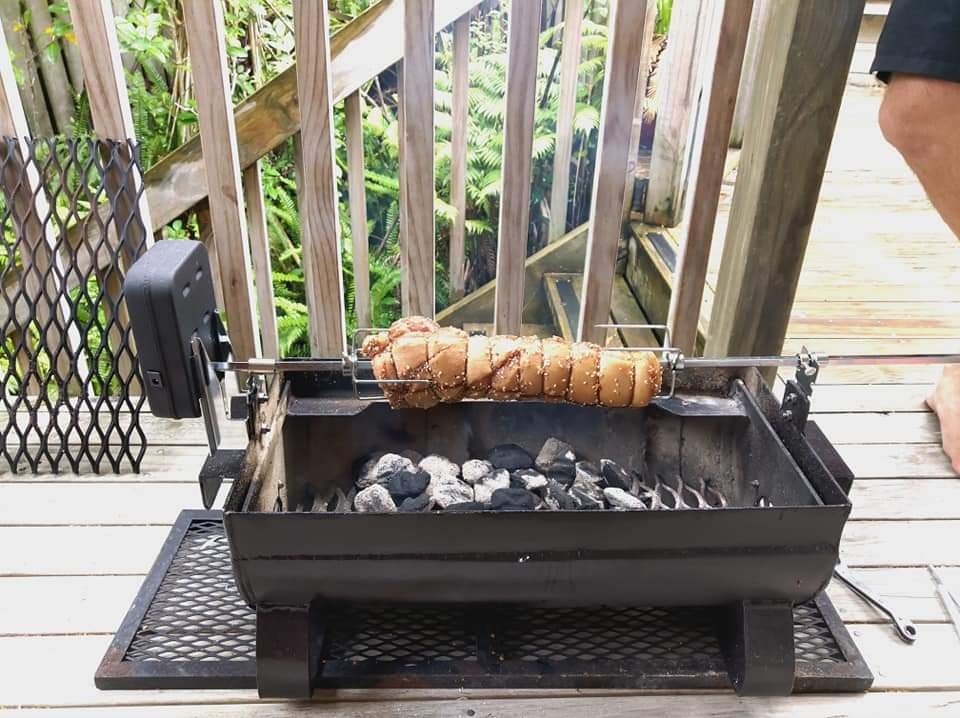
We've got some mates coming around tonight so decided that we'll make some Soba noodles, and thought about doing some chashu pork on the rotisserie to break it in.
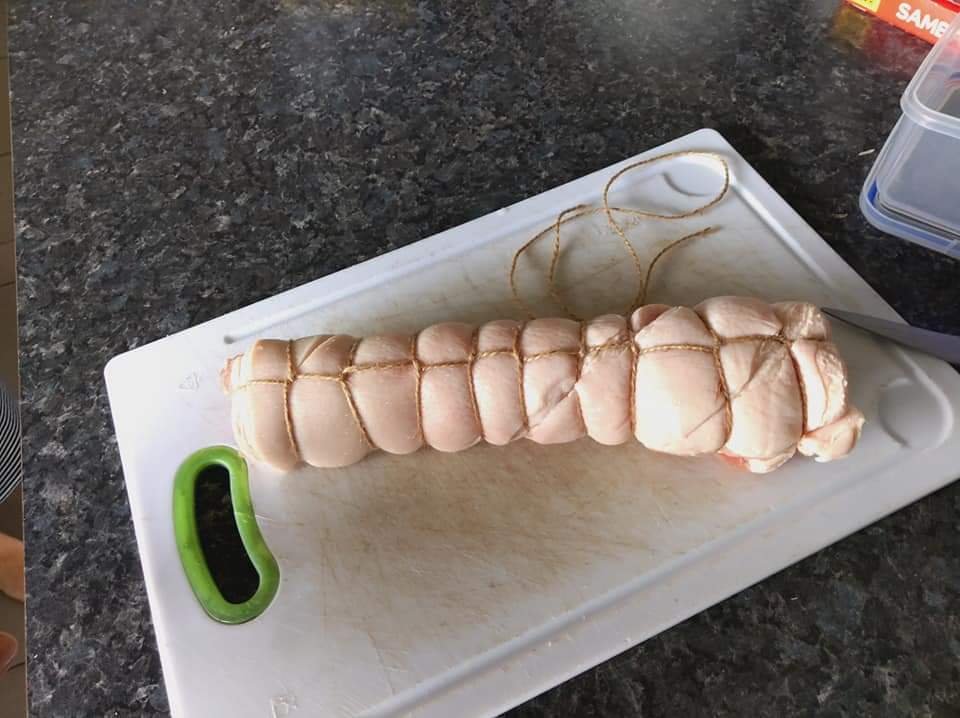
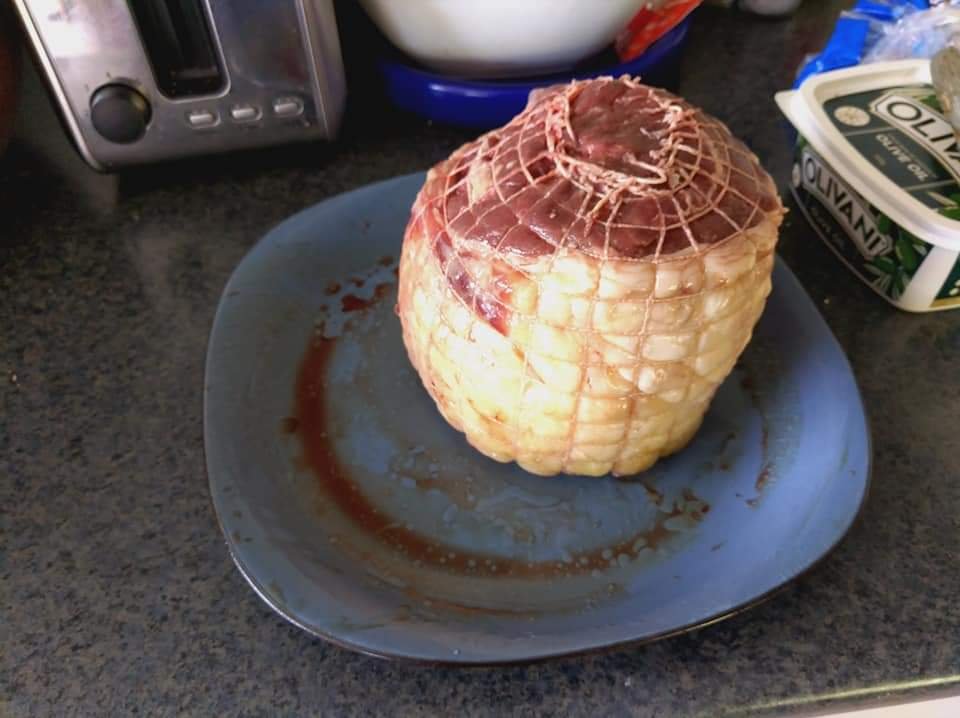
Picked up about a kg worth of pork belly, had a crack at rolling and tying it up (one end had more meat than the other and I didn't want to trim it). I salted the meat and let it sit for about an hour.
After I made a Japanese style marinade using soy (light and dark), mirin , sake, rice wine vinegar, sesame seeds, garlic and ginger. Let it marinade in that for about an hour and a half then setup the bbq.
It's been on for about 45minutes since that last pic and tbh it probably doesn't need too much more. Will keep you guys posted shortly.
-
5
-
-
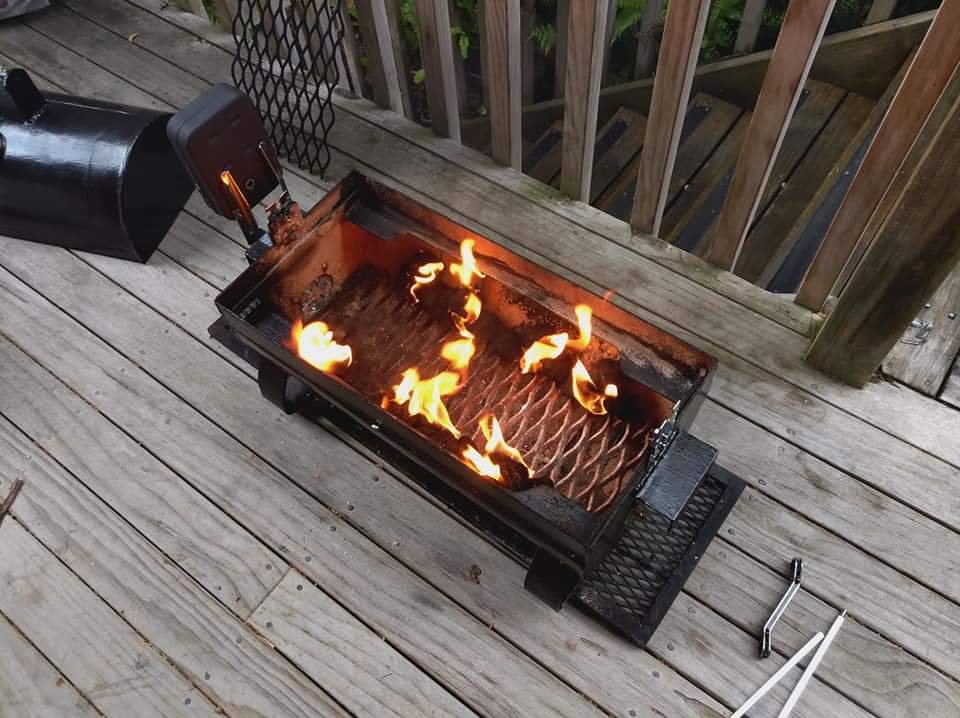
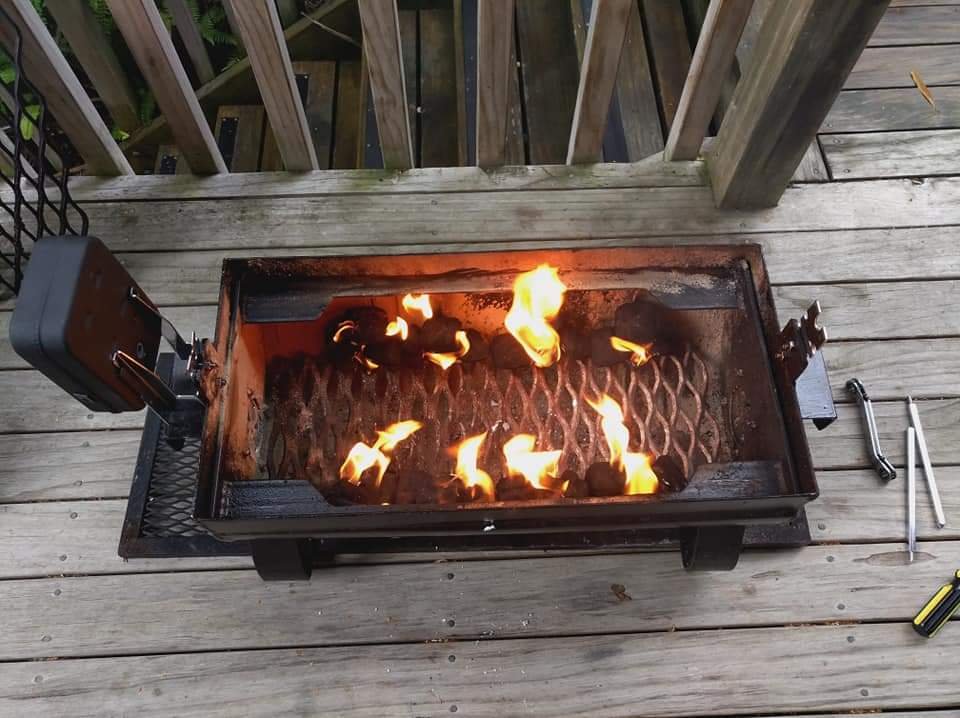
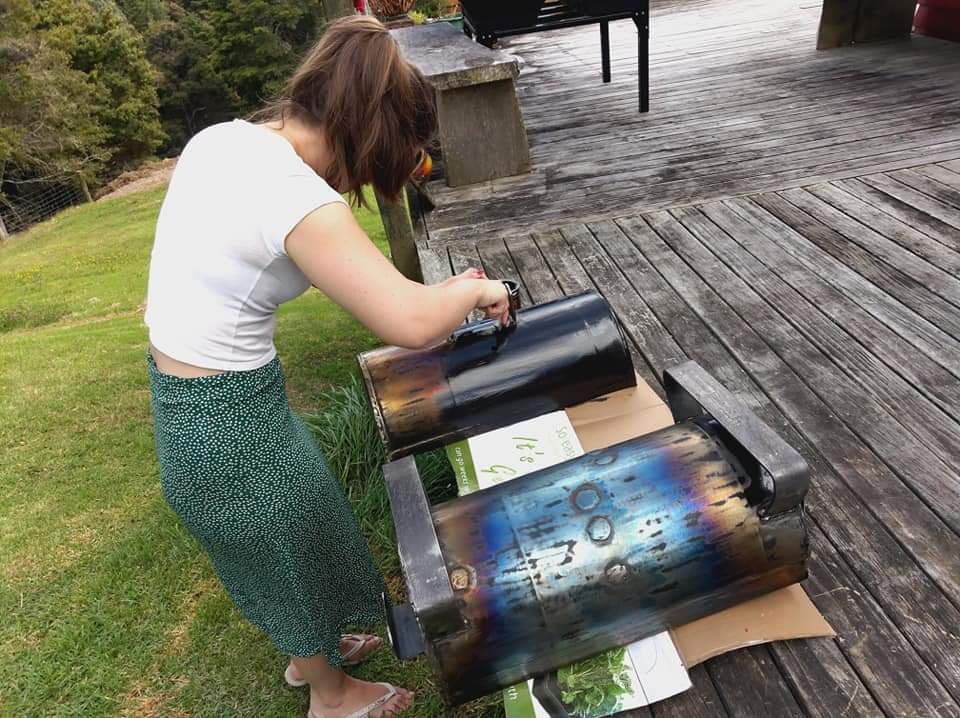
We had people coming over for a late lunch so we had to get cranking asap. Let the paint sit for 10 minutes then quickly fitted the vents and assembled it for another burn off. Only had about 2 hours to burn it off and cure the paint before I needed to get some food on.
Got it up to about 500f for about an hour and a half the tried to drop it off in preparation for cooking.
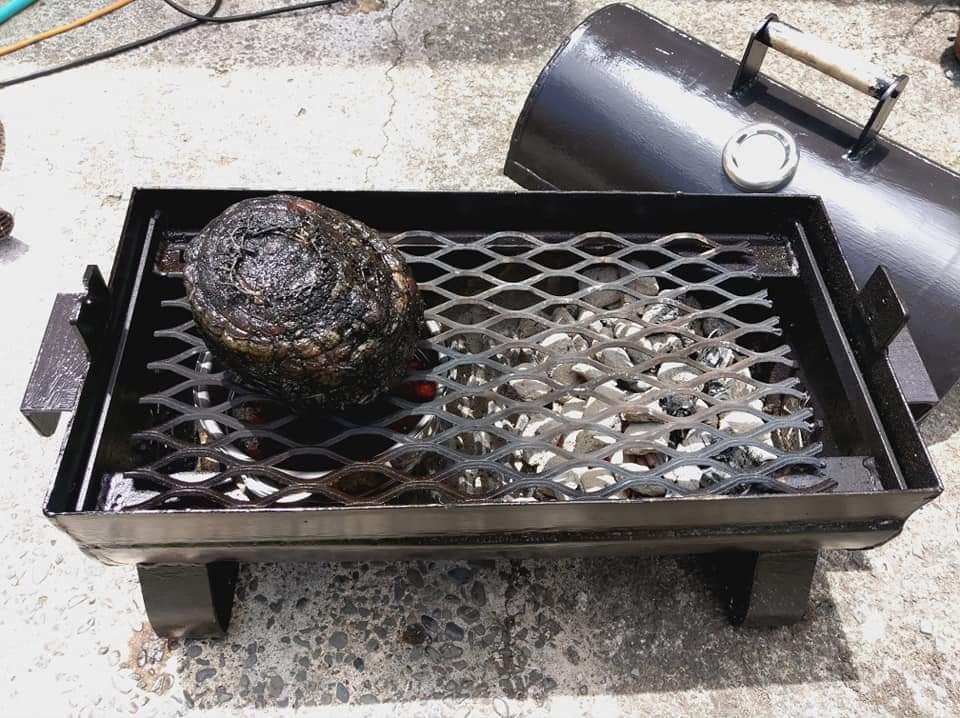
Random home kill rolled beef roast I found in the freezer. Approx 3kg gave it a blackout rub. Really wanted to get it on the rotisserie but it was too bloody hot to fit it up haha. Got the temp down to 350f and threw it in, couldn't really wait for it to drop anymore.
Ran it at about 350f for 2.5hours indirect with stout in the driptray. Combination of Kingsford briquettes, applewood and some Manuka we had lying around. This is absolutely winged and rushed, for the first cook and I had no probe for internal temp. Let it sit for about 20mins wrapped in foil, when served it was about medium, slightly rarer in the middle so not too bad considering (forgot to take pics). Held temp well, I think if I start off with less coals (i.e not doing a burn off) I'll be able to get the temp right where I want it and also vent/damper controls will work a treat. I'll look at cutting the cooking grille so it's 2 piece for access loading up coals.
Chur
-
9
-
-
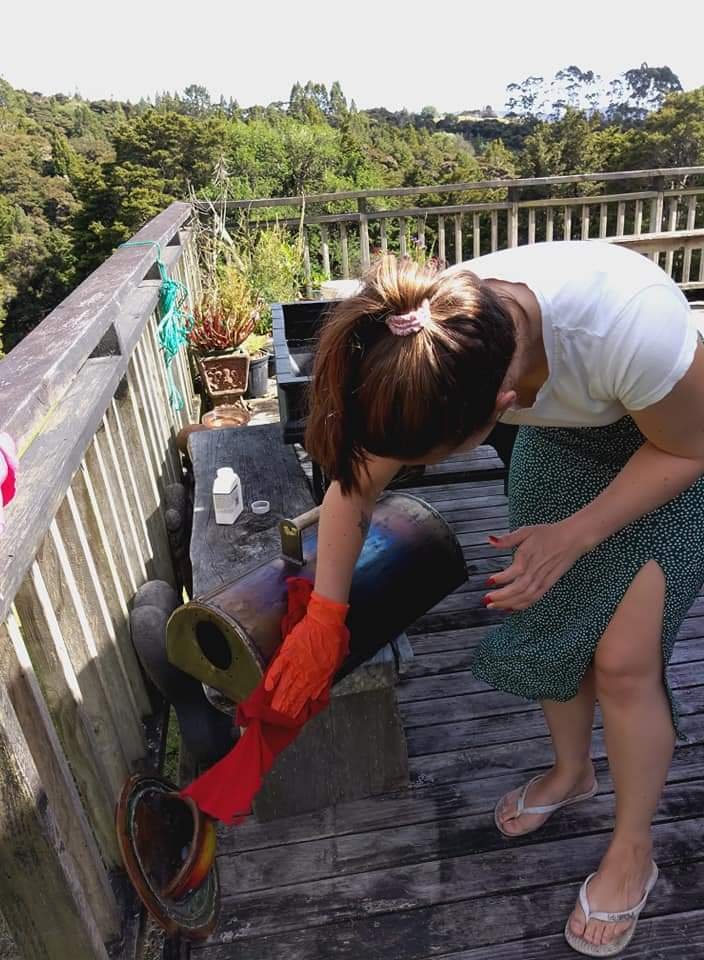
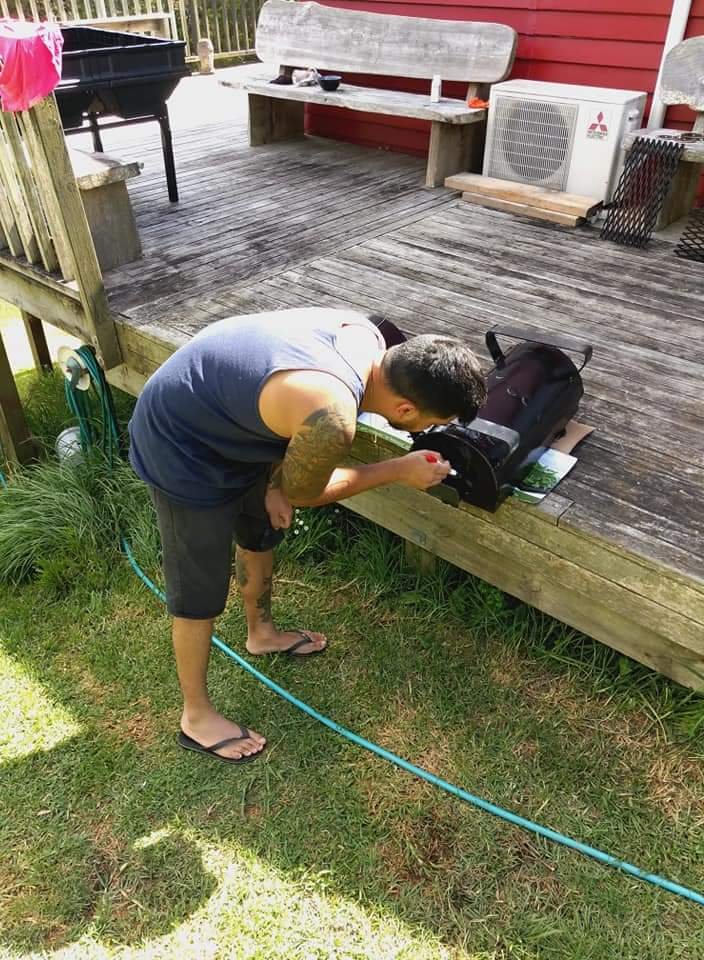
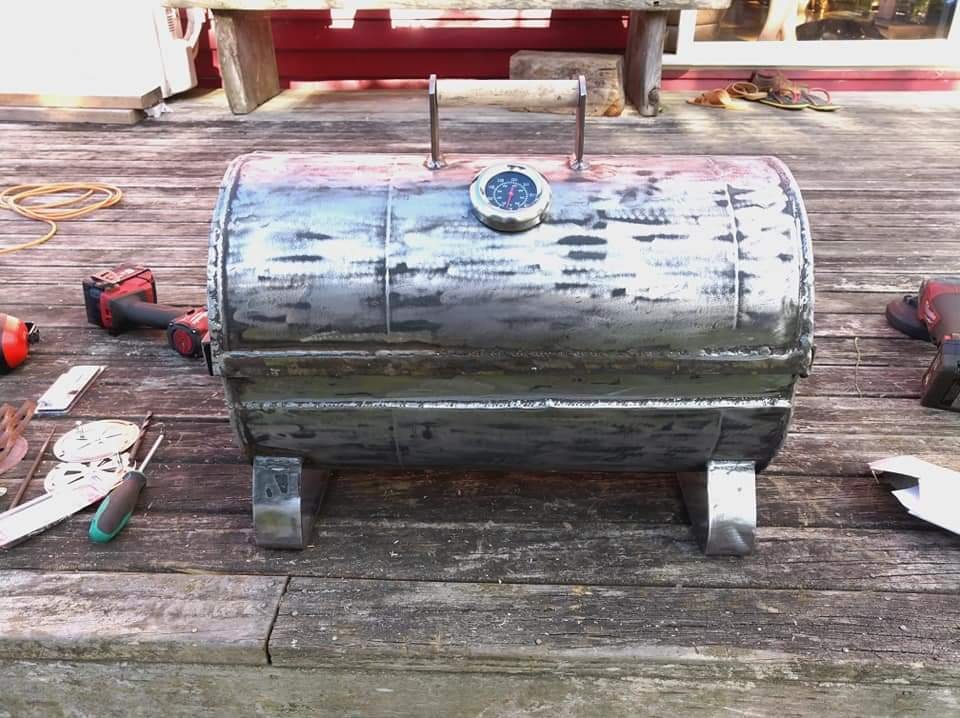
My Mrs gave me a hand with the prep and paint. Cleaned with soapy water then a few wipe downs with acetone.
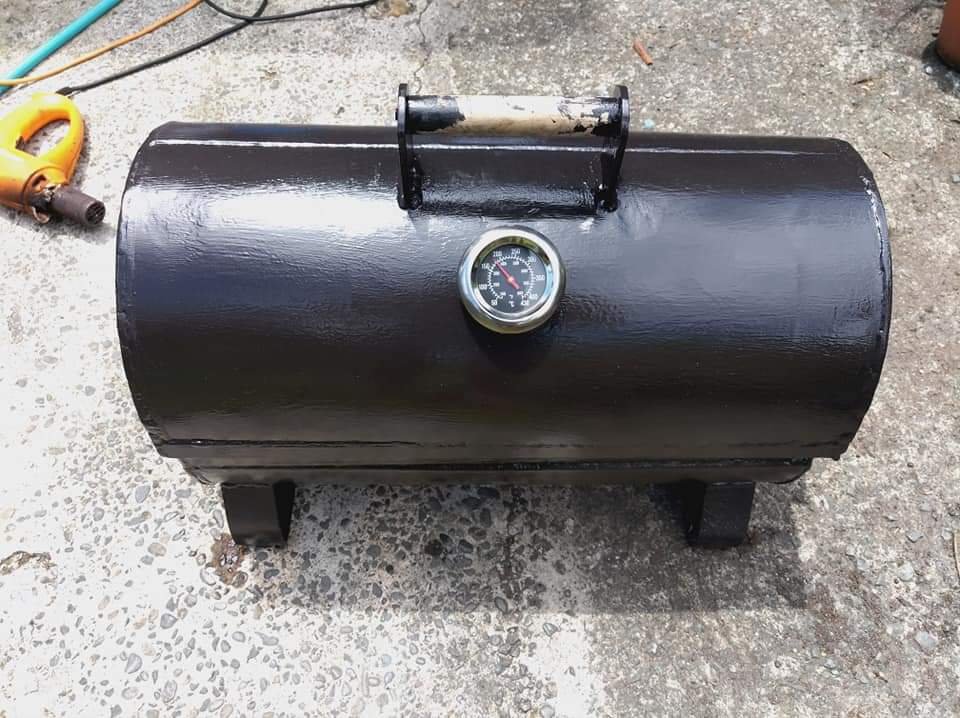
After that we brushed on a few coats of pot belly black, decided to go with the stuff from the tin as previous spray can efforts turned to shit and flake off easy. 3 coats later and it looks like this.
Disregard the handle, it is just makeshift for now so we can take the lid off easy and it's fitted with tekscrews. I'll make another later.
-
3
-
-
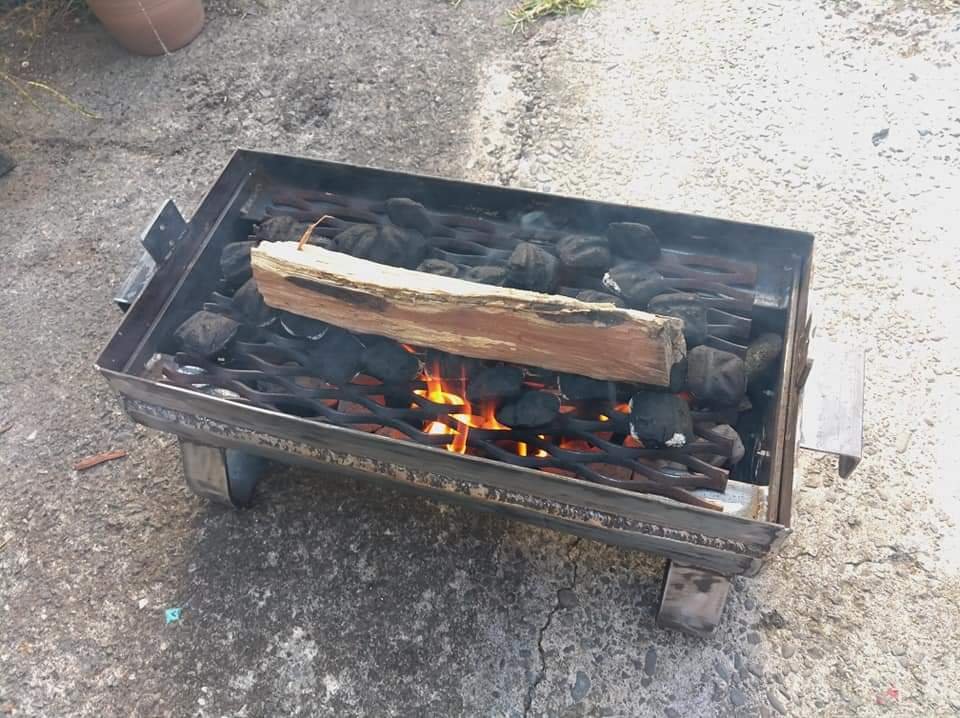
Burn off the other night went well. Got it to 500f and it held there for atleast 3 hours without adding any extra fuel. Left it going when I went to bed. Had a look in the morning and it looked like this...
Emptied out the ash and gave it a good clean to prep it for seasoning and paint. Just used olive oil on the inside as that's all I had and Mangawhai shops are shit to go to this time of the year cause of all the jafas and northern bass homies.
-
6
-
-
- Popular Post
- Popular Post
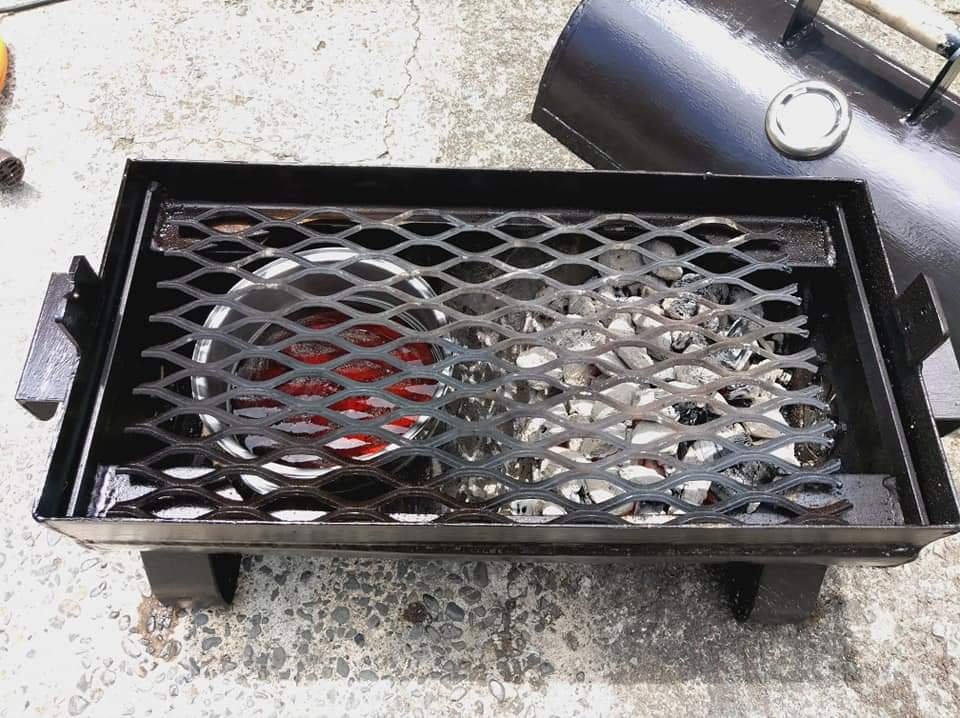
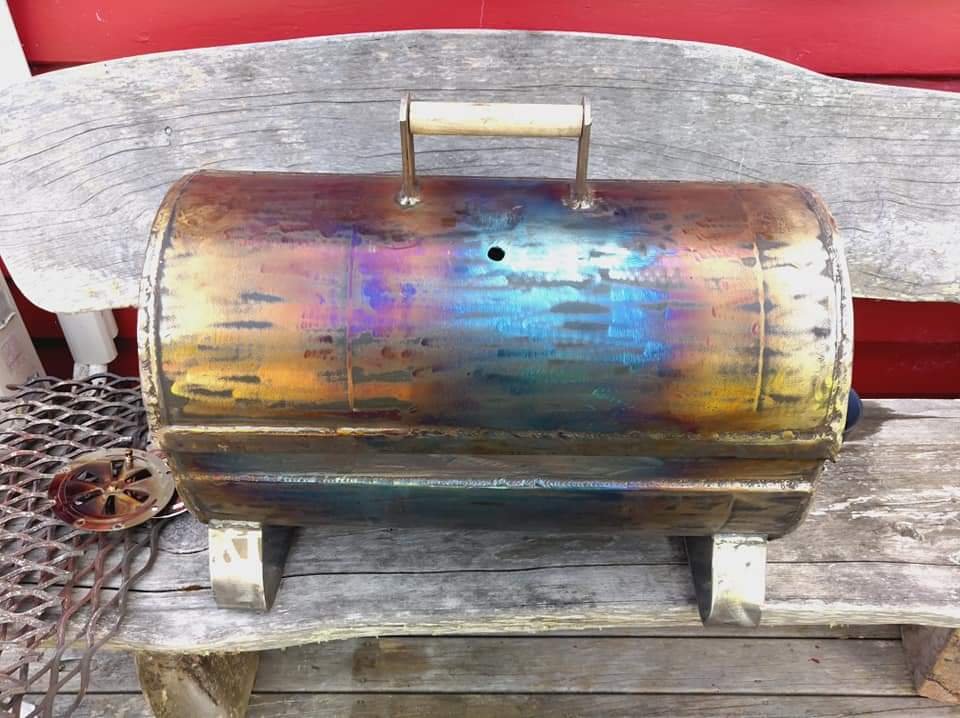
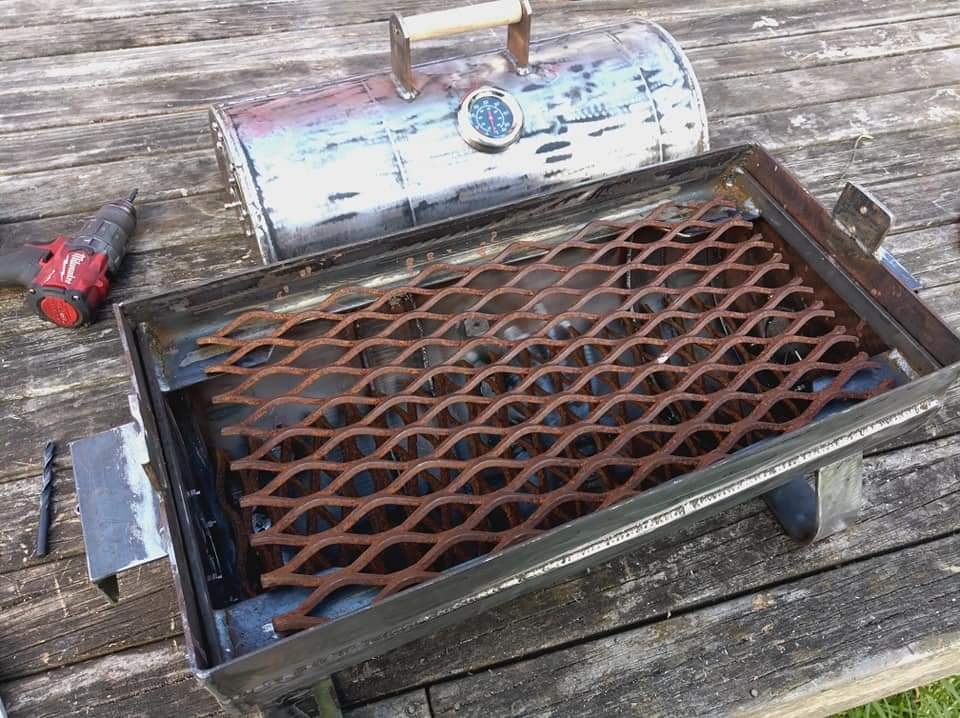
Upper and lower racks sitting in place.
Then set it up for it's first burn off to kill off any nasties from the paint and stripper.
I added a few more similar size chunks of Manuka and got it cranking. So far it has been sitting at 500f for the last 2 and a half hours with no extra fuel. Seems to be going well enough for something that owes me about $130 and about 10hours. Yeah a Weber GA is only $150 but this is far more rewarding. I might give it another burn off tomorrow morning then I'll be seasoning it, throwing some paint on the outside then throwing in a rolled beef roast. Keep. As to see how it turns out.
Will get a picture of the rotisserie tomorrow.
Chur
-
15
-
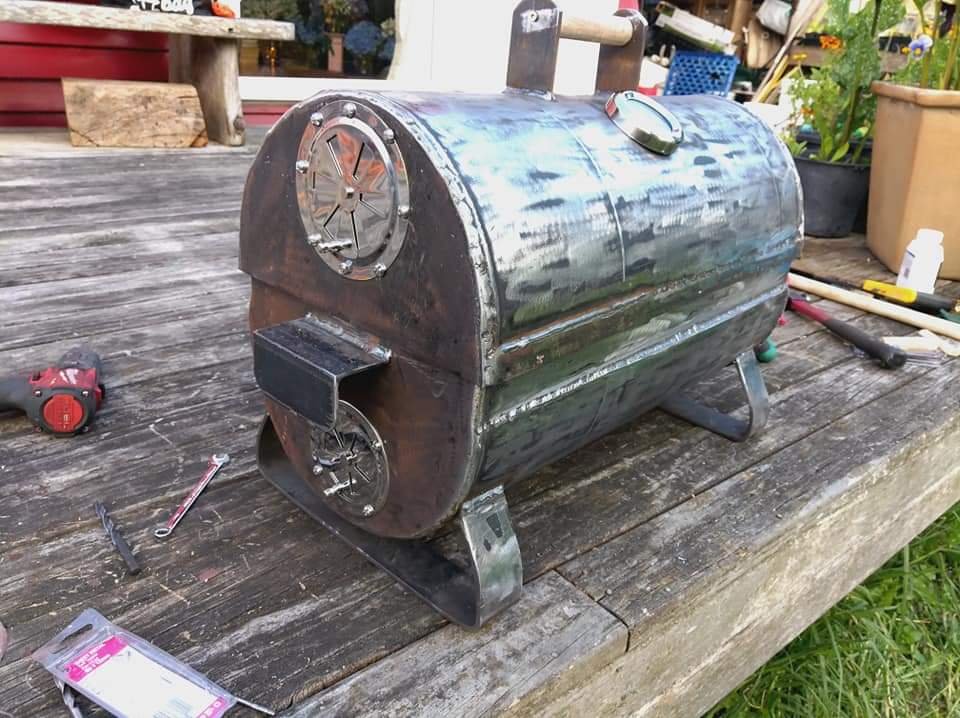
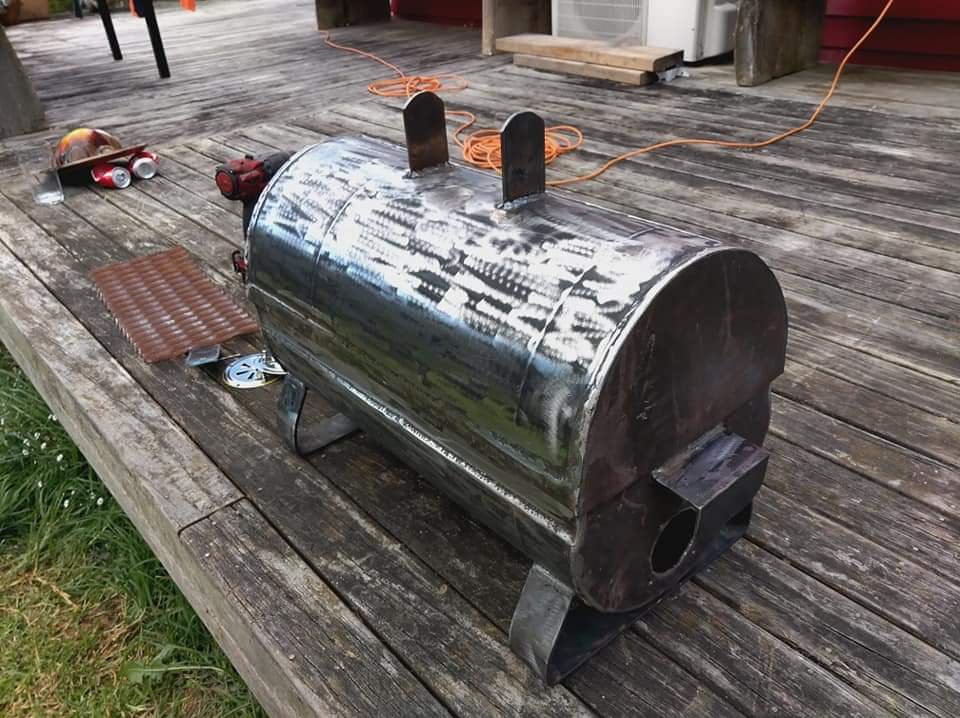
Quick cut of pine dowel for the handle. Will redo this later, just screwed it on for the time being.
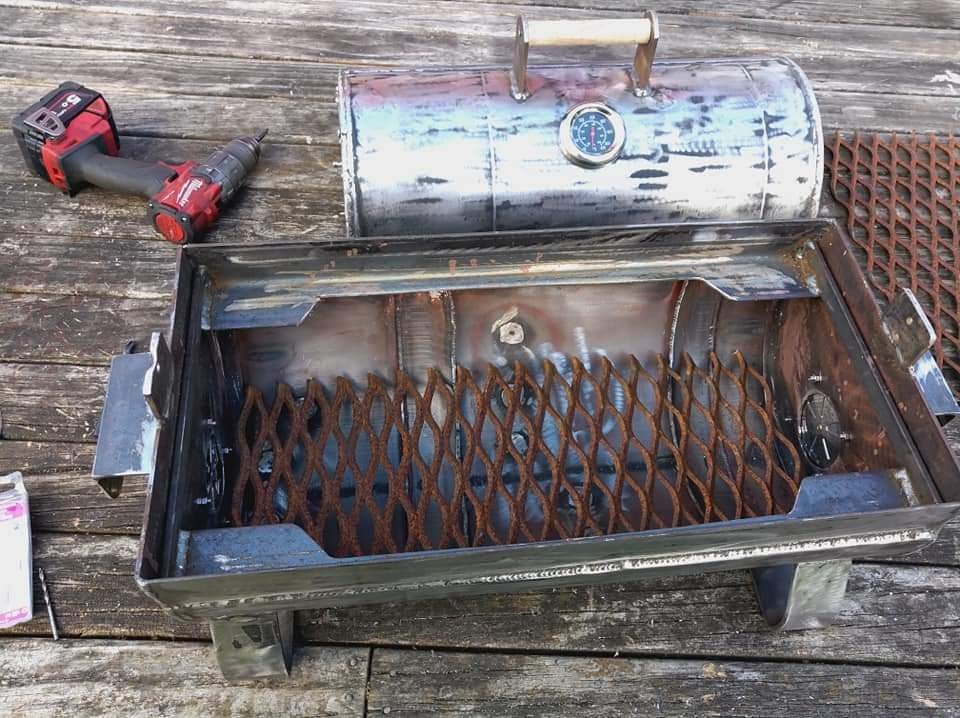
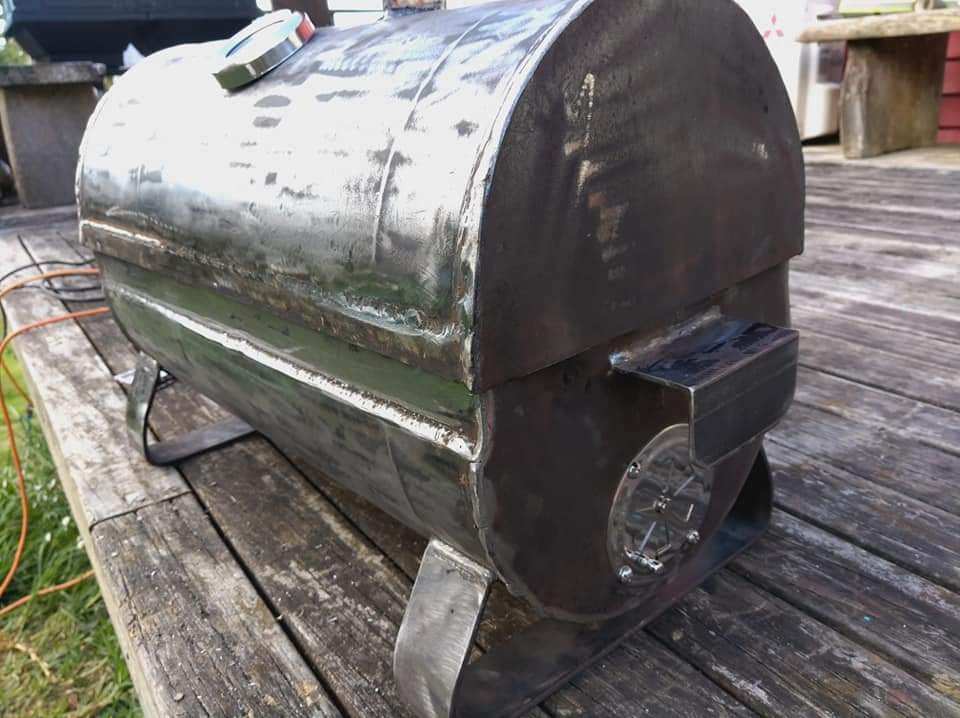
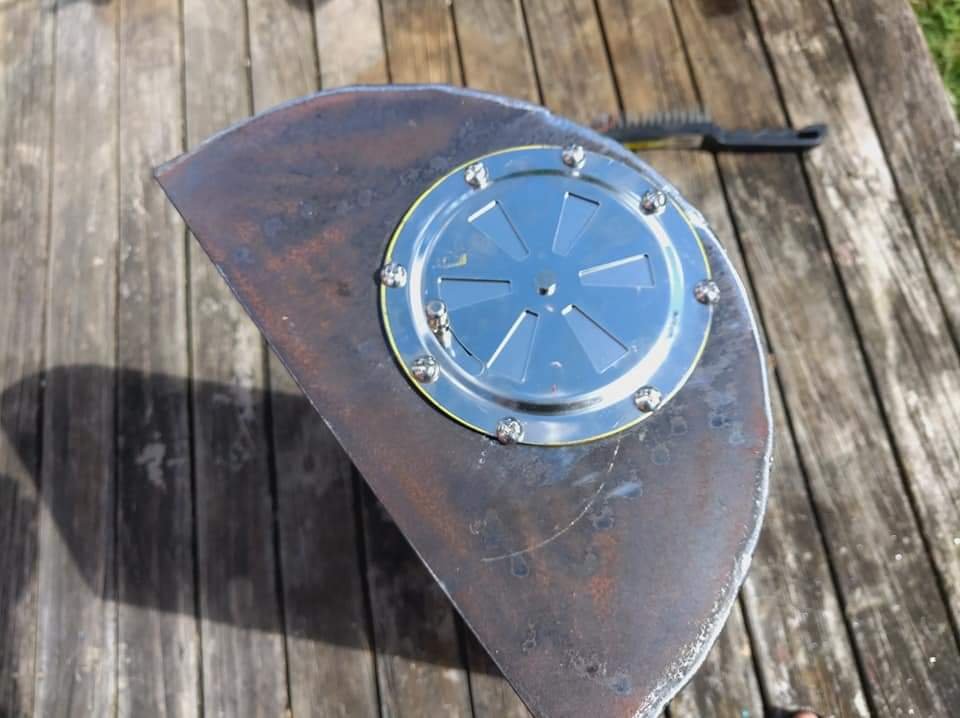
Vents fitted up. There are 2 x 100mm vents on either side at the bottom and 1 x 125mm vent at the top left. I had to give them a few light taps with the hammer to make them a bit stiffer for adjustment.
-
5
-
-
Quick once over with the flapper disc.
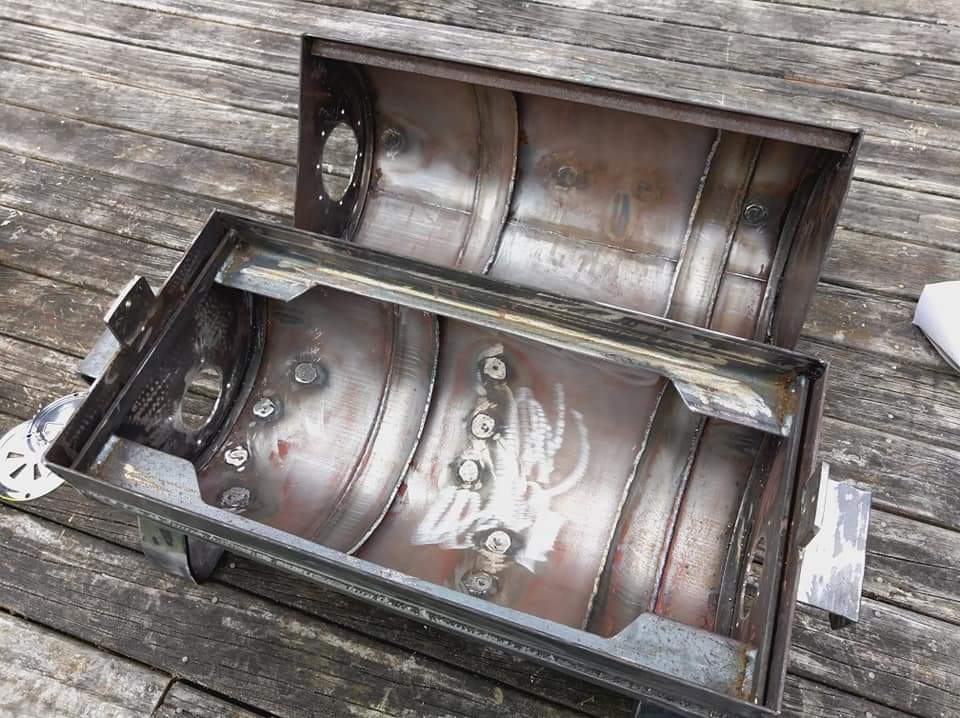
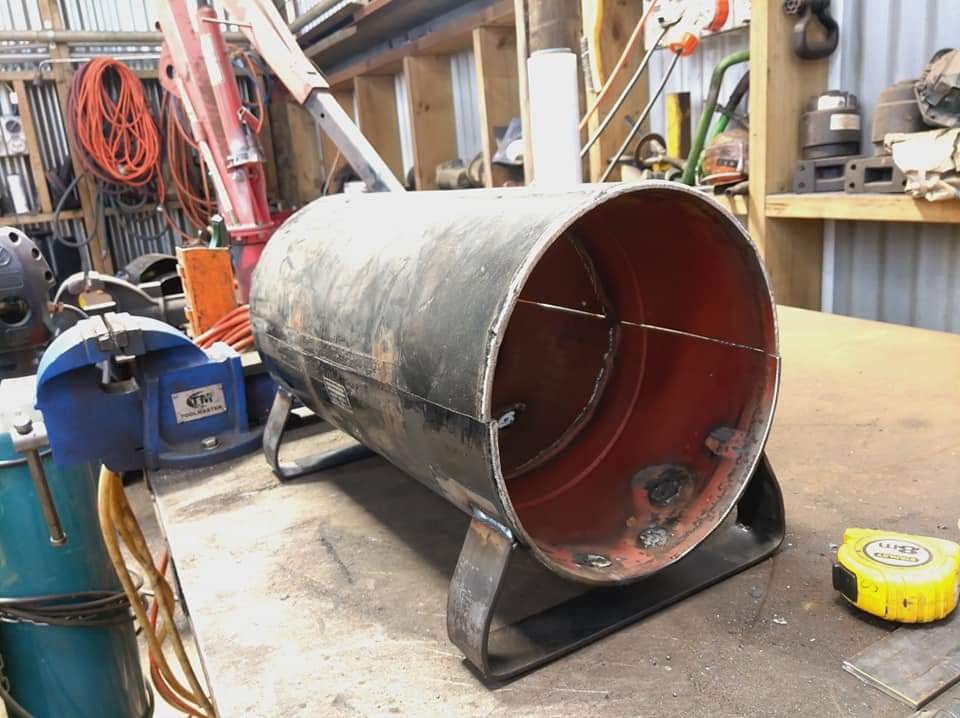
The inners were painted in what looked like a red oxide primer, being the inner I thought it would be best to use a relatively organic paint stripper (found an orange and alcohol based stripper at Bunnings). Turns out the paint stripper was average as, went over it 3 times and had to hand sand the shit out of it. It's done now... I also cut notches out of the grille mount for more cooking space. Looks way better though.
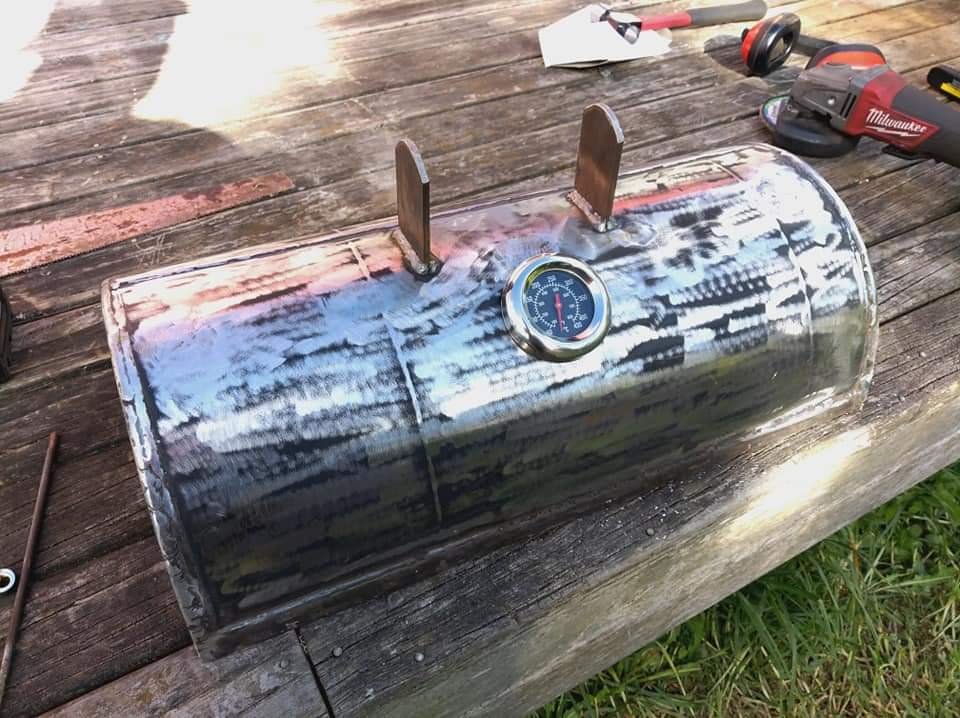
And the El cheapo Bunnings thermo gauge mocked up.
-
5
-
-
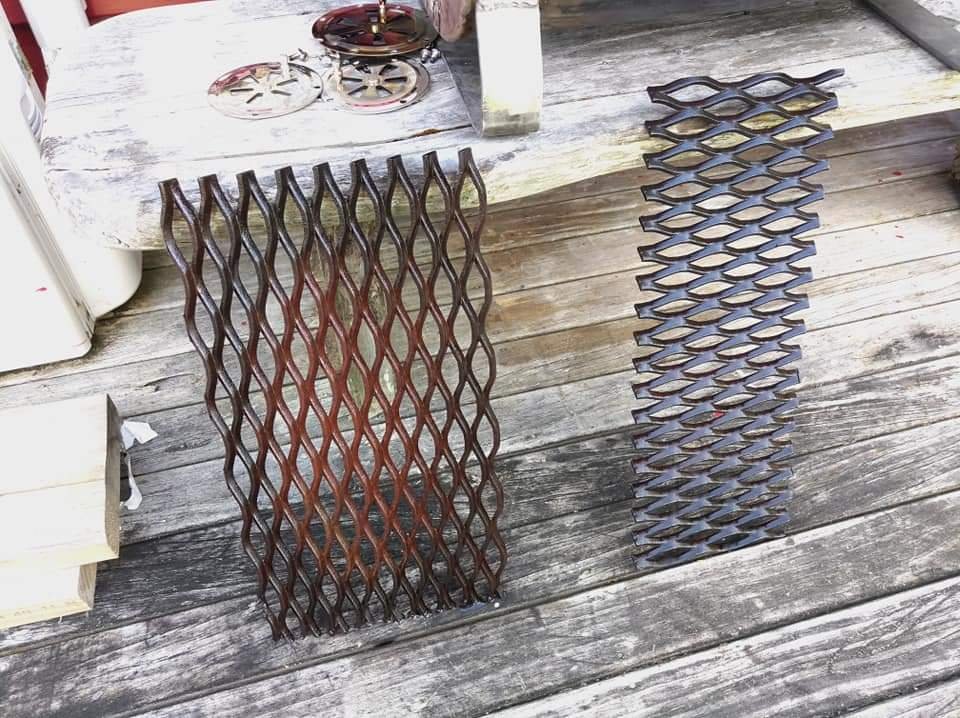
Cut up some thicccc expanded mesh(this shit is about 10x6mm thick and expensive as shit. We use it for guarding heavy machinery, luckily we had some left over for the coal rack and also for the grille.
And here's the upper vent mocked up. These are called butterfly vents and are used for marine purposes. Took me bloody ages to find something like this

-
6
-
-
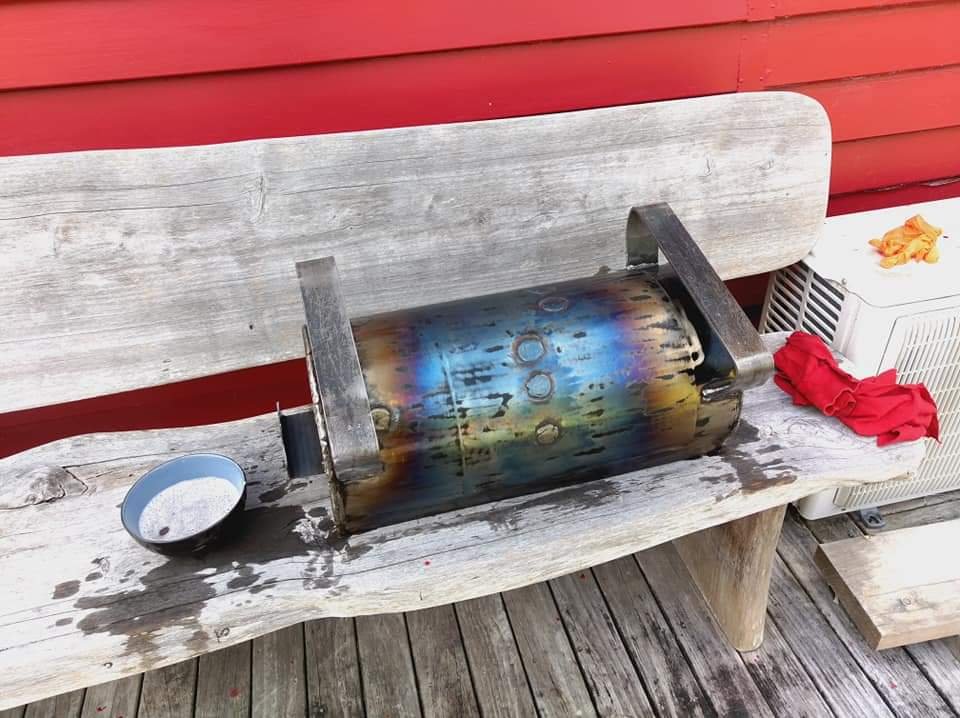
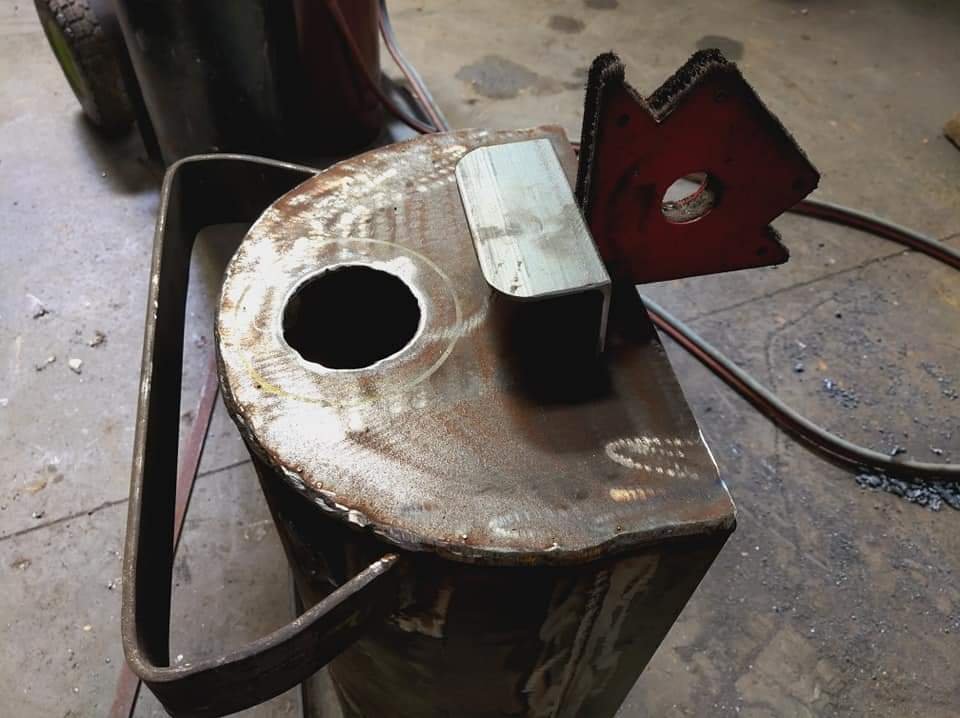
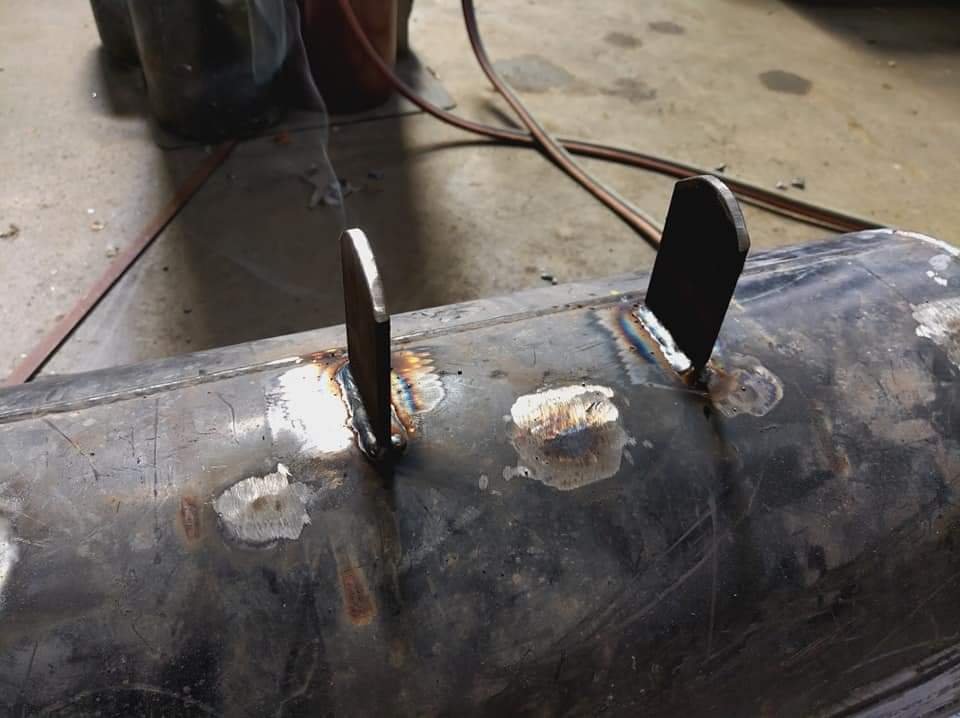
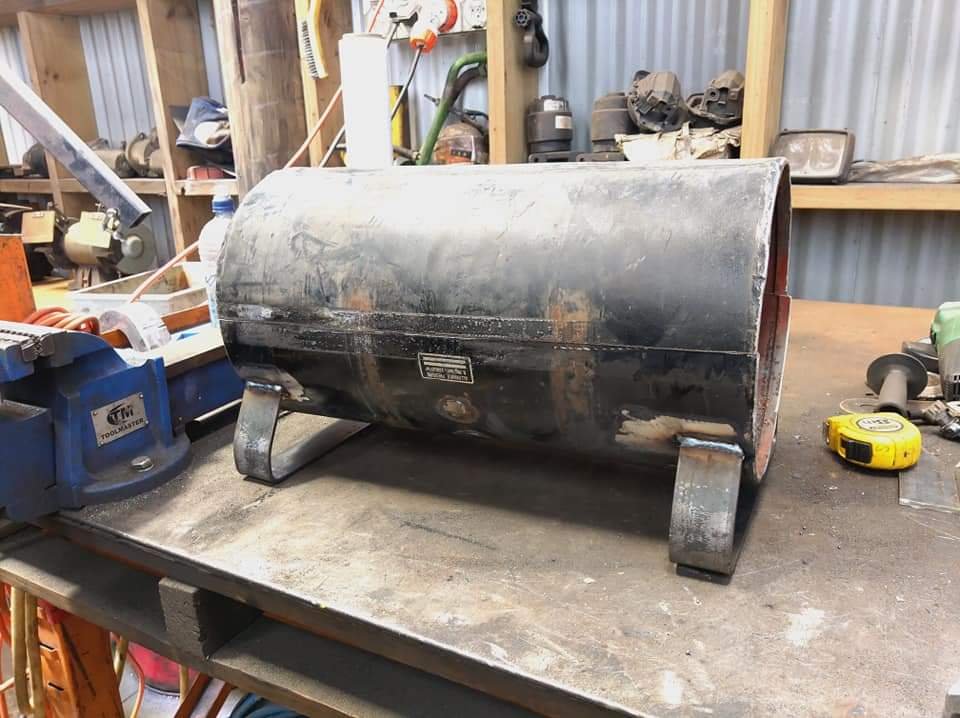
Gas cut some damper vent holes.
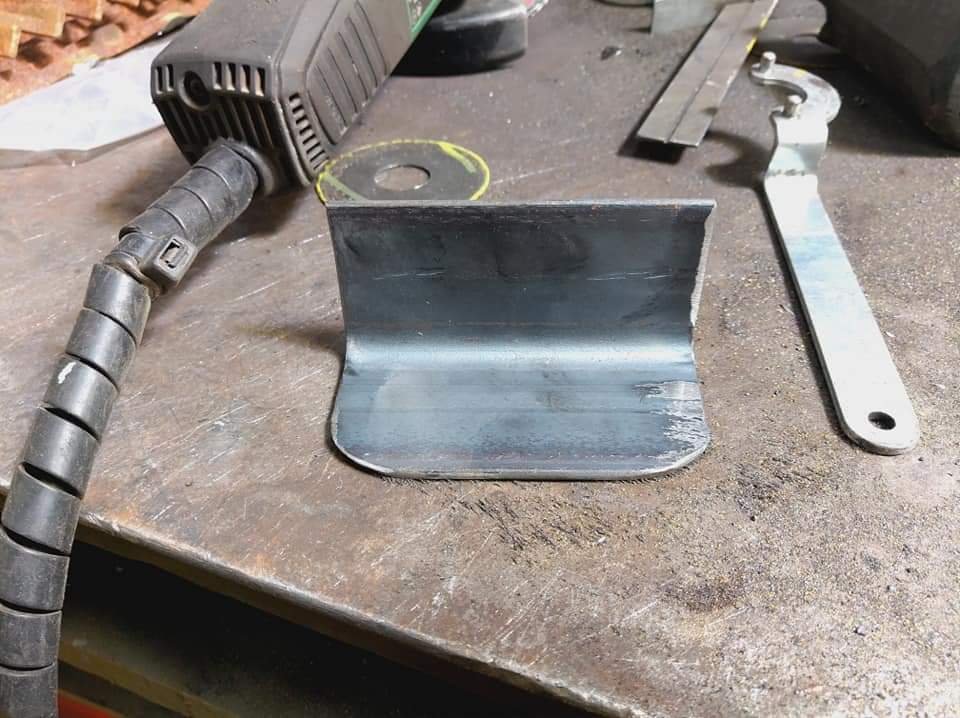
Cut and welded some 50x3 angle for side handles.
Also cut and welded some flat bar for lid handle mounts.
-
5
-
-
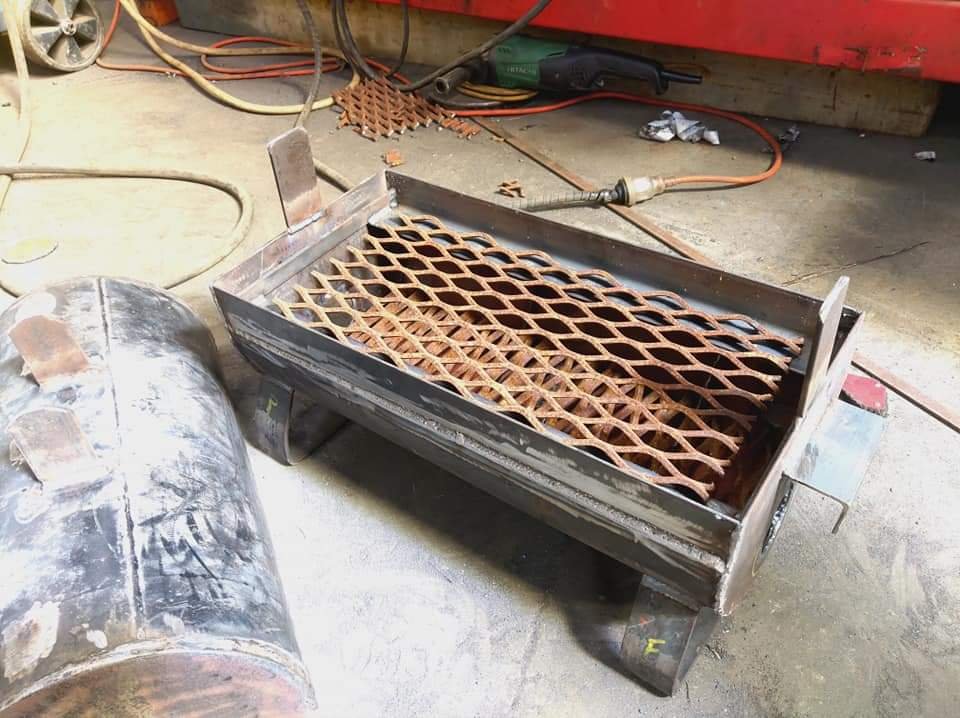
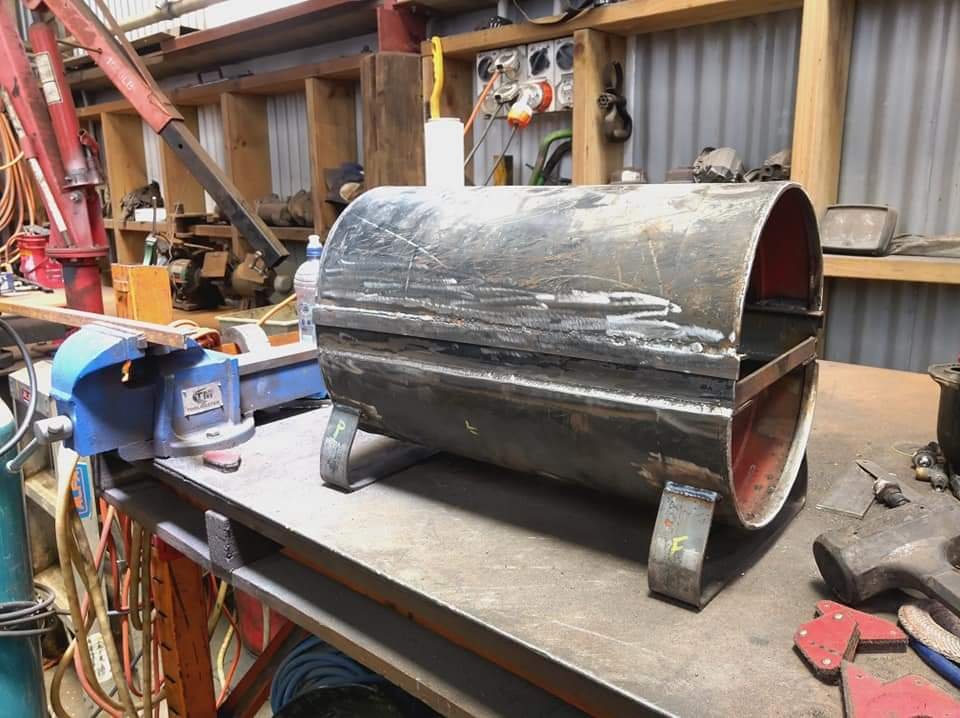
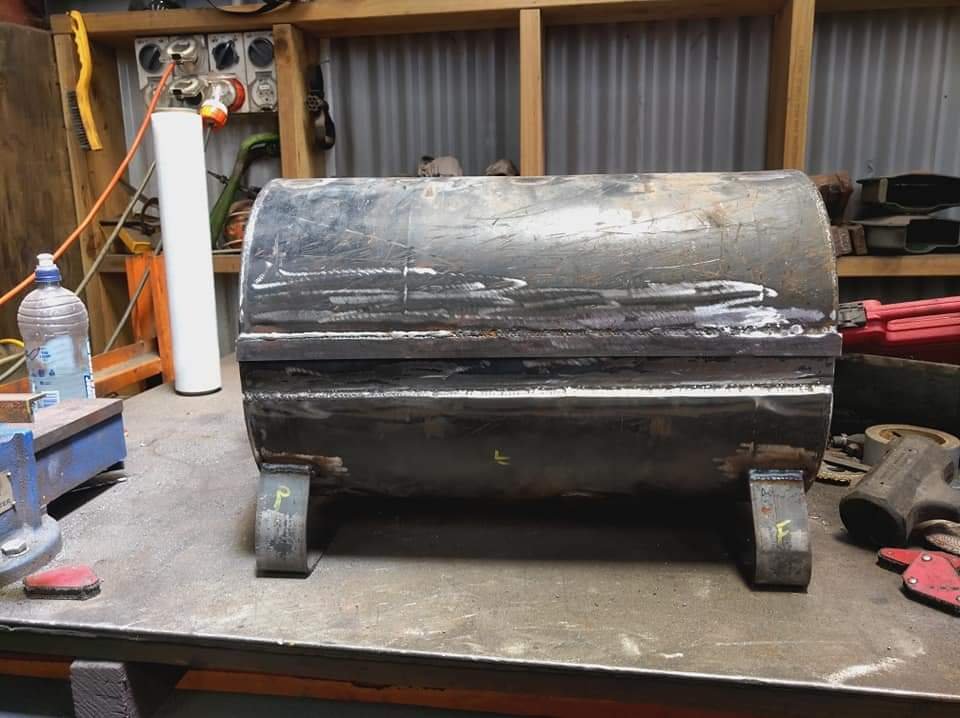
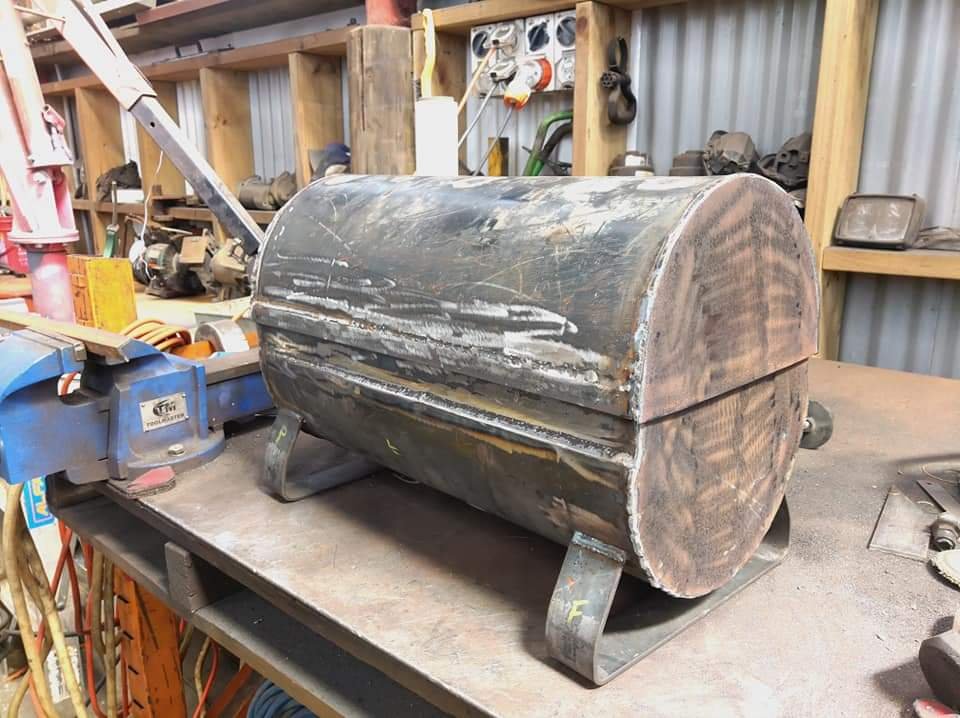
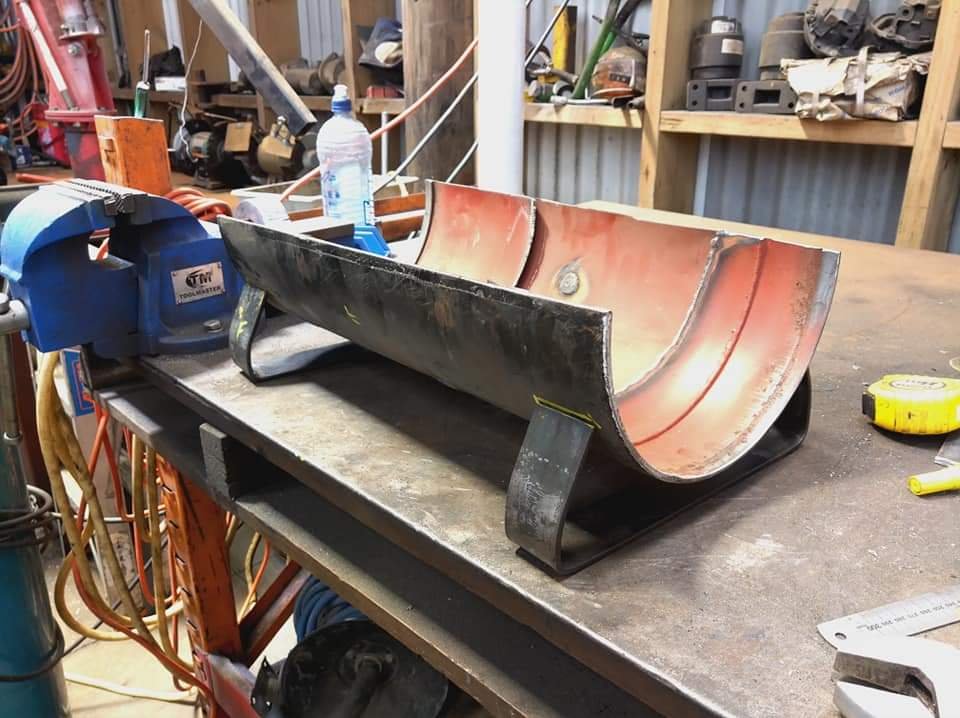
Cut some 25x5 flat bar and 50x5 angle for a grill mount and act as a bit of a riser.
Welded it up then mocked it up and did some mad gap filler welding onto the bottom half to try get it levelish...
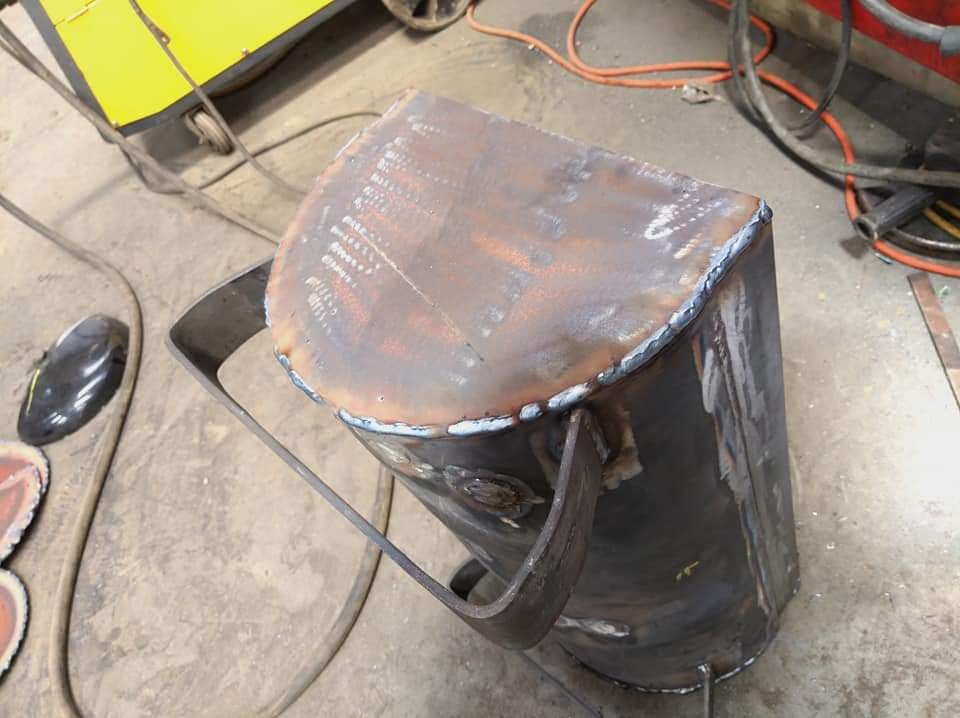
Gas cut some ends from 3mm plate, welded them on.
And here's a shot of the grill mount.
-
3
-
-
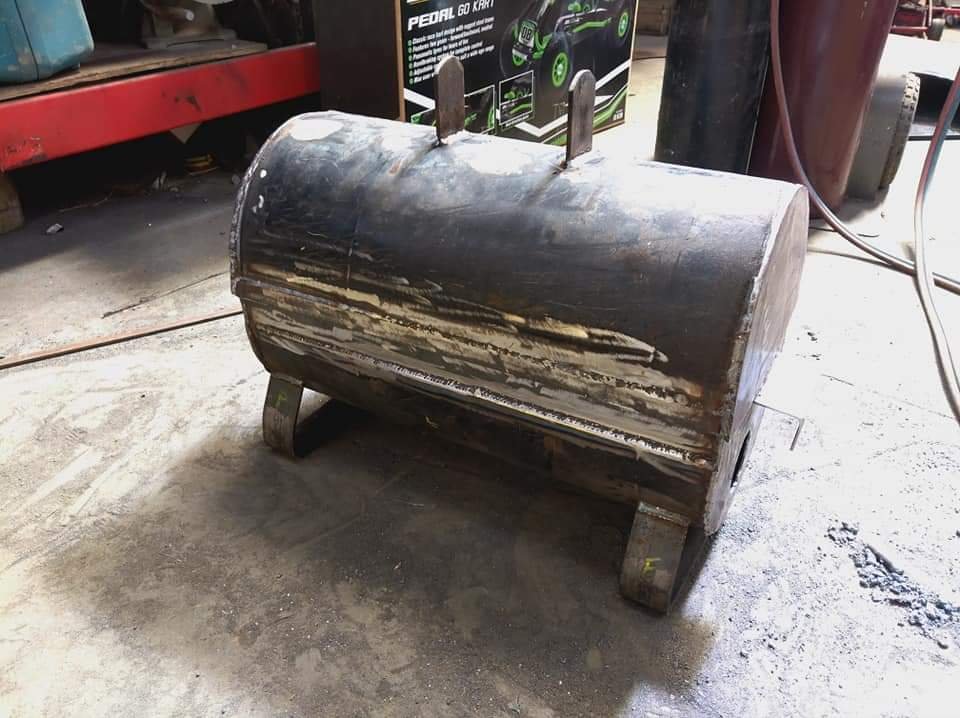
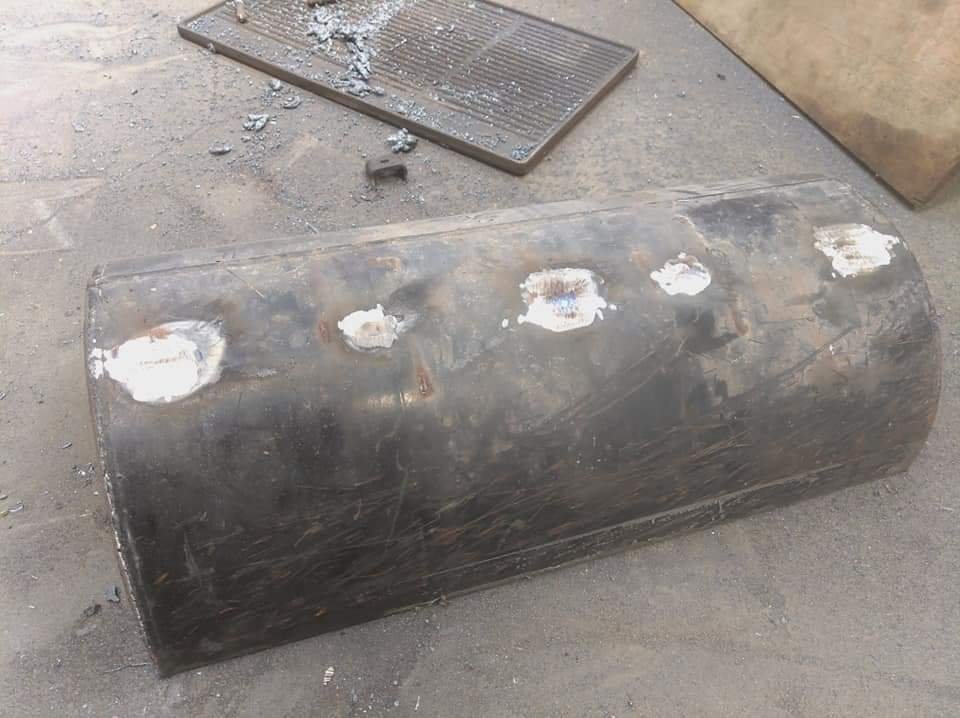
Welded up the fitting holes, ground back the lid side ones flat and just gave the bottom ones a quick blat. Cut some 50x5 flat bar legs, bent them up and welded them on. Here it is mocked up, a mix between my crooked cutting and warping from the heat has twisted it quite a bit.
-
4
-
-
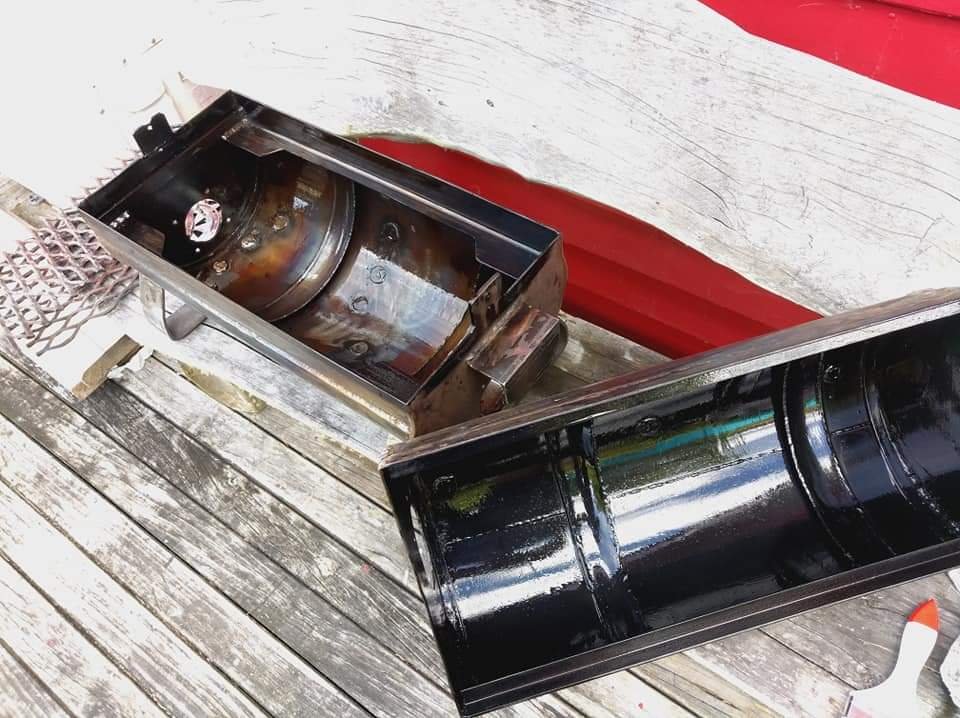
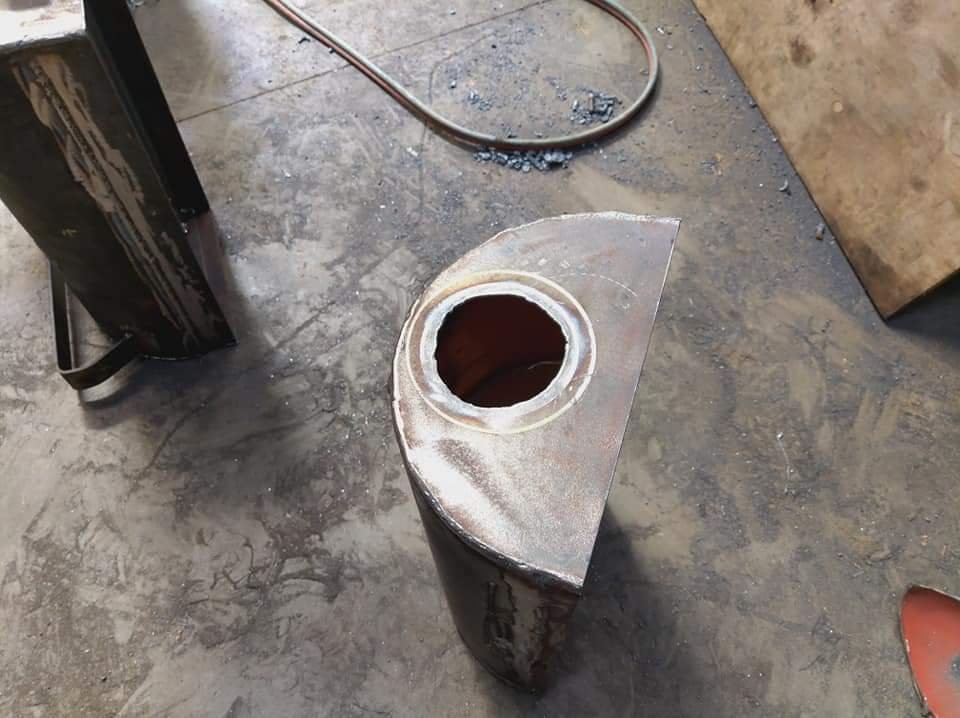
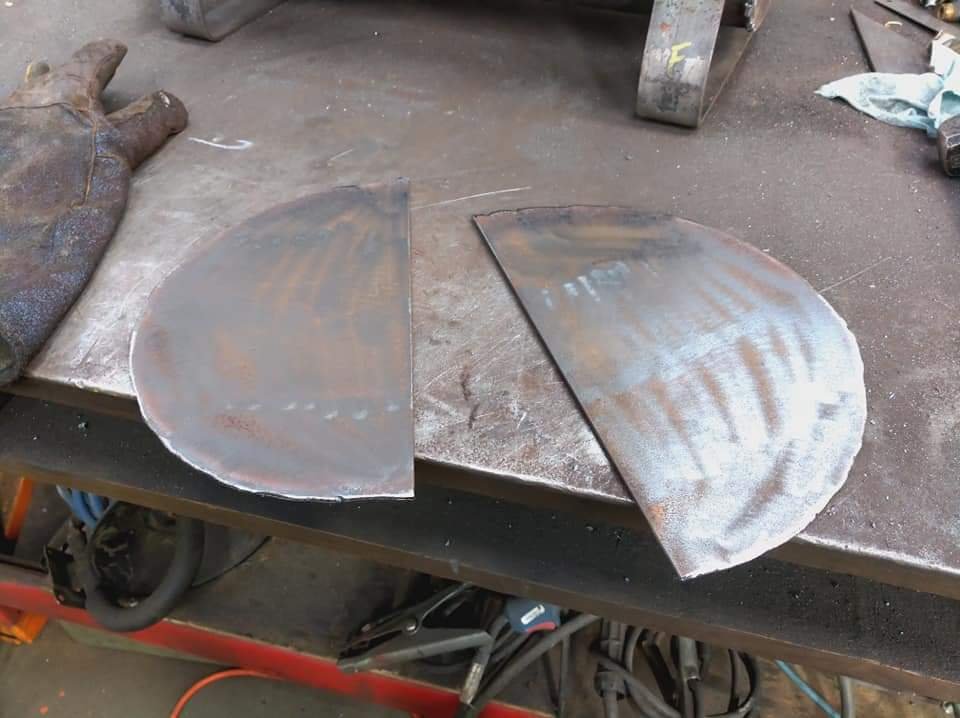
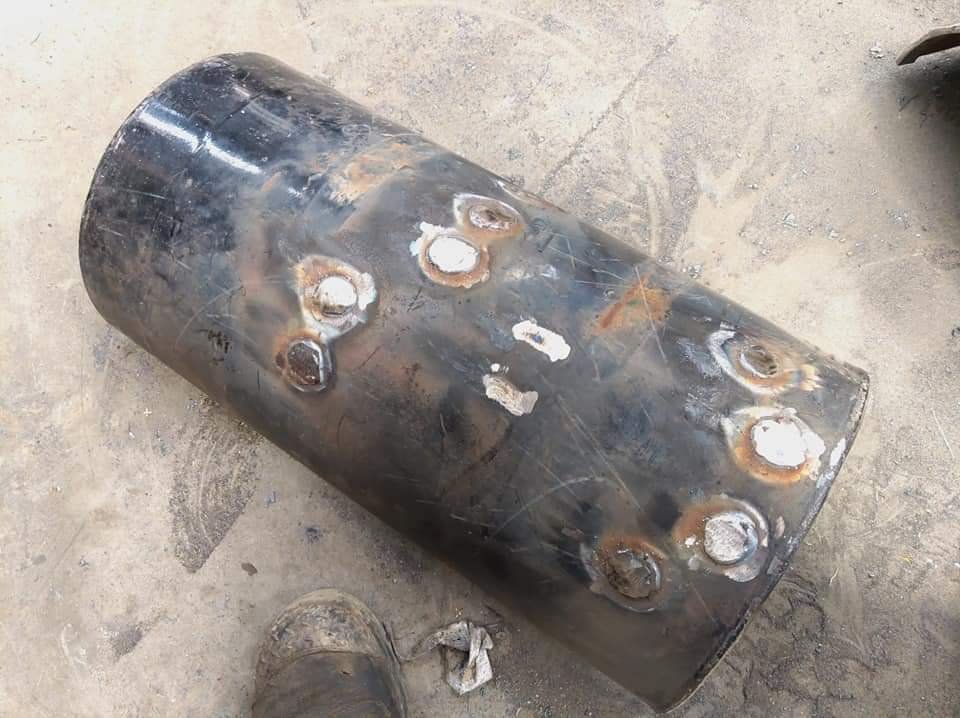
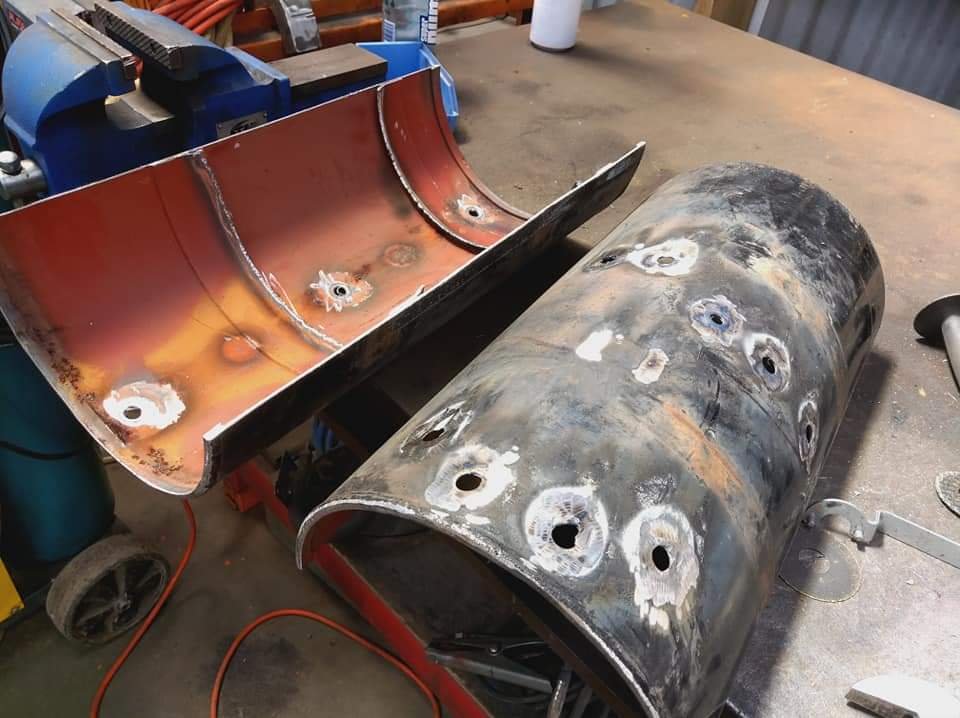
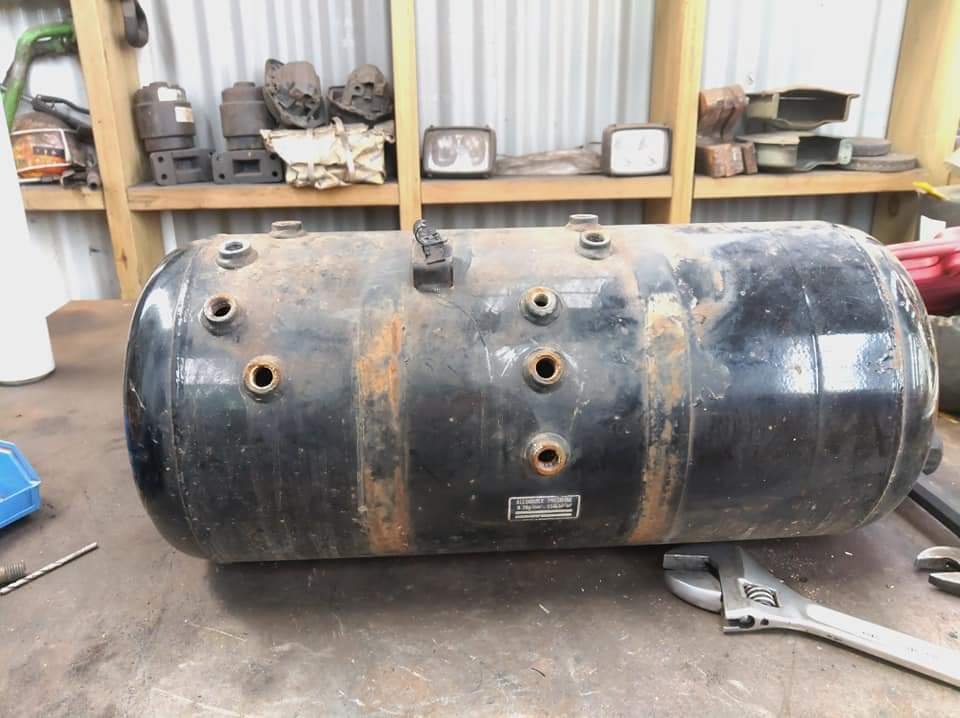
Chopped this nugget in half to try and split it, not knowing that there were separate chambers/baffles (which made this more of a prick which added an extra hour or 2 of stuffing around). Used a cutting disc to cut around the diameter then gassed out the ends to access the middle chambers. Also gassed off the fittings to save some time on the grinder.
-
2
-
-
Ok so I'm going camping with some mates in a few days and had been planning on making a small smoker for a while so decided, fuck it lets get this done! I have a very short timeline to build this as I've been up north at Mangawhai for Xmas then back home for a day to build this then back up north for new years before heading to hot water beach. So basically I had 1 day to get the bulk of it sorted.
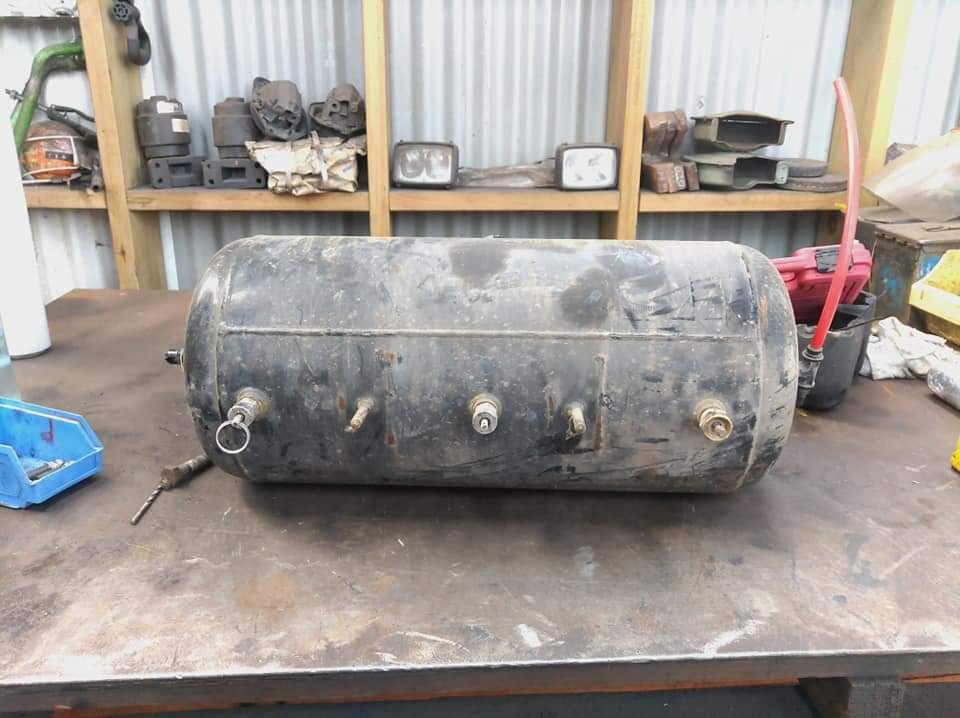
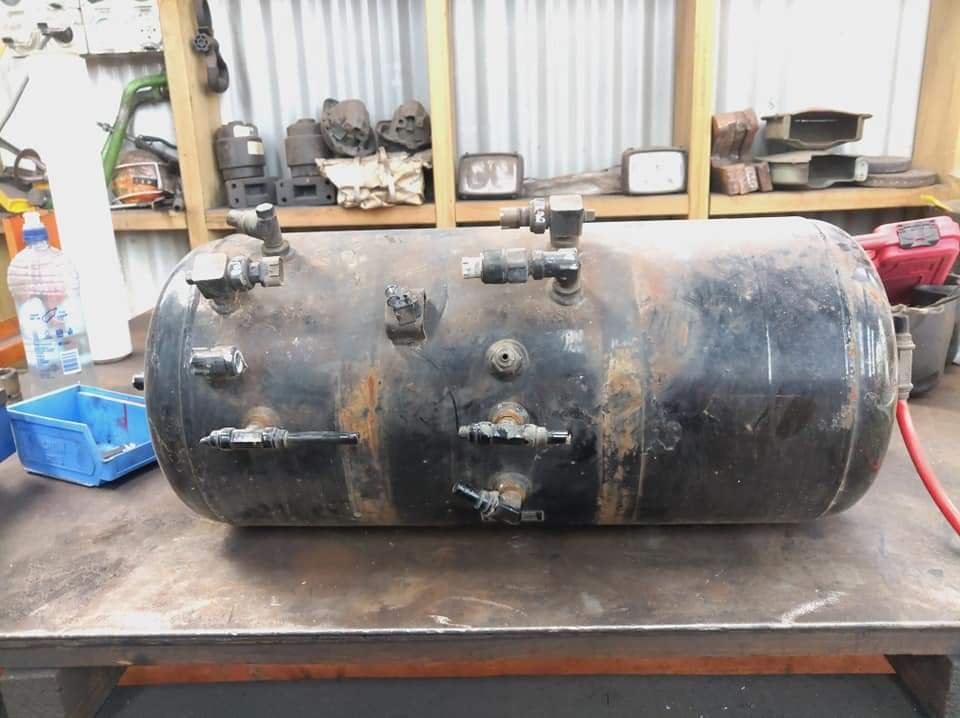
I started off with sourcing a cooking chamber. I managed to procure a truck air tank for free about a month ago so that was sorted.
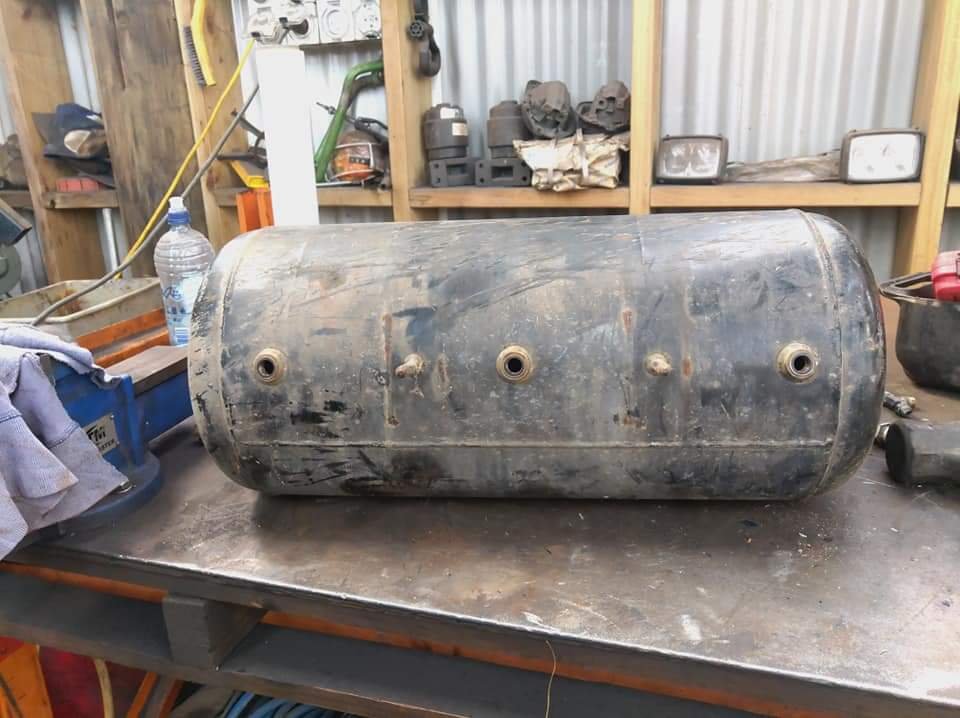
First things first, remove all the unnecessary fittings.
-
3
-
-
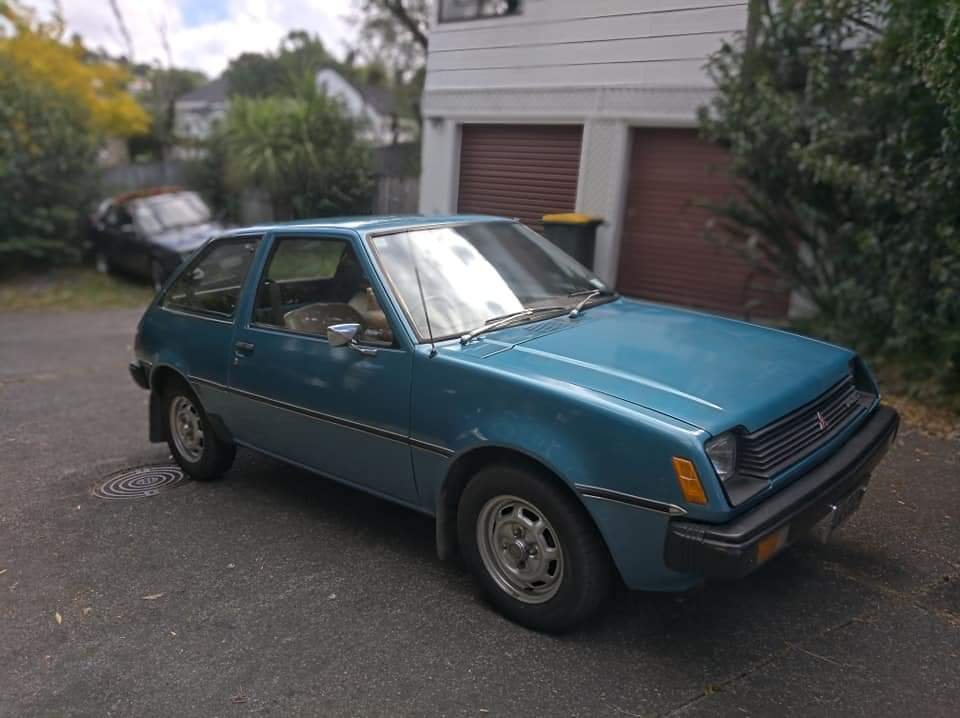
Time for a small update...
As most of you have probably seen, I now have this up for sale as I need to sell one of my cars for money towards the house.
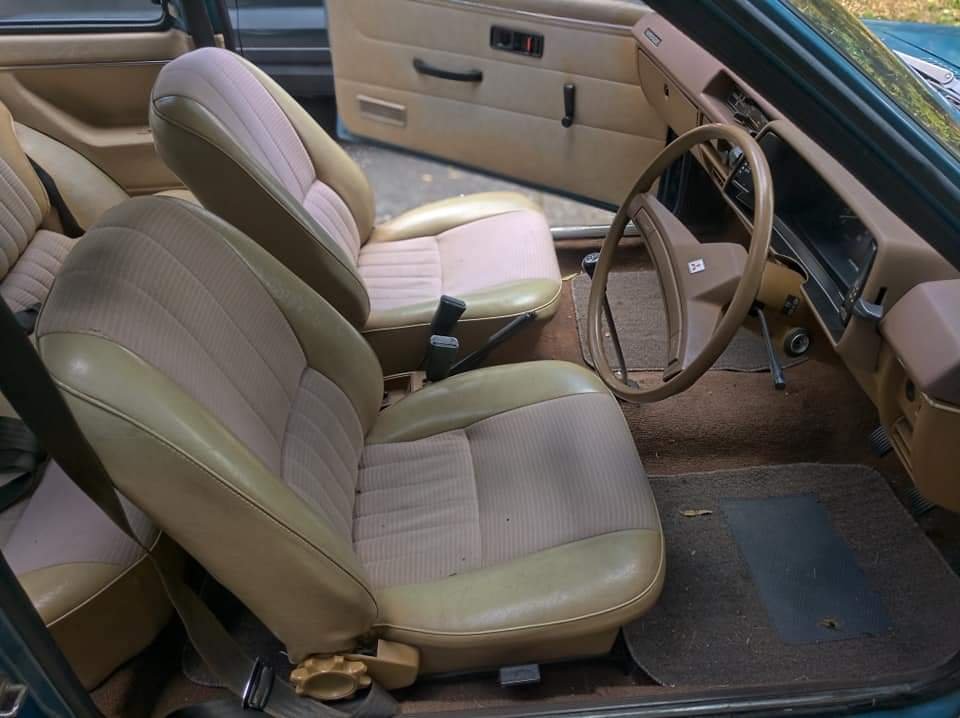
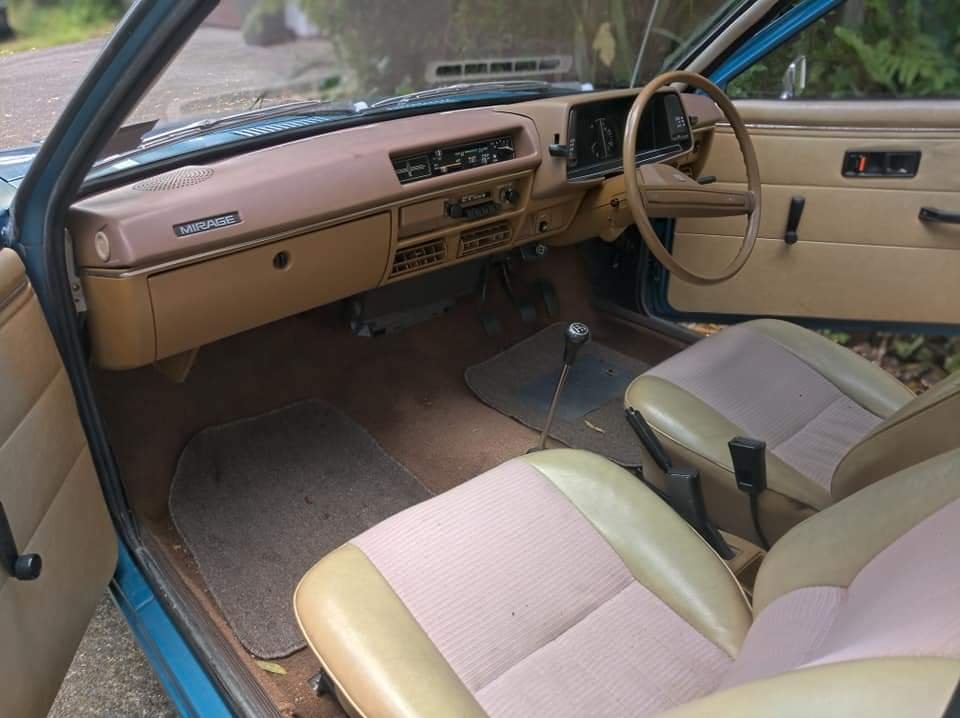
In the meantime though I have been dailying the shit out of this and it has been awesome. I've been fixing little bits and pieces here and there, sorting out little interior rattles as they become more apparent, tighten the sunvisors as they kept dropping etc. The other day however I also noticed that there was a strong smell of fuel so had a look and saw the fuel pump was leaking. Have since replaced that today and now she's all good. I also had seen a few small drips under the heater assembly so tightened up the hose clamps and it seems ok so far. Had some fender mirrors lined up but that hasn't come to fruition so will probably roll as is for the time being.
And here's some pics from today after I gave it a wash.
Time for a break and festivities.
Chur
-
7
-
-
You get far more usage out of the wurth ones compared to the flexovit (or whatever it's called), and other cheaper generic brands, so I've found. They probably cost more I'd imagine.
-
1
-
-
Ahh yeah must have been another one. It looks pretty good from 10 feet but yeah nah, his one is full of unknowns.
-
Yeah sounds bloody good. Not sure how long the previous owner had been running it like that...
-
The carib might have been my workmate. He picked up one a few days ago off trademe for $1600. Kids a dumb cunt though he's running it with open trumpets and no filters...
-
1
-
-
I'd say dairyflat motors would be all good. They always have an assortment of oldschool cars out front so I'd assume so.
-
Hahaha there's 4 more calenders on the back to the right of the door.
-
2
-
-
- Popular Post
- Popular Post
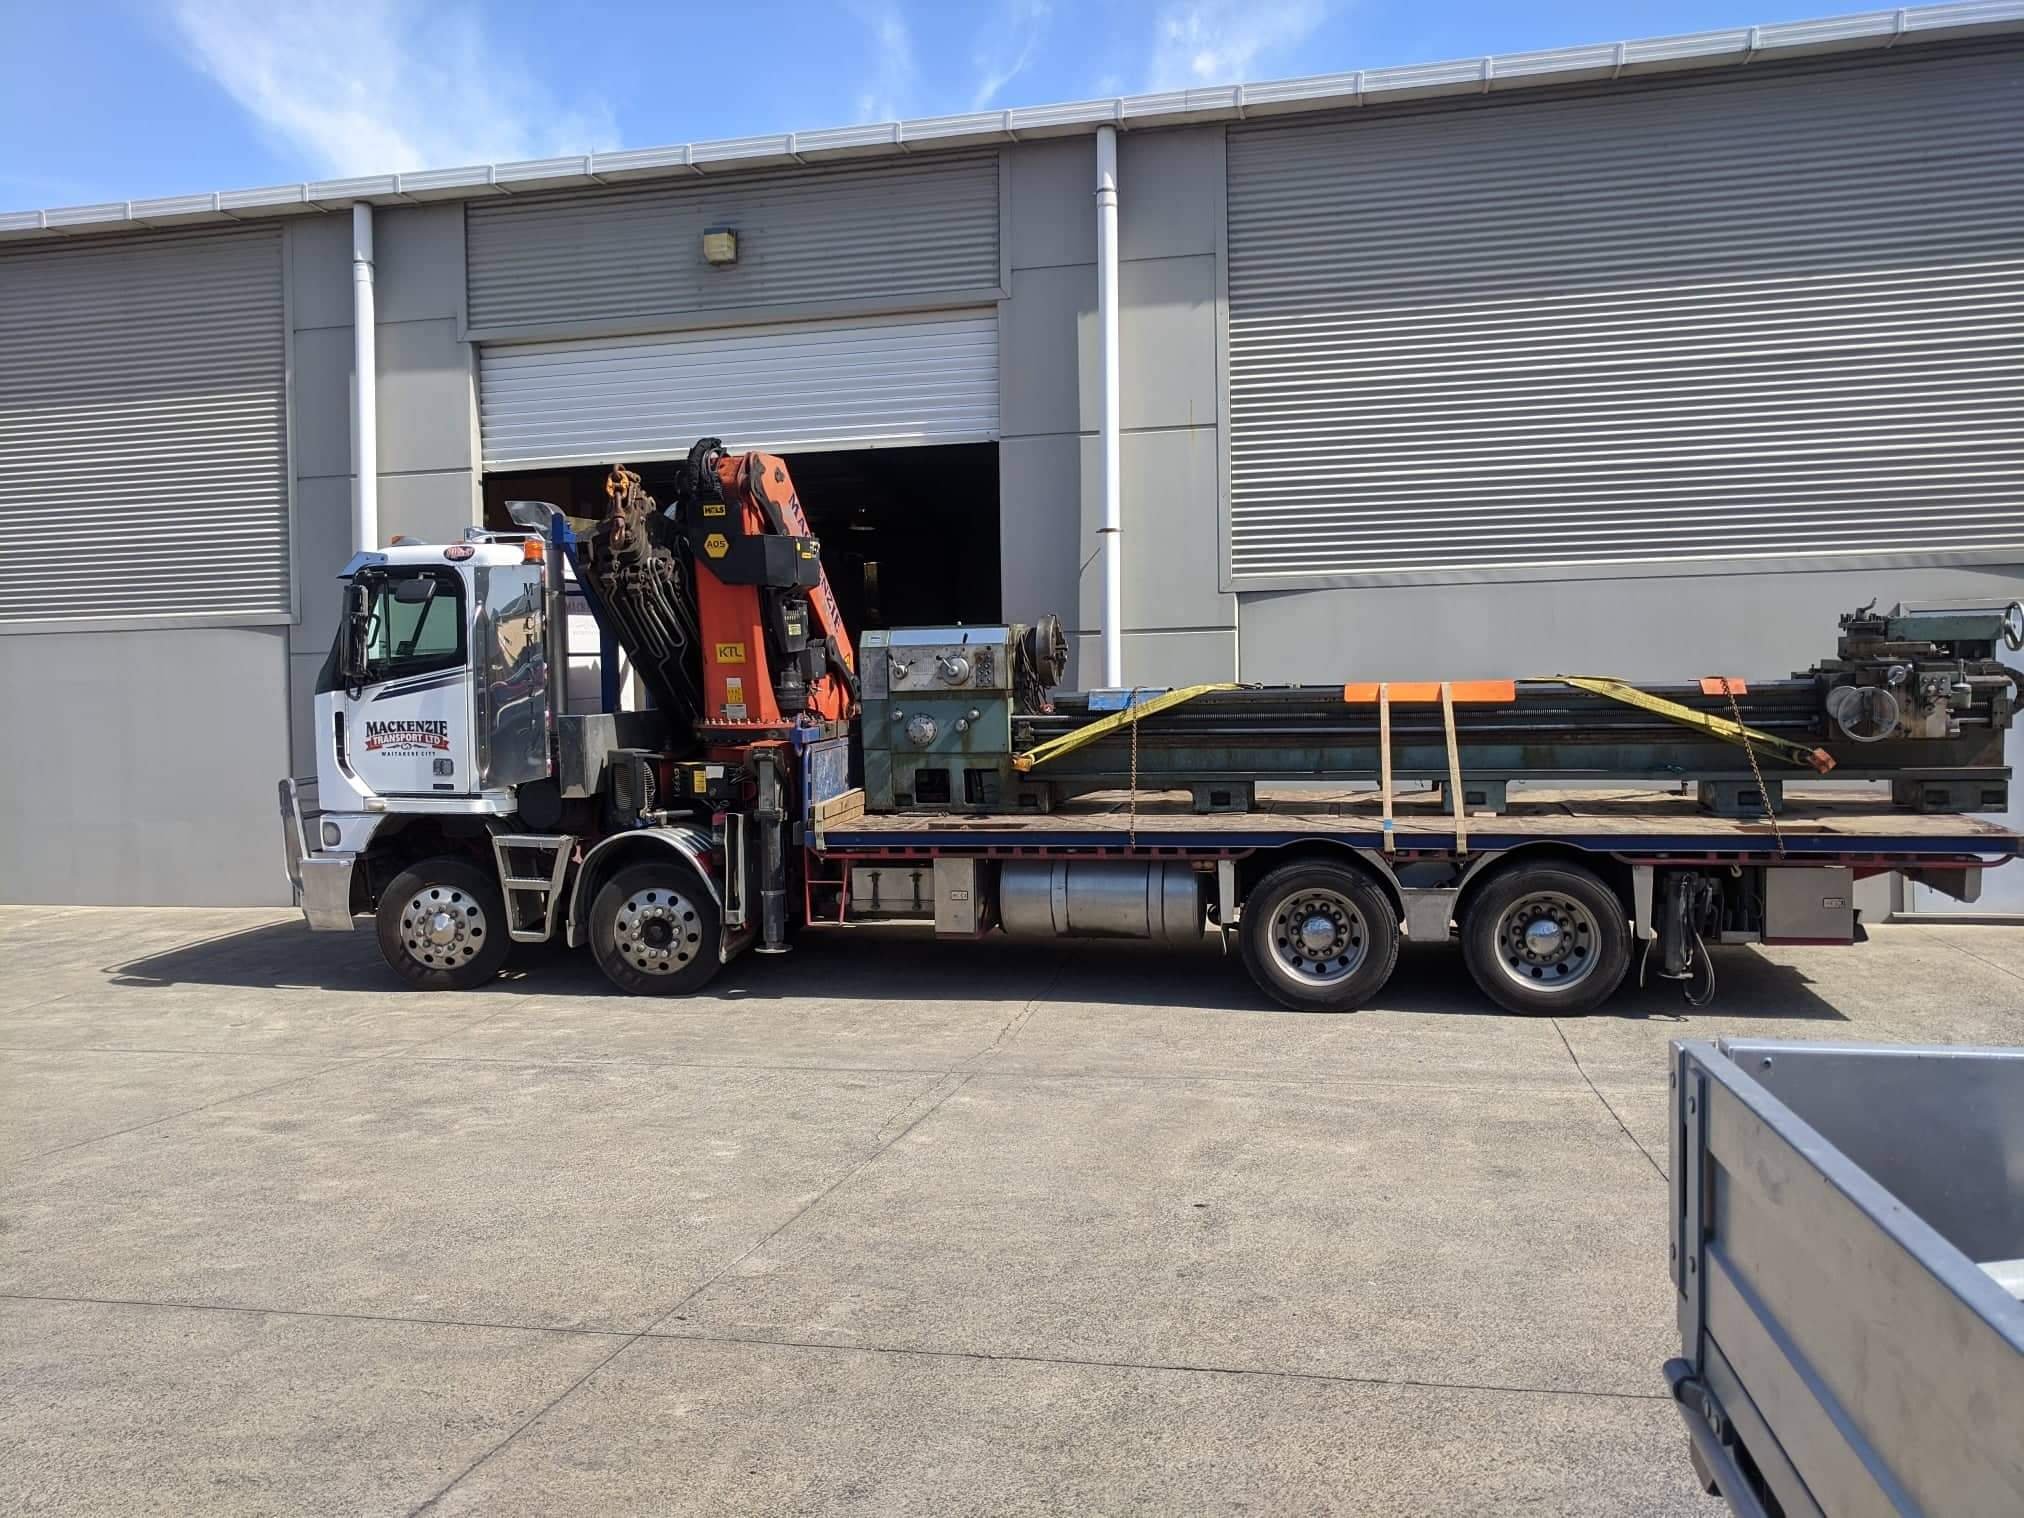
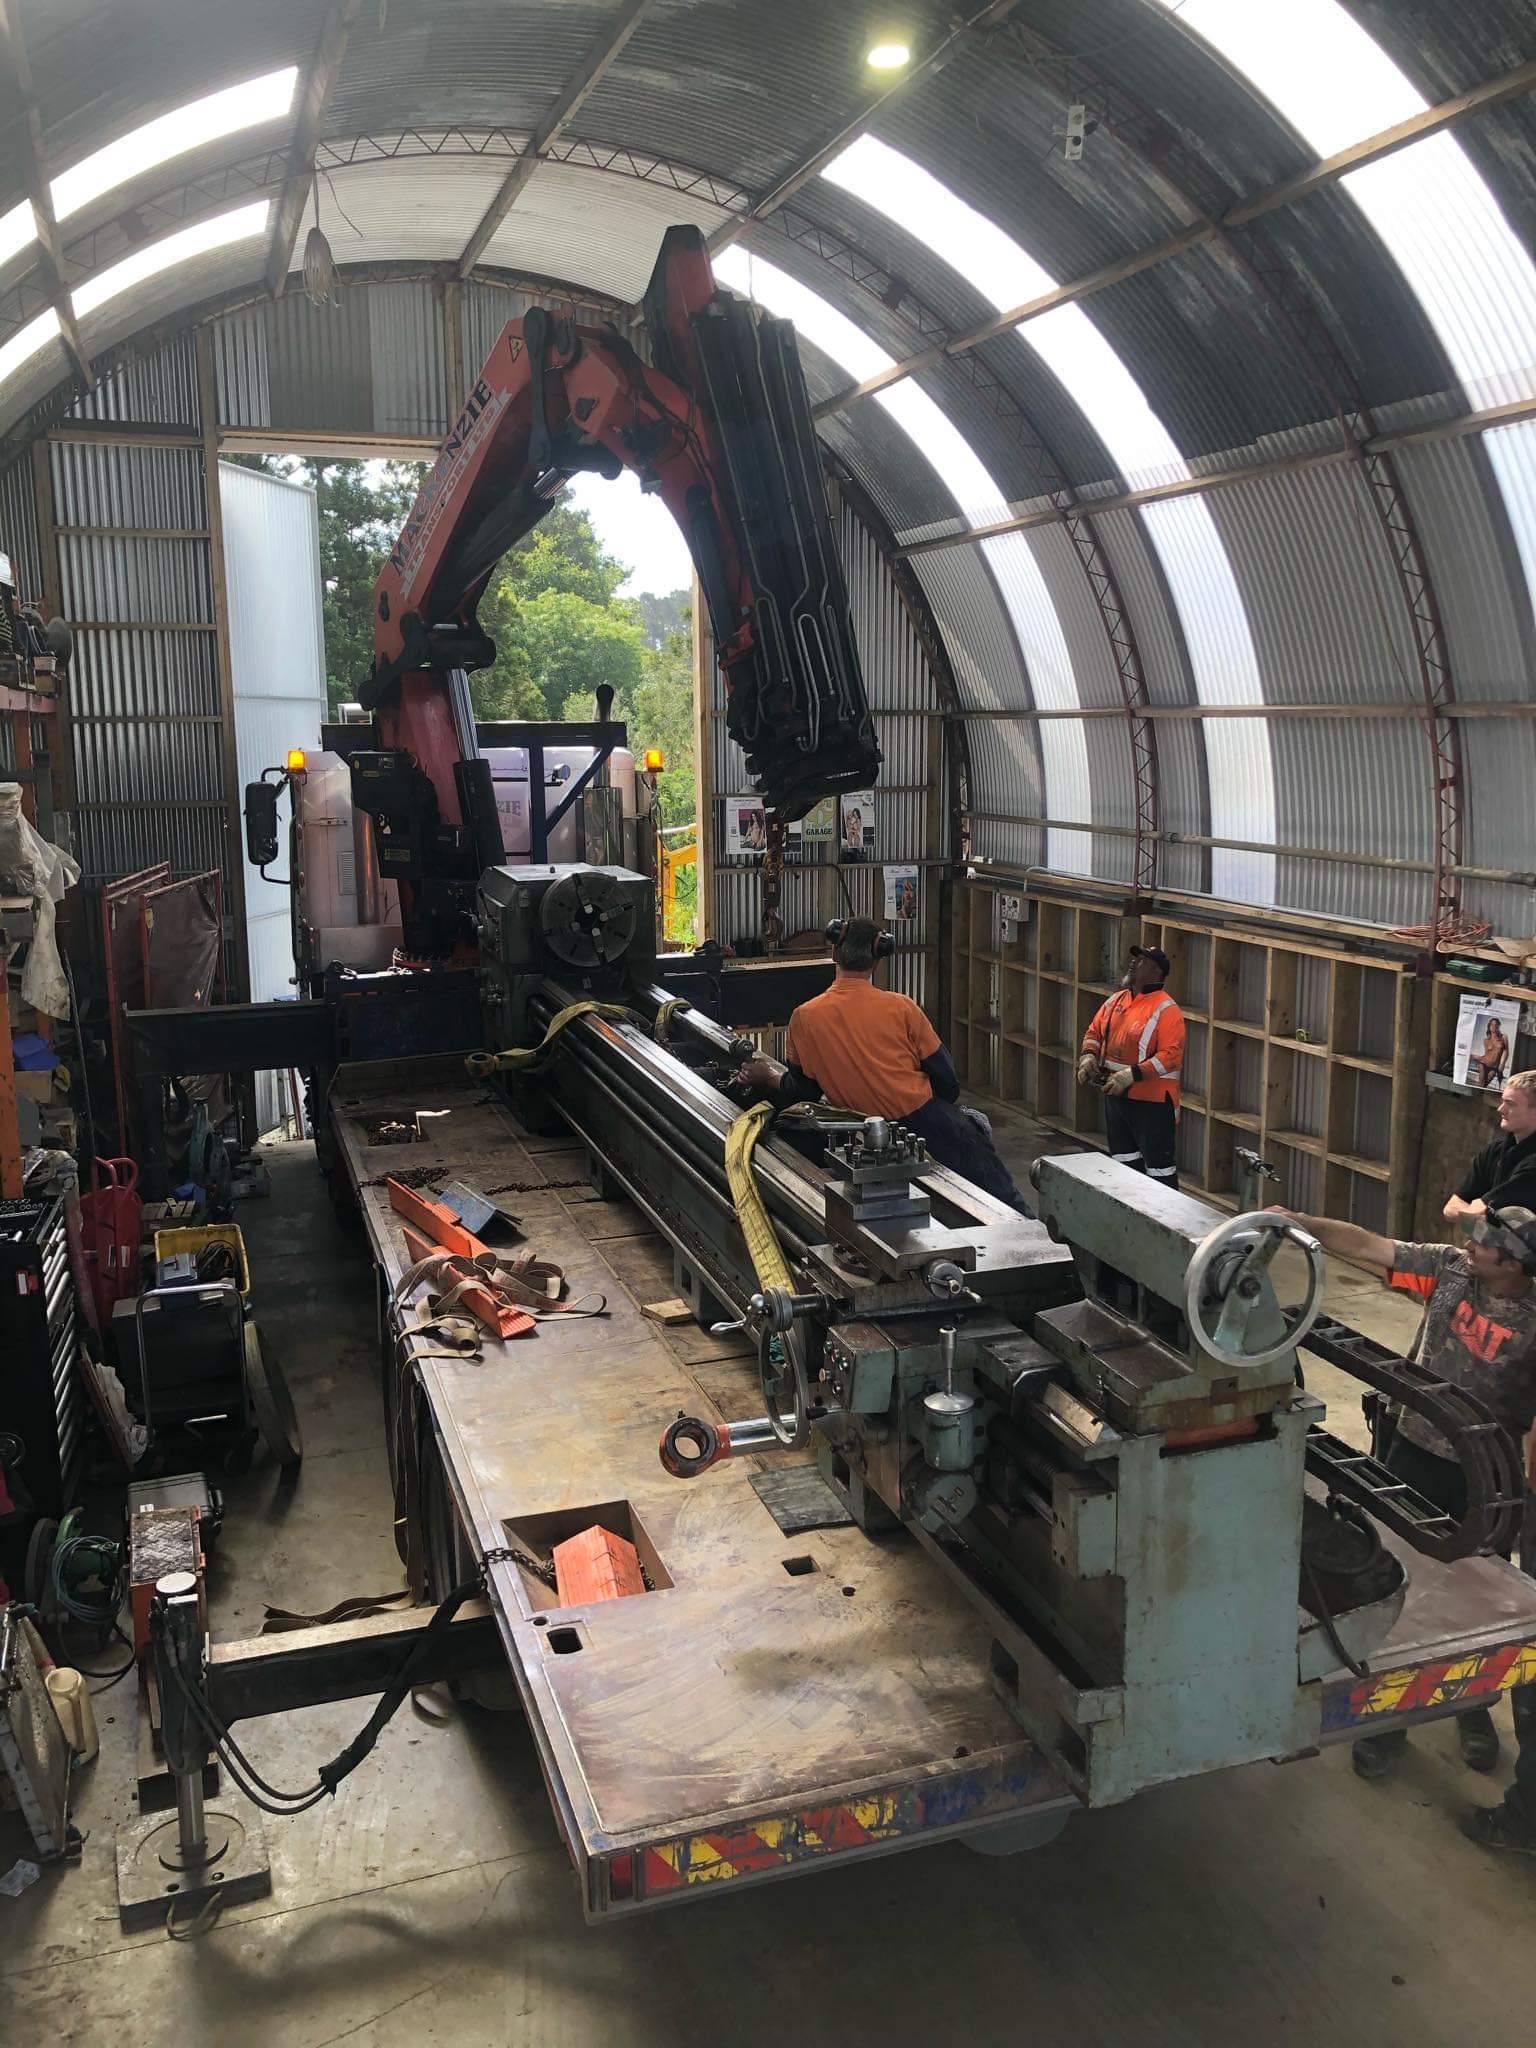
Had this bad boy delivered to our workshop yesterday...
overall length is a bit over 7m and the bed is 5m. We can start making our own hydraulic cylinders in house now.
-
23
-
 1
1
-
Shameless plug for the old daily...
https://www.facebook.com/marketplace/item/3775141722497275/
Thought it fit this category well haha. Will sell to OS members for $4500. Get in before prices go silly like the earlier wrxs puhuhuhu.
-
1
-


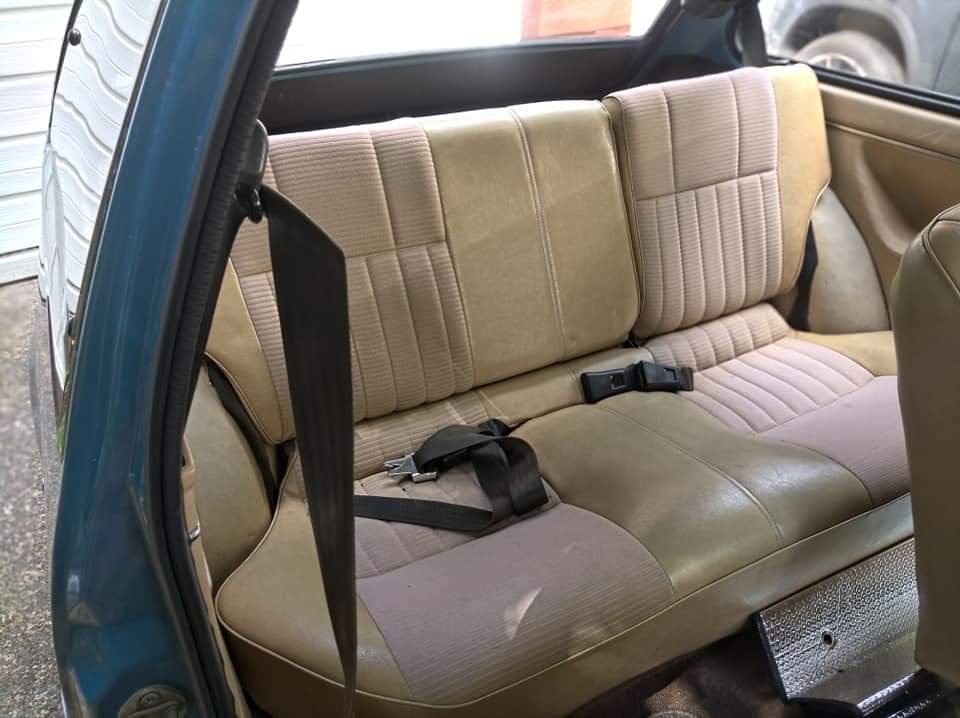
Bucket seat legality in coupe
in General Car Chat
Posted
I think retep had to sort this on his escort (I don't think he frequents os anymore). There should be an old thread somewhere, iirc he had the fixed buscket seats on a locking mount with a hinge on the front side so you could lift the seats forward easily and the rear passengers could get in/out.