


mlracing.co.nz
-
Posts
526 -
Joined
-
Last visited
Posts posted by mlracing.co.nz
-
-

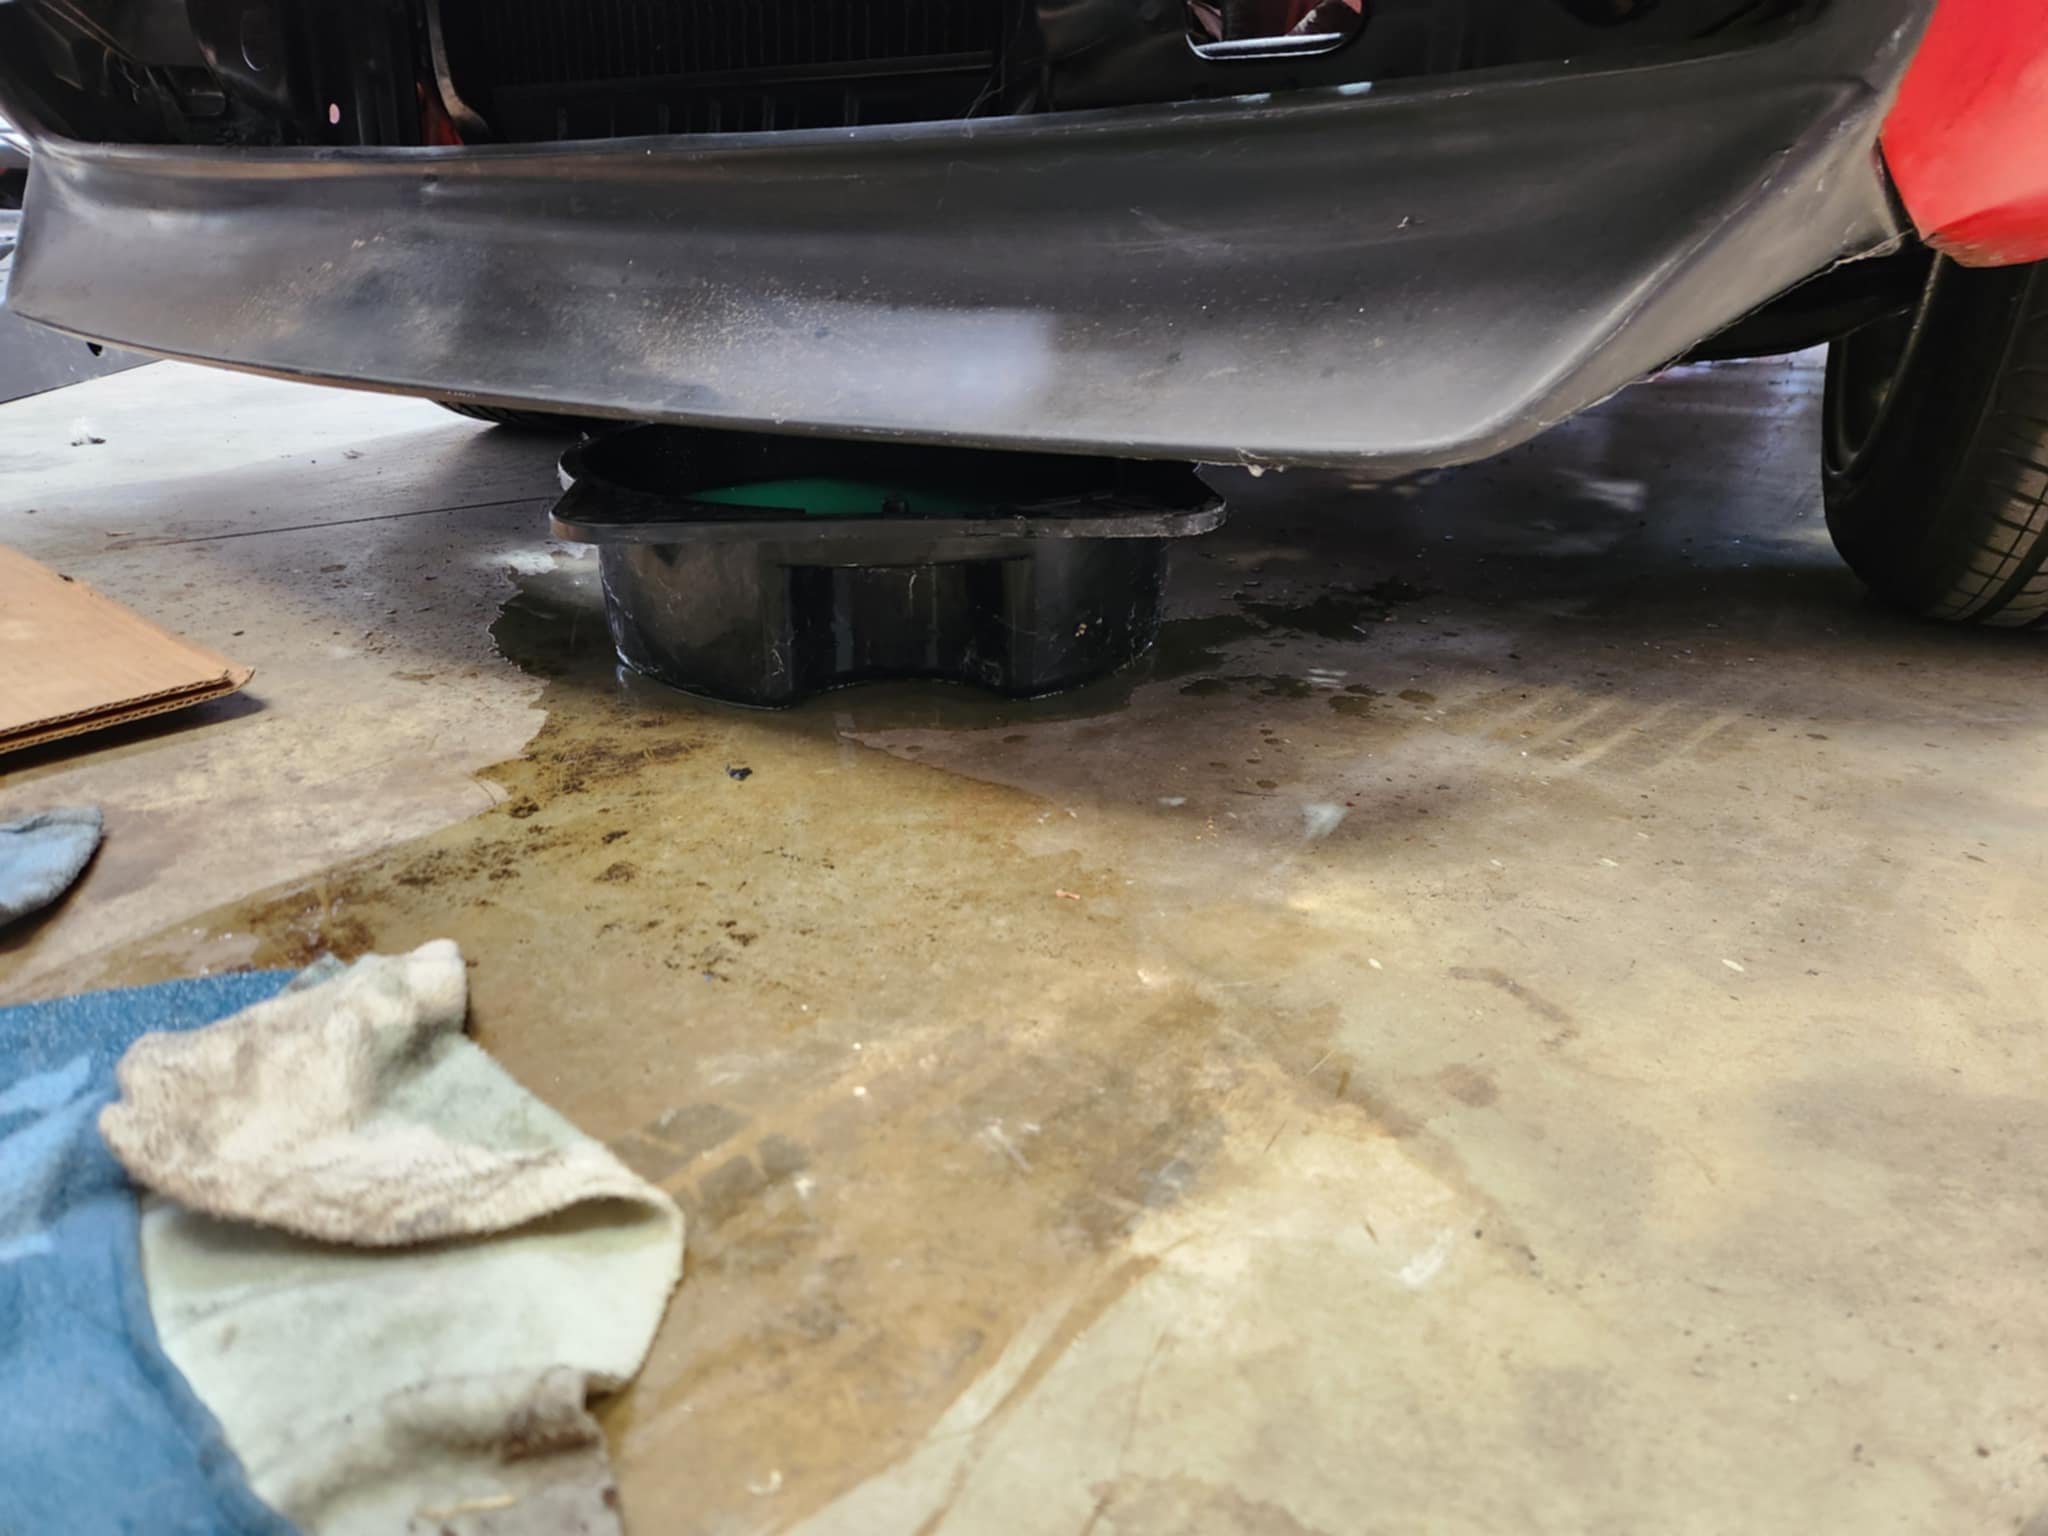
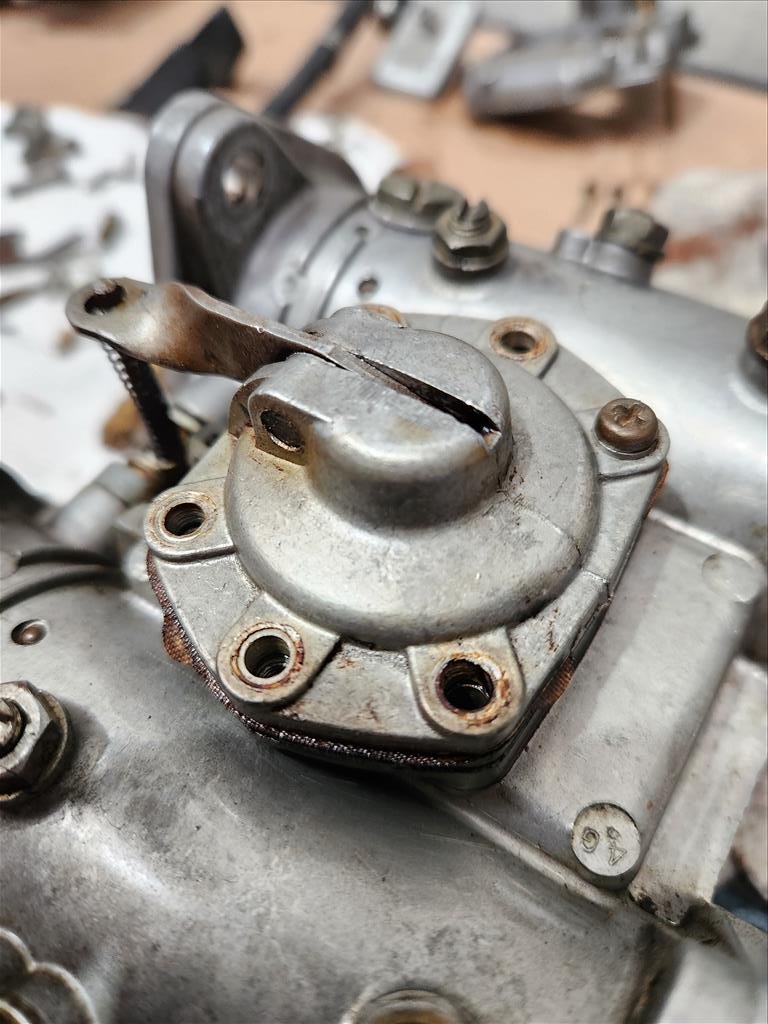
To distance my brain from carb life for a while I decided to look into another thing that's been bugging me. The weird thing about this car is it's never got up to temperature, well at least it never seemed to get past the first little line on the gauge. Because of this I've always wondered if the thermostat was working properly and today I took apart some of the system to check it all.
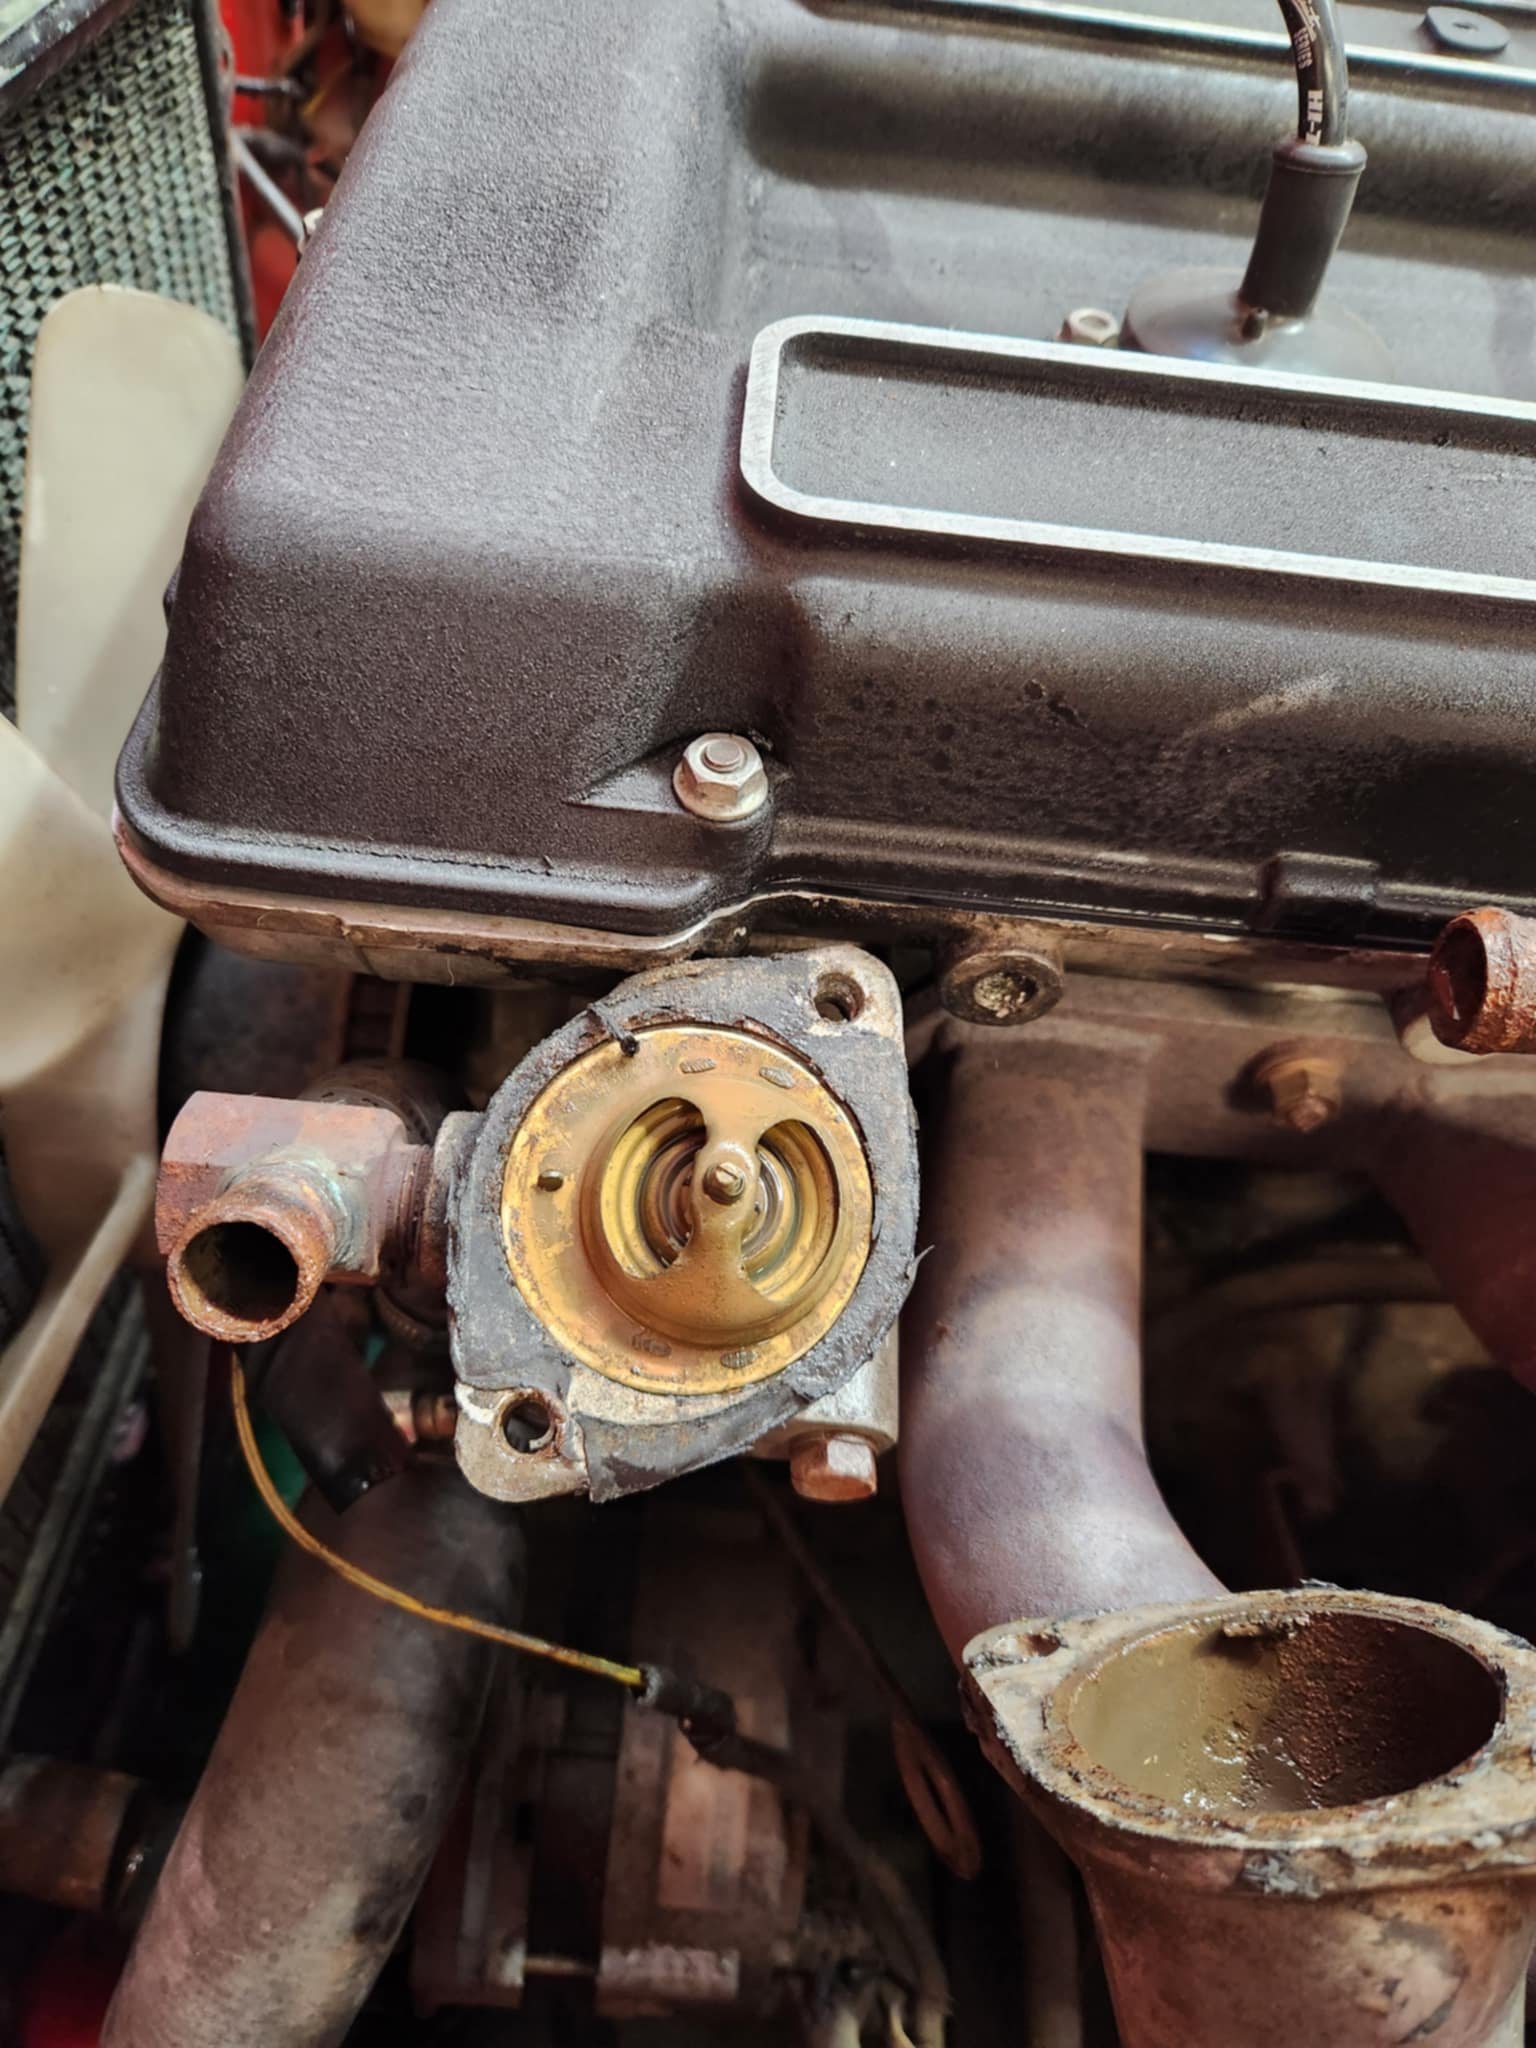
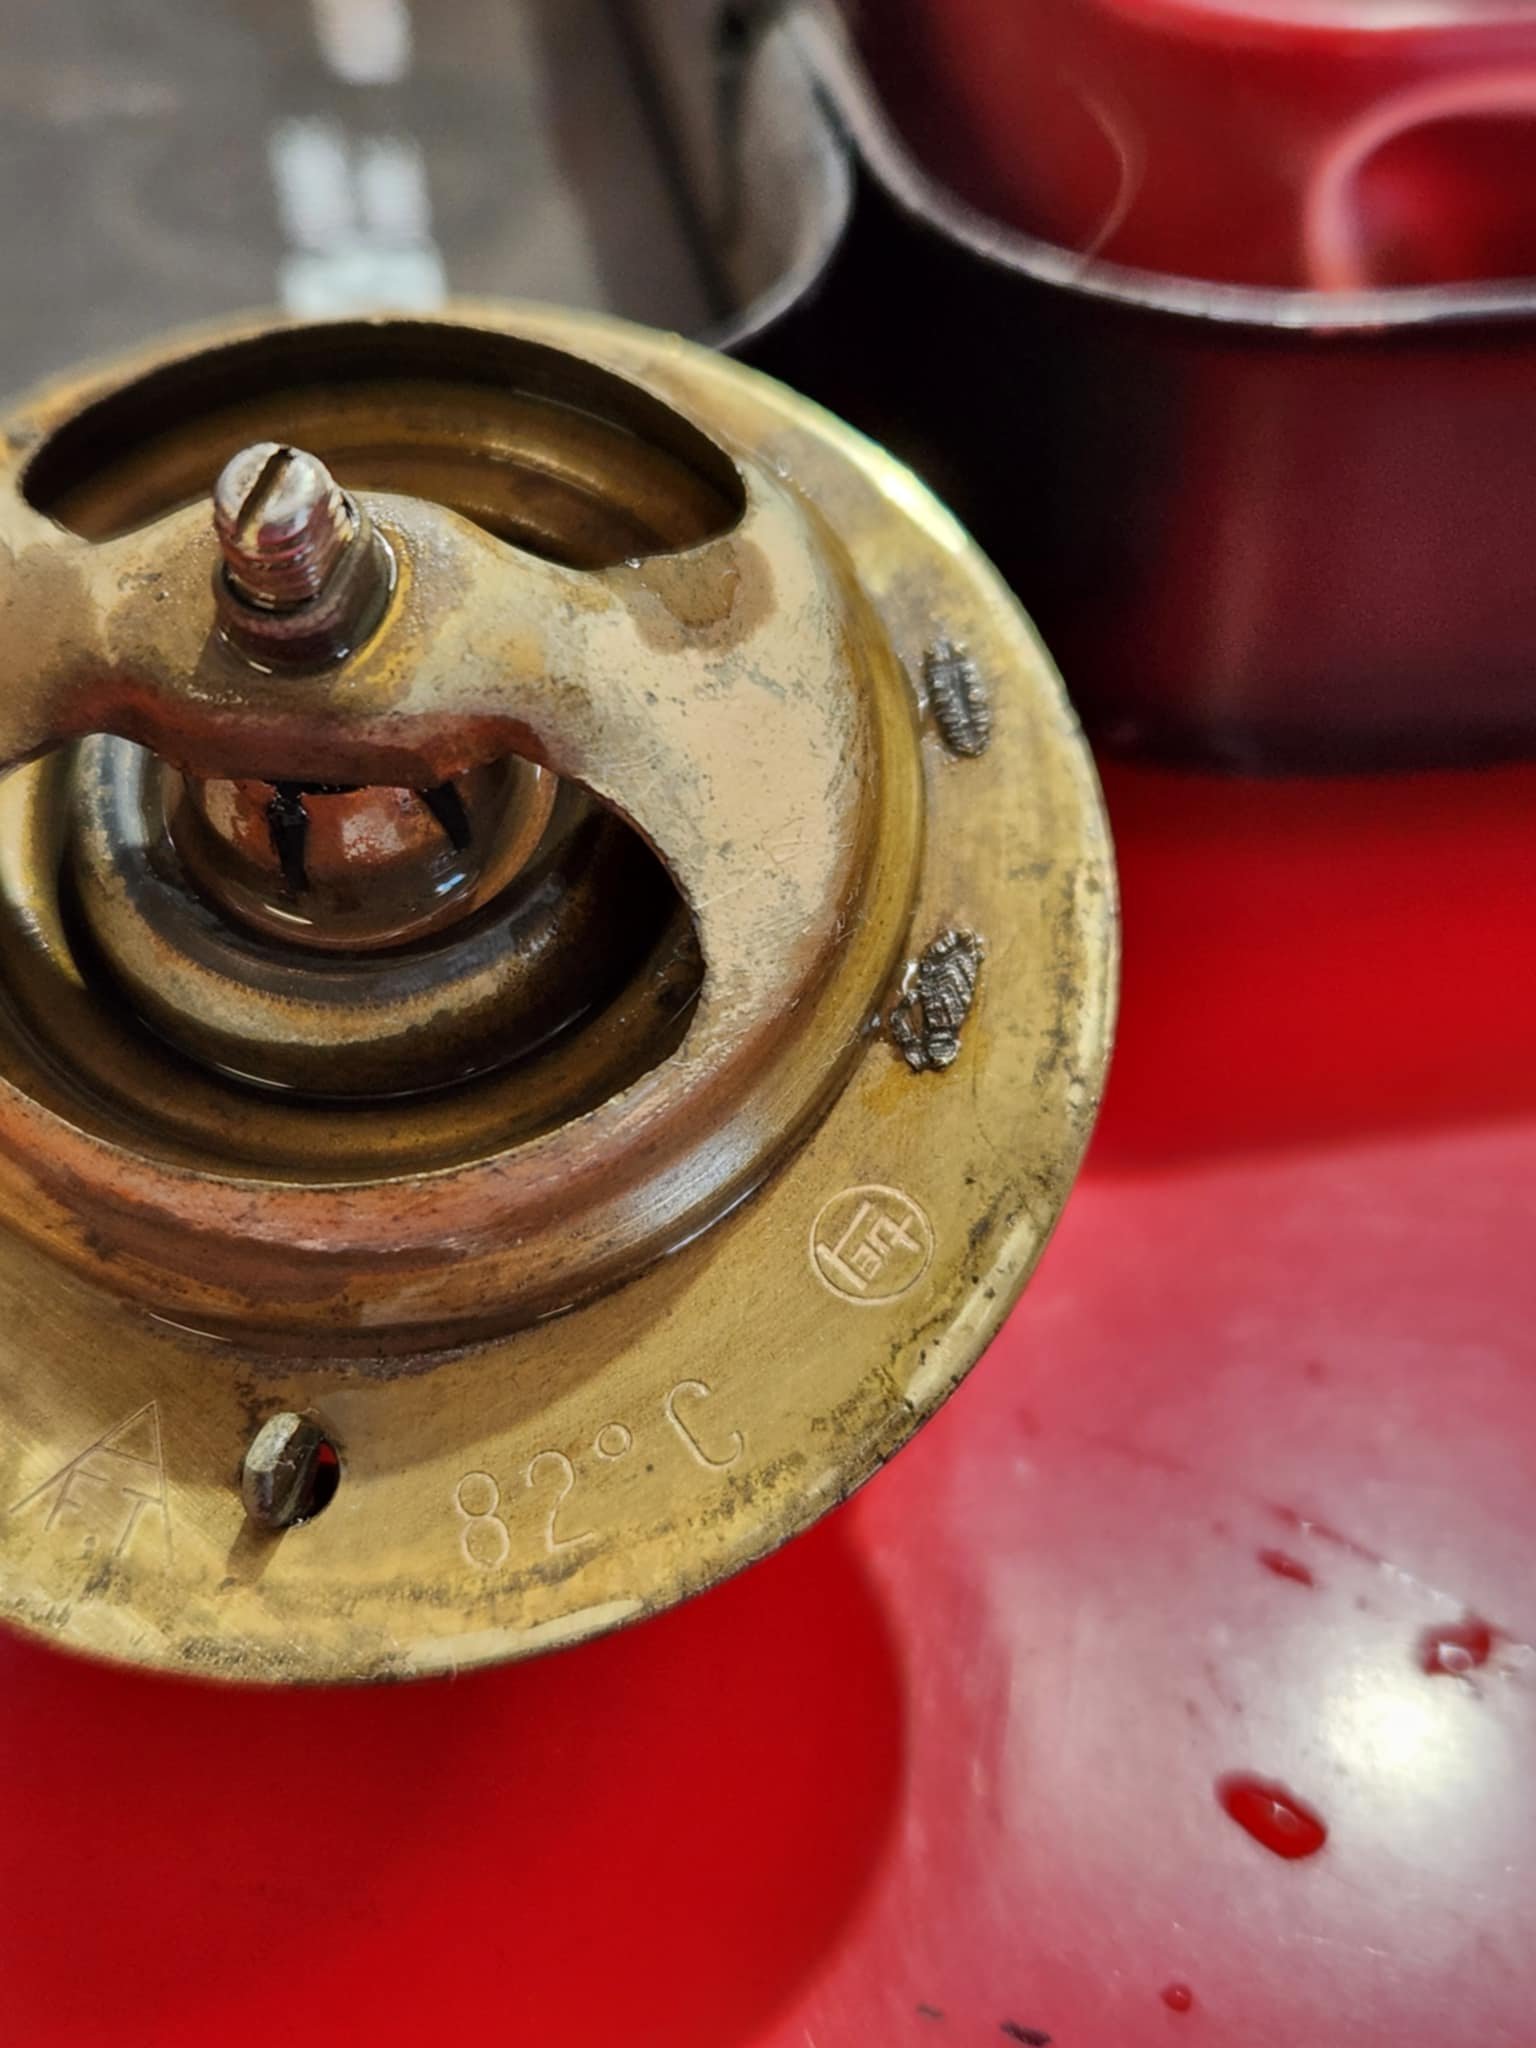
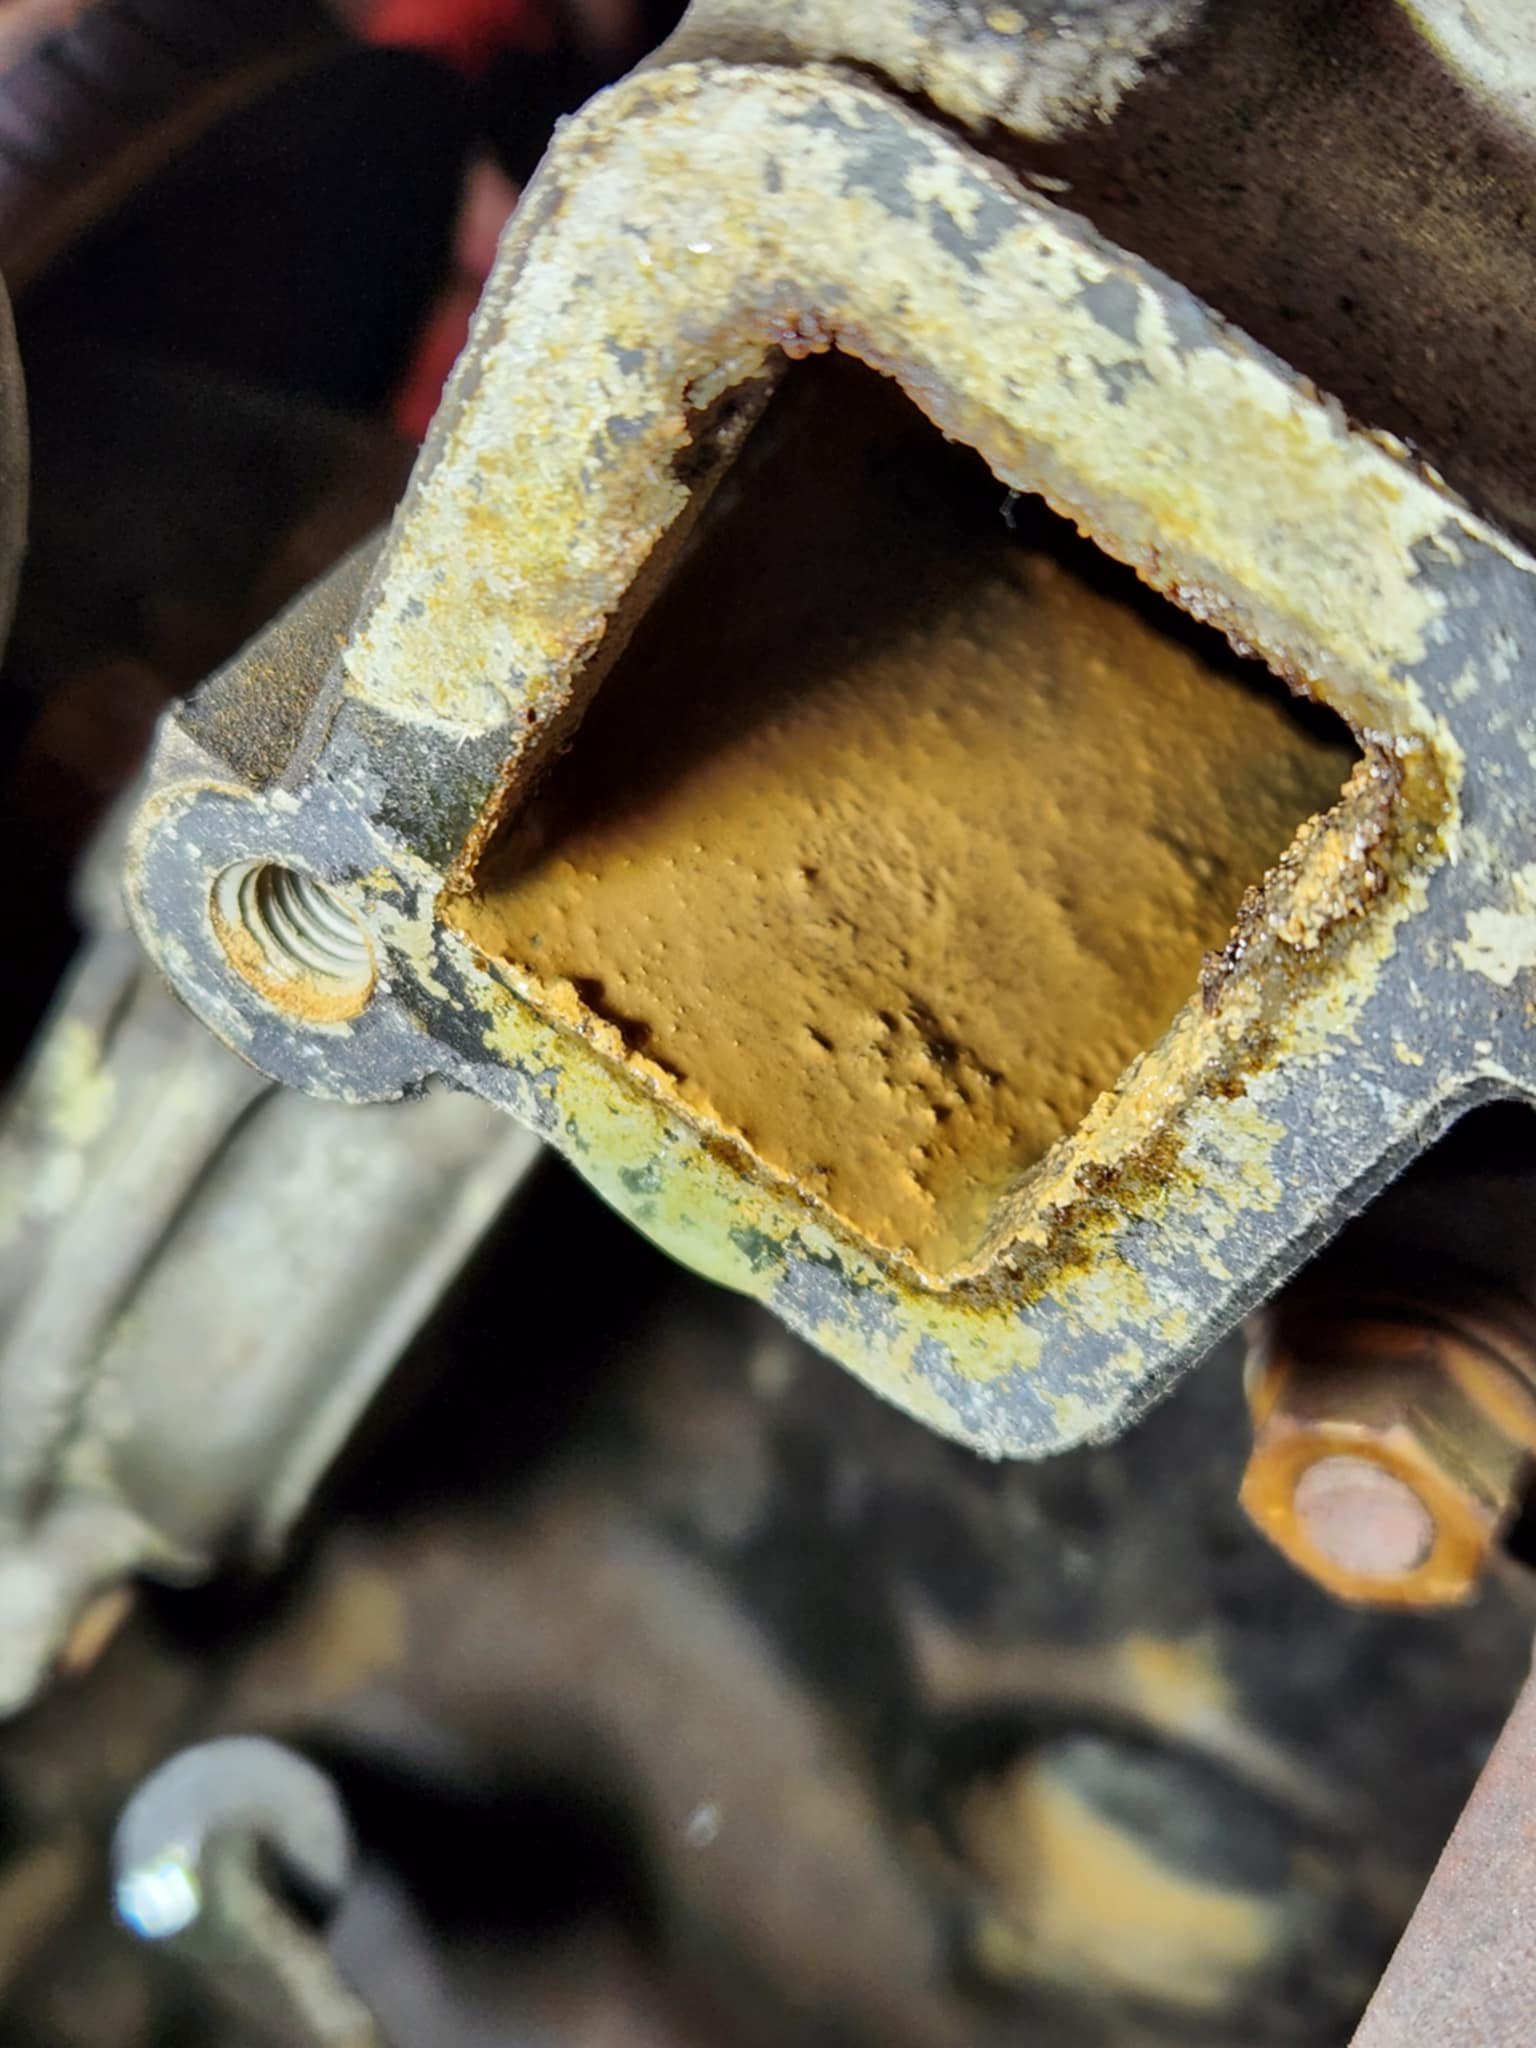
Once I took the hoses off it became clear that there was a thermostat problem, however it was the opposite to what I was expecting. This thing is jammed shut. I was expecting one to either be jammed open or not there at all. This might be the original (or very old at any case) thermostat, so definitely due for replacement.
Also abundantly clear that there's been no water circulating in the engine for some time as the coolant that came out of the radiator was green, not mud. This got me wondering.. has there ever been any in there since I've owned it? How long has there not been water circulating ? I have actually taken this car to some events in the not so distance past and the temperature never moved then either. Does this engine somehow have the power to never overheat?
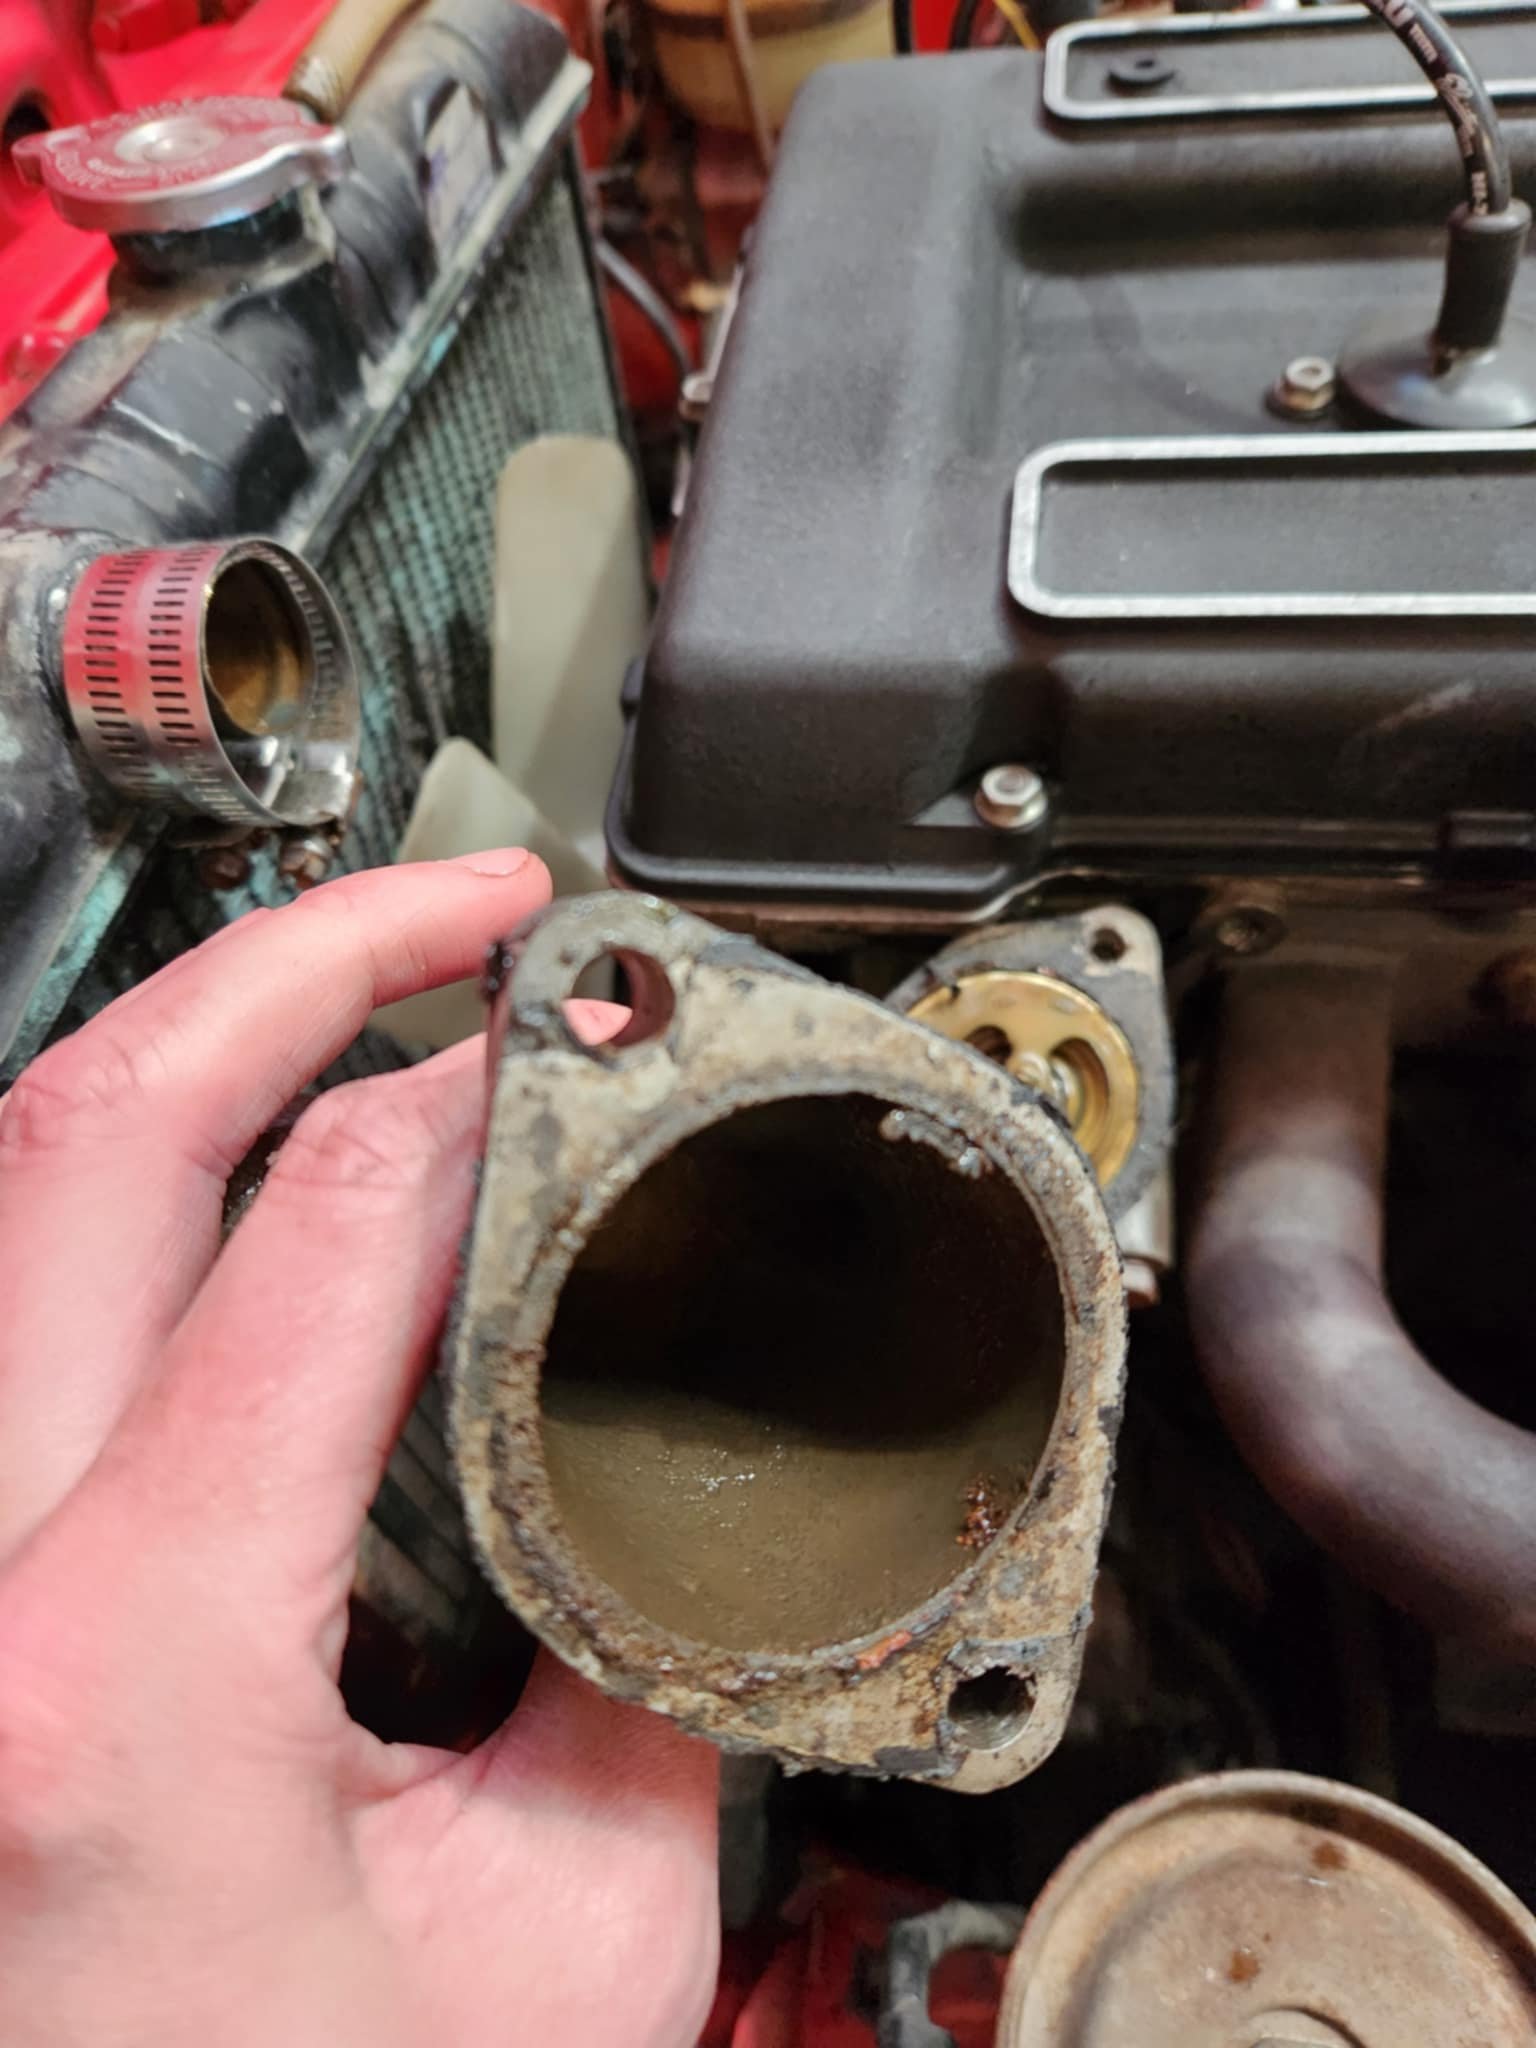
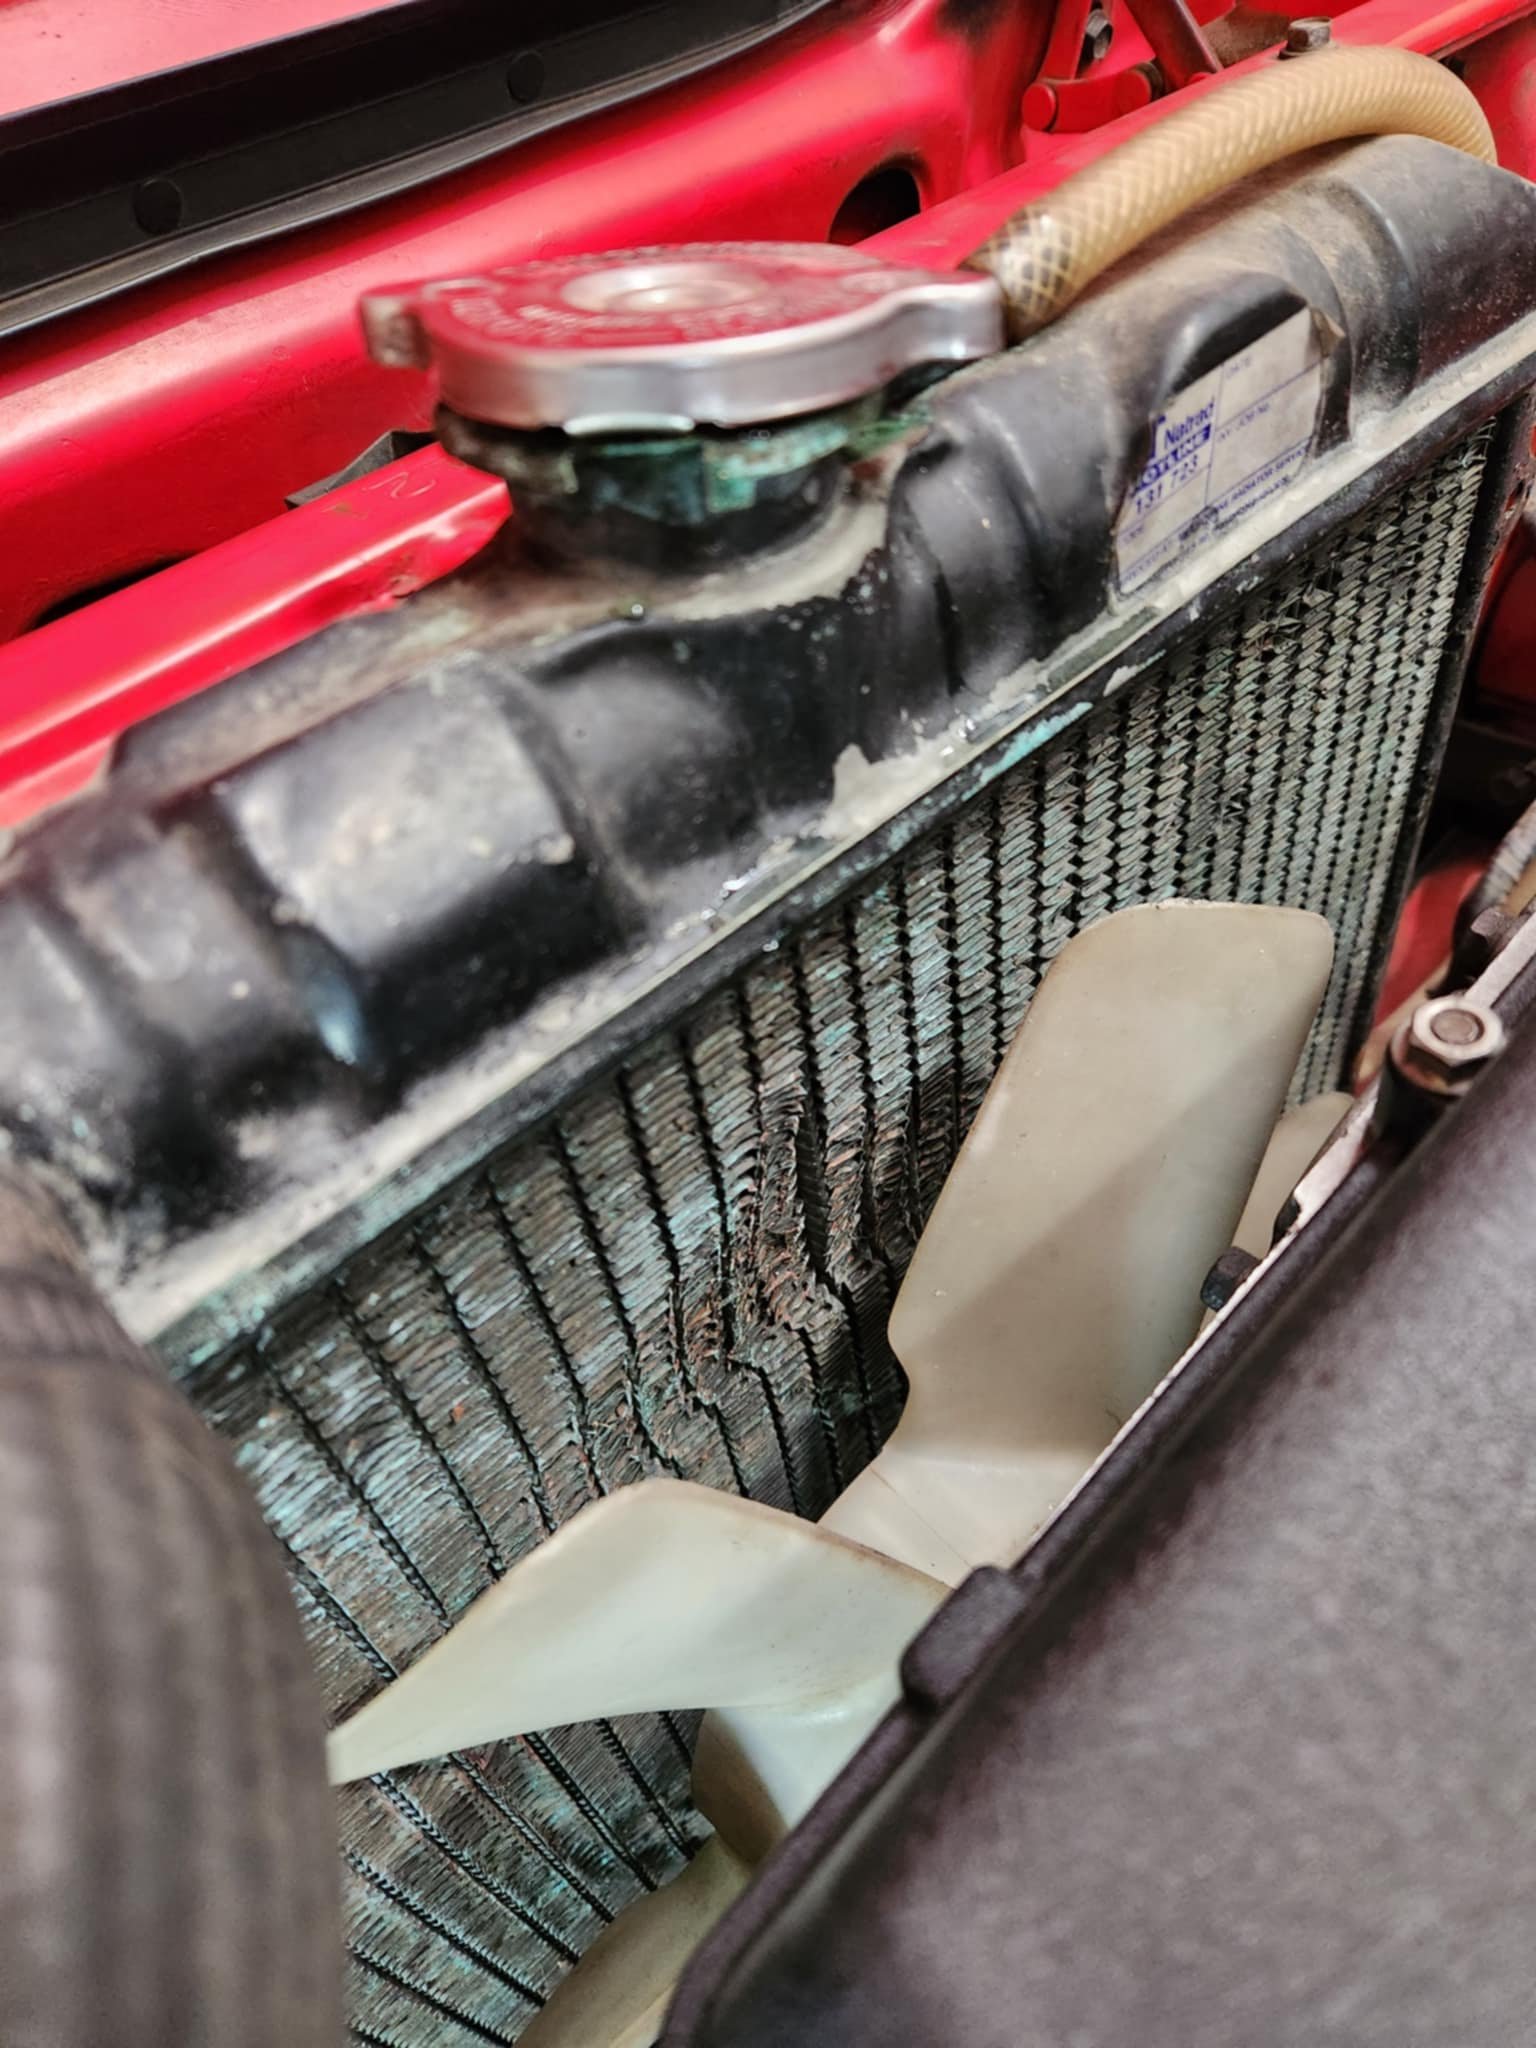
This radiator has seen better days but it never leaked from memory so I don't think it was blocked and stopping flow. That said I might get it reconditioned or replace it anyway for peace of mind. As well as replace the radiator hoses as they looked pretty second hand.
I'll also be bypassing the heater core so the hoses along the top here are being removed.So now I'm thinking I need to get new thermostat, pipes, some block off caps, a few gaskets and perhaps I should check the water pump as well.. it's probably not been doing a whole lot.
-
 4
4
-
-
Rant update I'm afraid.
Accelerator pumps still not working on either carb which means idle doesn't work properly and any throttle coming off idle at all just stalls the car. Additionally the balance of the carbs is now way off and the ignition timing has gone super weird. At one point the car wouldn't even crank over at all which made me think did I somehow cause some catastrophic damage while messing around with the disitributor but that doesn't make sense as it was just changing ignition timing.
So basically I was just getting frustrated and turning screws and fucking about without a proper plan which is not good and not helping. Taking a step back I really can't proceed without working accelerator pumps so this needs to be resolved first. If the car cannot even idle then I can't do anything else. I'm tossing up getting the next size up idle jets too, 50/50 on it.
If I can't fix them somehow then perhaps I will need to send them out to get checked over by someone who knows a thing or two about a thing or two. Another option is to get some other carbs like webers or something but we'll see, not at that point yet.
-
 2
2
-
-
-
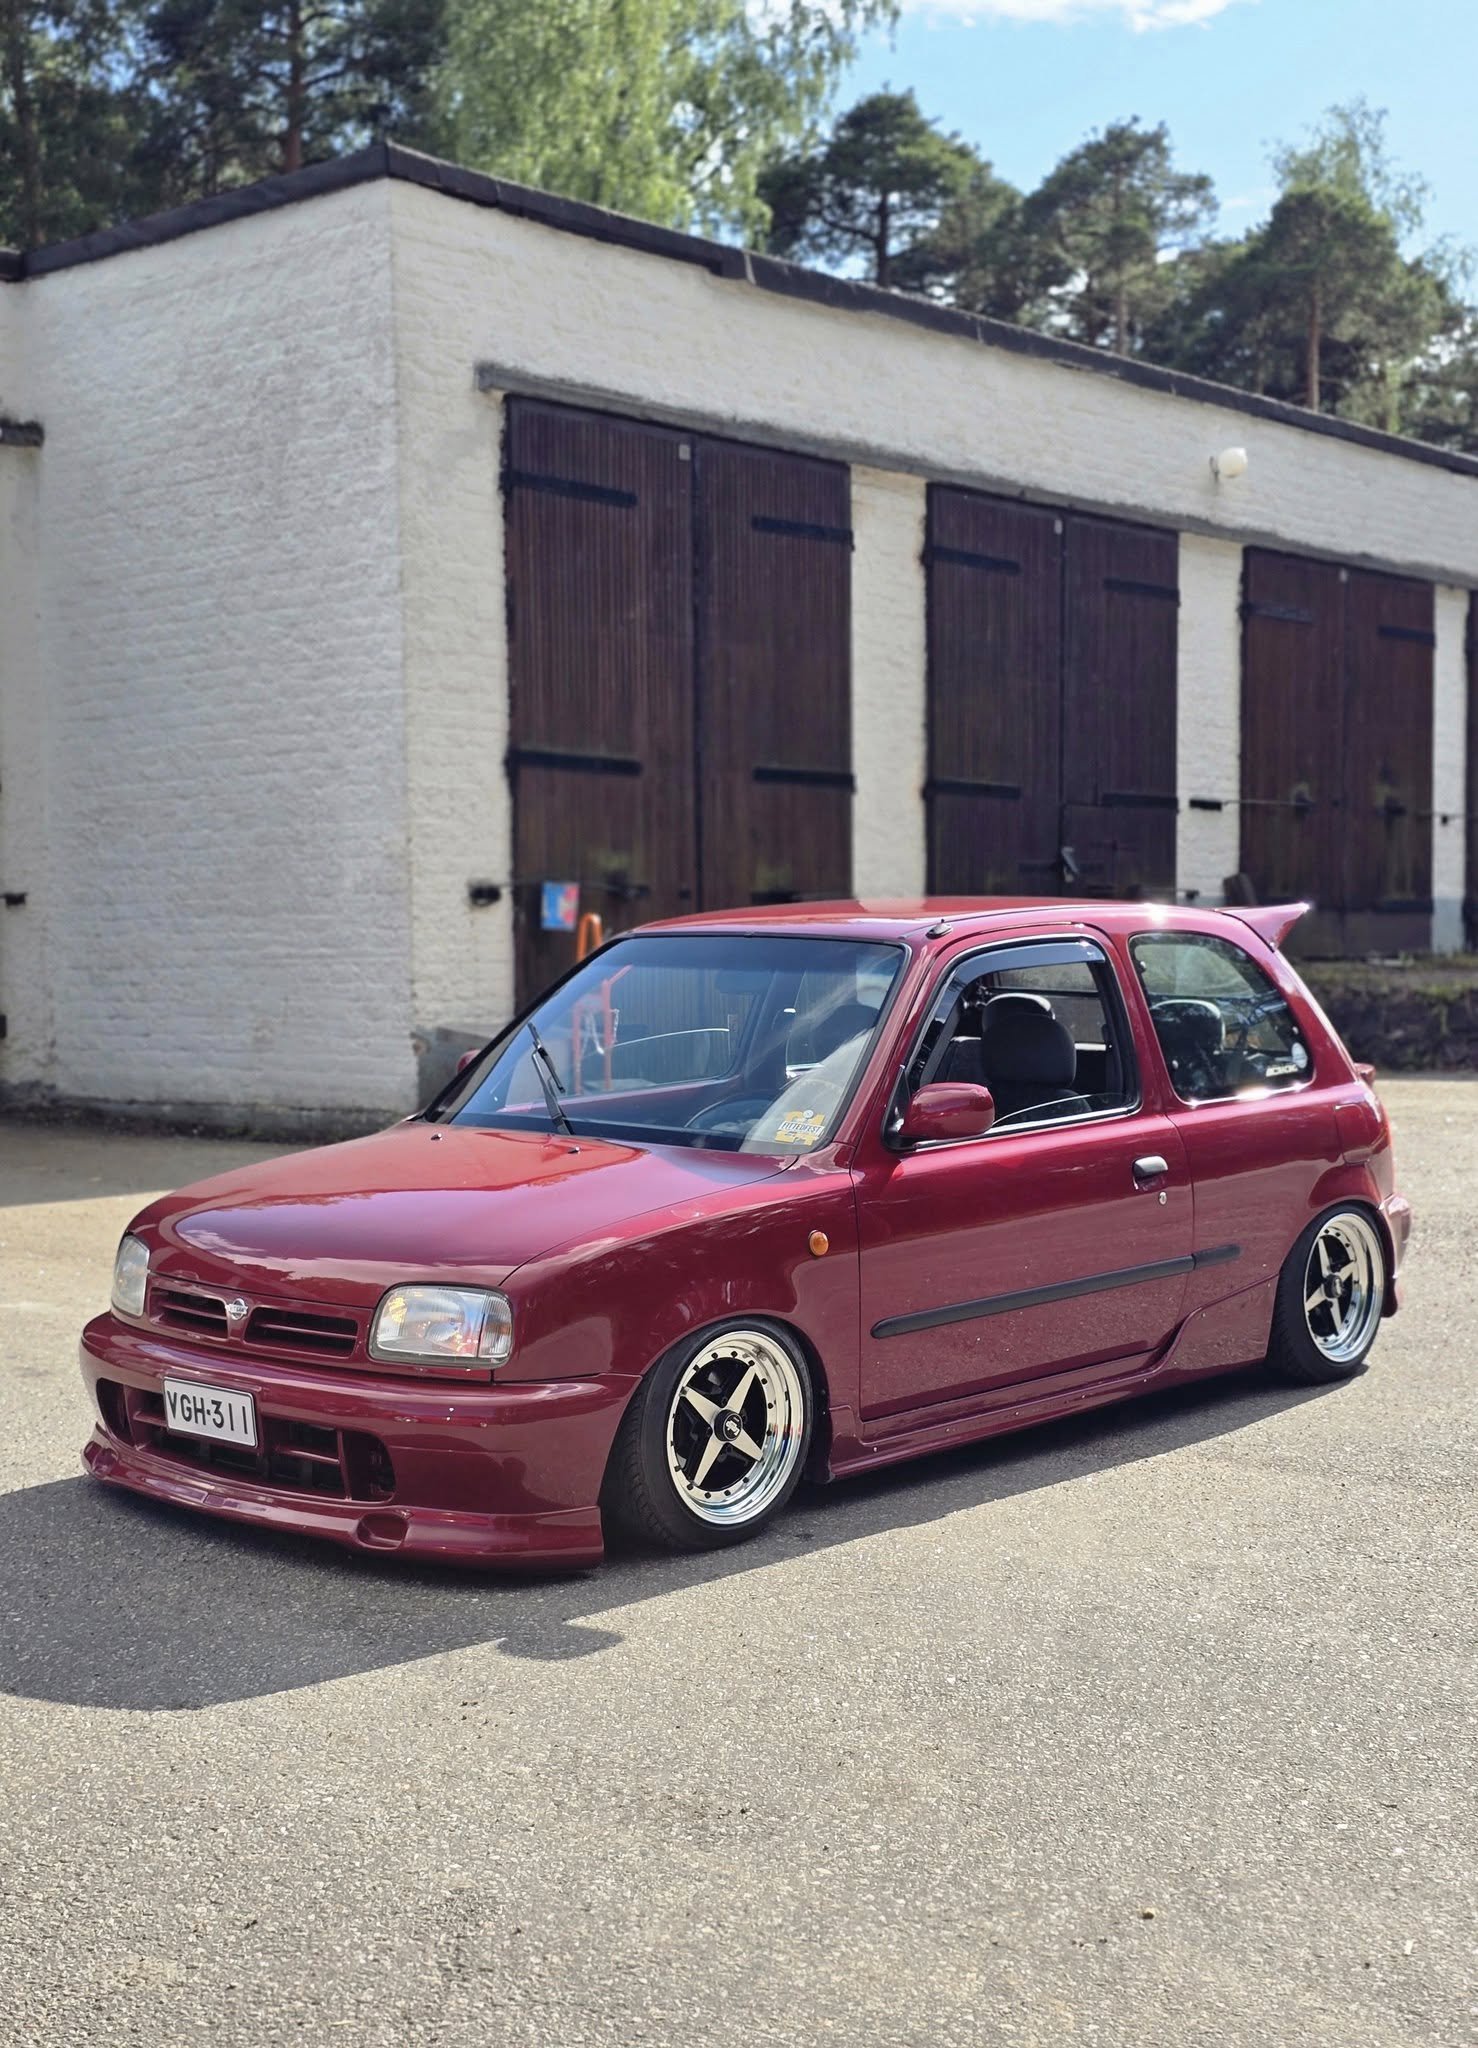
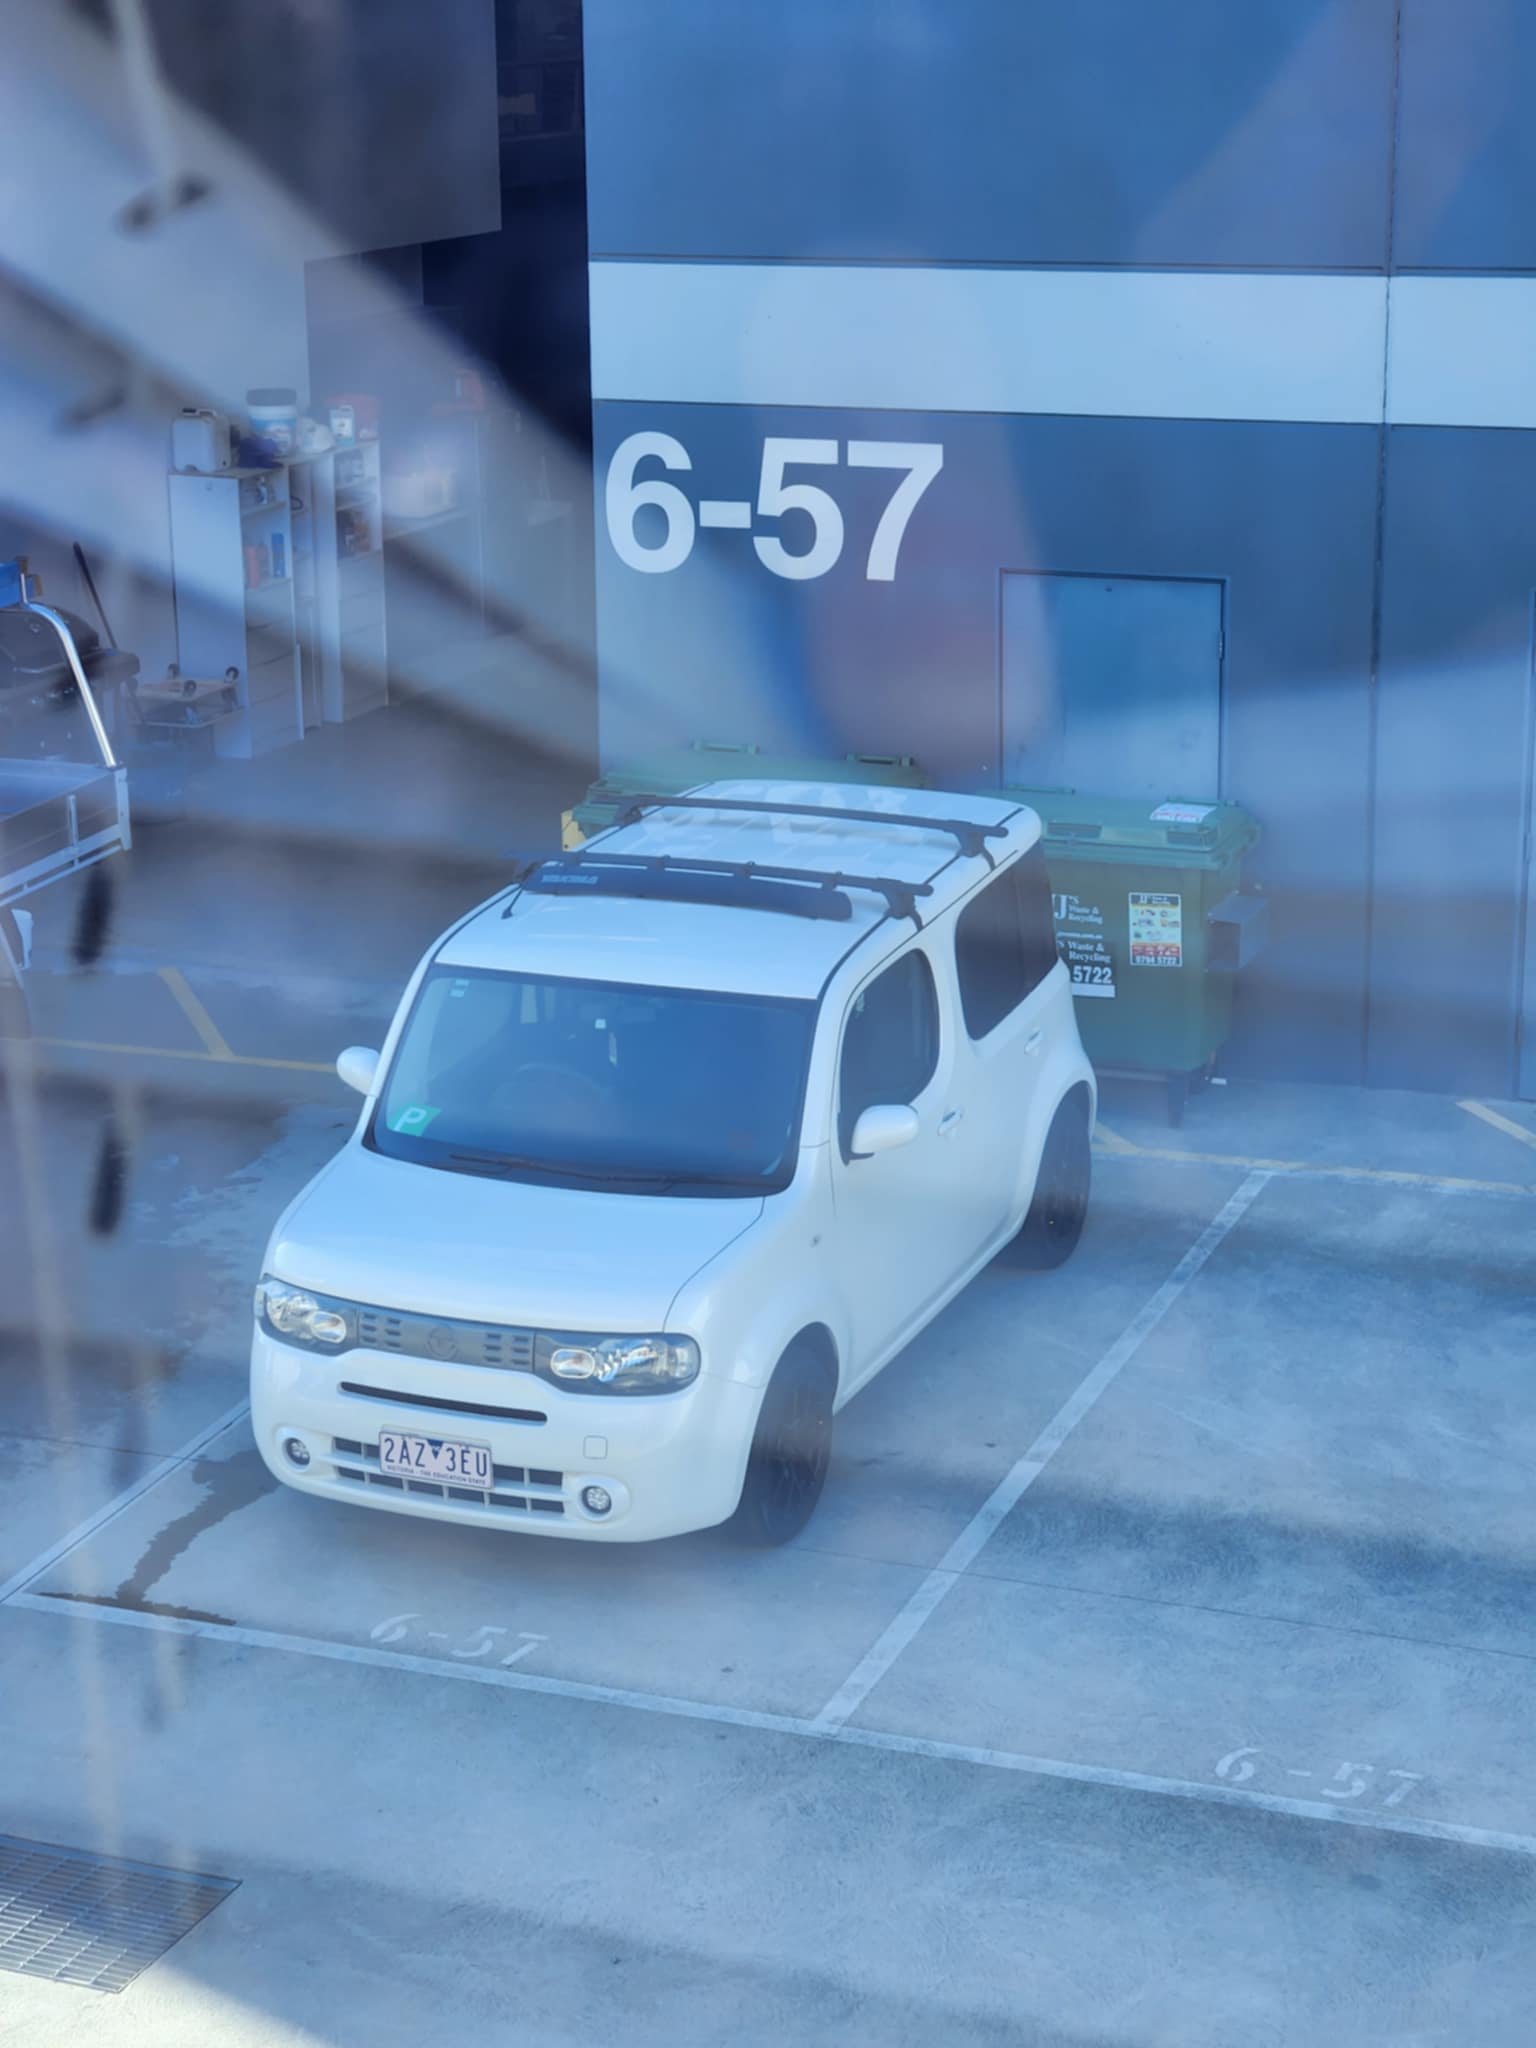
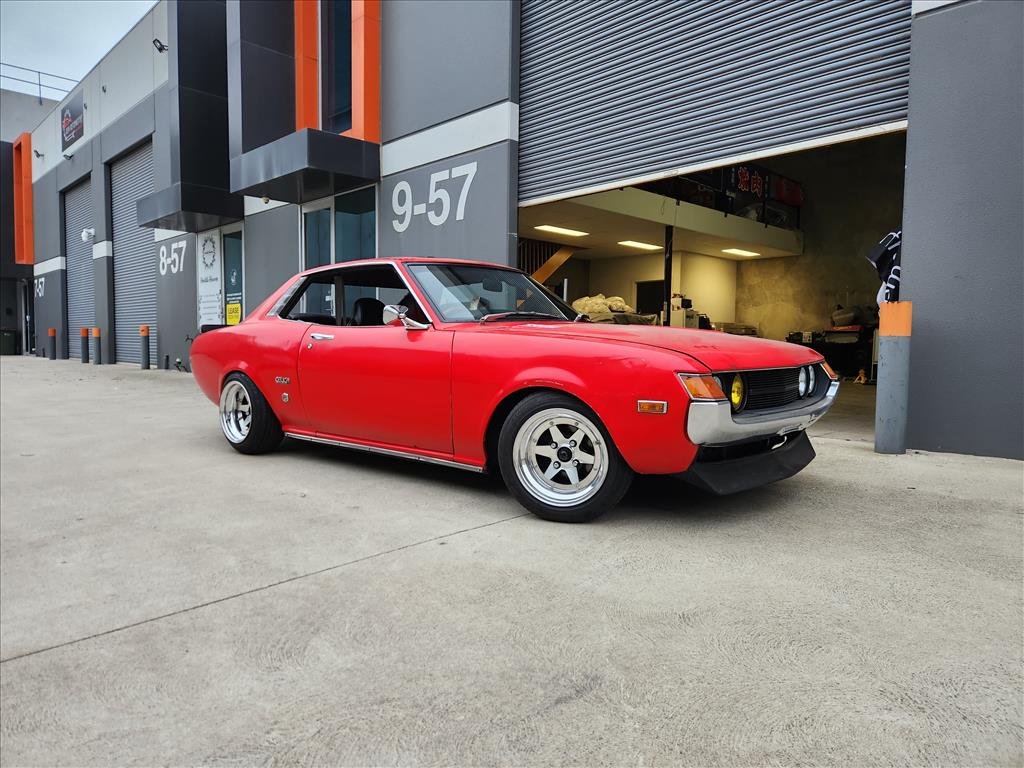
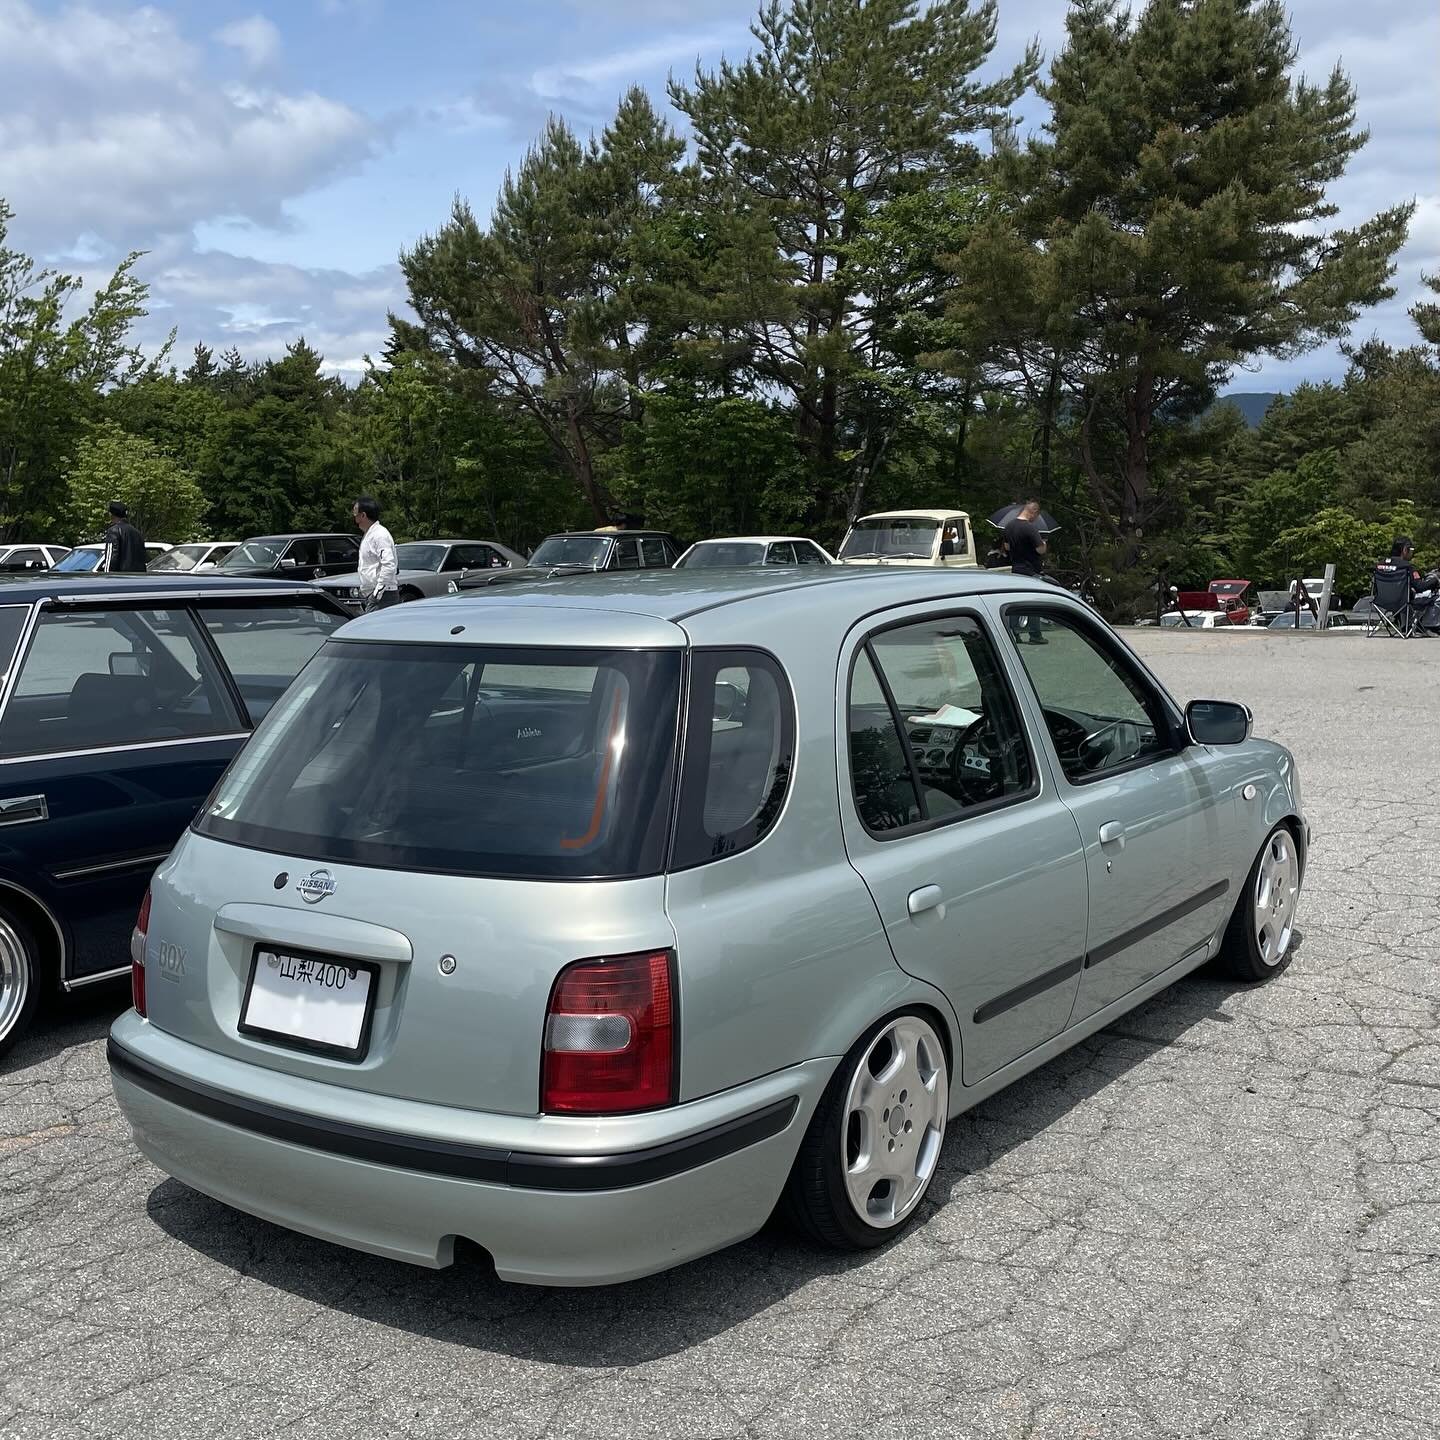
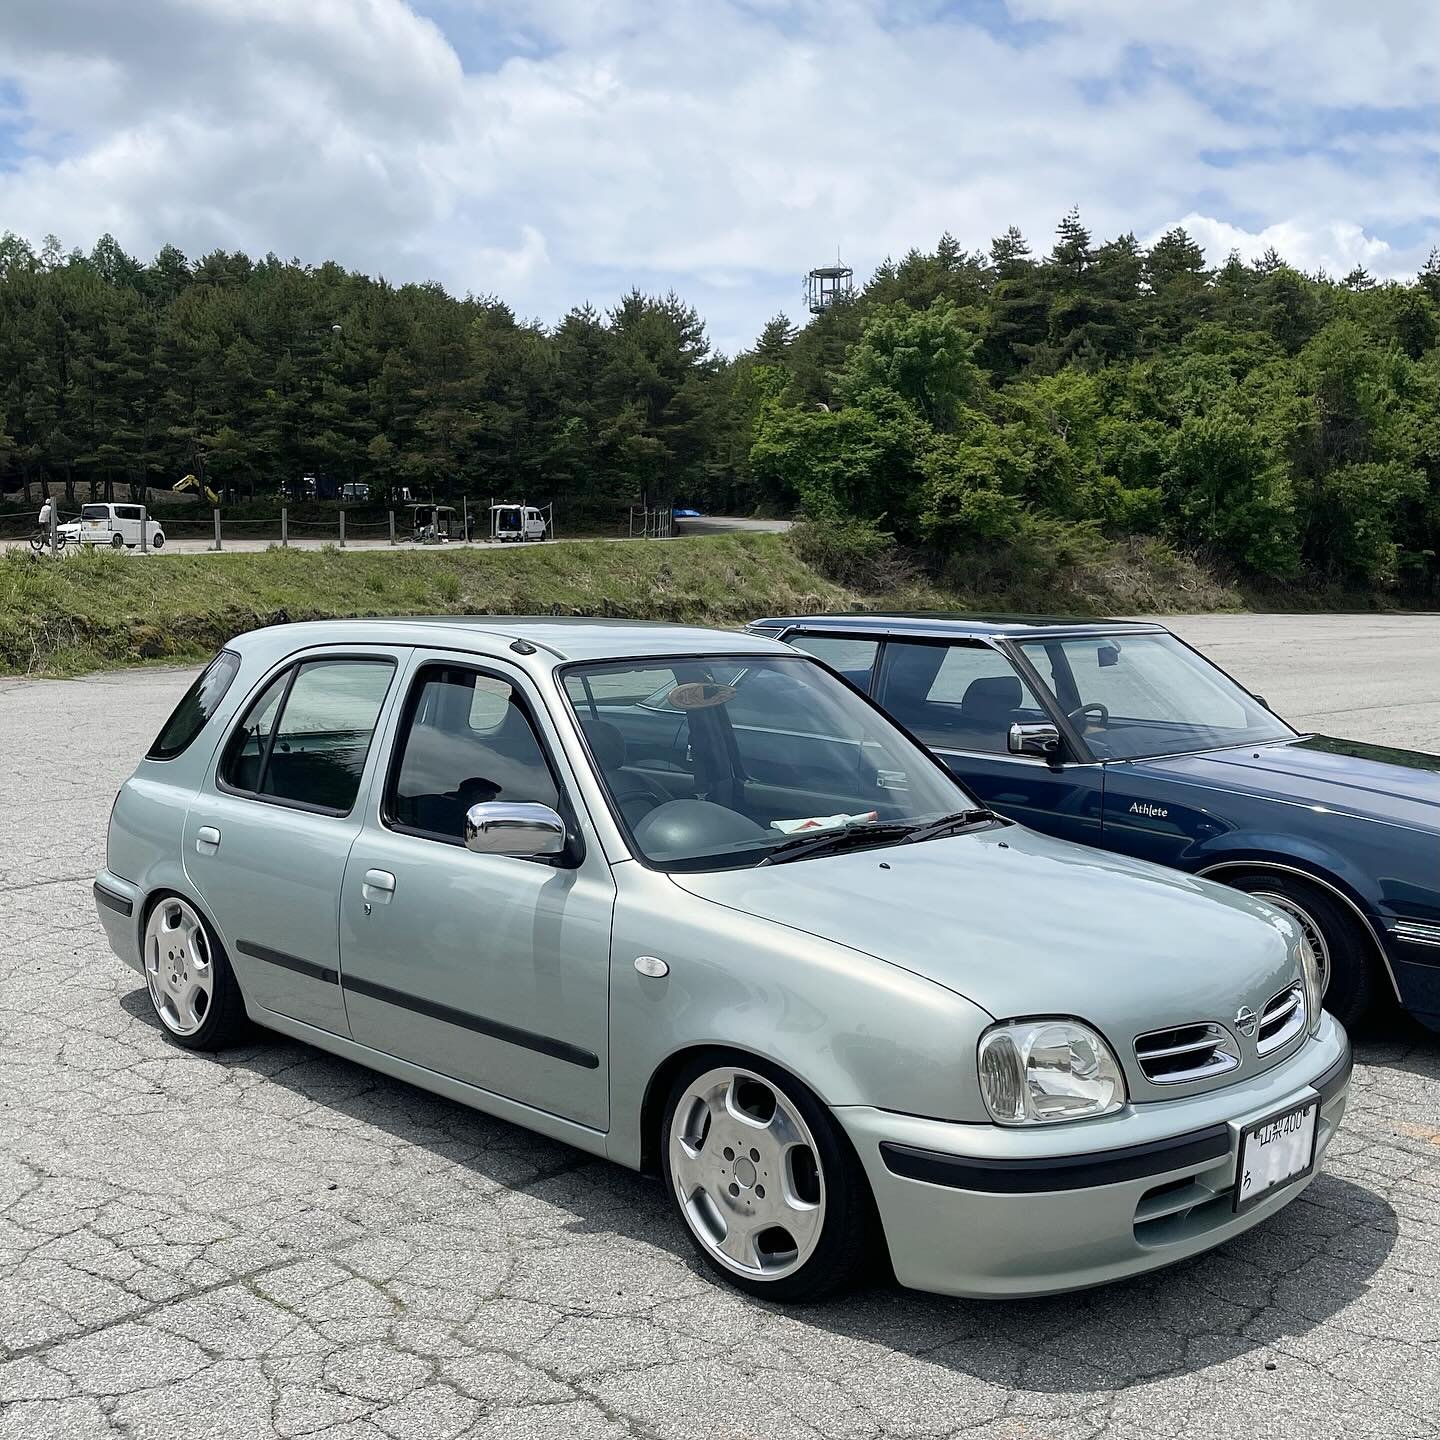
Parked next to my shop this morning
Oh damn its a Z12 lol my bad
-
1
-
 2
2
-
-
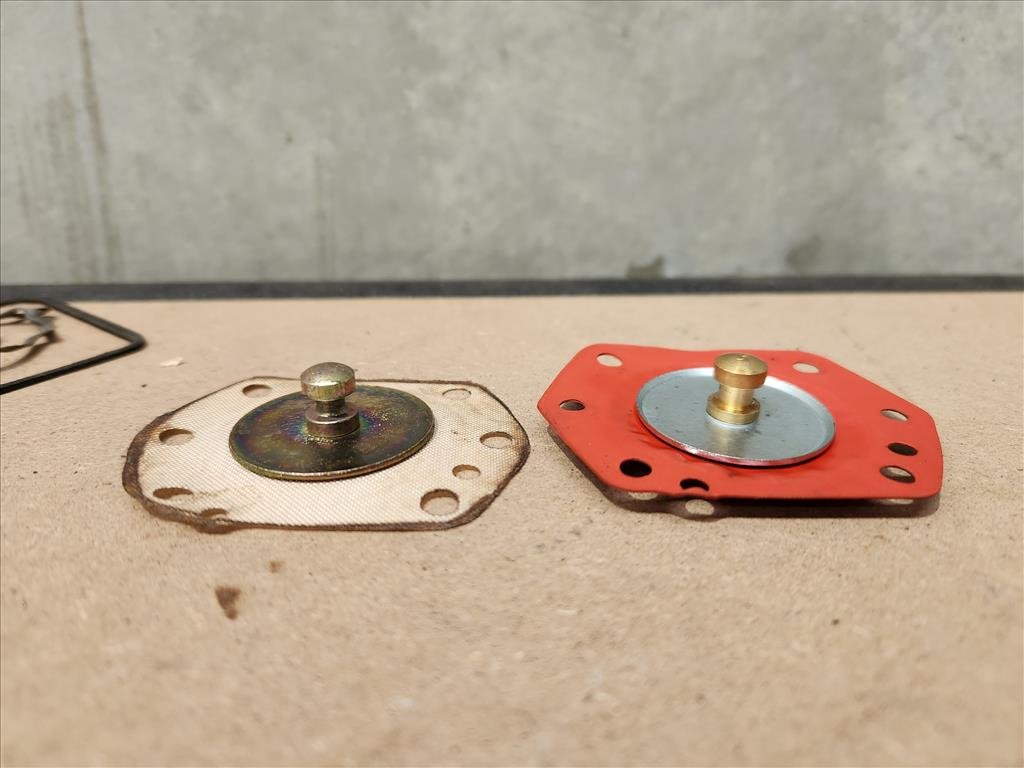
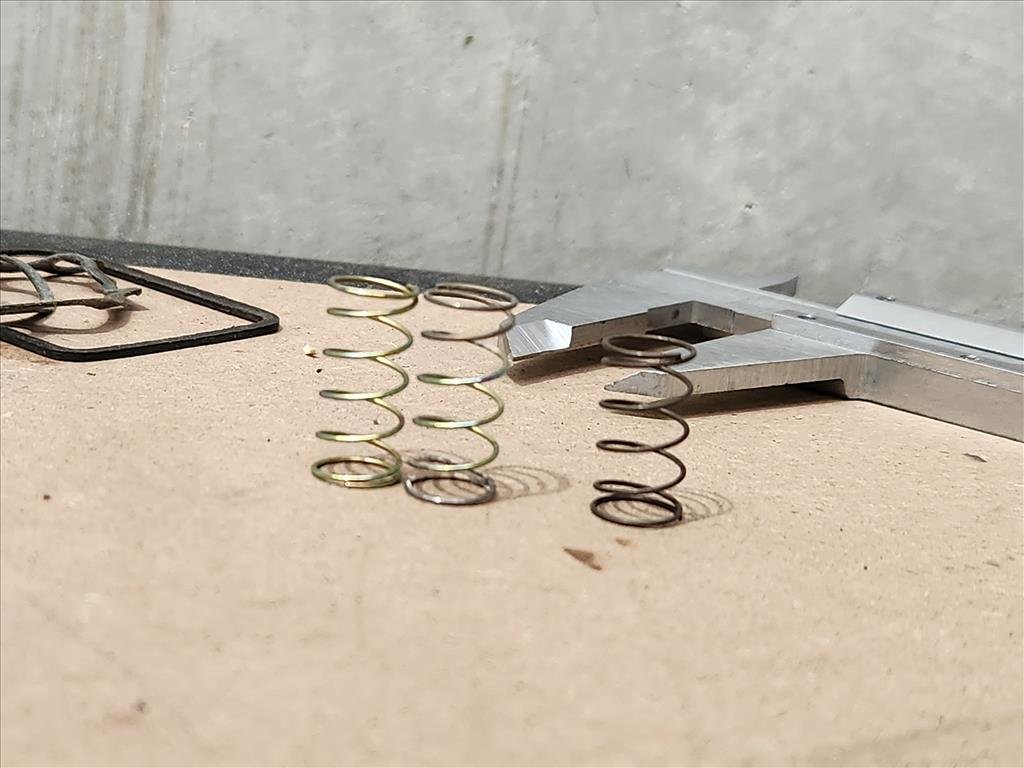
So this is the diaphragm situation. As you can see the new ones (red) are a bit different to the old ones. The height is a little different, the diameter of the metal bit is a few mm different and the spring that goes with it was different. I presume all of these things together mean no bueno. Reluctantly I have reinstalled the old ones as they didn't seem damaged, just crusty. No tears or anything.Yet to test, too many sook businesses around during the week so I'll have a go on the weekend and see if it made any difference.
One thing I did notice is there is a little bit of moisture that appears after running the cold start circuit for a little bit, not entirely sure what that is and it goes away but there's no gasket or anything there so I guess that's just how it is.Also something I learnt is there is different timing between the "early" 2T-G and "late". Mine is an early build (remember the engine is not from this car so it's been a bit of a puzzle to put together what came from where) so I have to get that back in spec again too.
-
8
-
-
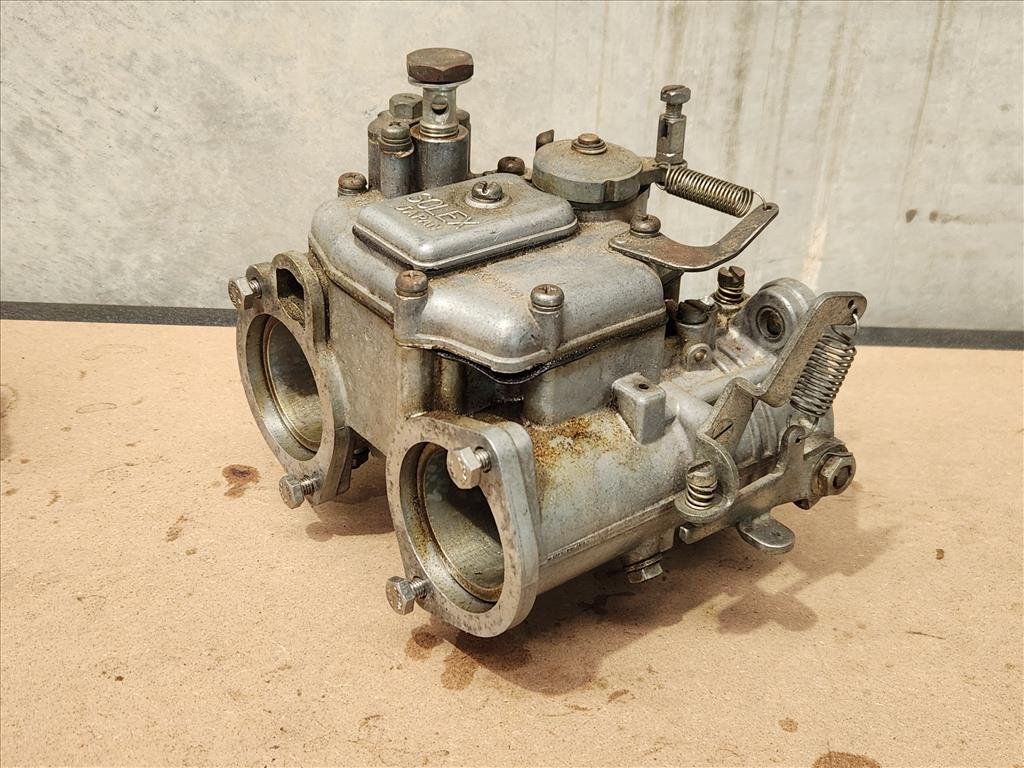
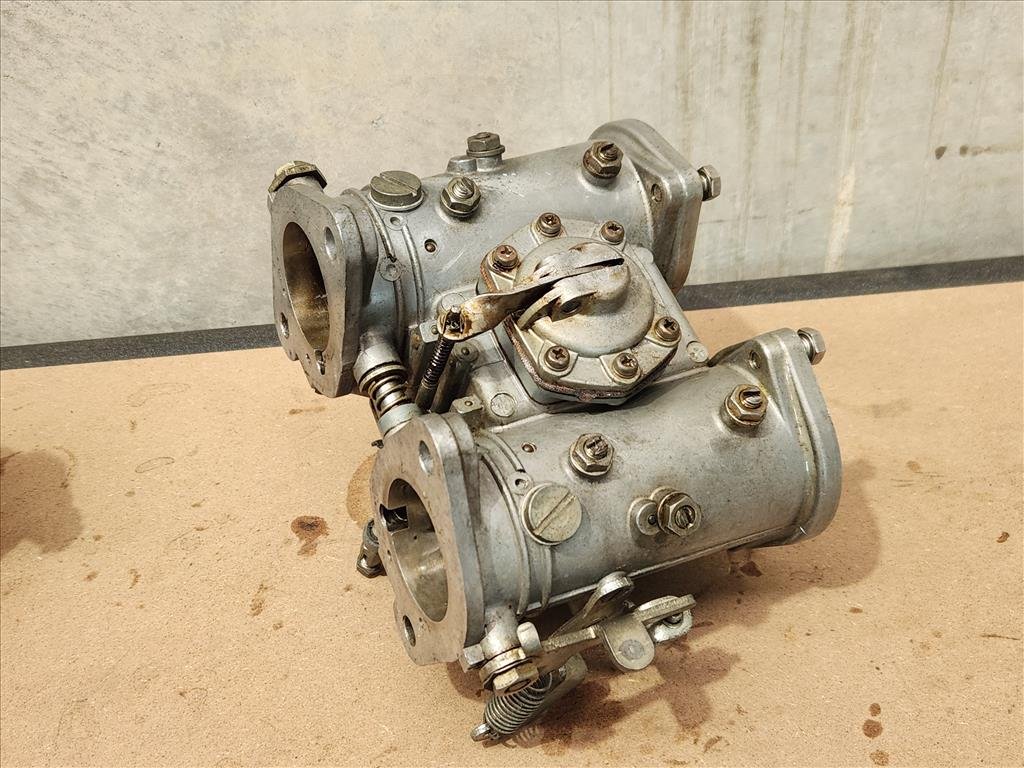
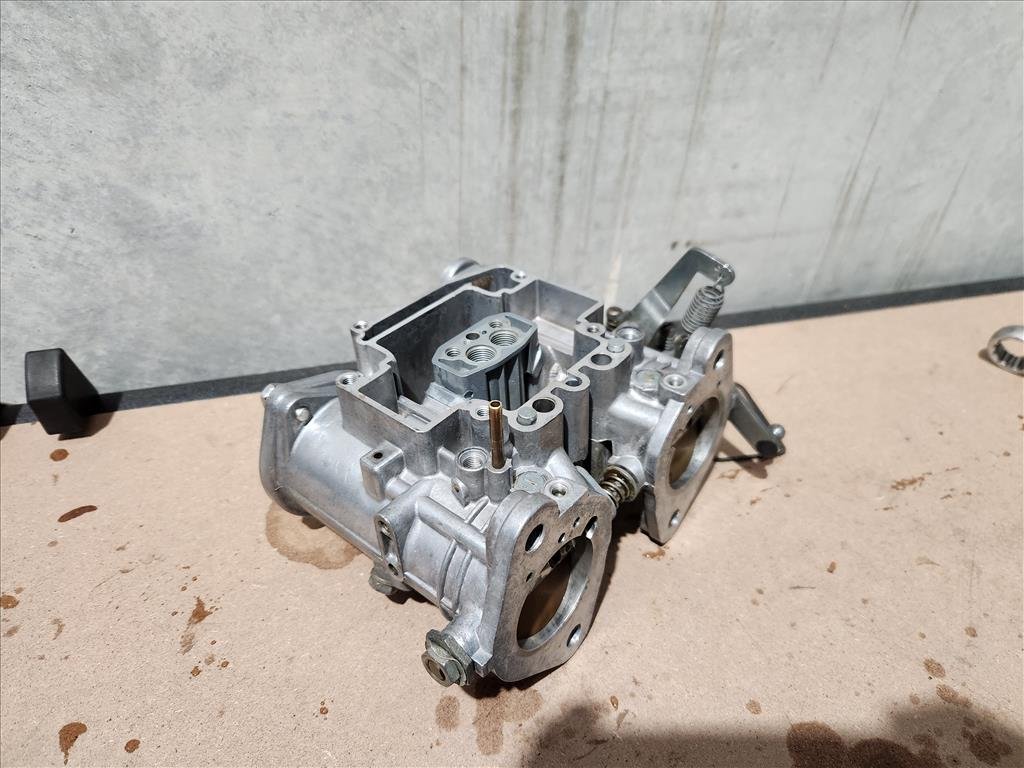
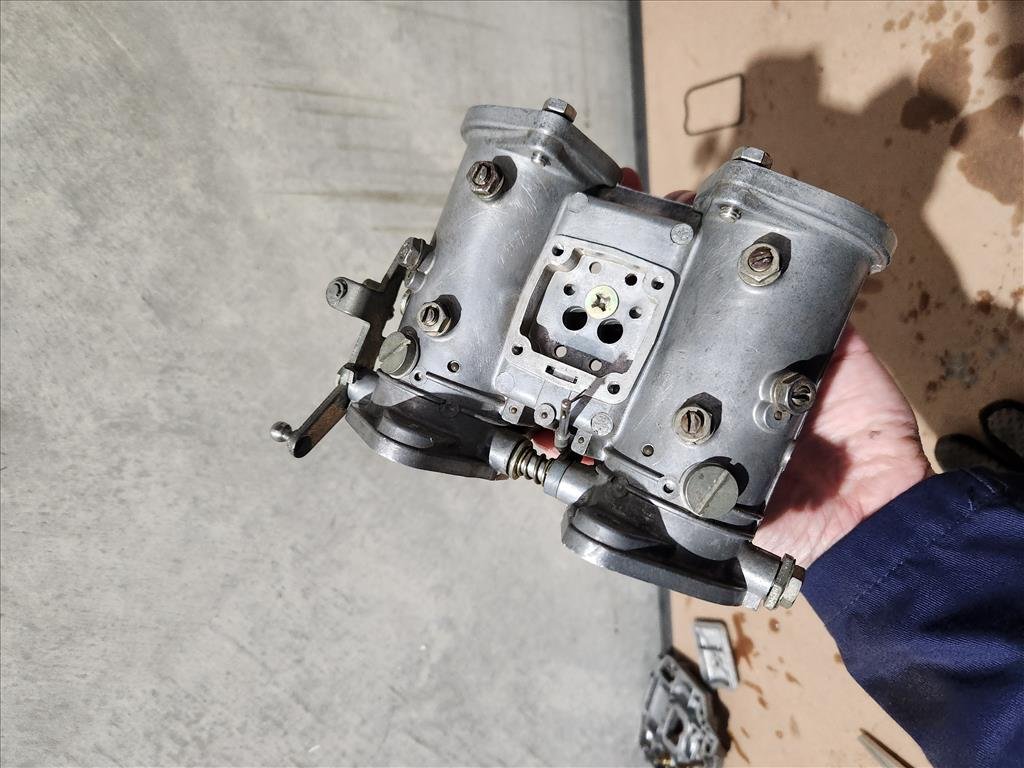
First time I've taken apart carbs before and given them a proper clean with new gaskets and inspection. Actually they don't seem too difficult but there are a large number of tiny little parts that easily go missing. This is the actual reason I purchased an ultrasonic cleaner about 2 years ago and it does an awesome job. I was just using a splash of dishwashing liquid in there, nothing fancy.
I only worked on one at a time which was good because I found a few errors along the way on the first one after dismantling the second one and ended up losing one of the tiniest washers I've ever seen. Thankfully my hoard delivered and I had a rebuild kit for a slightly different Mikuni which also used the same washer so was able to salvage a replacement from there. Once reinstalled they look great but I had to do some re-setup as I'd fiddled around with the screws and what not.
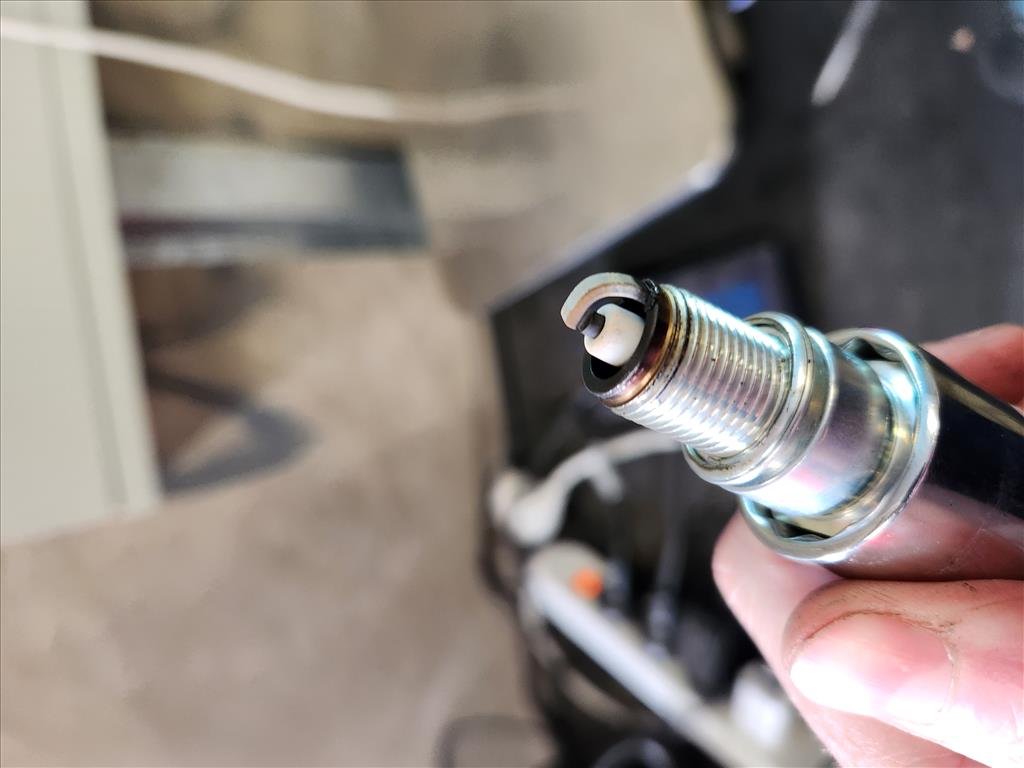
After some time it seems like maybe the rear carb is not pumping enough fuel compared to the front carb, and the car may be running basically on one carb at idle. Rear plugs looked like this.. seems lean. Front actually didn't look too bad.
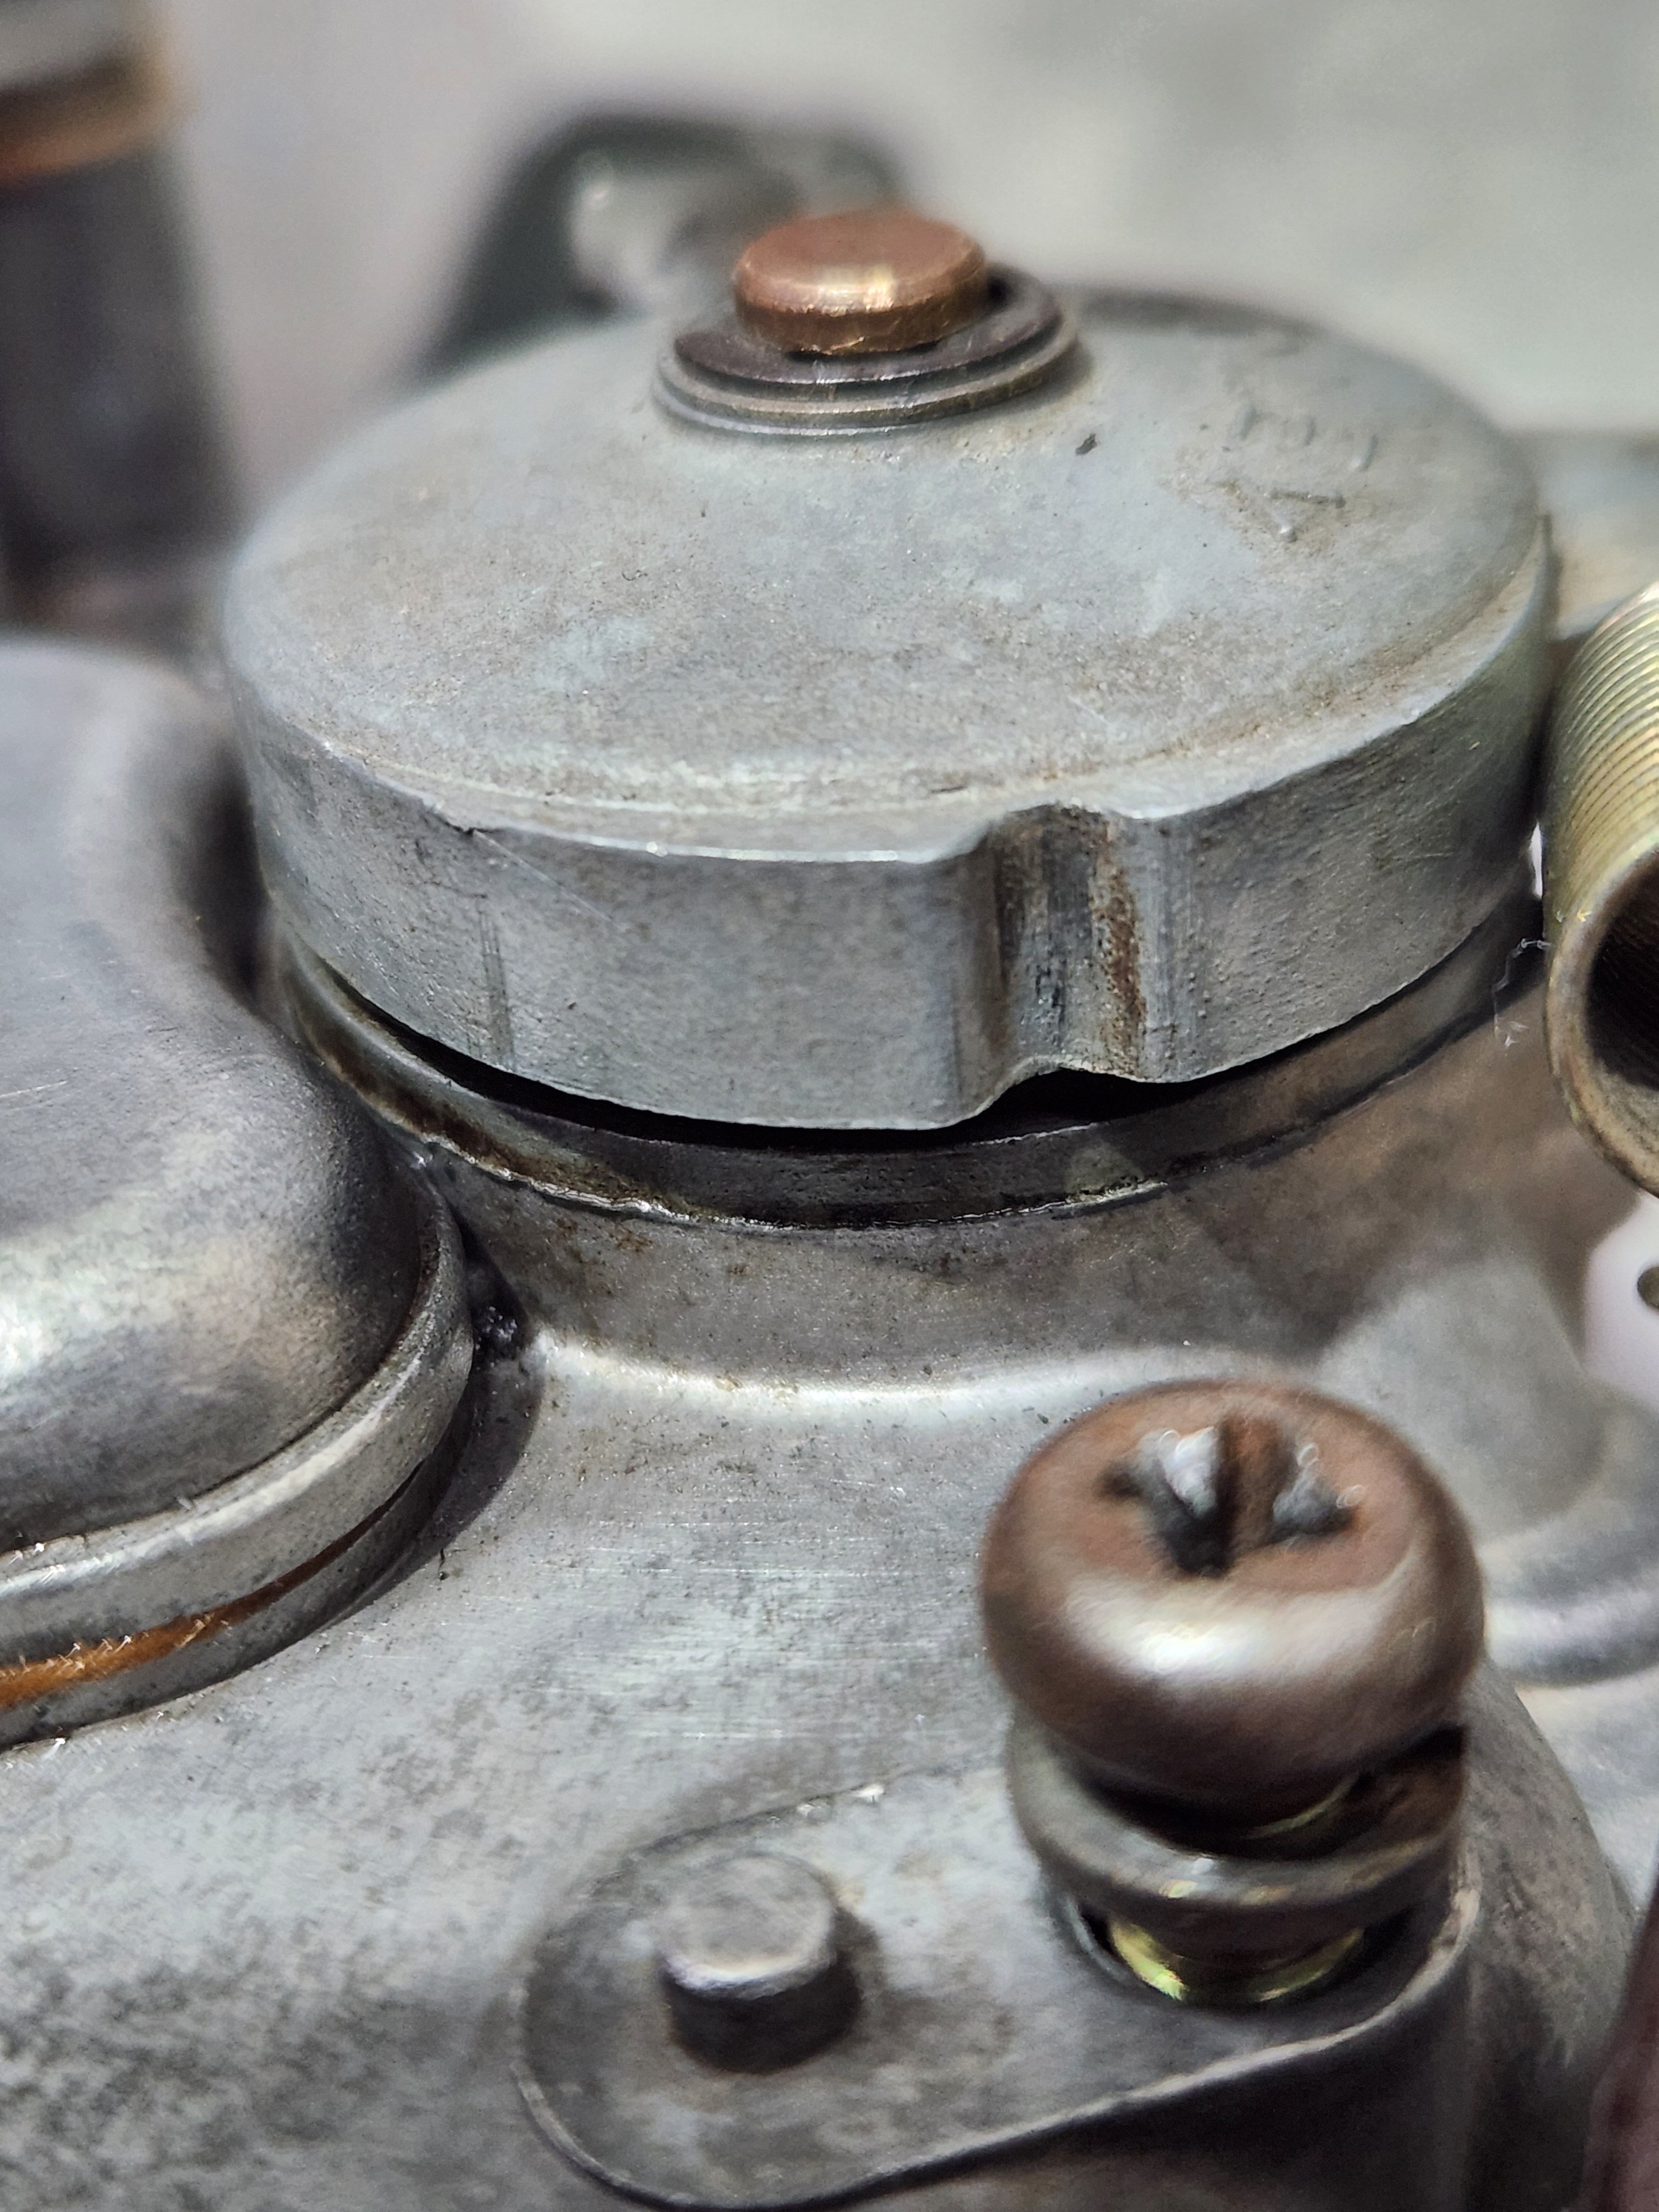
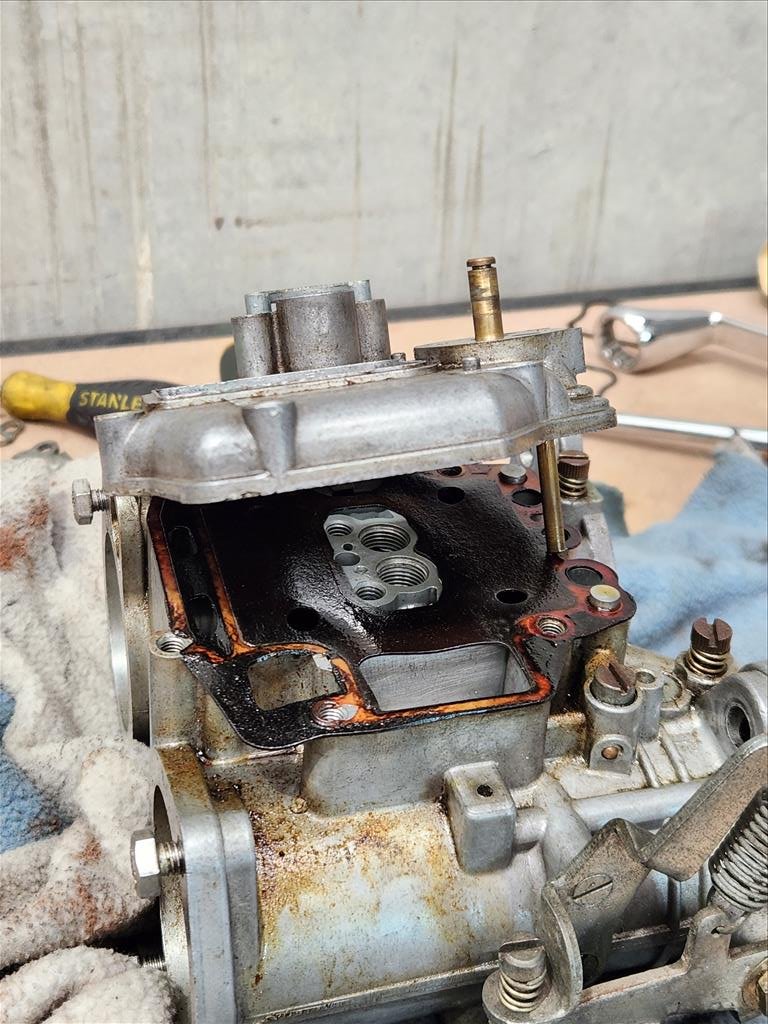
Also there's a hesitation problem coming off idle when there's a bit of throttle applied. This is annoying and causes stalling sometimes. It seems to be a new issue and the only thing I can think of that has been changed during the rebuild that might do something is the spring for accelerator pump diaphragm under this cover. In the rebuild kit I was using there was a spring included which was a different height to the one that came out. I didn't really think anything of it, just figured a new one would be better but perhaps that's the issue. Once it gets past that little bump she revs no problem.I'll get the spring changed out next week and see if that makes any difference. Also may look into getting a proper vacuum tester as the unisync doesn't really seem to tell me much aside from front carb is pulling vacuum, rear carb isn't nearly as much. Aand despite gooping the exhaust up, there are still some leaks so suppose I'll have to break out the welder again and try fix it properly.
If anyone has additional ideas feel free to post them in yarns thread.
-
8
-
-
- Popular Post
- Popular Post
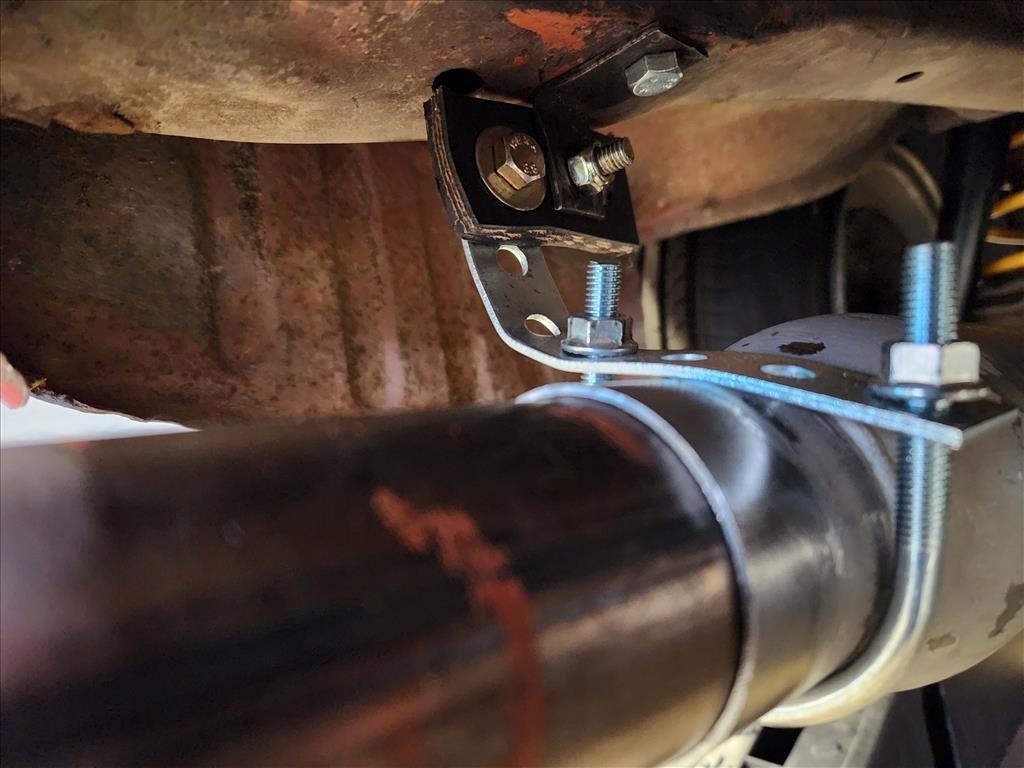
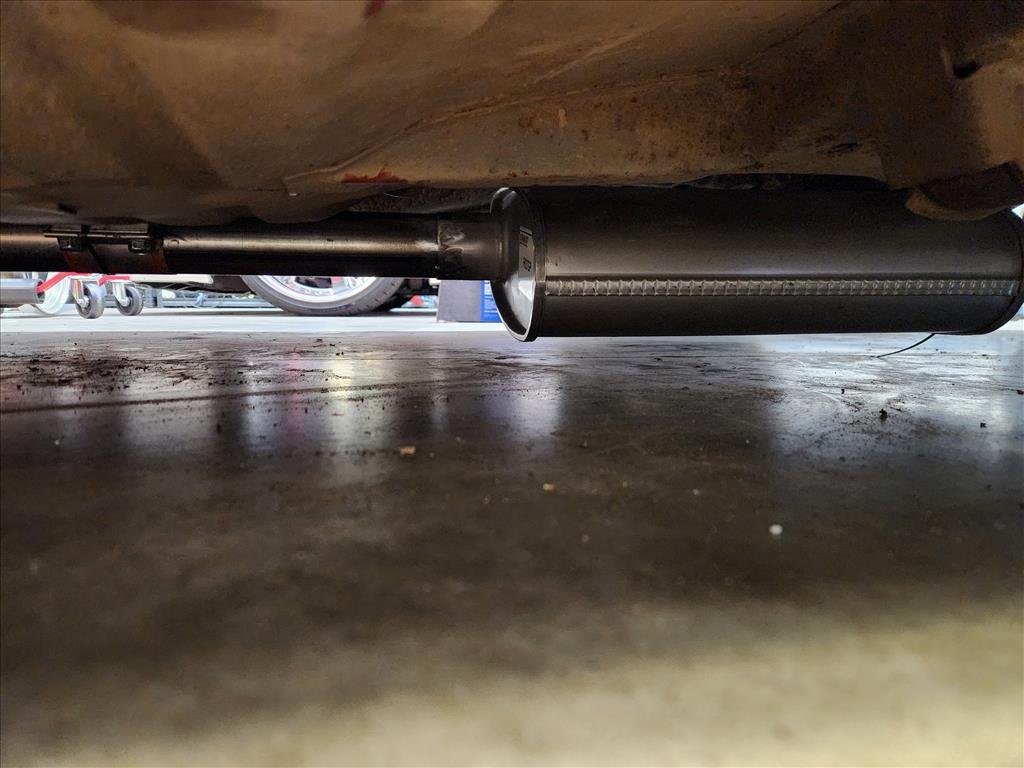
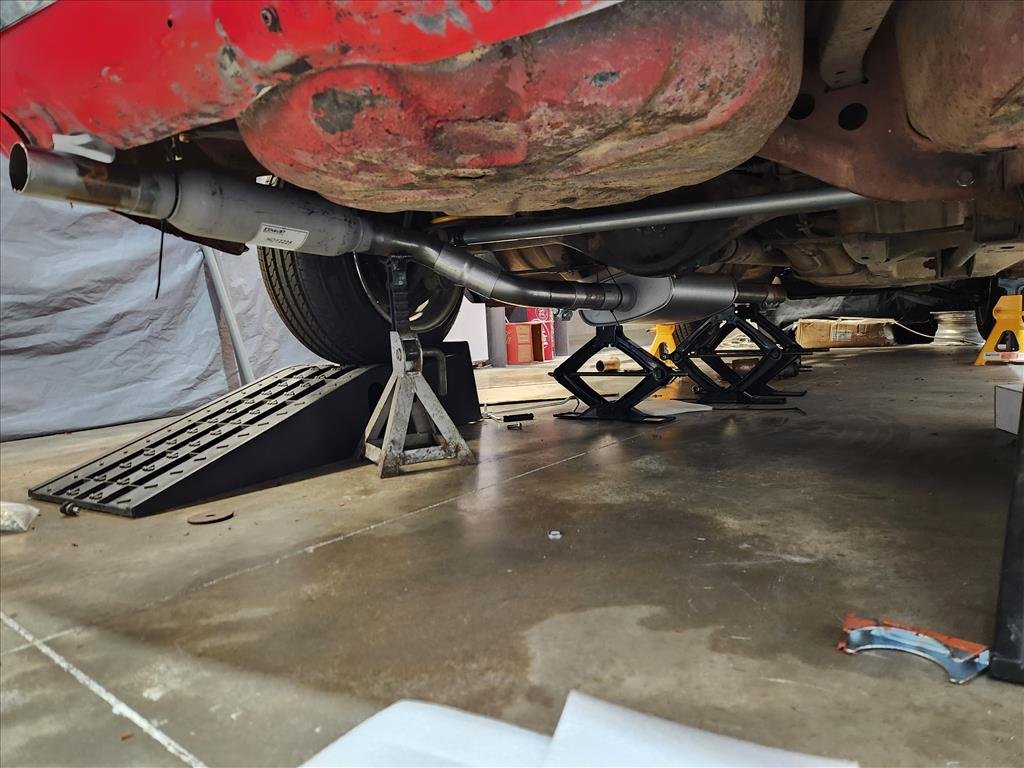
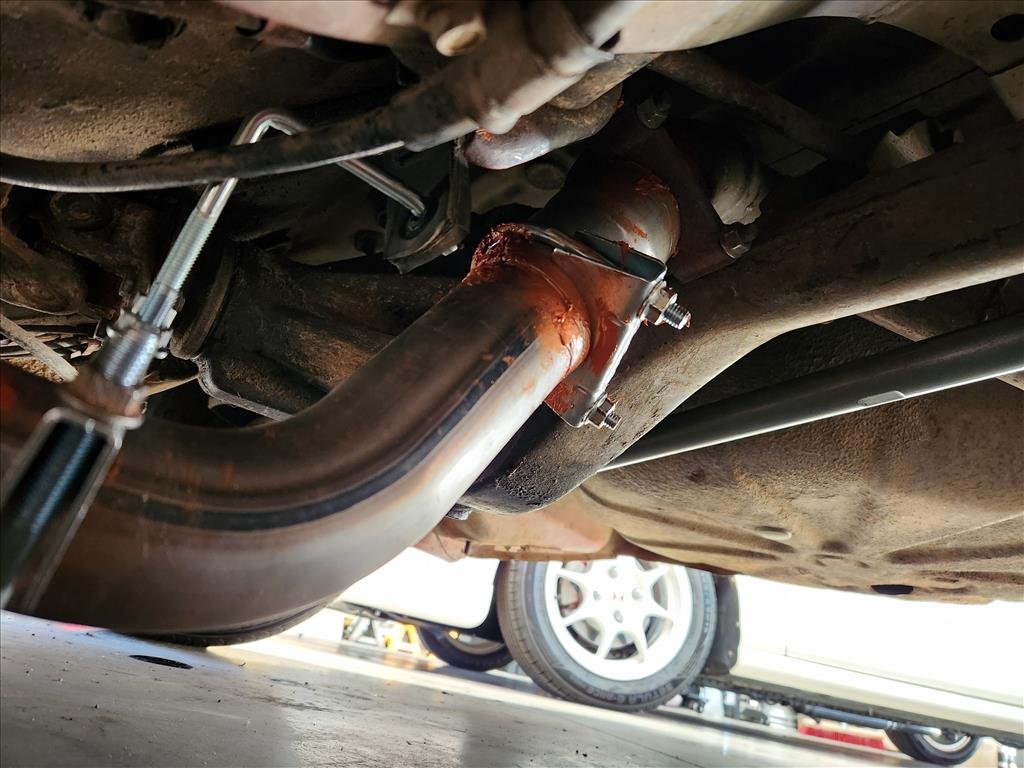
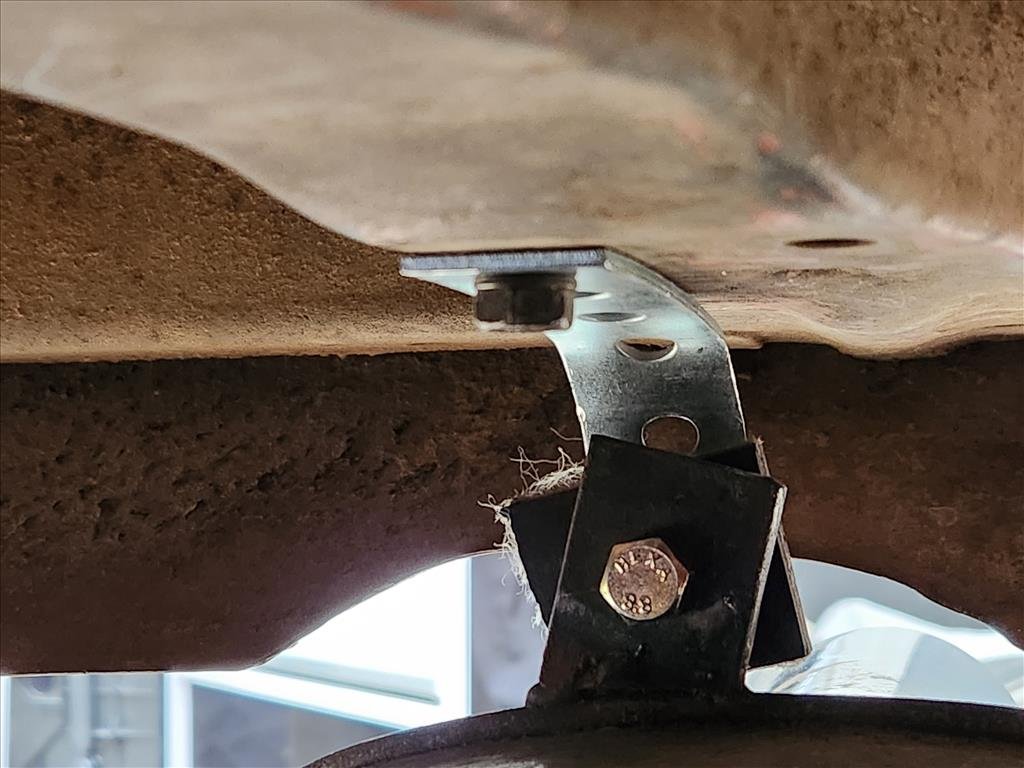
Finished up (pretty much) the exhaust today, ground clearance is much better. The front flange which was there from previous is still a bit low but seems to be a minimal issue. I might have to rotate one of my slip joins around but otherwise I'm most impressed because there are less leaks than I was expecting.
I worked out a couple of questionable but working hangers and took it for a blast around the block. Does it look good? Not really. Does it sound good? Questionable. Quite raspy. I have a small cat converter I might put in to see if that does anything. Anyway, considering I'd never welded before this I'm happy with the result. This is also the first time I'd actually had the car on the road with the front "coilover" sleeves installed and while it's no Rolls Royce it could definitely be worse. Not sure I'm in love with the middle mount touching the handbrake cable but it's rubber on rubber so not super worried.
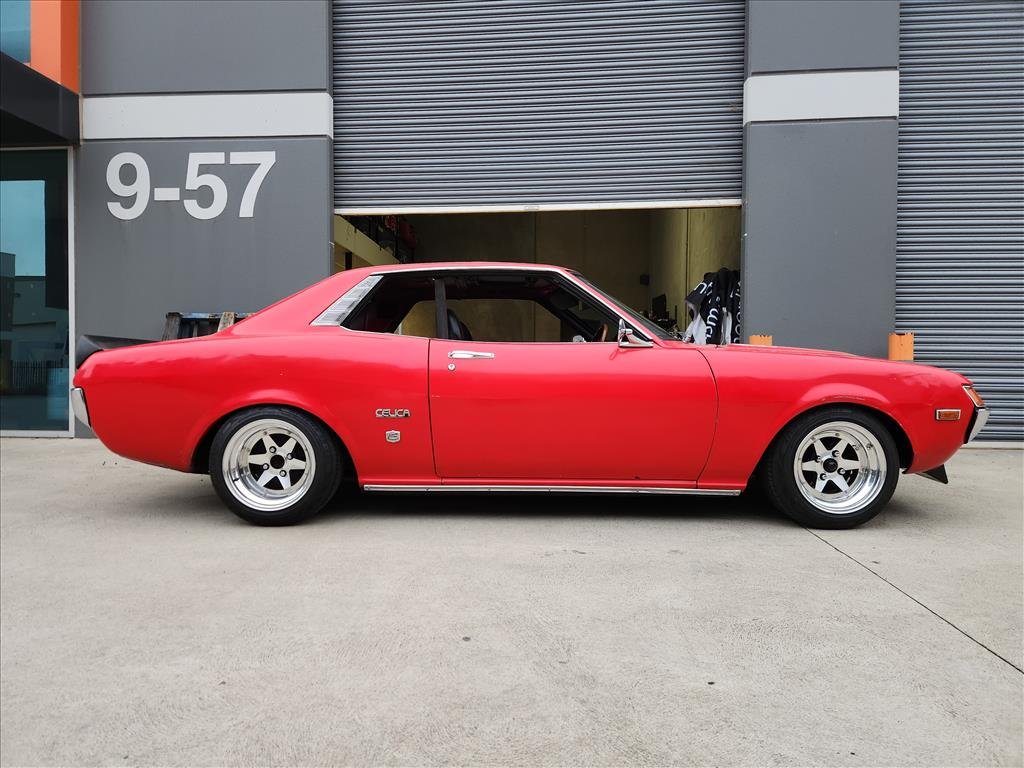
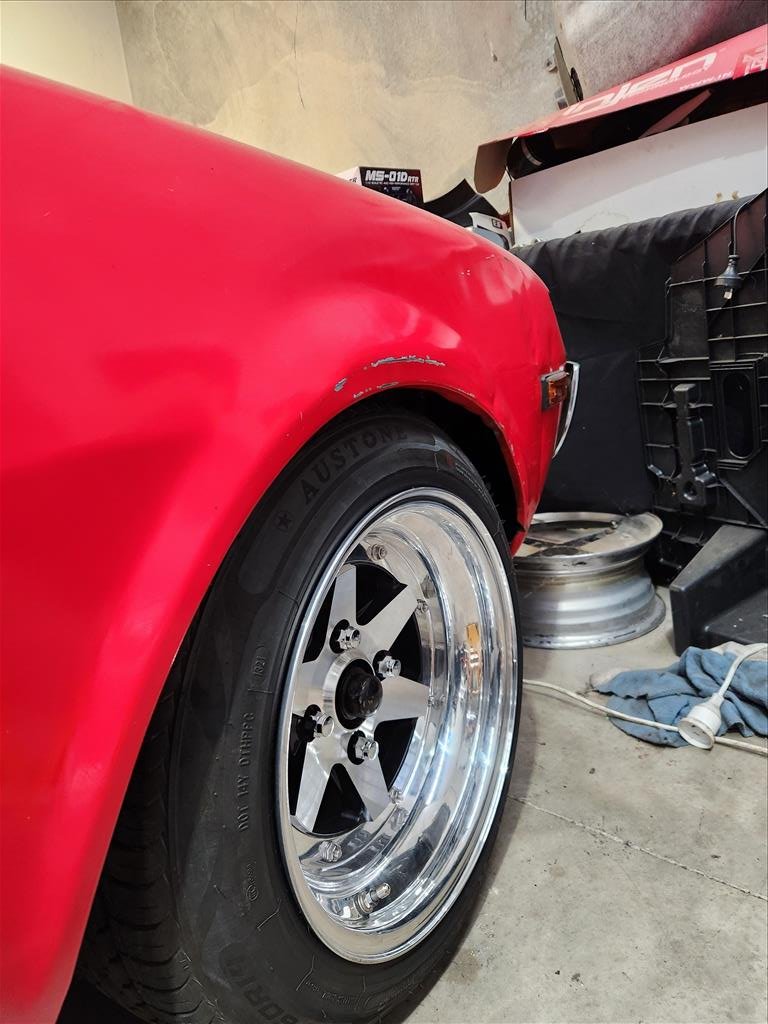
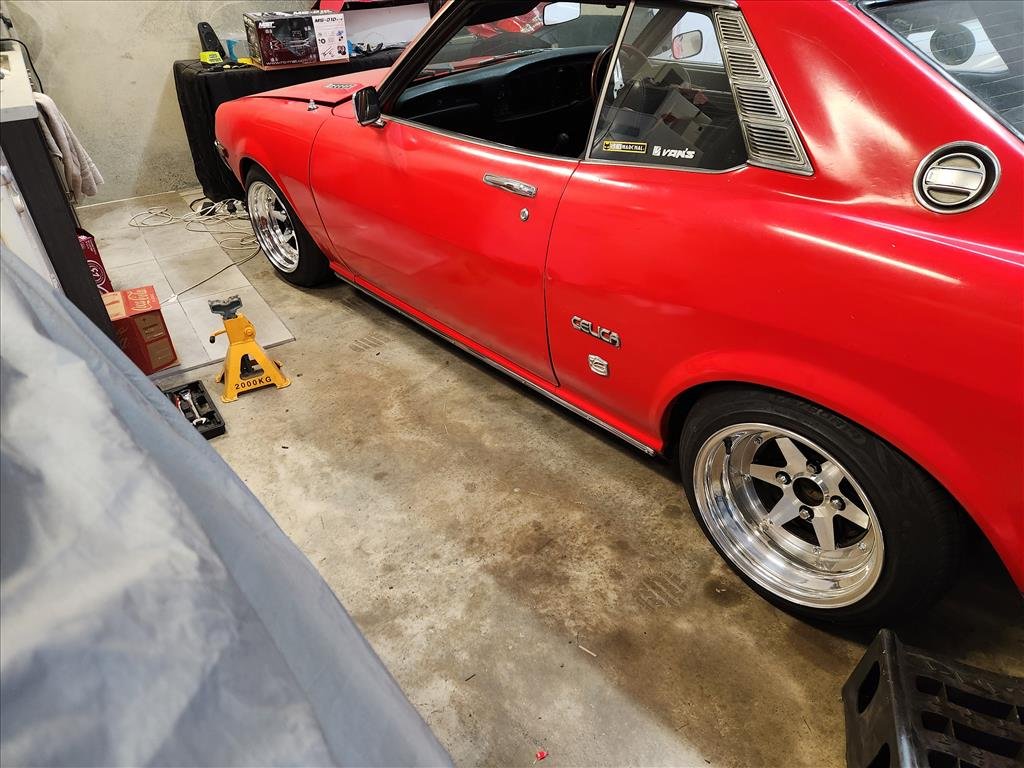
It definitely looks the part now I've finally got the front pair of Longchamps widened and fitted. Could even run a small spacer on the front to get it sitting a bit more flush. I can run full lock to lock without rubbing though so maybe I'll leave it for now.Onto the next task - The carbs.
-
17
-
Didn't know this existed

-
8
-
 1
1
-
-
-
- Popular Post
- Popular Post
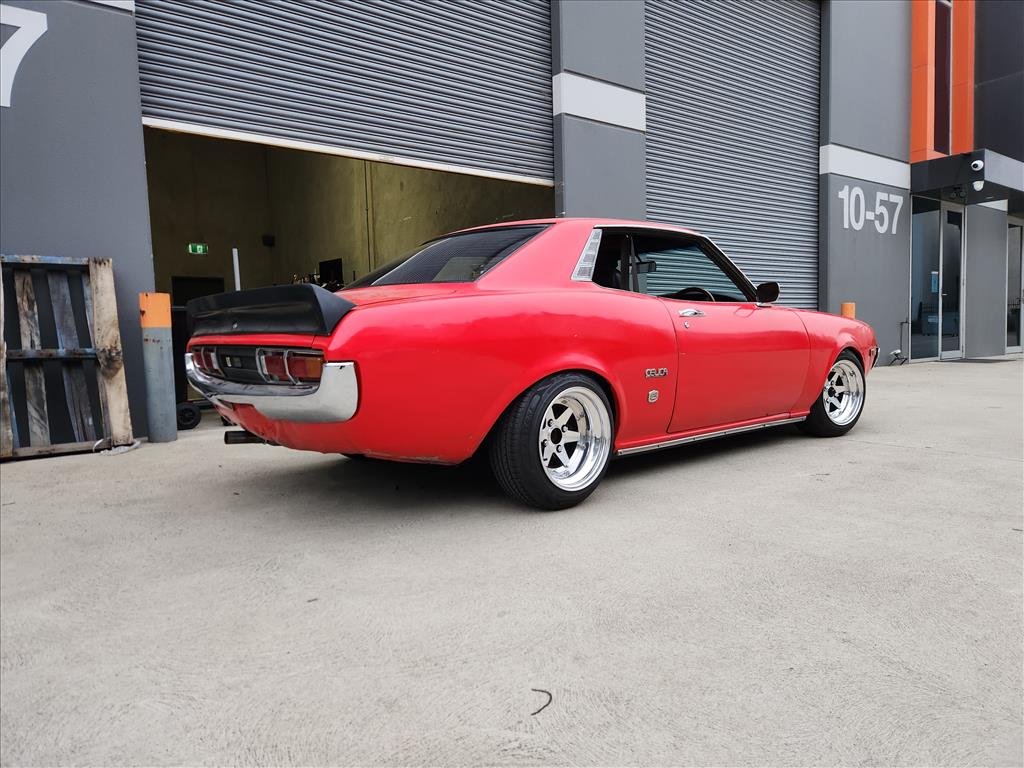
Back to Celica coverage now with the ongoing self-inflicted exhaust program. I decided to drop it on the ground because there's no point welding it all up if it's no good right?
Sort of to be expected.. the giant muffler is basically the exact same as it was before so that's gotta go!
Onto the good news now, the front pair of longchamps are finished! They fit up great and I can probably even run a small slip on spacer to get them to sit out slightly more but I reckon they're not half bad.Once the exhaust is finished I'll be able to move it from it's corner location for better view.
-
11
-
- Popular Post
- Popular Post
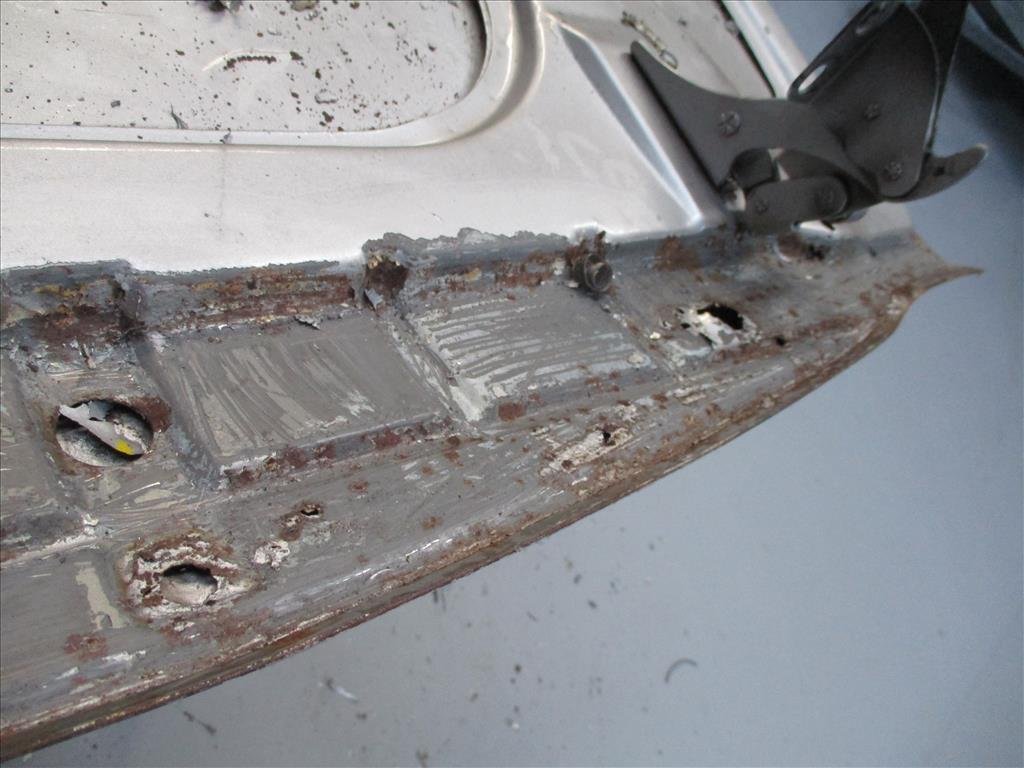
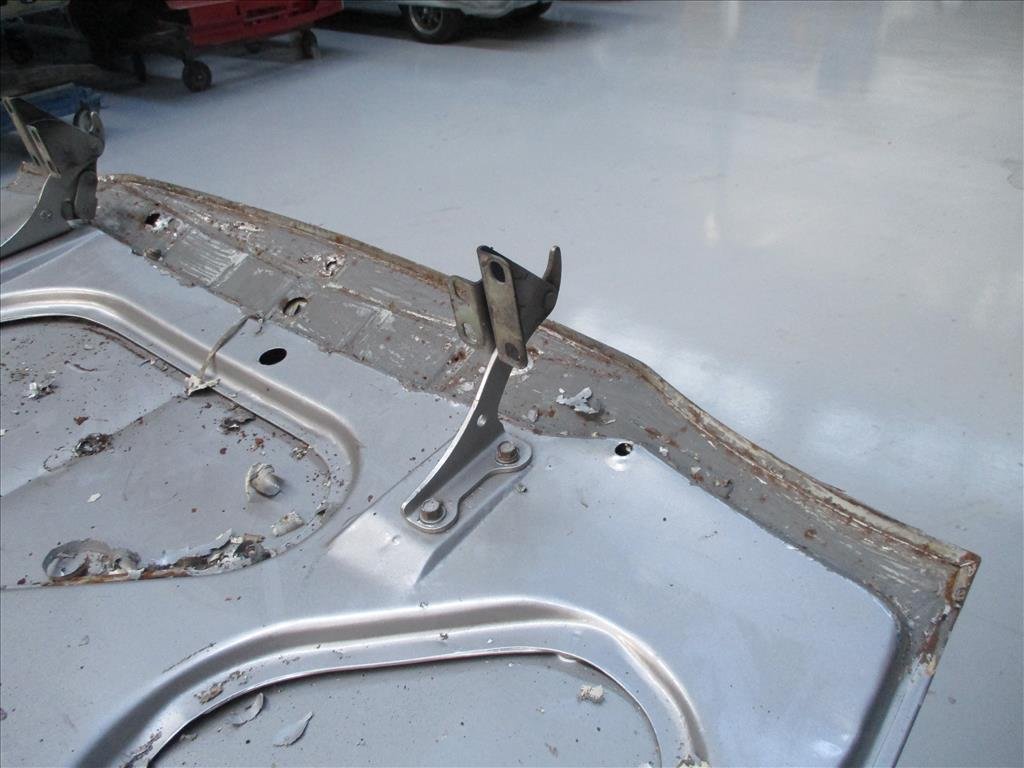
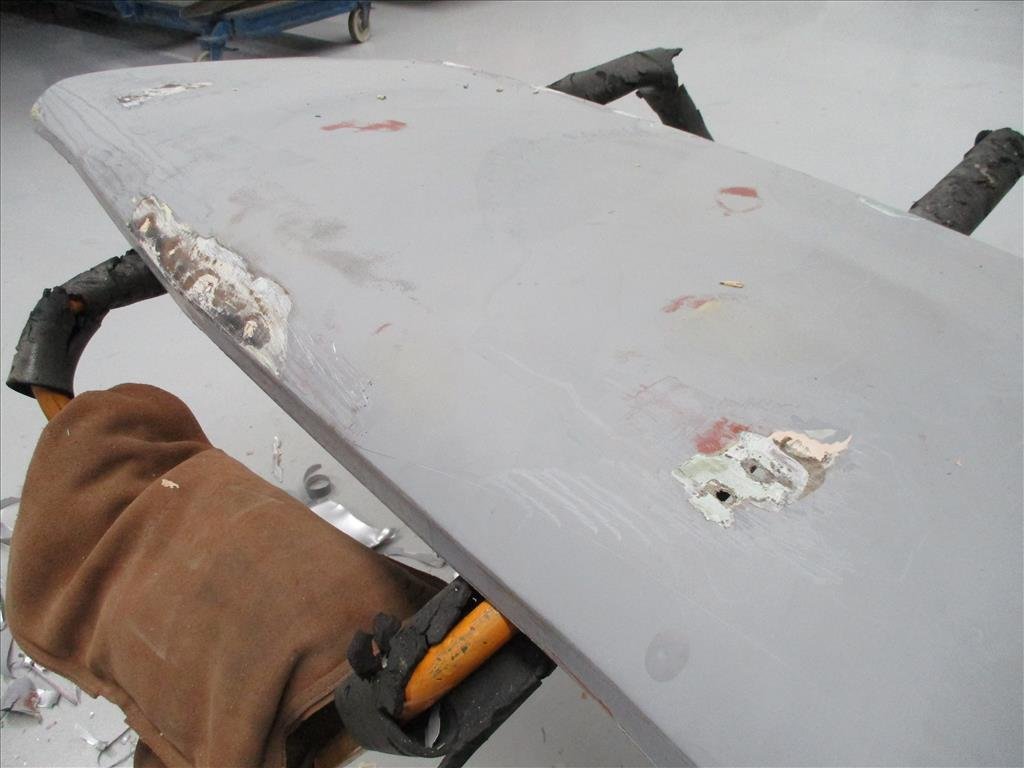
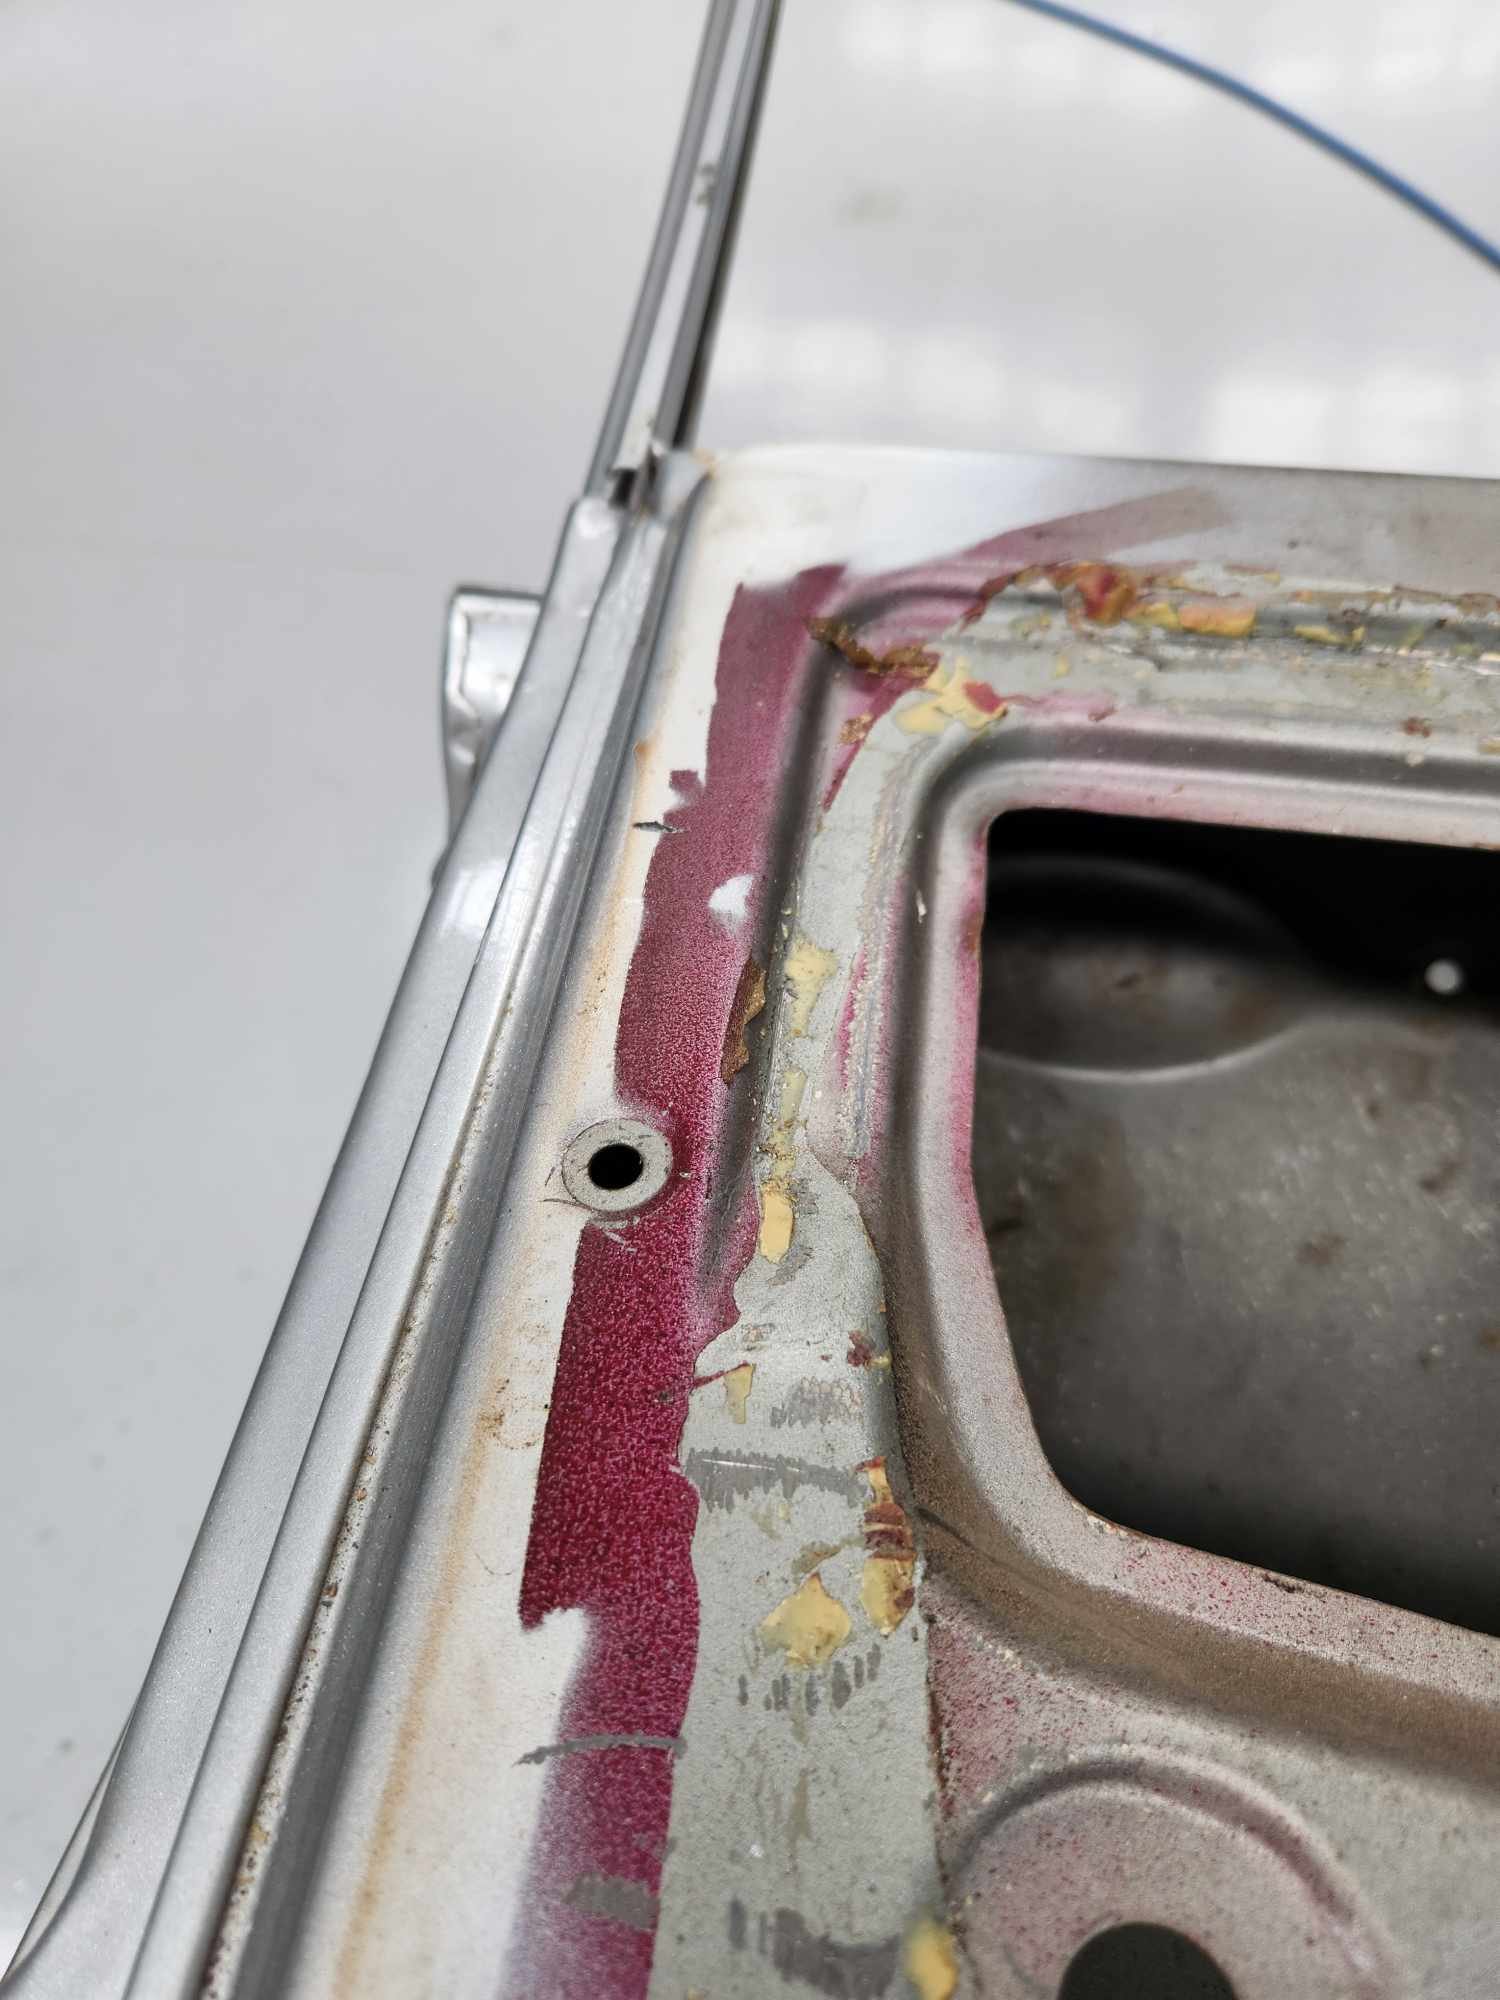
Oh it's been a while since an update from panel Barry as he's been doing some other work while we've been deliberating how to proceed. He's spent a lot of time stripping down the bolt ons. Interestingly the front guards have bolt holes that were bogged up from flares in the past, as well as some other repairs.
The guards themselves are fine, they'll easily work. The bonnet has rust inside the frame so a little tricky. I may look for a fibreglass bonnet to replace it as those are easily available, but then it comes down to cost vs having it fully repaired. It might not work out better either way. Depends what shipping might cost as the bonnets are around $5-600.
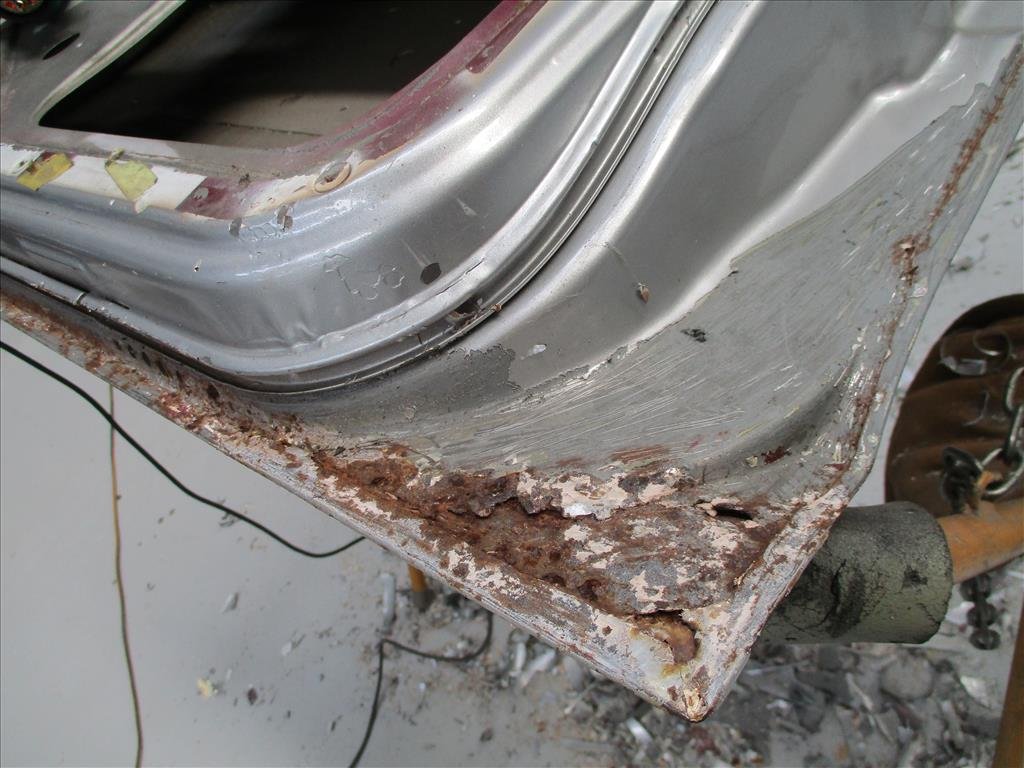
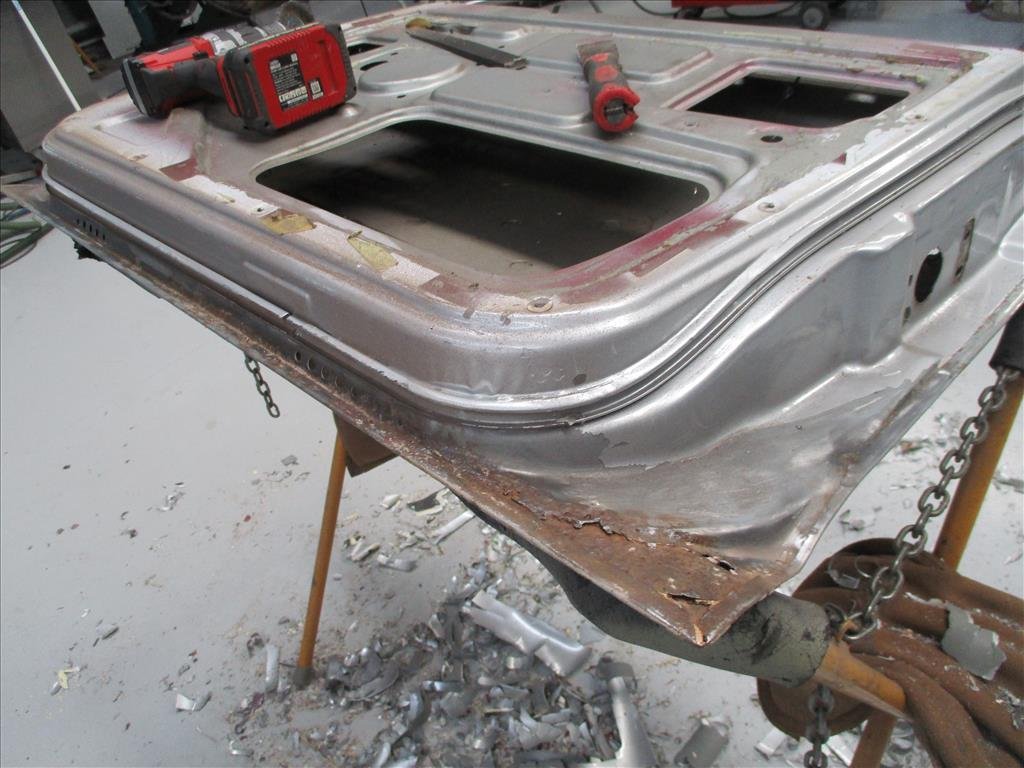
The doors are a bit of a larger issue as in order to completely fix this 100% properly they would need to be split. Something that you would do if it were a Ferrari or something but for this it's not going to be cost effective. I don't think I'll be able to quickly find better doors in Japan as they're probably all cactus so the other option that was proposed is to patch them up best as possible and think of it as something to approach again in a few years time. Panel Barry is confident with proper sealing and decent patching they'll last a long while before they become an issue again.
The boot also has some spoiler holes which were bogged up so they'll just get filled as I don't want a GT-R type spoiler, it's not a GT-R.
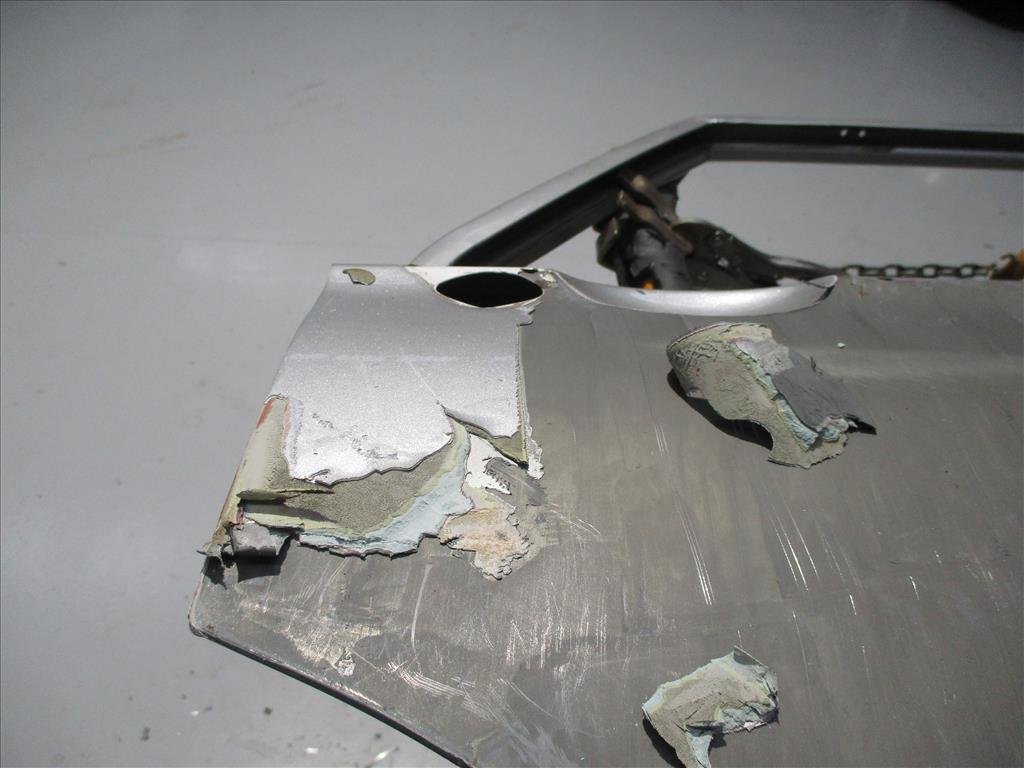
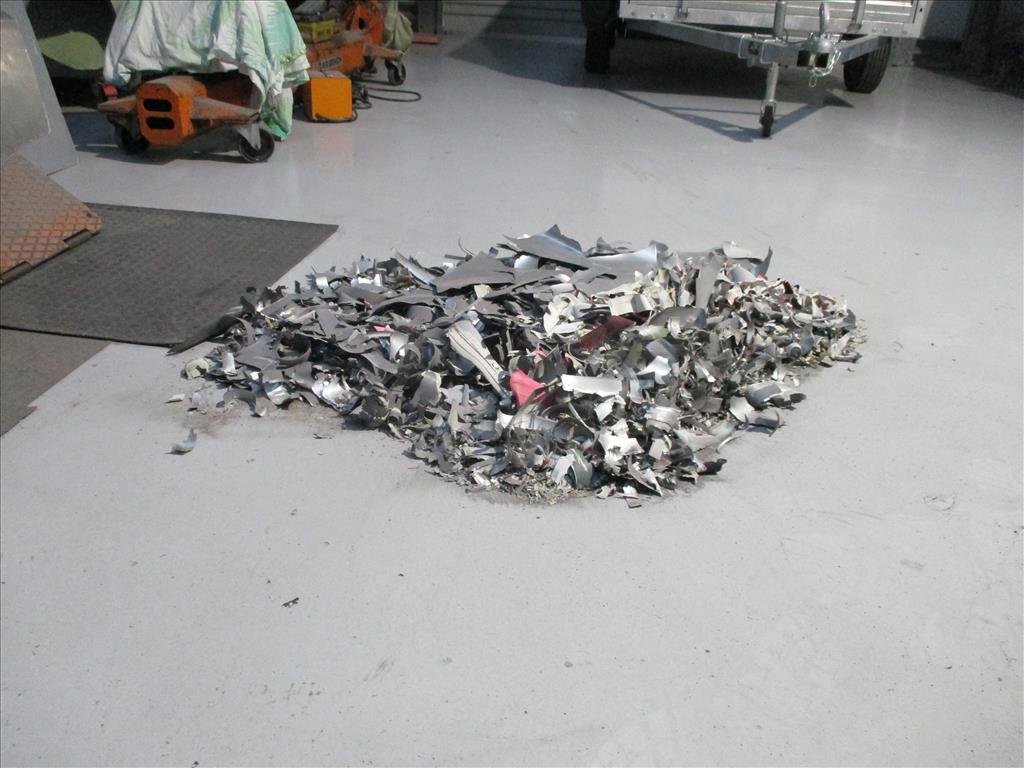
You know that scene in The Joker where he lights the money on fire, that's what this reminds me of.I must say bog artists should be celebrated sometimes, master of sculpting.
-
14
-
-
- Popular Post
- Popular Post
Well it's taken like 6 months to get this far but I think this will be the layout for the first (no doubt there will be many revisions) iteration of this new exhaust.
Basic layout is header flange>flexi>s-pipe with a weird slightly up angle>straight pipe>muffler with offset ends>some fuckery>hotdog>end. Haven't yet worked out the tip but I feel like thats fairly low priority.
The giant muffler is wonky on purpose, it looks a little more exaggerated there but once I tighten things up and do some welding hopefully I can get it in about the right place. Seems like nobody makes an off the shelf muffler in the size/style I want so have to make do. That giant muffler might still hit the ground which would mean I'm really no better off than 6 months ago but we'll see. From occasional cursory glance from the sides it looks like it hangs down less overall.I also need to work out how to do hangers too.. oh and figure out butt welding properly without blowing through everything as well as order in a couple of 2 bolt flanges to make separations.
-
12
-
-
On 04/04/2025 at 15:06, Nominal said:
Cousins?
Same car when you remove the body. Weirdly the GS looks quite a bit wider, maybe perspective?
-
With the LS600 you want to run it in sports more on the suspension, makes it feel less boaty. Same issue I had with LS460, and also the Majestas with air suspension.
-
As someone who has a Nismo note, those wheels look way better on the cube !
-
4
-
-
- Popular Post
- Popular Post
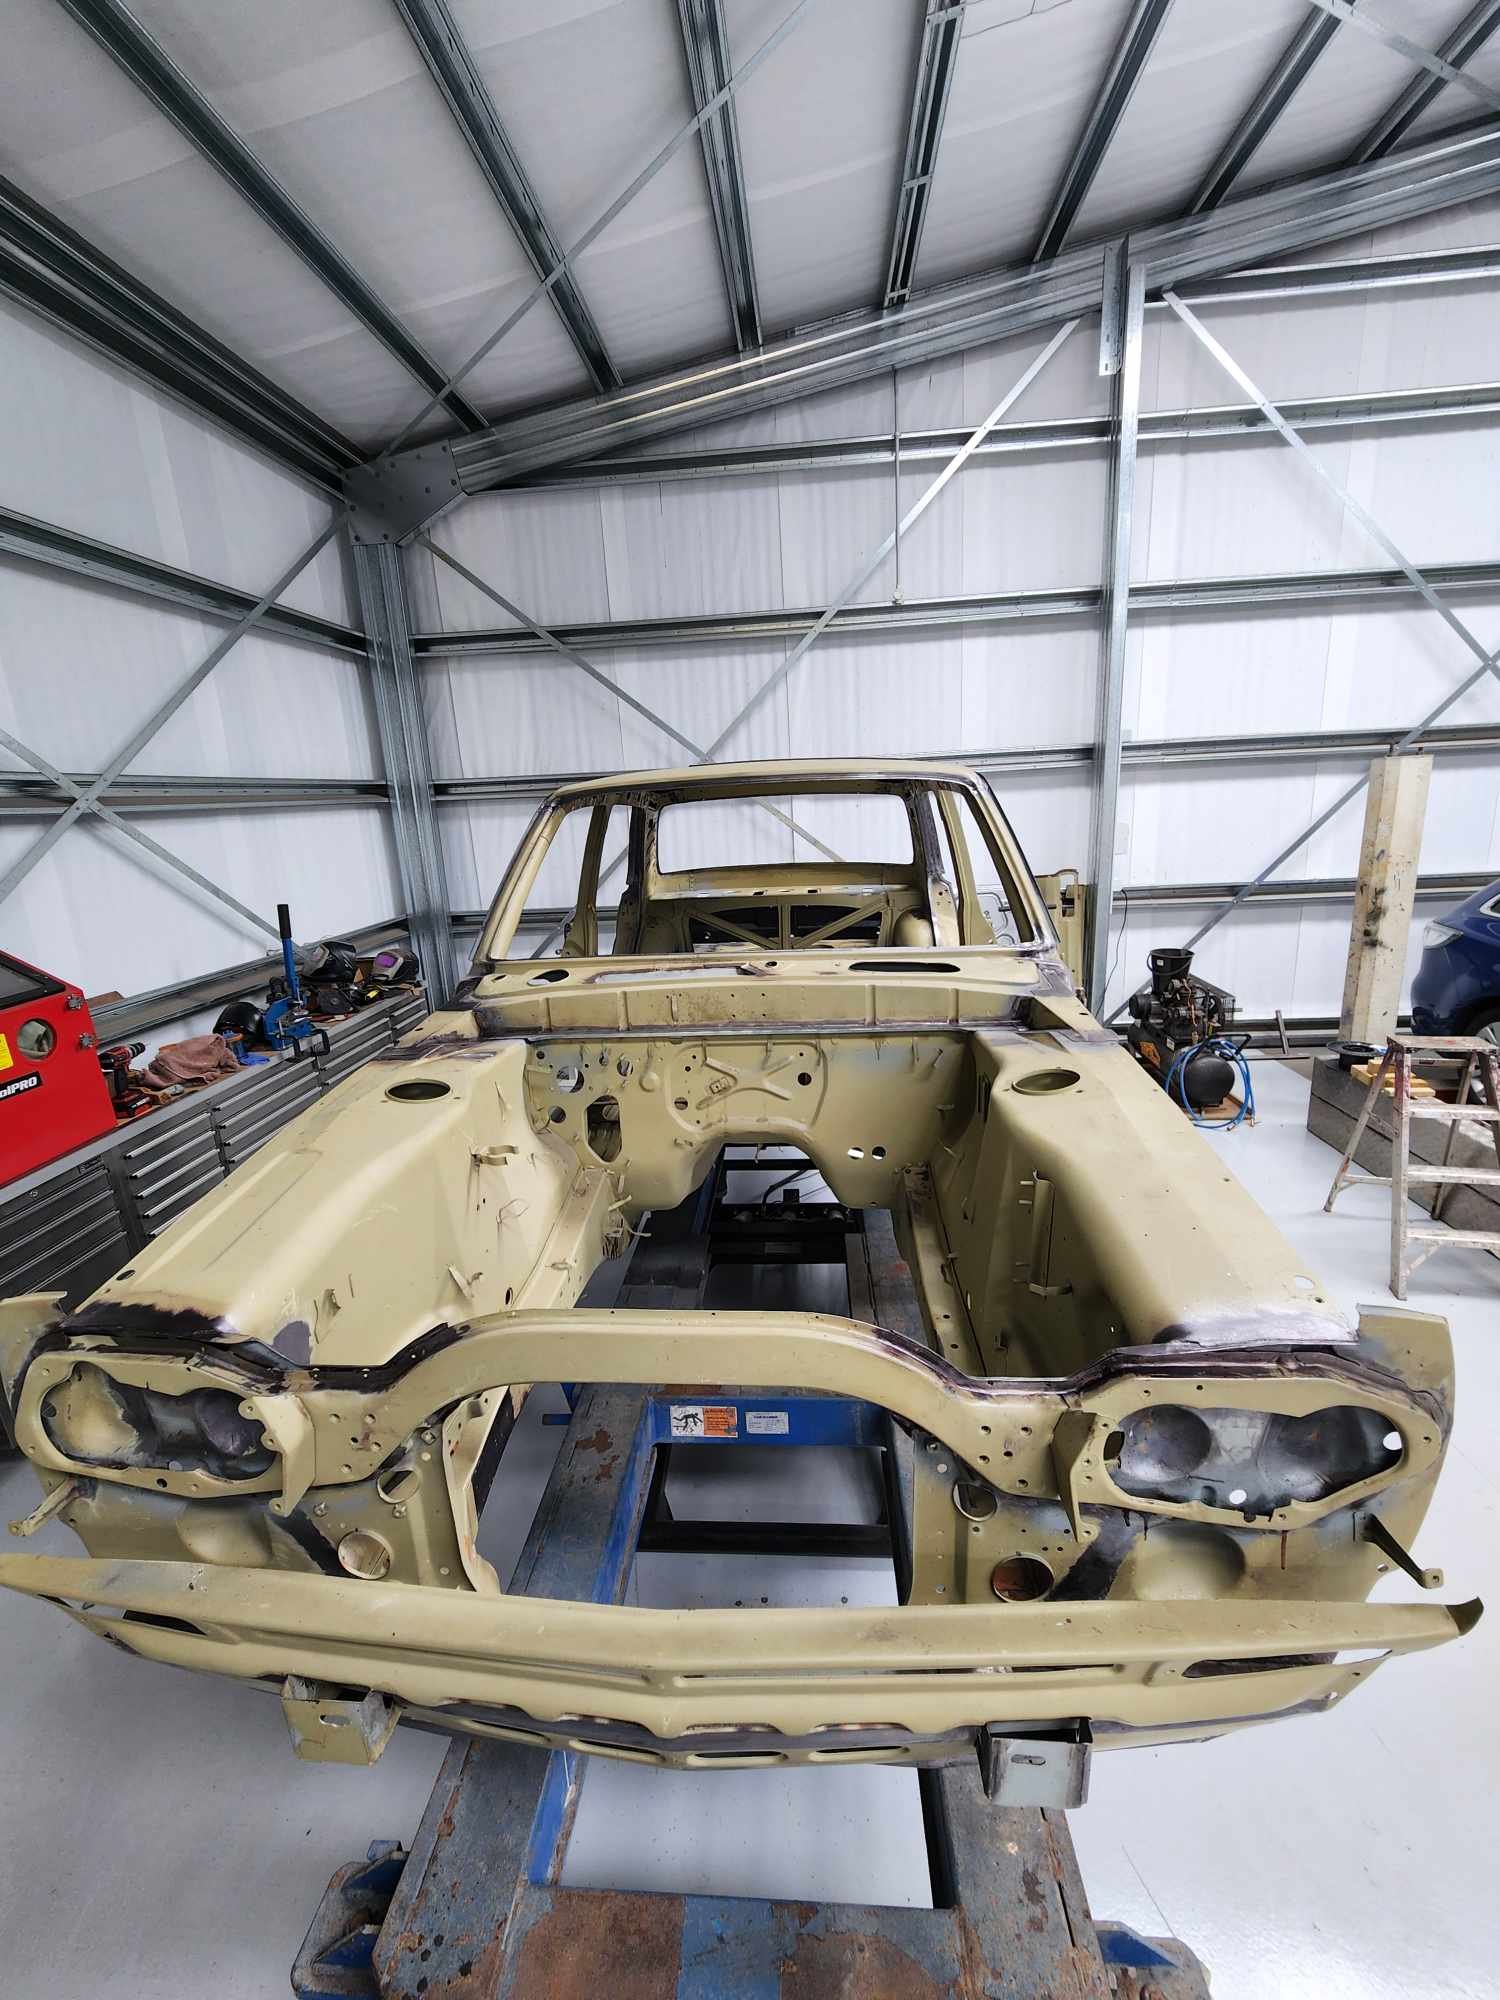
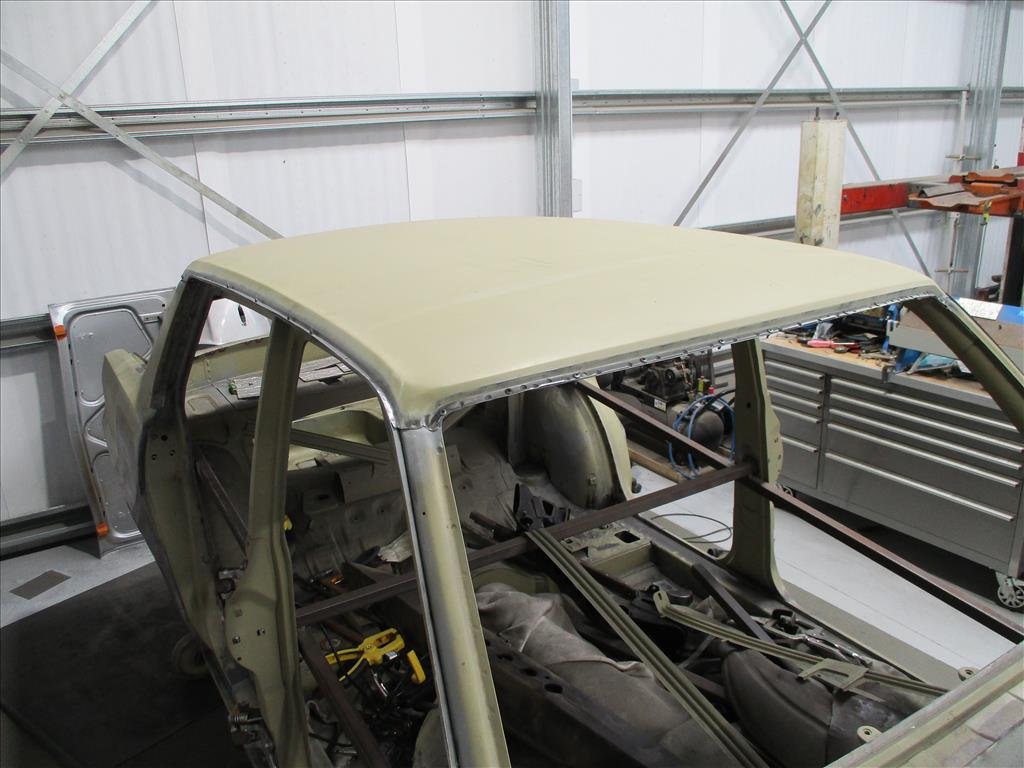
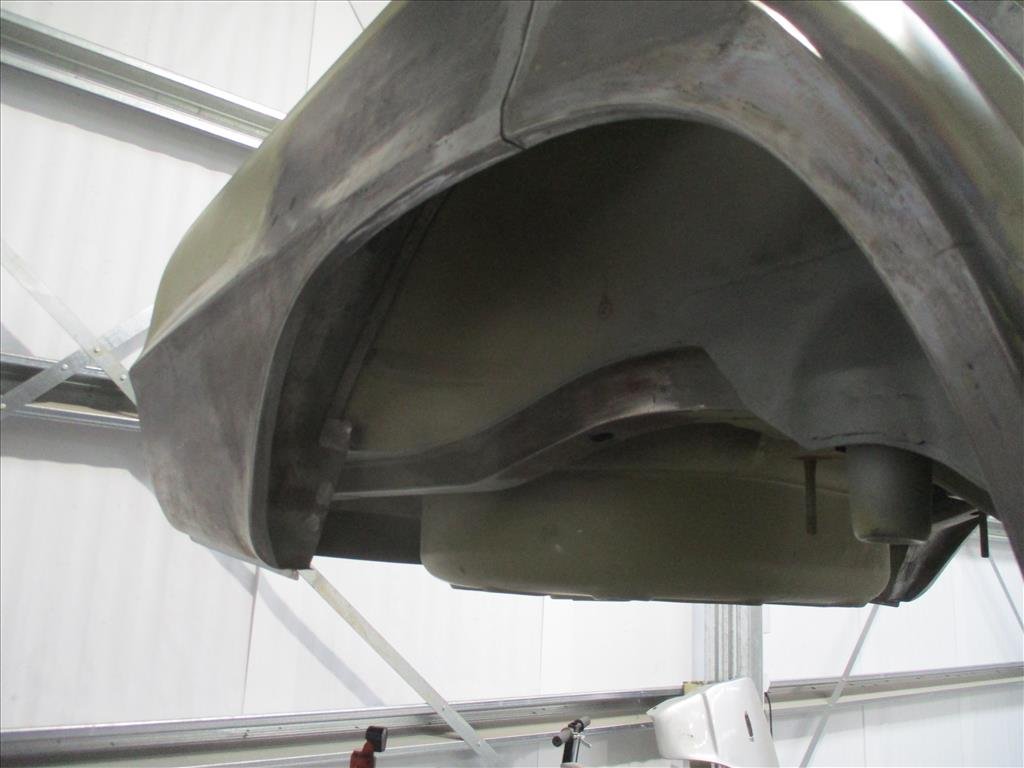
Back in NZ briefly so managed to head out and see the Skyline progress and talk shop with panel Barry. It was great to see up close all the work that’s been done as well as he was able to tell me in more detail about what's been done and what's still to come.
As has been mentioned earlier the main welding has been done but the roof still needs to be completed. A huge amount of work went into fully rebuilding/recreating the drip rails as they were all mangled and drilled out as part of the process years ago. A little more finishing of the actual roof attachment and then we are onto the paint preparation panel work.
Good news is he can also do most of this so various primer/blocking stages and final fit will be done here as well then for the actual paint application it will go elsewhere but that was something I wasn't not sure about so I'm happy that blank in my knowledge was filled.
So for now the boot is OK, the bonnet front edge has some rust and corrosion so will be fixed up but the doors are going to be the next ballache. The most likely strategy will be to dip them but due to them being multi-layered there is strategy required to get the best result. All of this I did not know before today.
Still probably at least 6 months before actual paint yarns are on but it's going to be next year for sure. Speaking of paint it's not quite sure if this car was purple originally or white as both colours are showing underneath.-
12
-
Nice, another thing too look at is those lower control arm bushes that look like this
They are often flogged out too
-
1
-
-
- Popular Post
- Popular Post
Roof being lined up to get stuck together. Looks like it's coming along nicely. Panel Barry said he was impressed with the reproduction panels for the rear so far which is good to know. Also mentioned car should be all welded up within next couple weeks.We've decided to paint strip the bonnet and doors to see what's hiding underneath. Originally was thinking to dip the whole doors and bonnet and boot but we decided maybe not necessary as the boot is pretty much all good and bonnet isn't super terrible (just around the front edge). Doors have some bog in but cross that bridge when we get there.
-
12
-
- Popular Post
- Popular Post
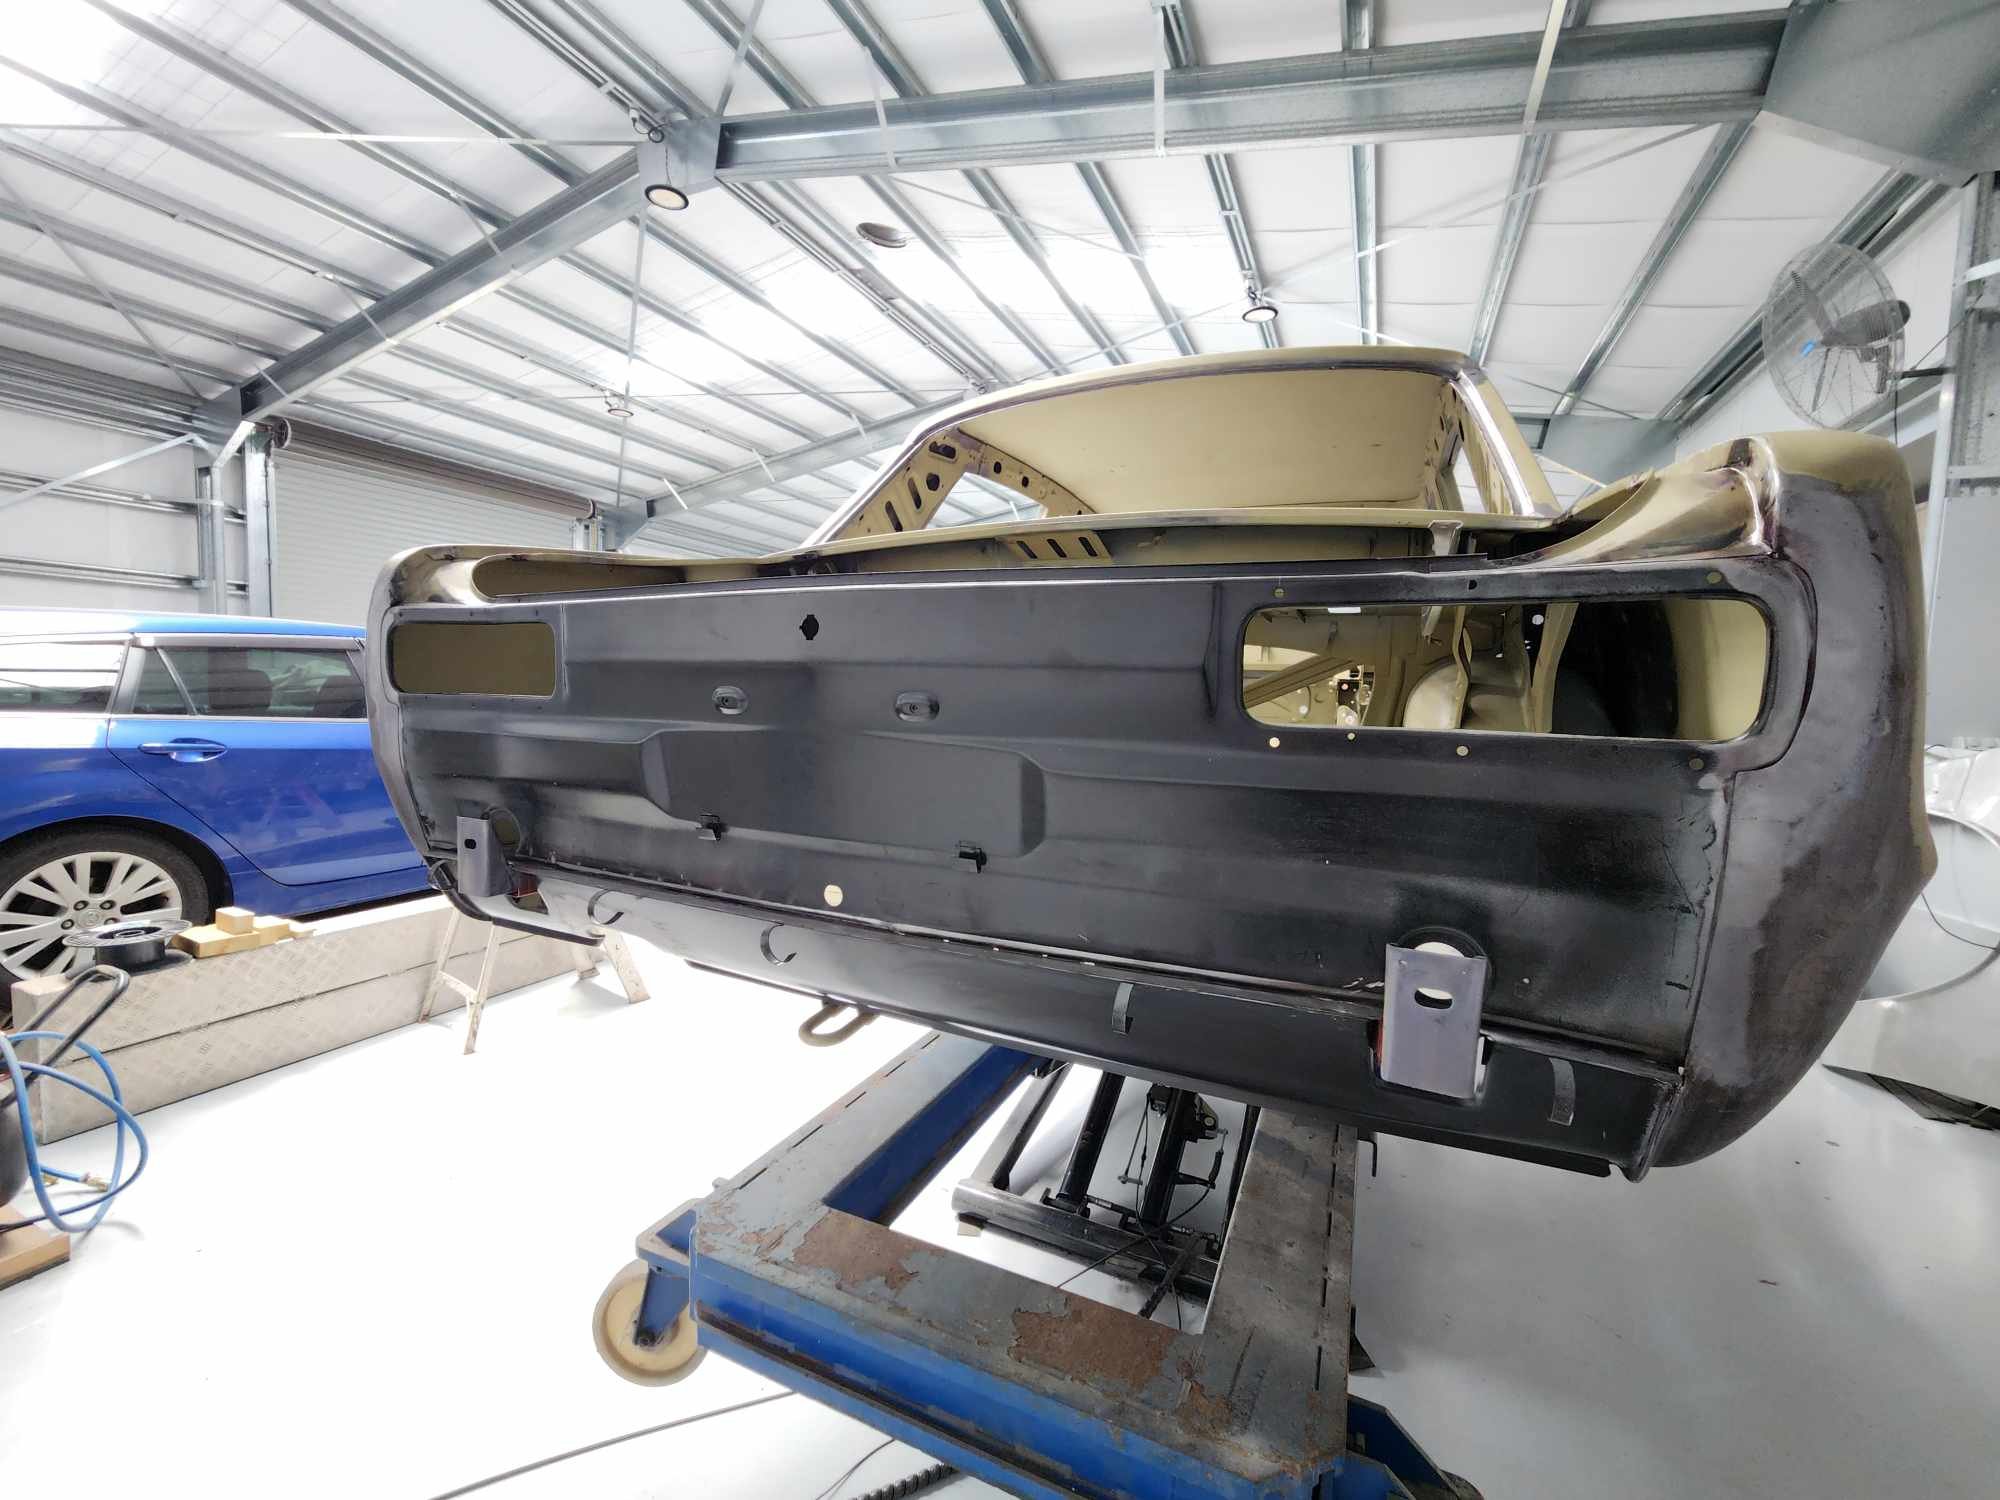
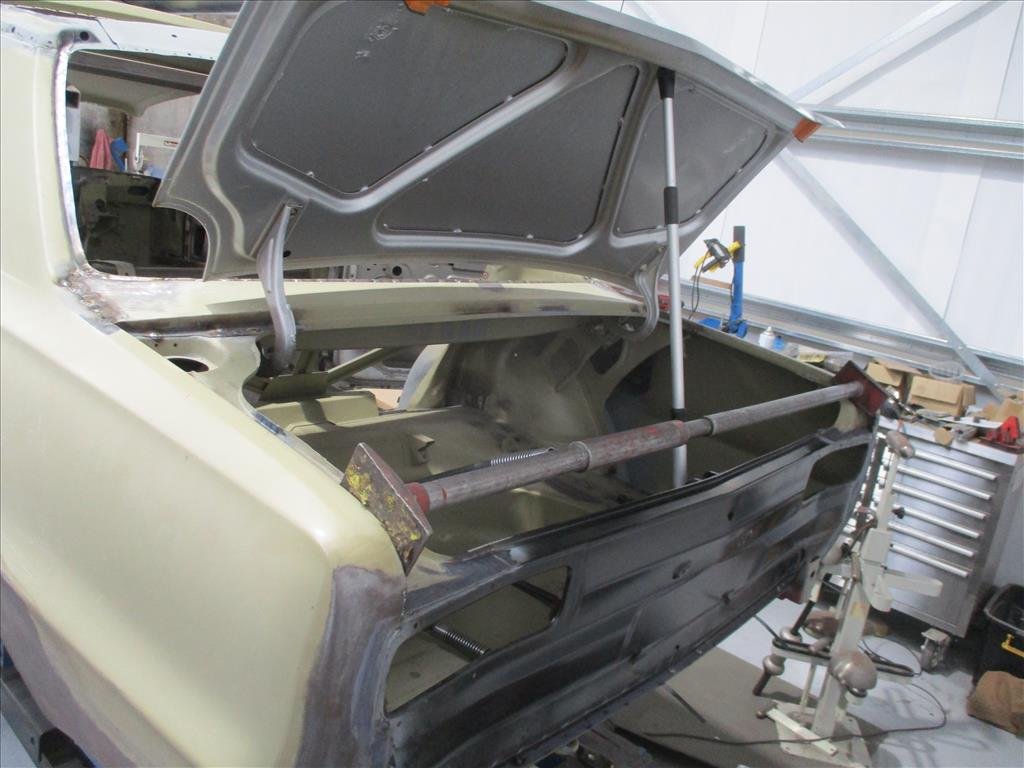
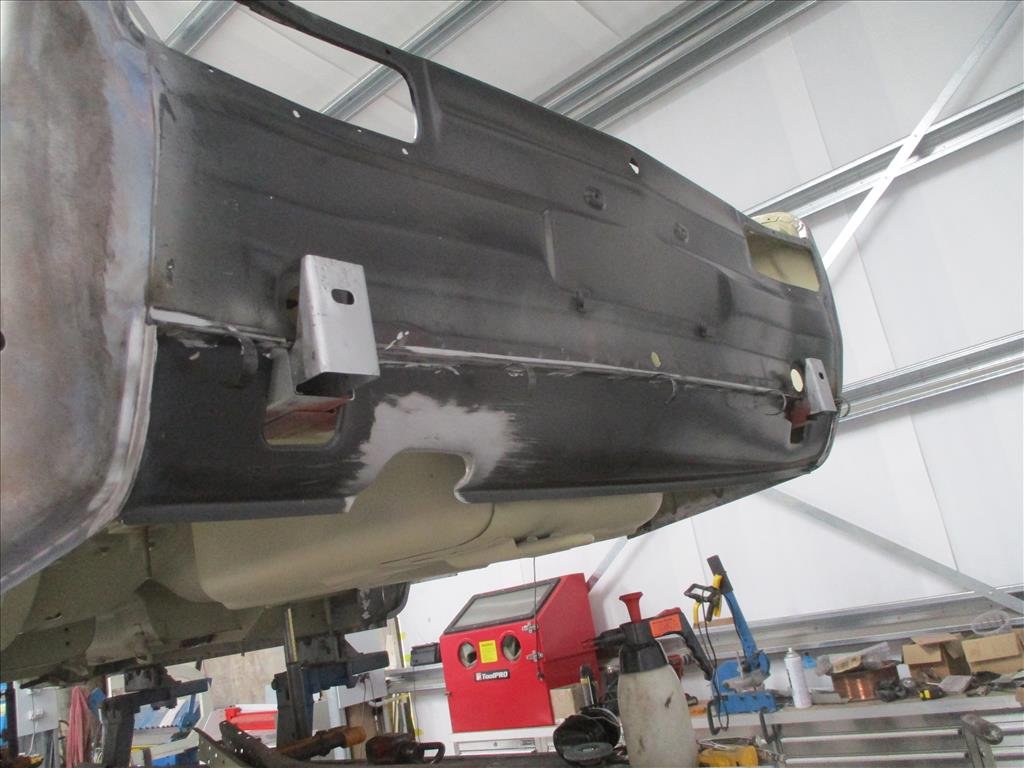
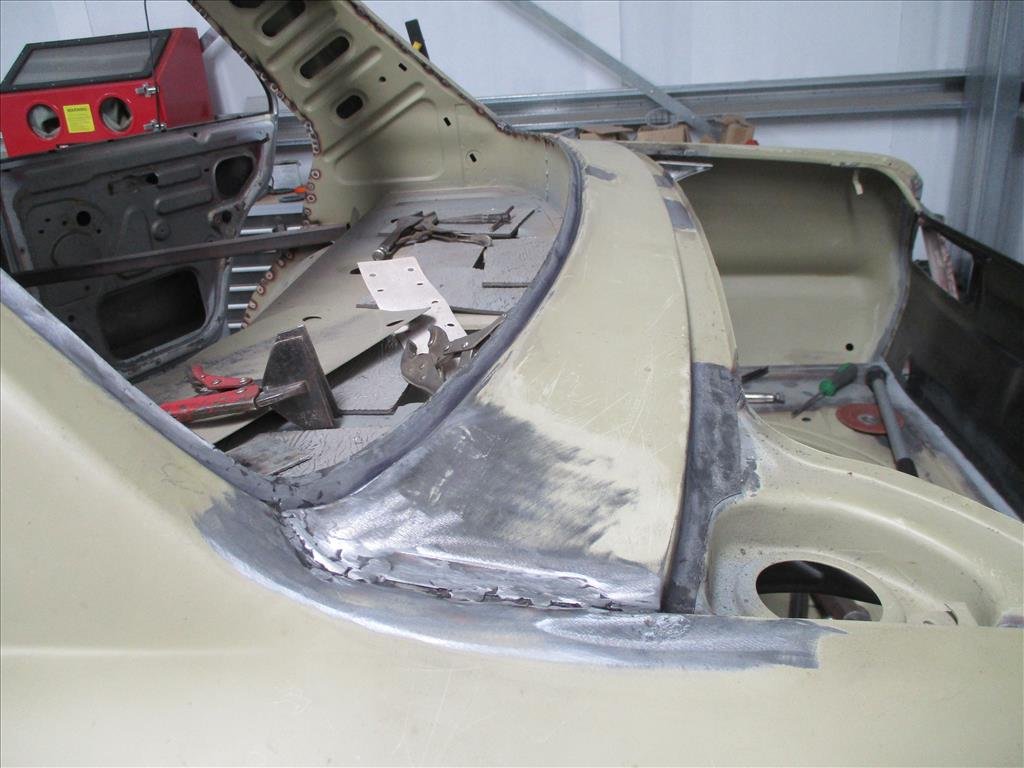
Another update from panel Barry, more awesome news.
The rear has had the replacement back and bottom panel welded on, that's looking excellent. Never know with the repop parts how they'll fit but seems to be good.
Rear arches are all done.
Front is all aligned and the bumper mounts are welded on.
Next up is to finish up the drip rails and drains and get the roof on. Also need to see why the bonnet is rattling and do some fix ups on the doors. Boot I think is OK and doesn't need anything extra (but I'm usually wrong).-
10
-
15 hours ago, Rhyscar said:
Great choice for the money @Bantam . How many kms? Did this generation GS suffer the sticky plastics like the IS's did?
Yep all Lexus of that generation suffers similar fate of varying degree. My LS460 also had similar problem although not quite as bad as the IS but the material they used at that time just didn't hold up well.
-
- Popular Post
- Popular Post
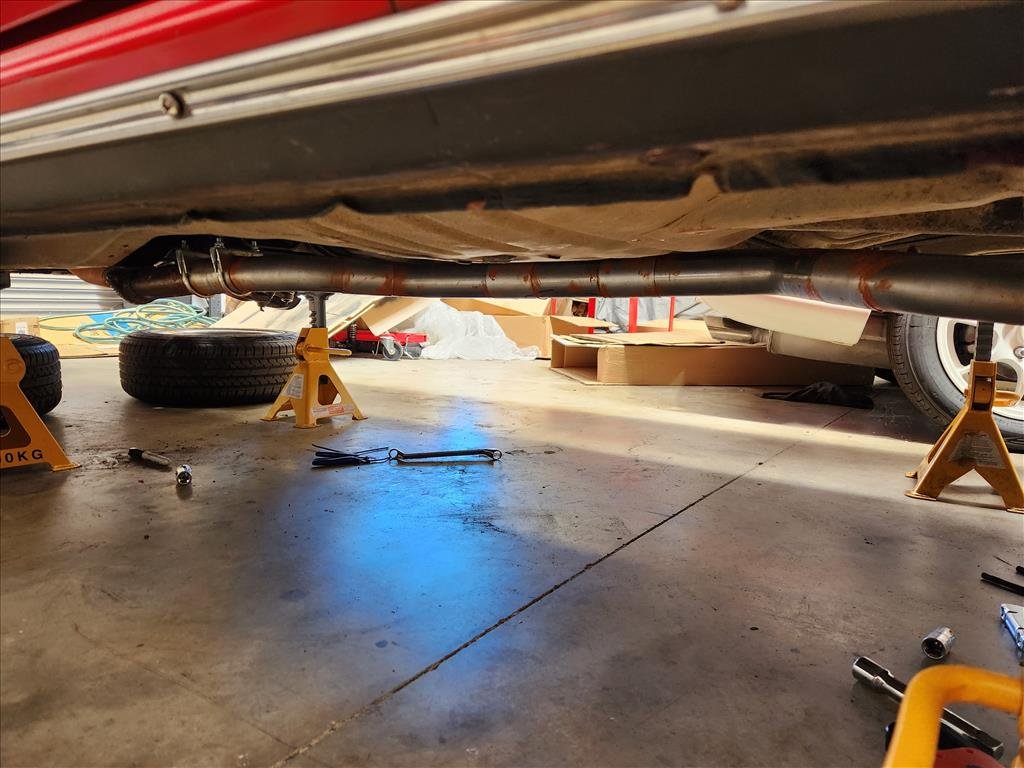
Well my exhaust making lesson comes to an end, but not the way I'd hoped.
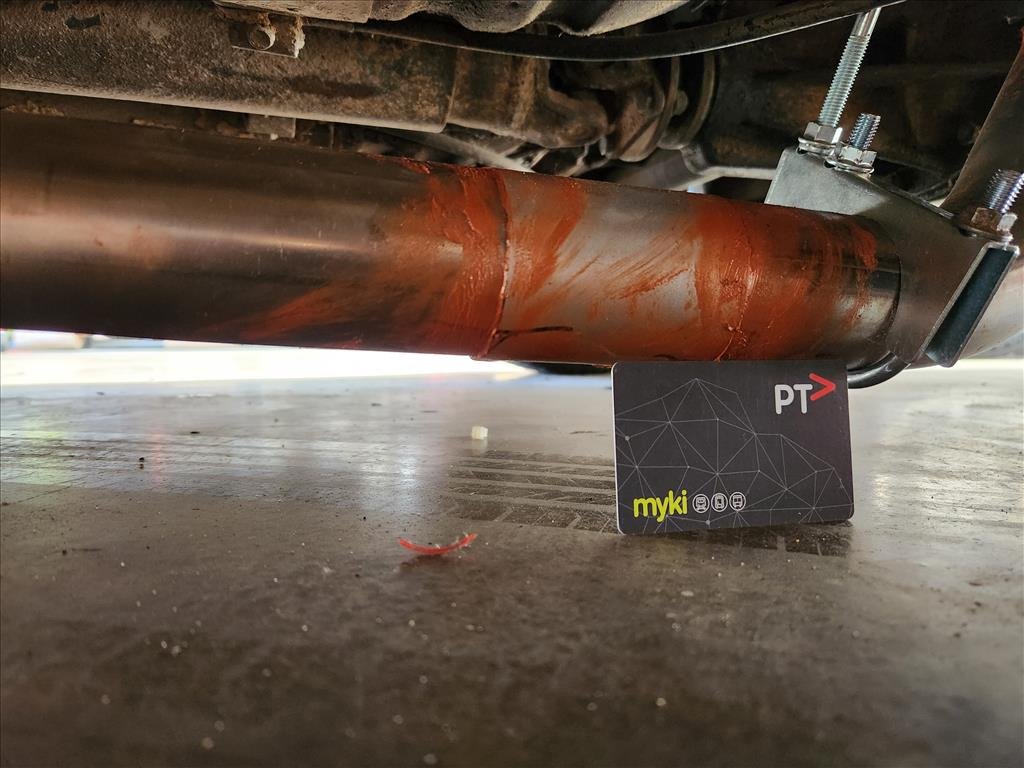
So after last time's episode about the pipe hitting the floor I decided to get some more bends and put it out the way in the path that the other exhaust took, just without the giant mufflers. So far so good.
I also used Australia's entire supply of copper goop which generally worked ok except for the parts where it linked from the old and the new, seemed to leak most there. Turns out the solution was just add more goop.
Then I ran the car a bit more on the stands after putting together a slightly better muffler hanging system. All was well so far; even got it to idle a bit better.
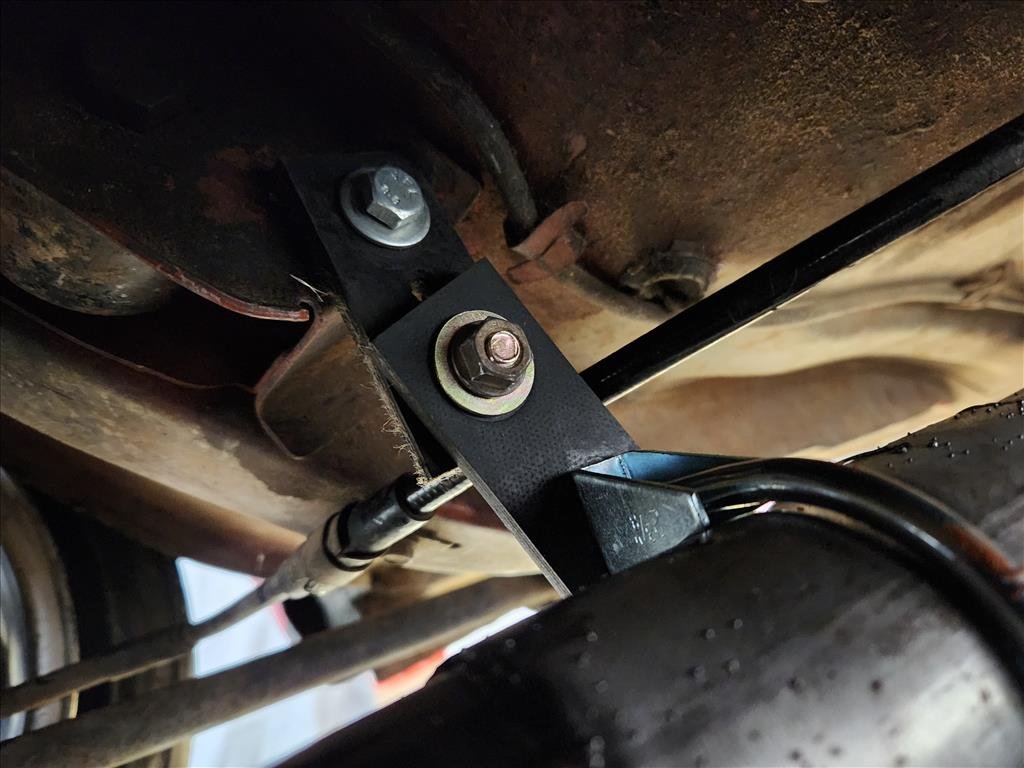
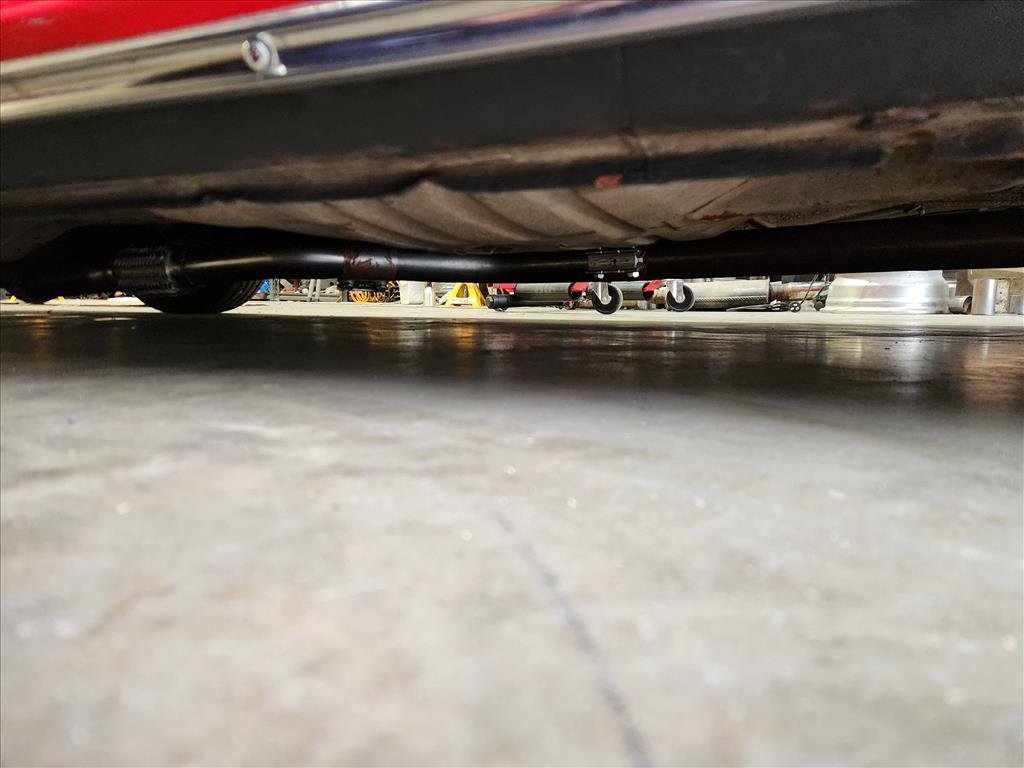
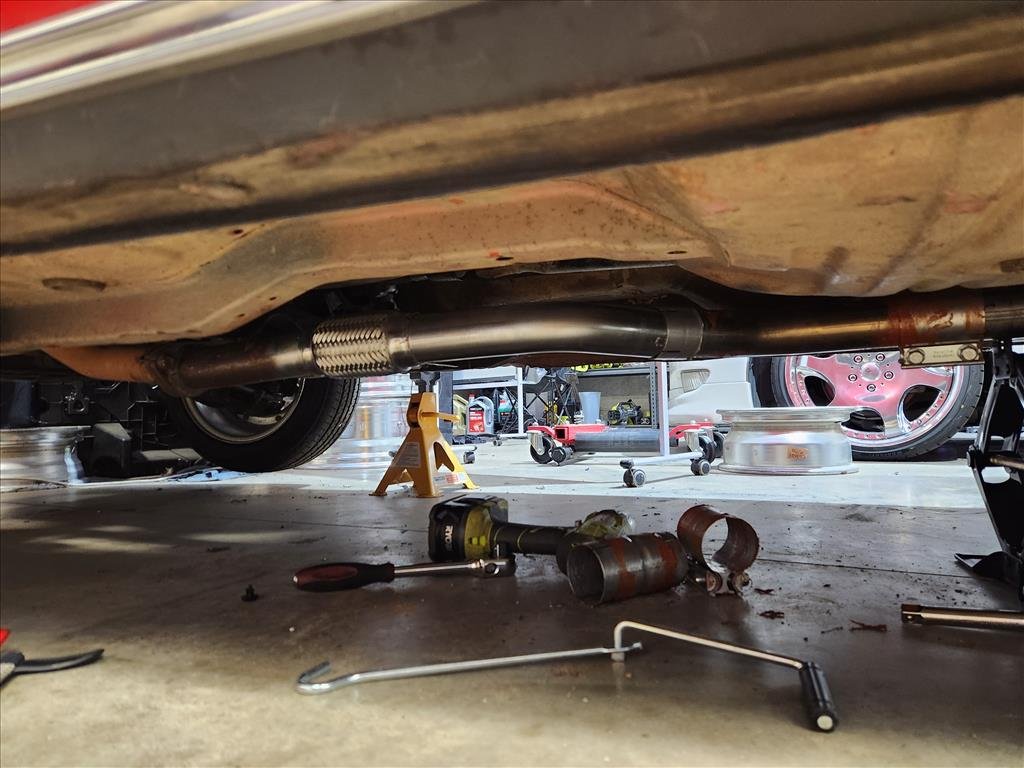
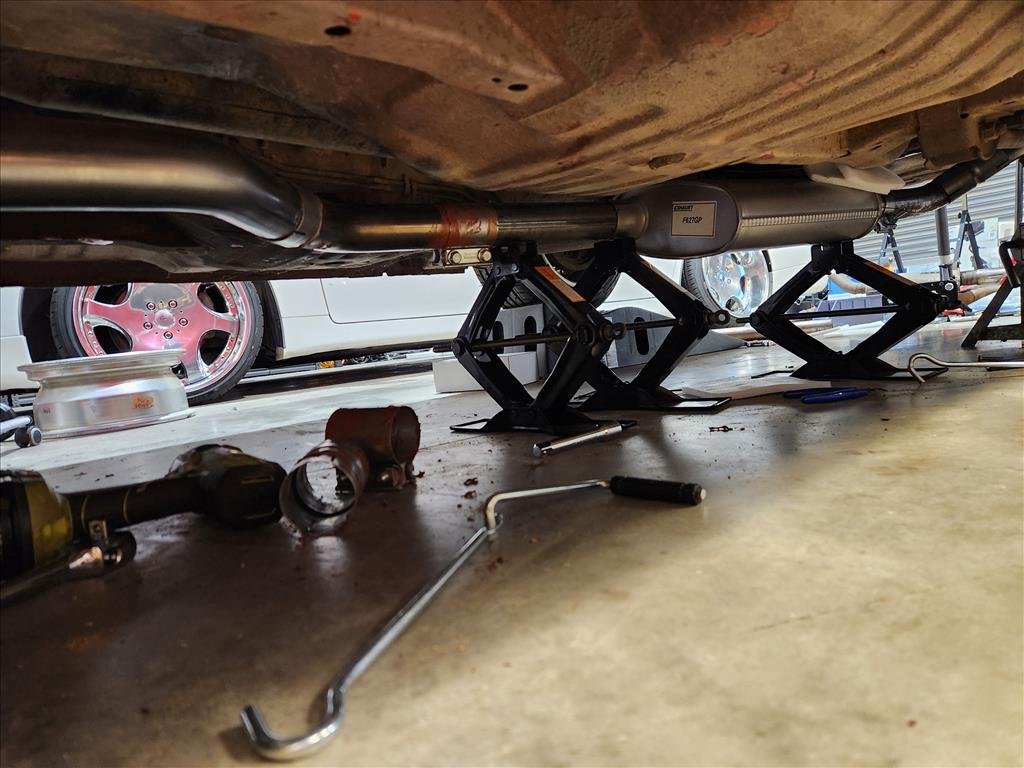
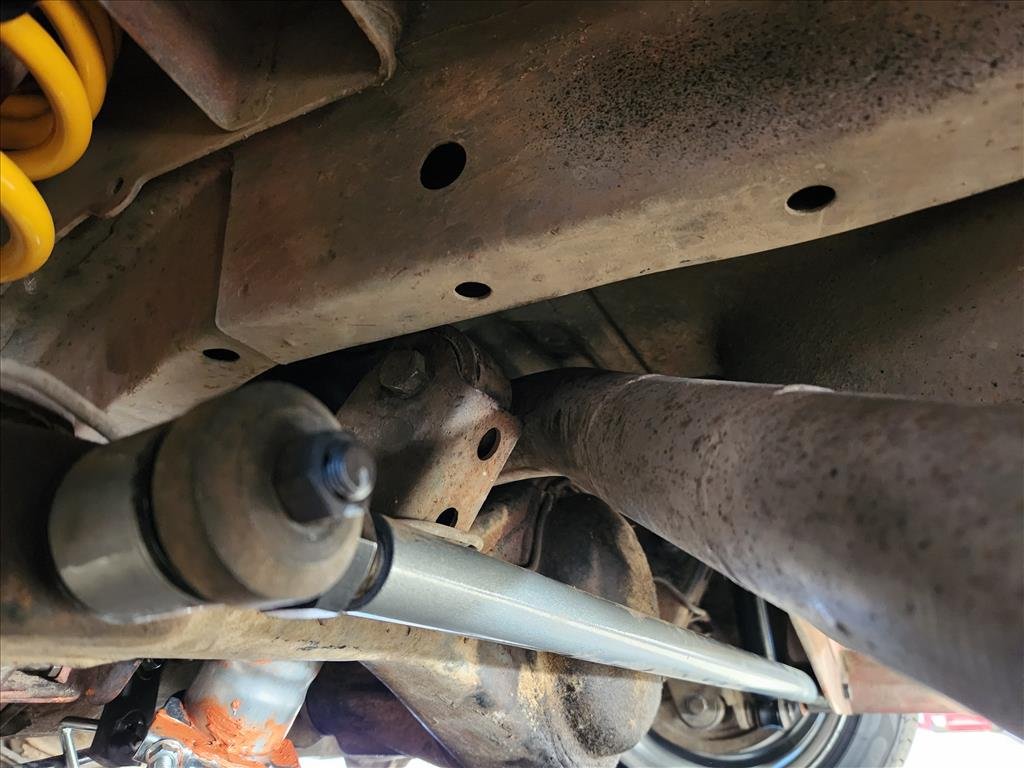
Once I dropped the car down and.. well not so good. The portion that goes over the diff no longer goes over the diff but now into the diff, and as a result snapped the bolt holding my muffler on so it went on the piss. Additionally the car does not go low on the passenger side because it's stuck on the exhaust. I did also notice when looking at other people's exhausts that mine was routed weirdly over the diff so it's just a disaster all around.I did have an inkling that would happen but I wanted to use that route for two reasons. 1) Had that muffler so tried to reuse it and 2) research suggested people were not keen on the under diff due to the potential difficulty when jacking the car up. It just occurred to me I'm putting the exhaust together with the car already jacked up which means it's already at max droop so point 2 basically moot. There was some legality issue about it as well but clearly that's not really something I'm worried about.
So after all this fucking about did I get anything out of it? Maybe 10mm more ground clearance and a lot of noise.I think what I'll do is just pull off that muffler and basically end it at the diff for the time being, just so I can move it around for some sweet instagram photos and then park it forever. I was going to try get this ready for a classic meet in early December but I'm actually going to be in Japan so no need to rush on it.
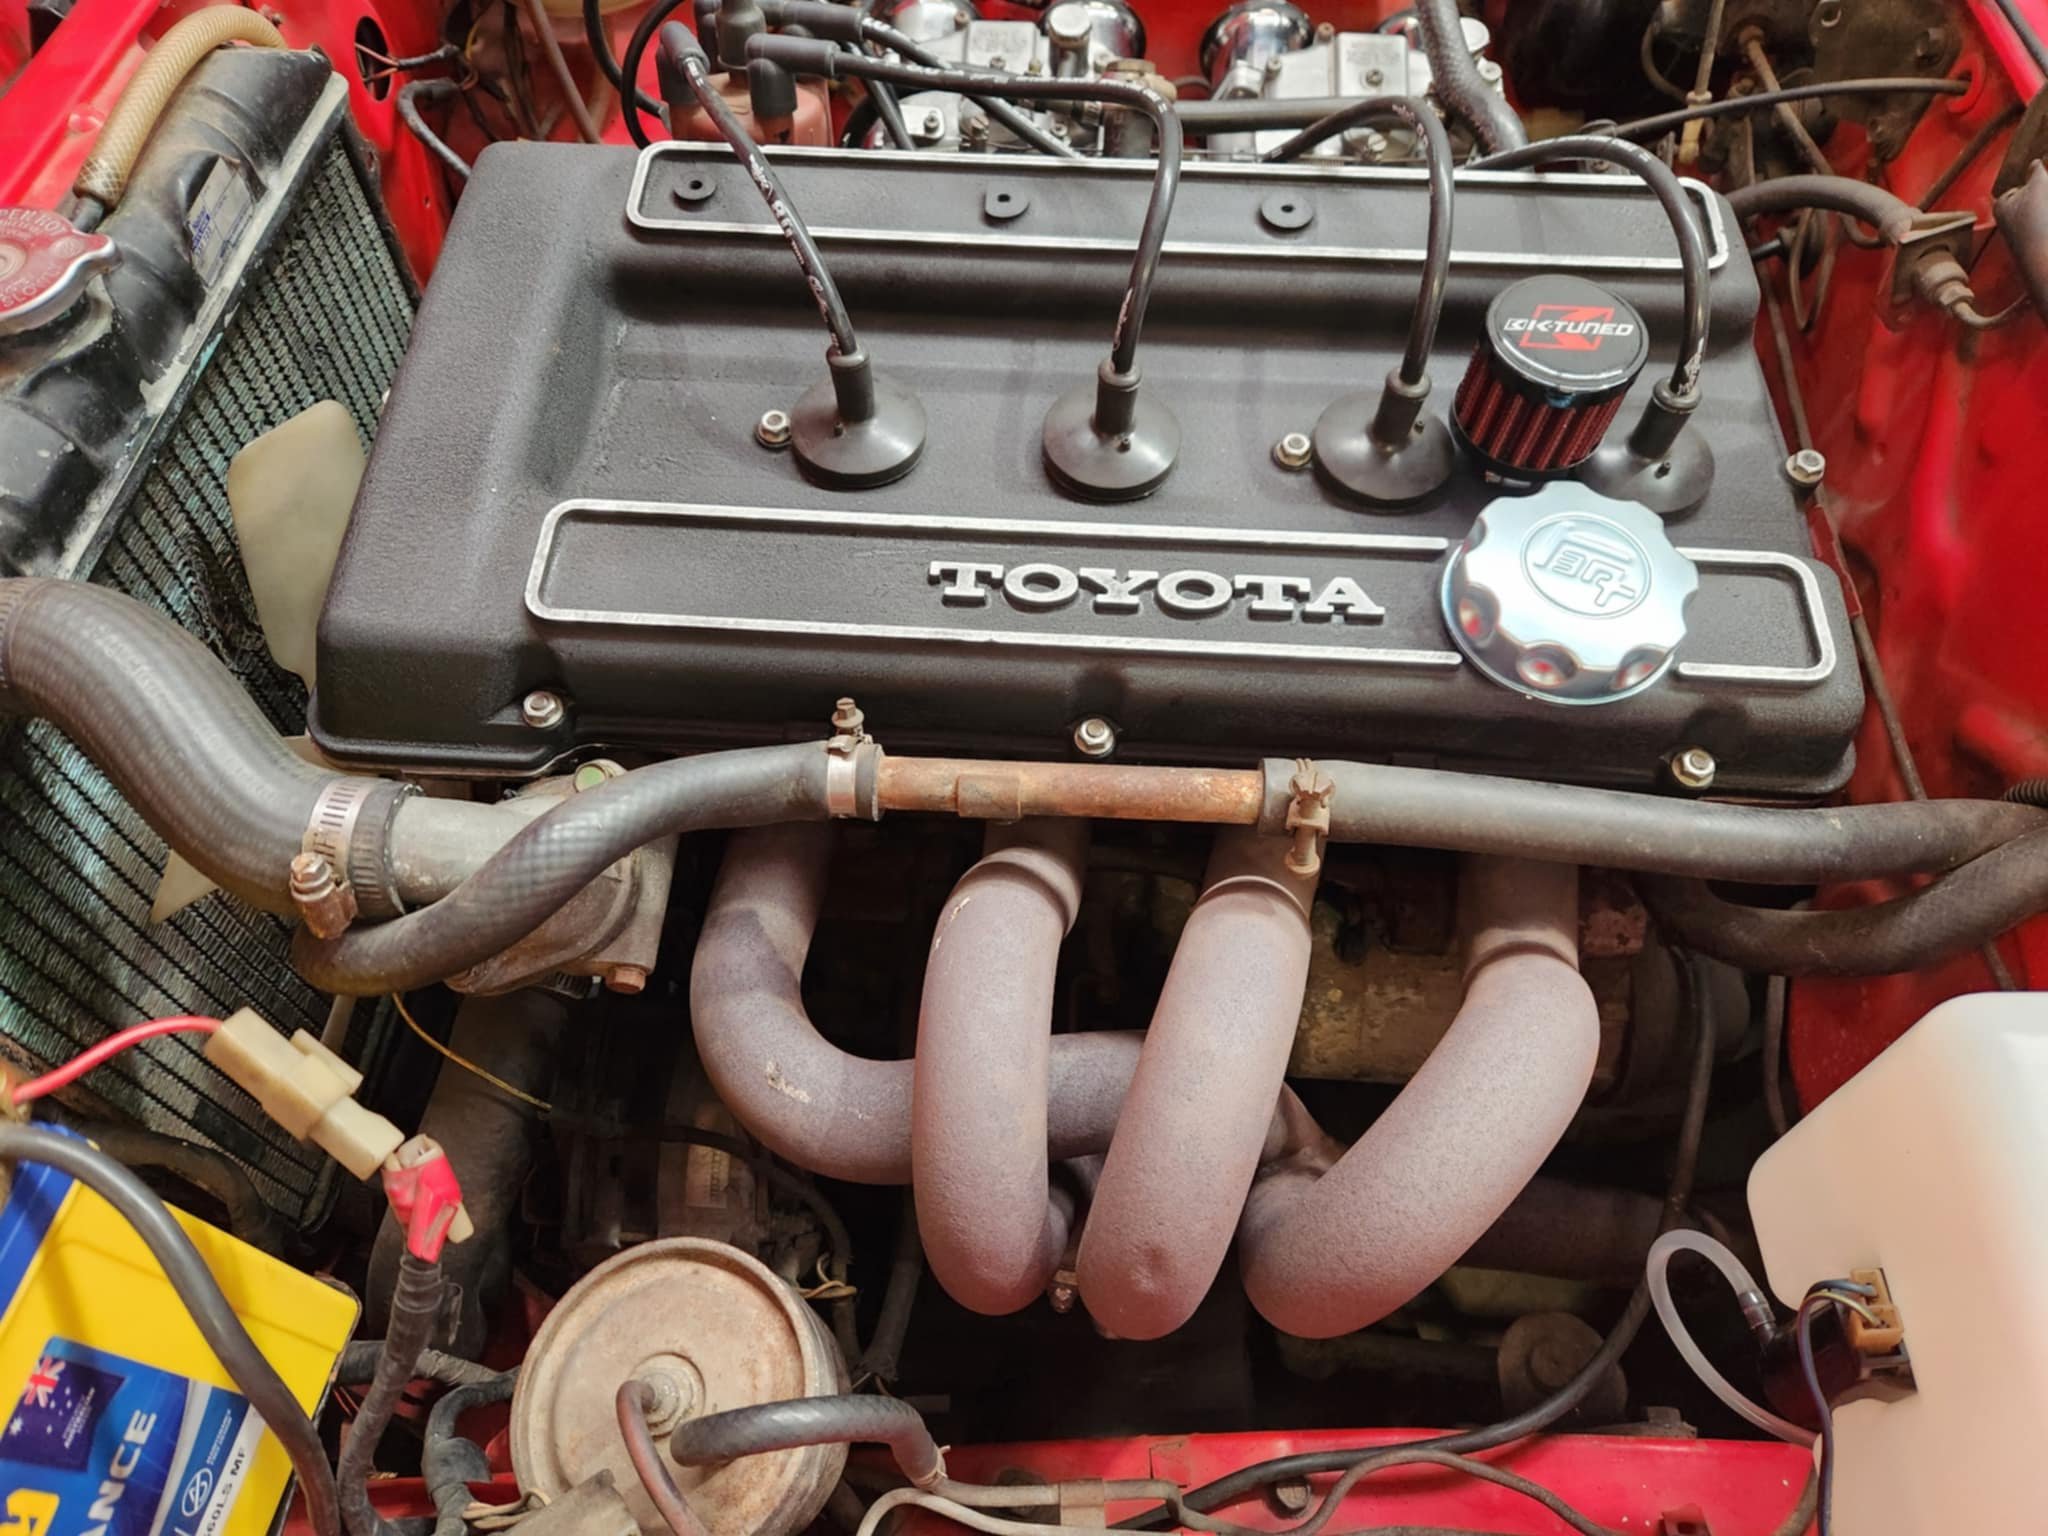
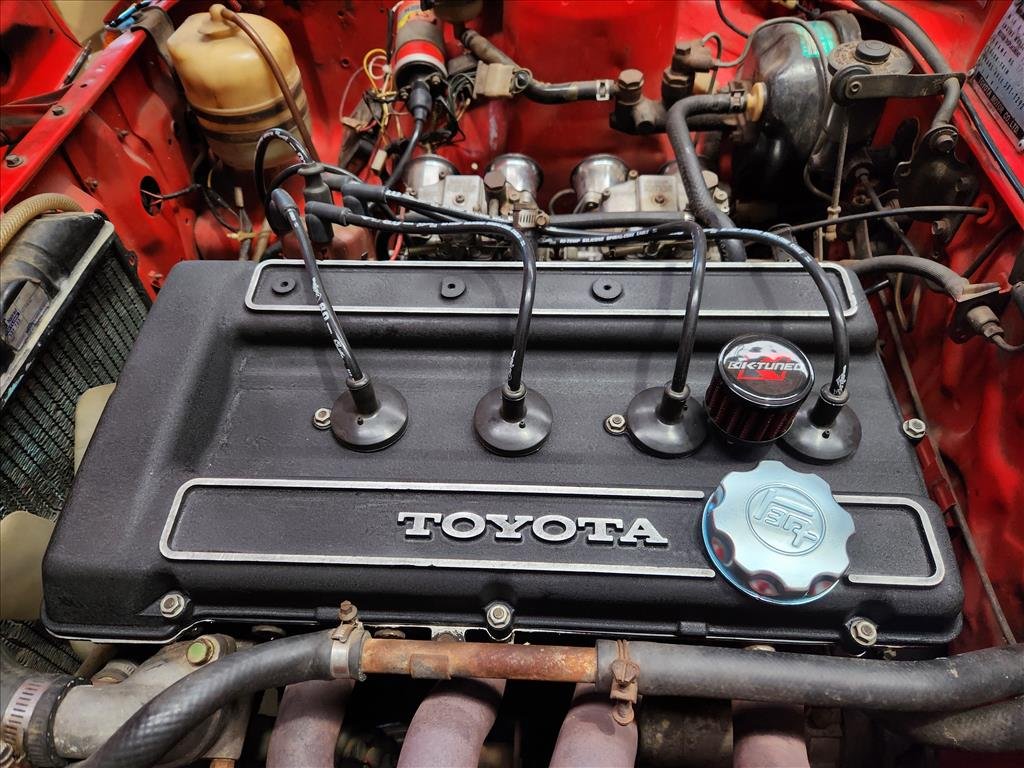
Oh, one good thing though I found a brand new oil cap, so that's nice. Now that crusty water pipe and the K-Tuned filter does my nut in.-
11
-
- Popular Post
- Popular Post
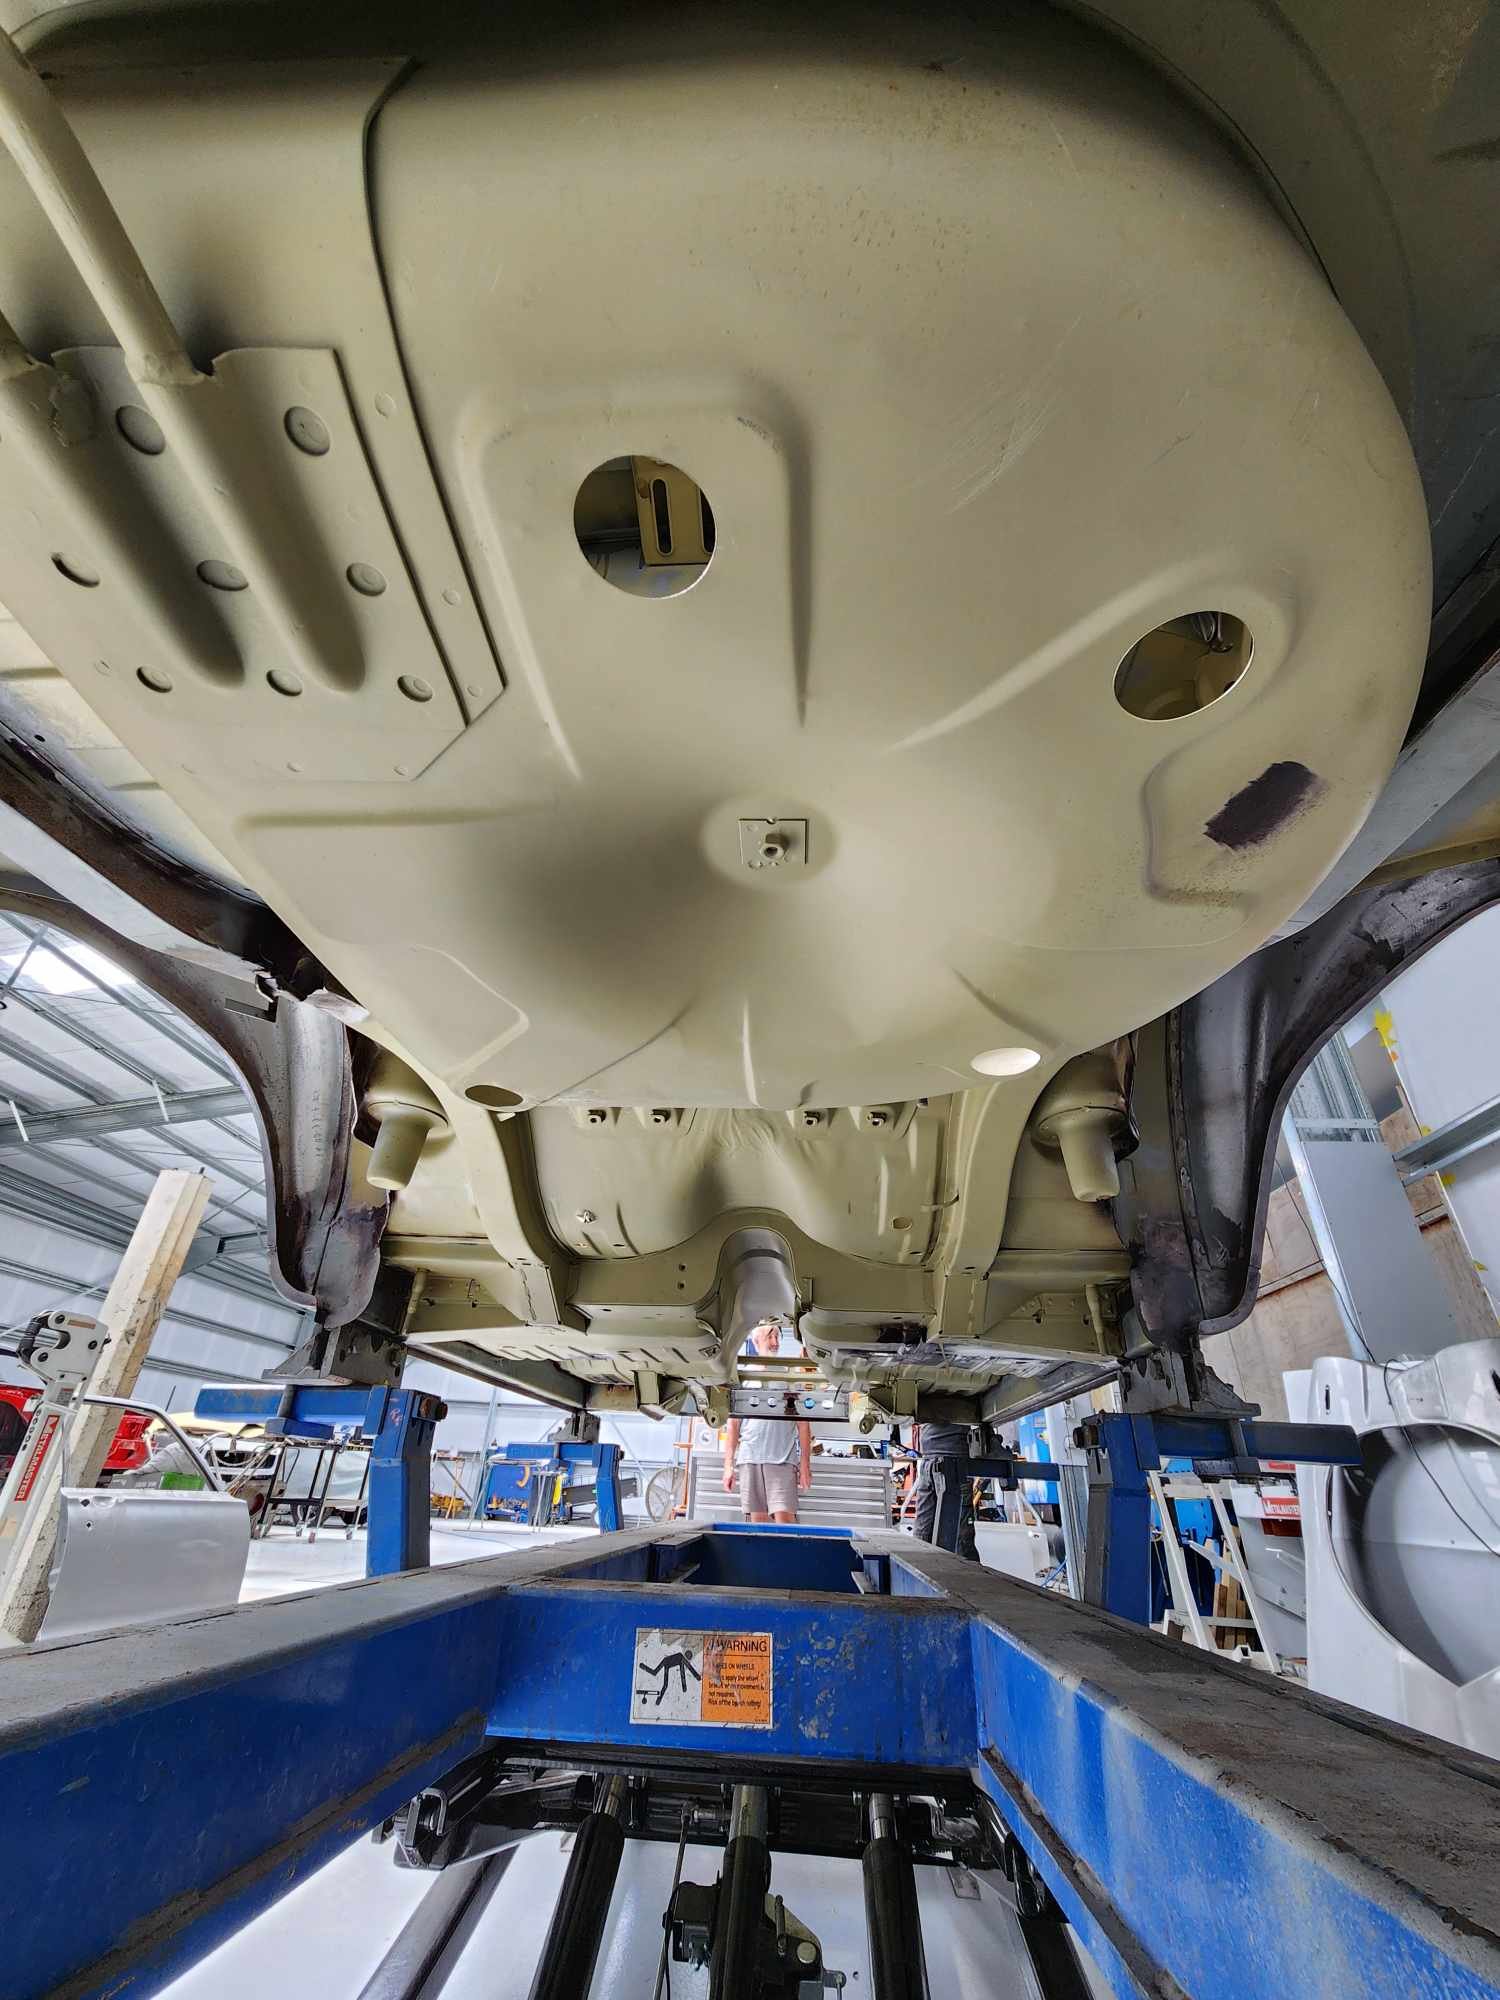
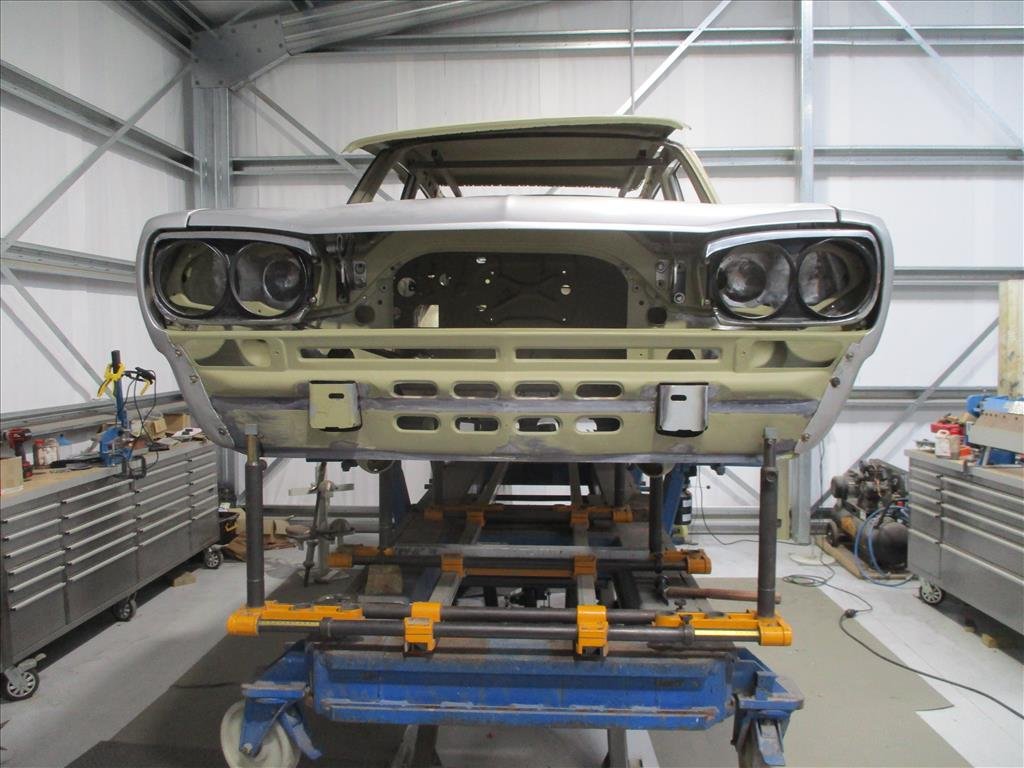
It has a face again! 5 years maybe since it's had these bits fitted up, exciting!
Great news is the car has measured up nicely with the engine cradle fitting up perfectly so panel Barry got his measurements done well; as expected. Once again thanks to Jon @ Strange Workshop for facilitating the delivery of those bits needed.
Now the big weld up is on, he's started on the rear area plugging up lots of the drill holes, it's gonna be a long and tedious process.
In between doing the rear arches and that section he's also been starting on prepping the roof panels and underneath all that for sticking back together.He said he's just finished up with a MK1 Escort race car which was taking away time from mine (which is fine, I'm not in a rush) but reckons will be able to smash a heap of welding out on it in the coming weeks.
-
14


mlracing's TA22 Celica
in Project Discussion
Posted
lol true, the sensor is after the thermostat so would have read nothing haha didn't think about that. Maybe I should run without thermostat and see what happens.
I did look into EFI stuff.. probably need about 5-7k to get it going. I'm willing to struggle more before that. The car isn't overheating.. that I know of. No steam coming out of the exhaust which might indicate head gasket, I haven't checked the oil so don't know if it's mush but also there wouldn't be water in there if there's no water in the engine so probably doesn't help. Haven't done compression test.
True I think it's not pulling as much vac, I need to order a proper vac tester and try get idle working so I can confirm it