


Abarth
-
Posts
885 -
Joined
-
Last visited
Posts posted by Abarth
-
-
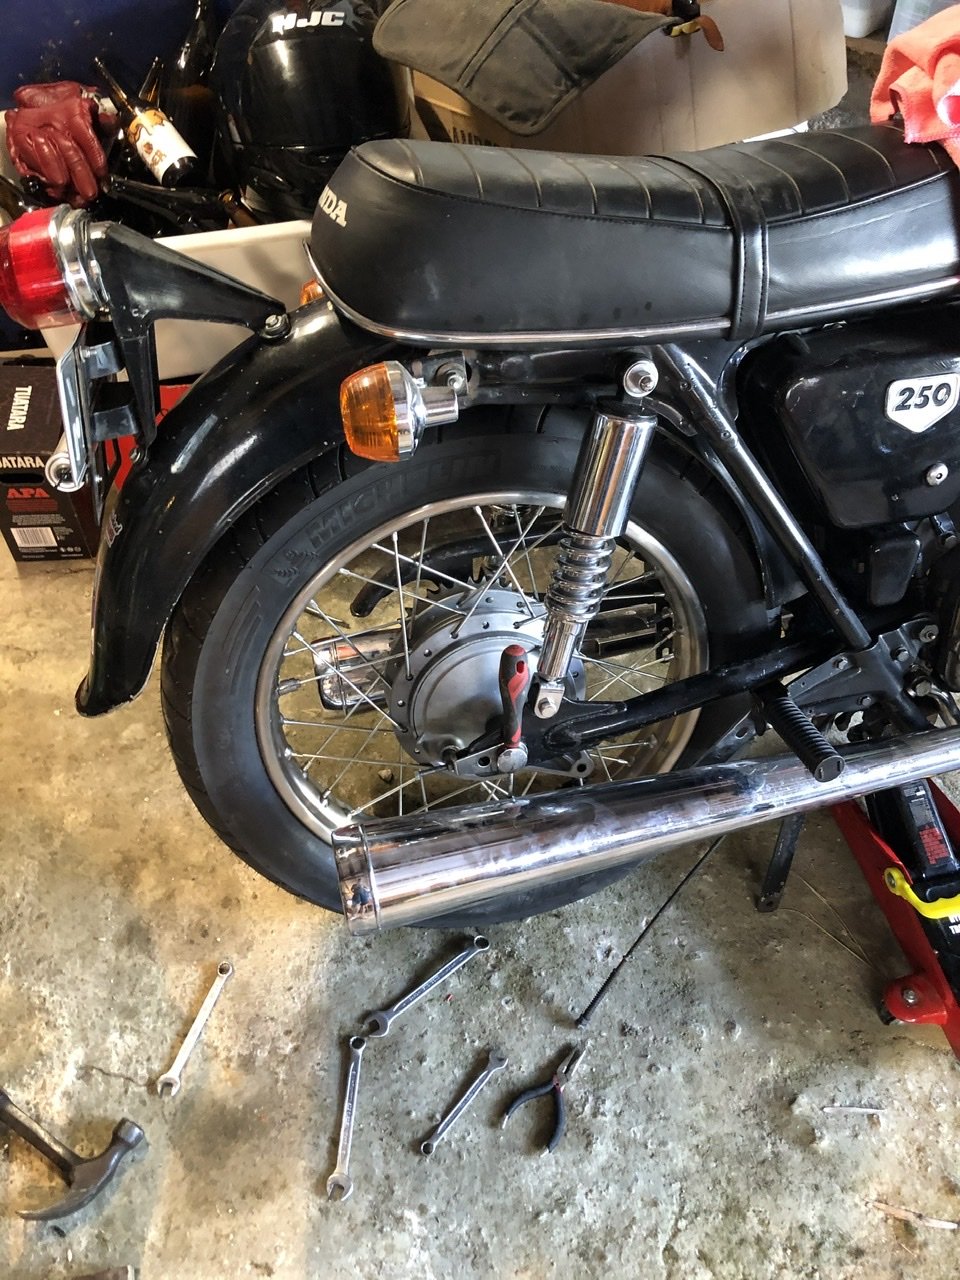
Ok so had an issue where the rear wheel always sat to the left when bolted up.
Thought this was due to a inner wheel collar not being present. Found one and popped that in but still sitting to the left.
Good thing is that I can test the wheel on my other Honda. Did that and it sits bang in the middle so it’s not a lacing rim offset issue.
I then placed the wheel in its most straightest position I could measuring off the top shock mounts each end of the tyre
Seems like it’s the swing arm itself that’s a bit Swiss cheesed, 95% sure it’s not the frame as it’s inside the swing arm that’s sitting funny.
Got a new swing arm on order as I cbf’d pulling the swing arm out of my other one. This Honda has been a basket case hahaha!

Fitted the Cafe honda’s rear wheel to check if it sat centre. Fits perfectly in the middle, hella flush on the guards.
-
 3
3
-
-
Cheers.
Bumper Replacements in Onehunga for the Chrome. Final bill was $250 but the condition was pretty bad.
Acme Plating also in Onehunga did the bright zinc plate.
-
2
-
-
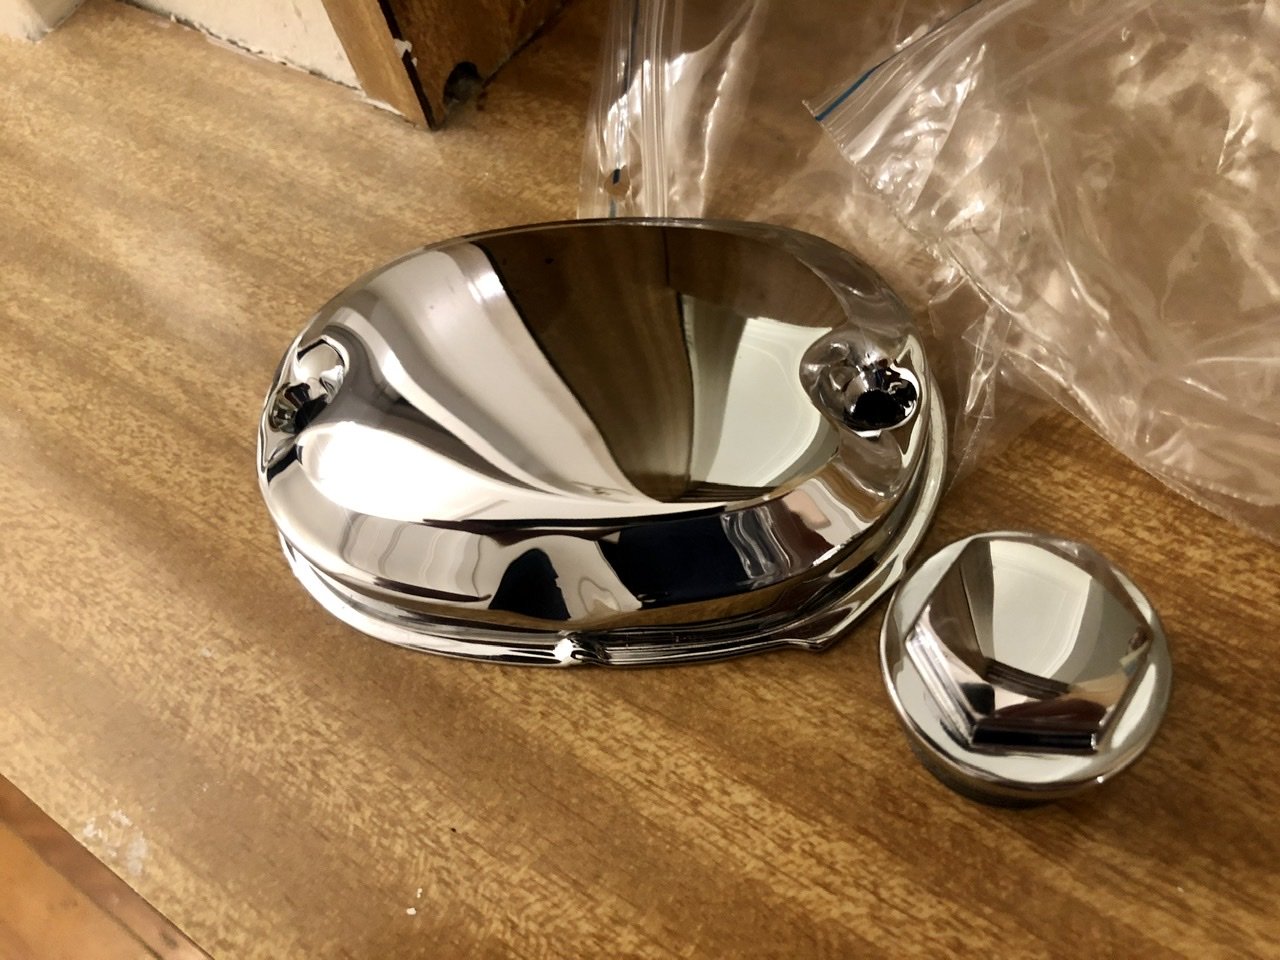
Send some bits away to get chromed and bright zinc plated.
Fresh chrome looks amazing, points cover and the suspension fork bolts are now perfect. Wasn’t cheap but those parts aren’t available new anymore. To be fair they were pitted badly and most of the time was probably spent tidying up the parts before chroming.
The bright zinc was super cheap to get plated, like $20. However no prep is done. If I’d known I’d have polished out the pitting marks more but for 20 bucks it look a million times better than it did.
-
8
-
-
On 26/01/2020 at 07:44, ul9601 said:
86 - why didn't i think of that!
I have the BRZ as a daily, can confirm that they are good fun in the wet.
A little slow power wise but handle like they are on rails.
-
3
-
-
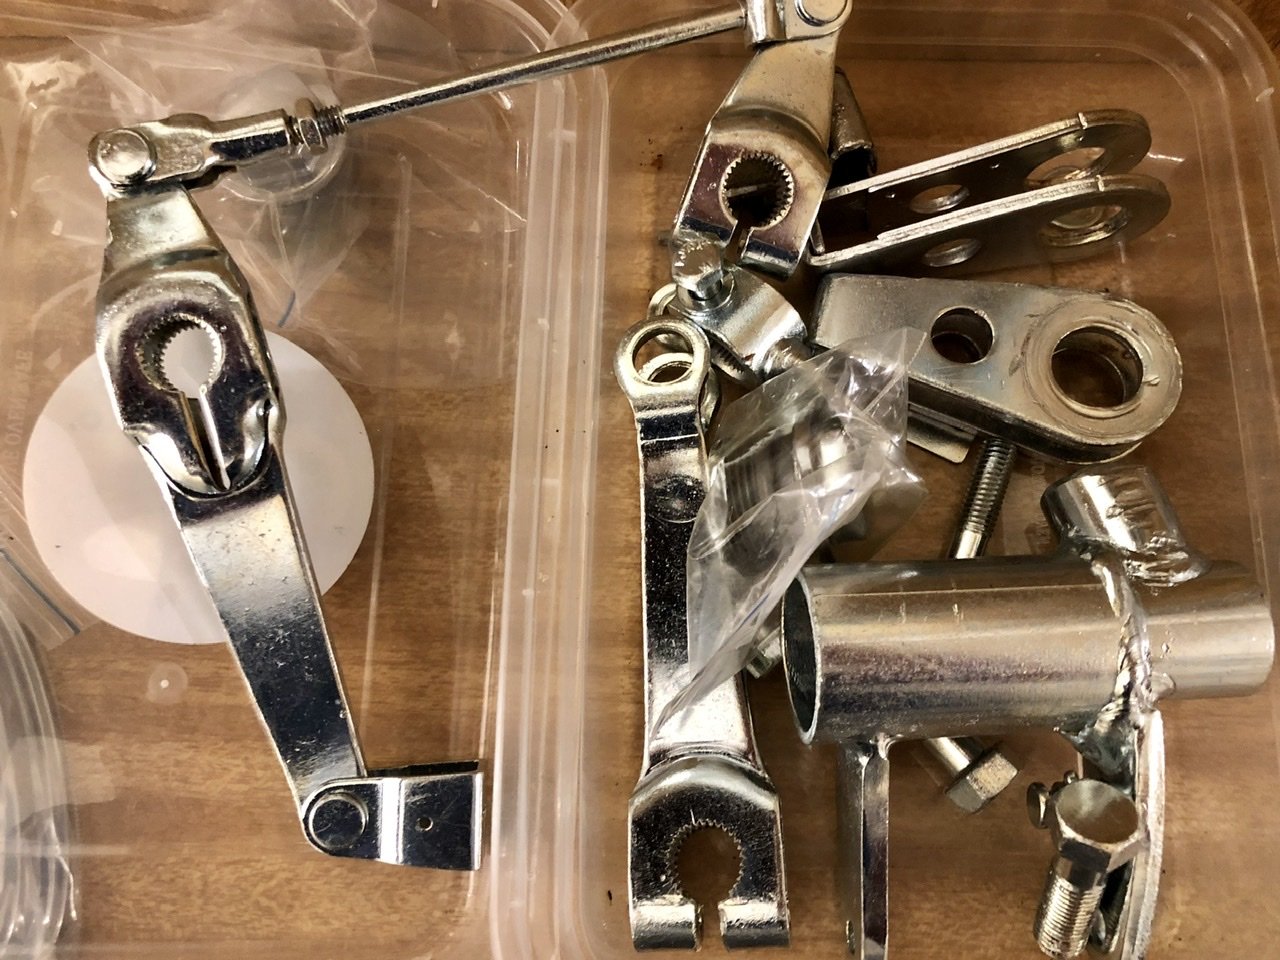
Stuck the other badge on with 3m double sided tape. Found a spare points contact set in a box full of my others Hondas spare parts. Fitted those up all nice.
Only battery box to go now, picked up some reasonably thick alloy sheet which I’ll rivet onto the original cut down battery box.
-
2
-
-
Took all the bits off that need chroming or bright zinc, wasn’t going to go this hard out with the bike but with everything else looking mint these bits stand out hard.
Can anyone recommend a good electro player in Auckland?
Ran the battery down while setting up the electrics, chucked it back on charge and now it’s fkd, probably should invest in a lithium battery charger haha. Damit.
-
One step forward five back.
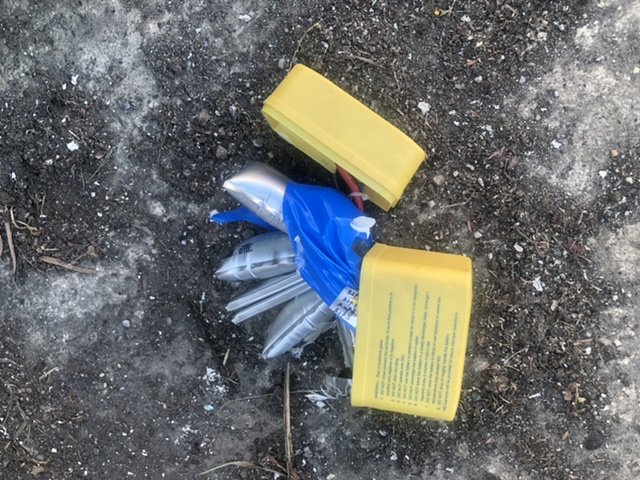
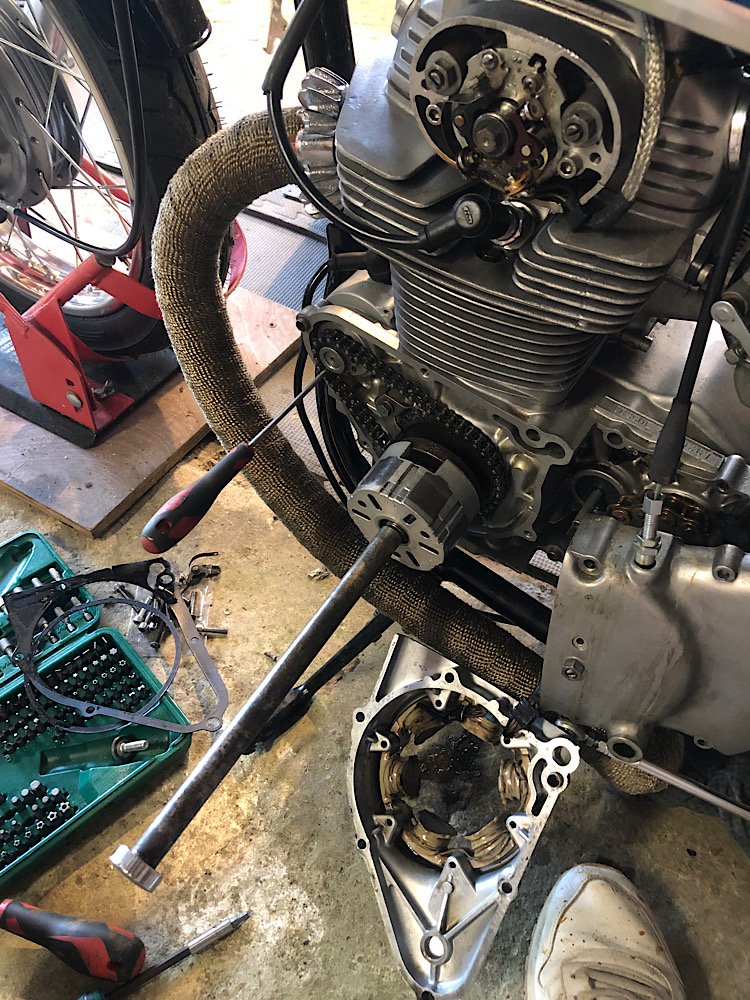
The starter motor was spinning up but not engaging the crank. Popped the alternator cover off to have a look what’s going on.
Chain and cog mech looks all good so it’s the roller mechanism behind the alternator rotor. Dang. Luckily the Honda engineers have a rotor pulling tool called the rear axel.
The rear wheel had to come off anyways so no drama there.
Jammed the bolt in and kept turning till it cracked the tapper and off it came.
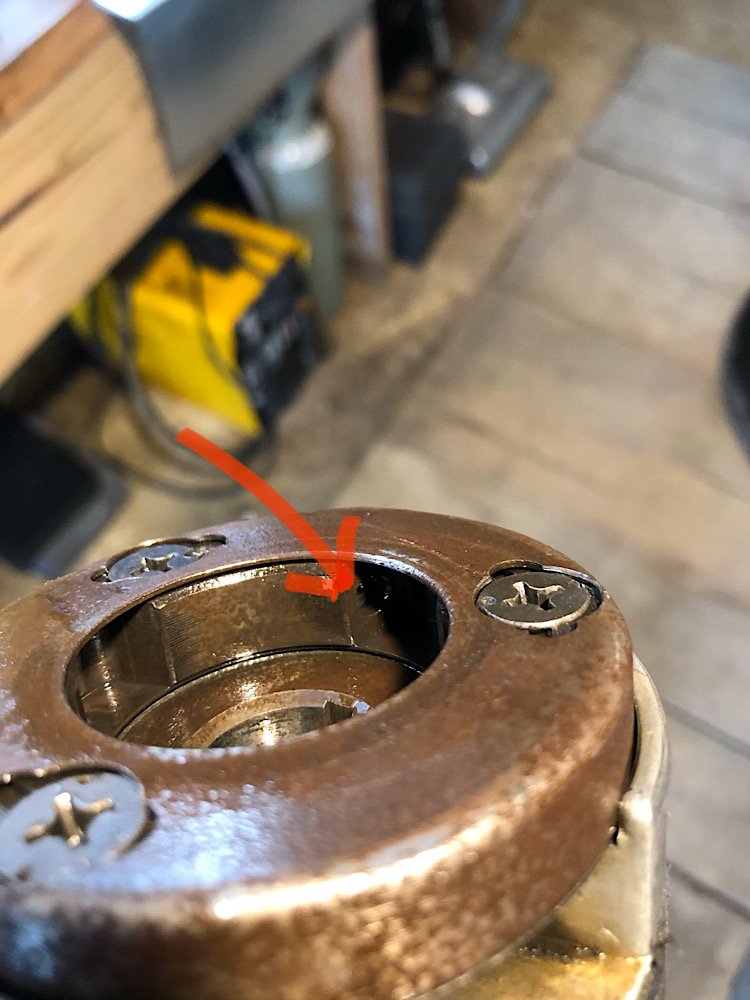
Now two of the three rollers popped out and the other one was stuck. Bingo! After a bit of CRC and a tap with the hammer it came flying out wit the spring following it.
-
1
-
-
Pretty much all the AliExpress stuff is in that thread. Only thing that’s missing are the gear linkages but they are fairly generic.
All the other stuff was brought from 4into1, David Silver Spares, Joker Machine and Cognito Moto in the states.
The headlight on it’s a 7 inch, that was just off Trademe came from Ozzy.
-
 1
1
-
-
This is it with its park lights on in full sun. And the other is with the brake on.
-
1
-
1
-
-
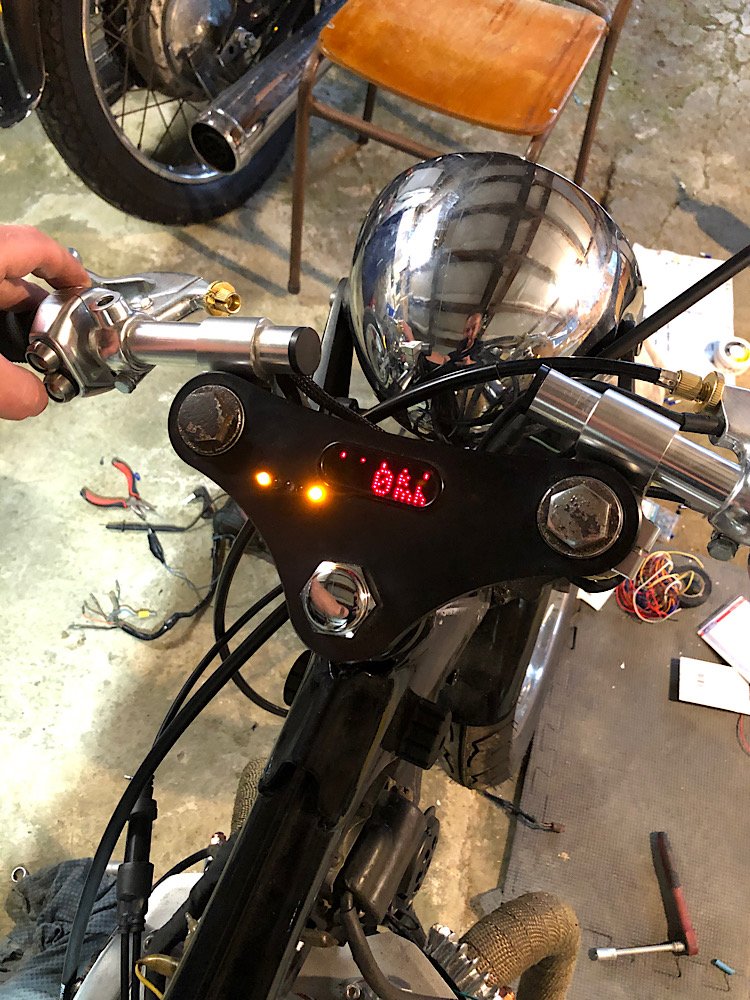
Yeah it’s good in the daylight, I wanted to see what the motogadget looked like in the sun and it was mint too. I’ll get a pic and post it tomorrow in the sun.
Had it running again after all the wiring was done. Sounds ok currently, definitely want to pack out the muffler with more baffle to get the deeper tone.
Also need to sort out this headlight bracket, it’s too big for the bike so I’m after a shorter one to pull the headlight back into the frame more. And lower the front a bit.
-
5
-
-
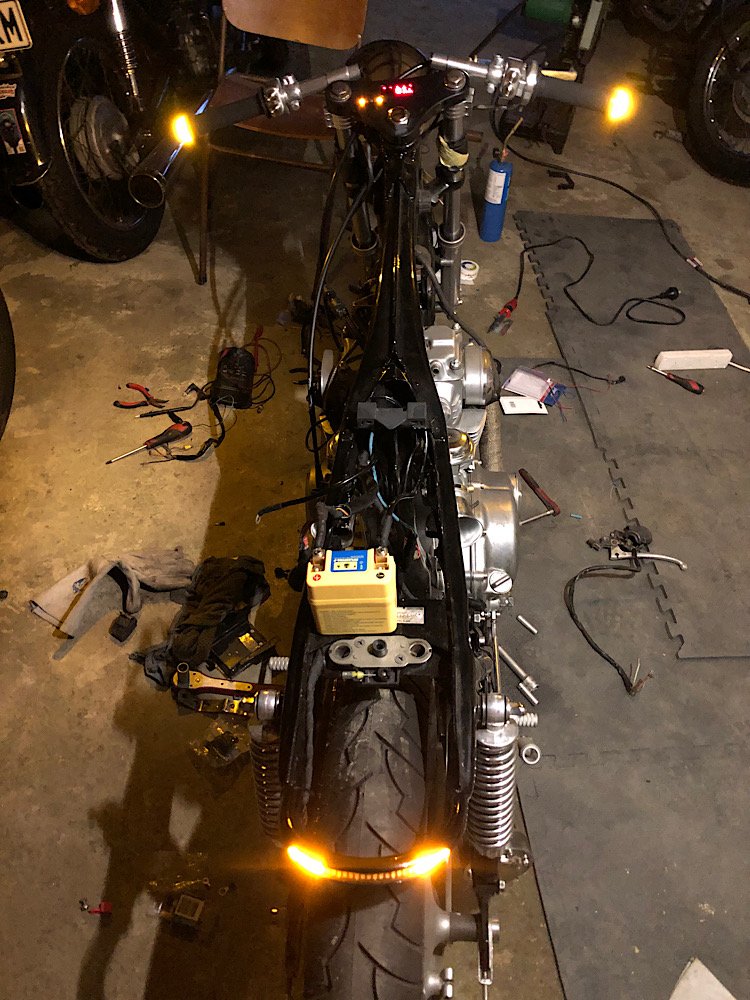
Same, hopefully the WoF guy is kind on the day. It already has a VIN plate so it doesn’t need to go through full compliance testing. They are intensely bright but yeah slightly nervous about it.
In good news I picked up a 3 pin flasher relay on the way home from work and it works perfect. Stoked!
Note: Rear wheel is crooked, haven’t put it together properly yet
-
4
-
-
Been working on the wiring. Everything is working as it should except the indicator unit. Hondas actually use a 3 pin relay and I’m trying to use a 2 pin one, no idea why a 2 pin wouldn’t work but I’ll pick a 3 pin up to try tonight.
Those AliExpress handle bar buttons are legit, really nice buttons with a mix of momentary and latch style buttons.
The motogadget mini sensor still needs to be wired in but the display lit up all nice.Hooked up the starter motor solenoid which spun up when I hit the starter motor but didn’t crank the motor over. Need to check the engagement rollers on the crank as I suspect they aren’t there.
Getting close now!!
-
7
-
-
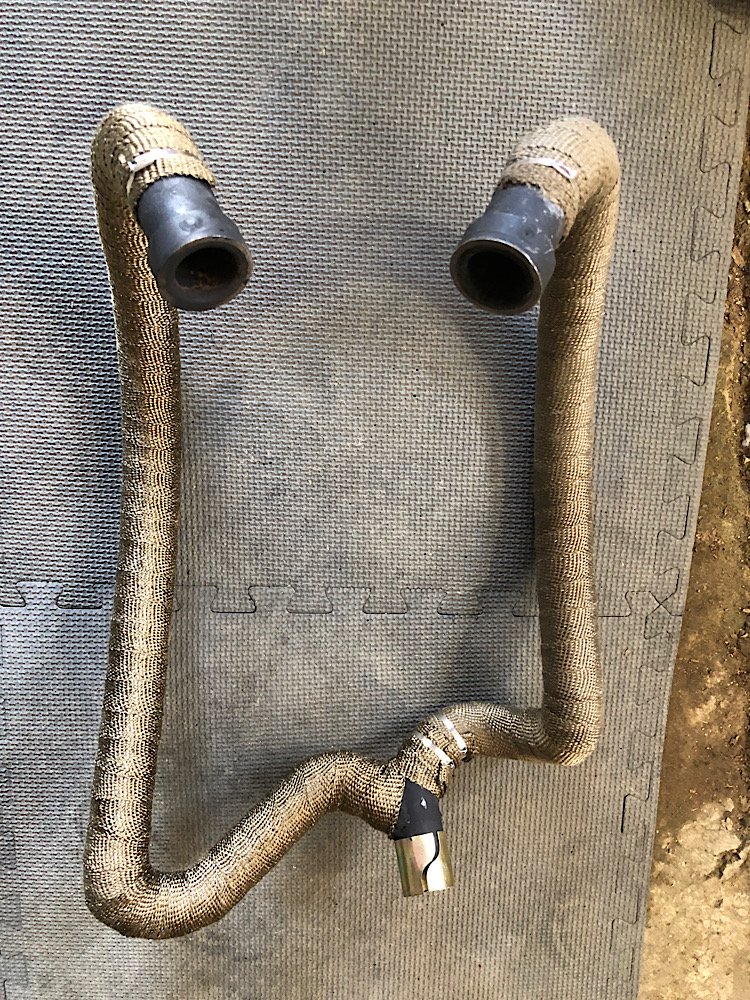
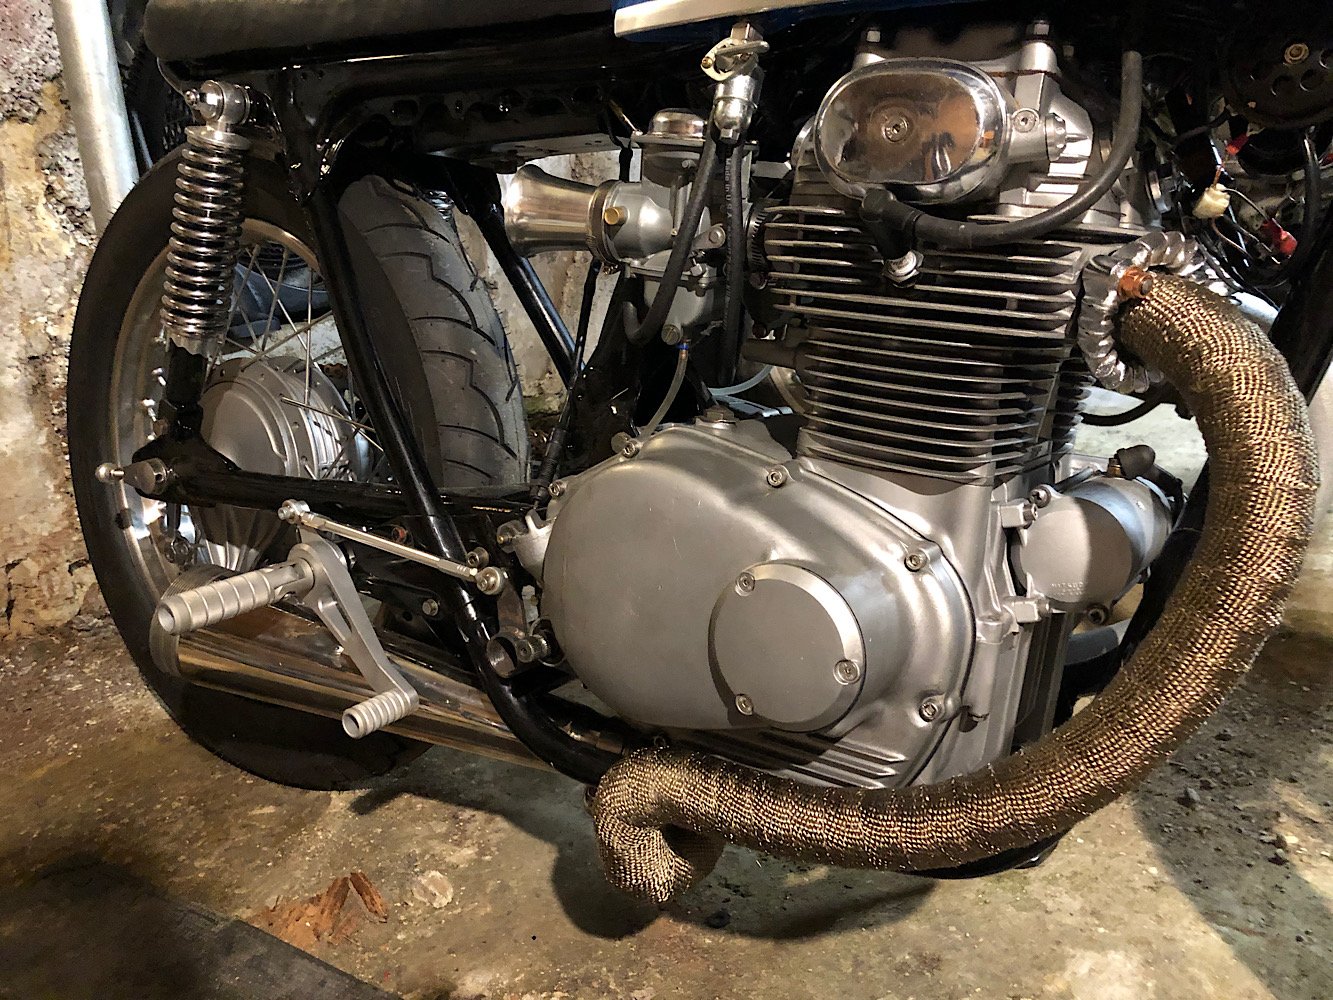
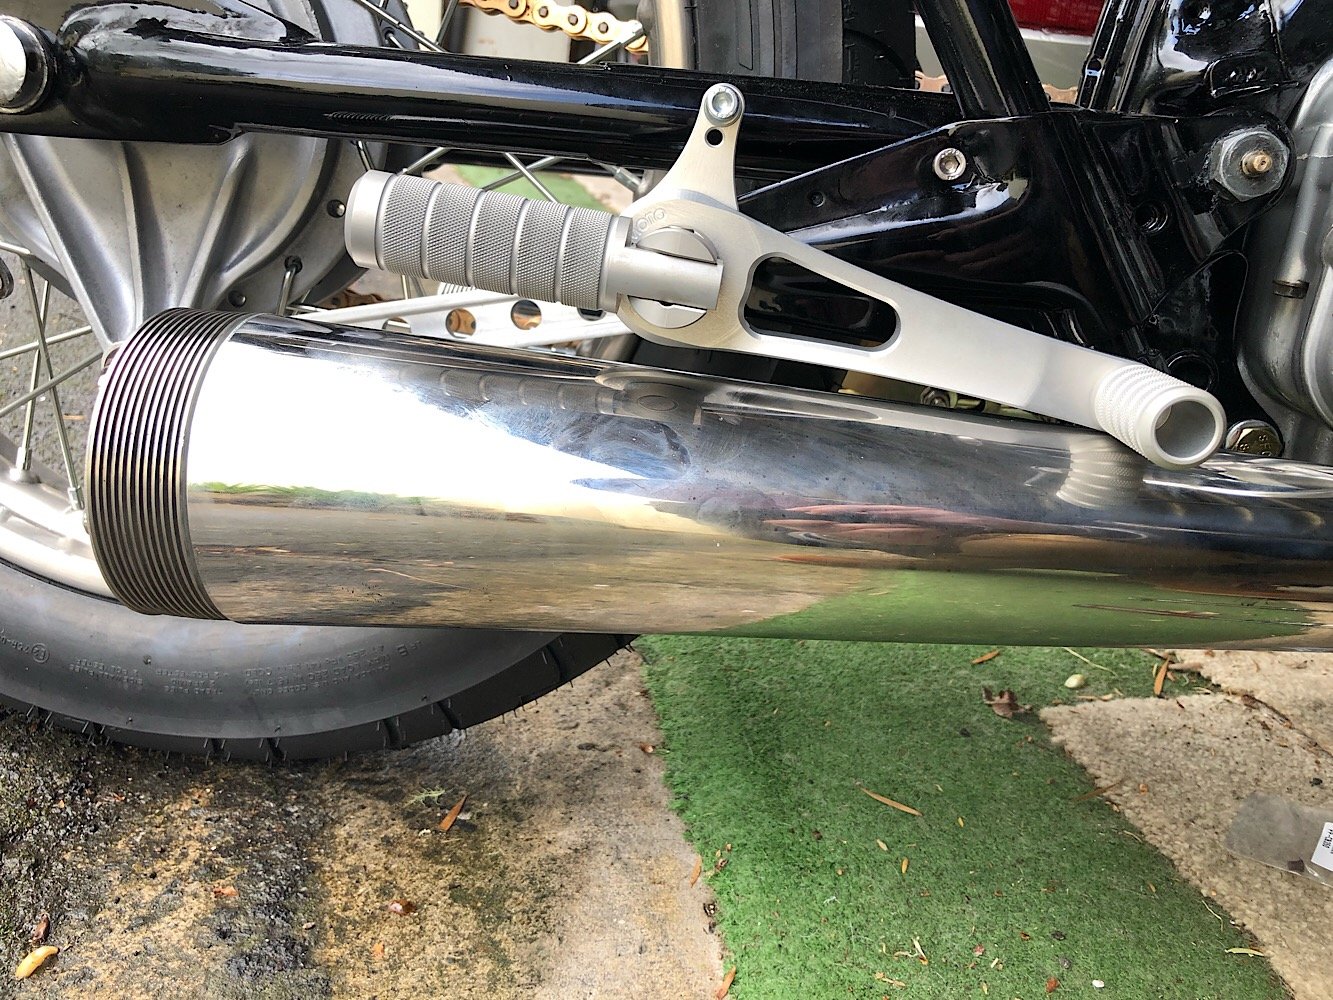
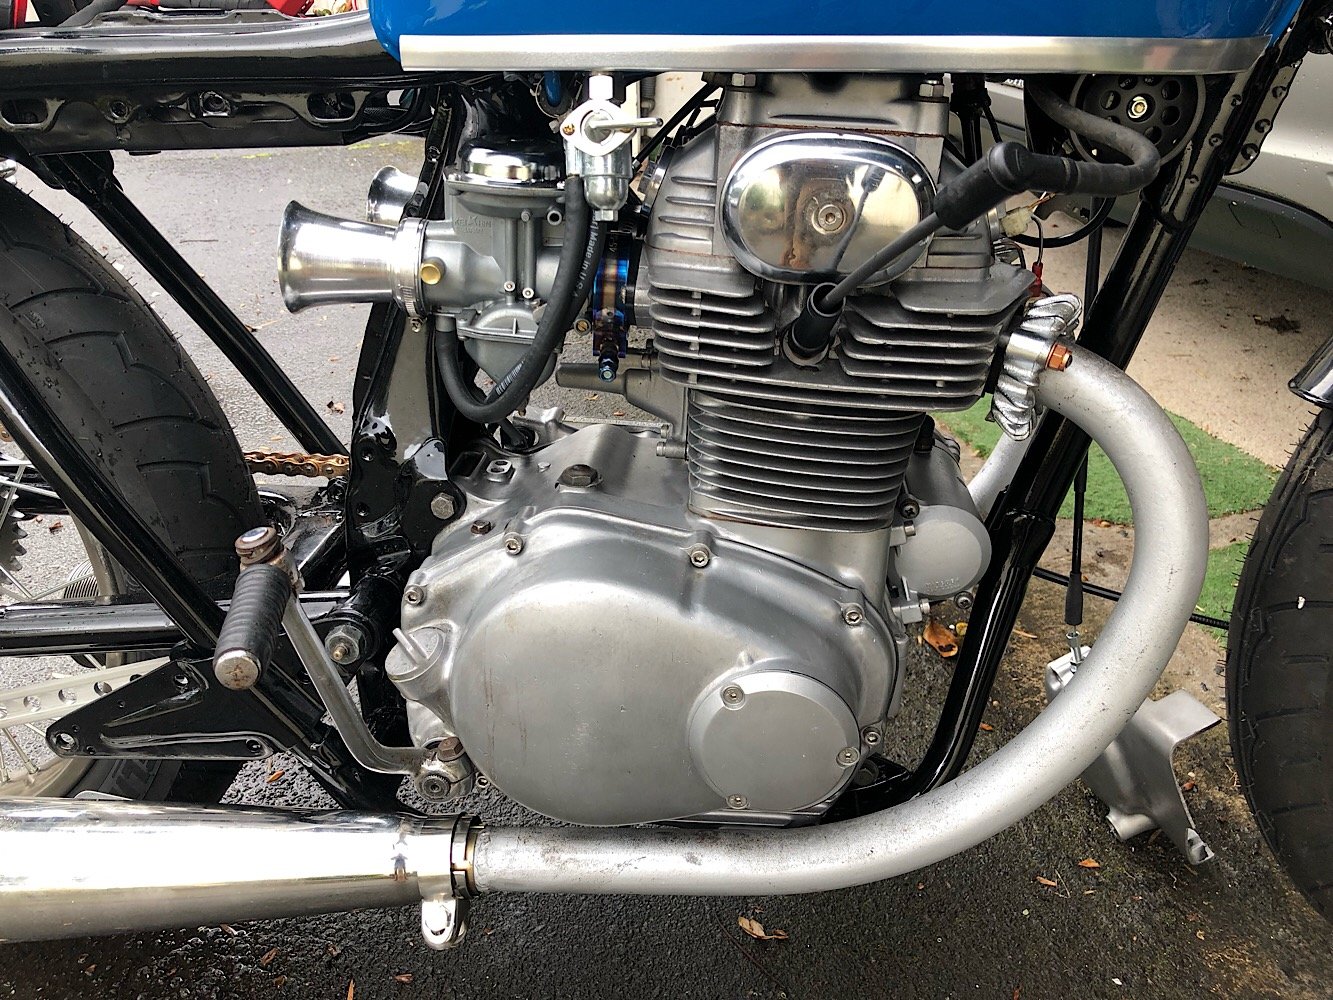
Originally was going to do twin supertraps each side but having them hugging the frame at the angle I wanted just wasn’t working for the chain side.
So scratched that idea and went 2 into 1. Used 38mm mild steel donuts and U bends to shape the exhaust. Mig welded it all together, gave them a couple coats of header paint then wrapped them in titanium header wrap.
-
6
-
-
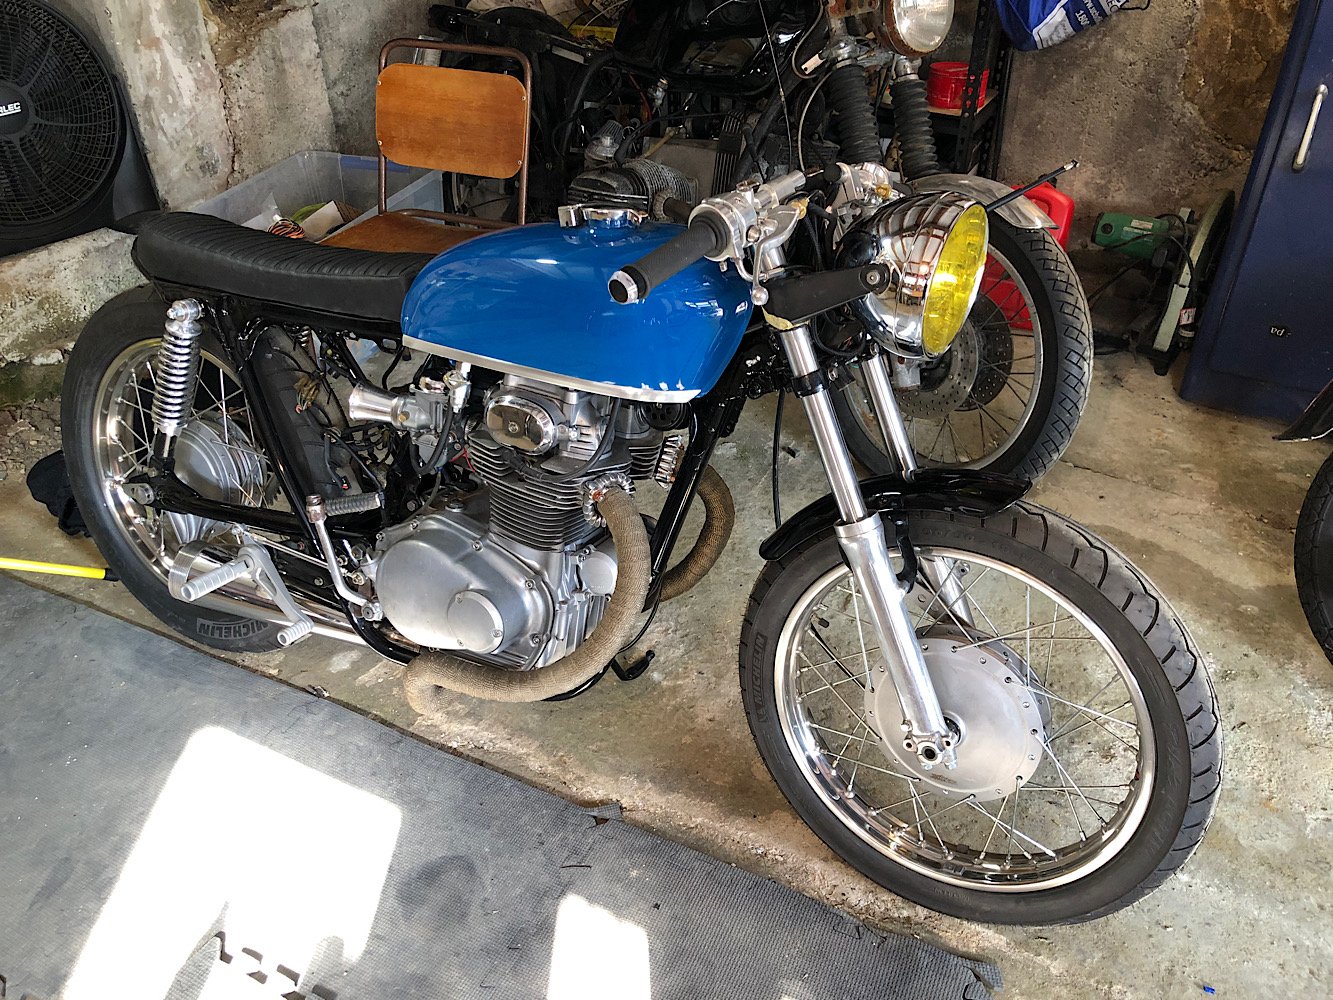
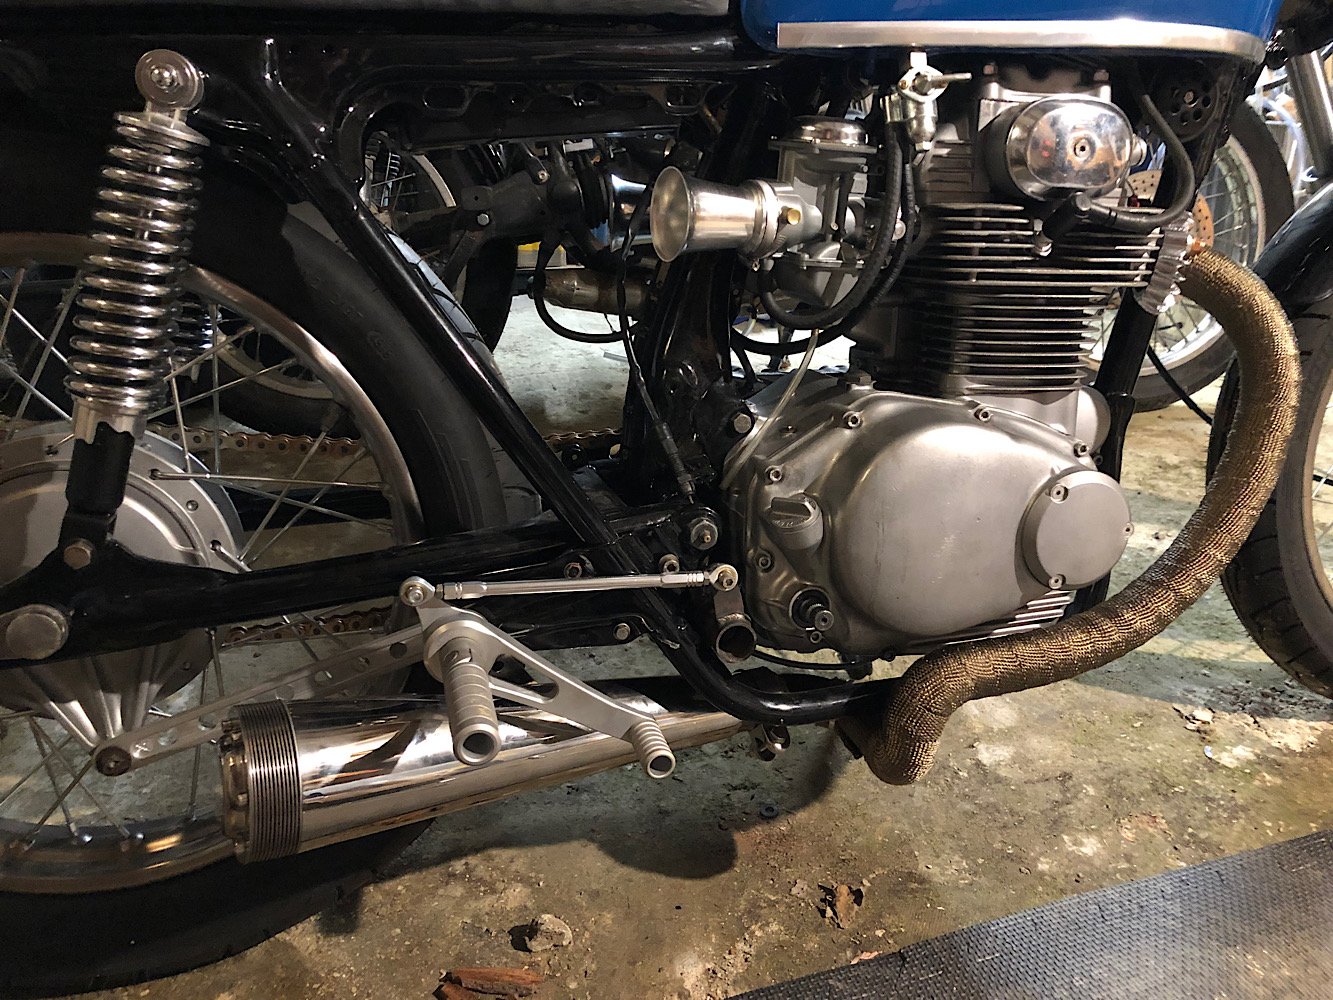
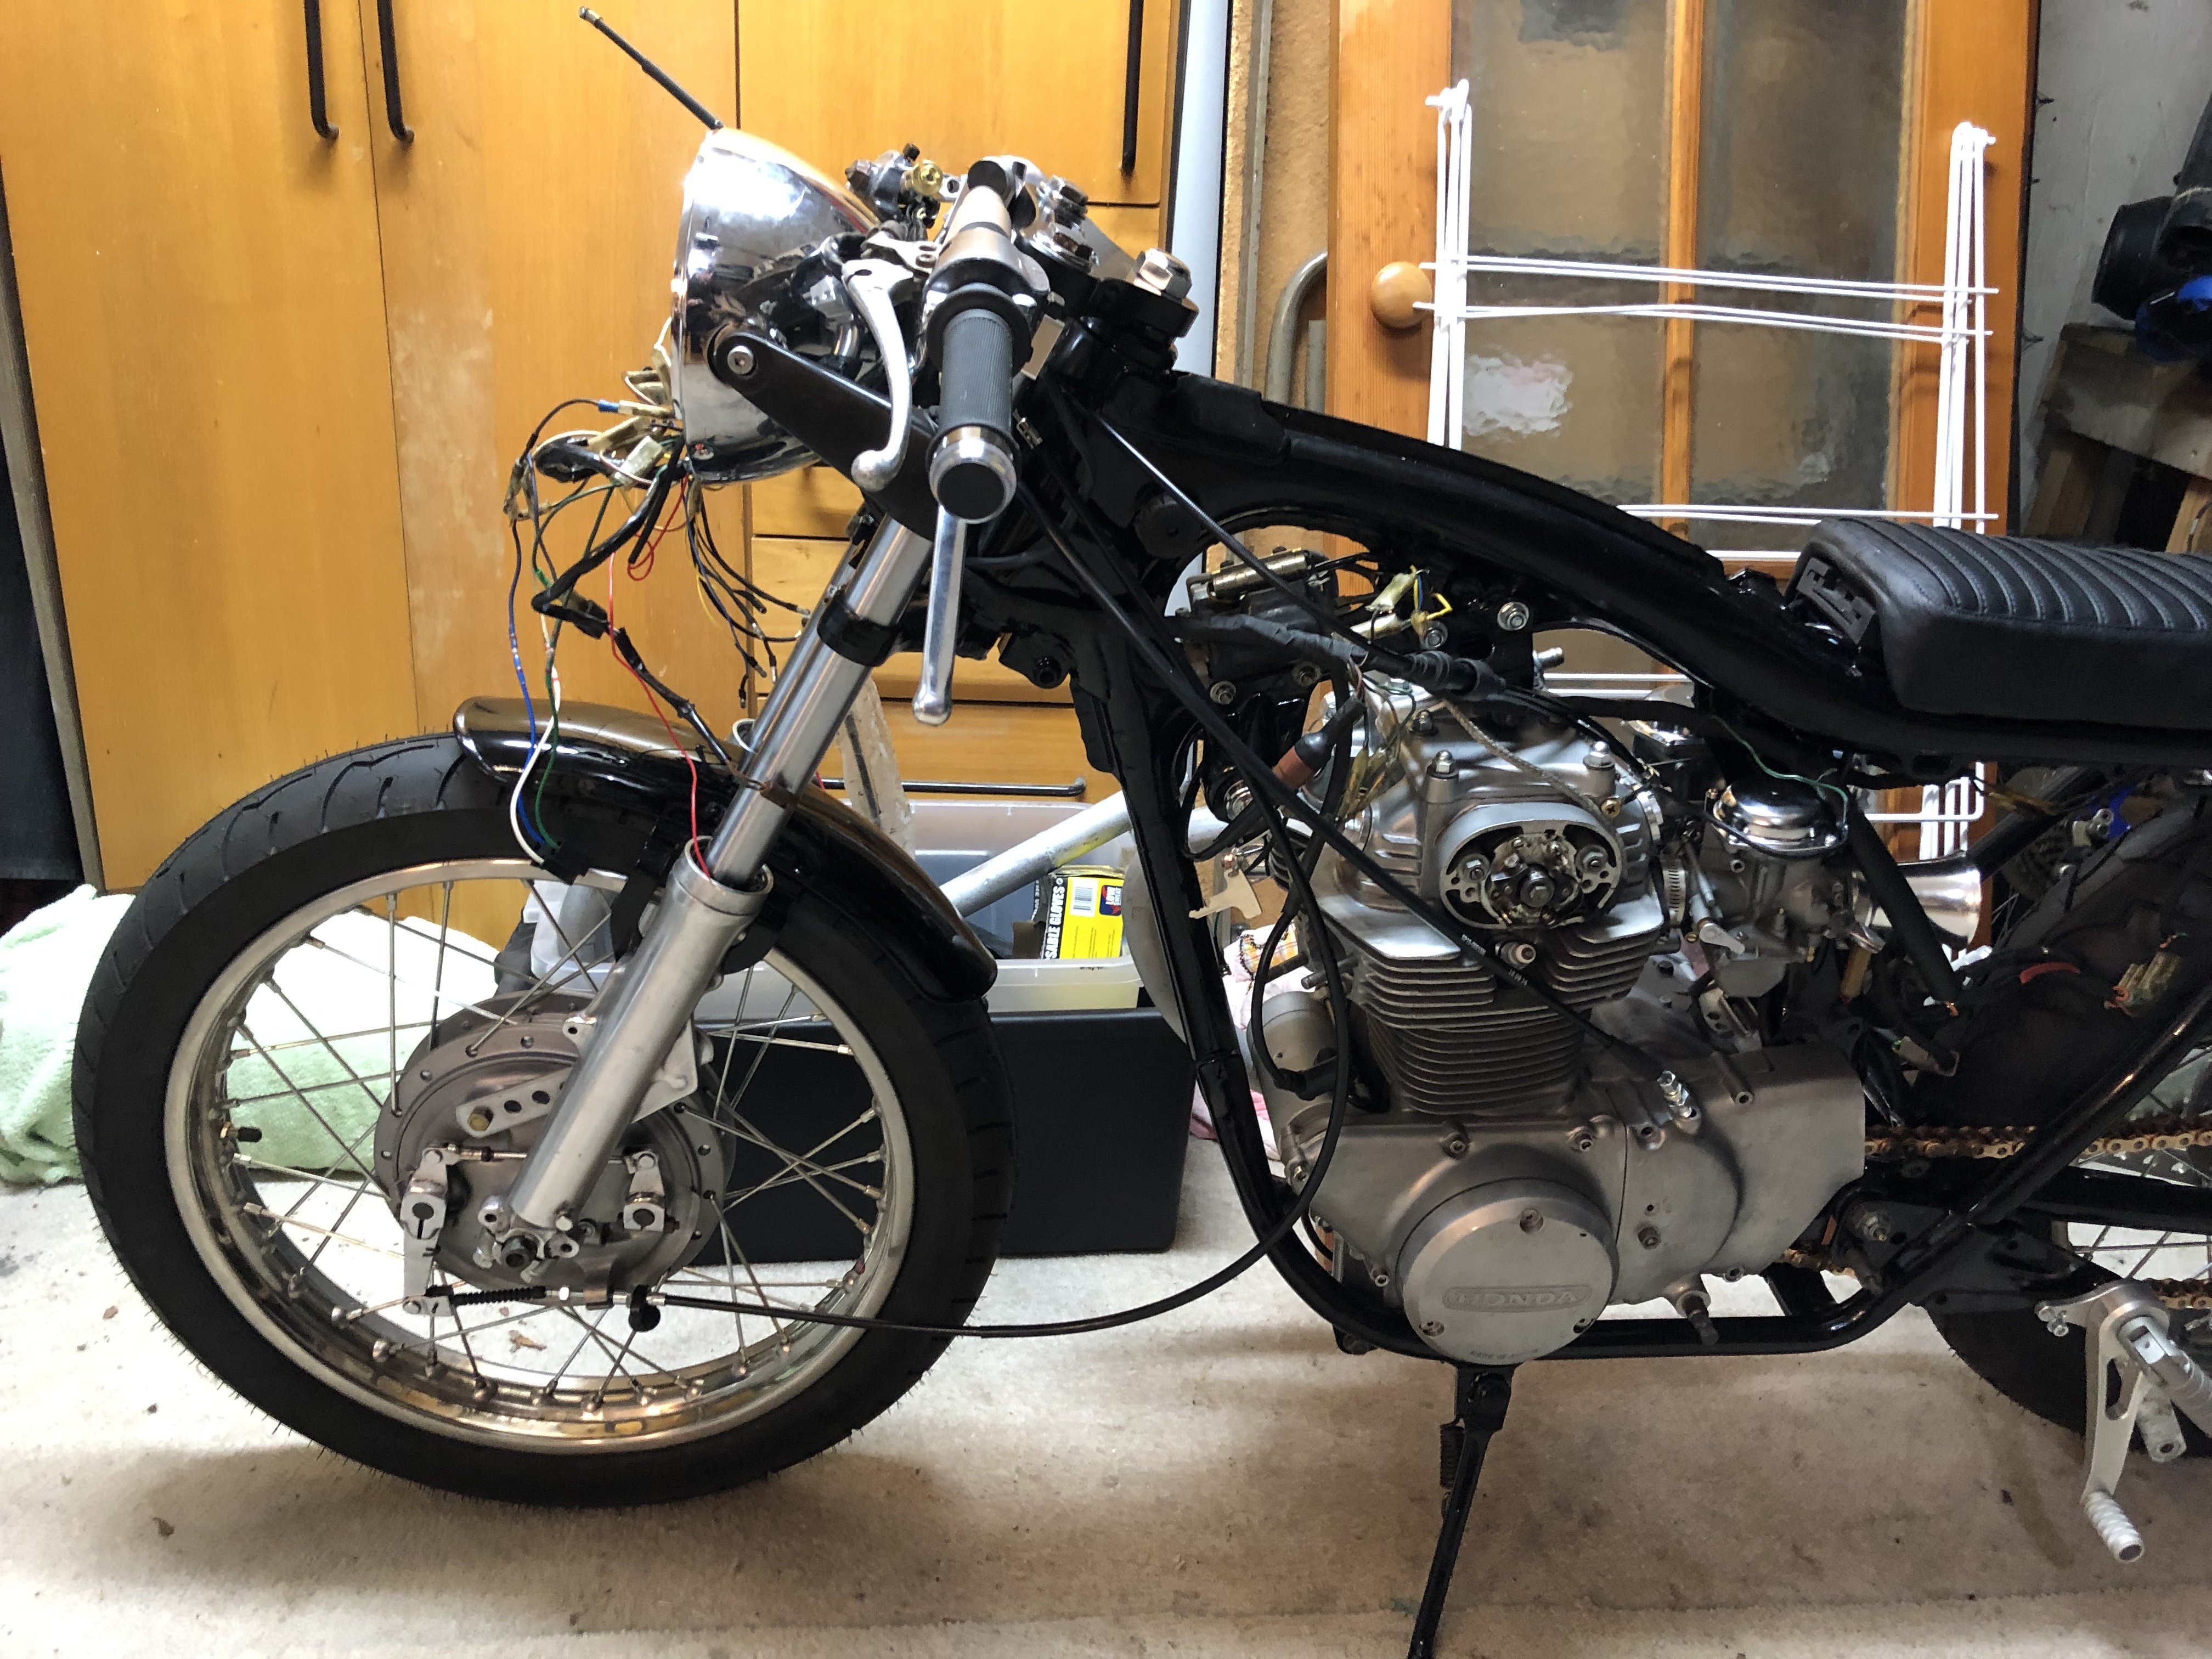
Long time and well over due for an update!
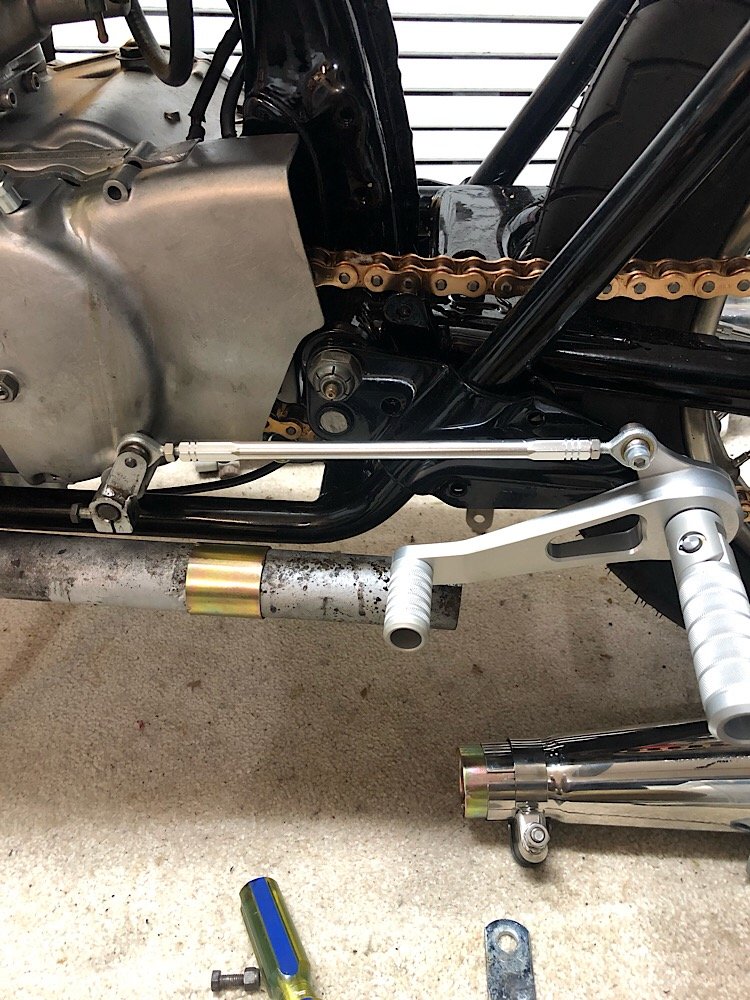
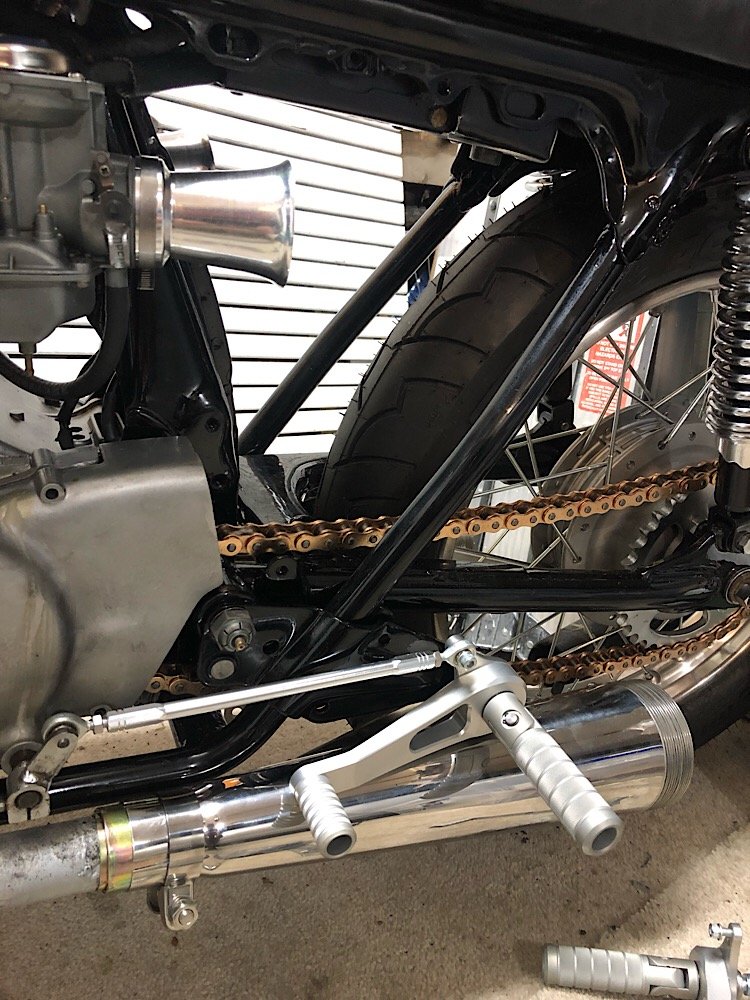
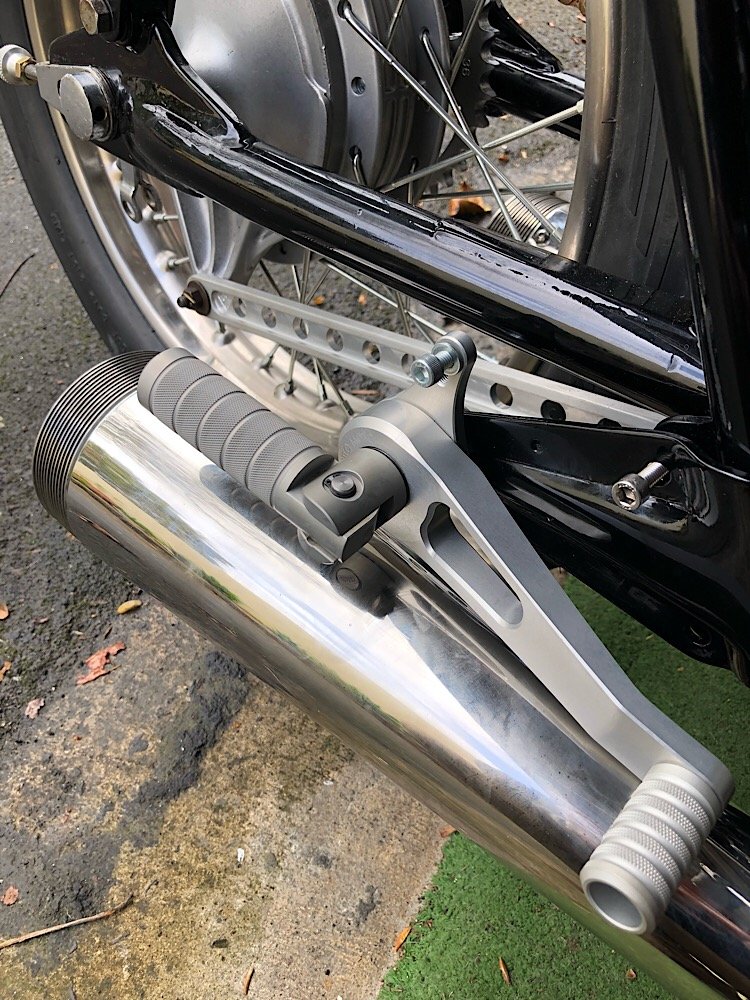
Got stuck in to figuring this exhaust system out, one which won’t foul rearsets and kick starts.
Came up with the solution to wrap the headers under the frame then back out by the lower swing arm.
Did some other electrical stuff too, but here’s the pics of its current guise.
-
4
-
-
Looks good man.
With the carb, screw the needle in a couple of turns below when it’s flush with the slide. There’s a lot of info out there that says they should be set flush with the top of the slide. Found it ran way rich and didn’t make power out on the water till I screwed the needle down a bit further into the slide.
Going wild on the paint job?
-
1
-
-
Brilliant! Good to see another one being rebuilt.
What colour flake haha?
Mine’s been sitting in the garage all winter but will no doubt be put back into the water during summer. Found they like mineral 2 stroke oil way better than synthetic, doesn’t foul the plug as easy with its eco friendly 10:1 fuel/oil premix.
-
1
-
-
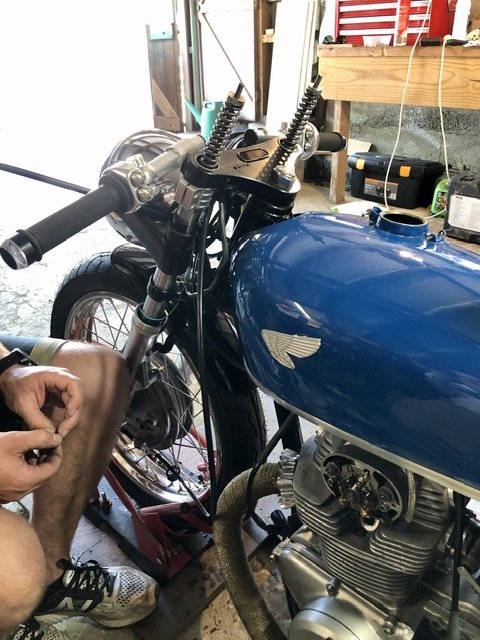
Carried on shaping and sticking on the badges, originally for the early CBs with the square shape tank but I liked them so much I picked up a replica metal set and stuck them on.
Was going to paint the badges but like the raw alloy look so gave them a coat of Matt clear to keep them crisp.
Drilled holes in the clip ons and feed the wires through for the controls, now on to the major wiring to make sure everything works like it should.
Fitted up the gear linkage I got from AliExpress, so mint! A tad short which was completely my fault as a don’t know how I got the measurement wrong but hey it works!
Next is to build an exhaust which doesn’t hit the rearsets!!
-
4
-
-
On 23/08/2019 at 20:19, Abarth said:
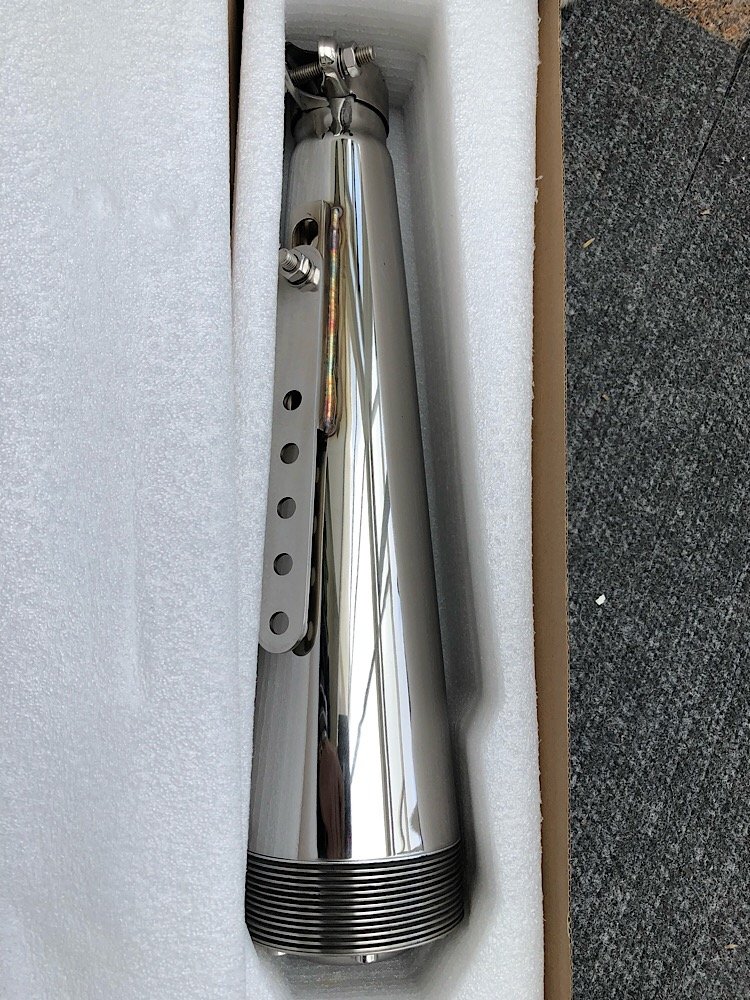
Ordered these Supertrapp reps, will report back when they arrive.
Really happy with these! Banged them straight on and they sound good. Will have a fiddle with the baffles in my build thread but yeah awesome!
-
3
-
-
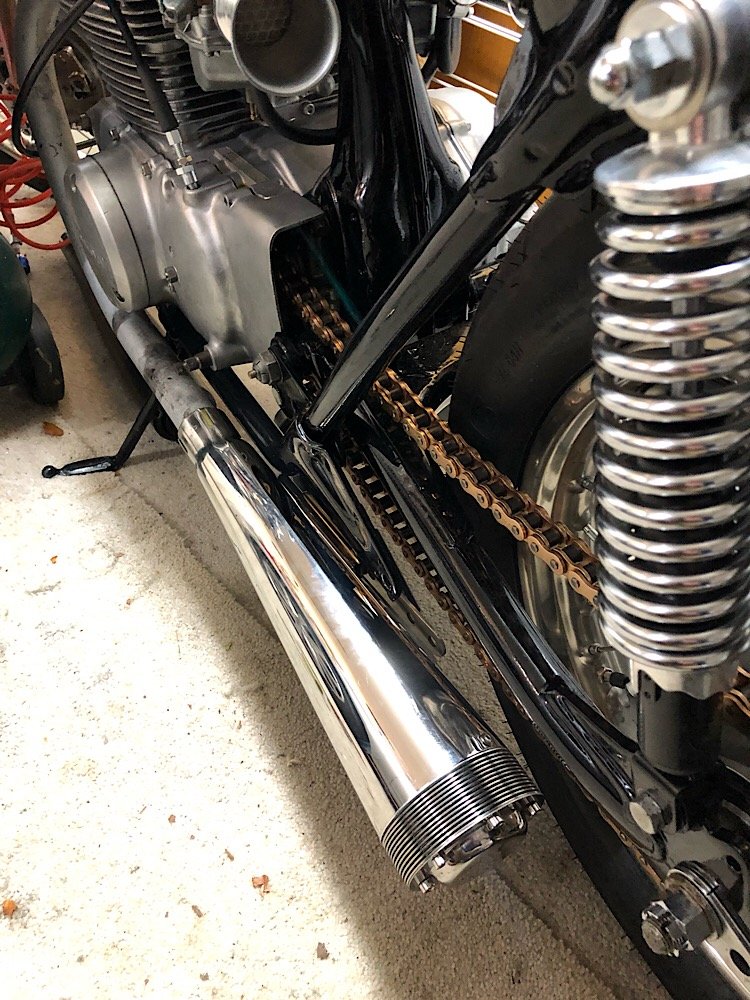
Big update mostly about clearances.
Firstly the Supertrapp reps turned up and wow are they mint! Did a test fit and fired it up which sounded great, stoked!!!
Now clearances, looking at a lot of other CB350 builds I always wondered why they added aftermarket headers. With the rearsets I realise that the factory exhaust sits too high so the brake leaver hits the muffler. Also the kick start hits the rearsets too, bit of a cluster really.
Gave it a quick tune with the glass plugs, found the 70 idle jet ran too rich so swapped it out for a 68 which helped when tuning with the Air/Fuel mixture screw.
Also added in the blue titanium hose clamps round the carbs, kind dig it kinda don’t, they are quite wide so they don’t quite fit. Can see them in this pic.
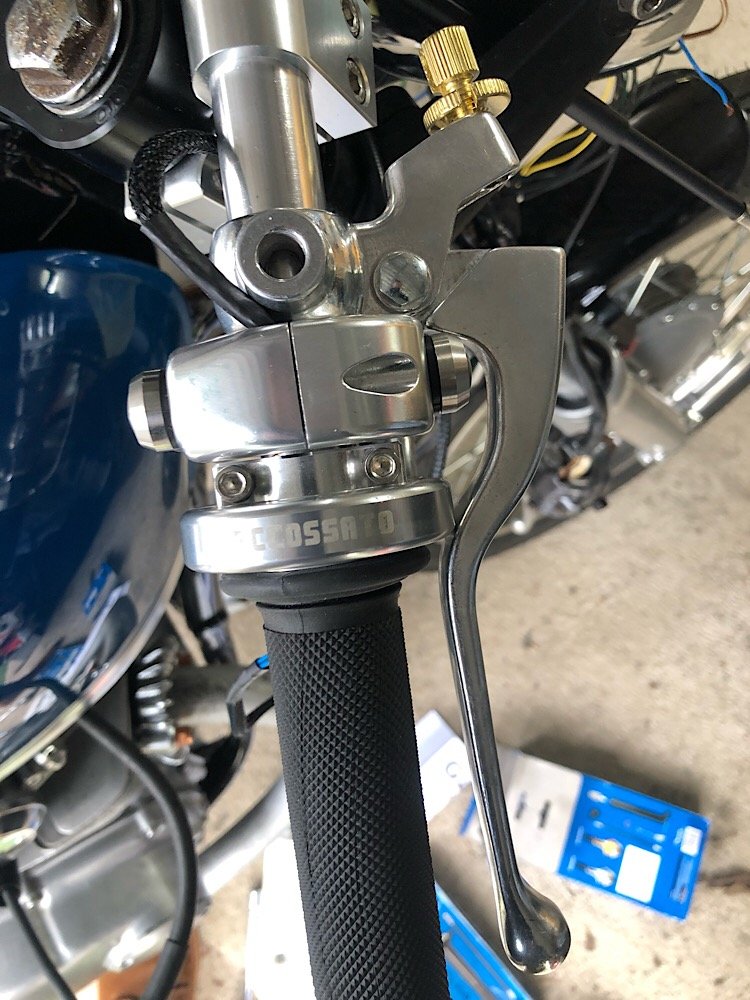
The push button controls turned up for the handle bars too; again quality and feel is immaculate so far, they also did a perfect job of setting up the buttons as some were momentary and others were push on/off.
Test fitted them to check and happy with the fit/clearance. I’ll thread the wiring properly down through the handle bars eventually.
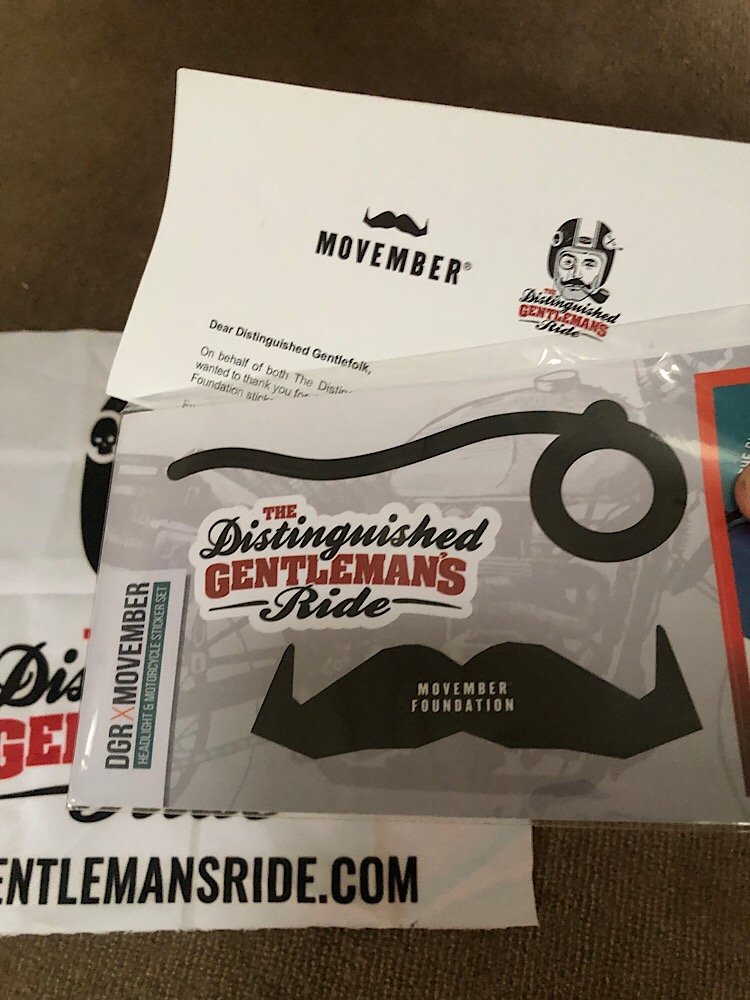
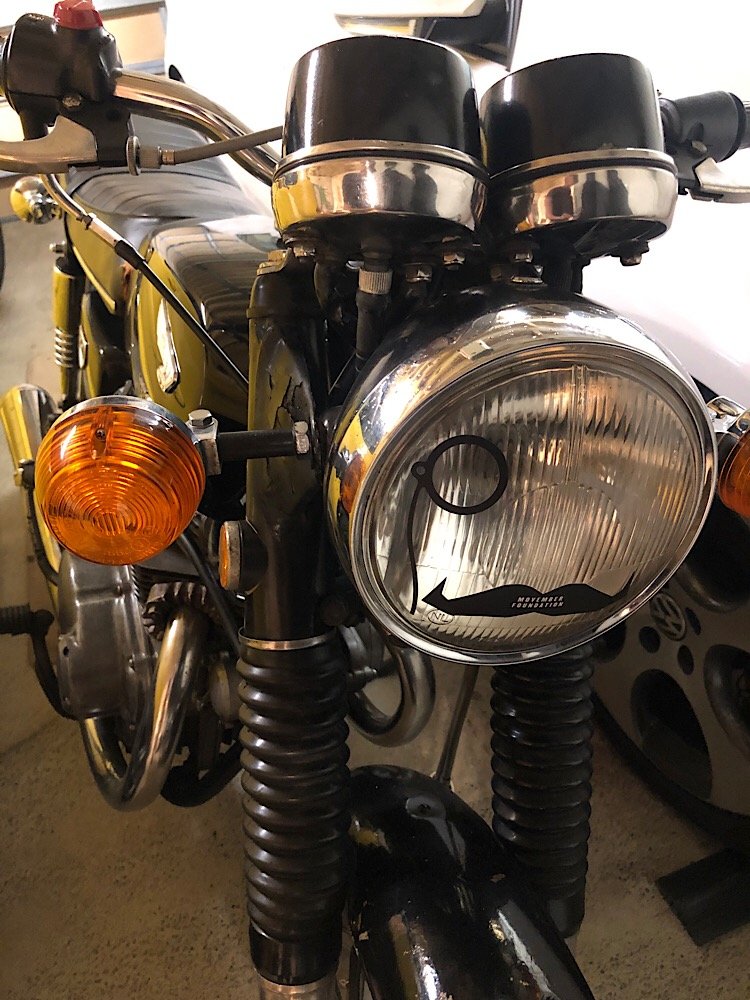
Realistically this bike won’t be ready for the DGR ride on Sunday so the CB250k is hitting the ride again this year with the DGR headlight stickers to support men’s mental health.
Lastly found the winged Honda badges I brought ages ago to stick on the CB350. Factory colour is to fill them in white but I reckon black could be the go.
Thanks for looking!
-
7
-
-
Thanks guys! It’s been a lot of work to get it to this stage.
I’ve added an LED flasher unit so I think it’s something to do with the wiring not being quite right. I’ll revisit the wiring once the controls arrive from AE and try to knock it out all in one go.
Super Trapp reps should also be arriving too this week as there is an issue with the exhaust and rearset brake hitting. Probably going to make new headers to get the clearances.
Anyways she’s come a long way since the Trademe purchase that’s for sure!
-
6
-
-
Finally kicked this thing into life this arvo. Started easy as and sat there idleing like a champ.
Stoked the motor is working as it should have. One step closer to the DGR ride!
Still have so much to go, mainly wiring as the indicators don’t blink, starter motor is dead, rear set linkages etc.....
-
6
-
-
Carried on setting the motor up today. Kept the points instead of a CDI as there is something oldschool mechanical that I like about them.
Tensioned the timing chain at 90 degrees after tdc. Then set up the points timing and tested the coils, got good spark so she’s getting very close to starting now!
Fitted the headers and noticed there isn’t much room between them and the rearsets. Might have to make some out of 35mm ID pipe to get the clearances.
-
6
-
-
- Popular Post
- Popular Post
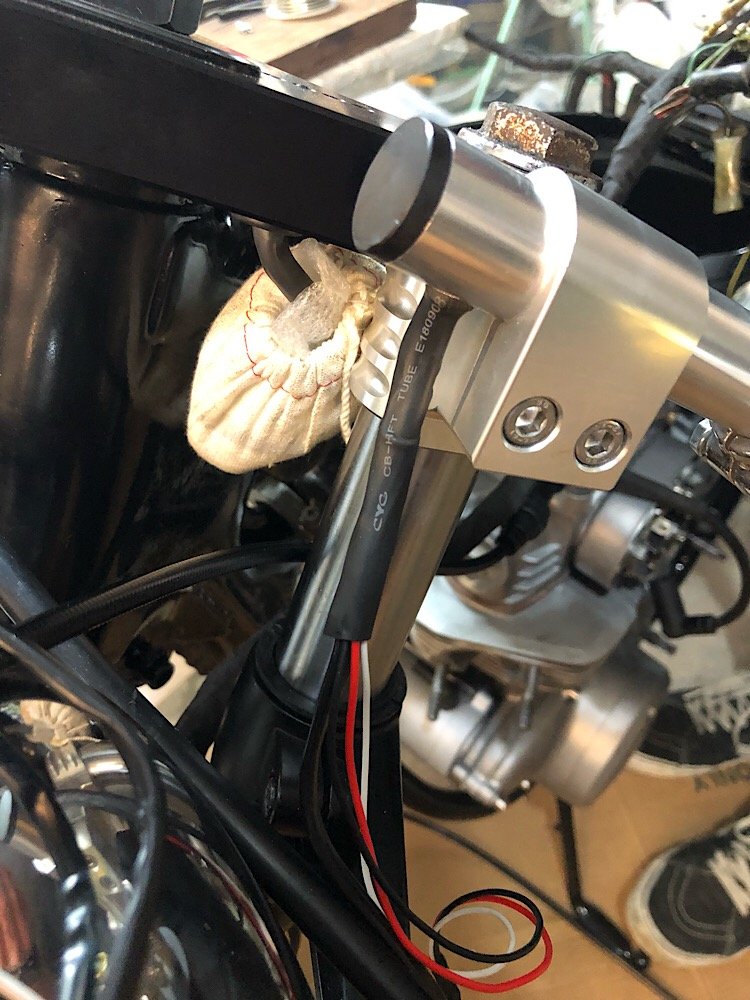
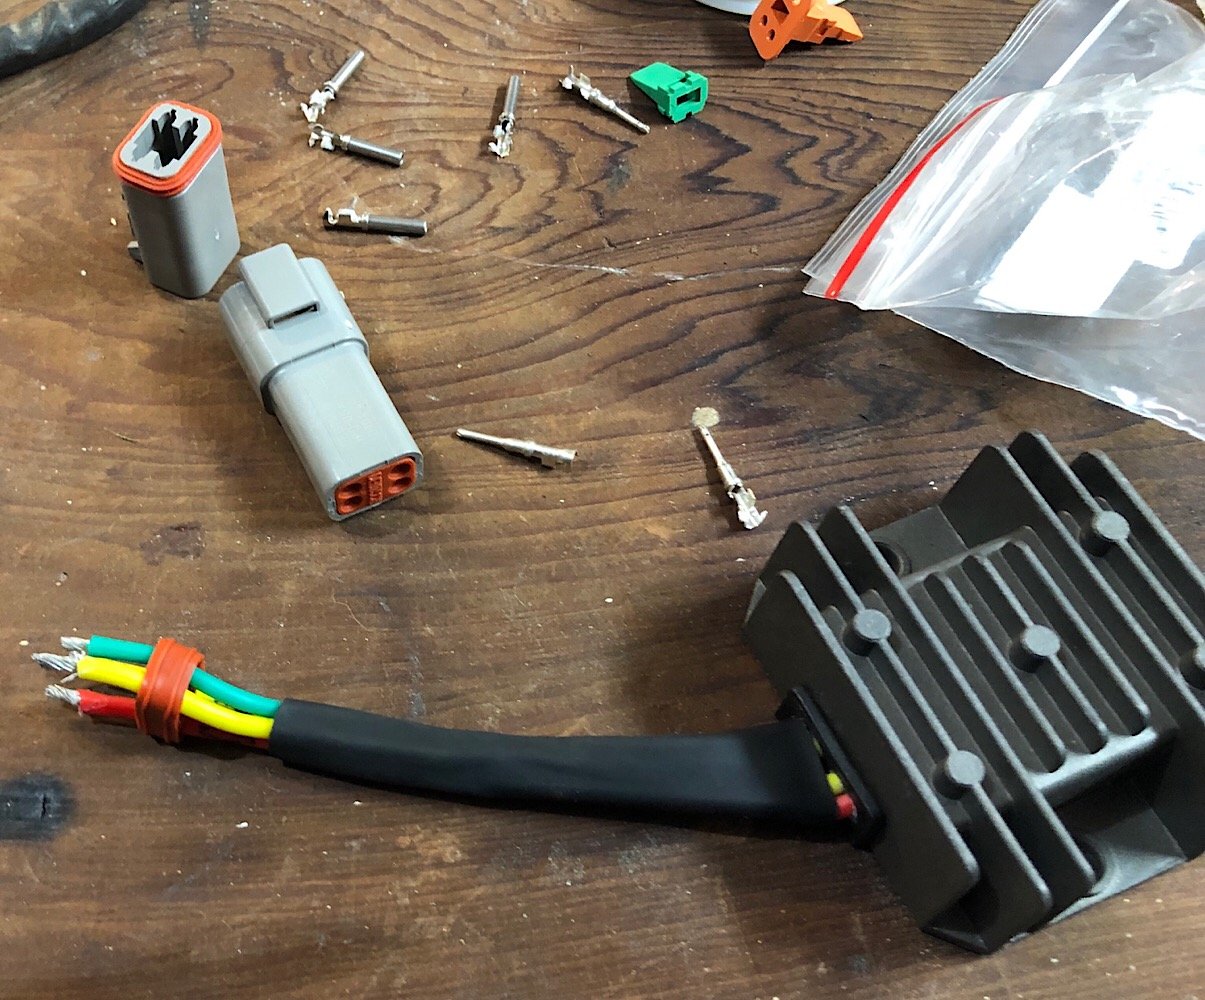
Carried on with the wiring, cleaning up all the old connections and added in modern plugs.
Added in a regulator/rectifier to replace the old Honda ones.
Drilled holes in the underside of the clip on bars to feed the wires out and down into the headlight. Trying to keep the wiring tidy with some going through the centre of the frame.
Had my other Honda round to compare factory spec to cafe spec.
-
16
-
Ordered these Supertrapp reps, will report back when they arrive.
-
6
-


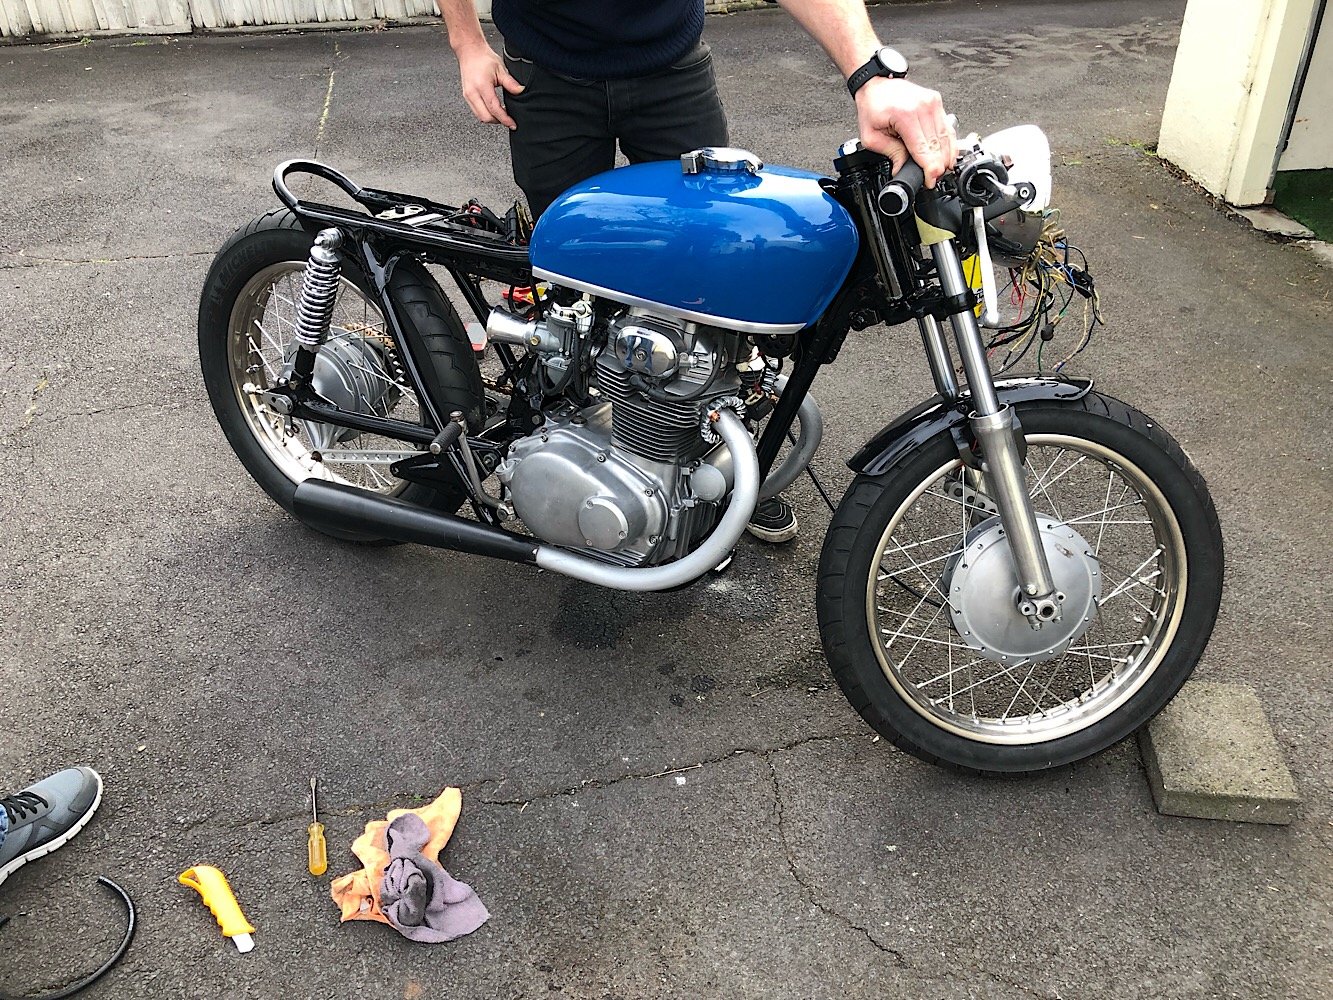


Abarth’s 1972 Honda CB350k Cafe Racer
in Two Wheels
Posted
If I use a piece of string and straight line it from the engine cog to the rear sprocket it’s off.
Got a new swing arm on the way so I’ll fit that and see how it looks. If it’s all good I’ll strip the paint off it and hit it with the left over black 2k I painted the rest of the frame in.